Halloween is approaching! Time for grizzly beautiful Halloween pumpkins. We'll show you how to plan and carve out the pumpkin and how to keep it longer.
Media Education for Kindergarten and Hort

Relief in everyday life, targeted promotion of individual children, independent learning and - without any pre-knowledge already usable by the youngest!
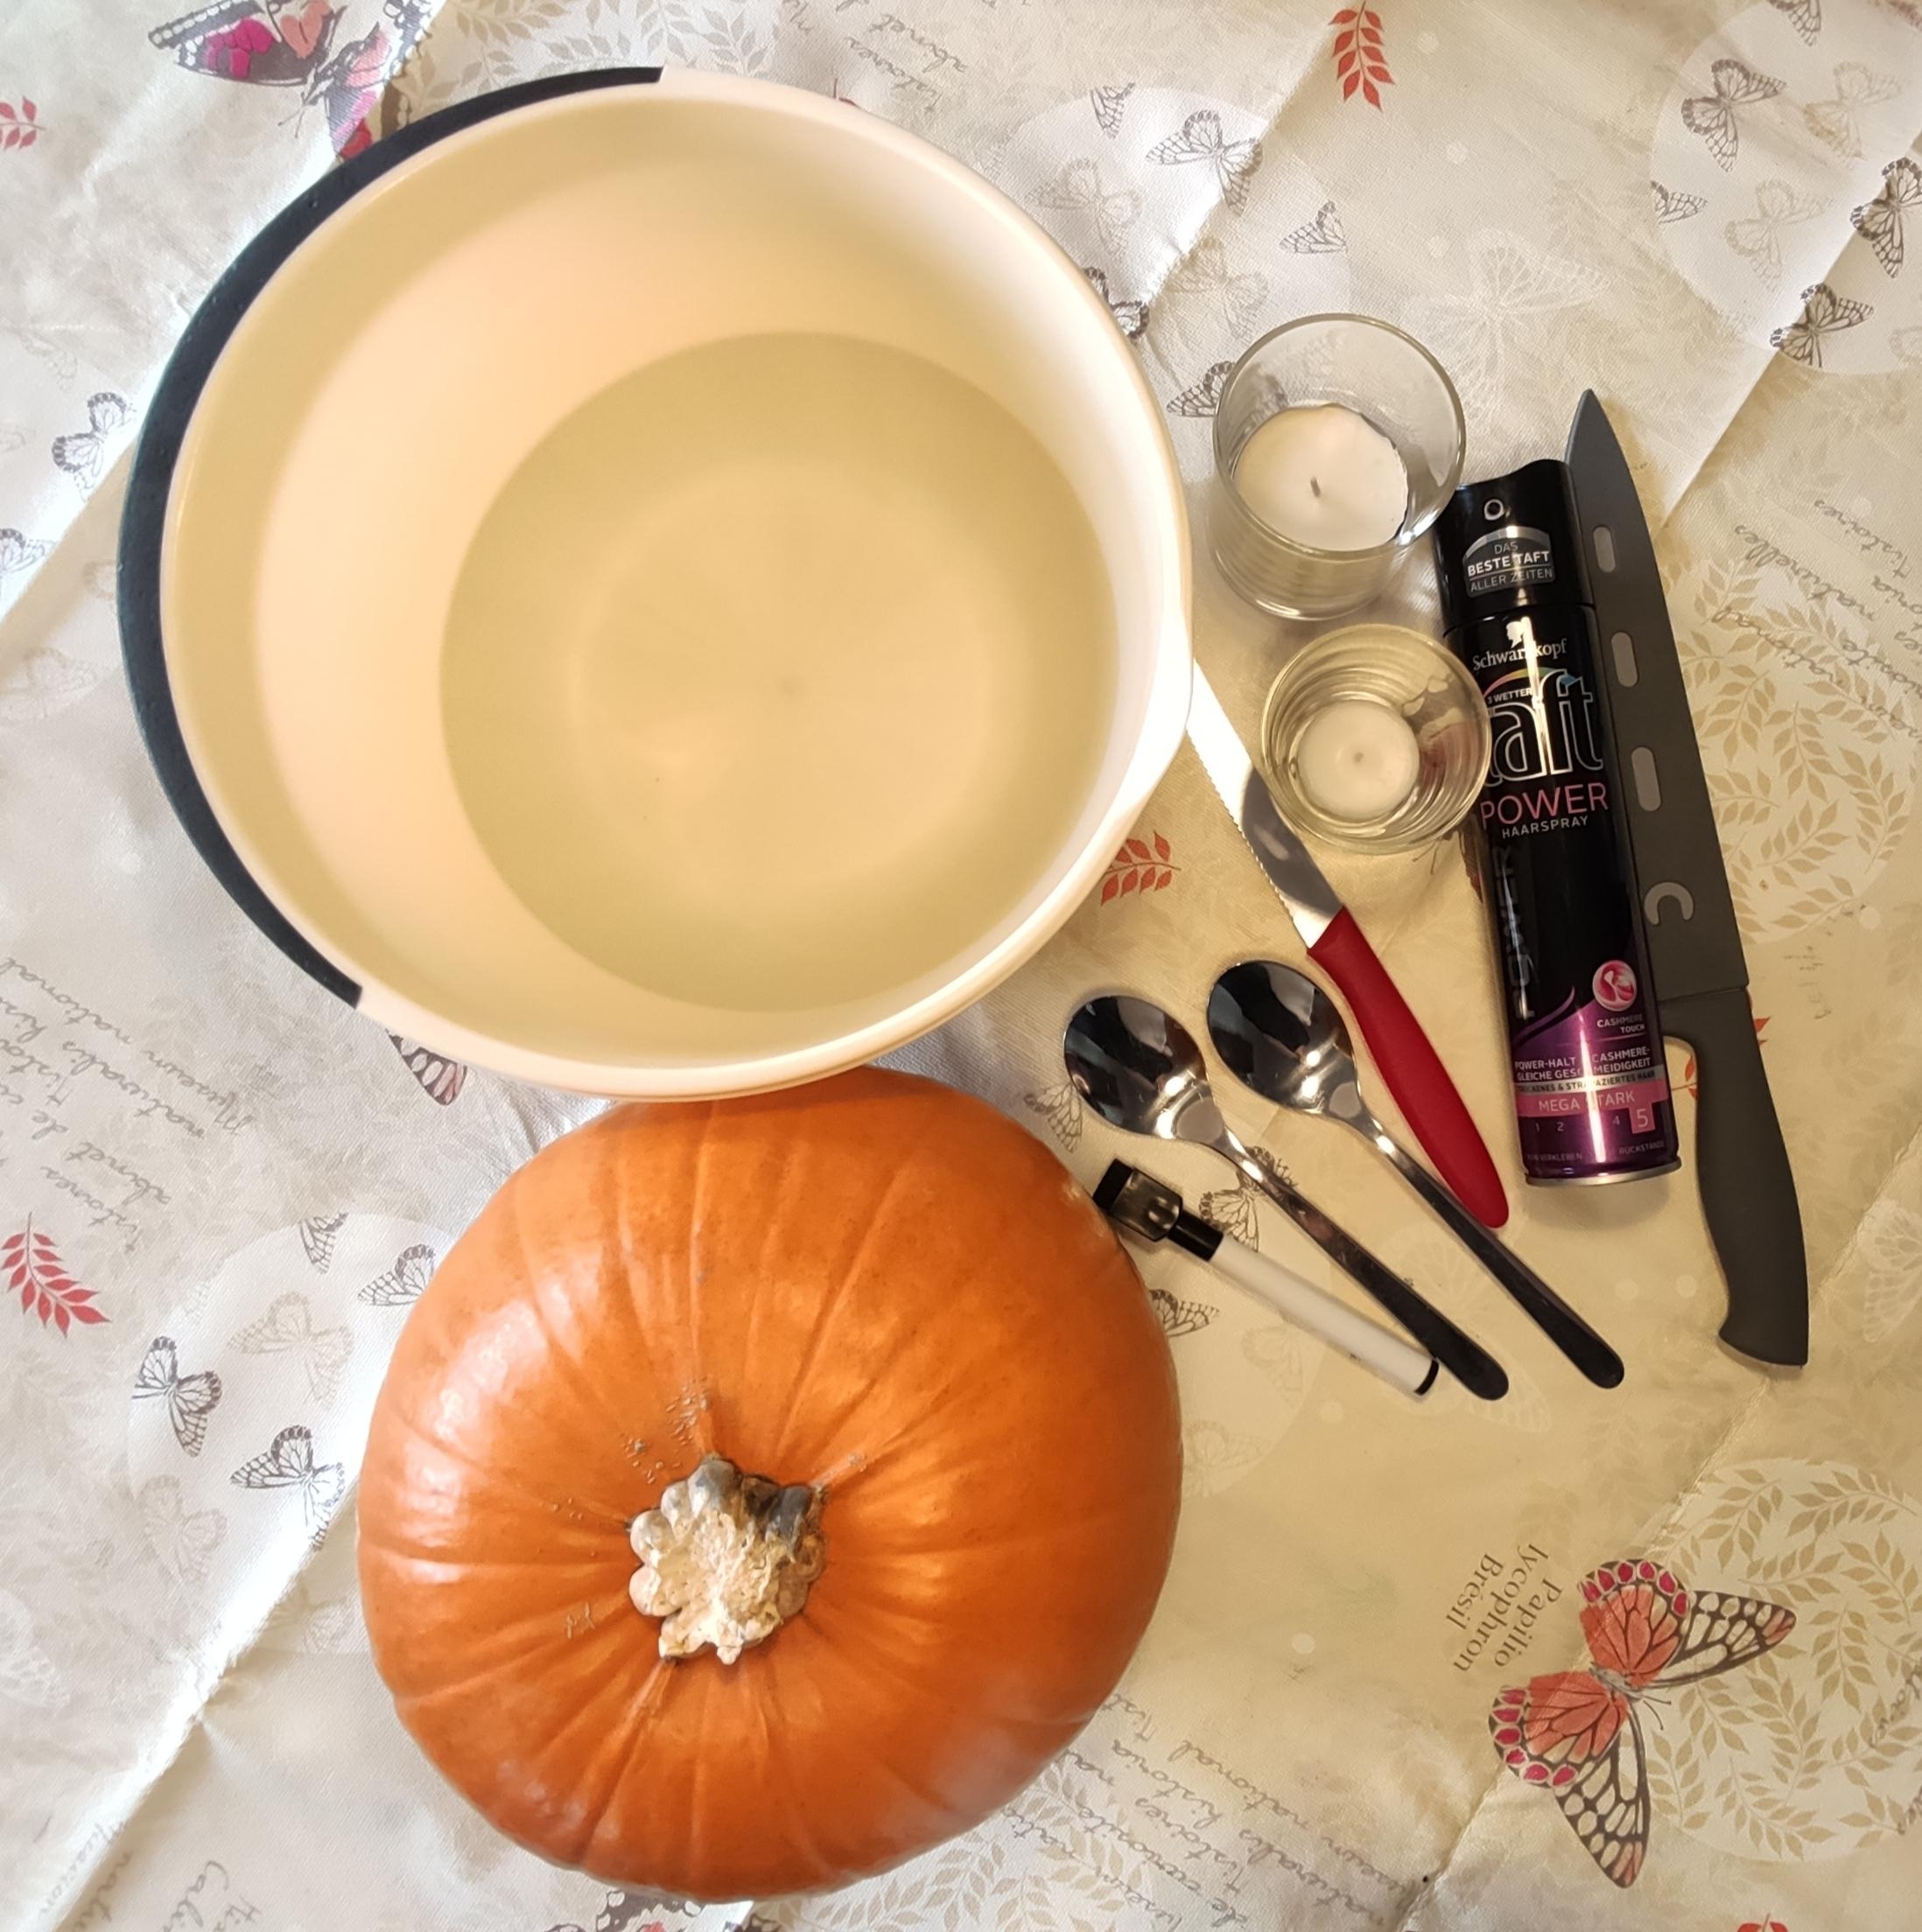
Spread the base and adjust all required materials.
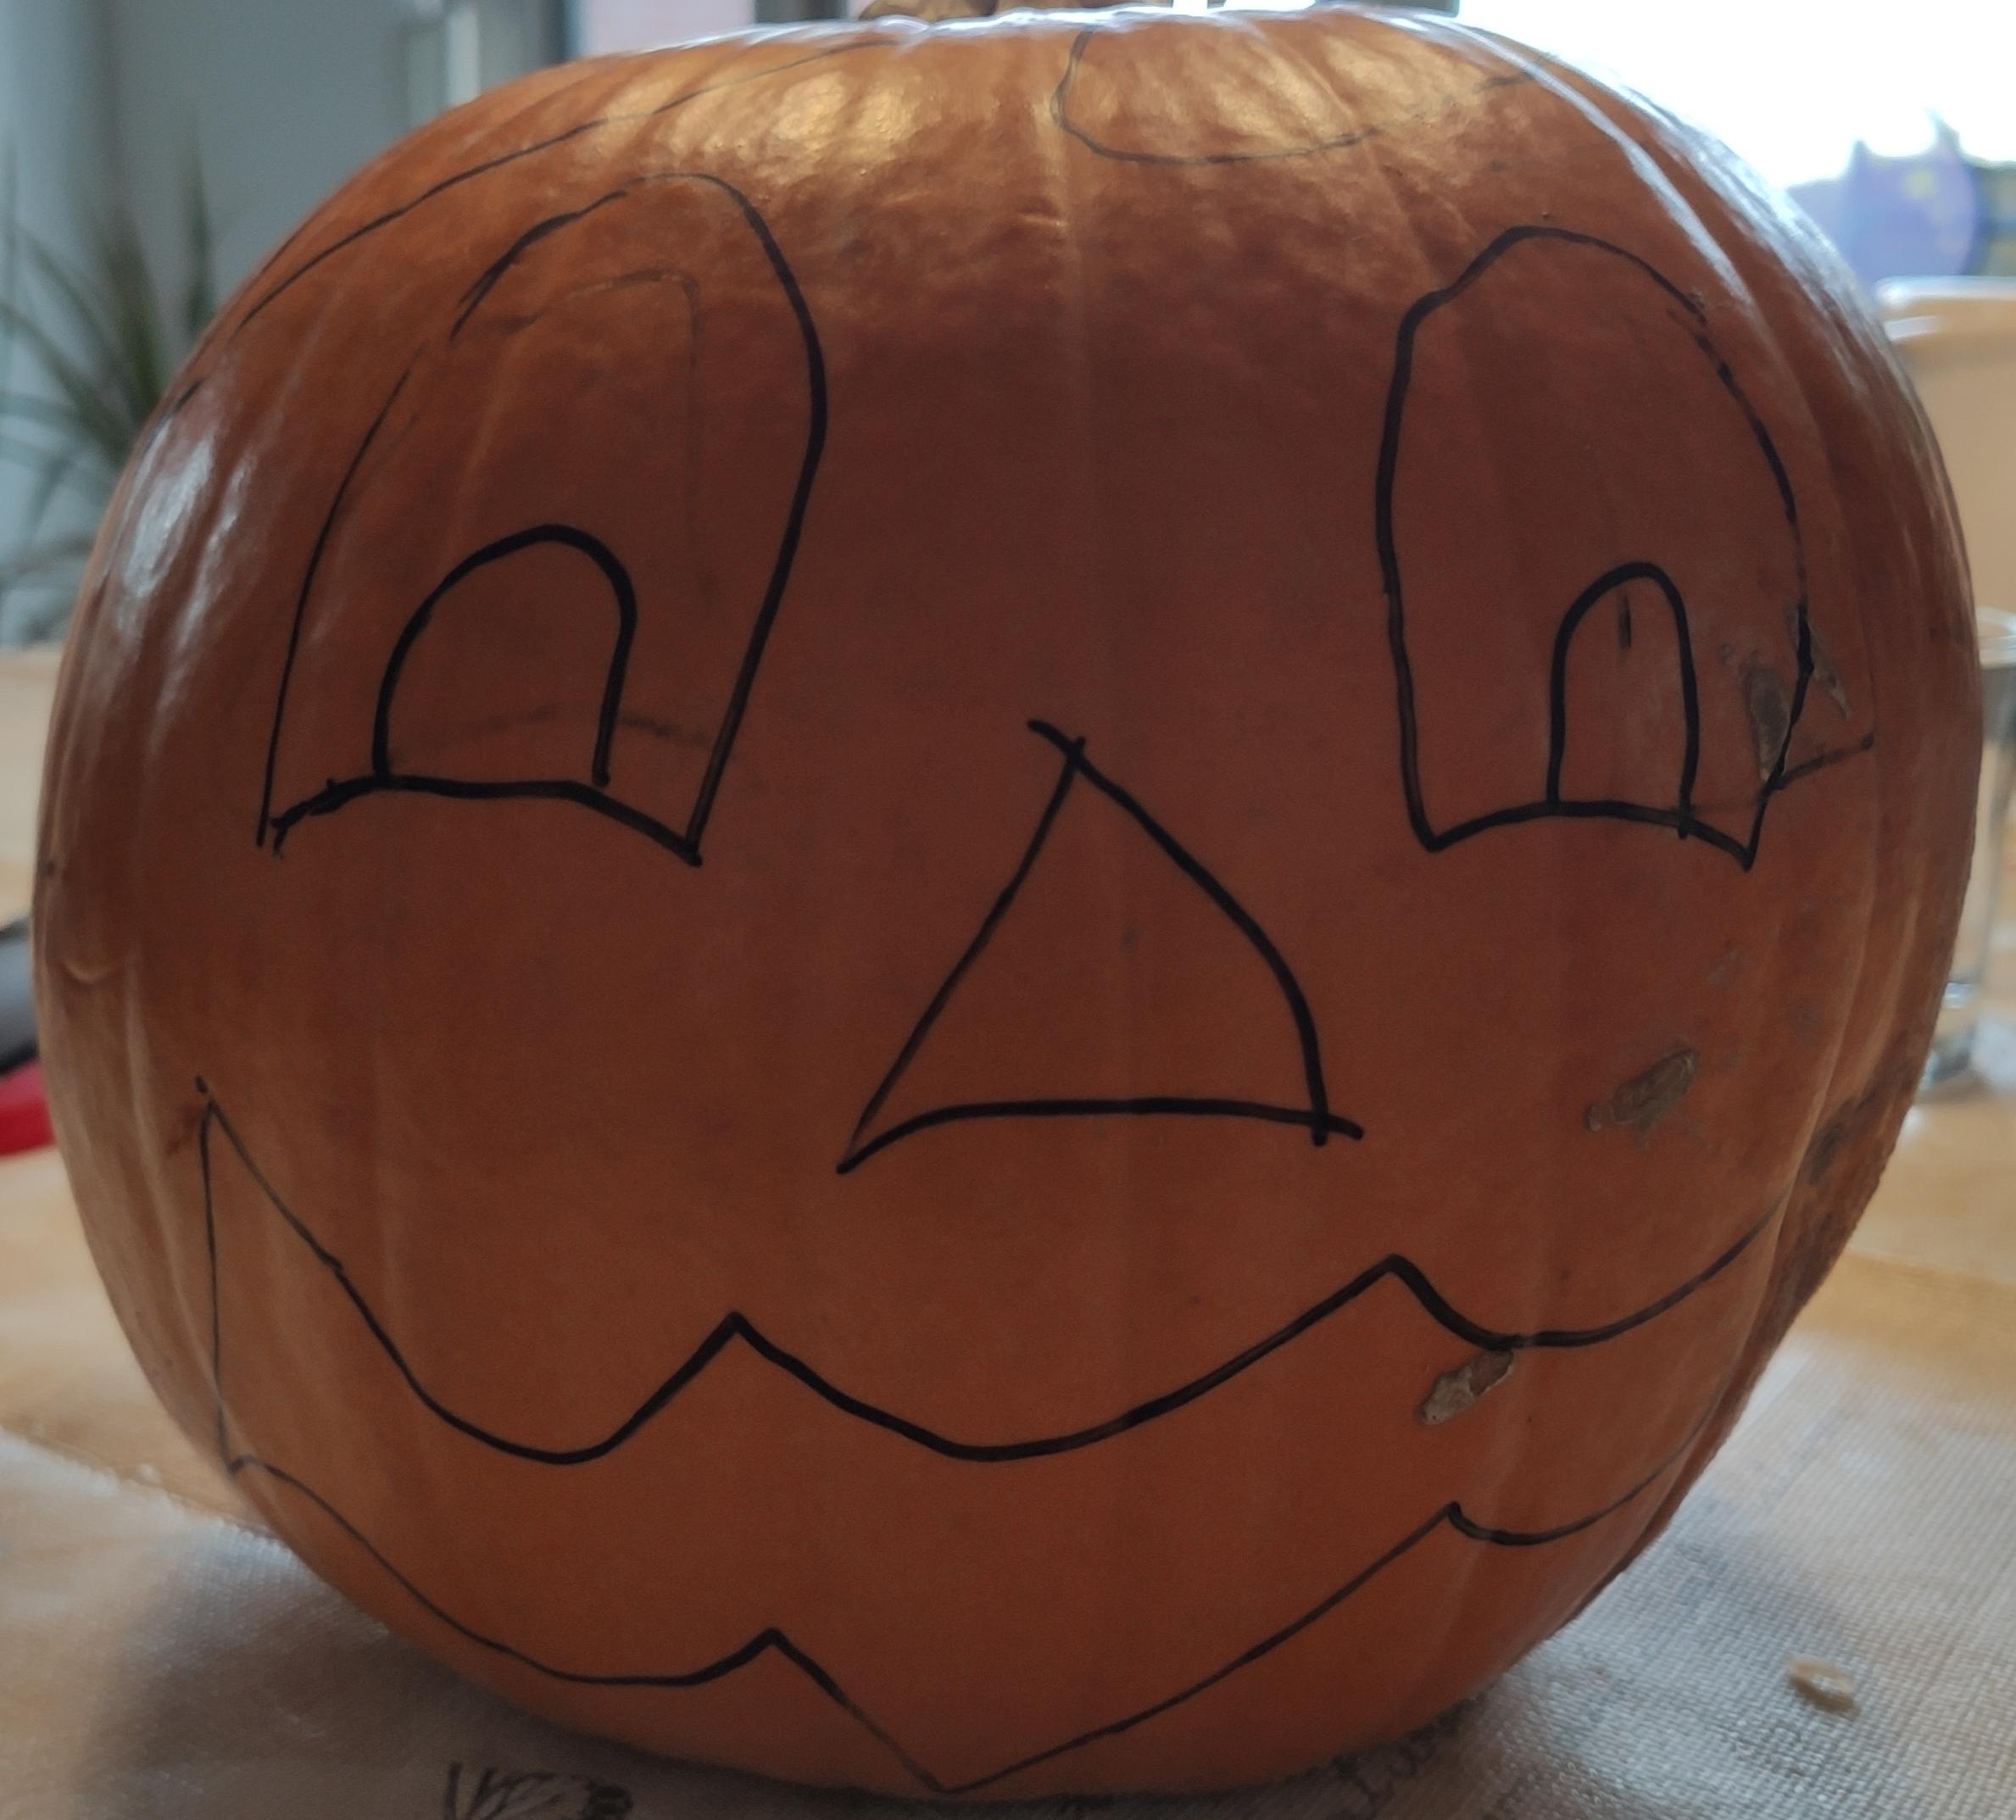
Now you shape the face of the pumpkin. Paint your face on the pumpkin with a marker.


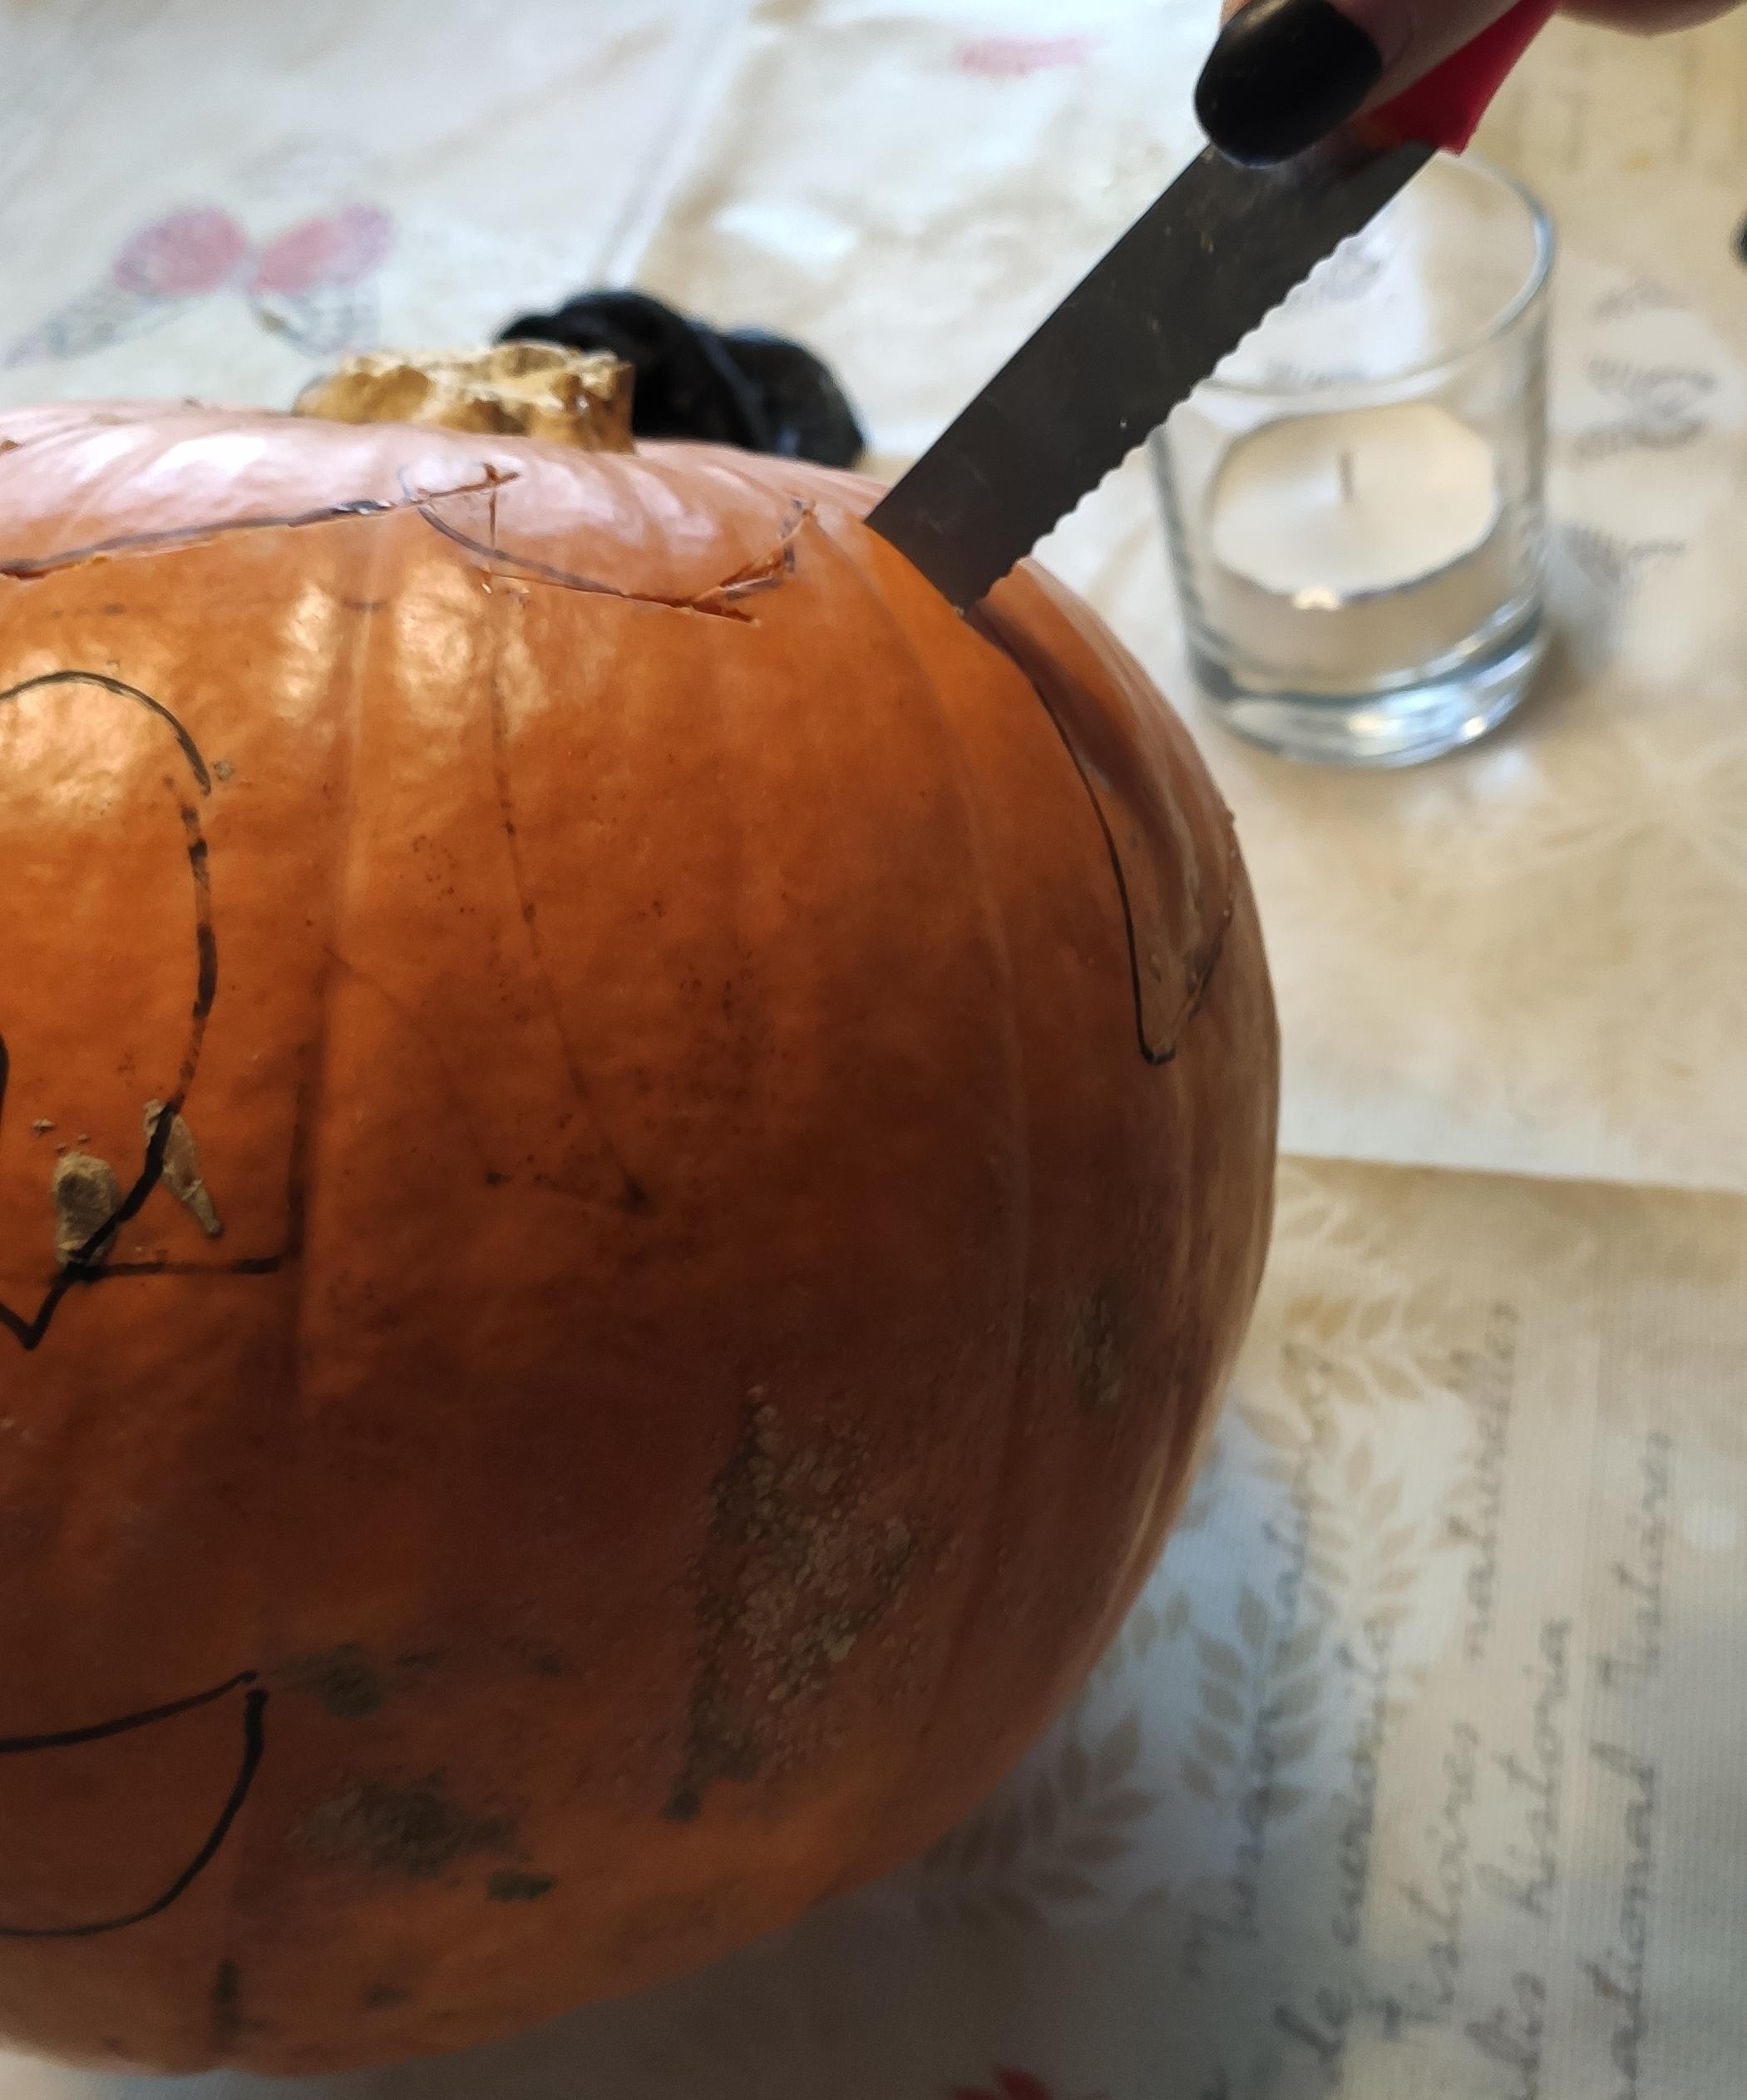
Then you cut the pumpkin head with the help of the knife (or even a small saw) on top. This has to be opened completely.


If you have cut really deep all around, you can open or lift the lid.


Now the children can scrape out the seeds and the meat with the help of a spoon and put them in the bowl.
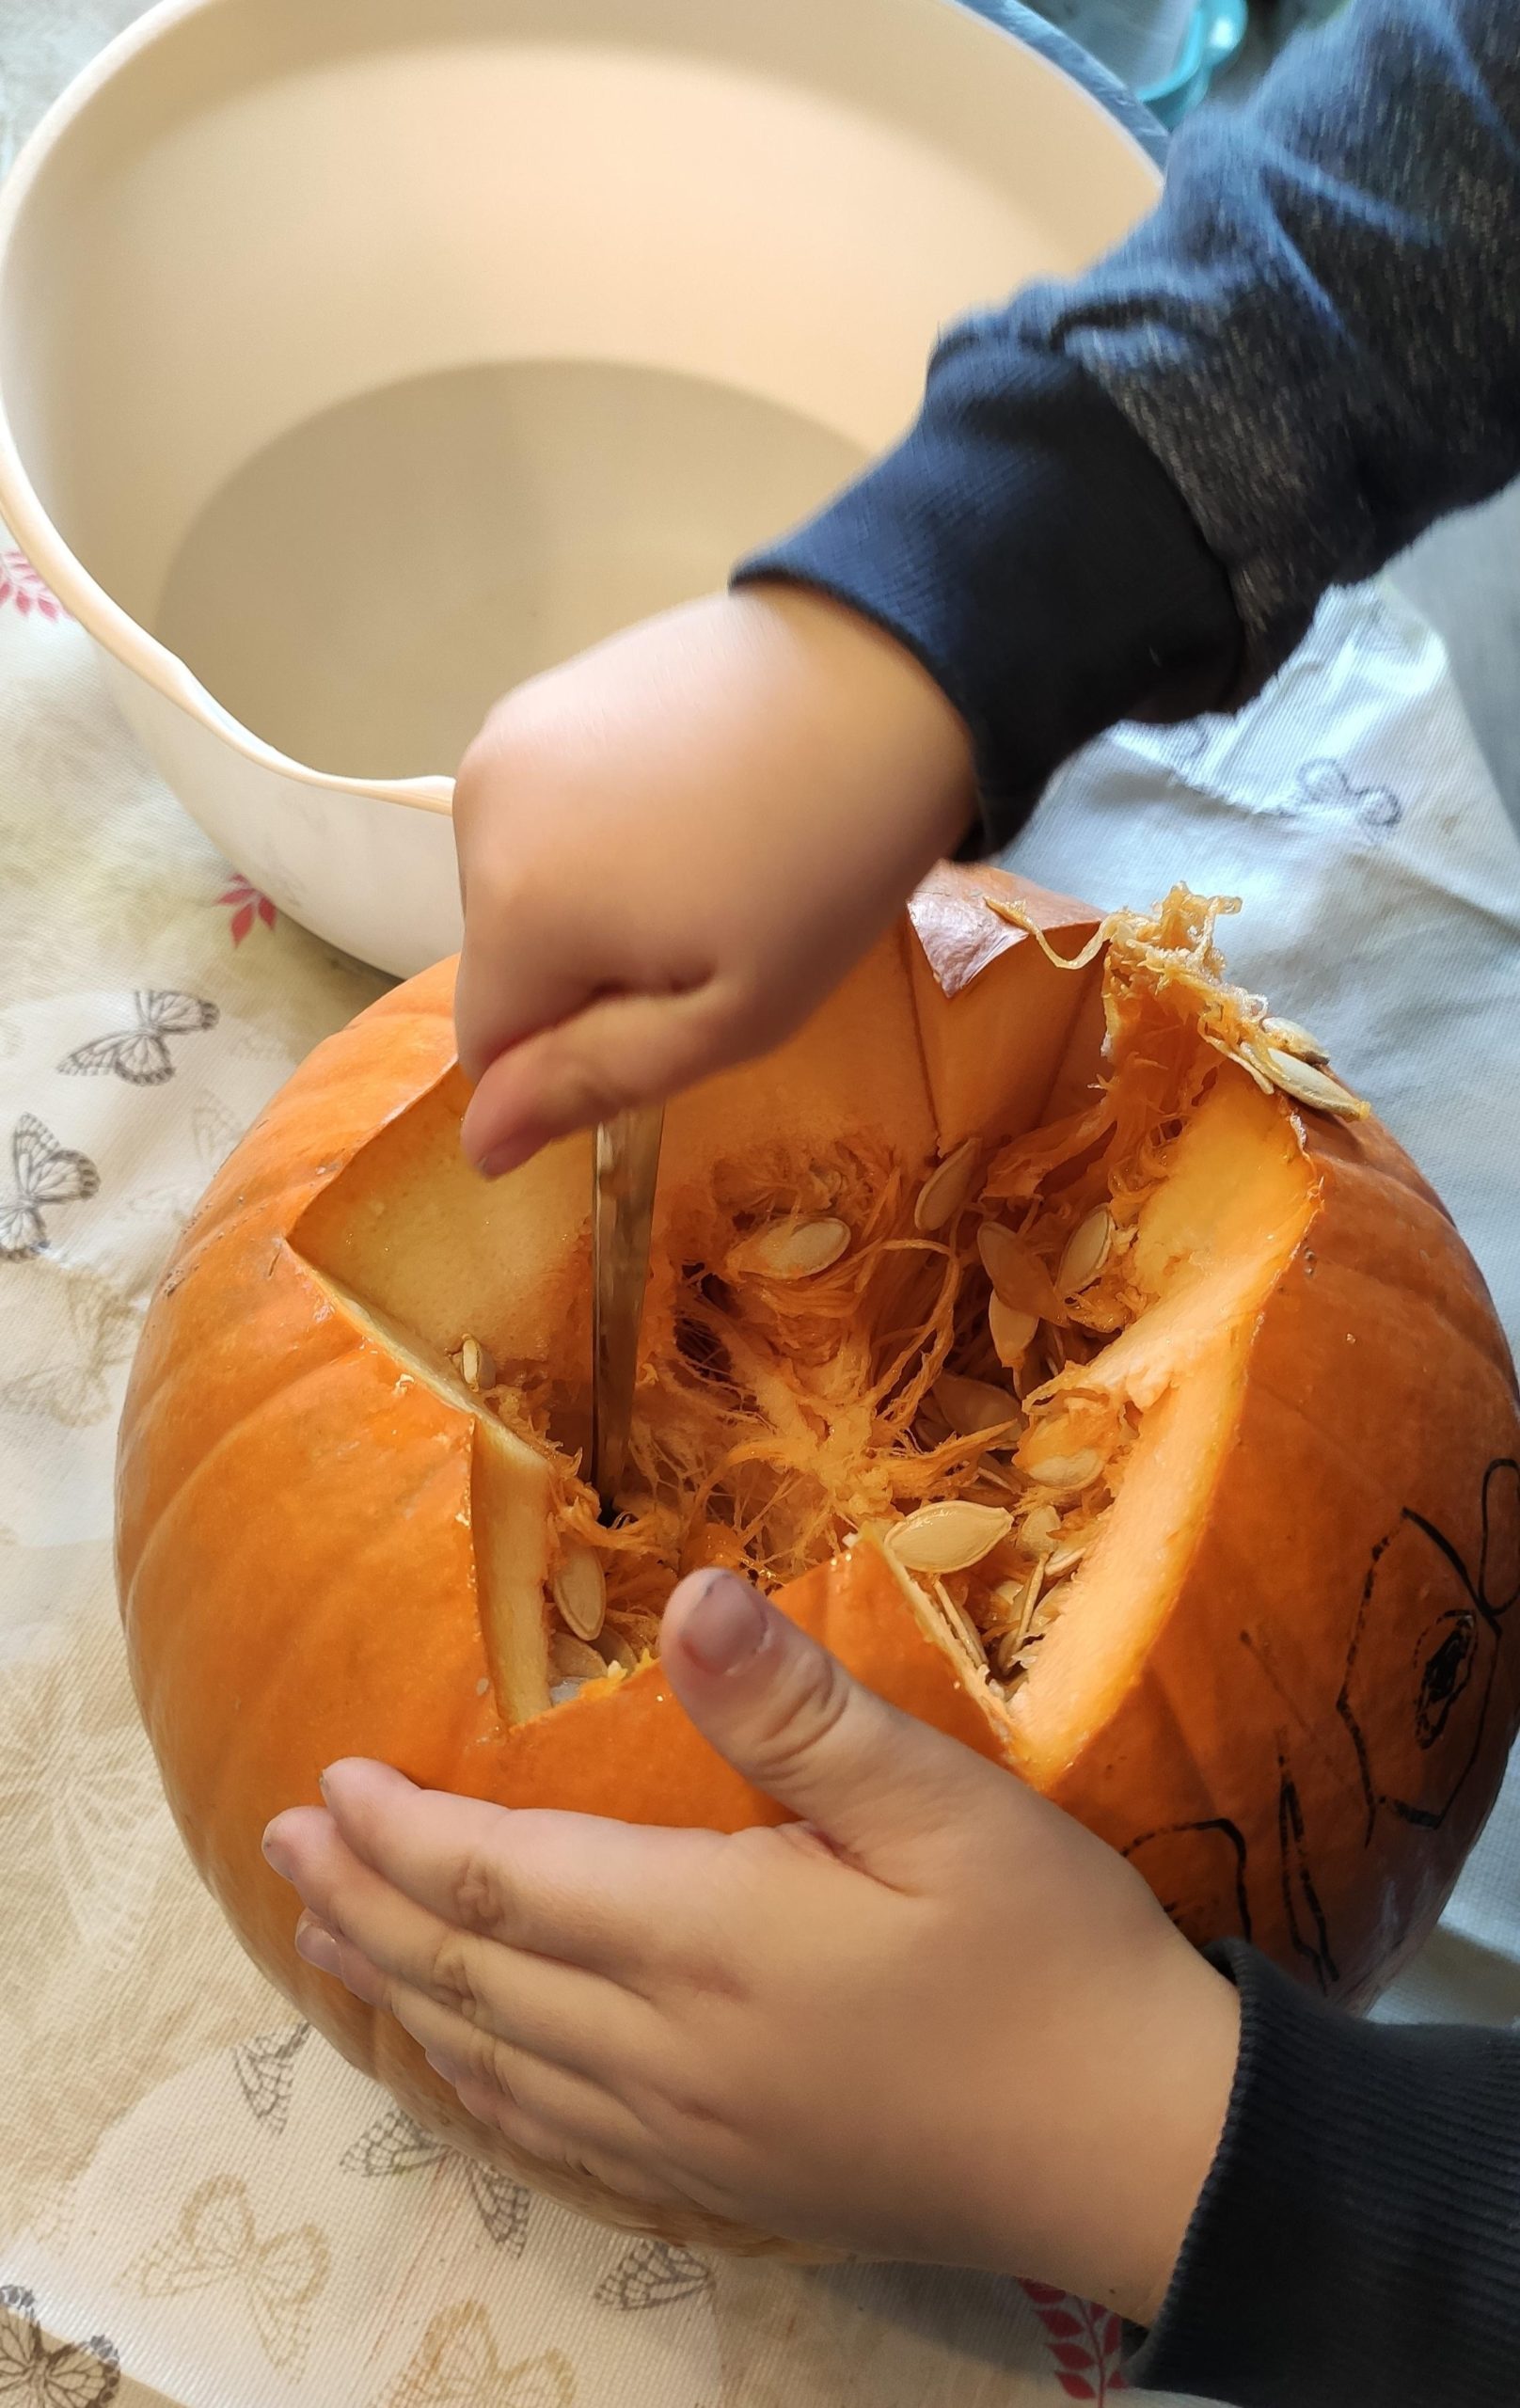


If this doesn't work out well, put on the one-time gloves and get out the flesh and the seeds with your hands. Careful - is slippery?
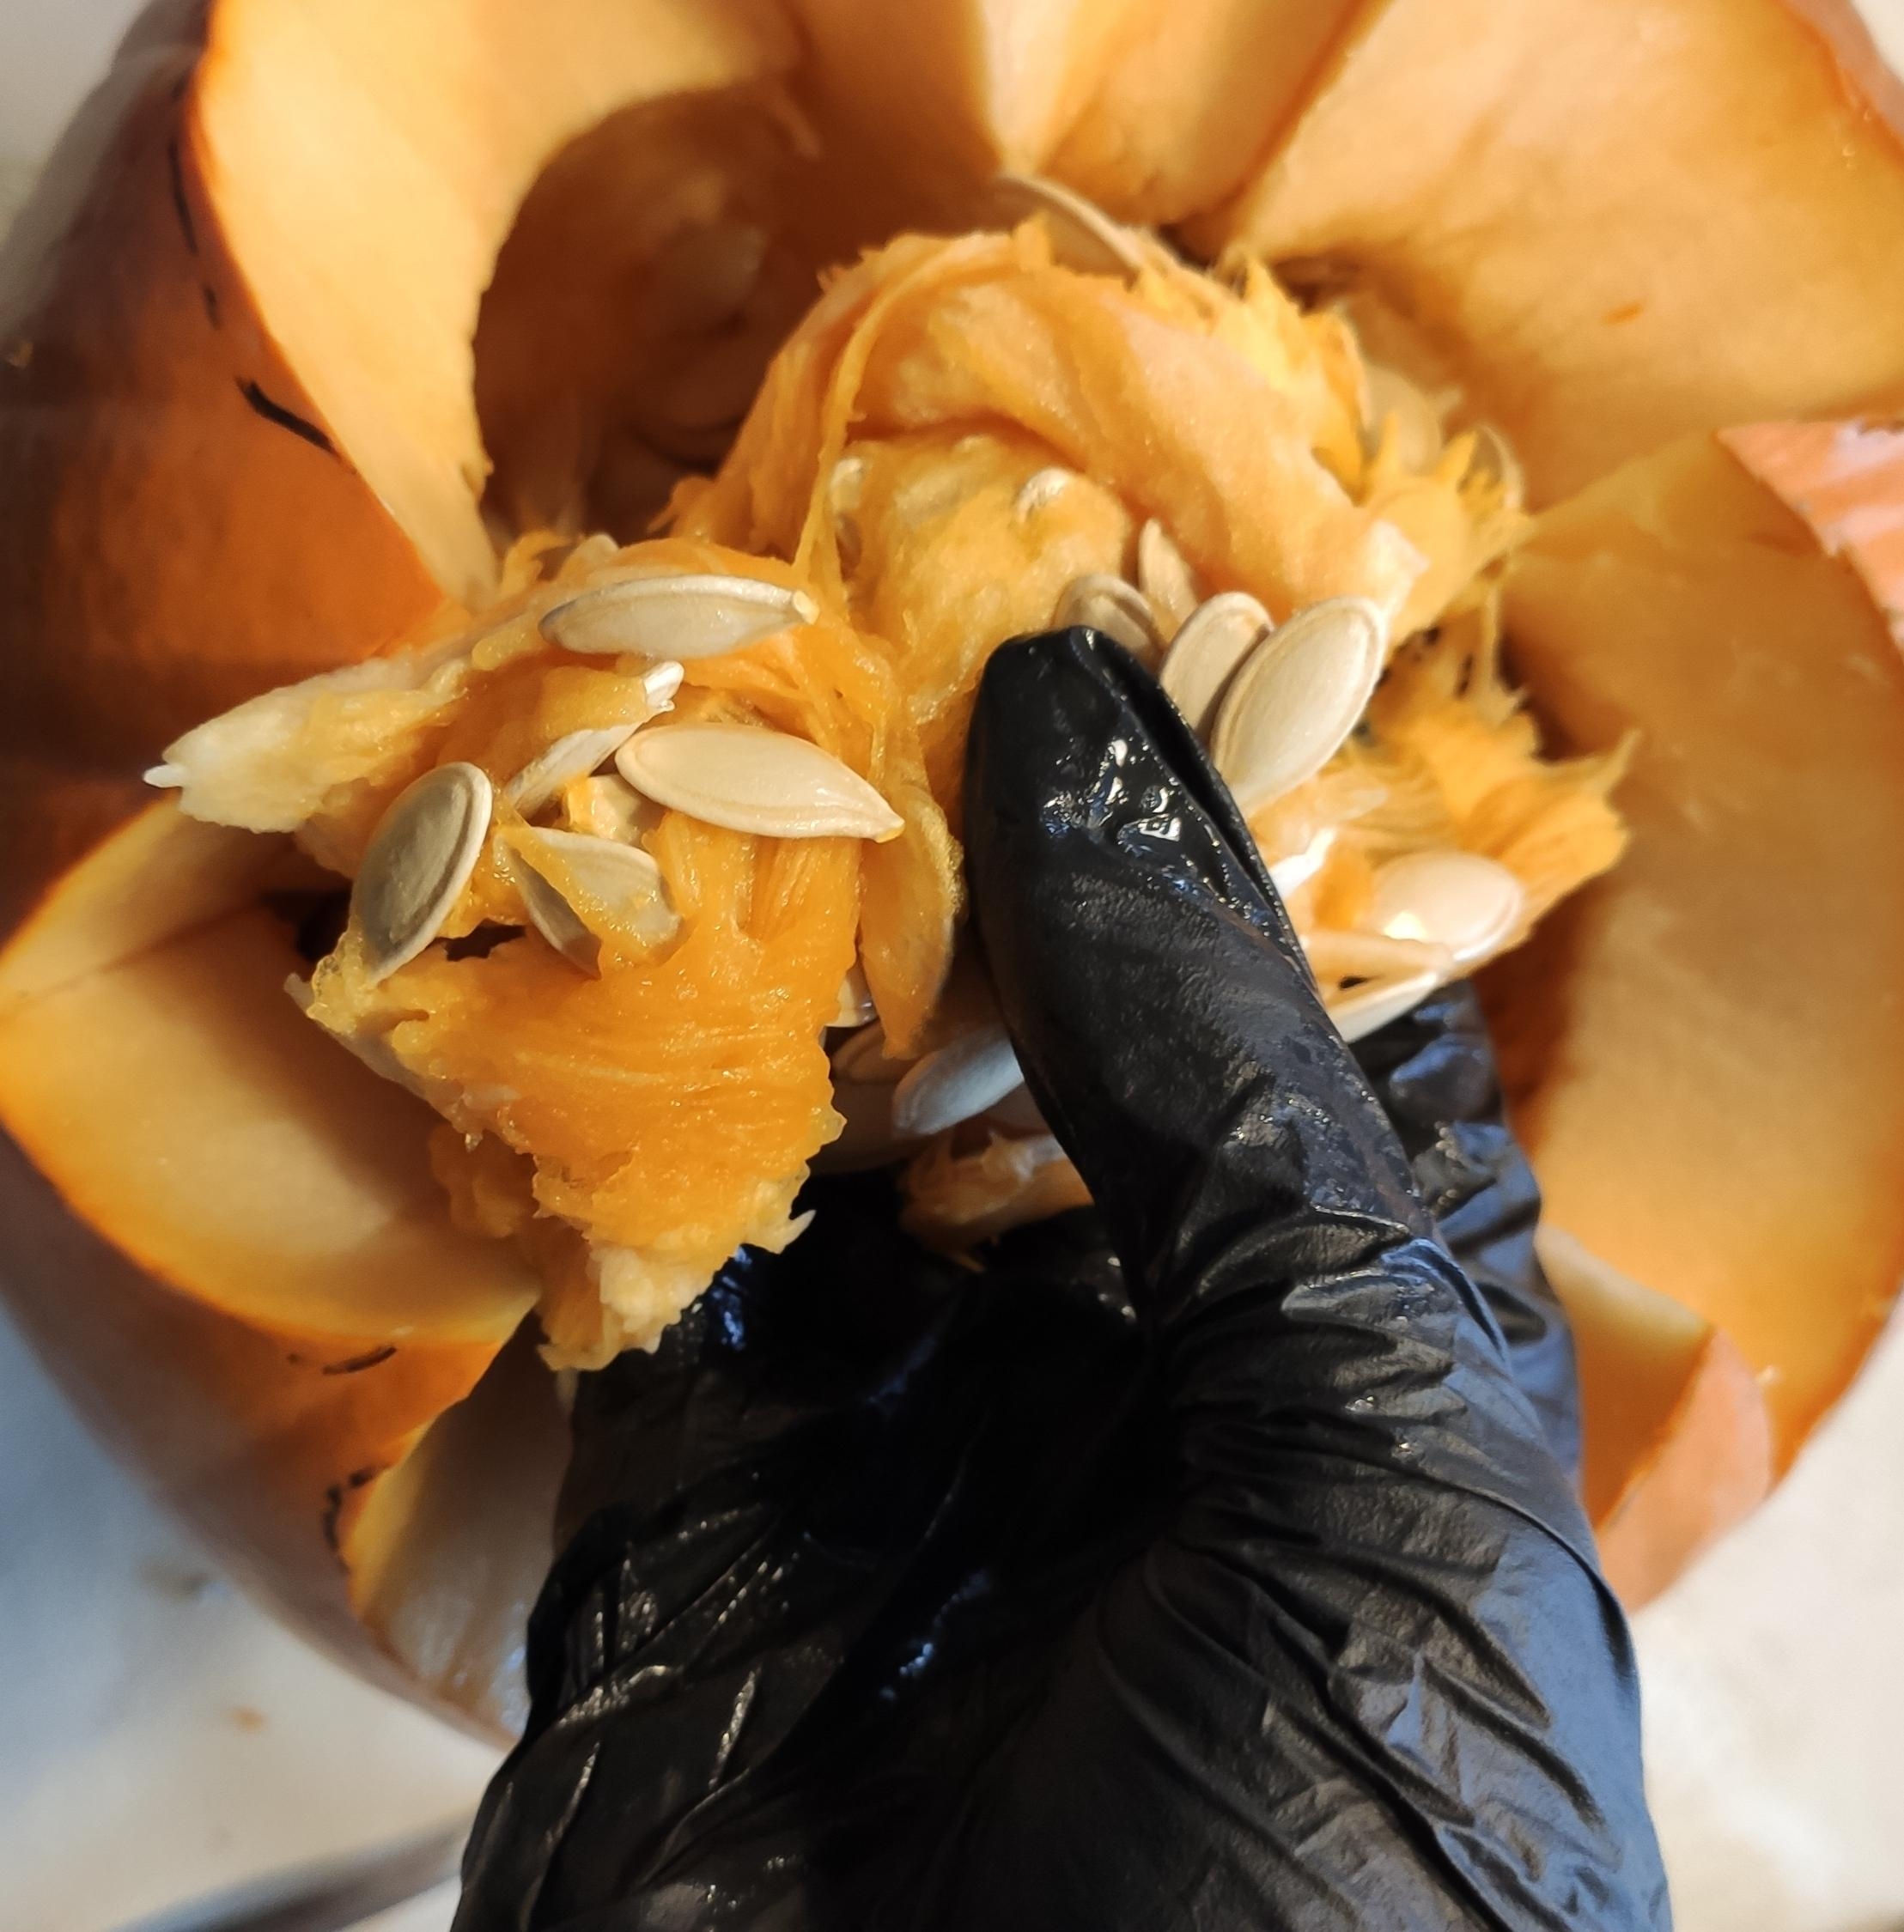


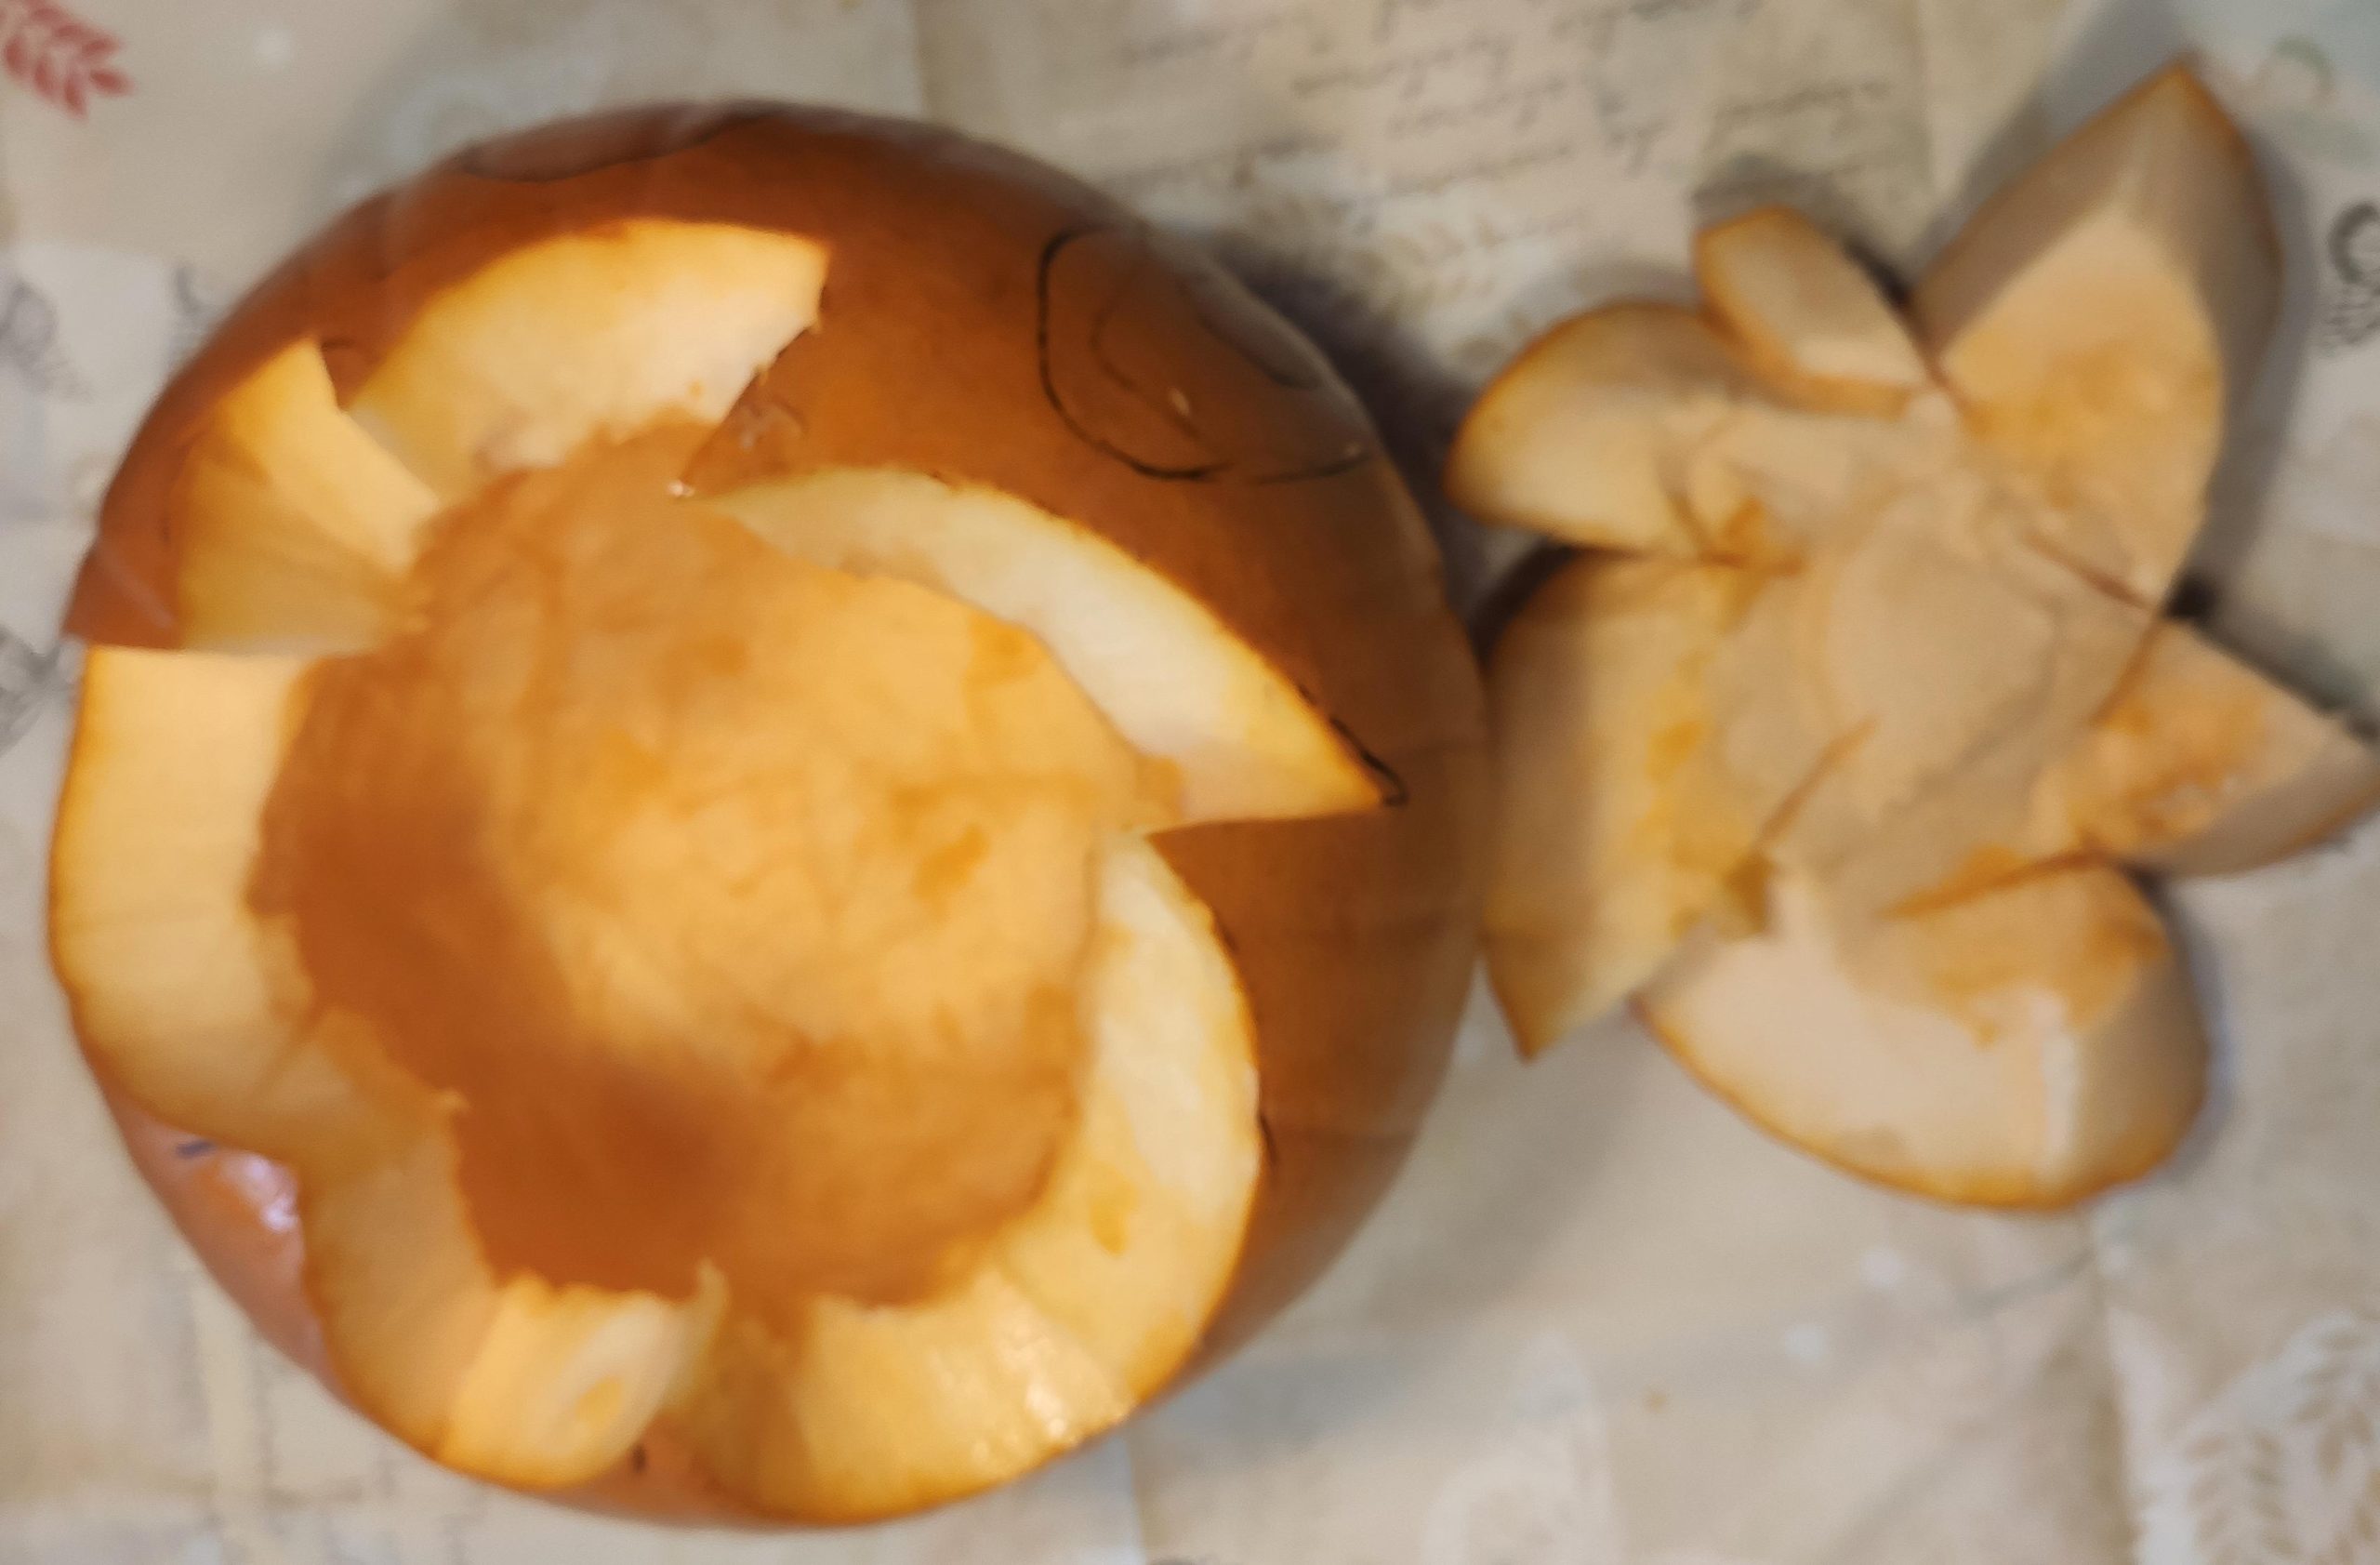
The hollowed out pumpkin then looks like in the photo.
Small tip - see that the lower surface, the ground, is as flat as possible, so that the tealight can stand better.


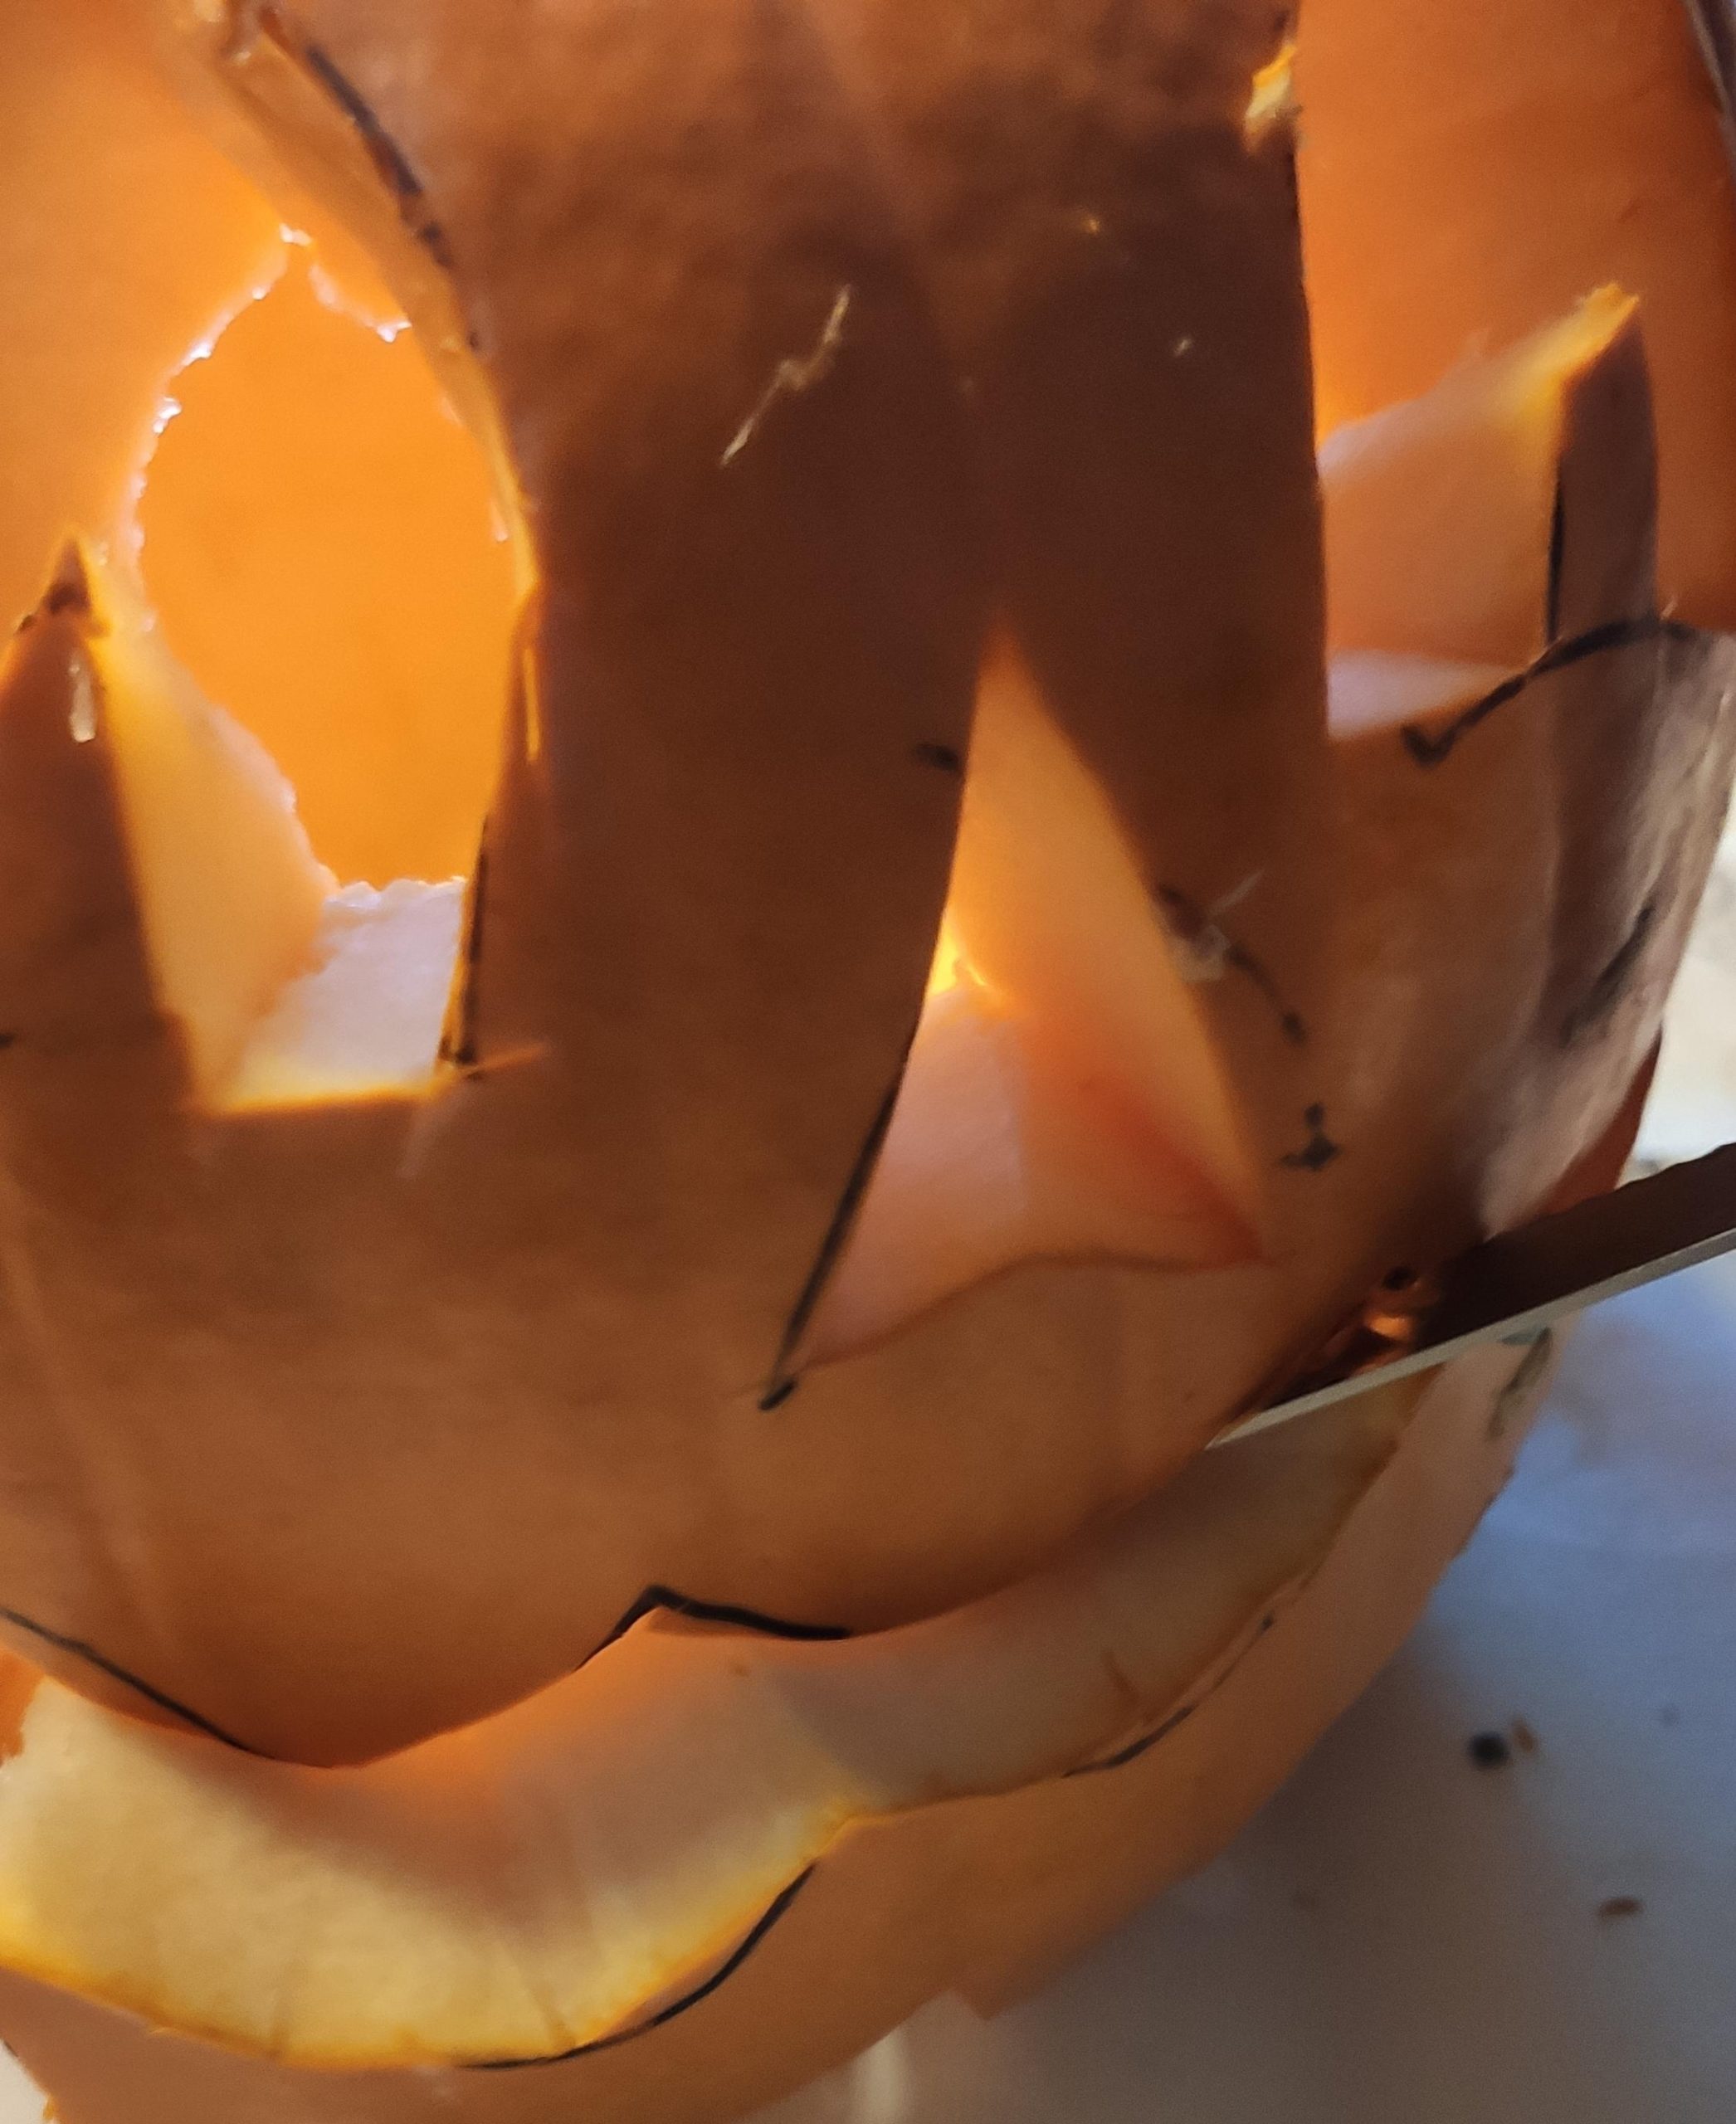
Now you carve your eyes, nose and mouth with the knife. Please be careful here too, as the pumpkin can break through.


If you're done with your face, then it'll go outside. You spray the pumpkin in my hairspray or hair polish. So it doesn't get lazy and black so fast.


Put the tealight in the glass and light it.
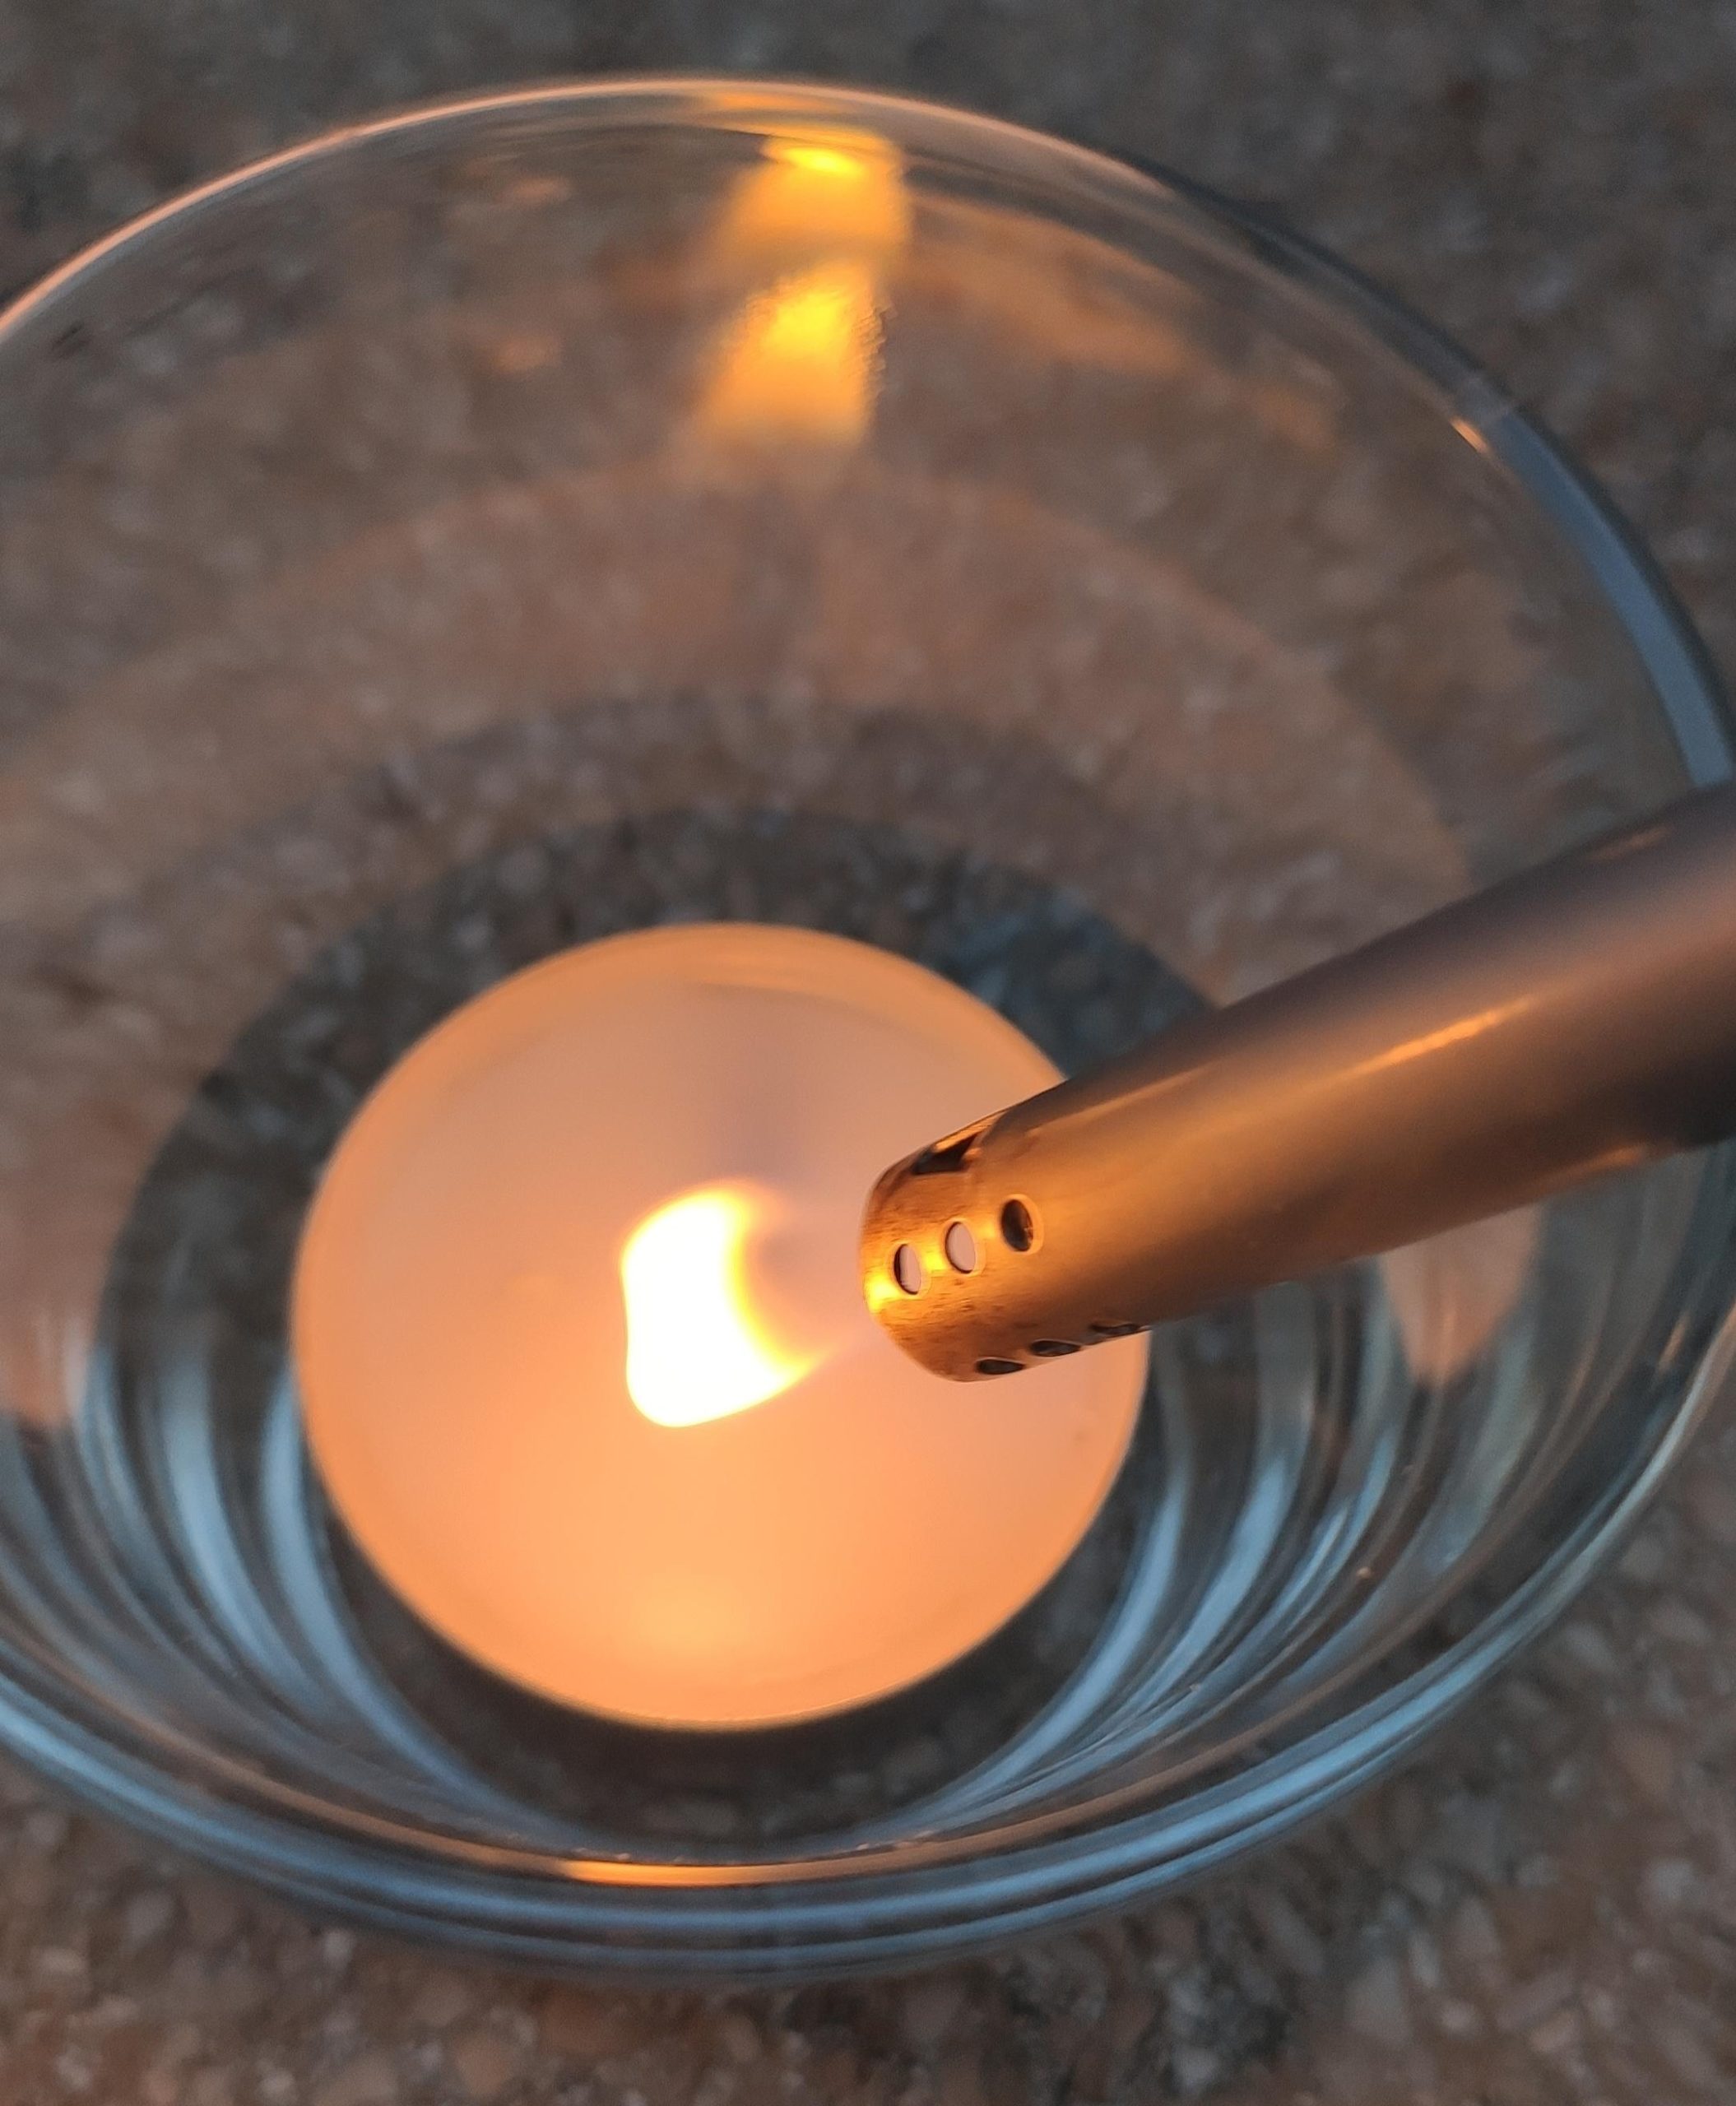


After the spray is dried, put the tea light with the glass into the finished pumpkin.


Now you put the lid back on it and the Halloween pumpkin is ready.
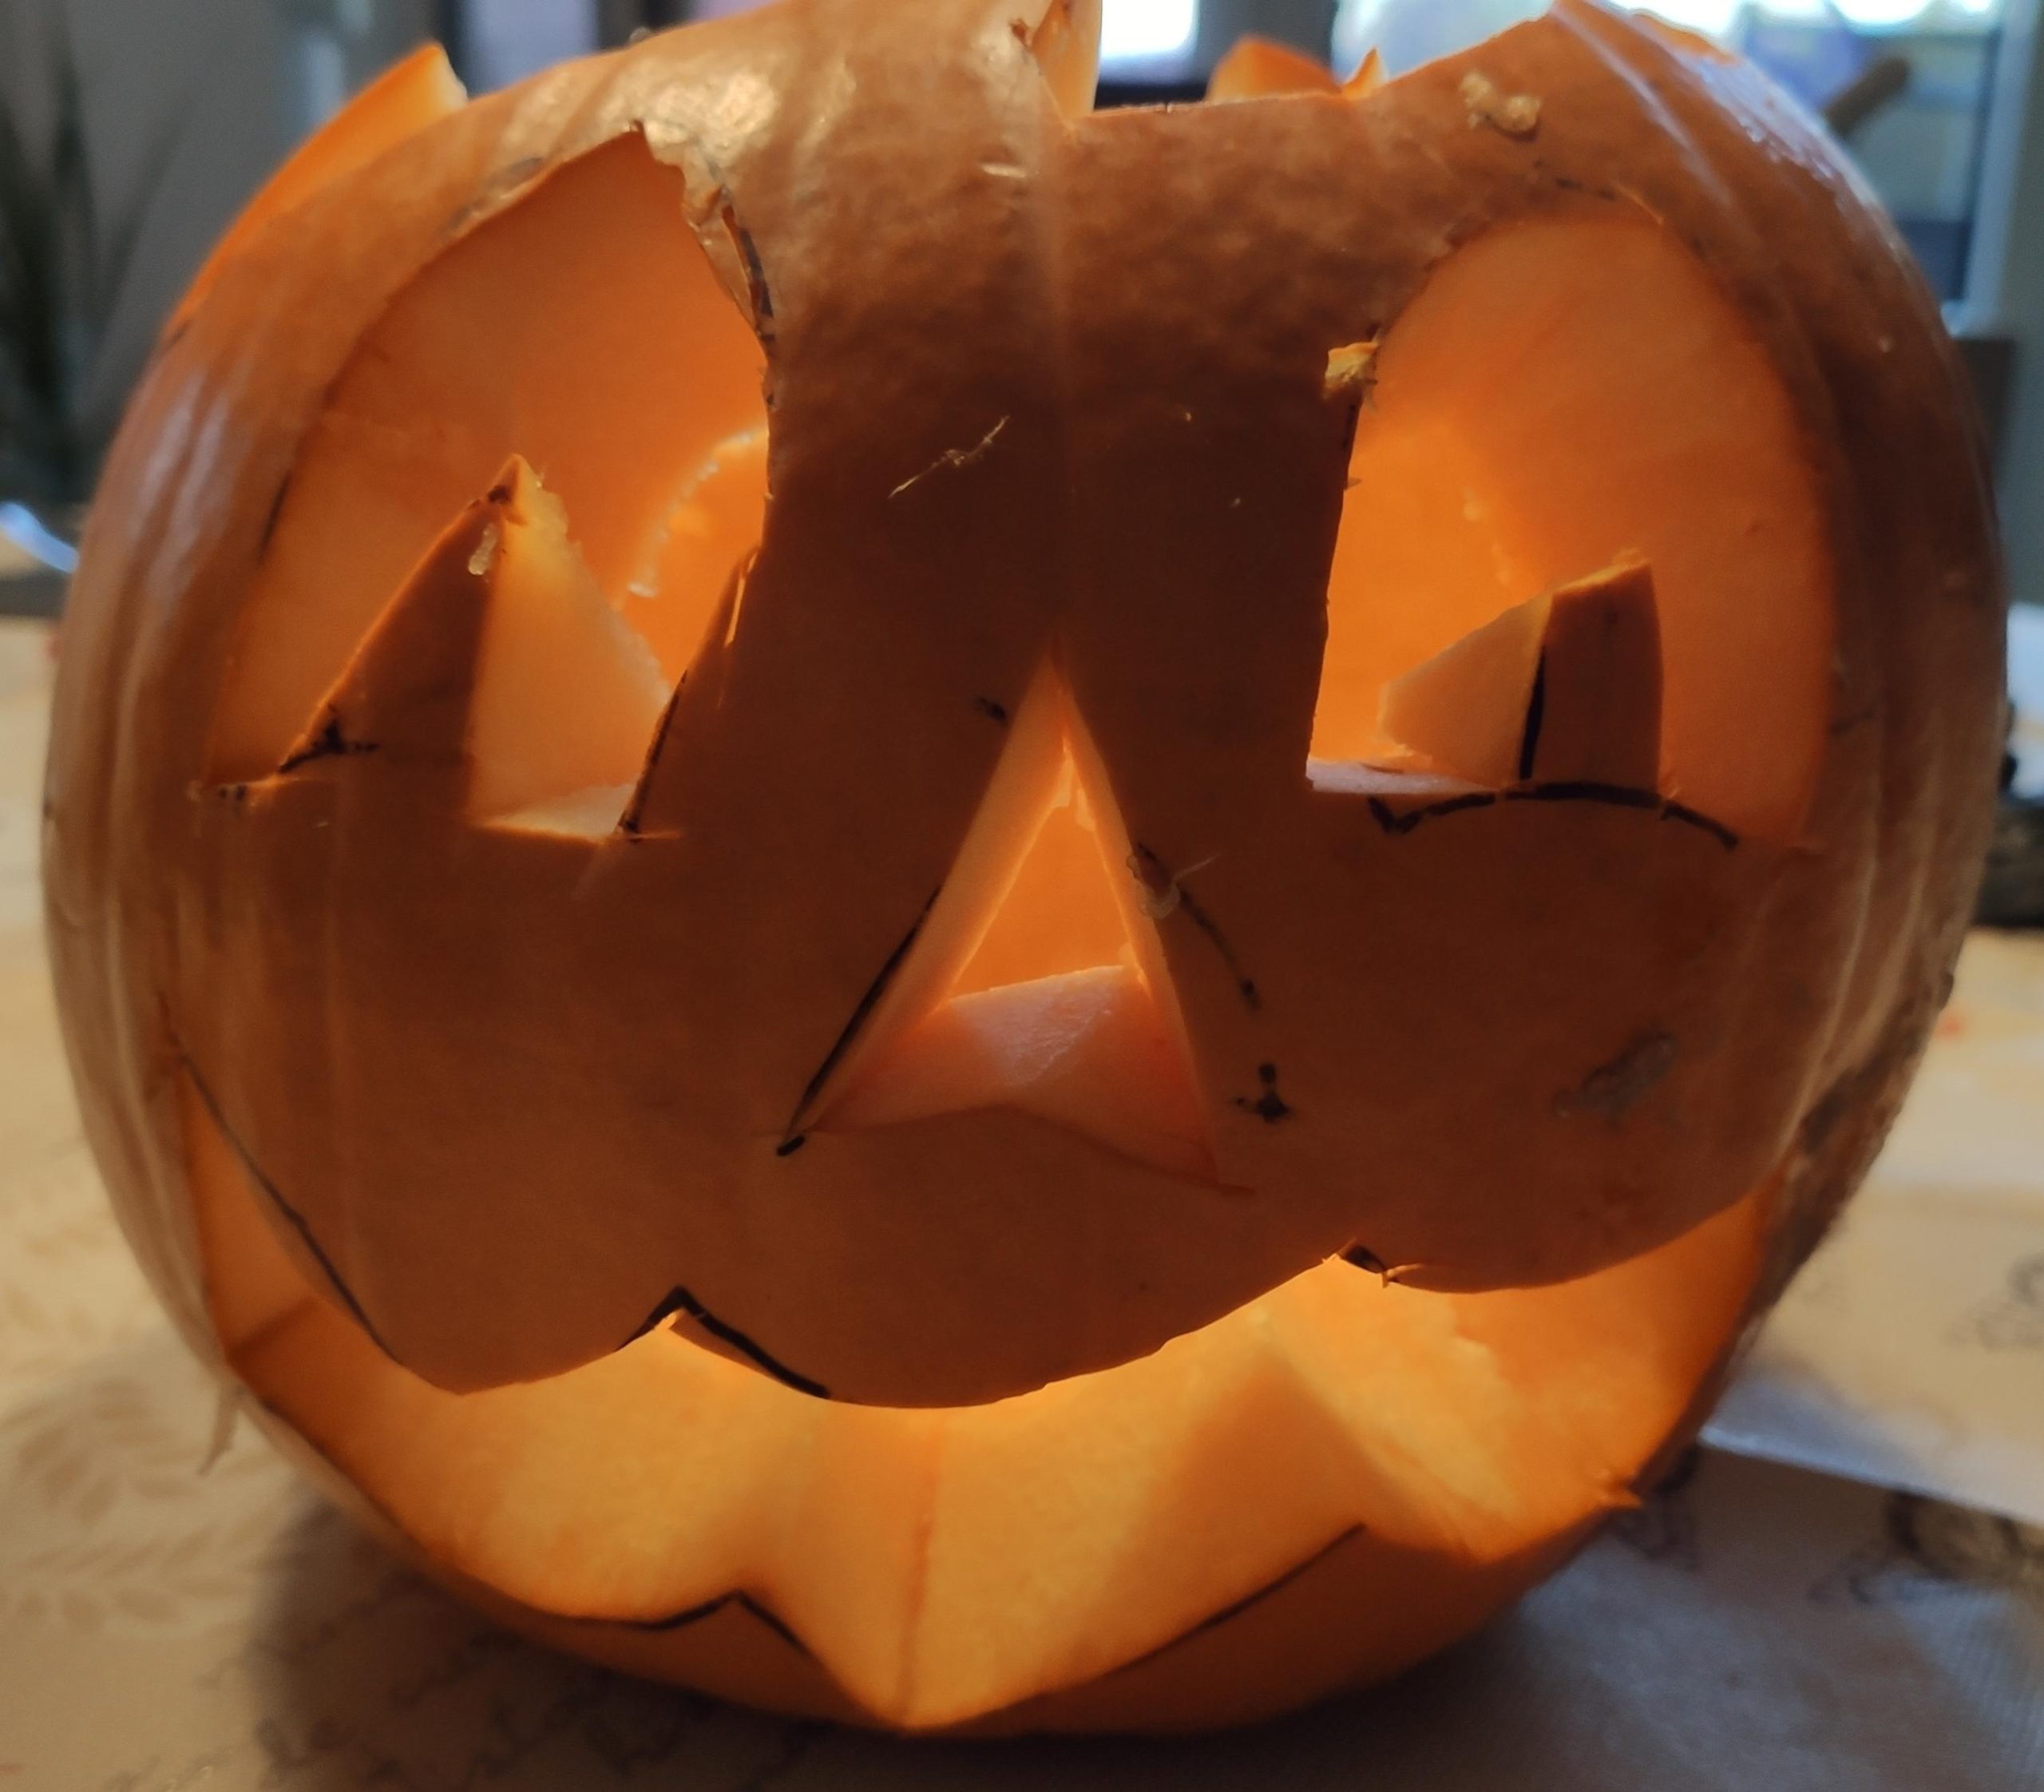


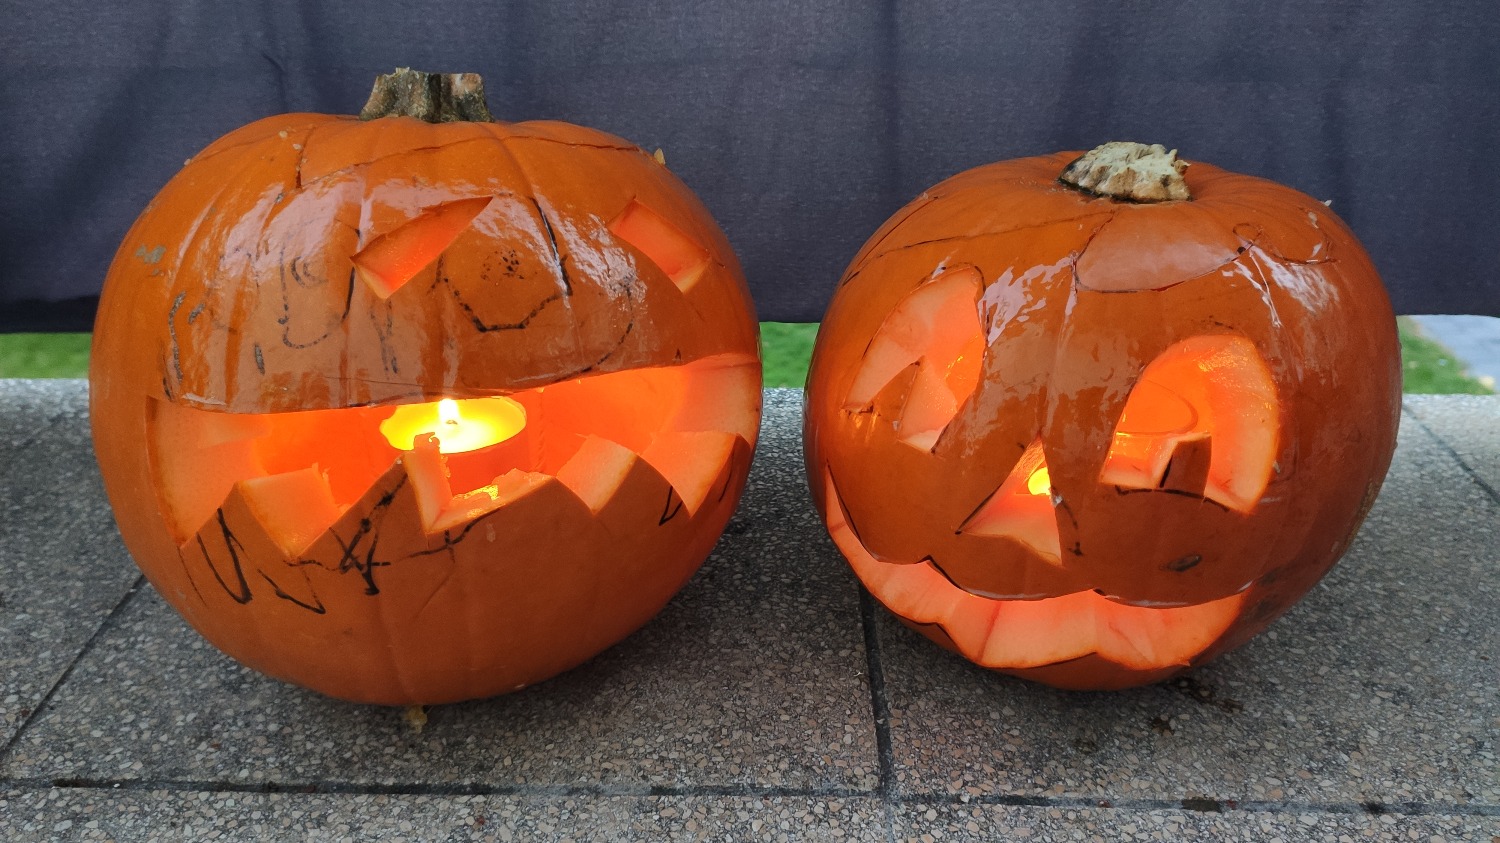
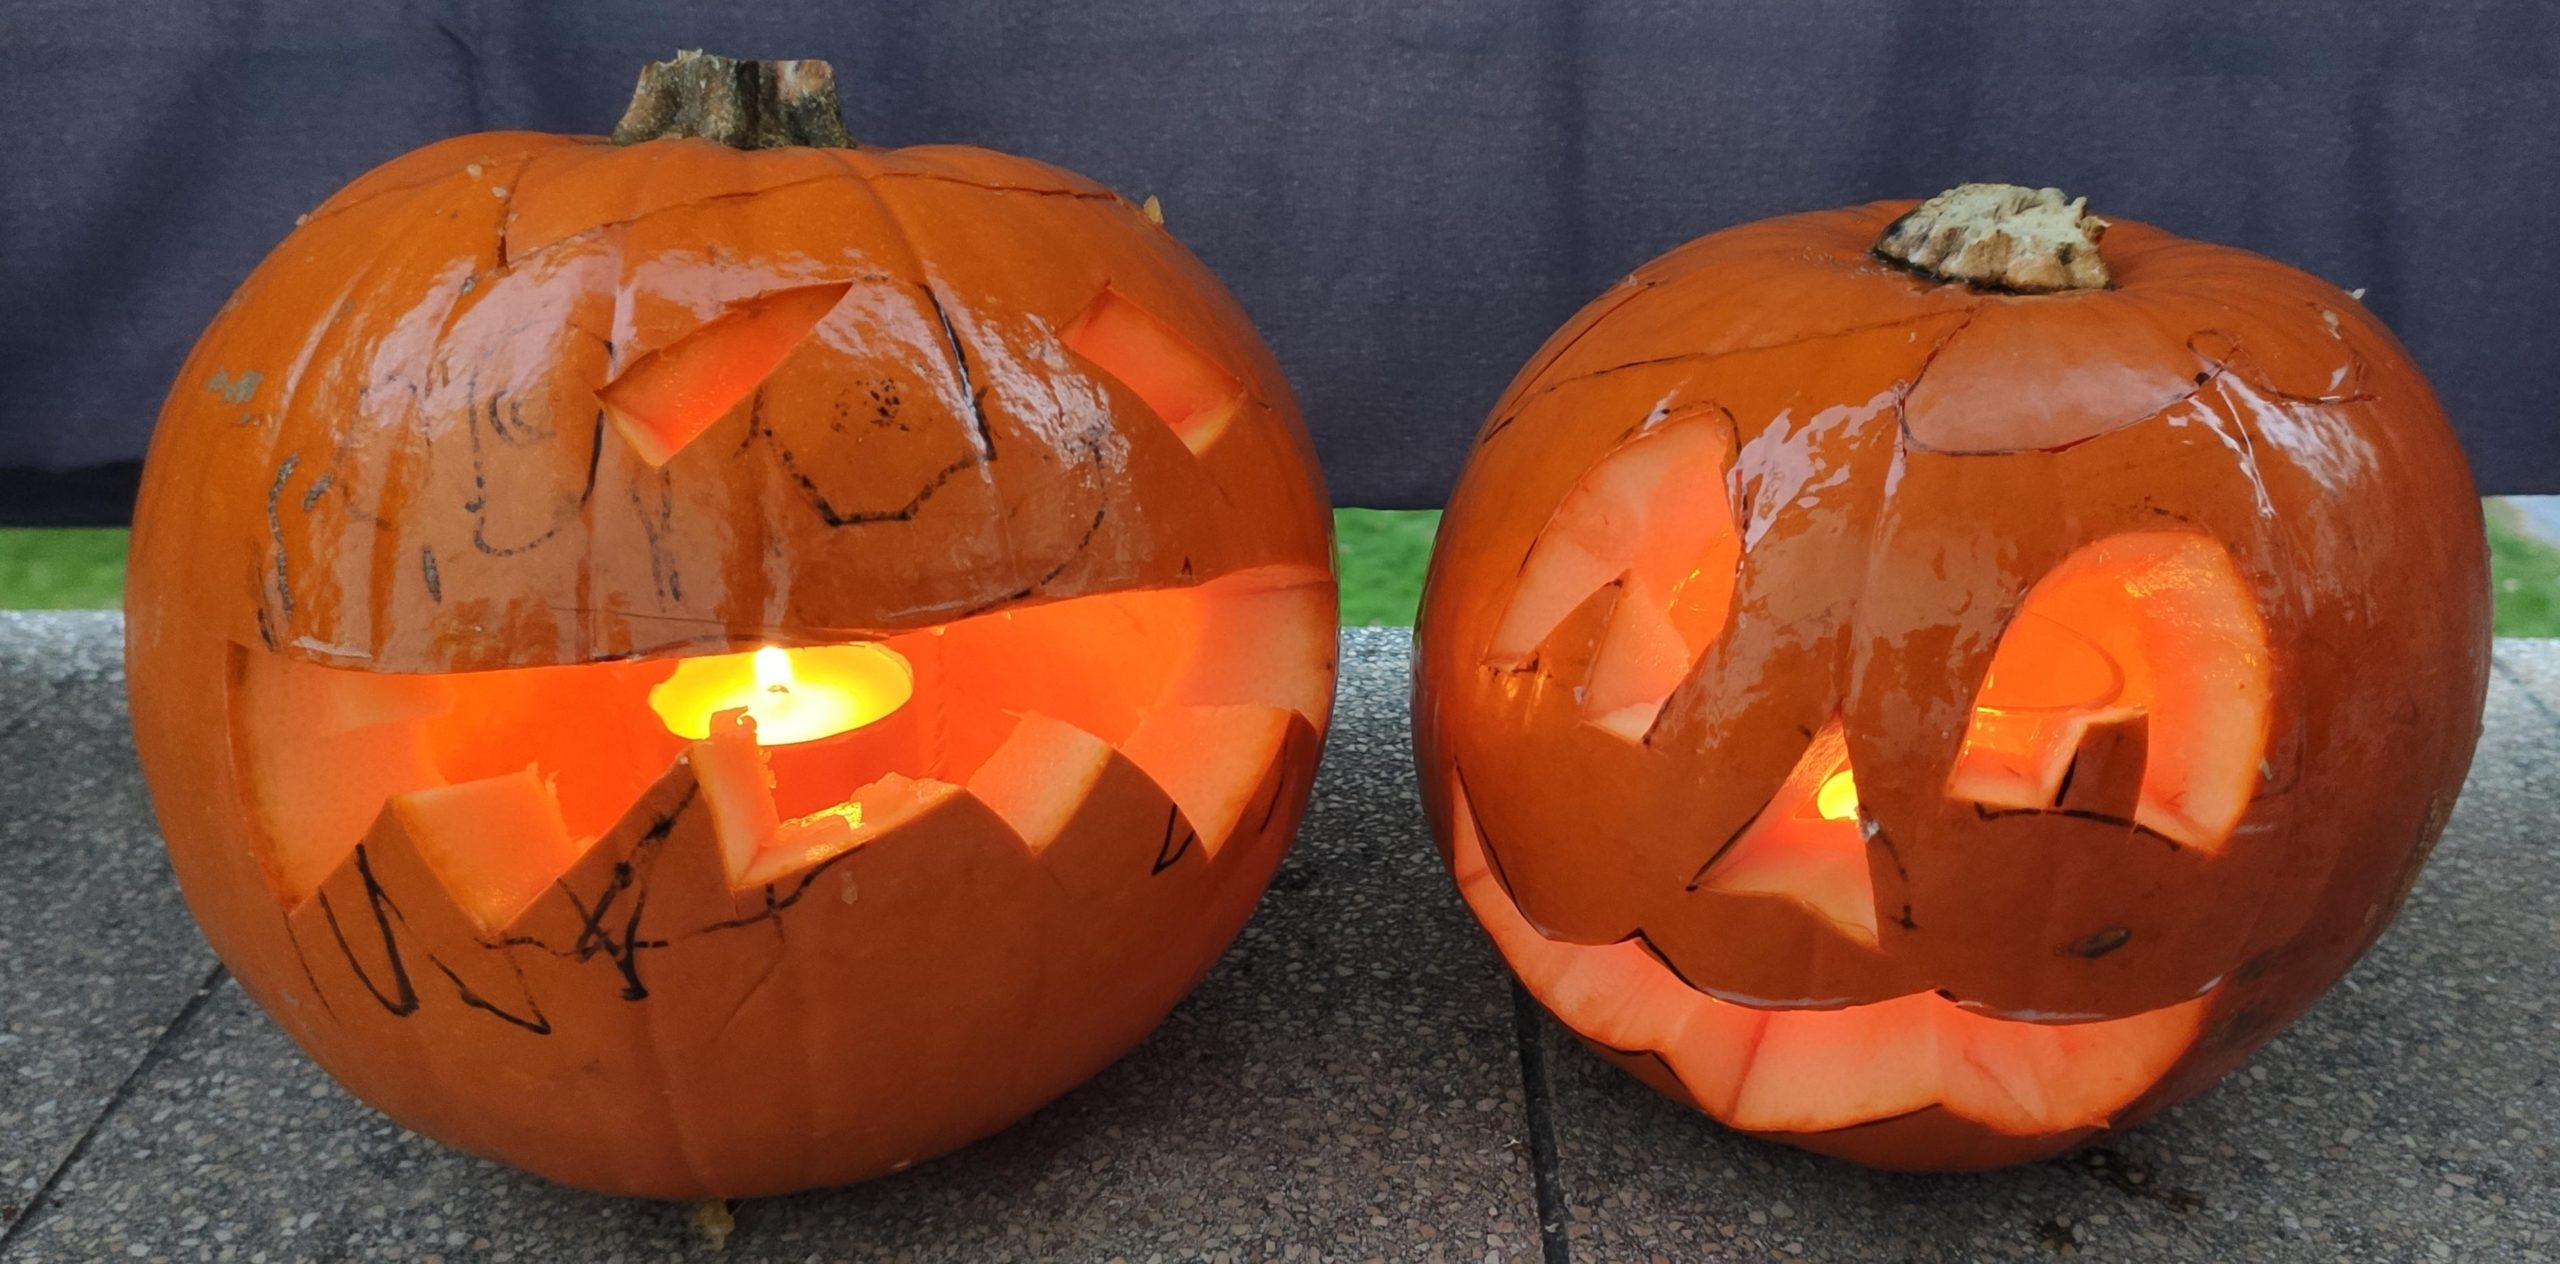
That's how our two look. Have fun designing your creepy pumpkins!


Materials
Directions
Spread the base and adjust all required materials.


Now you shape the face of the pumpkin. Paint your face on the pumpkin with a marker.


Then you cut the pumpkin head with the help of the knife (or even a small saw) on top. This has to be opened completely.


If you have cut really deep all around, you can open or lift the lid.


Now the children can scrape out the seeds and the meat with the help of a spoon and put them in the bowl.


If this doesn't work out well, put on the one-time gloves and get out the flesh and the seeds with your hands. Careful - is slippery?


The hollowed out pumpkin then looks like in the photo.
Small tip - see that the lower surface, the ground, is as flat as possible, so that the tealight can stand better.


Now you carve your eyes, nose and mouth with the knife. Please be careful here too, as the pumpkin can break through.


If you're done with your face, then it'll go outside. You spray the pumpkin in my hairspray or hair polish. So it doesn't get lazy and black so fast.


Put the tealight in the glass and light it.


After the spray is dried, put the tea light with the glass into the finished pumpkin.


Now you put the lid back on it and the Halloween pumpkin is ready.


That's how our two look. Have fun designing your creepy pumpkins!


Follow us on Facebook , Instagram and Pinterest
Don't miss any more adventures: Our bottle mail


We carved pumpkins and had a lot of fun.
Thanks for the tip with the saw.
We simply wiped away the black waterproof pen with hand disinfectant.
Our result can be seen?
Wow, the result is really great. We didn't have a waterproof pen, but only one for the whiteboard.
For cat friends?