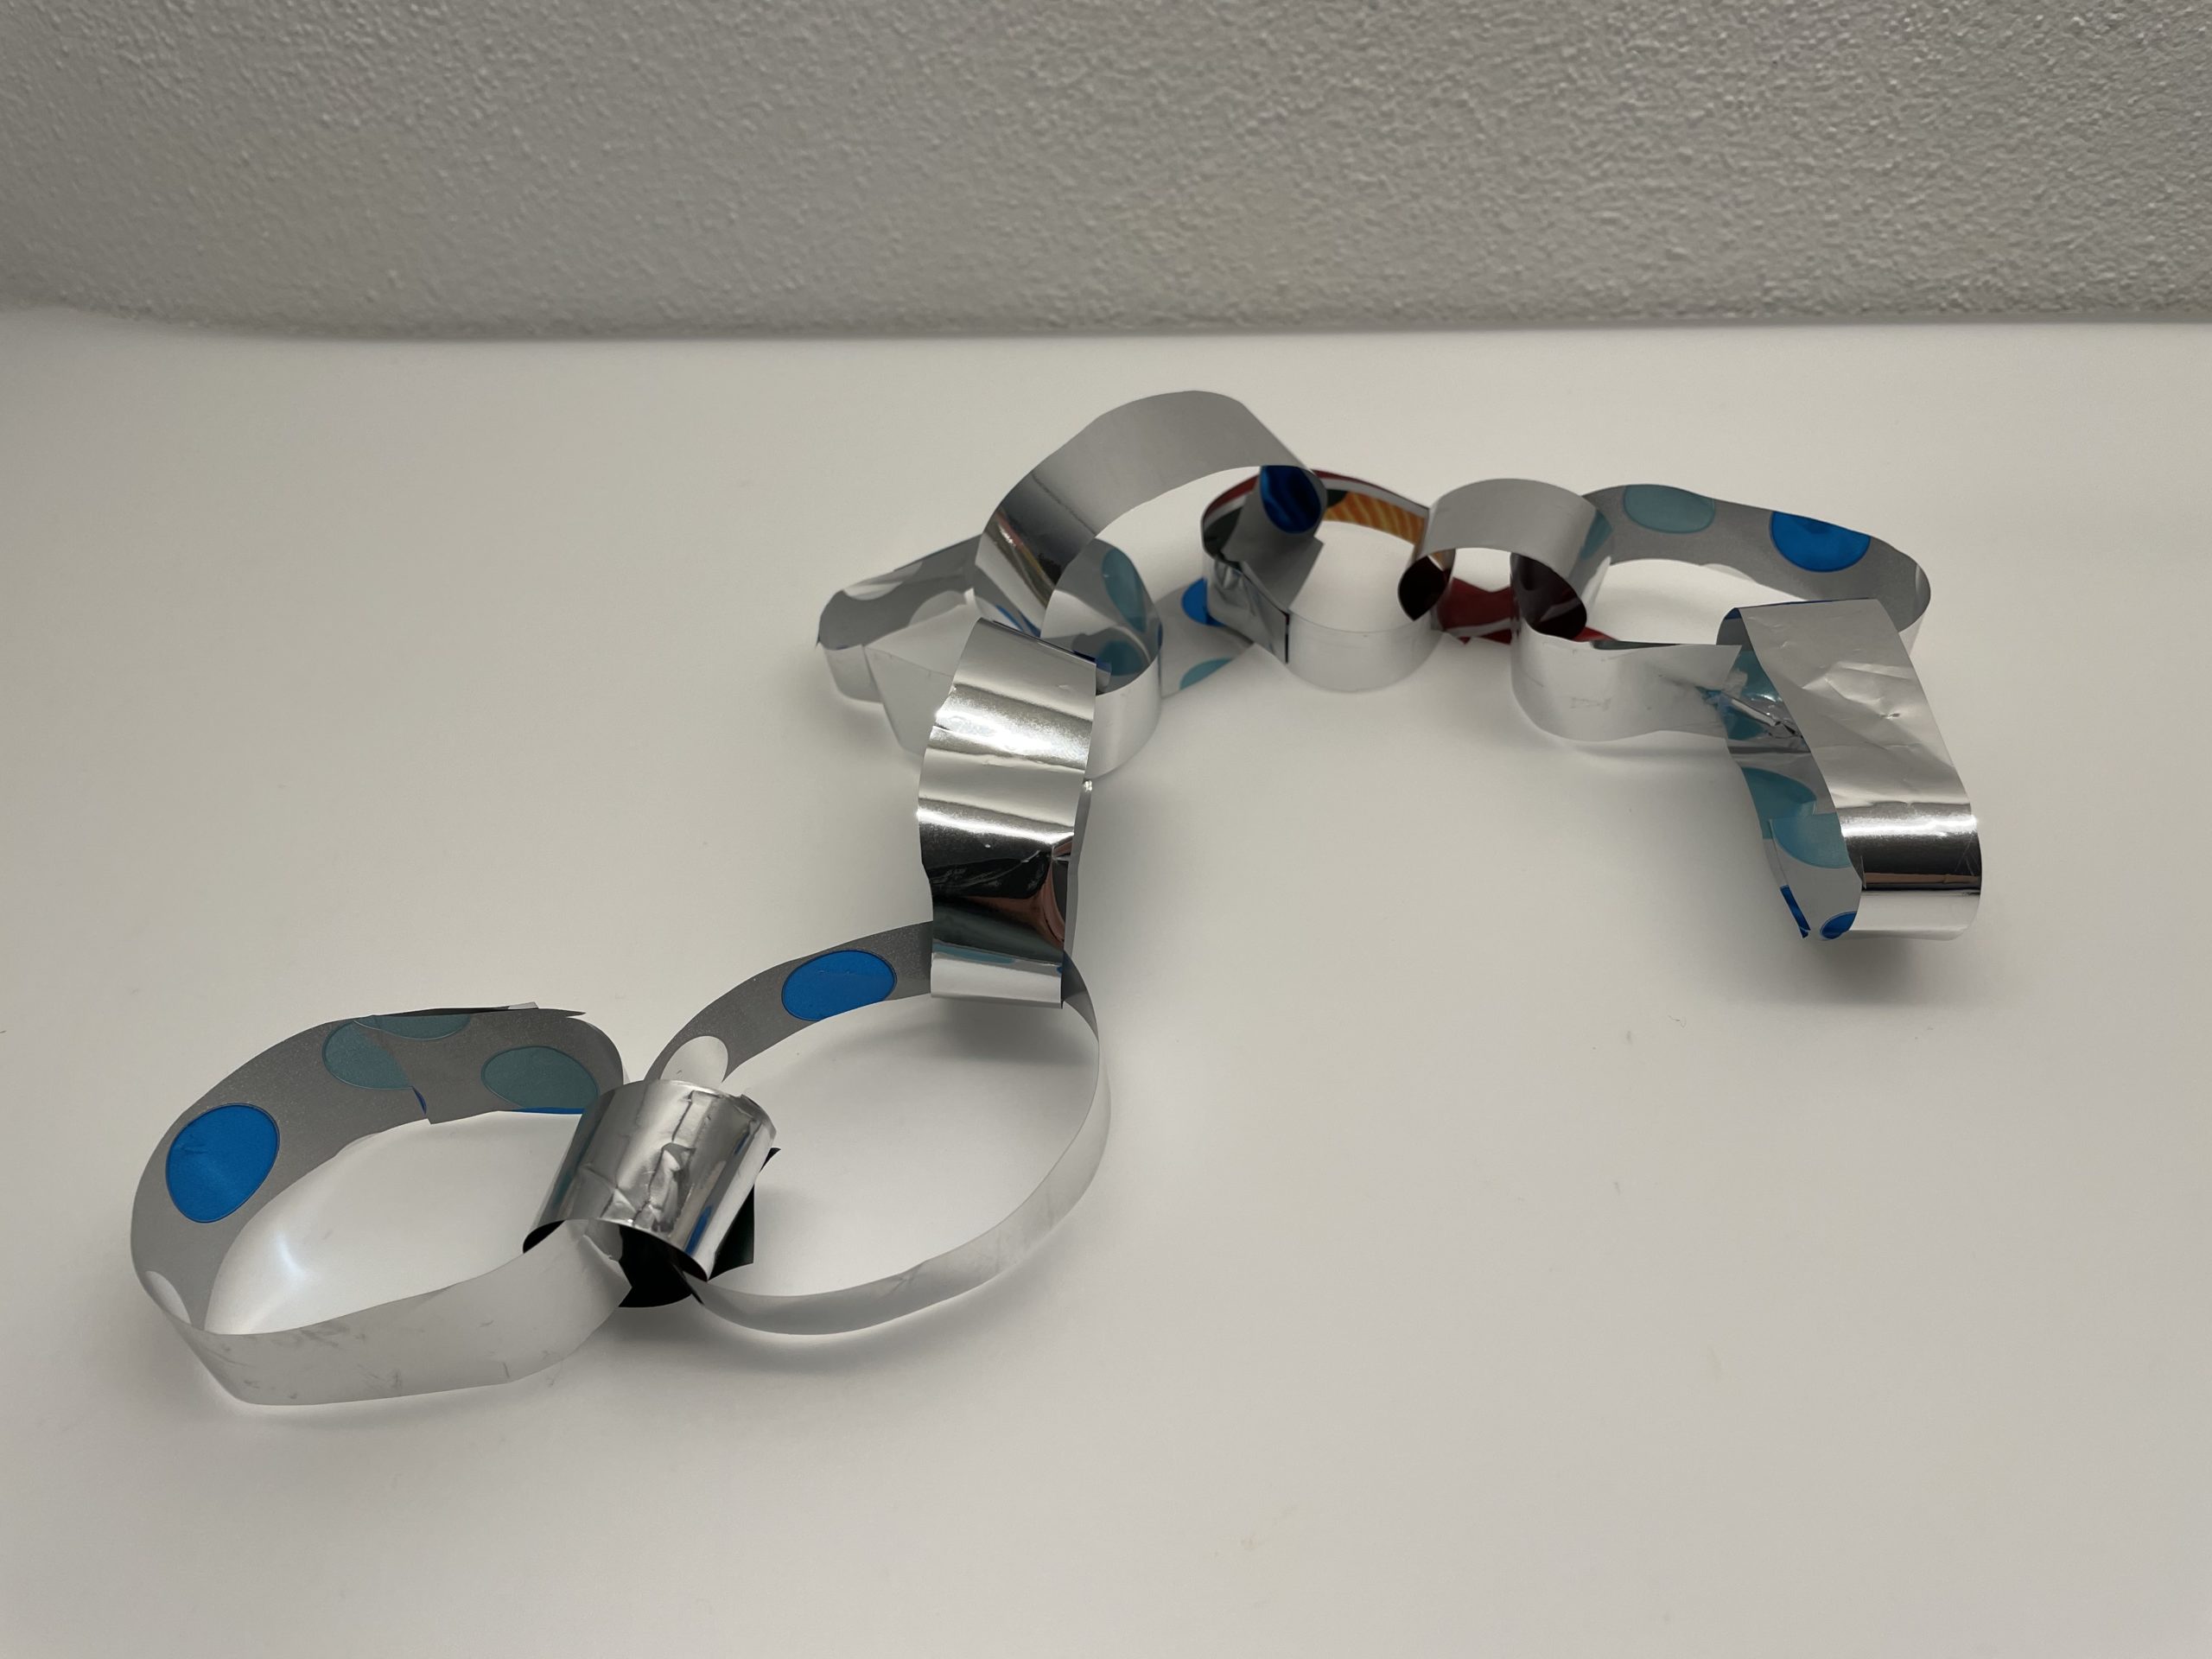
Makes a garland of gift paper or empty chips bags.
The paper is cut into thin strips of different lengths and widths and glued together into rings. Before sticking together, you always stick each strip through the previous ring. This creates a long chain of rings, which can be wonderfully hung up as garlands.
Media Education for Kindergarten and Hort

Relief in everyday life, targeted promotion of individual children, independent learning and - without any pre-knowledge already usable by the youngest!
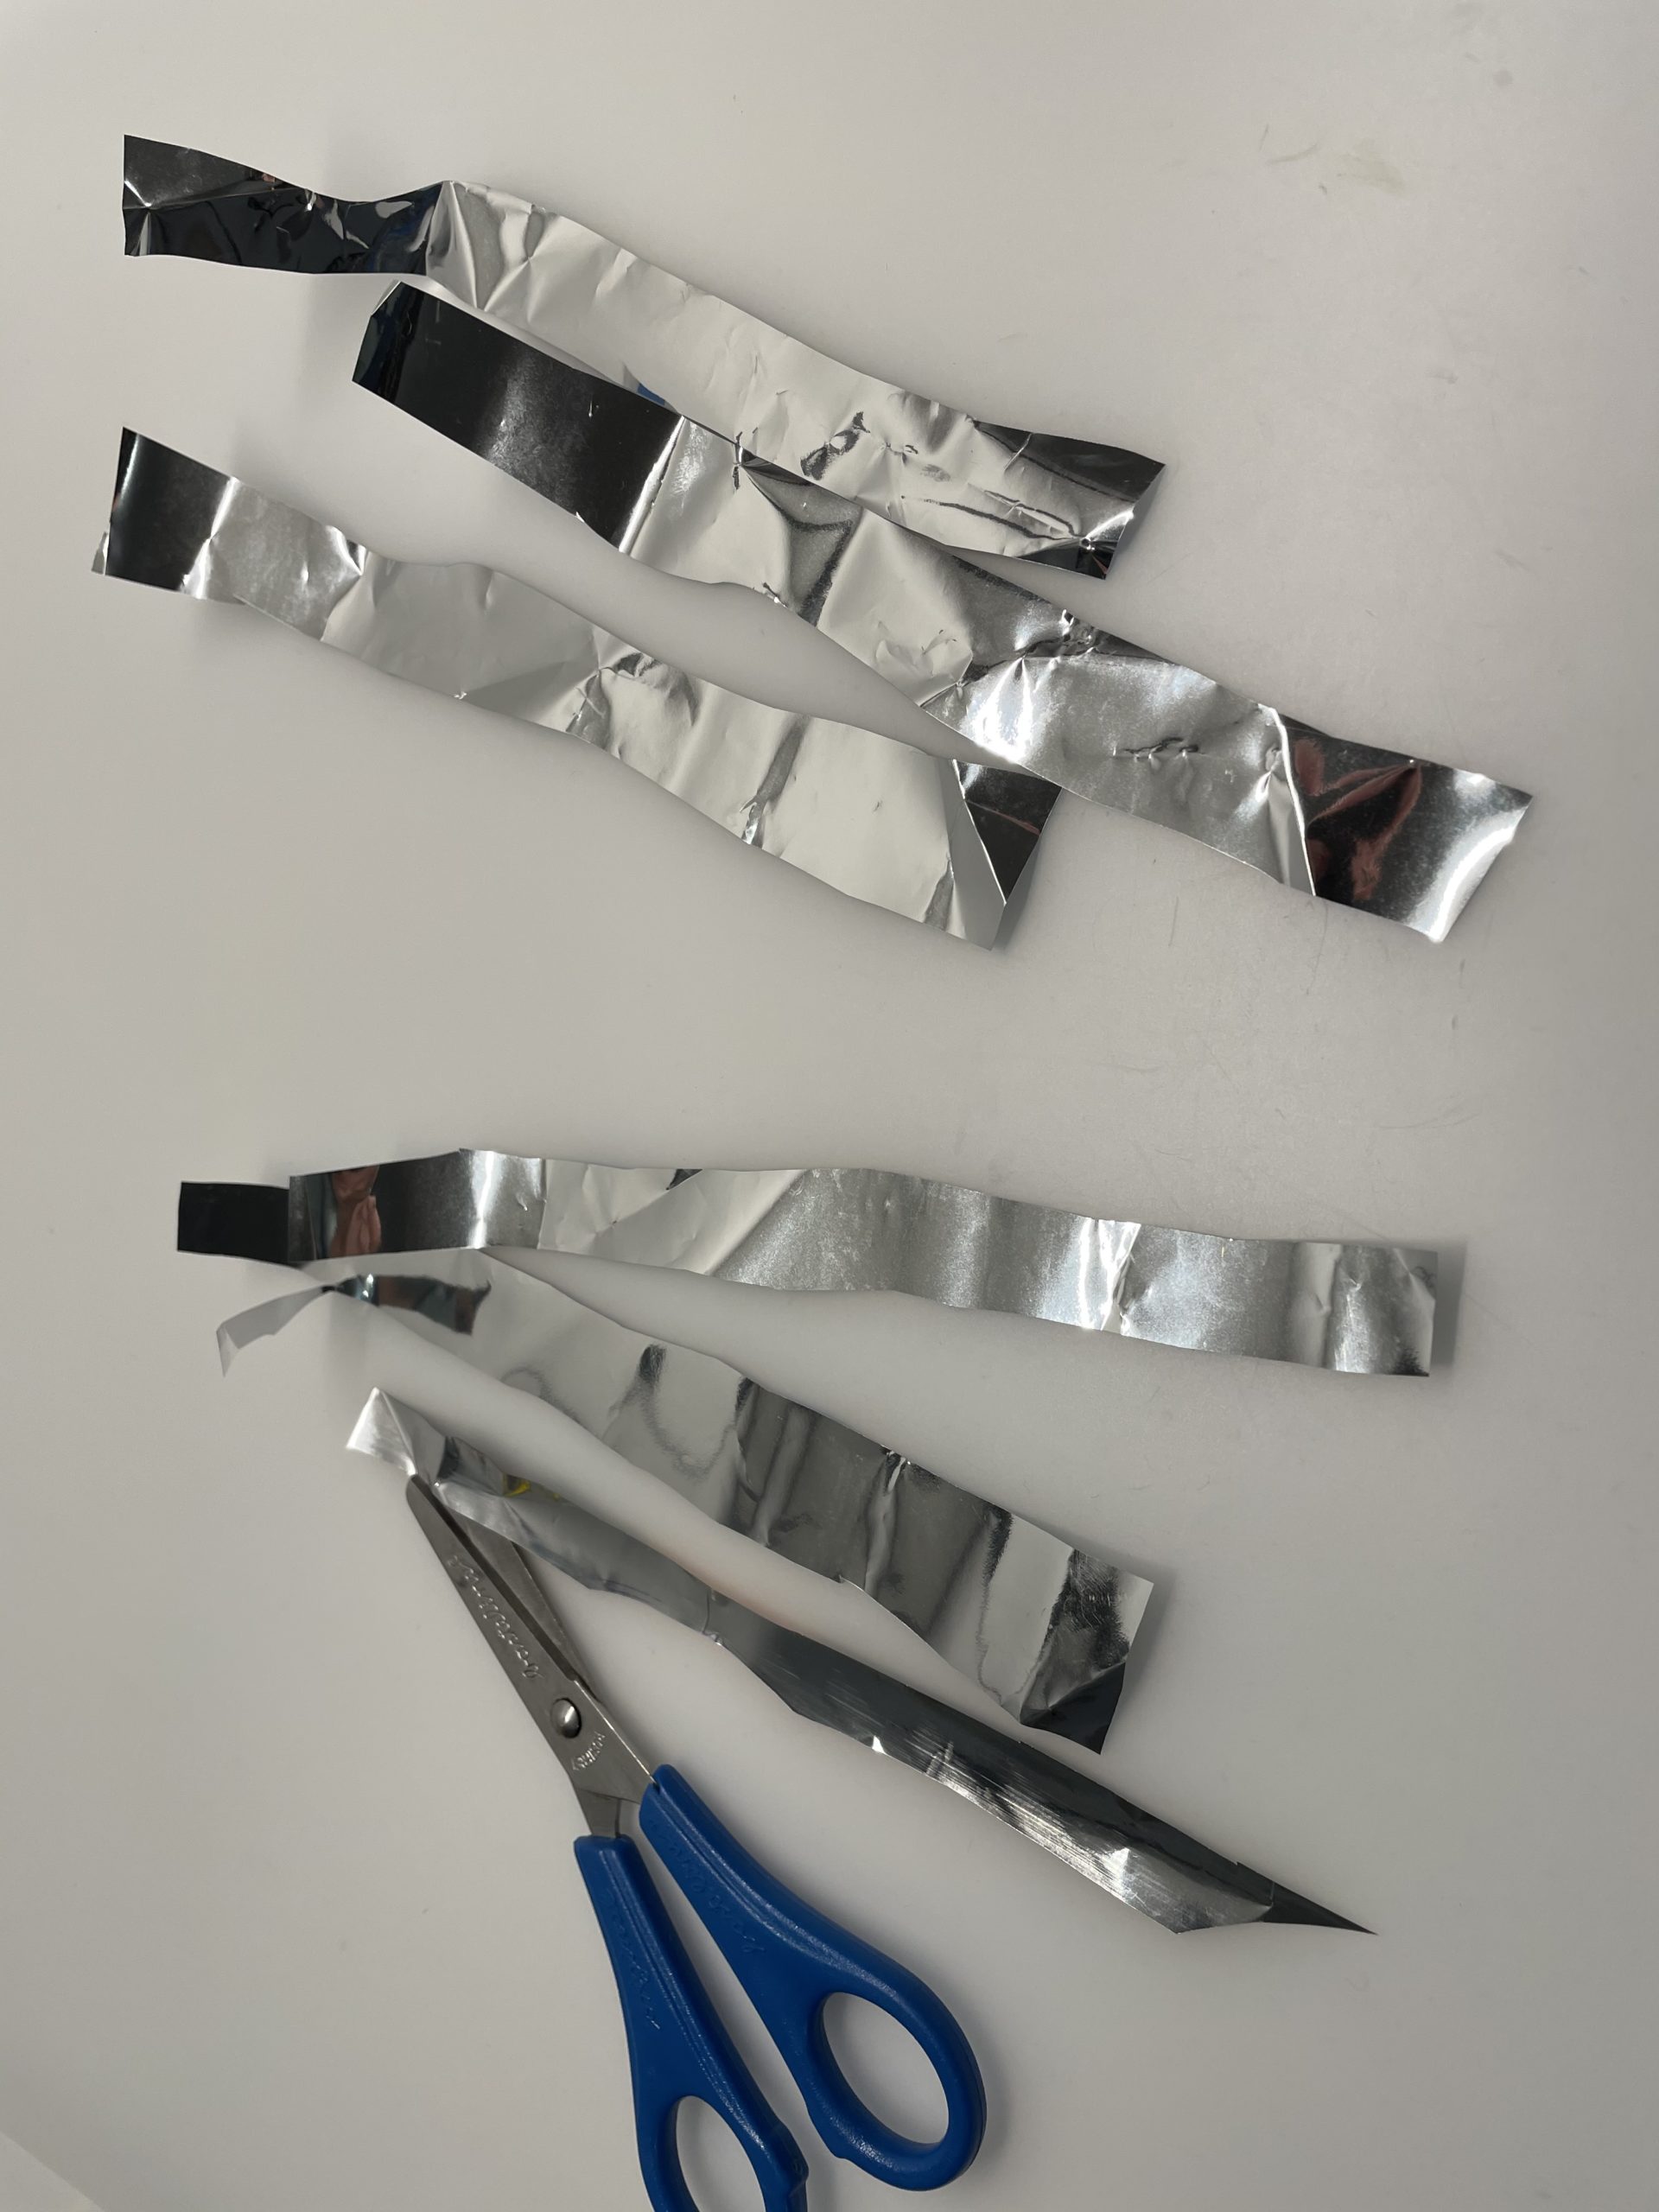
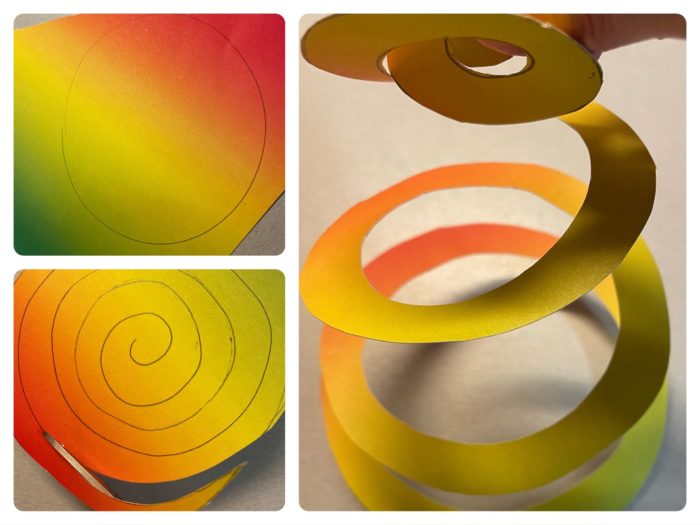
Put out the craft pad and cut your paper into narrow strips.
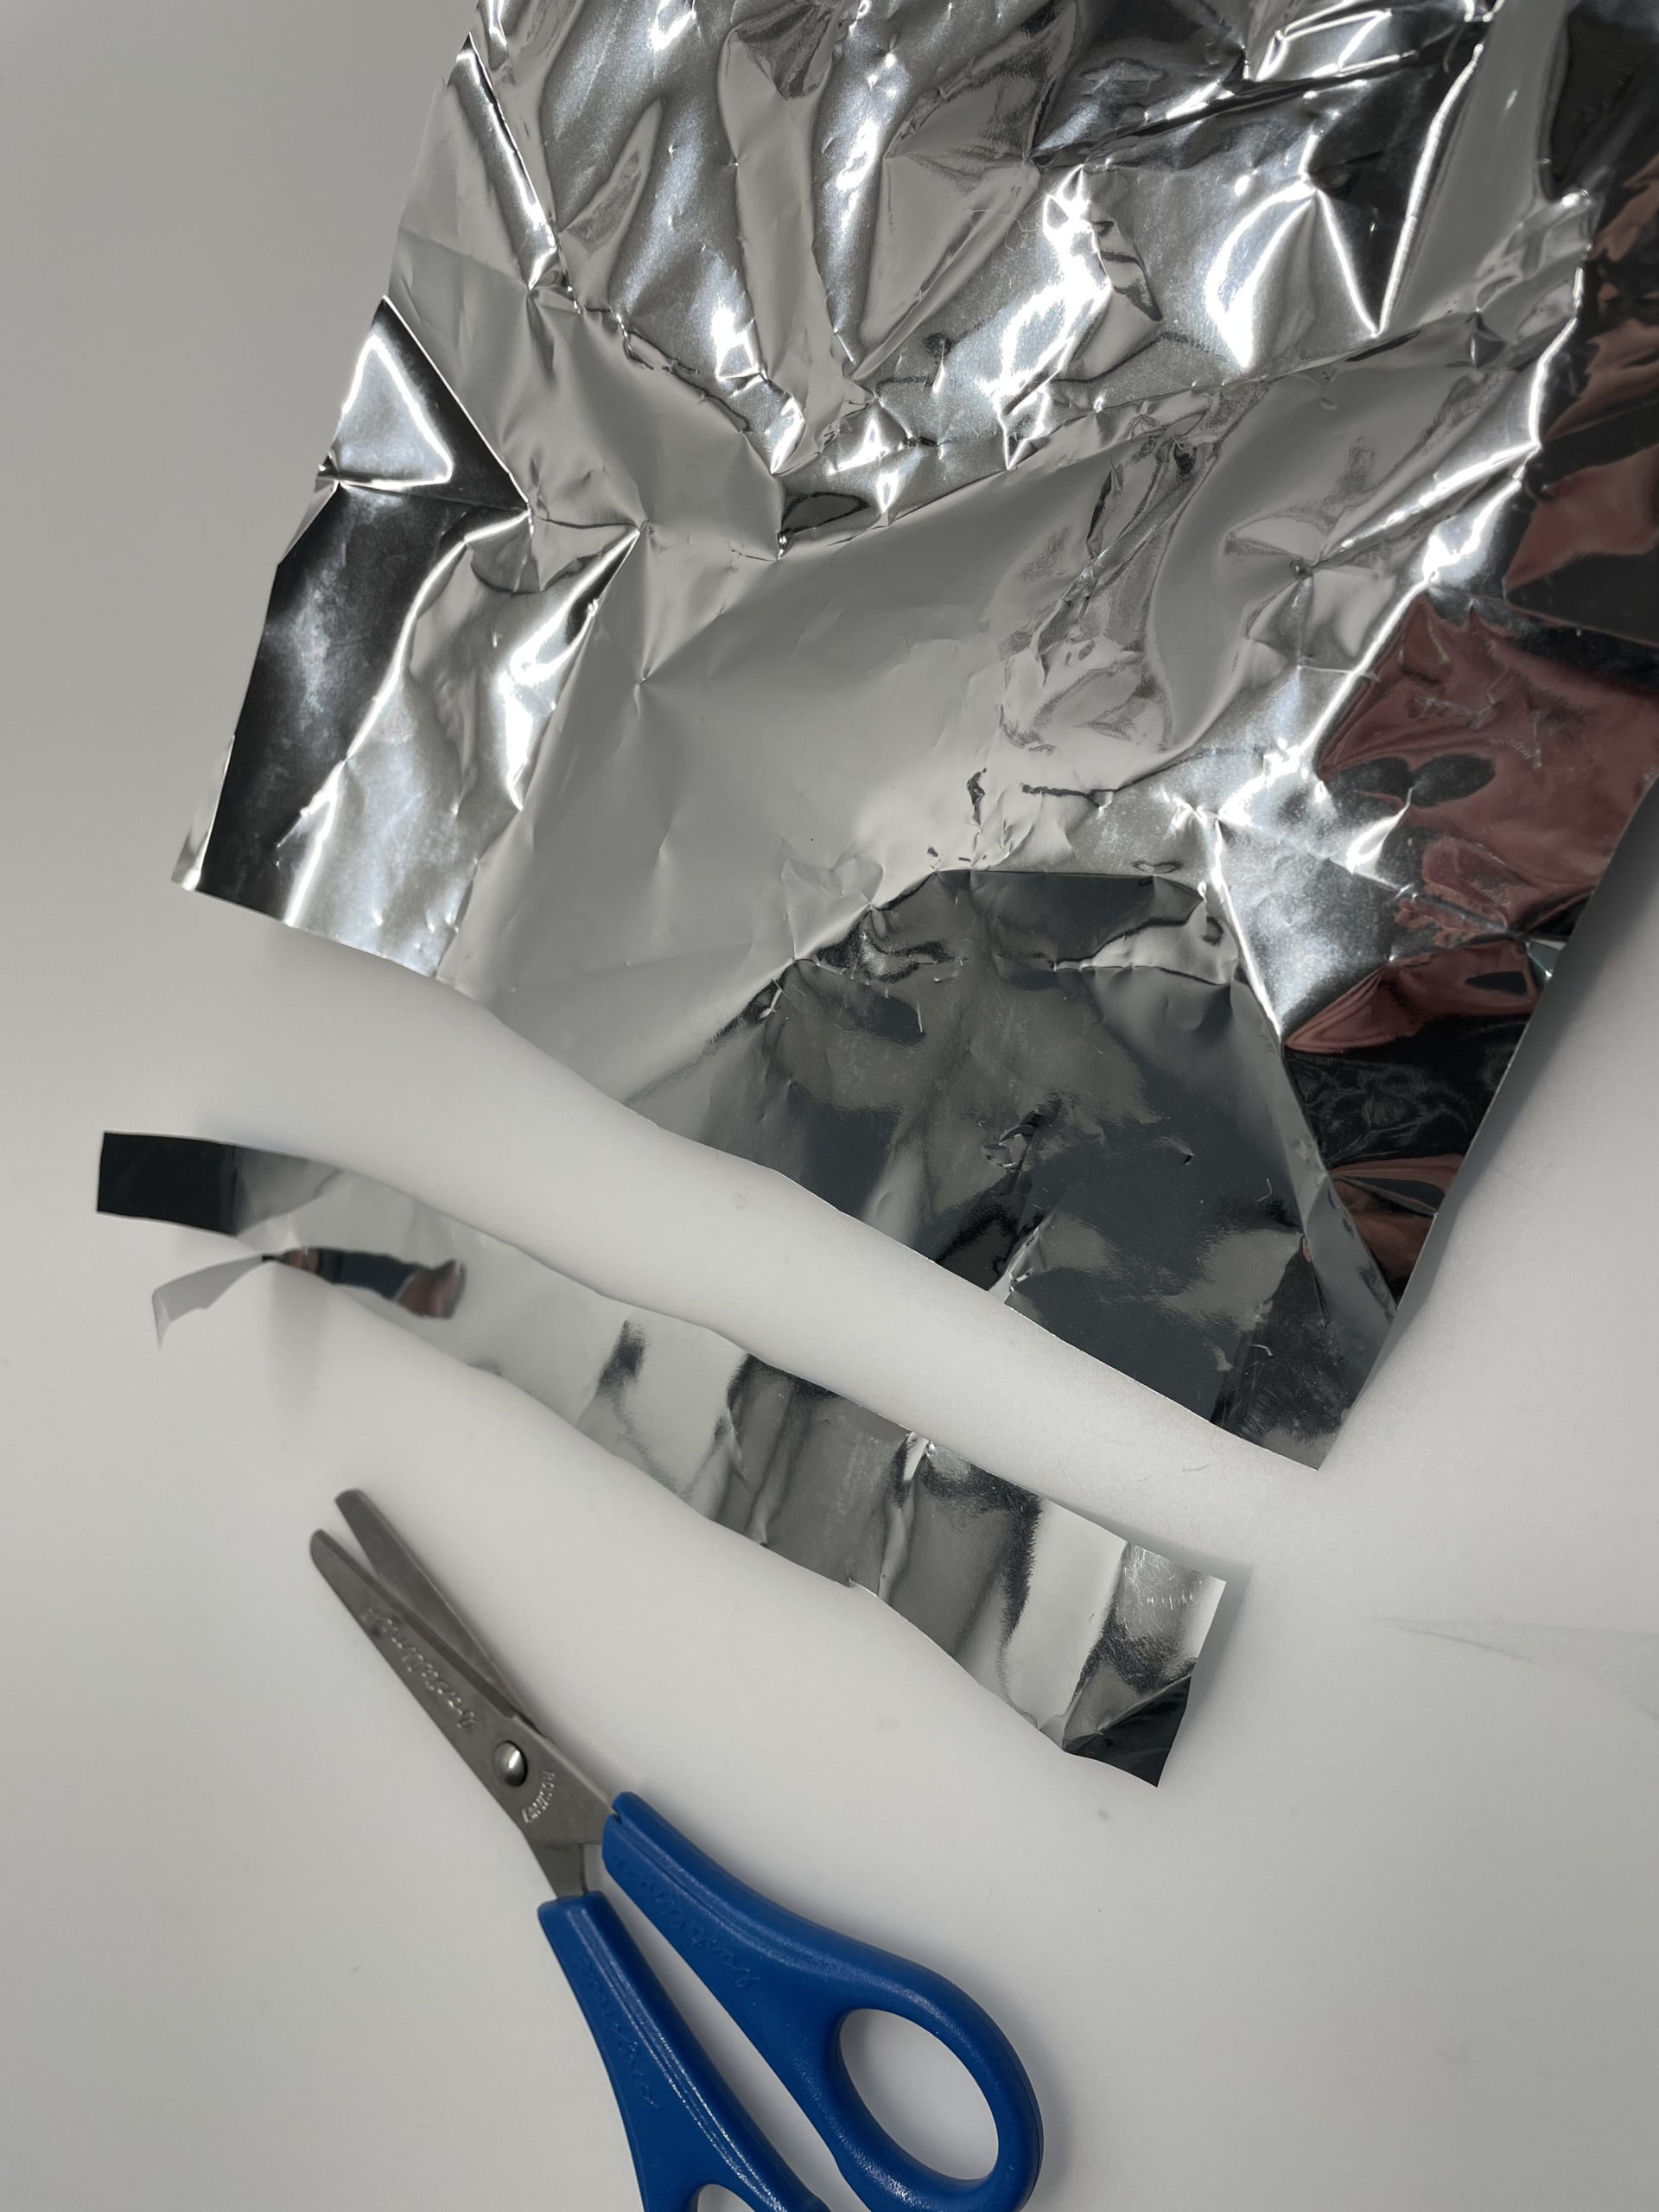
The stripes can be different in length and width.
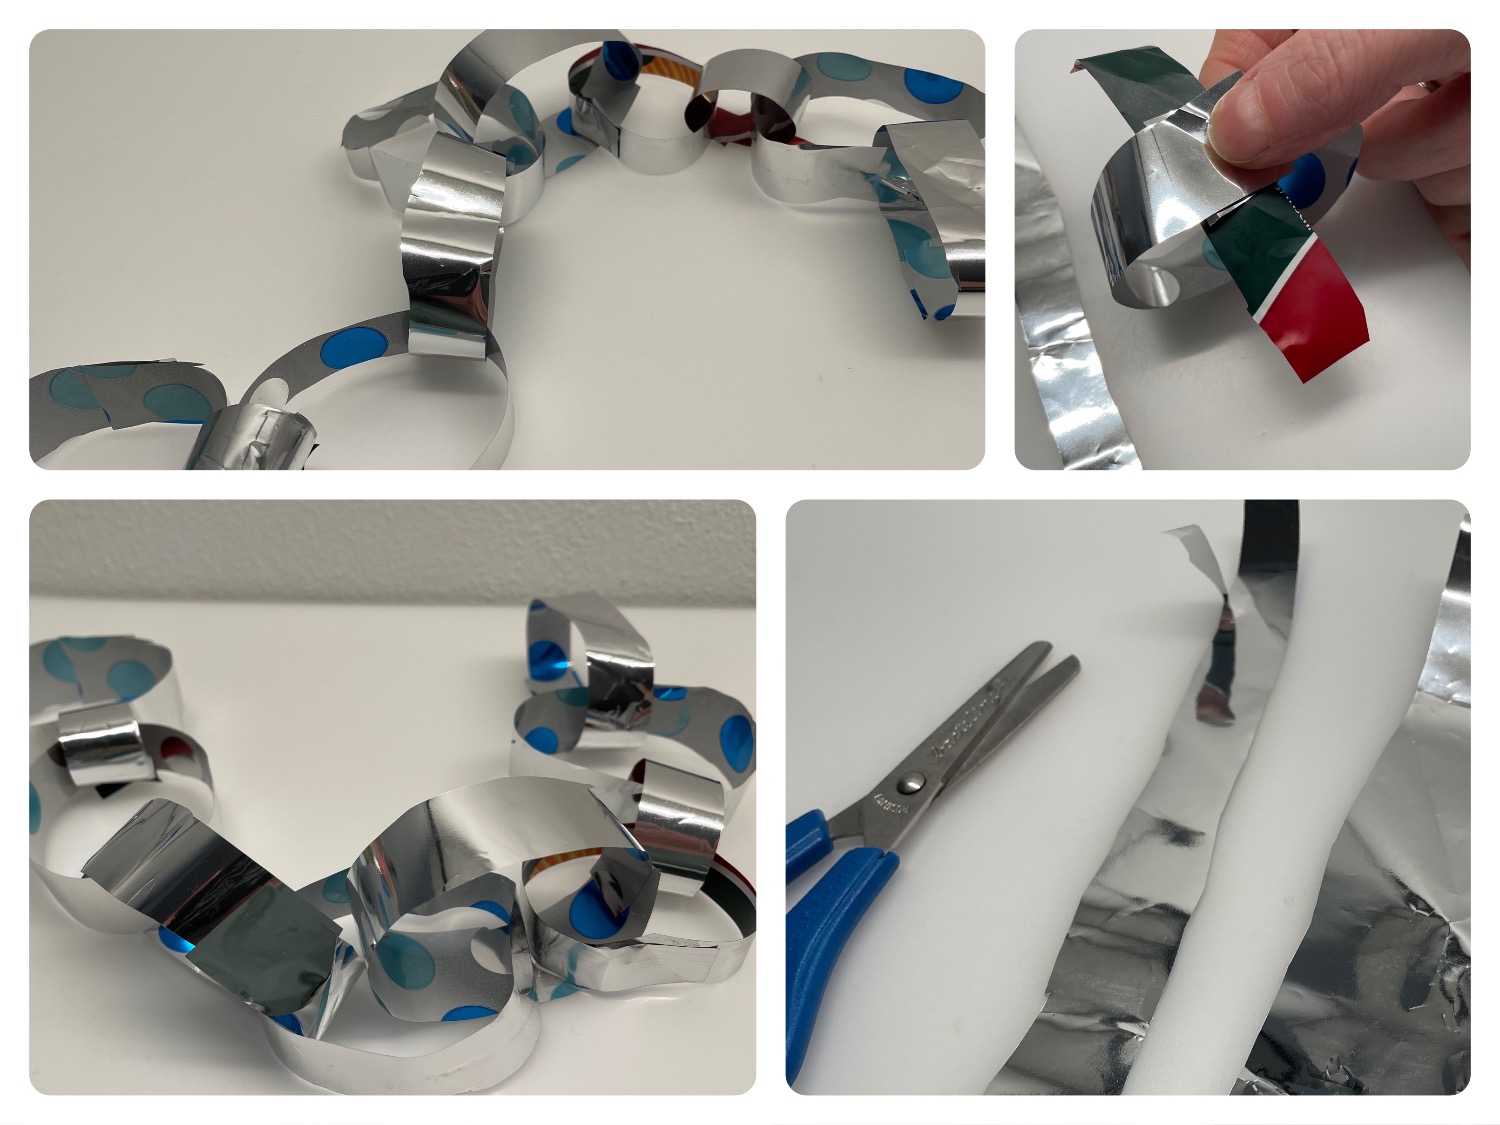
Now put an adhesive point on a strip and roll it together.
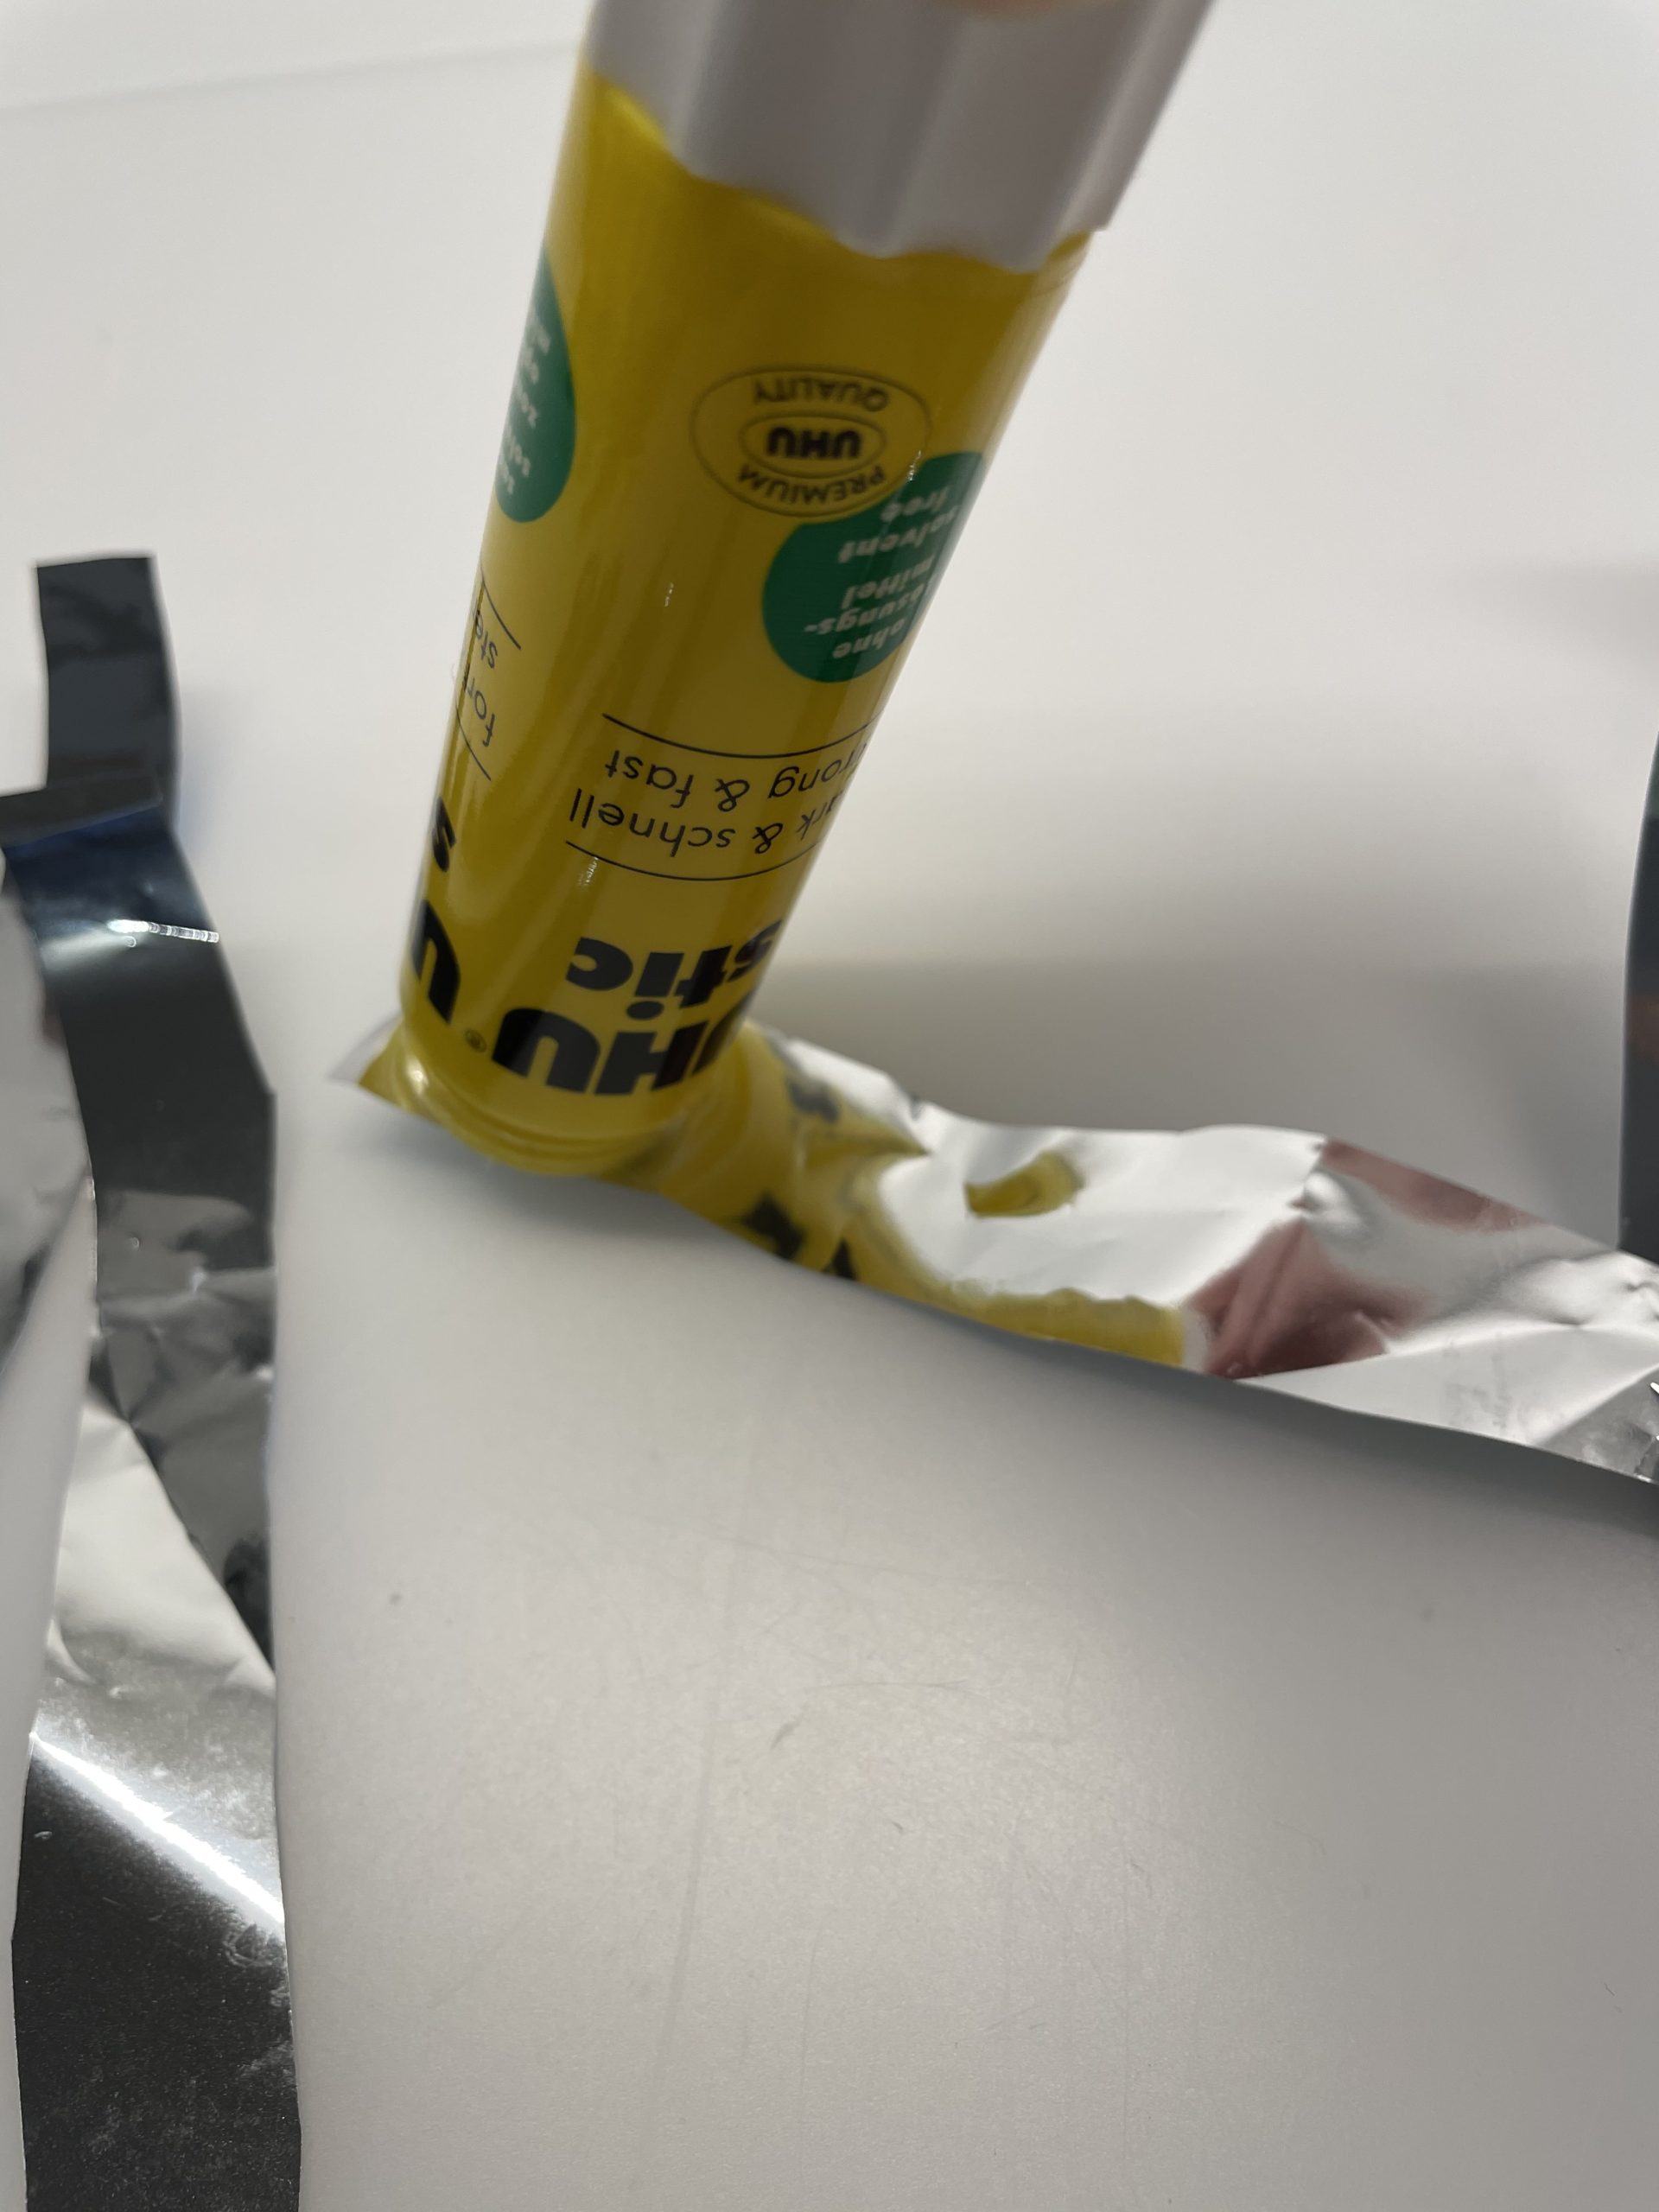
That's how a ring is created.
Now you put an adhesive point on the next strip. Then you thread the strip through the first ring and close it.
Now both rings are tied together.
Travel the same way at the next ring.
By doing so, you extend your chain with every paper ring.

Repeat the process until you have reached your desired length.
Have fun doing crafts and celebrating.

Materials
Directions
Put out the craft pad and cut your paper into narrow strips.
The stripes can be different in length and width.
Now put an adhesive point on a strip and roll it together.
That's how a ring is created.
Now you put an adhesive point on the next strip. Then you thread the strip through the first ring and close it.
Now both rings are tied together.
Travel the same way at the next ring.
By doing so, you extend your chain with every paper ring.
Repeat the process until you have reached your desired length.
Have fun doing crafts and celebrating.
Follow us on Facebook , Instagram and Pinterest
Don't miss any more adventures: Our bottle mail


Dear Katzi,
This garland demands a lot of fine motor skills and therefore patience for small children's hands. But our little one has been eagerly present and wears for days the chain, which he has crafted according to this technique from an air snake.