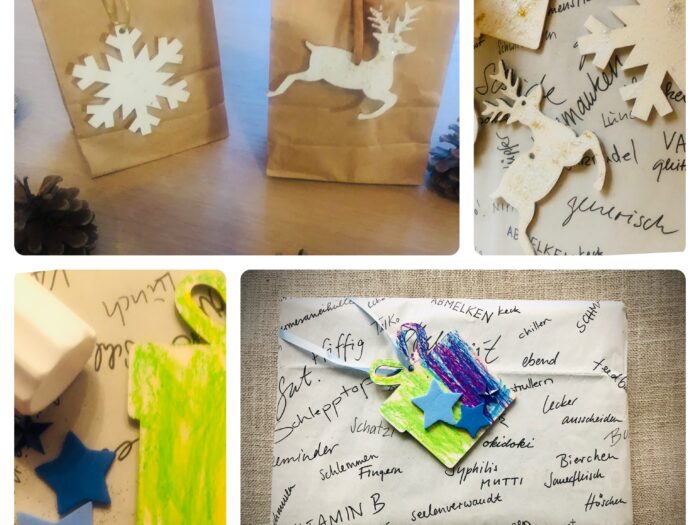
Gift – Print and design bags

AdventurerKatzi
Rating5.05.5 Thousand times & (2) DifficultyBeginner

Make a nice packaging for small gifts. Print motifs on butterbread bags and paint them colorfully. To close the bags you use a clothespin. In the blink of an eye, beautiful packaging for Christmas, the Advent season or the winter is created. Have fun!

Media Education for Kindergarten and Hort

Kind bastelt eine Rassel mit dem Navi
The Adventure Navi, the app for DIY projects, enables media education for the youngest.

Relief in everyday life, targeted promotion of individual children, independent learning and - without any pre-knowledge already usable by the youngest!
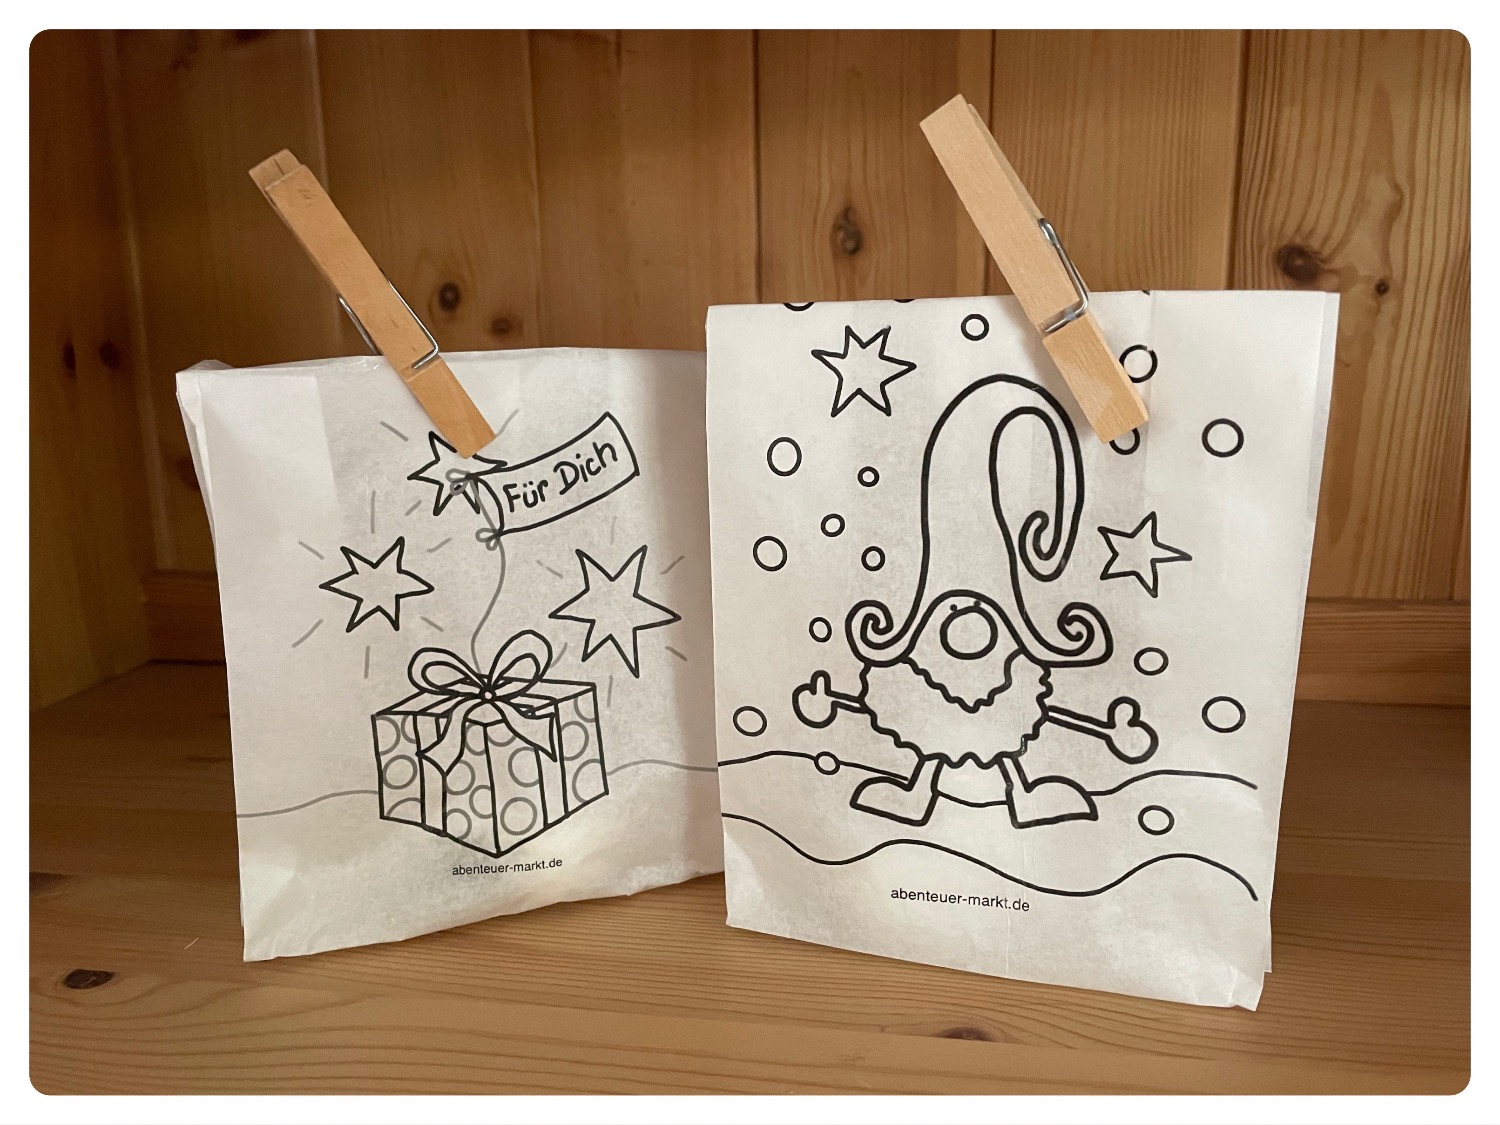


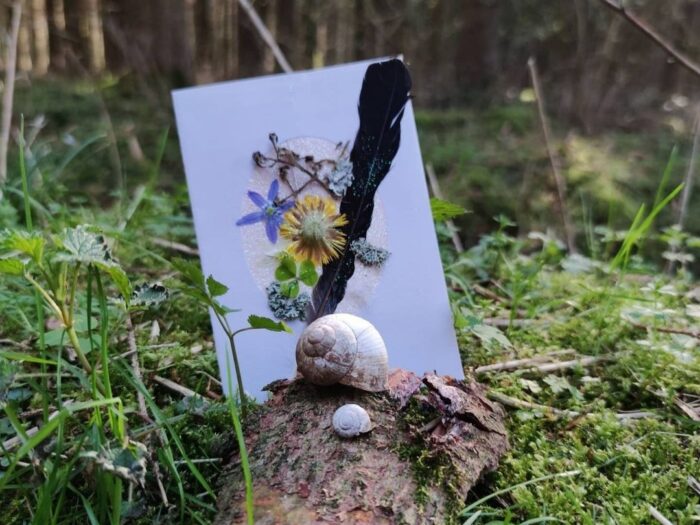
Titelbild zur Bastel- und DIY-Idee für Kinder '(887) Geschenk – Tüten bedrucken und gestalten'
Material for1 Child
Prep Time10 min.Adv. Time15 min.Total Time25 min.
 1 DIN A4 sheet
 1 Butterbread bag
 1 Adhesive strips
 1 Clothes clip
 1 Printer
1

First place a butterbread bag in the middle of a DIN A4 paper. The front of the butterbread bag points upwards.

Bild zum Schritt 1 für das Bastel- und DIY-Abenteuer für Kinder: 'Legt zuerst eine Butterbrot-Tüte in die Mitte eines DIN A4...'

2

Now you stick an adhesive tape to the top of the butterbread bag to attach the bag to the paper.
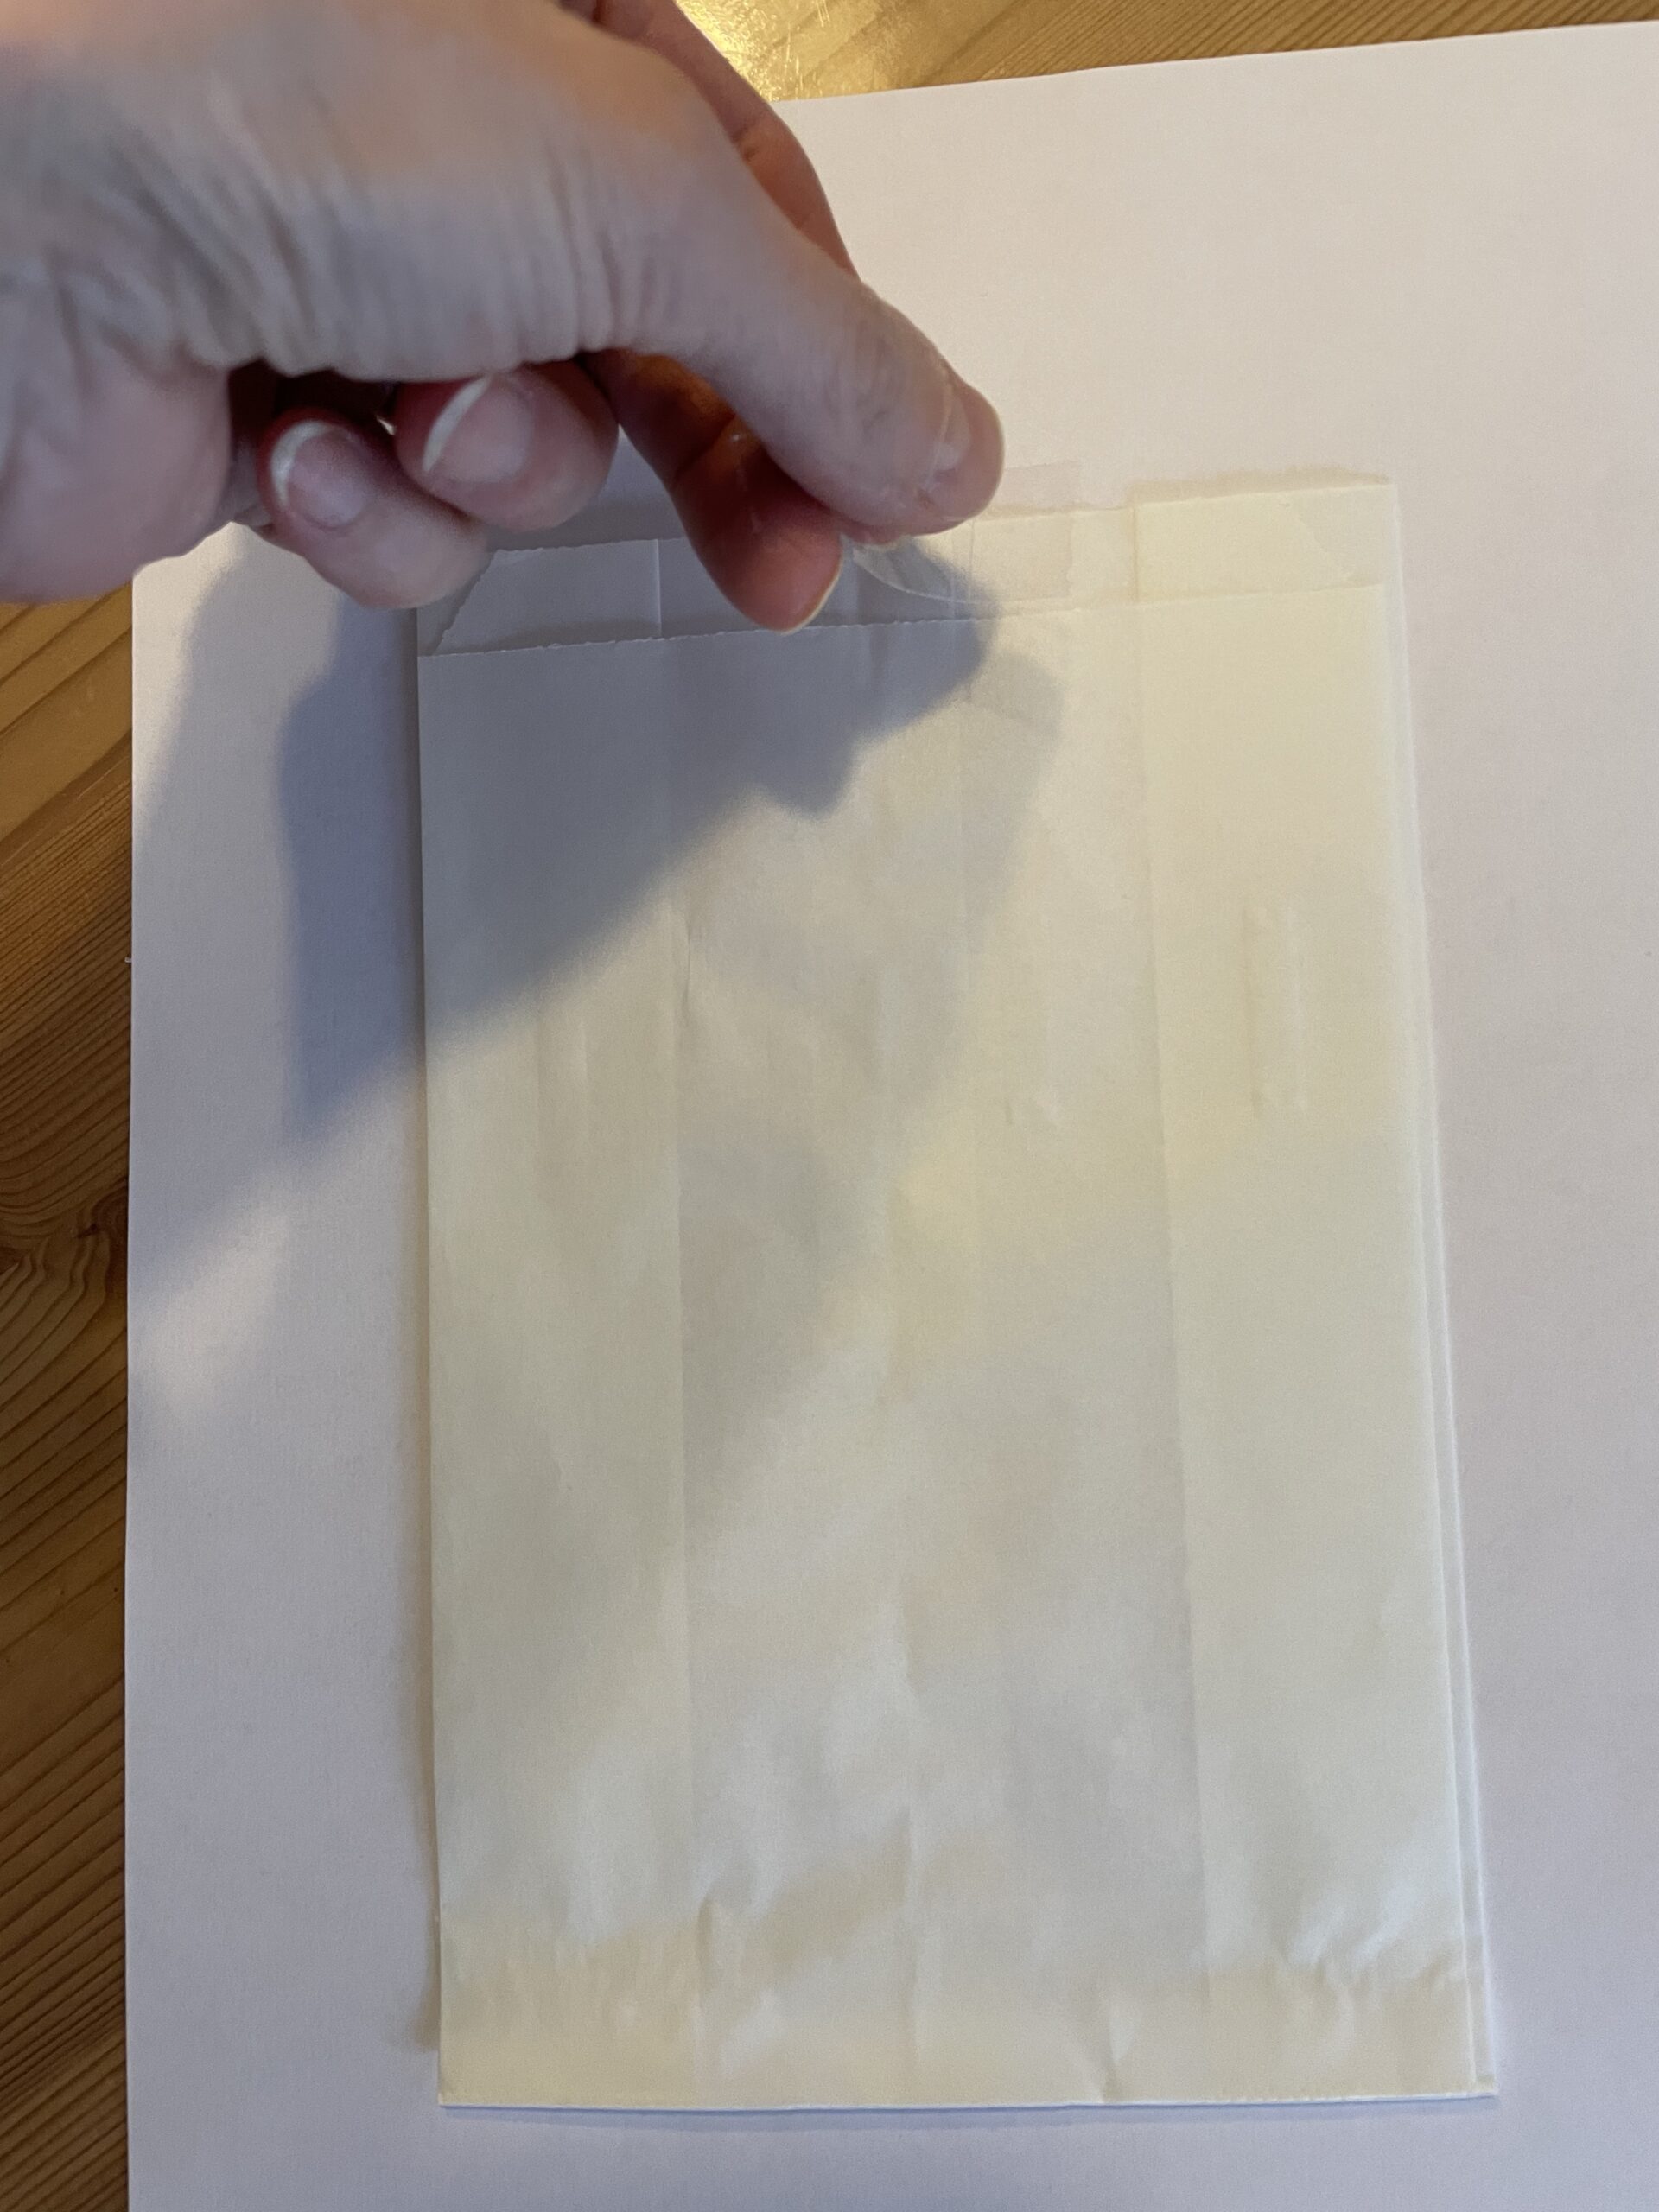
Bild zum Schritt 2 für das Bastel- und DIY-Abenteuer für Kinder: 'Jetzt klebt ihr an den oberen Rand der Butterbrot-Tüte einen...'

3

So the butterbread bag does not slip when printing.

Bild zum Schritt 3 für das Bastel- und DIY-Abenteuer für Kinder: 'So verrutscht die Butterbrot-Tüte beim Drucken nicht.'

4

Now place the prepared sheet in the entry of your printer. Now you select one of the templates below.

Bild zum Schritt 4 für das Bastel- und DIY-Abenteuer für Kinder: 'Legt das vorbereitete Blatt nun in den Einzug eures Druckers....'

5

Duck her on the bag.
Then carefully remove the adhesive strips again.

Bild zum Schritt 5 für das Bastel- und DIY-Abenteuer für Kinder: 'Duckt sie auf die Tüte.  Anschließend entfernt ihr wieder...'

6

The printed bag is ready.
Now you can paint and fill them.

Bild zum Schritt 6 für das Bastel- und DIY-Abenteuer für Kinder: 'Fertig ist die bedruckte Tüte.   Jetzt könnt ihr...'

7

With a wooden wash clip you close the stuffed bag.

Bild zum Schritt 7 für das Bastel- und DIY-Abenteuer für Kinder: 'Mit einer Holzwäscheklammer verschließt ihr die gefüllte Tüte.'

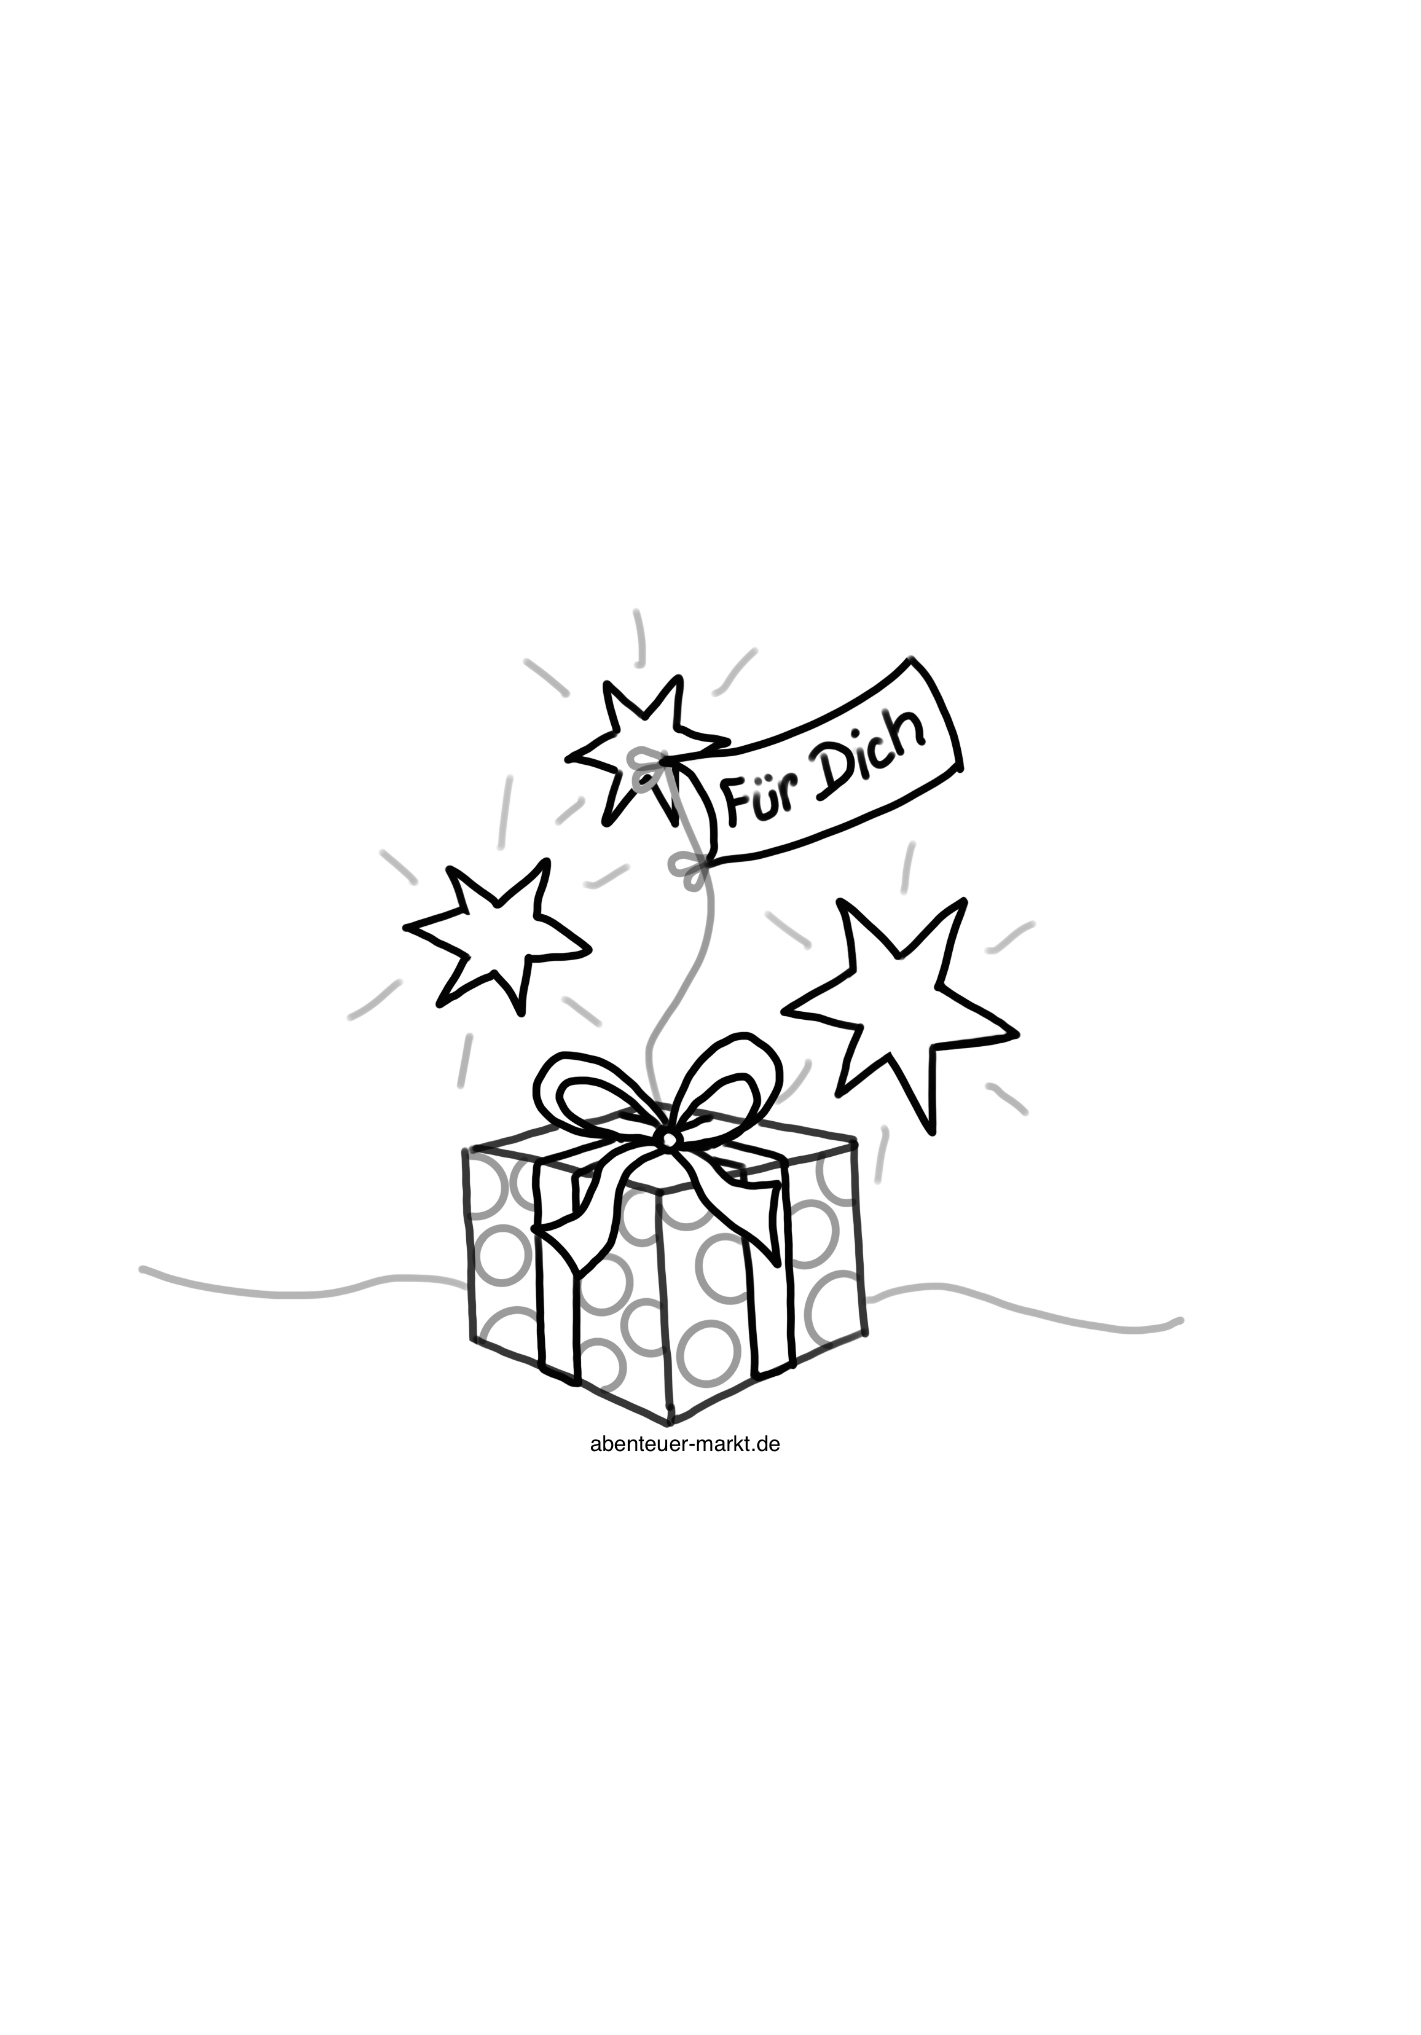
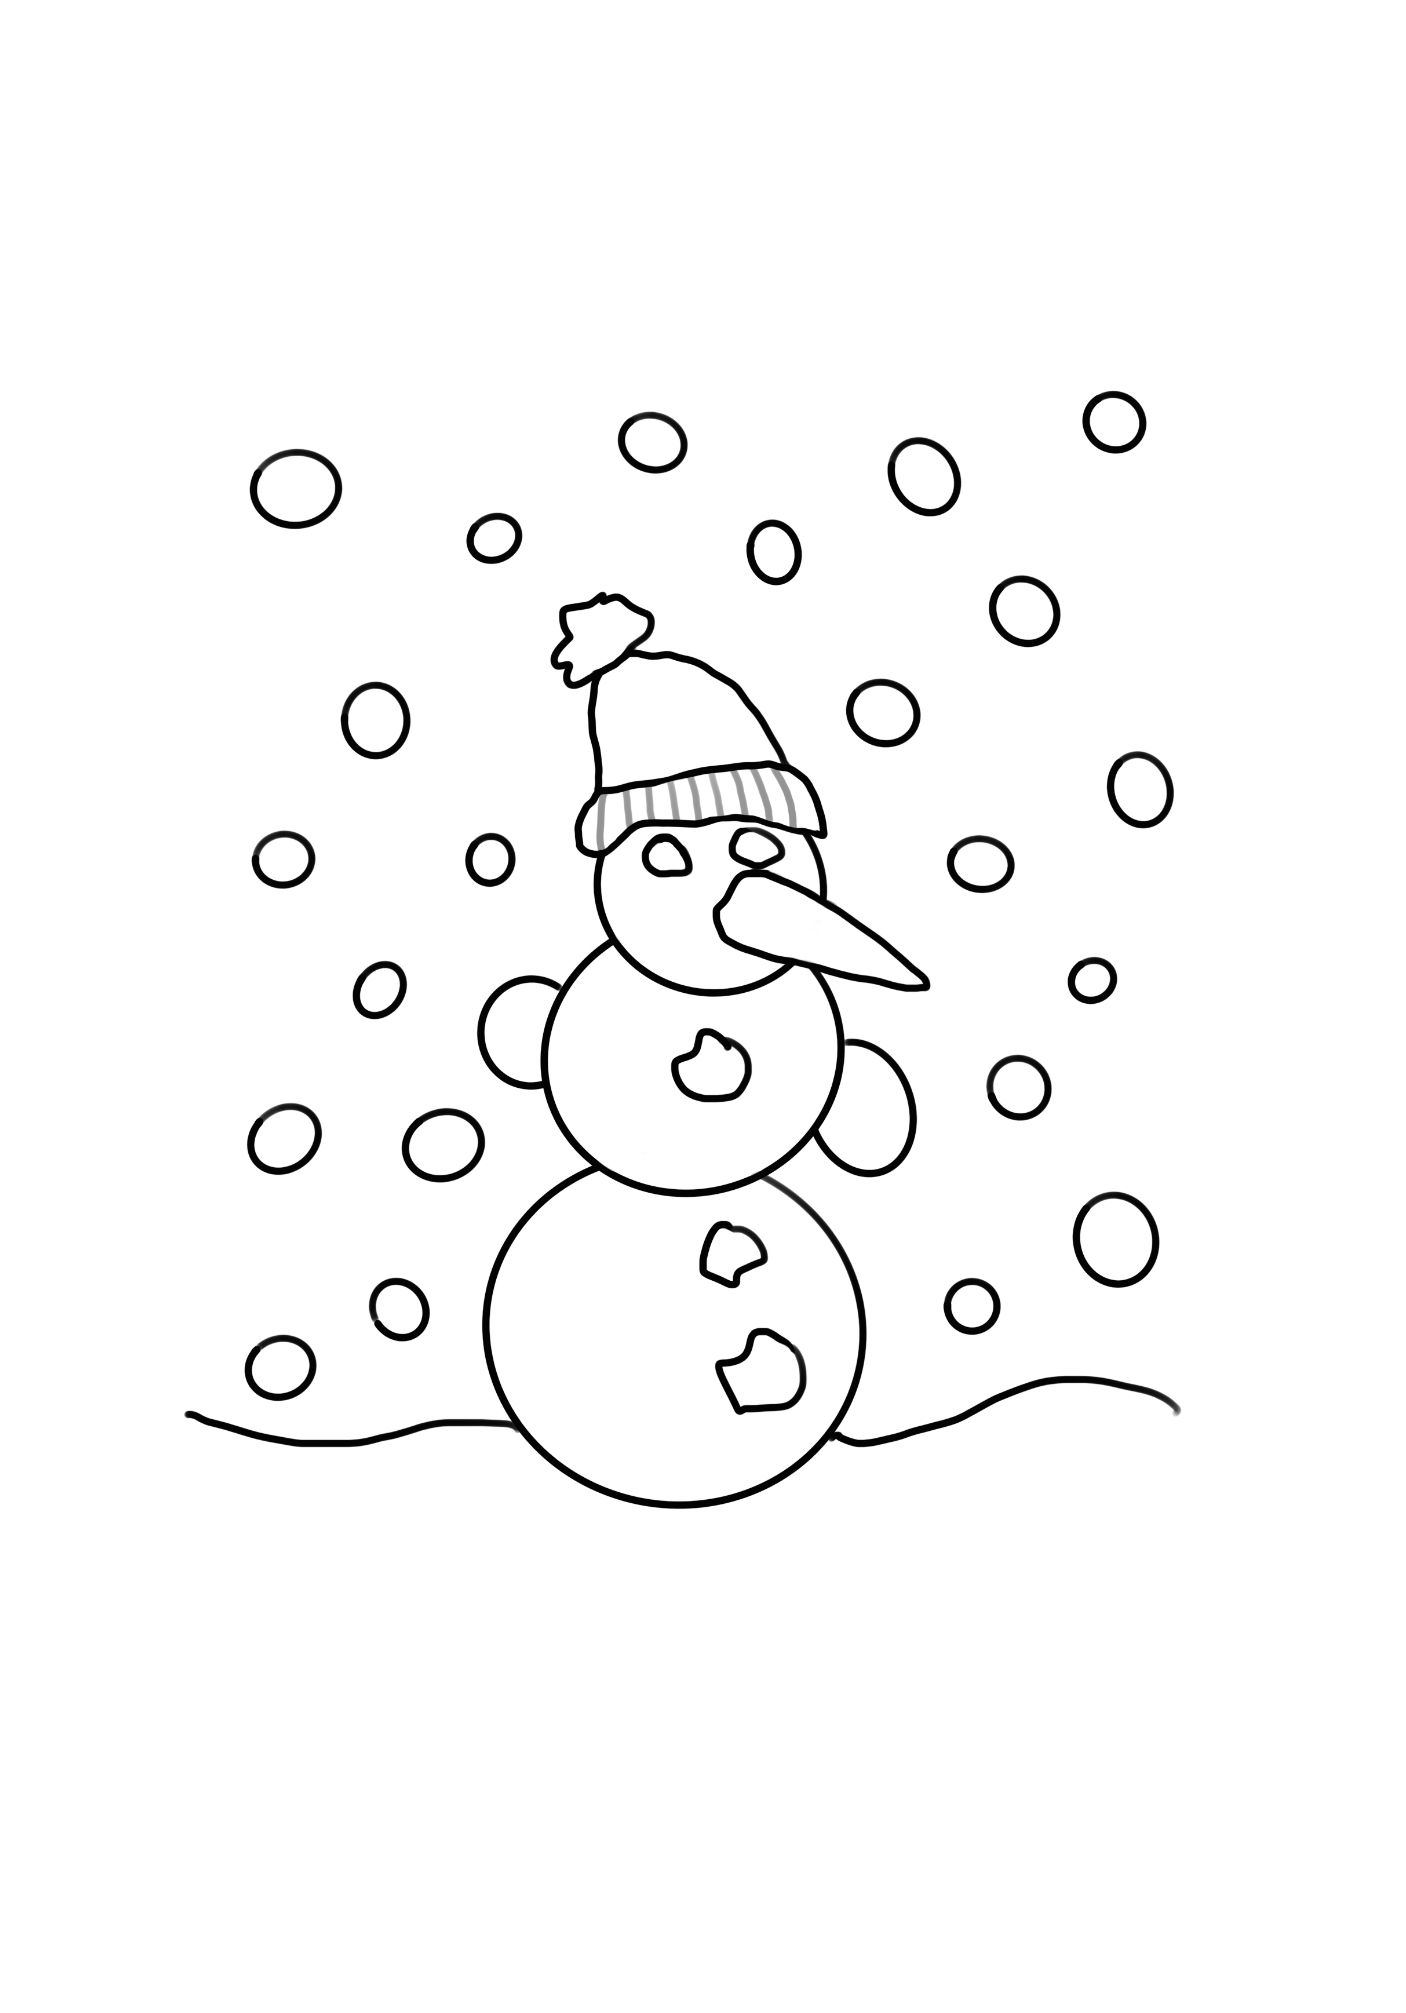
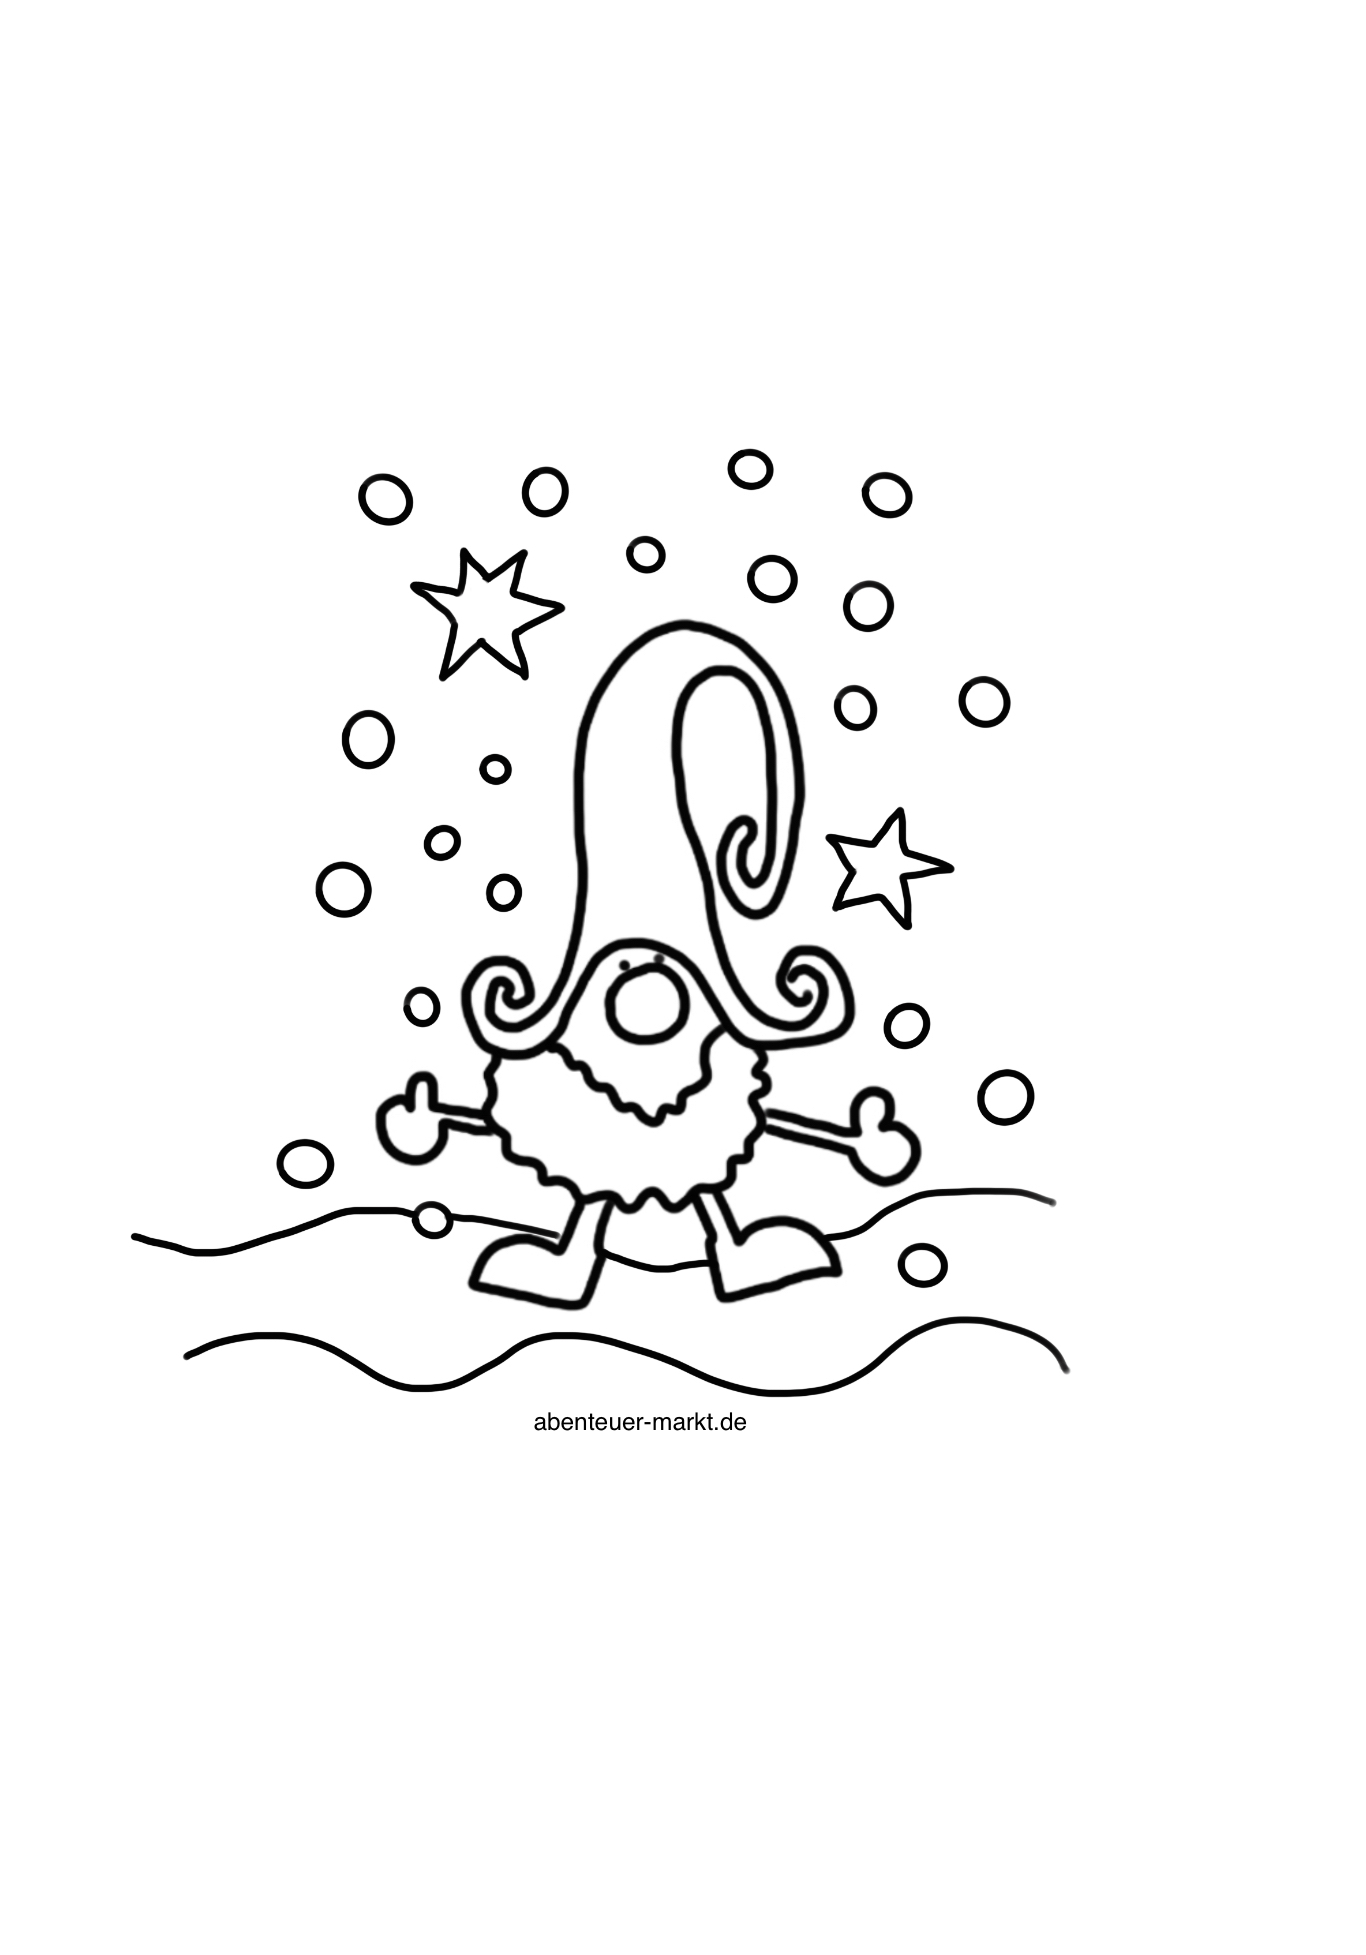
Templates for printing:
8

1. Bild zum Schritt 8 für das Bastel- und DIY-Abenteuer für Kinder: 'Mit einer Holzwäscheklammer verschließt ihr die gefüllte Tüte.'

9

2. Bild zum Schritt 9 für das Bastel- und DIY-Abenteuer für Kinder: 'Mit einer Holzwäscheklammer verschließt ihr die gefüllte Tüte.'

10

3. Bild zum Schritt 10 für das Bastel- und DIY-Abenteuer für Kinder: 'Mit einer Holzwäscheklammer verschließt ihr die gefüllte Tüte.'

11

Have fun designing and giving!

Materials

 1 DIN A4 sheet
 1 Butterbread bag
 1 Adhesive strips
 1 Clothes clip
 1 Printer

Directions

1

First place a butterbread bag in the middle of a DIN A4 paper. The front of the butterbread bag points upwards.

Bild zum Schritt 1 für das Bastel- und DIY-Abenteuer für Kinder: 'Legt zuerst eine Butterbrot-Tüte in die Mitte eines DIN A4...'

2

Now you stick an adhesive tape to the top of the butterbread bag to attach the bag to the paper.

Bild zum Schritt 2 für das Bastel- und DIY-Abenteuer für Kinder: 'Jetzt klebt ihr an den oberen Rand der Butterbrot-Tüte einen...'

3

So the butterbread bag does not slip when printing.

Bild zum Schritt 3 für das Bastel- und DIY-Abenteuer für Kinder: 'So verrutscht die Butterbrot-Tüte beim Drucken nicht.'

4

Now place the prepared sheet in the entry of your printer. Now you select one of the templates below.

Bild zum Schritt 4 für das Bastel- und DIY-Abenteuer für Kinder: 'Legt das vorbereitete Blatt nun in den Einzug eures Druckers....'

5

Duck her on the bag.
Then carefully remove the adhesive strips again.

Bild zum Schritt 5 für das Bastel- und DIY-Abenteuer für Kinder: 'Duckt sie auf die Tüte.  Anschließend entfernt ihr wieder...'

6

The printed bag is ready.
Now you can paint and fill them.

Bild zum Schritt 6 für das Bastel- und DIY-Abenteuer für Kinder: 'Fertig ist die bedruckte Tüte.   Jetzt könnt ihr...'

7

With a wooden wash clip you close the stuffed bag.

Bild zum Schritt 7 für das Bastel- und DIY-Abenteuer für Kinder: 'Mit einer Holzwäscheklammer verschließt ihr die gefüllte Tüte.'

Templates for printing:
8

1. Bild zum Schritt 8 für das Bastel- und DIY-Abenteuer für Kinder: 'Mit einer Holzwäscheklammer verschließt ihr die gefüllte Tüte.'

9

2. Bild zum Schritt 9 für das Bastel- und DIY-Abenteuer für Kinder: 'Mit einer Holzwäscheklammer verschließt ihr die gefüllte Tüte.'

10

3. Bild zum Schritt 10 für das Bastel- und DIY-Abenteuer für Kinder: 'Mit einer Holzwäscheklammer verschließt ihr die gefüllte Tüte.'

11

Have fun designing and giving!

Gift – Print and design bags

Follow us on Facebook , Instagram and Pinterest
Don't miss any more adventures: Our bottle mail

Leave a Reply

Your email address will not be published.

The maximum upload file size: 5 MB. You can upload: image, document. Drop file here