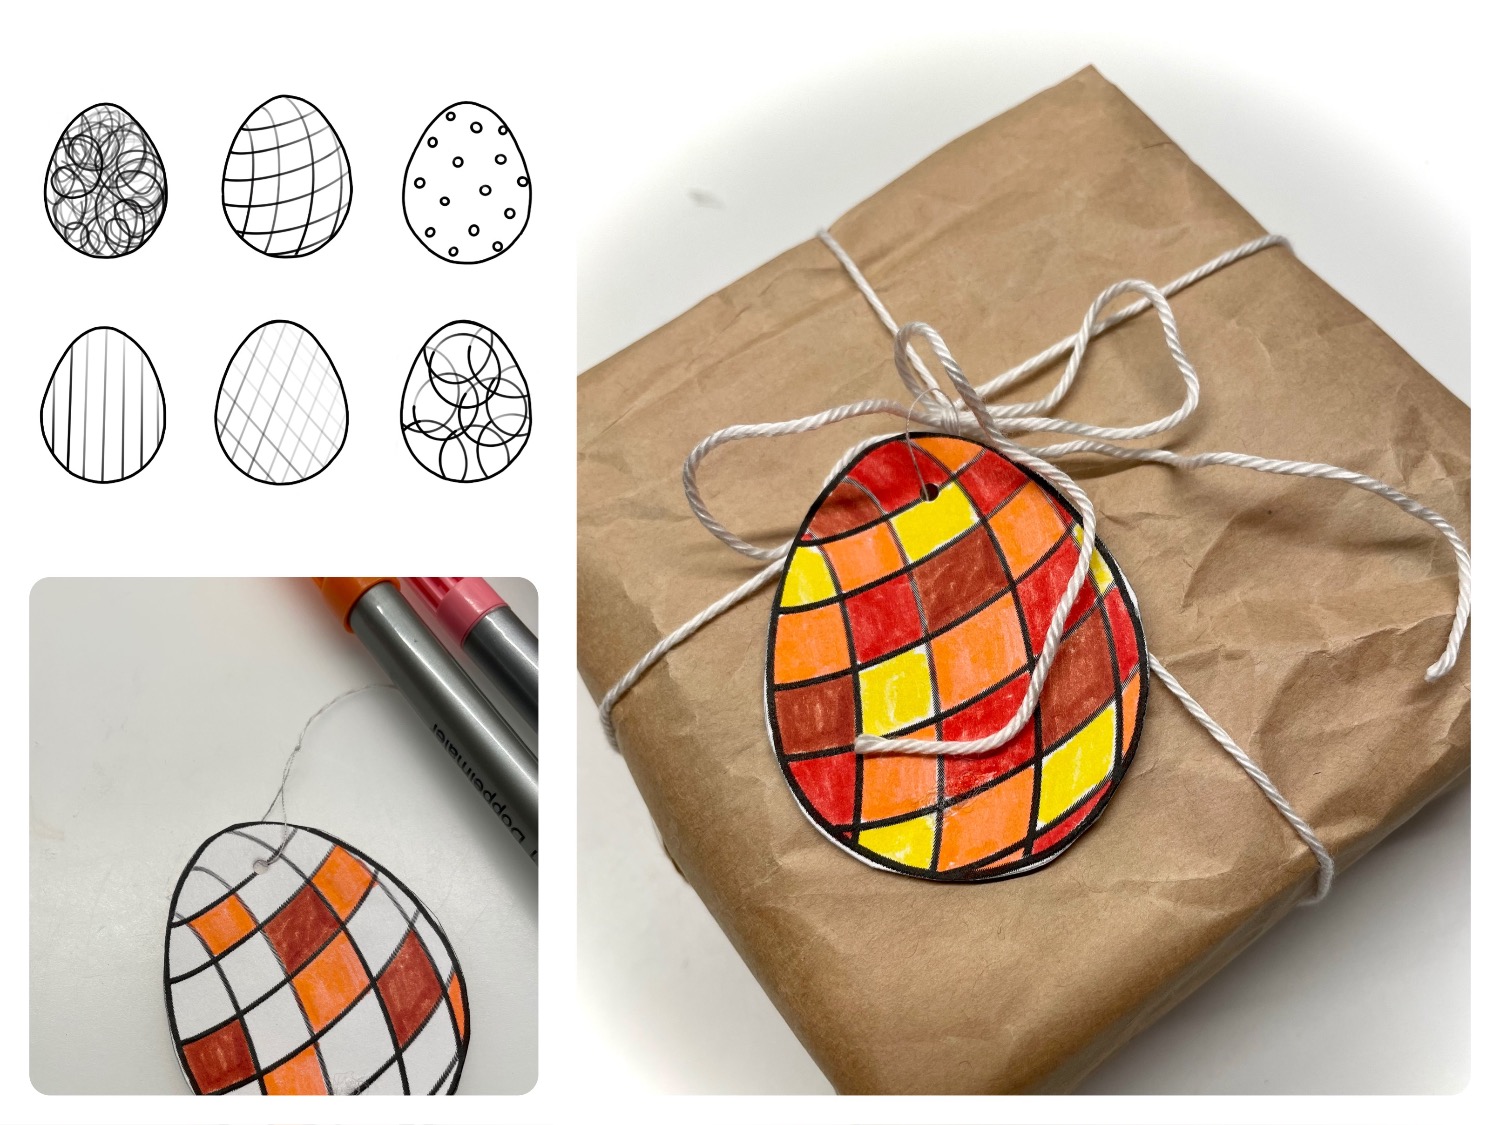
These simple eggs are suitable as a gift pendant. They are made very quickly and look pretty. For an Easter greeting or as a name tag they beautify every gift. Simply print out the templates, cut out, hang up! So Easter can come and also as a last minute idea this craft is implemented very quickly.
Try it out! Have fun!
Media Education for Kindergarten and Hort

Relief in everyday life, targeted promotion of individual children, independent learning and - without any pre-knowledge already usable by the youngest!
Print the template first.

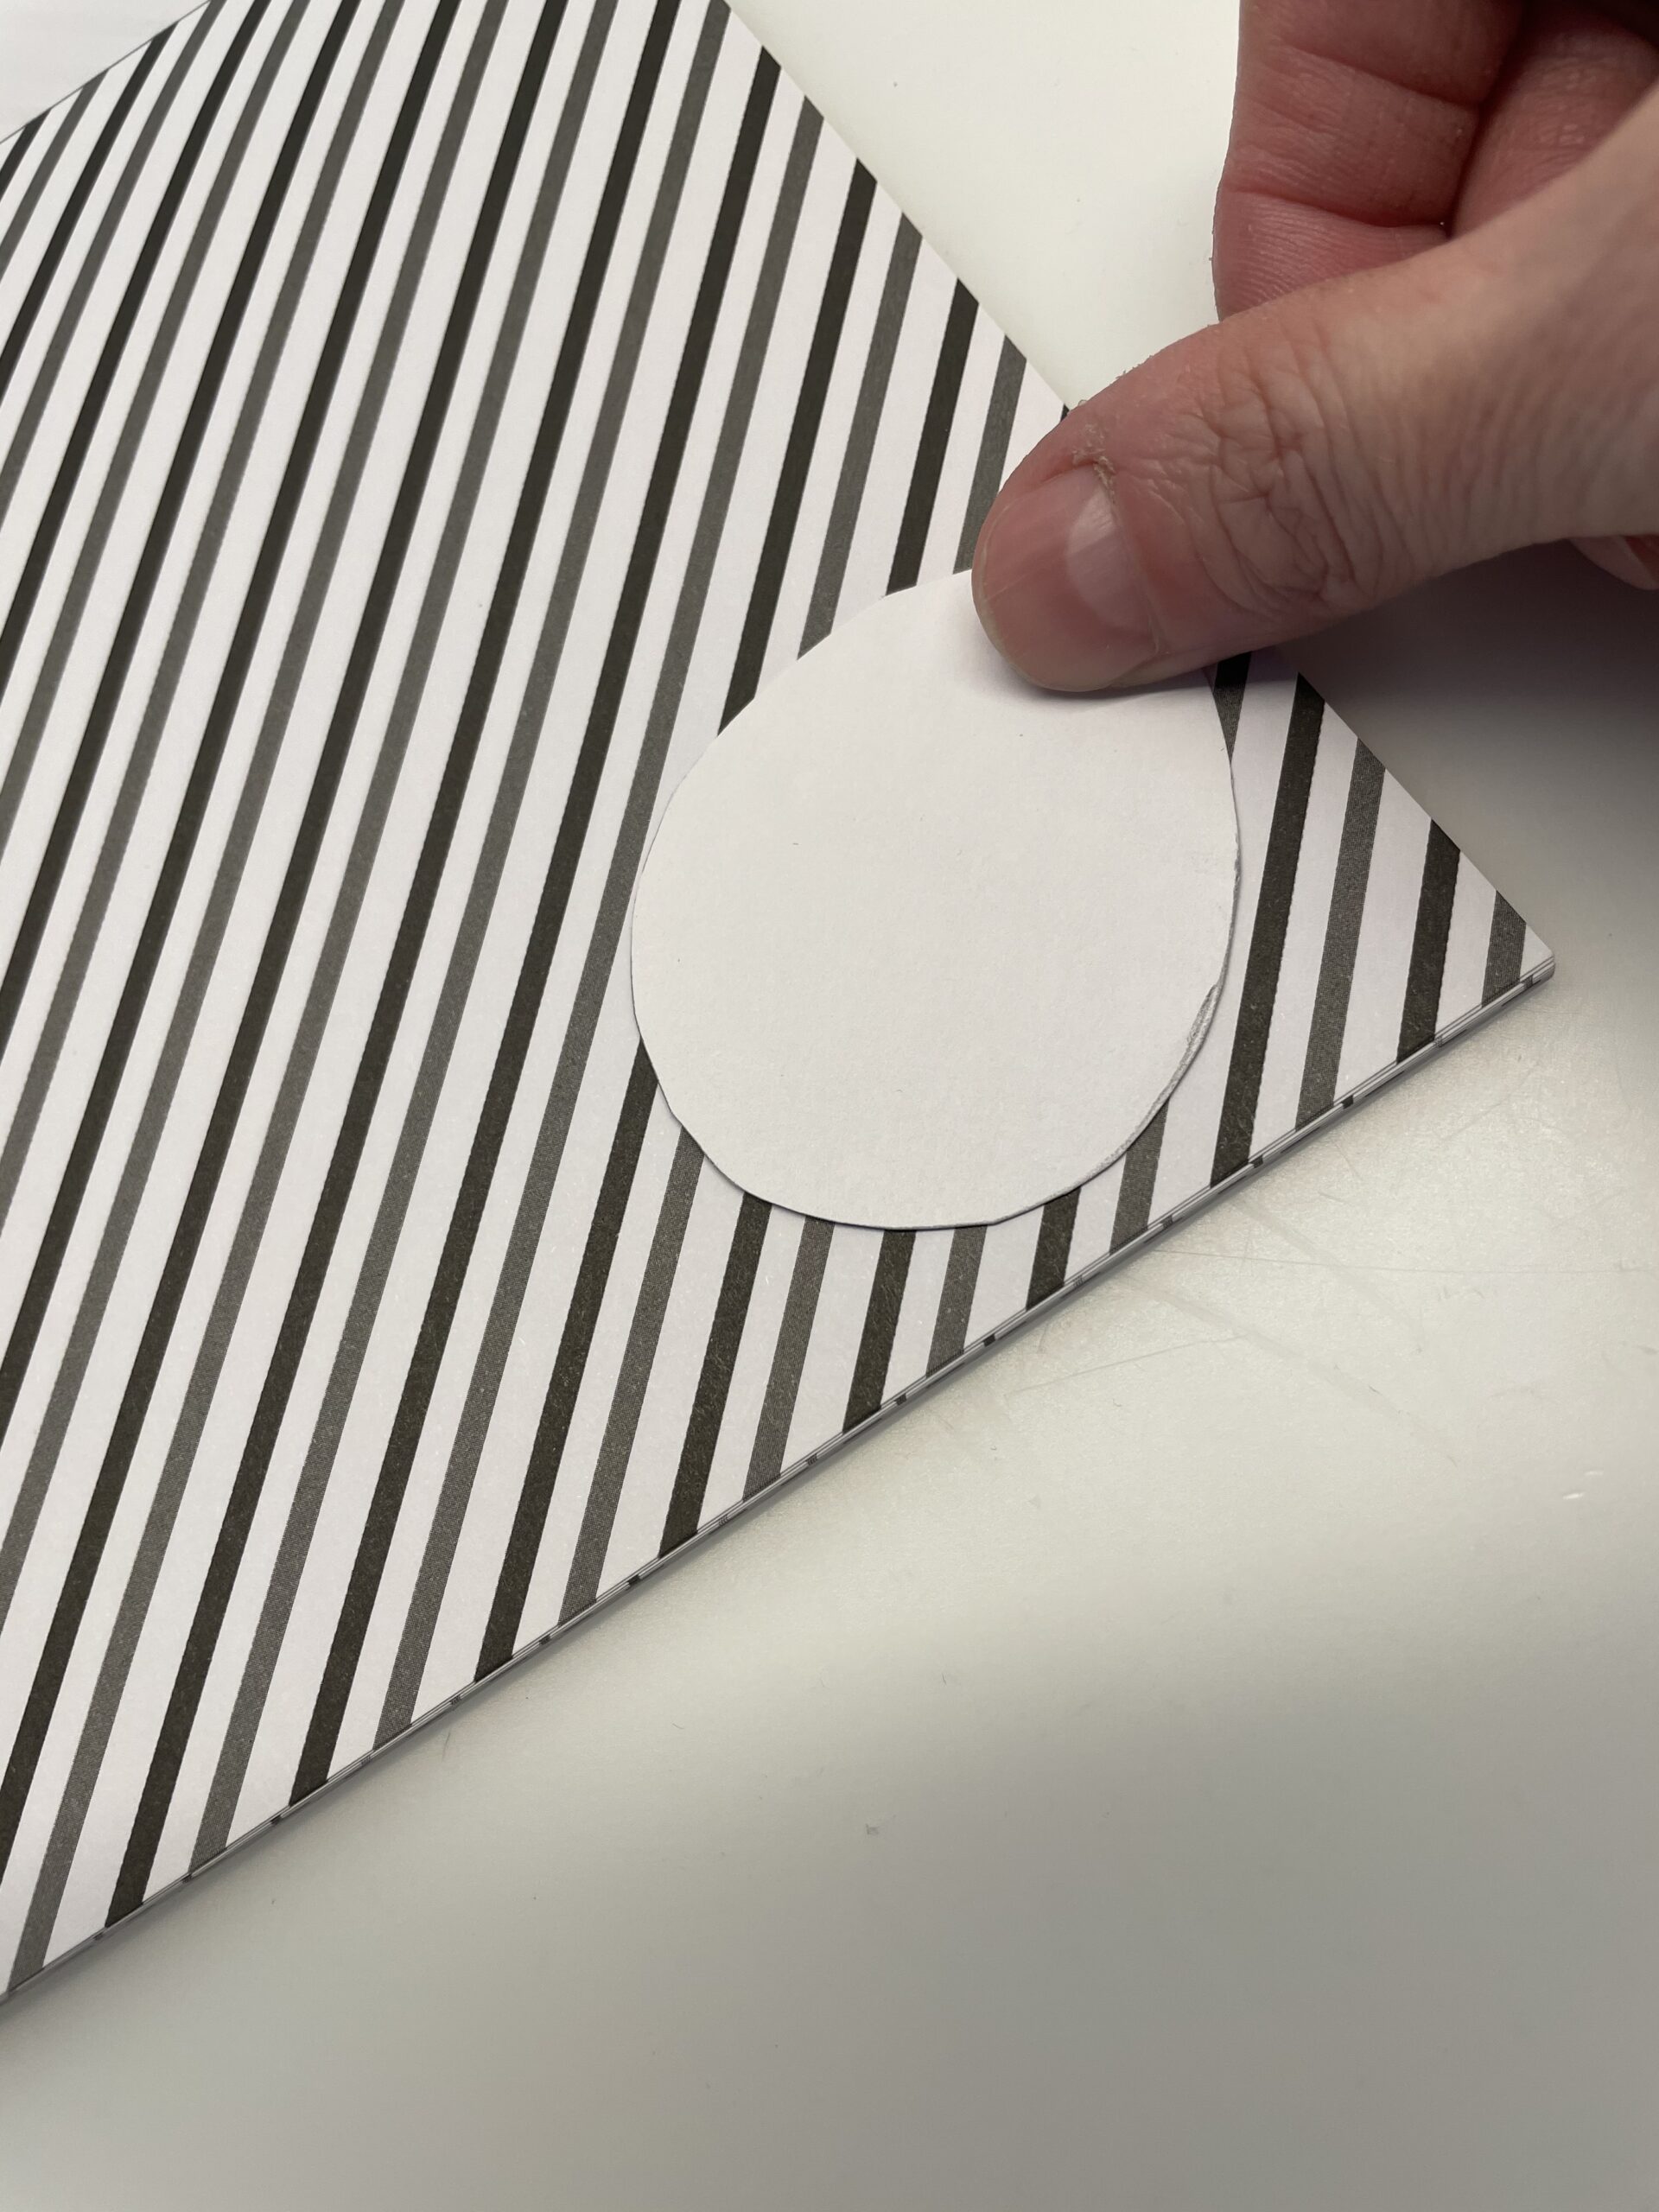
Transfer the template to a motif paper.
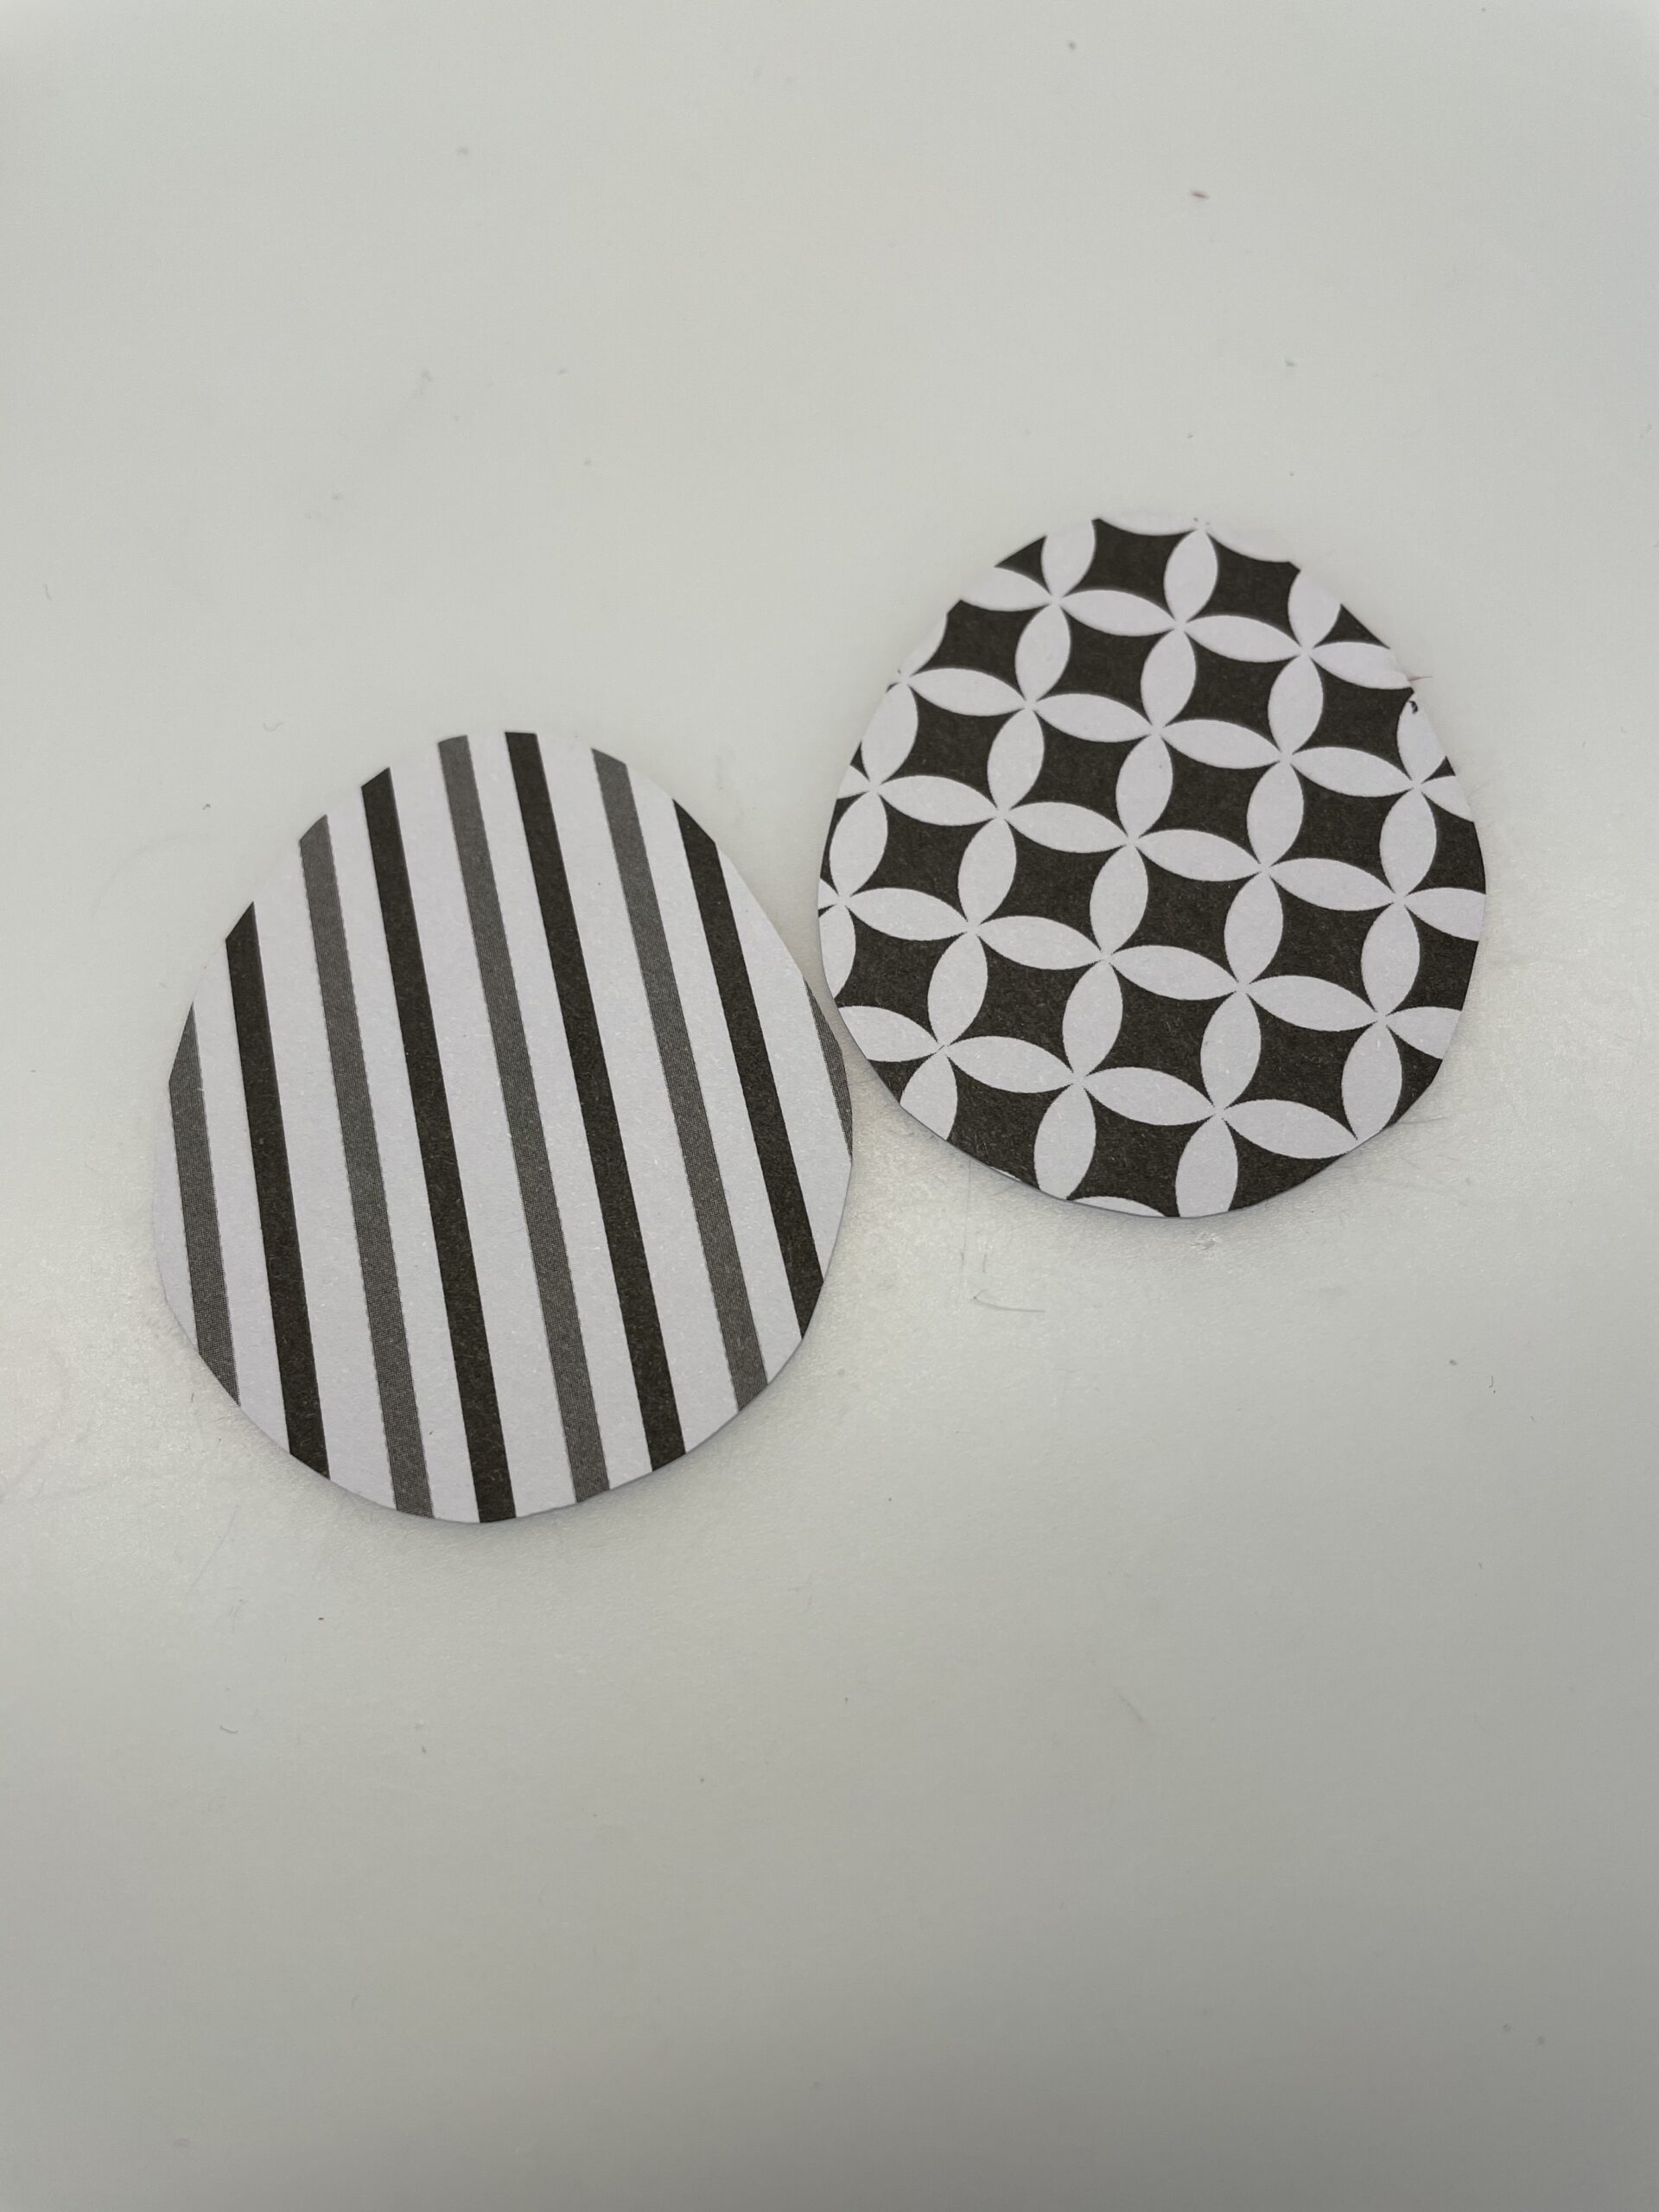
Cut out the egg afterwards.
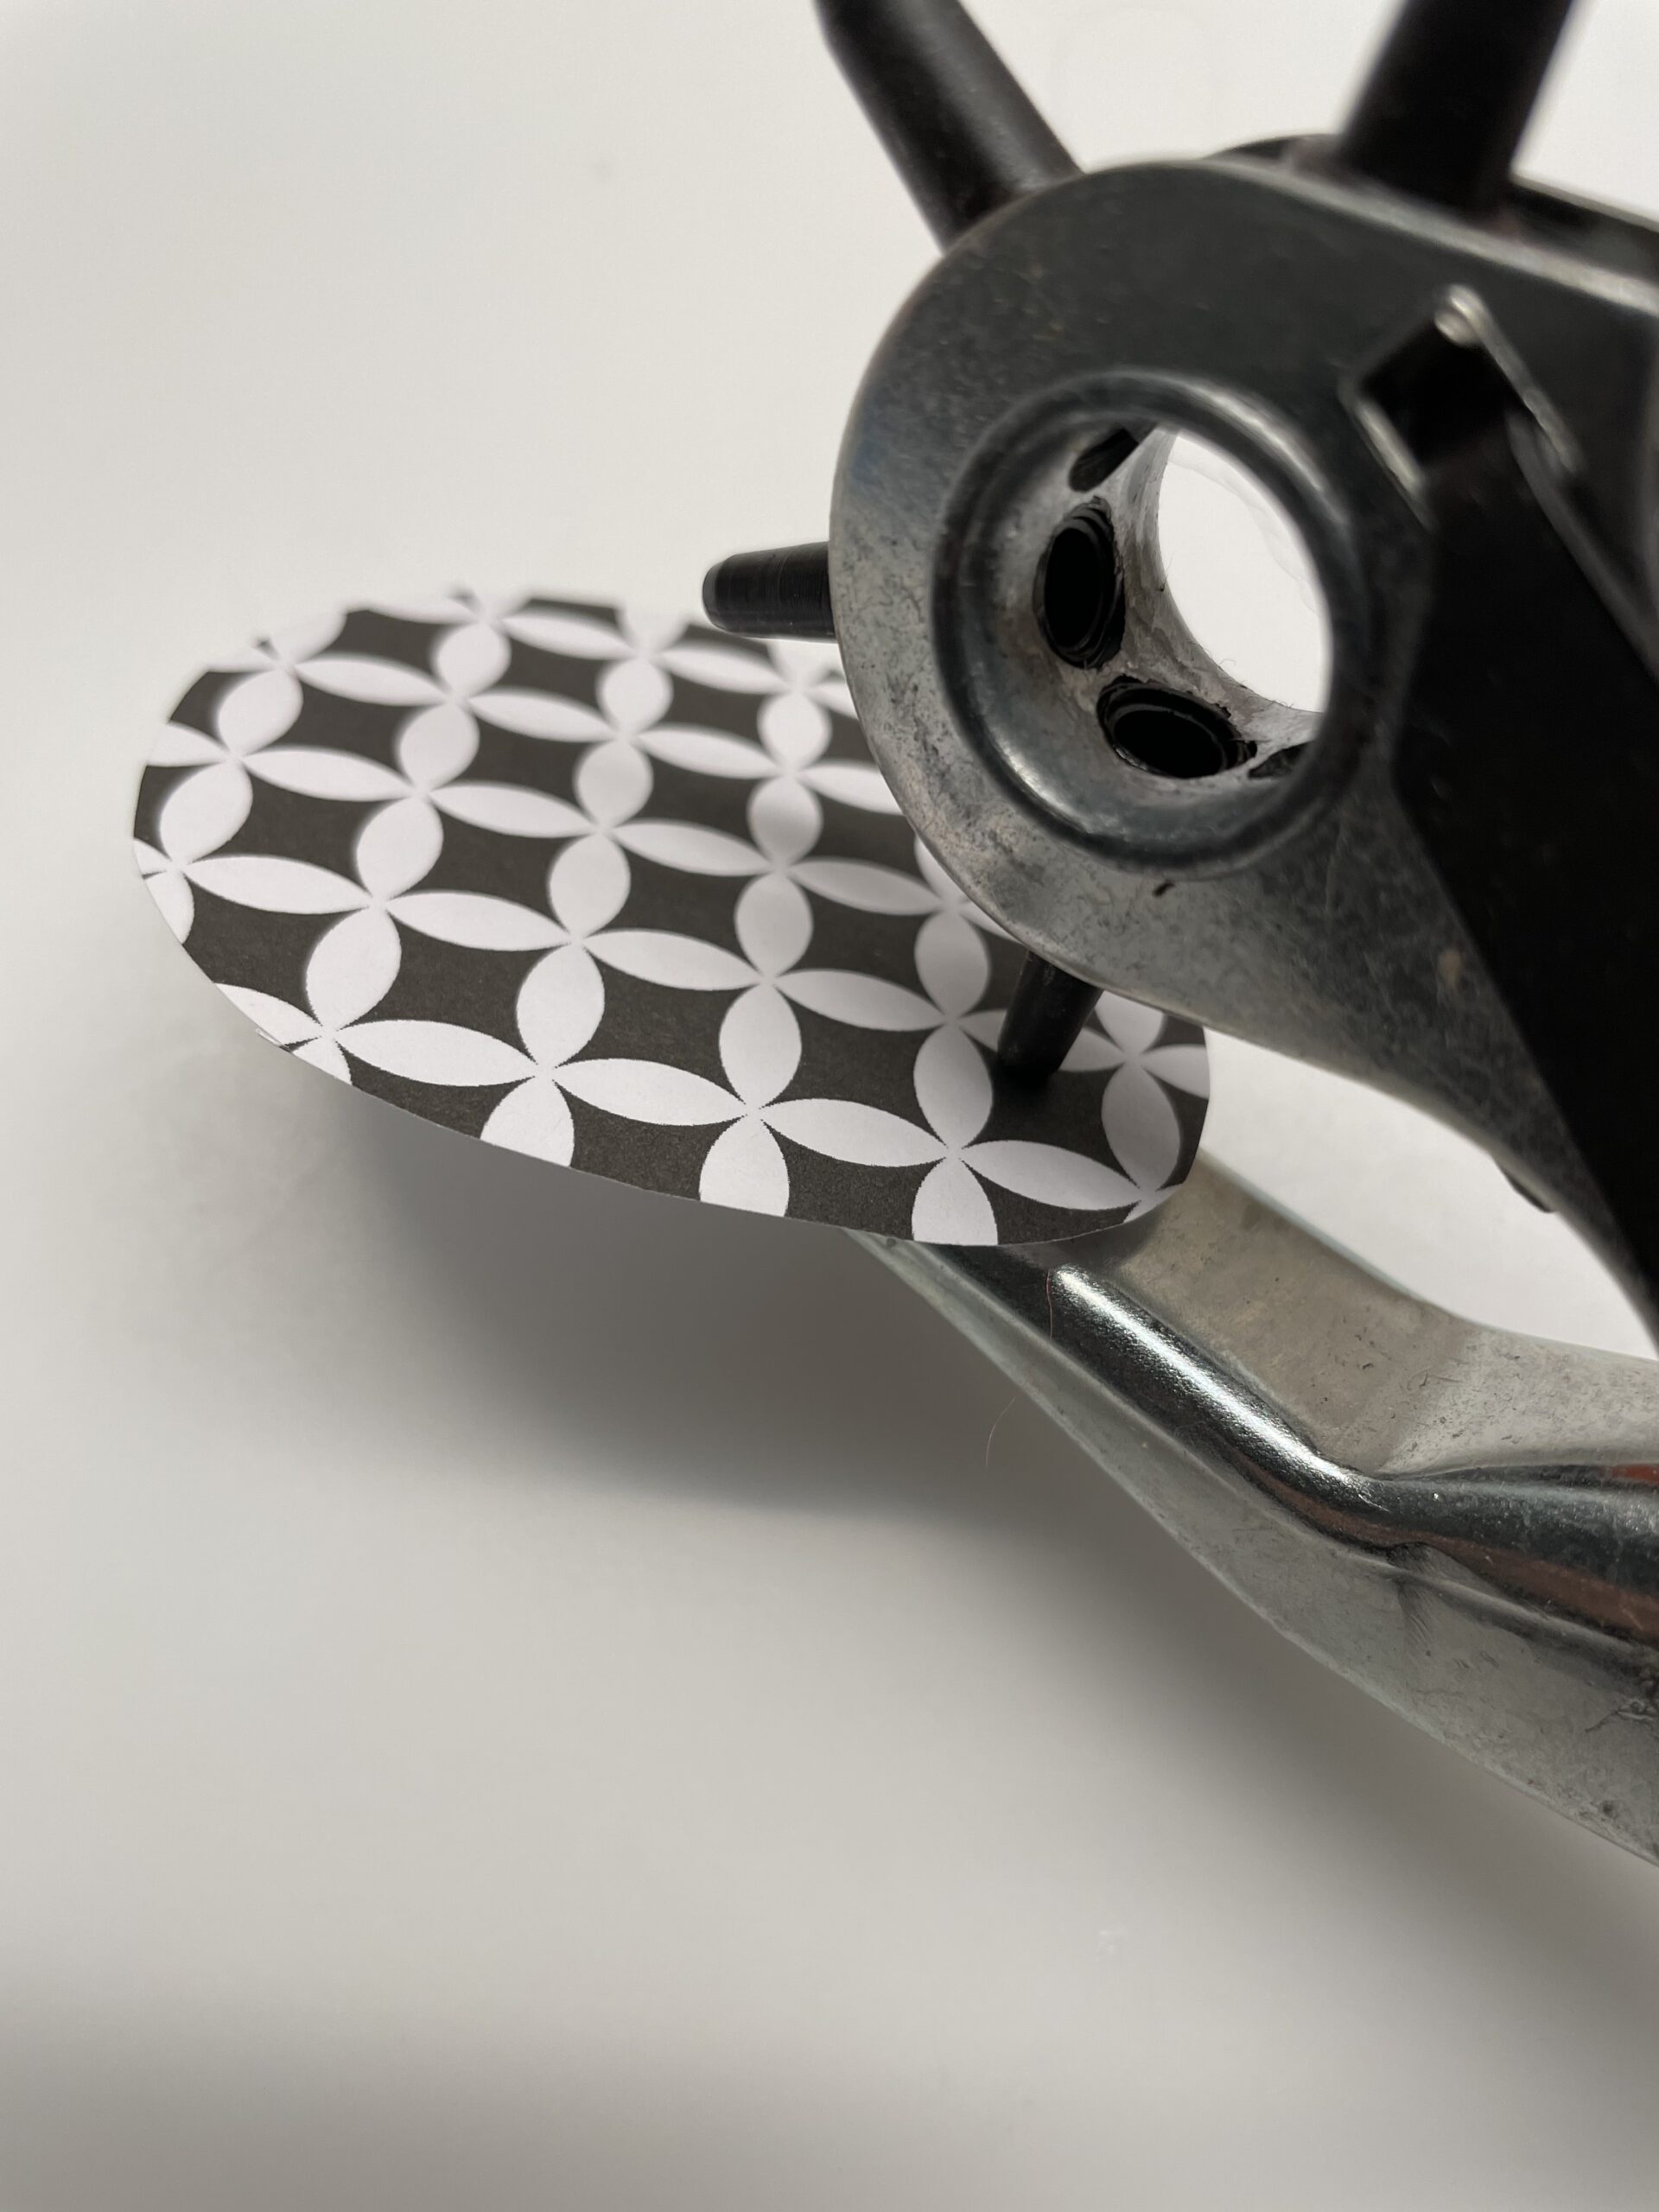
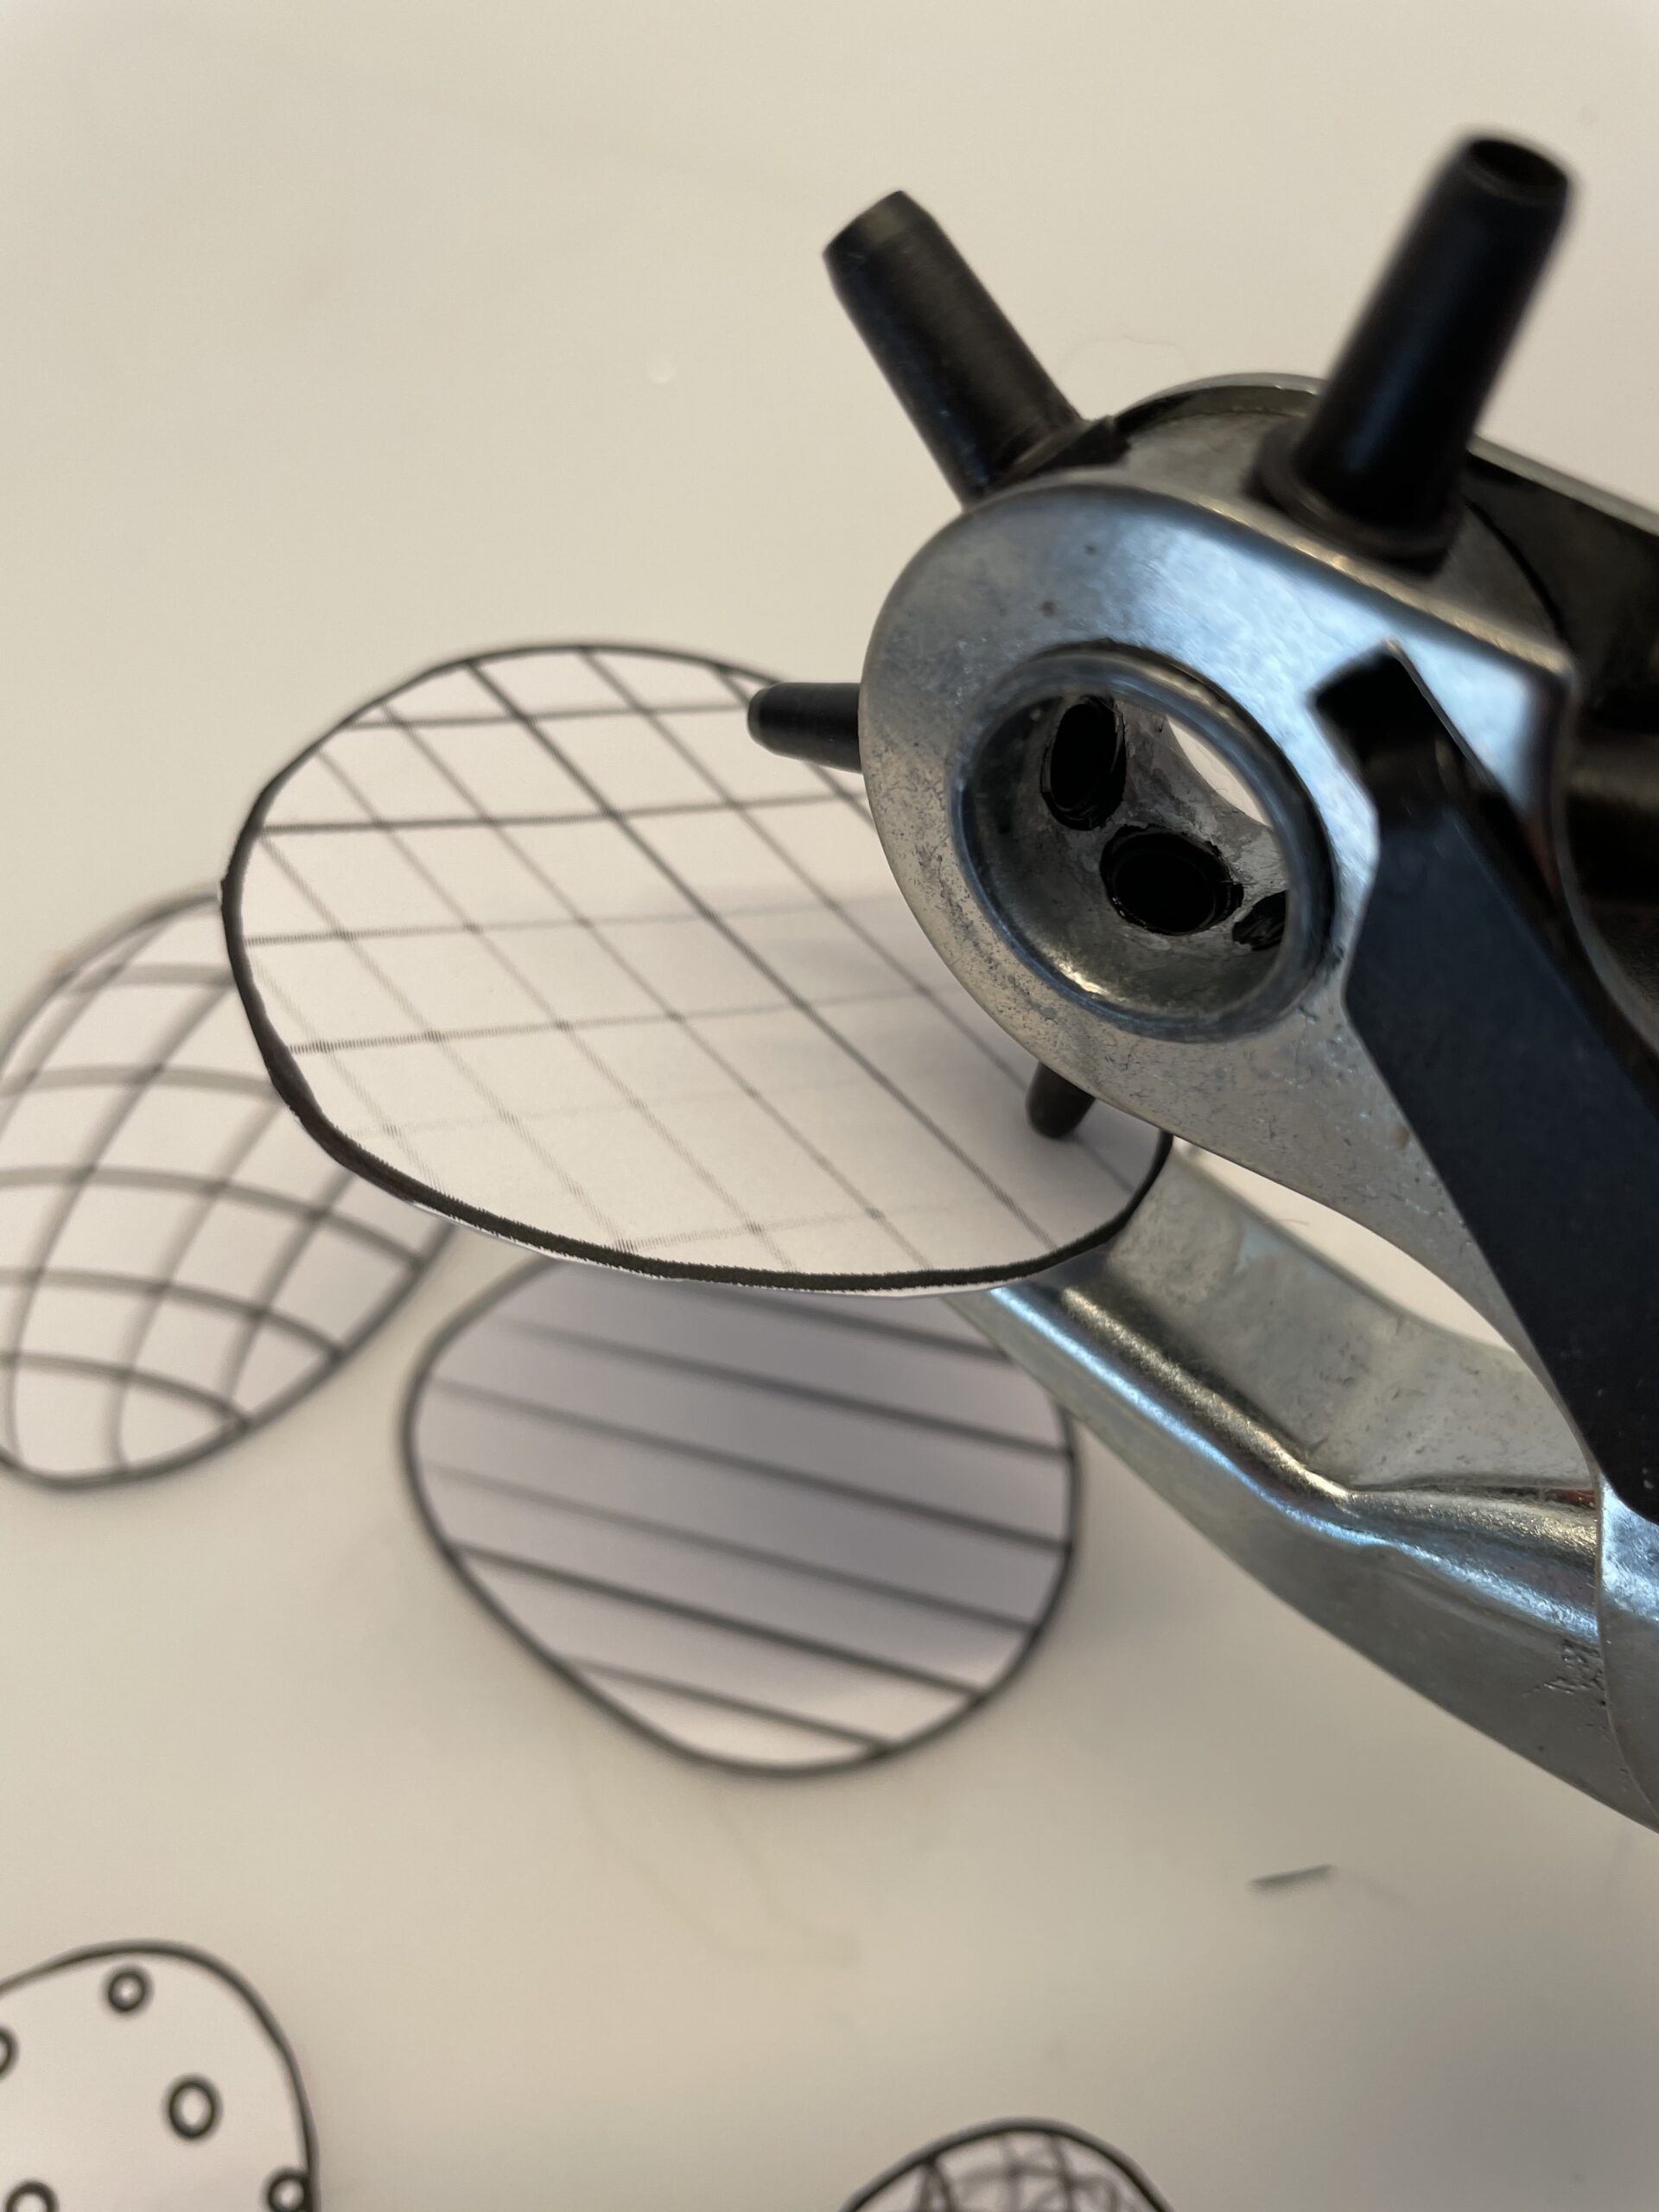
With the punched pliers you punch into the sharper rounding of the eggs.
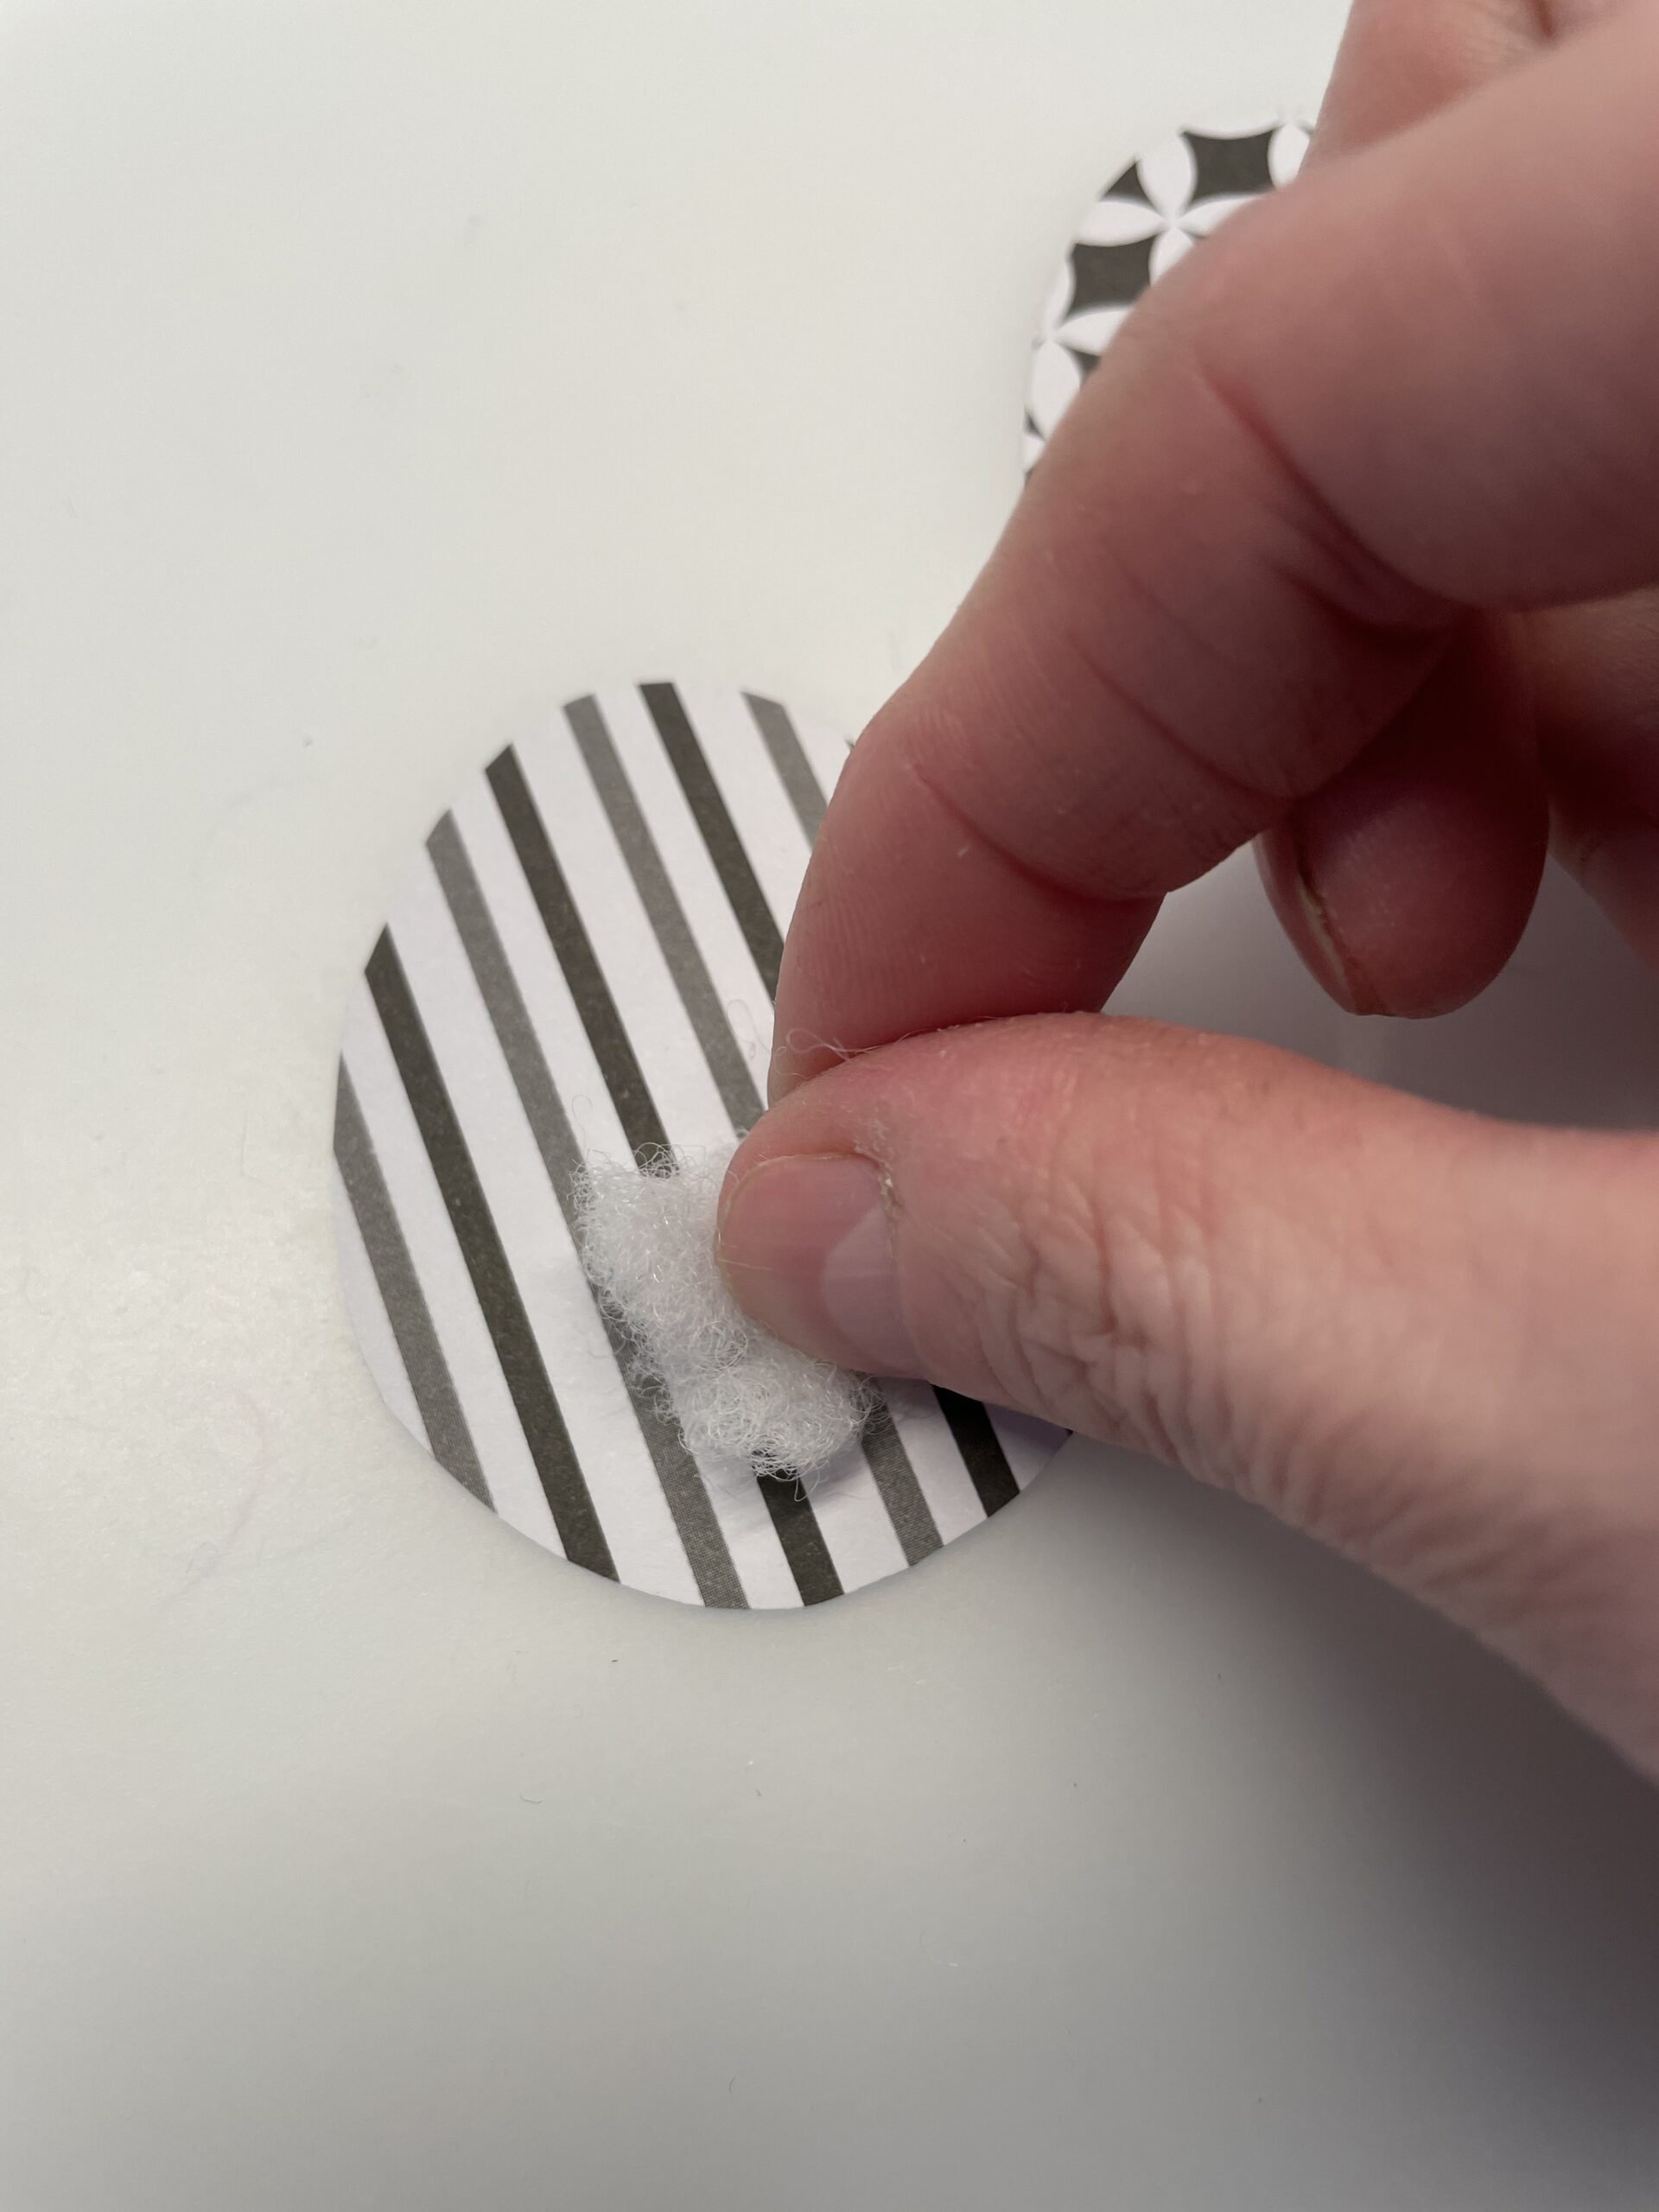
Then glues a small cotton ball to the lower end of the eggs.
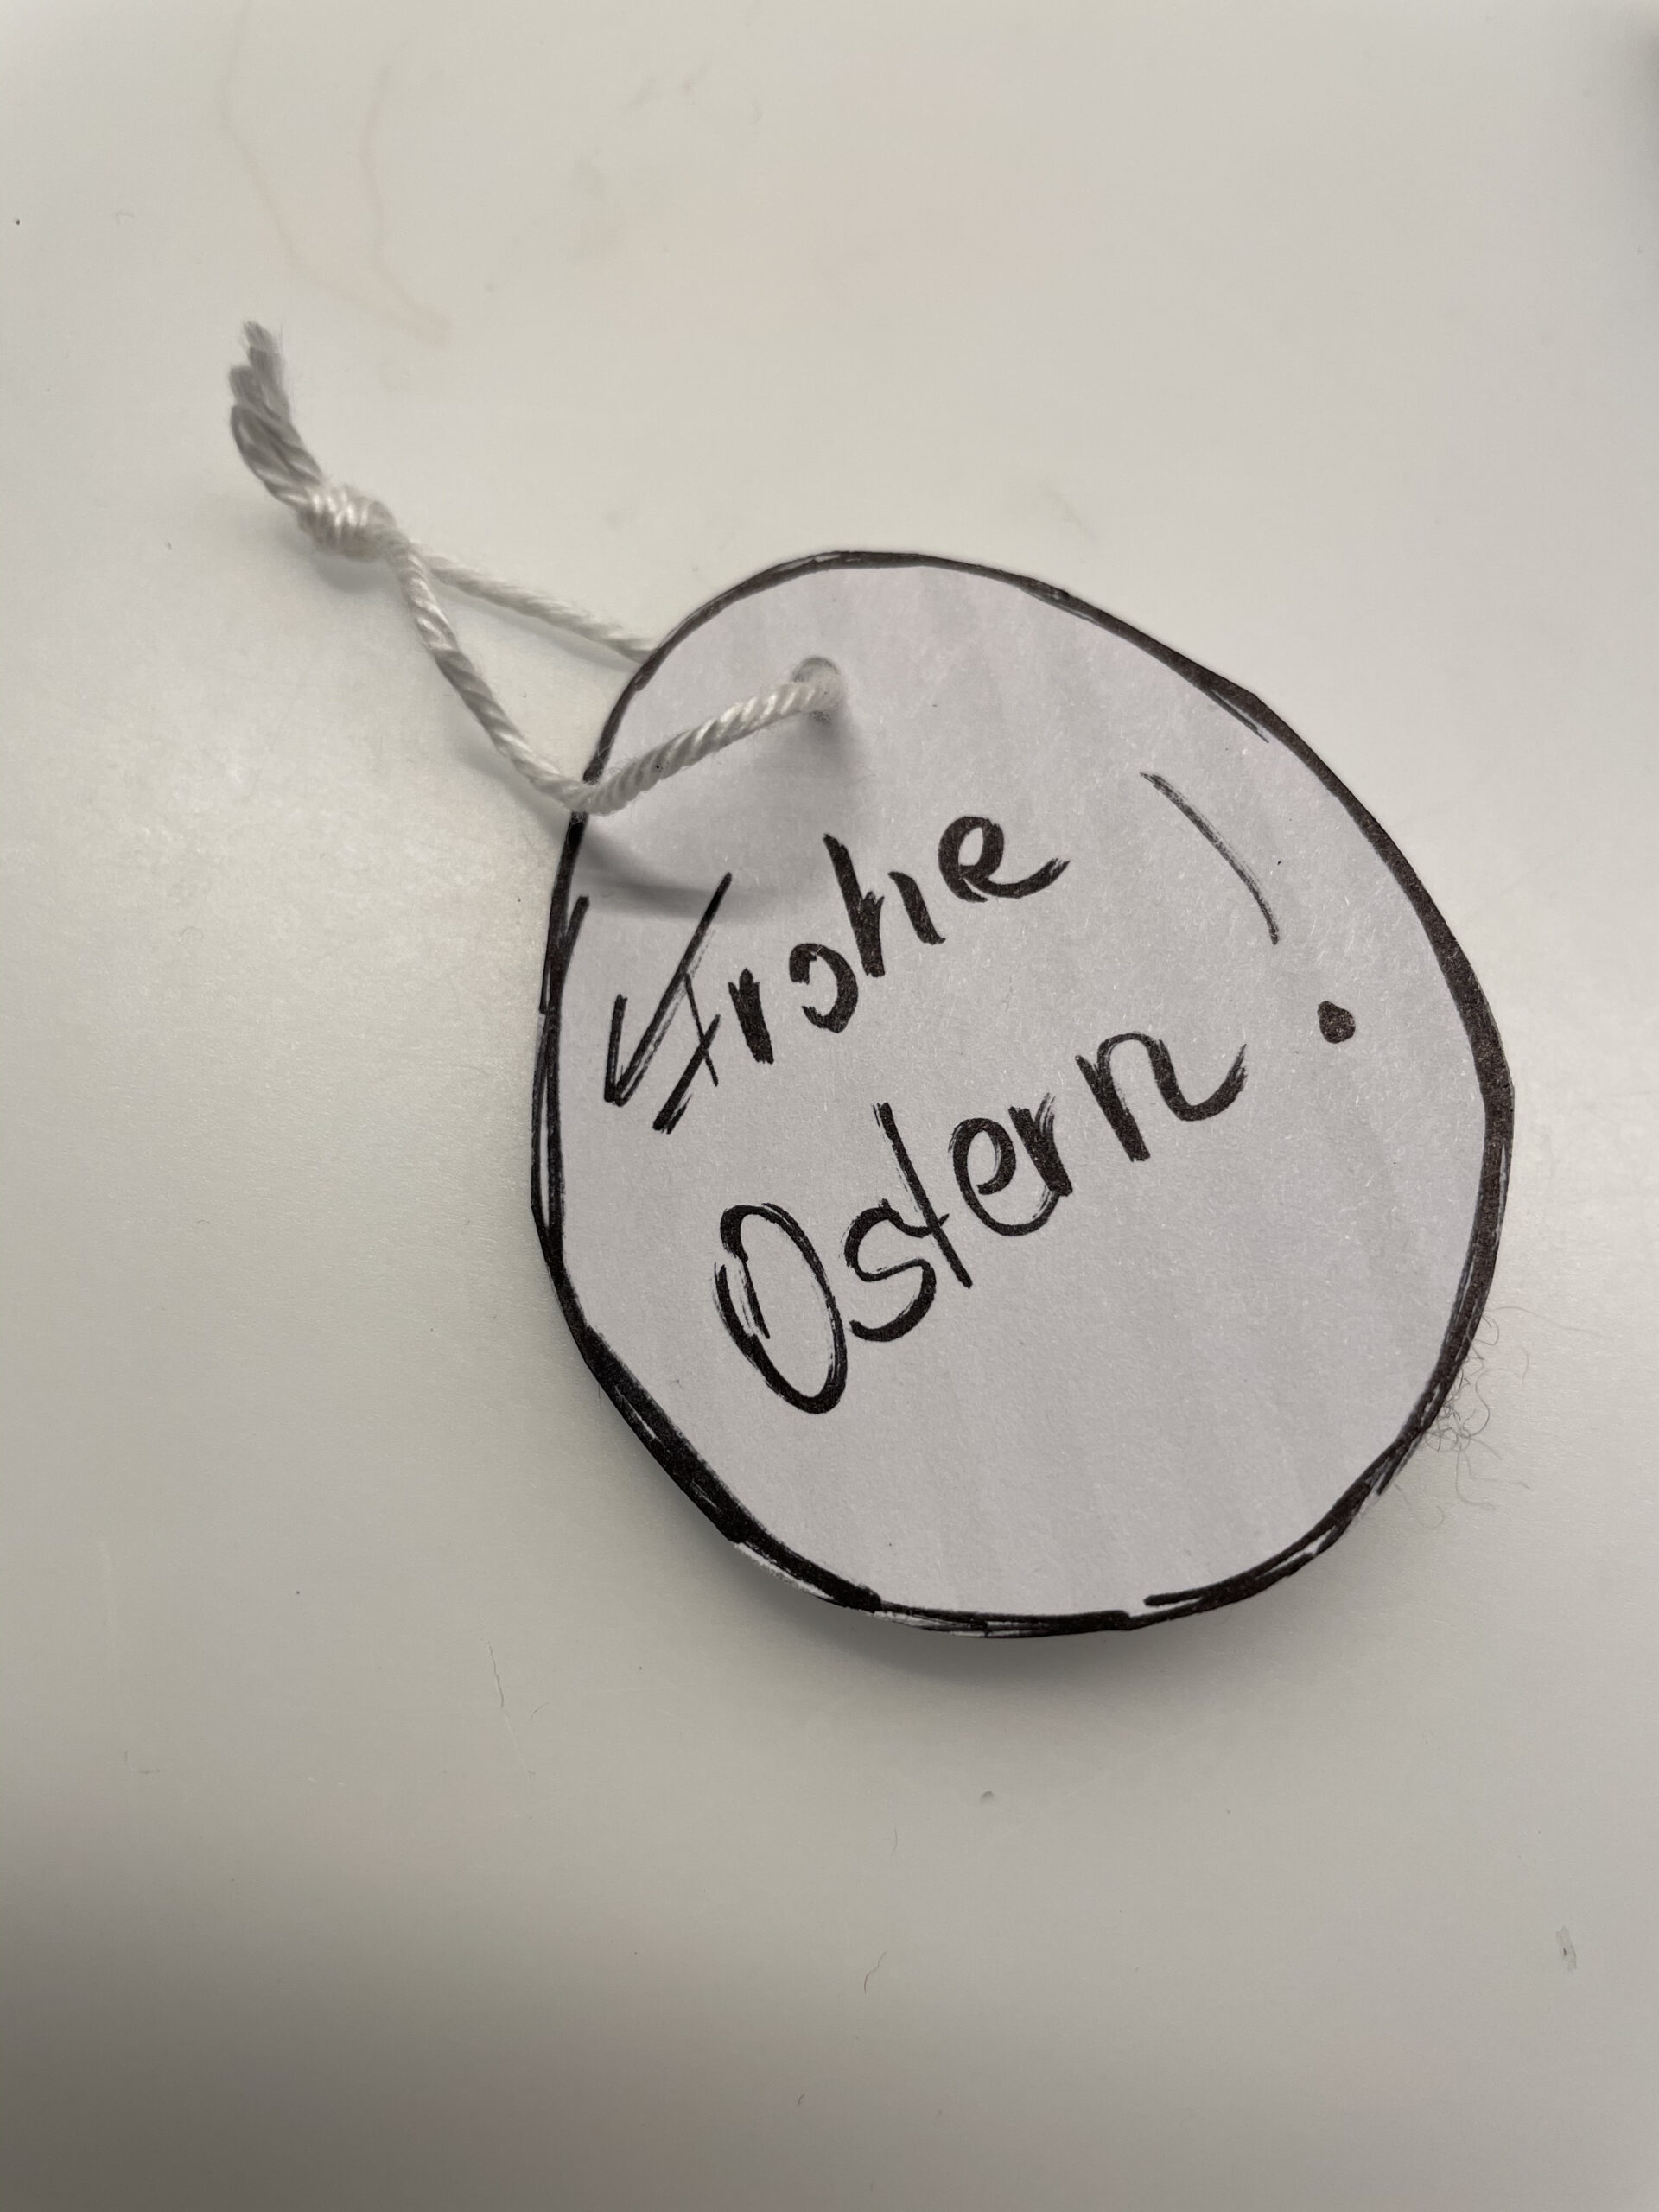
Now you thread a wool thread through the hole and knot the ends together.

Label your egg pendant on the back with an Easter greeting or the name of the recipient.
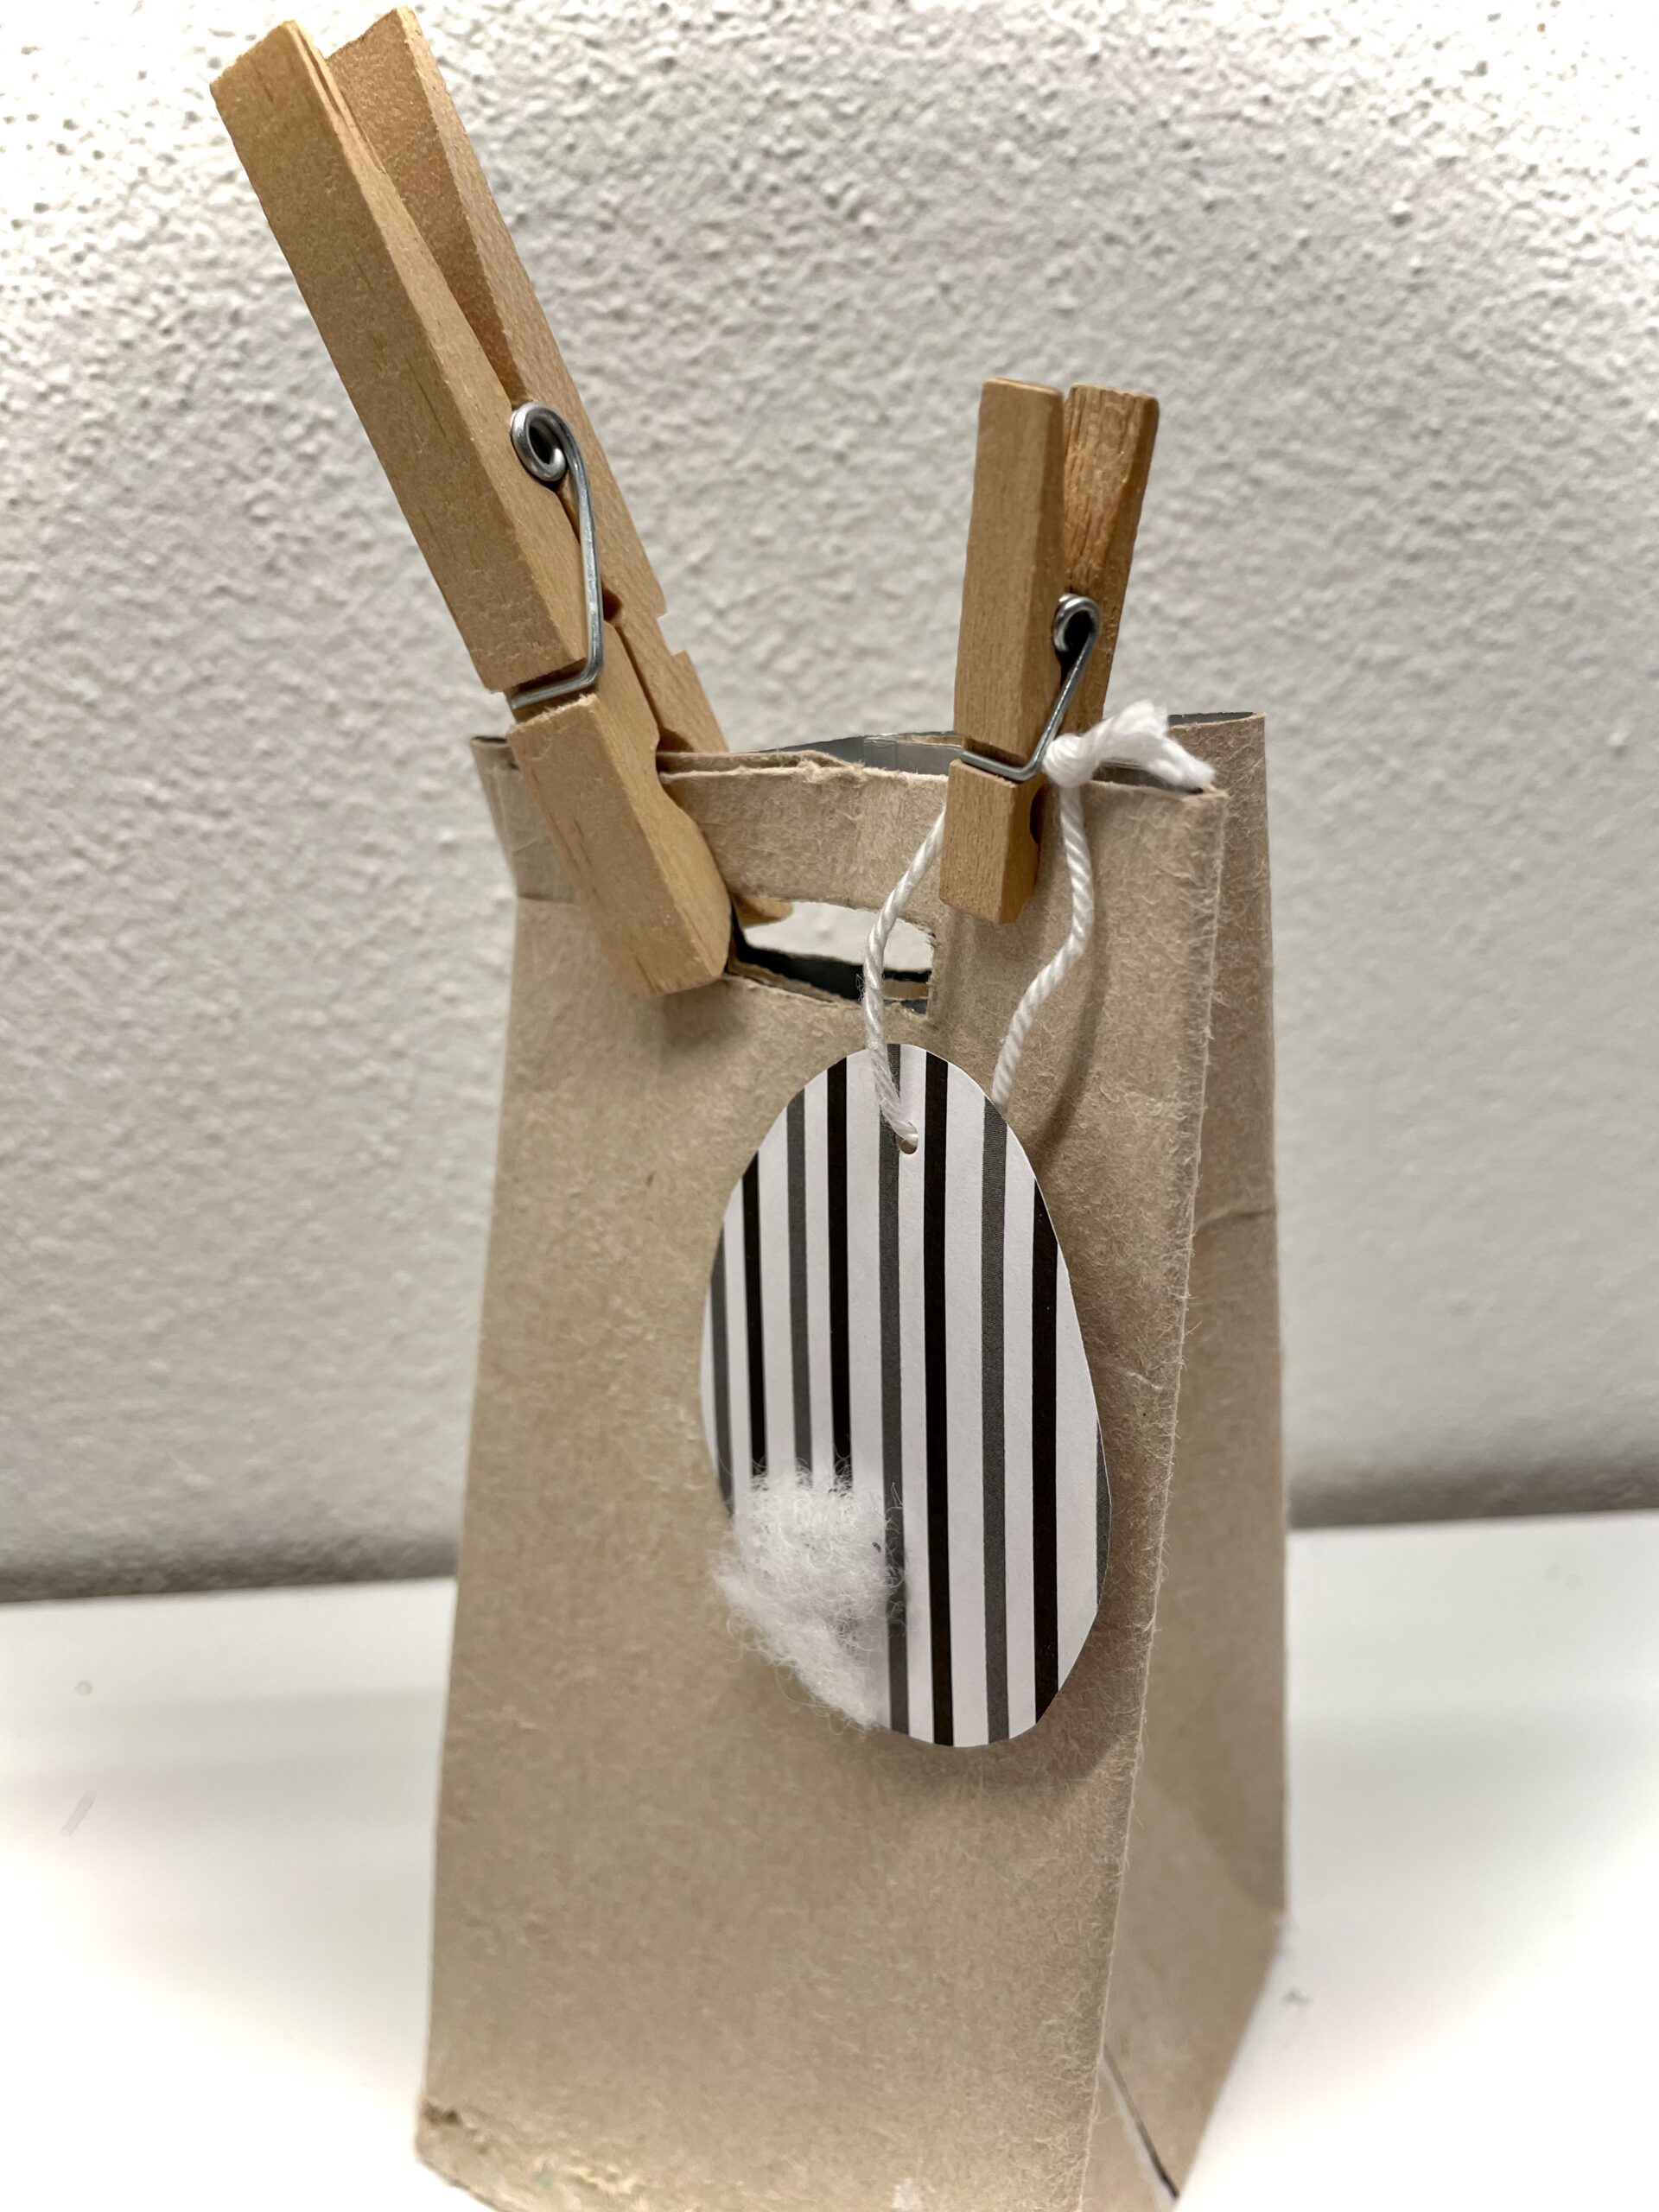
Now attach the pendant to your gift.

Or you could attach it to your gift bag.
Enjoy crafting and giving away!
Print the template on a firmer paper.

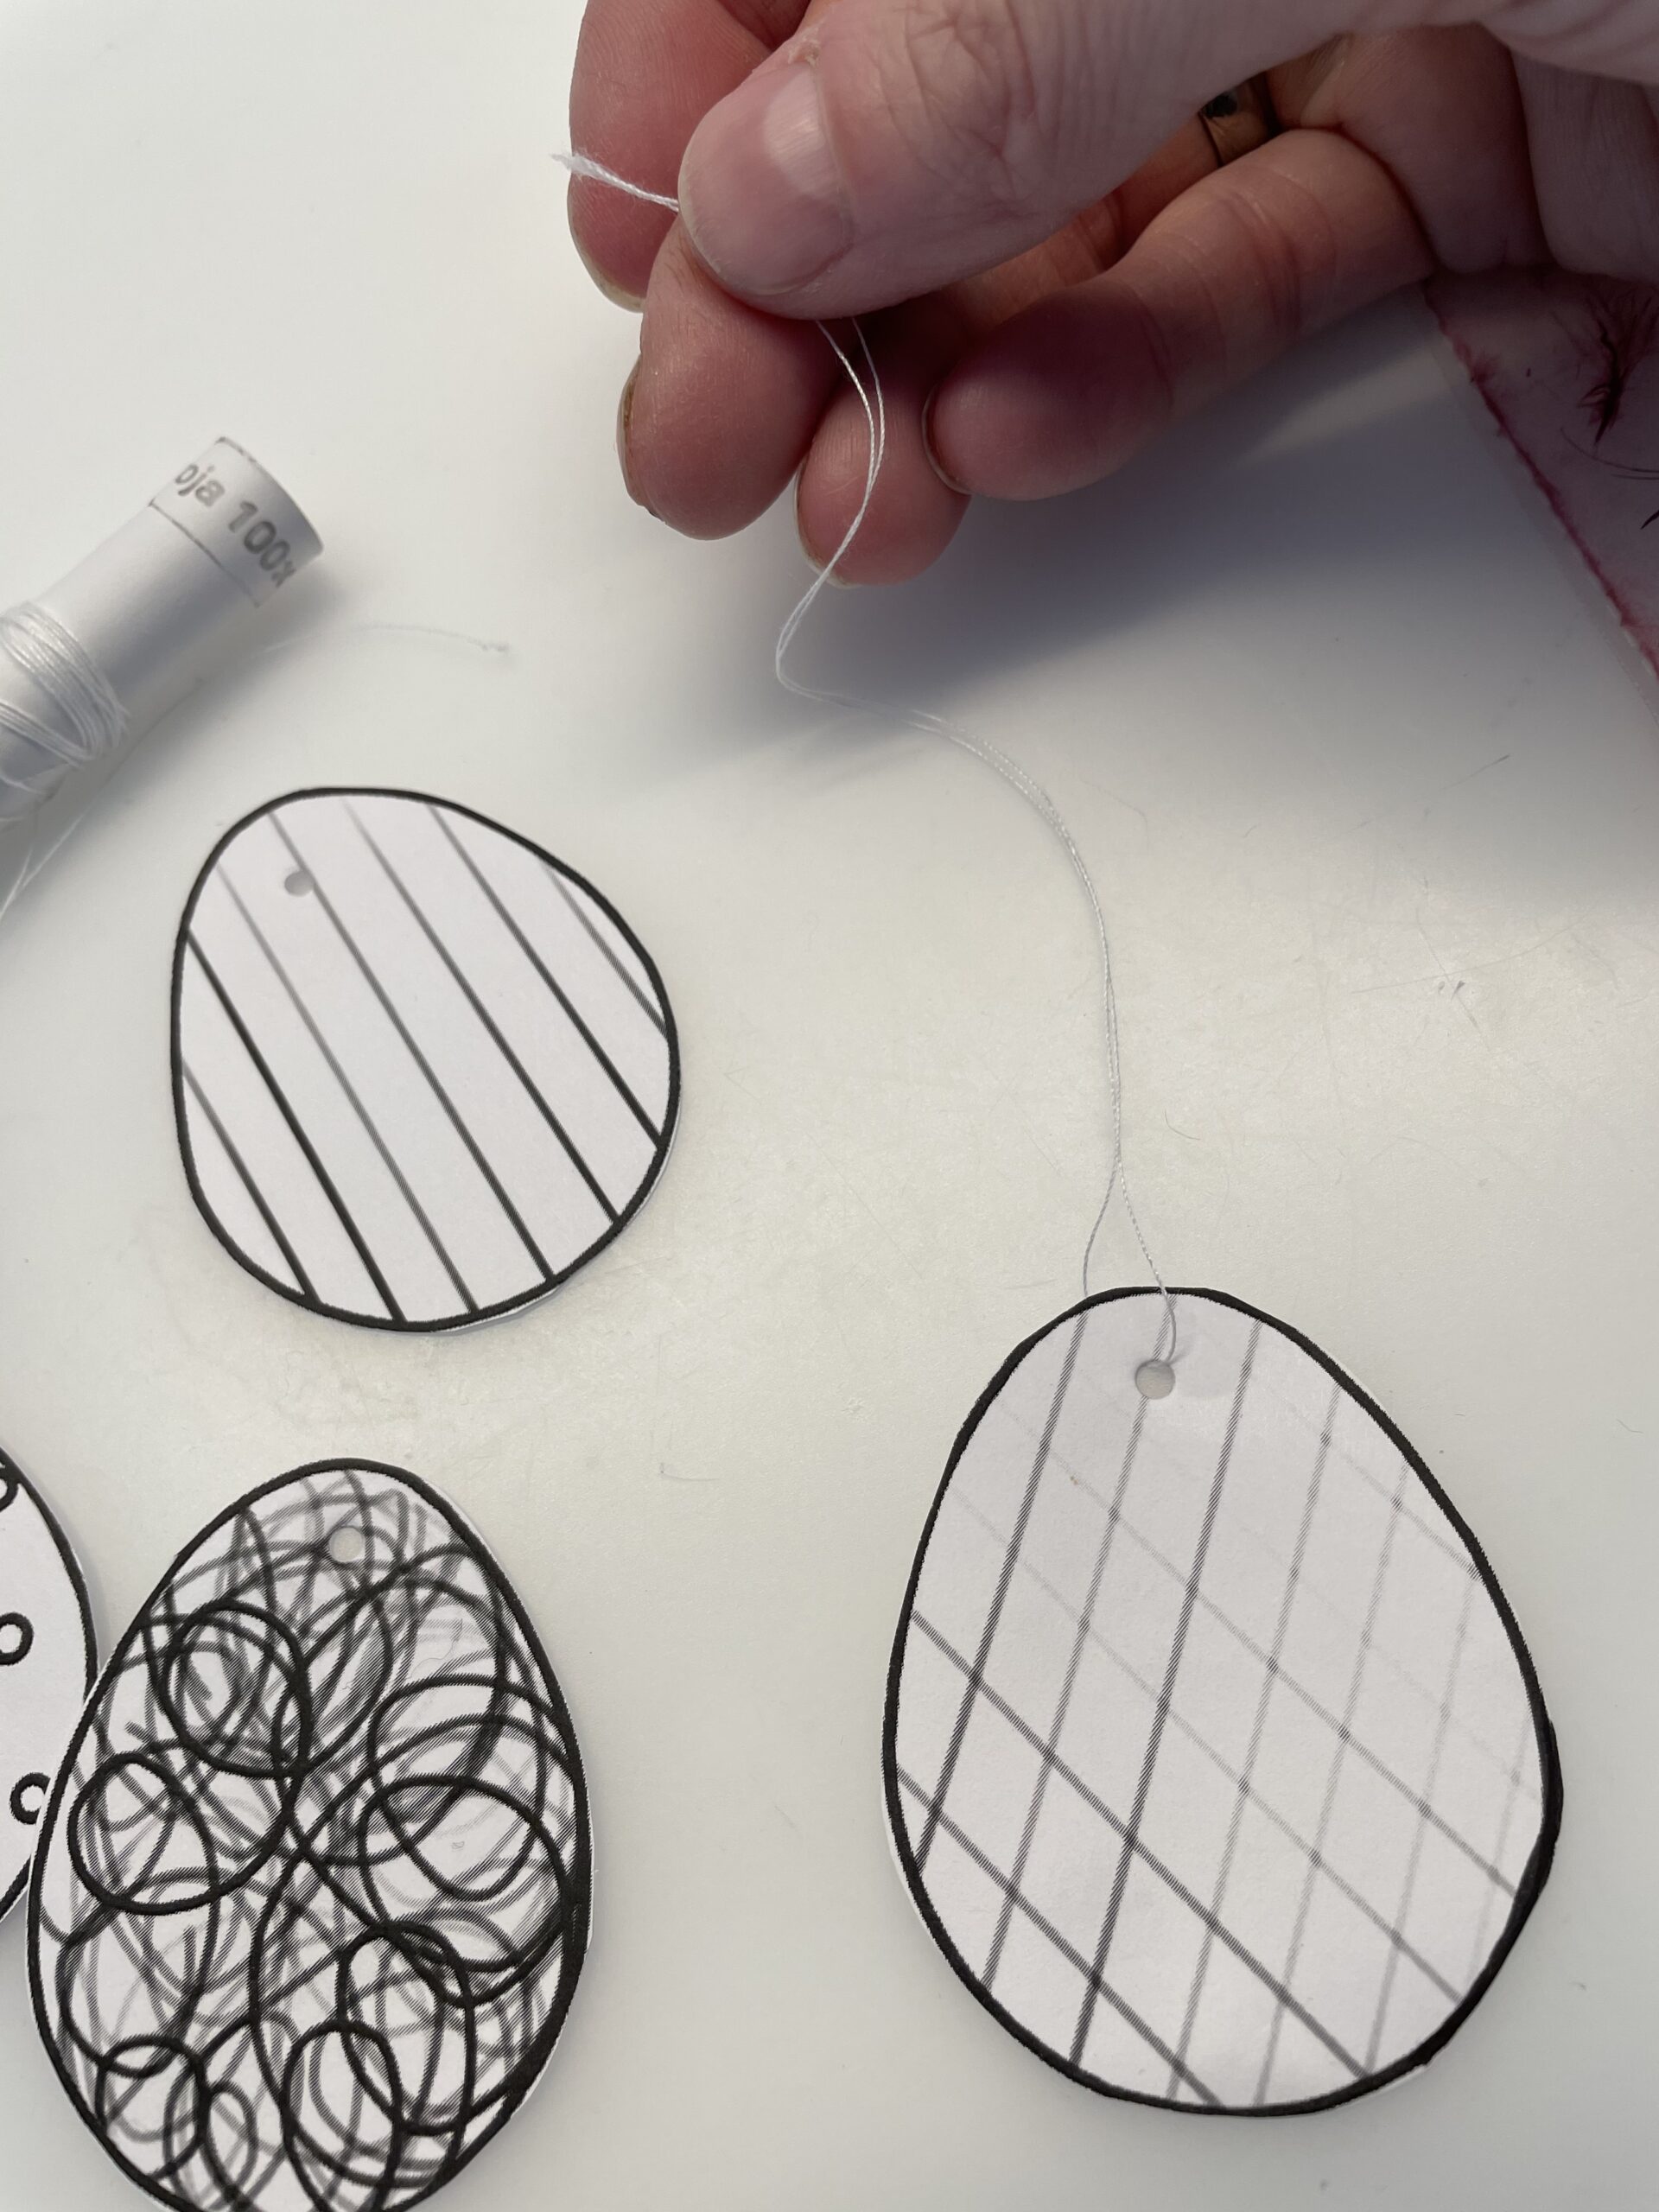
Then cut out the individual eggs with the scissors.

Now you punch the eggs with the punched tongs. Alternatively, you can pierce a hole with a needle. Attention: Risk of injury, let us help you with this!
Now thread a thread through the holes and knot both ends together.
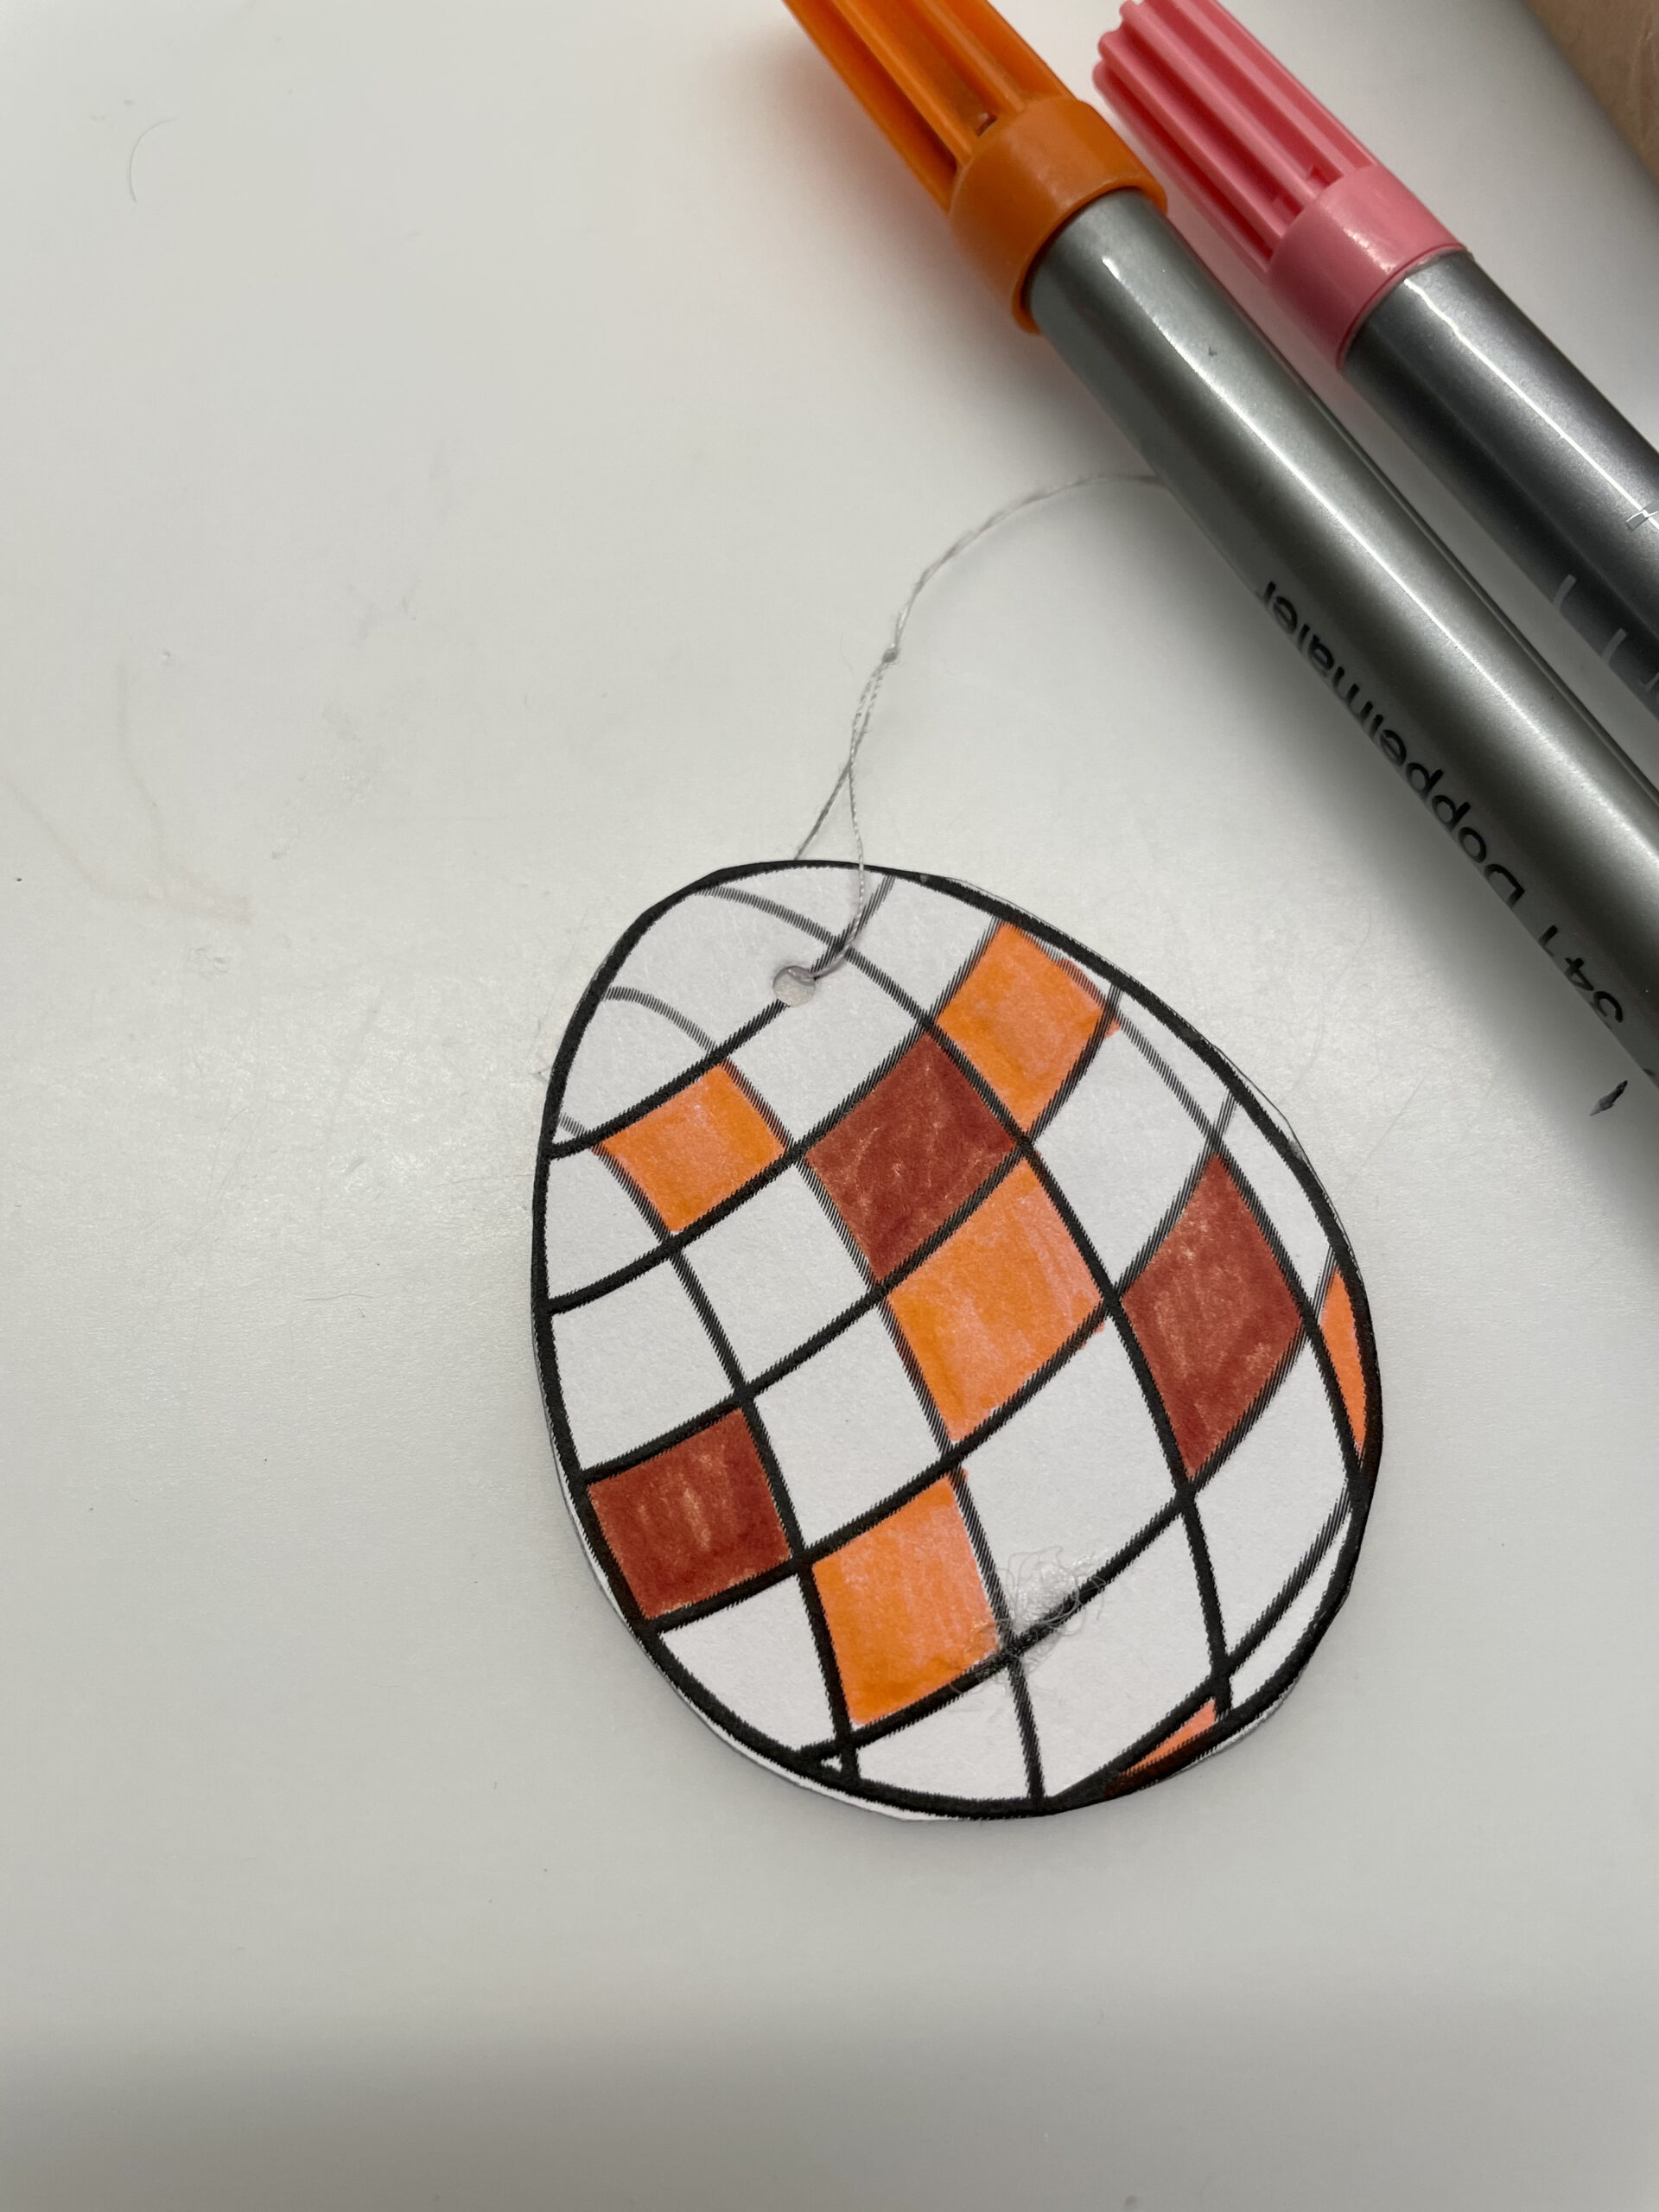
Then you paint your eggs with markers.
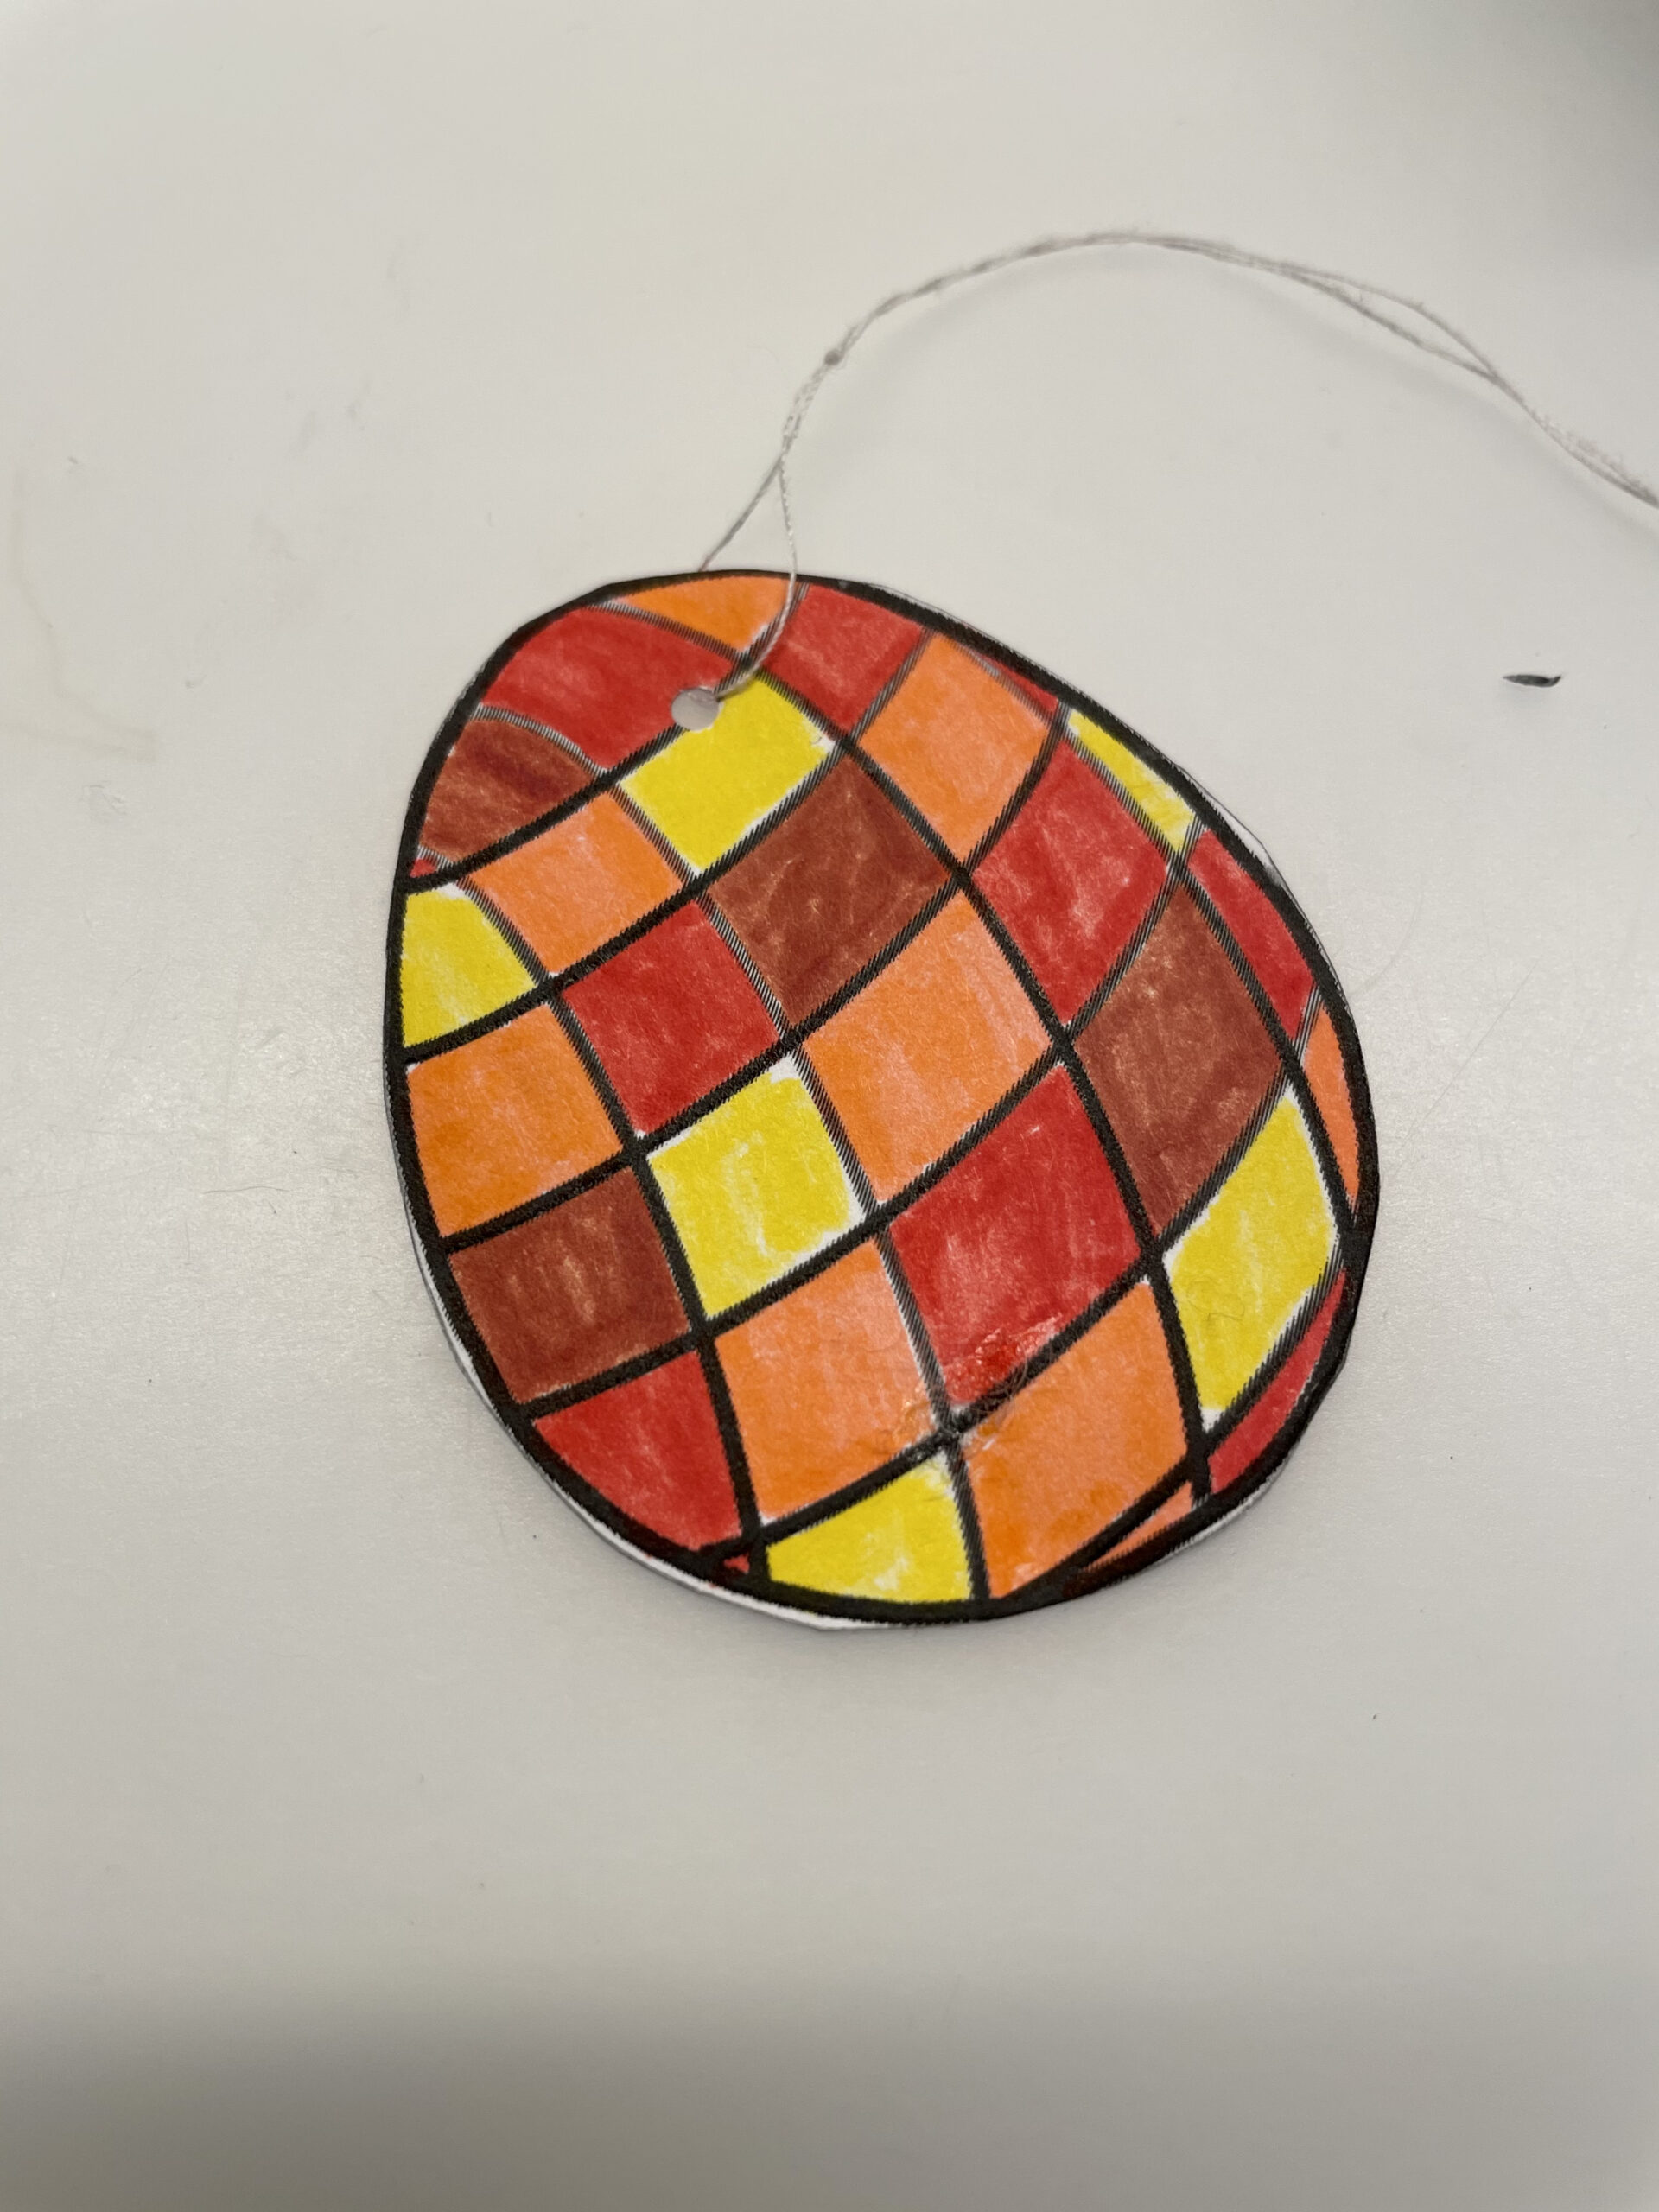
Marks the back with the name or an Easter greeting.

Finally places the gift pendant on the gift.

Stay creative and enjoy crafting!
Materials
Directions
Print the template first.
Transfer the template to a motif paper.
Cut out the egg afterwards.
With the punched pliers you punch into the sharper rounding of the eggs.
Then glues a small cotton ball to the lower end of the eggs.
Now you thread a wool thread through the hole and knot the ends together.
Label your egg pendant on the back with an Easter greeting or the name of the recipient.
Now attach the pendant to your gift.
Or you could attach it to your gift bag.
Enjoy crafting and giving away!
Print the template on a firmer paper.
Then cut out the individual eggs with the scissors.
Now you punch the eggs with the punched tongs. Alternatively, you can pierce a hole with a needle. Attention: Risk of injury, let us help you with this!
Now thread a thread through the holes and knot both ends together.
Then you paint your eggs with markers.
Marks the back with the name or an Easter greeting.
Finally places the gift pendant on the gift.
Stay creative and enjoy crafting!
Follow us on Facebook , Instagram and Pinterest
Don't miss any more adventures: Our bottle mail


