Make a birthday card

AdventurerKatzi
Rating5.017.9 Thousand times & (2) DifficultyBeginner

These beautiful cards are fast and lightly crafted. They are suitable for birthday, anniversary, wedding day, for a party or as an invitation. Just adjust the lettering according to the occasion. Have fun!

Media Education for Kindergarten and Hort

Kind bastelt eine Rassel mit dem Navi
The Adventure Navi, the app for DIY projects, enables media education for the youngest.

Relief in everyday life, targeted promotion of individual children, independent learning and - without any pre-knowledge already usable by the youngest!
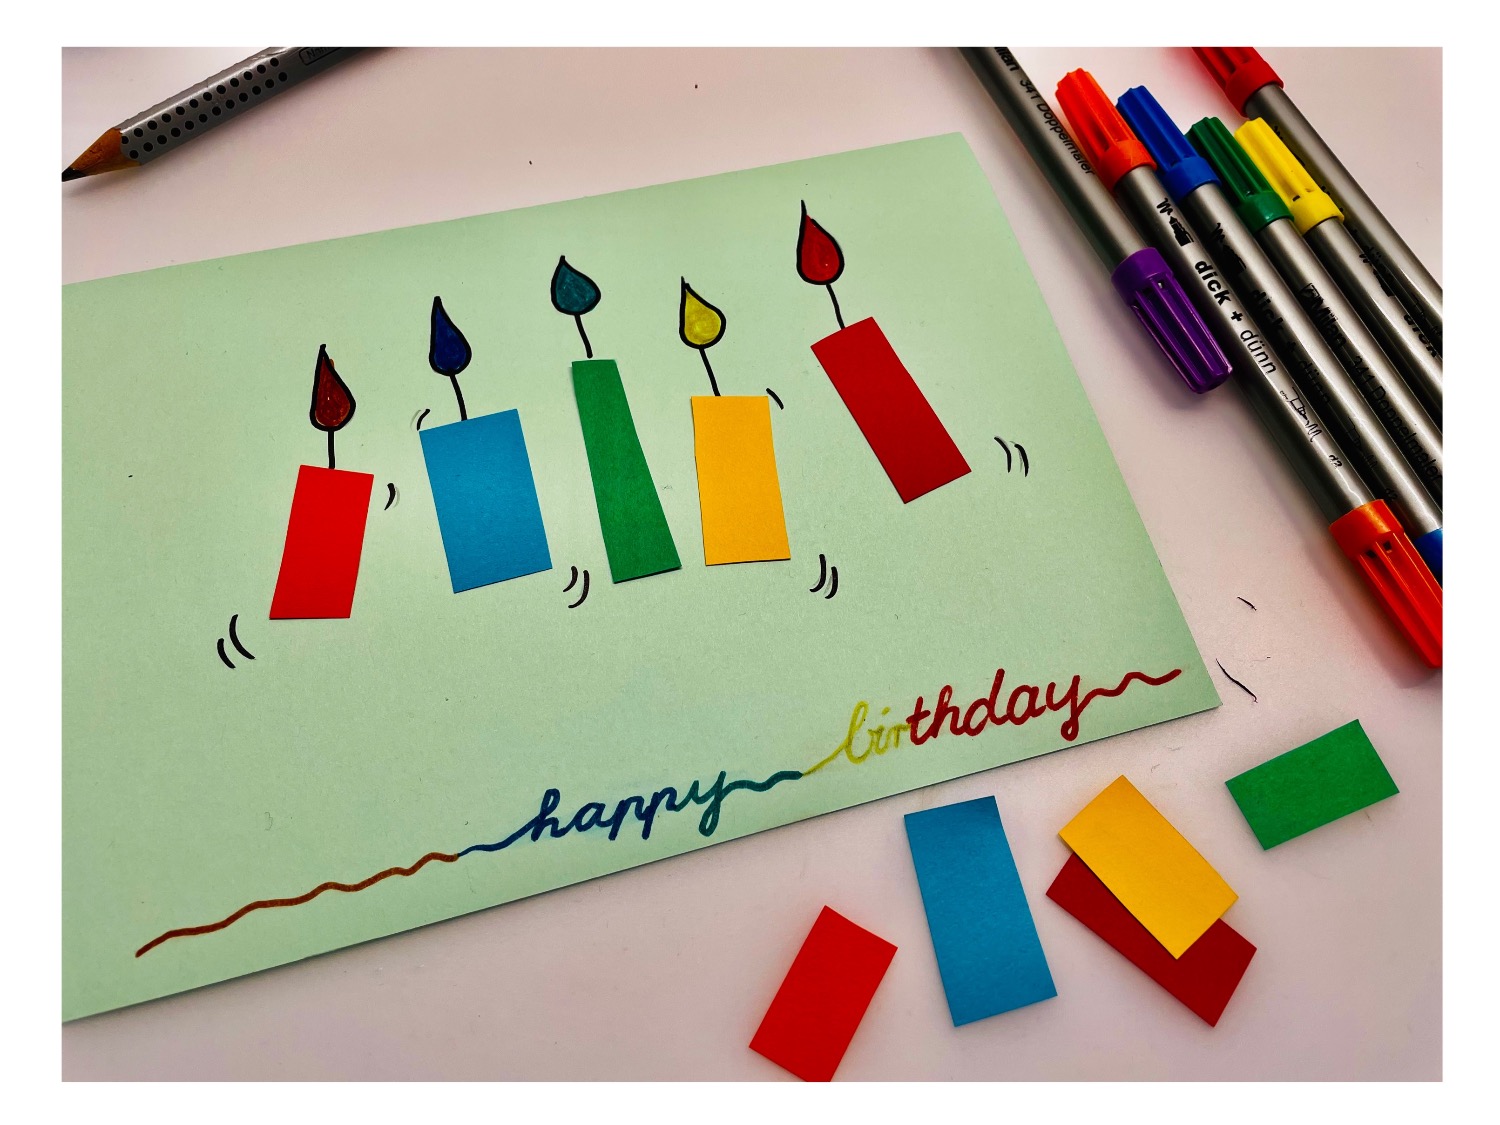


Titelbild zur Bastel- und DIY-Idee für Kinder '(606) Geburtstagskarte basteln'
Material for1 Child
Prep Time5 min.Adv. Time15 min.Total Time20 min.
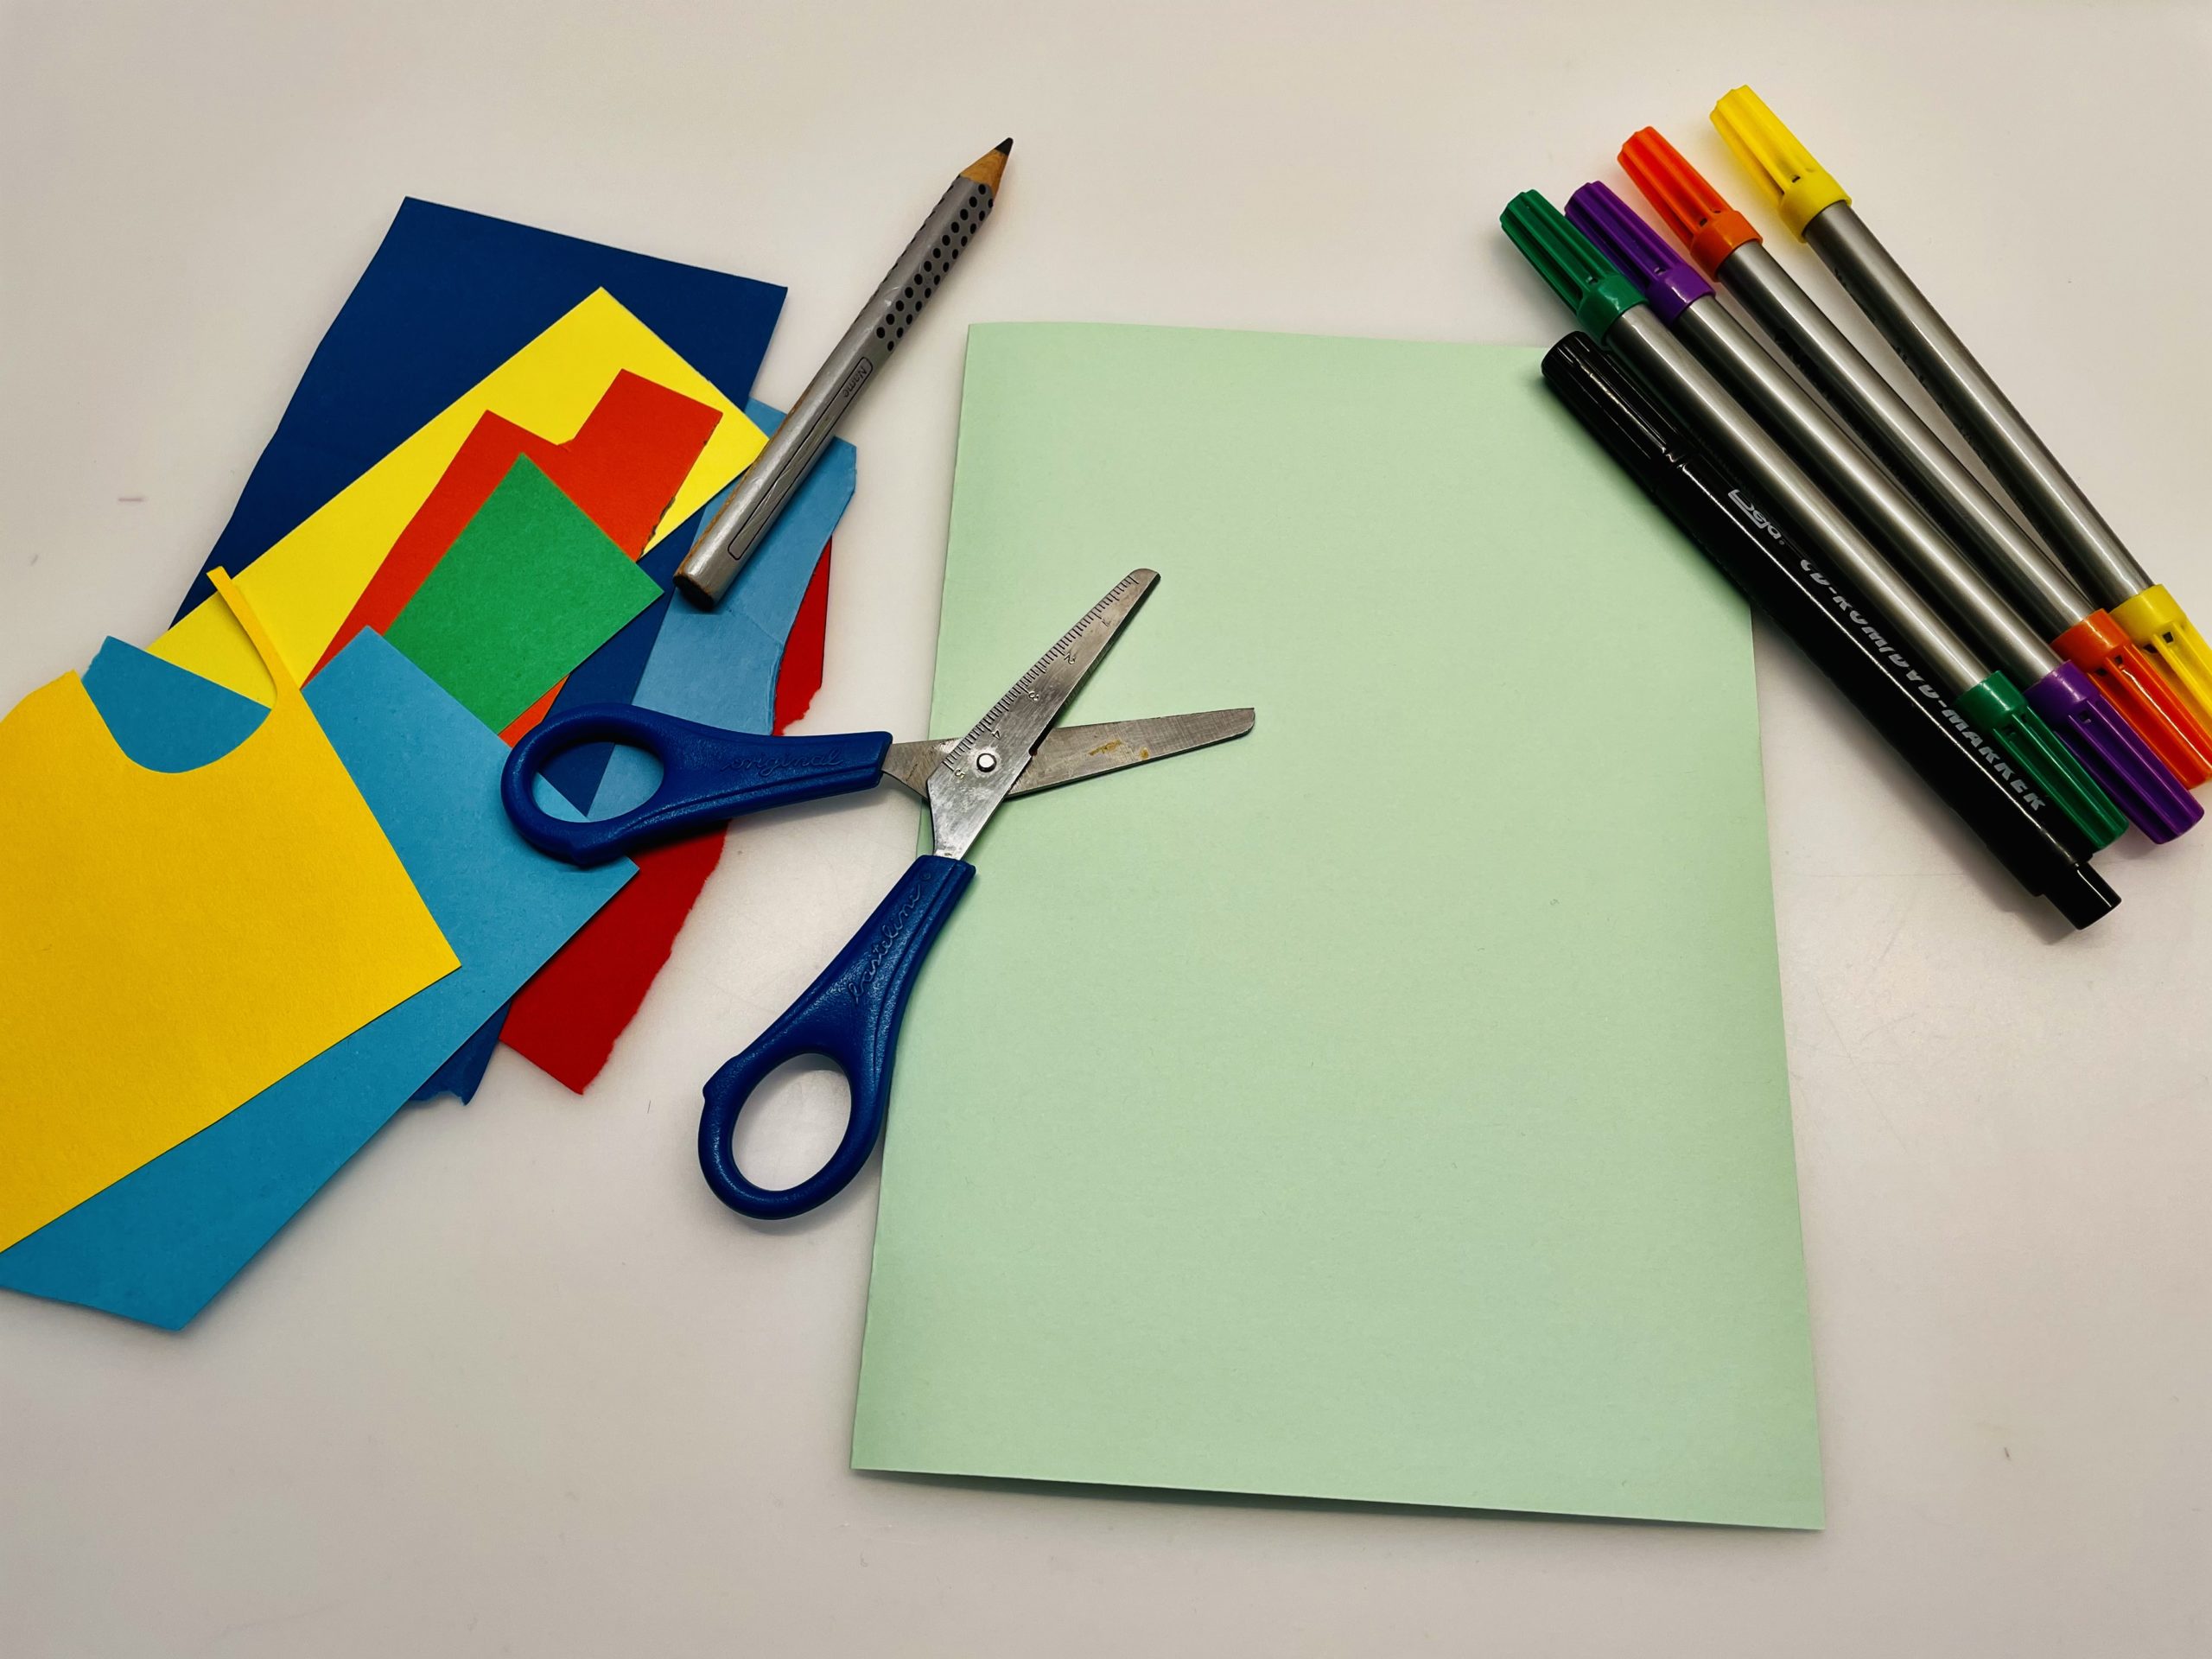
 1 Photo box DIN A4or DIN A5
 Colourful clay paper residue
 Pencil
 Felt pins
 Builder's pad
All links marked with a shopping cart lead to Amazon - here we have selected products that we would order ourselves and in part also ordered. In a qualified purchase via the advertising link, we as Amazon partner receive a commission, for you there are no costs. You thus support our cost- and advertising banner-free, educational offer.
1

First you fold your paper in the middle.
This is how a folding card is created.
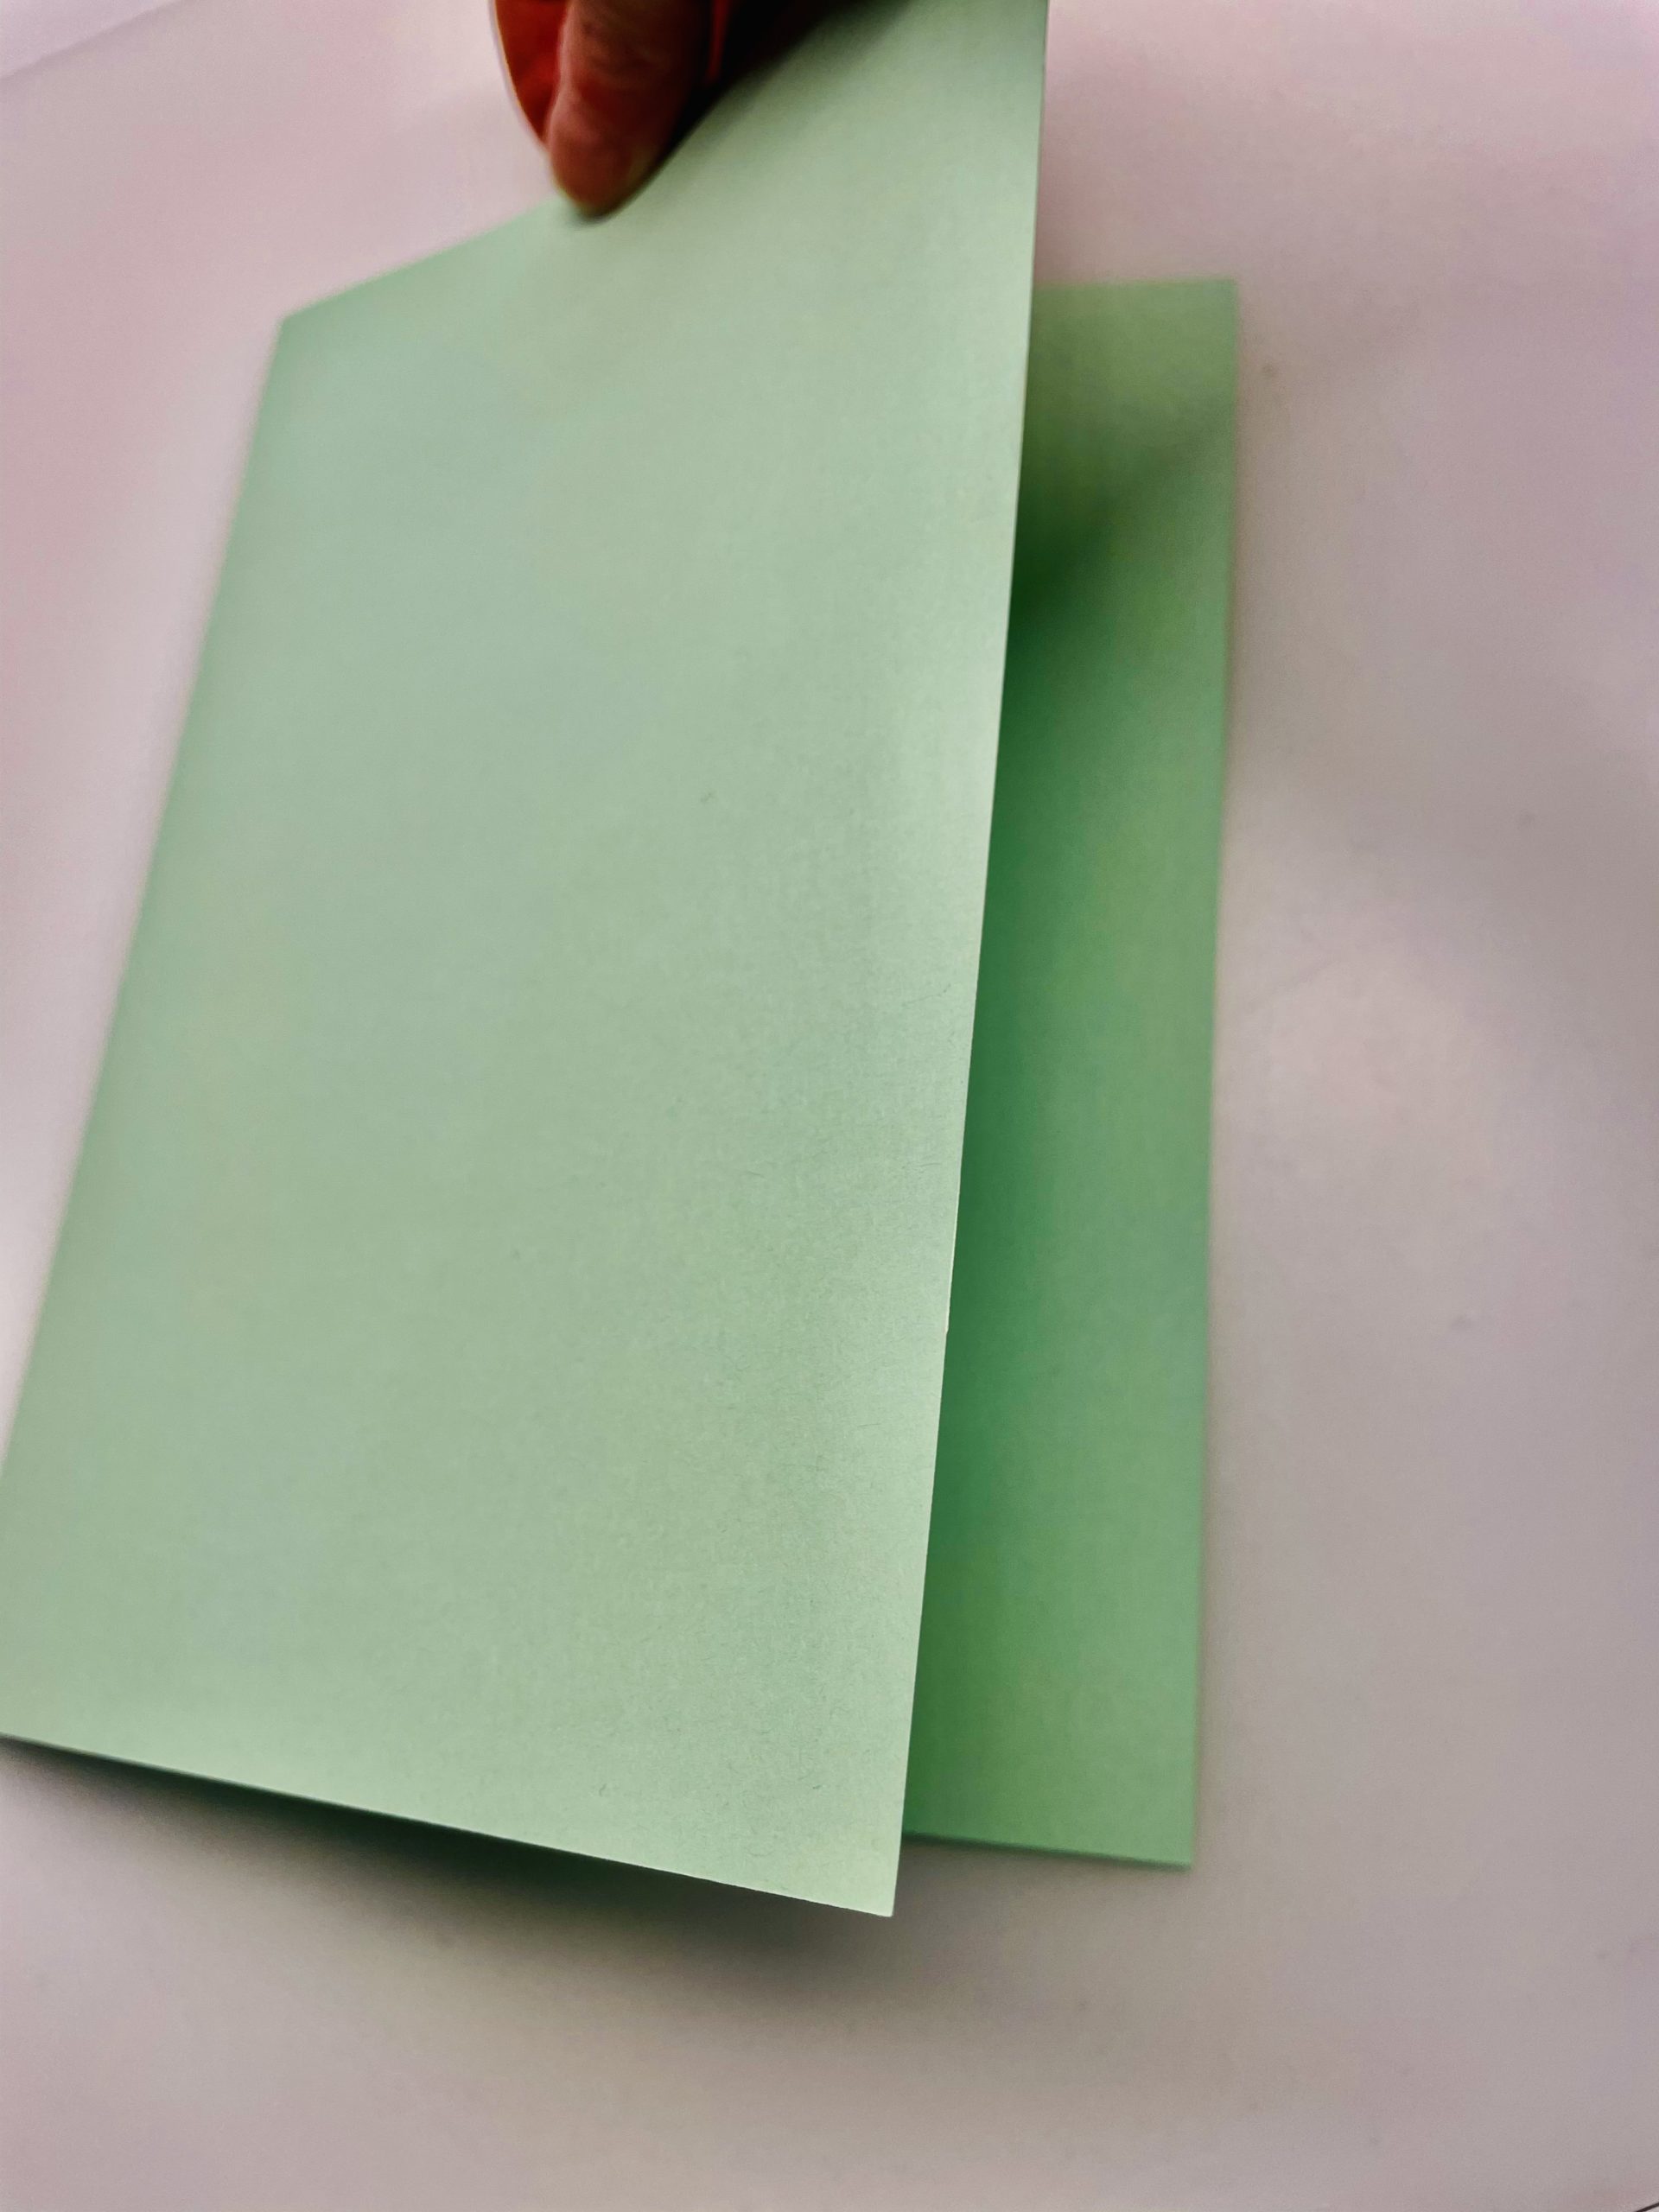
Bild zum Schritt 1 für das Bastel- und DIY-Abenteuer für Kinder: 'Zuerst faltet ihr euer Papier einmal in der Mitte. ...'

2

Put out your craft material and find some clay paper residue.
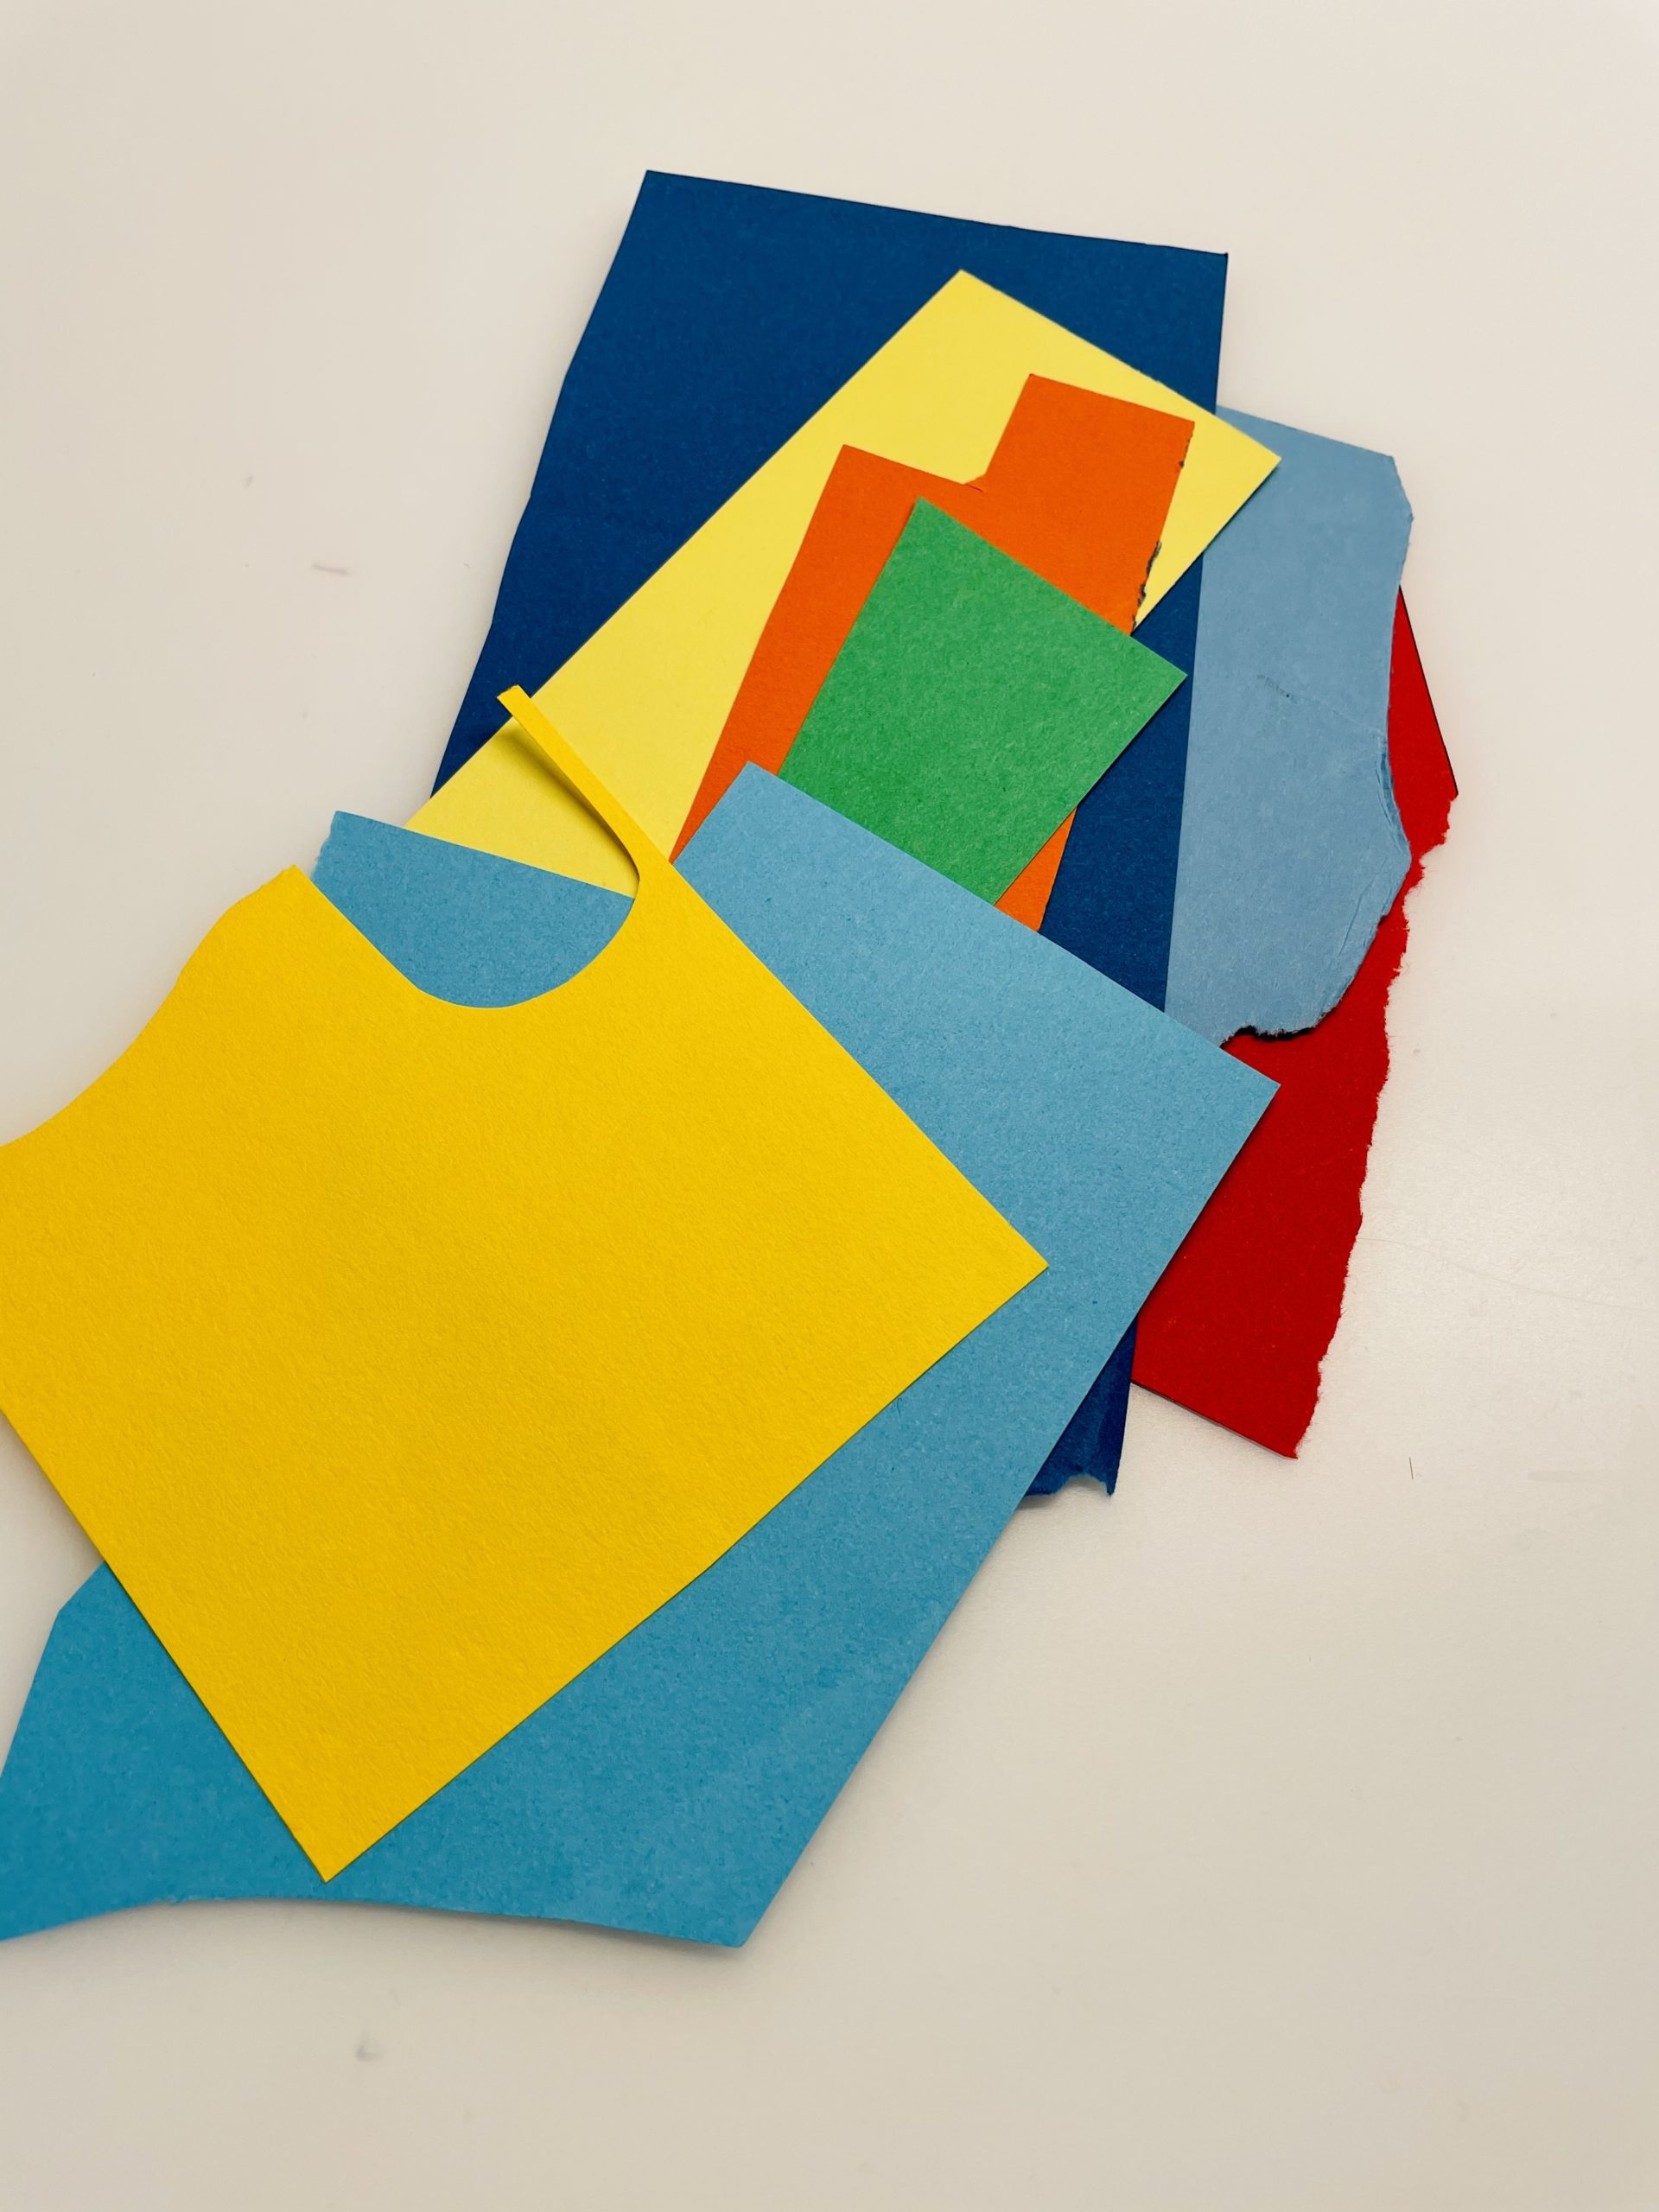
Bild zum Schritt 2 für das Bastel- und DIY-Abenteuer für Kinder: 'Legt eure Bastelunterlage aus und sucht euch Tonpapier-Reste.'

3

Get all the materials ready.

Bild zum Schritt 3 für das Bastel- und DIY-Abenteuer für Kinder: 'Legt alle Materialien bereit.'

4

Now you paint rectangles in different lengths on different colored clay paper.
Then cut out the rectangles.

Bild zum Schritt 4 für das Bastel- und DIY-Abenteuer für Kinder: 'Jetzt malt ihr Rechtecke in unterschiedlichen Längen auf verschieden farbiges...'

5

Place the map across, so that the opening is down.
Now place the rectangles in the middle of the card with a little distance to each other.

Bild zum Schritt 5 für das Bastel- und DIY-Abenteuer für Kinder: 'Legt die Karte quer, so dass die Öffnung unten ist....'

6

Now you paint over every colored strip a line for the wick and a small flame.
If you paint the wick and the flame with pencil, you may be able to repair it again.

Bild zum Schritt 6 für das Bastel- und DIY-Abenteuer für Kinder: 'Nun malt ihr über jeden farbigen Streifen noch einen Strich...'

7

Now paint the prepainted flames with a black felt pen.

Bild zum Schritt 7 für das Bastel- und DIY-Abenteuer für Kinder: 'Nun malt ihr die vorgemalten Flammen mit einem schwarzen Filzstift...'

8

Now paint out the flames. For example in the colors of the respective rectangles.

Bild zum Schritt 8 für das Bastel- und DIY-Abenteuer für Kinder: 'Jetzt malt die Flammen aus. Zum Beispiel in den Farben...'

9

At the bottom of the card there is still room for a lettering.
Write this with the pencil and paint it with a felt pen.

Bild zum Schritt 9 für das Bastel- und DIY-Abenteuer für Kinder: 'Am unteren Kartenrand ist noch Platz für einen Schriftzug. ...'

10

For this purpose, for example, select the felt pens in the colours of the candles.

Bild zum Schritt 10 für das Bastel- und DIY-Abenteuer für Kinder: 'Dafür wählt z.B. die Filzstifte in den Farben der Kerzen.'

11

Another idea:
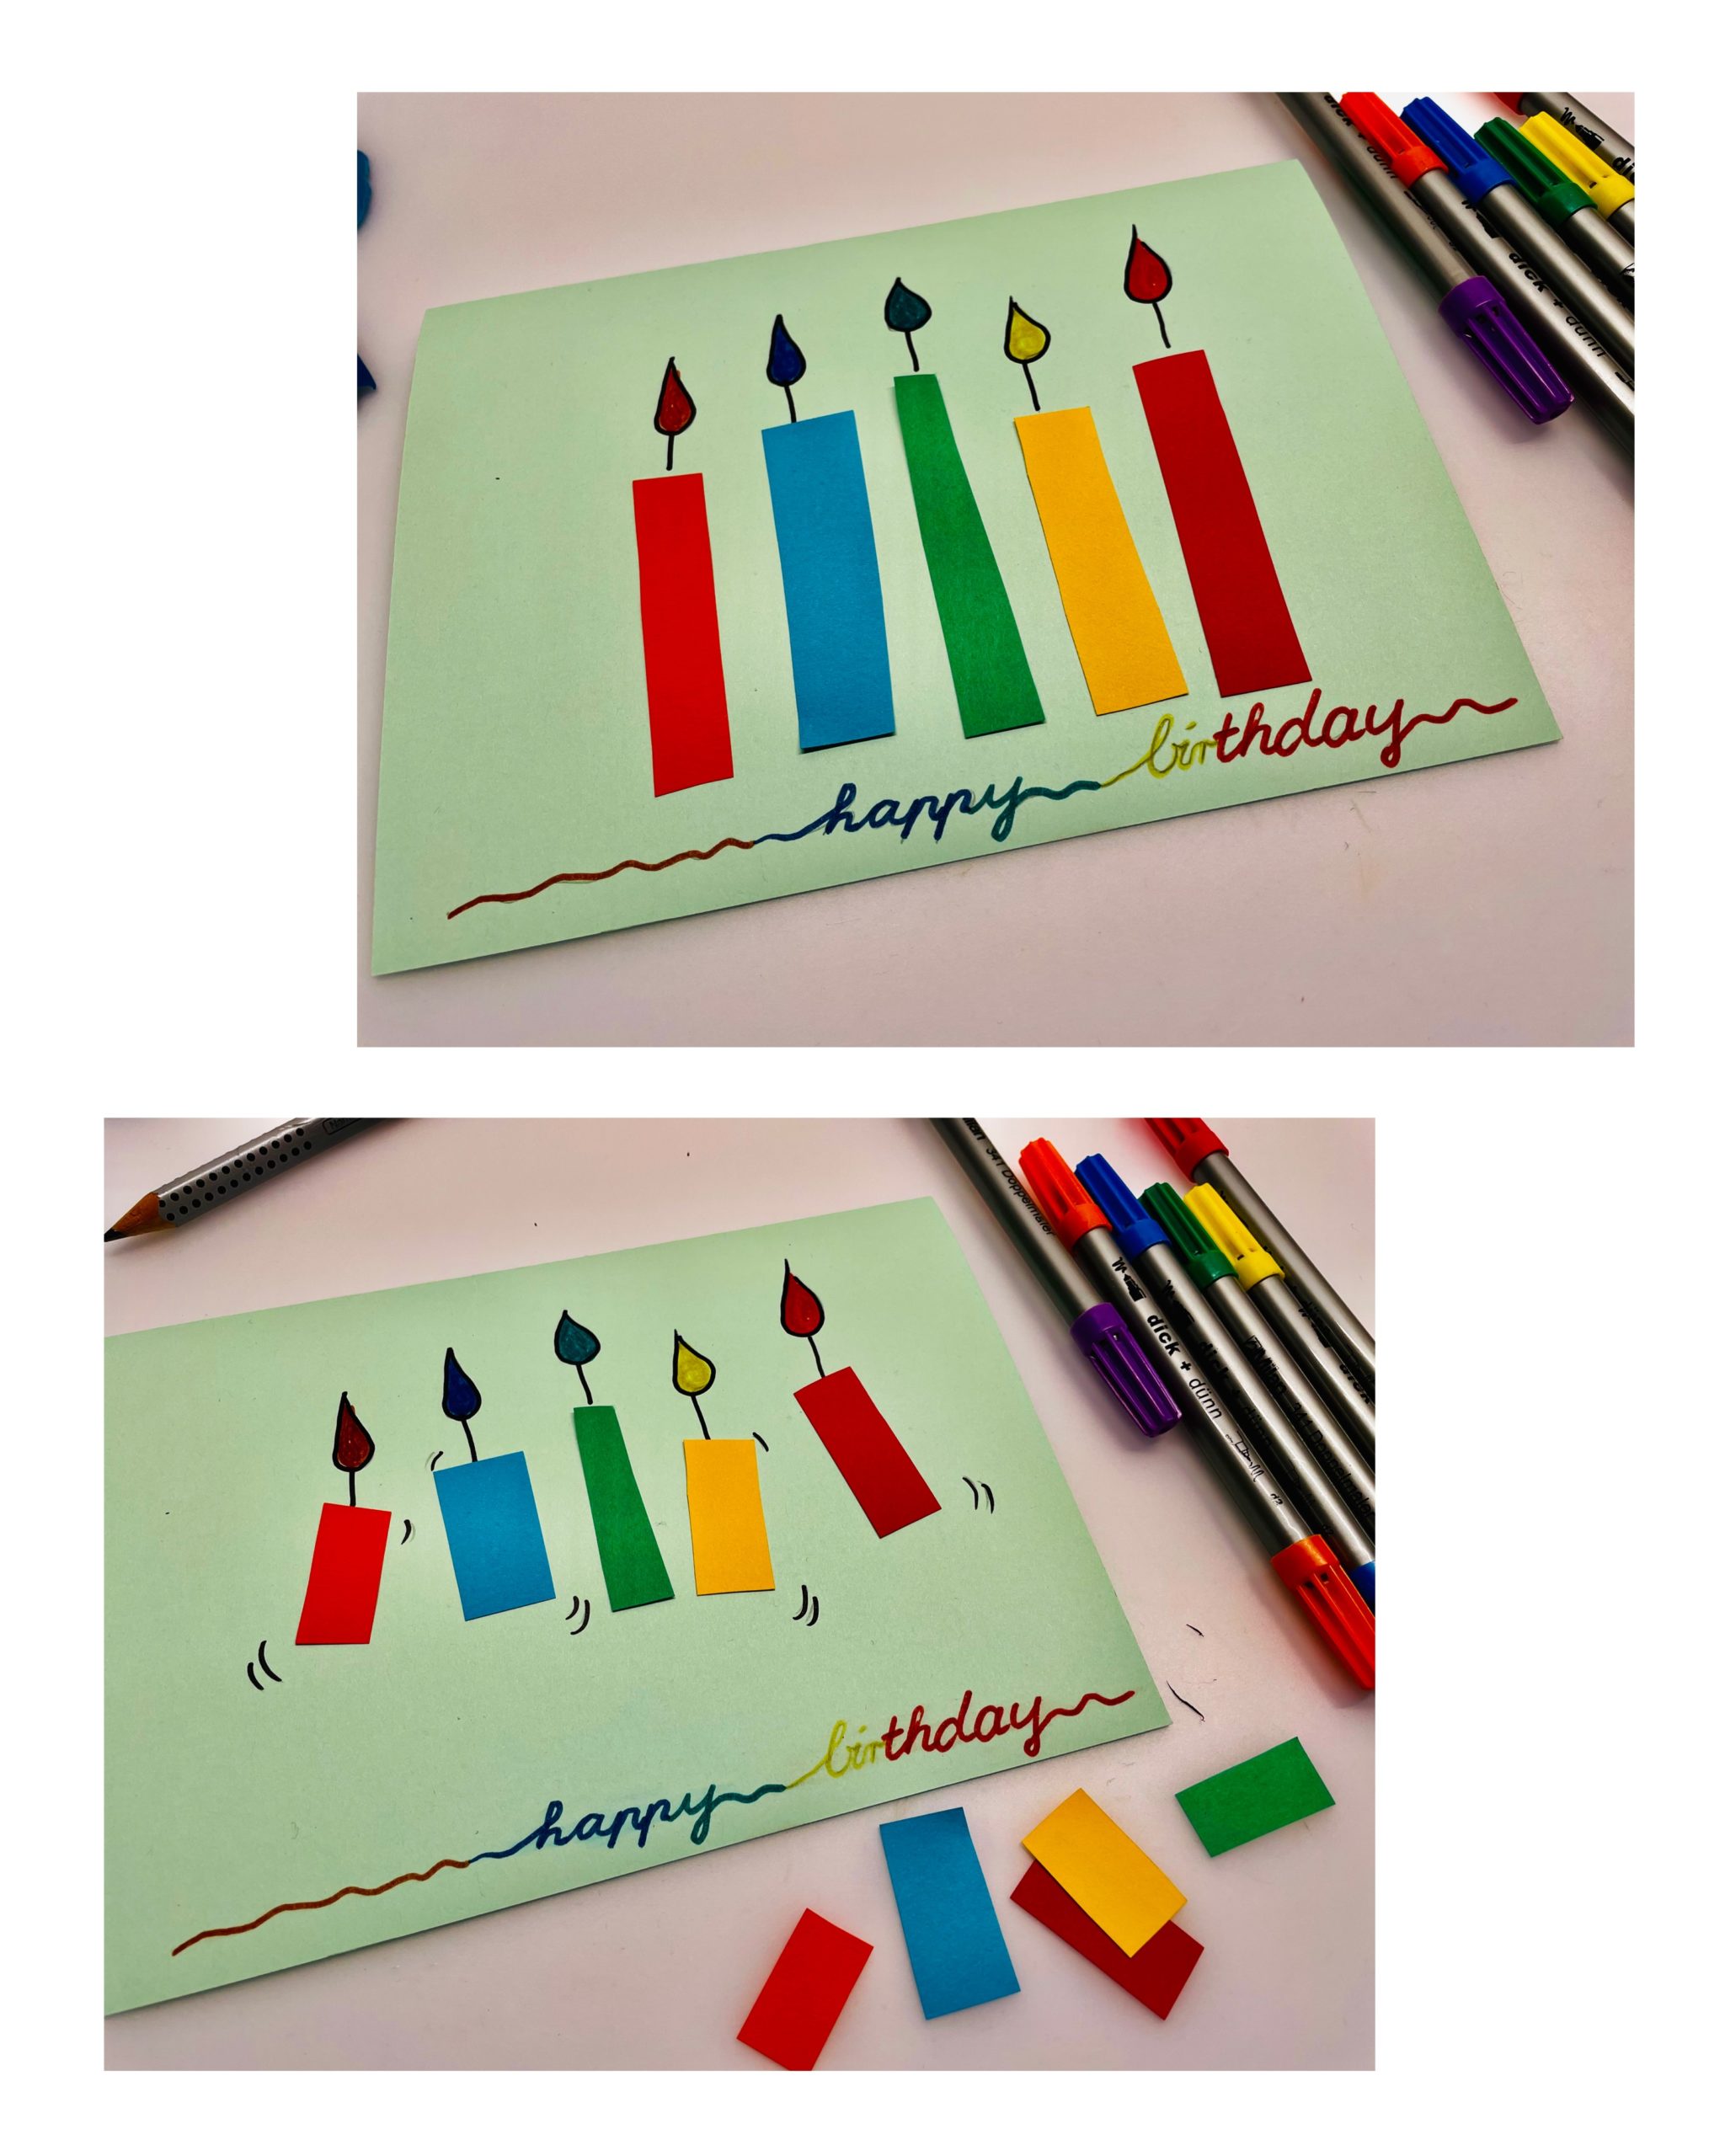
You get dancing candles by reducing the length of the candles and tilting the candles diagonally (see picture). Through the small commas the candles seem as if they are moving.

Bild zum Schritt 11 für das Bastel- und DIY-Abenteuer für Kinder: 'Eine weitere Idee:   Tanzende Kerzen erhaltet ihr indem...'

12

Try it out!

13

Here again both variants!

Bild zum Schritt 13 für das Bastel- und DIY-Abenteuer für Kinder: 'Hier noch einmal beide Varianten!'

14

Have fun crafting birthday cards, invitation cards, etc. or giving away.

Materials

 1 Photo box DIN A4or DIN A5
 Colourful clay paper residue
 Pencil
 Felt pins
 Builder's pad
All links marked with a shopping cart lead to Amazon - here we have selected products that we would order ourselves and in part also ordered. In a qualified purchase via the advertising link, we as Amazon partner receive a commission, for you there are no costs. You thus support our cost- and advertising banner-free, educational offer.

Directions

1

First you fold your paper in the middle.
This is how a folding card is created.

Bild zum Schritt 1 für das Bastel- und DIY-Abenteuer für Kinder: 'Zuerst faltet ihr euer Papier einmal in der Mitte. ...'

2

Put out your craft material and find some clay paper residue.

Bild zum Schritt 2 für das Bastel- und DIY-Abenteuer für Kinder: 'Legt eure Bastelunterlage aus und sucht euch Tonpapier-Reste.'

3

Get all the materials ready.

Bild zum Schritt 3 für das Bastel- und DIY-Abenteuer für Kinder: 'Legt alle Materialien bereit.'

4

Now you paint rectangles in different lengths on different colored clay paper.
Then cut out the rectangles.
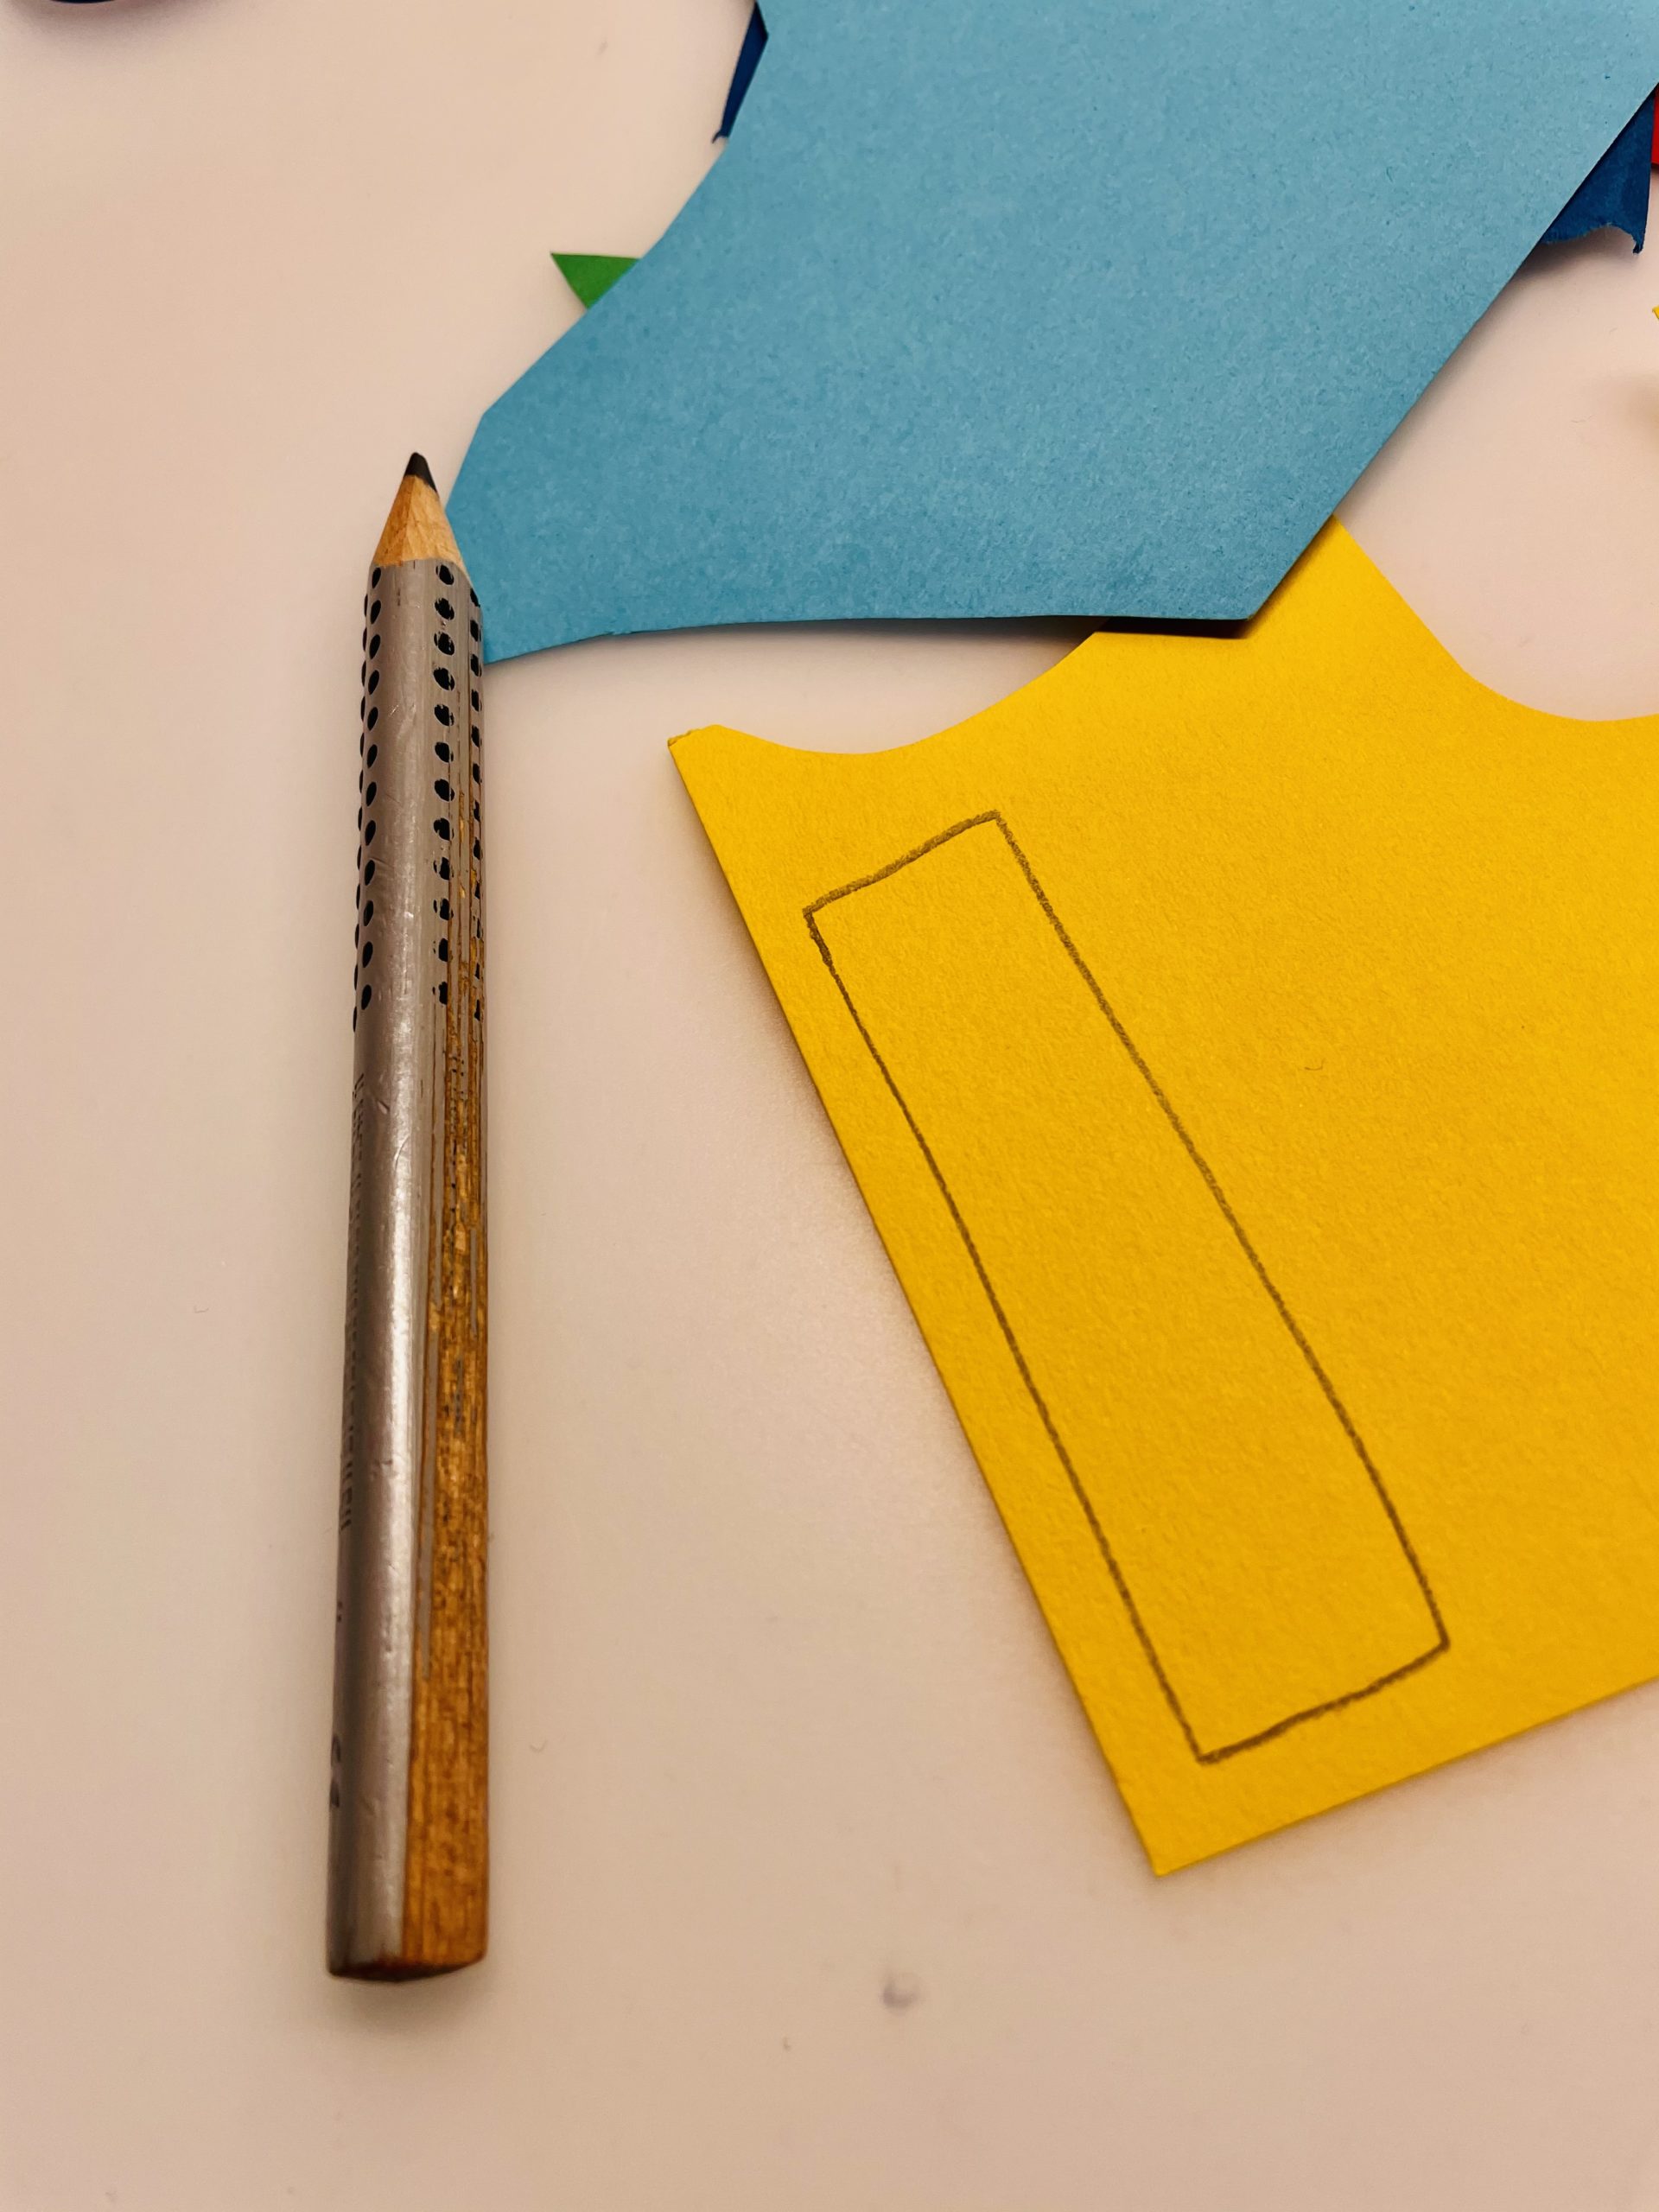
Bild zum Schritt 4 für das Bastel- und DIY-Abenteuer für Kinder: 'Jetzt malt ihr Rechtecke in unterschiedlichen Längen auf verschieden farbiges...'

5

Place the map across, so that the opening is down.
Now place the rectangles in the middle of the card with a little distance to each other.
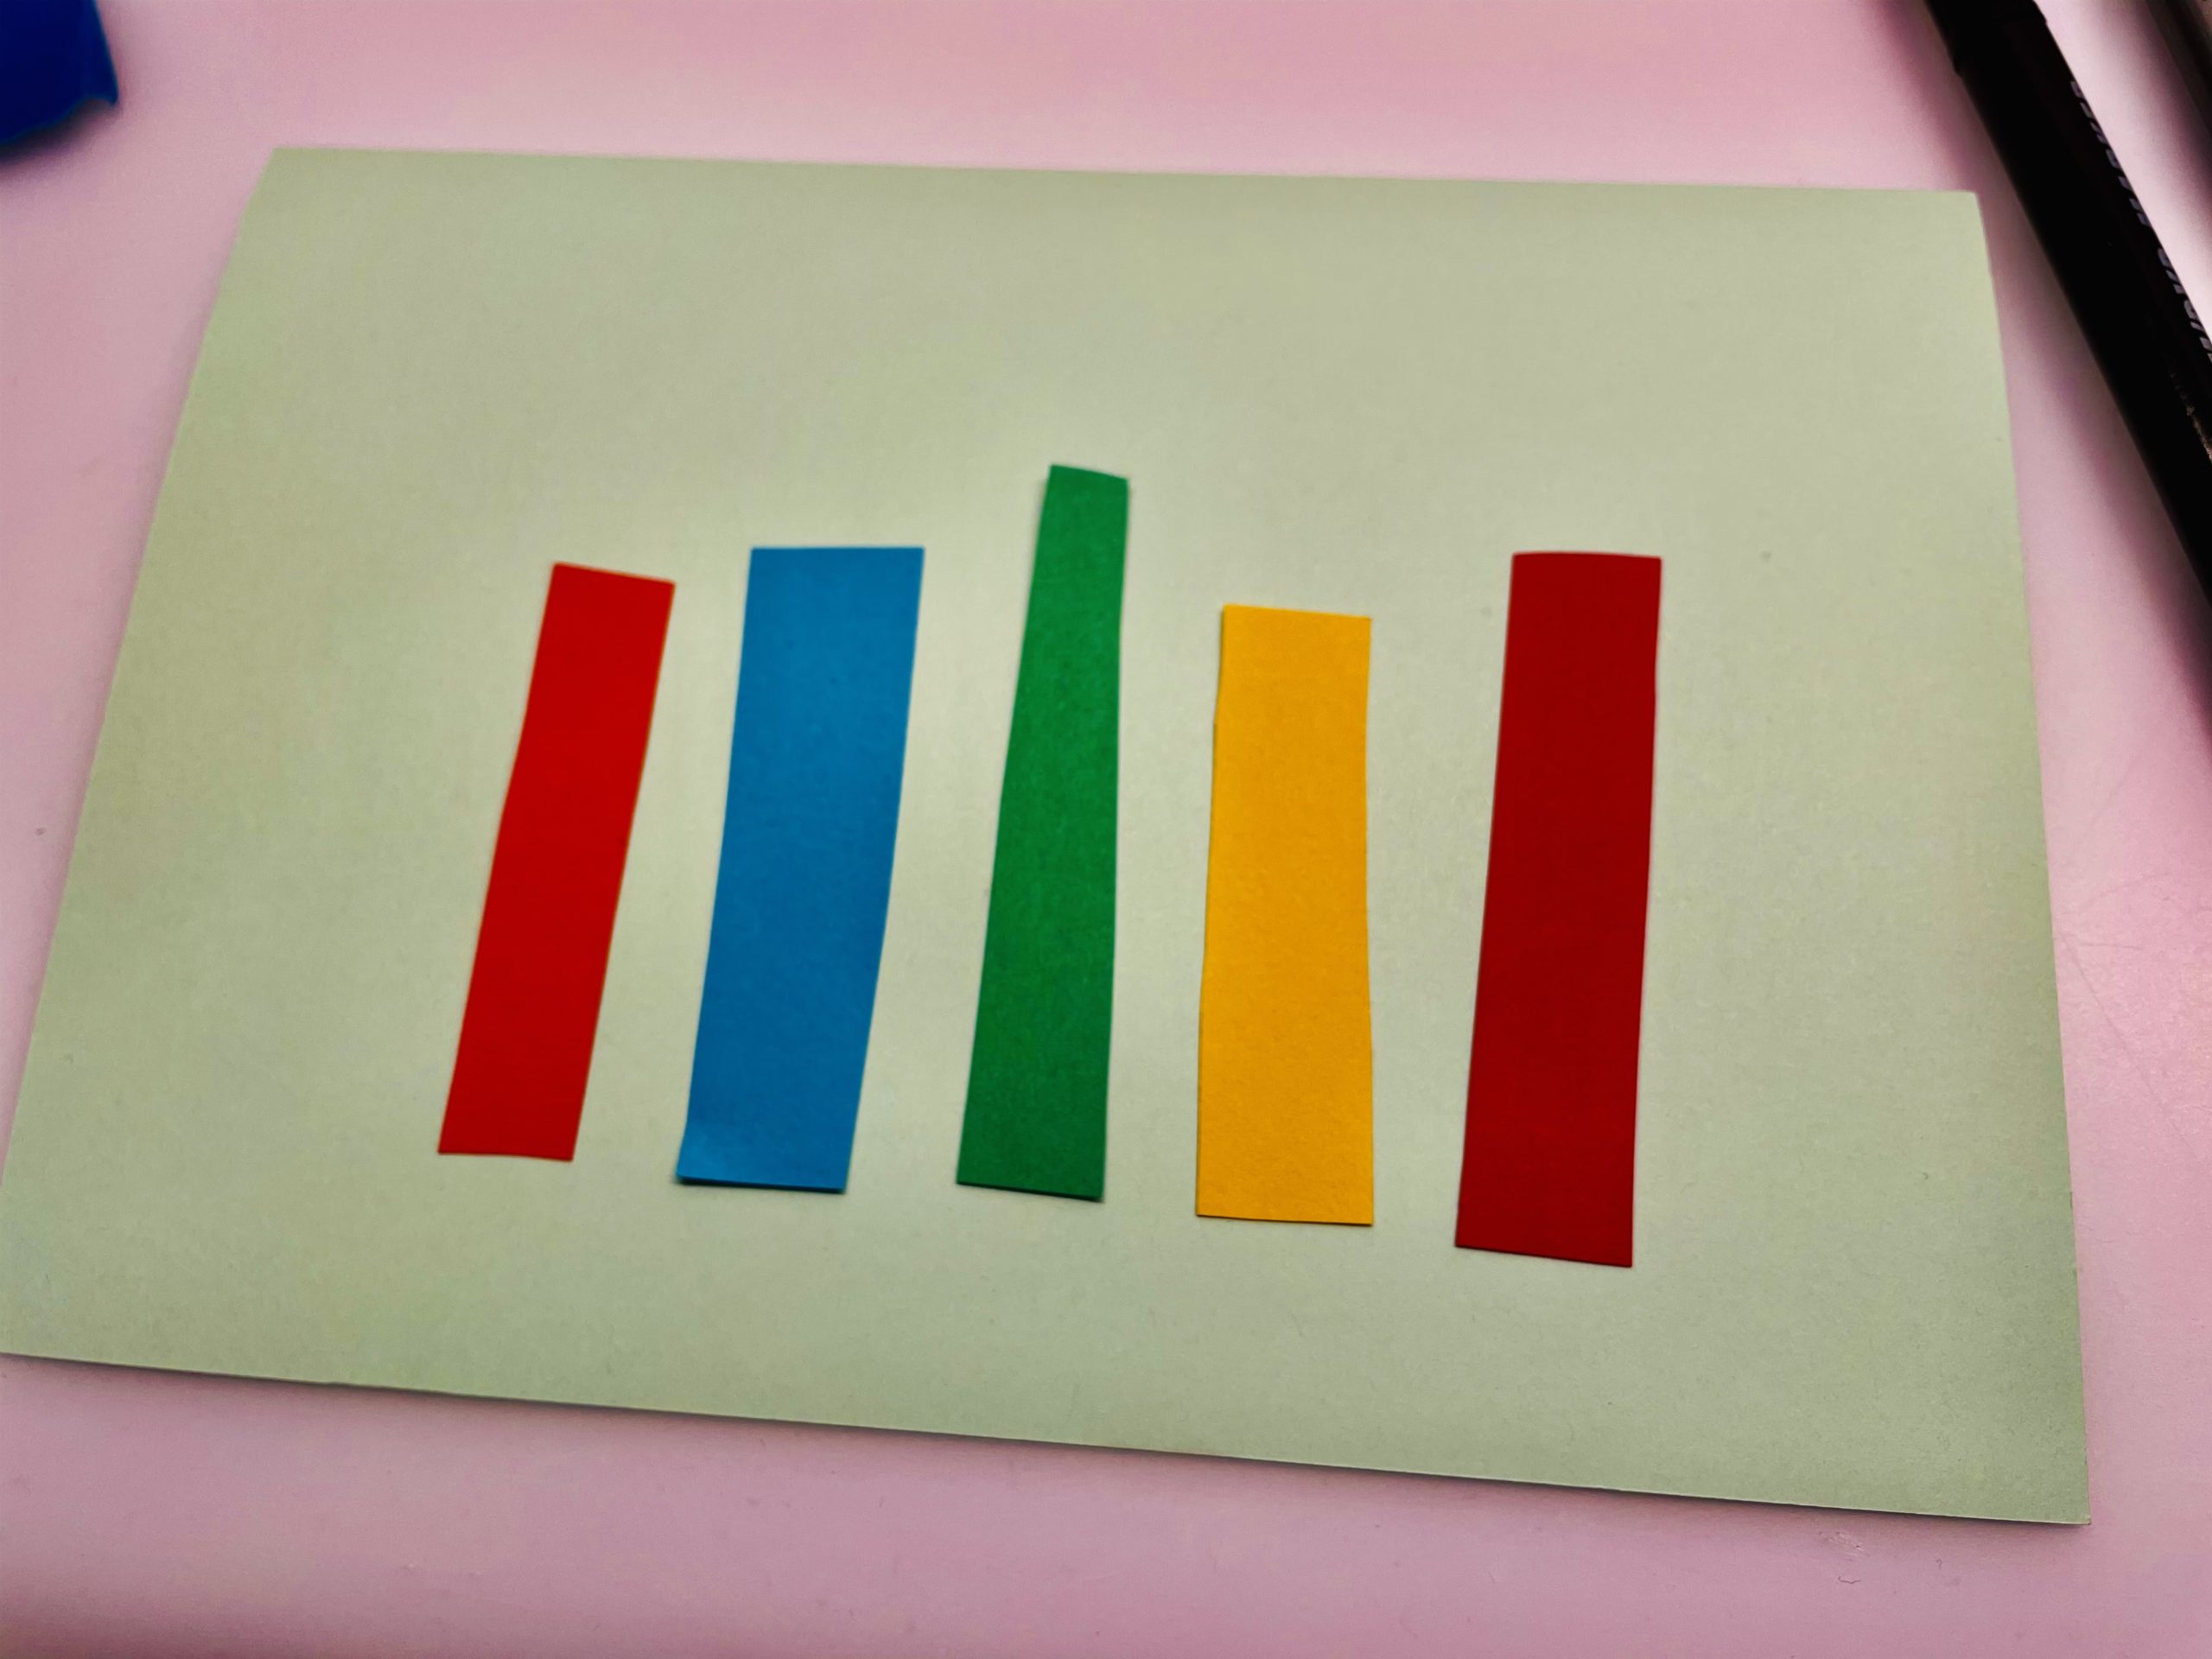
Bild zum Schritt 5 für das Bastel- und DIY-Abenteuer für Kinder: 'Legt die Karte quer, so dass die Öffnung unten ist....'

6

Now you paint over every colored strip a line for the wick and a small flame.
If you paint the wick and the flame with pencil, you may be able to repair it again.
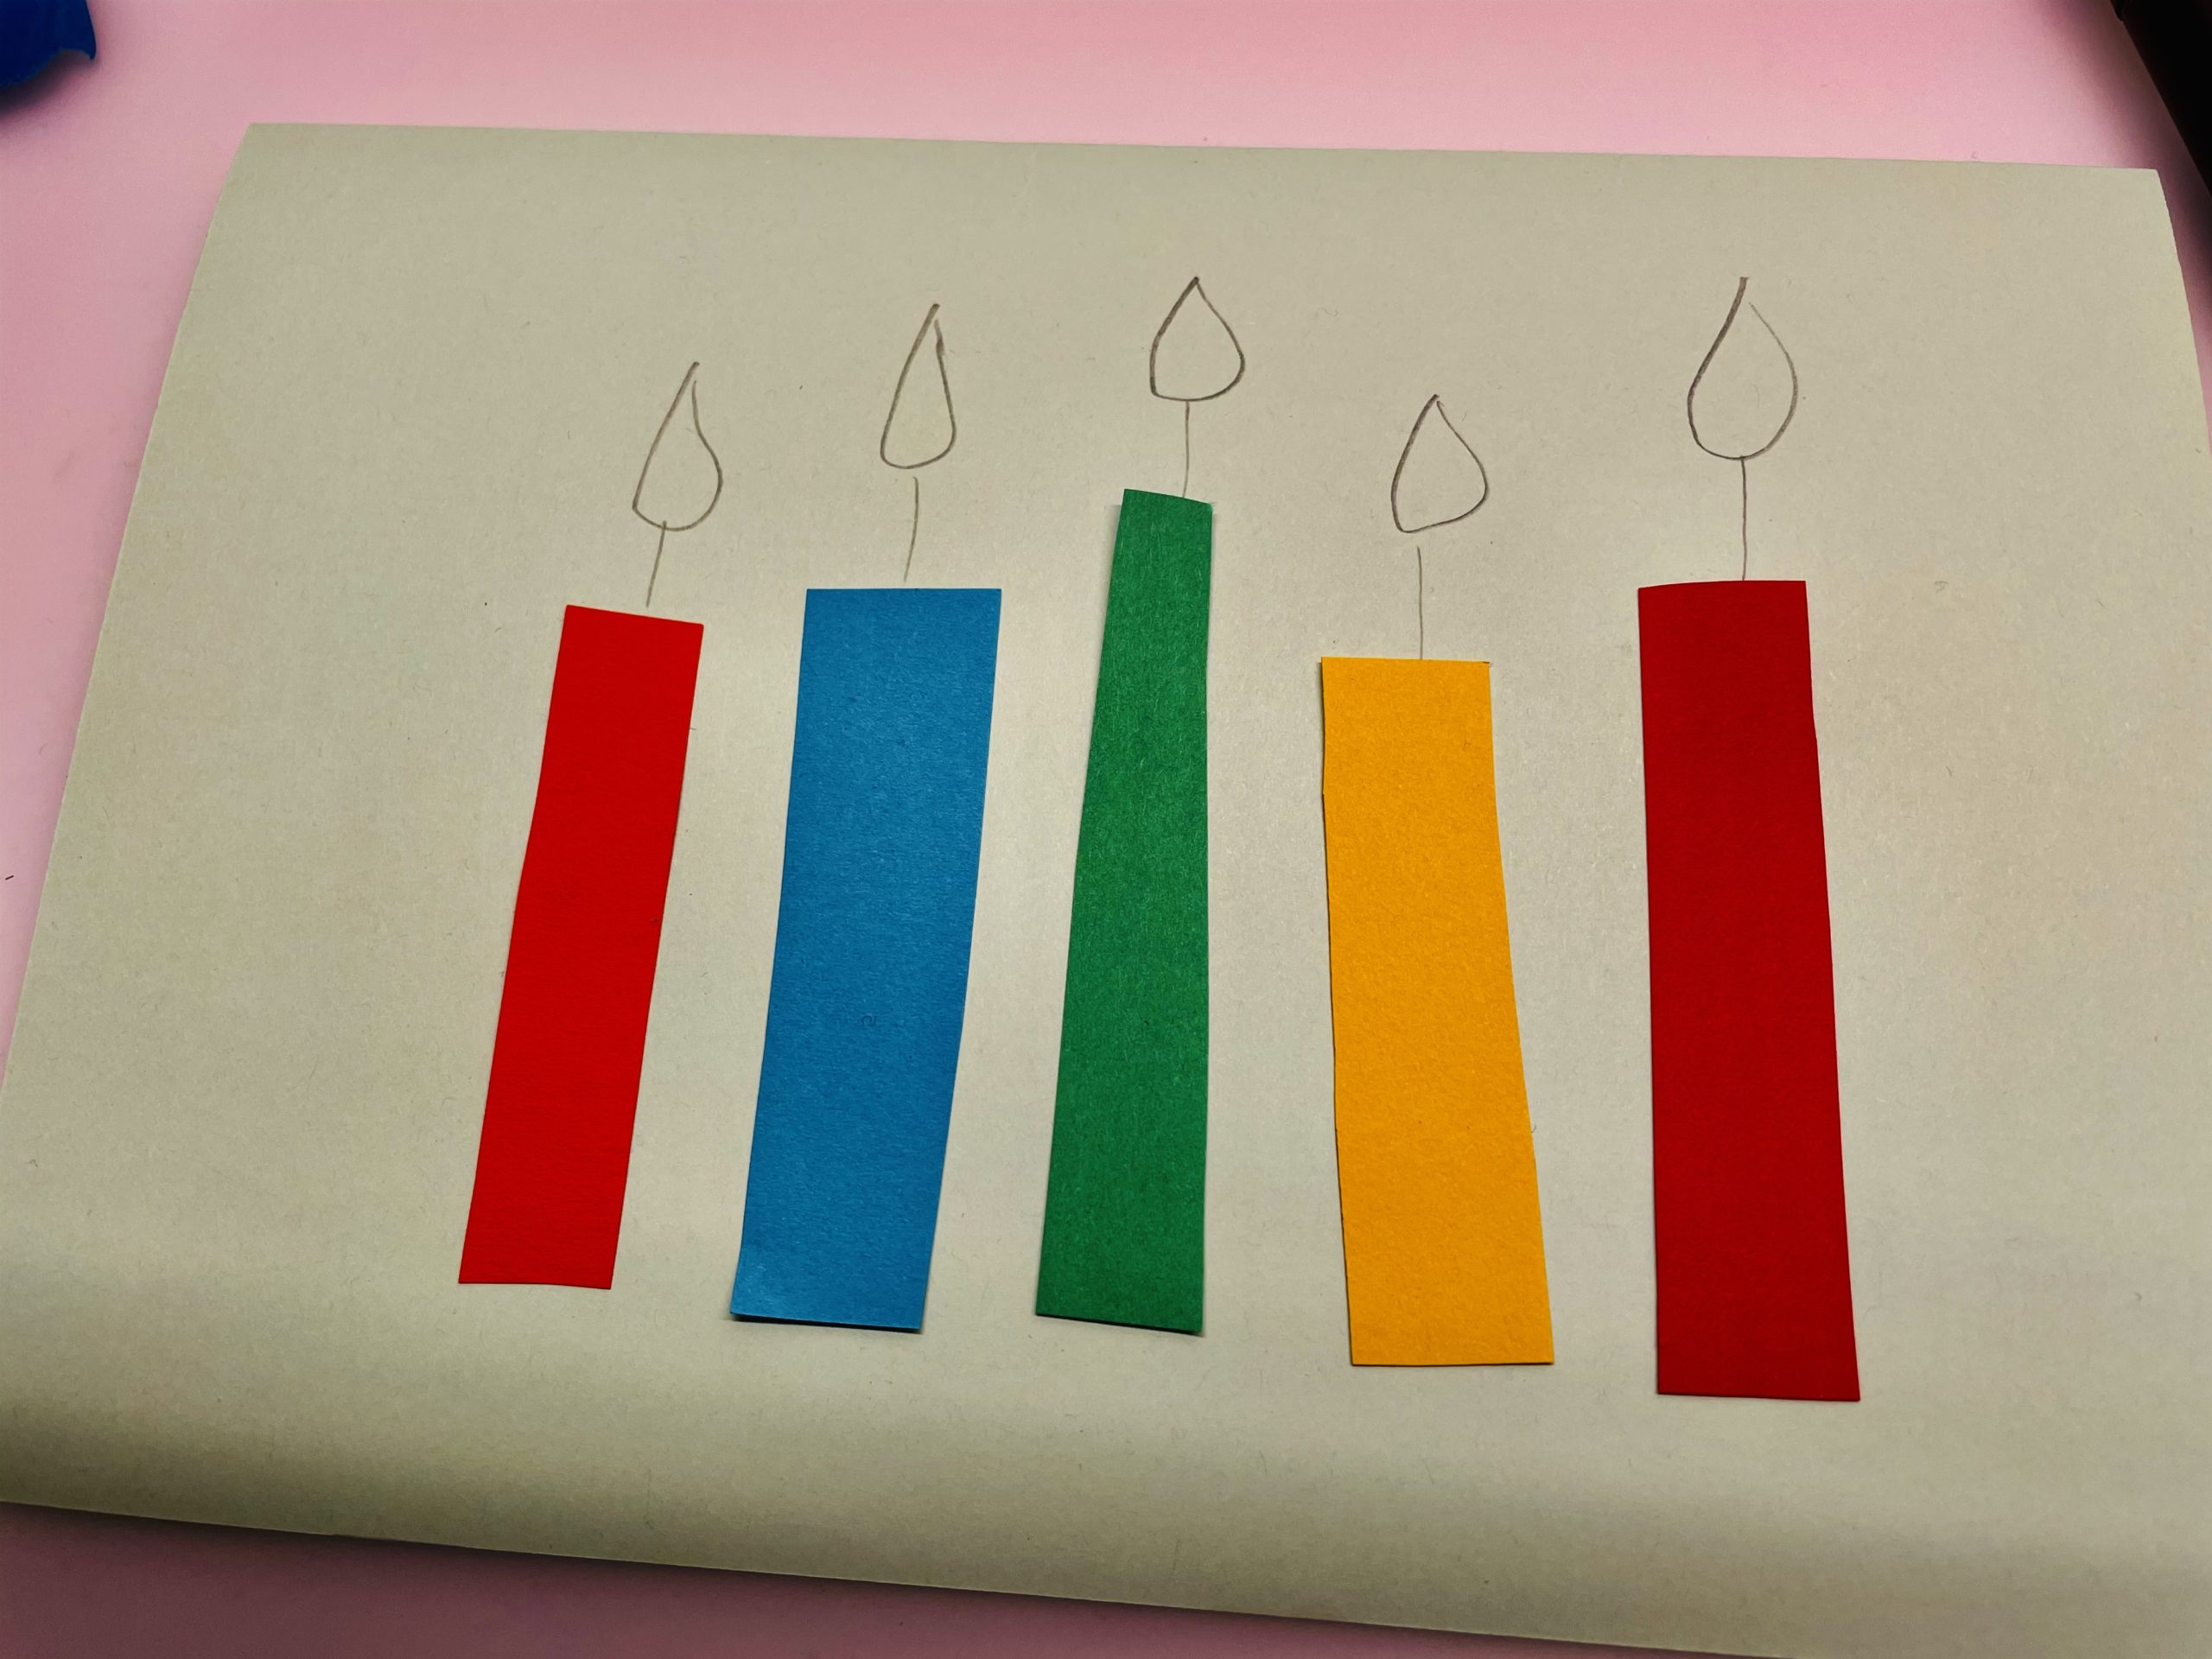
Bild zum Schritt 6 für das Bastel- und DIY-Abenteuer für Kinder: 'Nun malt ihr über jeden farbigen Streifen noch einen Strich...'

7

Now paint the prepainted flames with a black felt pen.
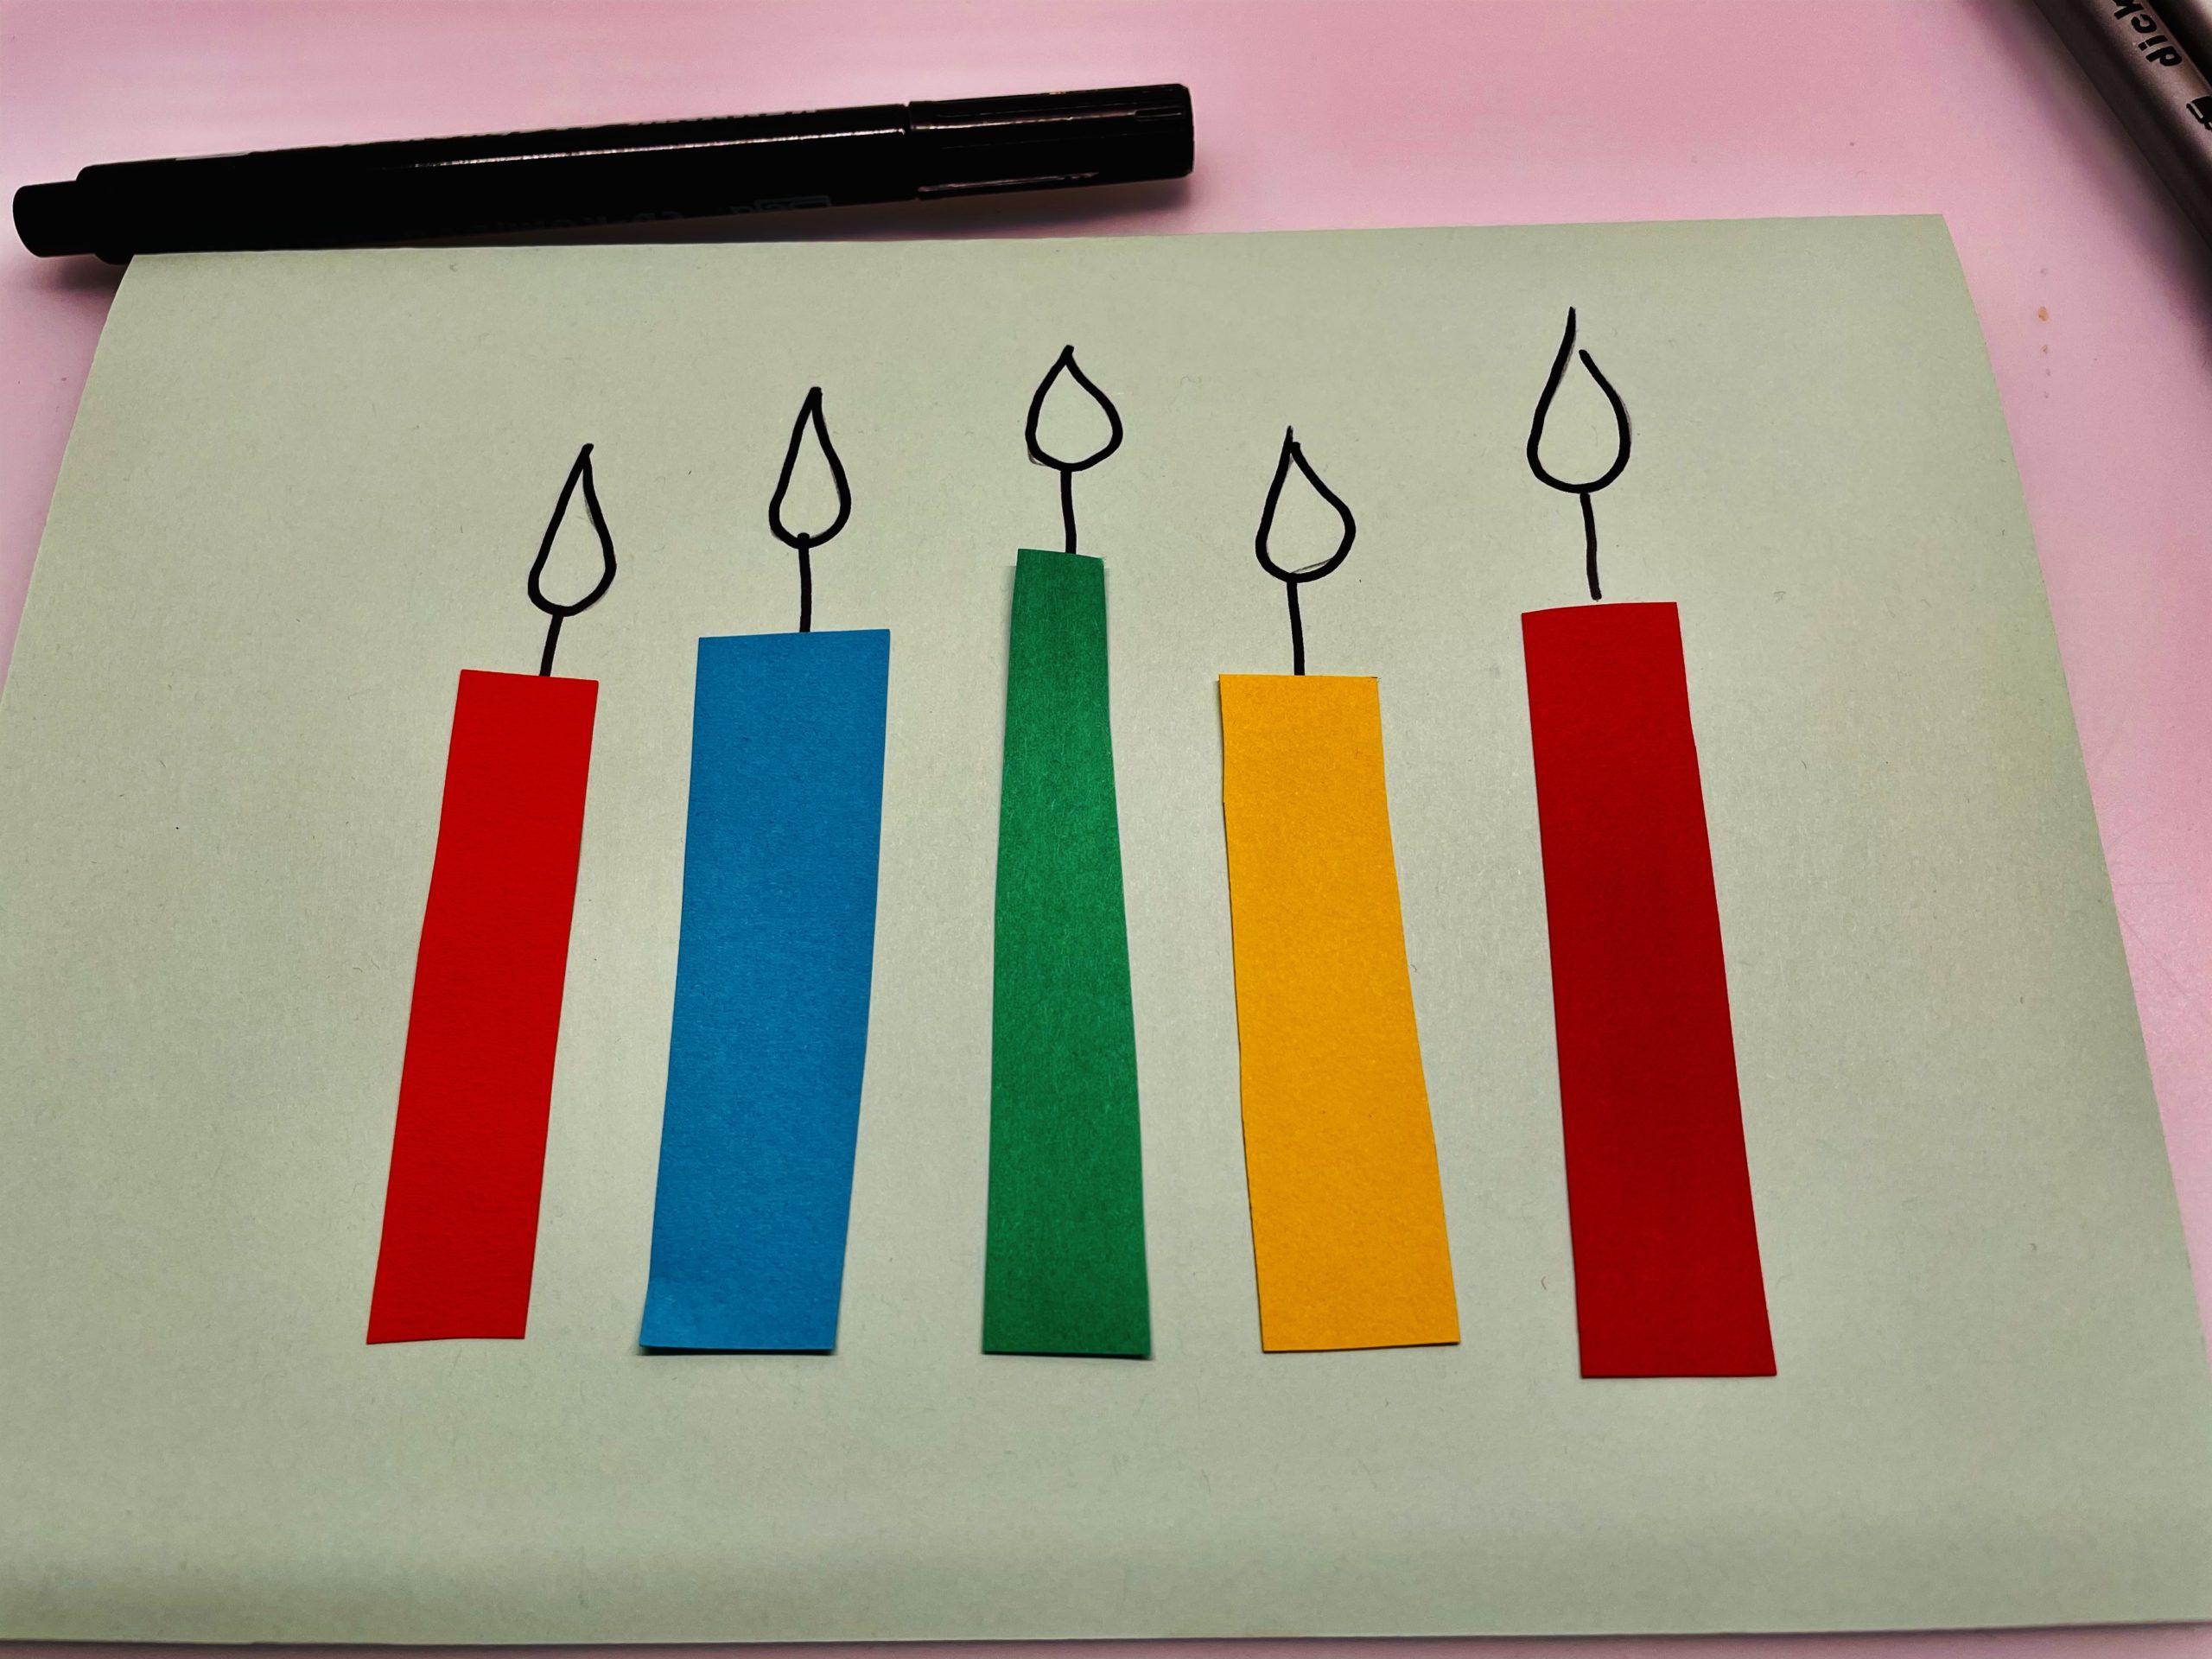
Bild zum Schritt 7 für das Bastel- und DIY-Abenteuer für Kinder: 'Nun malt ihr die vorgemalten Flammen mit einem schwarzen Filzstift...'

8

Now paint out the flames. For example in the colors of the respective rectangles.
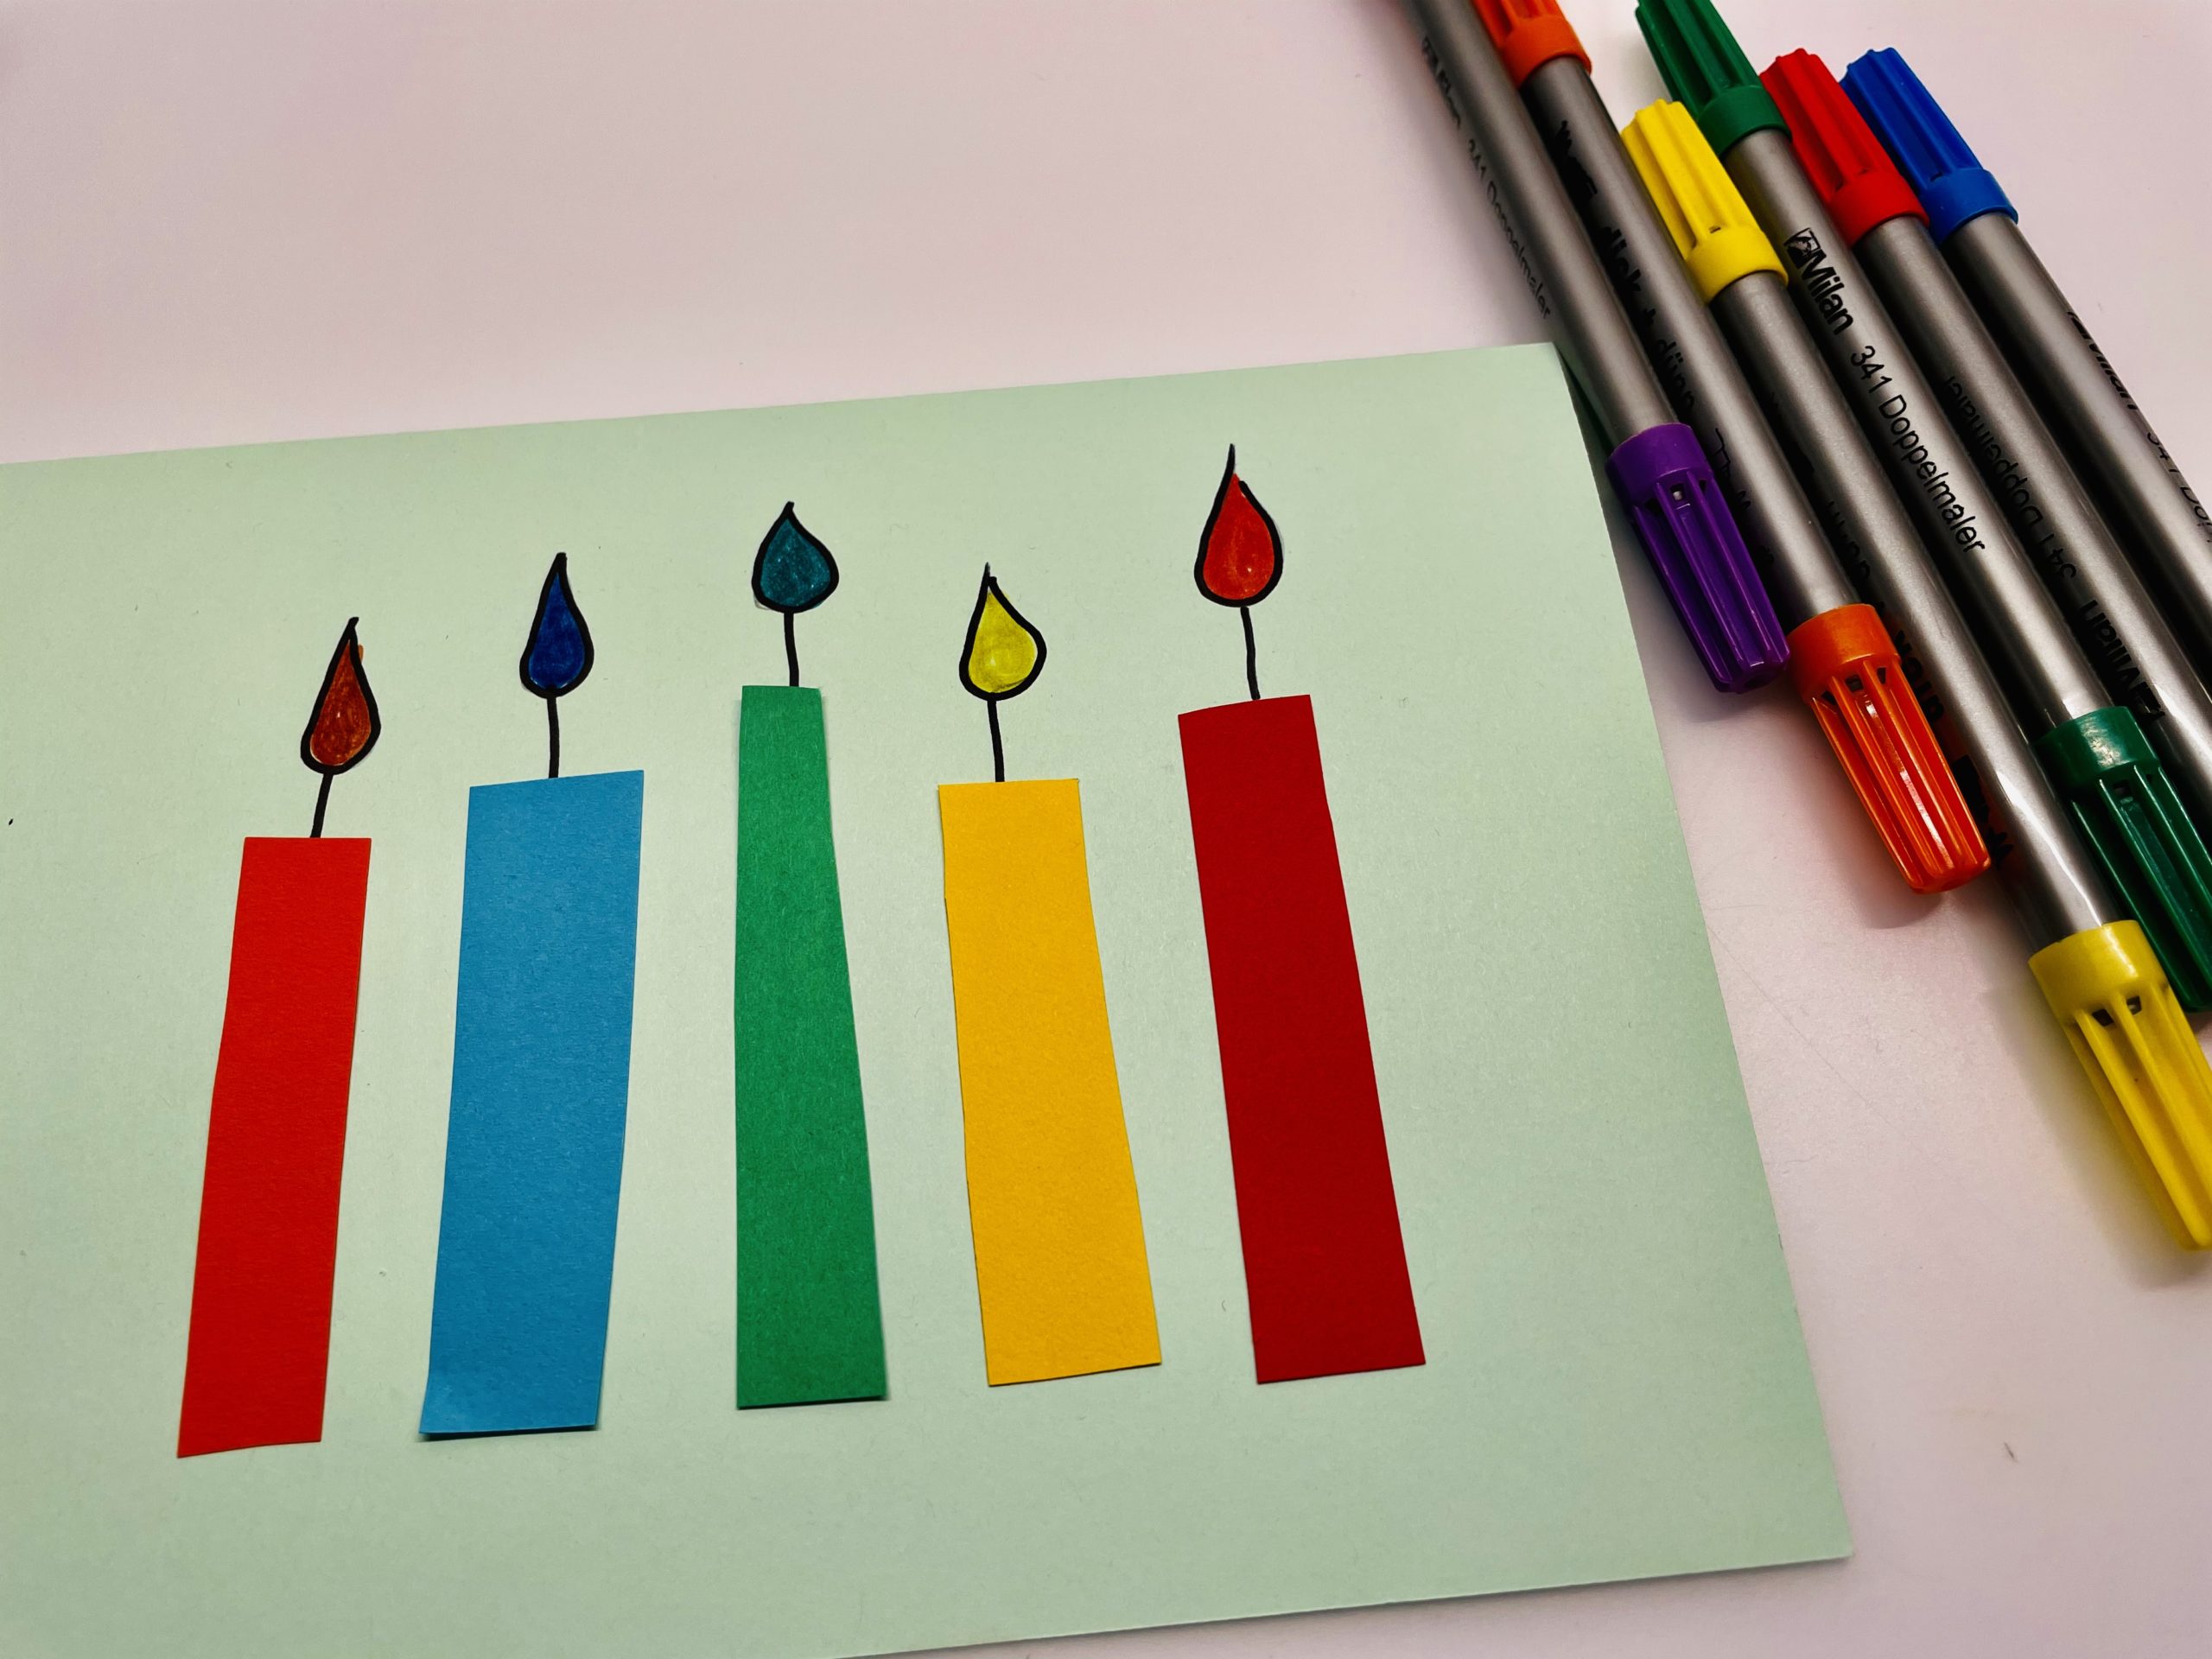
Bild zum Schritt 8 für das Bastel- und DIY-Abenteuer für Kinder: 'Jetzt malt die Flammen aus. Zum Beispiel in den Farben...'

9

At the bottom of the card there is still room for a lettering.
Write this with the pencil and paint it with a felt pen.
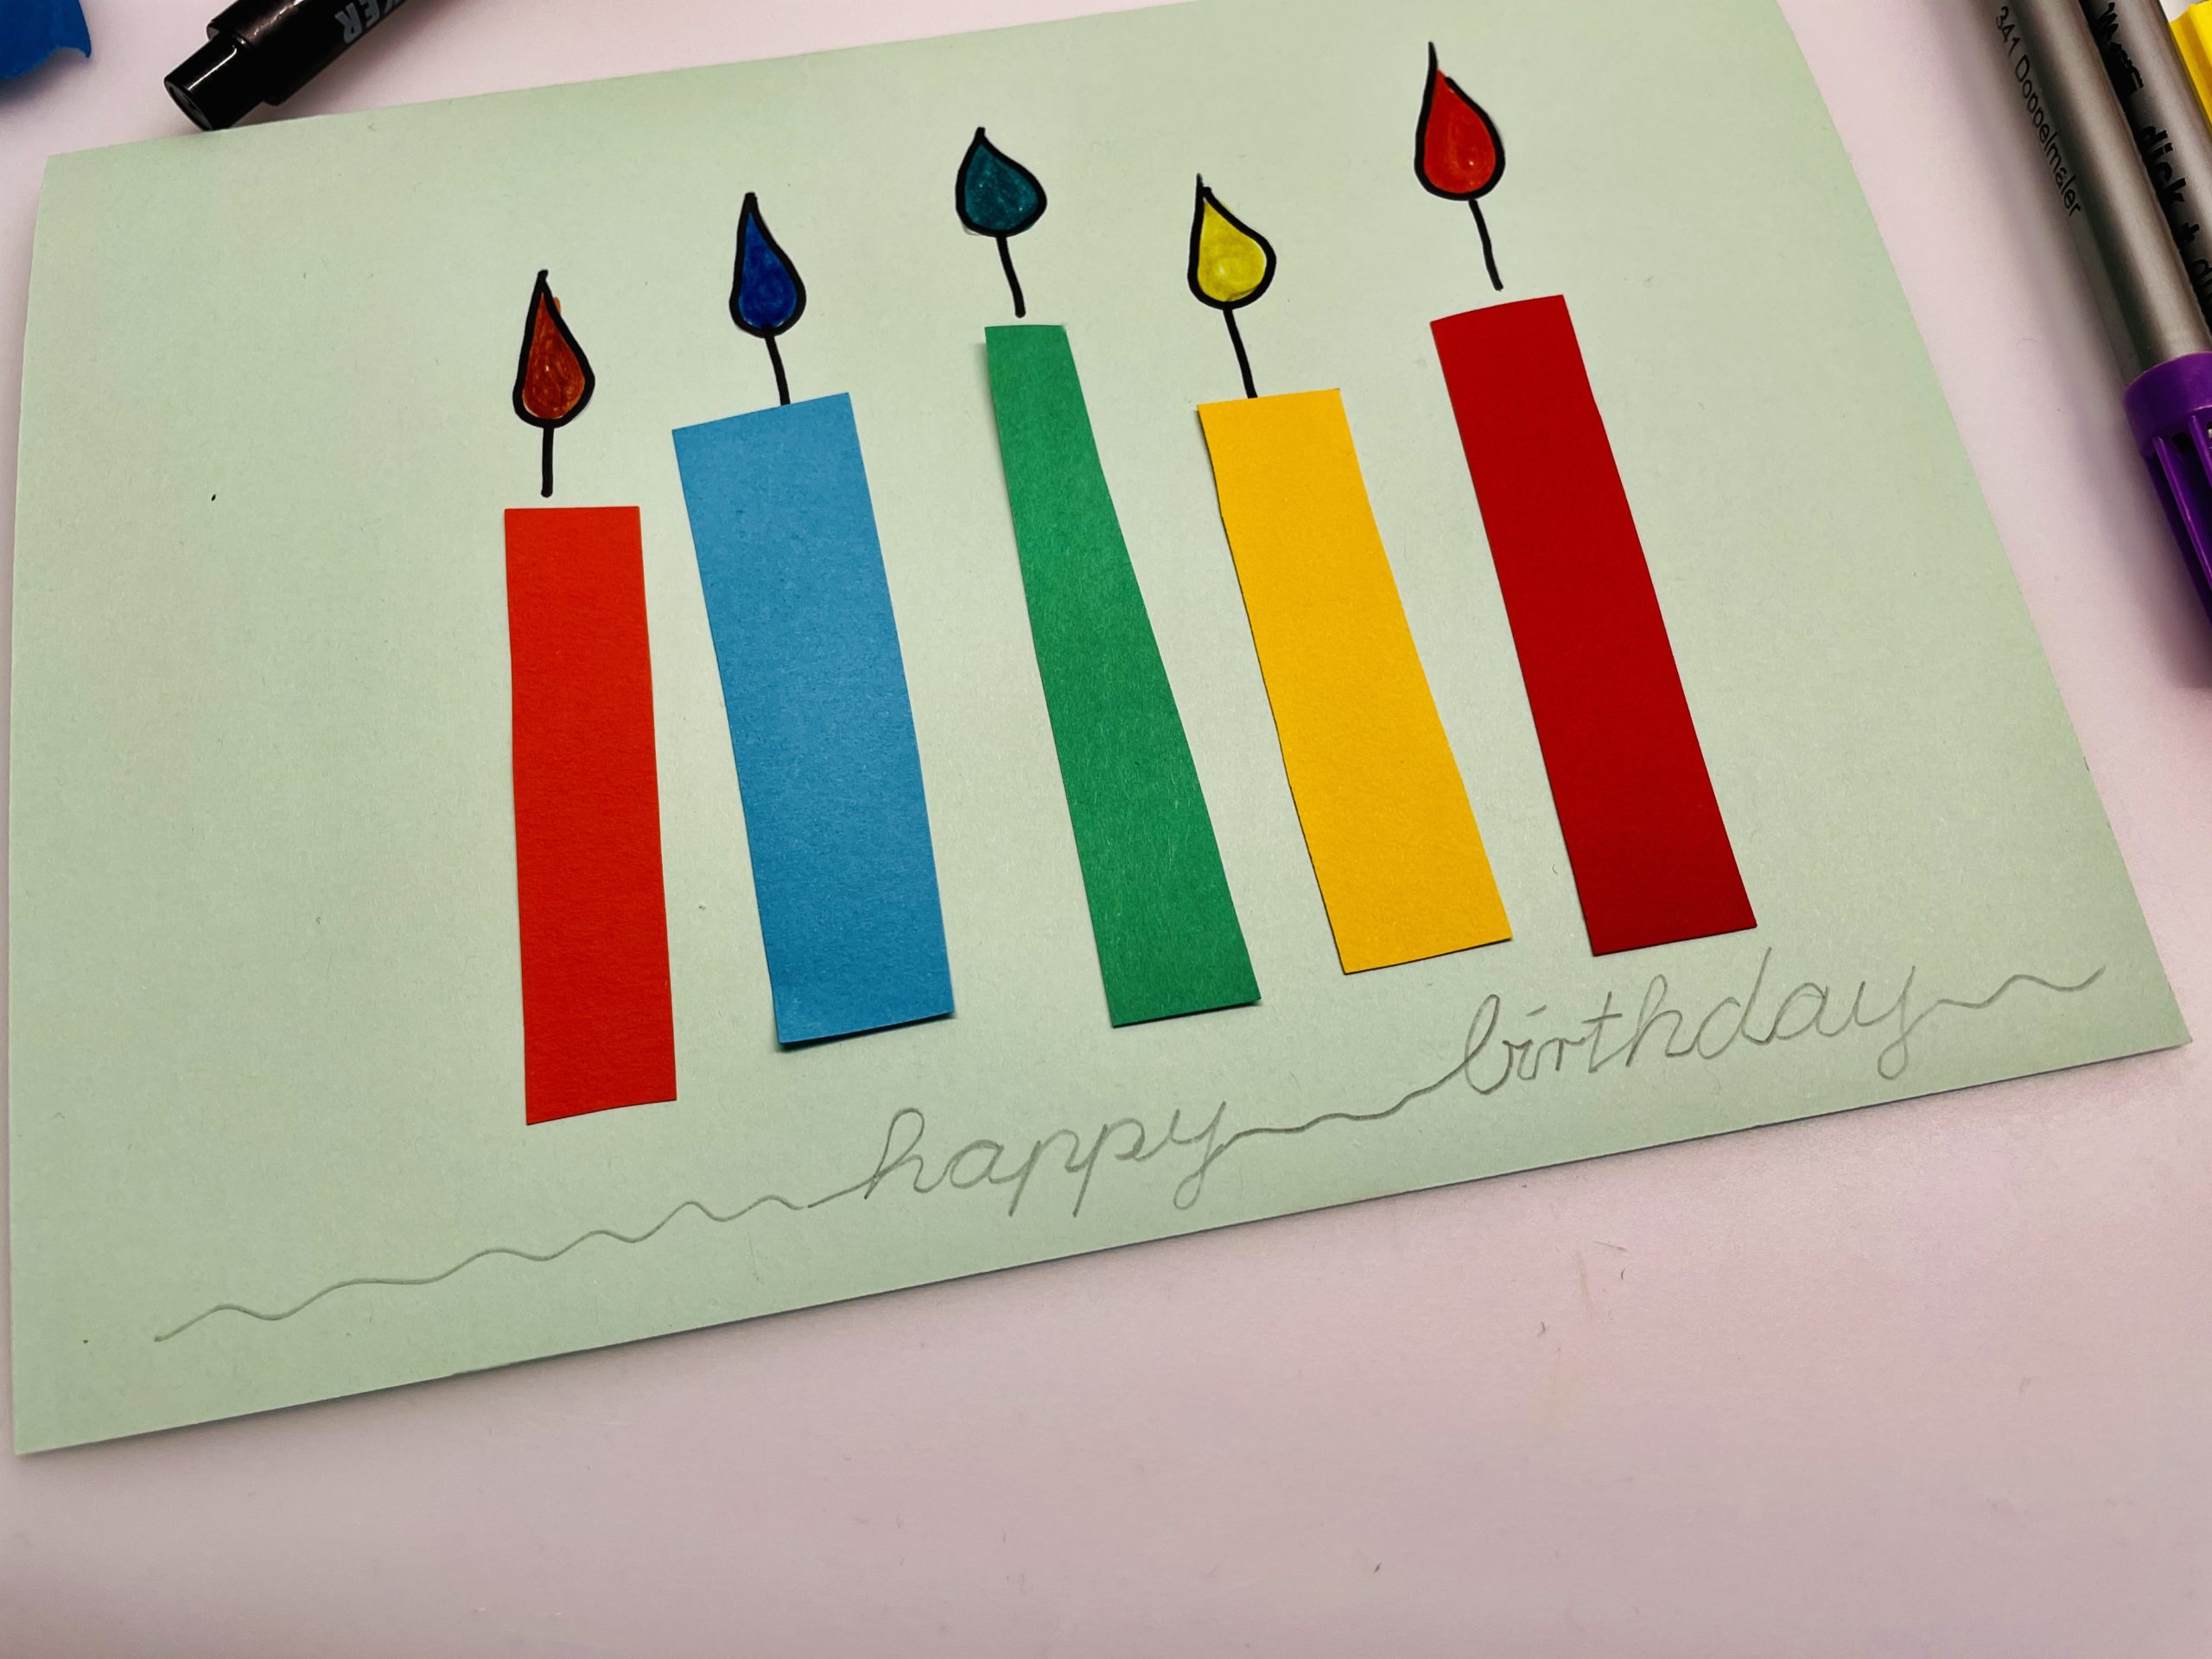
Bild zum Schritt 9 für das Bastel- und DIY-Abenteuer für Kinder: 'Am unteren Kartenrand ist noch Platz für einen Schriftzug. ...'

10

For this purpose, for example, select the felt pens in the colours of the candles.
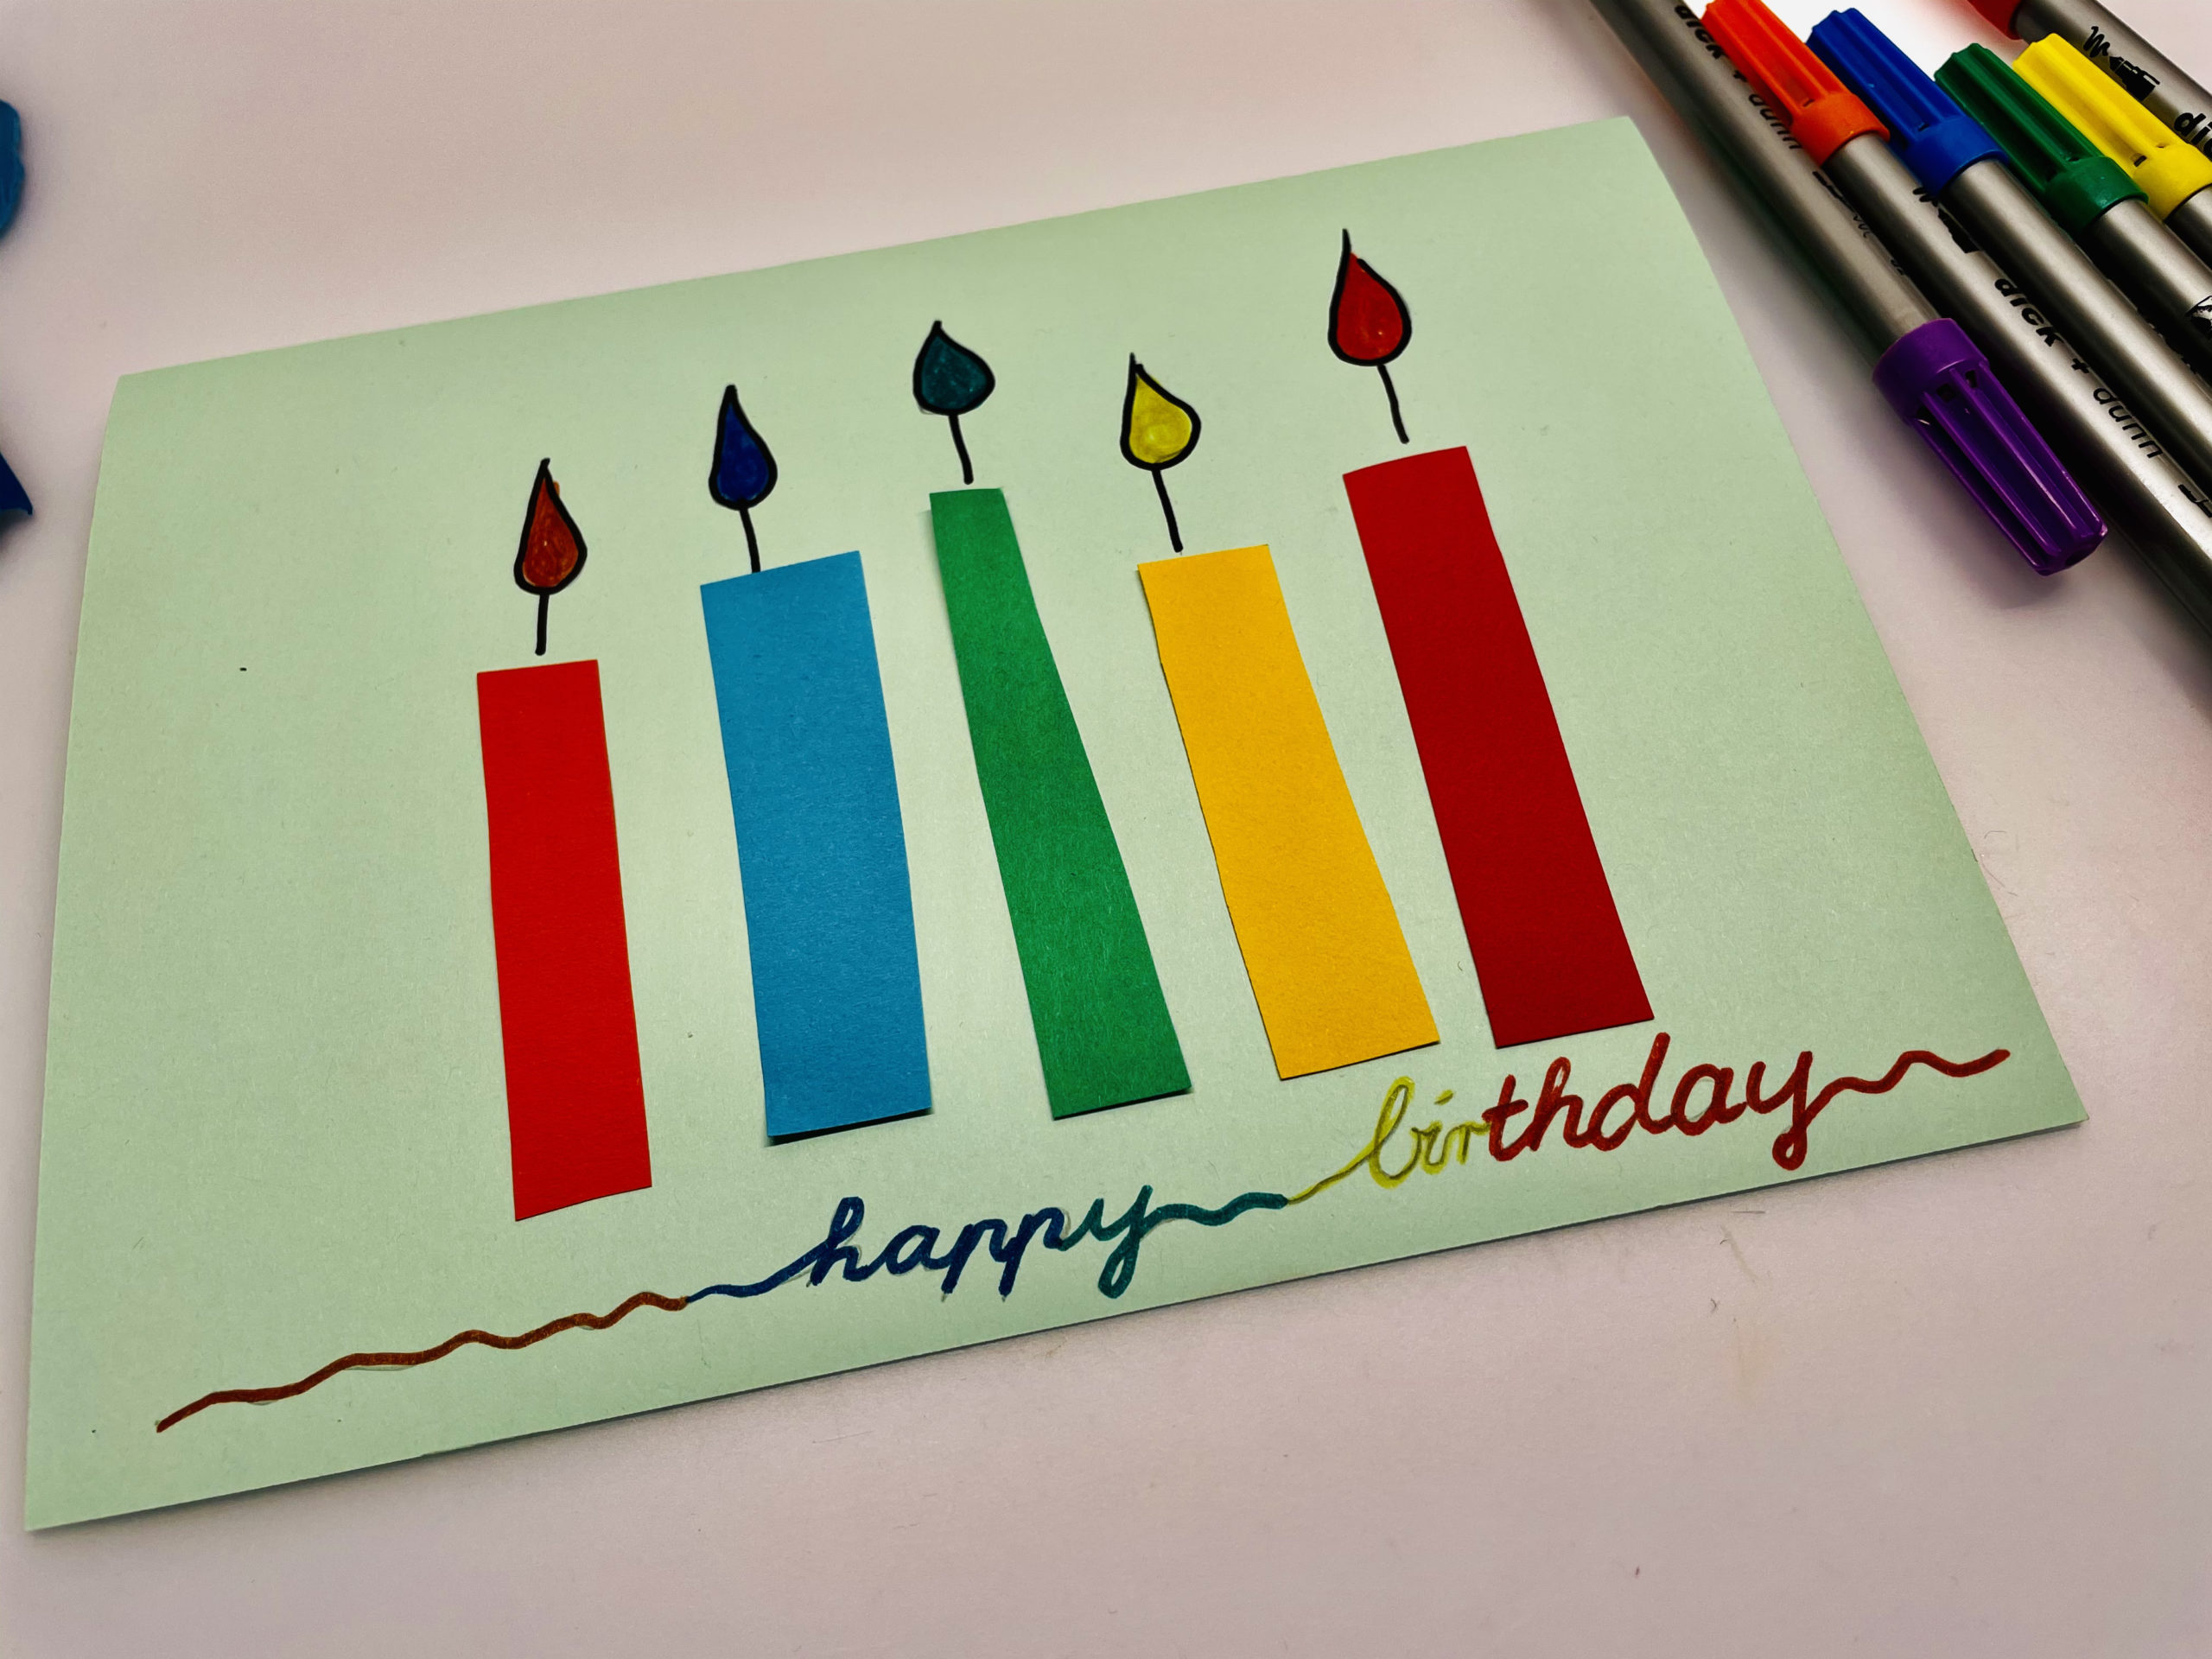
Bild zum Schritt 10 für das Bastel- und DIY-Abenteuer für Kinder: 'Dafür wählt z.B. die Filzstifte in den Farben der Kerzen.'

11

Another idea:
You get dancing candles by reducing the length of the candles and tilting the candles diagonally (see picture). Through the small commas the candles seem as if they are moving.
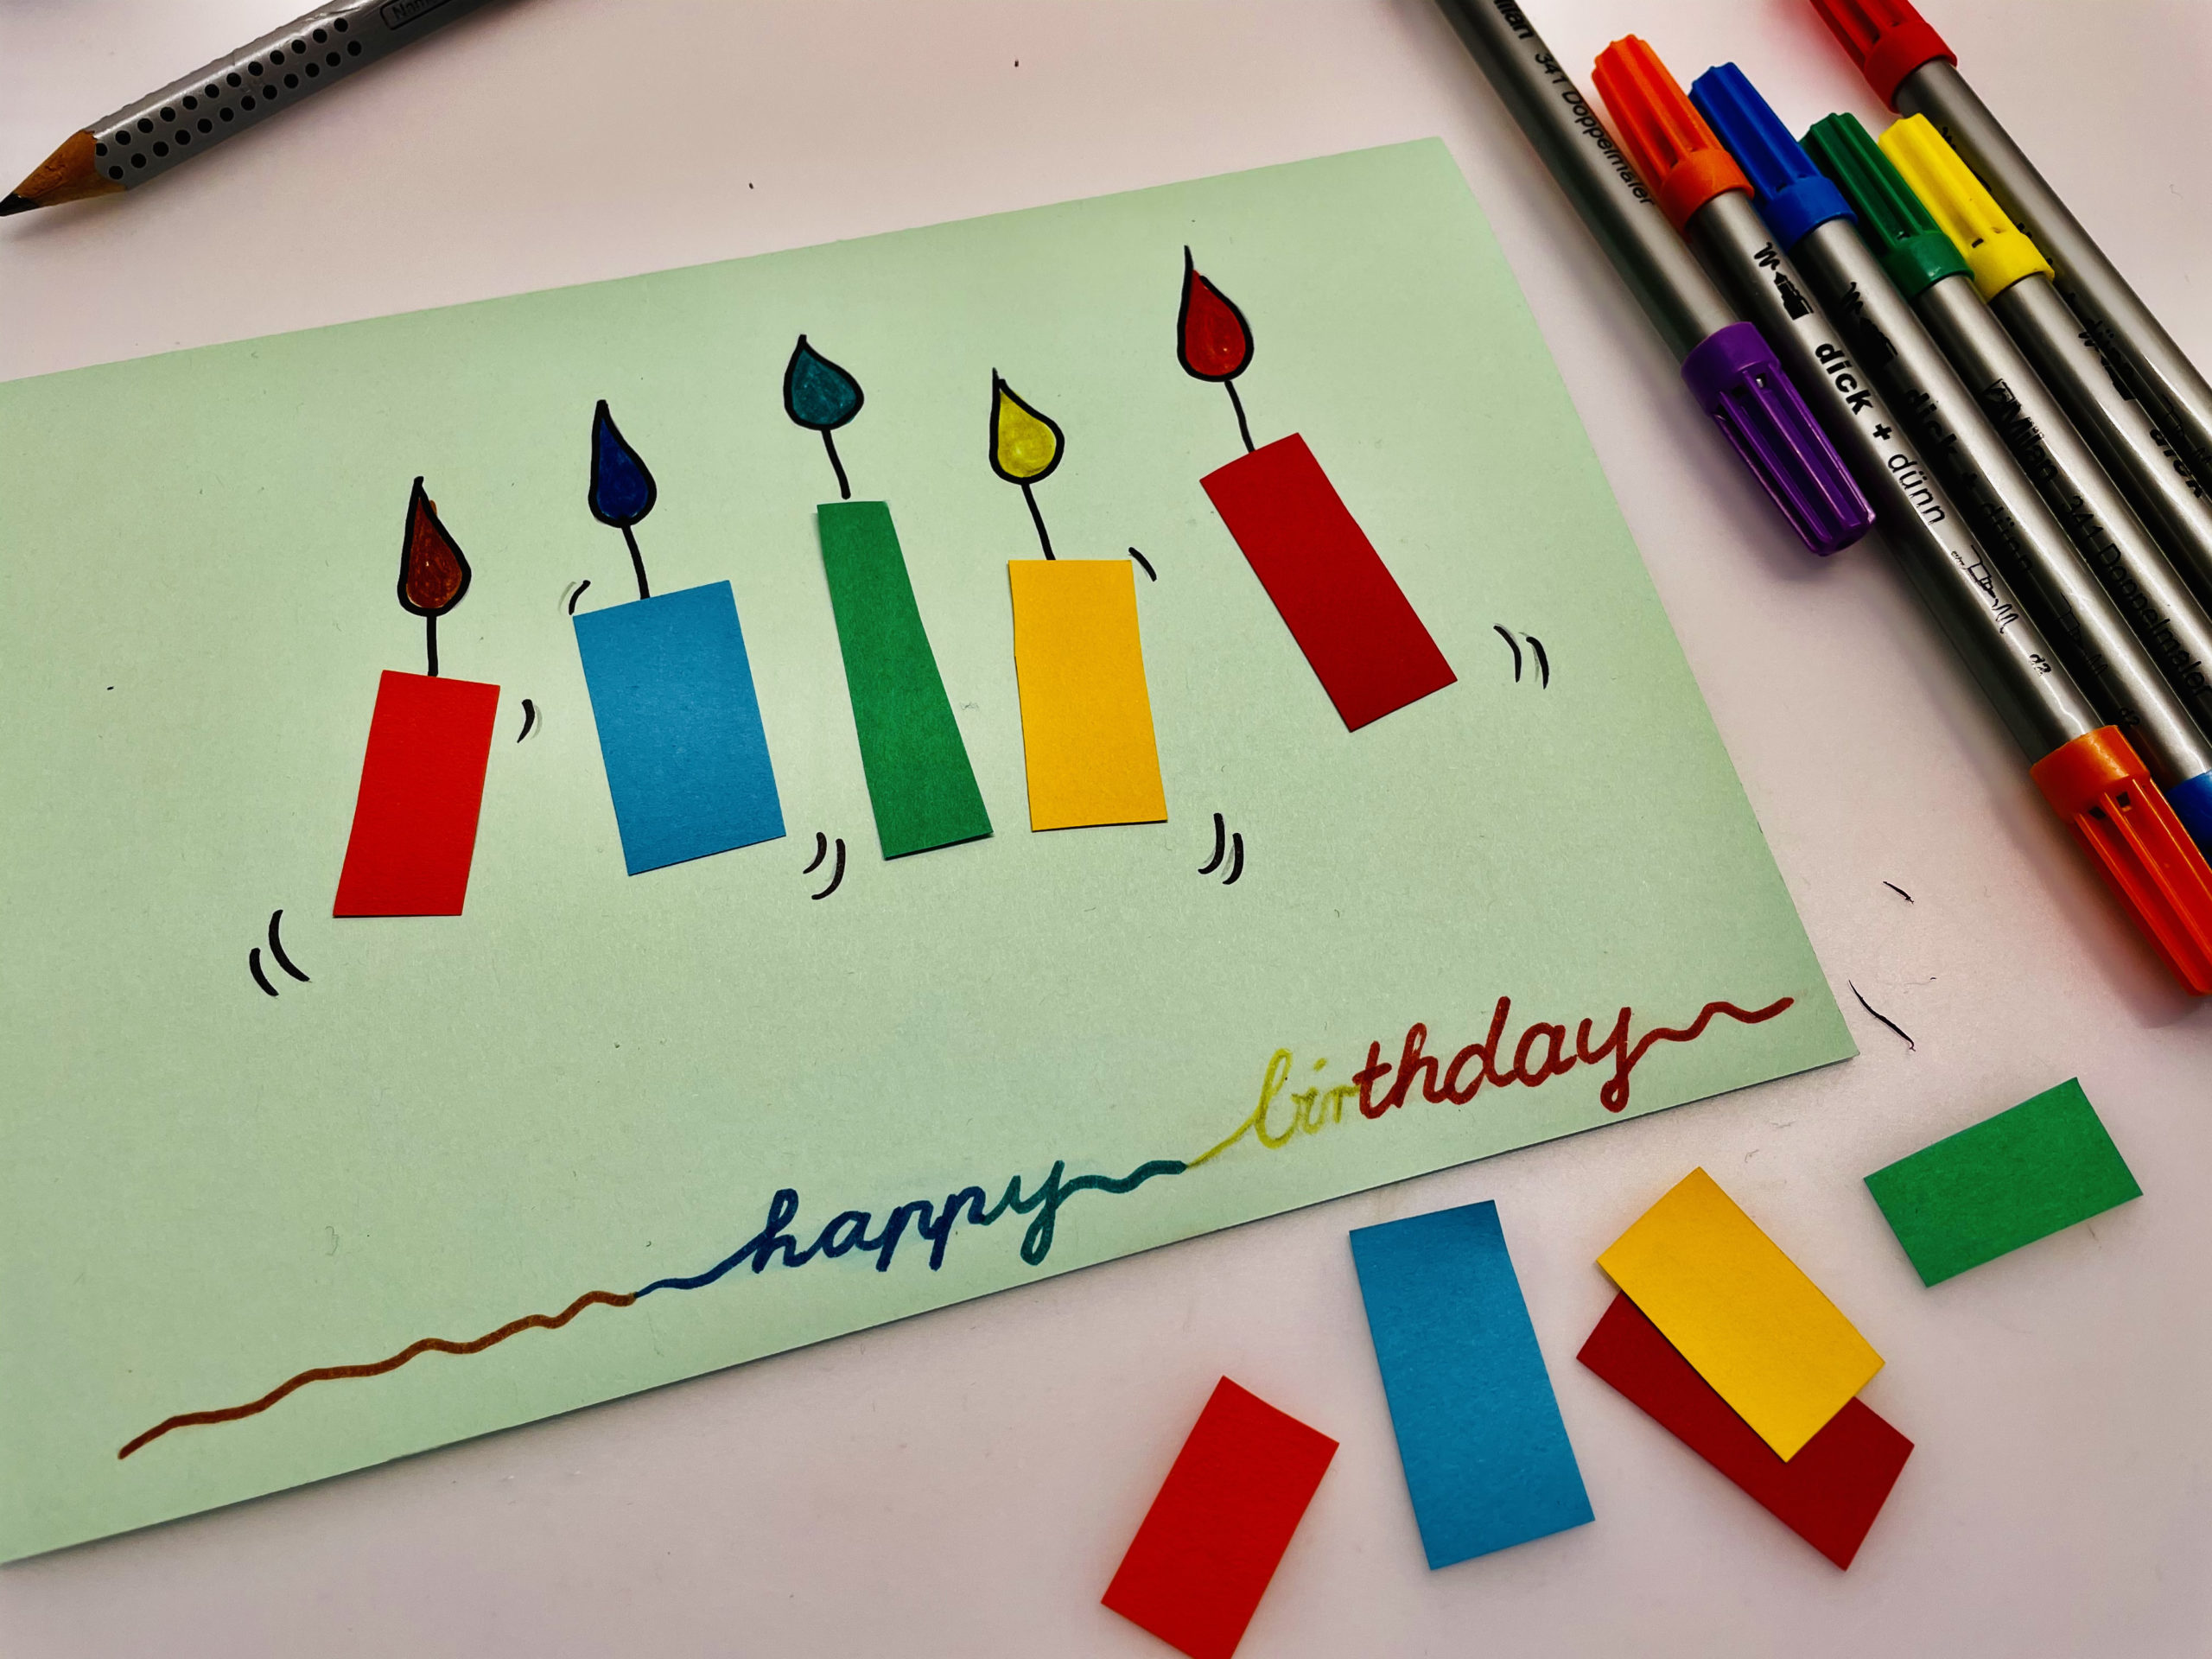
Bild zum Schritt 11 für das Bastel- und DIY-Abenteuer für Kinder: 'Eine weitere Idee:   Tanzende Kerzen erhaltet ihr indem...'

12

Try it out!

13

Here again both variants!

Bild zum Schritt 13 für das Bastel- und DIY-Abenteuer für Kinder: 'Hier noch einmal beide Varianten!'

14

Have fun crafting birthday cards, invitation cards, etc. or giving away.

Make a birthday card

Follow us on Facebook , Instagram and Pinterest
Don't miss any more adventures: Our bottle mail

Leave a Reply

Your email address will not be published.

The maximum upload file size: 5 MB. You can upload: image, document. Drop file here