The first fish you fold needs some exercise when you fold several times in a row, you'll always be better. You'll be thrilled how quick you can make the folding steps with a little exercise. Try it out. You'll see how the individual steps work in this guide. Have fun trying out.
Media Education for Kindergarten and Hort

Relief in everyday life, targeted promotion of individual children, independent learning and - without any pre-knowledge already usable by the youngest!
As soon as you've prepared all the materials, we're ready to go.

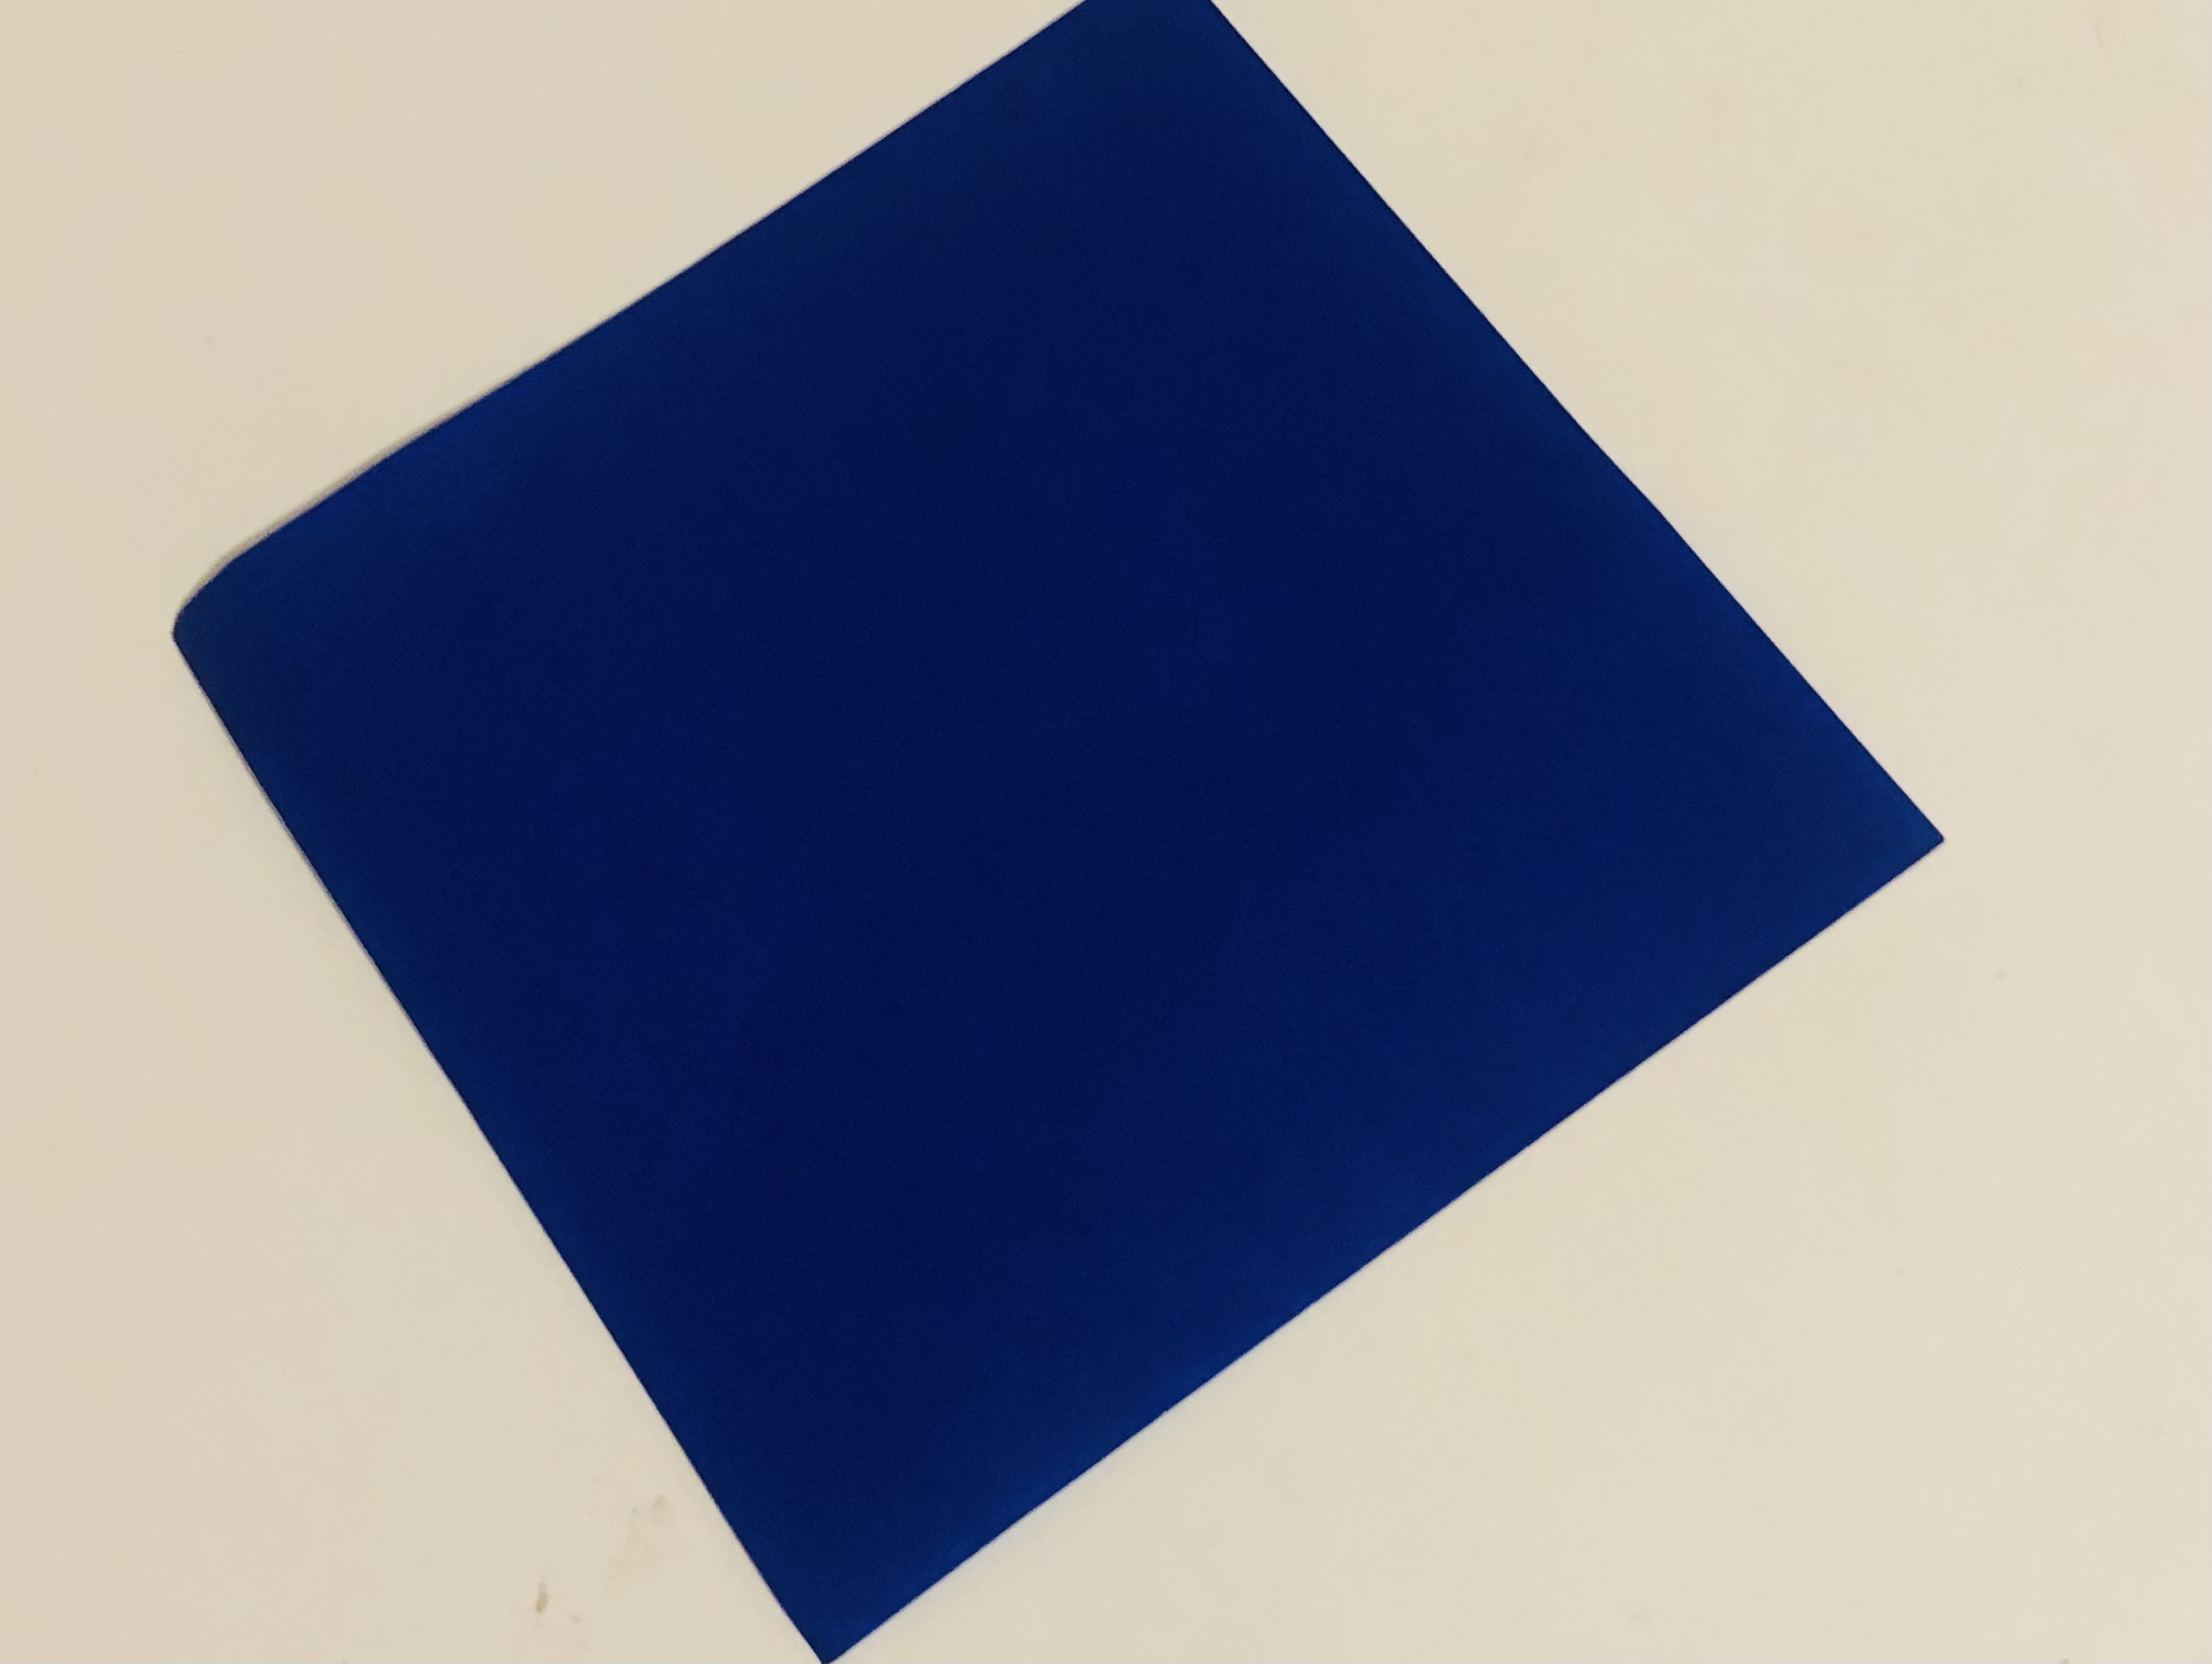
Put the paper in front of you on the table so that a corner / tip shows you.
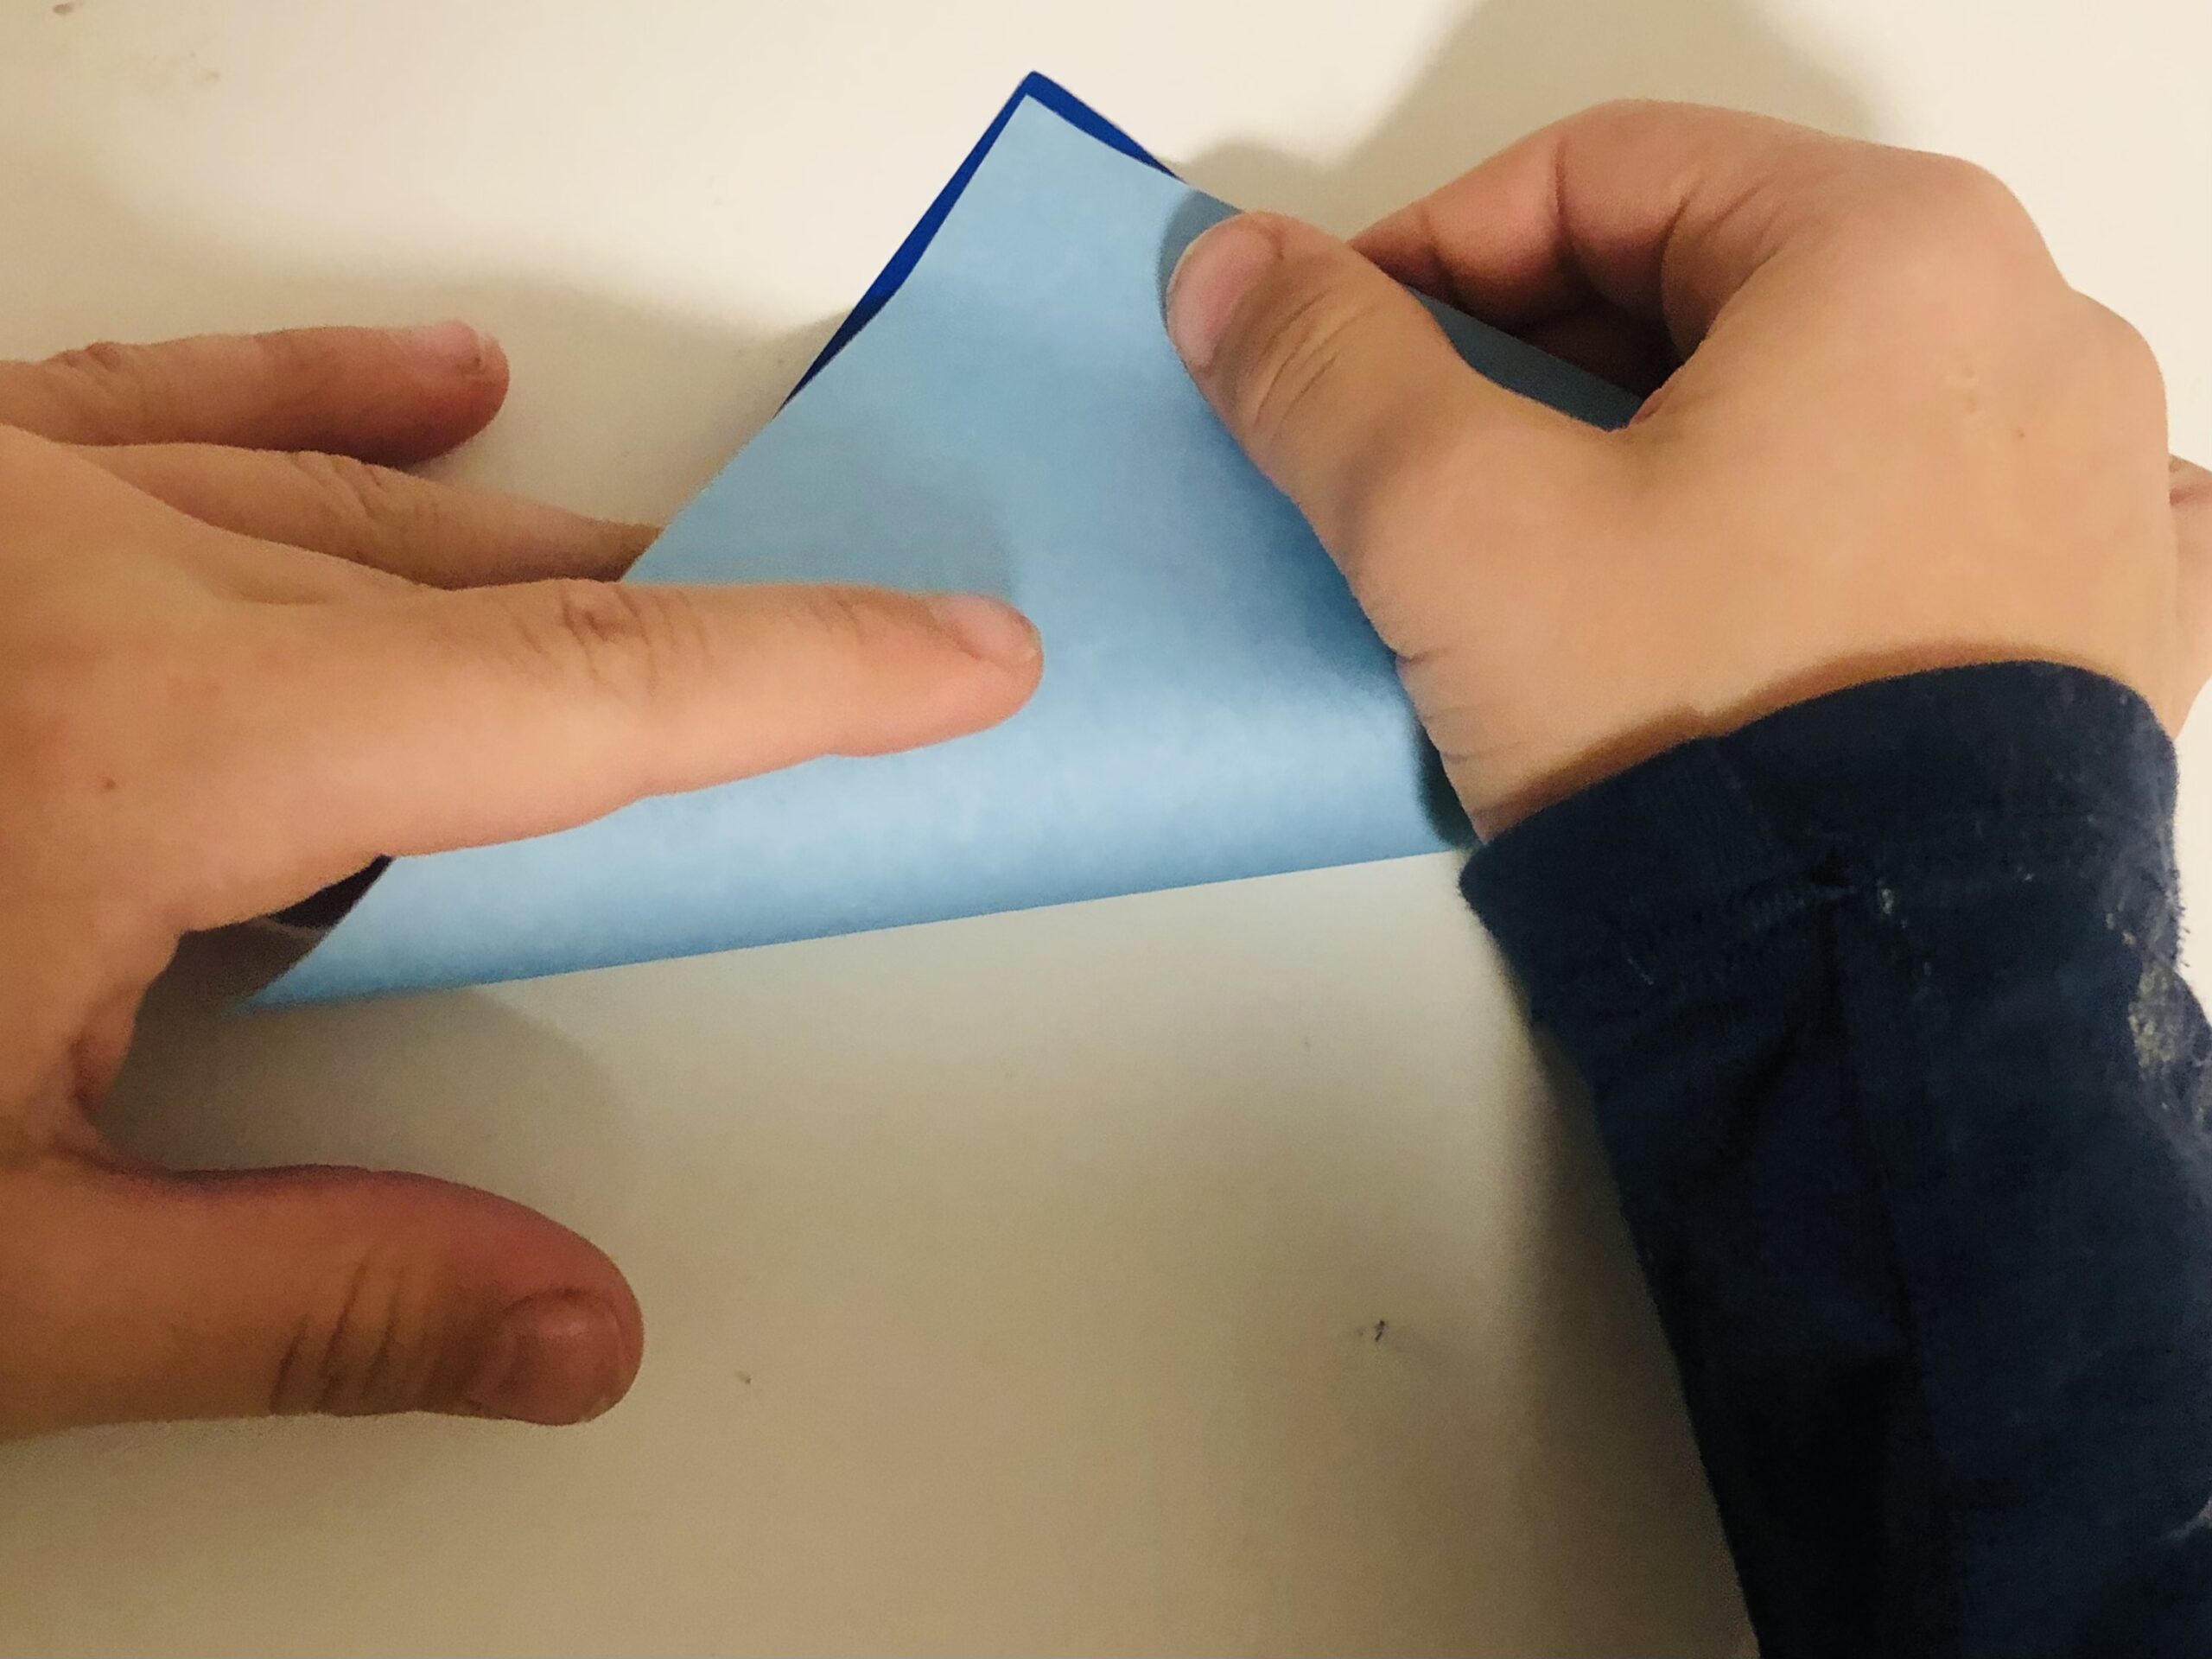
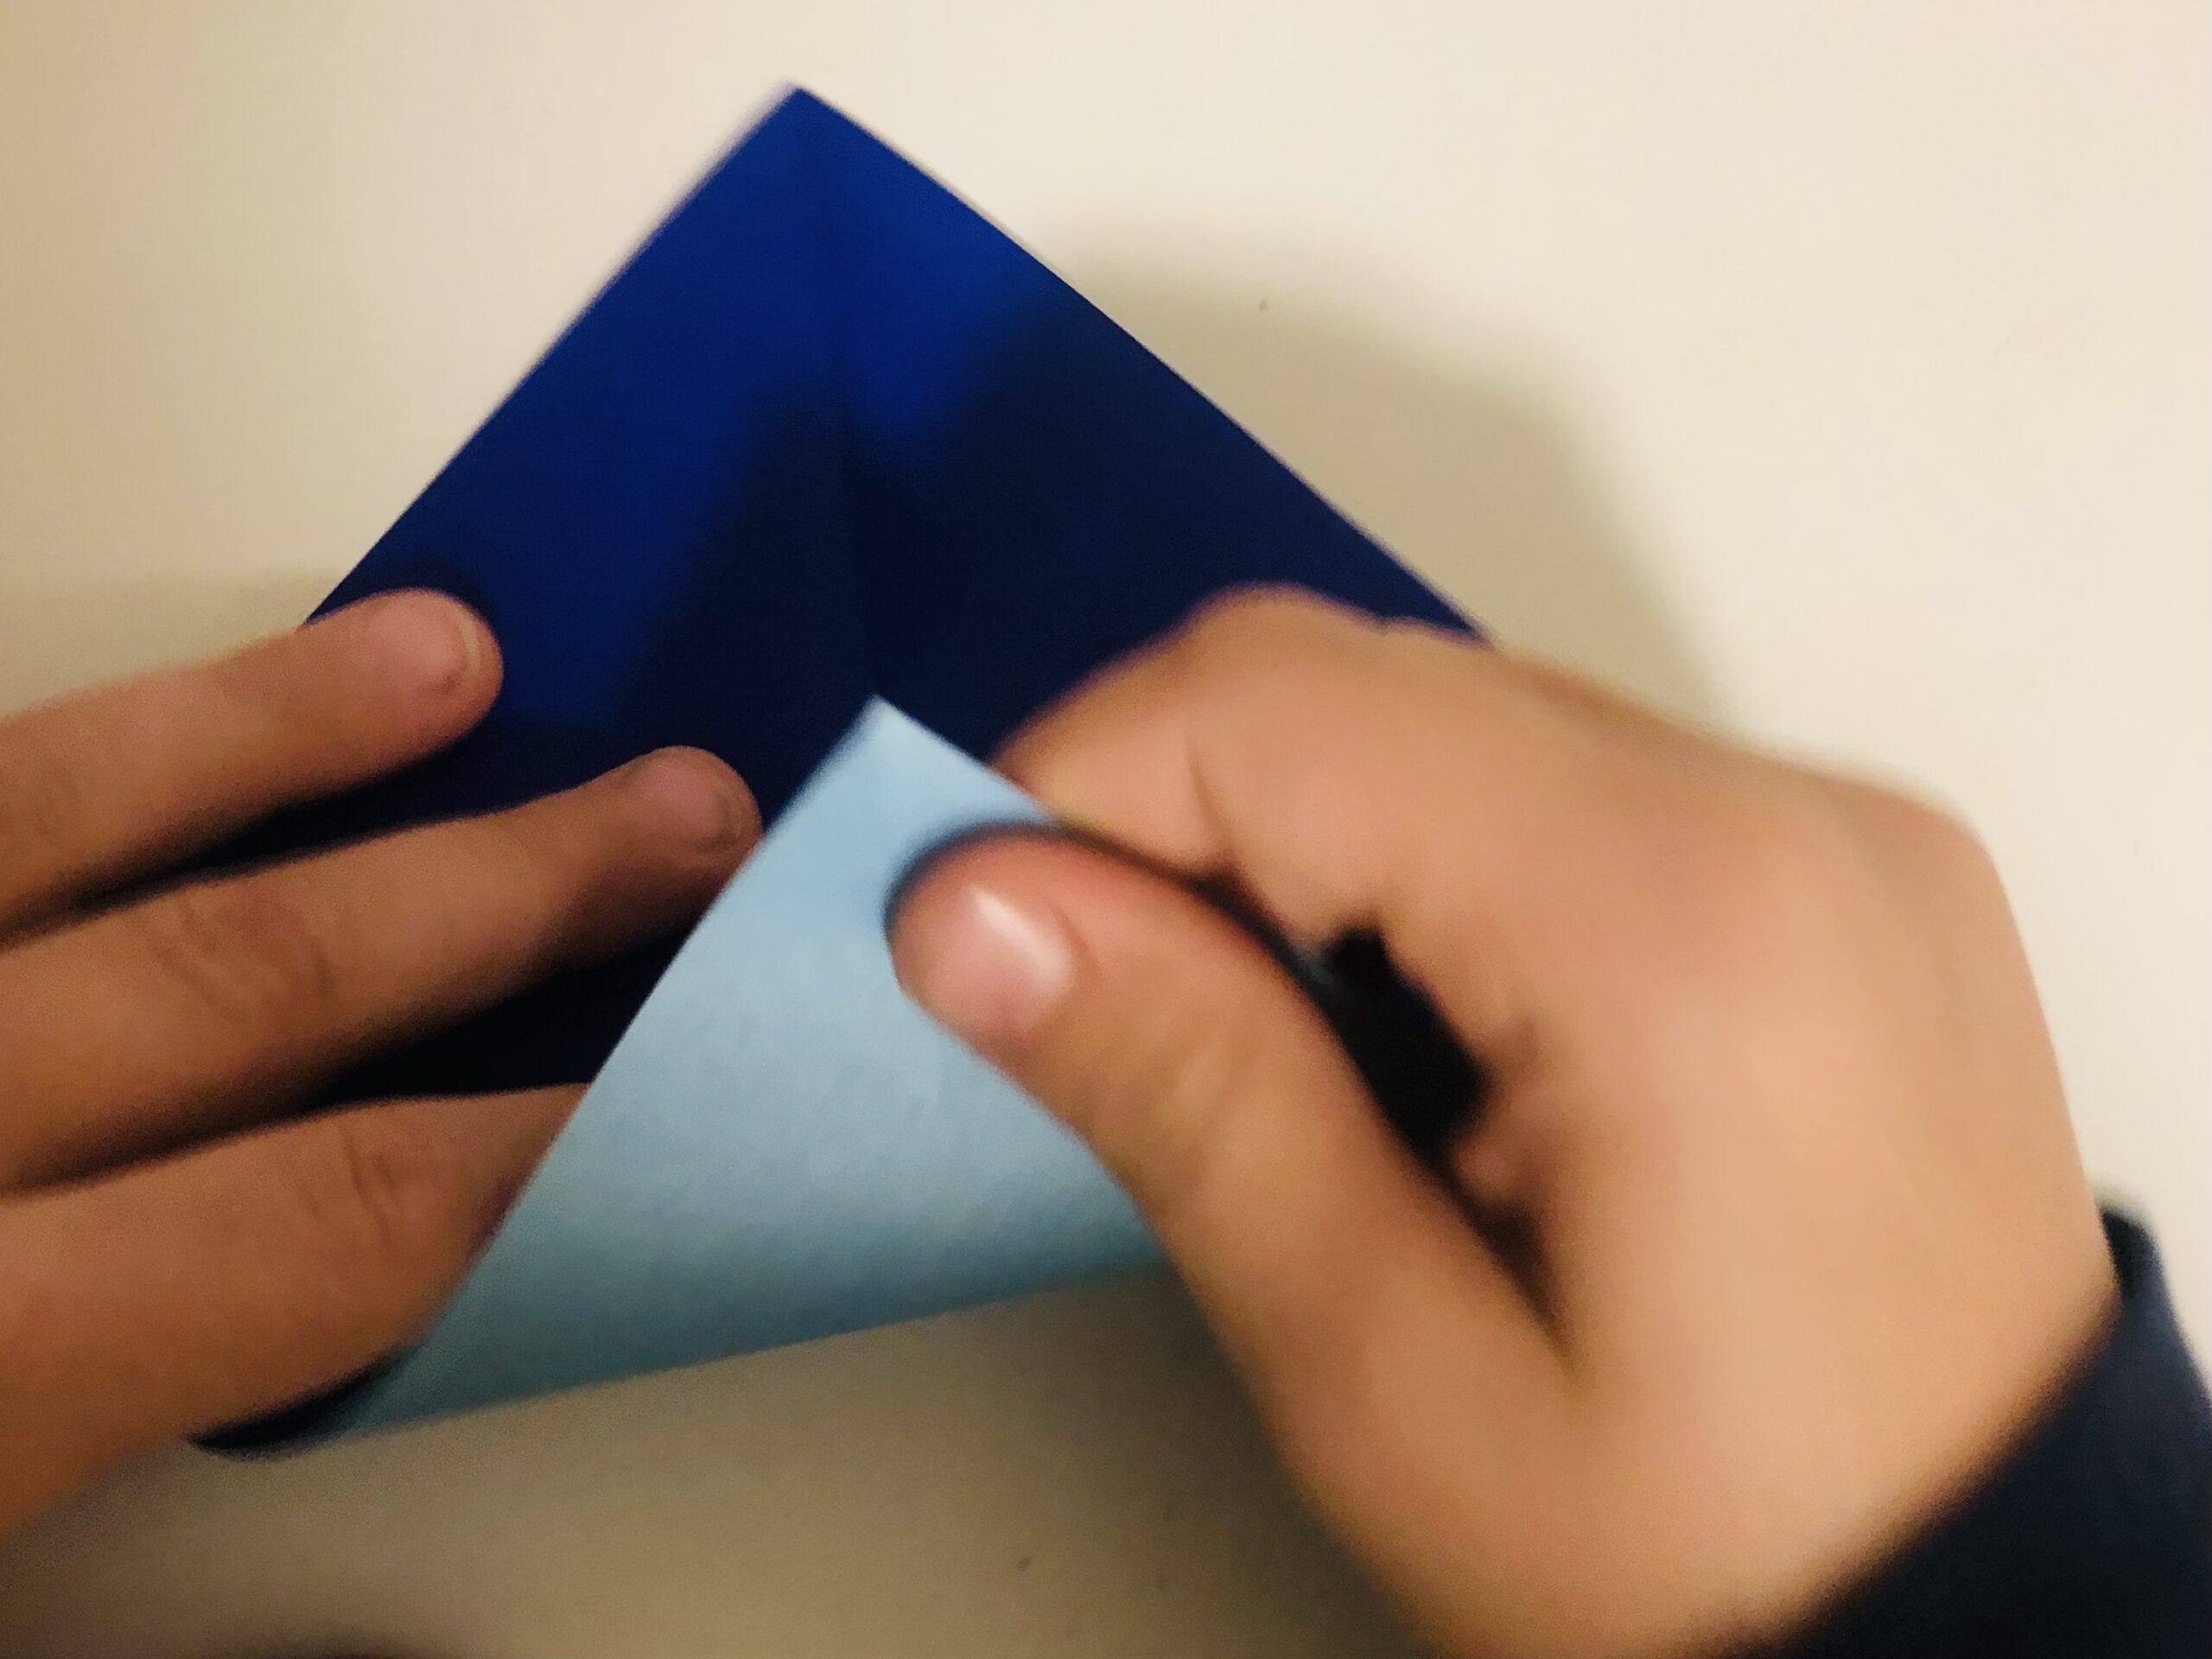
Now take the bottom corner and fold it to the top corner.
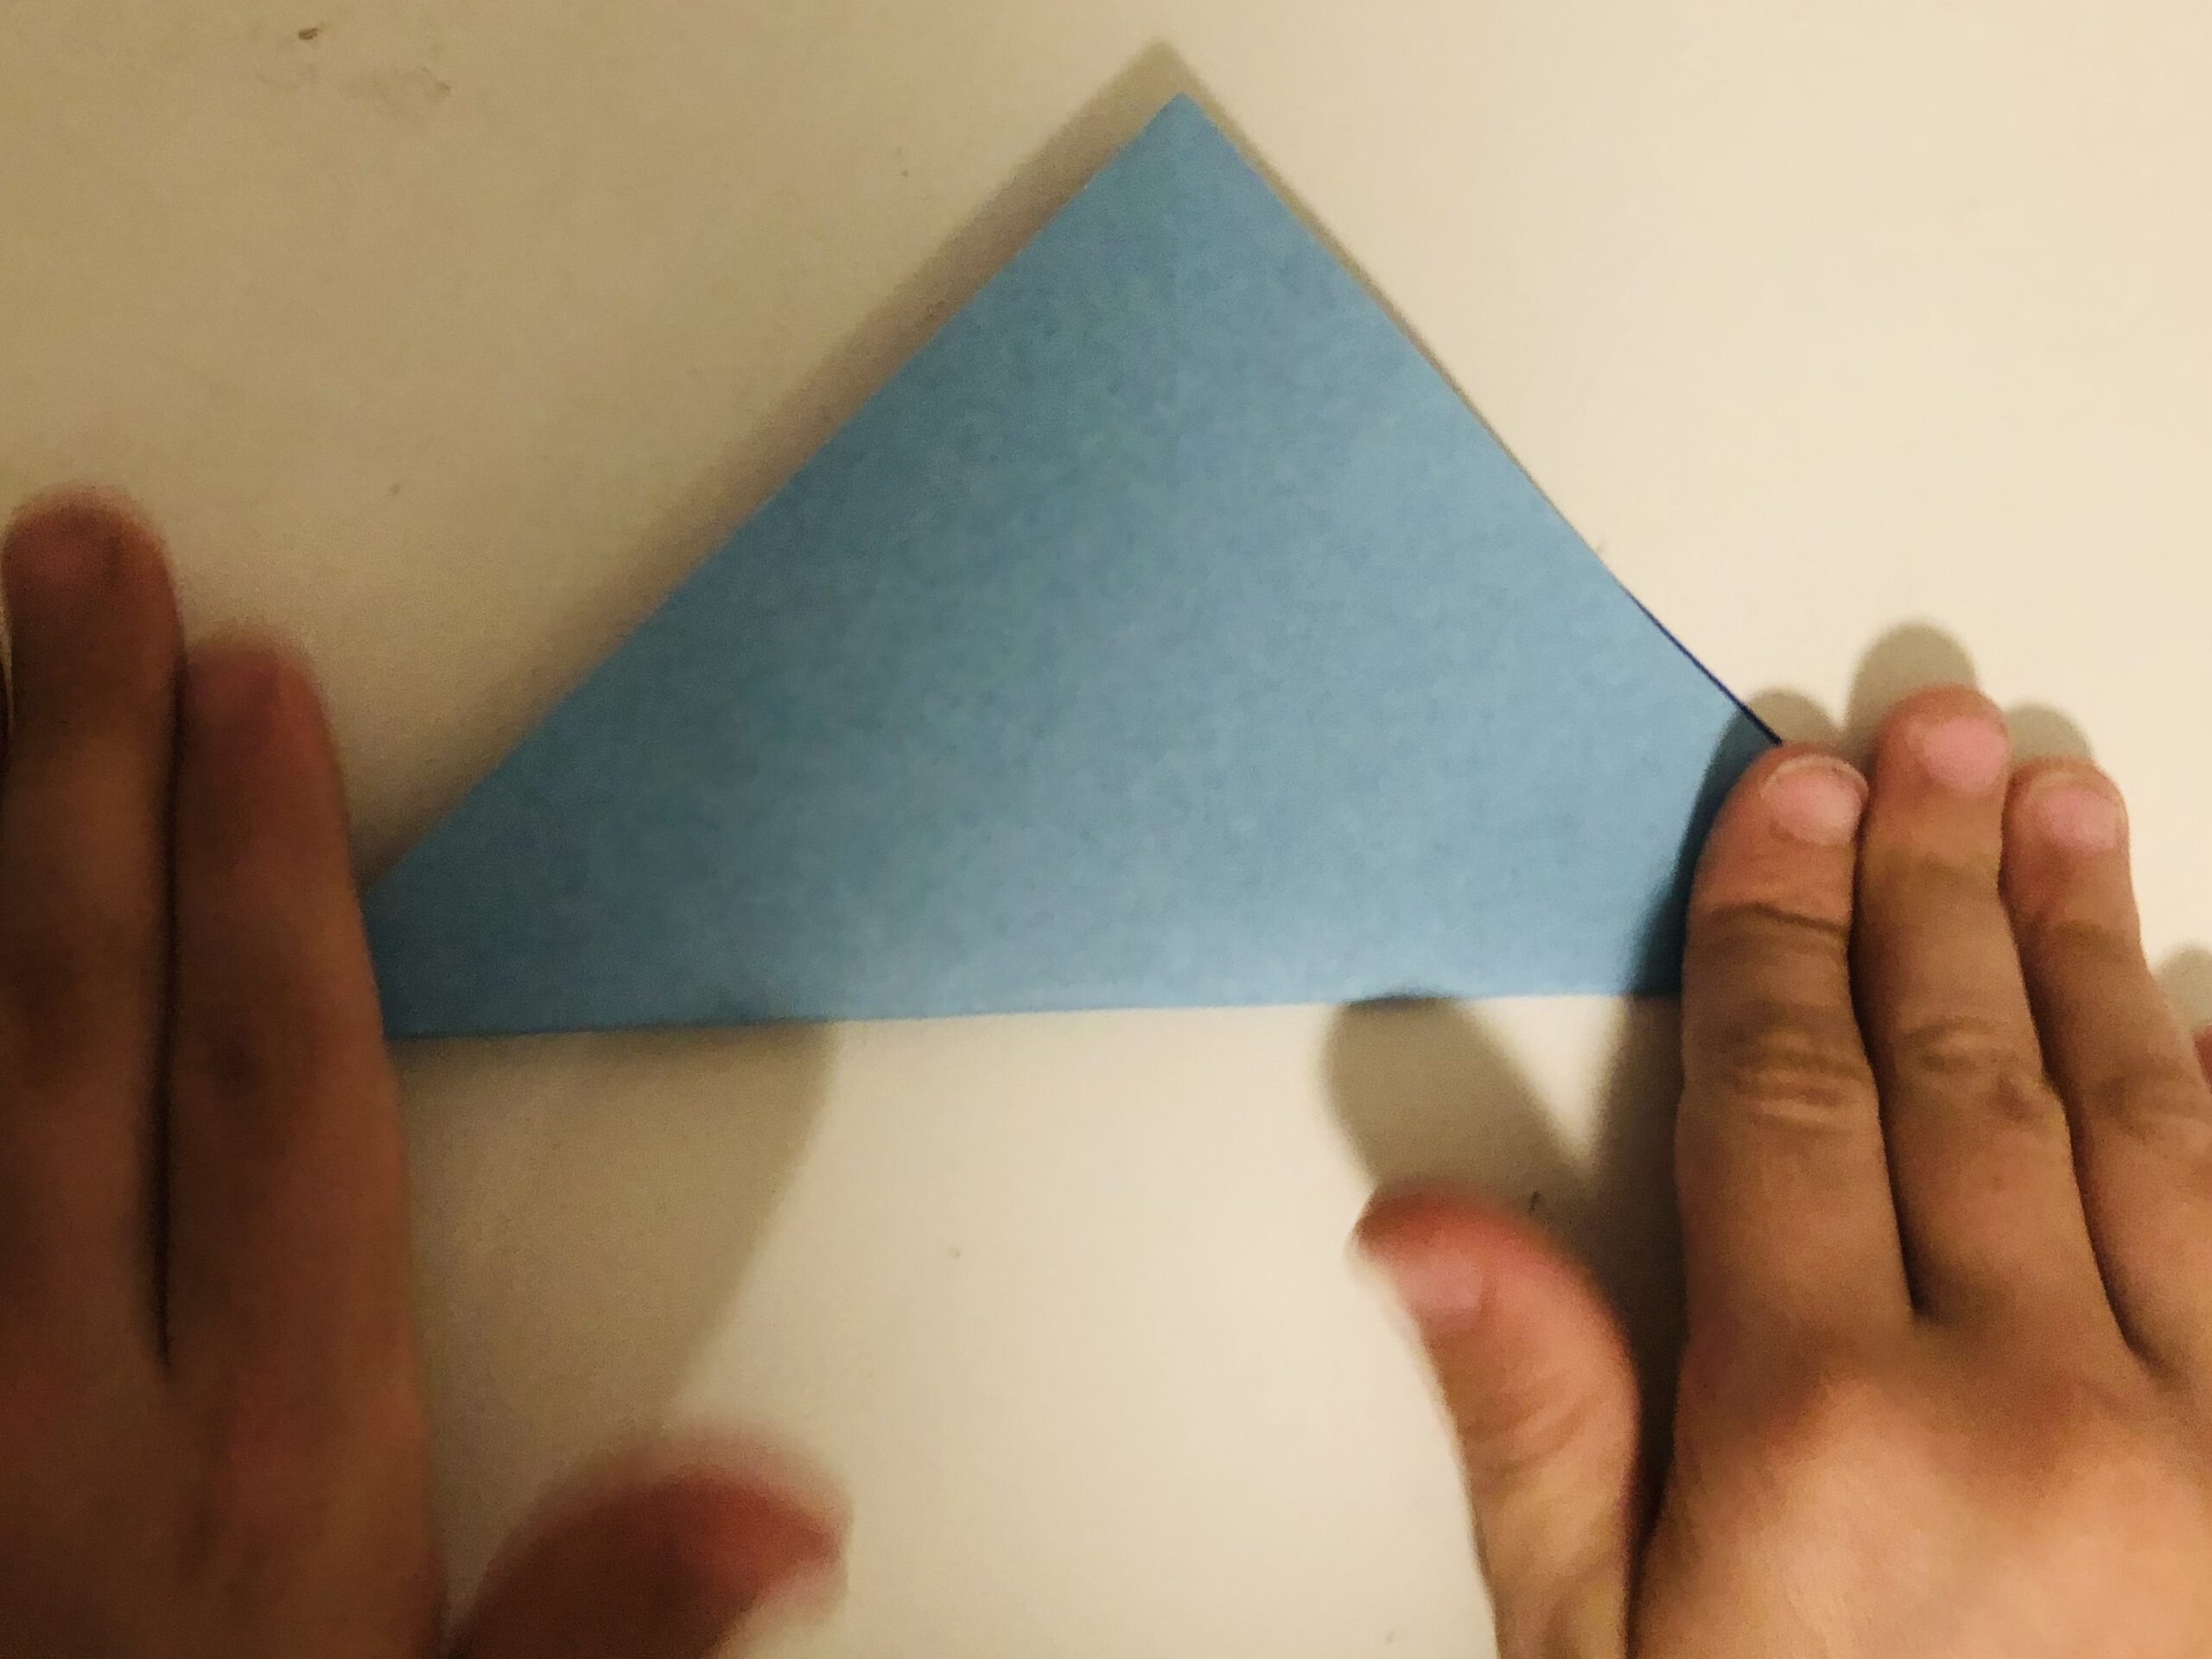
That's how a triangle is created.
Stirs out the rupture vigorously.

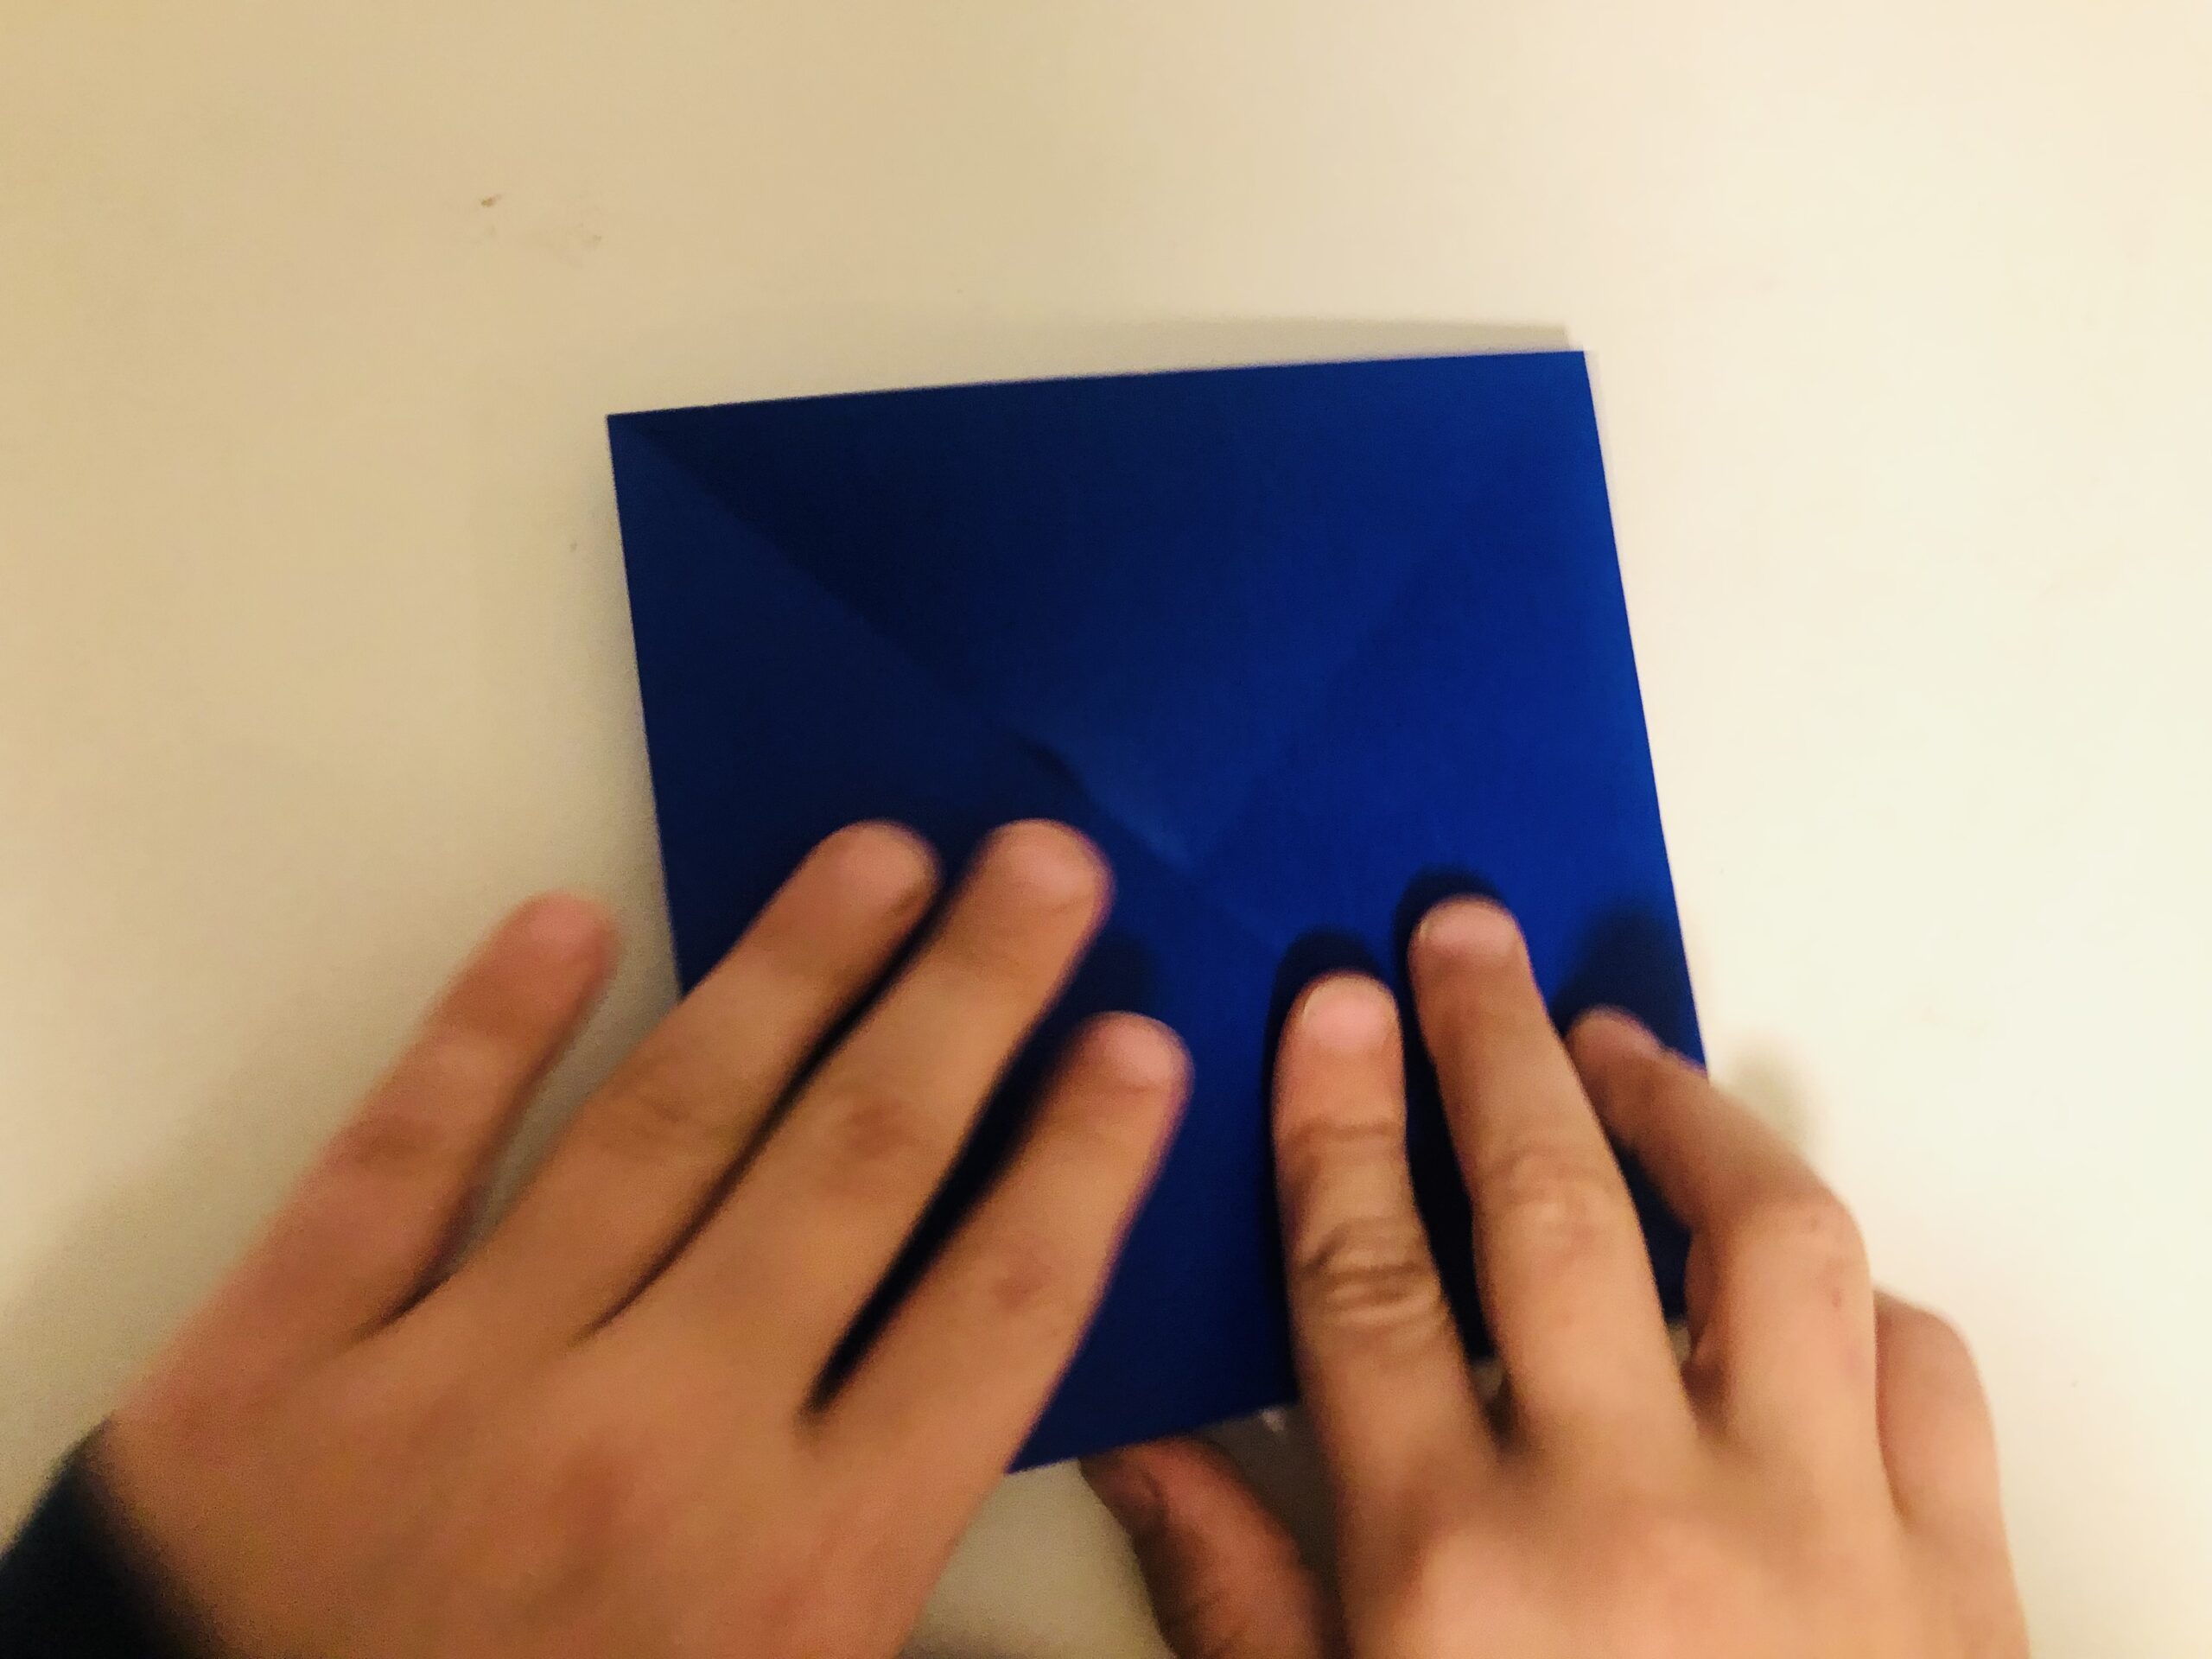
Now you open the triangle again.

Then you turn the square so that the corner points to you, and the break points to you. Fold the corner back up: corner on corner. Work properly.
Strike the break again smoothly.
Fold the triangle again. Both folded lines now make a cross.
Put the leaf straight in front of you. Fold the lower side upwards. Make sure that both edges lie neatly on each other.
The folded looks like a book.

Strip the rupture smoothly.
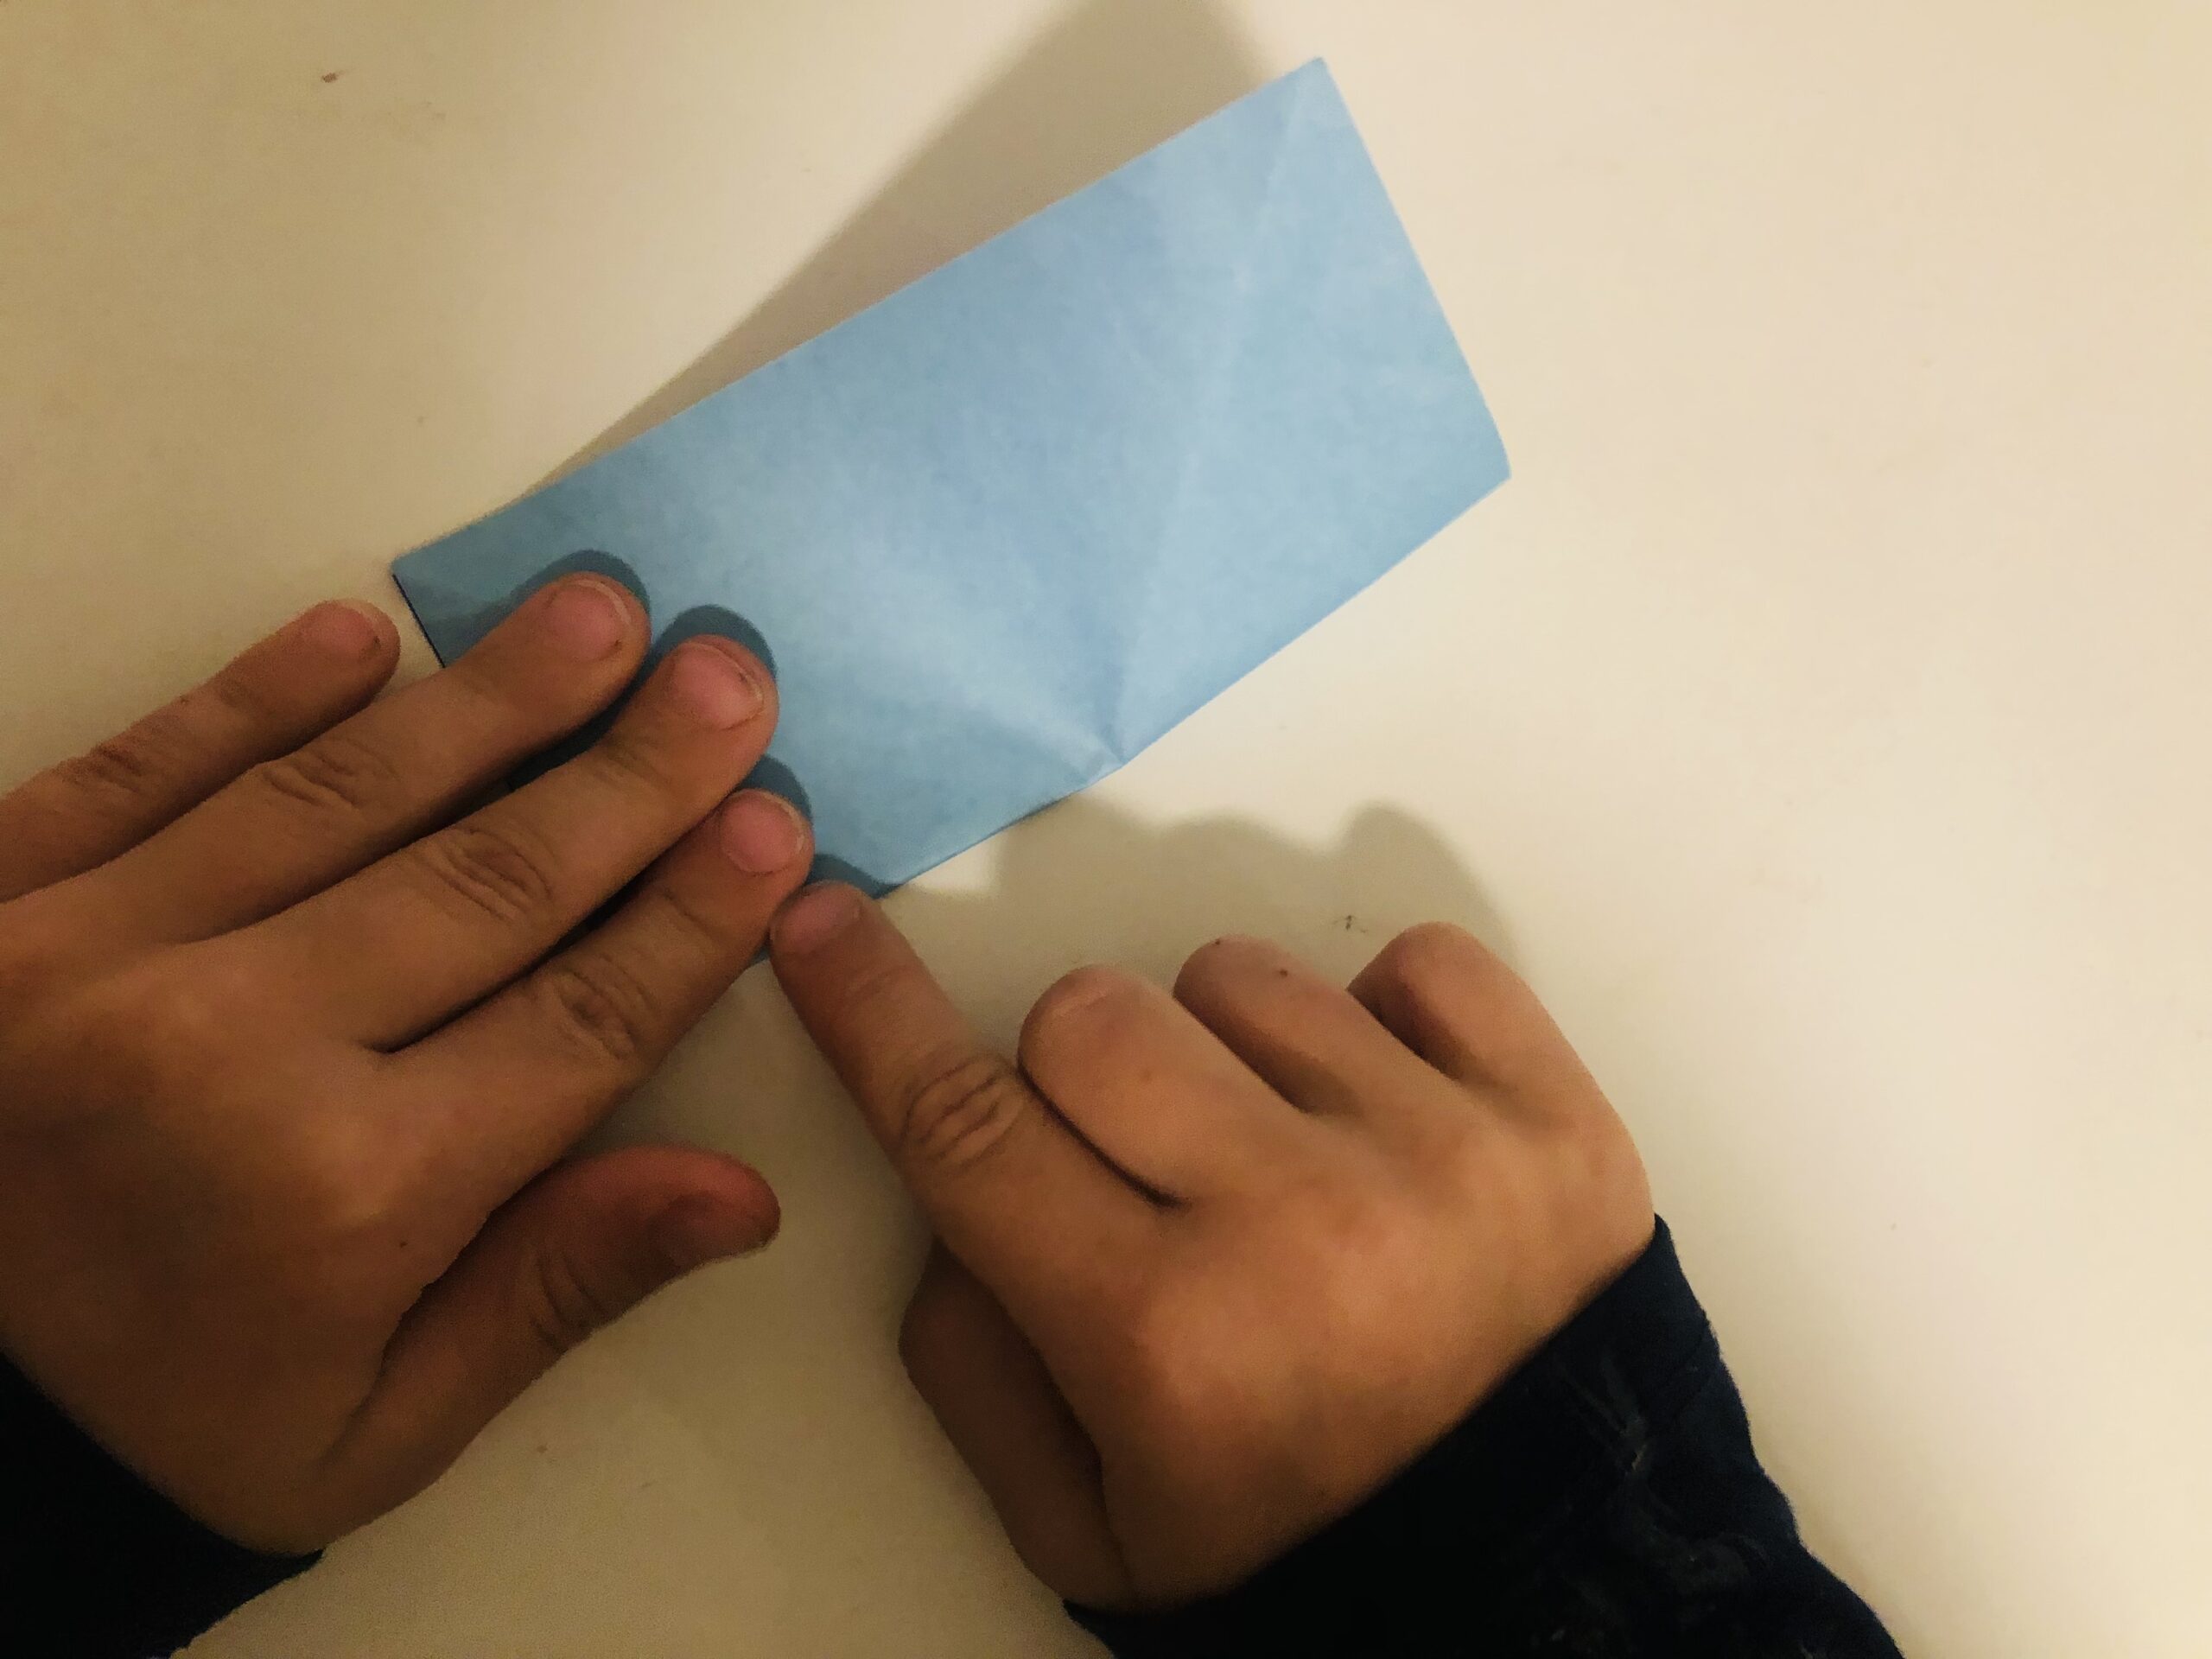
Put the "book" down with the short side and fold it upwards to the opposite edge. Gently strike the break.
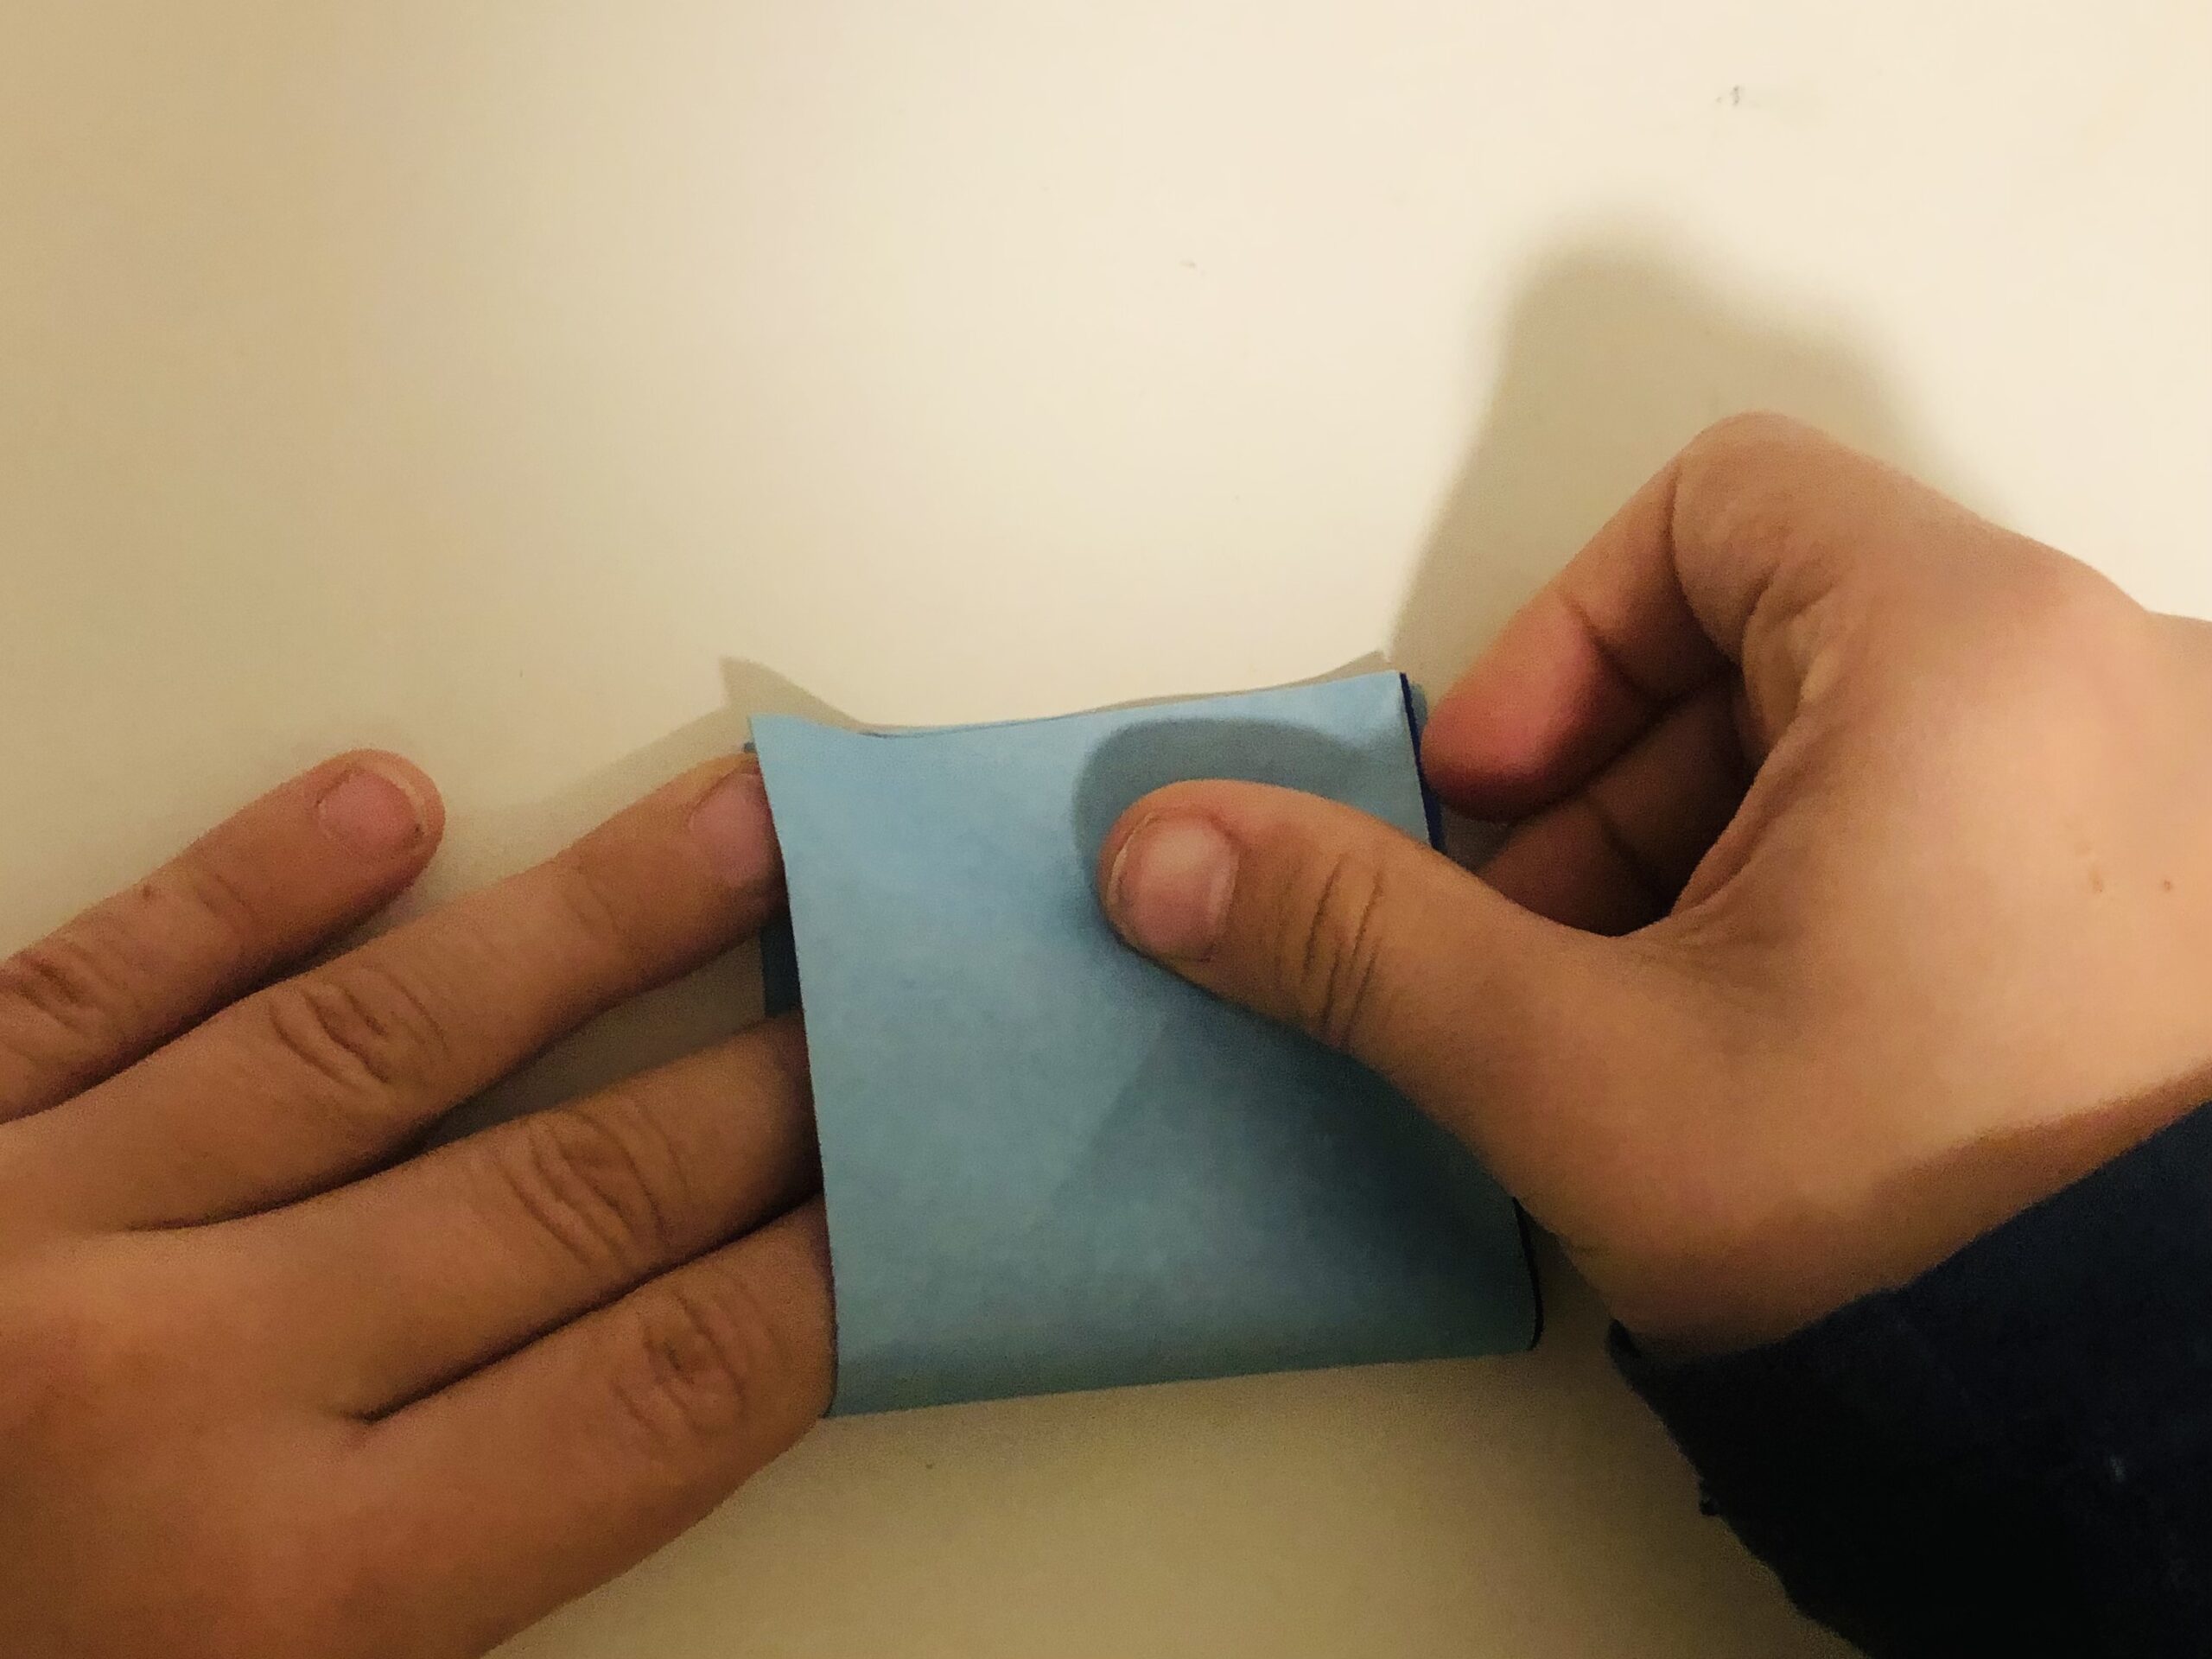
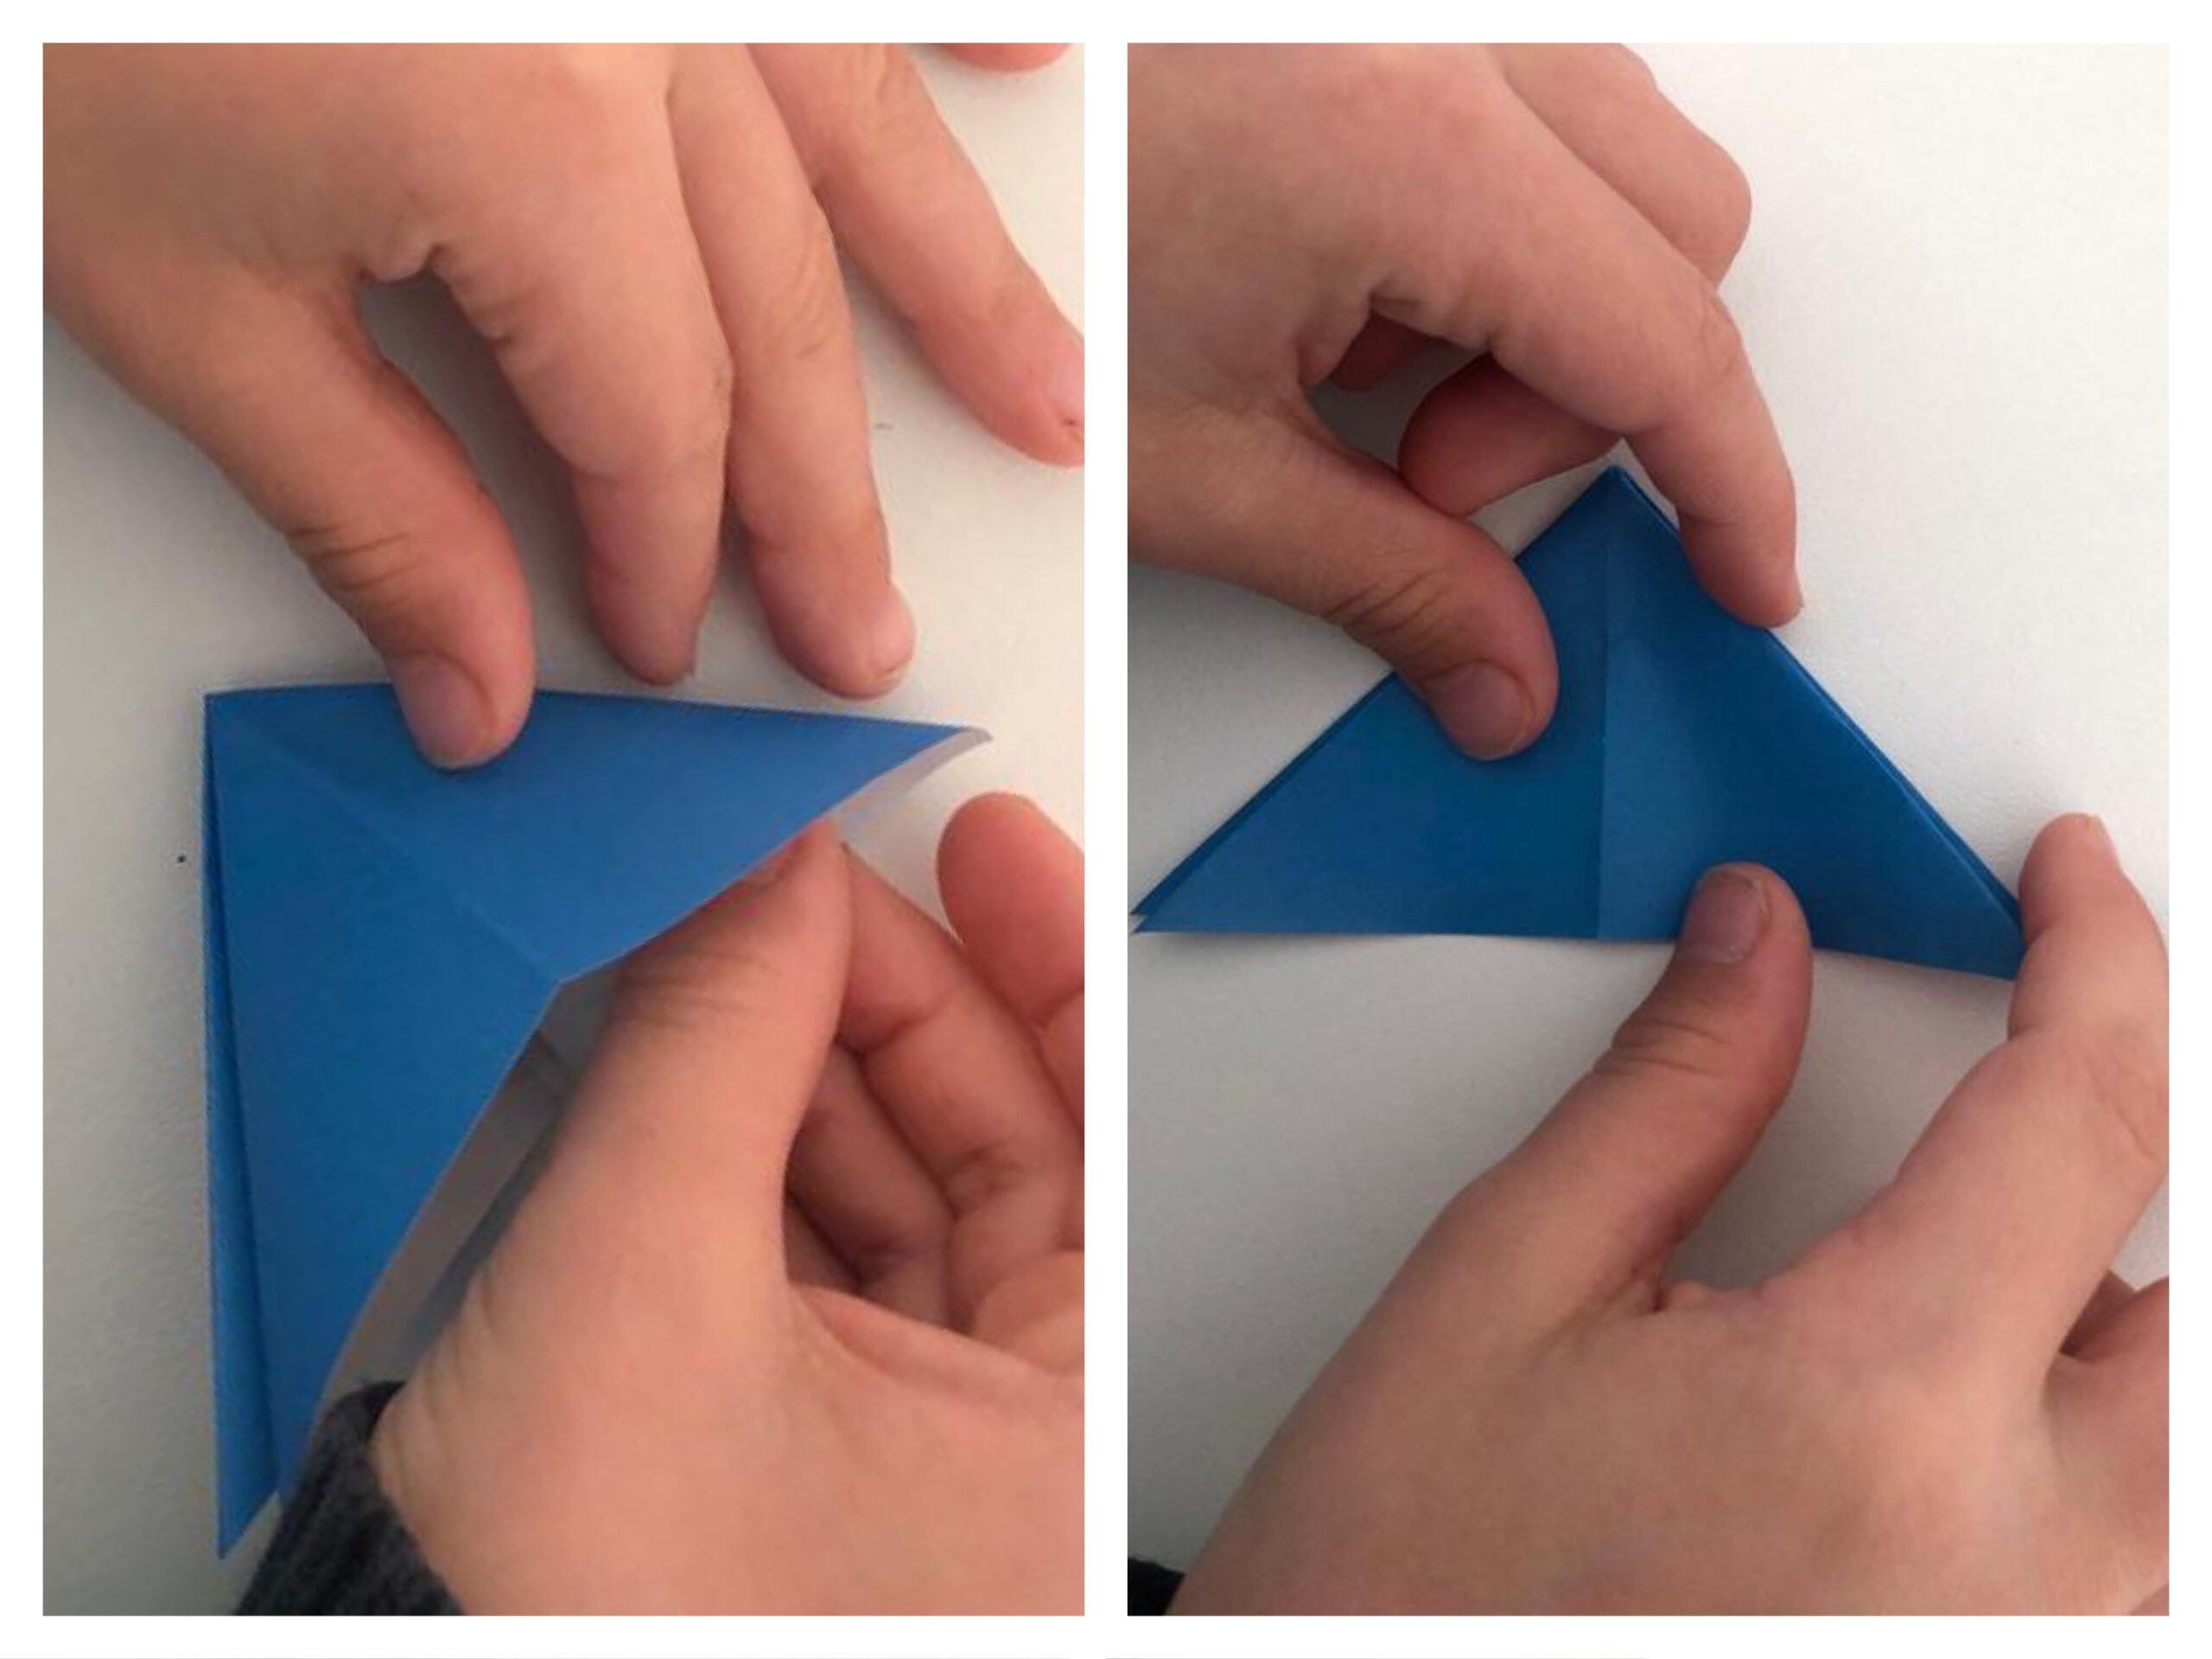
Grab into the open side.

Press only the top of the leaf apart. You can reach with your finger to the tip, then form a triangle. Press this flat.
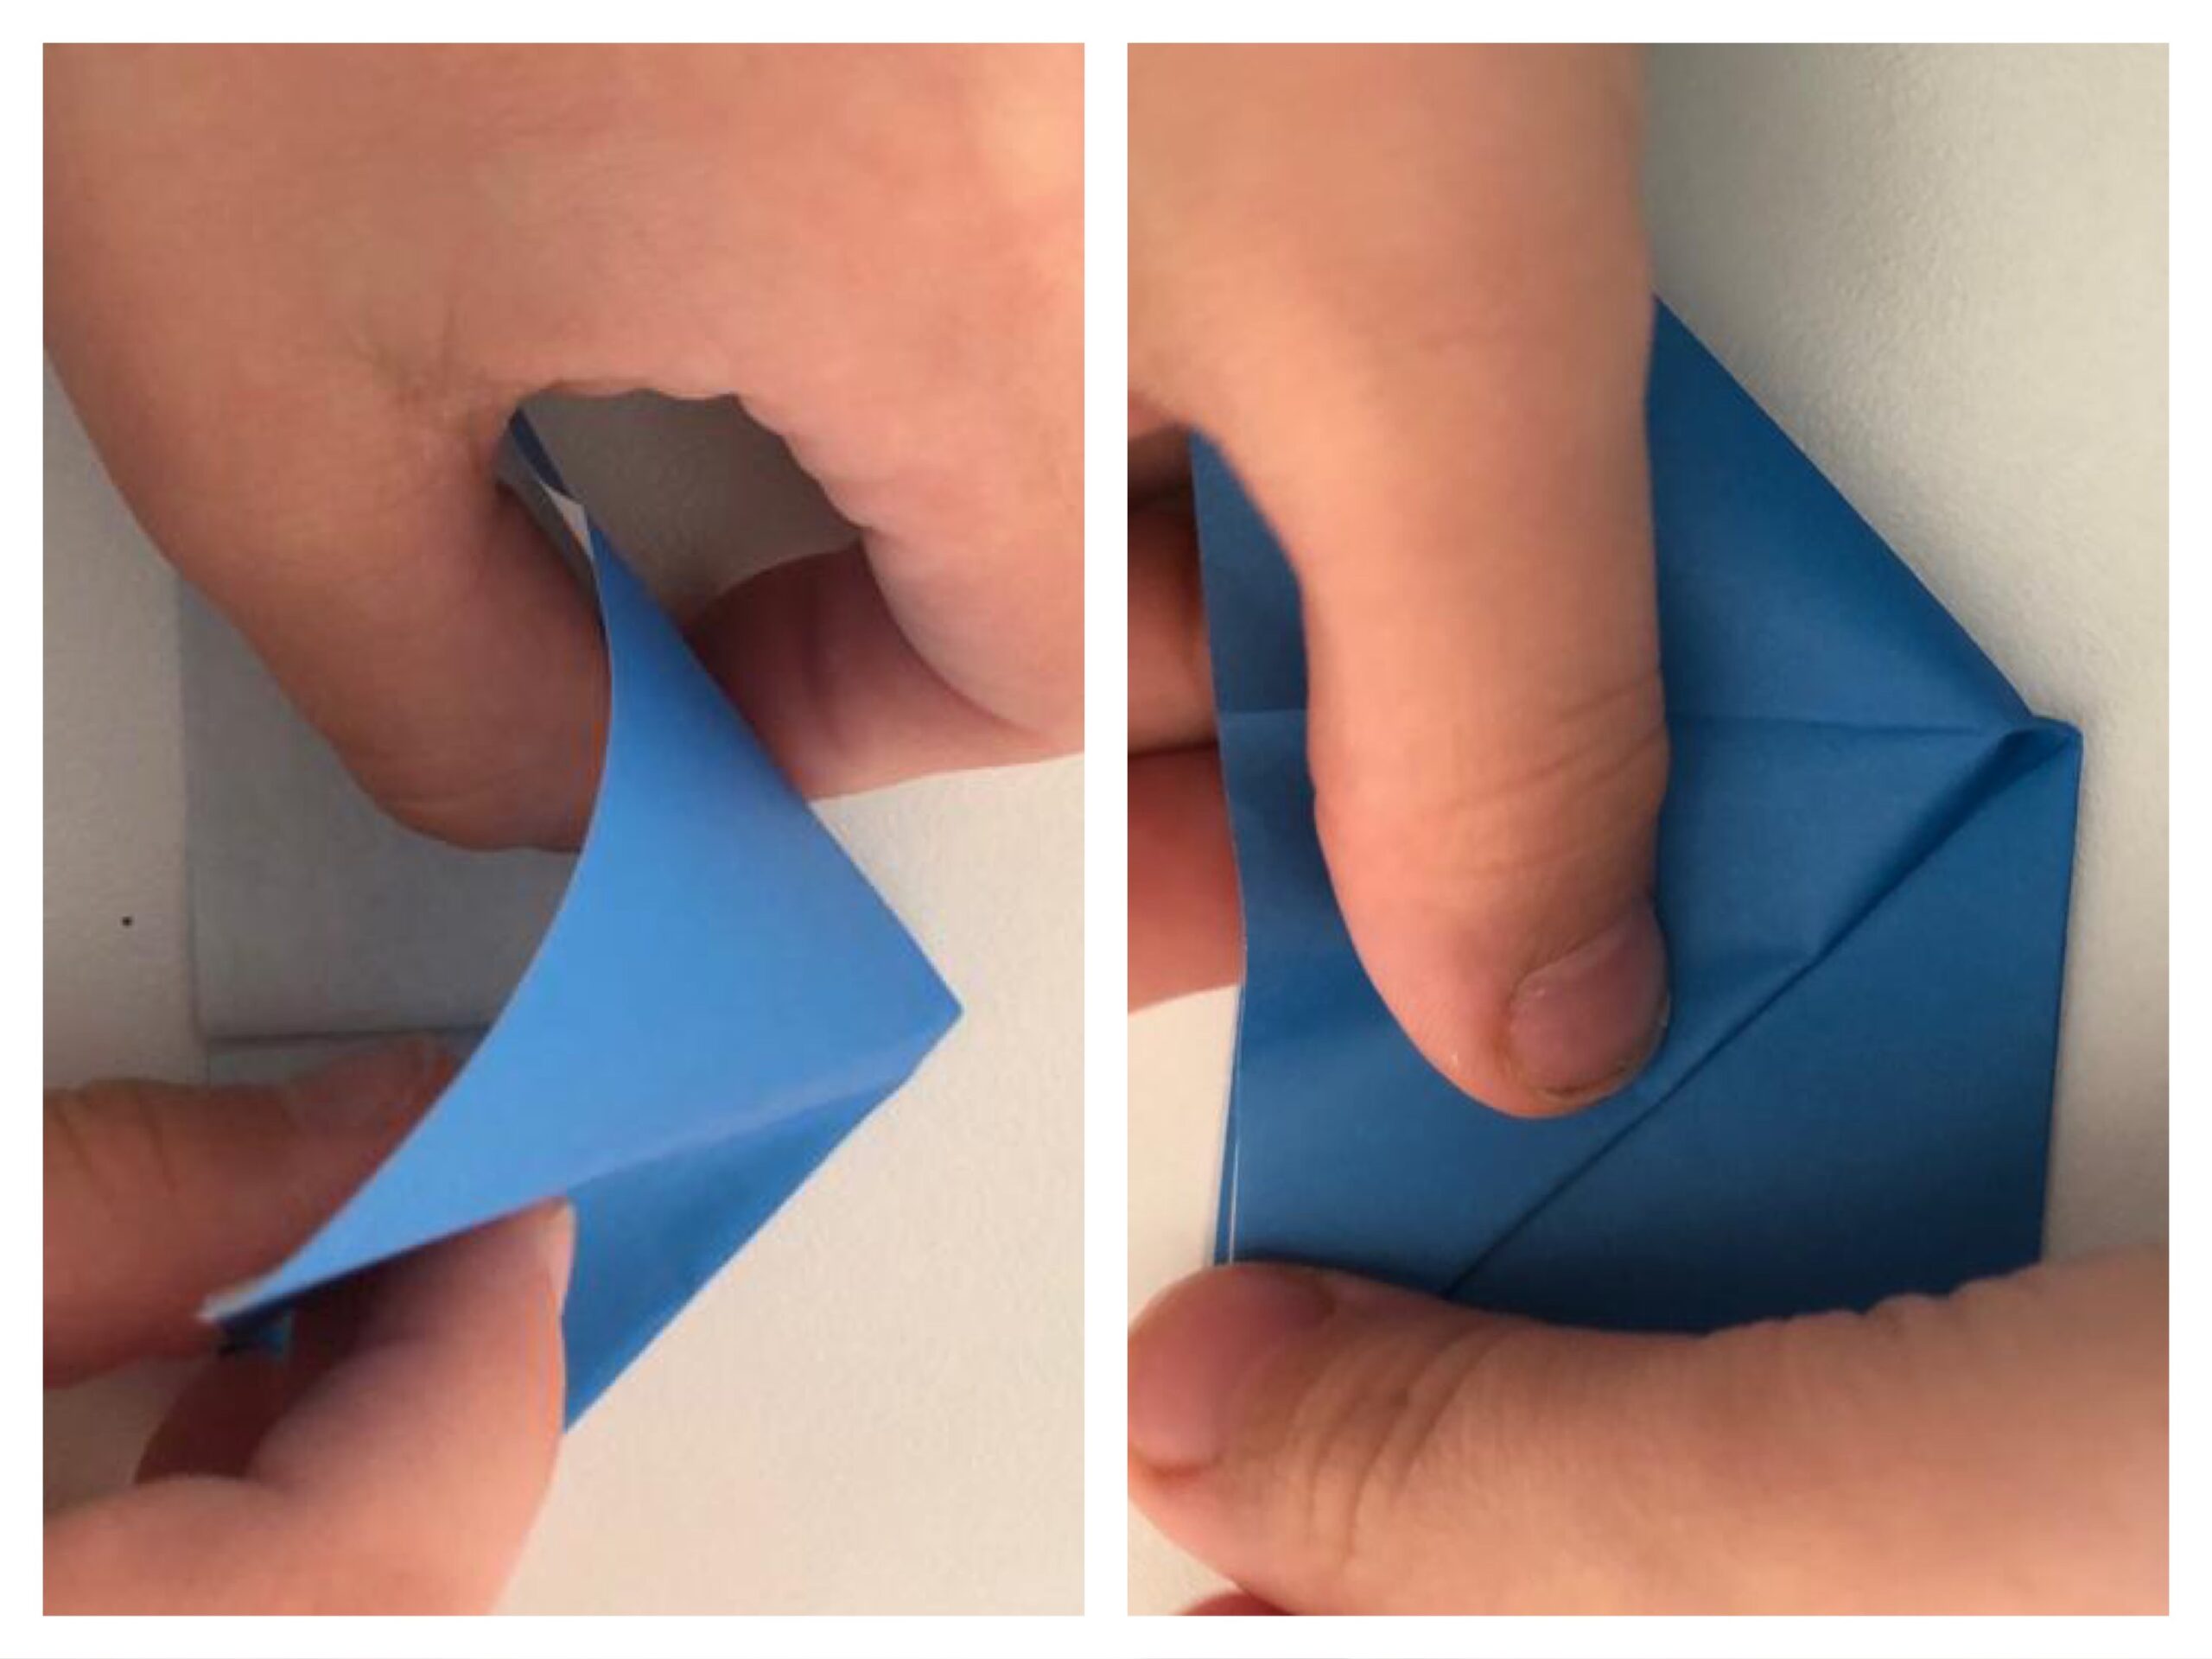
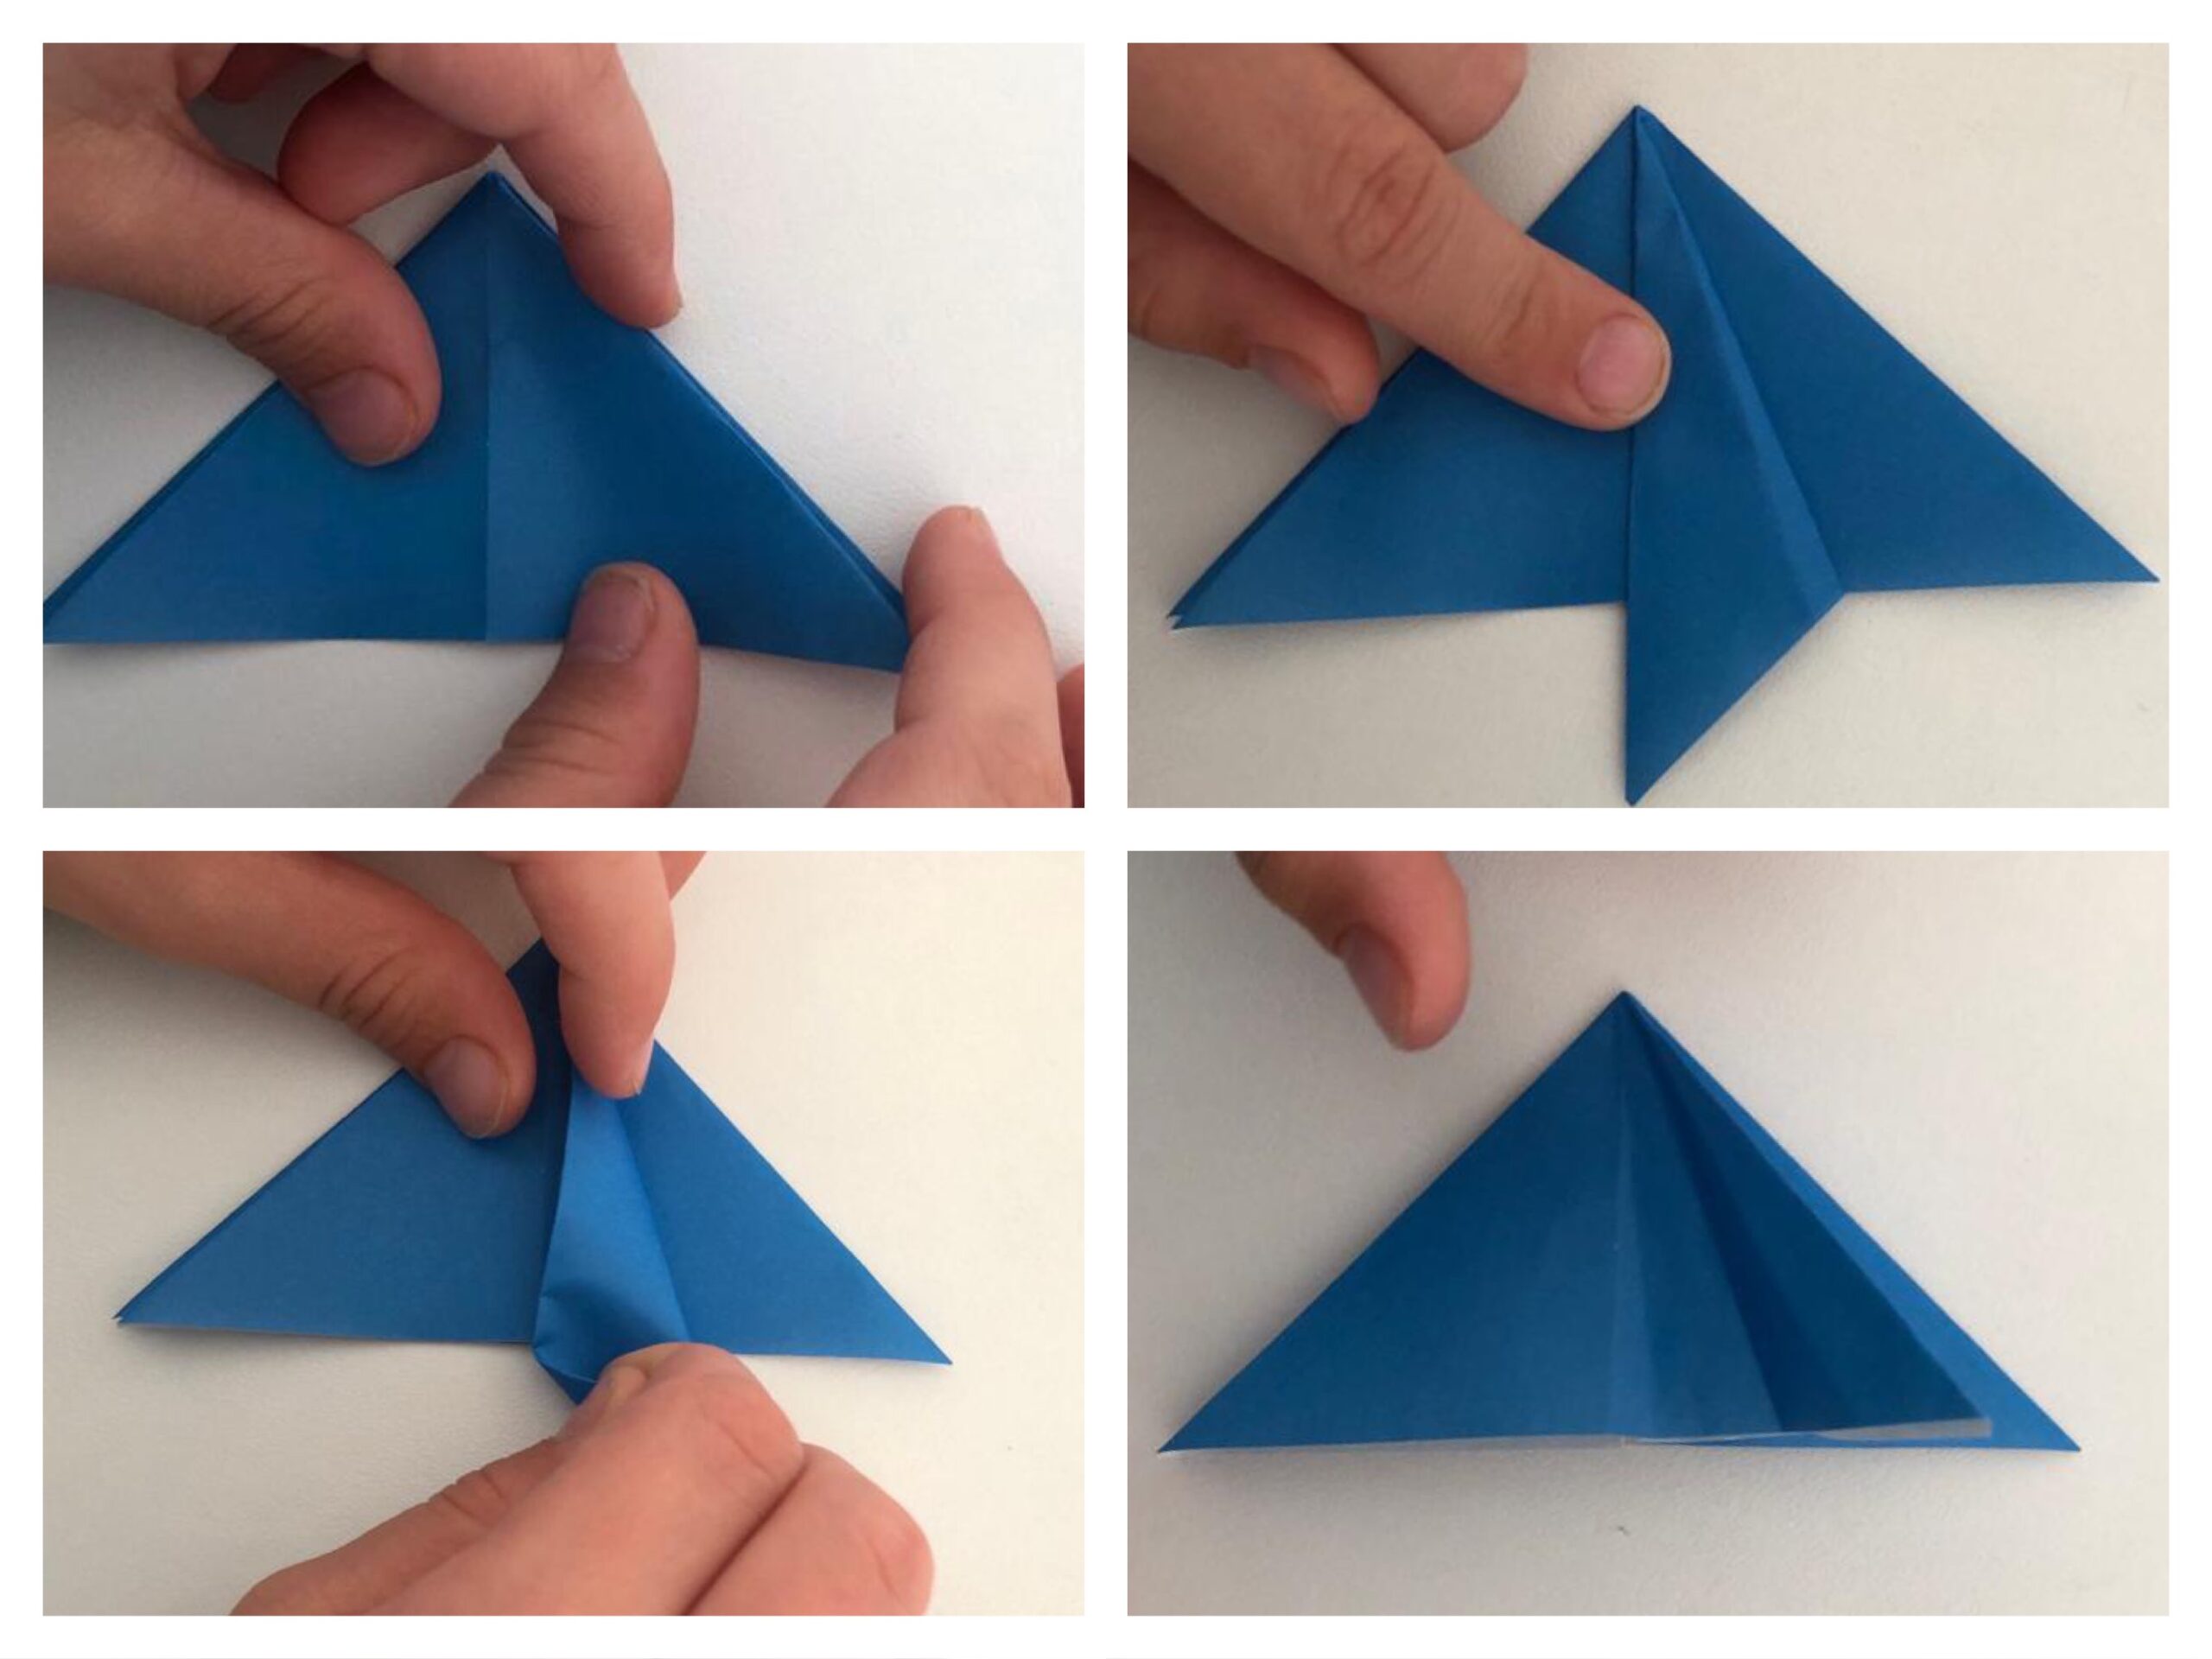
Turns the complete paper. Here, too, pushes the folded by grabbing apart. Grabs in at the open corner of the square.
Go in with one finger to the corner.
Place the triangle directly on the other triangle (which you received on the other side!). Strike it flat.
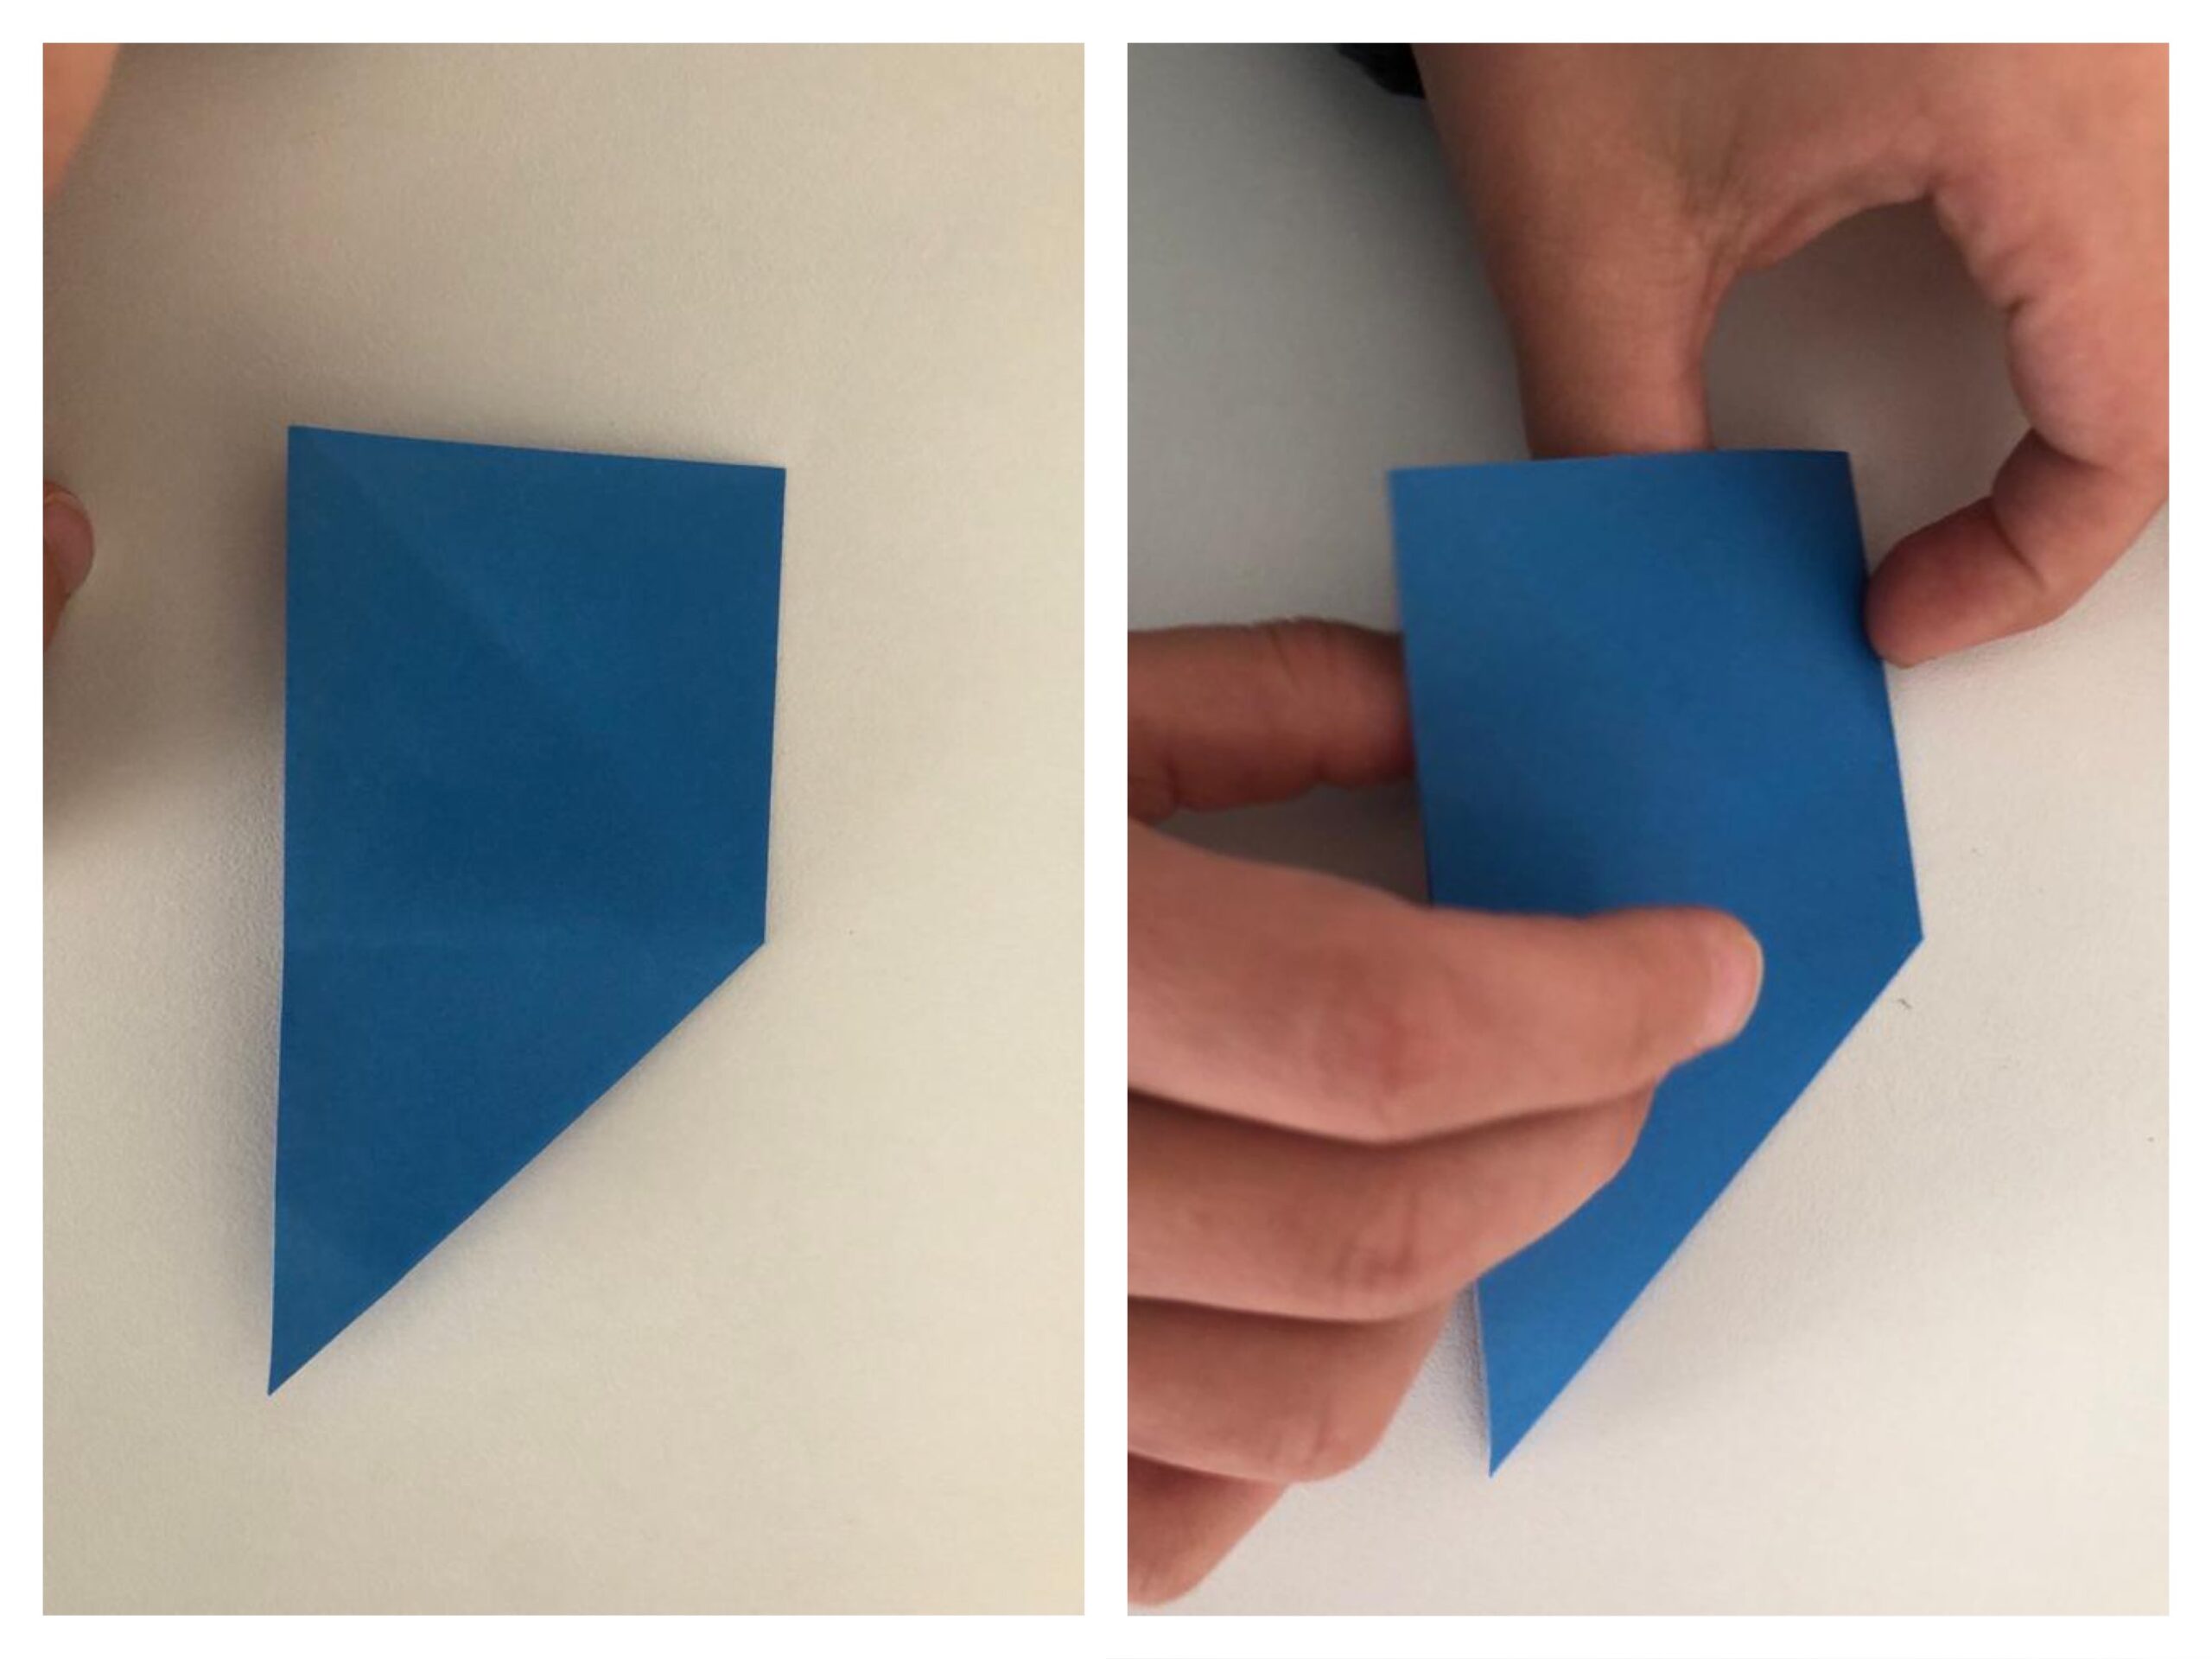
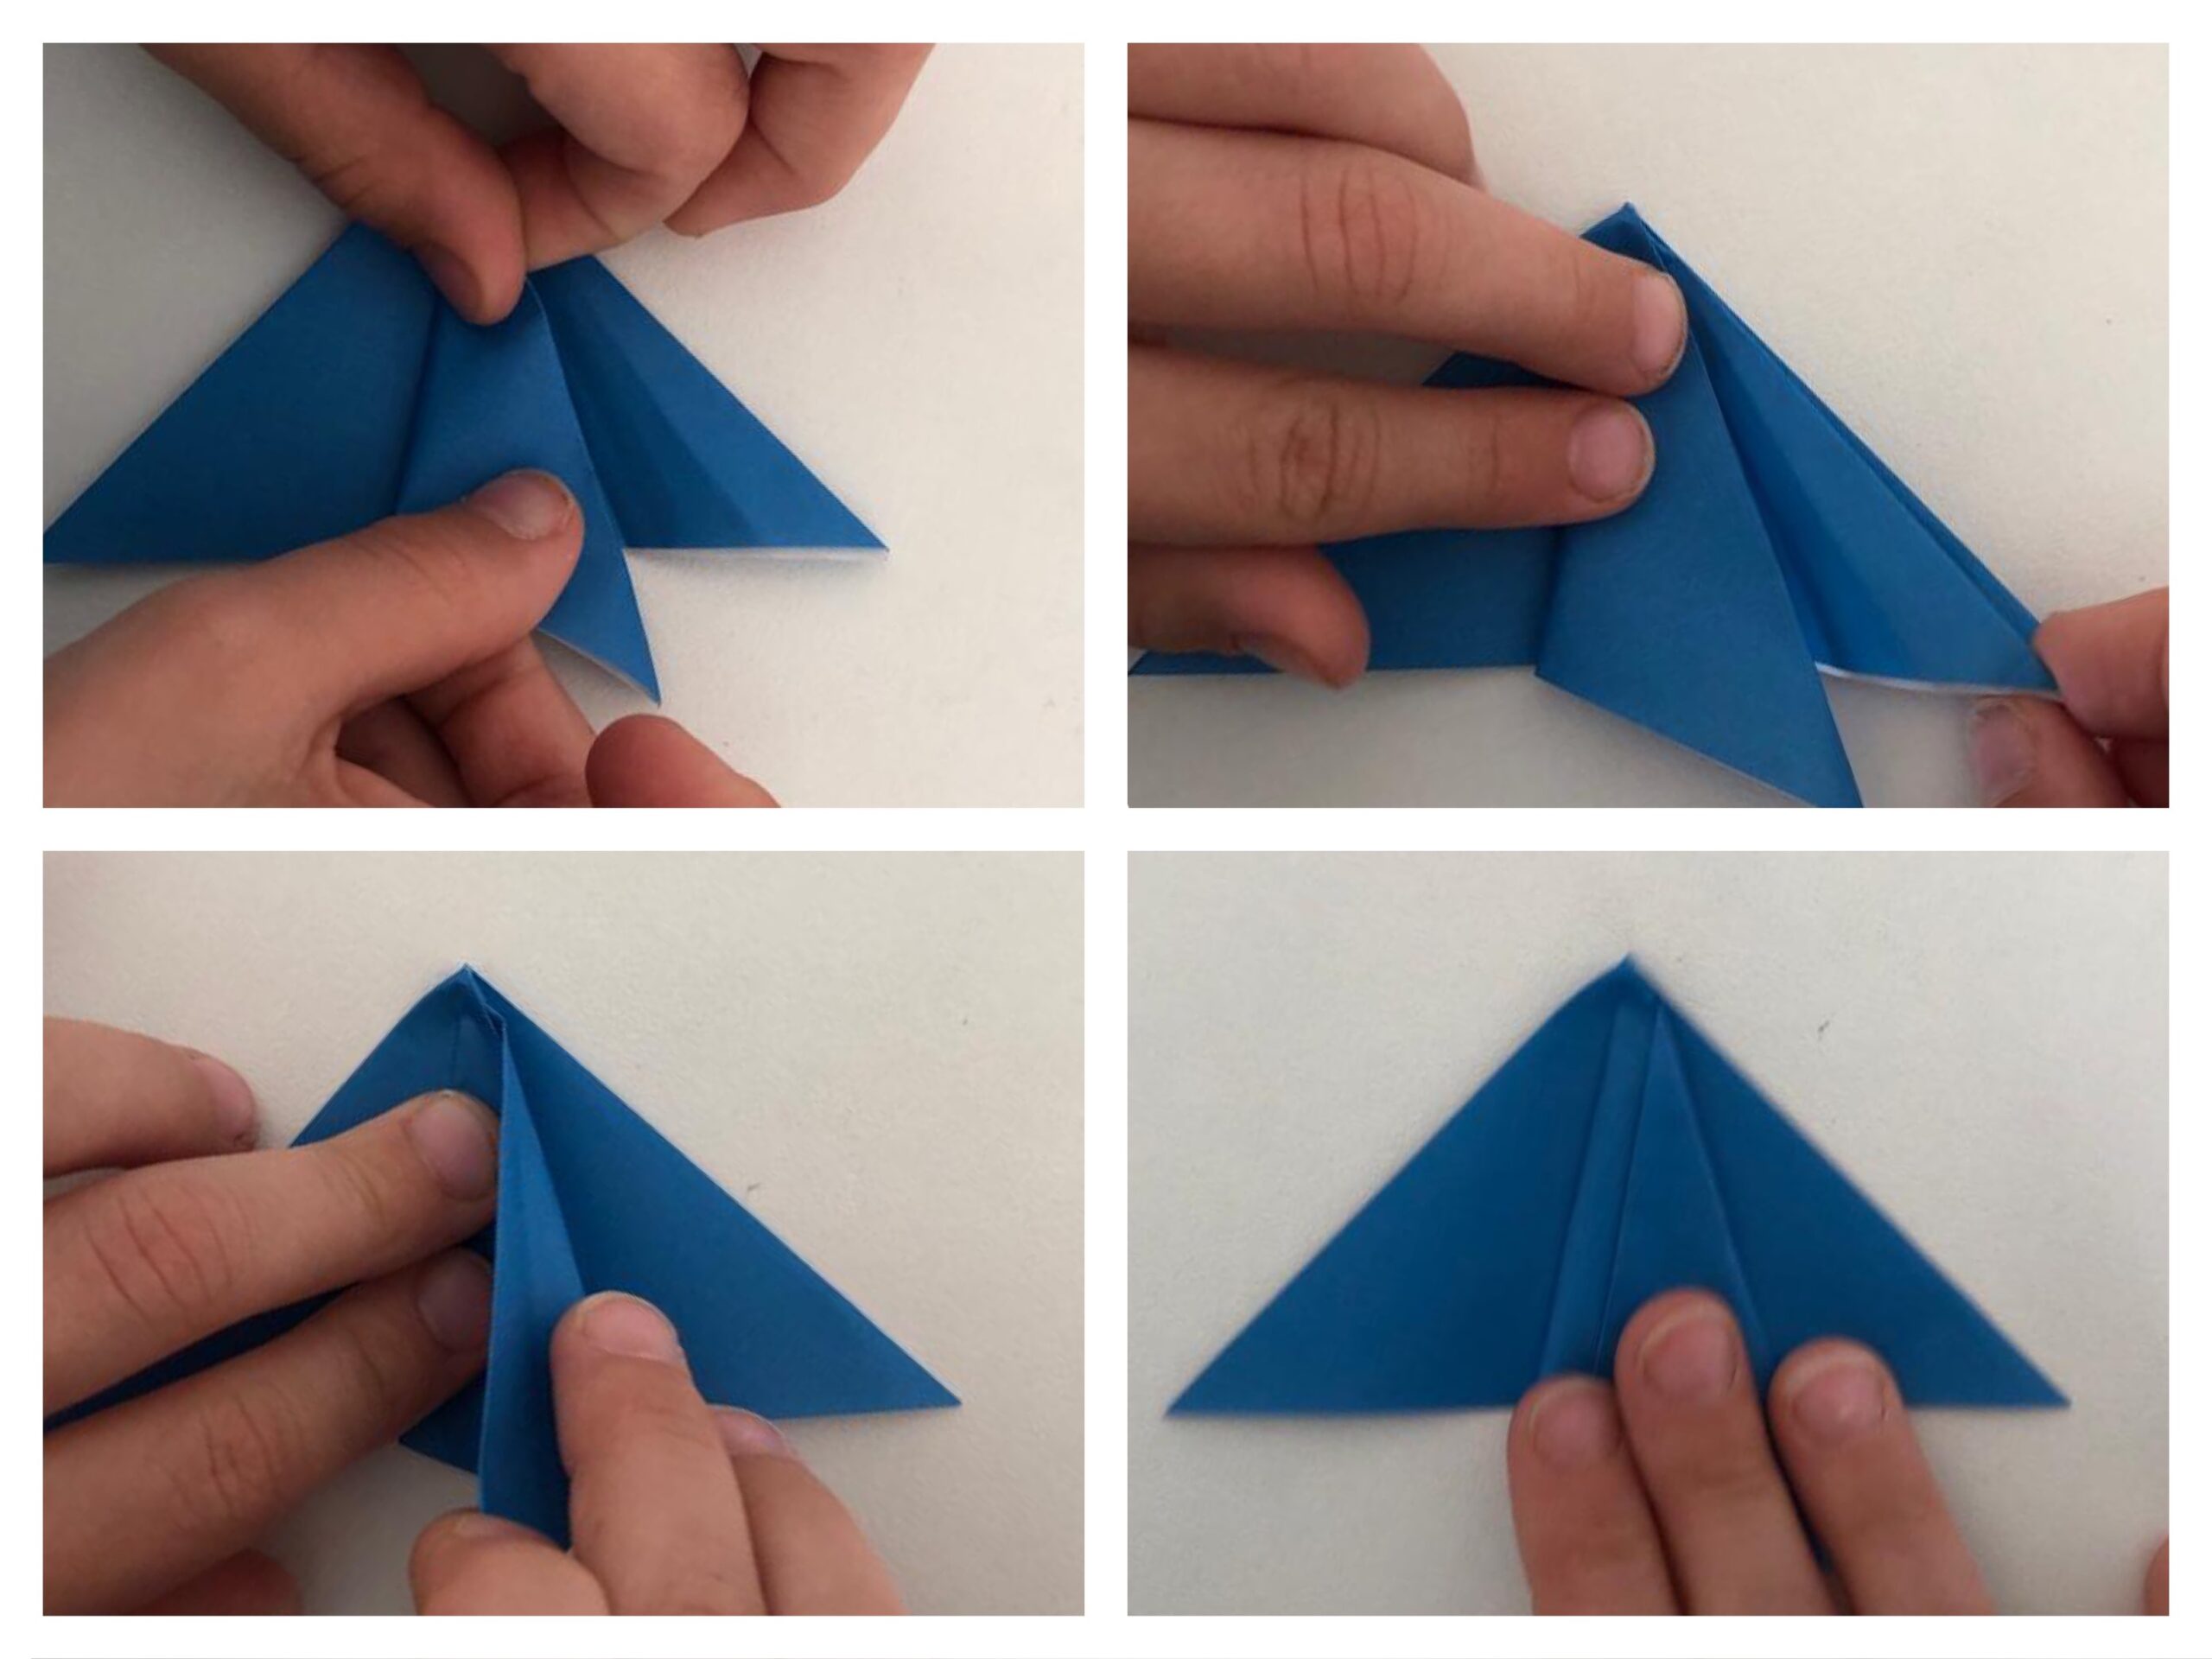
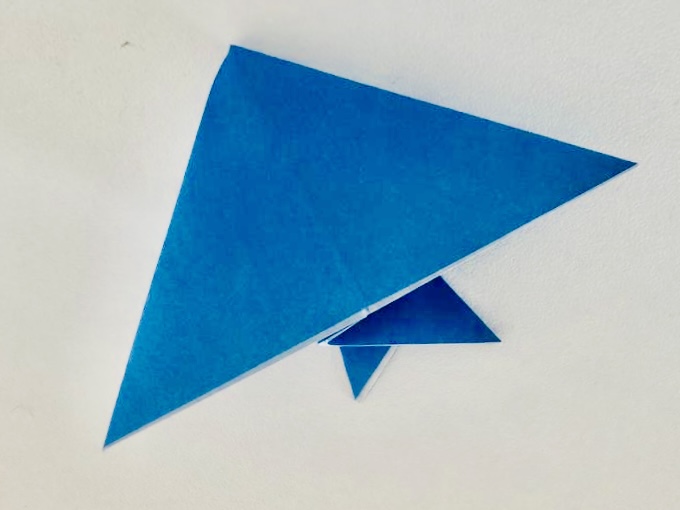
The triangle lies with the tip up in front of you. The two folds above are now folded as tail fin.
Take the side triangle and fold the outer closed edge (which goes up to the top) to the centre line. Gently strike the fracture. Fold the folded one again.
Now take the upper leaf of the other side and fold it beyond the middle to the previously formed fracture. Fold the other side over again and you folded a tail fin. Press everything flat.
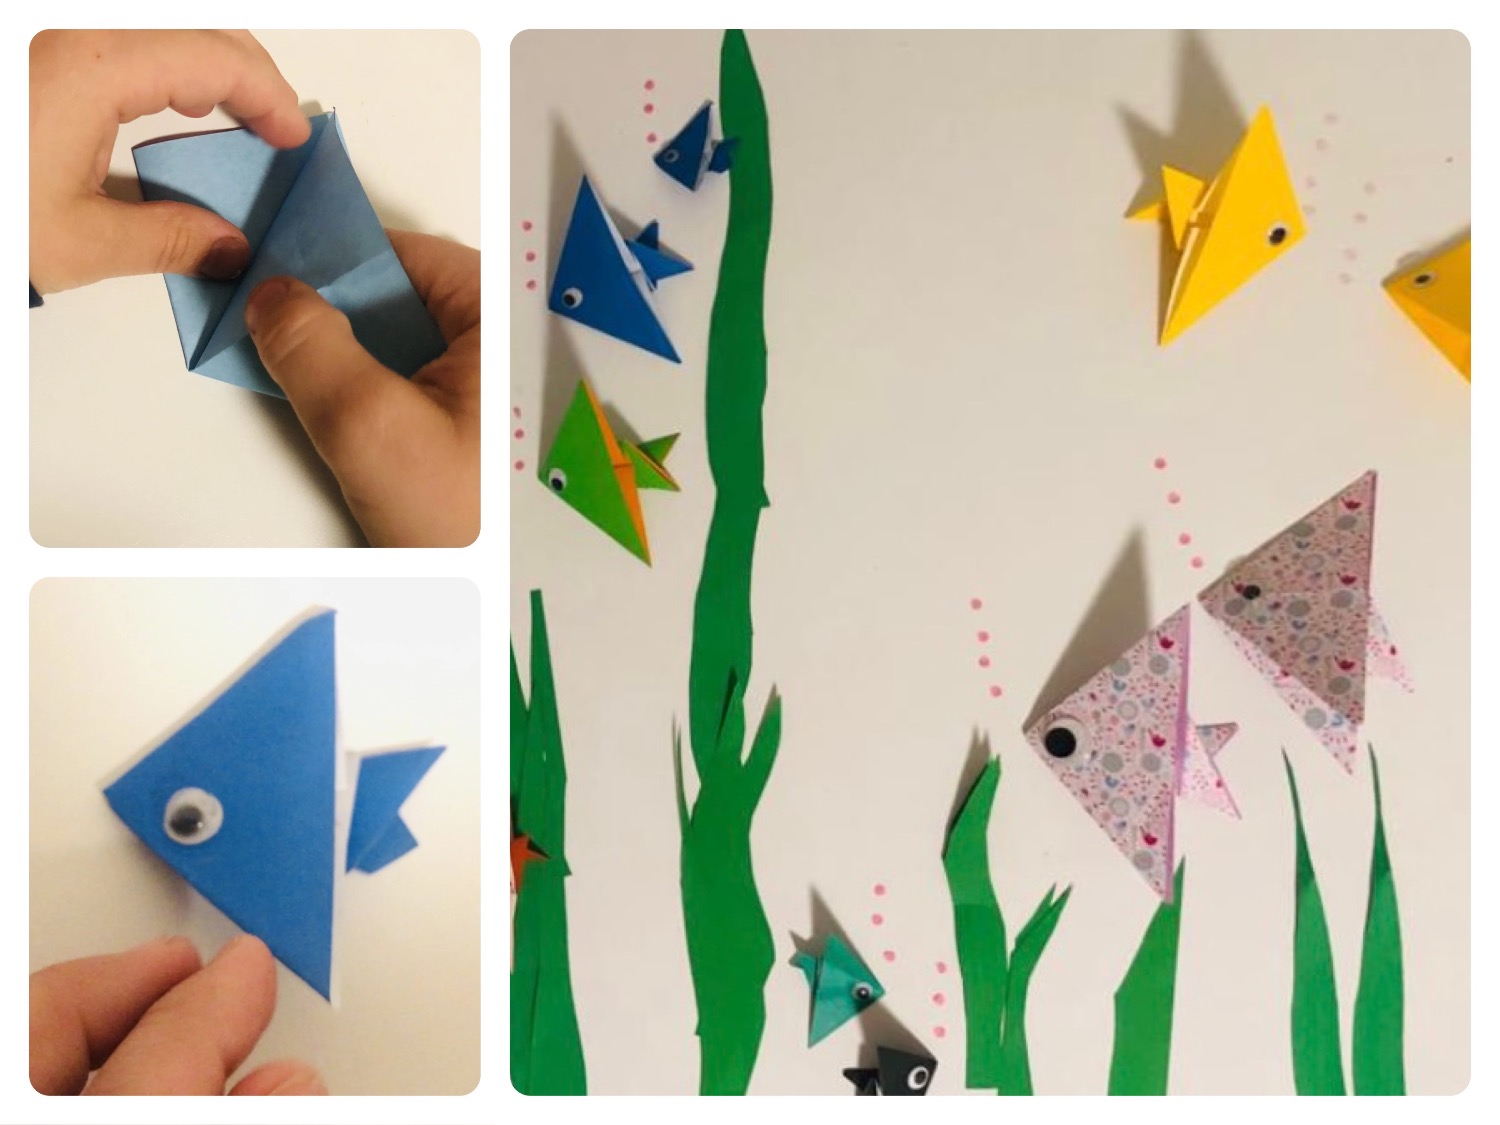
That's what the tail fin looks like.
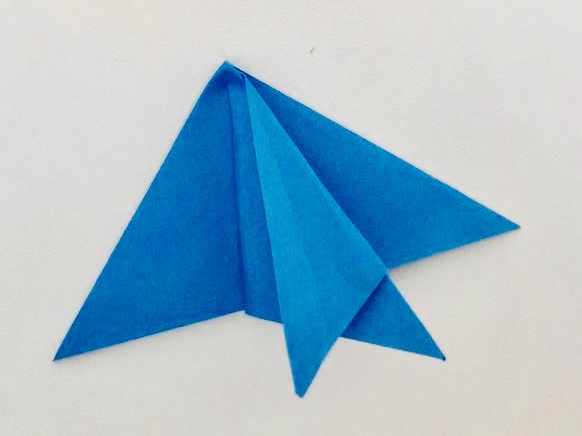
Turn the whole fish around.
Sticks a wobble eye on the front or paints an eye with a felt pen on the fish.
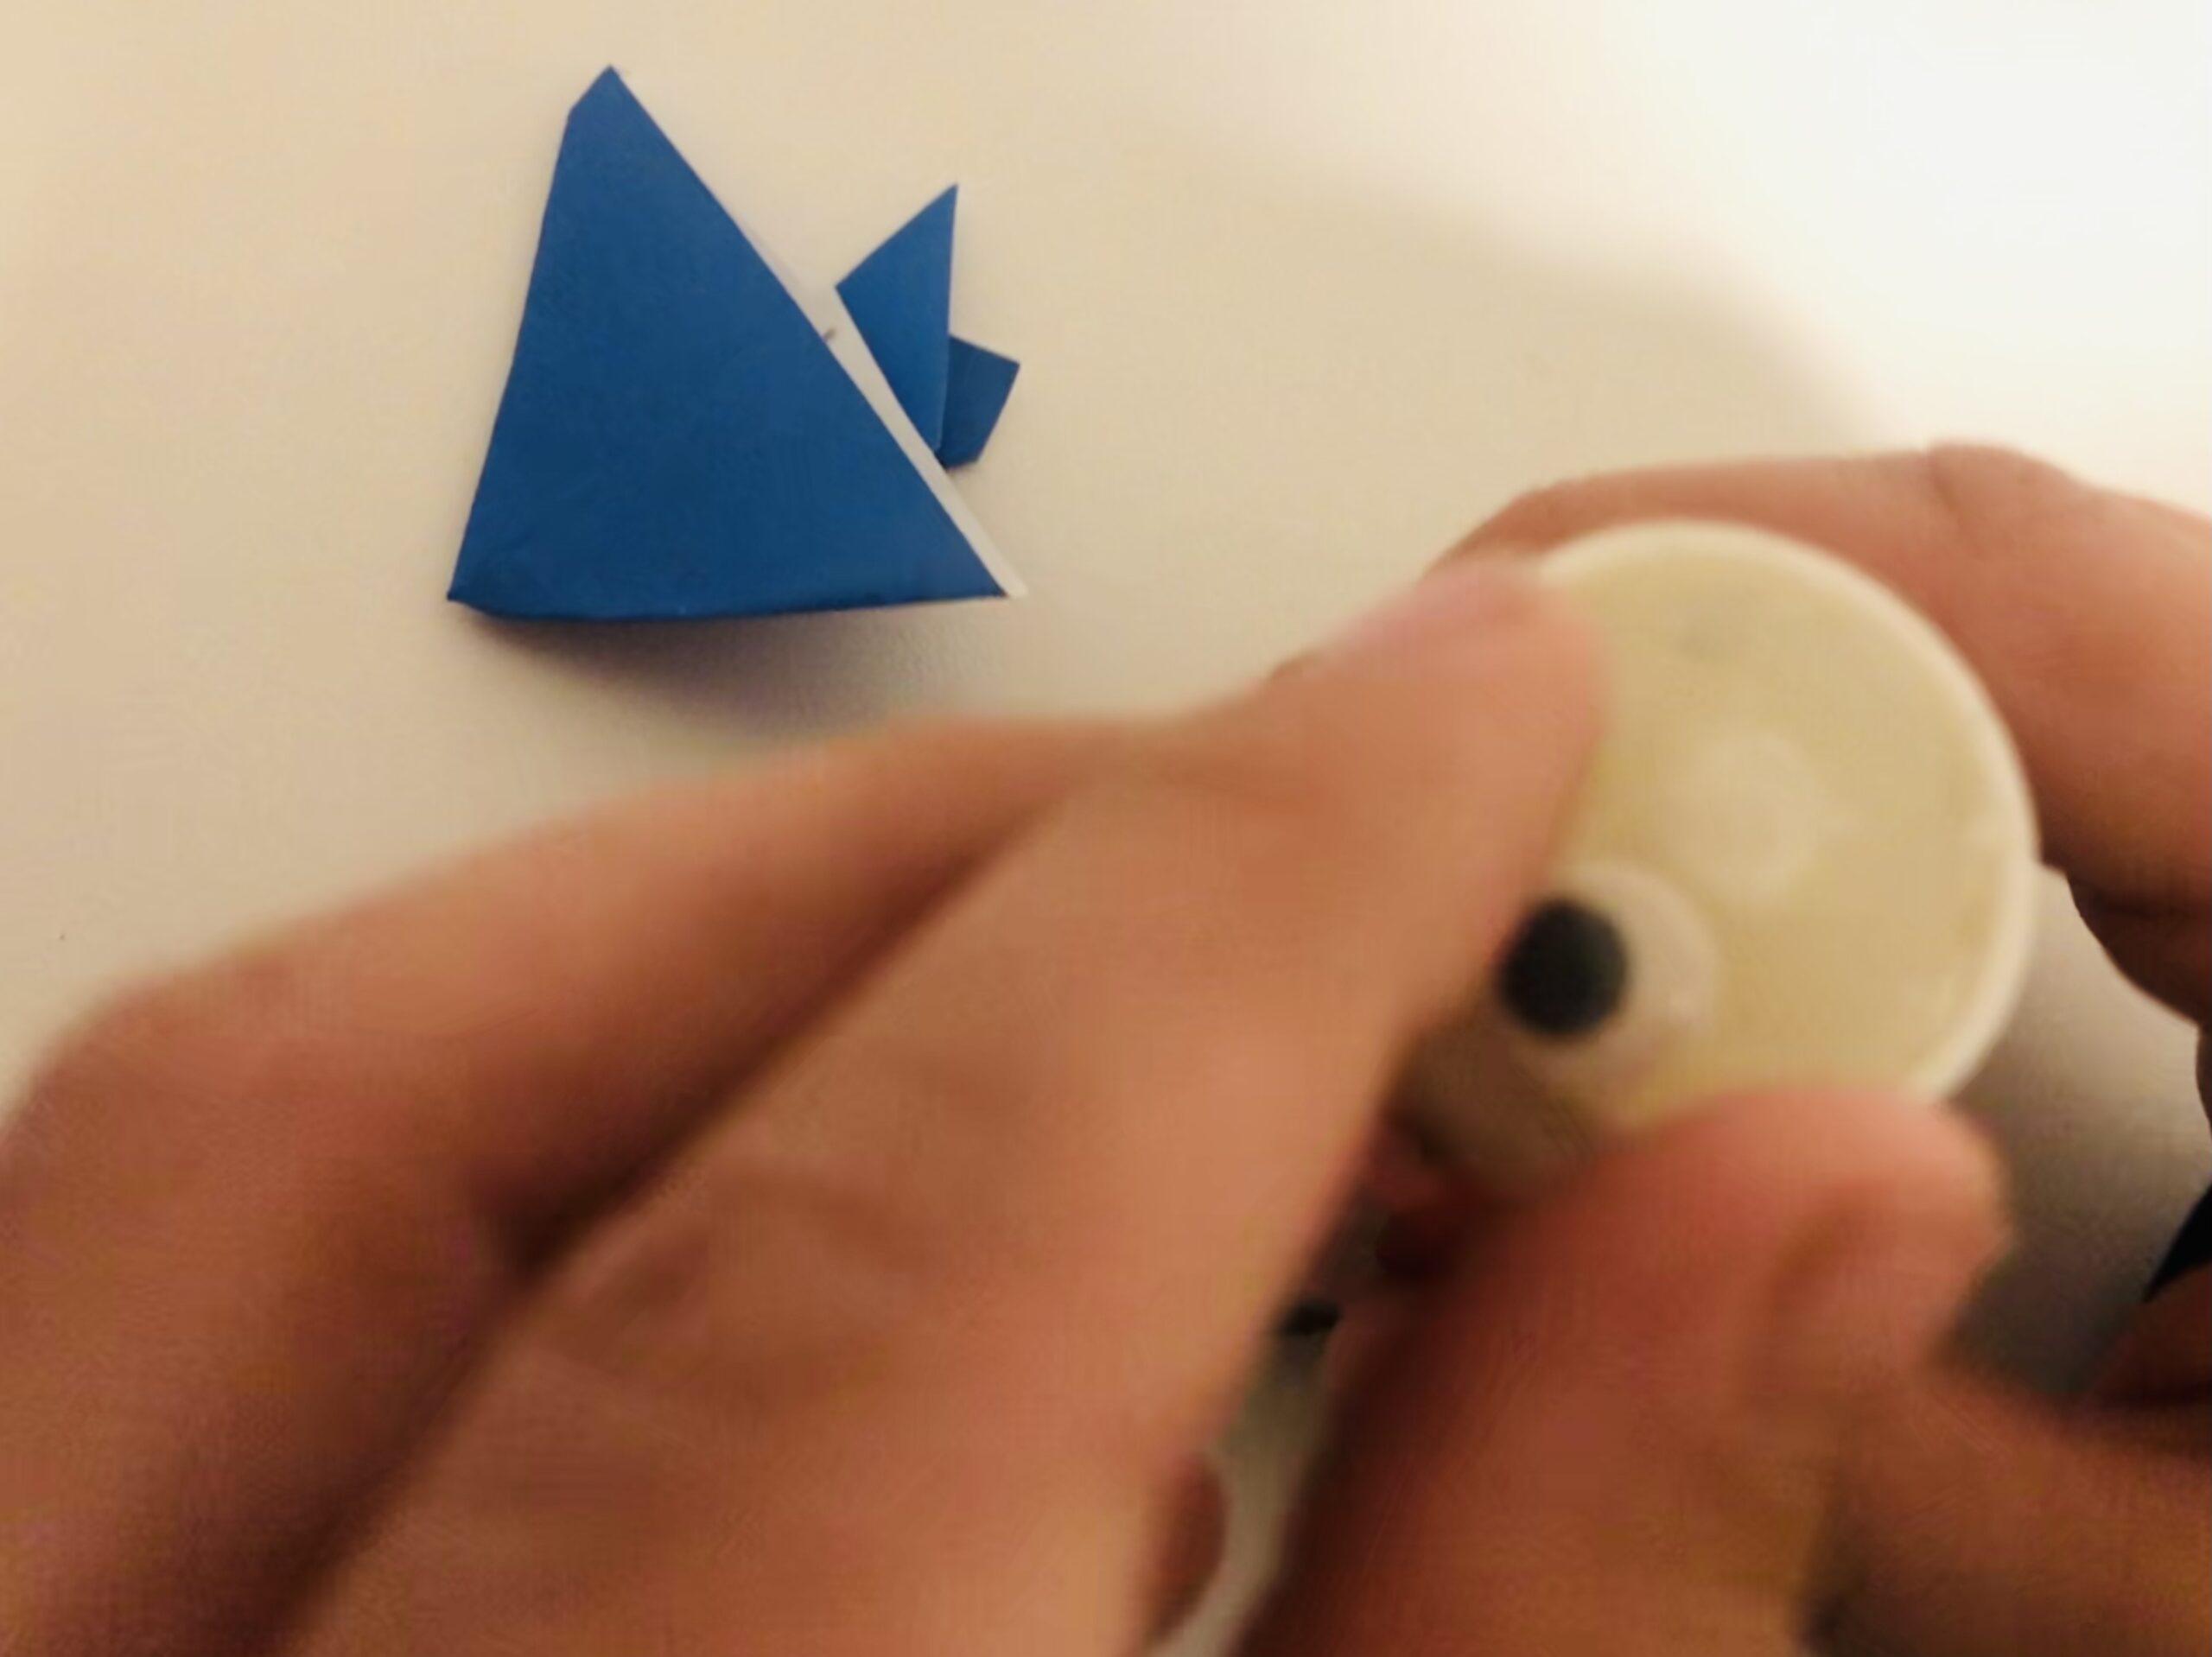
The fish is ready.
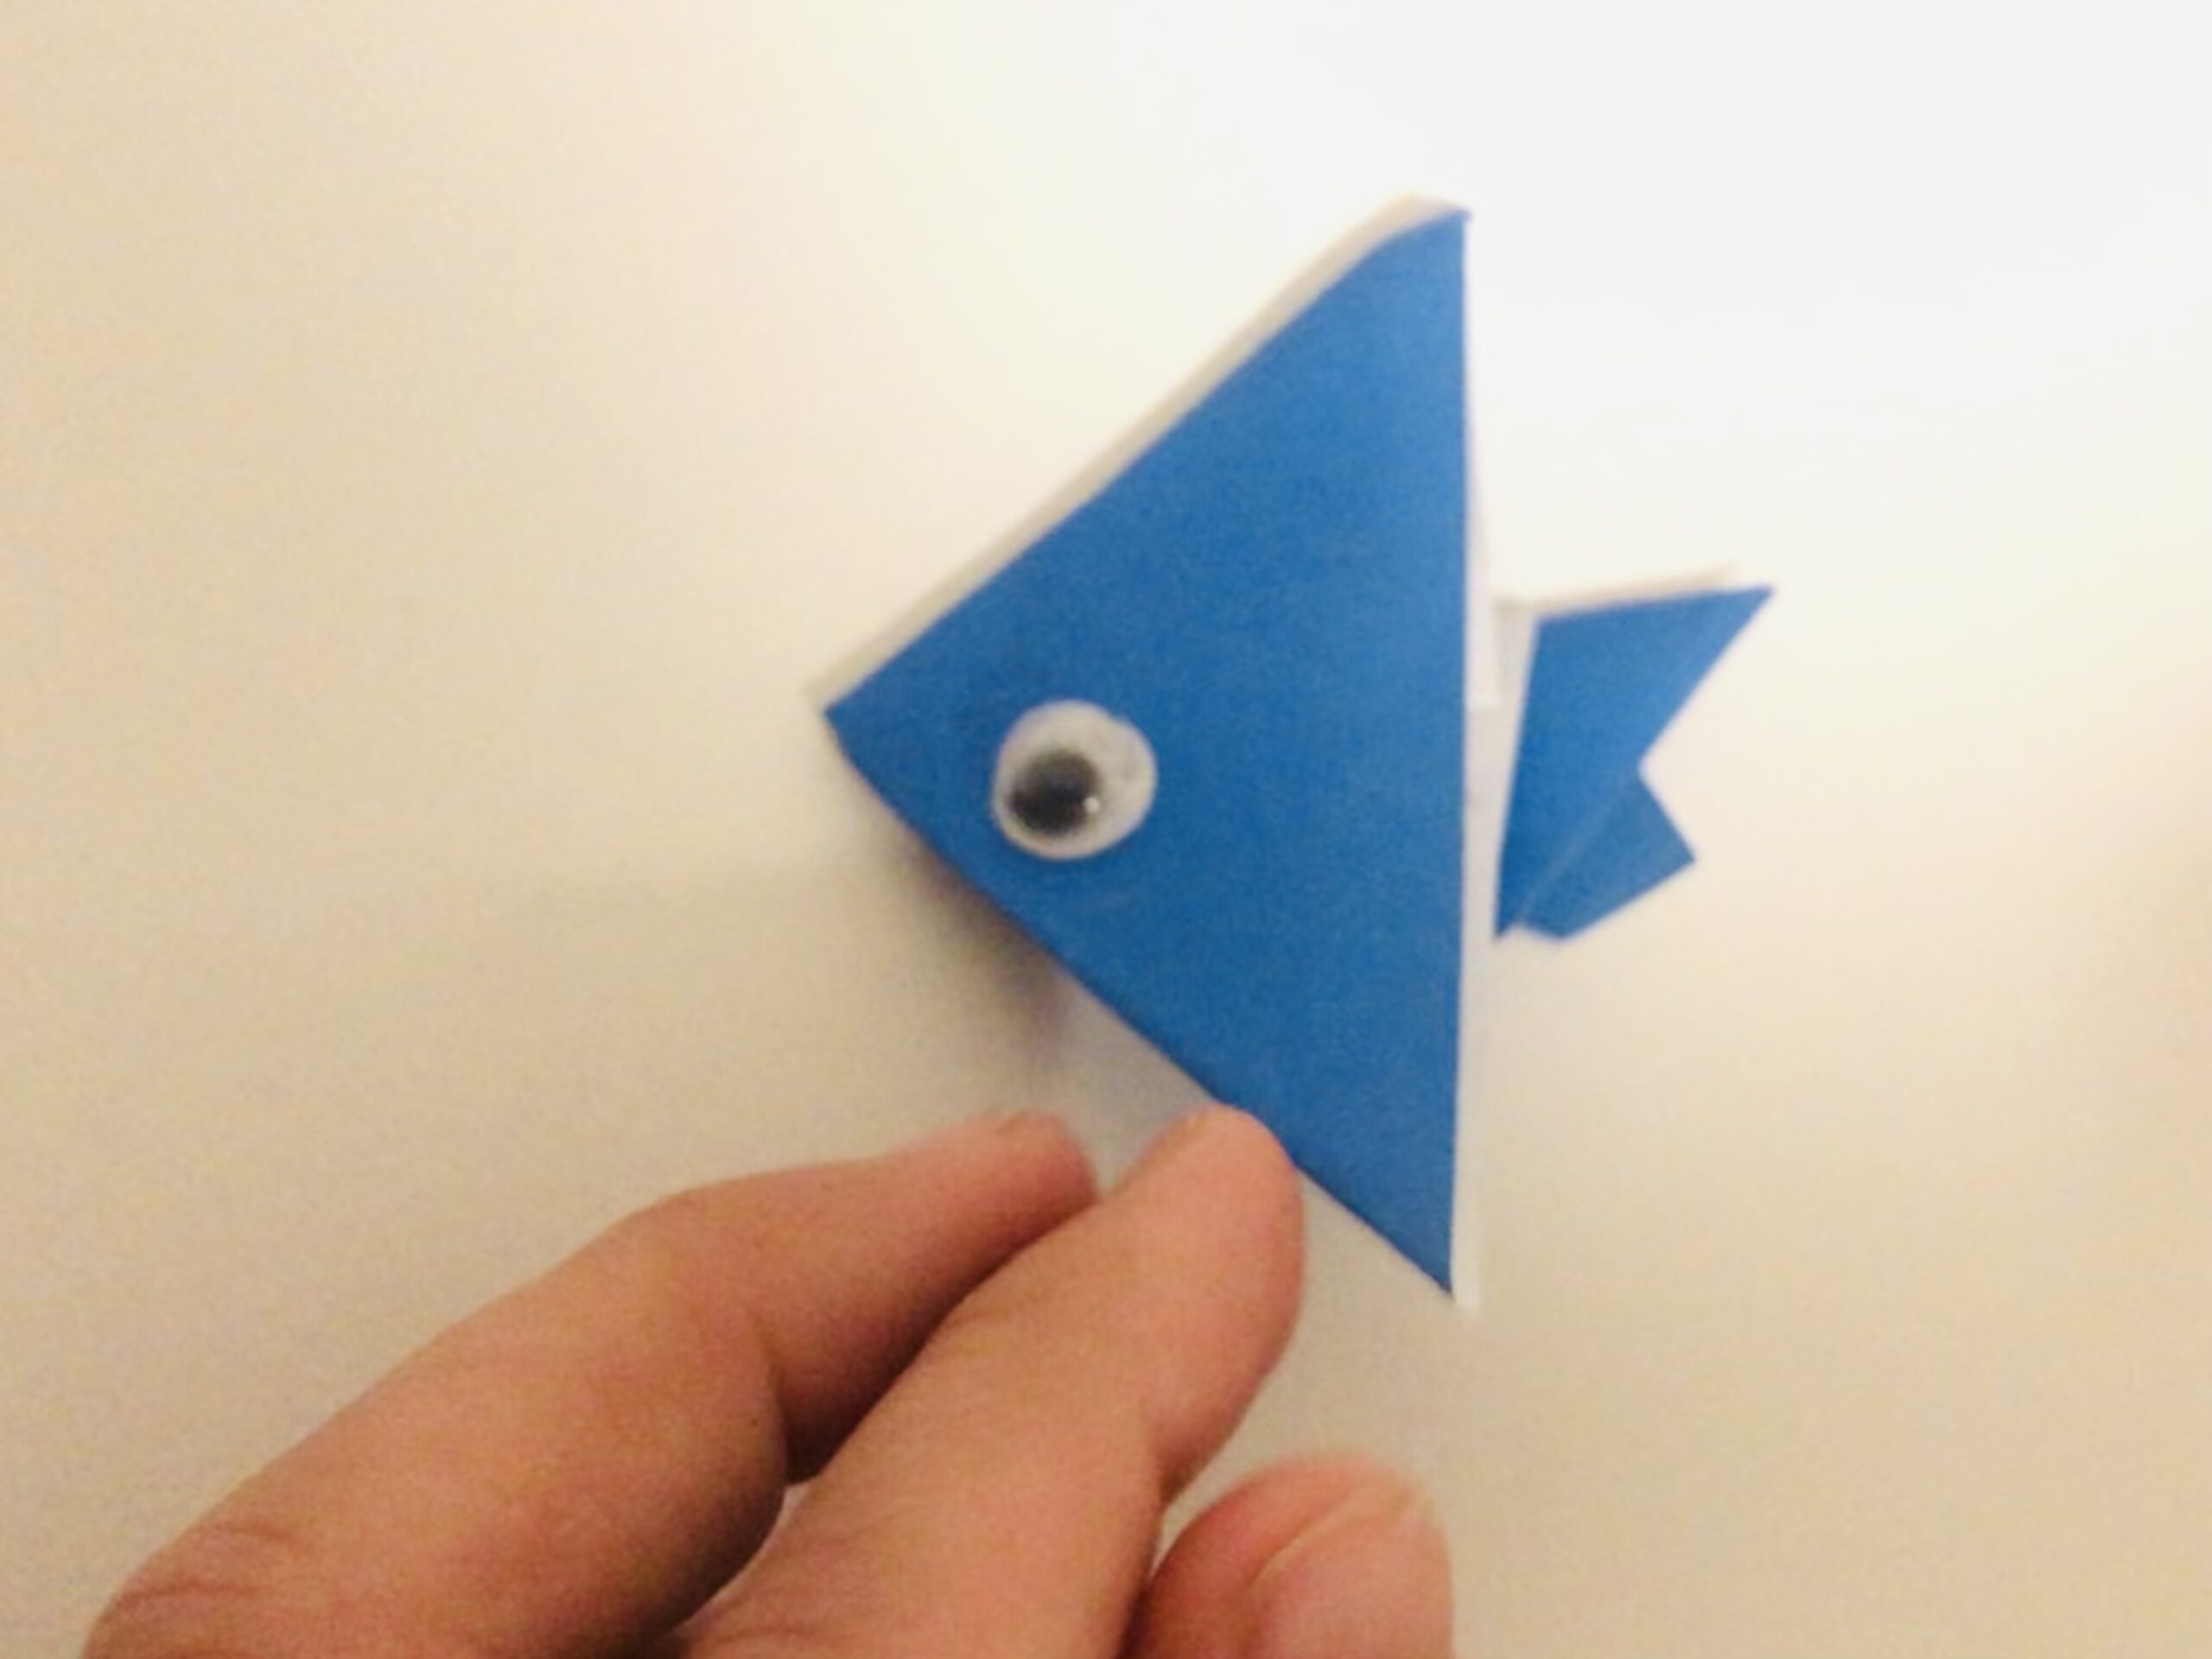
You can still fold many fish in different sizes and colors.

Create a collage with the many fish or create an aquarium.

Have fun with it.
Materials
Directions
As soon as you've prepared all the materials, we're ready to go.
Put the paper in front of you on the table so that a corner / tip shows you.
Now take the bottom corner and fold it to the top corner.
That's how a triangle is created.
Stirs out the rupture vigorously.
Now you open the triangle again.
Then you turn the square so that the corner points to you, and the break points to you. Fold the corner back up: corner on corner. Work properly.
Strike the break again smoothly.
Fold the triangle again. Both folded lines now make a cross.
Put the leaf straight in front of you. Fold the lower side upwards. Make sure that both edges lie neatly on each other.
The folded looks like a book.
Strip the rupture smoothly.
Put the "book" down with the short side and fold it upwards to the opposite edge. Gently strike the break.
Grab into the open side.
Press only the top of the leaf apart. You can reach with your finger to the tip, then form a triangle. Press this flat.
Turns the complete paper. Here, too, pushes the folded by grabbing apart. Grabs in at the open corner of the square.
Go in with one finger to the corner.
Place the triangle directly on the other triangle (which you received on the other side!). Strike it flat.
The triangle lies with the tip up in front of you. The two folds above are now folded as tail fin.
Take the side triangle and fold the outer closed edge (which goes up to the top) to the centre line. Gently strike the fracture. Fold the folded one again.
Now take the upper leaf of the other side and fold it beyond the middle to the previously formed fracture. Fold the other side over again and you folded a tail fin. Press everything flat.
That's what the tail fin looks like.
Turn the whole fish around.
Sticks a wobble eye on the front or paints an eye with a felt pen on the fish.
The fish is ready.
You can still fold many fish in different sizes and colors.
Create a collage with the many fish or create an aquarium.
Have fun with it.
Follow us on Facebook , Instagram and Pinterest
Don't miss any more adventures: Our bottle mail