Design Fairy Card

AdventurerForest girl
Rating5.06.0 thousand times & (4) DifficultyBeginner

You can easily create a beautiful fairy map in the forest and on the meadows?. All you need is a prepared map and of course flowers, leaves, feathers and glitter.
If you've never made a fairy card before, then start with it. Have fun!

Media Education for Kindergarten and Hort

Kind bastelt eine Rassel mit dem Navi
The Adventure Navi, the app for DIY projects, enables media education for the youngest.

Relief in everyday life, targeted promotion of individual children, independent learning and - without any pre-knowledge already usable by the youngest!
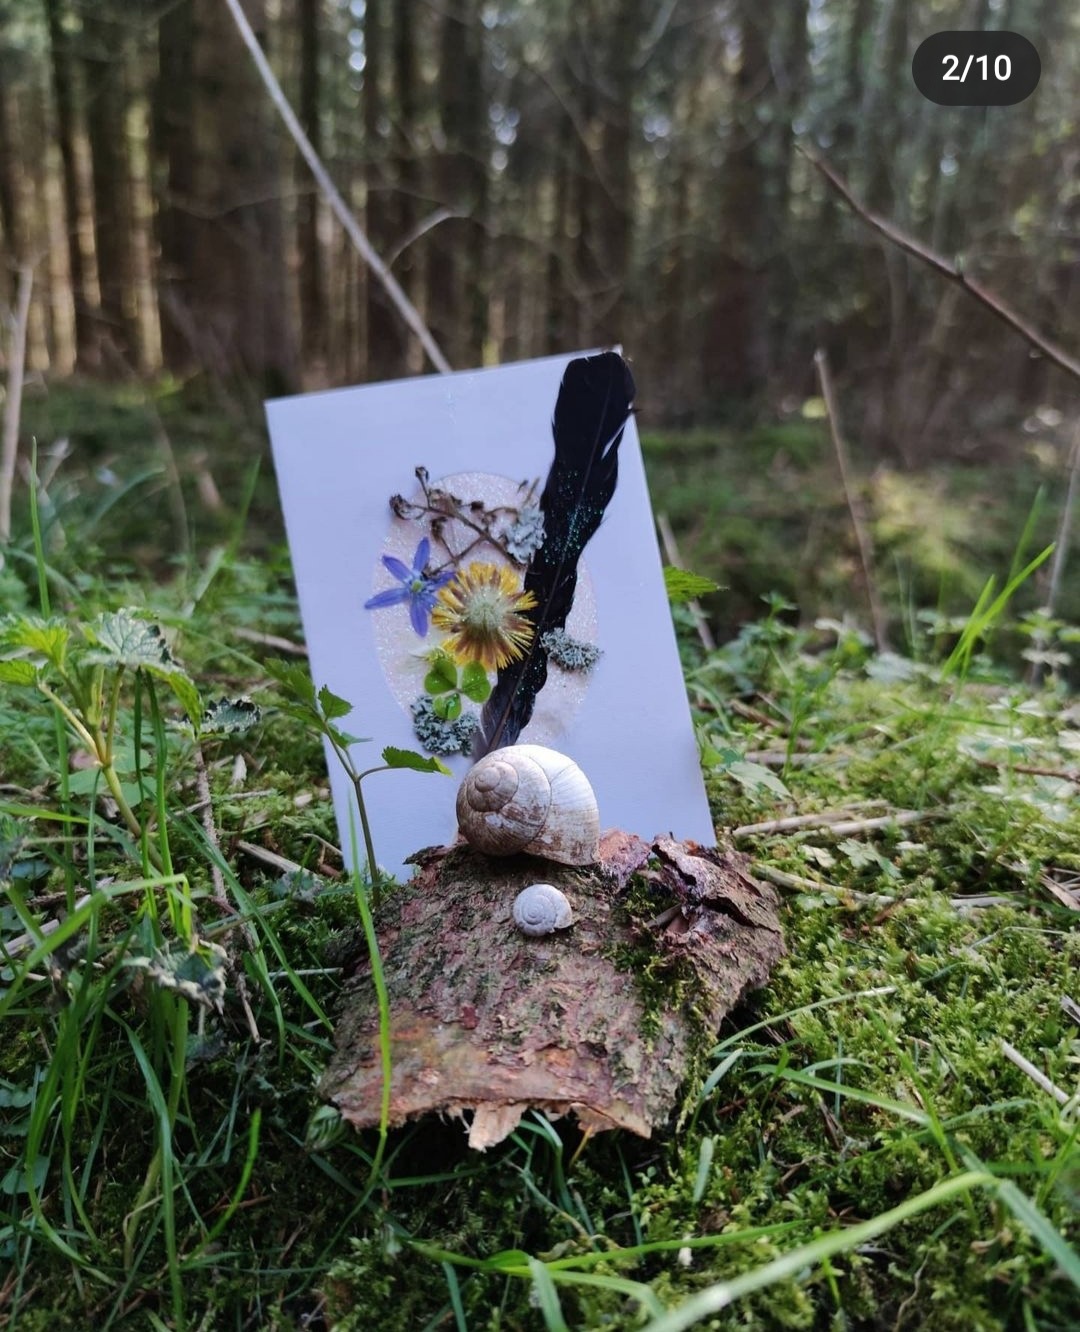


Titelbild zur Bastel- und DIY-Idee für Kinder '(754) Feenkarte gestalten'
Material for1 Child
Prep Time15 min.Adv. Time25 min.Total Time40 min.
 Double-sided adhesive tape
 Glitter
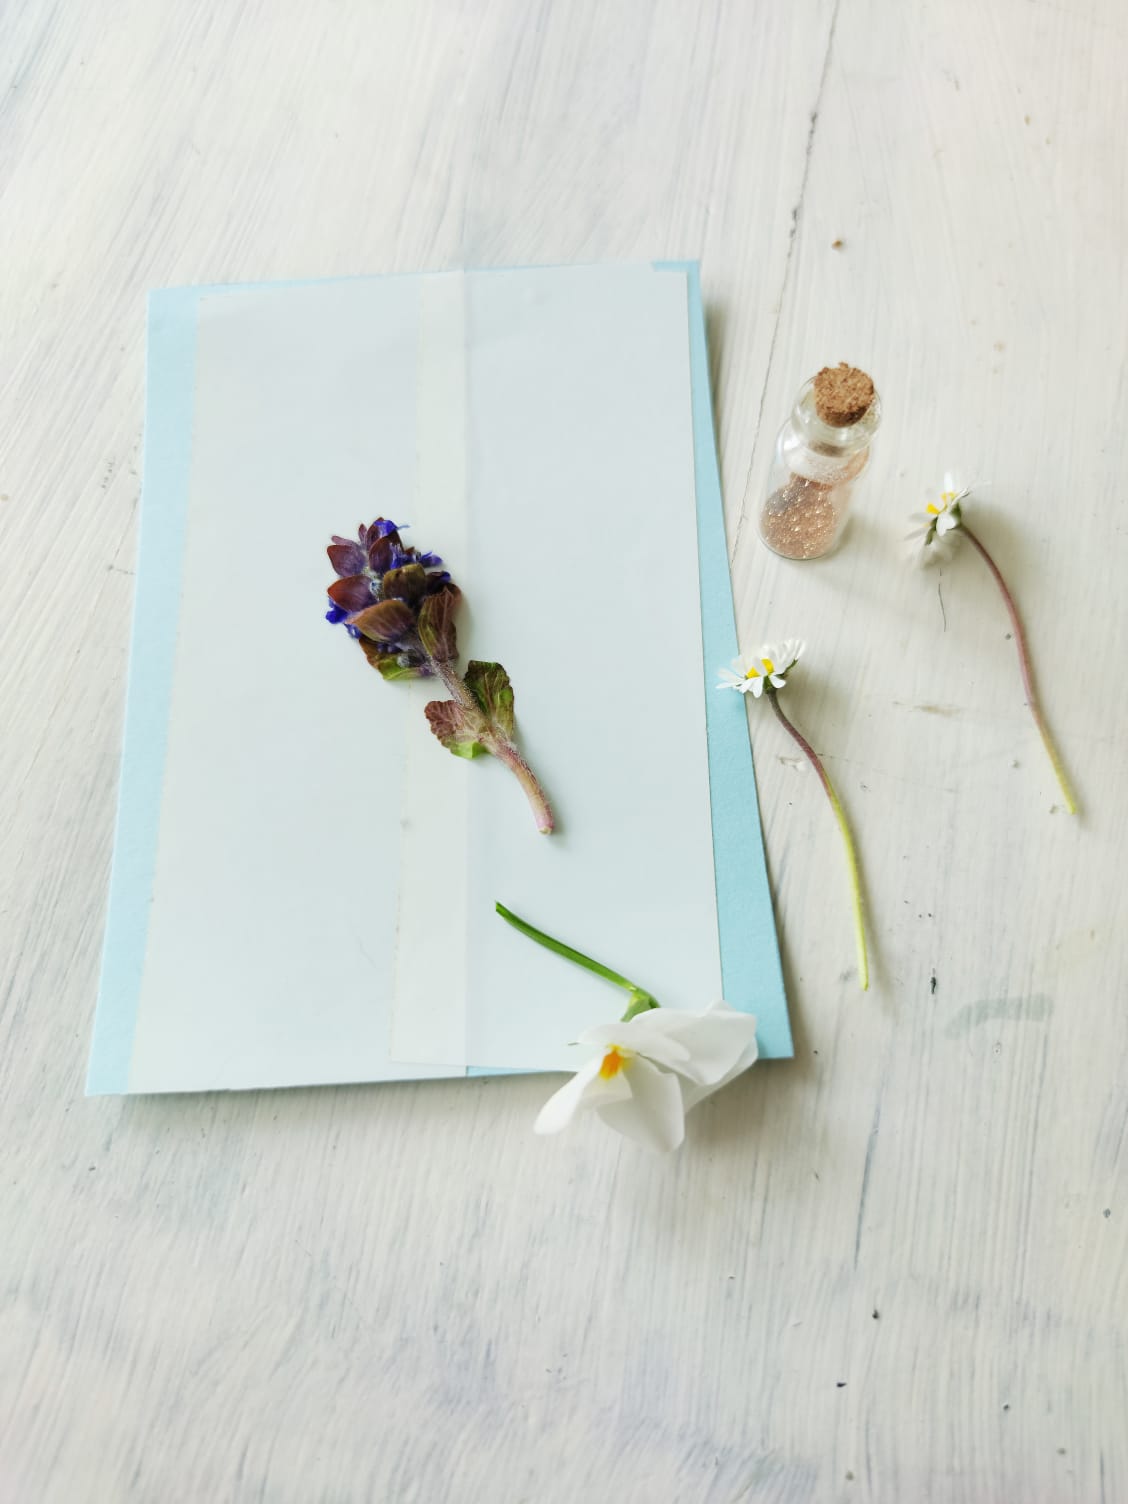
 Flowers, leaves, feathers, moss, lichens, etc.
 Postcardor beer lid, smaller card
 Pencil
 Nail shears
All links marked with a shopping cart lead to Amazon - here we have selected products that we would order ourselves and in part also ordered. In a qualified purchase via the advertising link, we as Amazon partner receive a commission, for you there are no costs. You thus support our cost- and advertising banner-free, educational offer.
1

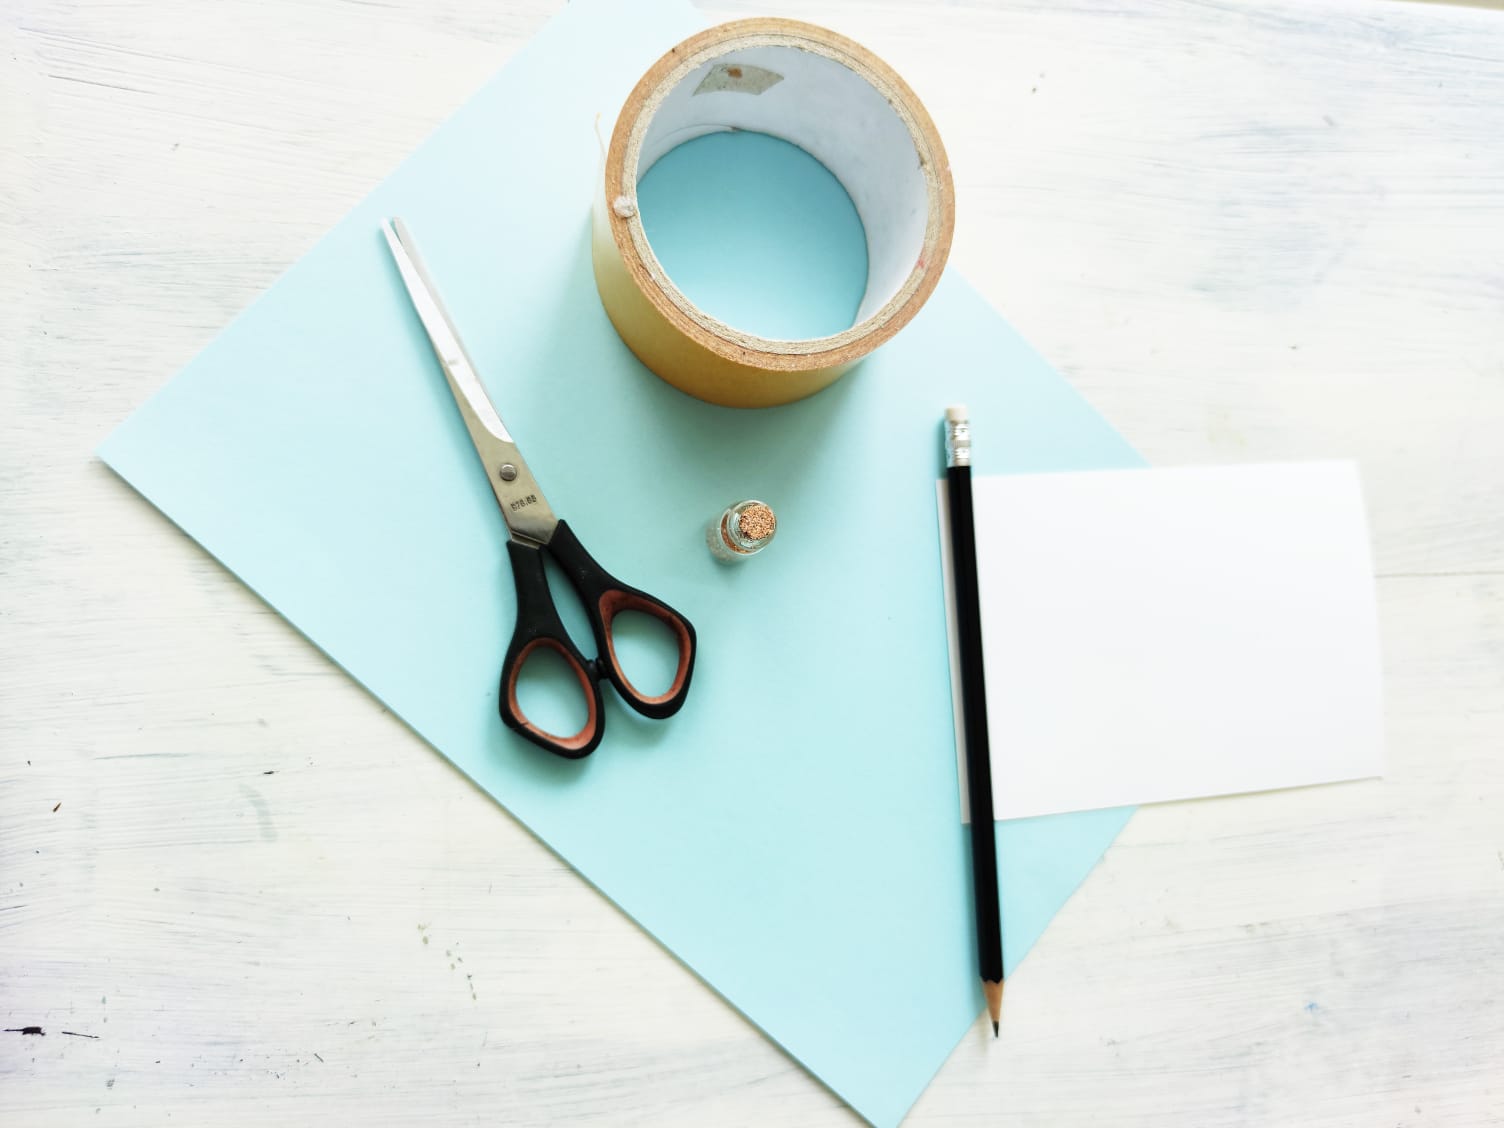
Find your material together, then cut out a card.

Bild zum Schritt 1 für das Bastel- und DIY-Abenteuer für Kinder: 'Sucht euer Material zusammen. Dann schneidet ihr eine Karte aus...'

2

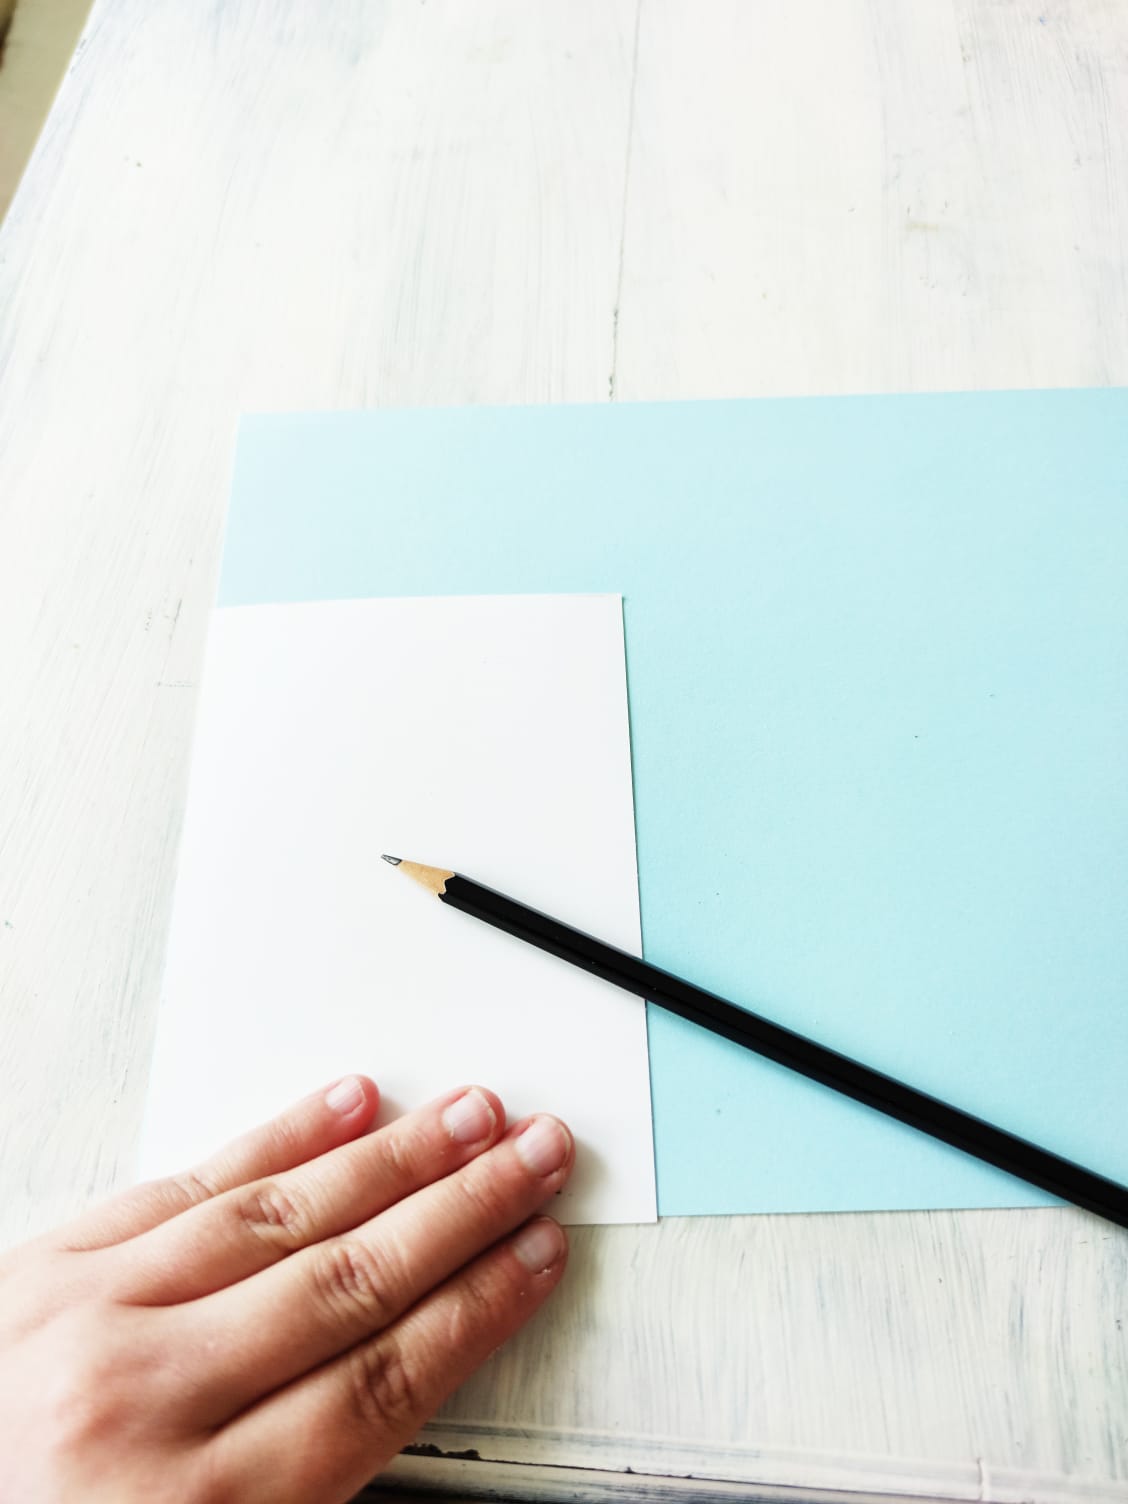
Tip: Use a postcard as a template. Place it on the clay paper and border it with a pencil.

Bild zum Schritt 2 für das Bastel- und DIY-Abenteuer für Kinder: 'Tipp: Verwendet eine Postkarte als Schablone. Diese legt ihr auf...'

3

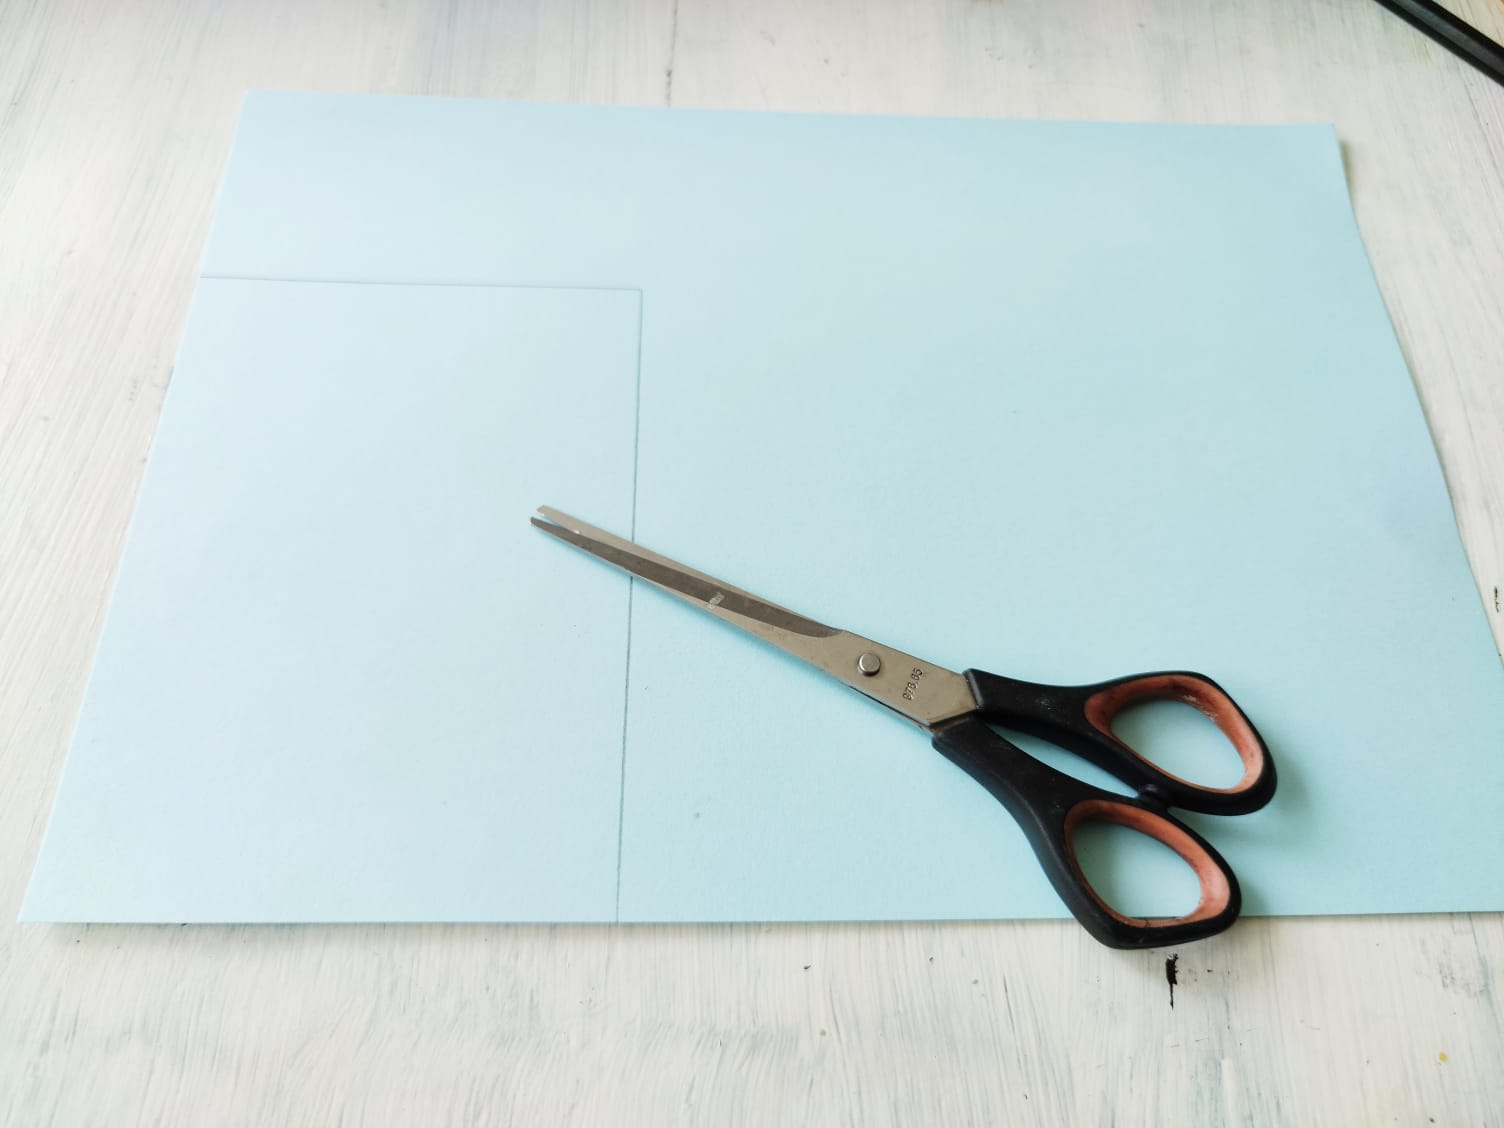
Then cut out the card.

Bild zum Schritt 3 für das Bastel- und DIY-Abenteuer für Kinder: 'Anschließend schneidet ihr die Karte aus.'

4

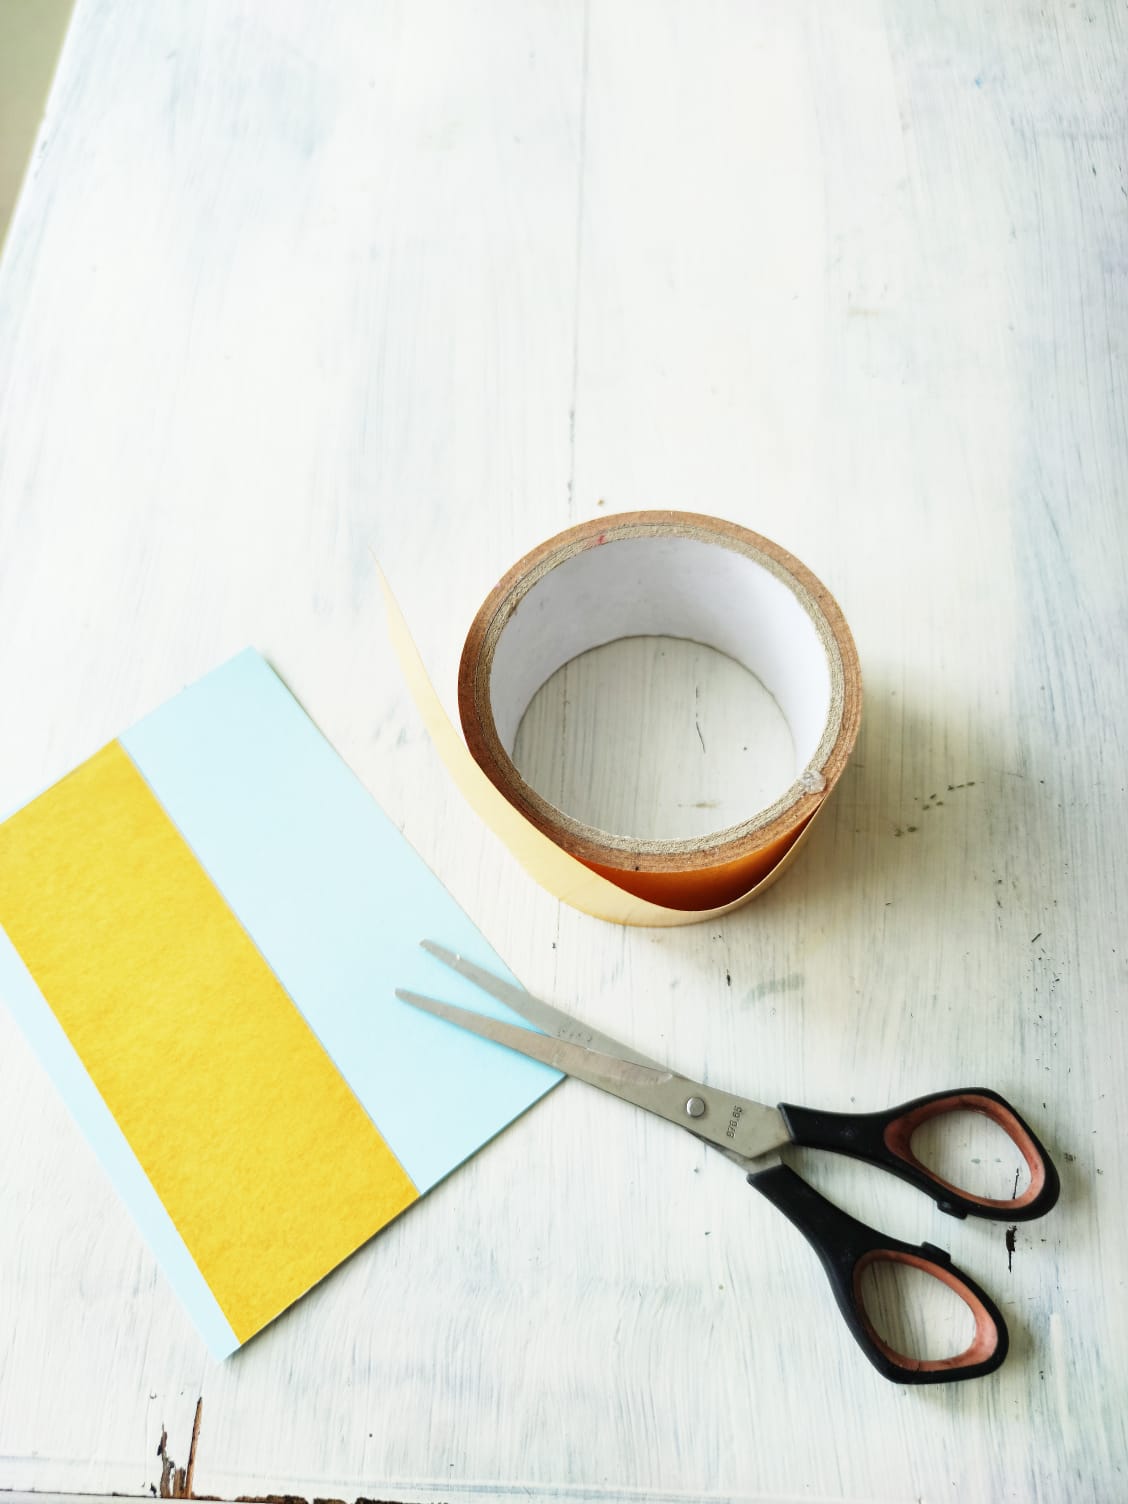
Now with the double-sided tape you stick two strips of length on the front of the card. Leave the tape still with the brown cover.
Attention: For cutting off the tape you need a good scissors!

Bild zum Schritt 4 für das Bastel- und DIY-Abenteuer für Kinder: 'Jetzt klebt ihr mit dem doppelseitigen Klebeband zwei Streifen der...'

5

You can prepare these steps well at home. Then you go with the map into the forest and the meadows. Now you pull the top off the tape.
Attention: of course you take the garbage back home with you!

6

Now you stick everything on the map you find in nature.
For example, flowers, leaves and moss.

Bild zum Schritt 6 für das Bastel- und DIY-Abenteuer für Kinder: 'Jetzt klebt ihr alles auf die Karte was ihr in...'

7

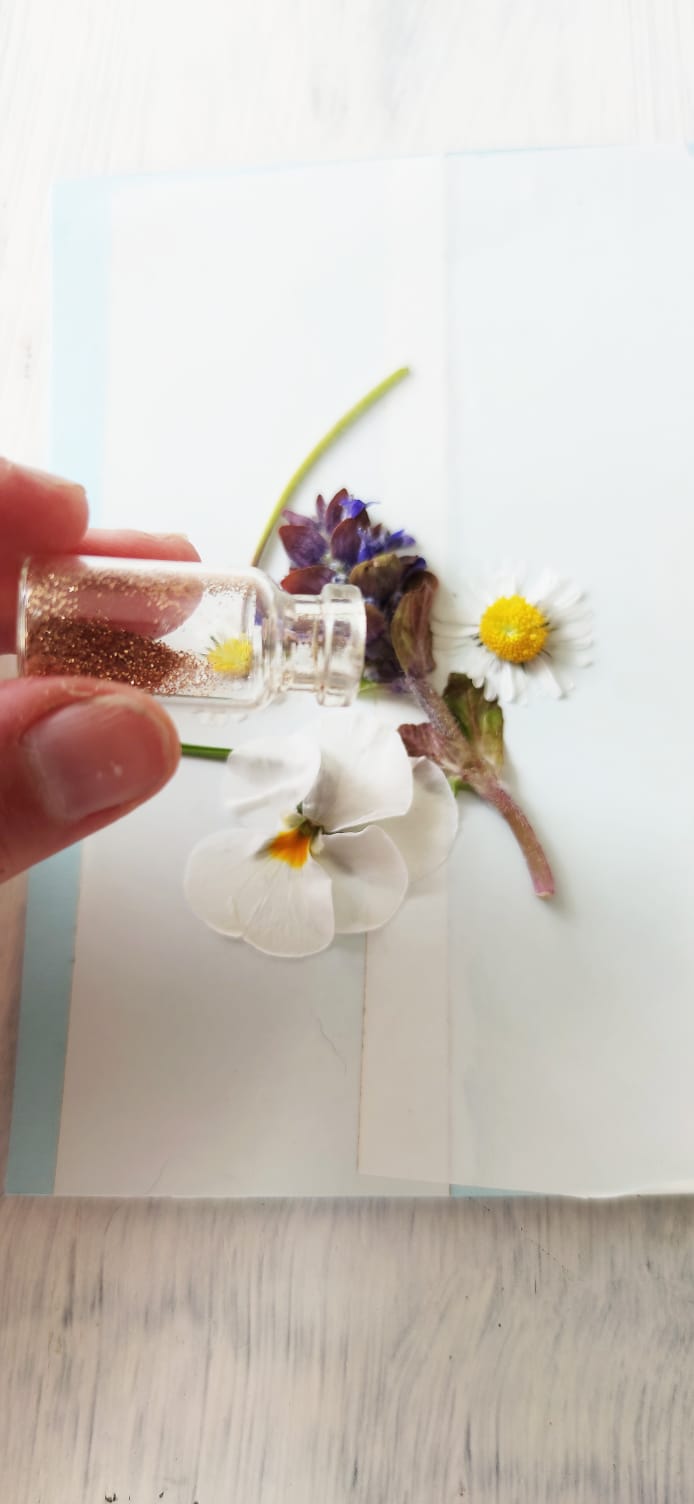
At the end, you're gonna throw a little sparkle on it.
Your fairy card is ready.

Bild zum Schritt 7 für das Bastel- und DIY-Abenteuer für Kinder: 'Zum Schluss streut ihr noch etwas Glitzer drauf.  Fertig...'

Folding card with oval neckline
8

For this you first fold a folding card. Draw the postcard side by side twice. Then cut it out and fold it in the middle. On one side you paint a round, square or oval window, which you then cut out.

Tip: Use a beer lid or glass as a template for the window in the middle.
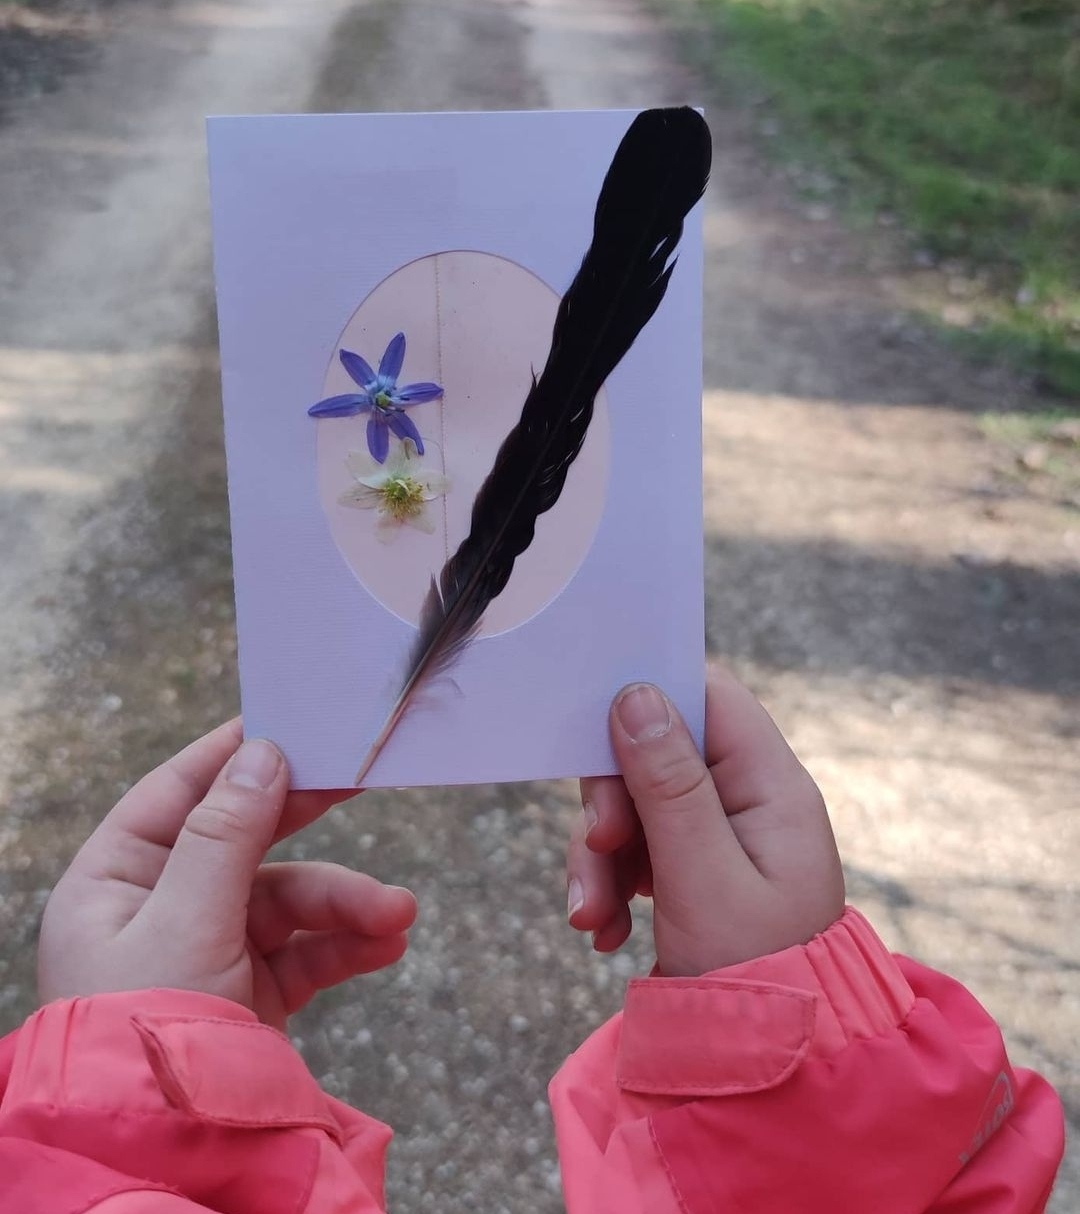
Bild zum Schritt 9 für das Bastel- und DIY-Abenteuer für Kinder: 'Hierfür faltest du zuerst eine Faltkarte. Zeichne dafür die Postkarte...'

9

Now you can stick the tape behind the window and then stick the natural material on.

Bild zum Schritt 10 für das Bastel- und DIY-Abenteuer für Kinder: 'Jetzt könnt ihr hinter das Fenster das Klebeband kleben und...'

10

Have fun with your fairy card!

Materials

 Double-sided adhesive tape
 Glitter
 Flowers, leaves, feathers, moss, lichens, etc.
 Postcardor beer lid, smaller card
 Pencil
 Nail shears
All links marked with a shopping cart lead to Amazon - here we have selected products that we would order ourselves and in part also ordered. In a qualified purchase via the advertising link, we as Amazon partner receive a commission, for you there are no costs. You thus support our cost- and advertising banner-free, educational offer.

Directions

1

Find your material together, then cut out a card.

Bild zum Schritt 1 für das Bastel- und DIY-Abenteuer für Kinder: 'Sucht euer Material zusammen. Dann schneidet ihr eine Karte aus...'

2

Tip: Use a postcard as a template. Place it on the clay paper and border it with a pencil.

Bild zum Schritt 2 für das Bastel- und DIY-Abenteuer für Kinder: 'Tipp: Verwendet eine Postkarte als Schablone. Diese legt ihr auf...'

3

Then cut out the card.

Bild zum Schritt 3 für das Bastel- und DIY-Abenteuer für Kinder: 'Anschließend schneidet ihr die Karte aus.'

4

Now with the double-sided tape you stick two strips of length on the front of the card. Leave the tape still with the brown cover.
Attention: For cutting off the tape you need a good scissors!

Bild zum Schritt 4 für das Bastel- und DIY-Abenteuer für Kinder: 'Jetzt klebt ihr mit dem doppelseitigen Klebeband zwei Streifen der...'

5

You can prepare these steps well at home. Then you go with the map into the forest and the meadows. Now you pull the top off the tape.
Attention: of course you take the garbage back home with you!

6

Now you stick everything on the map you find in nature.
For example, flowers, leaves and moss.

Bild zum Schritt 6 für das Bastel- und DIY-Abenteuer für Kinder: 'Jetzt klebt ihr alles auf die Karte was ihr in...'

7

At the end, you're gonna throw a little sparkle on it.
Your fairy card is ready.

Bild zum Schritt 7 für das Bastel- und DIY-Abenteuer für Kinder: 'Zum Schluss streut ihr noch etwas Glitzer drauf.  Fertig...'

Folding card with oval neckline
8

For this you first fold a folding card. Draw the postcard side by side twice. Then cut it out and fold it in the middle. On one side you paint a round, square or oval window, which you then cut out.

Tip: Use a beer lid or glass as a template for the window in the middle.

Bild zum Schritt 9 für das Bastel- und DIY-Abenteuer für Kinder: 'Hierfür faltest du zuerst eine Faltkarte. Zeichne dafür die Postkarte...'

9

Now you can stick the tape behind the window and then stick the natural material on.
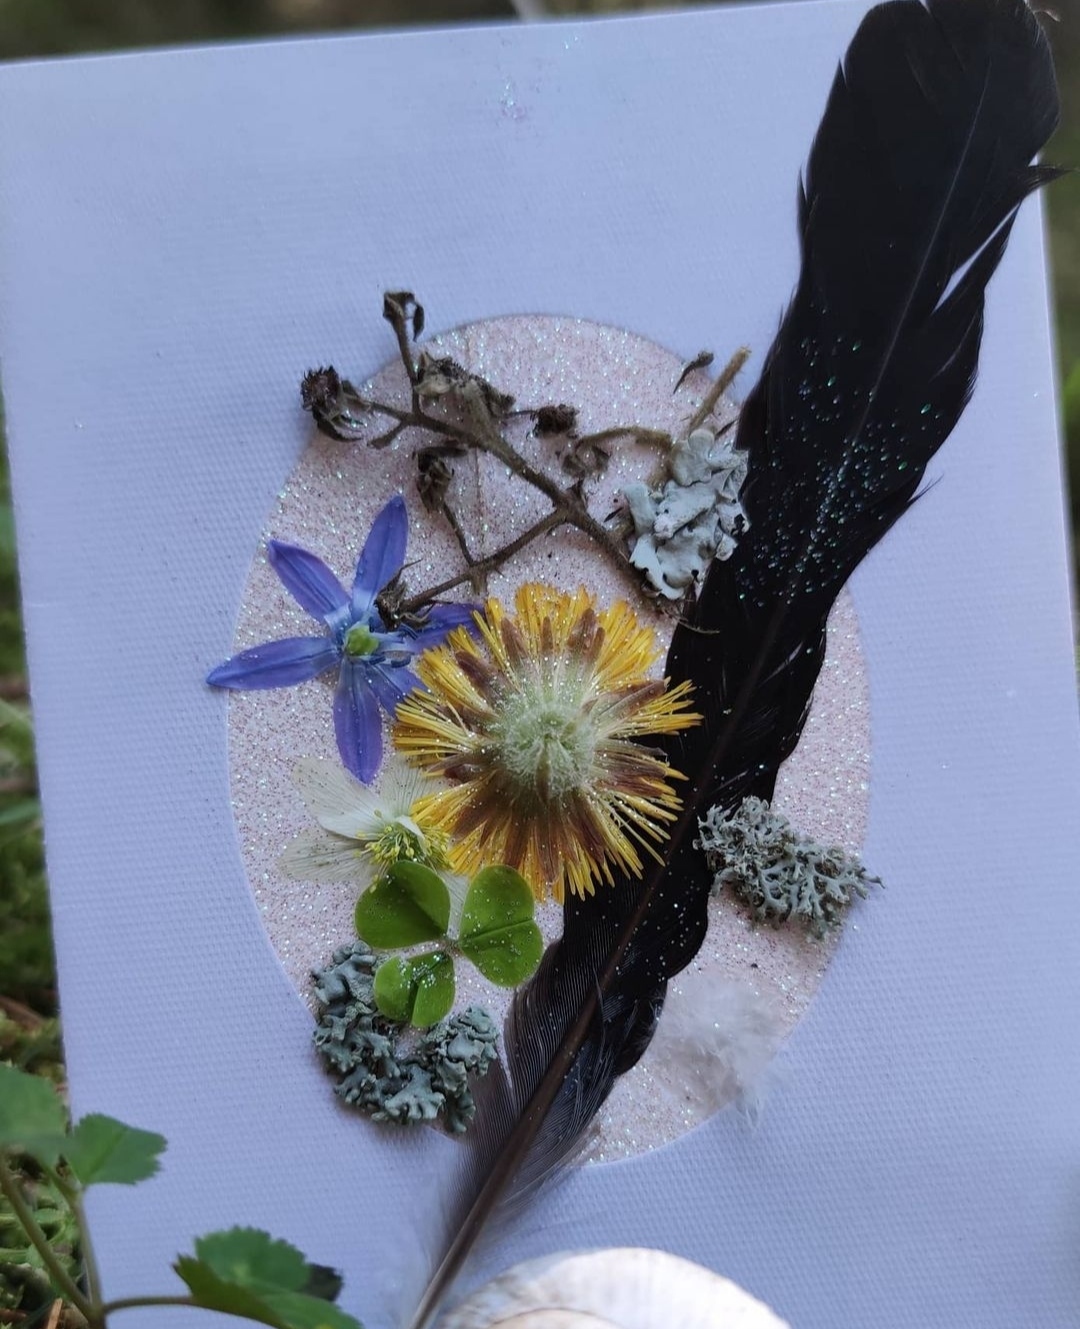
Bild zum Schritt 10 für das Bastel- und DIY-Abenteuer für Kinder: 'Jetzt könnt ihr hinter das Fenster das Klebeband kleben und...'

10

Have fun with your fairy card!

Design Fairy Card

Follow us on Facebook , Instagram and Pinterest
Don't miss any more adventures: Our bottle mail

2 Comments

  1. I'm glad, she's become magical?
    Then the pots would be something for you too?

Leave a Reply

Your email address will not be published.

The maximum upload file size: 5 MB. You can upload: image, document. Drop file here