Fasching jelly (upcycles)

AdventurerKitaForst
Rating5.03.0 thousand times & (3) DifficultyAdvanced

This colourful "fasching jelly" is a colorful craft action made of sustainable materials. Uses wool remnants and an empty cardboard roll. Colorful painted this jellyfish looks even more colorful. Children who already master the handling of the scissors can diligently cut threads. For this also a ruler can be helpful for measuring the length. However, the lengths can also vary here.
A strip of double-sided adhesive tape is attached to the inside of the cardboard roll. On this the children can glue the wool threads. Length and distance of the threads play no role for the result.
At the end an adult threads a thread with a needle through the top of the cardboard roll and knots it. The jellyfish can be hung on it. In the air the wool threads move and a nice decoration is ready.
Look at the instructions and try it out yourself. Have fun!

Media Education for Kindergarten and Hort

Kind bastelt eine Rassel mit dem Navi
The Adventure Navi, the app for DIY projects, enables media education for the youngest.

Relief in everyday life, targeted promotion of individual children, independent learning and - without any pre-knowledge already usable by the youngest!


Titelbild zur Bastel- und DIY-Idee für Kinder '(889) Faschingsqualle (upcyclen)'
Material for1 Child
Prep Time5 min.Adv. Time30 min.Total Time35 min.
 1 Rolled paper
 Finger colorsor watercolours
 Wool thickdifferent colors
 1 Builder's pad
 1 Paint coats
 1 Brushes
 1 Bowls for the coloure.g. empty yoghurt cup
 1 Children's shears
 1 double-sided adhesive tapeor glue pen
 1 Needle Thick and pointed
 1 Scissors pointed
Preparing the cardboard roll
1

Prepare all craft materials, a craft pad on the table and put on a paint coat.
First you need a cardboard roll and scissors.
Take off the cardboard roll and cut off a piece about 3 cm wide.
(An adult should do that.)
You can cut off as many cardboard rings as you like.
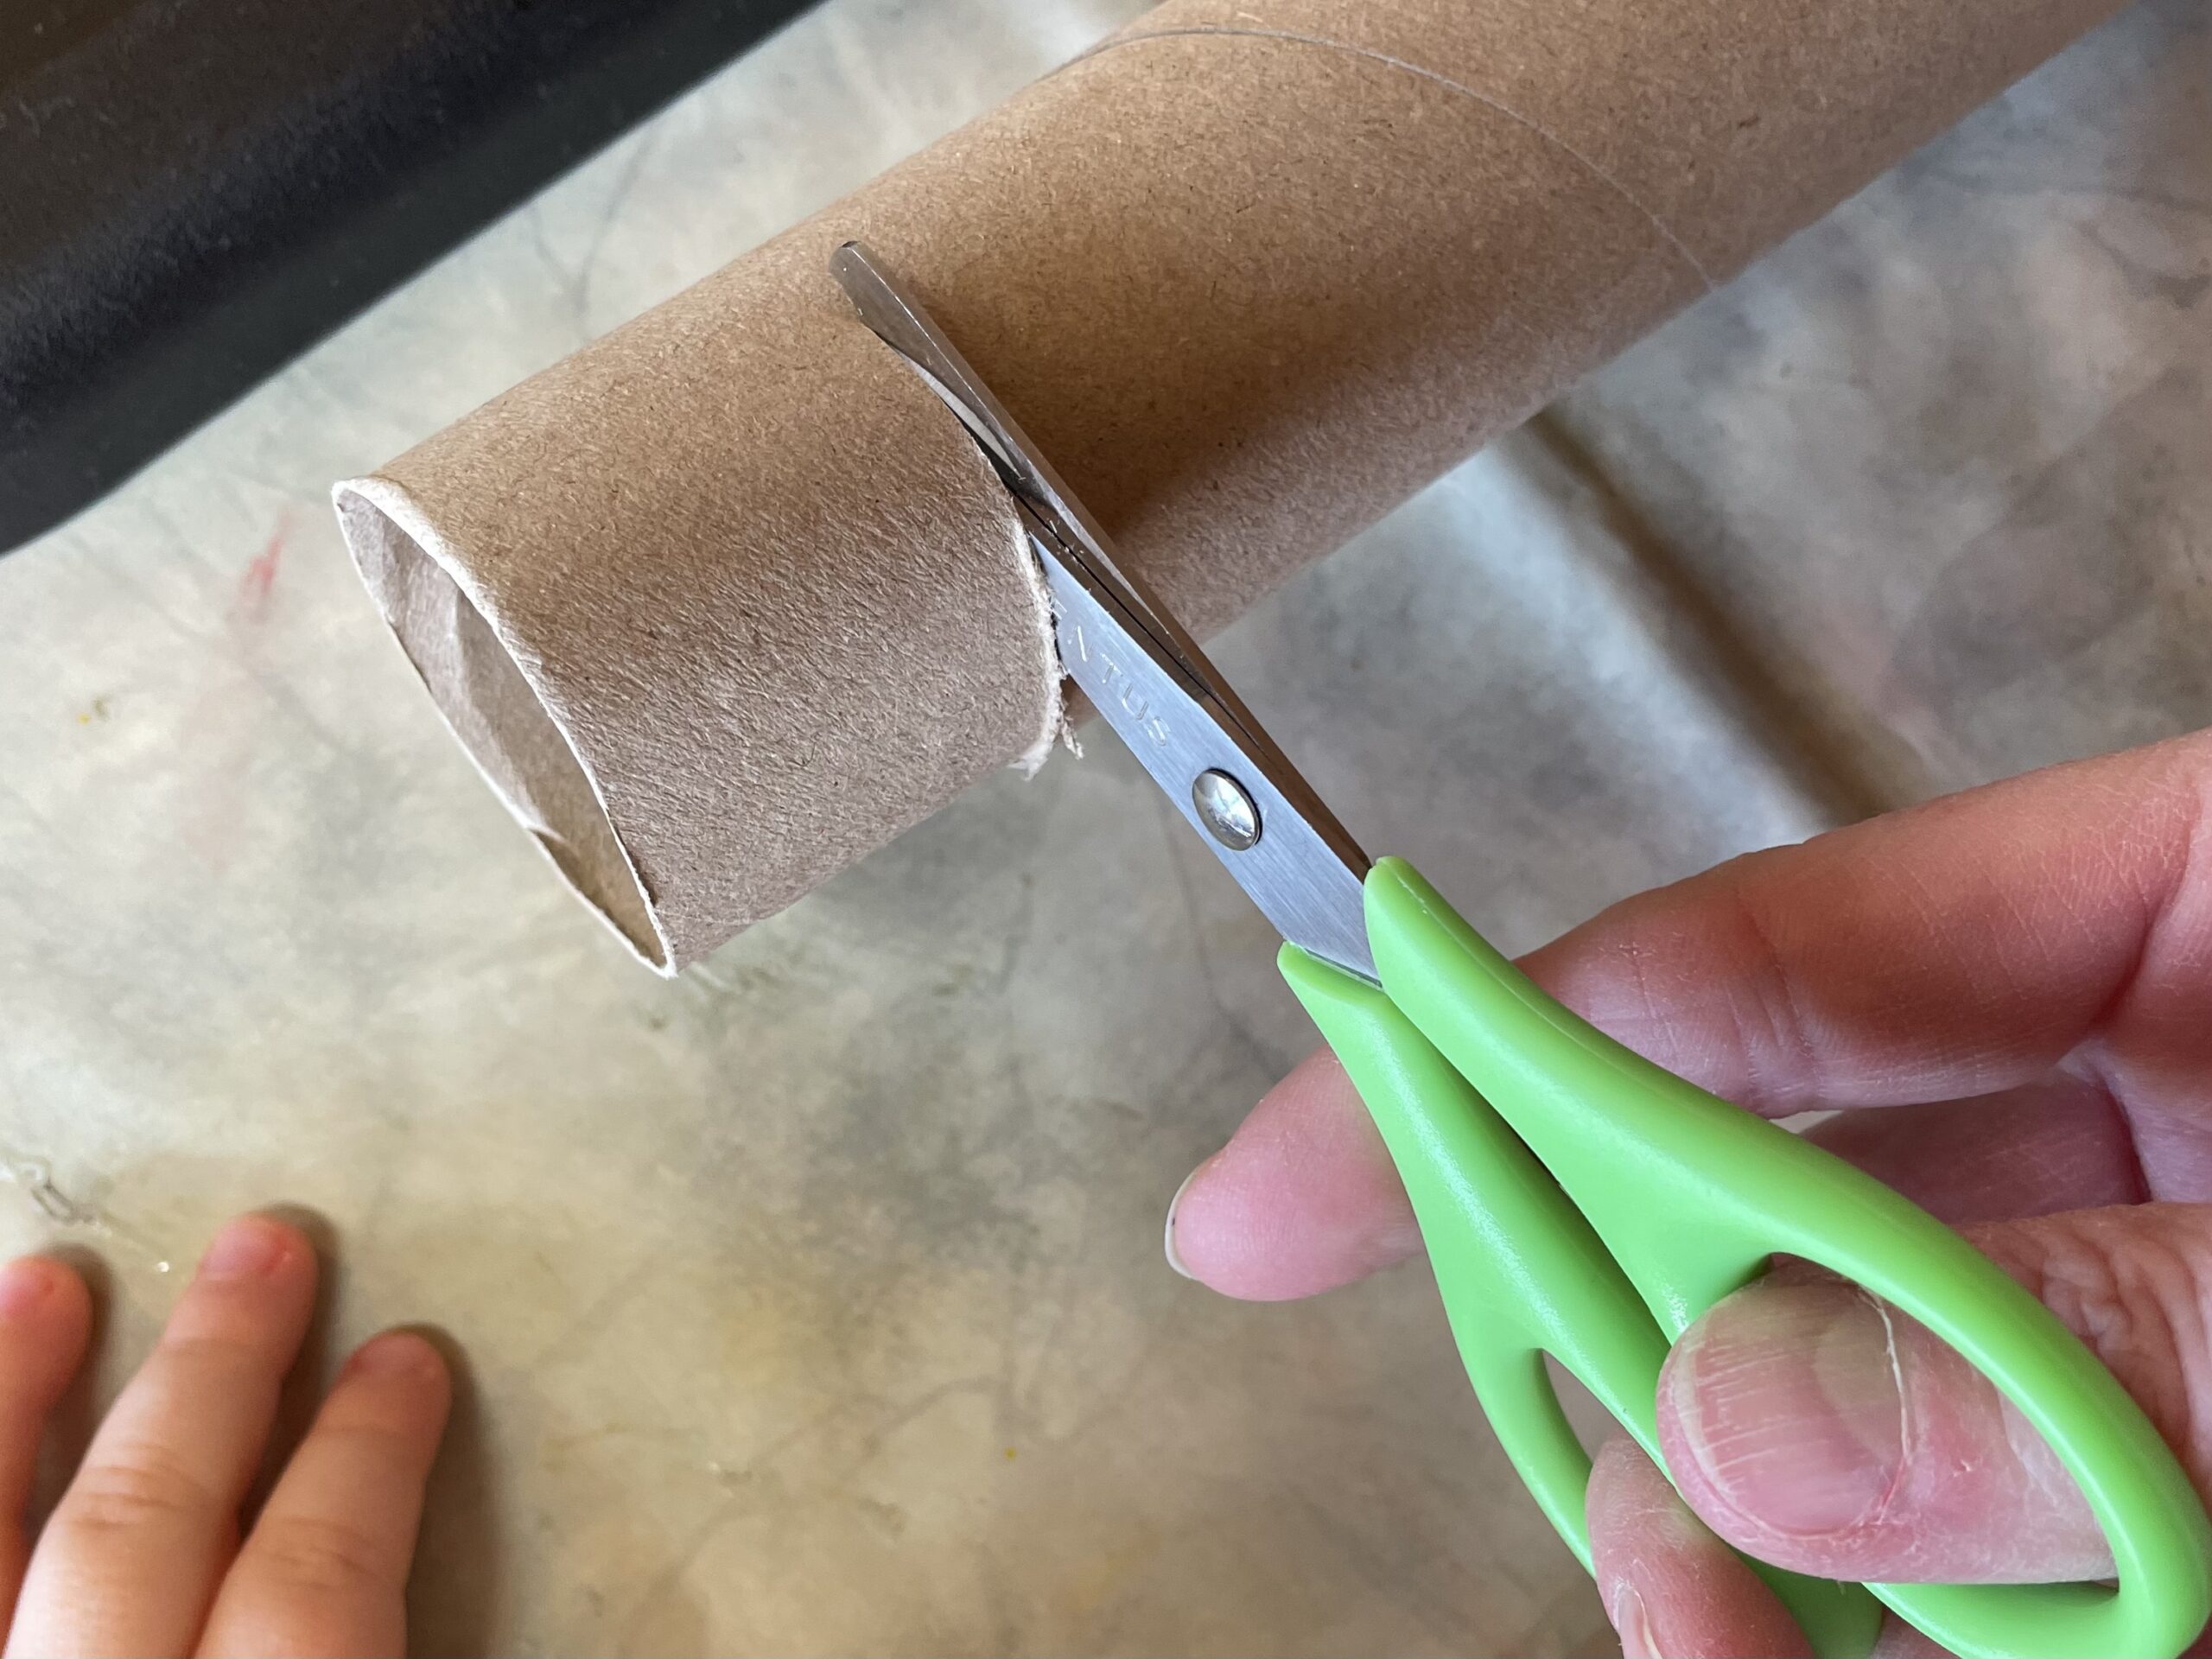
Bild zum Schritt 2 für das Bastel- und DIY-Abenteuer für Kinder: 'Legt alle Bastelmaterialien bereit, eine Bastelunterlage auf den Tisch und...'

2

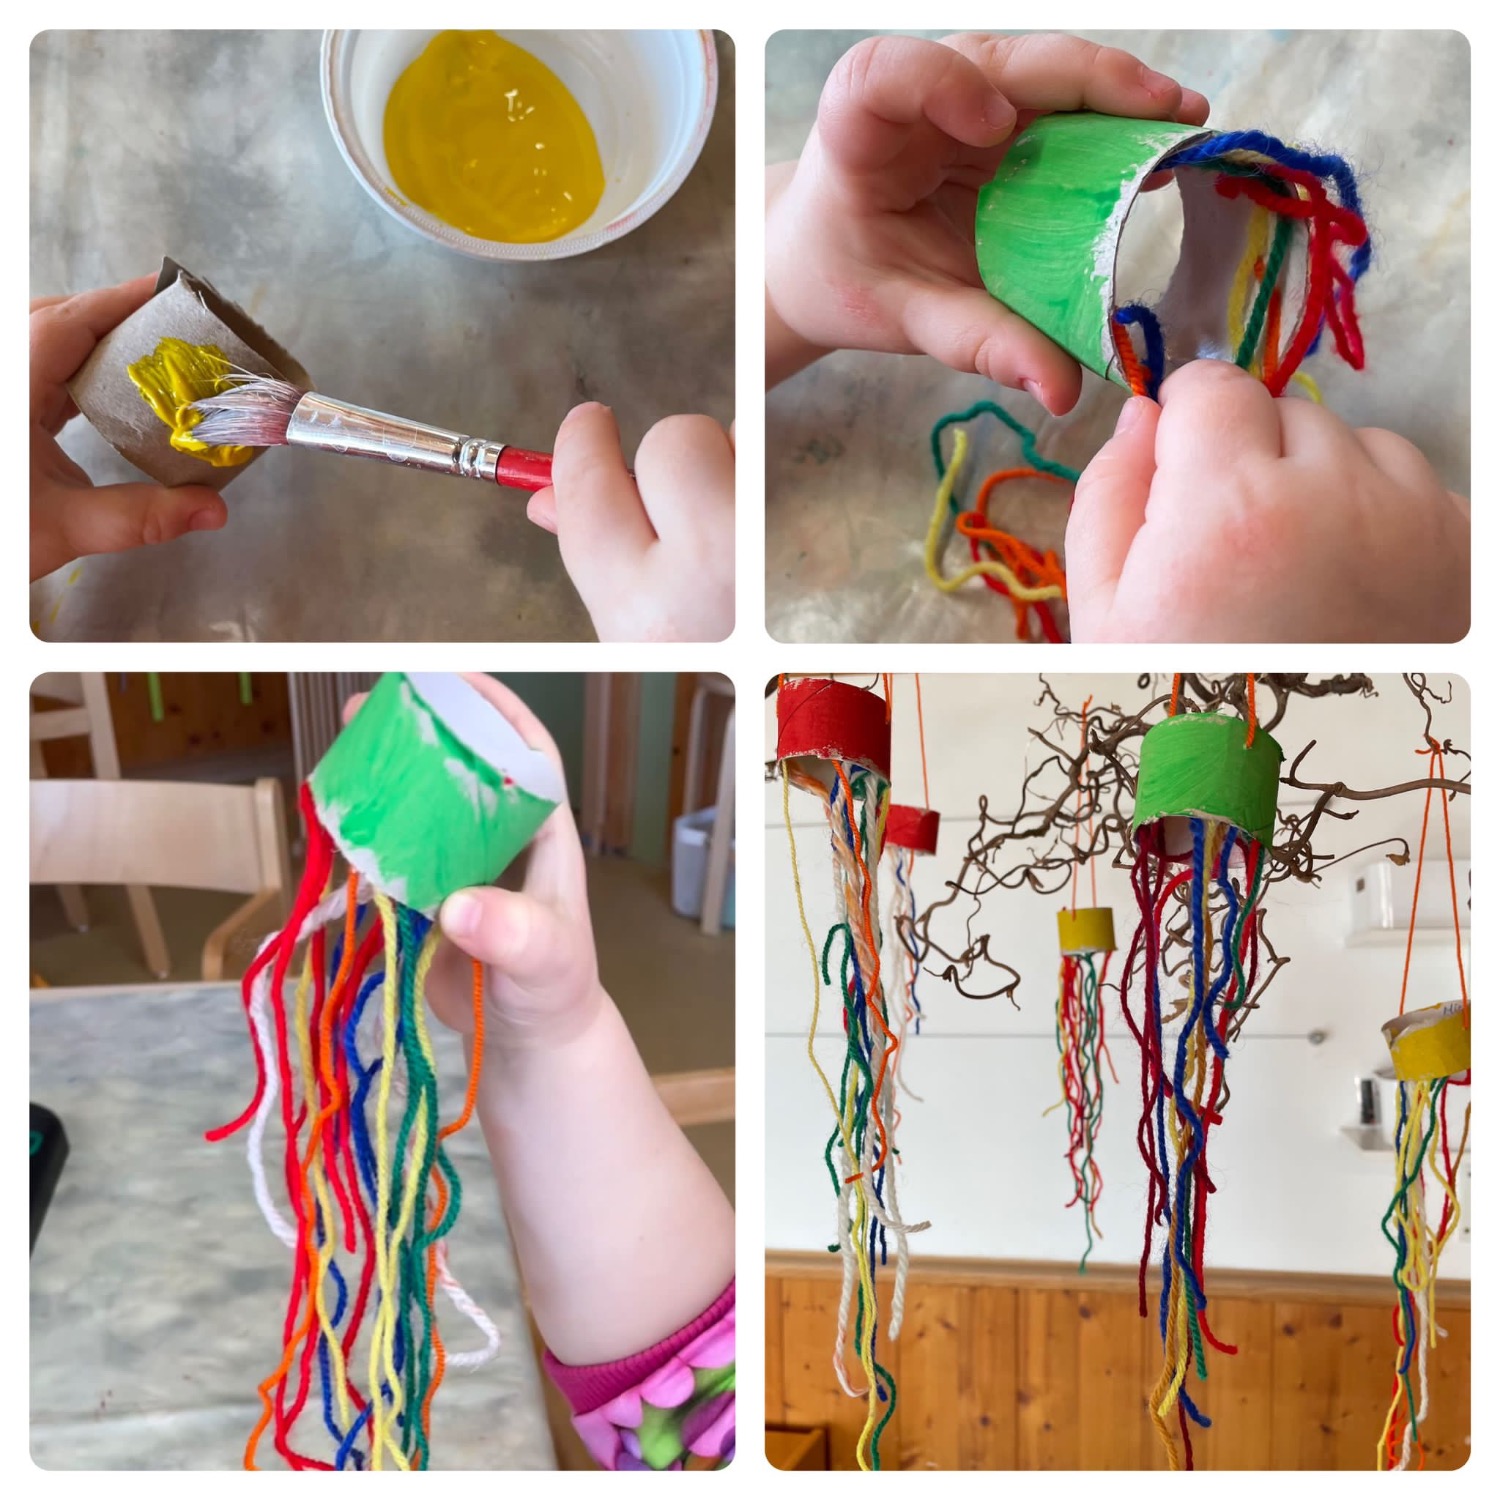
Put some paint in an empty yoghurt cup. With a thick brush you can now paint the cardboard roll from the outside.
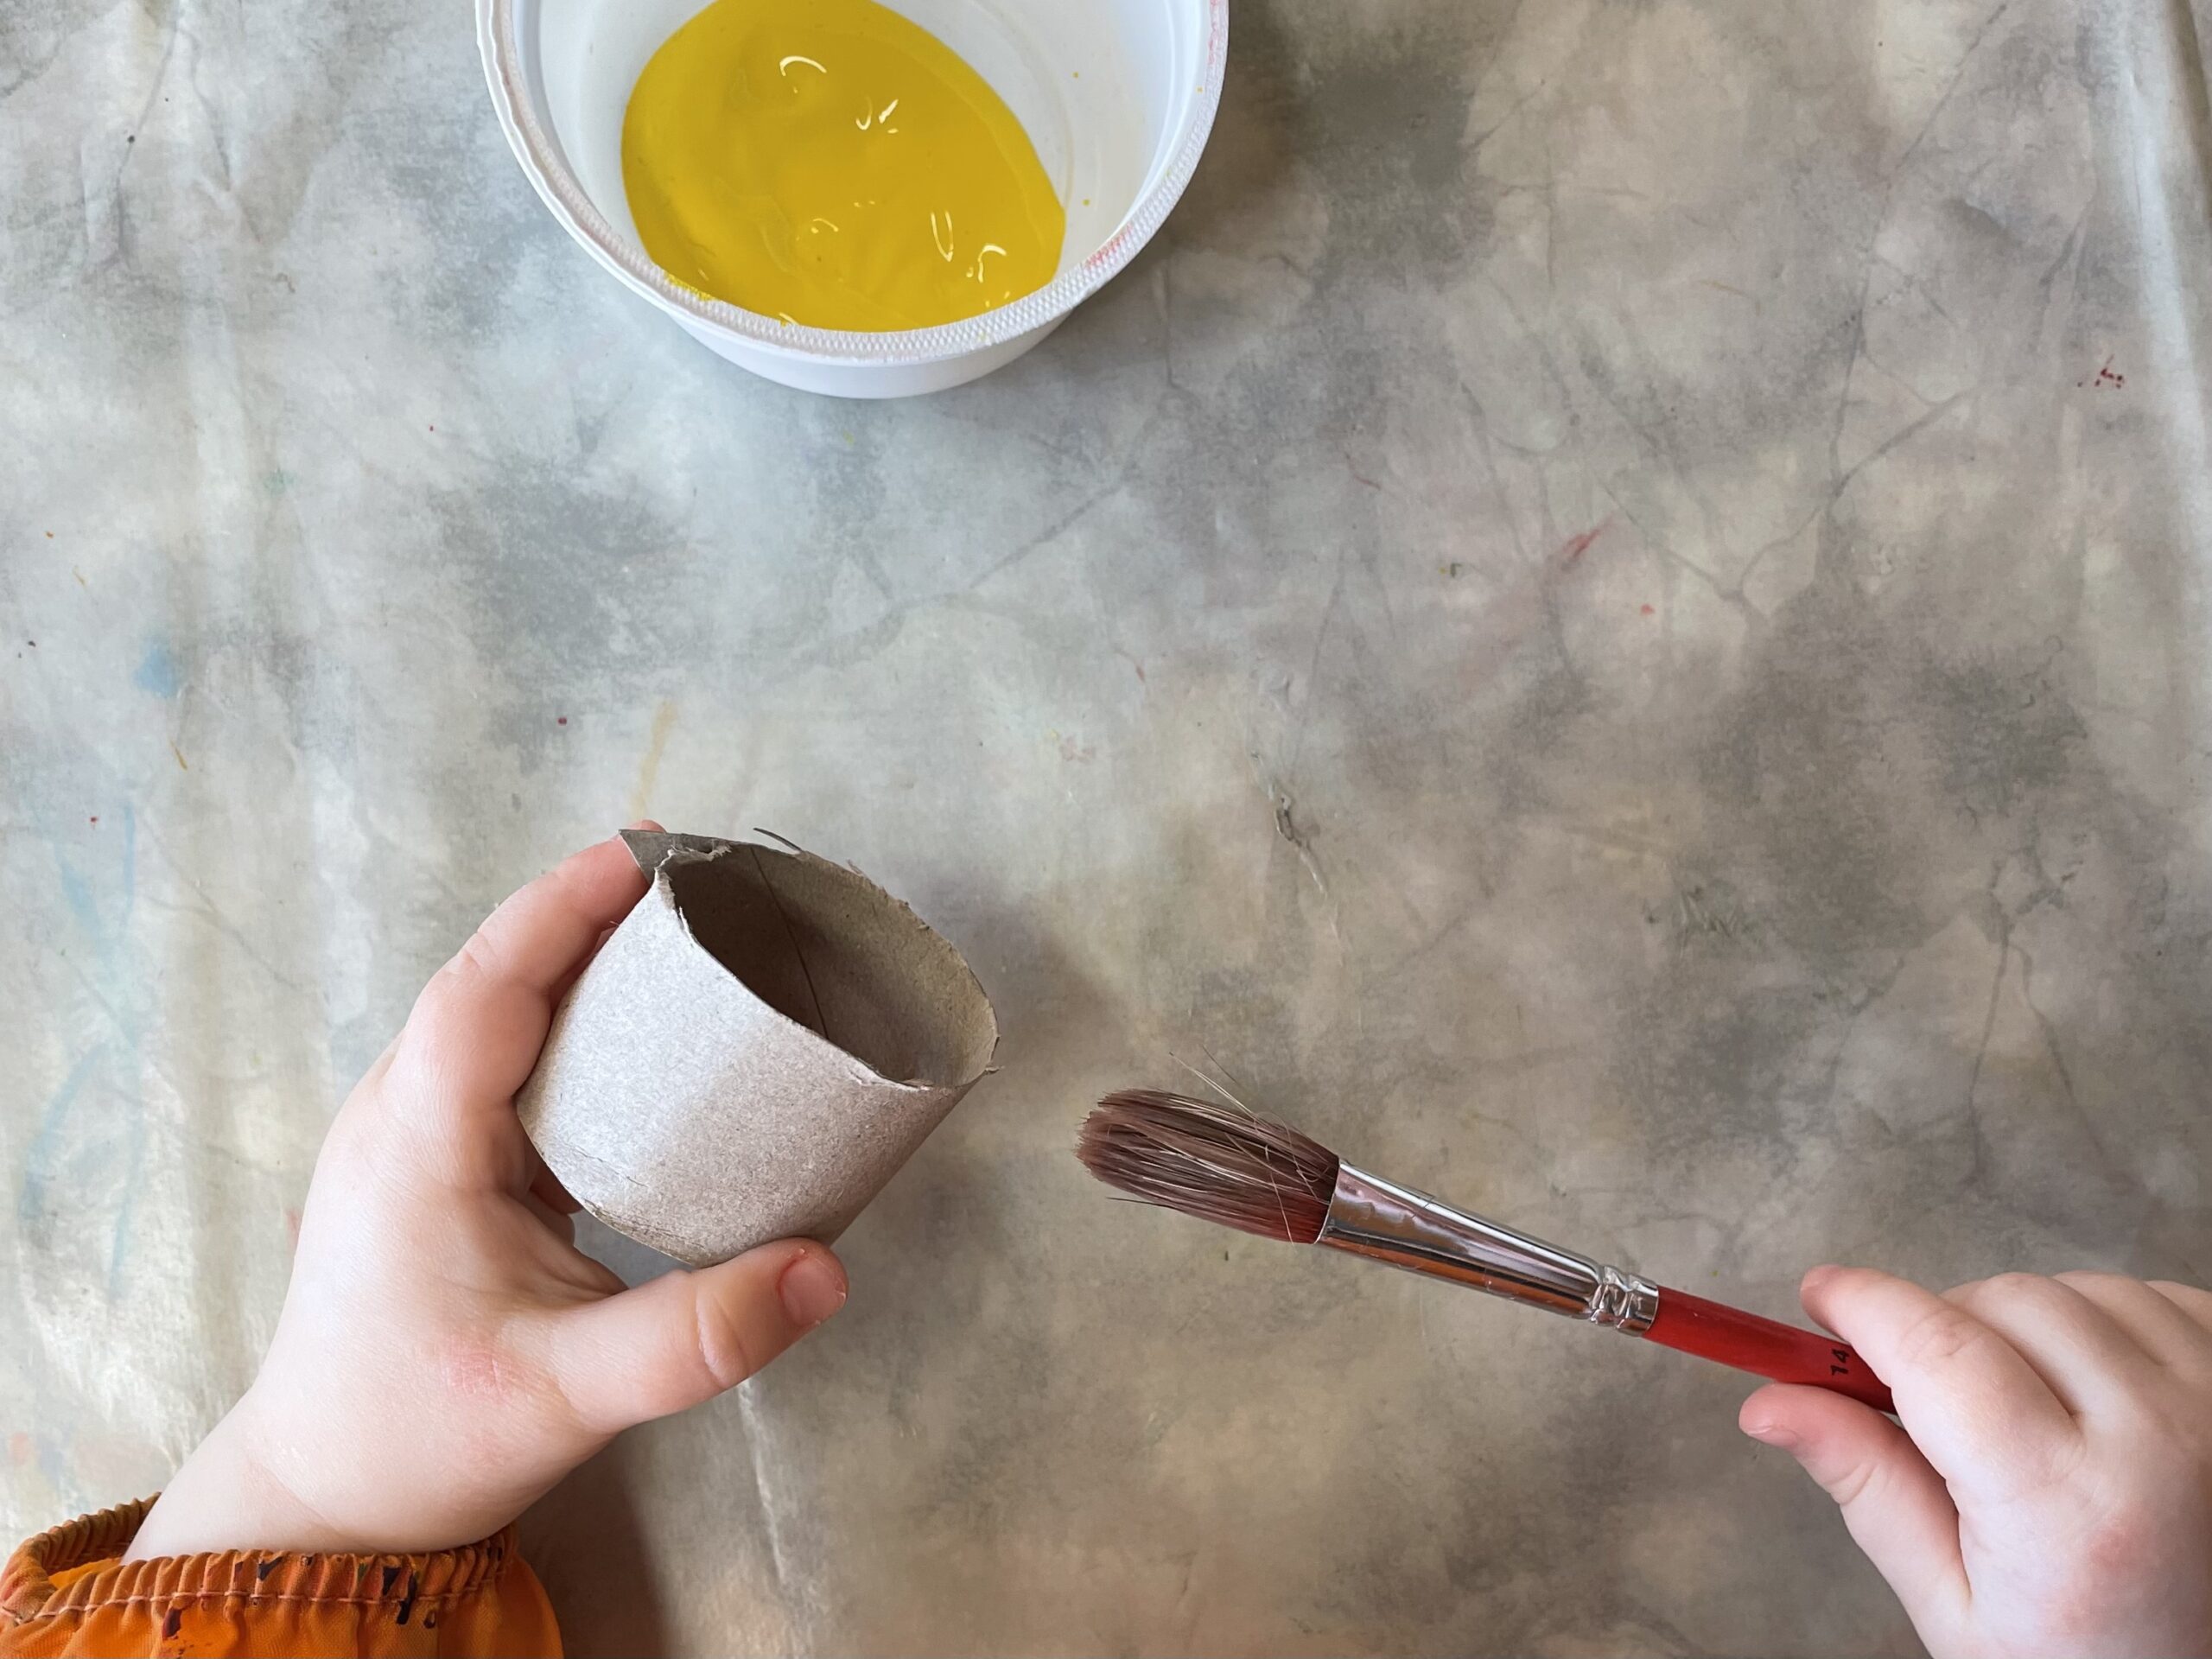
Bild zum Schritt 3 für das Bastel- und DIY-Abenteuer für Kinder: 'Gebt etwas Farbe in einen leeren Joghurtbecher. Mit einem dicken...'

3

Tip: Uses only one color for each ring. When using several colors, they mix and sometimes brown tones are created. Individual colors used are much more powerful and colorful!

Bild zum Schritt 4 für das Bastel- und DIY-Abenteuer für Kinder: 'Tipp: Verwendet für jeden Ring nur eine Farbe. Denn beim...'

4

When all the rings are painted, let them dry well.

Bild zum Schritt 5 für das Bastel- und DIY-Abenteuer für Kinder: 'Wenn alle Ringe bemalt sind, lasst diese gut trocknen.'

Glue the cardboard roll with double-sided adhesive tape.
5

Cuts off a strip of double-sided adhesive tape with scissors. The length corresponds to the circumference of the cardboard roll.

Bild zum Schritt 7 für das Bastel- und DIY-Abenteuer für Kinder: 'Schneidet einen  Streifen doppelseitiges Klebeband mit der Schere ab....'

6

The adhesive tape is glued on the inside of the cardboard roll. For this, the adhesive tape is placed as a ring so that the adhesive side is outside.

Bild zum Schritt 8 für das Bastel- und DIY-Abenteuer für Kinder: 'Das Klebeband wird au die Innenseite der Papprolle geklebt. Dafür...'

7

Then you put the tape in the cardboard roll and press it on.

Bild zum Schritt 9 für das Bastel- und DIY-Abenteuer für Kinder: 'Dann steckt ihr das Klebeband in die Papprolle und drückt...'

8

Now pull off the foil of the tape.

Bild zum Schritt 10 für das Bastel- und DIY-Abenteuer für Kinder: 'Zieht nun die Folie des Klebebandes ab.'

9

Now the inside of the roll sticks. On it you stick now woolen threads. For this place the ring briefly to the side.

Bild zum Schritt 11 für das Bastel- und DIY-Abenteuer für Kinder: 'Jetzt klebt die Innenseite der Rolle. Darauf klebt ihr nun...'

Cutting of woolen thread:
10

You now need thick colorful wool and a children's scissors.

Bild zum Schritt 13 für das Bastel- und DIY-Abenteuer für Kinder: 'Ihr braucht nun dicke bunte Wolle und eine Kinderschere.'

11

Let the children cut the wool threads themselves.

Bild zum Schritt 14 für das Bastel- und DIY-Abenteuer für Kinder: 'Lasst die Kinder die Wollfäden selbst abschneiden.'

12

Tip: Some children want to take "dimension" themselves and measure the thread lengths, for this you can use a short ruler. Also a pen is suitable to measure the length.

Bild zum Schritt 15 für das Bastel- und DIY-Abenteuer für Kinder: 'Tipp: Manche Kinder wollen selbst „Maß“ nehmen und die Fadenlängen...'

13

If you have cut enough of different coloured wool threads, you can start with the glue.

Adhesive of rolls with woolen thread:
14

Get the prepared cardboard roll with the adhesive tape. Then you stick the wool threads with the beginning of the thread on the adhesive tape in the cardboard ring. Hardly glued threads can be placed outwards and are not in the way.

Bild zum Schritt 18 für das Bastel- und DIY-Abenteuer für Kinder: 'Holt euch die vorbereitete Papprolle mit dem Klebeband. Dann klebt...'

15

At the end you thread a thread onto a thick pointed needle. (An adult must take over this process - danger of injury!) Stitch the needle through the top edge in the cardboard roll and on the opposite side again from the inside to the outside. Pull the thread through and knot the ends together. The resulting loop serves to hang the carnival jelly.

Bild zum Schritt 19 für das Bastel- und DIY-Abenteuer für Kinder: 'Zum Schluss fädelt ihr einen Faden auf eine dicke spitze...'

16

So you can glue further colorful cardboard rings with wool.

Bild zum Schritt 20 für das Bastel- und DIY-Abenteuer für Kinder: 'So könnt ihr weitere bunte Pappringe mit Wolle bekleben.'

17

Another carnival jellyfish is ready.

Bild zum Schritt 21 für das Bastel- und DIY-Abenteuer für Kinder: 'Eine weitere Faschingsqualle ist fertig.'

18

A few carnival jellyfish already look very nice as decoration in the carnival period.

Bild zum Schritt 22 für das Bastel- und DIY-Abenteuer für Kinder: 'Ein paar Faschingsquallen sehen schon sehr schön als Dekoration in...'

19

Hangs the carnival jellyfish, for example, on a branch. Uses it like snakes to hang up.

Bild zum Schritt 23 für das Bastel- und DIY-Abenteuer für Kinder: 'Hängt die Faschingsquallen zum Beispiel an einen Ast. Verwendet sie...'

20

Have fun trying out and decorating!

Materials

 1 Rolled paper
 Finger colorsor watercolours
 Wool thickdifferent colors
 1 Builder's pad
 1 Paint coats
 1 Brushes
 1 Bowls for the coloure.g. empty yoghurt cup
 1 Children's shears
 1 double-sided adhesive tapeor glue pen
 1 Needle Thick and pointed
 1 Scissors pointed

Directions

Preparing the cardboard roll
1

Prepare all craft materials, a craft pad on the table and put on a paint coat.
First you need a cardboard roll and scissors.
Take off the cardboard roll and cut off a piece about 3 cm wide.
(An adult should do that.)
You can cut off as many cardboard rings as you like.

Bild zum Schritt 2 für das Bastel- und DIY-Abenteuer für Kinder: 'Legt alle Bastelmaterialien bereit, eine Bastelunterlage auf den Tisch und...'

2

Put some paint in an empty yoghurt cup. With a thick brush you can now paint the cardboard roll from the outside.

Bild zum Schritt 3 für das Bastel- und DIY-Abenteuer für Kinder: 'Gebt etwas Farbe in einen leeren Joghurtbecher. Mit einem dicken...'

3

Tip: Uses only one color for each ring. When using several colors, they mix and sometimes brown tones are created. Individual colors used are much more powerful and colorful!
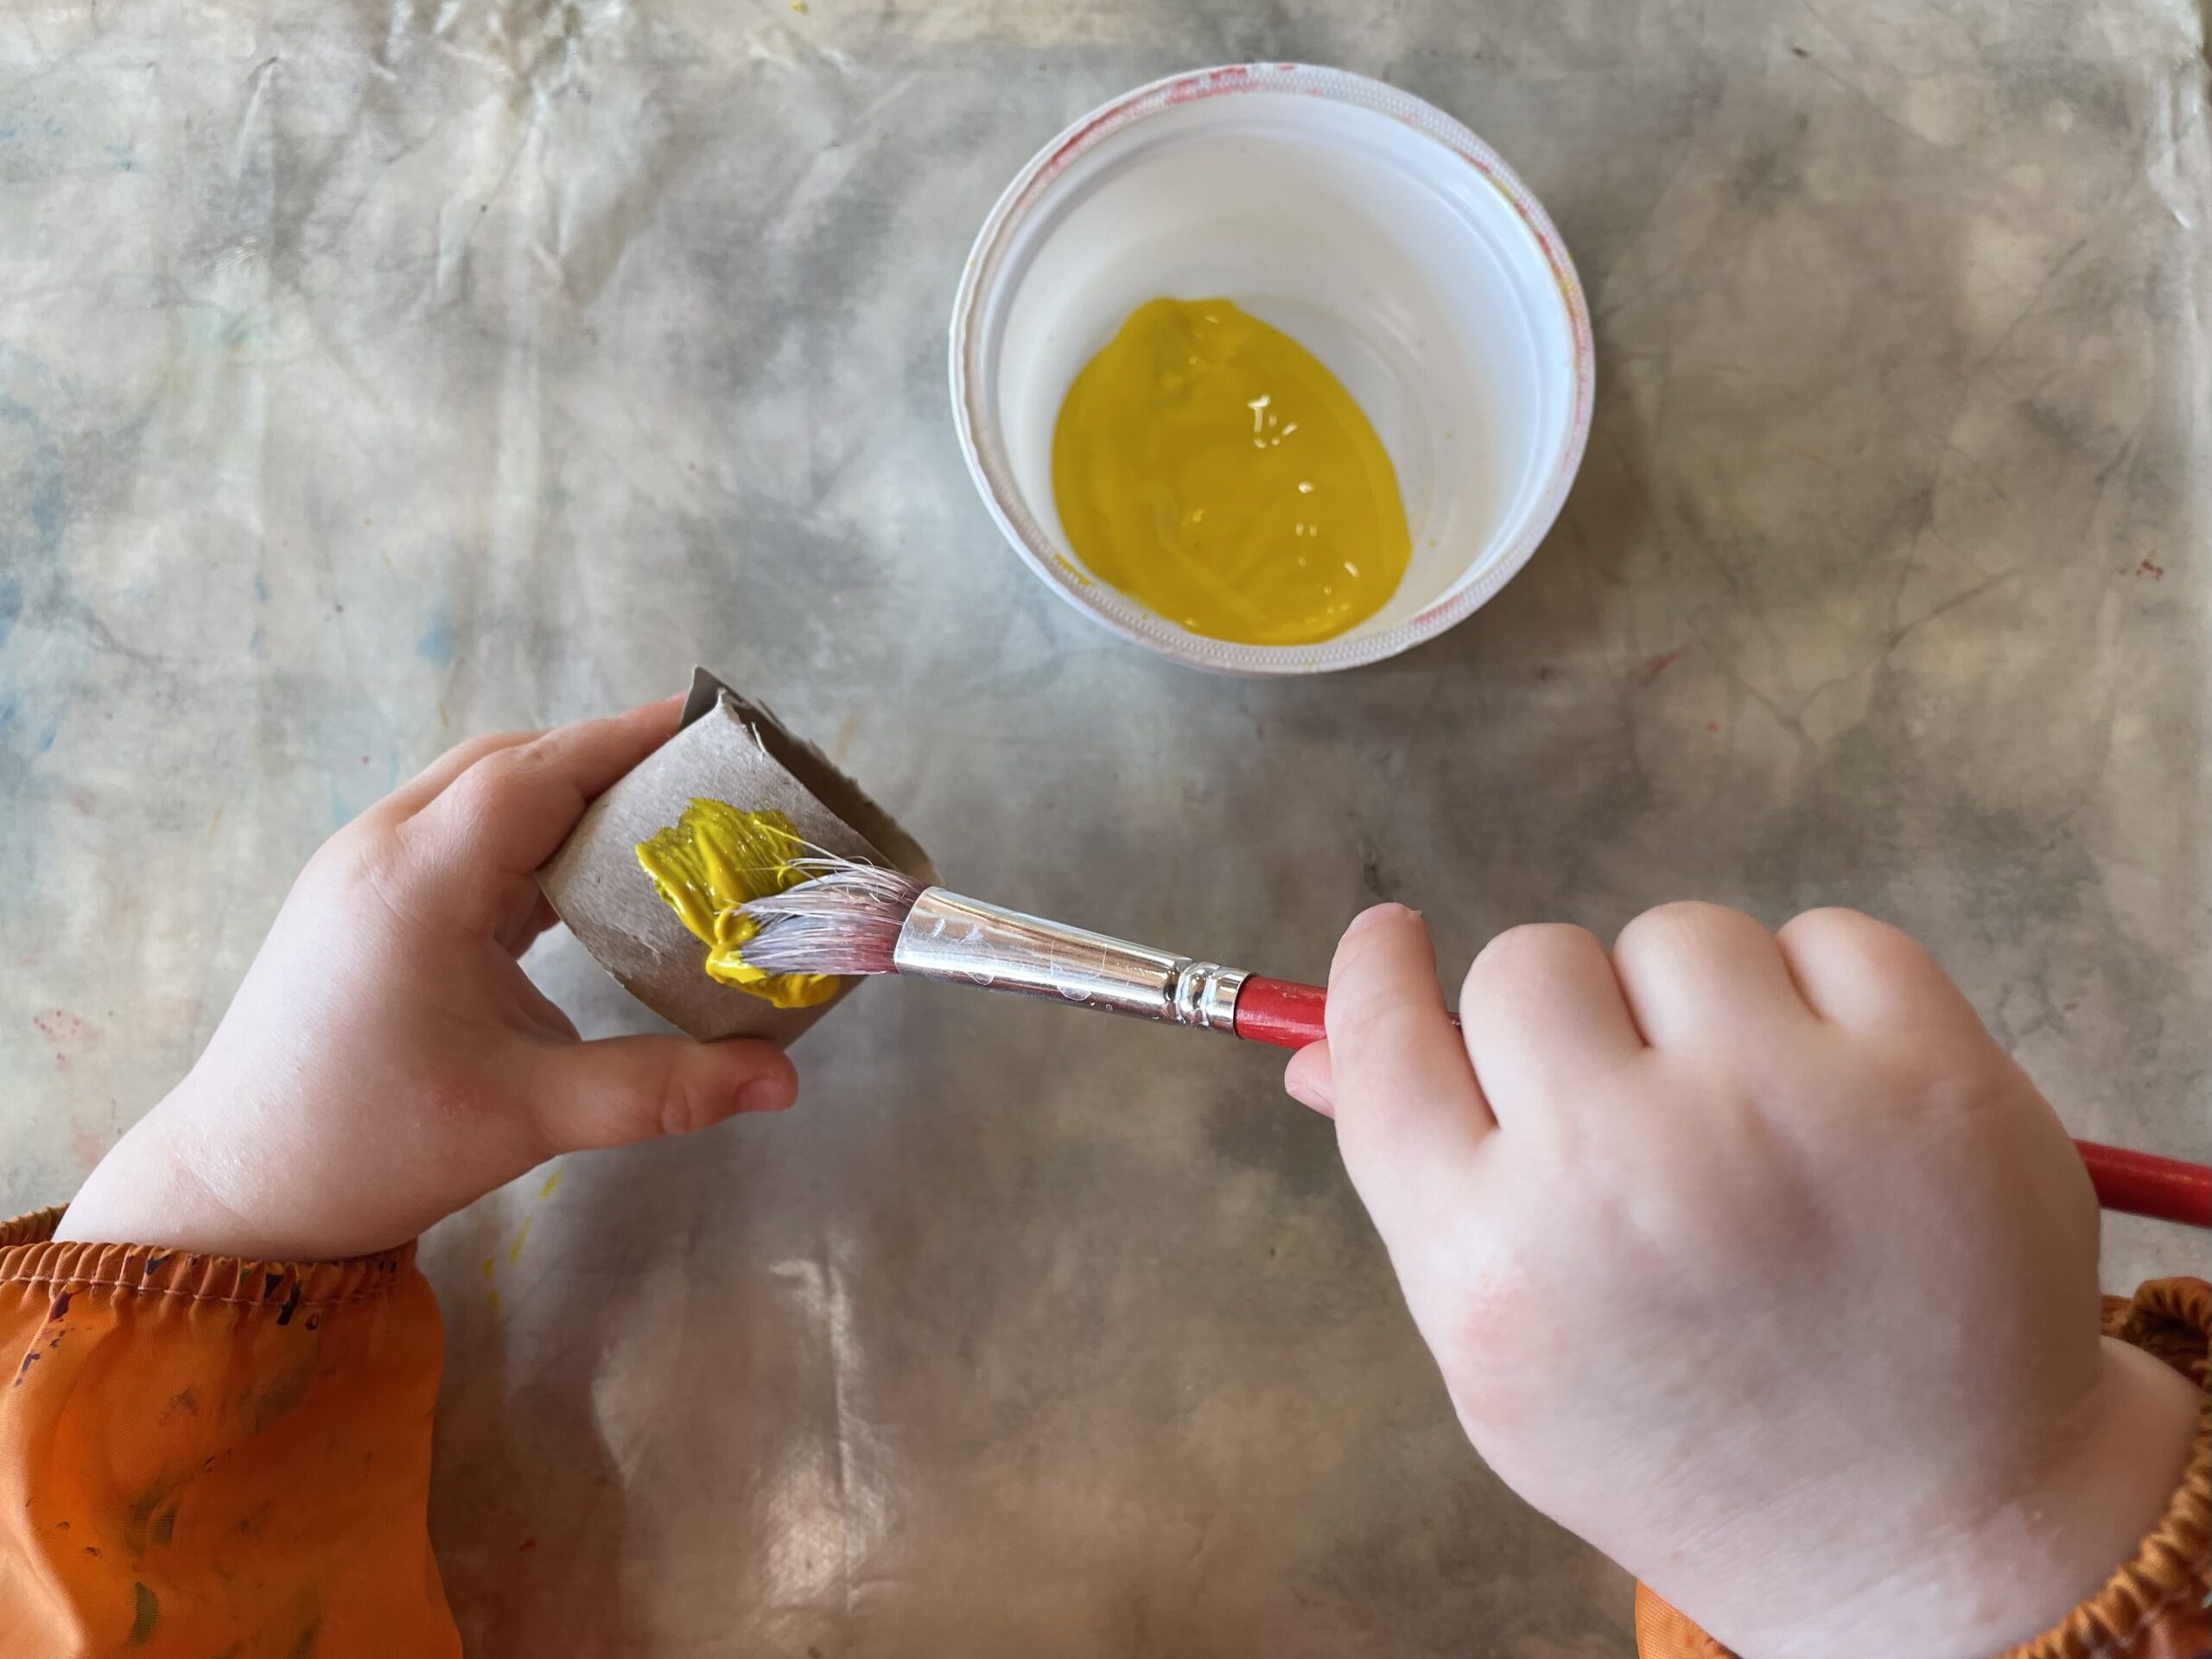
Bild zum Schritt 4 für das Bastel- und DIY-Abenteuer für Kinder: 'Tipp: Verwendet für jeden Ring nur eine Farbe. Denn beim...'

4

When all the rings are painted, let them dry well.
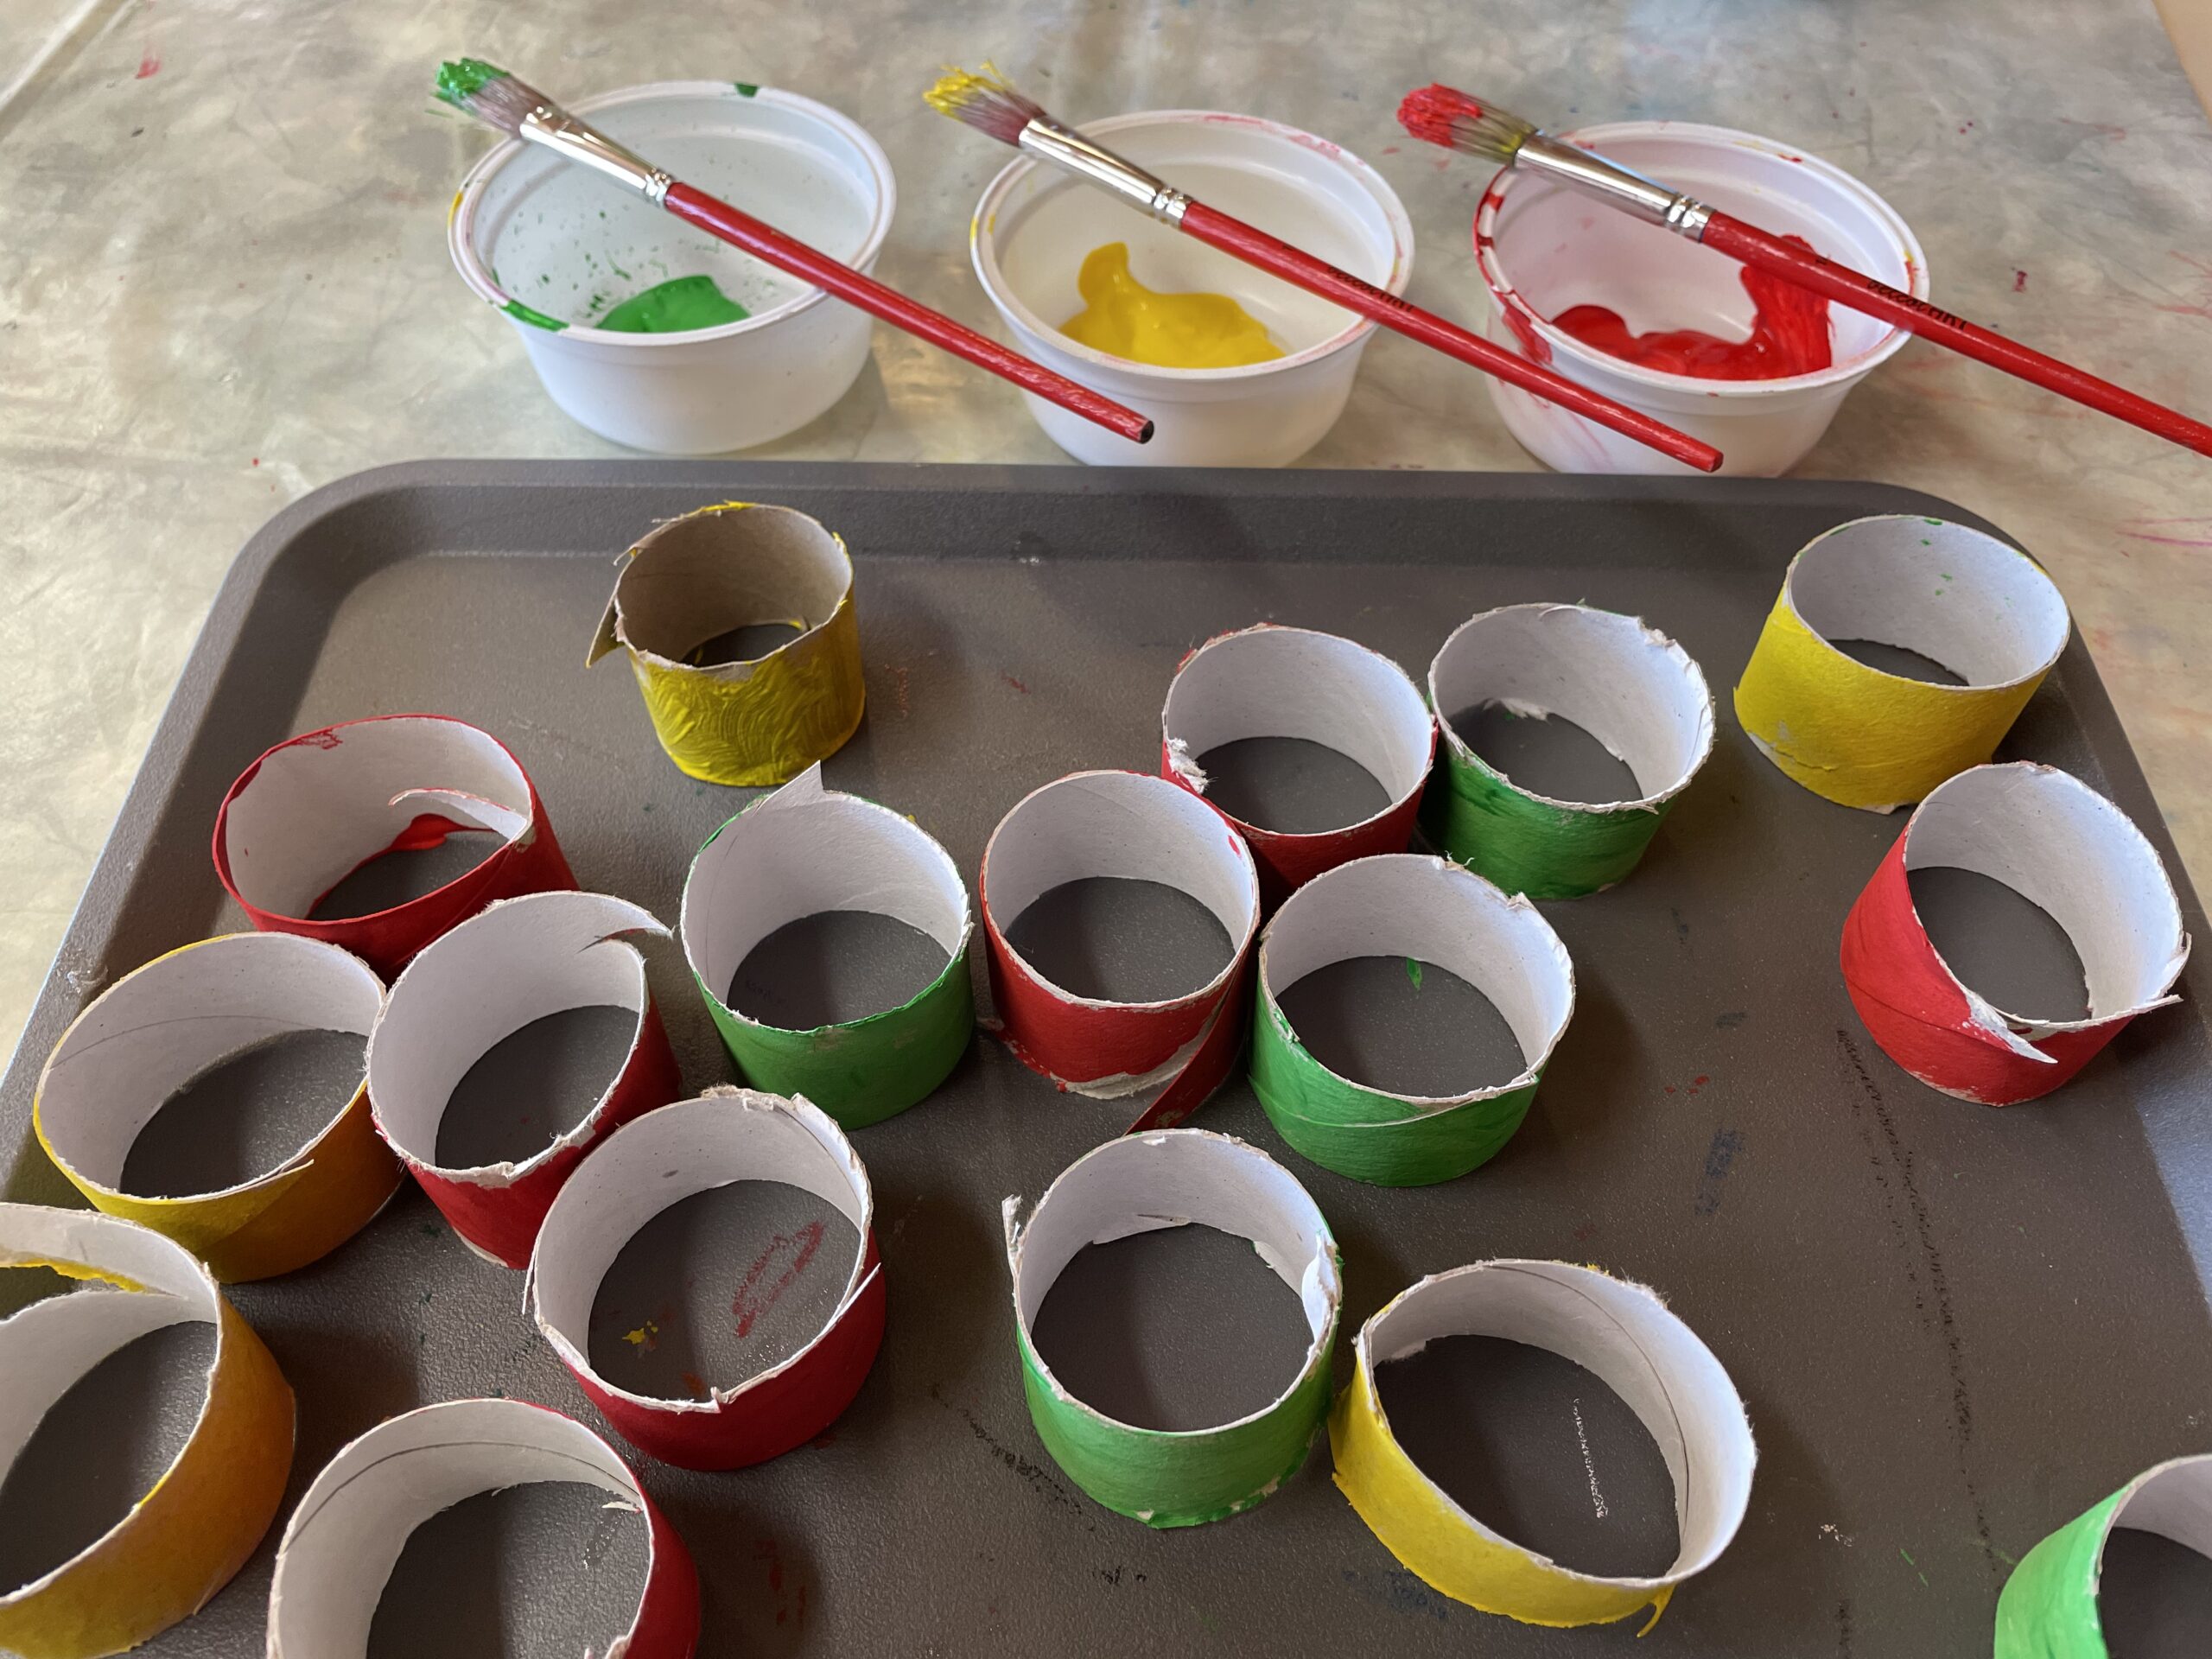
Bild zum Schritt 5 für das Bastel- und DIY-Abenteuer für Kinder: 'Wenn alle Ringe bemalt sind, lasst diese gut trocknen.'

Glue the cardboard roll with double-sided adhesive tape.
5

Cuts off a strip of double-sided adhesive tape with scissors. The length corresponds to the circumference of the cardboard roll.
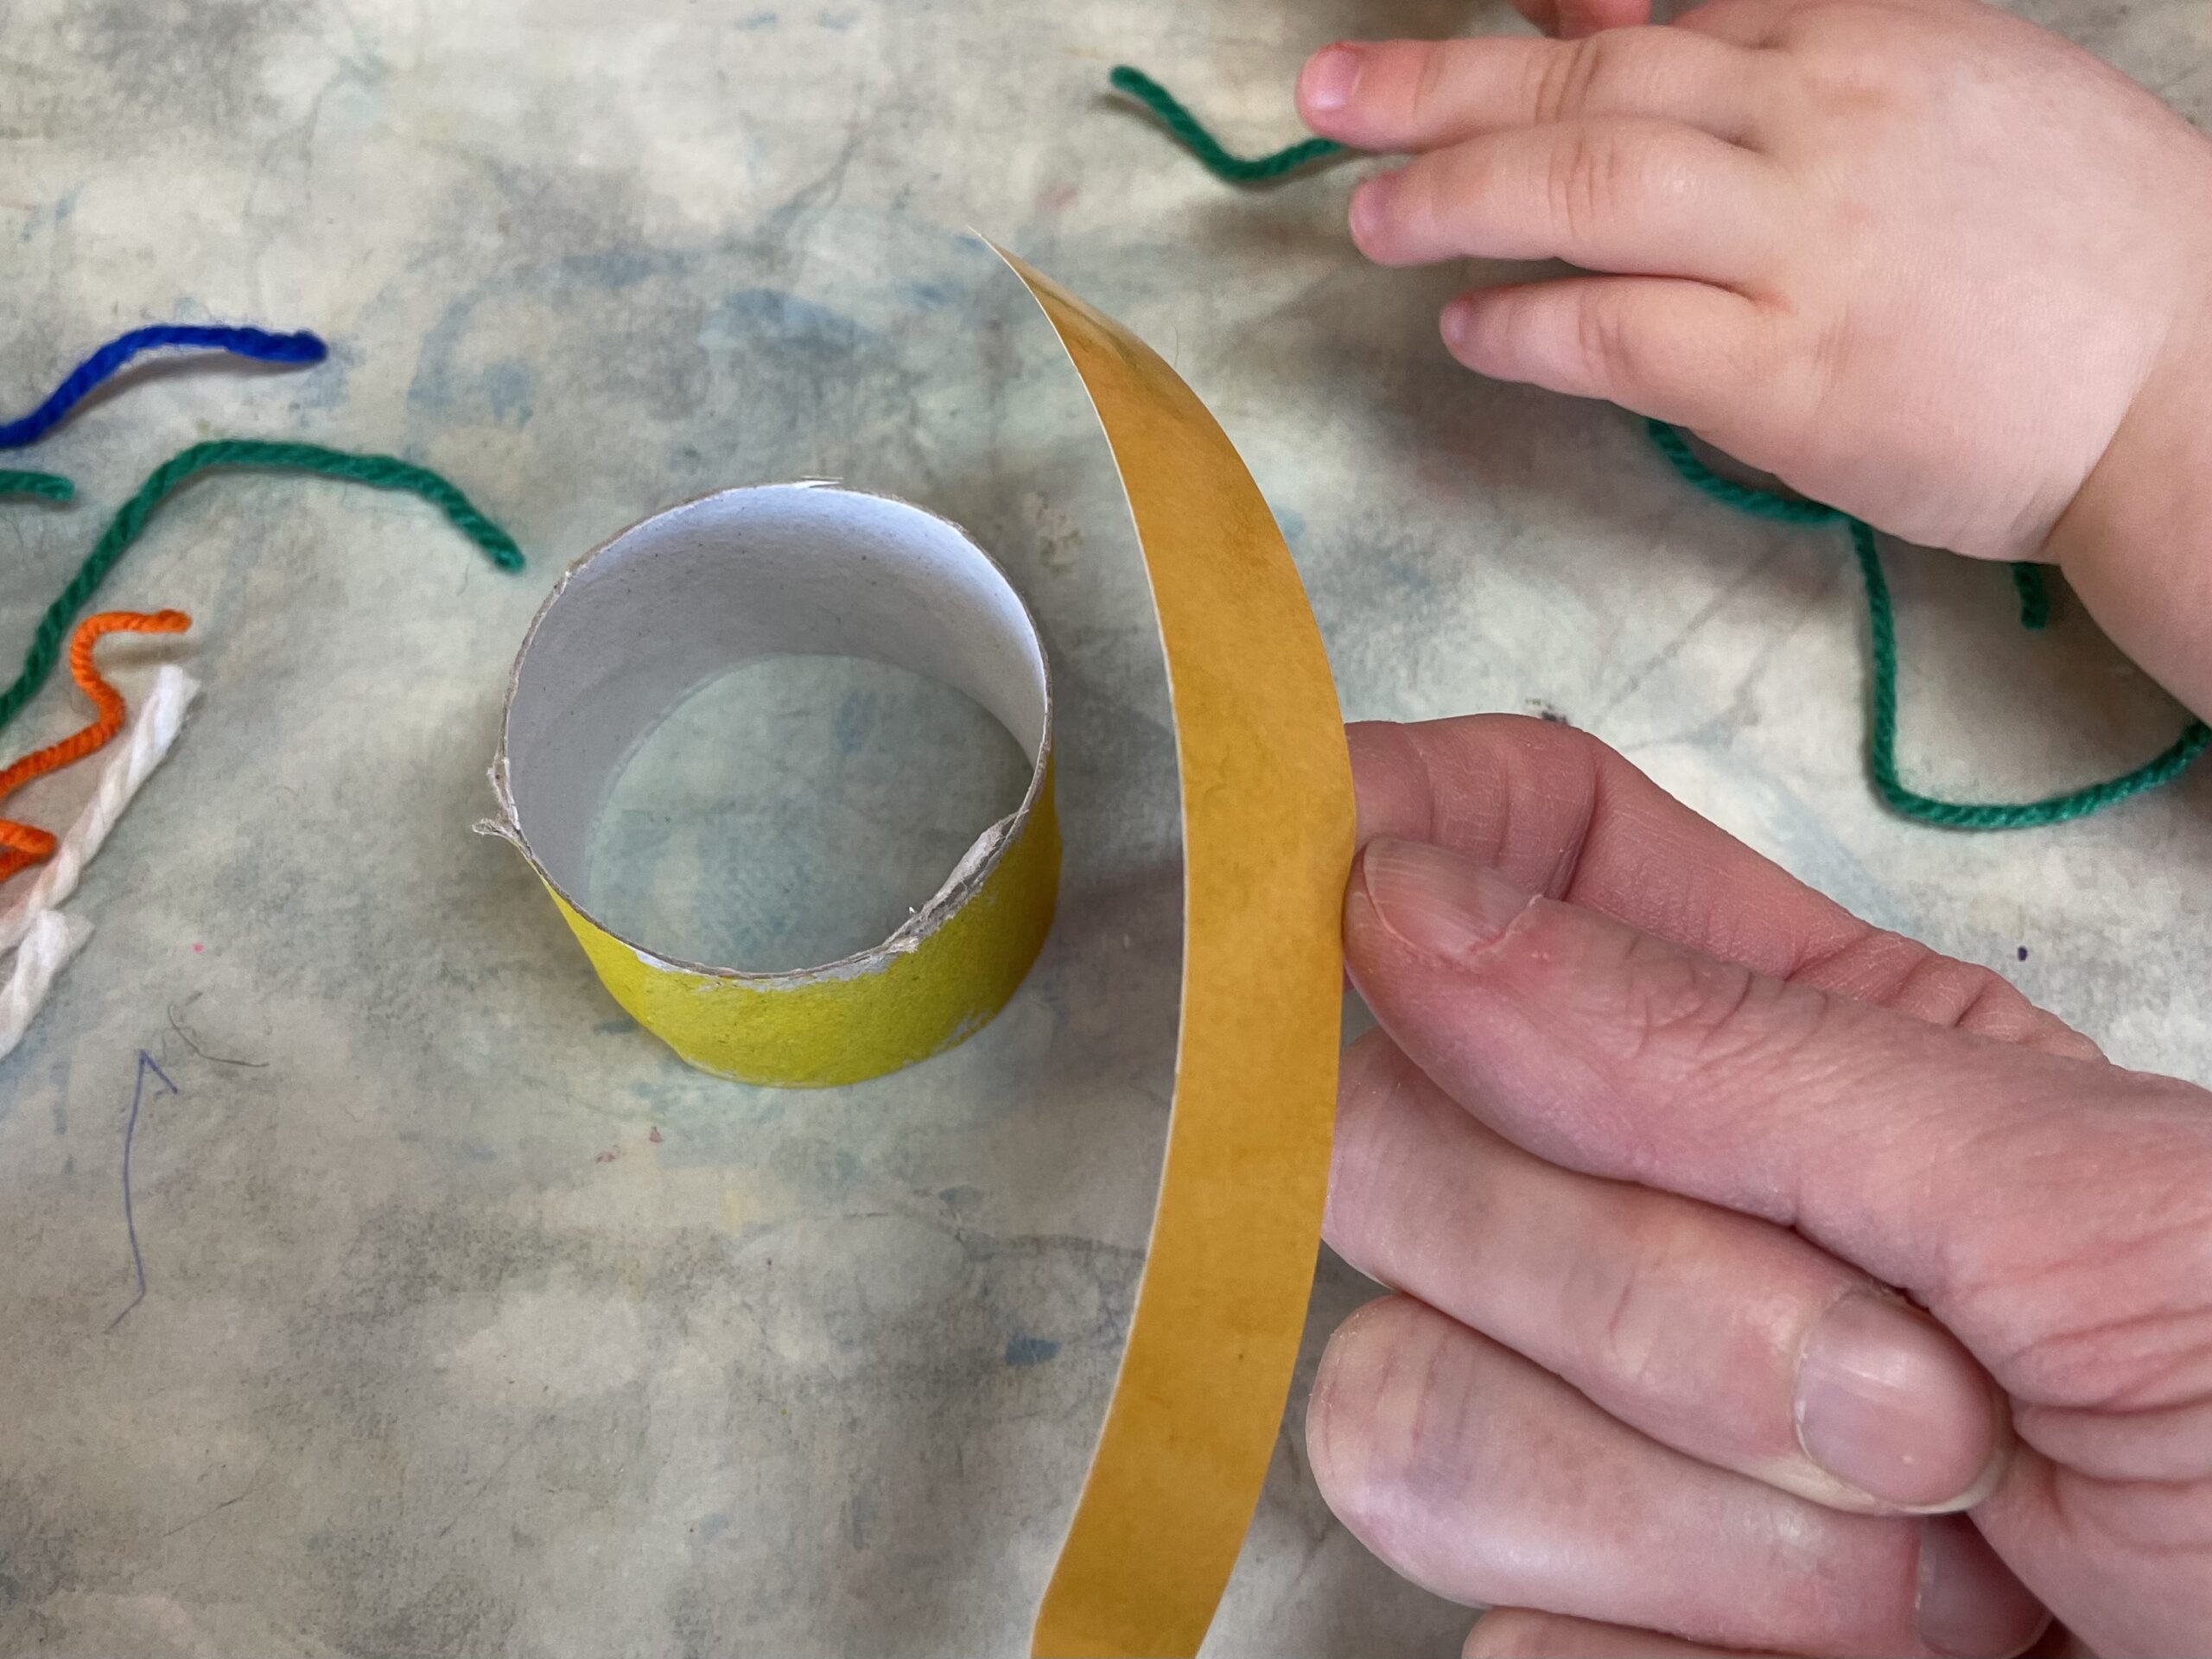
Bild zum Schritt 7 für das Bastel- und DIY-Abenteuer für Kinder: 'Schneidet einen  Streifen doppelseitiges Klebeband mit der Schere ab....'

6

The adhesive tape is glued on the inside of the cardboard roll. For this, the adhesive tape is placed as a ring so that the adhesive side is outside.
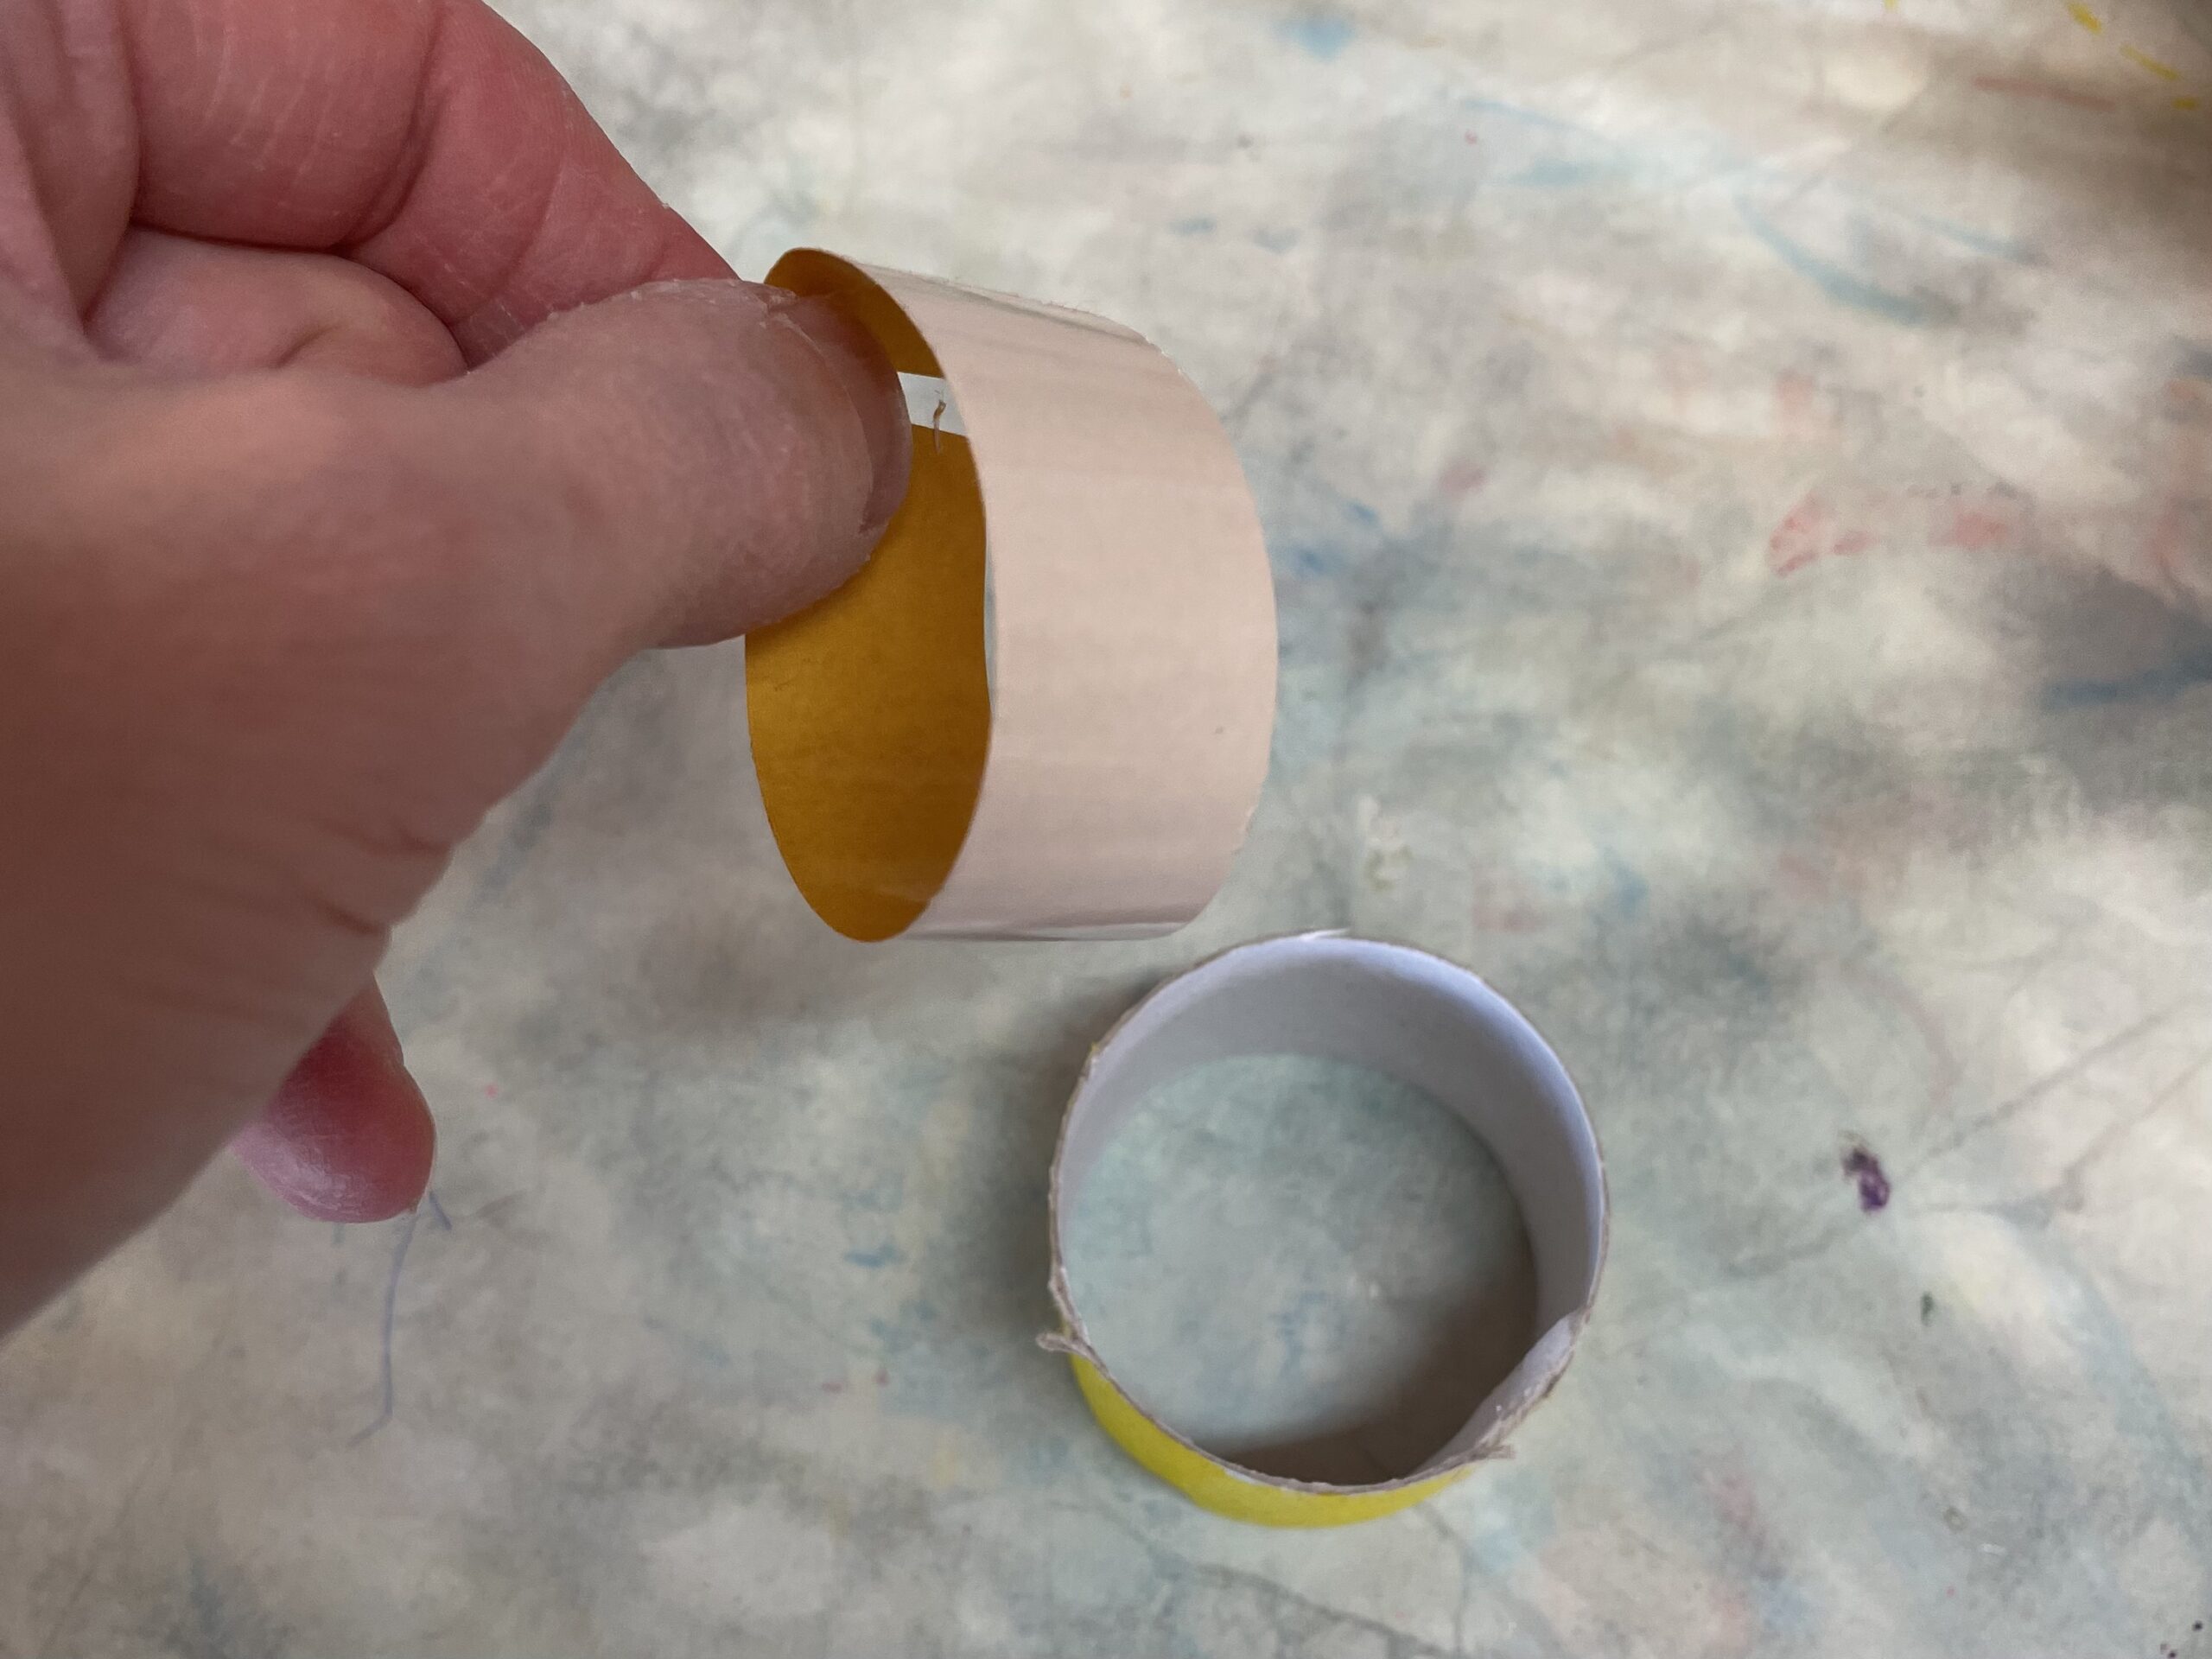
Bild zum Schritt 8 für das Bastel- und DIY-Abenteuer für Kinder: 'Das Klebeband wird au die Innenseite der Papprolle geklebt. Dafür...'

7

Then you put the tape in the cardboard roll and press it on.
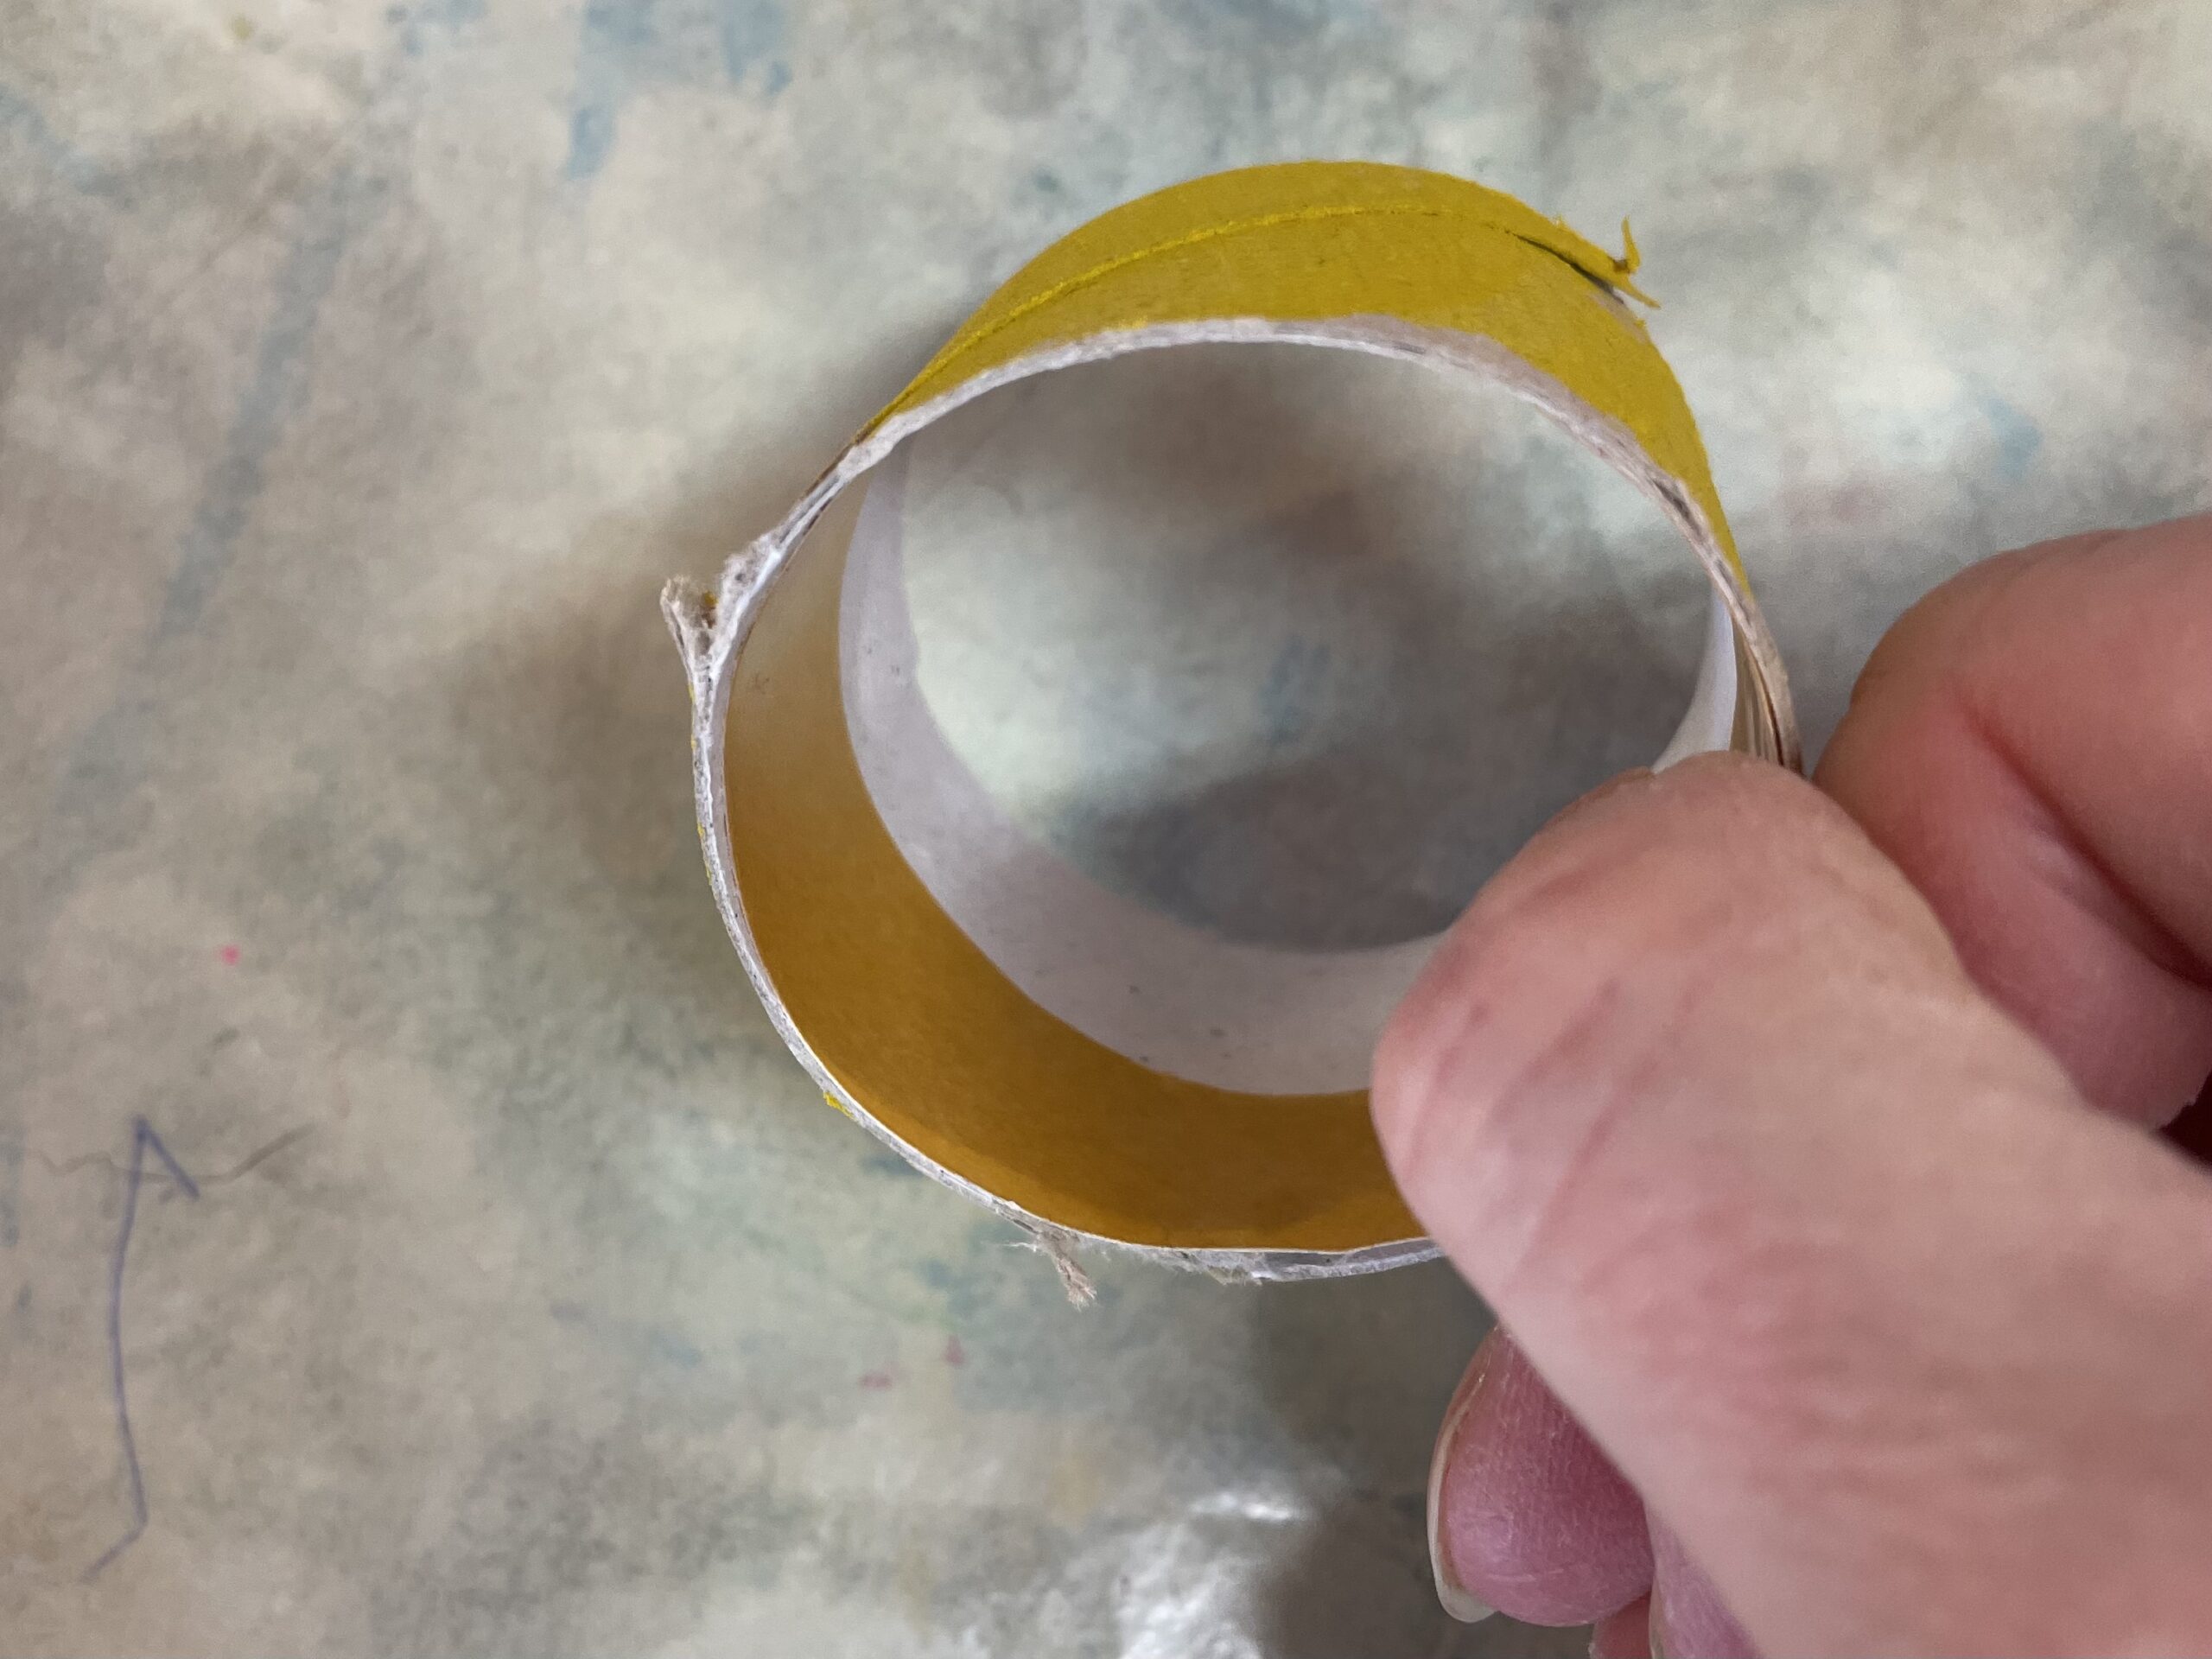
Bild zum Schritt 9 für das Bastel- und DIY-Abenteuer für Kinder: 'Dann steckt ihr das Klebeband in die Papprolle und drückt...'

8

Now pull off the foil of the tape.
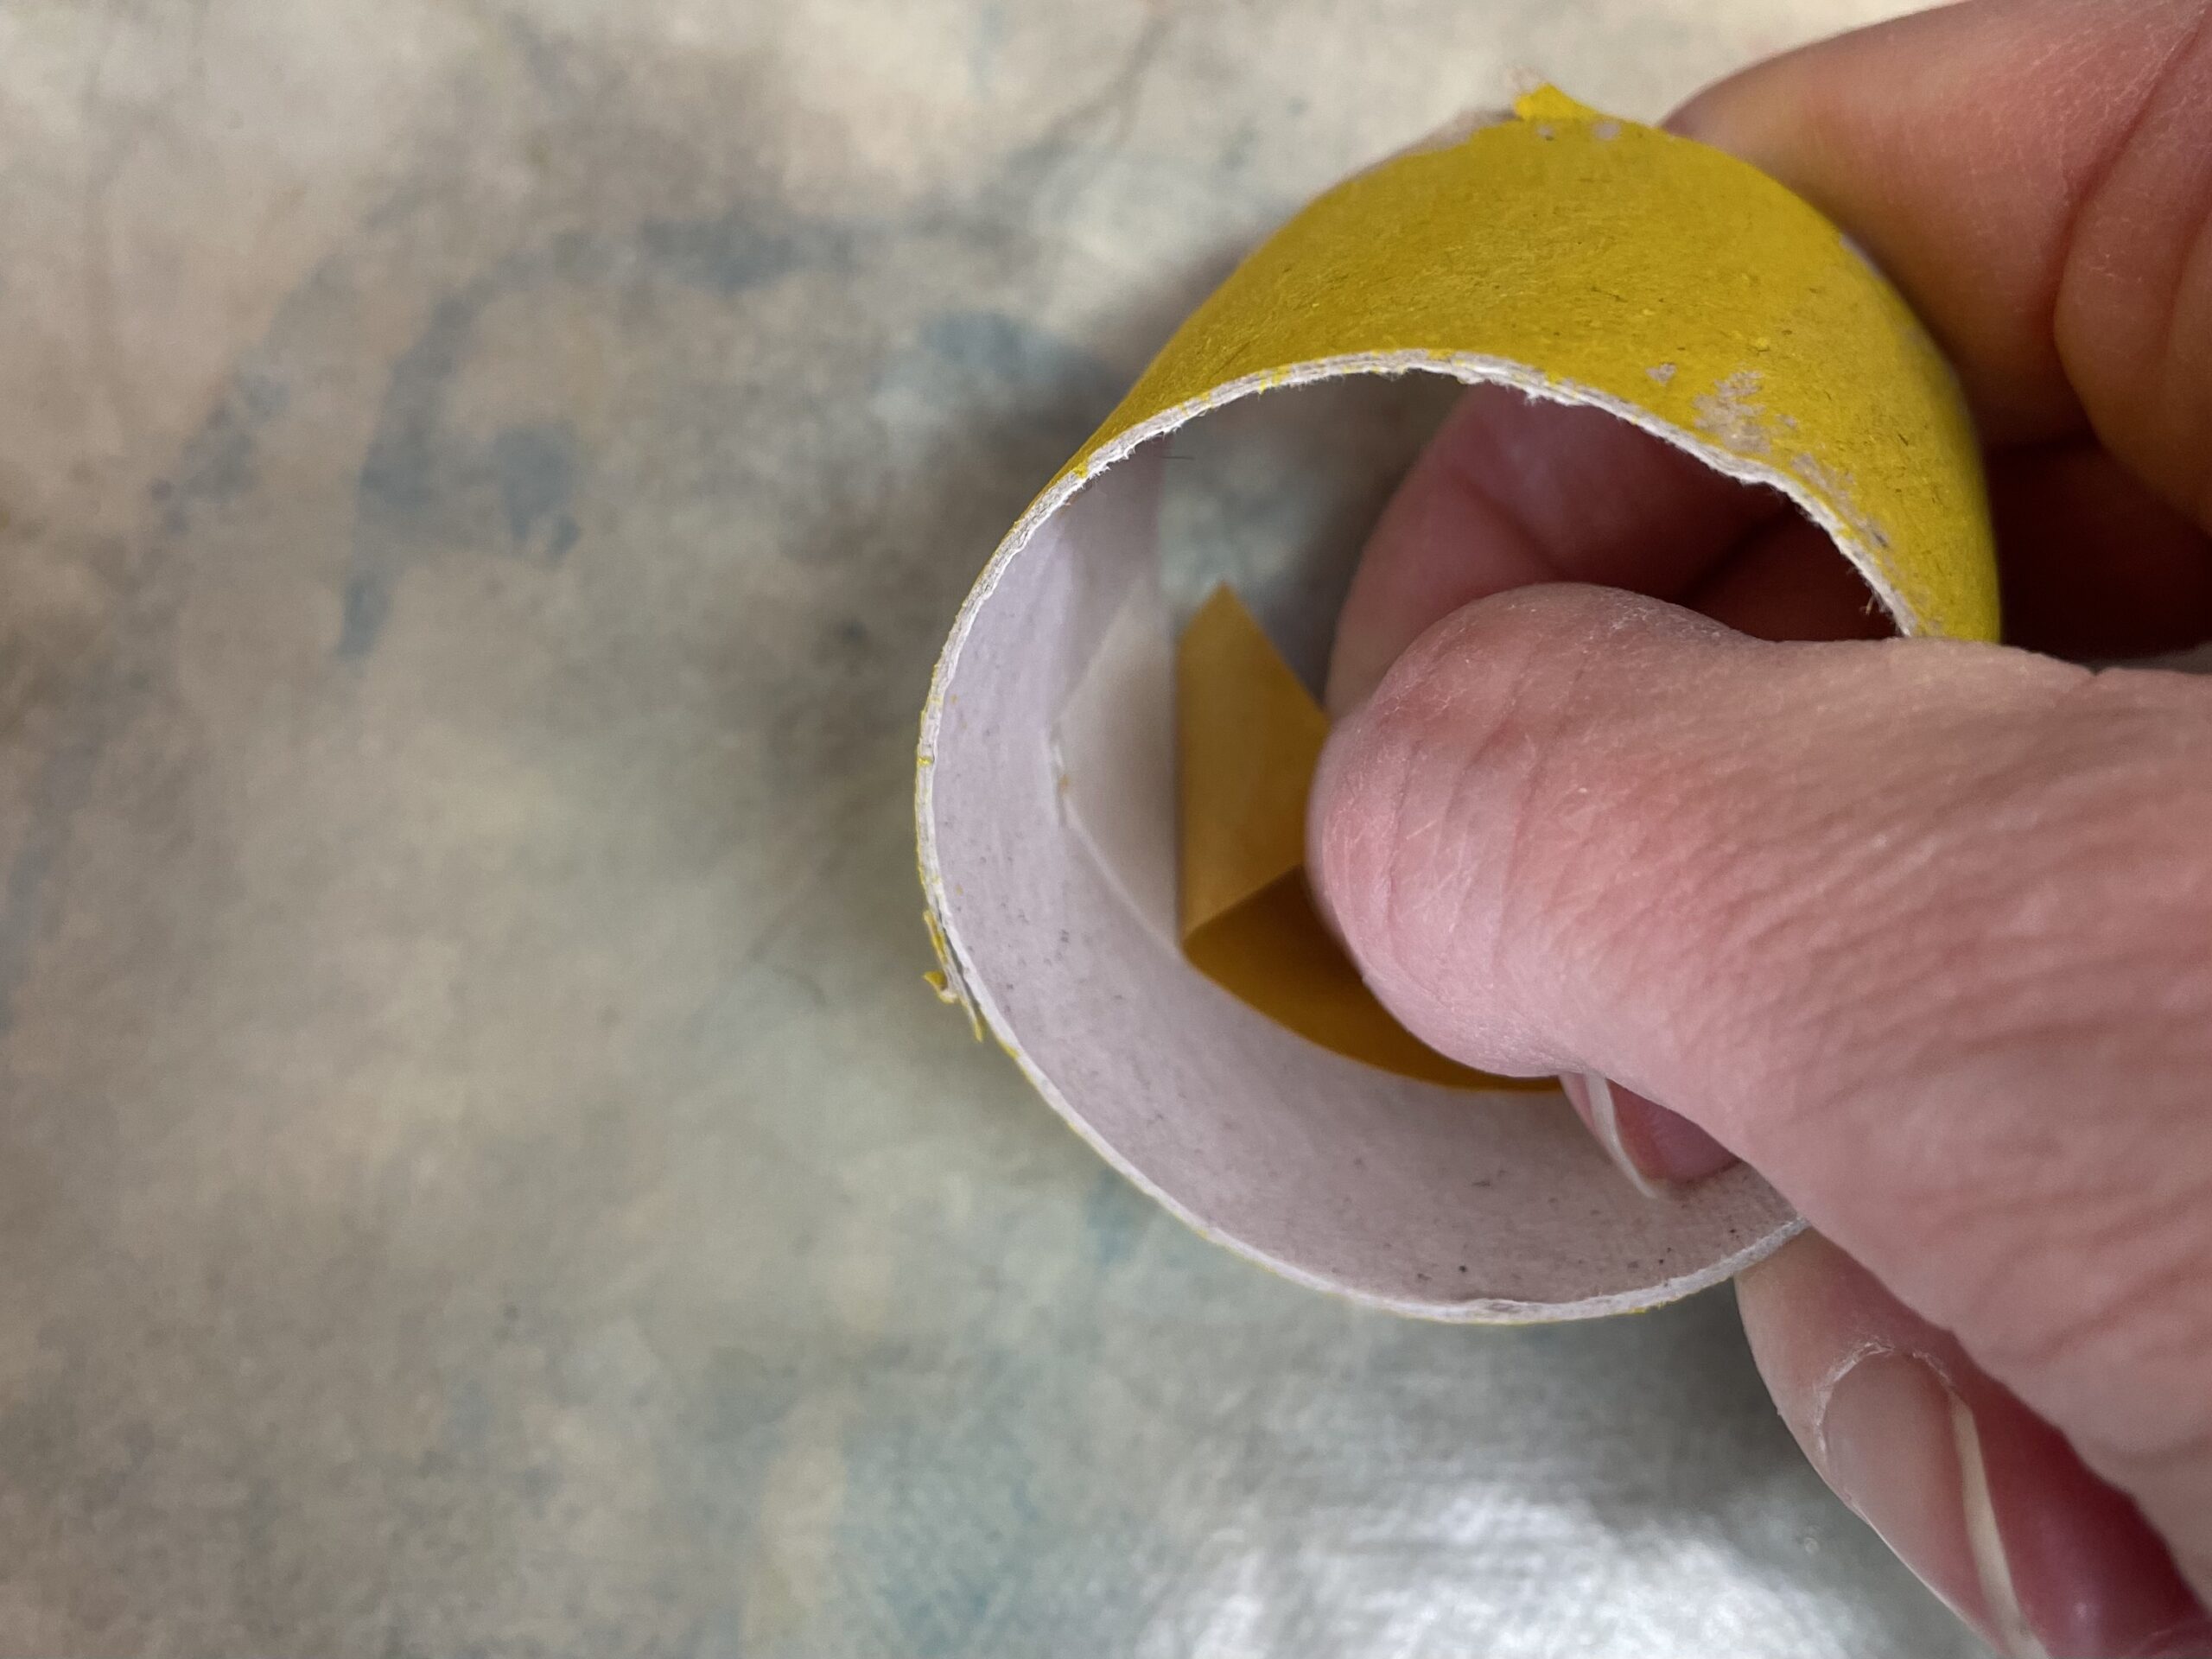
Bild zum Schritt 10 für das Bastel- und DIY-Abenteuer für Kinder: 'Zieht nun die Folie des Klebebandes ab.'

9

Now the inside of the roll sticks. On it you stick now woolen threads. For this place the ring briefly to the side.
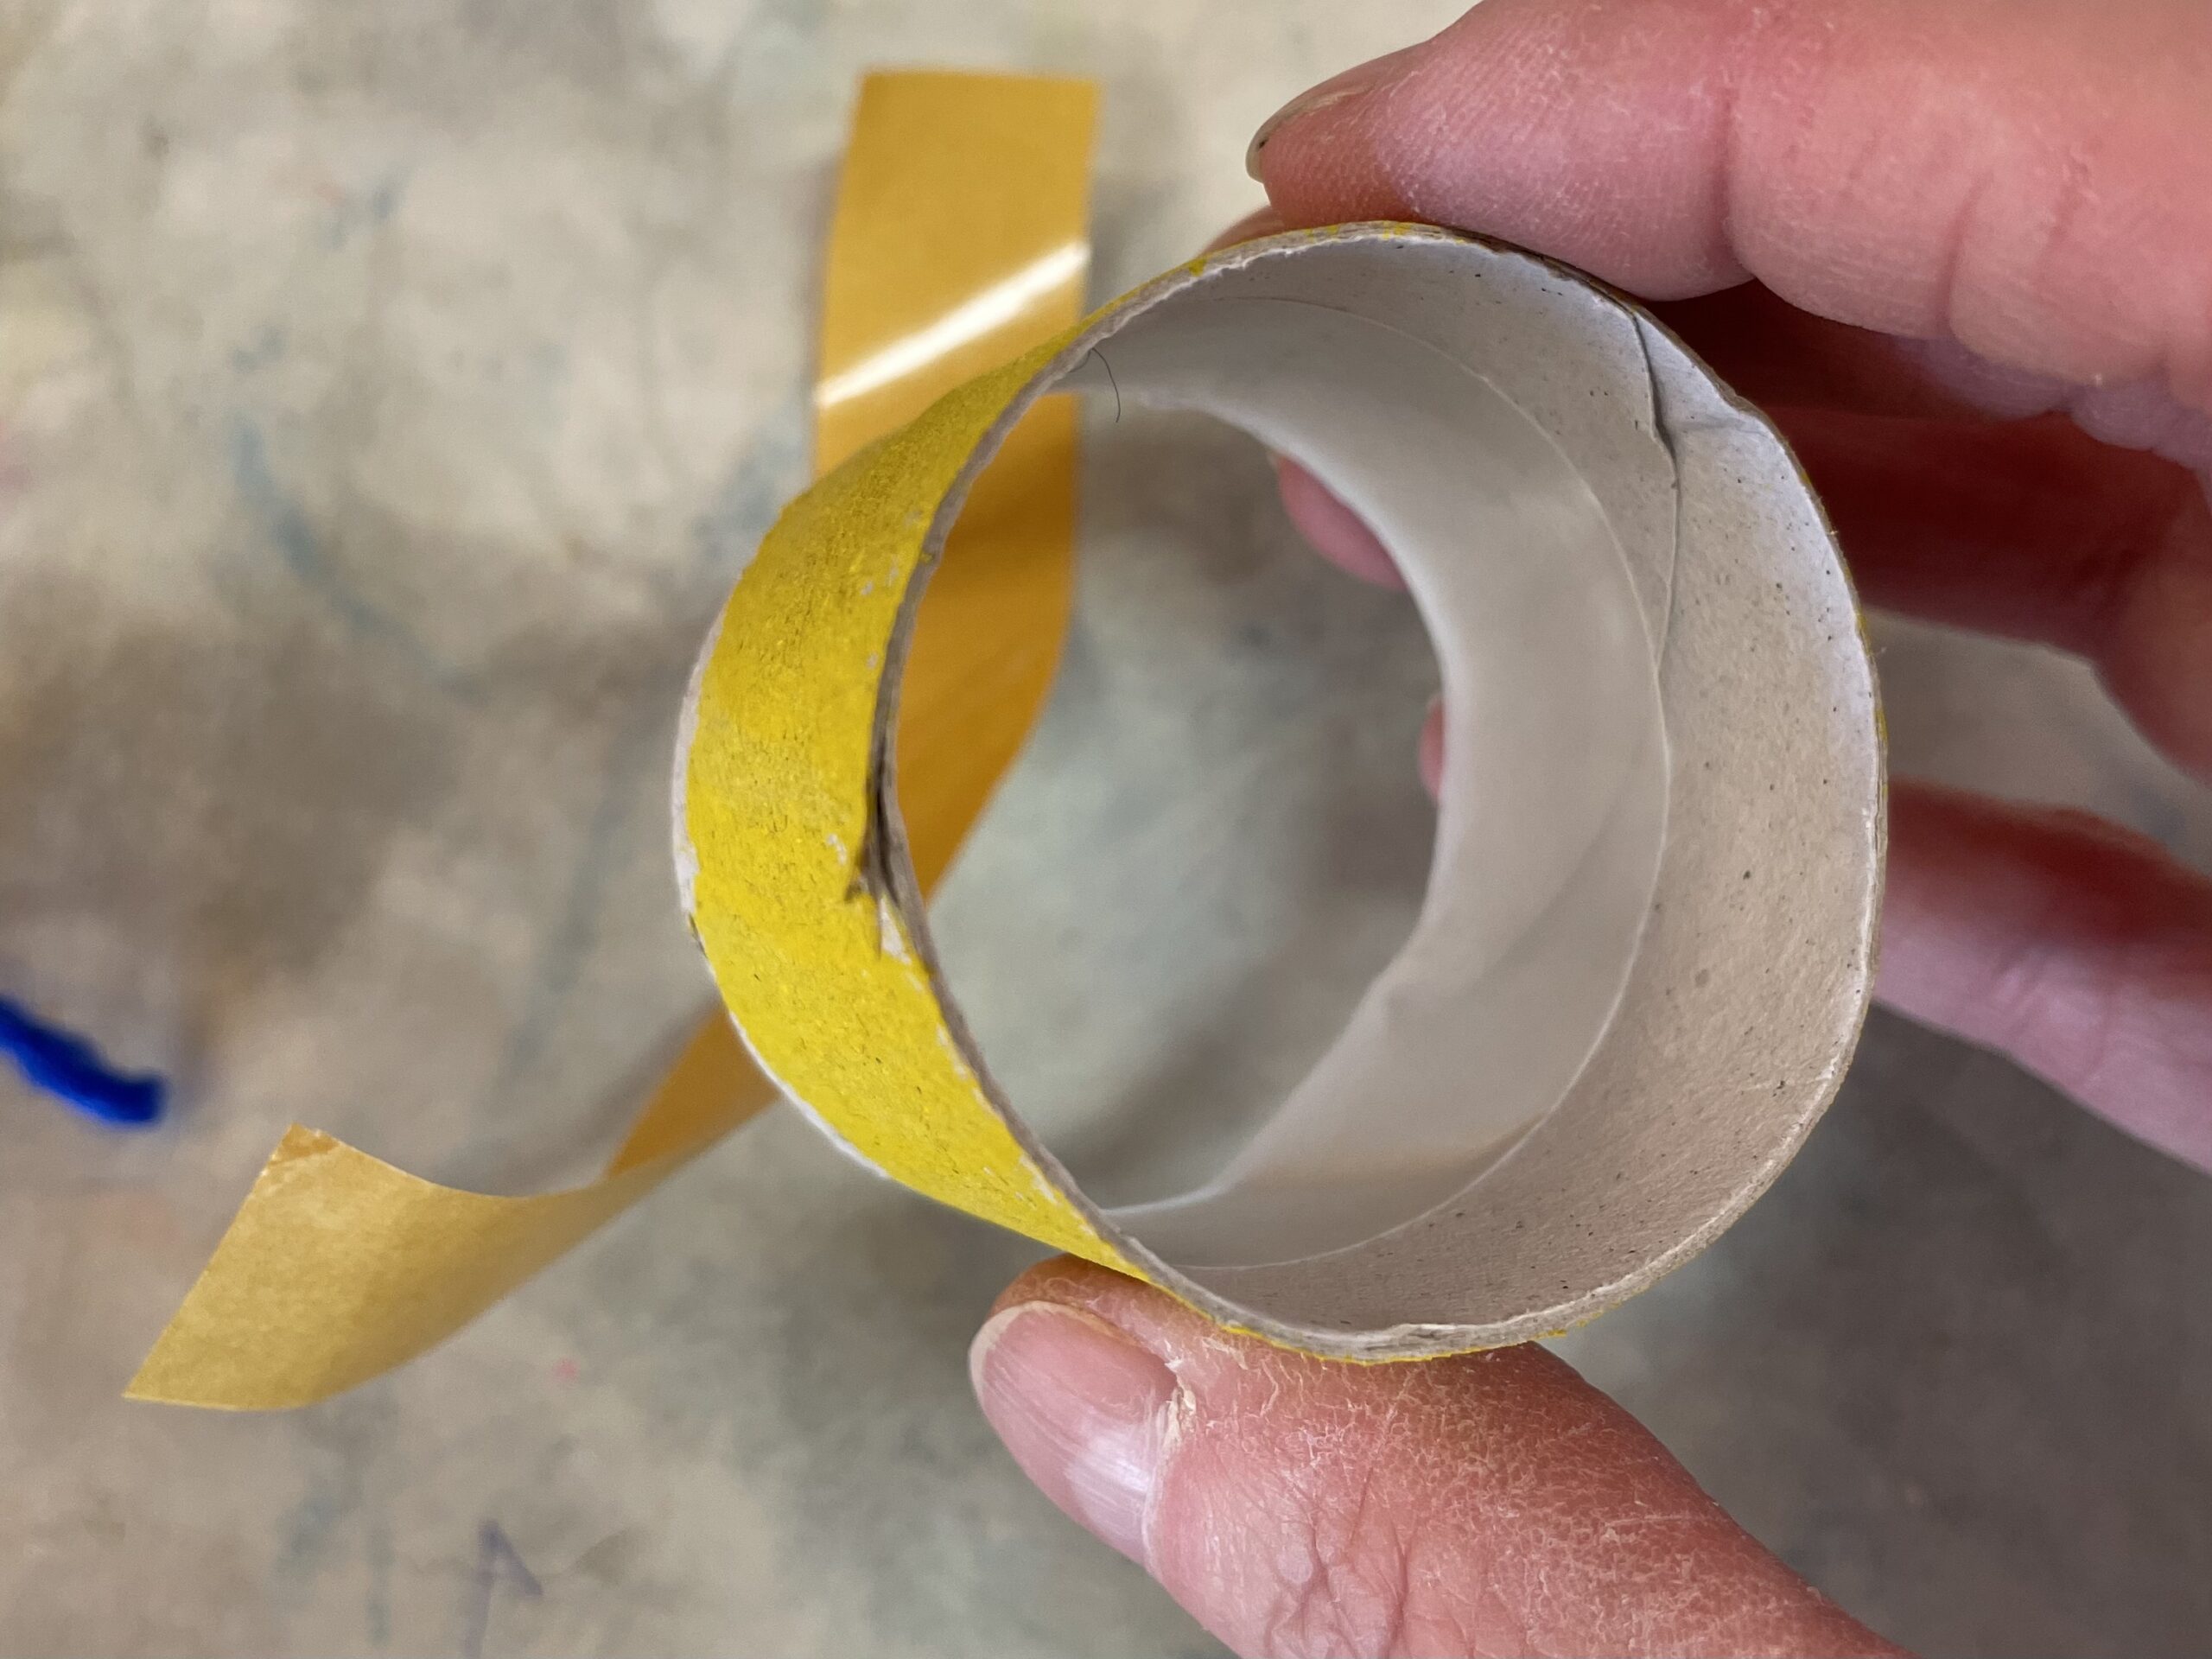
Bild zum Schritt 11 für das Bastel- und DIY-Abenteuer für Kinder: 'Jetzt klebt die Innenseite der Rolle. Darauf klebt ihr nun...'

Cutting of woolen thread:
10

You now need thick colorful wool and a children's scissors.
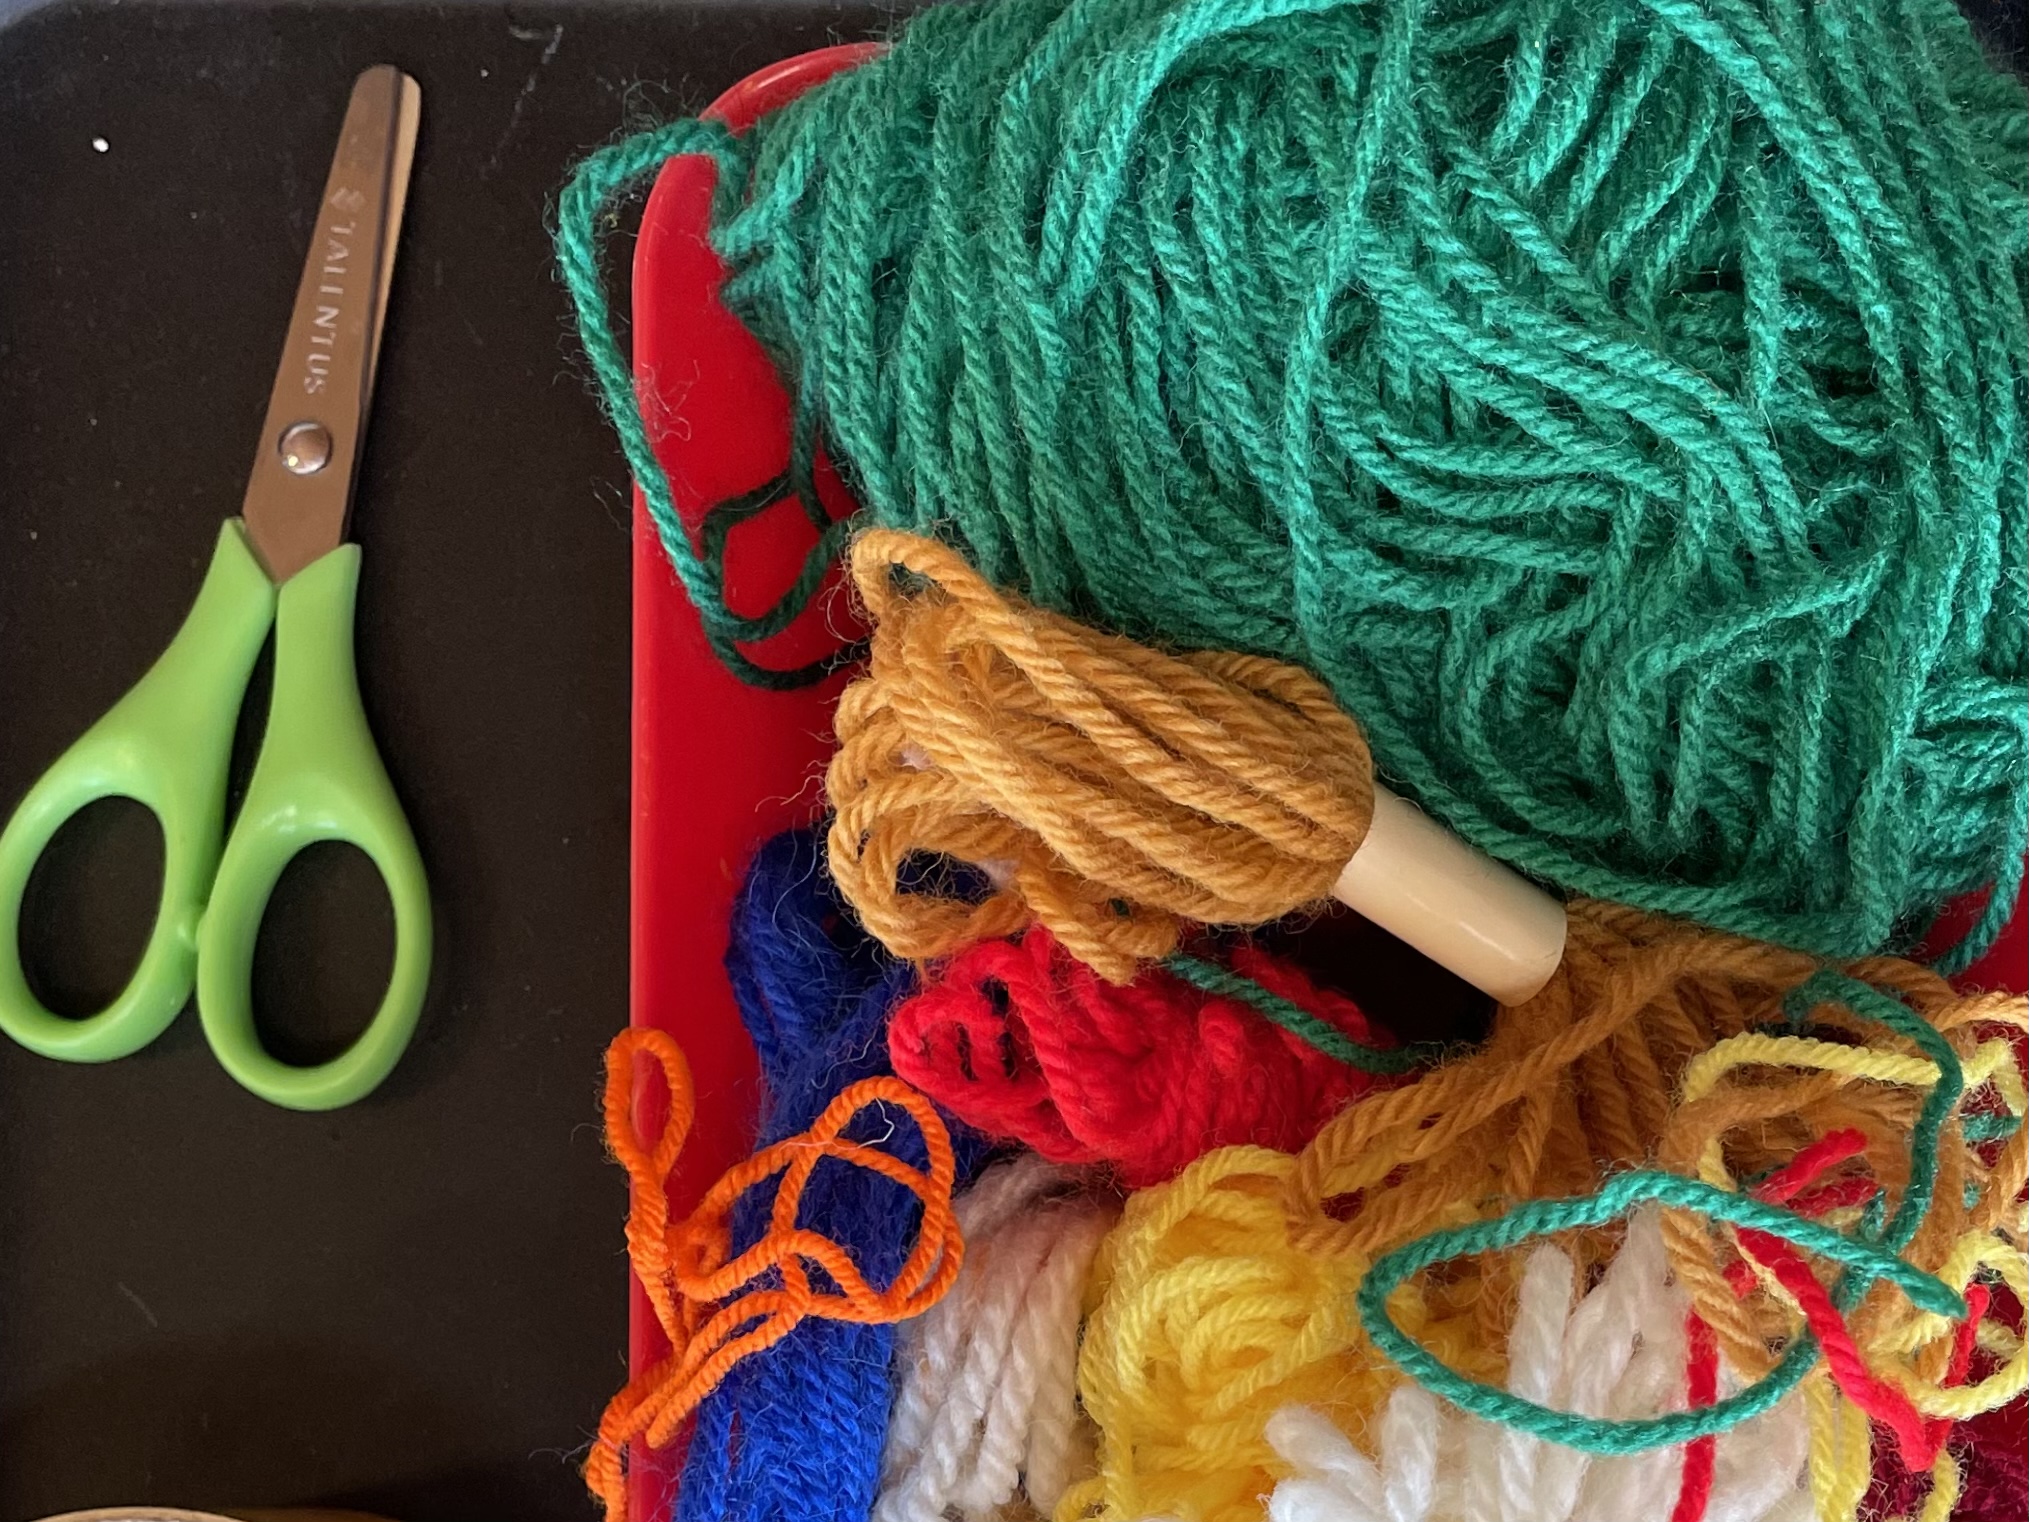
Bild zum Schritt 13 für das Bastel- und DIY-Abenteuer für Kinder: 'Ihr braucht nun dicke bunte Wolle und eine Kinderschere.'

11

Let the children cut the wool threads themselves.
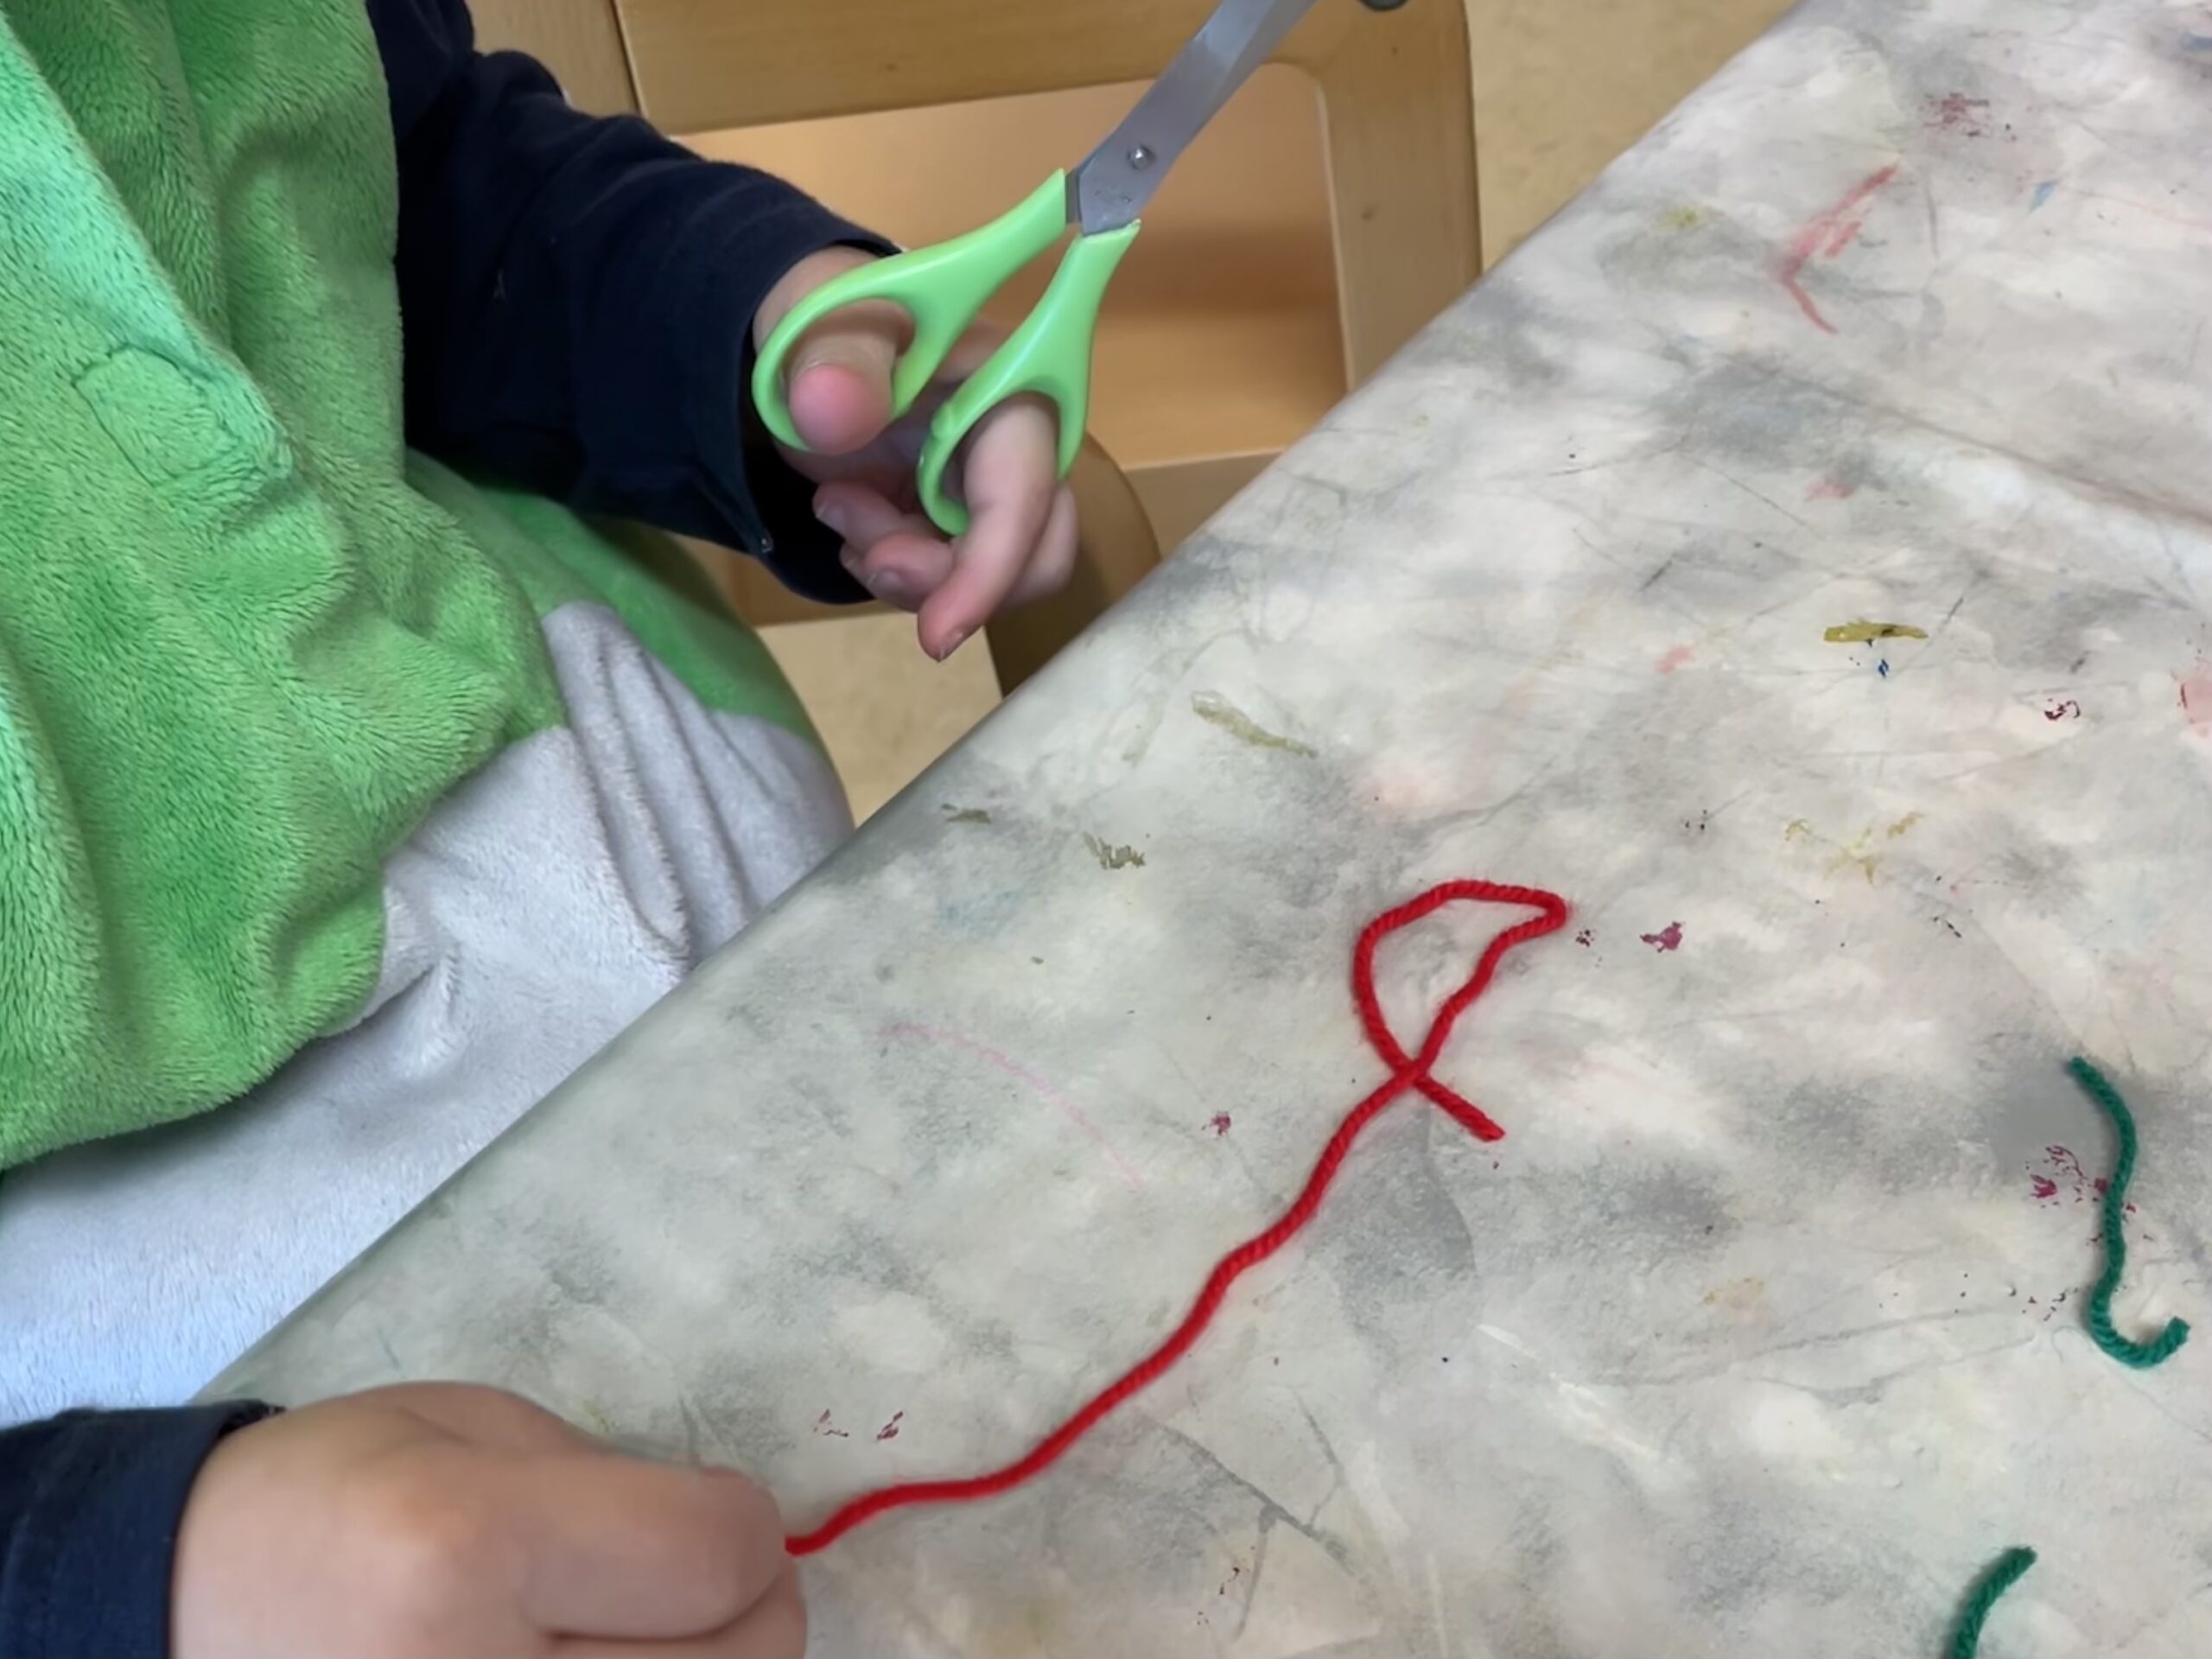
Bild zum Schritt 14 für das Bastel- und DIY-Abenteuer für Kinder: 'Lasst die Kinder die Wollfäden selbst abschneiden.'

12

Tip: Some children want to take "dimension" themselves and measure the thread lengths, for this you can use a short ruler. Also a pen is suitable to measure the length.
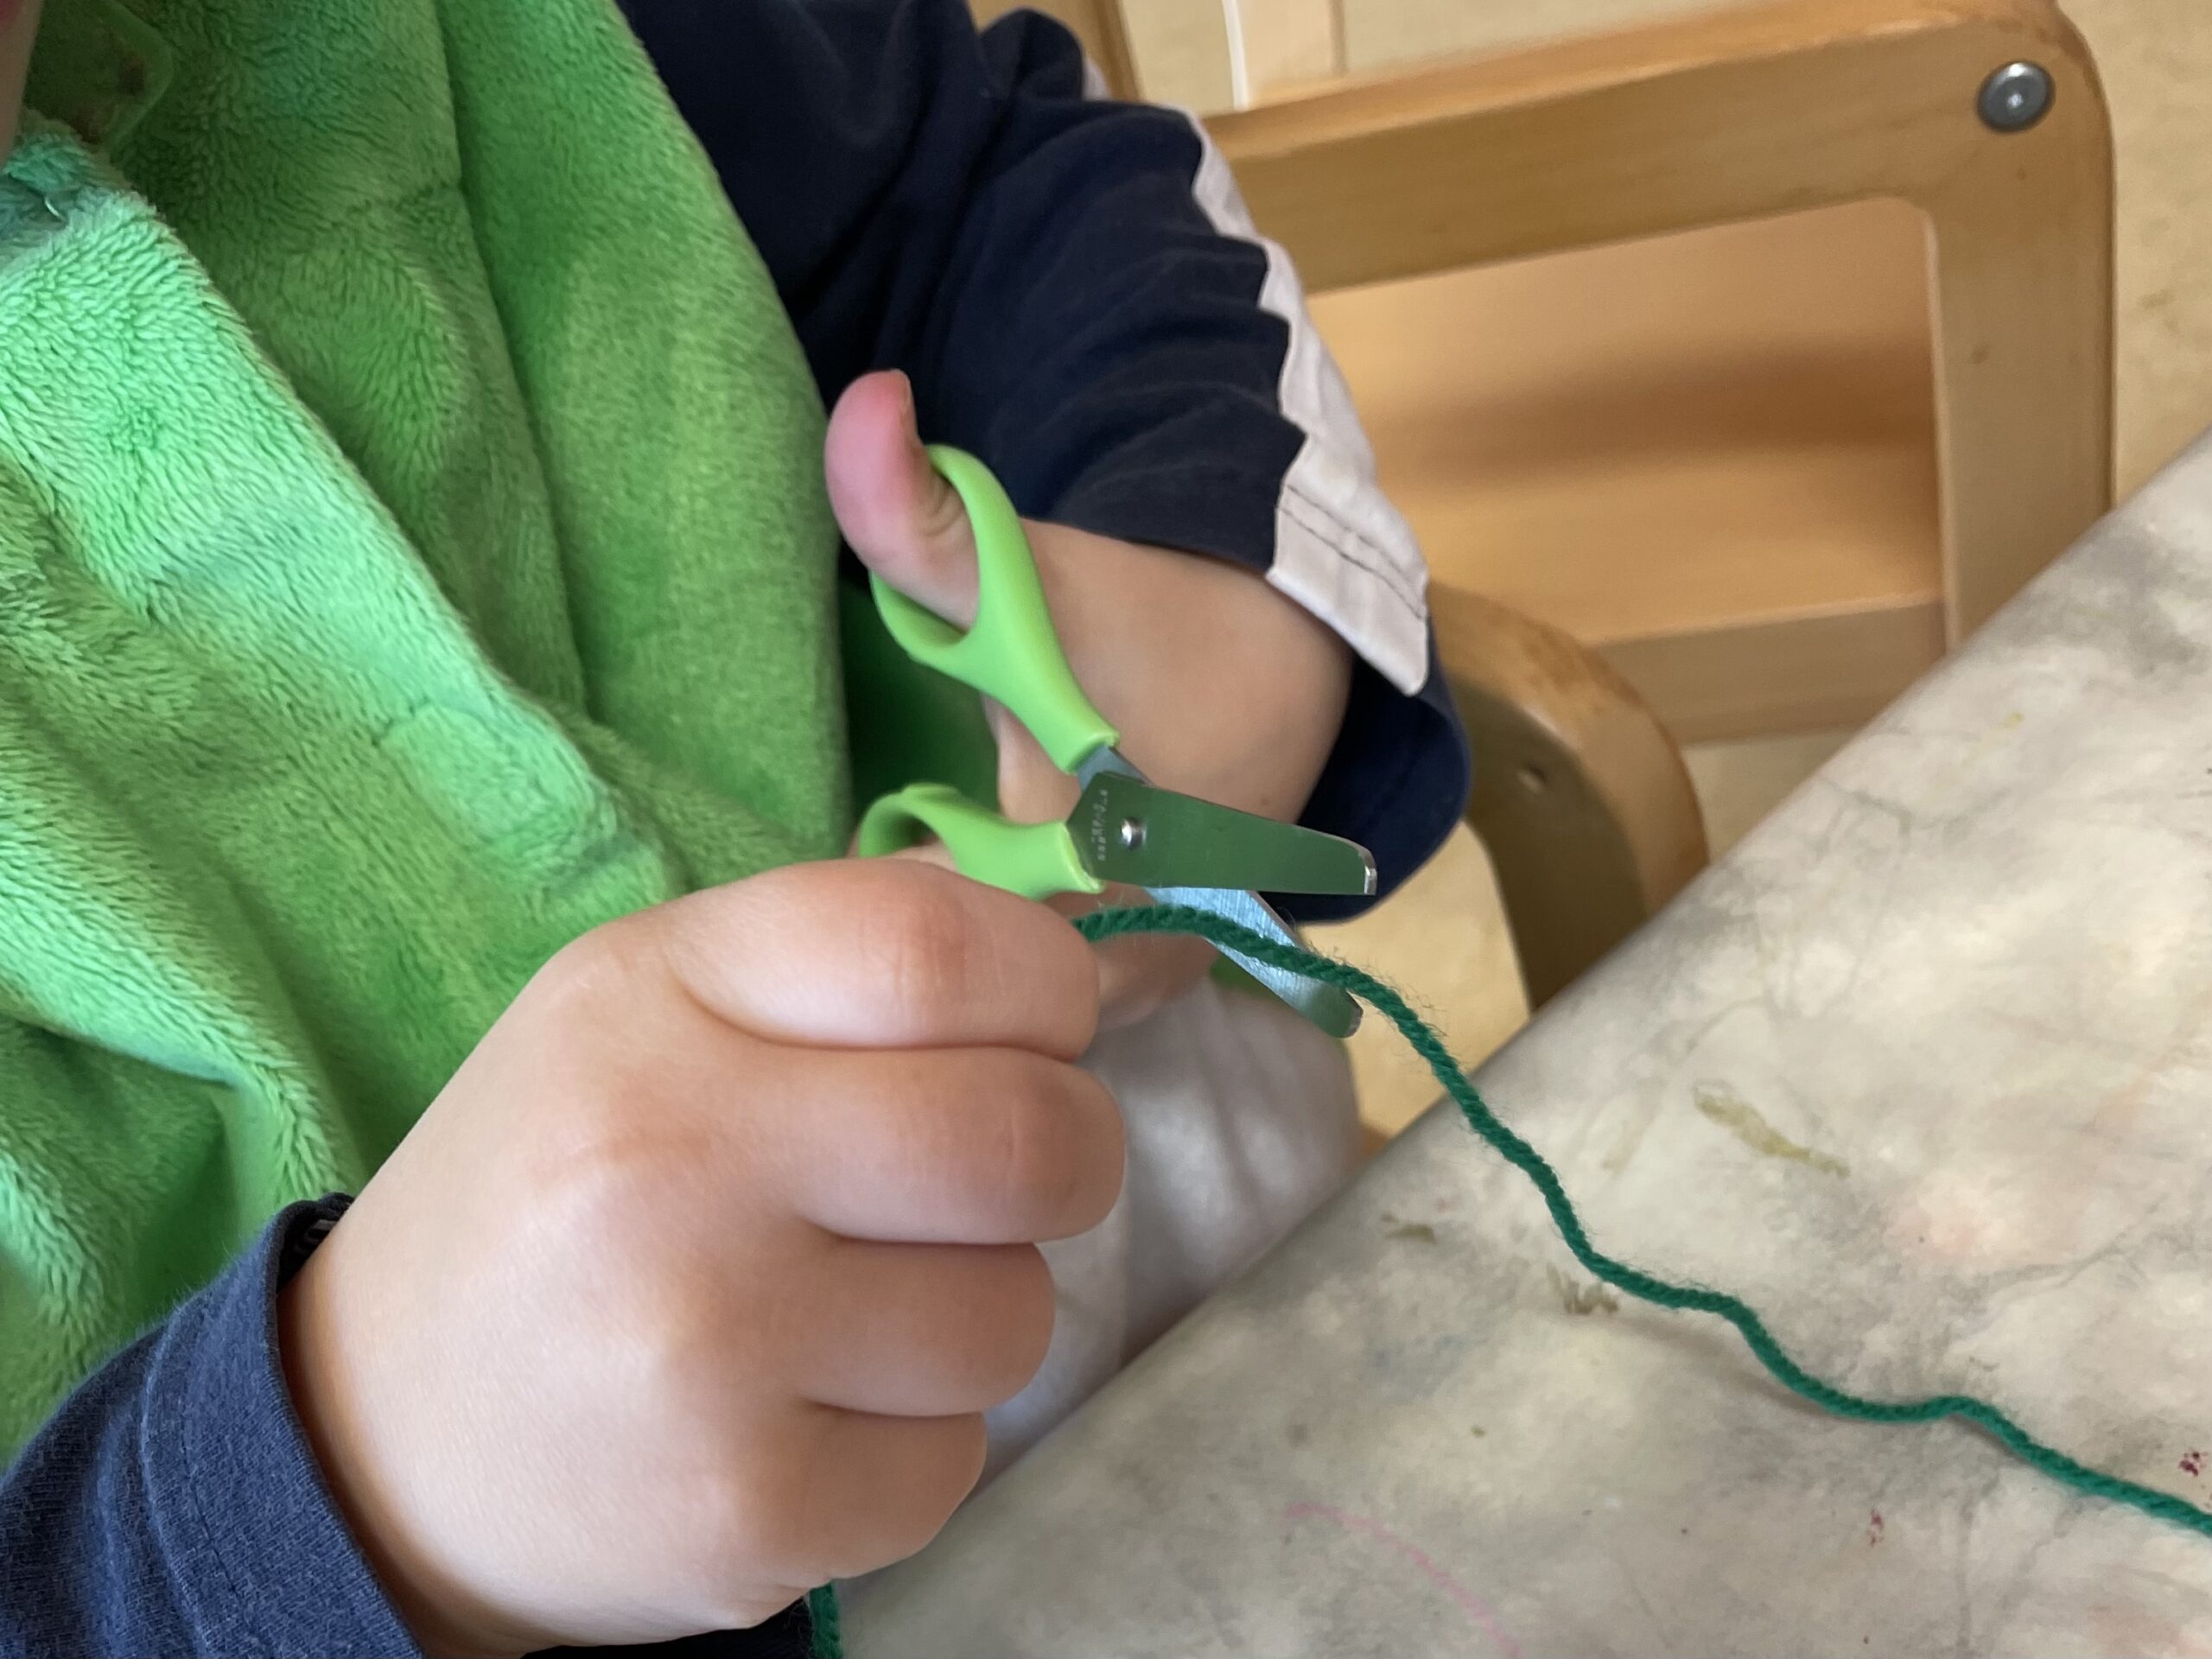
Bild zum Schritt 15 für das Bastel- und DIY-Abenteuer für Kinder: 'Tipp: Manche Kinder wollen selbst „Maß“ nehmen und die Fadenlängen...'

13

If you have cut enough of different coloured wool threads, you can start with the glue.

Adhesive of rolls with woolen thread:
14

Get the prepared cardboard roll with the adhesive tape. Then you stick the wool threads with the beginning of the thread on the adhesive tape in the cardboard ring. Hardly glued threads can be placed outwards and are not in the way.
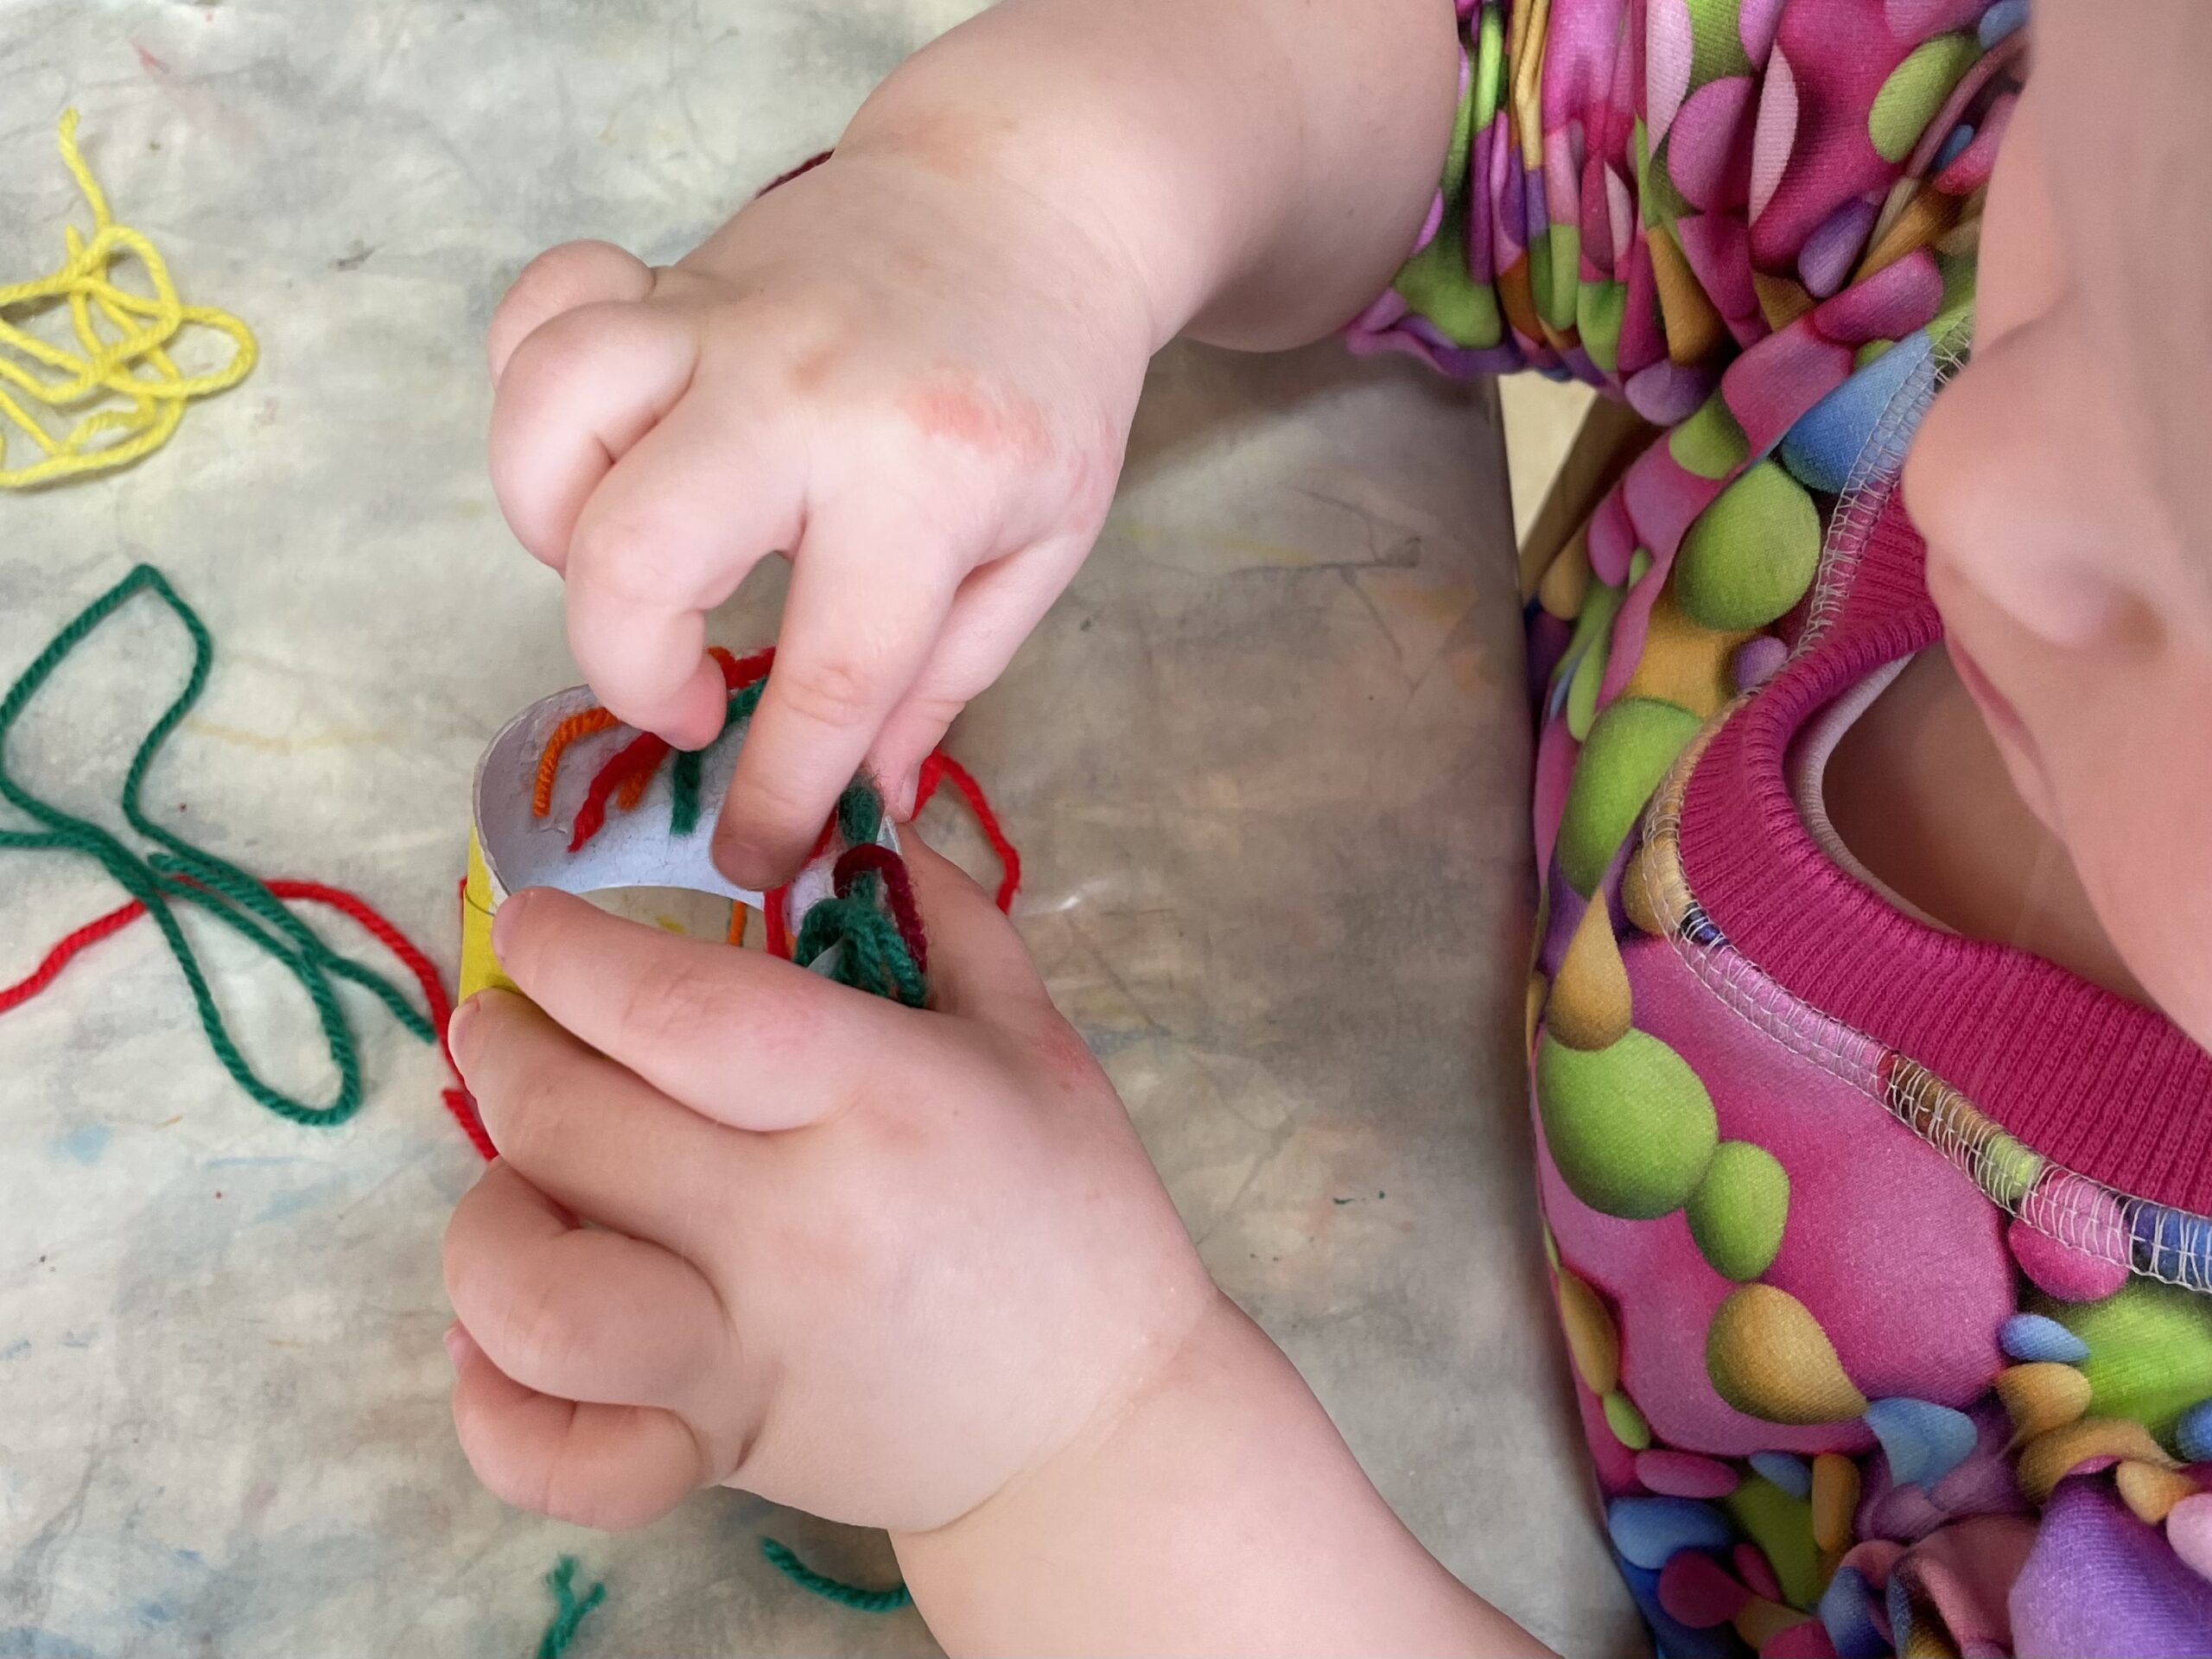
Bild zum Schritt 18 für das Bastel- und DIY-Abenteuer für Kinder: 'Holt euch die vorbereitete Papprolle mit dem Klebeband. Dann klebt...'

15

At the end you thread a thread onto a thick pointed needle. (An adult must take over this process - danger of injury!) Stitch the needle through the top edge in the cardboard roll and on the opposite side again from the inside to the outside. Pull the thread through and knot the ends together. The resulting loop serves to hang the carnival jelly.
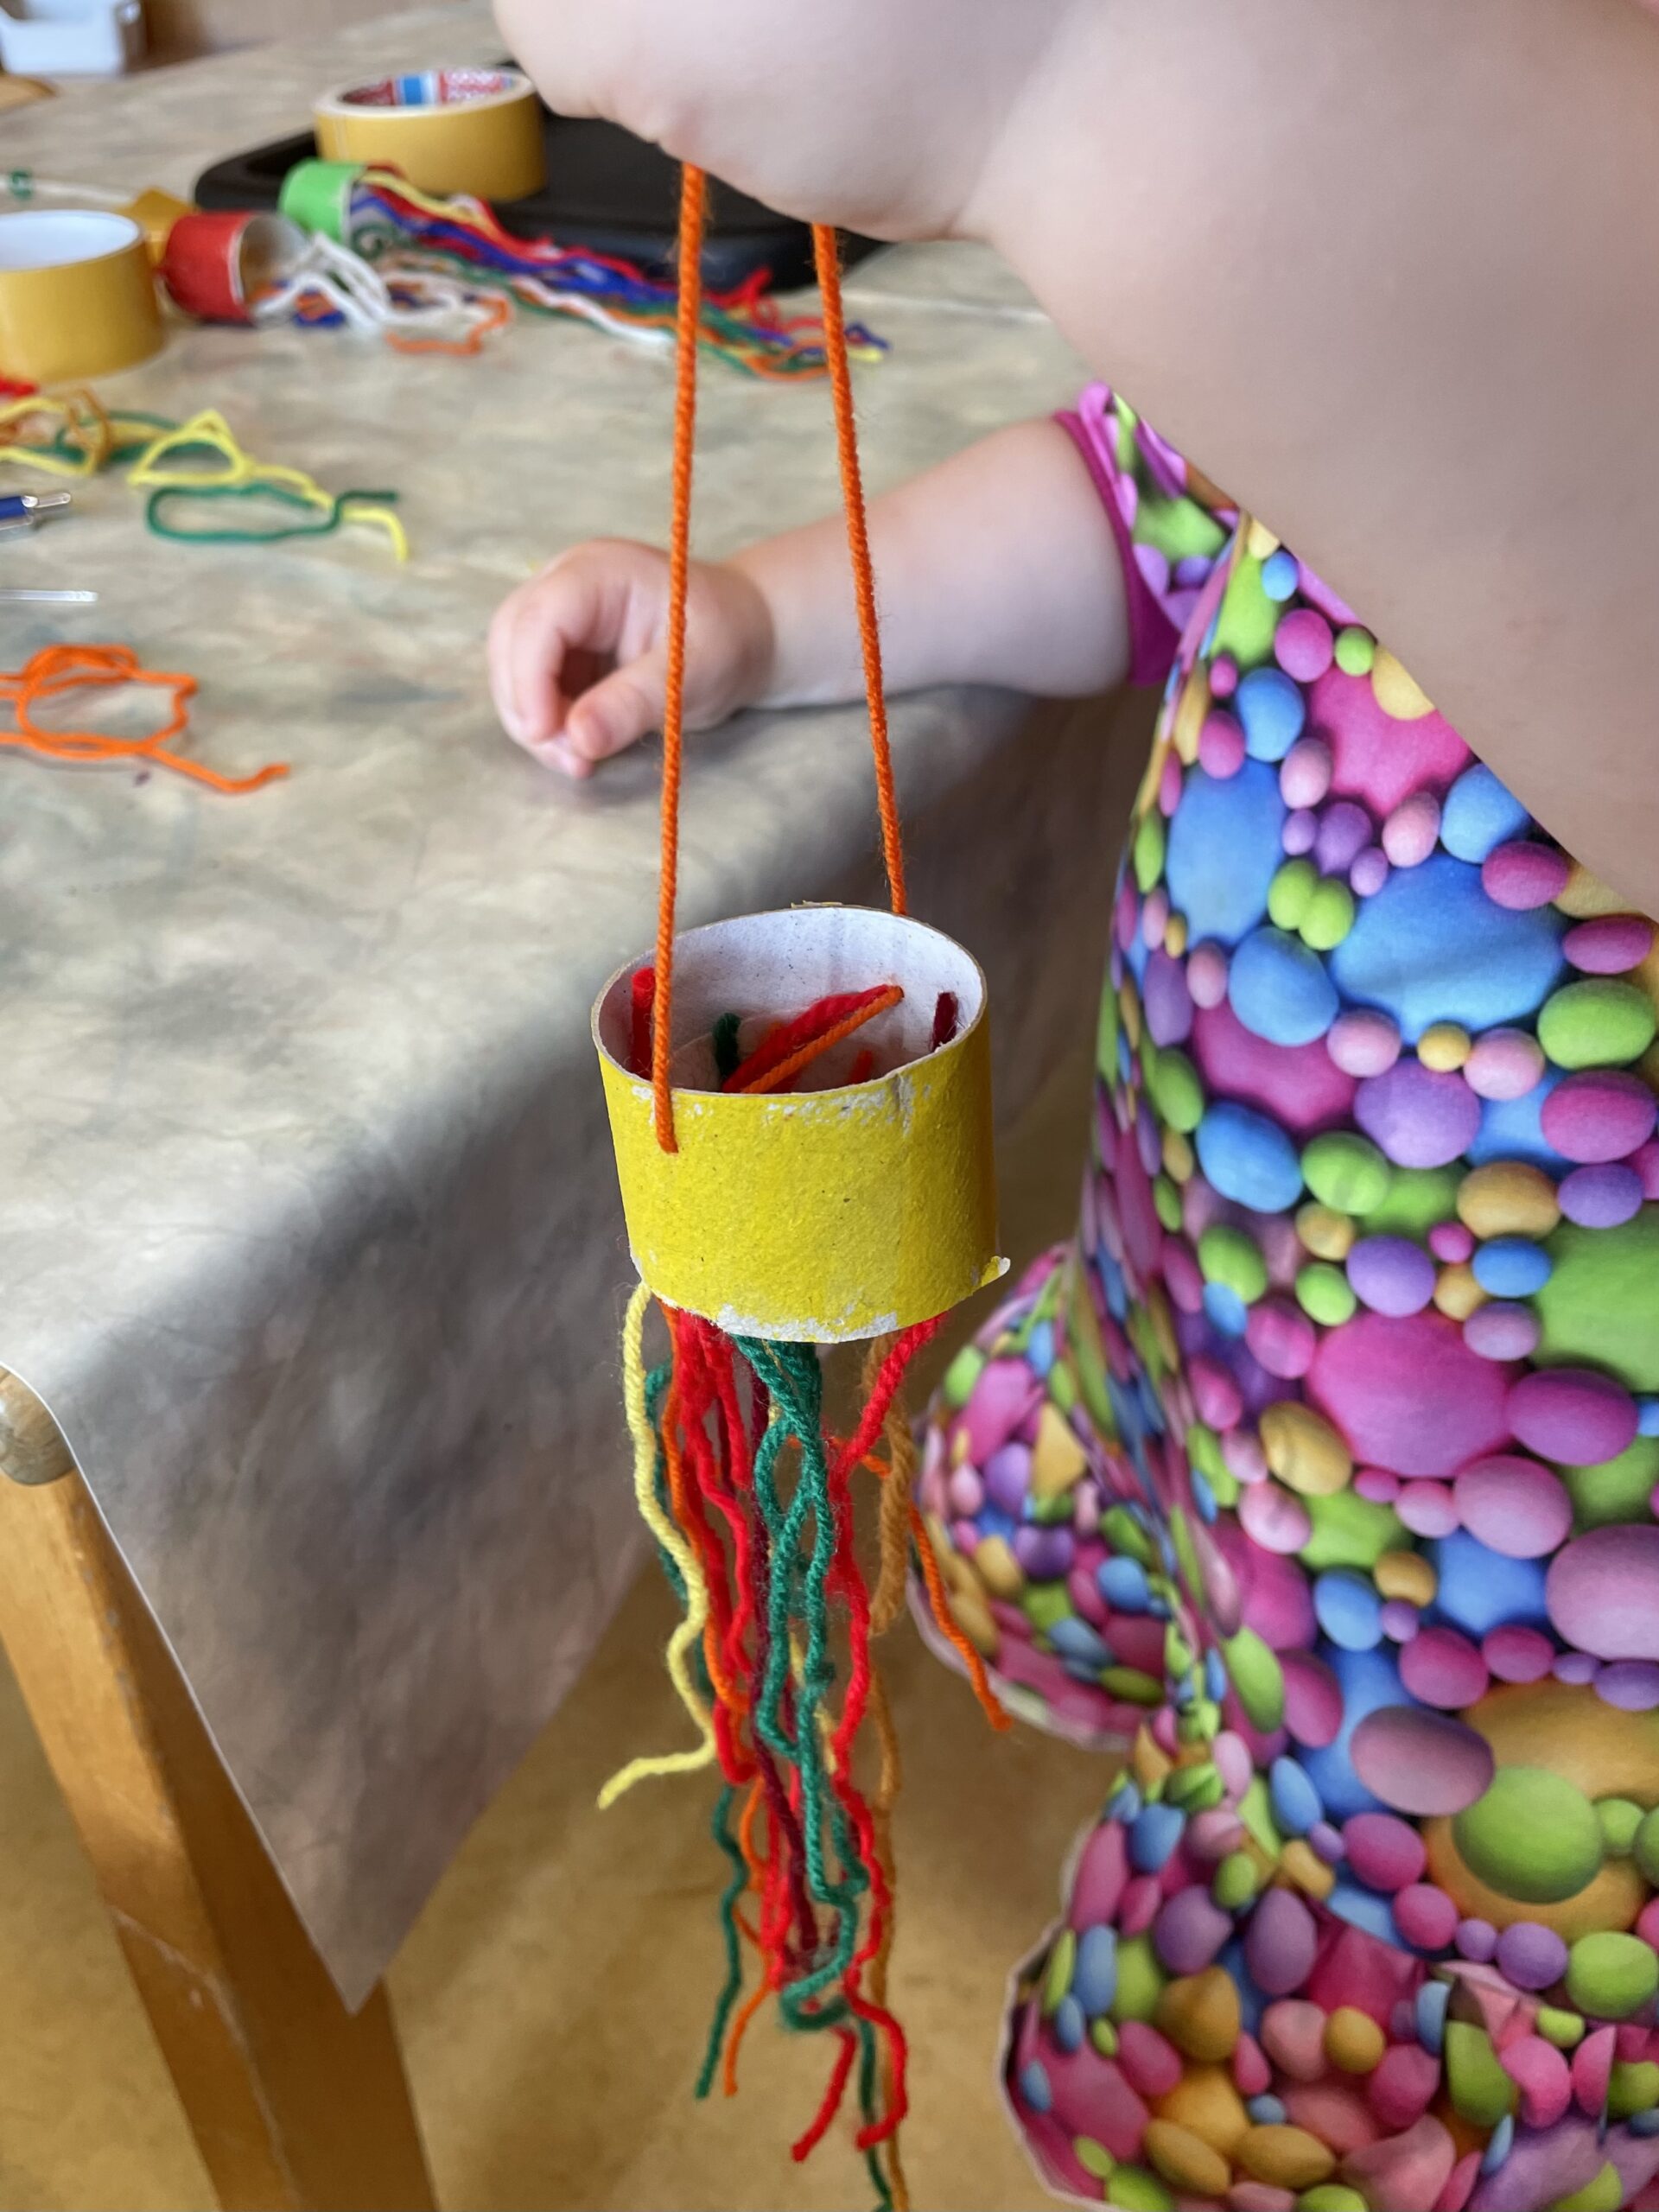
Bild zum Schritt 19 für das Bastel- und DIY-Abenteuer für Kinder: 'Zum Schluss fädelt ihr einen Faden auf eine dicke spitze...'

16

So you can glue further colorful cardboard rings with wool.
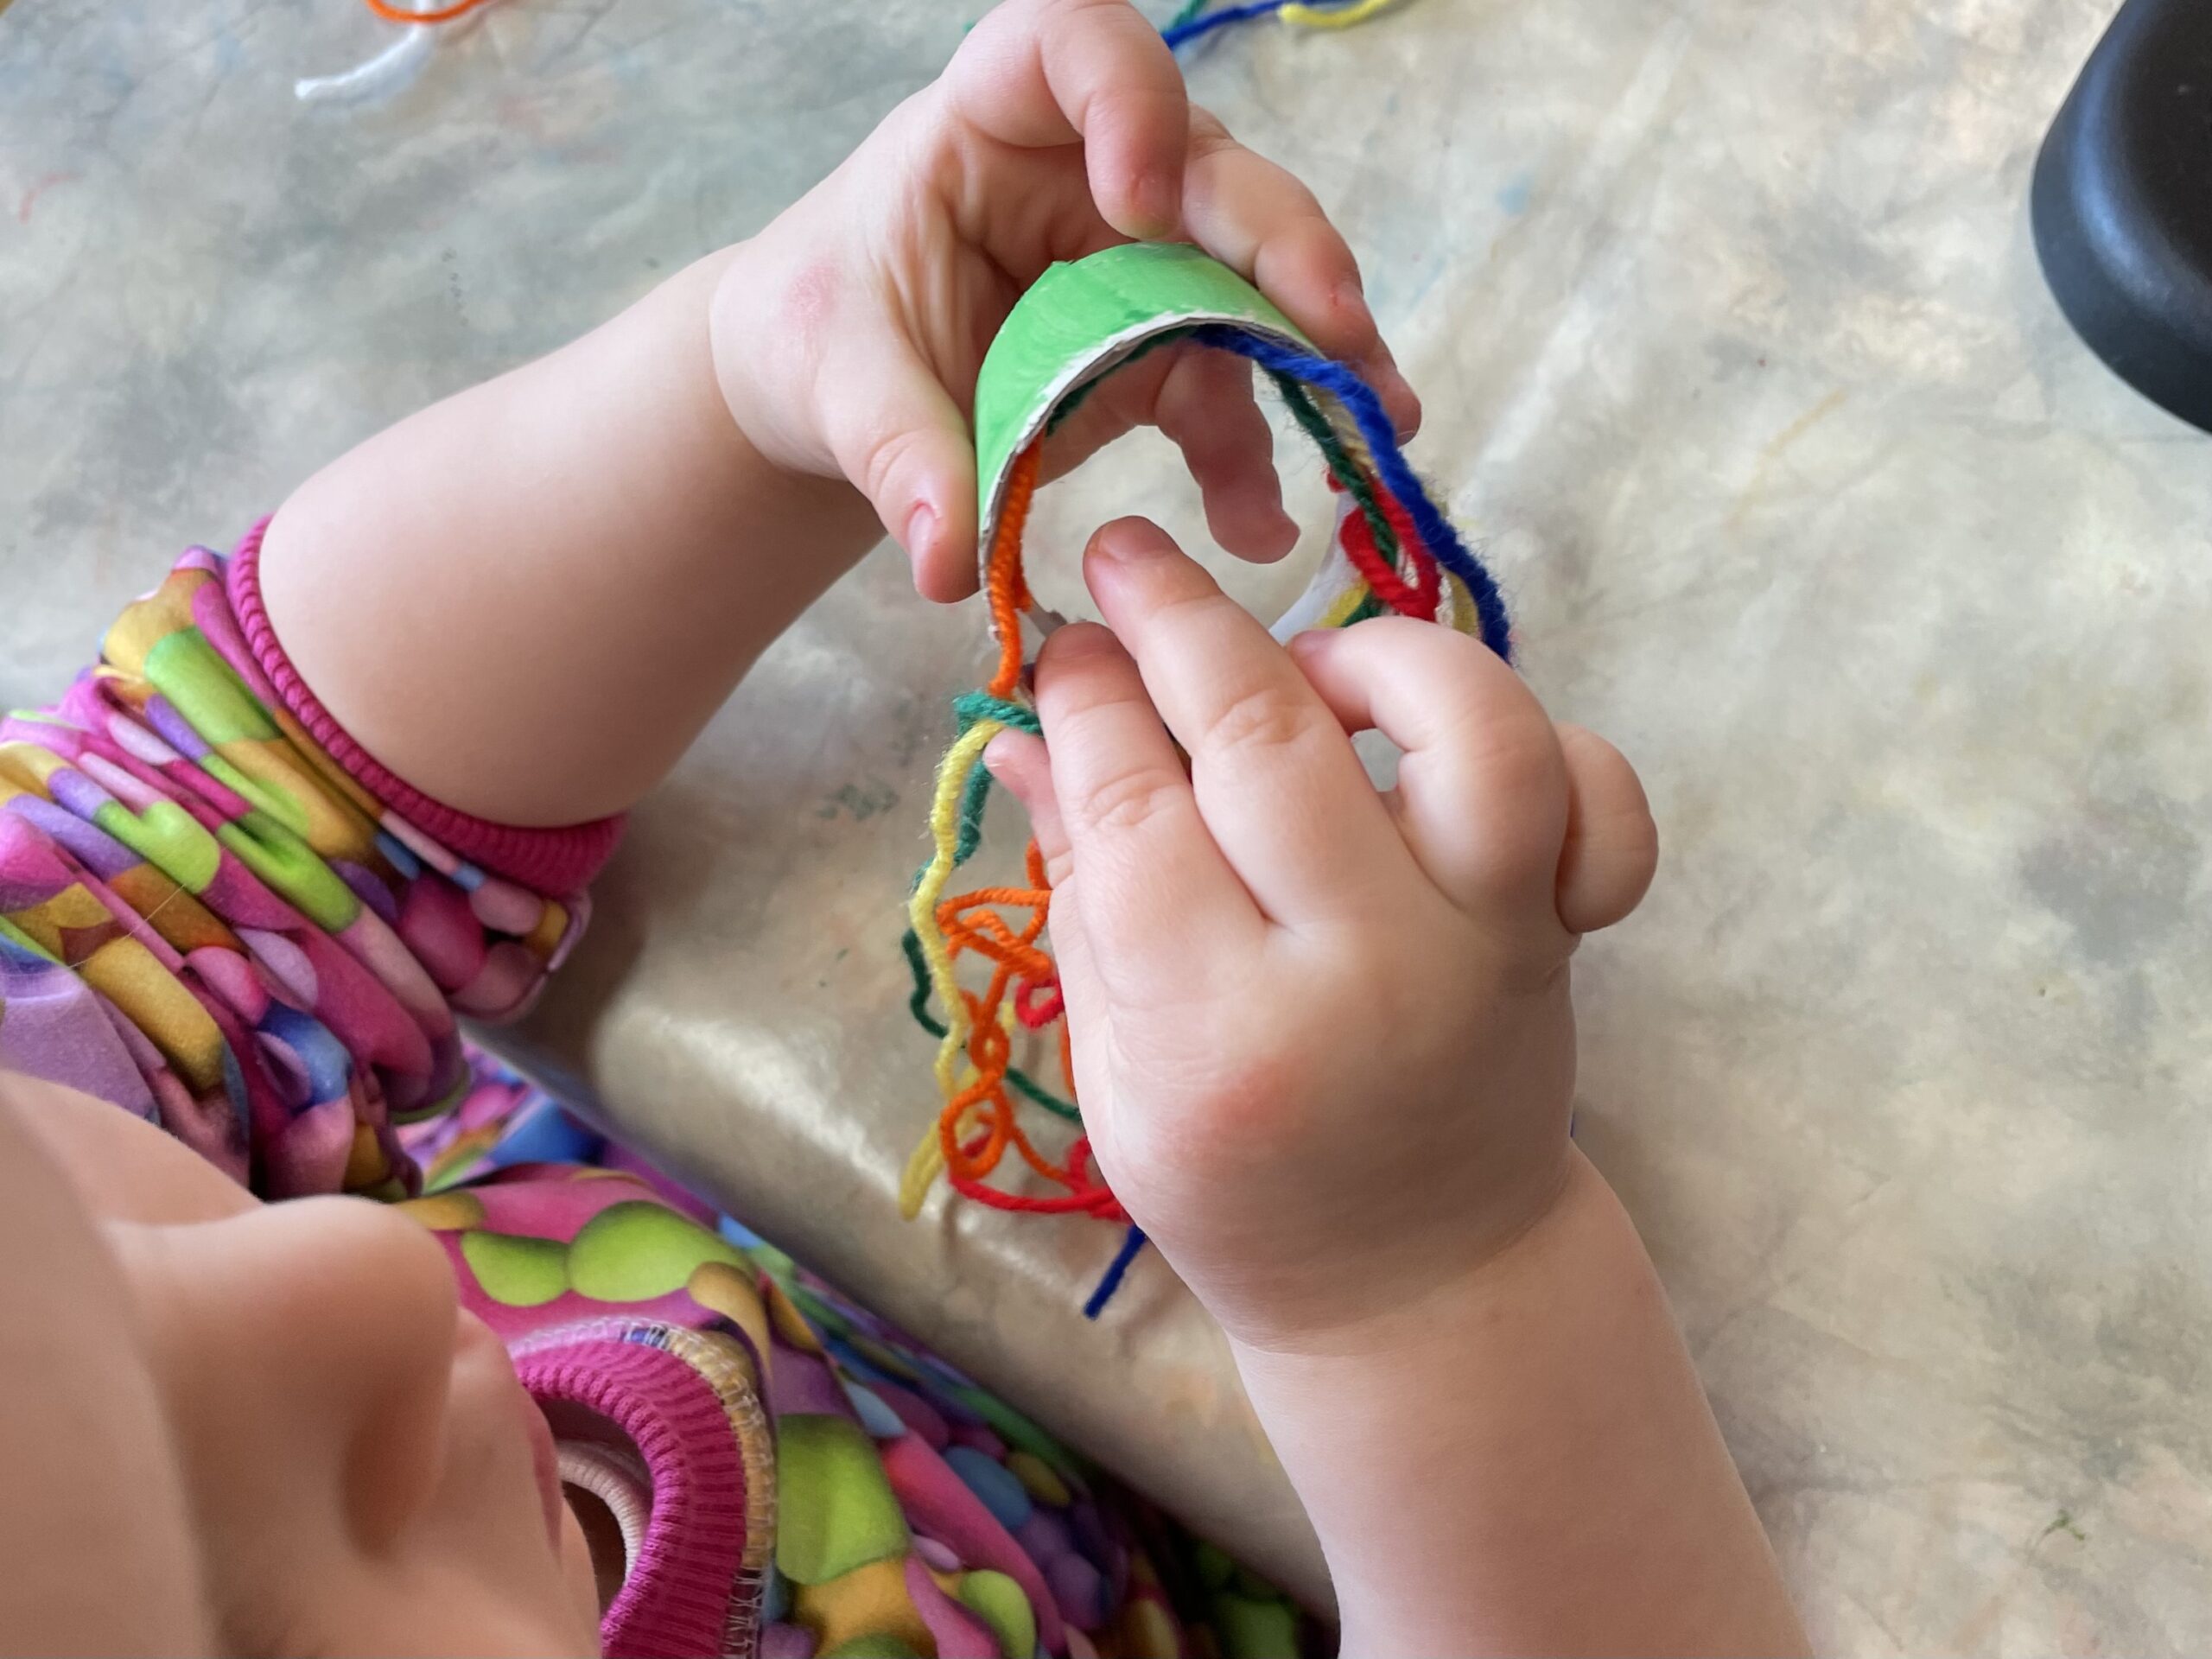
Bild zum Schritt 20 für das Bastel- und DIY-Abenteuer für Kinder: 'So könnt ihr weitere bunte Pappringe mit Wolle bekleben.'

17

Another carnival jellyfish is ready.
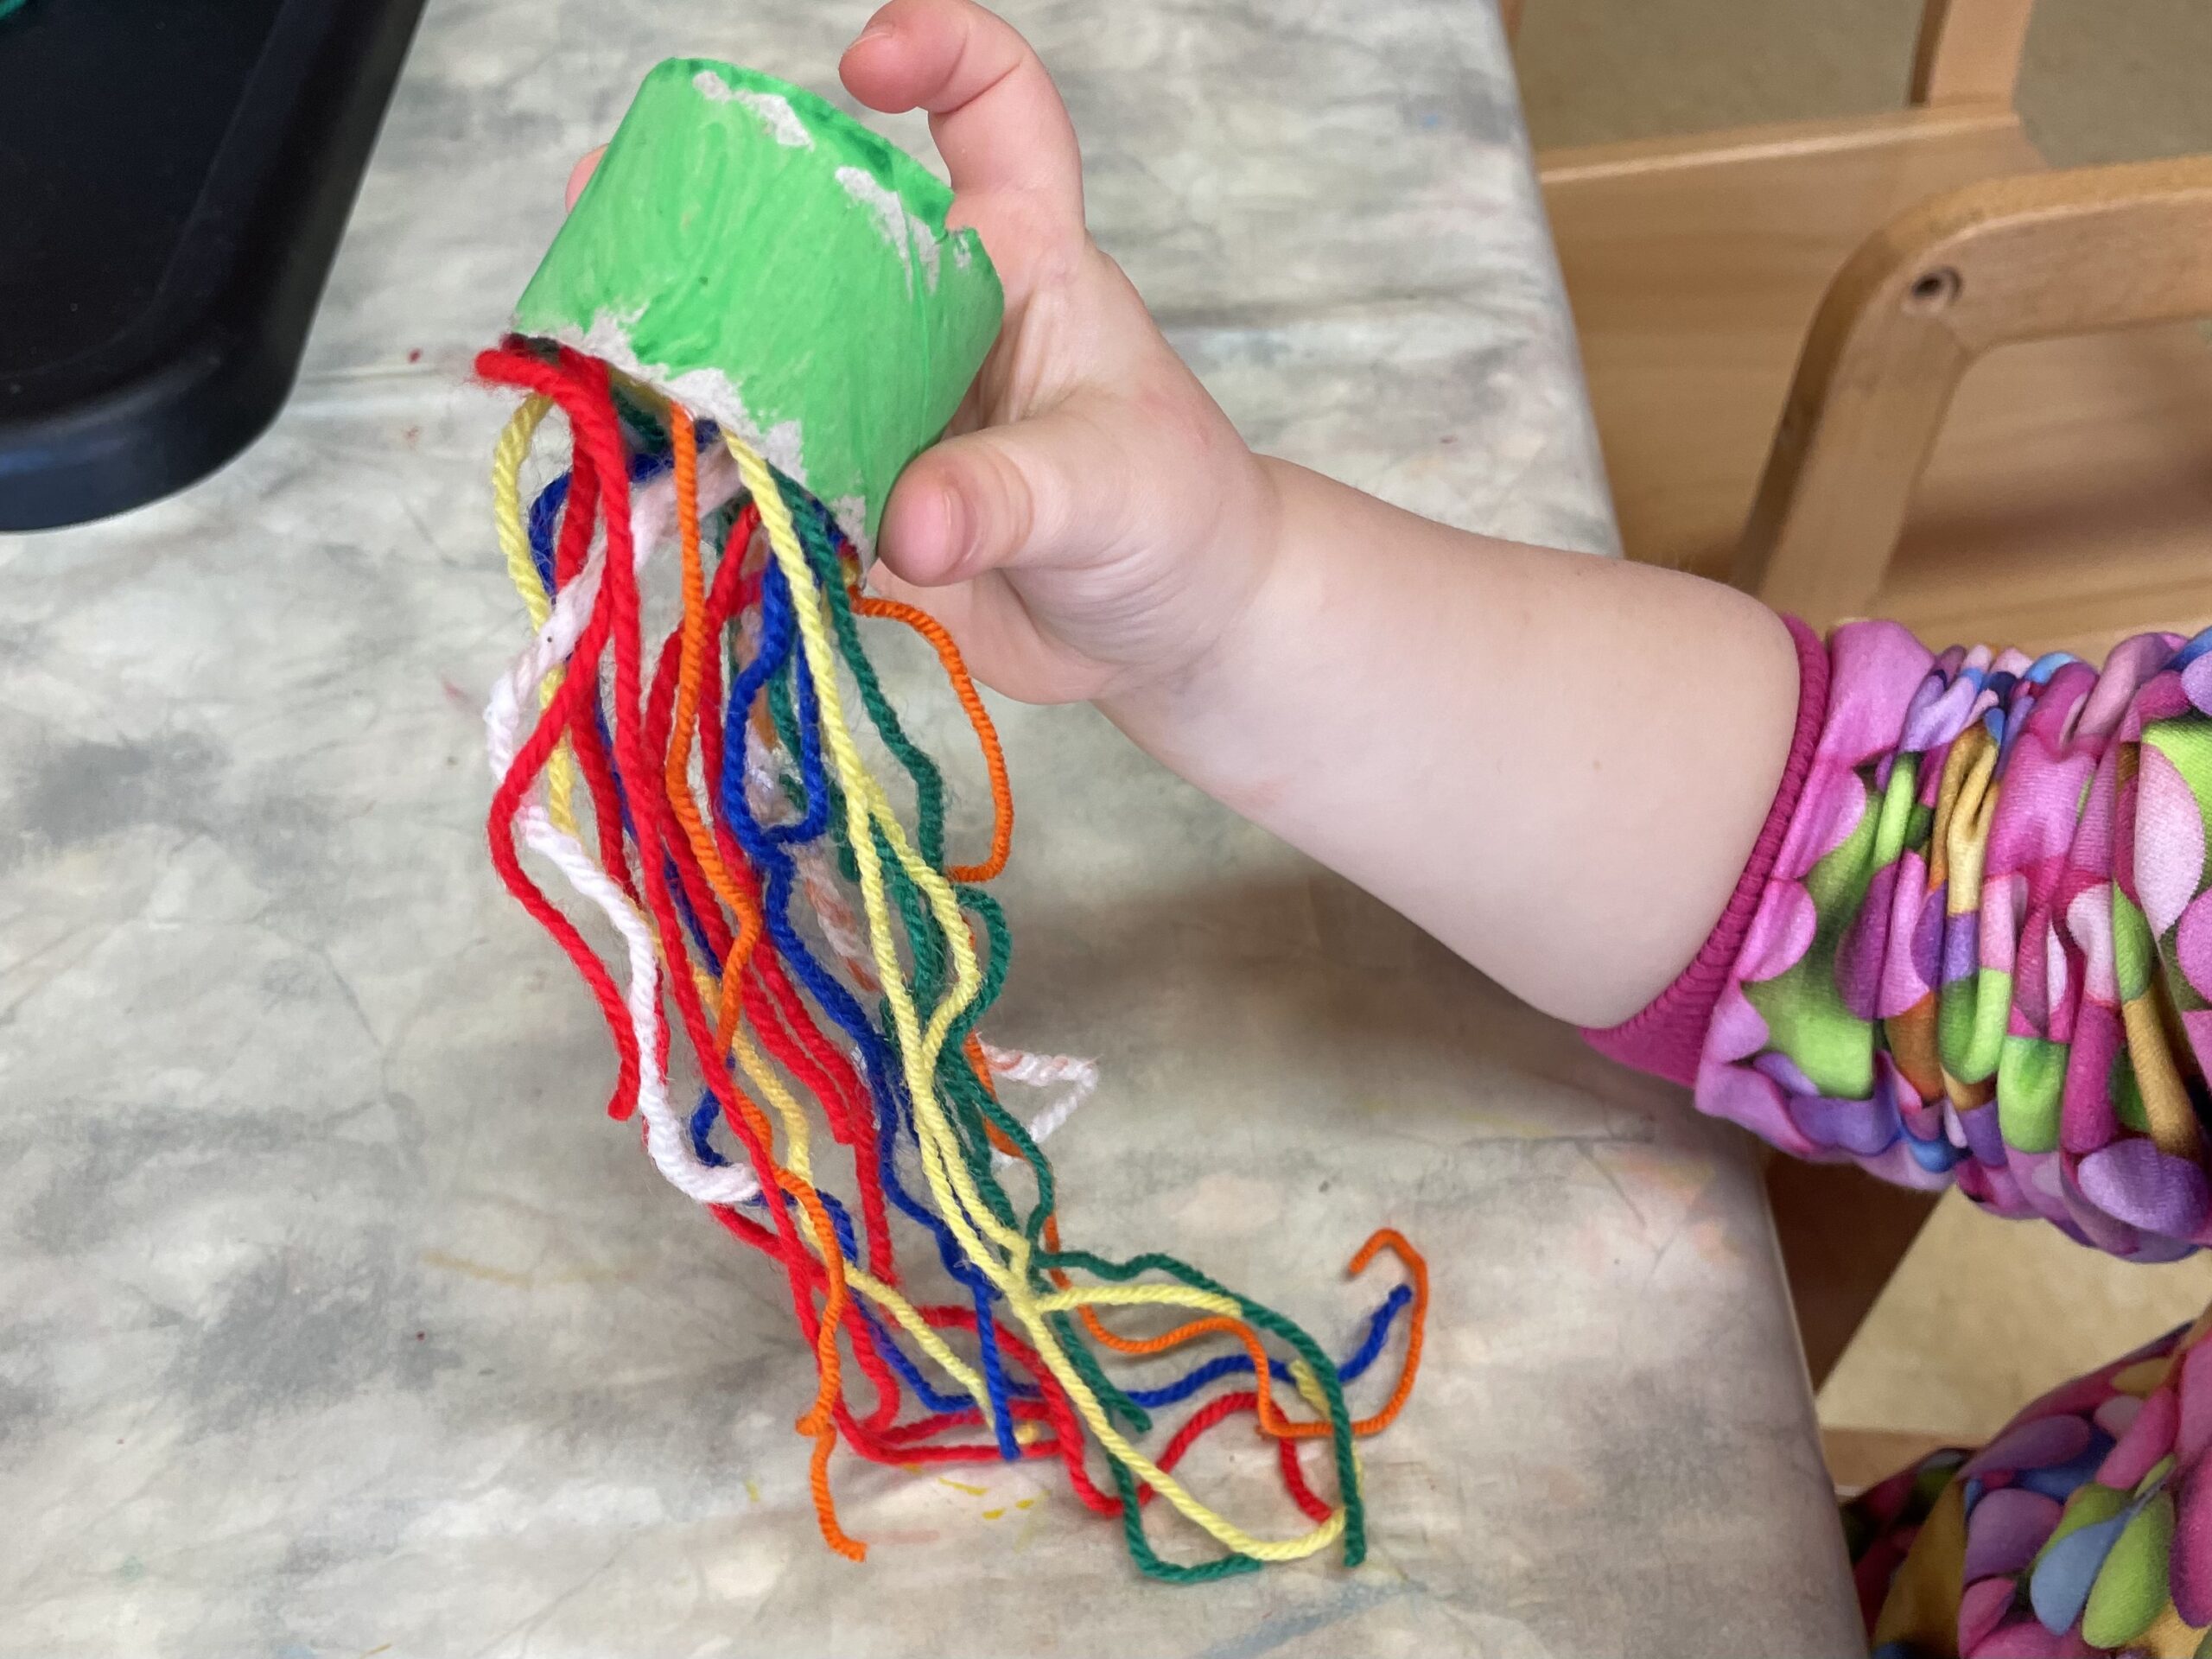
Bild zum Schritt 21 für das Bastel- und DIY-Abenteuer für Kinder: 'Eine weitere Faschingsqualle ist fertig.'

18

A few carnival jellyfish already look very nice as decoration in the carnival period.
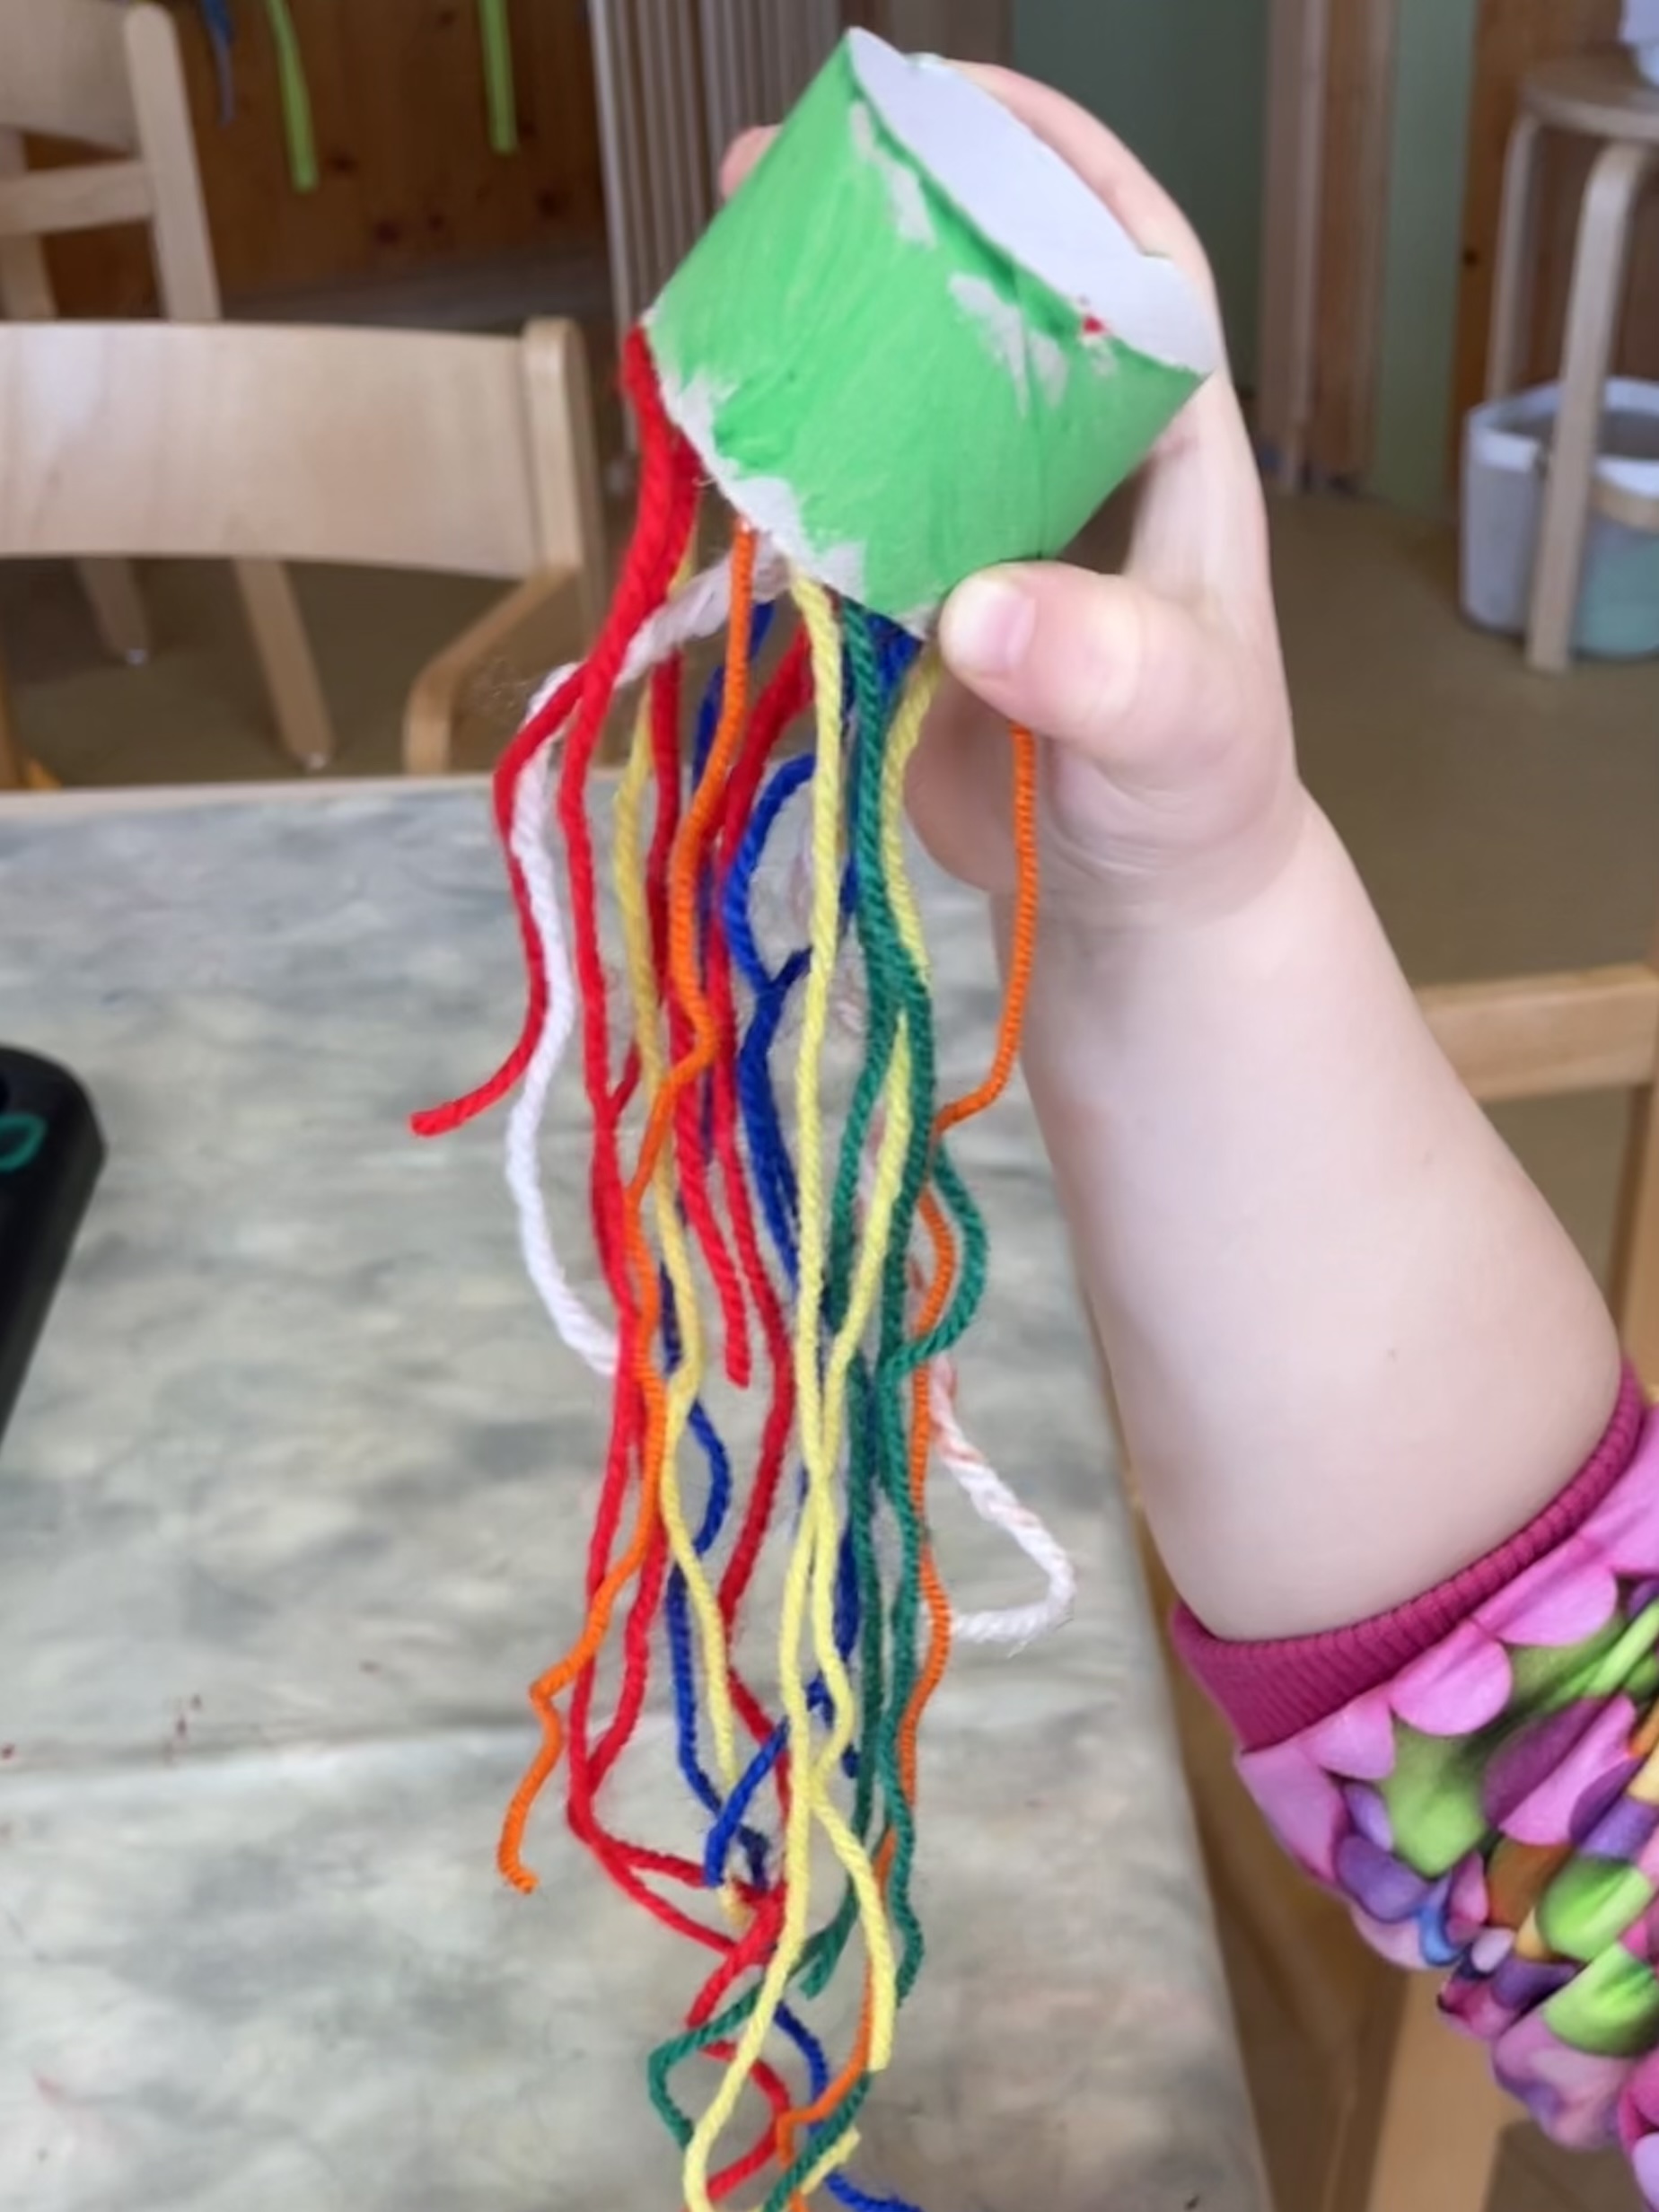
Bild zum Schritt 22 für das Bastel- und DIY-Abenteuer für Kinder: 'Ein paar Faschingsquallen sehen schon sehr schön als Dekoration in...'

19

Hangs the carnival jellyfish, for example, on a branch. Uses it like snakes to hang up.
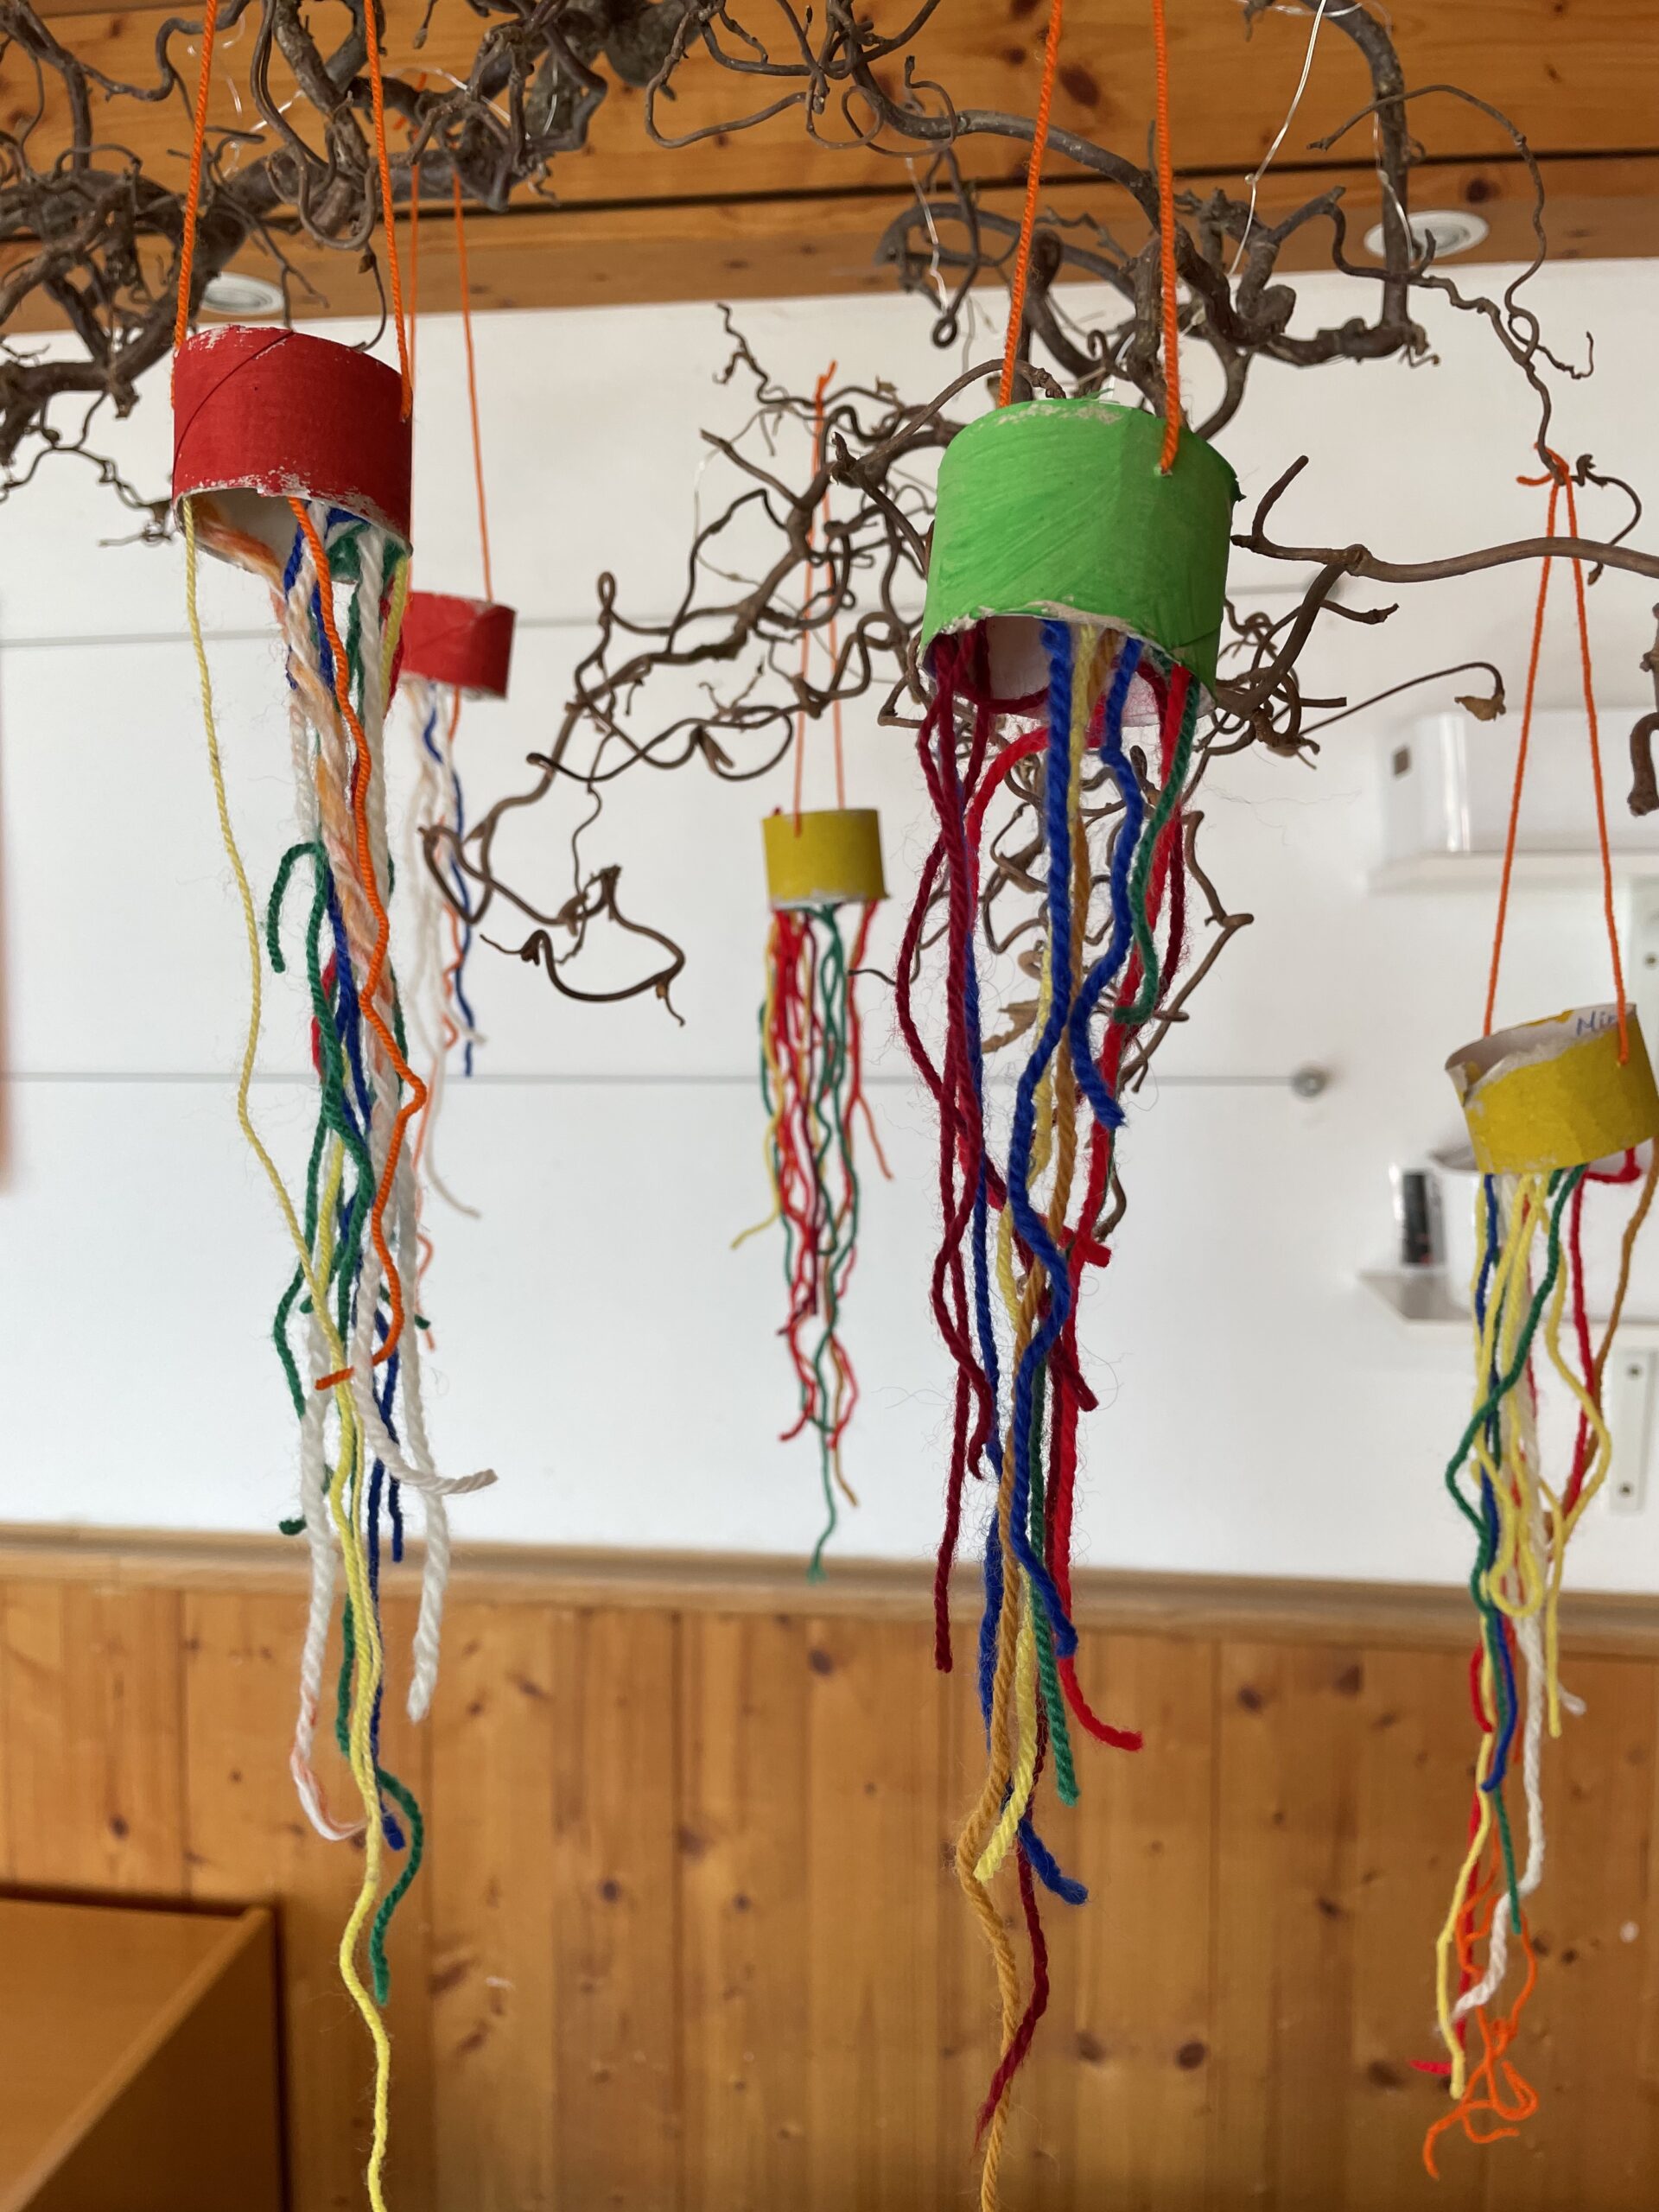
Bild zum Schritt 23 für das Bastel- und DIY-Abenteuer für Kinder: 'Hängt die Faschingsquallen zum Beispiel an einen Ast. Verwendet sie...'

20

Have fun trying out and decorating!

Fasching jelly (upcycles)

Follow us on Facebook , Instagram and Pinterest
Don't miss any more adventures: Our bottle mail

Leave a Reply

Your email address will not be published.

The maximum upload file size: 5 MB. You can upload: image, document. Drop file here