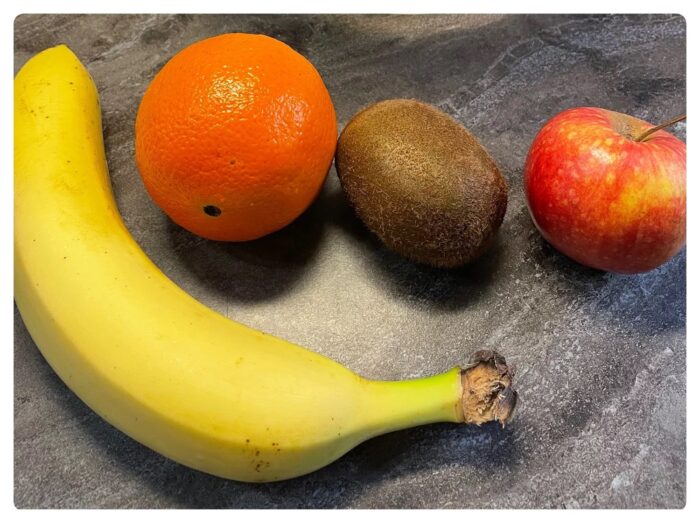
In the time when the oranges are ripe, this little experiment is suitable. Let the children try whether oranges swim or sink and whether it makes a difference whether you put them in the water with a bowl or without. For this you fill a transparent vessel with plenty of water and then you put the oranges in and observe what happens. Look for yourself!
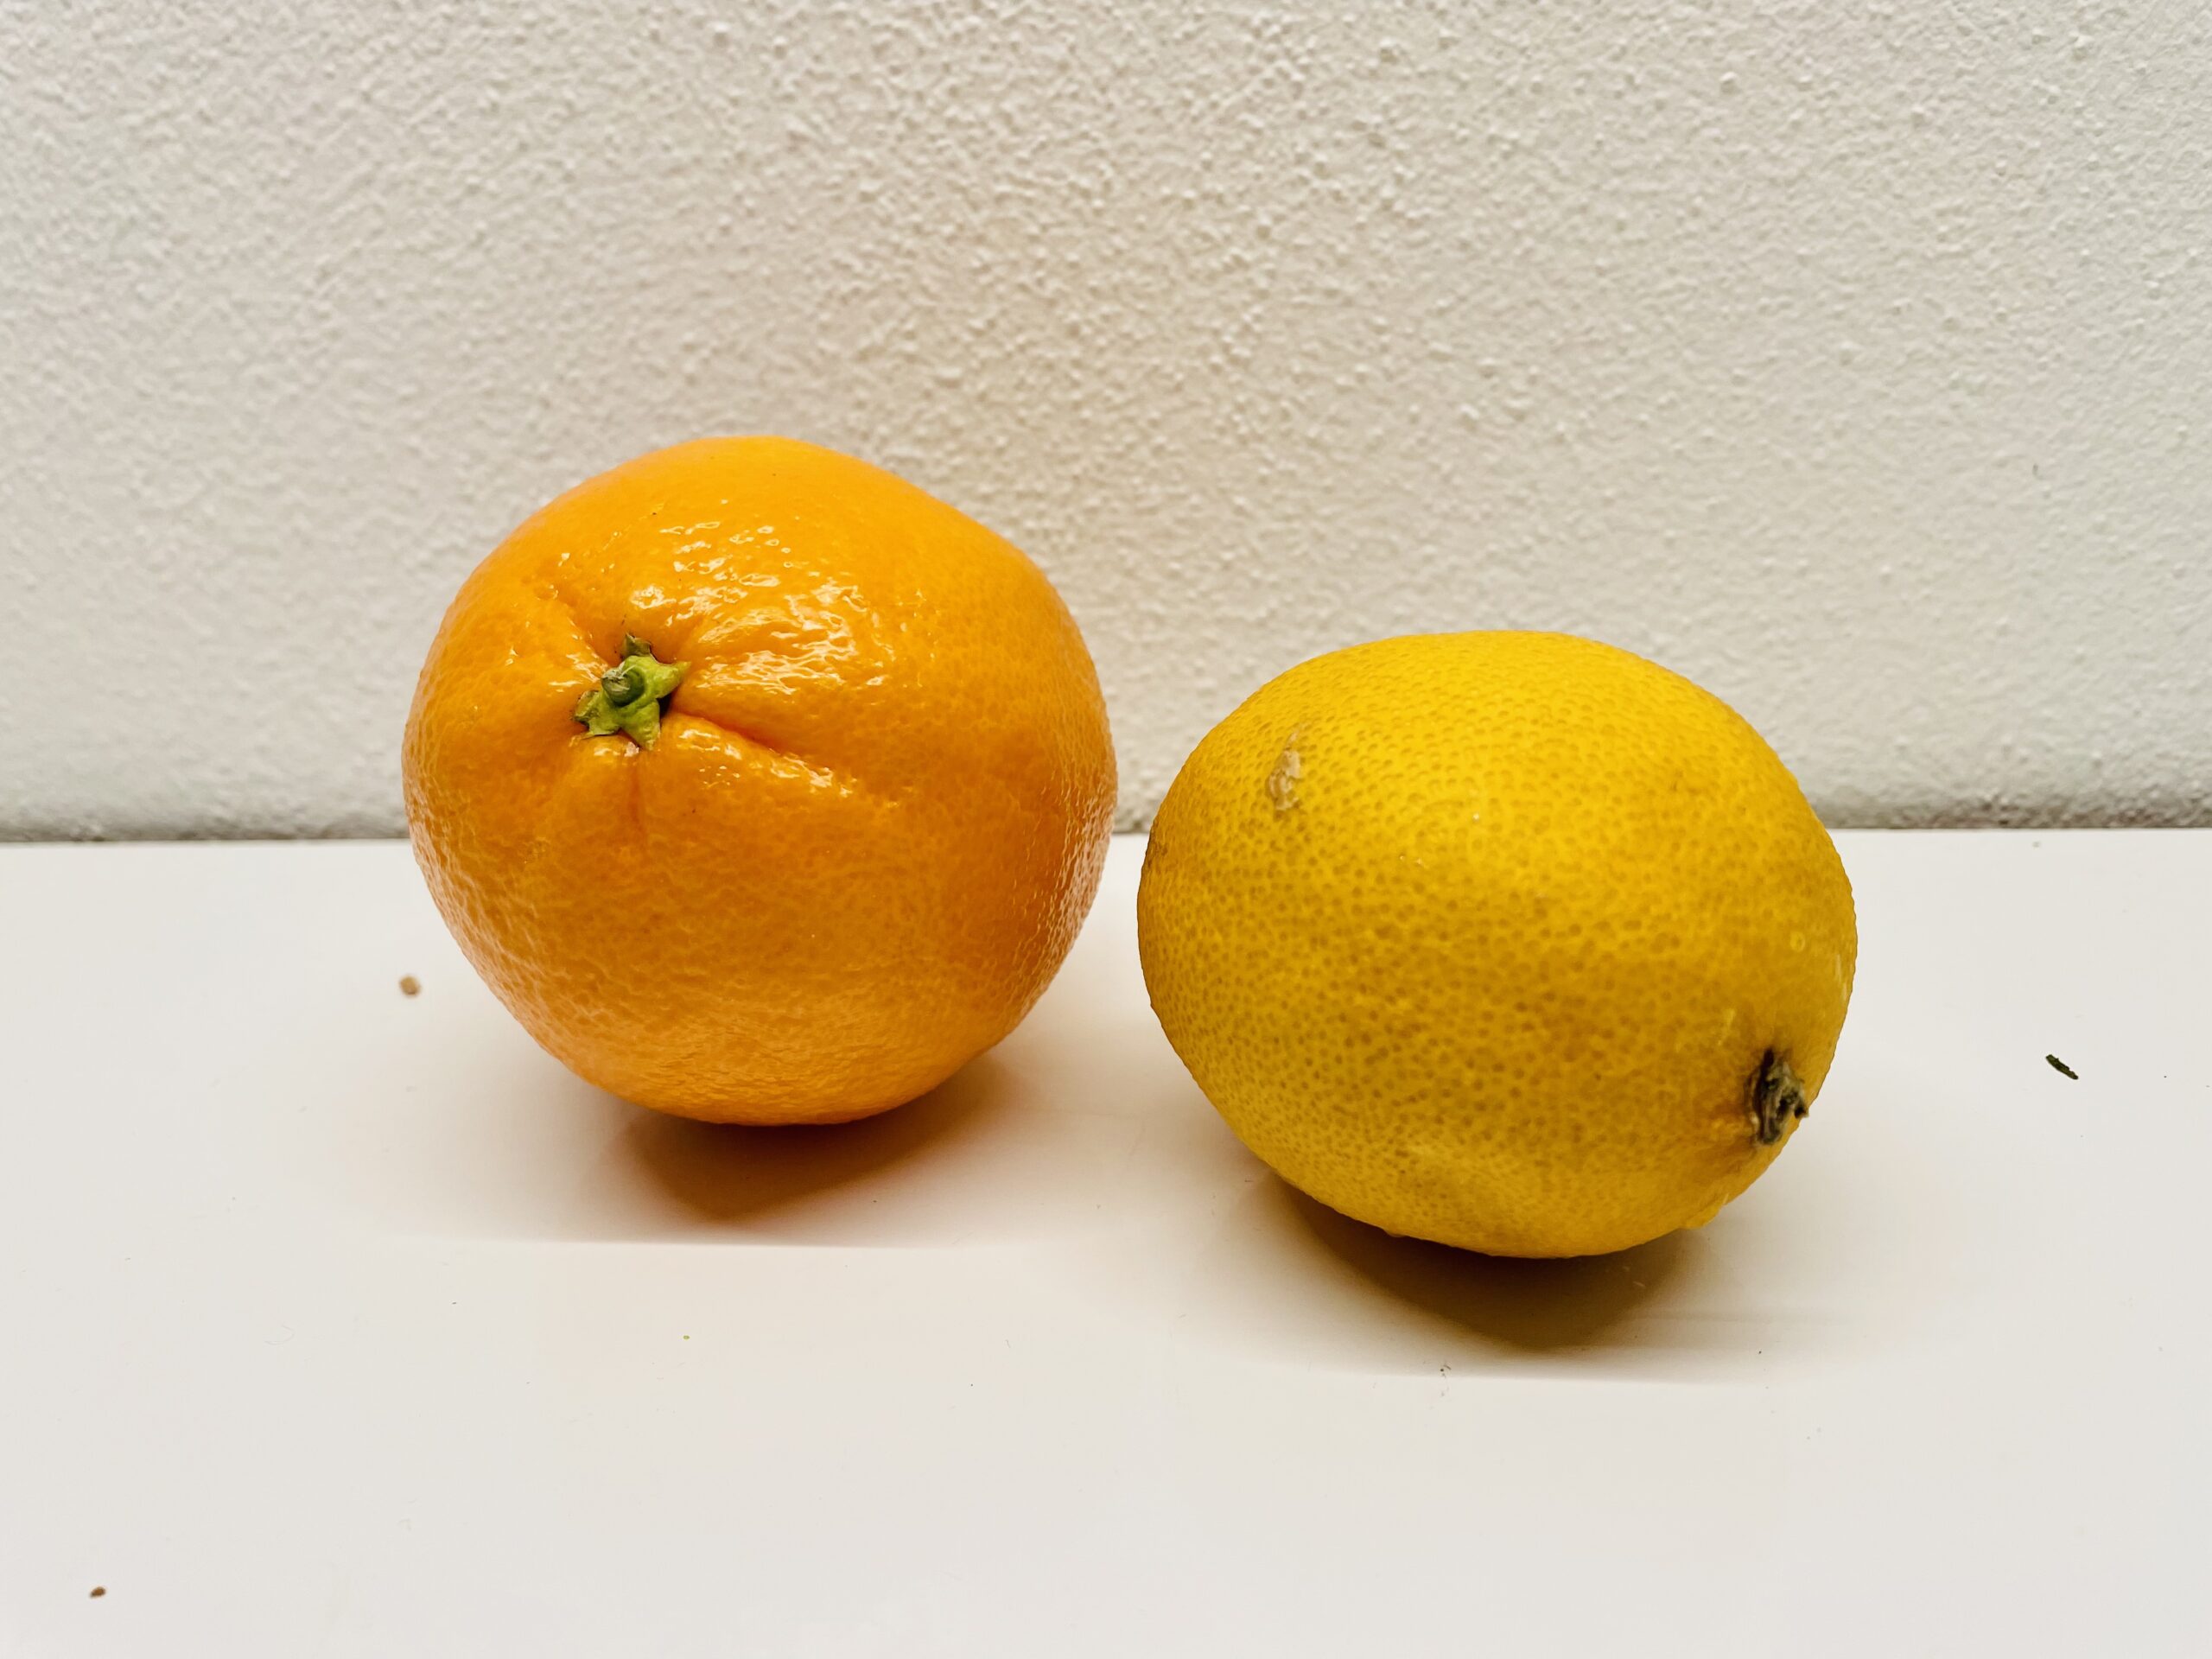
Tip: The experiment also works with lemons.
Media Education for Kindergarten and Hort

Relief in everyday life, targeted promotion of individual children, independent learning and - without any pre-knowledge already usable by the youngest!
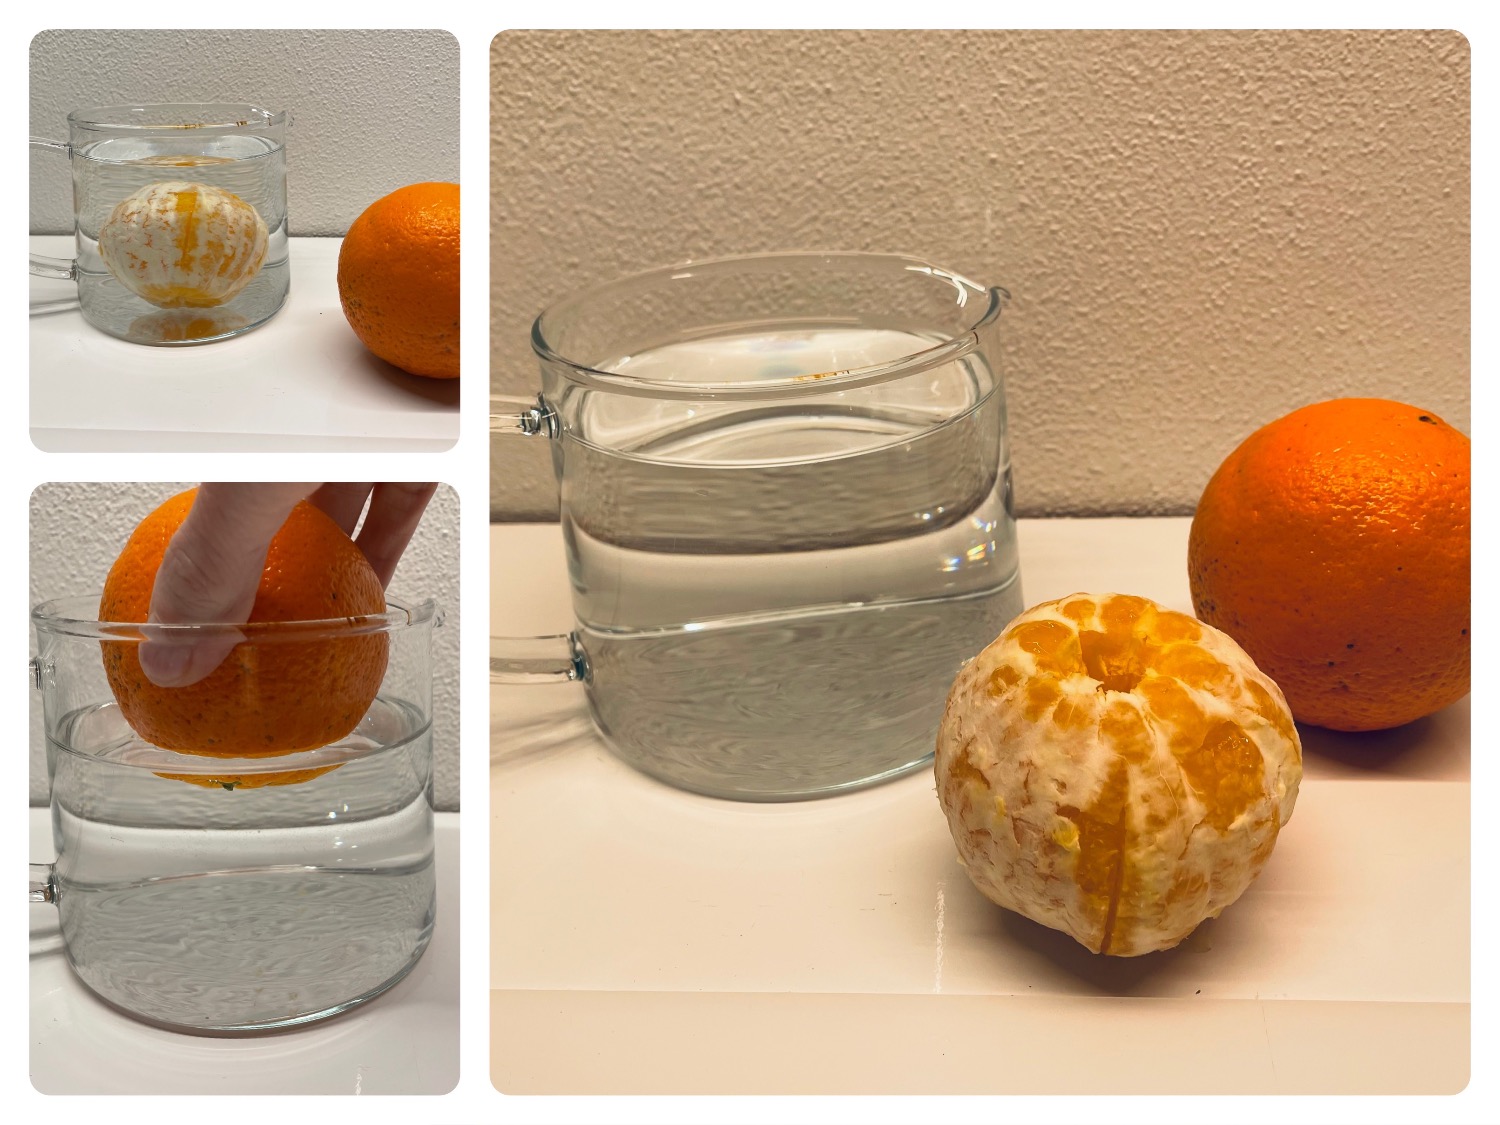
Prepare a transparent vessel and fill it with water. Make sure that your water jug is so large that it does not overflow with the orange. Use two oranges or one that you first put with and then without a bowl in the water jug.
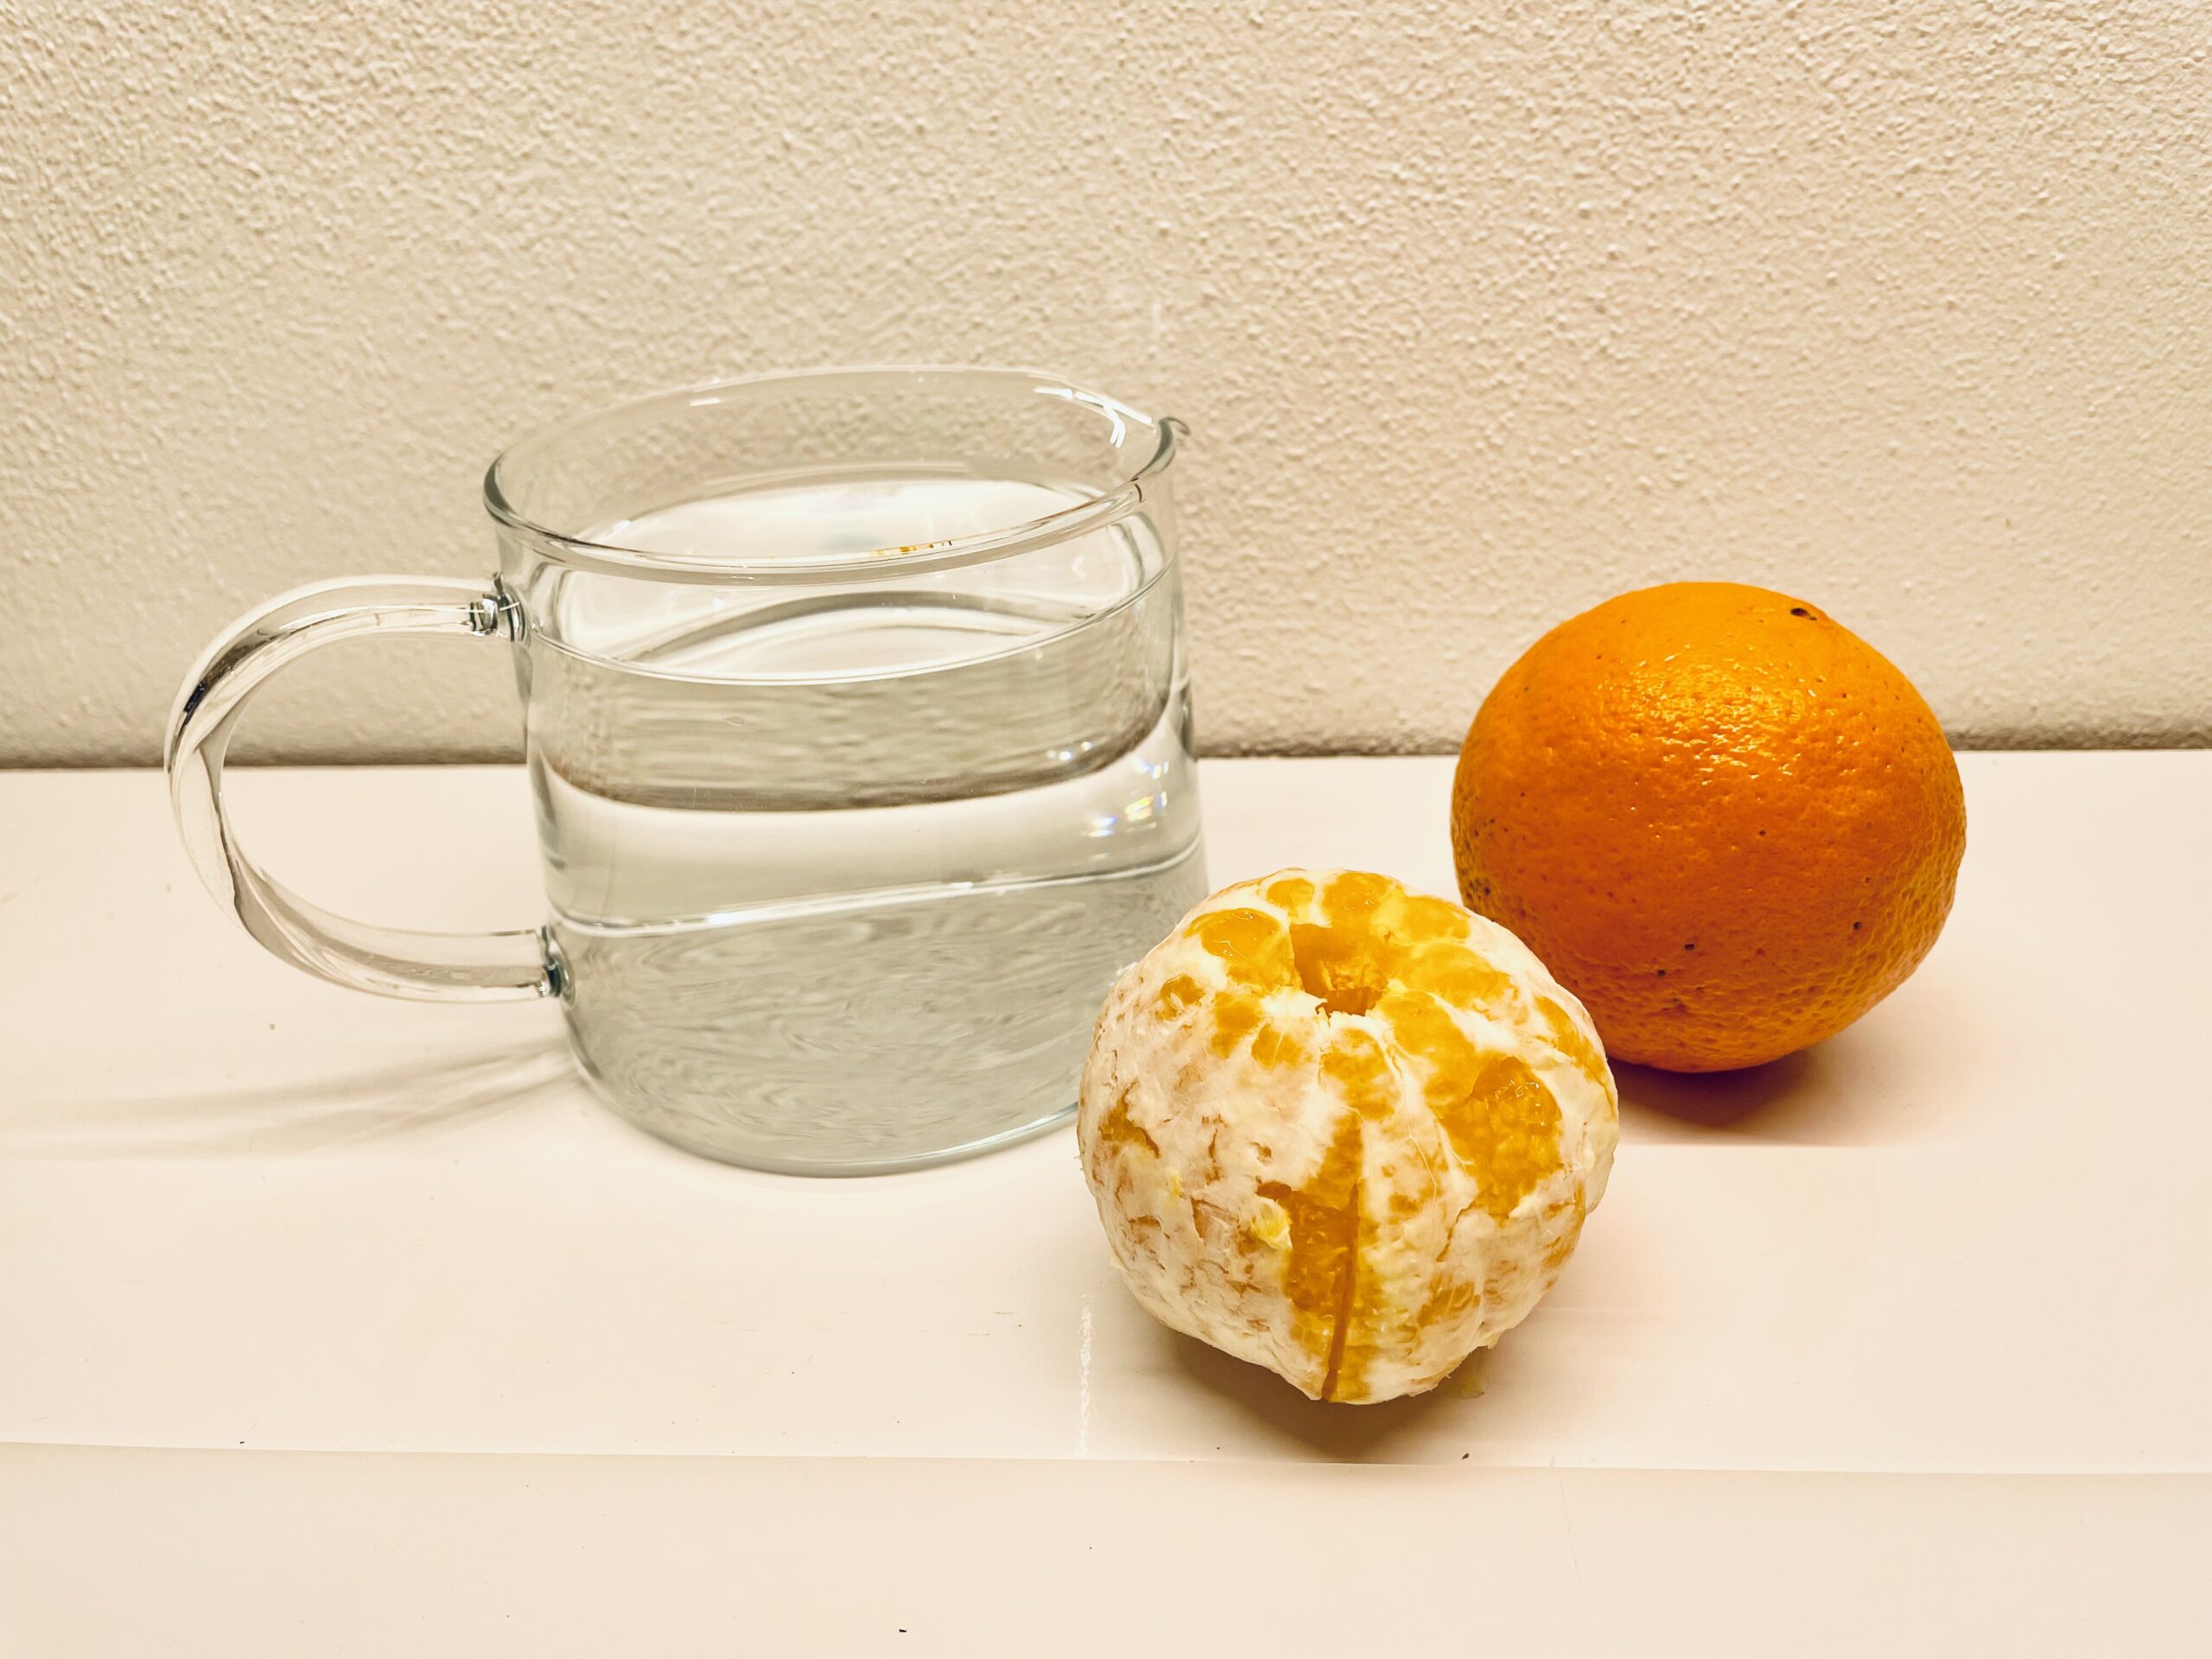
Now you slowly put the orange in the water.
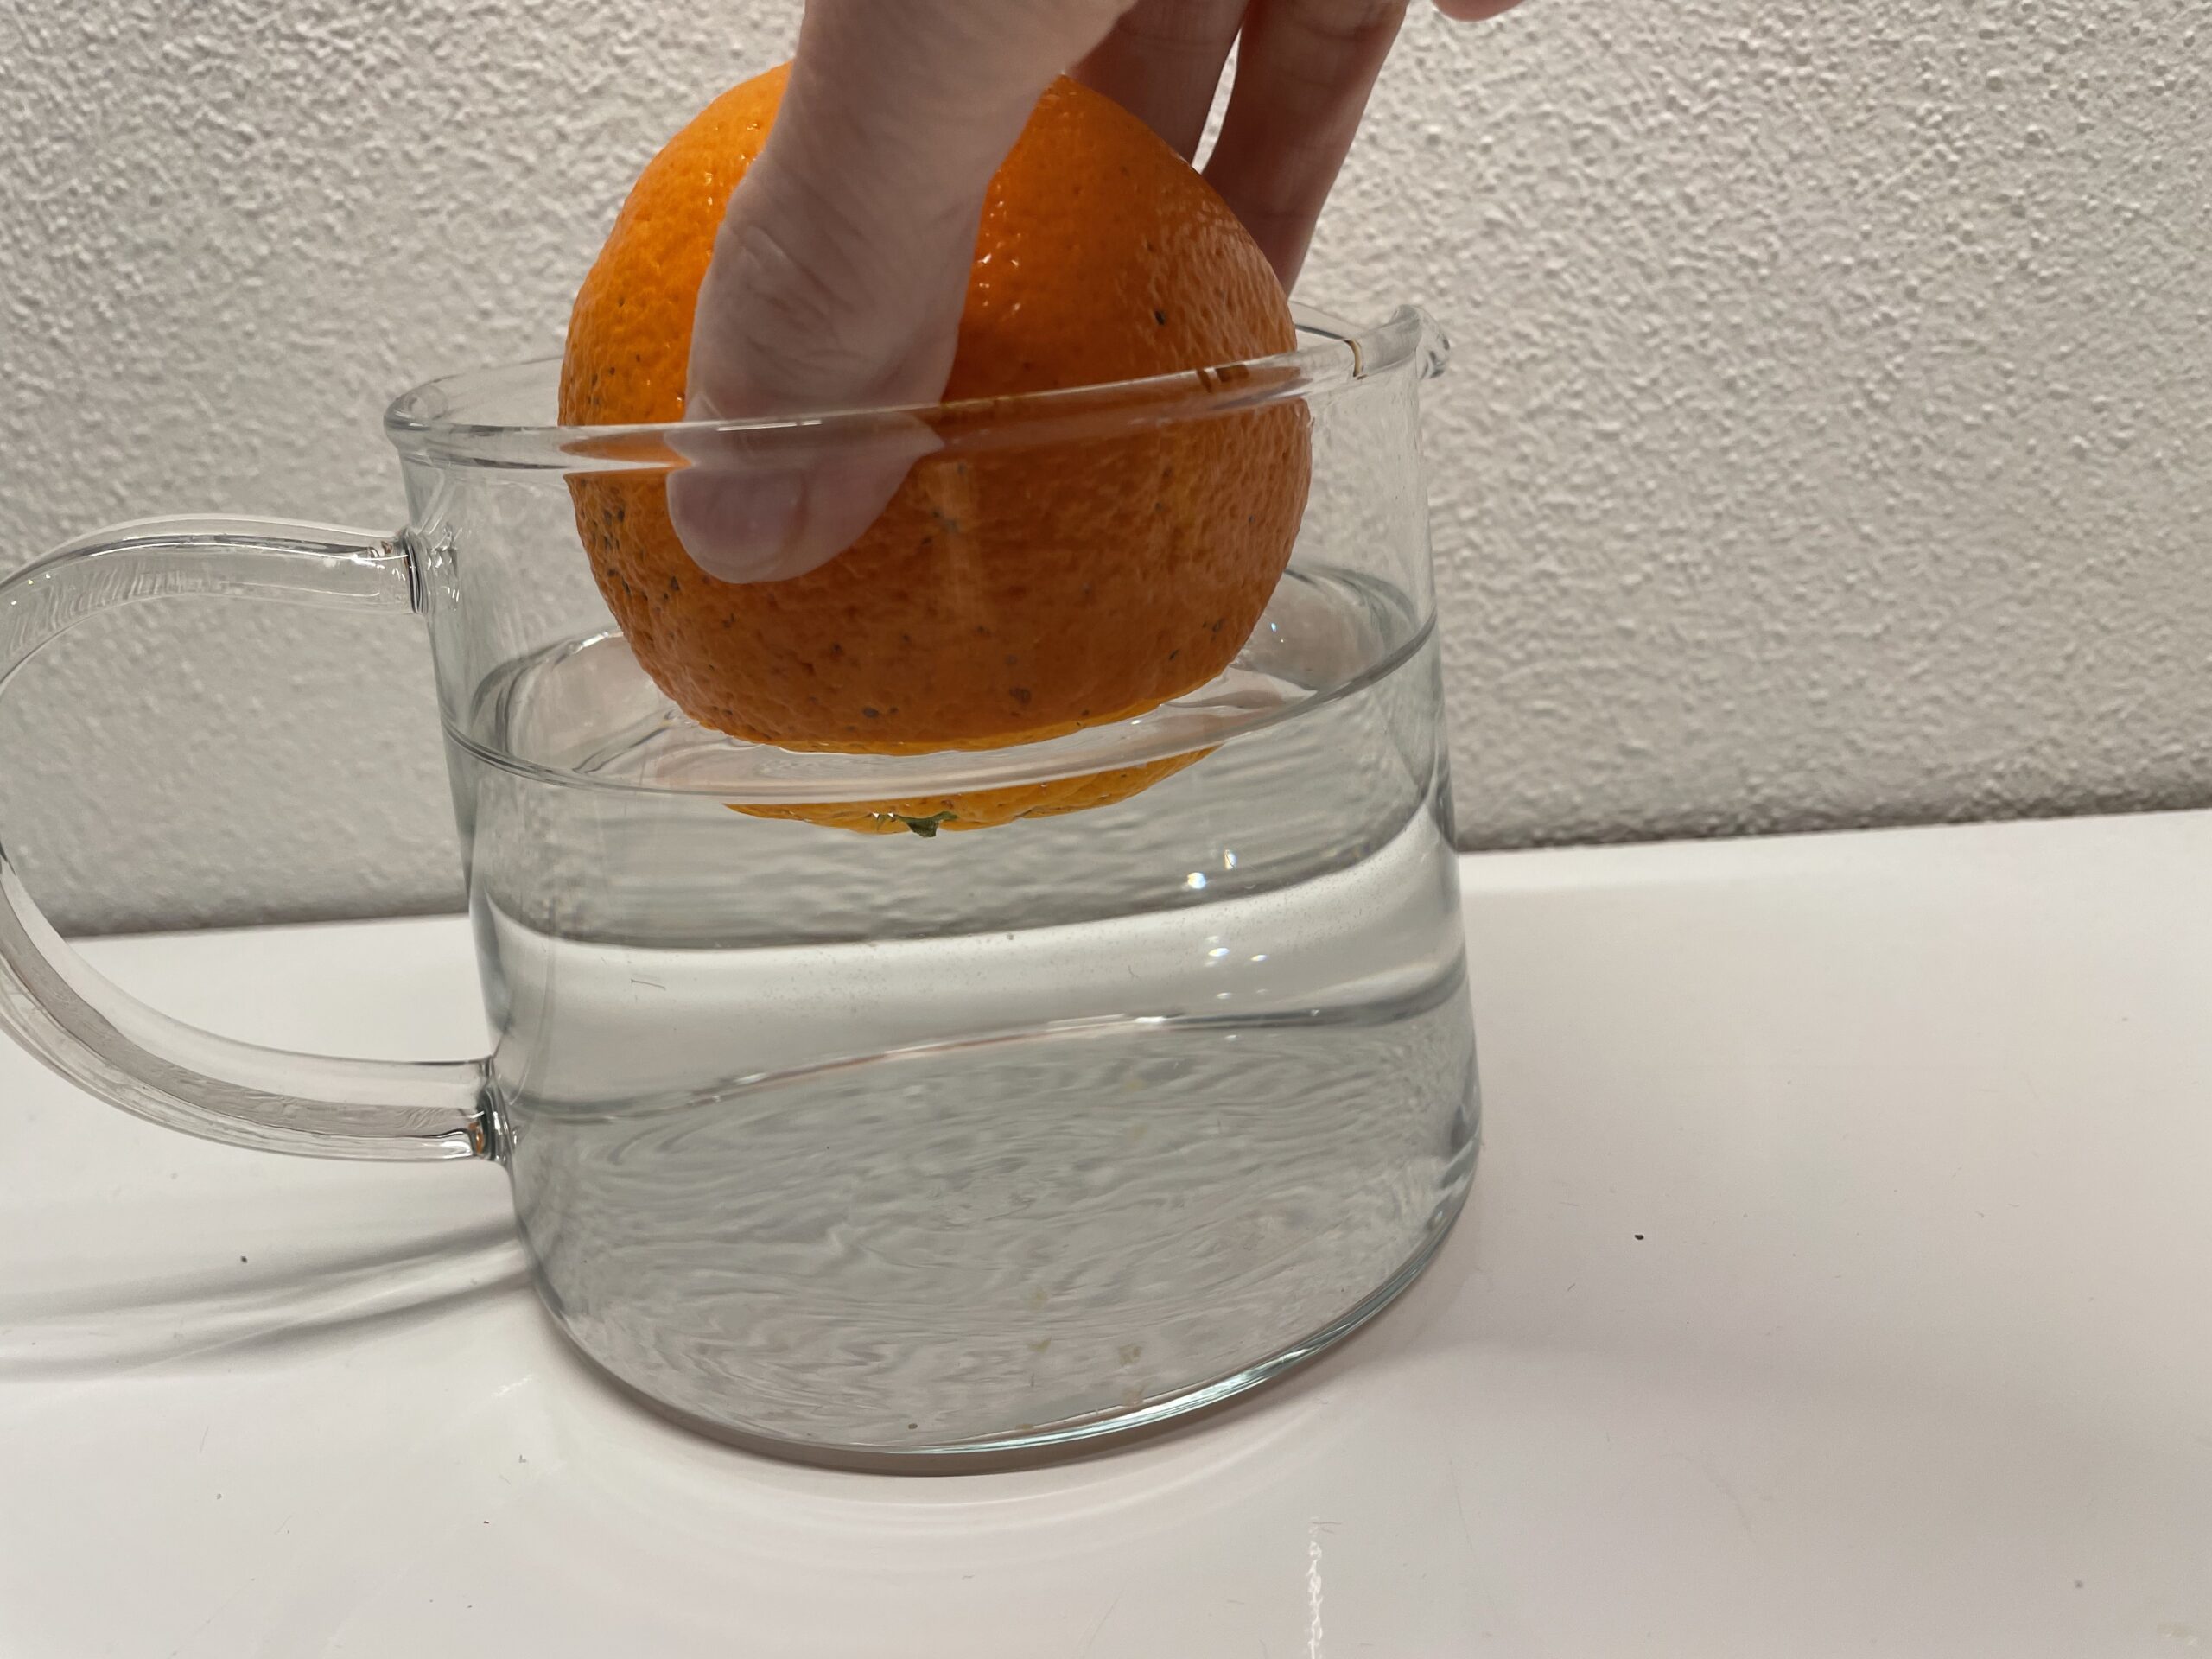


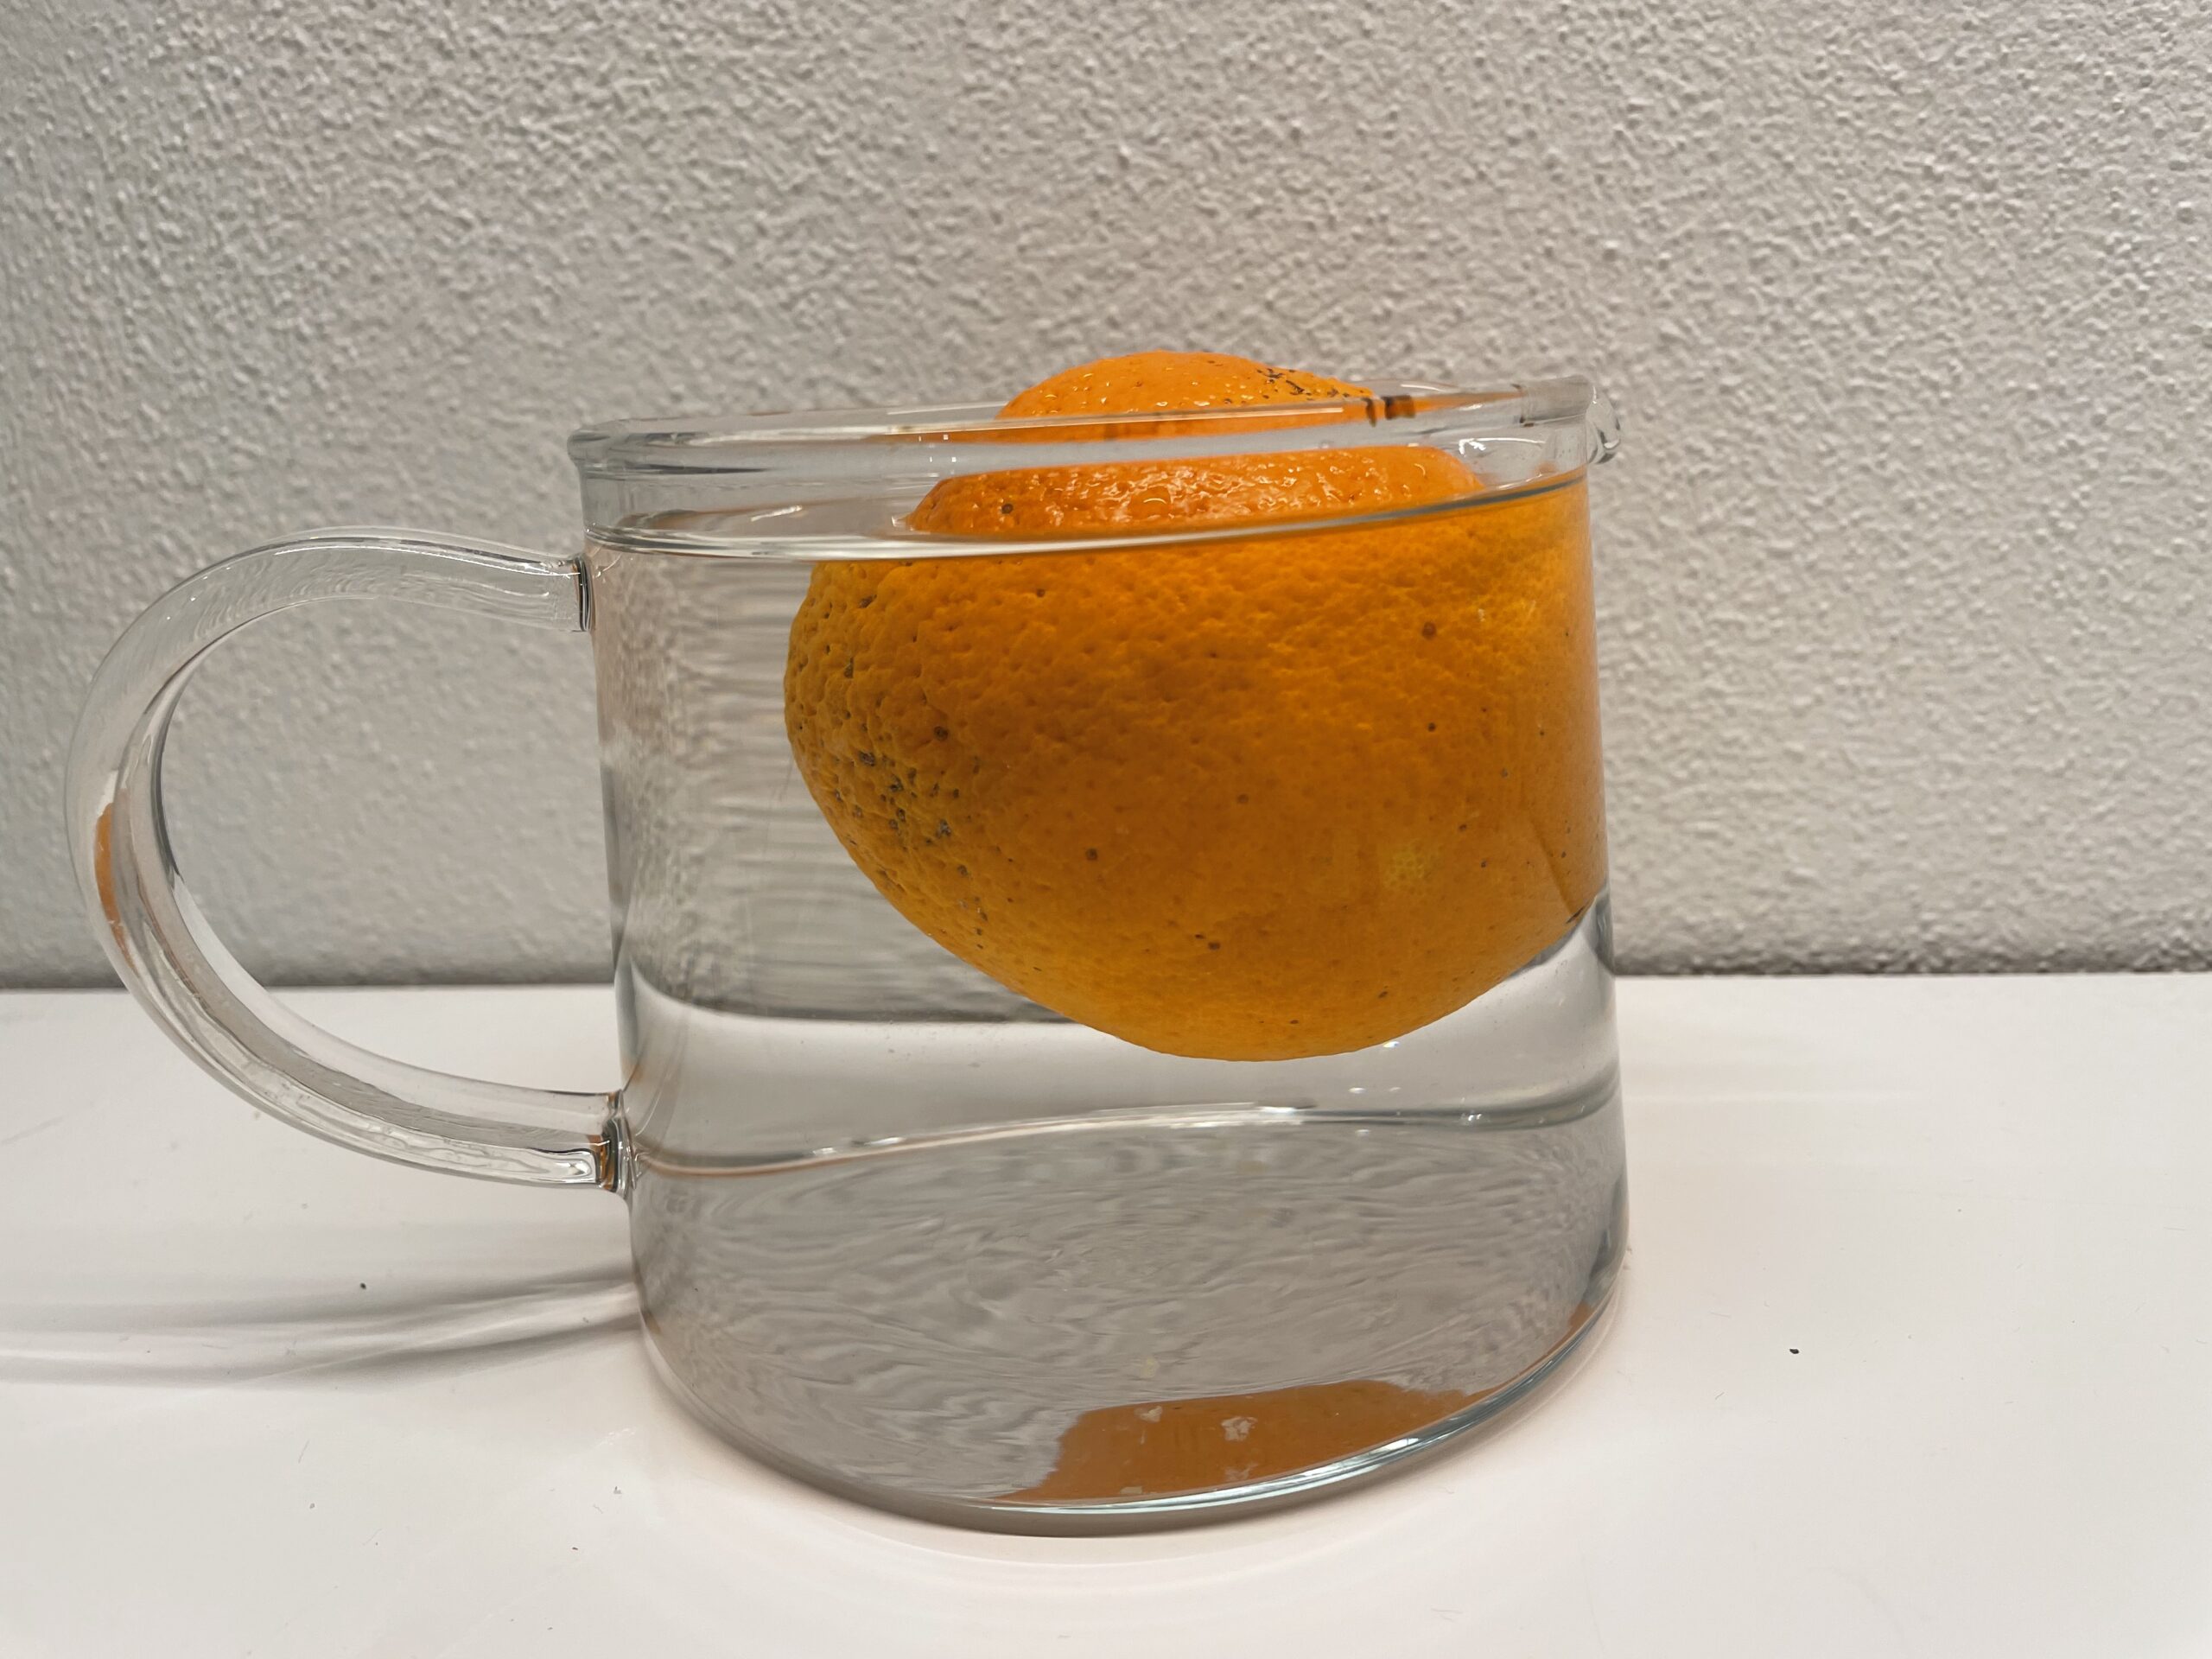
Watch what happens and let the children describe what they see.
The orange swims in the water. Take it out again and put it on the plate.


Now you slowly put the peeled orange in the water.


Watch what happens.
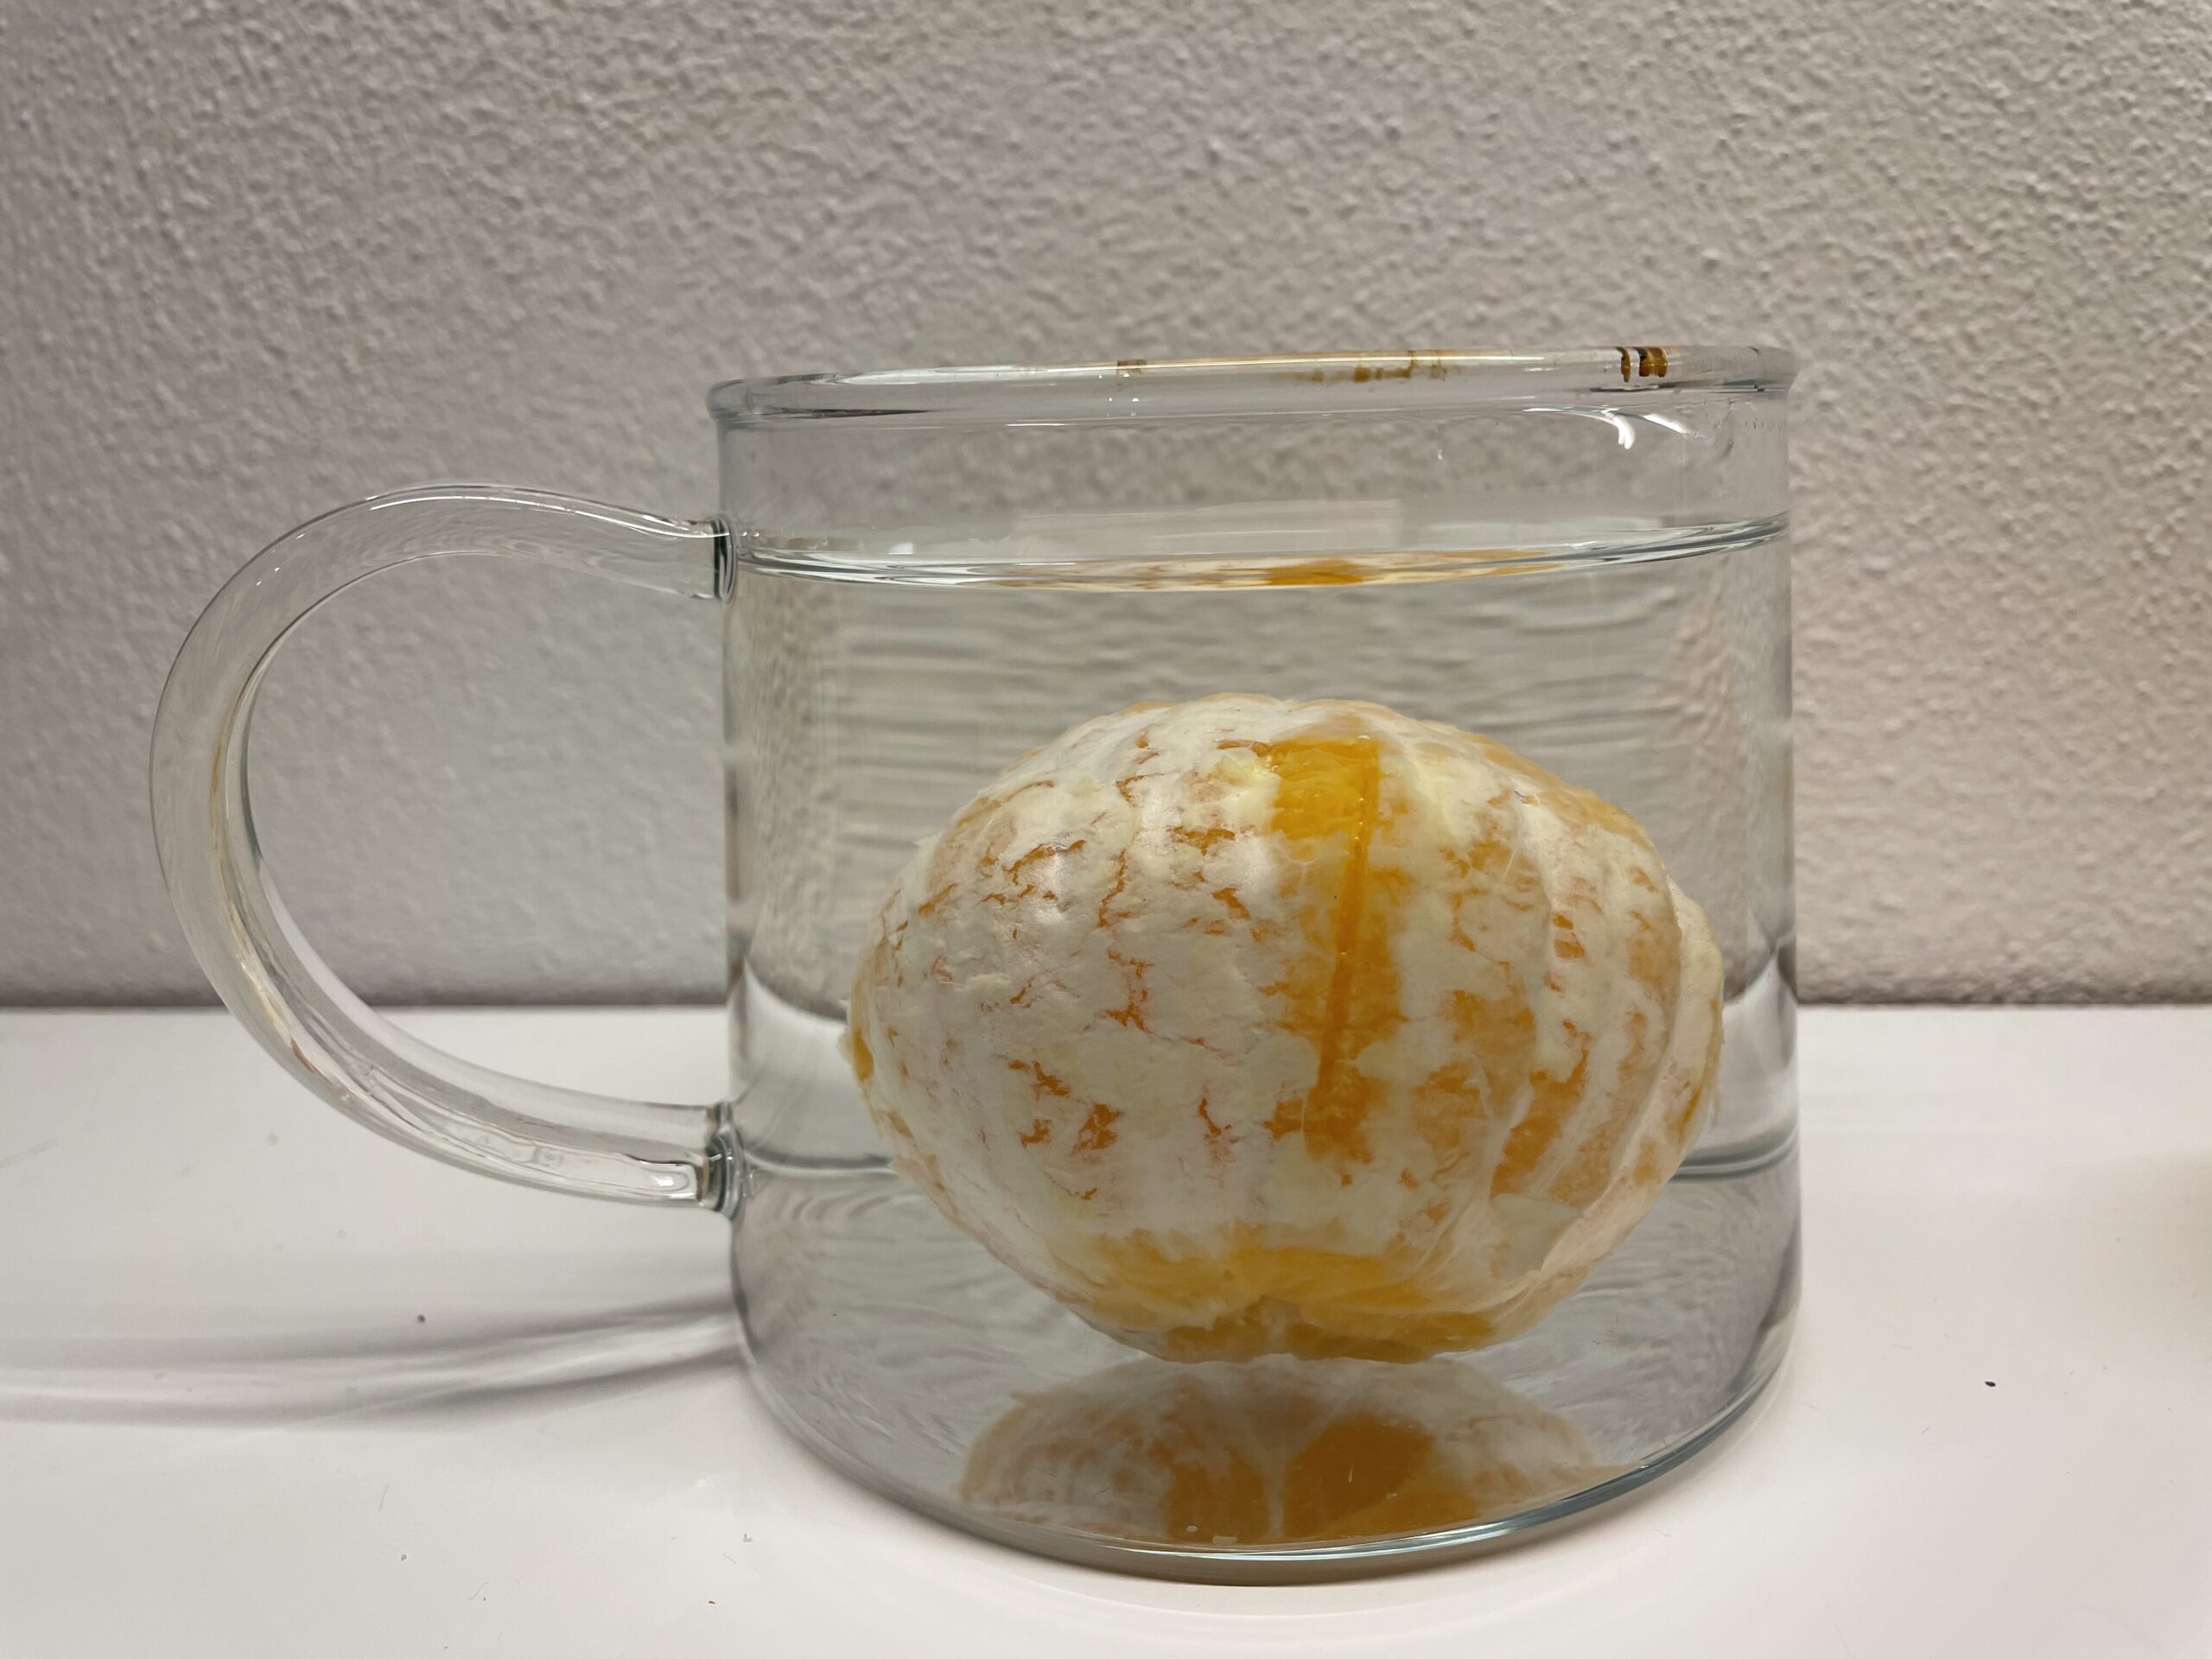


The peeled orange sinks to the ground and stays there.


Why is that?
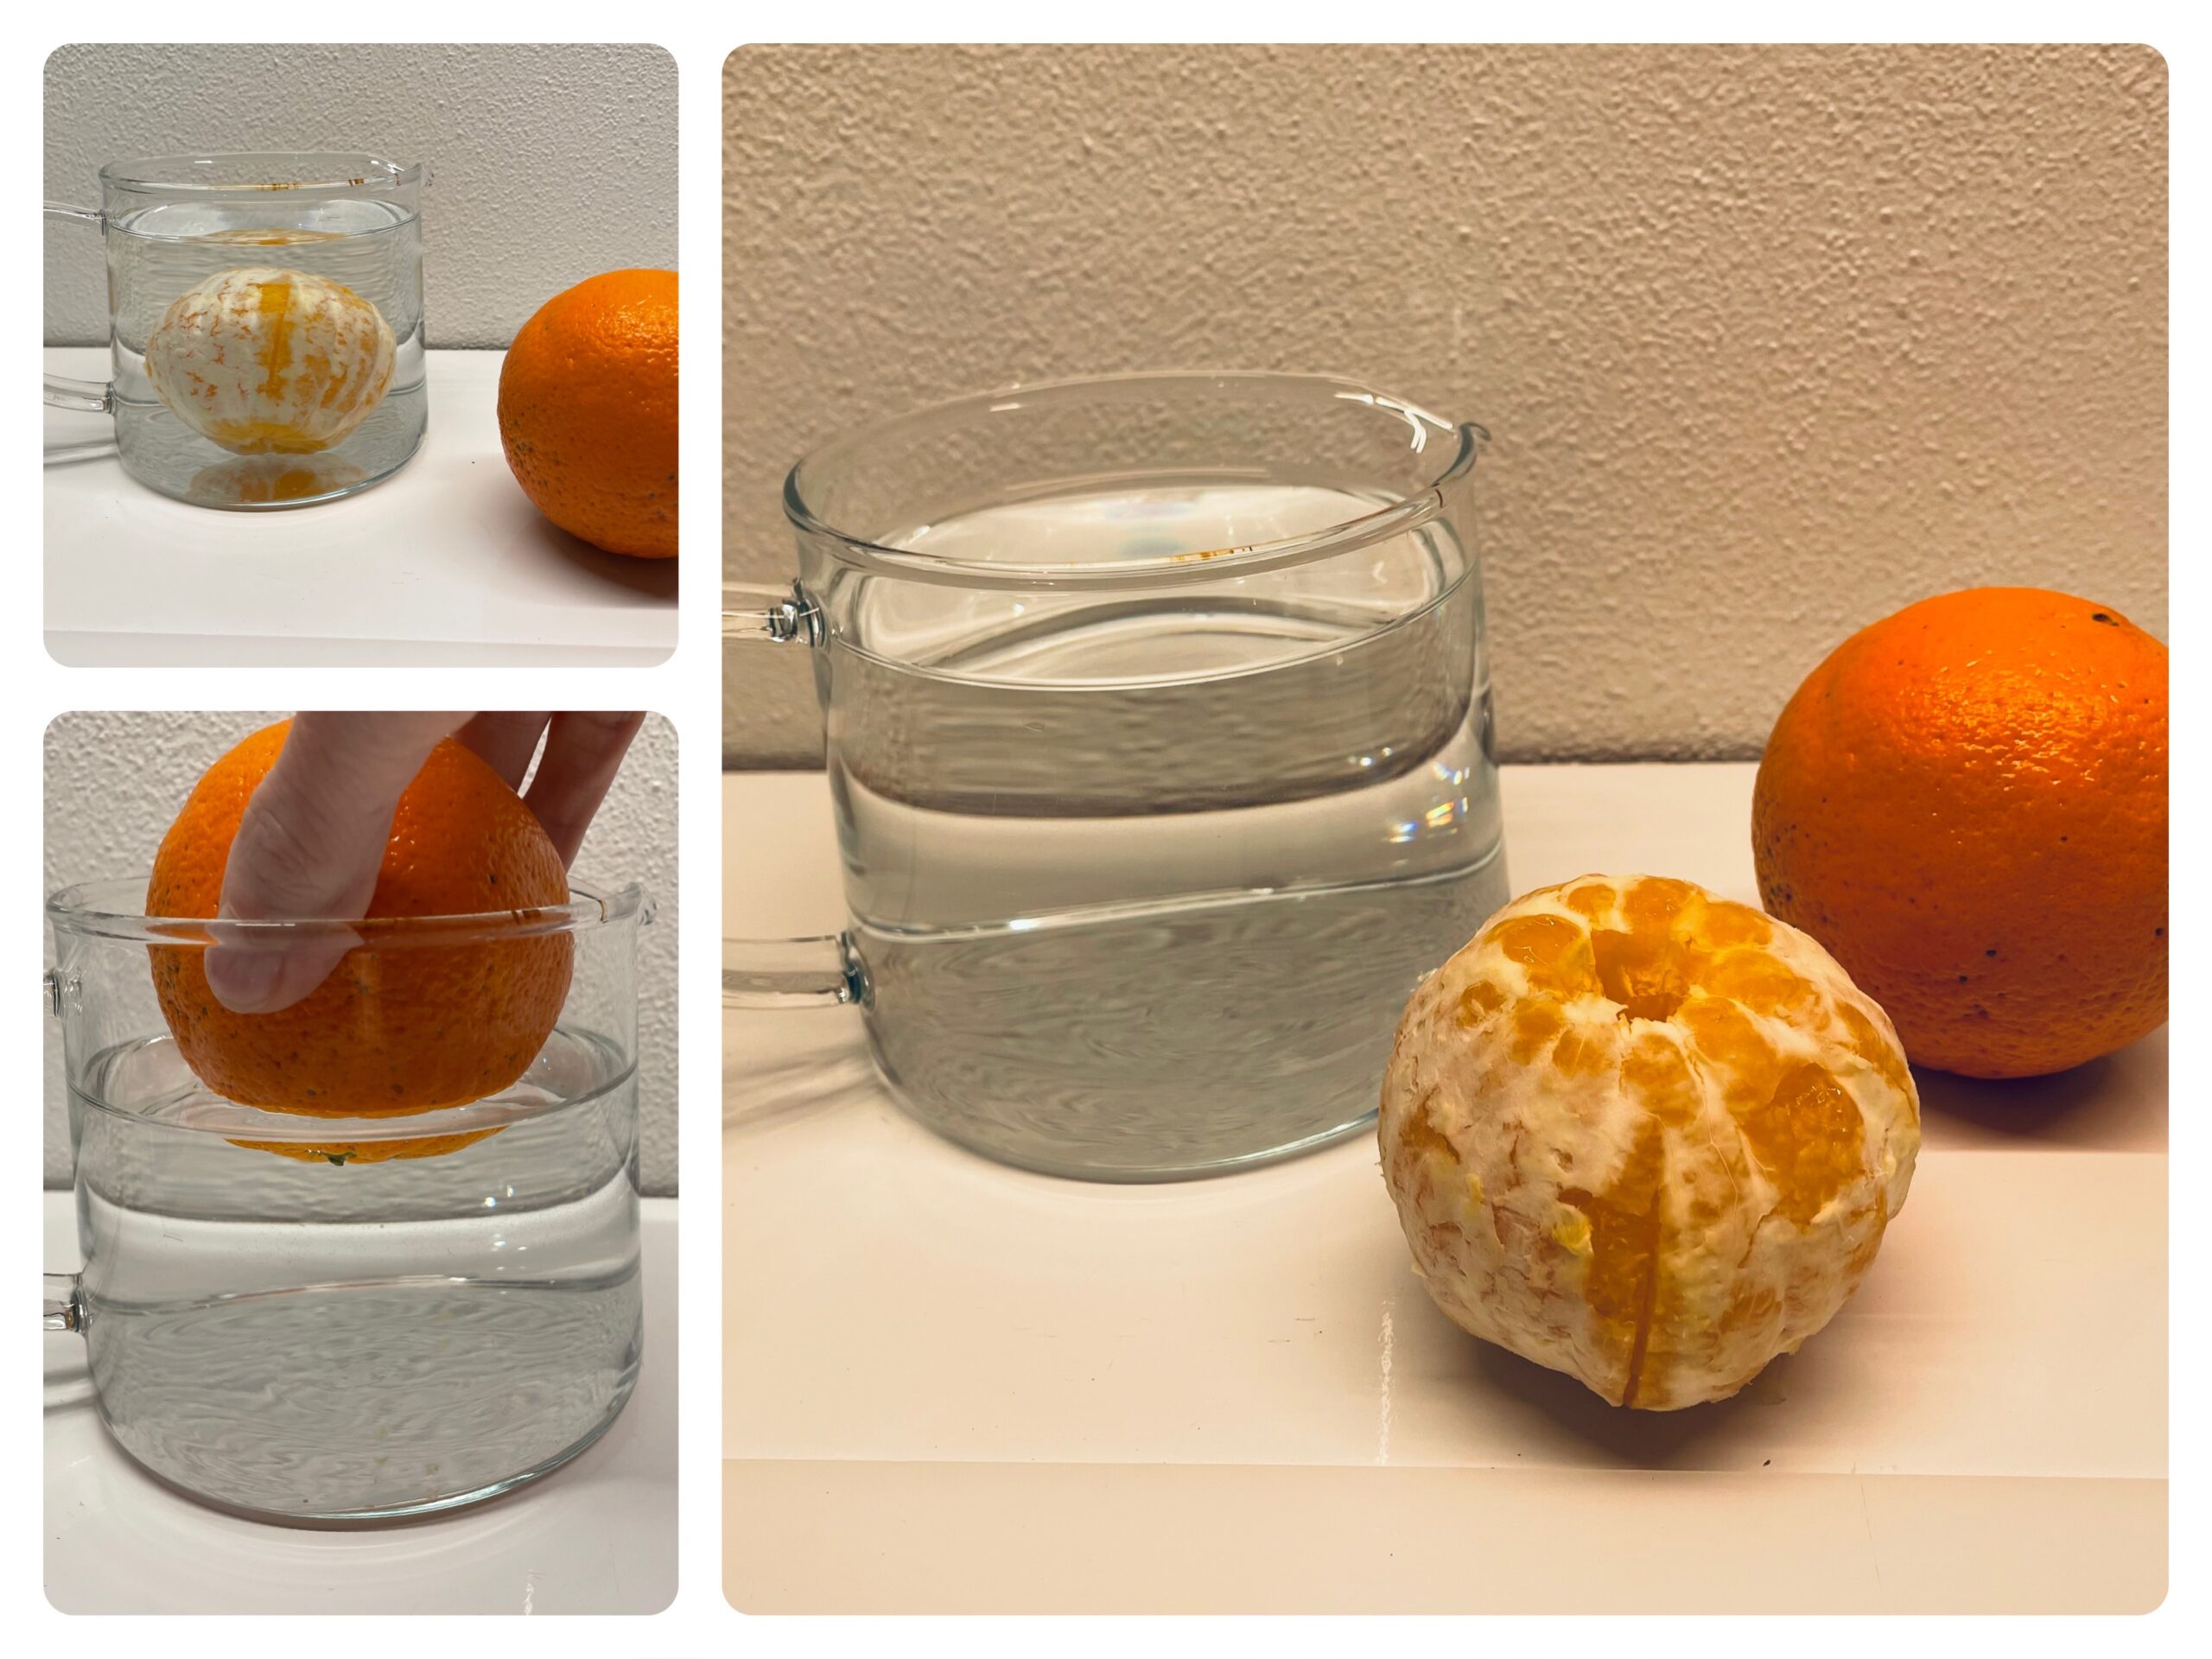


The orange with shell swims although it seems very heavy, because under the shell there are small (not visible for us) air bubbles. These ensure that the orange swims at the water surface.
The orange without shell sinks to the ground, because the air bubbles are no longer present by peeling. On the other hand, the flesh contains a lot of liquid, but no room for enough air bubbles, which the orange could carry to the water surface.
Tip: Try it out with lemons!


Stay curious and have fun experimenting!
Materials
Directions
Prepare a transparent vessel and fill it with water. Make sure that your water jug is so large that it does not overflow with the orange. Use two oranges or one that you first put with and then without a bowl in the water jug.


Now you slowly put the orange in the water.


Watch what happens and let the children describe what they see.
The orange swims in the water. Take it out again and put it on the plate.


Now you slowly put the peeled orange in the water.


Watch what happens.


The peeled orange sinks to the ground and stays there.


Why is that?


The orange with shell swims although it seems very heavy, because under the shell there are small (not visible for us) air bubbles. These ensure that the orange swims at the water surface.
The orange without shell sinks to the ground, because the air bubbles are no longer present by peeling. On the other hand, the flesh contains a lot of liquid, but no room for enough air bubbles, which the orange could carry to the water surface.
Tip: Try it out with lemons!


Stay curious and have fun experimenting!
Follow us on Facebook , Instagram and Pinterest
Don't miss any more adventures: Our bottle mail


