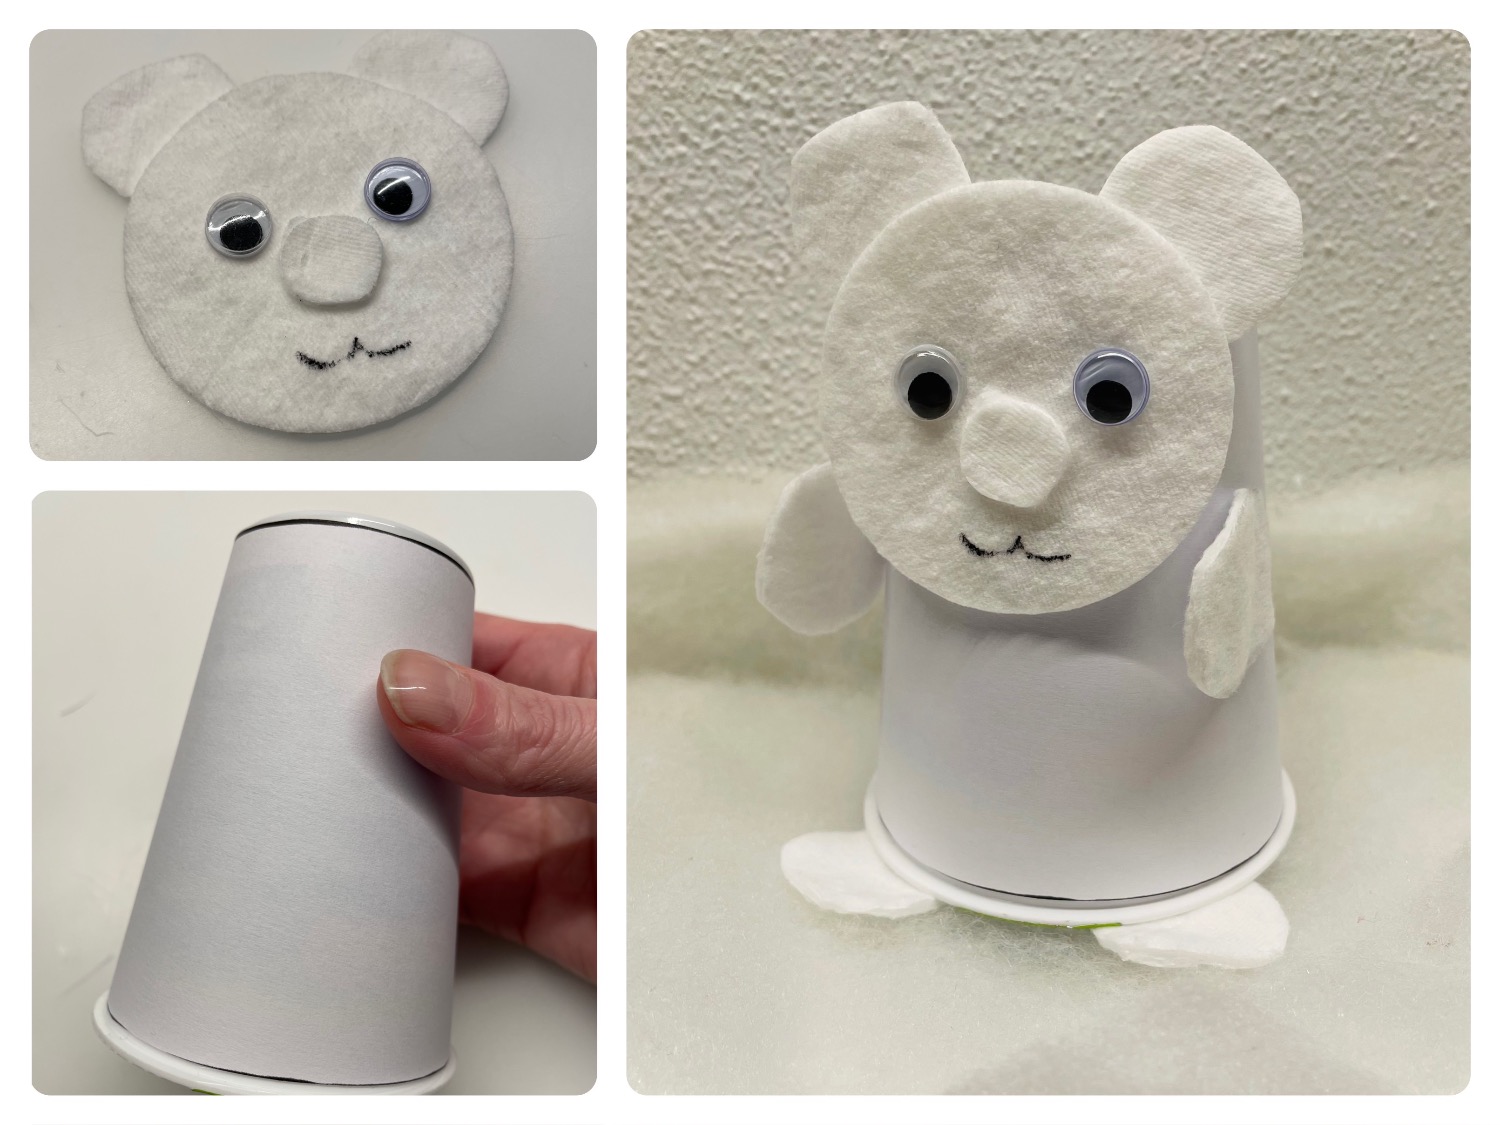
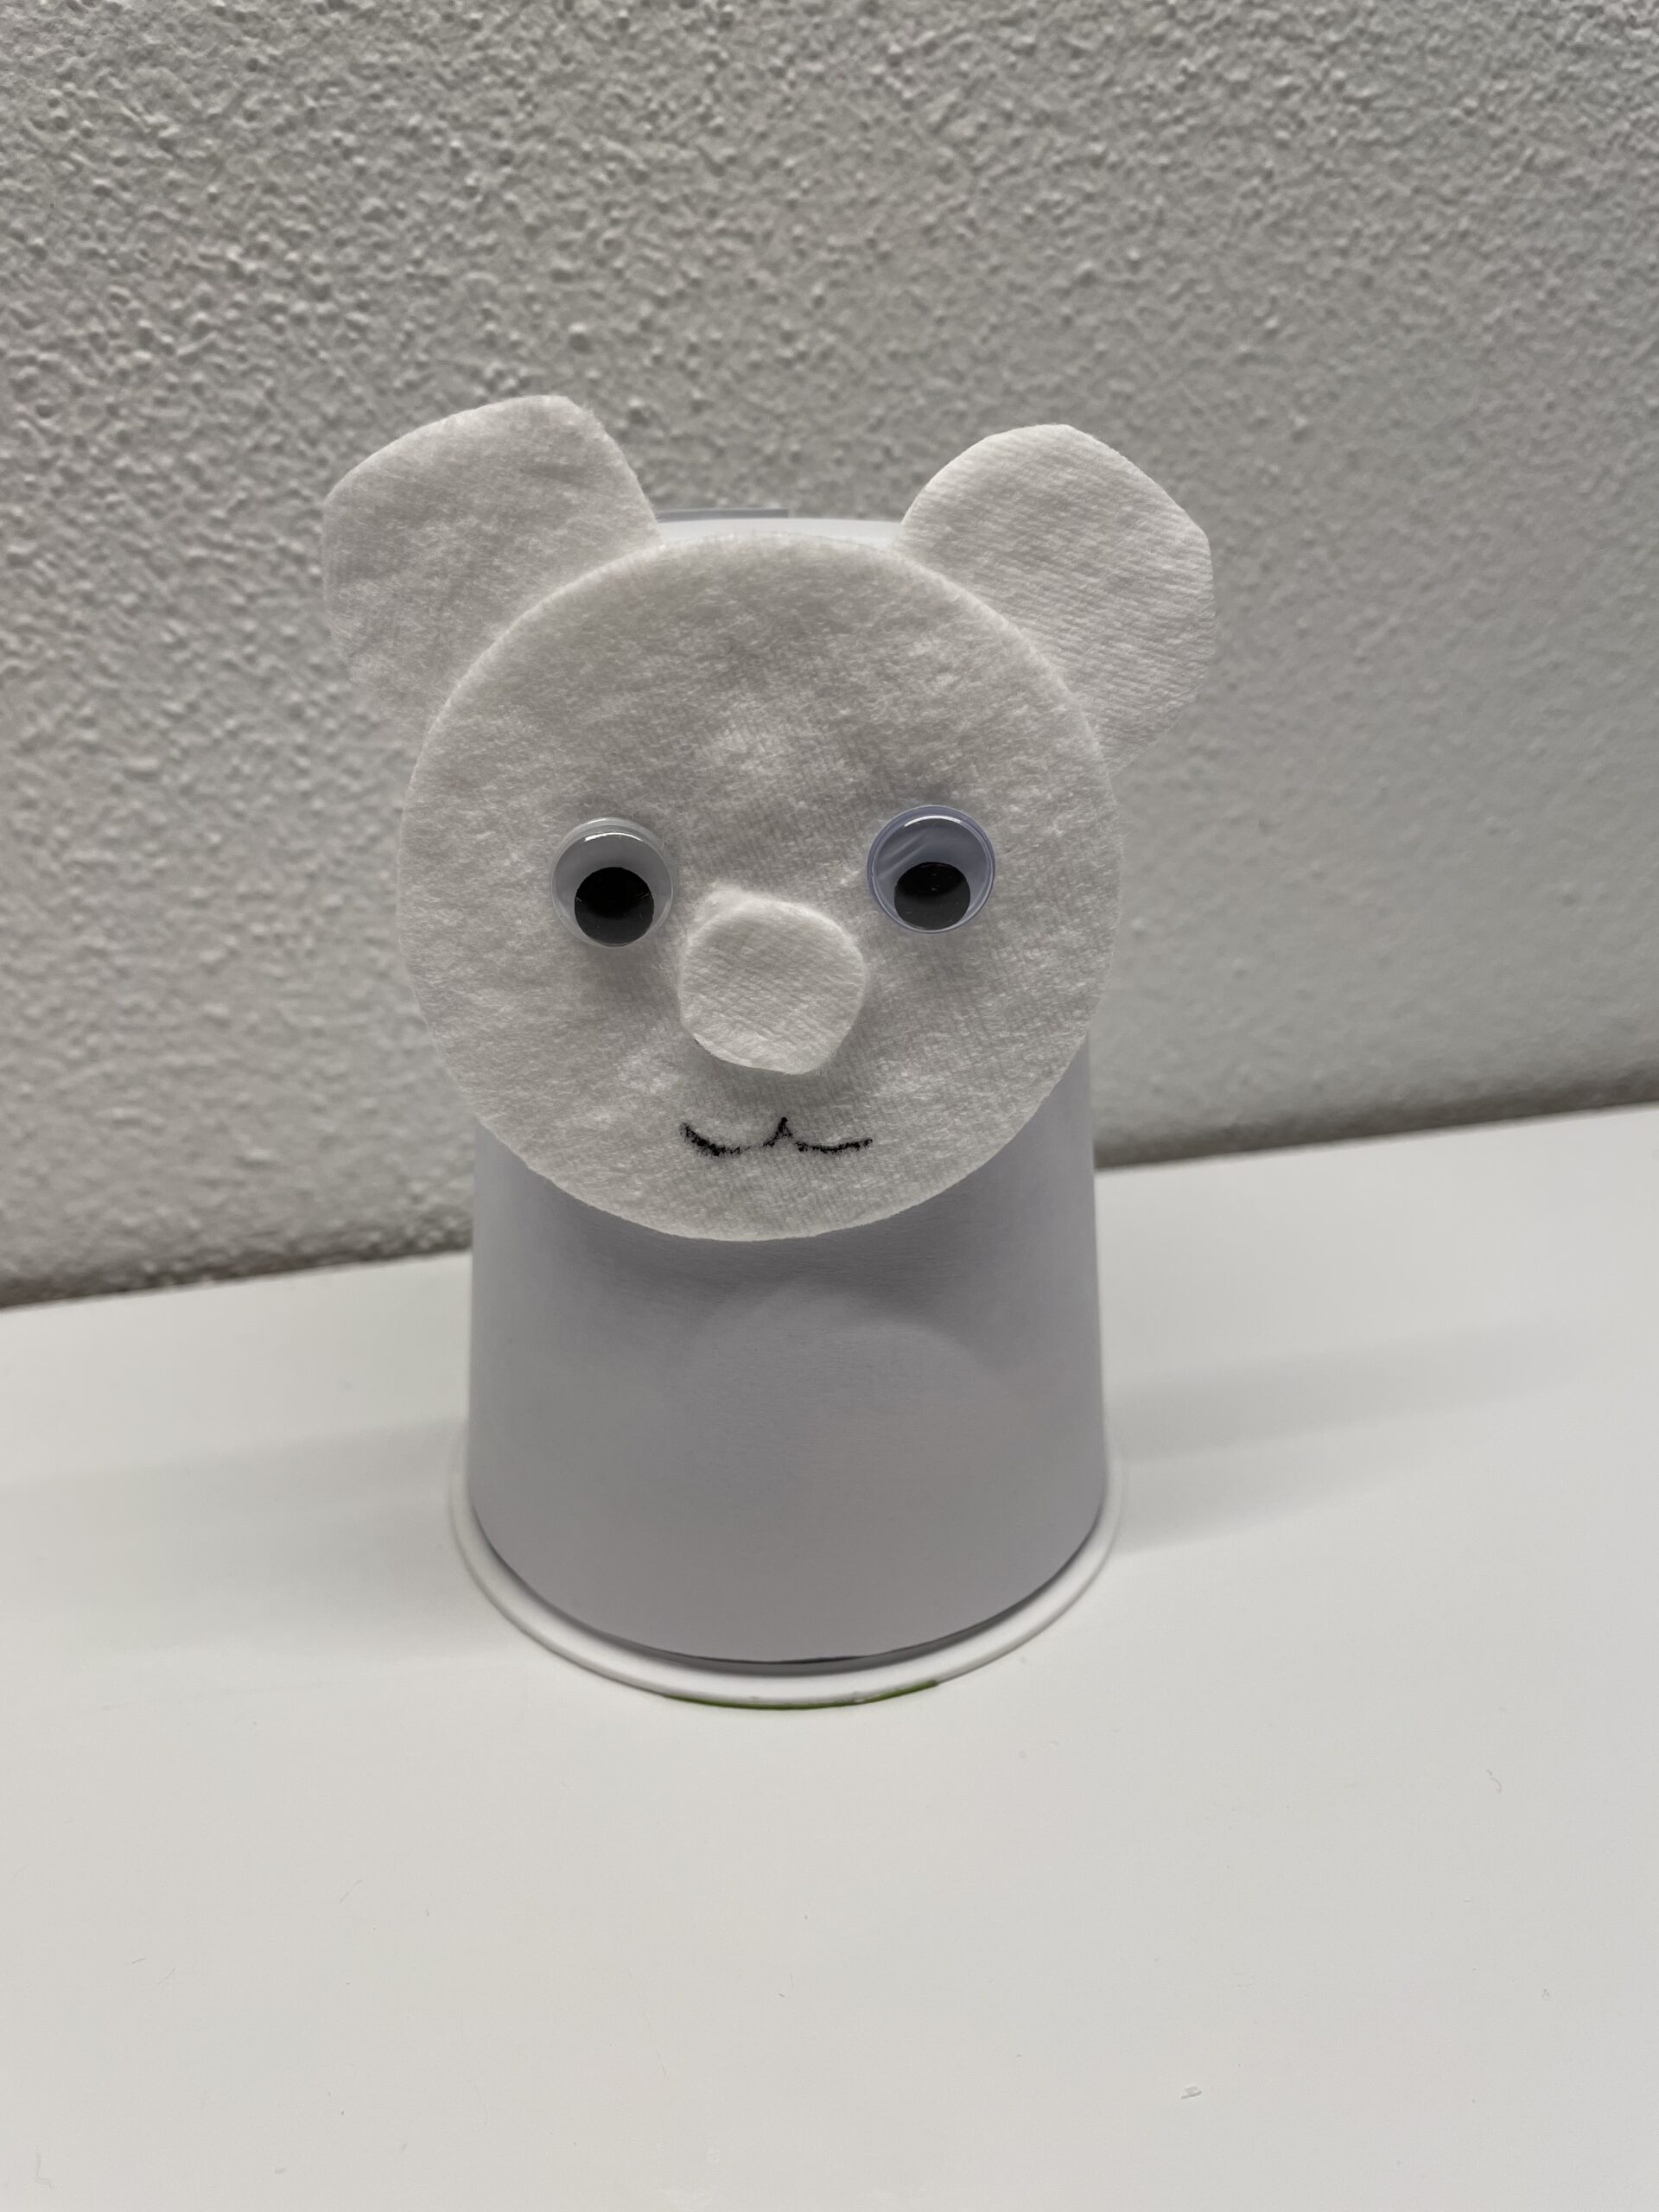
This little polar bear is crafted from an empty cream cup and the head and feet of the polar bear are made from cotton wool pads. As the small polar bear emerges step by step, you can see in the instructions.
Maybe you're making a polar bear family? Have fun doing crafts and playing!
Media Education for Kindergarten and Hort

Relief in everyday life, targeted promotion of individual children, independent learning and - without any pre-knowledge already usable by the youngest!
The template is suitable for a 200g cup to wrap it around.
Tip: Use a cup that is already white.
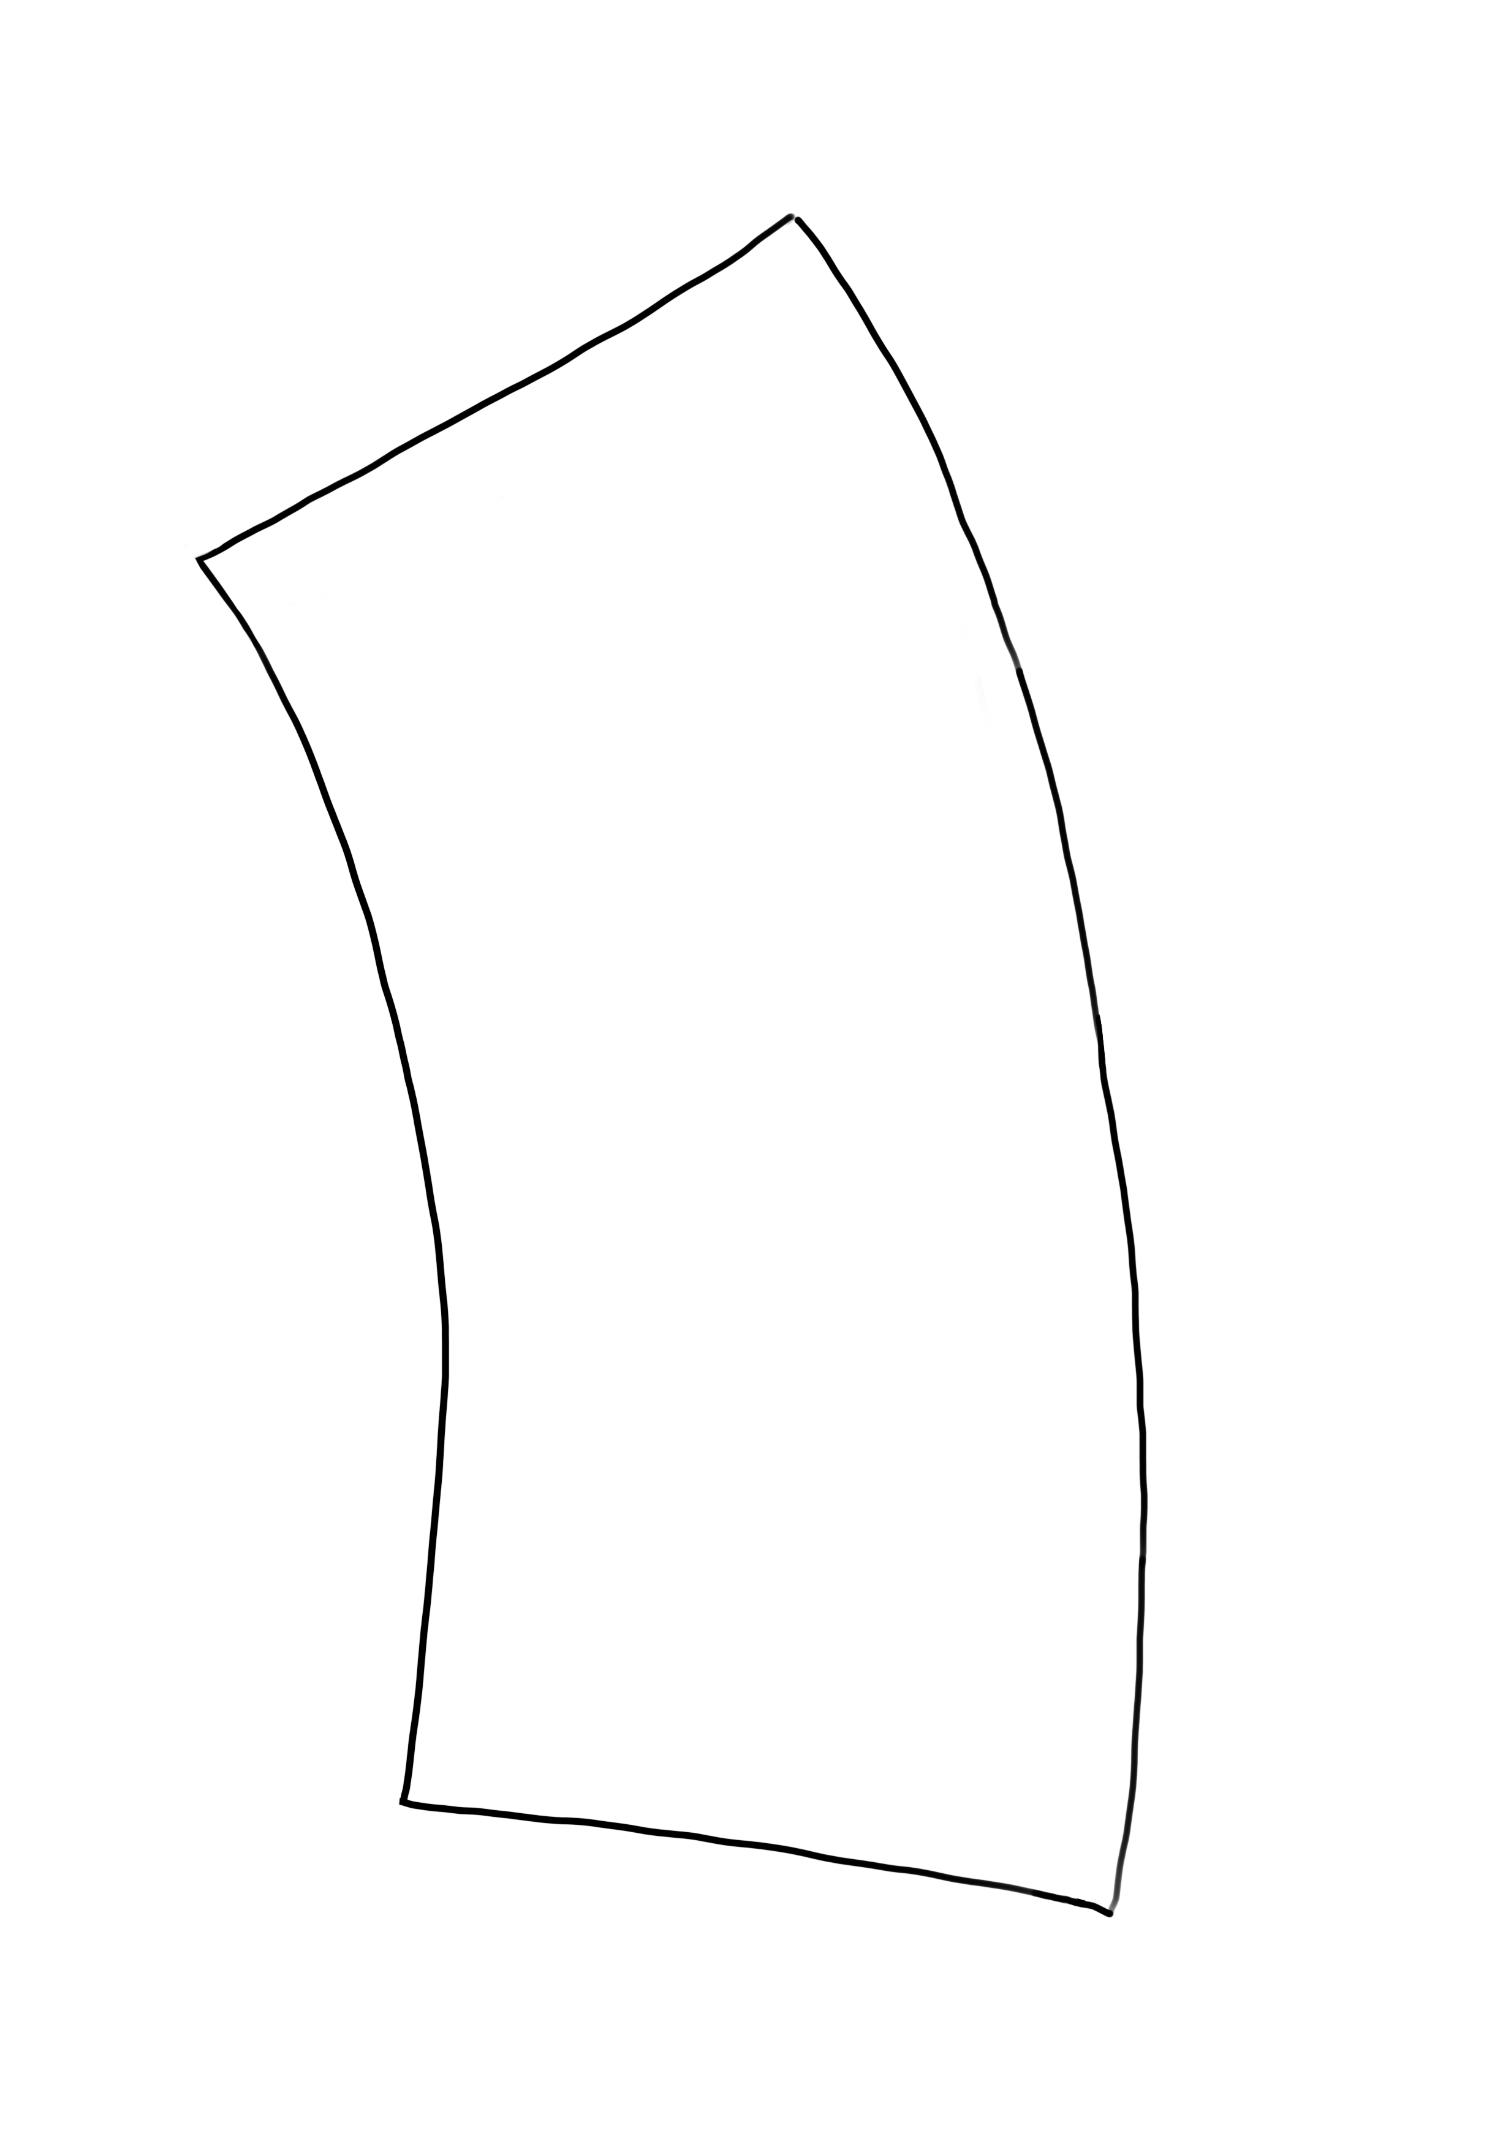
First lay out all the materials and put out the craft pad. Then you duck out the template, cut them out and stick them around the cup.
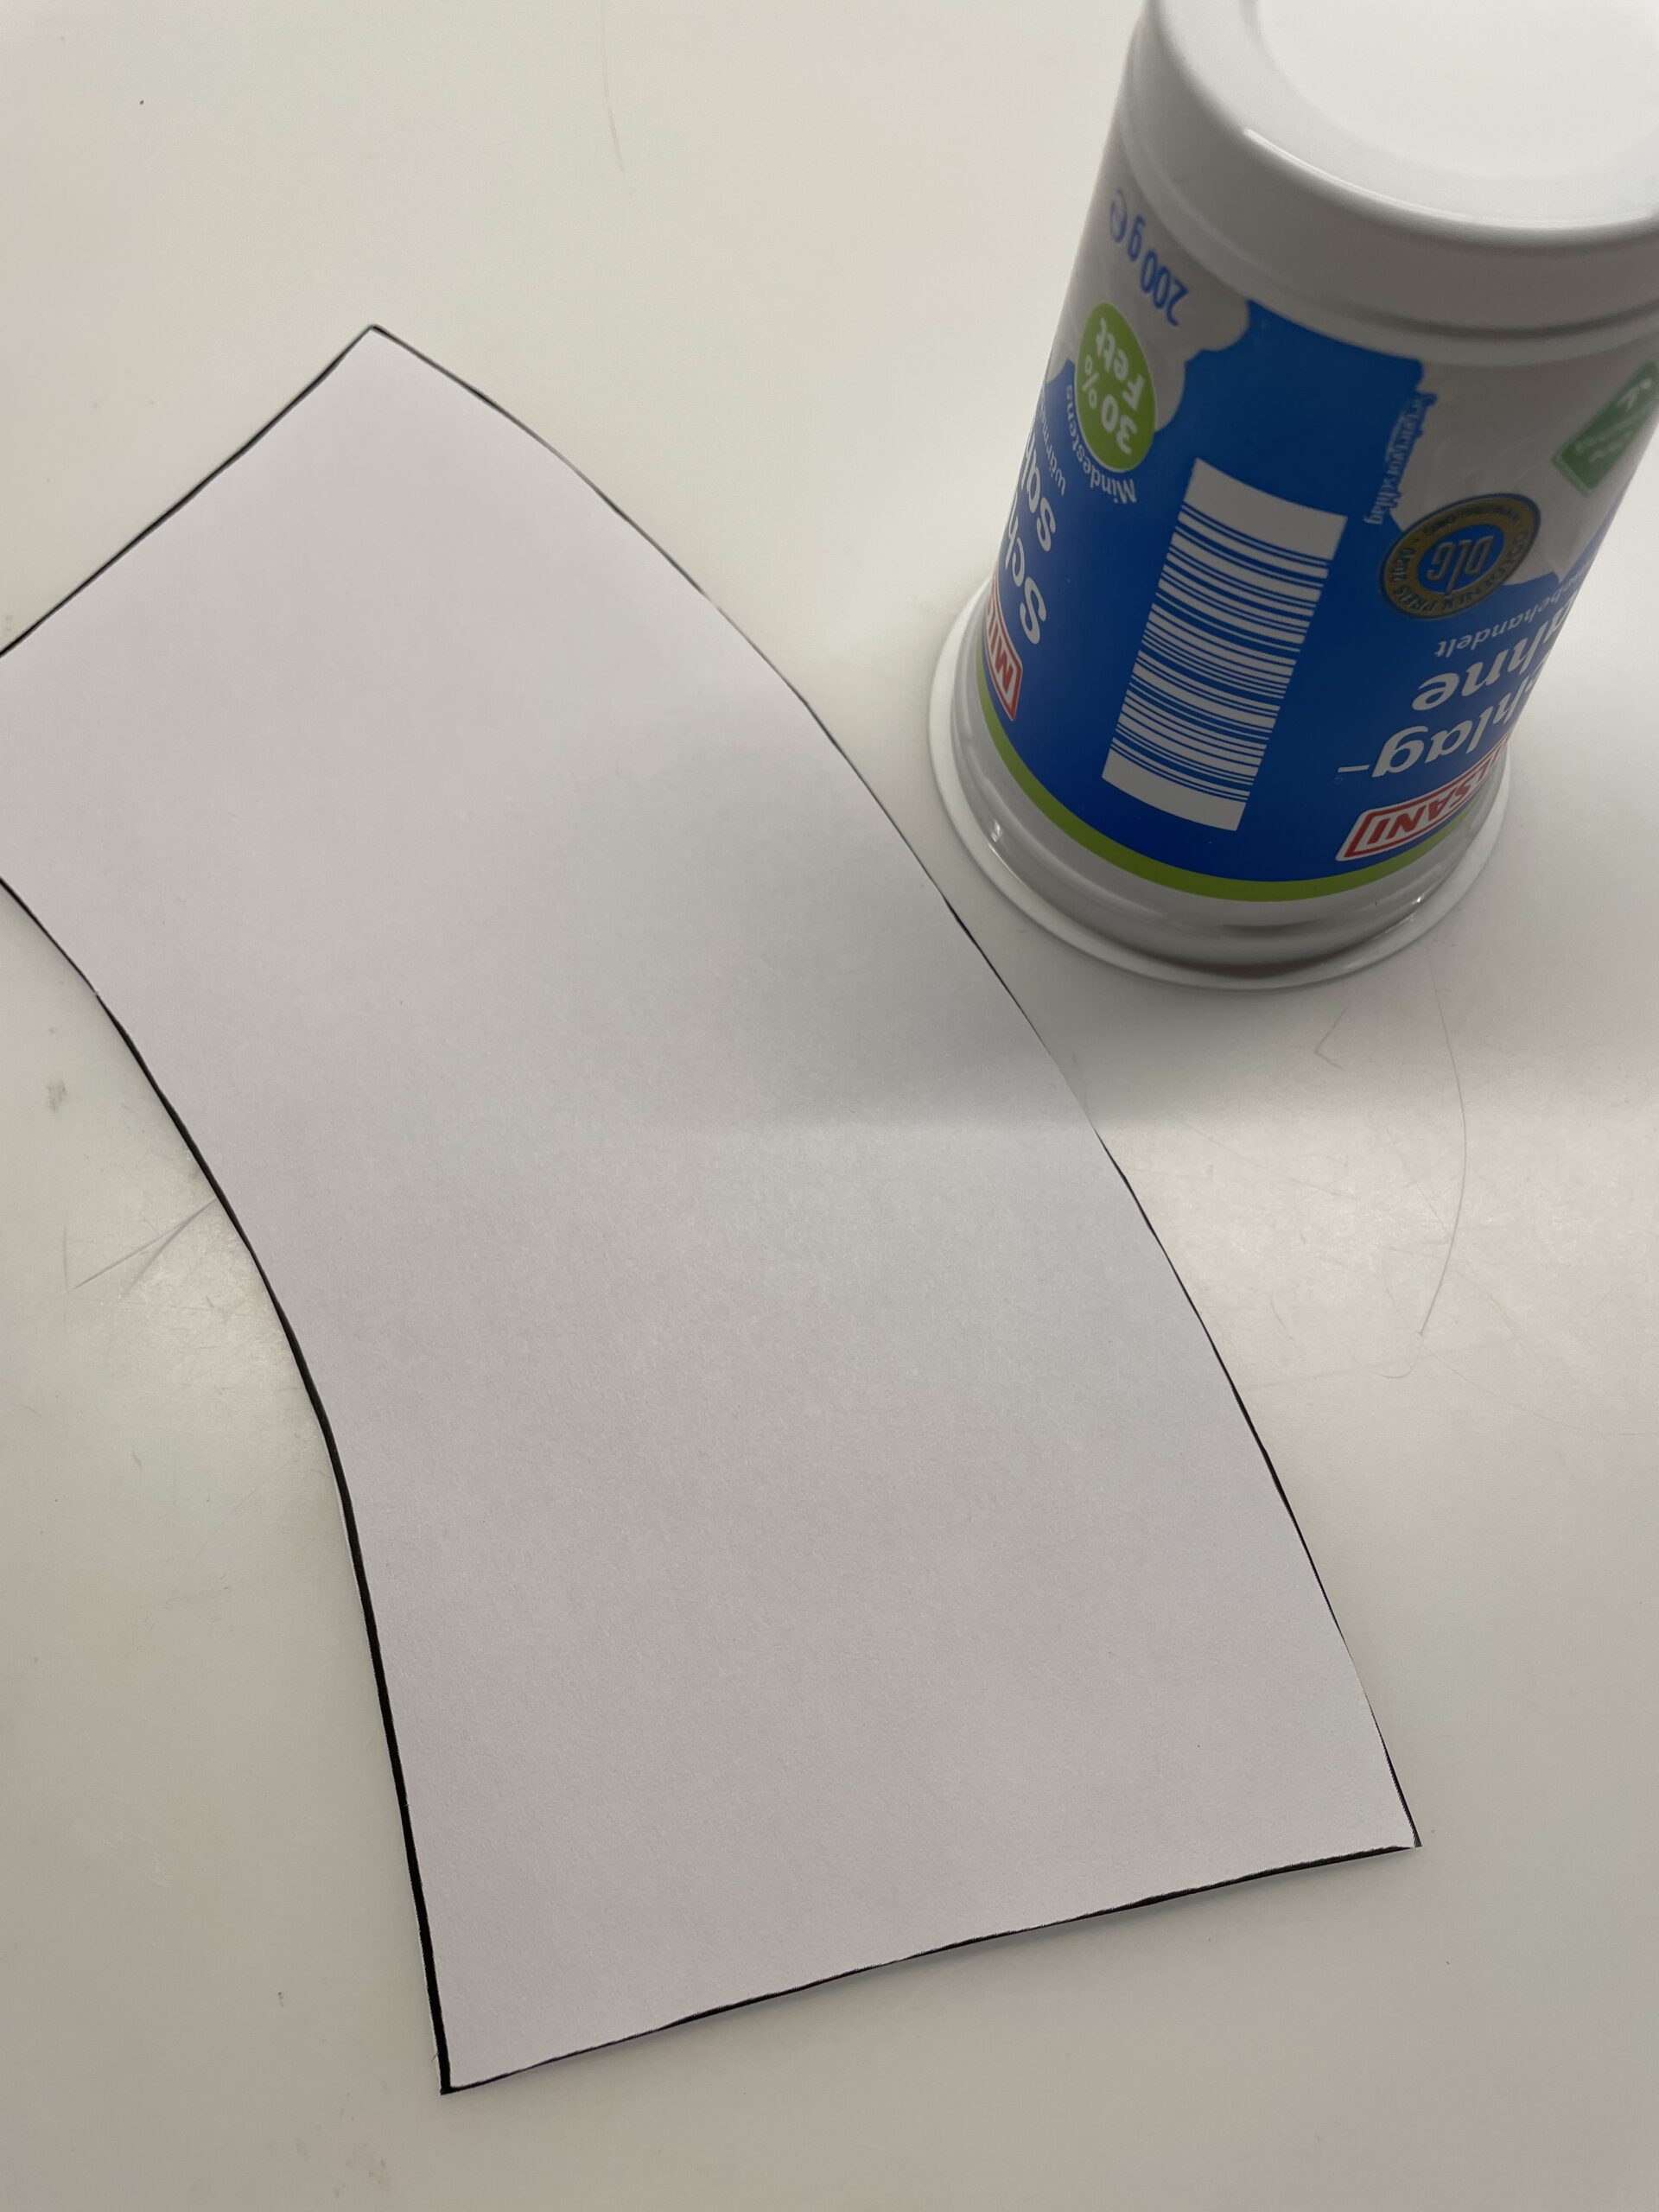


Attach the paper strip with a strip of glue to the cup. Then place the banderole around the cup smoothly.
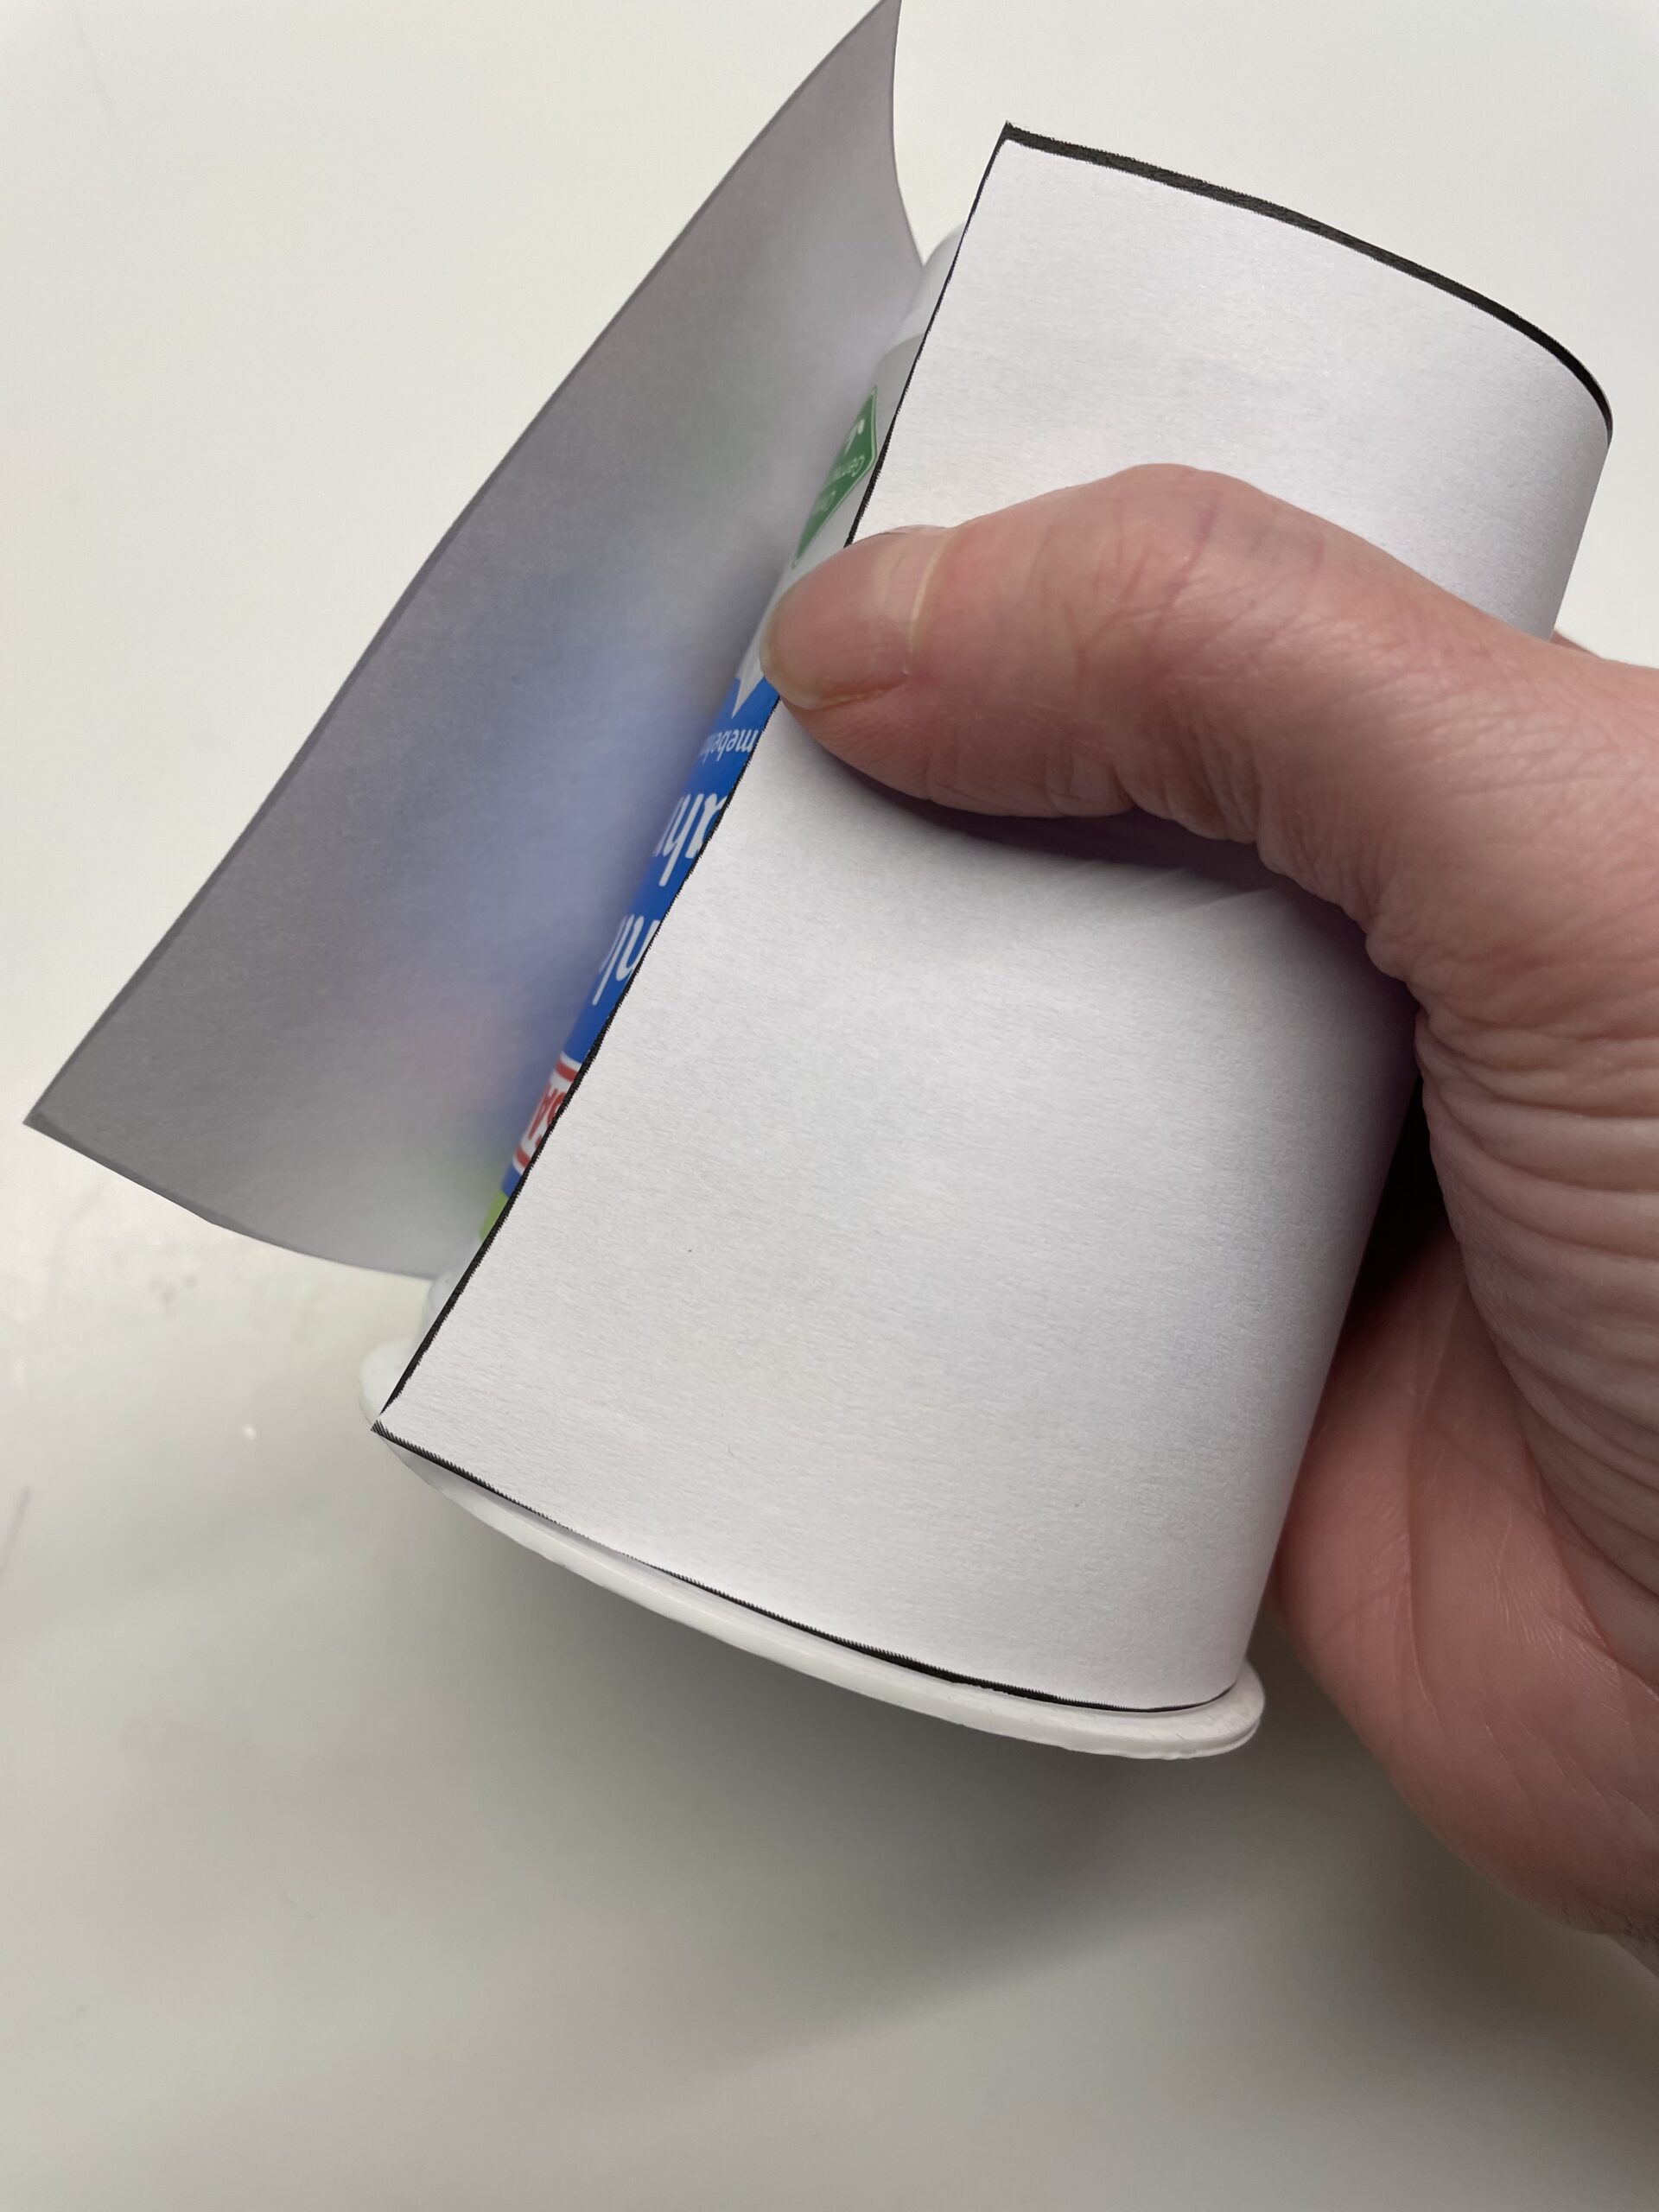


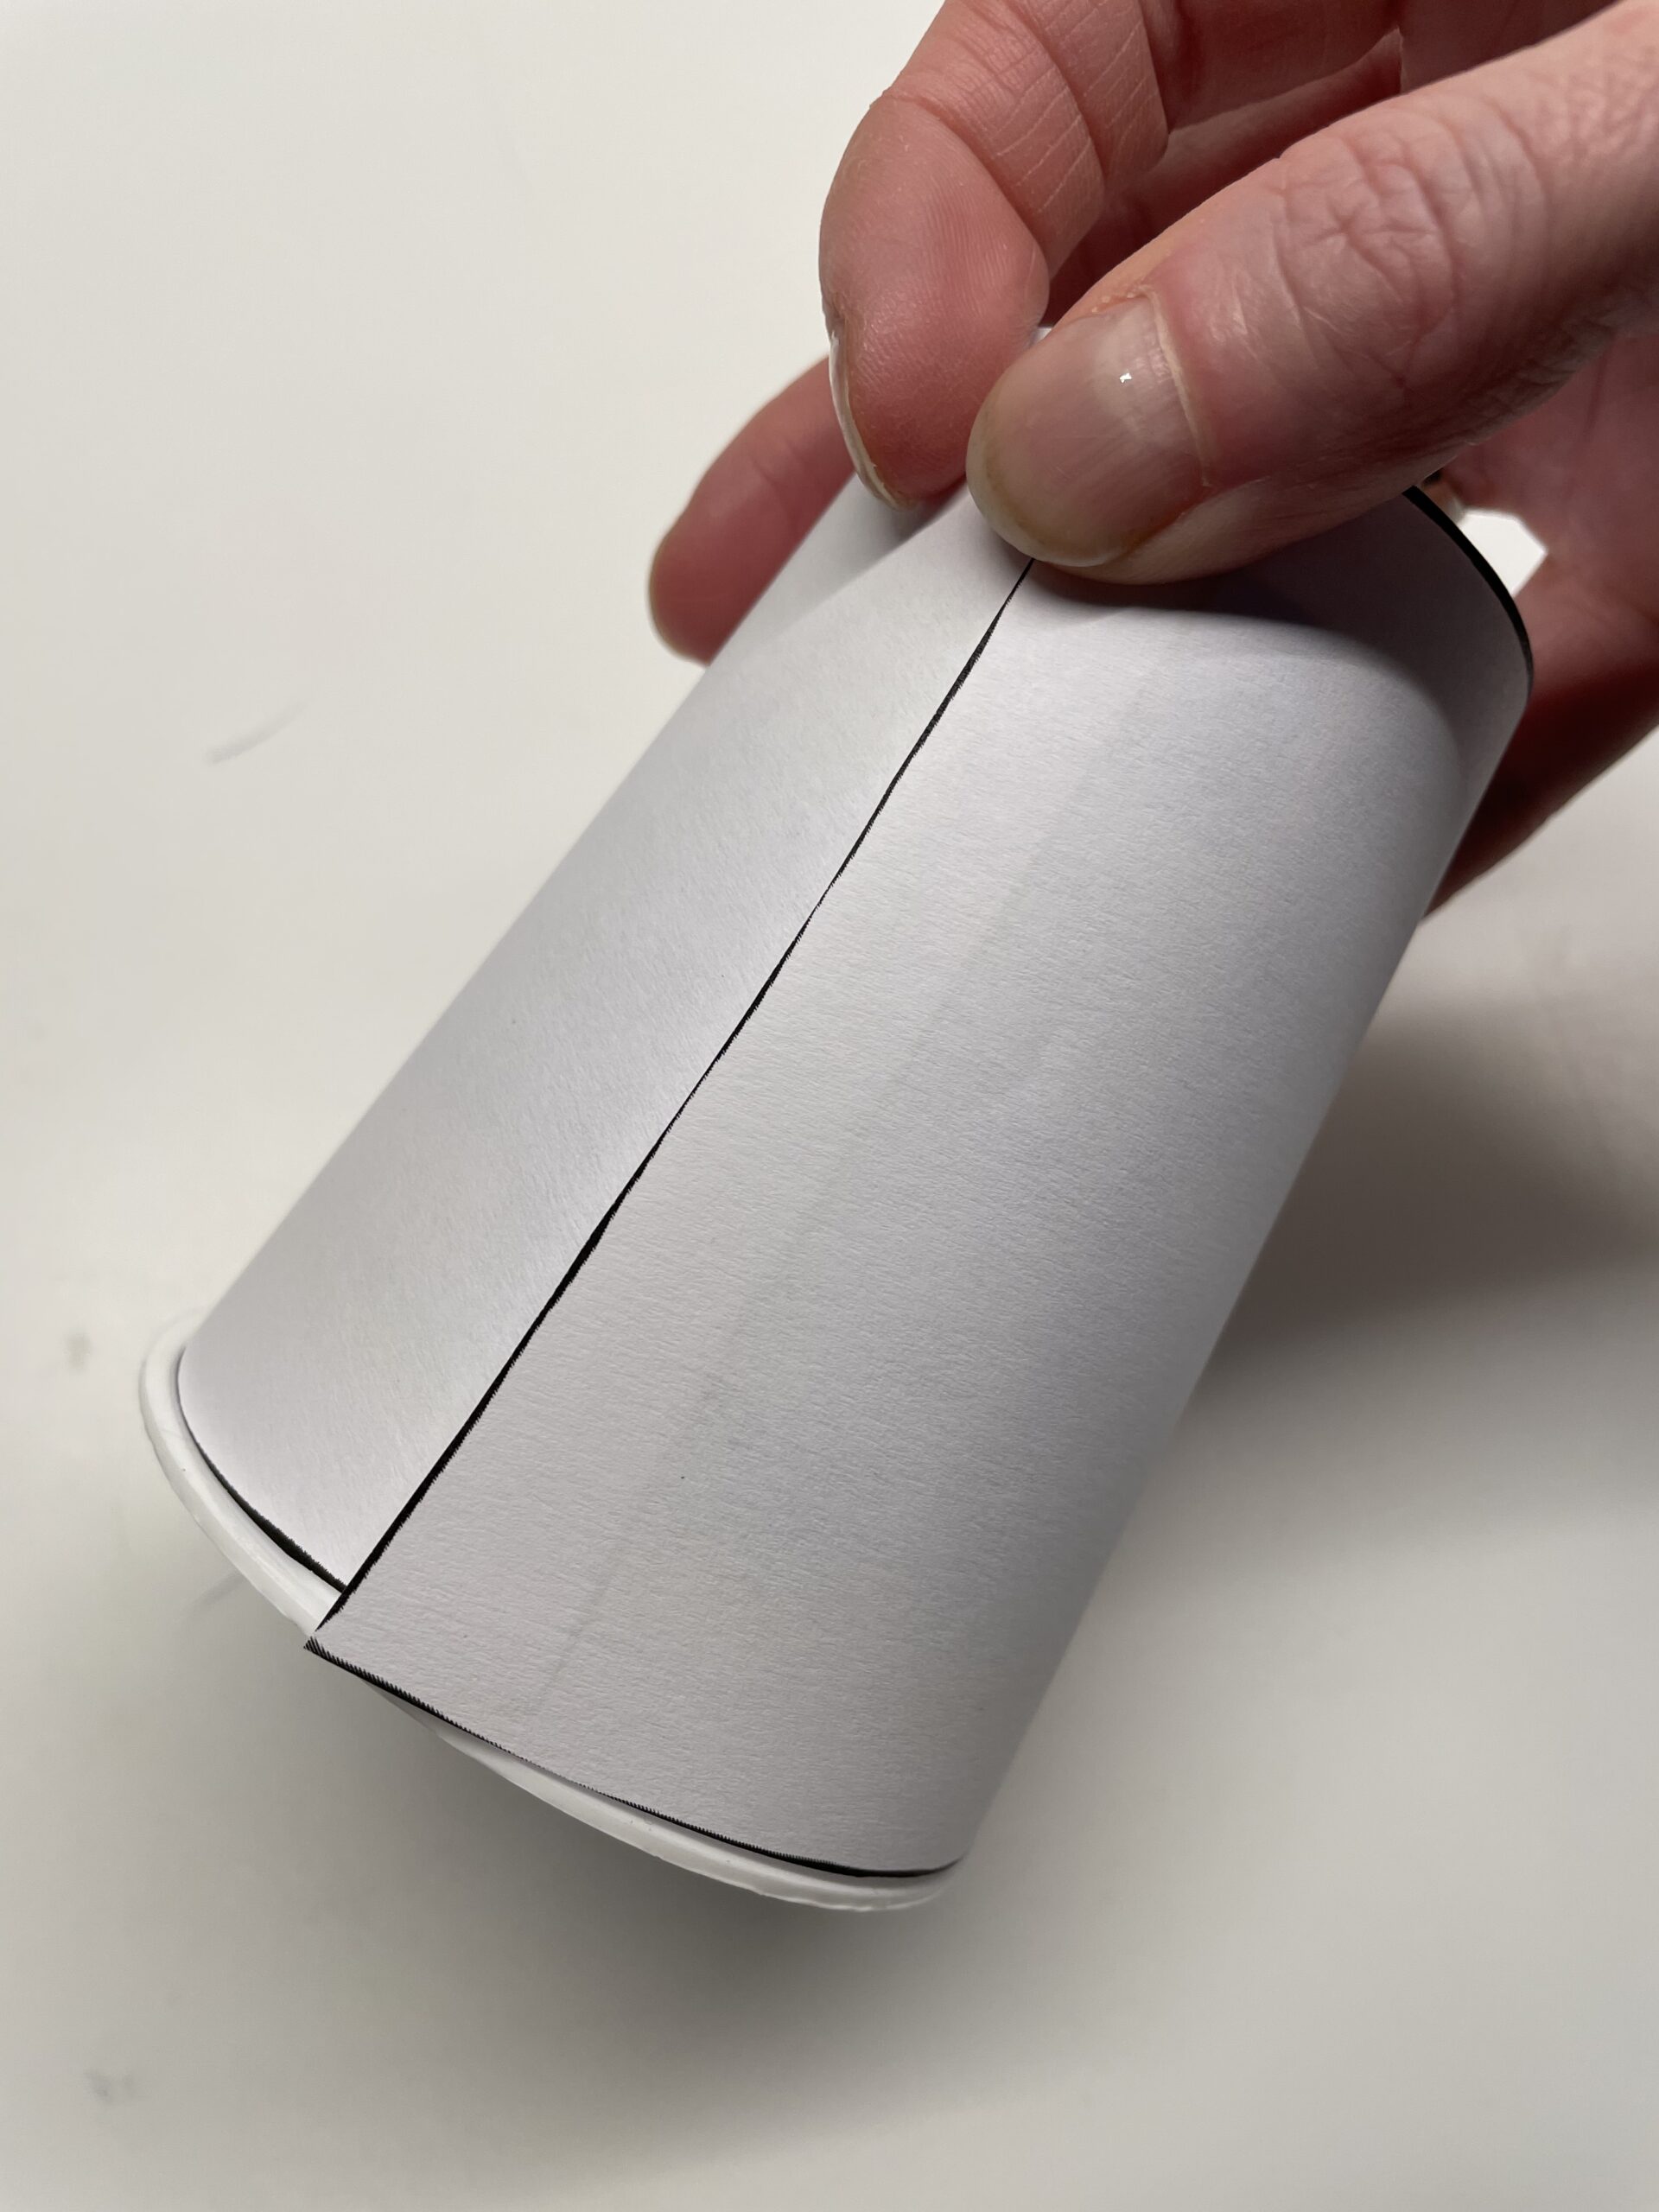
At the end of the paper strip you fix the paper with glue. Then put the cup with the opening down on the table.


For the head of the polar bear you need two cotton pads. A cotton pad becomes the head of the polar bear and from the second cotton pad cuts her ears.
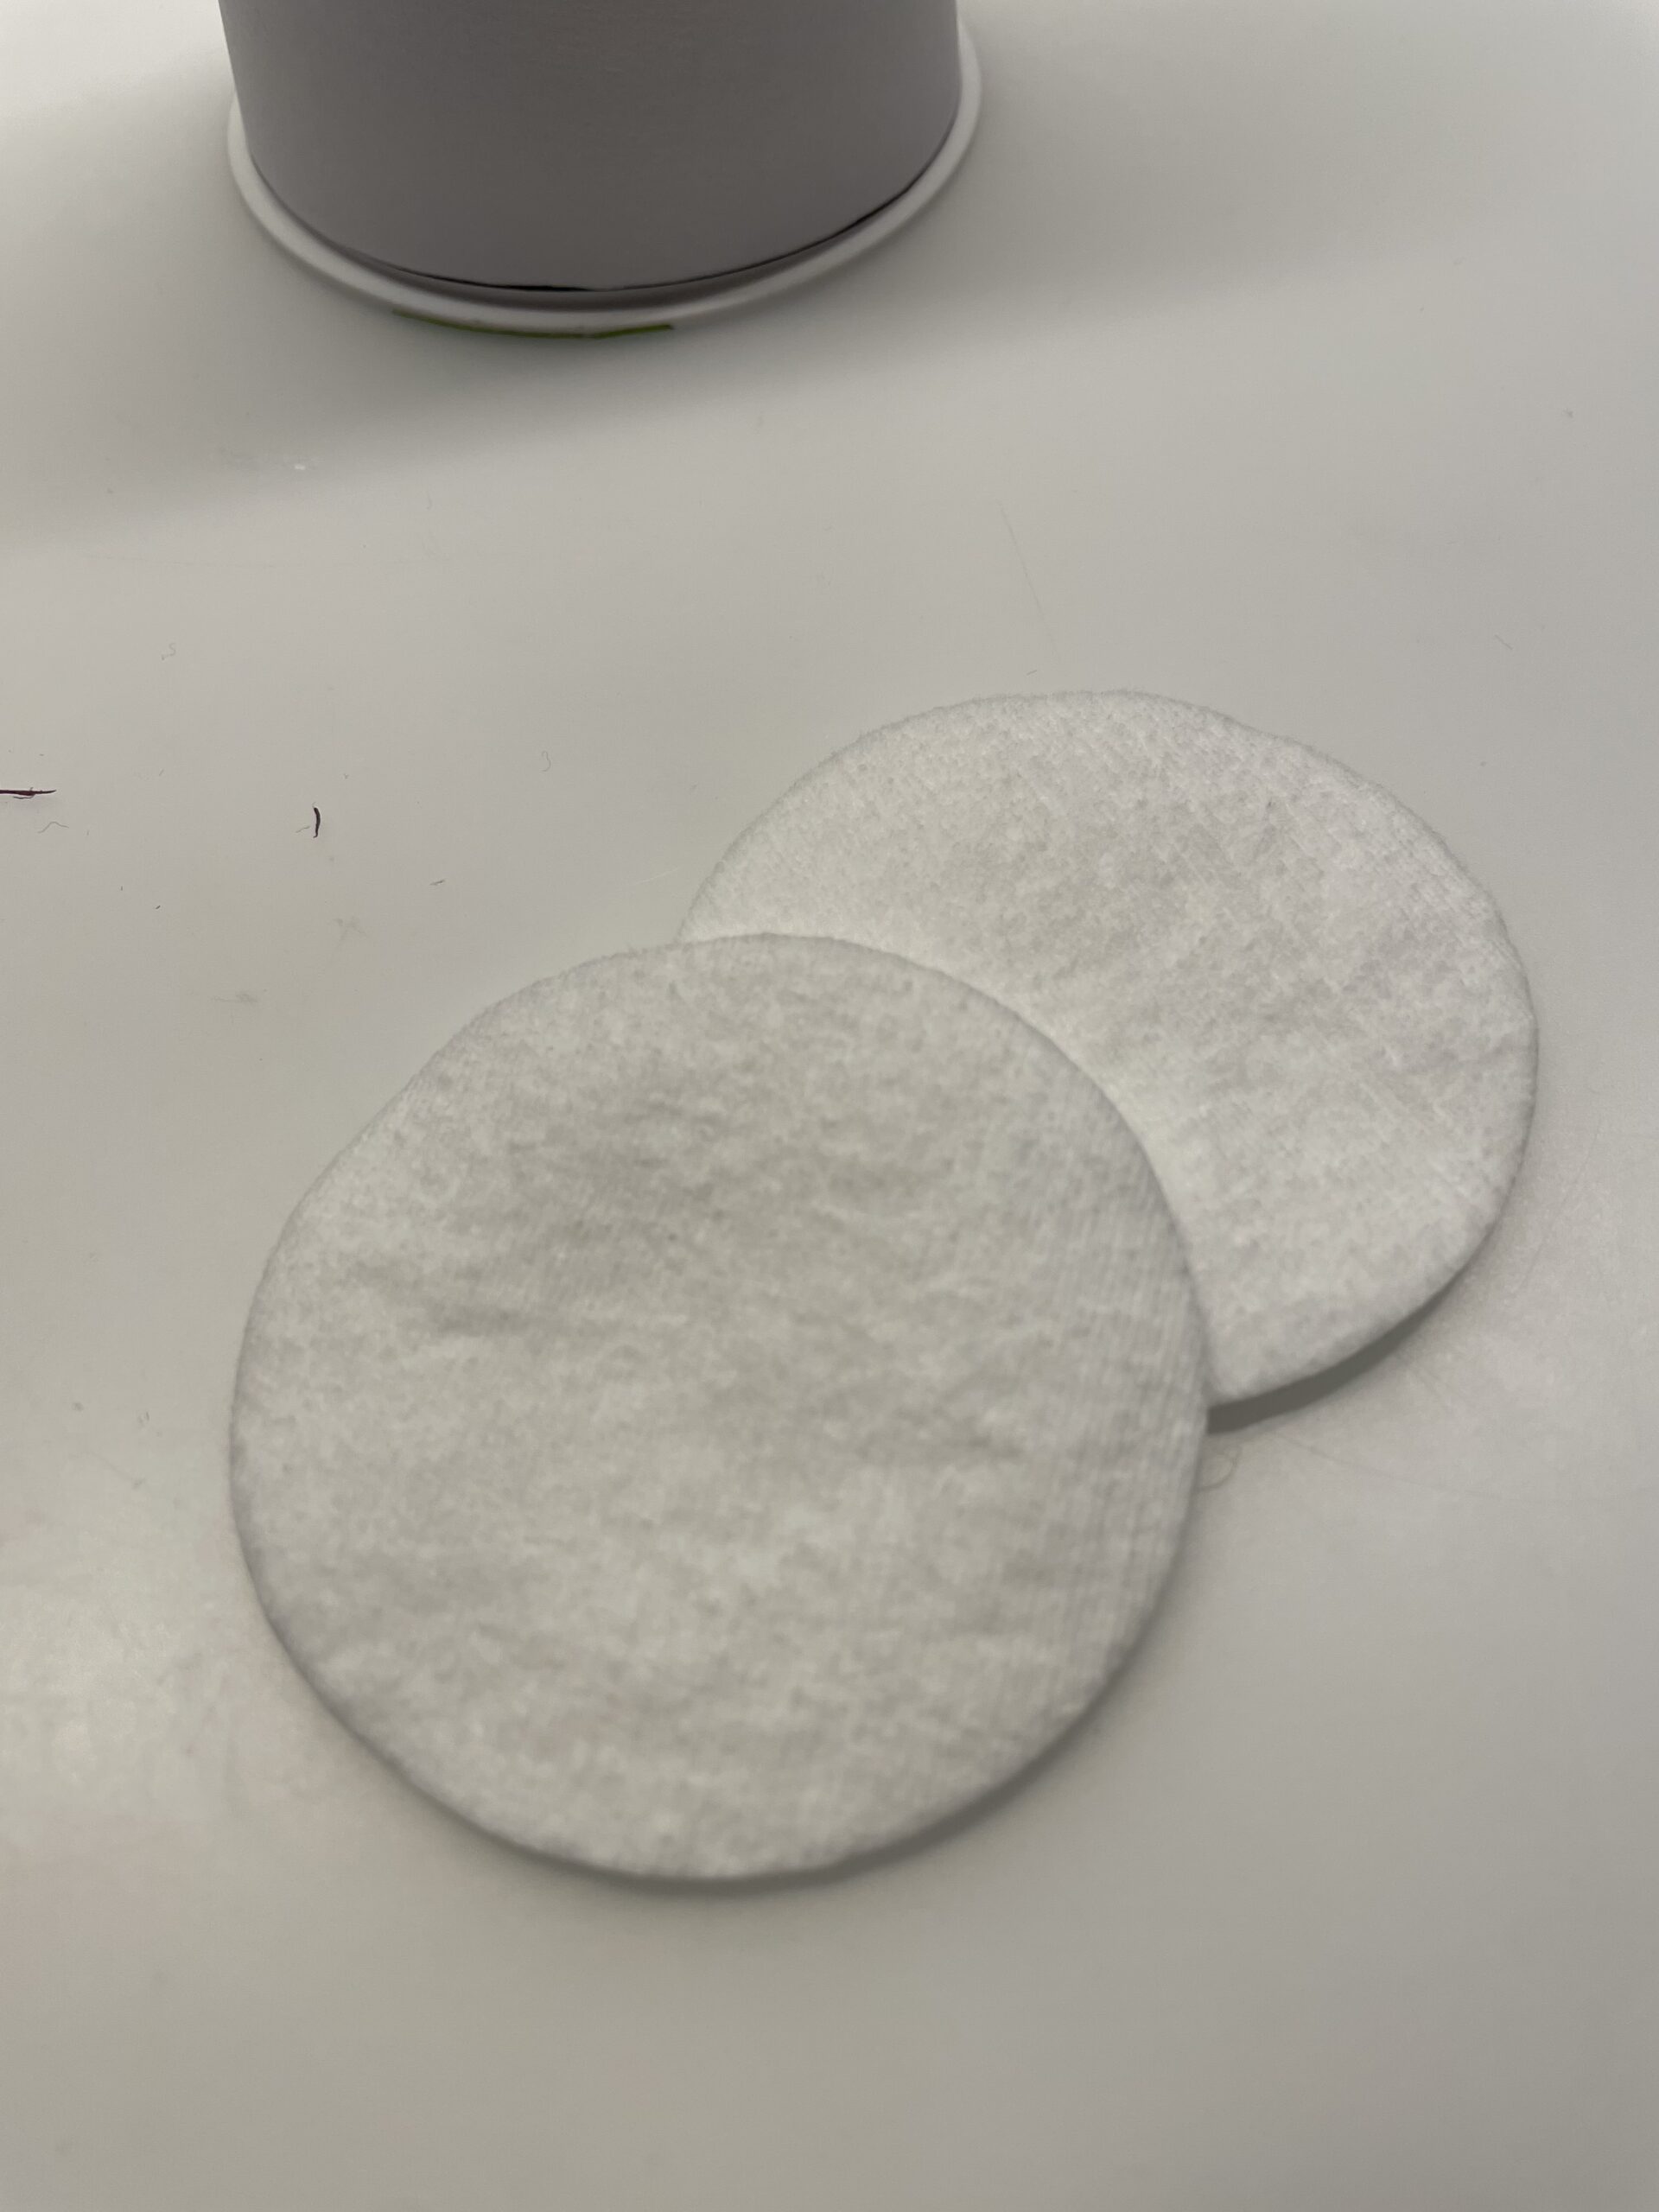


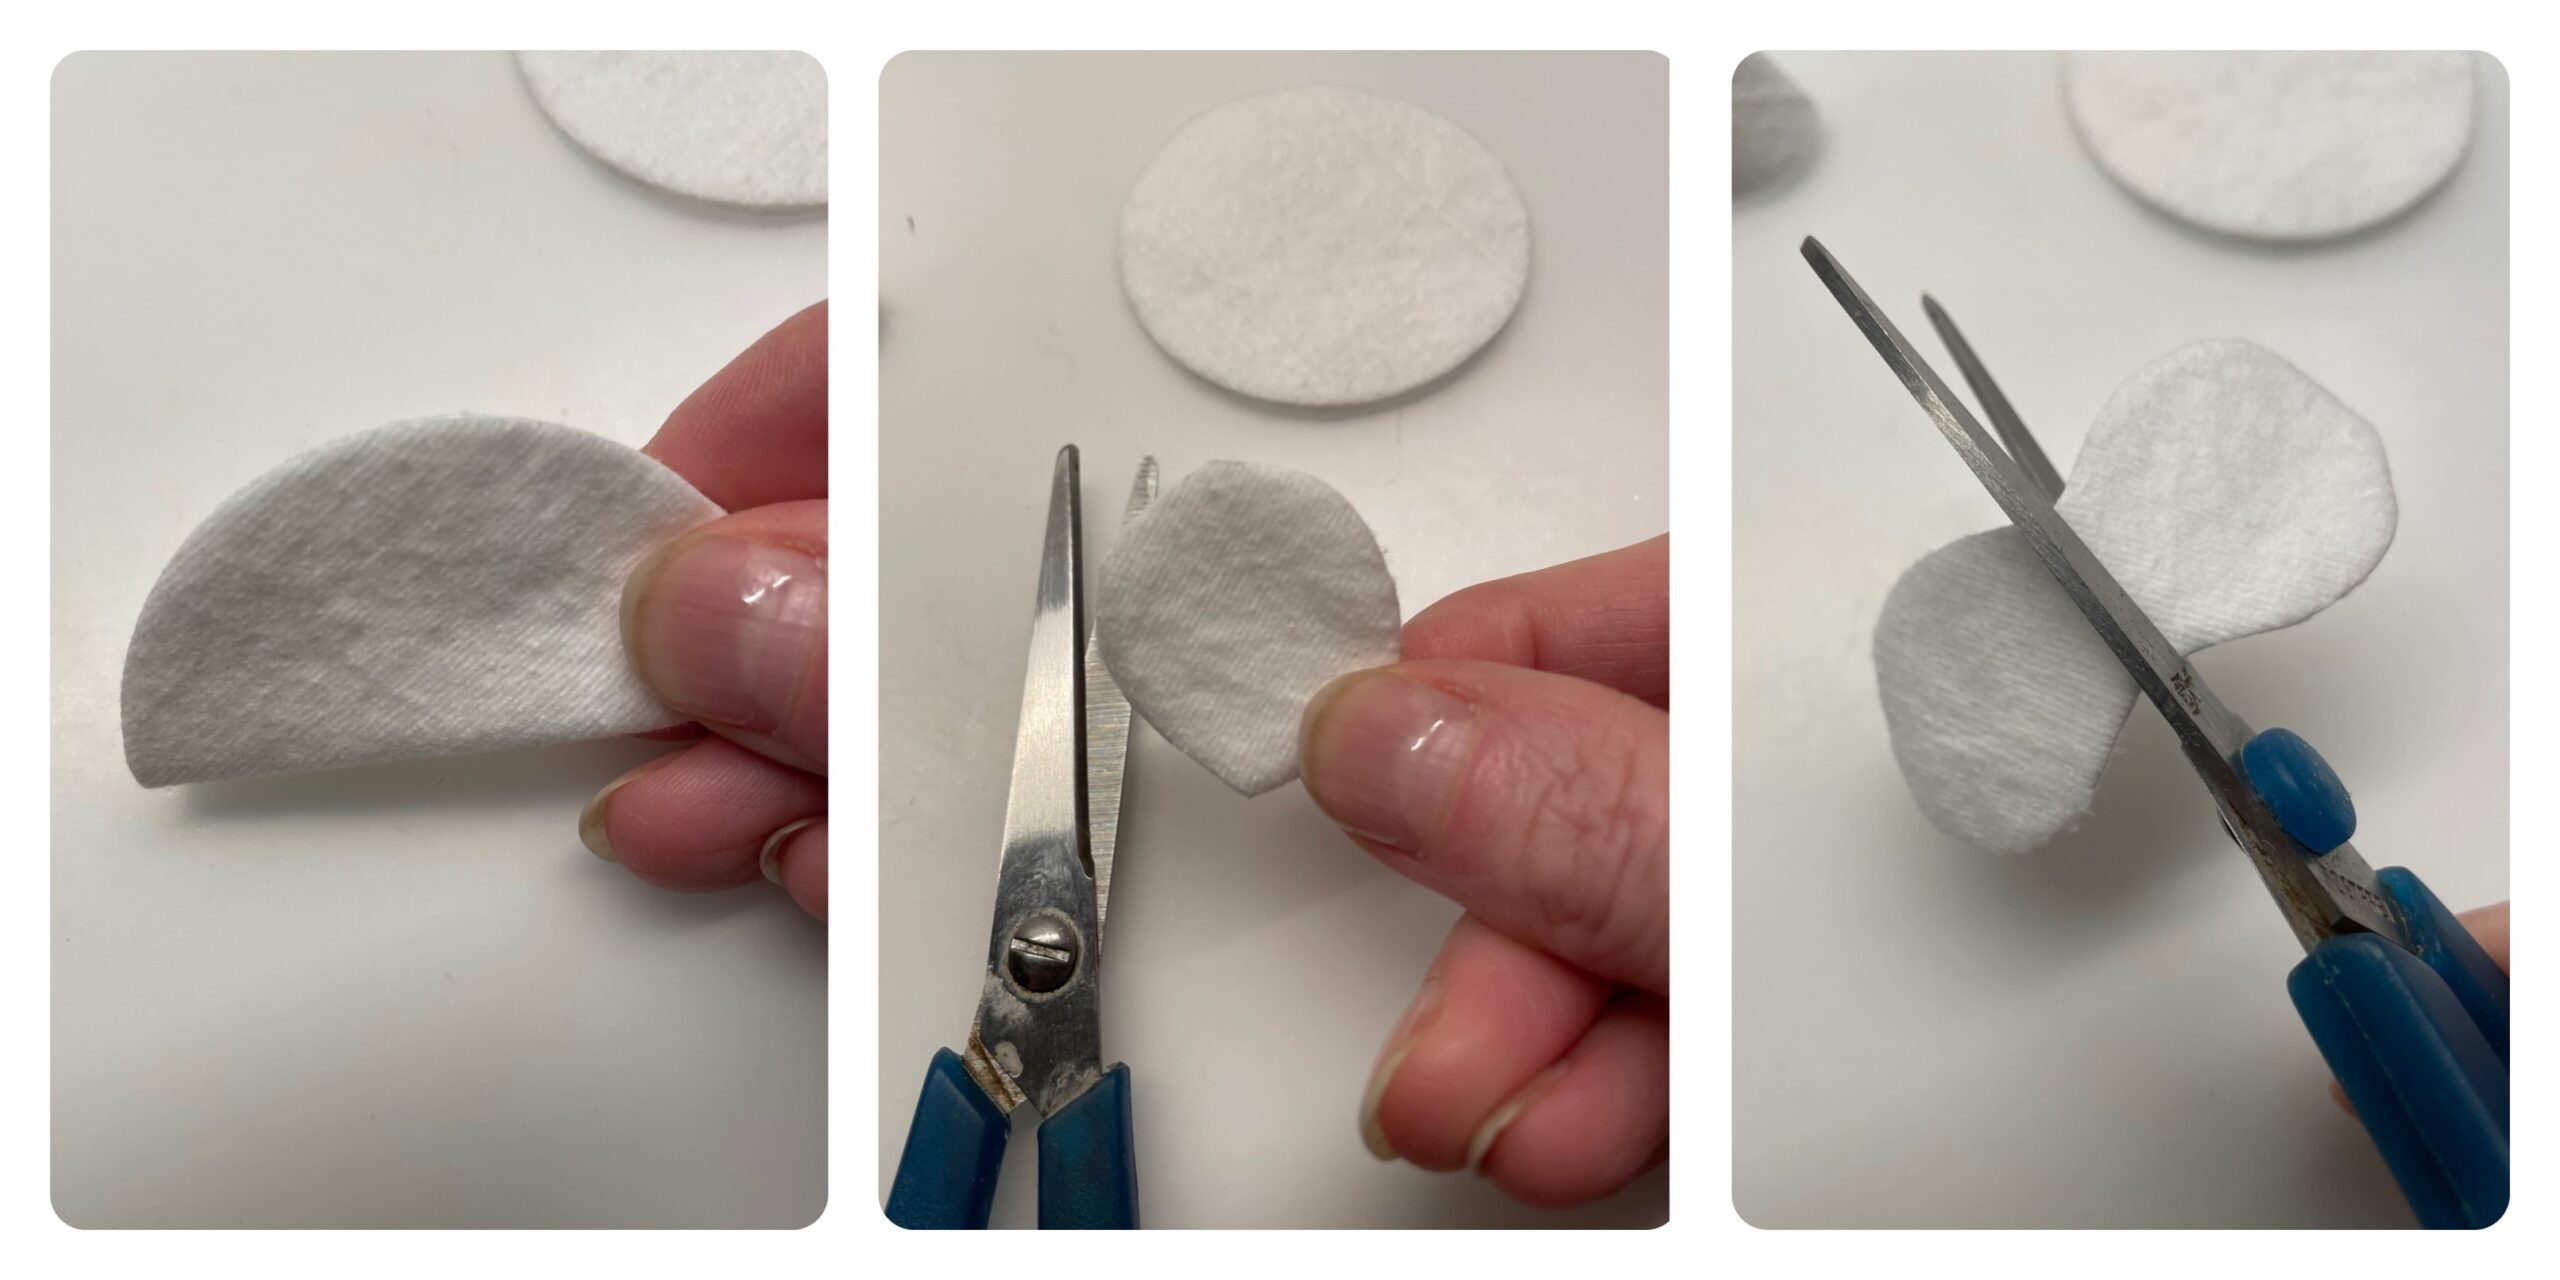
For the ears you fold a cotton pad in half. Then you cut out a circle. Since the cotton pad is double, two circles are created. You may have to separate them from each other.


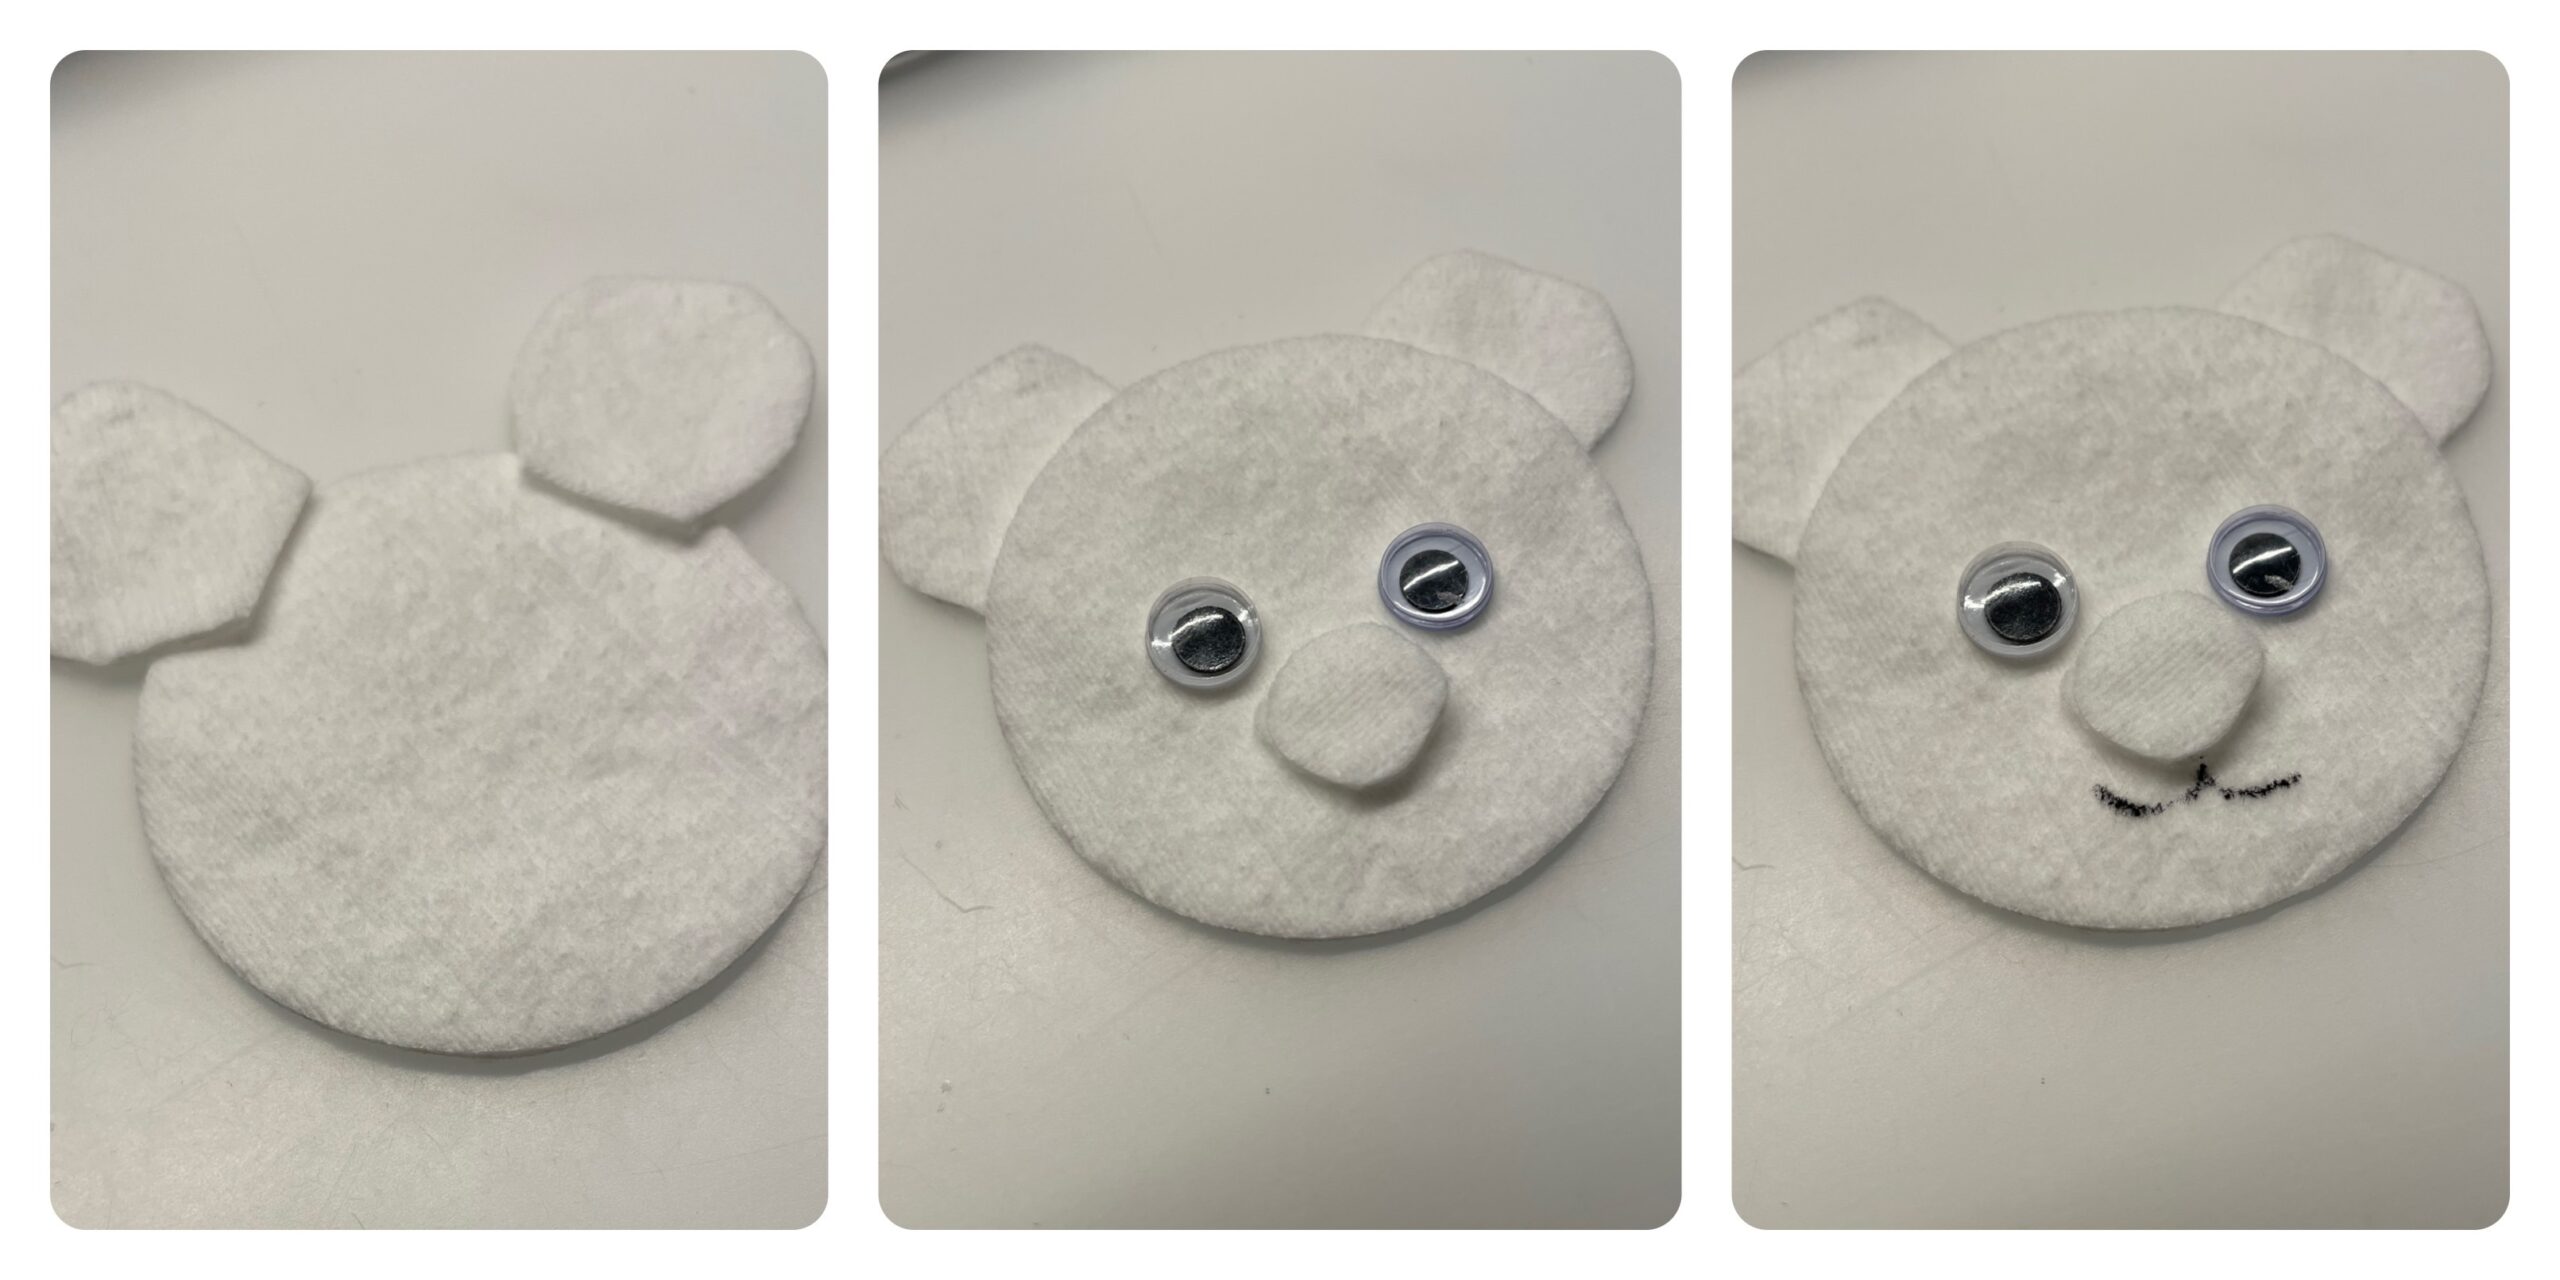
Then you stick the two circles as ears to the head of the polar bear. From a remaining piece of the cotton pad you now cut a small round nose, which then sticks to her head. Finally, two wobble eyes stick on her and paint her mouth open.


Now glue the head of the polar bear to the cup with an adhesive point.


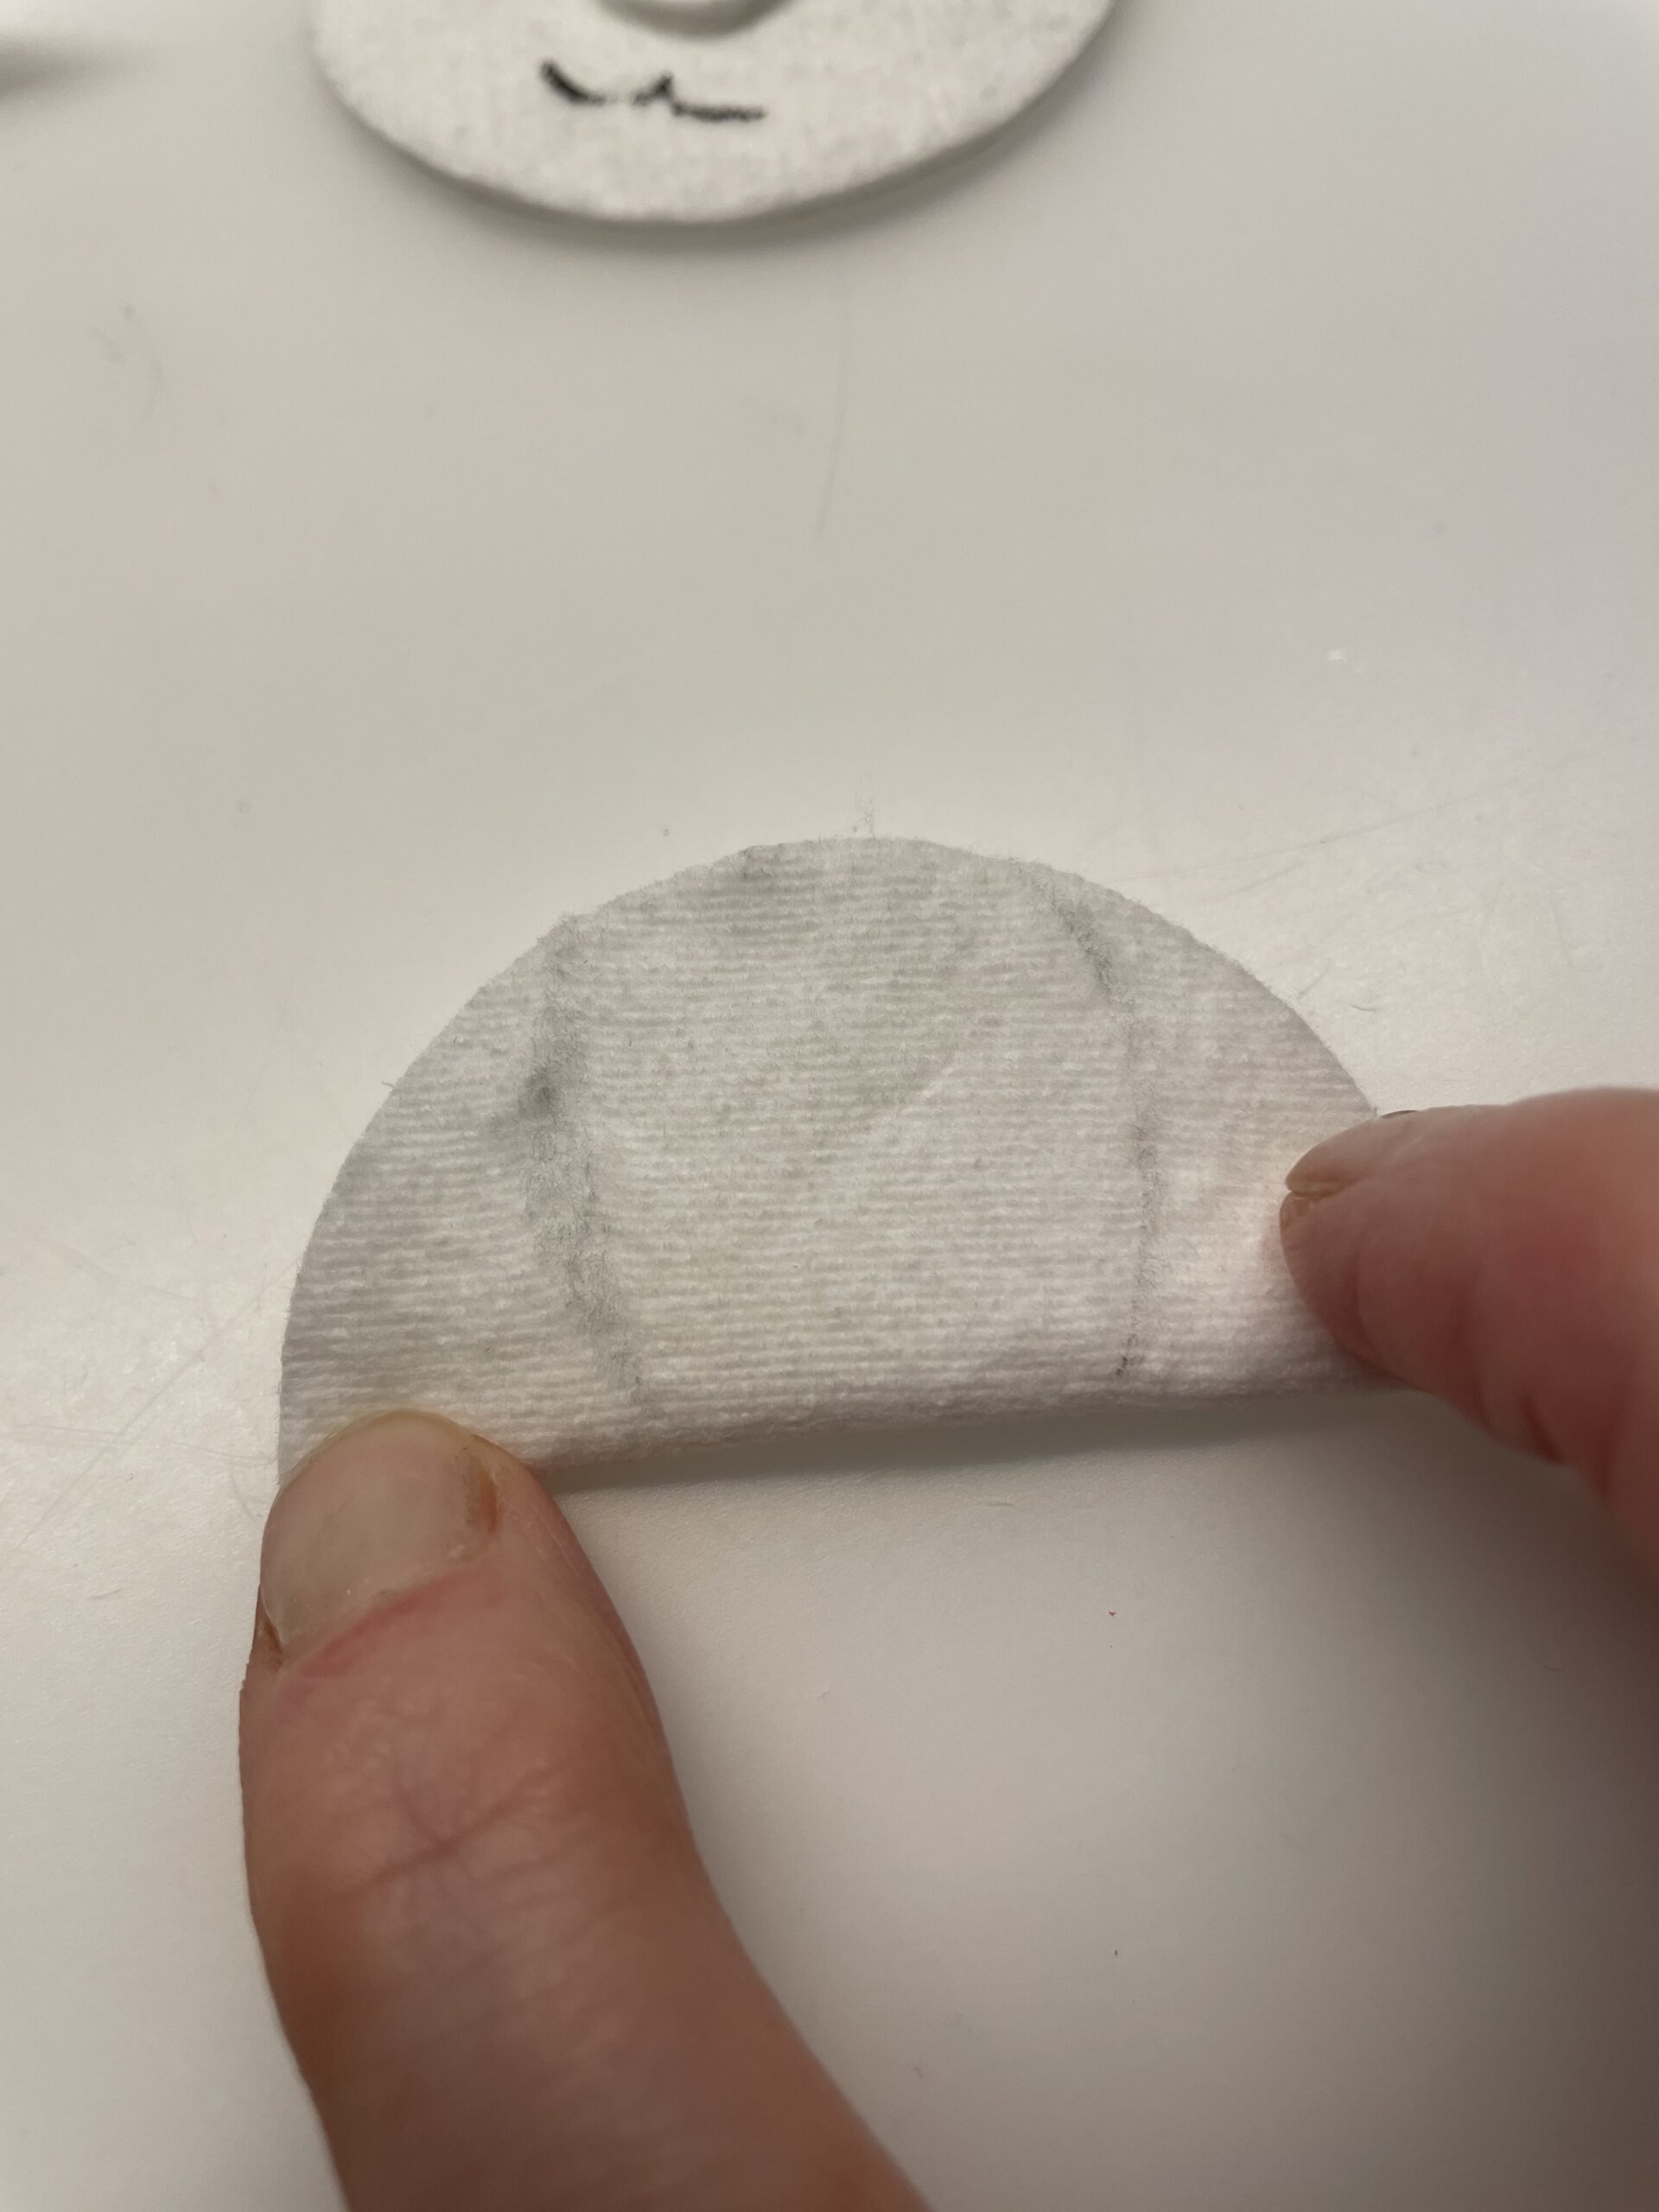
From two further cotton pads you now cut out your feet. For this, you fold the cotton pads in half. Draw on your feet and cut them out of the folded cotton pads.


After that, her two feet stick to the bottom of the cup.
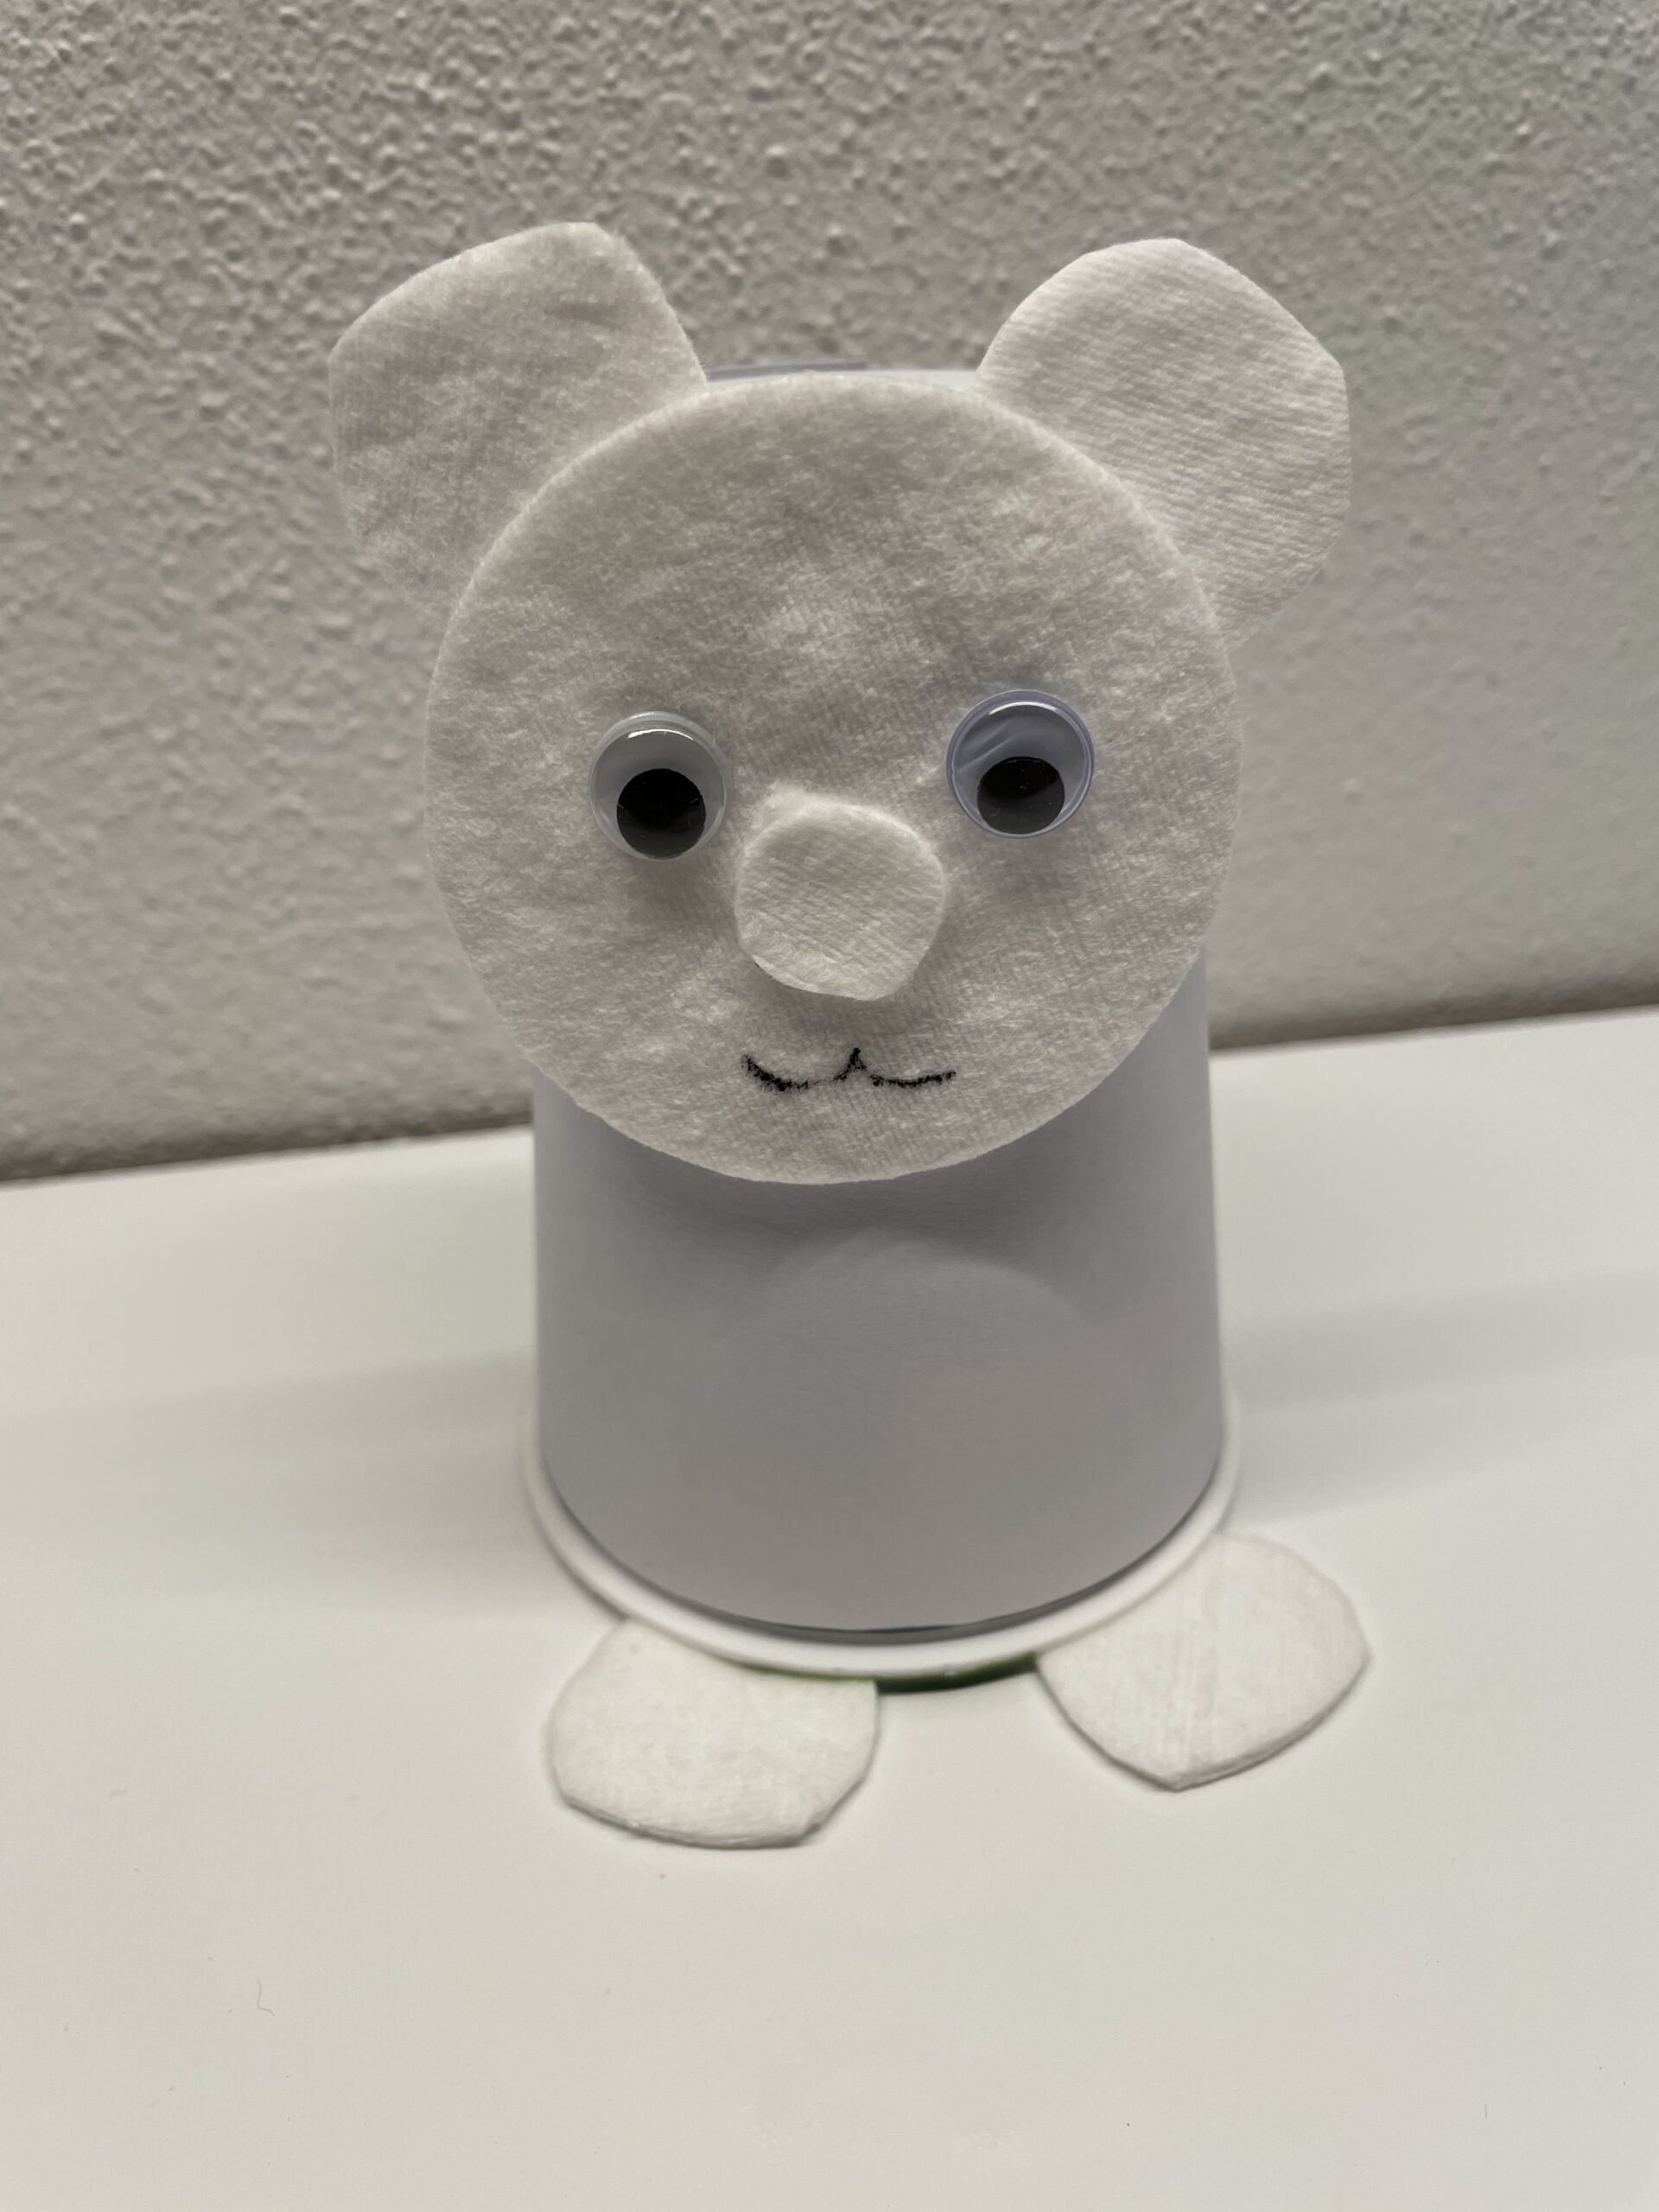


The other two feet stick to the side of the cup.
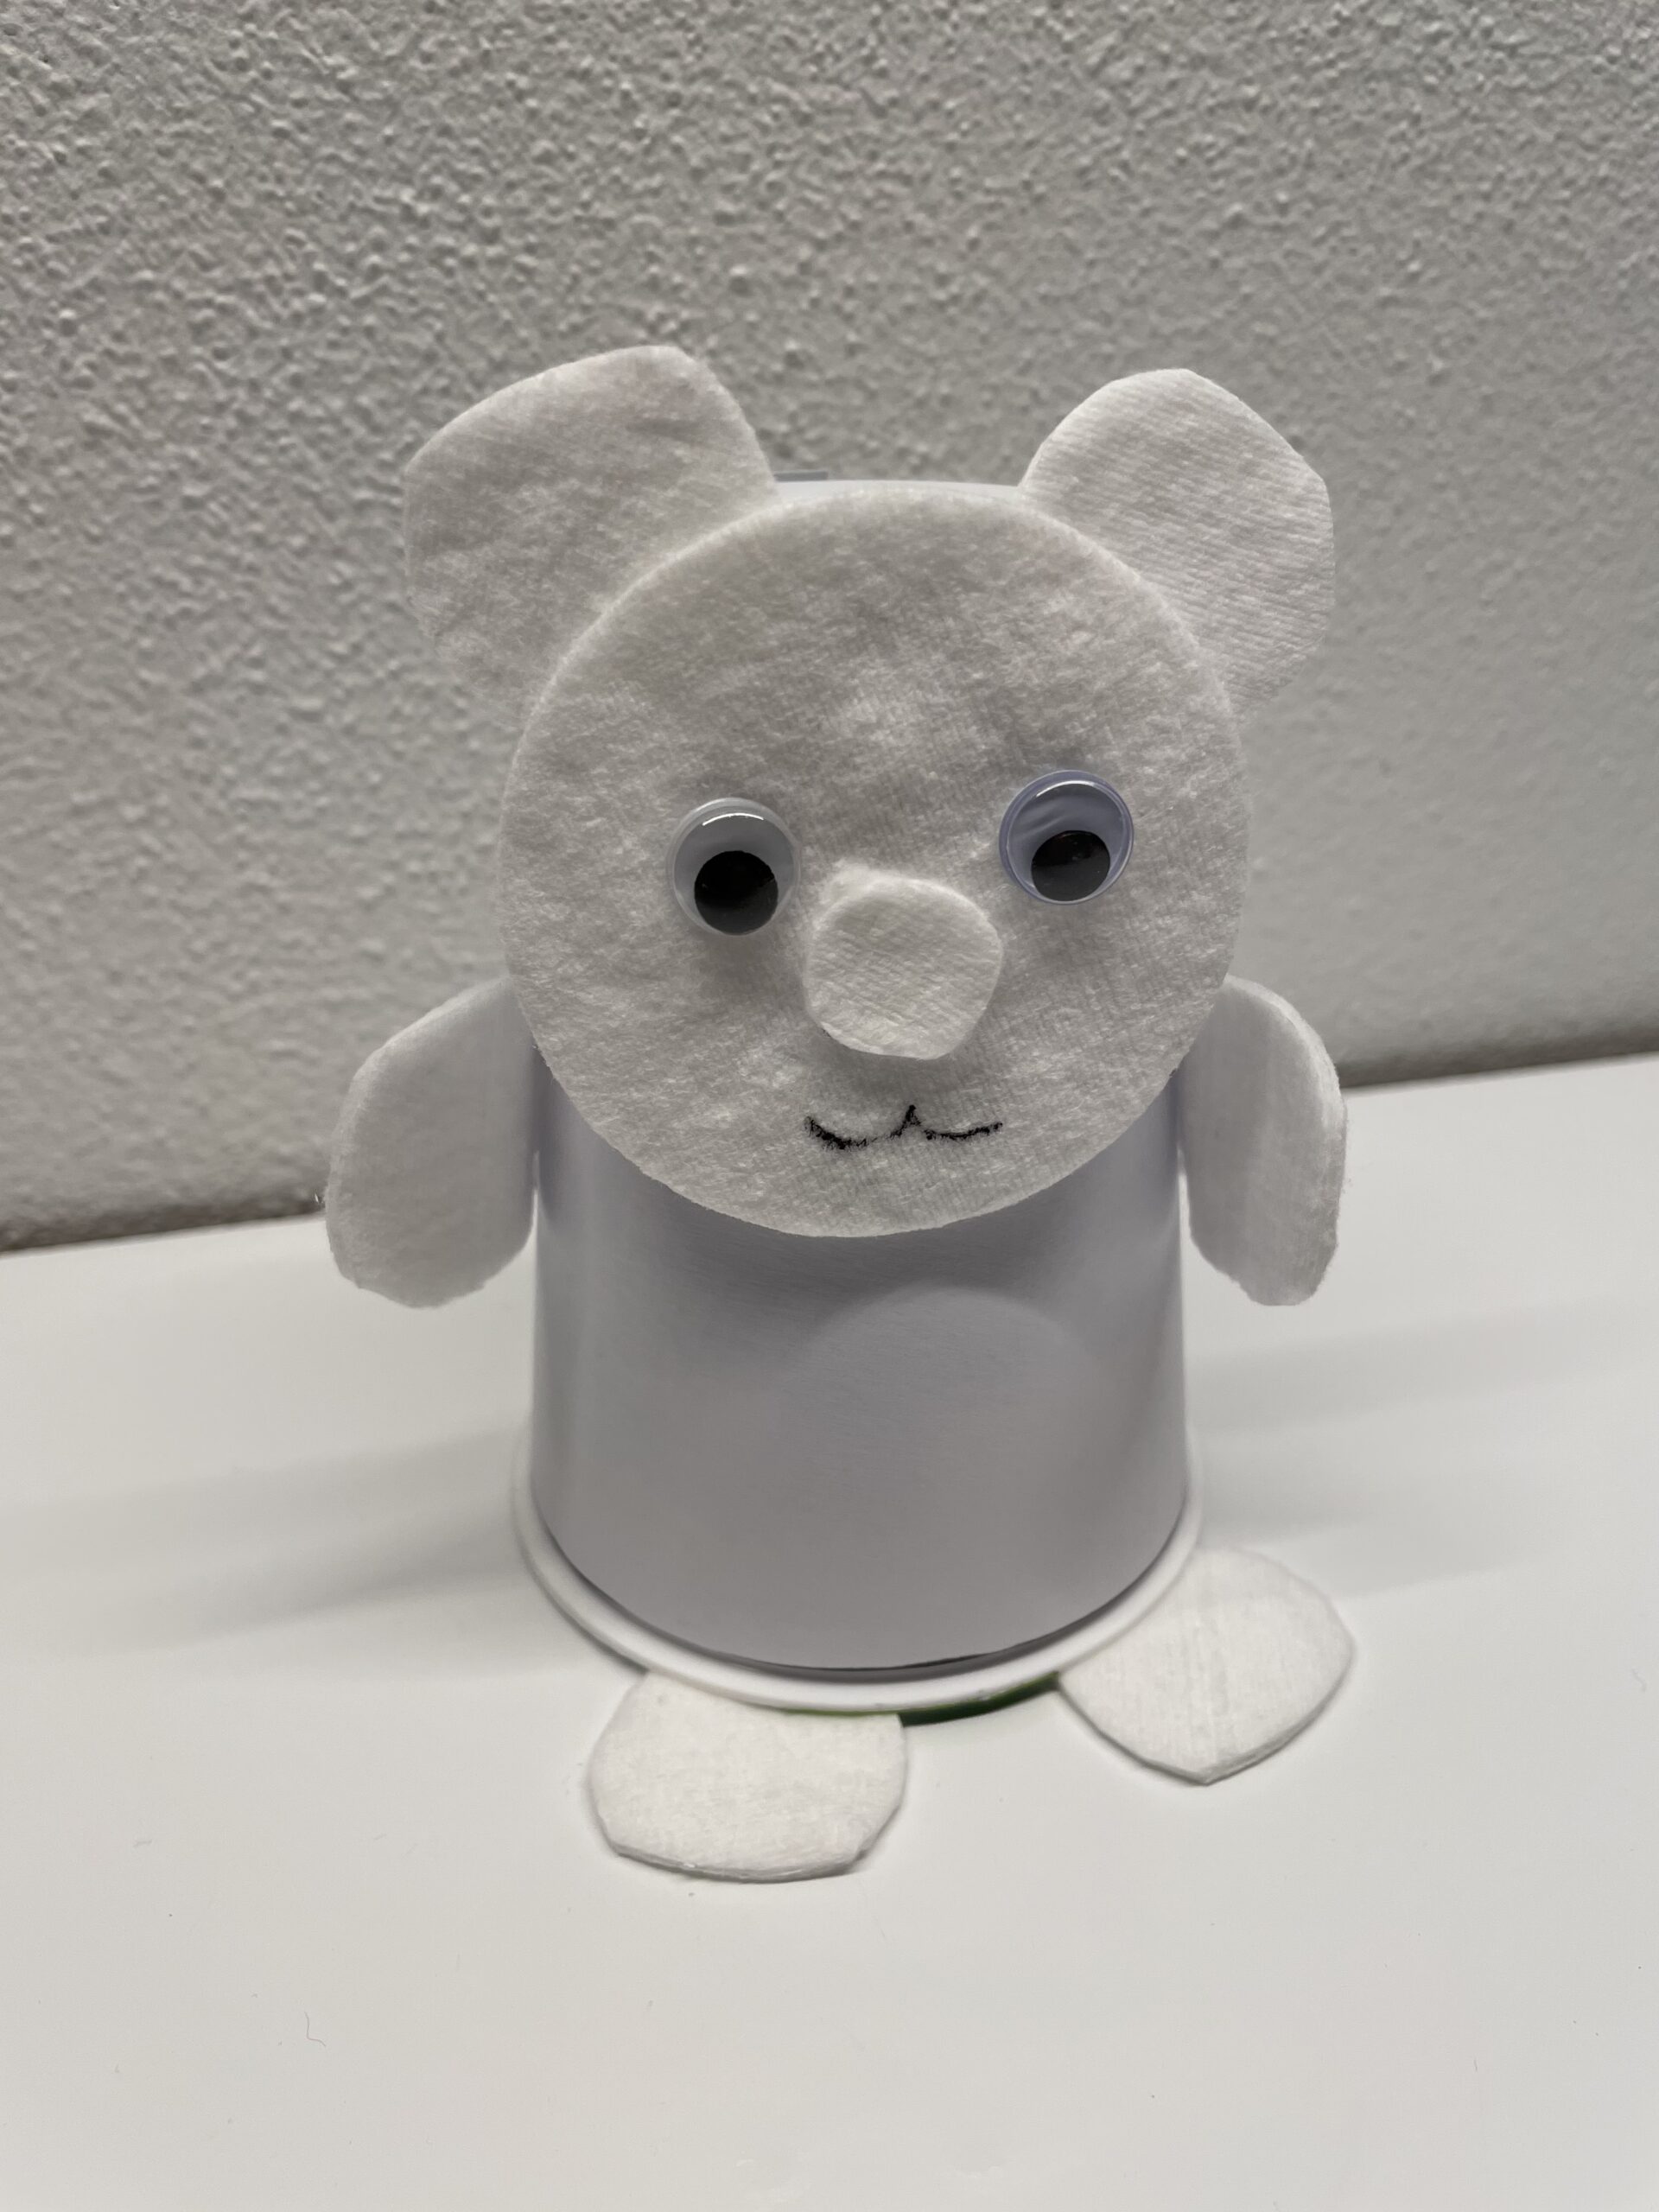


The little polar bear is ready.
Decorates the polar bear with cotton wool or a fleece, as this creates a wintery landscape in no time that invites children to play.
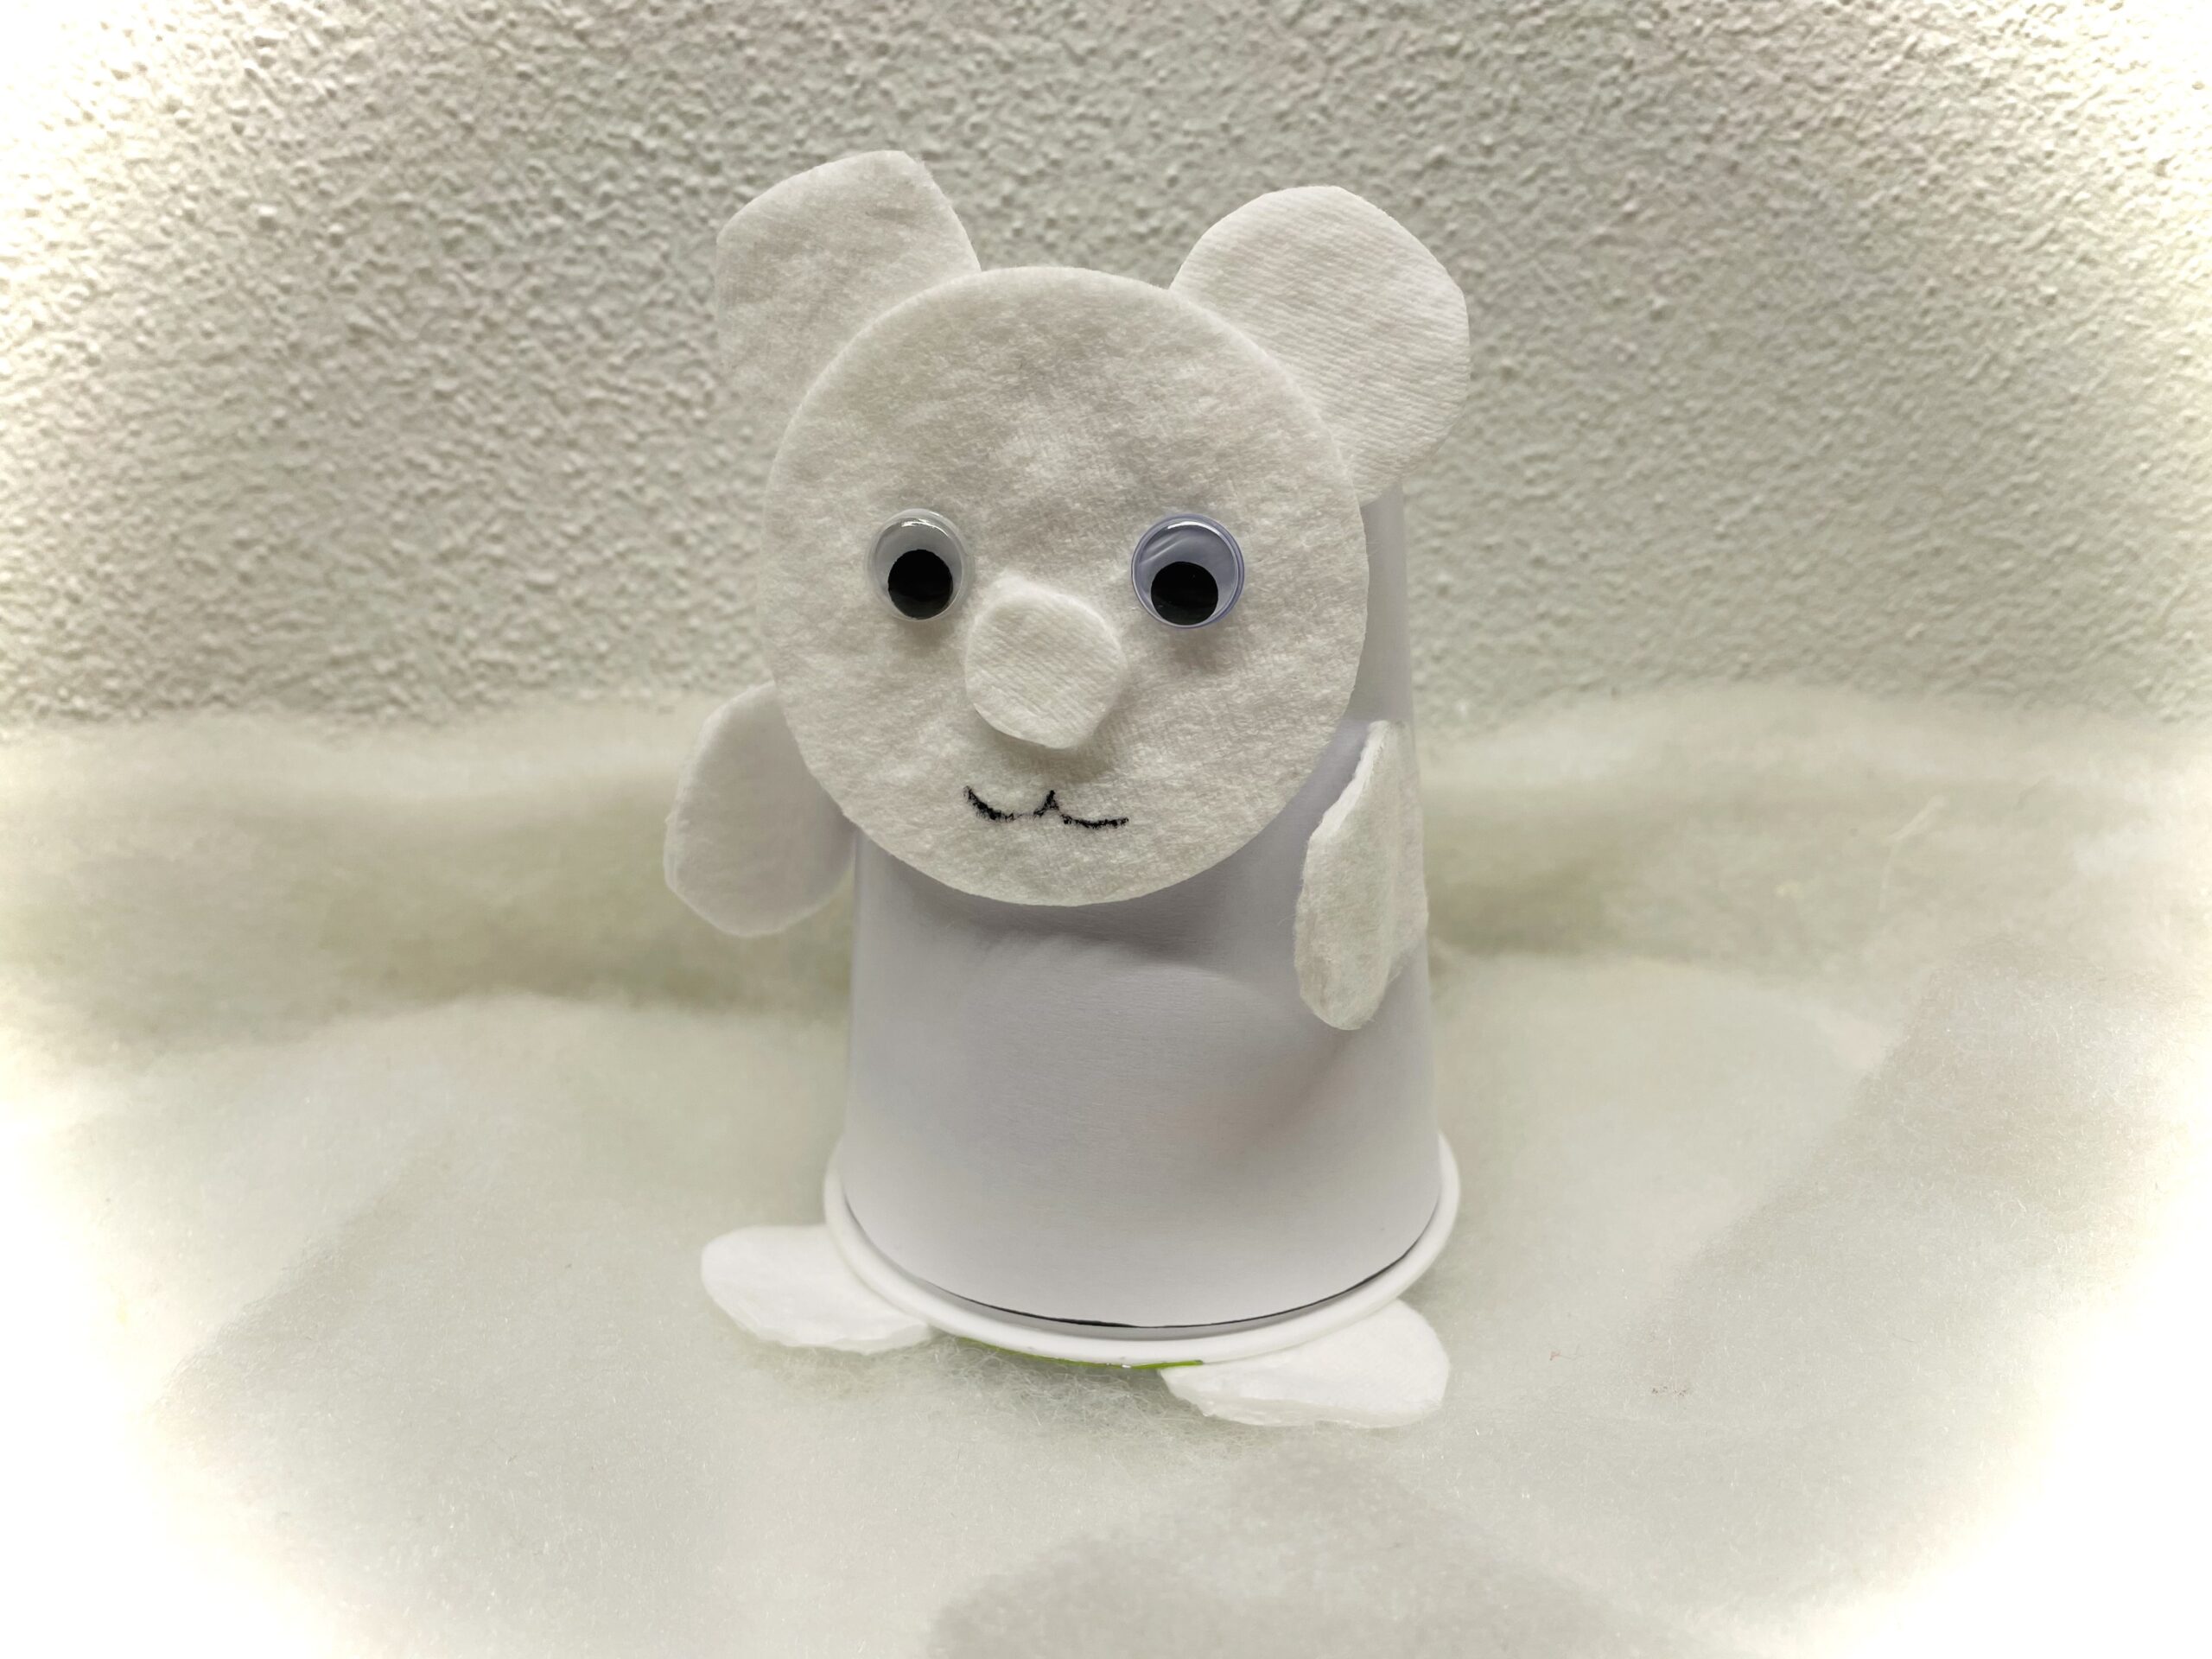


Enjoy crafting and playing!
Materials
Directions
The template is suitable for a 200g cup to wrap it around.
Tip: Use a cup that is already white.


First lay out all the materials and put out the craft pad. Then you duck out the template, cut them out and stick them around the cup.


Attach the paper strip with a strip of glue to the cup. Then place the banderole around the cup smoothly.


At the end of the paper strip you fix the paper with glue. Then put the cup with the opening down on the table.


For the head of the polar bear you need two cotton pads. A cotton pad becomes the head of the polar bear and from the second cotton pad cuts her ears.


For the ears you fold a cotton pad in half. Then you cut out a circle. Since the cotton pad is double, two circles are created. You may have to separate them from each other.


Then you stick the two circles as ears to the head of the polar bear. From a remaining piece of the cotton pad you now cut a small round nose, which then sticks to her head. Finally, two wobble eyes stick on her and paint her mouth open.


Now glue the head of the polar bear to the cup with an adhesive point.


From two further cotton pads you now cut out your feet. For this, you fold the cotton pads in half. Draw on your feet and cut them out of the folded cotton pads.


After that, her two feet stick to the bottom of the cup.


The other two feet stick to the side of the cup.


The little polar bear is ready.
Decorates the polar bear with cotton wool or a fleece, as this creates a wintery landscape in no time that invites children to play.


Enjoy crafting and playing!
Follow us on Facebook , Instagram and Pinterest
Don't miss any more adventures: Our bottle mail


