Small animals can be made from found pebbles very quickly. For a bee you only need a yellow or sand-coloured stone, which you can use with a black felt pen and a few thin sisal strings (Baschelbedarf or from the workshop= is also used for sealing pipes!).
The individual steps are made quickly, see for yourself. Have fun trying out.
Media Education for Kindergarten and Hort

Relief in everyday life, targeted promotion of individual children, independent learning and - without any pre-knowledge already usable by the youngest!

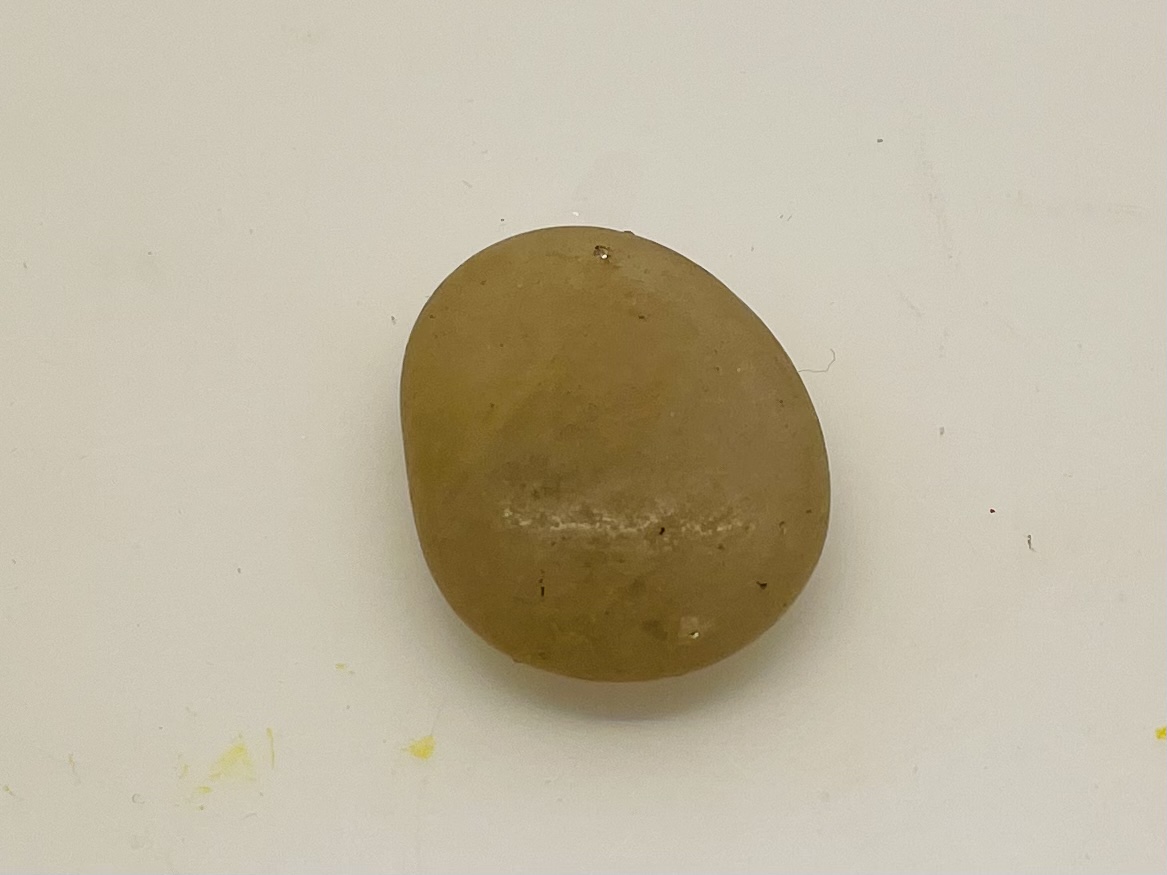
Find a suitable stone first.
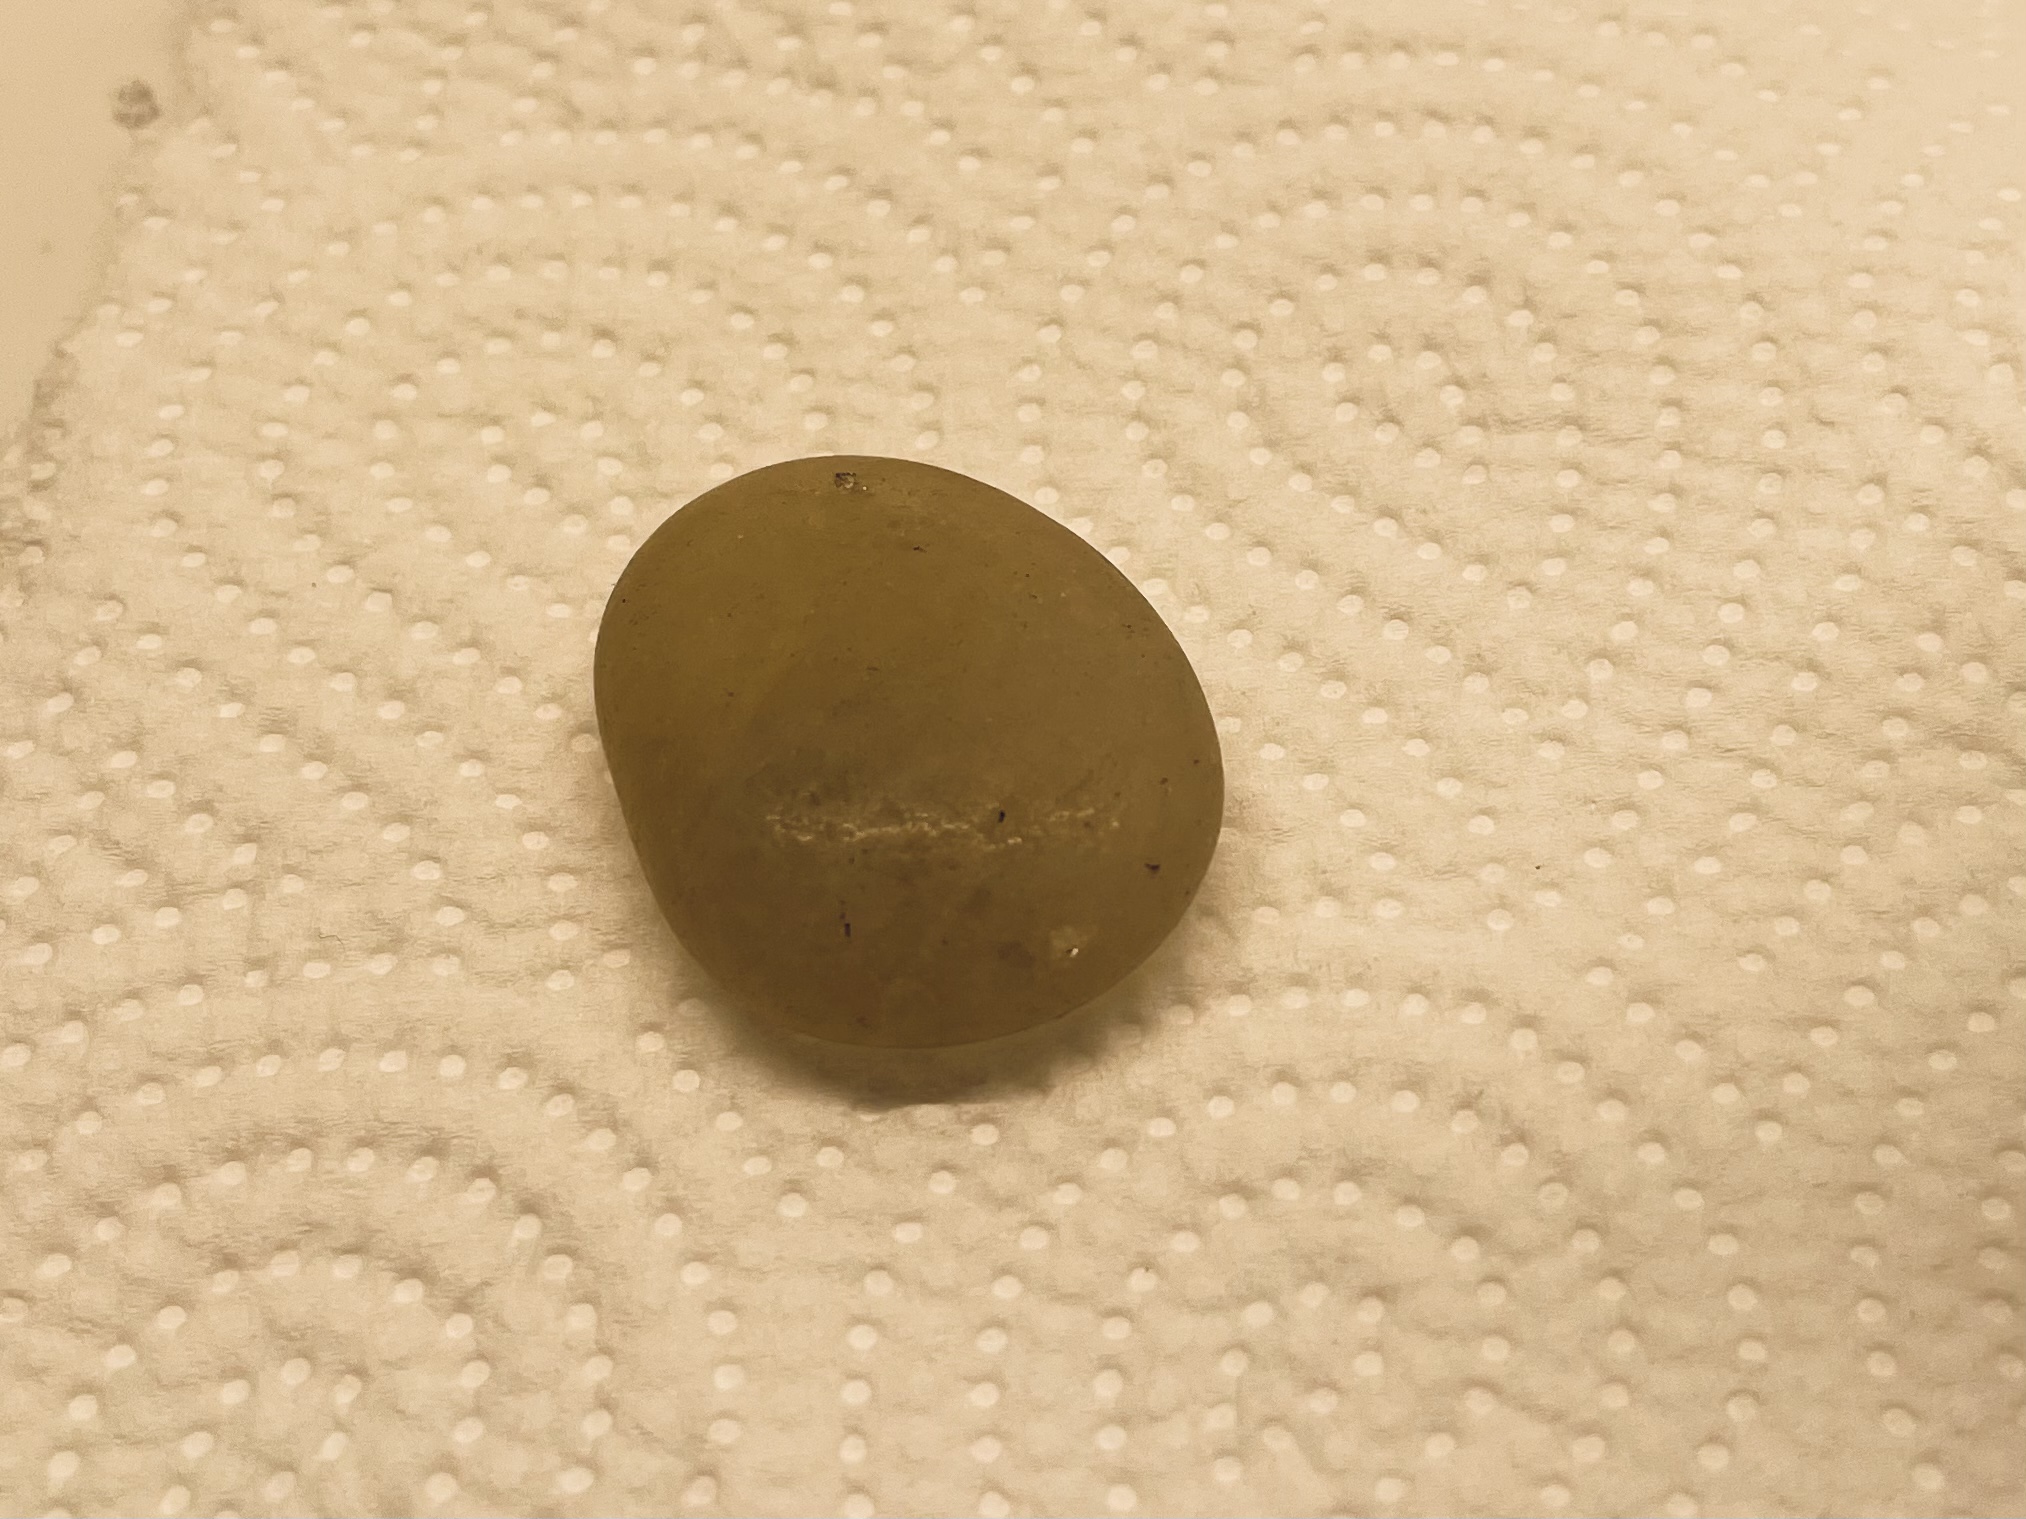
First you wash the stone.

Then let the stone dry.
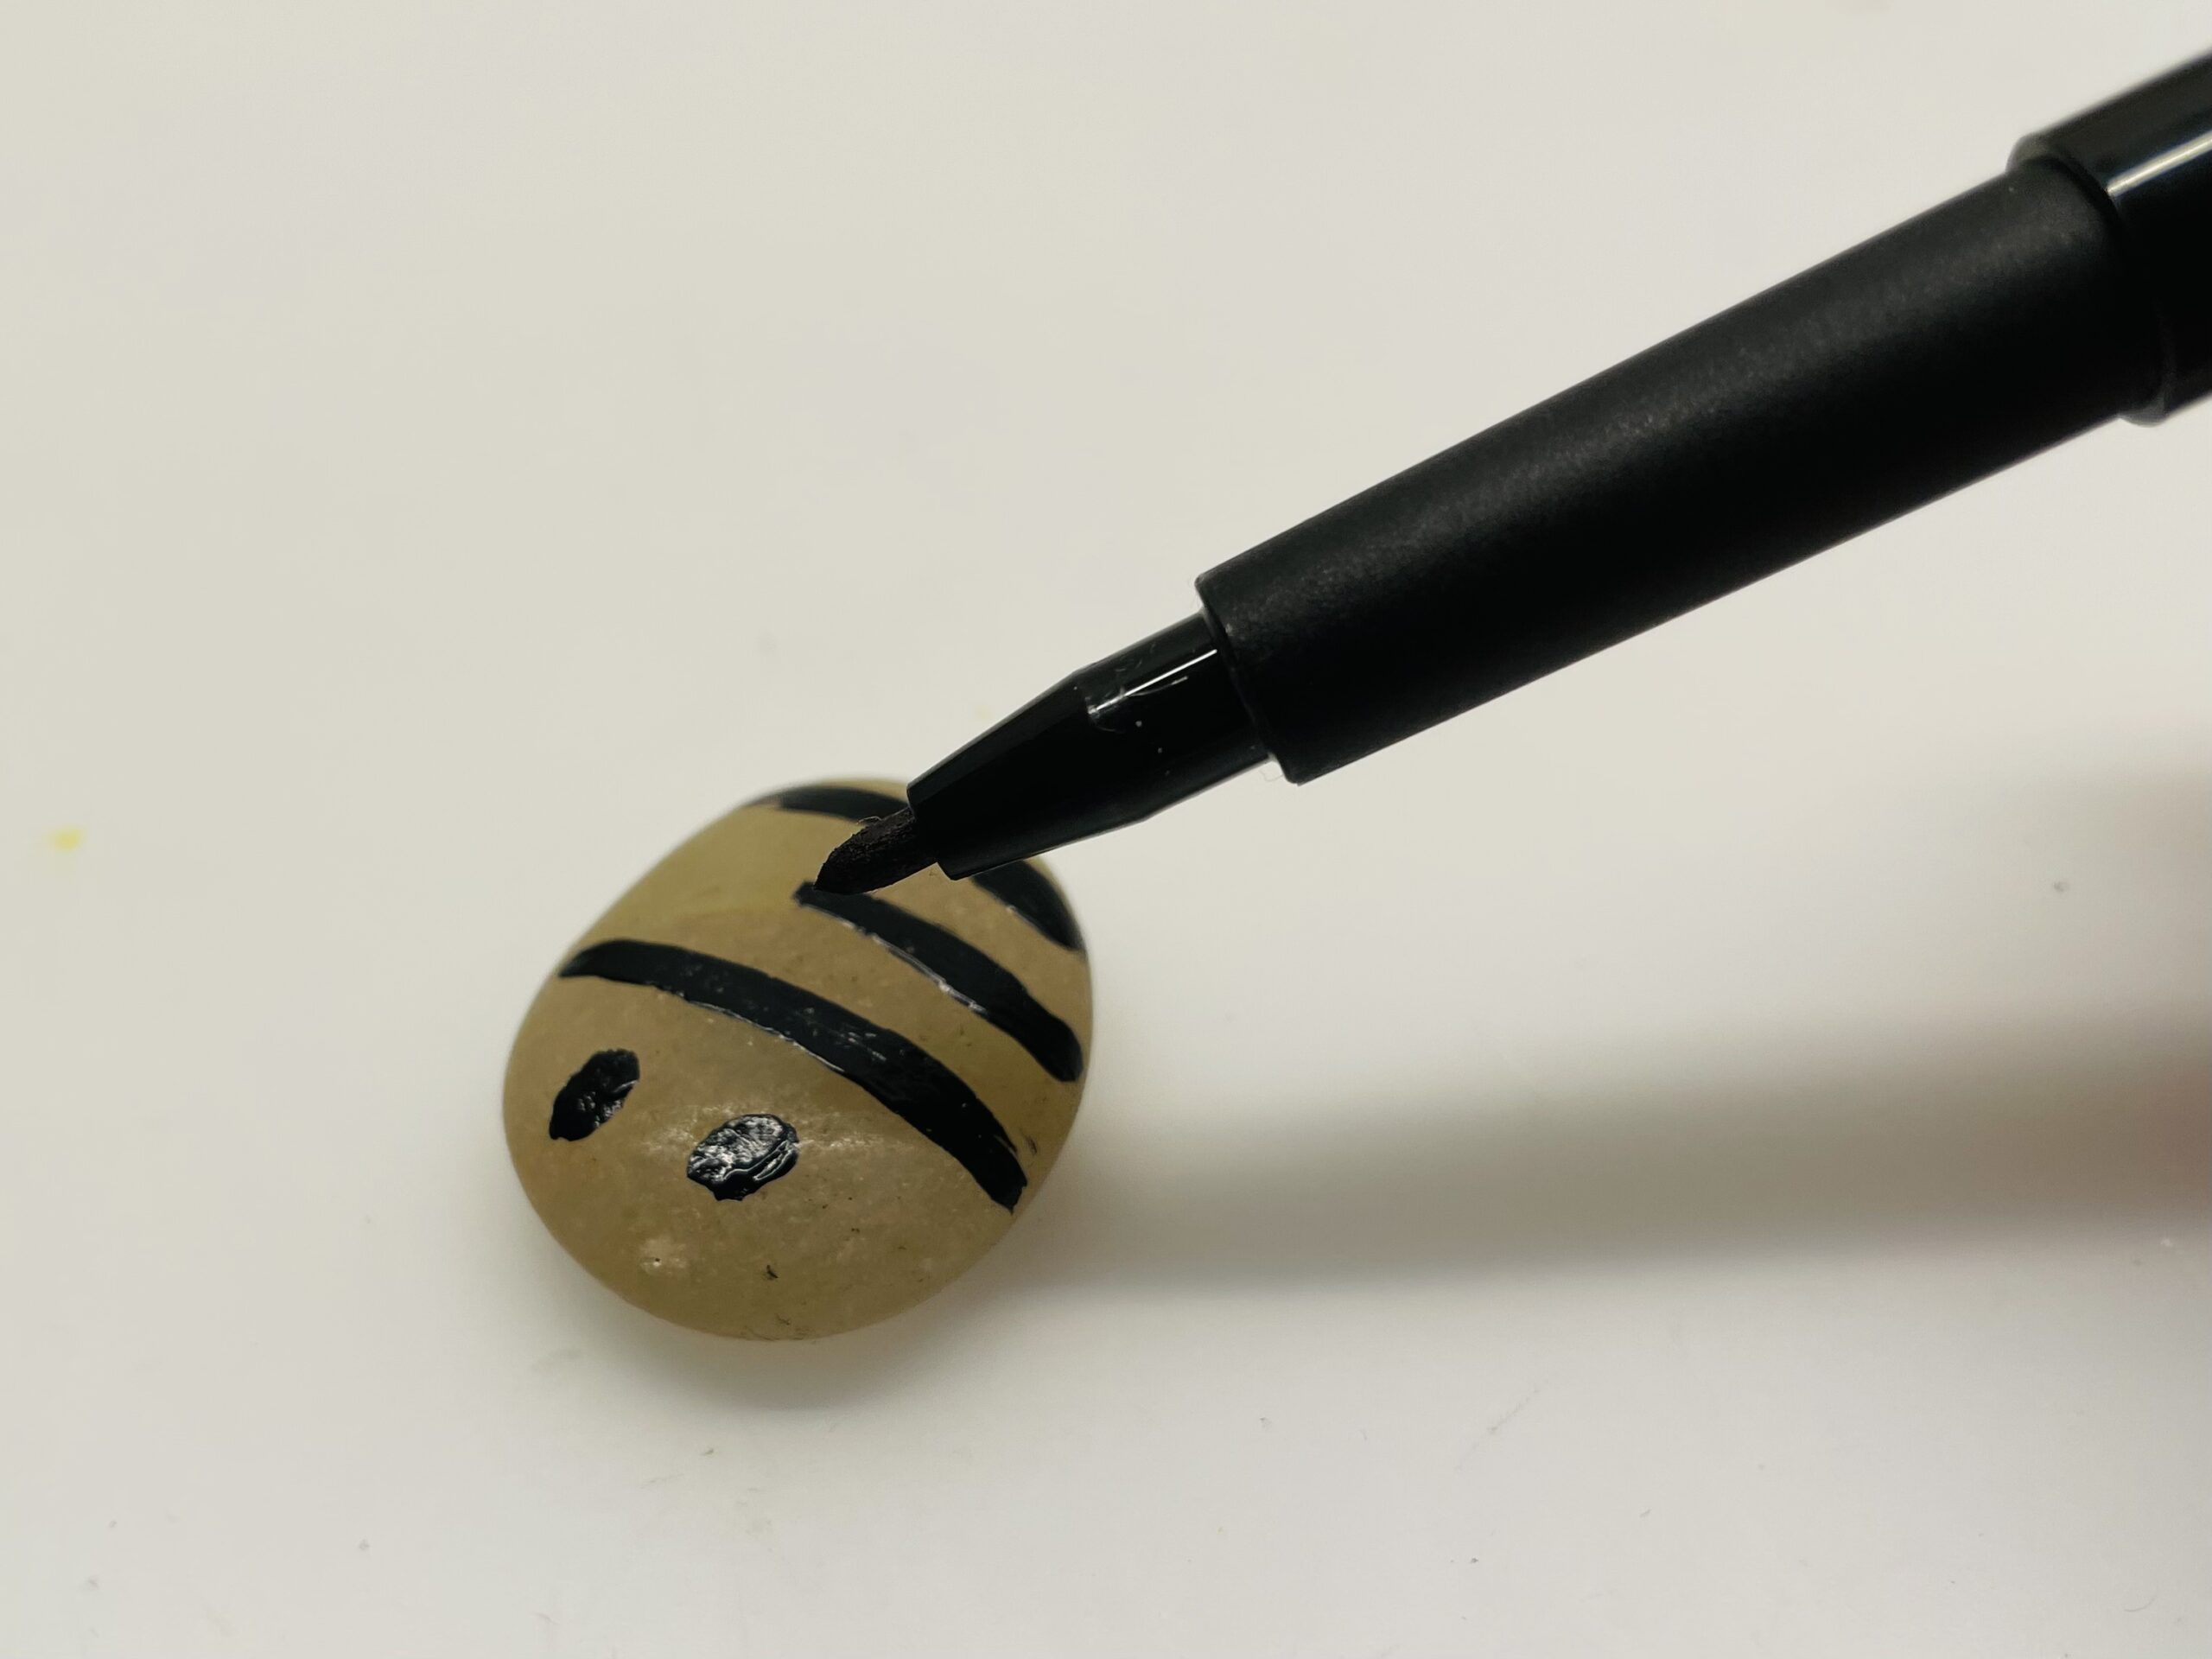
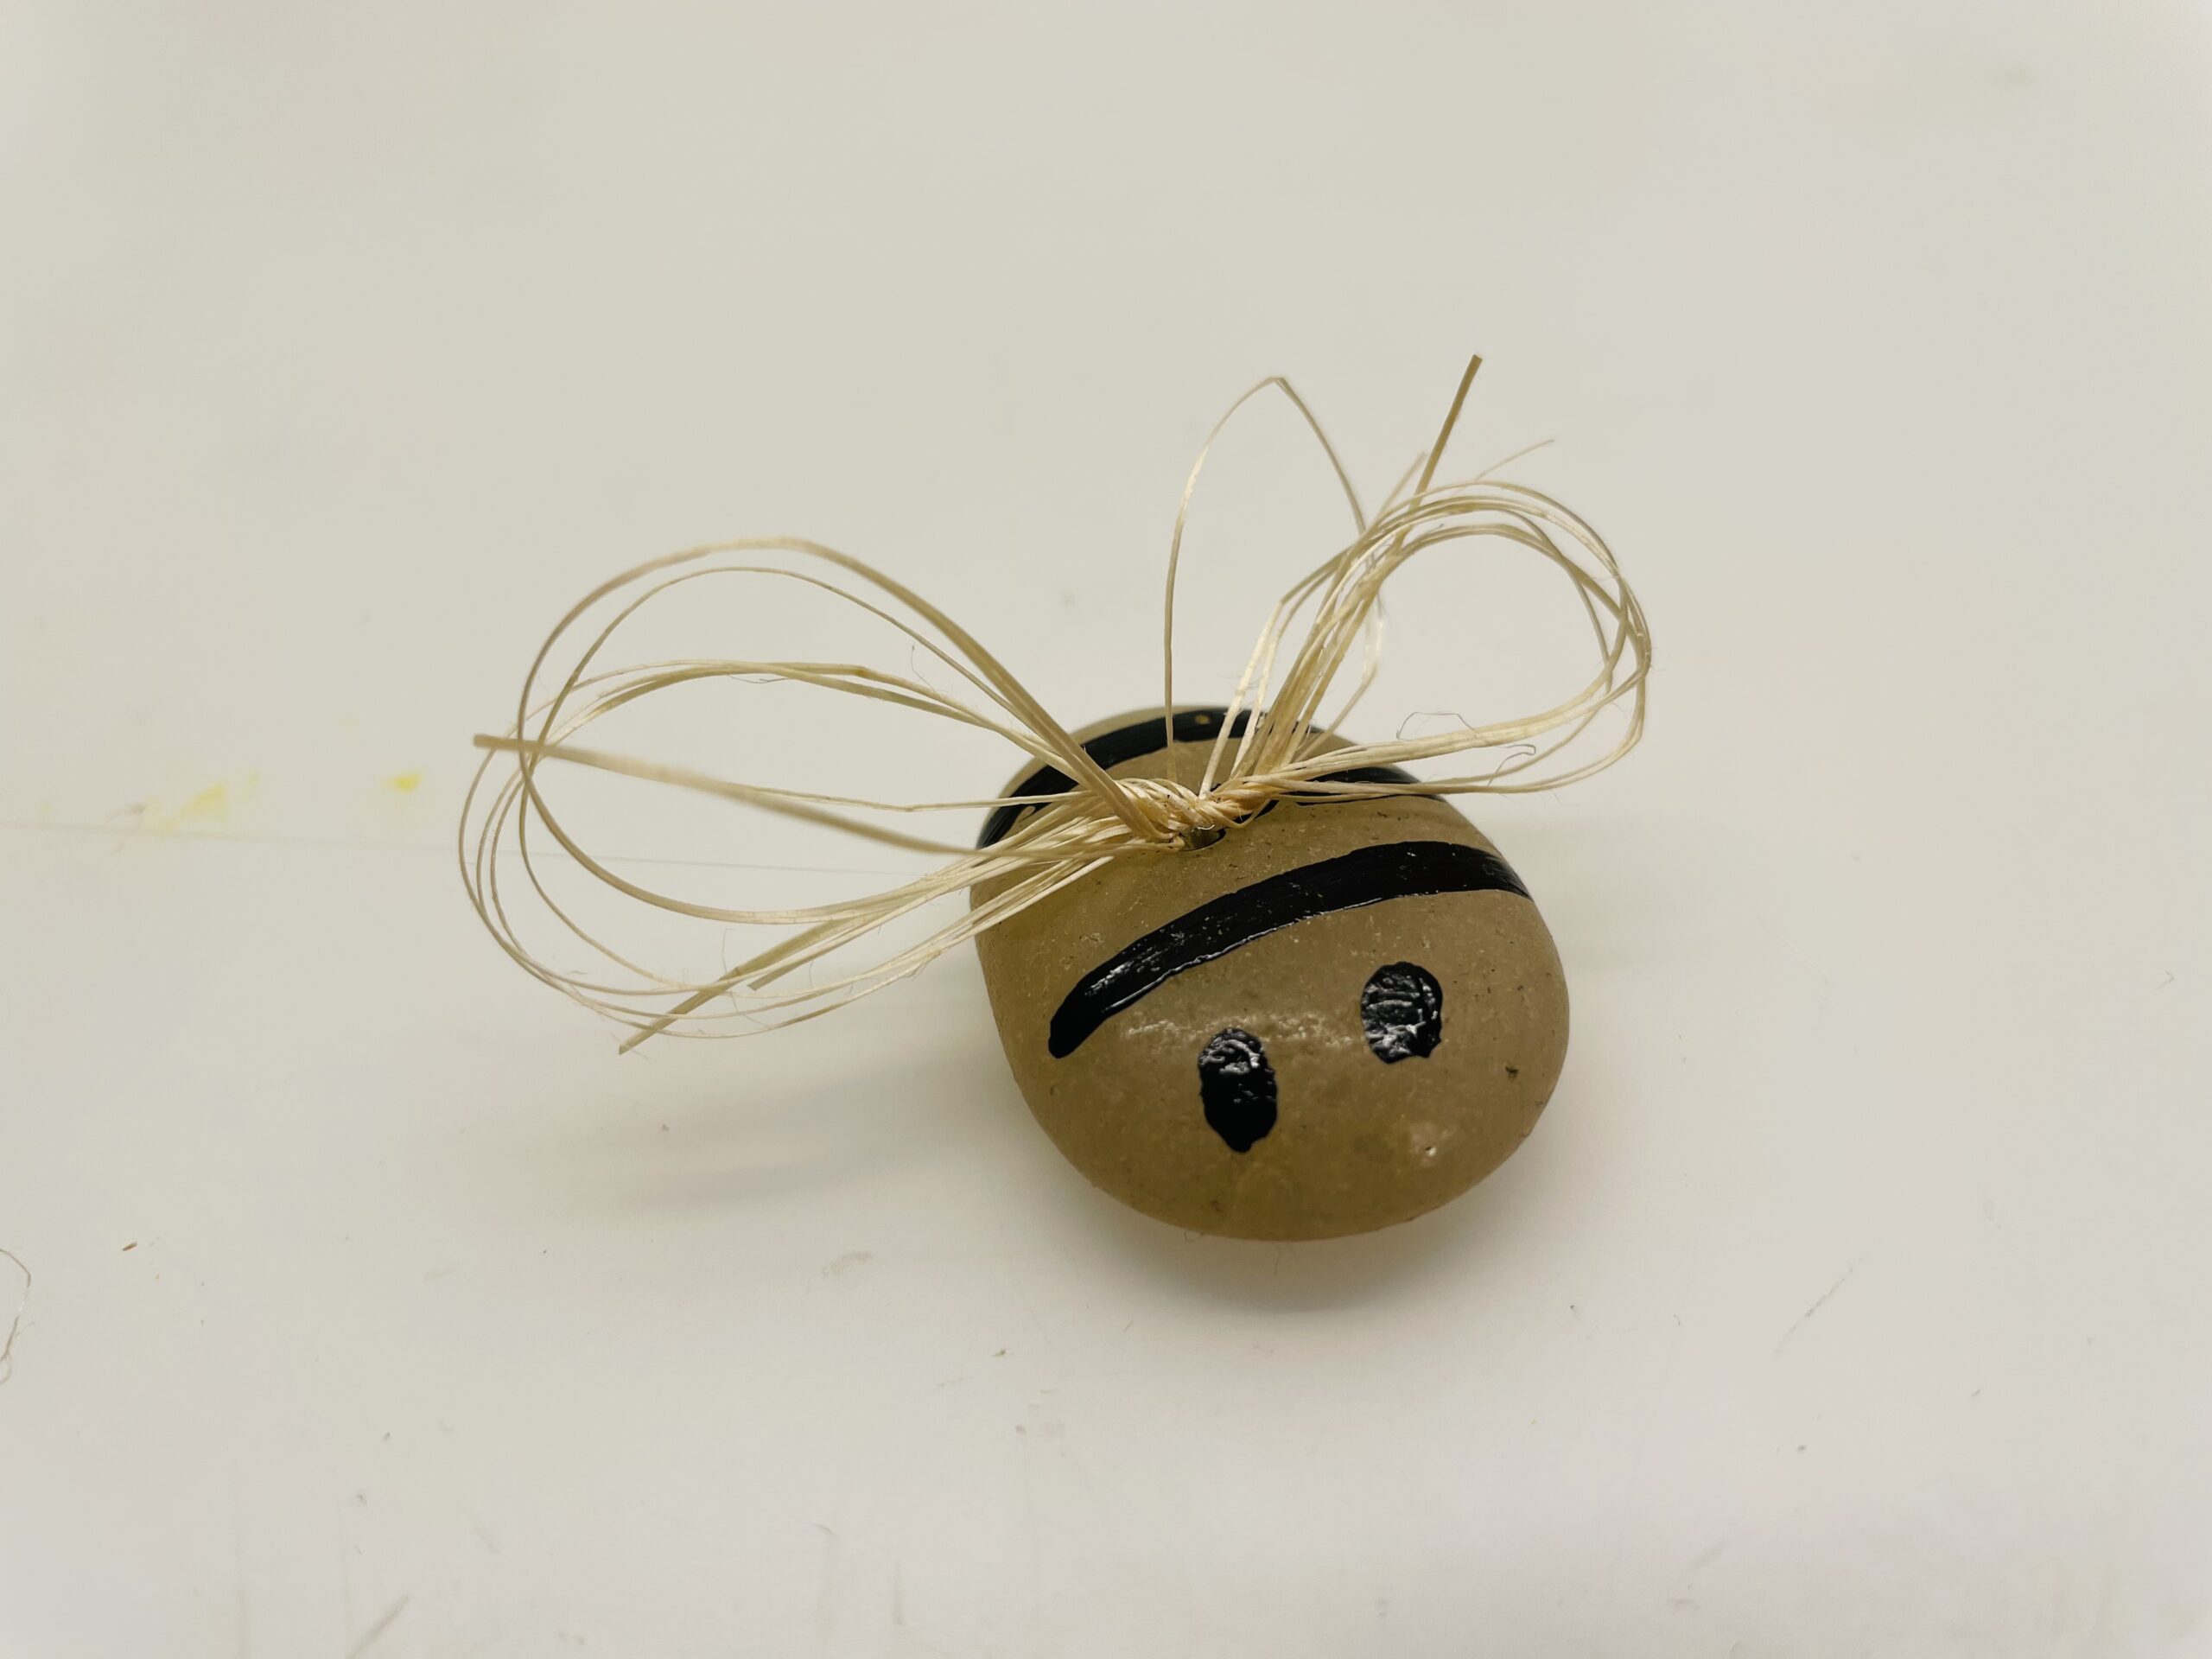
Then you paint black stripes and two dots for your eyes.
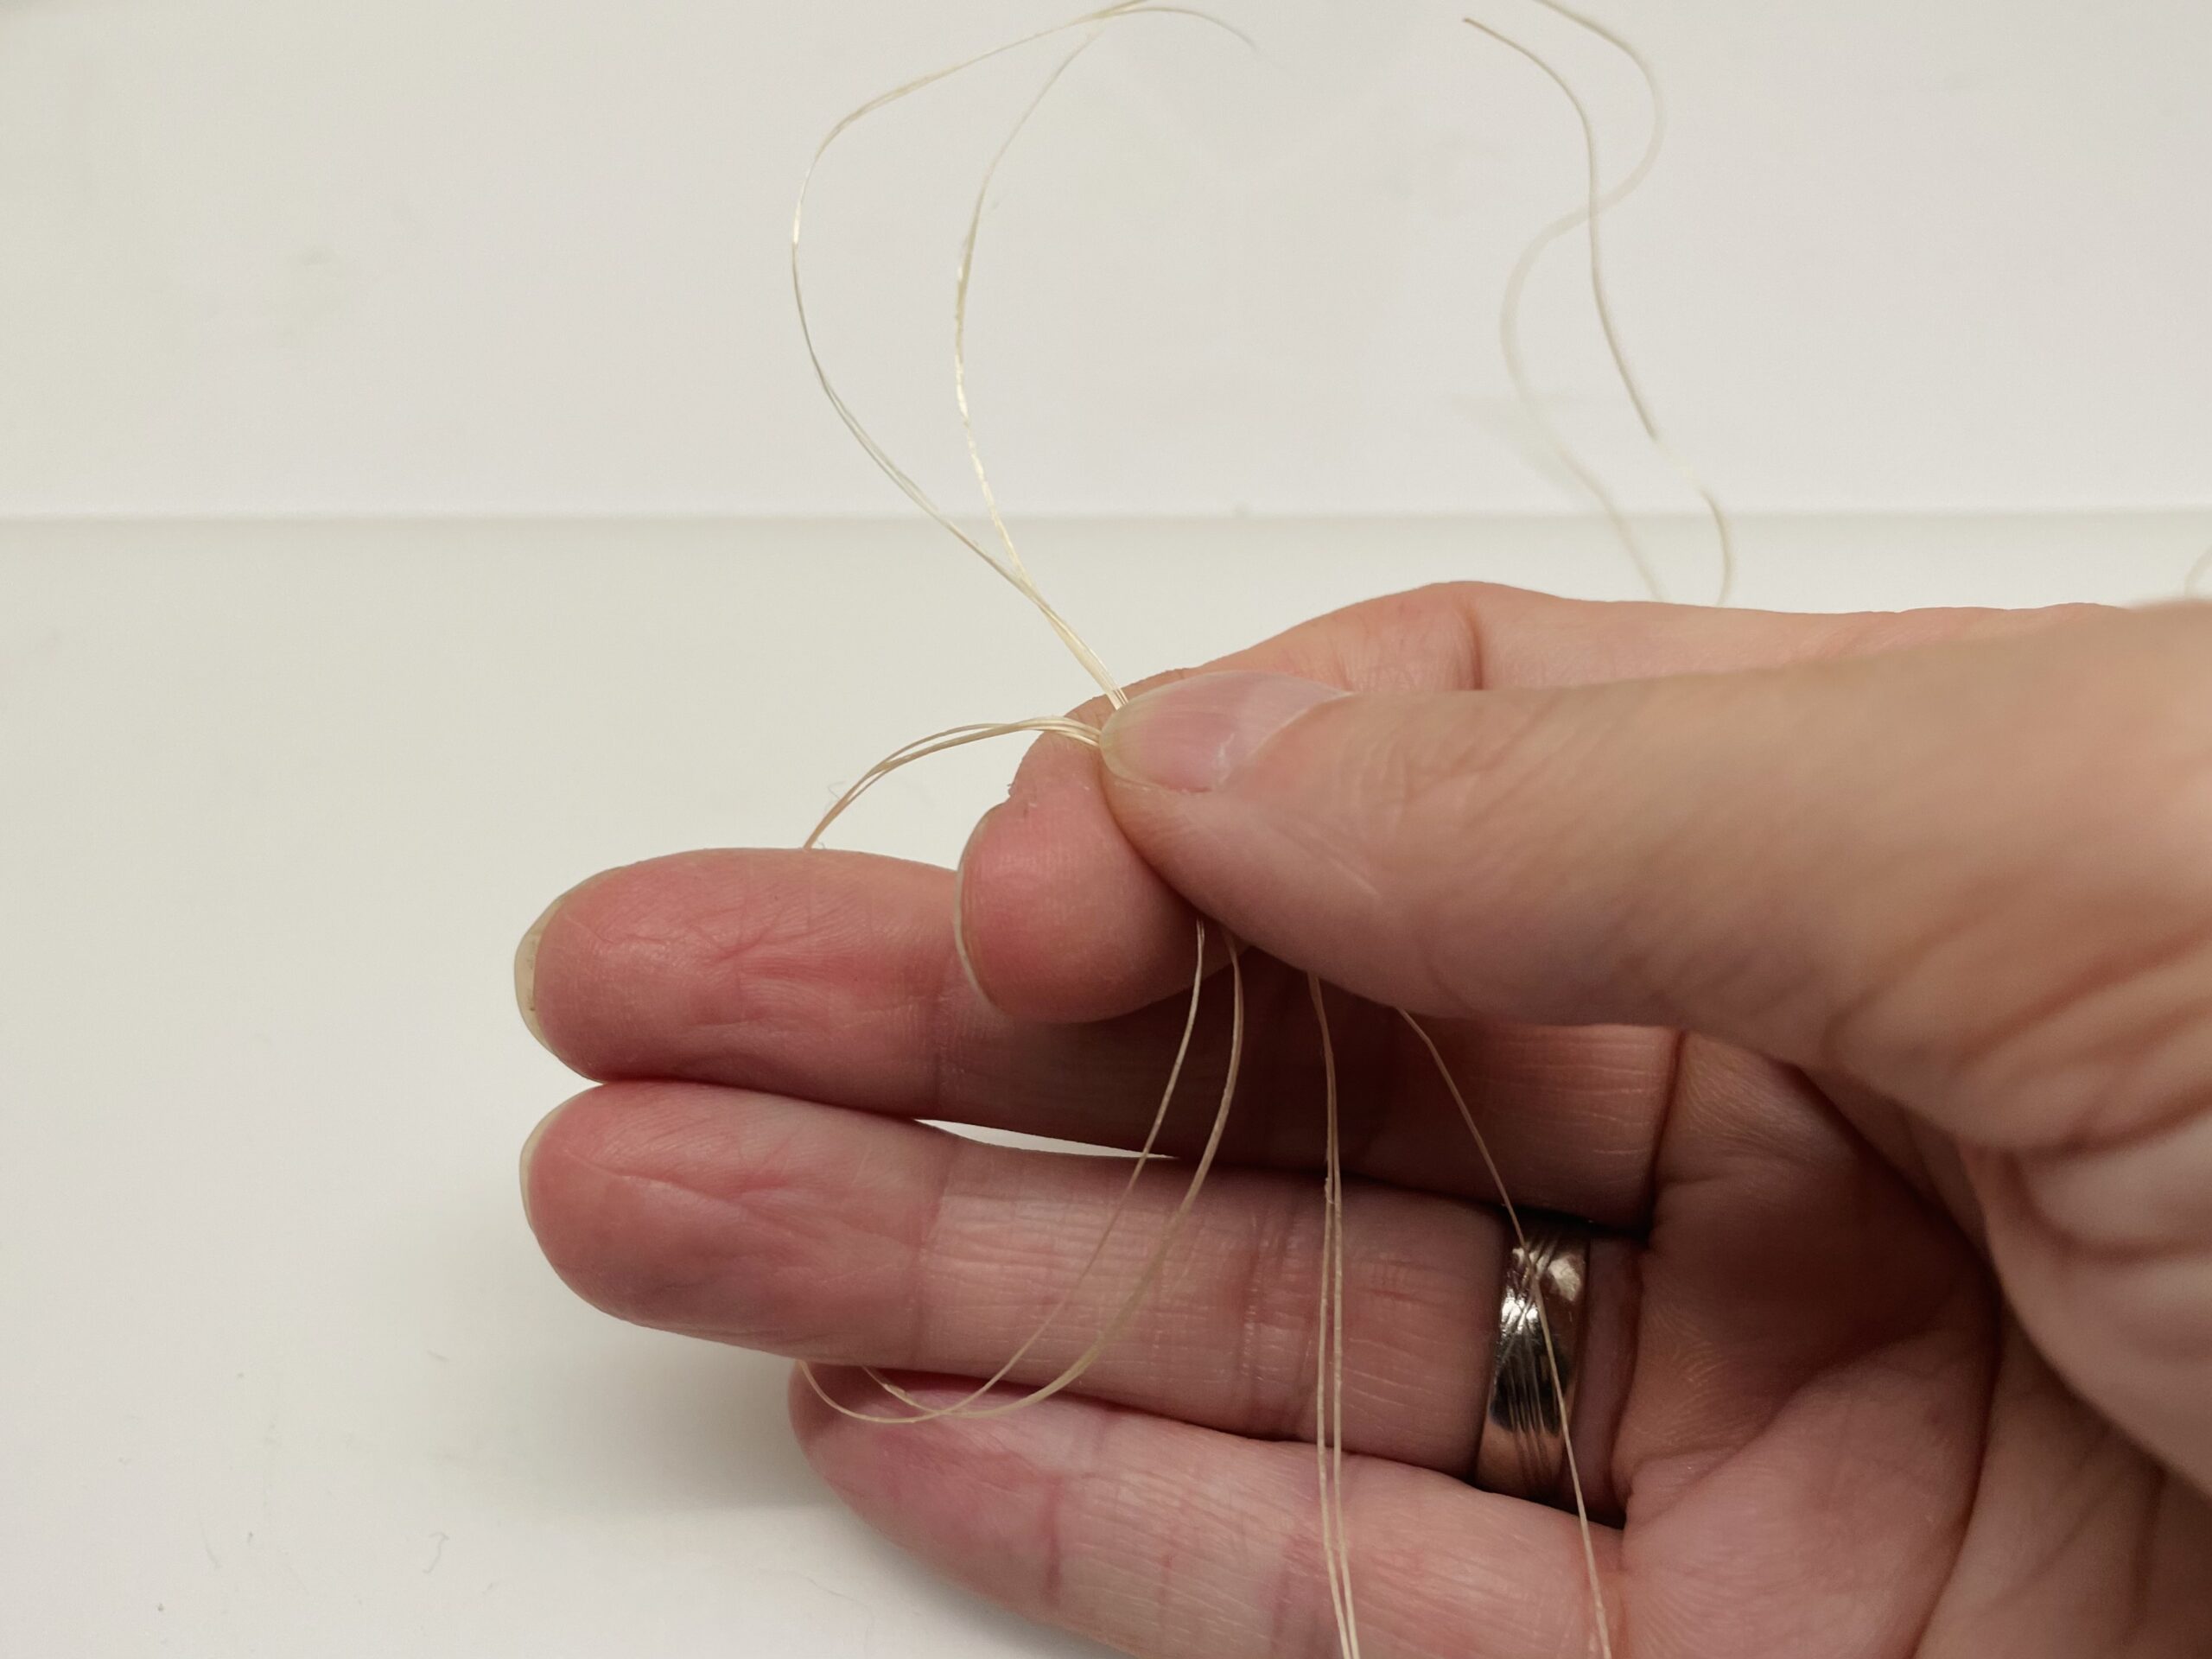
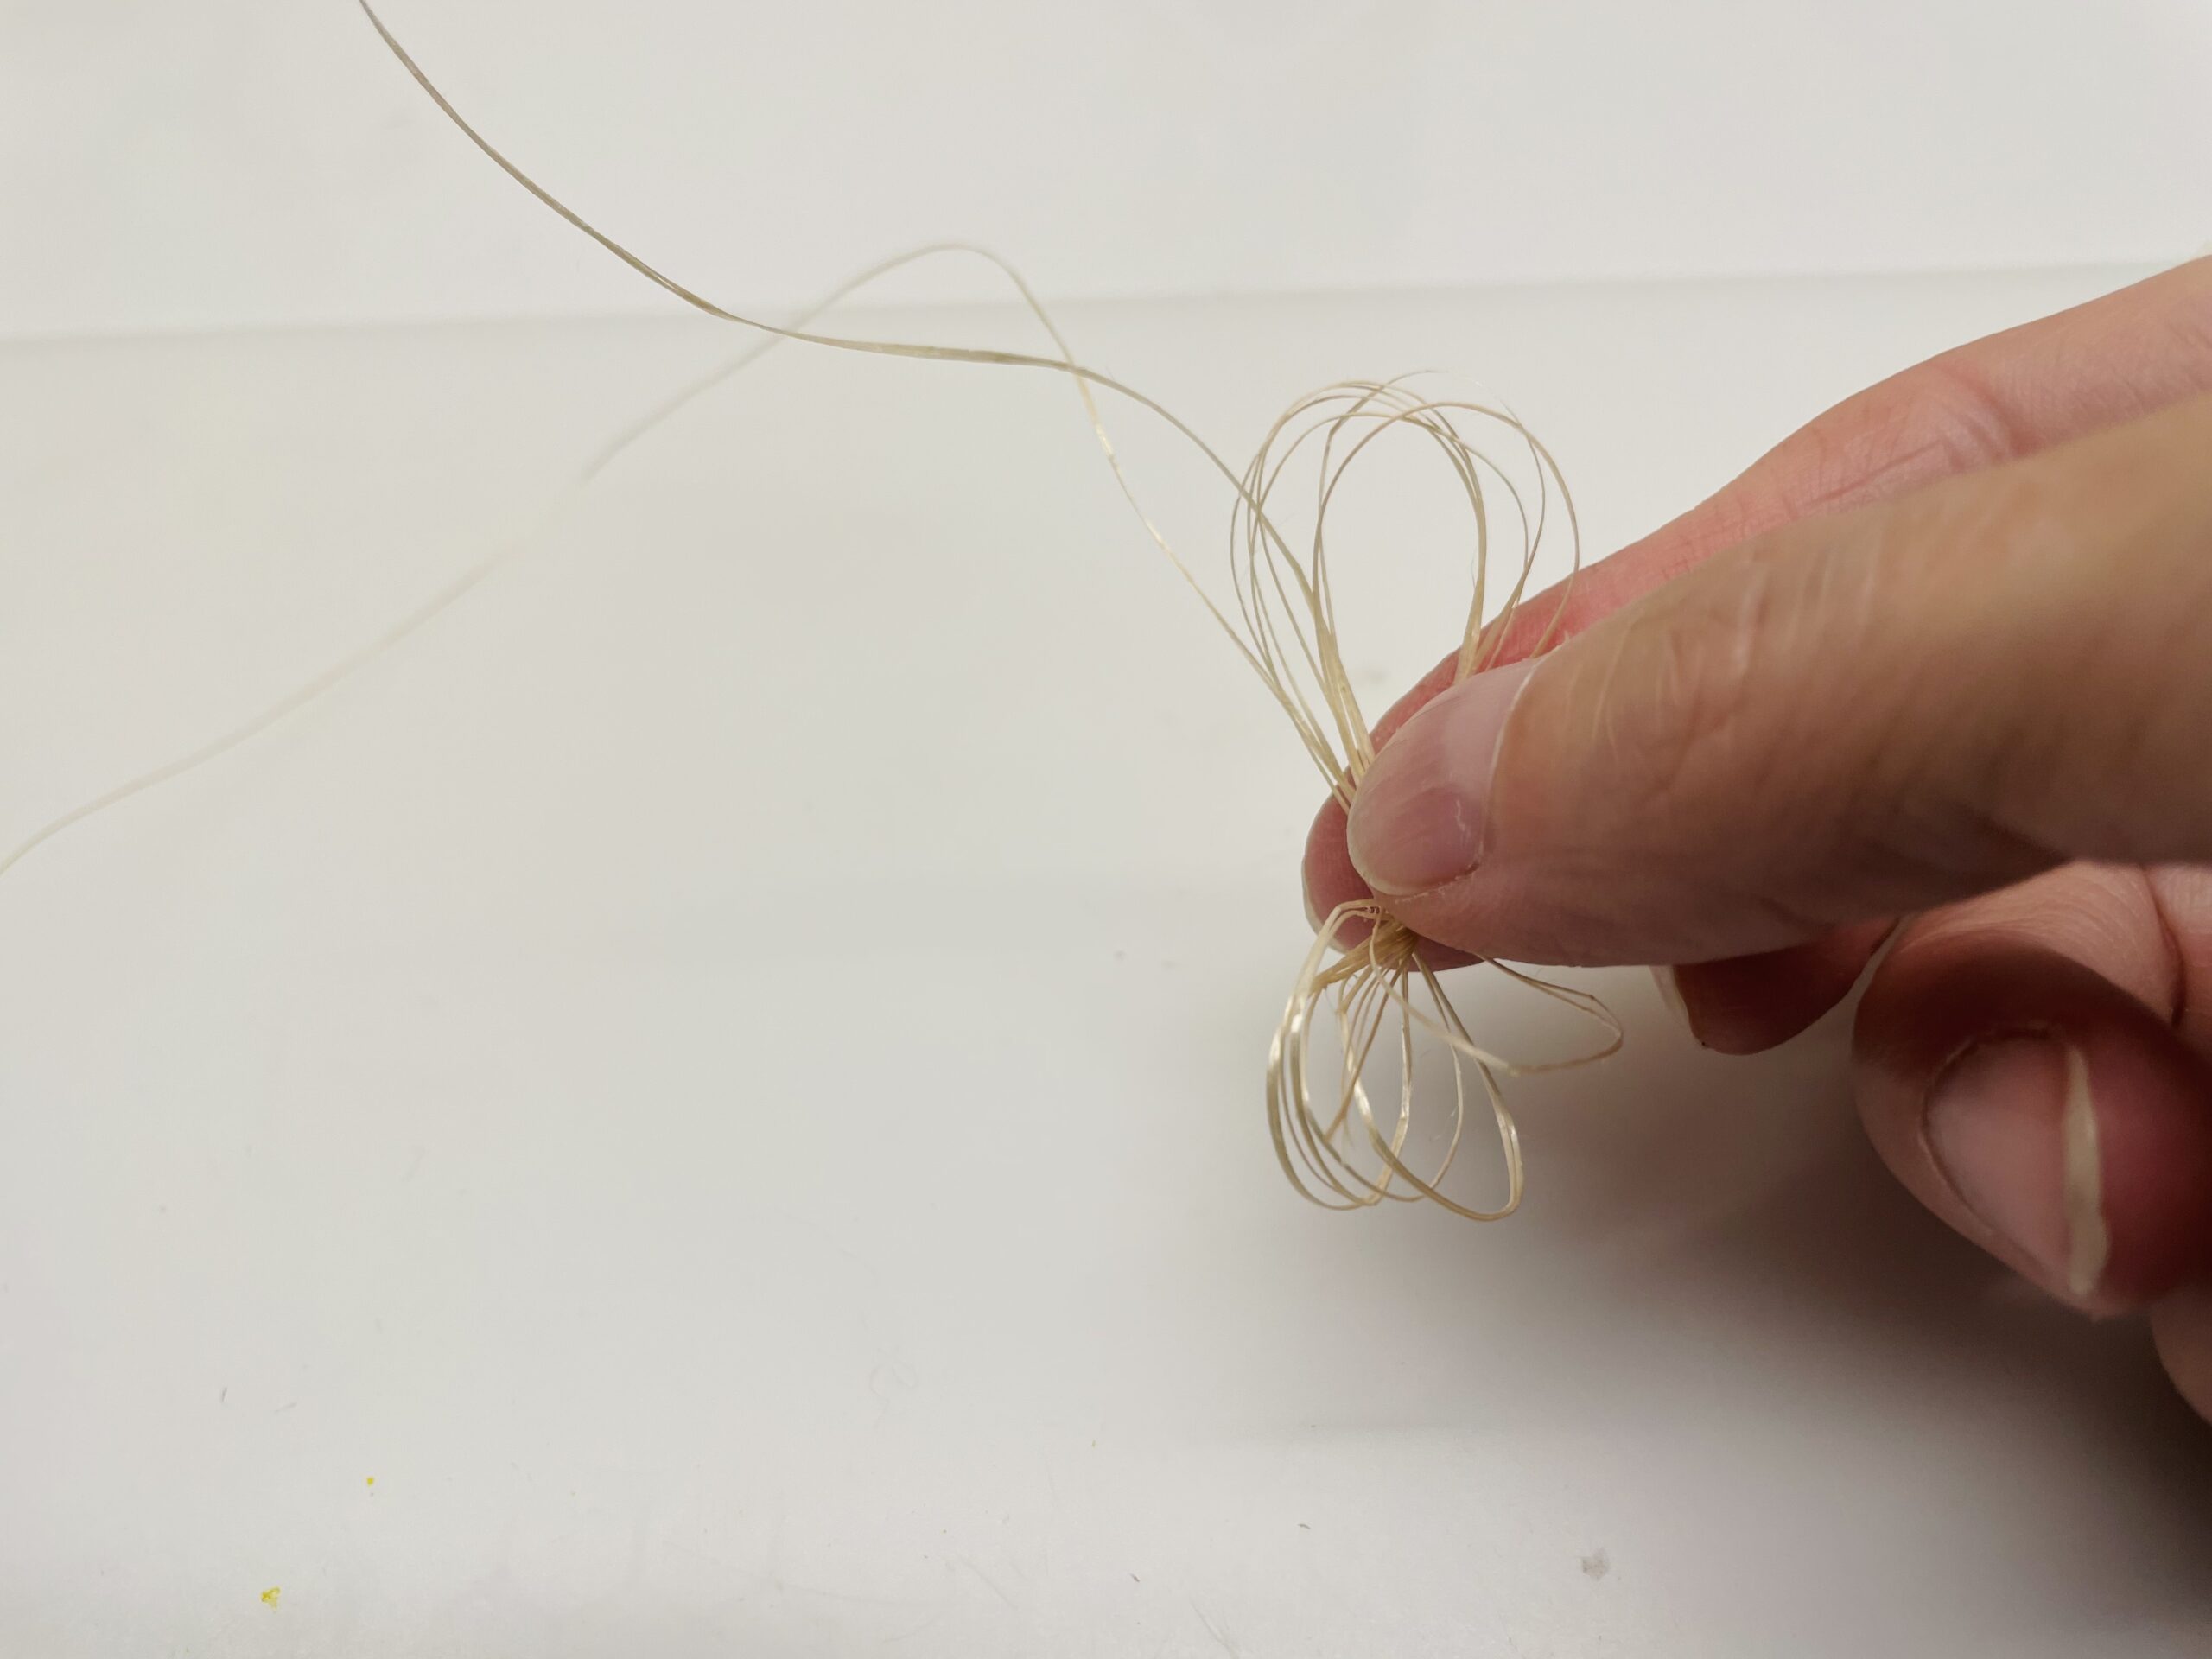
Then you wrap a few sisal threads several times around a few fingers of your hand. Then you gently push the resulting ring off your fingers.
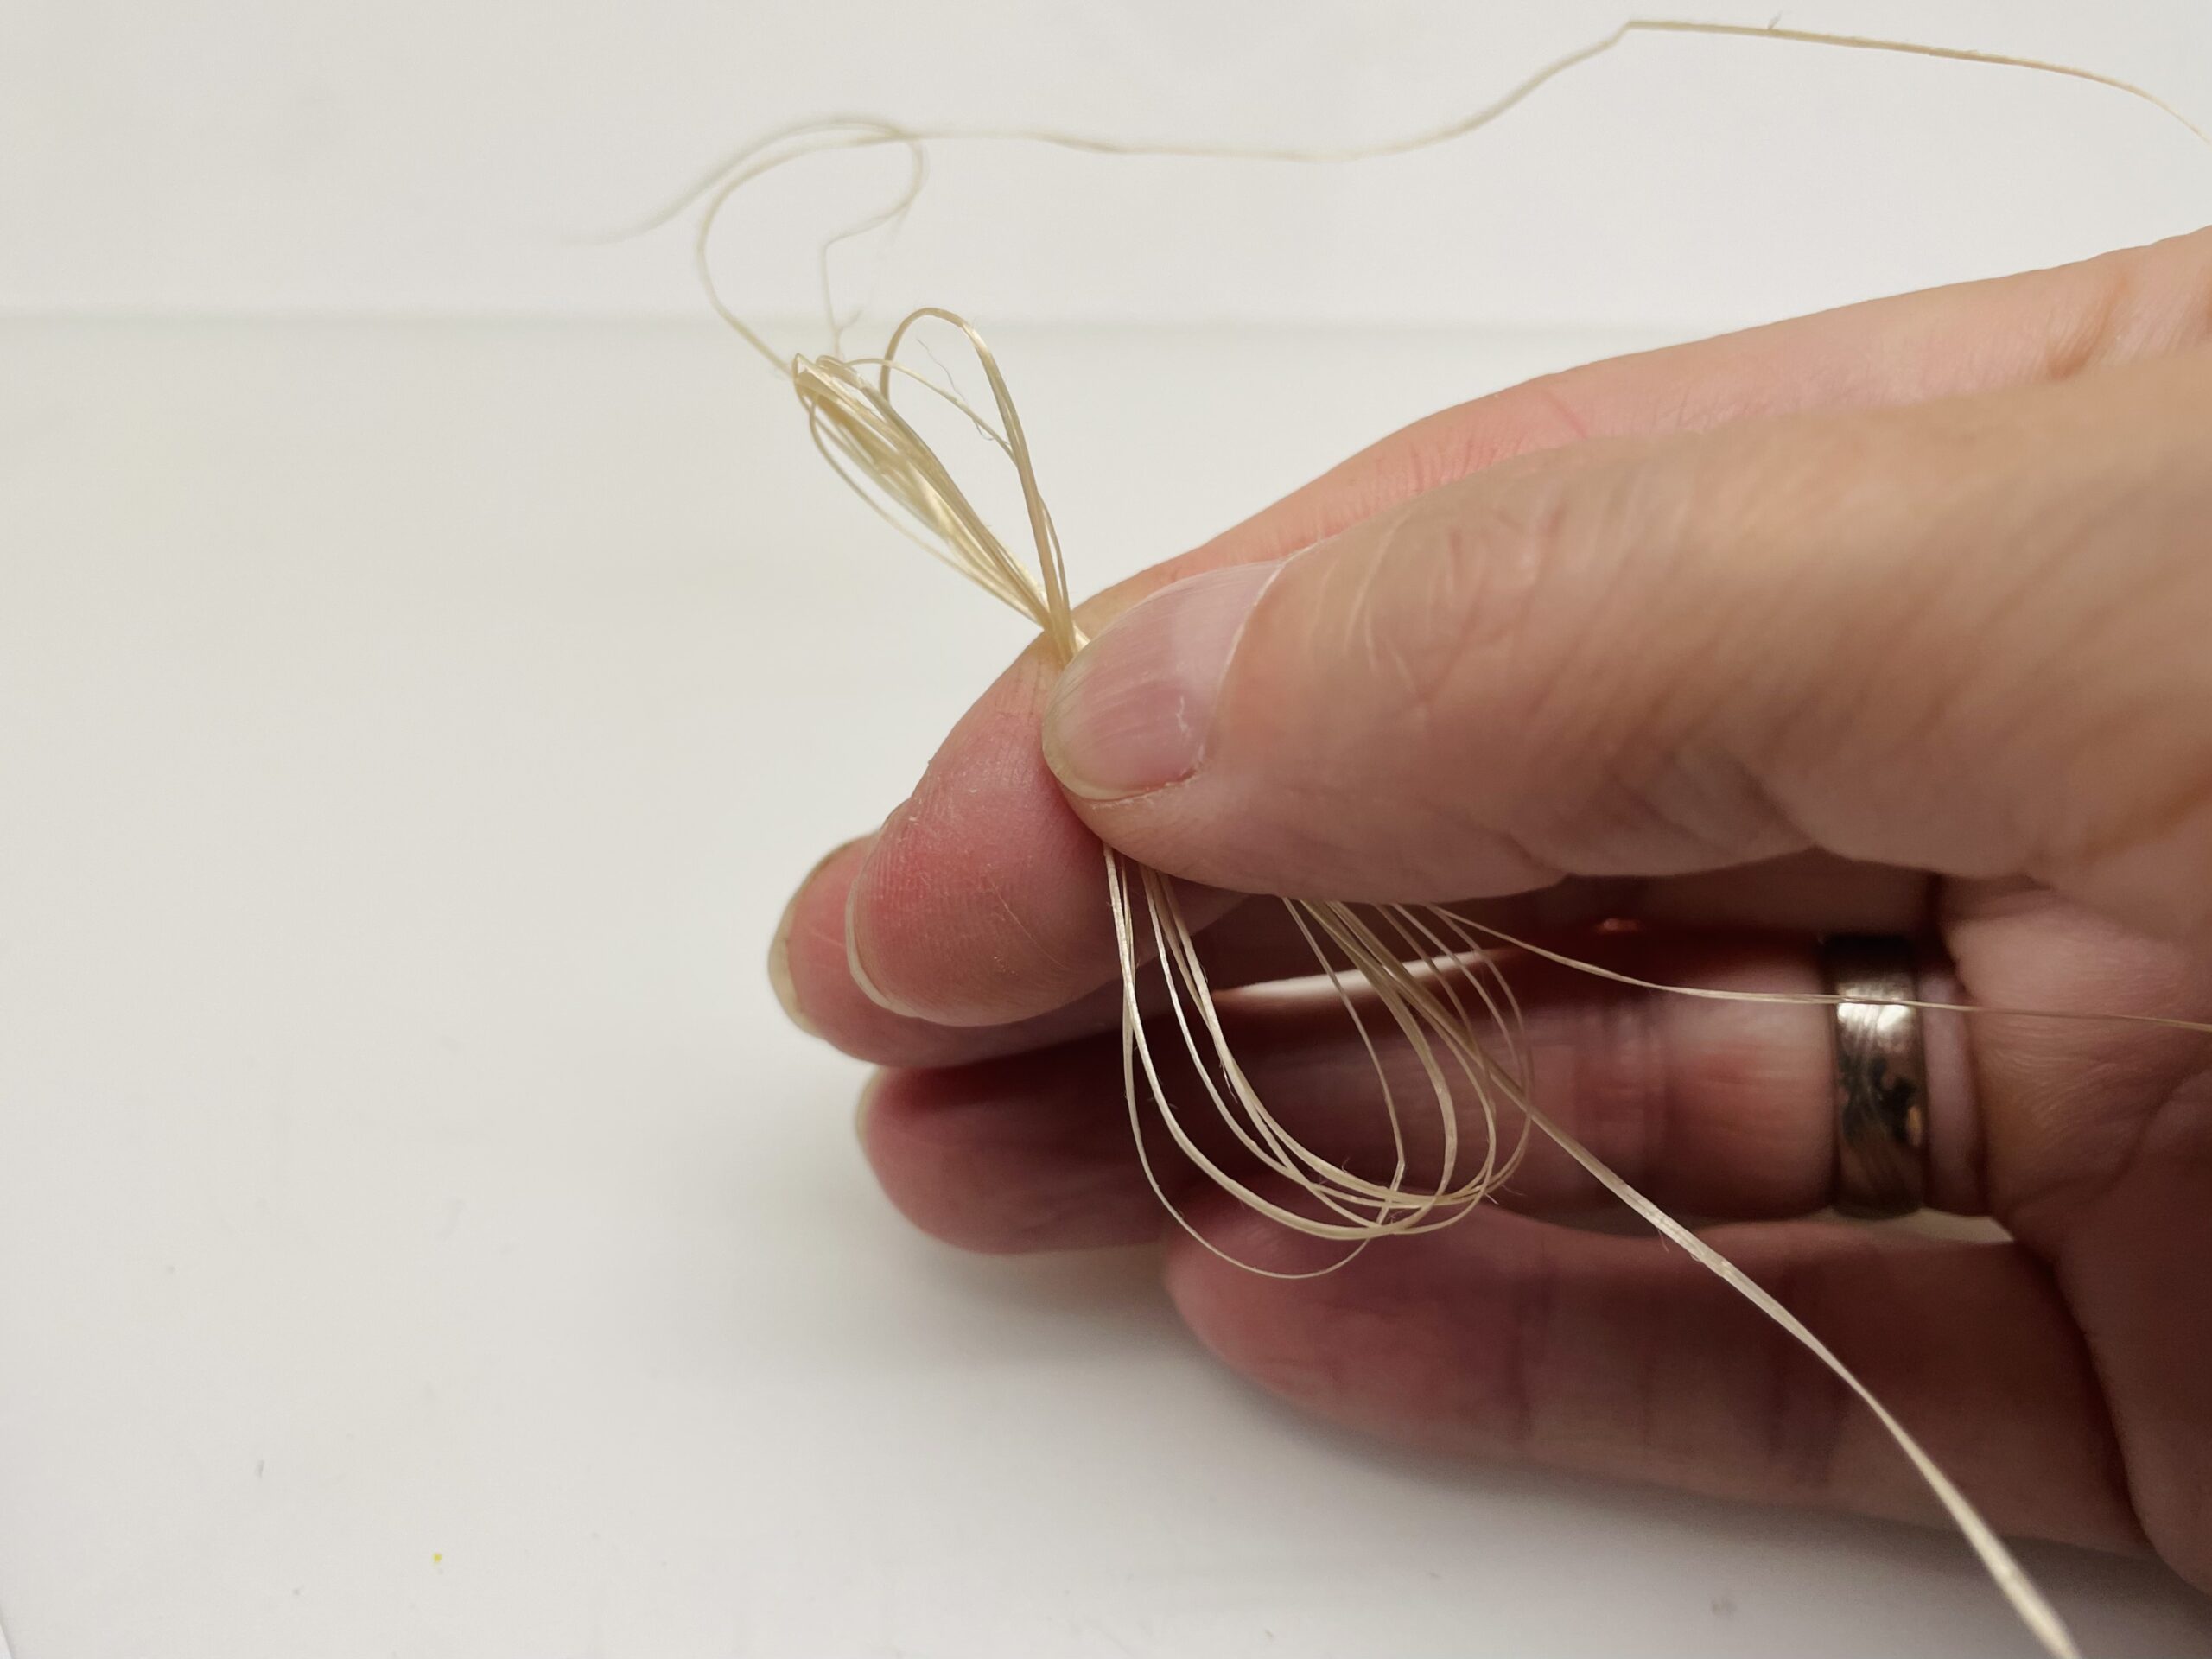
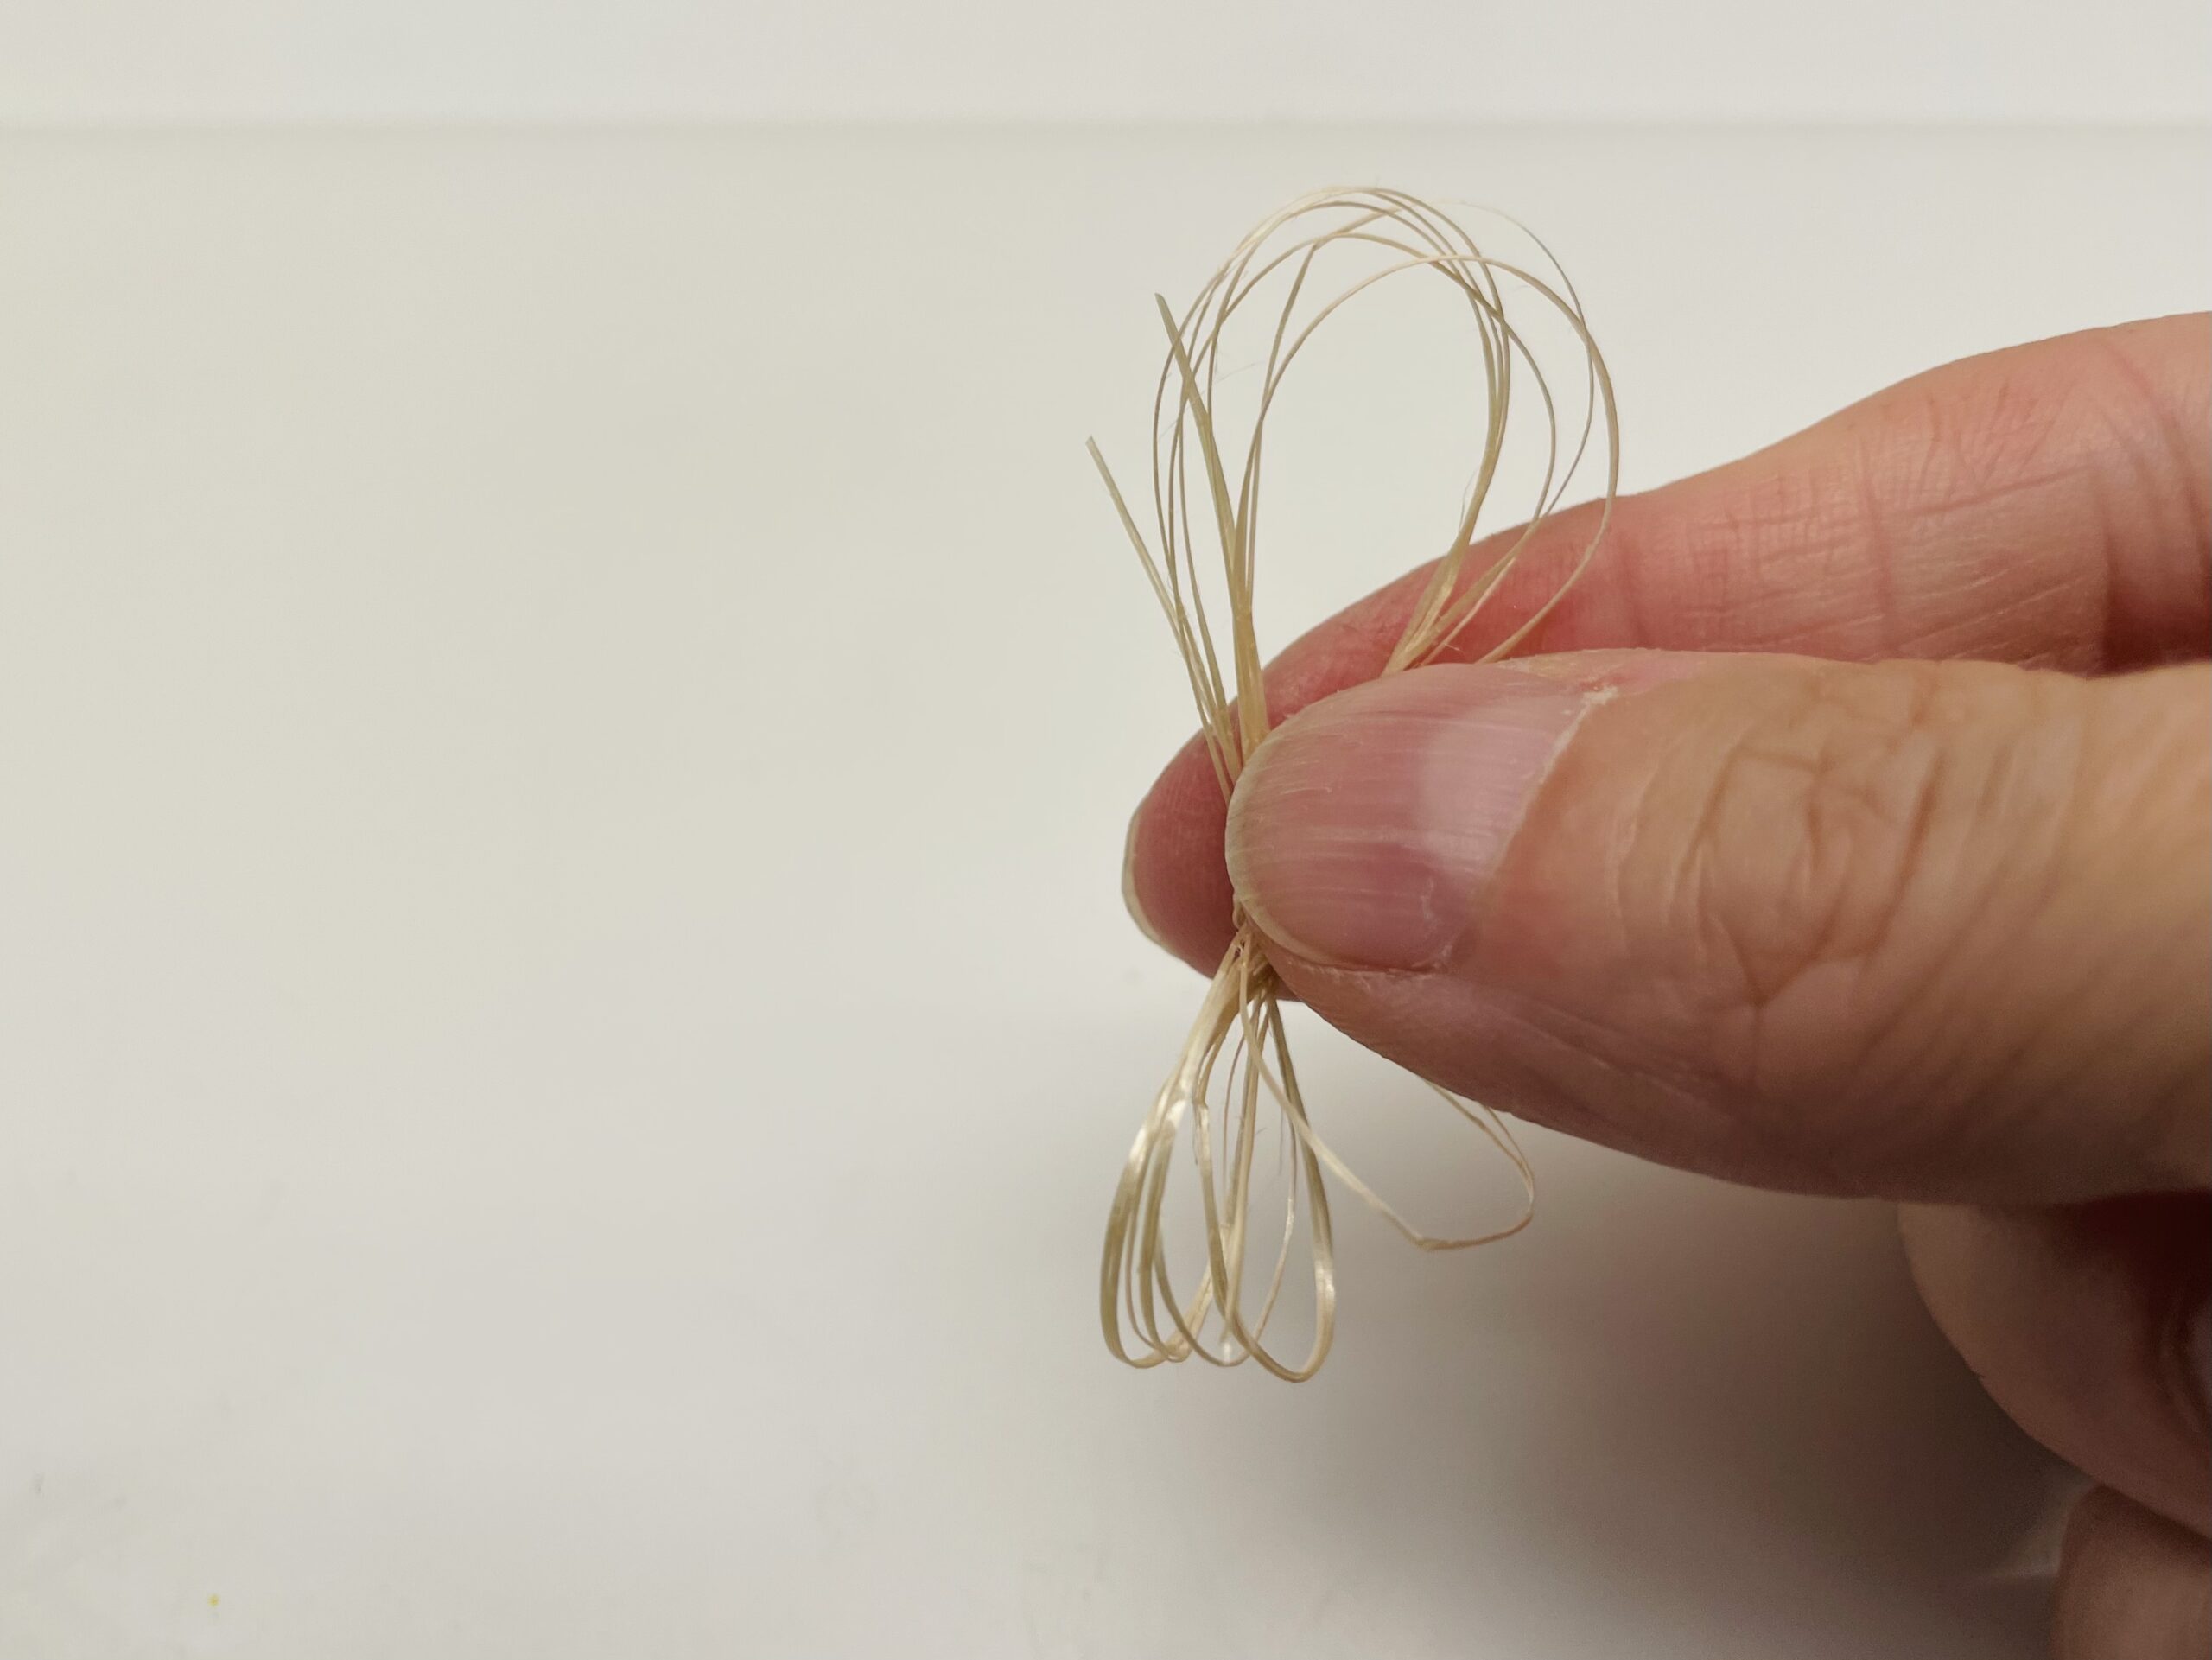
Grab the sisal ring in the middle and squeeze it in such a way that two equally large loops emerge.
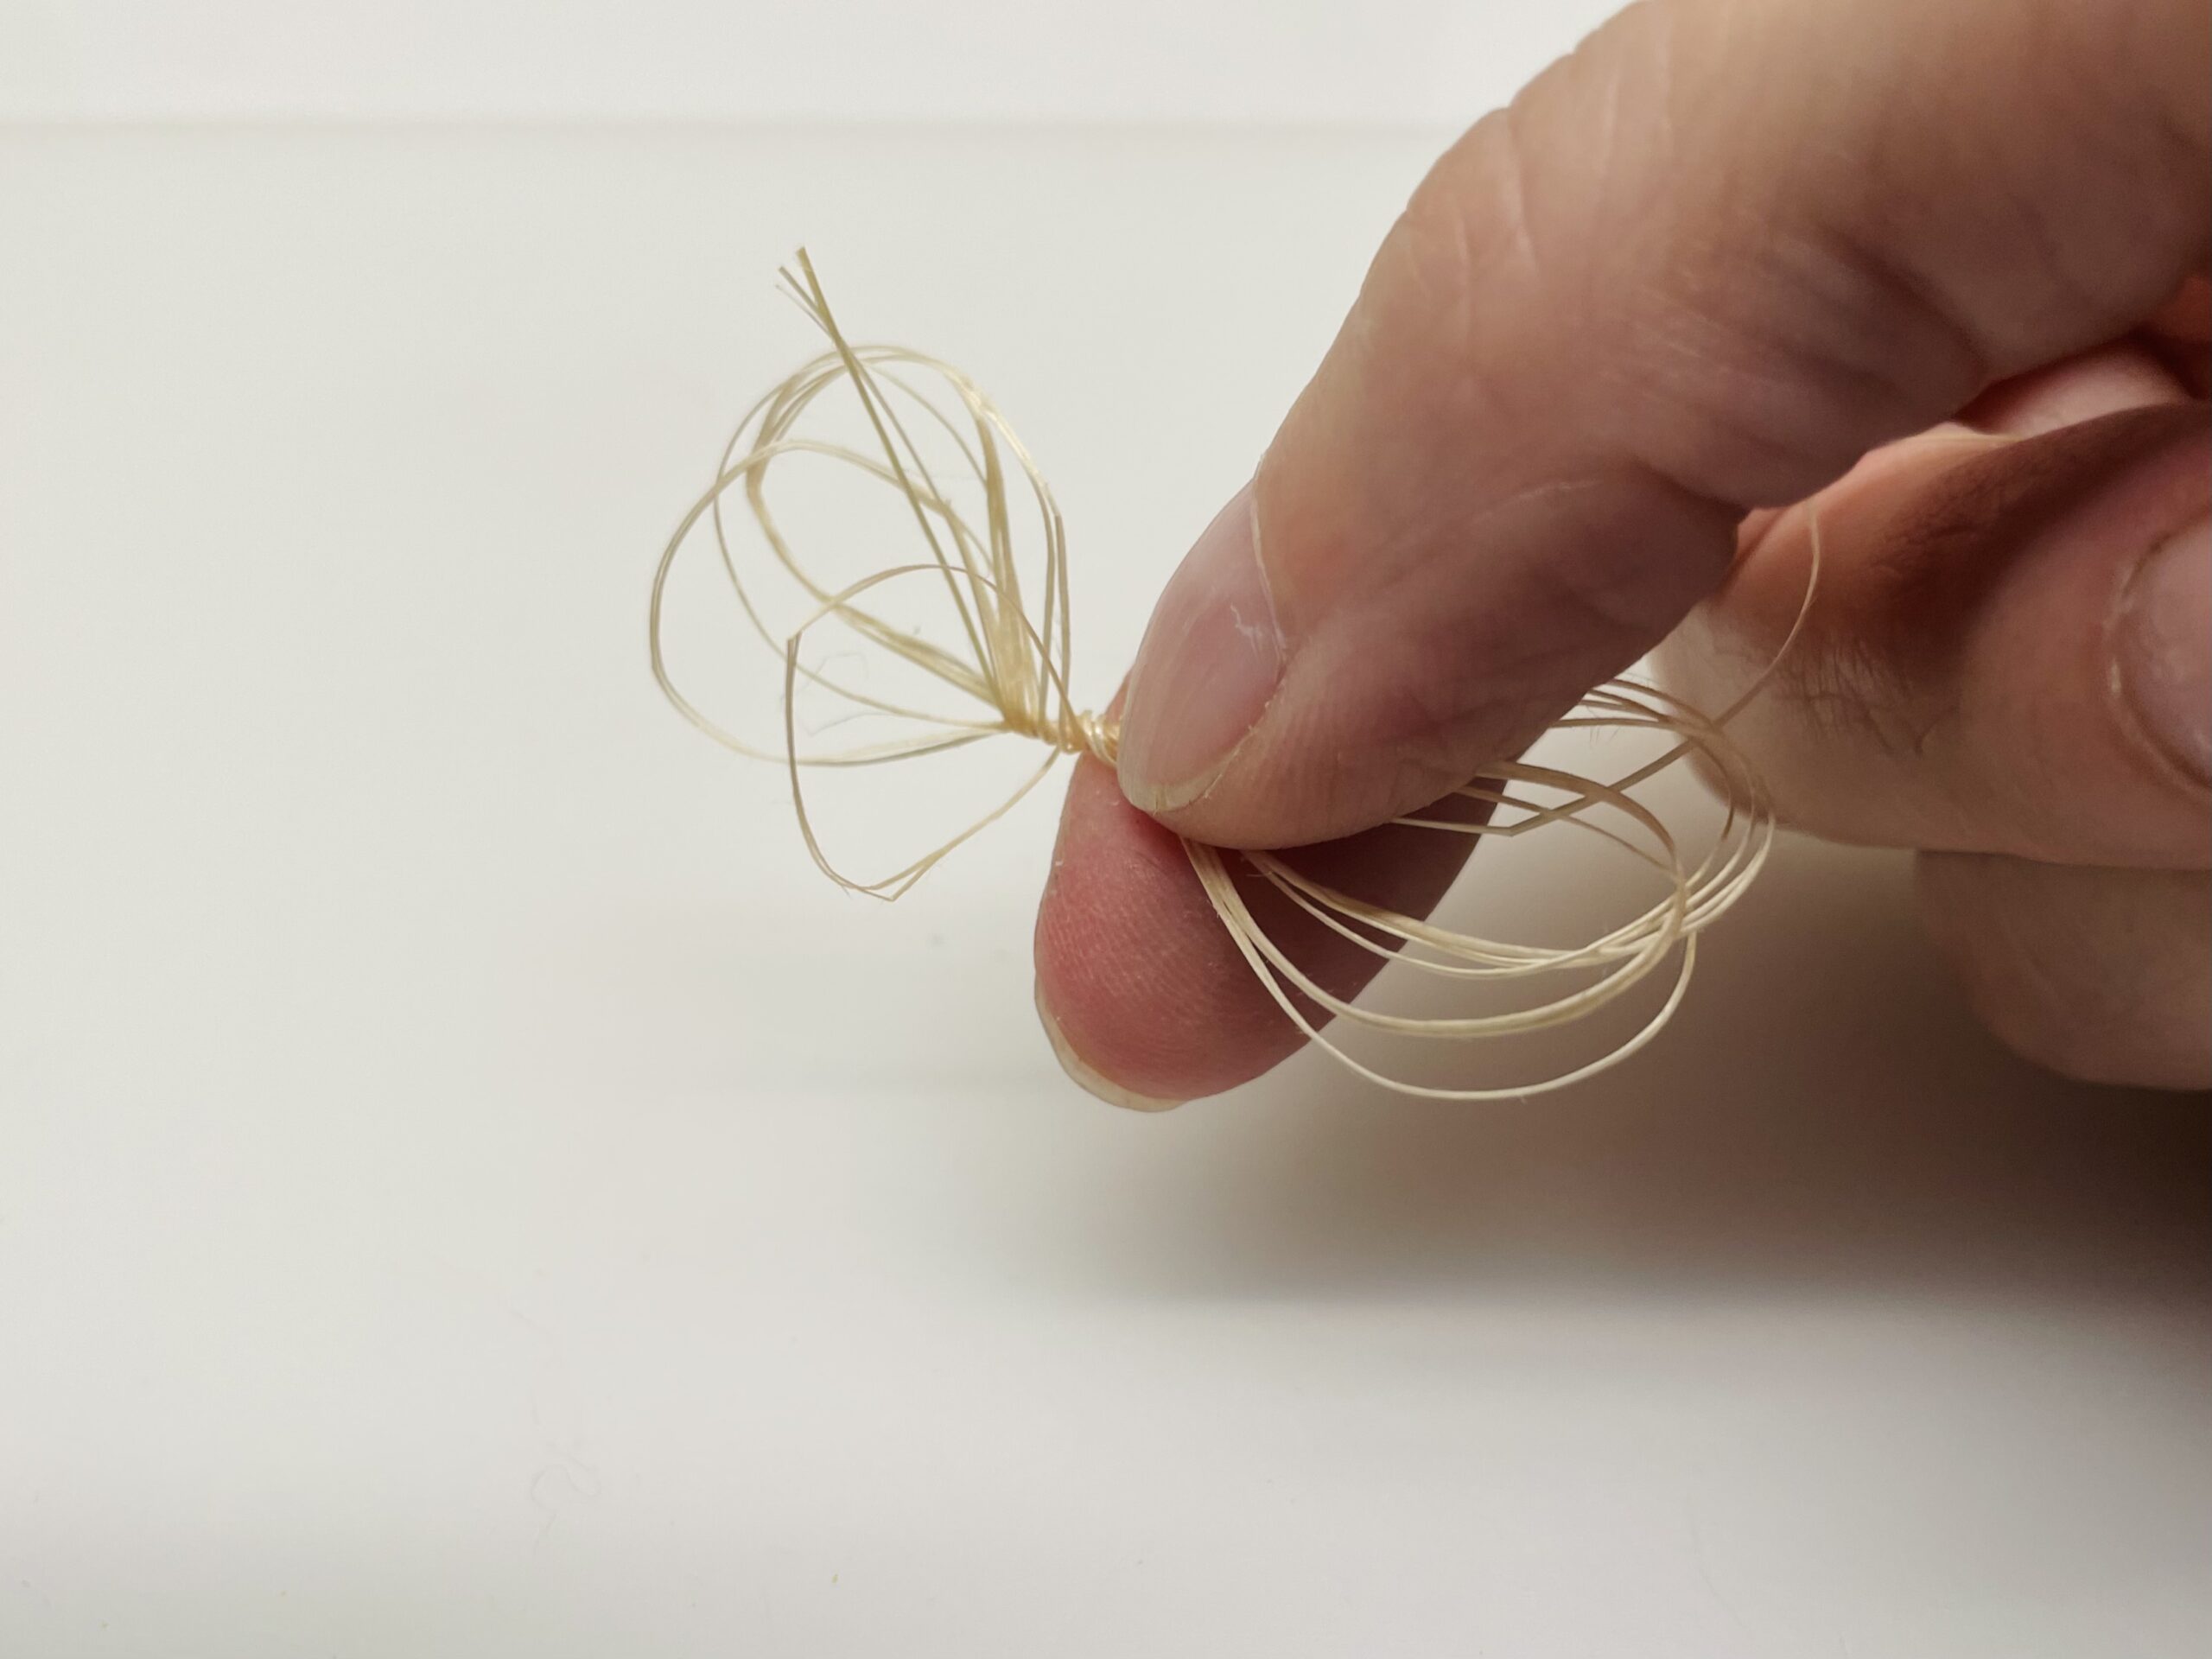
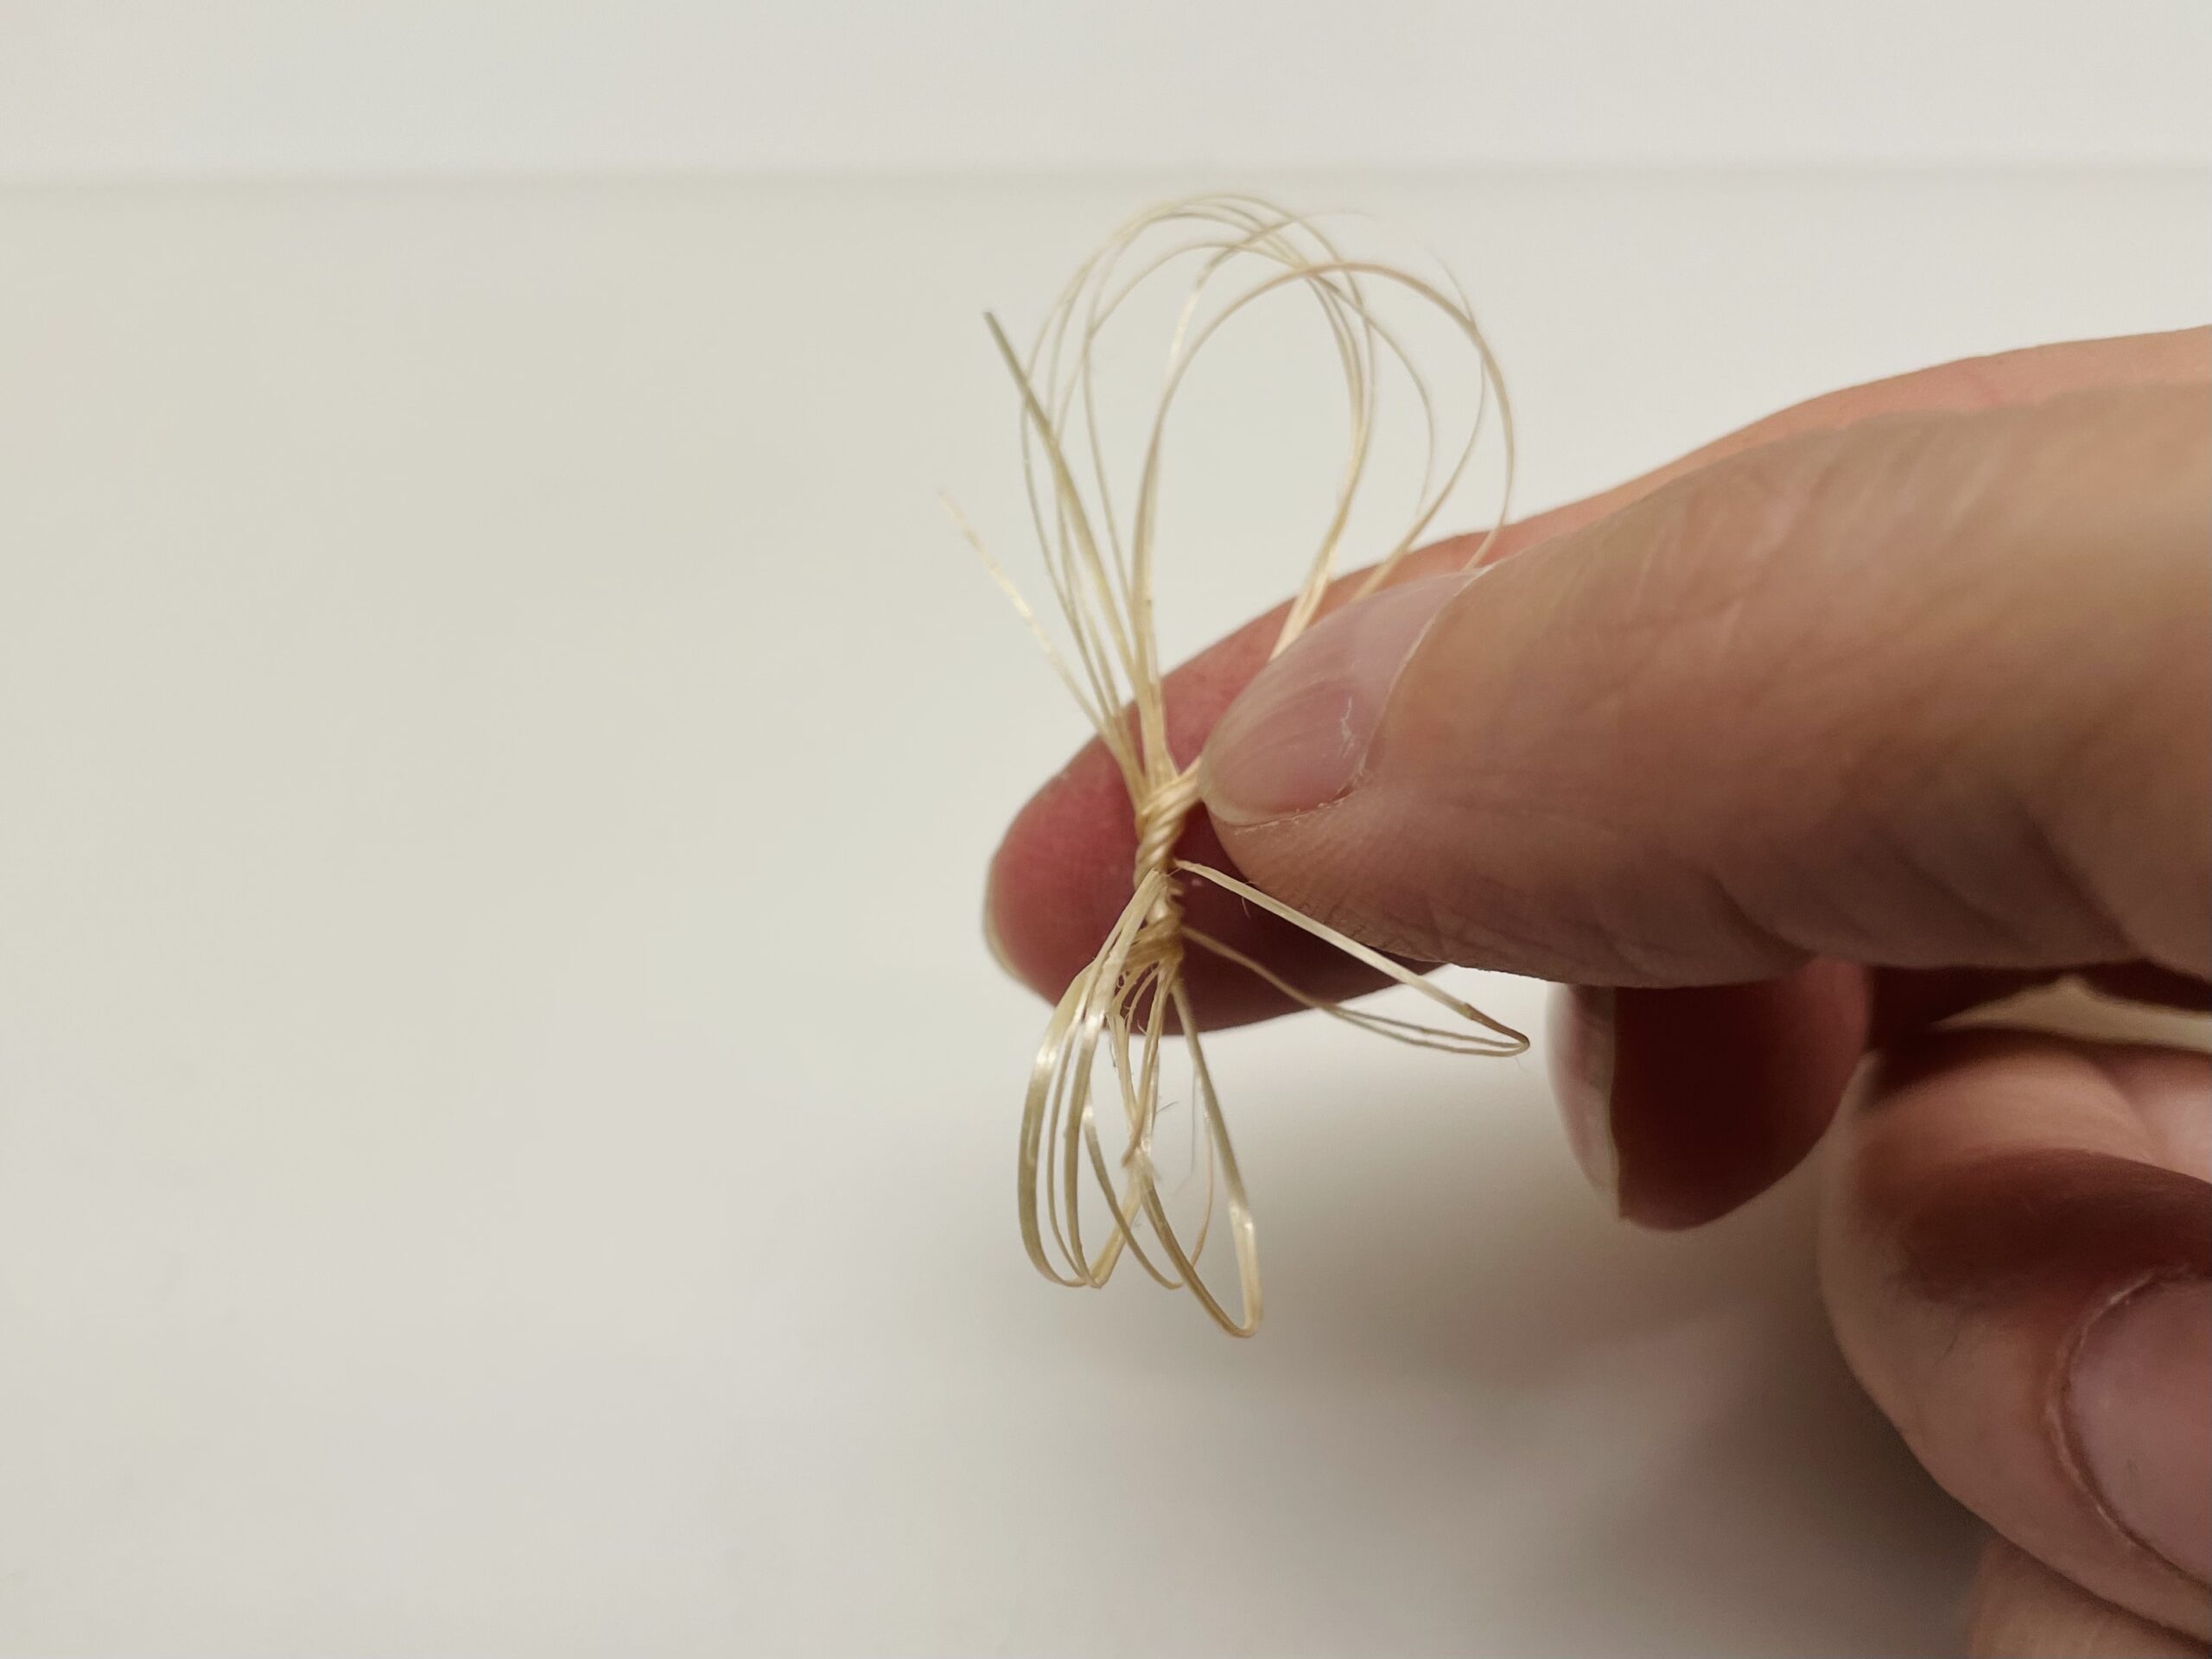
Now you turn the two loops several times in the opposite direction. Rotate the loops until the loop stops by itself.
Now cut off the overhanging end thread with the scissors.
The little wings are ready.
Now try out how you want to place the wings.
If it is still a little bit apart or in the appropriate shape.
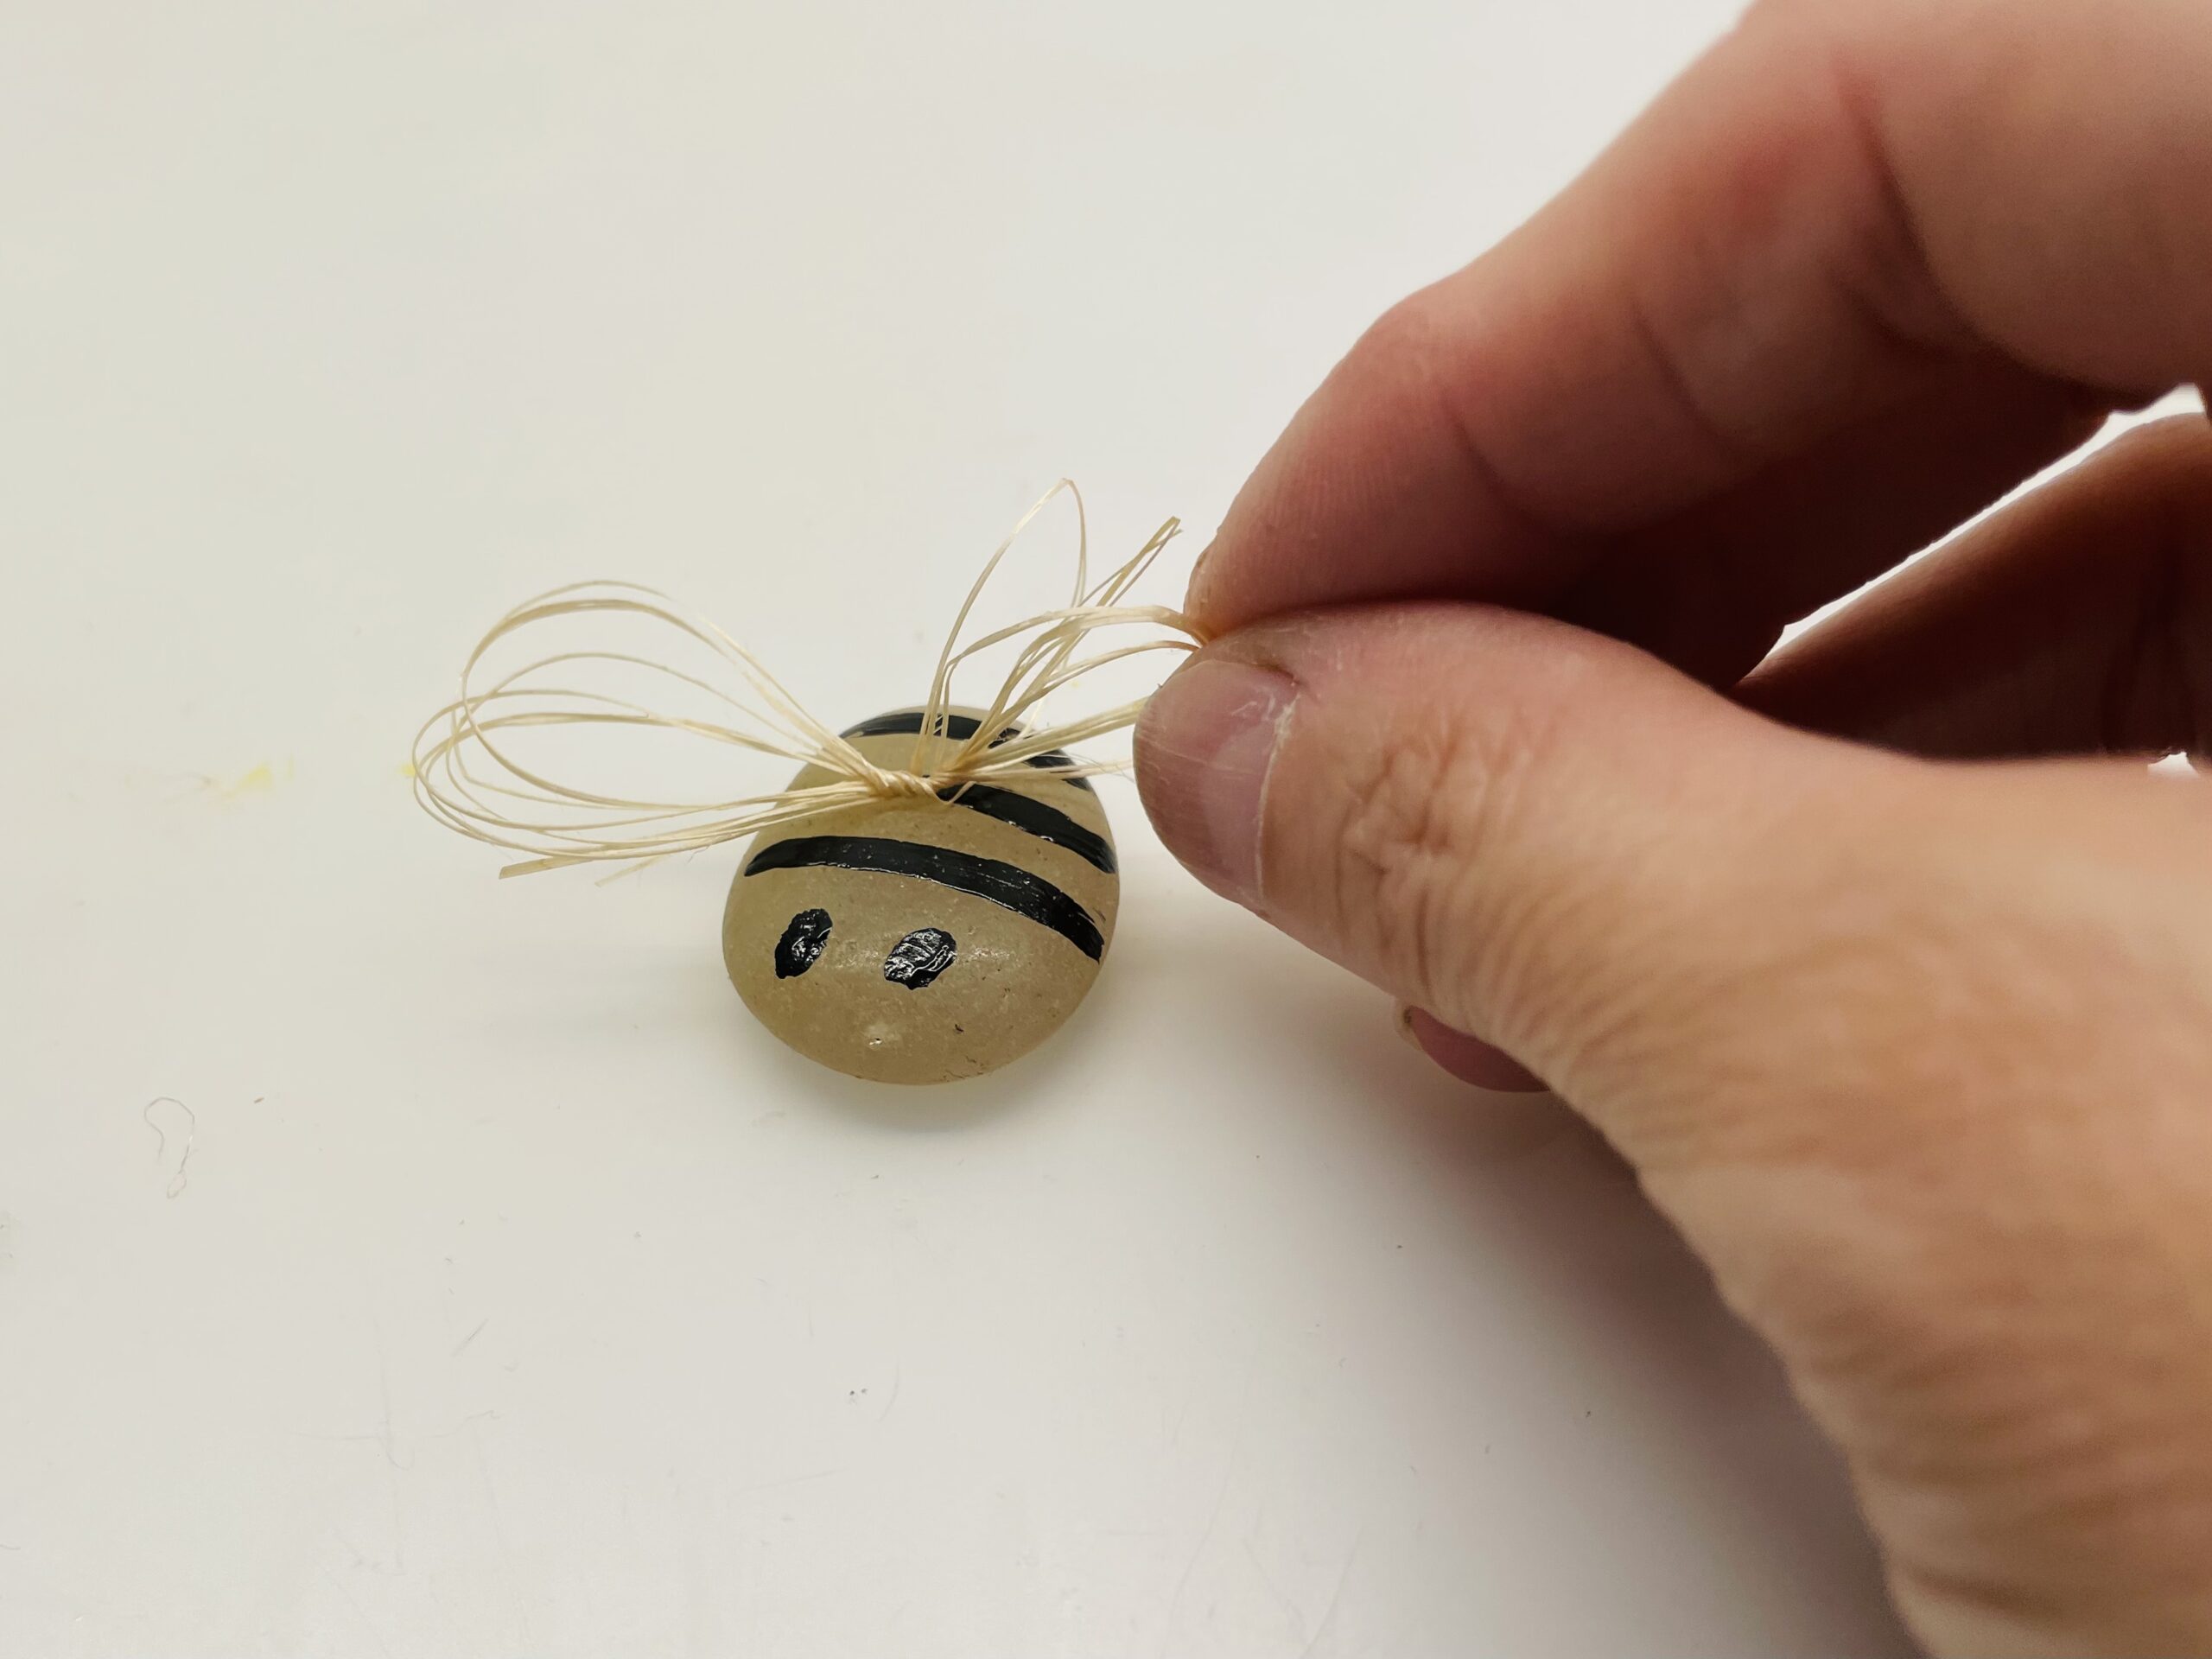
Then you put the wings with a small adhesive point on the bee. Press the wings briefly with a pen or scissors.

Your bee is ready.
Maybe it's a little piece of art that you made.
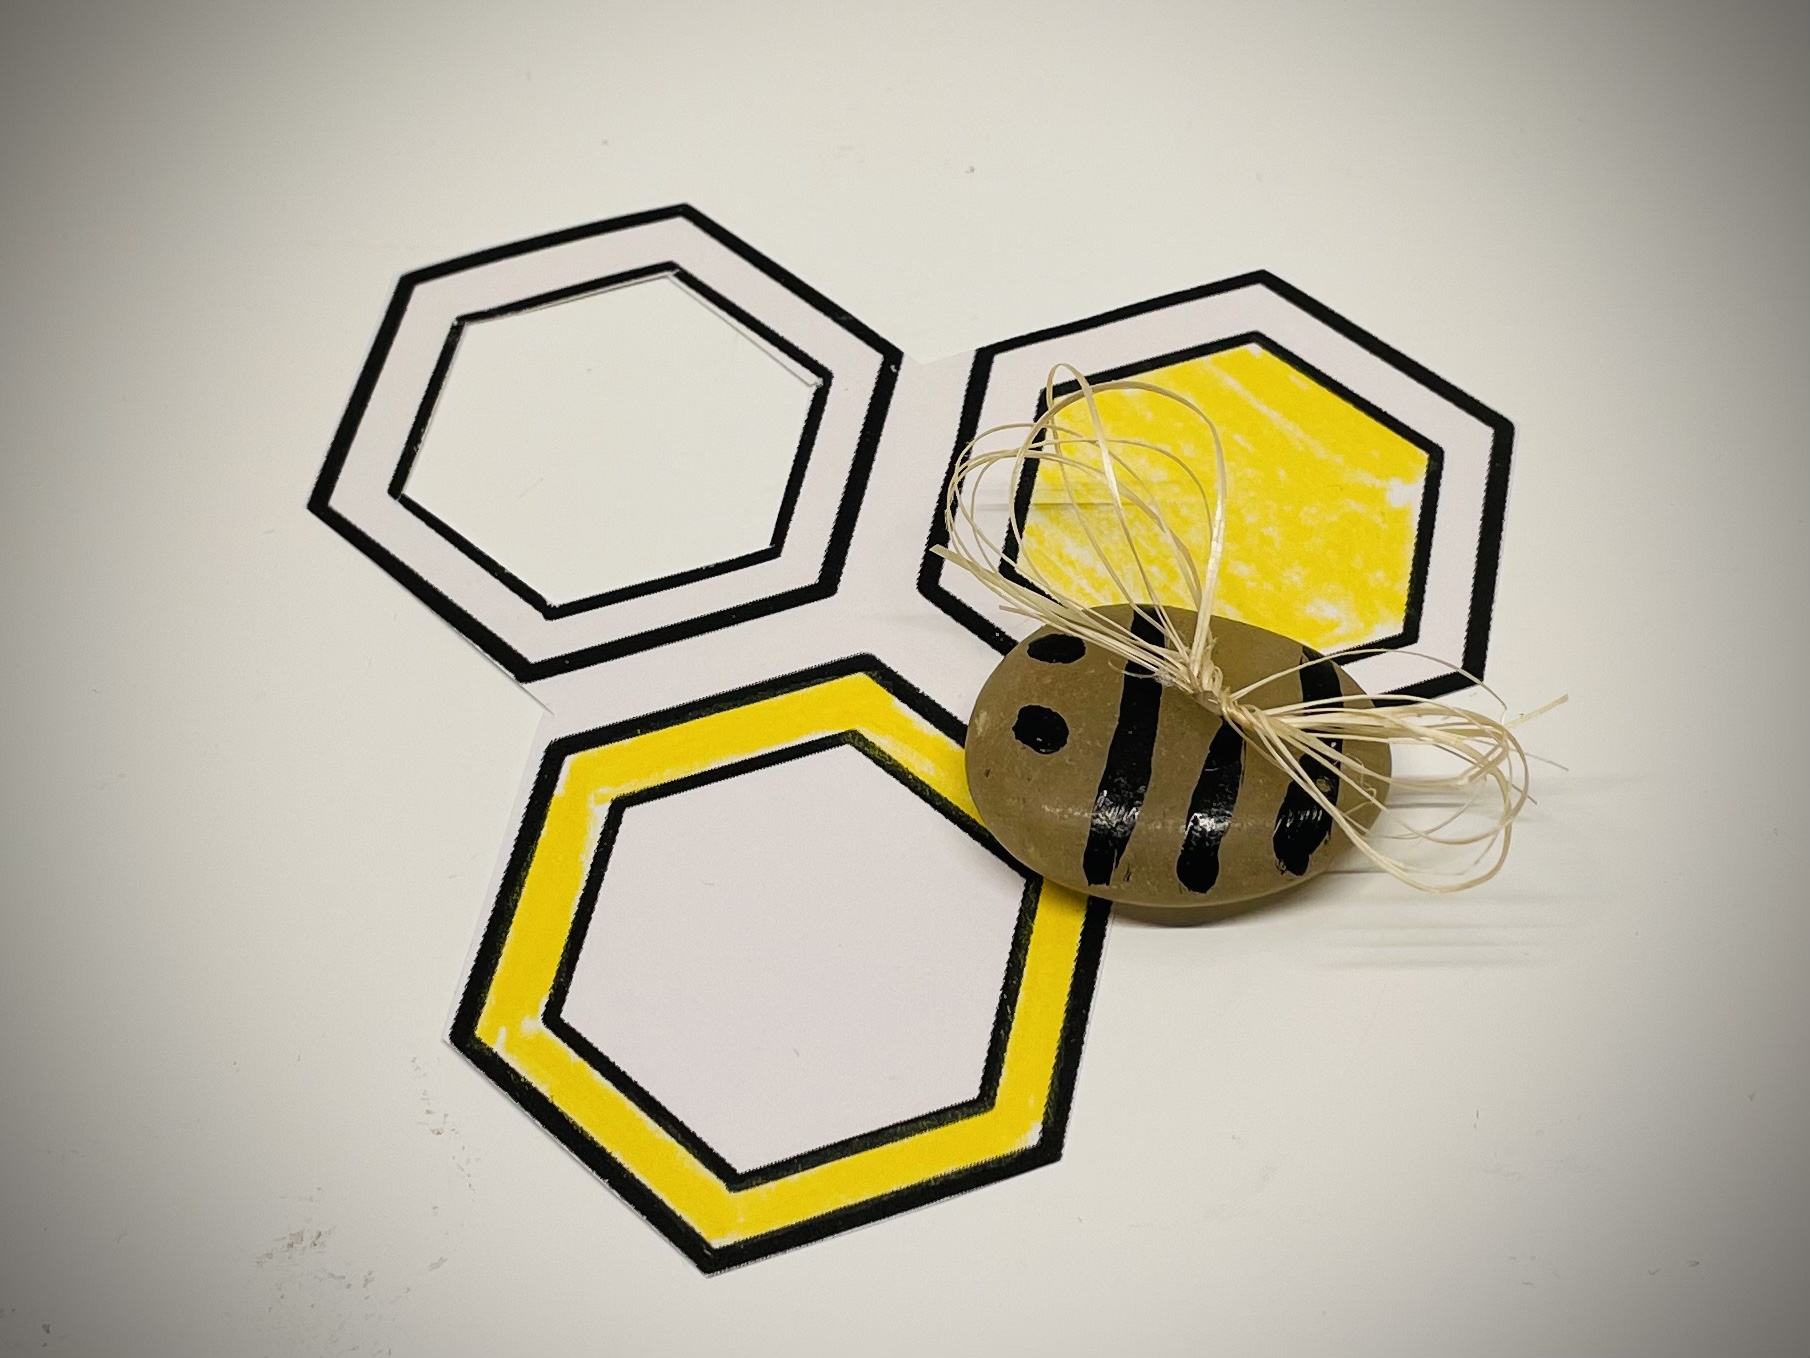
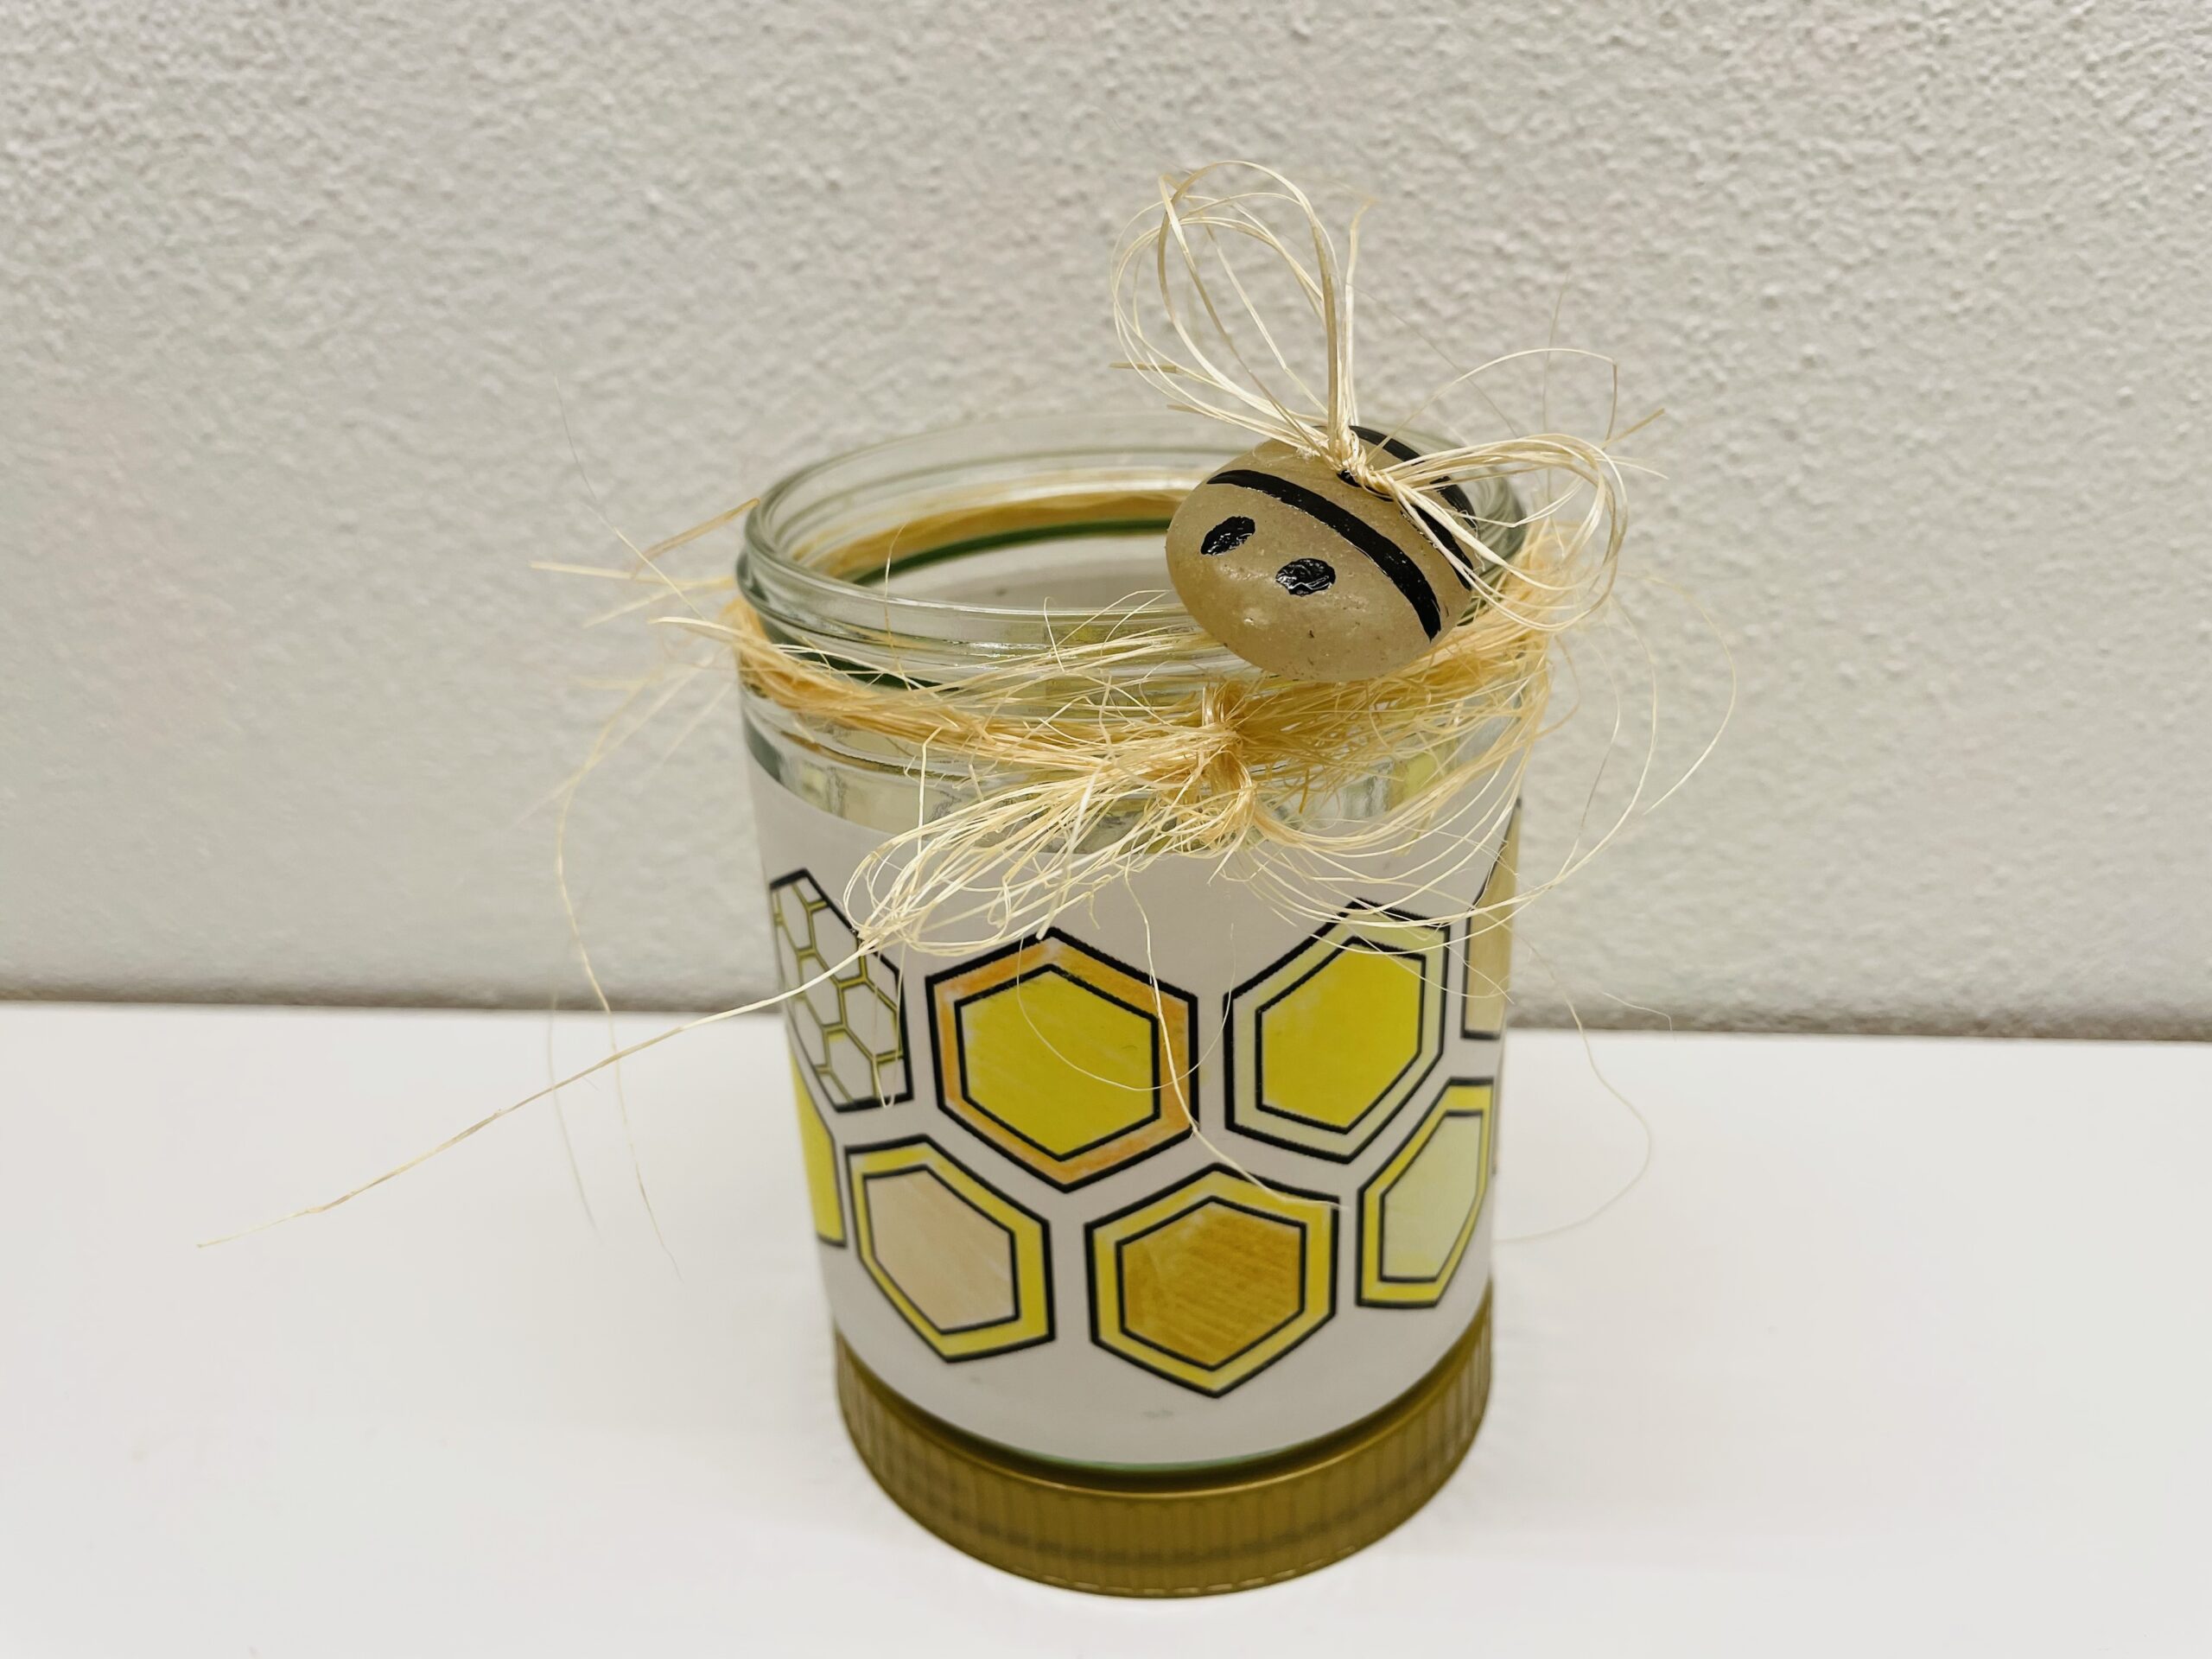
This bee is also suitable as a gift for honey lovers.
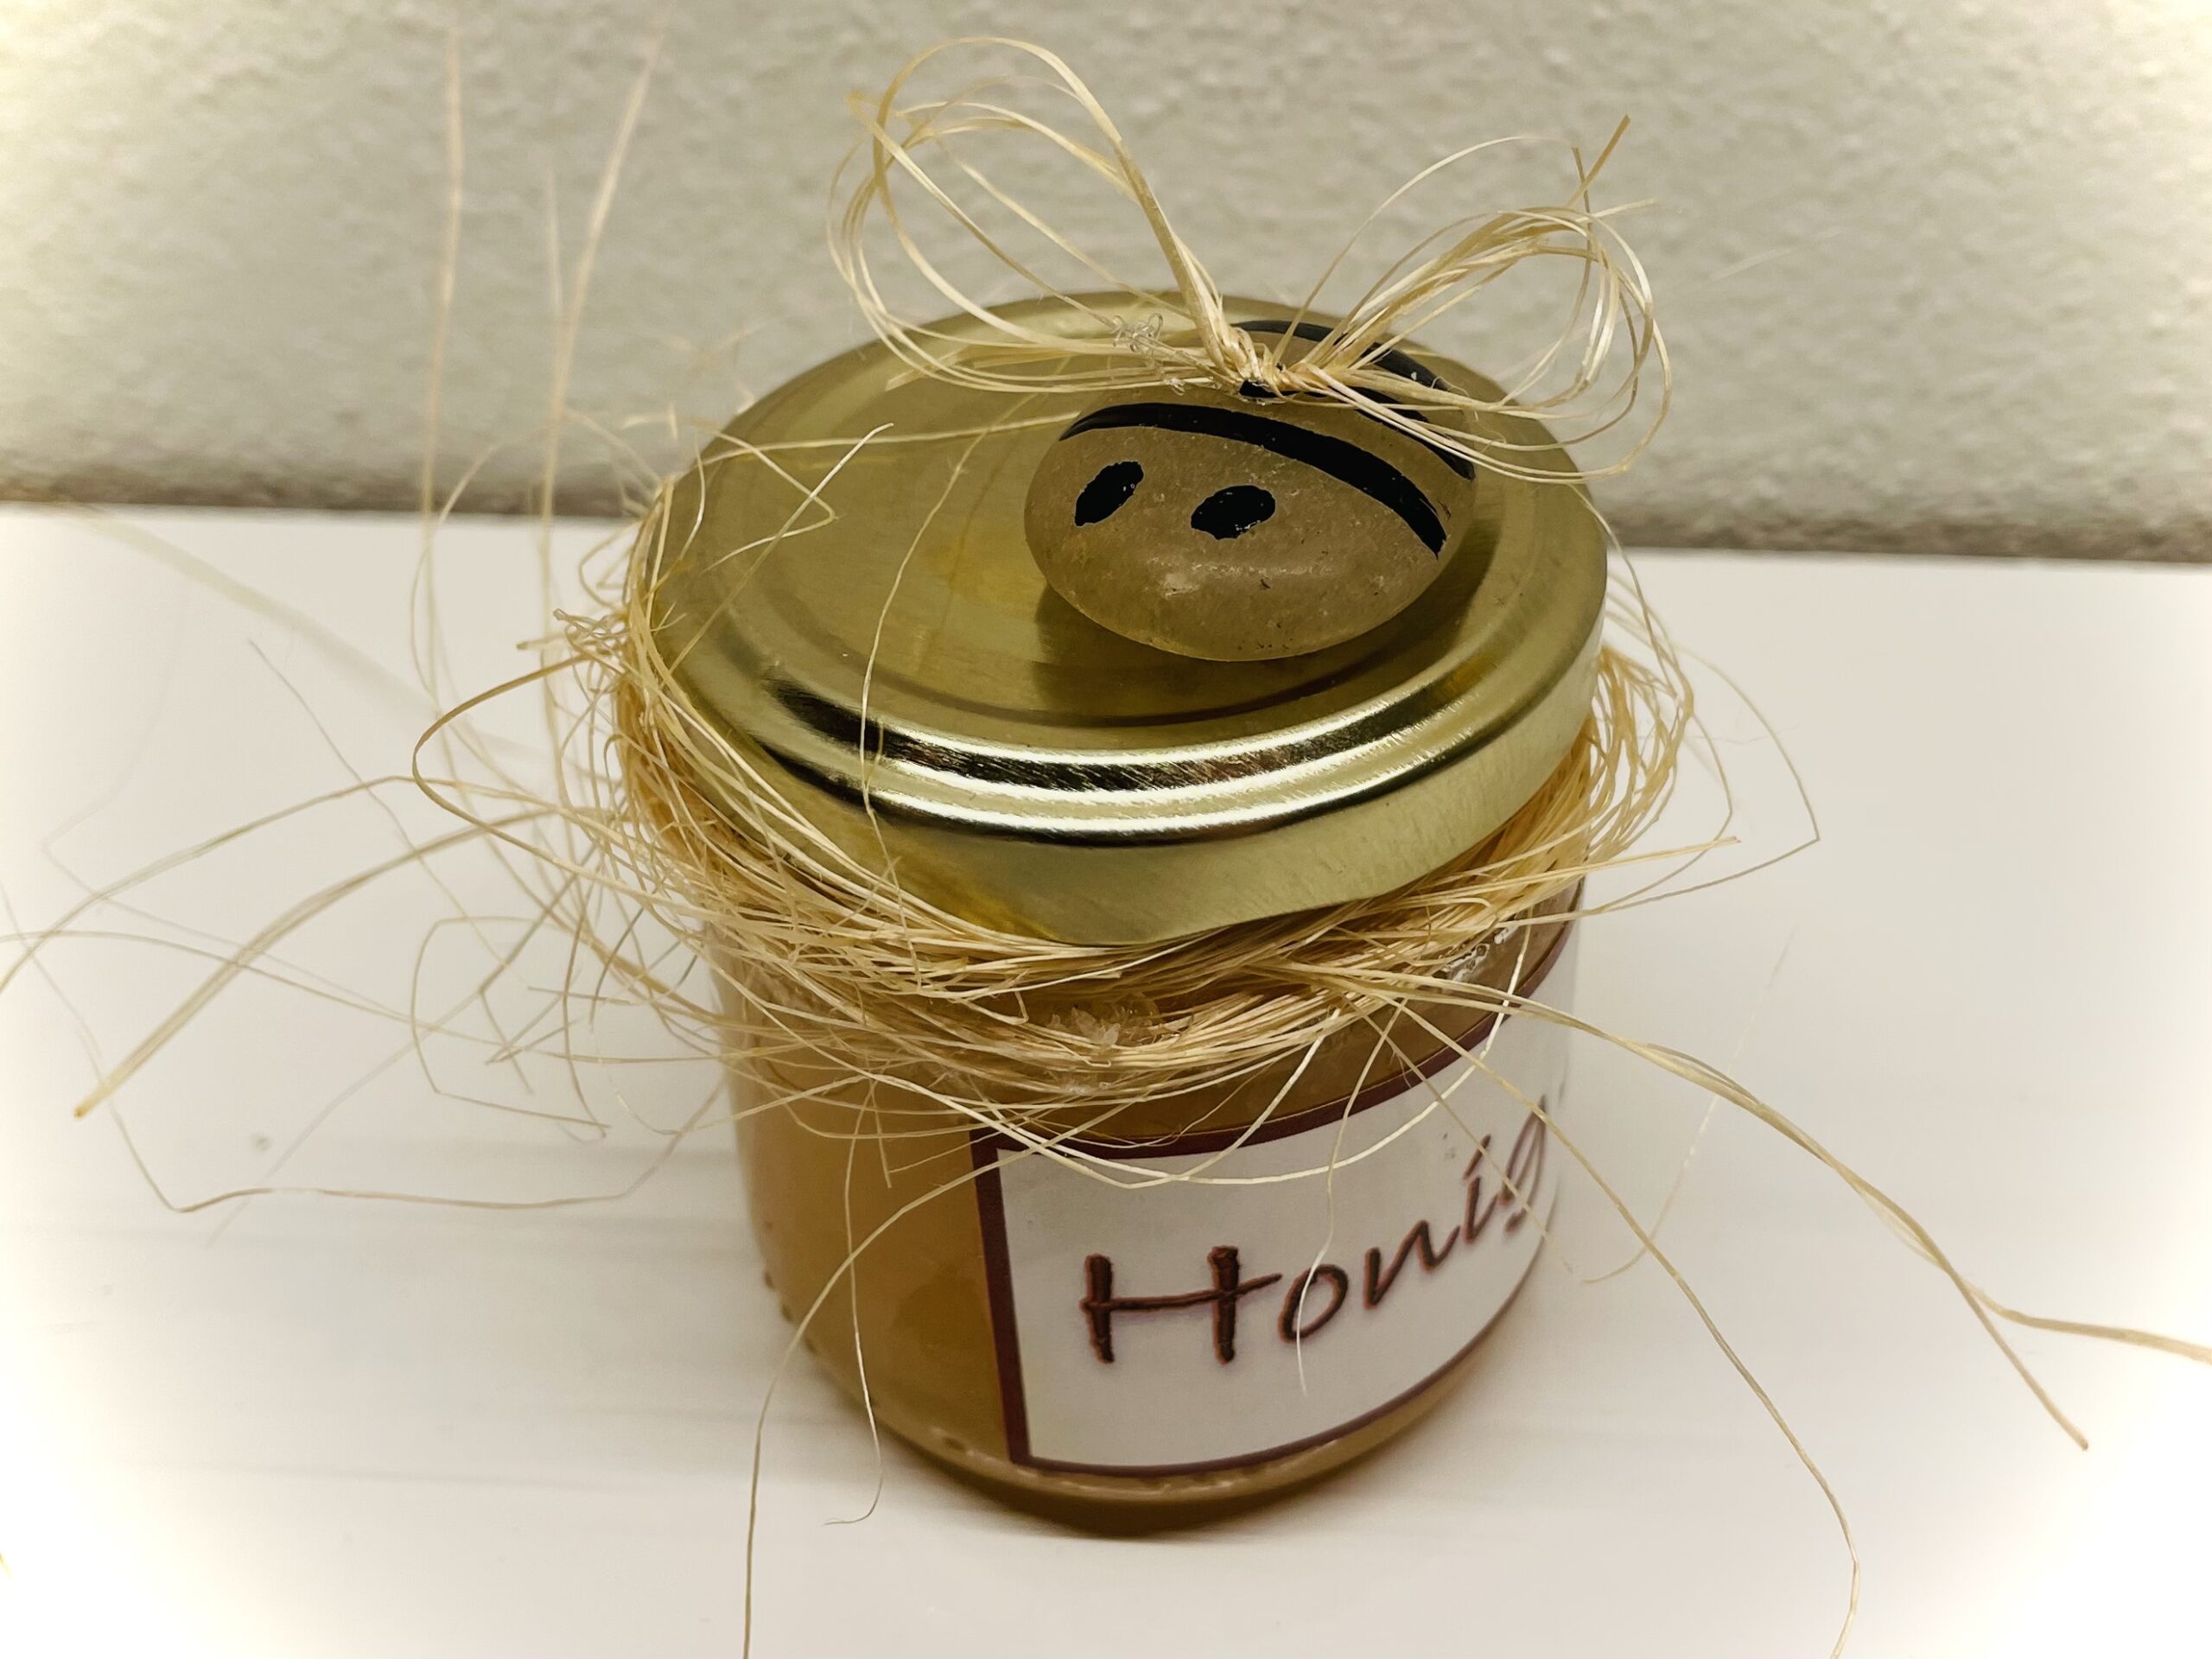
Stay creative and have fun doing crafts.
Materials
Directions
Find a suitable stone first.
First you wash the stone.
Then let the stone dry.
Then you paint black stripes and two dots for your eyes.
Then you wrap a few sisal threads several times around a few fingers of your hand. Then you gently push the resulting ring off your fingers.
Grab the sisal ring in the middle and squeeze it in such a way that two equally large loops emerge.
Now you turn the two loops several times in the opposite direction. Rotate the loops until the loop stops by itself.
Now cut off the overhanging end thread with the scissors.
The little wings are ready.
Now try out how you want to place the wings.
If it is still a little bit apart or in the appropriate shape.
Then you put the wings with a small adhesive point on the bee. Press the wings briefly with a pen or scissors.
Your bee is ready.
Maybe it's a little piece of art that you made.
This bee is also suitable as a gift for honey lovers.
Stay creative and have fun doing crafts.
Follow us on Facebook , Instagram and Pinterest
Don't miss any more adventures: Our bottle mail