Do your children like to play with cars? Then make a car lantern with them.
Media Education for Kindergarten and Hort

Relief in everyday life, targeted promotion of individual children, independent learning and - without any pre-knowledge already usable by the youngest!
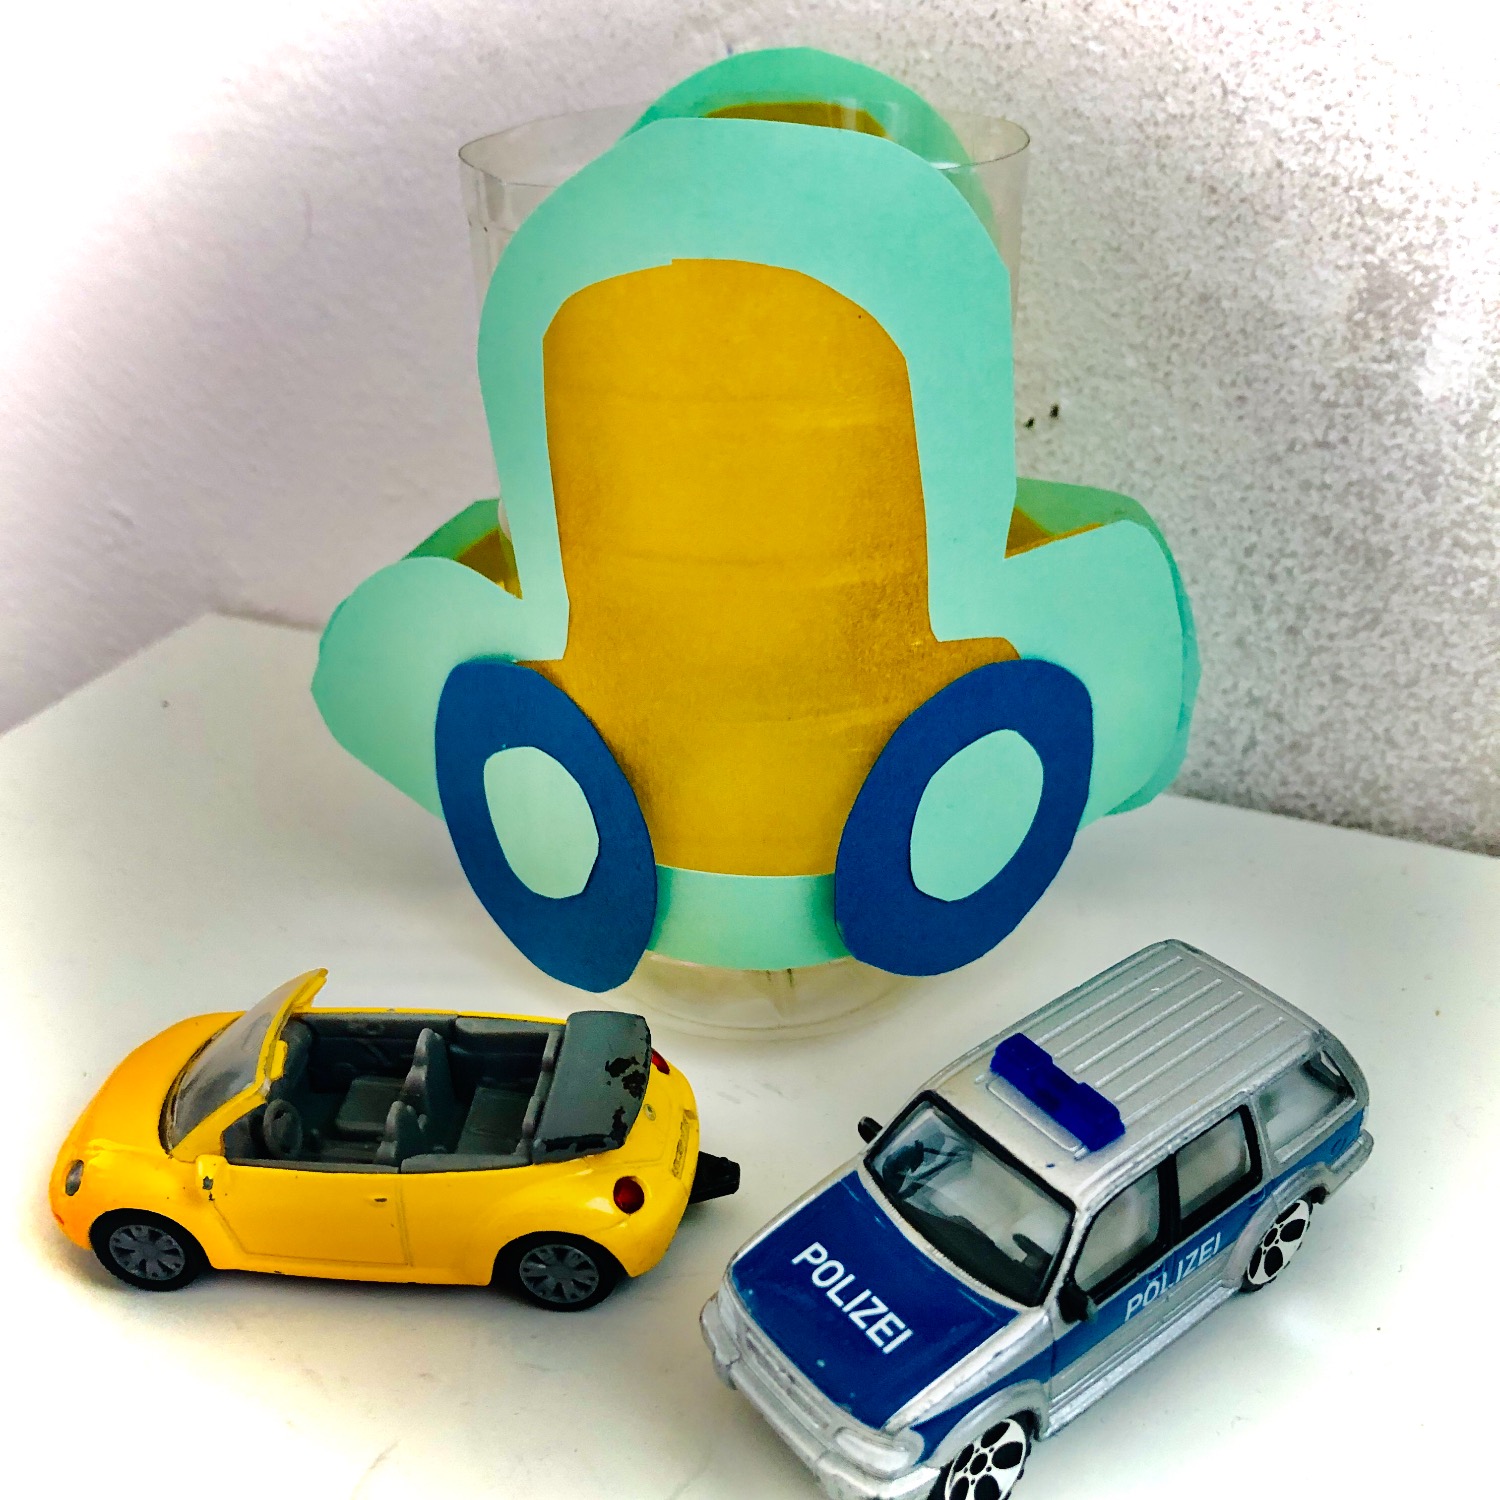
Put out the craft file.
Then paint a car. First you paint it without wheels!
Give your child help with the size (about 20cm)
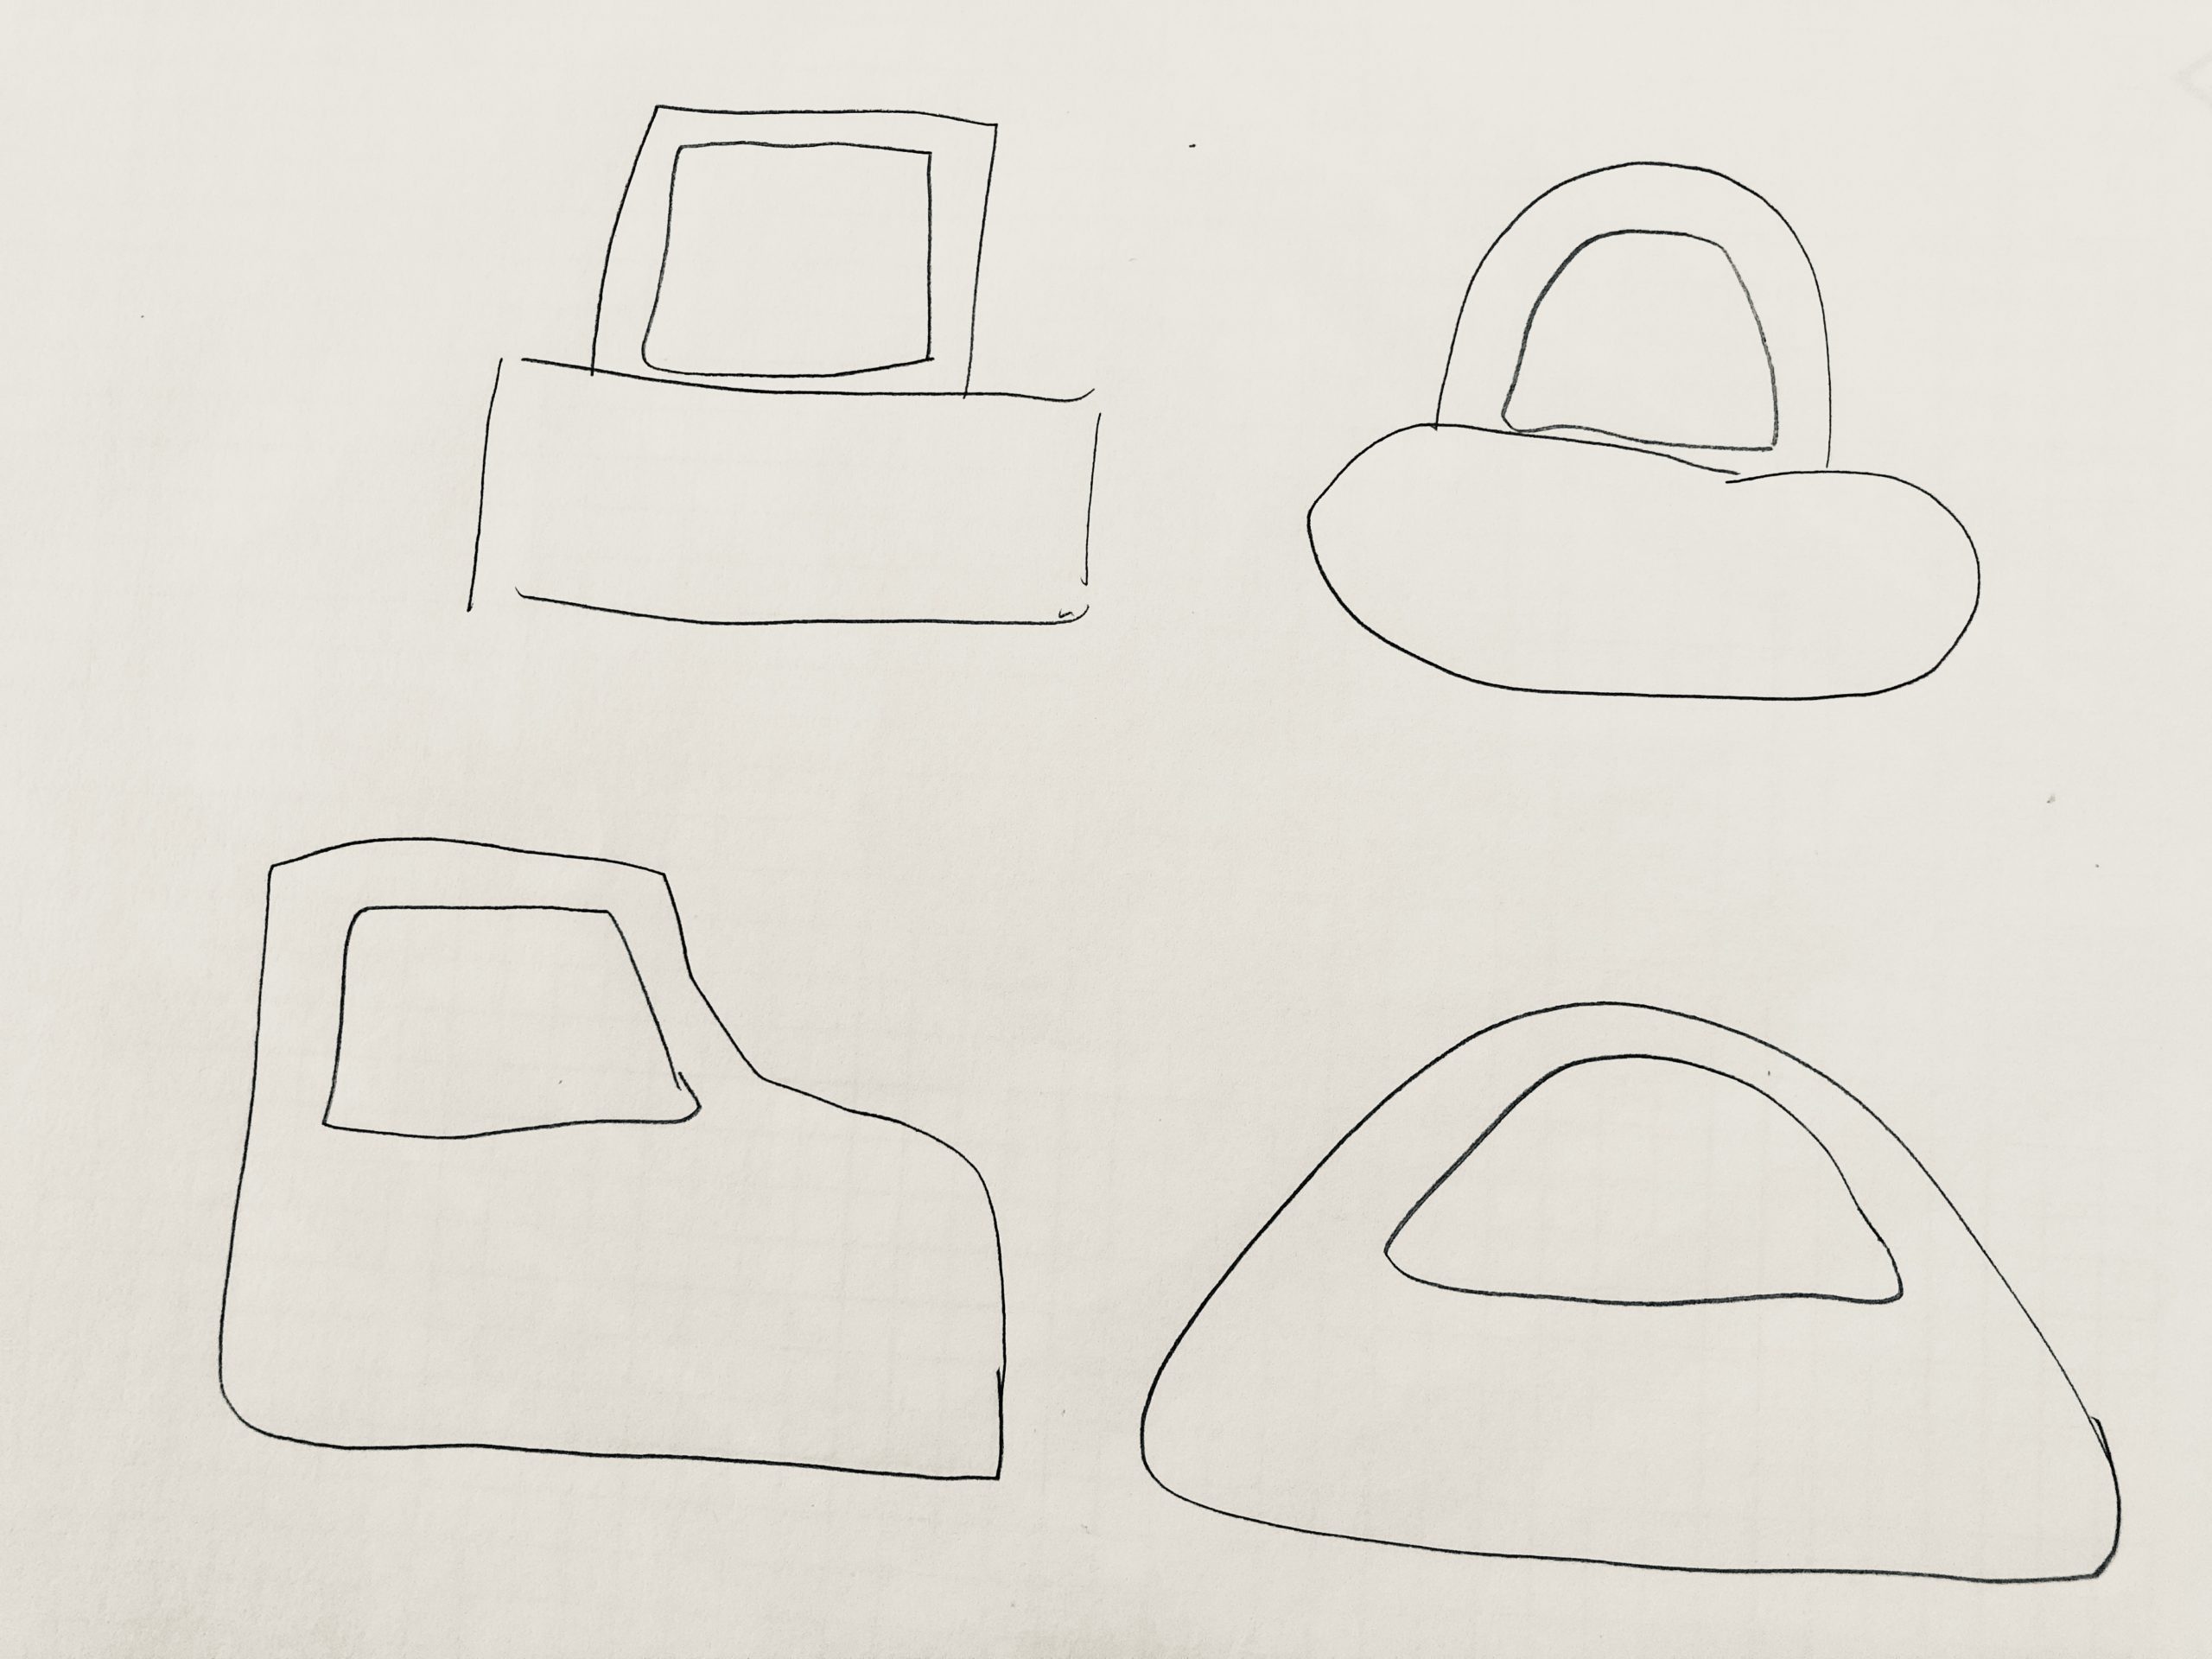
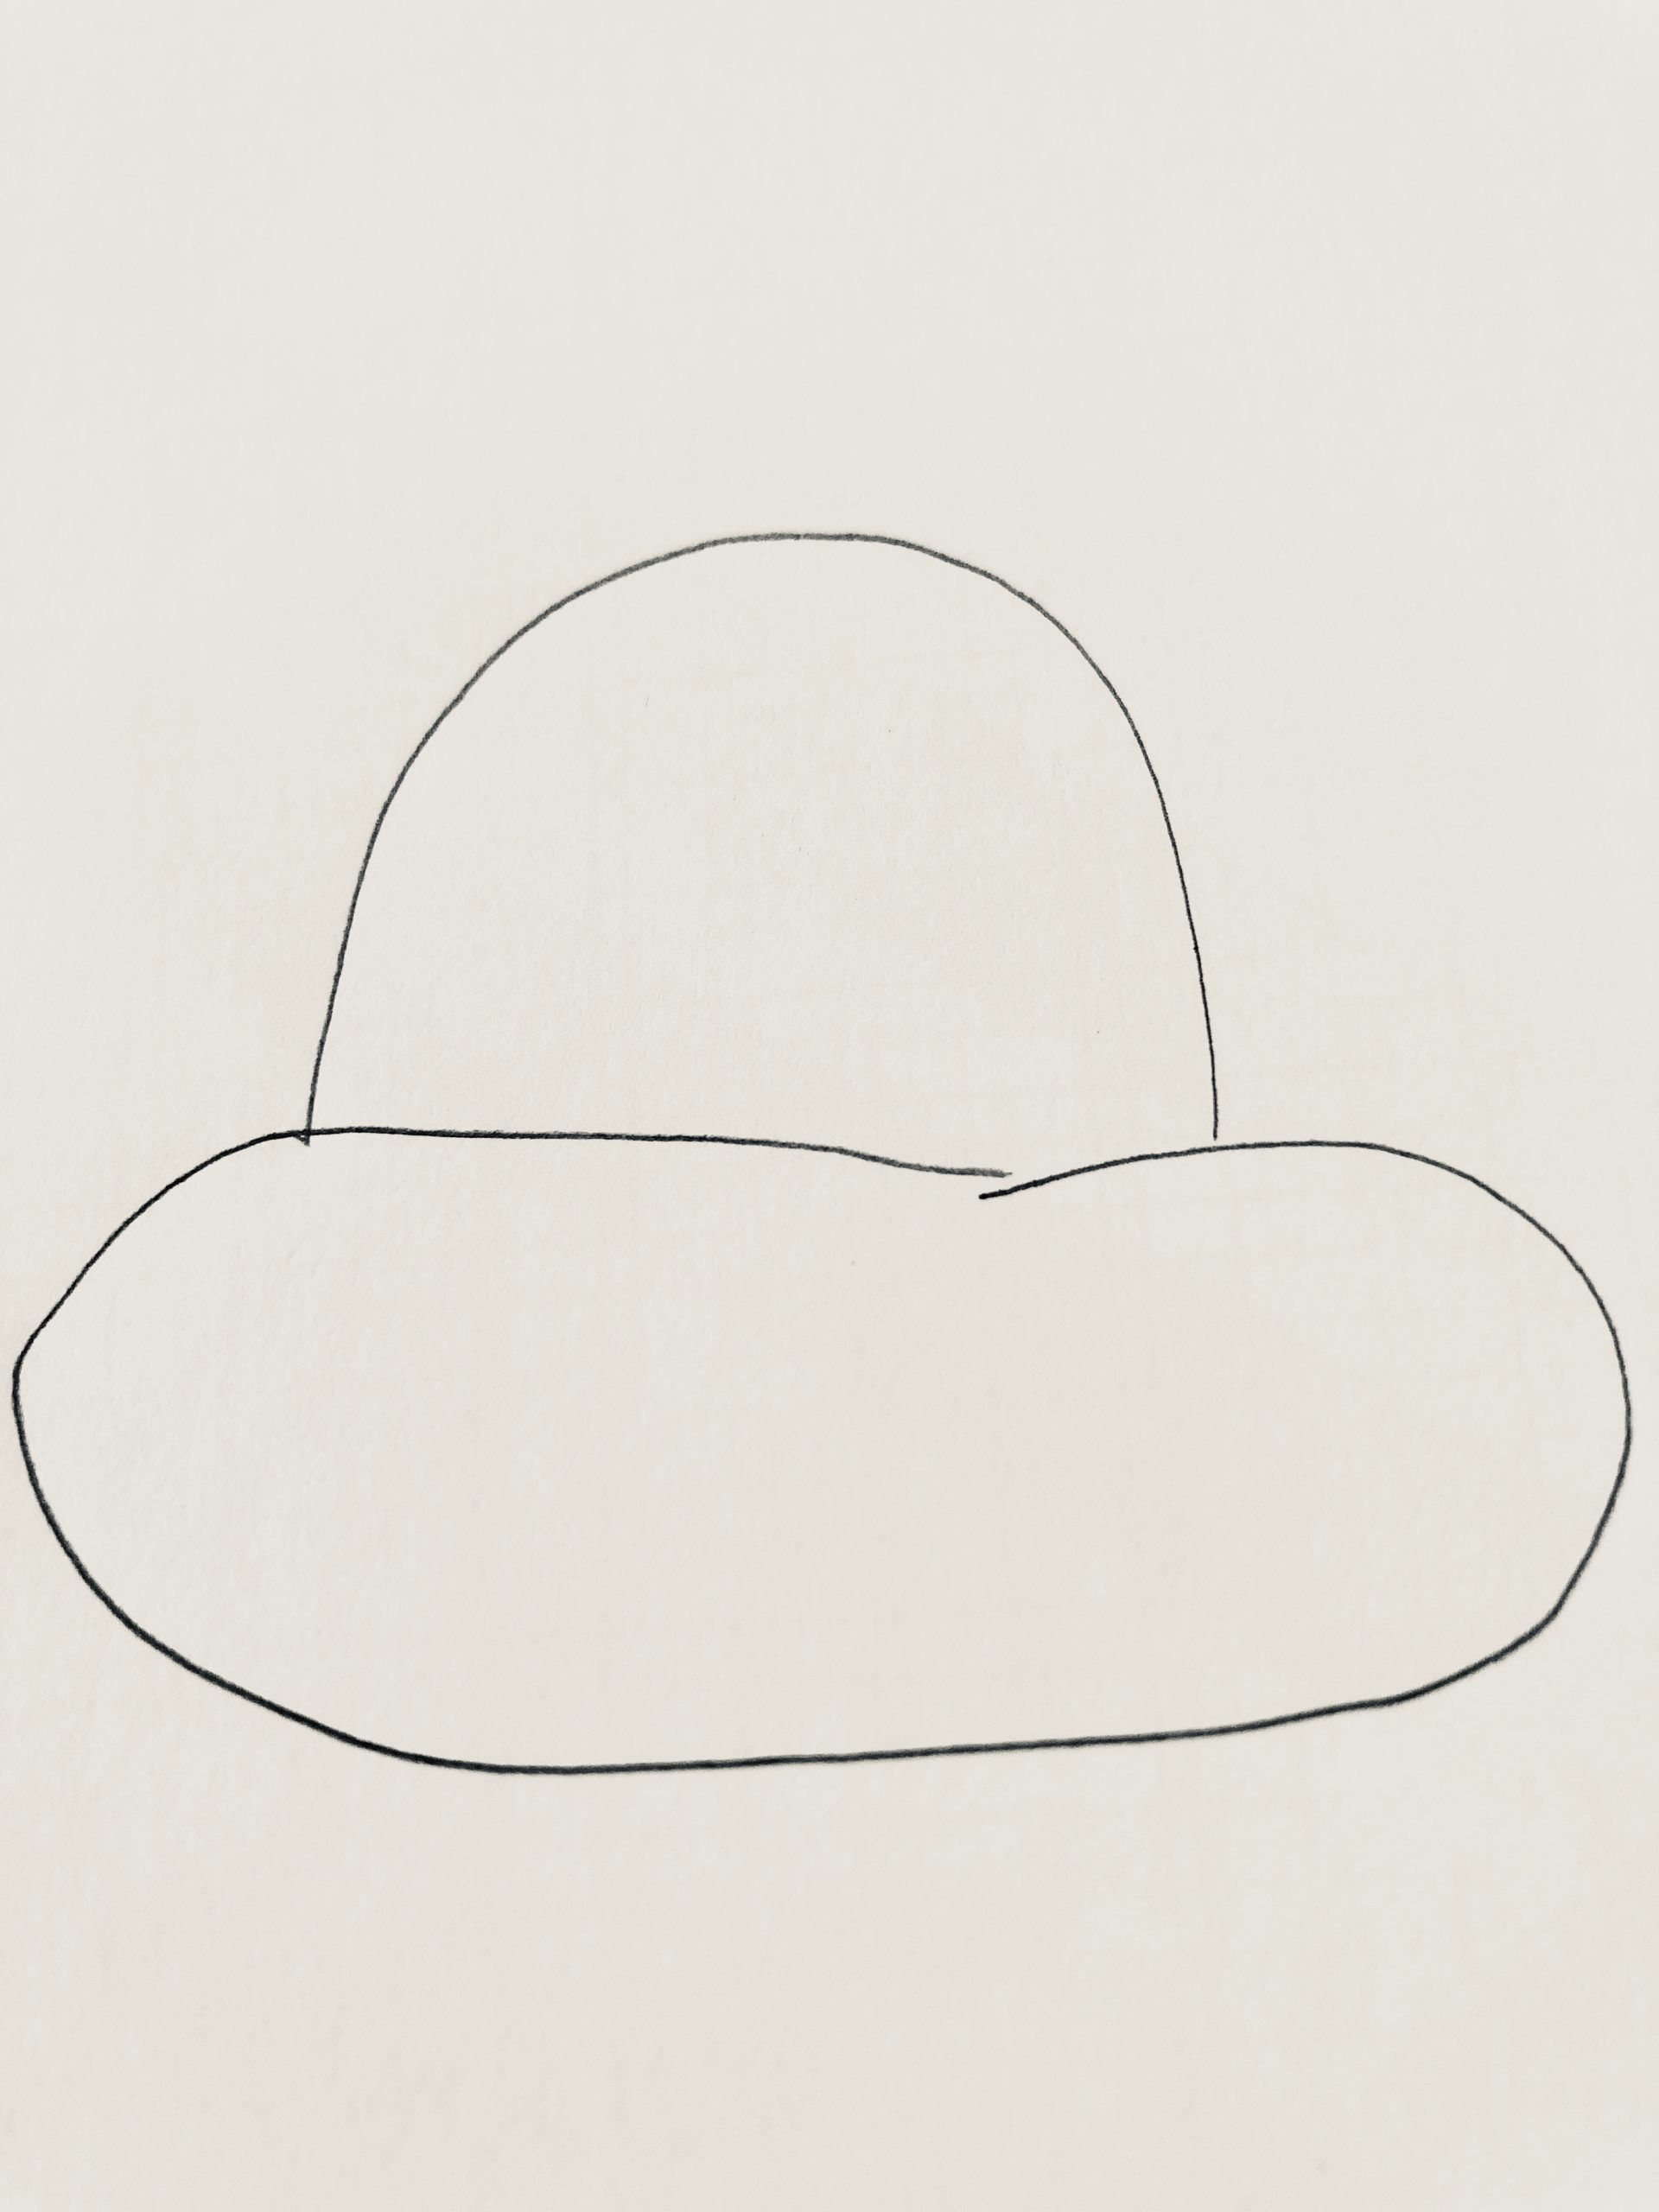
A car can be painted from two circular structures (if the child cannot paint angular shapes)


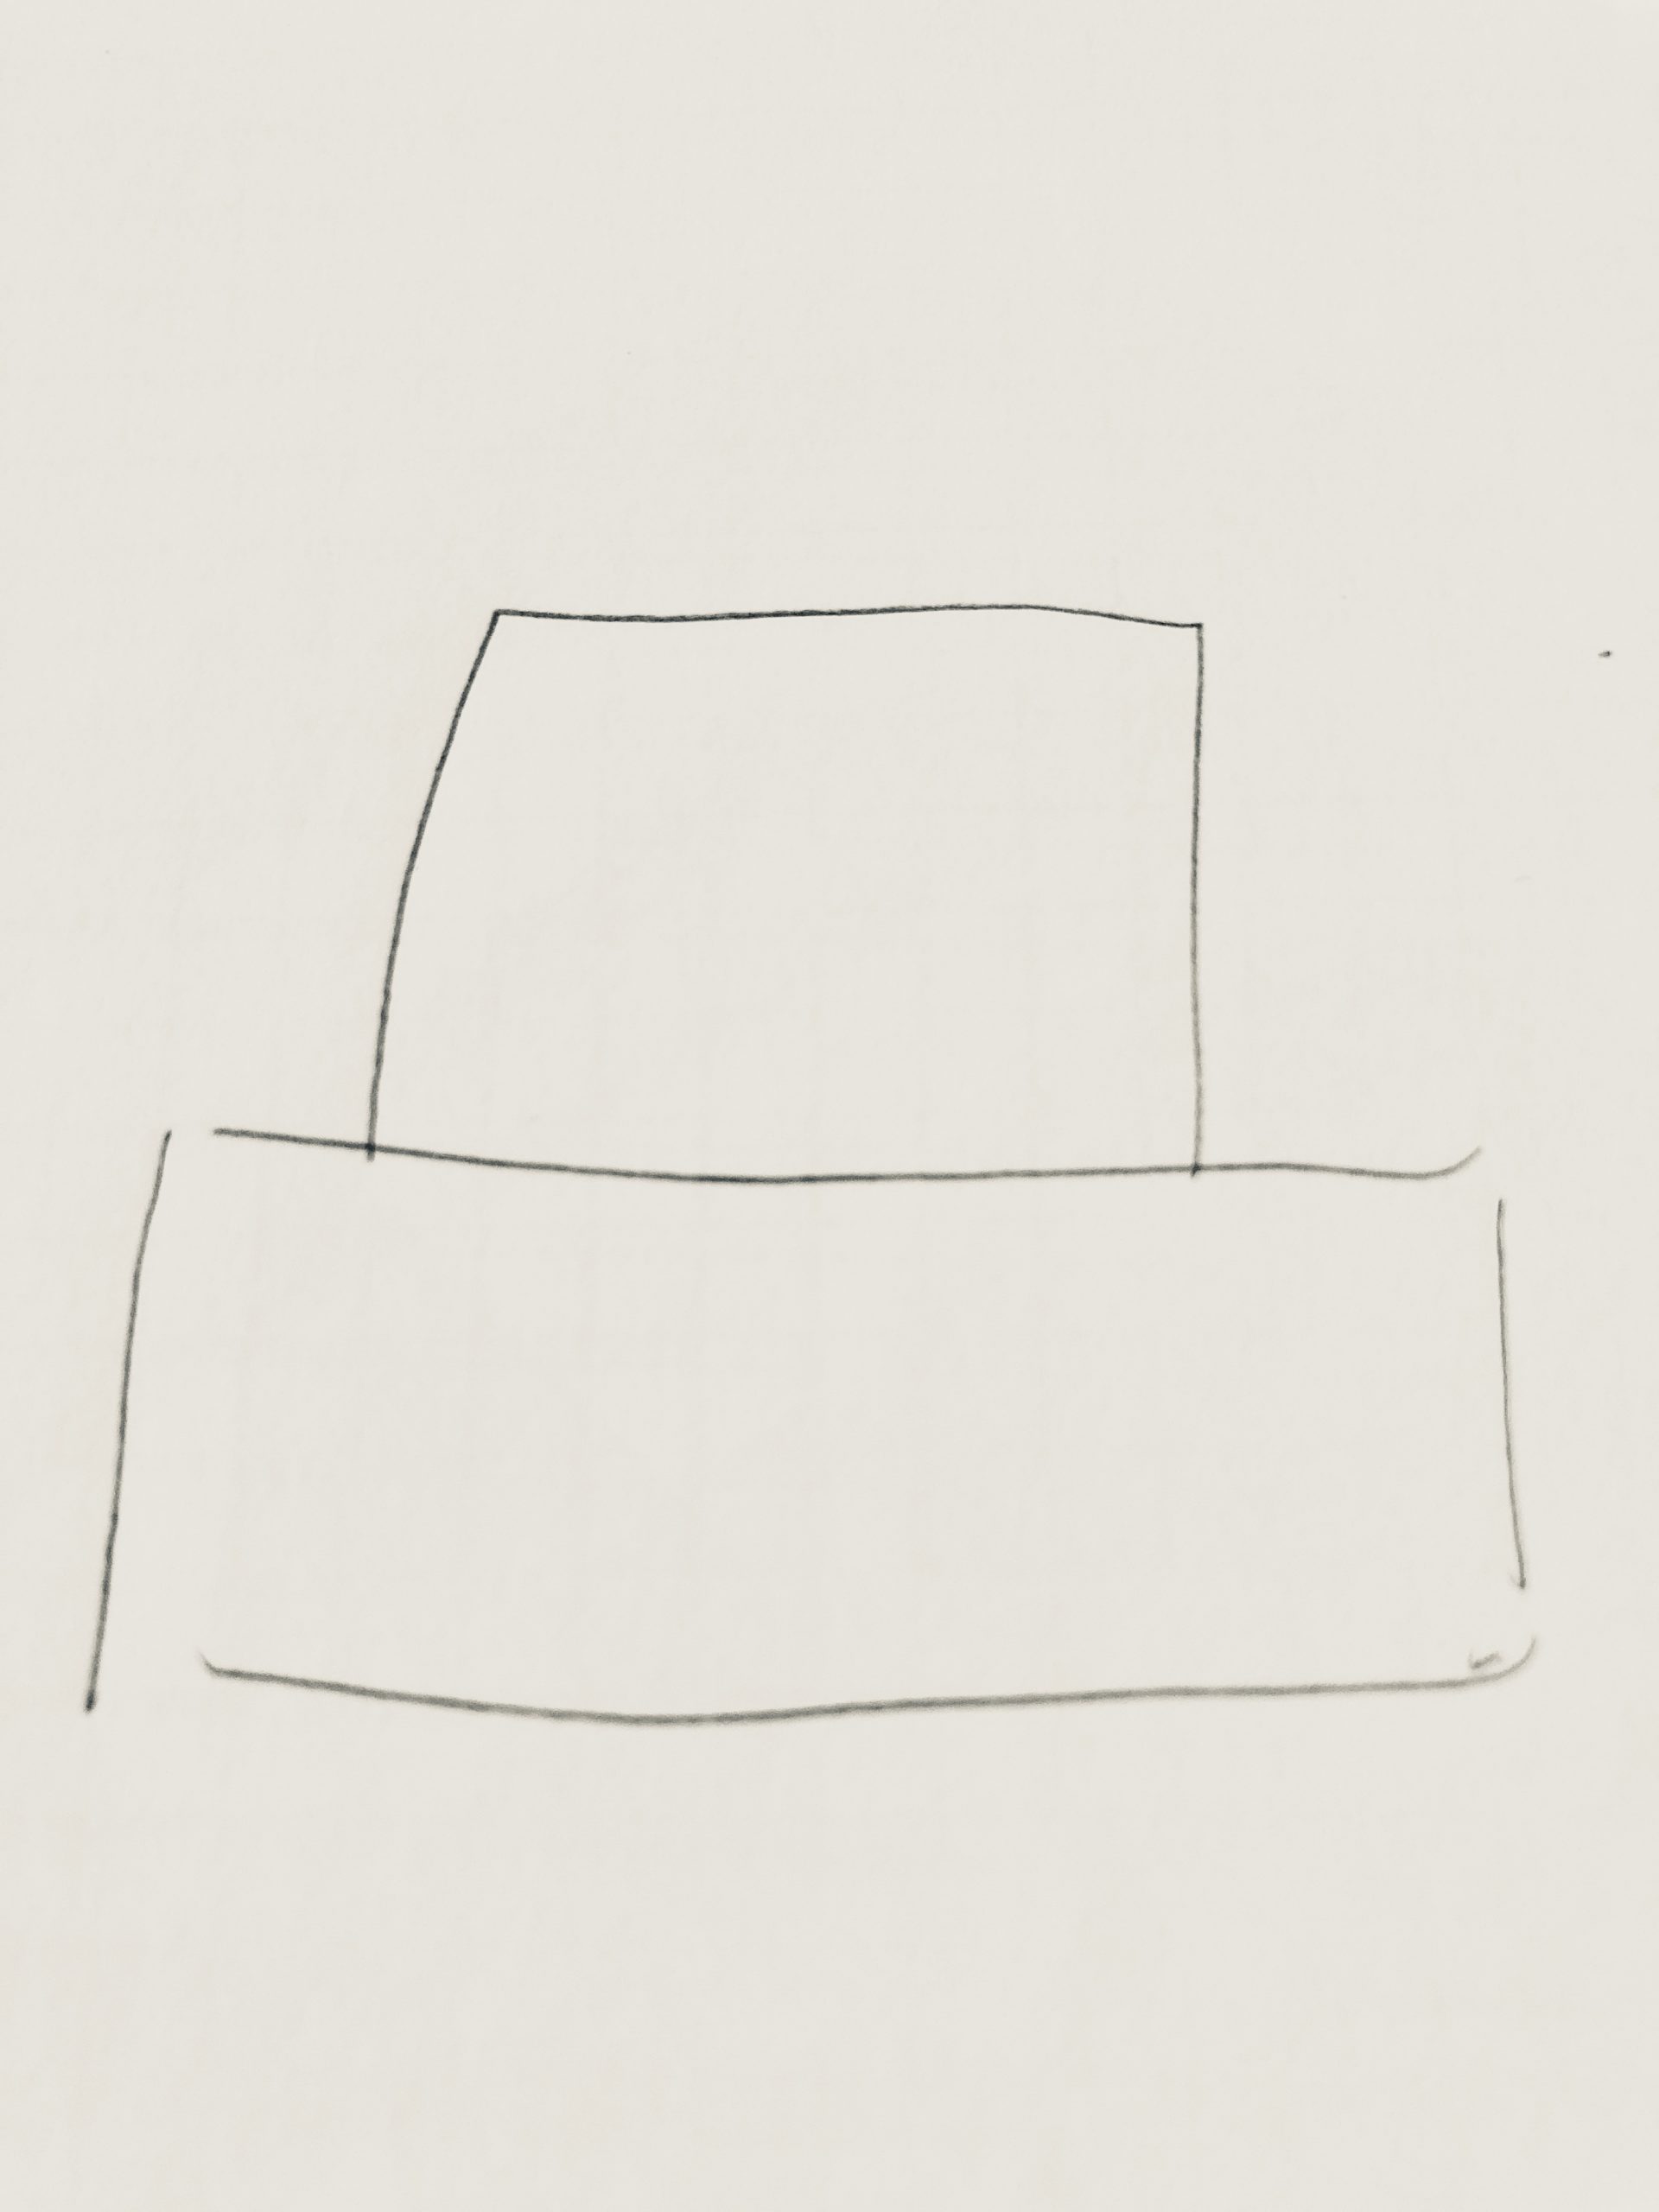
A car can also be made of two rectangles.


You can also paint the car on a clay paper or cut and transfer your sketch.
Cuts out the car twice.
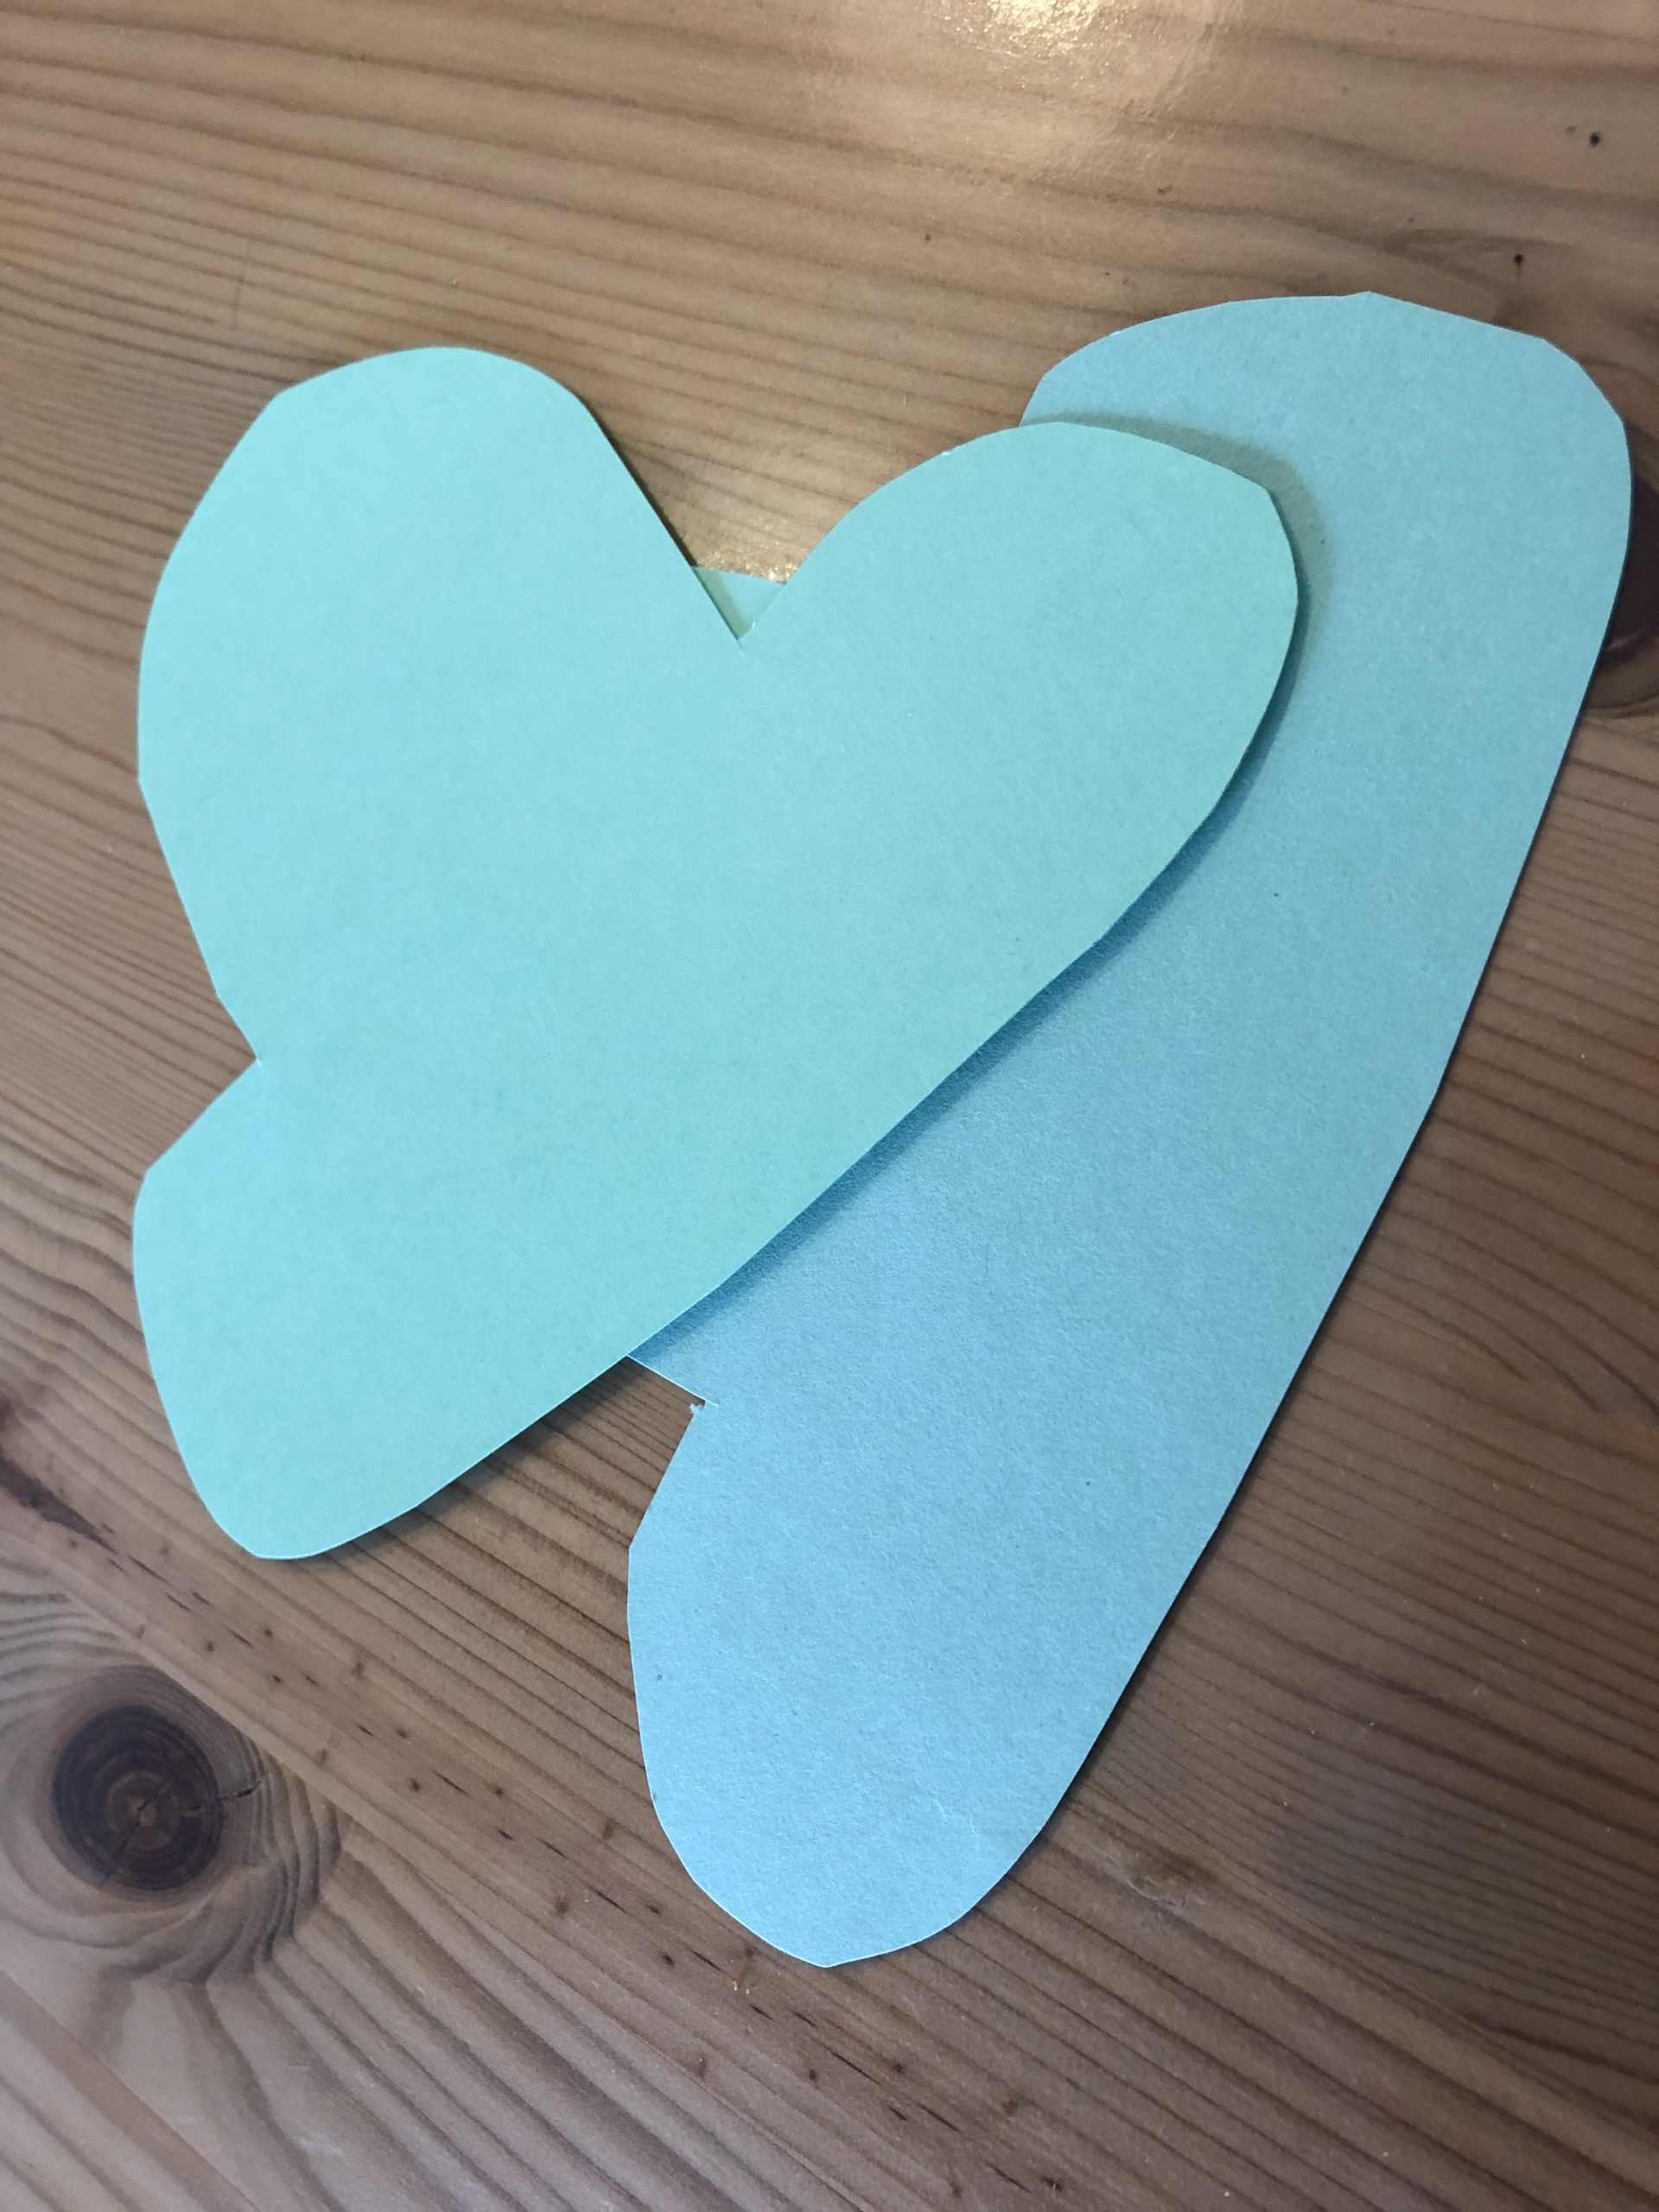


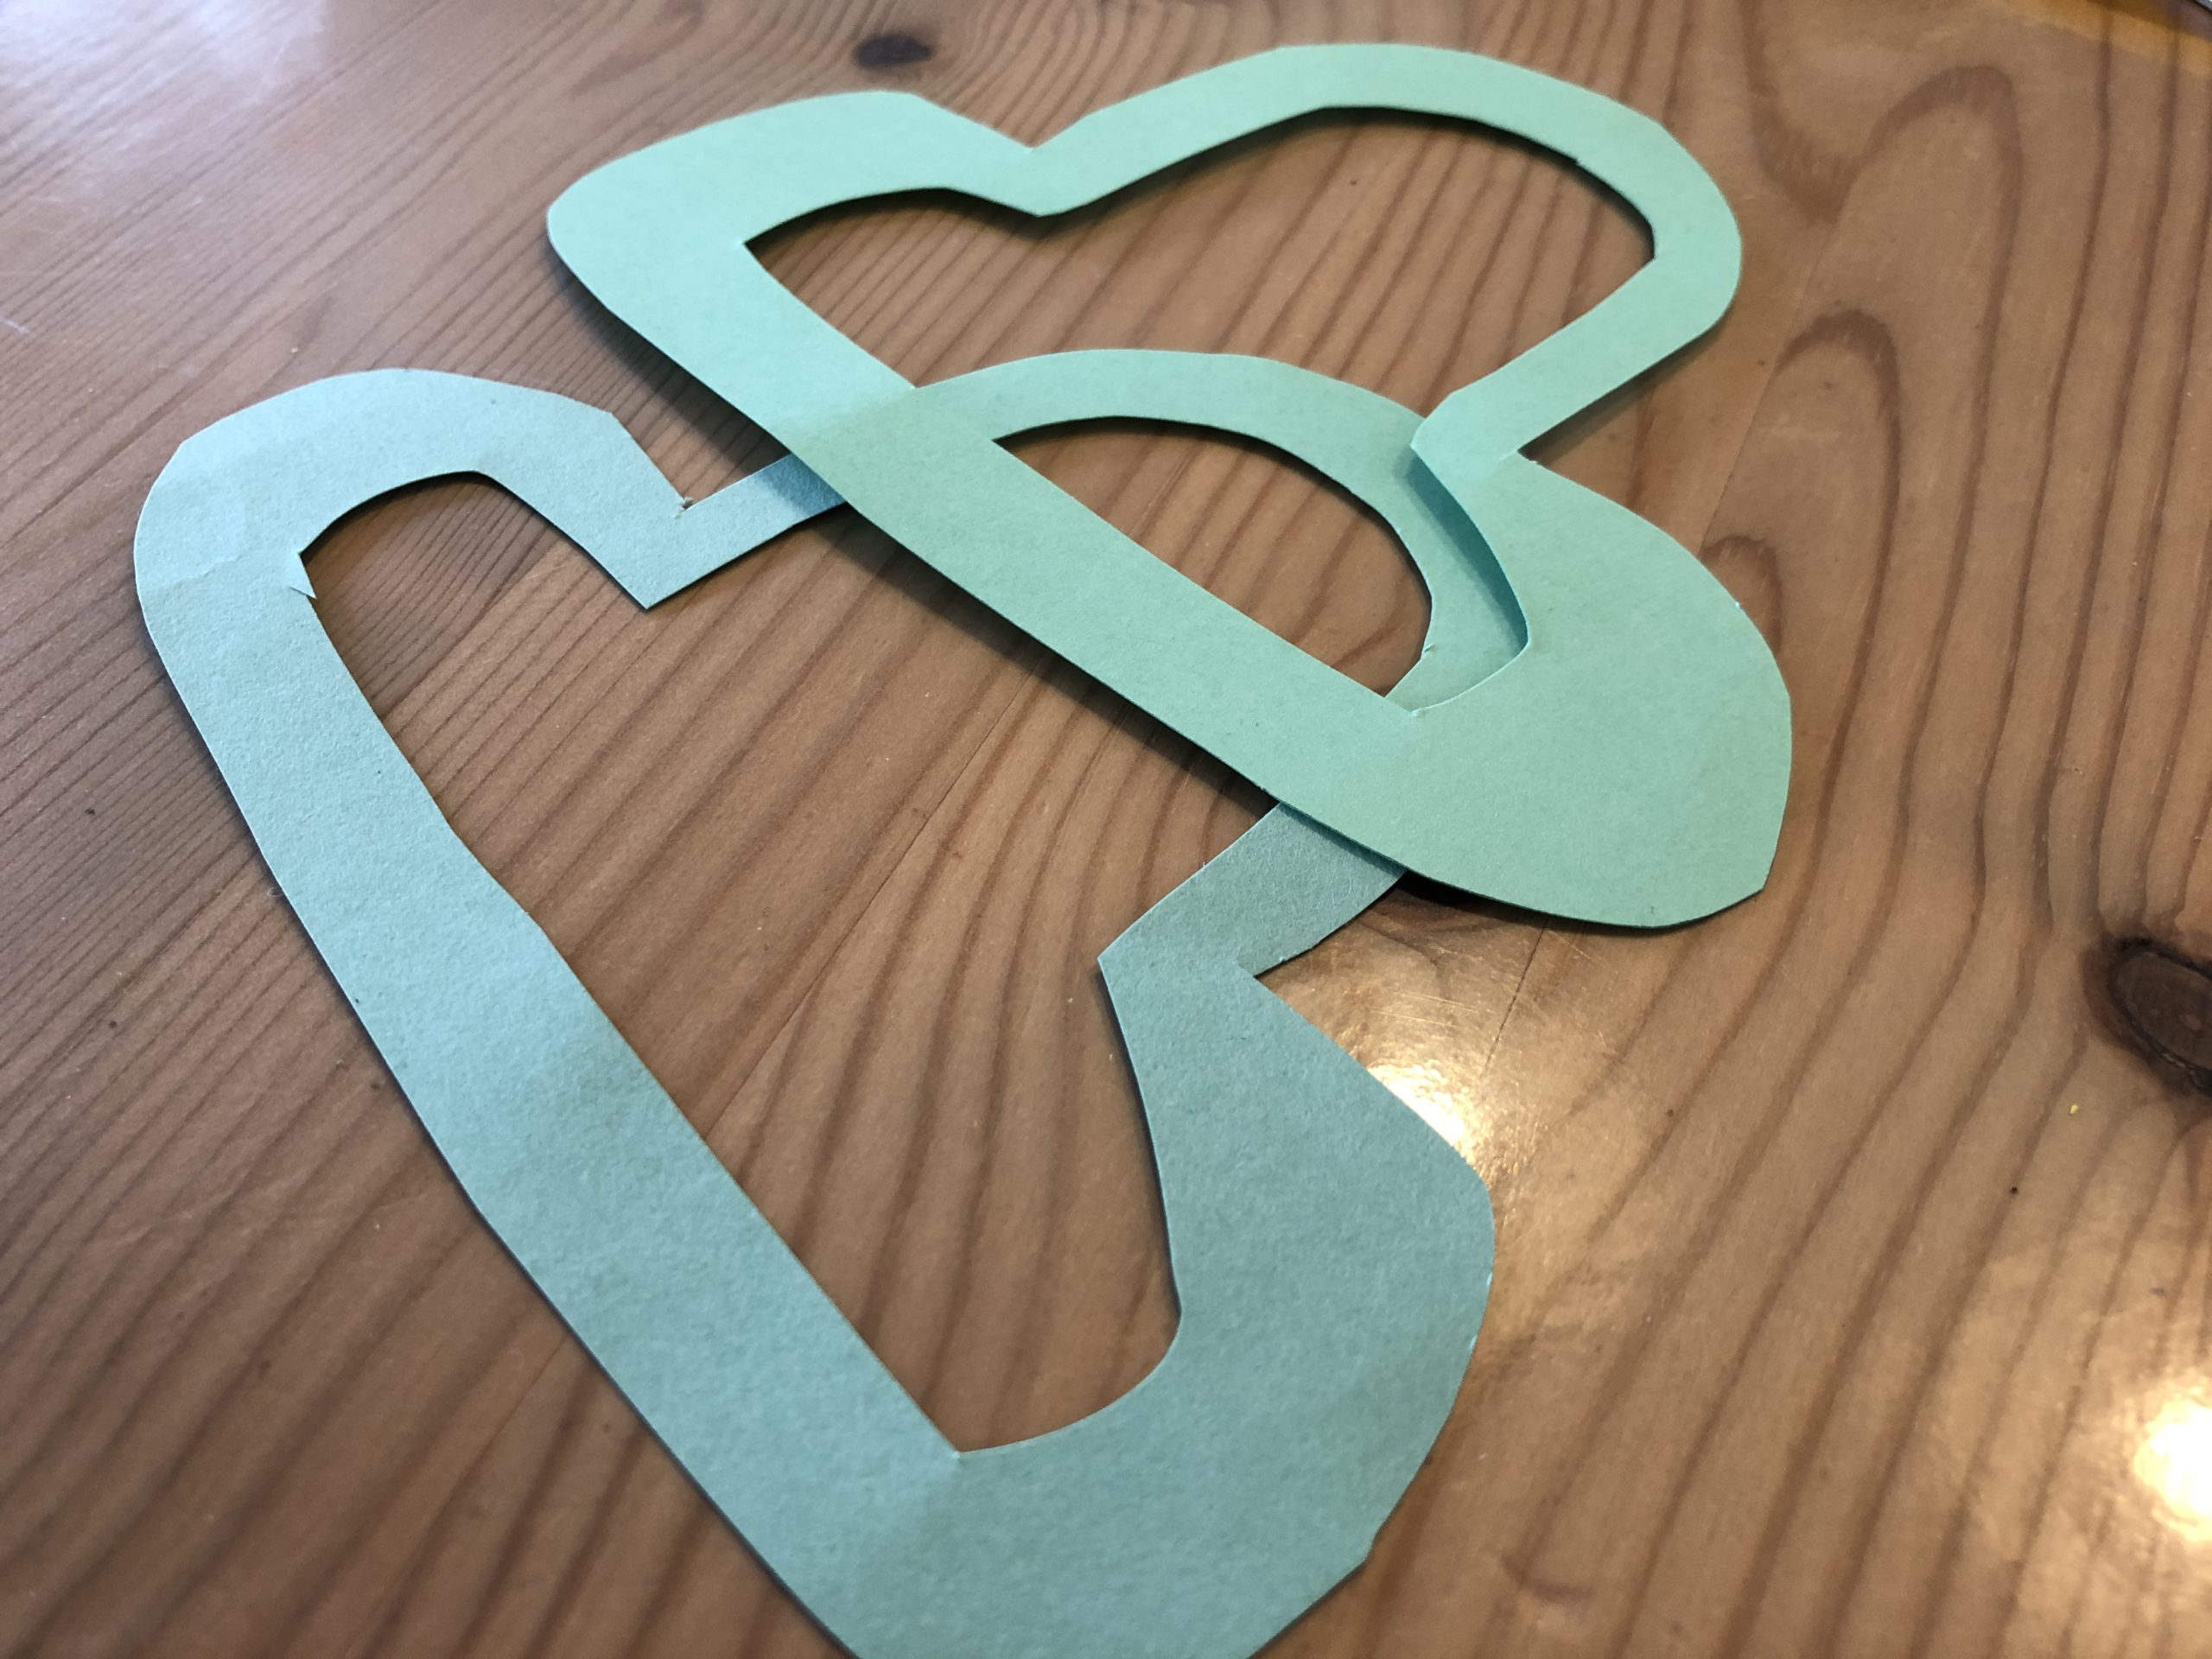
Leave a 1cm wide edge and cut out the inside of your car.
Attention: This is a difficult task for children. Help if necessary, so that the edge is not cut.


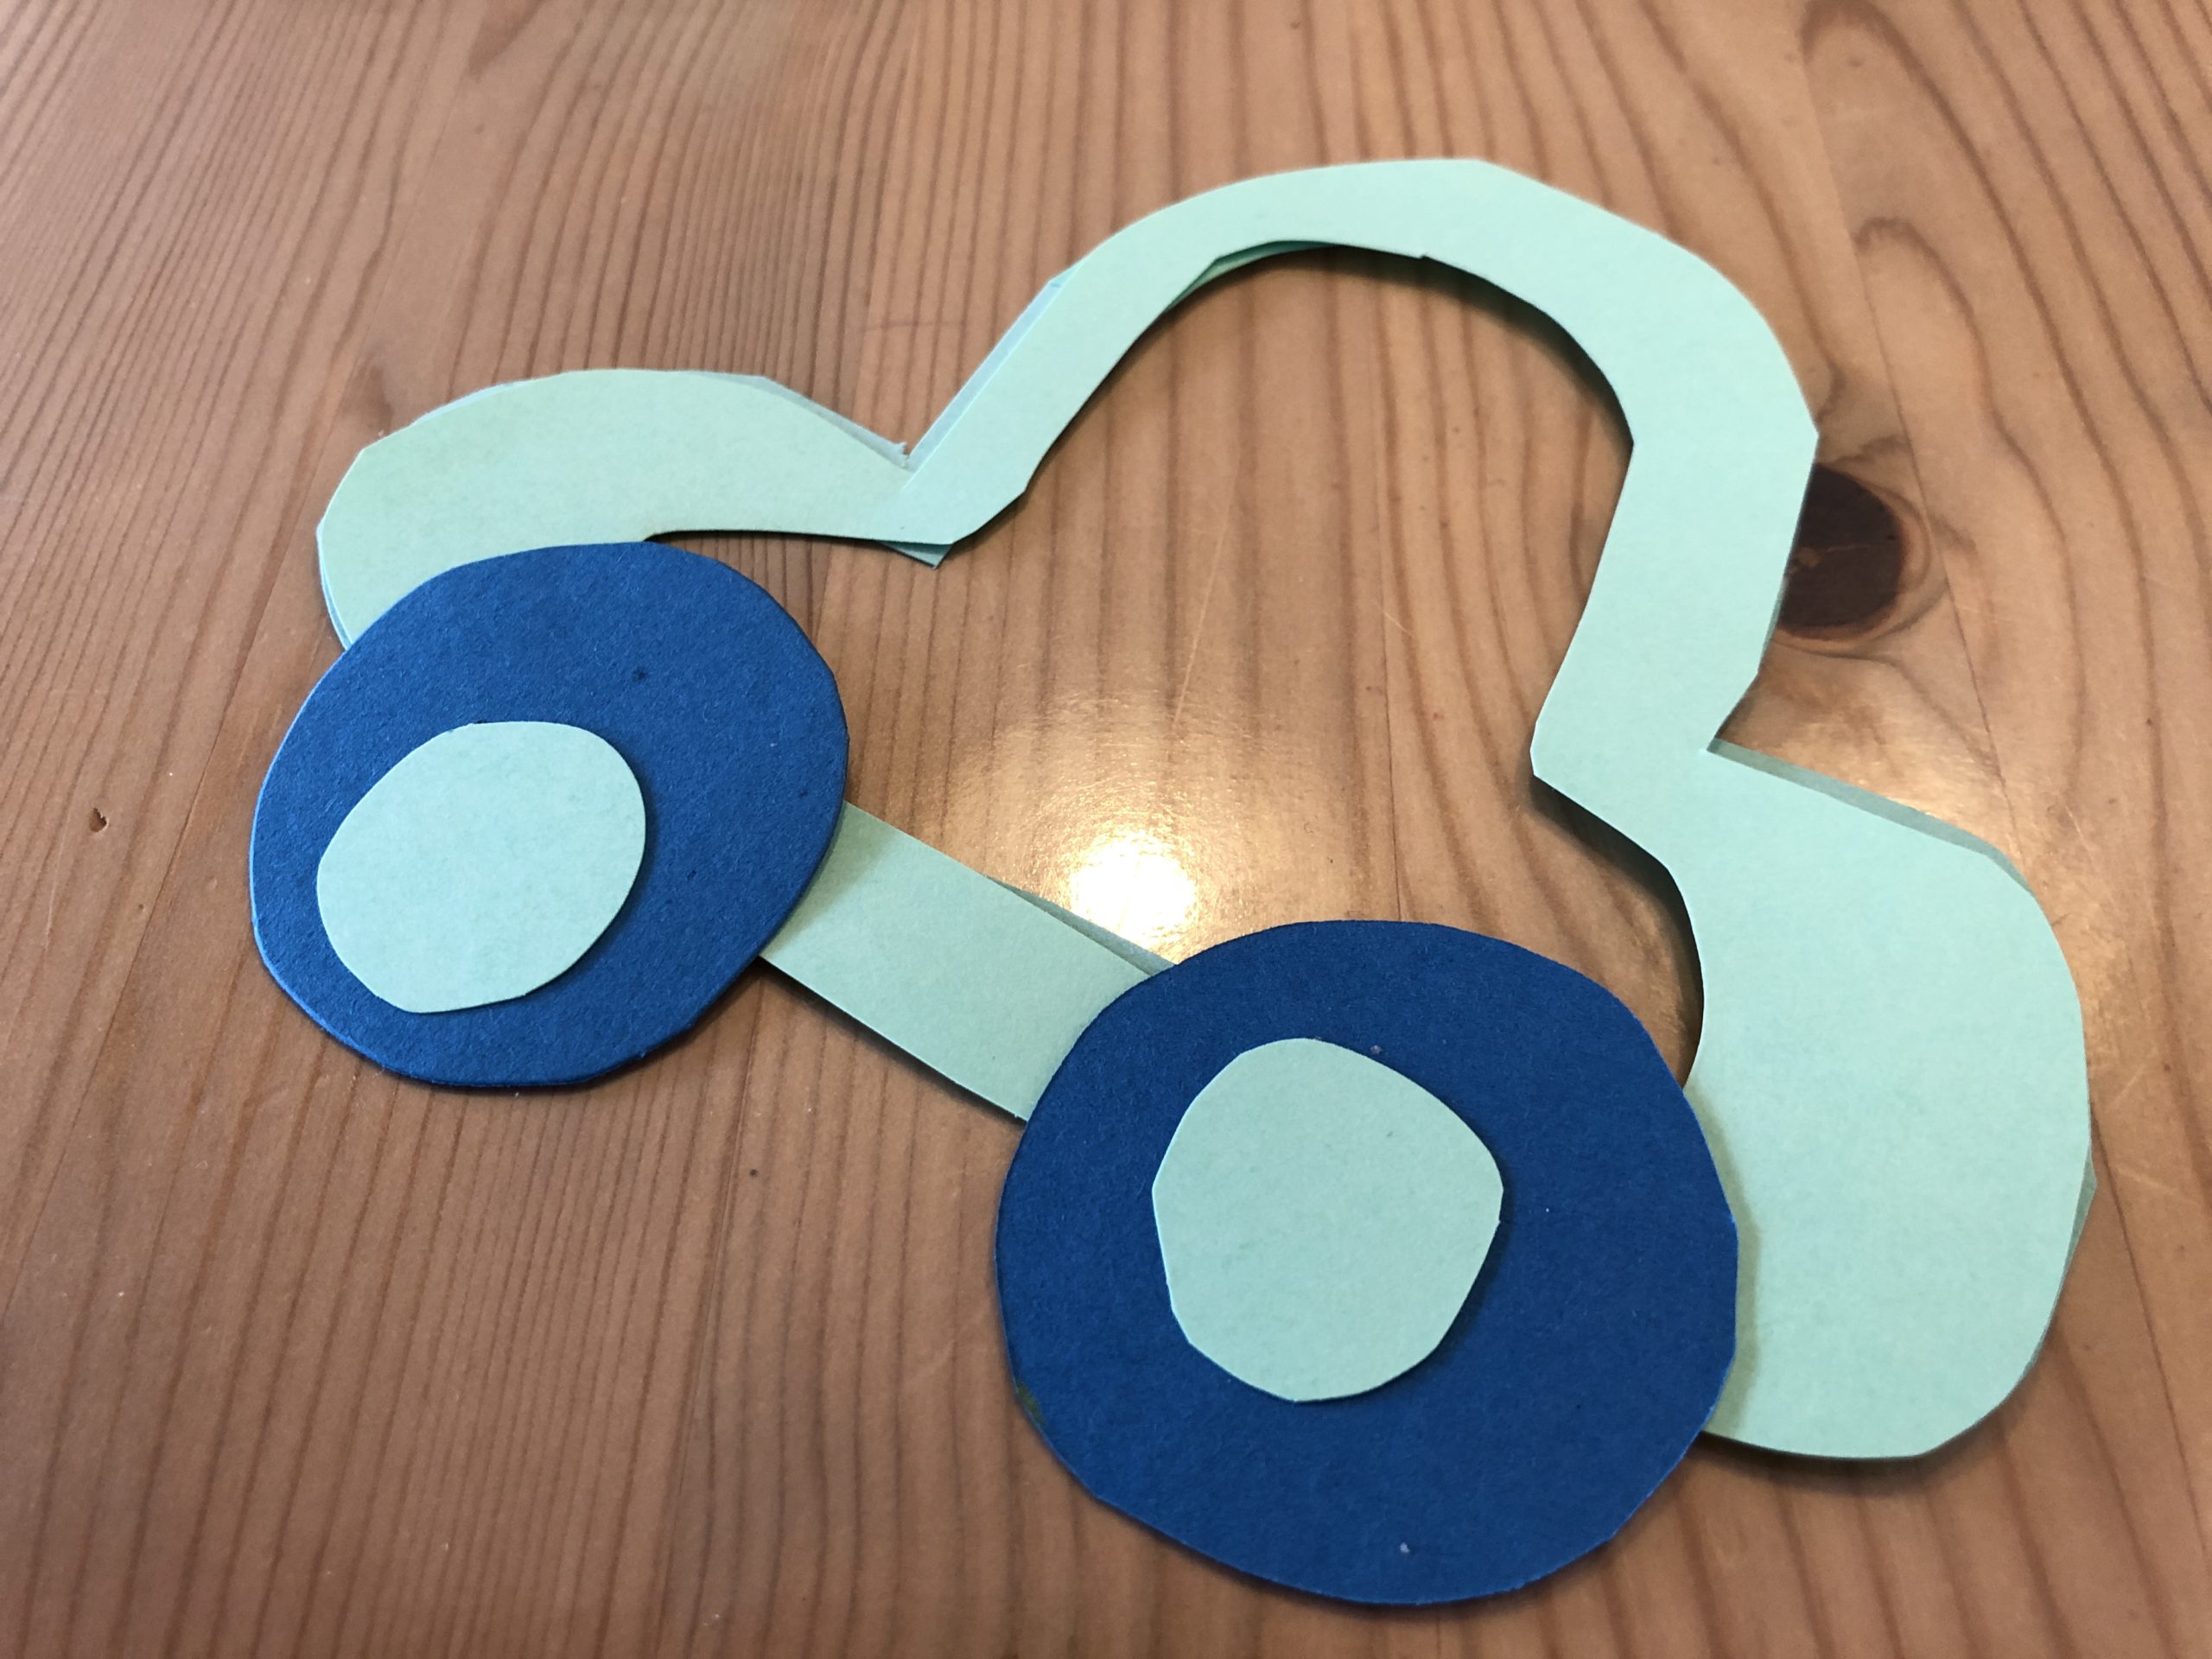
From a different coloured clay paper you now cut out 4 circles for the wheels.
You can, for example, take a cup or a lid of a glass and border it or you just paint the circles yourself. Perhaps you stick a smaller circle in the wheels.


Find a plastic bottle and shorten it with a wallpaper knife to the height of your car (including the wheels).
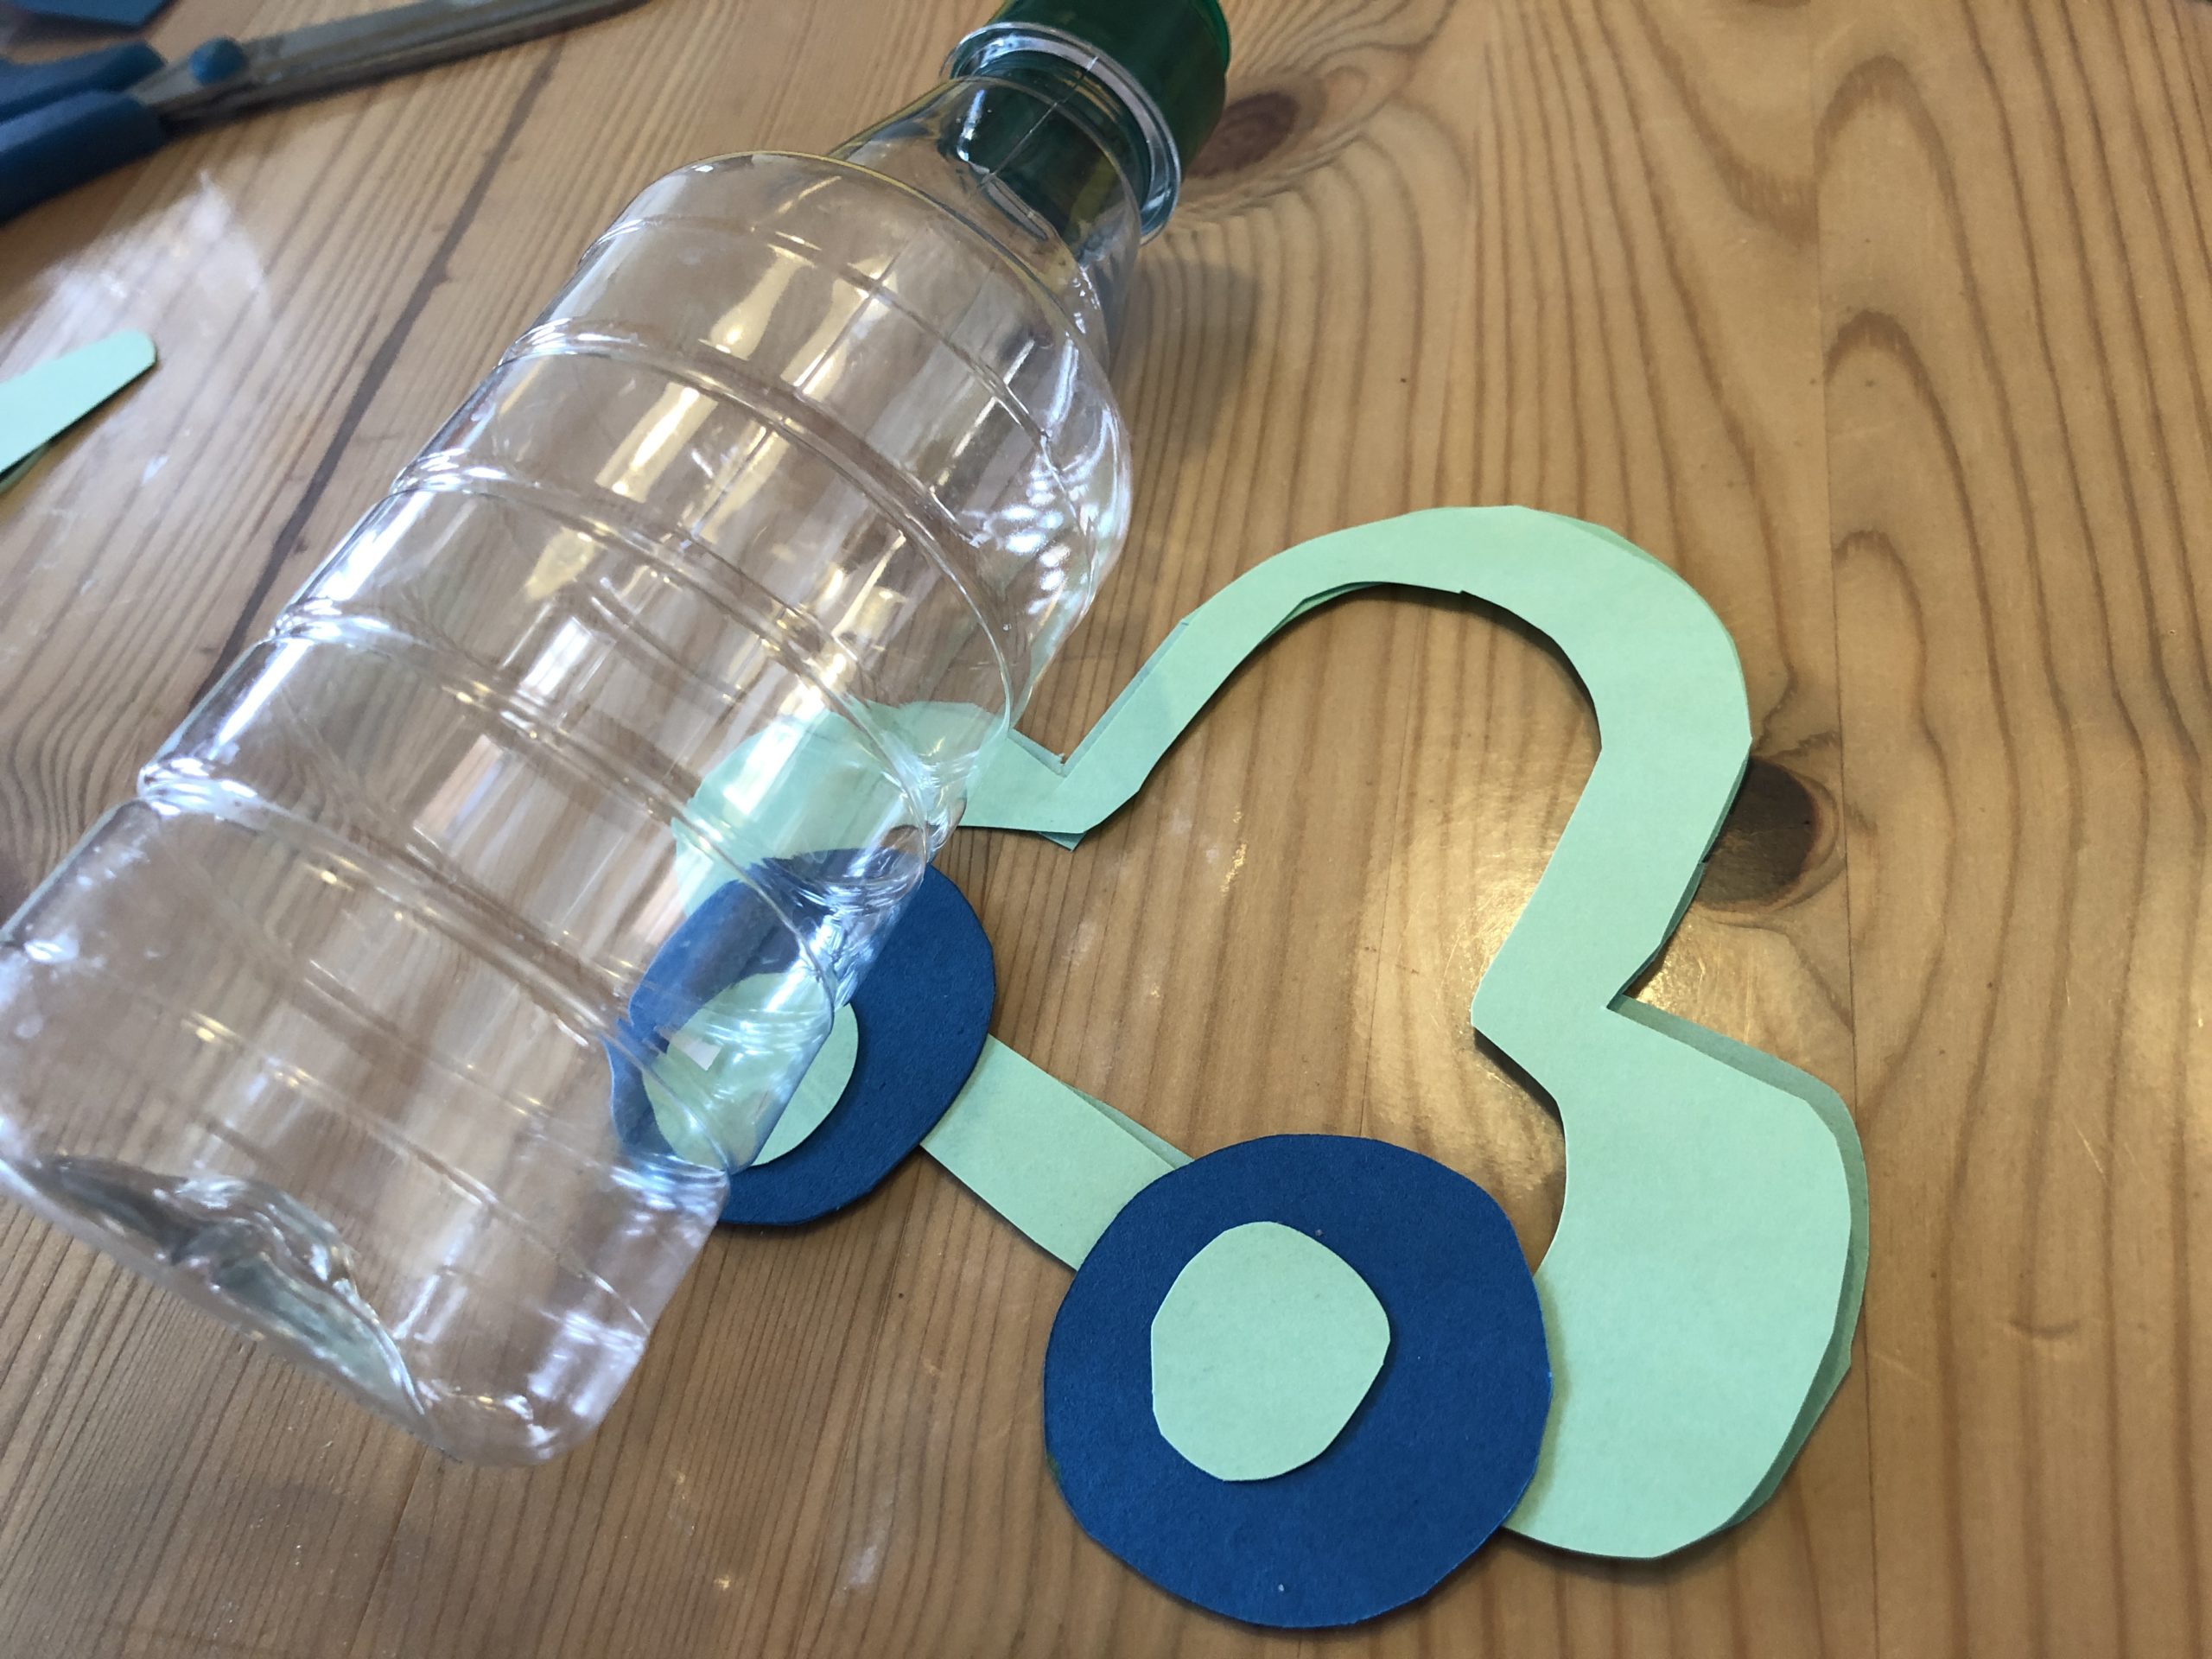


Attention: Let an adult help you shorten the bottle.
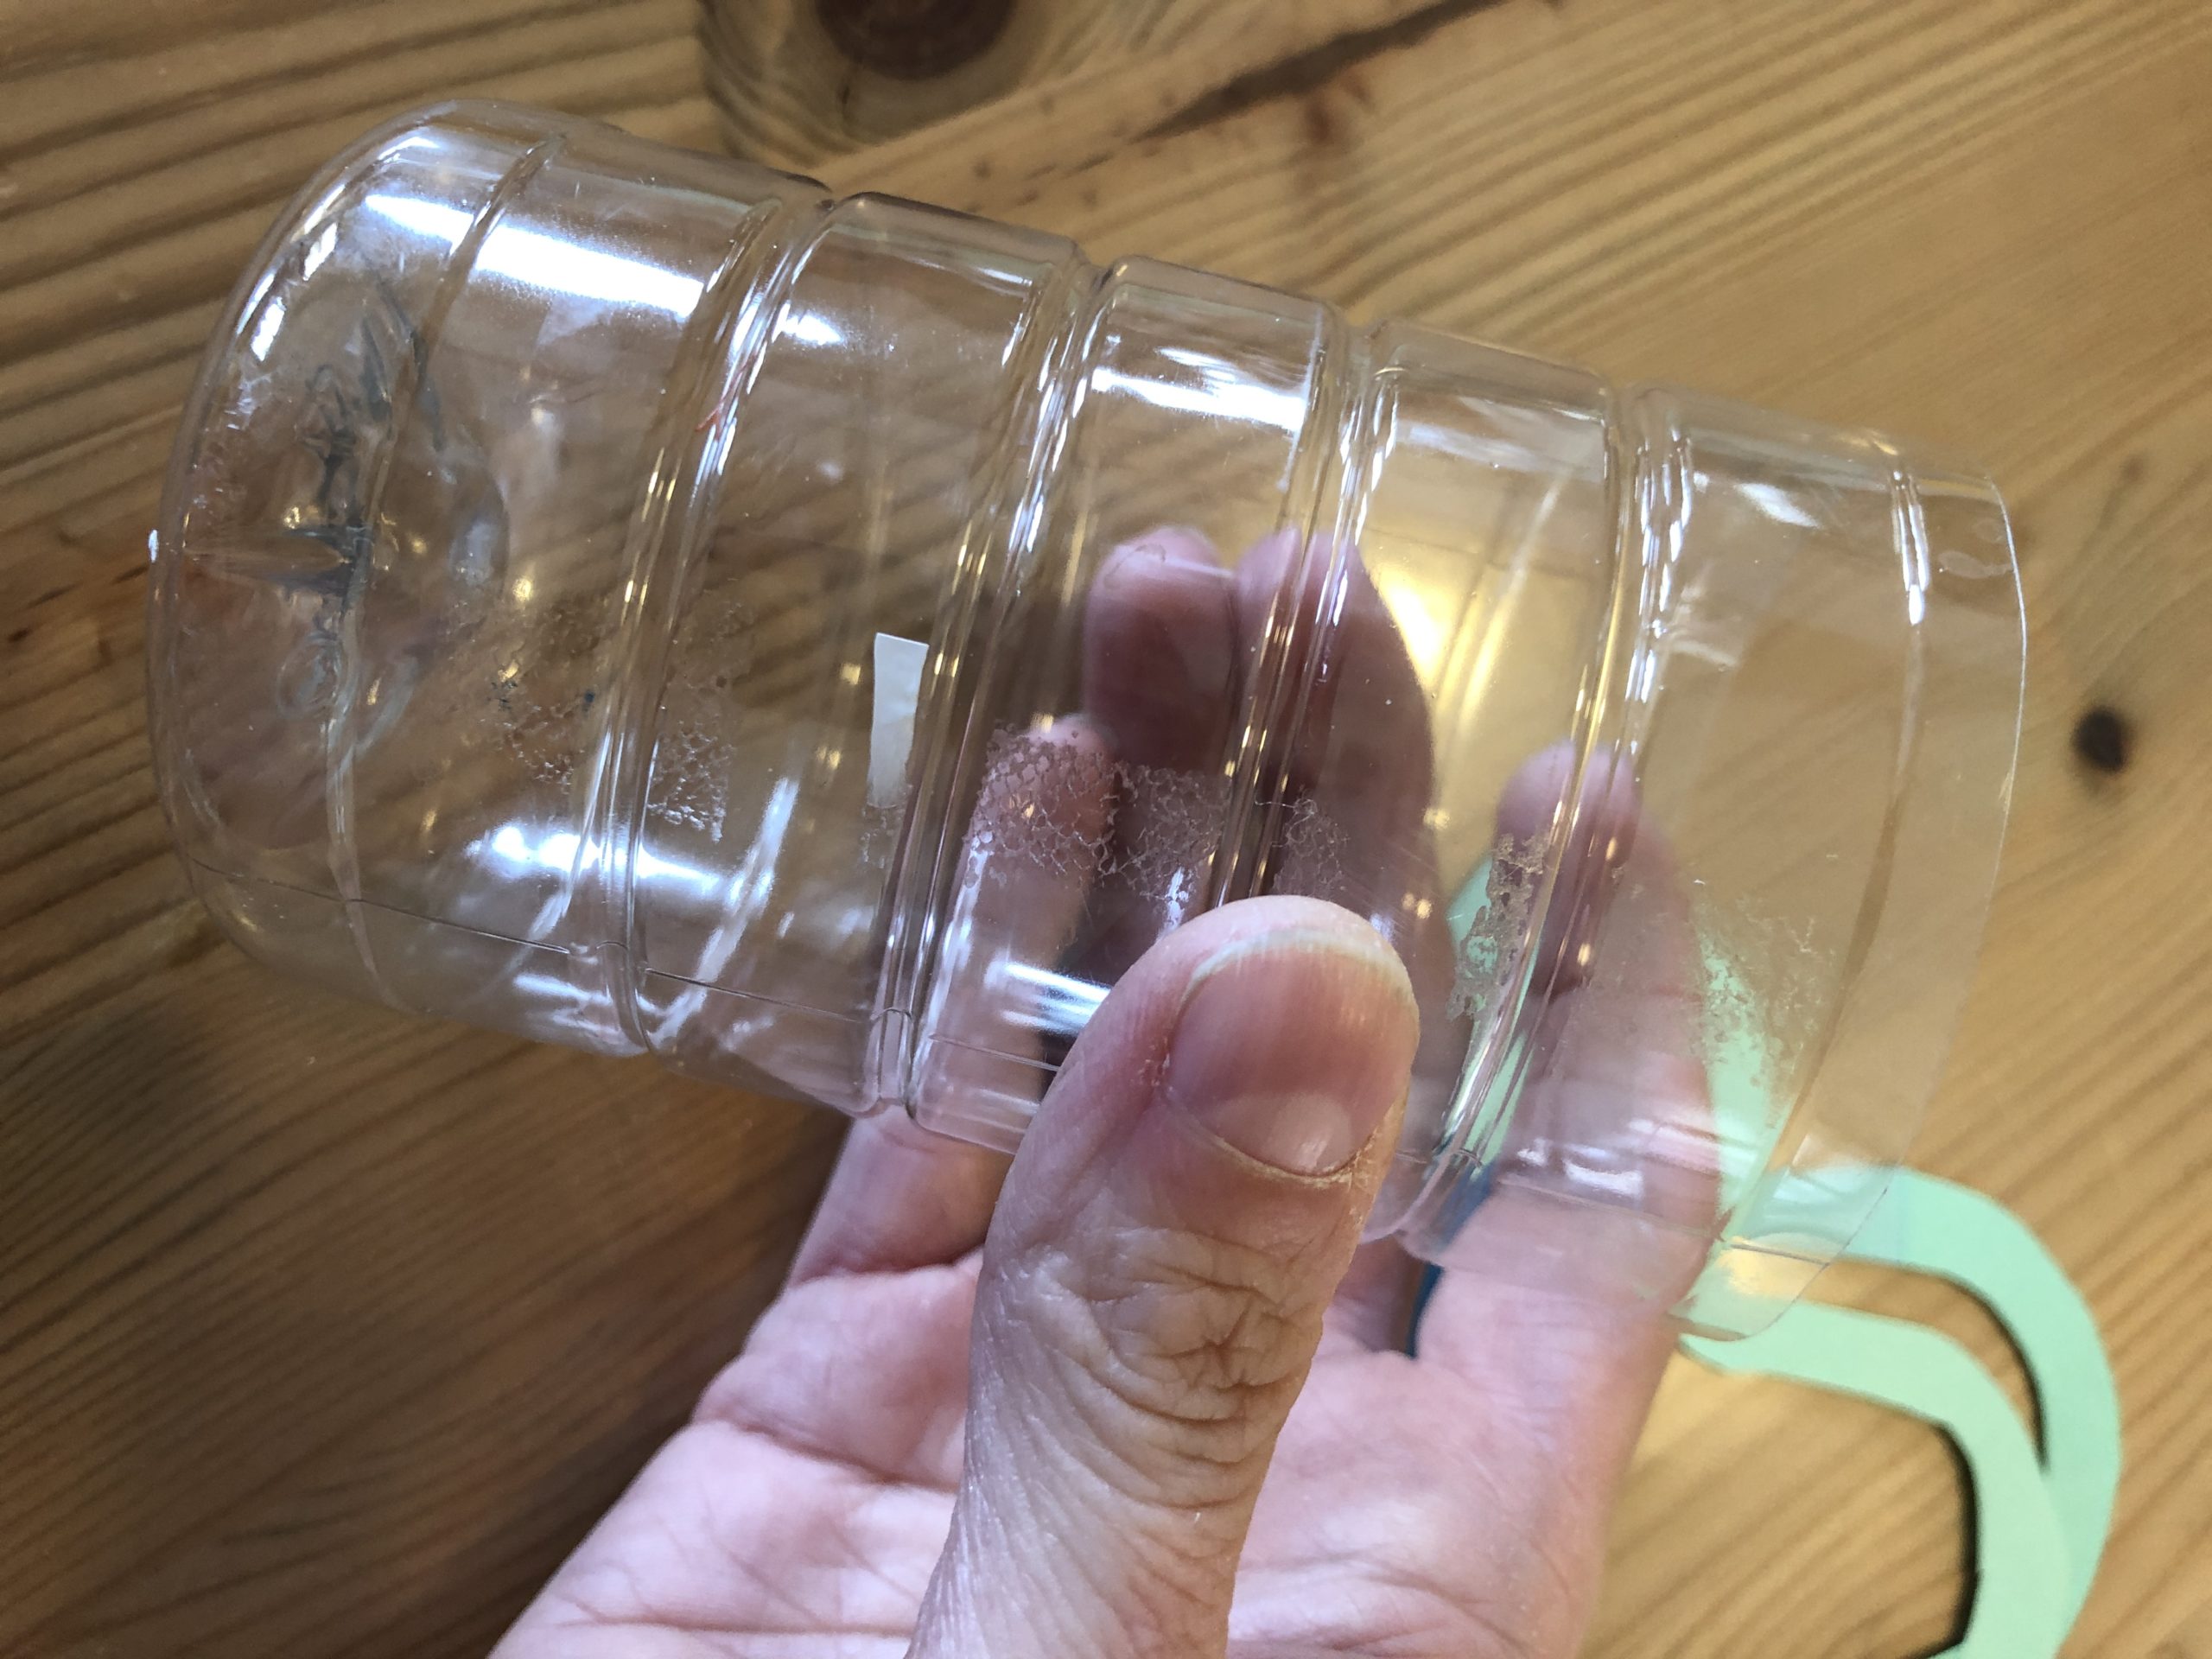


Now your car is still glued with transparent paper.
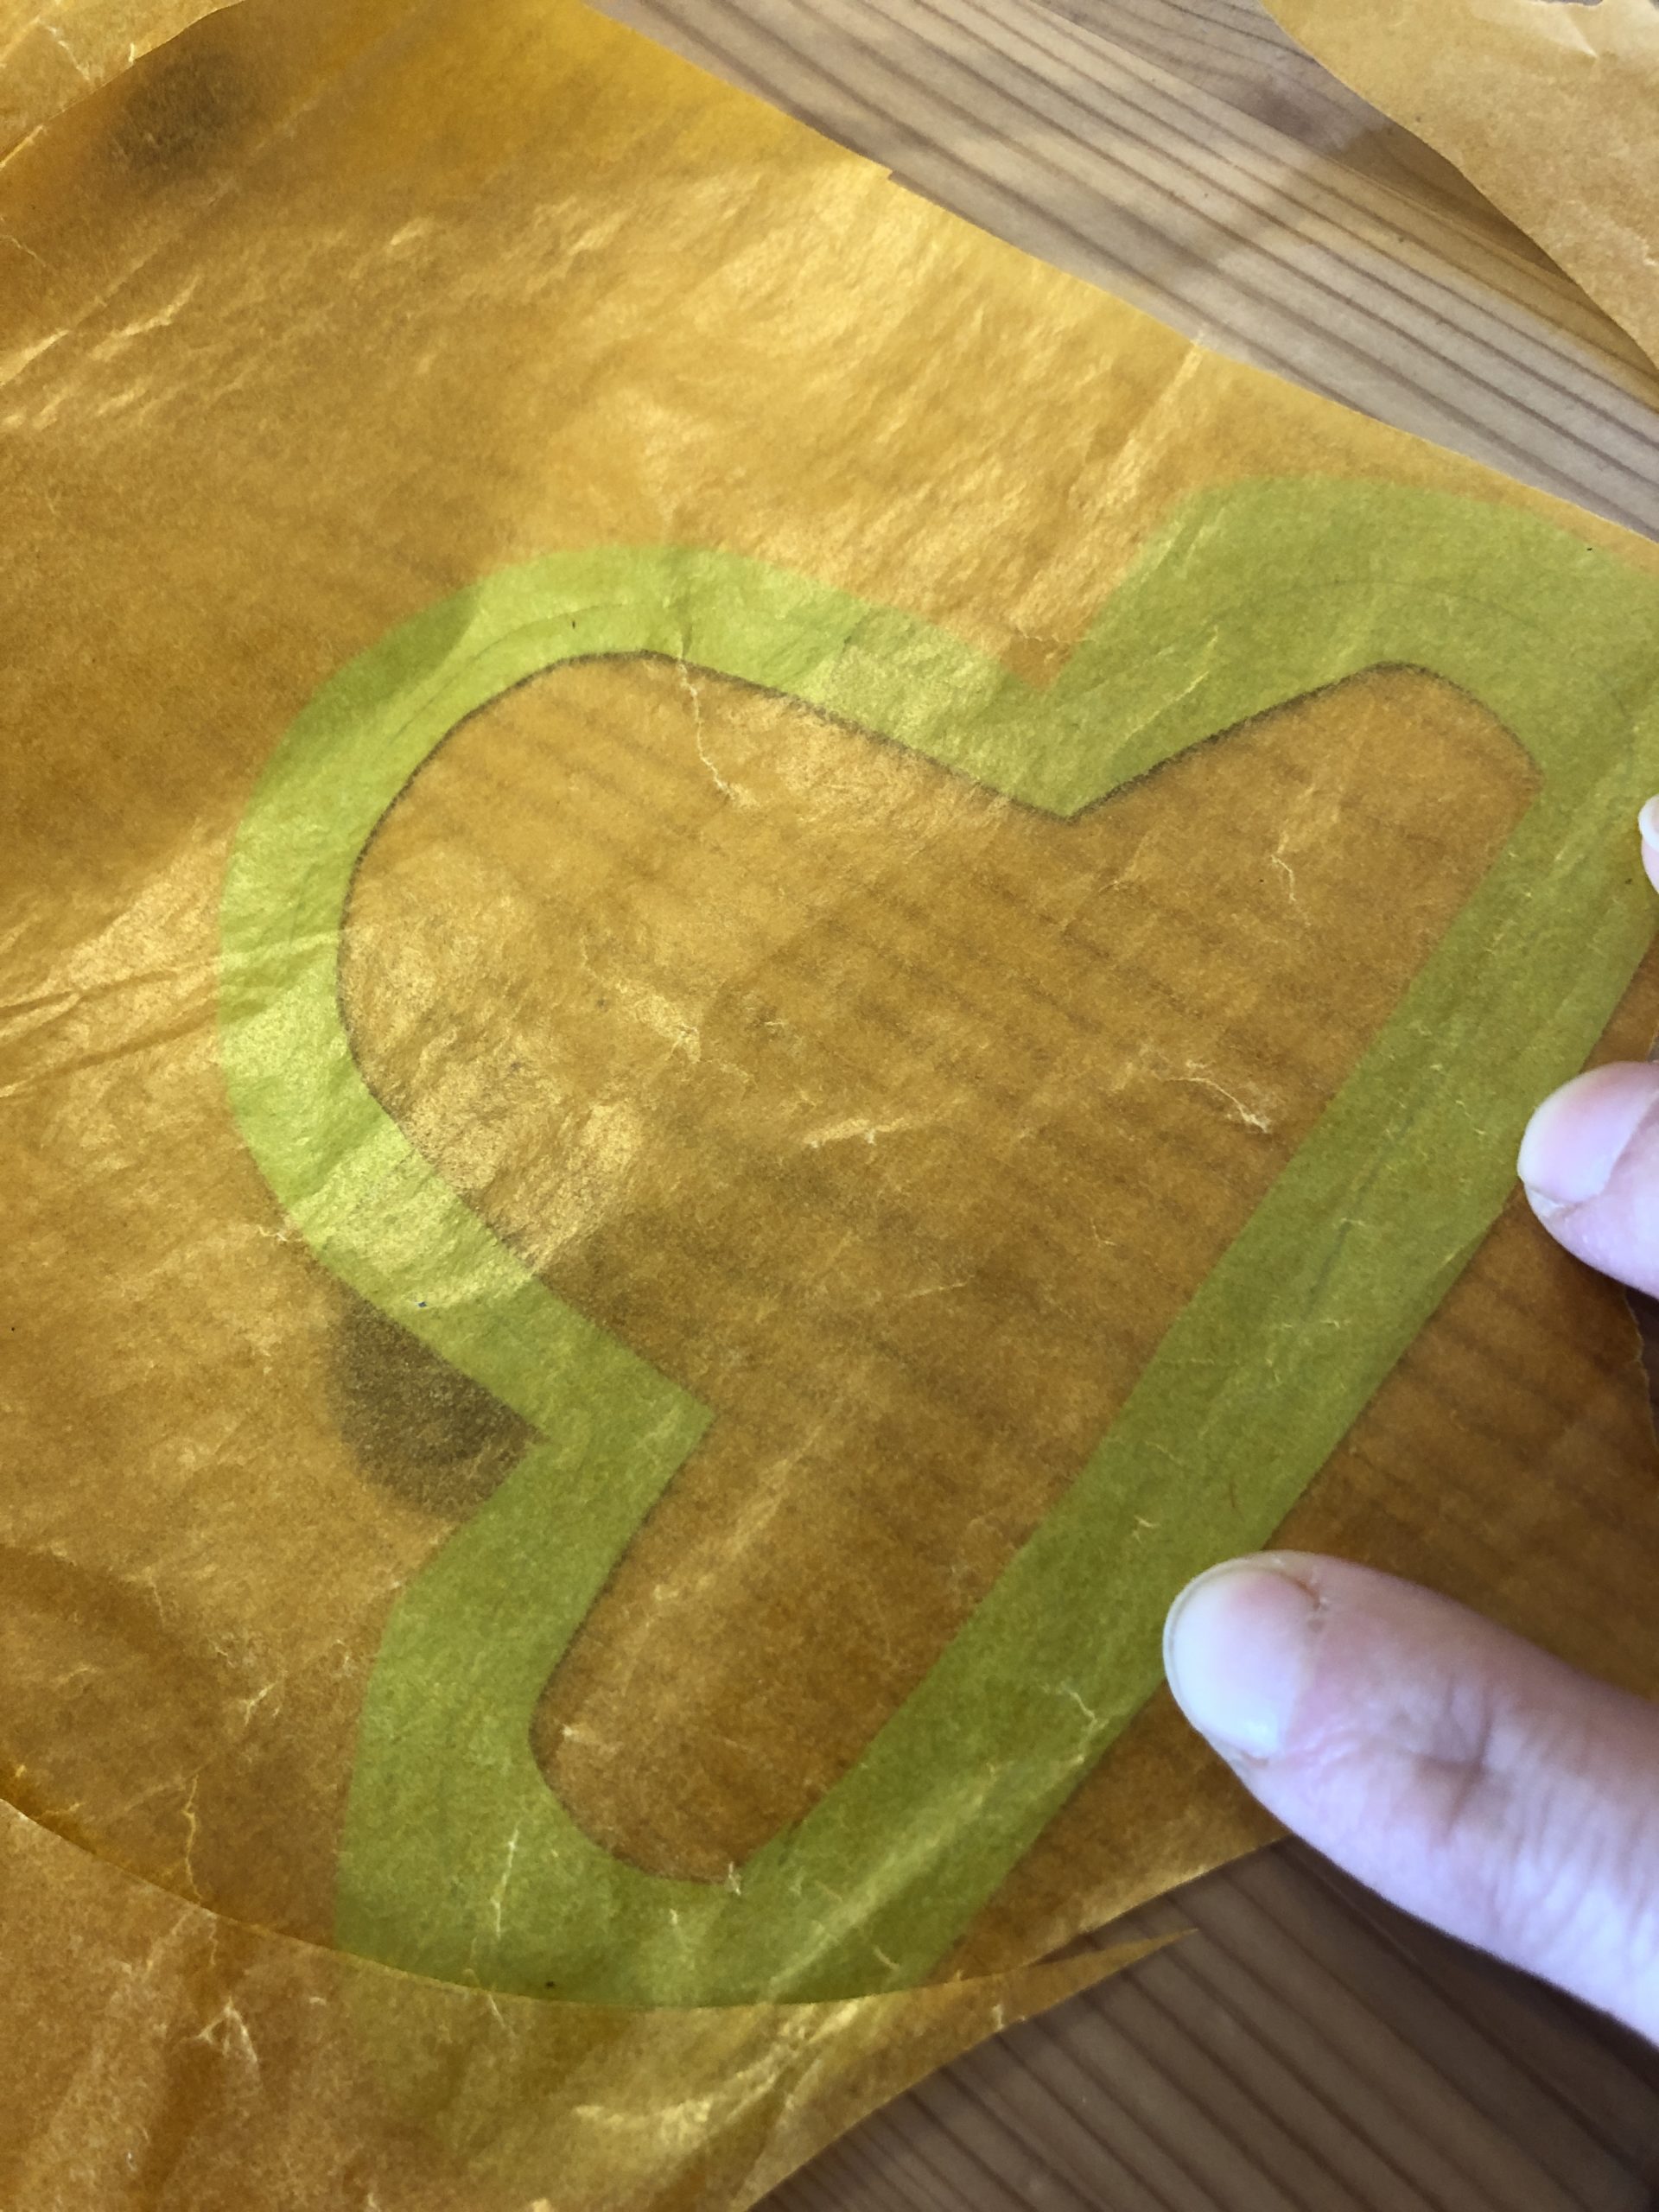
To do this, put your car under the paper and transfer the shape of the car with a pen. Then cut out the transparent paper (somewhat smaller so that the paper does not survive!)


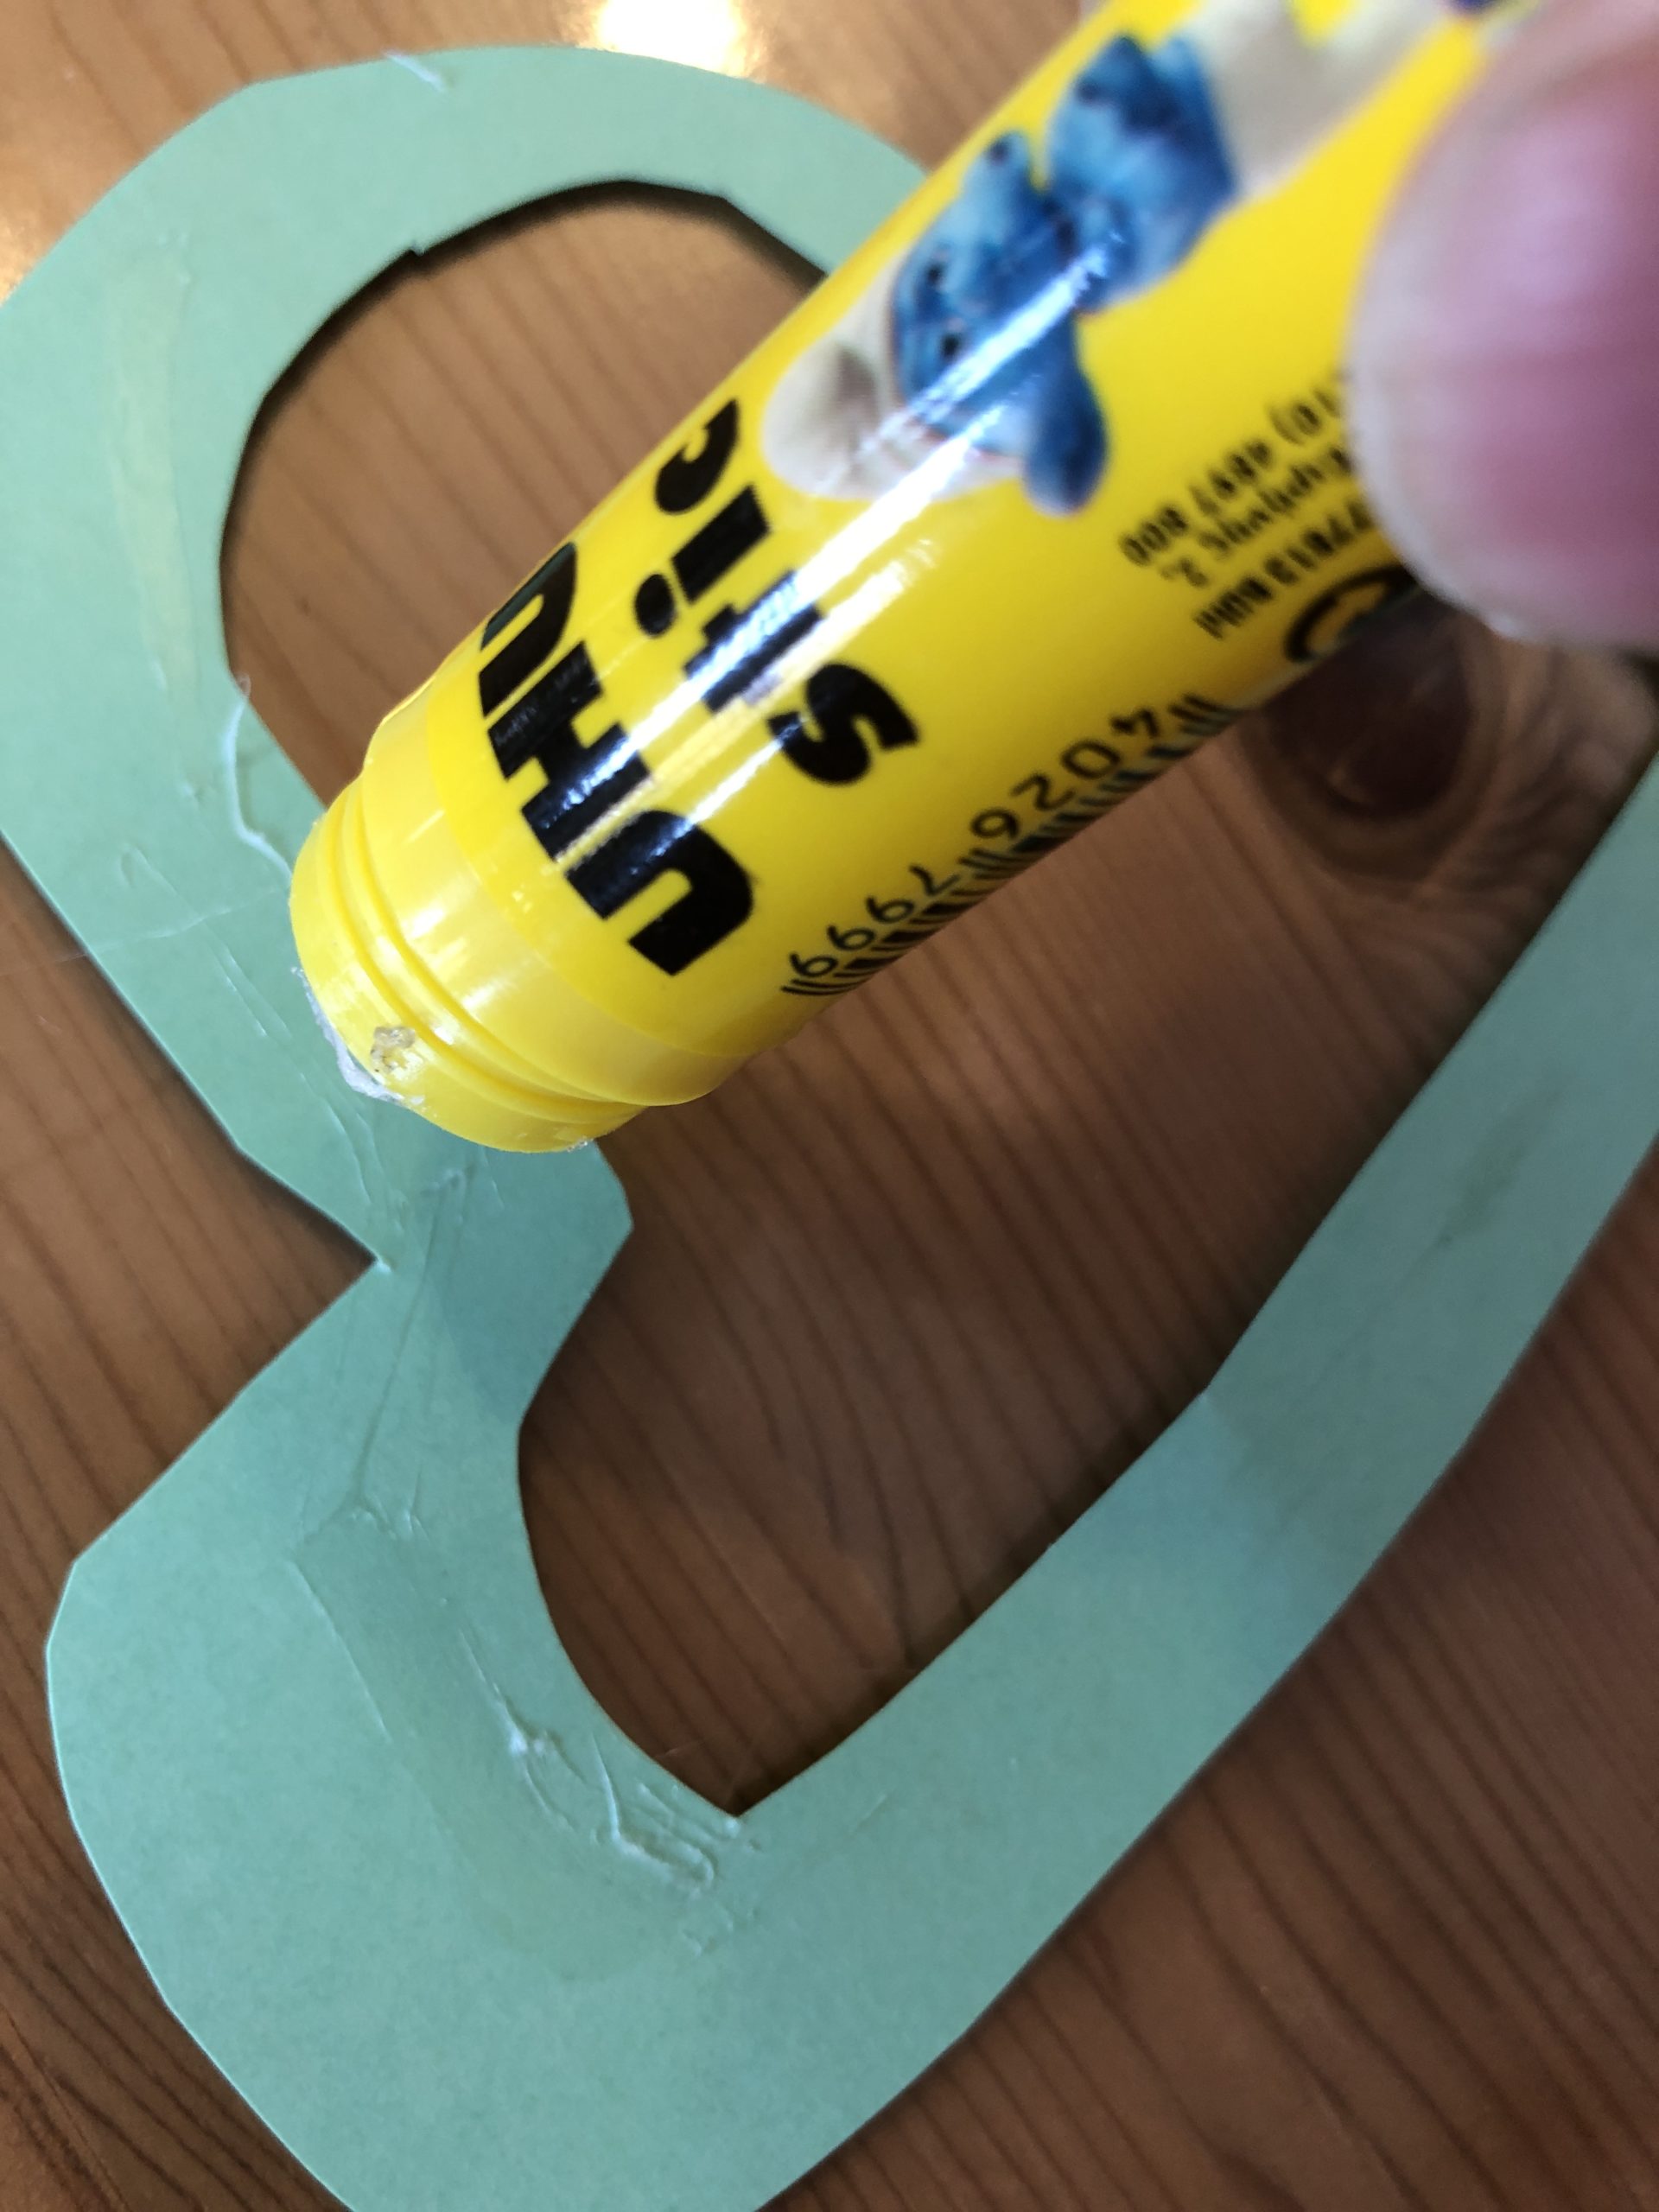
Use a glue stick to brush the car (tone paper).


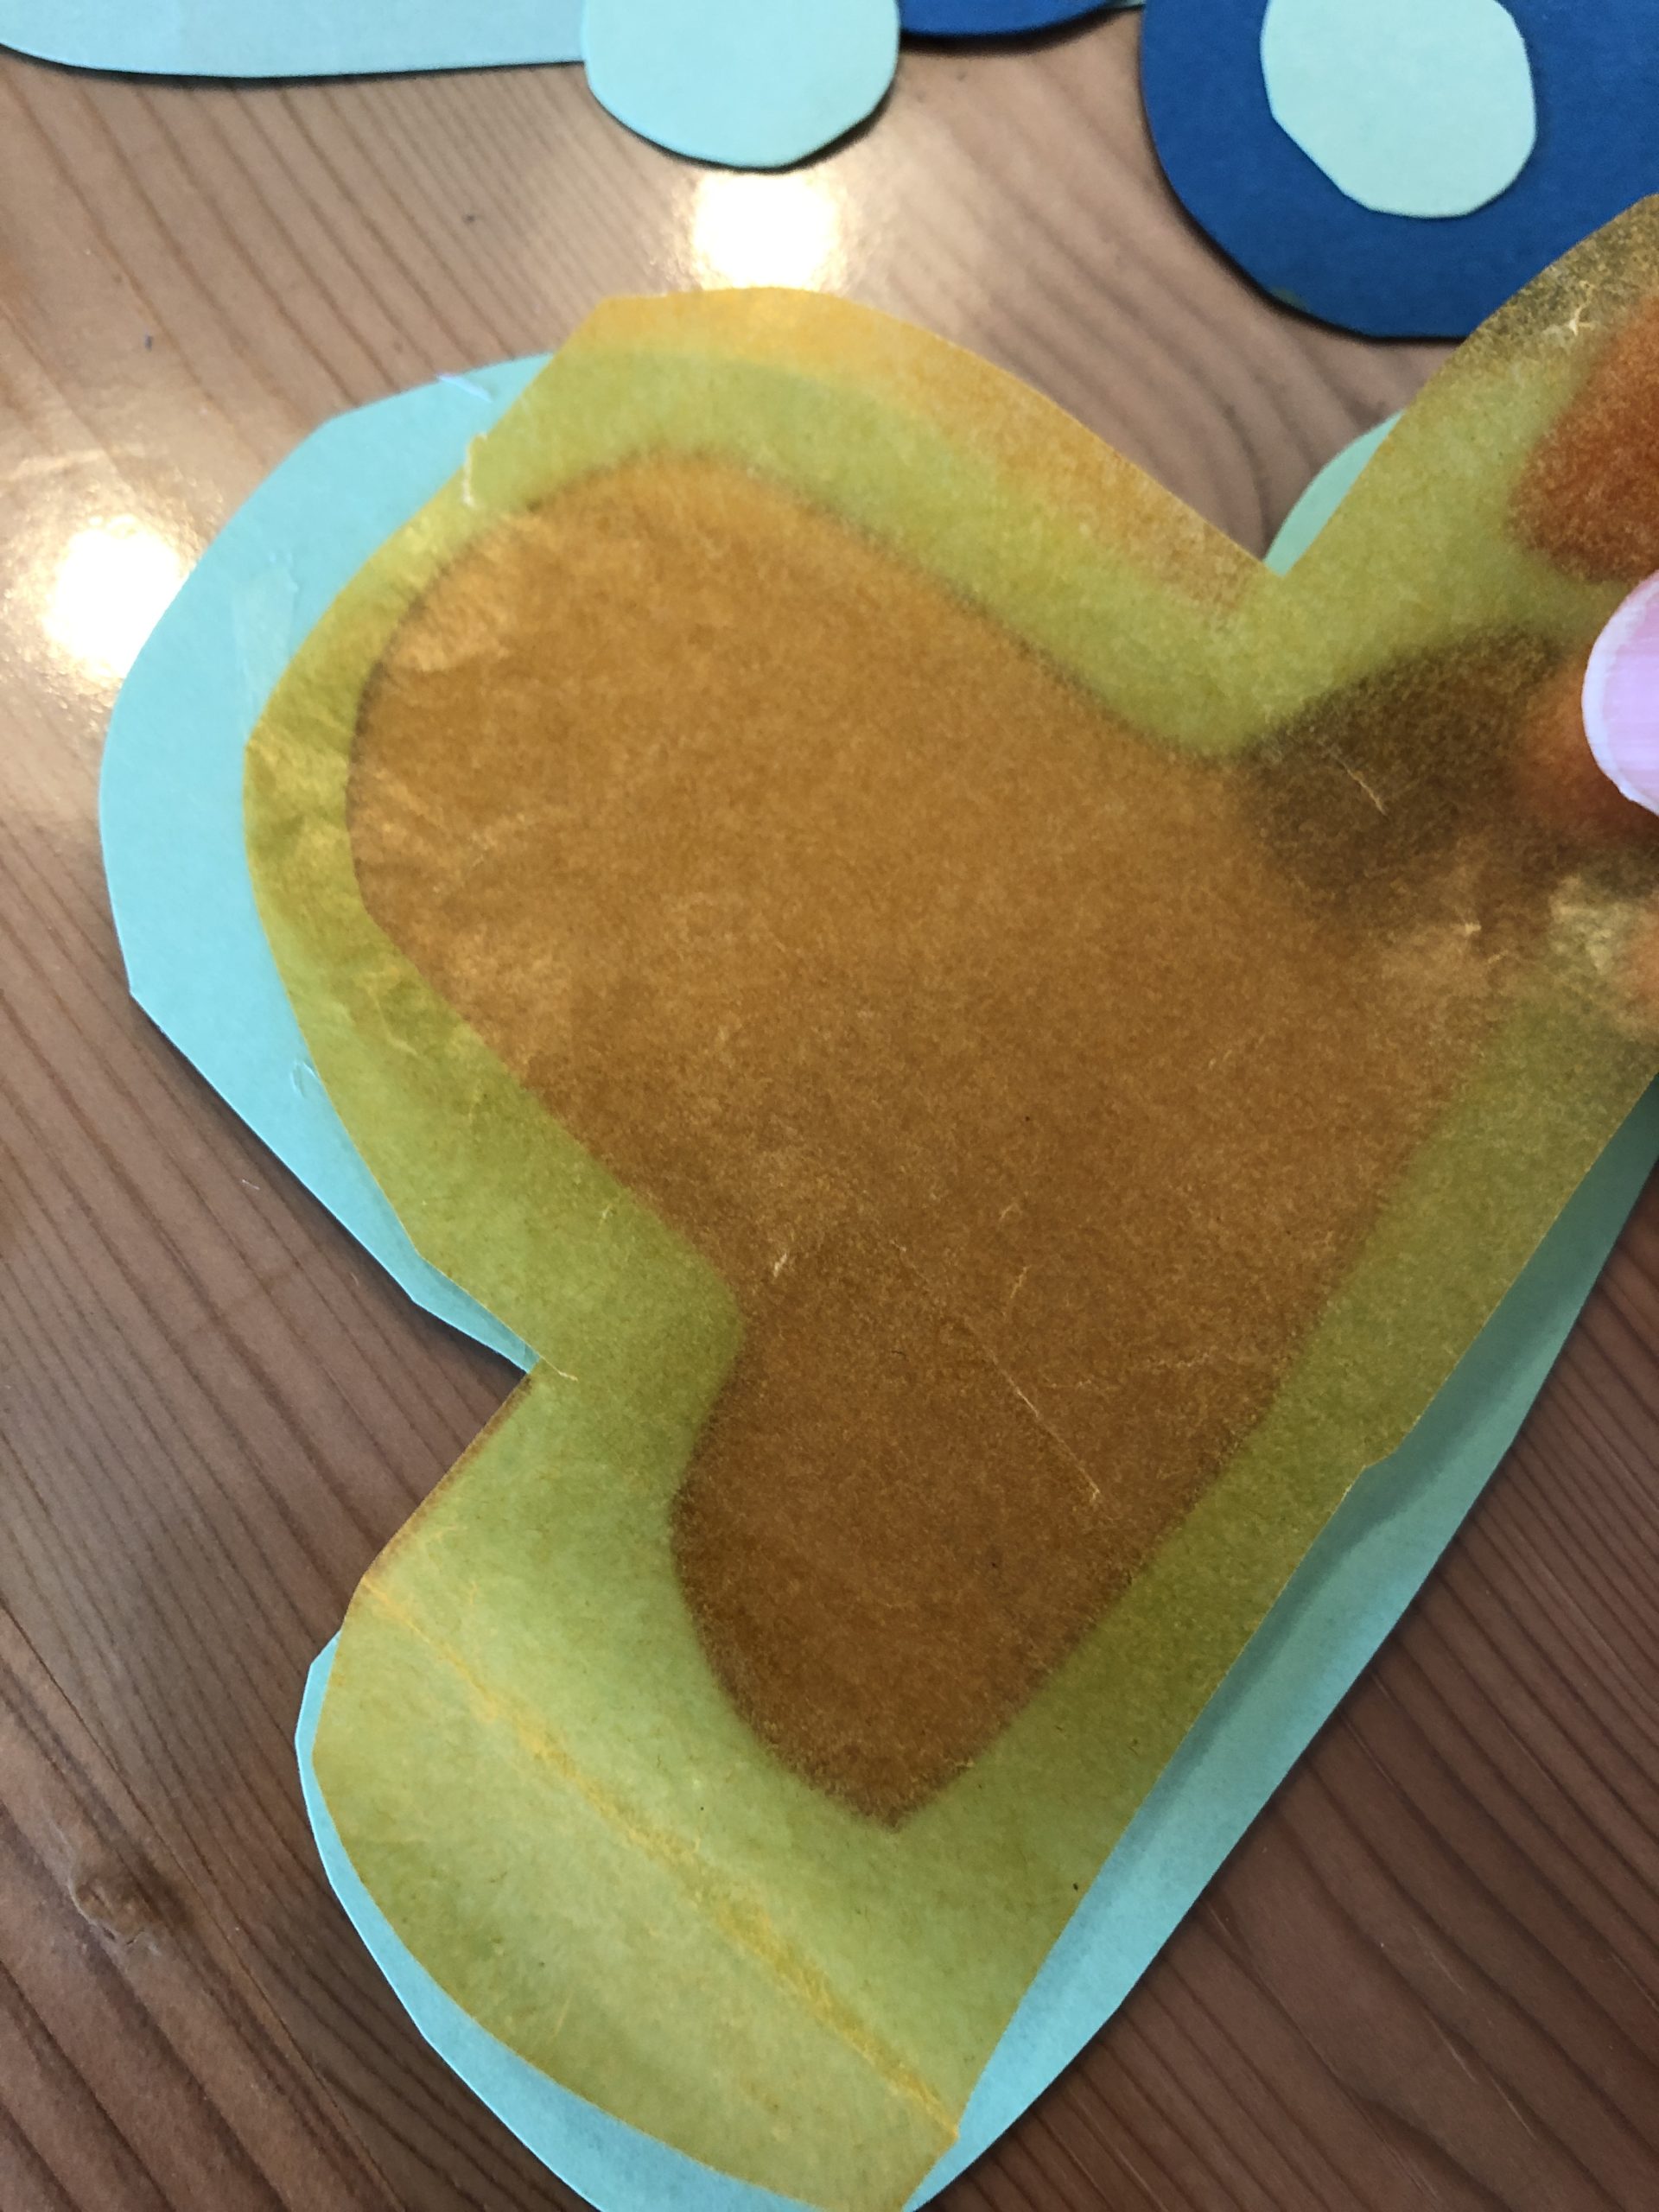
Now she's stuck with the transparent paper.


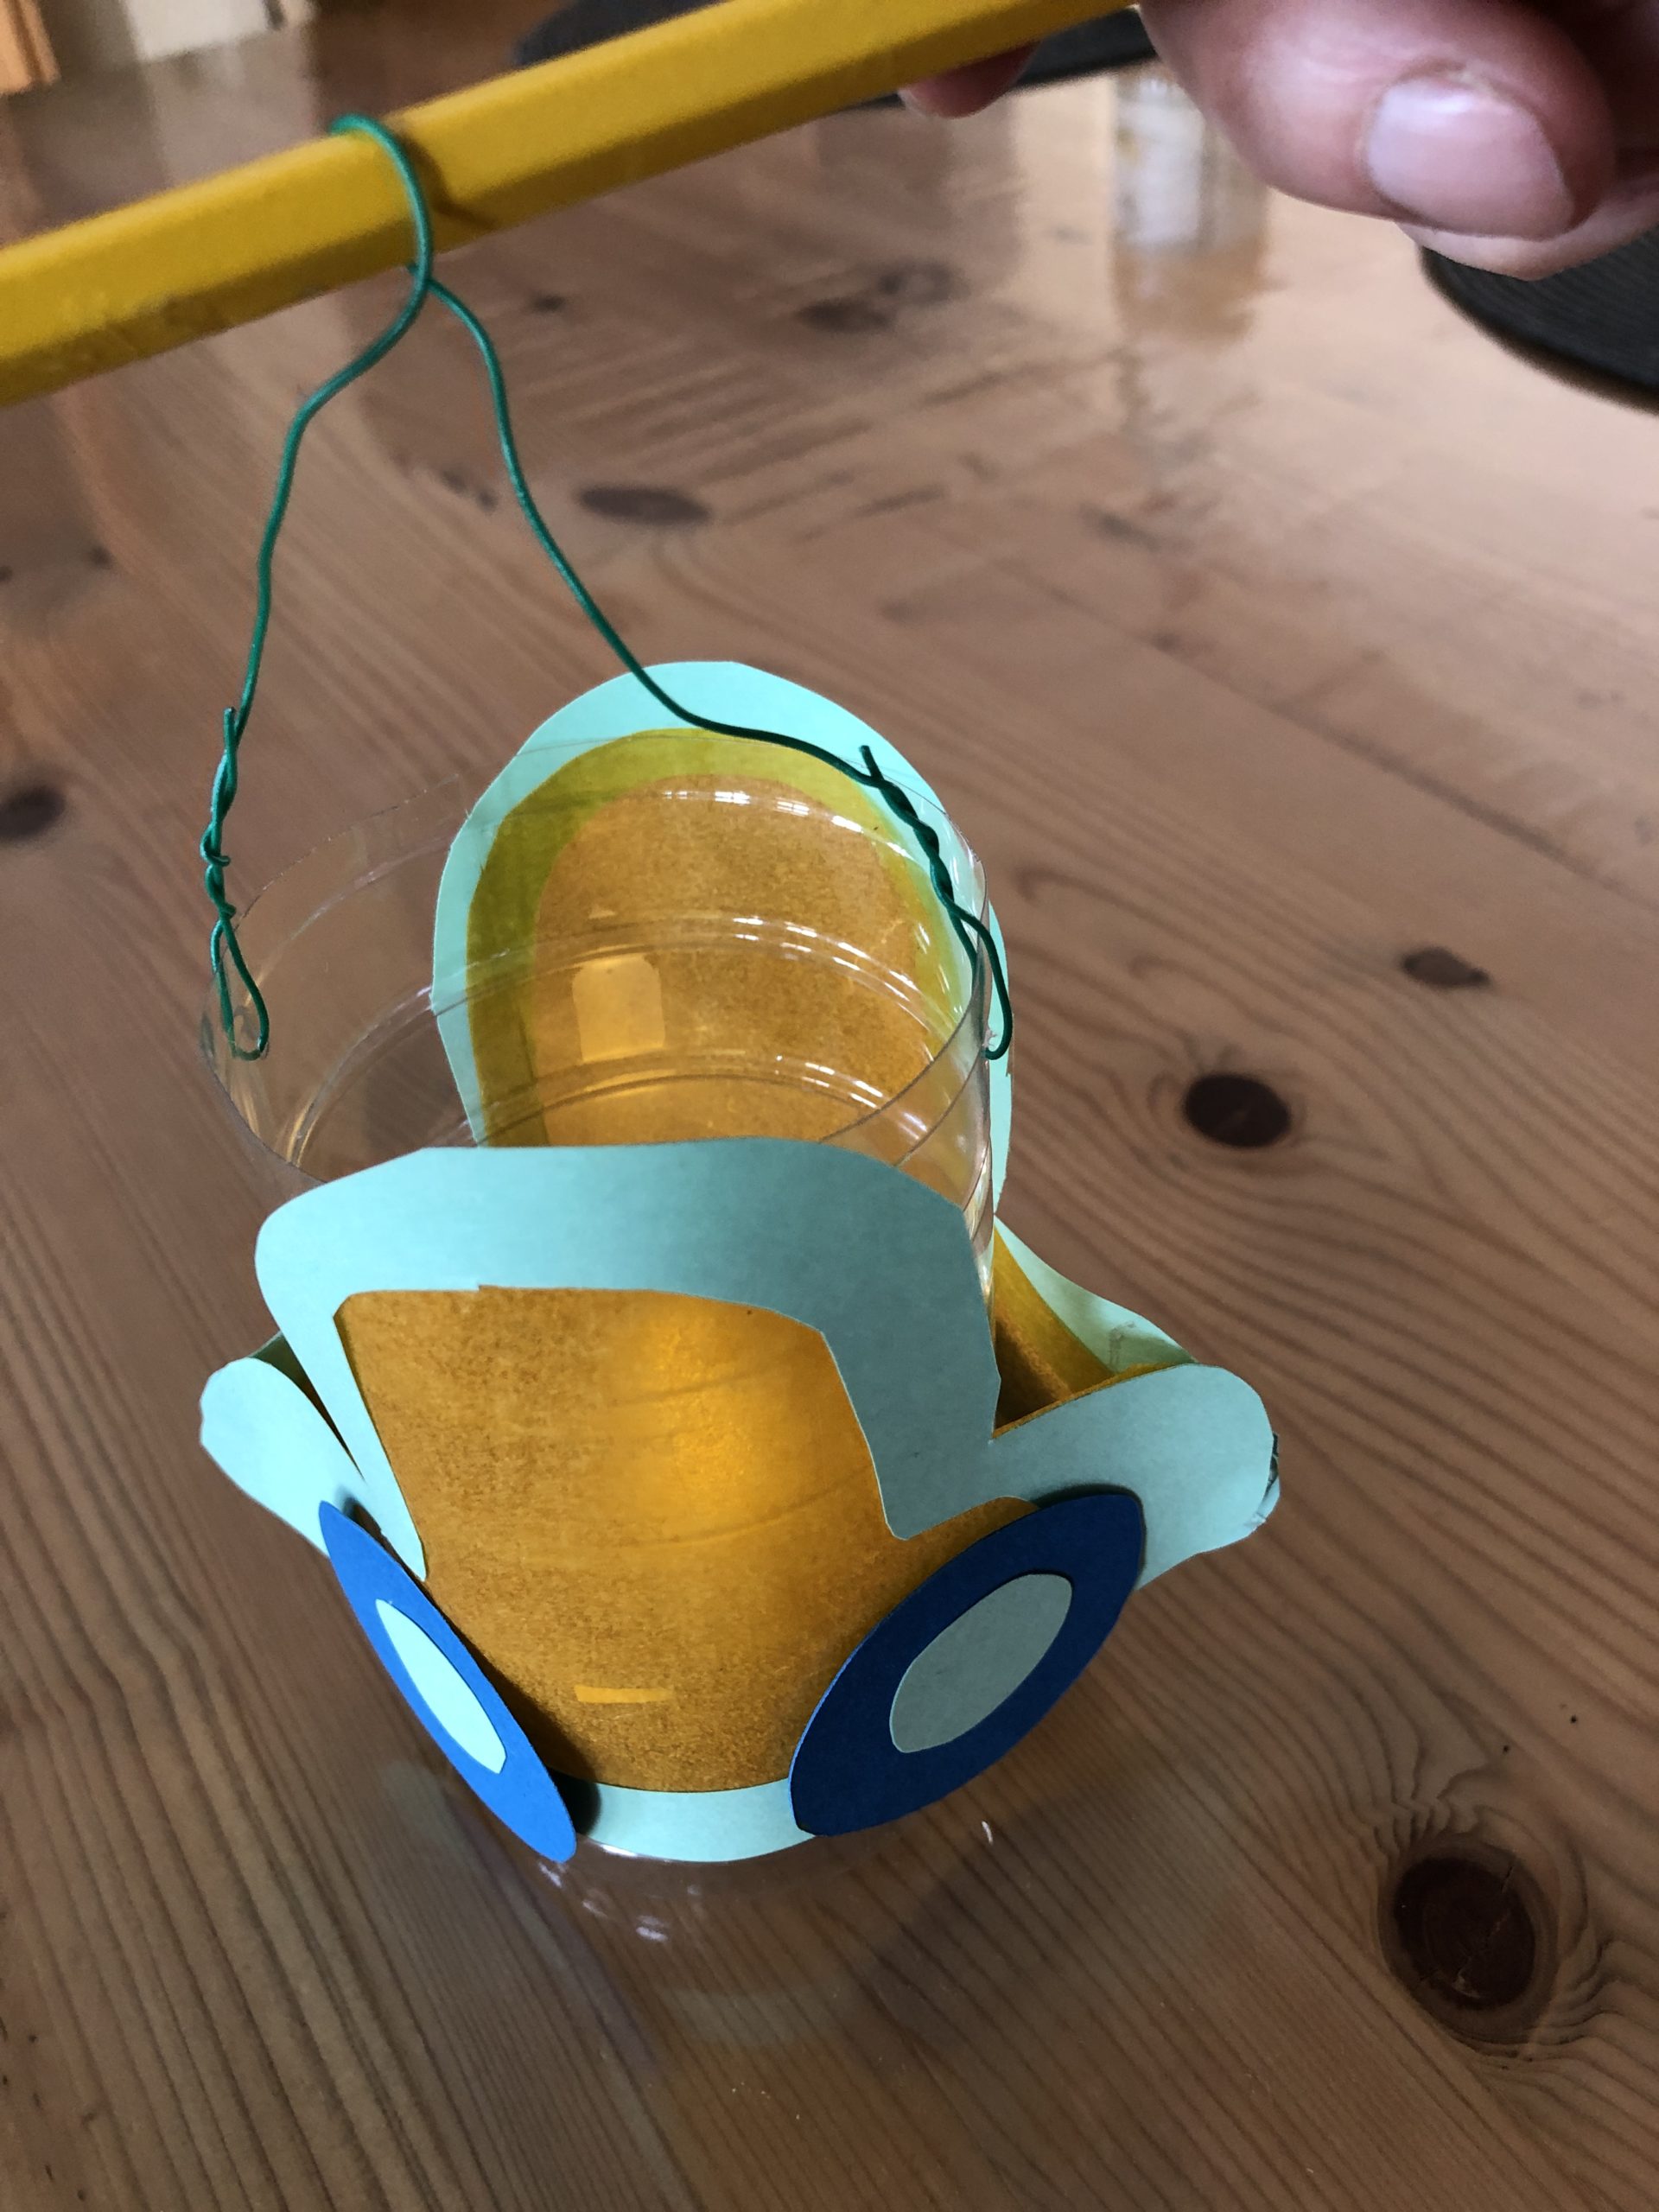
Then glues the tires firmly - two on each vehicle.
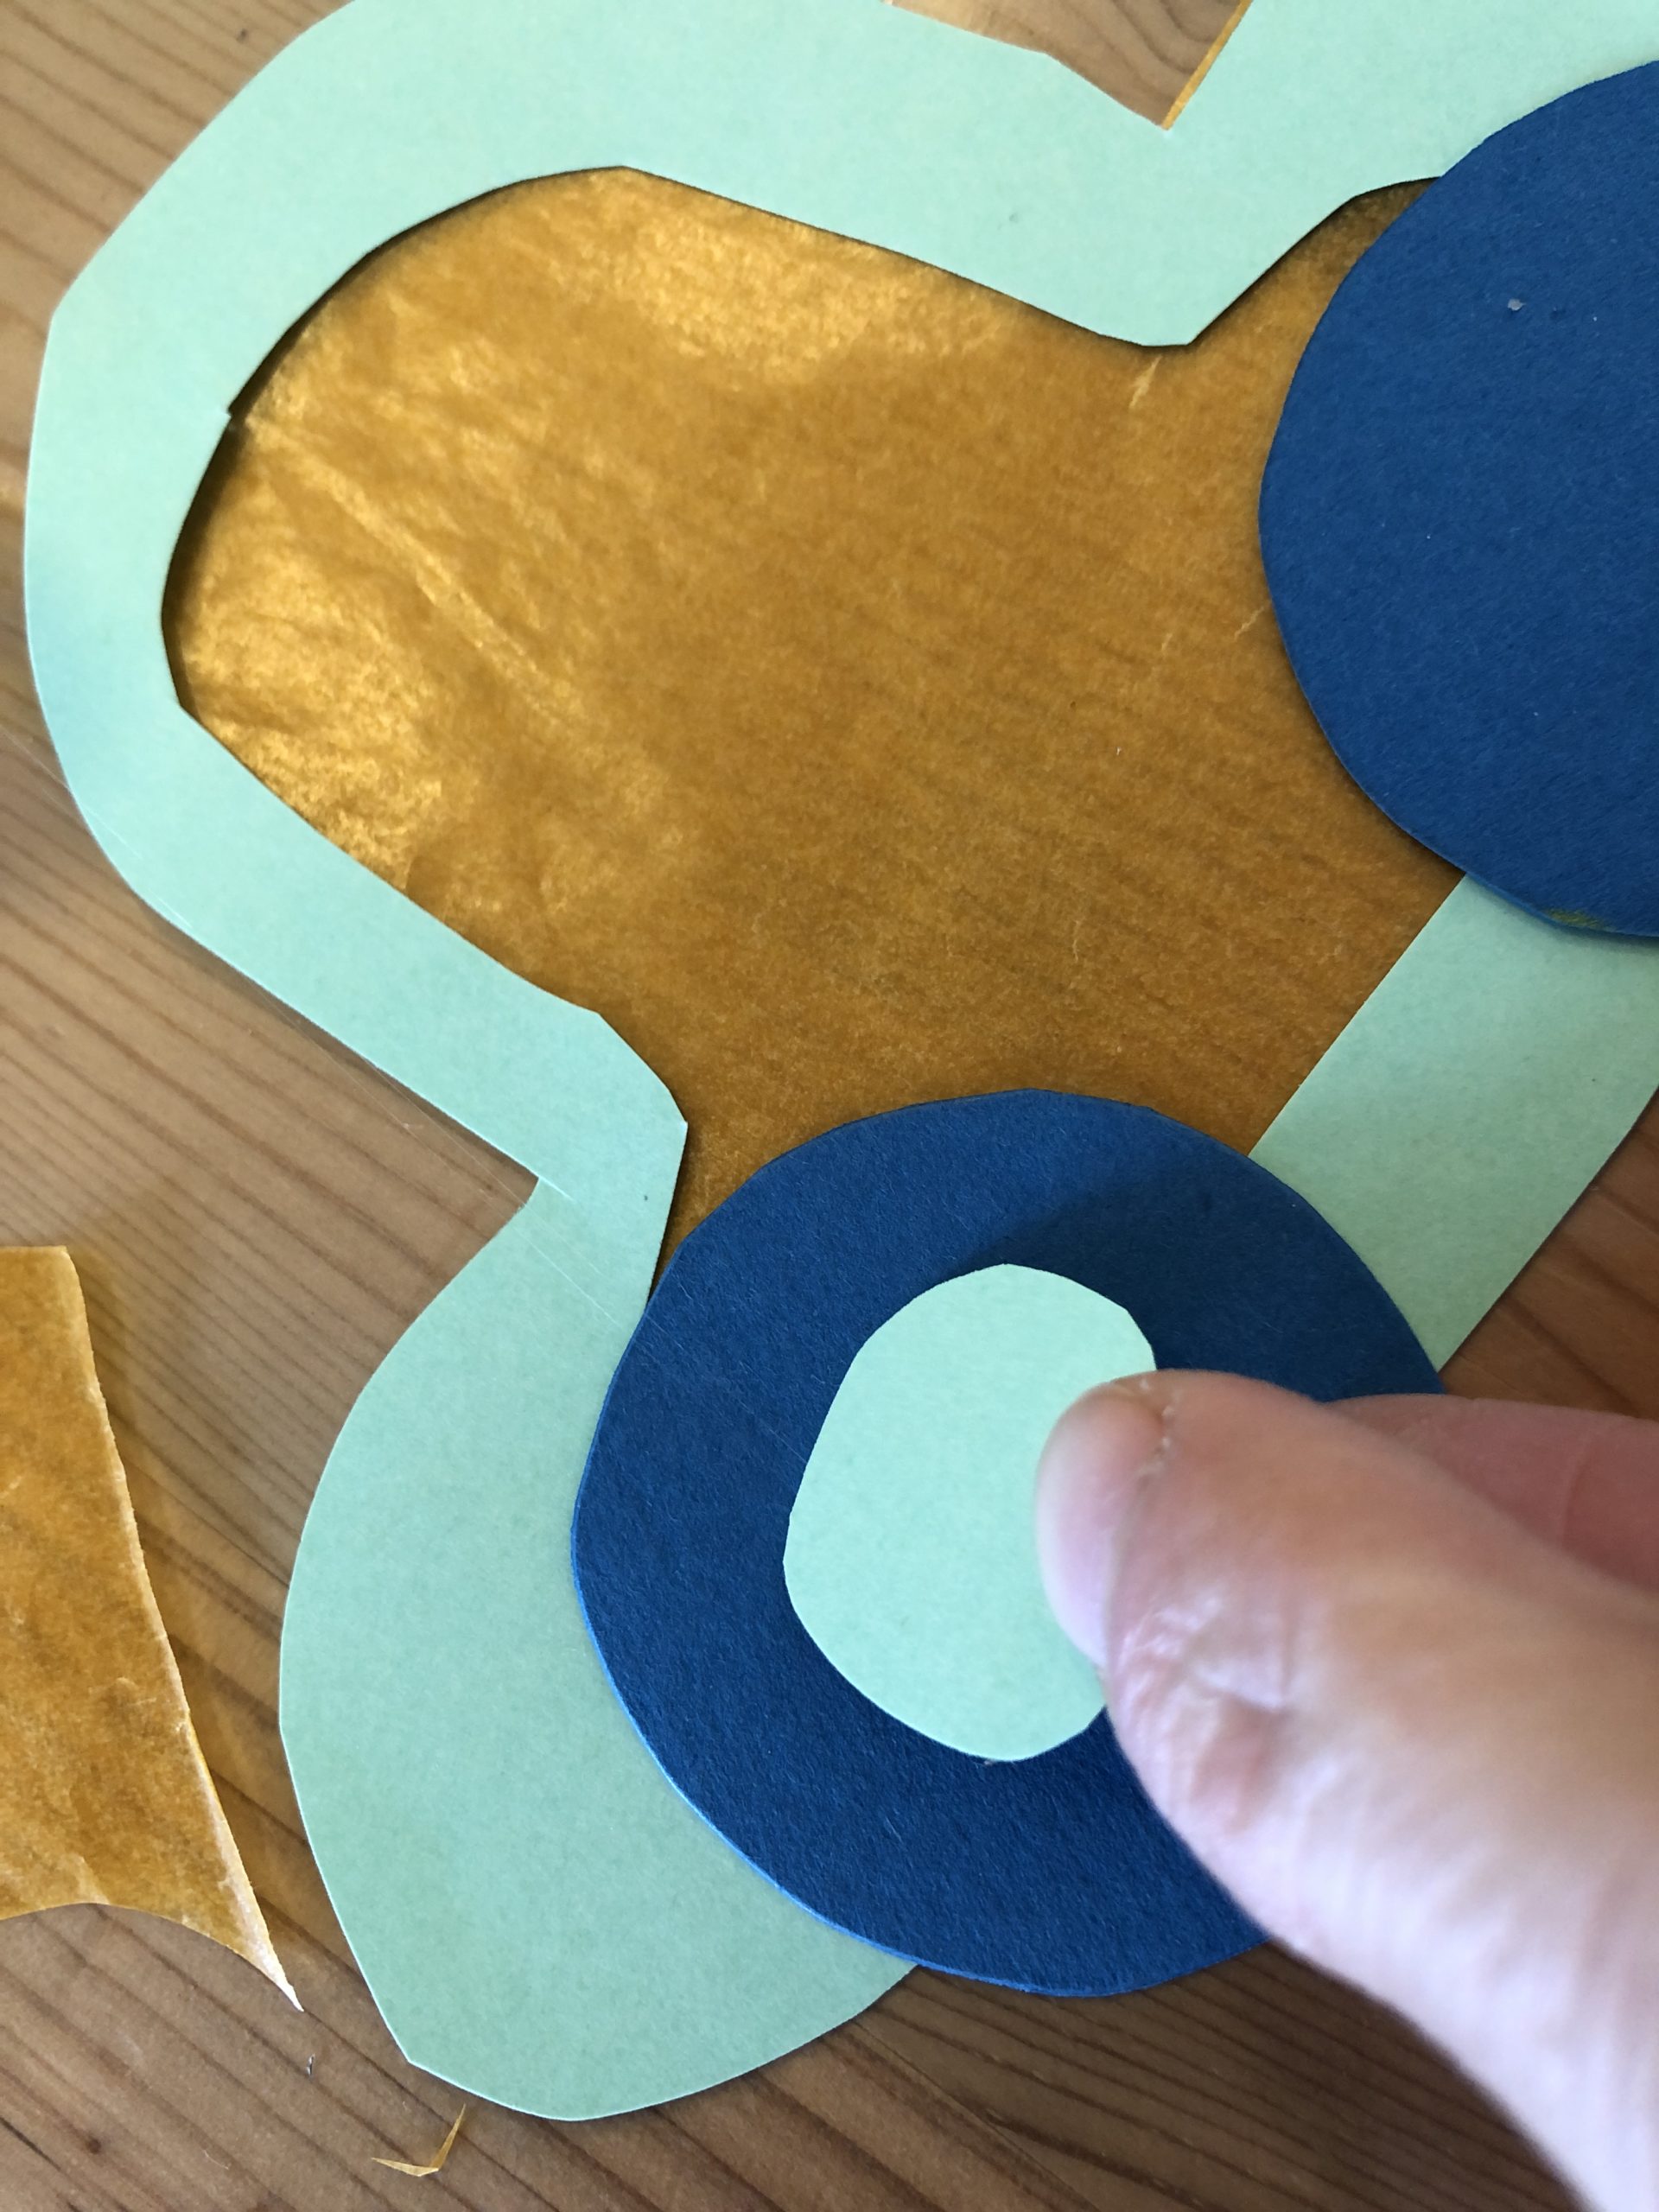


Then attach the two parts to the left and right of the bottle.
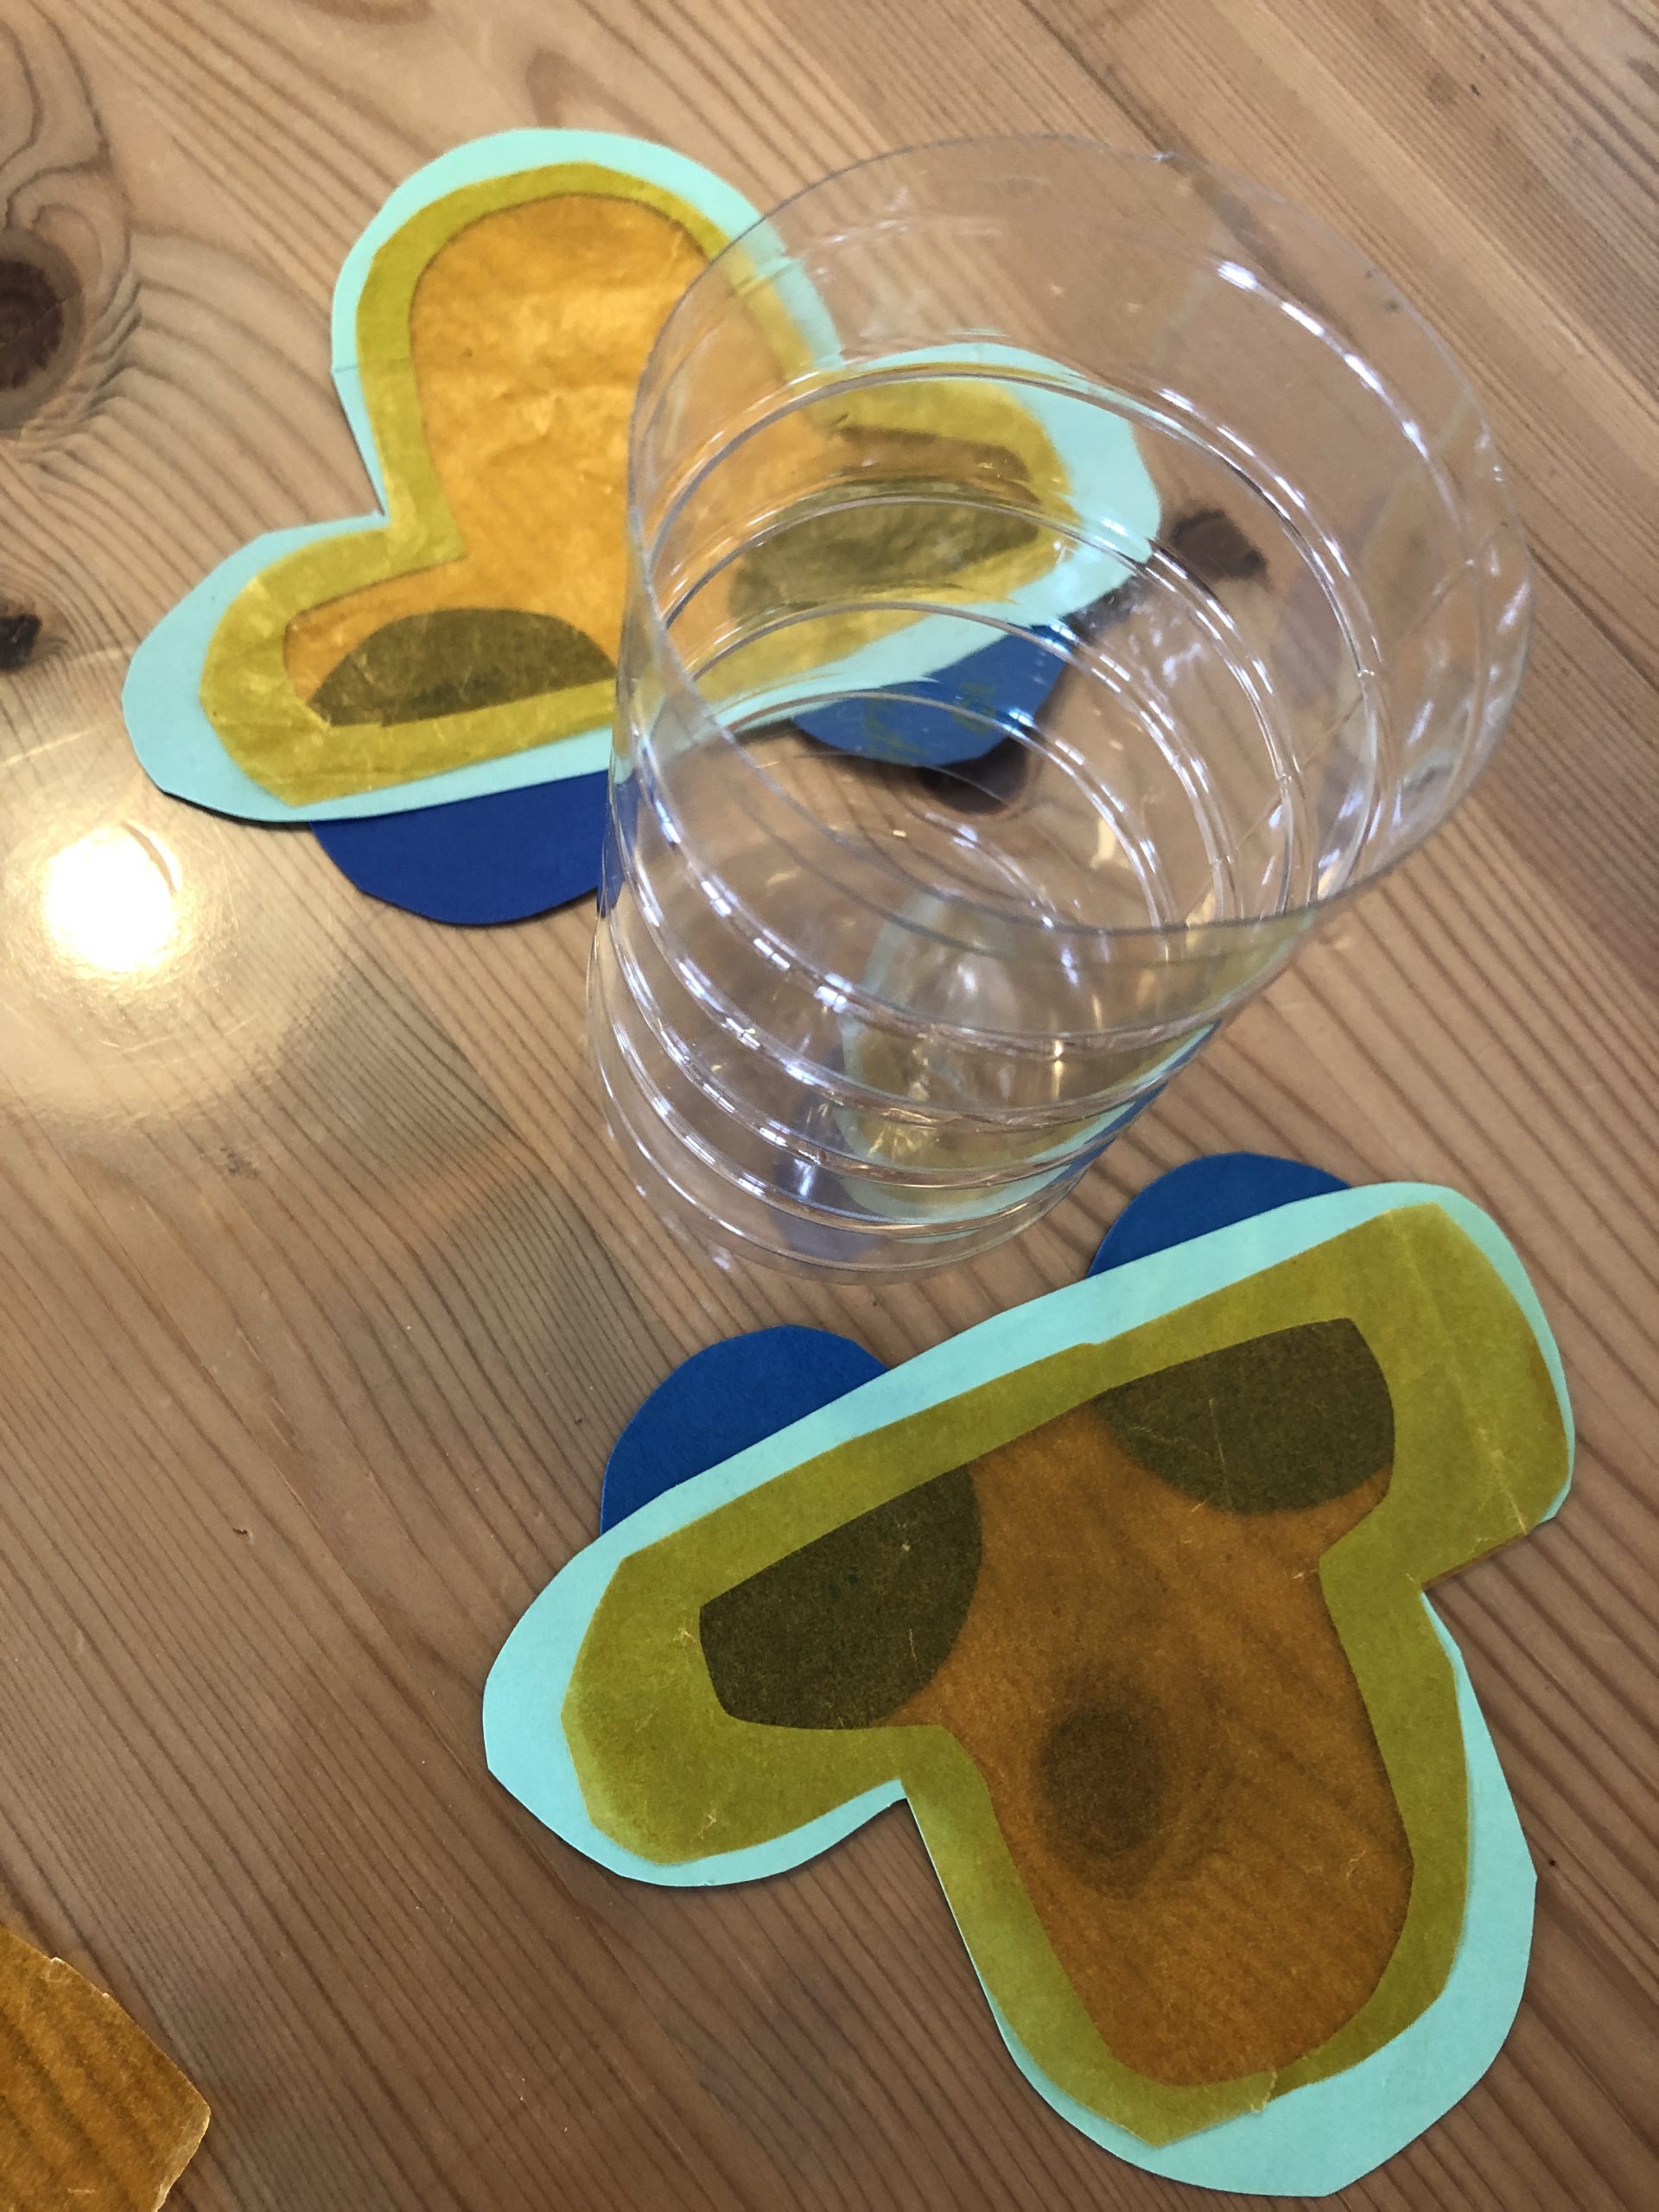


Make an adhesive point with hot glue at the front and back of the cars and squeeze them tightly together. Then the car sticks over the bottle.
If necessary, let us help you with the hot glue.
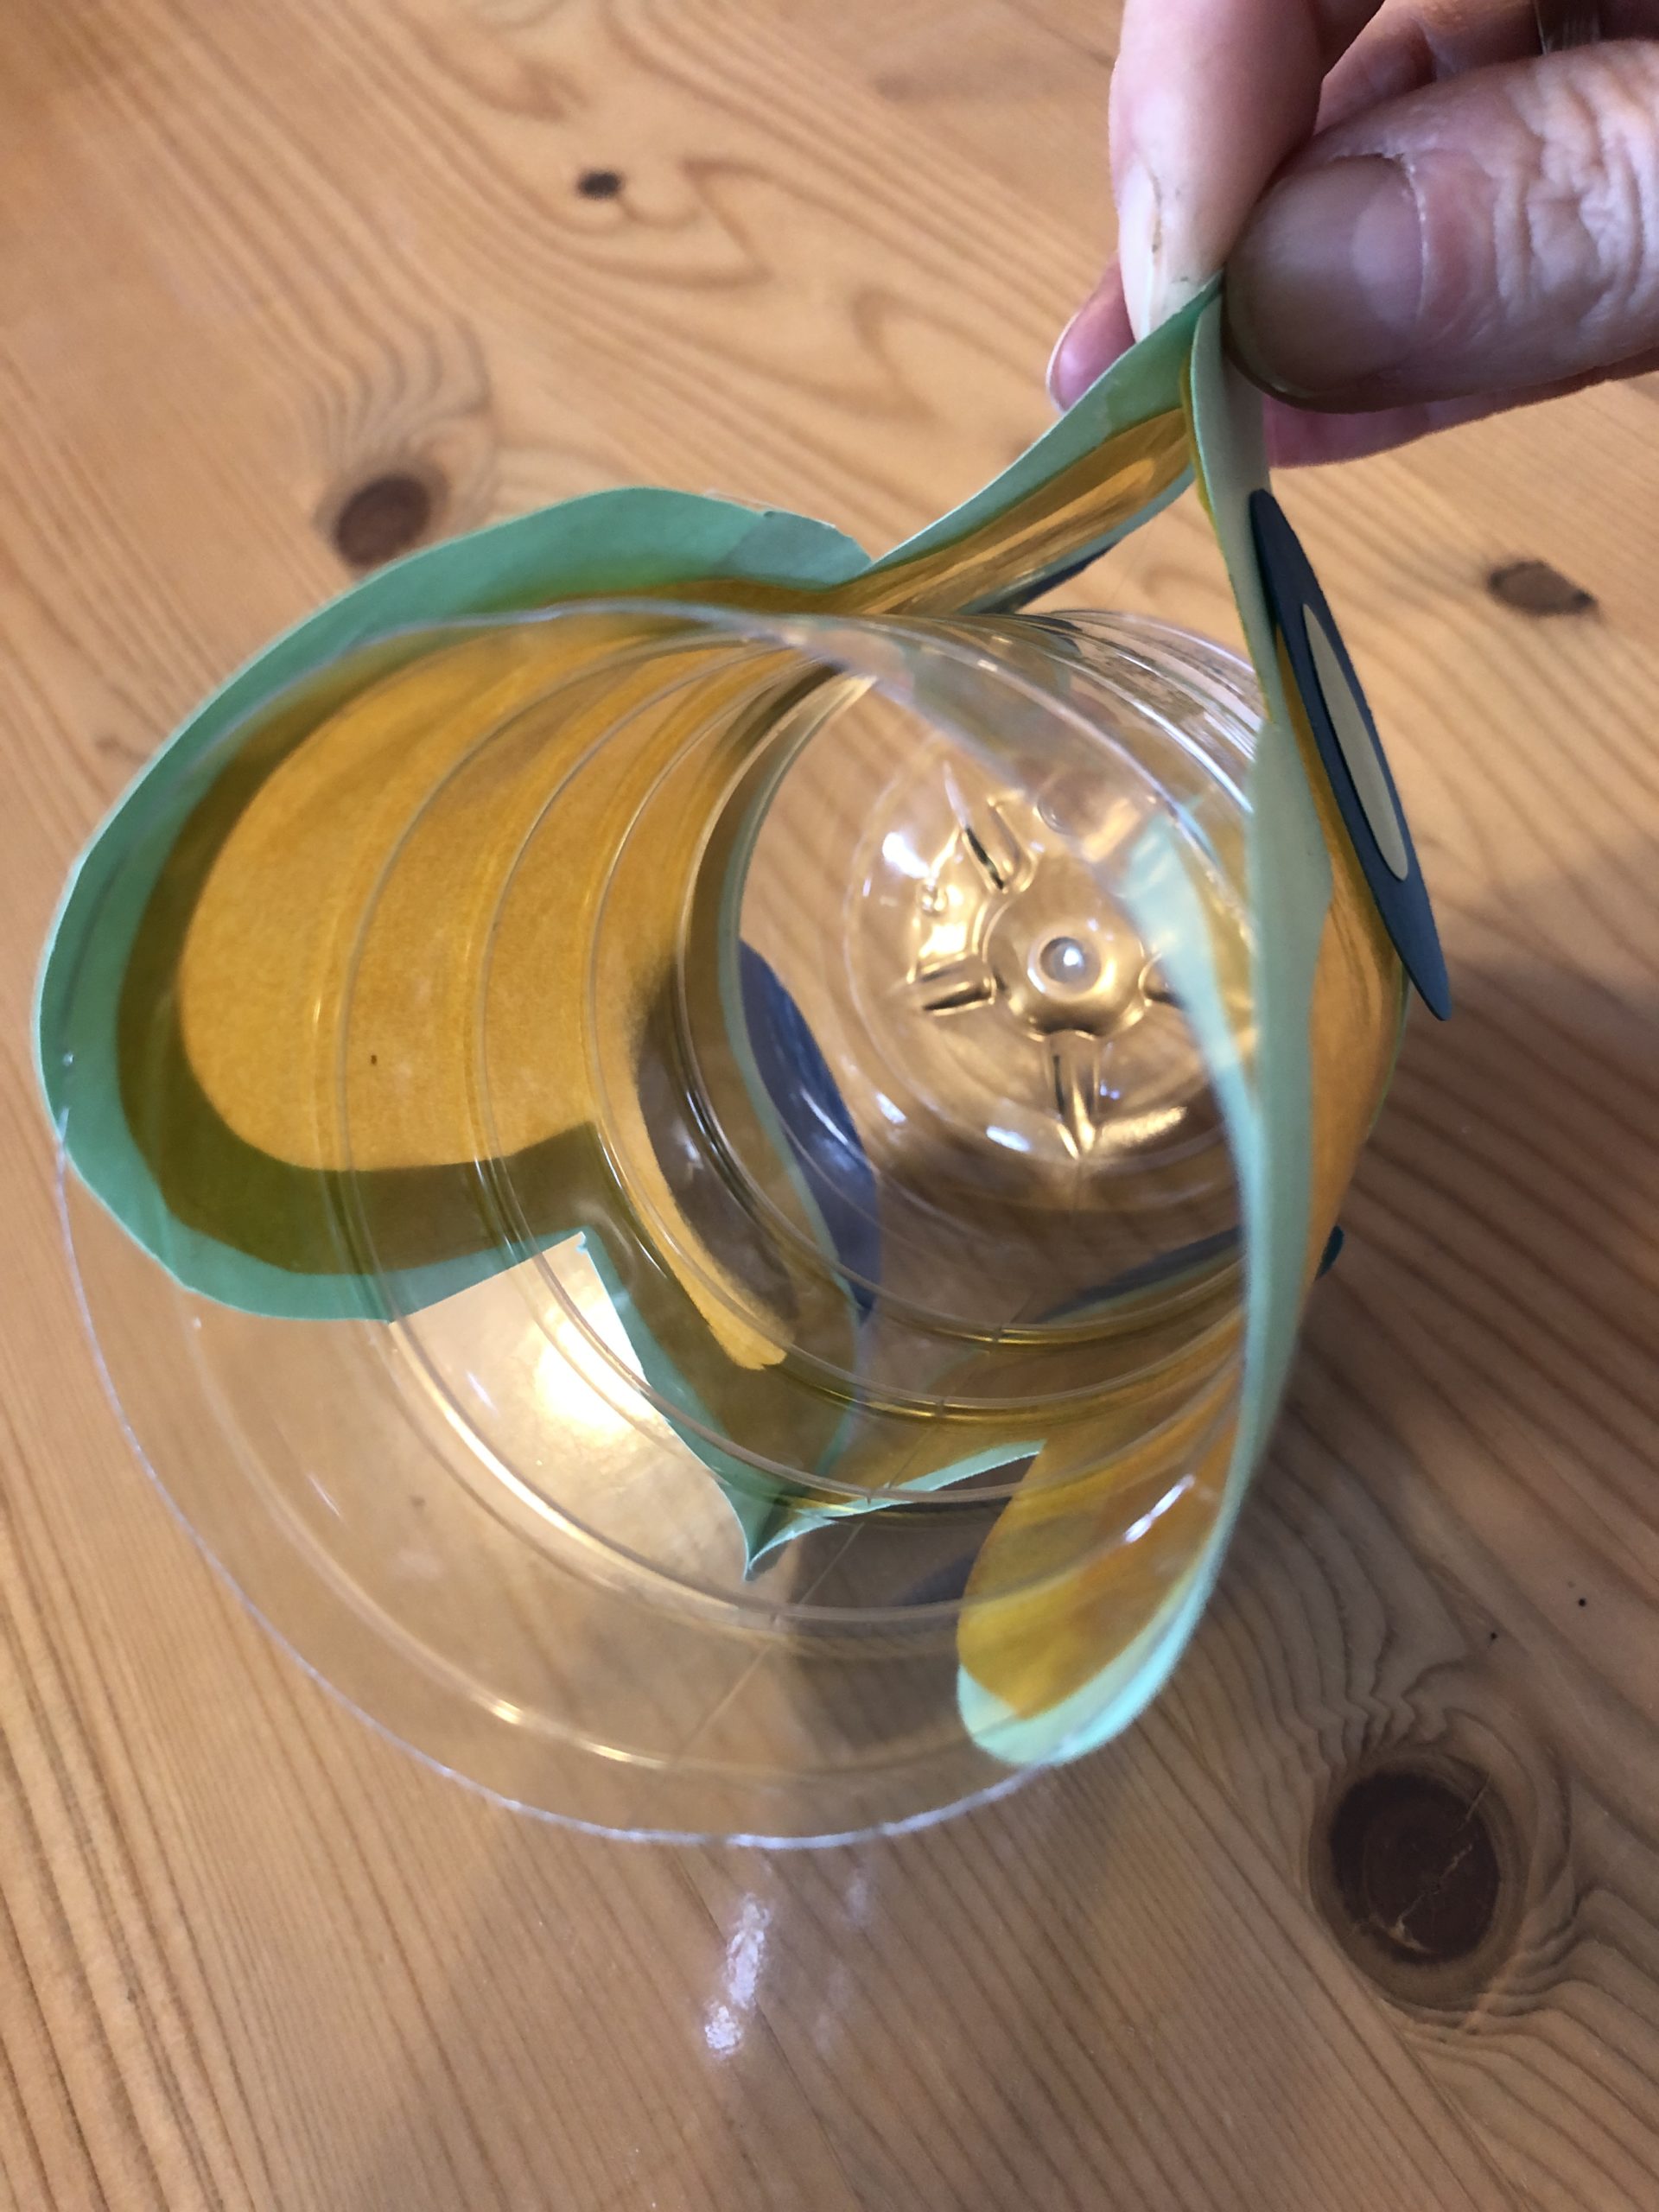


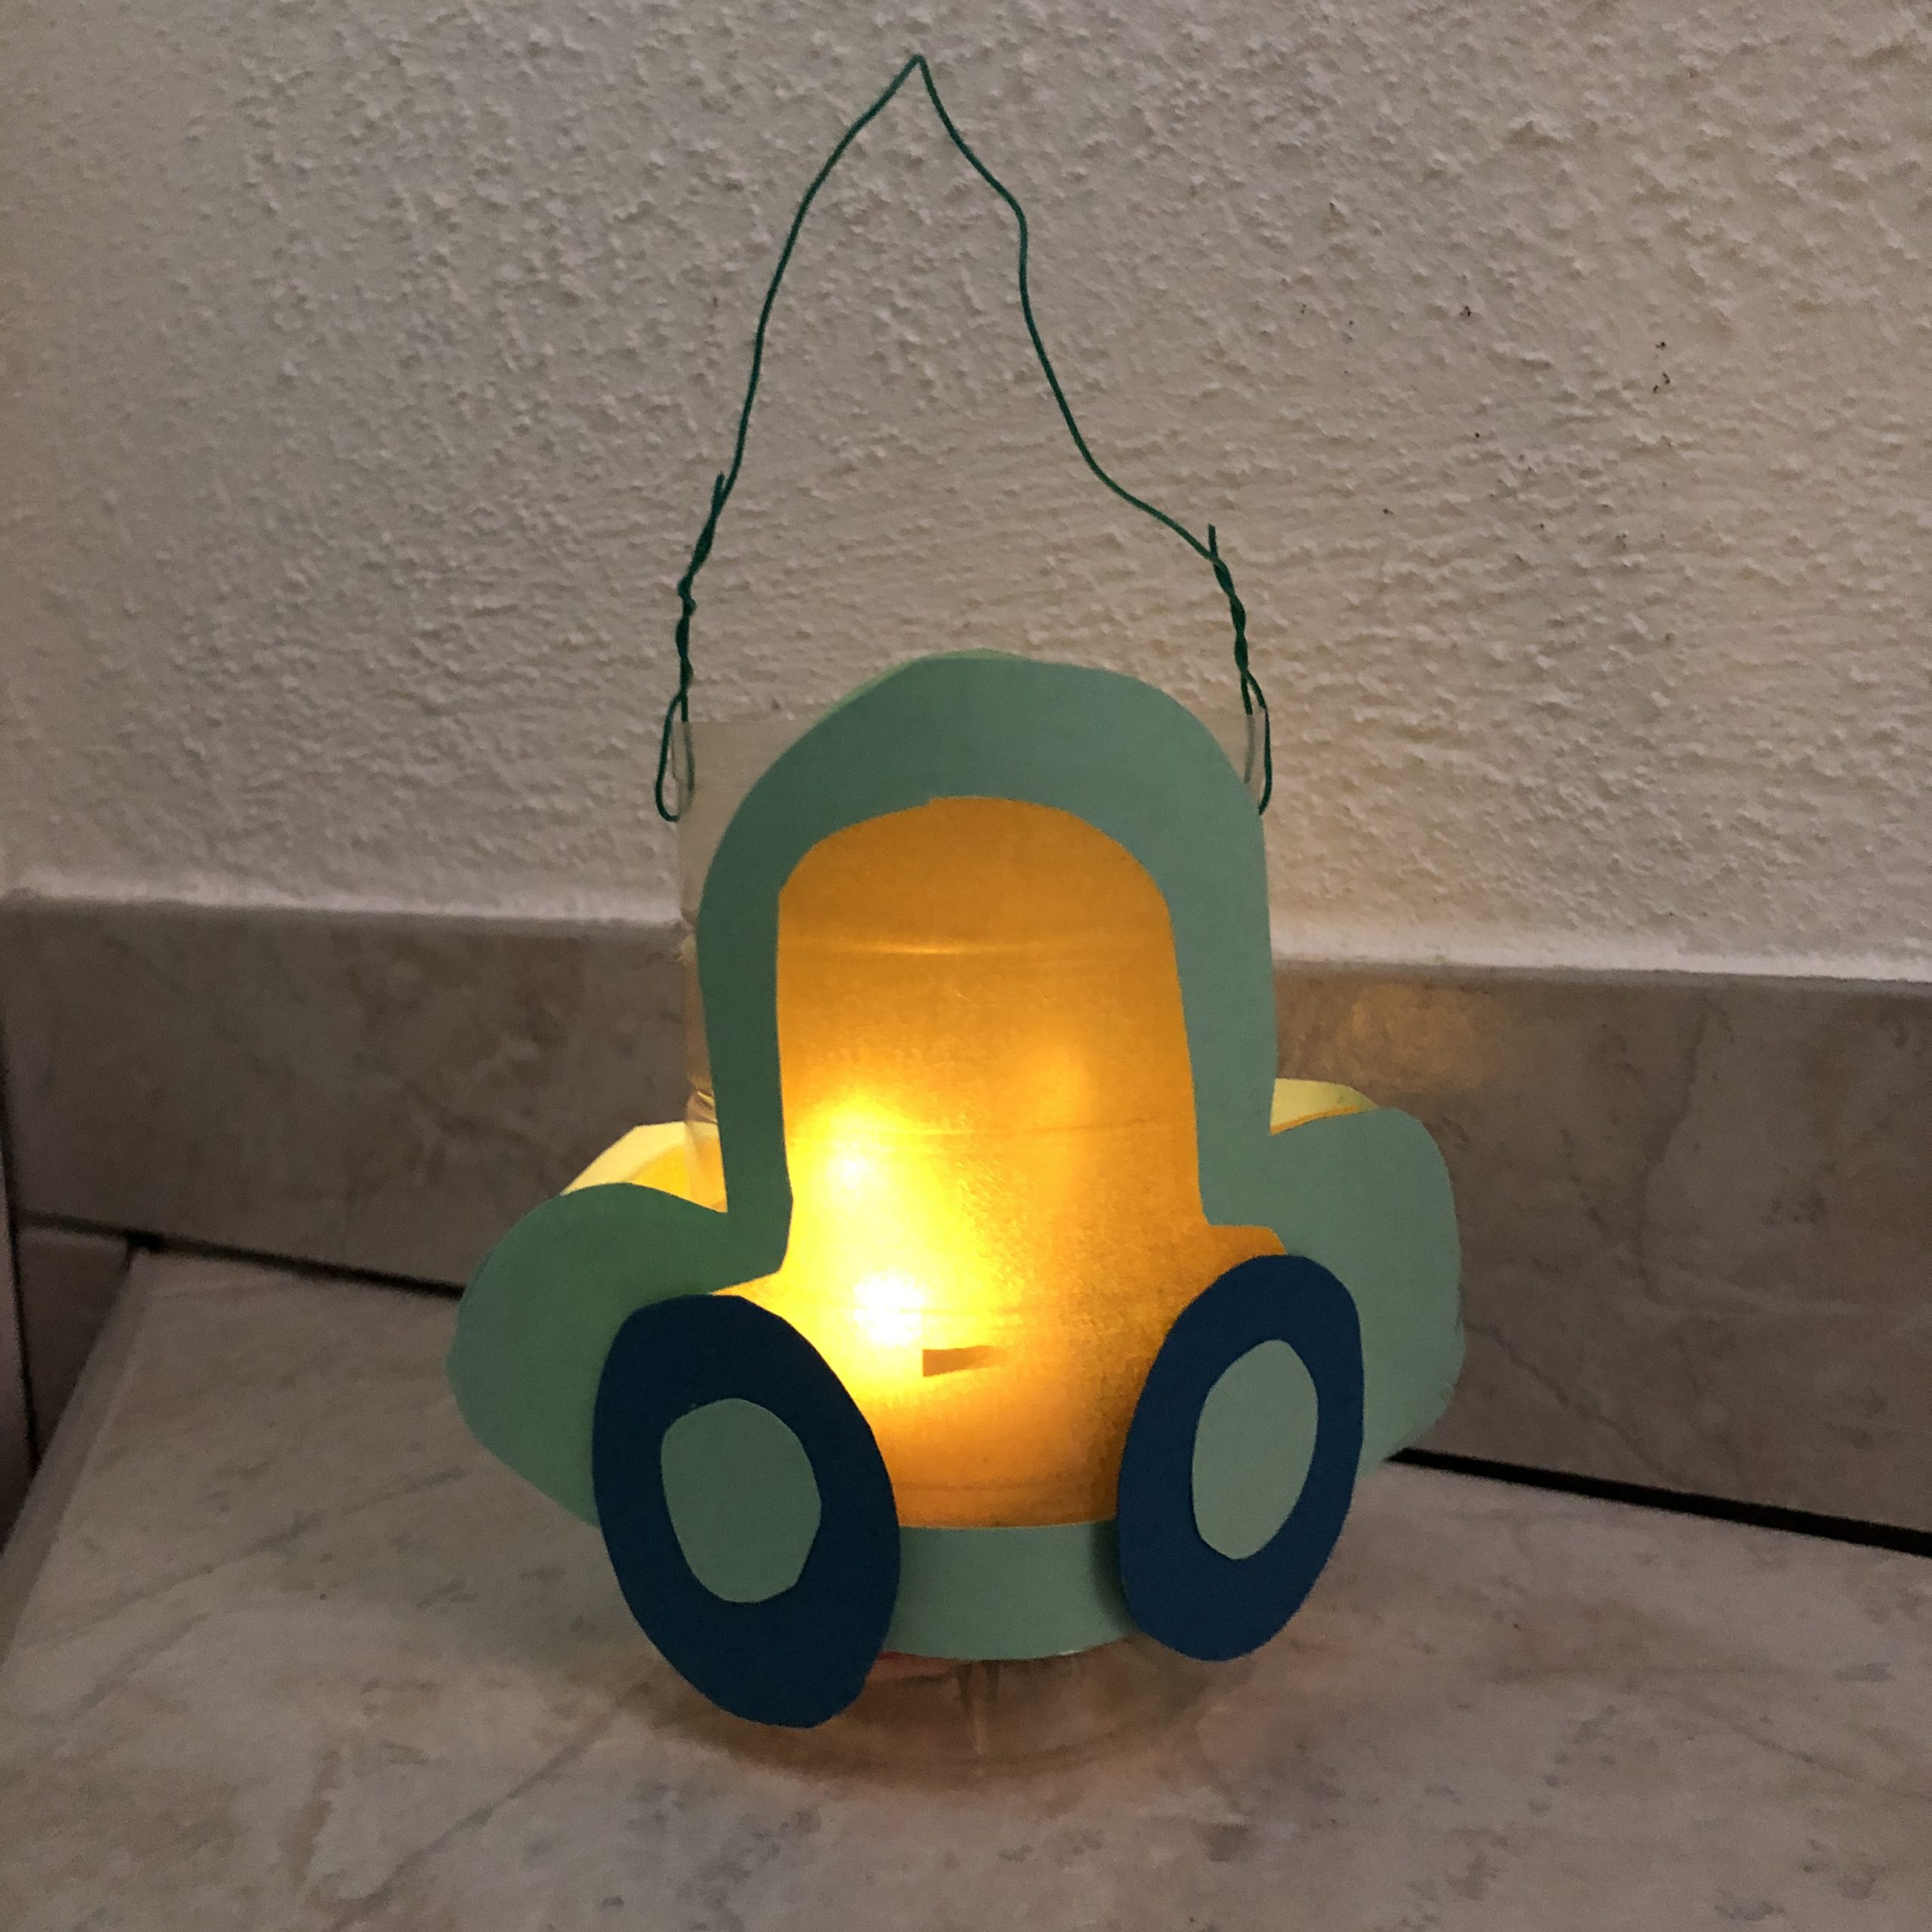
The car lantern is ready.
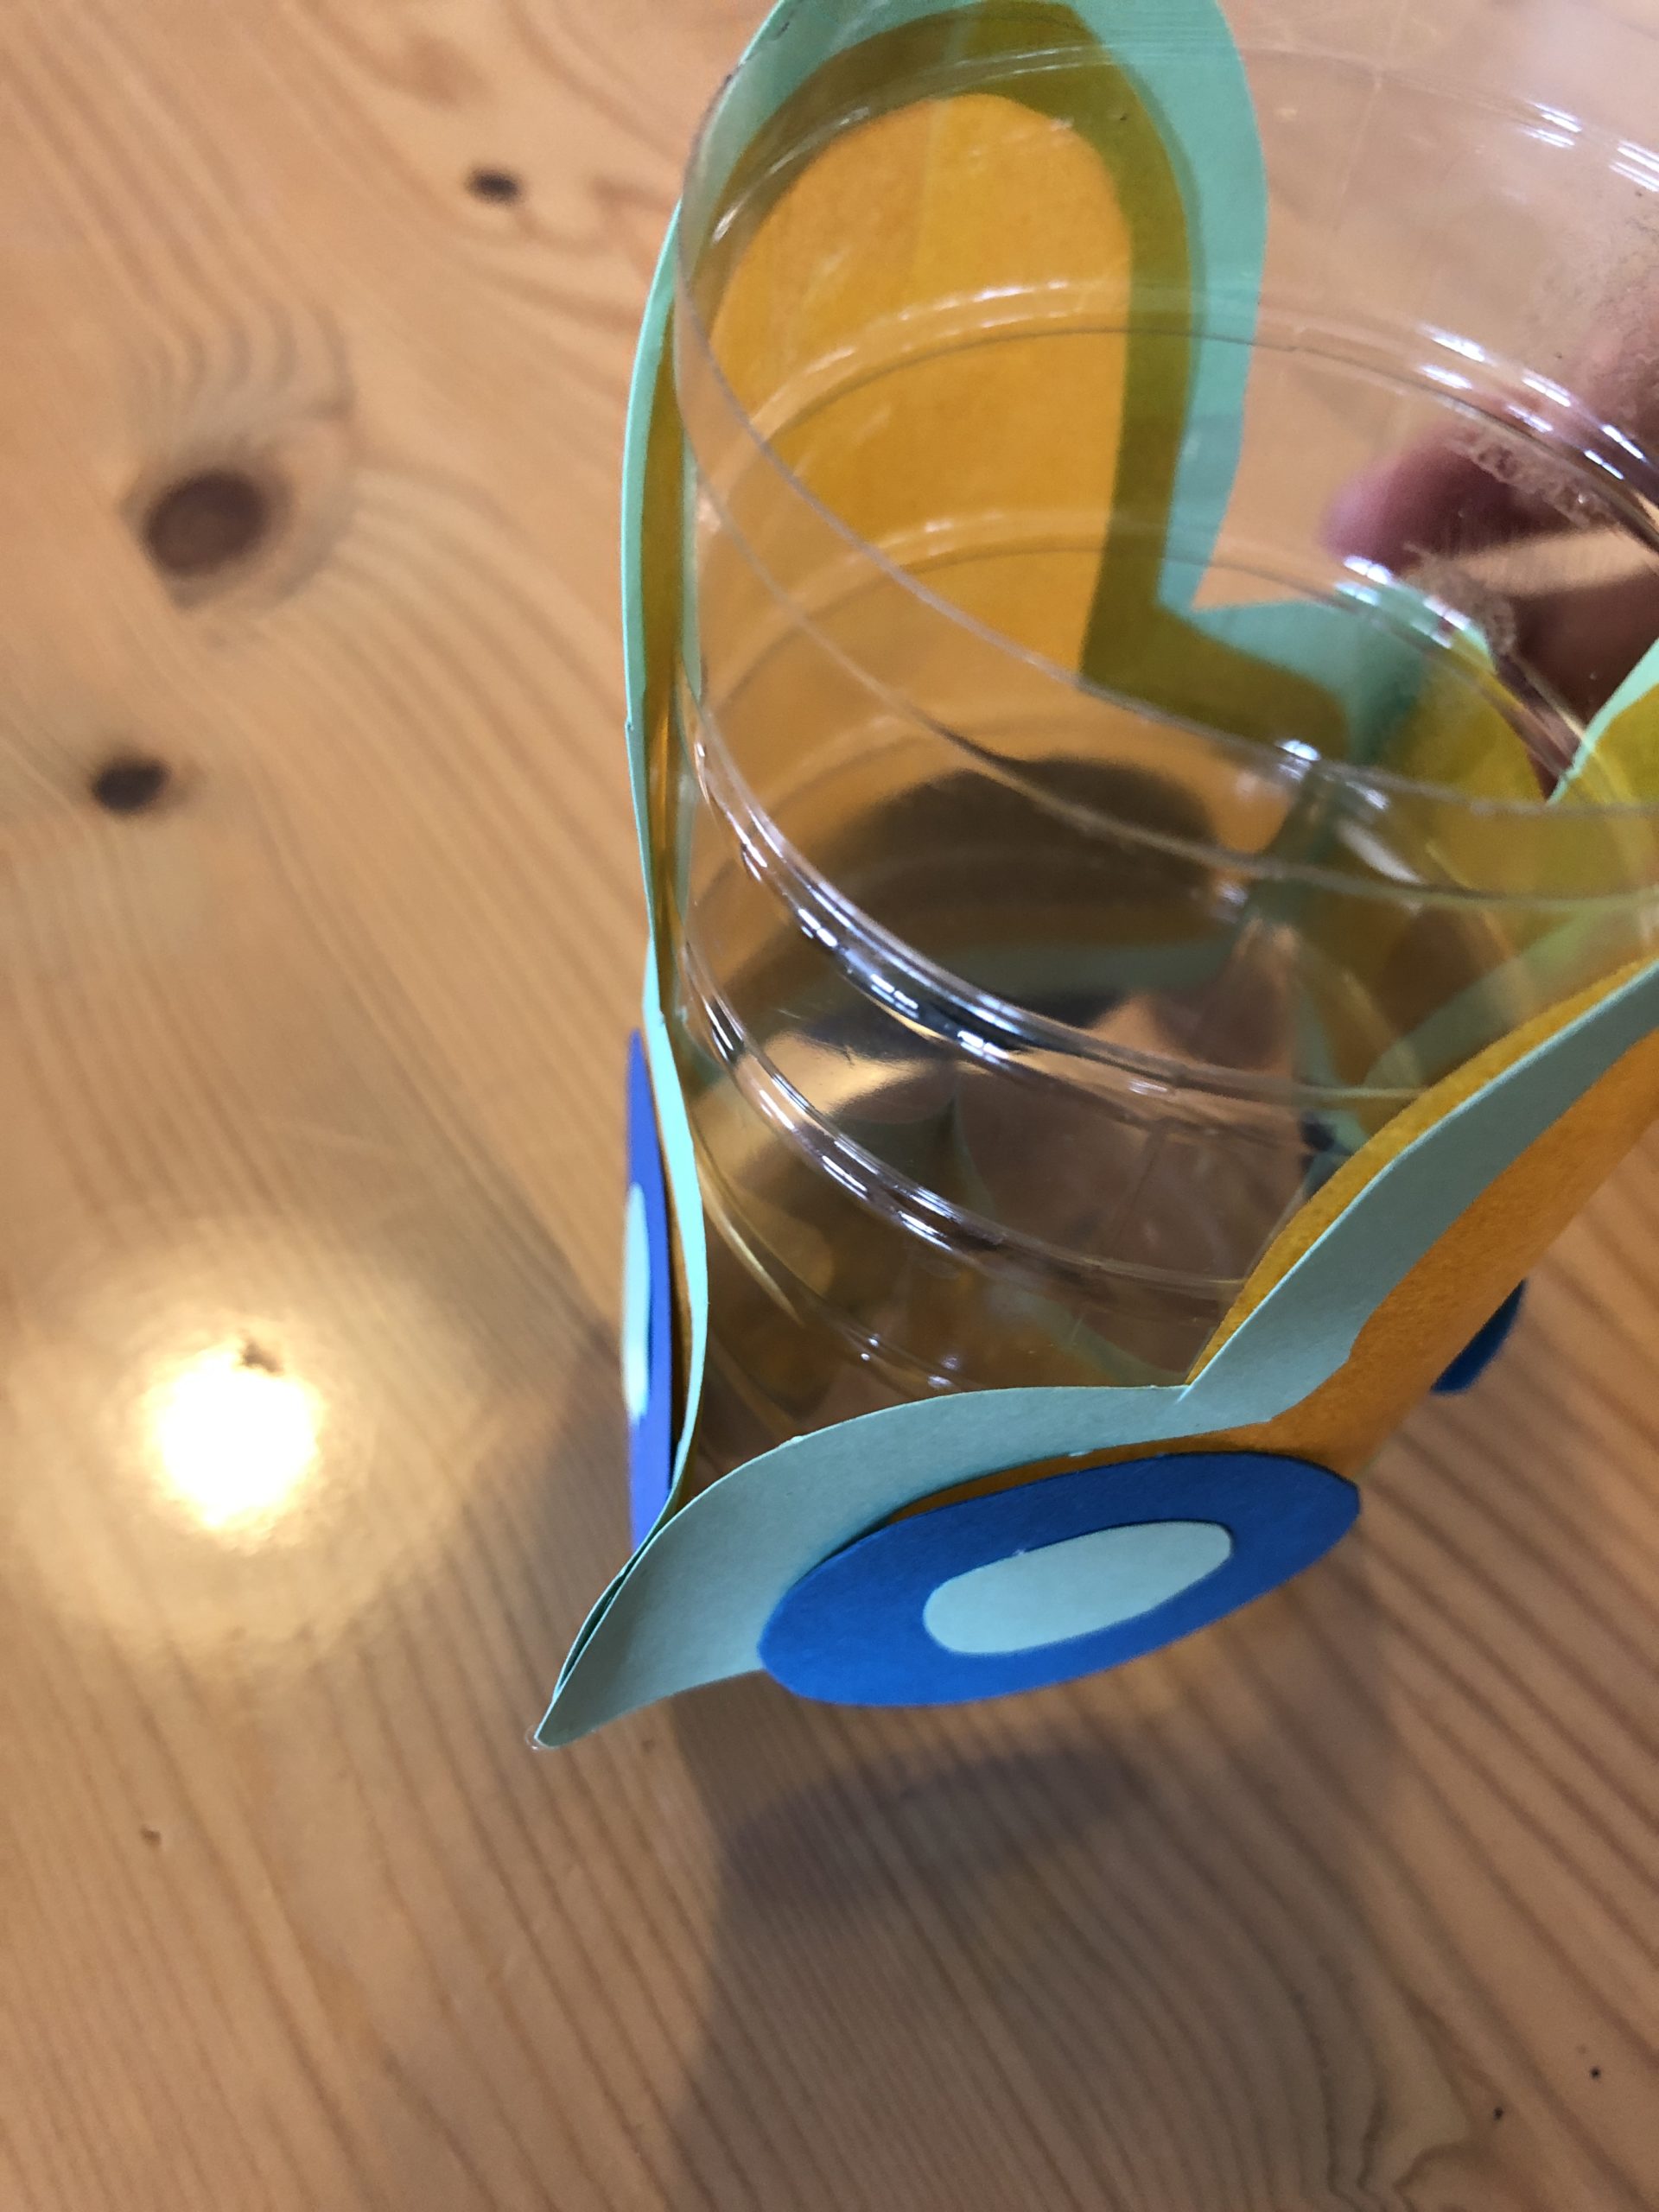


For example, use it as a table lamp on a birthday table.
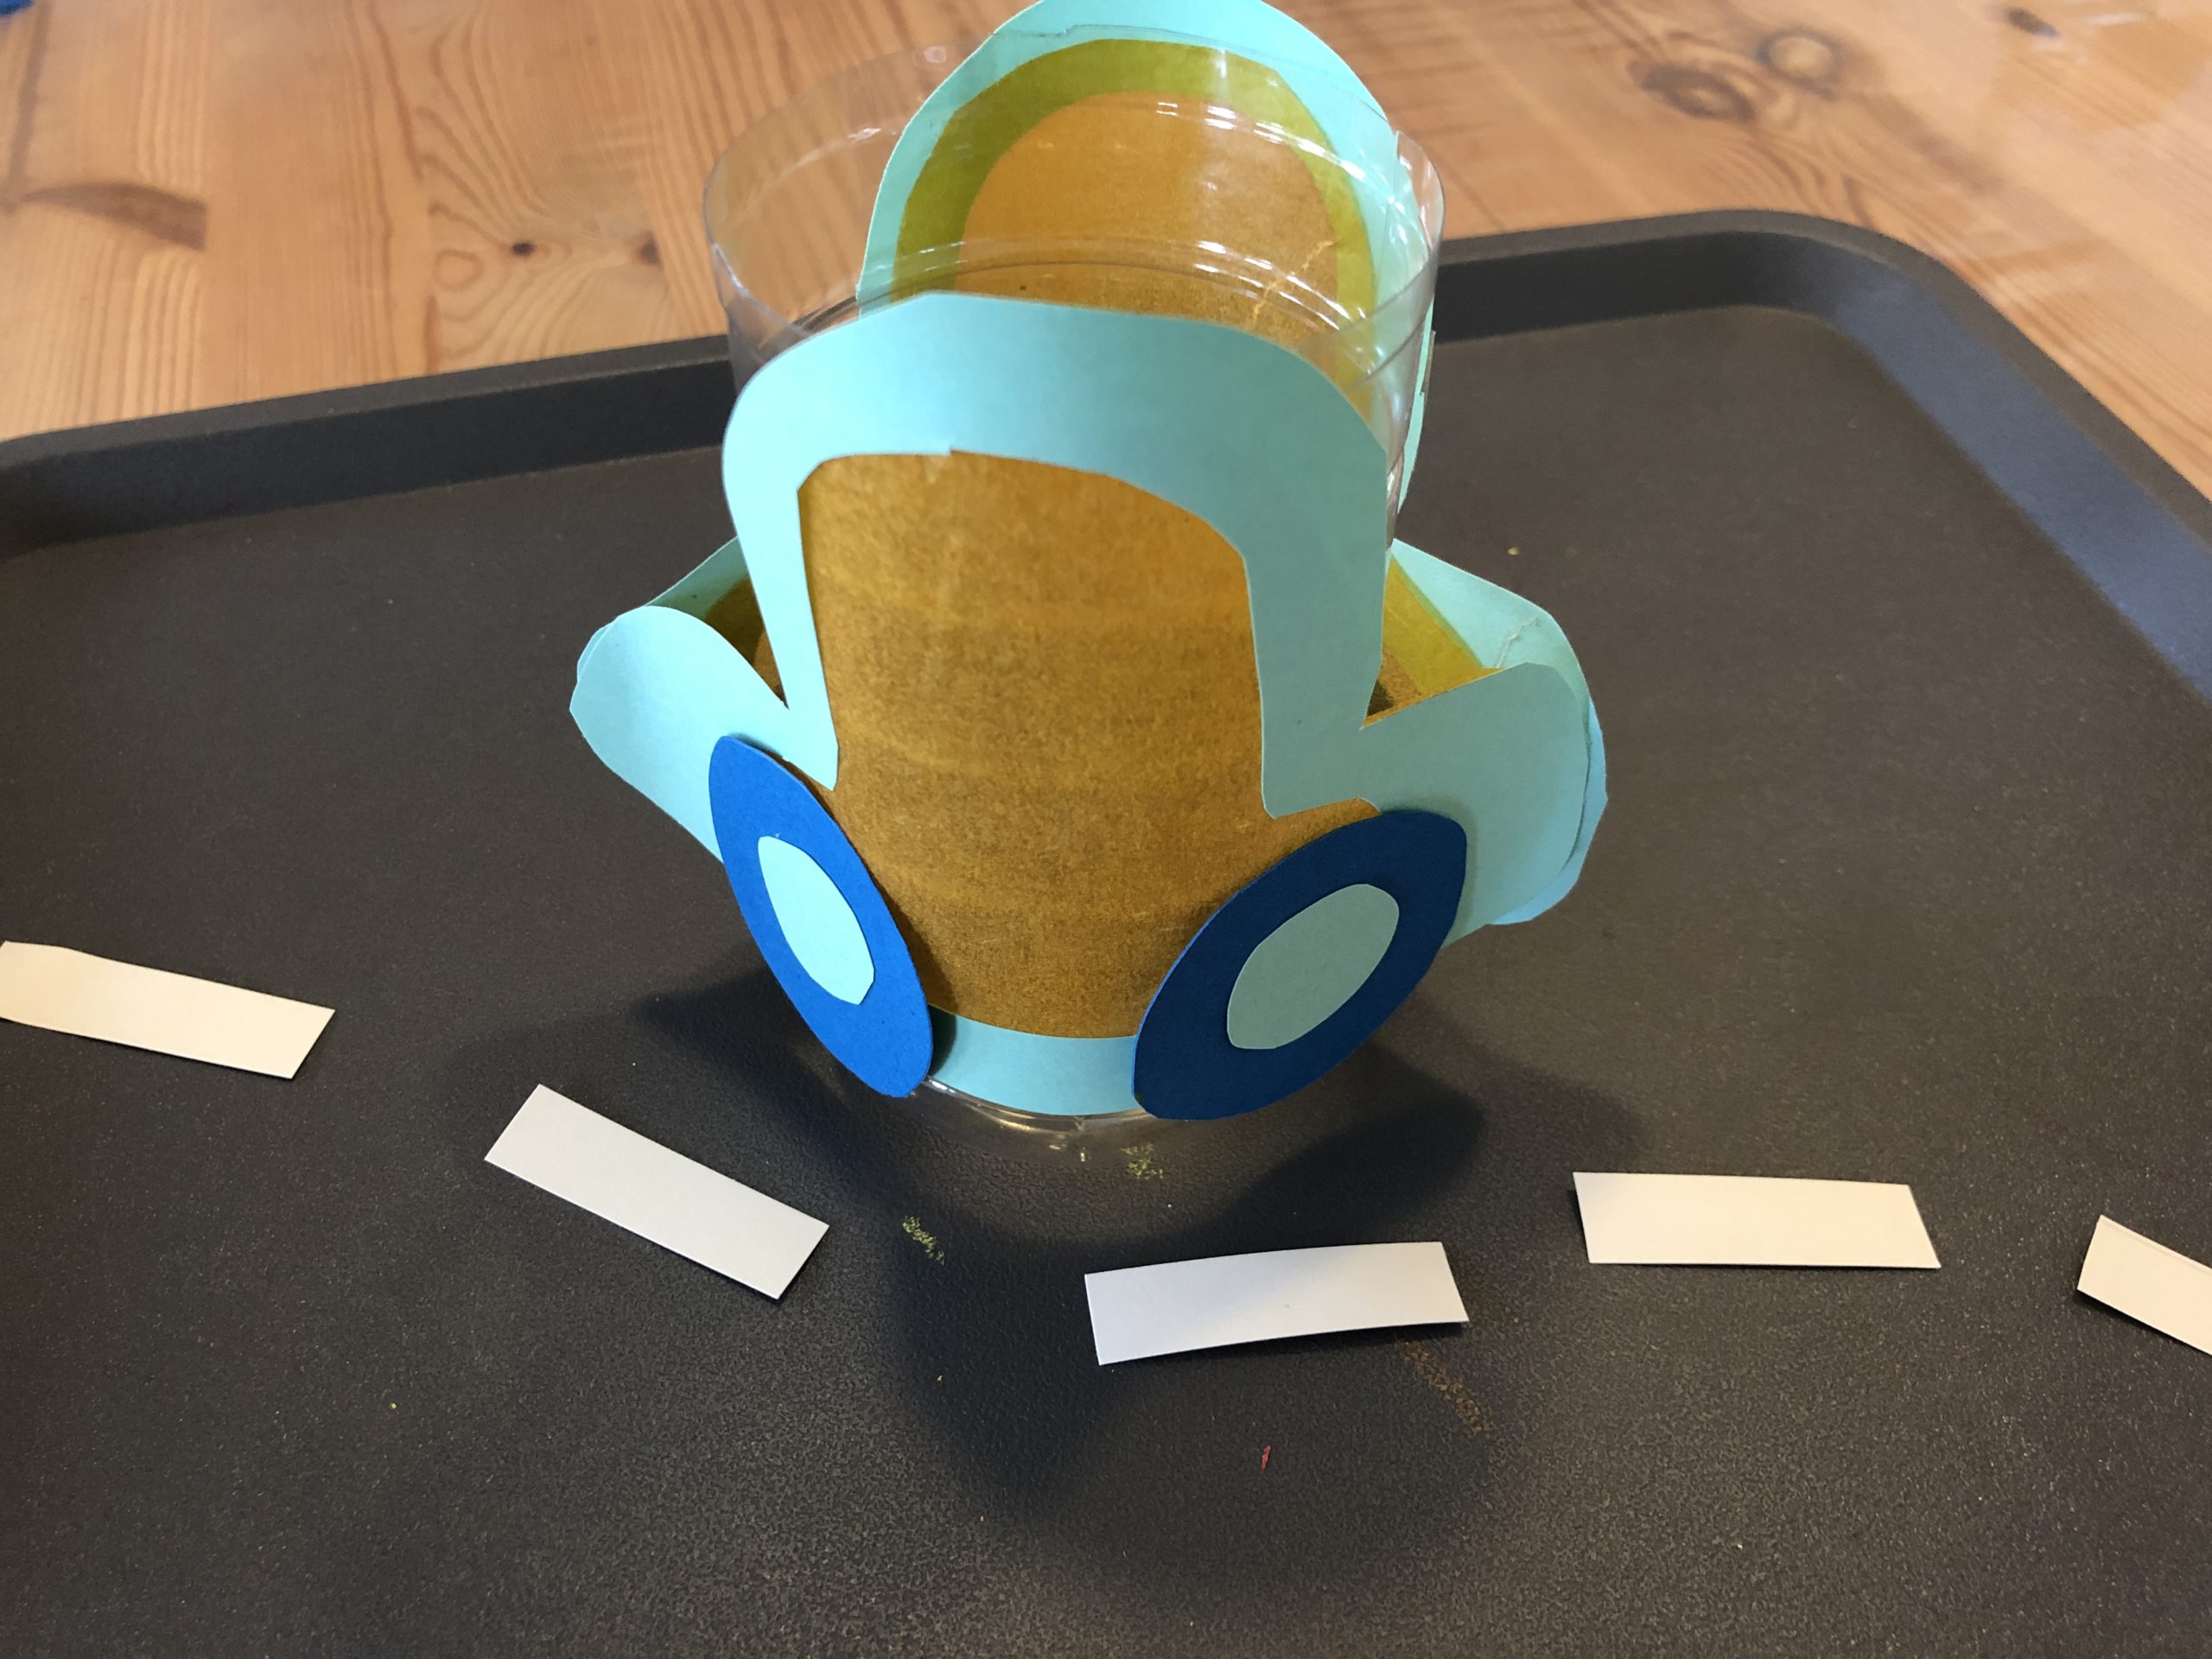


Or use it as a decoration in the nursery.
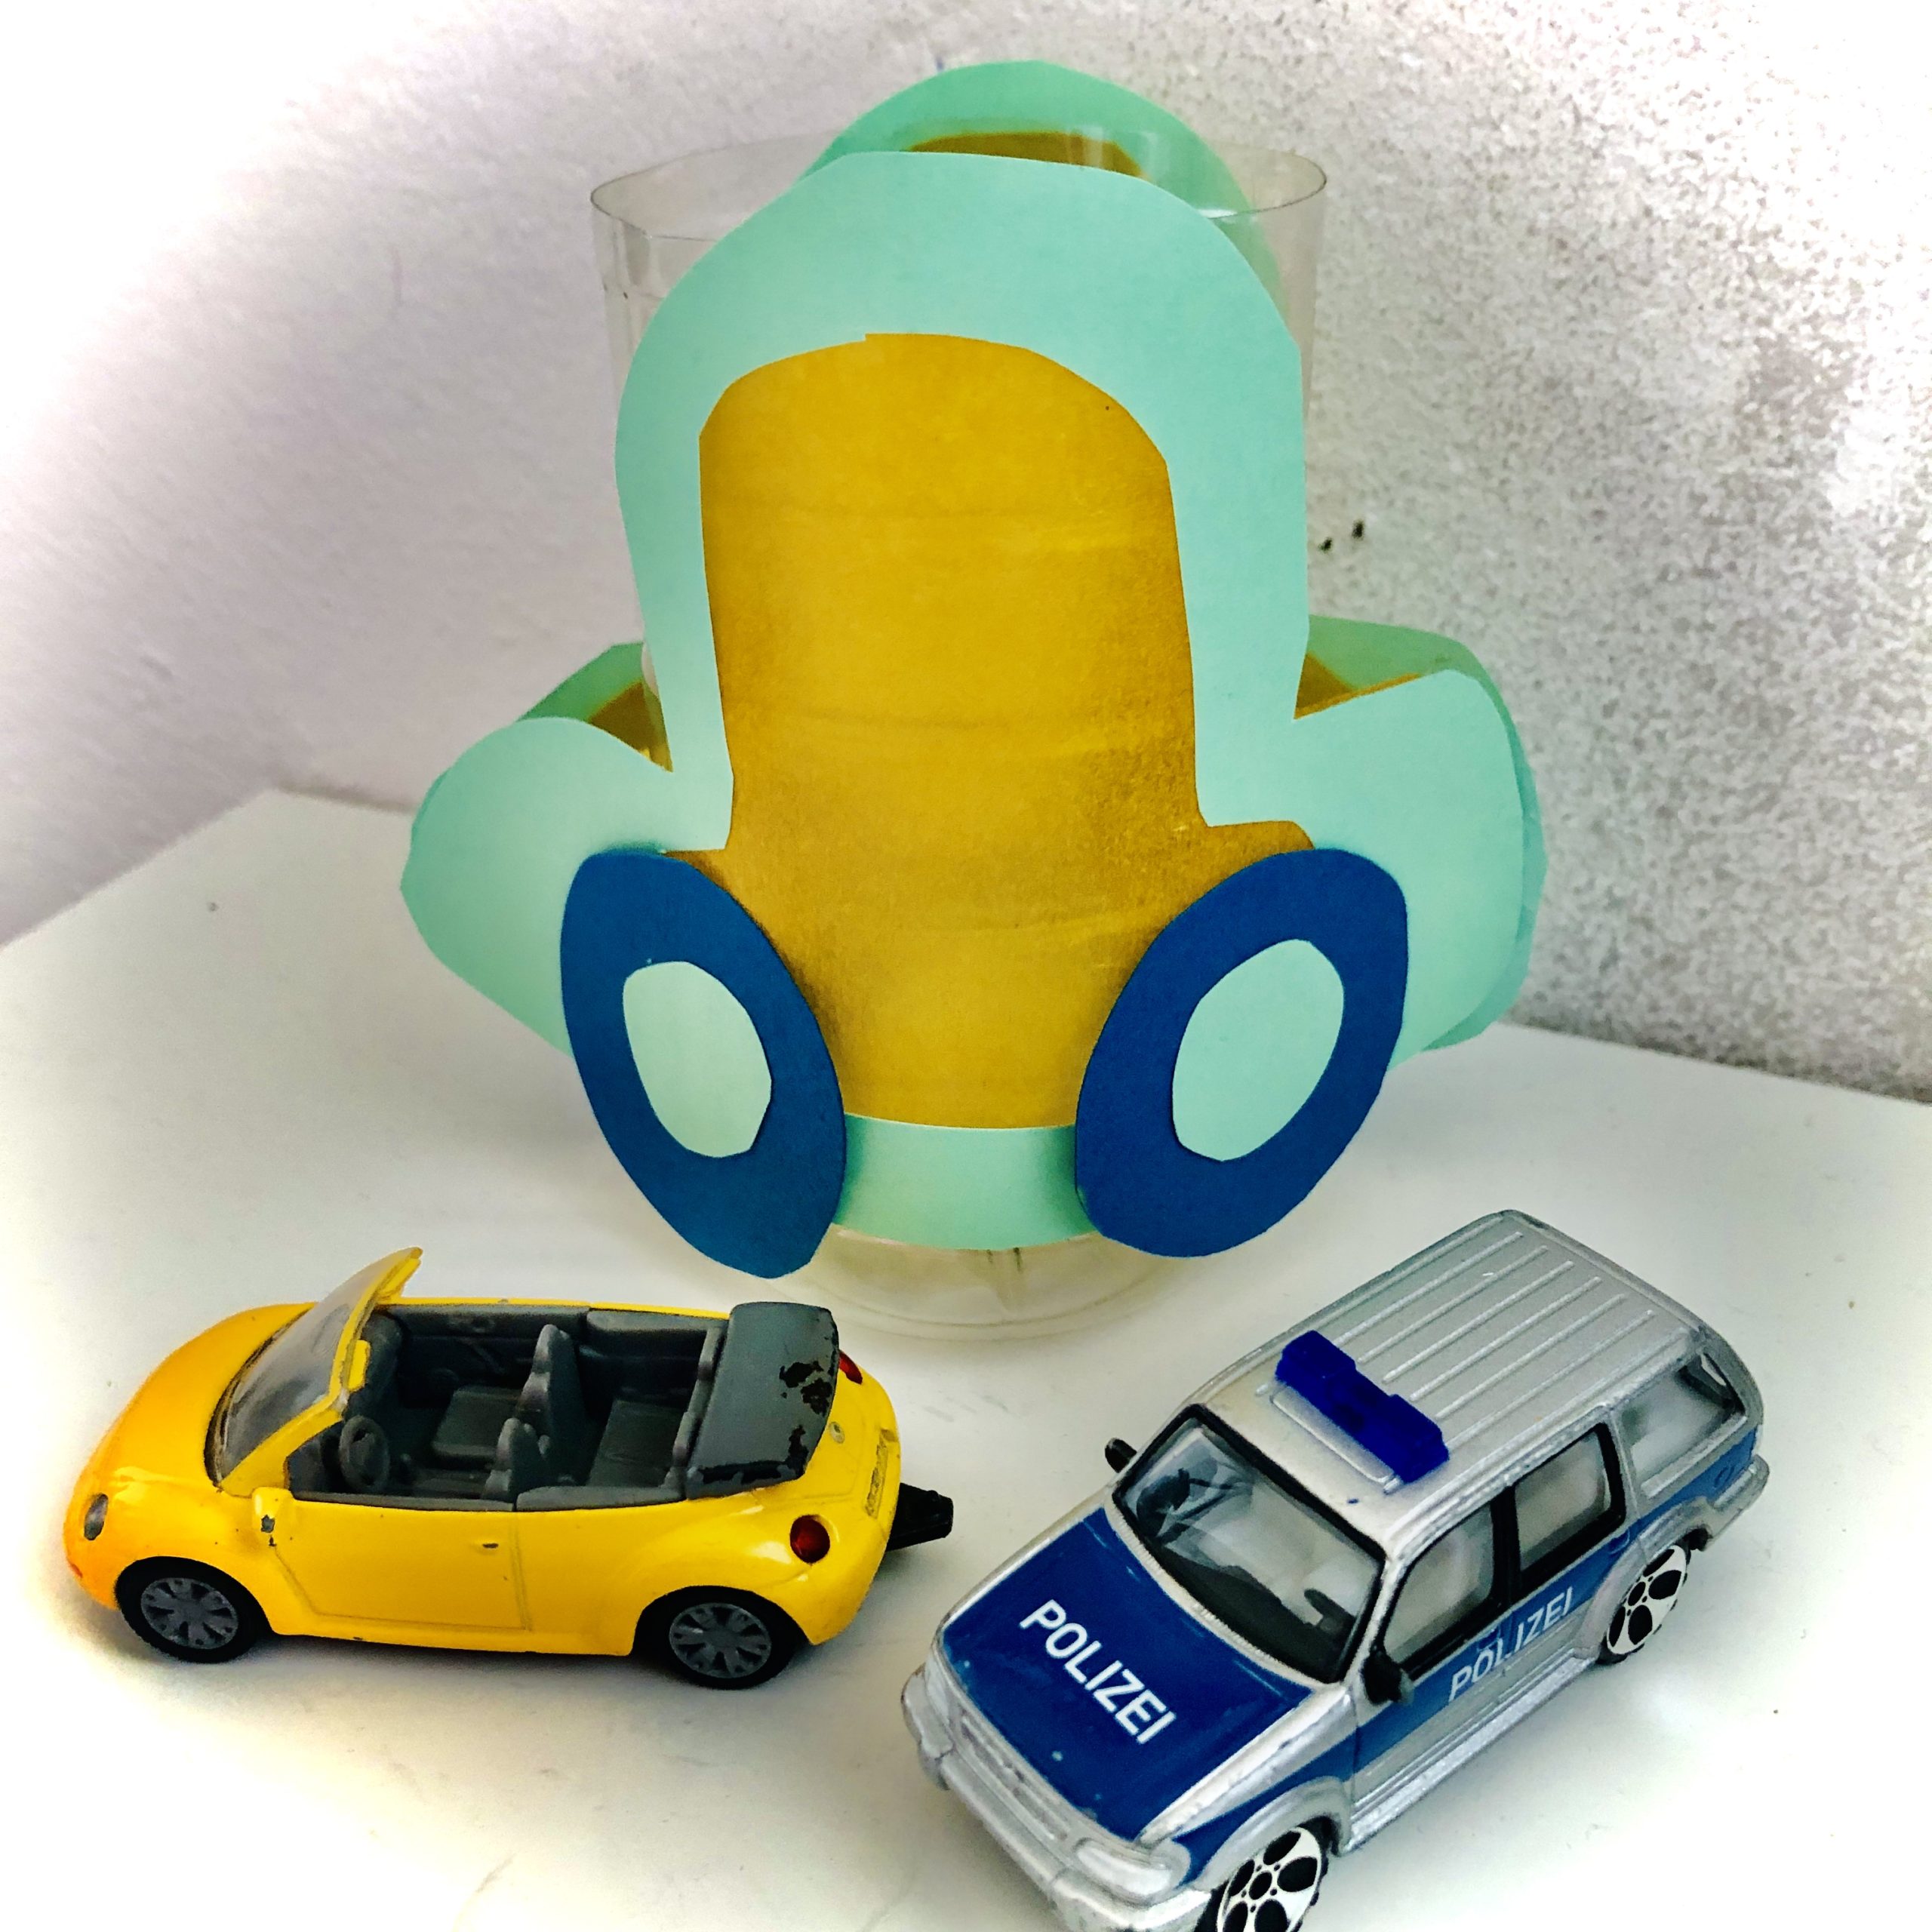


Or you could use her as a lantern for the Saint Martin parade.
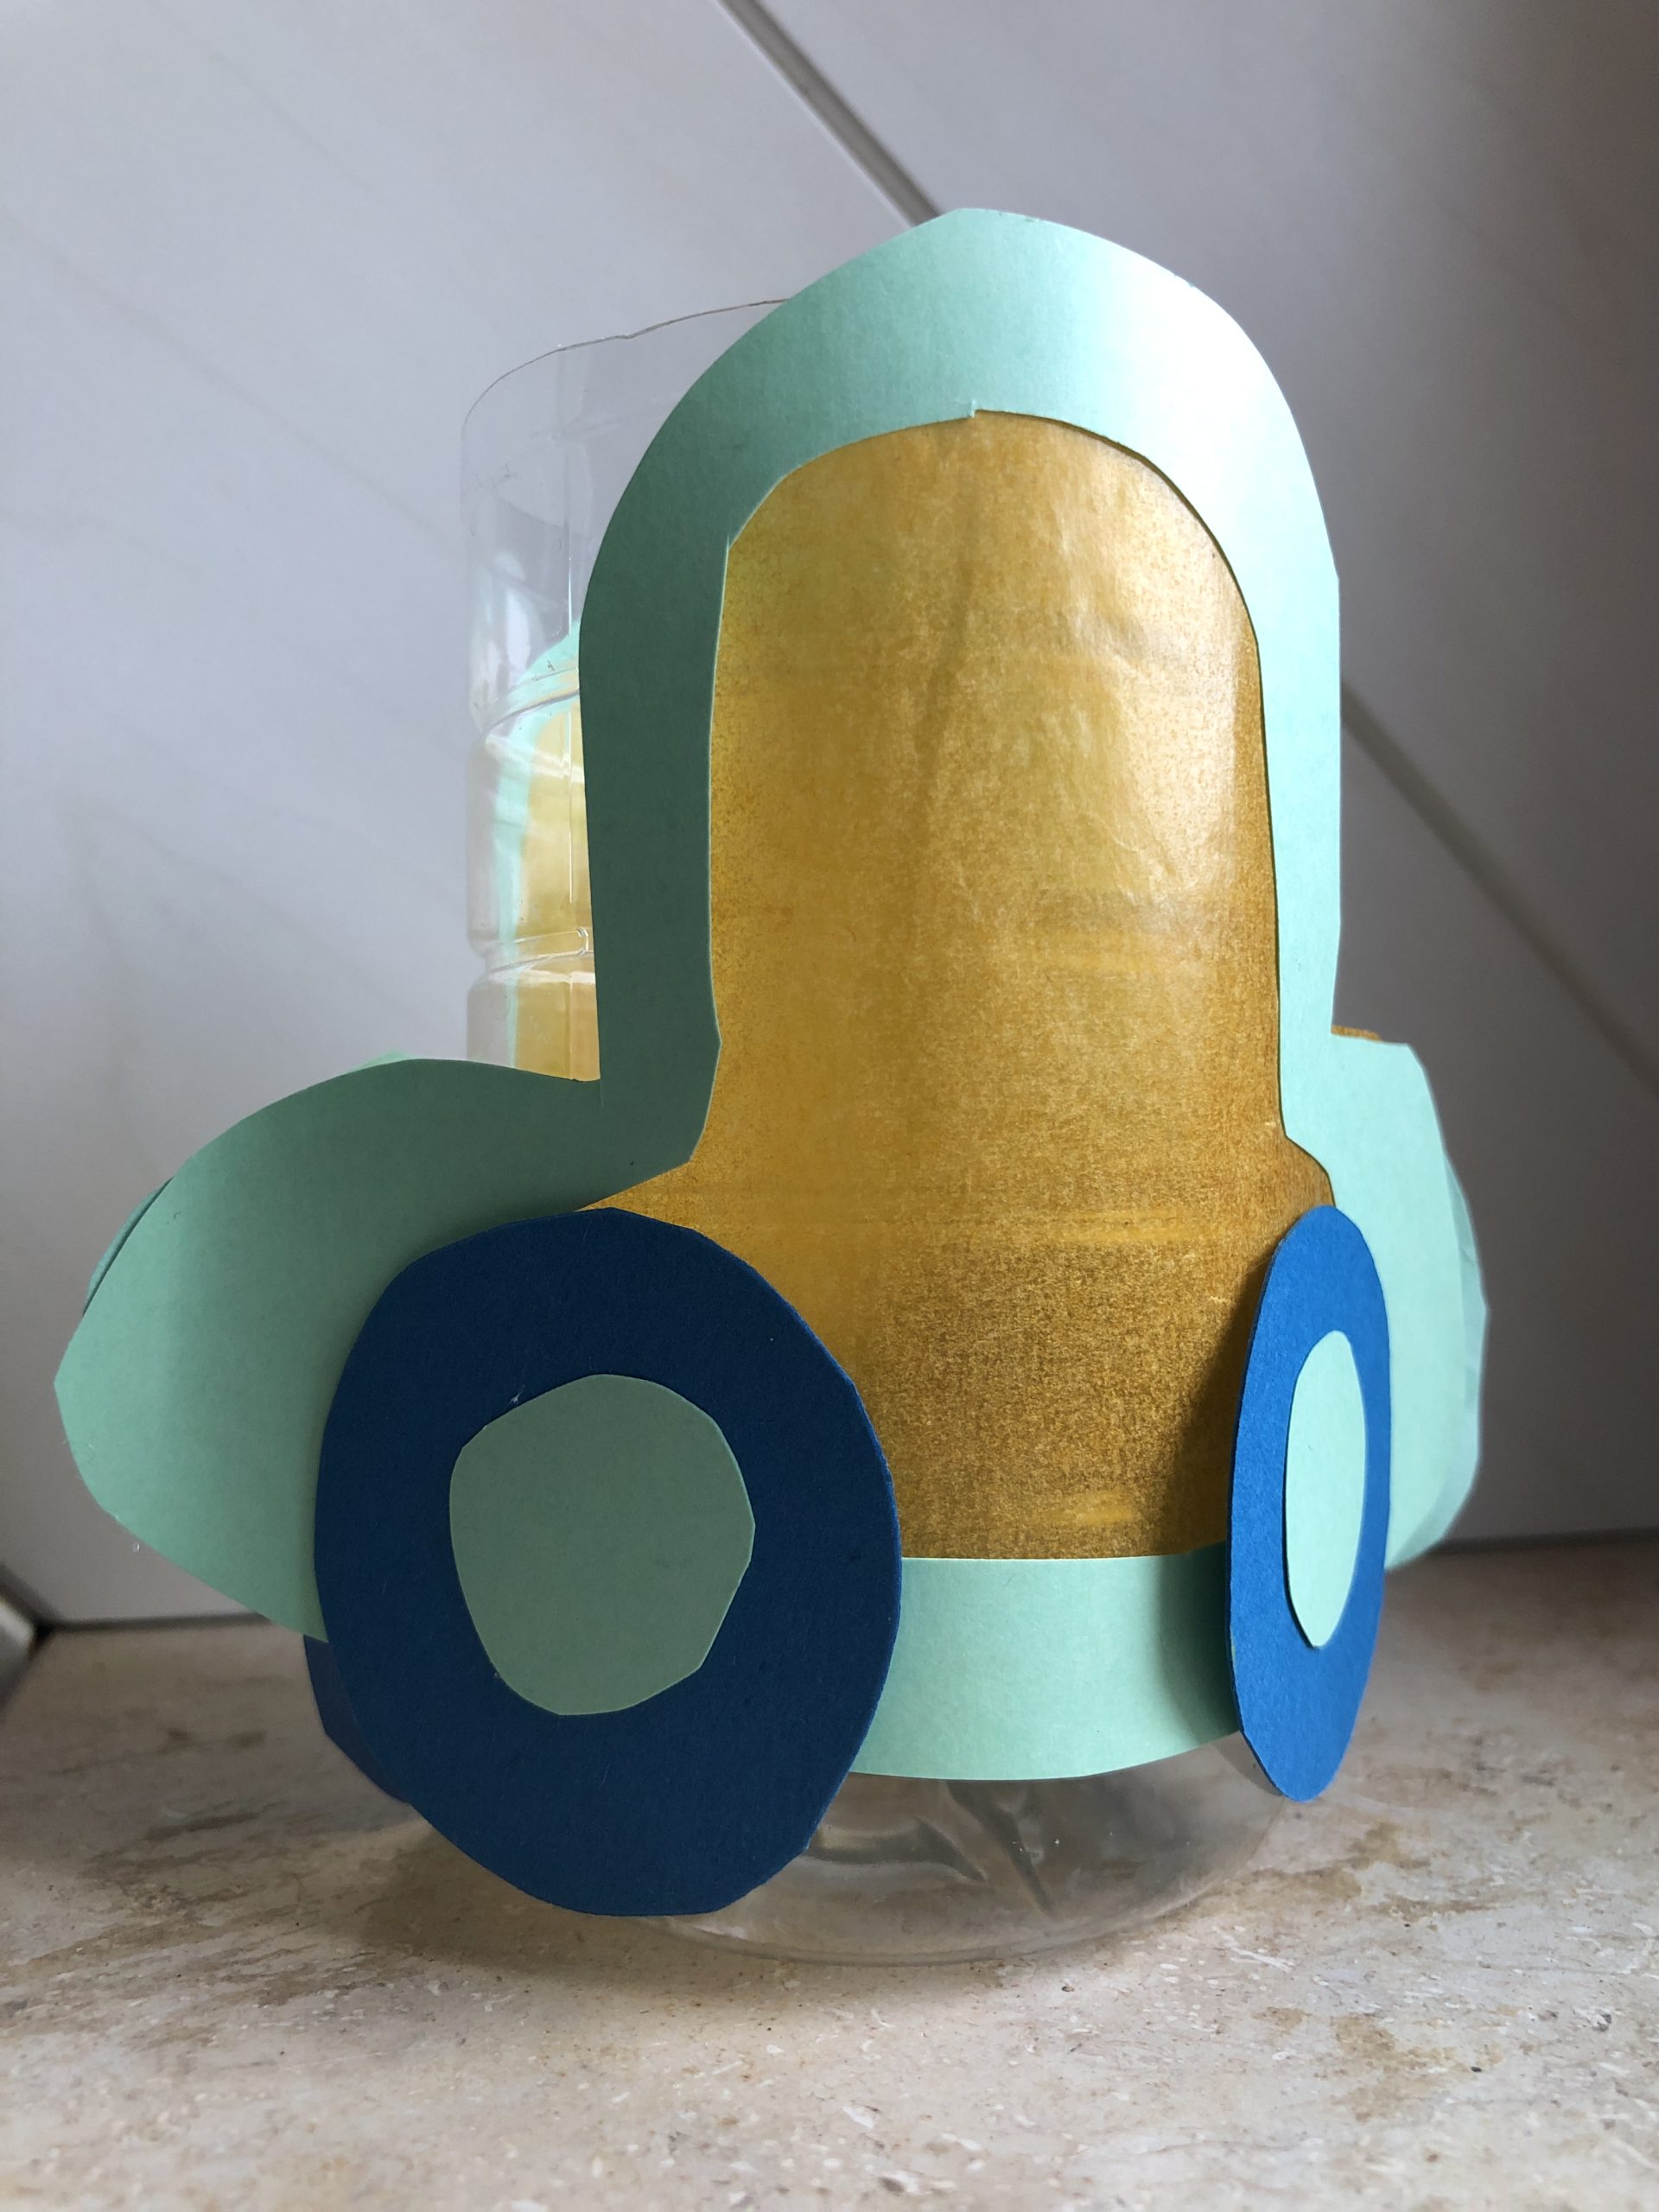


For this you need a wire, a pliers/side cutter and a hole plier or a pointed scissors.
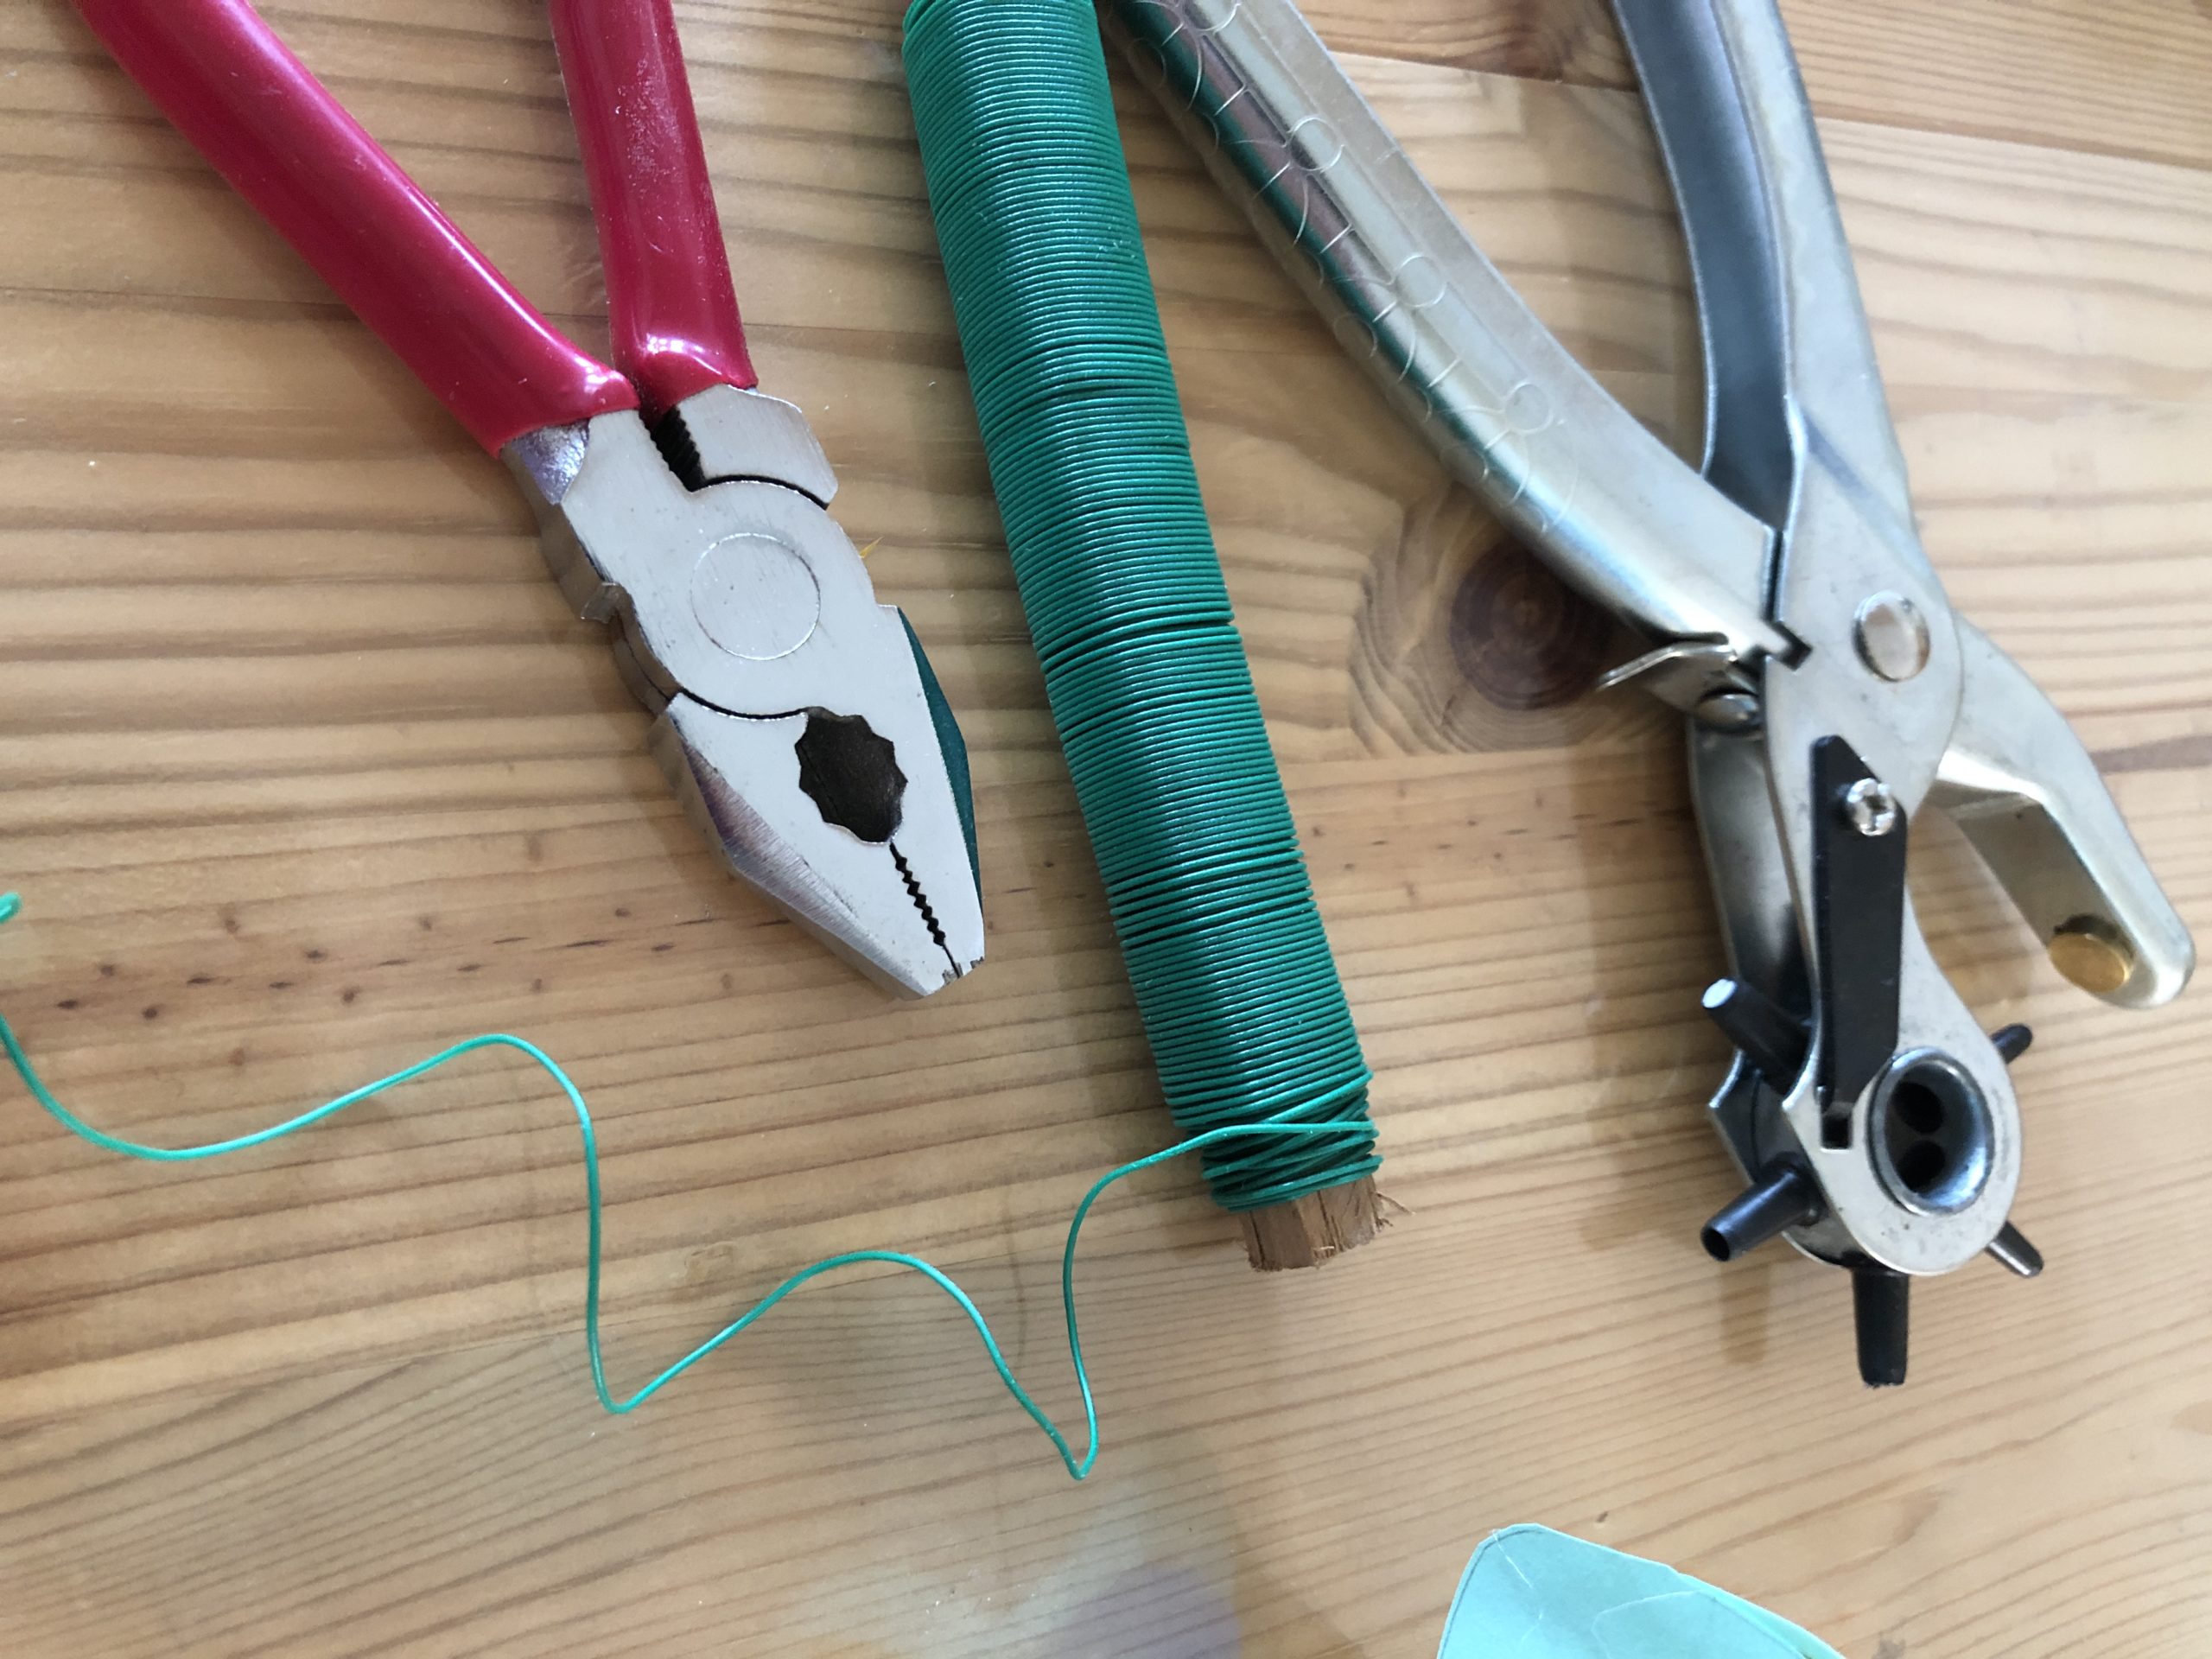


With the punch pliers you punch two holes into the opposite sides of the bottle.
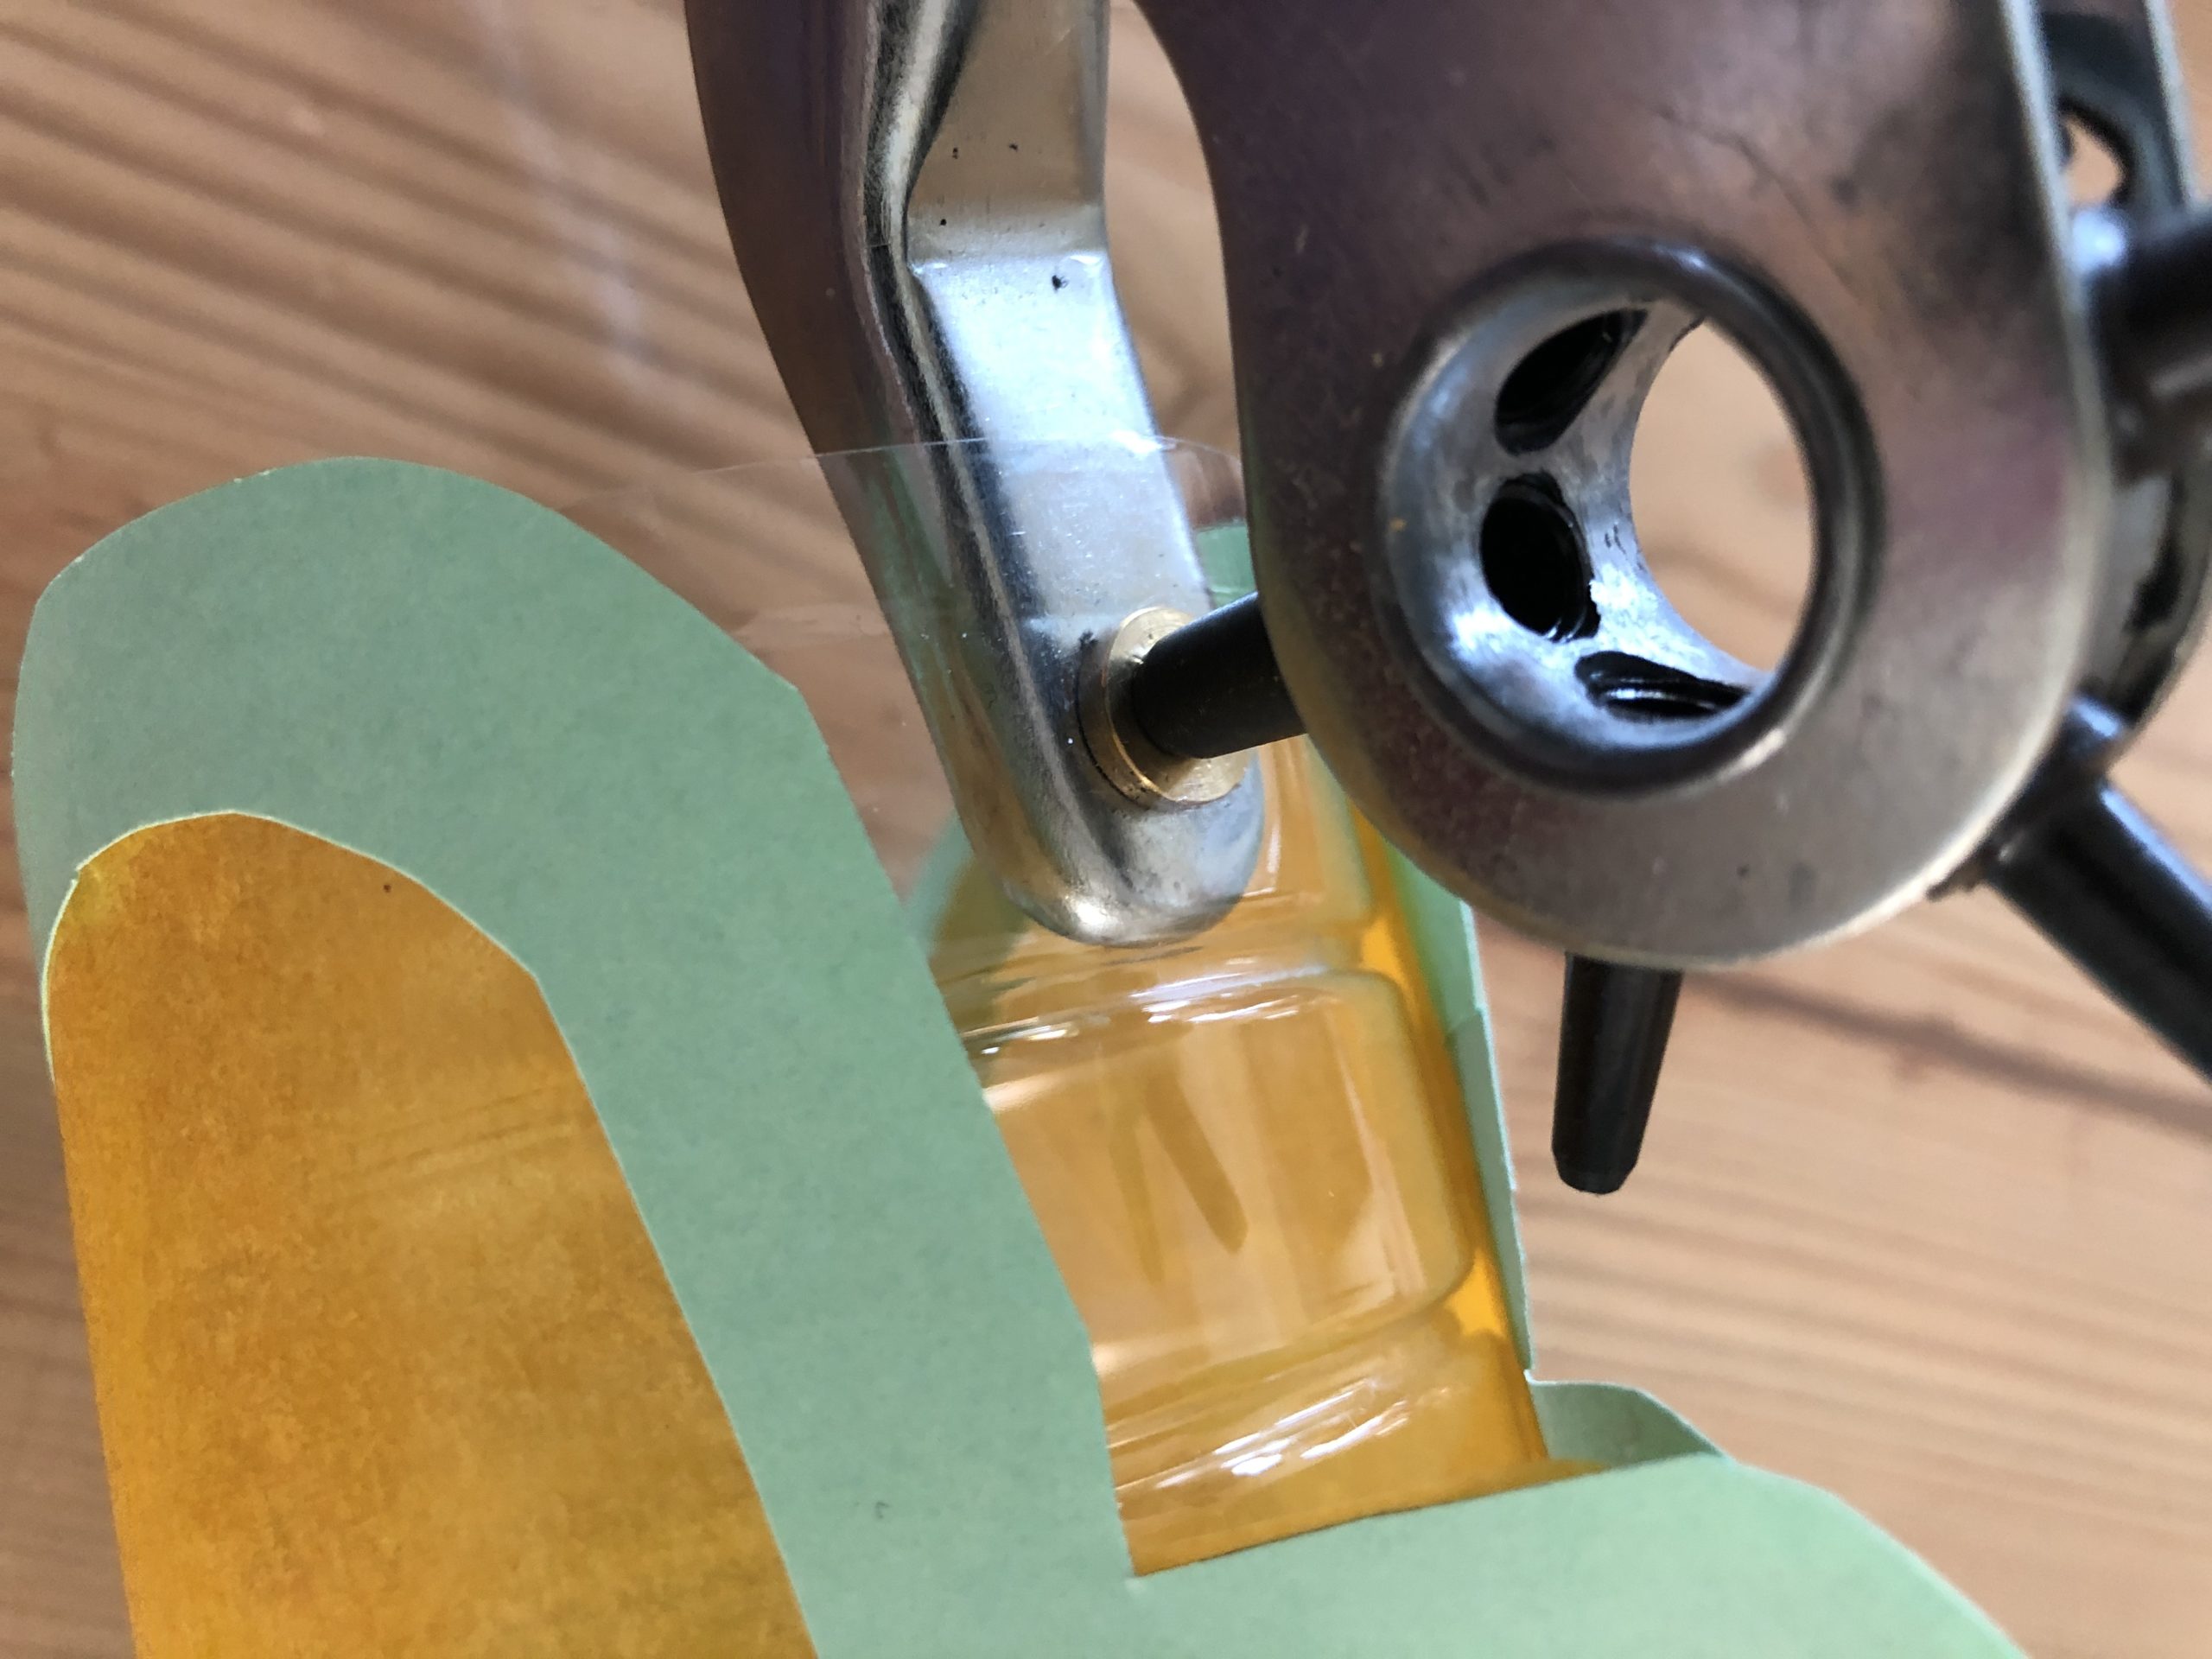


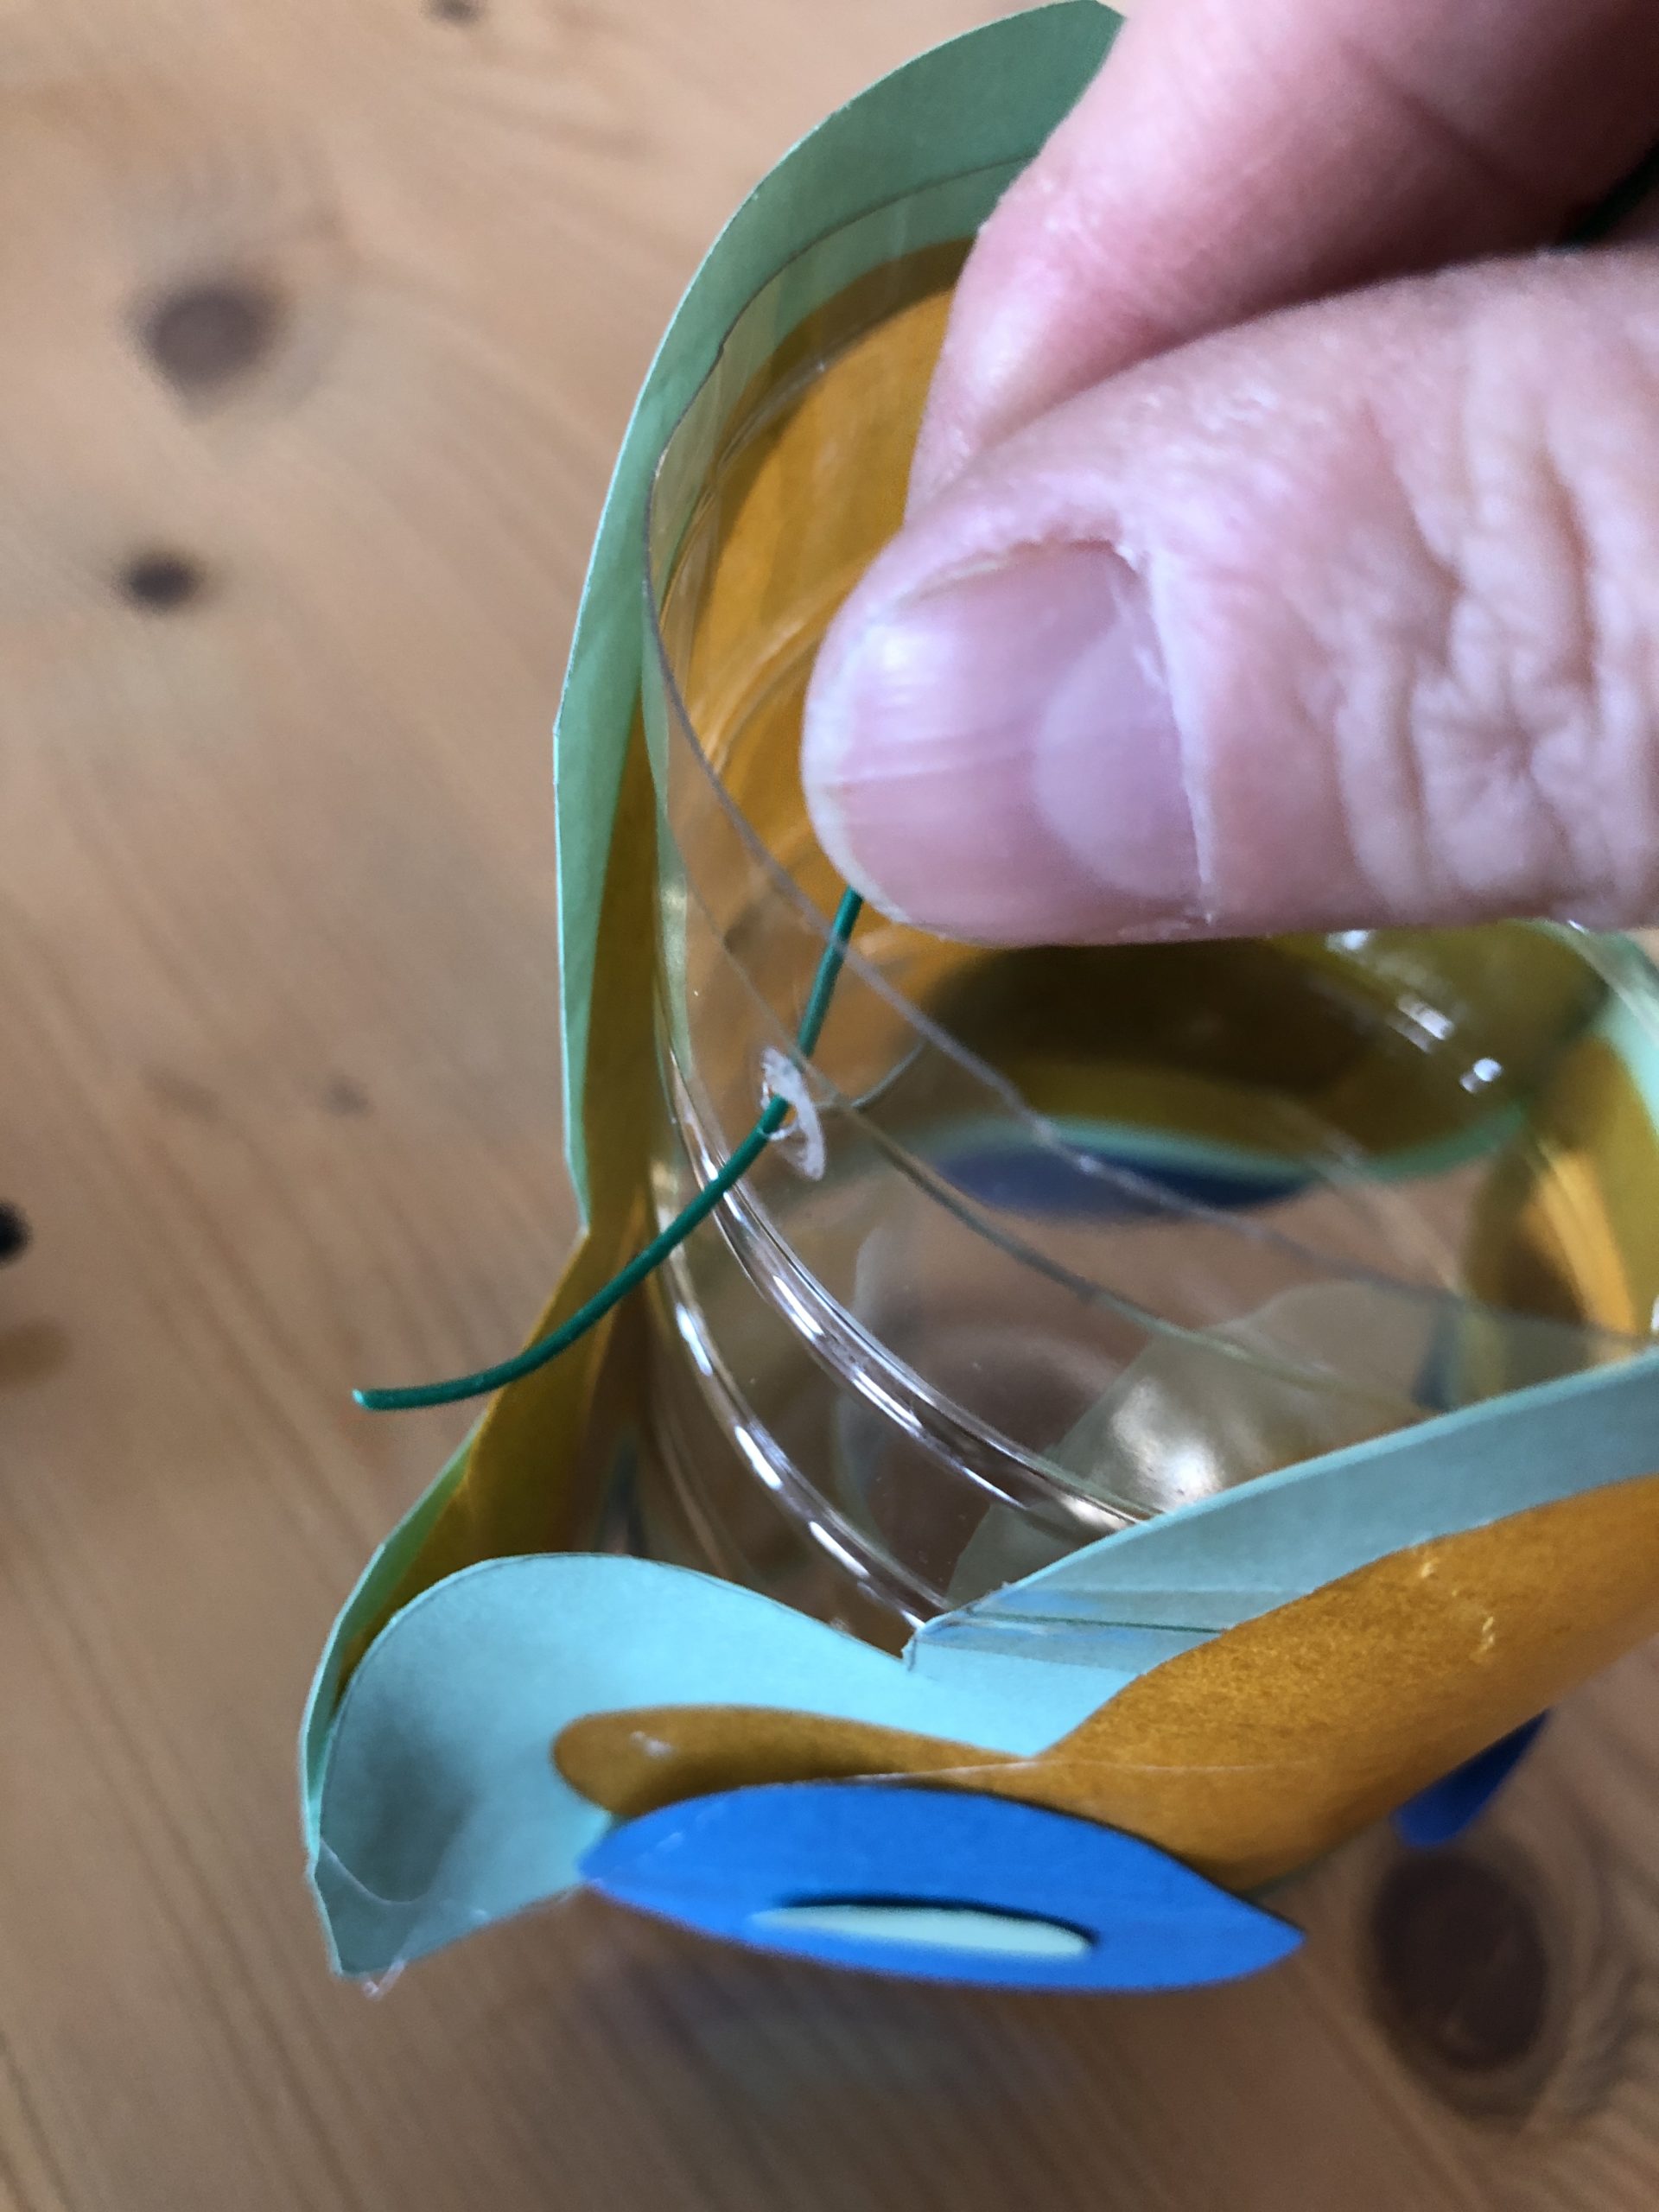
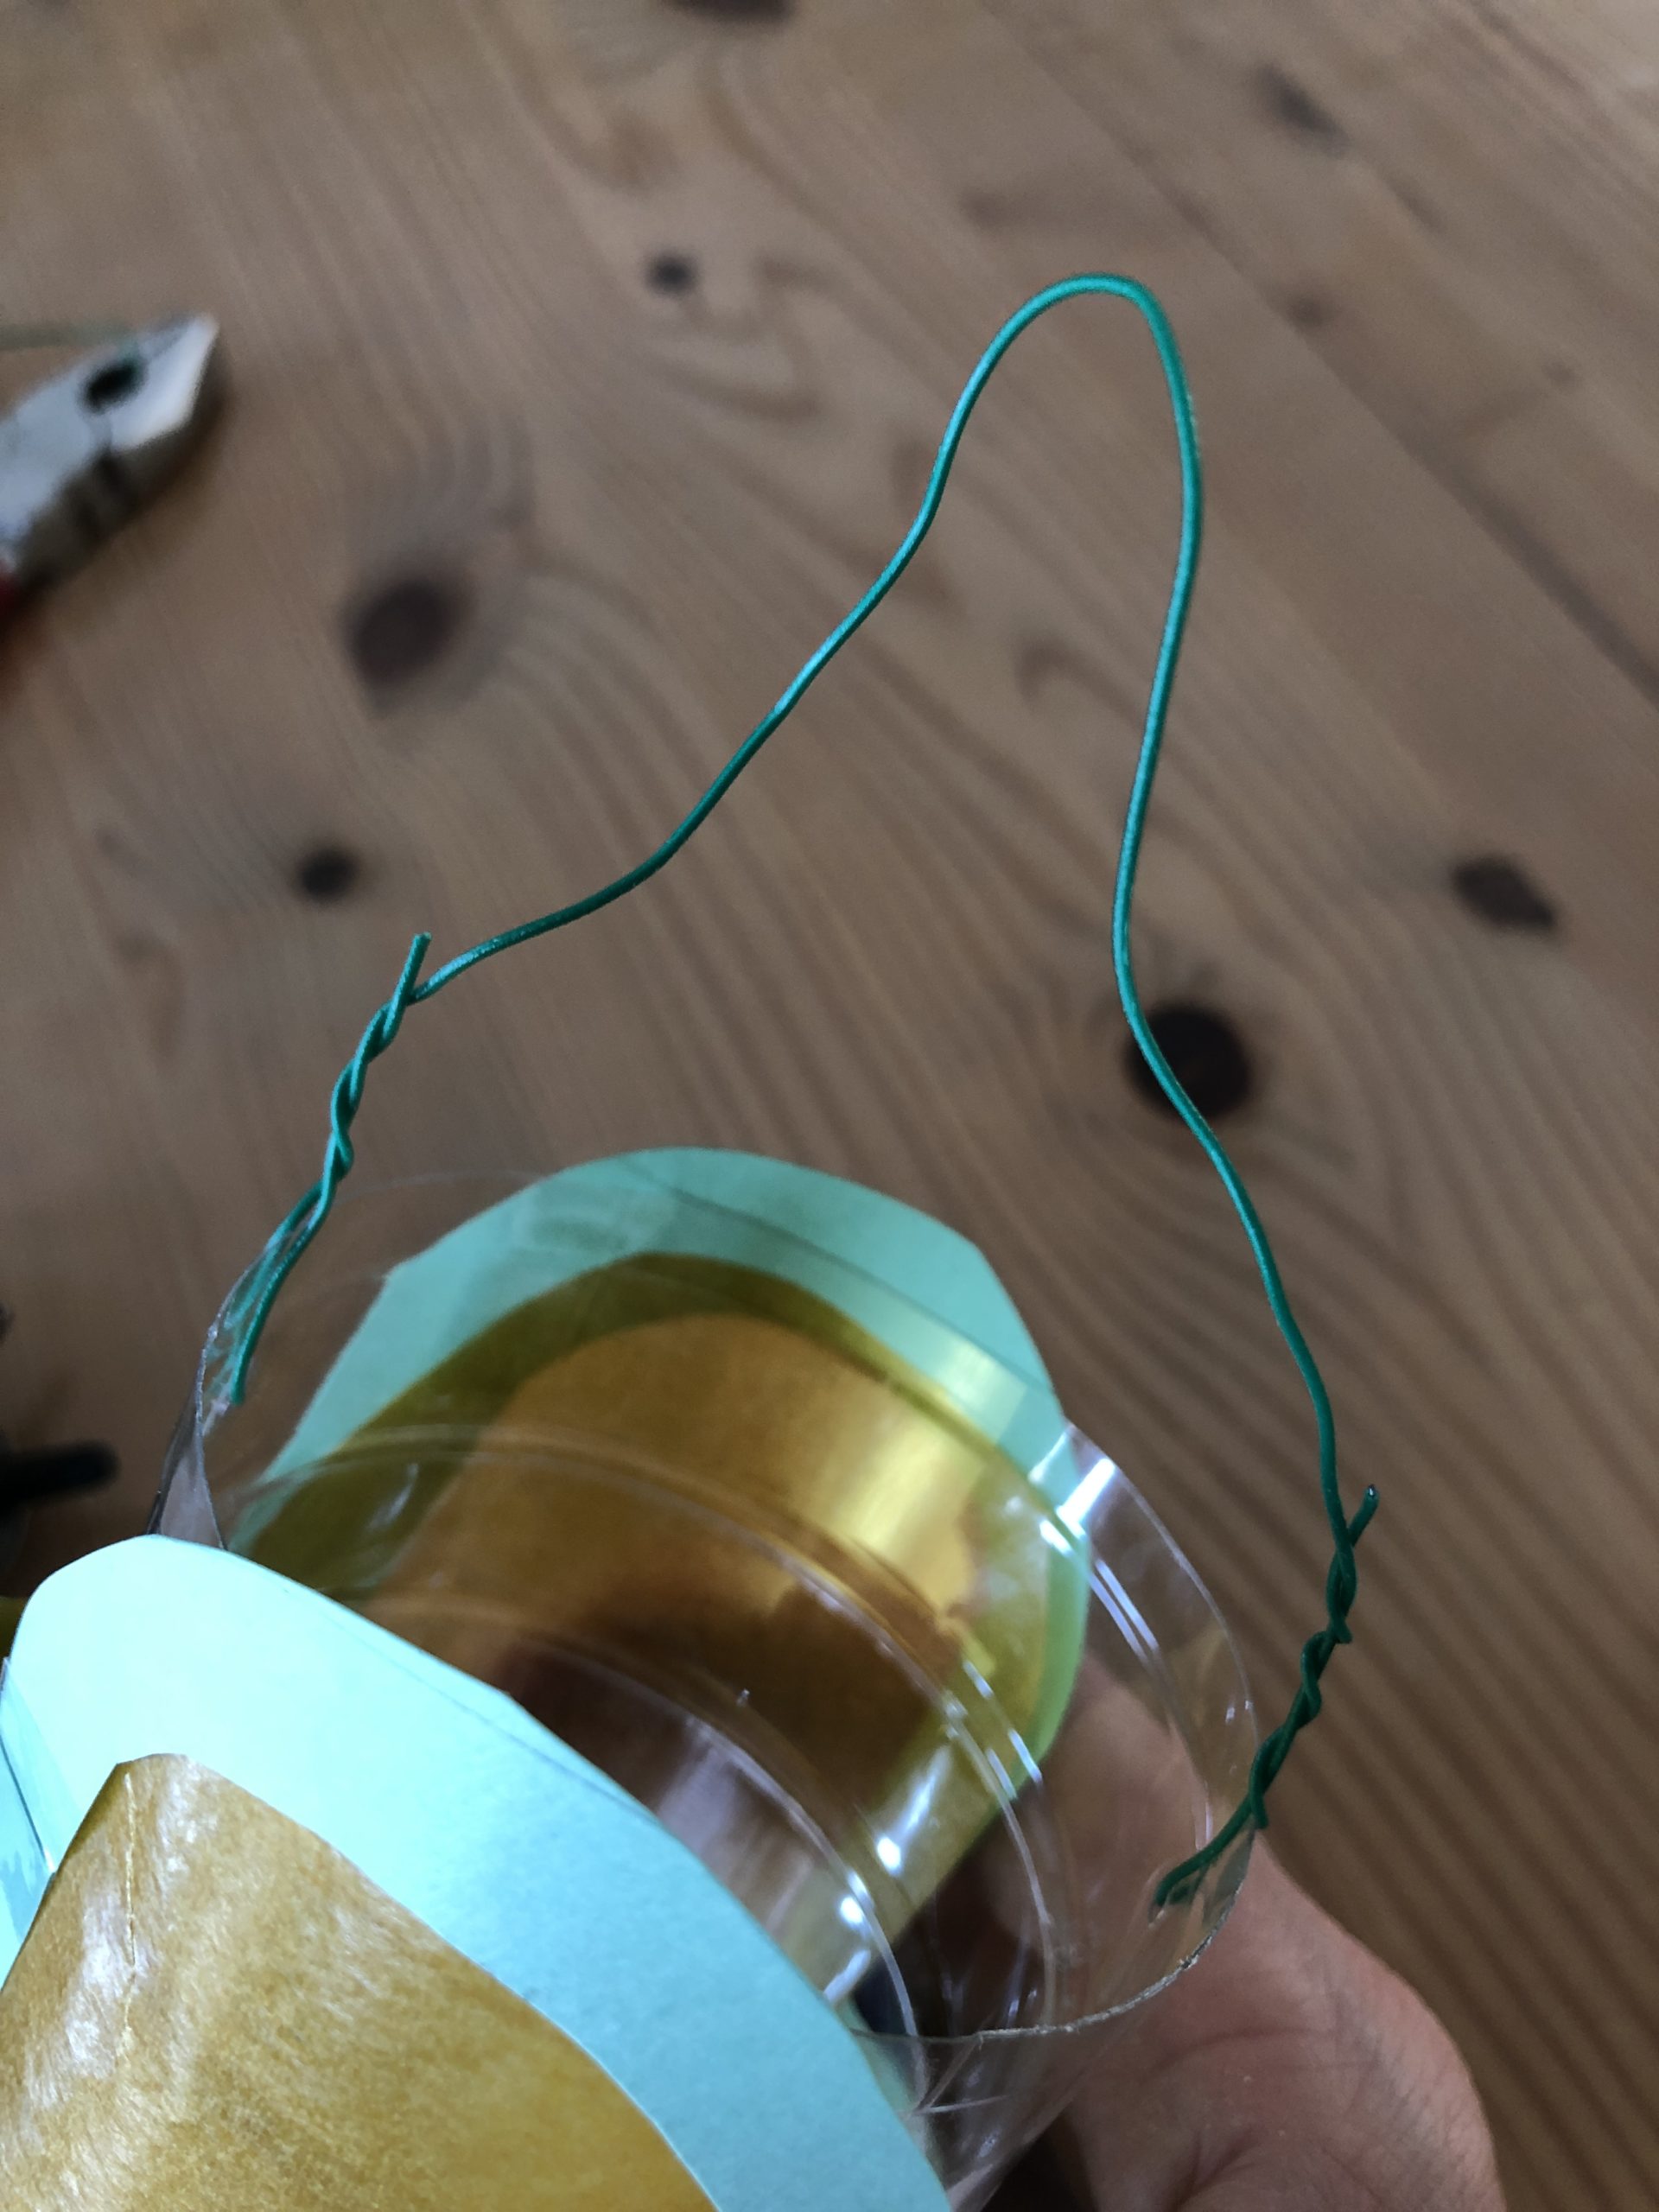
Attach a wire to it (about 15cm long) and thread through the holes and twist the ends of the wire.




An electric tealight or a mini-light chain is suitable as a light source.
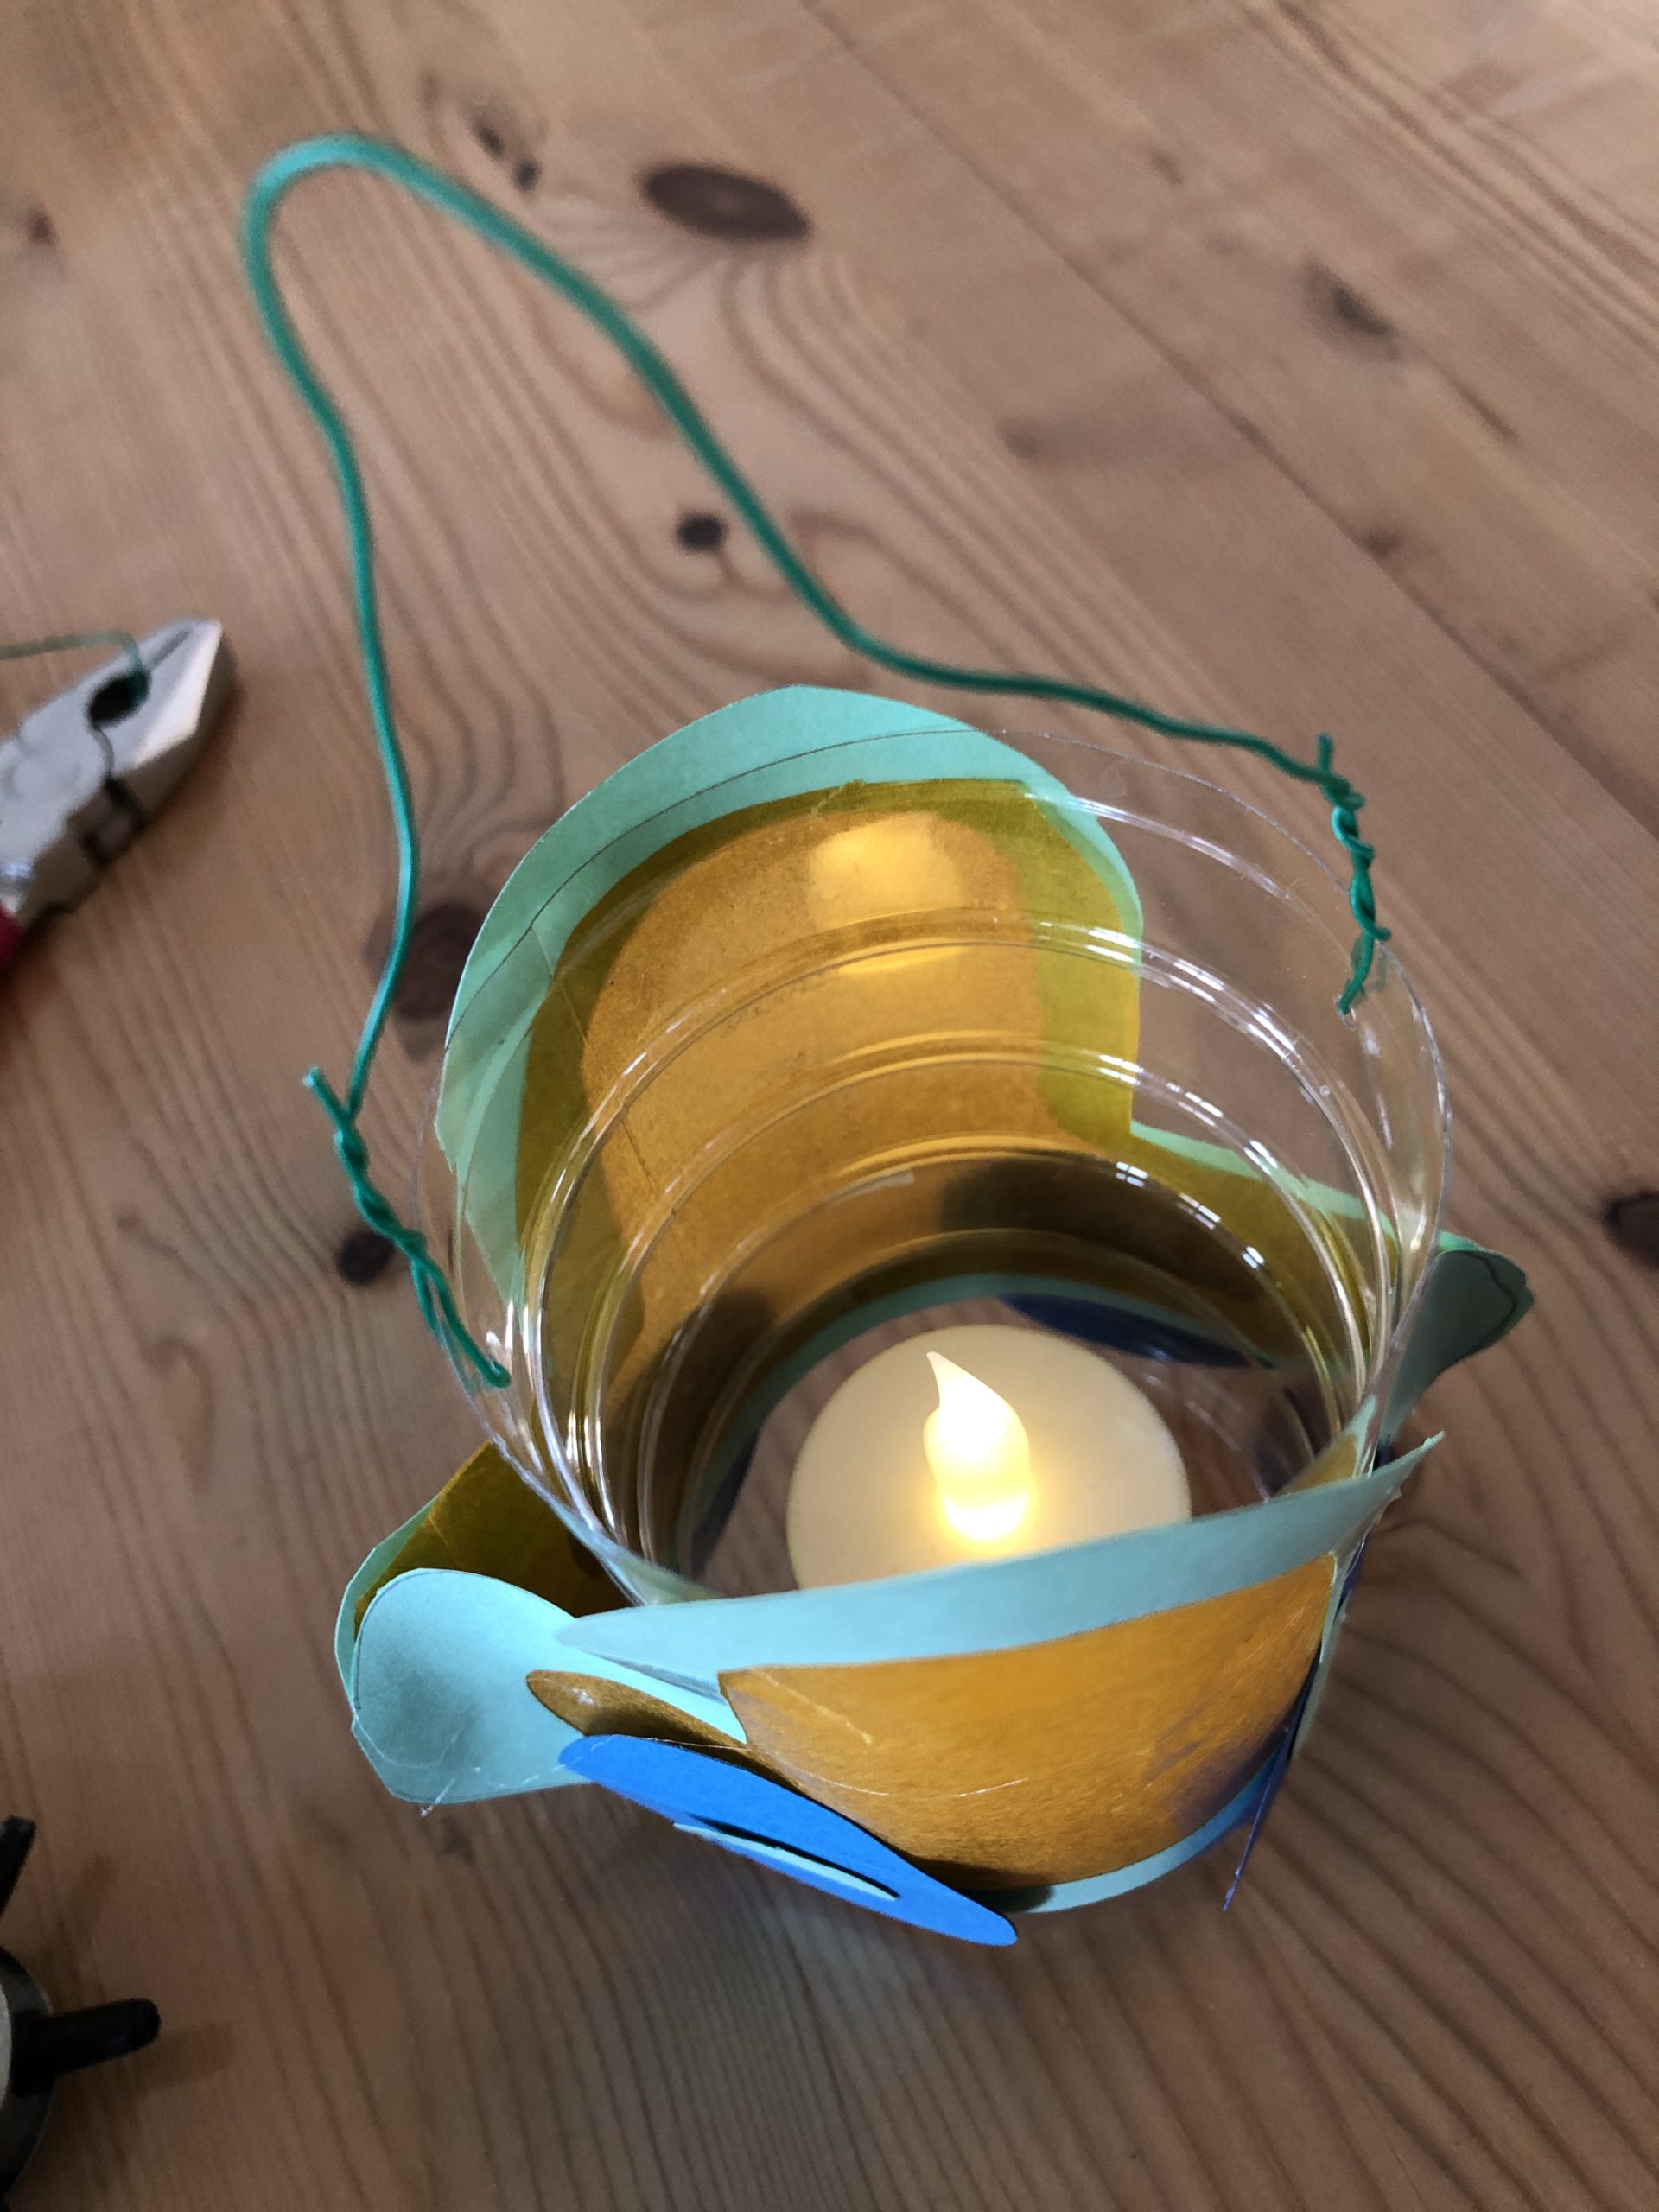


Then you put on the lantern stick and the lantern move can start.


Have fun with your little car!


Materials
Directions
Put out the craft file.
Then paint a car. First you paint it without wheels!
Give your child help with the size (about 20cm)


A car can be painted from two circular structures (if the child cannot paint angular shapes)


A car can also be made of two rectangles.


You can also paint the car on a clay paper or cut and transfer your sketch.
Cuts out the car twice.


Leave a 1cm wide edge and cut out the inside of your car.
Attention: This is a difficult task for children. Help if necessary, so that the edge is not cut.


From a different coloured clay paper you now cut out 4 circles for the wheels.
You can, for example, take a cup or a lid of a glass and border it or you just paint the circles yourself. Perhaps you stick a smaller circle in the wheels.


Find a plastic bottle and shorten it with a wallpaper knife to the height of your car (including the wheels).


Attention: Let an adult help you shorten the bottle.


Now your car is still glued with transparent paper.
To do this, put your car under the paper and transfer the shape of the car with a pen. Then cut out the transparent paper (somewhat smaller so that the paper does not survive!)


Use a glue stick to brush the car (tone paper).


Now she's stuck with the transparent paper.


Then glues the tires firmly - two on each vehicle.


Then attach the two parts to the left and right of the bottle.


Make an adhesive point with hot glue at the front and back of the cars and squeeze them tightly together. Then the car sticks over the bottle.
If necessary, let us help you with the hot glue.


The car lantern is ready.


For example, use it as a table lamp on a birthday table.


Or use it as a decoration in the nursery.


Or you could use her as a lantern for the Saint Martin parade.


For this you need a wire, a pliers/side cutter and a hole plier or a pointed scissors.


With the punch pliers you punch two holes into the opposite sides of the bottle.


Attach a wire to it (about 15cm long) and thread through the holes and twist the ends of the wire.


An electric tealight or a mini-light chain is suitable as a light source.


Then you put on the lantern stick and the lantern move can start.


Have fun with your little car!


Follow us on Facebook , Instagram and Pinterest
Don't miss any more adventures: Our bottle mail


