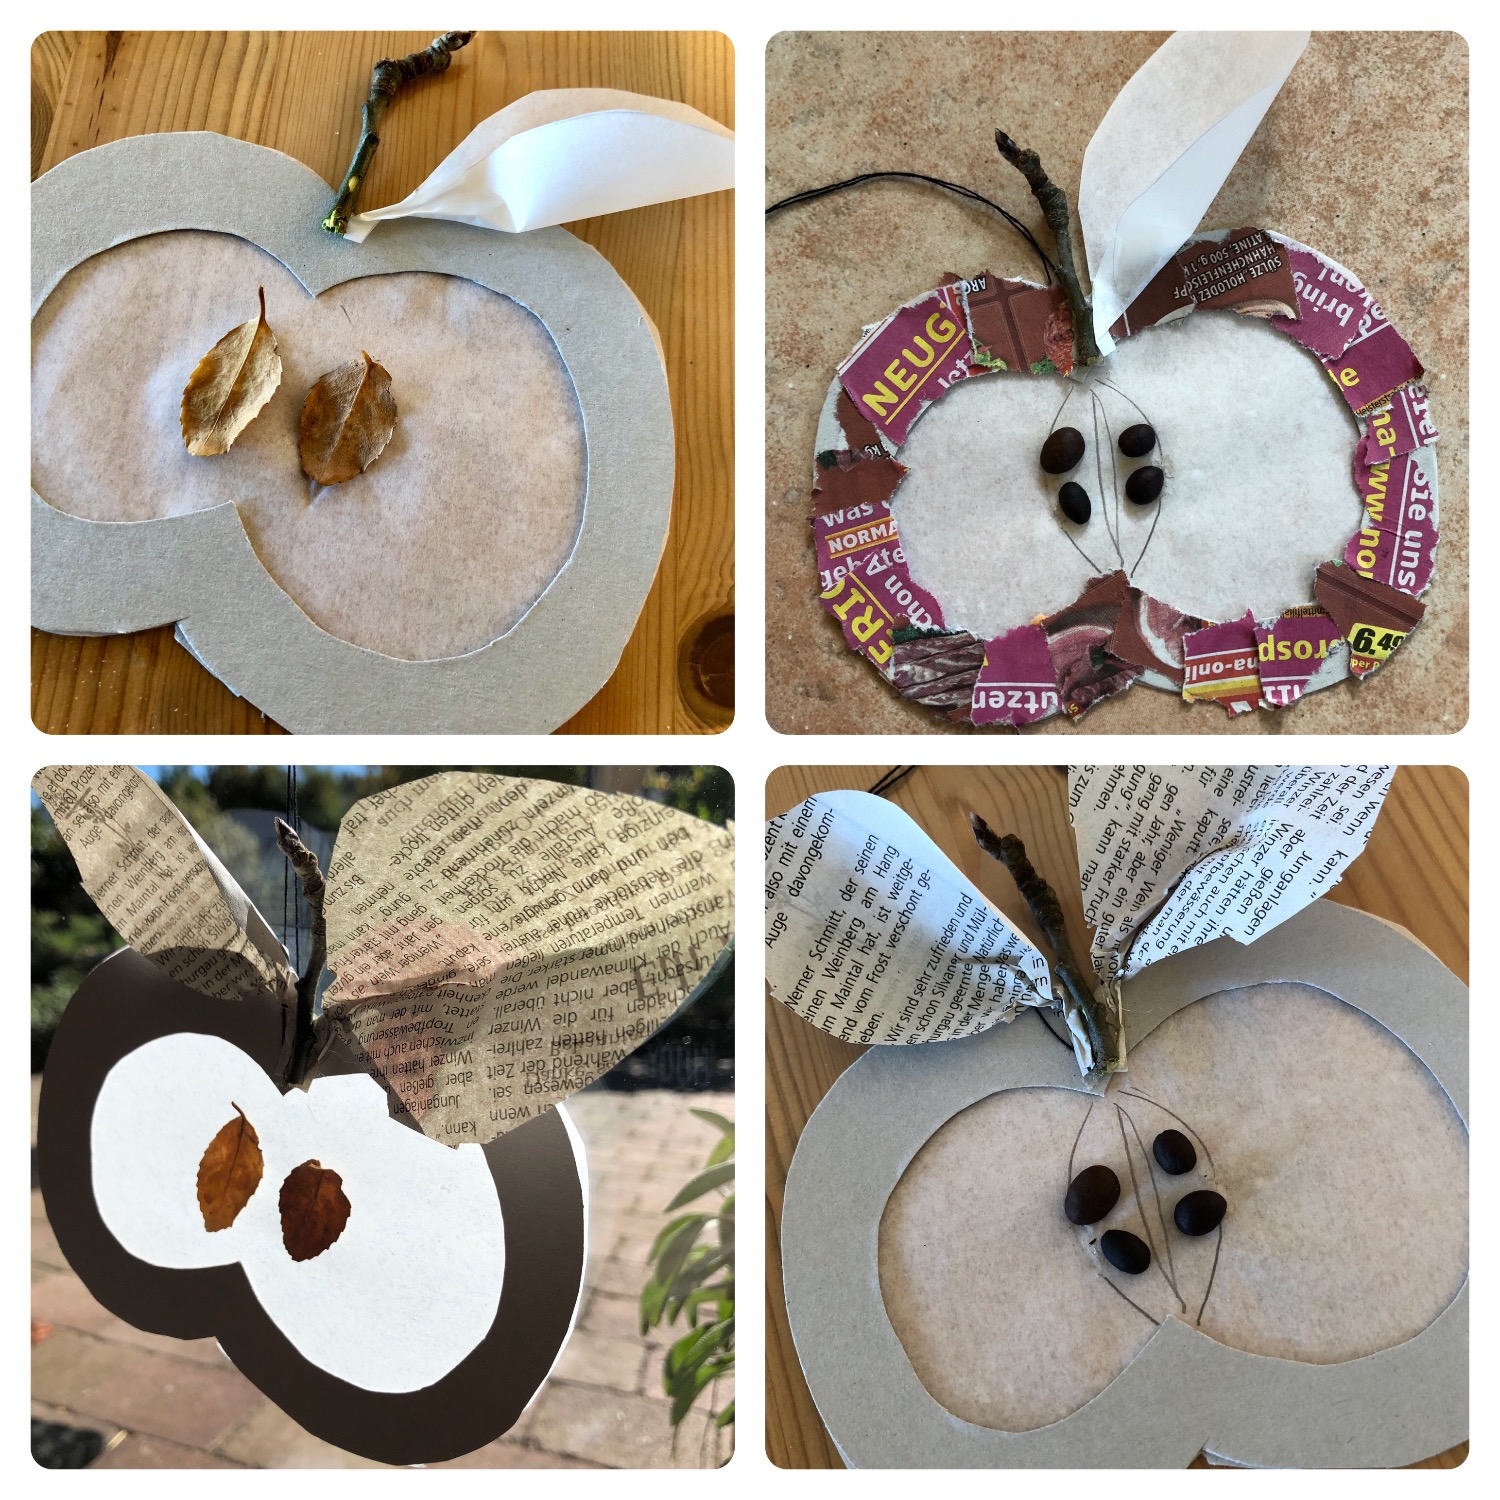
We make apple halves with materials that you have at home and find in nature. How?
Here's what I'm going to show you.
Media Education for Kindergarten and Hort

Relief in everyday life, targeted promotion of individual children, independent learning and - without any pre-knowledge already usable by the youngest!
You need a cardboard box the size of your apple!
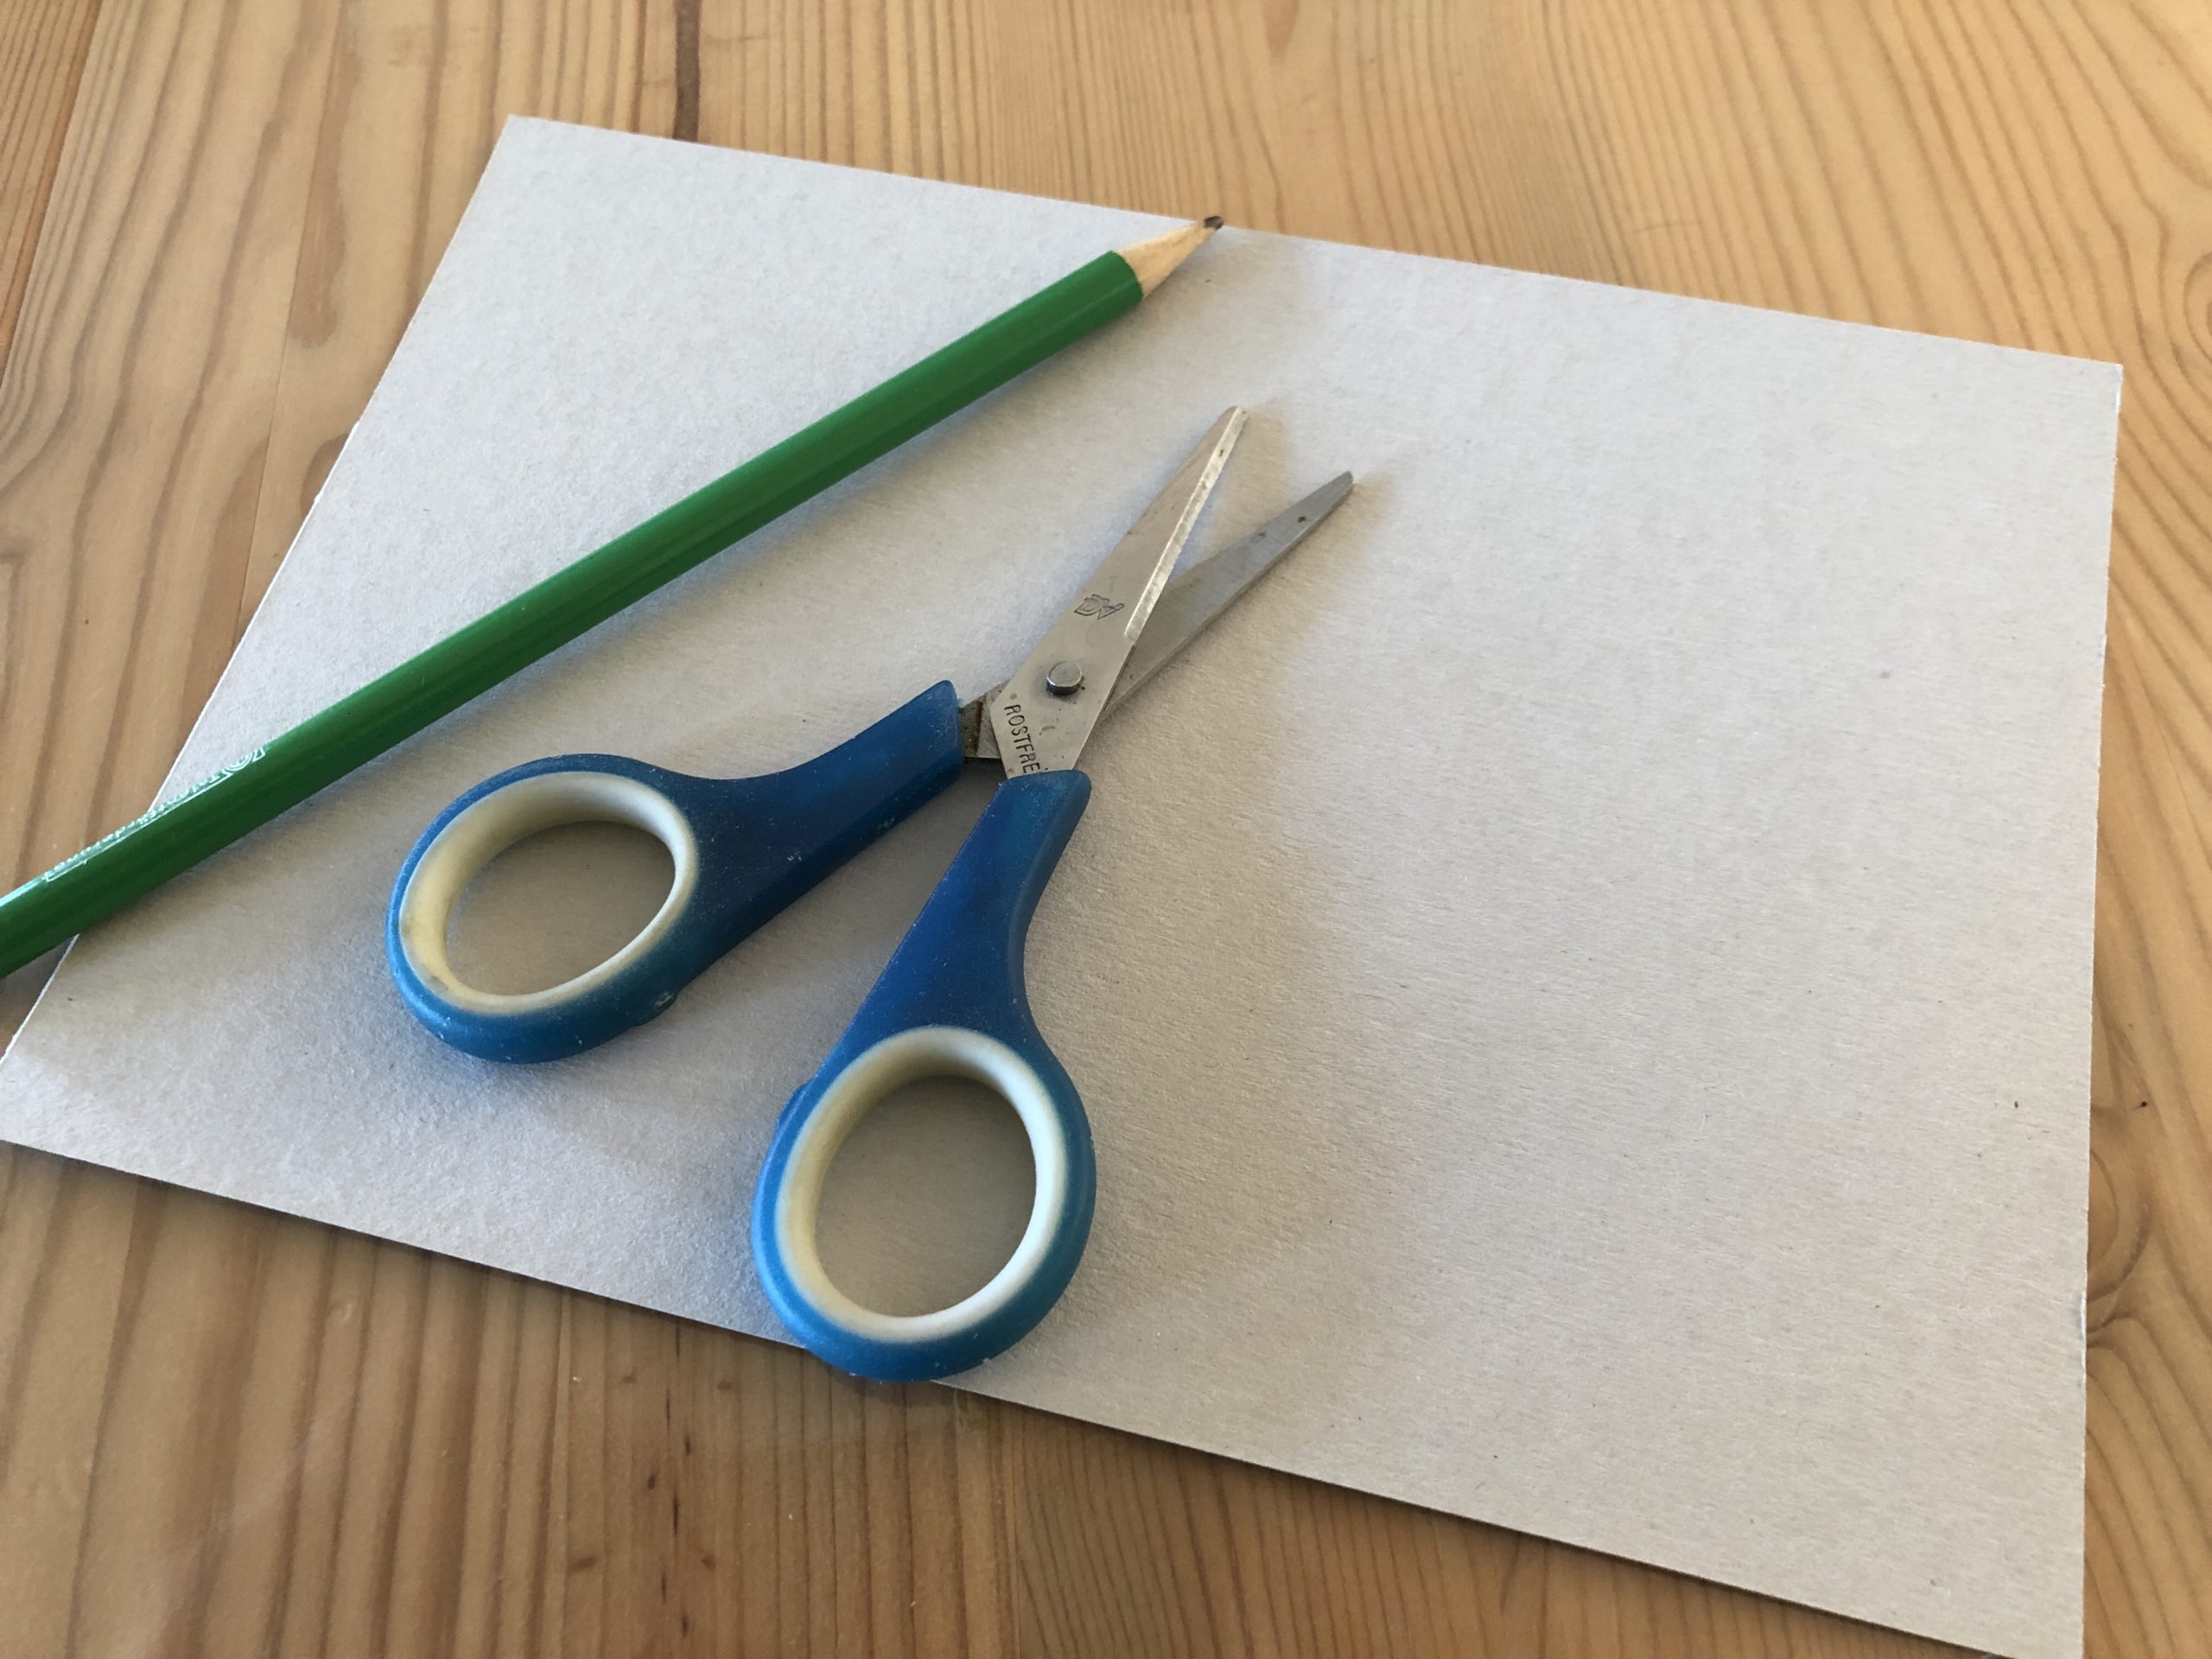
Draw the outline of your apple.
Make this free and without template. So your crafts become unique and you learn to paint the objects.
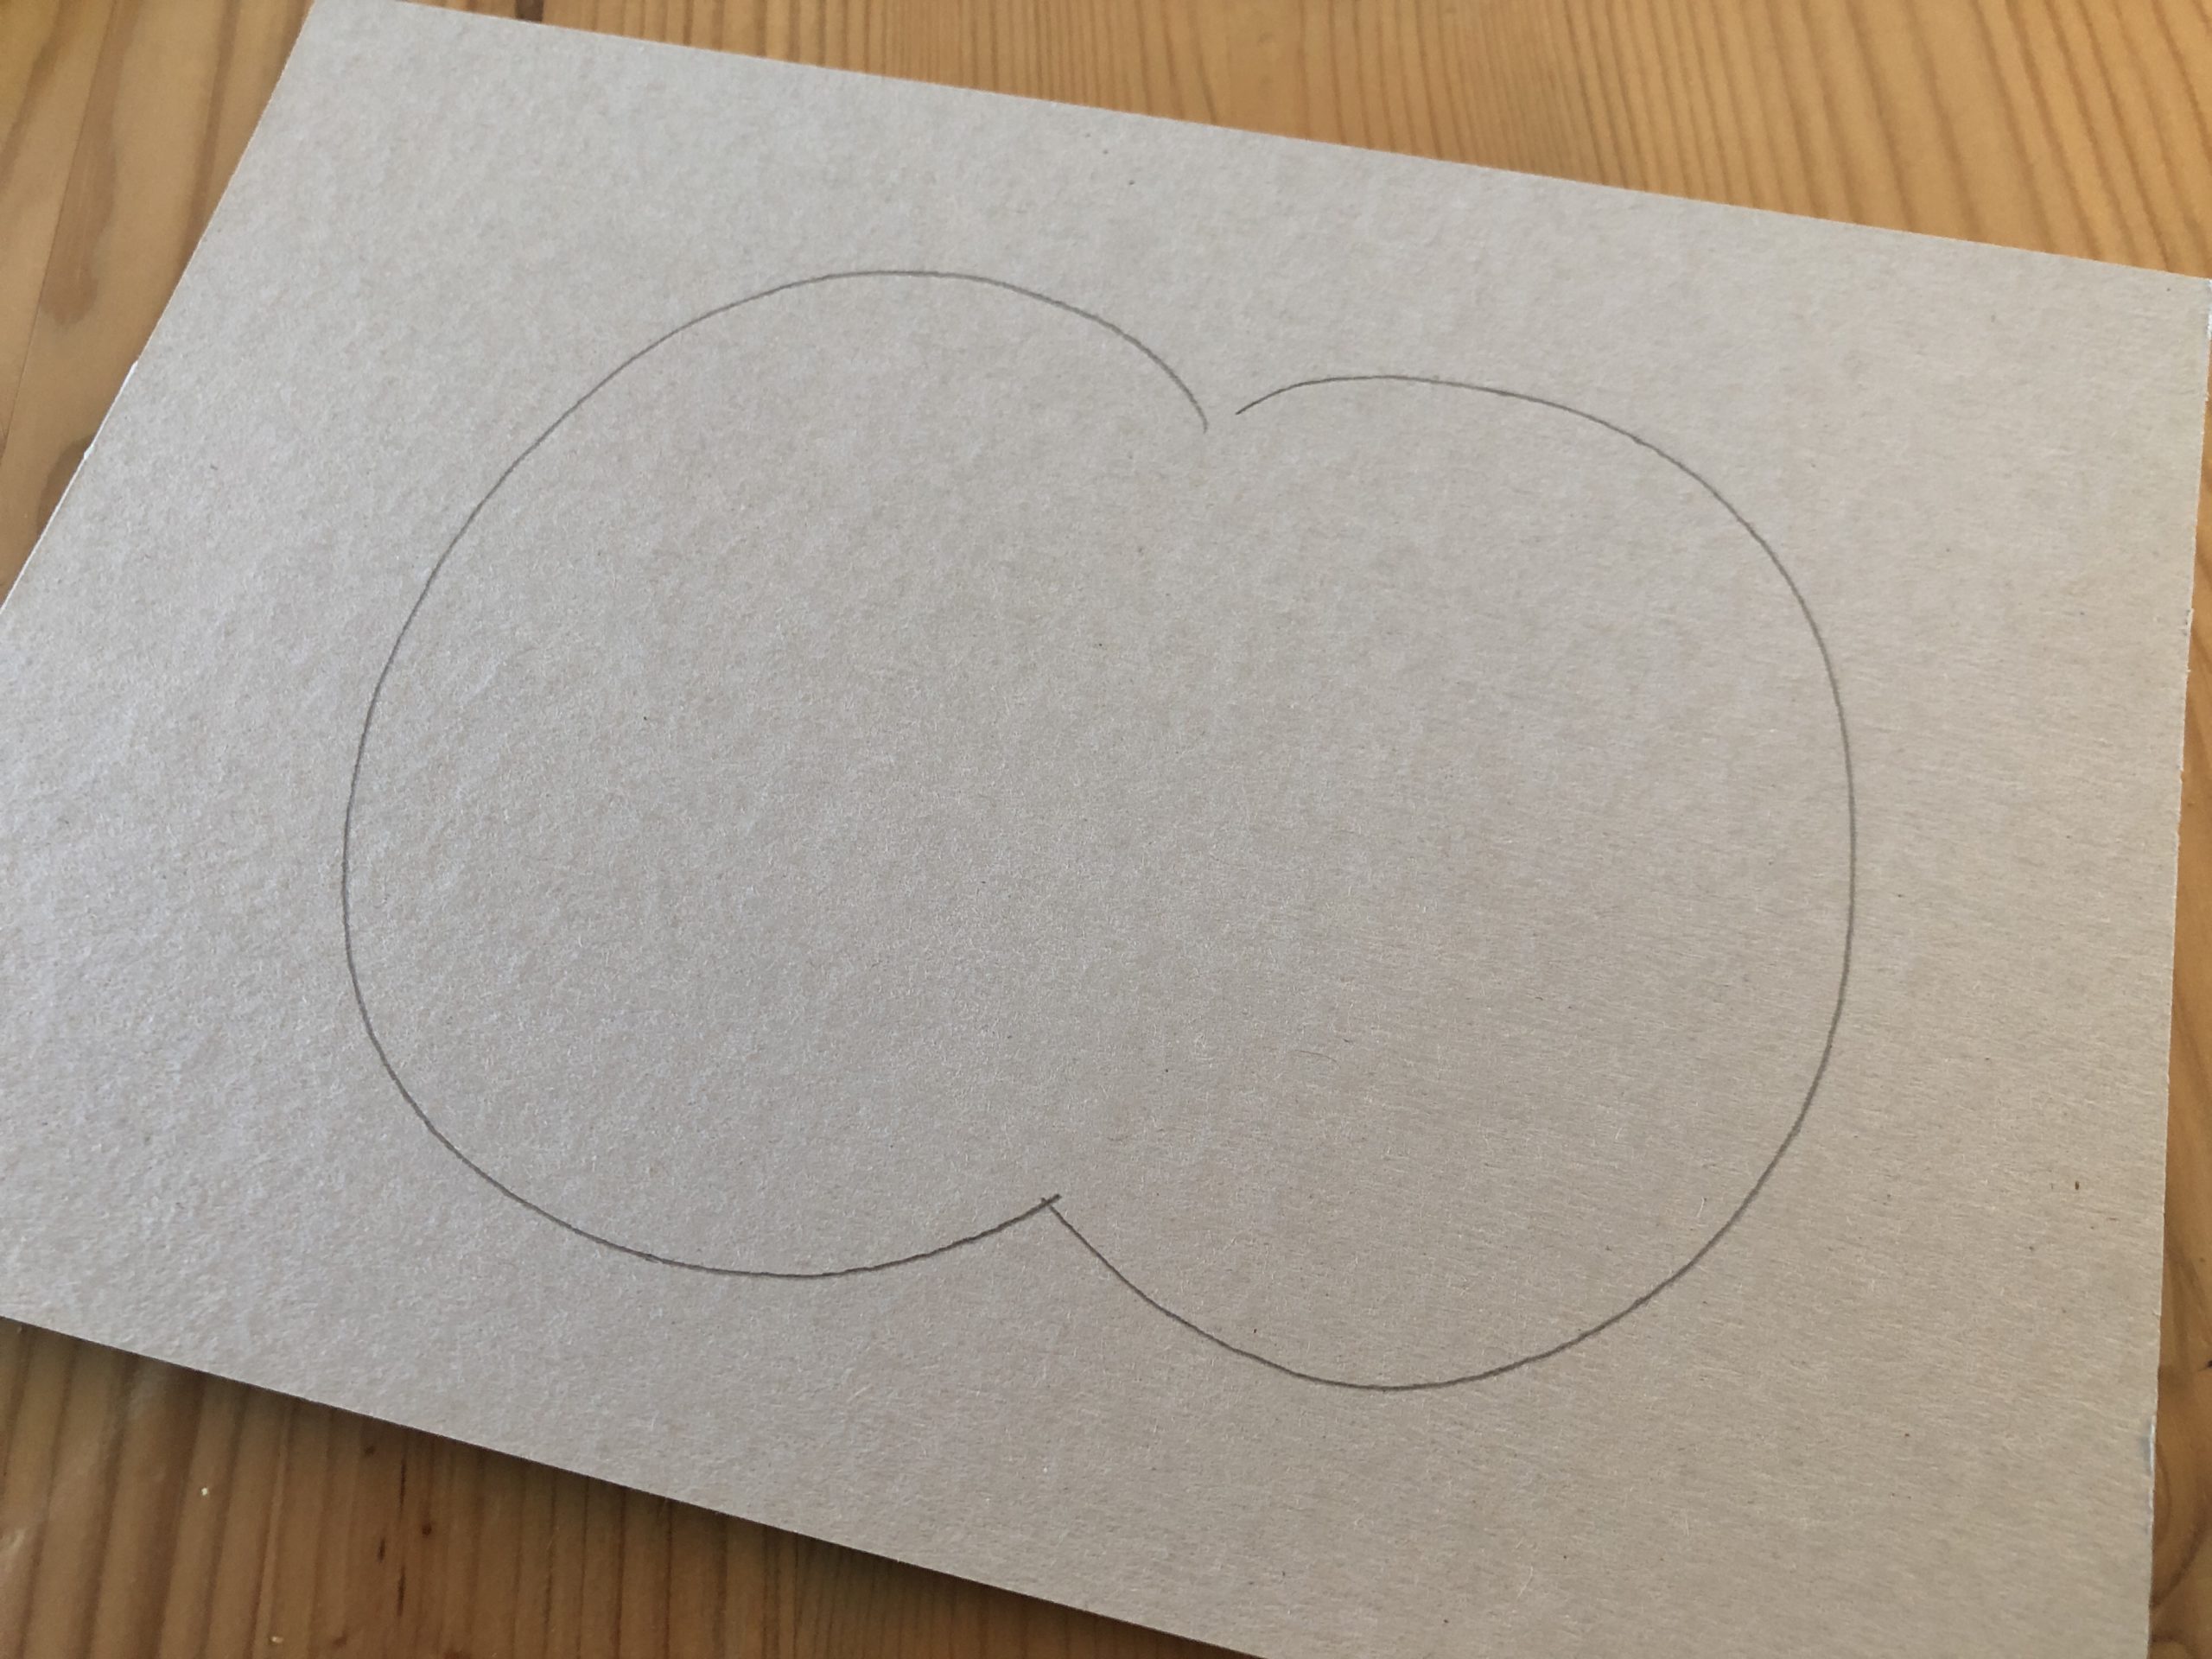


Then you paint a second line with a distance of at least 1.5 cm from the outer line.


Cut out your apple edge.
For children it is not quite easy to cut the edge as a frame. Keep in mind that the frame is not cut.
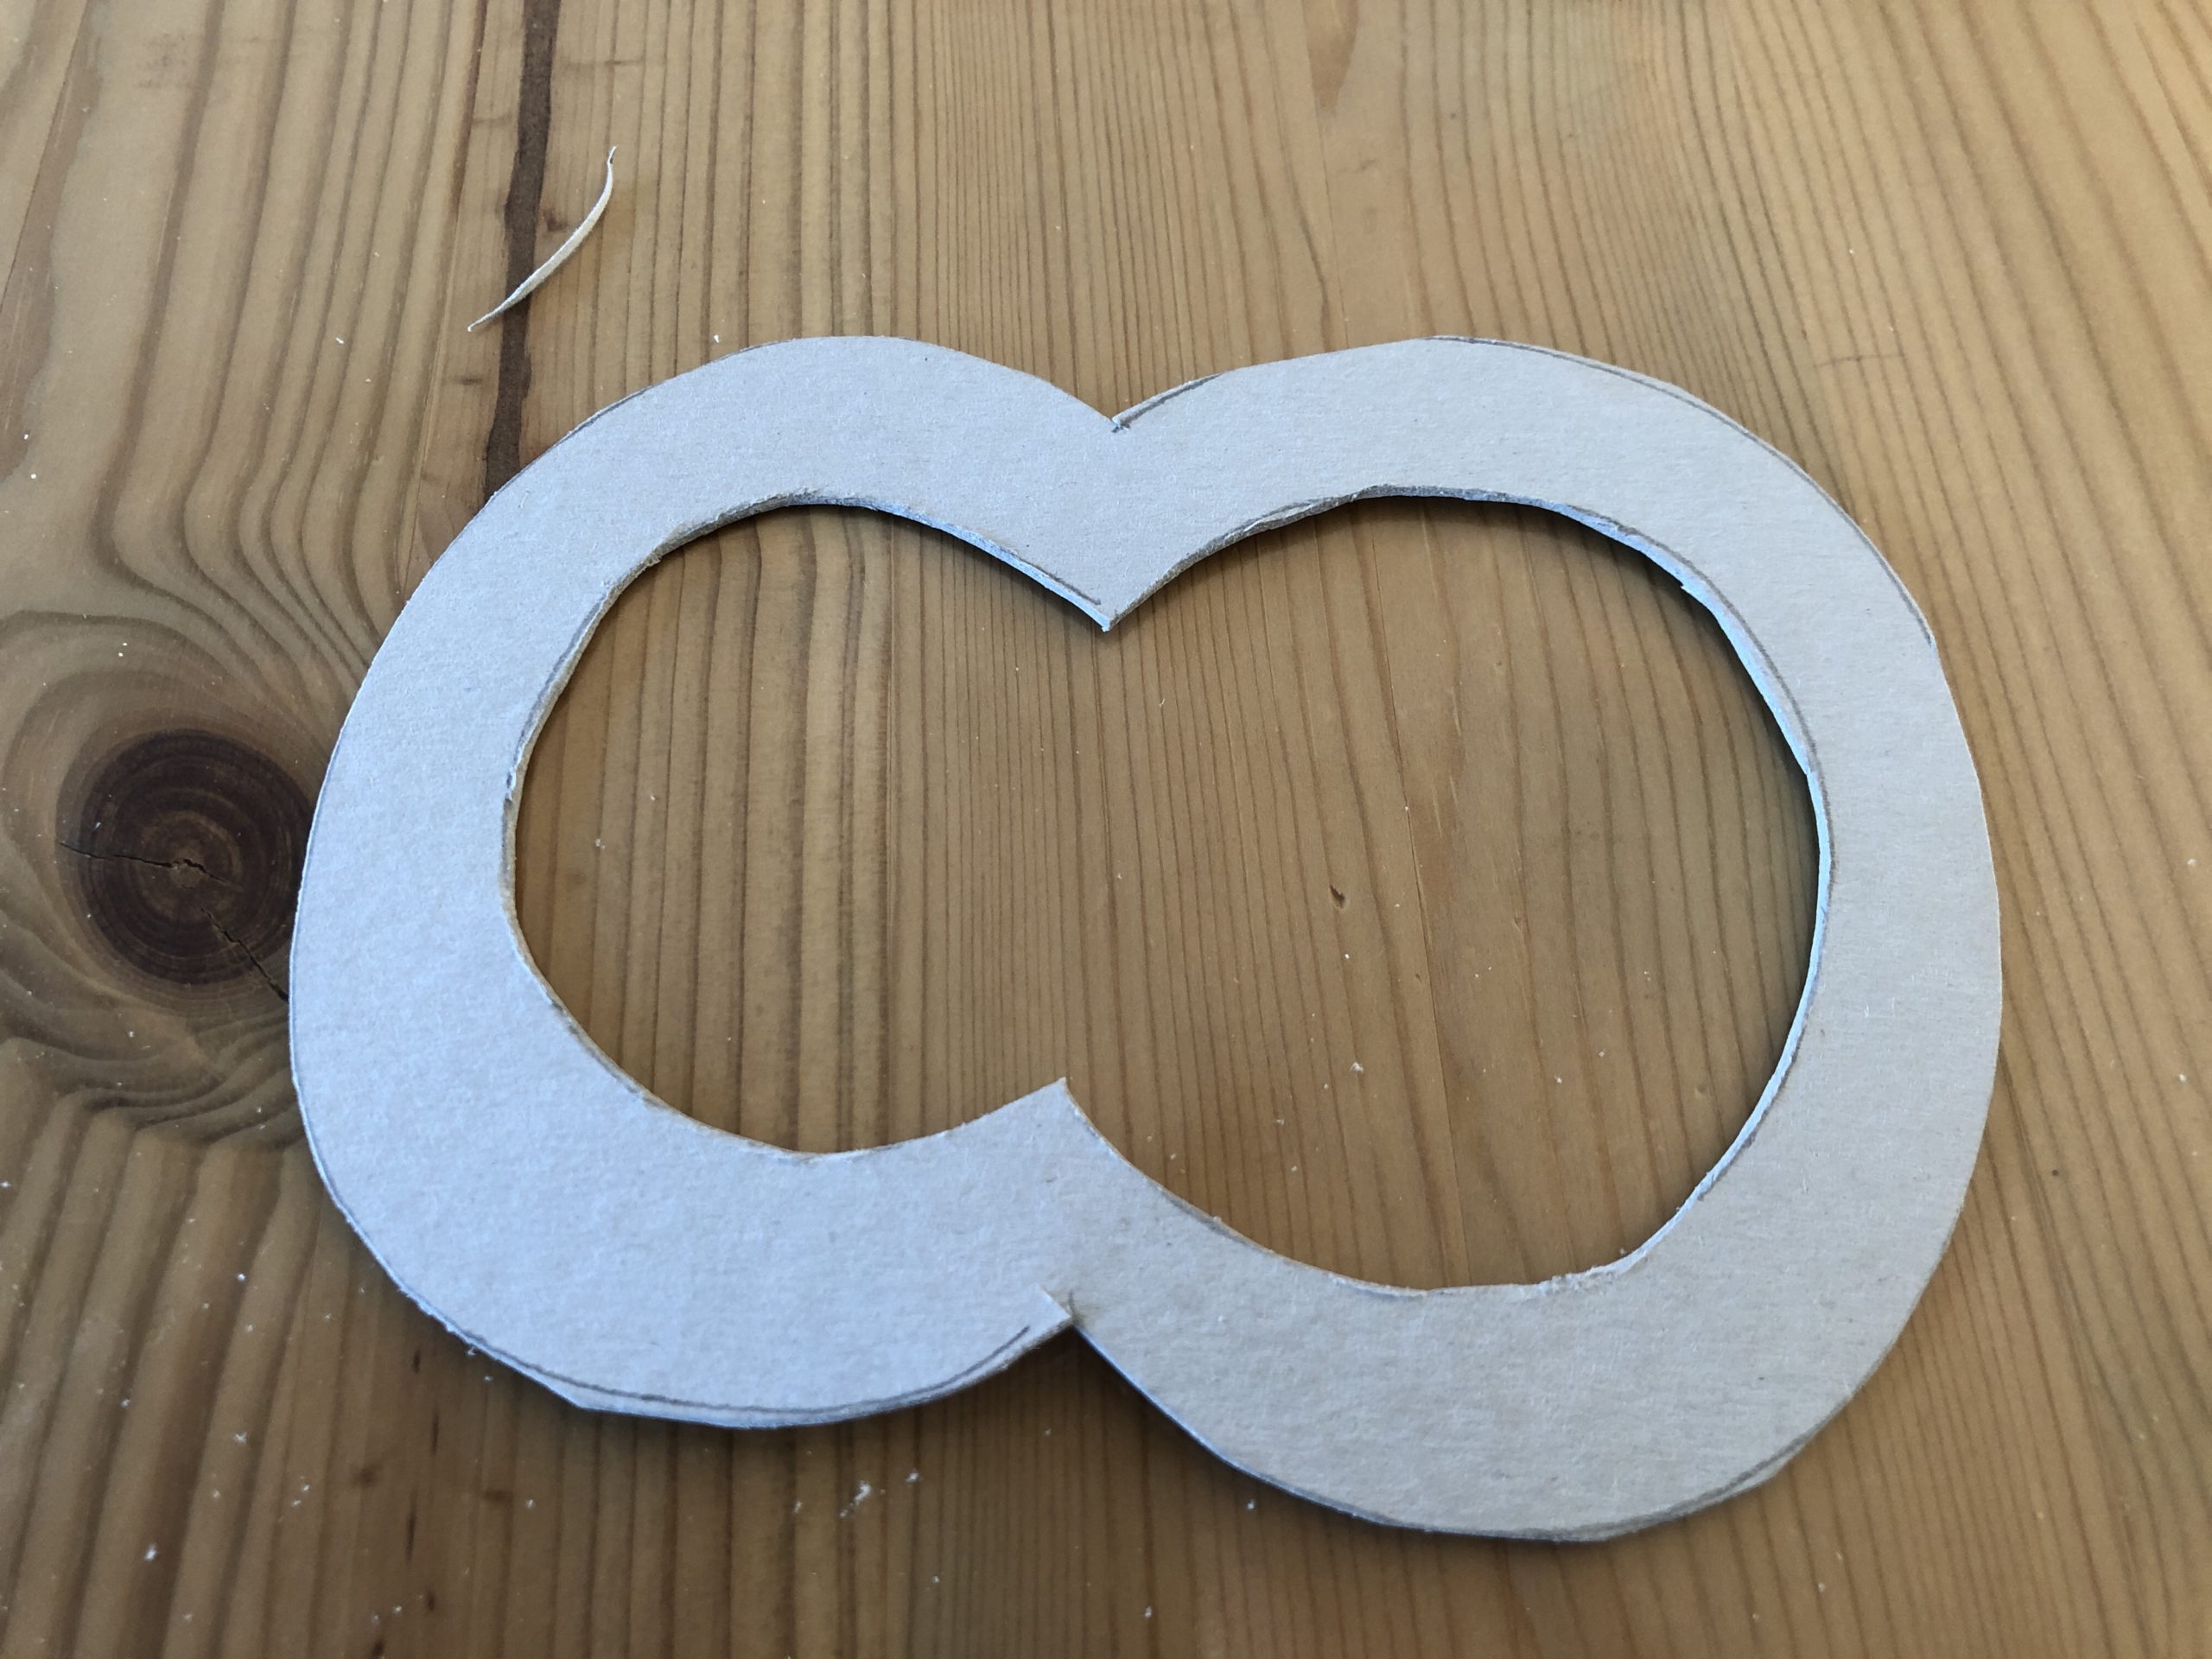


Now put the cardboard frame on a piece of butterbread paper.
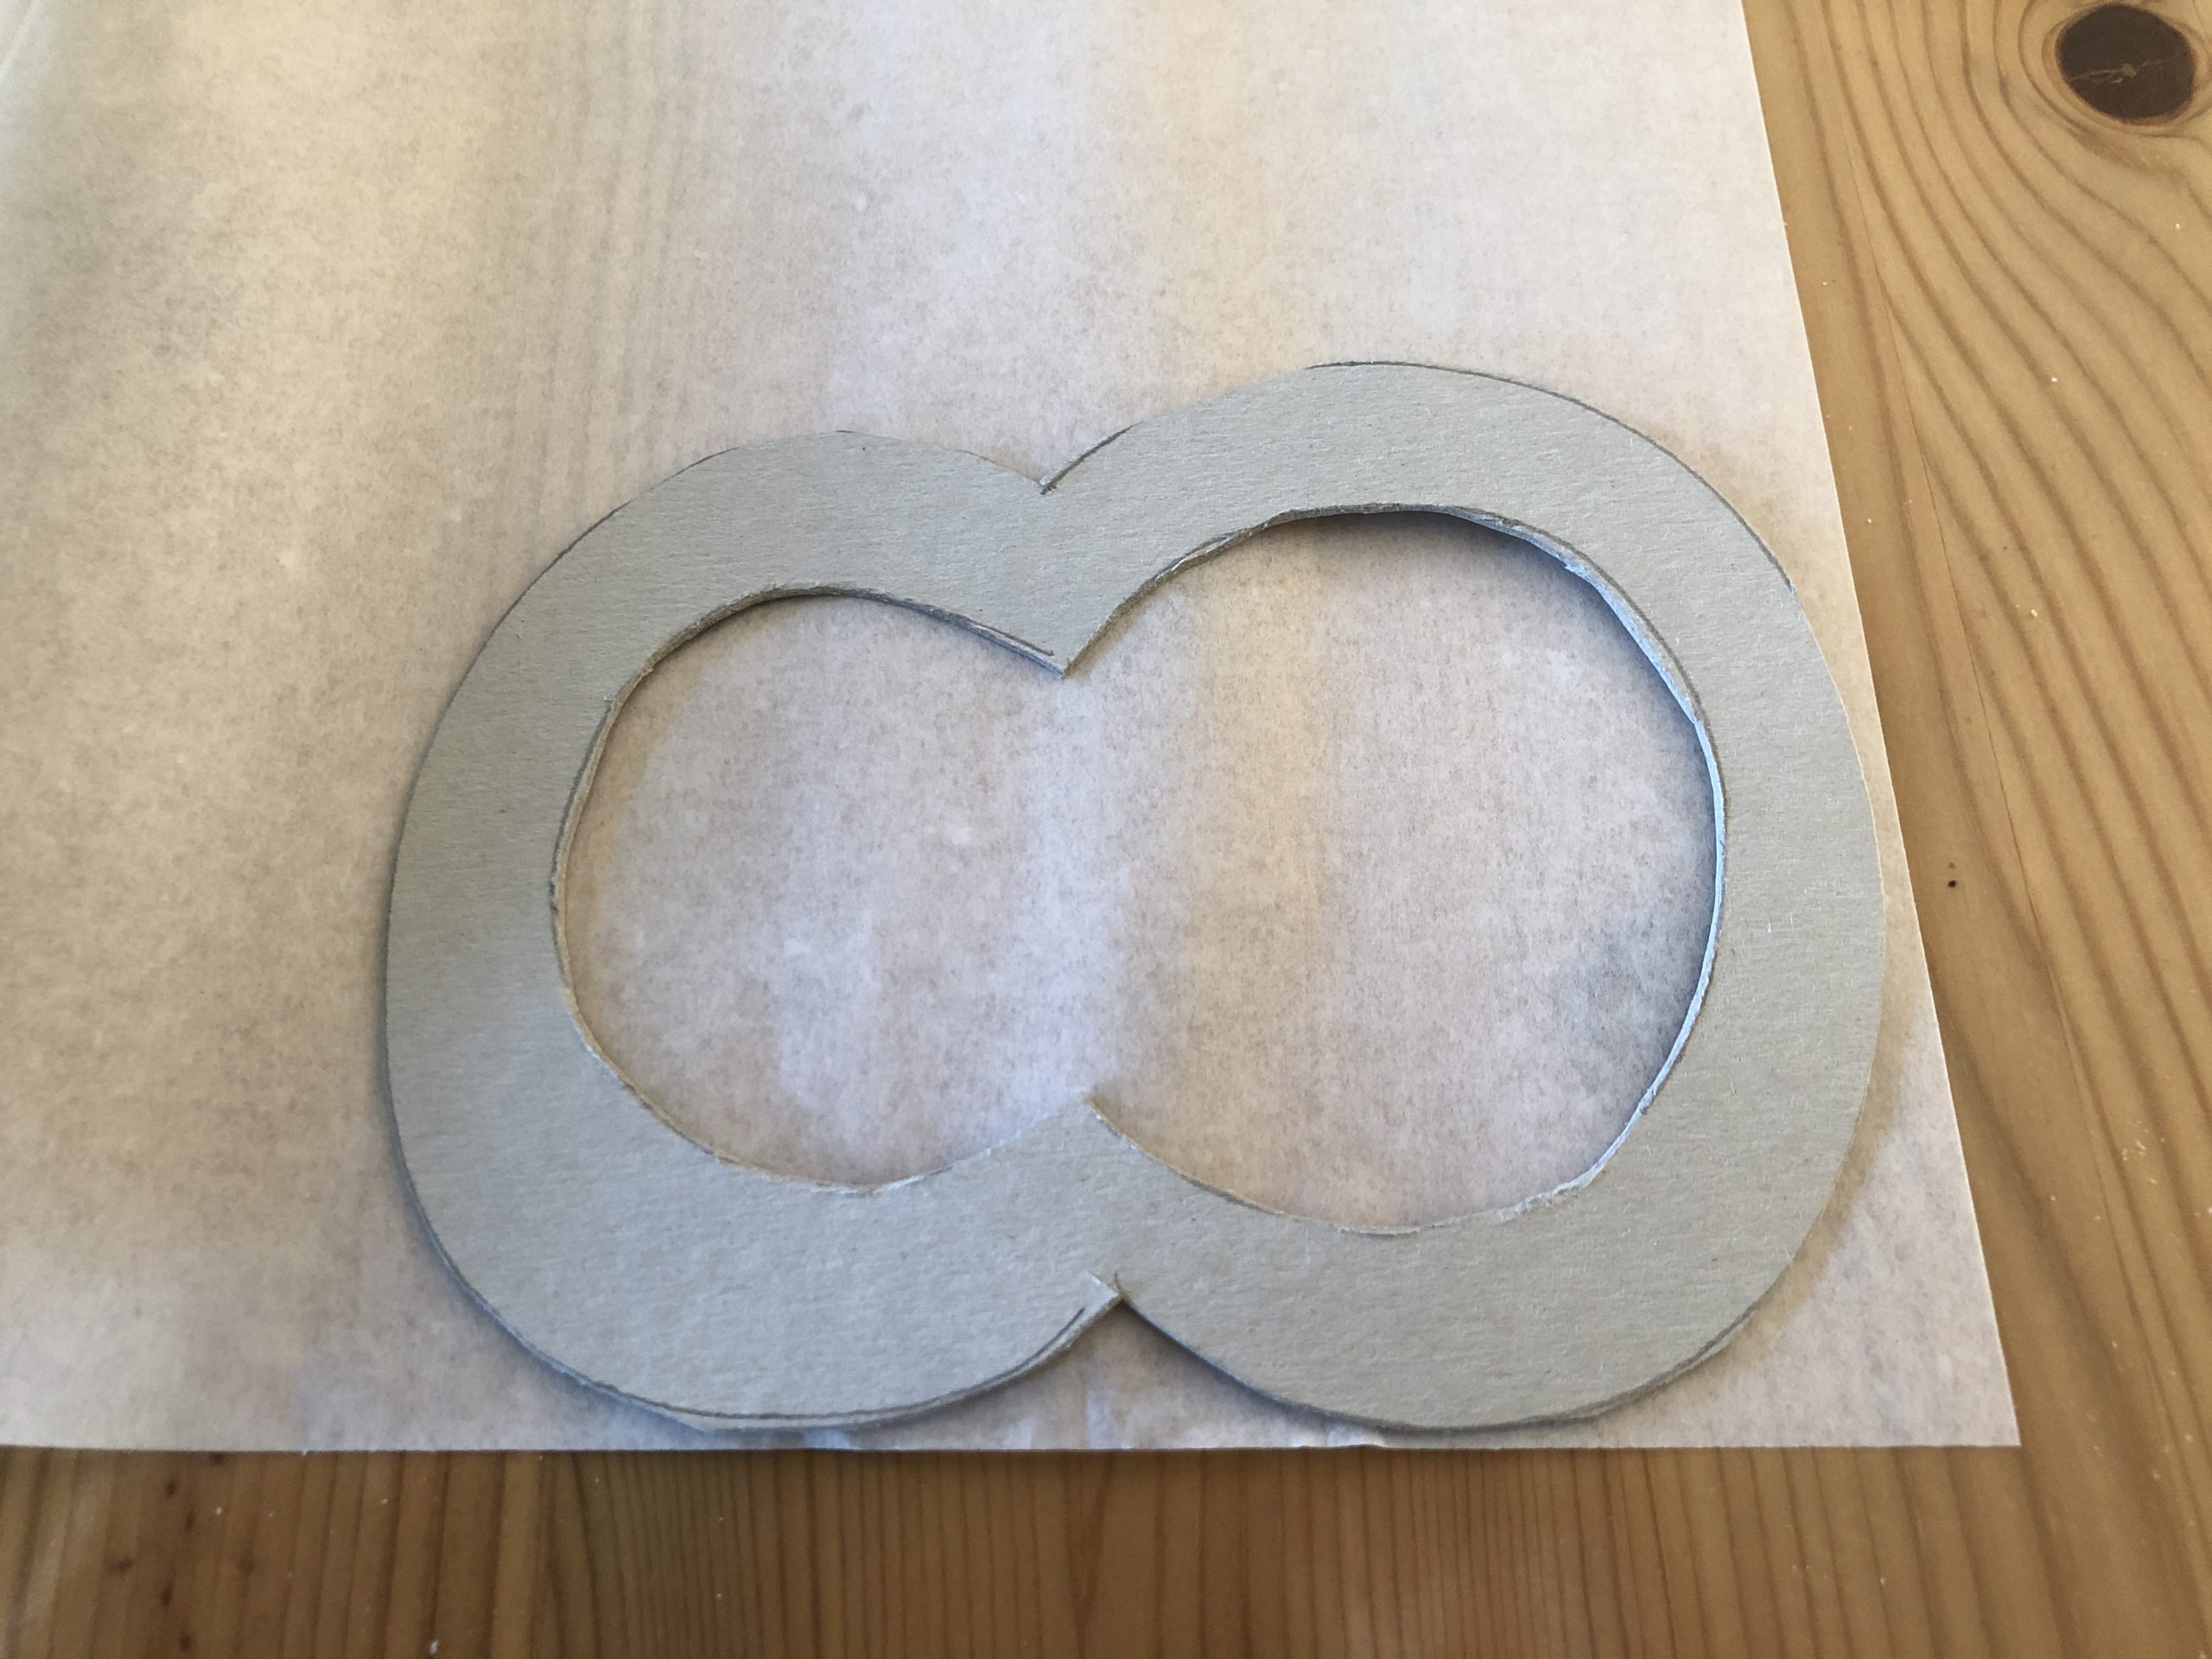


Stick the frame on the butterbread paper.
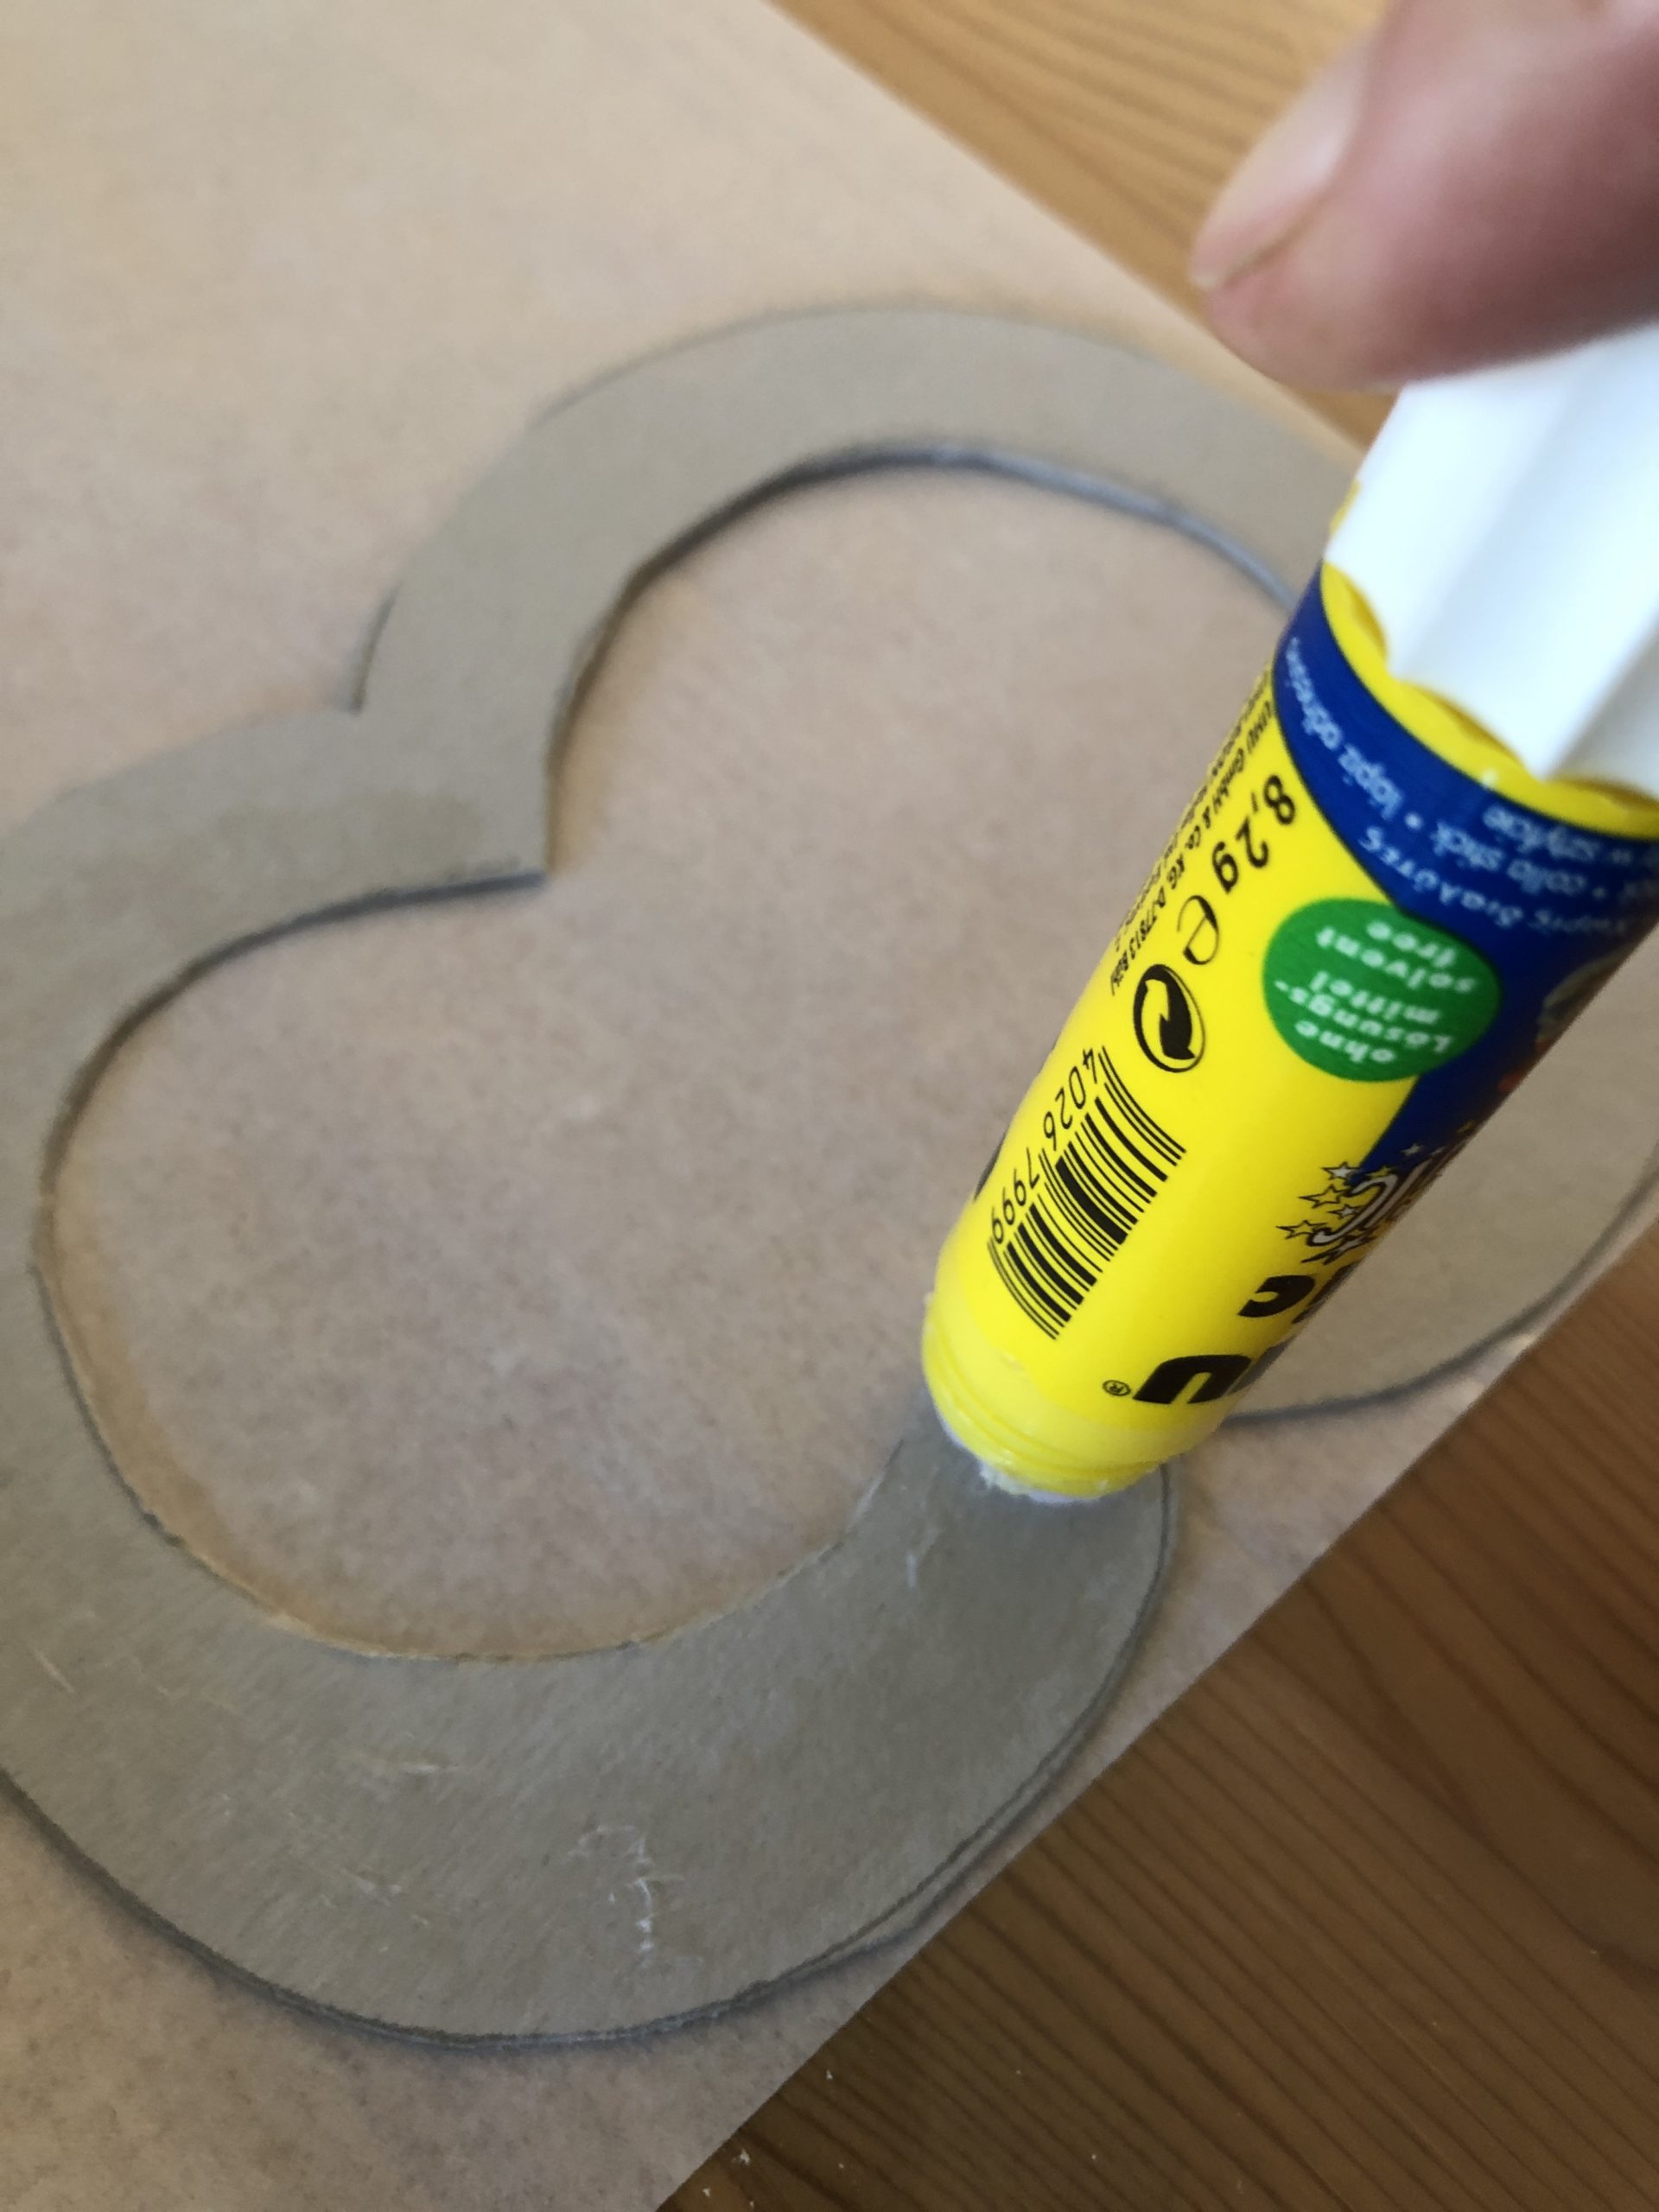


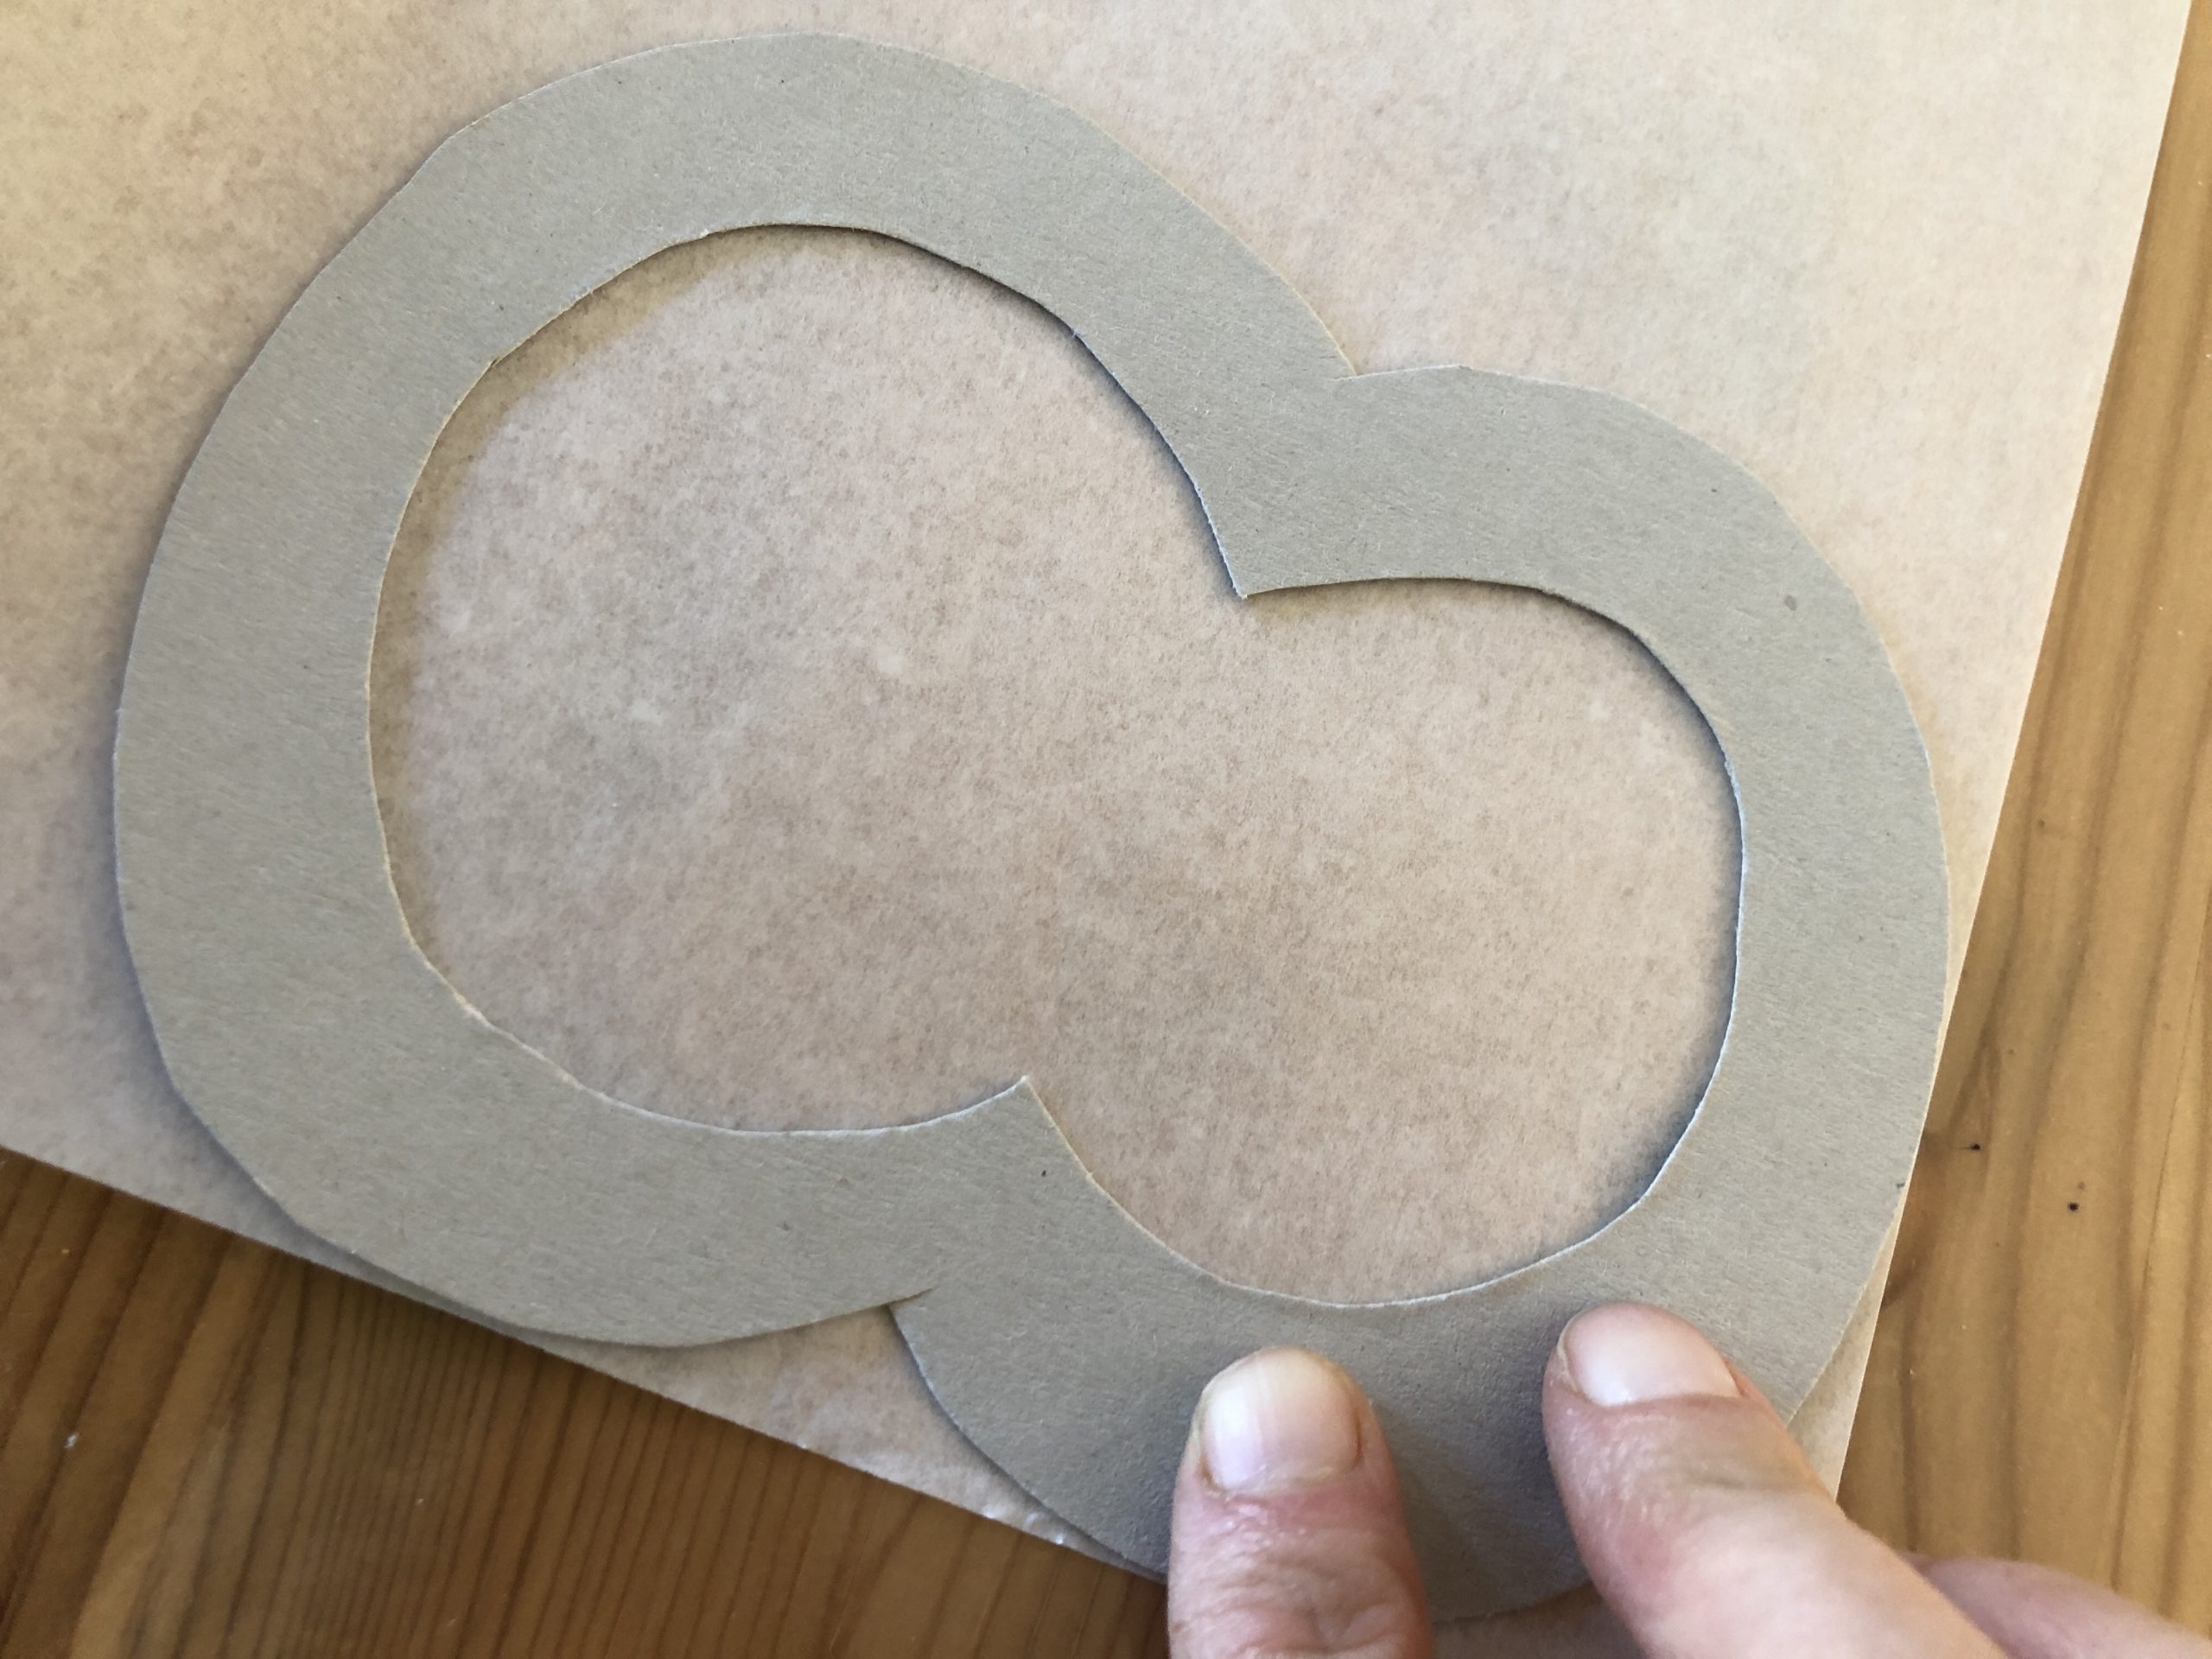


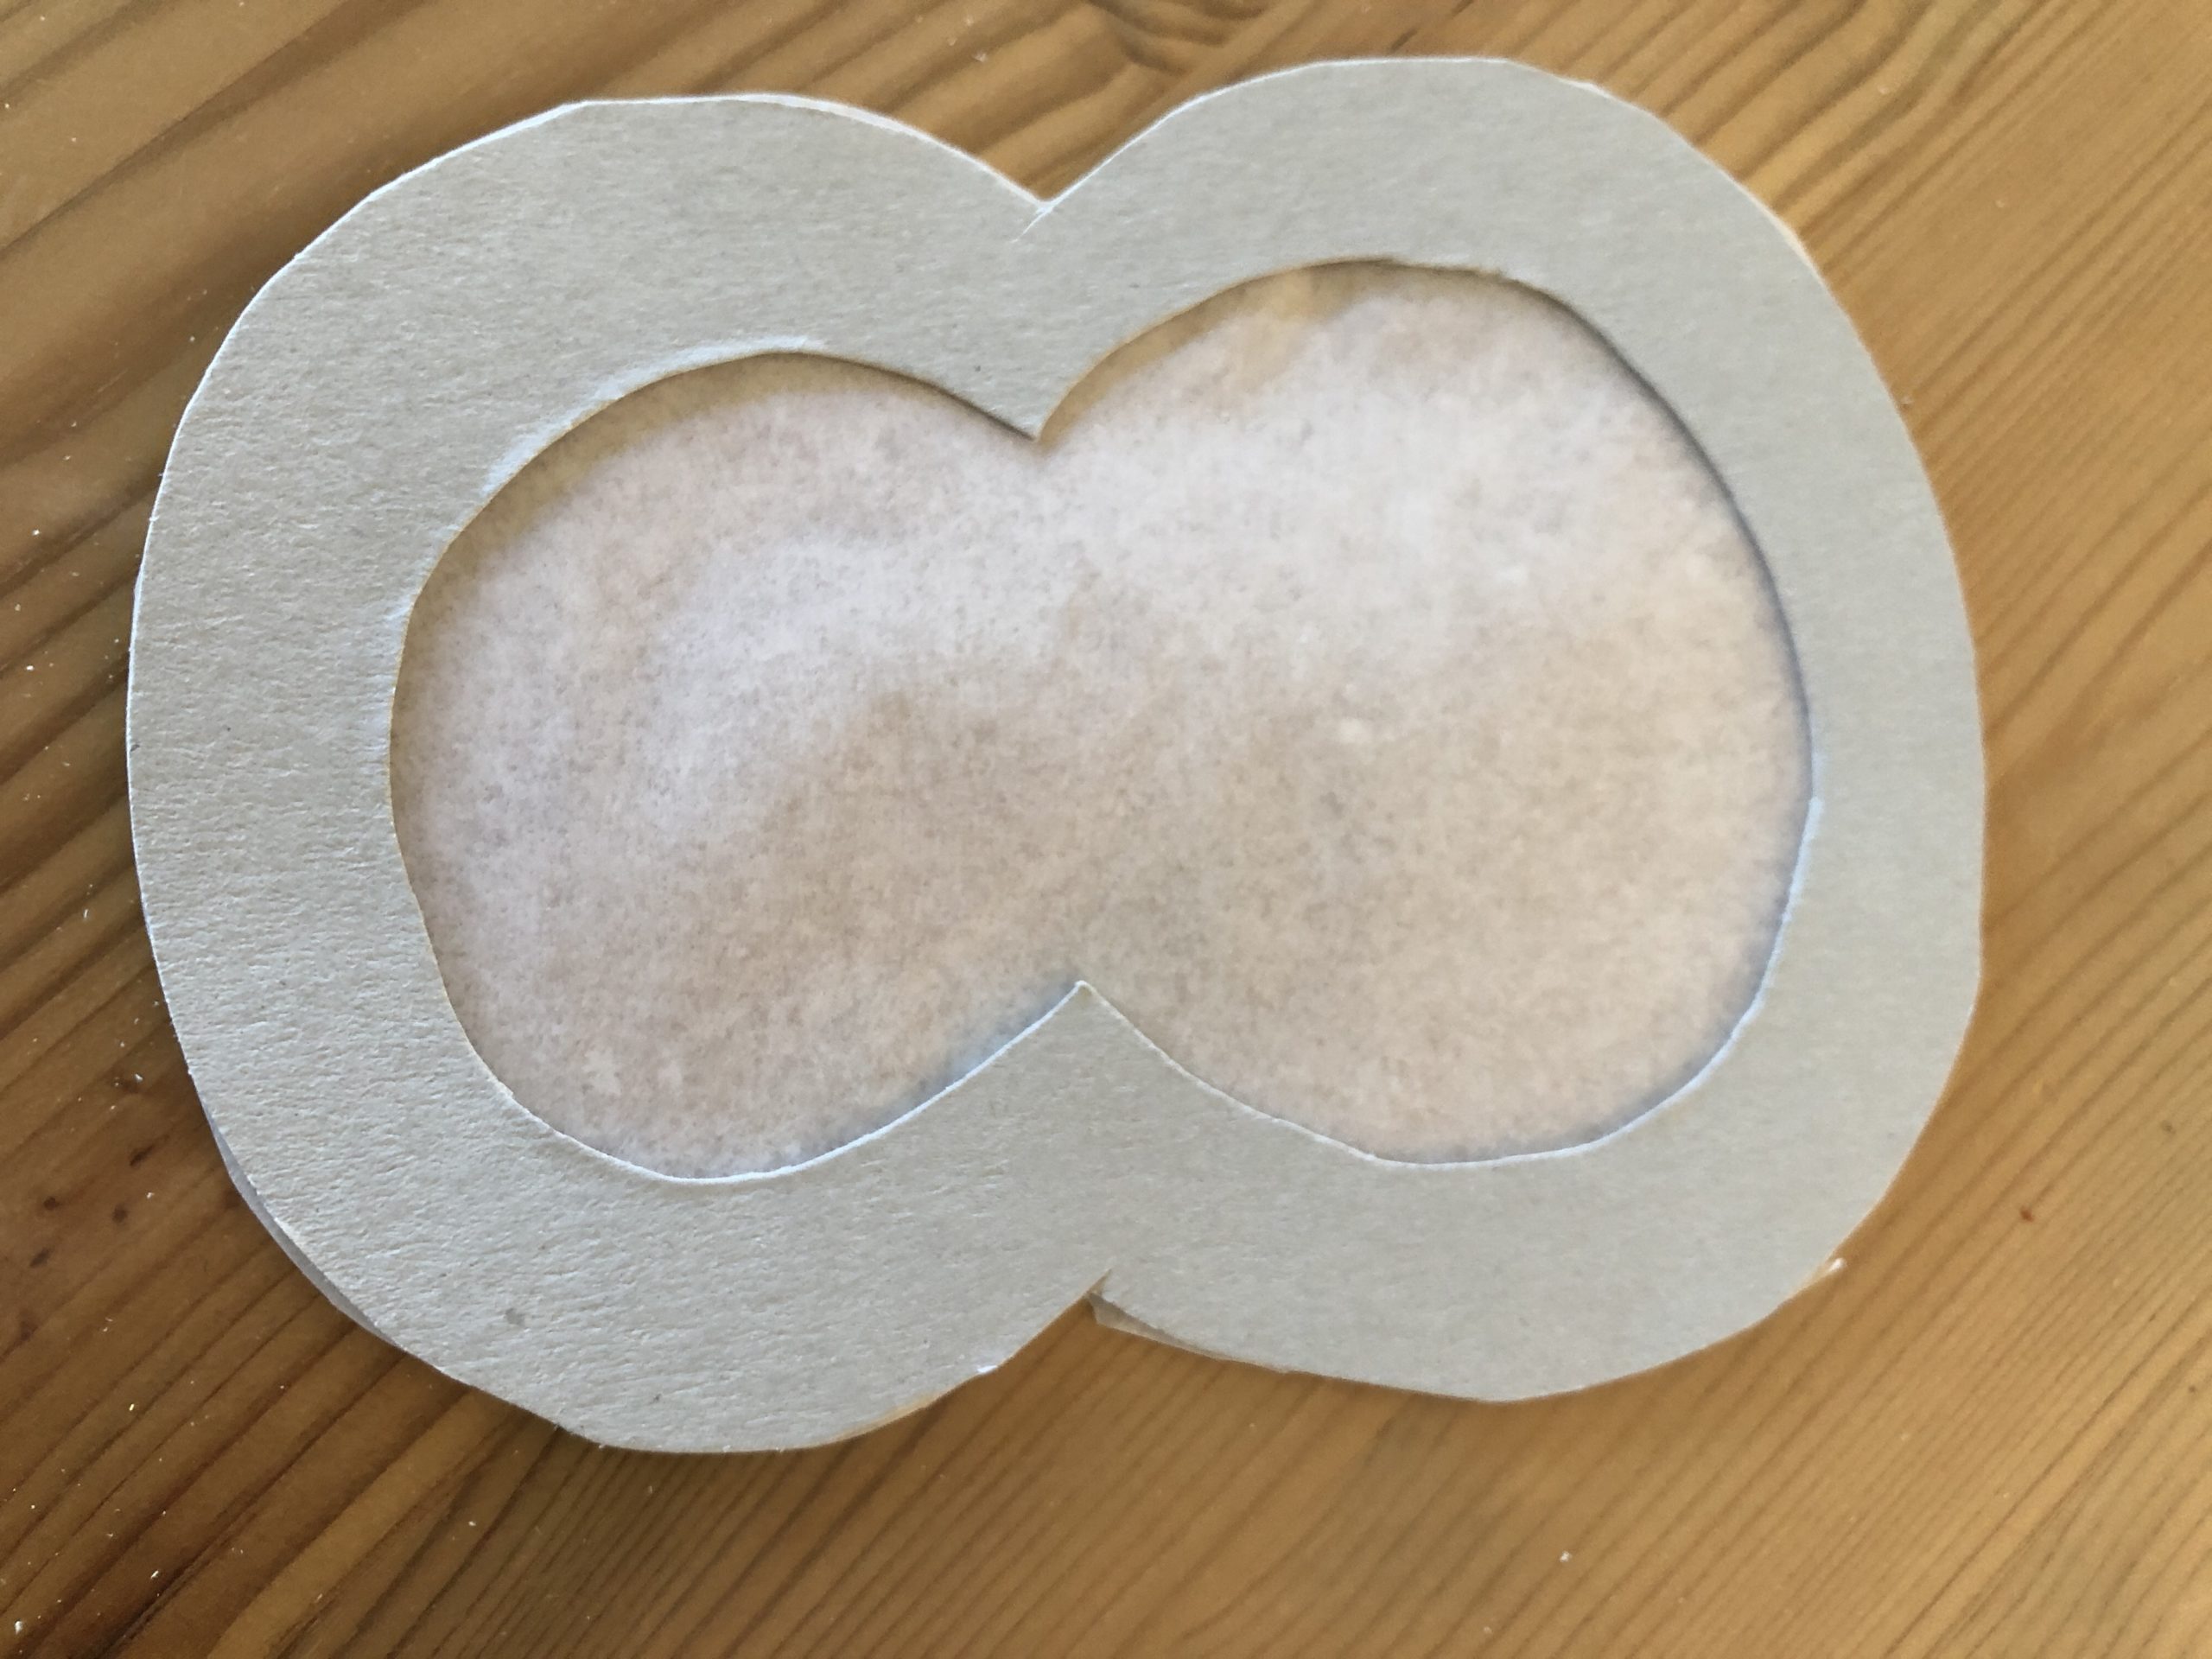
Now cut off the overhanging butterbread paper.
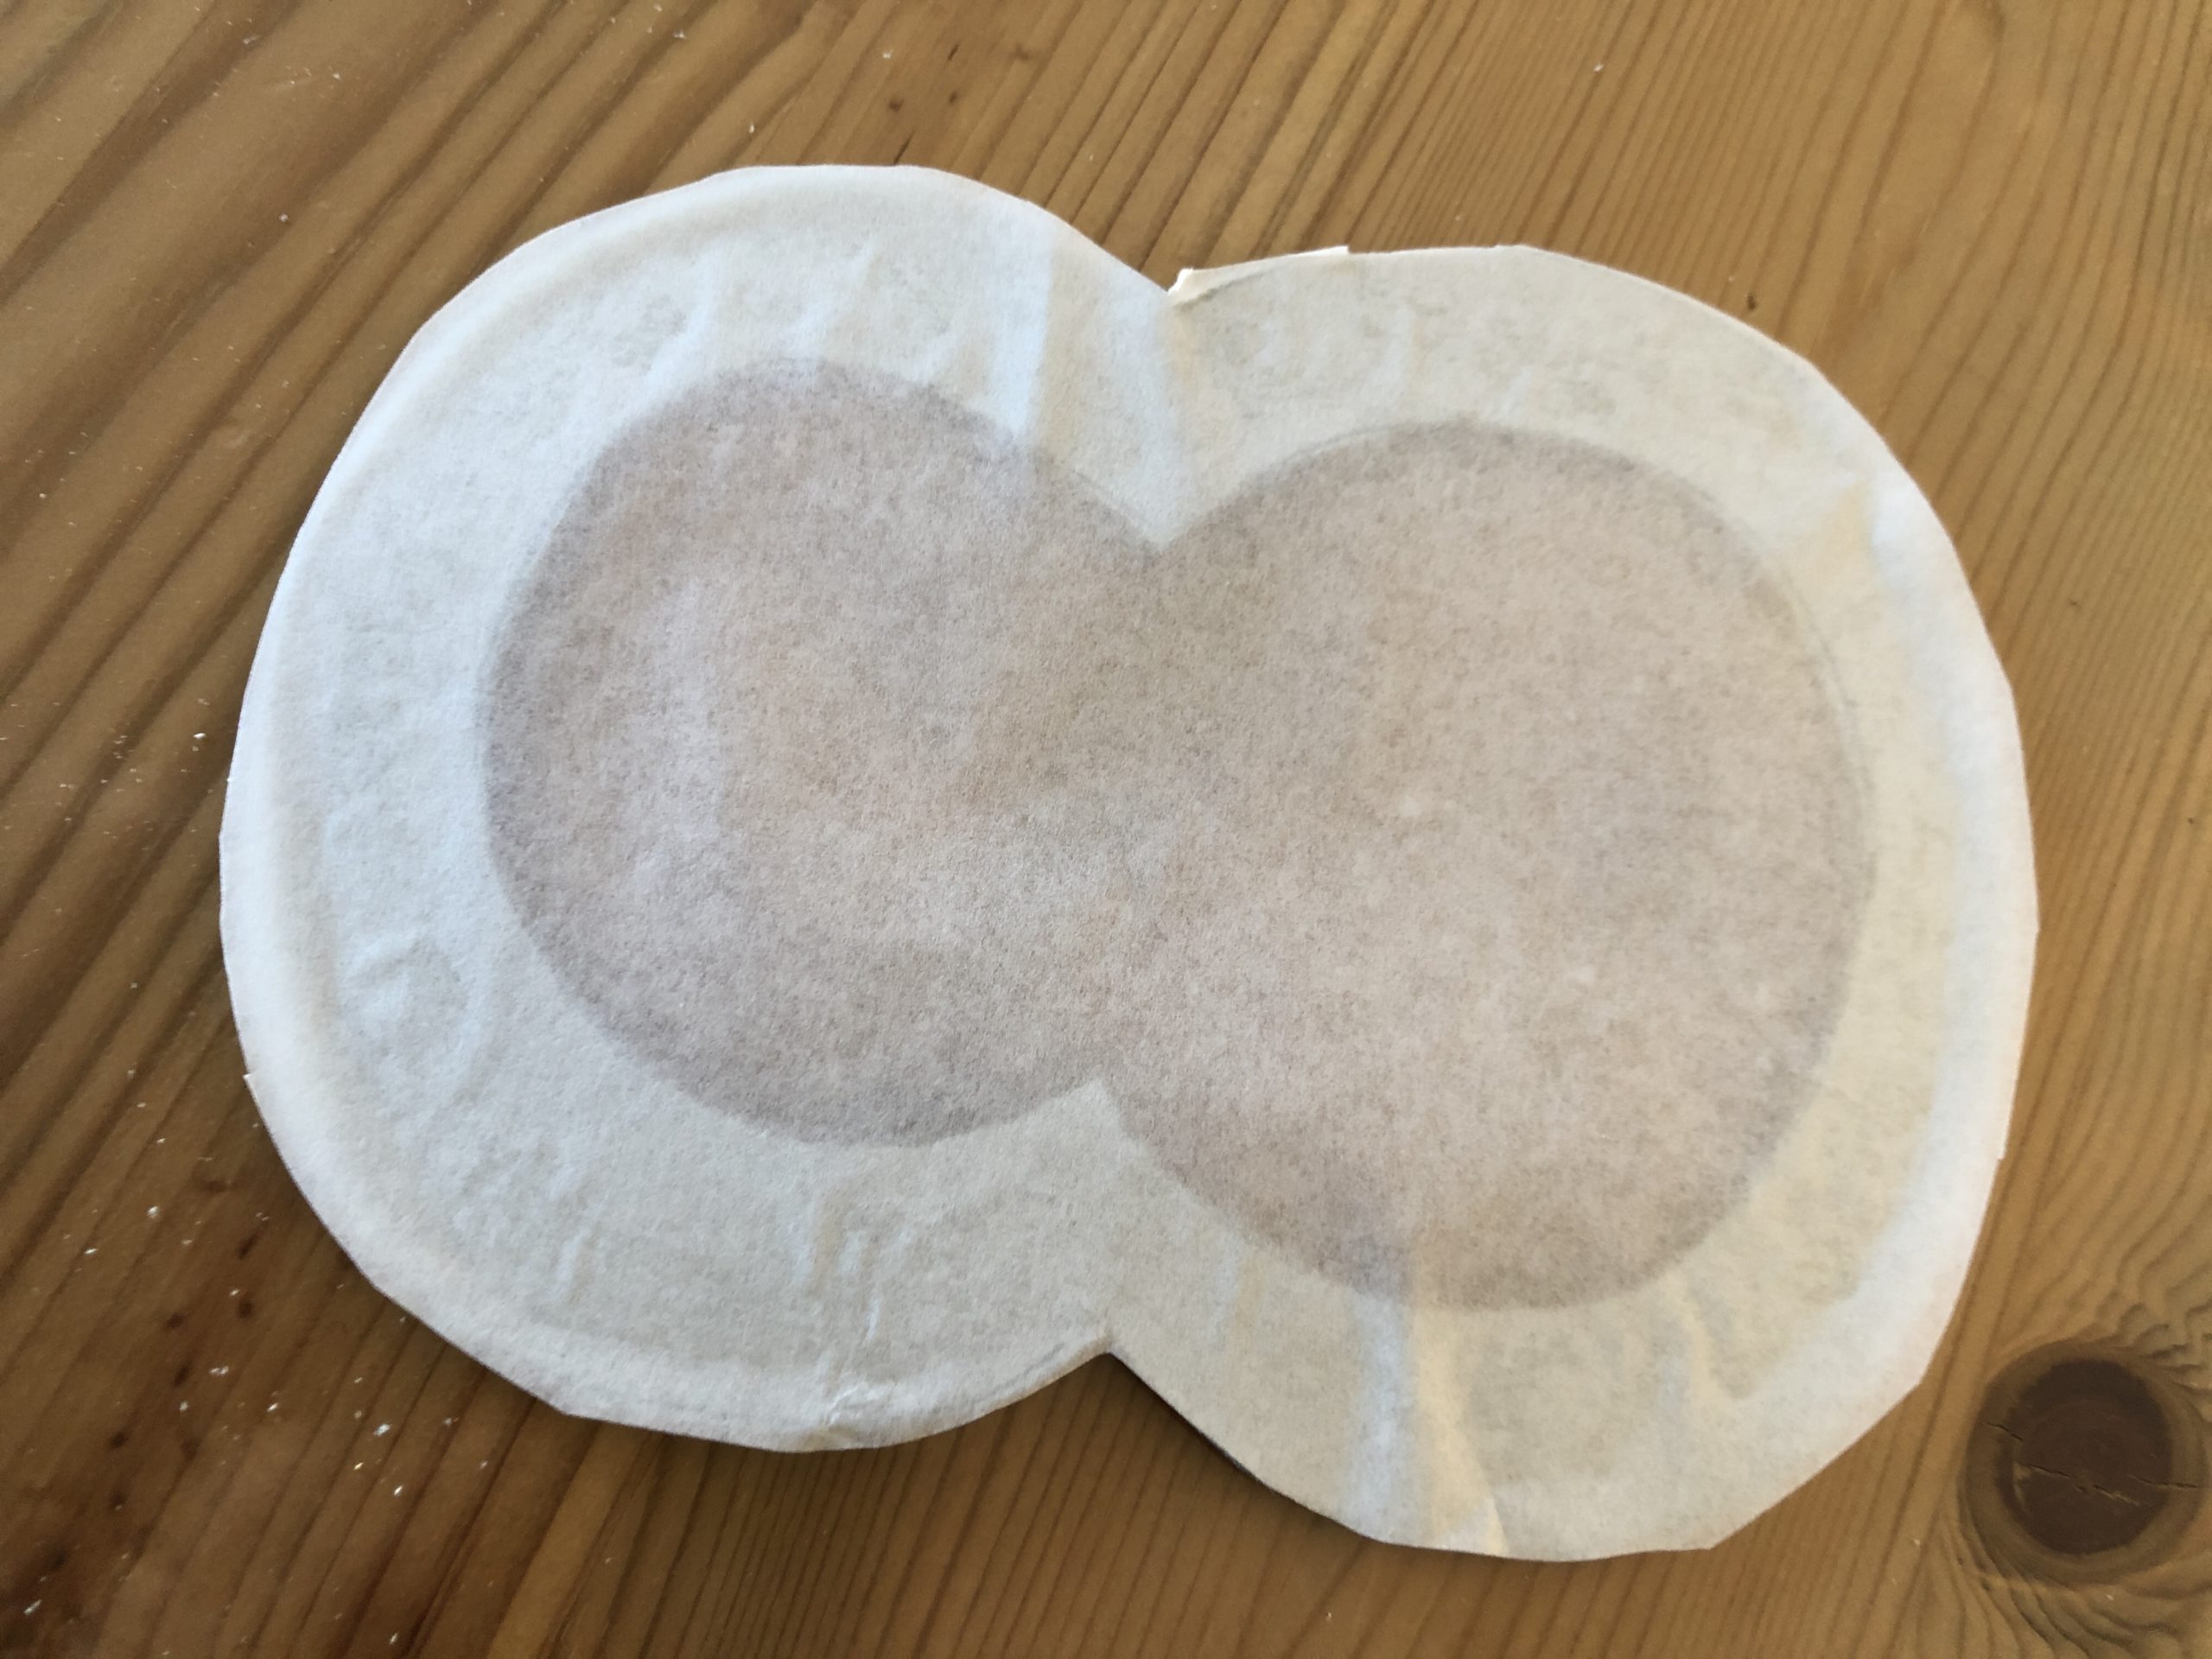


Now the seeds, the stalk and a leaf are missing.


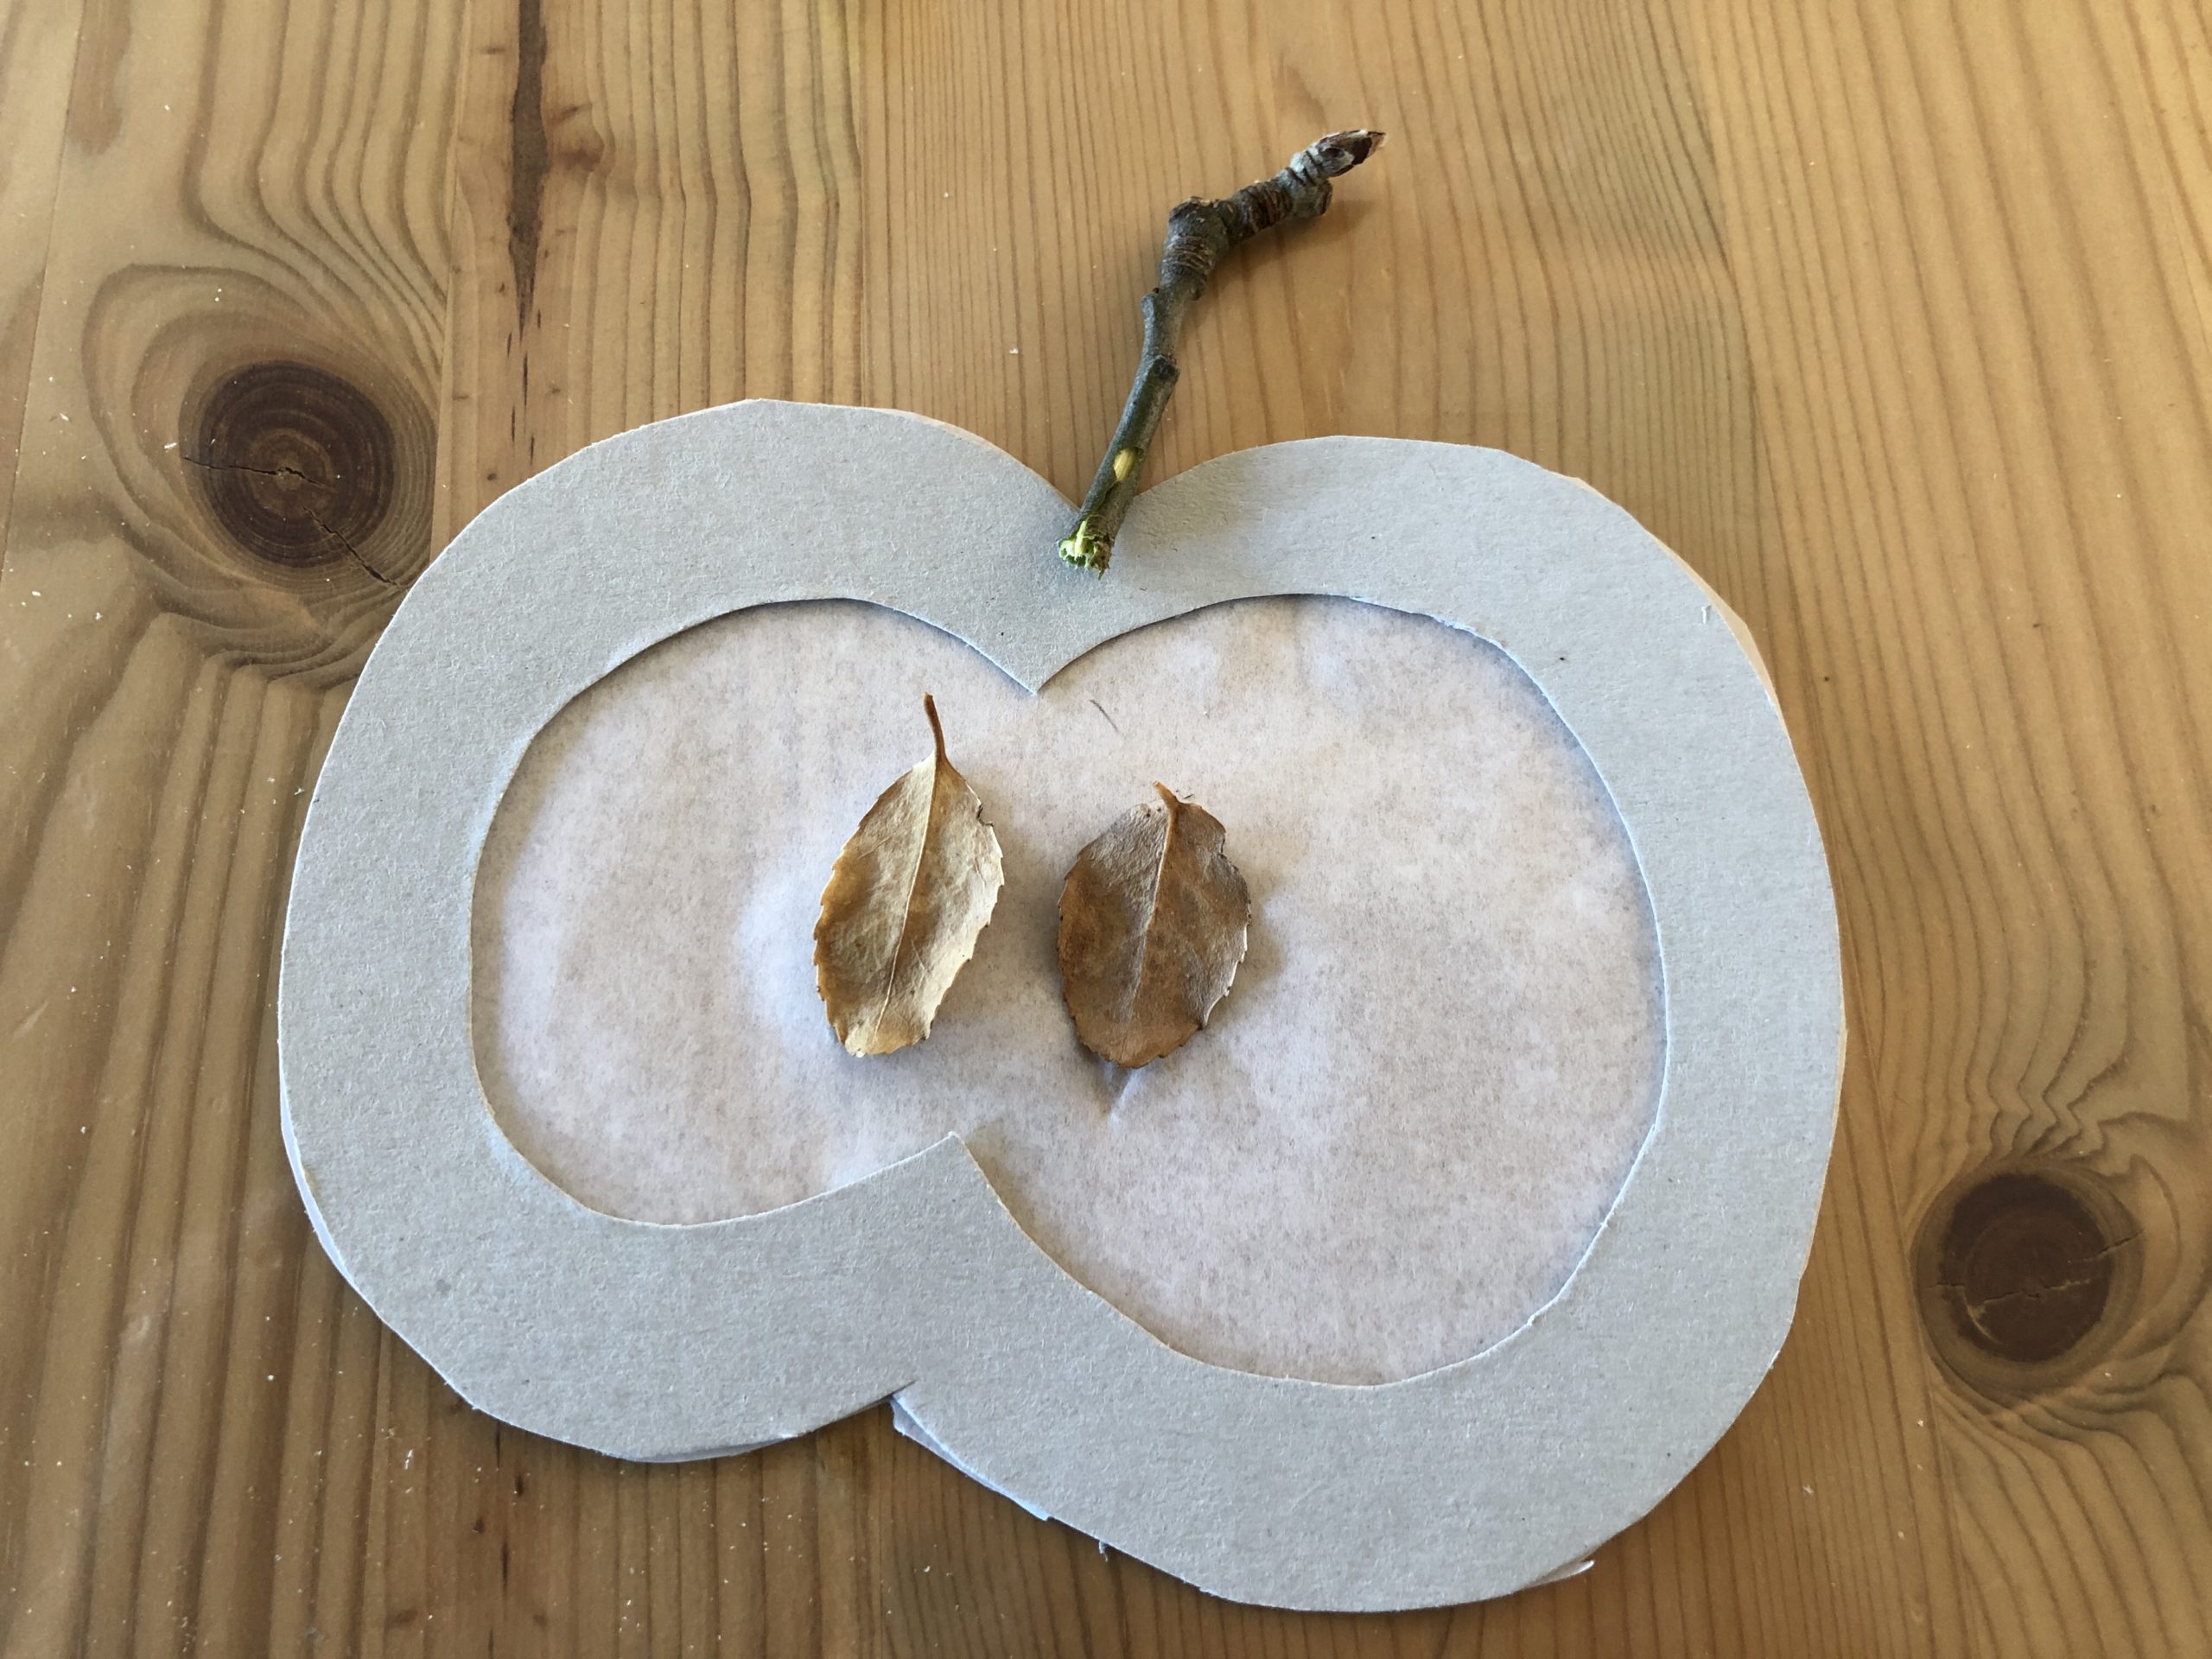


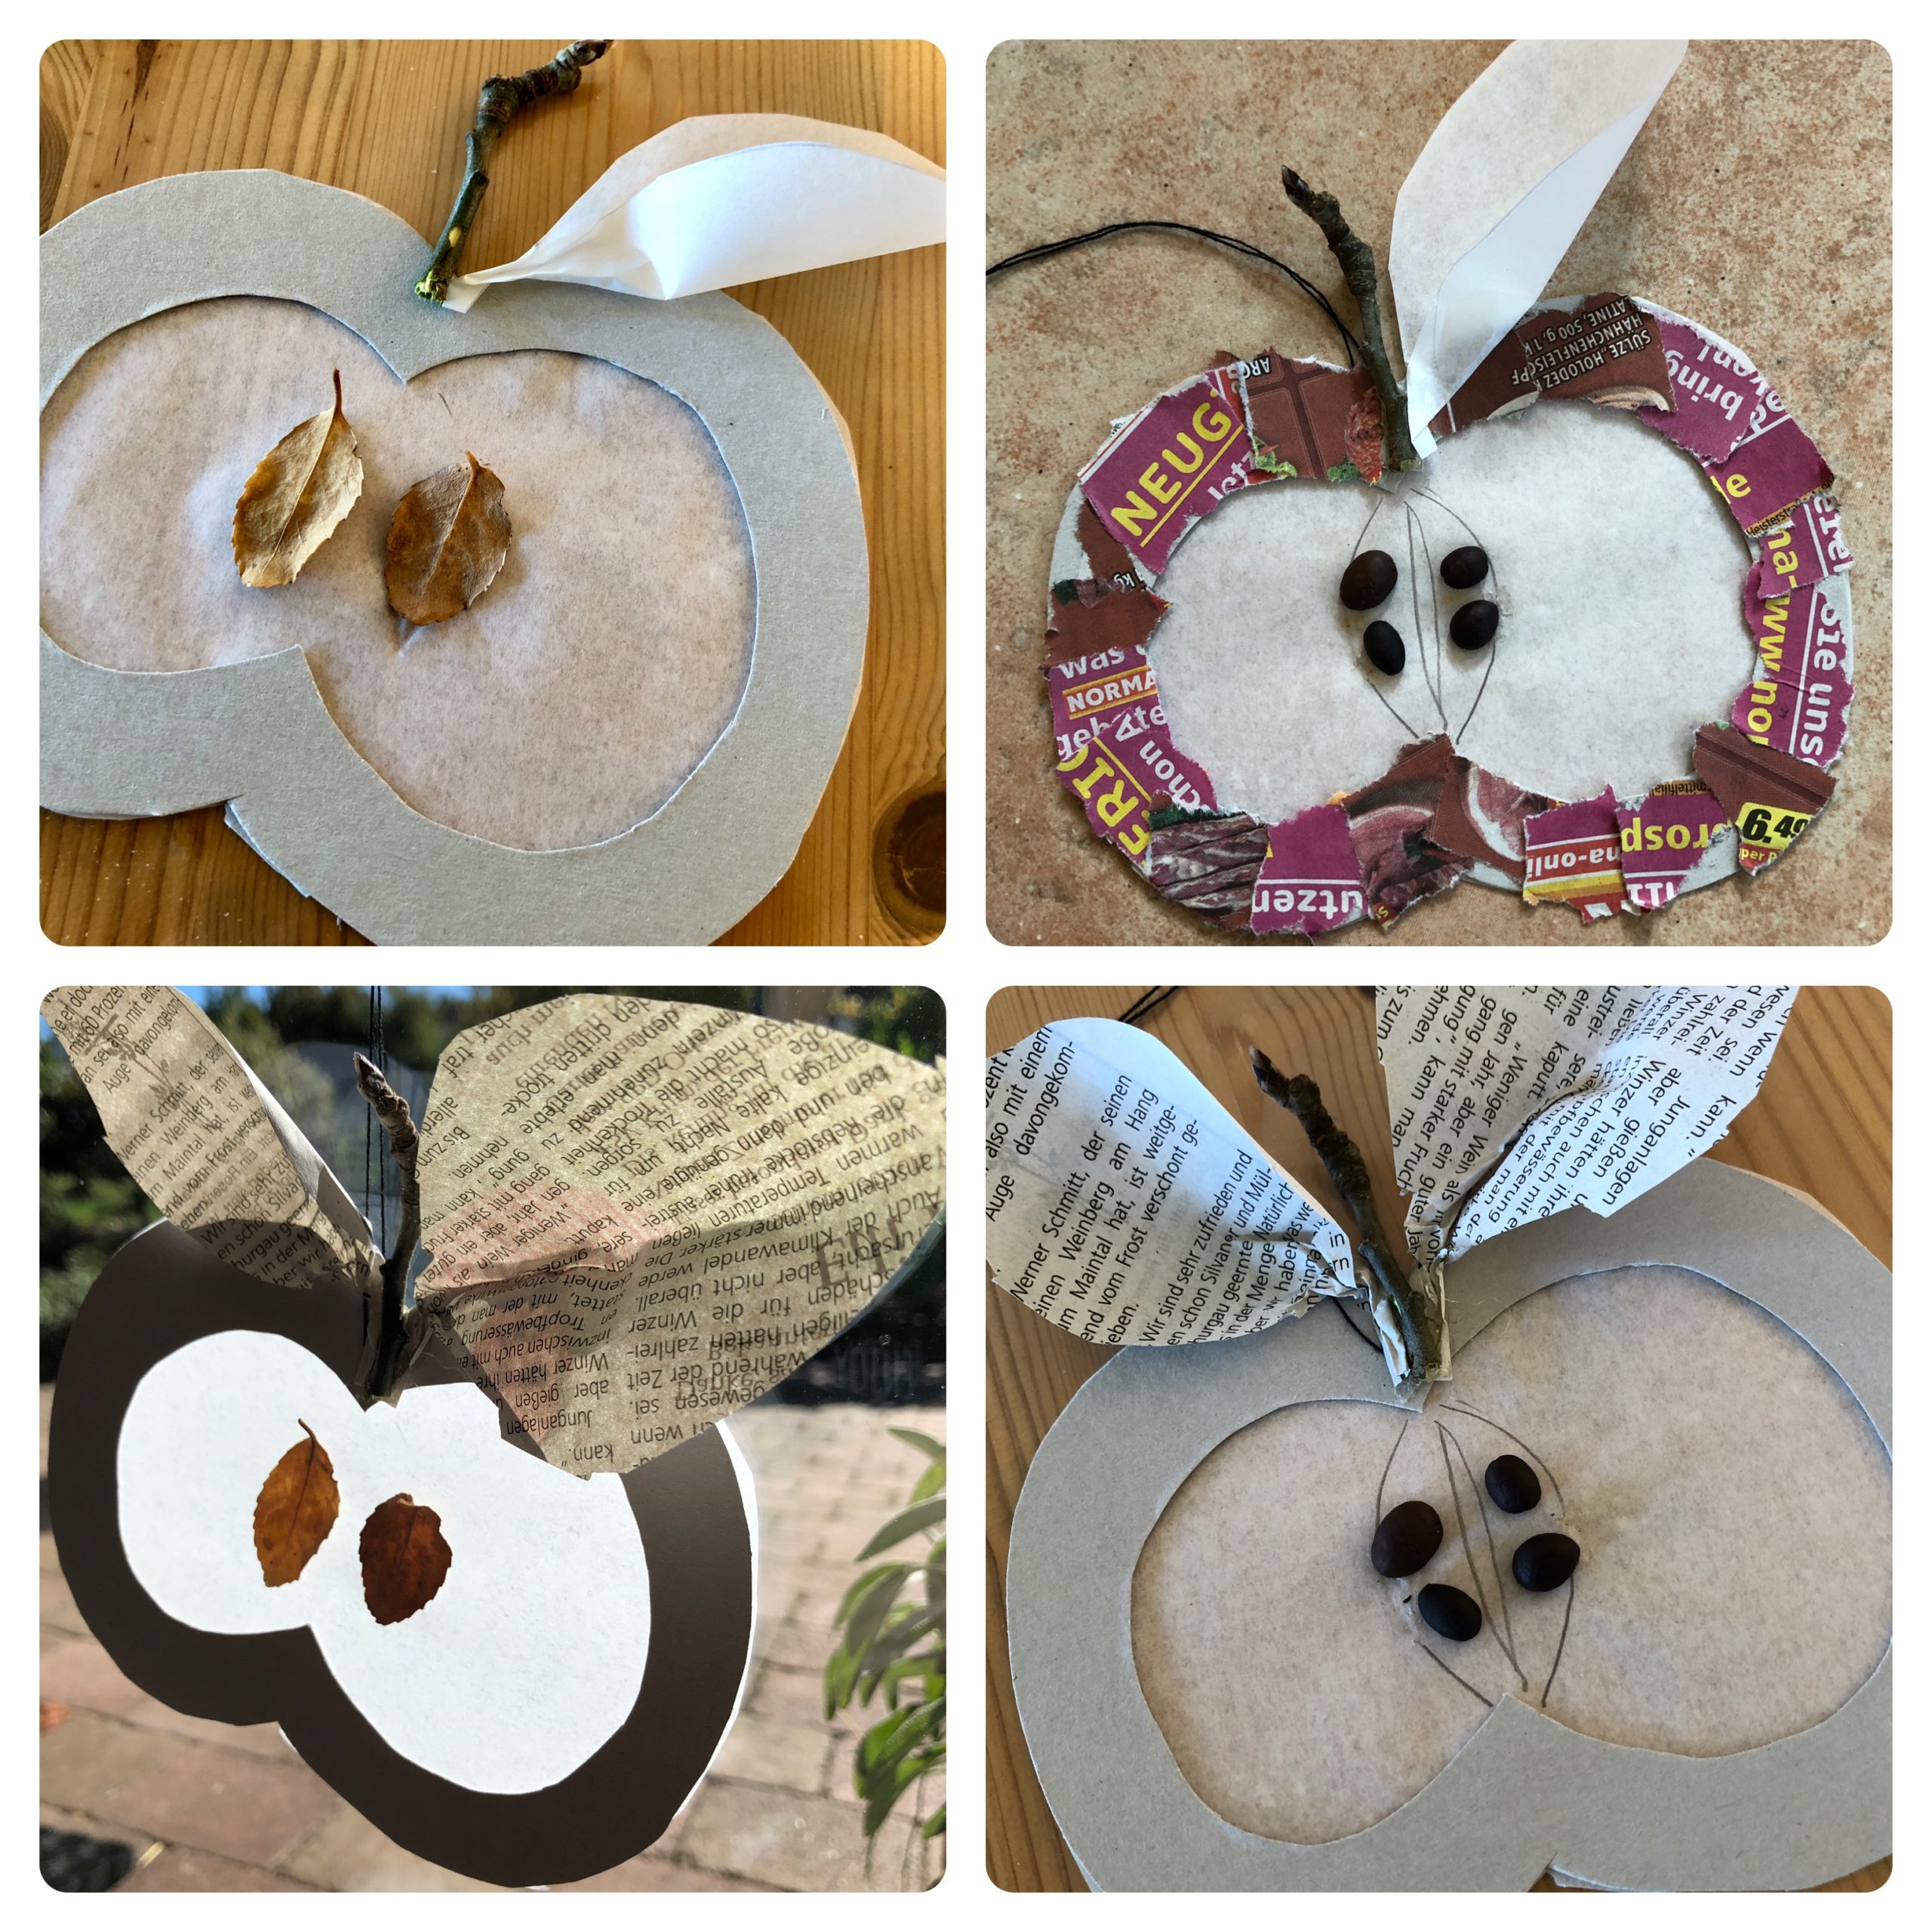
Idea 1:
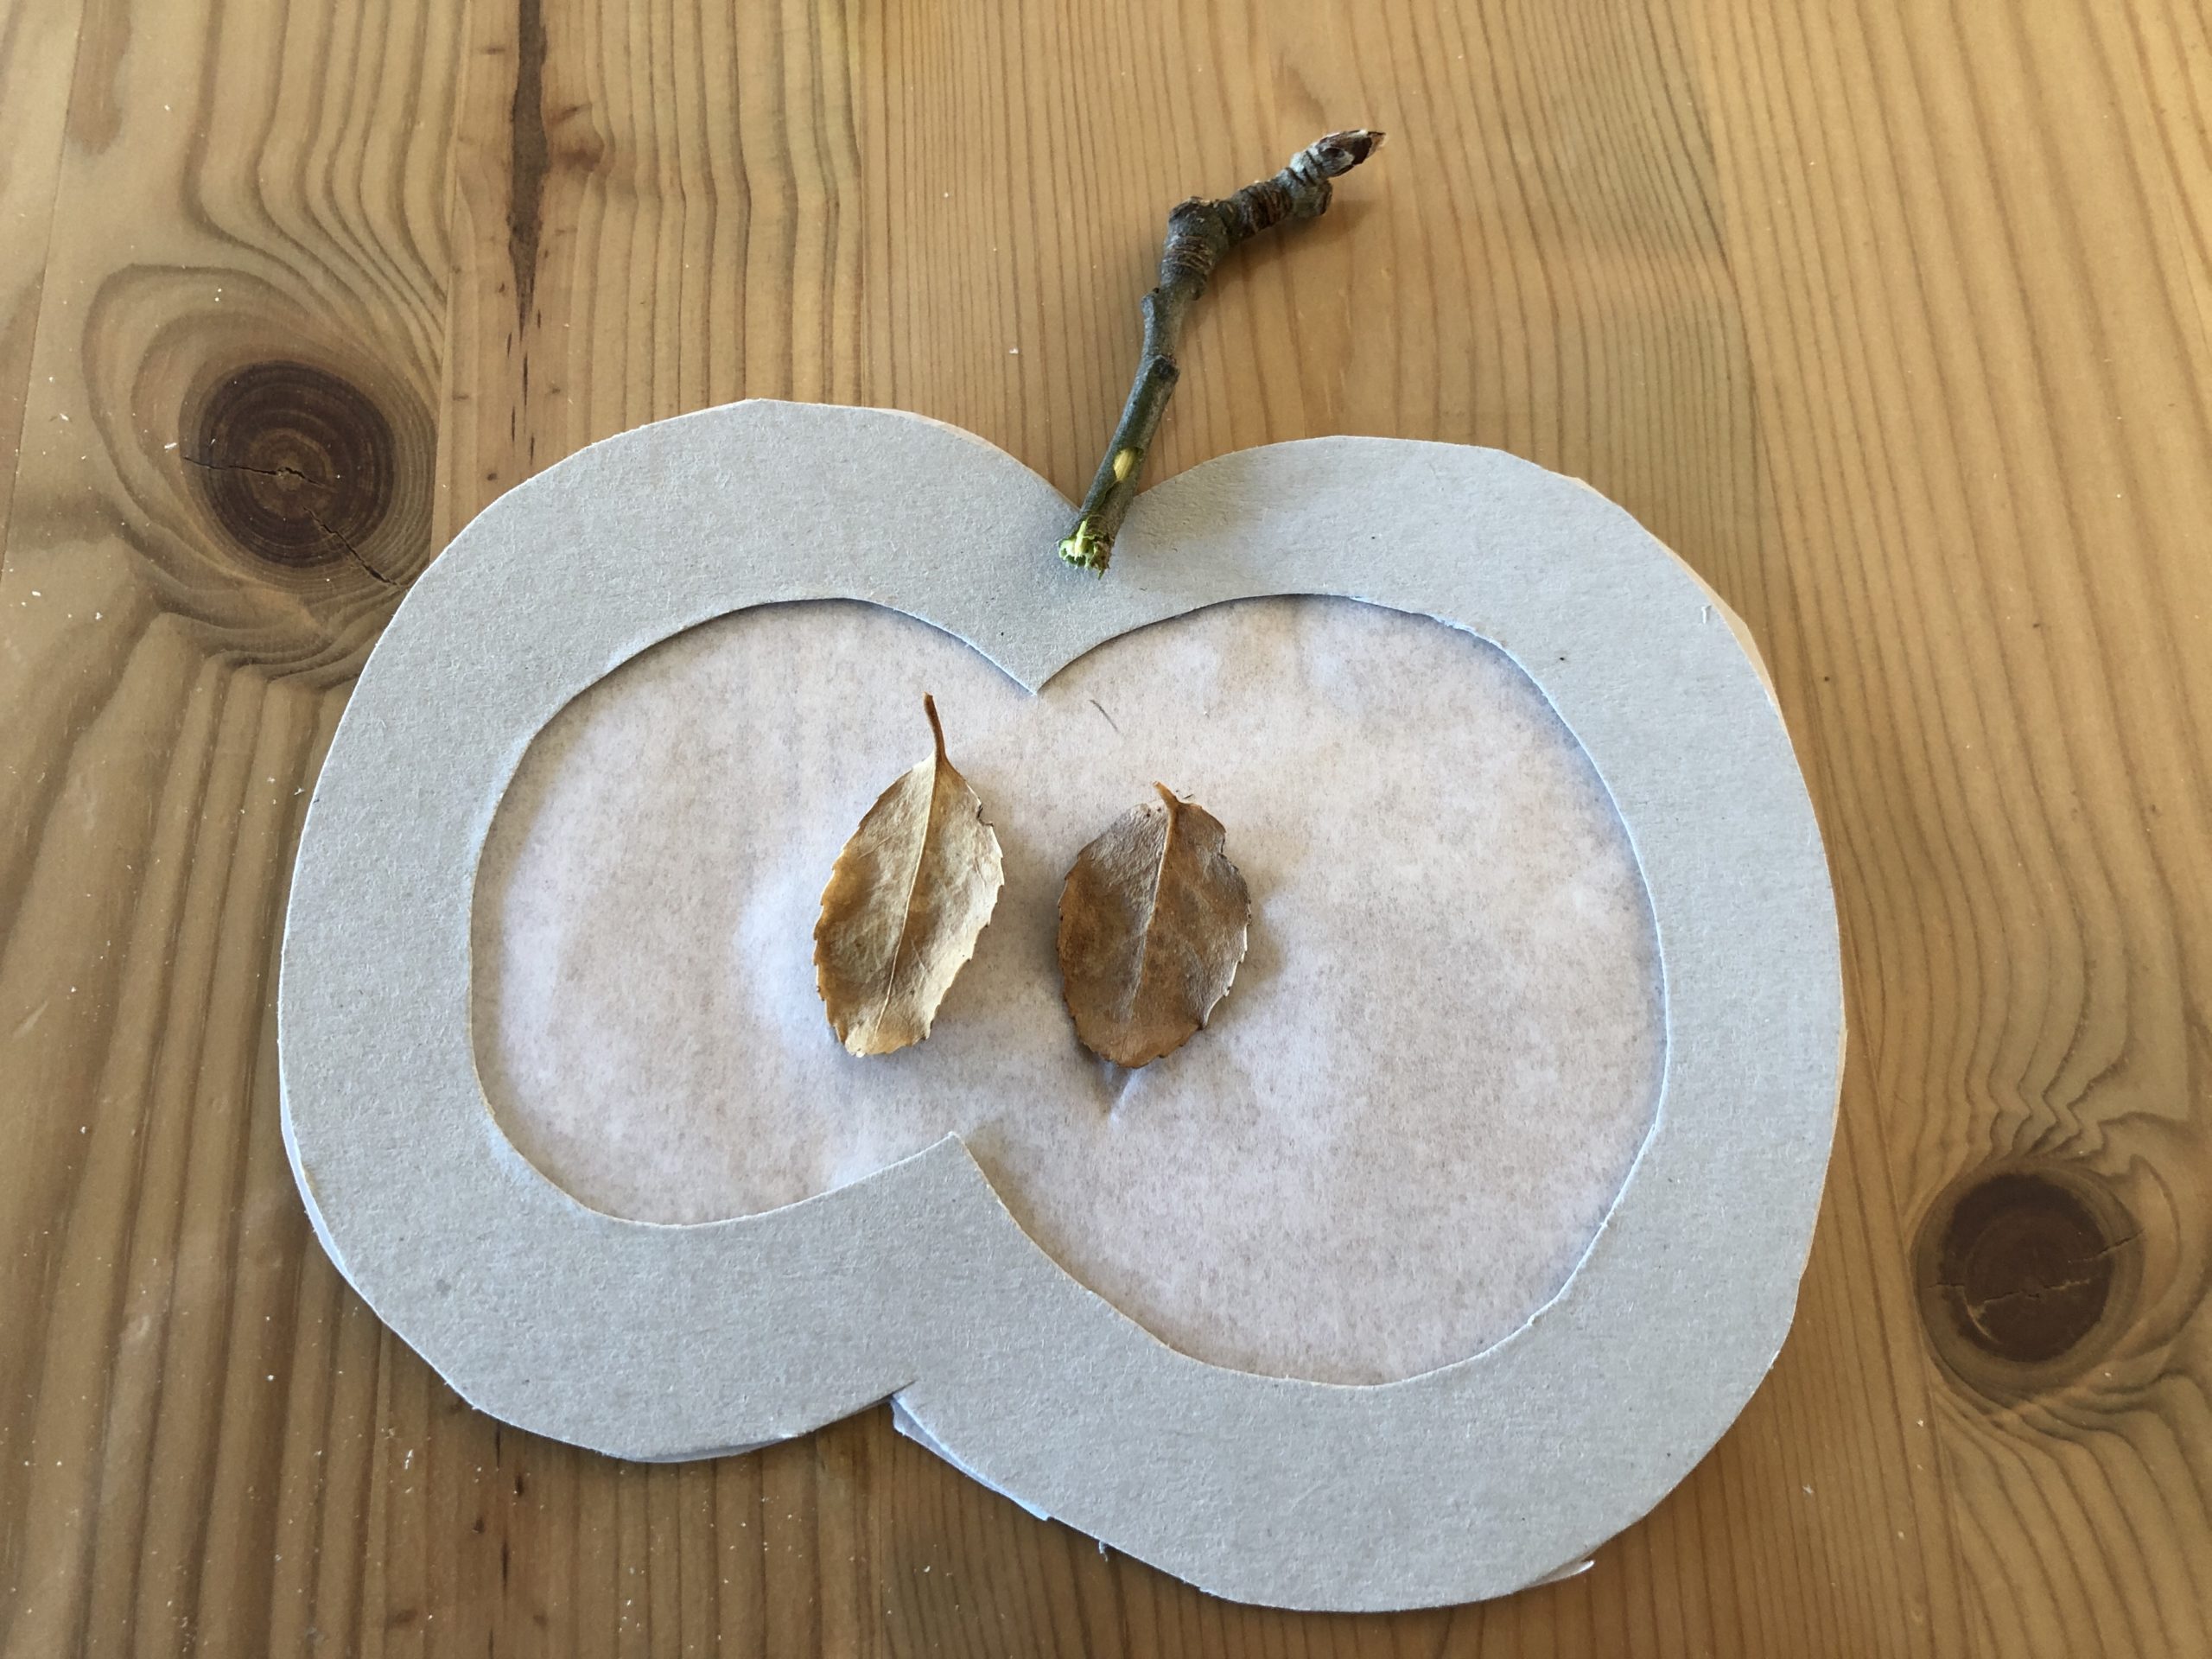
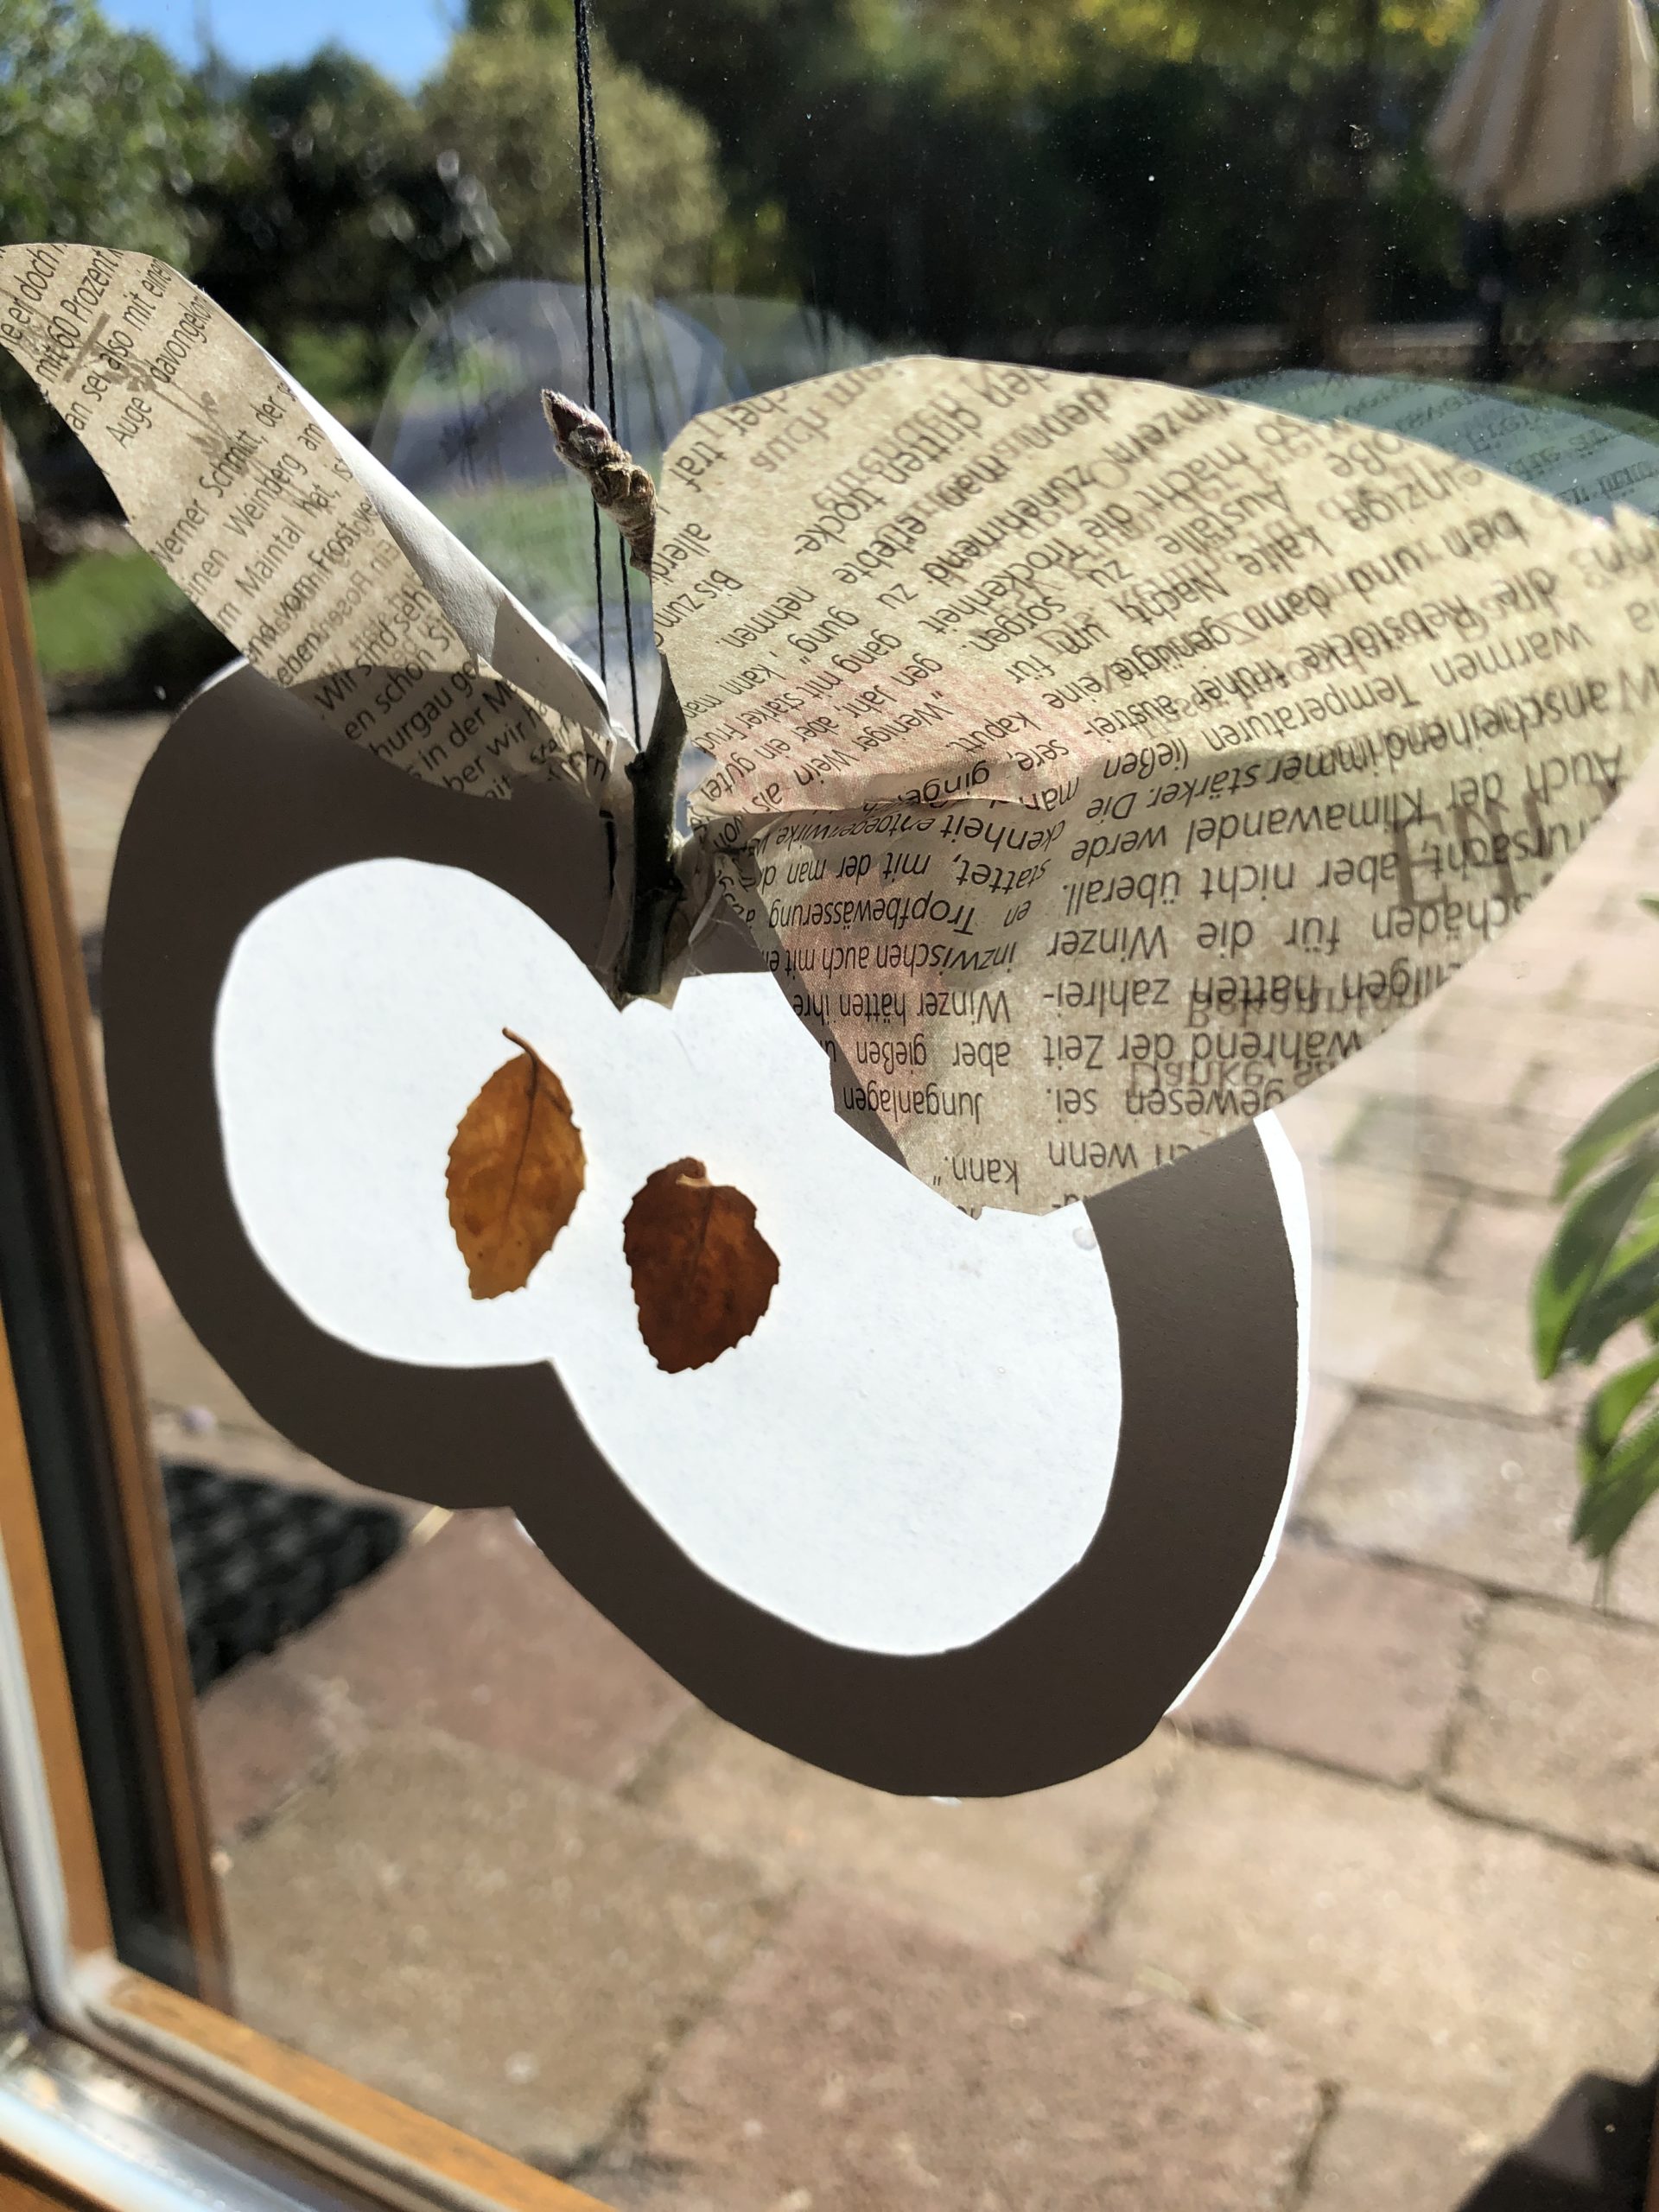
With the glue stick, glues two brown leaves as kernels in the middle of the apple.
Then stick to a small branch as an apple stalk with the hot glue gun. Attention: Children should never be alone when dealing with the hot glue gun.


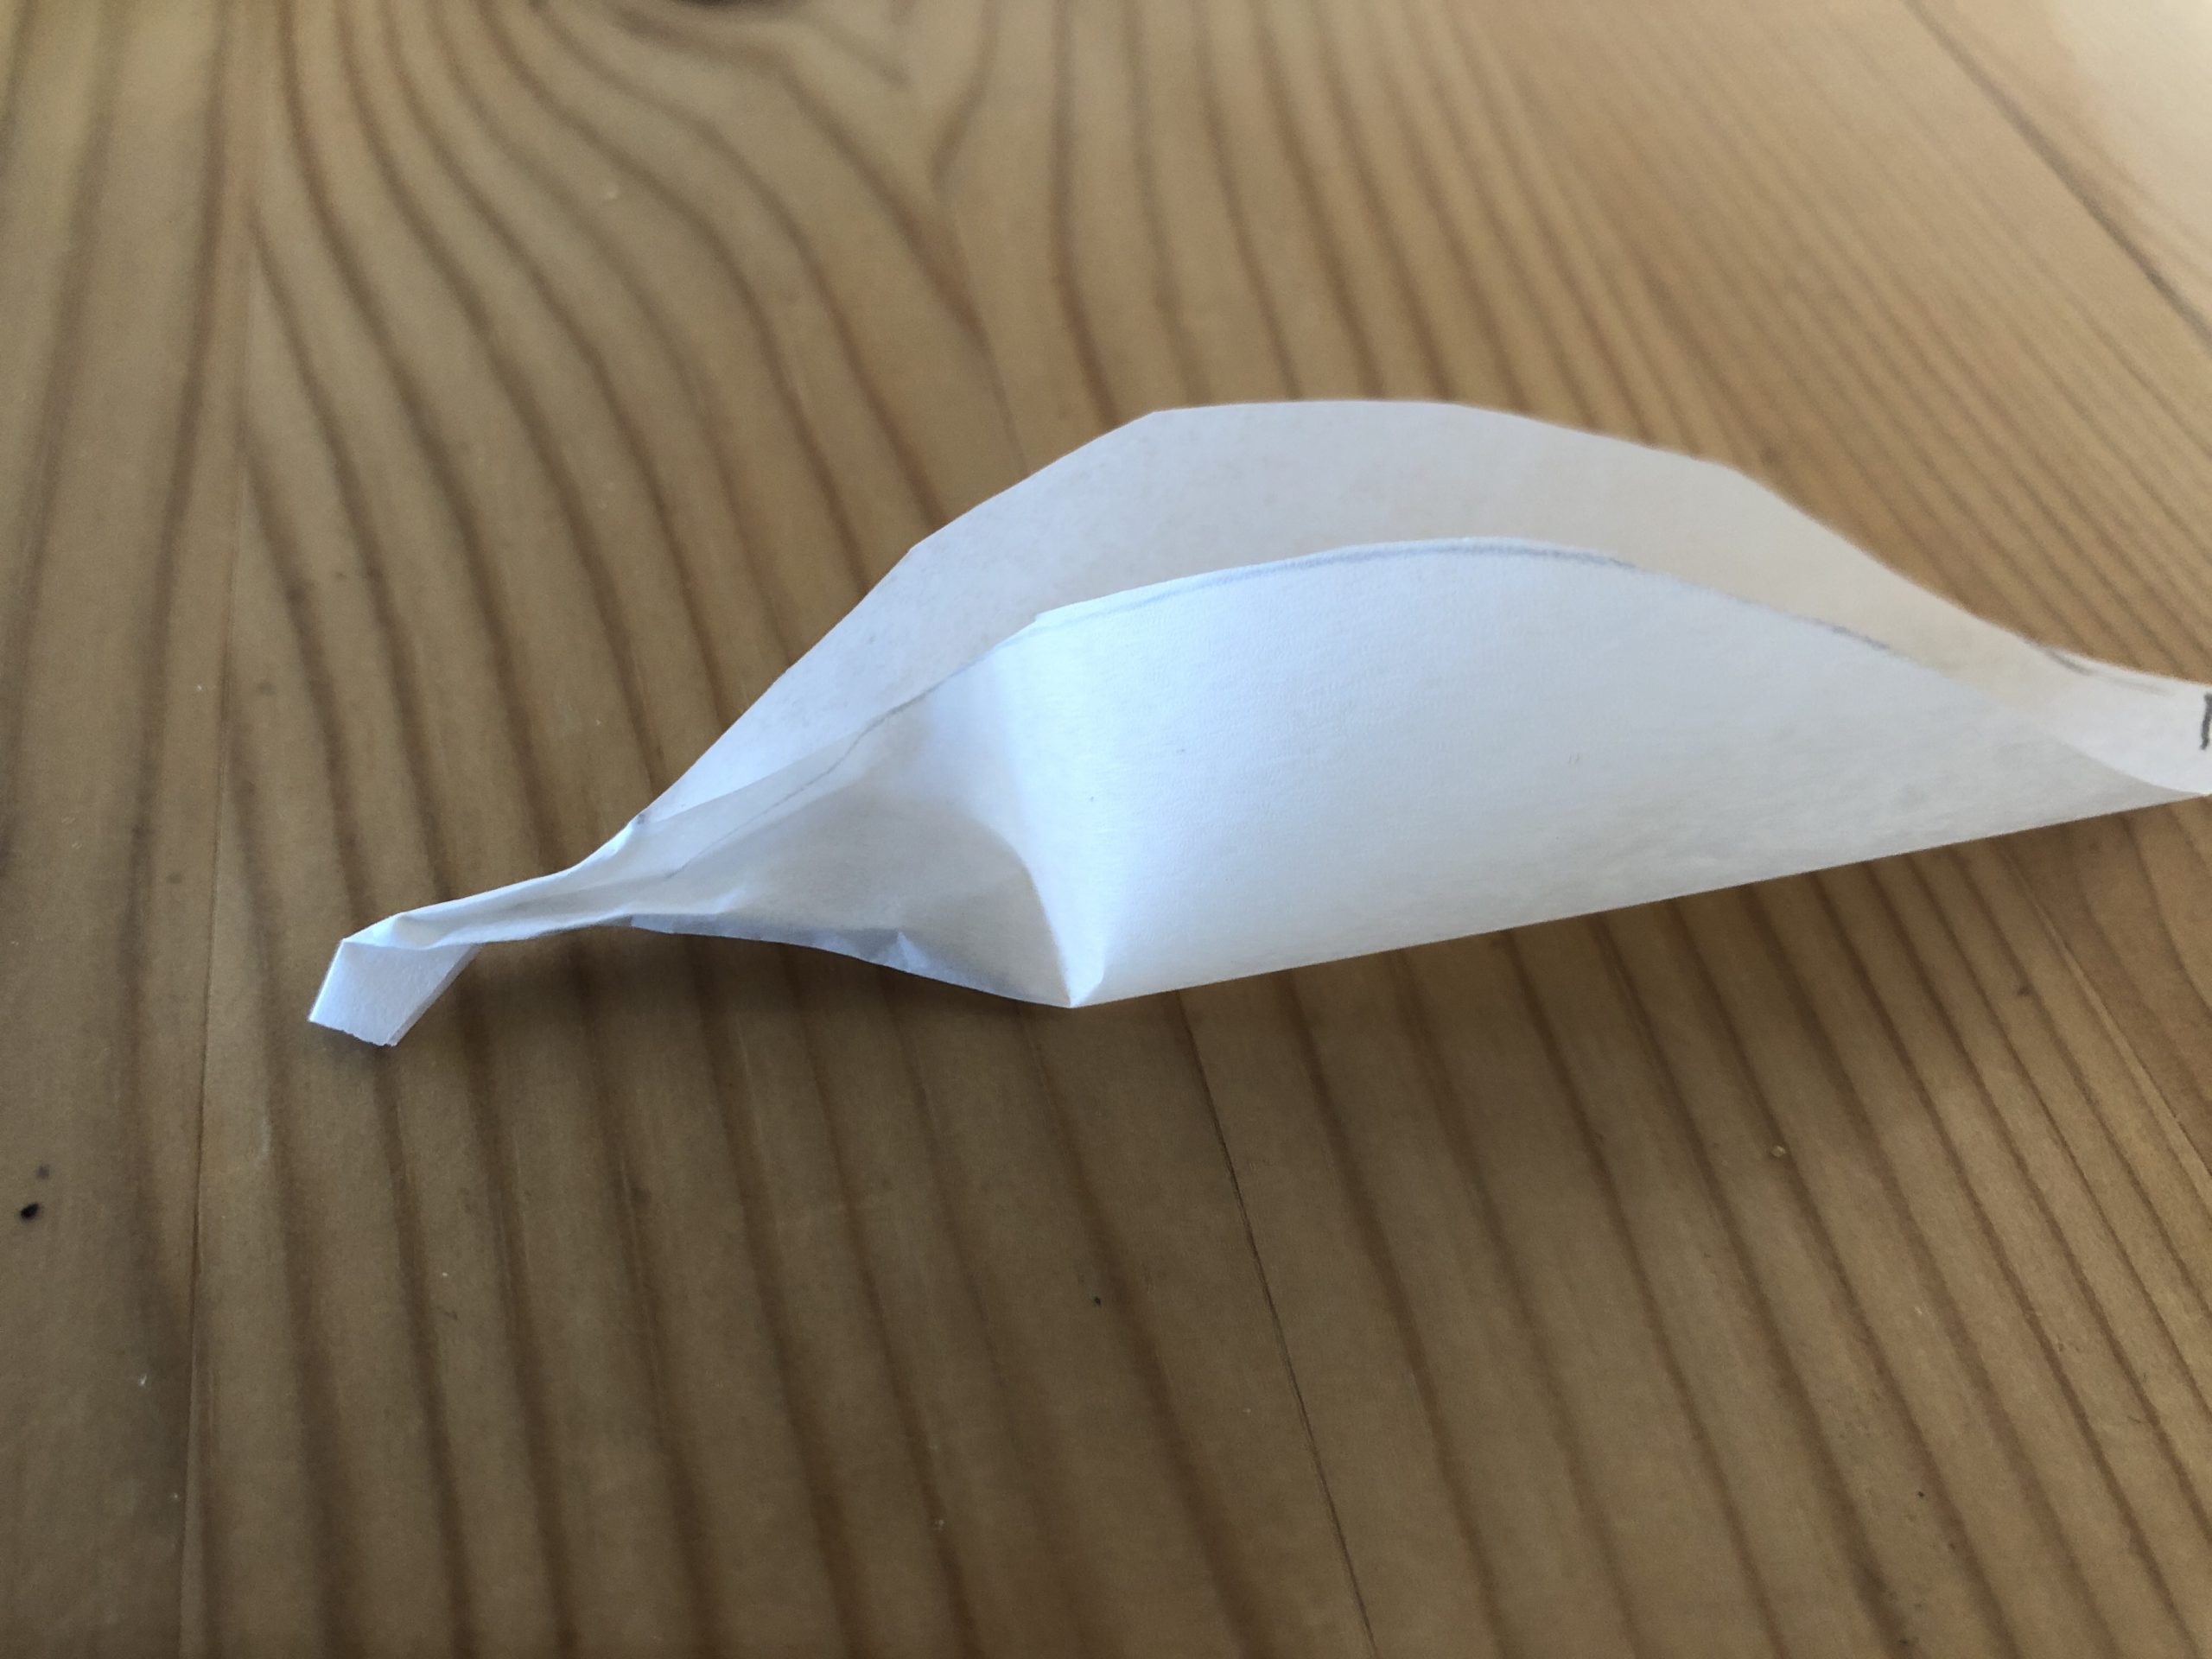
Now we make a sheet out of butterbread paper. For this, a sheet cuts out. See in the picture how it can look about.


Now you press the stem of the leaf slightly together. This makes the leaf look like a real leaf. It looks plastic.


This leaf sticks to the apple next to the stem. Use the hot glue gun.
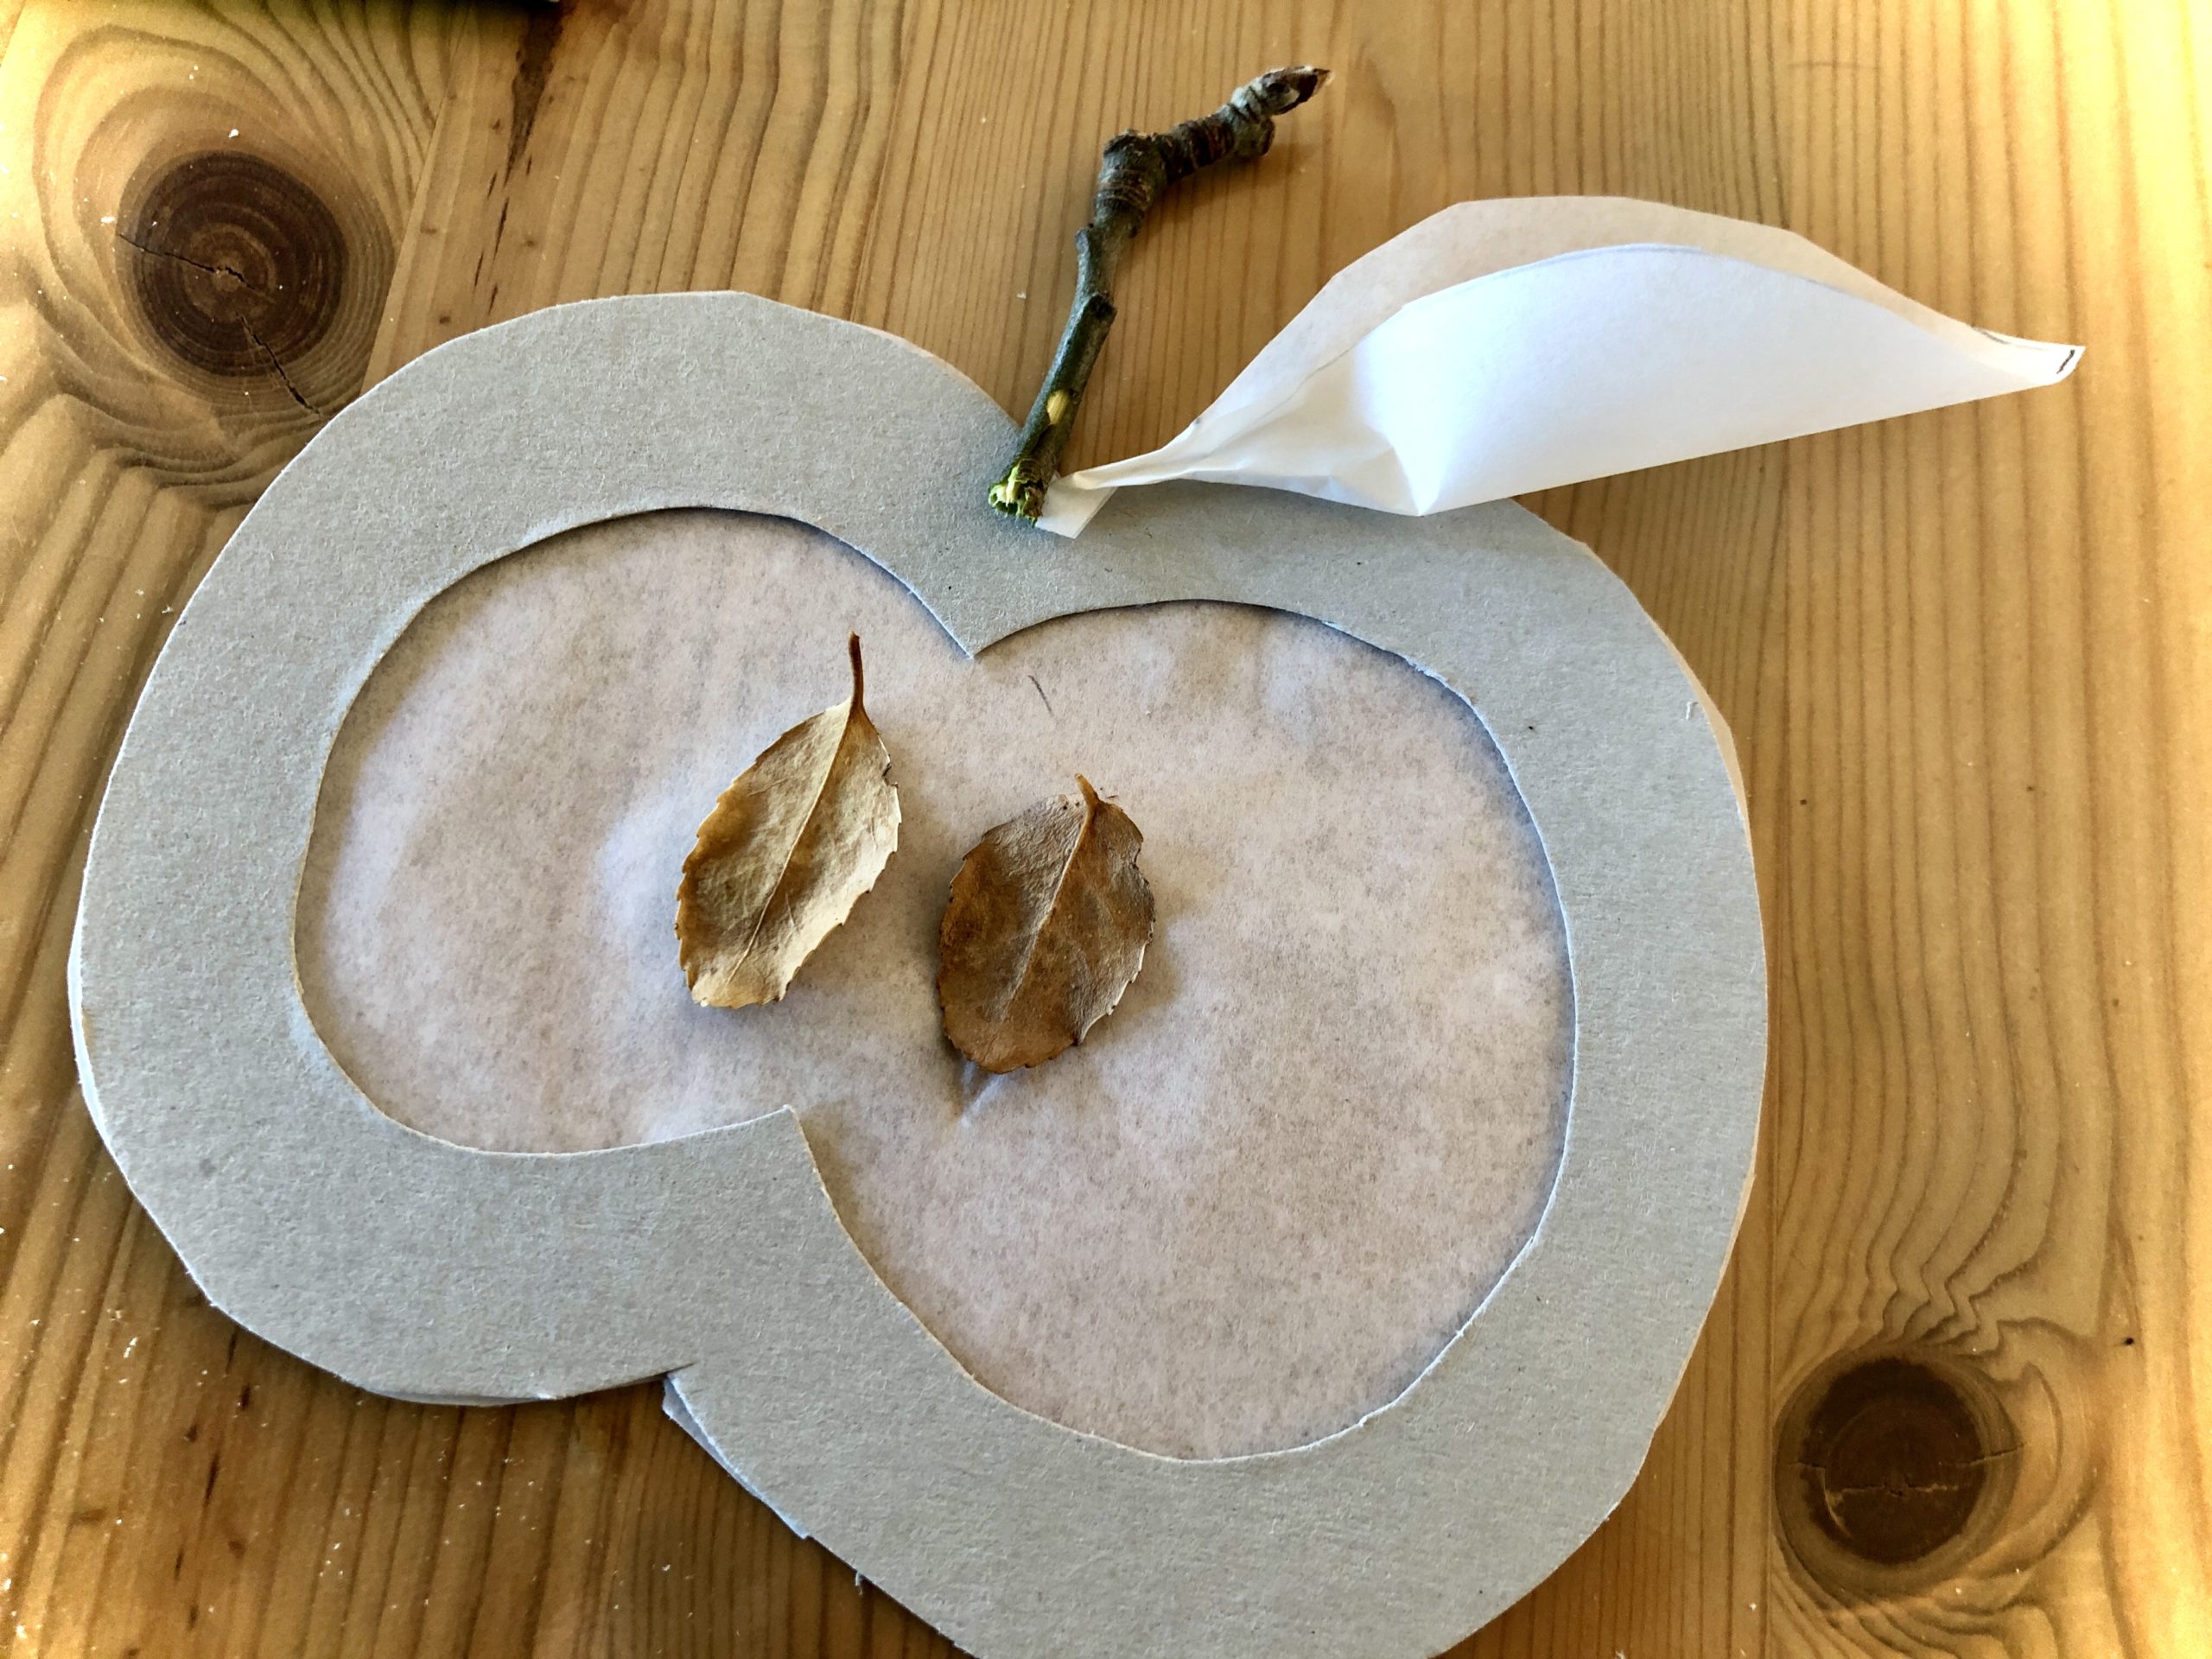


Idea 1 is ready.
Idea 2:
You're making the paper out of newspaper.
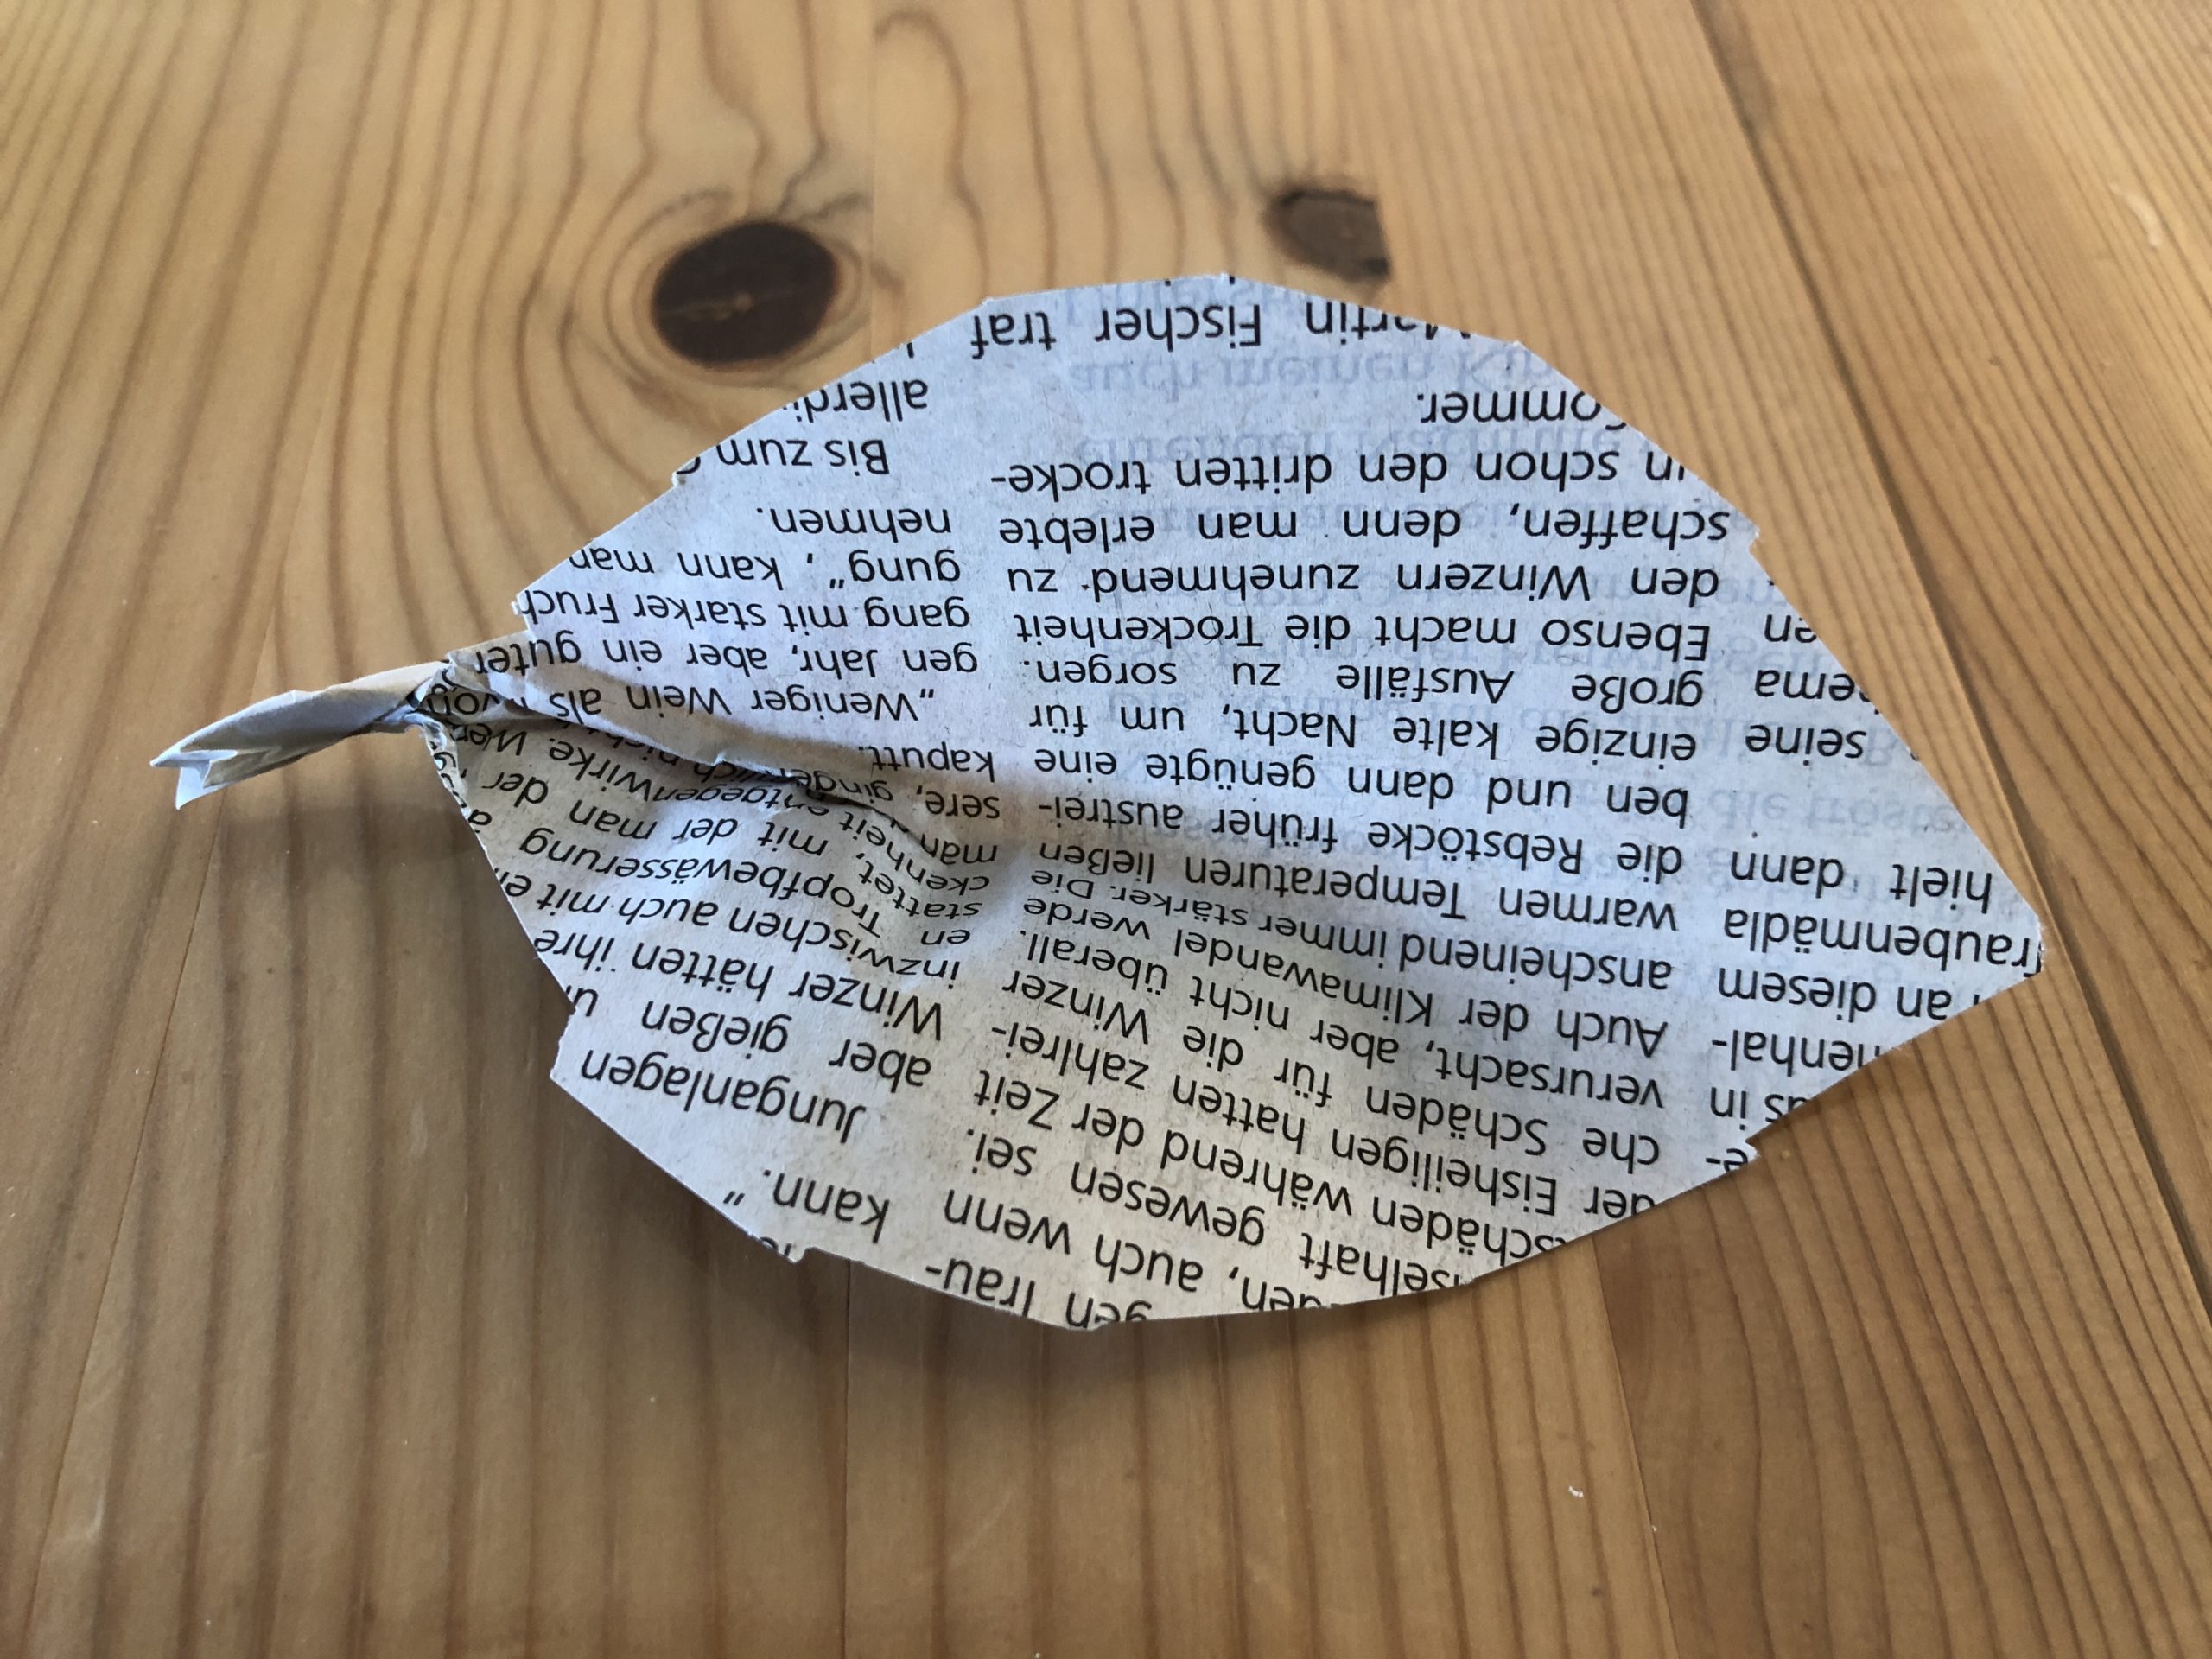


Then it sticks with the hot glue gun next to the stem.
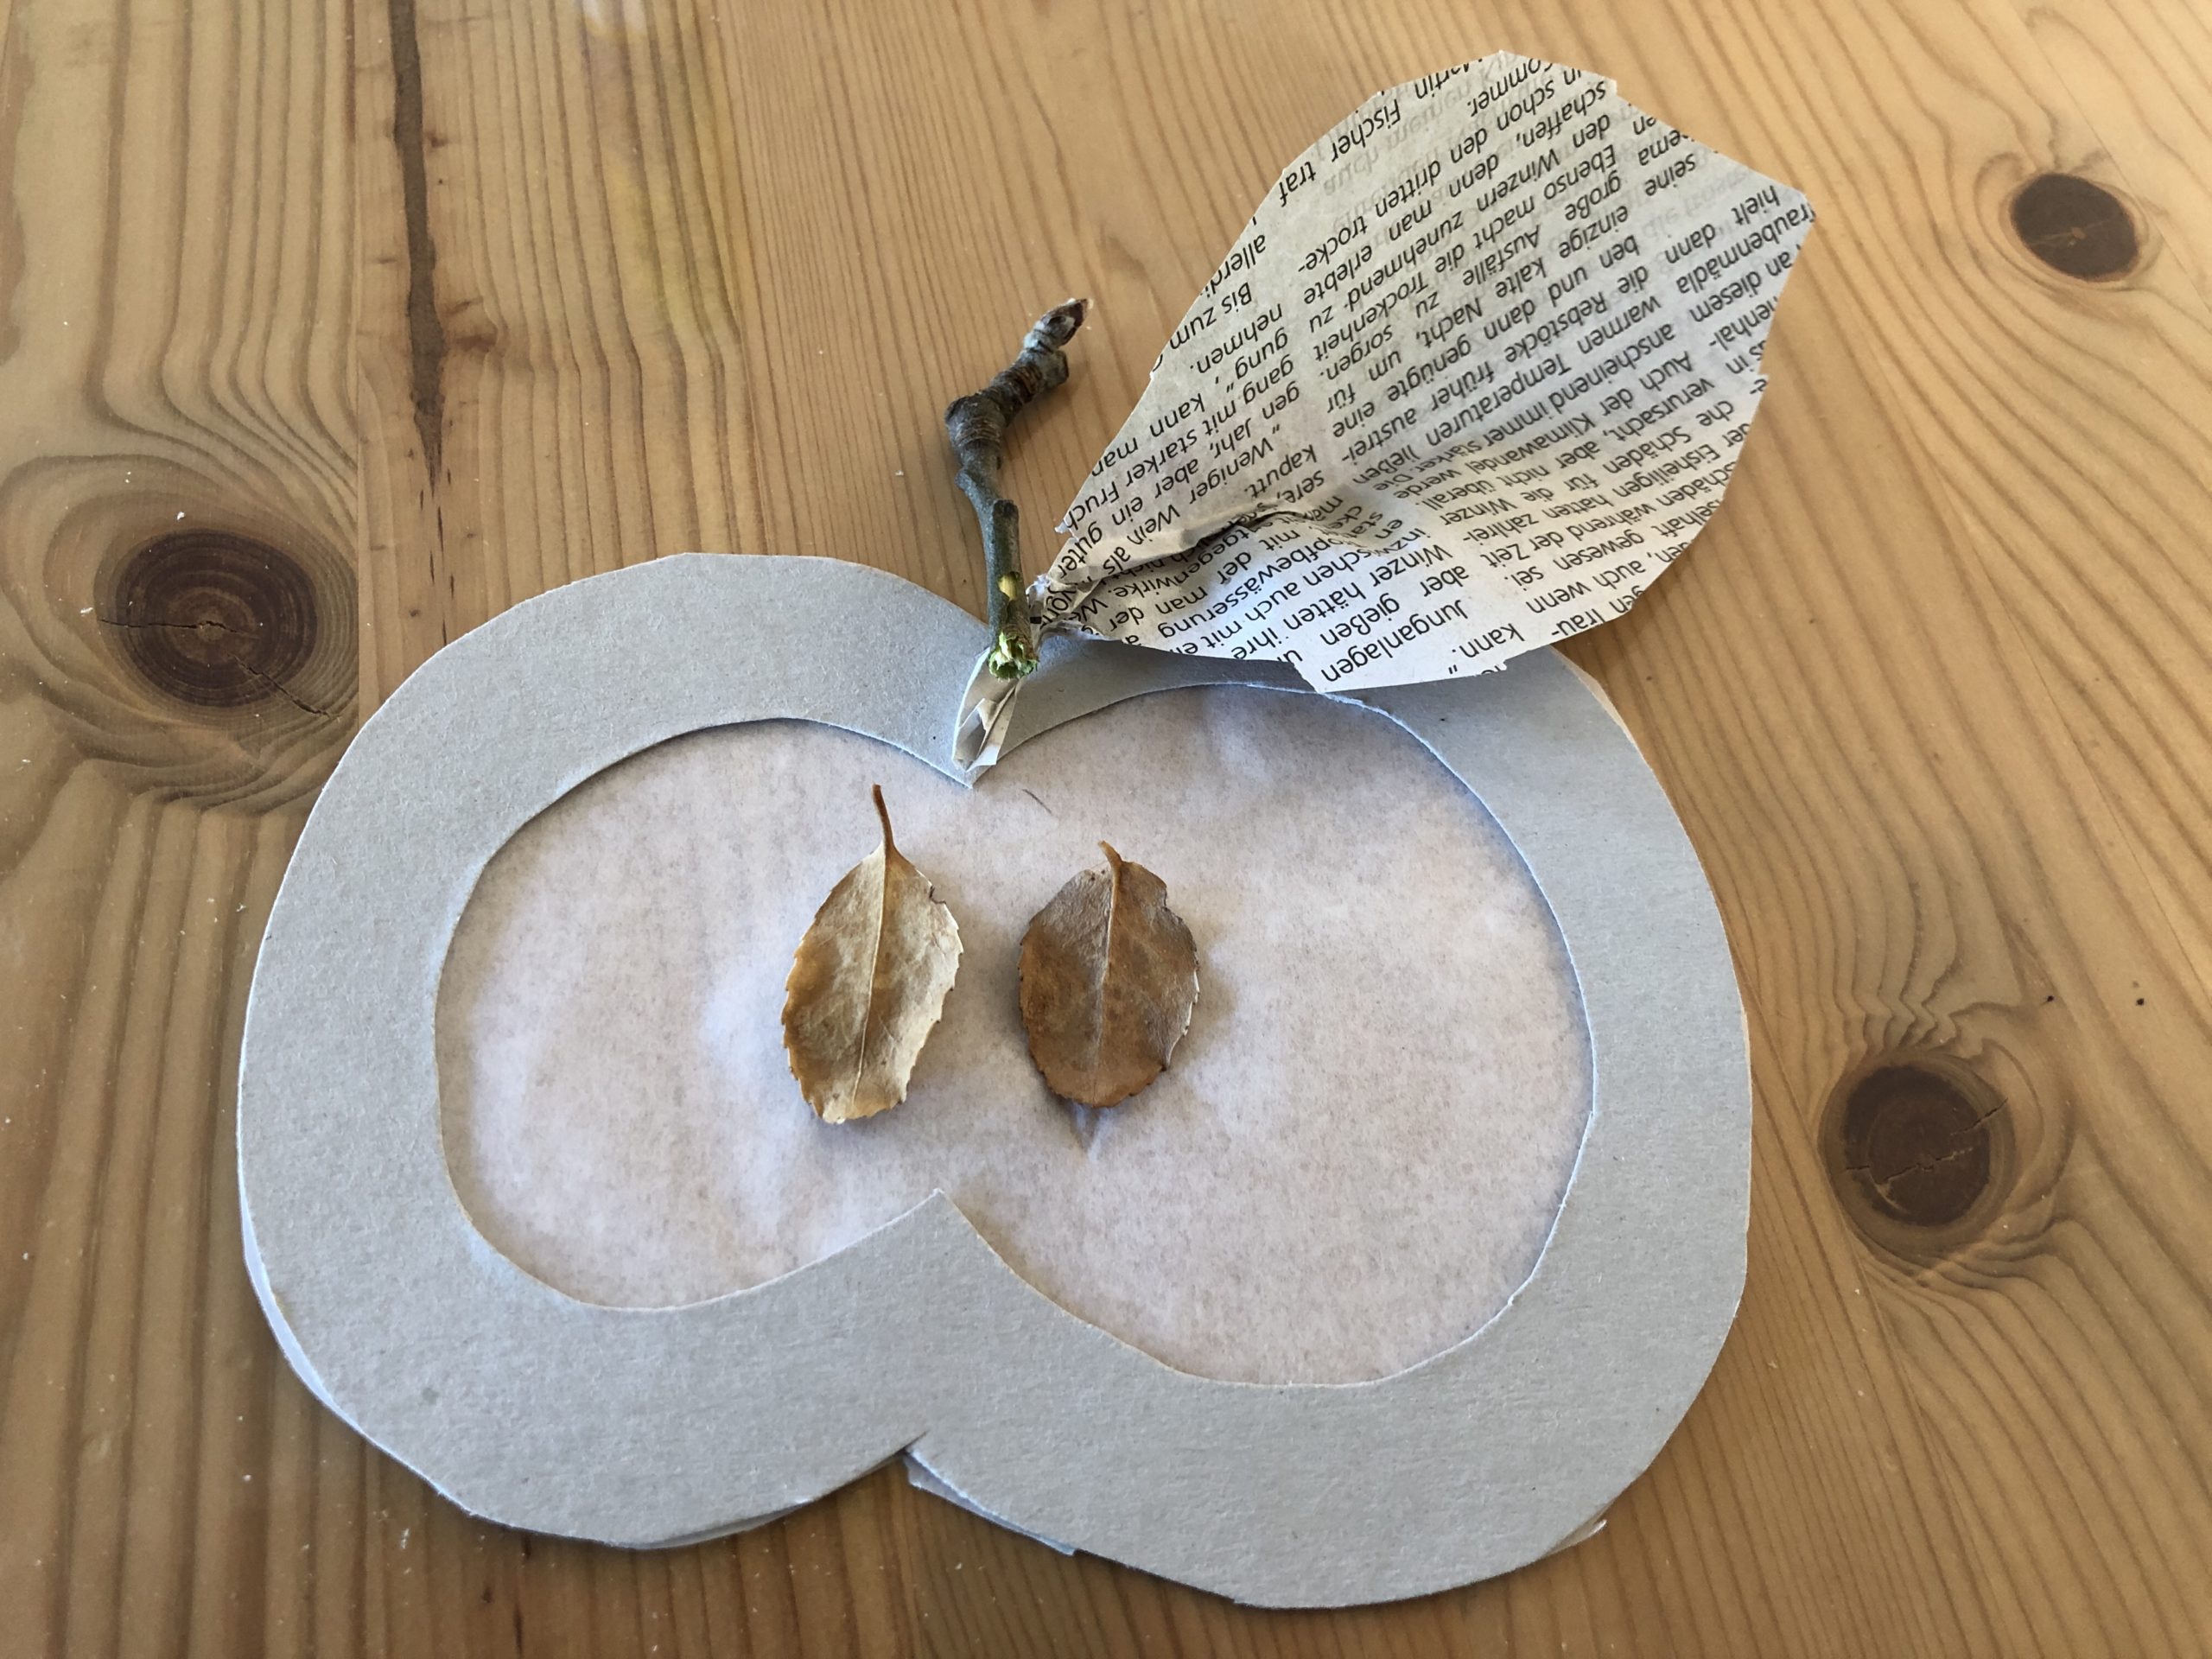


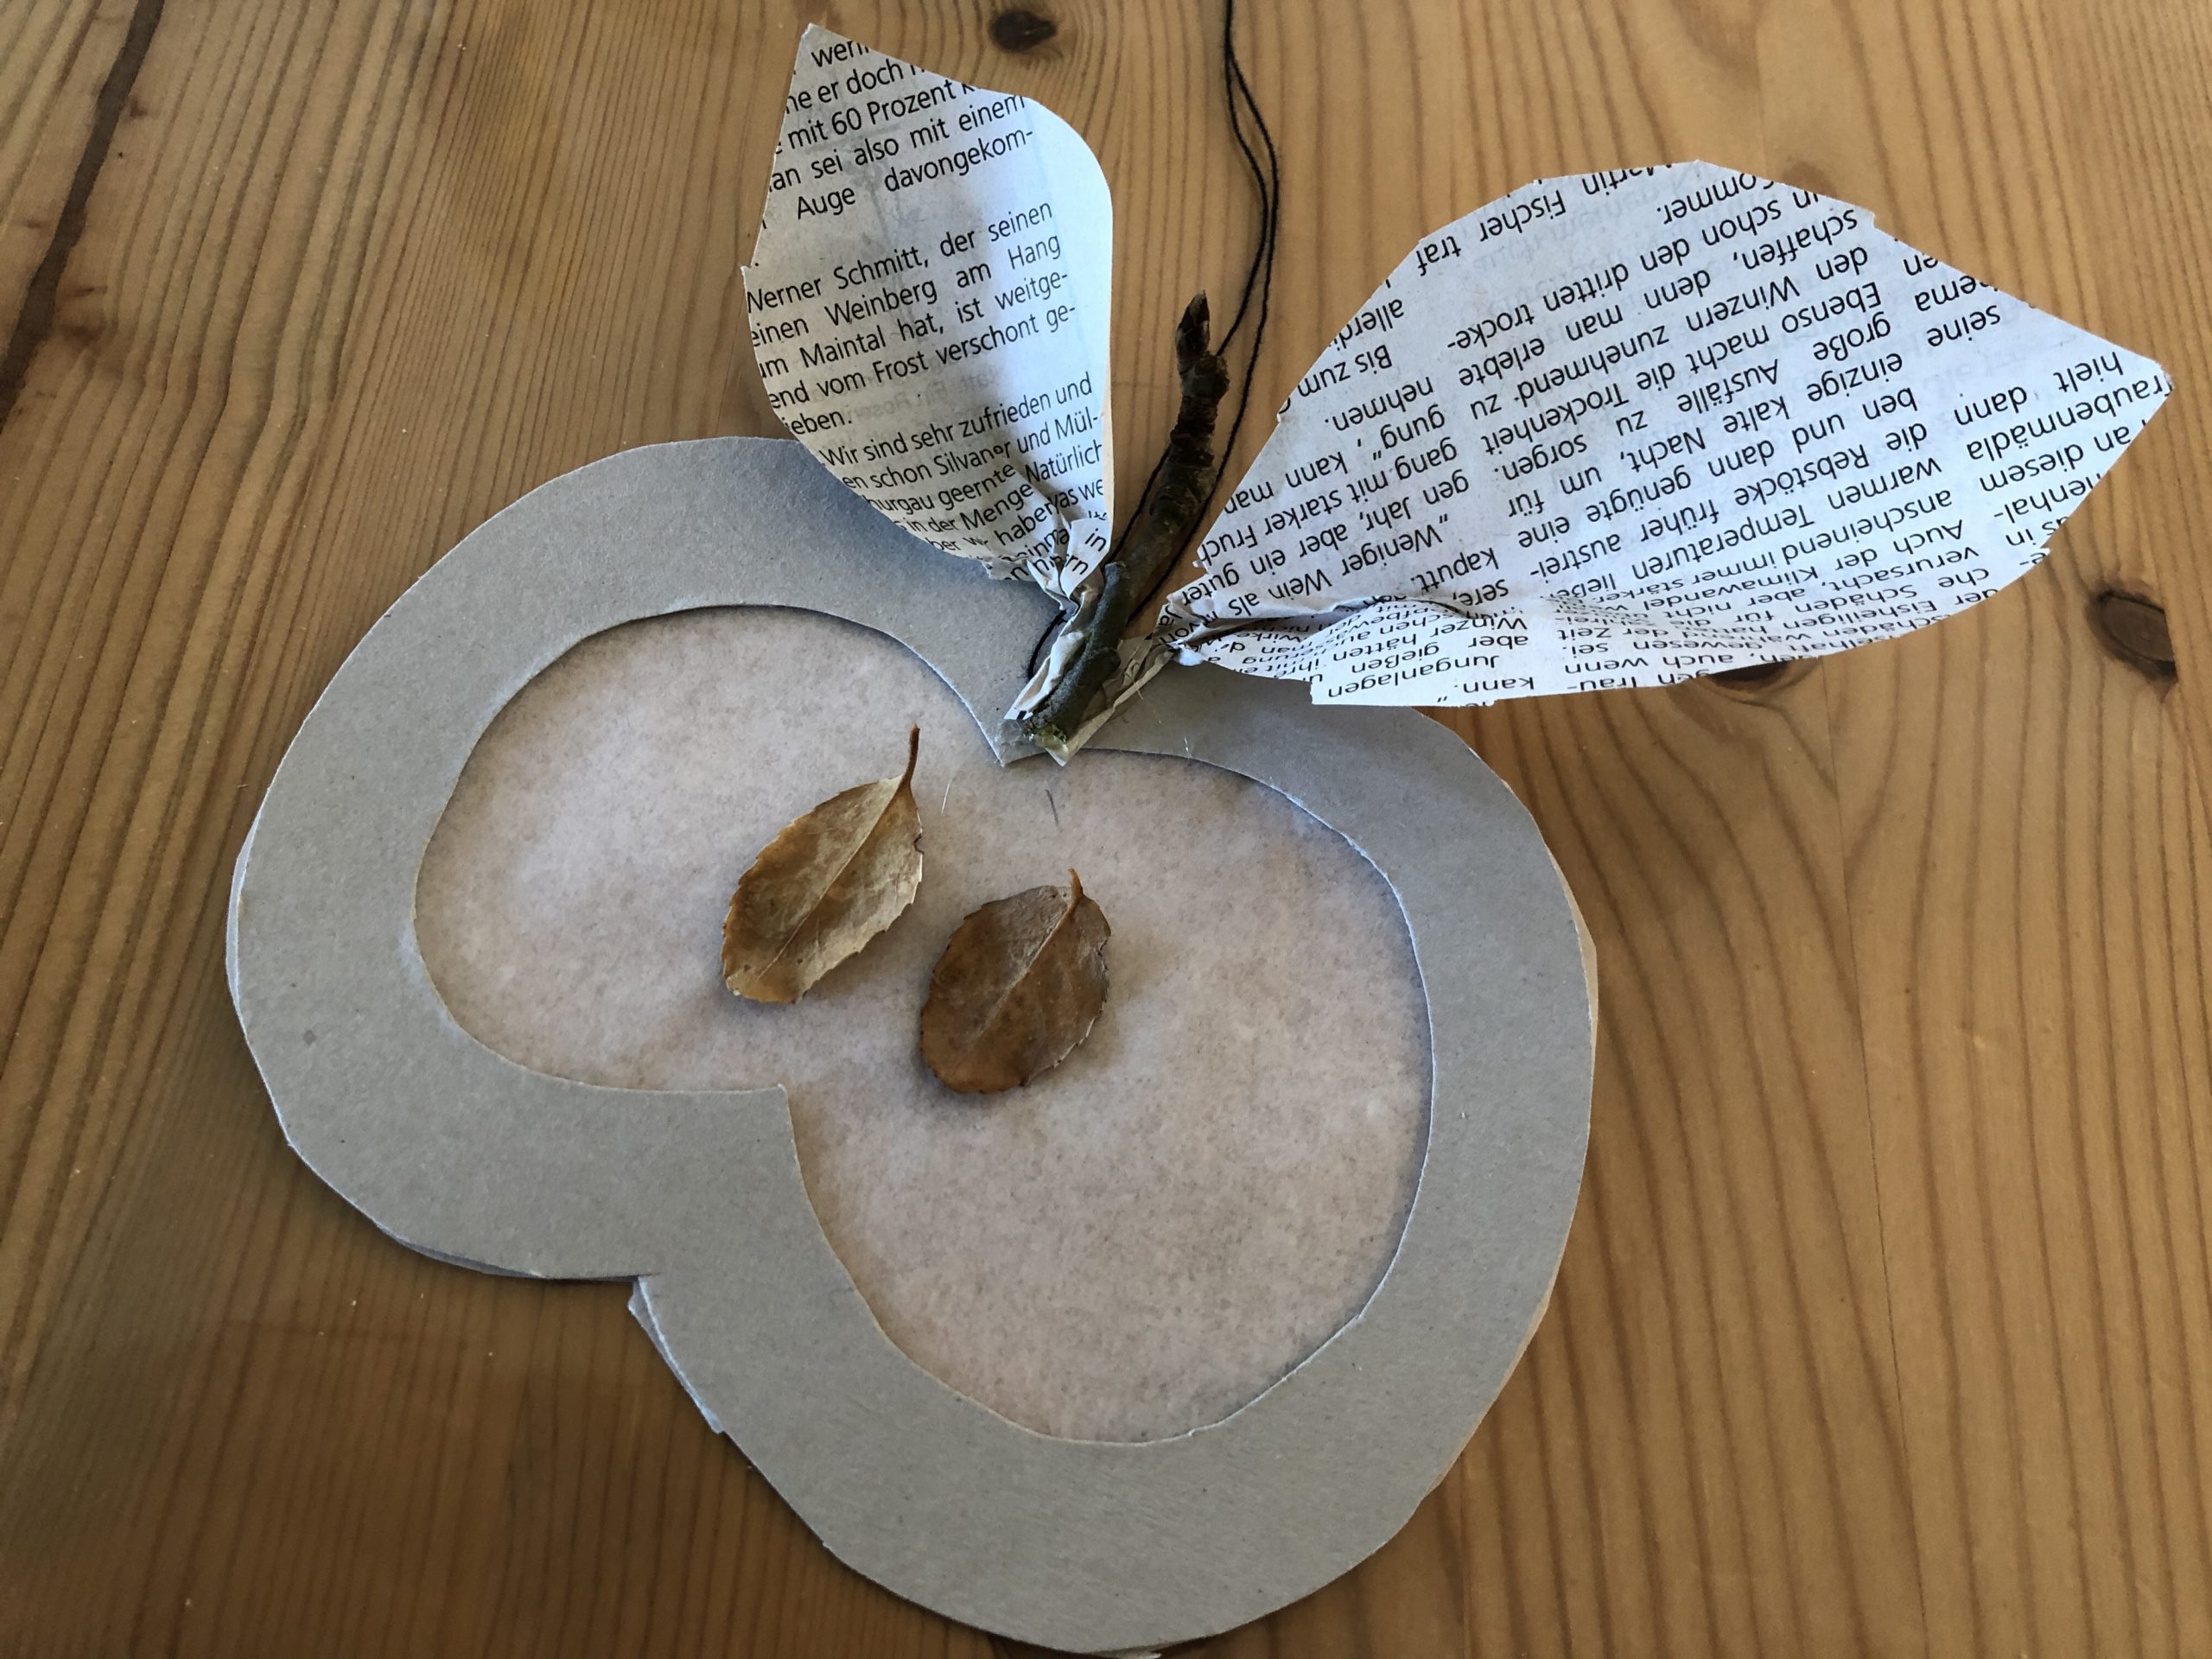
You can also attach a second sheet.


Idea 3:
Used for the seeds coffee beans.
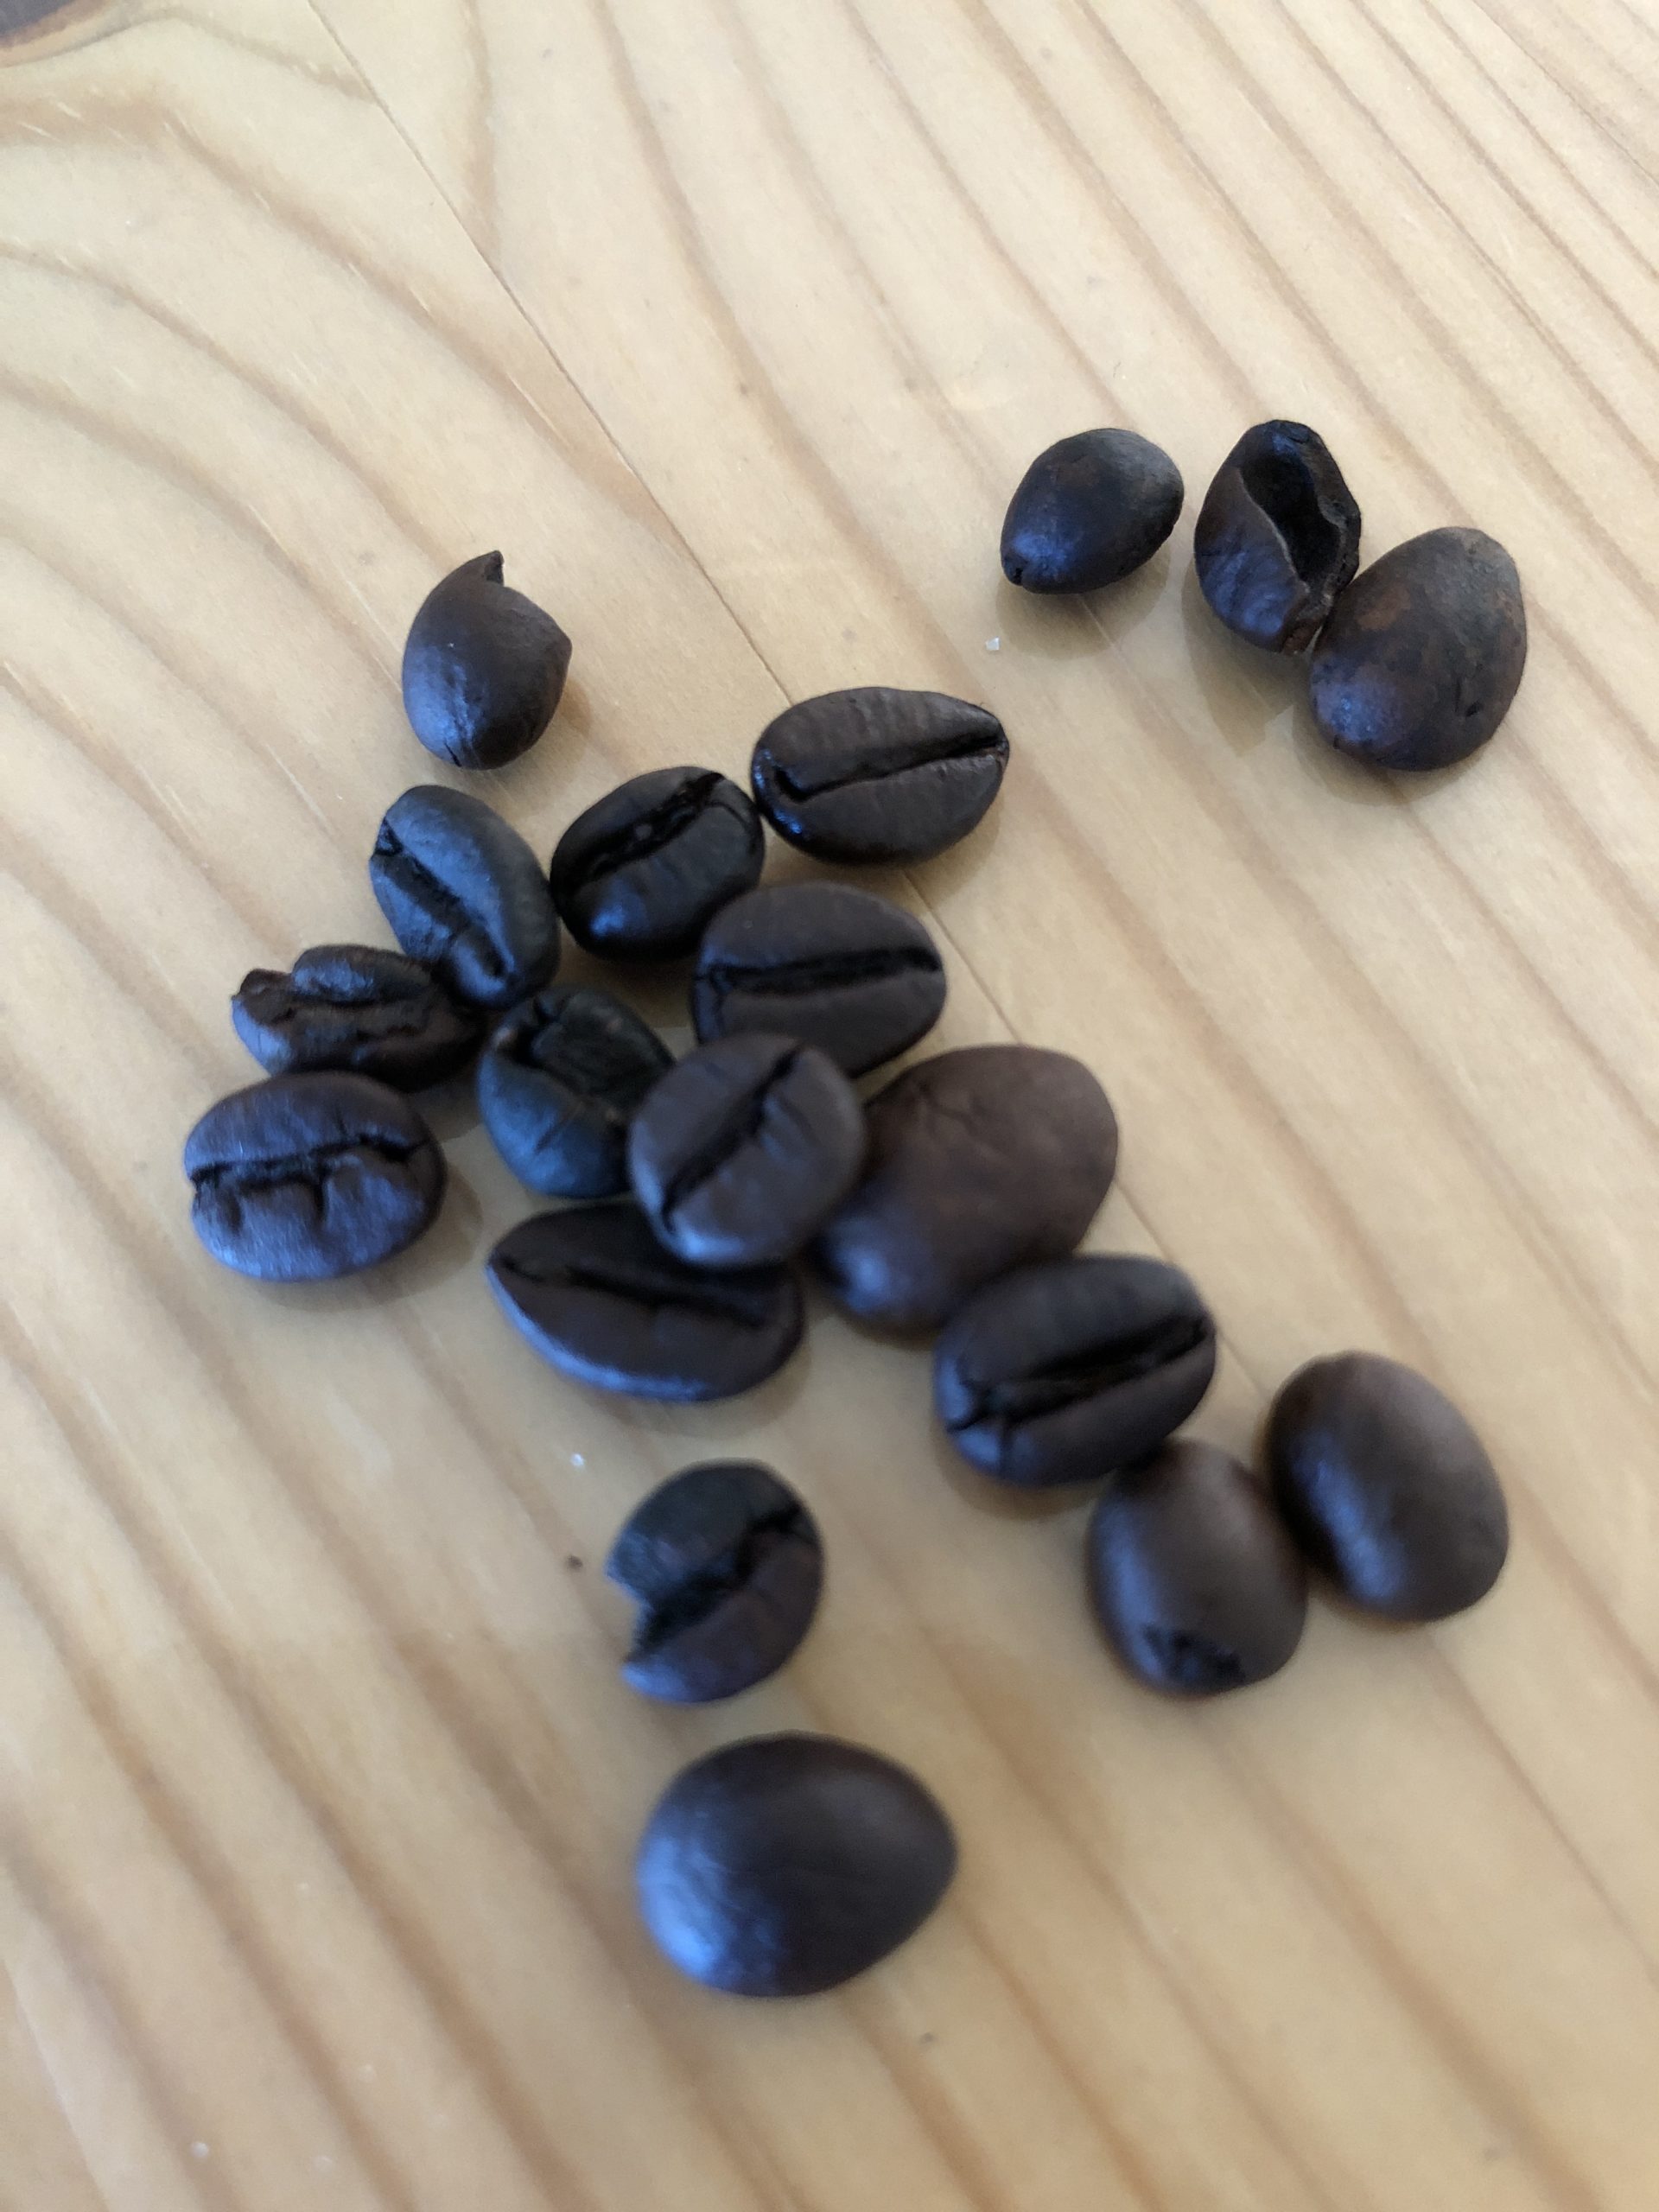


Sticks four coffee beans with hot glue.
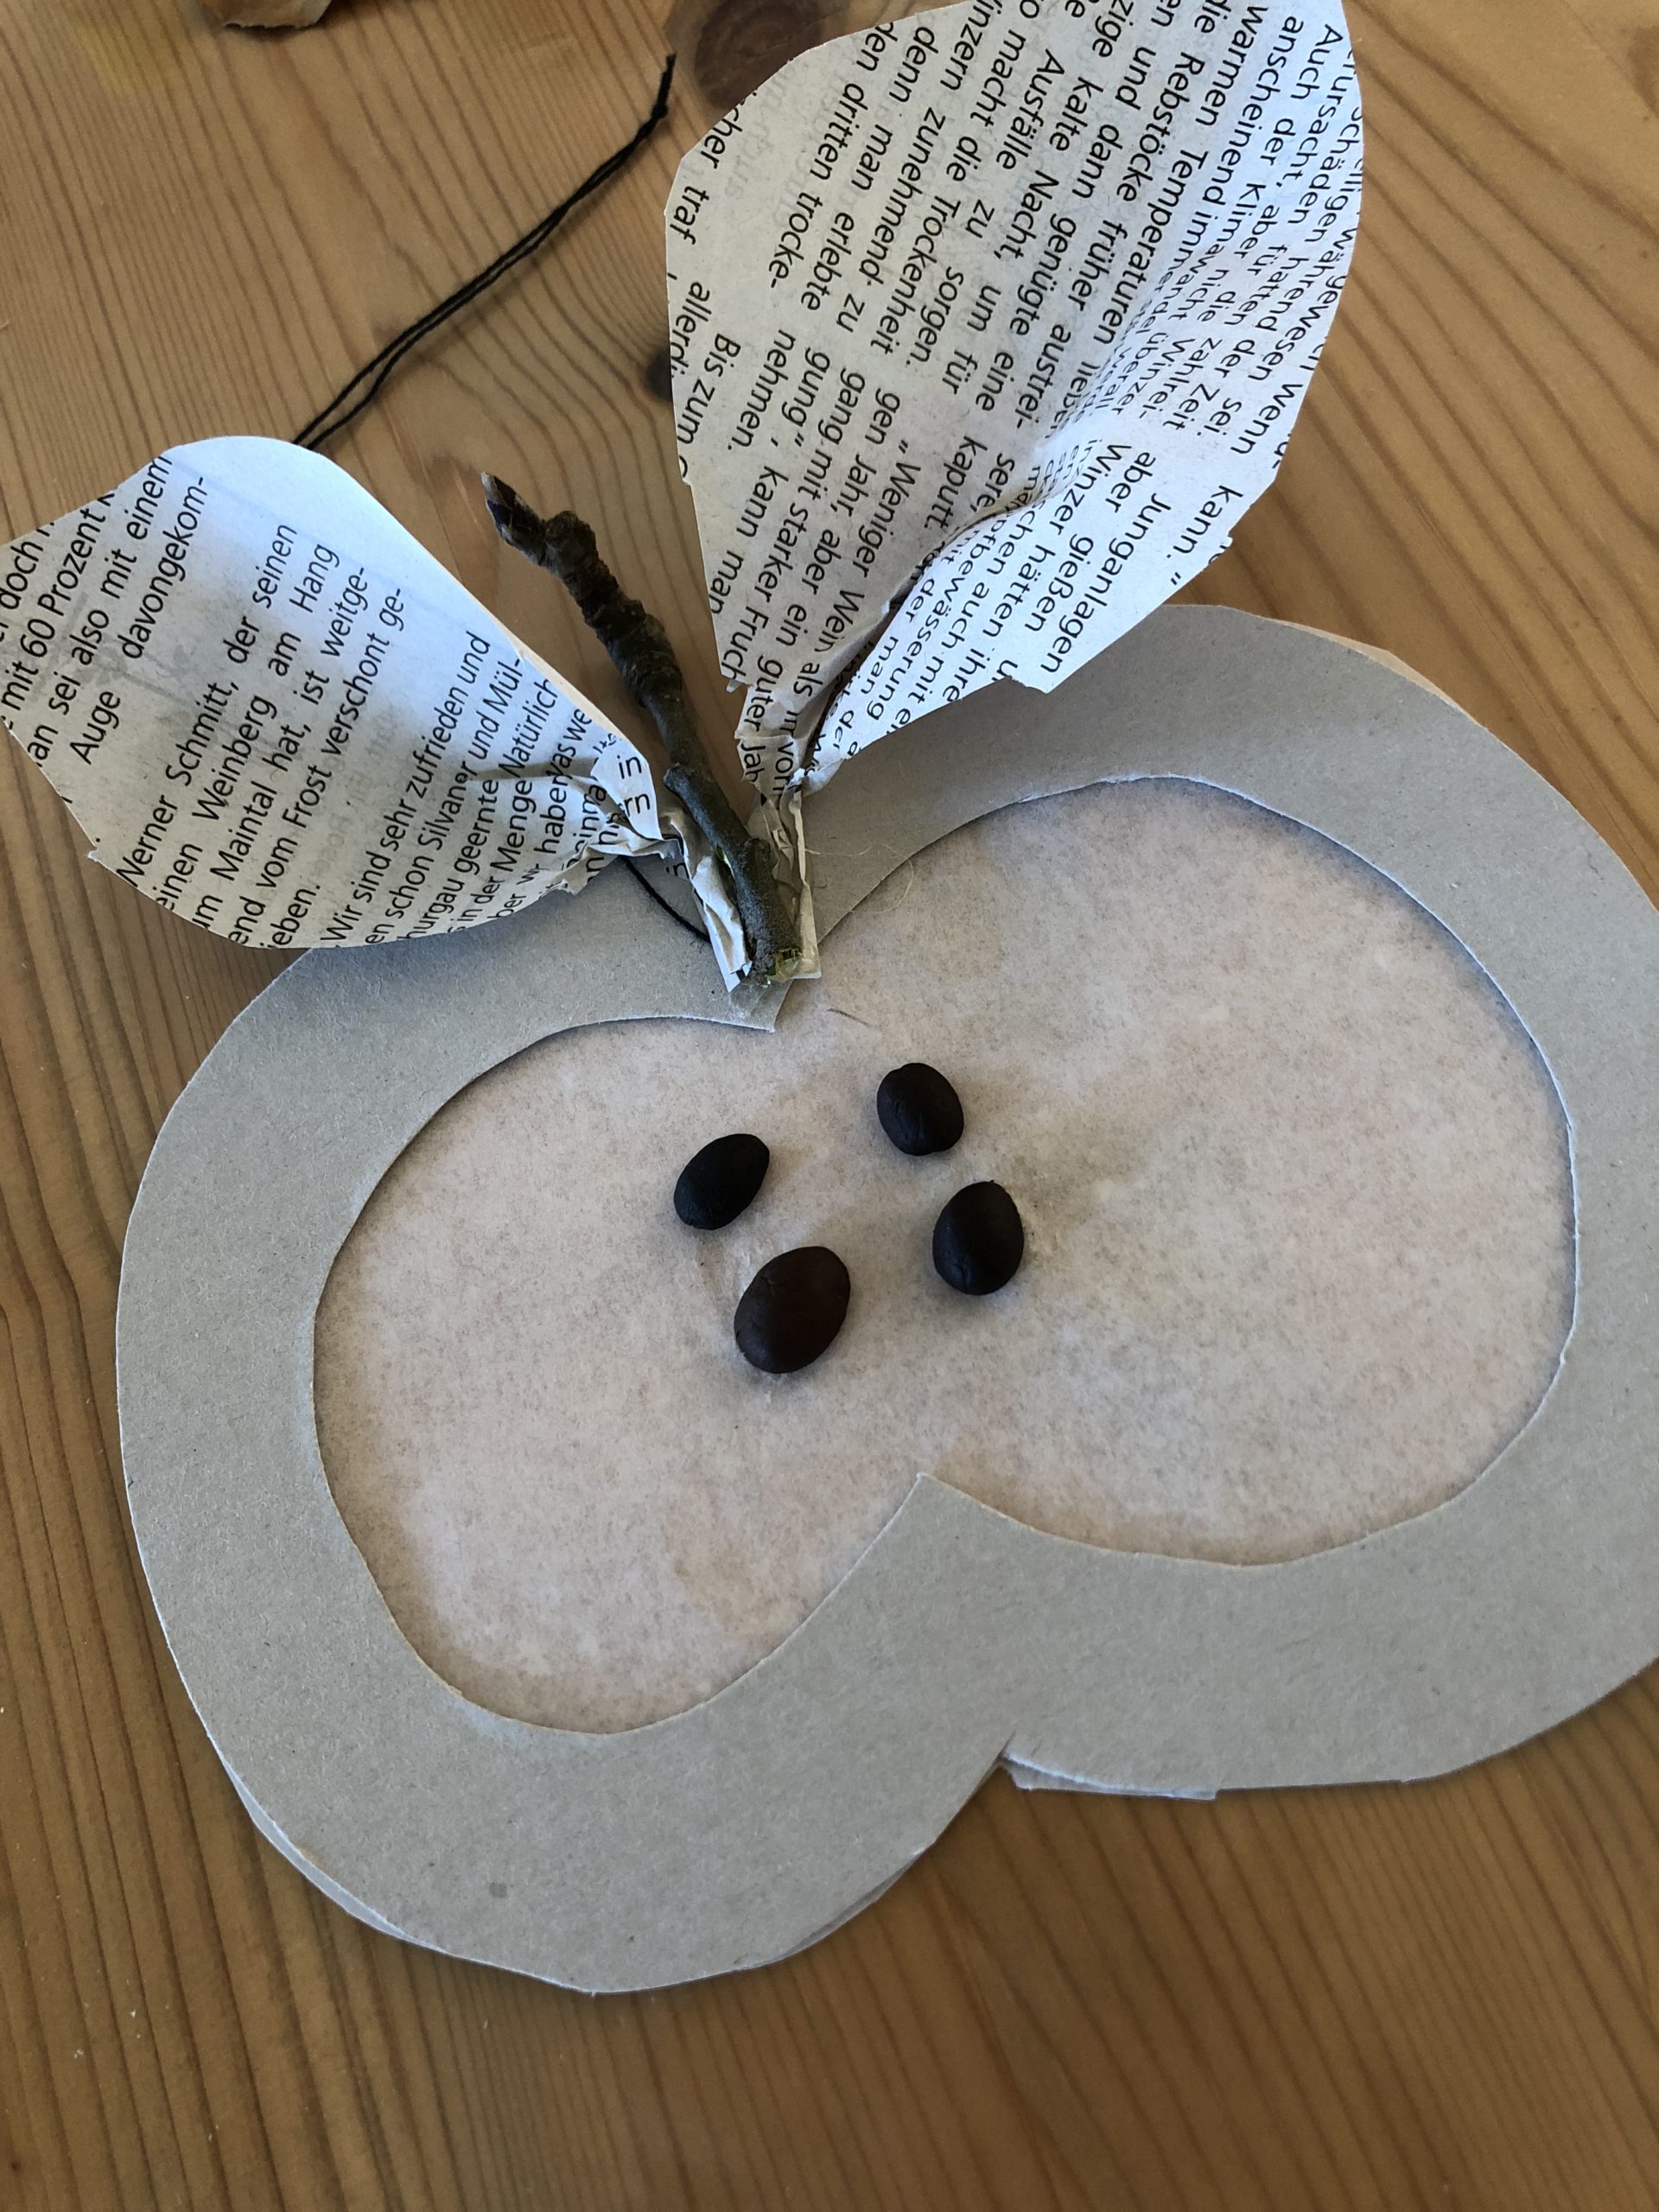


Now you can paint a core case on the apple.
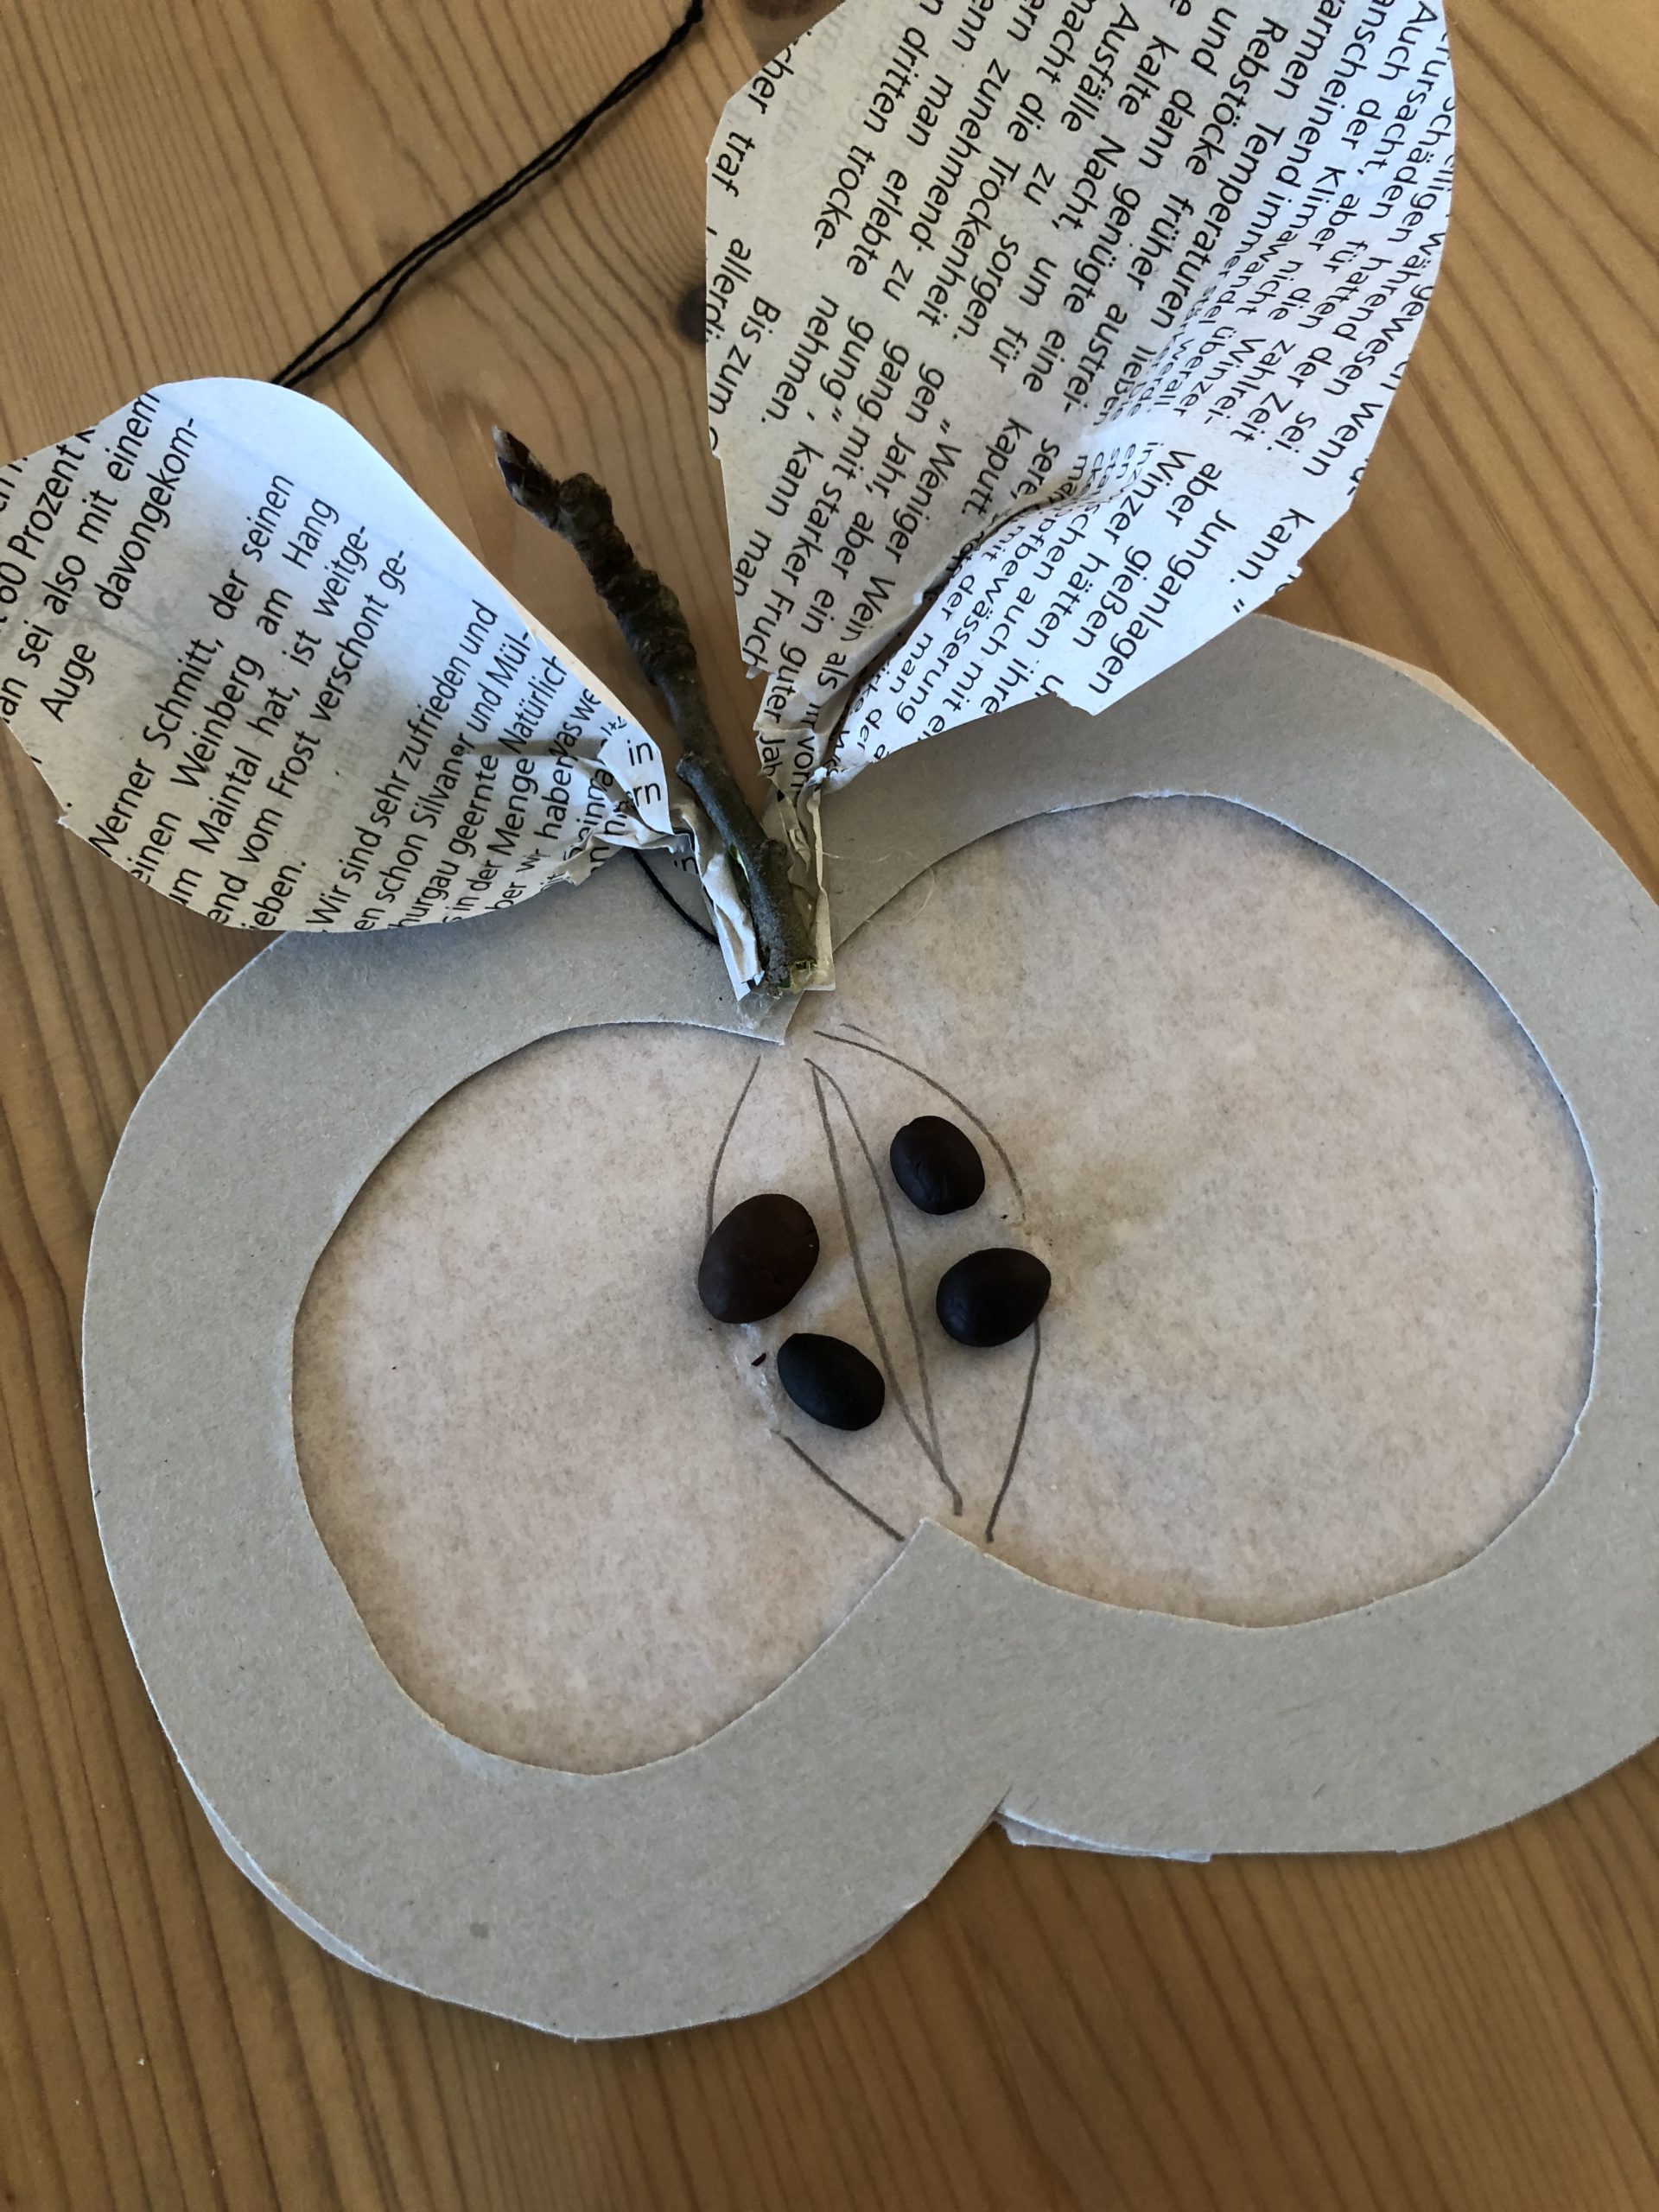


Idea 4:
Glue your apple frame additionally with red brochure snippets.
First you tear a brochure into small snippets. Then stick it on the frame with the glue pen.
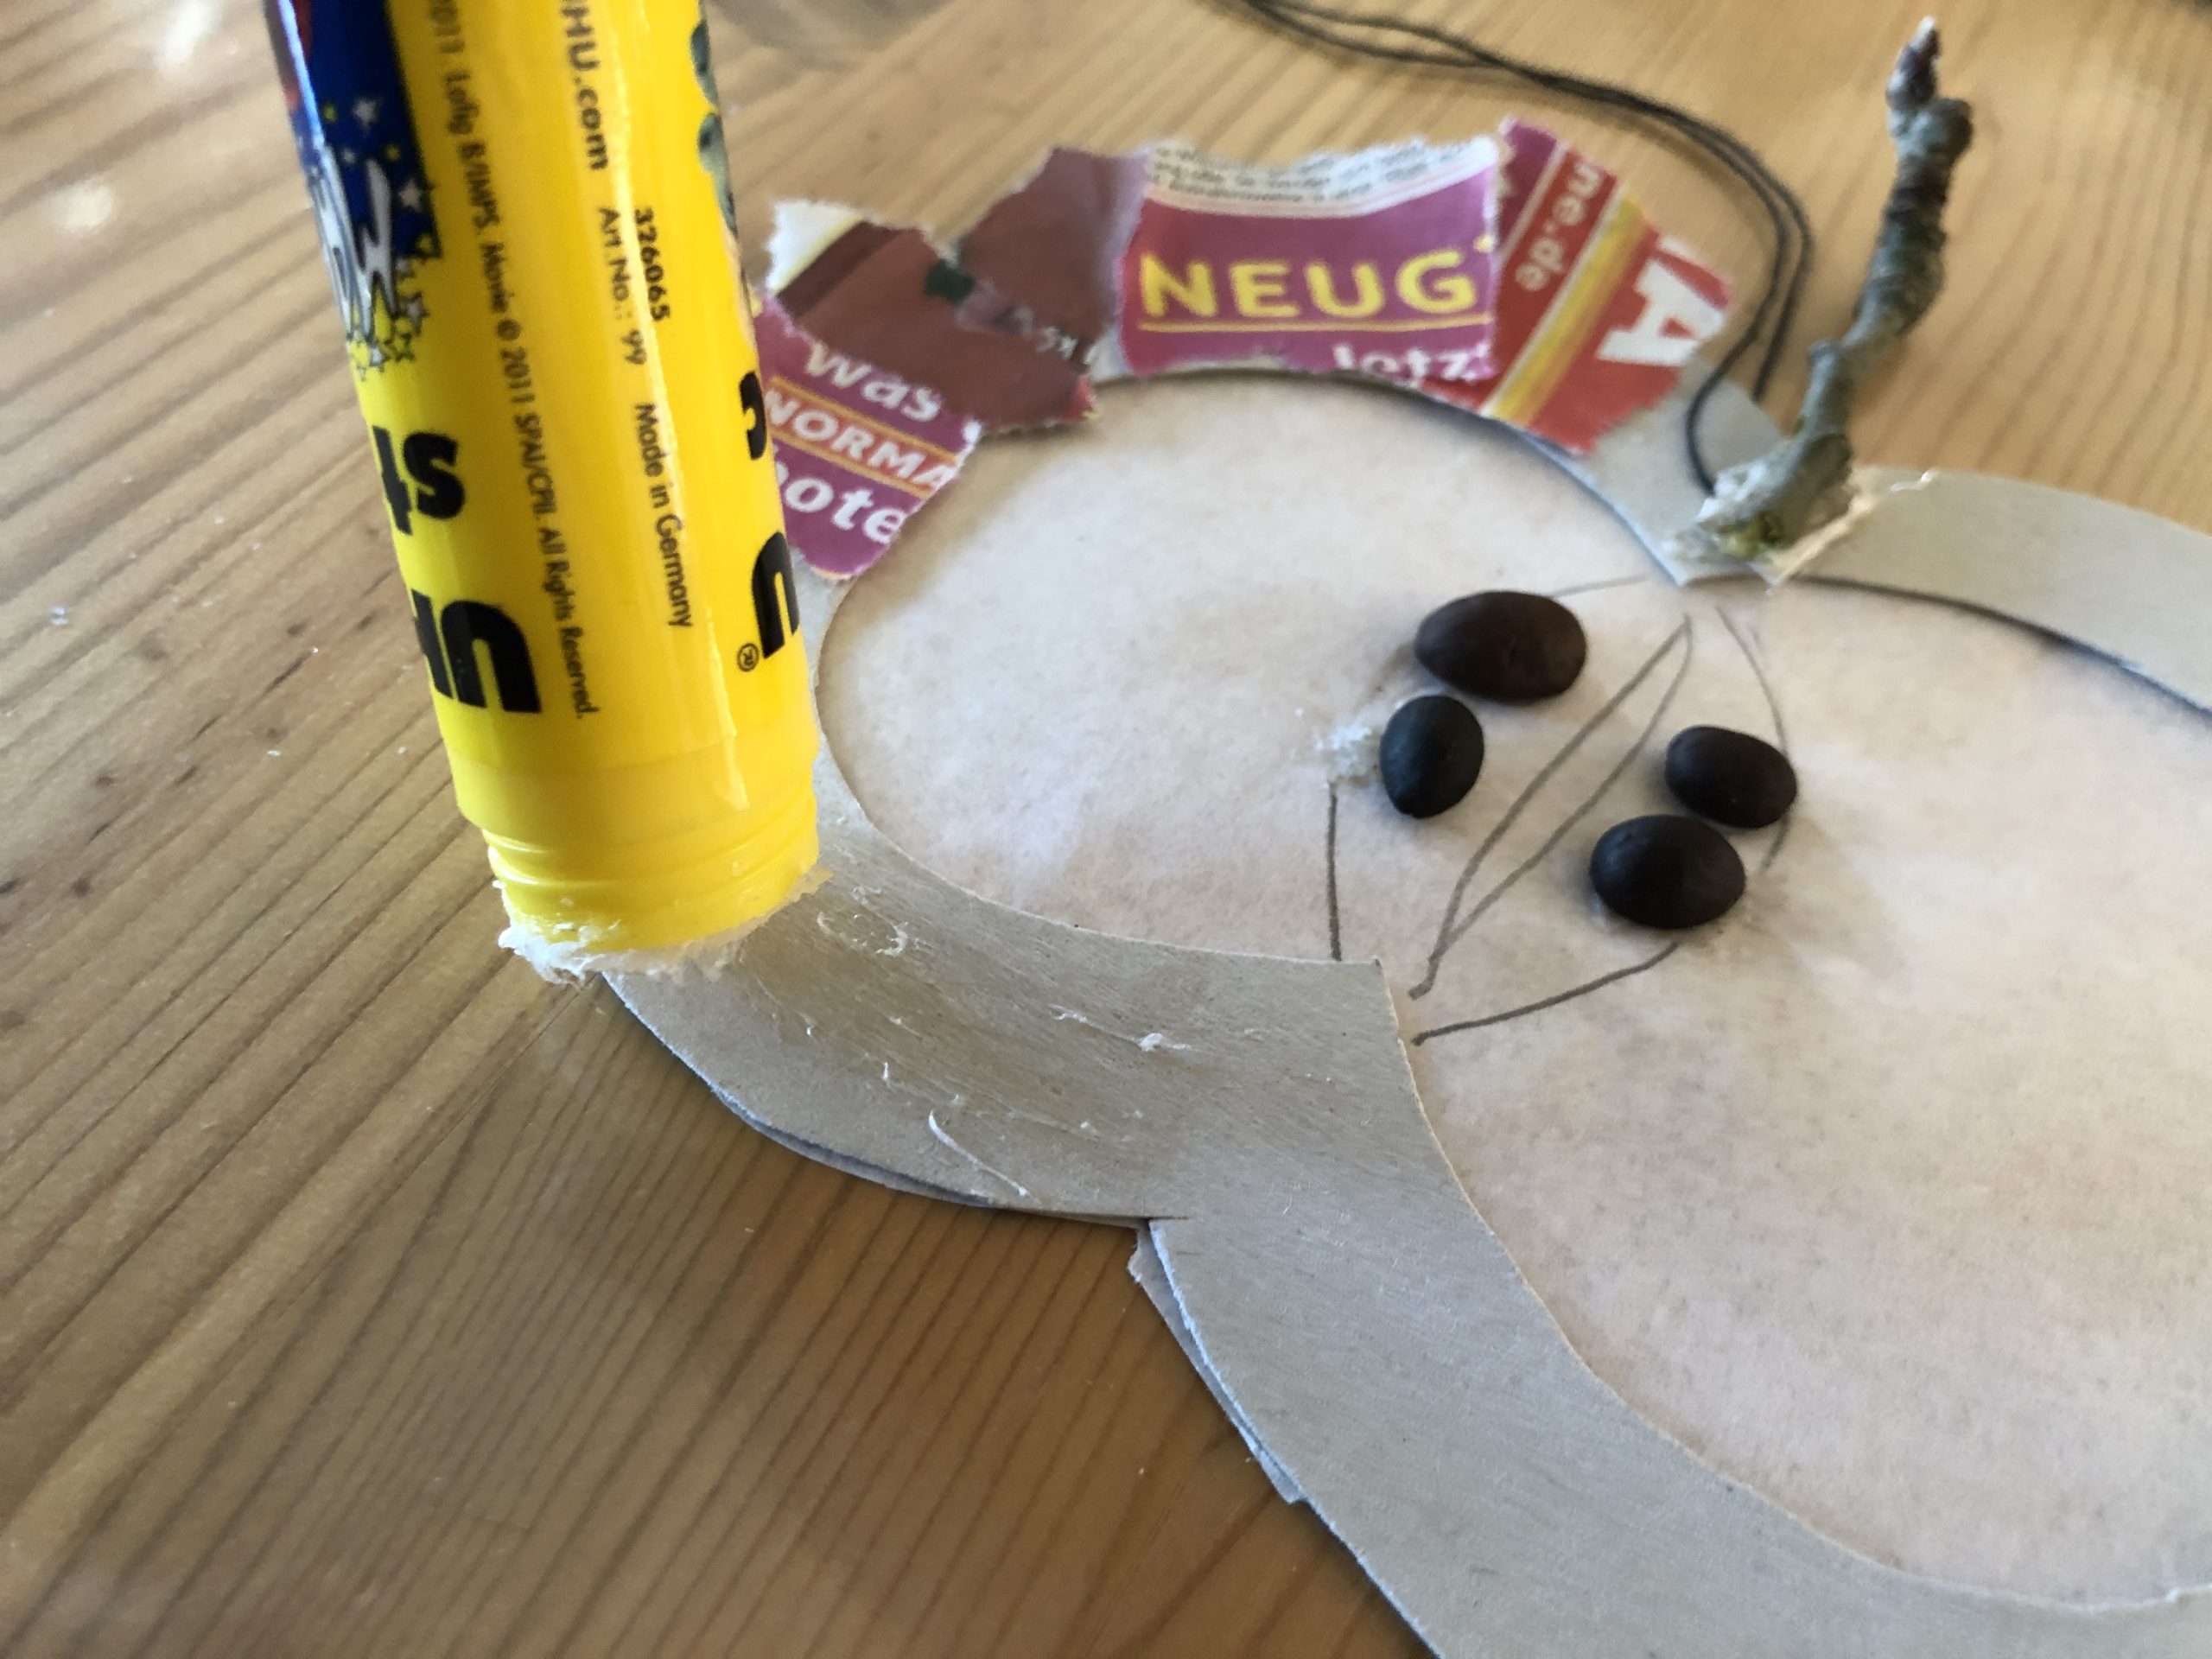


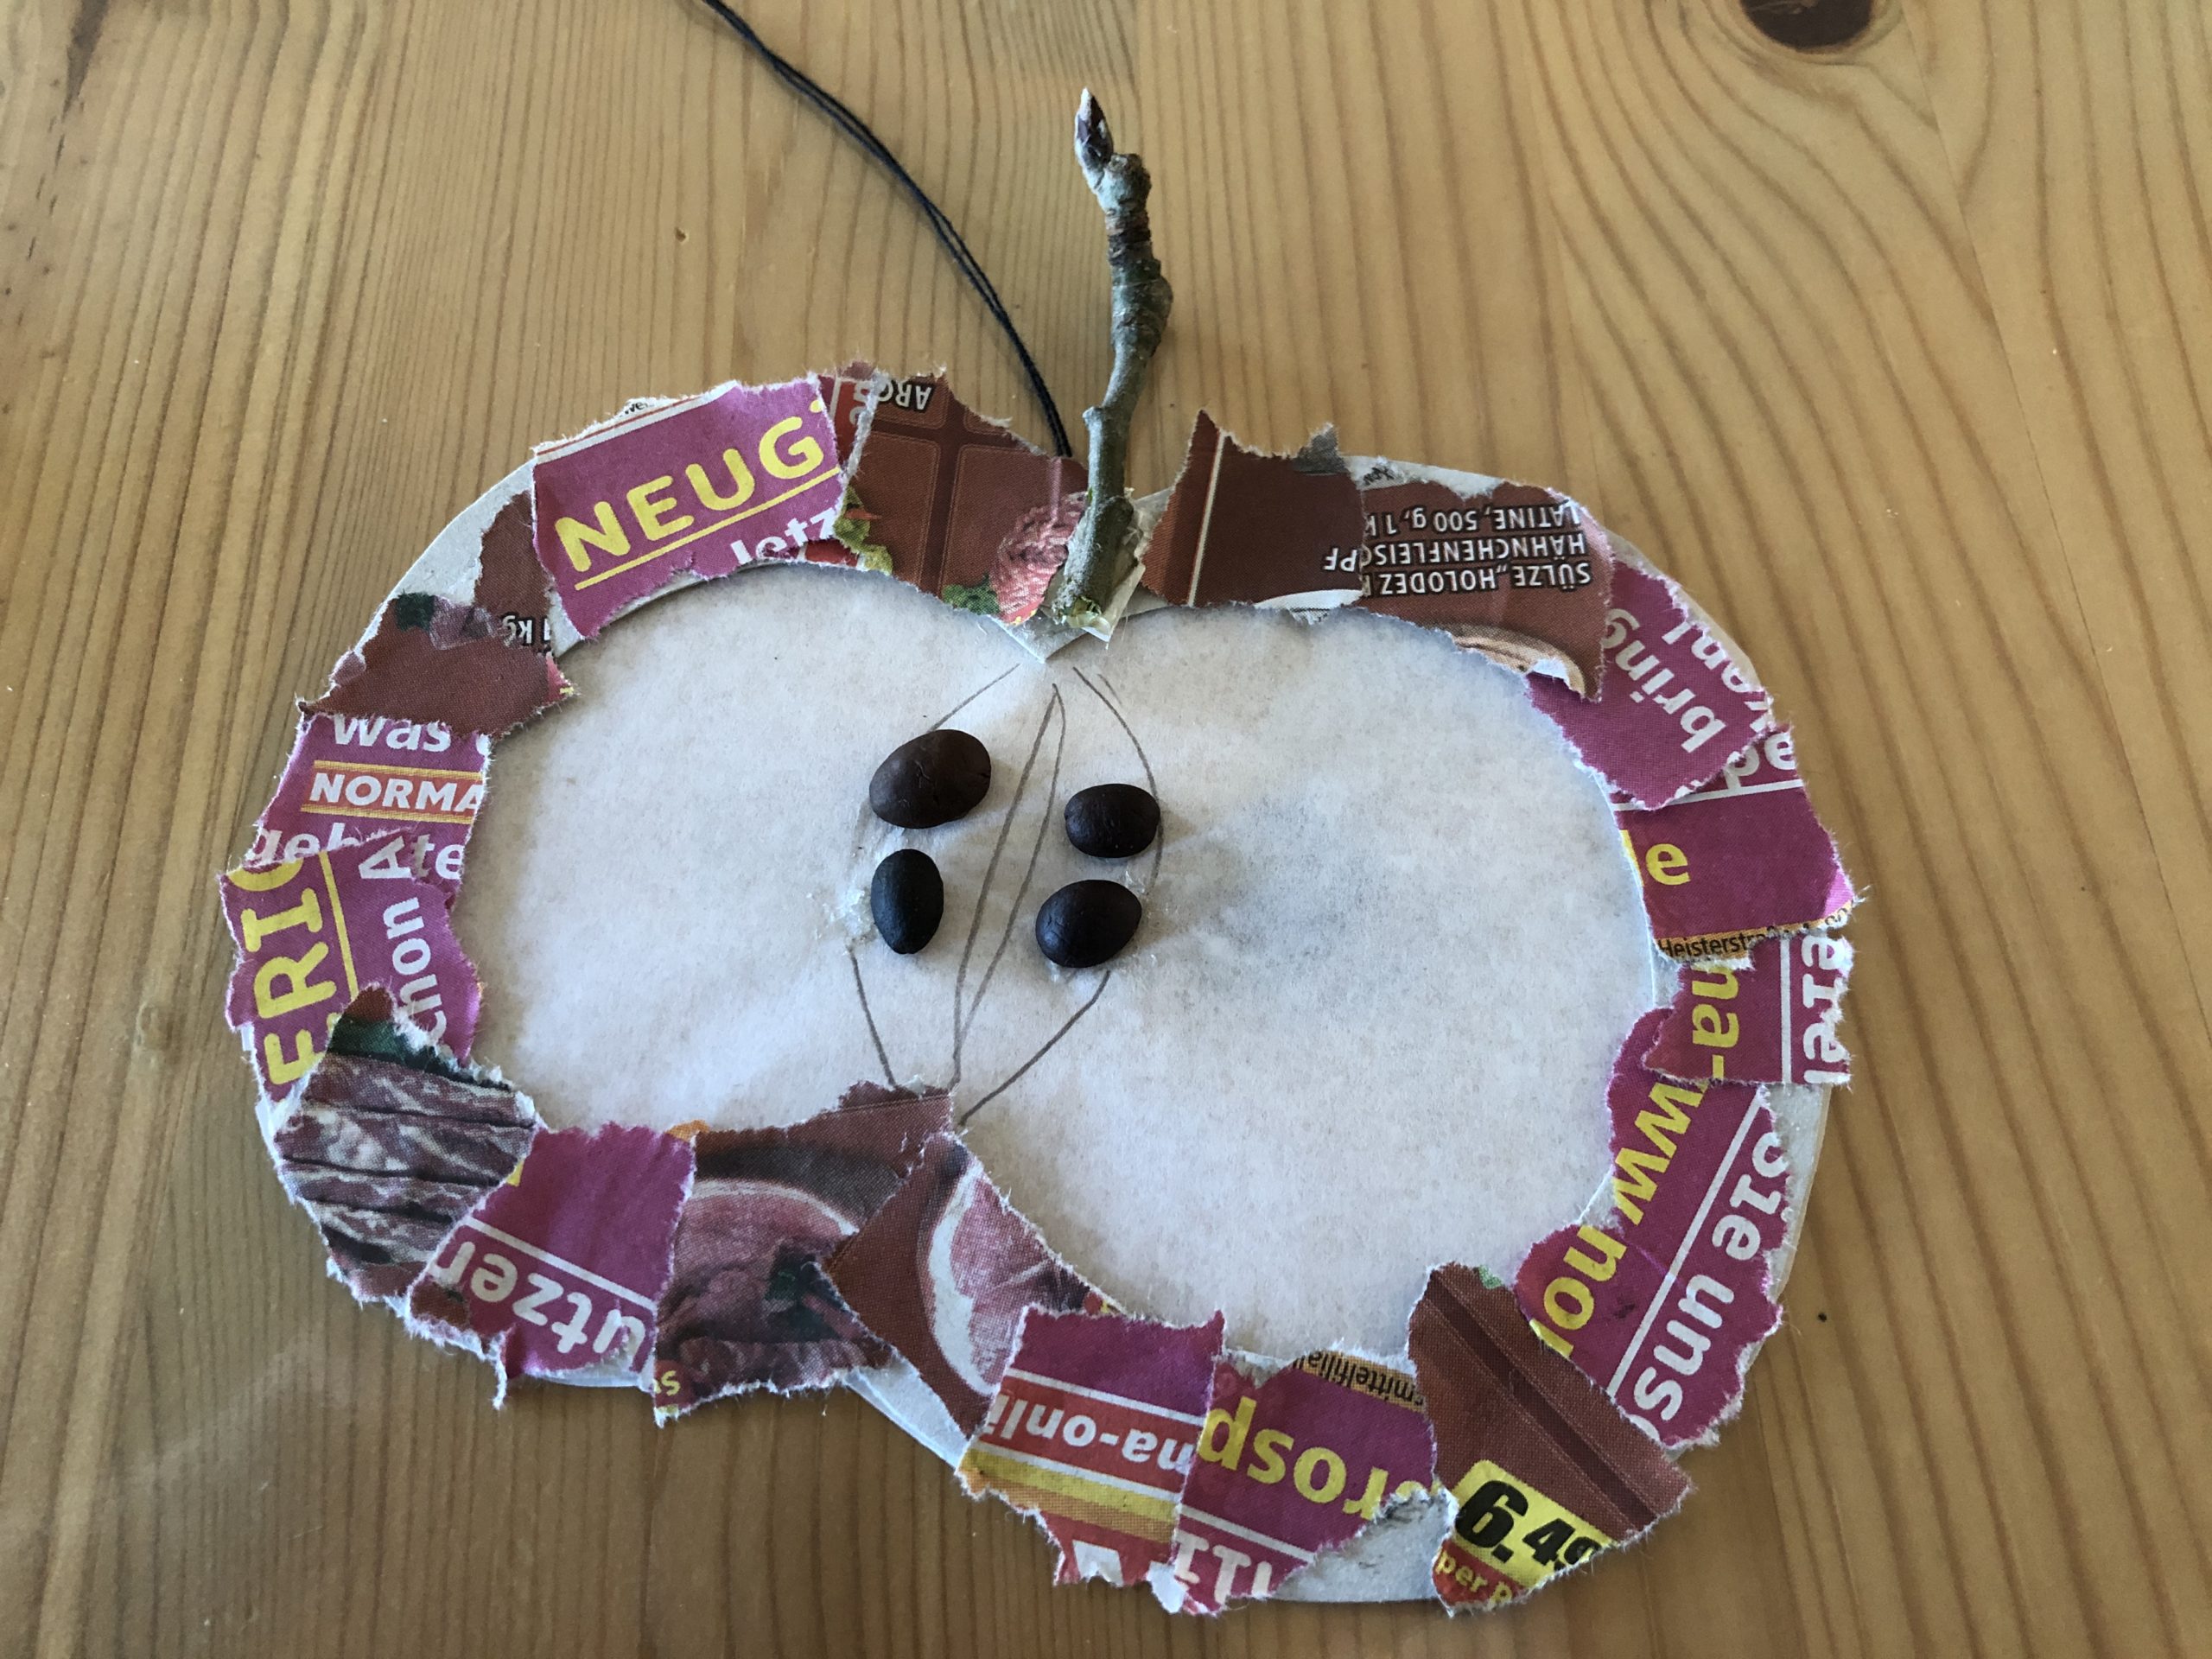


Attach a butterbread paper sheet next to the stem!
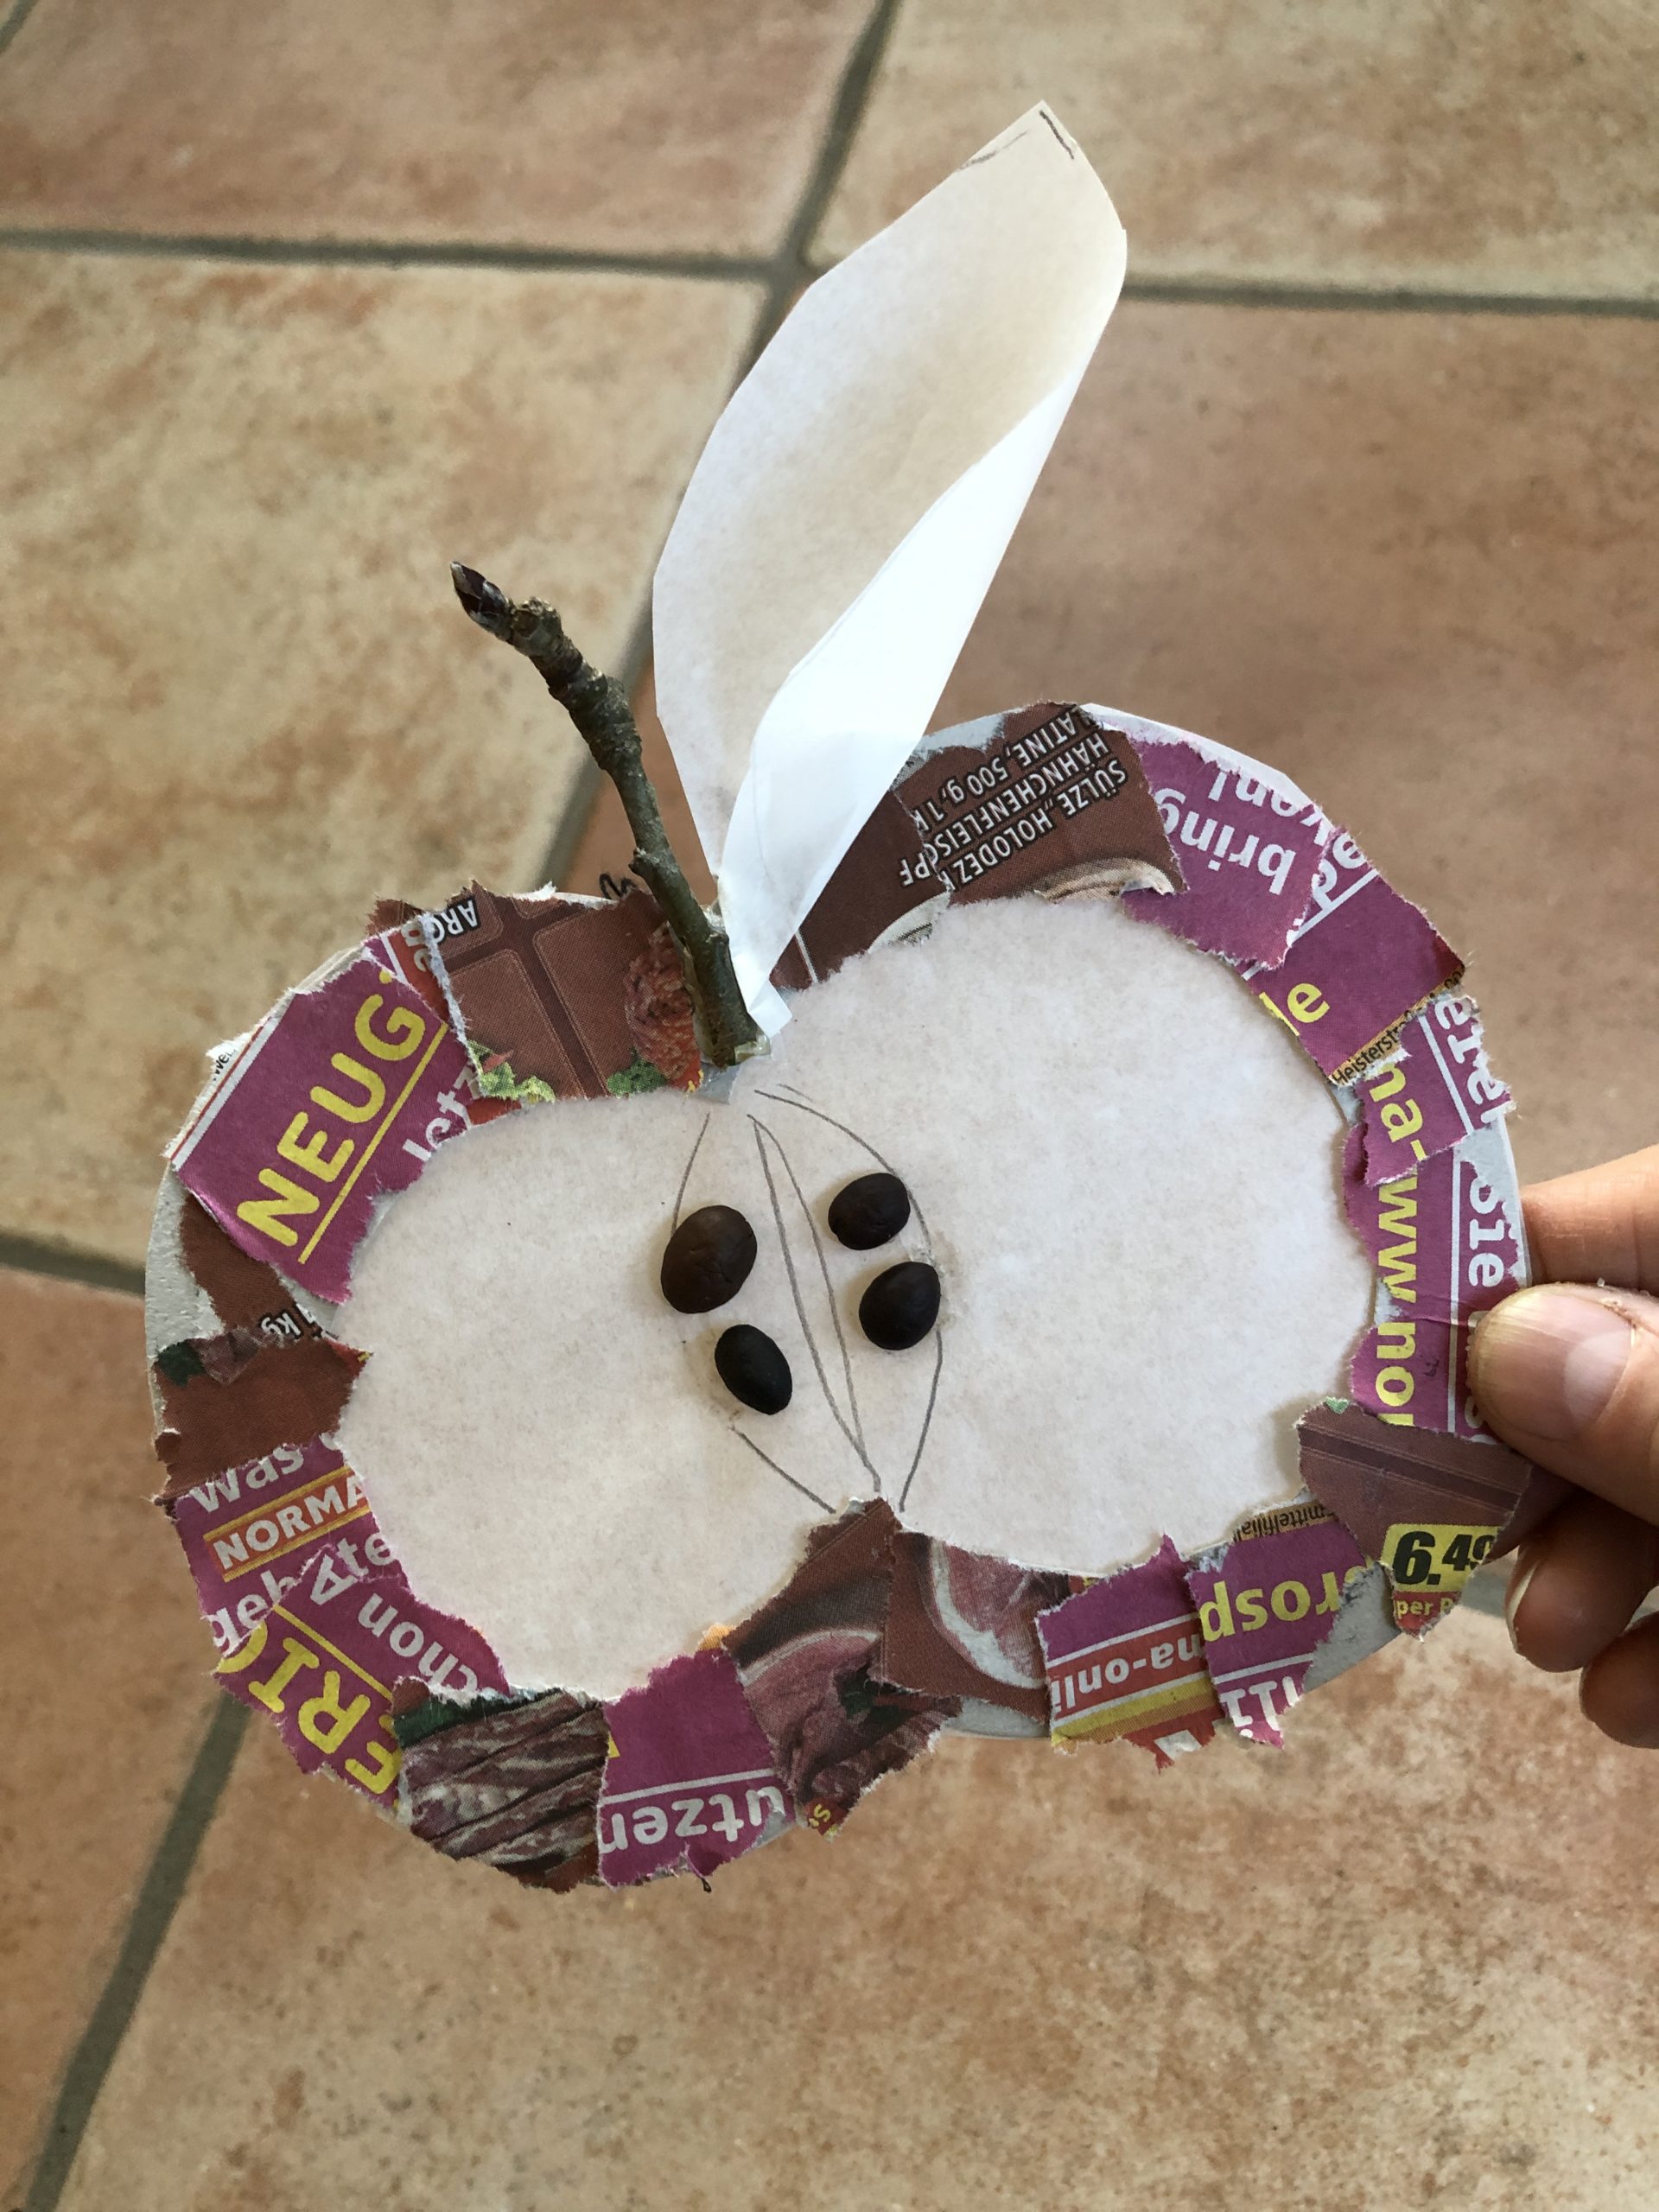


Which half of the apple should it become? Find out your favorite and start right away.
This apple does not only look great on a door or wall, it also shines beautifully in the window!


Have fun!


Materials
Directions
You need a cardboard box the size of your apple!


Draw the outline of your apple.
Make this free and without template. So your crafts become unique and you learn to paint the objects.


Then you paint a second line with a distance of at least 1.5 cm from the outer line.


Cut out your apple edge.
For children it is not quite easy to cut the edge as a frame. Keep in mind that the frame is not cut.


Now put the cardboard frame on a piece of butterbread paper.


Stick the frame on the butterbread paper.


Now cut off the overhanging butterbread paper.


Now the seeds, the stalk and a leaf are missing.


Idea 1:
With the glue stick, glues two brown leaves as kernels in the middle of the apple.
Then stick to a small branch as an apple stalk with the hot glue gun. Attention: Children should never be alone when dealing with the hot glue gun.


Now we make a sheet out of butterbread paper. For this, a sheet cuts out. See in the picture how it can look about.


Now you press the stem of the leaf slightly together. This makes the leaf look like a real leaf. It looks plastic.


This leaf sticks to the apple next to the stem. Use the hot glue gun.


Idea 1 is ready.
Idea 2:
You're making the paper out of newspaper.


Then it sticks with the hot glue gun next to the stem.


You can also attach a second sheet.


Idea 3:
Used for the seeds coffee beans.


Sticks four coffee beans with hot glue.


Now you can paint a core case on the apple.


Idea 4:
Glue your apple frame additionally with red brochure snippets.
First you tear a brochure into small snippets. Then stick it on the frame with the glue pen.


Attach a butterbread paper sheet next to the stem!


Which half of the apple should it become? Find out your favorite and start right away.
This apple does not only look great on a door or wall, it also shines beautifully in the window!


Have fun!


Follow us on Facebook , Instagram and Pinterest
Don't miss any more adventures: Our bottle mail


