Pendants for Easter

AdventurerKatzi
Rating5.04.0 thousand times & (3) DifficultyBeginner

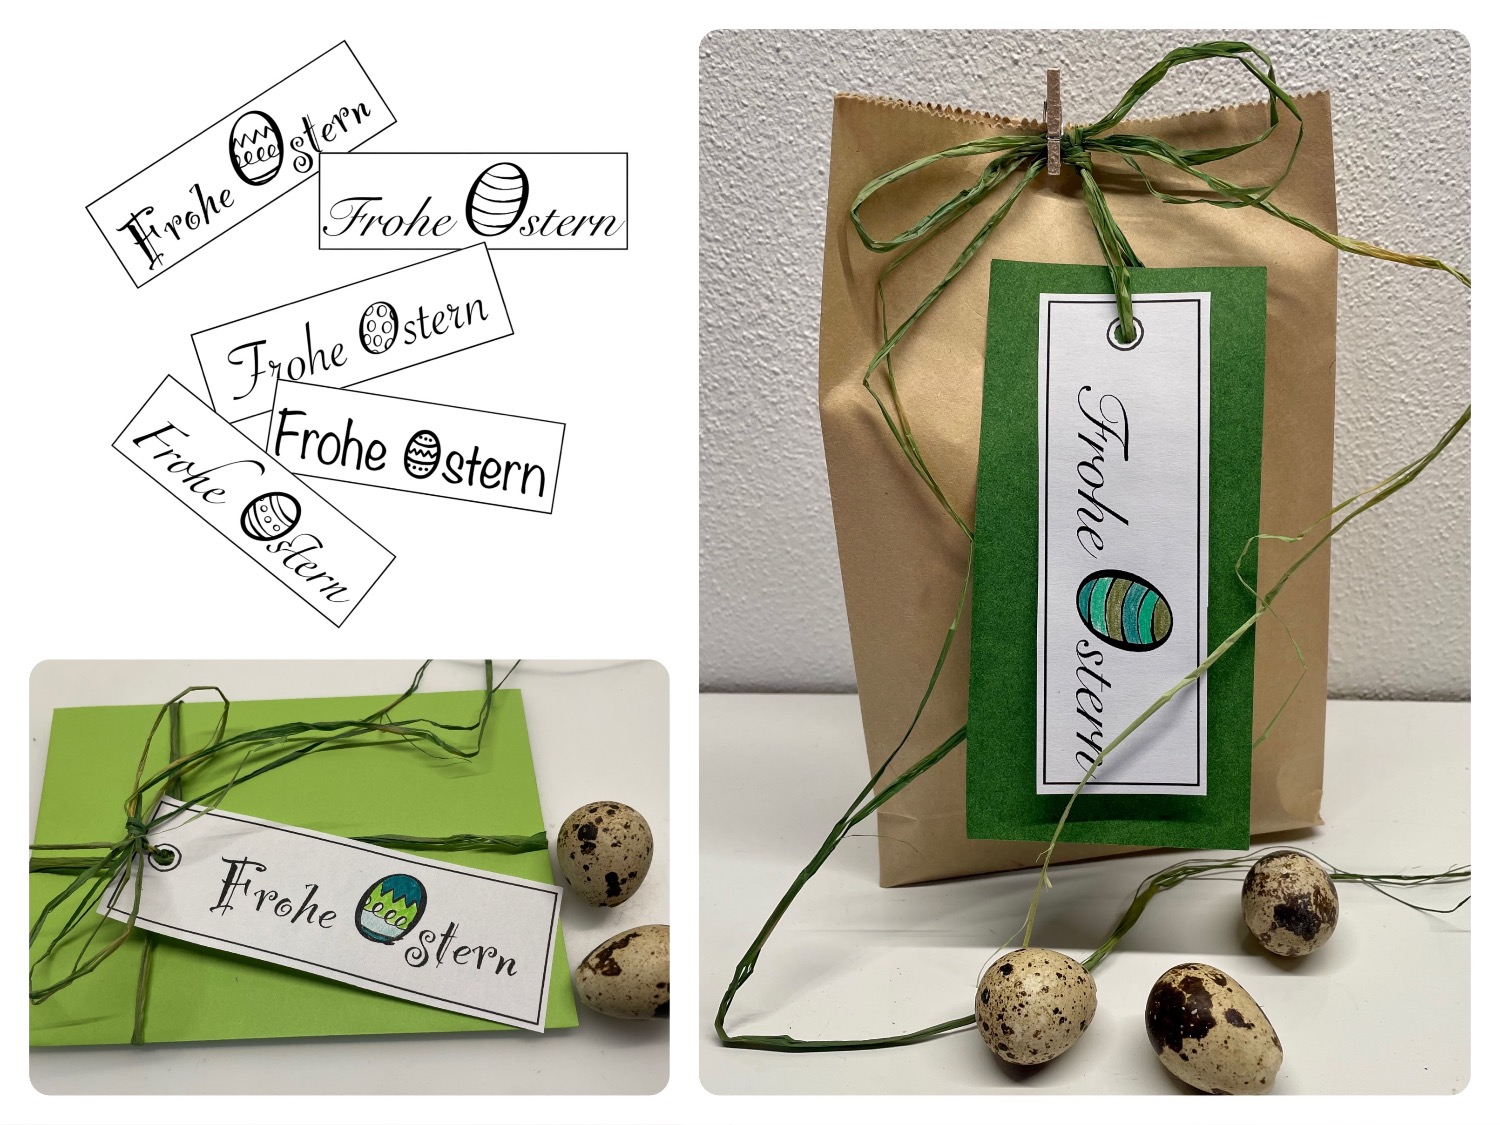
These pendant templates with the inscription "Happy Easter" can be used in many ways. You can design the templates according to your wishes in colour. For this you cut them out and stick them on coloured paper. The lettering not only decorates a gift, but is also suitable for the Easter table. Stay creative!

Media Education for Kindergarten and Hort

Kind bastelt eine Rassel mit dem Navi
The Adventure Navi, the app for DIY projects, enables media education for the youngest.

Relief in everyday life, targeted promotion of individual children, independent learning and - without any pre-knowledge already usable by the youngest!


Titelbild zur Bastel- und DIY-Idee für Kinder '(1038) Anhänger für Ostern'
Material for1 Child
Prep Time5 min.Adv. Time10 min.Total Time15 min.
 1 Printable template
 Colour pencils
 1 Felt penBlack
 1 Perforator
 1 Bastor gift ribbon
 1 Builder's pad
All links marked with a shopping cart lead to Amazon - here we have selected products that we would order ourselves and in part also ordered. In a qualified purchase via the advertising link, we as Amazon partner receive a commission, for you there are no costs. You thus support our cost- and advertising banner-free, educational offer.
1

You will find the template for printing at the end of the adventure.

Idea 1:
2

First, you print the template.

Bild zum Schritt 3 für das Bastel- und DIY-Abenteuer für Kinder: 'Zuerst druckt ihr euch die Vorlage aus.'

3

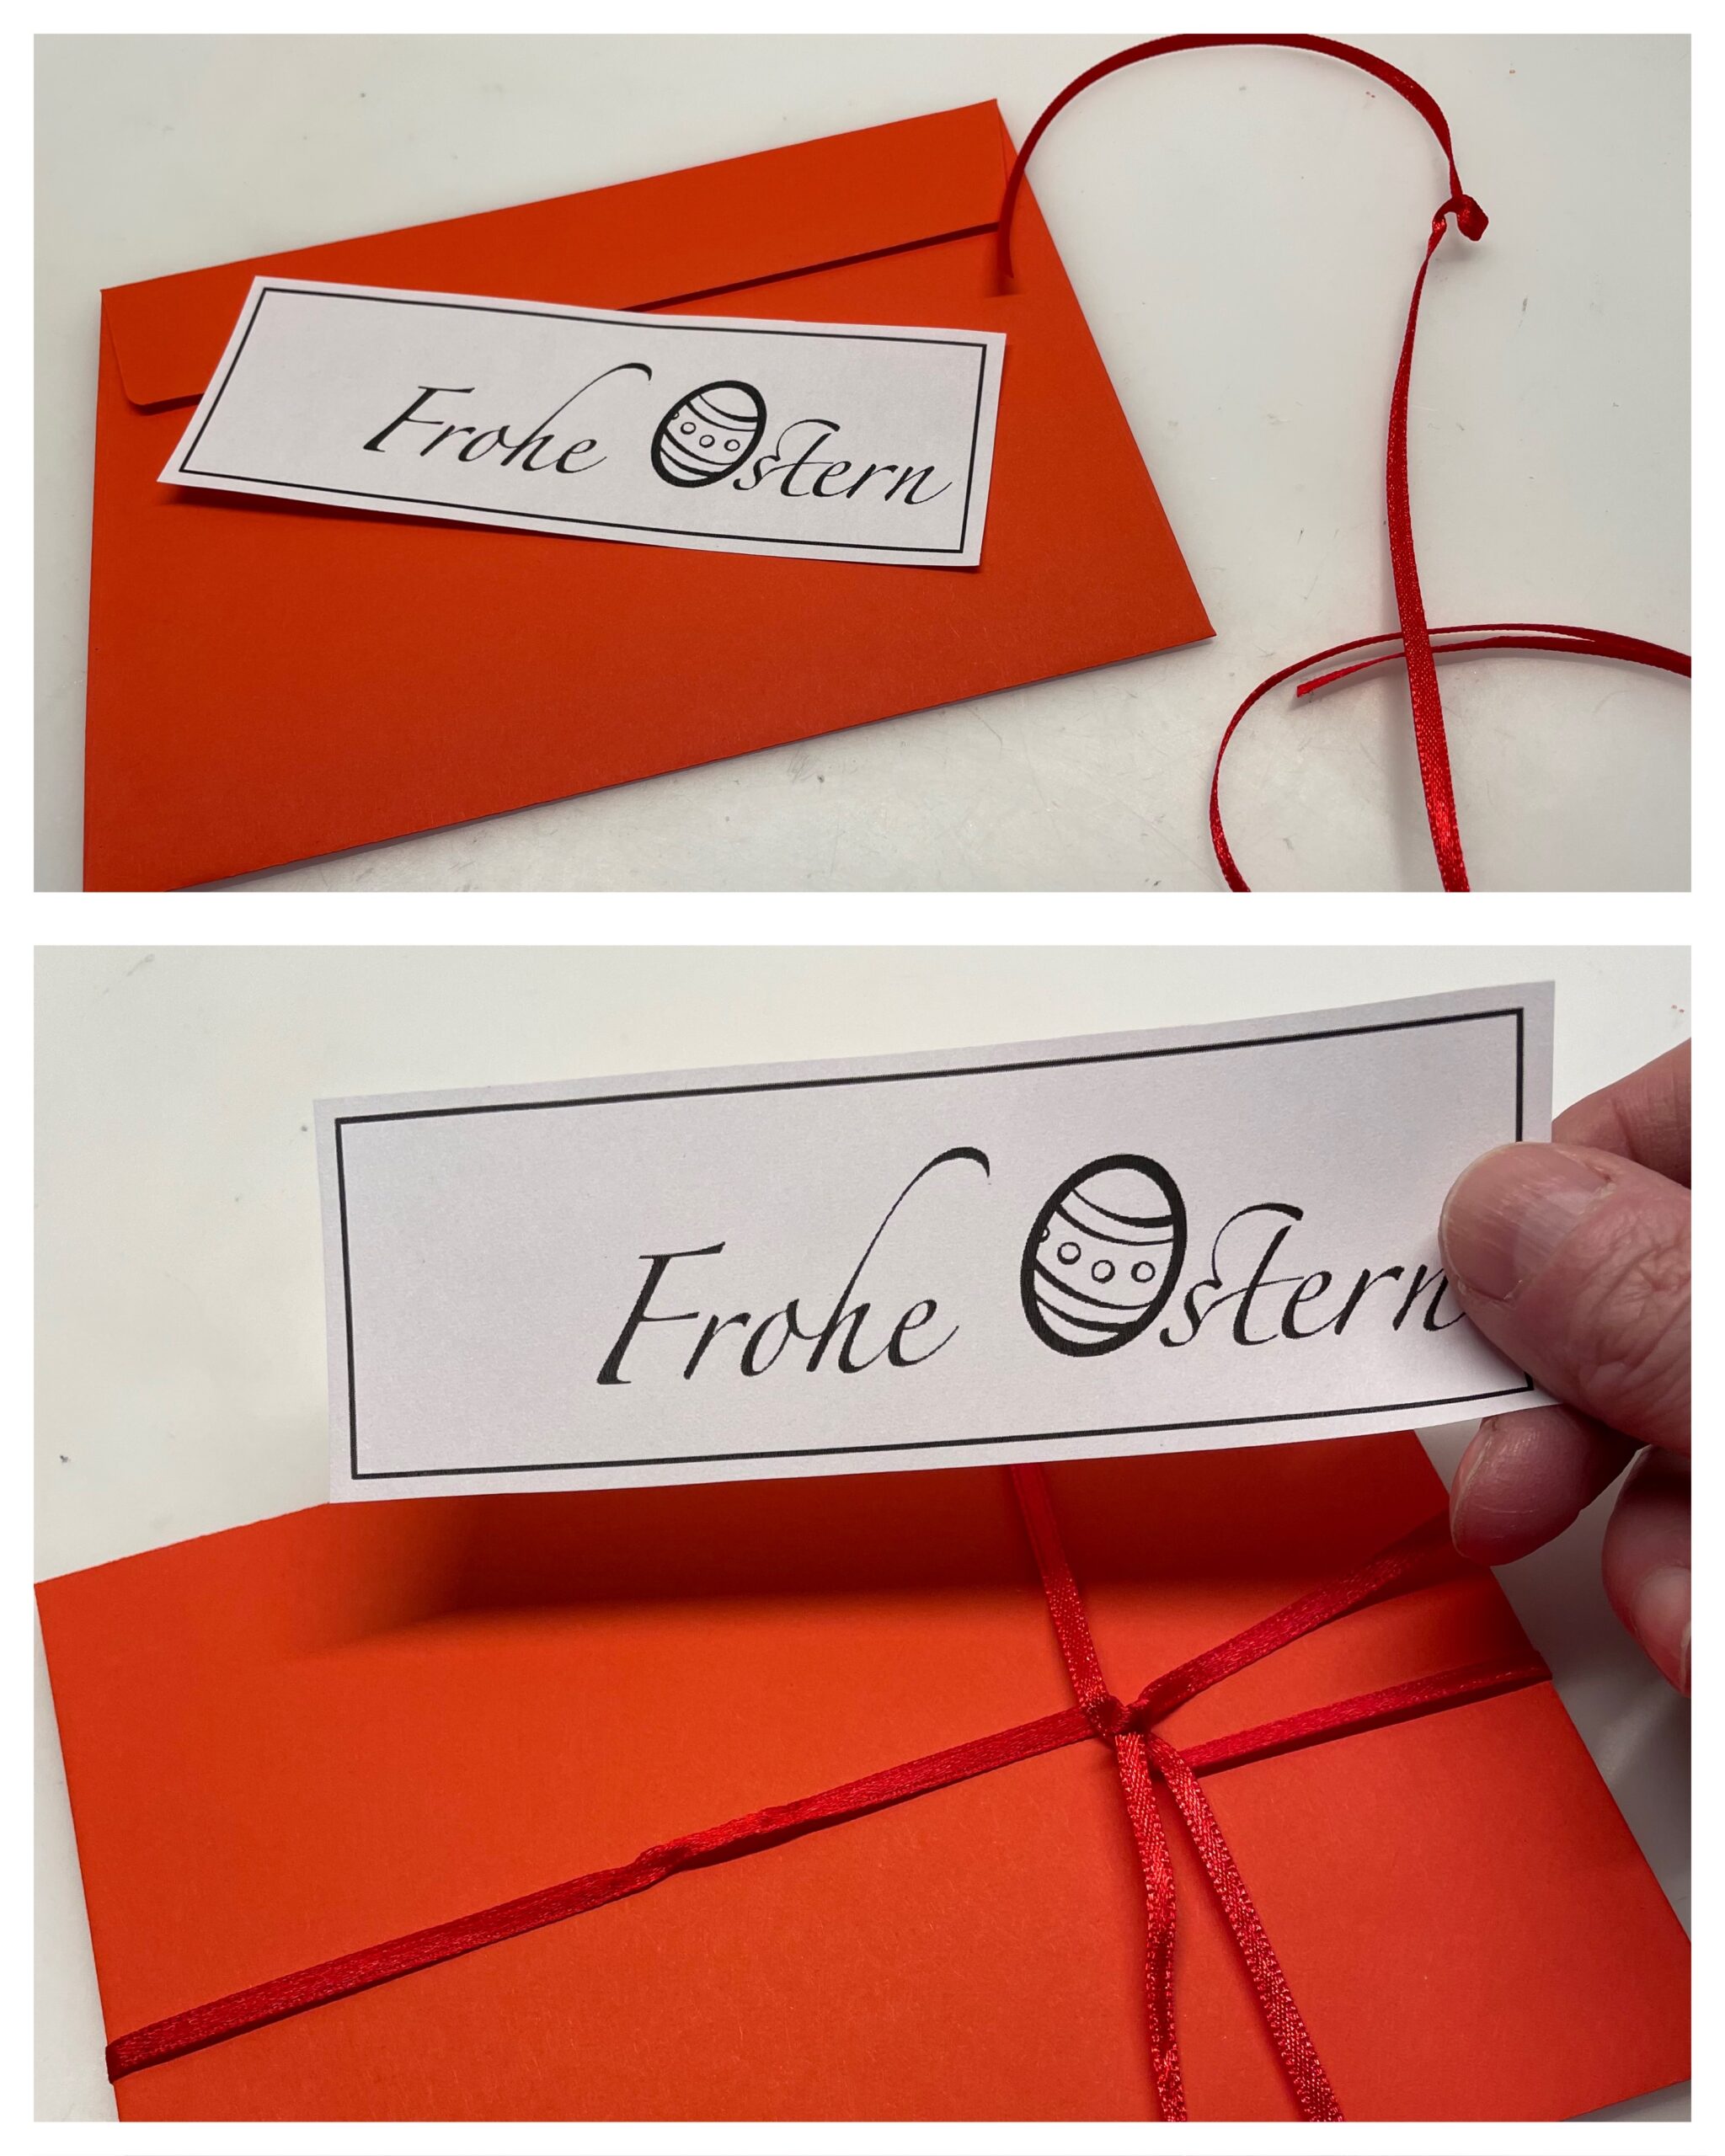
Then you cut out any sign.

Bild zum Schritt 4 für das Bastel- und DIY-Abenteuer für Kinder: 'Anschließend schneidet ihr ein beliebiges Schild aus.'

4

Then you punch the wide end of the text field. Then you paint around the punched hole with a black thin felt pen.
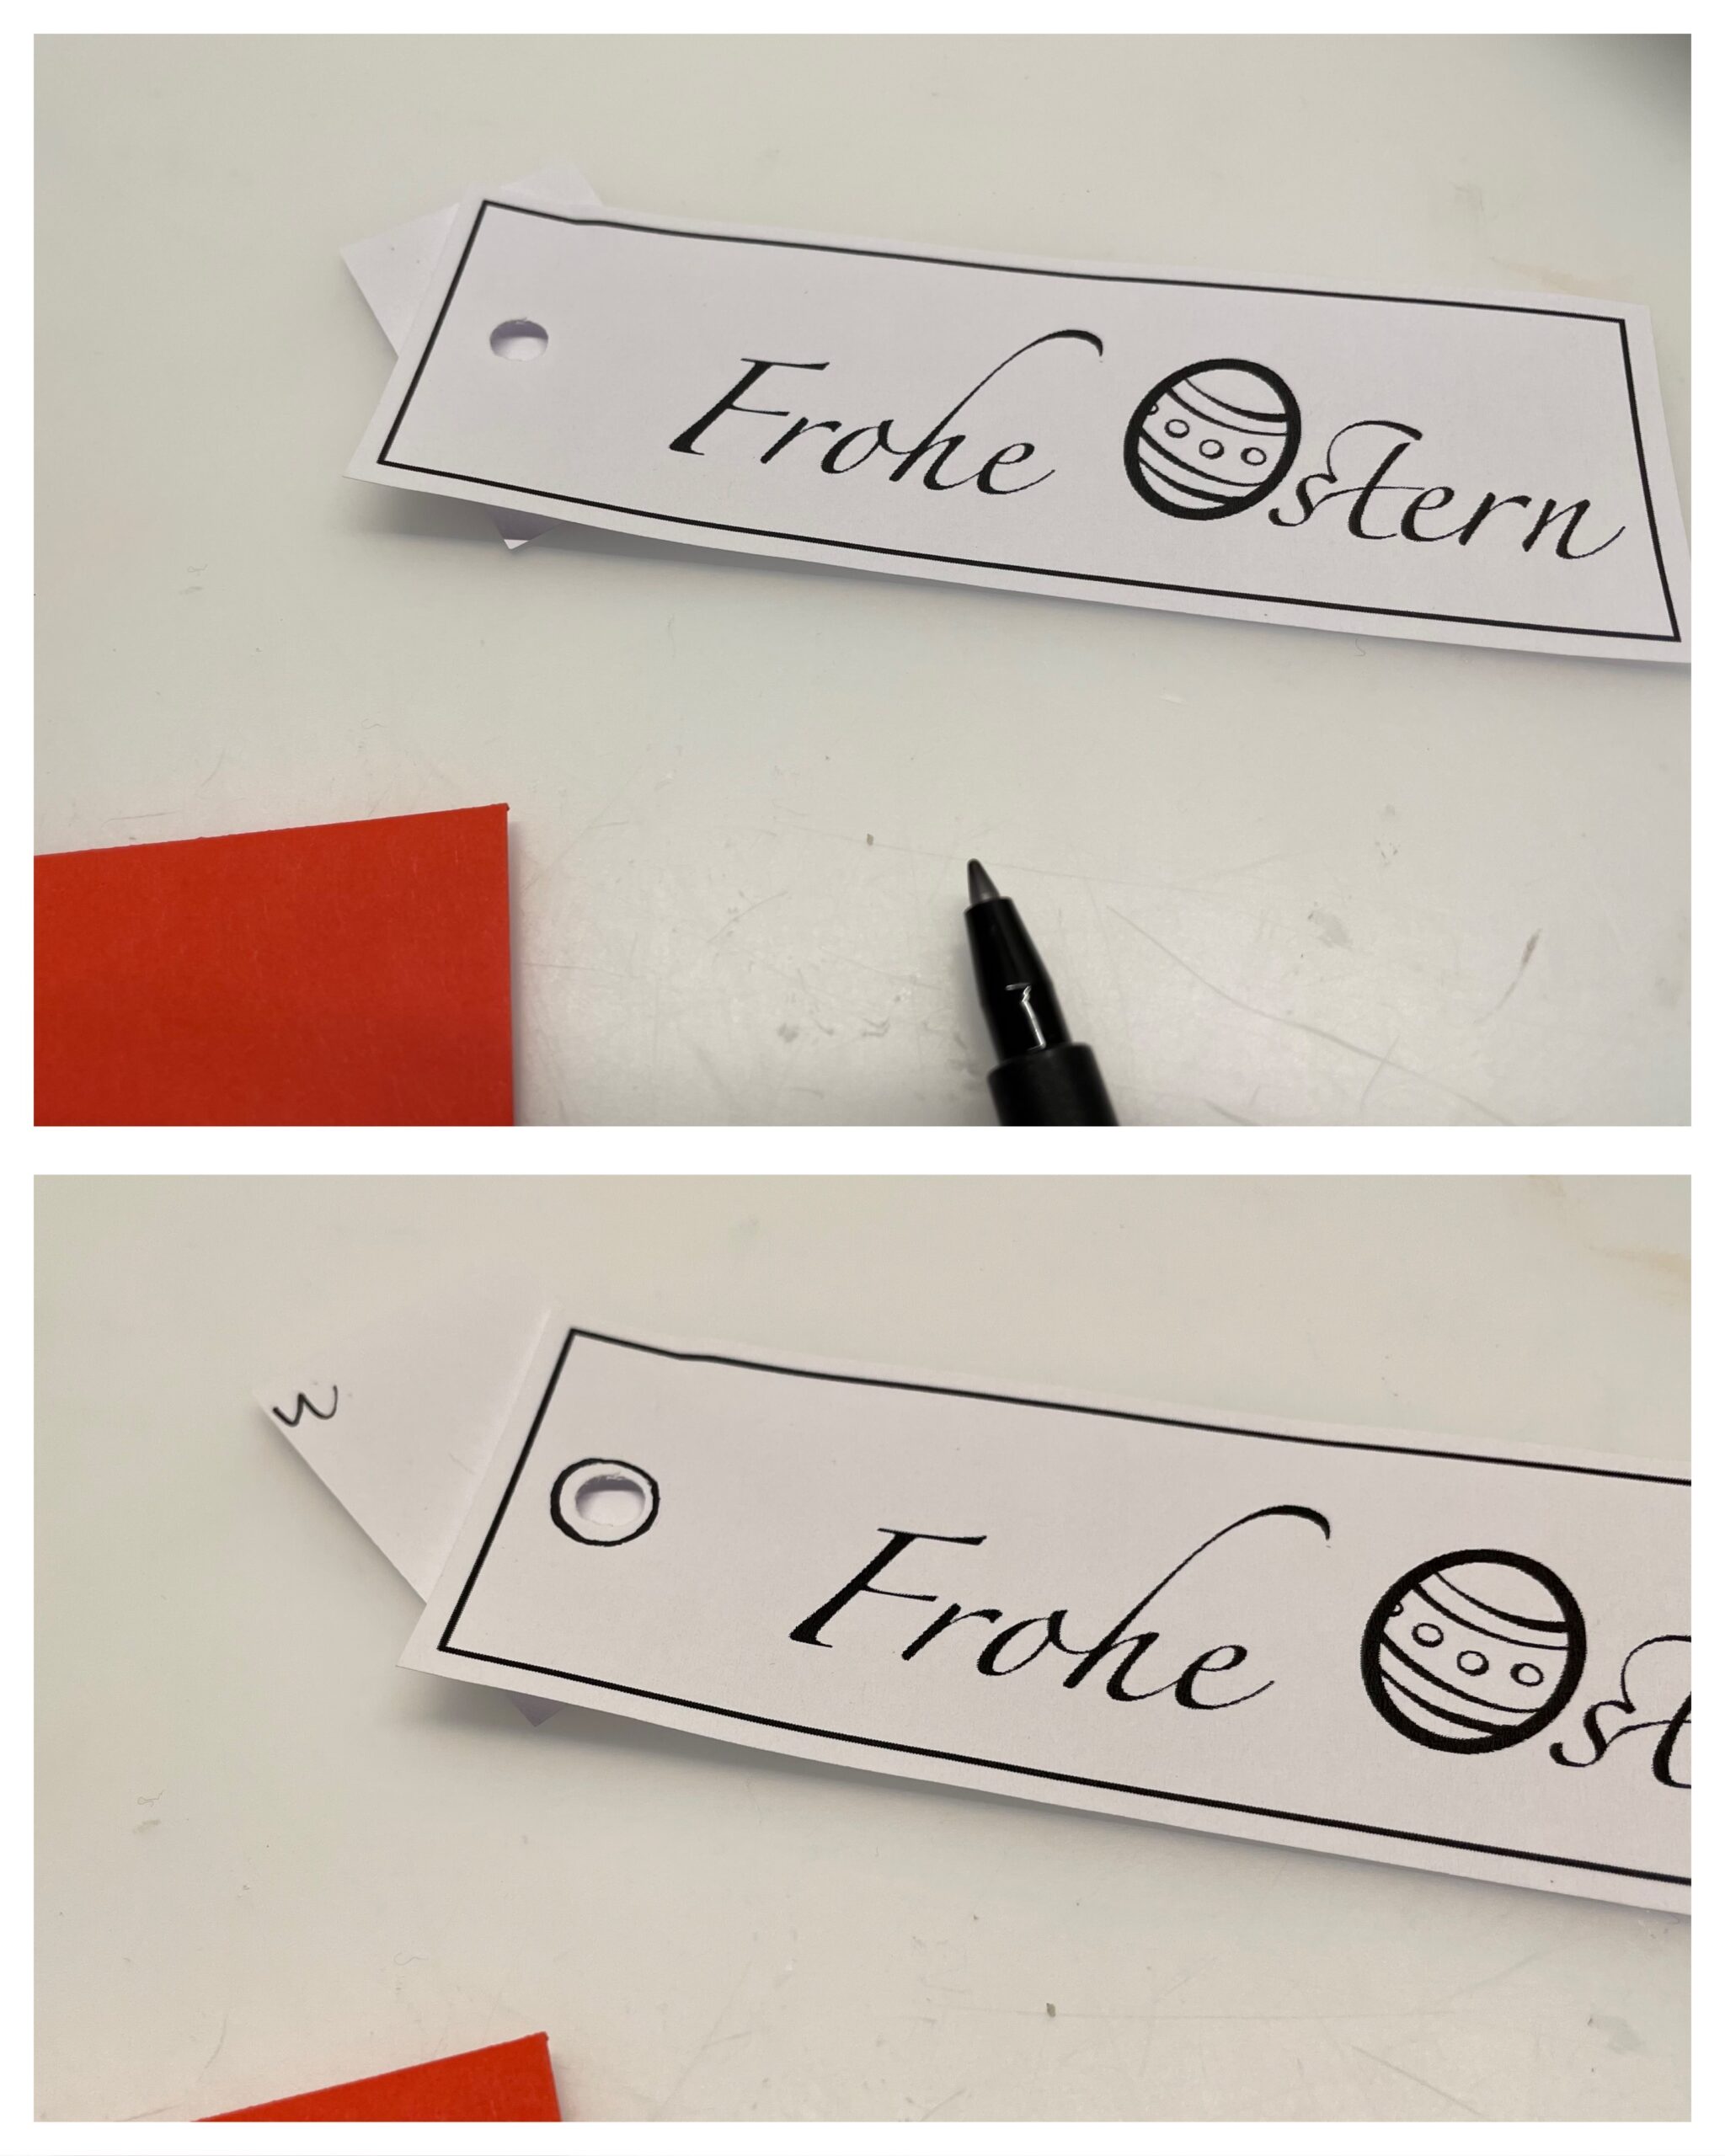
Bild zum Schritt 5 für das Bastel- und DIY-Abenteuer für Kinder: 'Danach locht ihr das breite Ende des Textfeldes. Anschließend malt...'

5

Now you're threading a thread through the hole.
Then tie the card to a gift.

Bild zum Schritt 6 für das Bastel- und DIY-Abenteuer für Kinder: 'Jetzt fädelt ihr einen Faden durch das Loch.  ...'

6

Now paint the Easter egg on the lettering to match your gift or paint your envelope in color.

Bild zum Schritt 7 für das Bastel- und DIY-Abenteuer für Kinder: 'Malt nun das Osterei auf dem Schriftzug passend zu eurem...'

7

2. Bild zum Schritt 7 für das Bastel- und DIY-Abenteuer für Kinder: 'Malt nun das Osterei auf dem Schriftzug passend zu eurem...'

Idea 2:
8

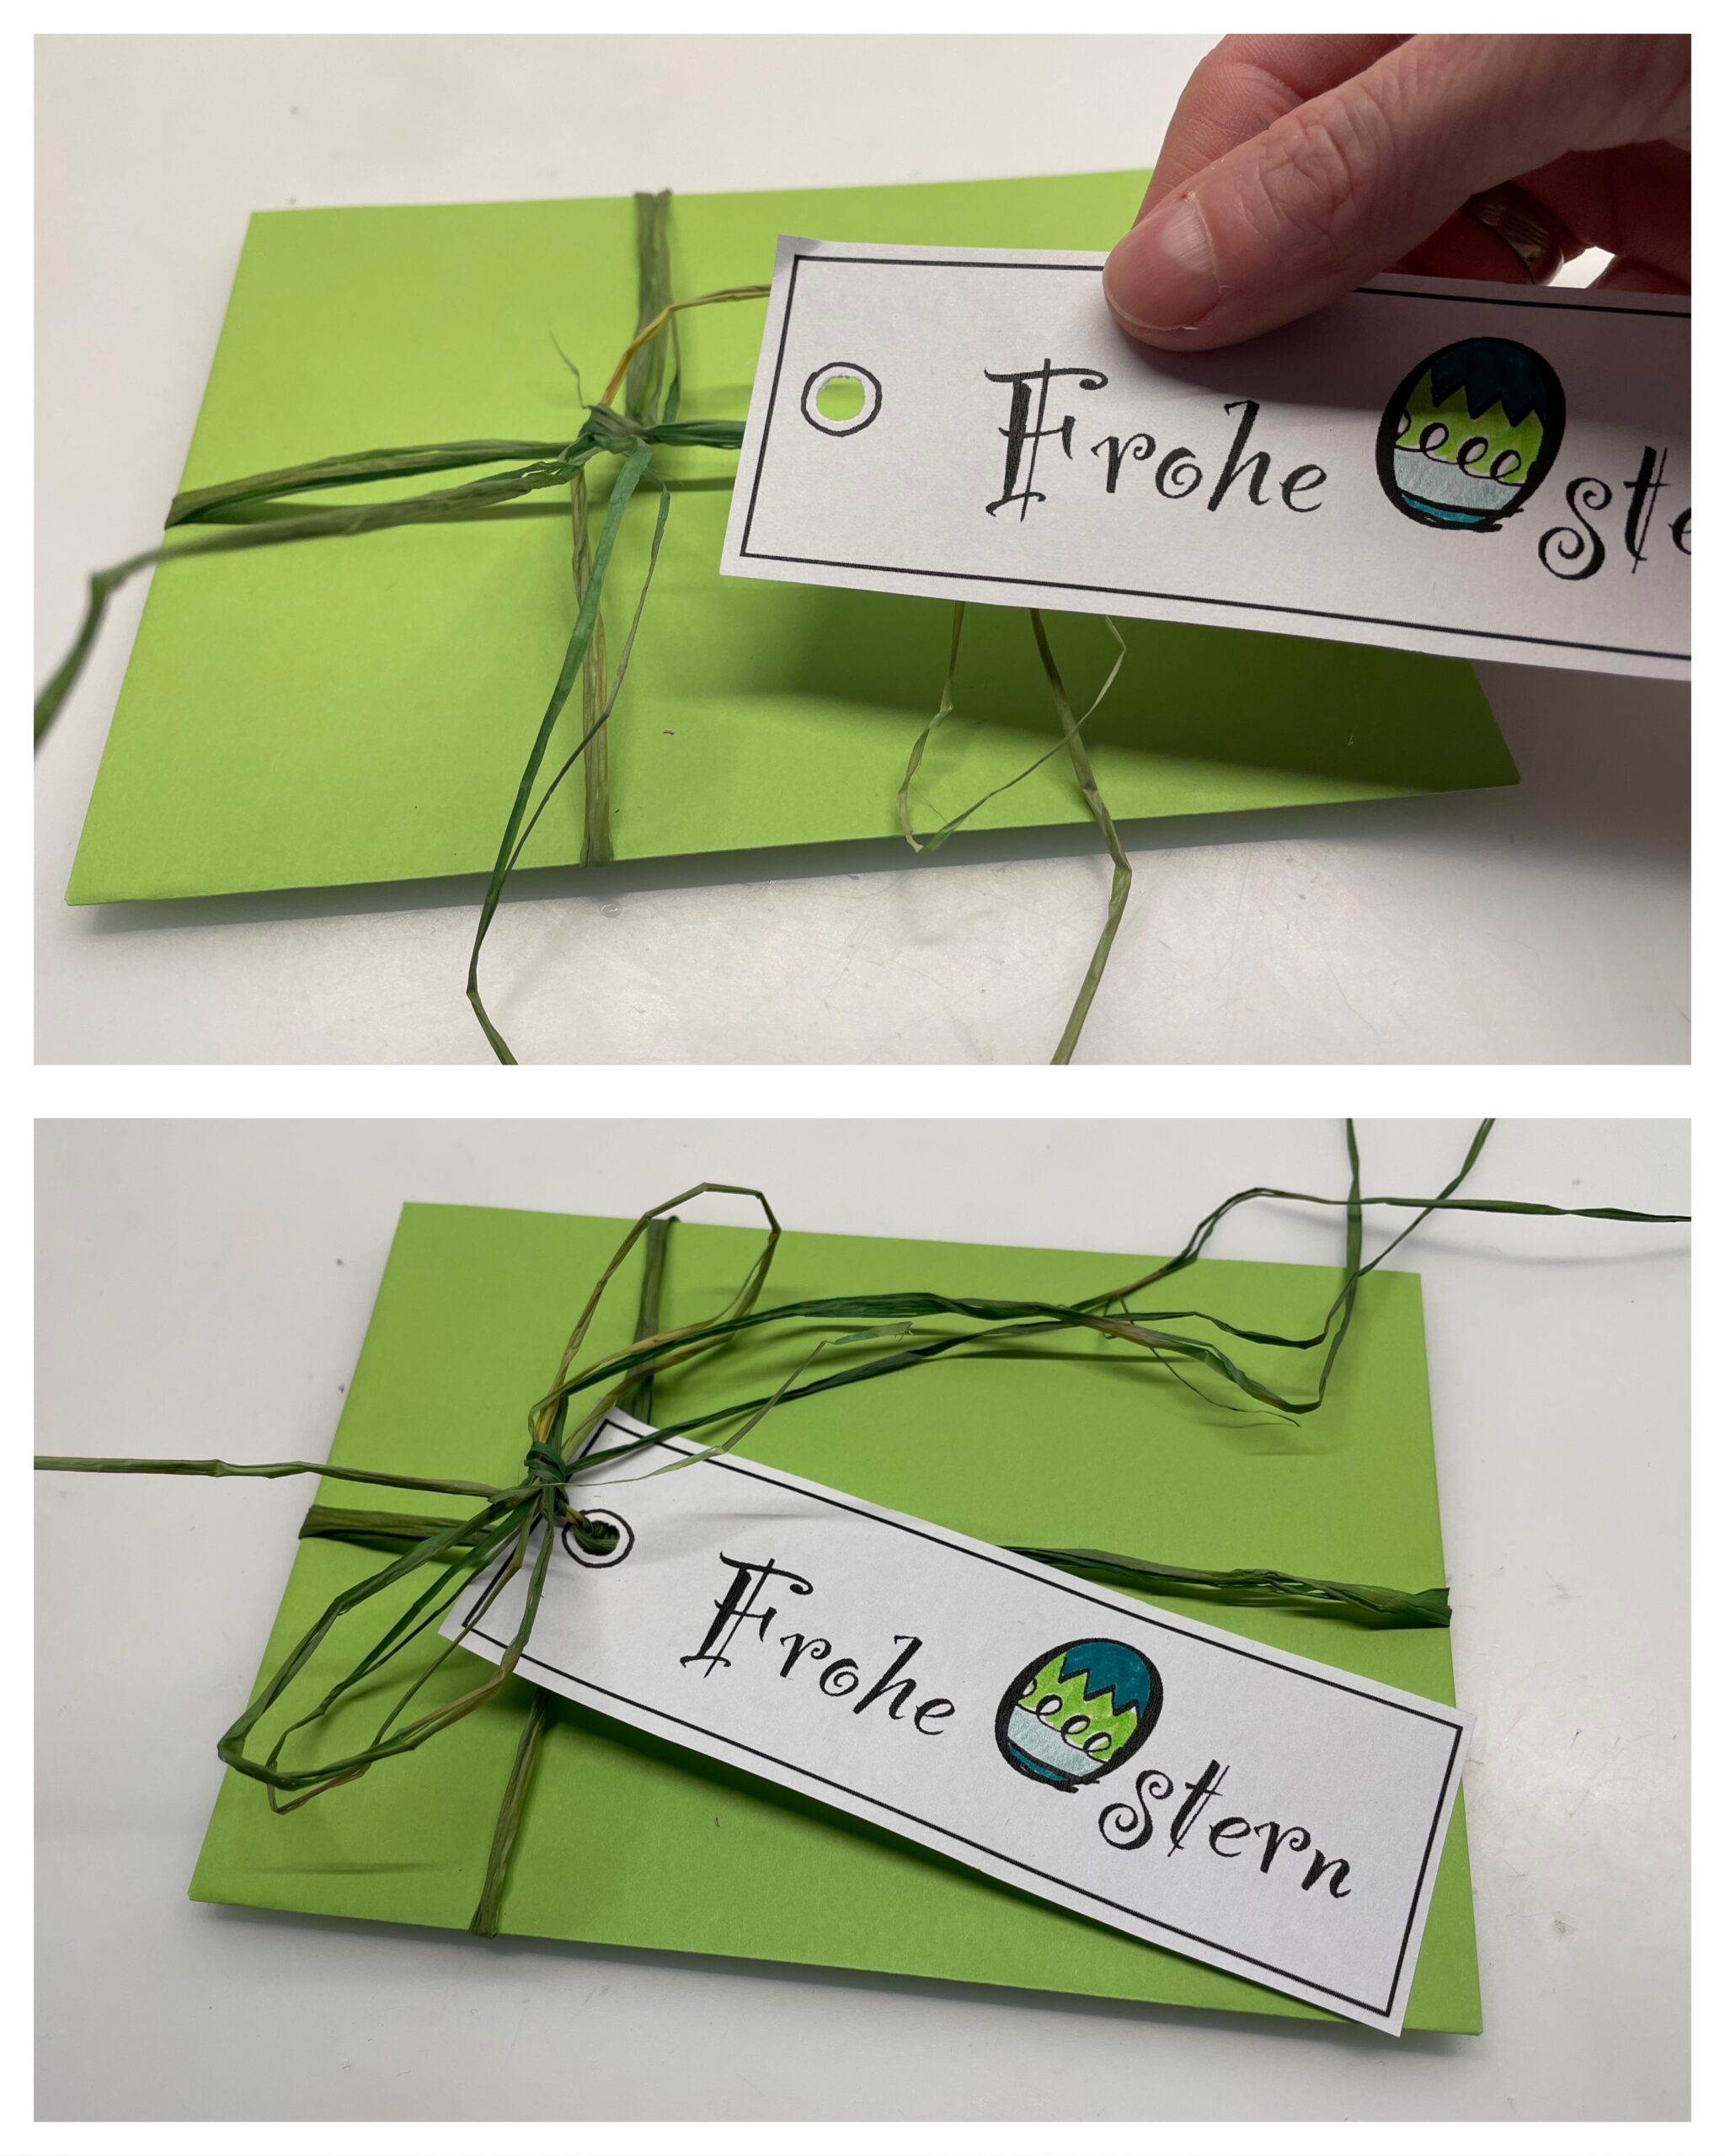
Another possibility is the use as a pendant, which can later also be used as a bookmark. To do this, you cut a colored paper slightly larger than the card.

Bild zum Schritt 10 für das Bastel- und DIY-Abenteuer für Kinder: 'Eine weitere Möglichkeit ist die Verwendung als Anhänger, der später...'

9

Then you punch through the pendant and the colored card. Then paint around the hole with a black felt pen.

Bild zum Schritt 11 für das Bastel- und DIY-Abenteuer für Kinder: 'Danach locht ihr durch den Anhänger und die farbige Karte....'

10

Now put both cards on top of each other and thread a band through both holes. Then you knot the ends together.

Bild zum Schritt 12 für das Bastel- und DIY-Abenteuer für Kinder: 'Legt jetzt beide Karten übereinander und fädelt ein Band durch...'

11

Finally, you hang the pendant on a gift bag, for example.

Bild zum Schritt 13 für das Bastel- und DIY-Abenteuer für Kinder: 'Abschließend hängt ihr den Anhänger z.B. an eine Geschenktüte.'

Idea 3:
12

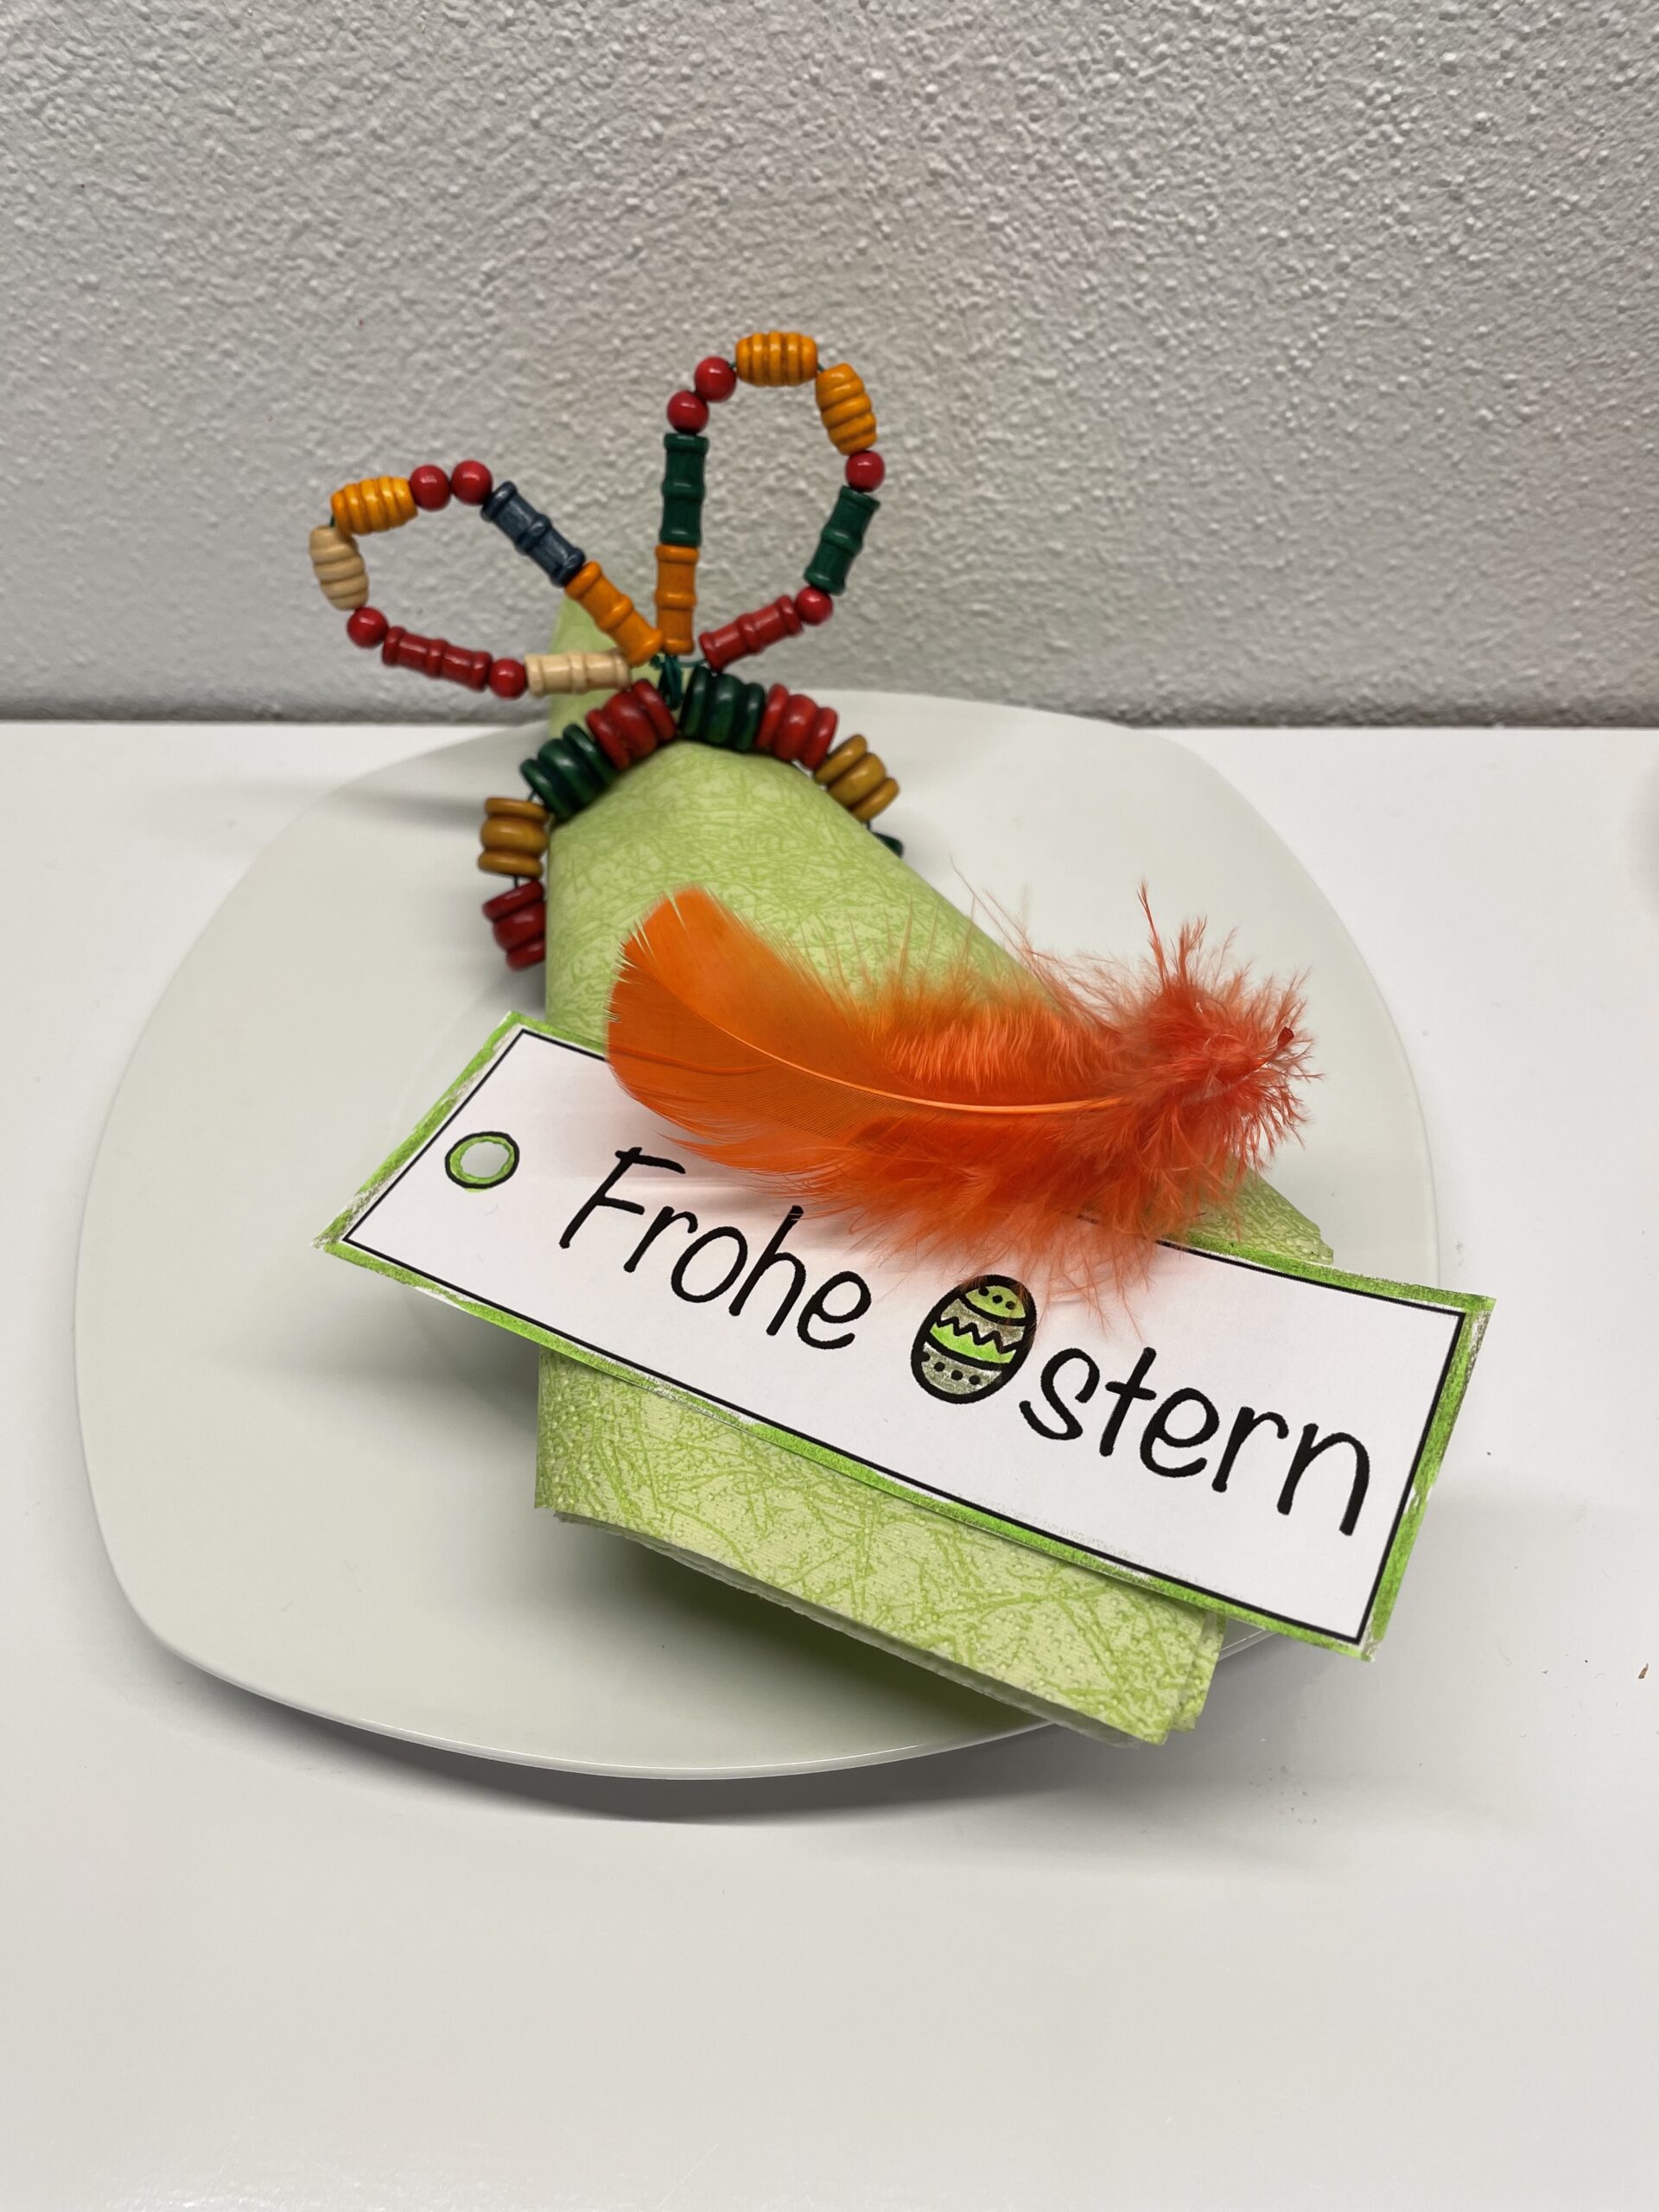
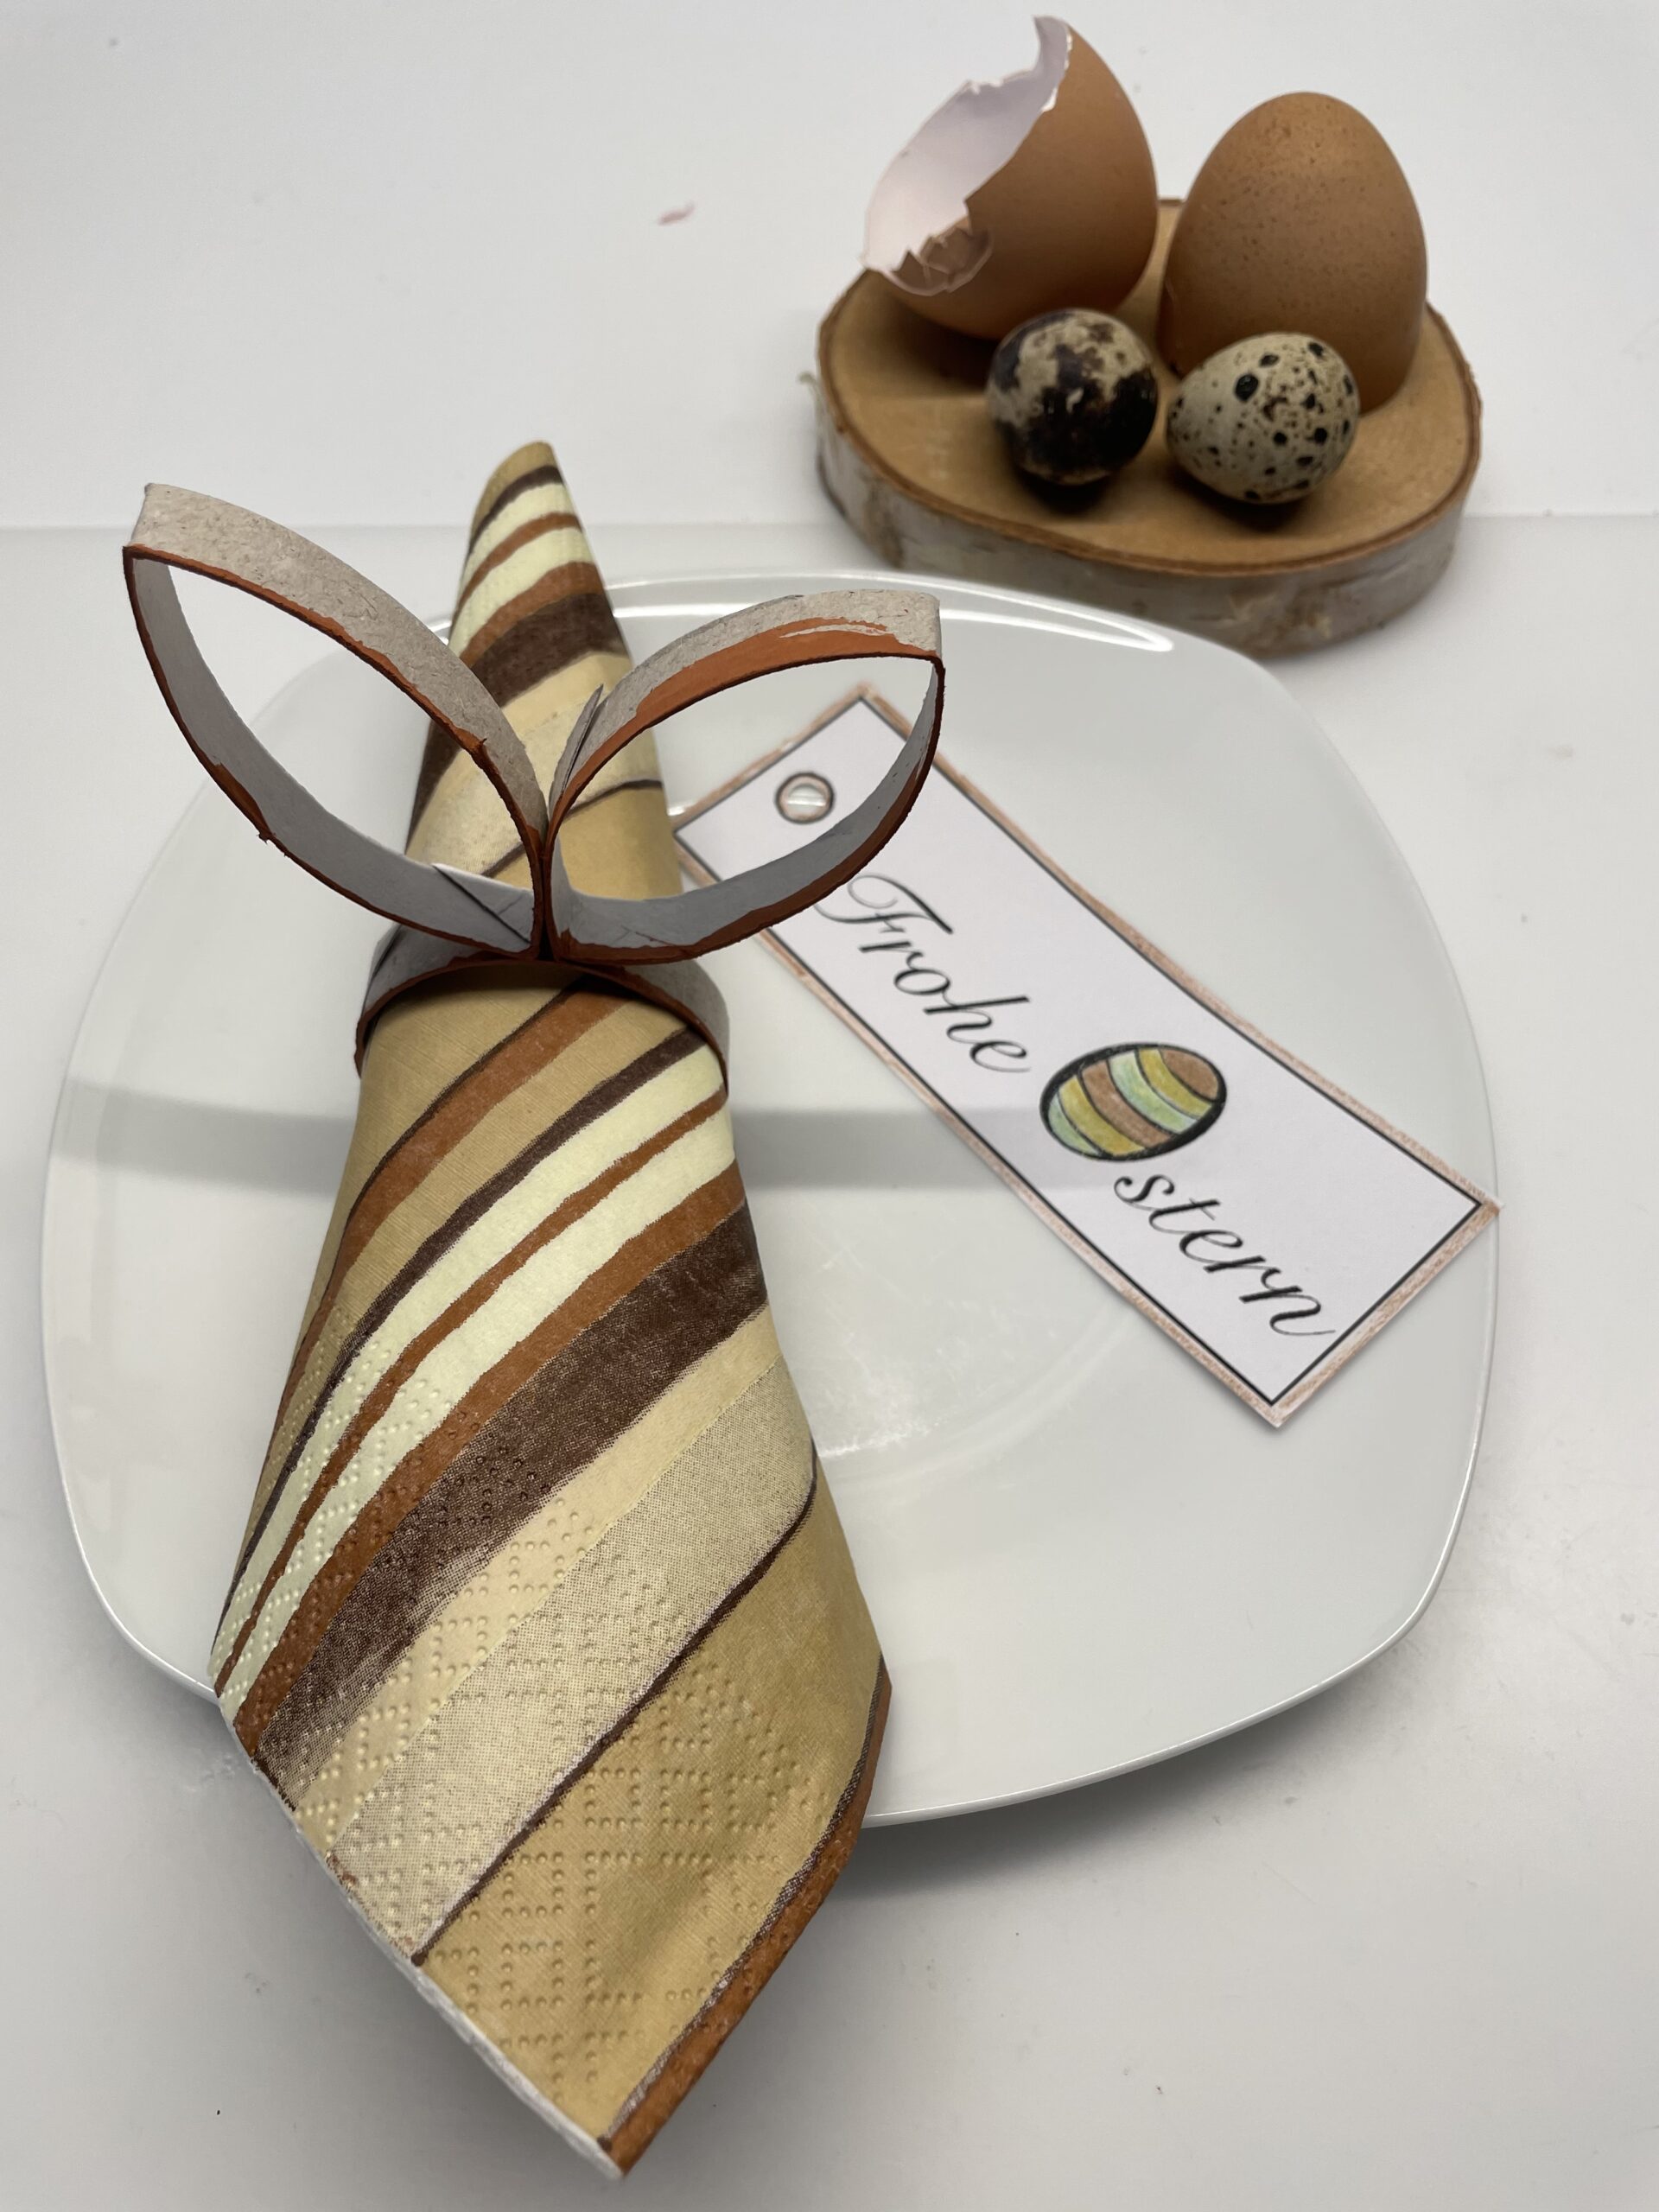
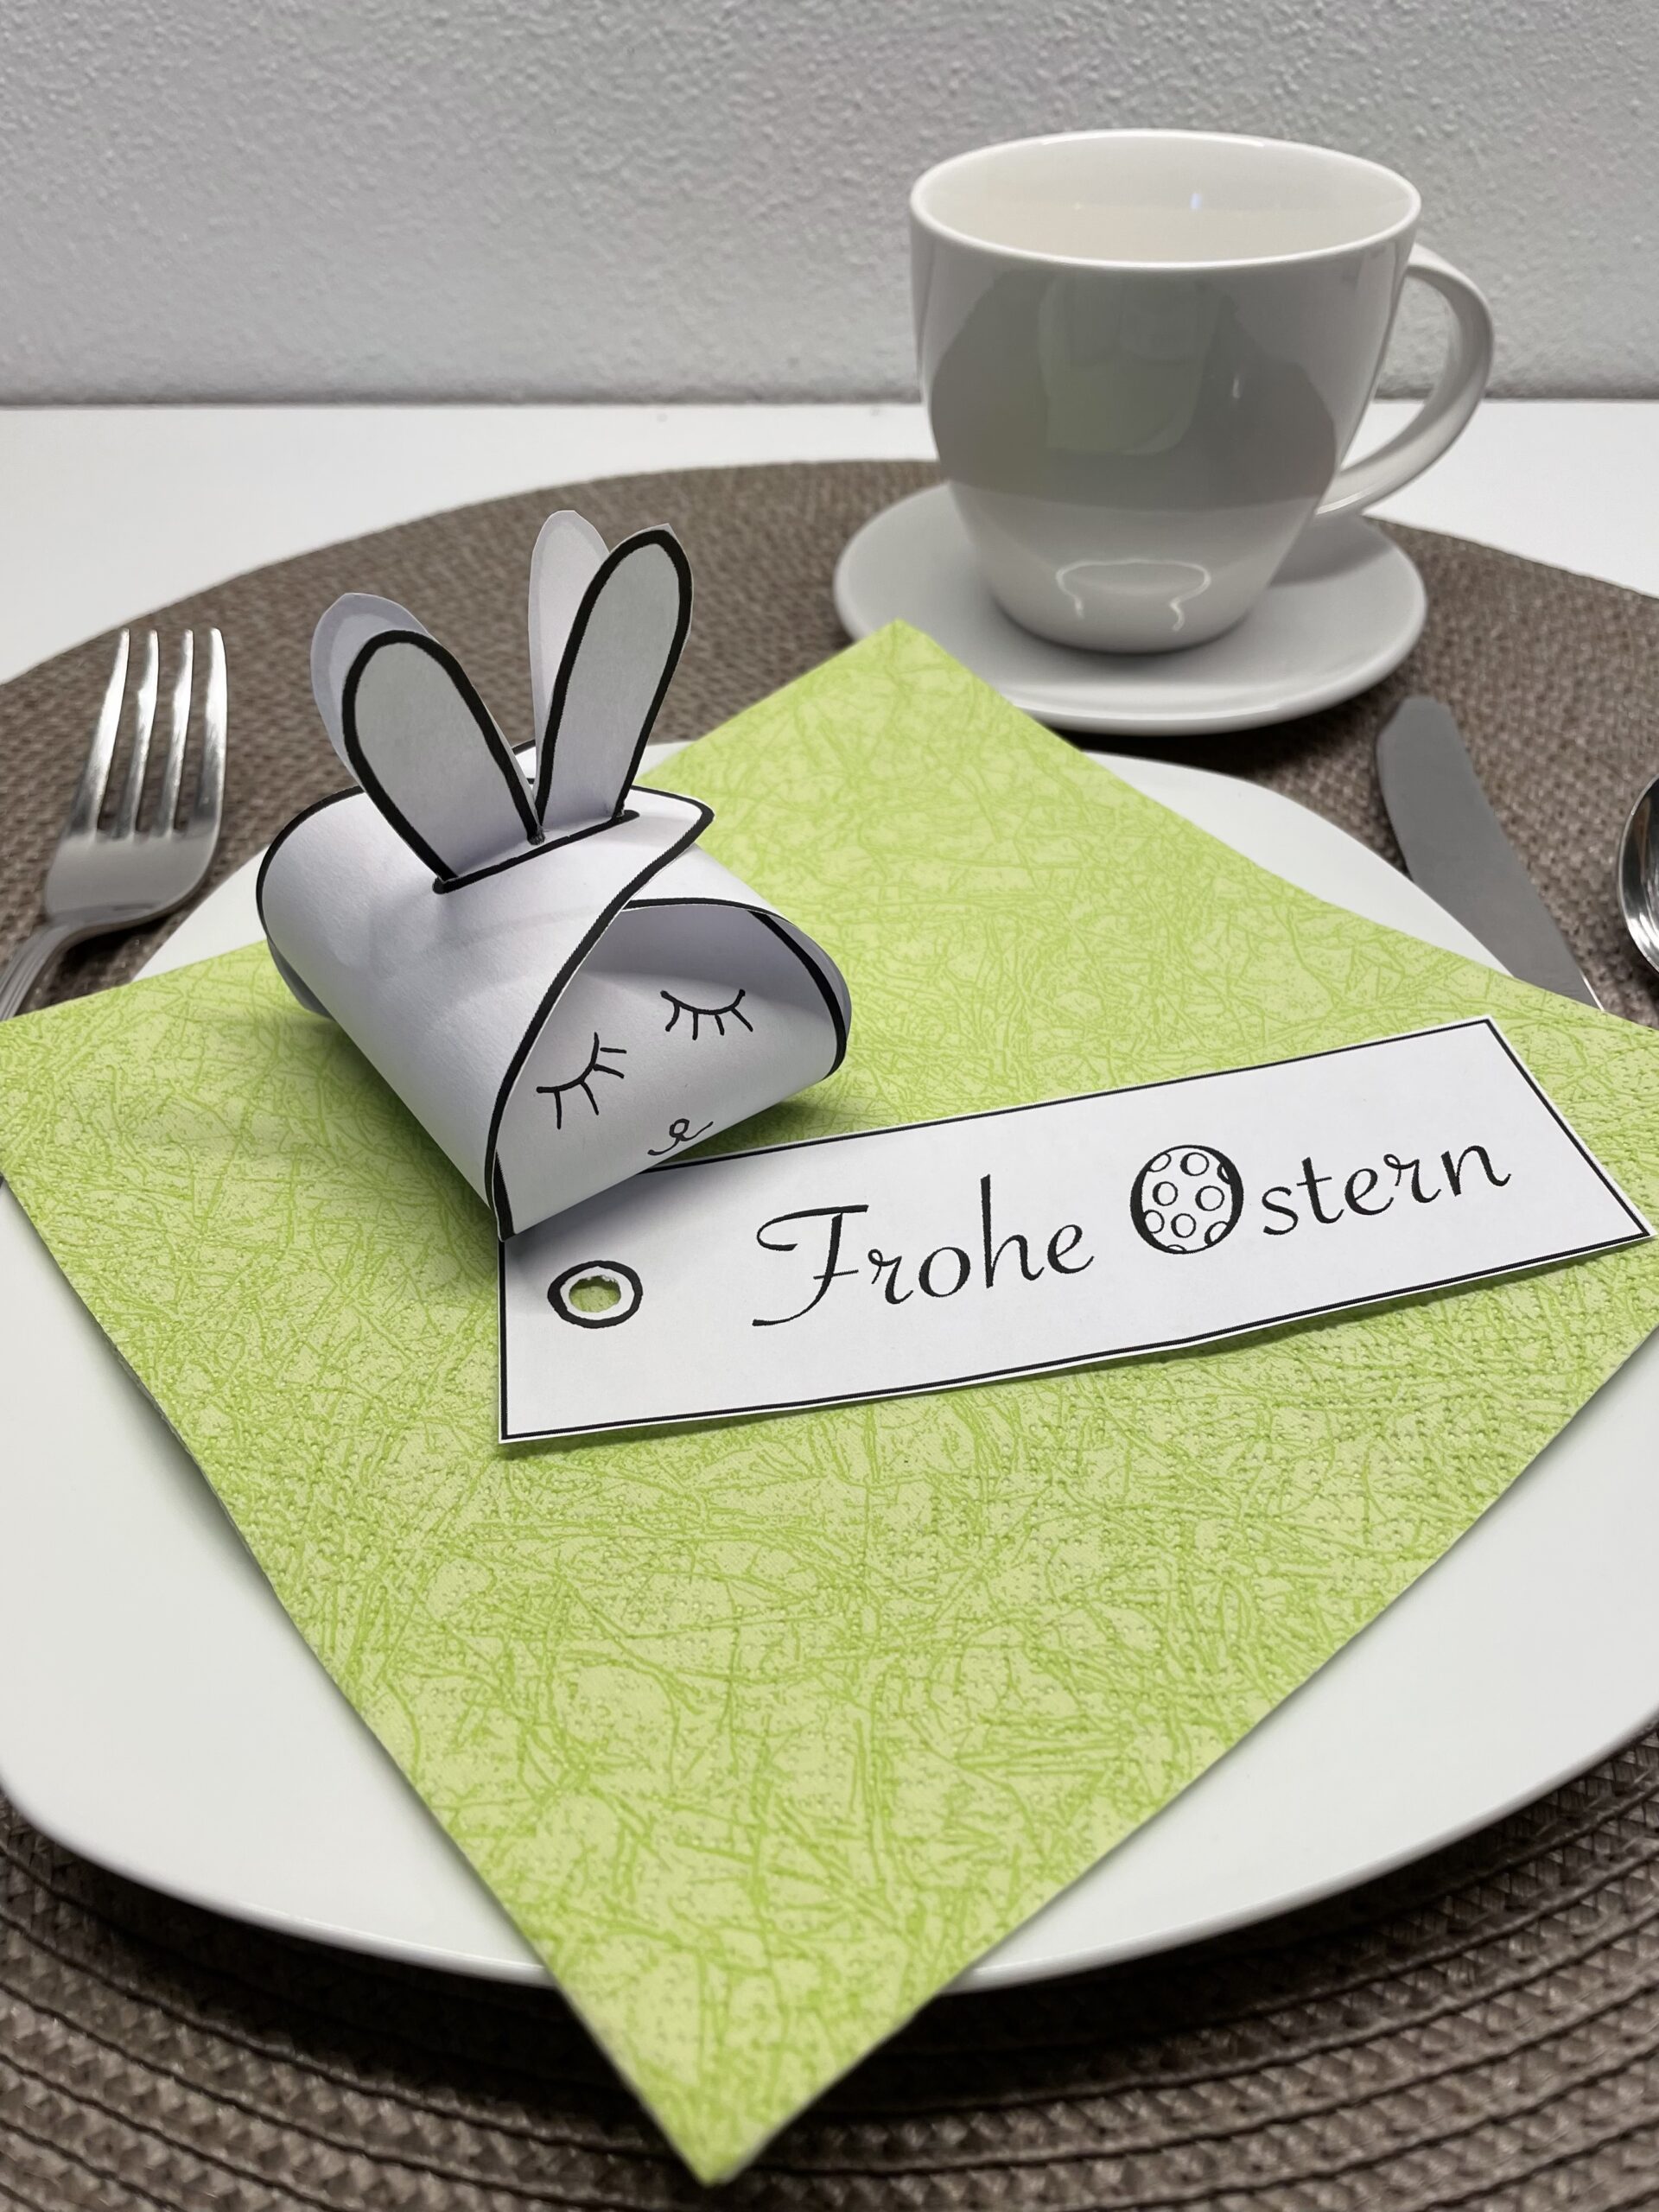
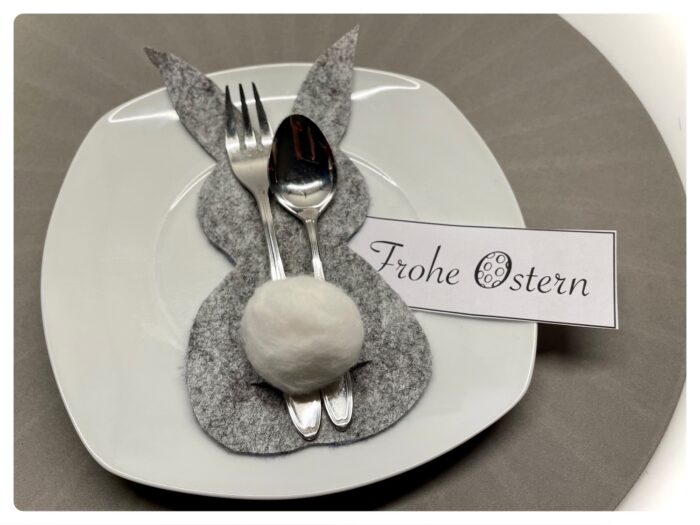
For this you print out the cards and place them as decoration on the plate. So the Easter can start.

Bild zum Schritt 15 für das Bastel- und DIY-Abenteuer für Kinder: 'Hierfür druckt ihr euch die Karten aus und legt sie...'

13

2. Bild zum Schritt 15 für das Bastel- und DIY-Abenteuer für Kinder: 'Hierfür druckt ihr euch die Karten aus und legt sie...'

14

3. Bild zum Schritt 16 für das Bastel- und DIY-Abenteuer für Kinder: 'Hierfür druckt ihr euch die Karten aus und legt sie...'

15

Have fun designing!.

Bild zum Schritt 18 für das Bastel- und DIY-Abenteuer für Kinder: 'Viel Spaß beim Gestalten!.'

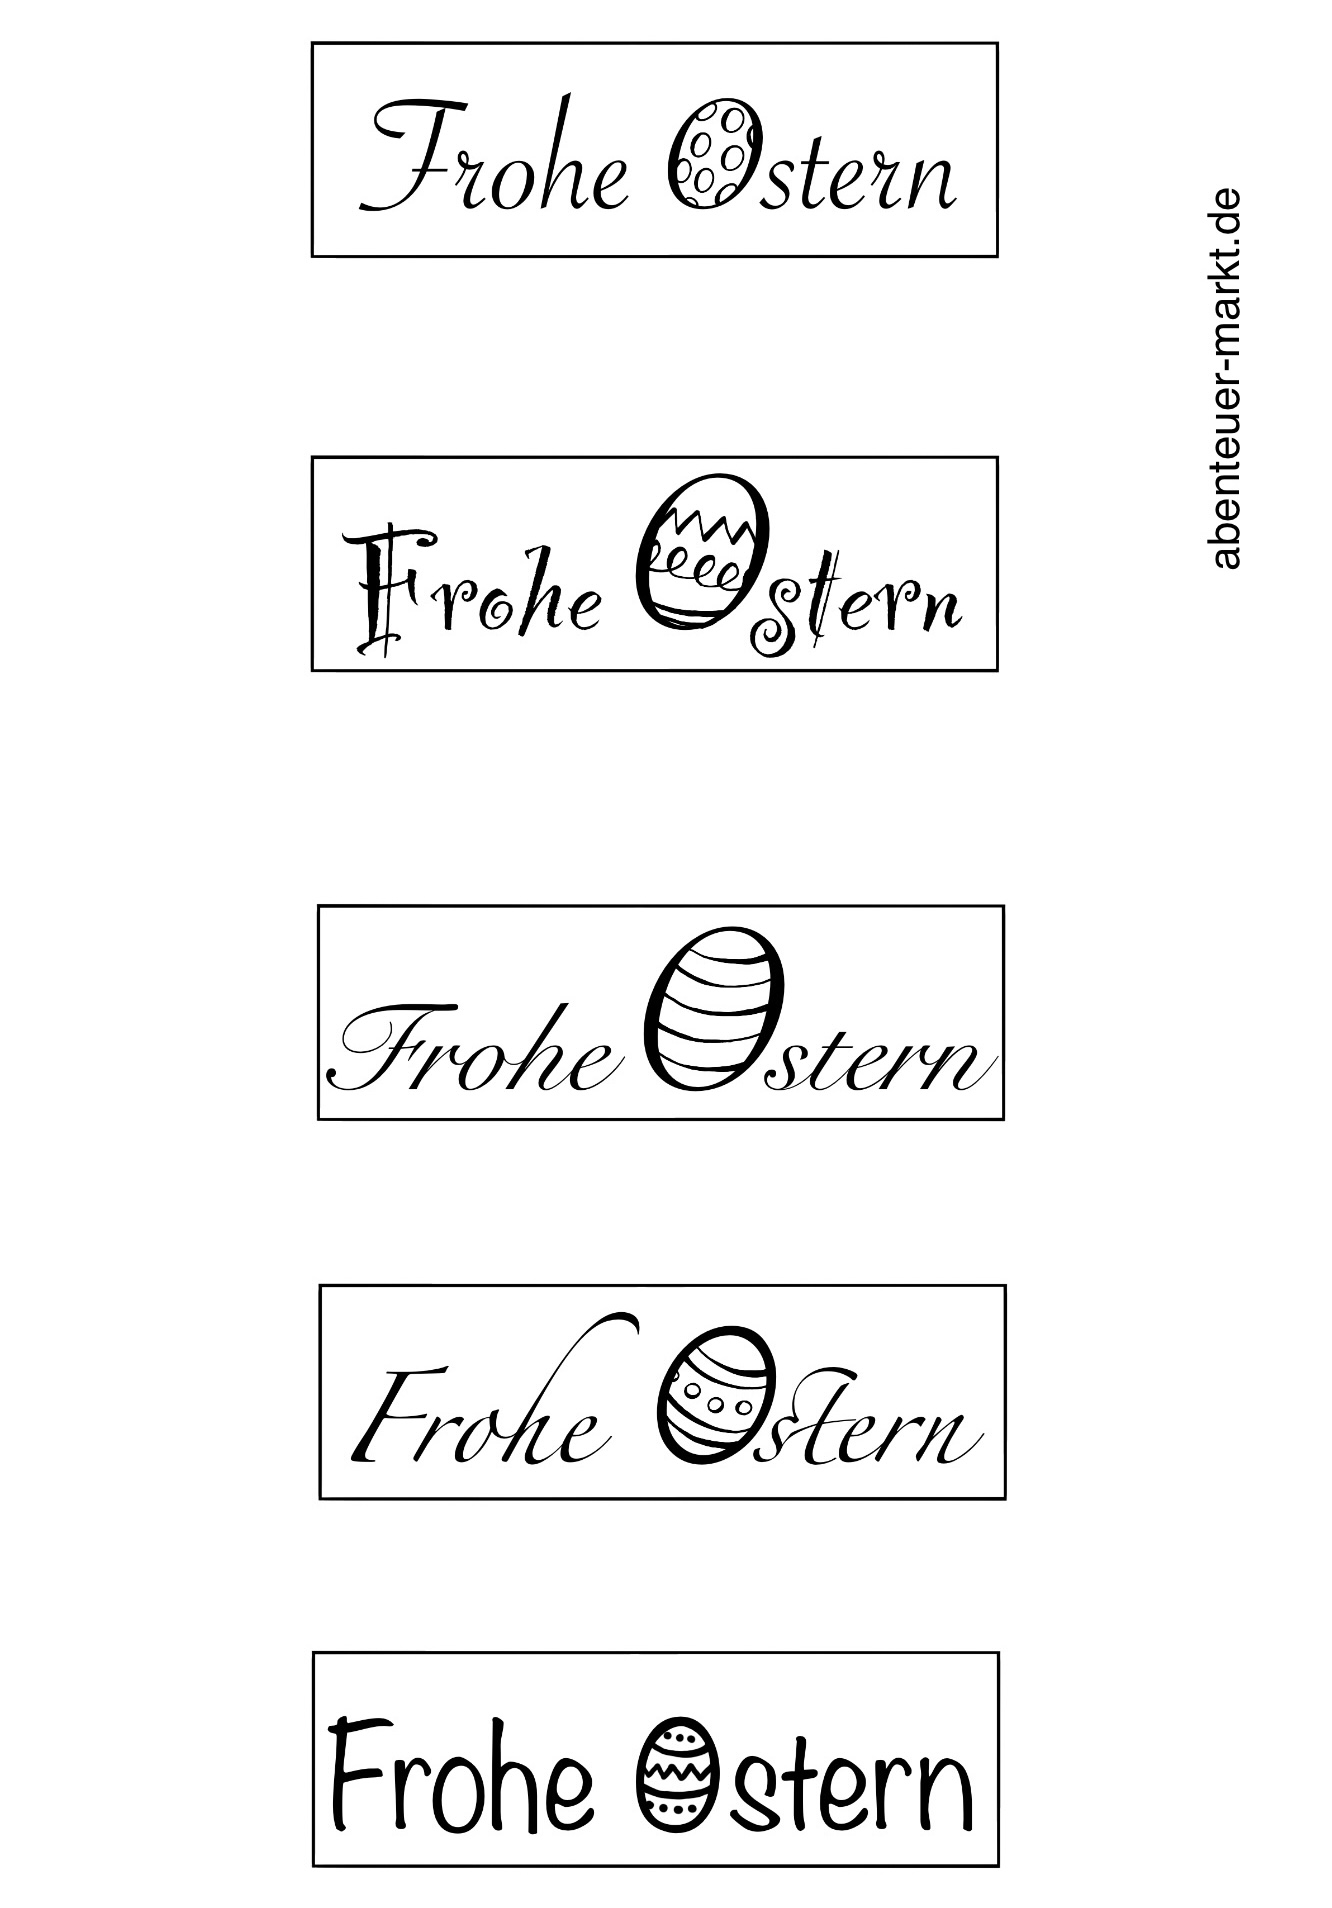
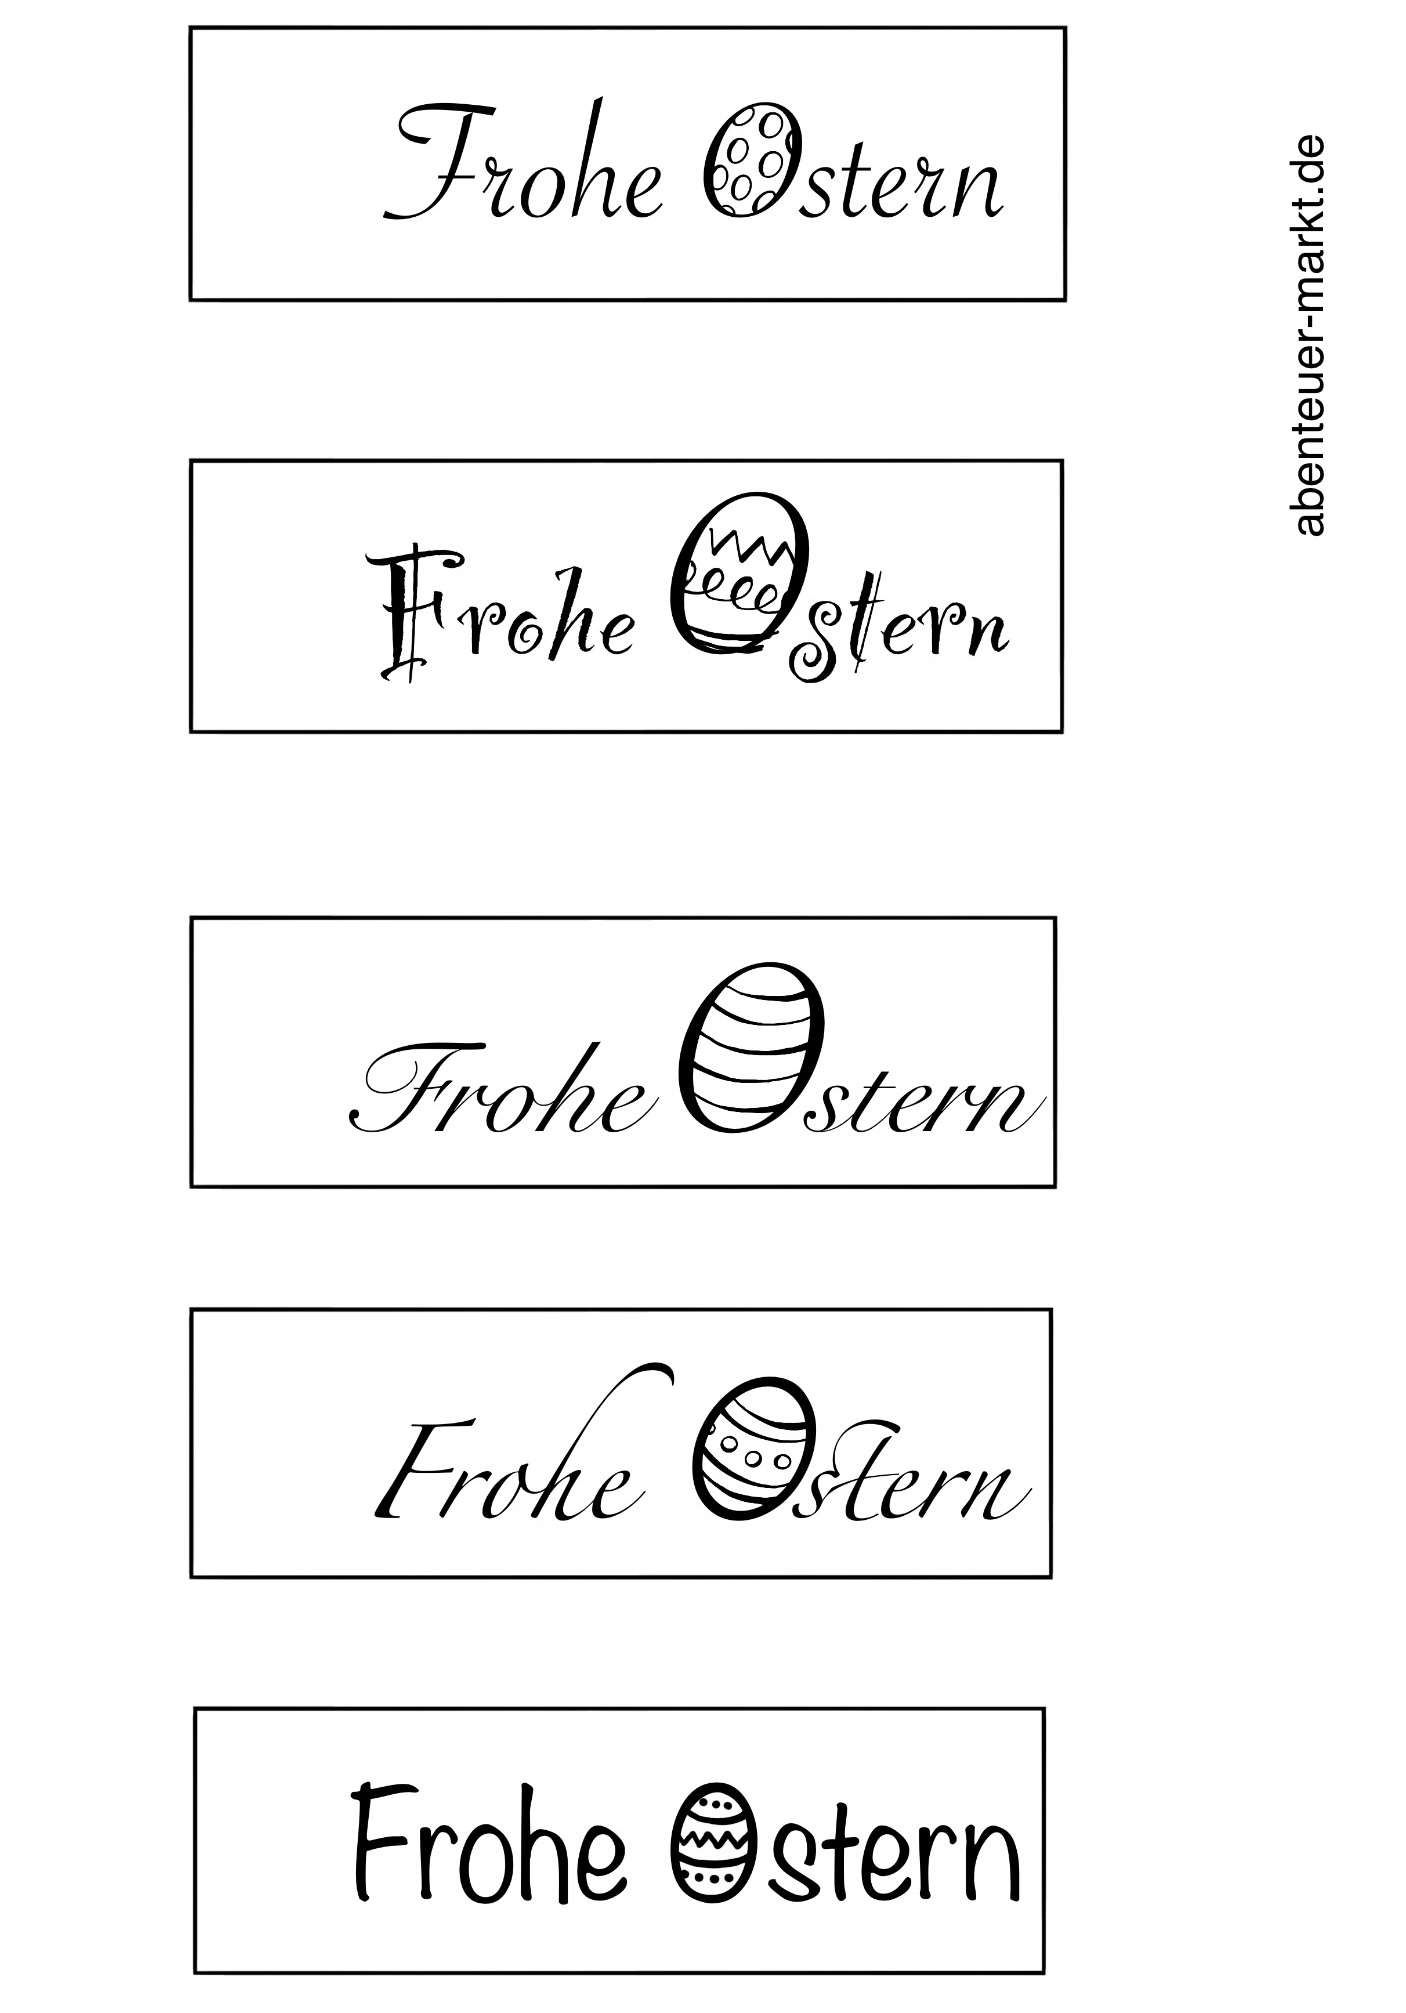
Templates for printing:
16

1. Bild zum Schritt 19 für das Bastel- und DIY-Abenteuer für Kinder: 'Viel Spaß beim Gestalten!.'

17

2. Bild zum Schritt 20 für das Bastel- und DIY-Abenteuer für Kinder: 'Viel Spaß beim Gestalten!.'

18

3. Bild zum Schritt 21 für das Bastel- und DIY-Abenteuer für Kinder: 'Viel Spaß beim Gestalten!.'

19

Have fun!

Materials

 1 Printable template
 Colour pencils
 1 Felt penBlack
 1 Perforator
 1 Bastor gift ribbon
 1 Builder's pad
All links marked with a shopping cart lead to Amazon - here we have selected products that we would order ourselves and in part also ordered. In a qualified purchase via the advertising link, we as Amazon partner receive a commission, for you there are no costs. You thus support our cost- and advertising banner-free, educational offer.

Directions

1

You will find the template for printing at the end of the adventure.

Idea 1:
2

First, you print the template.

Bild zum Schritt 3 für das Bastel- und DIY-Abenteuer für Kinder: 'Zuerst druckt ihr euch die Vorlage aus.'

3

Then you cut out any sign.

Bild zum Schritt 4 für das Bastel- und DIY-Abenteuer für Kinder: 'Anschließend schneidet ihr ein beliebiges Schild aus.'

4

Then you punch the wide end of the text field. Then you paint around the punched hole with a black thin felt pen.

Bild zum Schritt 5 für das Bastel- und DIY-Abenteuer für Kinder: 'Danach locht ihr das breite Ende des Textfeldes. Anschließend malt...'

5

Now you're threading a thread through the hole.
Then tie the card to a gift.
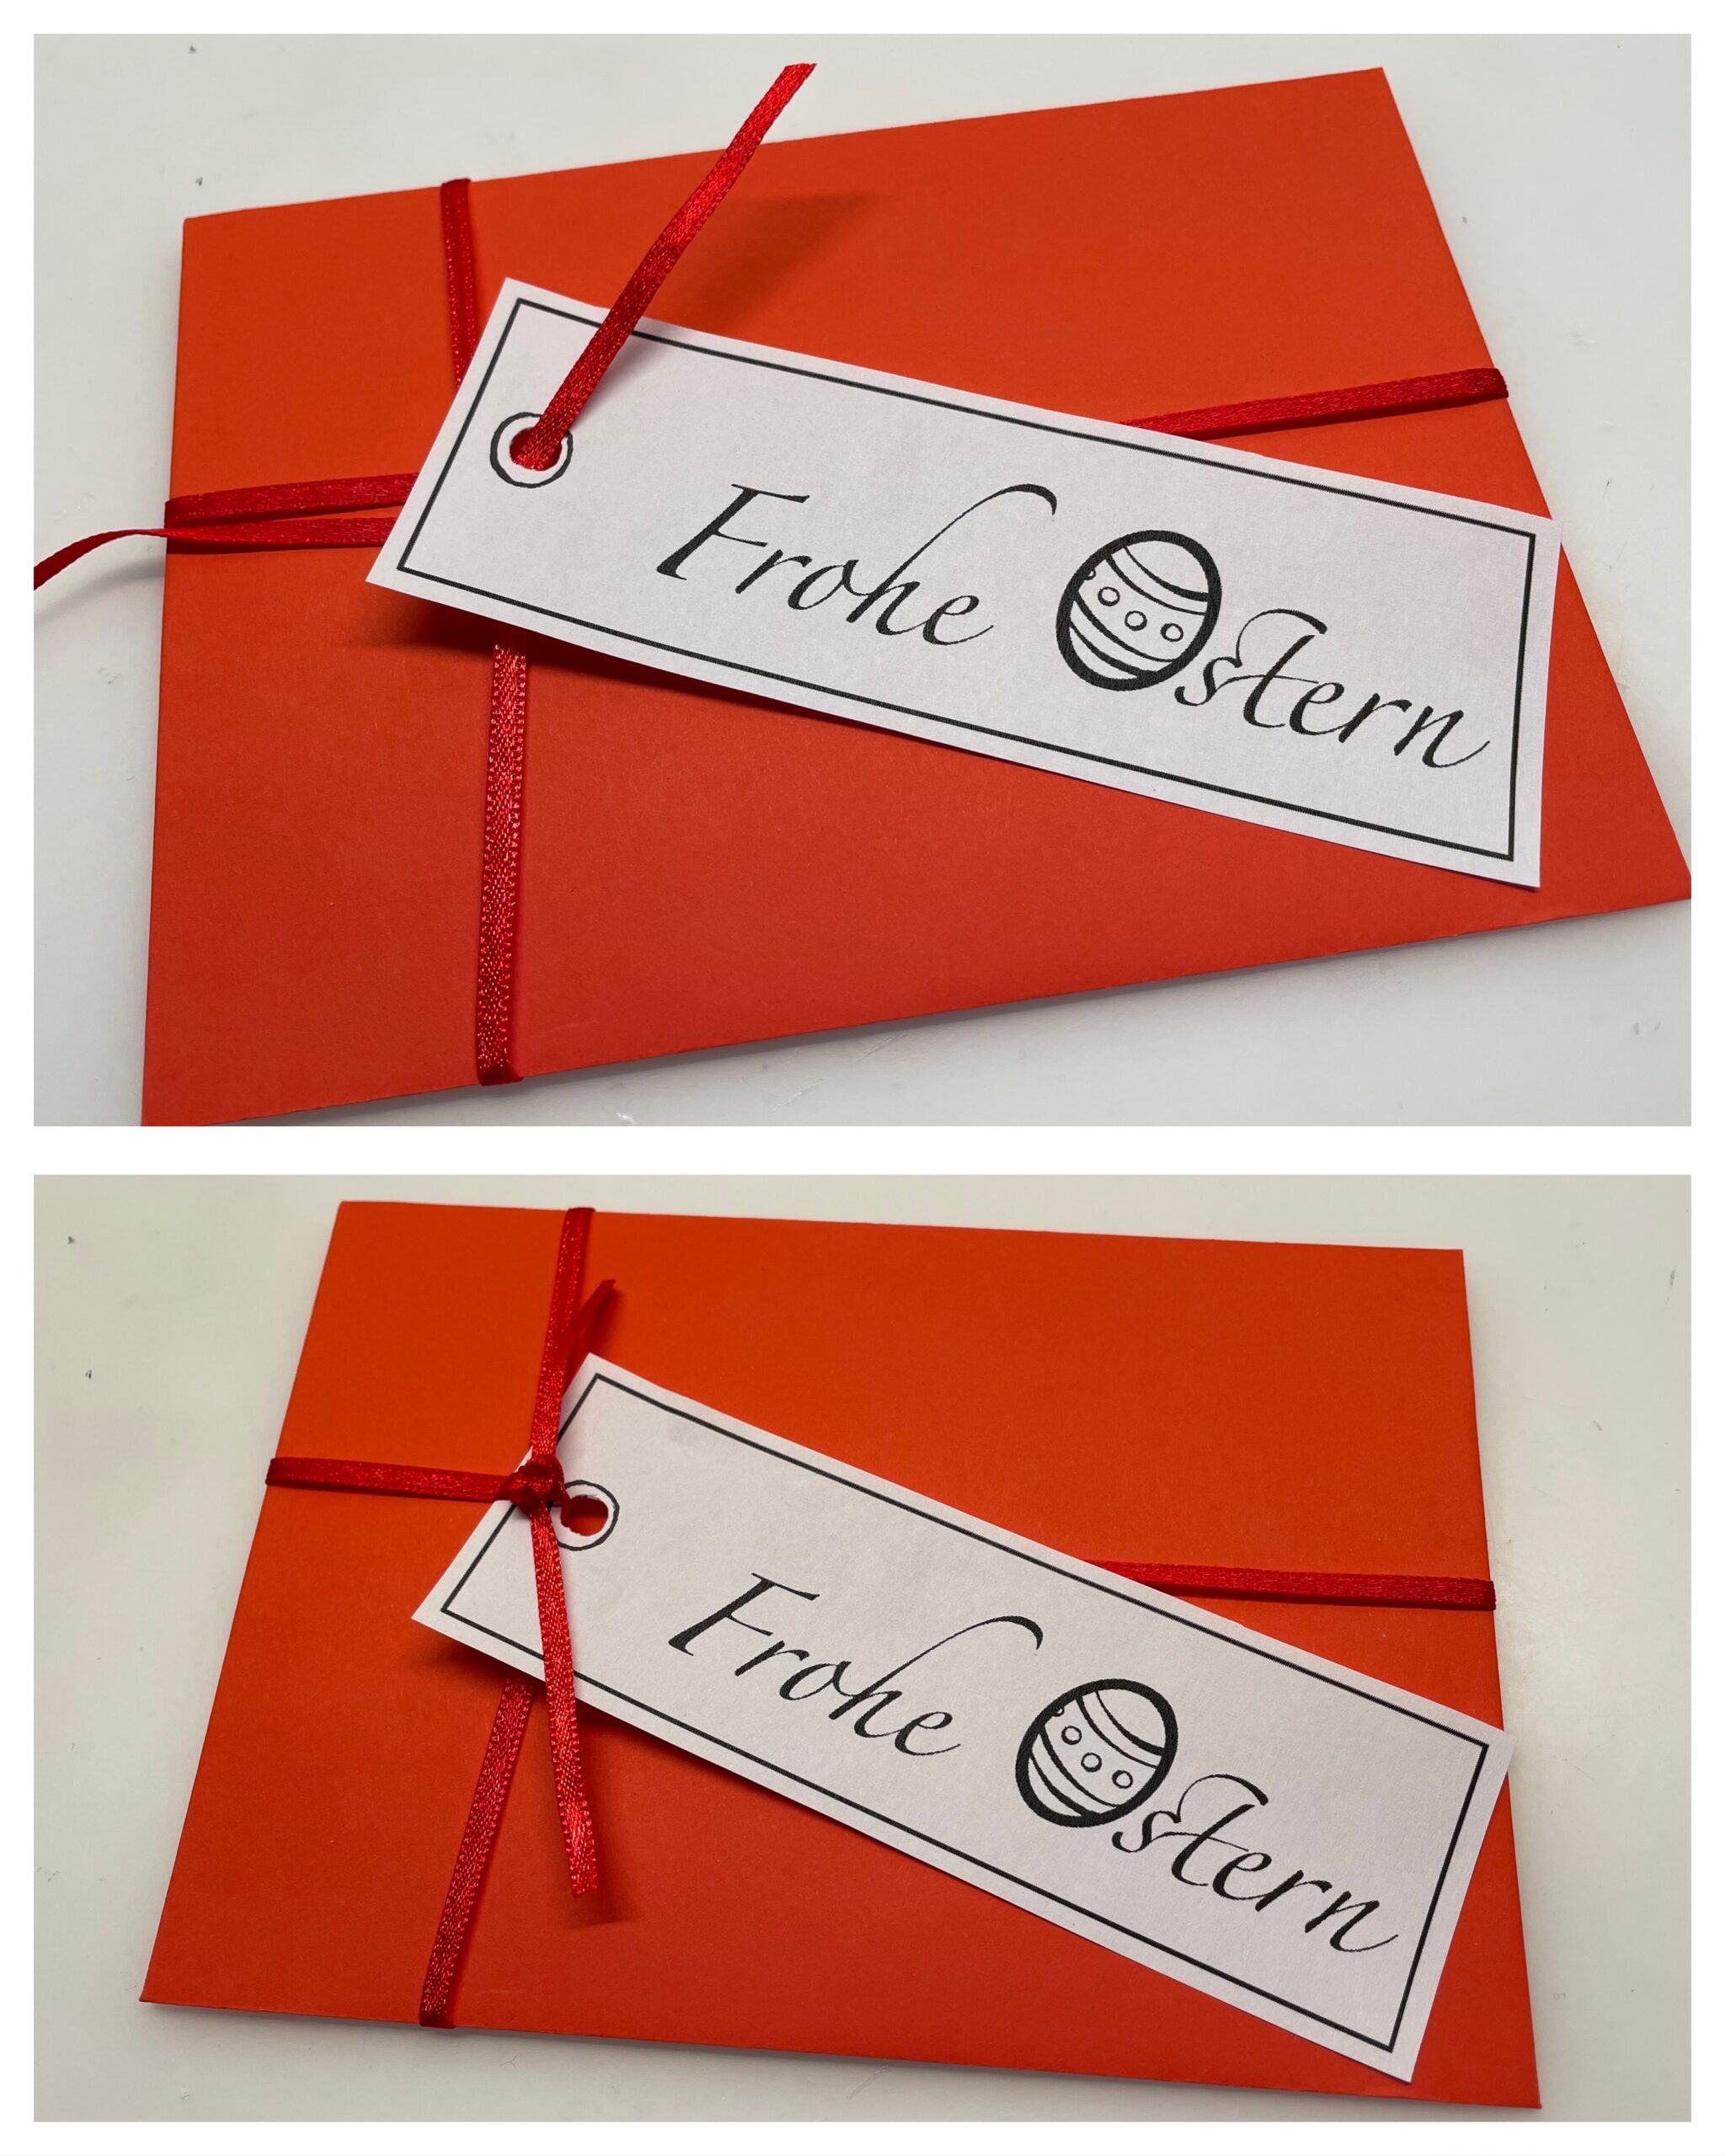
Bild zum Schritt 6 für das Bastel- und DIY-Abenteuer für Kinder: 'Jetzt fädelt ihr einen Faden durch das Loch.  ...'

6

Now paint the Easter egg on the lettering to match your gift or paint your envelope in color.
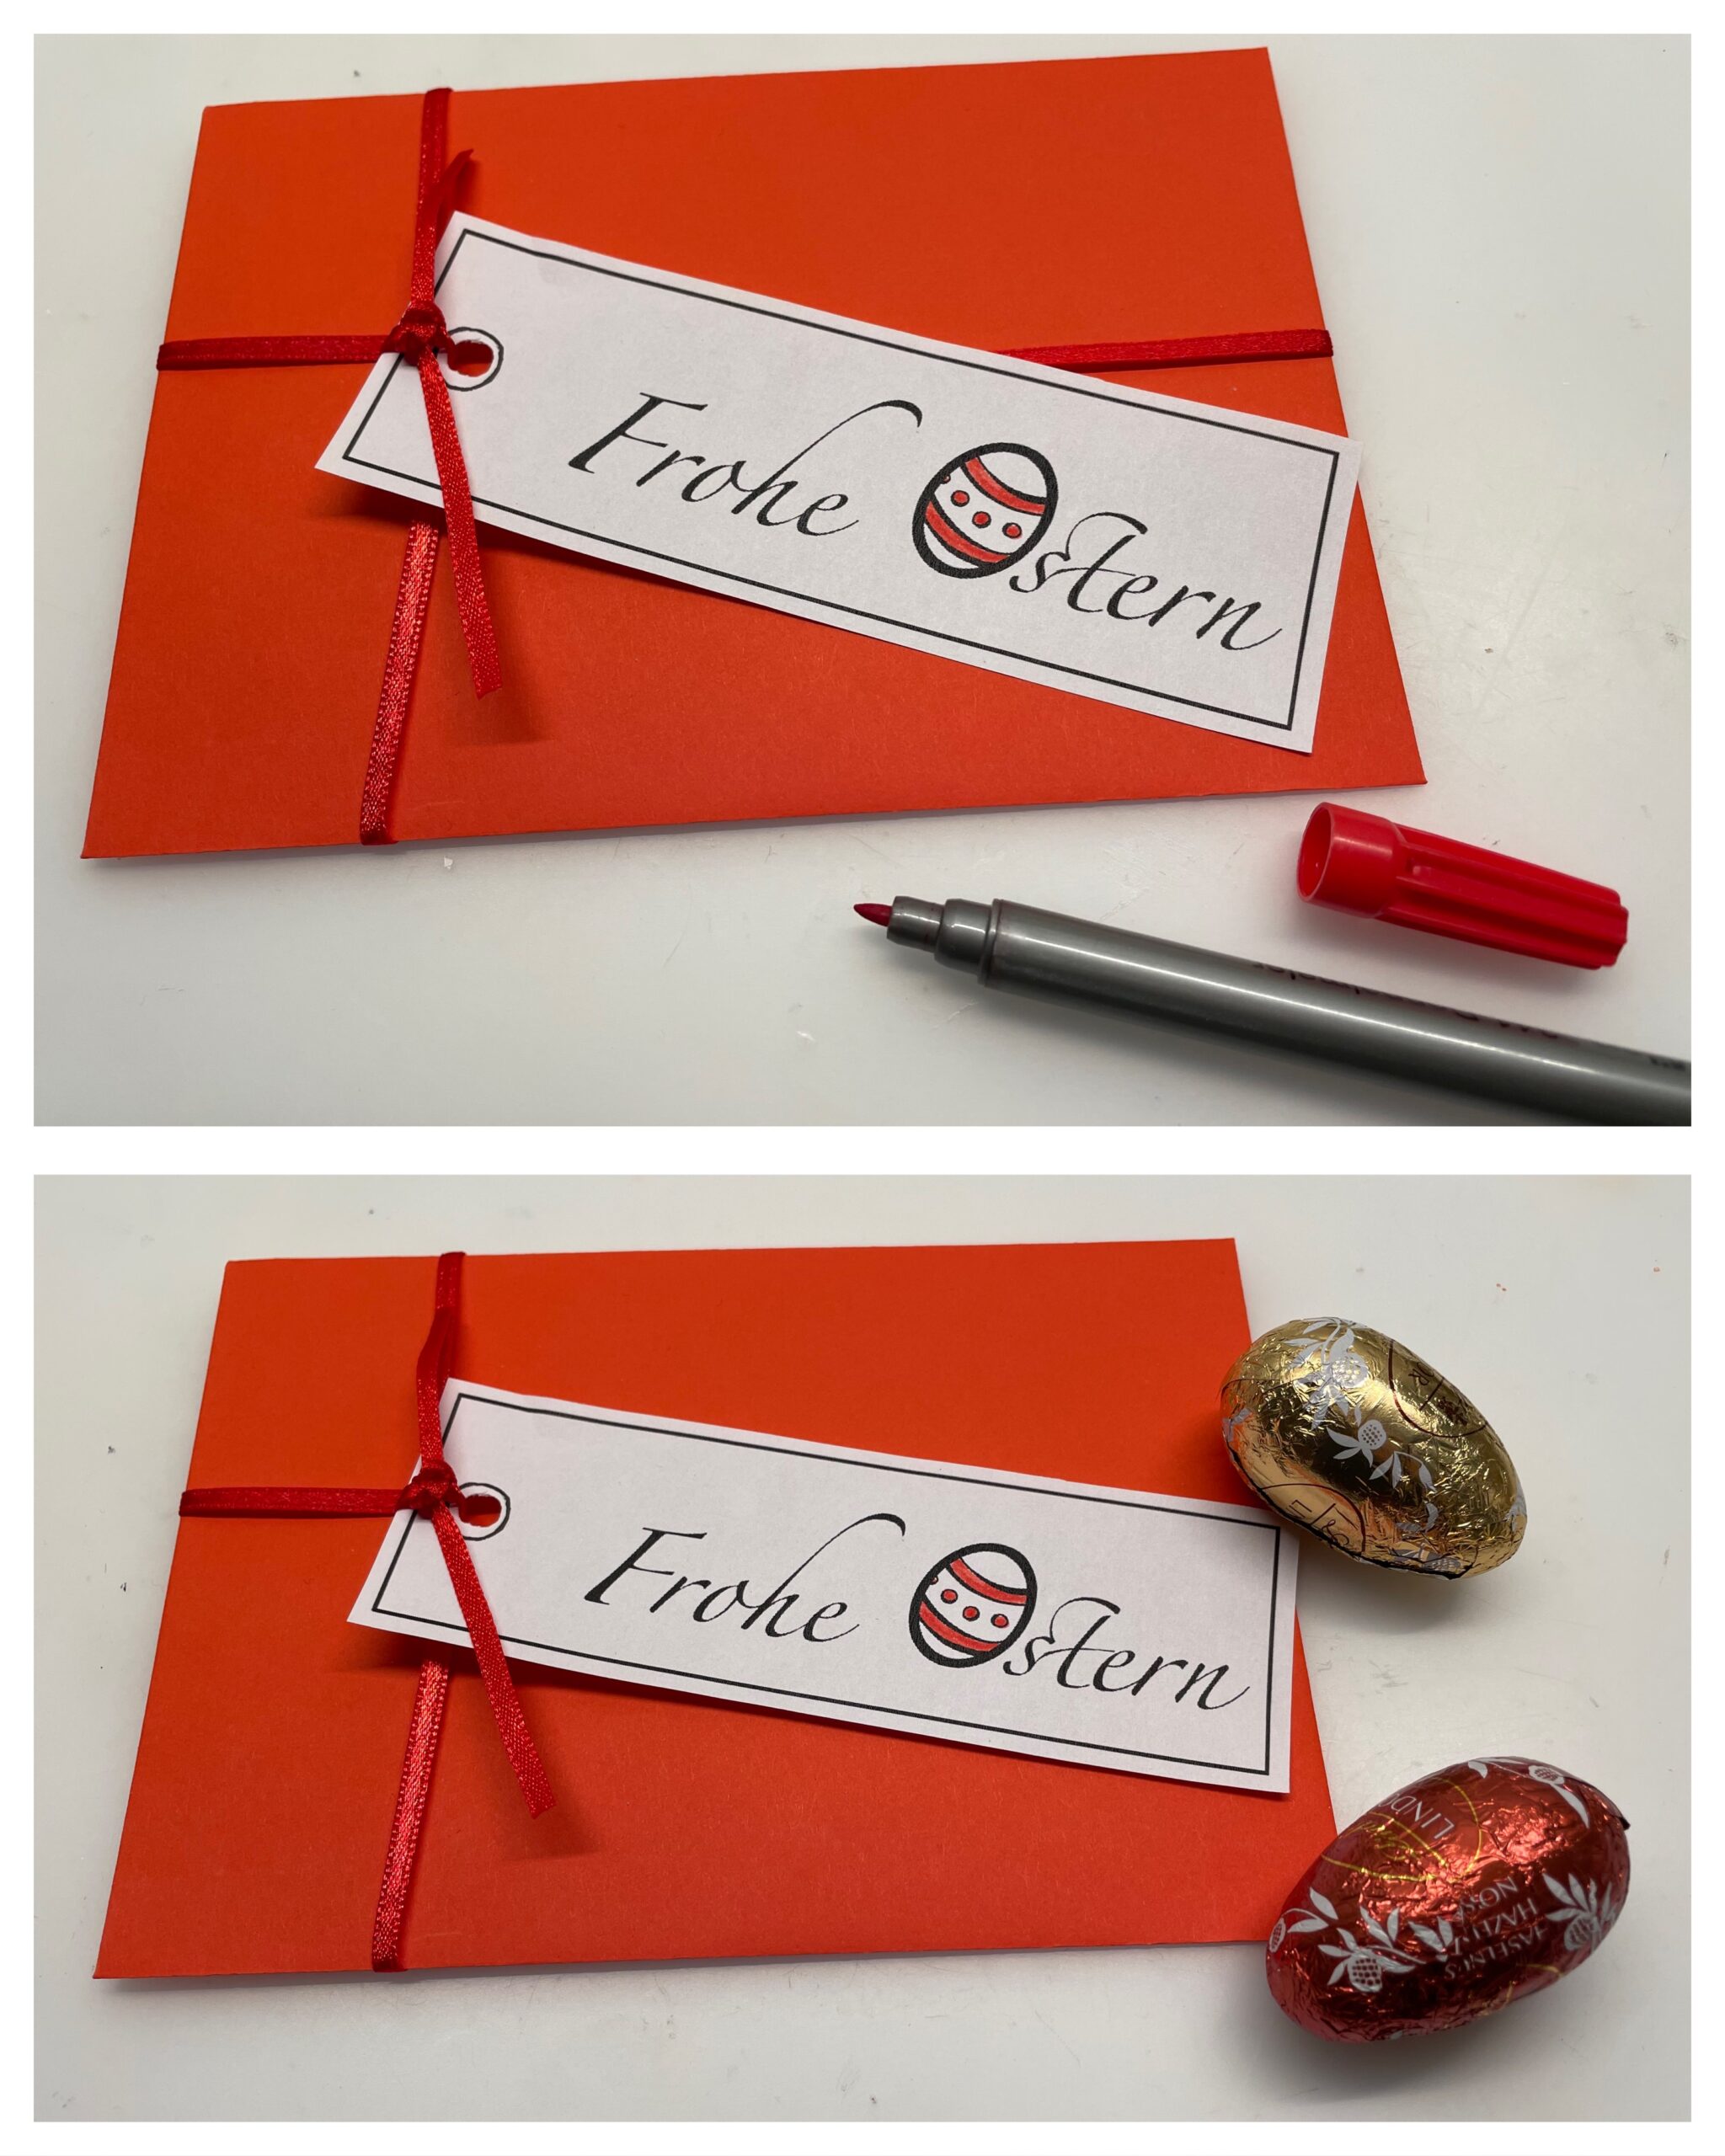
Bild zum Schritt 7 für das Bastel- und DIY-Abenteuer für Kinder: 'Malt nun das Osterei auf dem Schriftzug passend zu eurem...'

7

2. Bild zum Schritt 7 für das Bastel- und DIY-Abenteuer für Kinder: 'Malt nun das Osterei auf dem Schriftzug passend zu eurem...'

Idea 2:
8

Another possibility is the use as a pendant, which can later also be used as a bookmark. To do this, you cut a colored paper slightly larger than the card.
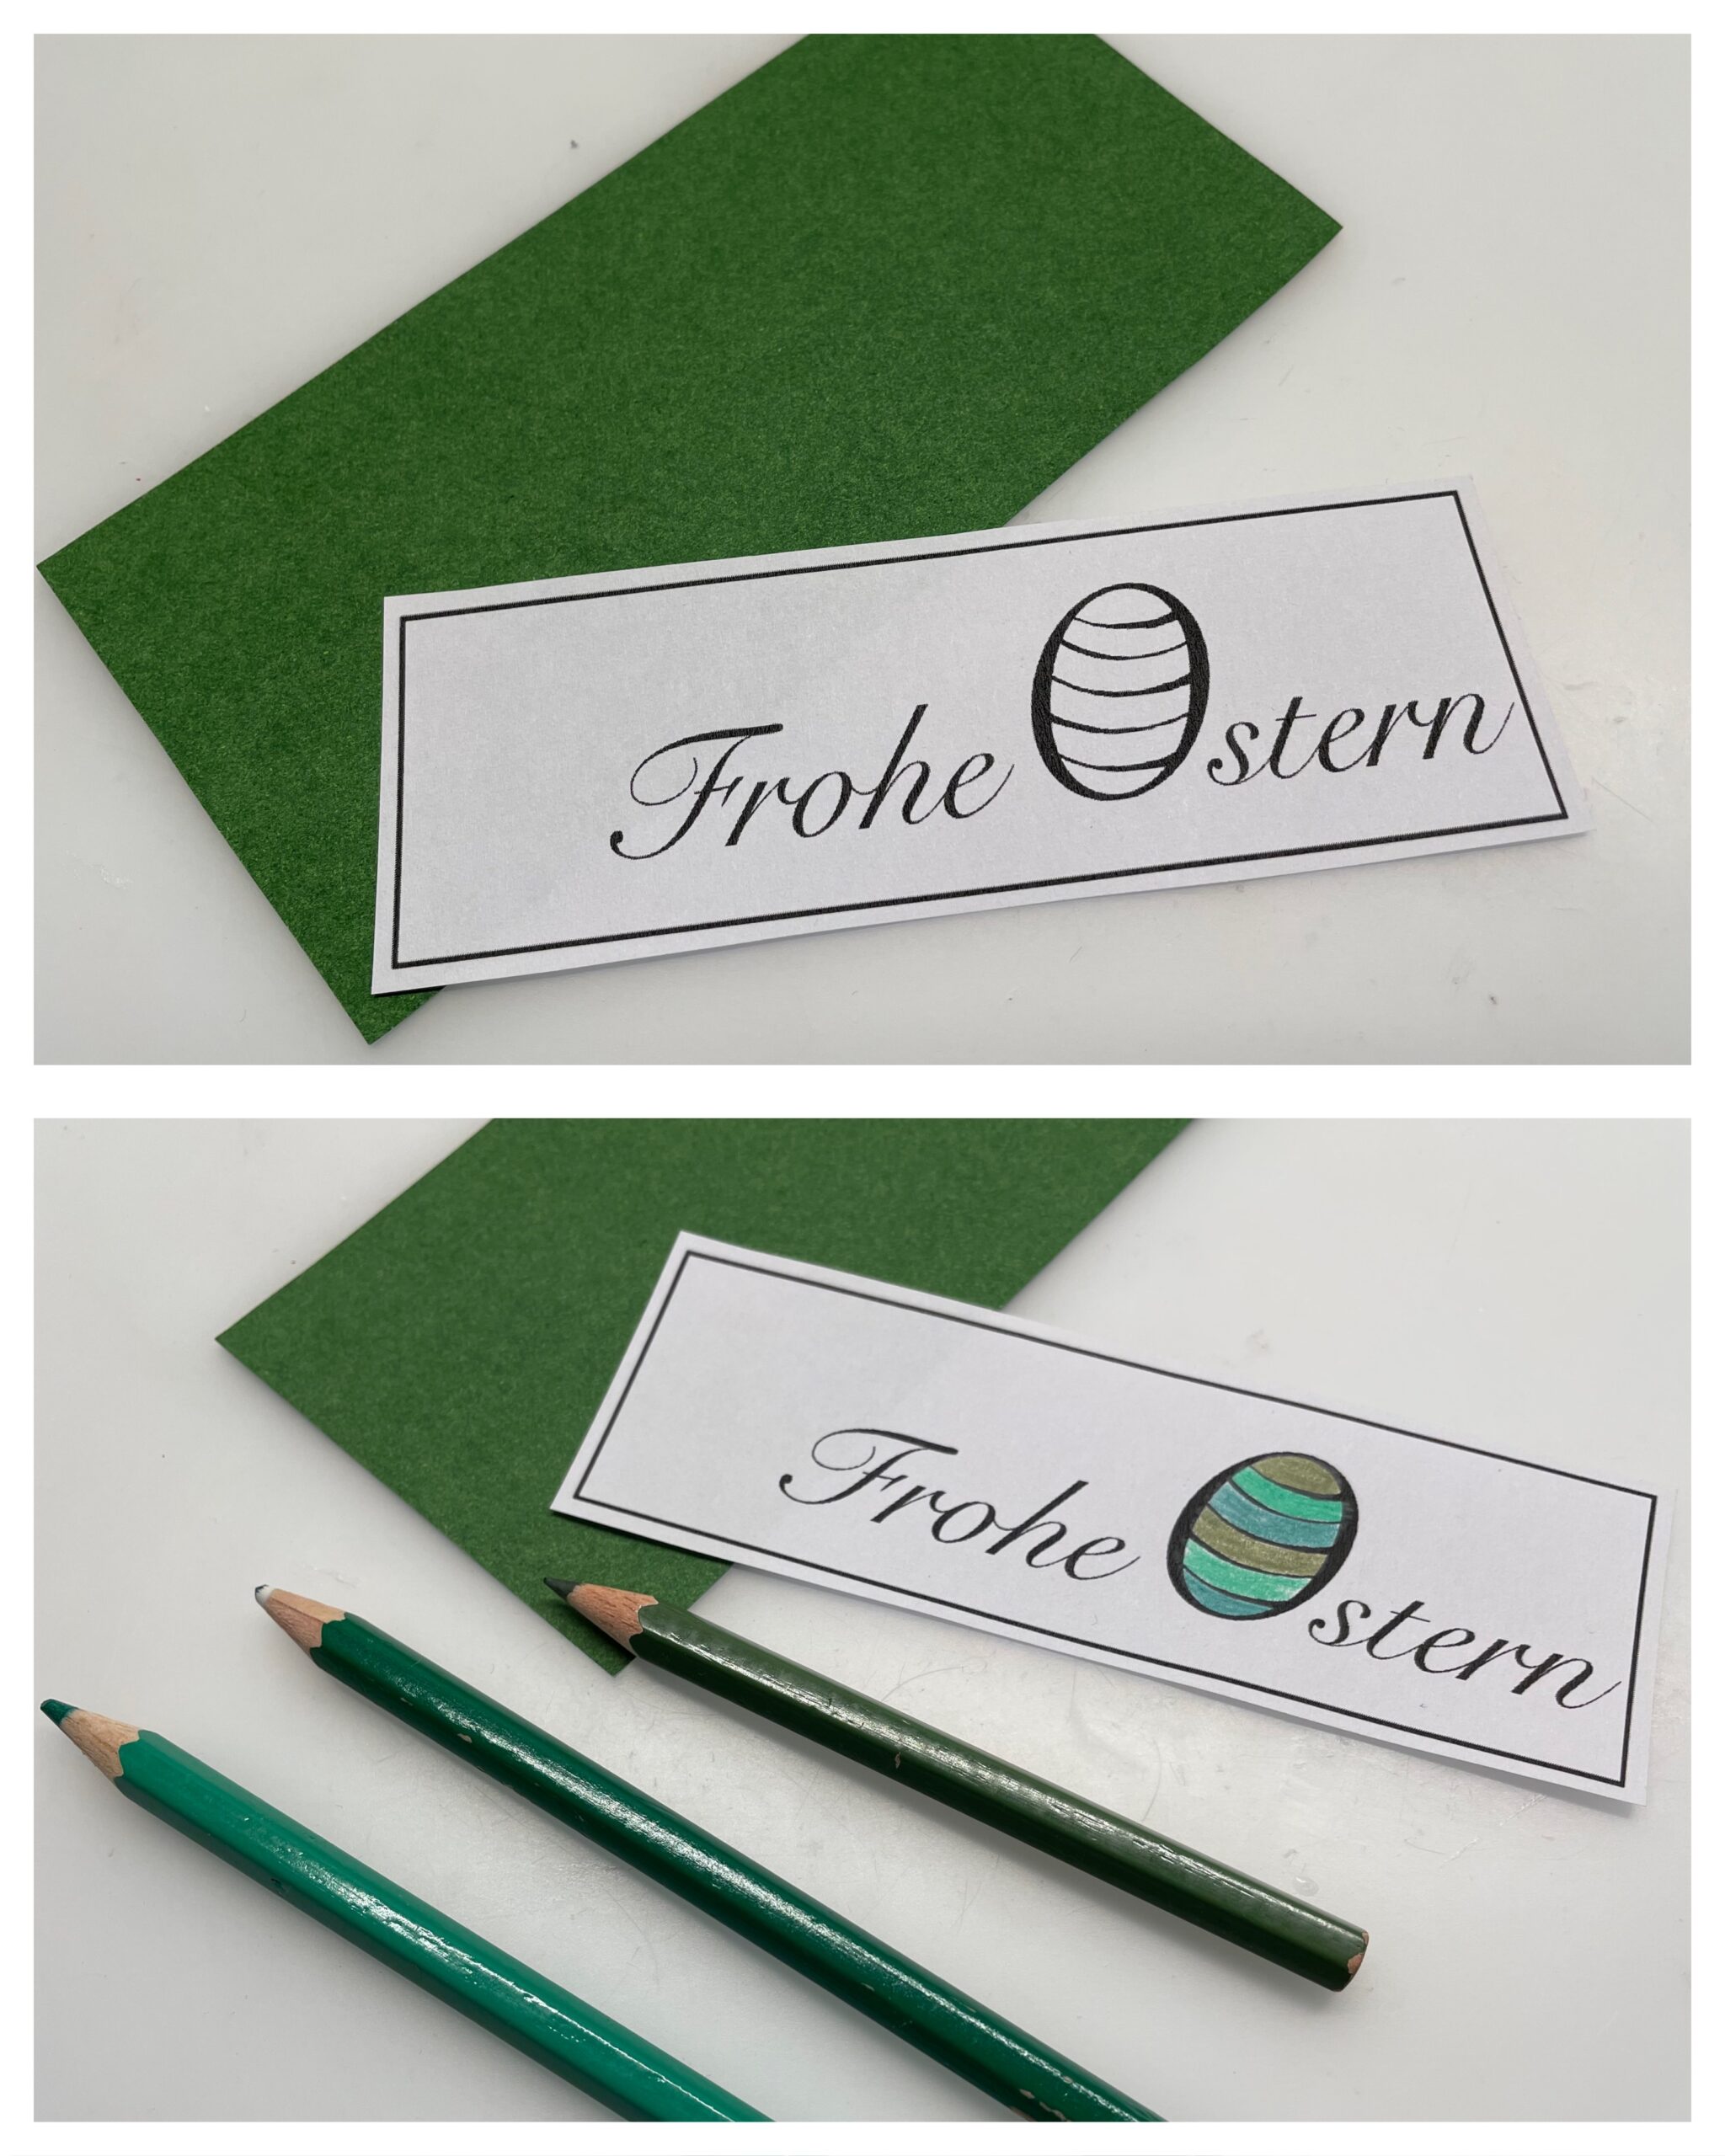
Bild zum Schritt 10 für das Bastel- und DIY-Abenteuer für Kinder: 'Eine weitere Möglichkeit ist die Verwendung als Anhänger, der später...'

9

Then you punch through the pendant and the colored card. Then paint around the hole with a black felt pen.
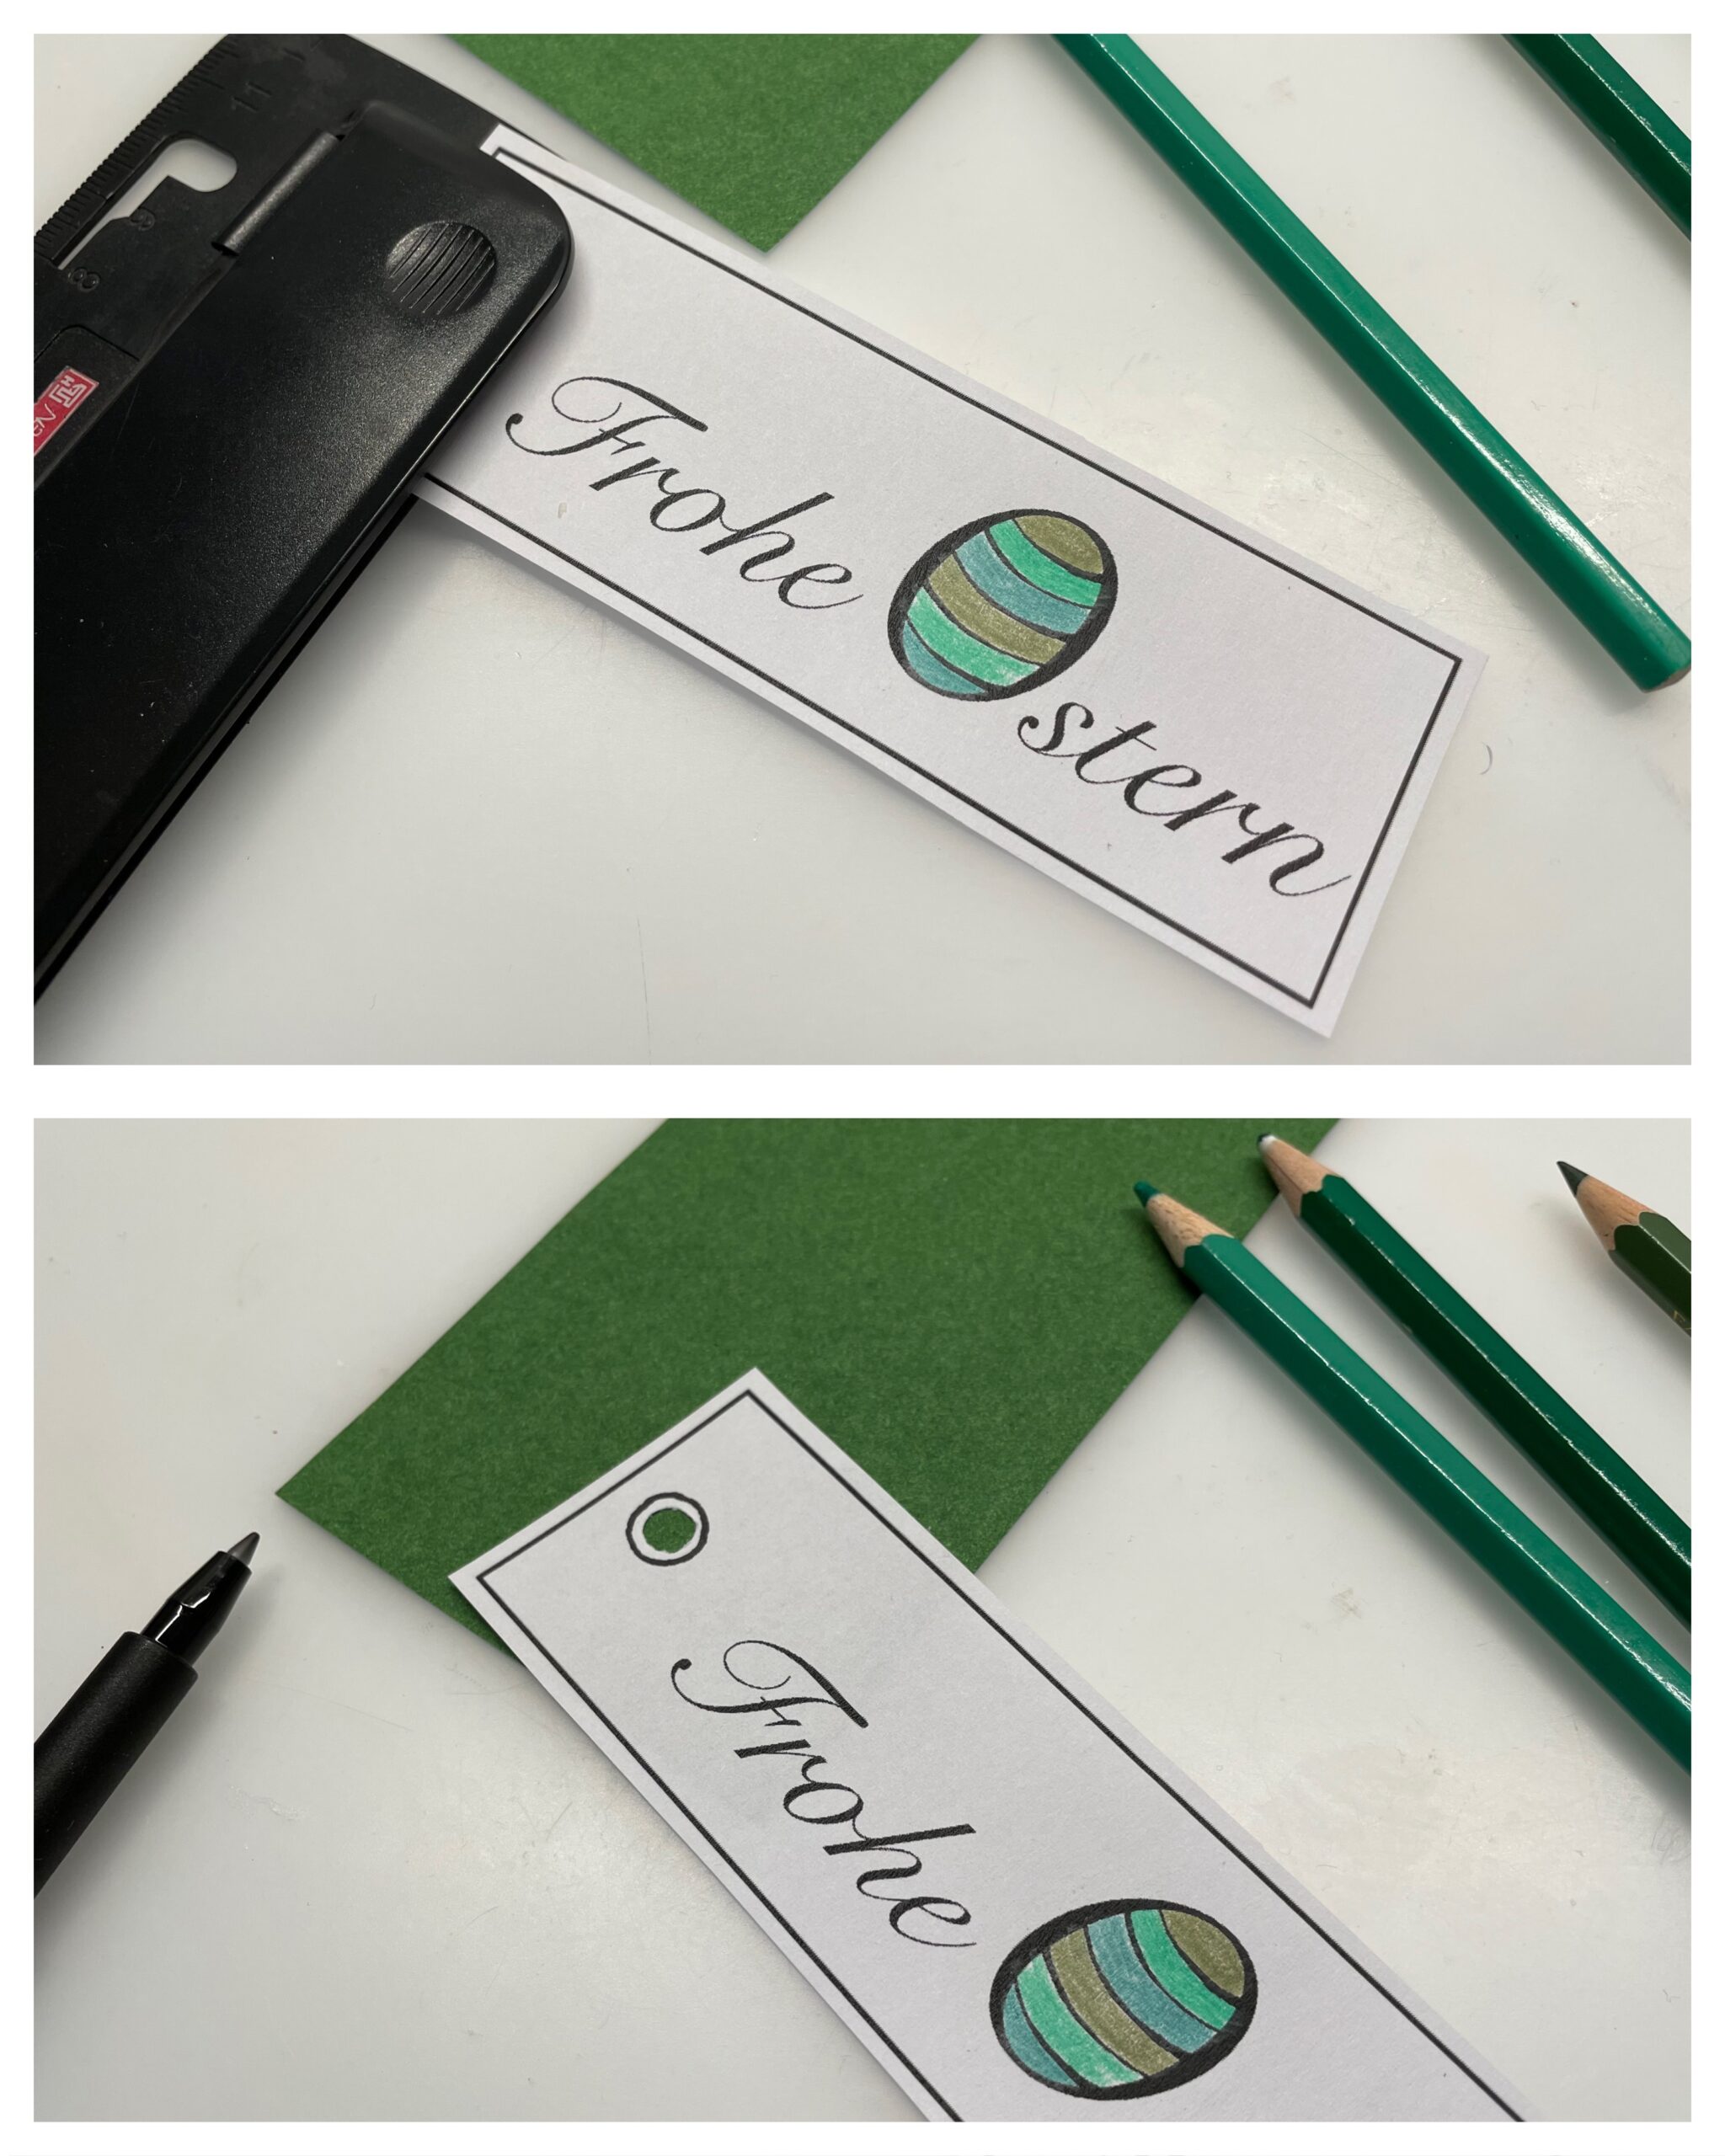
Bild zum Schritt 11 für das Bastel- und DIY-Abenteuer für Kinder: 'Danach locht ihr durch den Anhänger und die farbige Karte....'

10

Now put both cards on top of each other and thread a band through both holes. Then you knot the ends together.
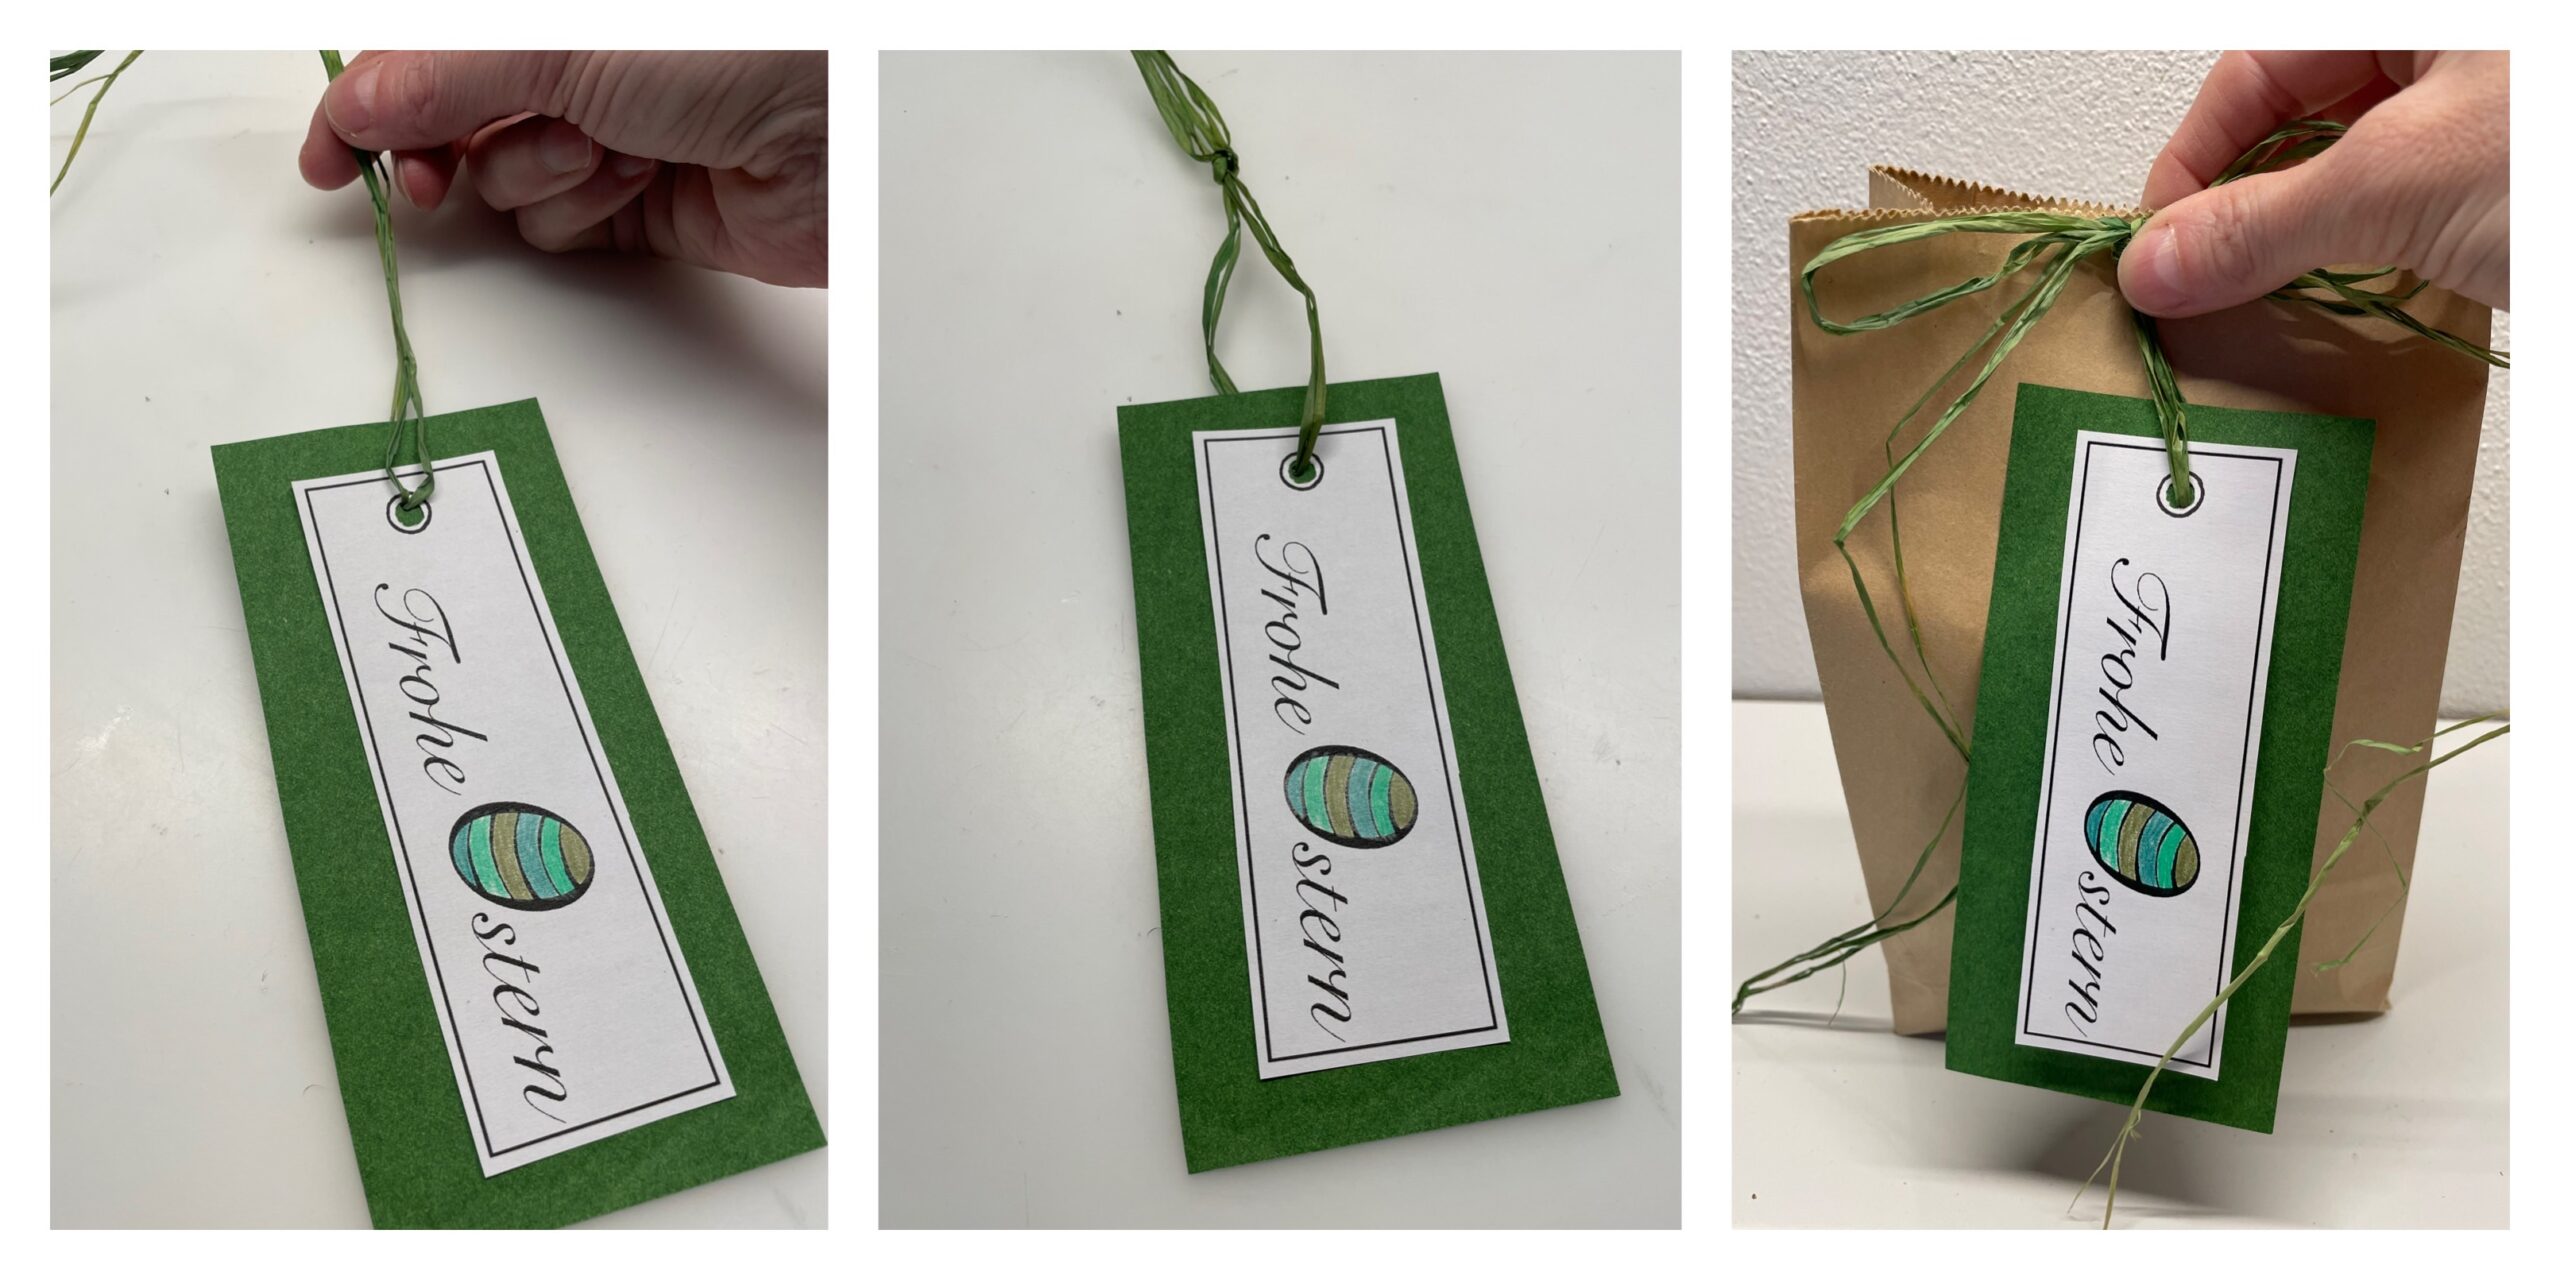
Bild zum Schritt 12 für das Bastel- und DIY-Abenteuer für Kinder: 'Legt jetzt beide Karten übereinander und fädelt ein Band durch...'

11

Finally, you hang the pendant on a gift bag, for example.
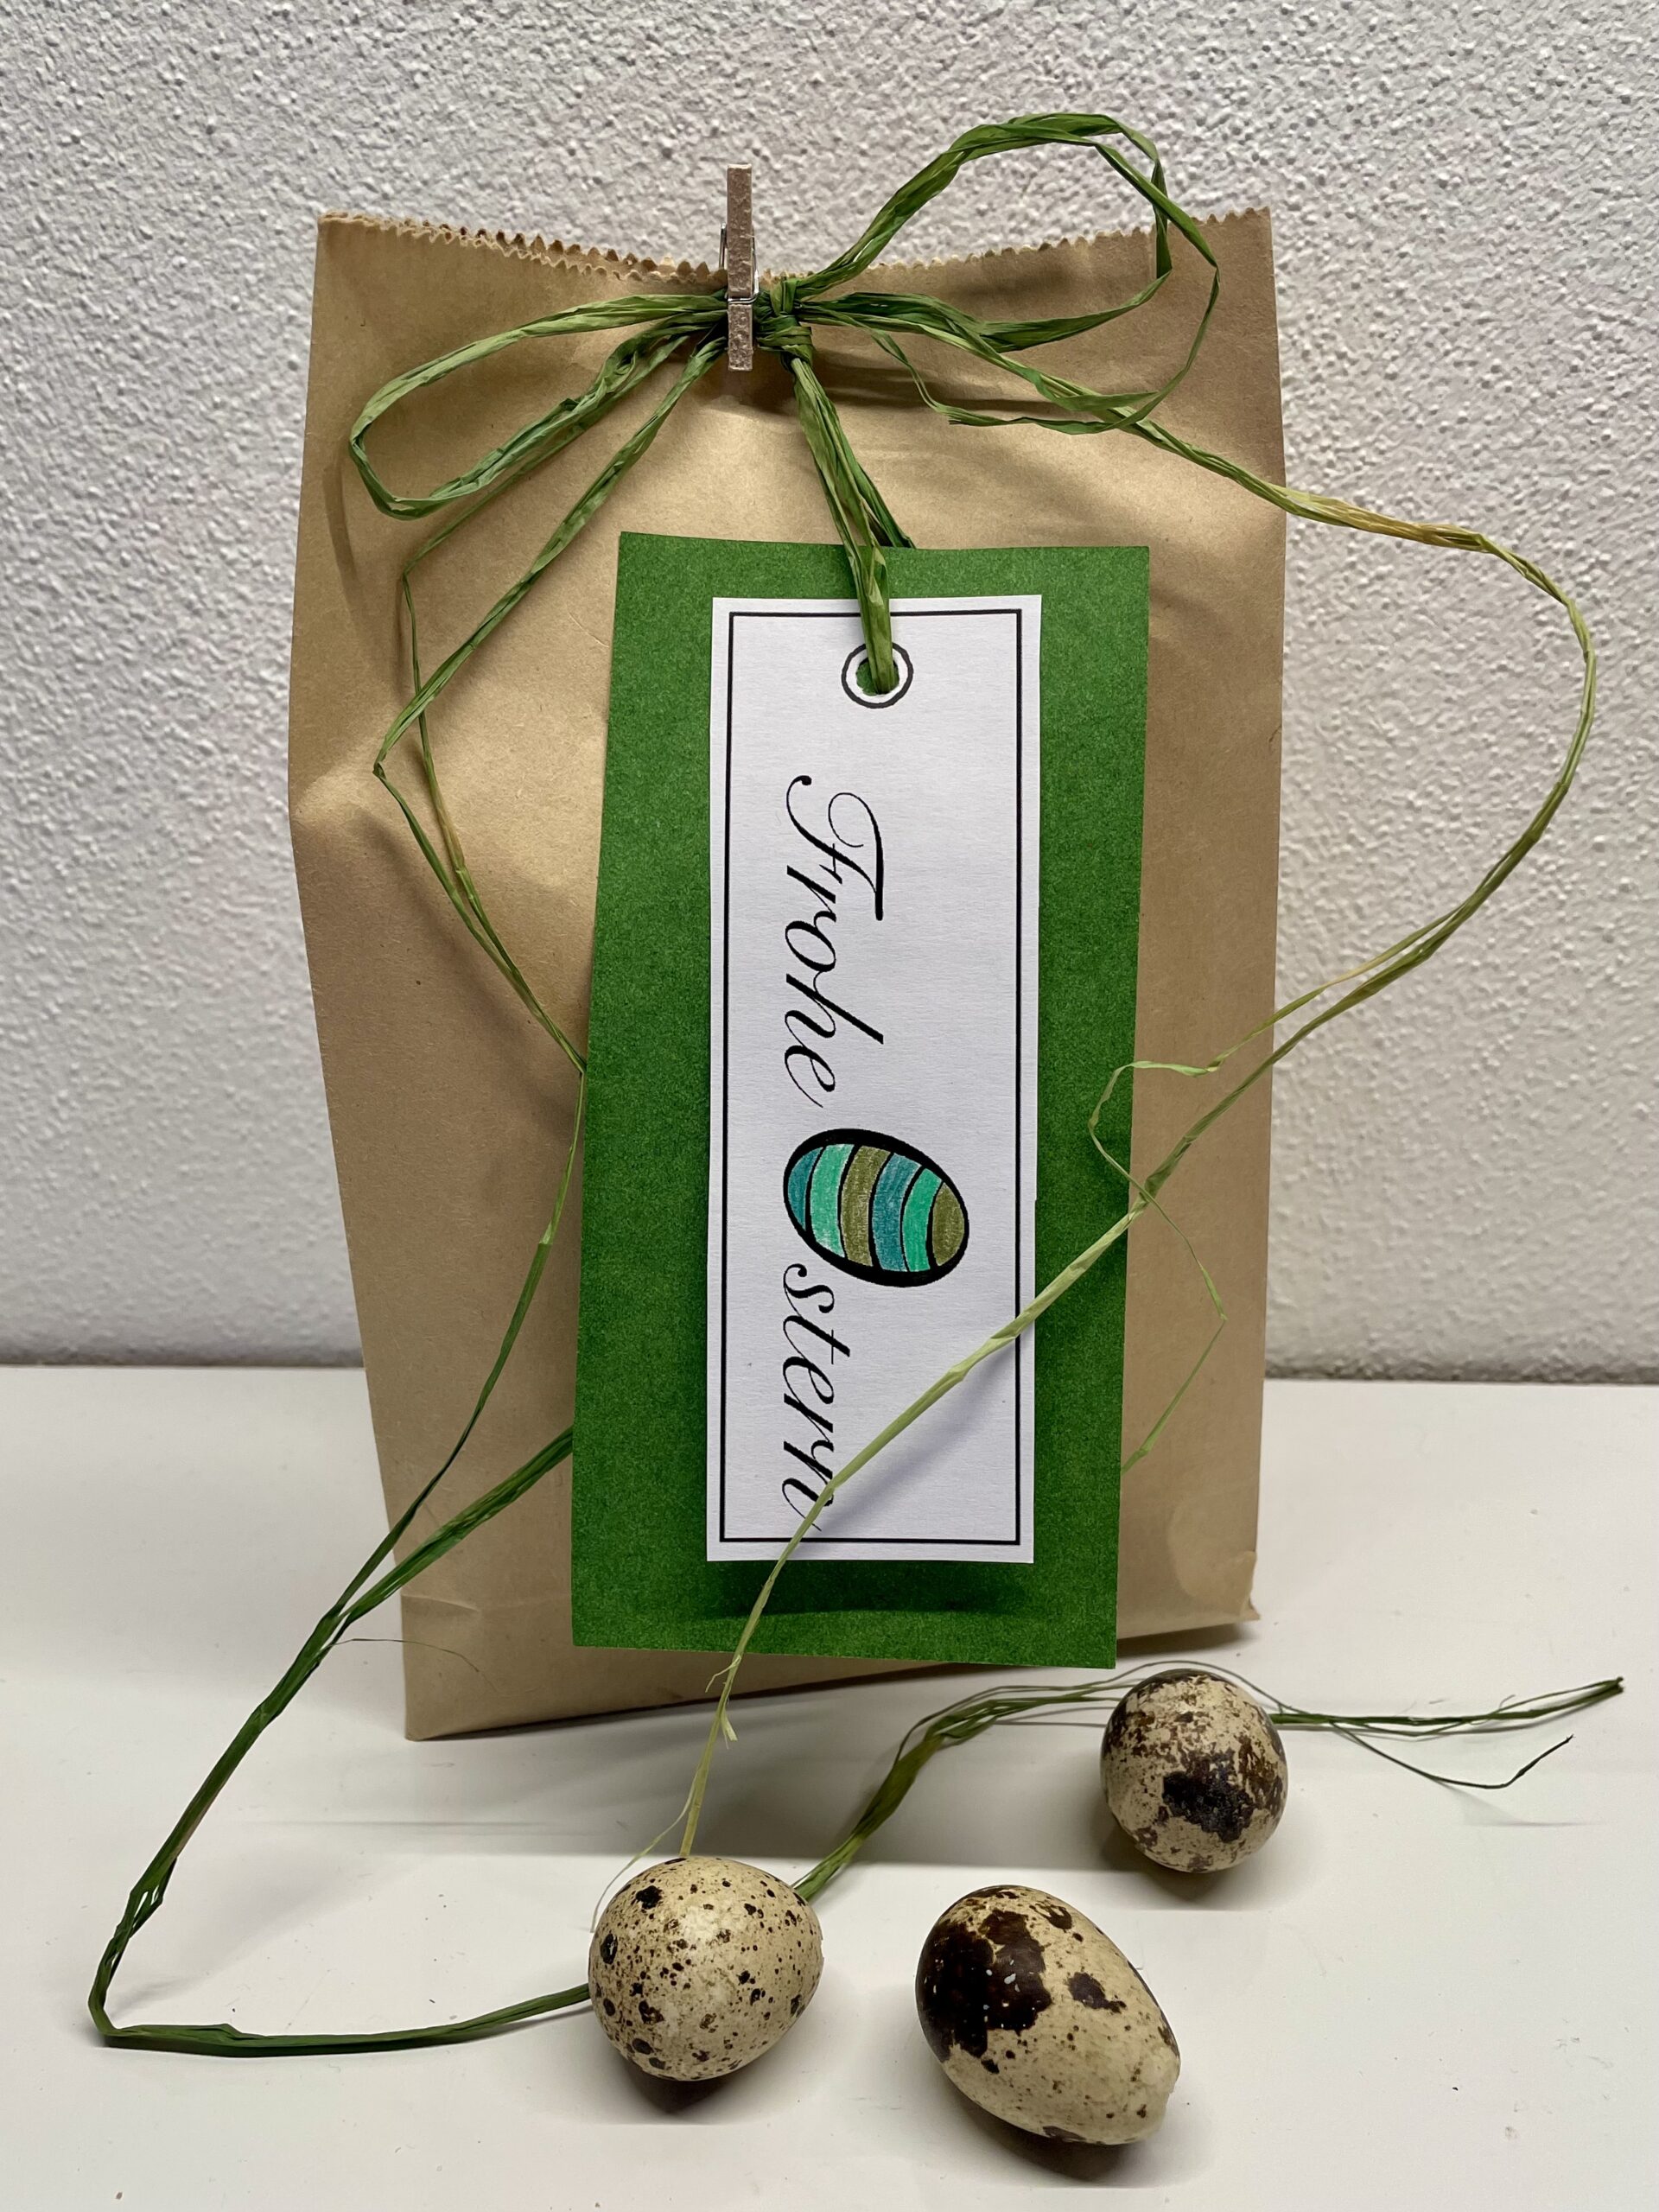
Bild zum Schritt 13 für das Bastel- und DIY-Abenteuer für Kinder: 'Abschließend hängt ihr den Anhänger z.B. an eine Geschenktüte.'

Idea 3:
12

For this you print out the cards and place them as decoration on the plate. So the Easter can start.
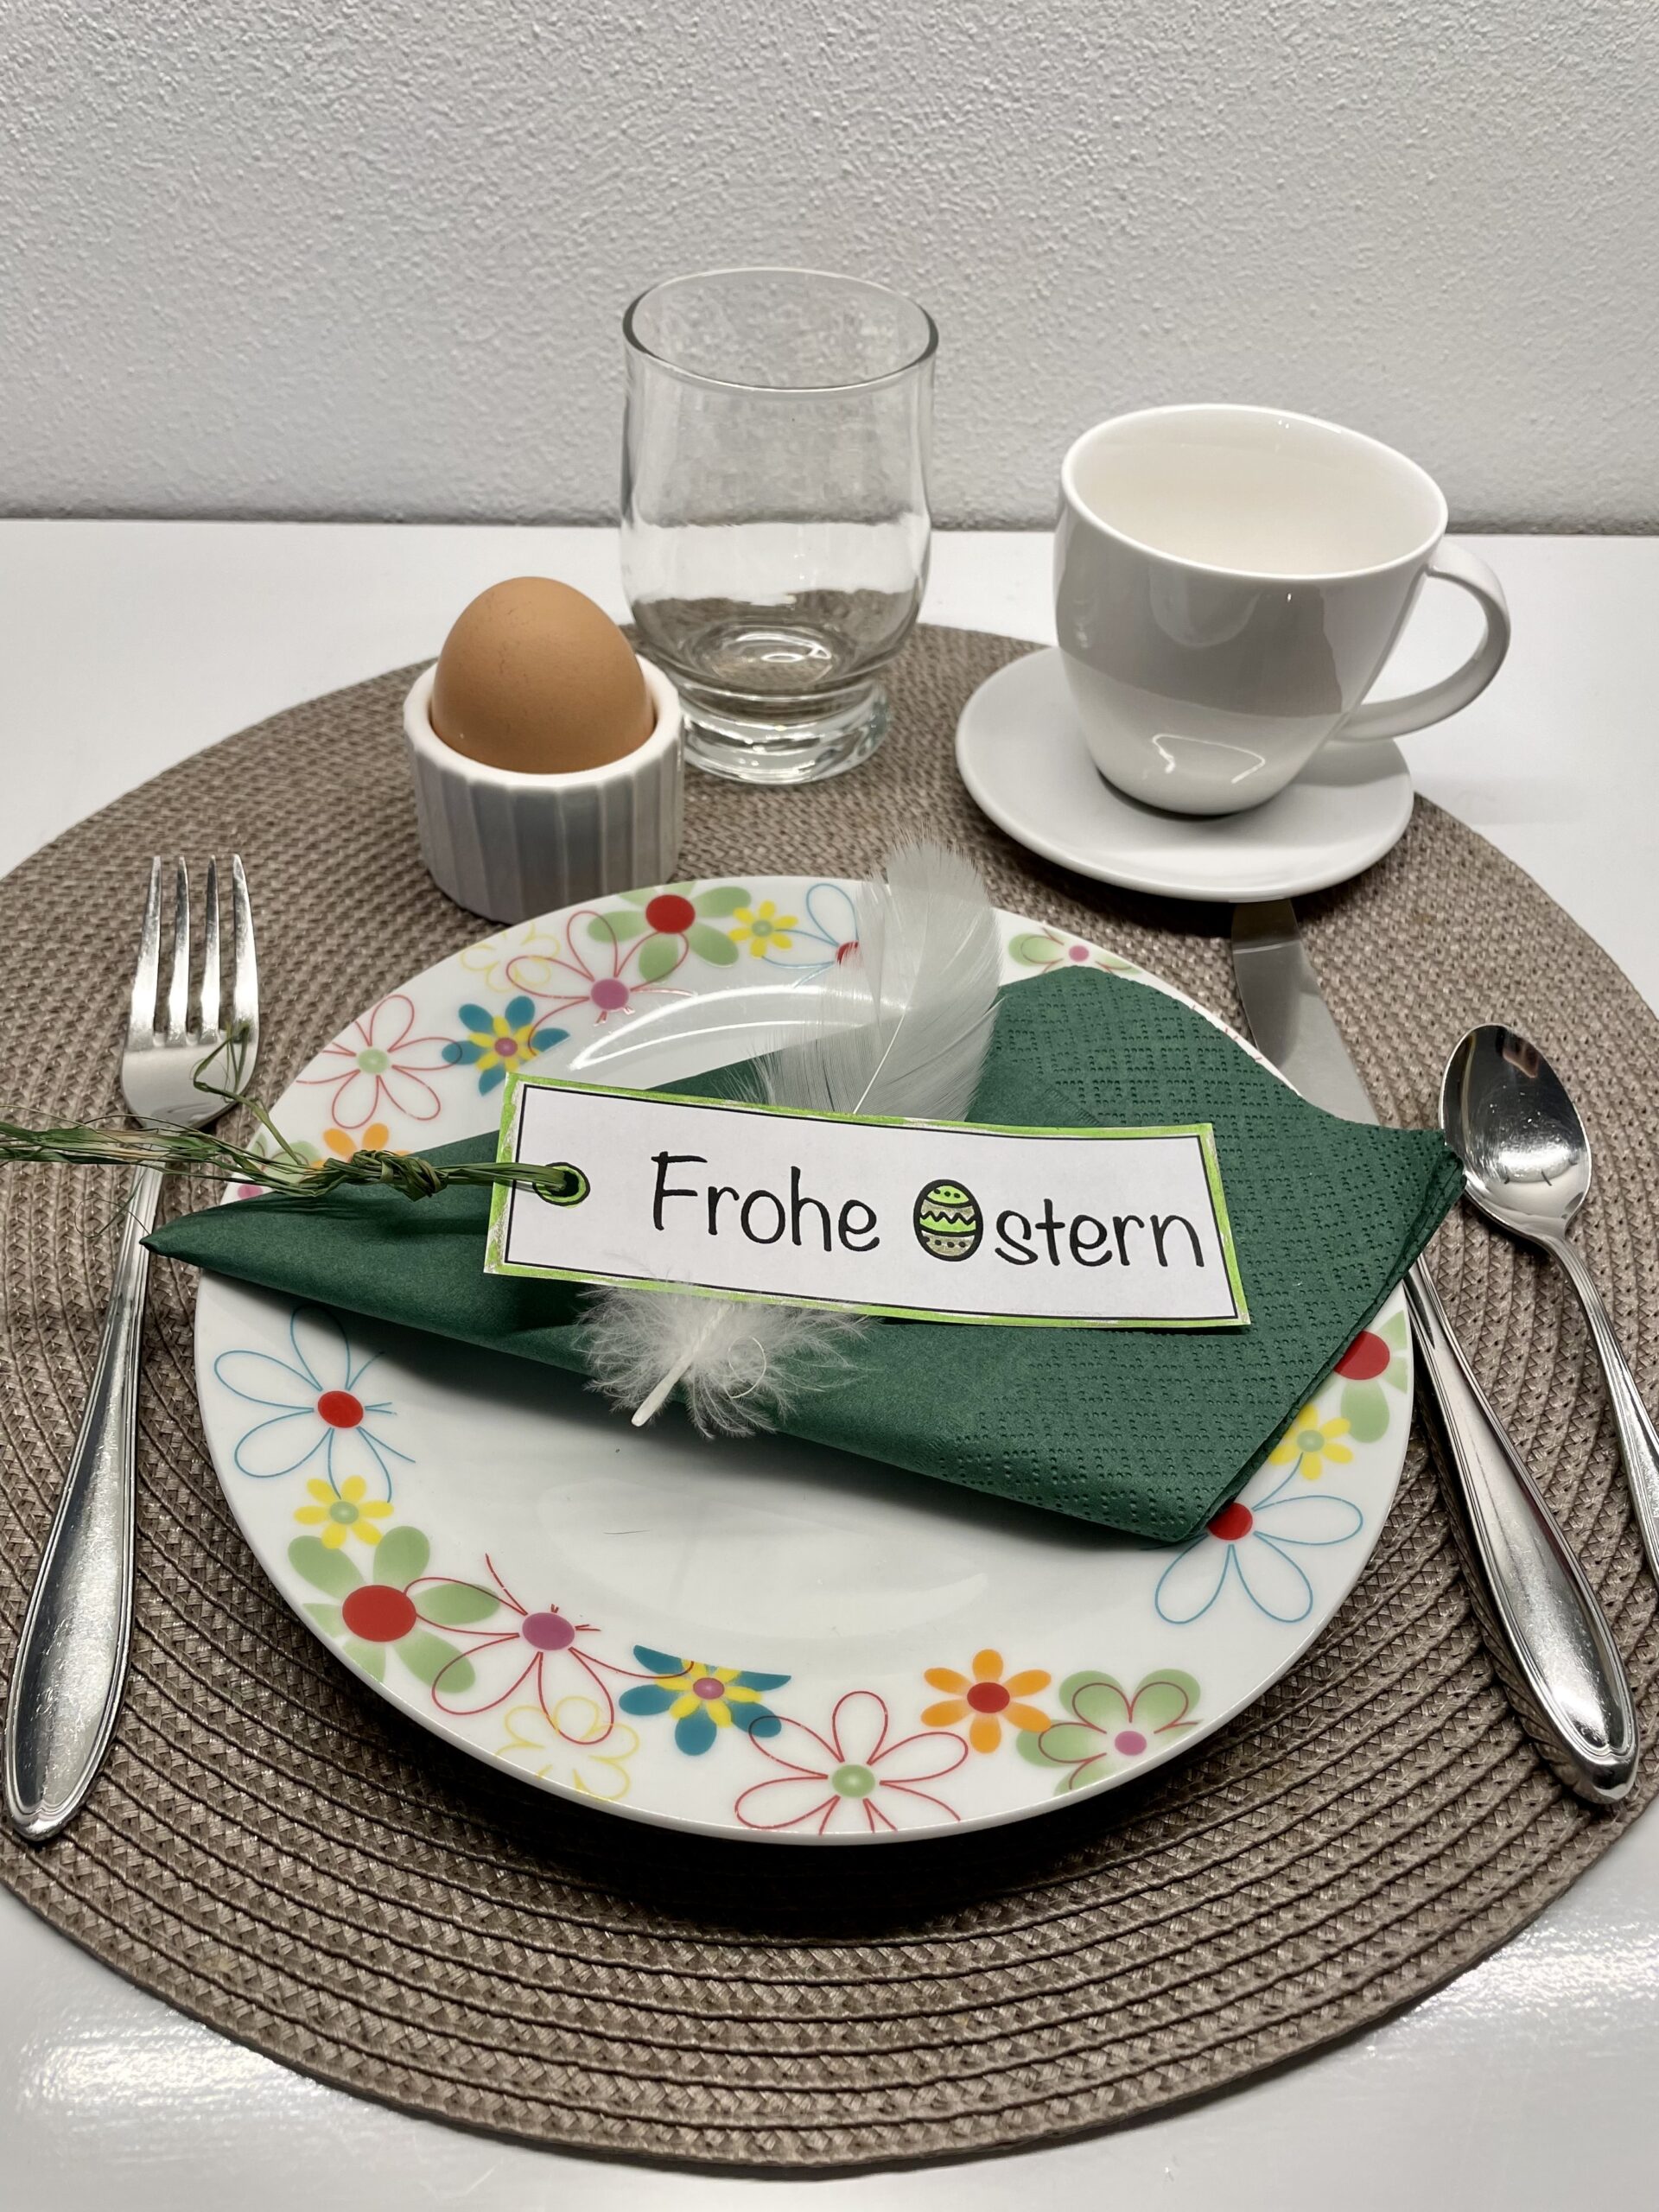
Bild zum Schritt 15 für das Bastel- und DIY-Abenteuer für Kinder: 'Hierfür druckt ihr euch die Karten aus und legt sie...'

13

2. Bild zum Schritt 15 für das Bastel- und DIY-Abenteuer für Kinder: 'Hierfür druckt ihr euch die Karten aus und legt sie...'

14

3. Bild zum Schritt 16 für das Bastel- und DIY-Abenteuer für Kinder: 'Hierfür druckt ihr euch die Karten aus und legt sie...'

15

Have fun designing!.
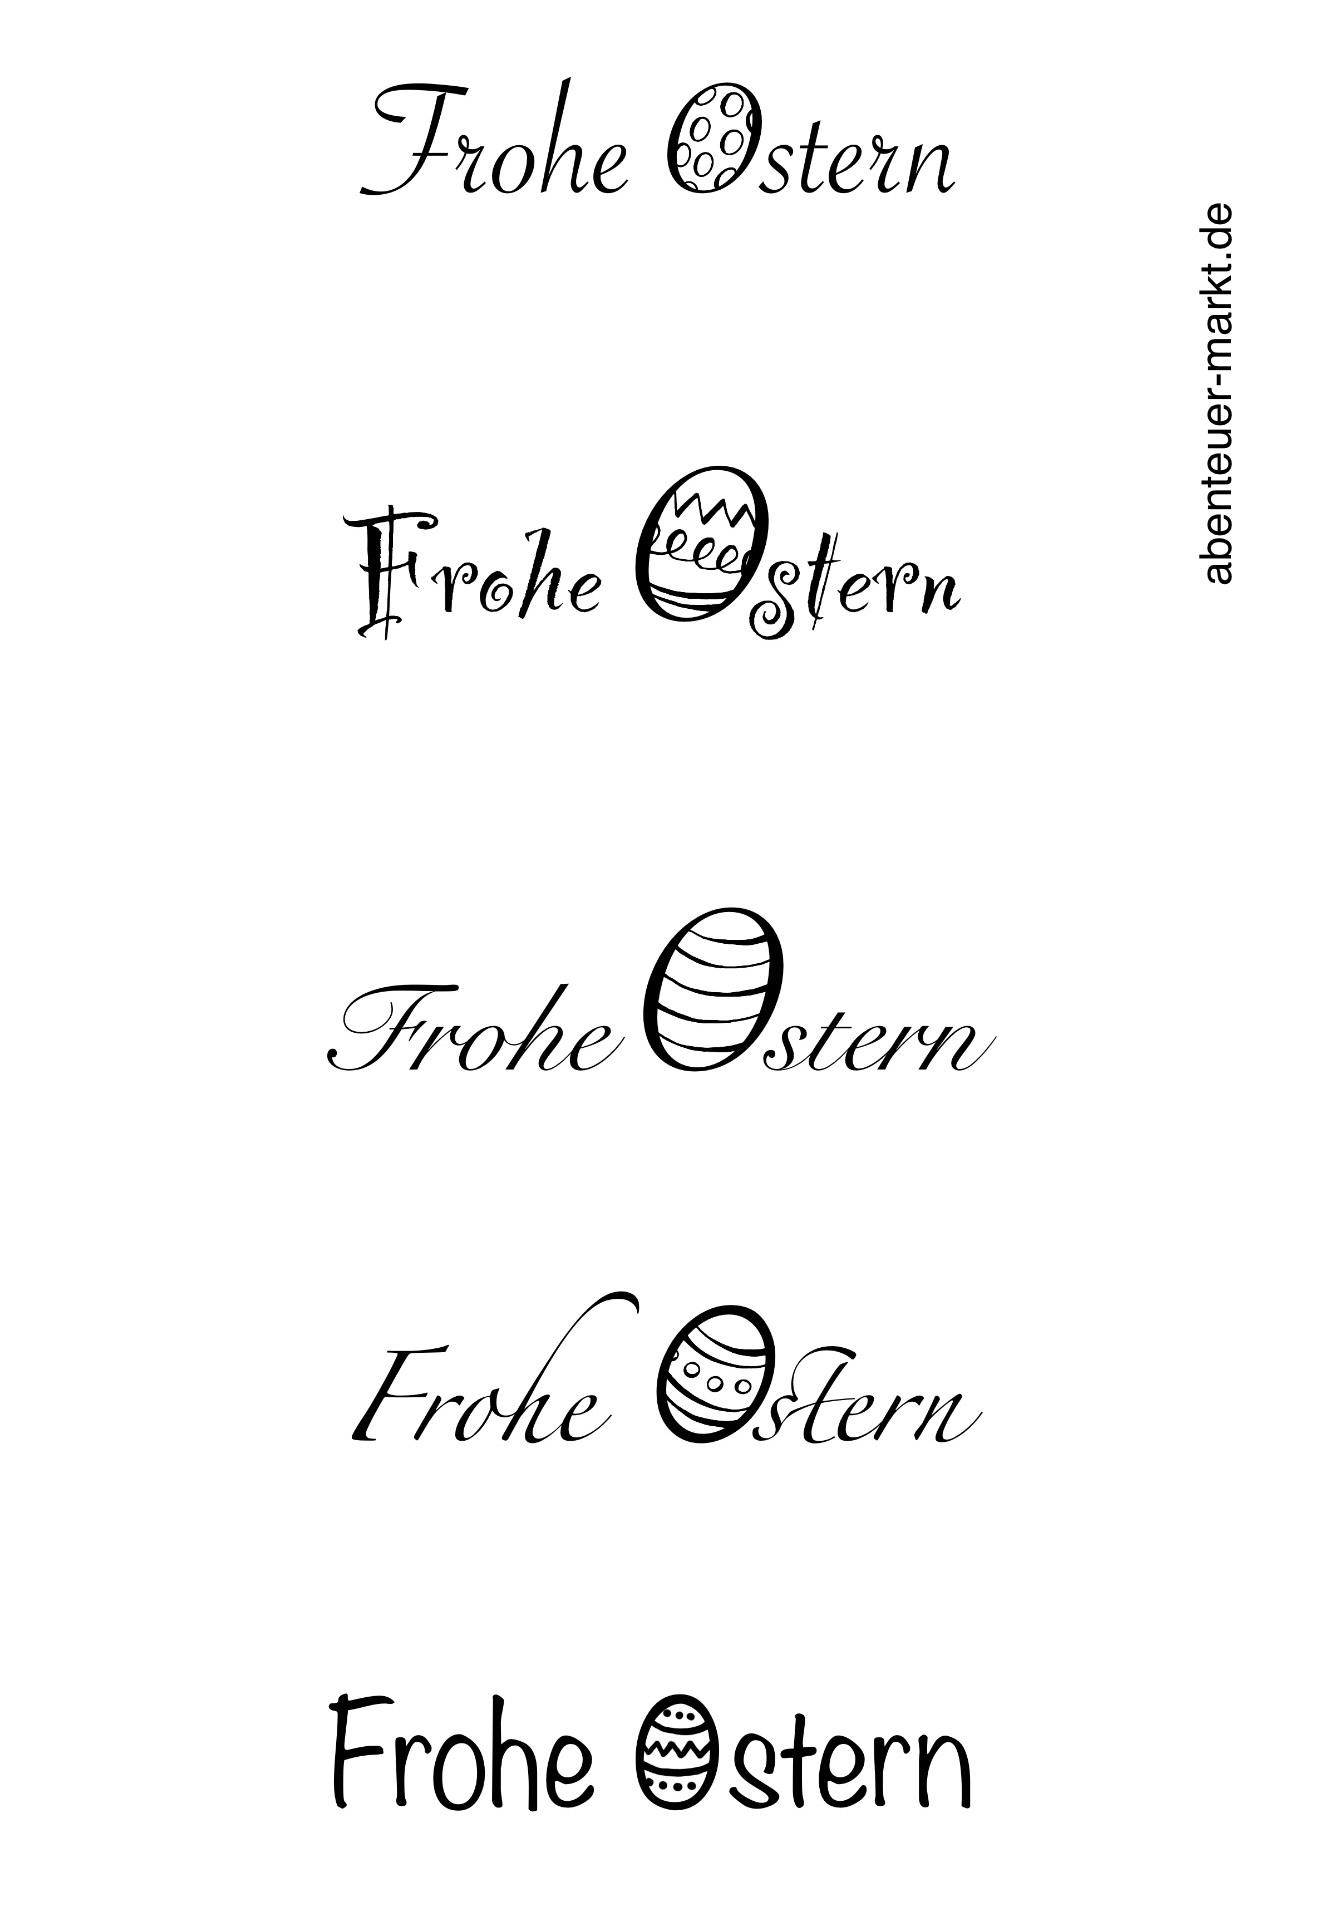
Bild zum Schritt 18 für das Bastel- und DIY-Abenteuer für Kinder: 'Viel Spaß beim Gestalten!.'

Templates for printing:
16

1. Bild zum Schritt 19 für das Bastel- und DIY-Abenteuer für Kinder: 'Viel Spaß beim Gestalten!.'

17

2. Bild zum Schritt 20 für das Bastel- und DIY-Abenteuer für Kinder: 'Viel Spaß beim Gestalten!.'

18

3. Bild zum Schritt 21 für das Bastel- und DIY-Abenteuer für Kinder: 'Viel Spaß beim Gestalten!.'

19

Have fun!

Pendants for Easter

Follow us on Facebook , Instagram and Pinterest
Don't miss any more adventures: Our bottle mail

Leave a Reply

Your email address will not be published.

The maximum upload file size: 5 MB. You can upload: image, document. Drop file here