Advent calendar reindeer

AdventurerKatzi
Rating5.07.1 Thousand times & (2) DifficultyIntermediate

Collect 24 tin cans. You need them for this Advent calendar. In each can fits a small gift, a small message, a nice saying or an idea for a common experience.
Make with the children these sweet reindeer and surprise them with the filled Advent calendar cans!
The cans can be used again next year, and something new can be made out of them.

Media Education for Kindergarten and Hort

Kind bastelt eine Rassel mit dem Navi
The Adventure Navi, the app for DIY projects, enables media education for the youngest.

Relief in everyday life, targeted promotion of individual children, independent learning and - without any pre-knowledge already usable by the youngest!


Titelbild zur Bastel- und DIY-Idee für Kinder '(491) Adventskalender Rentier'
Material for1 Child
Prep Time10 min.Adv. Time30 min.Total Time40 min.
 24 Tin cansalso different sizes are suitable!
 Brown clay paper
 White paper
 Red clay paper
 Dark felt pen
 Possibly hot glue gun
 Adhesive strips
 Builder's pad
All links marked with a shopping cart lead to Amazon - here we have selected products that we would order ourselves and in part also ordered. In a qualified purchase via the advertising link, we as Amazon partner receive a commission, for you there are no costs. You thus support our cost- and advertising banner-free, educational offer.
1

Print out the template and cut out the individual parts.
All in all, you need:
2x the antler in brown
1x the small circle in red,
2x the small circle in brown,
2x the large circle in white
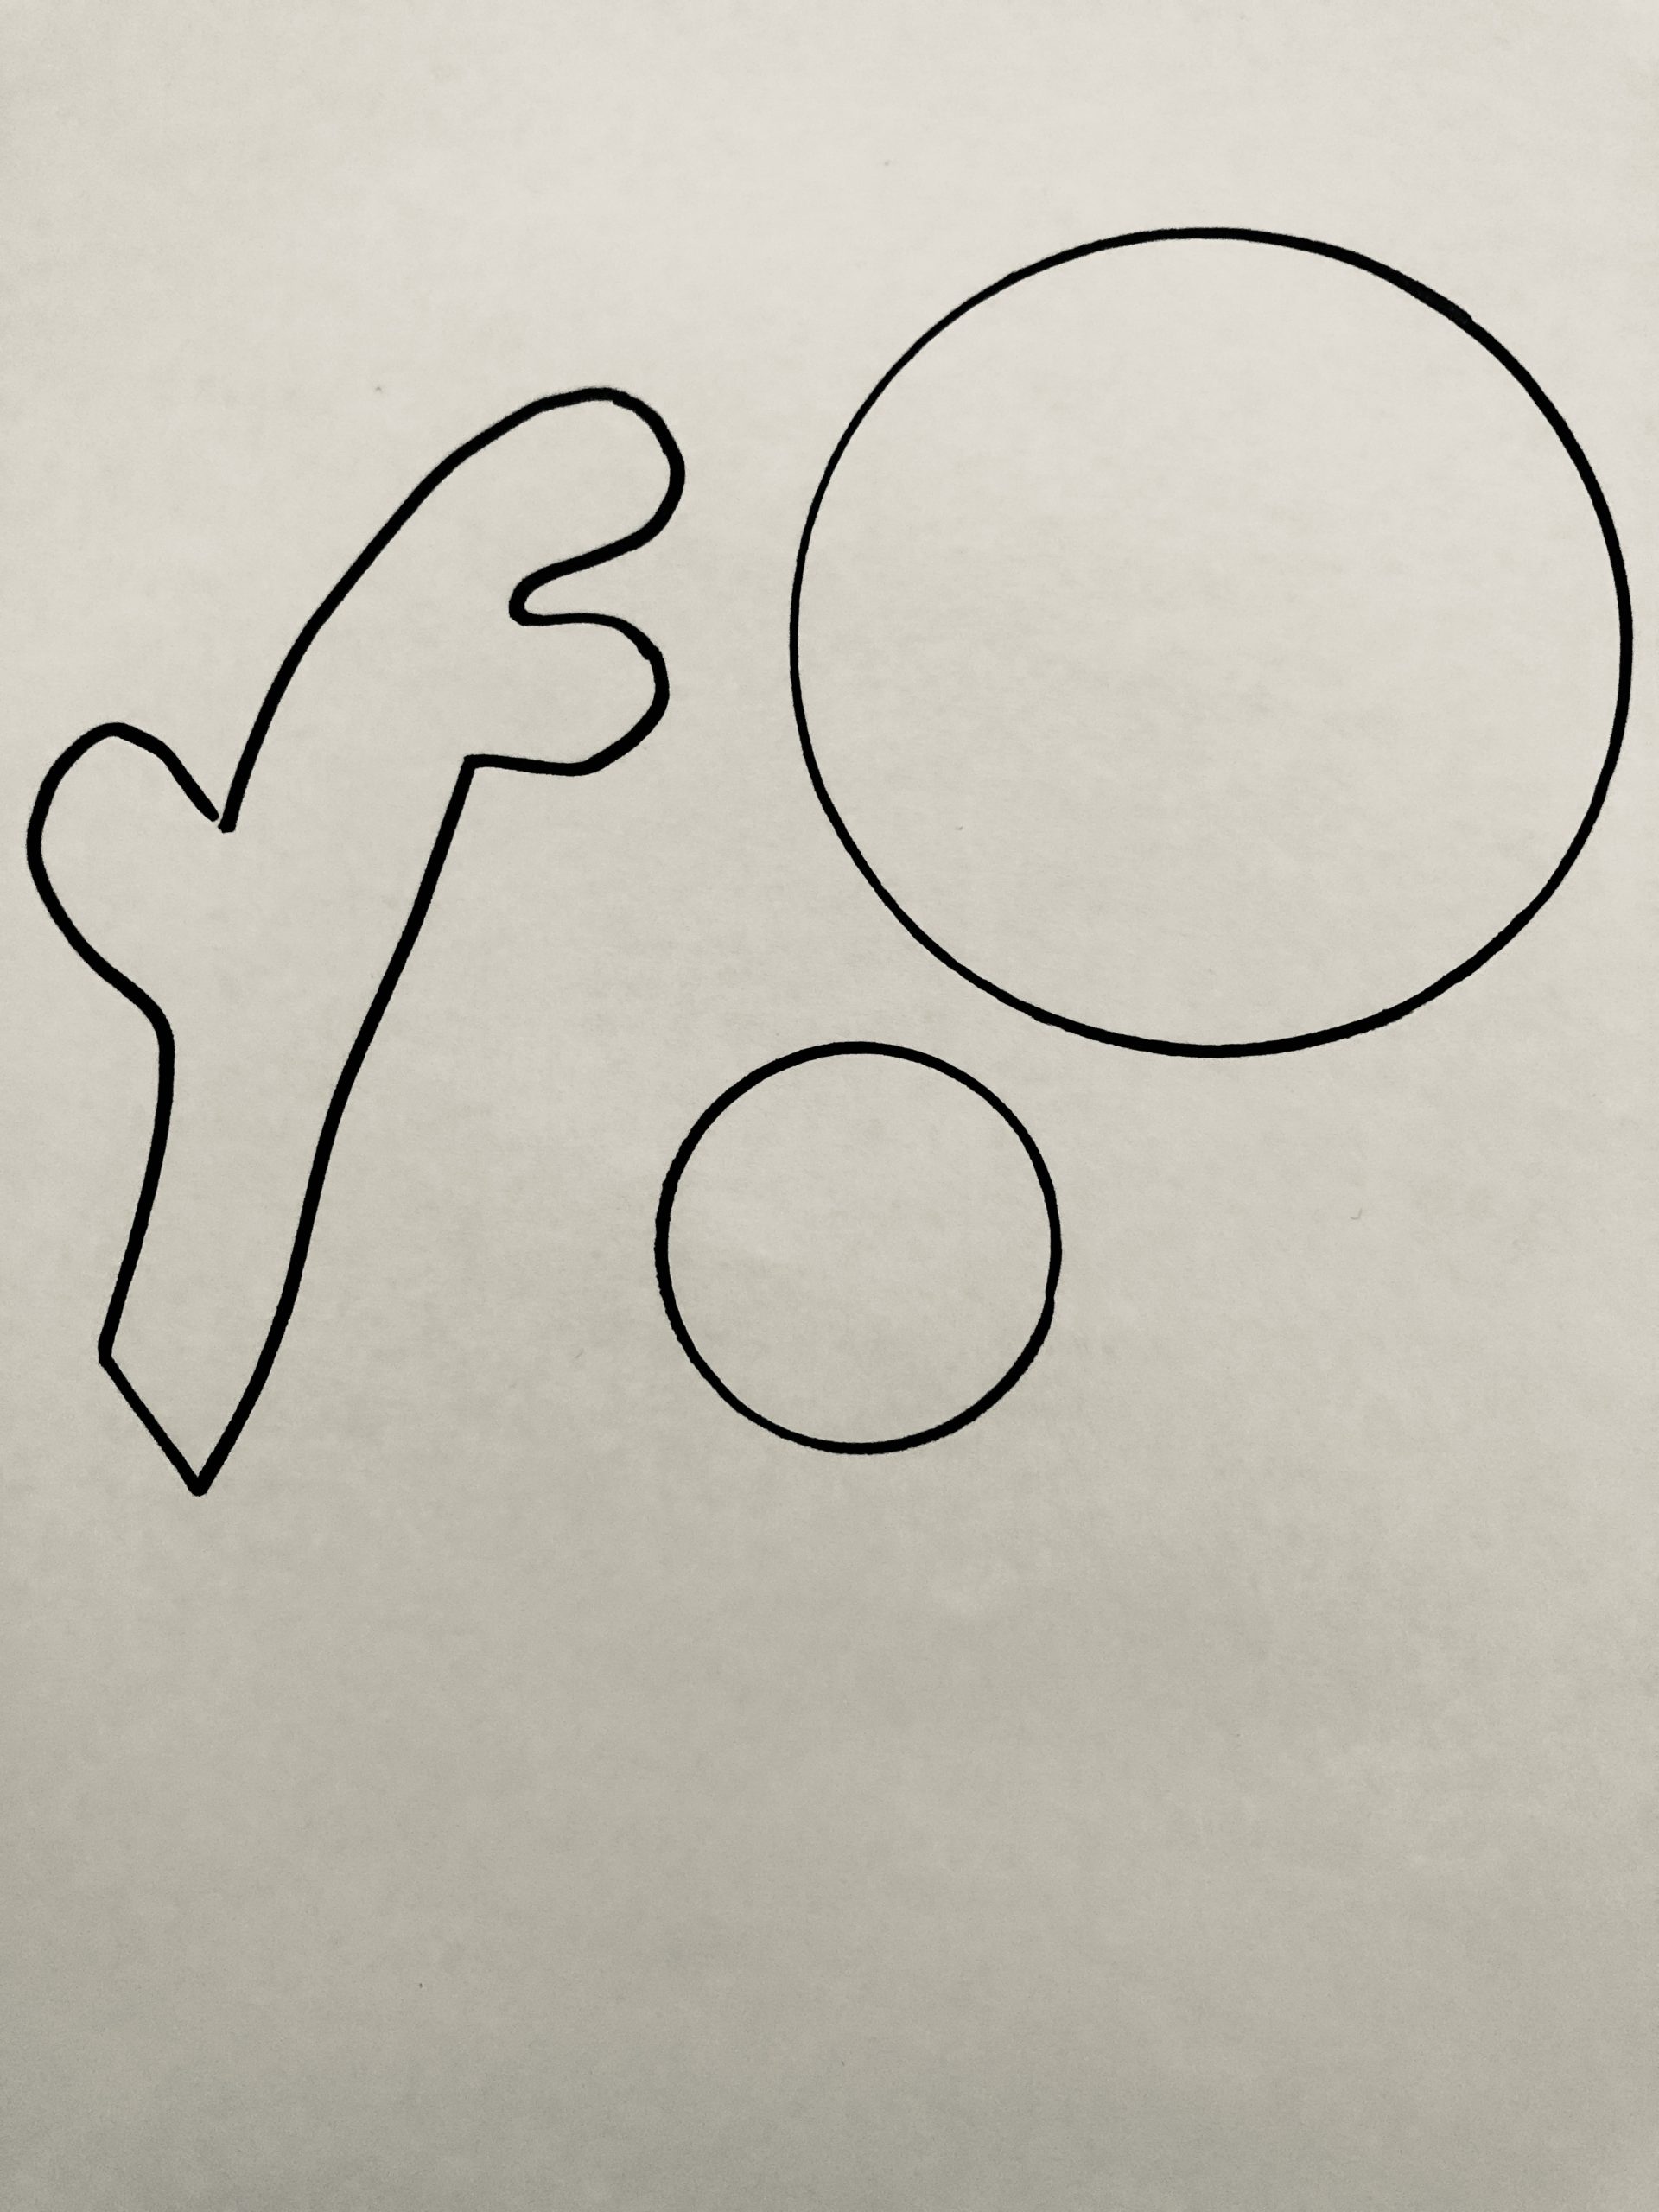
Bild zum Schritt 1 für das Bastel- und DIY-Abenteuer für Kinder: 'Druckt euch die Vorlage aus und schneidet die einzelnen Teile...'

2

Fold the brown paper half and paint the antlers once.
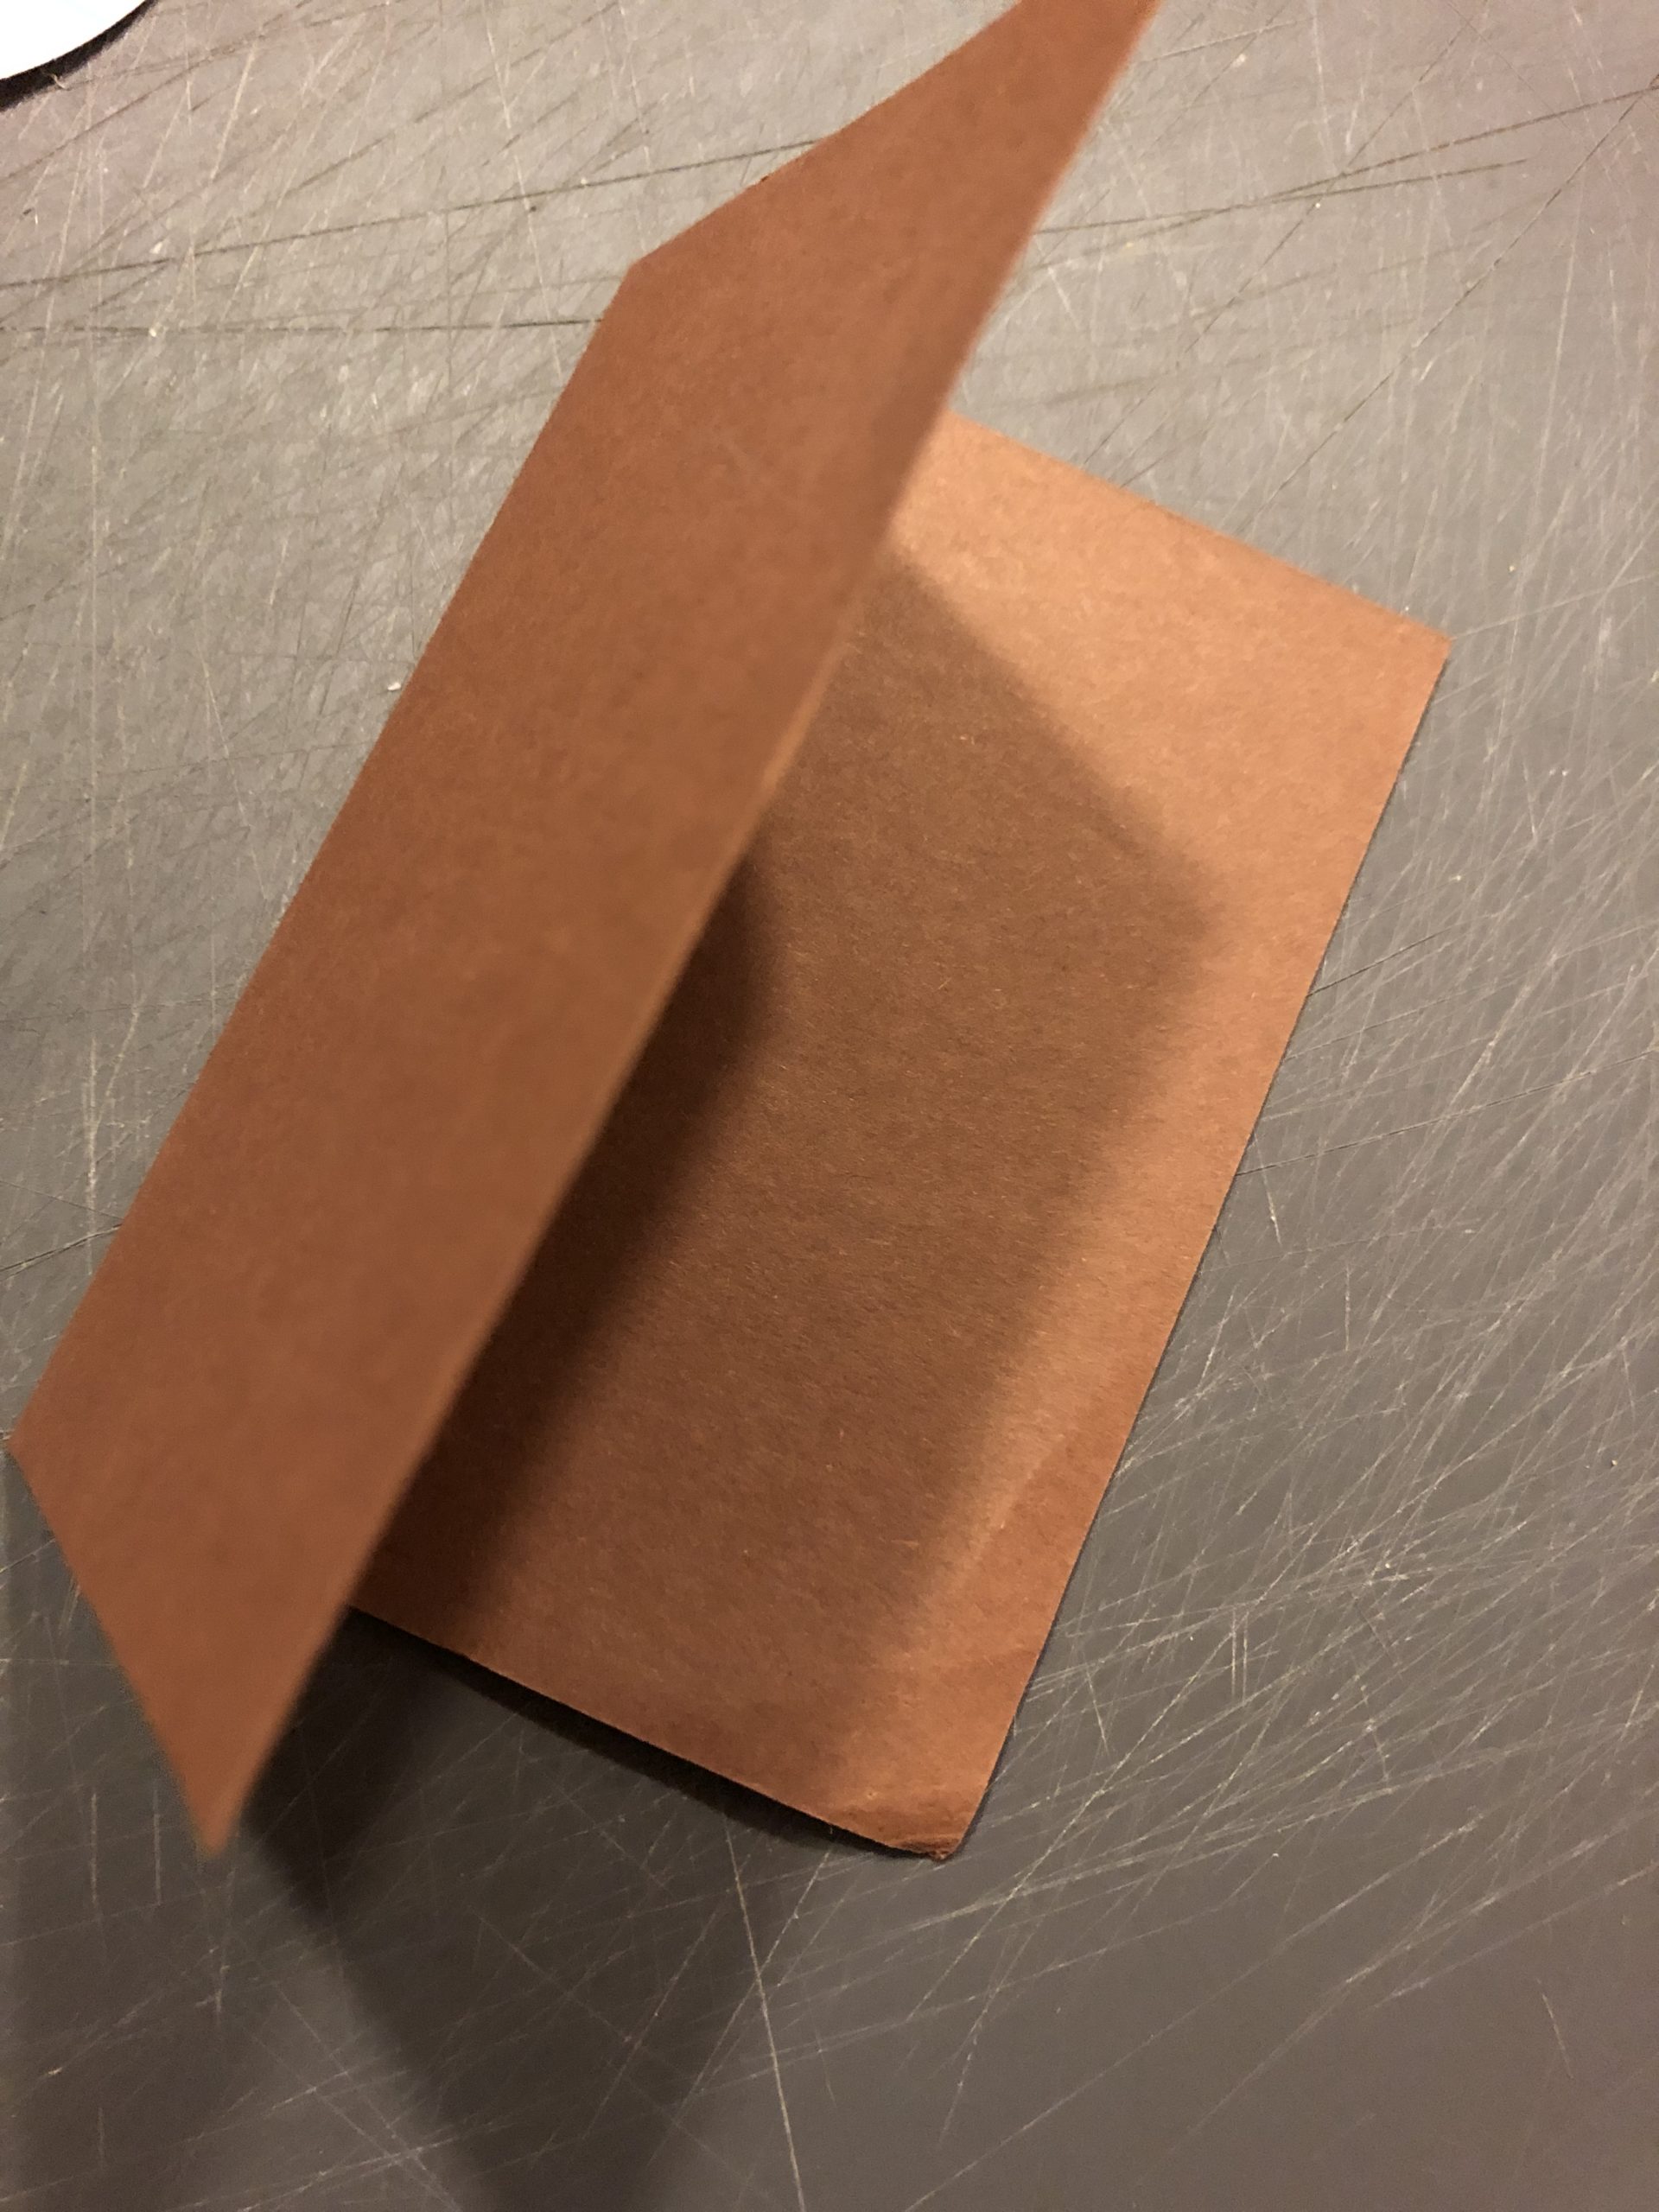
Bild zum Schritt 2 für das Bastel- und DIY-Abenteuer für Kinder: 'Faltet das braune Papier zur Hälfte und malt das Geweih...'

3

2. Bild zum Schritt 2 für das Bastel- und DIY-Abenteuer für Kinder: 'Faltet das braune Papier zur Hälfte und malt das Geweih...'

4

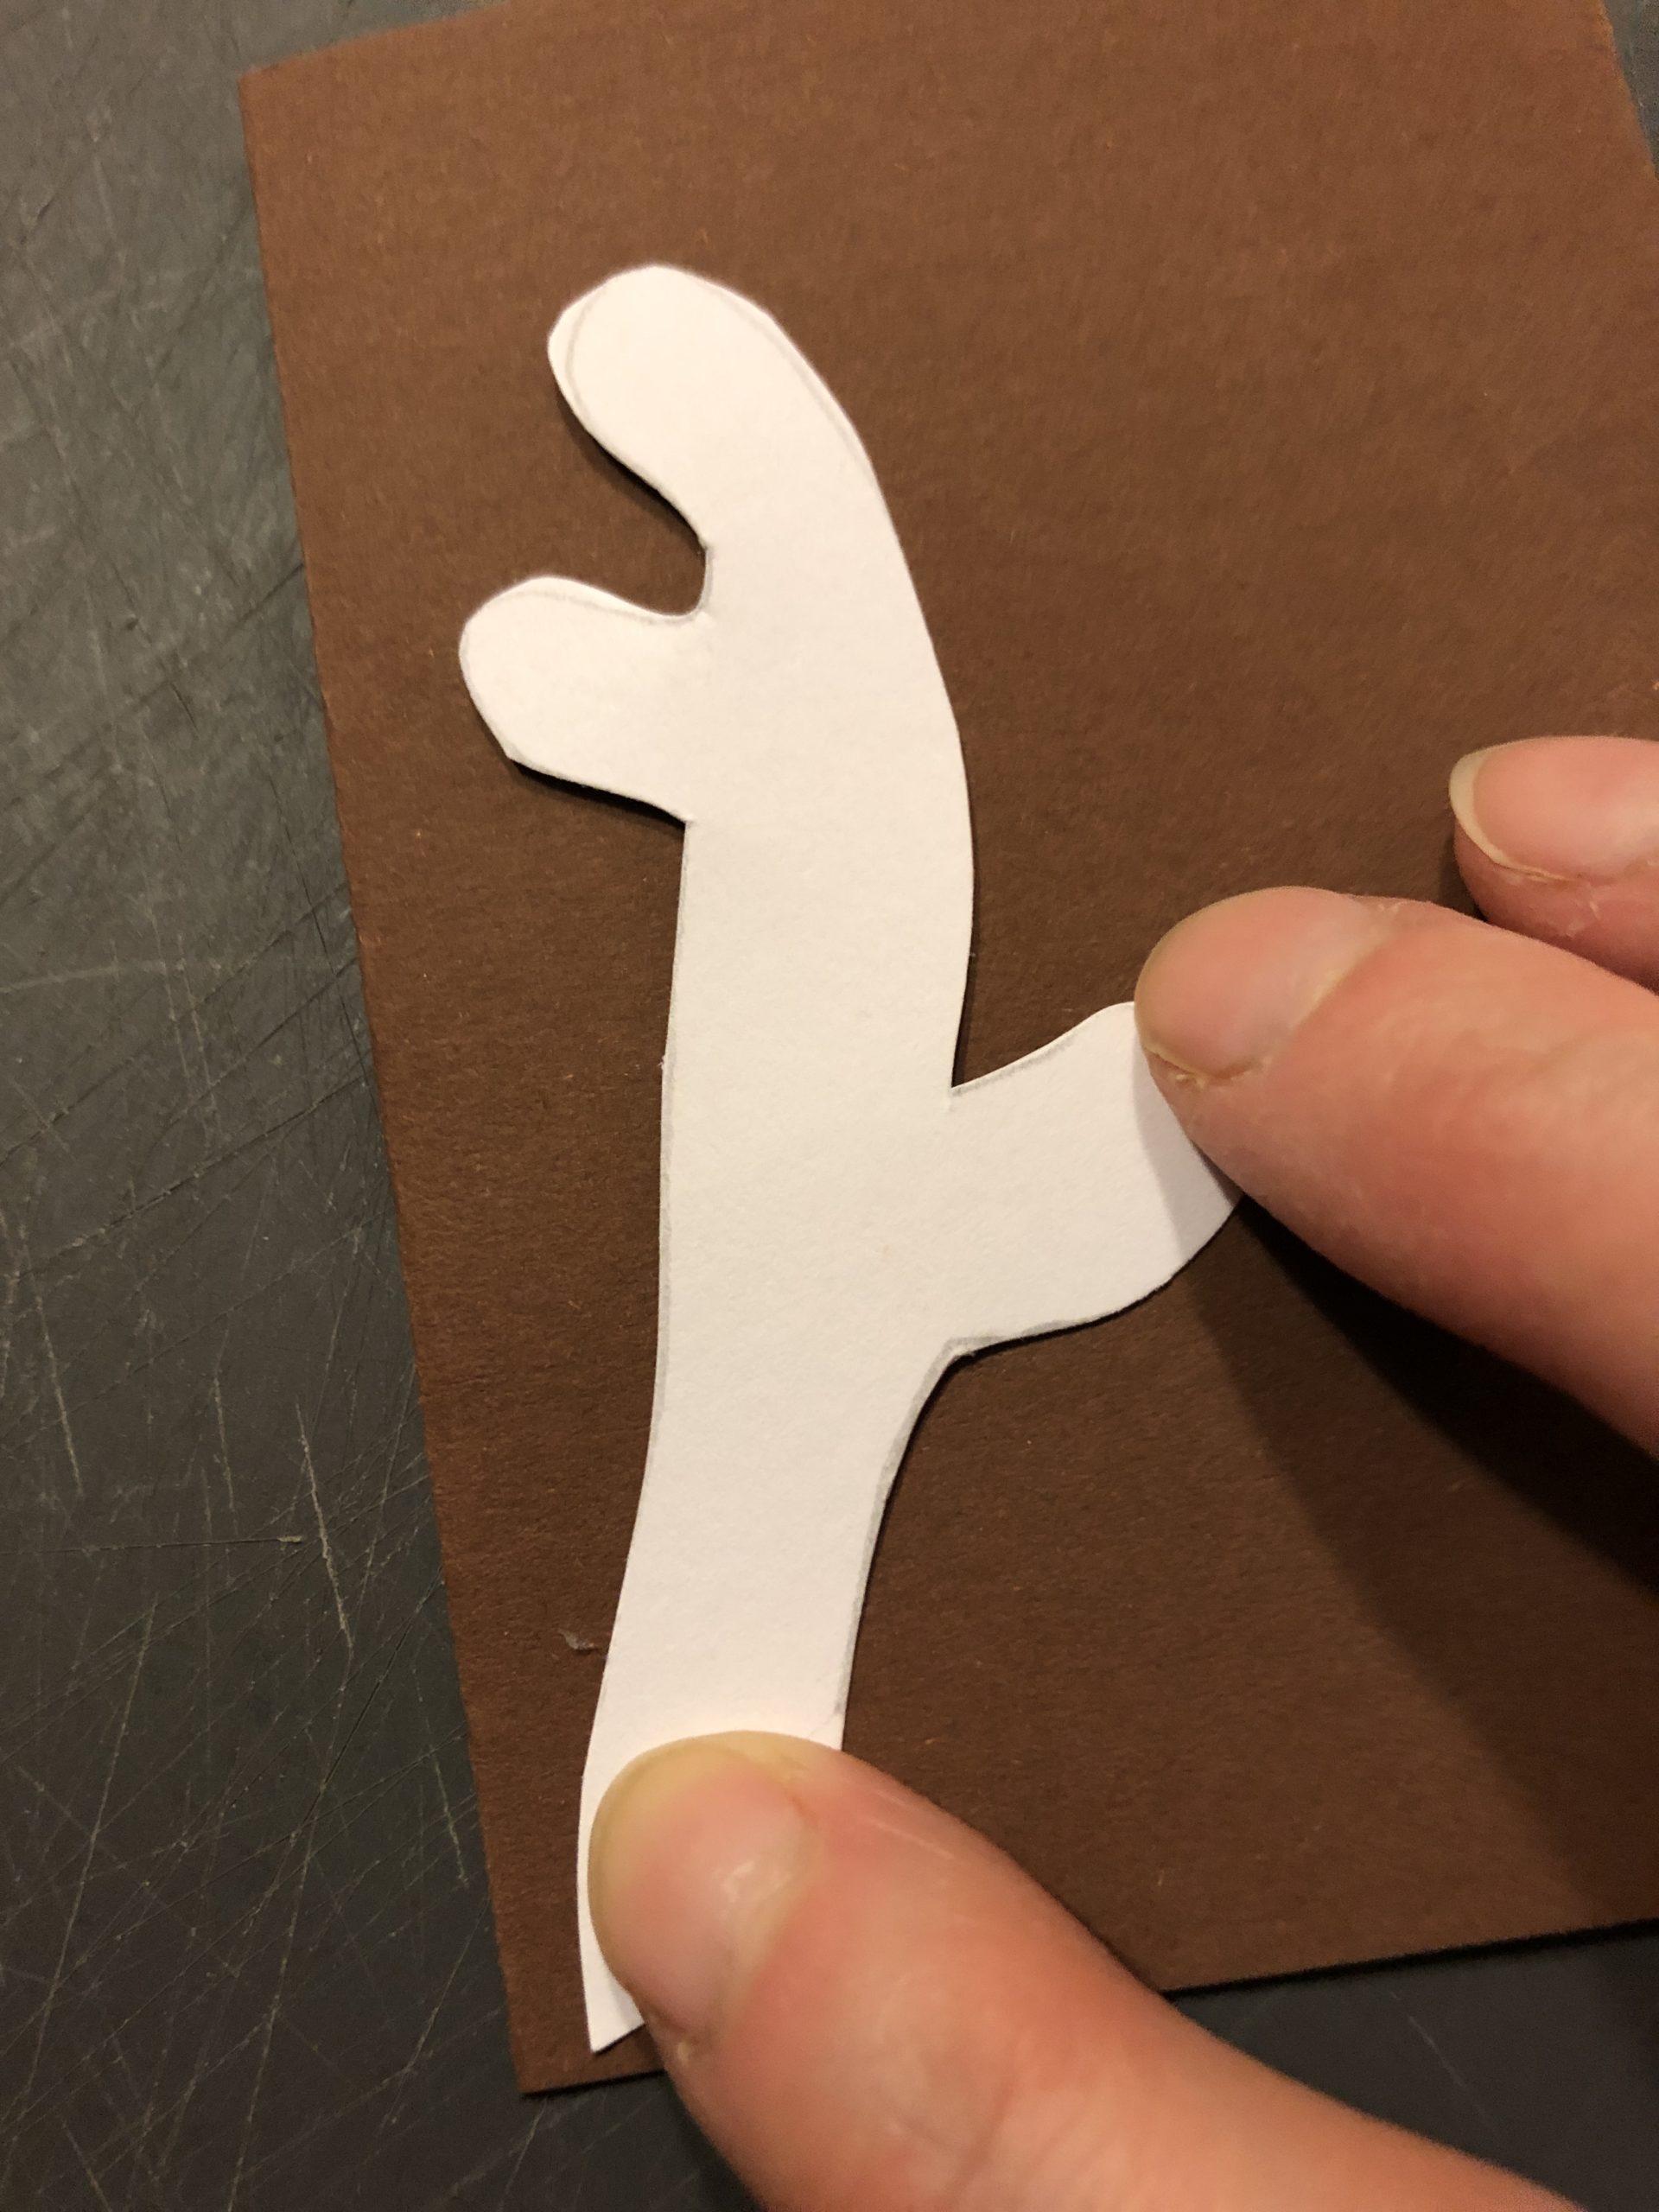
Now cut out the antlers. So you get two parts that look identical.

Bild zum Schritt 4 für das Bastel- und DIY-Abenteuer für Kinder: 'Schneidet nun das Geweih aus. Somit erhaltet ihr zwei Teile,...'

5

Prepare the antlers as in the picture.

Bild zum Schritt 5 für das Bastel- und DIY-Abenteuer für Kinder: 'Legt das Geweih wie im Bild bereit.'

6

Cuts out all other parts.
Then the eyes stick together like in the picture.
That's what the face of every reindeer looks like.

You have to make that face 24 times!

Bild zum Schritt 6 für das Bastel- und DIY-Abenteuer für Kinder: 'Schneidet alle weiteren Teile aus.   Dann klebt die...'

7

Take a can and put the antler on the inside of the can. Either with an adhesive tape, with a glue pen or a hot glue point. Be careful when using the hot glue gun, this must be practiced!

Bild zum Schritt 7 für das Bastel- und DIY-Abenteuer für Kinder: 'Nehmt eine Dose und bringt zuerst das Geweih an der...'

8

The eyes now stick to it below the antler. Also here a small adhesive point is enough. They do not have to be glued on flat.

Bild zum Schritt 8 für das Bastel- und DIY-Abenteuer für Kinder: 'Die Augen klebt ihr nun unterhalb des Geweihs an. Auch...'

9

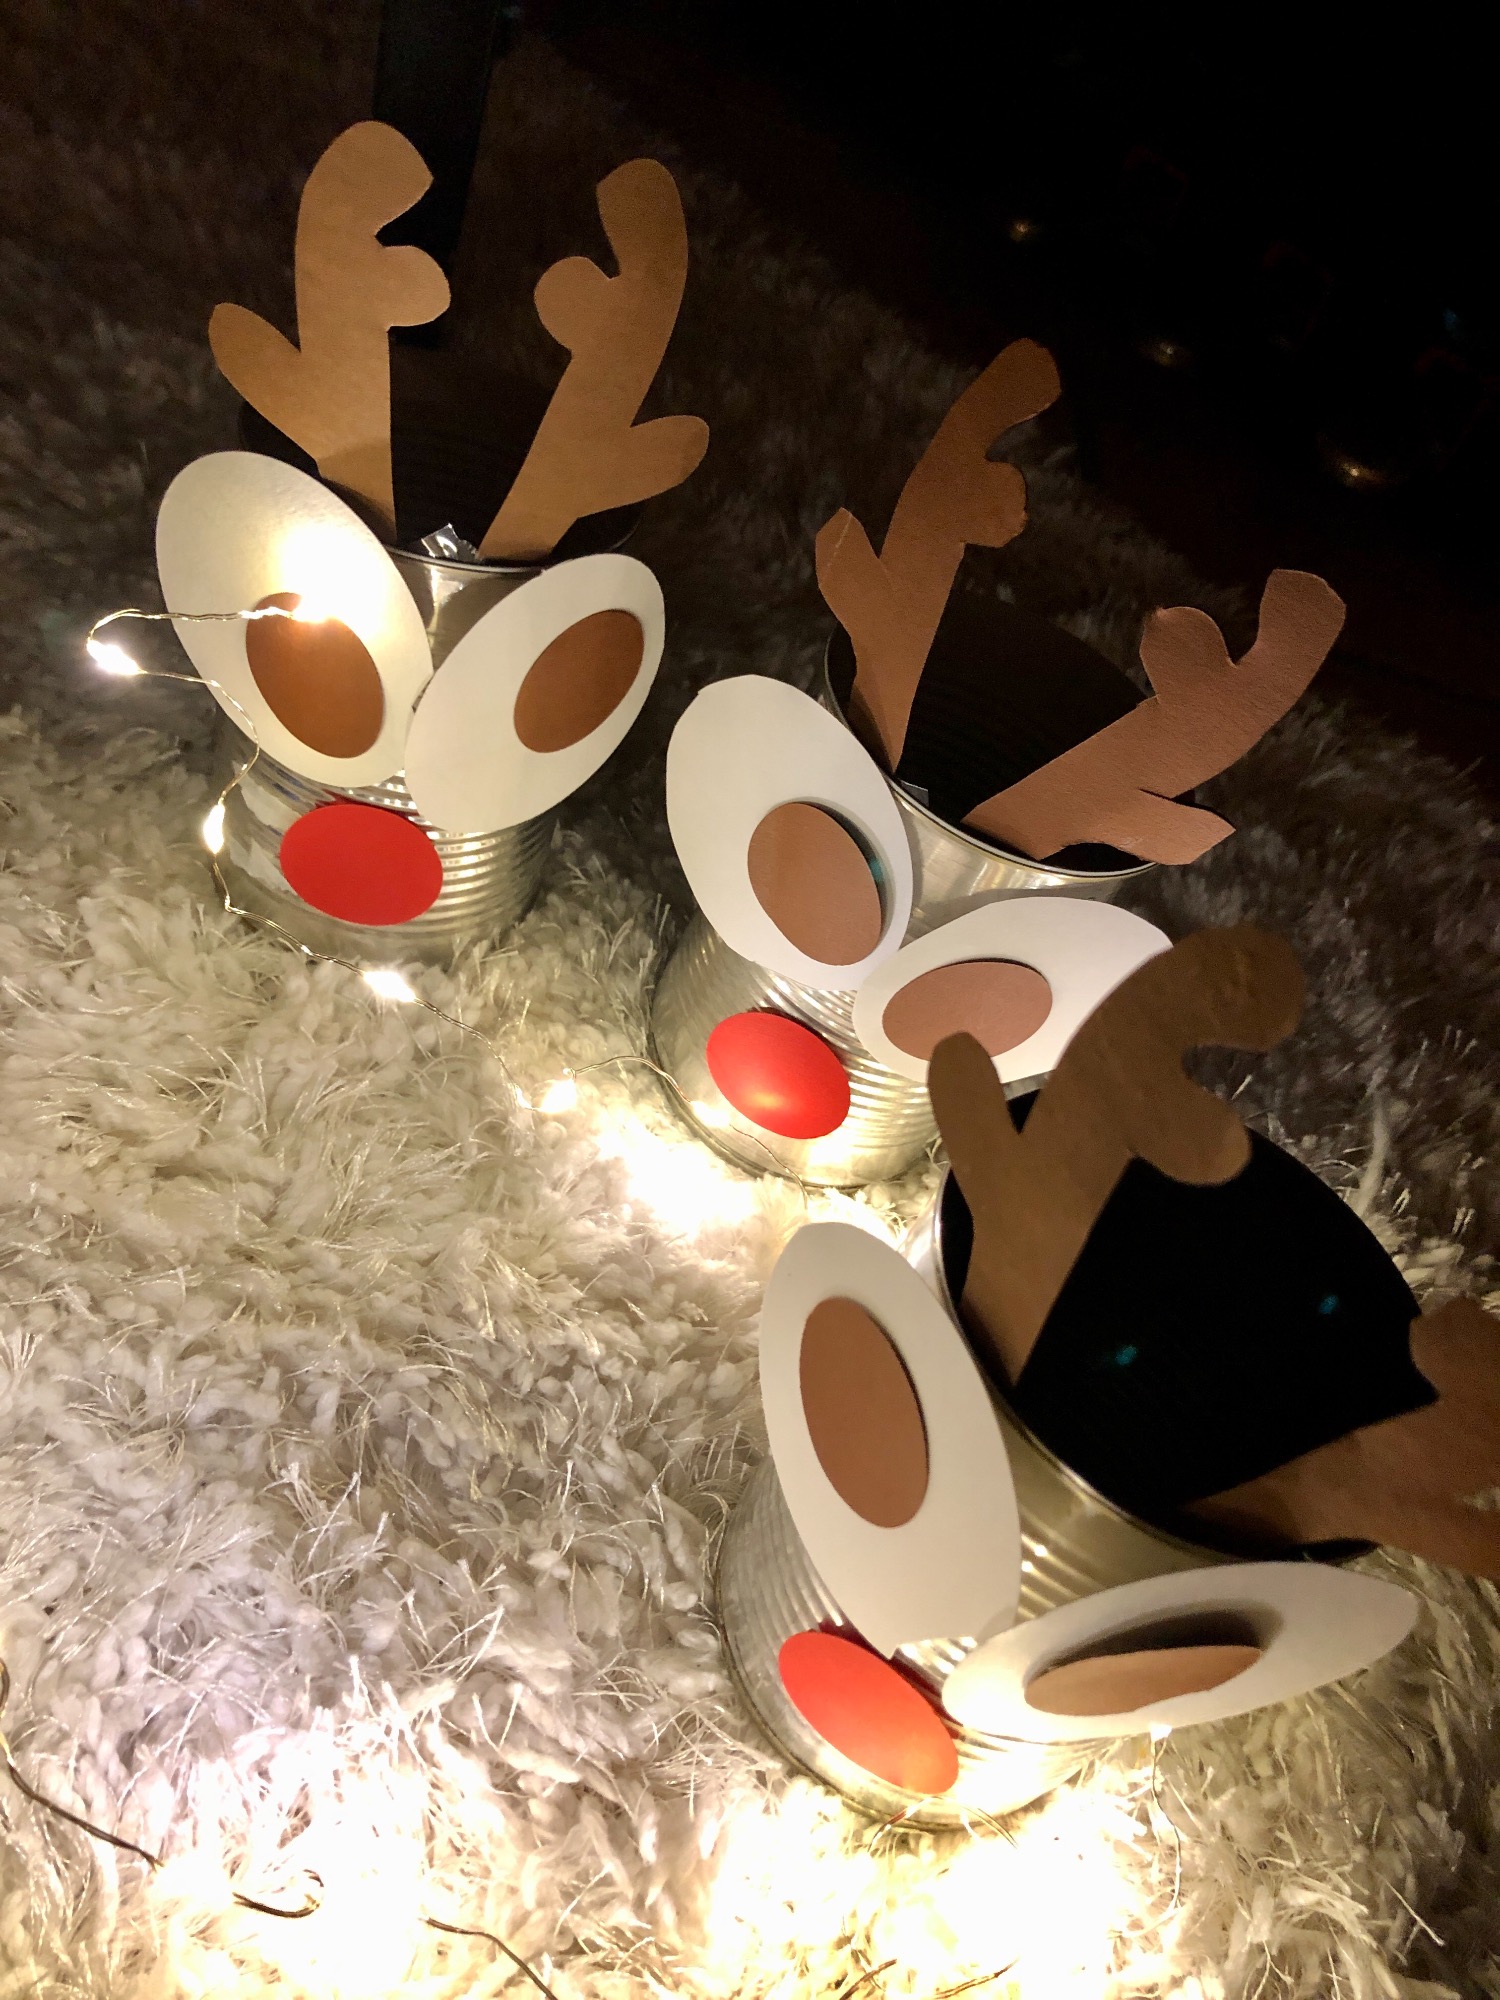
Underneath the eyes you position the red nose.
Your reindeer's ready.

Bild zum Schritt 9 für das Bastel- und DIY-Abenteuer für Kinder: 'Unterhalb der Augen positioniert ihr die rote Nase.  Fertig...'

10

Glue all other doses as well.

Bild zum Schritt 10 für das Bastel- und DIY-Abenteuer für Kinder: 'Beklebt alle anderen Dosen ebenfalls.'

11

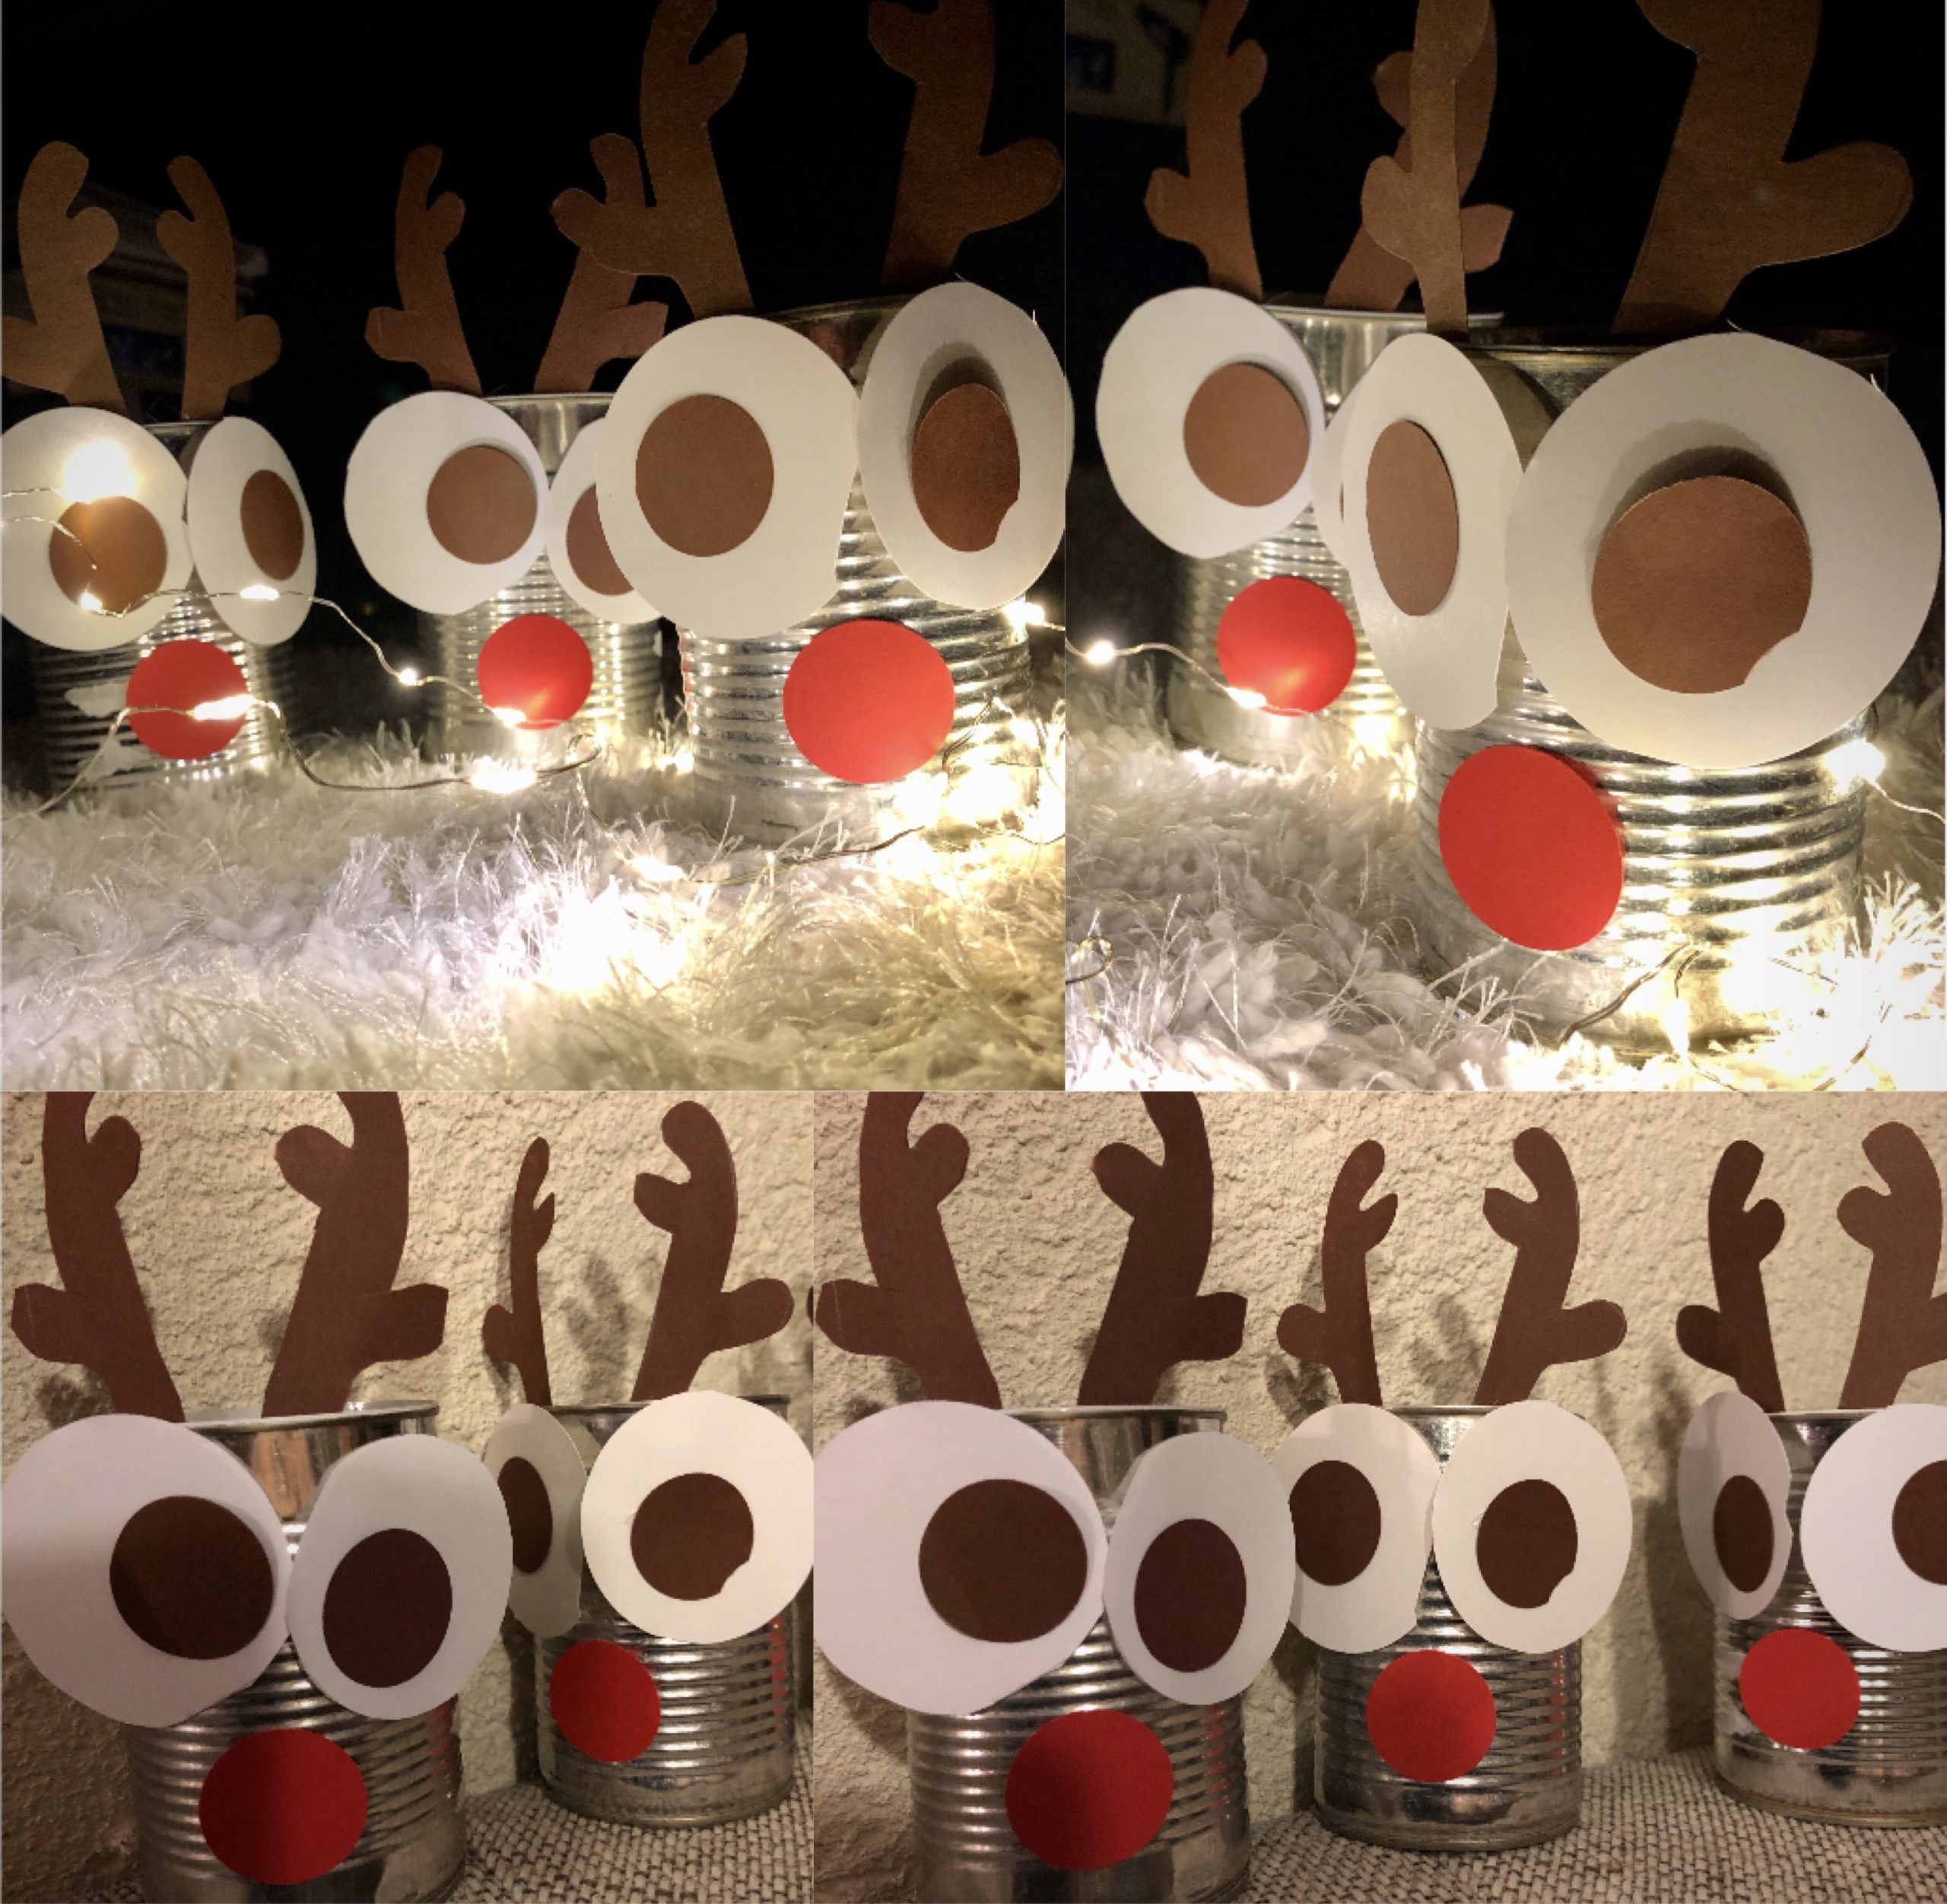
Choose a nice place for your reindeer herd. E.g. on the edge of a staircase or on a sideboard. With a mini-light chain you give your reindeer a nice atmosphere.

Bild zum Schritt 11 für das Bastel- und DIY-Abenteuer für Kinder: 'Sucht euch einen schönen Platz für eure Rentier-Herde aus. Z.B....'

12

Have fun!

Bild zum Schritt 12 für das Bastel- und DIY-Abenteuer für Kinder: 'Viel Freude!'

Materials

 24 Tin cansalso different sizes are suitable!
 Brown clay paper
 White paper
 Red clay paper
 Dark felt pen
 Possibly hot glue gun
 Adhesive strips
 Builder's pad
All links marked with a shopping cart lead to Amazon - here we have selected products that we would order ourselves and in part also ordered. In a qualified purchase via the advertising link, we as Amazon partner receive a commission, for you there are no costs. You thus support our cost- and advertising banner-free, educational offer.

Directions

1

Print out the template and cut out the individual parts.
All in all, you need:
2x the antler in brown
1x the small circle in red,
2x the small circle in brown,
2x the large circle in white

Bild zum Schritt 1 für das Bastel- und DIY-Abenteuer für Kinder: 'Druckt euch die Vorlage aus und schneidet die einzelnen Teile...'

2

Fold the brown paper half and paint the antlers once.

Bild zum Schritt 2 für das Bastel- und DIY-Abenteuer für Kinder: 'Faltet das braune Papier zur Hälfte und malt das Geweih...'

3

2. Bild zum Schritt 2 für das Bastel- und DIY-Abenteuer für Kinder: 'Faltet das braune Papier zur Hälfte und malt das Geweih...'

4

Now cut out the antlers. So you get two parts that look identical.
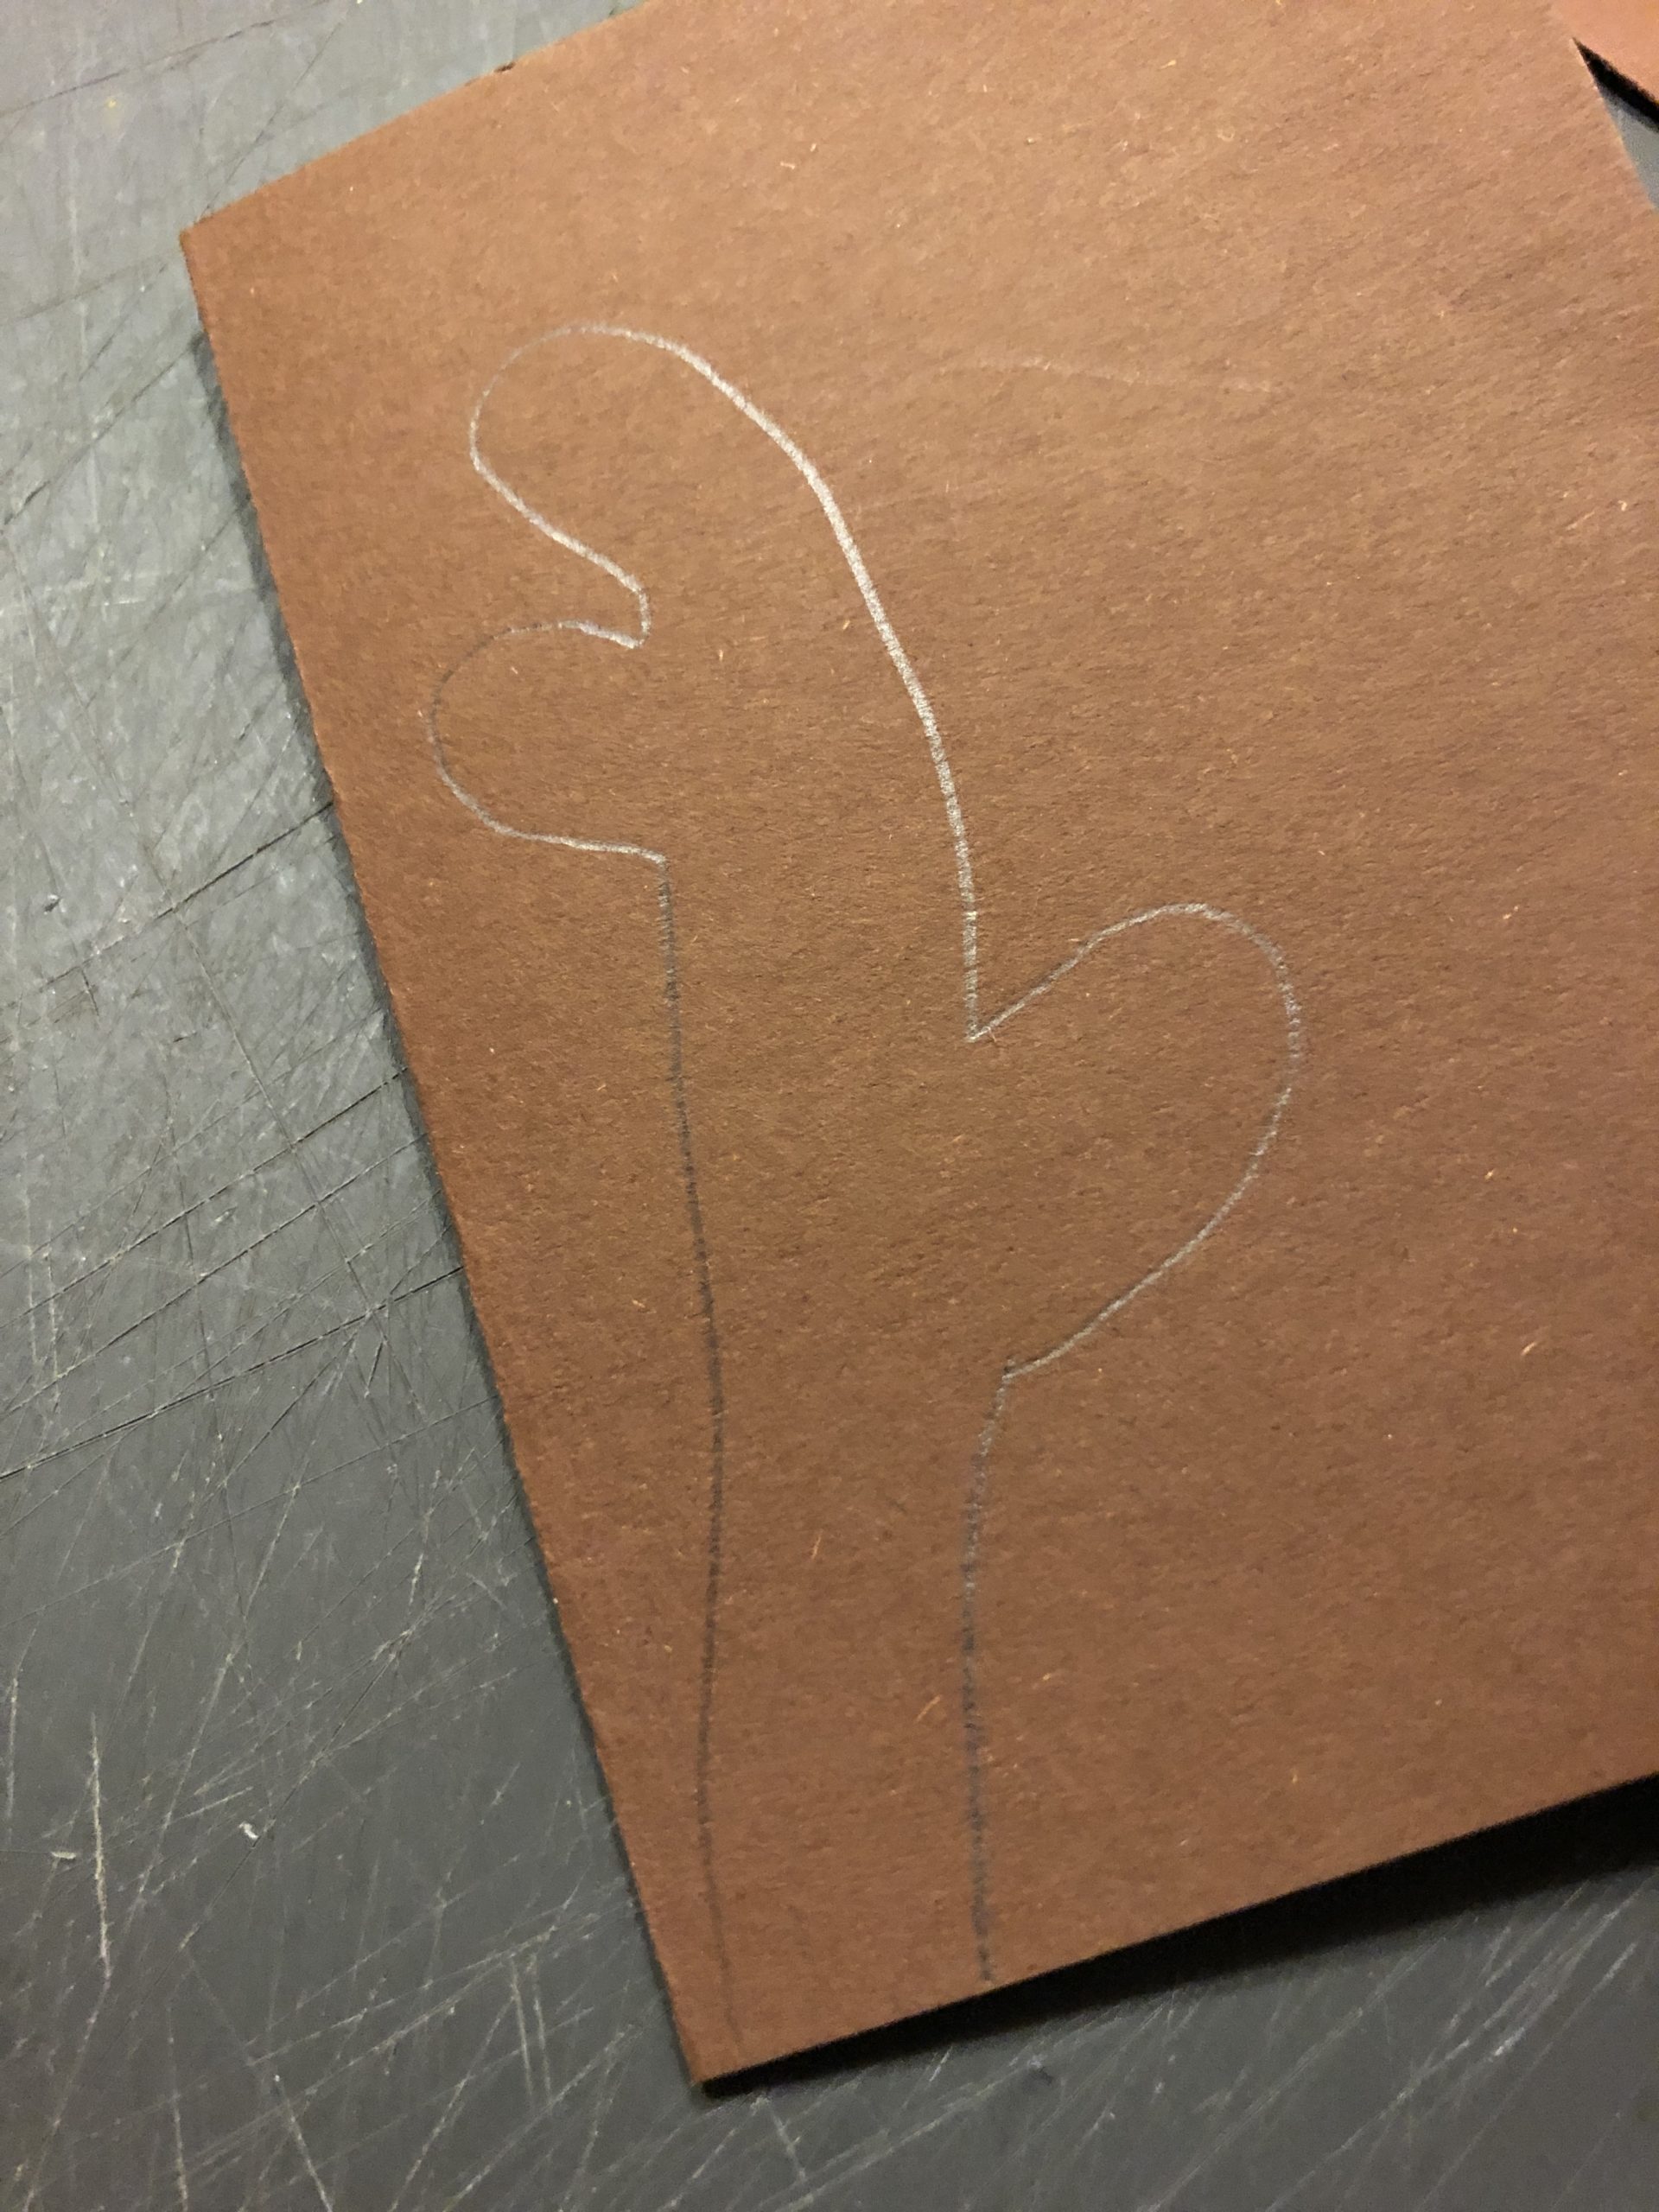
Bild zum Schritt 4 für das Bastel- und DIY-Abenteuer für Kinder: 'Schneidet nun das Geweih aus. Somit erhaltet ihr zwei Teile,...'

5

Prepare the antlers as in the picture.

Bild zum Schritt 5 für das Bastel- und DIY-Abenteuer für Kinder: 'Legt das Geweih wie im Bild bereit.'

6

Cuts out all other parts.
Then the eyes stick together like in the picture.
That's what the face of every reindeer looks like.

You have to make that face 24 times!
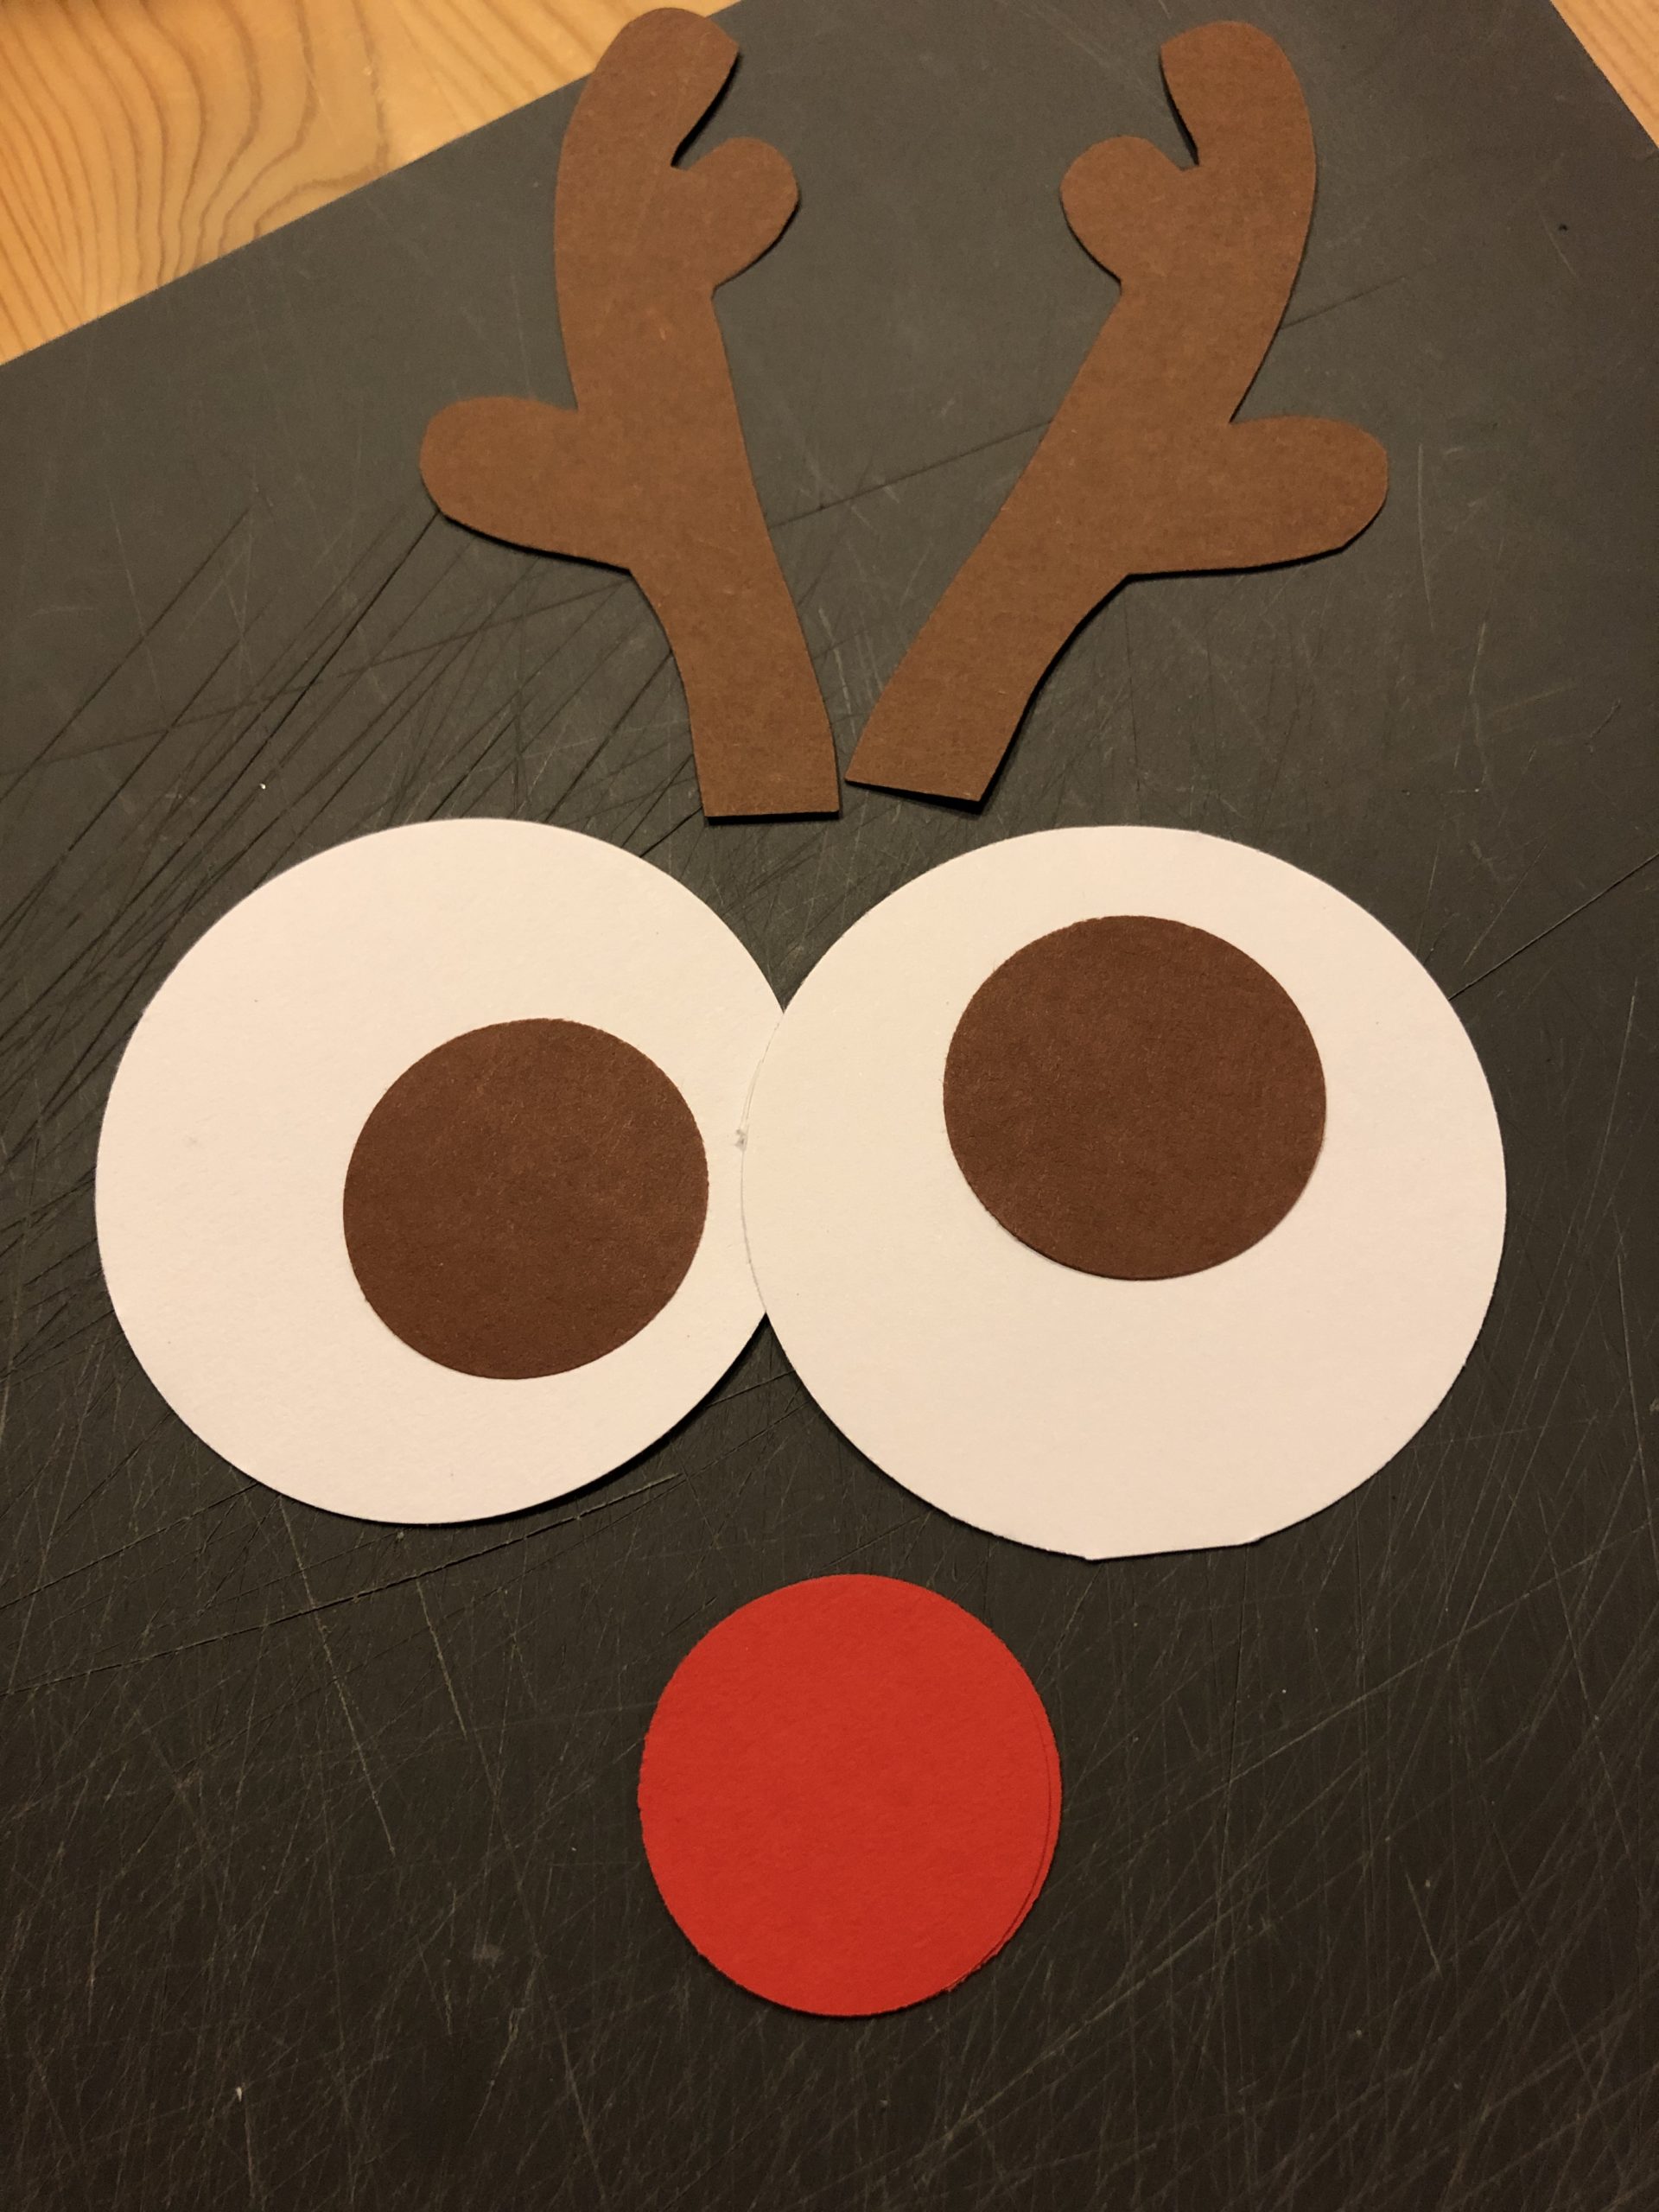
Bild zum Schritt 6 für das Bastel- und DIY-Abenteuer für Kinder: 'Schneidet alle weiteren Teile aus.   Dann klebt die...'

7

Take a can and put the antler on the inside of the can. Either with an adhesive tape, with a glue pen or a hot glue point. Be careful when using the hot glue gun, this must be practiced!
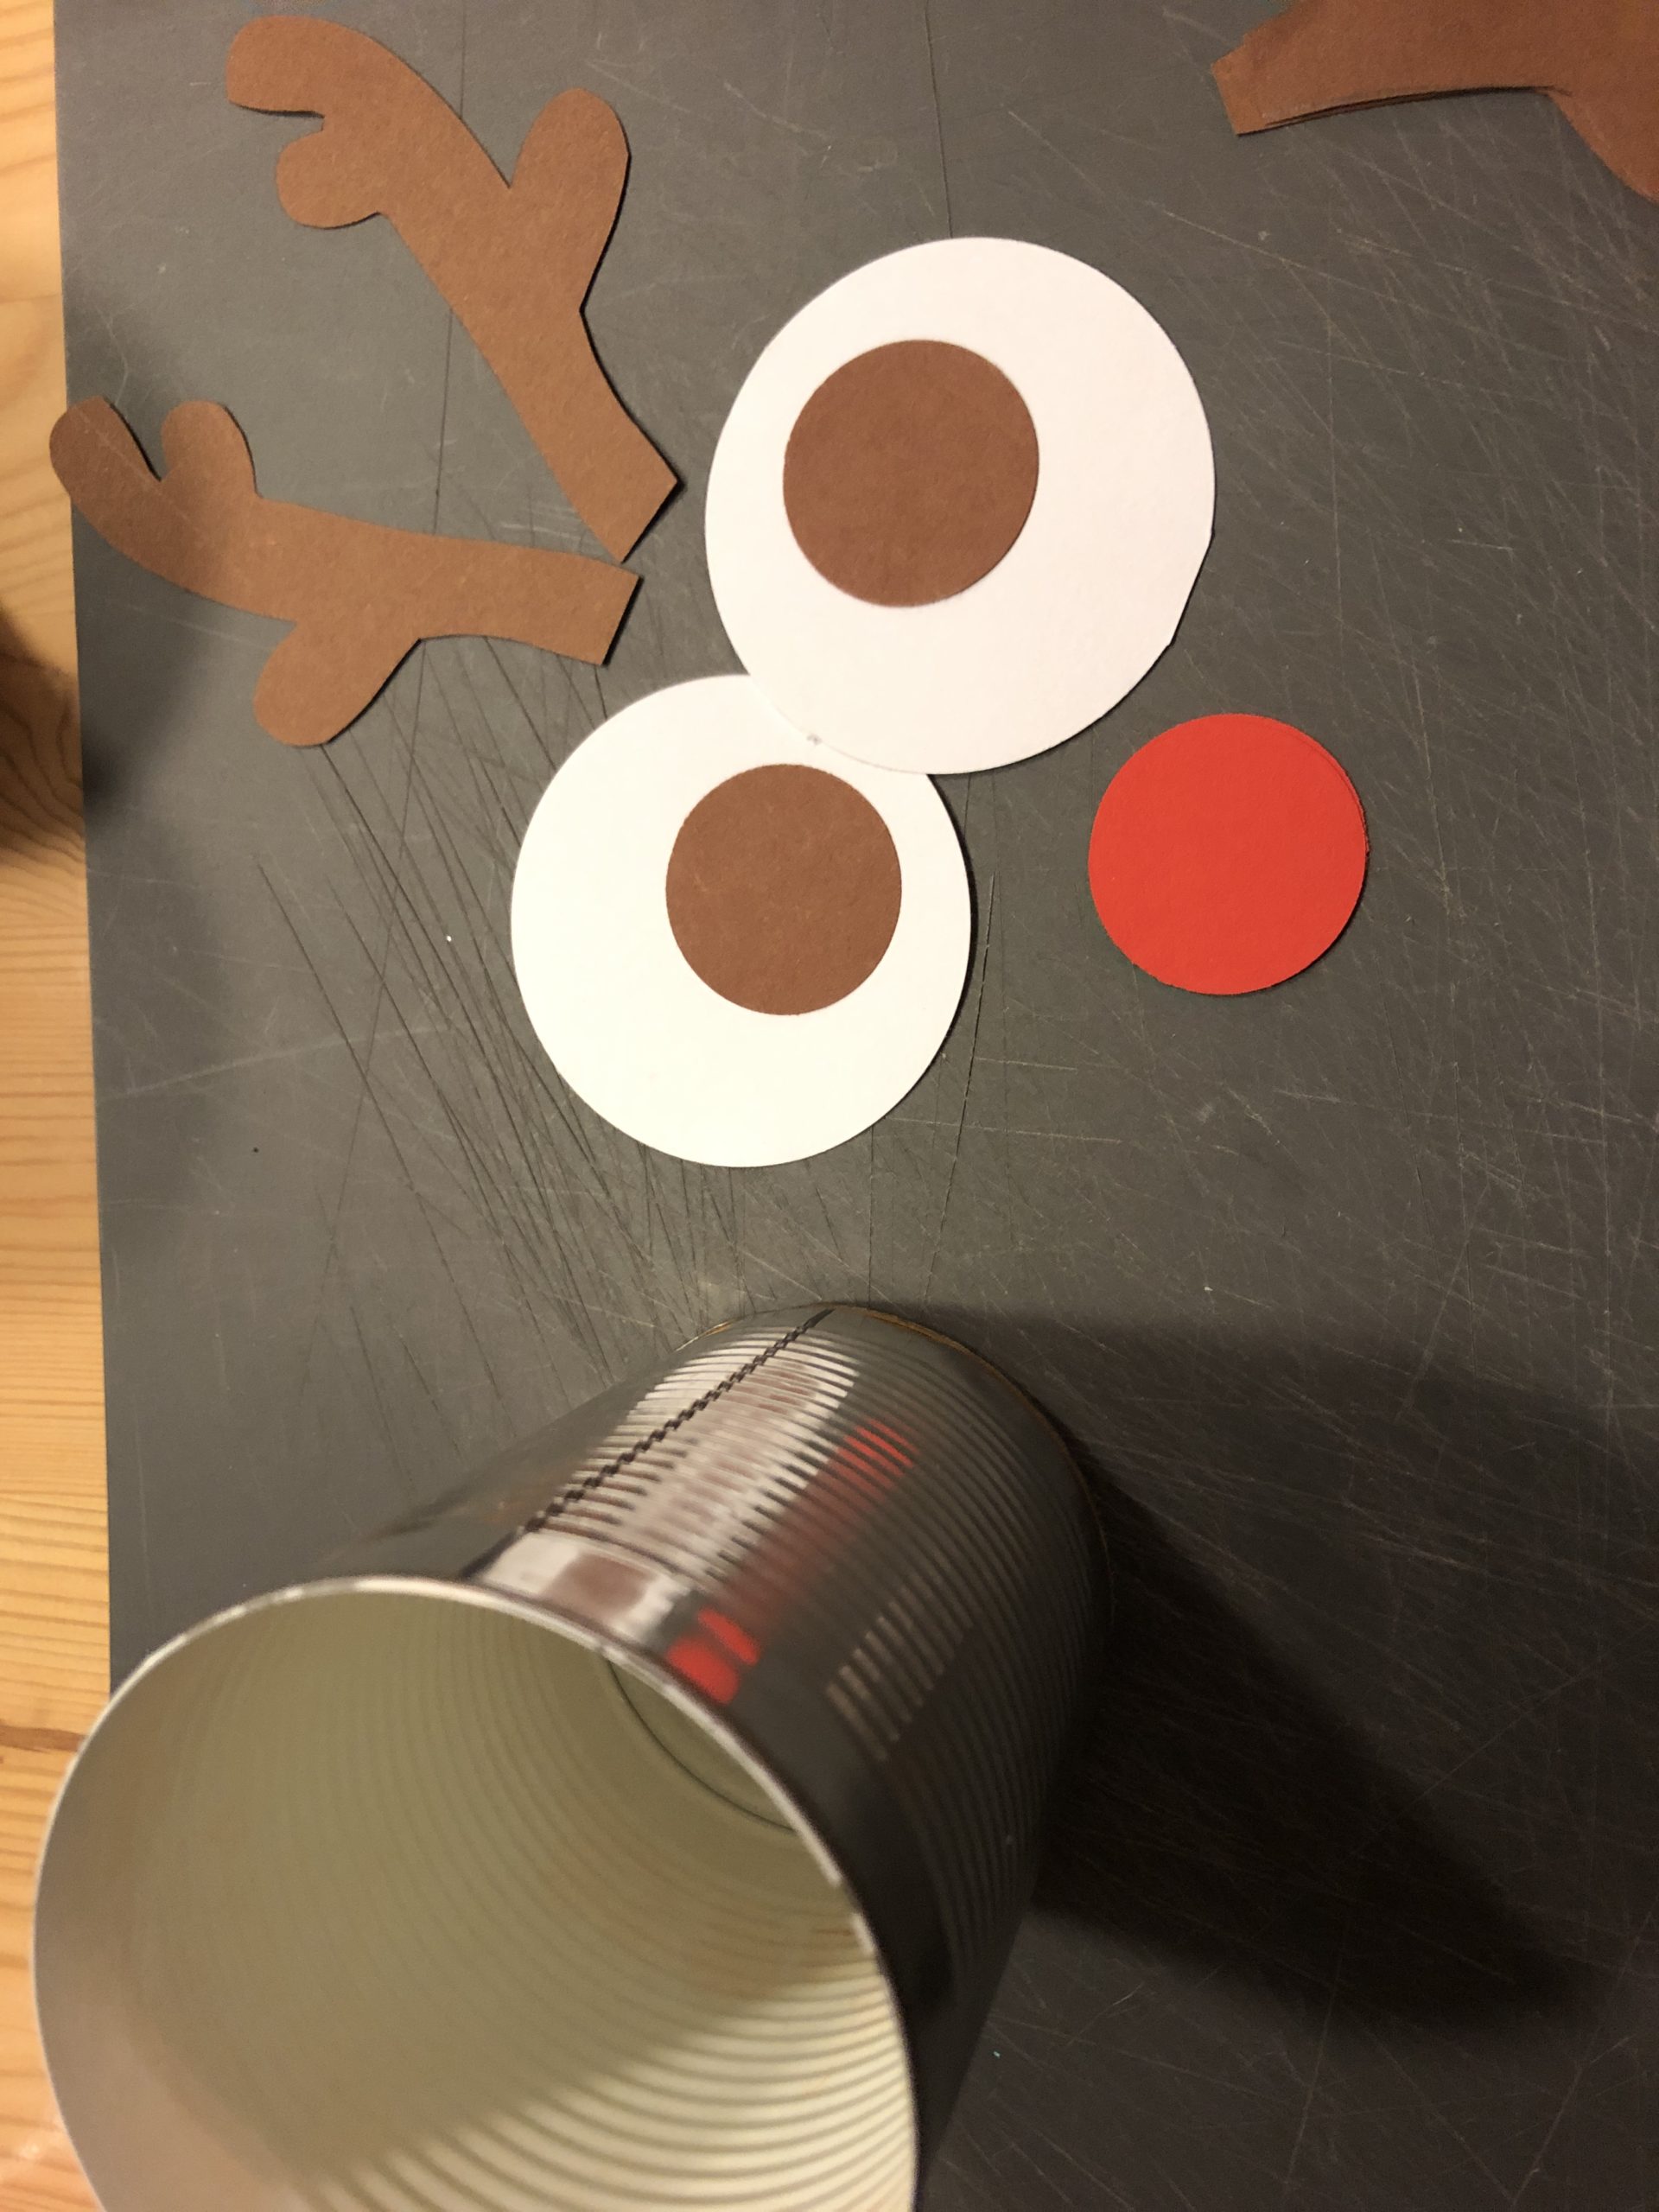
Bild zum Schritt 7 für das Bastel- und DIY-Abenteuer für Kinder: 'Nehmt eine Dose und bringt zuerst das Geweih an der...'

8

The eyes now stick to it below the antler. Also here a small adhesive point is enough. They do not have to be glued on flat.
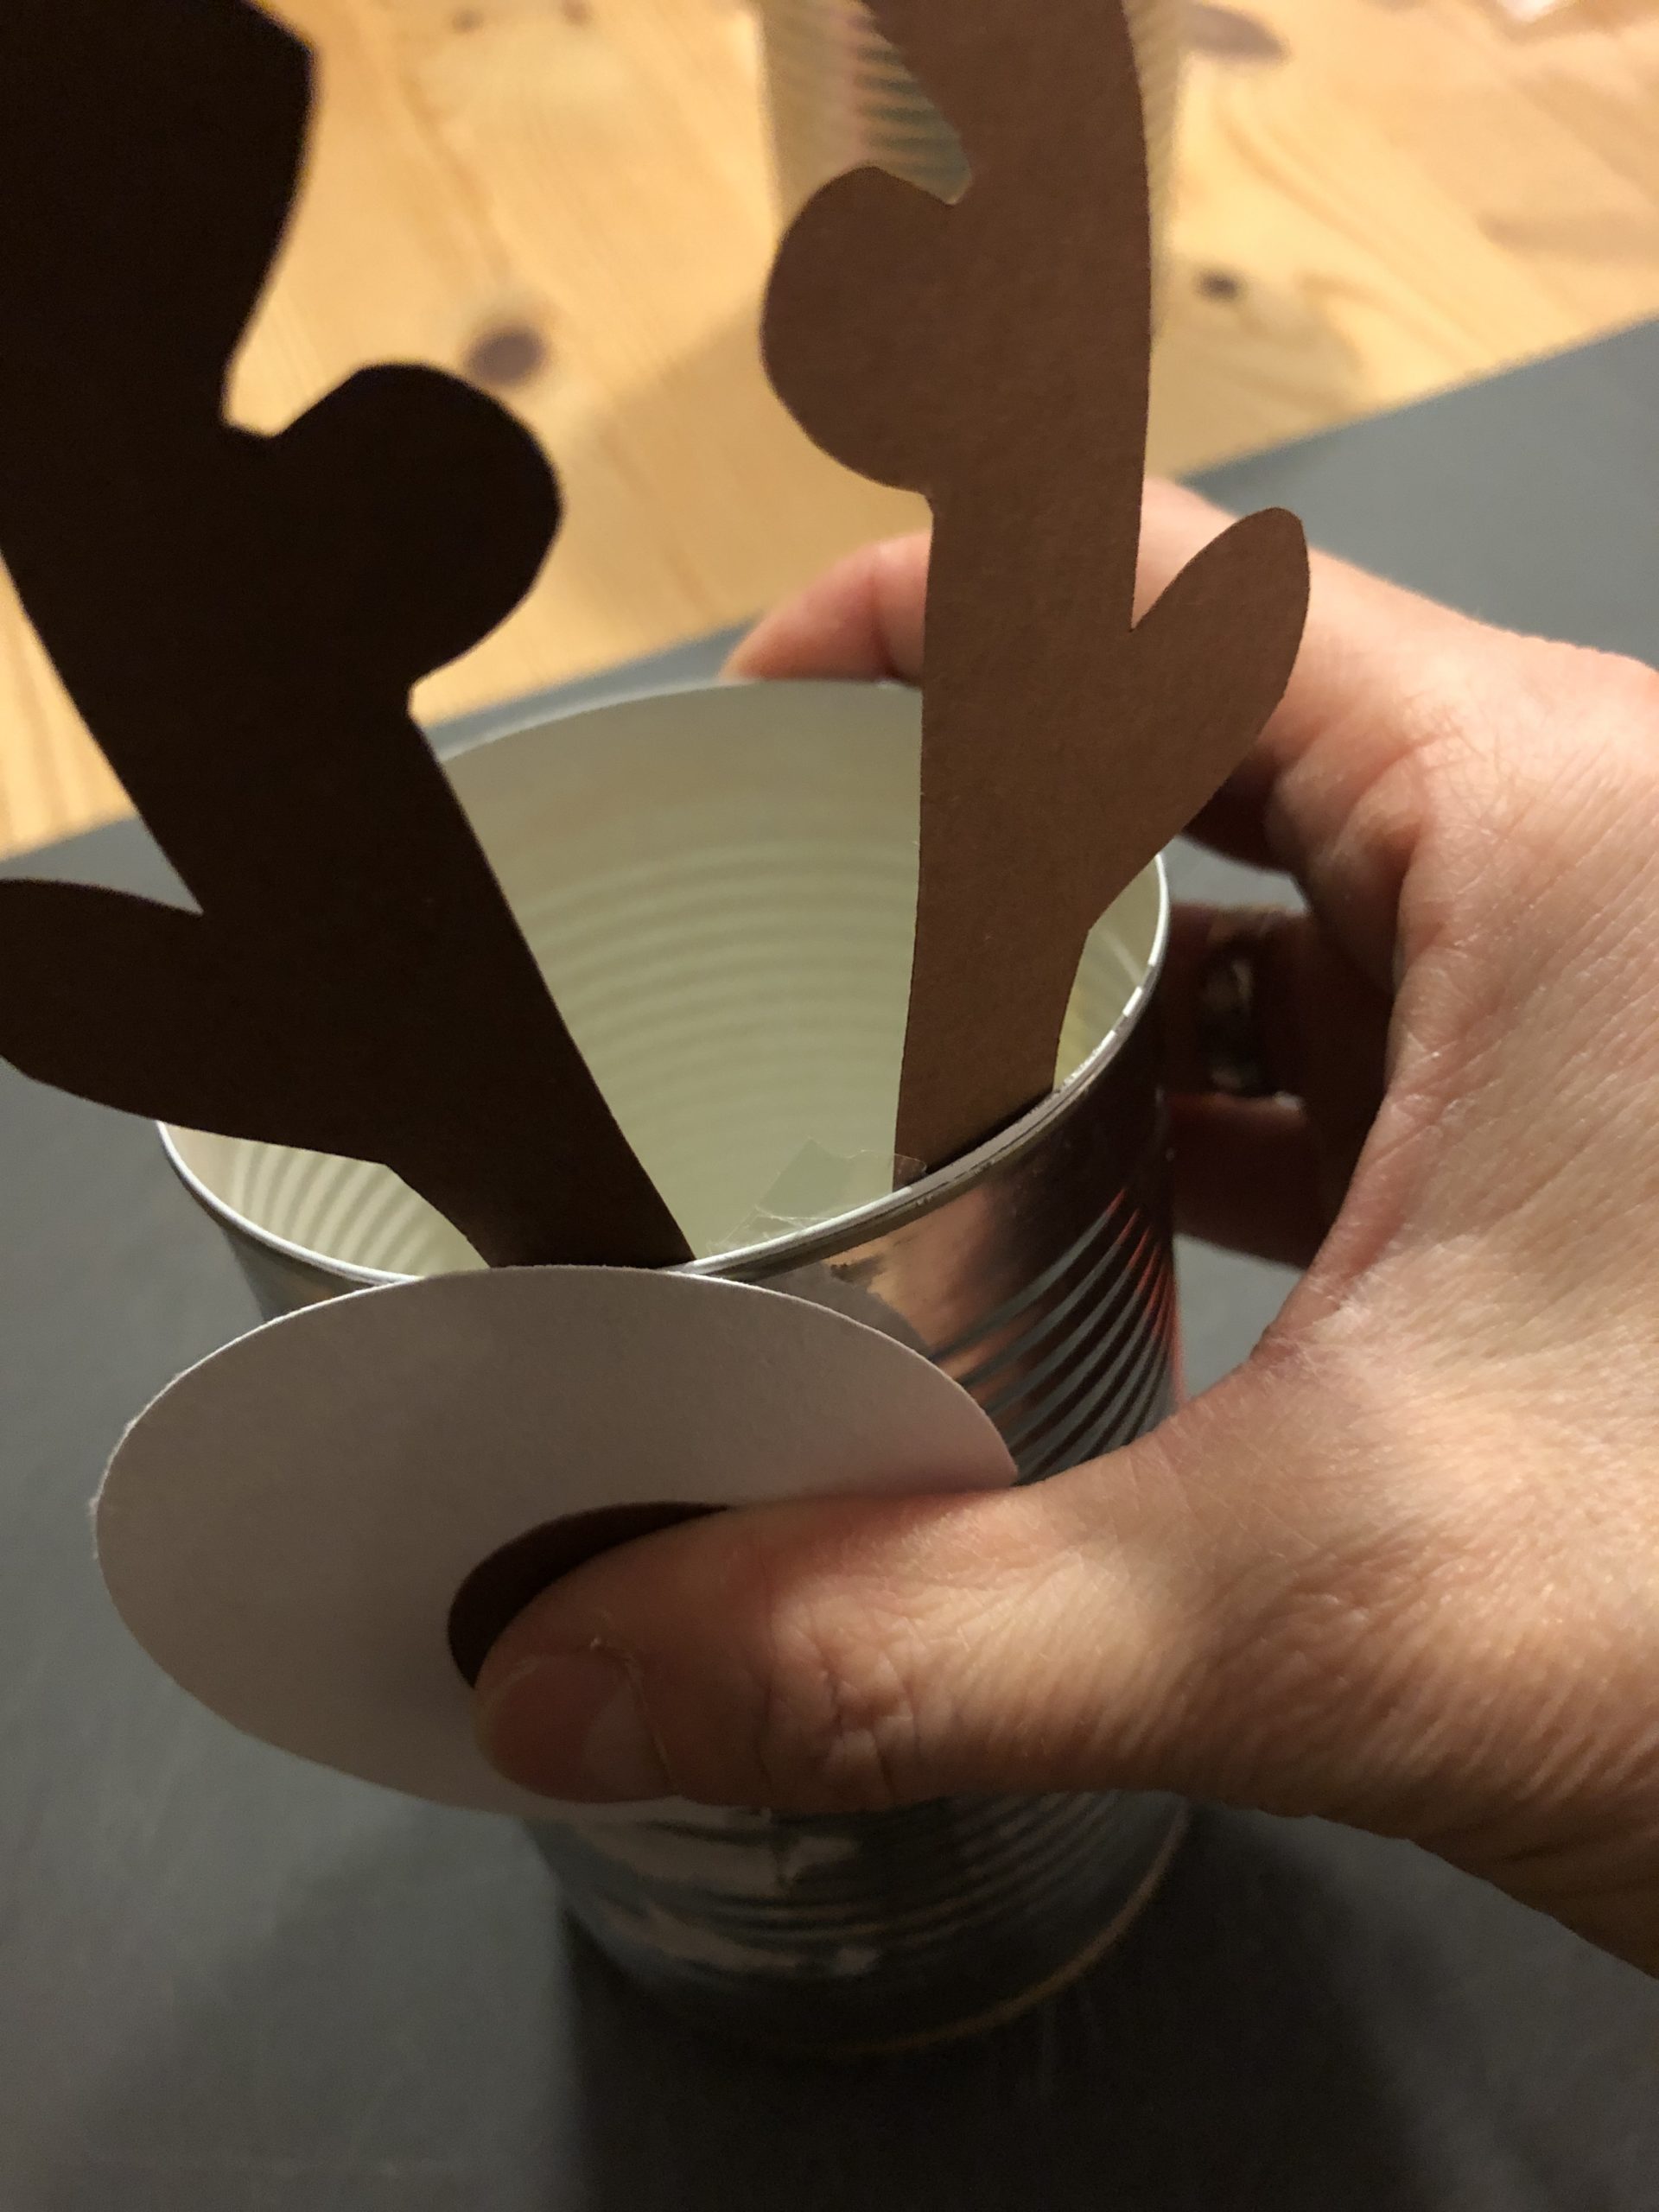
Bild zum Schritt 8 für das Bastel- und DIY-Abenteuer für Kinder: 'Die Augen klebt ihr nun unterhalb des Geweihs an. Auch...'

9

Underneath the eyes you position the red nose.
Your reindeer's ready.
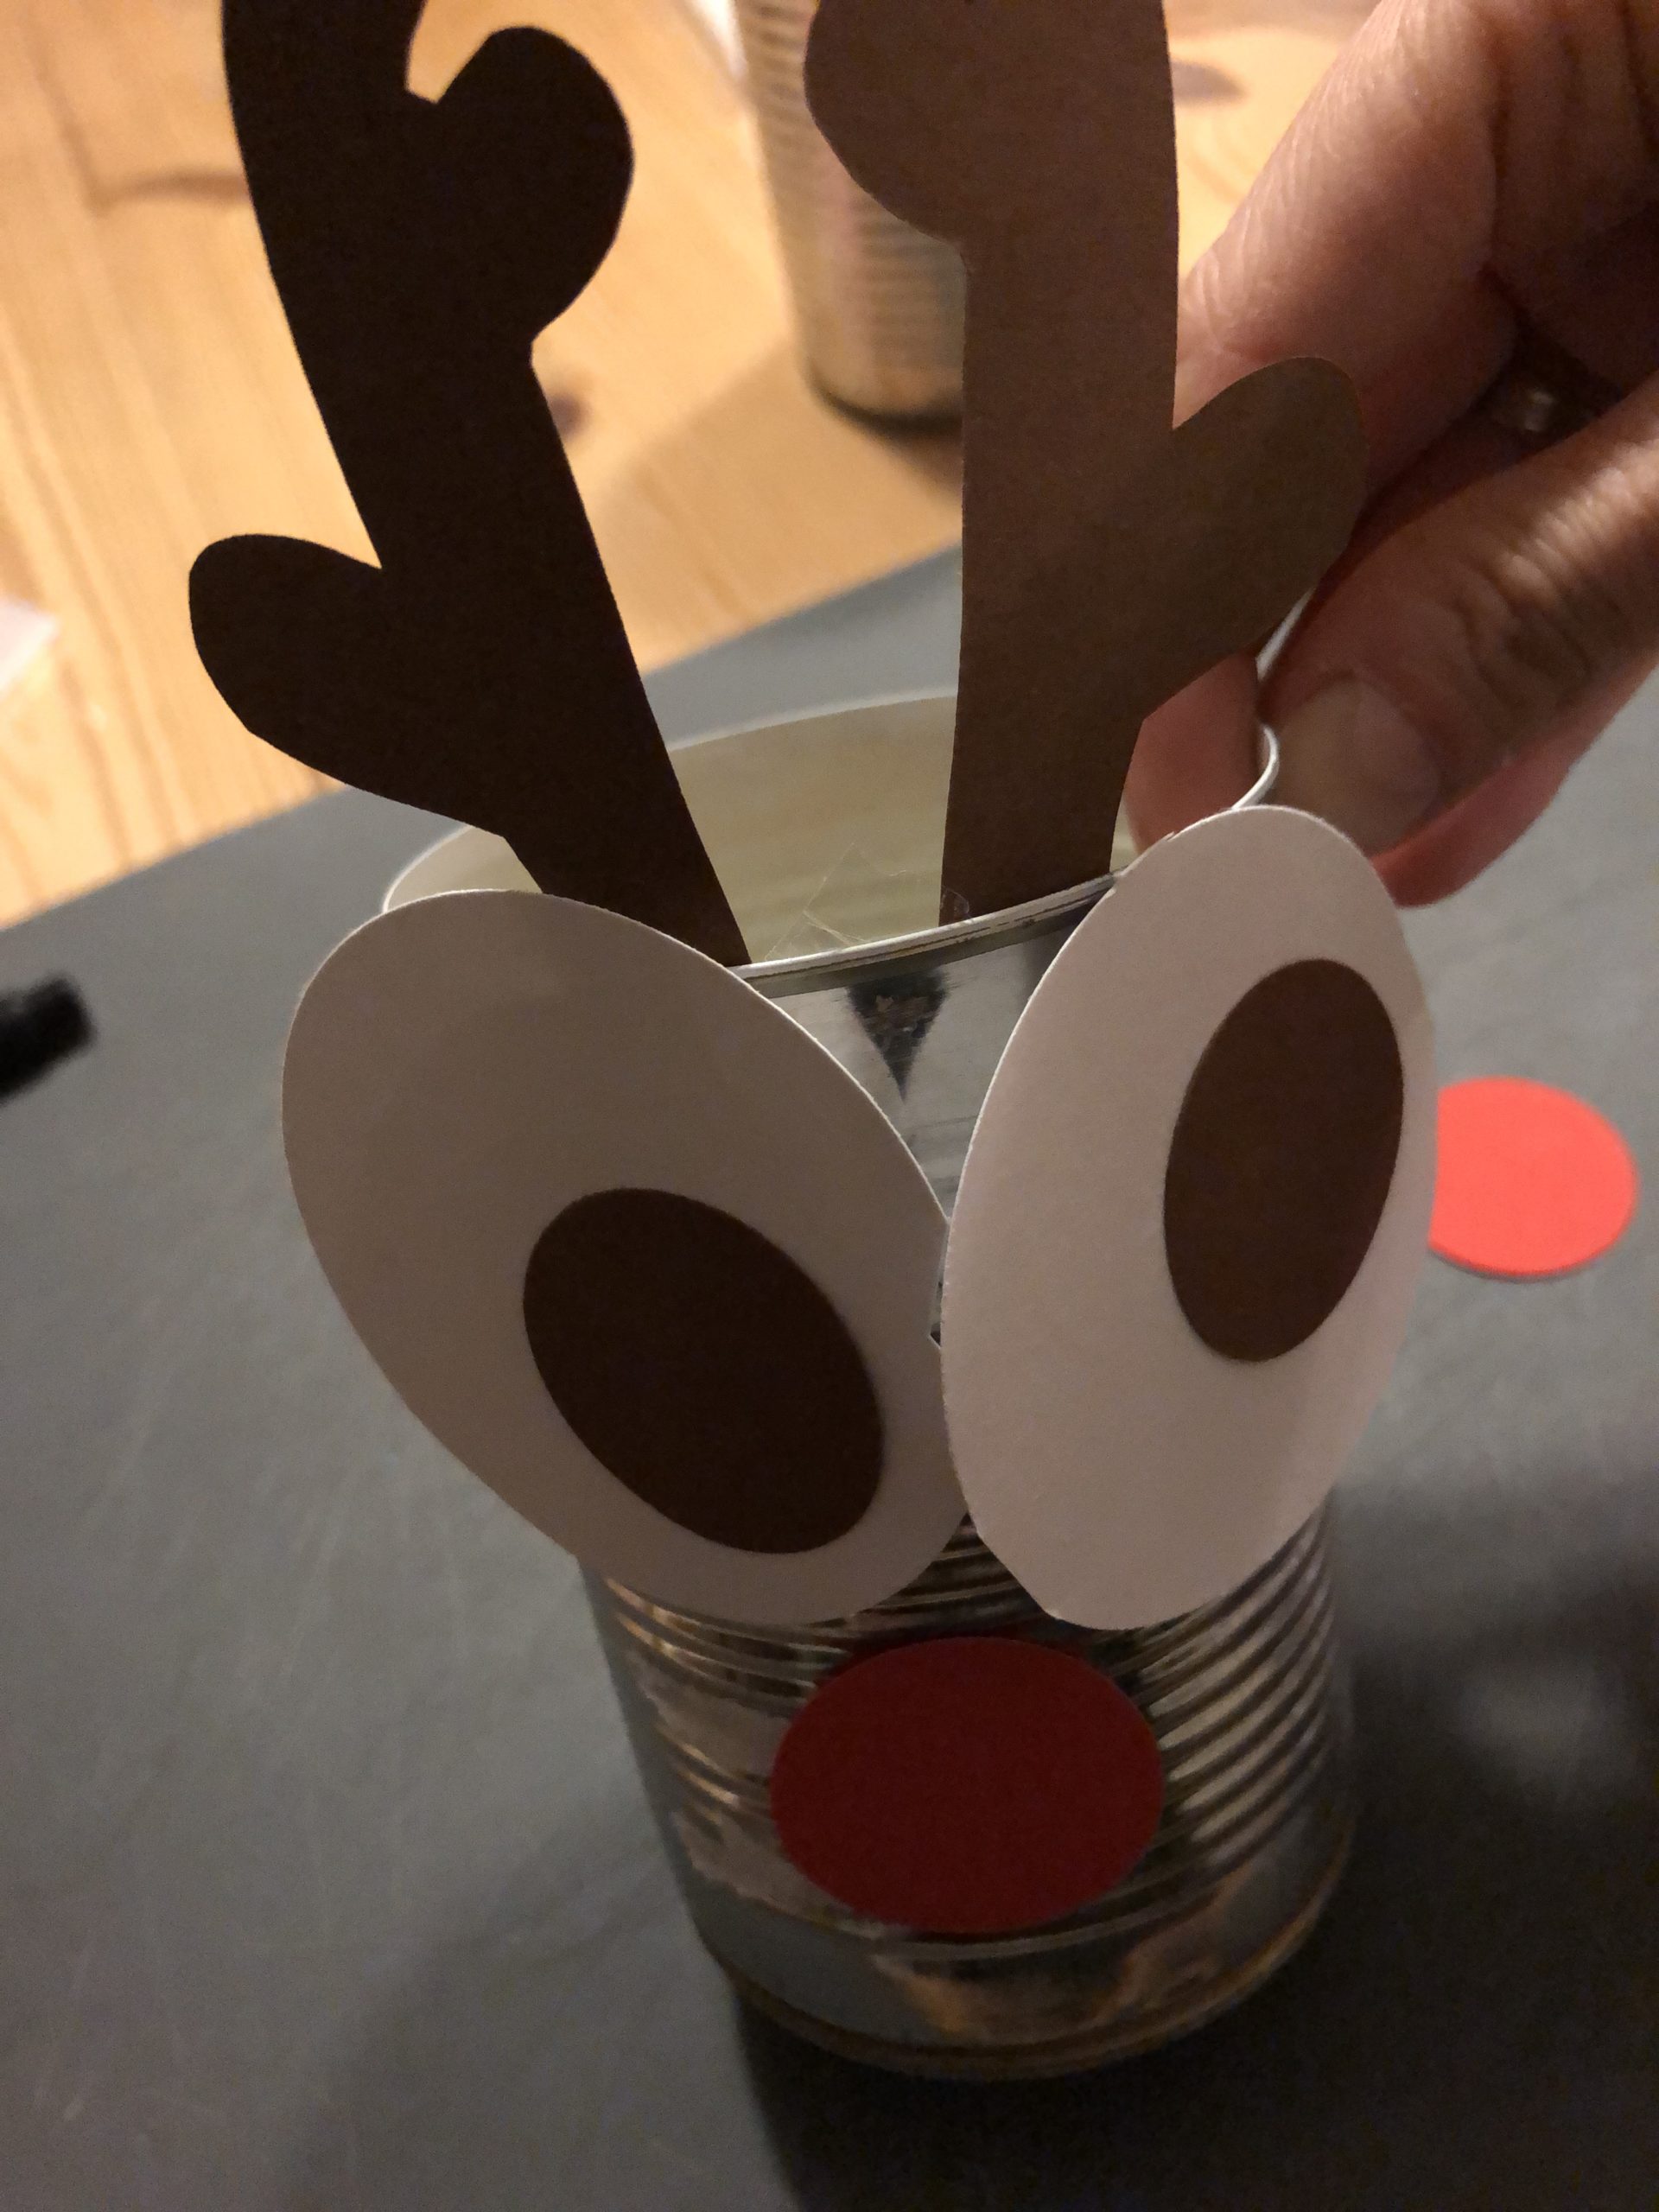
Bild zum Schritt 9 für das Bastel- und DIY-Abenteuer für Kinder: 'Unterhalb der Augen positioniert ihr die rote Nase.  Fertig...'

10

Glue all other doses as well.

Bild zum Schritt 10 für das Bastel- und DIY-Abenteuer für Kinder: 'Beklebt alle anderen Dosen ebenfalls.'

11

Choose a nice place for your reindeer herd. E.g. on the edge of a staircase or on a sideboard. With a mini-light chain you give your reindeer a nice atmosphere.
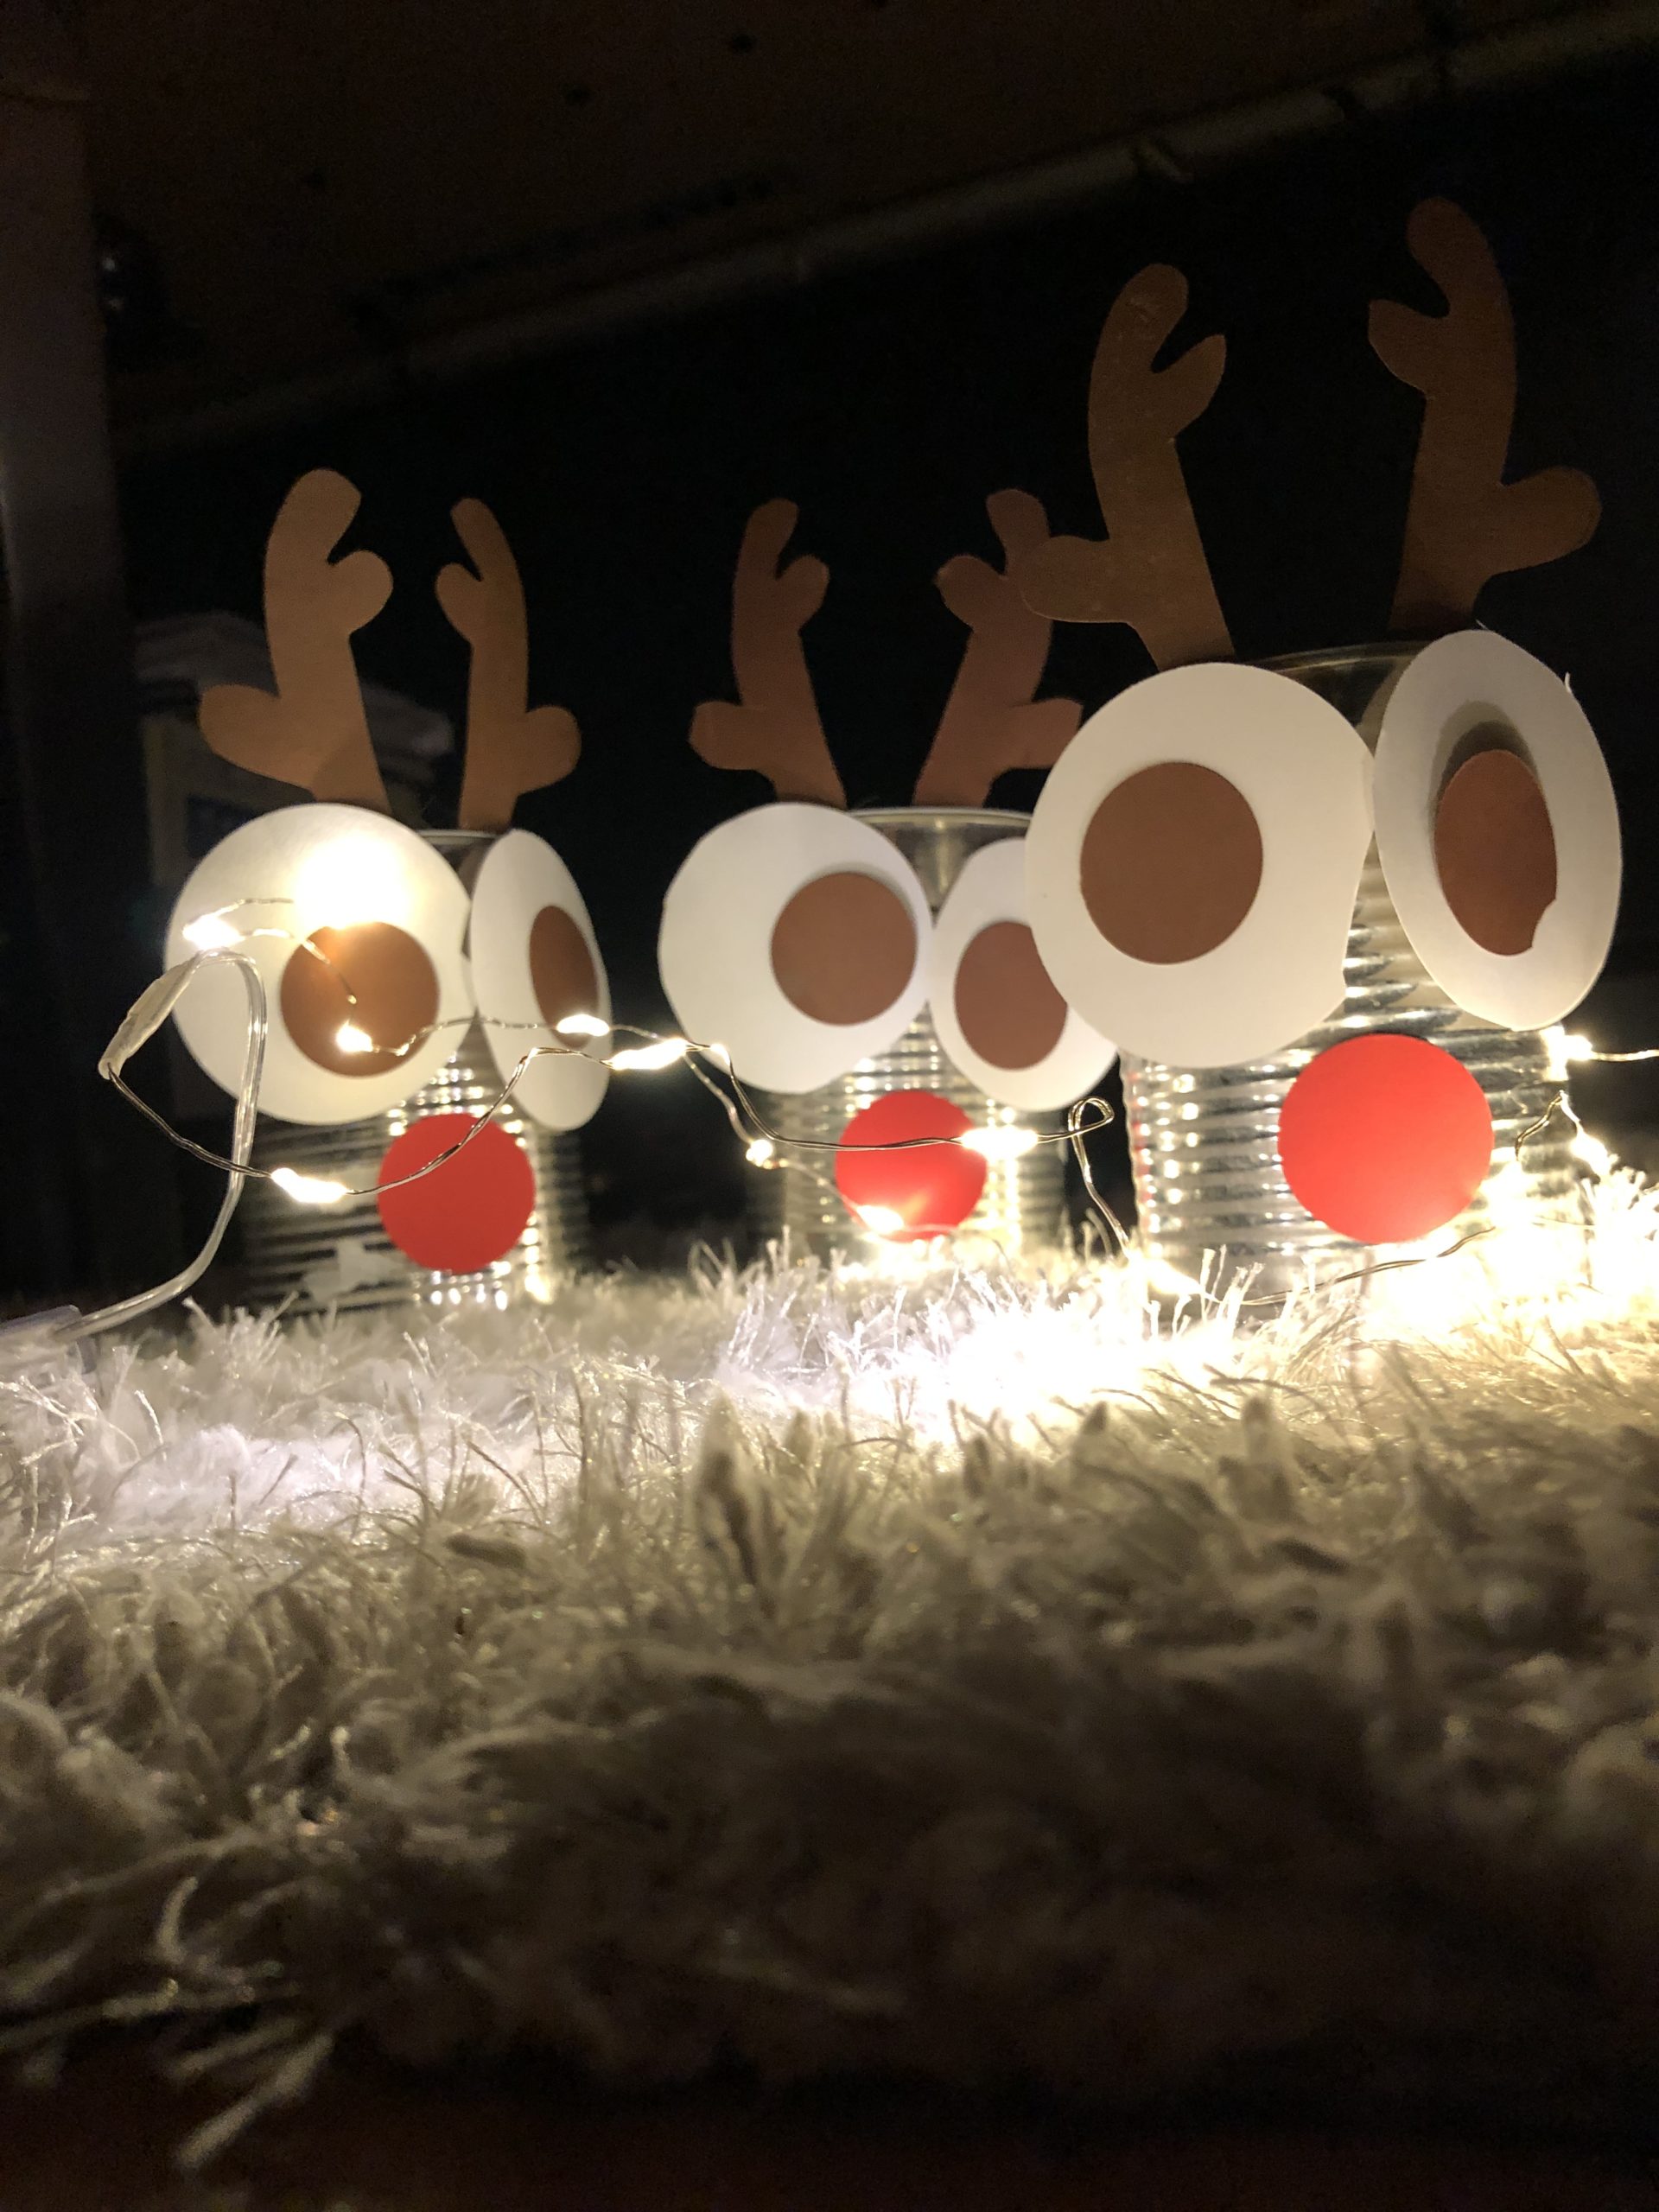
Bild zum Schritt 11 für das Bastel- und DIY-Abenteuer für Kinder: 'Sucht euch einen schönen Platz für eure Rentier-Herde aus. Z.B....'

12

Have fun!

Bild zum Schritt 12 für das Bastel- und DIY-Abenteuer für Kinder: 'Viel Freude!'

Advent calendar reindeer

Follow us on Facebook , Instagram and Pinterest
Don't miss any more adventures: Our bottle mail

Leave a Reply

Your email address will not be published.

The maximum upload file size: 5 MB. You can upload: image, document. Drop file here