Wish-----, rattle----, lucky----

AdventurerKatzi
Rating5.012.2 thousand times & (3) DifficultyAdvanced

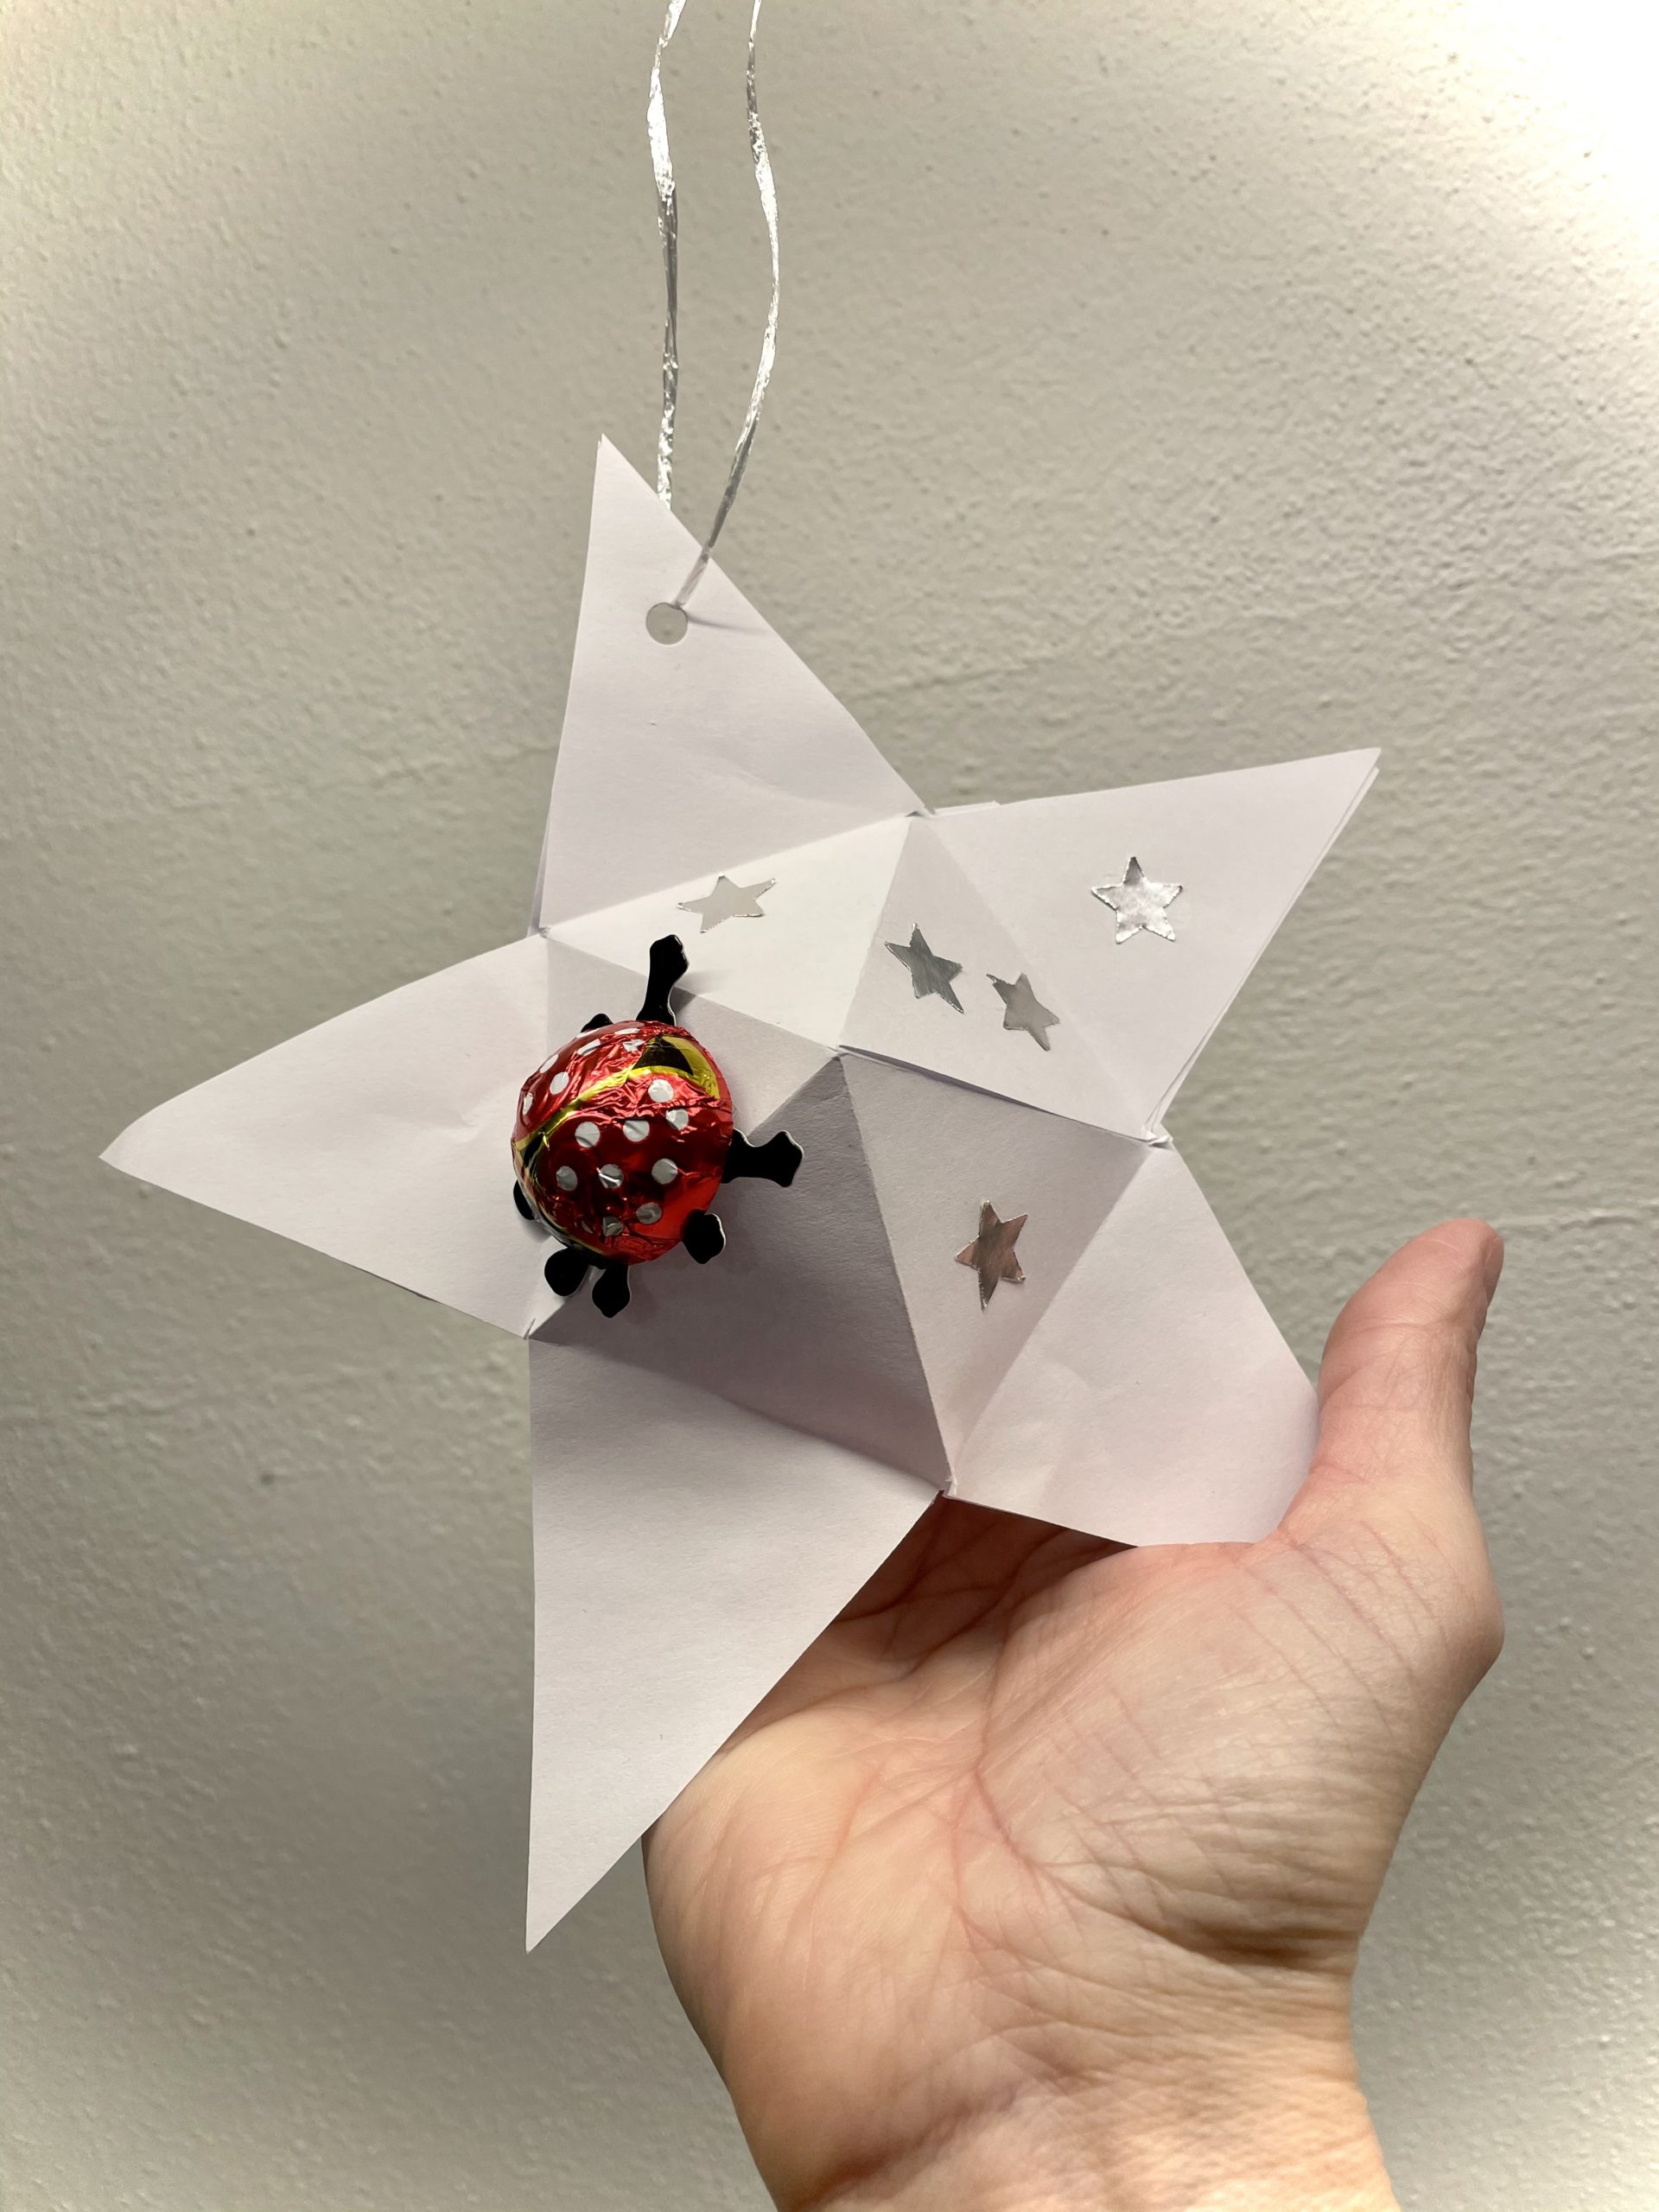
Create a lucky star or wish star for the new year, for the birthday, for recovery or as a small gift. This star is also suitable as an invitation for a birthday party, as a theme party for space, for a fairy birthday party, etc. For example, hide the invitation in the star or write it on the outside on the zacken.
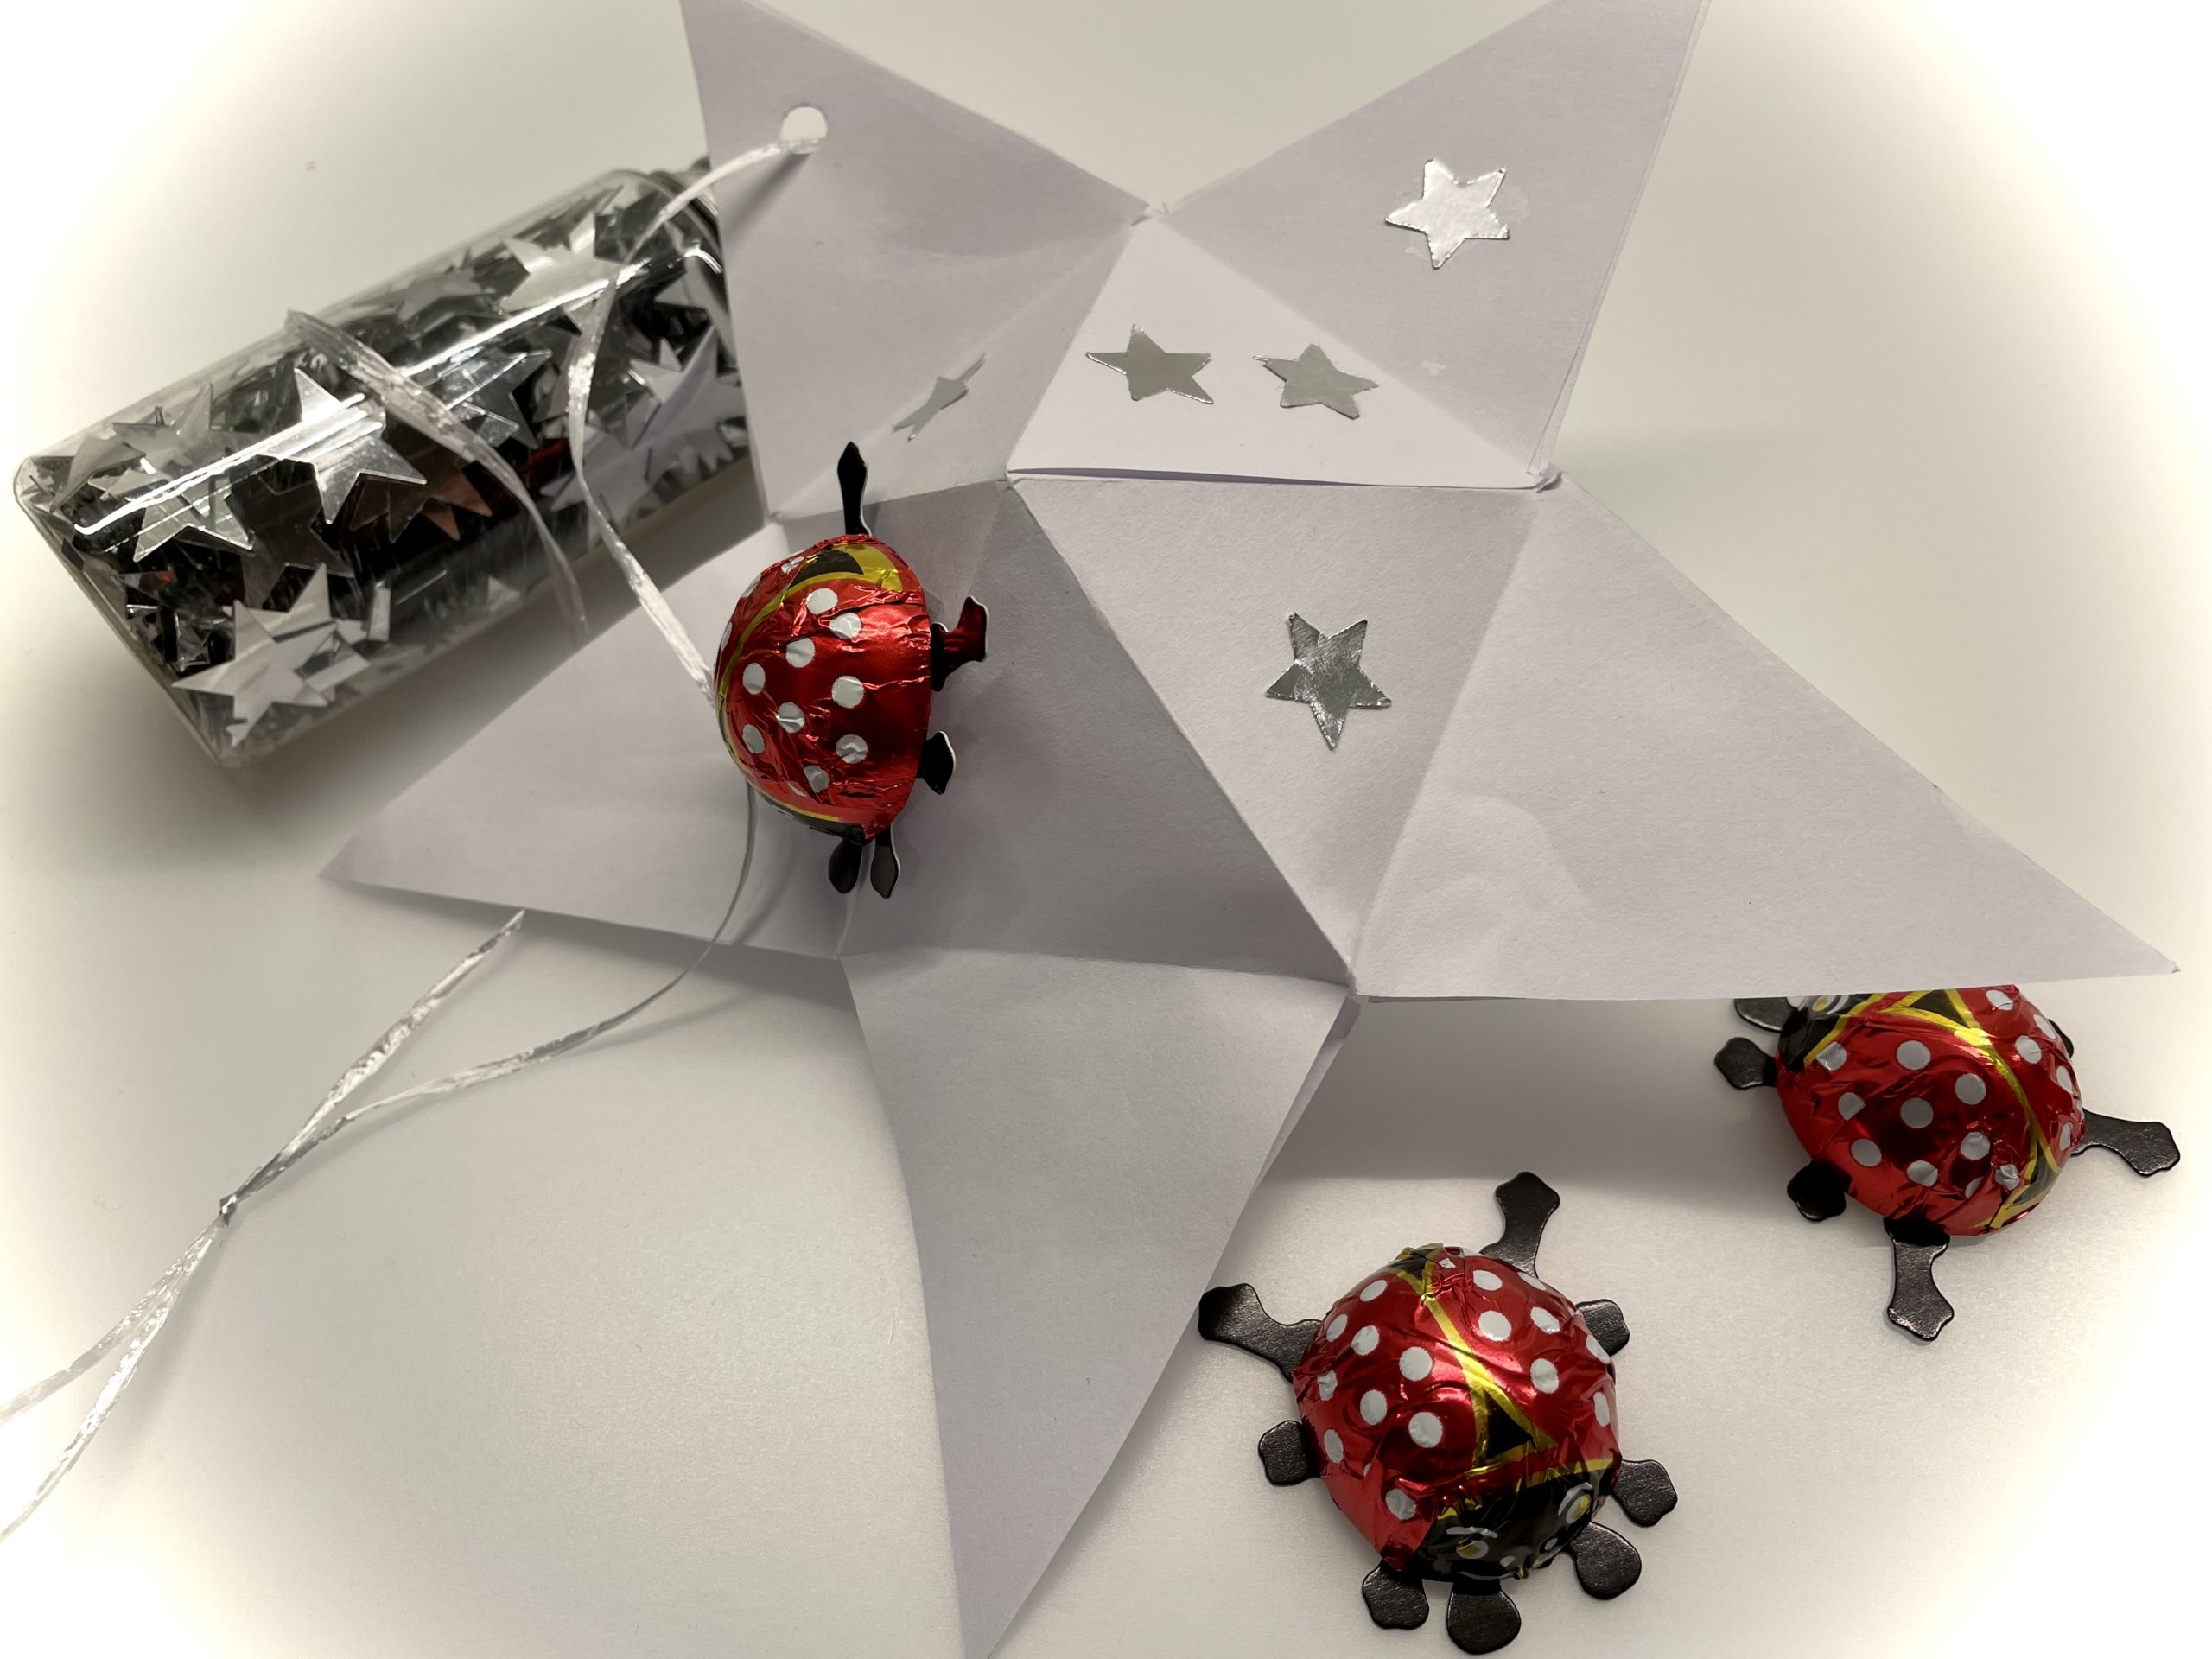
This star can also become a rattle star. You just hide a little something in it. E.g. a lucky beetle or a few gummy bears. For the carnival party you can also fill it with confetti.

Media Education for Kindergarten and Hort

Kind bastelt eine Rassel mit dem Navi
The Adventure Navi, the app for DIY projects, enables media education for the youngest.

Relief in everyday life, targeted promotion of individual children, independent learning and - without any pre-knowledge already usable by the youngest!


Titelbild zur Bastel- und DIY-Idee für Kinder '(560) Wunsch-⭐️, Klapper-⭐️, Glücks-⭐️'
Material for1 Child
Prep Time5 min.Adv. Time25 min.Total Time30 min.
 1 Din A4 sheet
 Decostars
 Builder's pad
All links marked with a shopping cart lead to Amazon - here we have selected products that we would order ourselves and in part also ordered. In a qualified purchase via the advertising link, we as Amazon partner receive a commission, for you there are no costs. You thus support our cost- and advertising banner-free, educational offer.
1

For each finished star you need two cut out stars. You can also use this template.
A star has six points.
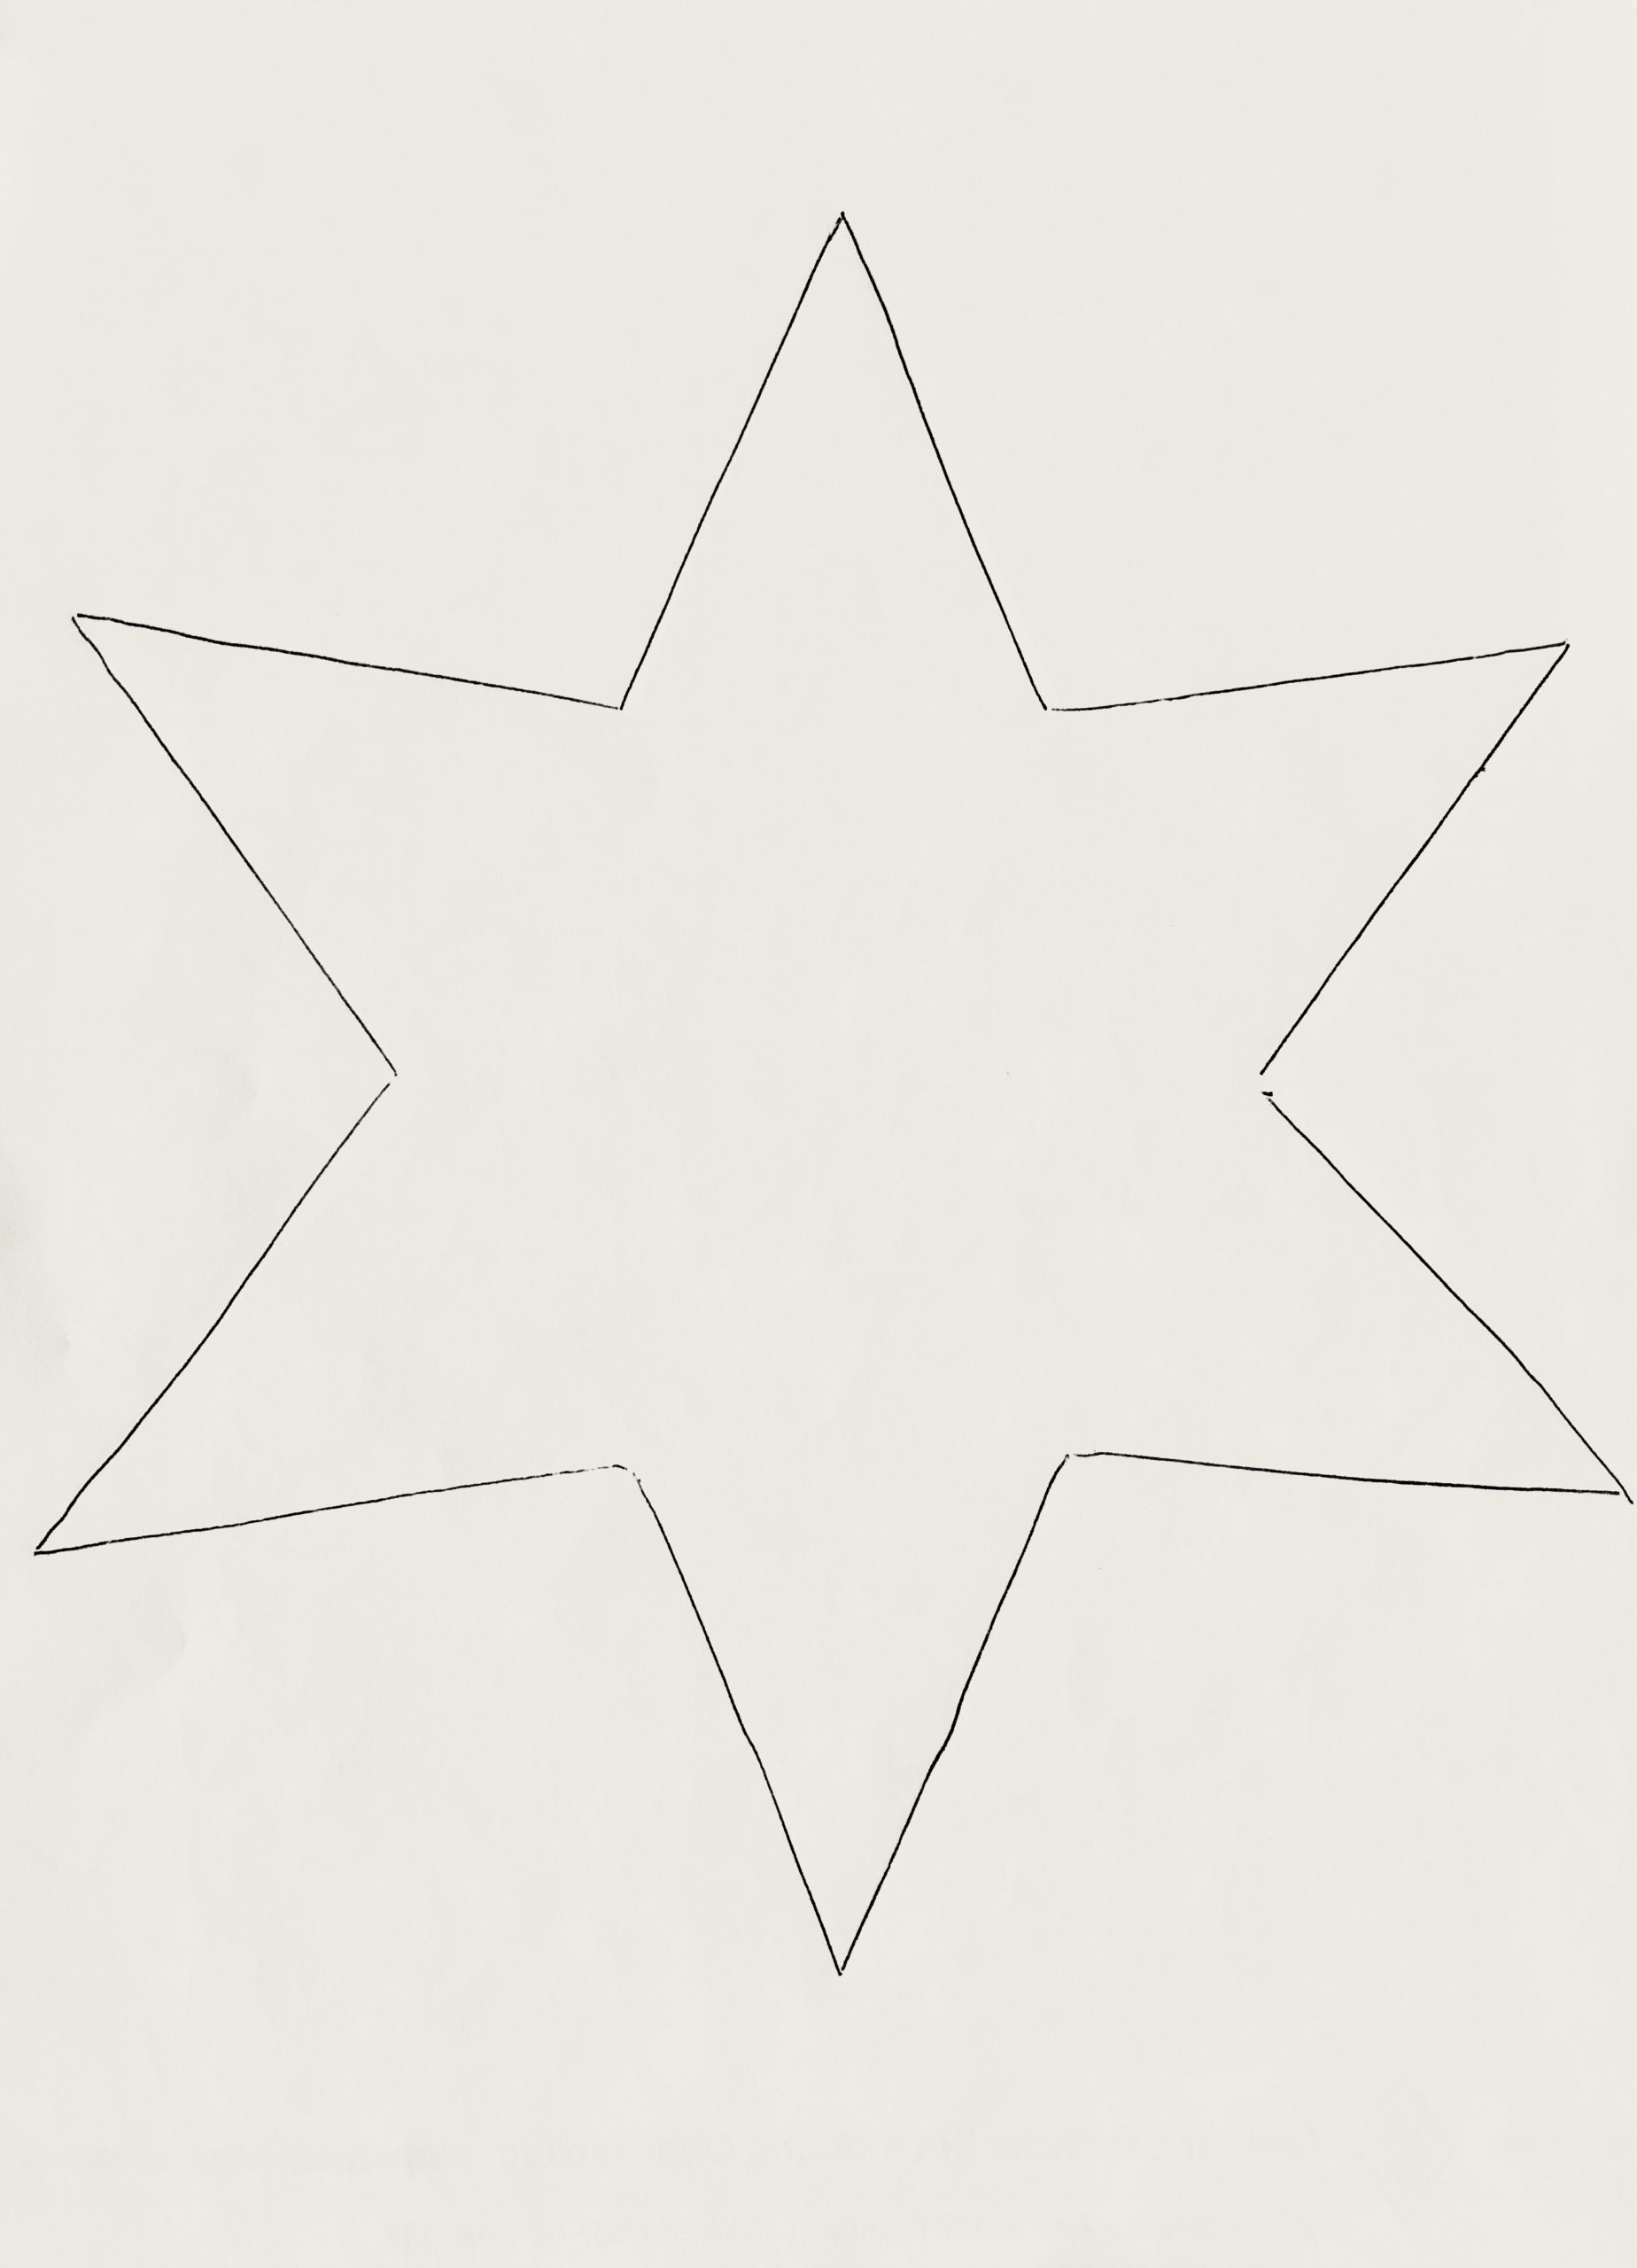
Bild zum Schritt 1 für das Bastel- und DIY-Abenteuer für Kinder: 'Für jeden fertigen Stern brauchst du zwei ausgeschnittene Sterne. Dafür...'

2

Draw two stars on a DIN A 4 sheet.

Tip: To save paper, a zacke can be incomplete or missing for each star! It will be glued over later.
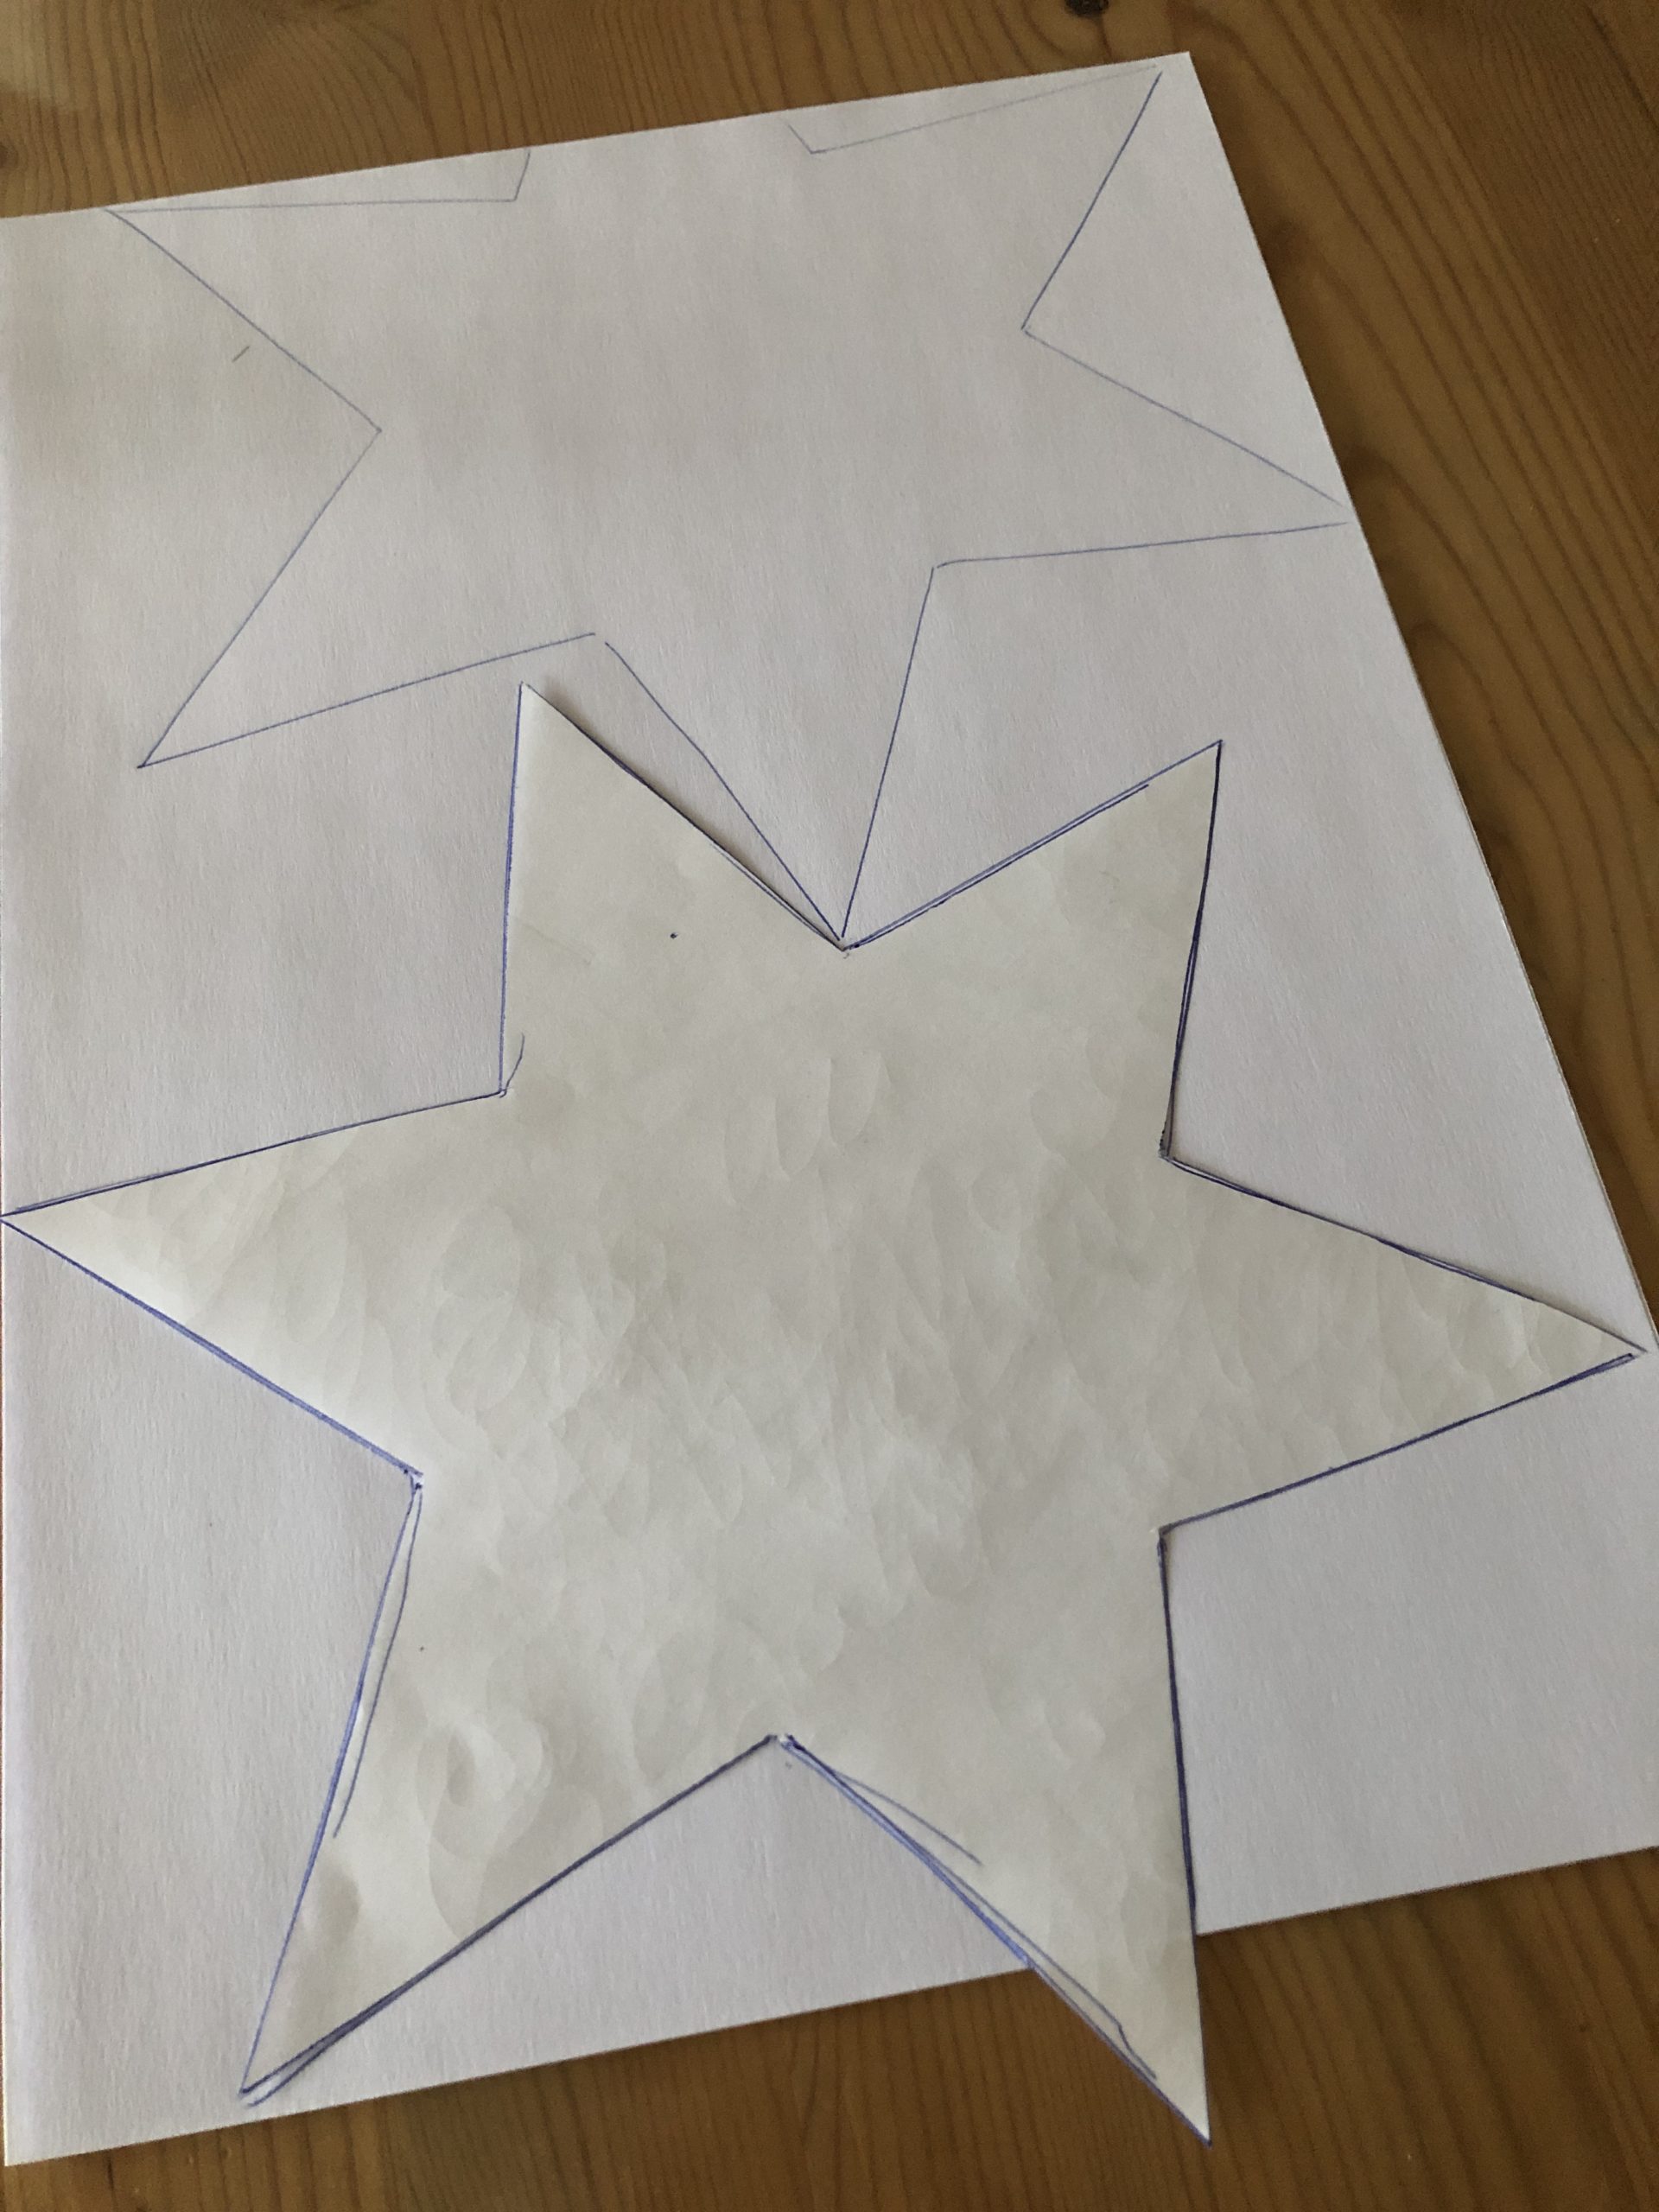
Bild zum Schritt 2 für das Bastel- und DIY-Abenteuer für Kinder: 'Male auf ein DIN A 4 Blatt zwei Sterne auf....'

3

That's what your template might look like.
Cut out both stars.

Bild zum Schritt 3 für das Bastel- und DIY-Abenteuer für Kinder: 'So könnte deine Vorlage aussehen.   Schneide beide Sterne...'

4

Now fold each star after this template. Each dashed line corresponds to a fold. It will be folded again.

Bild zum Schritt 4 für das Bastel- und DIY-Abenteuer für Kinder: 'Jetzt falte jeden Stern nach dieser Vorlage. Jede gestrichelte Linie...'

5

Then turn the entire star around. Now, on the back, the points are folded inwards. These then also fold outwards.

Bild zum Schritt 5 für das Bastel- und DIY-Abenteuer für Kinder: 'Dann drehe den kompletten Stern um. Jetzt werden auf der...'

6

Now the folded star looks like this.

Bild zum Schritt 6 für das Bastel- und DIY-Abenteuer für Kinder: 'Jetzt sieht der gefaltete Stern so aus.'

7

Now you cut the star at a fold between two points. Cut this cut to the middle and it must be next to the missing or incomplete jigs!

Bild zum Schritt 7 für das Bastel- und DIY-Abenteuer für Kinder: 'Nun schneidest du den Stern an einer Faltung zwischen zwei...'

8

The two points to the left and right of the incision are now glued over each other. The missing/incomplete ingot is under the whole ingot.

Bild zum Schritt 8 für das Bastel- und DIY-Abenteuer für Kinder: 'Die beiden Zacken links und rechts vom Einschnitt klebst du...'

9

If you want to glue, label or paint the star, do it now.
Because that's easier to do before you stick it together.

Bild zum Schritt 9 für das Bastel- und DIY-Abenteuer für Kinder: 'Solltest du den Stern bekleben, beschriften oder anmalen wollen, dann...'

10

This prevents you from squeezing the arched center of the star.

Bild zum Schritt 10 für das Bastel- und DIY-Abenteuer für Kinder: 'Damit verhinderst du, dass du die gewölbte Mitte des Sterns...'

11

Now you stick the two star halves together so that the center is arched towards the outside. Inside, this creates a cavity.
Attention: leave a jig open so that you can fill the cavity.

Now you have room for a wish list, a nice spell or a little candy. Confetti also fits wonderfully into the star center.

Then you stick the last point together.

Bild zum Schritt 11 für das Bastel- und DIY-Abenteuer für Kinder: 'Nun klebst du die zwei Sternhälften so zusammen kleben, dass...'

12

One idea is the beautification with luck beetles.
These stars are also suitable as Advent calendars. Klapperstern Advent Calendar.

Bild zum Schritt 12 für das Bastel- und DIY-Abenteuer für Kinder: 'Eine Idee ist die Verschönerung mit Glückskäfern.  Auch als...'

13

Enjoy your gift!

Bild zum Schritt 13 für das Bastel- und DIY-Abenteuer für Kinder: 'Viel Freude beim Verschenken!'

Materials

 1 Din A4 sheet
 Decostars
 Builder's pad
All links marked with a shopping cart lead to Amazon - here we have selected products that we would order ourselves and in part also ordered. In a qualified purchase via the advertising link, we as Amazon partner receive a commission, for you there are no costs. You thus support our cost- and advertising banner-free, educational offer.

Directions

1

For each finished star you need two cut out stars. You can also use this template.
A star has six points.

Bild zum Schritt 1 für das Bastel- und DIY-Abenteuer für Kinder: 'Für jeden fertigen Stern brauchst du zwei ausgeschnittene Sterne. Dafür...'

2

Draw two stars on a DIN A 4 sheet.

Tip: To save paper, a zacke can be incomplete or missing for each star! It will be glued over later.

Bild zum Schritt 2 für das Bastel- und DIY-Abenteuer für Kinder: 'Male auf ein DIN A 4 Blatt zwei Sterne auf....'

3

That's what your template might look like.
Cut out both stars.

Bild zum Schritt 3 für das Bastel- und DIY-Abenteuer für Kinder: 'So könnte deine Vorlage aussehen.   Schneide beide Sterne...'

4

Now fold each star after this template. Each dashed line corresponds to a fold. It will be folded again.
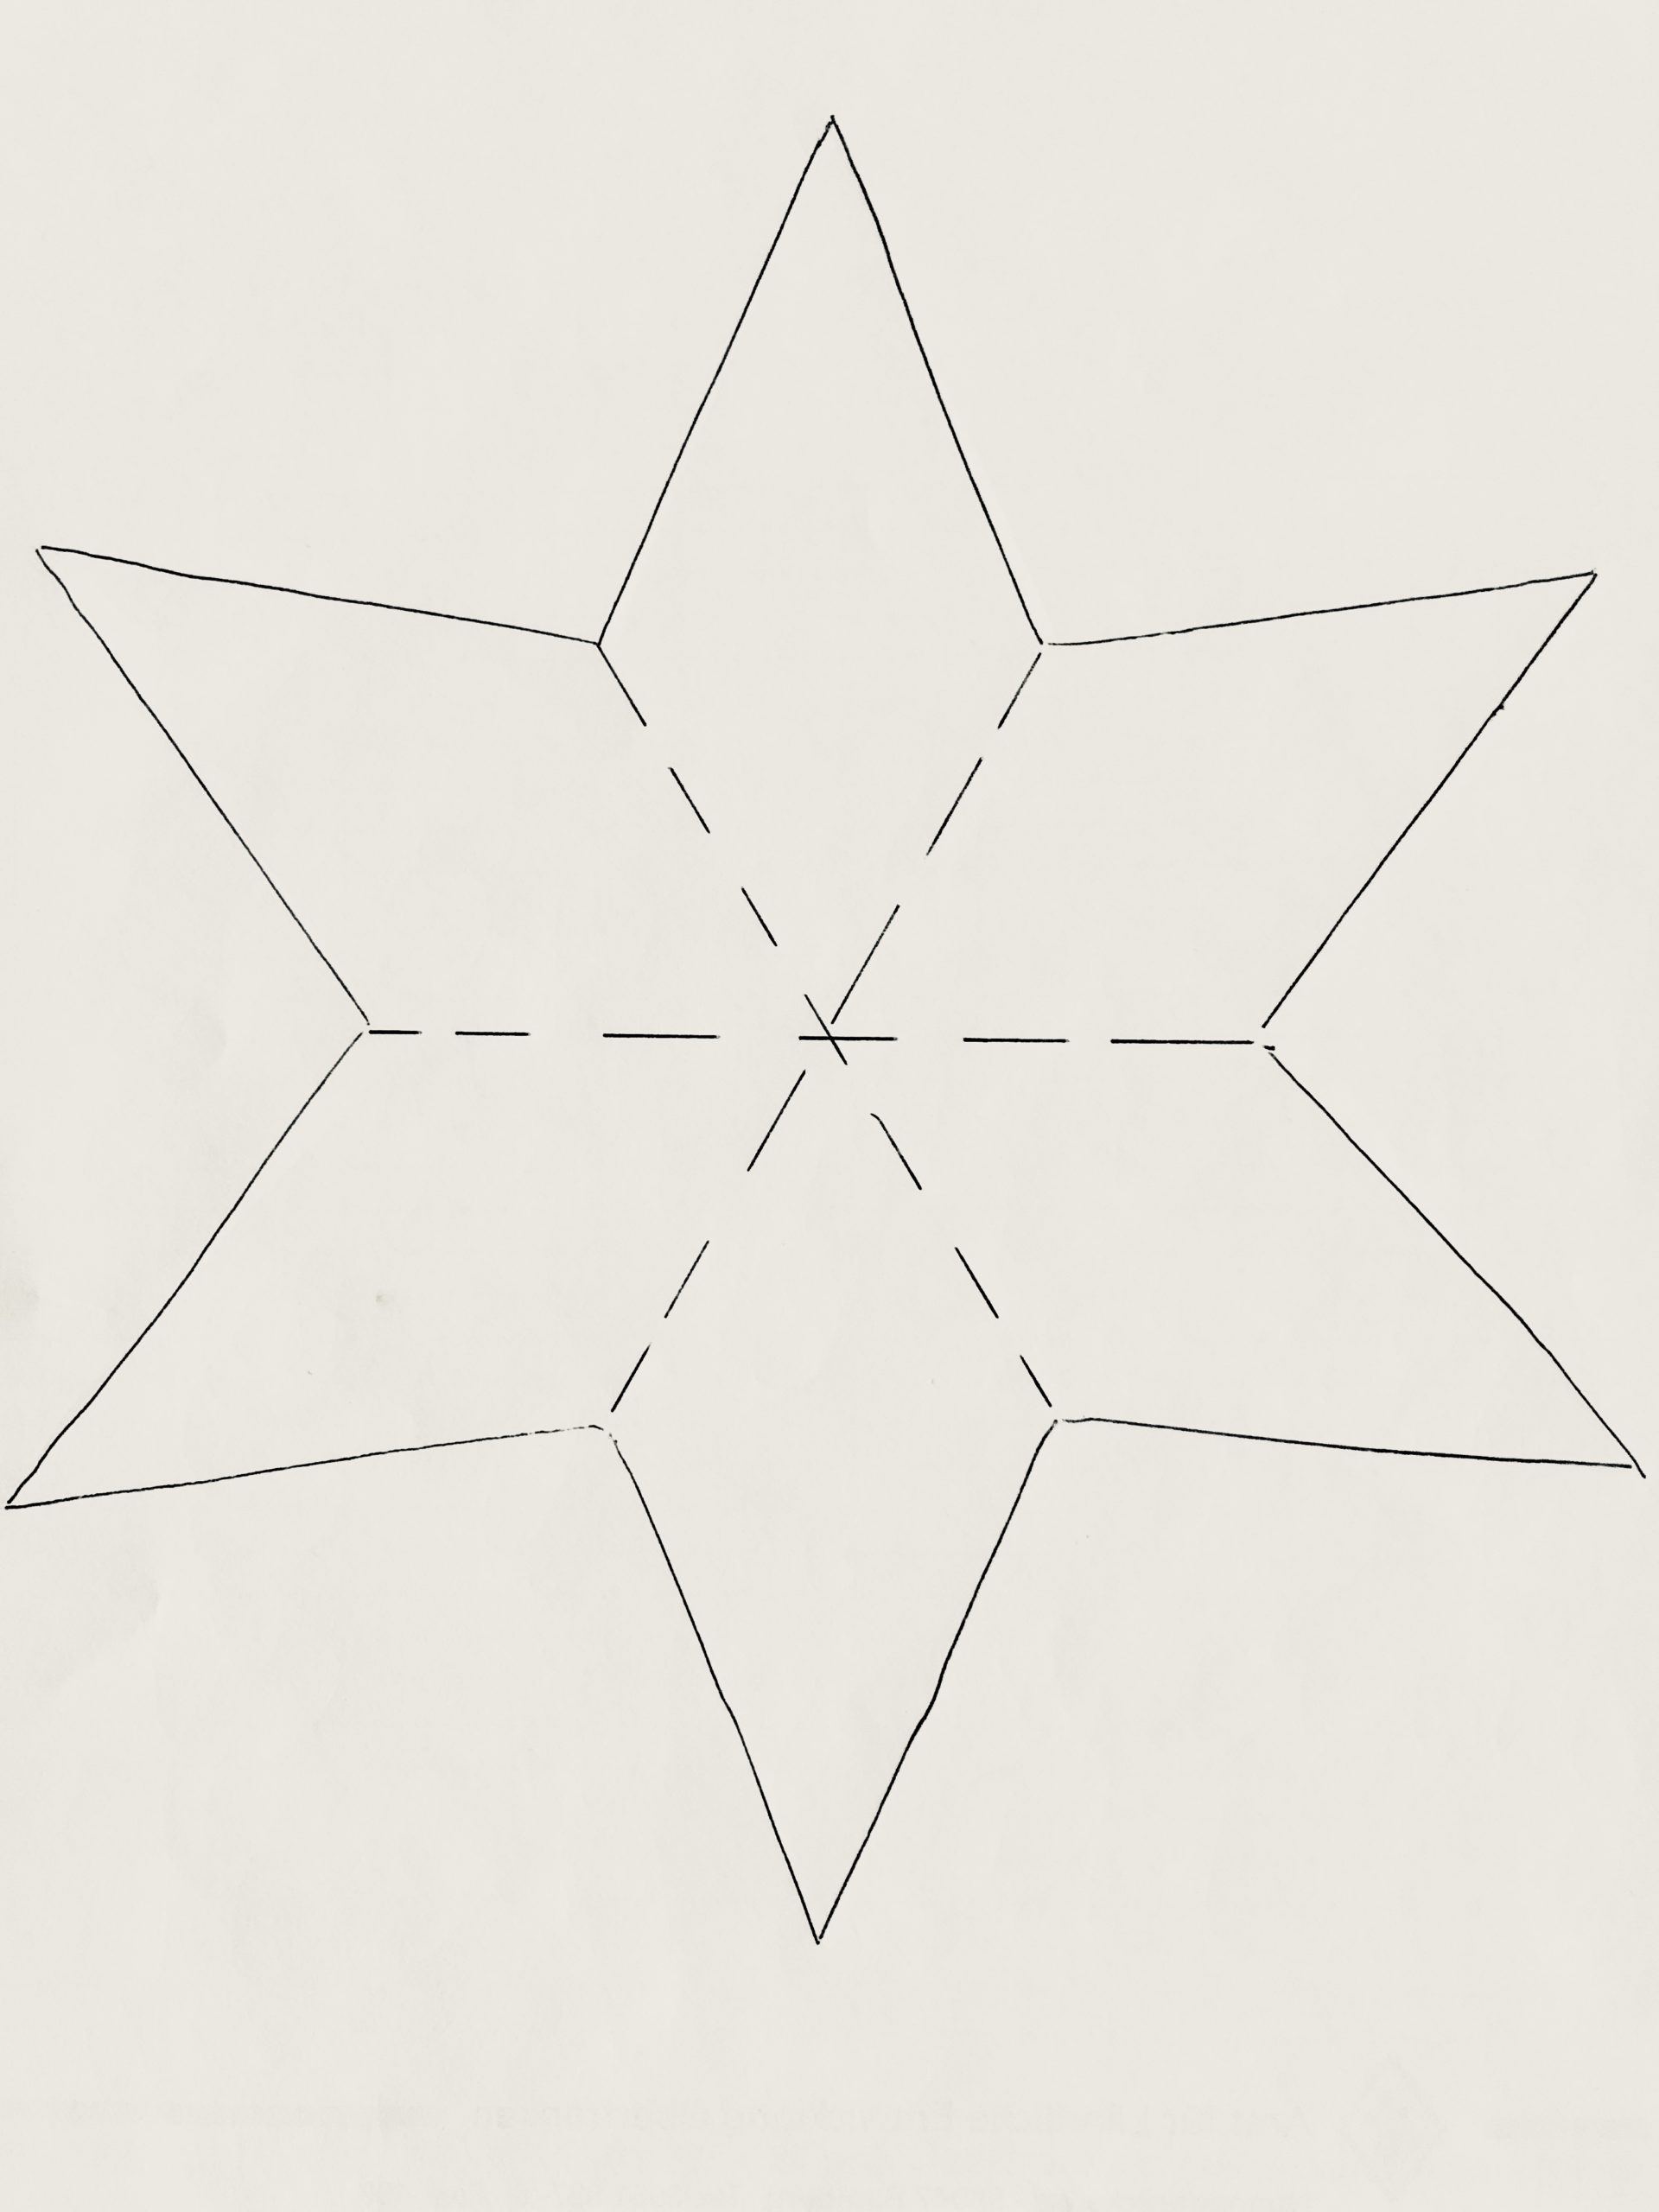
Bild zum Schritt 4 für das Bastel- und DIY-Abenteuer für Kinder: 'Jetzt falte jeden Stern nach dieser Vorlage. Jede gestrichelte Linie...'

5

Then turn the entire star around. Now, on the back, the points are folded inwards. These then also fold outwards.
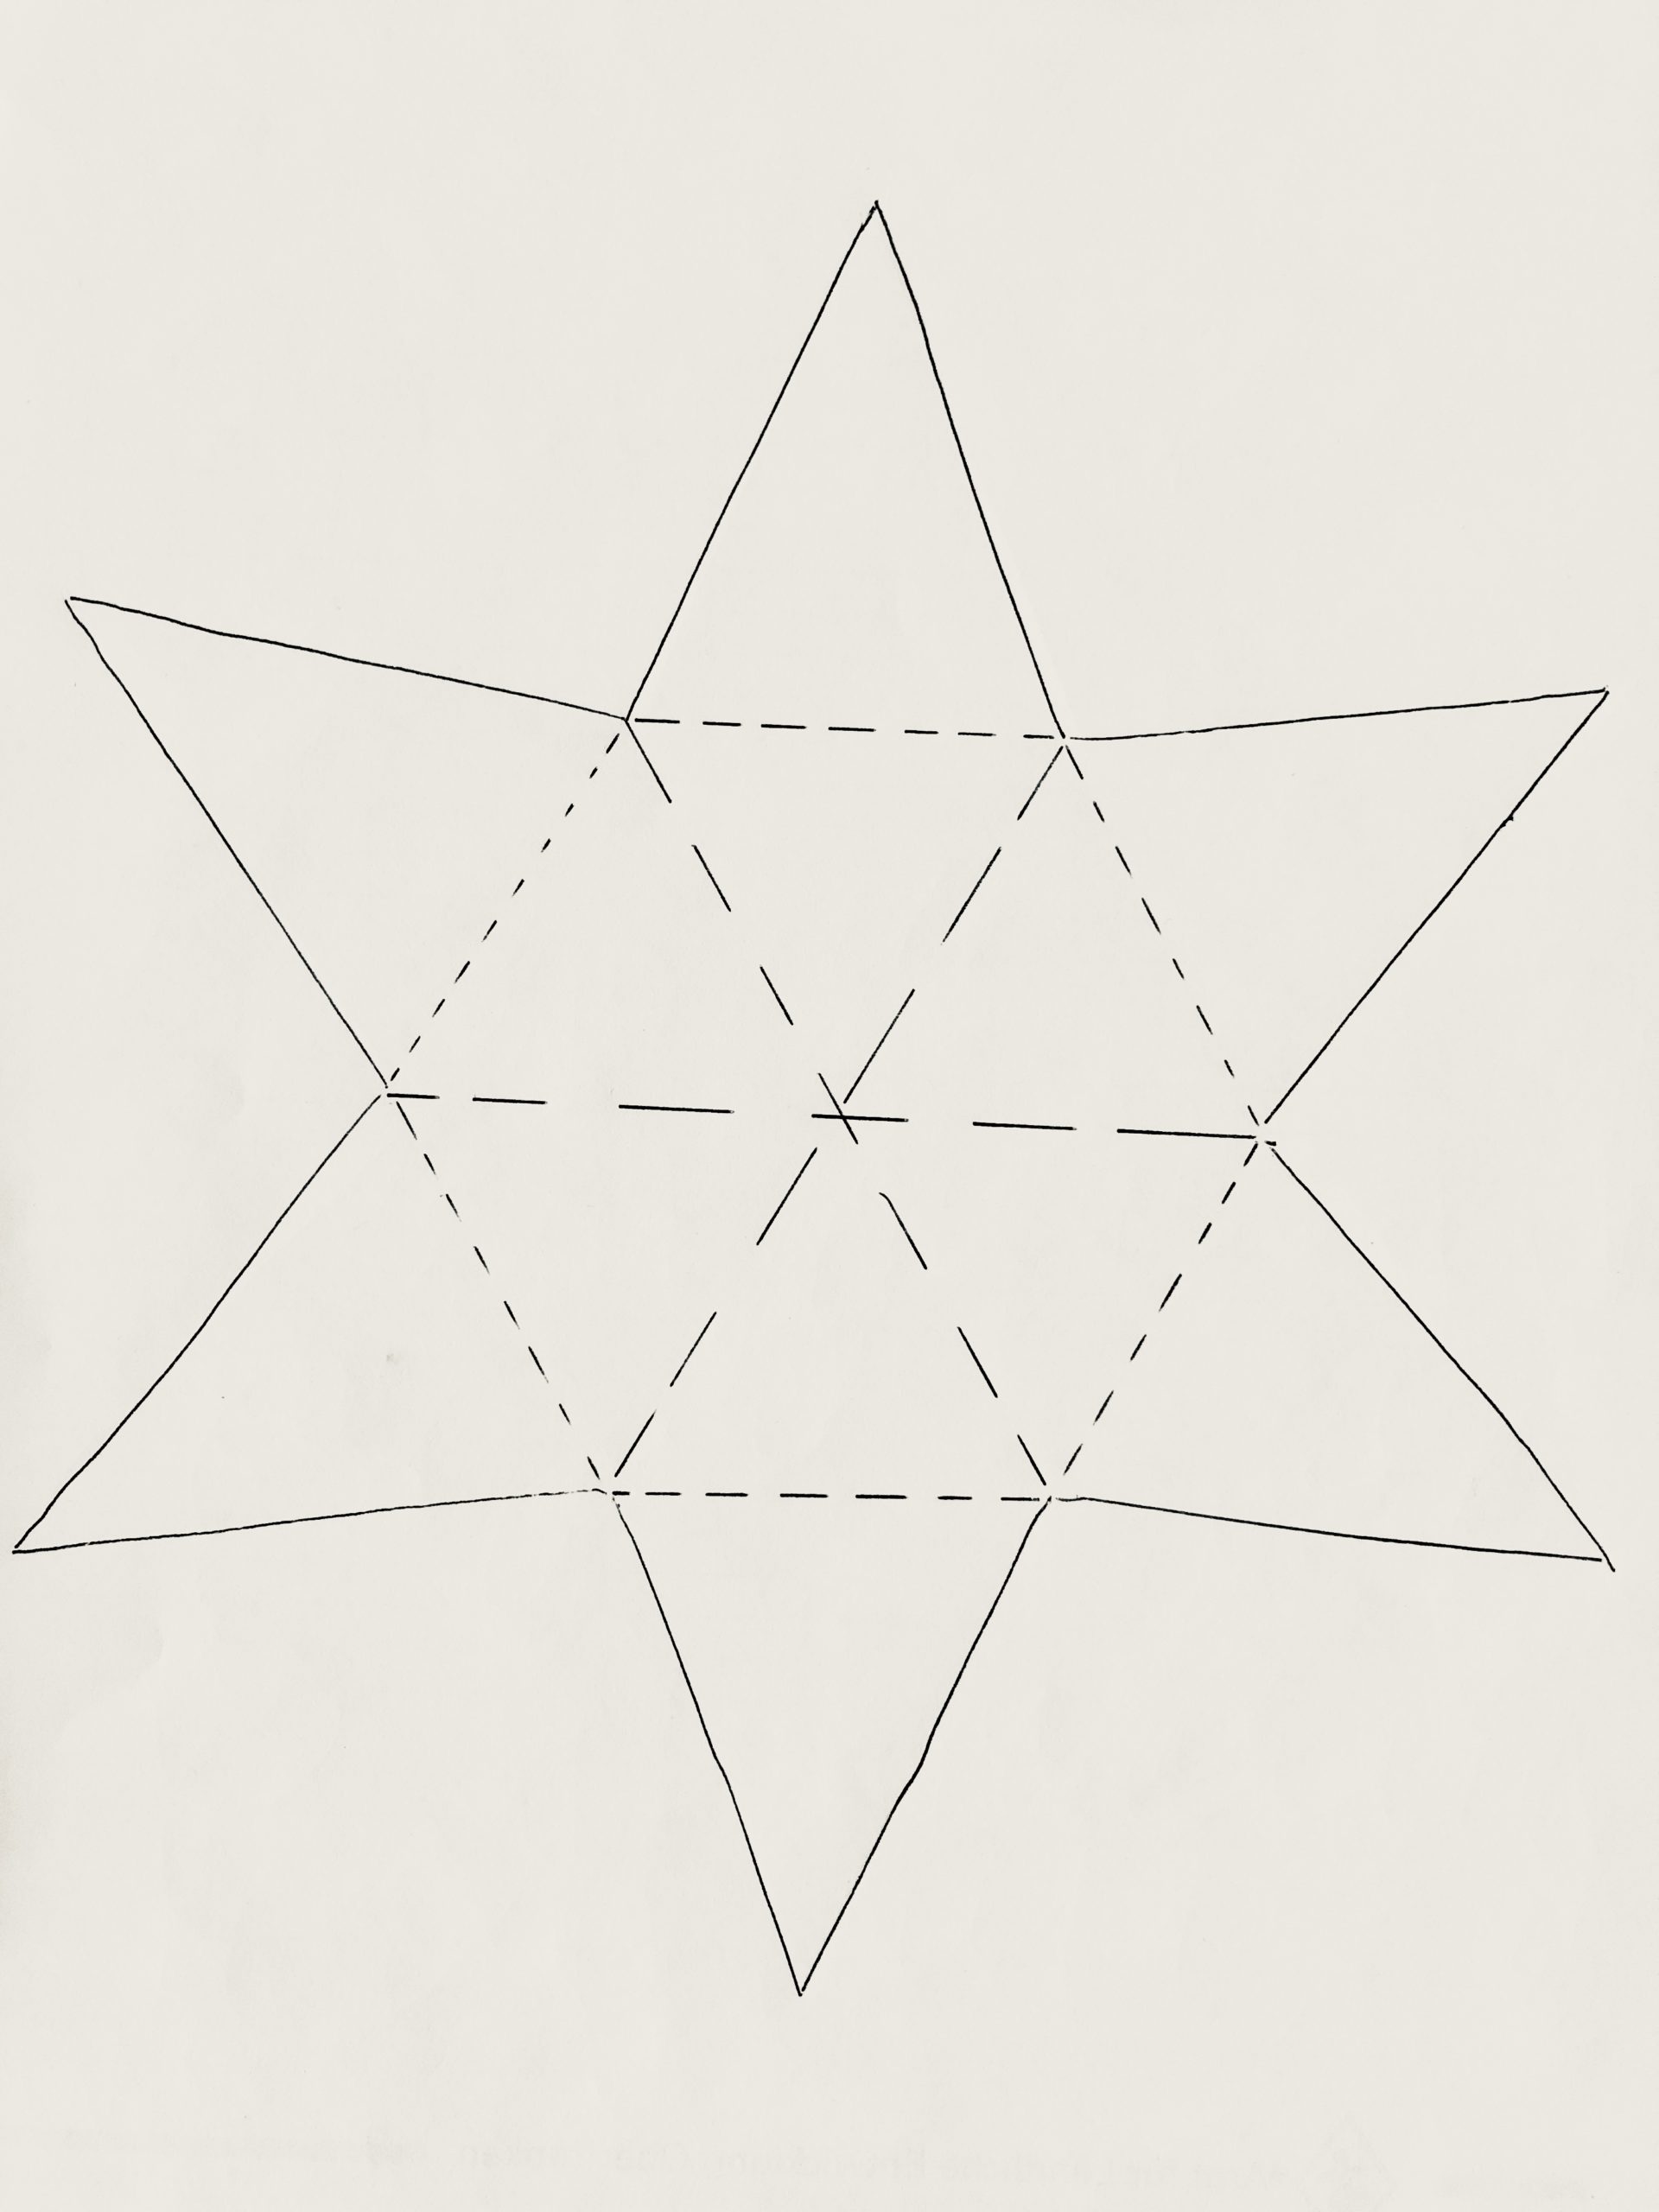
Bild zum Schritt 5 für das Bastel- und DIY-Abenteuer für Kinder: 'Dann drehe den kompletten Stern um. Jetzt werden auf der...'

6

Now the folded star looks like this.
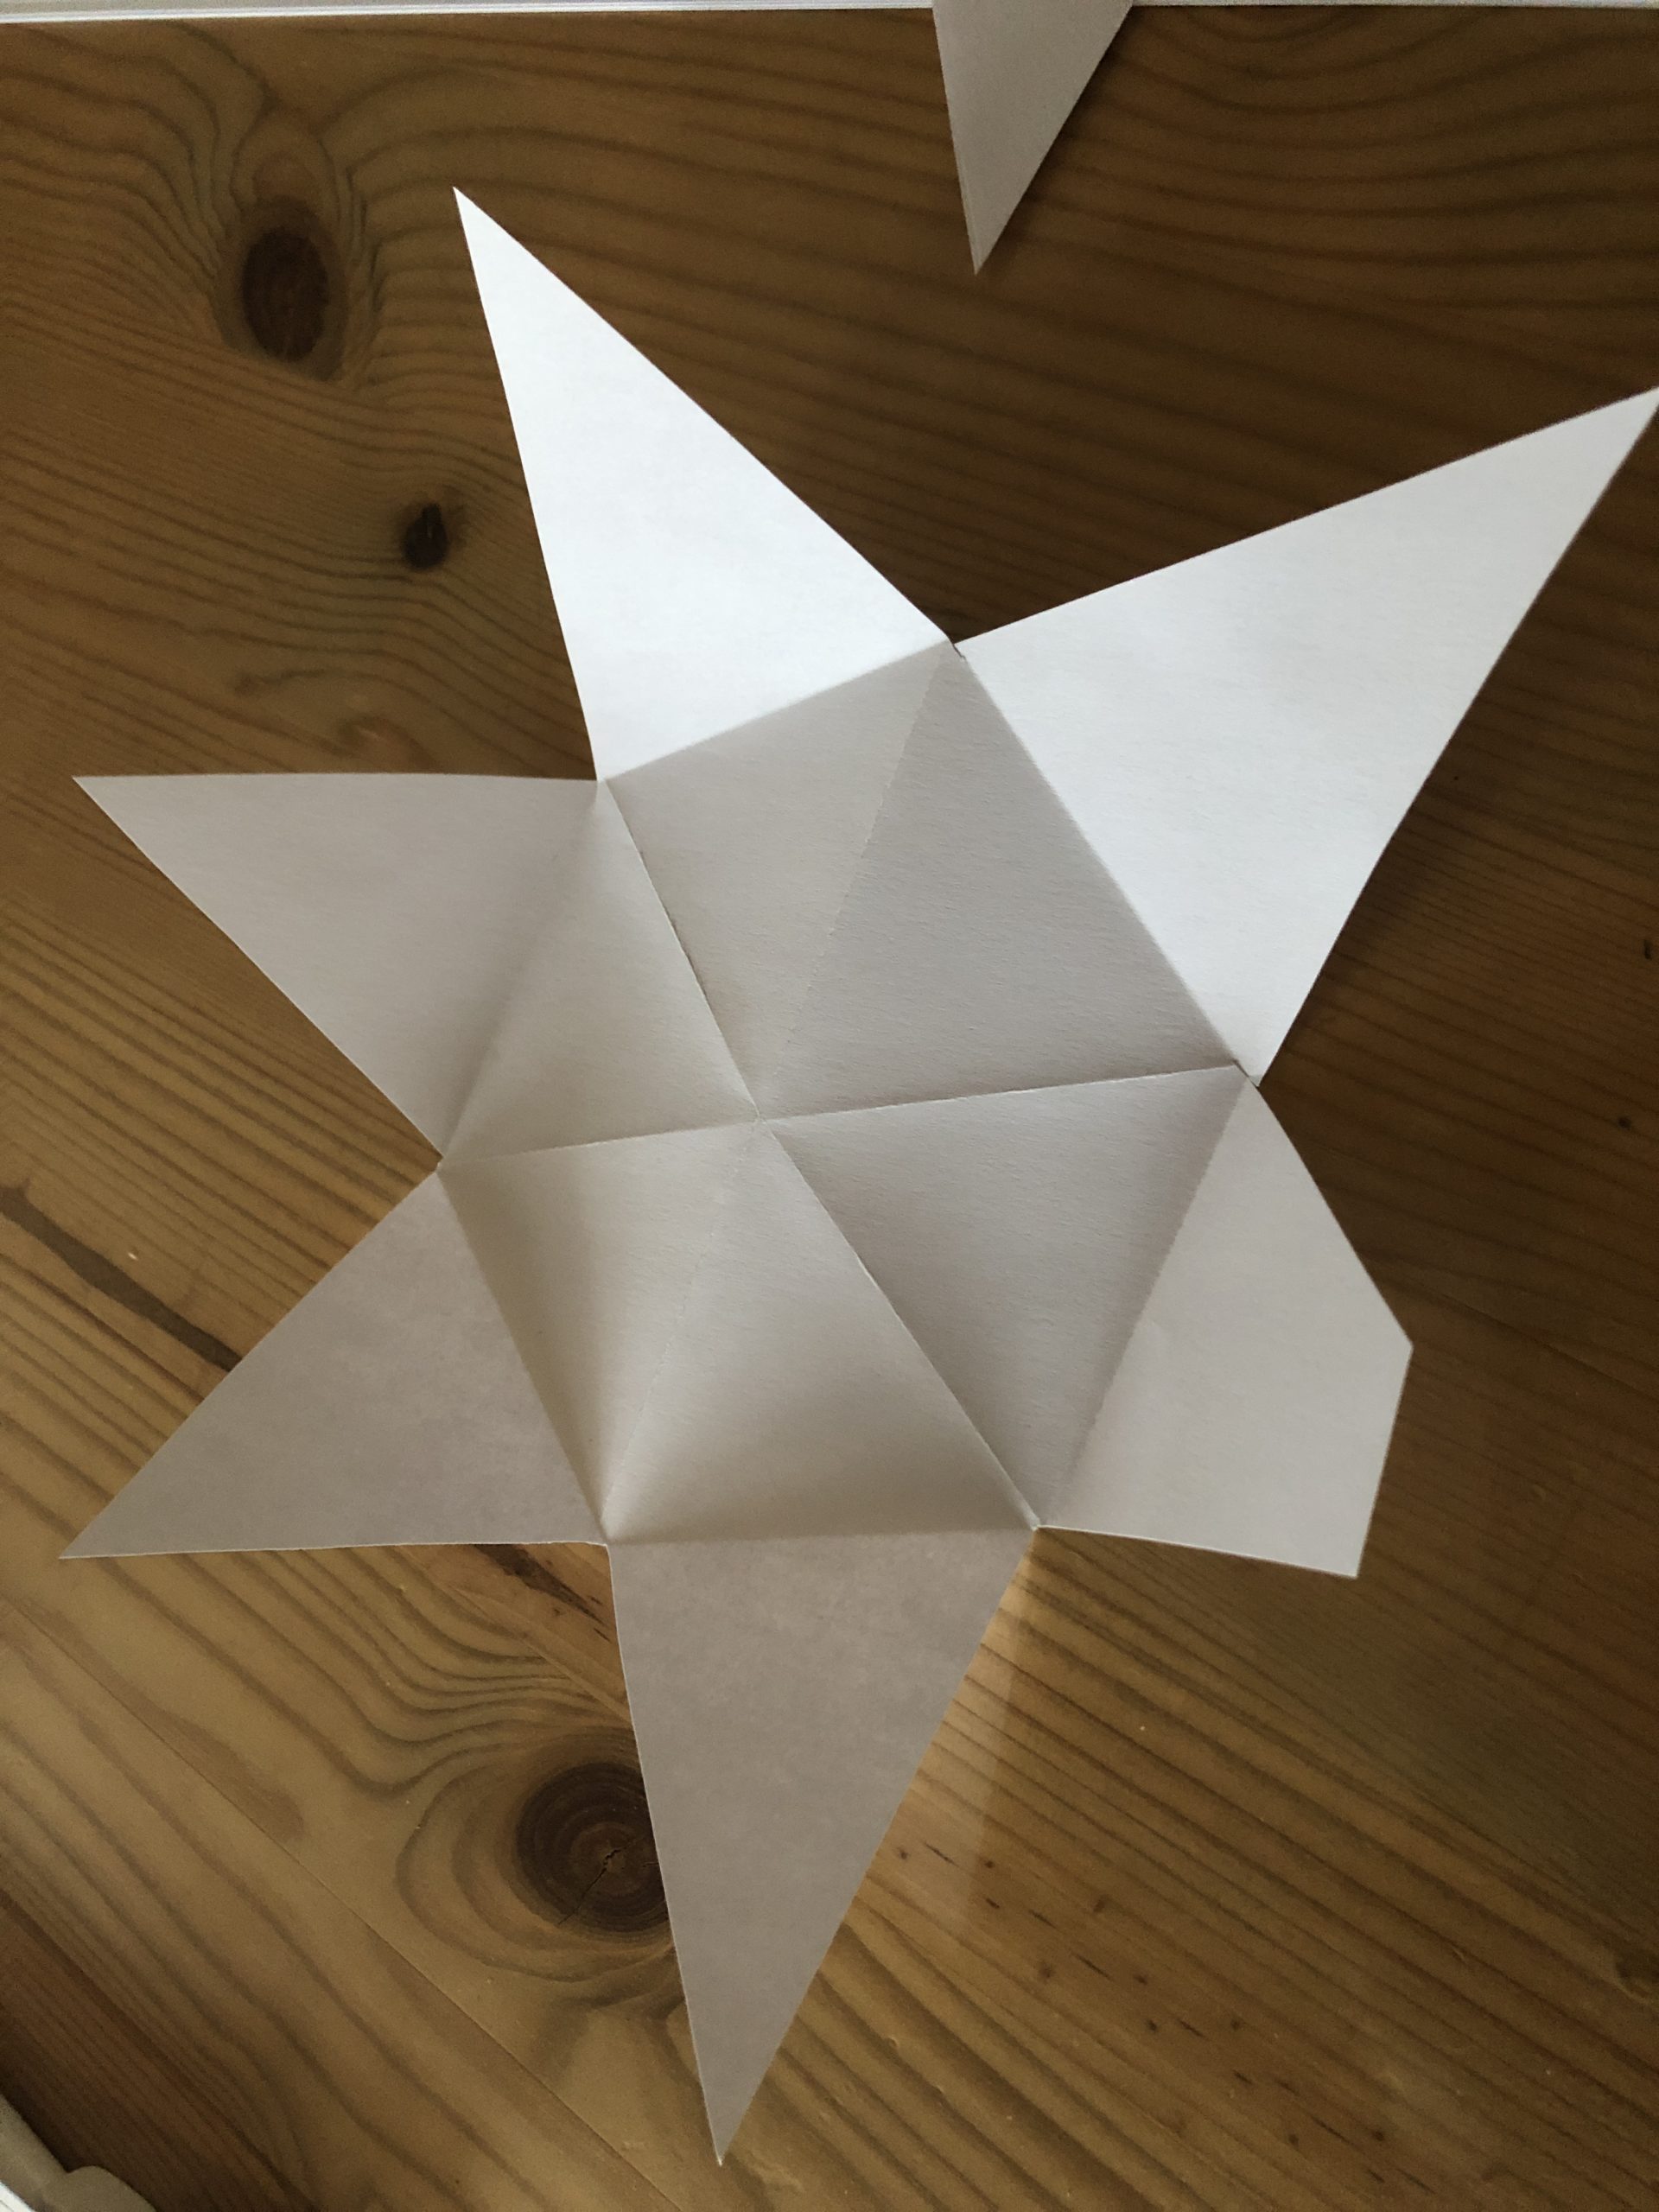
Bild zum Schritt 6 für das Bastel- und DIY-Abenteuer für Kinder: 'Jetzt sieht der gefaltete Stern so aus.'

7

Now you cut the star at a fold between two points. Cut this cut to the middle and it must be next to the missing or incomplete jigs!
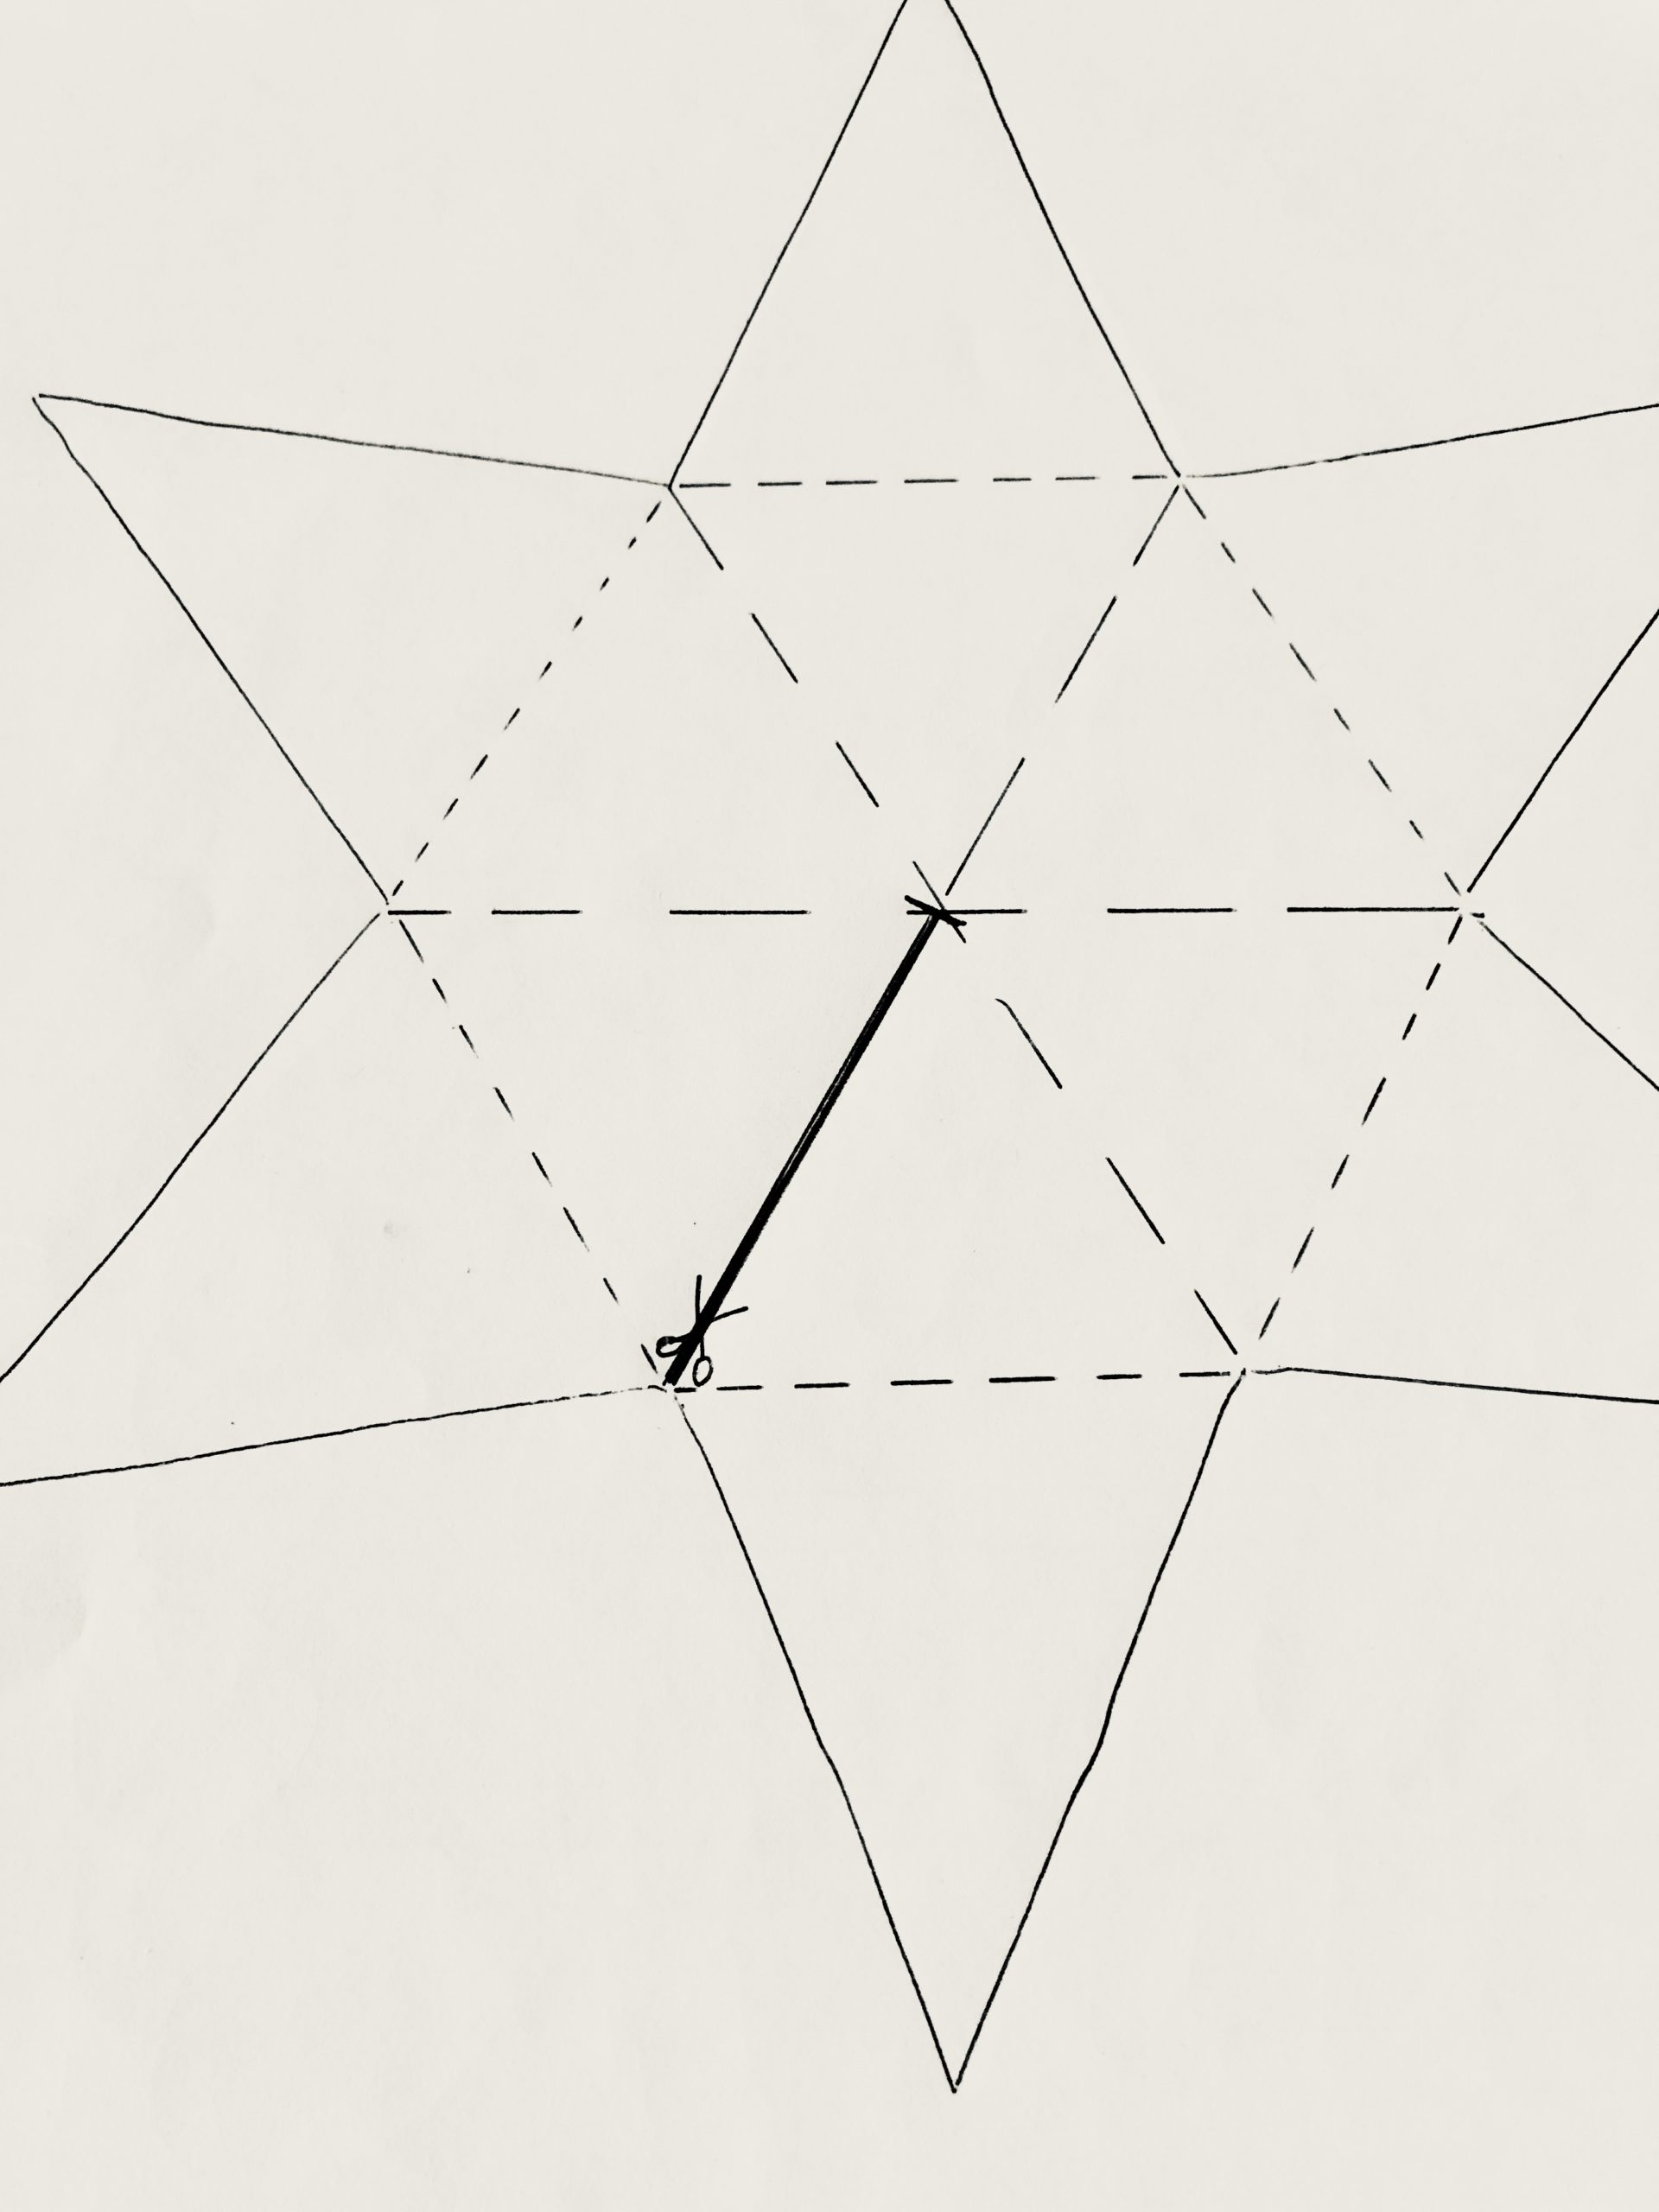
Bild zum Schritt 7 für das Bastel- und DIY-Abenteuer für Kinder: 'Nun schneidest du den Stern an einer Faltung zwischen zwei...'

8

The two points to the left and right of the incision are now glued over each other. The missing/incomplete ingot is under the whole ingot.
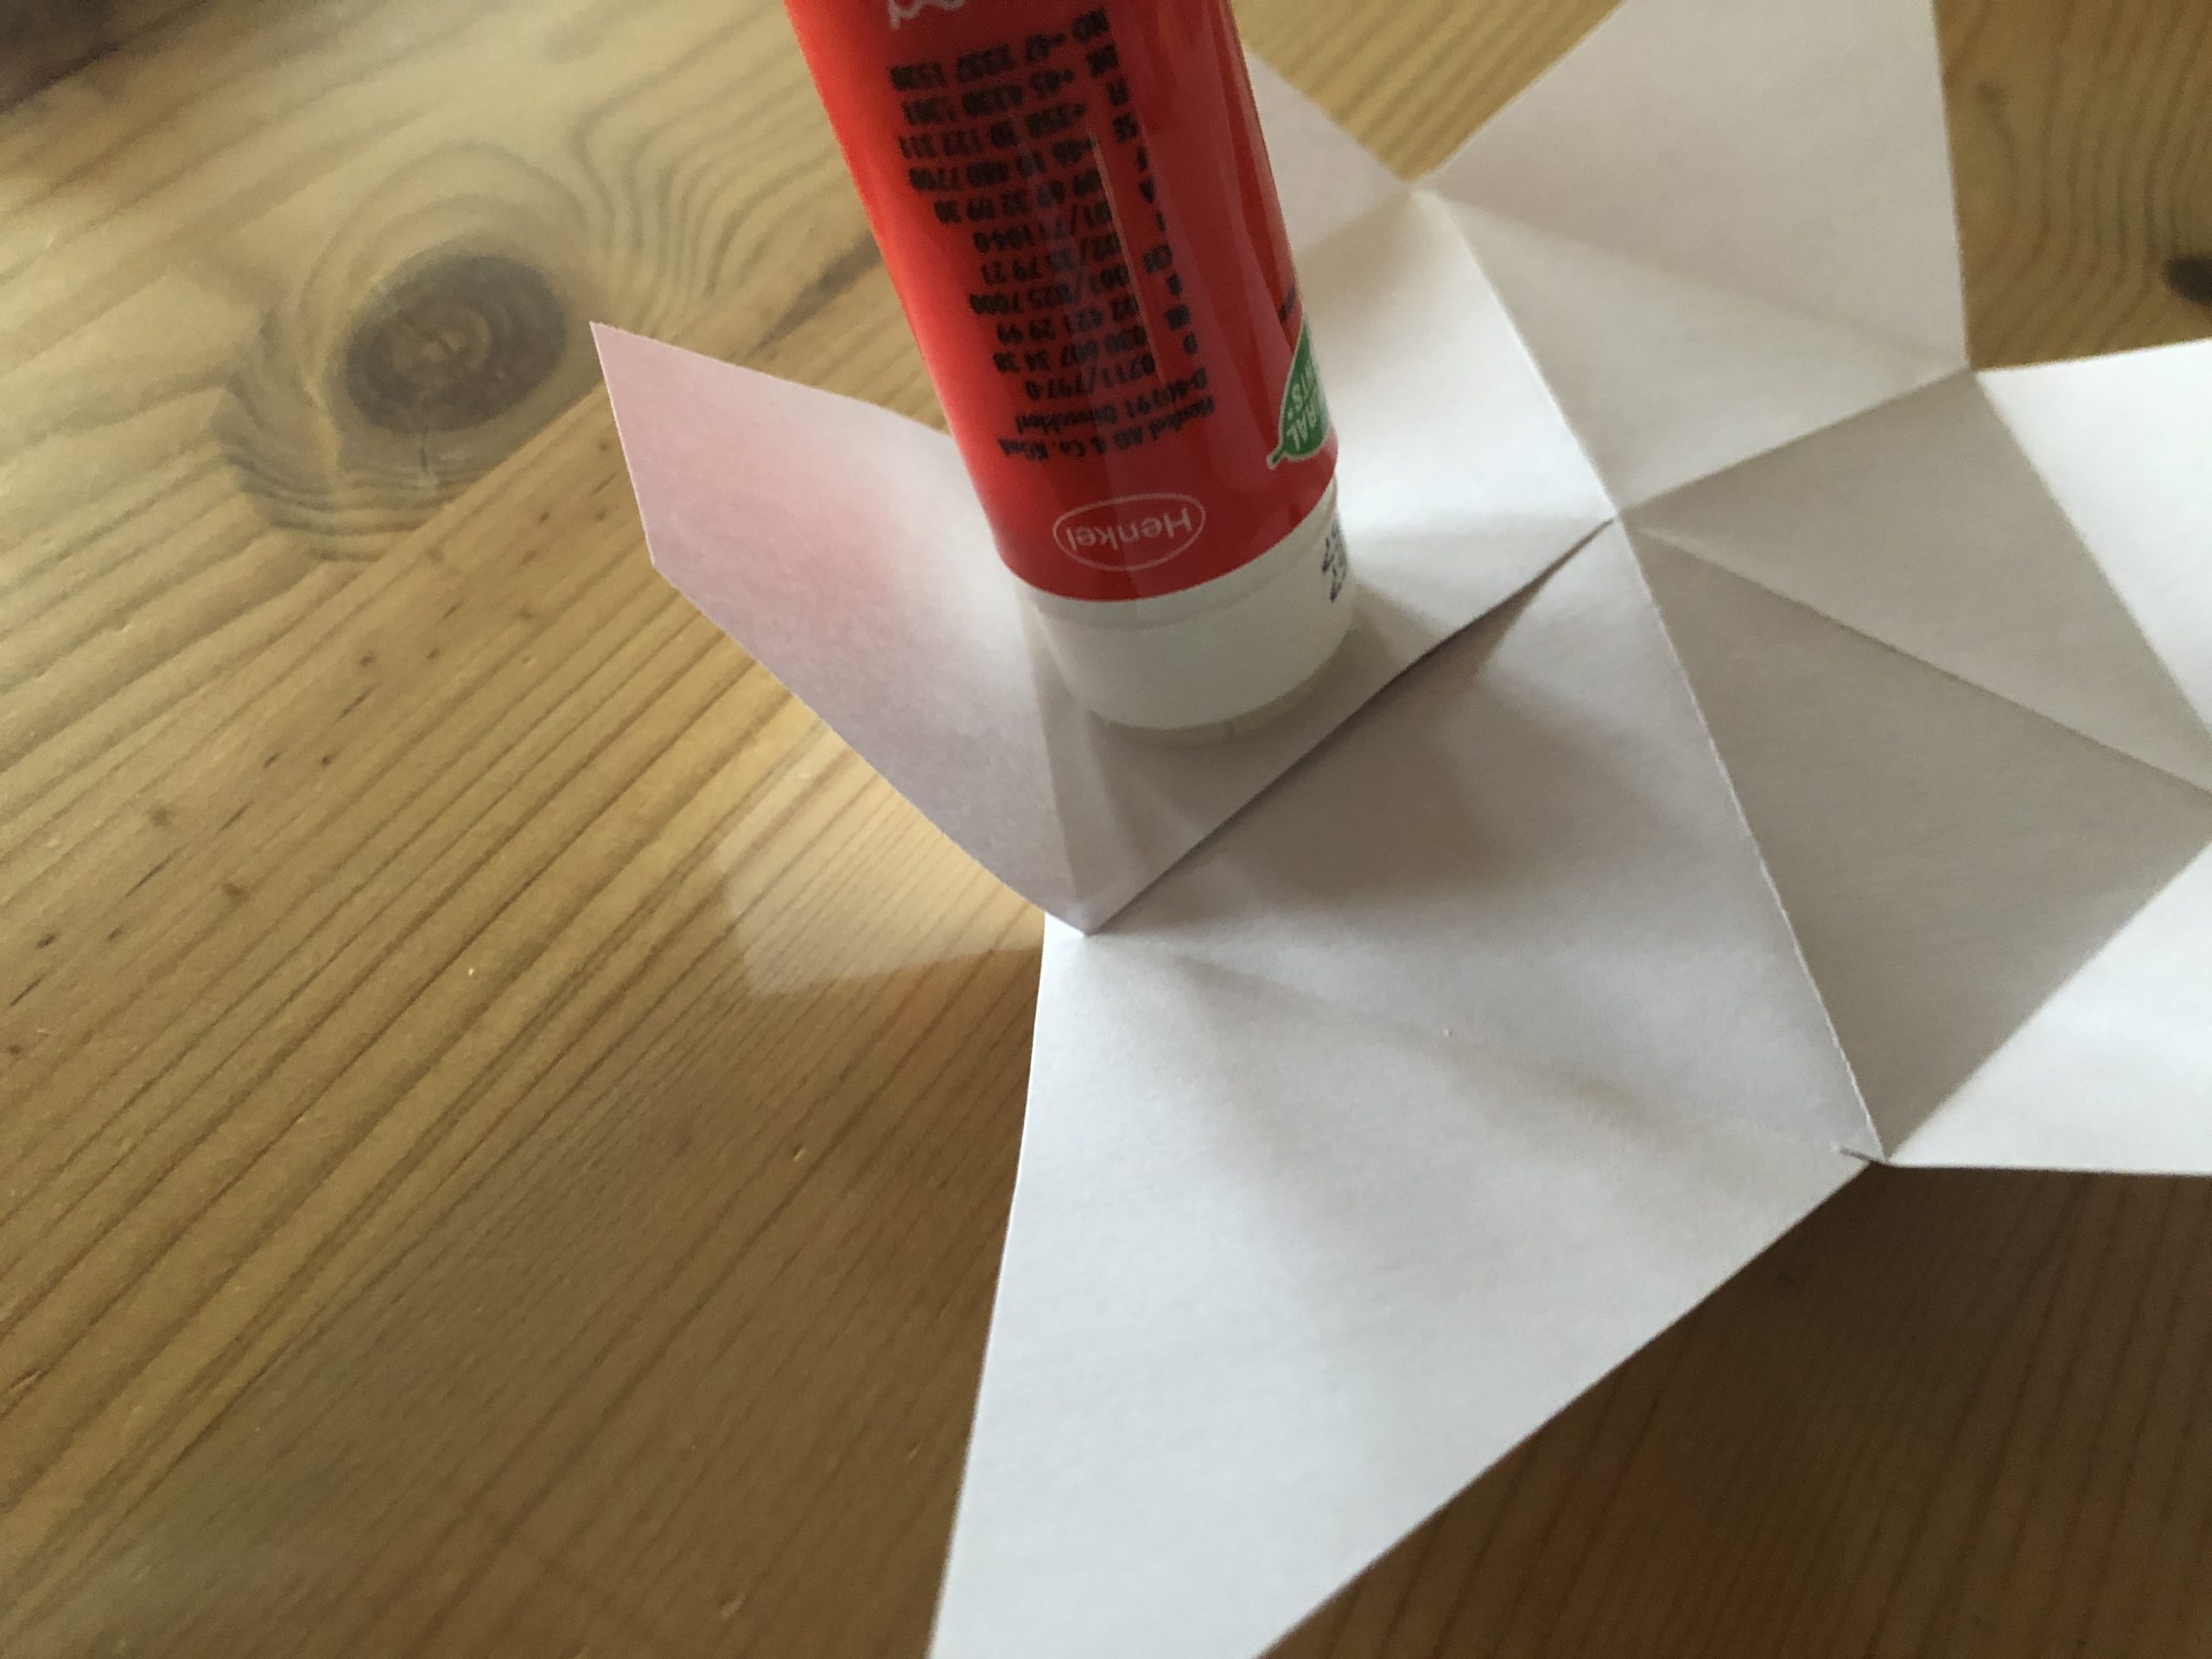
Bild zum Schritt 8 für das Bastel- und DIY-Abenteuer für Kinder: 'Die beiden Zacken links und rechts vom Einschnitt klebst du...'

9

If you want to glue, label or paint the star, do it now.
Because that's easier to do before you stick it together.
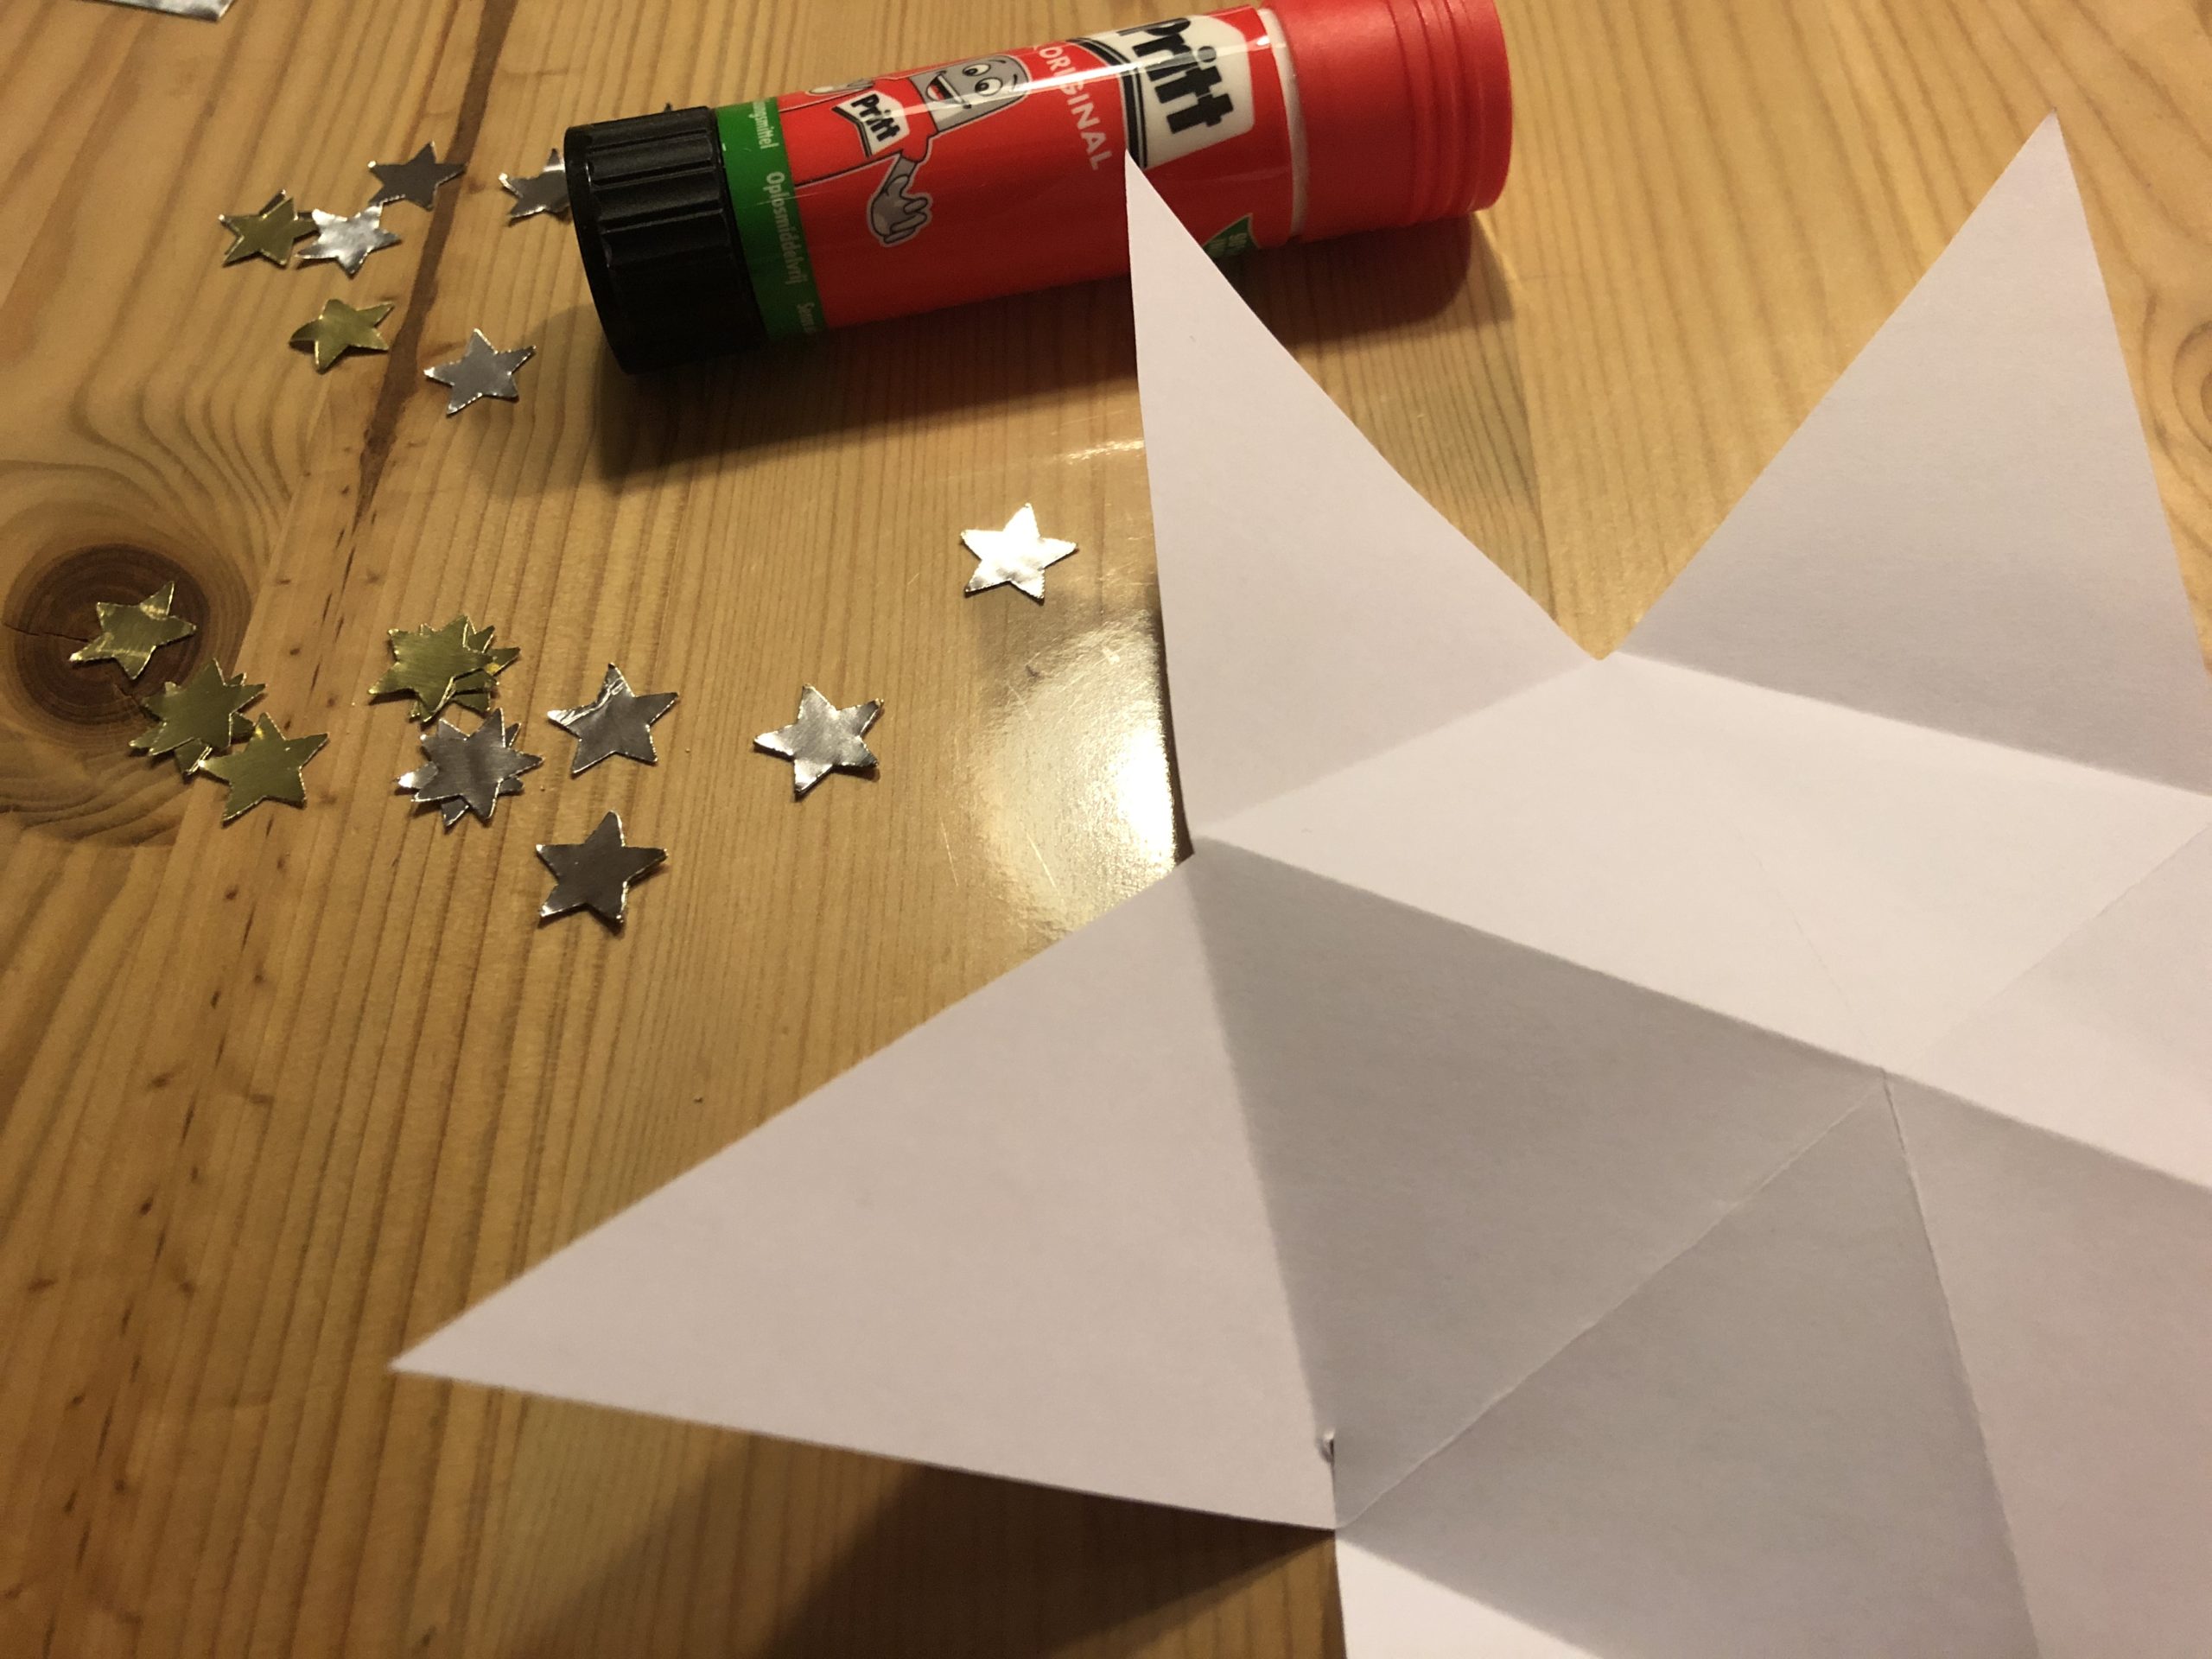
Bild zum Schritt 9 für das Bastel- und DIY-Abenteuer für Kinder: 'Solltest du den Stern bekleben, beschriften oder anmalen wollen, dann...'

10

This prevents you from squeezing the arched center of the star.
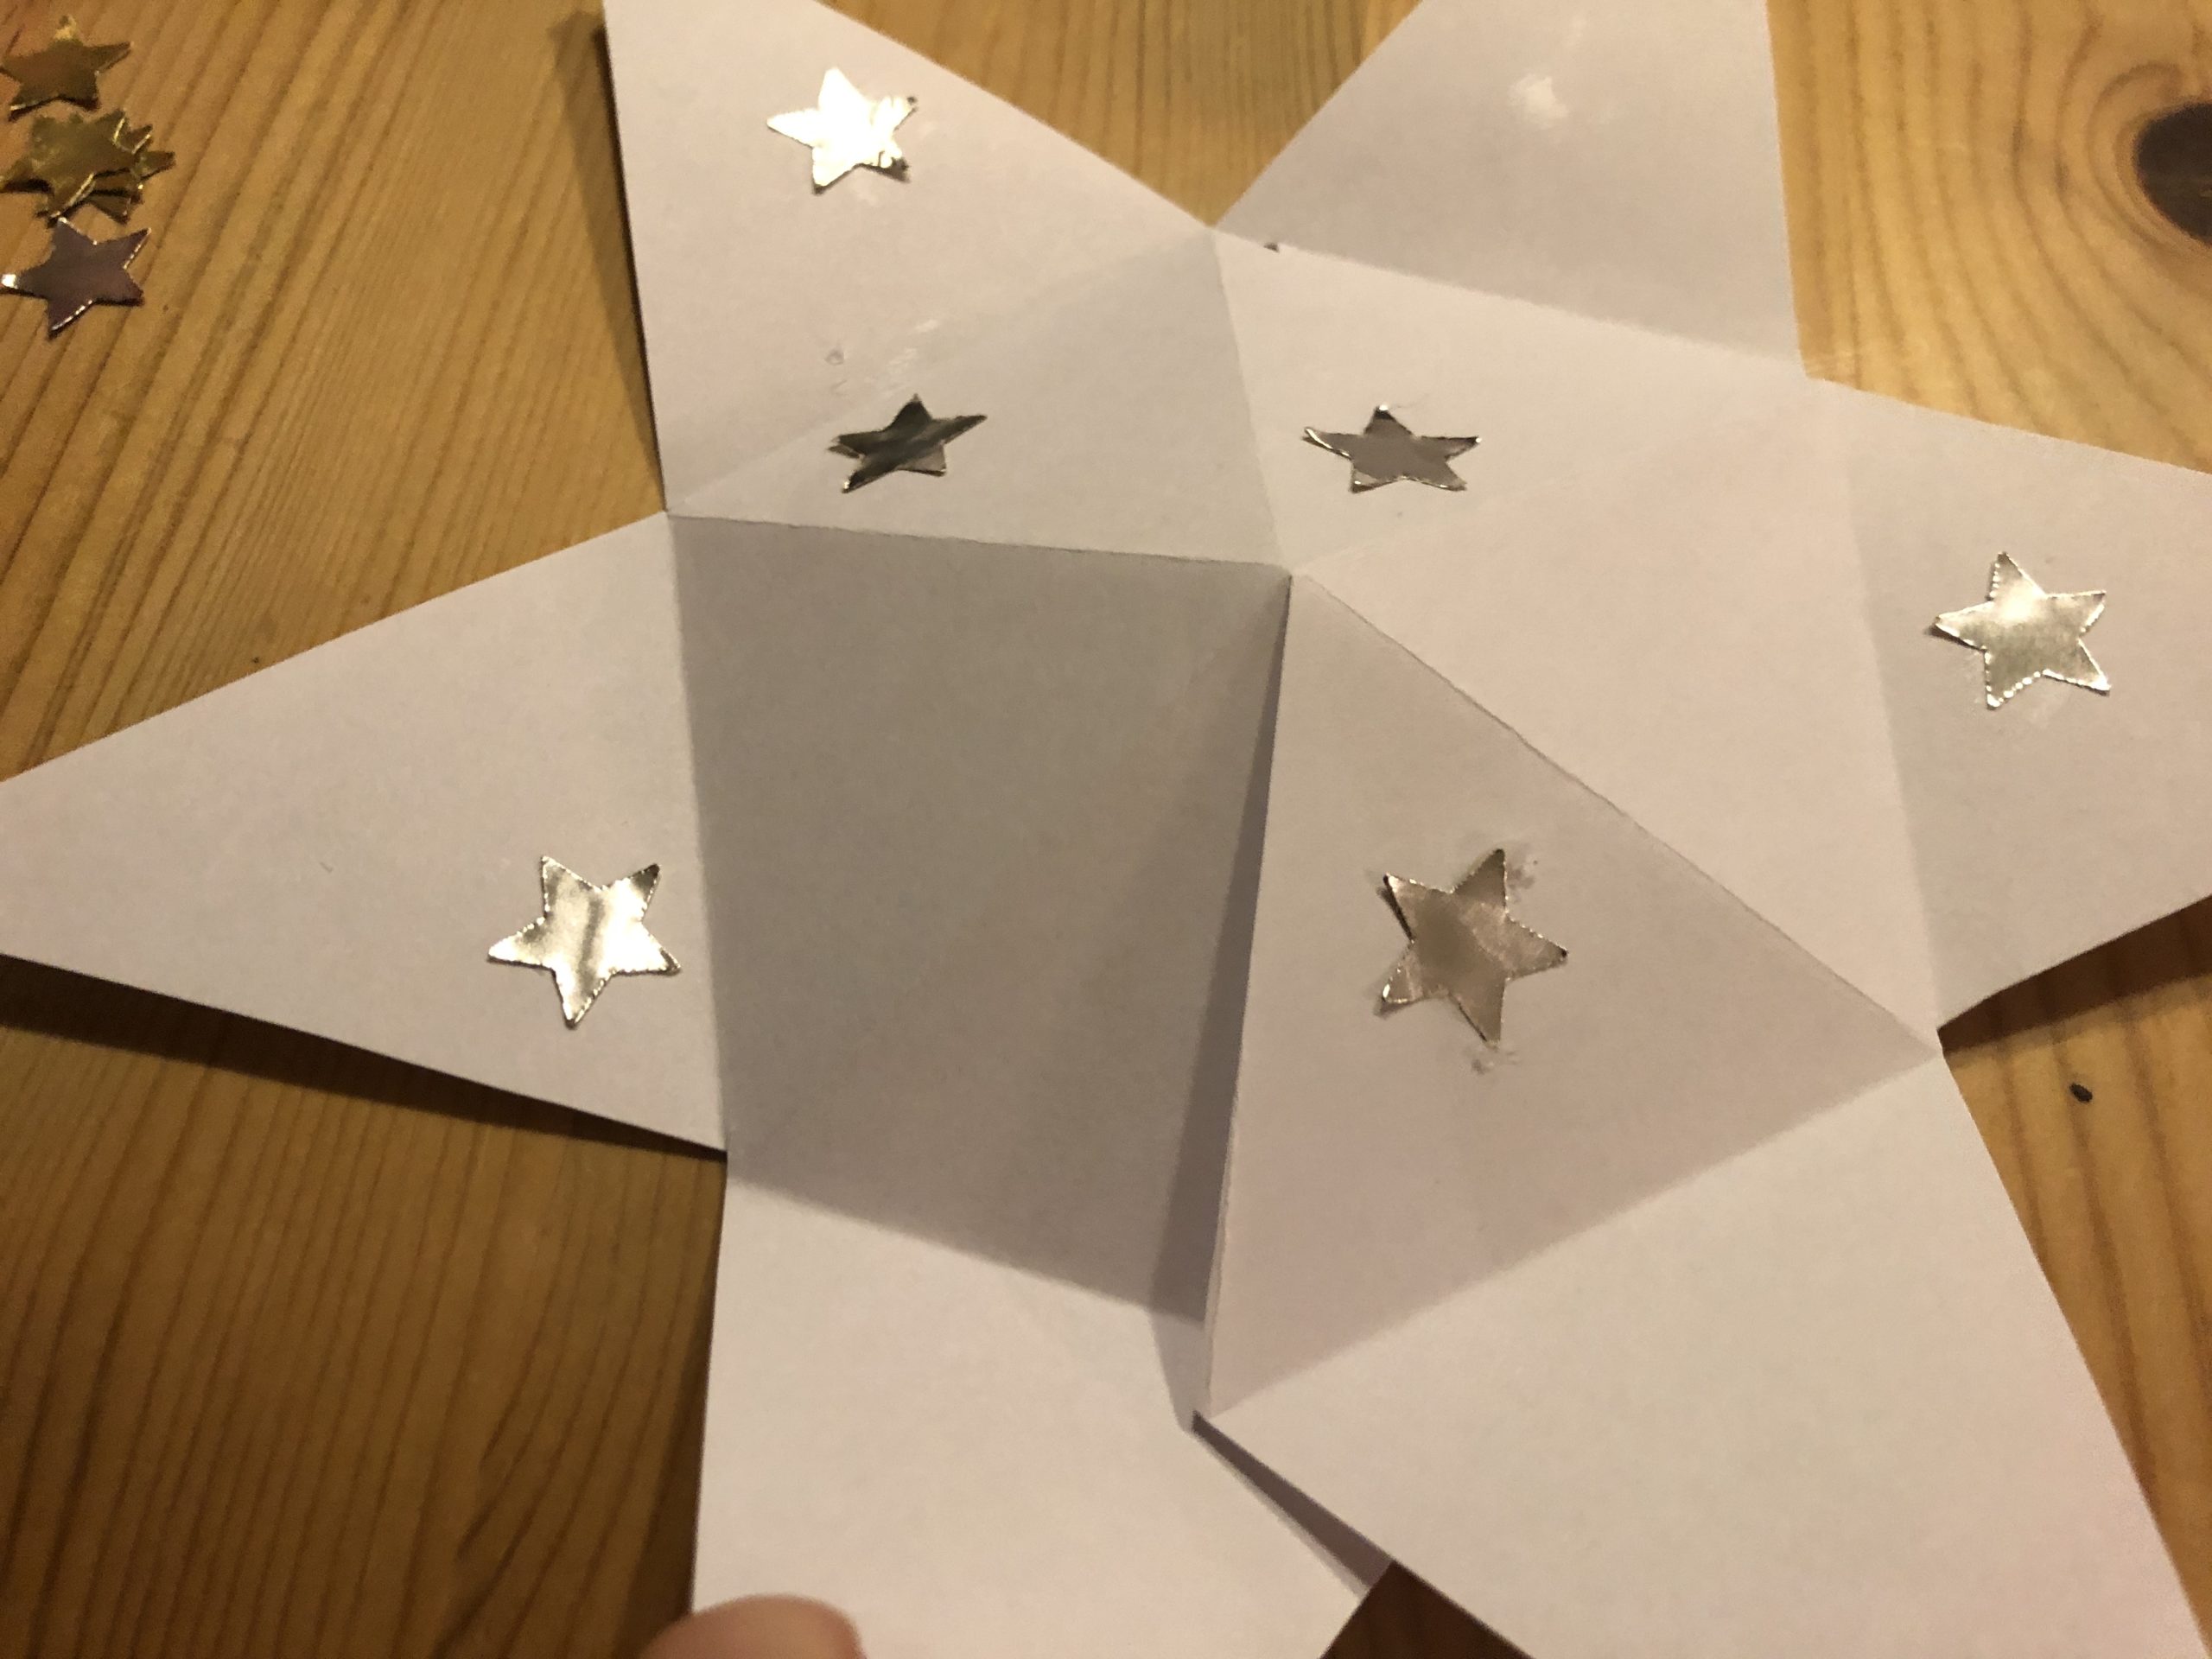
Bild zum Schritt 10 für das Bastel- und DIY-Abenteuer für Kinder: 'Damit verhinderst du, dass du die gewölbte Mitte des Sterns...'

11

Now you stick the two star halves together so that the center is arched towards the outside. Inside, this creates a cavity.
Attention: leave a jig open so that you can fill the cavity.

Now you have room for a wish list, a nice spell or a little candy. Confetti also fits wonderfully into the star center.

Then you stick the last point together.
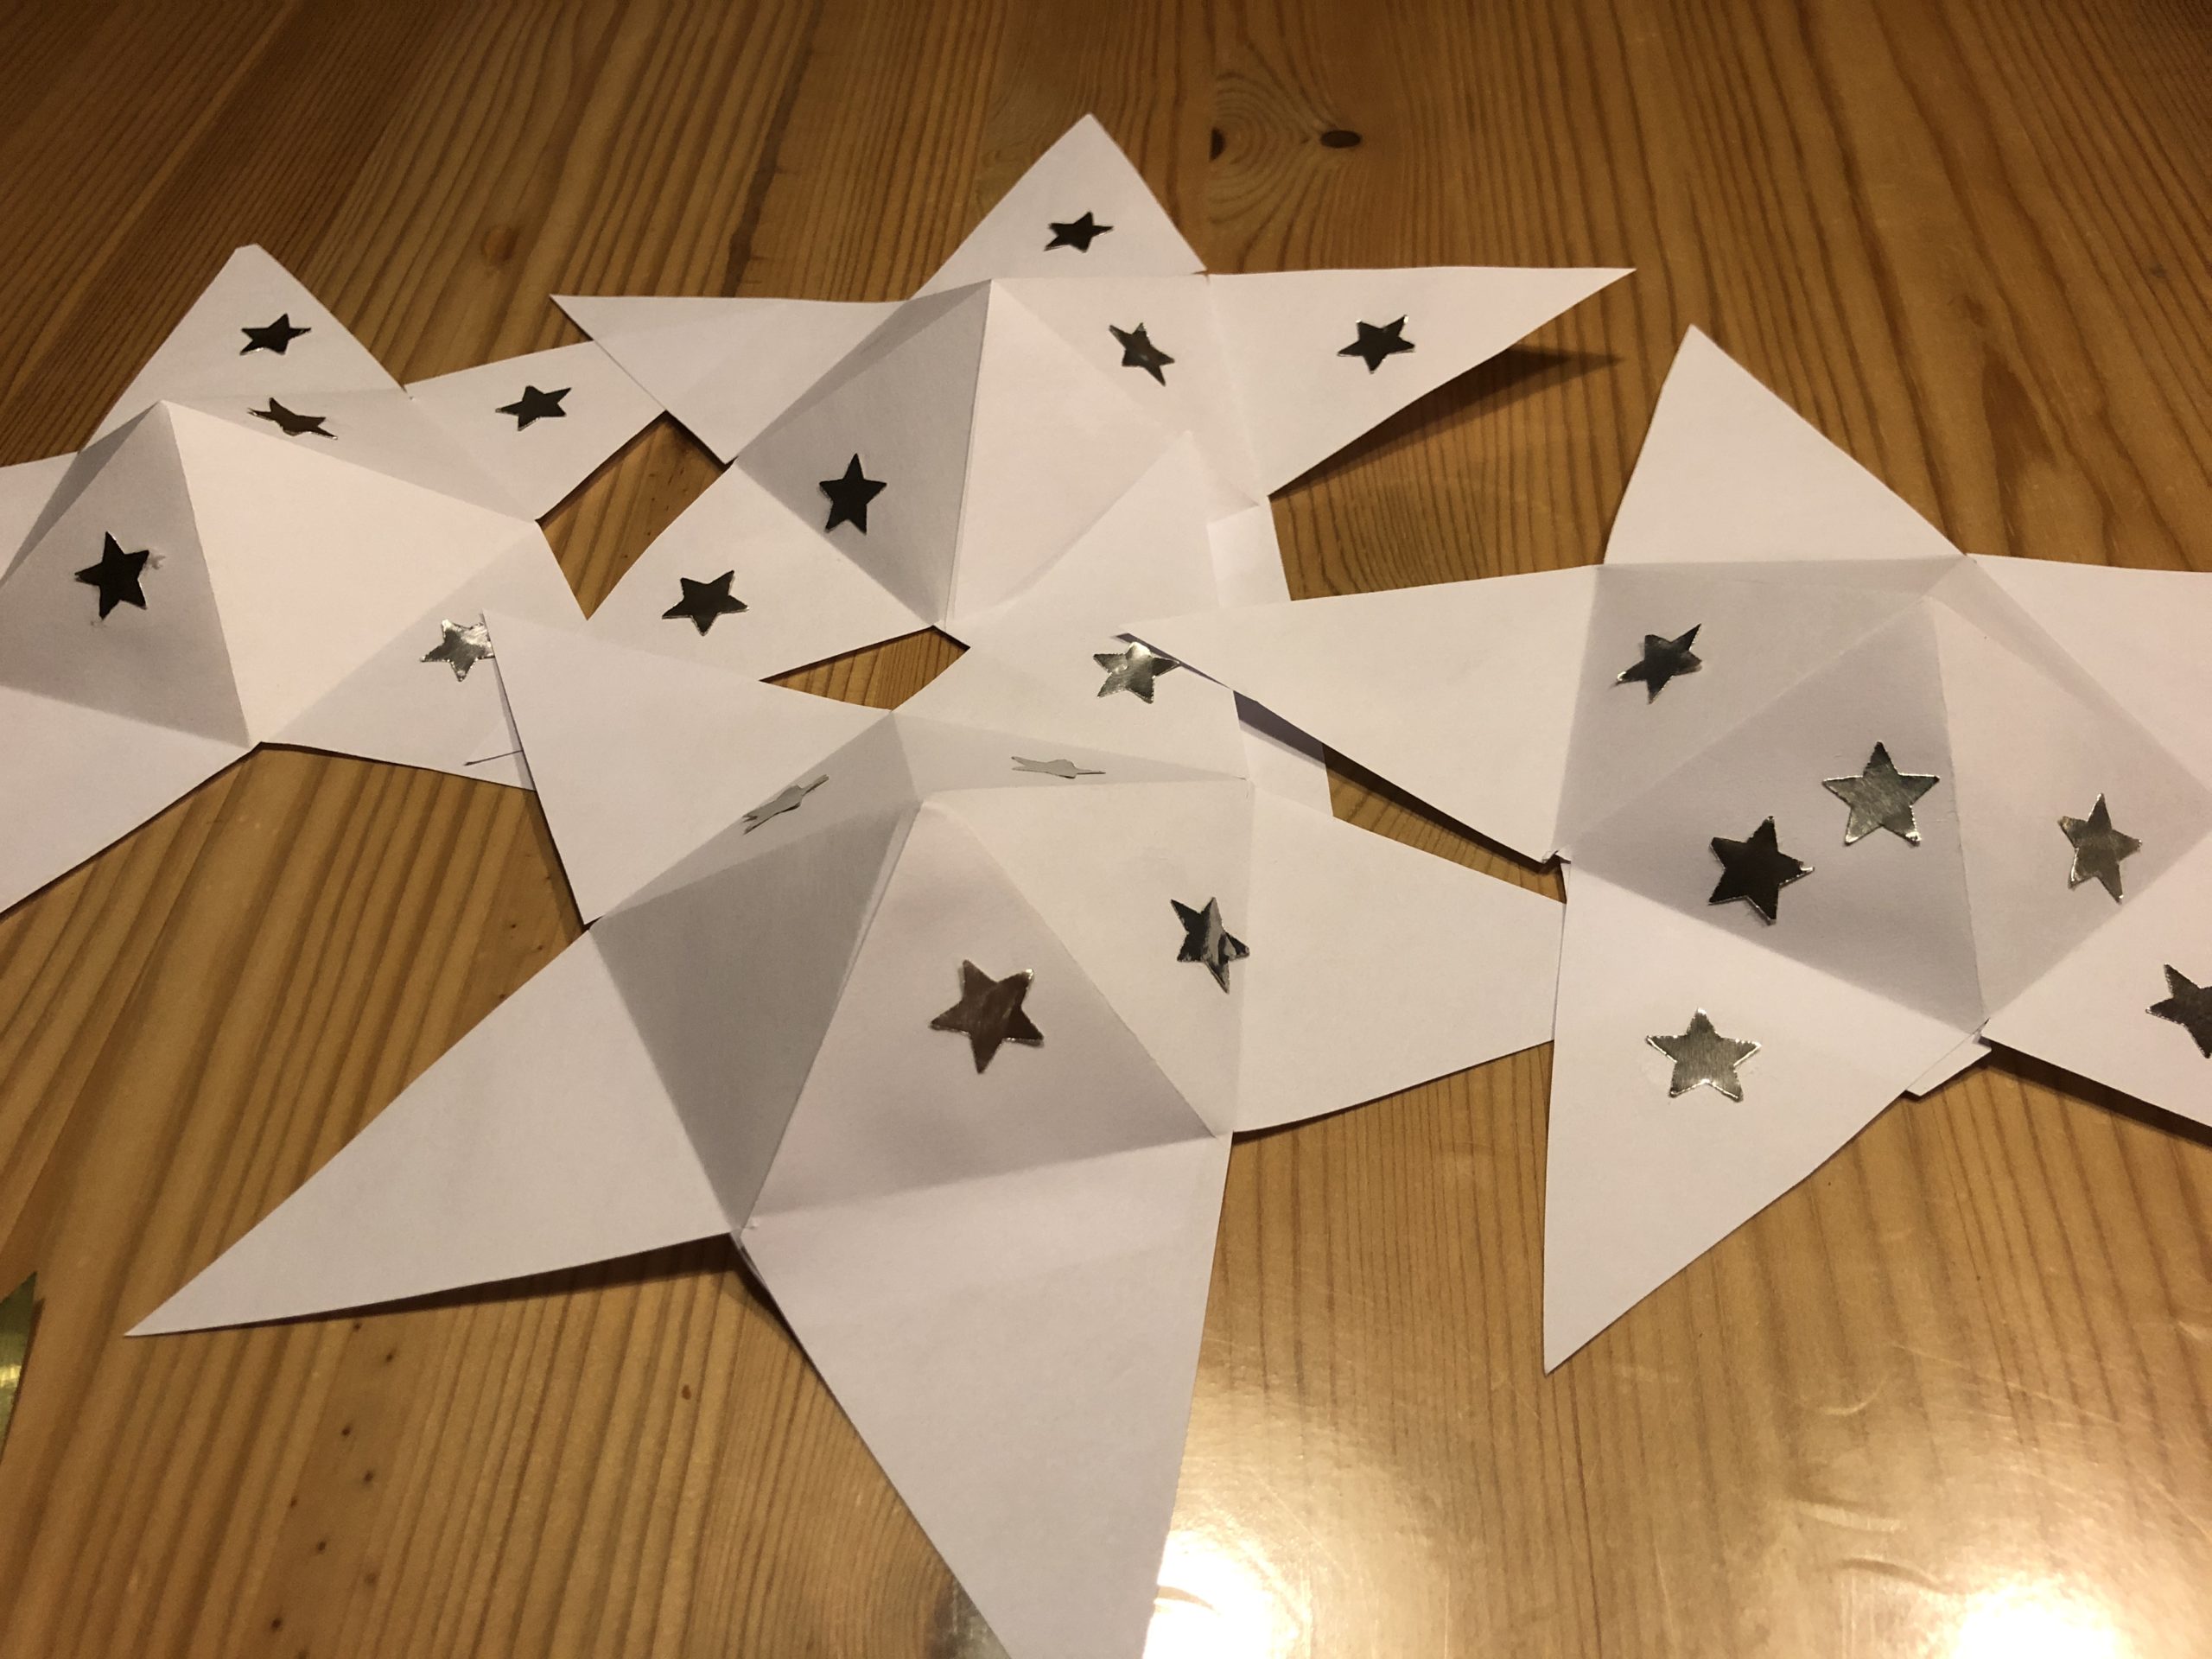
Bild zum Schritt 11 für das Bastel- und DIY-Abenteuer für Kinder: 'Nun klebst du die zwei Sternhälften so zusammen kleben, dass...'

12

One idea is the beautification with luck beetles.
These stars are also suitable as Advent calendars. Klapperstern Advent Calendar.

Bild zum Schritt 12 für das Bastel- und DIY-Abenteuer für Kinder: 'Eine Idee ist die Verschönerung mit Glückskäfern.  Auch als...'

13

Enjoy your gift!

Bild zum Schritt 13 für das Bastel- und DIY-Abenteuer für Kinder: 'Viel Freude beim Verschenken!'

Wish-----, rattle----, lucky----

Follow us on Facebook , Instagram and Pinterest
Don't miss any more adventures: Our bottle mail

Leave a Reply

Your email address will not be published.

The maximum upload file size: 5 MB. You can upload: image, document. Drop file here