Print Options:

Windspiel with paper rings

Material for1 ChildPrep Time5 min.Adv. Time20 min.Total Time25 min.

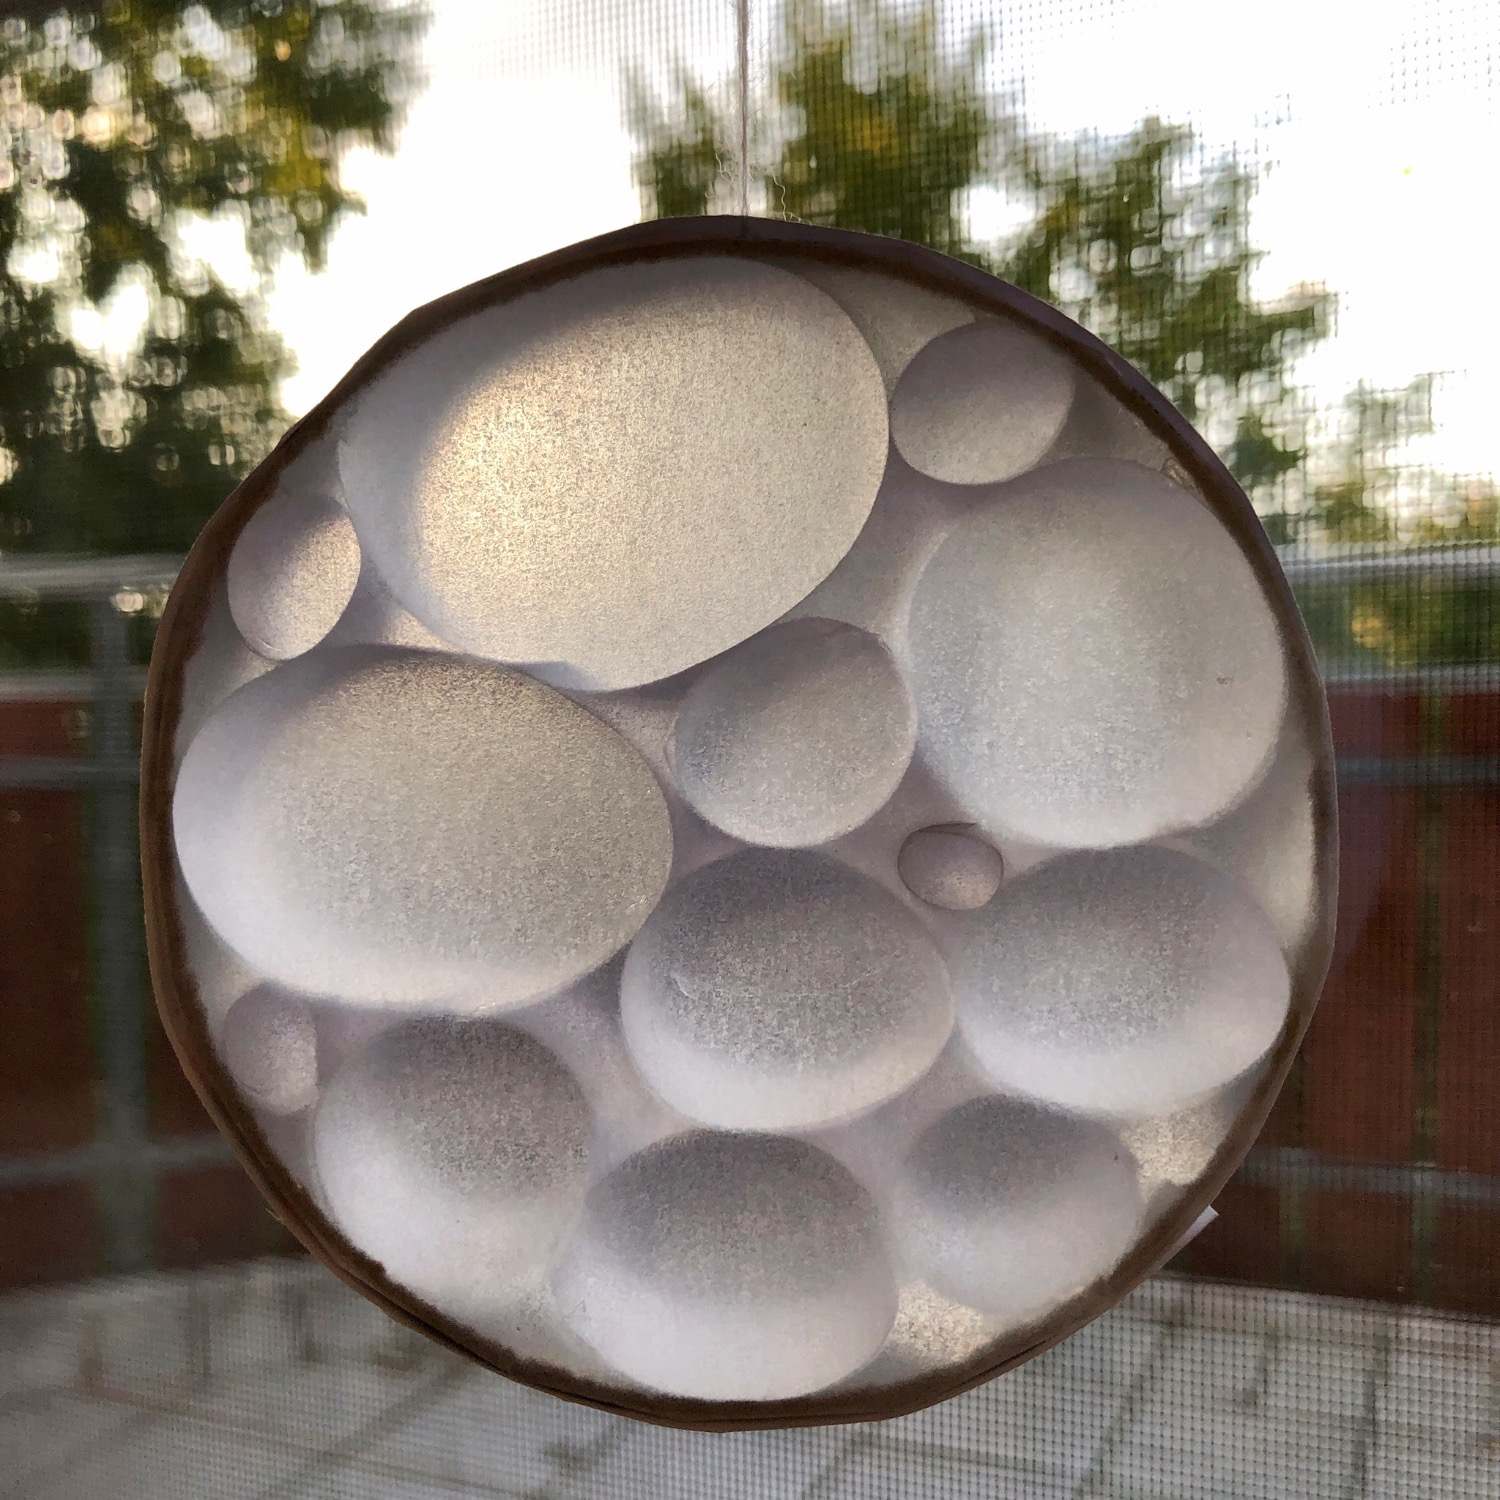
We make a windgame/window picture/mobile with a round cardboard frame.
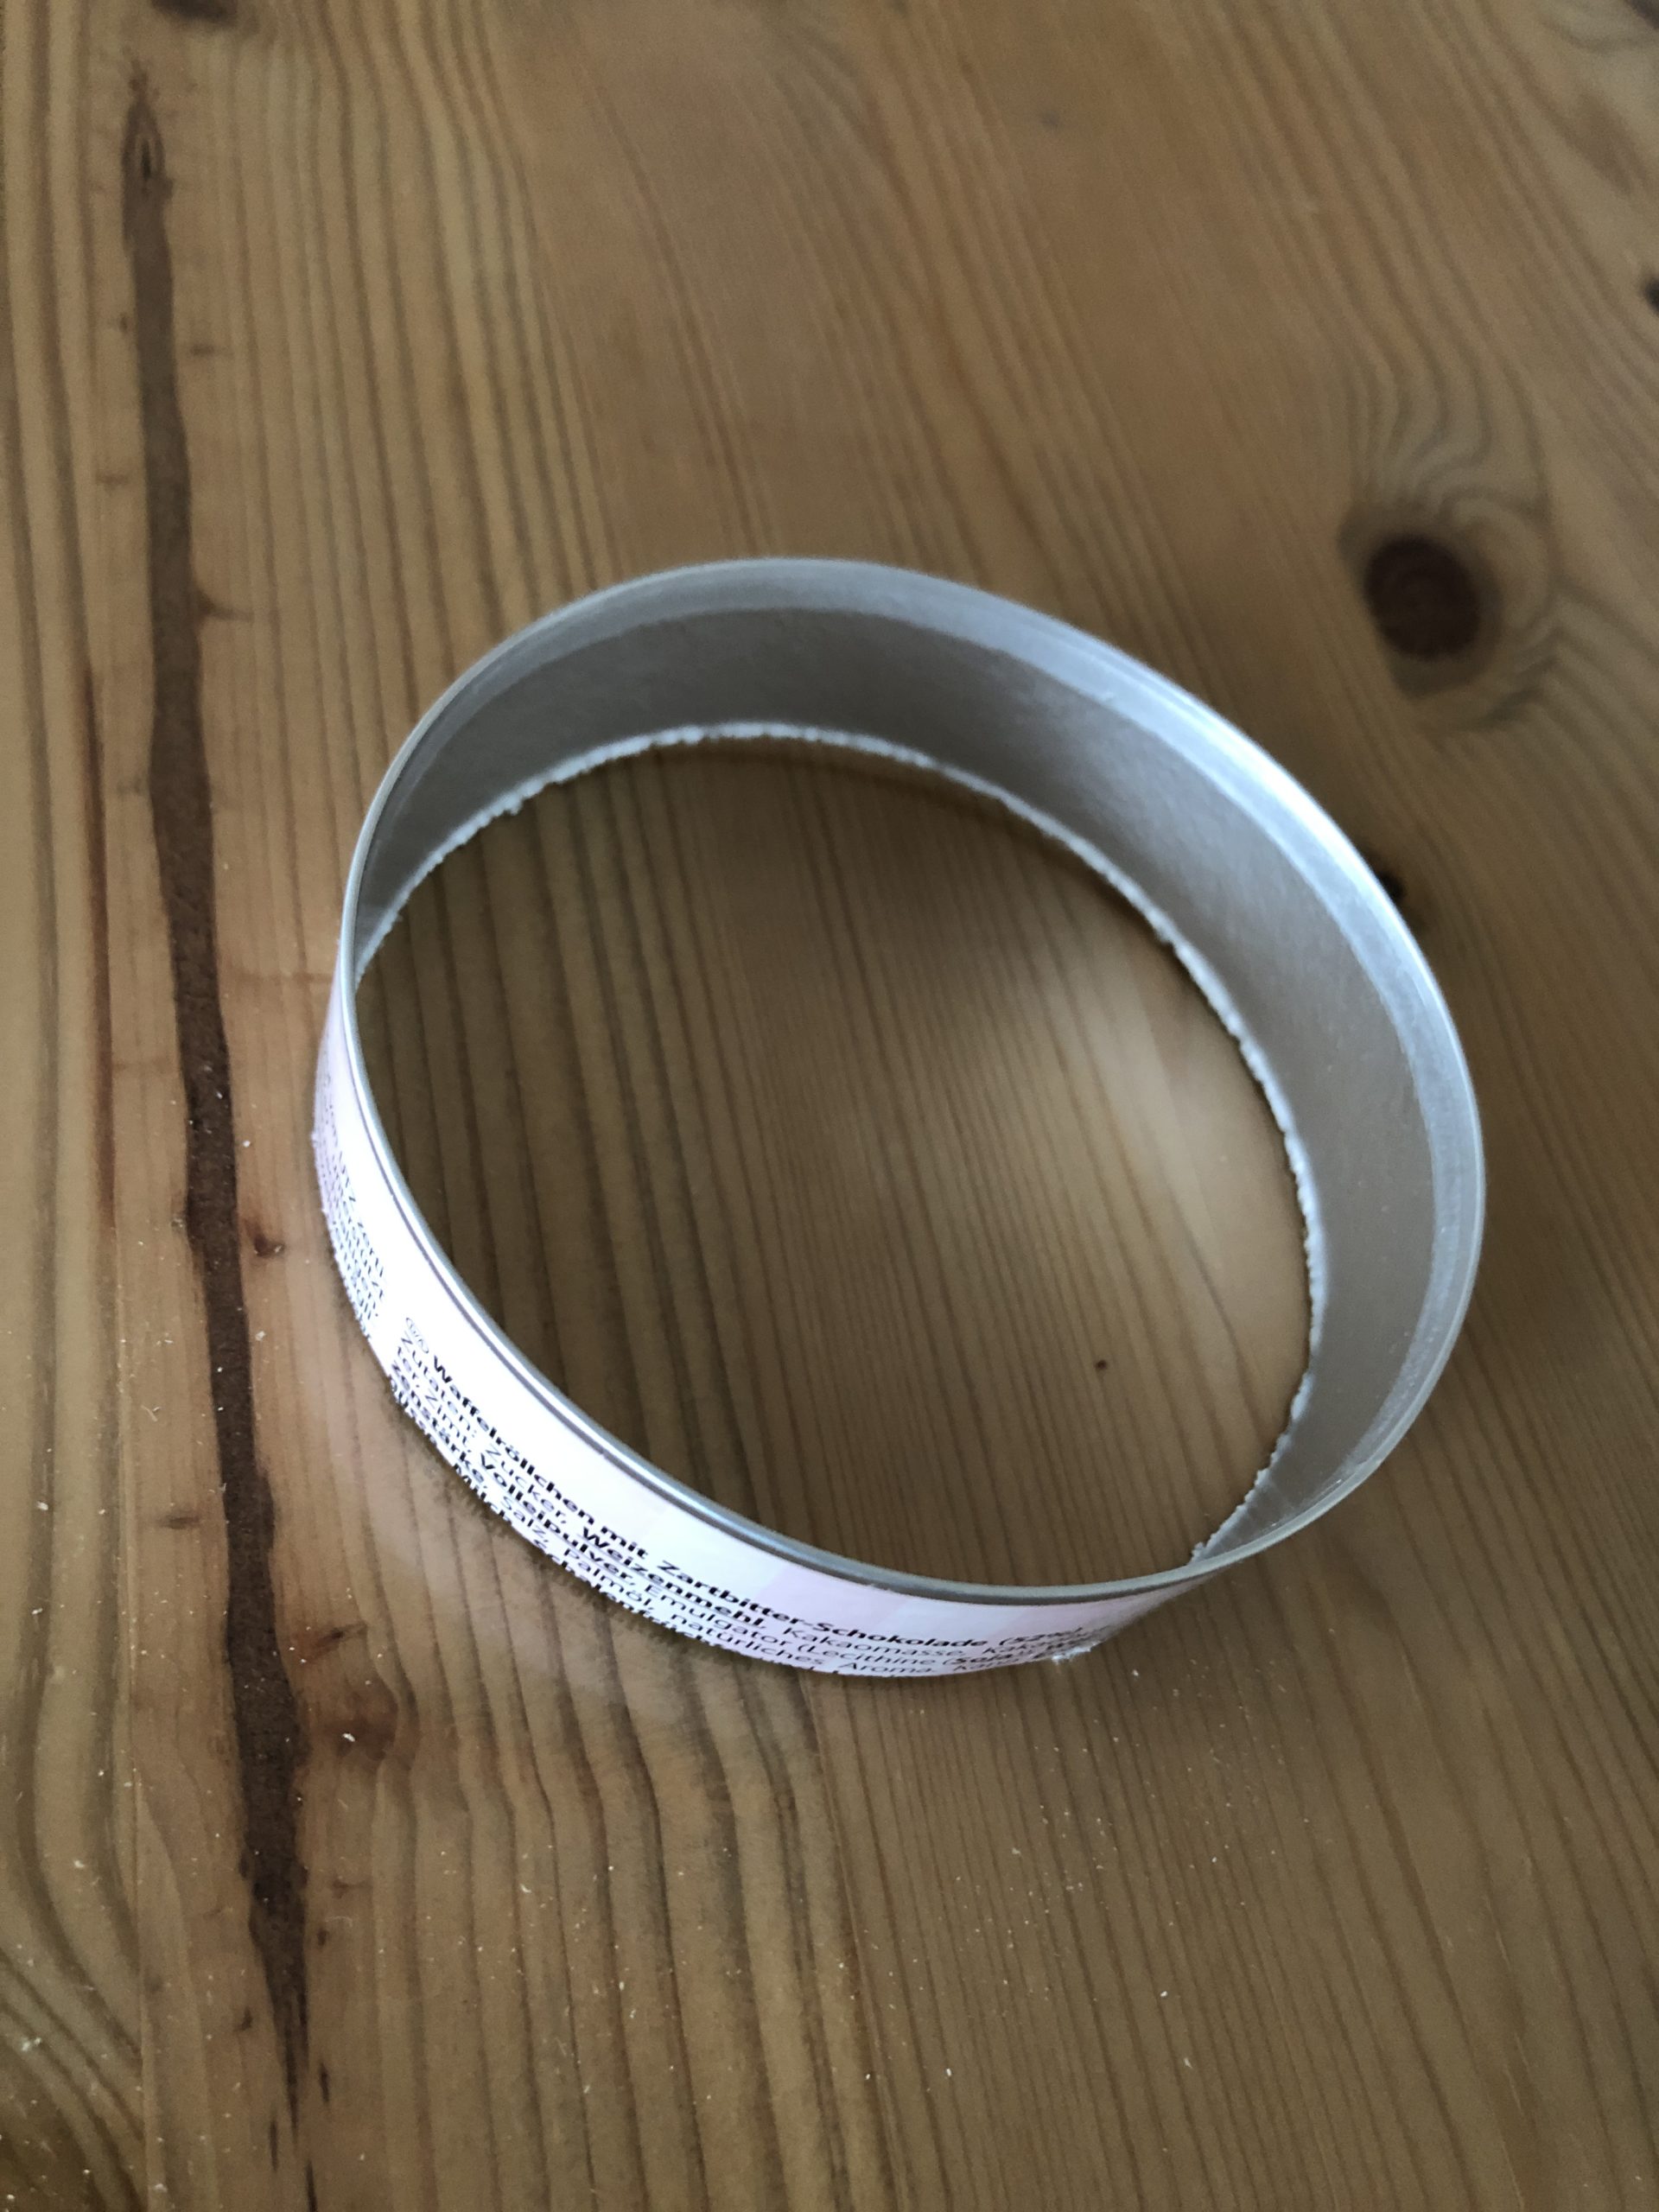
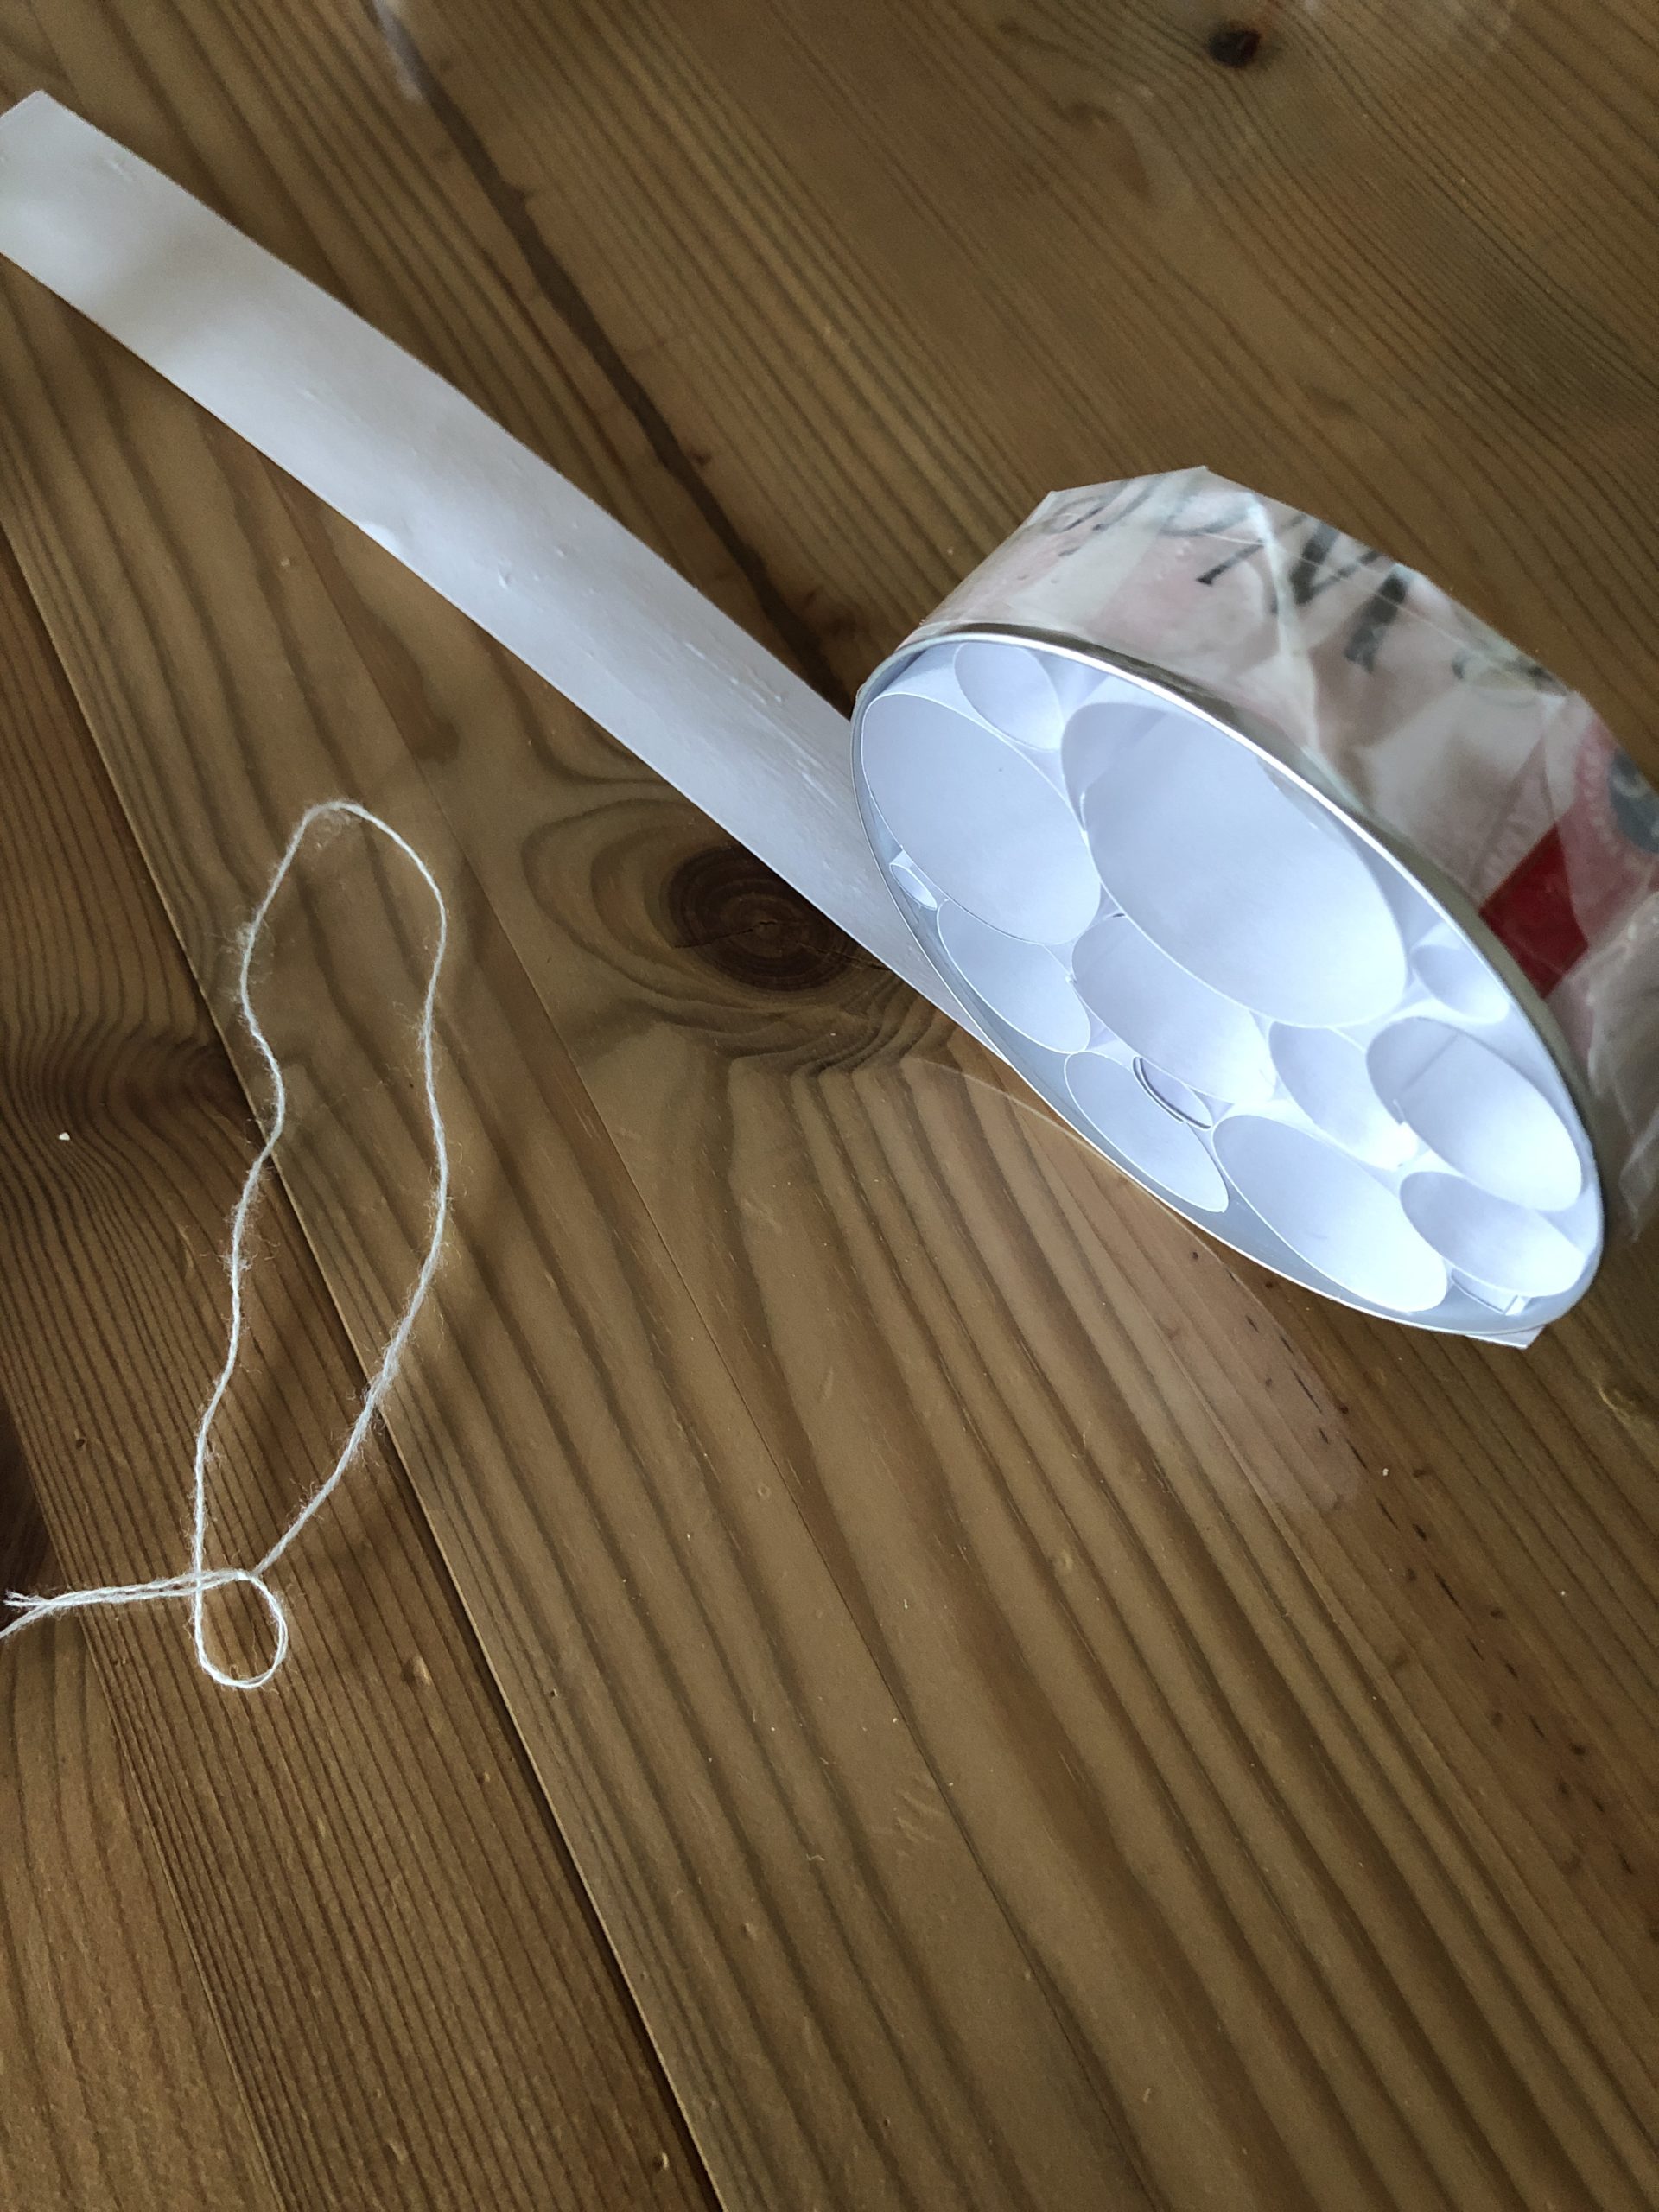
You need a round frame e.g. from a cheese box, a chip can or similar. From paper rings are made, which are then fitted into the frame. Afterwards the whole is covered with transparent paper. This creates a sensational effect, especially in sunlight.

Titelbild zur Bastel- und DIY-Idee für Kinder '(393) Windspiel mit Papierringen'

 1 empty cheese box, can of chips, coffee box...
 2 Sheets Typewriter paper (80g)
 1 White transparent paper a little bigger than your box
 1 Cutter knife
 1 Cutting pad
 1 Scissors
 1 Ruler
 1 Pencil
 Tesafilm or glue pen
 Thread for hanging
All links marked with a shopping cart lead to Amazon - here we have selected products that we would order ourselves and in part also ordered. In a qualified purchase via the advertising link, we as Amazon partner receive a commission, for you there are no costs. You thus support our cost- and advertising banner-free, educational offer.
1

Of our can we only need a 2cm wide strip. This serves us as a frame.
Tip: You can also use a cheese box to remove the lid and bottom.

Bild zum Schritt 1 für das Bastel- und DIY-Abenteuer für Kinder: 'Von unserer Dose benötigen wir nur einen circa 2cm breiten...'

2

2. Bild zum Schritt 1 für das Bastel- und DIY-Abenteuer für Kinder: 'Von unserer Dose benötigen wir nur einen circa 2cm breiten...'

3

Draw on the white paper with the ruler 2cm wide stripes and cut them out.

Bild zum Schritt 3 für das Bastel- und DIY-Abenteuer für Kinder: 'Zeichnet nun auf dem weißen Papier mit dem Lineal 2cm...'

4

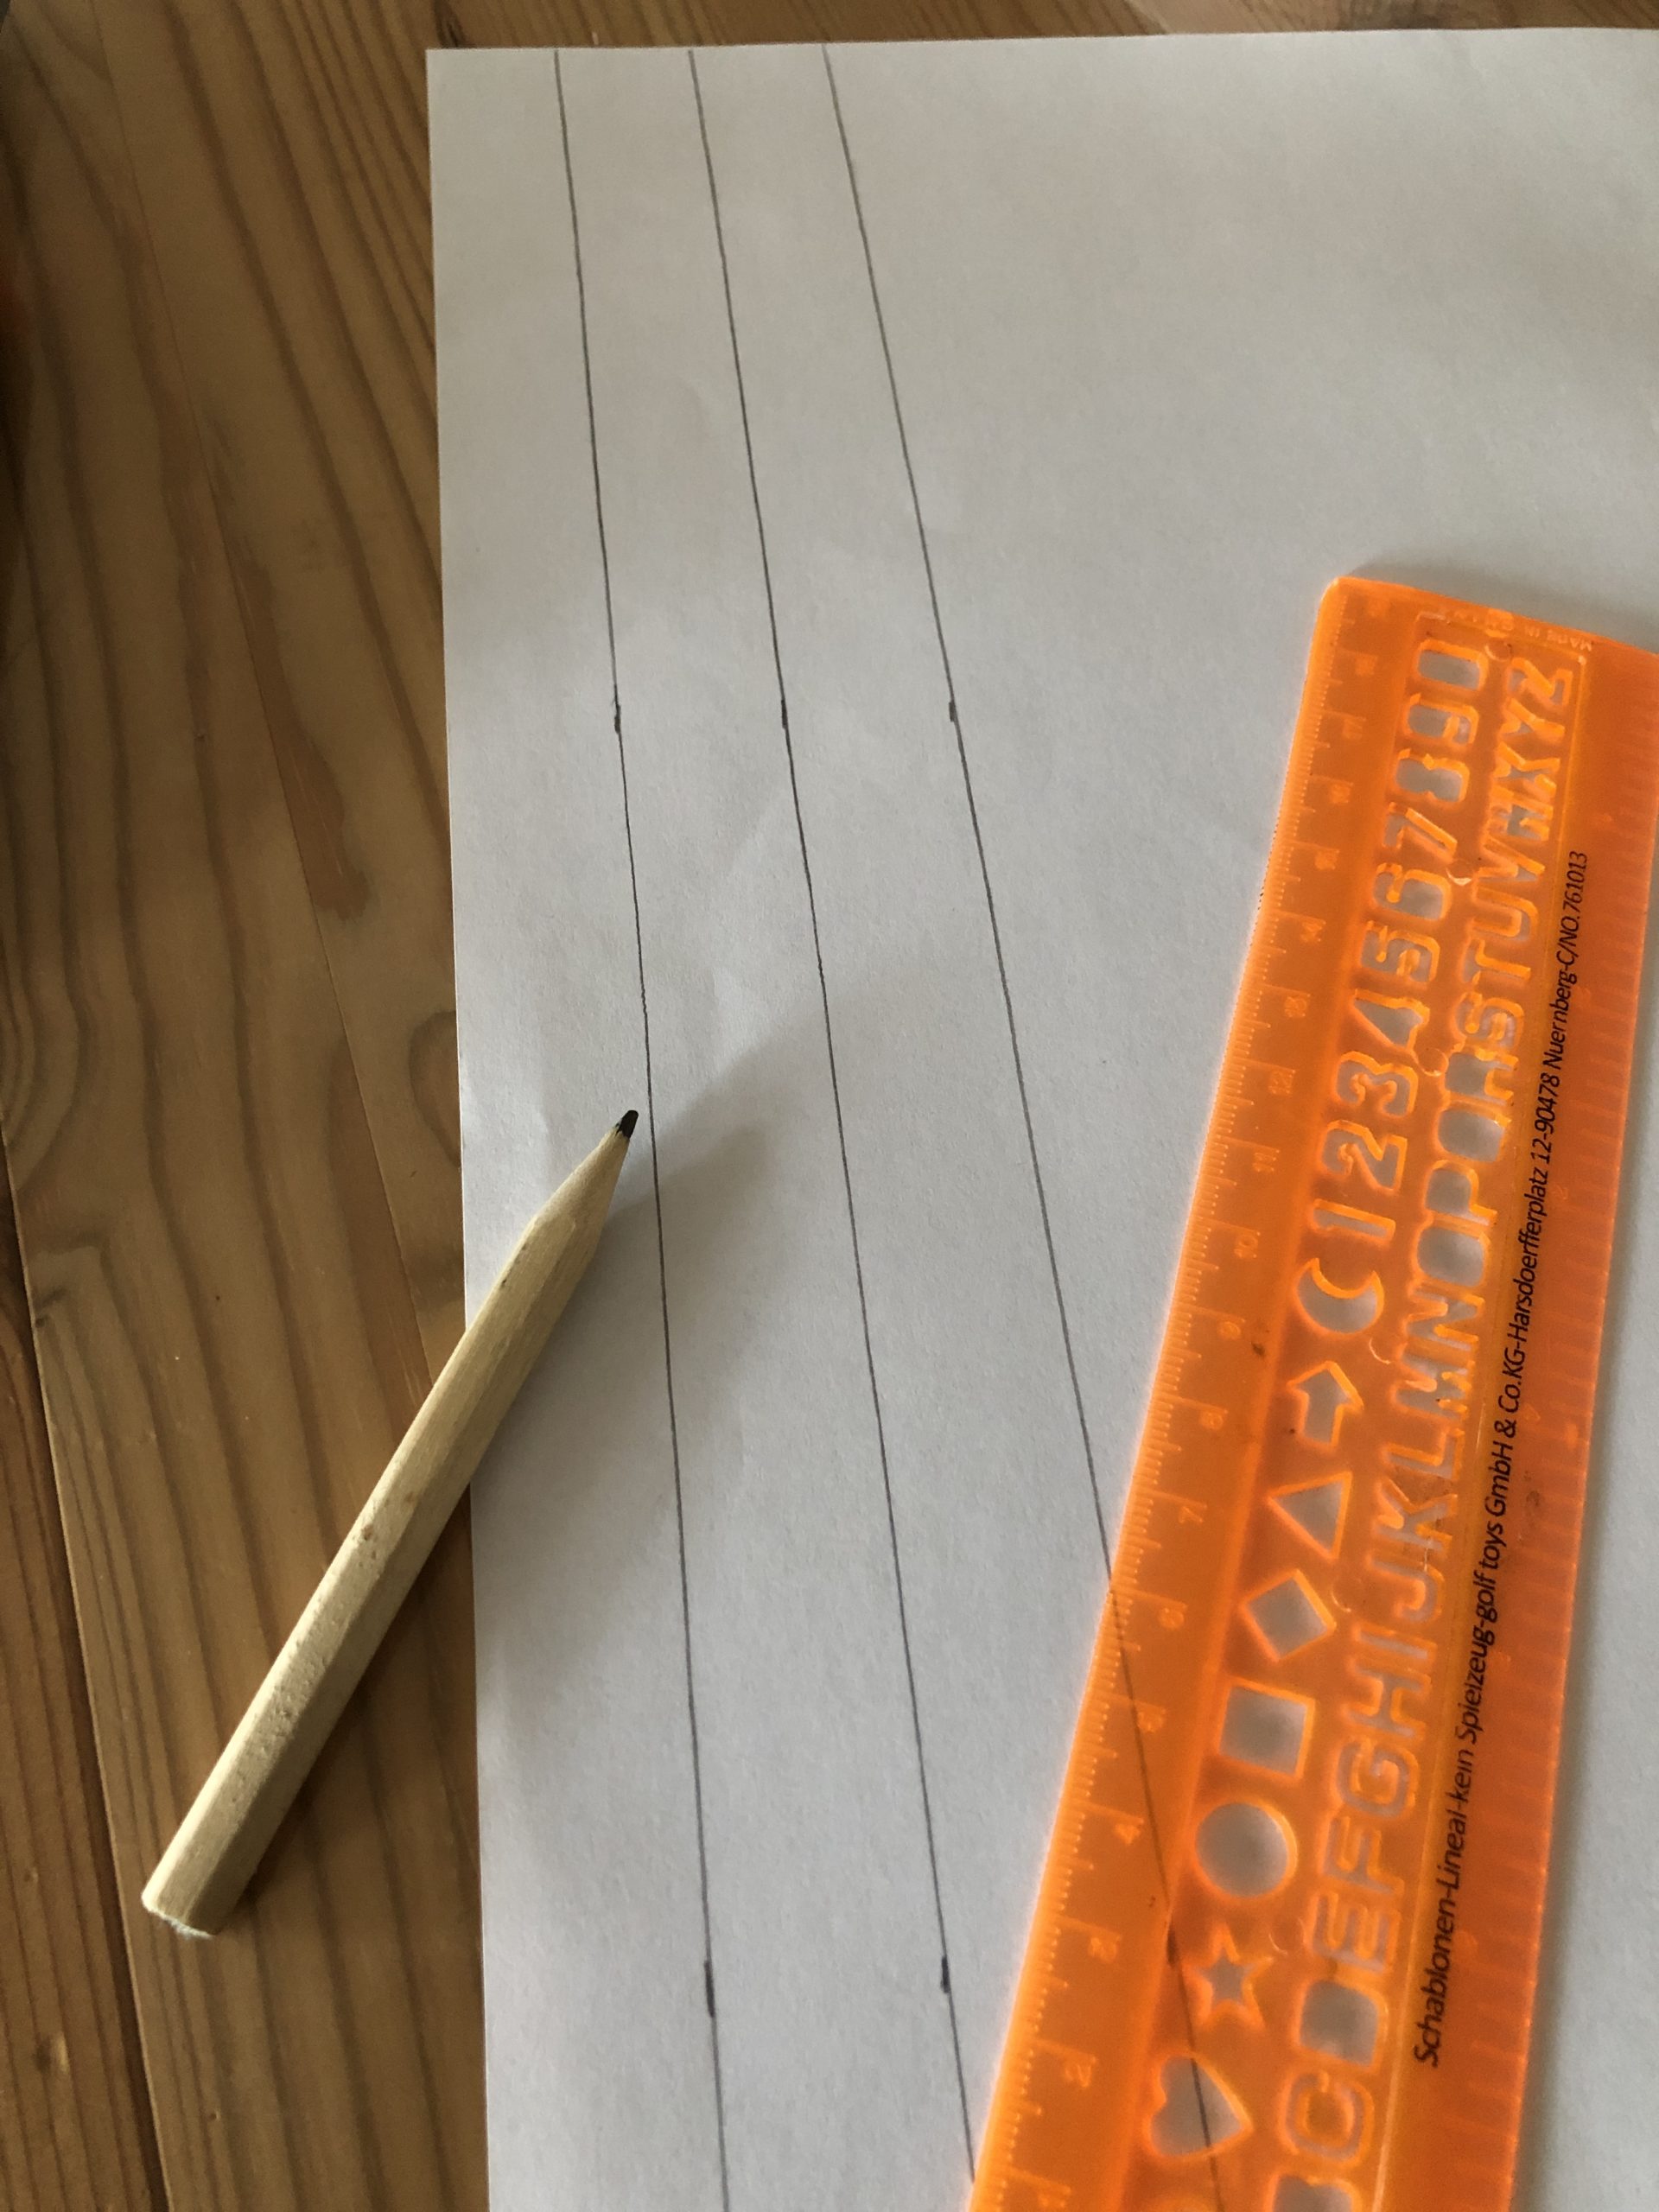
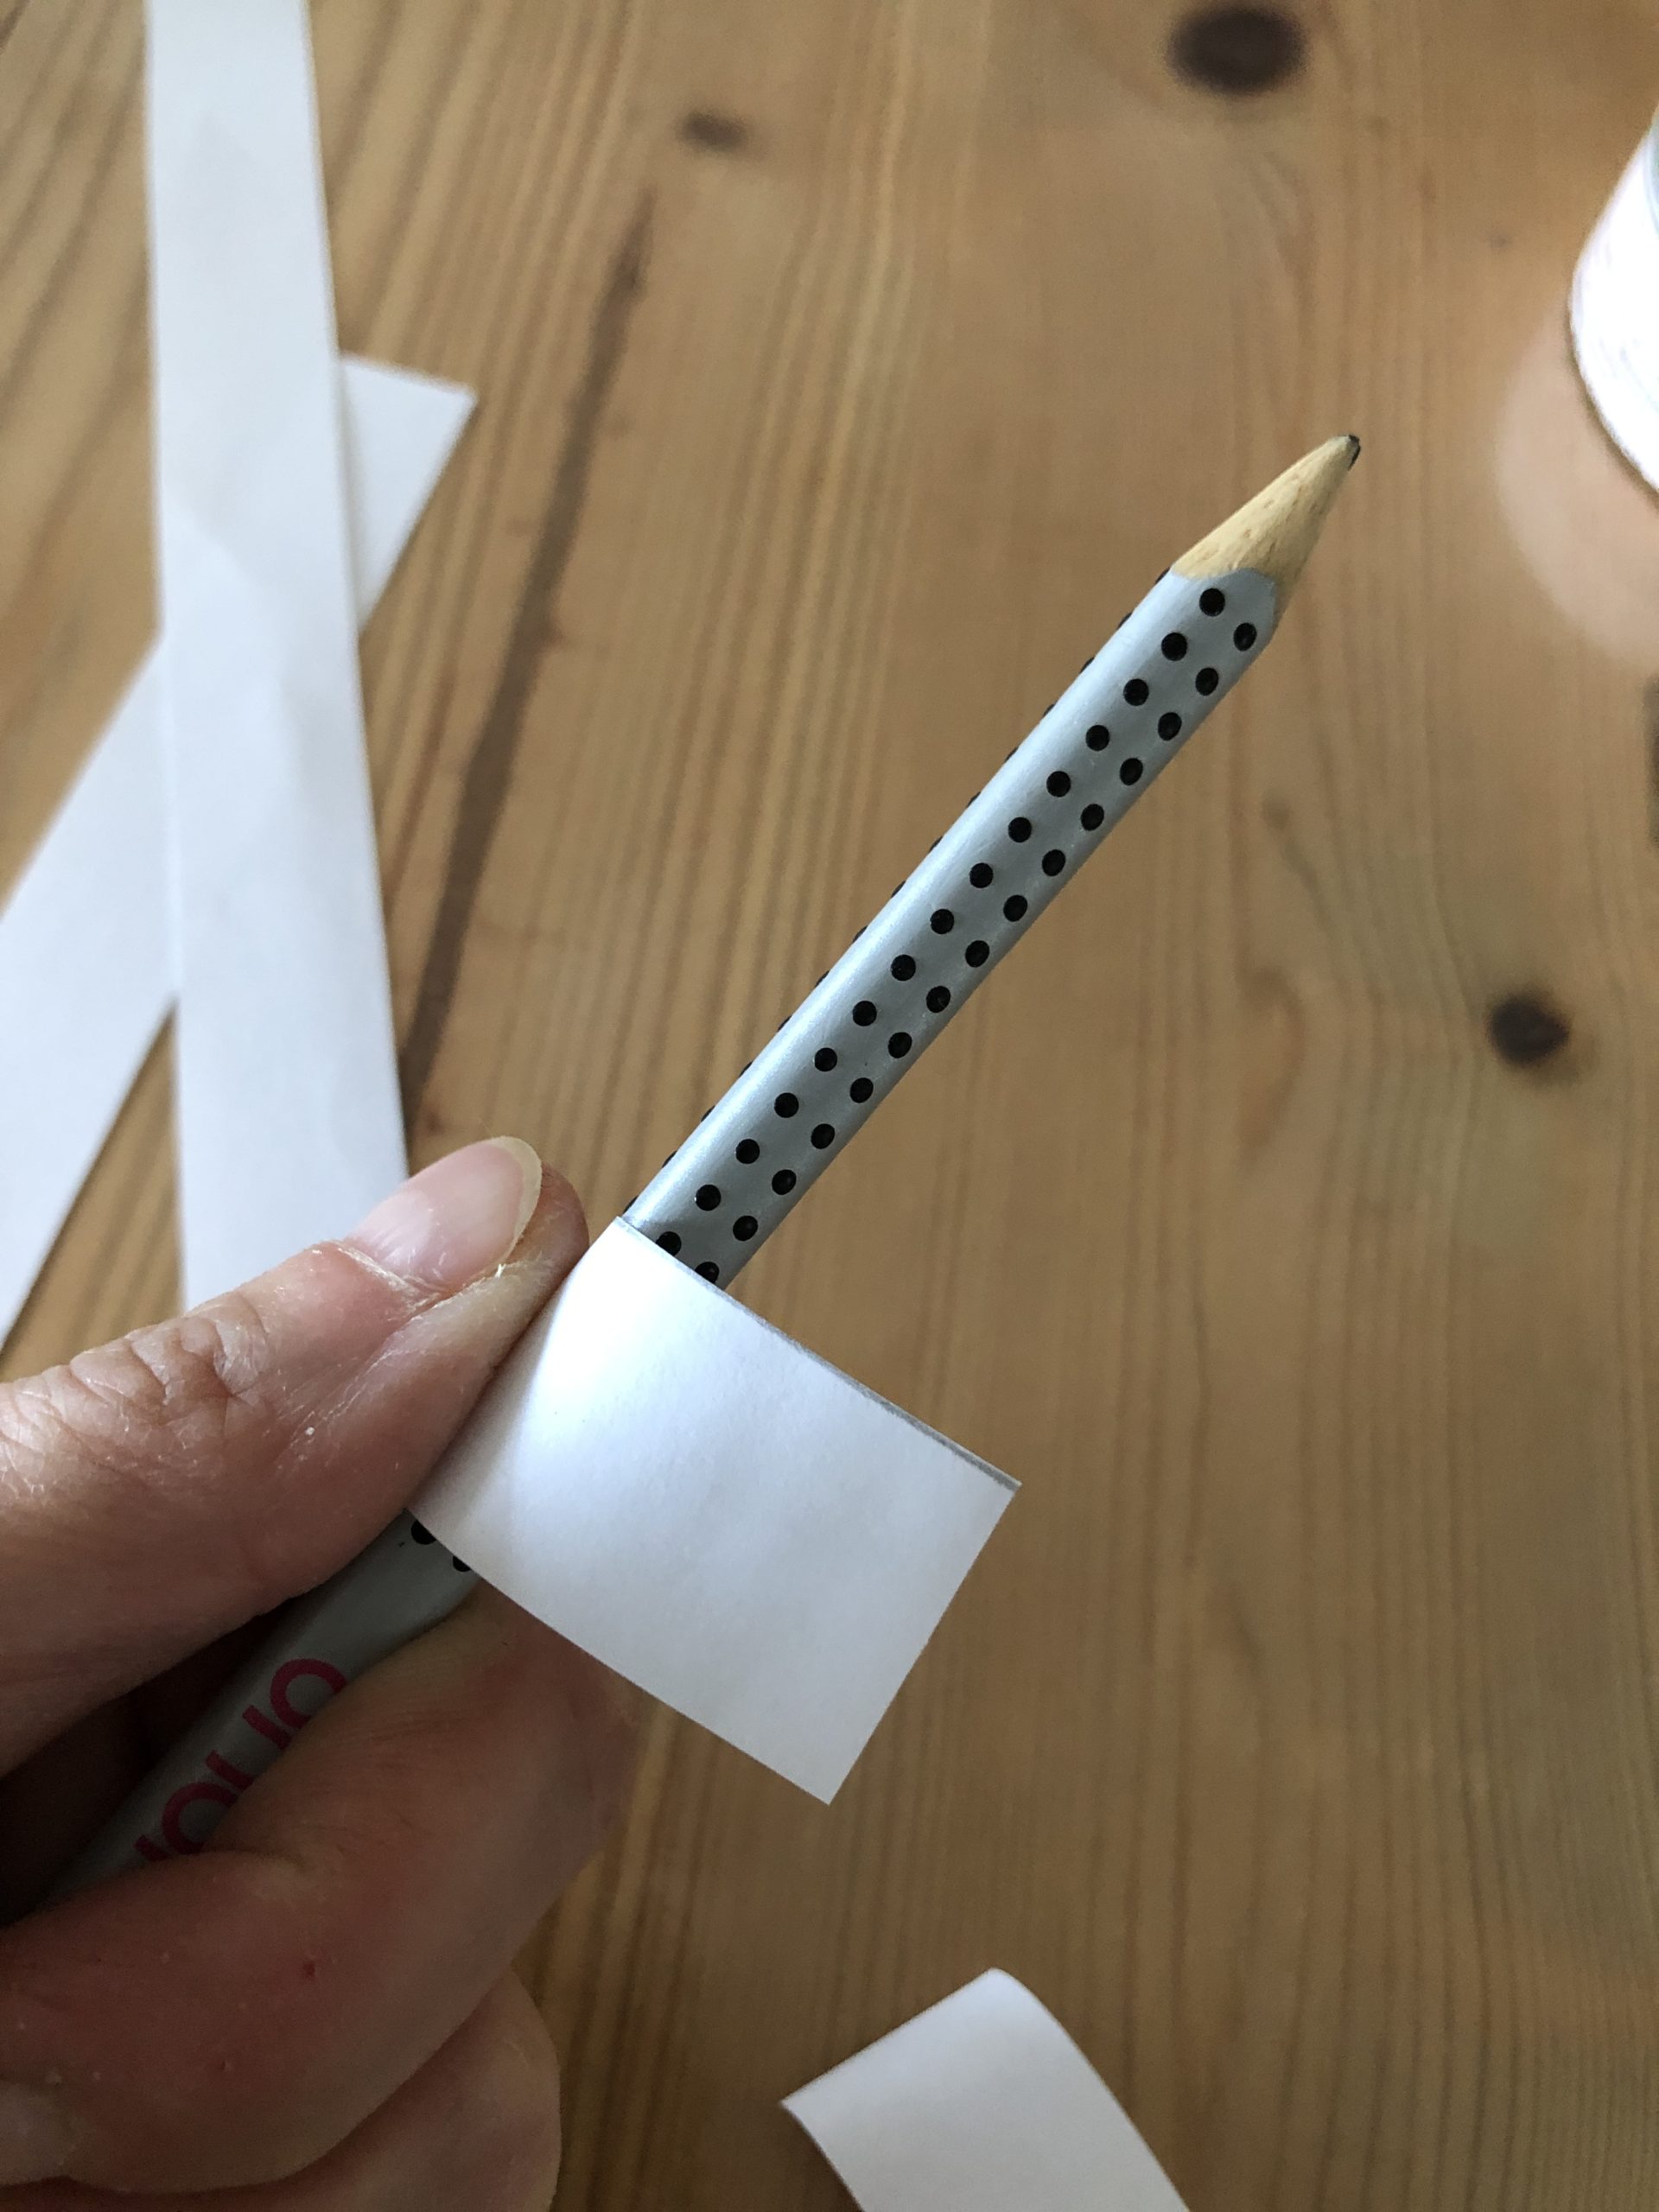
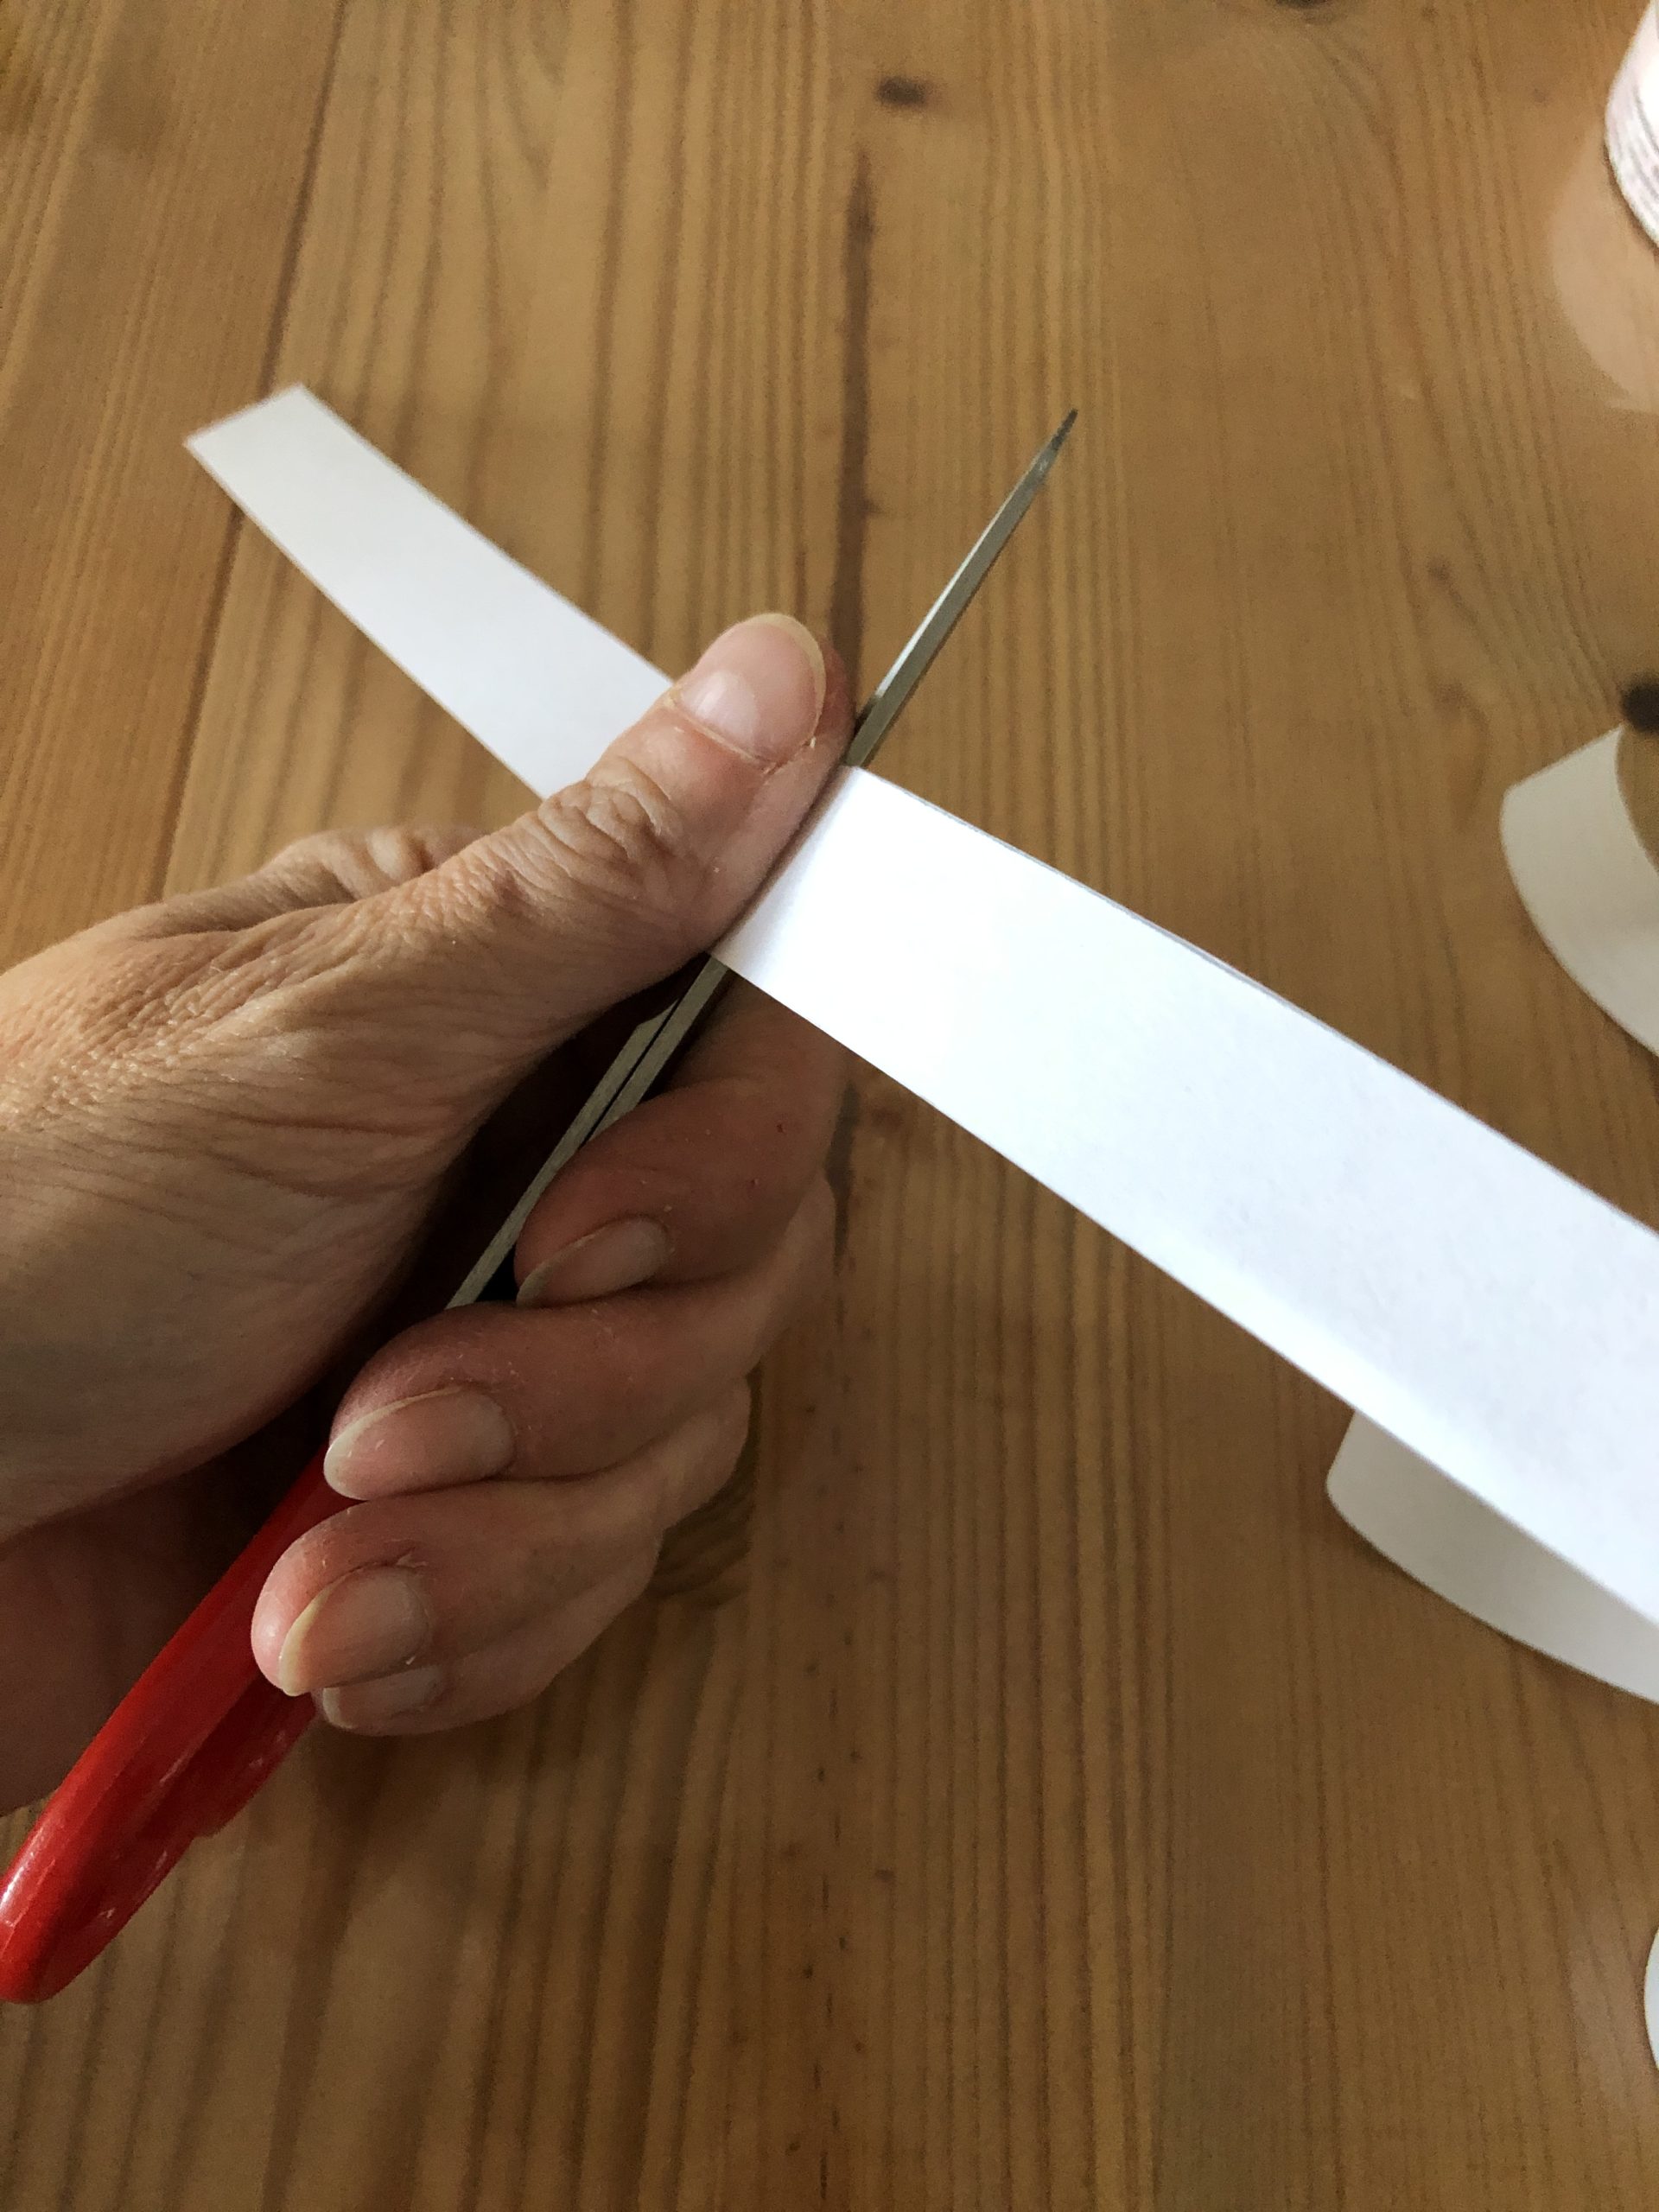
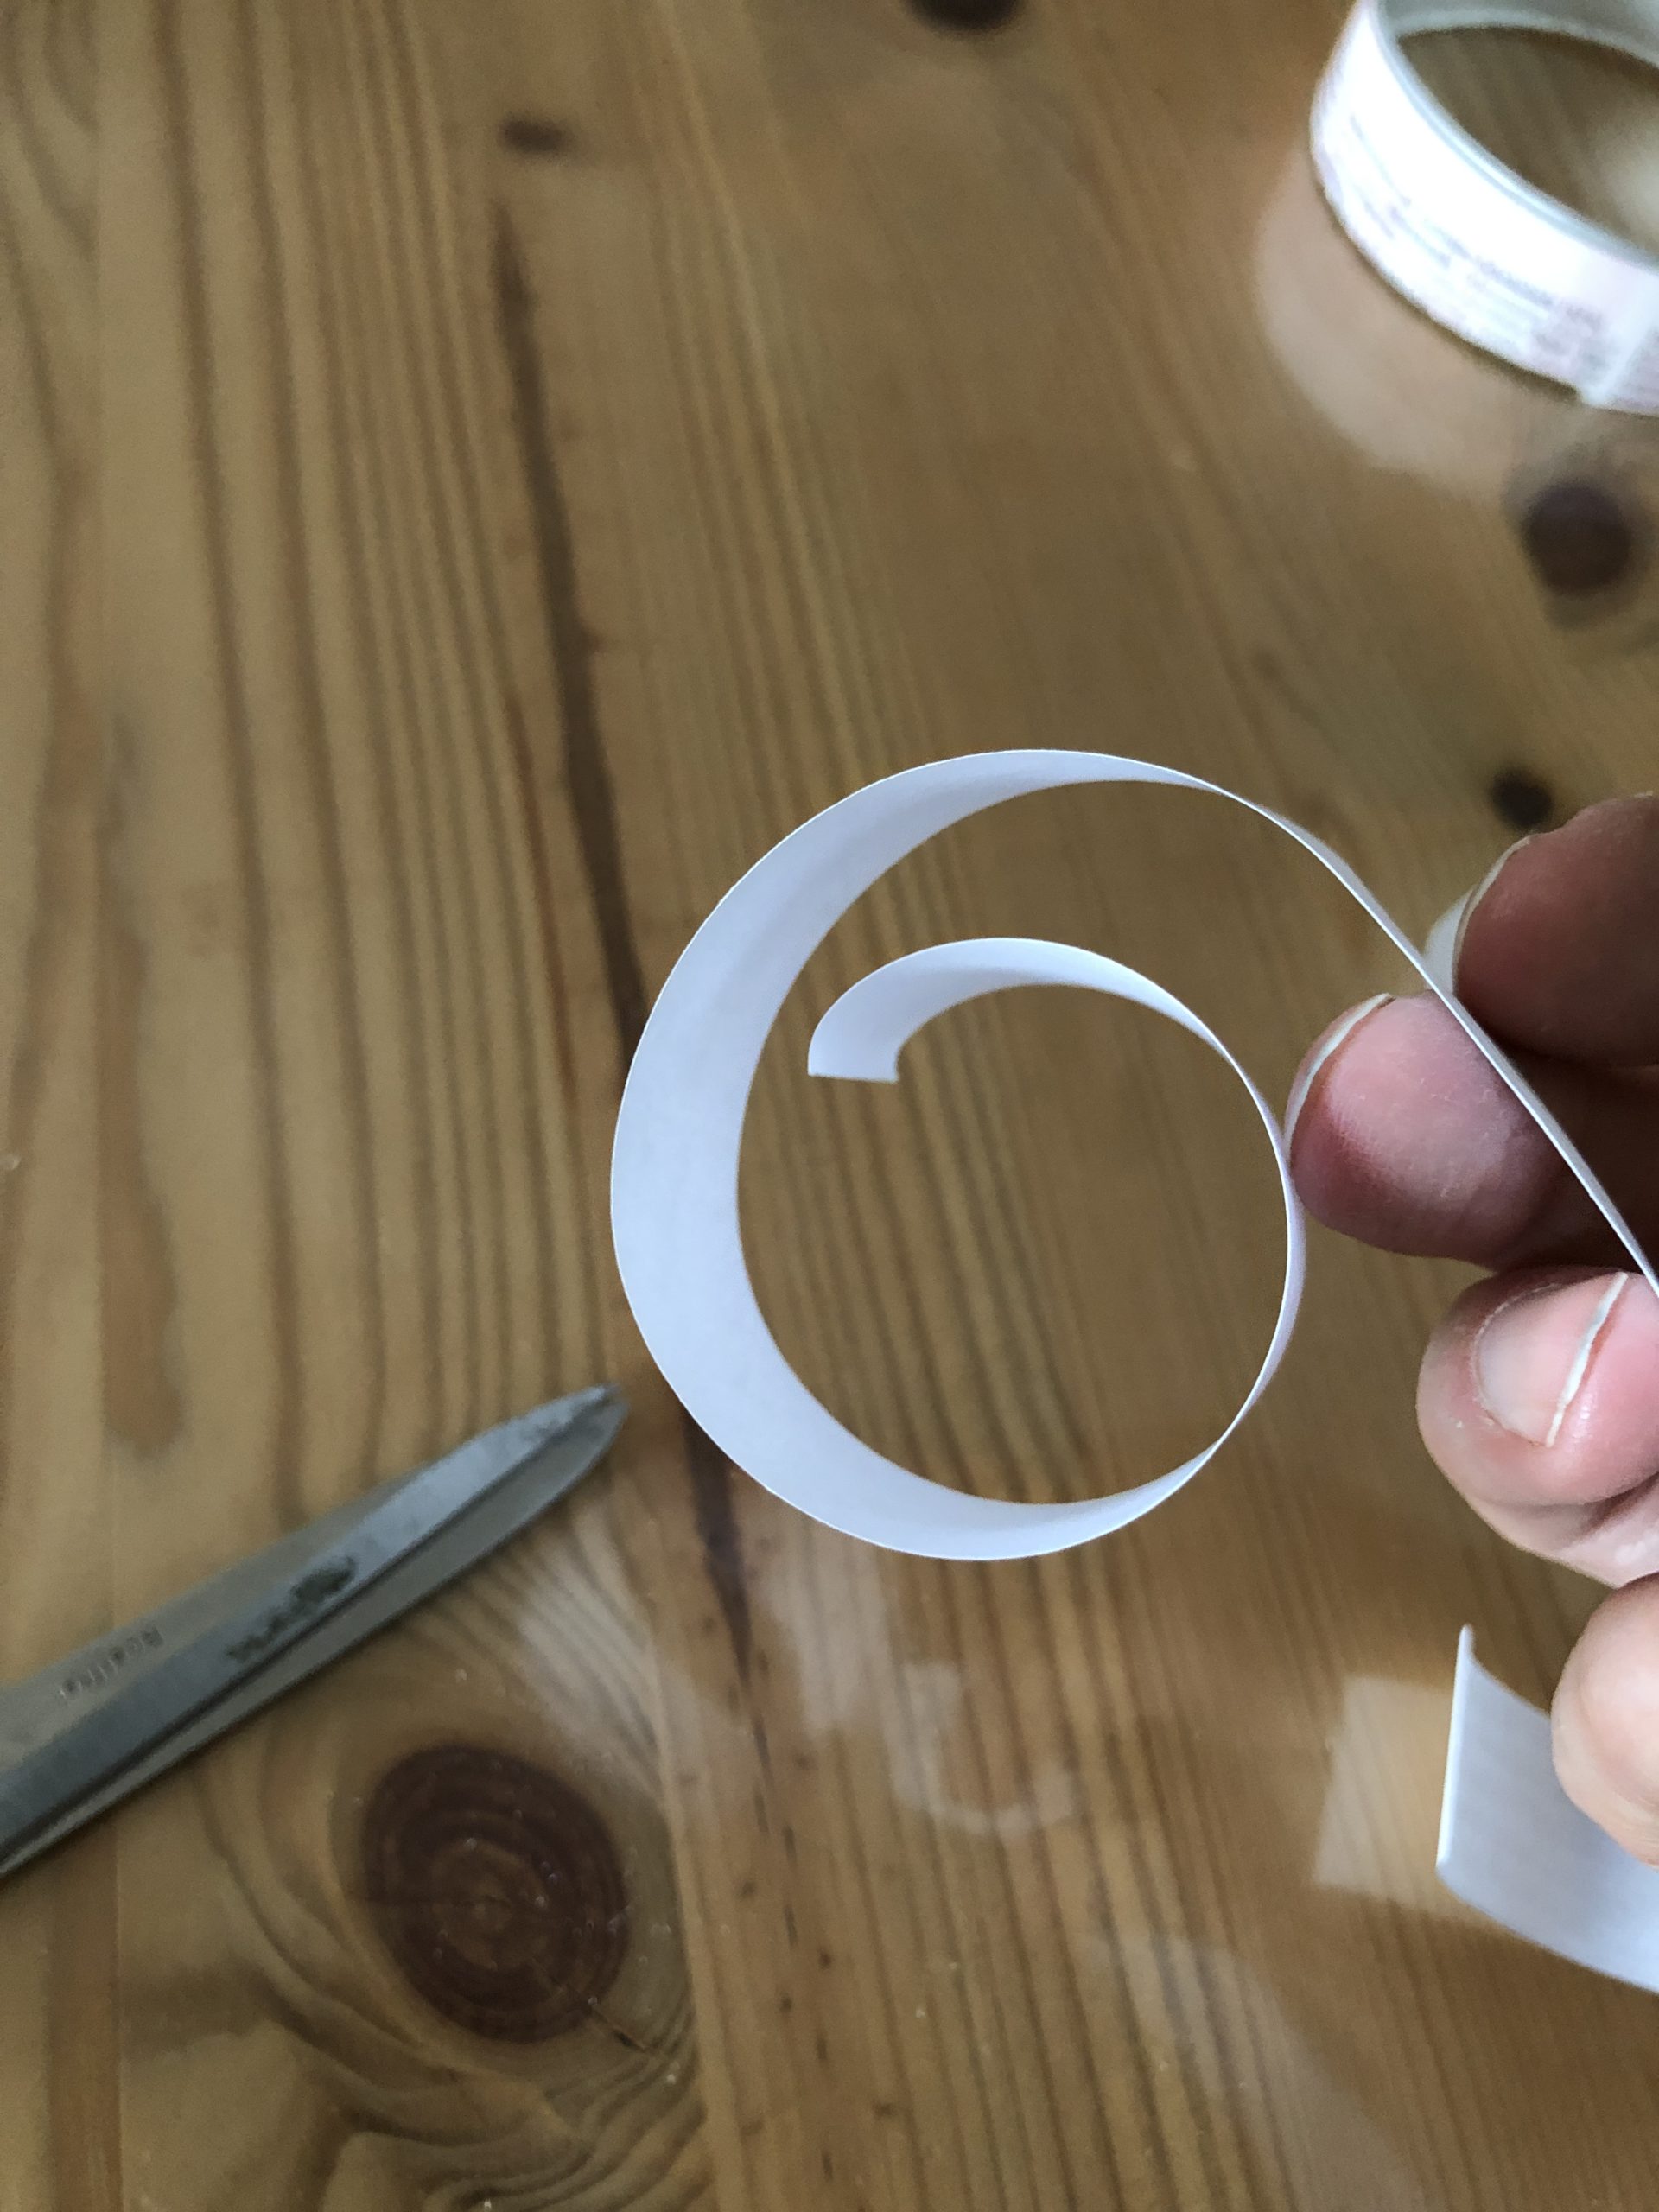
That the paper strips can be glued more easily to rings, you can pull the strips over a pen, a ruler or a scissors (please let an adult help you here!!). Then the paper bends a bit.
See photos!

Bild zum Schritt 4 für das Bastel- und DIY-Abenteuer für Kinder: 'Dass sich die Papierstreifen leichter zu Ringe kleben lassen, könnt...'

5

2. Bild zum Schritt 4 für das Bastel- und DIY-Abenteuer für Kinder: 'Dass sich die Papierstreifen leichter zu Ringe kleben lassen, könnt...'

6

3. Bild zum Schritt 5 für das Bastel- und DIY-Abenteuer für Kinder: 'Dass sich die Papierstreifen leichter zu Ringe kleben lassen, könnt...'

7

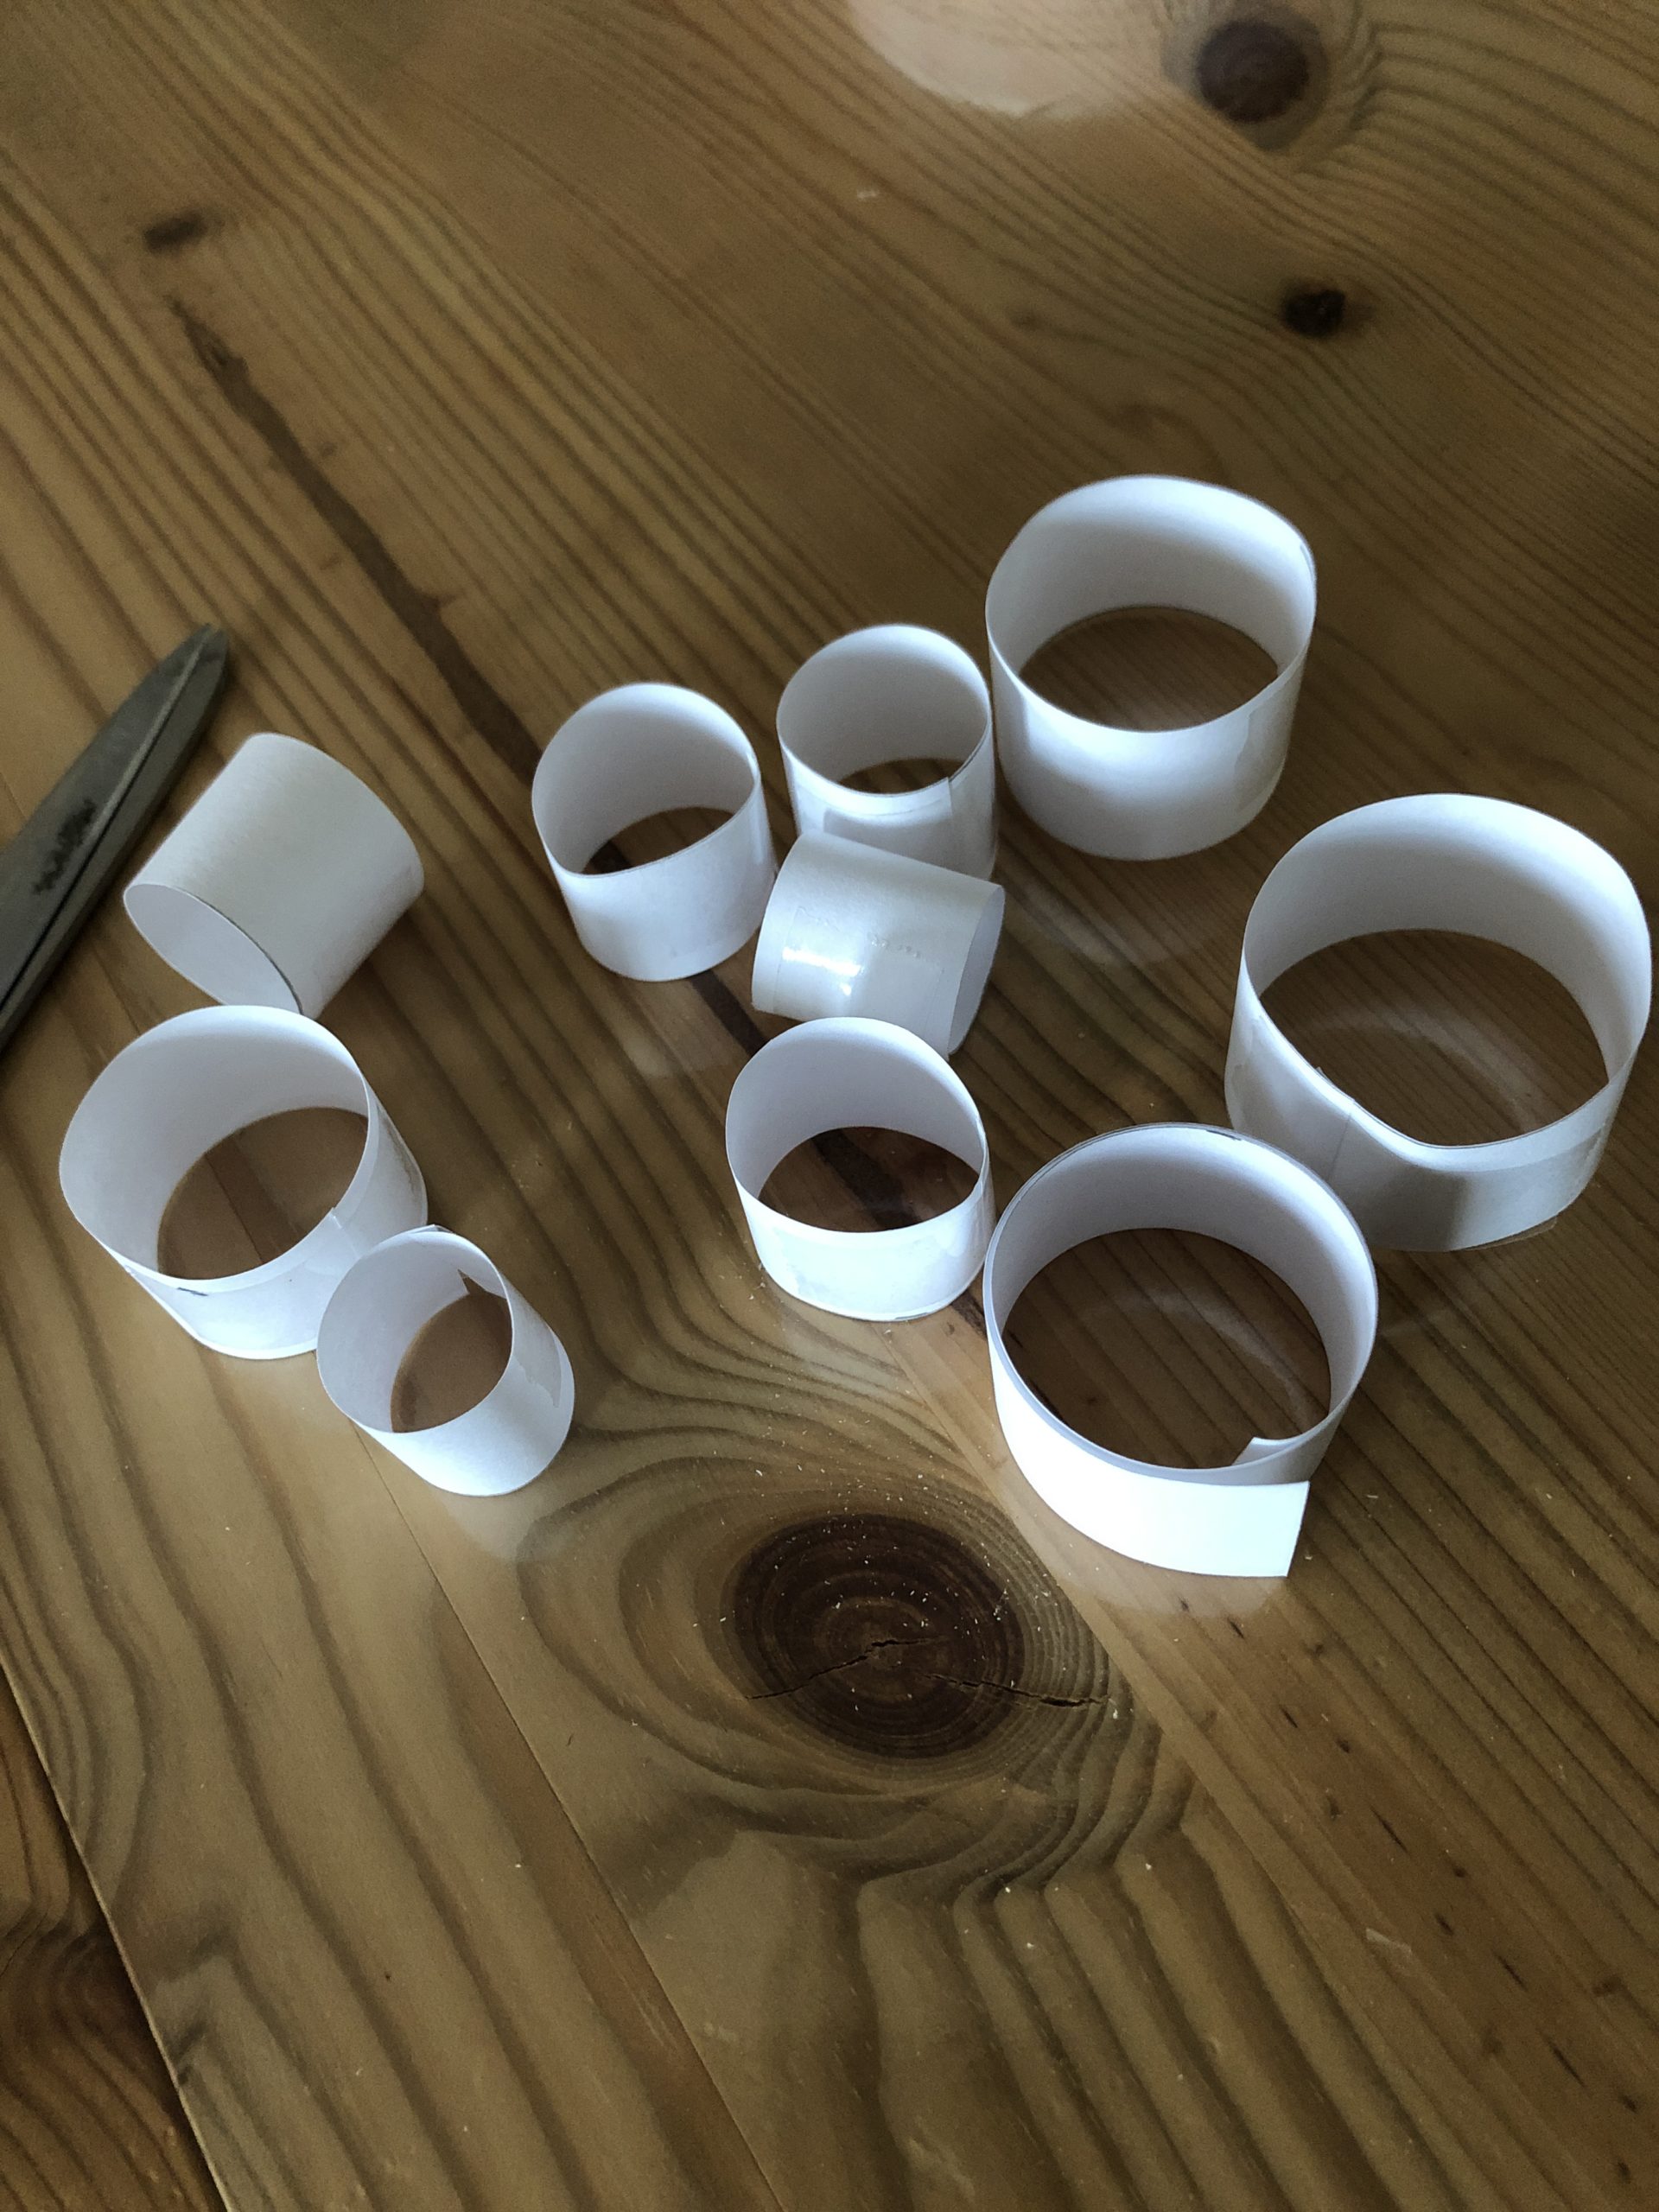
Cut the curved paper strips into pieces of different lengths.

Bild zum Schritt 7 für das Bastel- und DIY-Abenteuer für Kinder: 'Die gebogenen Papierstreifen in unterschiedlich lange Stücke schneiden.'

8

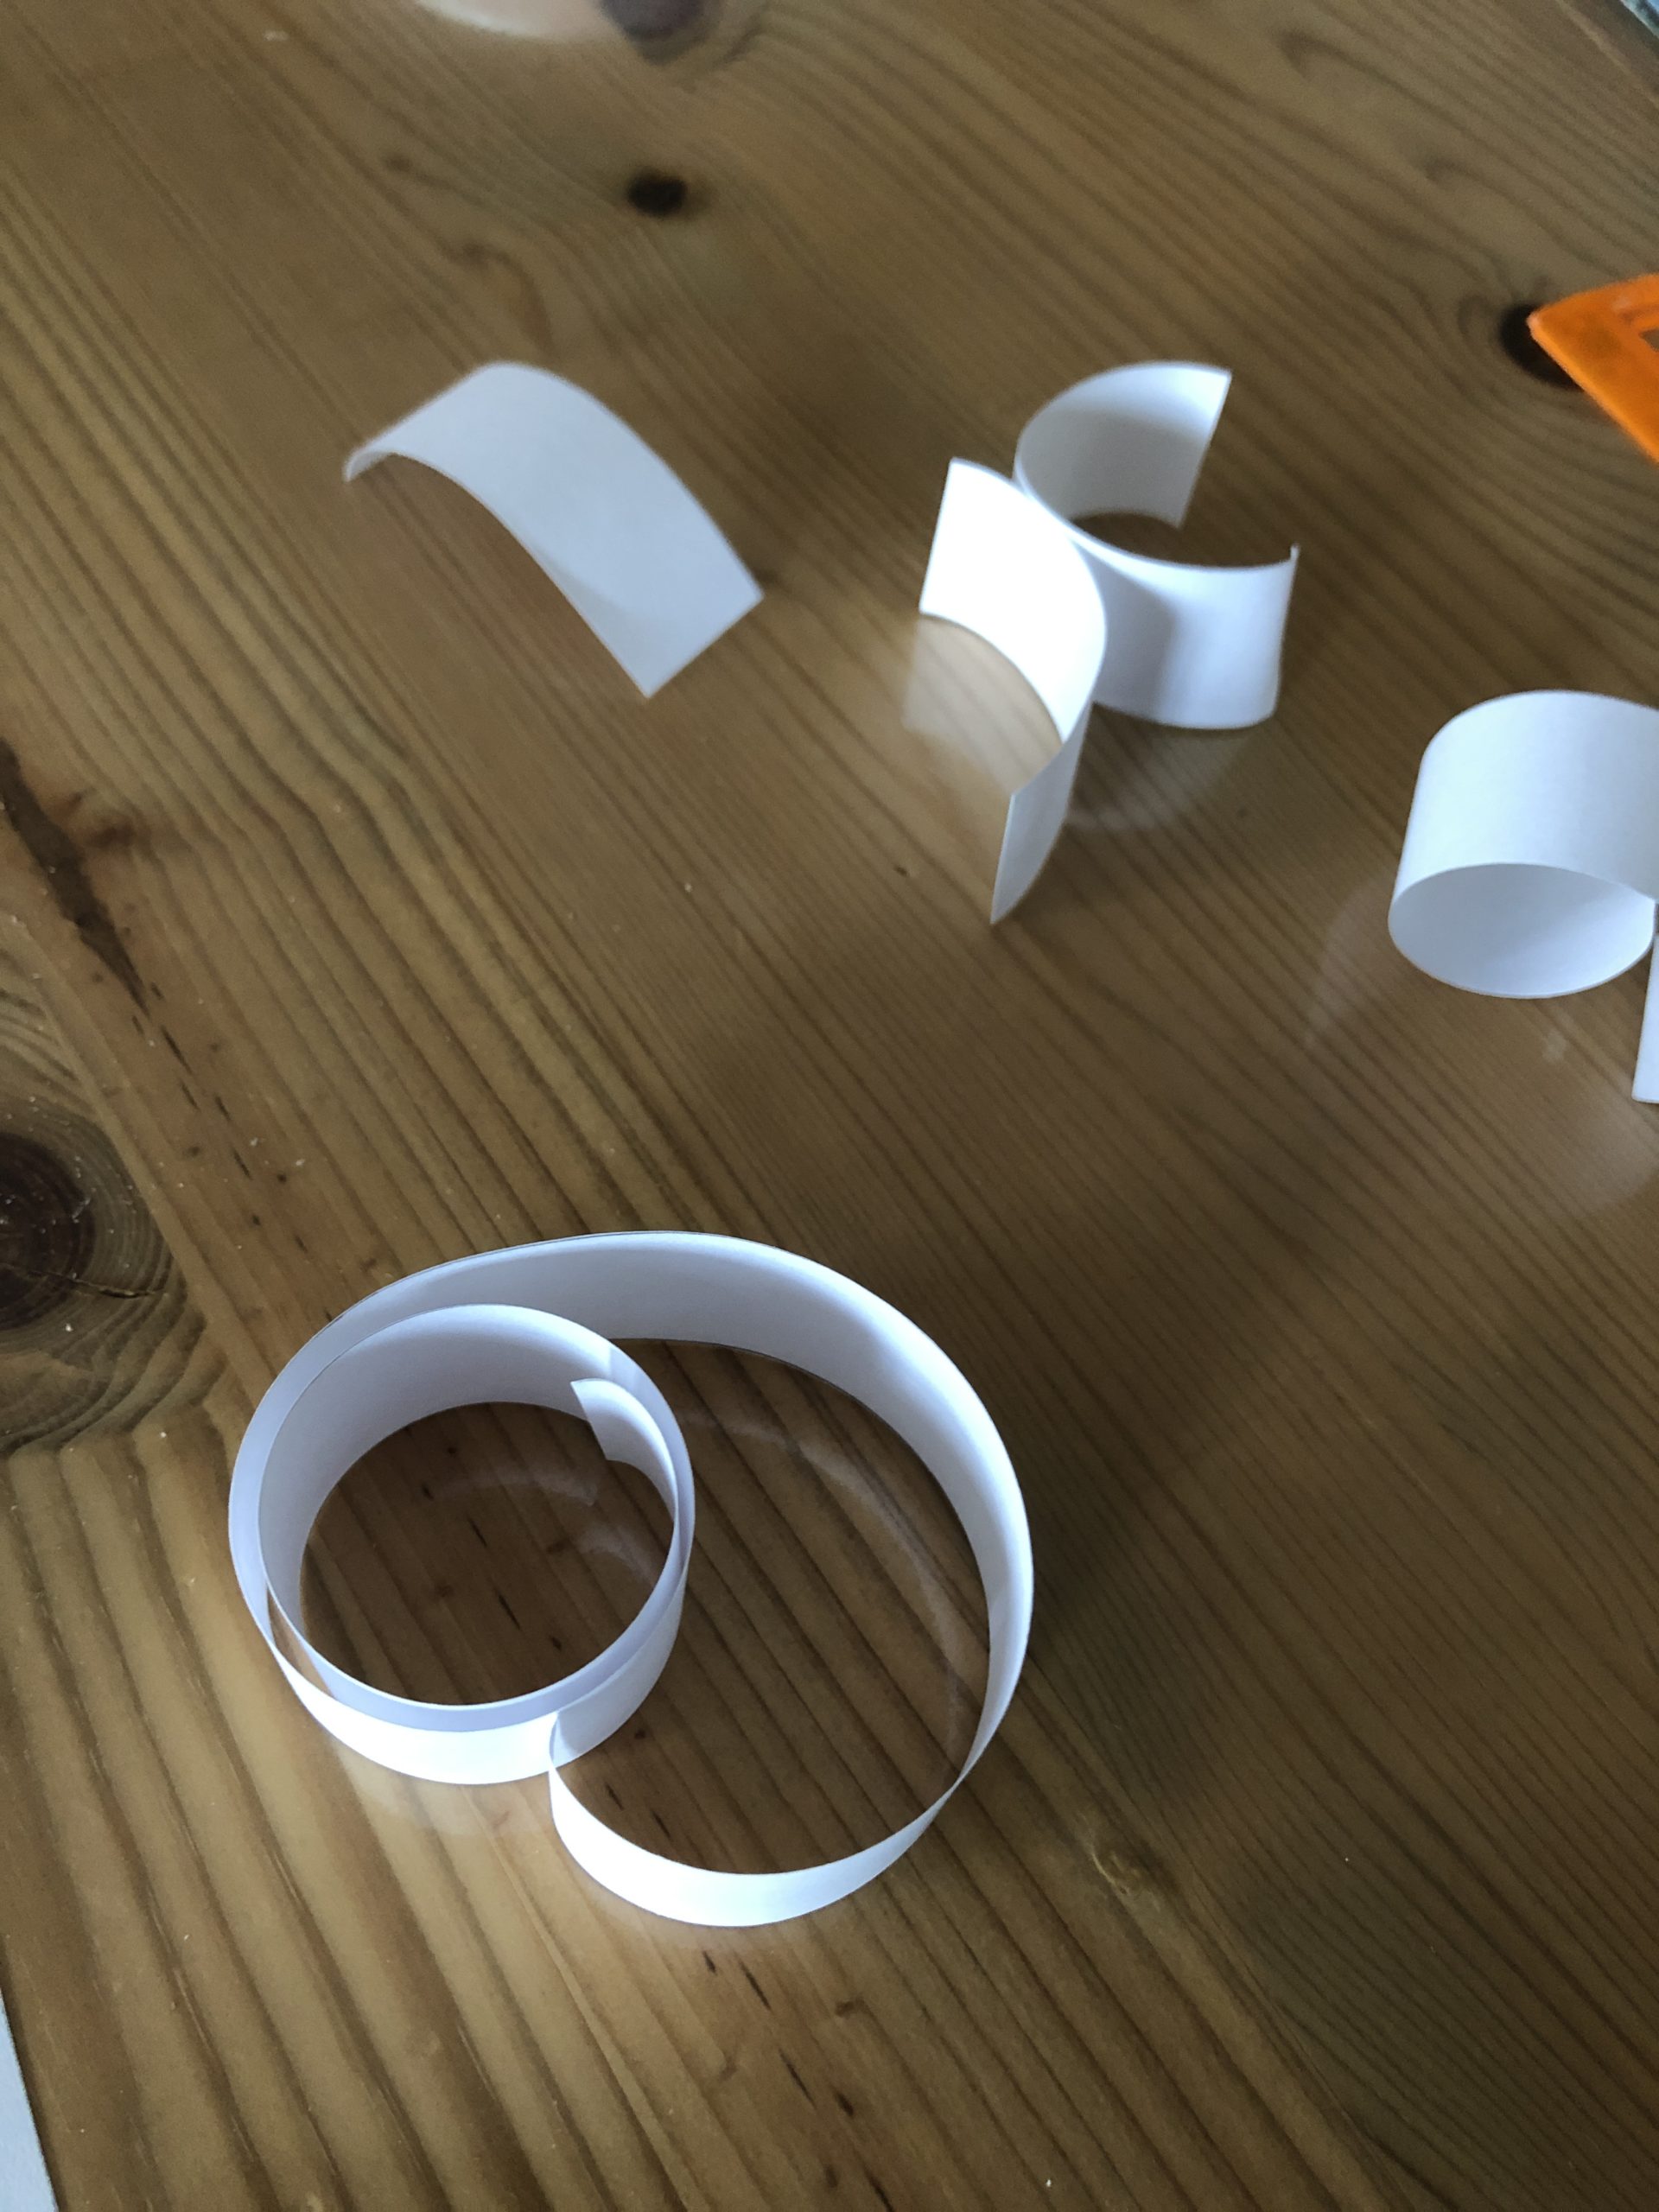
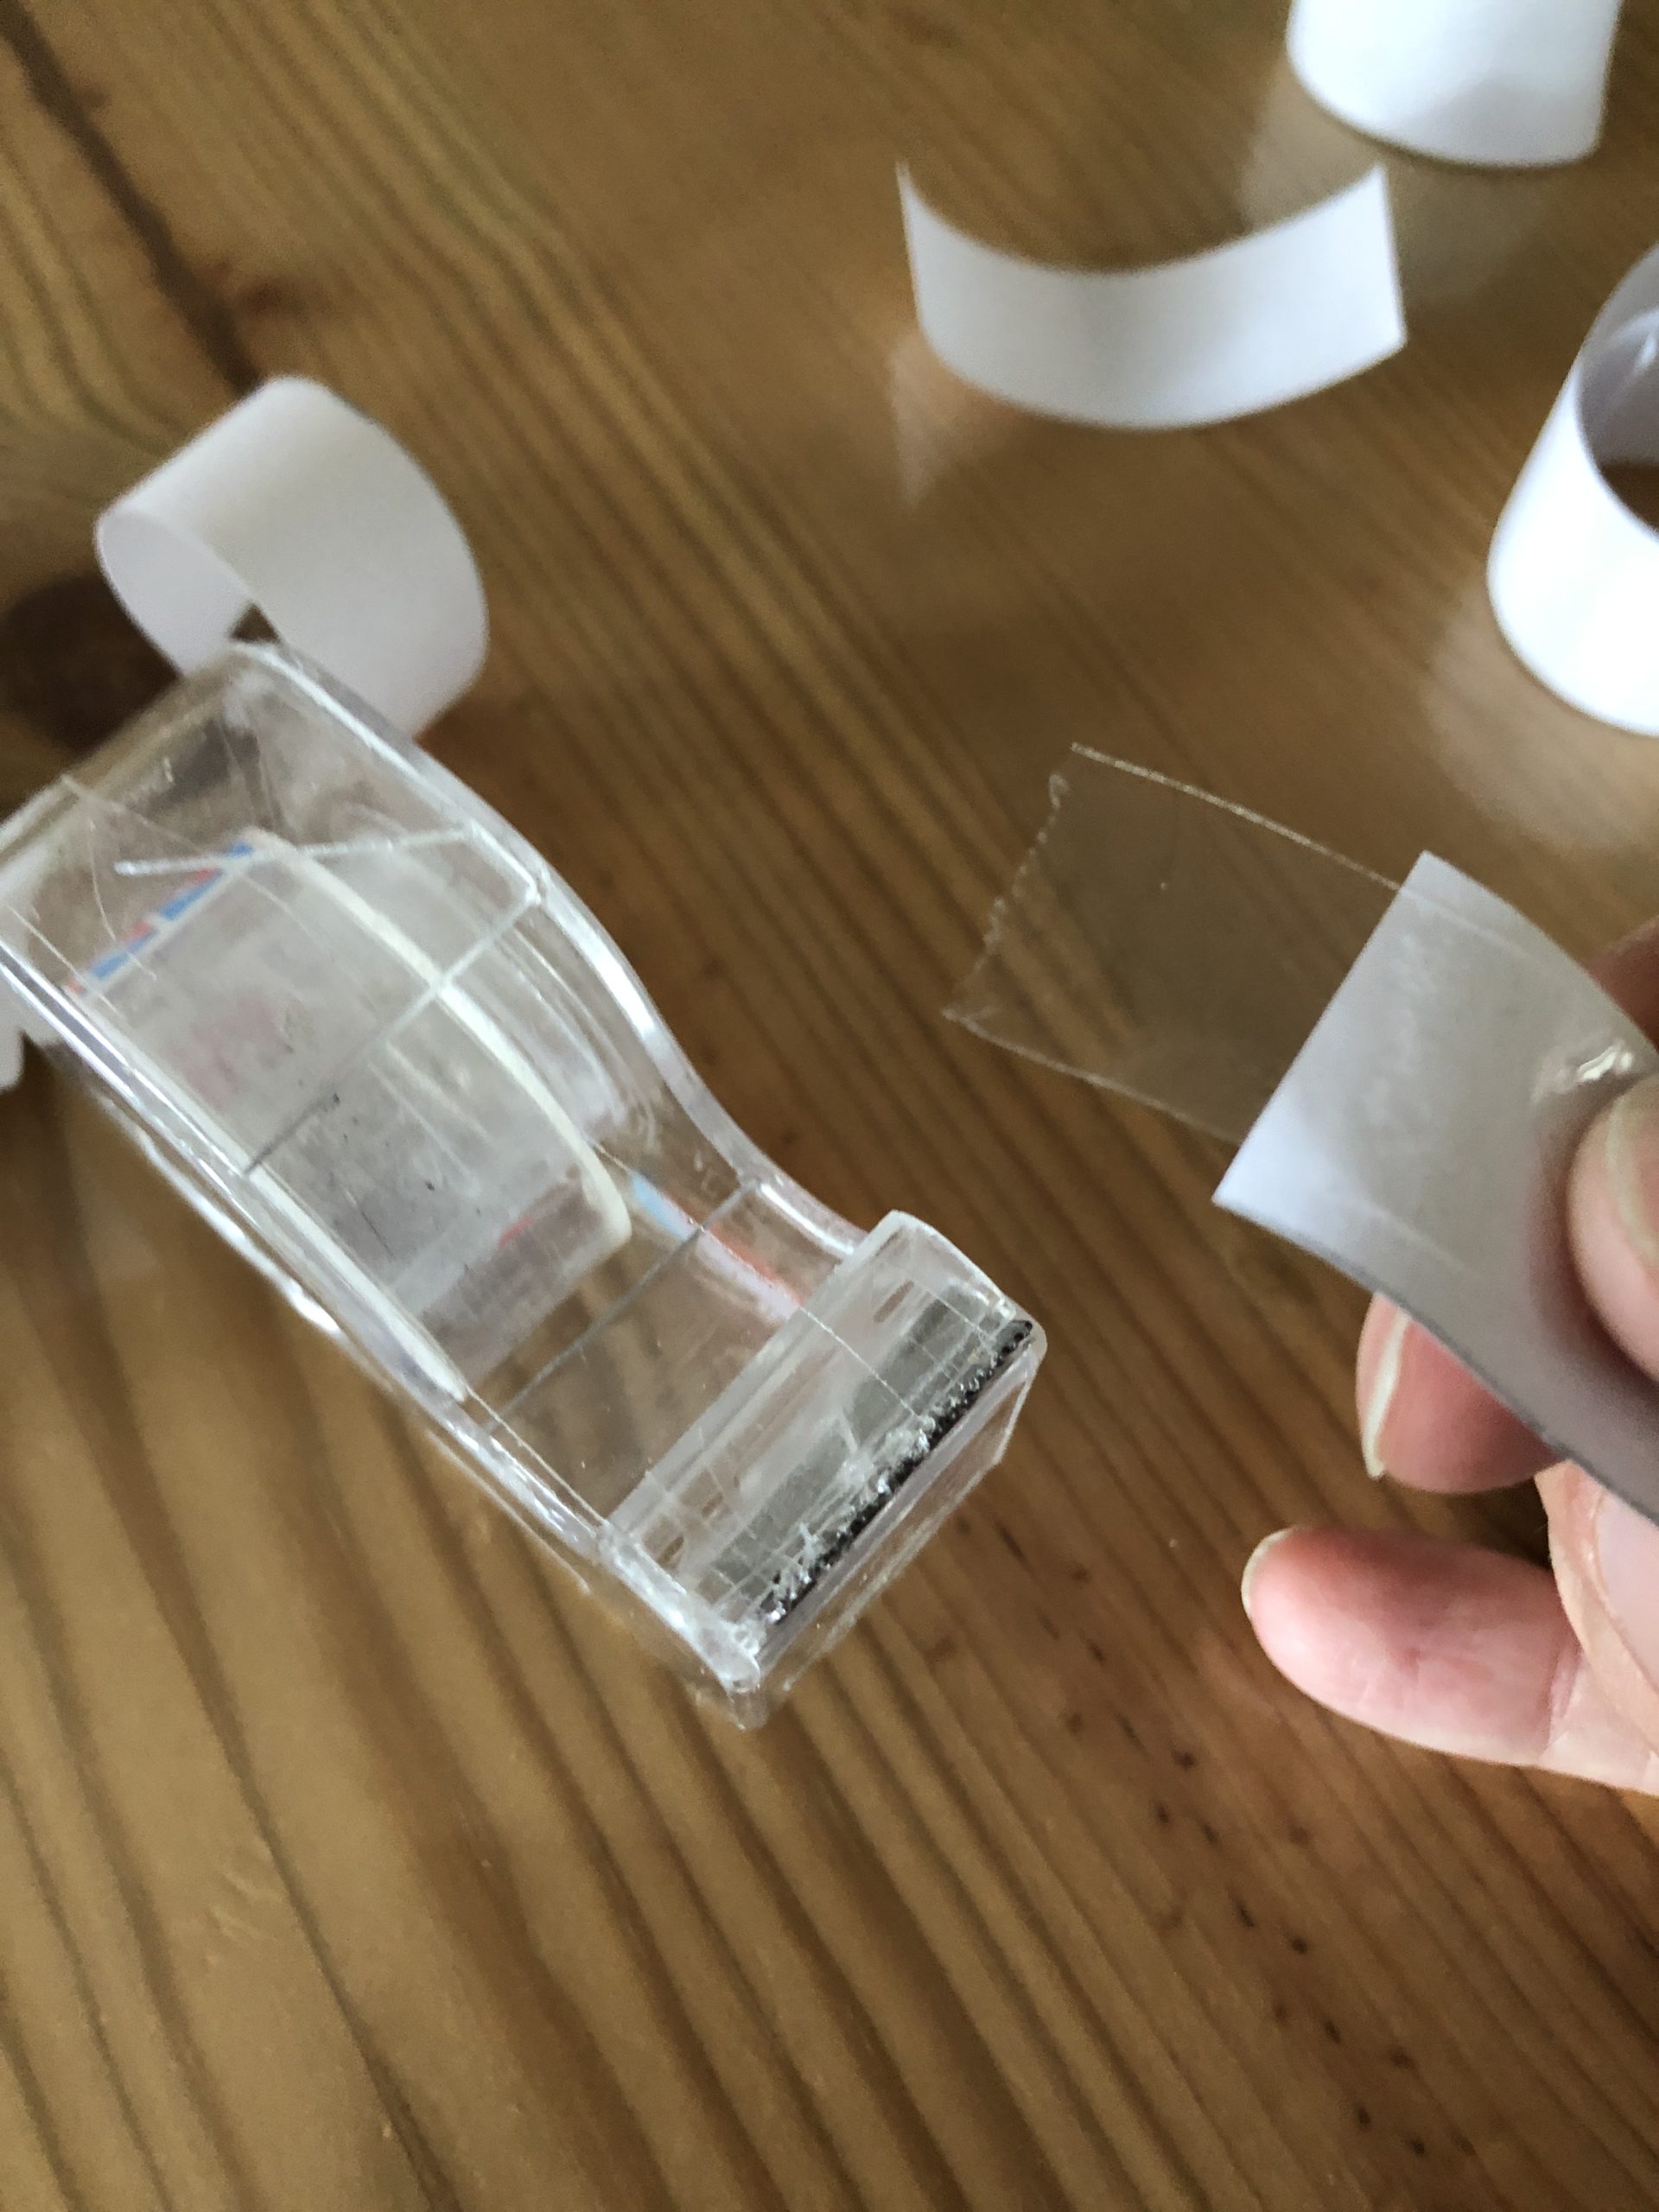
Attach one piece of Tesafilm to one end of the paper strip and close the other end to the ring.

Bild zum Schritt 8 für das Bastel- und DIY-Abenteuer für Kinder: 'Ein Stück Tesafilm am einen Ende des Papierstreifens befestigen und...'

9

2. Bild zum Schritt 8 für das Bastel- und DIY-Abenteuer für Kinder: 'Ein Stück Tesafilm am einen Ende des Papierstreifens befestigen und...'

10

3. Bild zum Schritt 9 für das Bastel- und DIY-Abenteuer für Kinder: 'Ein Stück Tesafilm am einen Ende des Papierstreifens befestigen und...'

11

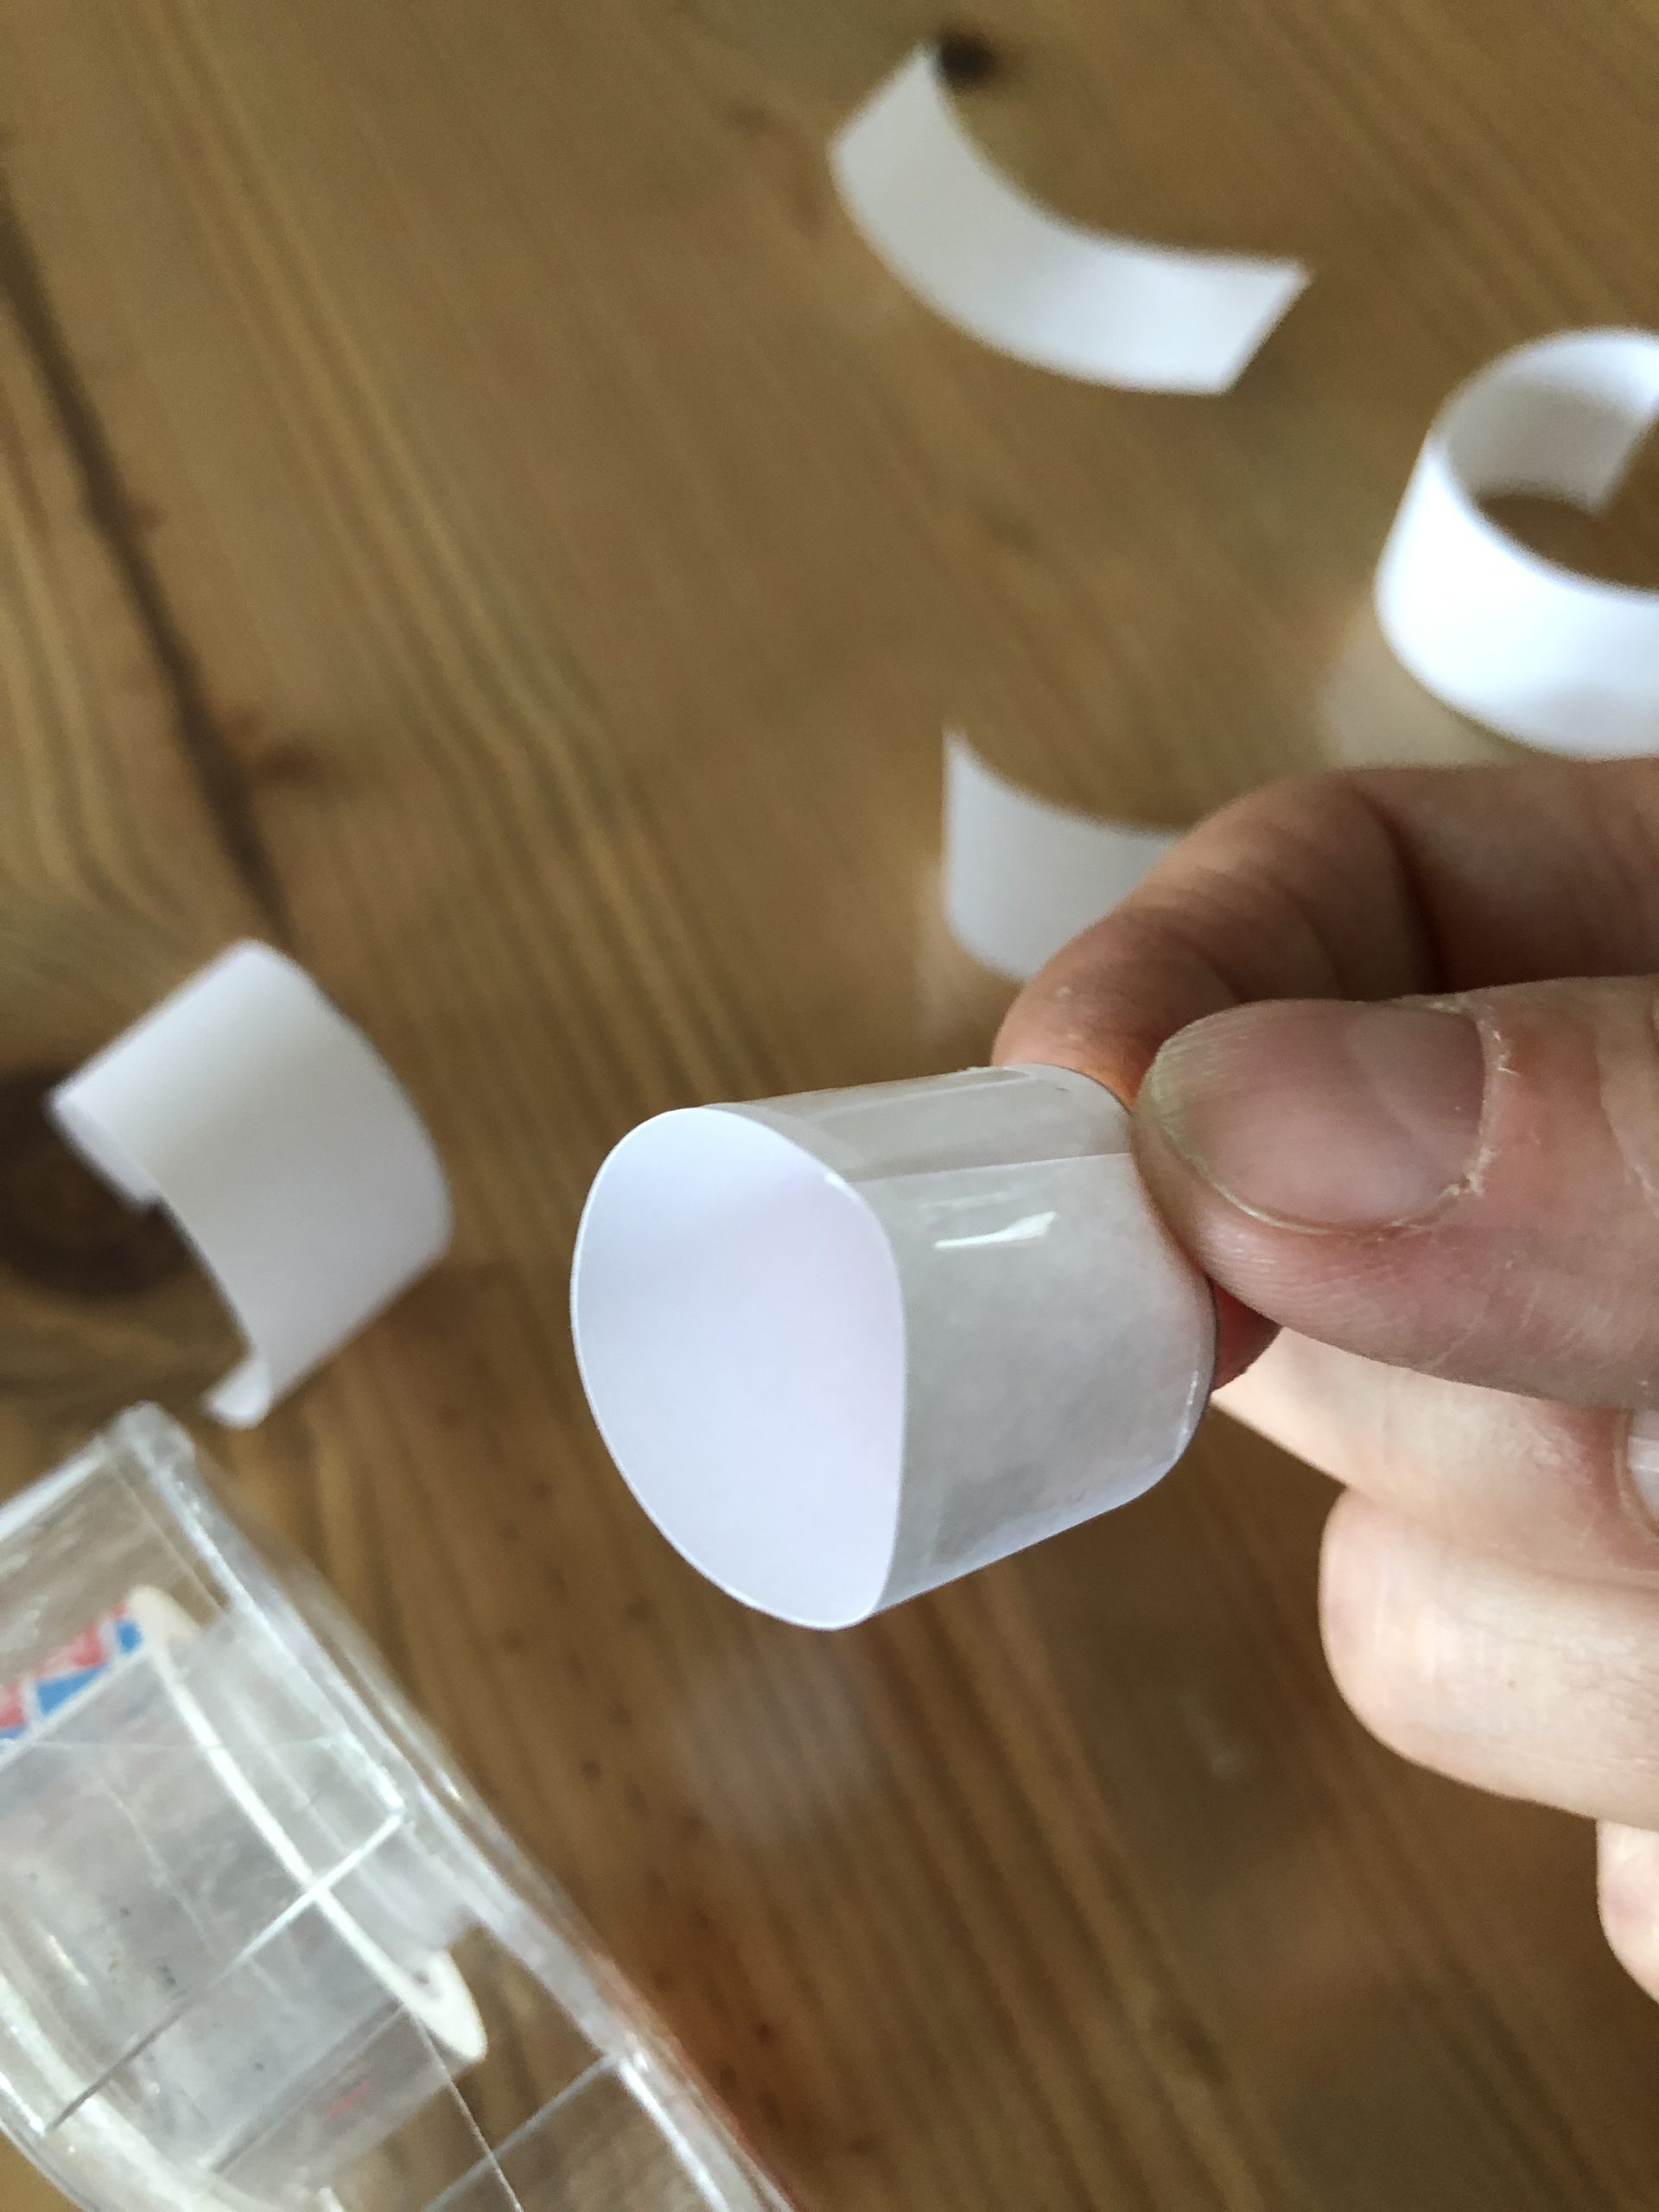
In this way make different large rings (all 2cm high).

Bild zum Schritt 11 für das Bastel- und DIY-Abenteuer für Kinder: 'Auf diese Weise verschieden große Ringe herstellen (alle 2cm hoch)...'

12

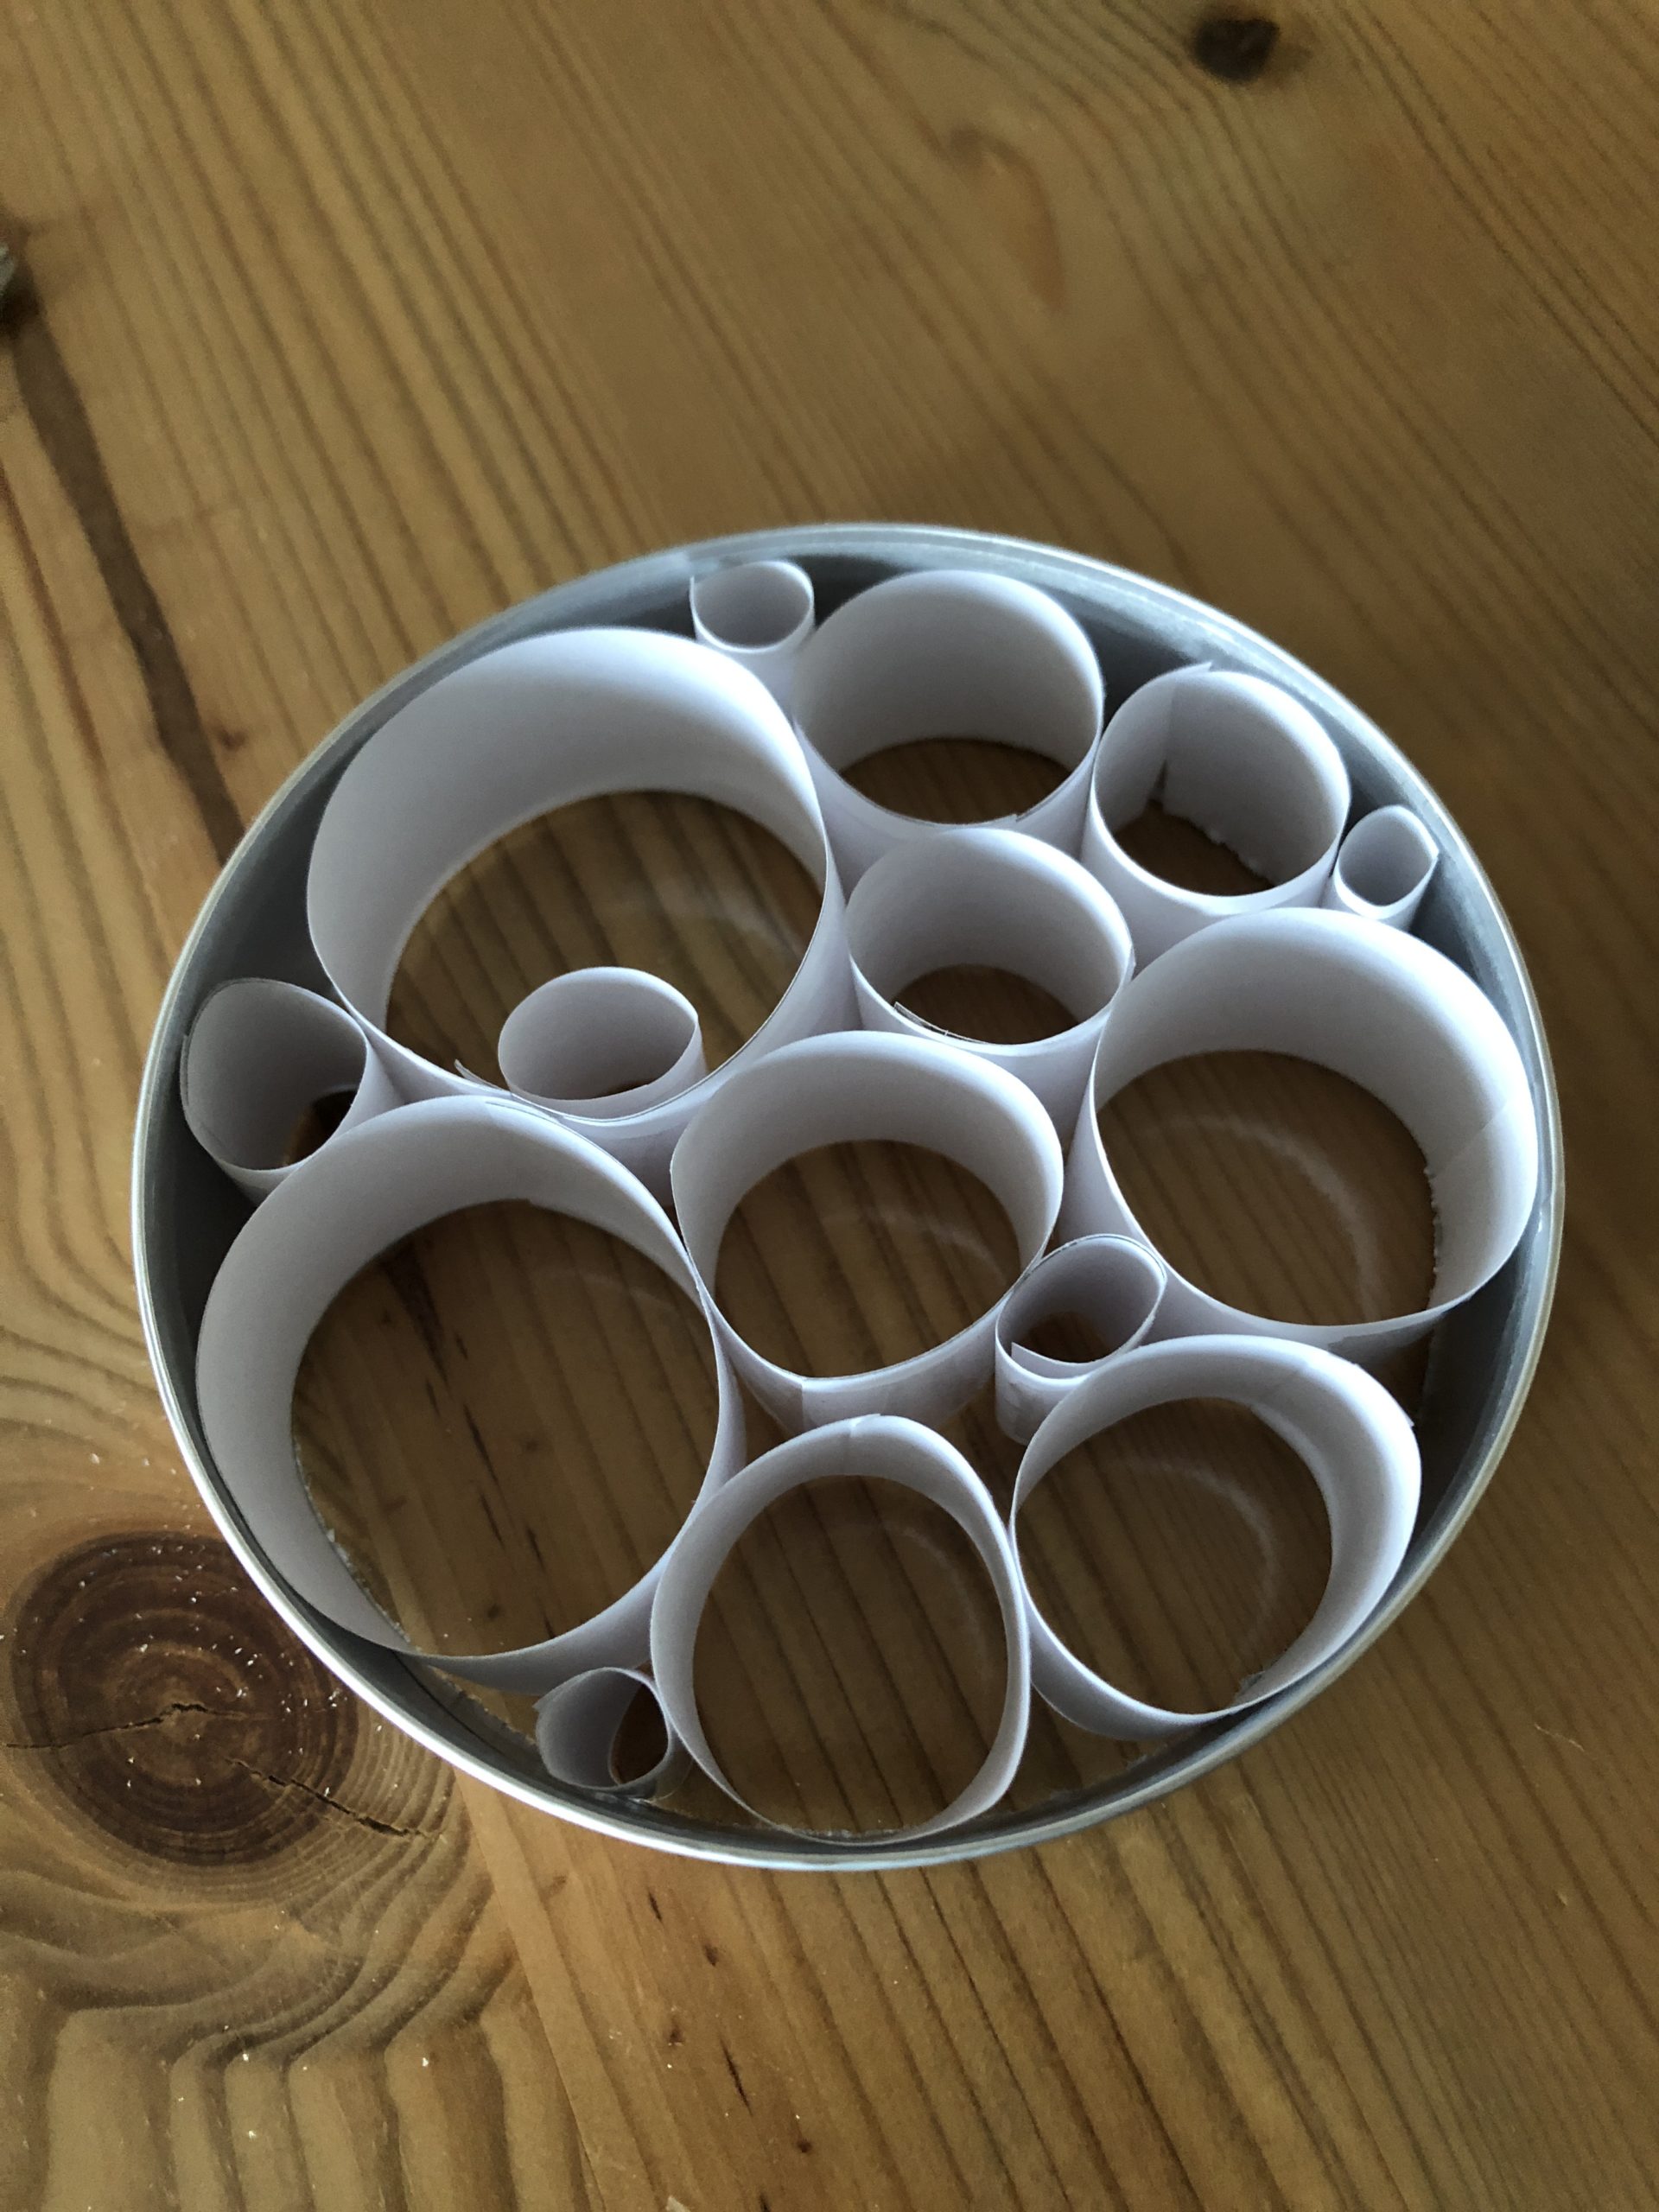
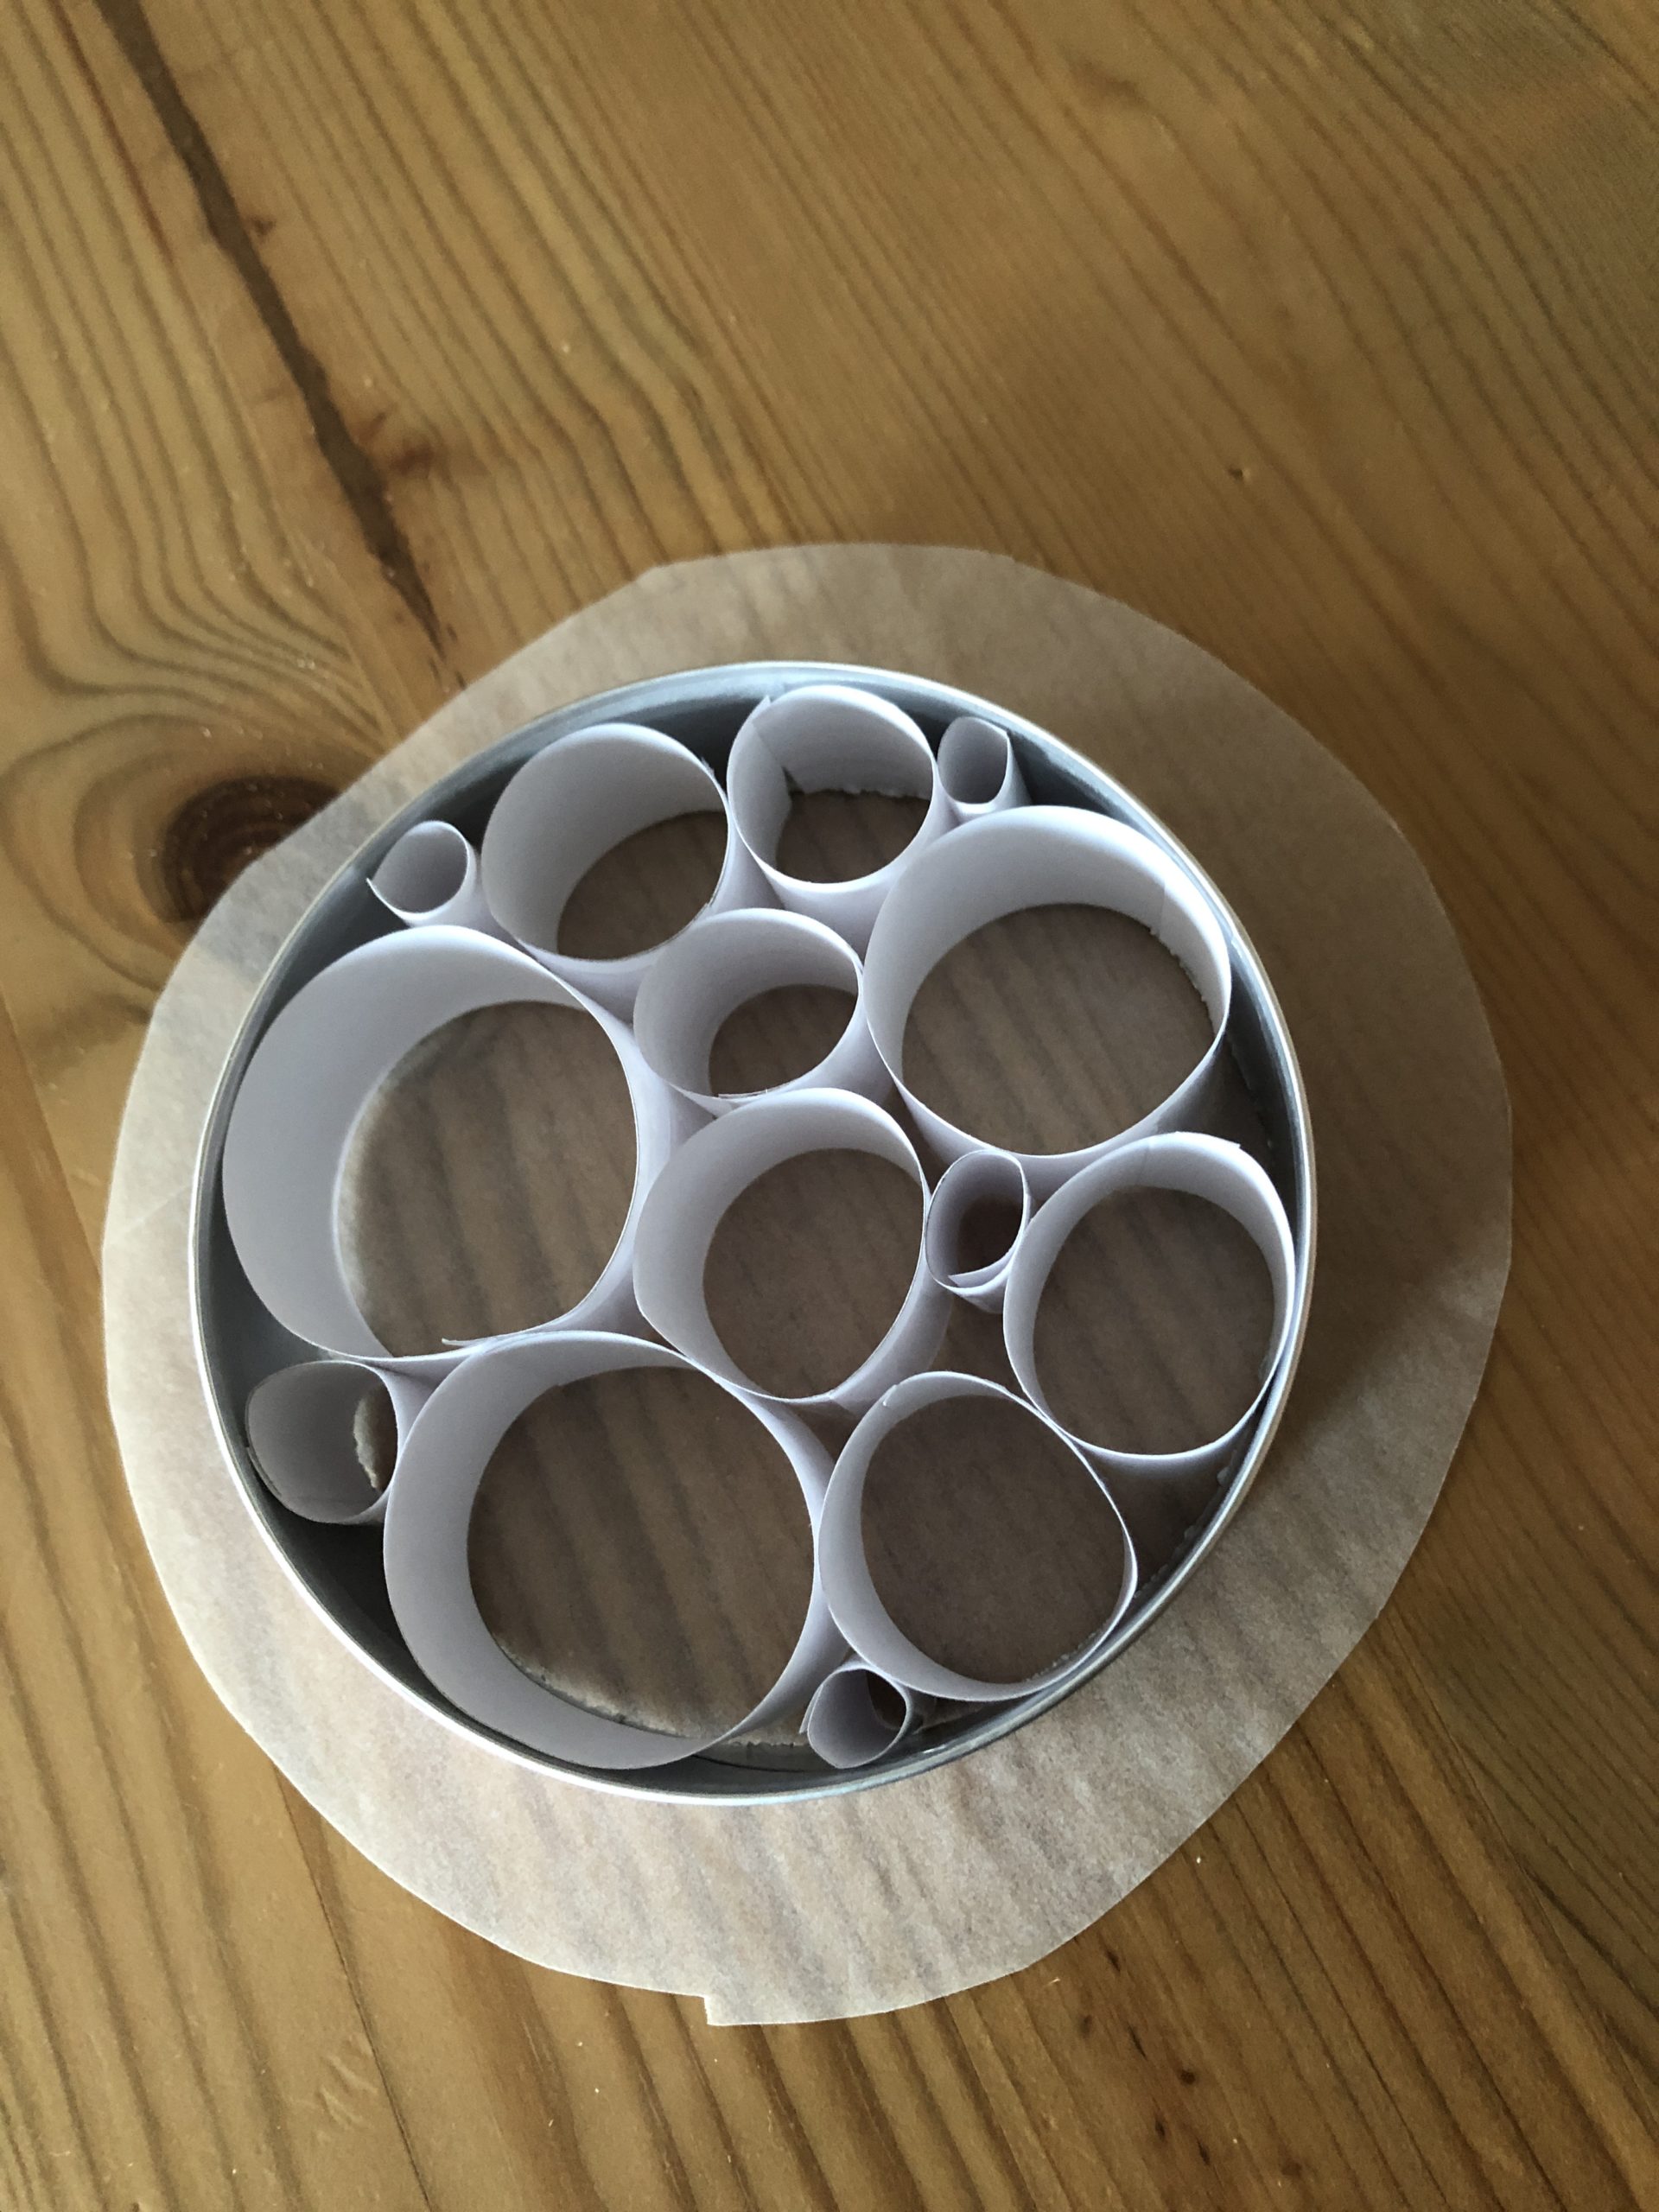
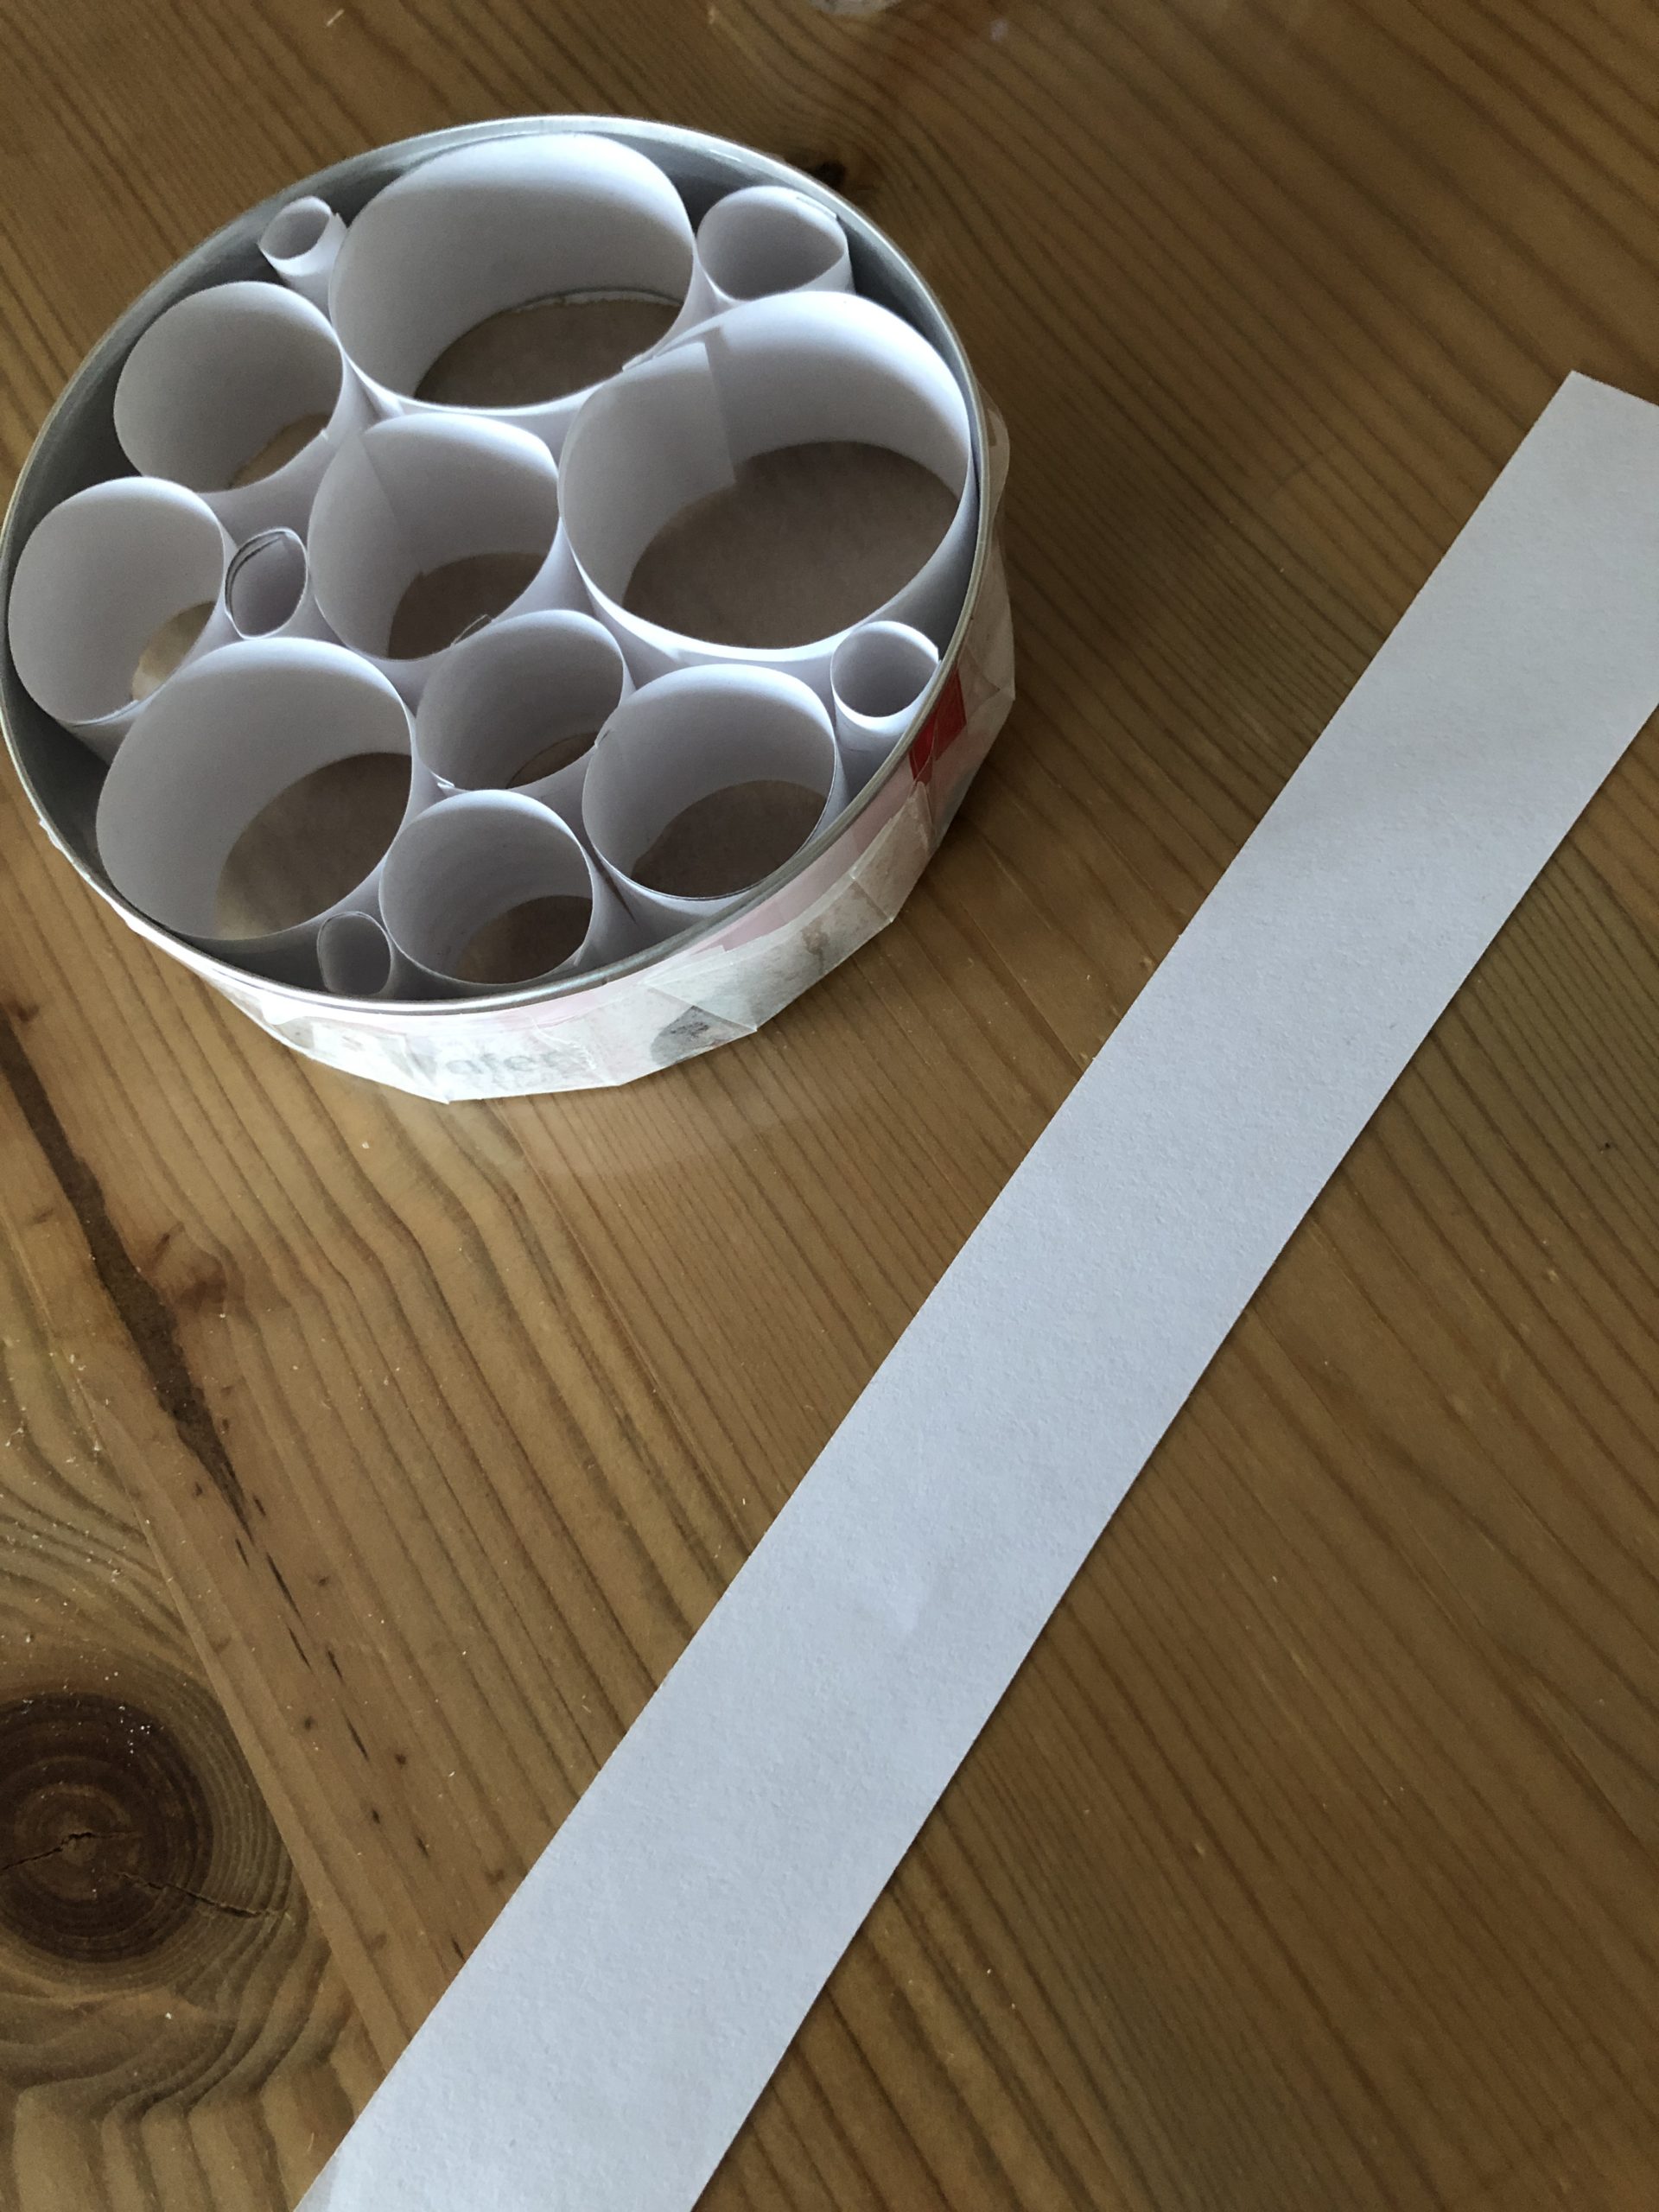
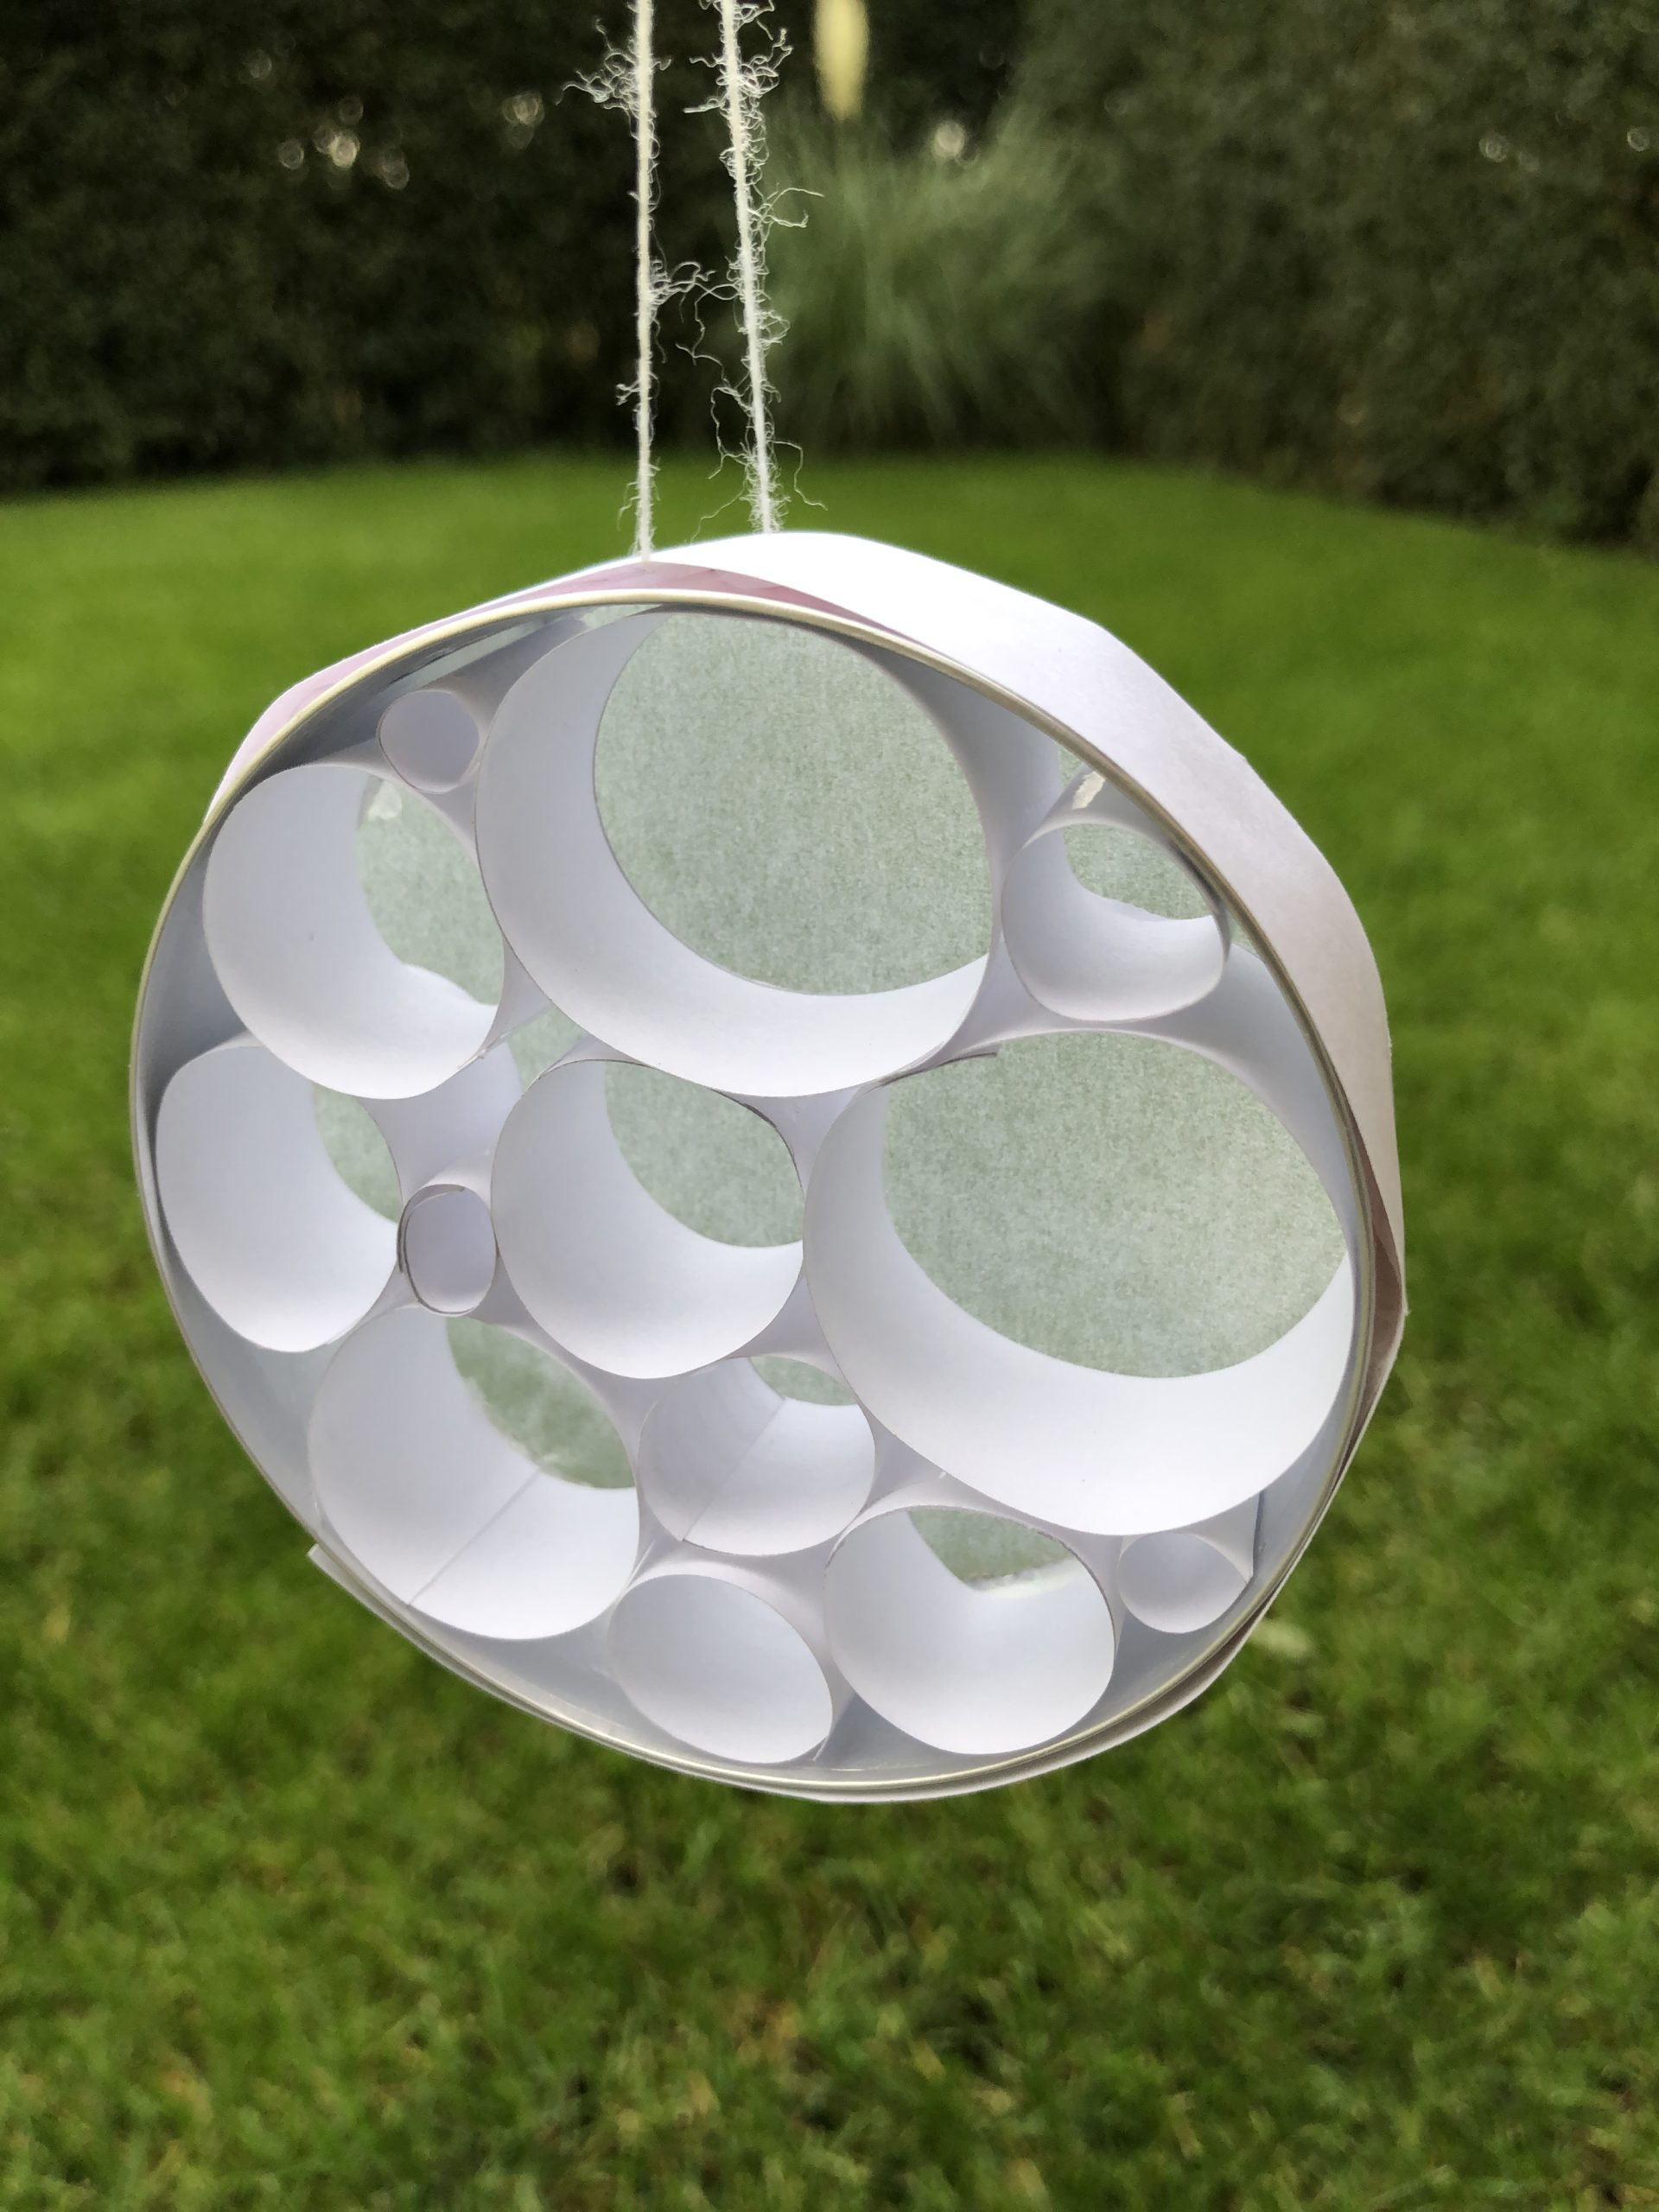
The paper rings will now be distributed as desired in the frame.

Bild zum Schritt 12 für das Bastel- und DIY-Abenteuer für Kinder: 'Die Papierringe werde nun beliebig im Rahmen verteilt.'

13

2. Bild zum Schritt 12 für das Bastel- und DIY-Abenteuer für Kinder: 'Die Papierringe werde nun beliebig im Rahmen verteilt.'

14

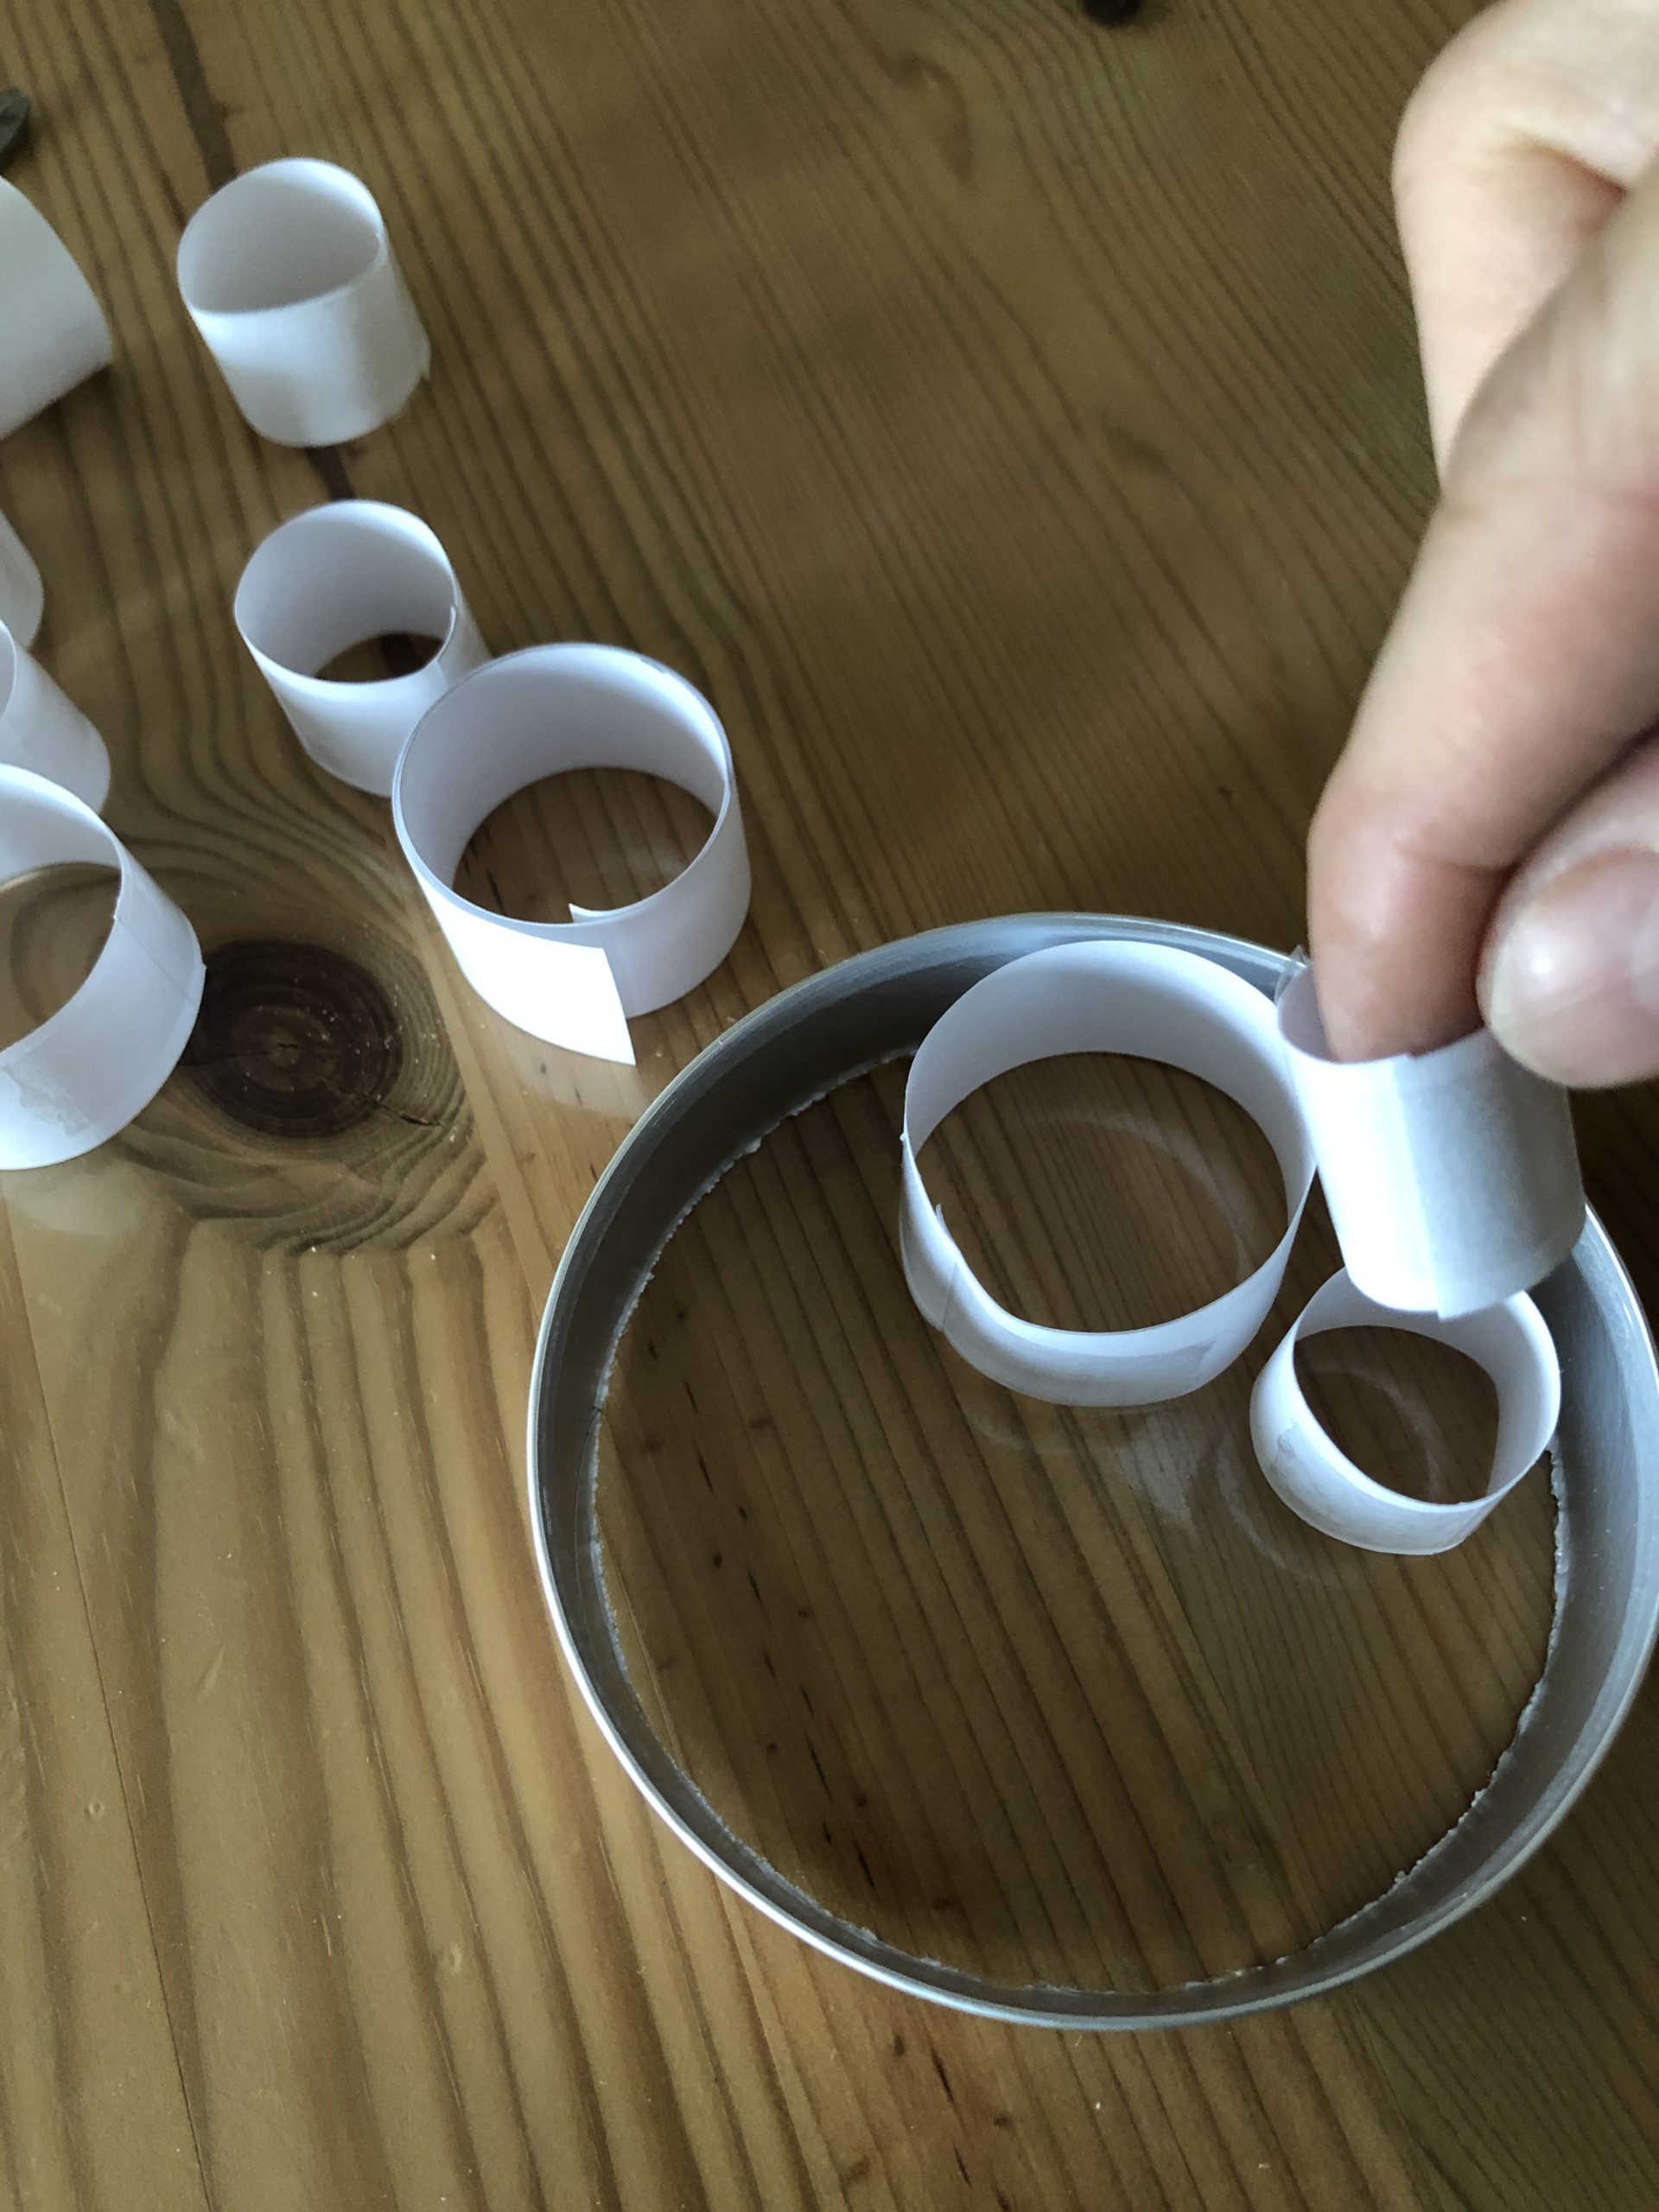
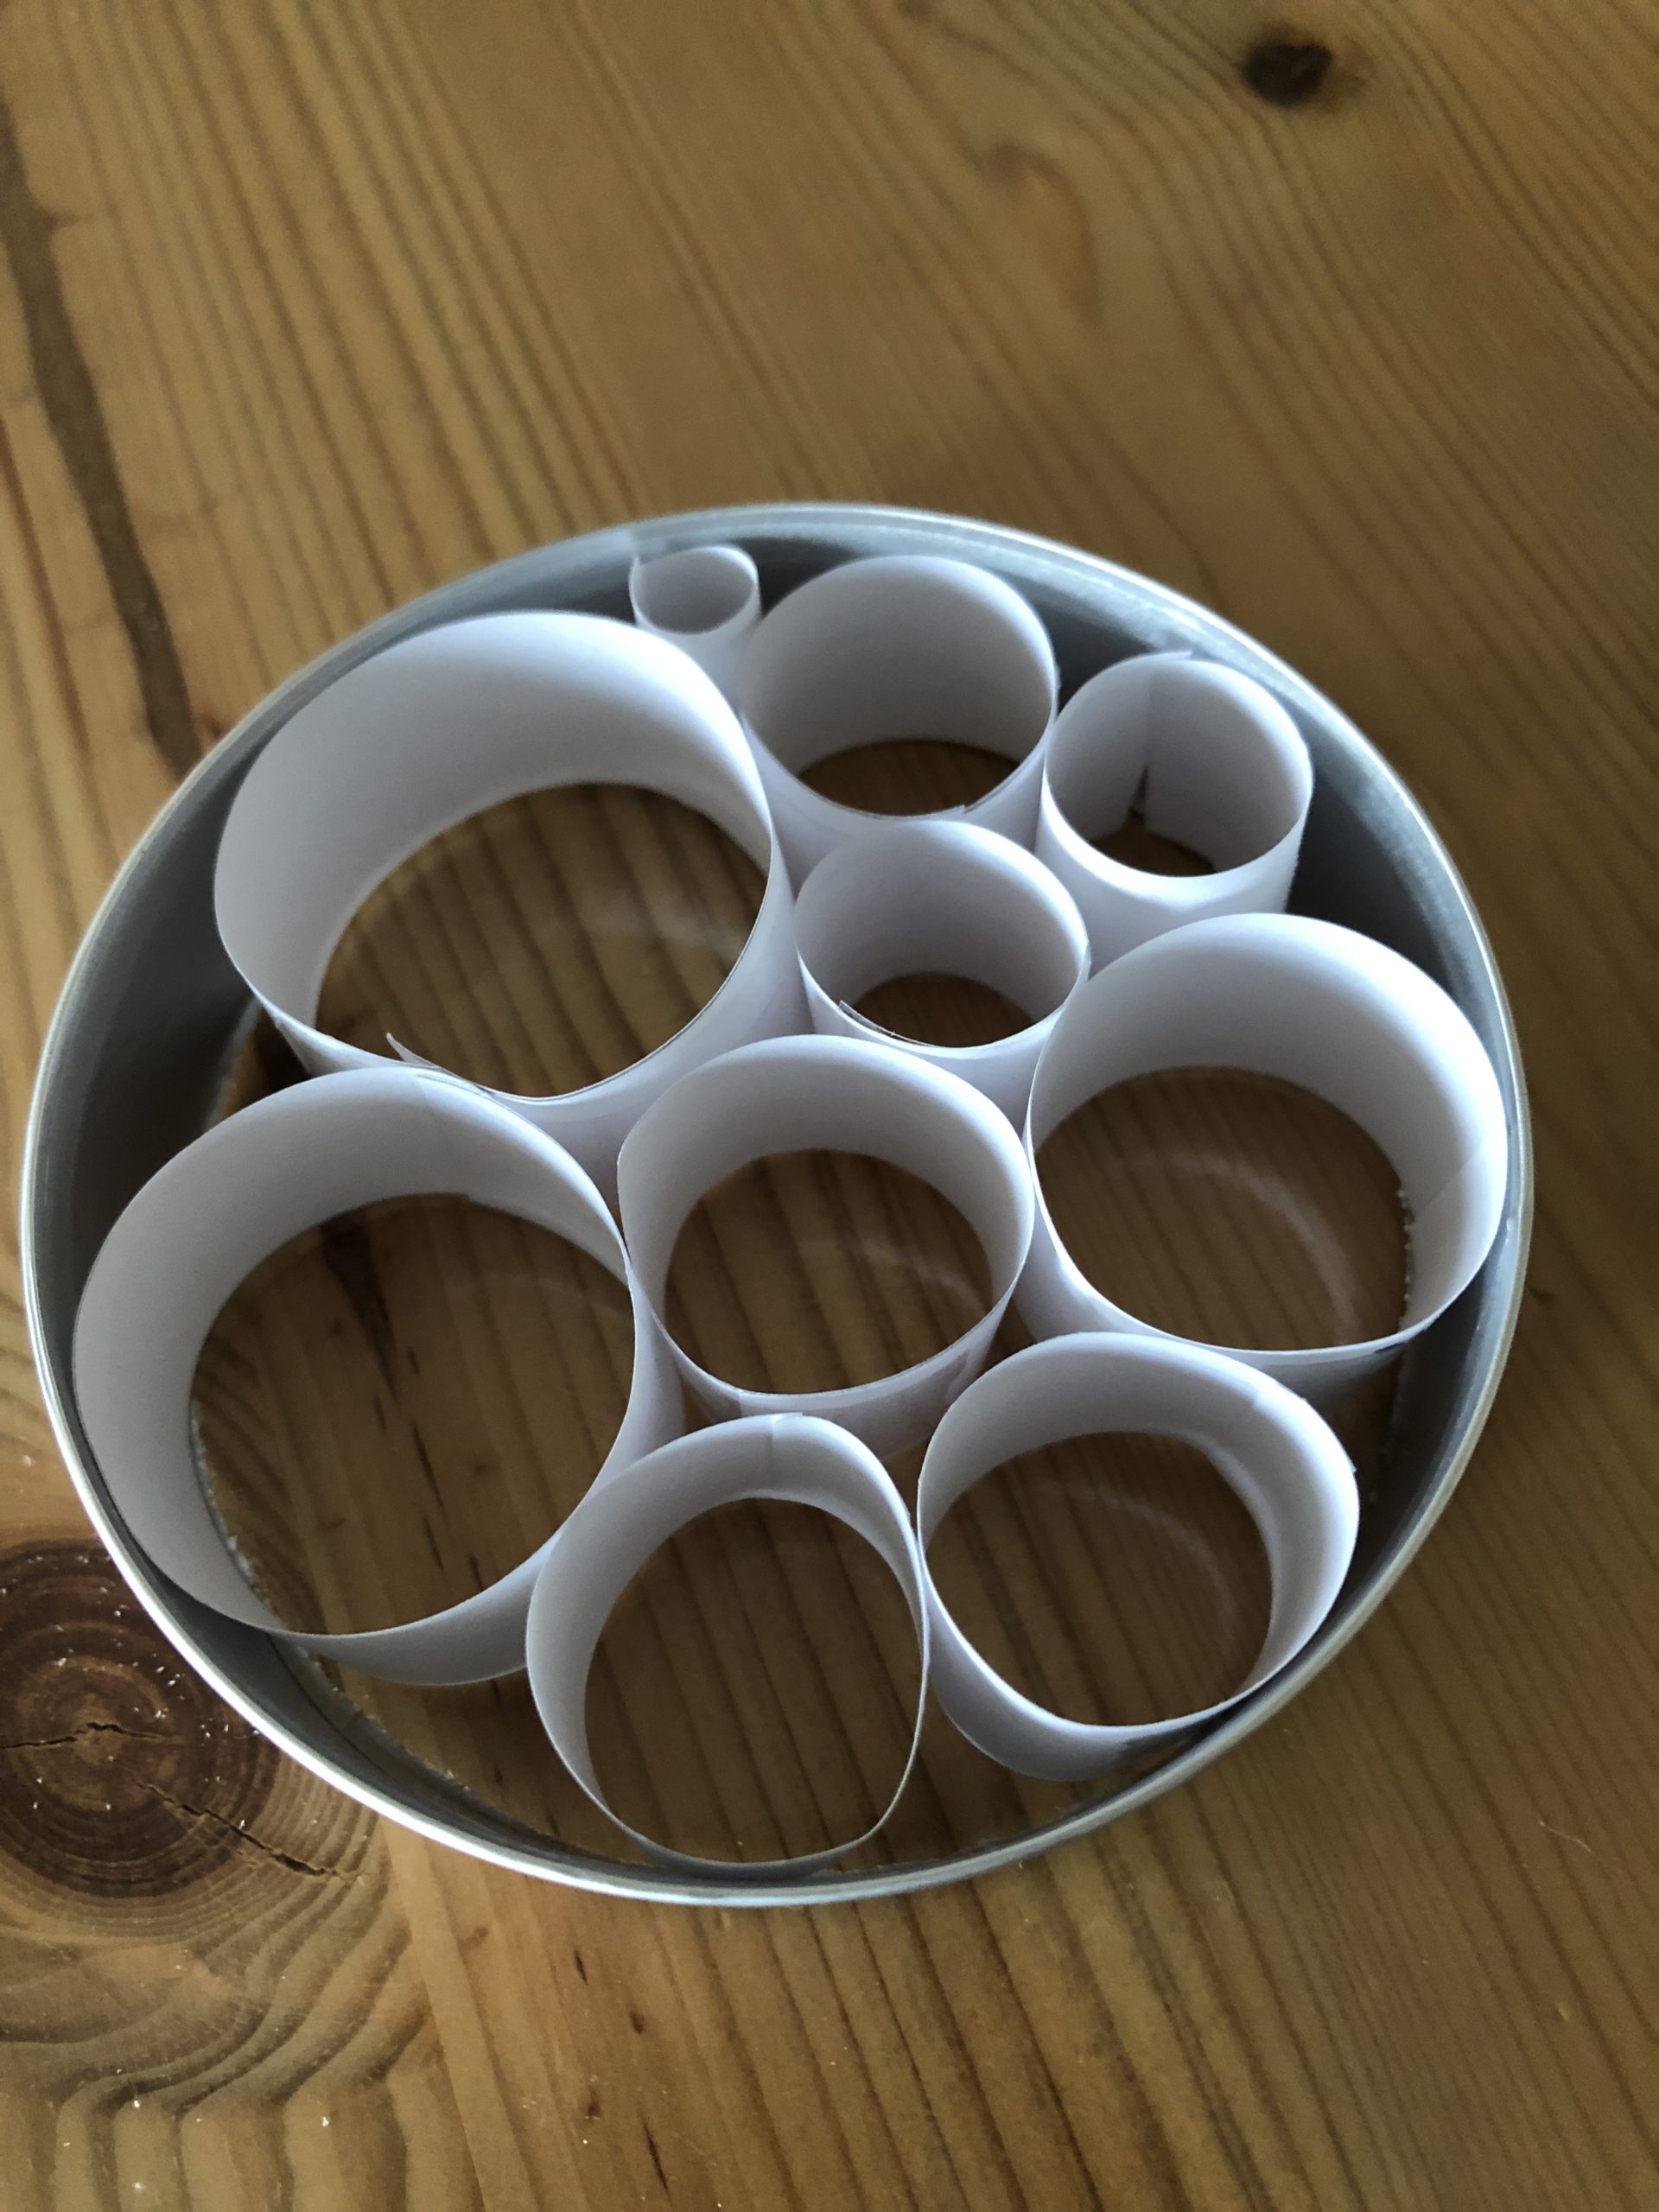
The rings should lie closely together and gaps have to be filled by smaller rings (which may still be "bassed"). By fitting the rings they hold together without having to be glued!

Bild zum Schritt 14 für das Bastel- und DIY-Abenteuer für Kinder: 'Die Ringe sollen eng beieinander liegen und Lücken müssen durch...'

15

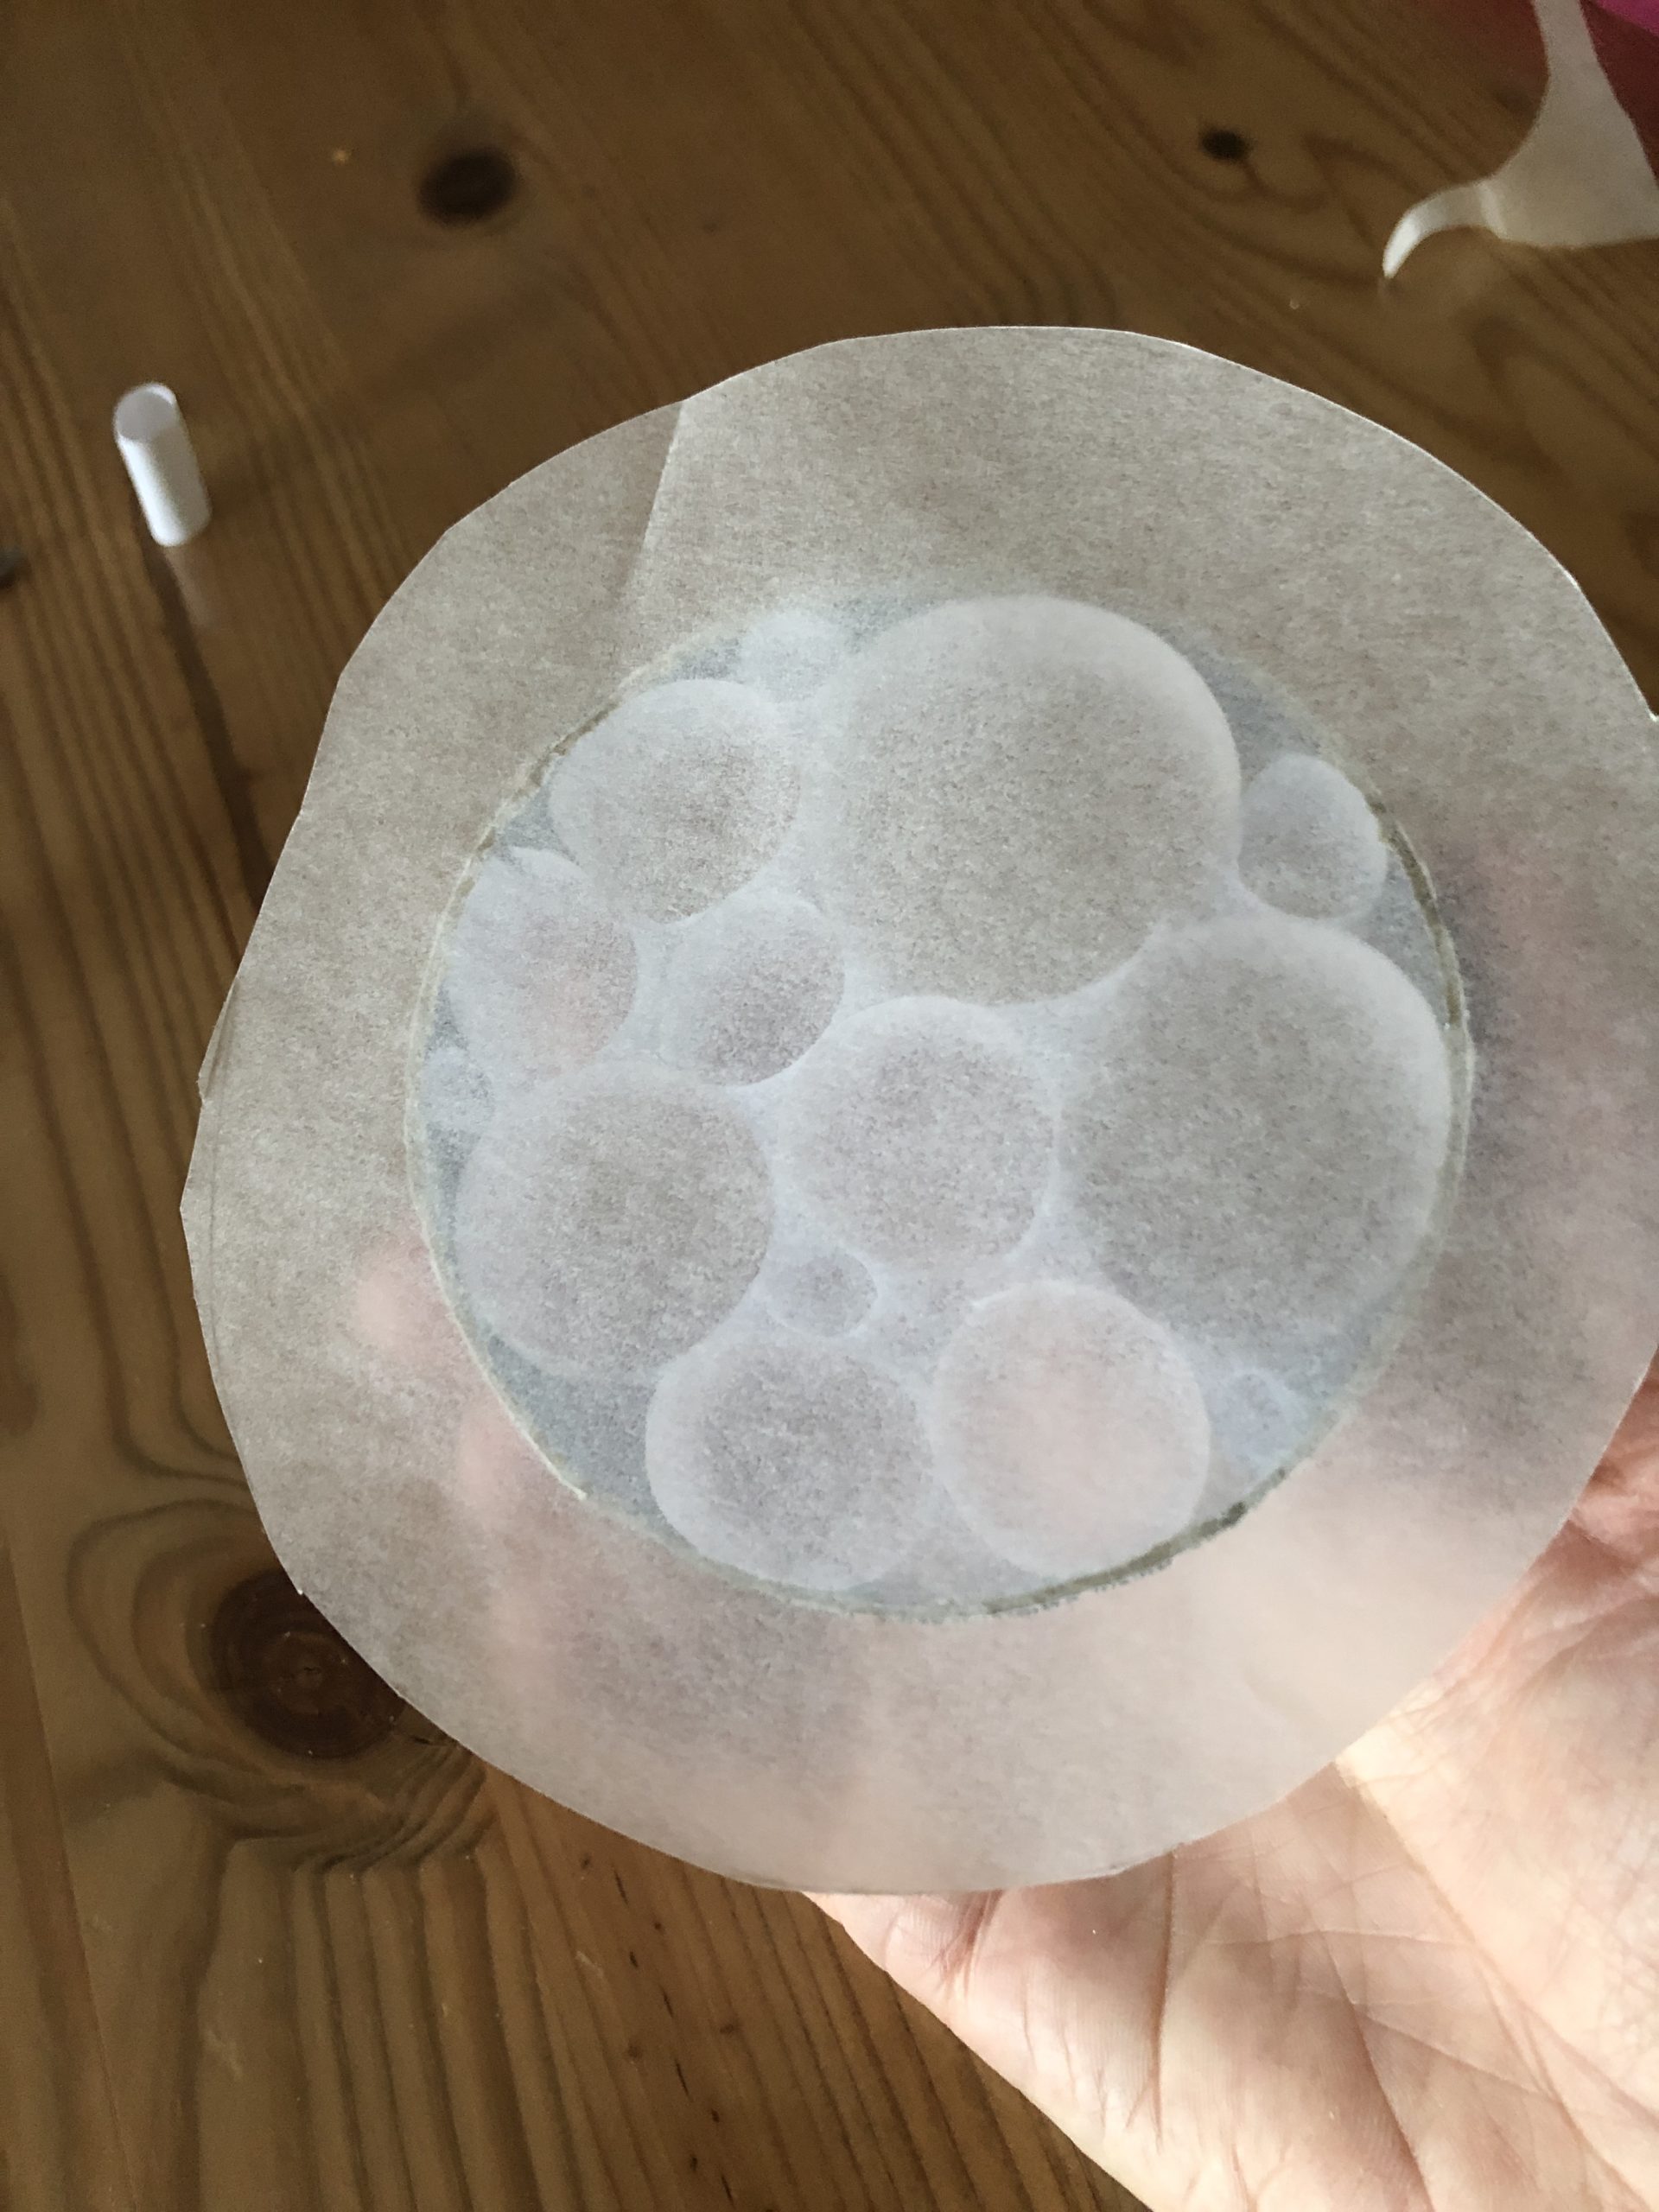
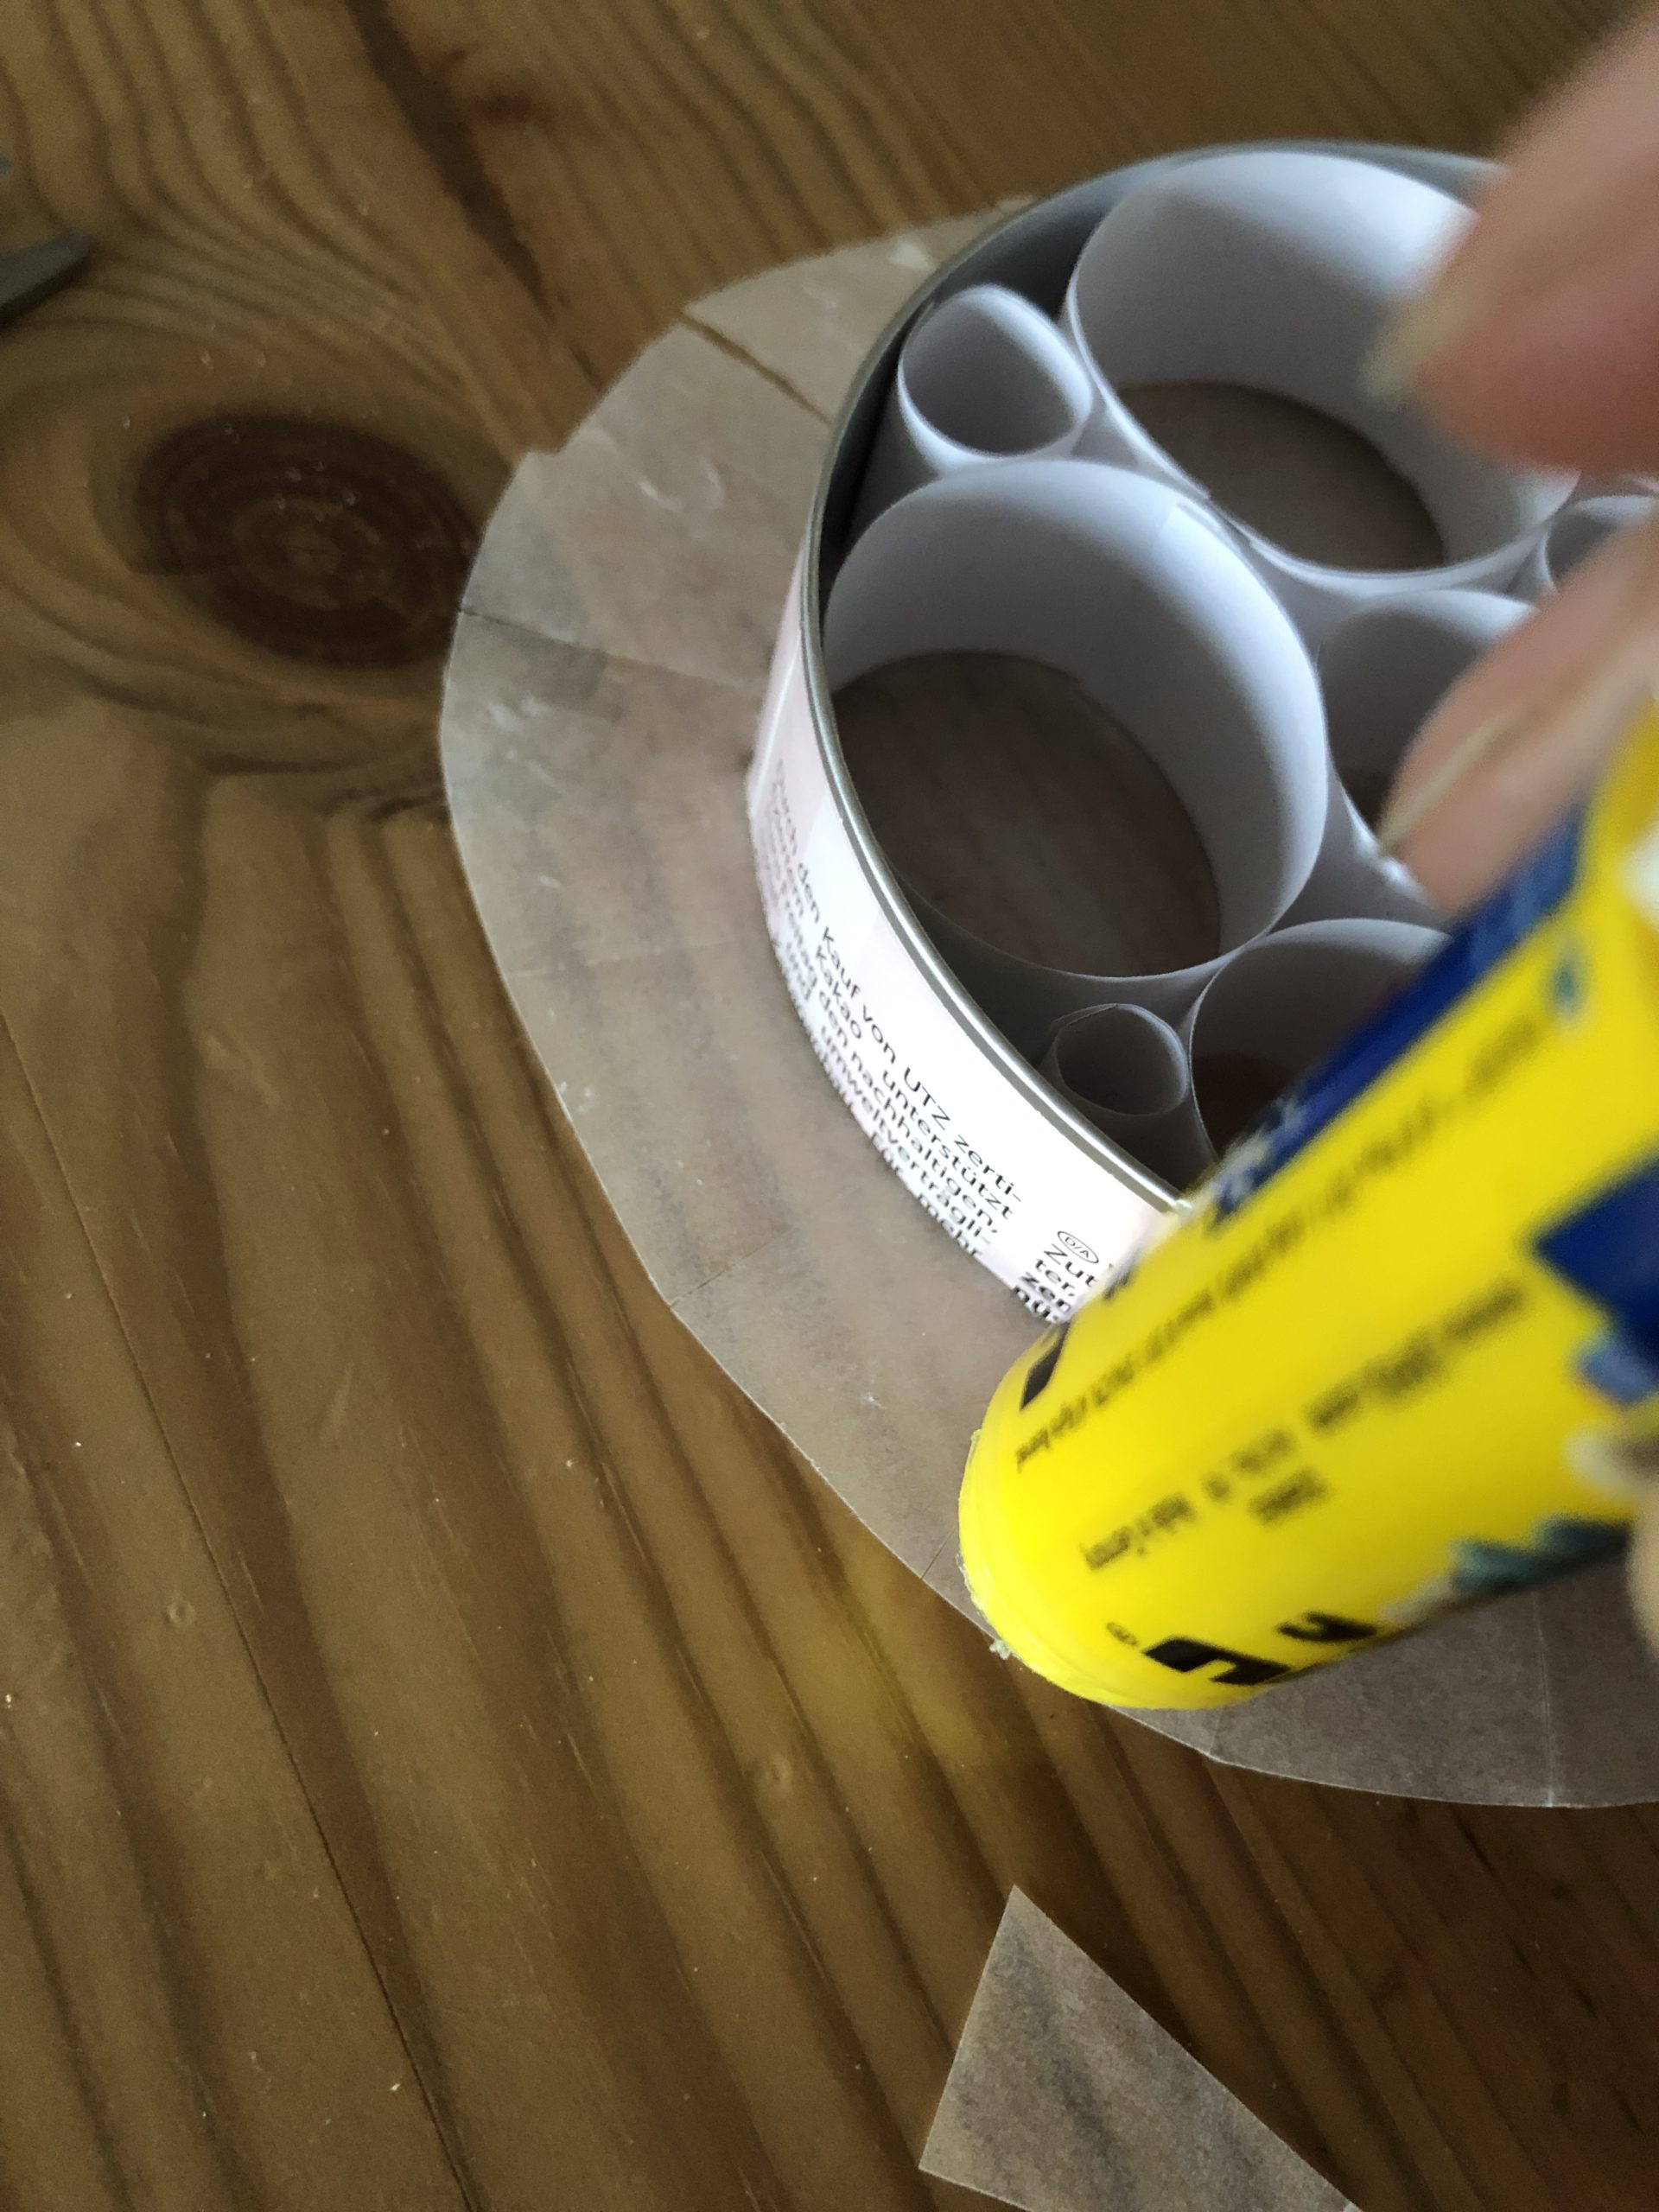
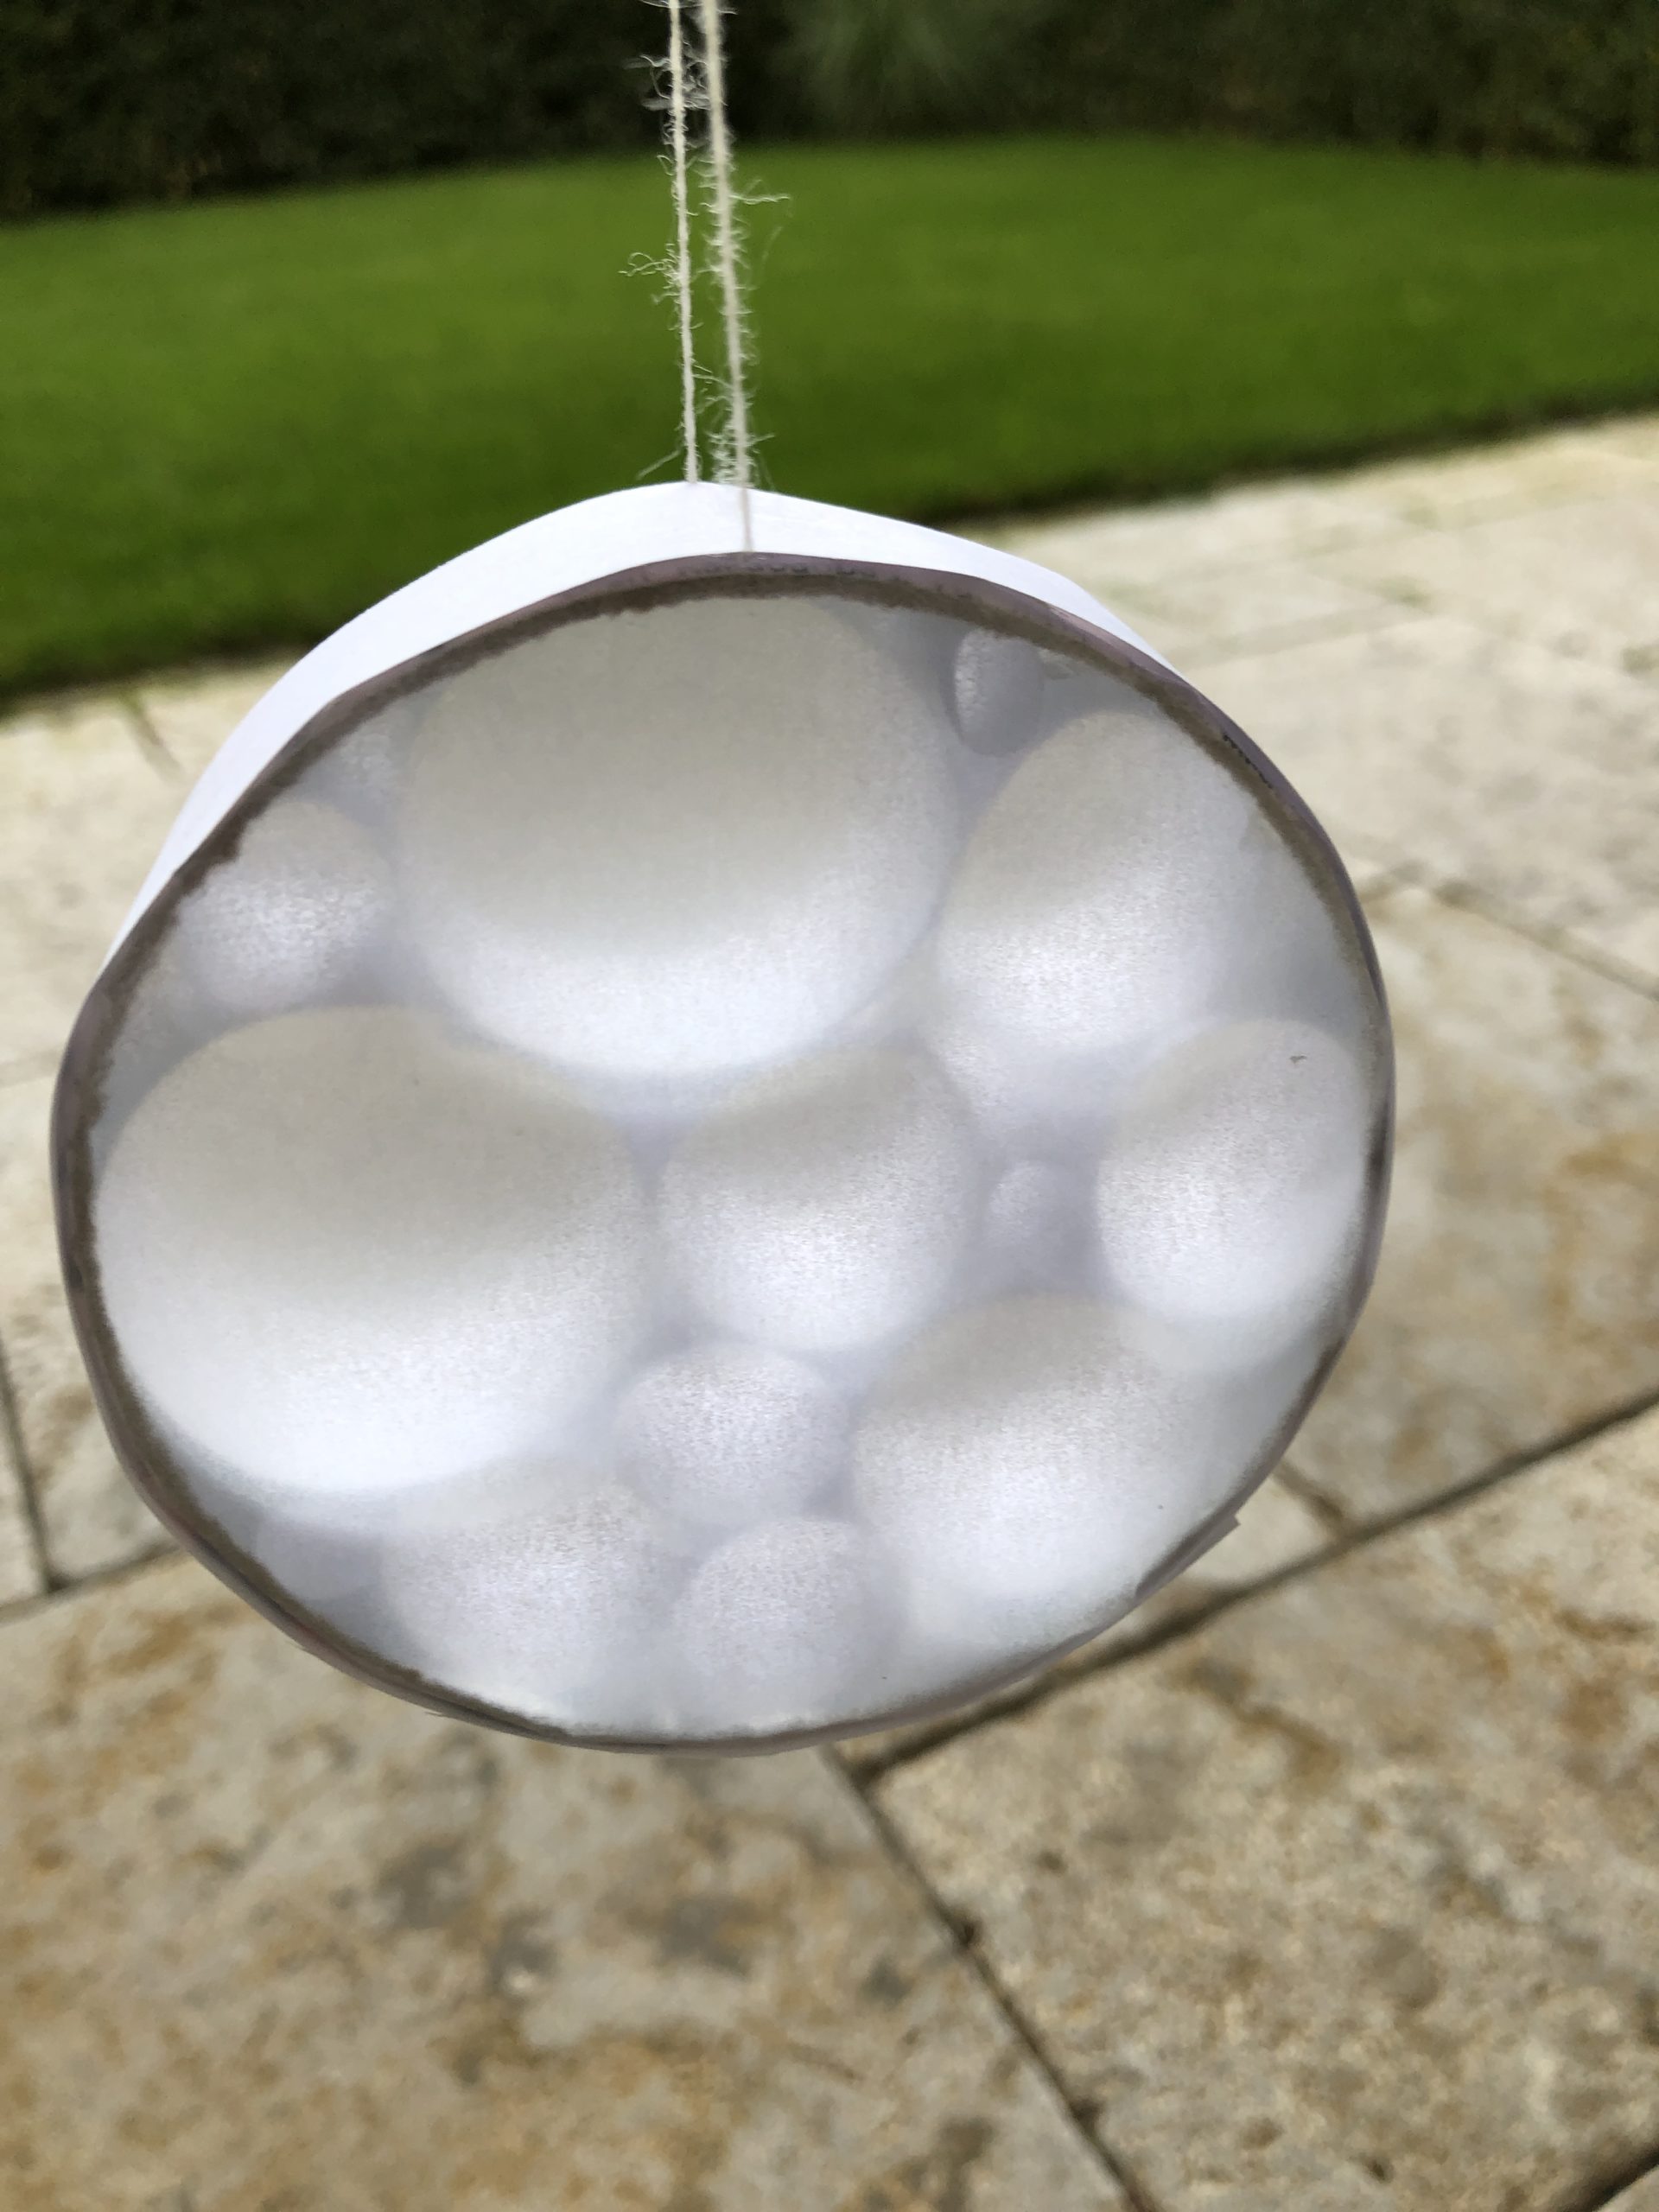
Cut the transparent paper slightly larger than the frame ring.

Bild zum Schritt 15 für das Bastel- und DIY-Abenteuer für Kinder: 'Das Transparentpapier etwas größer als den Rahmenring zuschneiden.'

16

2. Bild zum Schritt 15 für das Bastel- und DIY-Abenteuer für Kinder: 'Das Transparentpapier etwas größer als den Rahmenring zuschneiden.'

17

3. Bild zum Schritt 16 für das Bastel- und DIY-Abenteuer für Kinder: 'Das Transparentpapier etwas größer als den Rahmenring zuschneiden.'

18

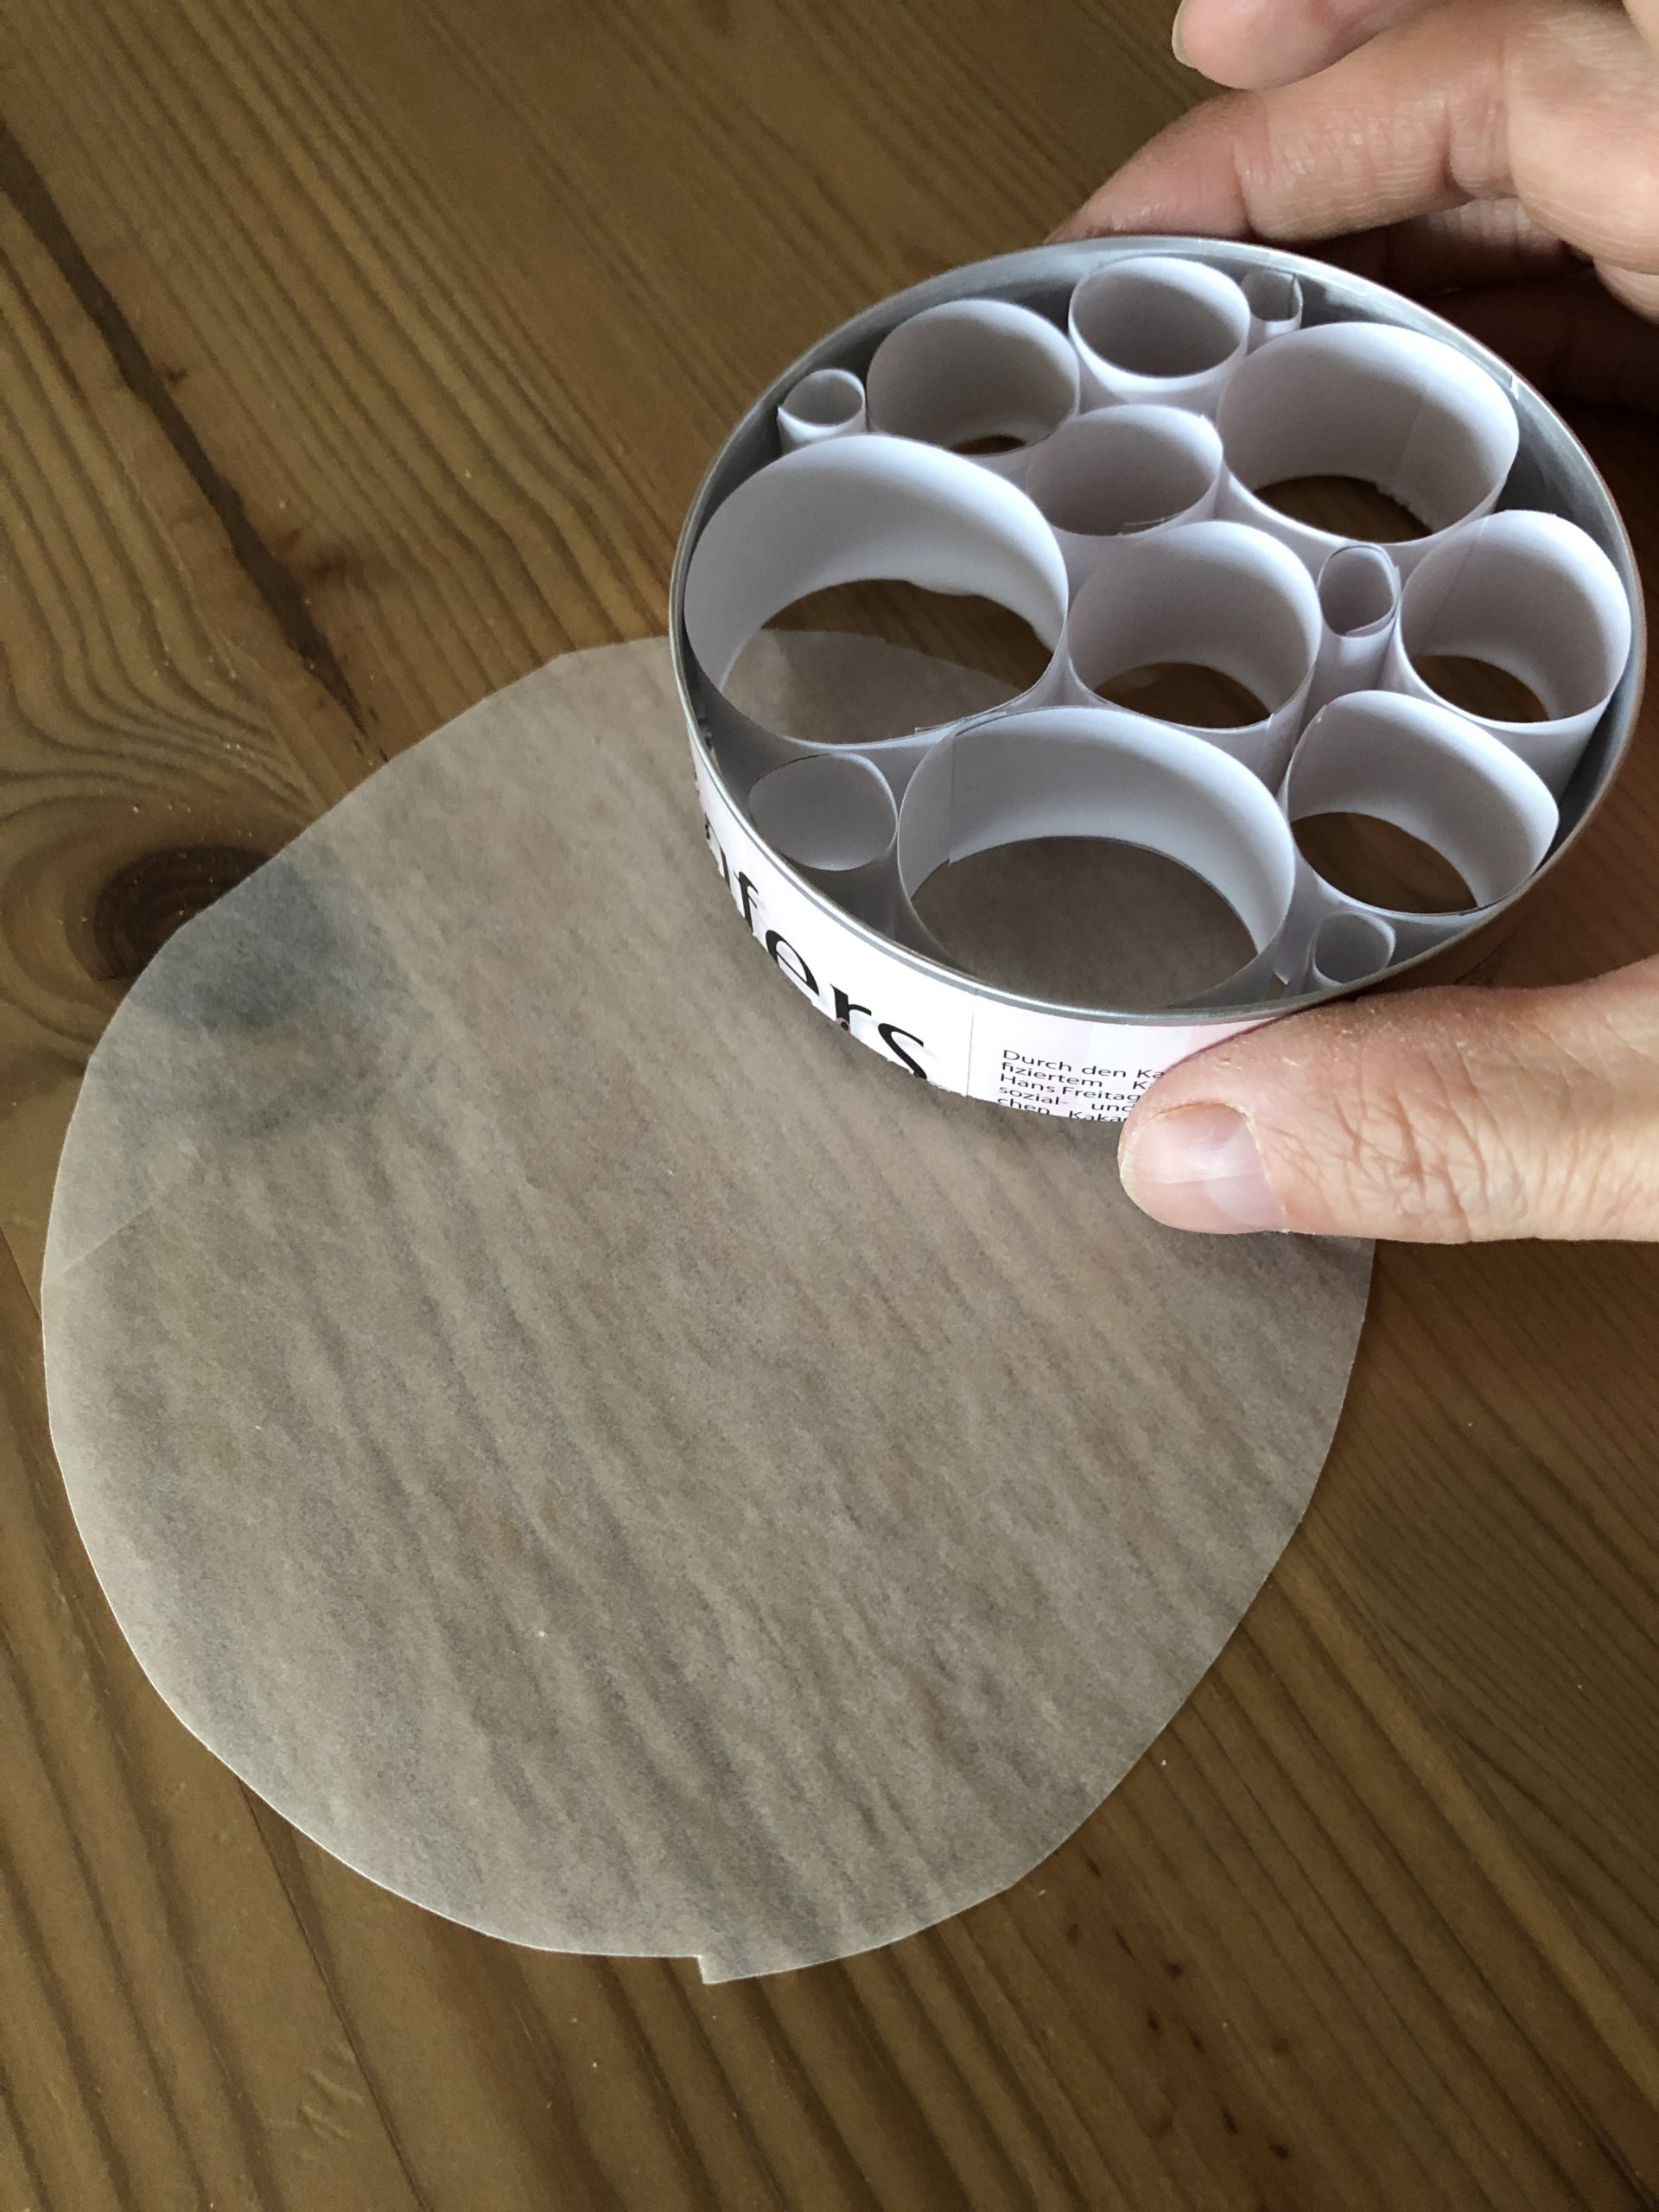
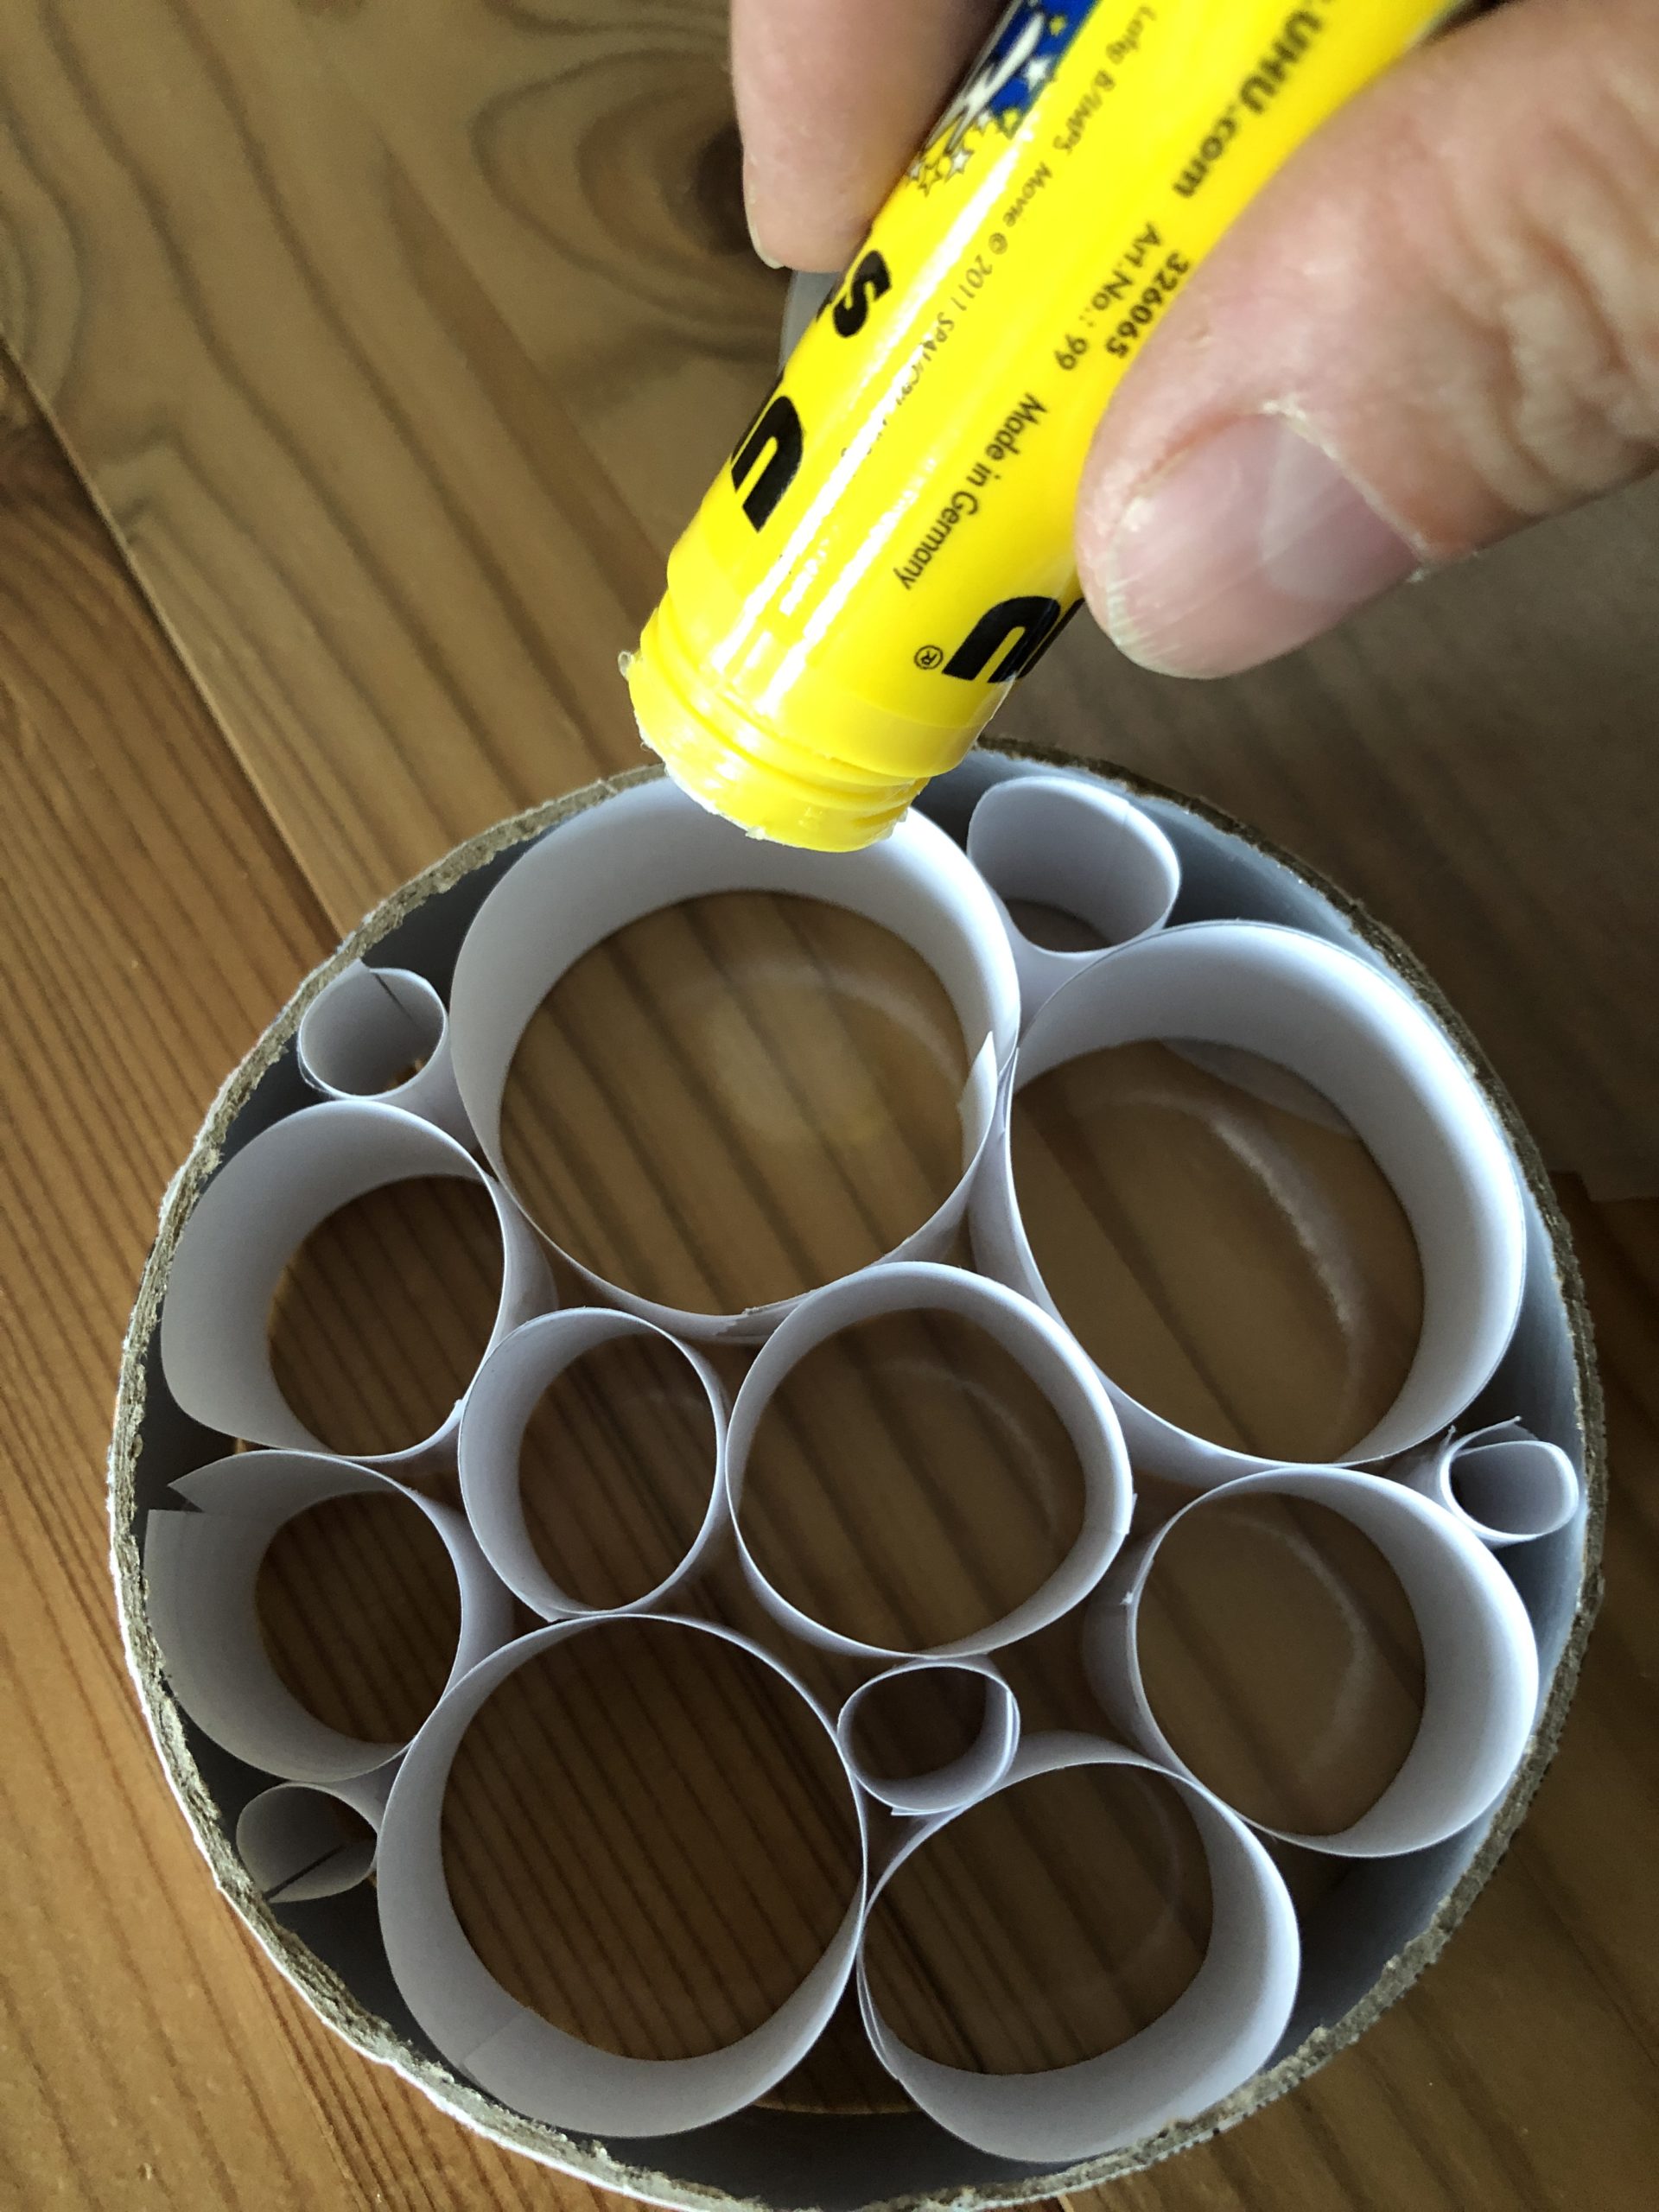
Apply the glue to the edge of the frame and glue the transparent paper in the middle. Now press the transparent paper slightly.

Bild zum Schritt 18 für das Bastel- und DIY-Abenteuer für Kinder: 'Auf den Rand des Rahmens den Kleber auftragen und das...'

19

2. Bild zum Schritt 18 für das Bastel- und DIY-Abenteuer für Kinder: 'Auf den Rand des Rahmens den Kleber auftragen und das...'

20

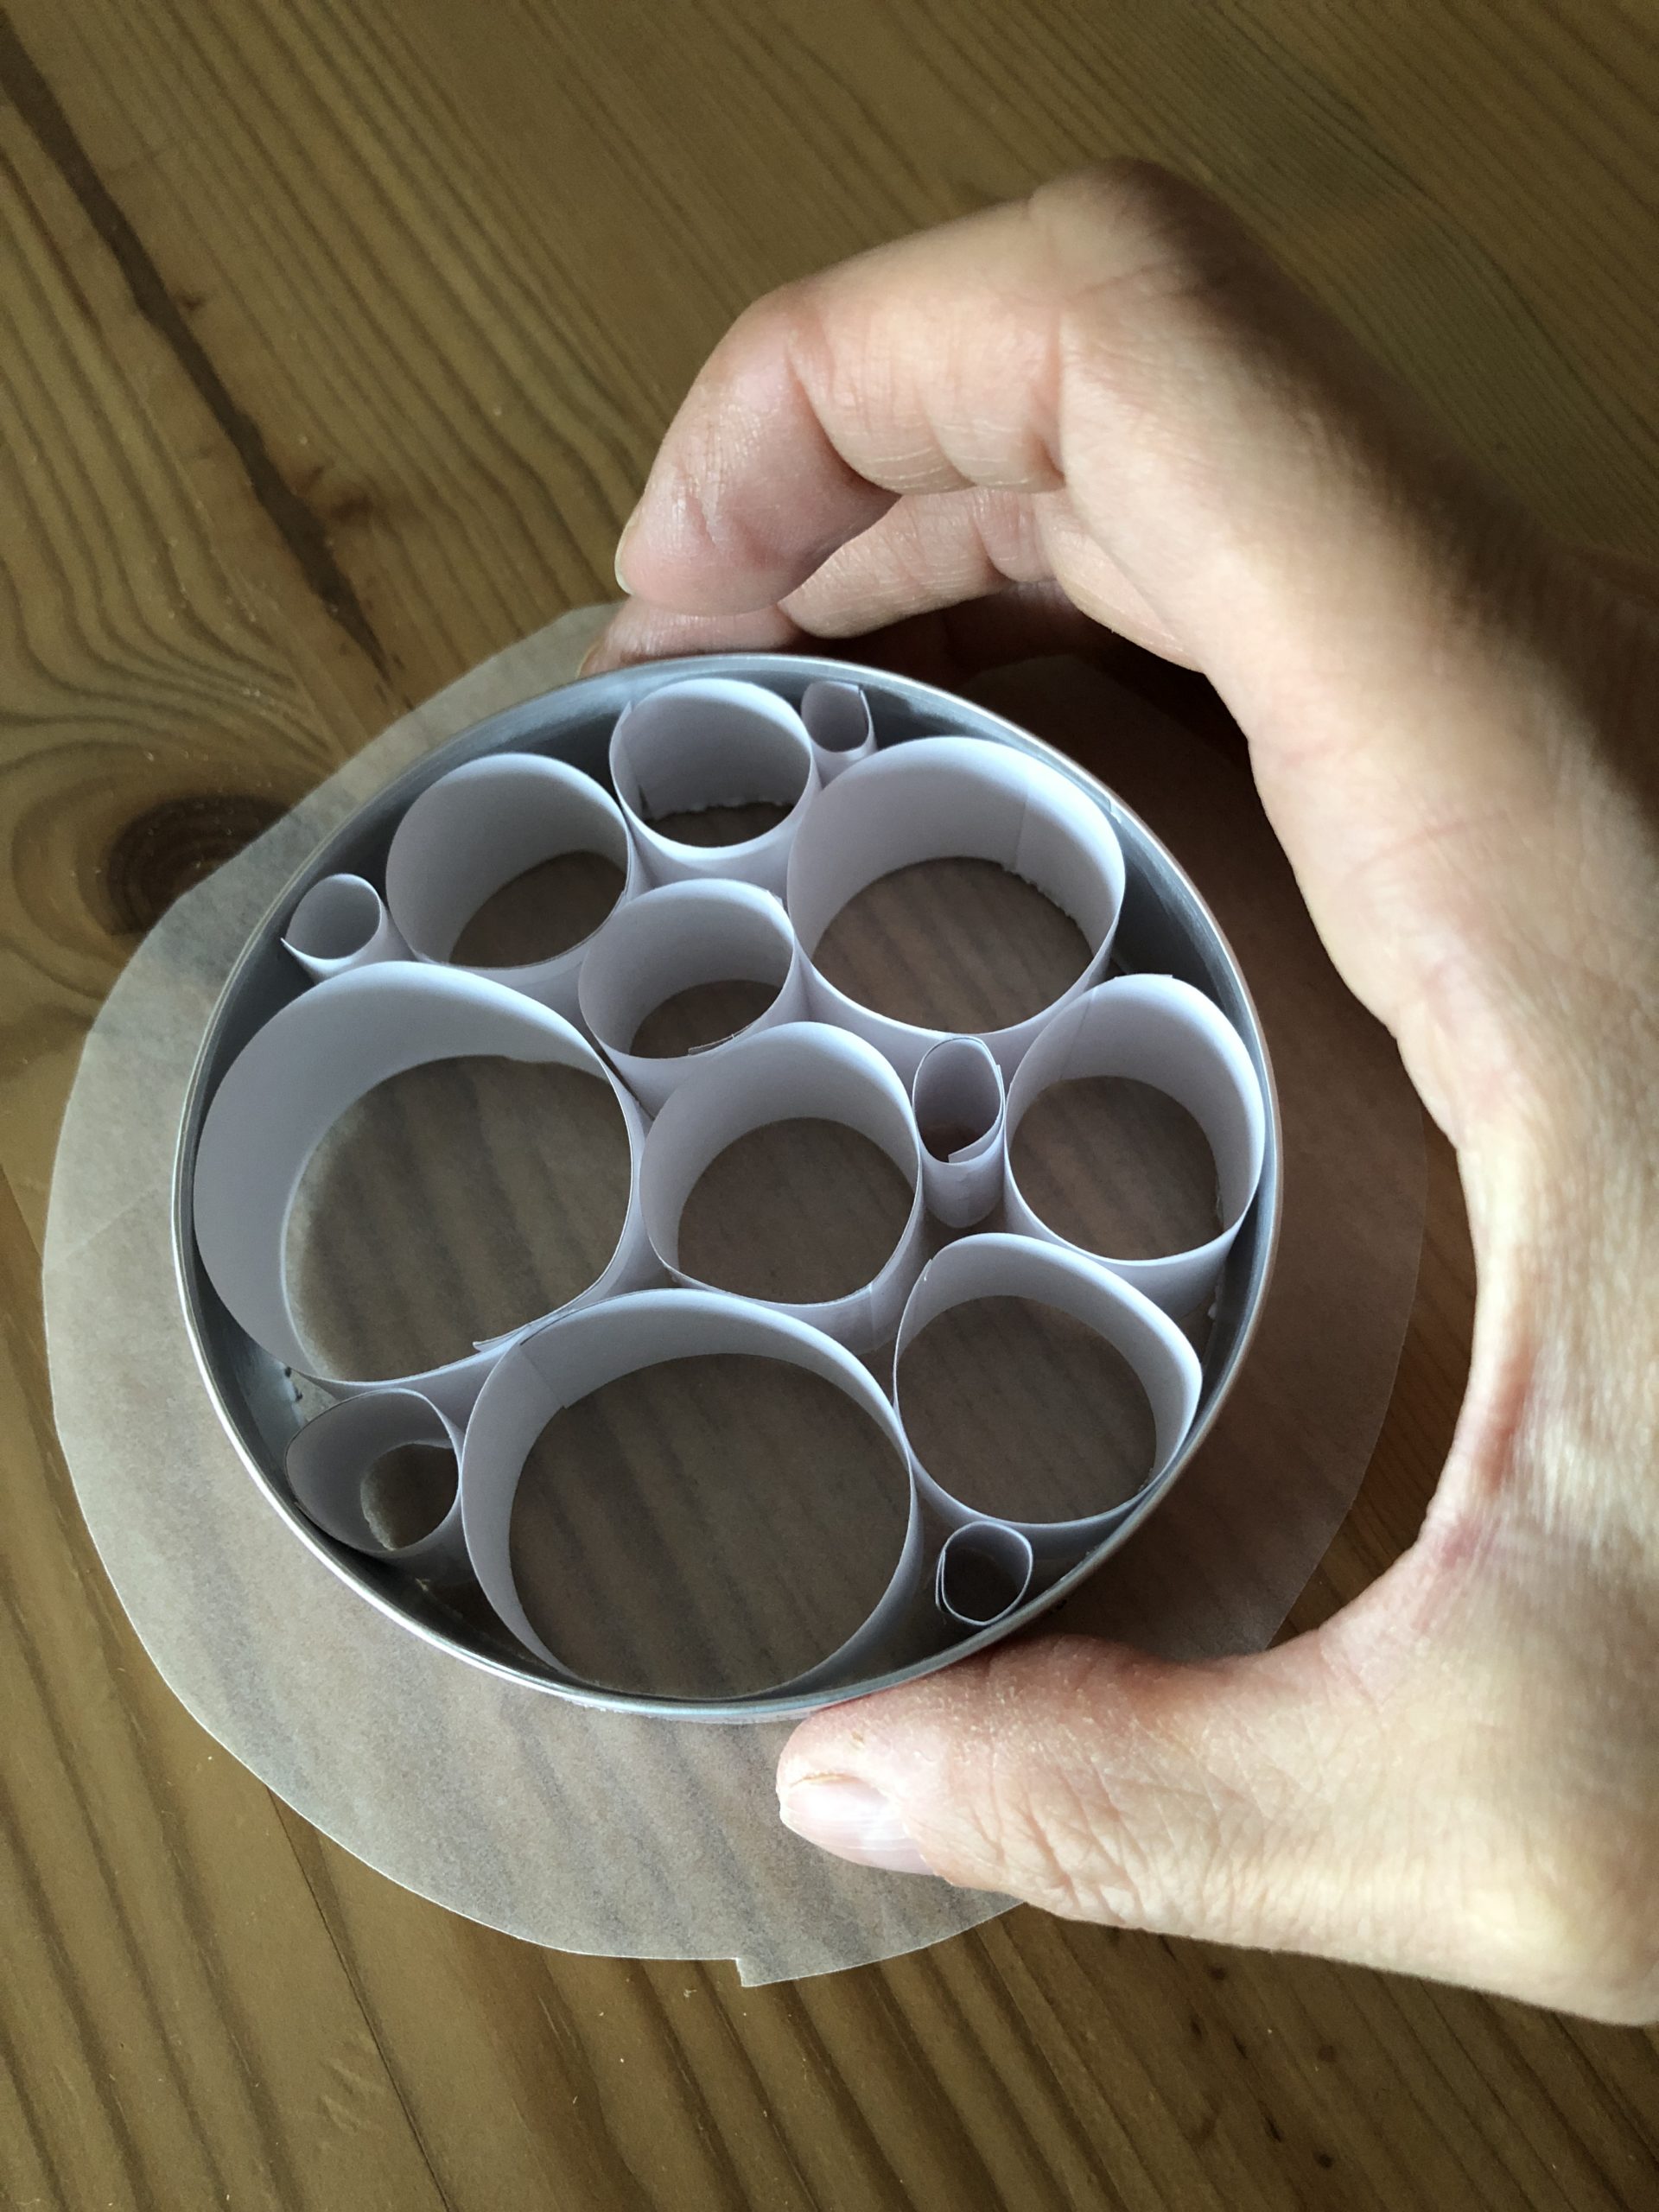
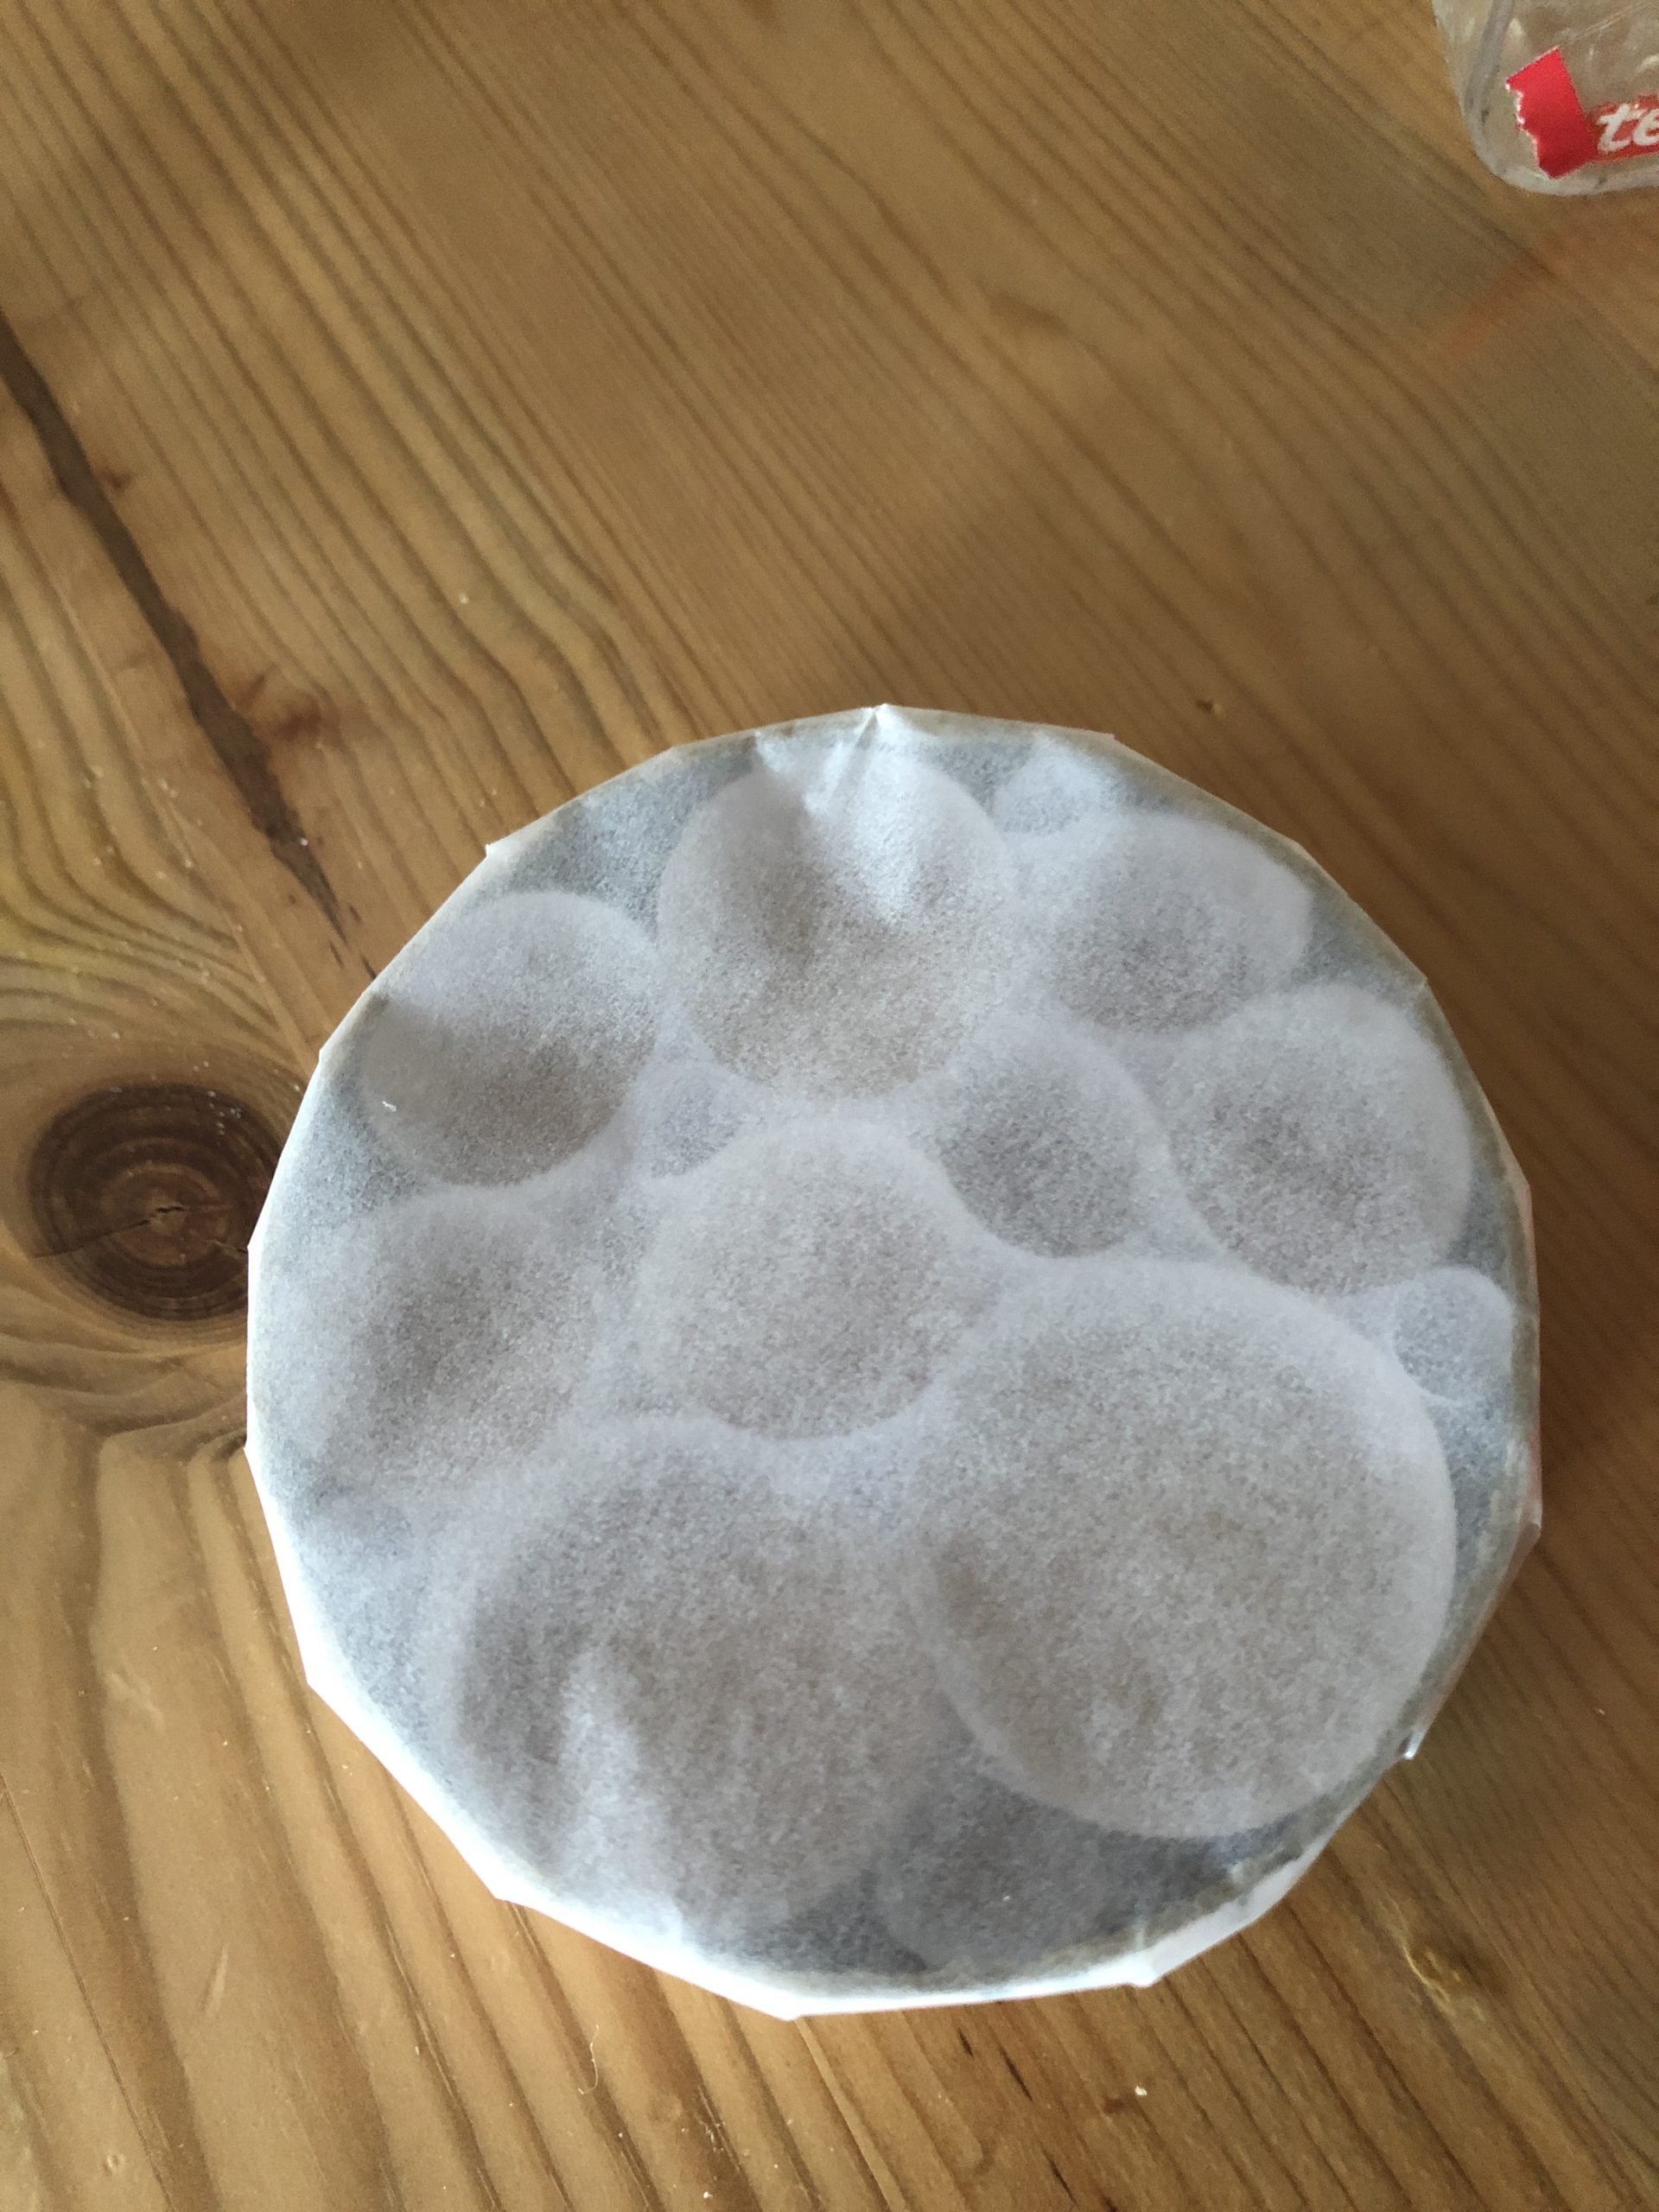
Cut the overhanging edge of the transparent paper with scissors. Cut to the frame.

Bild zum Schritt 20 für das Bastel- und DIY-Abenteuer für Kinder: 'Den überstehenden Rand des Transparentpapiers mit einer Schere einschneiden. Dabei...'

21

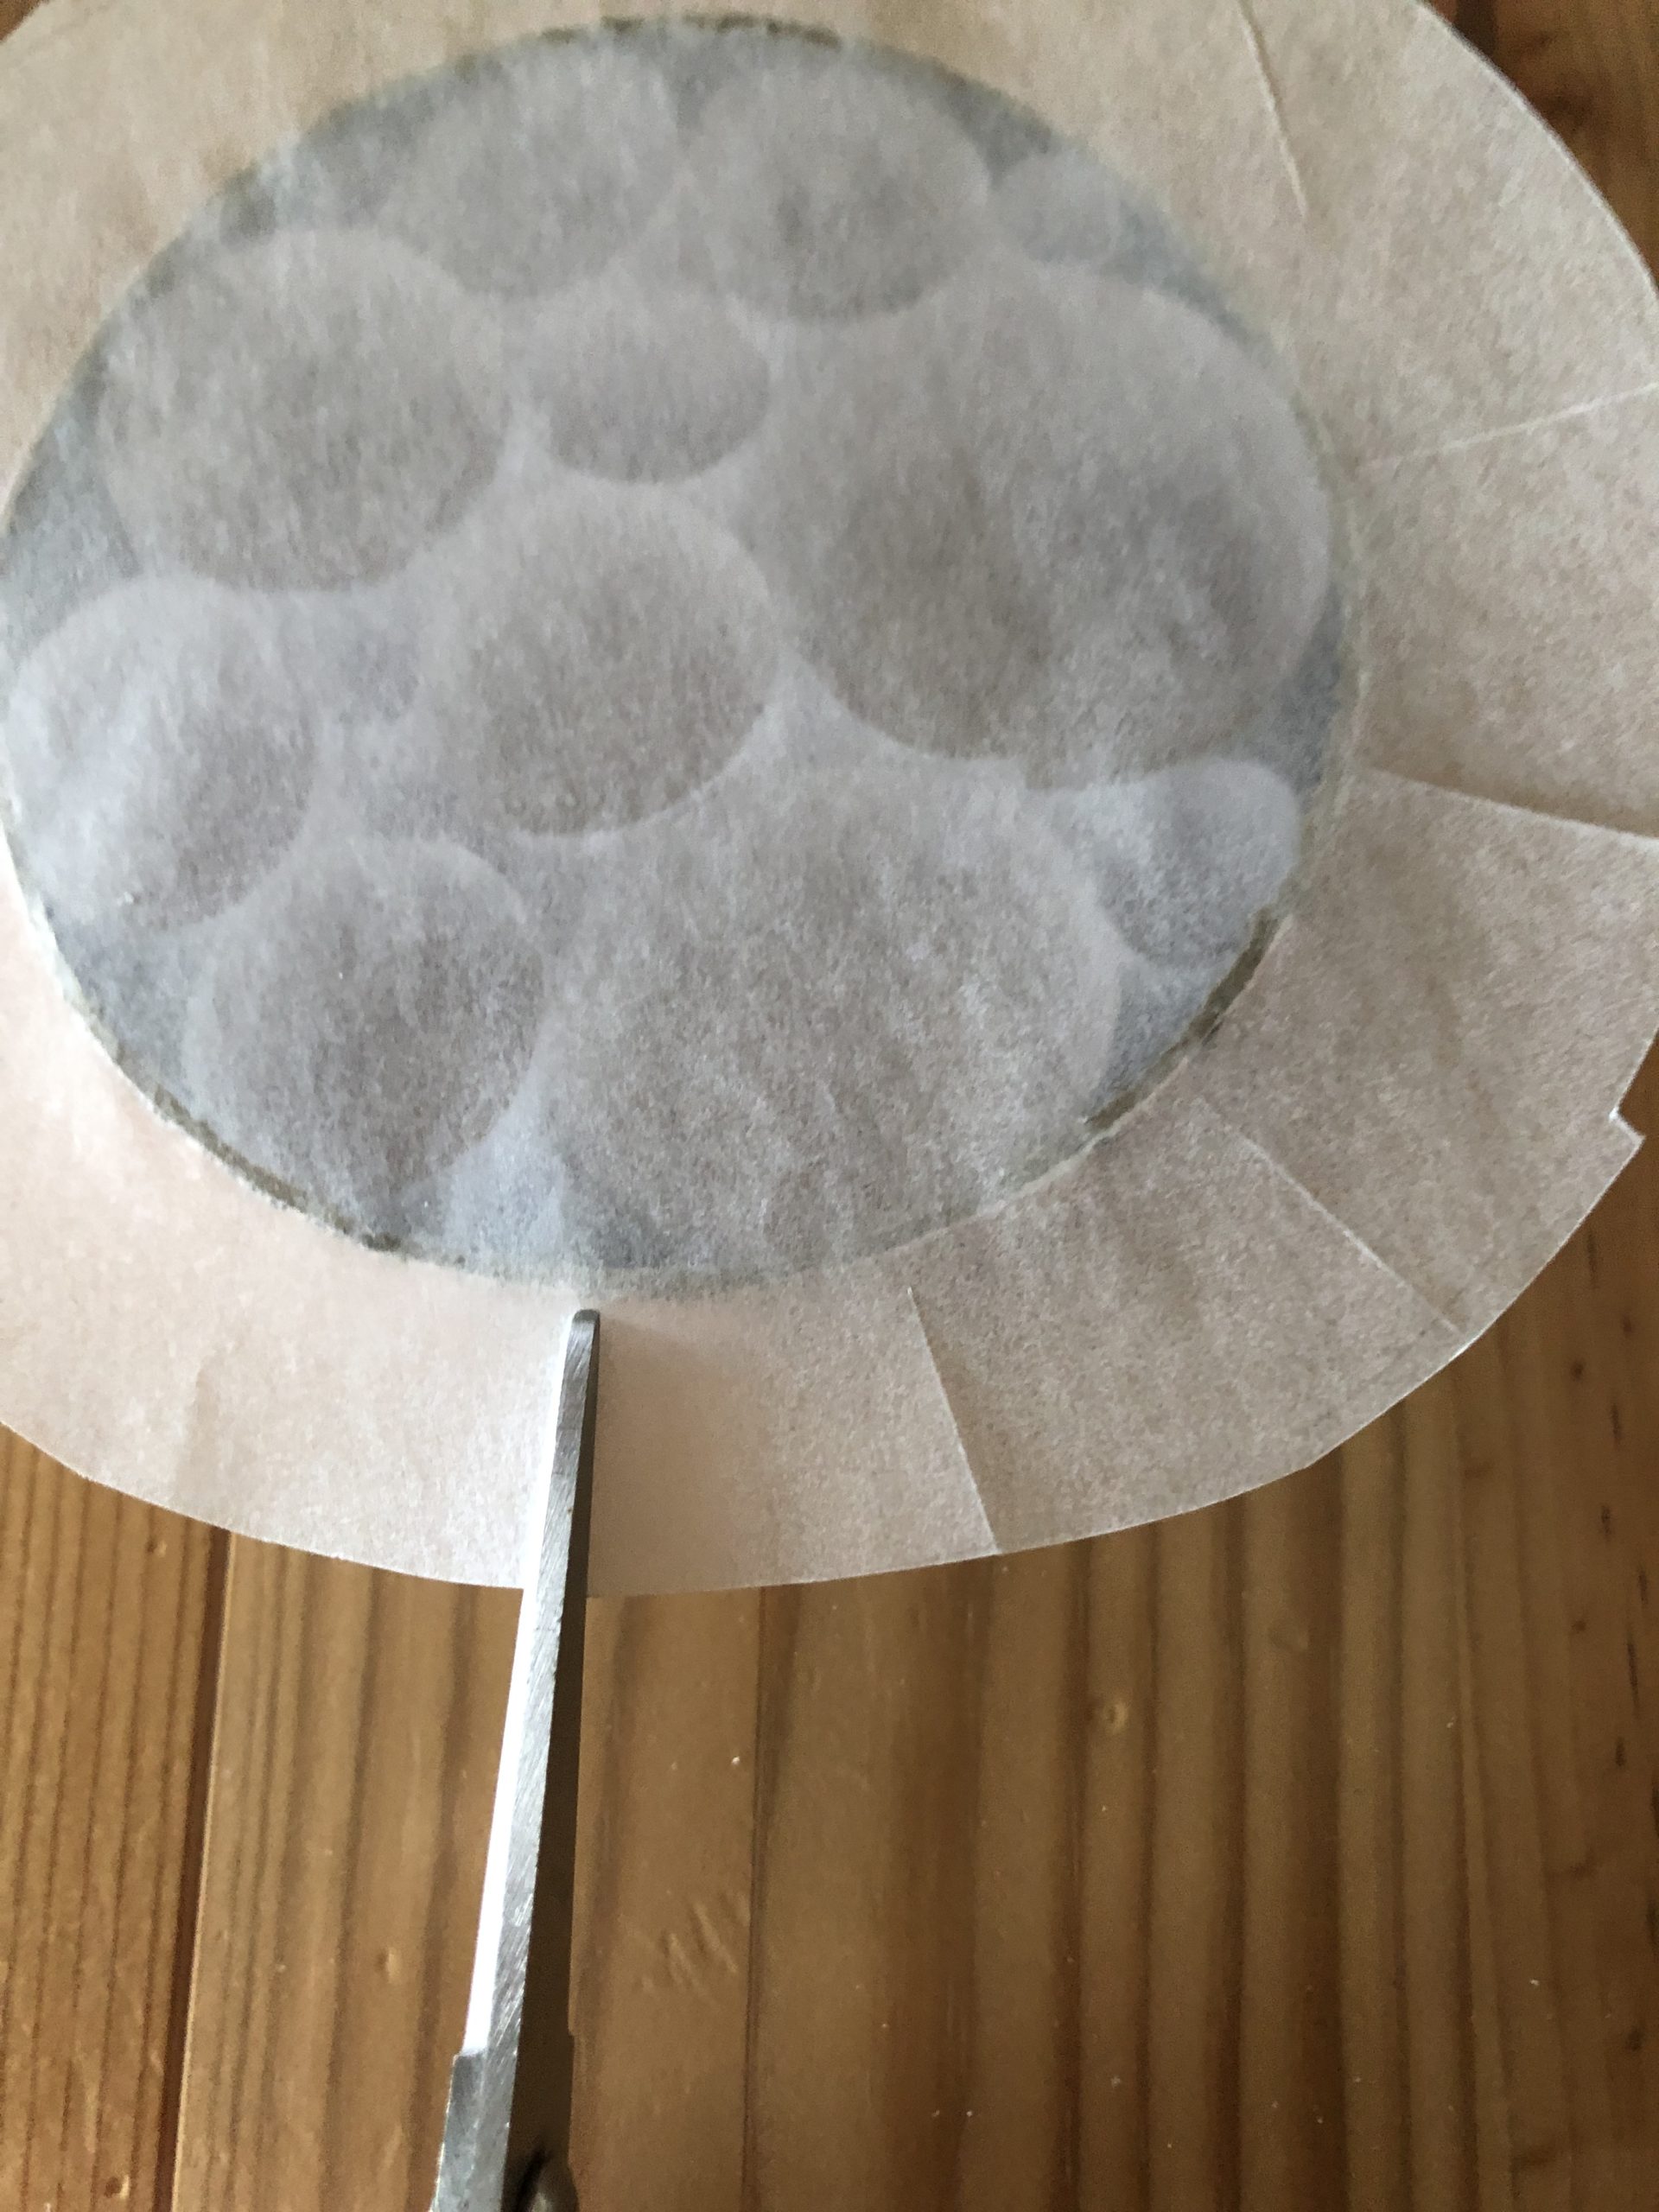
Turn the whole mobile around and apply glue to the incisions of the transparent paper and press on the frame.

Bild zum Schritt 21 für das Bastel- und DIY-Abenteuer für Kinder: 'Das ganze Mobile umdrehen und die Einschnitte des Transparentpapiers mit...'

22

2. Bild zum Schritt 21 für das Bastel- und DIY-Abenteuer für Kinder: 'Das ganze Mobile umdrehen und die Einschnitte des Transparentpapiers mit...'

23

3. Bild zum Schritt 22 für das Bastel- und DIY-Abenteuer für Kinder: 'Das ganze Mobile umdrehen und die Einschnitte des Transparentpapiers mit...'

24

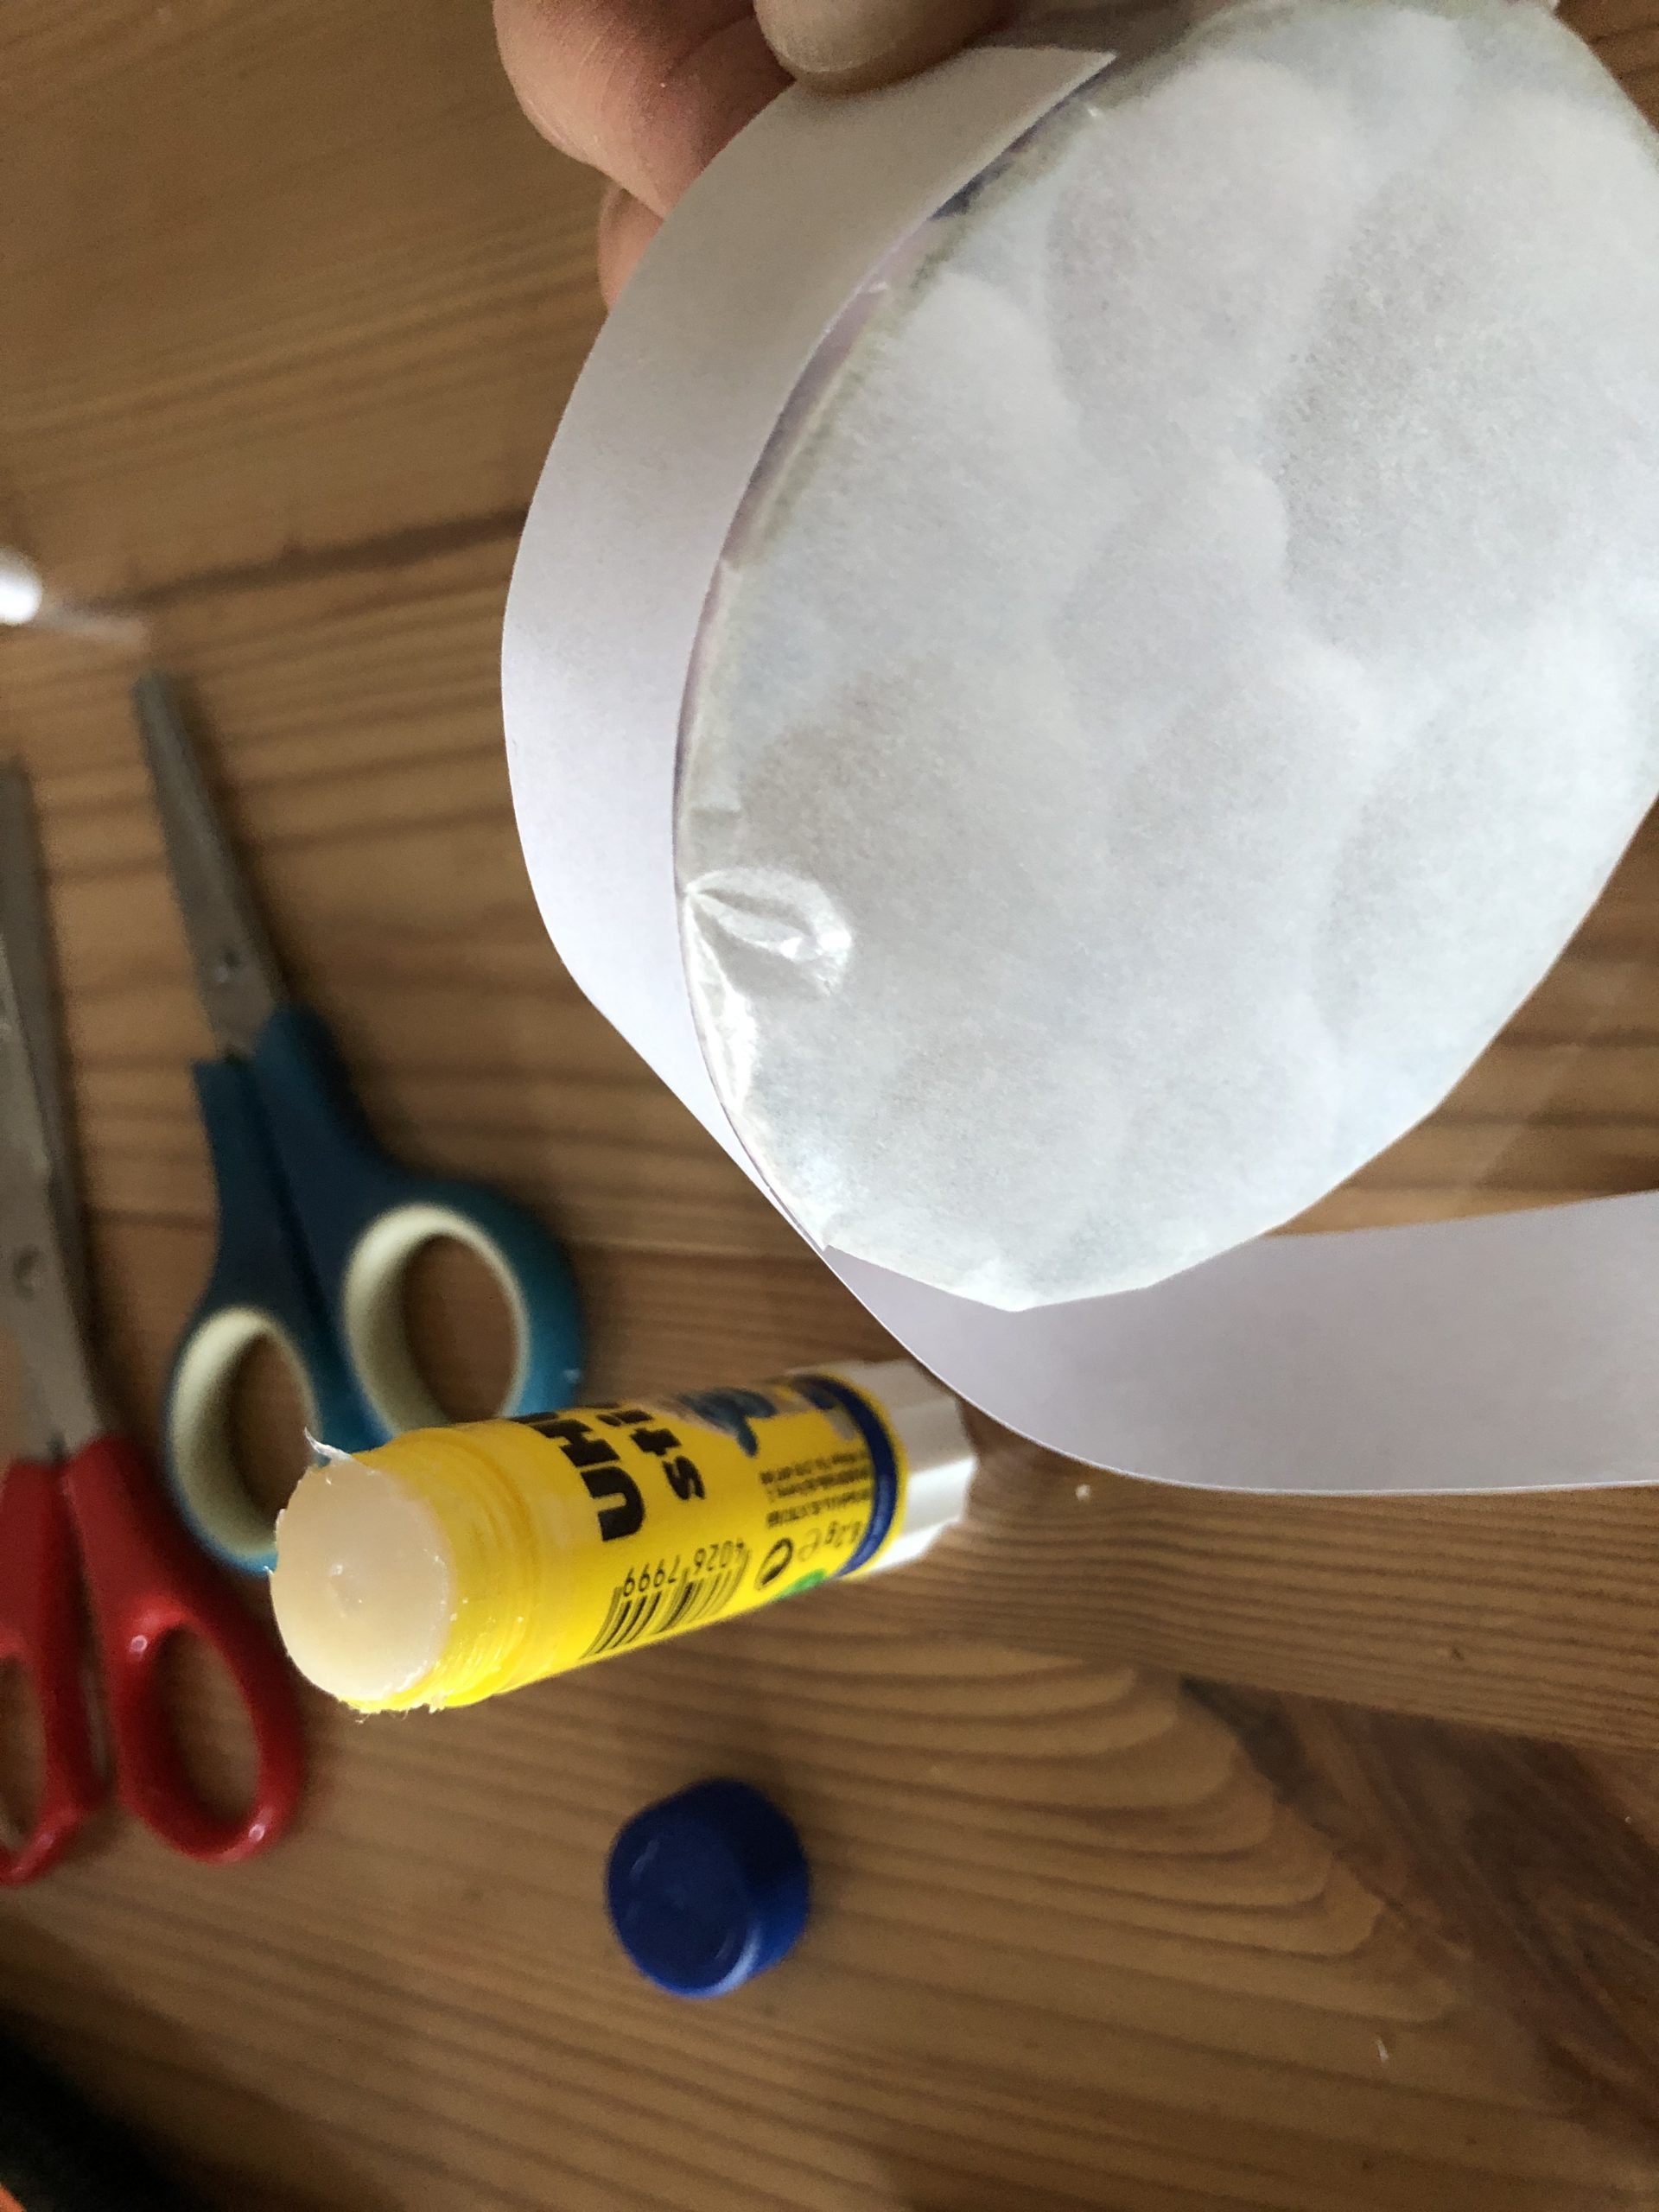
Cut a strip of white paper in the width and length of the frame circumference.

Bild zum Schritt 24 für das Bastel- und DIY-Abenteuer für Kinder: 'Aus weißem Papier einen Streifen in der Breite und Länge...'

25

Fix this with glue on a piece of the frame.
Tip: You don't need to apply glue to the whole edge. Single points are enough!

Bild zum Schritt 25 für das Bastel- und DIY-Abenteuer für Kinder: 'Diesen mit Kleber an einem Stück des Rahmens fixieren. ...'

26

To hang up you make a loop out of a thread. To do this you cut off a piece of thread -- twice as long as you wish for the suspension, then you knot the ends together.

Bild zum Schritt 26 für das Bastel- und DIY-Abenteuer für Kinder: 'Zum Aufhängen macht ihr eine Schlaufe aus einem Faden. Hierzu...'

27

Thread the paper strip through your suspension. Finally brush the paper strip completely with glue and press on the frame.

Bild zum Schritt 27 für das Bastel- und DIY-Abenteuer für Kinder: 'Den Papierstreifen durch eure Aufhängung fädeln.  Abschließend den Papierstreifen...'

28

Ready!
Find a nice place on the window. The mobile looks particularly nice when it moves in the air.

Bild zum Schritt 28 für das Bastel- und DIY-Abenteuer für Kinder: 'Fertig!   Sucht euch einen schönen Platz am Fenster....'

29

2. Bild zum Schritt 28 für das Bastel- und DIY-Abenteuer für Kinder: 'Fertig!   Sucht euch einen schönen Platz am Fenster....'

30

3. Bild zum Schritt 29 für das Bastel- und DIY-Abenteuer für Kinder: 'Fertig!   Sucht euch einen schönen Platz am Fenster....'

31

4. Bild zum Schritt 30 für das Bastel- und DIY-Abenteuer für Kinder: 'Fertig!   Sucht euch einen schönen Platz am Fenster....'

Further suggestions:
32

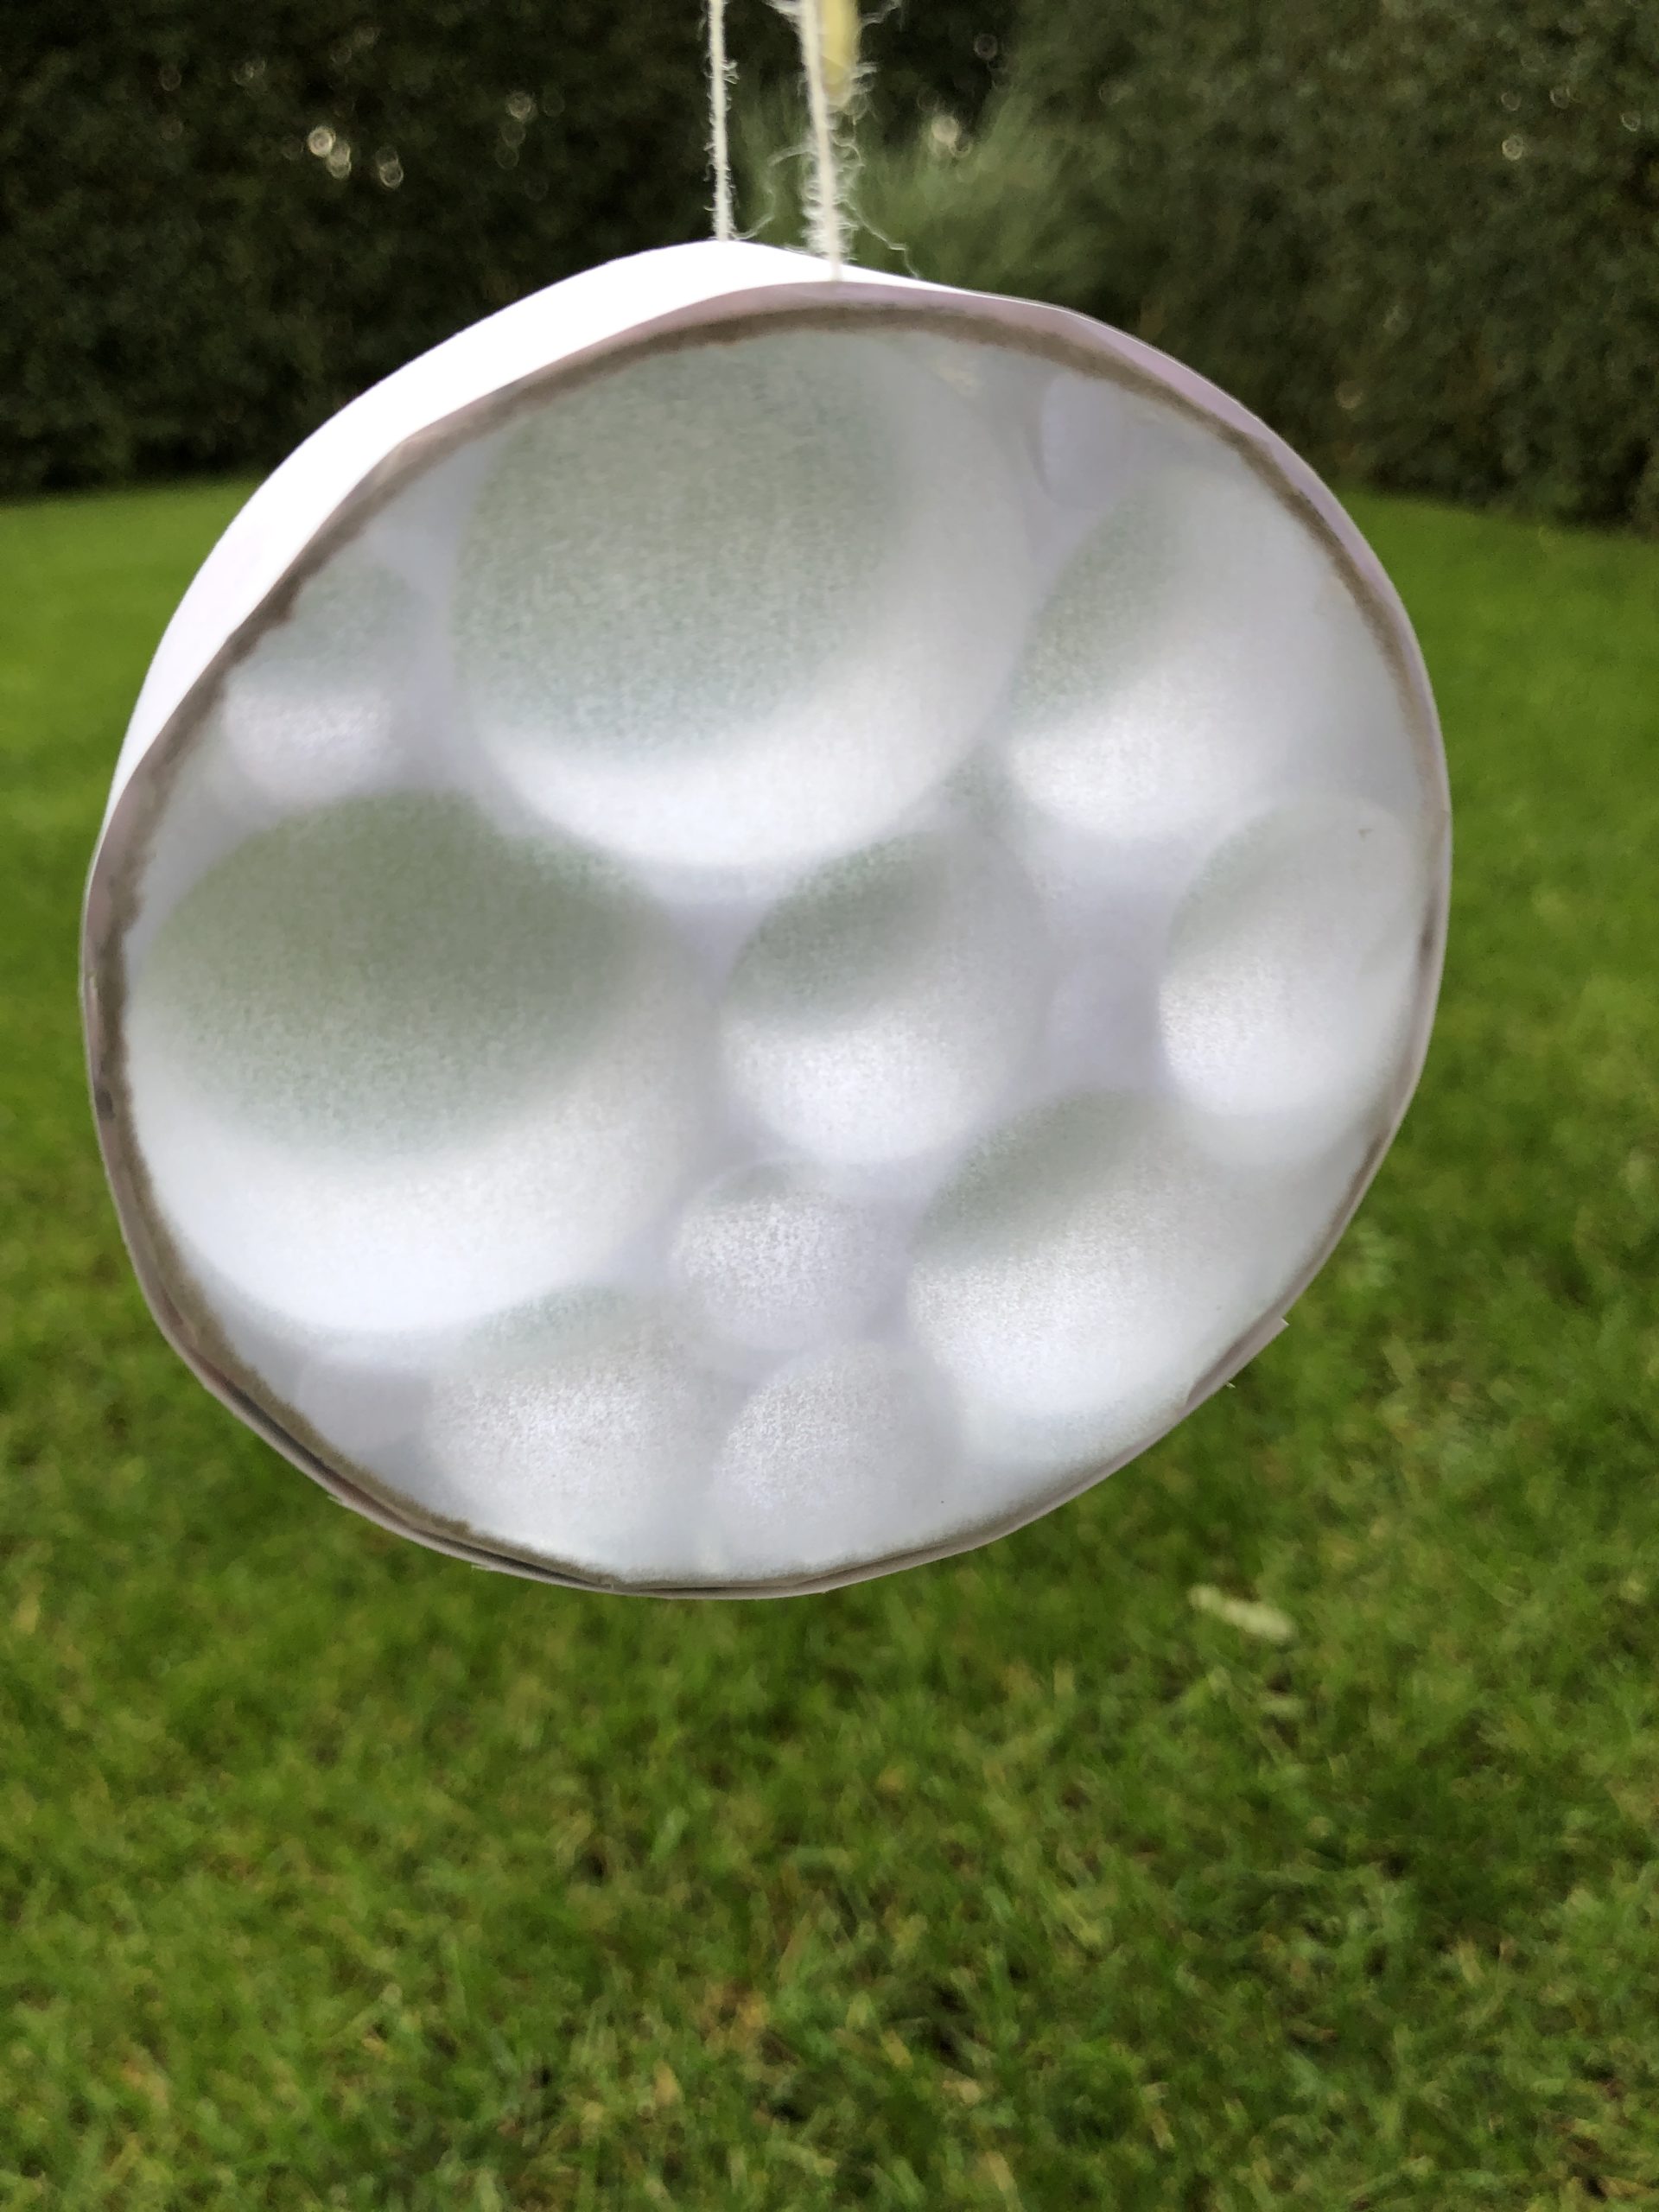
Glue your mobile from both sides with transparent paper!

33

Use colorful transparent paper to design the mobile!

Have fun!