Make a Weather Clock

AdventurerKatzi
Rating4.541.8 Tausend mal & (2) DifficultyBeginner

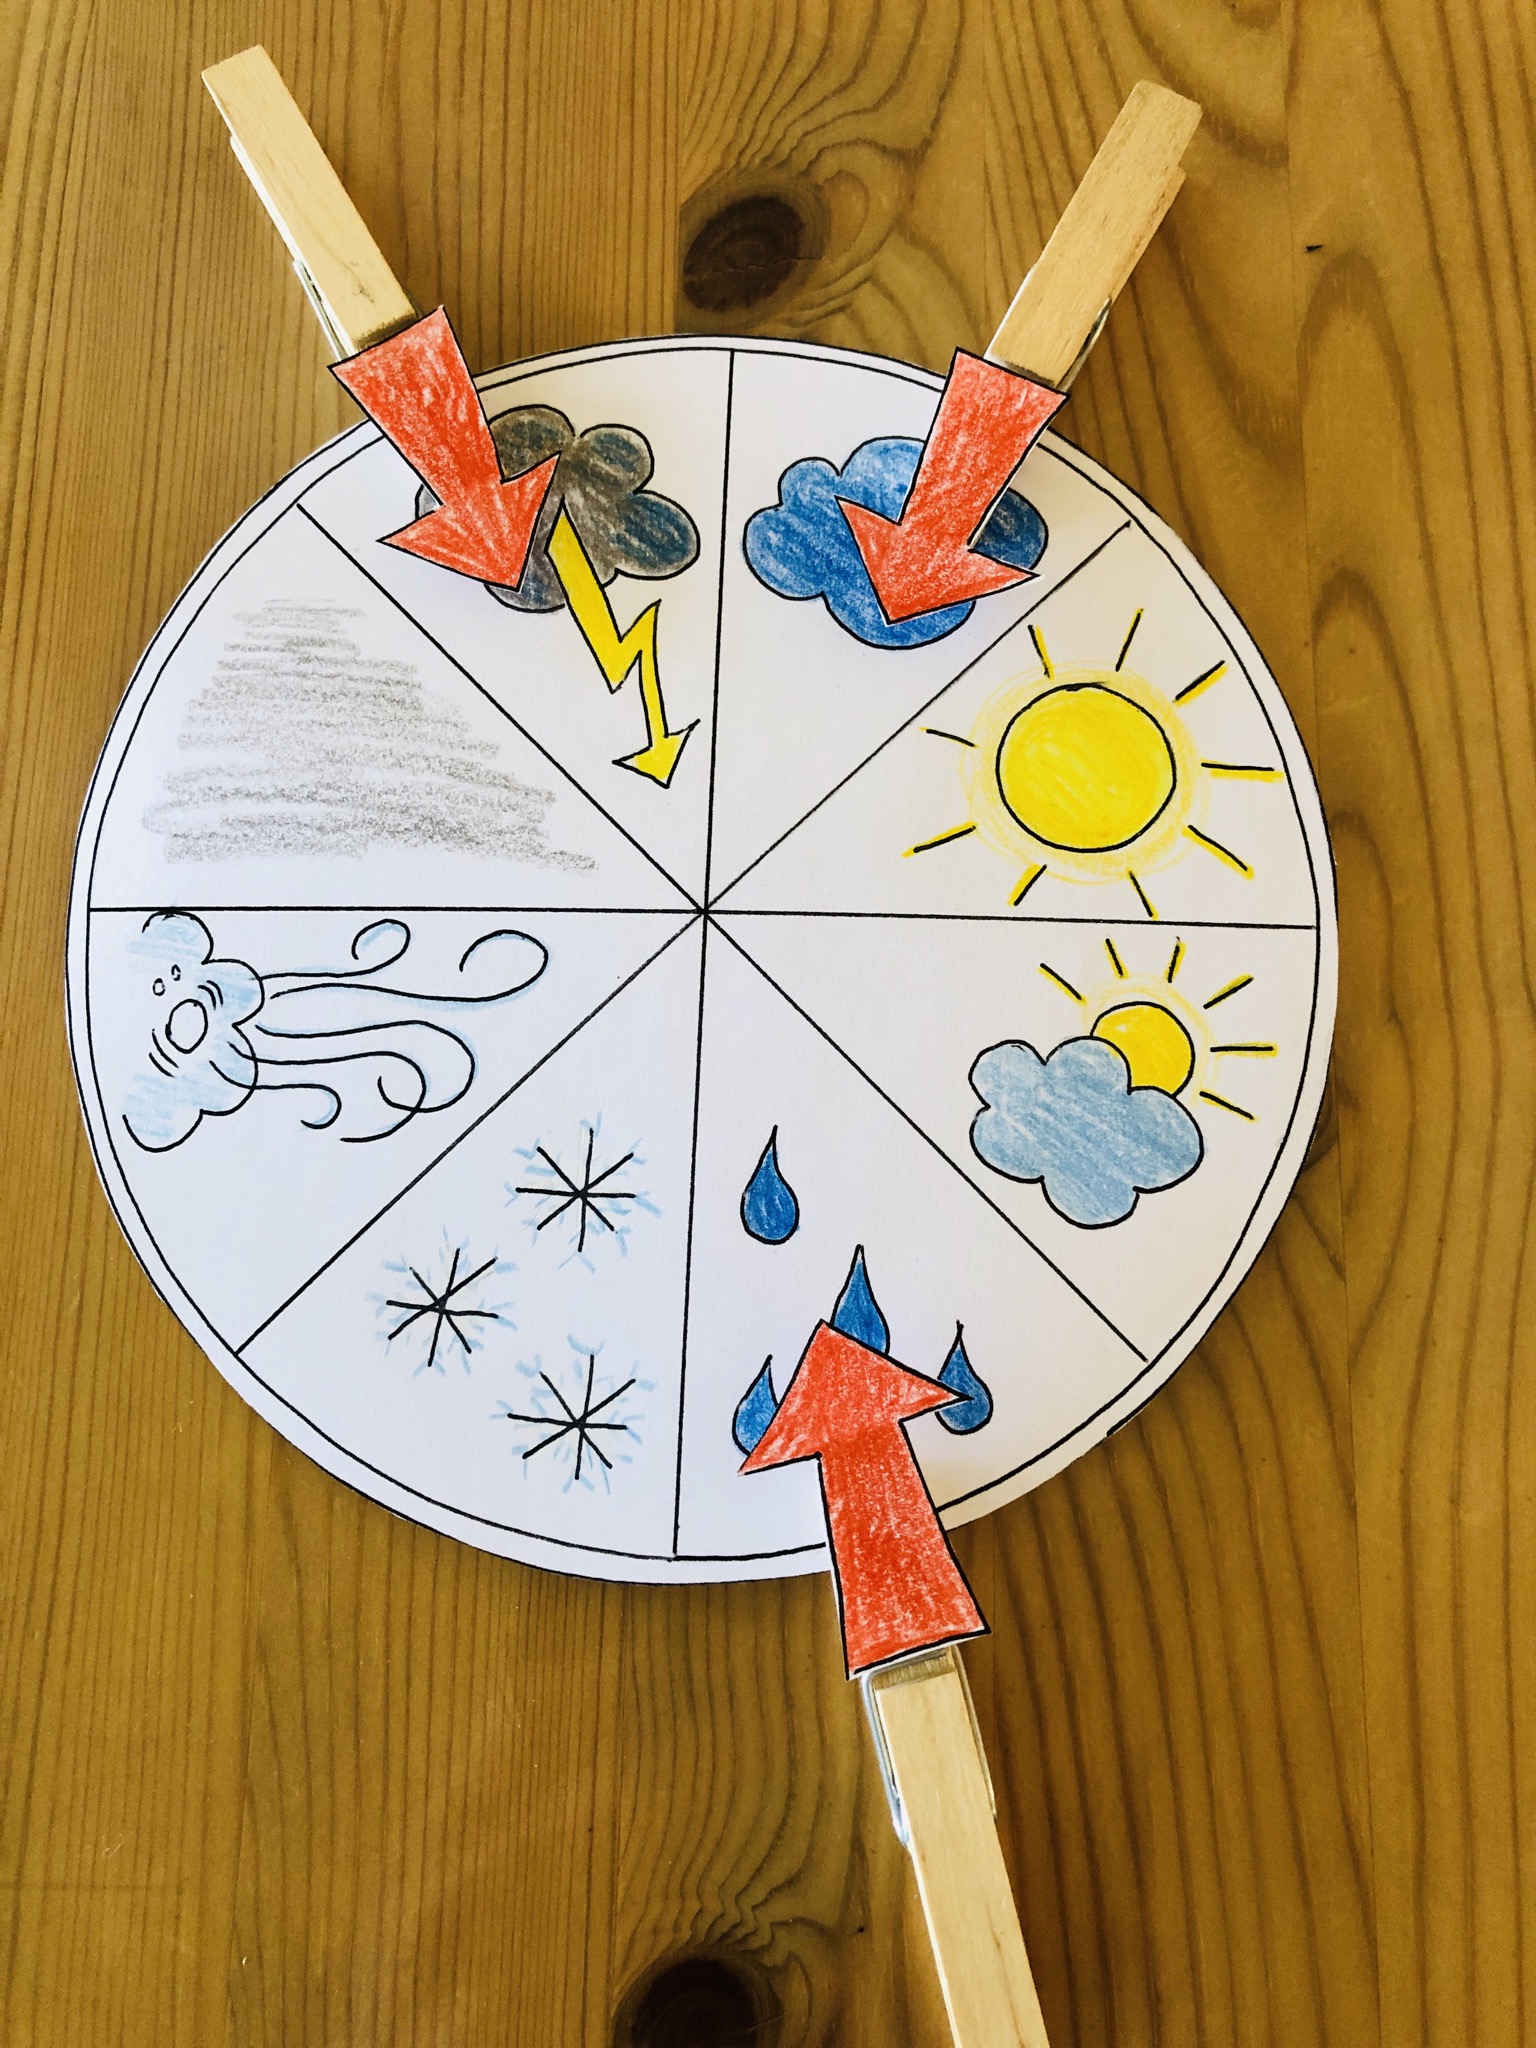
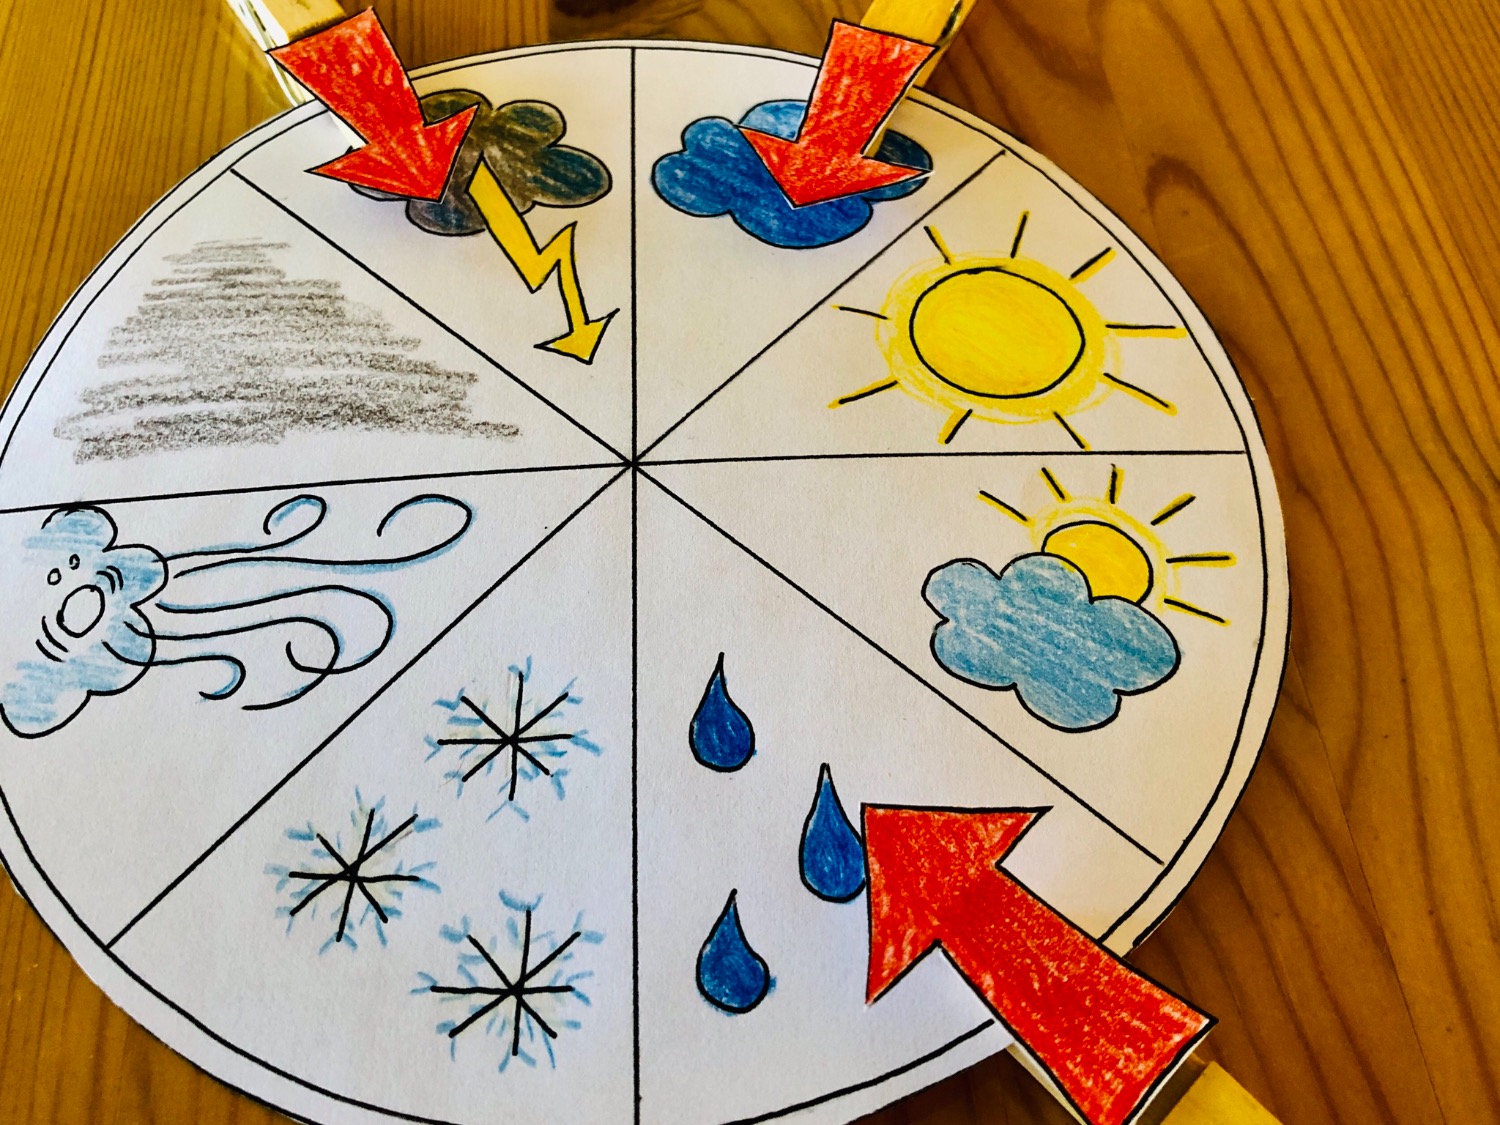
Watch the weather together. With the weather clock this is quite easy! Make the arrows to the appropriate weather symbol, sometimes there are also two or three arrows necessary!
Suitable to this offer, there is also the weather basket, the weather boxes and the weather stones below Make weather symbols.
Let yourself be inspired.

Media Education for Kindergarten and Hort

Kind bastelt eine Rassel mit dem Navi
The Adventure Navi, the app for DIY projects, enables media education for the youngest.

Relief in everyday life, targeted promotion of individual children, independent learning and - without any pre-knowledge already usable by the youngest!


Titelbild zur Bastel- und DIY-Idee für Kinder '(225) Wetteruhr basteln'
Material for1 Child
Prep Time5 min.Adv. Time20 min.Total Time25 min.
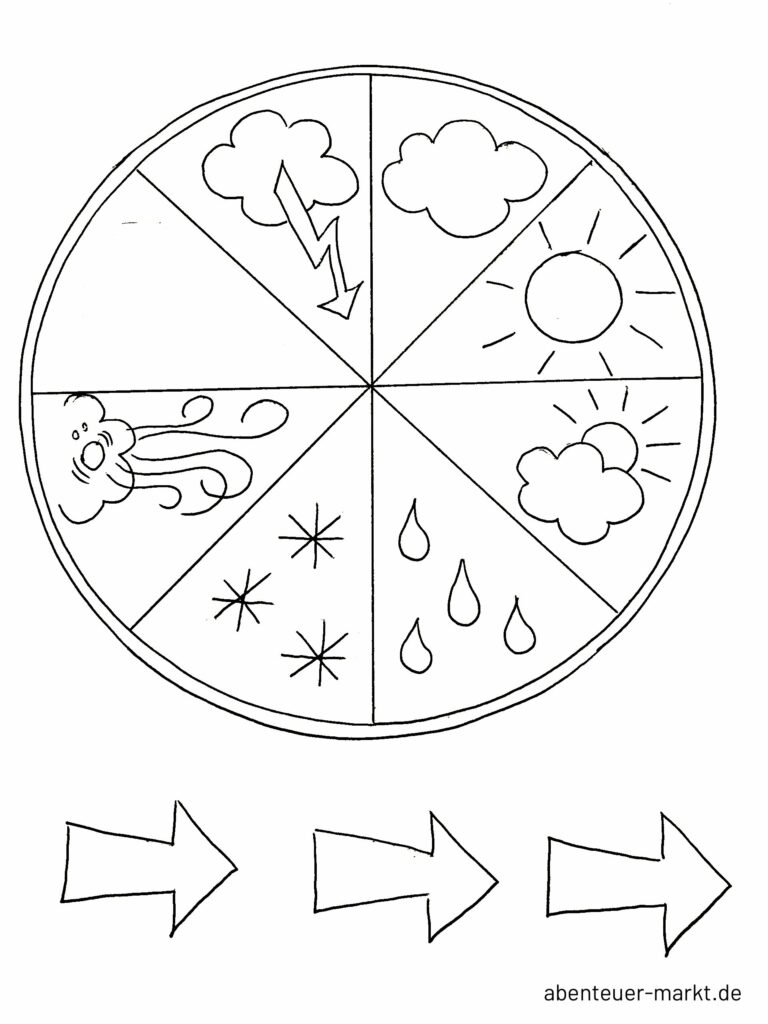
 Template: Weather Clock
 Paper DIN A4 white
 1 Possibly solid carton for back-gluingOr 1 cardboard plate
 3 Woven fabrics containing predominantly, but < 85 % cotton by weight, mixed principally or solely with cotton
 1 Adhesive possibly hot glue
 Perforated or punched pliers
 Thread/cord for hanging.
All links marked with a shopping cart lead to Amazon - here we have selected products that we would order ourselves and in part also ordered. In a qualified purchase via the advertising link, we as Amazon partner receive a commission, for you there are no costs. You thus support our cost- and advertising banner-free, educational offer.
1

Print template.

Bild zum Schritt 1 für das Bastel- und DIY-Abenteuer für Kinder: 'Vorlage ausdrucken.'

2

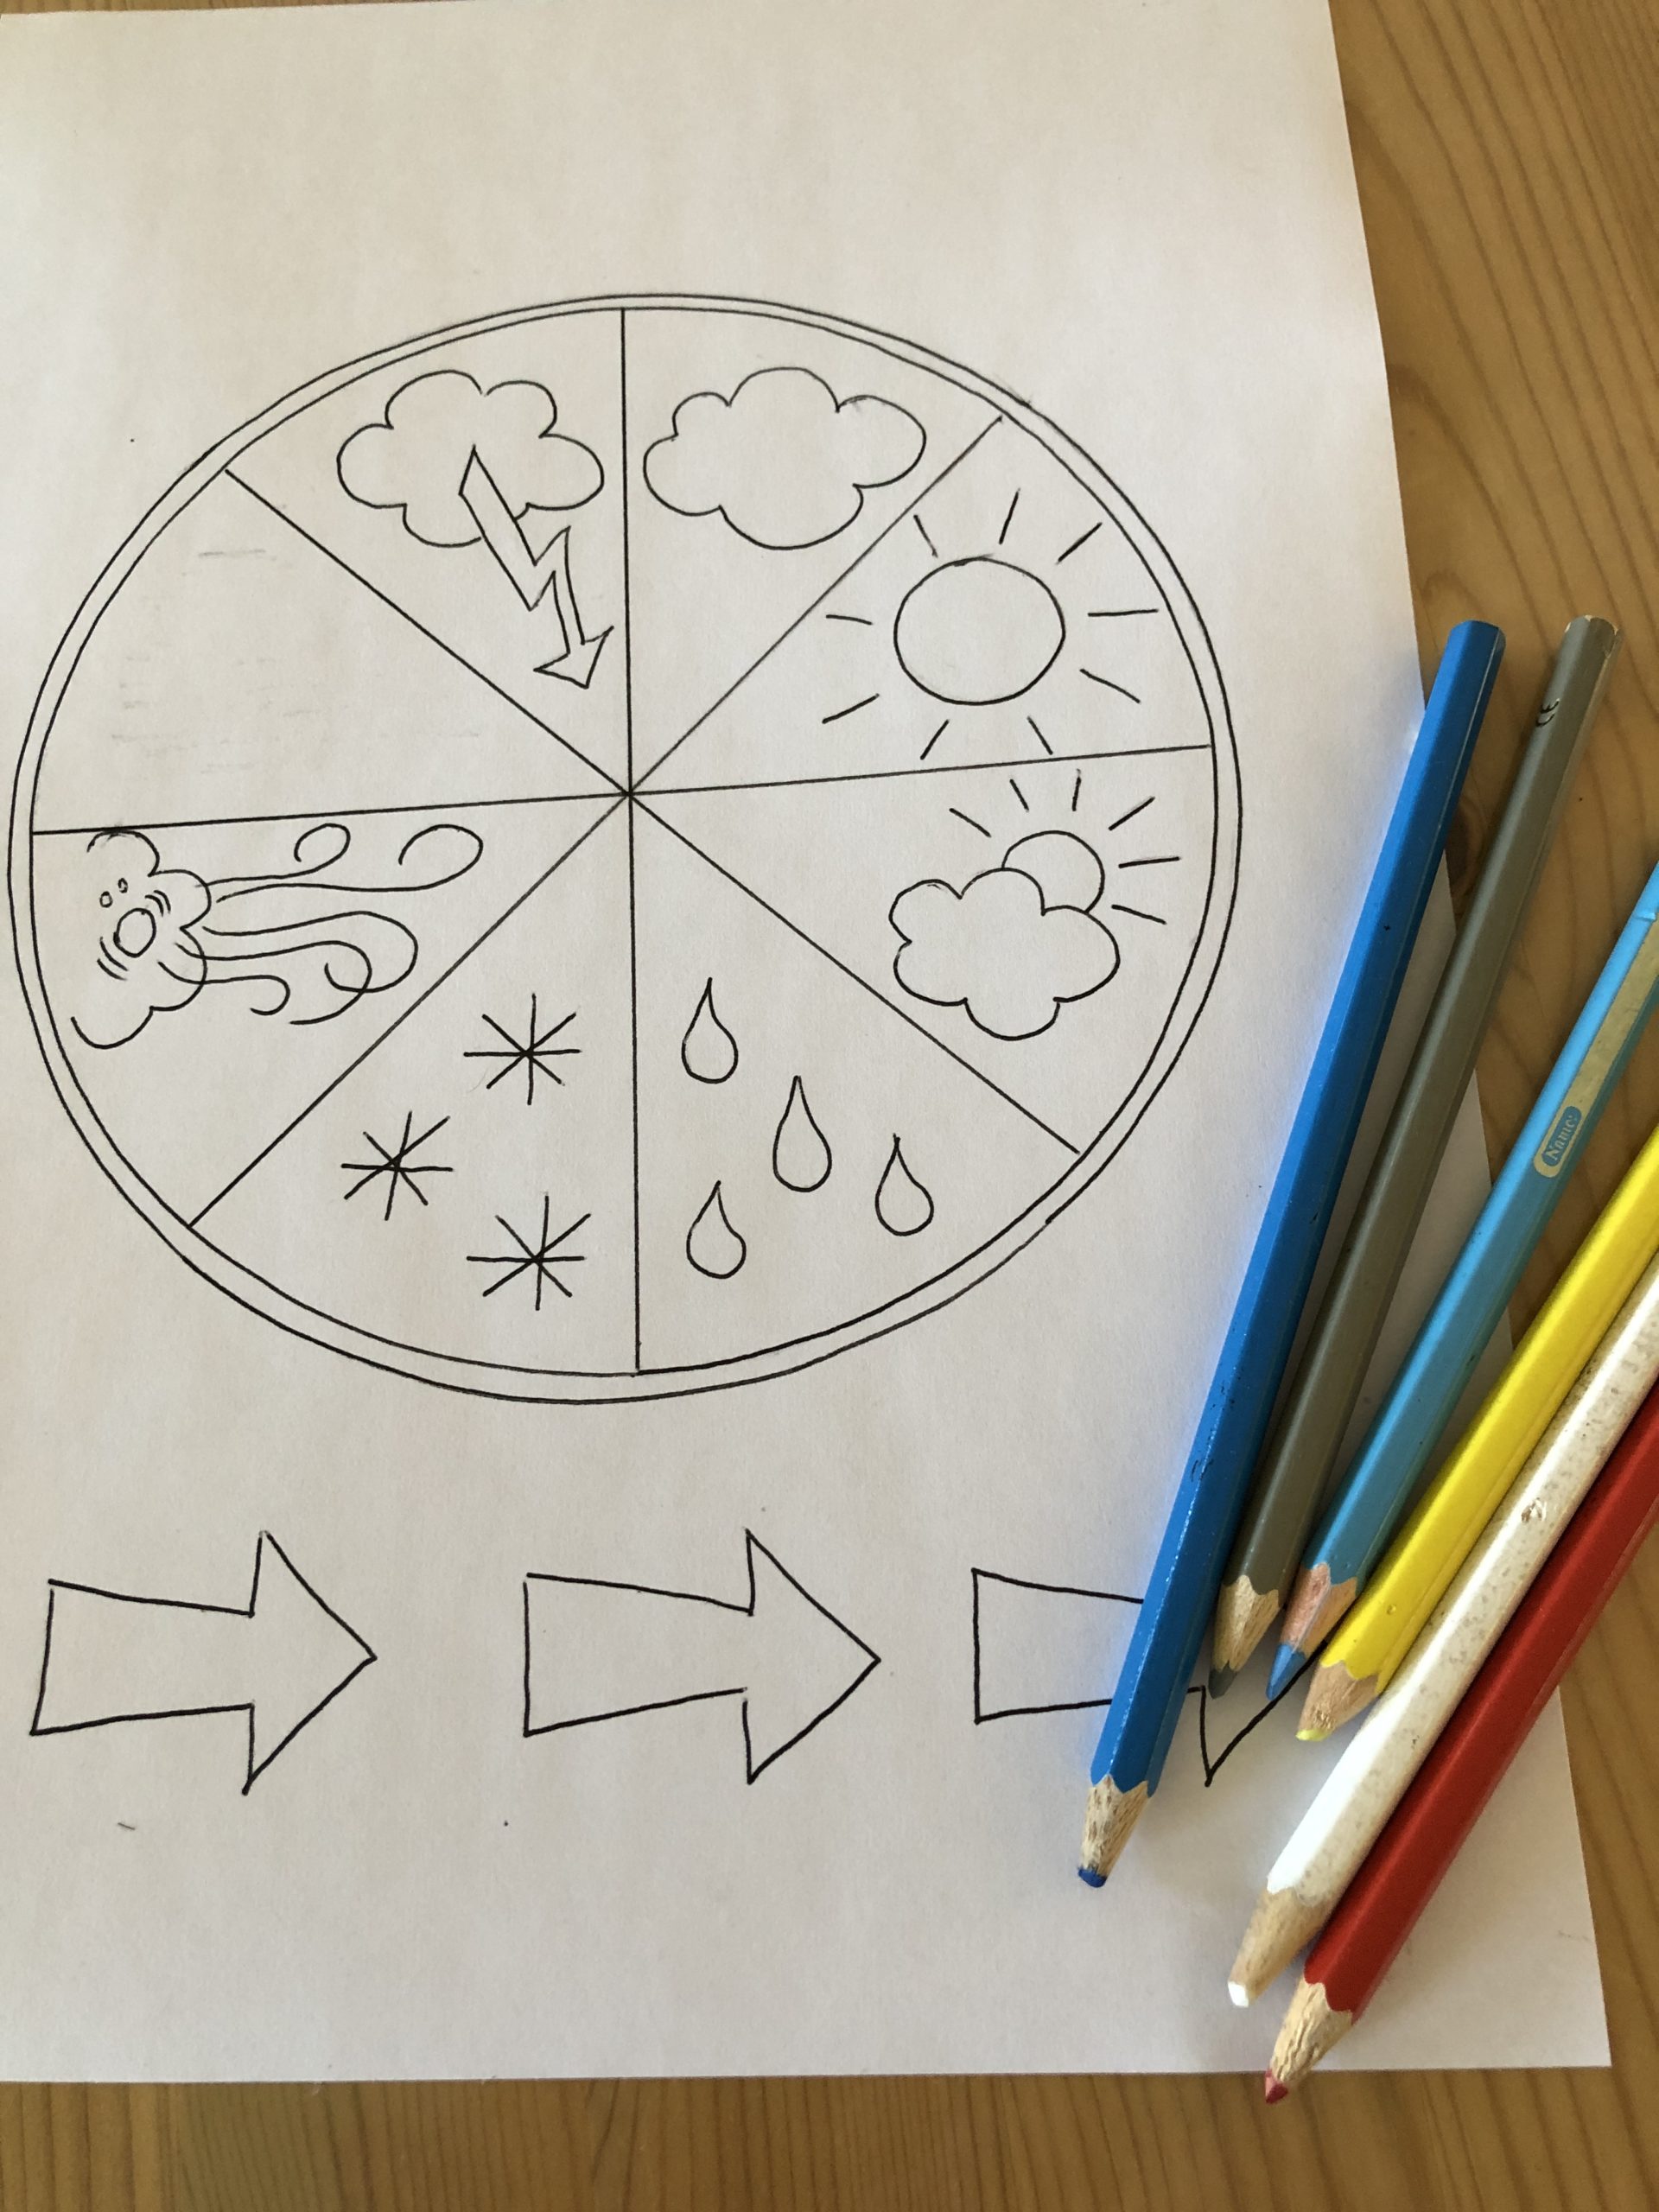
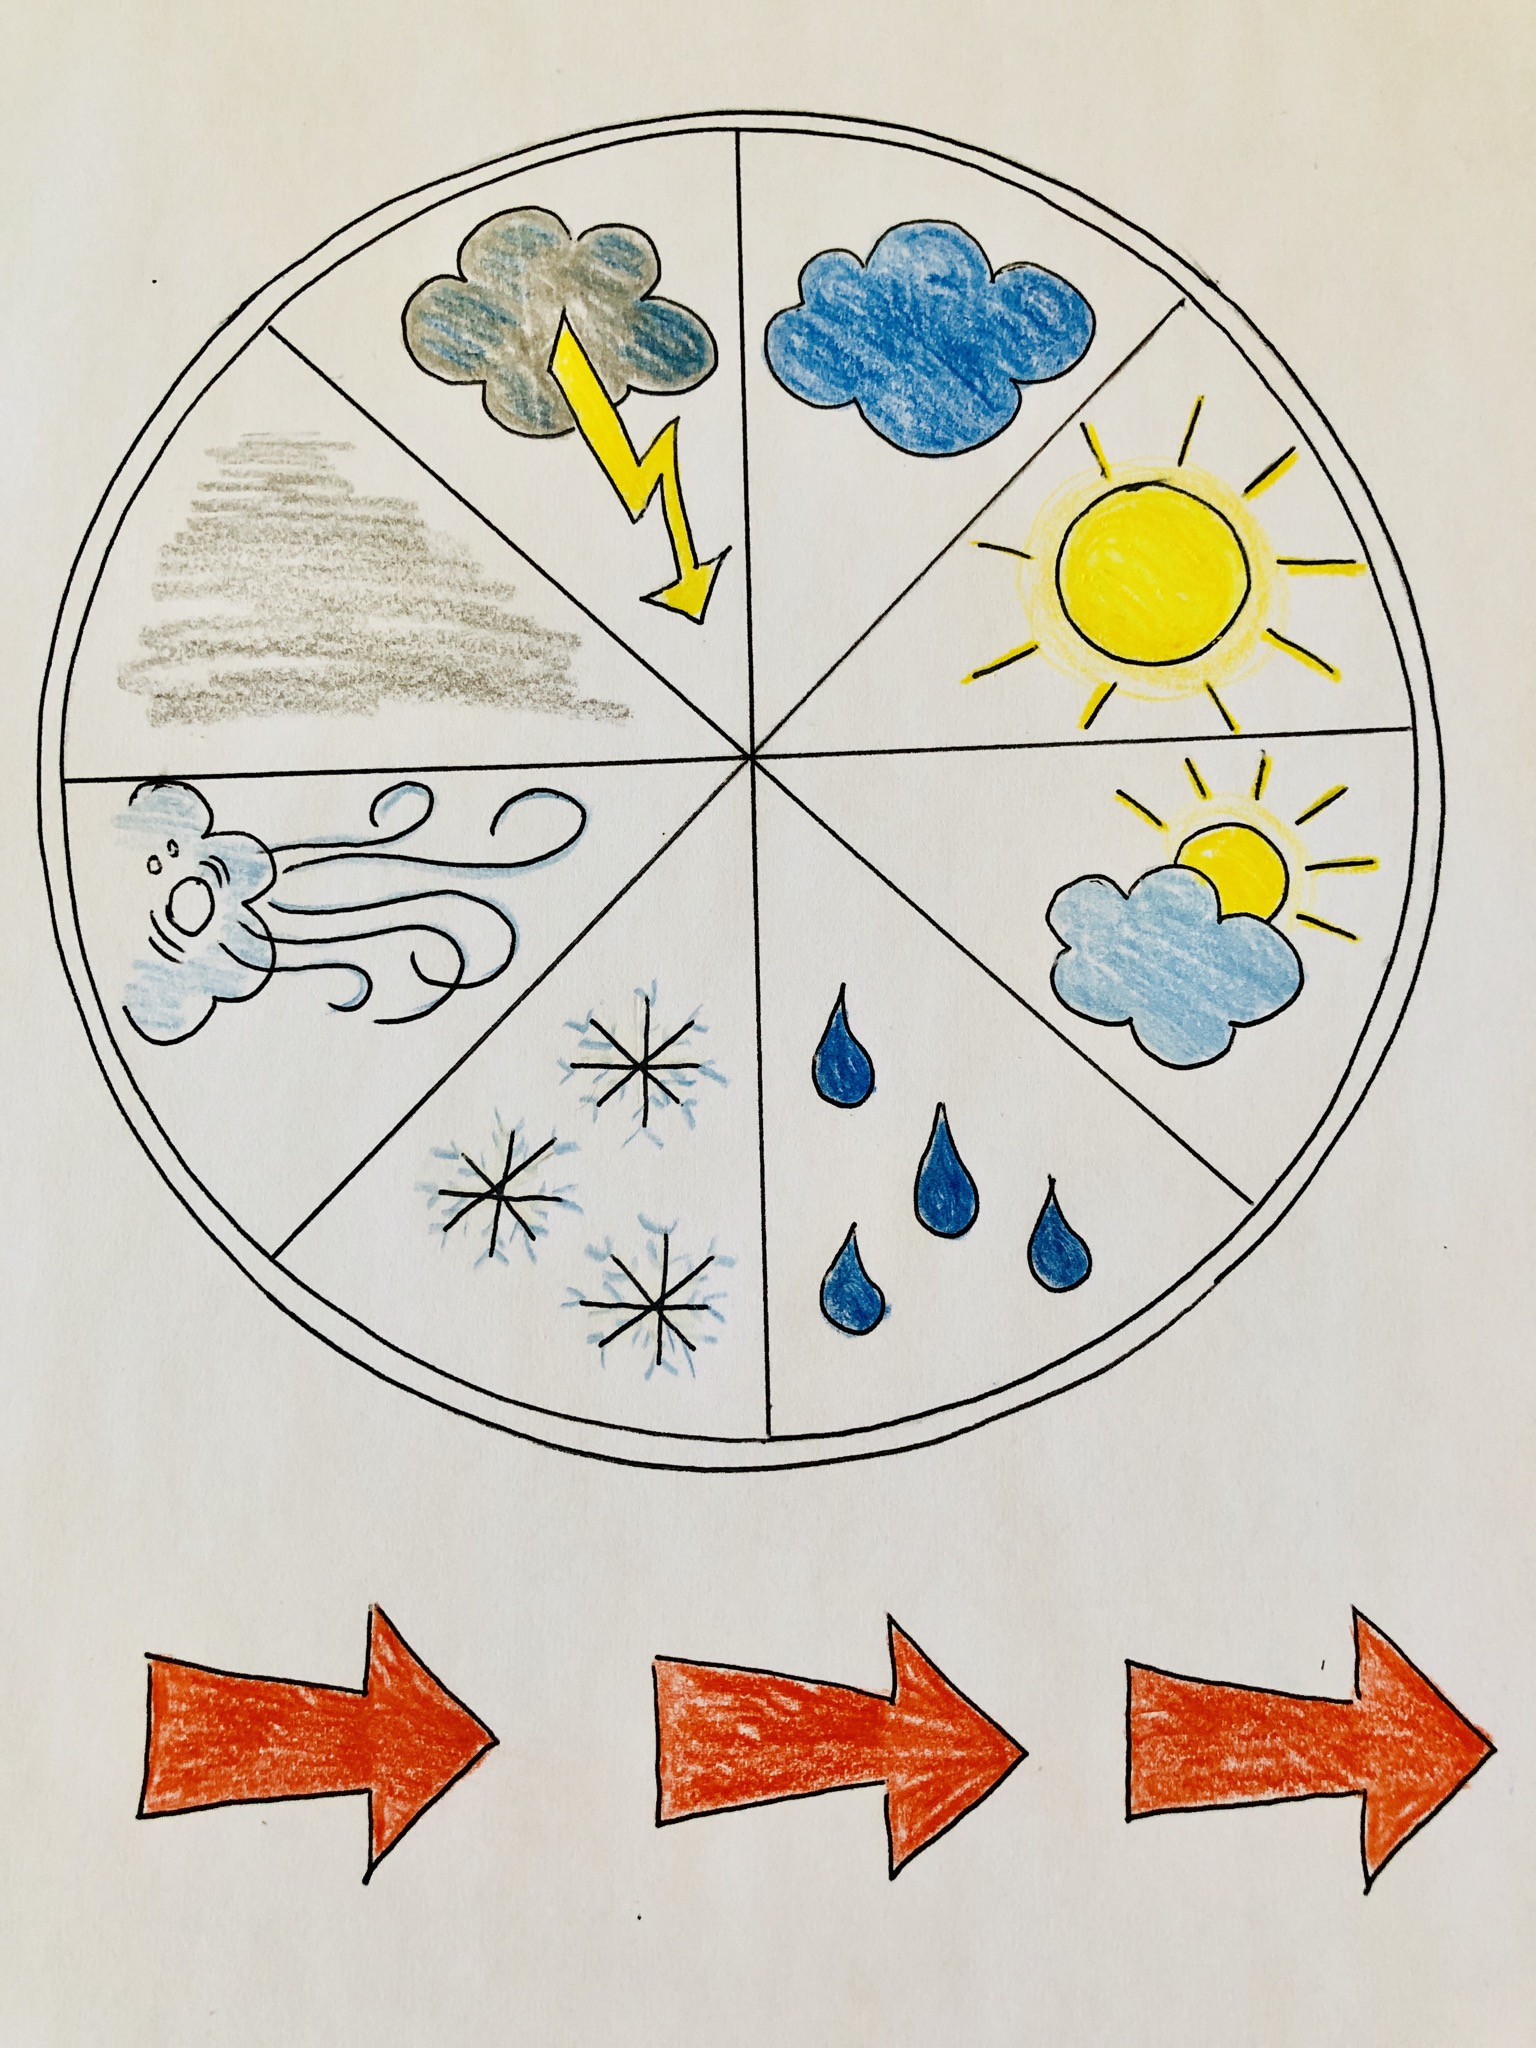
Color with colored pencils.

Bild zum Schritt 2 für das Bastel- und DIY-Abenteuer für Kinder: 'Mit farbigen Stiften ausmalen.'

3

2. Bild zum Schritt 2 für das Bastel- und DIY-Abenteuer für Kinder: 'Mit farbigen Stiften ausmalen.'

4

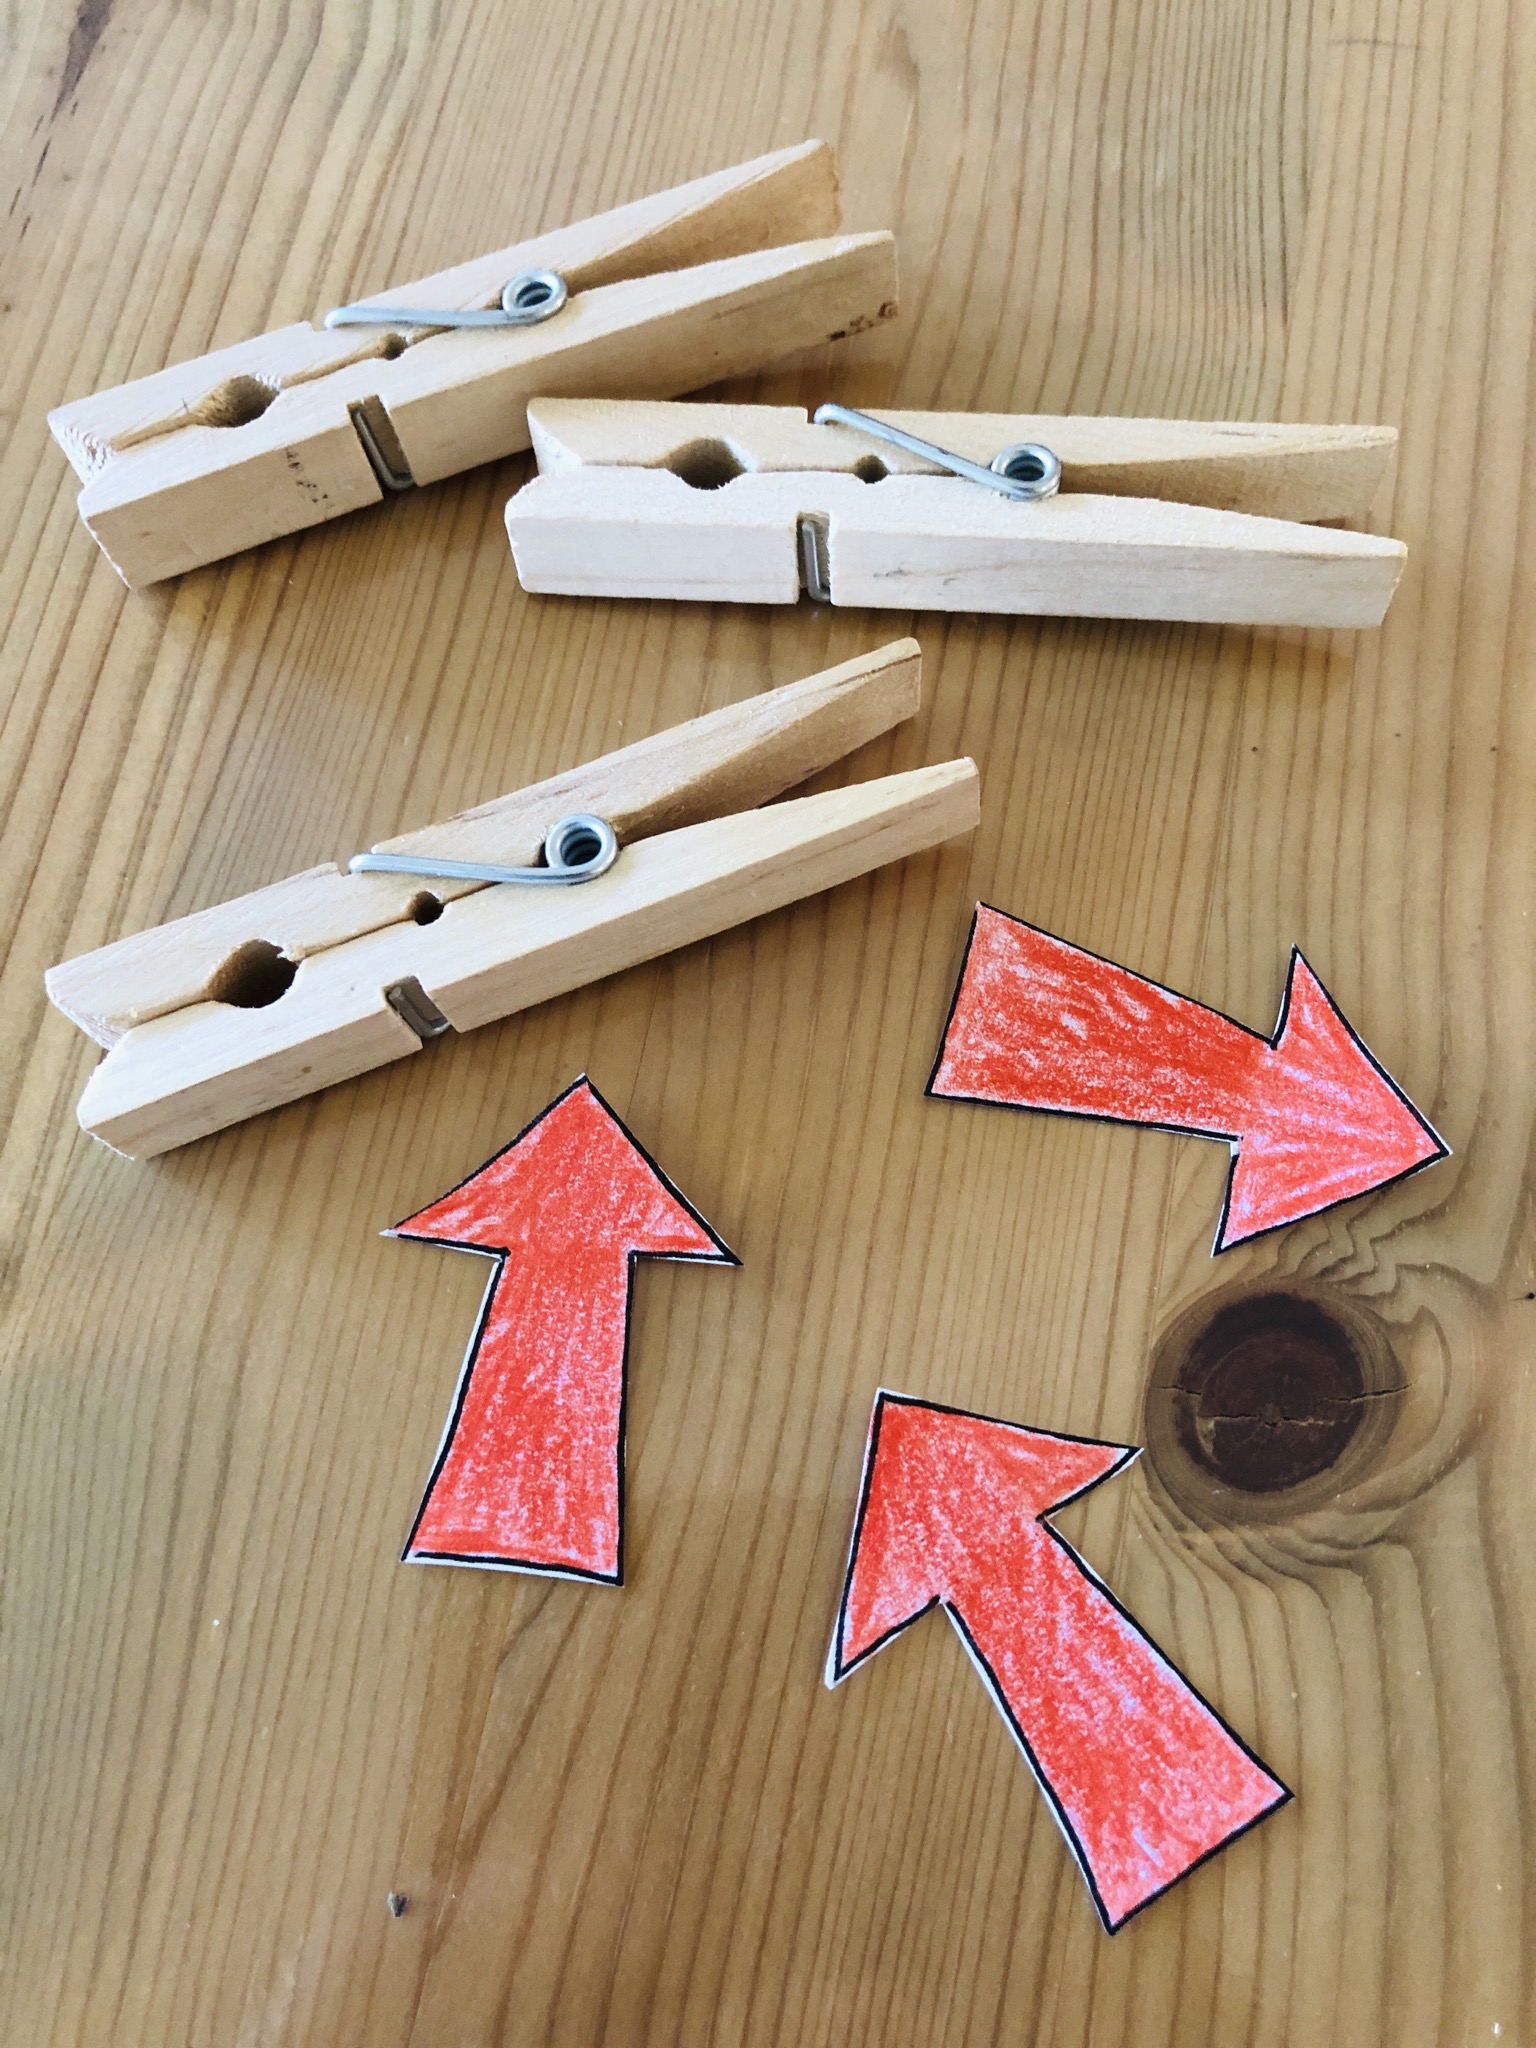
Cut out arrows (possibly first laminate or stick to a stable cardboard box)
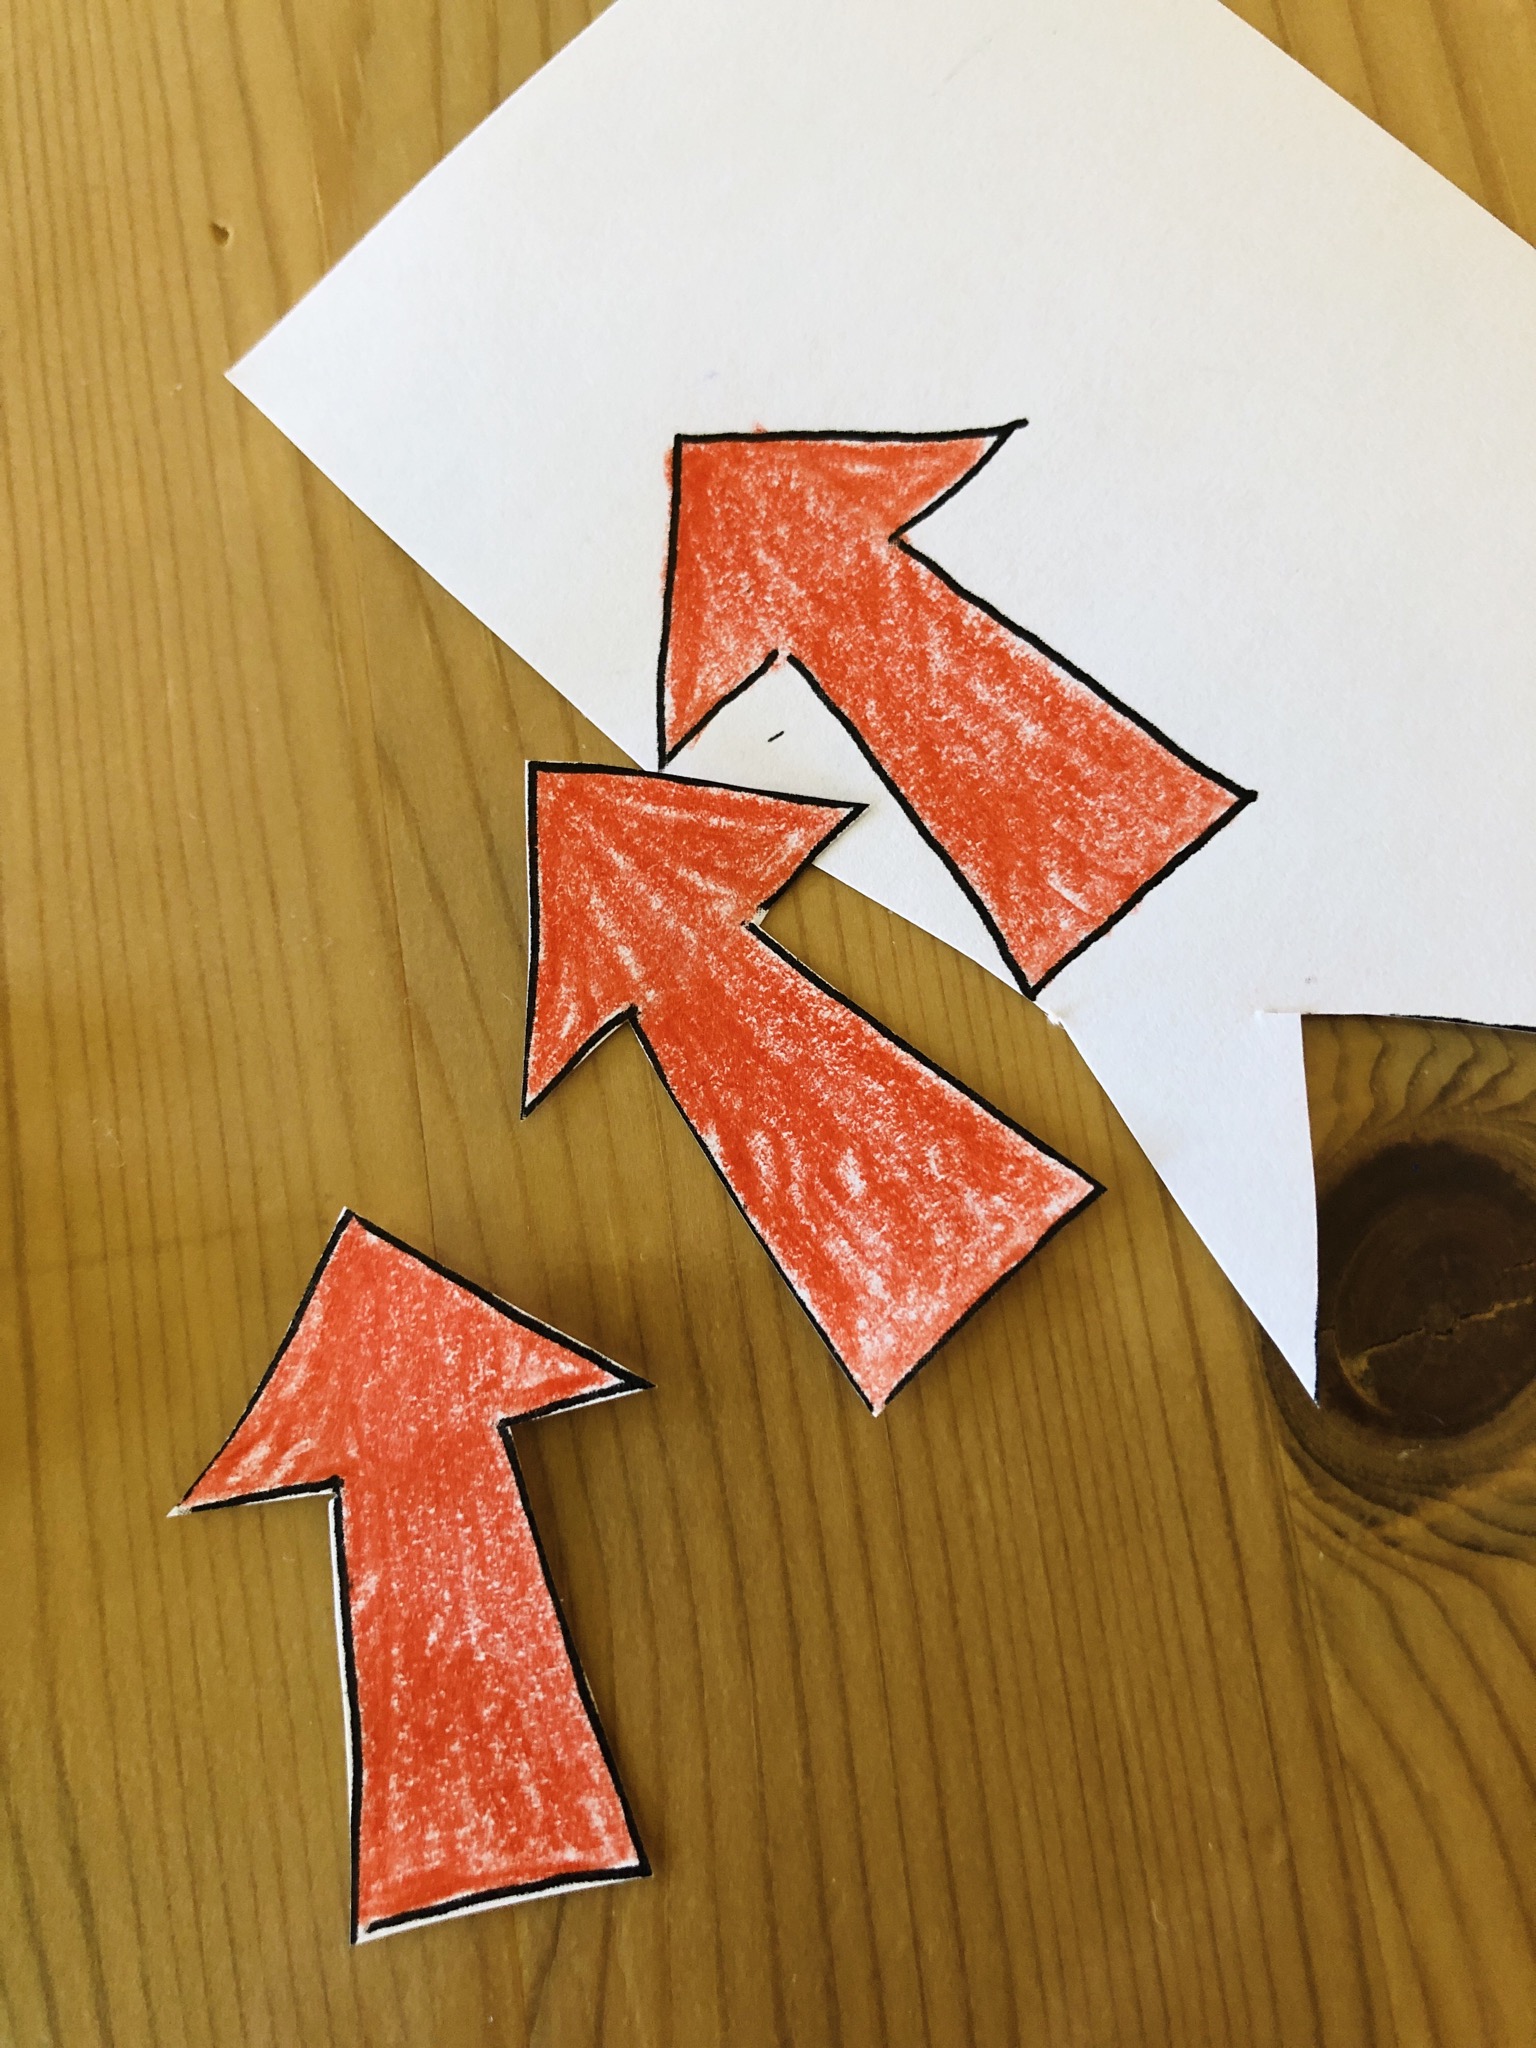
Bild zum Schritt 4 für das Bastel- und DIY-Abenteuer für Kinder: 'Pfeile ausschneiden (evtl. zuvor einlaminieren oder auf einen stabilen Karton...'

5

Stick these on the clothespins.

Bild zum Schritt 5 für das Bastel- und DIY-Abenteuer für Kinder: 'Diese auf die Wäscheklammern kleben.'

6

2. Bild zum Schritt 5 für das Bastel- und DIY-Abenteuer für Kinder: 'Diese auf die Wäscheklammern kleben.'

7

Glue weather clock on a stable cardboard (or lamination) and also cut out.

Bild zum Schritt 7 für das Bastel- und DIY-Abenteuer für Kinder: 'Wetteruhr auf einen stabilen Karton kleben (oder einlaminieren) und ebenfalls...'

8

Make a hole in the weather clock between the storm cloud and the cloud.
Thread a cord or cord through the hole and find a place to hang up.

Bild zum Schritt 8 für das Bastel- und DIY-Abenteuer für Kinder: 'Macht zwischen der Gewitterwolke und der Wolke ein Loch in...'

9

Now the arrow clips - according to the current weather - can be positioned on the outside of the circle.

Bild zum Schritt 9 für das Bastel- und DIY-Abenteuer für Kinder: 'Nun können die Pfeilklammern -entsprechend dem aktuellen Wetter - außen...'

10

2. Bild zum Schritt 9 für das Bastel- und DIY-Abenteuer für Kinder: 'Nun können die Pfeilklammern -entsprechend dem aktuellen Wetter - außen...'

11

So you always have the "weather" in view.
Have fun recreating.

Materials

 Template: Weather Clock
 Paper DIN A4 white
 1 Possibly solid carton for back-gluingOr 1 cardboard plate
 3 Woven fabrics containing predominantly, but < 85 % cotton by weight, mixed principally or solely with cotton
 1 Adhesive possibly hot glue
 Perforated or punched pliers
 Thread/cord for hanging.
All links marked with a shopping cart lead to Amazon - here we have selected products that we would order ourselves and in part also ordered. In a qualified purchase via the advertising link, we as Amazon partner receive a commission, for you there are no costs. You thus support our cost- and advertising banner-free, educational offer.

Directions

1

Print template.

Bild zum Schritt 1 für das Bastel- und DIY-Abenteuer für Kinder: 'Vorlage ausdrucken.'

2

Color with colored pencils.

Bild zum Schritt 2 für das Bastel- und DIY-Abenteuer für Kinder: 'Mit farbigen Stiften ausmalen.'

3

2. Bild zum Schritt 2 für das Bastel- und DIY-Abenteuer für Kinder: 'Mit farbigen Stiften ausmalen.'

4

Cut out arrows (possibly first laminate or stick to a stable cardboard box)

Bild zum Schritt 4 für das Bastel- und DIY-Abenteuer für Kinder: 'Pfeile ausschneiden (evtl. zuvor einlaminieren oder auf einen stabilen Karton...'

5

Stick these on the clothespins.
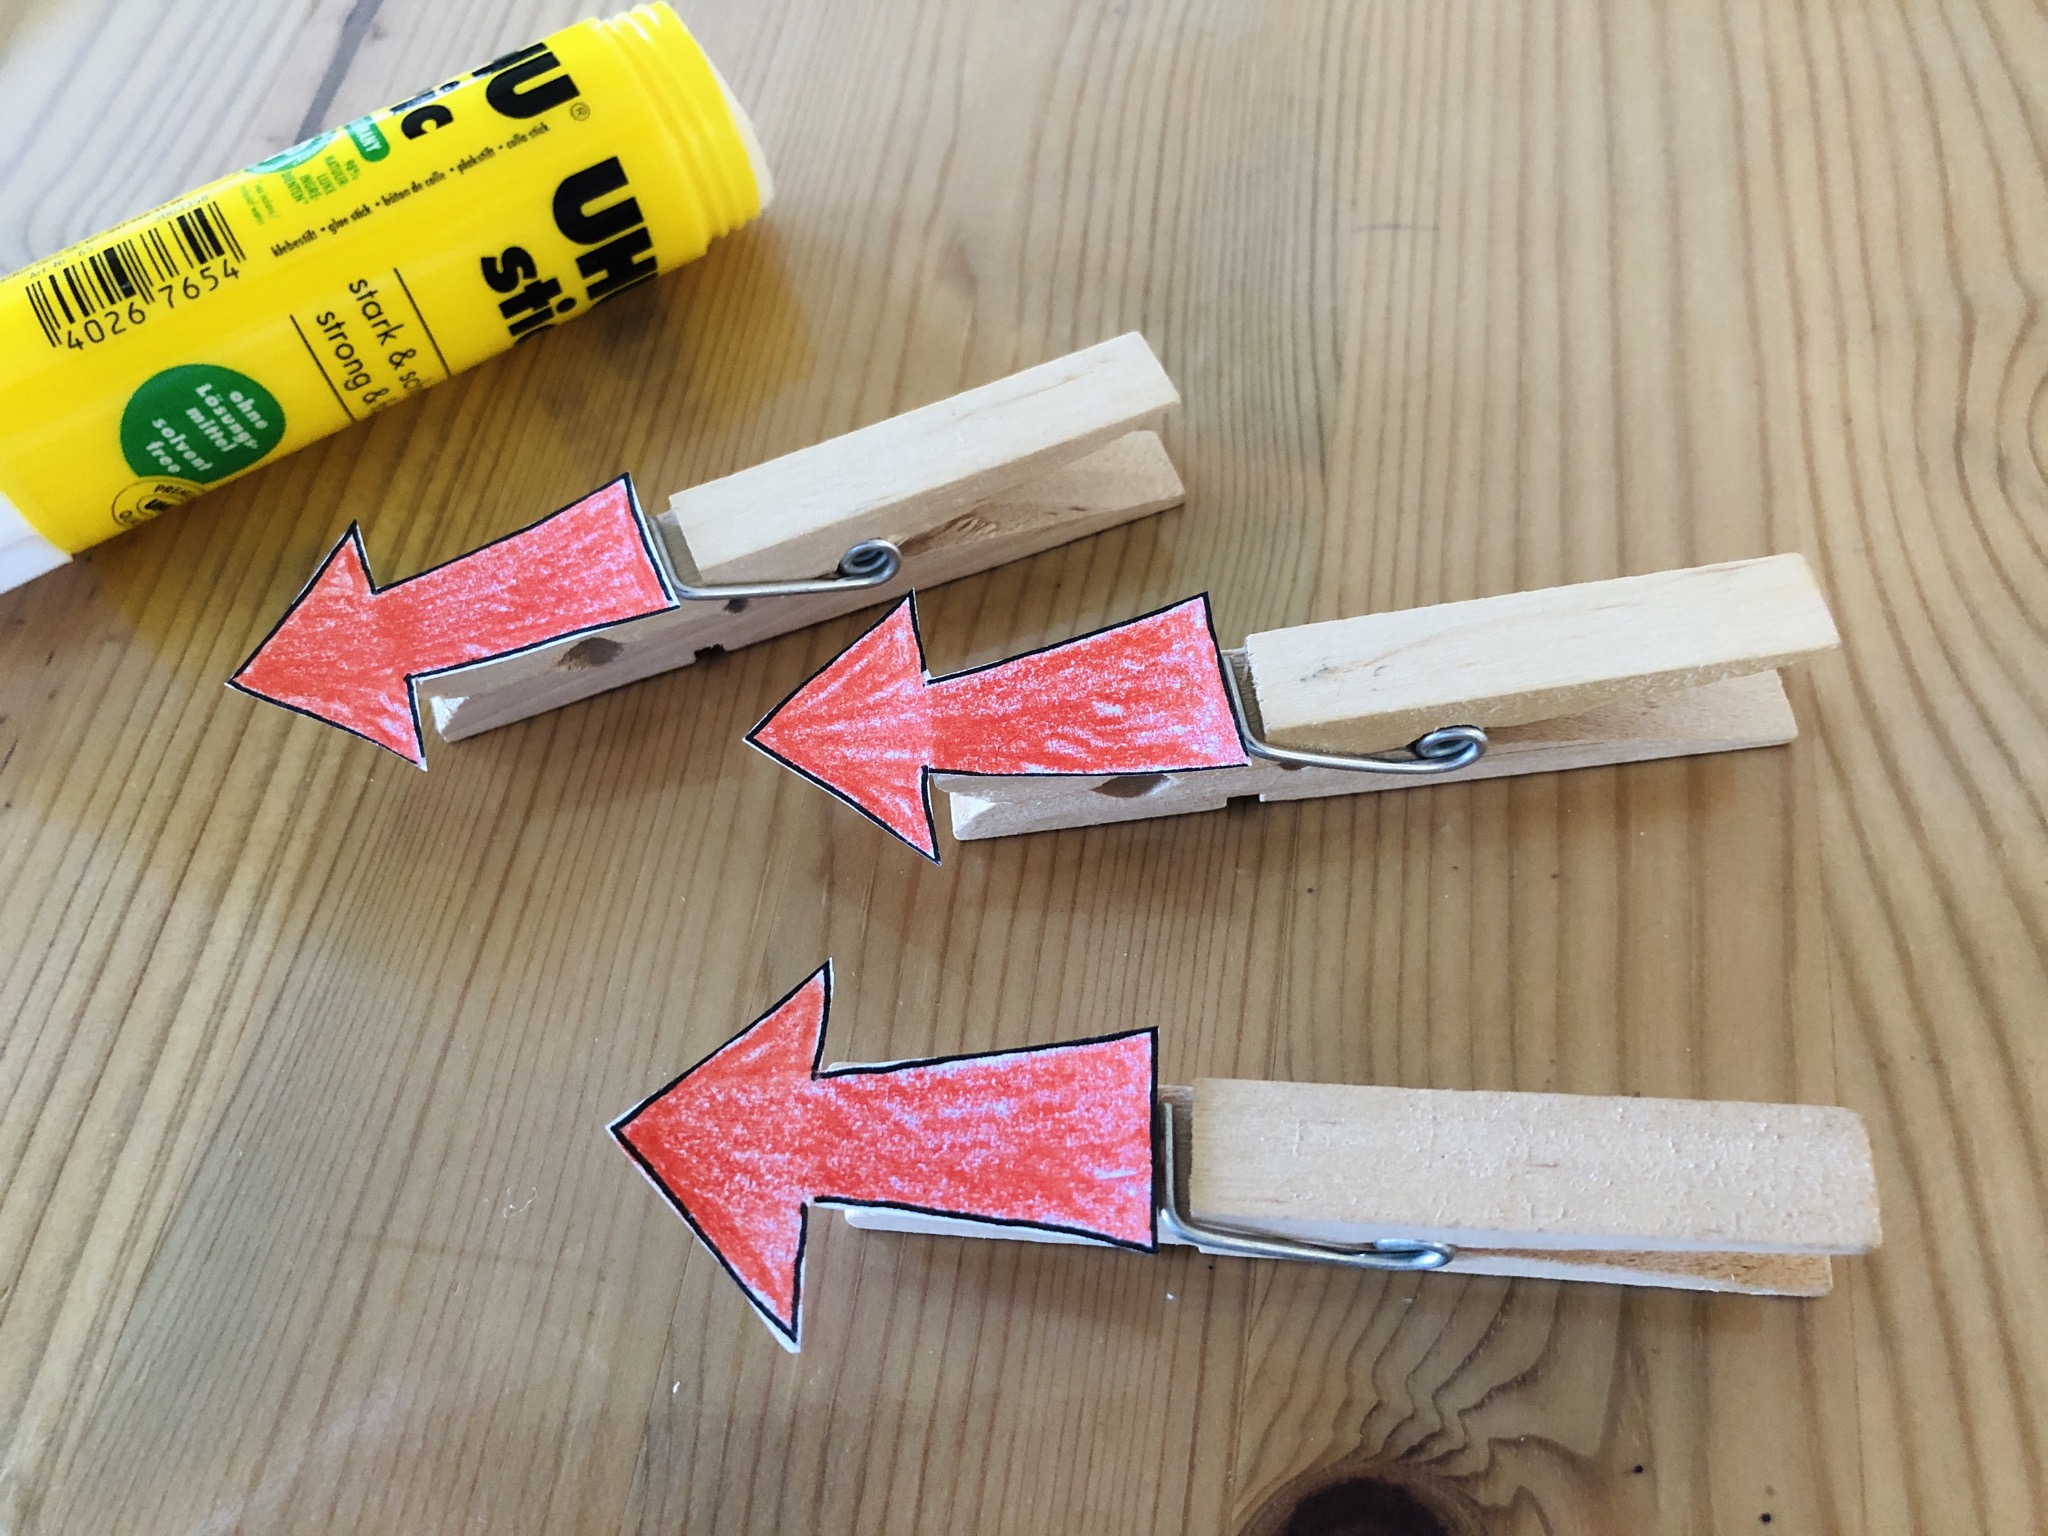
Bild zum Schritt 5 für das Bastel- und DIY-Abenteuer für Kinder: 'Diese auf die Wäscheklammern kleben.'

6

2. Bild zum Schritt 5 für das Bastel- und DIY-Abenteuer für Kinder: 'Diese auf die Wäscheklammern kleben.'

7

Glue weather clock on a stable cardboard (or lamination) and also cut out.
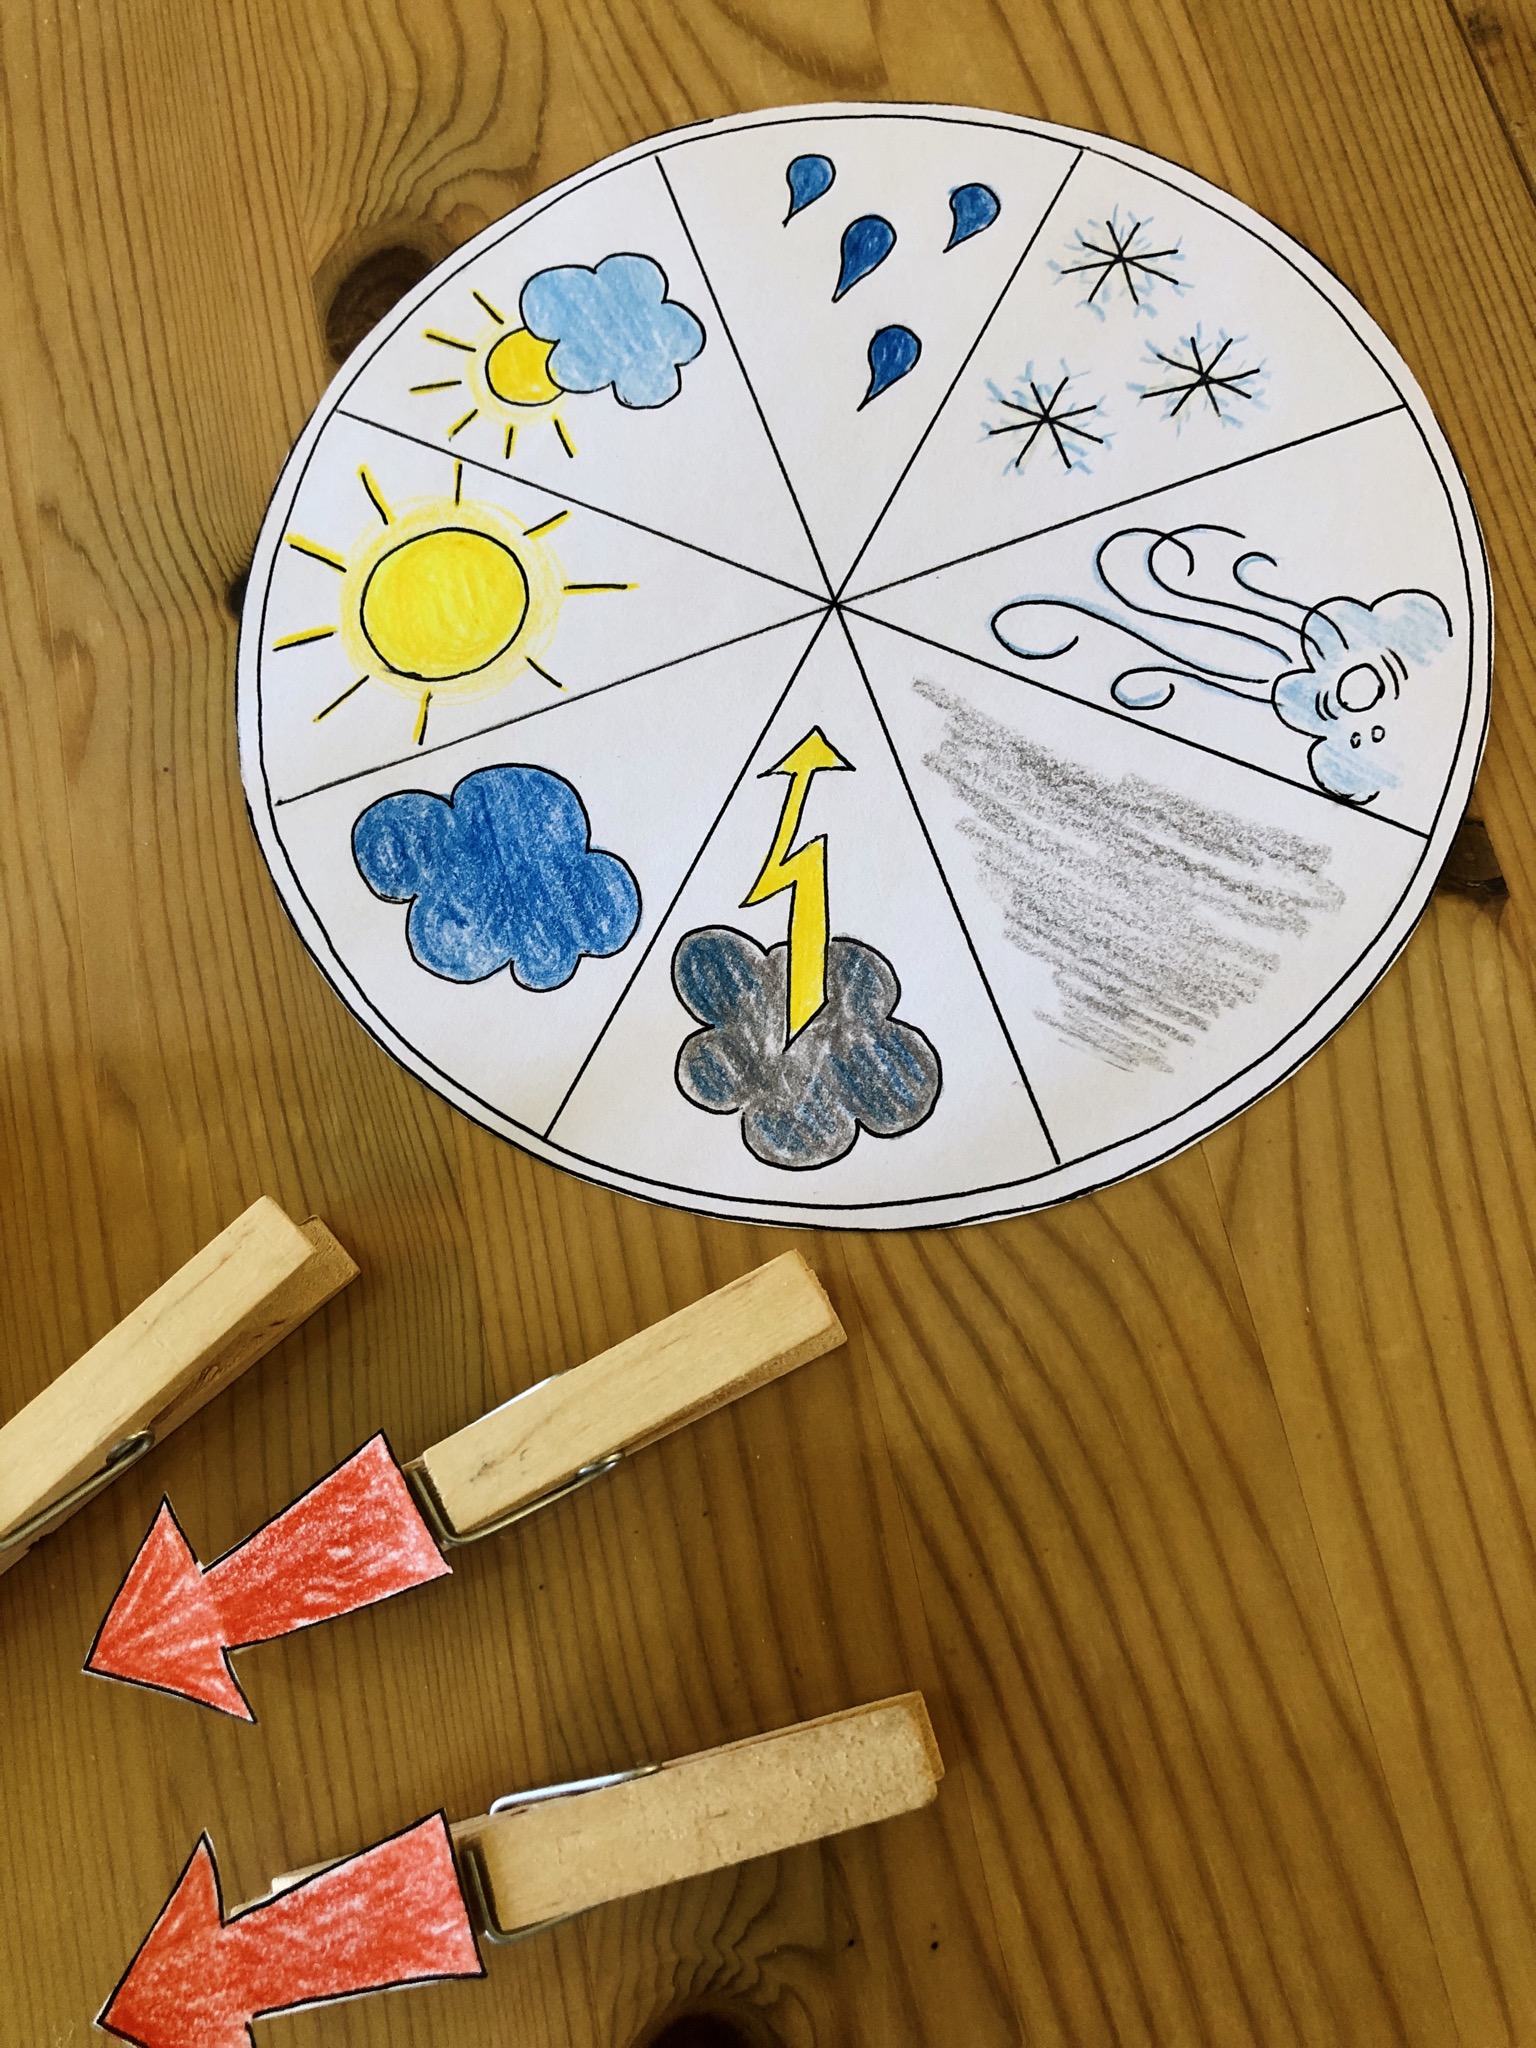
Bild zum Schritt 7 für das Bastel- und DIY-Abenteuer für Kinder: 'Wetteruhr auf einen stabilen Karton kleben (oder einlaminieren) und ebenfalls...'

8

Make a hole in the weather clock between the storm cloud and the cloud.
Thread a cord or cord through the hole and find a place to hang up.
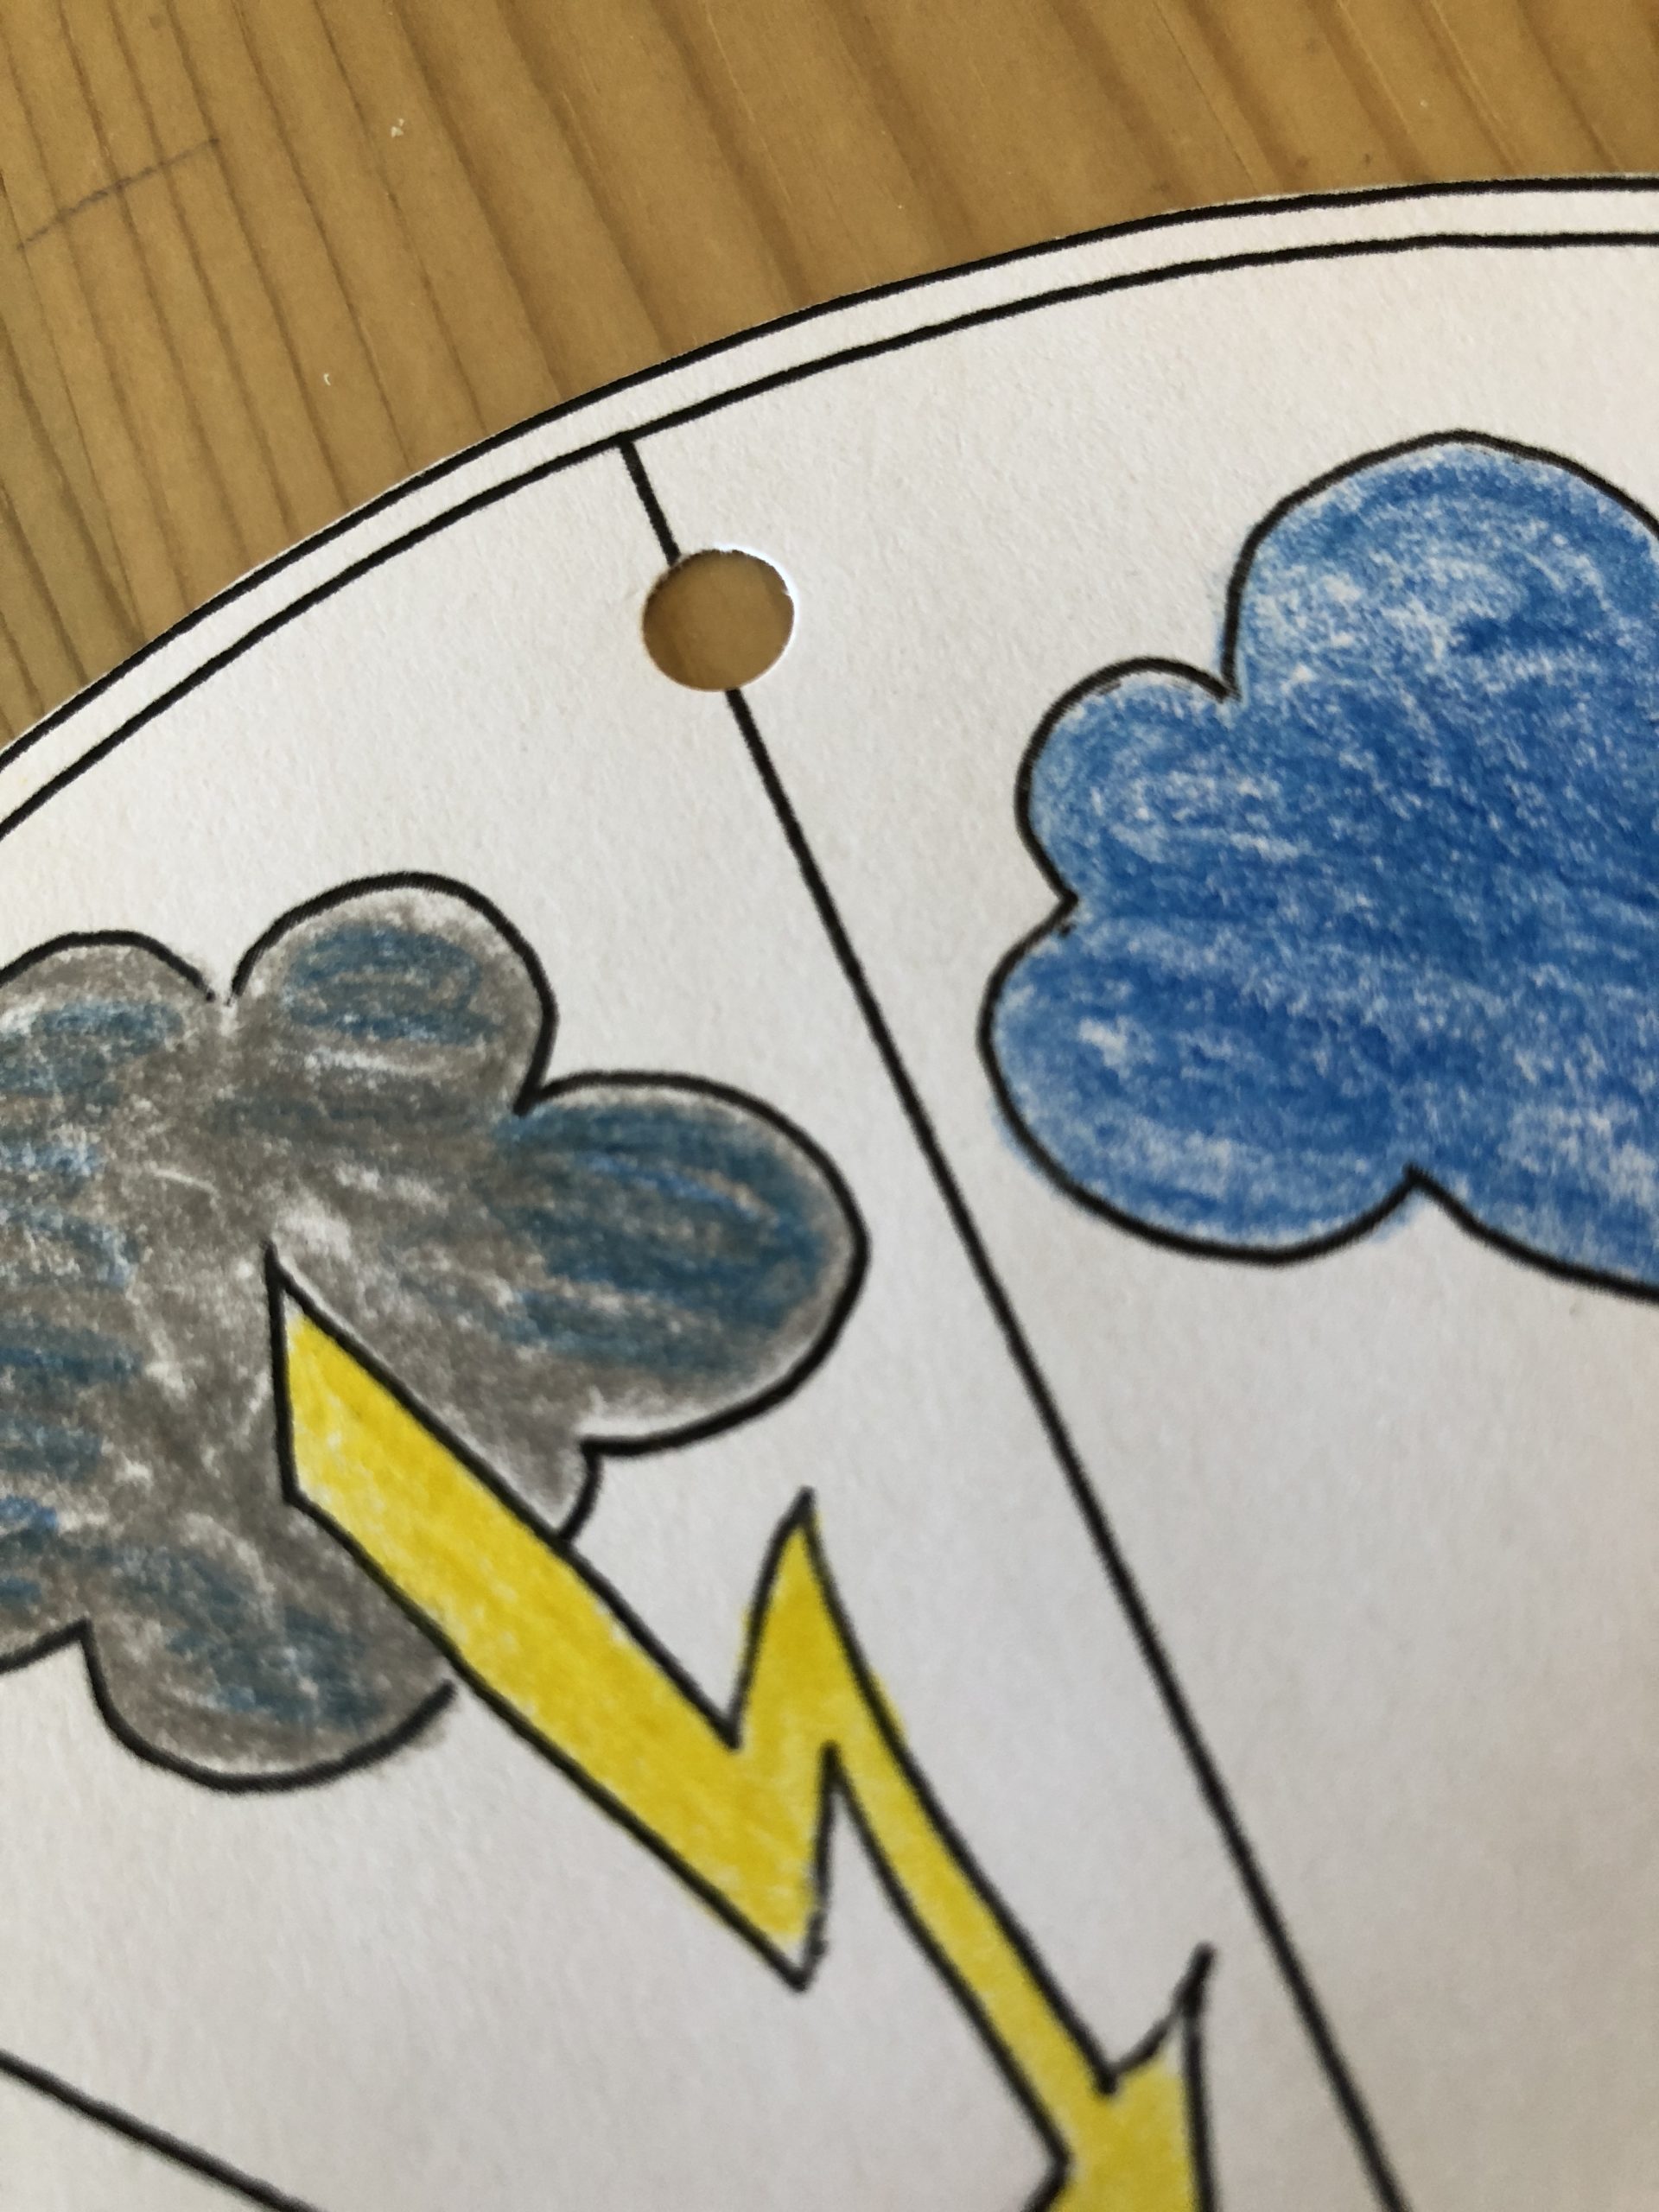
Bild zum Schritt 8 für das Bastel- und DIY-Abenteuer für Kinder: 'Macht zwischen der Gewitterwolke und der Wolke ein Loch in...'

9

Now the arrow clips - according to the current weather - can be positioned on the outside of the circle.
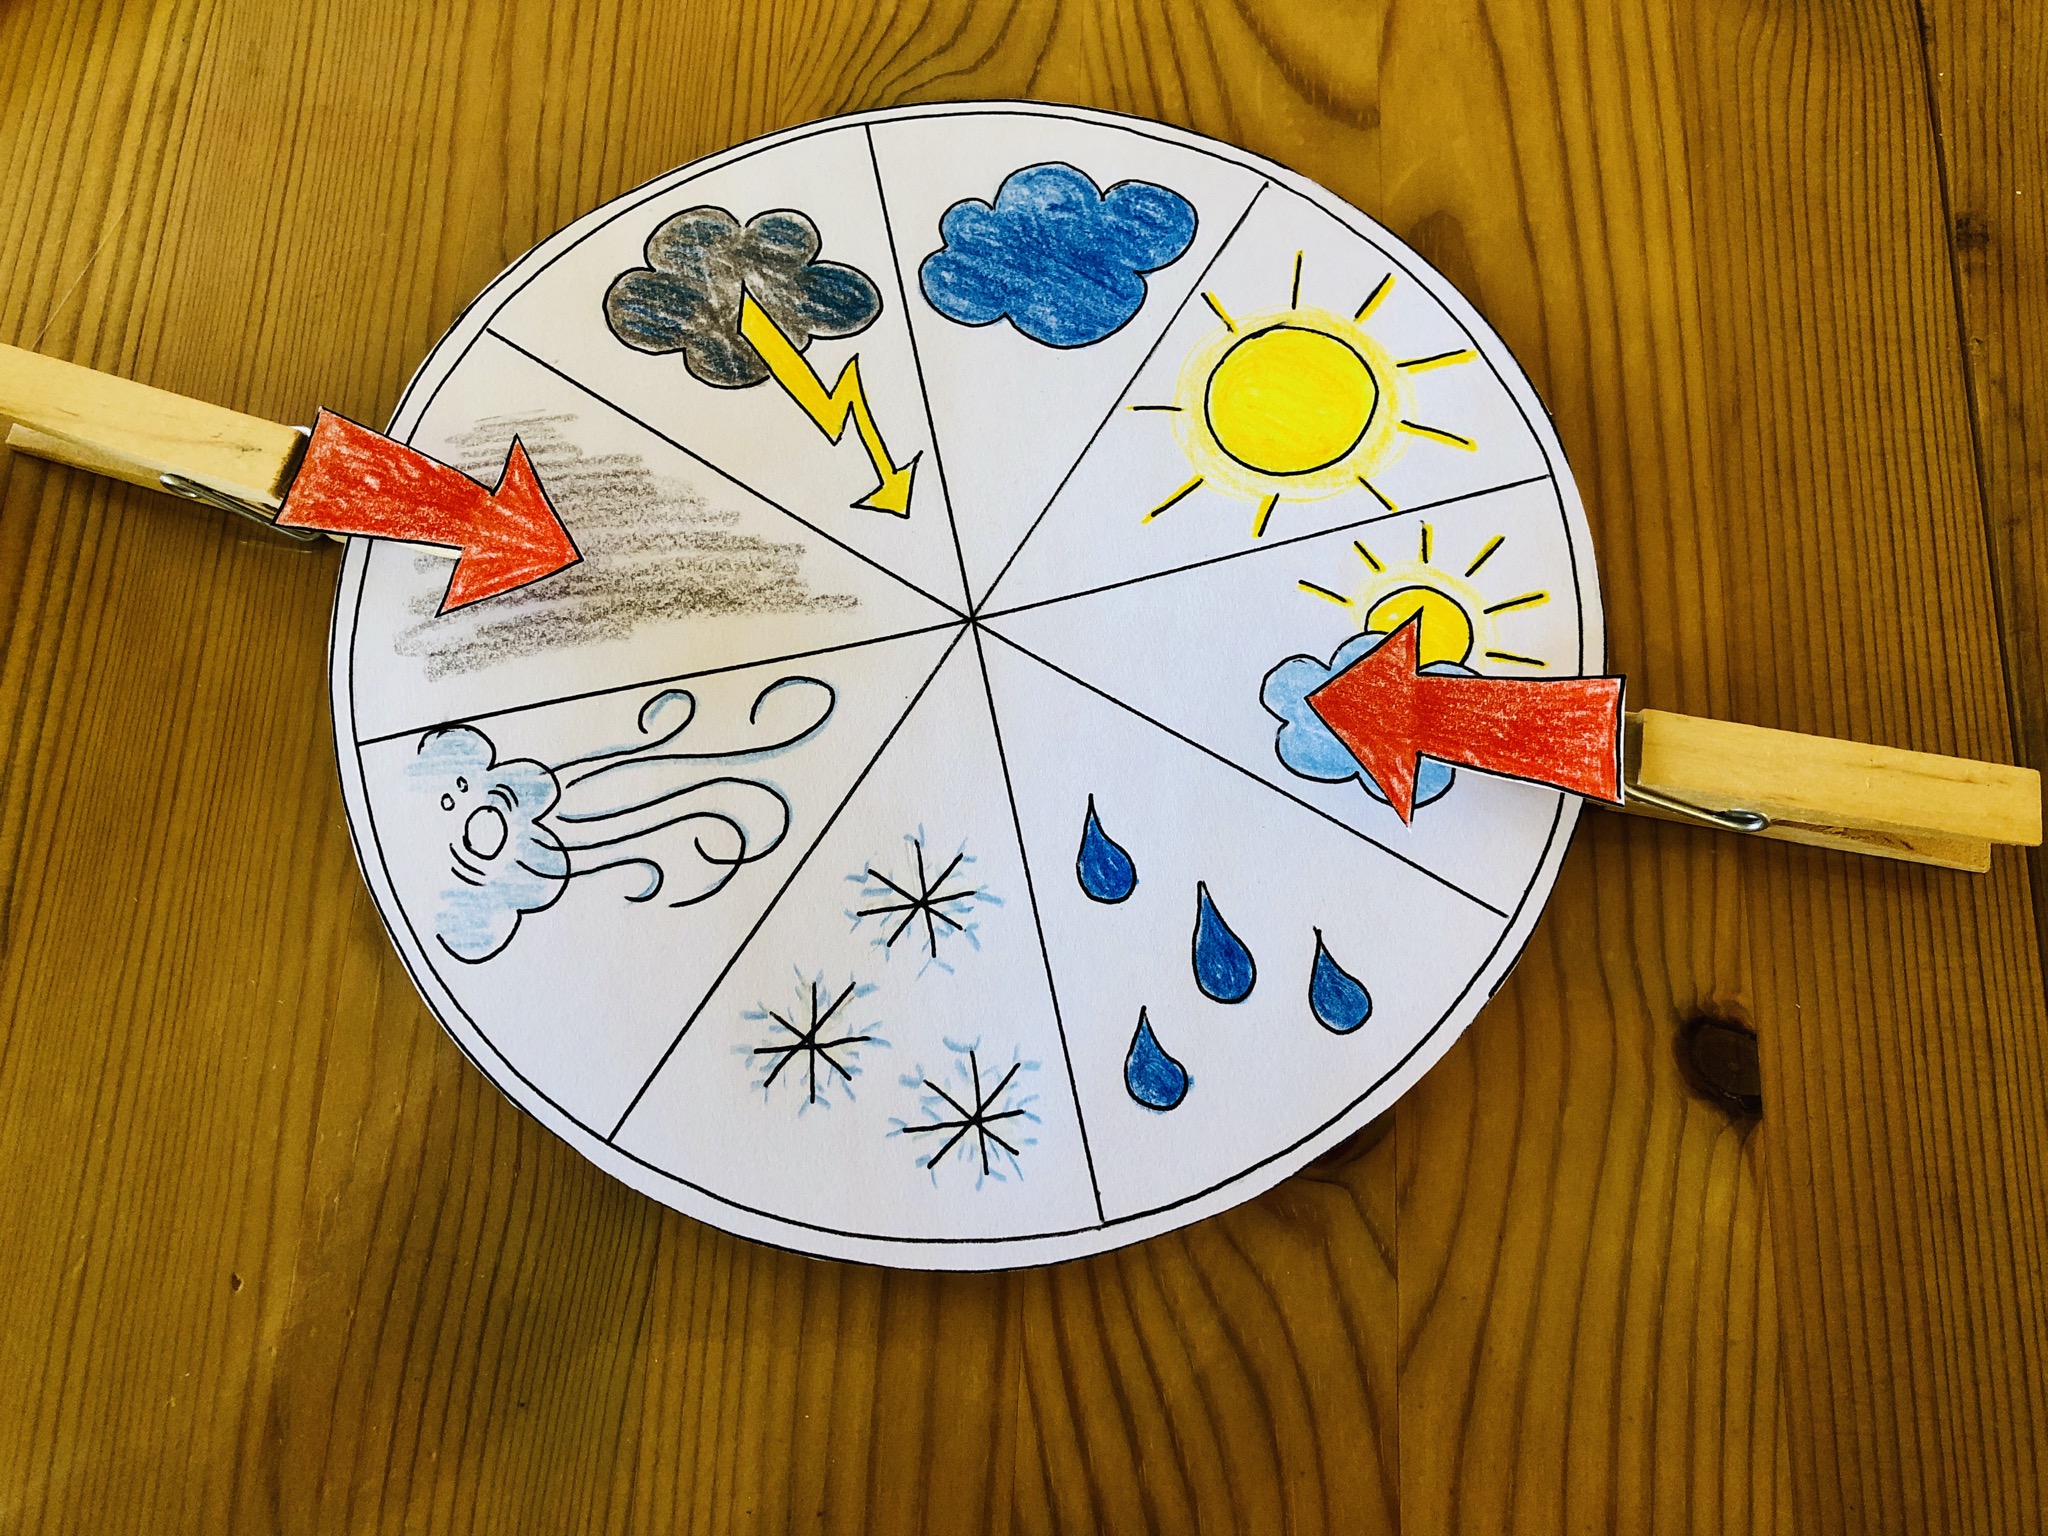
Bild zum Schritt 9 für das Bastel- und DIY-Abenteuer für Kinder: 'Nun können die Pfeilklammern -entsprechend dem aktuellen Wetter - außen...'

10

2. Bild zum Schritt 9 für das Bastel- und DIY-Abenteuer für Kinder: 'Nun können die Pfeilklammern -entsprechend dem aktuellen Wetter - außen...'

11

So you always have the "weather" in view.
Have fun recreating.

Make a Weather Clock

Follow us on Facebook , Instagram and Pinterest
Don't miss any more adventures: Our bottle mail

Leave a Reply

Your email address will not be published.

The maximum upload file size: 5 MB. You can upload: image, document. Drop file here