Table decoration from forest and hallway?

AdventurerForest girl
Rating4.76.8 Thousand times & (3) DifficultyBeginner

You can make this quick and simple table decoration from materials from the forest and the hallway.
All you need for this are pop-up pots made of cardboard, double-sided adhesive tape, glitter and of course flowers and leaves. With a windlight, the table decoration looks particularly beautiful. See for yourself.

Media Education for Kindergarten and Hort

Kind bastelt eine Rassel mit dem Navi
The Adventure Navi, the app for DIY projects, enables media education for the youngest.

Relief in everyday life, targeted promotion of individual children, independent learning and - without any pre-knowledge already usable by the youngest!


Titelbild zur Bastel- und DIY-Idee für Kinder '(755) Tischdekoration aus Wald und Flur 🌲'
Material for1 Child
Prep Time10 min.Adv. Time25 min.Total Time35 min.
 Double-sided adhesive tape
 Cultivation pots round or angular
 Glitter
 Flowers and leaves
 1 Pencil
All links marked with a shopping cart lead to Amazon - here we have selected products that we would order ourselves and in part also ordered. In a qualified purchase via the advertising link, we as Amazon partner receive a commission, for you there are no costs. You thus support our cost- and advertising banner-free, educational offer.
1

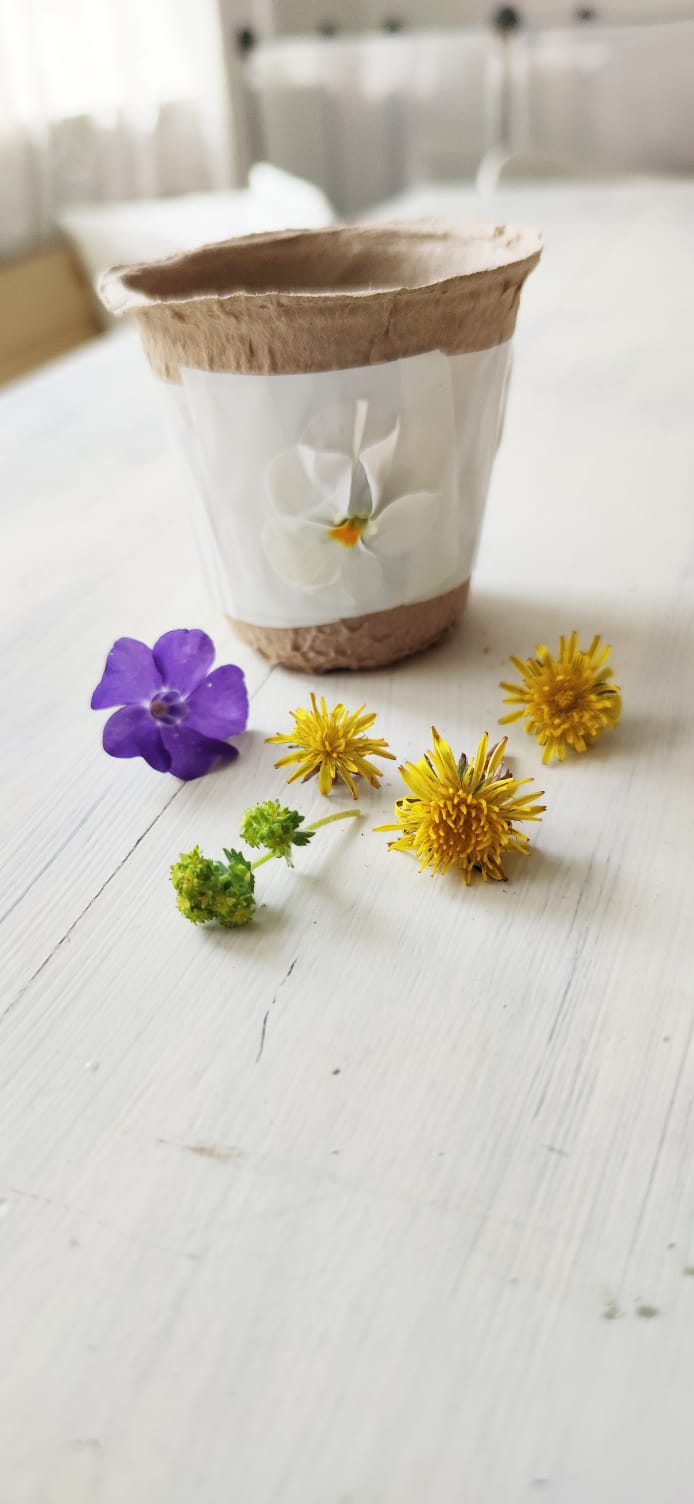
First, find your material together.

Bild zum Schritt 1 für das Bastel- und DIY-Abenteuer für Kinder: 'Sucht zuerst euer Material zusammen.'

2

Then you stick a strip of double-sided adhesive tape around the growing pot. Before you cut off the adhesive tape, you measure the length and mark it with a pencil. For this, you place the tape around the pot.

Tip: Uses good scissors when cutting the tape.

Bild zum Schritt 2 für das Bastel- und DIY-Abenteuer für Kinder: 'Dann klebt ihr um den Aufzuchttopf herum einen Streifen doppelseitiges...'

3

Tip: You can make these preparations at home.
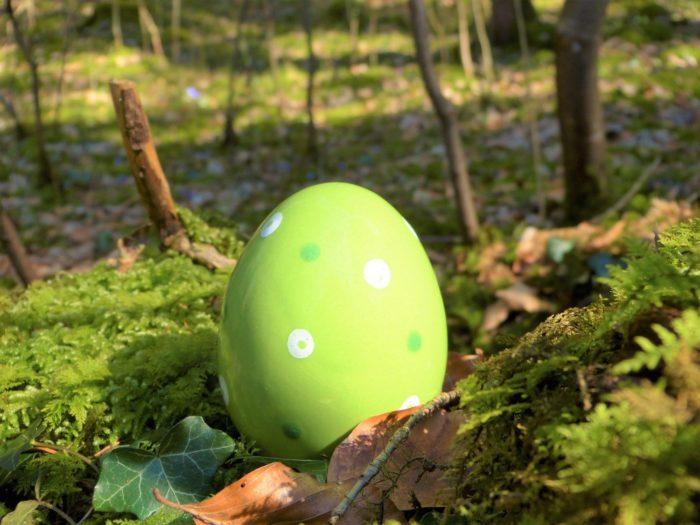
Afterwards you can go to the forest or to the meadows and look for flowers.

4

As soon as you find flowers, pull off the top of the tape. Attention: take the garbage home!
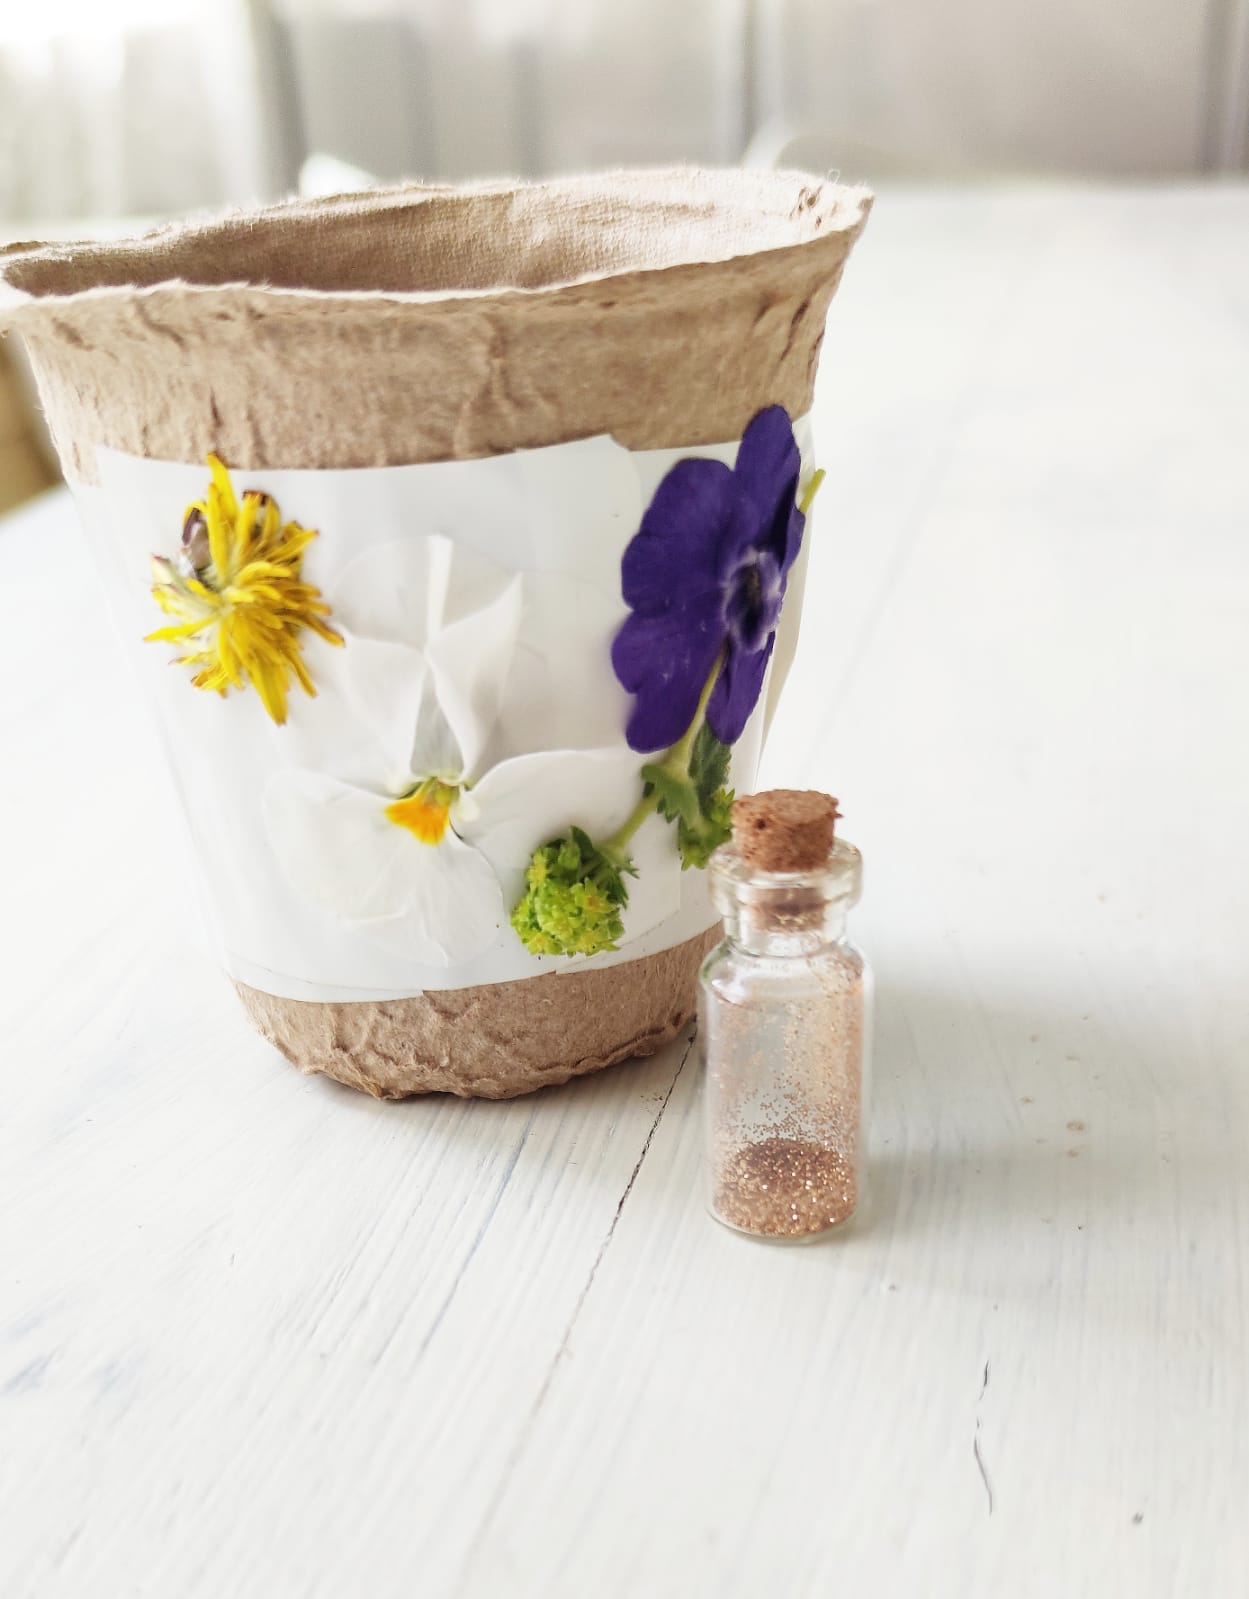
Now you stick everything you find in the woods and hallway on it.
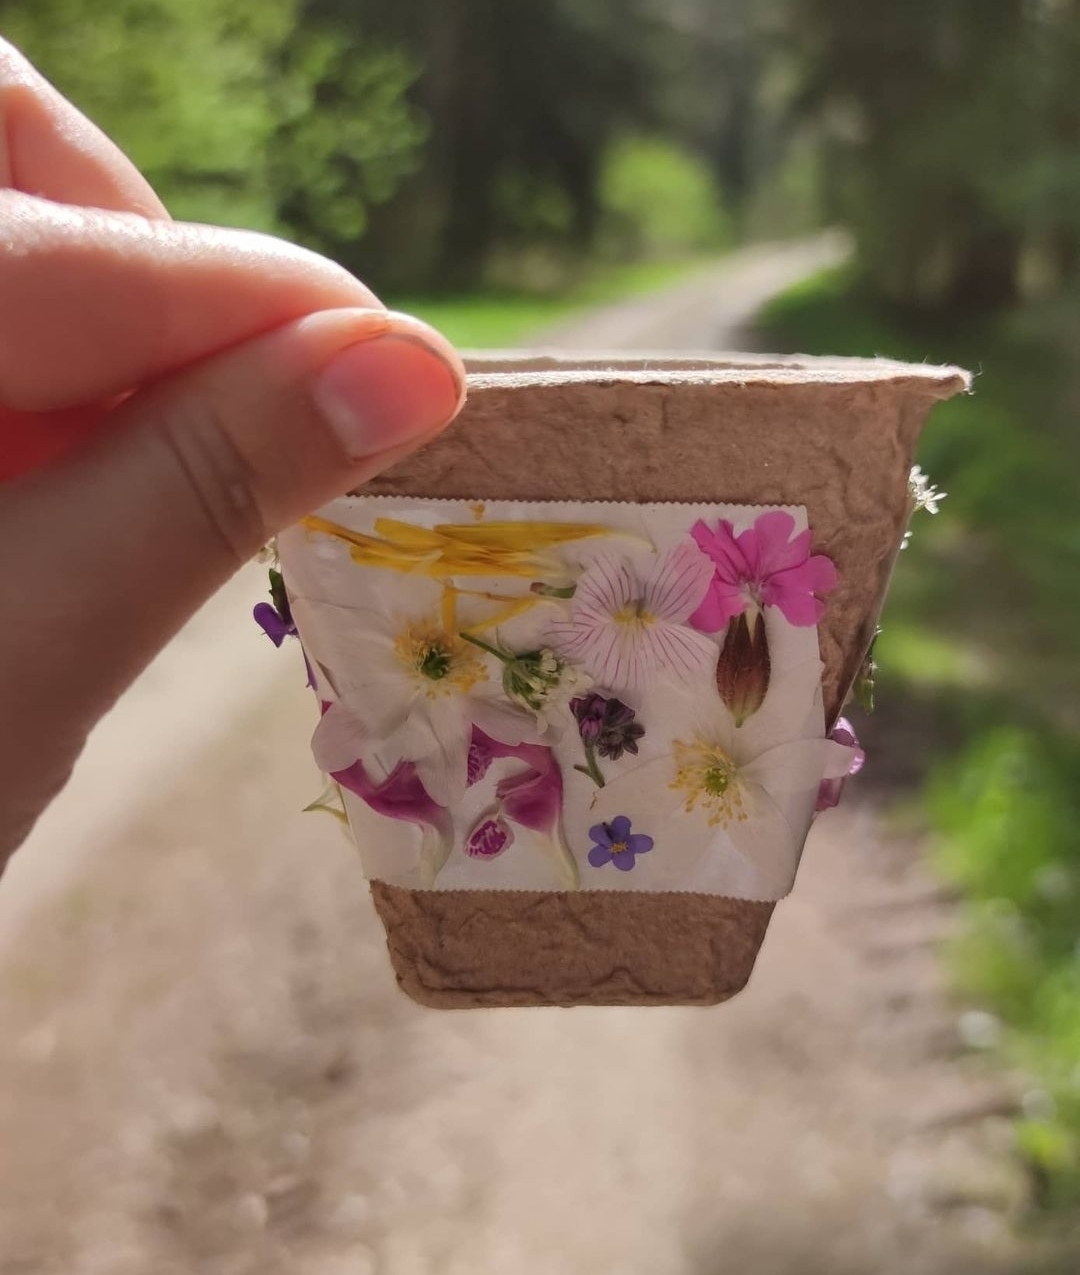
Bild zum Schritt 4 für das Bastel- und DIY-Abenteuer für Kinder: 'Sobald ihr Blüten findet, zieht ihr die Oberseite vom Klebeband...'

5

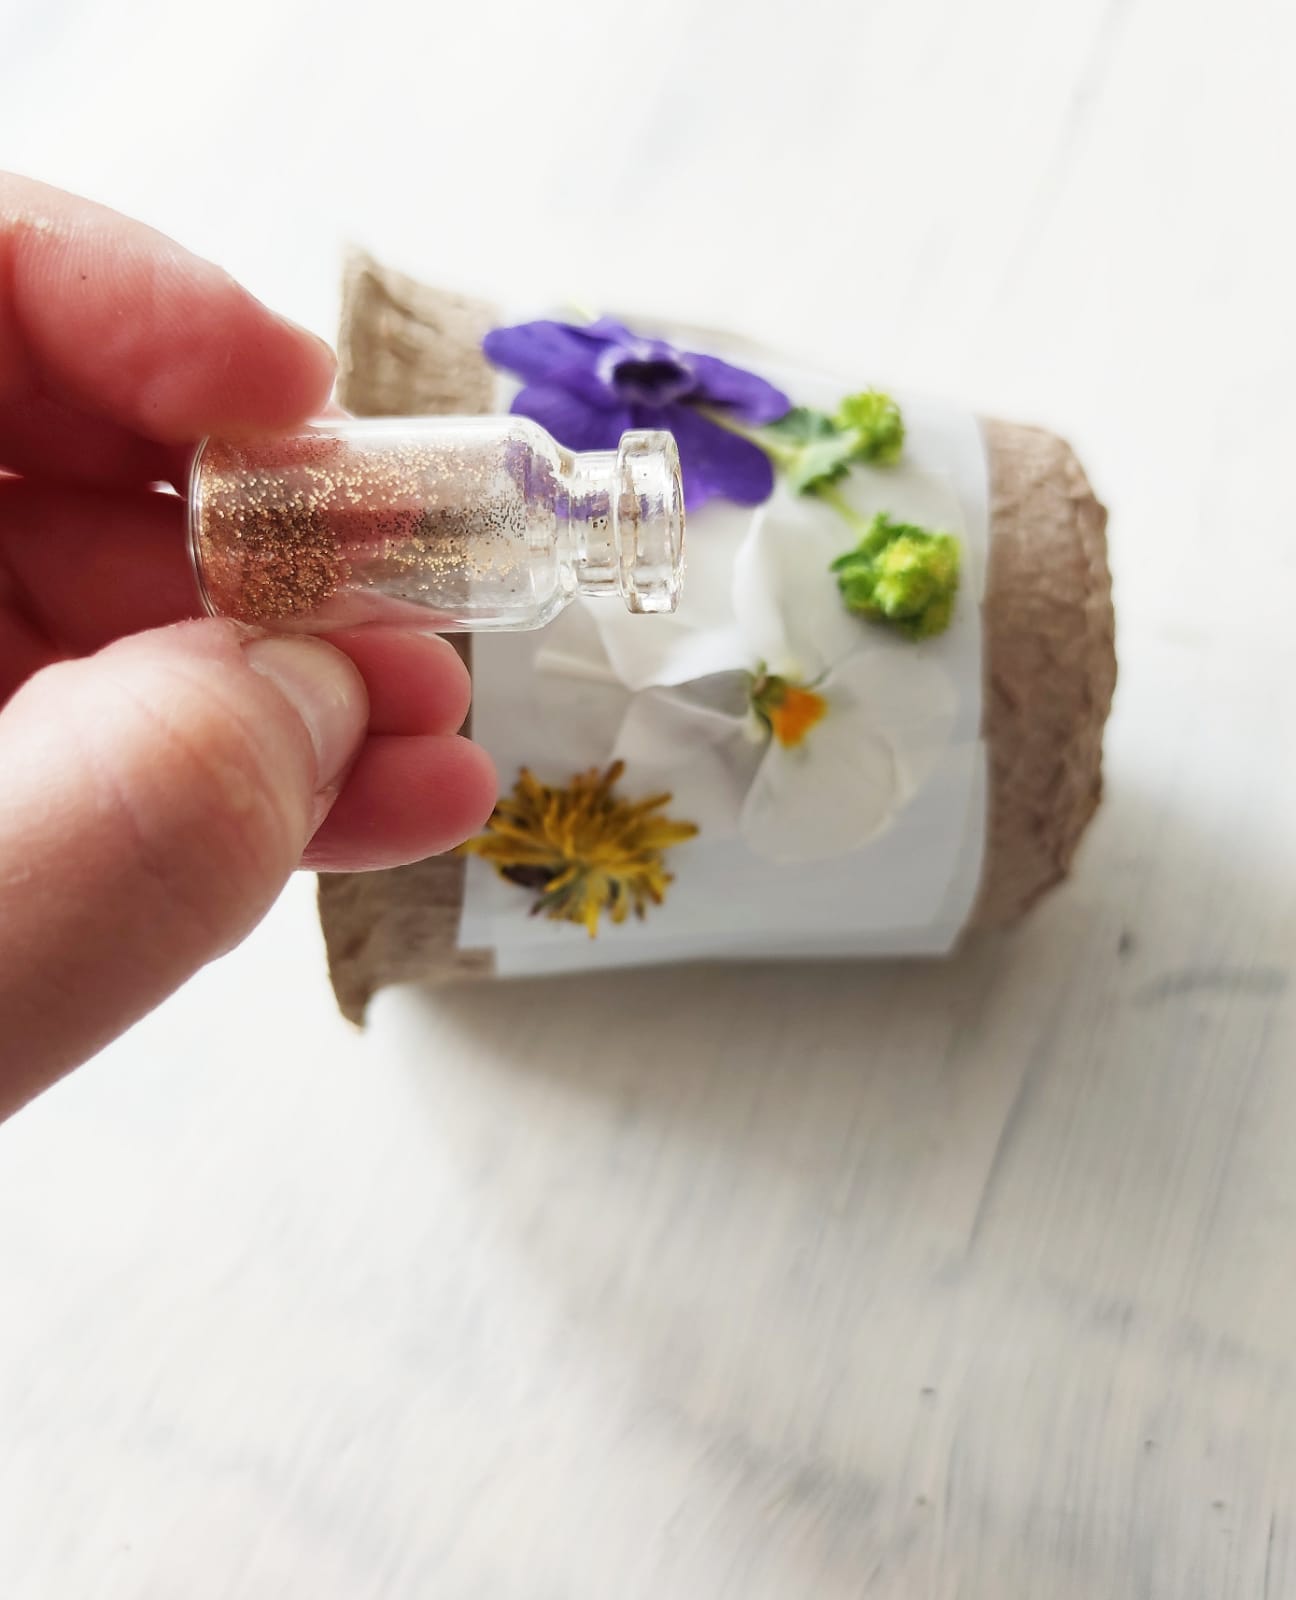
In the end, you're spreading some fairy dust, i.e. glitter, on it.

Bild zum Schritt 5 für das Bastel- und DIY-Abenteuer für Kinder: 'Zum Schluss streut ihr noch etwas Feenstaub, d.h. Glitzer, darauf.'

6

Put in a glass with a tea light and you have already conjured up a beautiful fairy light.

Bild zum Schritt 6 für das Bastel- und DIY-Abenteuer für Kinder: 'Stellt ein Glast mit einem Teelicht hinein und schon habt...'

7

Alternatively, you can put a glass of flowers in it or plant flowers in the growing pot.

Bild zum Schritt 7 für das Bastel- und DIY-Abenteuer für Kinder: 'Alternativ könnt ihr auch ein Glas mit Blumen hinein stellen...'

8

This beautiful fairy light is also a suitable decoration for a forest and meadow birthday???????

Materials

 Double-sided adhesive tape
 Cultivation pots round or angular
 Glitter
 Flowers and leaves
 1 Pencil
All links marked with a shopping cart lead to Amazon - here we have selected products that we would order ourselves and in part also ordered. In a qualified purchase via the advertising link, we as Amazon partner receive a commission, for you there are no costs. You thus support our cost- and advertising banner-free, educational offer.

Directions

1

First, find your material together.

Bild zum Schritt 1 für das Bastel- und DIY-Abenteuer für Kinder: 'Sucht zuerst euer Material zusammen.'

2

Then you stick a strip of double-sided adhesive tape around the growing pot. Before you cut off the adhesive tape, you measure the length and mark it with a pencil. For this, you place the tape around the pot.

Tip: Uses good scissors when cutting the tape.

Bild zum Schritt 2 für das Bastel- und DIY-Abenteuer für Kinder: 'Dann klebt ihr um den Aufzuchttopf herum einen Streifen doppelseitiges...'

3

Tip: You can make these preparations at home.
Afterwards you can go to the forest or to the meadows and look for flowers.

4

As soon as you find flowers, pull off the top of the tape. Attention: take the garbage home!
Now you stick everything you find in the woods and hallway on it.

Bild zum Schritt 4 für das Bastel- und DIY-Abenteuer für Kinder: 'Sobald ihr Blüten findet, zieht ihr die Oberseite vom Klebeband...'

5

In the end, you're spreading some fairy dust, i.e. glitter, on it.

Bild zum Schritt 5 für das Bastel- und DIY-Abenteuer für Kinder: 'Zum Schluss streut ihr noch etwas Feenstaub, d.h. Glitzer, darauf.'

6

Put in a glass with a tea light and you have already conjured up a beautiful fairy light.

Bild zum Schritt 6 für das Bastel- und DIY-Abenteuer für Kinder: 'Stellt ein Glast mit einem Teelicht hinein und schon habt...'

7

Alternatively, you can put a glass of flowers in it or plant flowers in the growing pot.

Bild zum Schritt 7 für das Bastel- und DIY-Abenteuer für Kinder: 'Alternativ könnt ihr auch ein Glas mit Blumen hinein stellen...'

8

This beautiful fairy light is also a suitable decoration for a forest and meadow birthday???????

Table decoration from forest and hallway?

Follow us on Facebook , Instagram and Pinterest
Don't miss any more adventures: Our bottle mail

Leave a Reply

Your email address will not be published.

The maximum upload file size: 5 MB. You can upload: image, document. Drop file here