Give away happiness! With this small surprise of lights you can give away New Year's Eve or at the beginning of the year and bring joy. Print out the template, cut out the circles and put every paper circle into a tea light. As you insert the paper appropriately, we show you here. As soon as the wax becomes liquid, it becomes transparent and the motif becomes visible. Let yourself be surprised what motive you discover under it. Have fun designing and giving away!
For many children, watching and discovering the motif is fascinating. In addition, the magic tealight also brings a calm mood after a hectic day. Stay with it and discover together what is coming to light!
Media Education for Kindergarten and Hort

Relief in everyday life, targeted promotion of individual children, independent learning and - without any pre-knowledge already usable by the youngest!
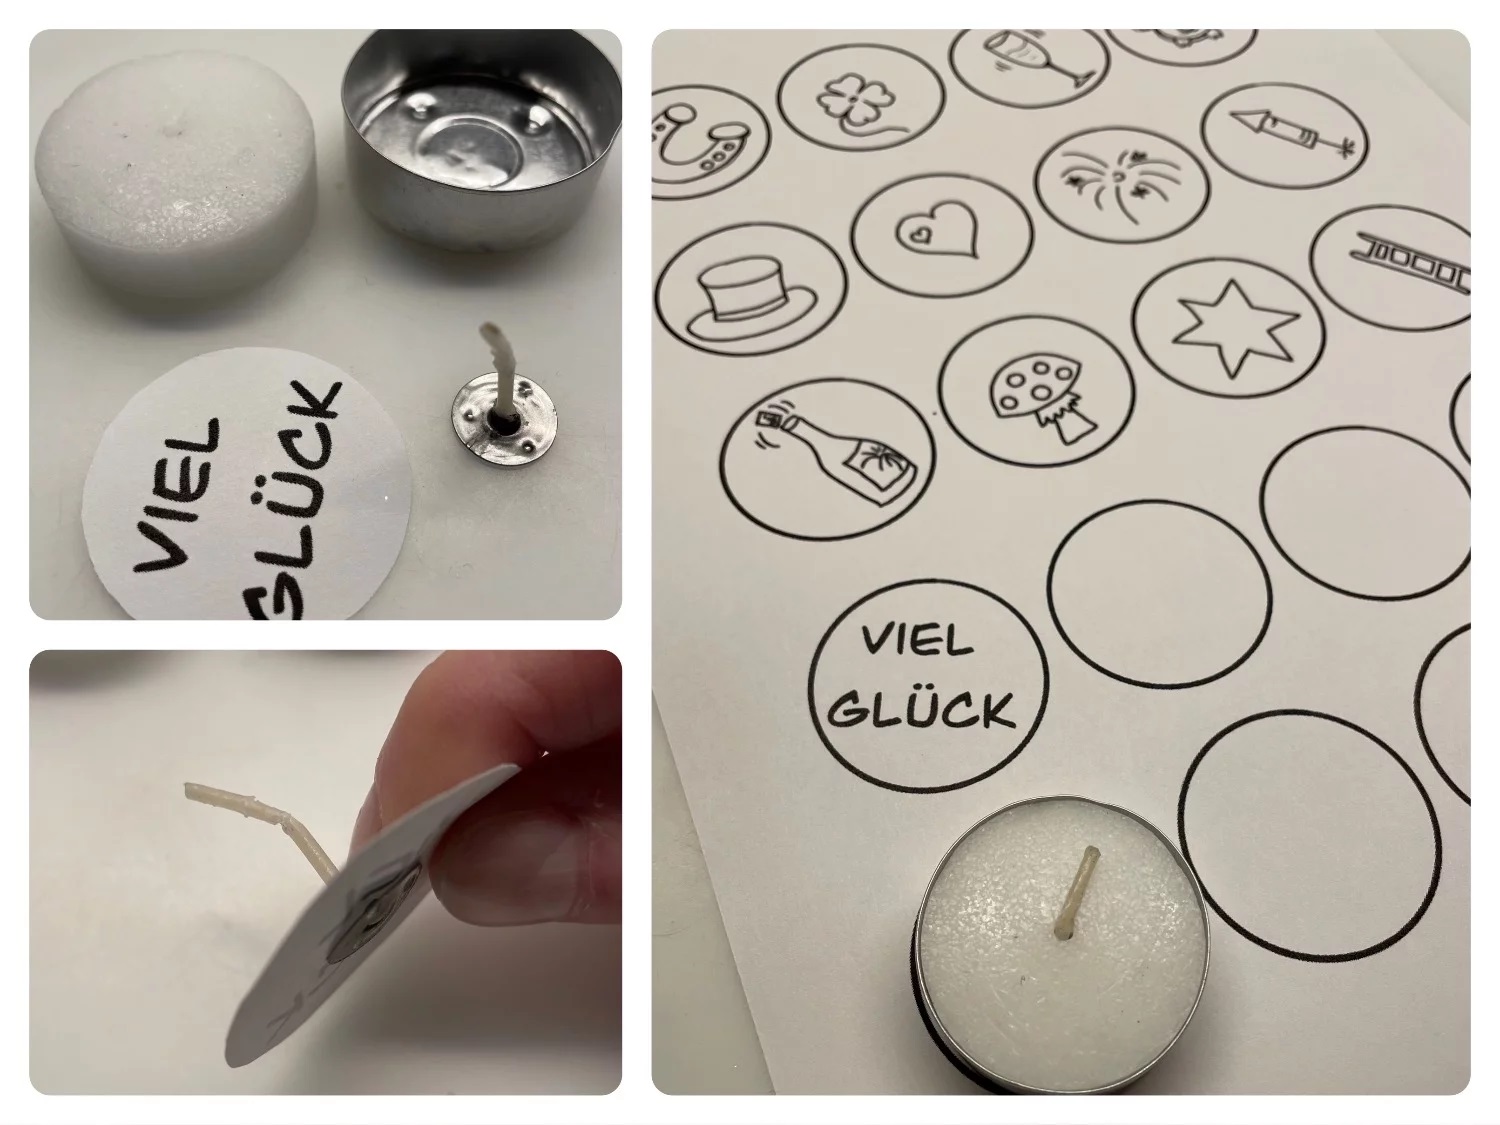
Print the template first.
Now select a motif or paint one in an empty field.
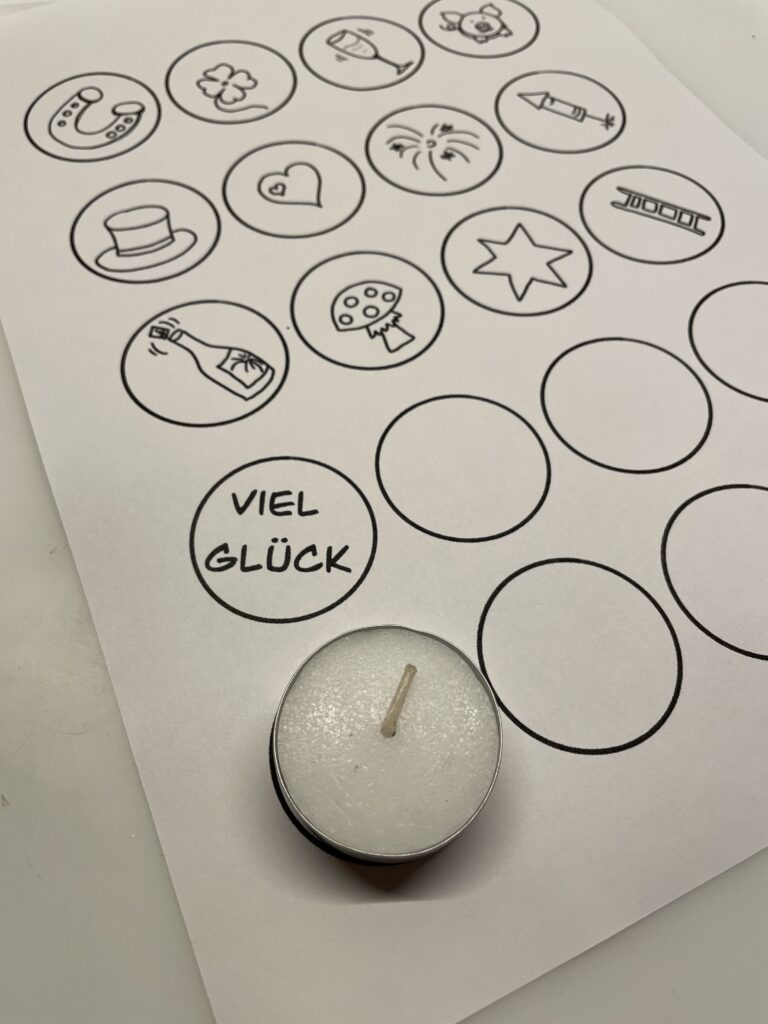
Then cut out the motif.
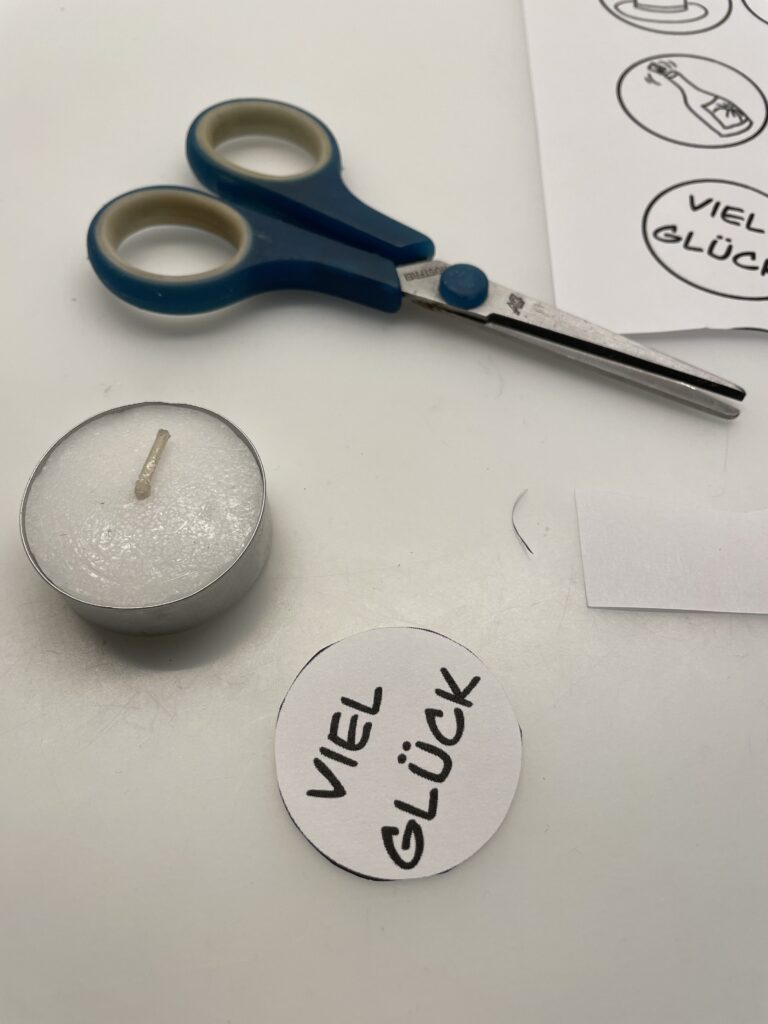


Now you're cutting a tealight into his pieces.
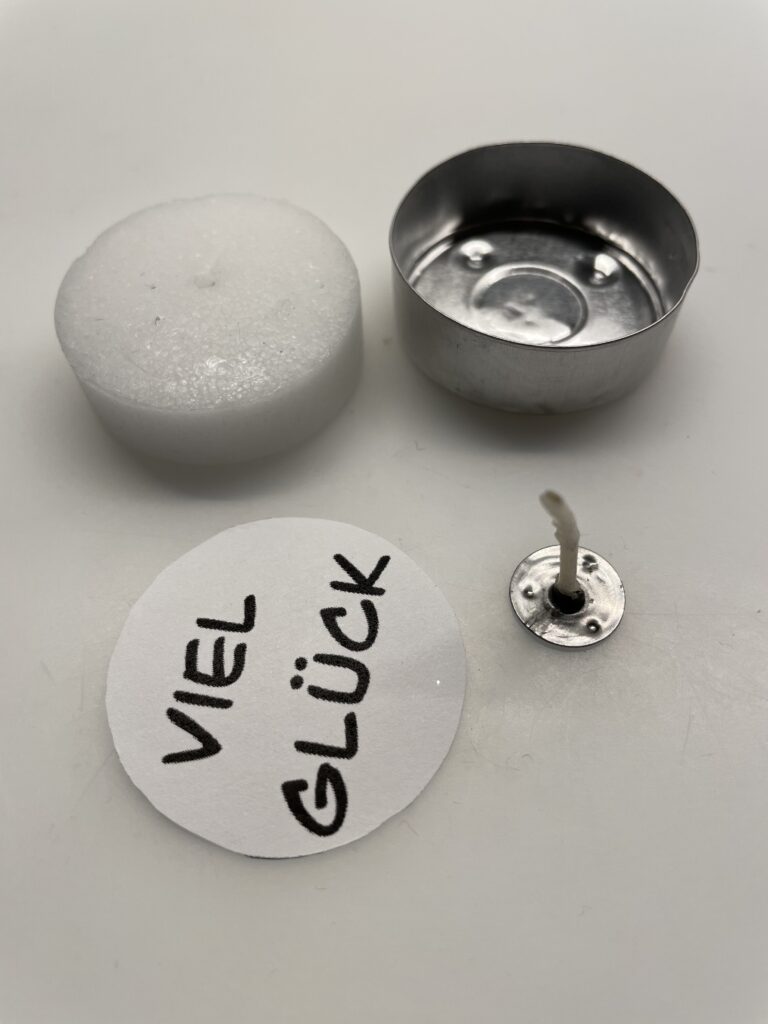


Stitch a hole through the middle of your circle with a needle. It must be so large that the wick fits through.
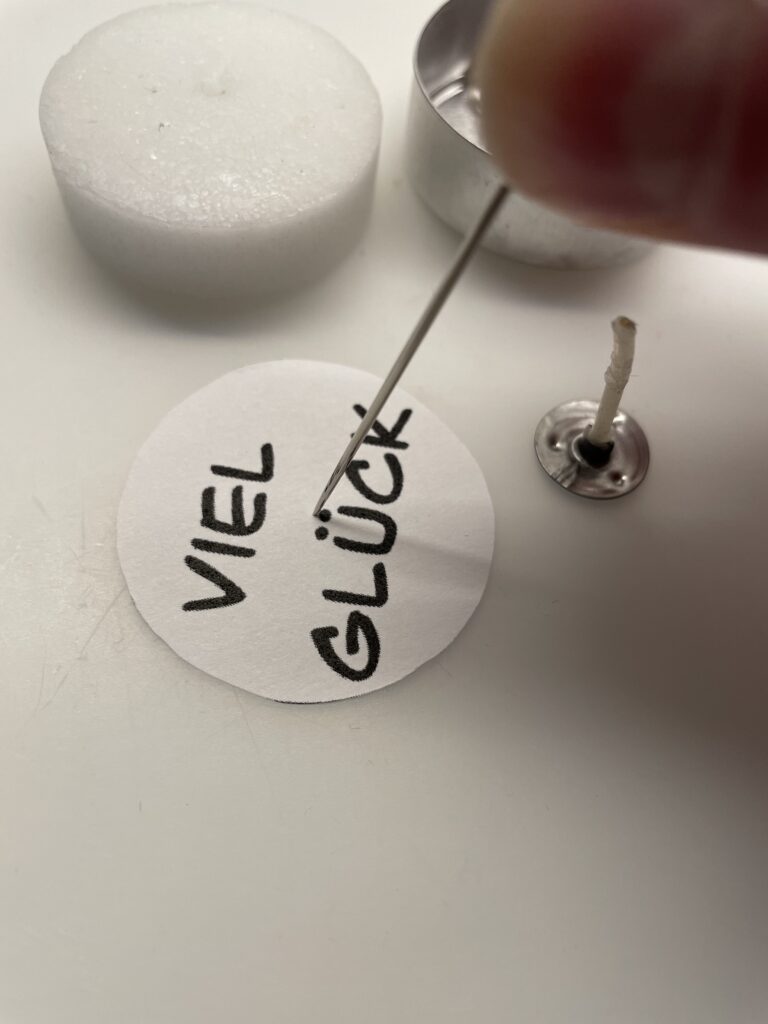


If something is circled with the needle, the hole becomes larger.
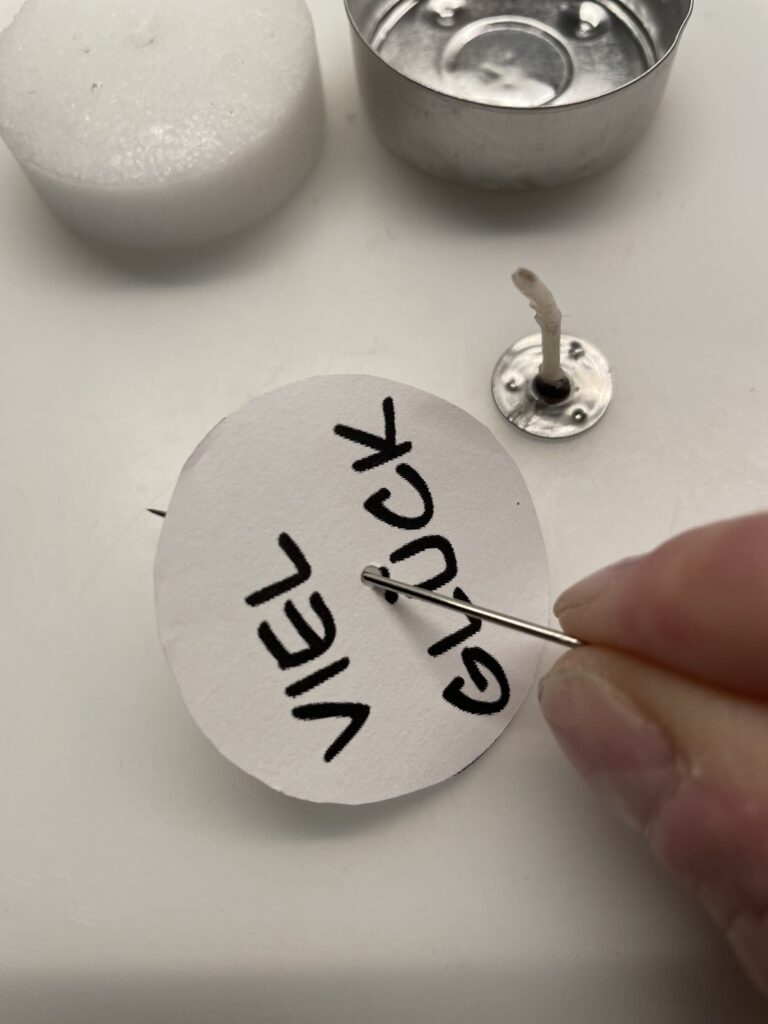


Then you put the wick through the paper from behind.
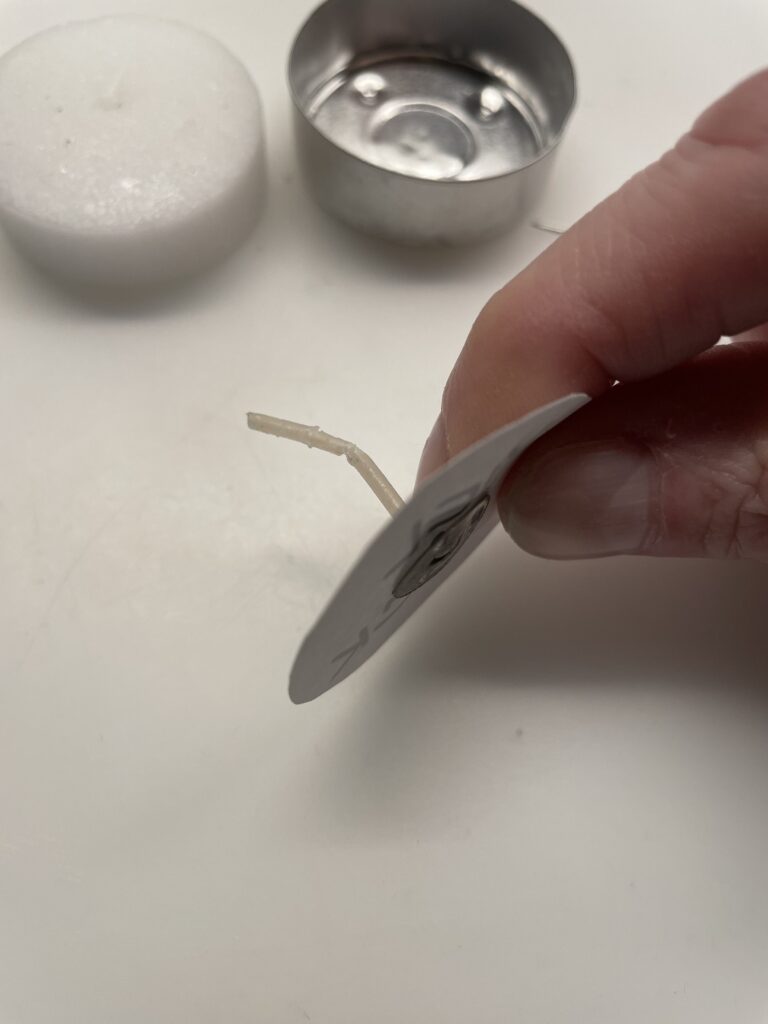


The round sheet metal part is now flush on the paper.
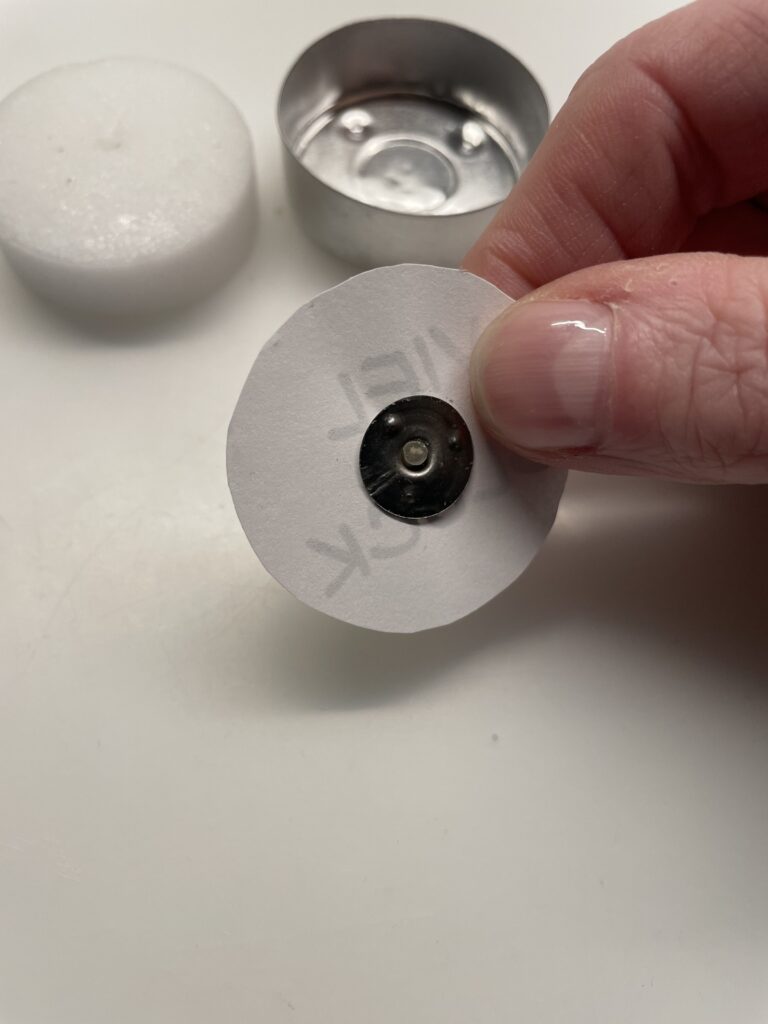


Now you put the parts of the tealight together again.
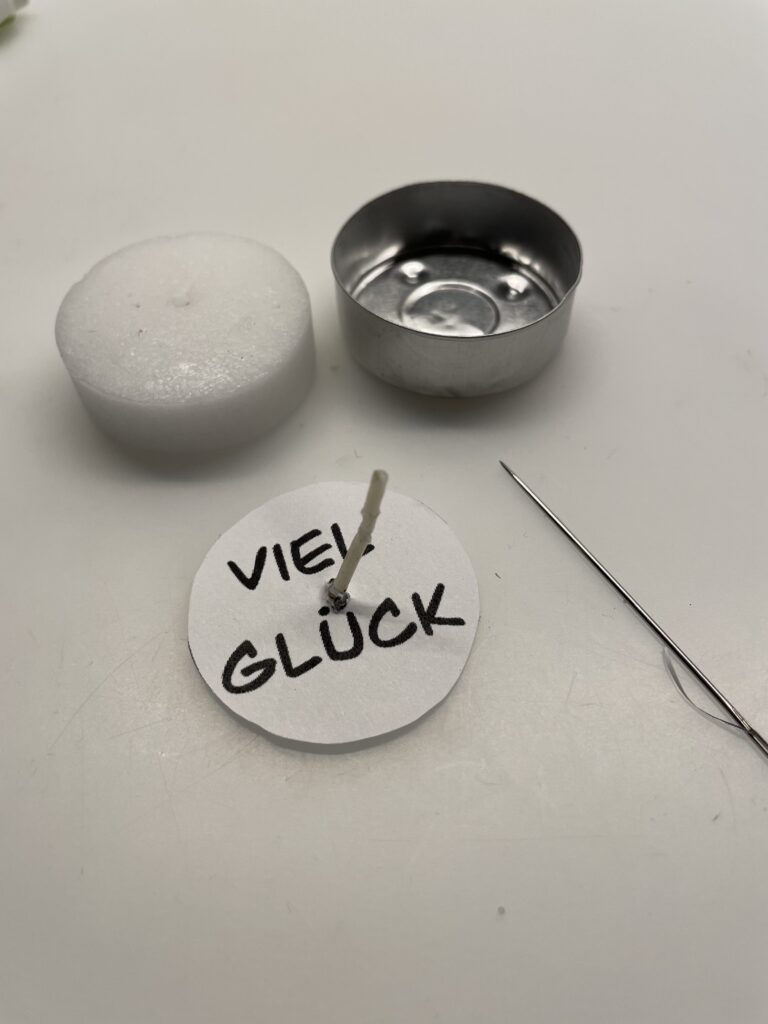


First you put the motif image with the wick back into the aluminium shell.


Then you put the wax on it.
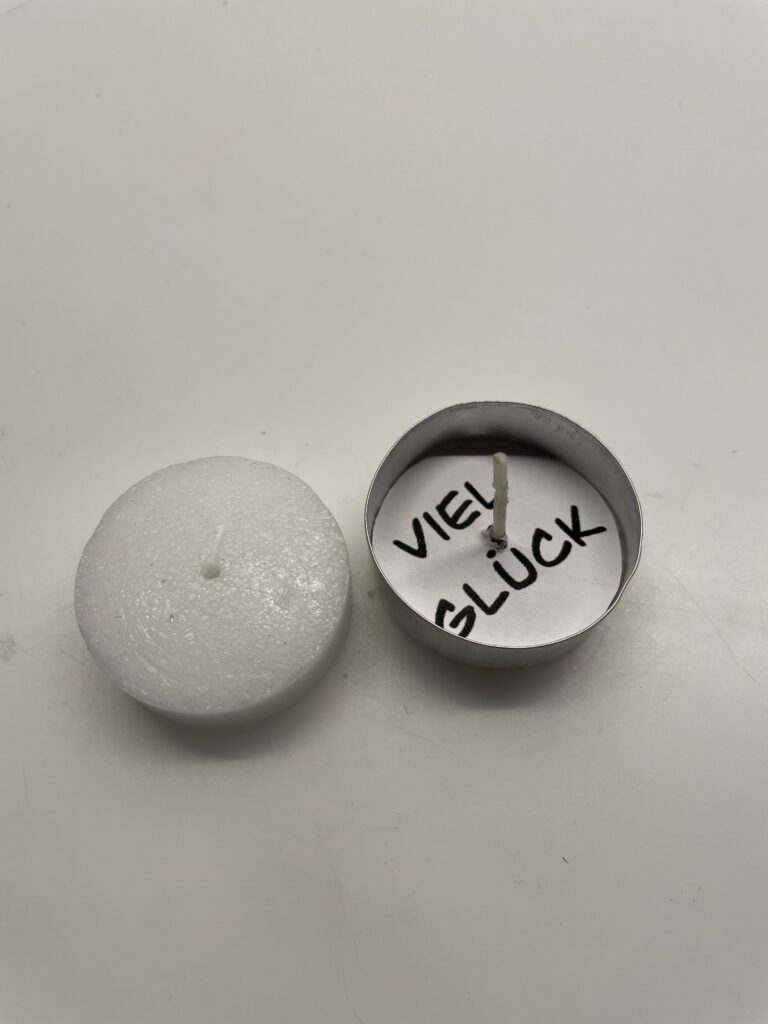


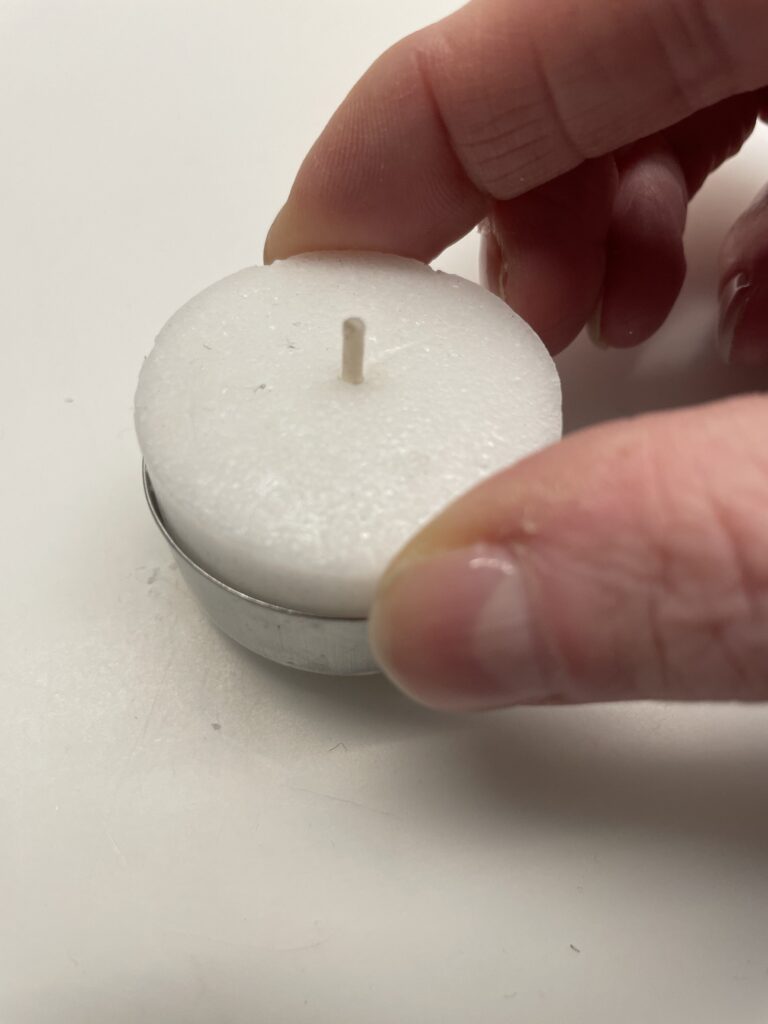


Finished is the magic tealight. Let yourselves be surprised after the burning, which motive comes to light.


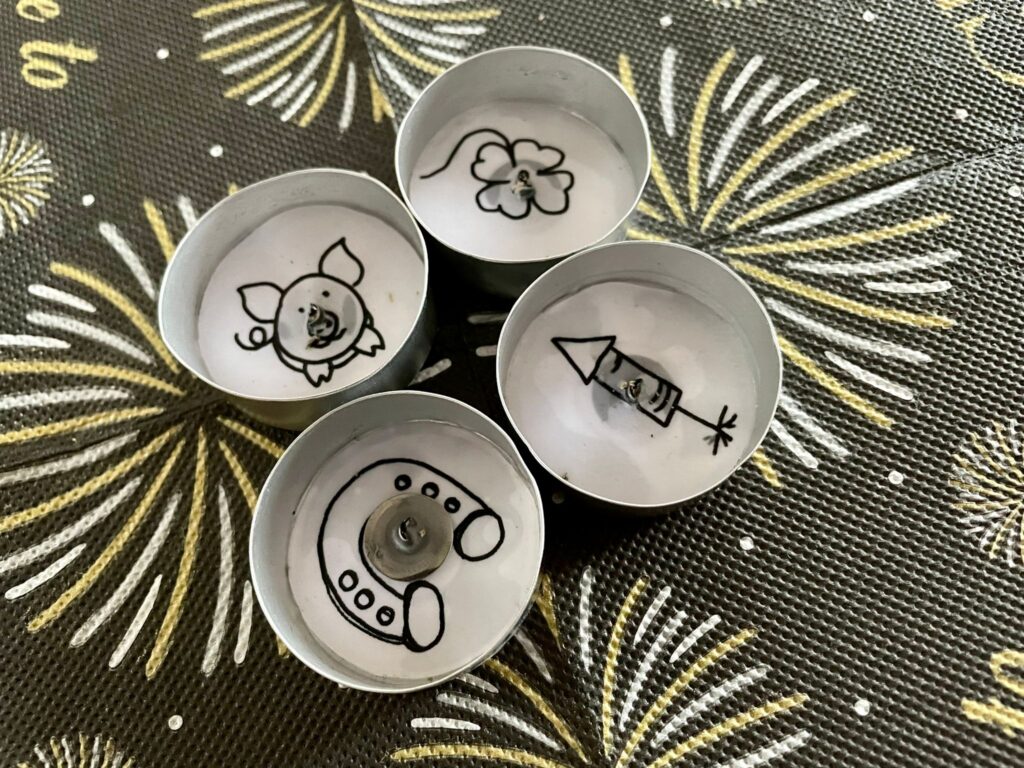


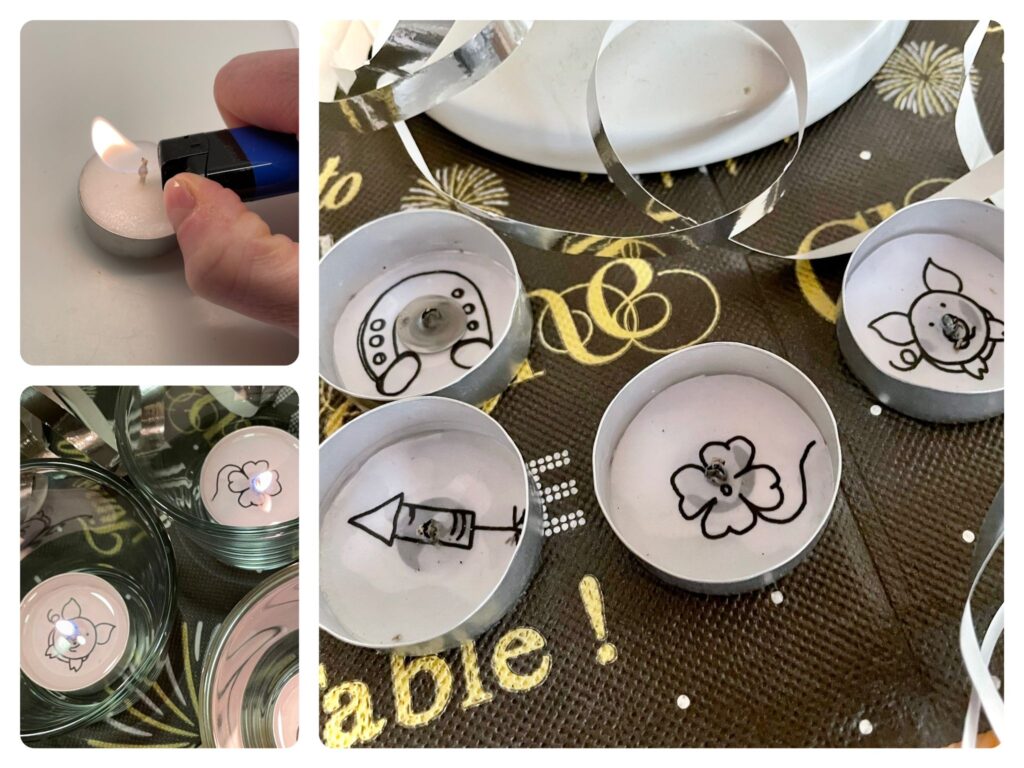


Gift idea: Makes 3 magic tealights and also gives away a template bow for self-designing the magic tealights.
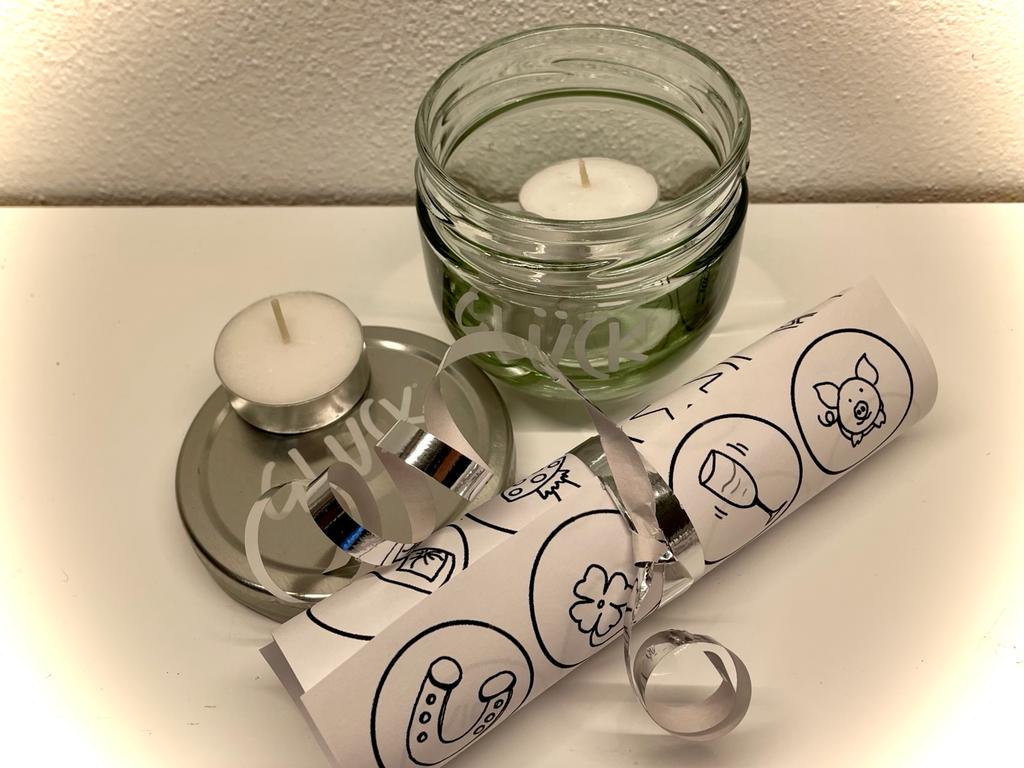


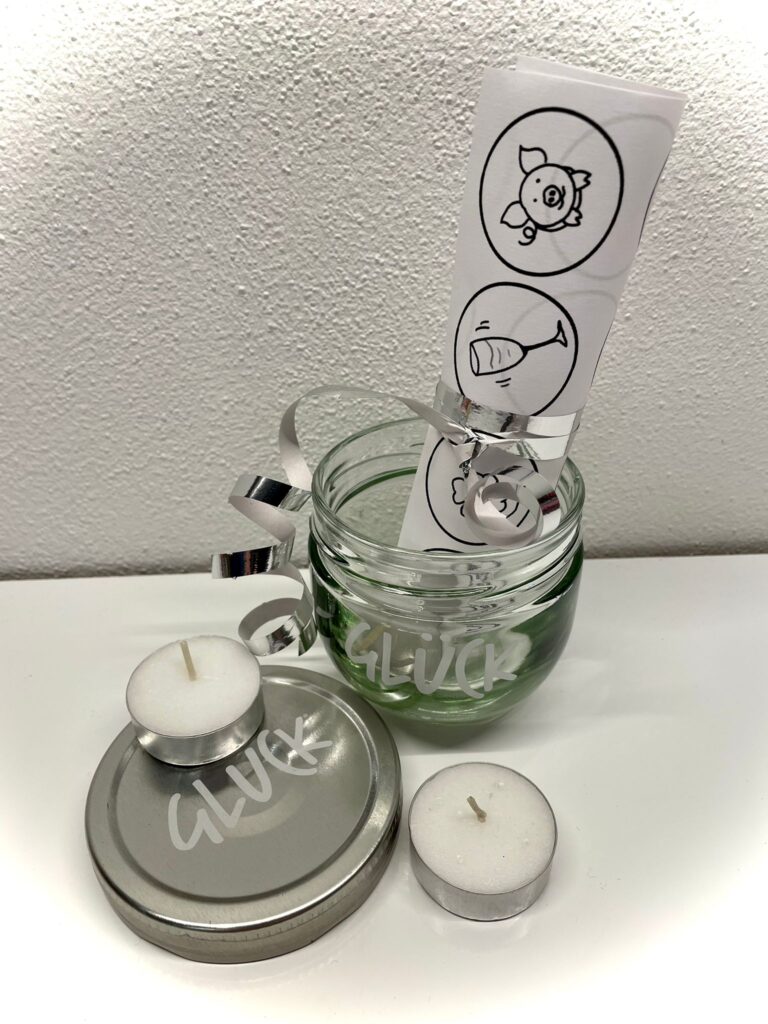


Stay curious and have fun giving away!
Materials
Directions
Print the template first.
Now select a motif or paint one in an empty field.


Then cut out the motif.


Now you're cutting a tealight into his pieces.


Stitch a hole through the middle of your circle with a needle. It must be so large that the wick fits through.


If something is circled with the needle, the hole becomes larger.


Then you put the wick through the paper from behind.


The round sheet metal part is now flush on the paper.


Now you put the parts of the tealight together again.


First you put the motif image with the wick back into the aluminium shell.


Then you put the wax on it.


Finished is the magic tealight. Let yourselves be surprised after the burning, which motive comes to light.


Gift idea: Makes 3 magic tealights and also gives away a template bow for self-designing the magic tealights.


Stay curious and have fun giving away!
Follow us on Facebook , Instagram and Pinterest
Don't miss any more adventures: Our bottle mail


