Print Options:

Handkerchief bag (TaTüTä)

Material for1 ChildPrep Time10 min.Adv. Time25 min.Total Time35 min.

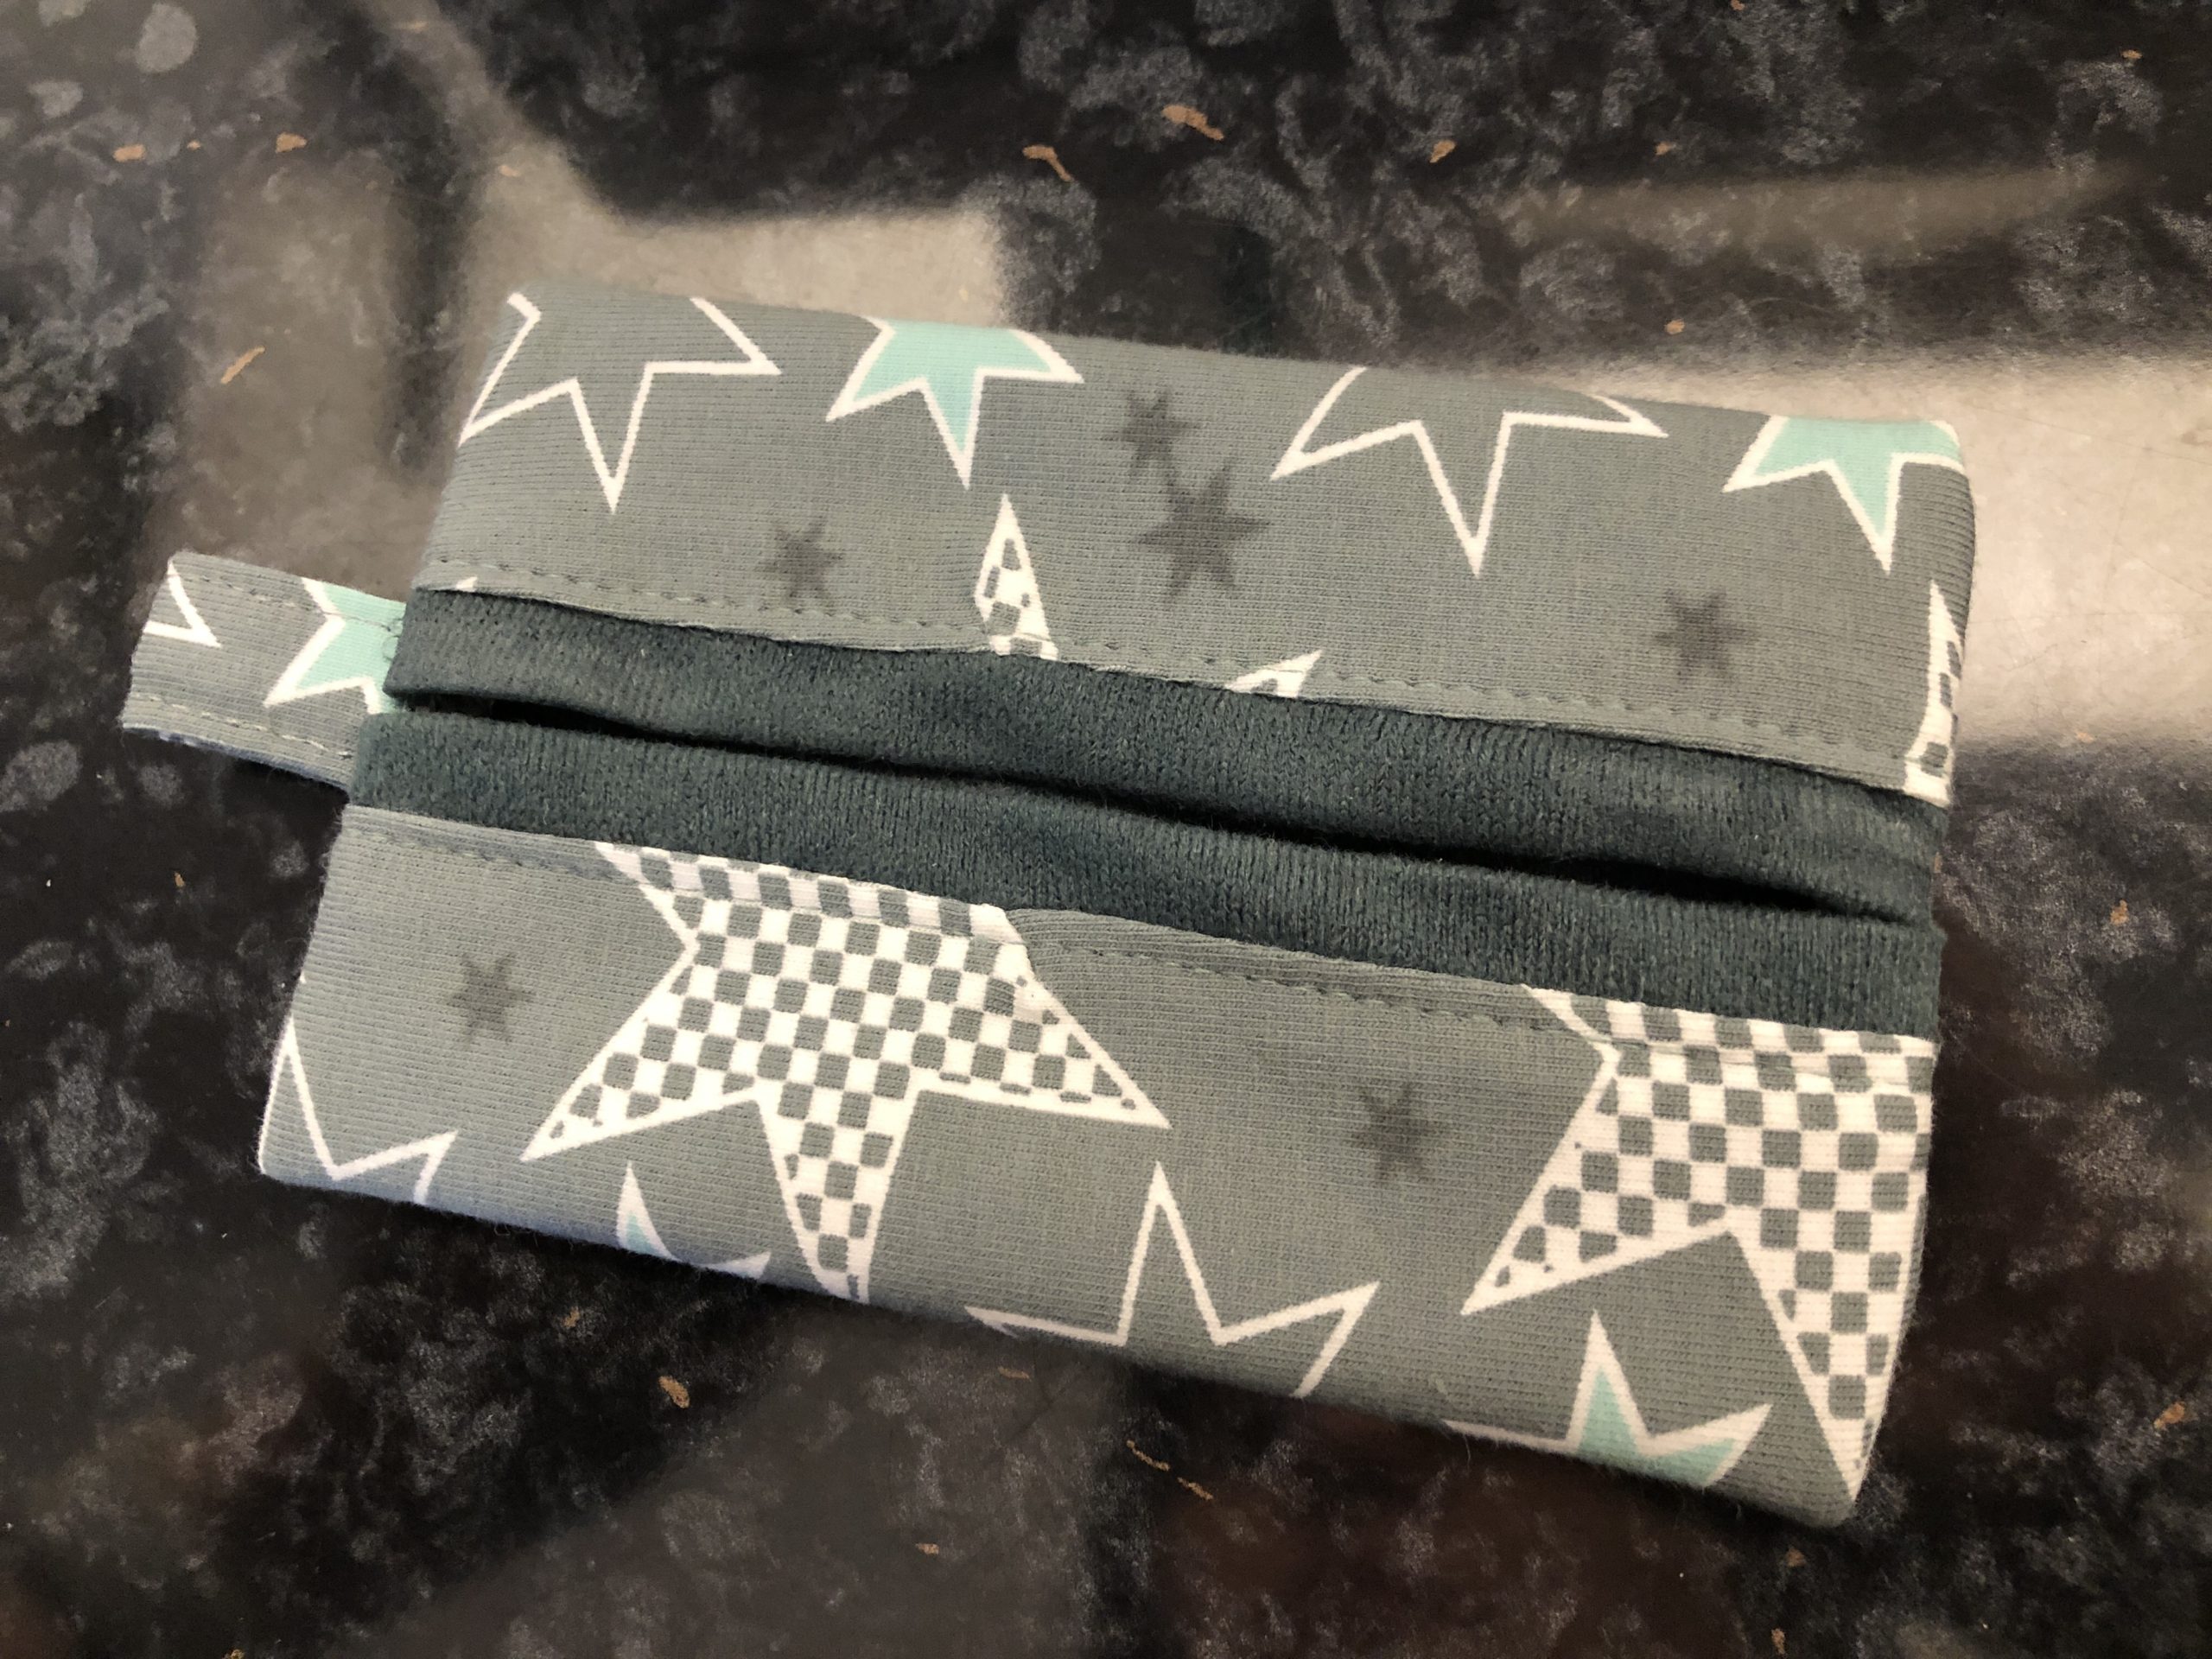
This little gift idea is perfect for beginners. Trust yourself! I explain step by step with many pictures how to sew this small bag. Of course you can also use it for cosmetic products or pens. Also, it is a great last minute gift.

Titelbild zur Bastel- und DIY-Idee für Kinder '(519) Taschentuch-Täschchen (TaTüTä)'

 Sewing machine
 Sewing thread
 2 different substances
 possibly a short band about 8cm
 possible iron
 Pins and pins or cloth clamps
 Scissors
All links marked with a shopping cart lead to Amazon - here we have selected products that we would order ourselves and in part also ordered. In a qualified purchase via the advertising link, we as Amazon partner receive a commission, for you there are no costs. You thus support our cost- and advertising banner-free, educational offer.
Selects two different substances:
1

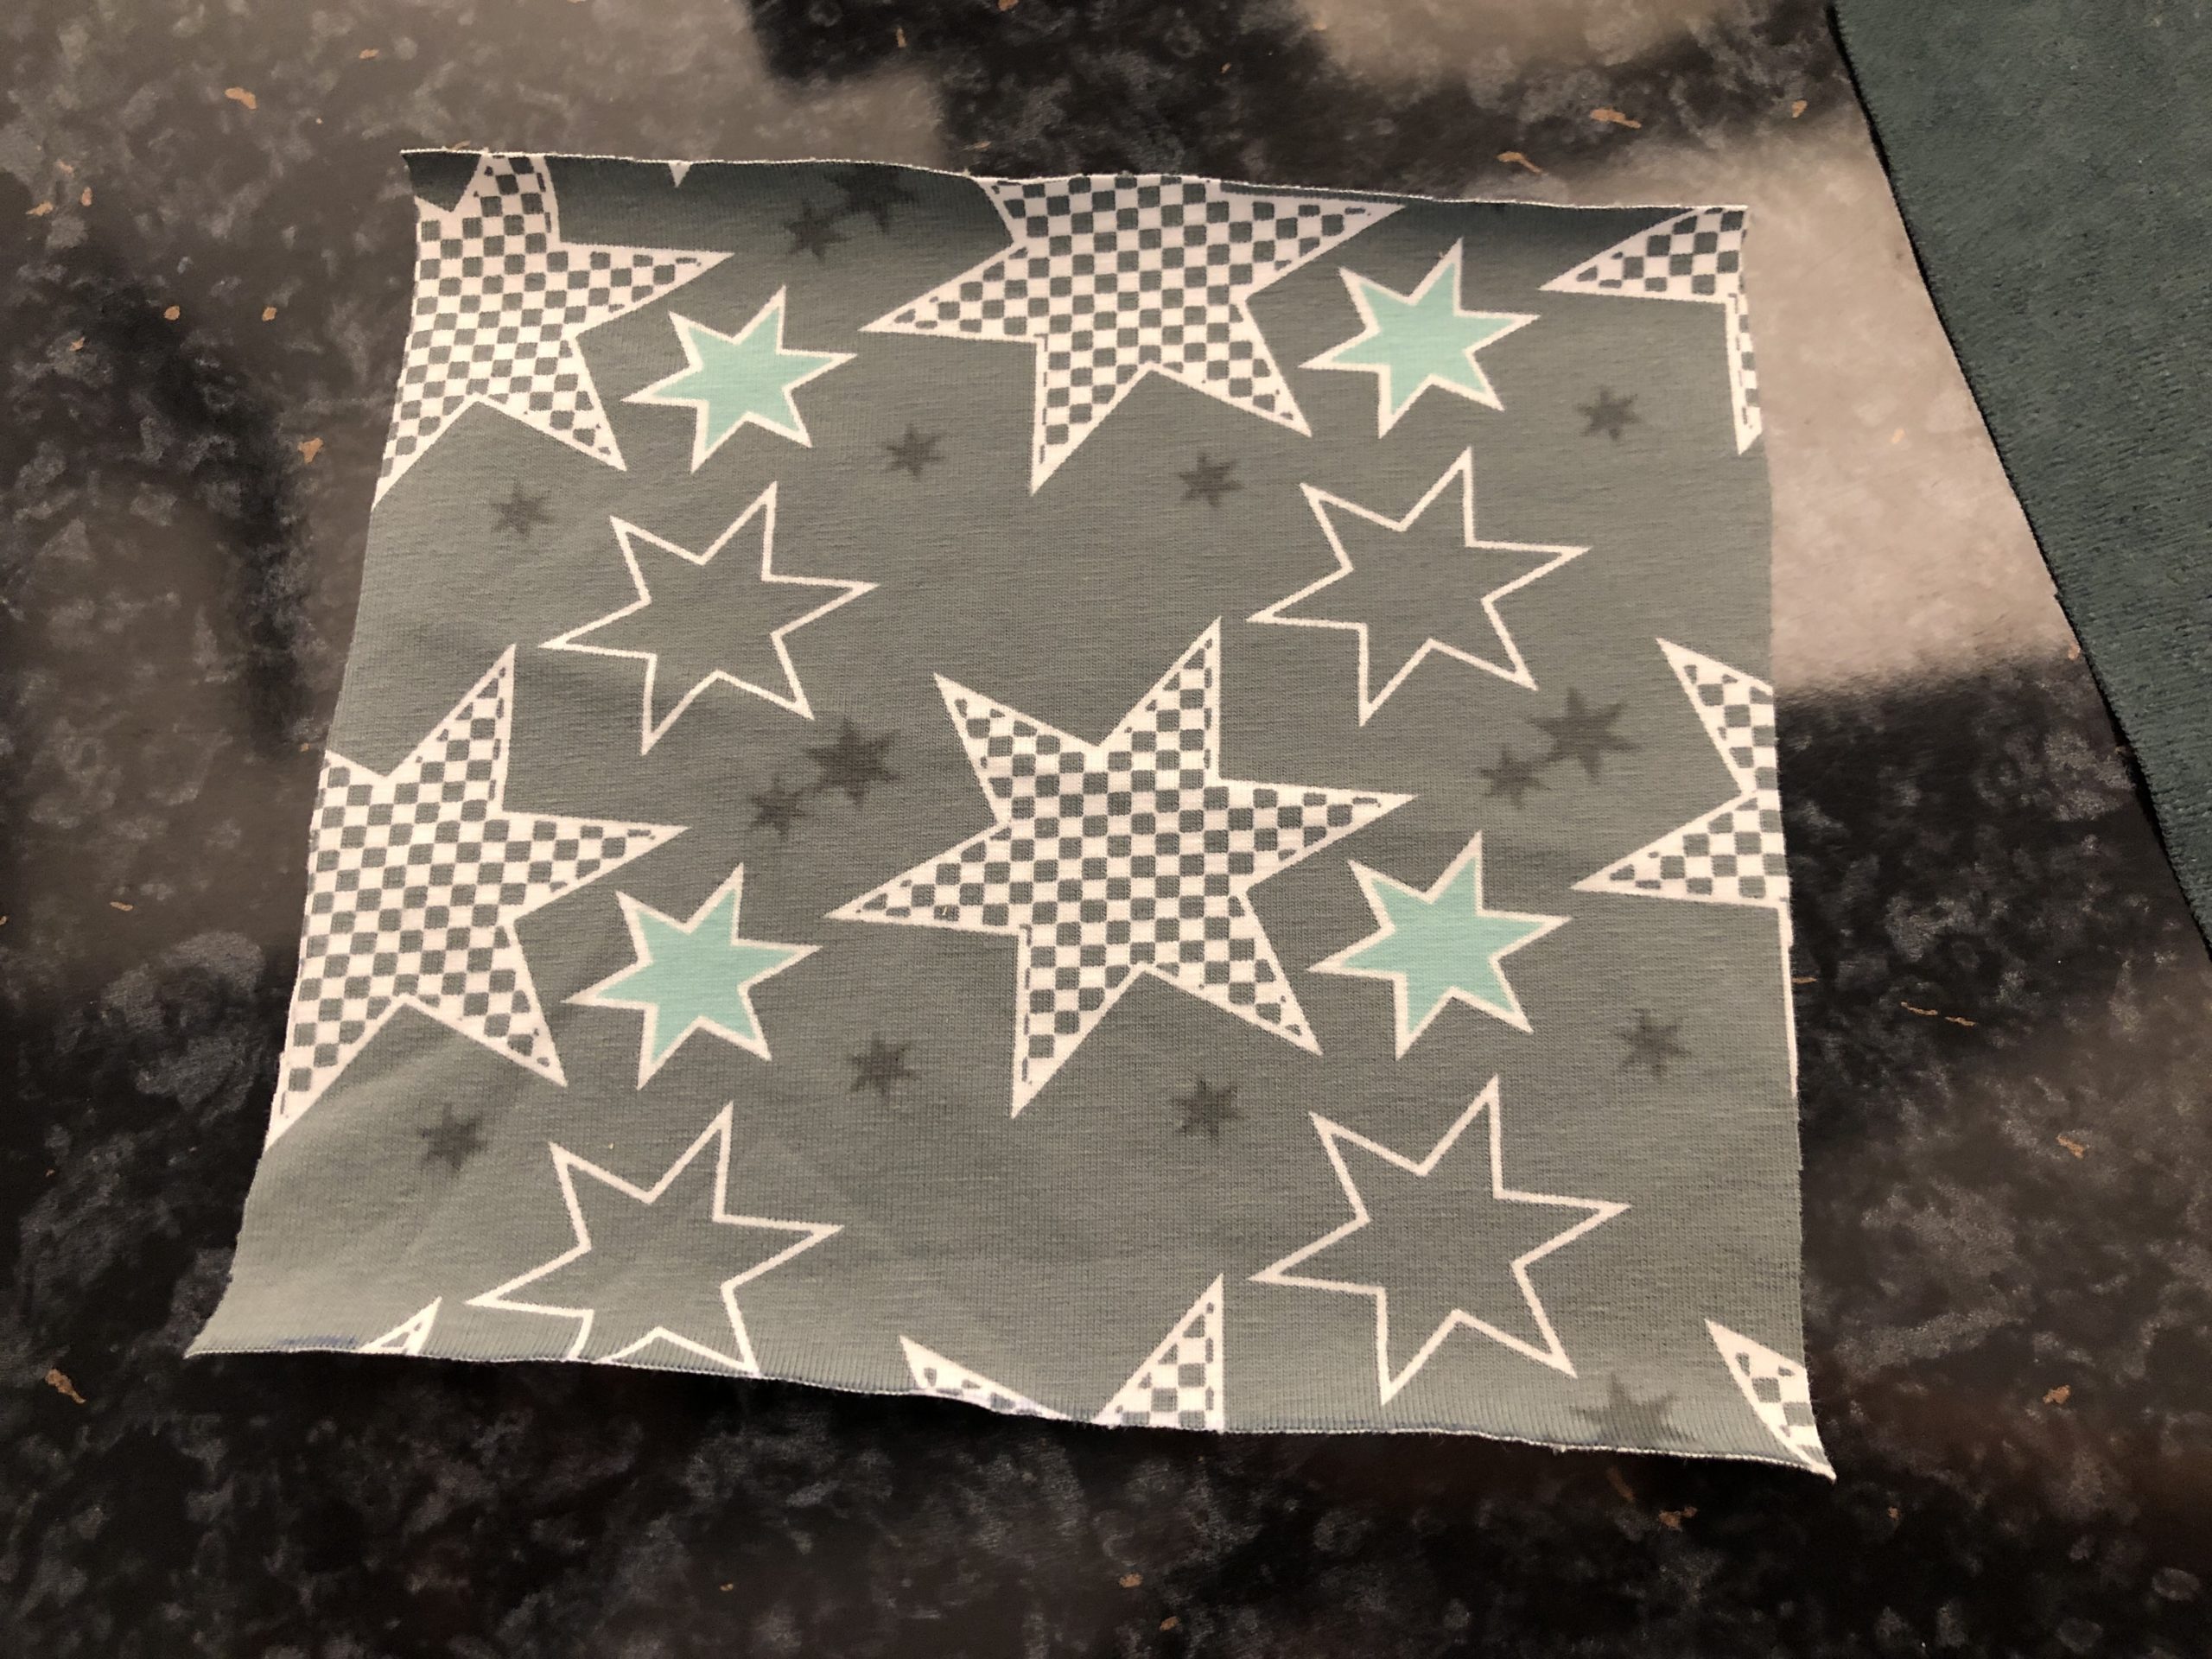
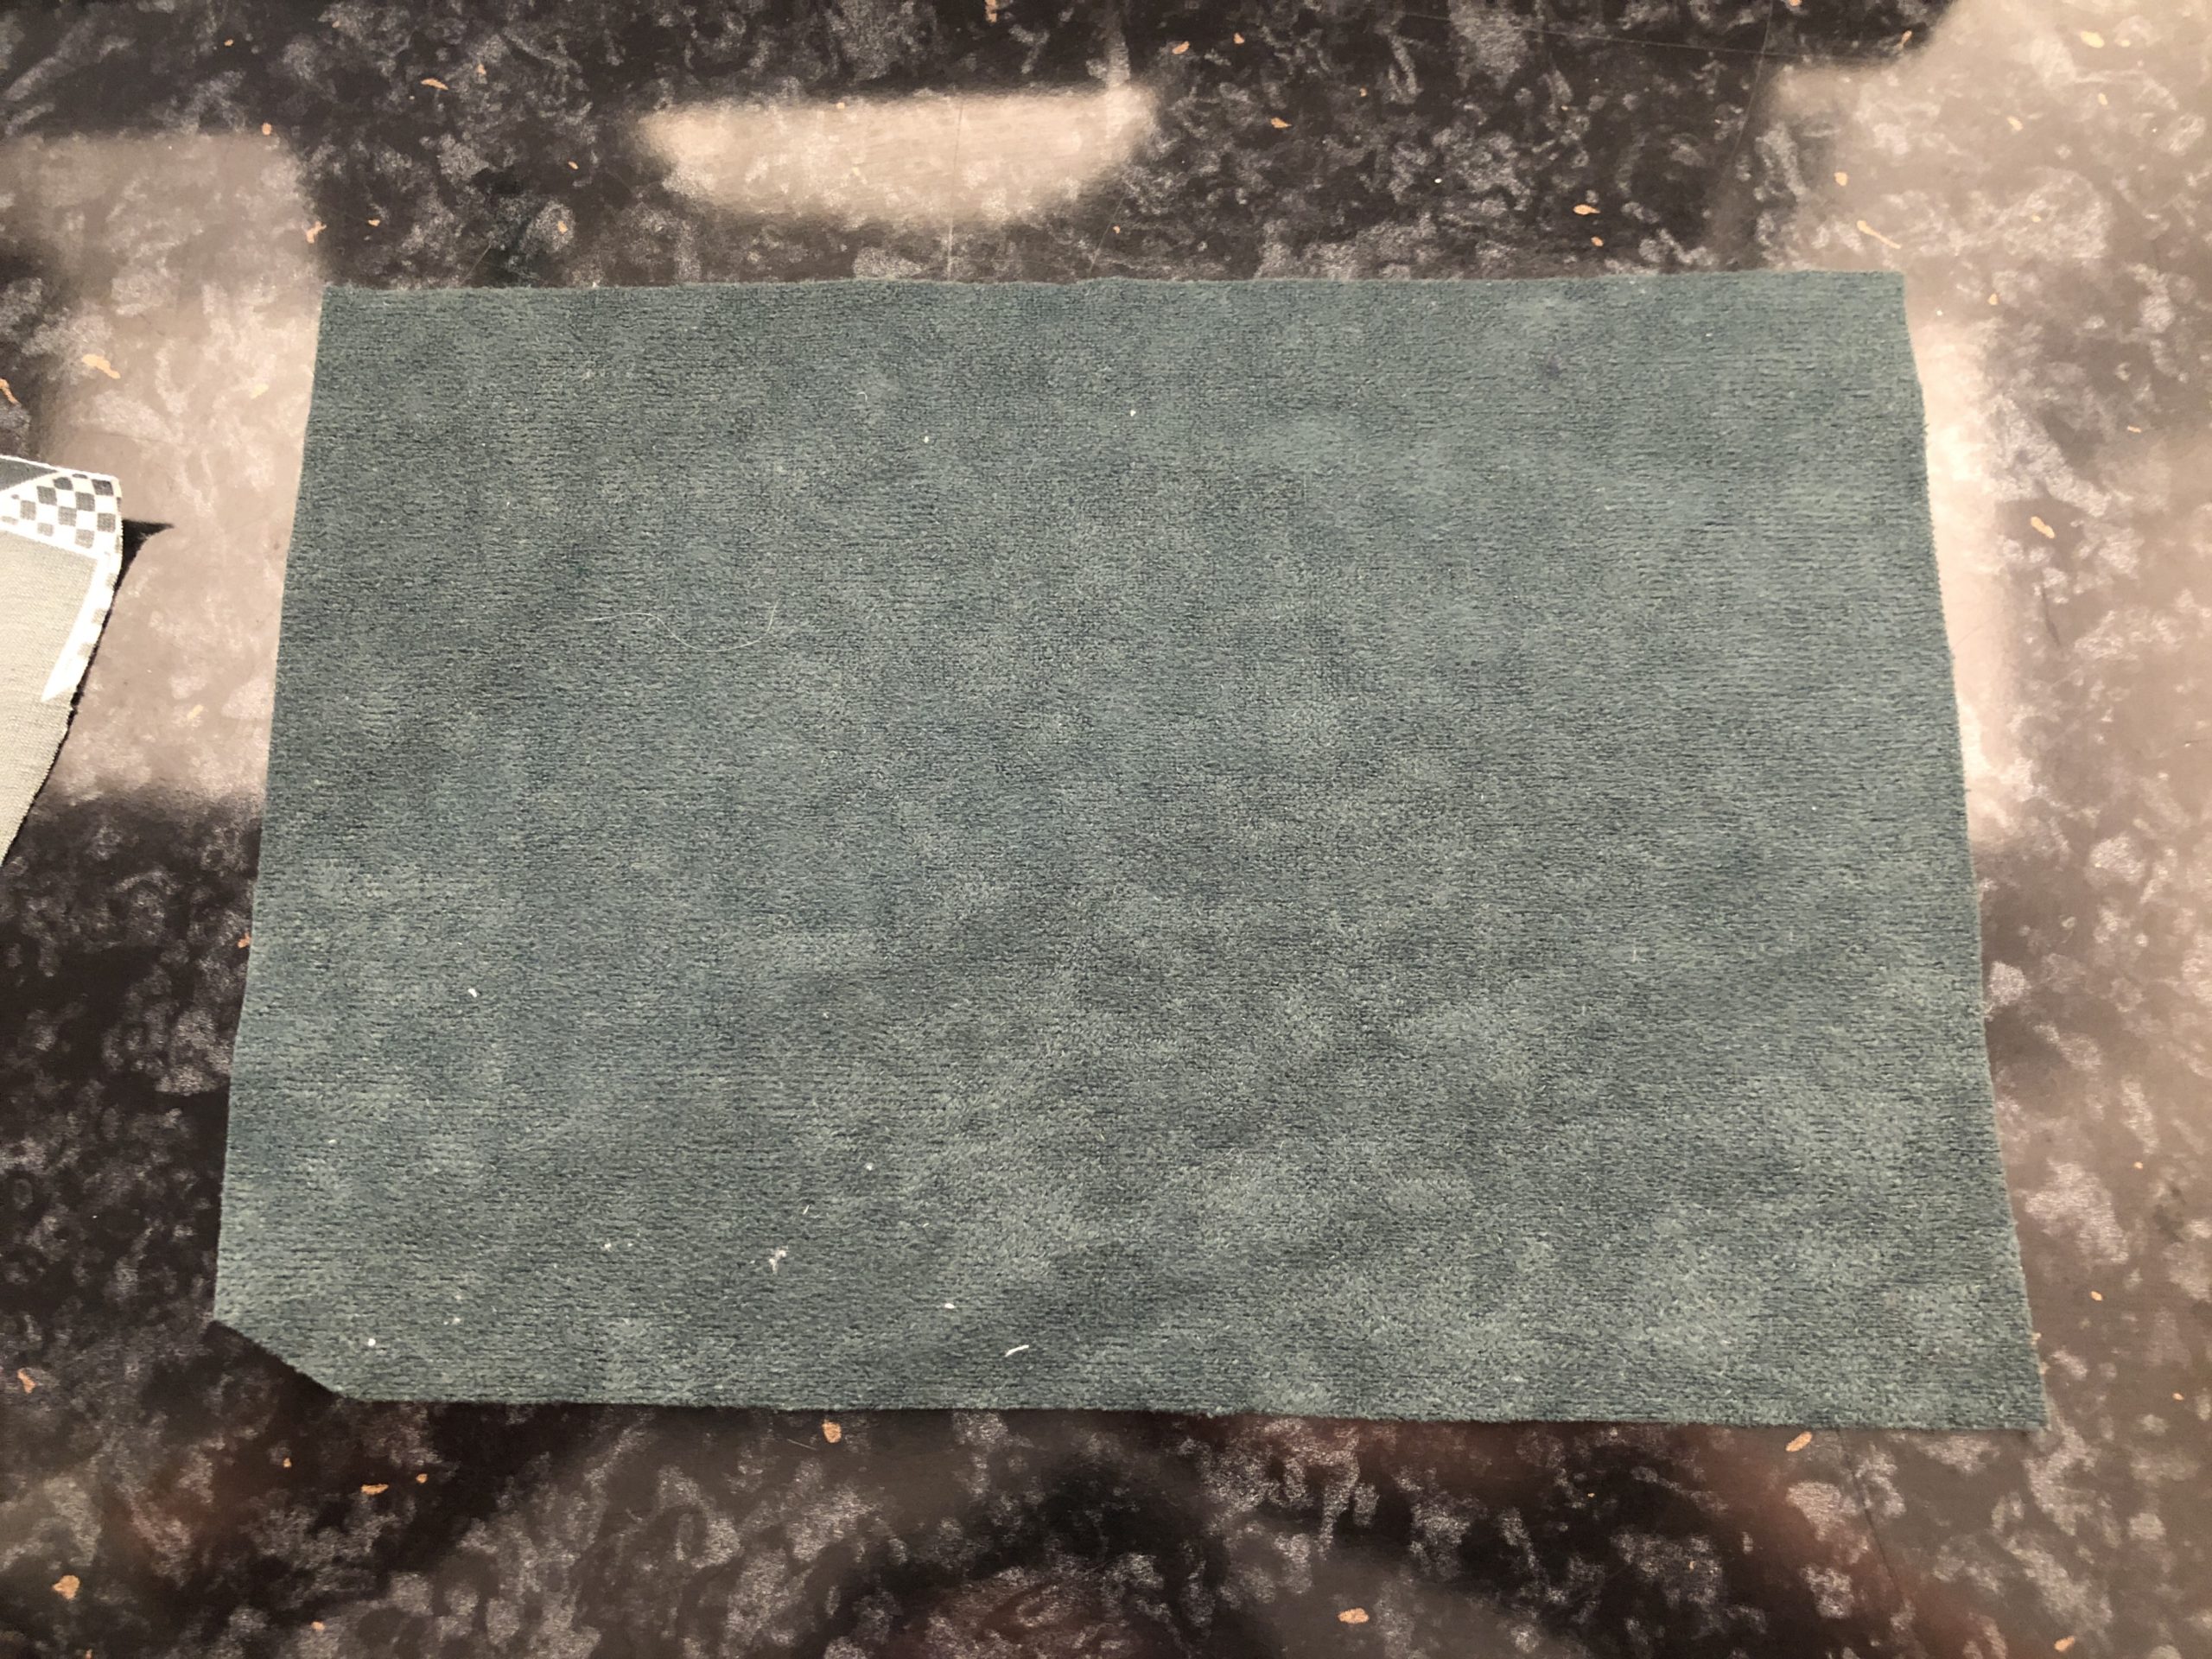
First cut two fabrics with the specified dimensions.
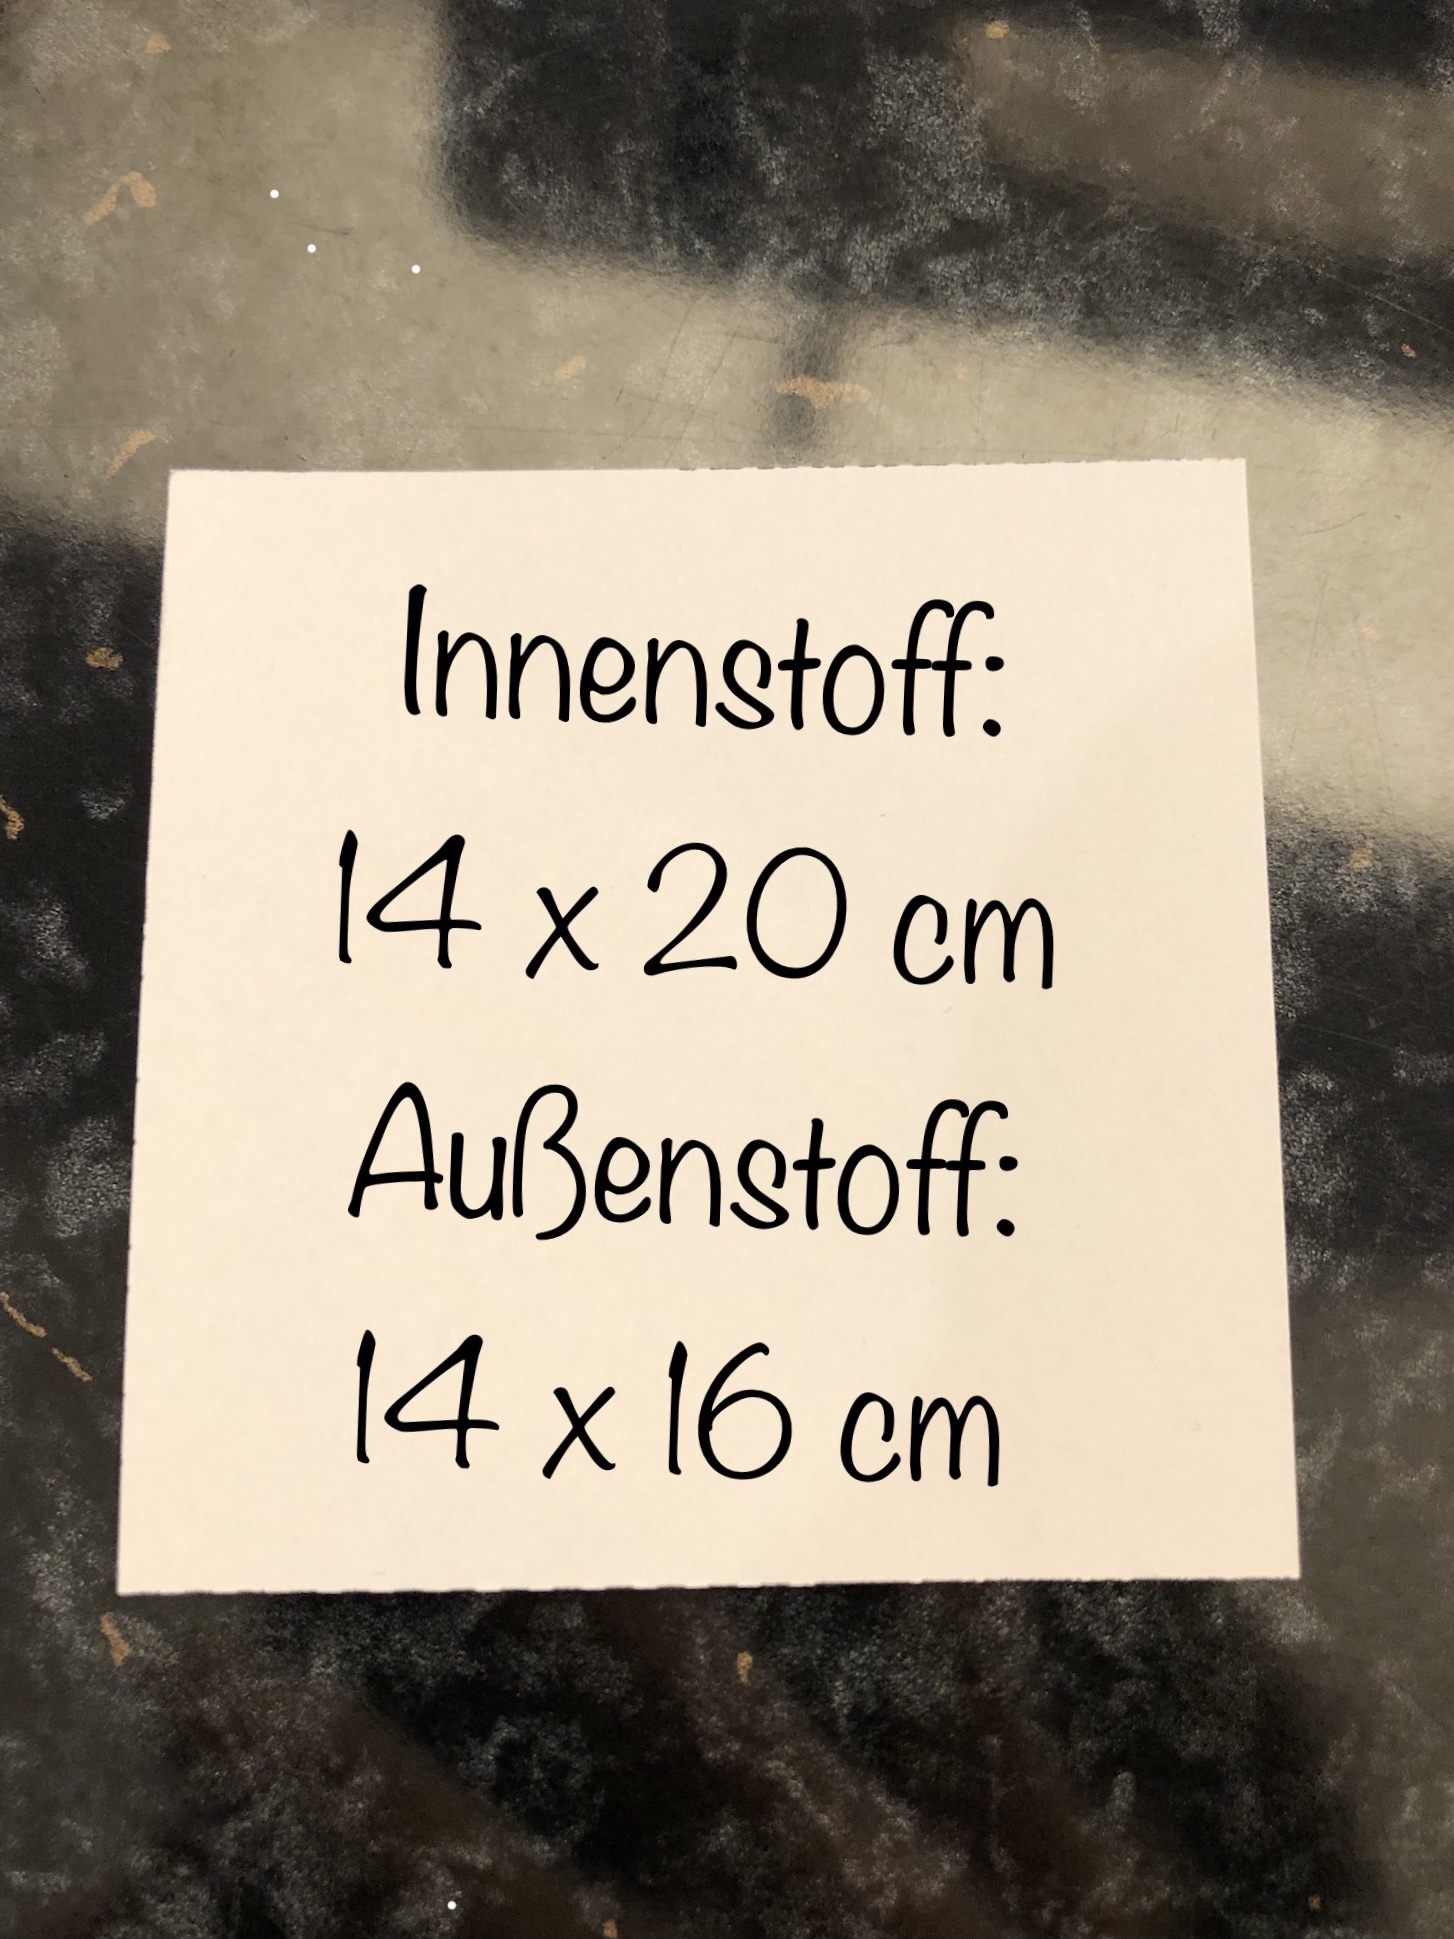
Bild zum Schritt 2 für das Bastel- und DIY-Abenteuer für Kinder: 'Schneidet zuerst zwei Stoffe mit den angegebenen Maßen zu.'

2

That's my outer material.

Bild zum Schritt 3 für das Bastel- und DIY-Abenteuer für Kinder: 'Das ist mein Außenstoff.'

3

That's my inner fabric.

Bild zum Schritt 4 für das Bastel- und DIY-Abenteuer für Kinder: 'Das ist mein Innenstoff.'

4

Now put both fabrics together with the beautiful side (outside sides). The fabrics must lie flush on each other. Now sew them together with a straight stitch.
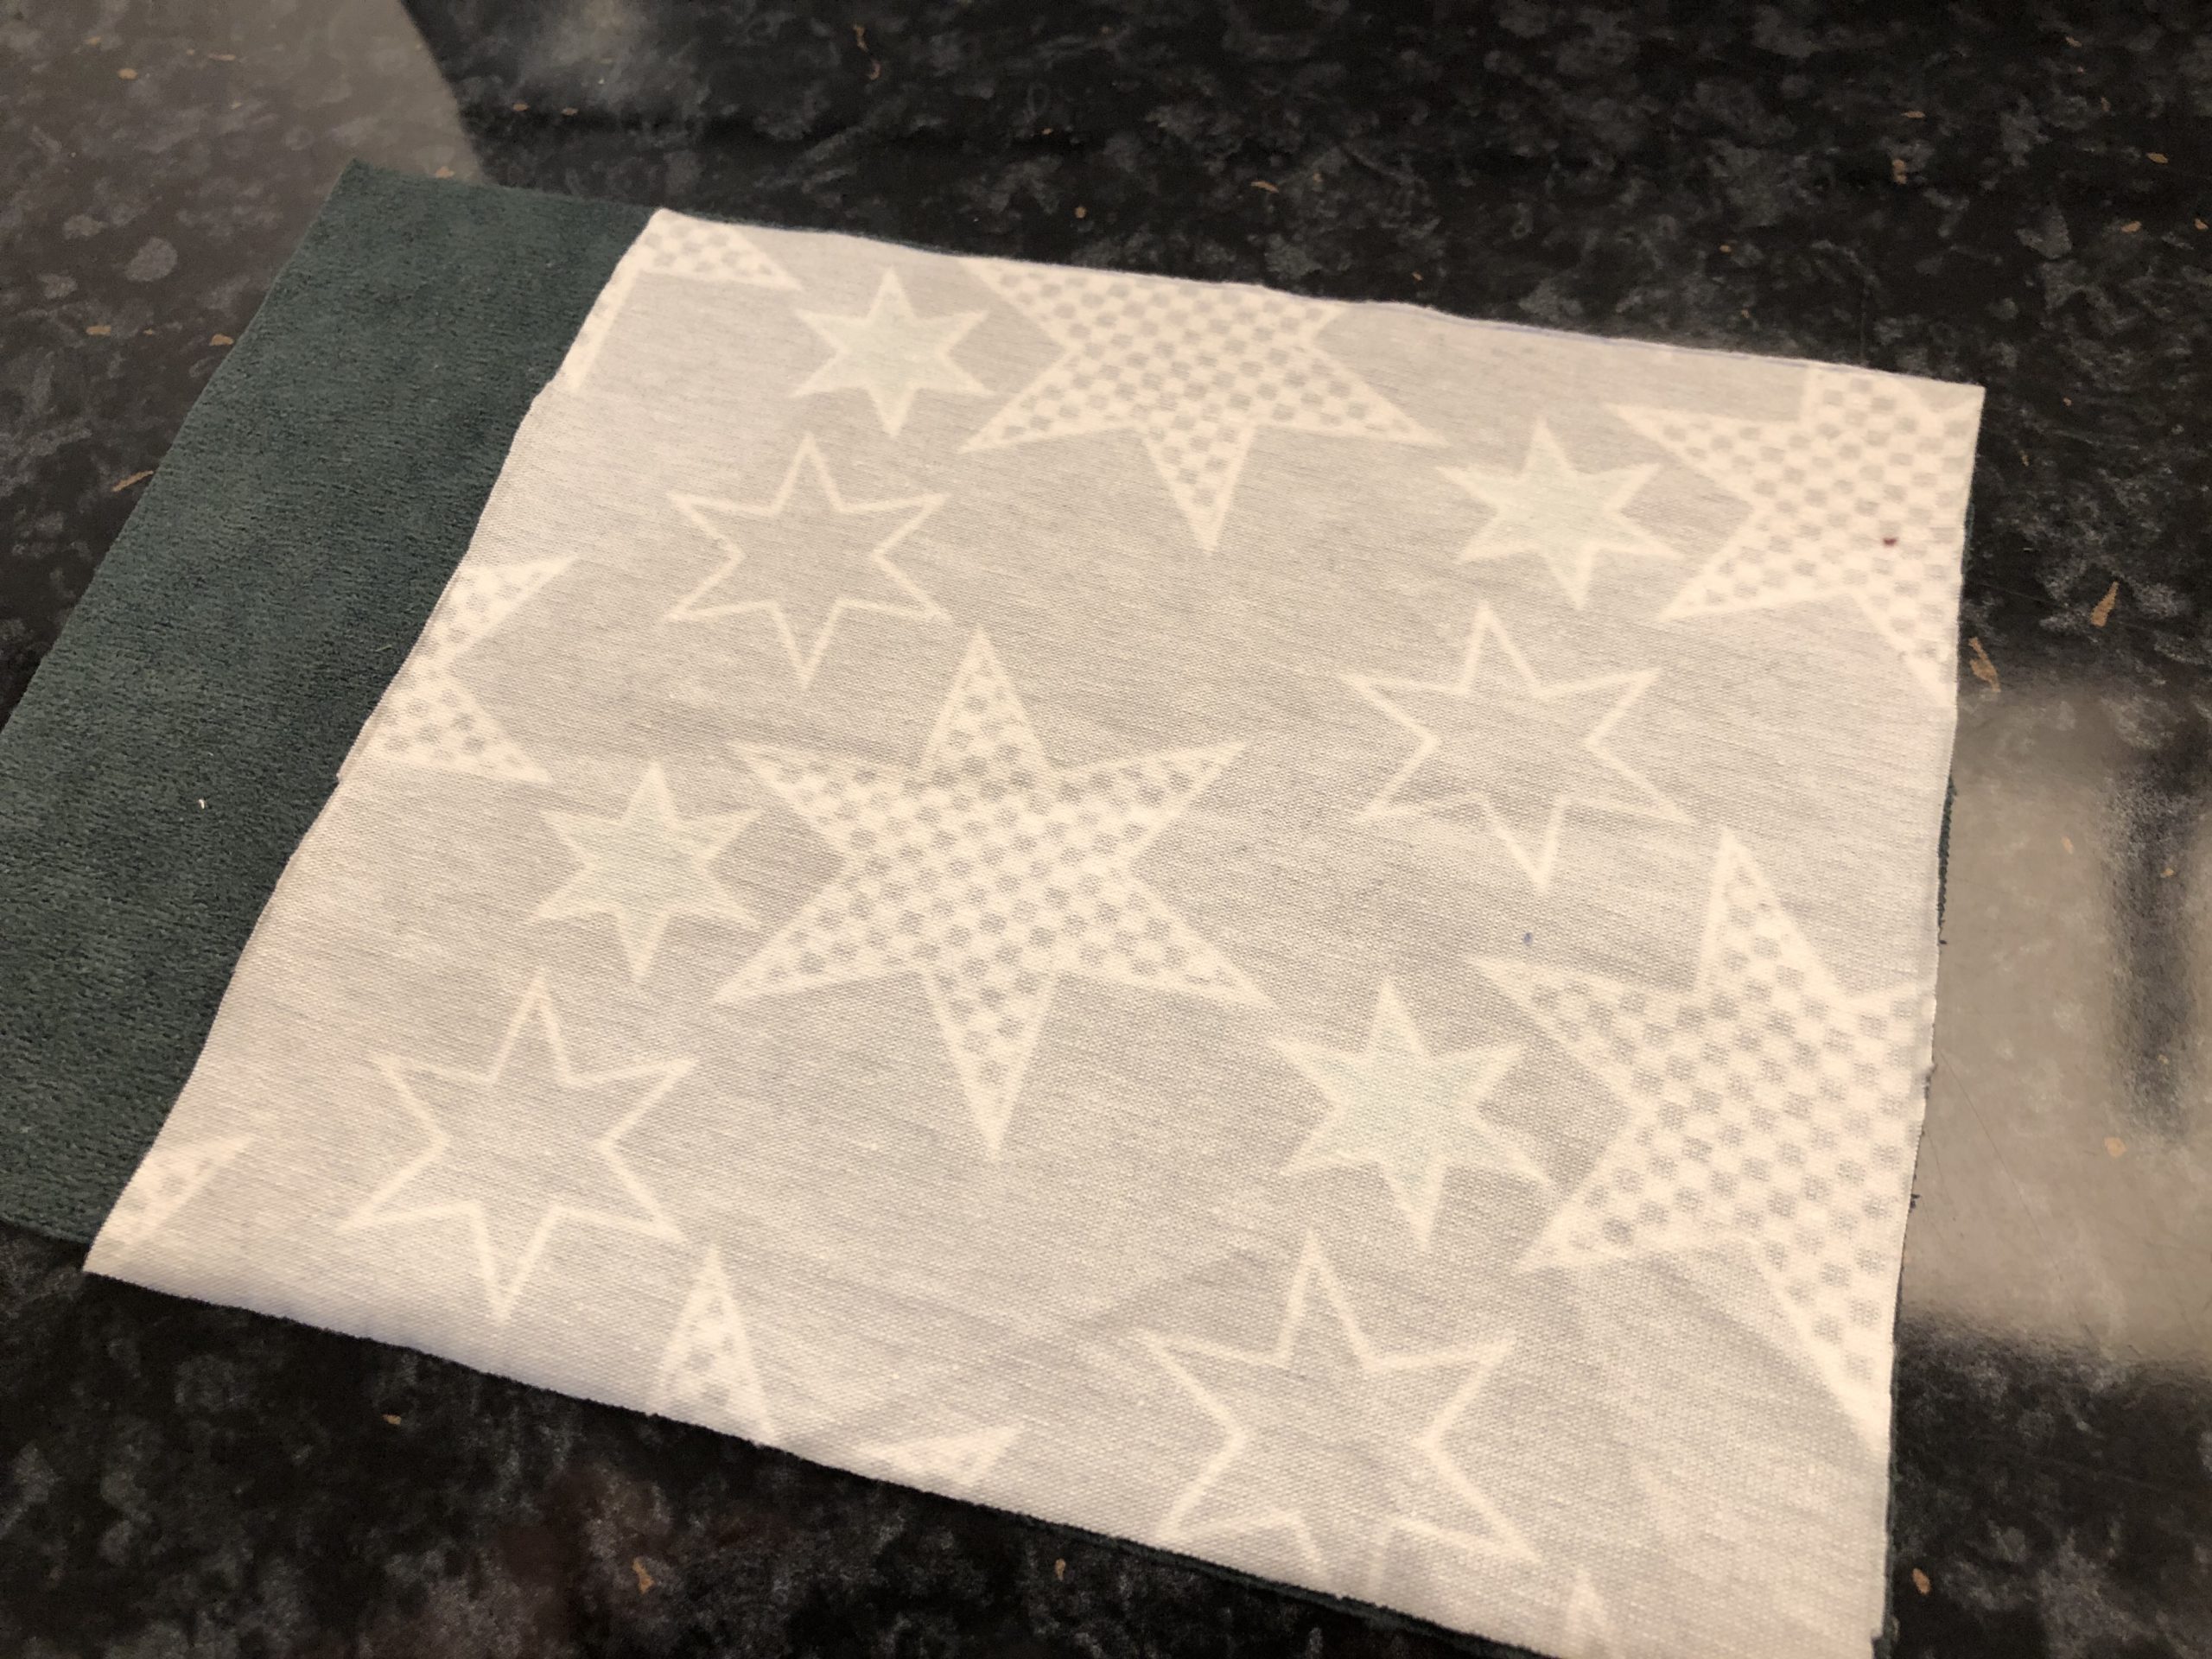
Bild zum Schritt 5 für das Bastel- und DIY-Abenteuer für Kinder: 'Legt nun beide Stoffe mit der schönen Seite (Außenseiten) aufeinander....'

5

Now push the fabrics in such a way that the opposite edges of the fabric lie on each other. Then you sew the fabrics together with a straight stitch.
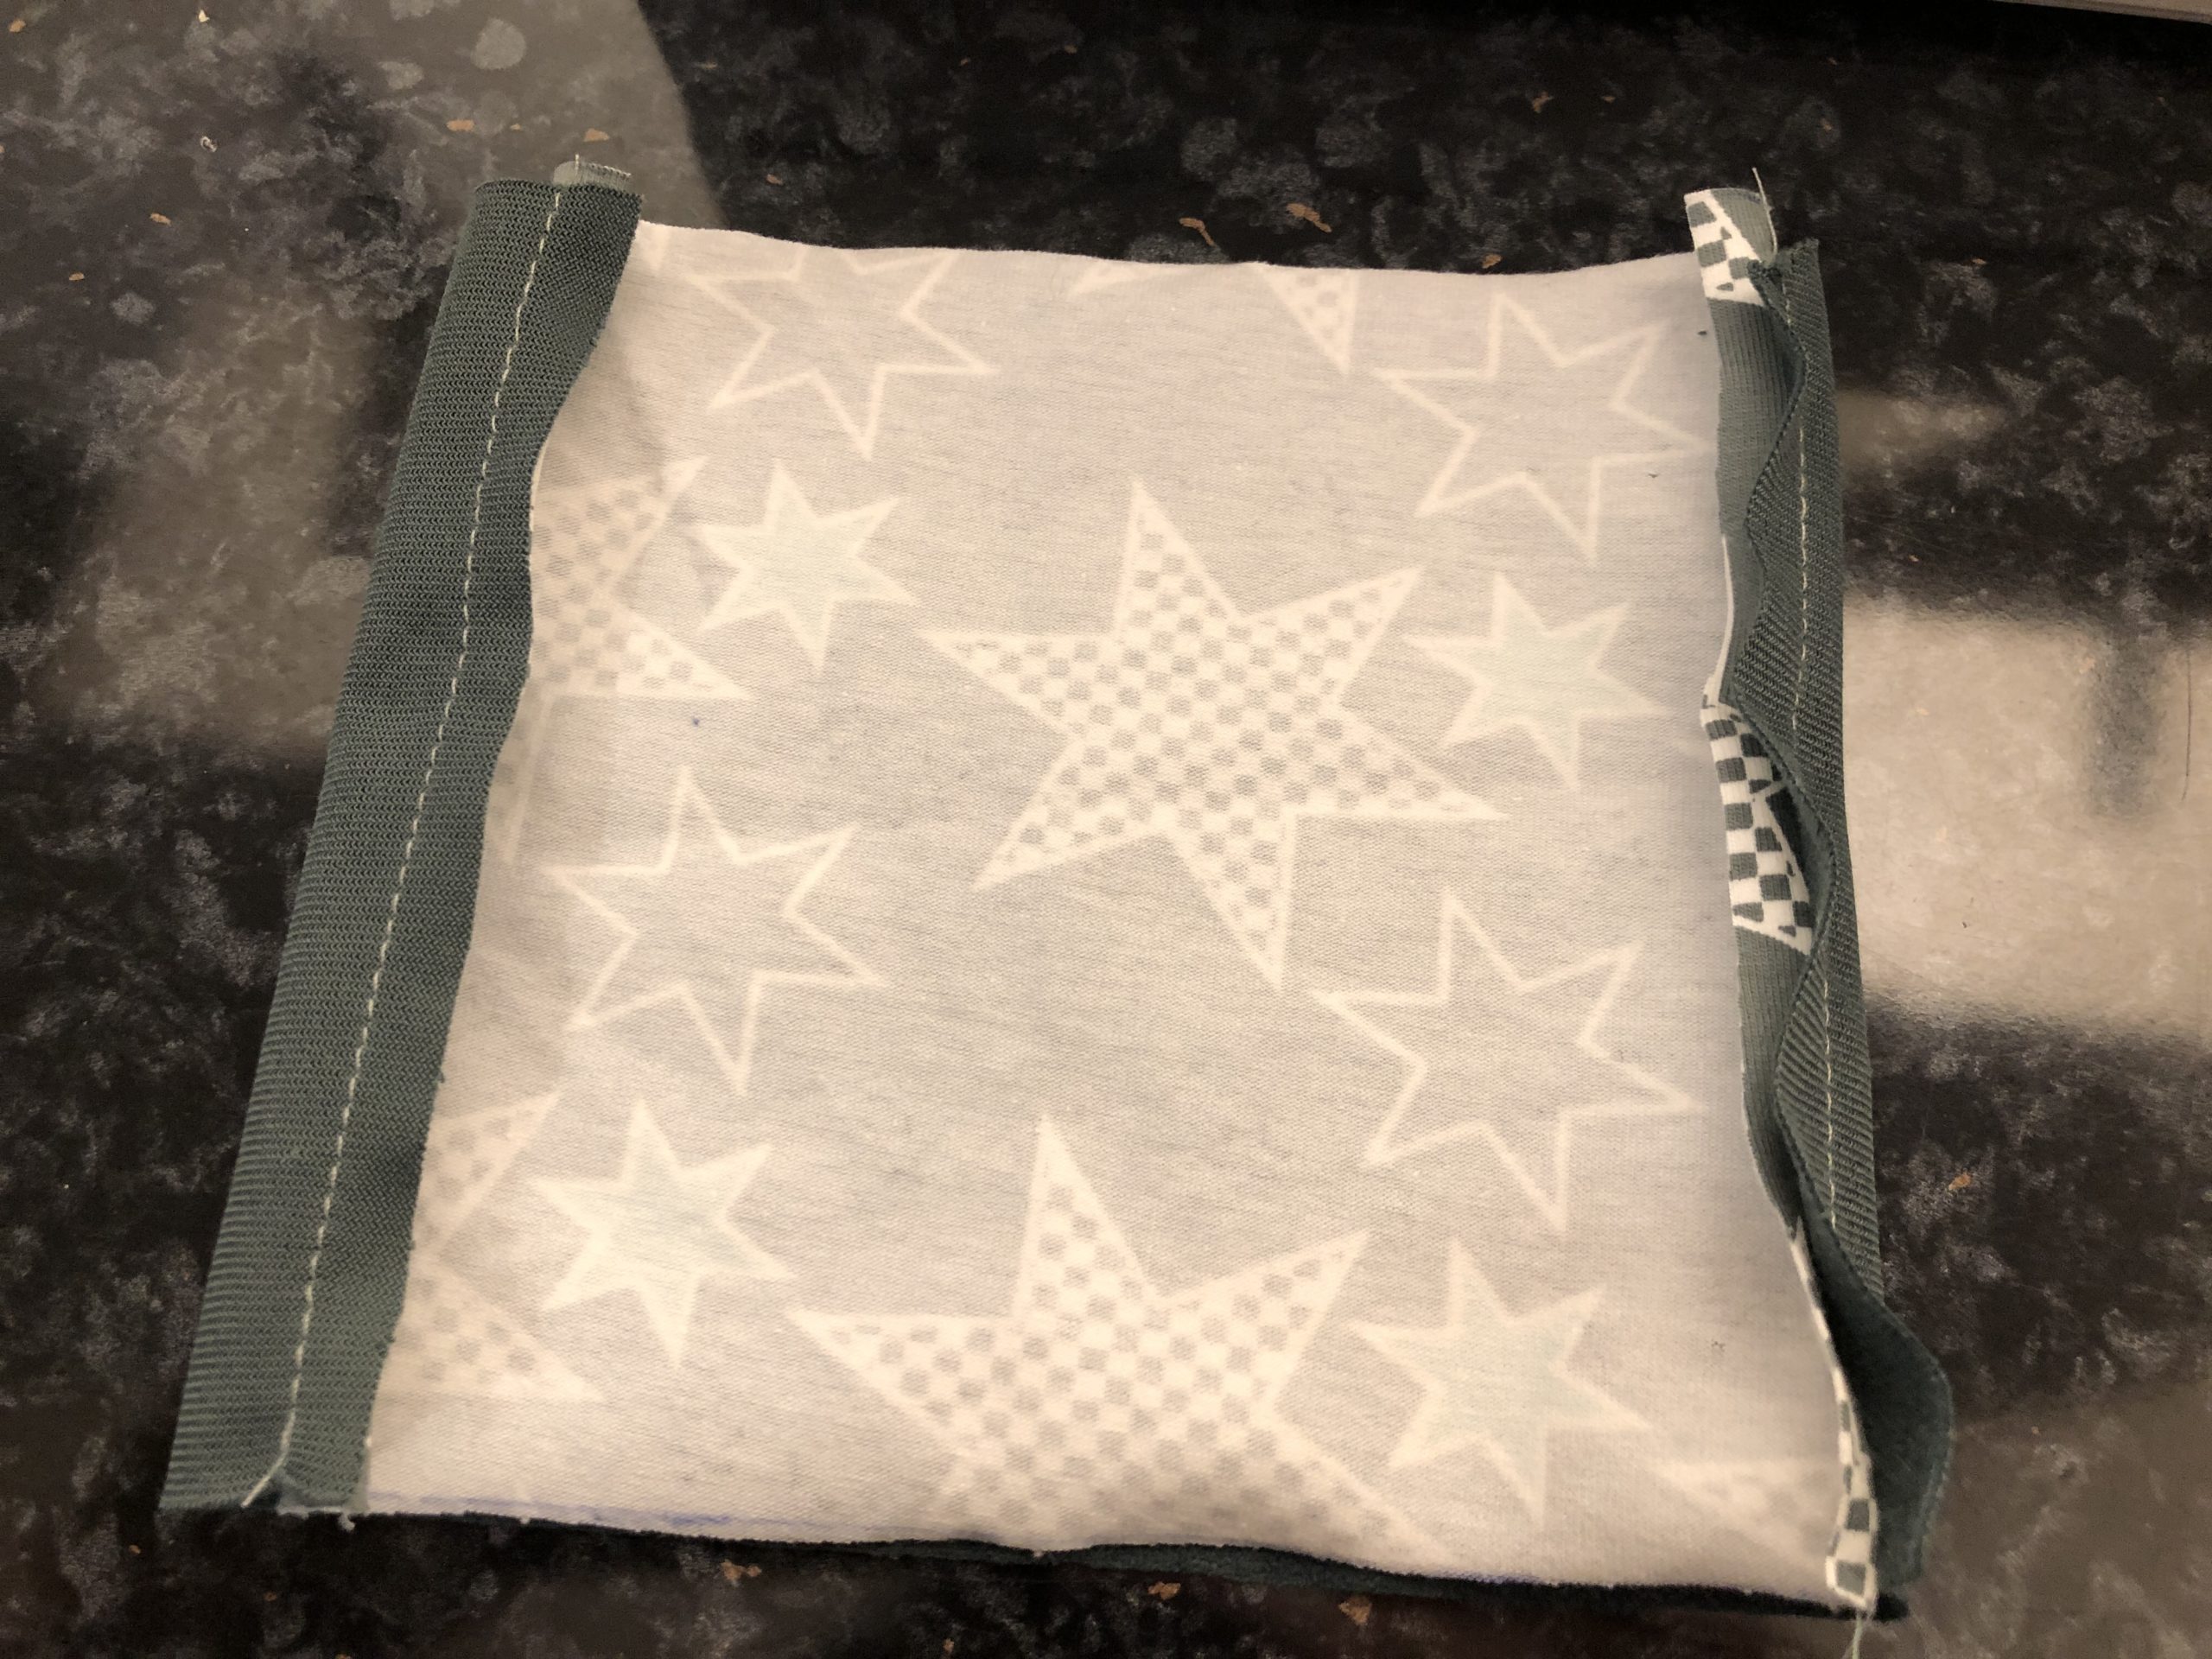
Bild zum Schritt 6 für das Bastel- und DIY-Abenteuer für Kinder: 'Schiebt nun die Stoffe so, dass die gegenüberliegenden Stoffränder aufeinander...'

6

The opposite sides are now sewn together.
Now you turn the stuff around.

Bild zum Schritt 7 für das Bastel- und DIY-Abenteuer für Kinder: 'Die gegenüber liegenden Seiten sind nun zusammengenäht.   Jetzt...'

7

Put it down properly. The outer fabric must be centered and the inner fabric must be visible on the side.
Tip: If the fabric is pressed now, it will lie down better for sewing.
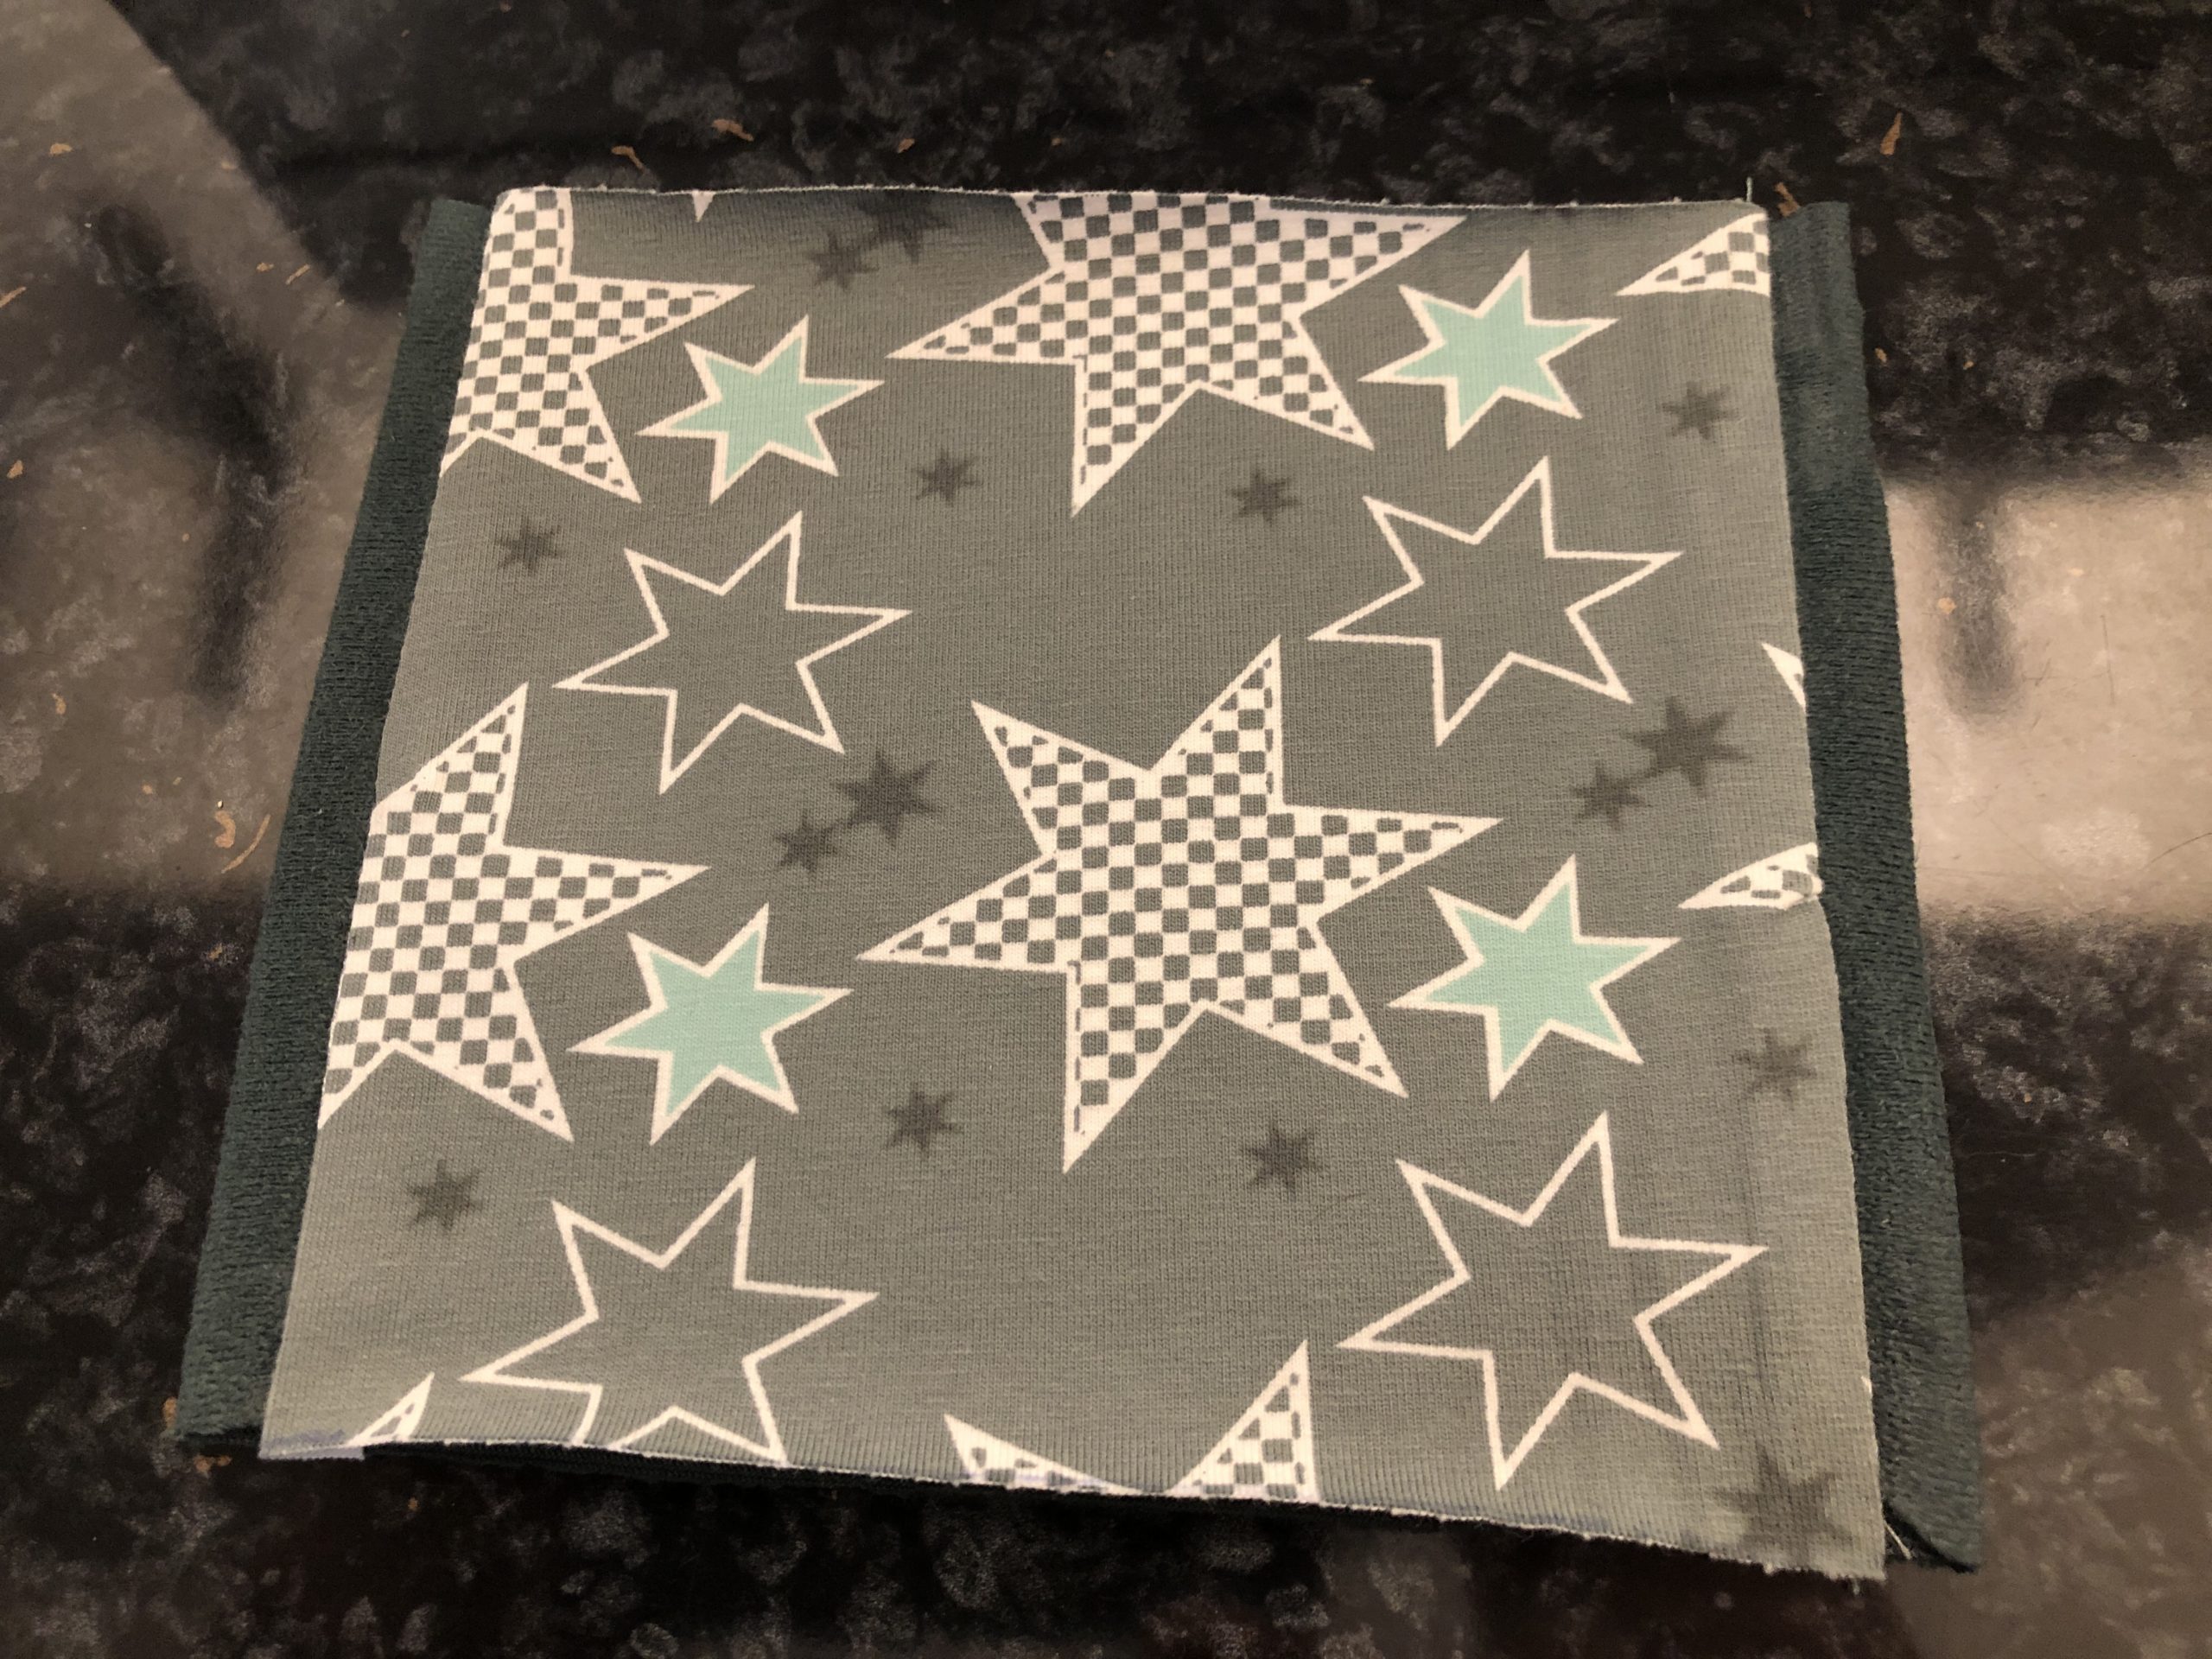
Bild zum Schritt 8 für das Bastel- und DIY-Abenteuer für Kinder: 'Legt ihn ordentlich hin. Der Außenstoff muss mittig liegen und...'

8

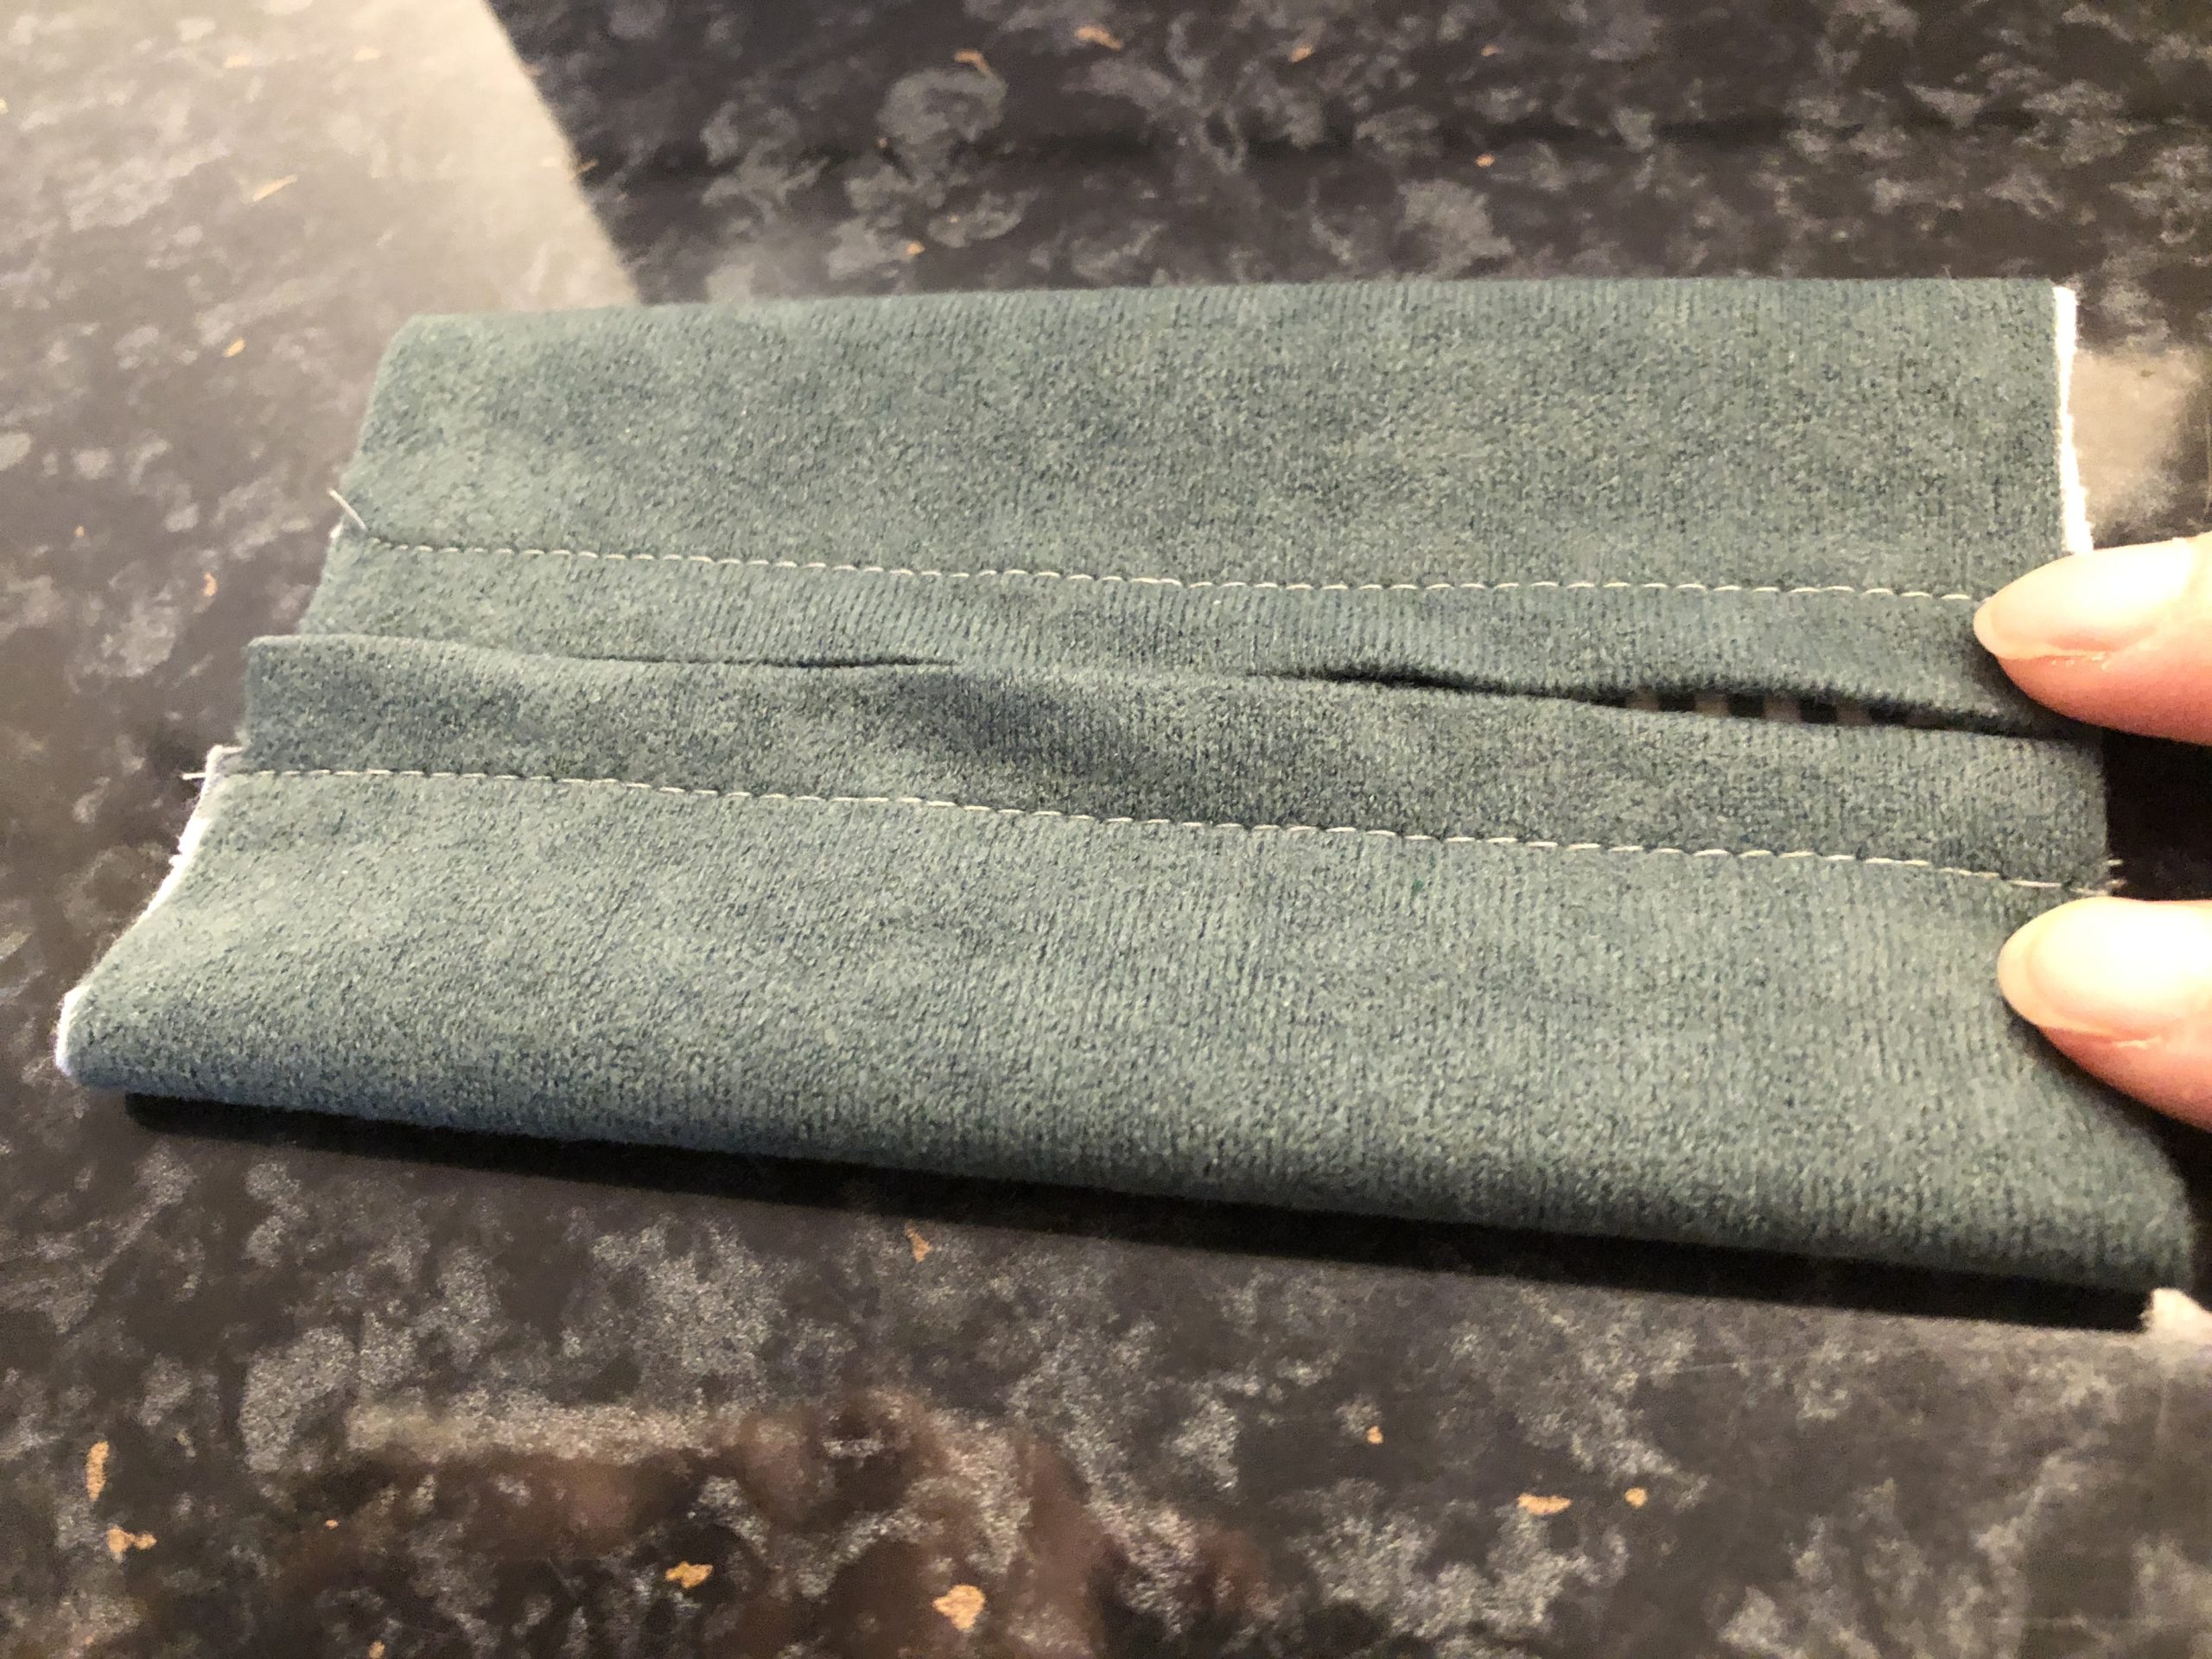
Now you sew a decorative seam on the outside on the left and right. With this you fix the fabrics again. Attention: You don't necessarily have to do these decorative seams, it also works without!
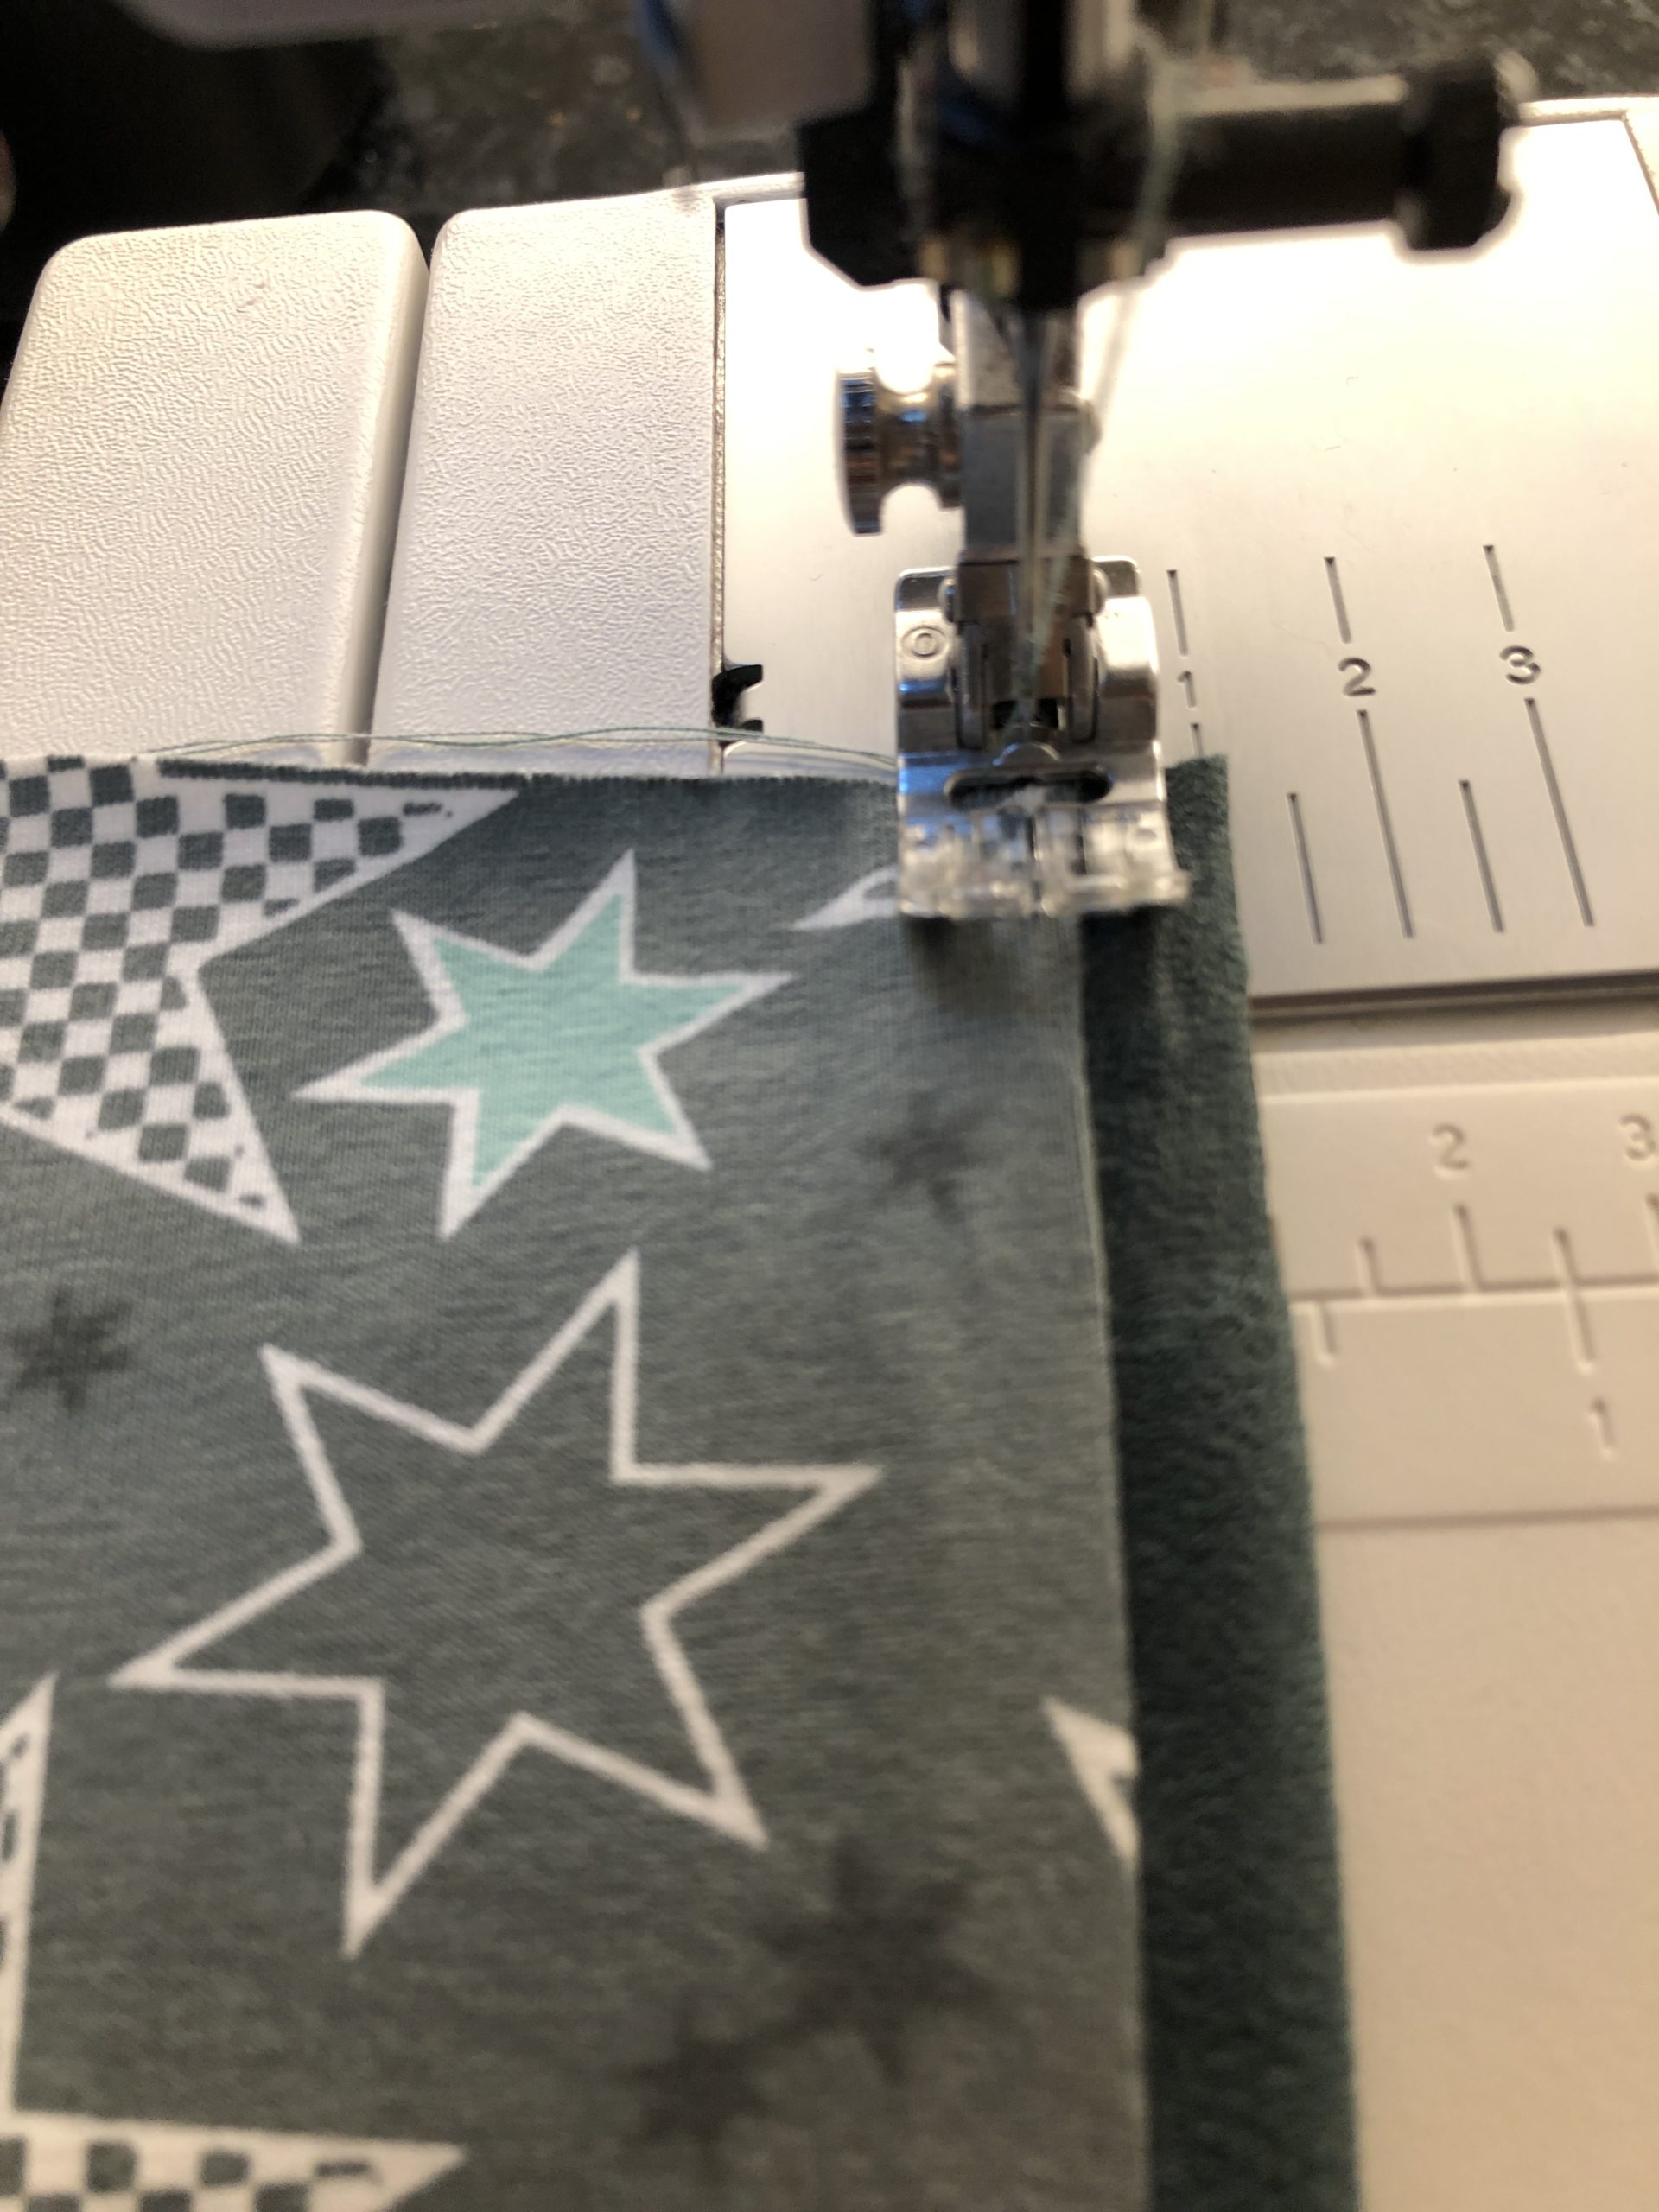
Bild zum Schritt 9 für das Bastel- und DIY-Abenteuer für Kinder: 'Jetzt näht ihr links und rechts eine Ziernaht auf die...'

9

Then folds the two sewn sides inwards. Now the inner fabric lies outside!
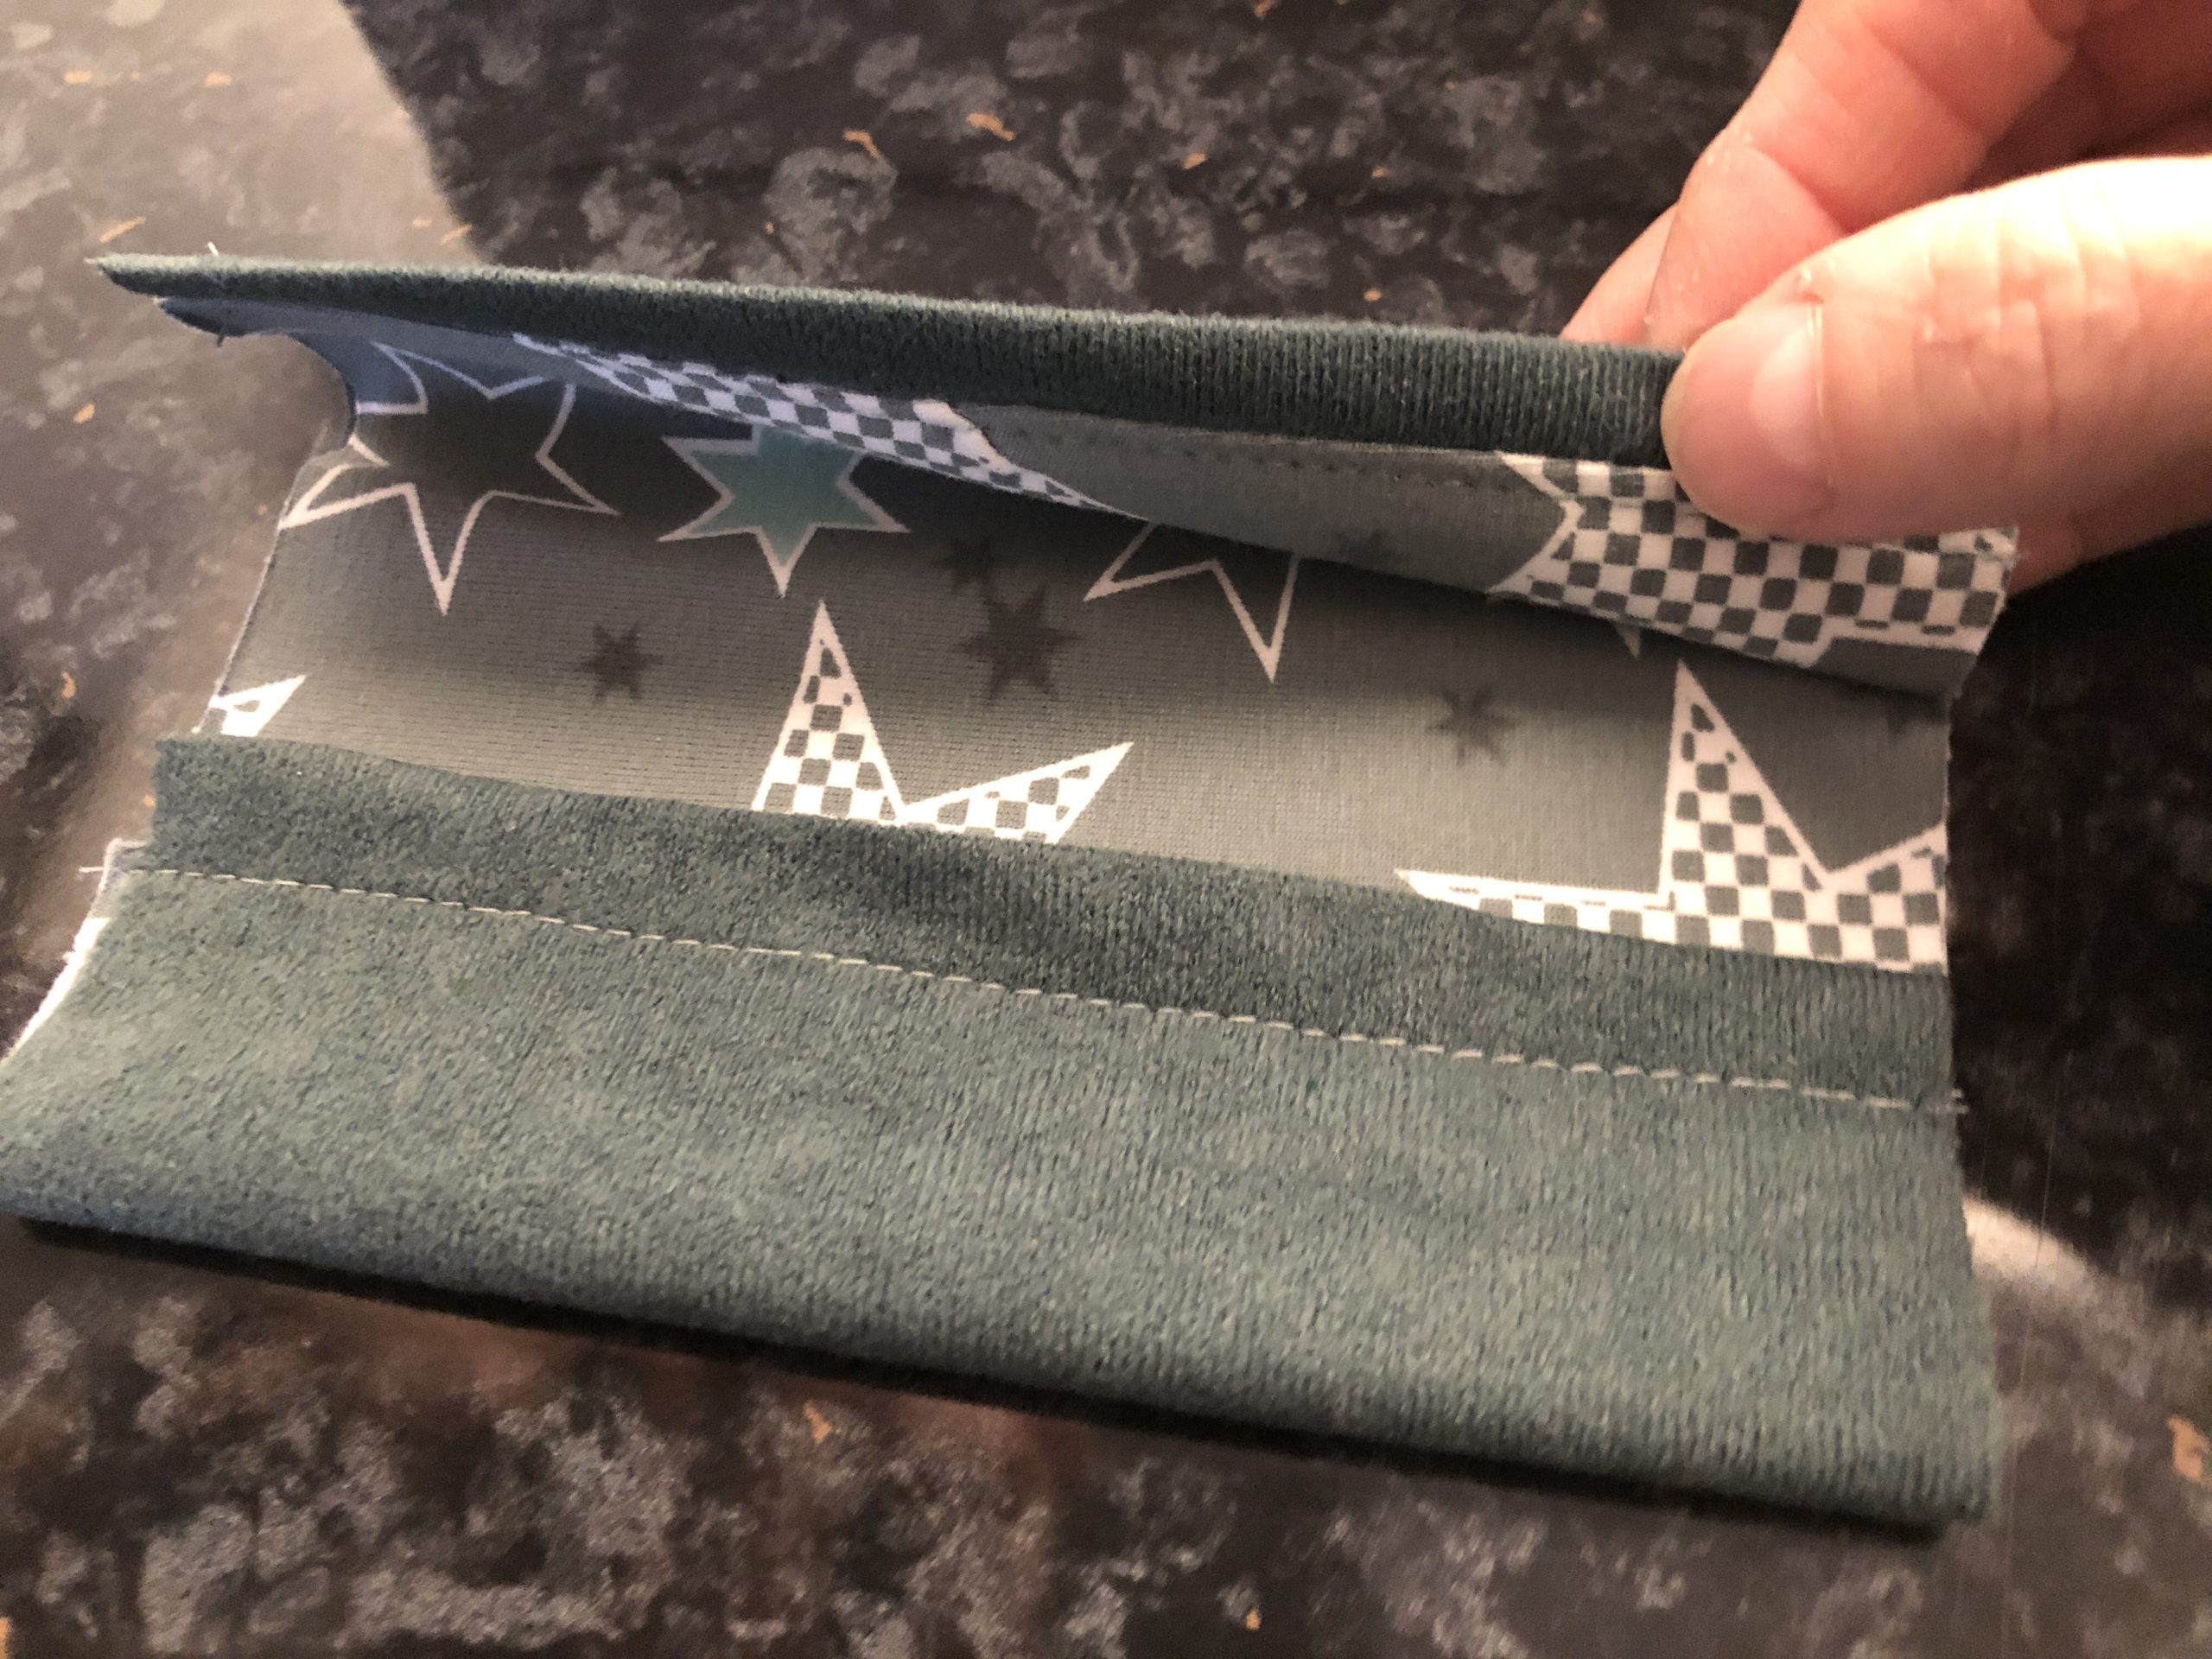
Bild zum Schritt 10 für das Bastel- und DIY-Abenteuer für Kinder: 'Klappt danach die beiden genähten Seiten nach innen. Jetzt liegt...'

10

The edges touch each other.

Bild zum Schritt 11 für das Bastel- und DIY-Abenteuer für Kinder: 'Die Kanten berühren sich.'

11

Take a piece of tape or cord.
Tip: I folded a narrow strip of fabric and sewn it together to form a band.
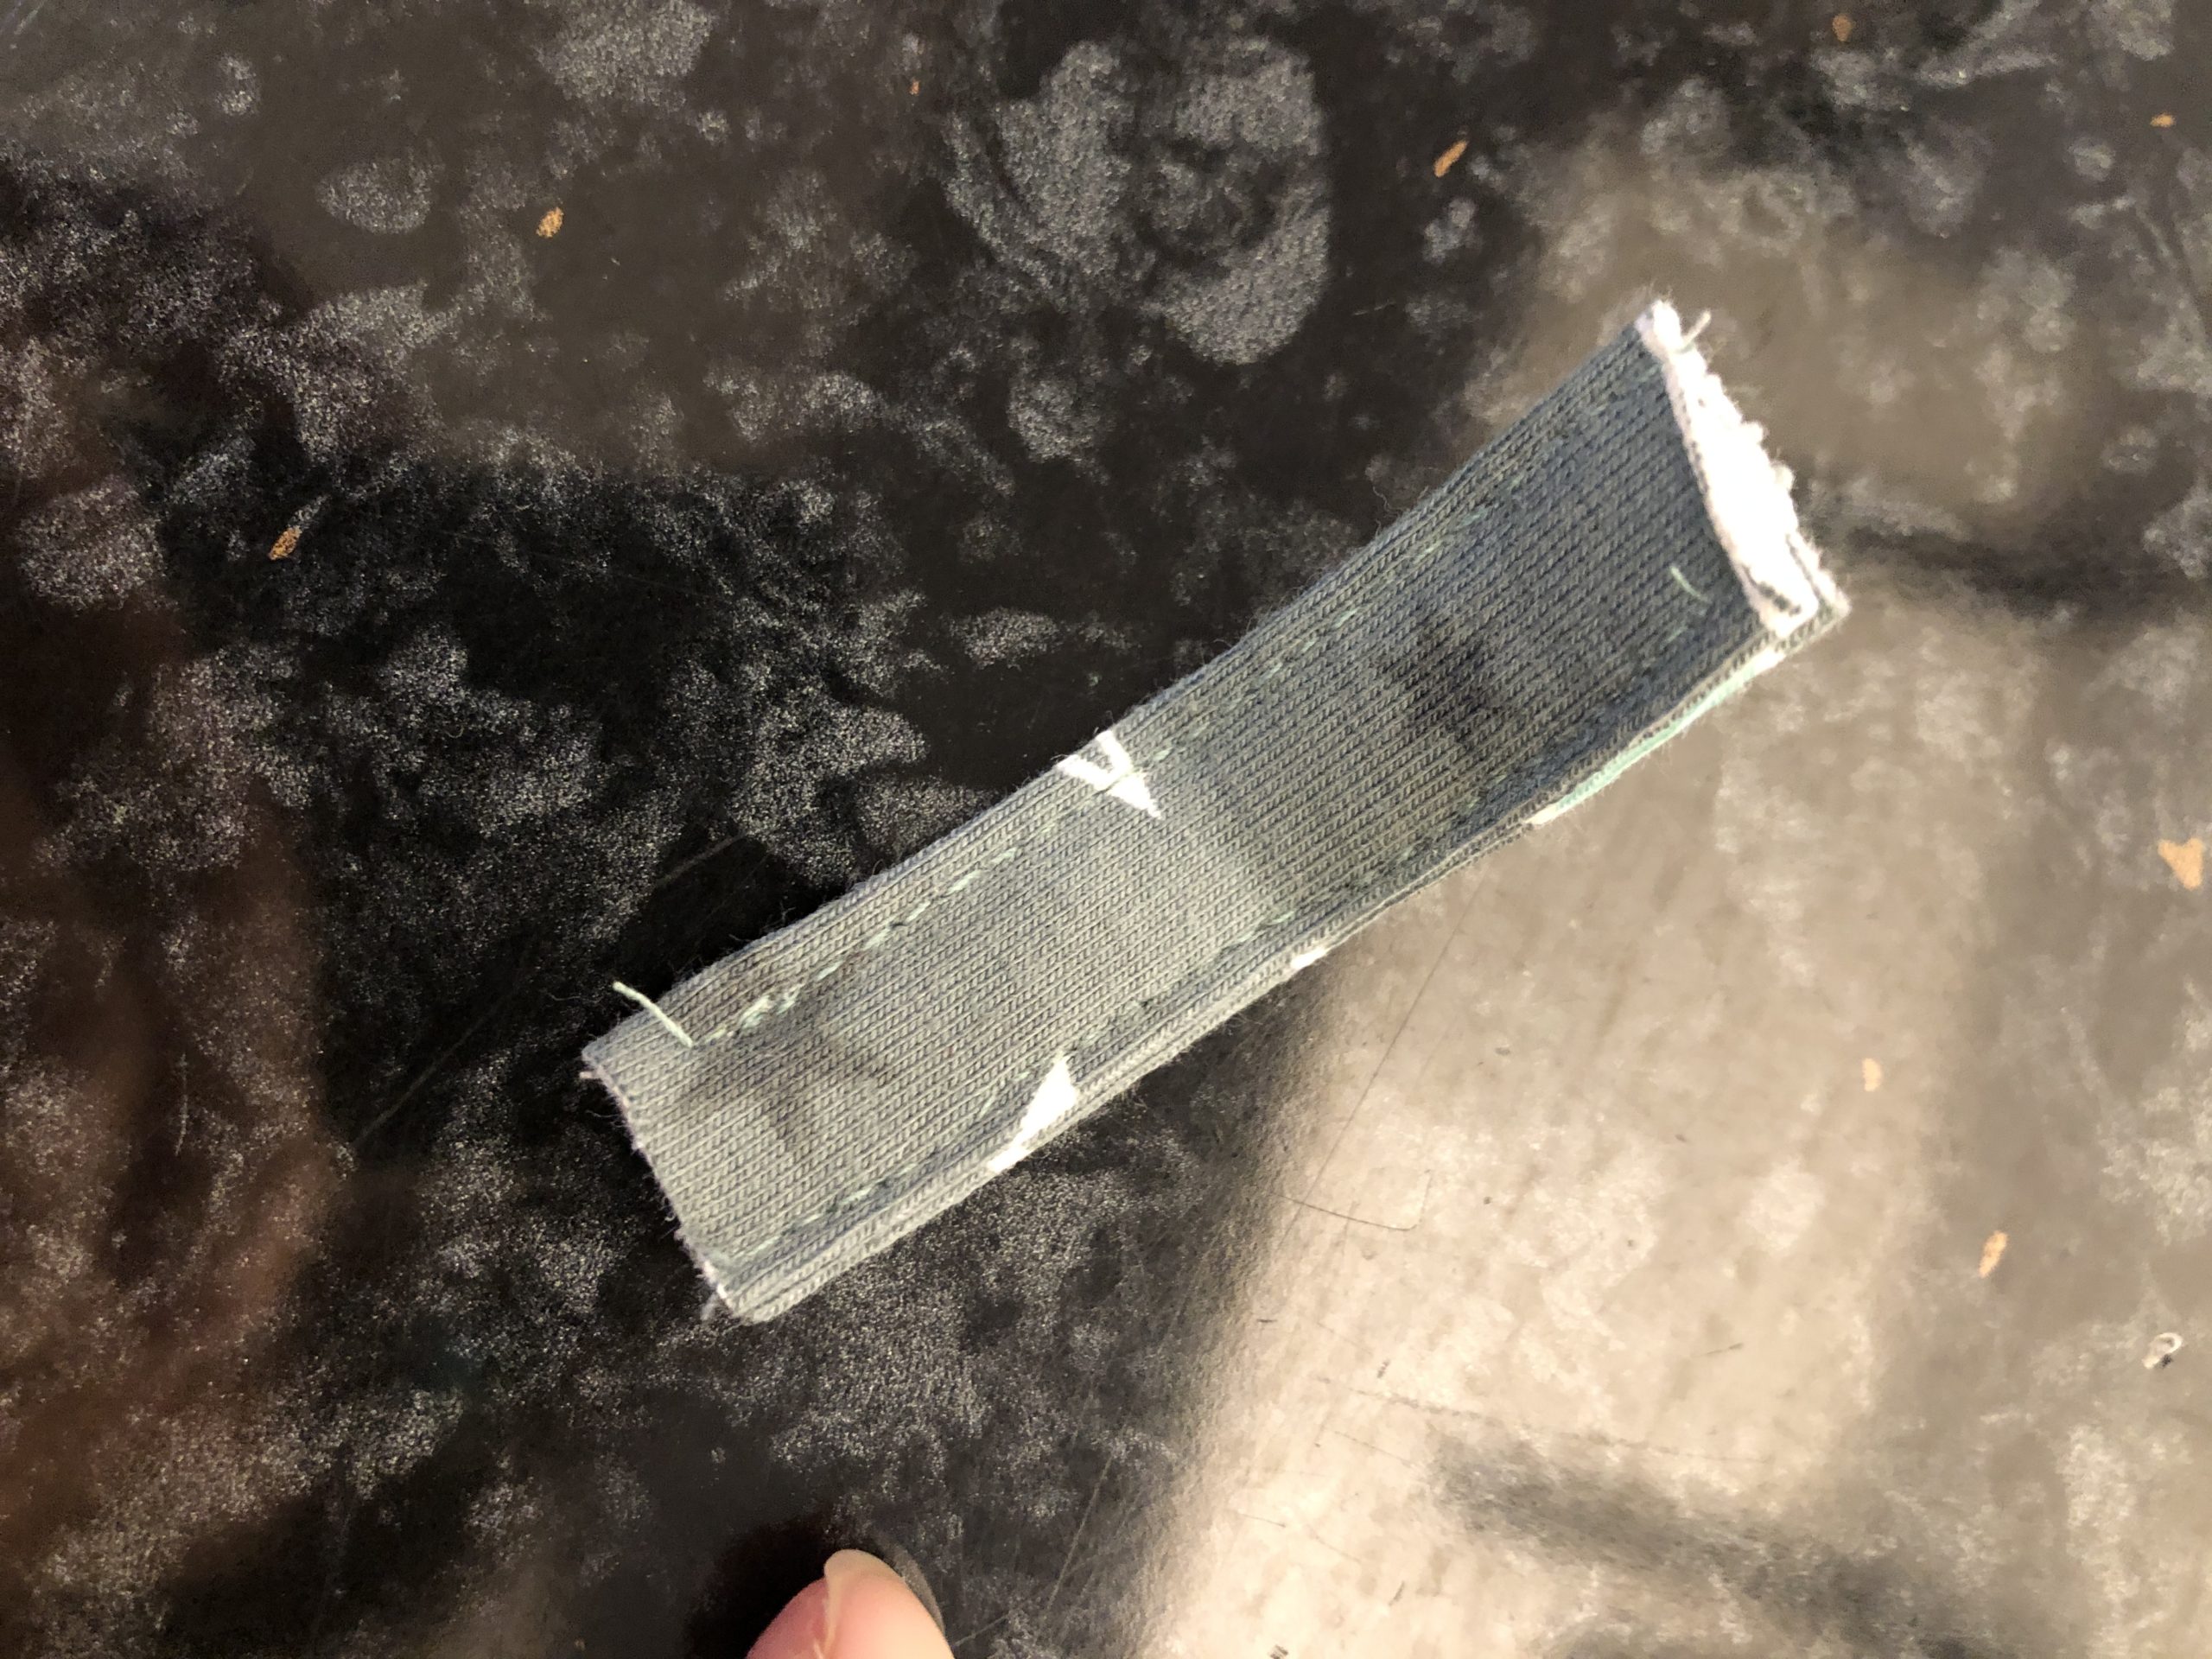
Bild zum Schritt 12 für das Bastel- und DIY-Abenteuer für Kinder: 'Nehmt ein Stück Band oder Schnur.   Tipp: Ich...'

12

Fold the tape half and place it in the folded fabric.
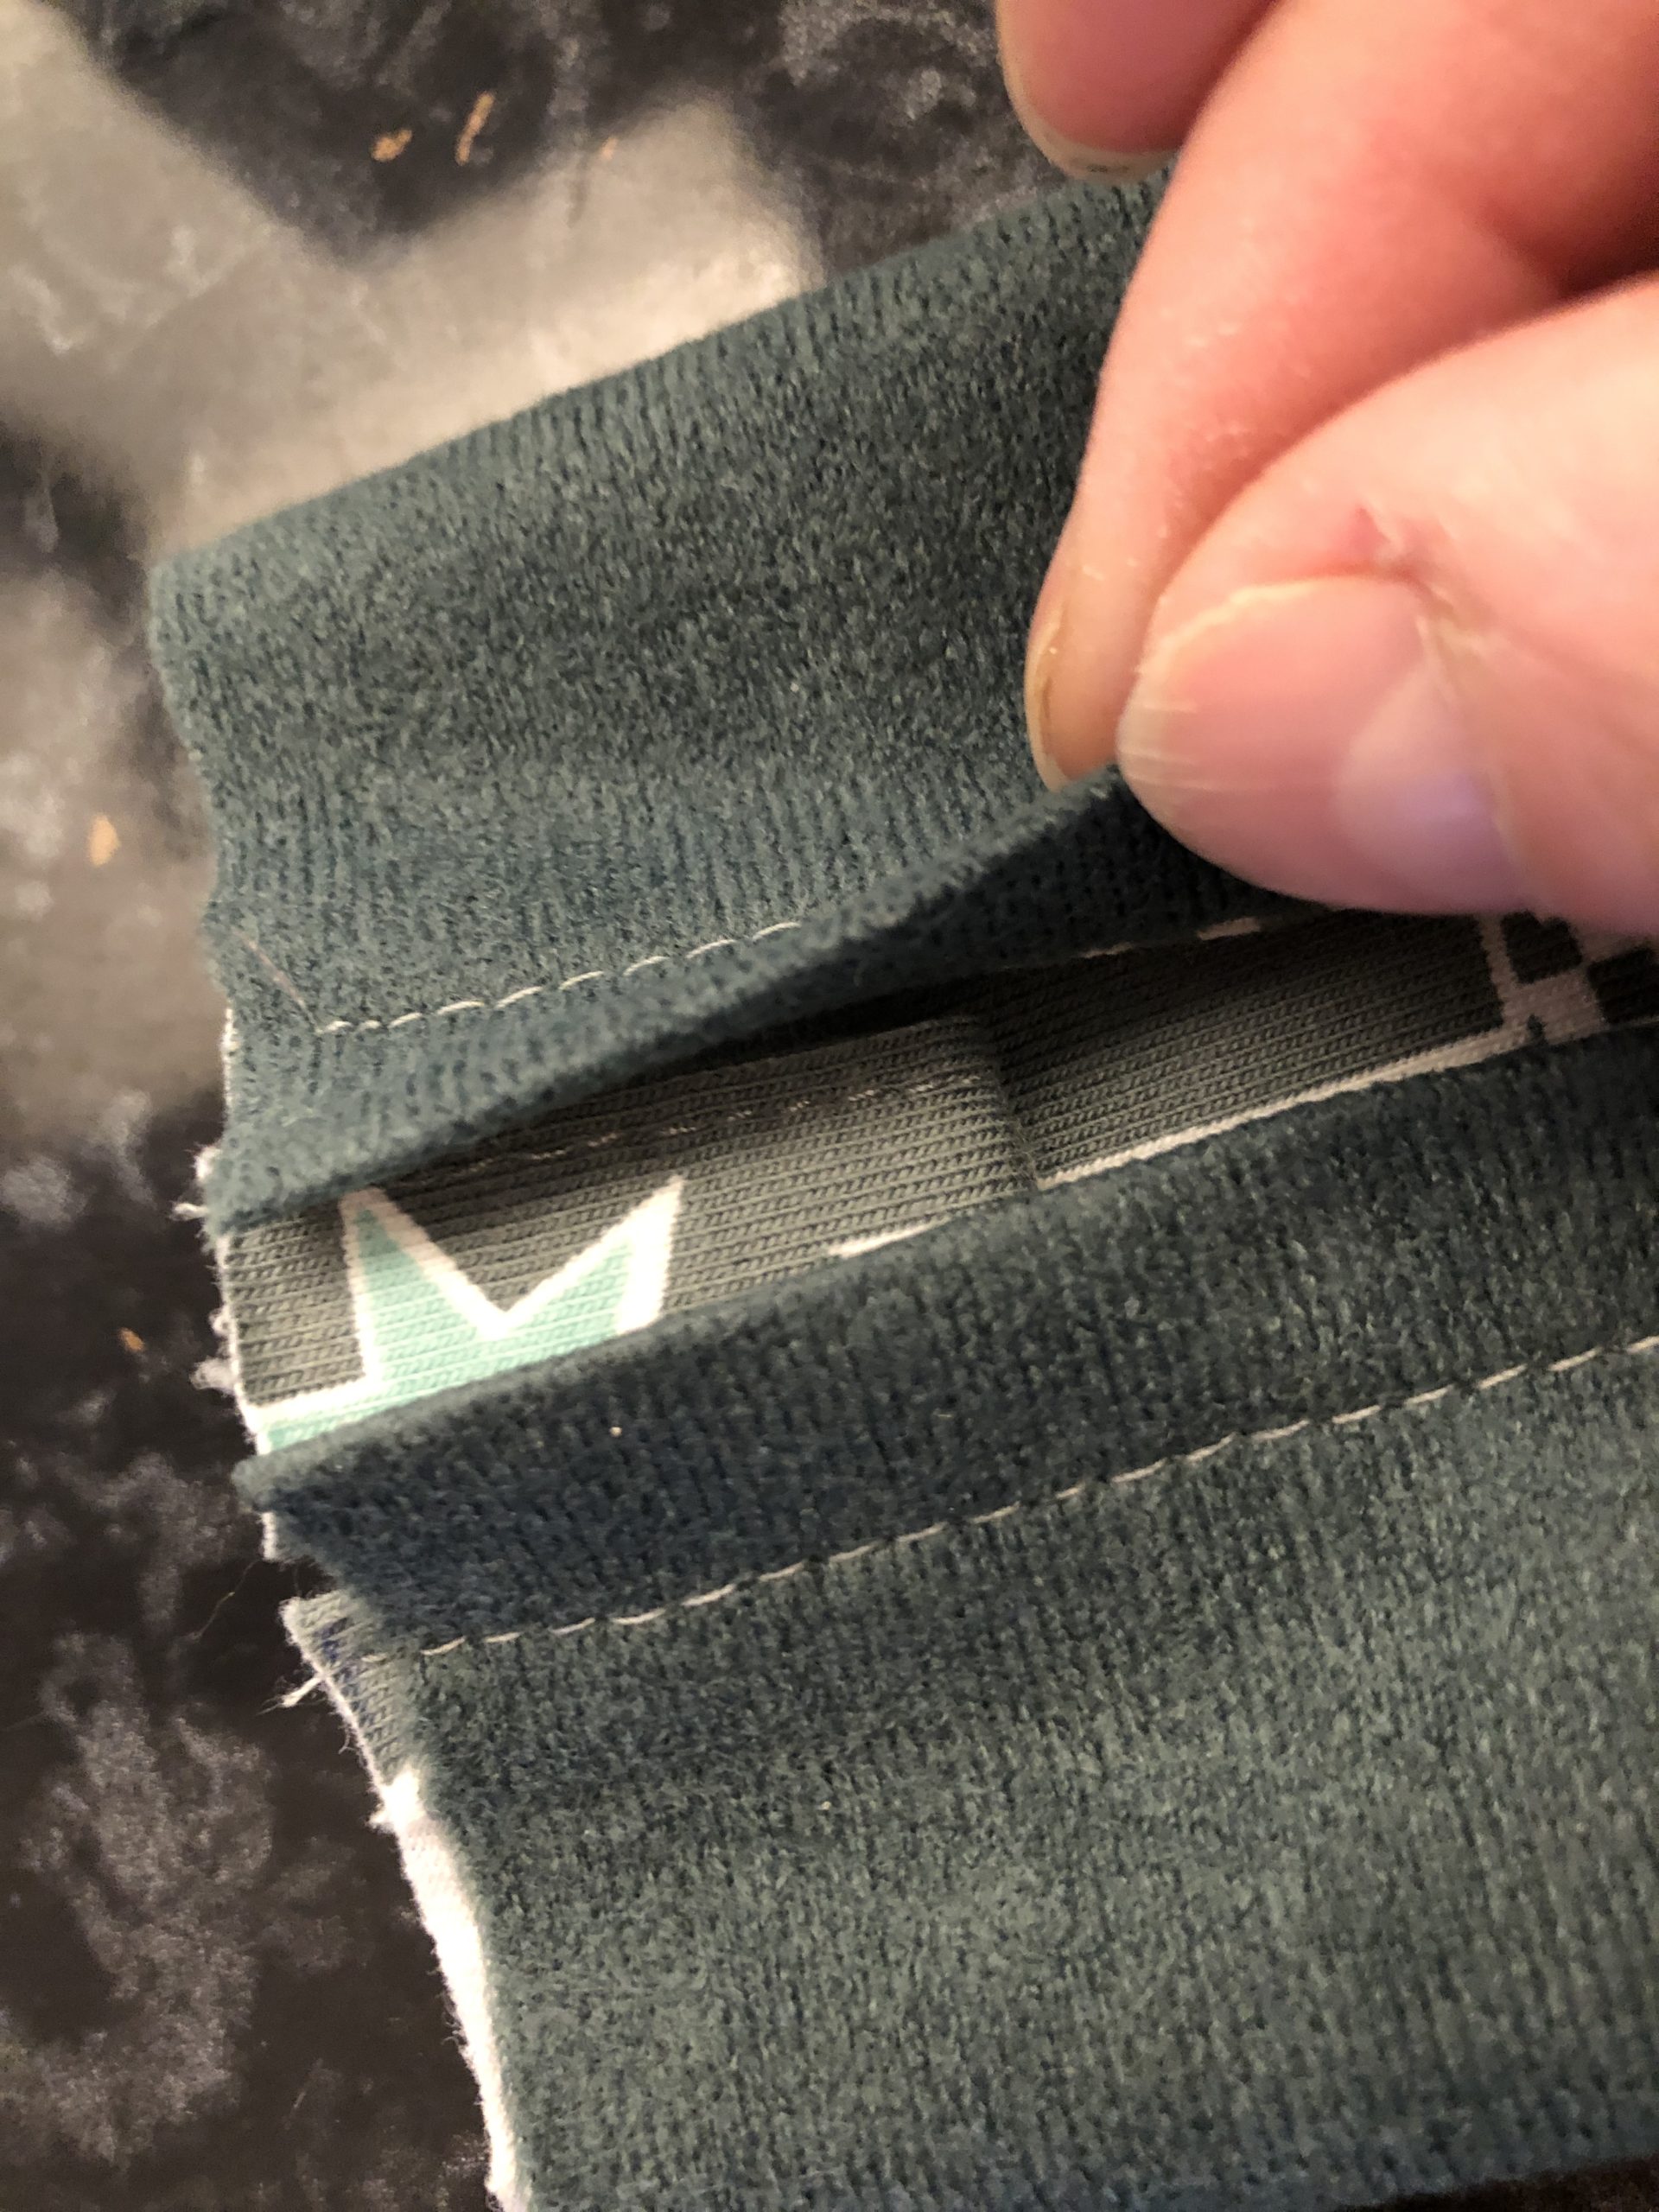
Bild zum Schritt 13 für das Bastel- und DIY-Abenteuer für Kinder: 'Faltet das Band zur Hälfte und legt es in den...'

13

Now fix the tape with a fabric clamp or pin in the bag.
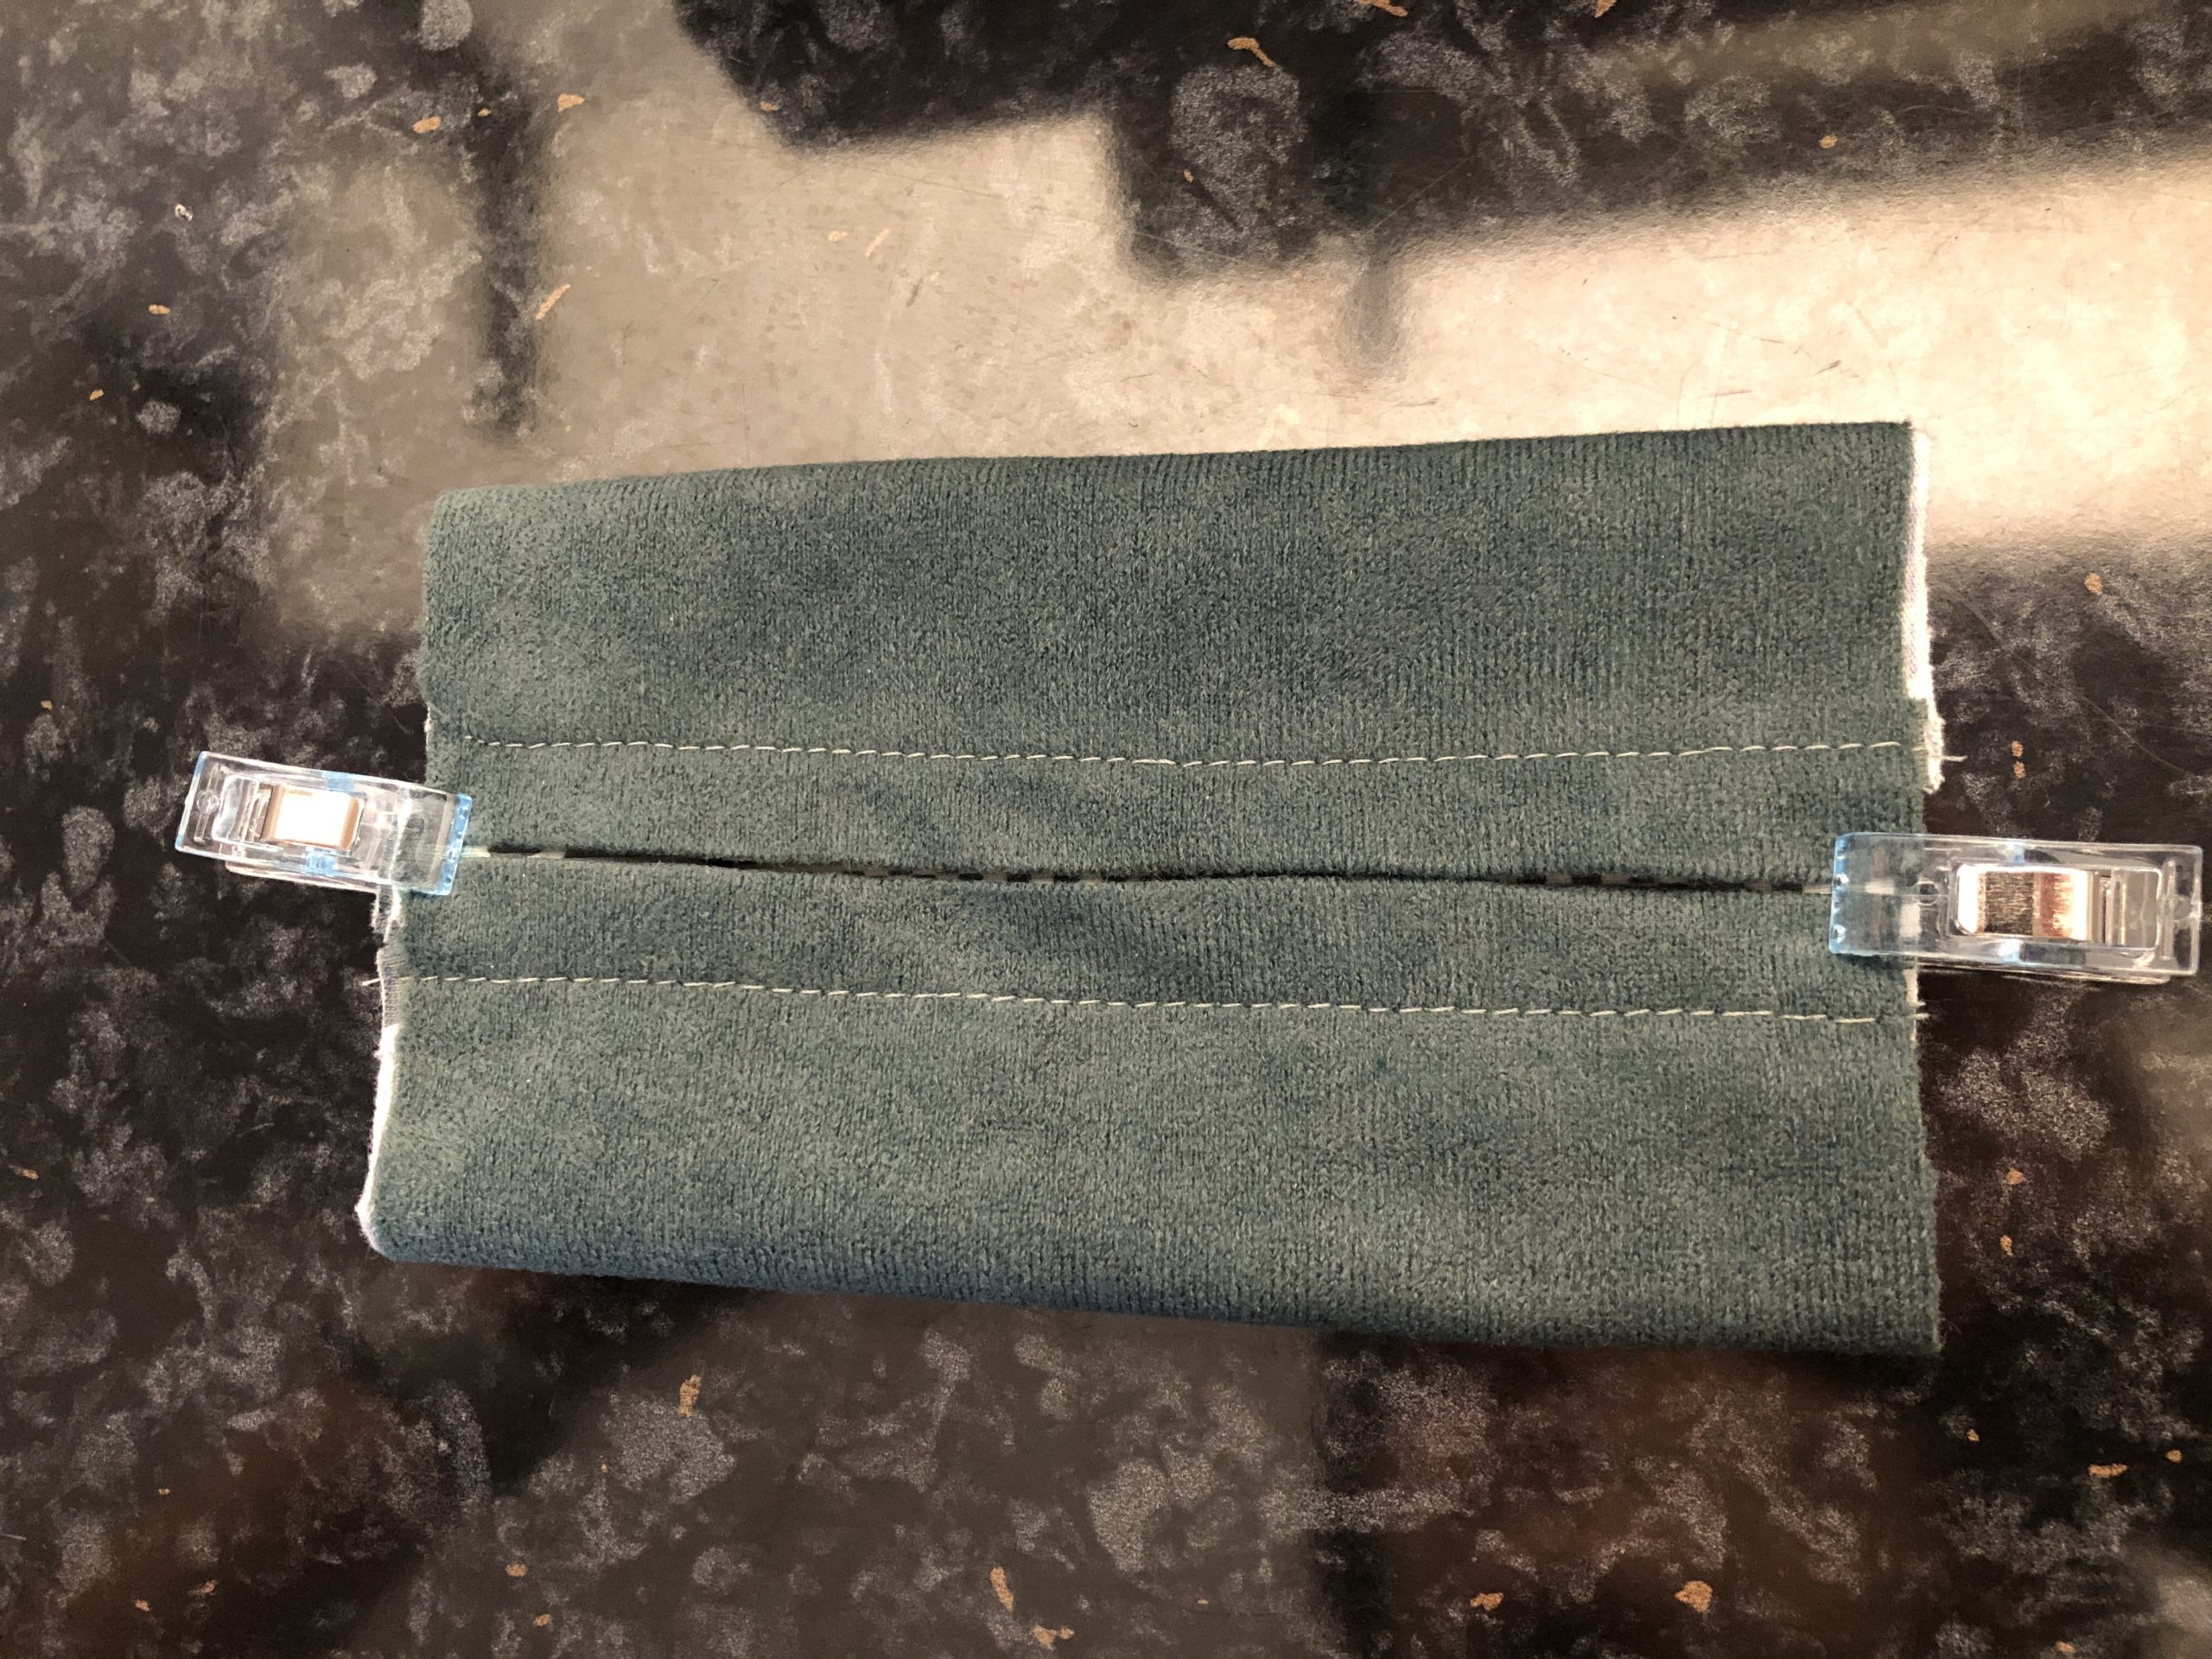
Bild zum Schritt 14 für das Bastel- und DIY-Abenteuer für Kinder: 'Fixiert das Band nun mit einer Stoffklemme oder Stecknadel im...'

14

Now sew off the edge with a straight stitch.
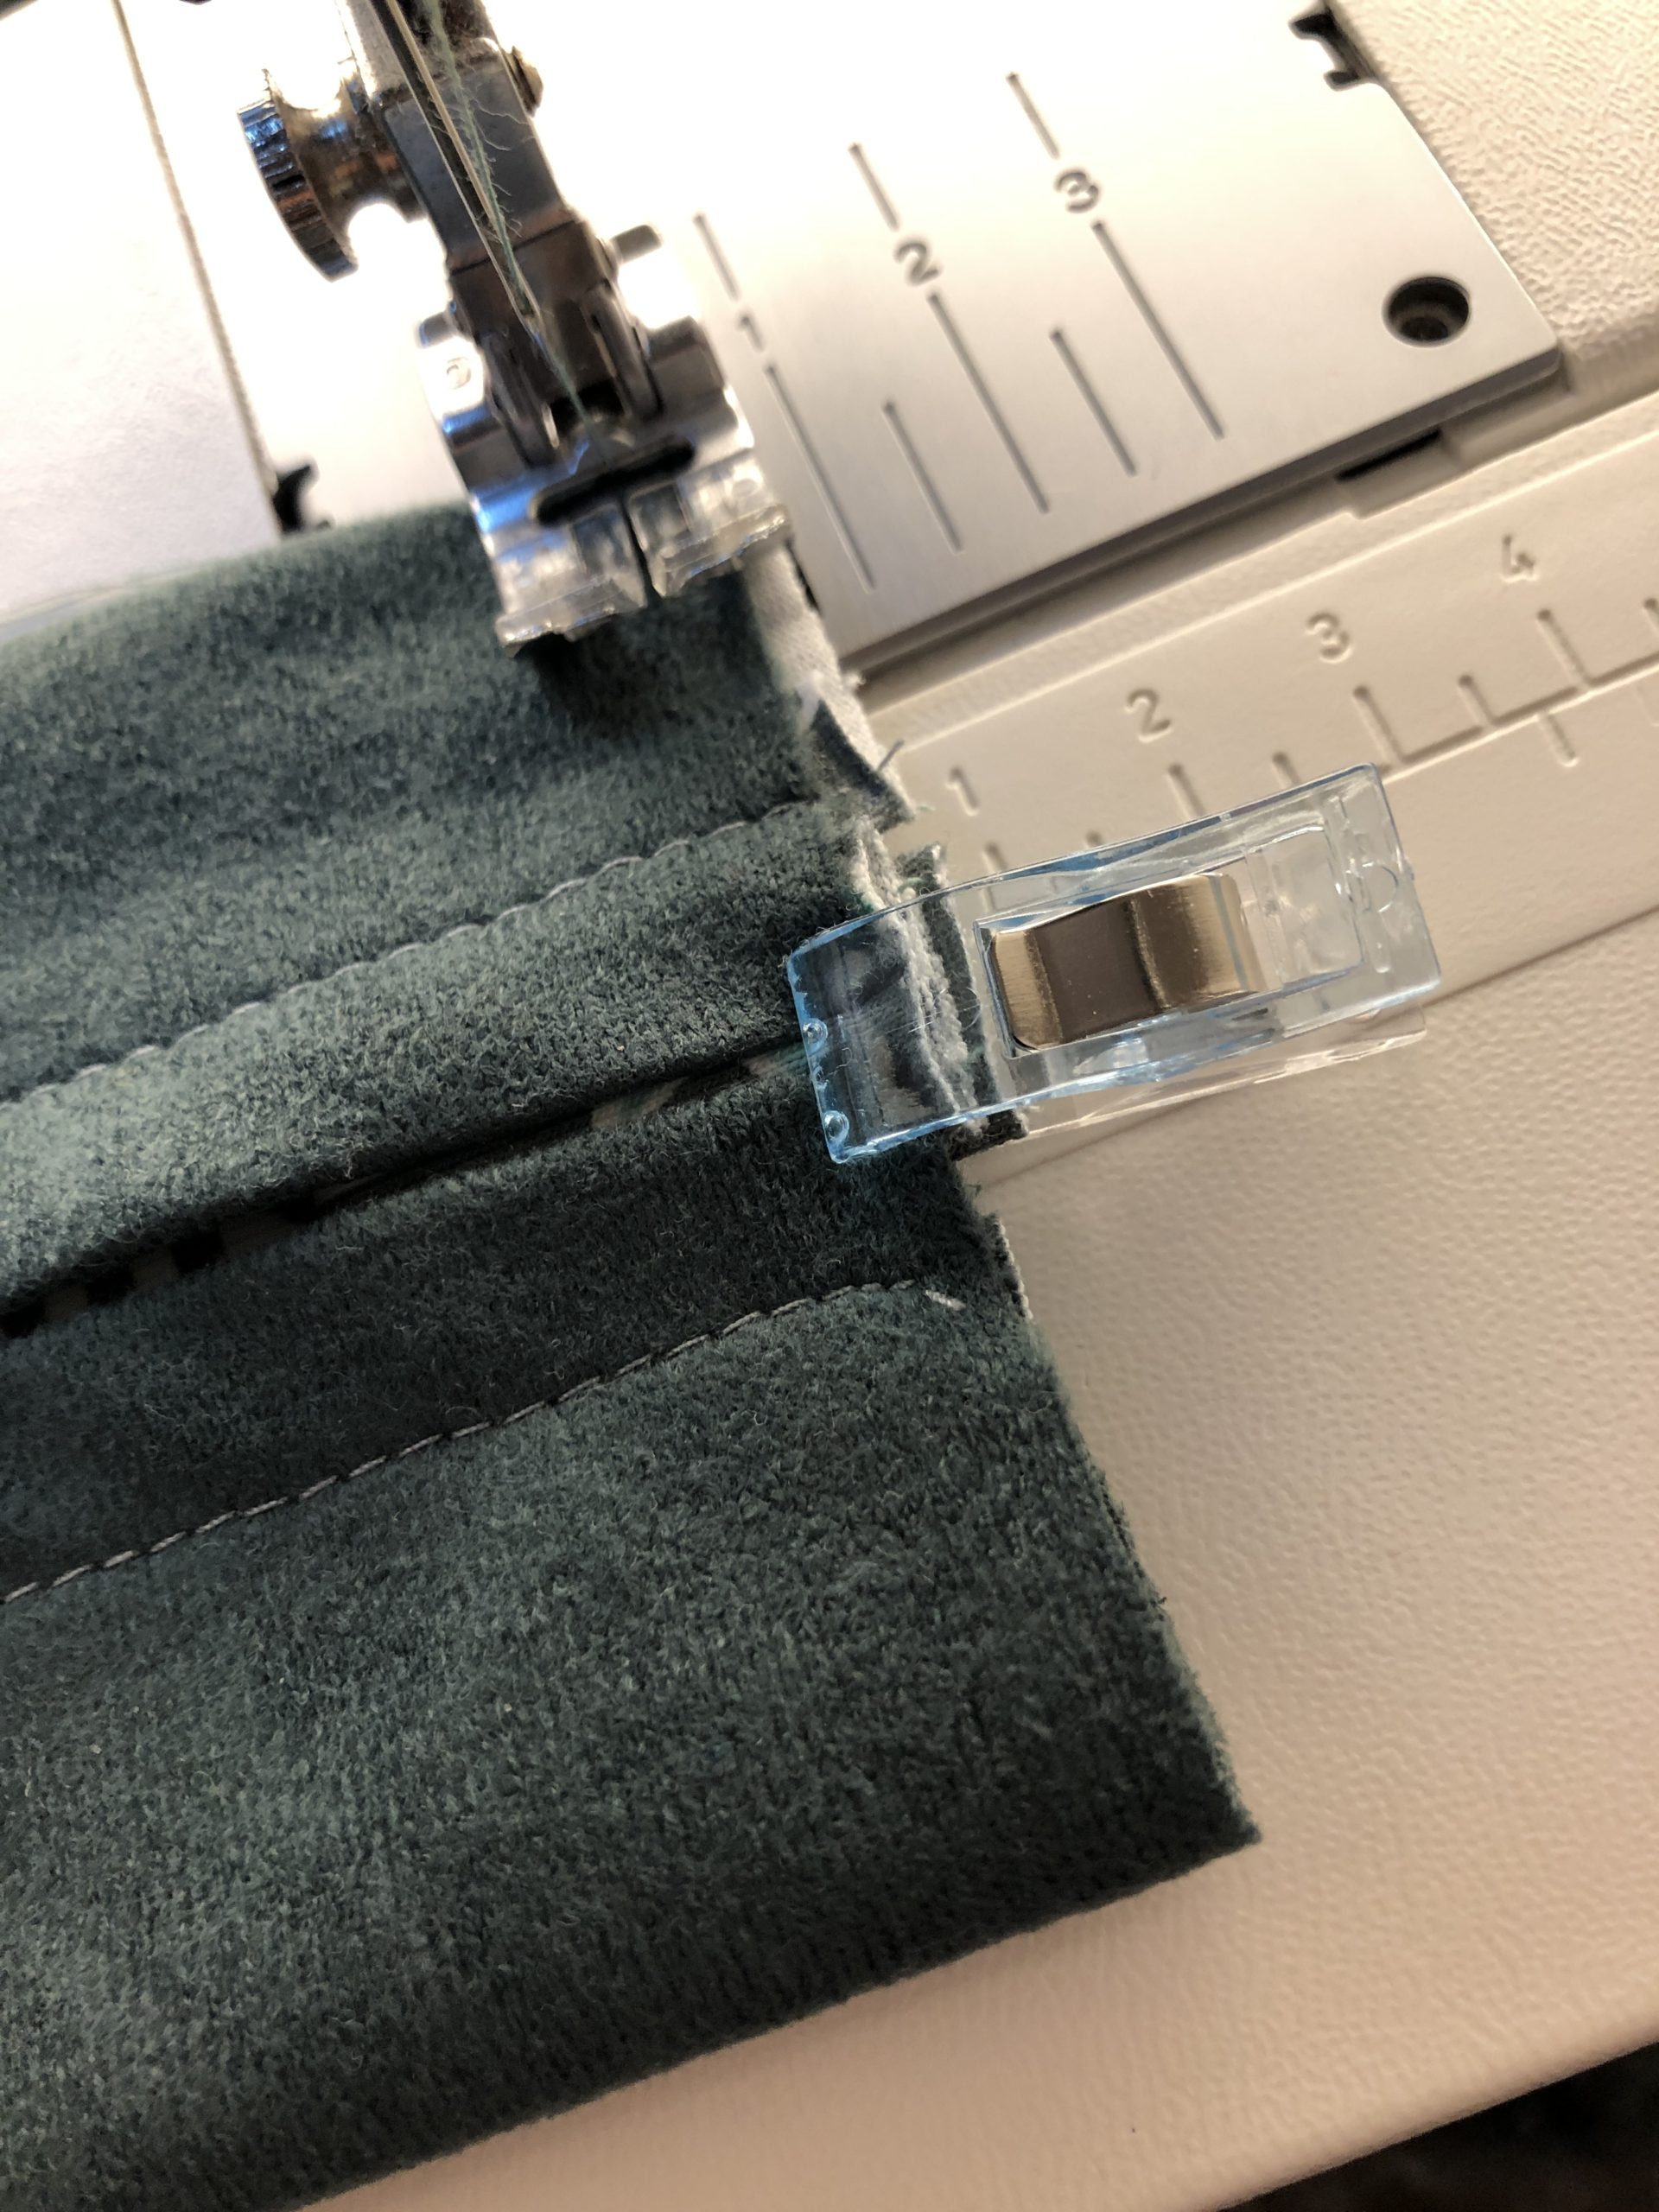
Bild zum Schritt 15 für das Bastel- und DIY-Abenteuer für Kinder: 'Näht nun den Rand mit einem geraden Stich ab.'

15

Then you sew a second seam on the left and right with a zigzag stitch. This serves to prevent the fabric from fraying.
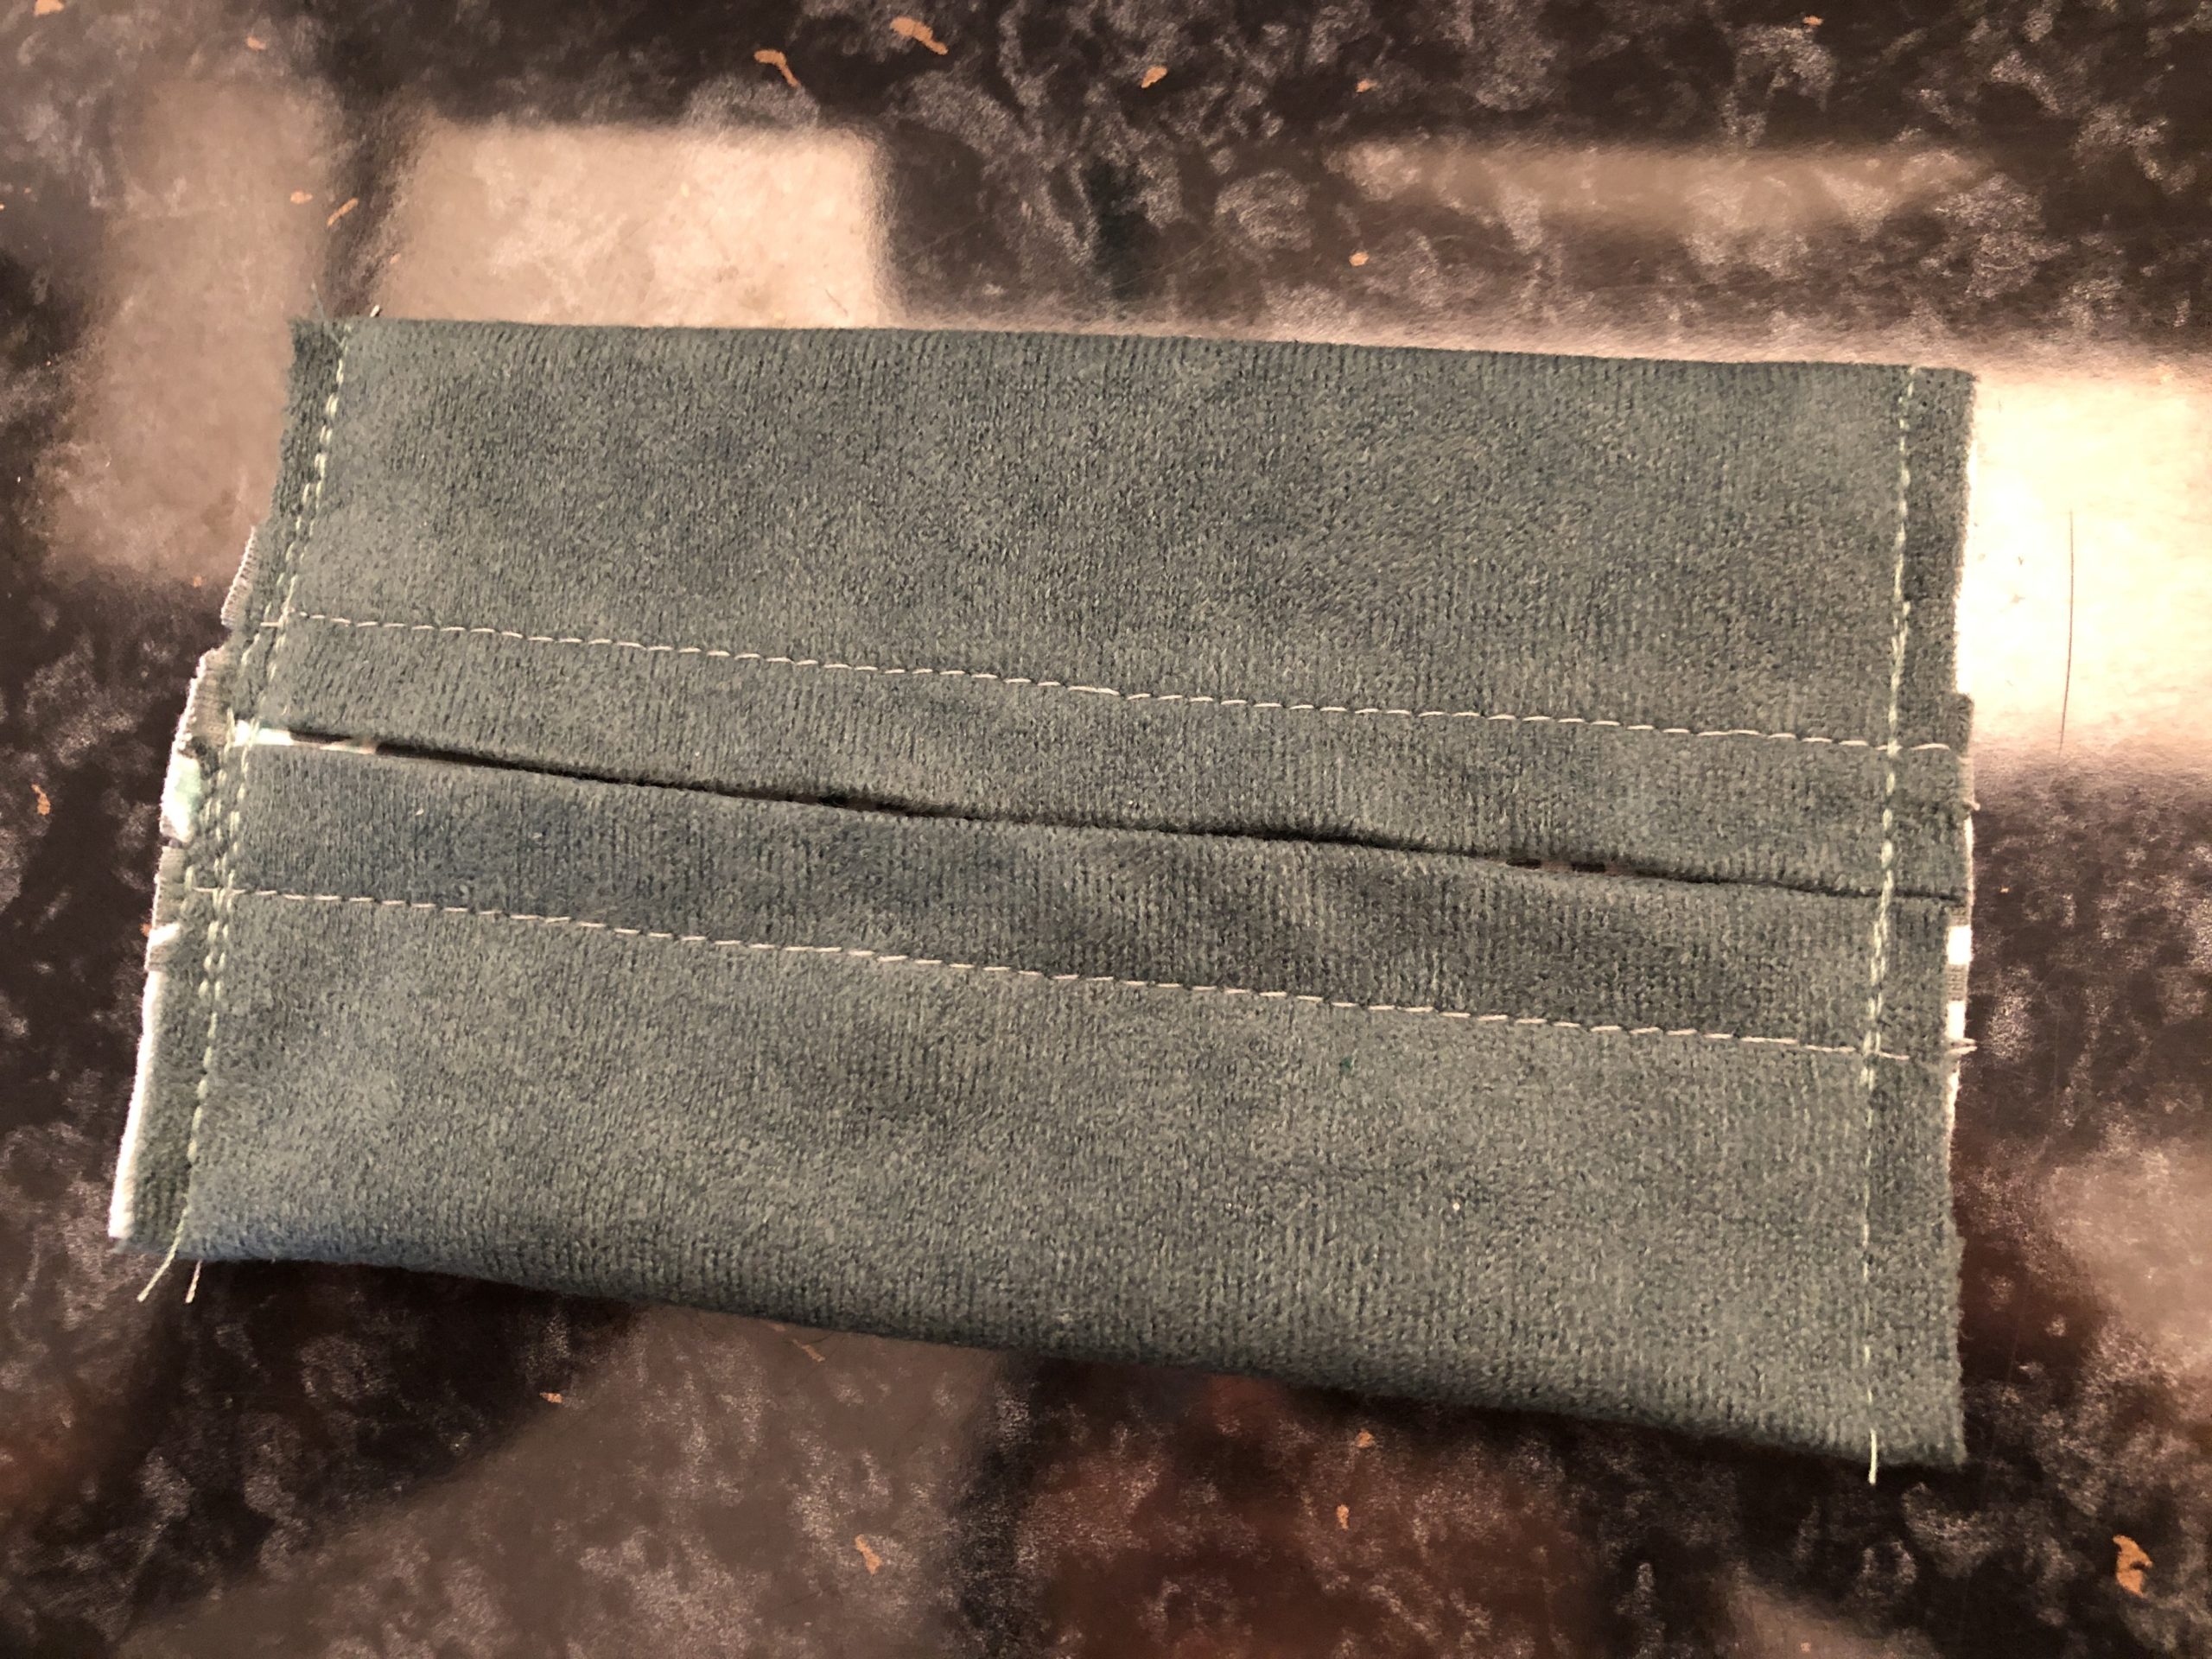
Bild zum Schritt 16 für das Bastel- und DIY-Abenteuer für Kinder: 'Danach näht ihr links und rechts eine zweite Naht mit...'

16

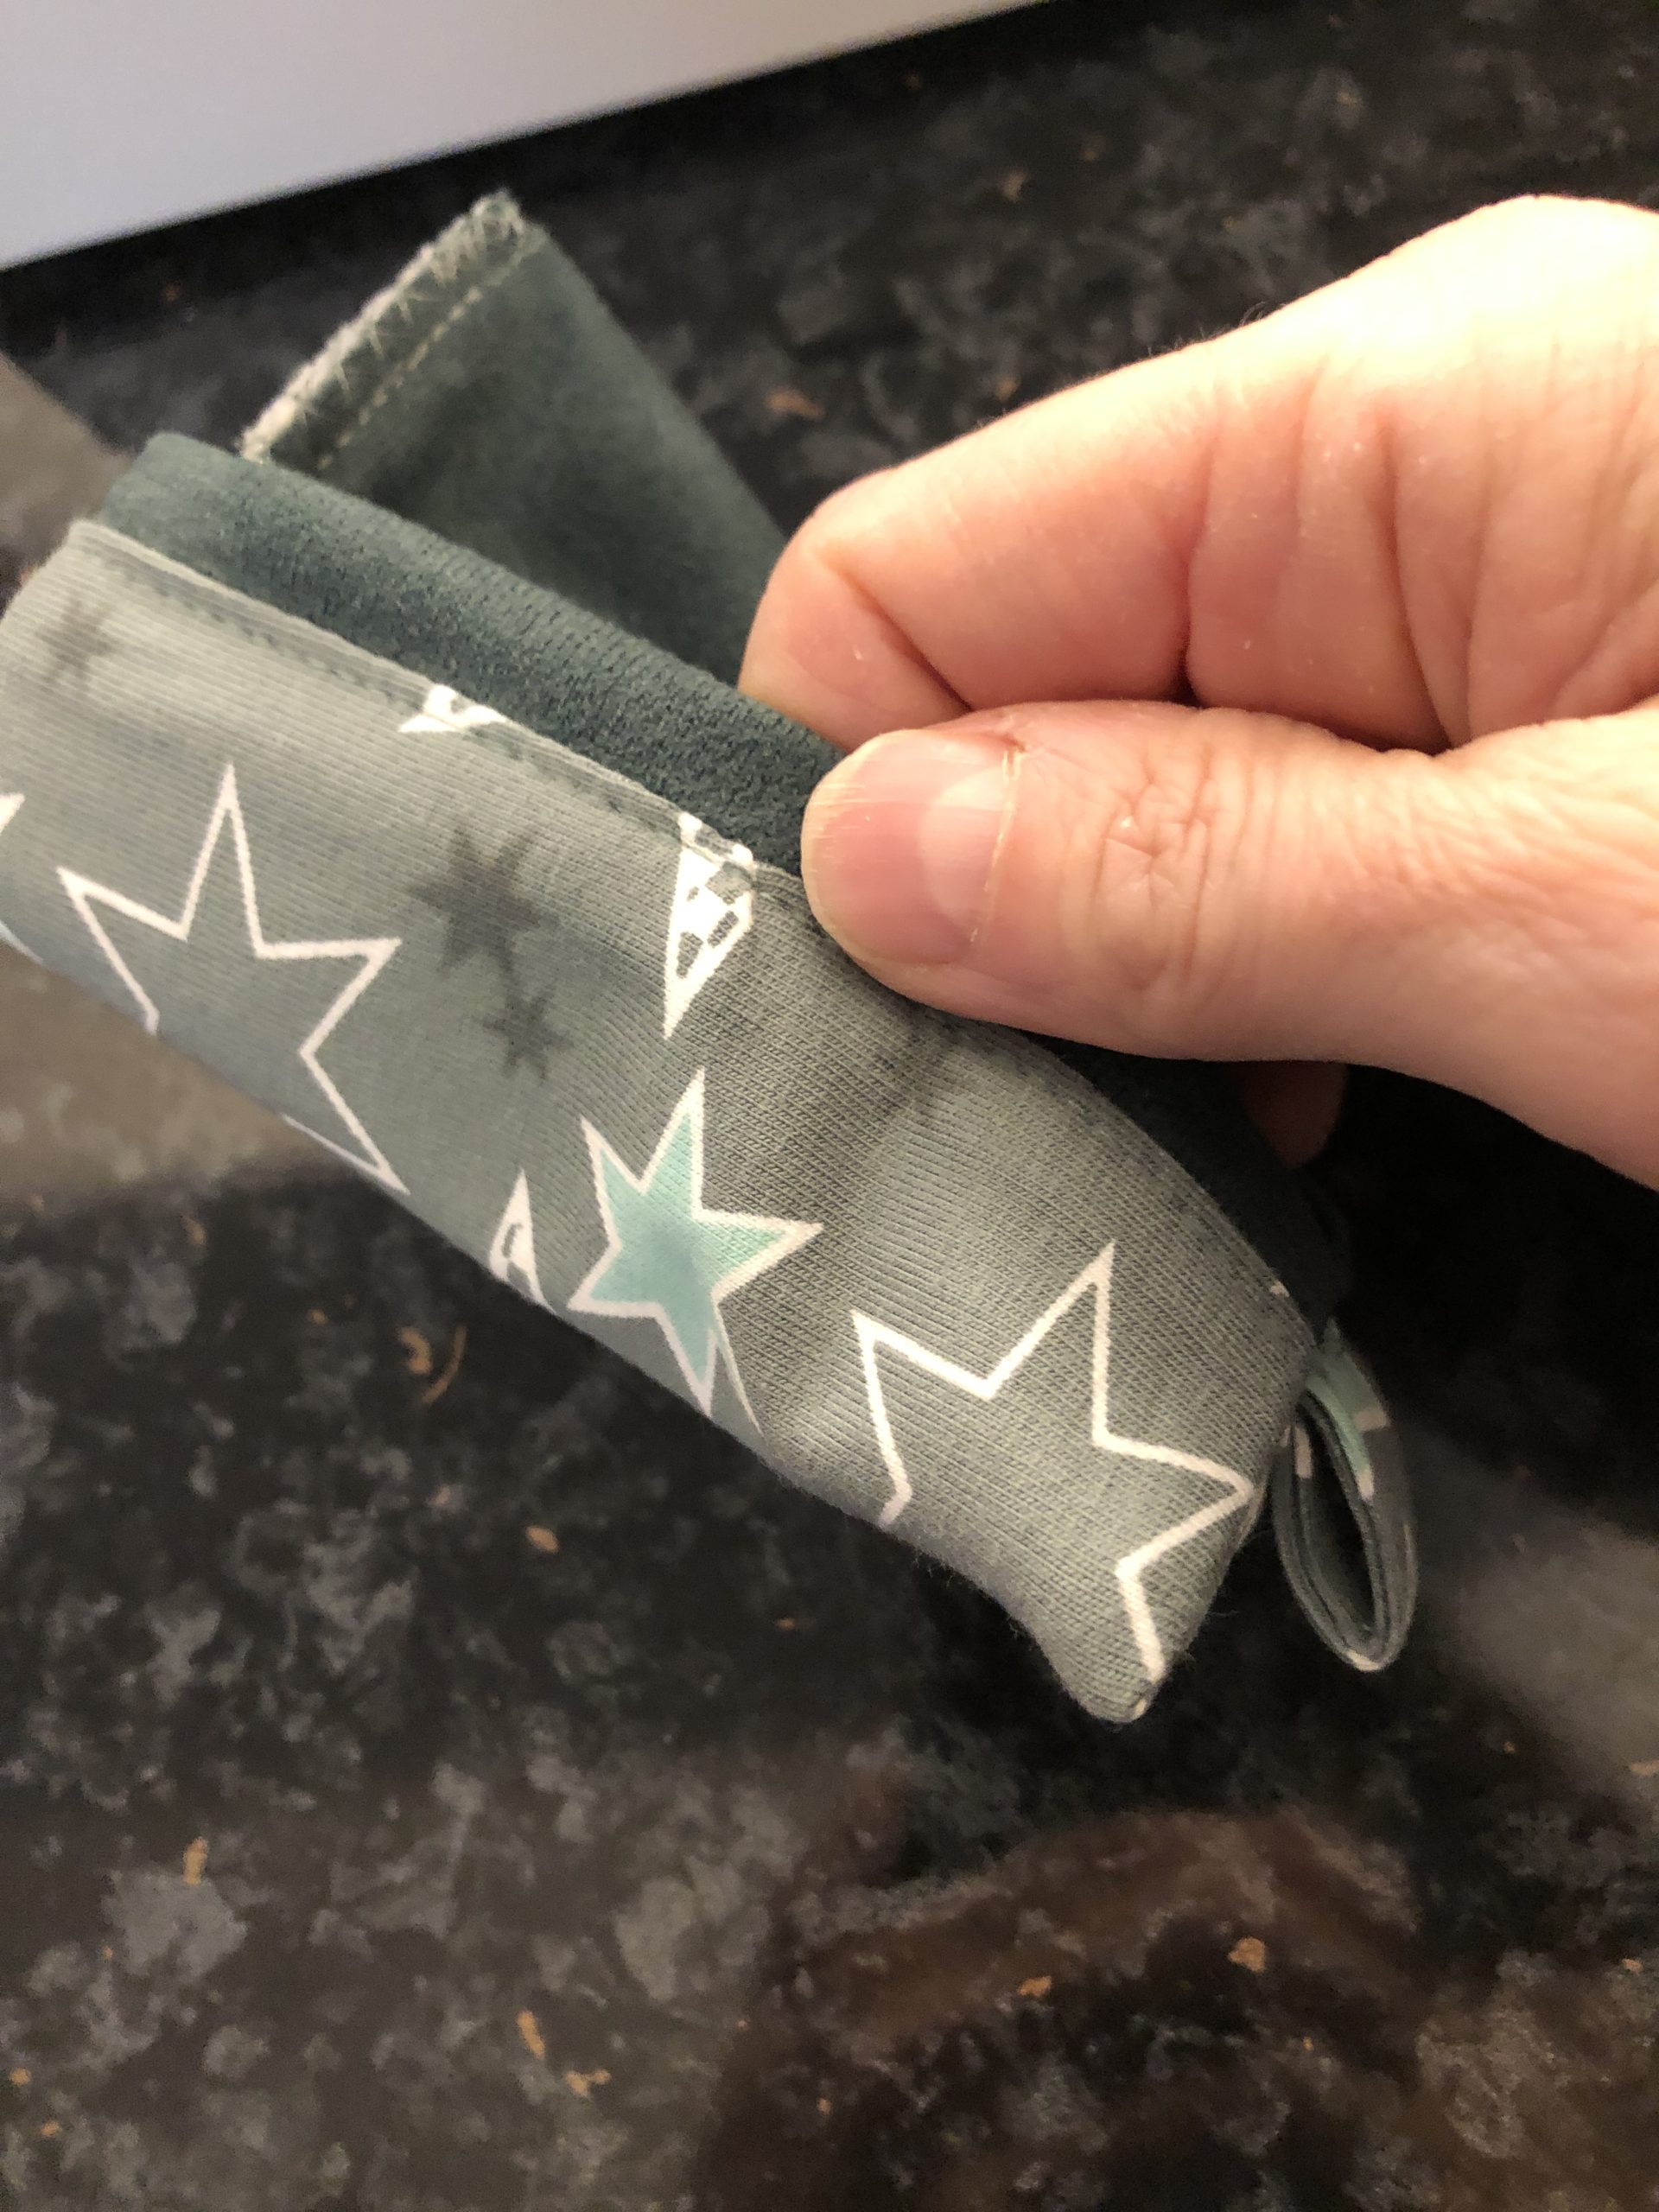
The bag is ready.
Now you're turning the stuff around.
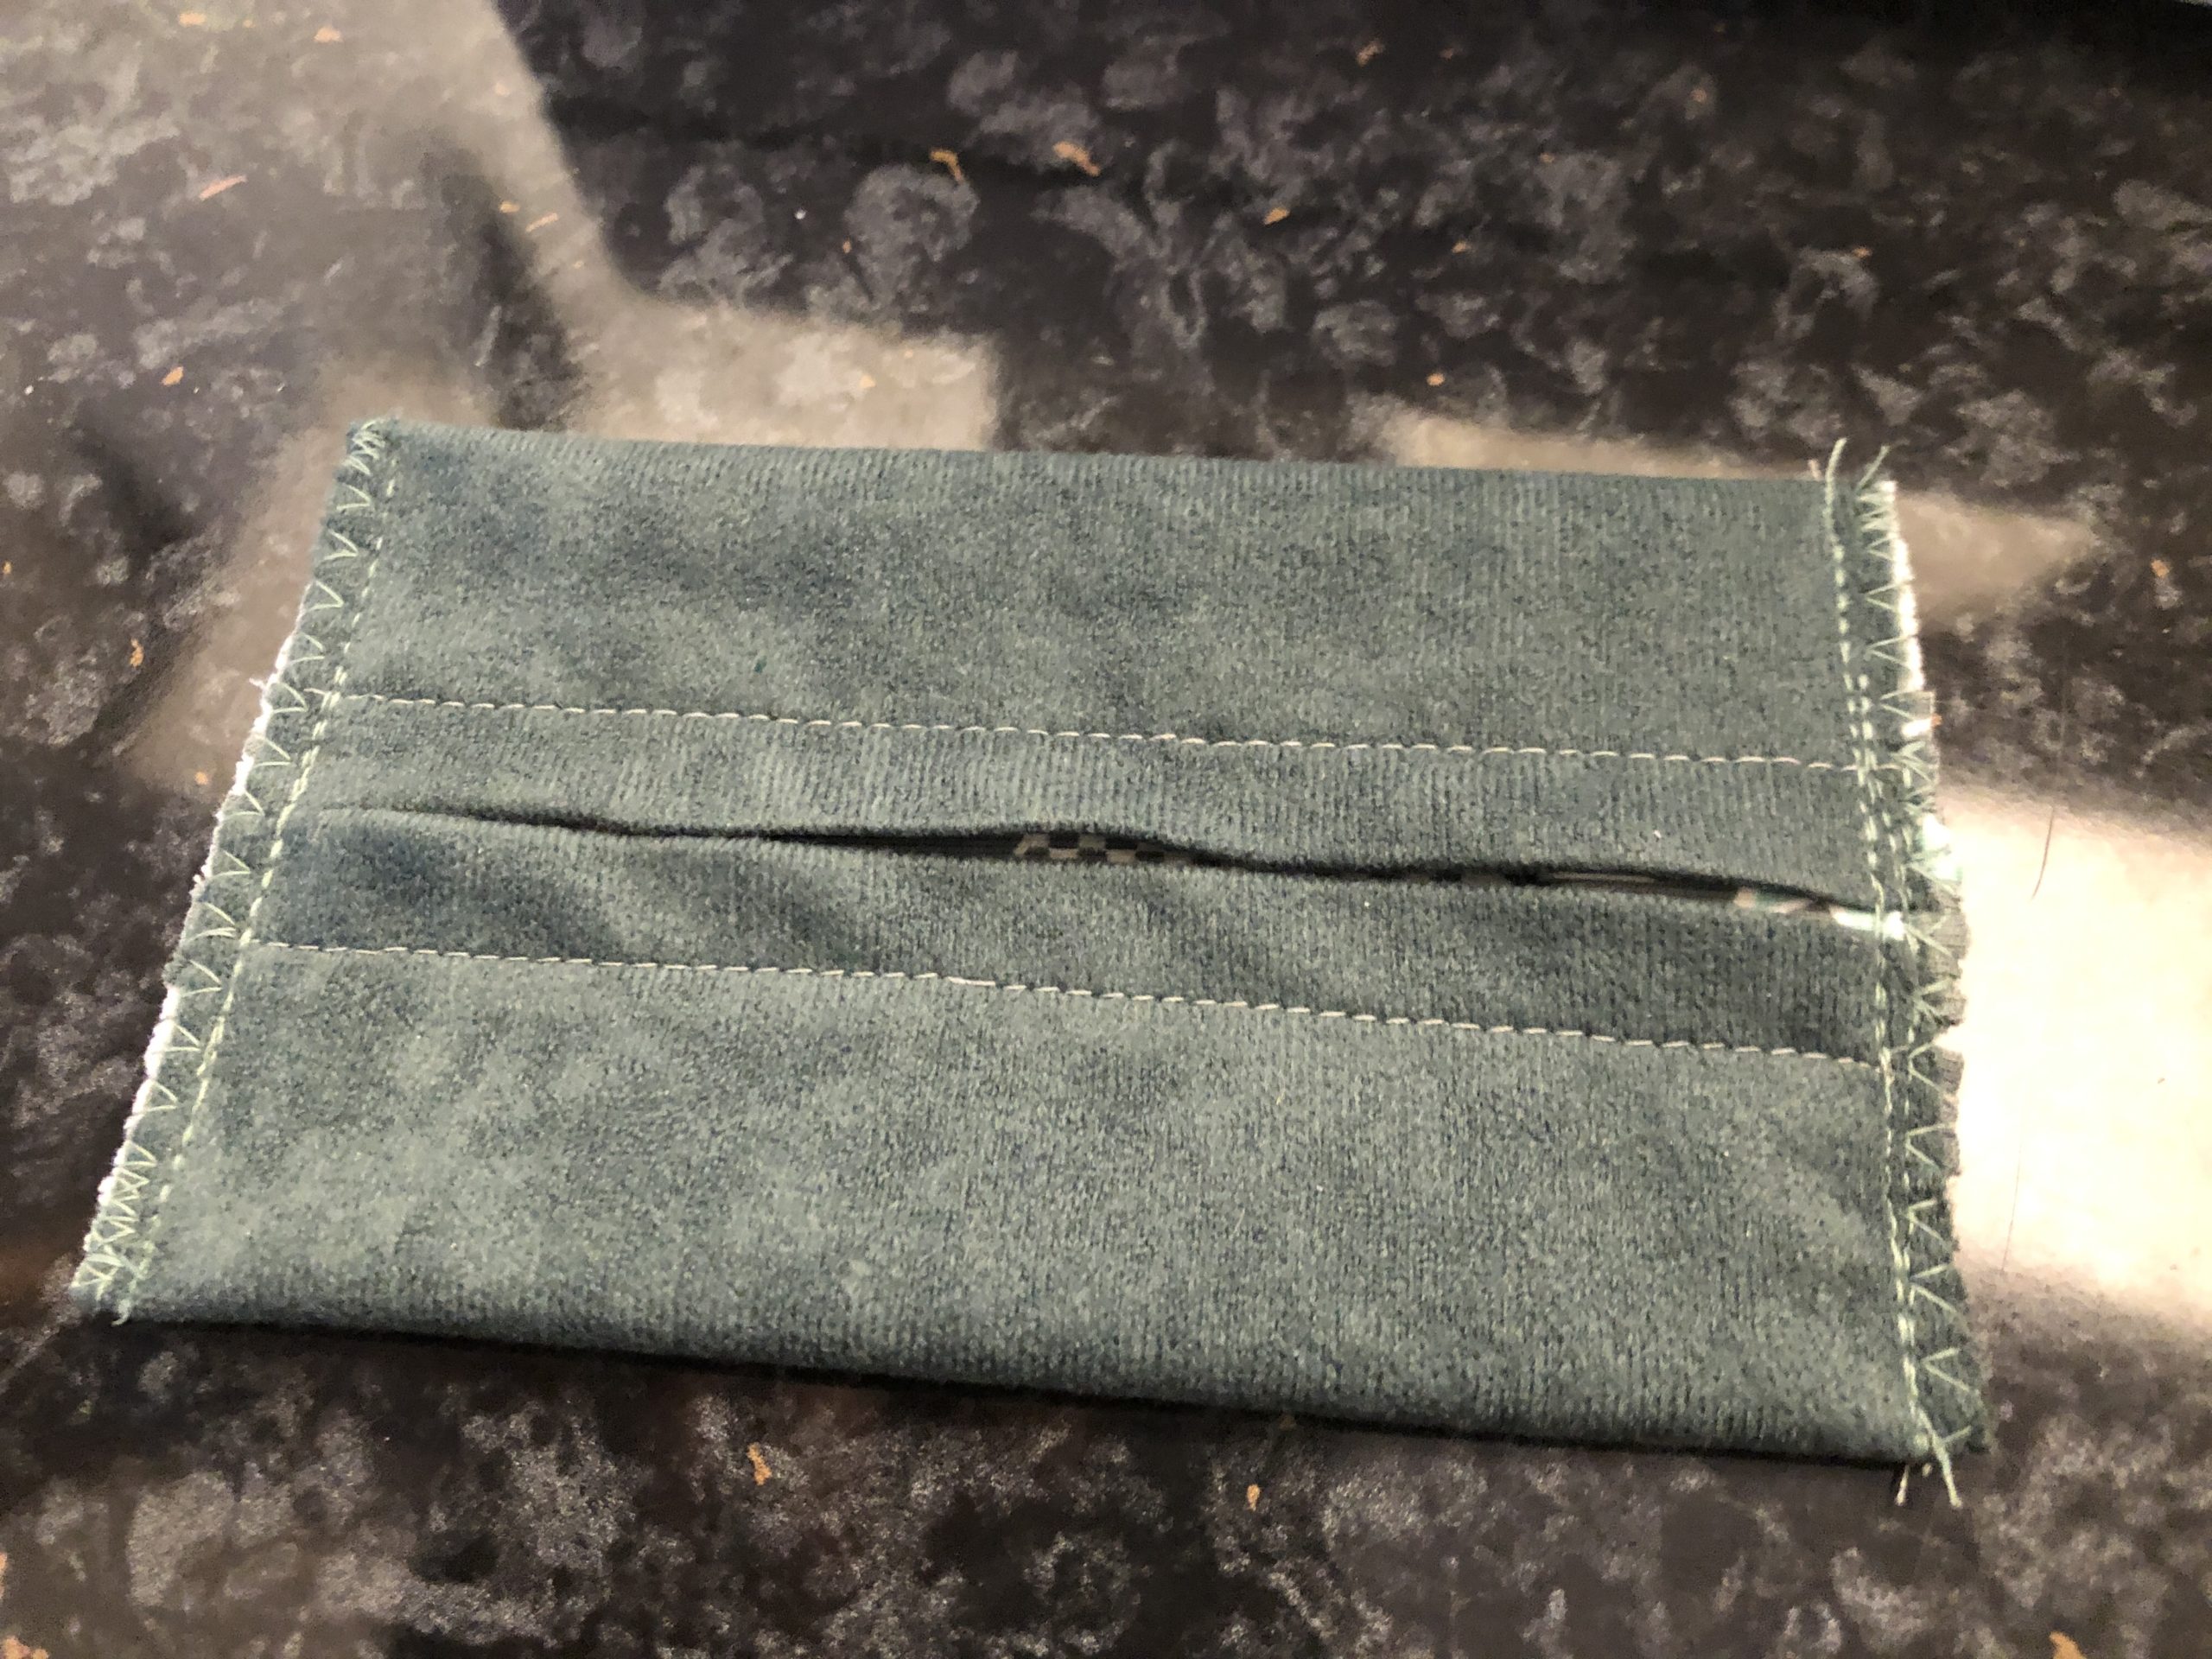
Bild zum Schritt 17 für das Bastel- und DIY-Abenteuer für Kinder: 'Fertig ist das Täschchen.   Jetzt wendet ihr noch...'

17

Presses the corners well outwards.

Bild zum Schritt 18 für das Bastel- und DIY-Abenteuer für Kinder: 'Drückt dabei die Ecken gut nach außen.'

18

2. Bild zum Schritt 18 für das Bastel- und DIY-Abenteuer für Kinder: 'Drückt dabei die Ecken gut nach außen.'

19

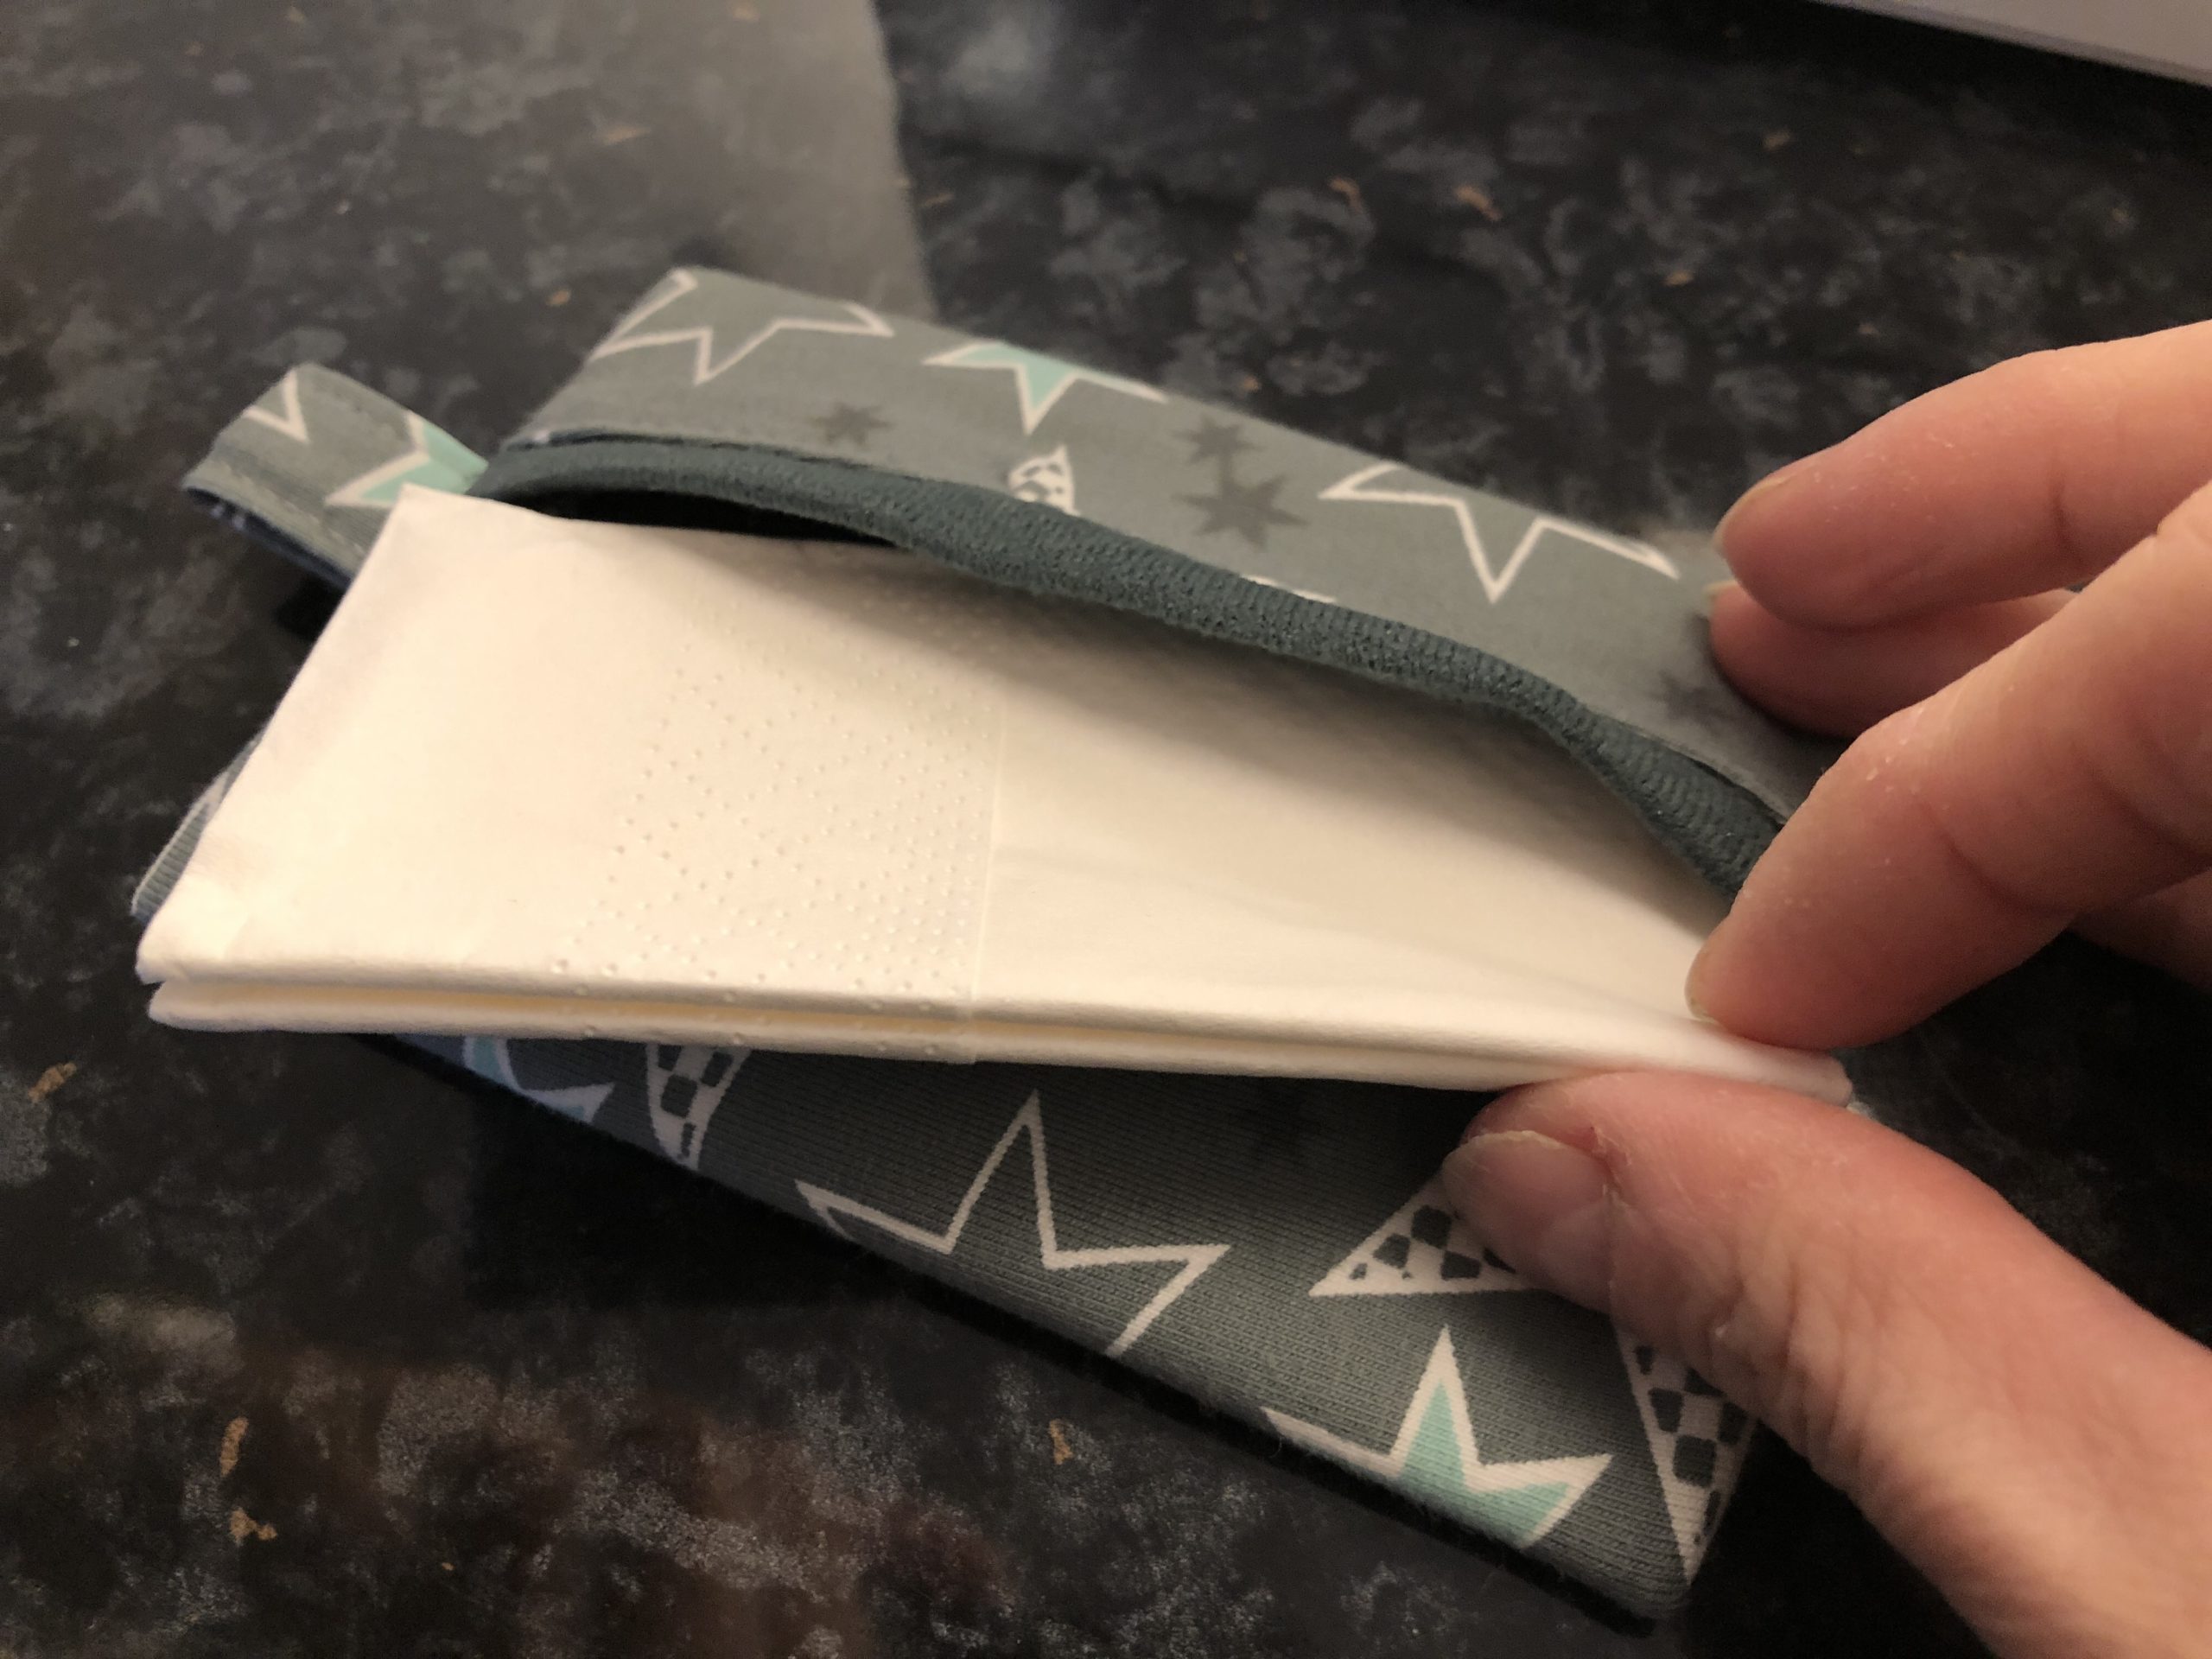
Put some handkerchiefs in it.

Bild zum Schritt 20 für das Bastel- und DIY-Abenteuer für Kinder: 'Steckt ein paar Taschentücher hinein.'

20

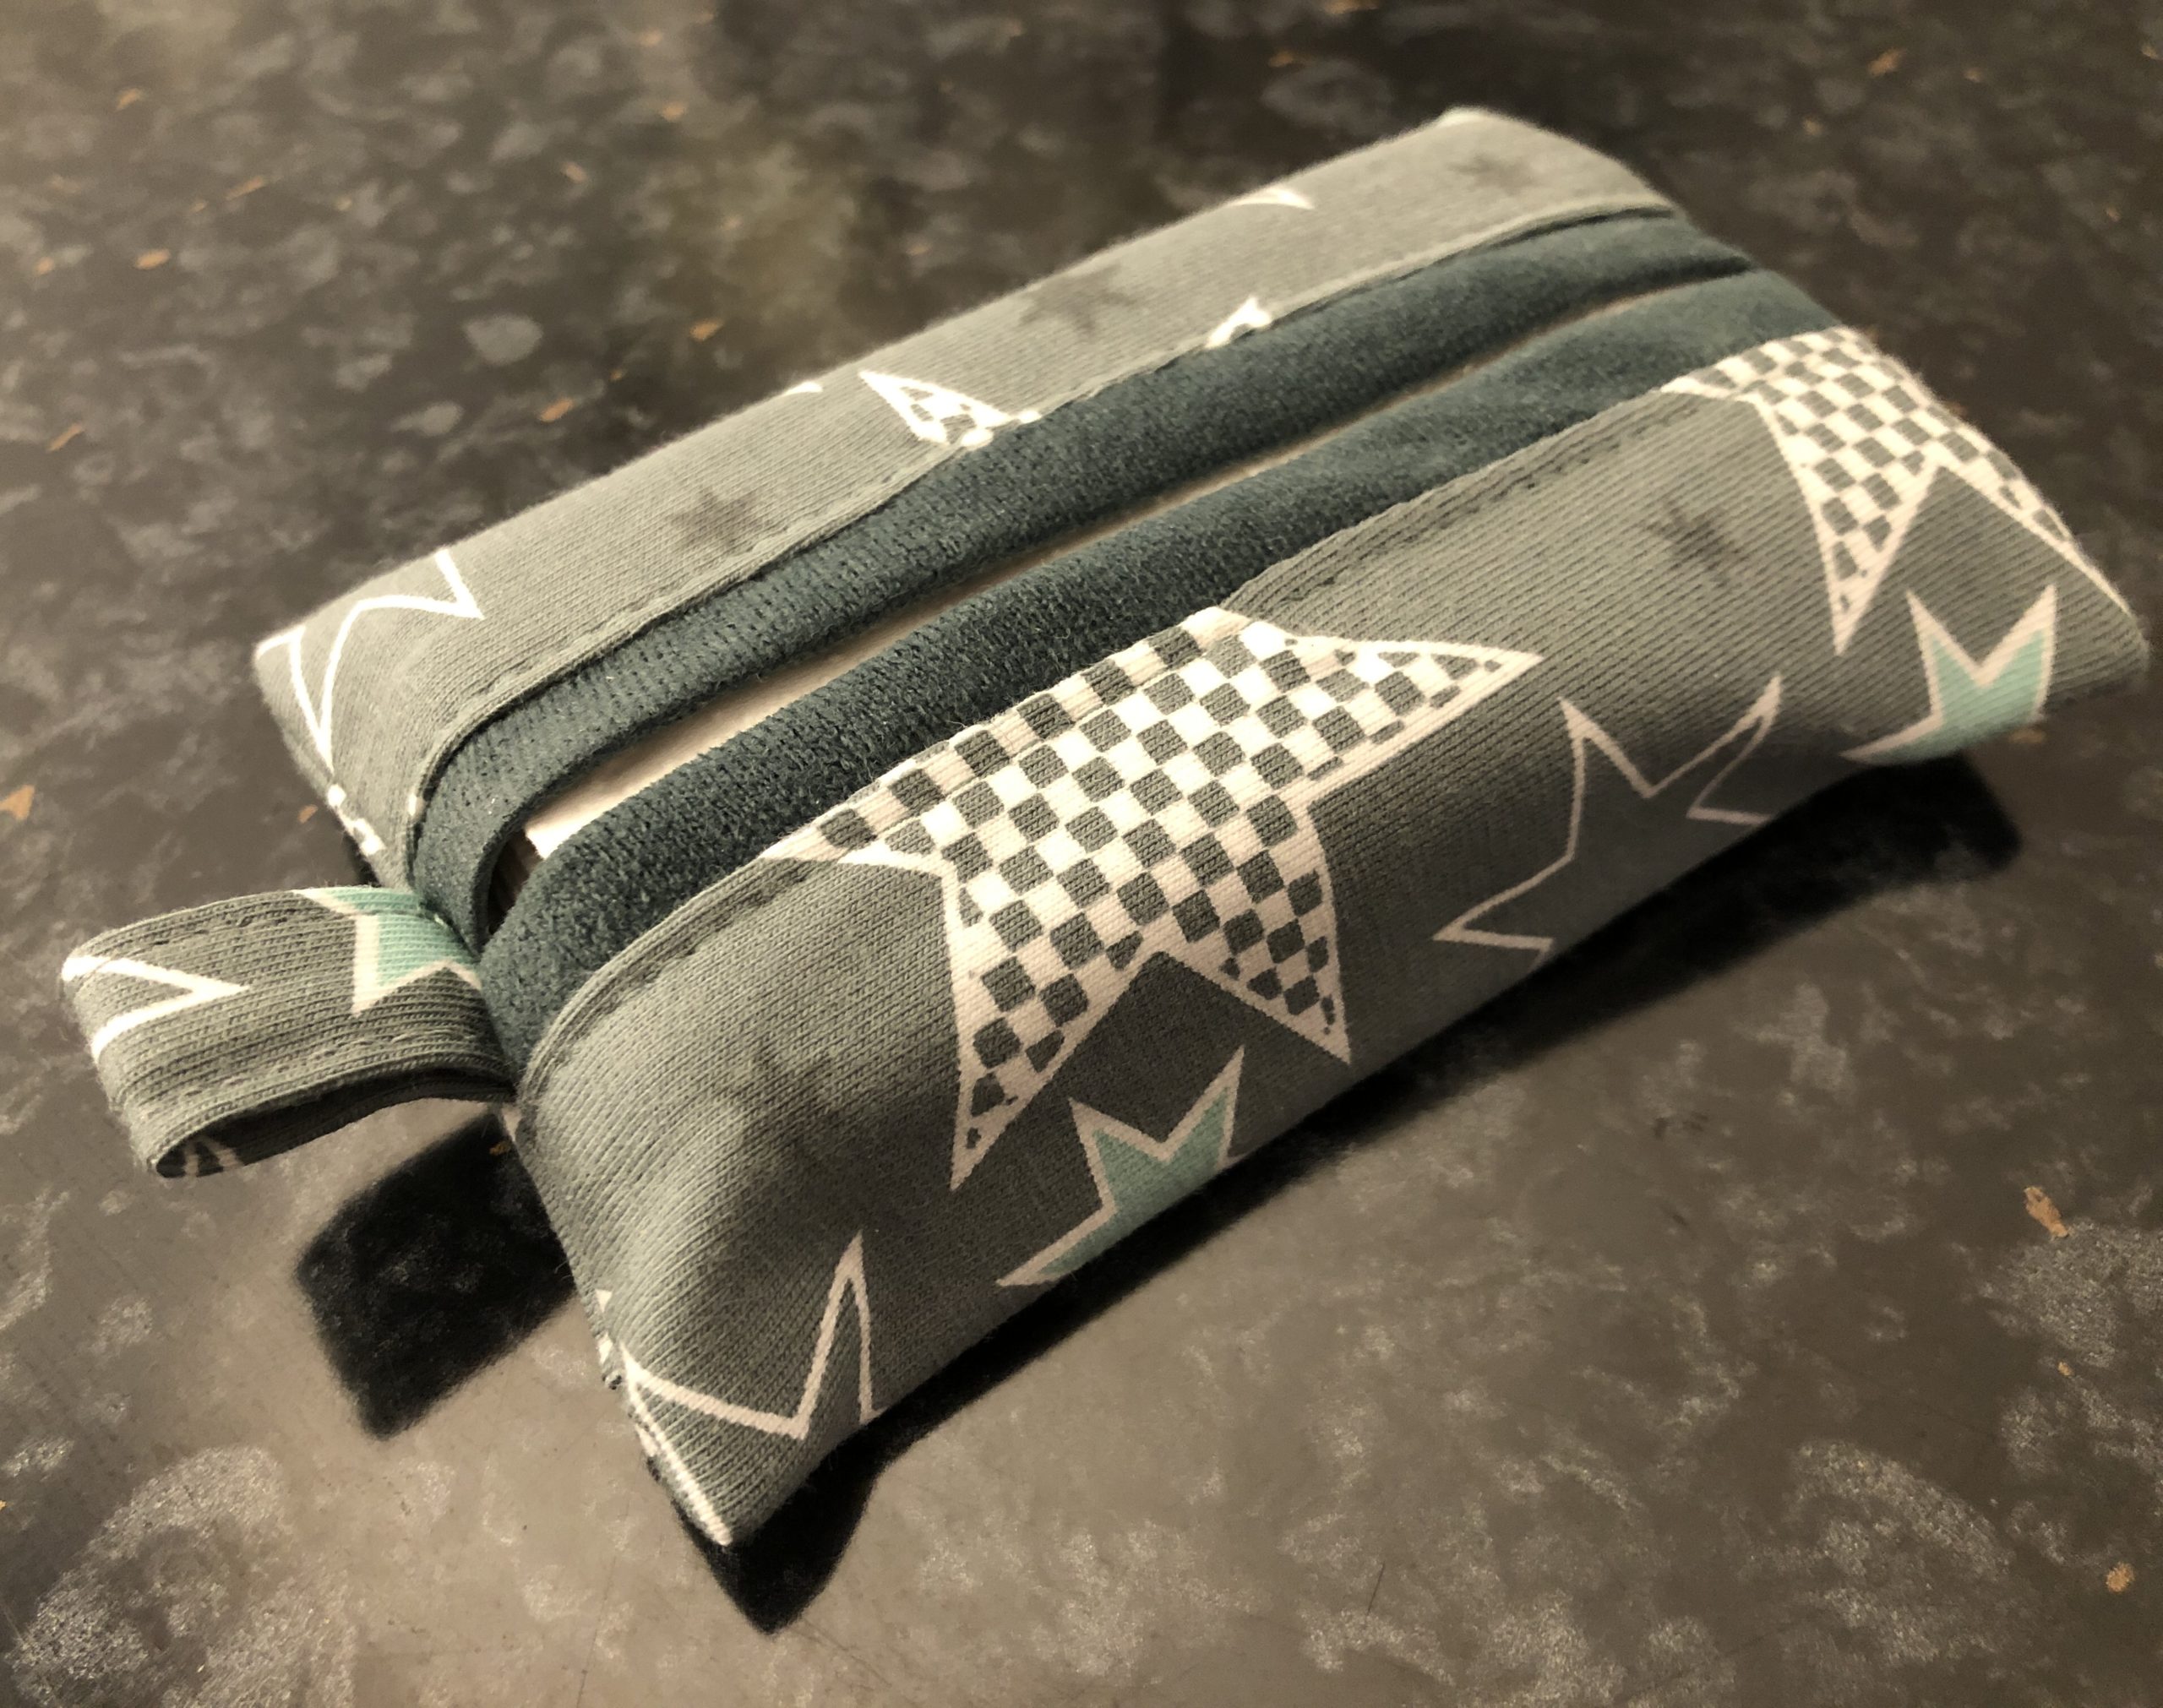
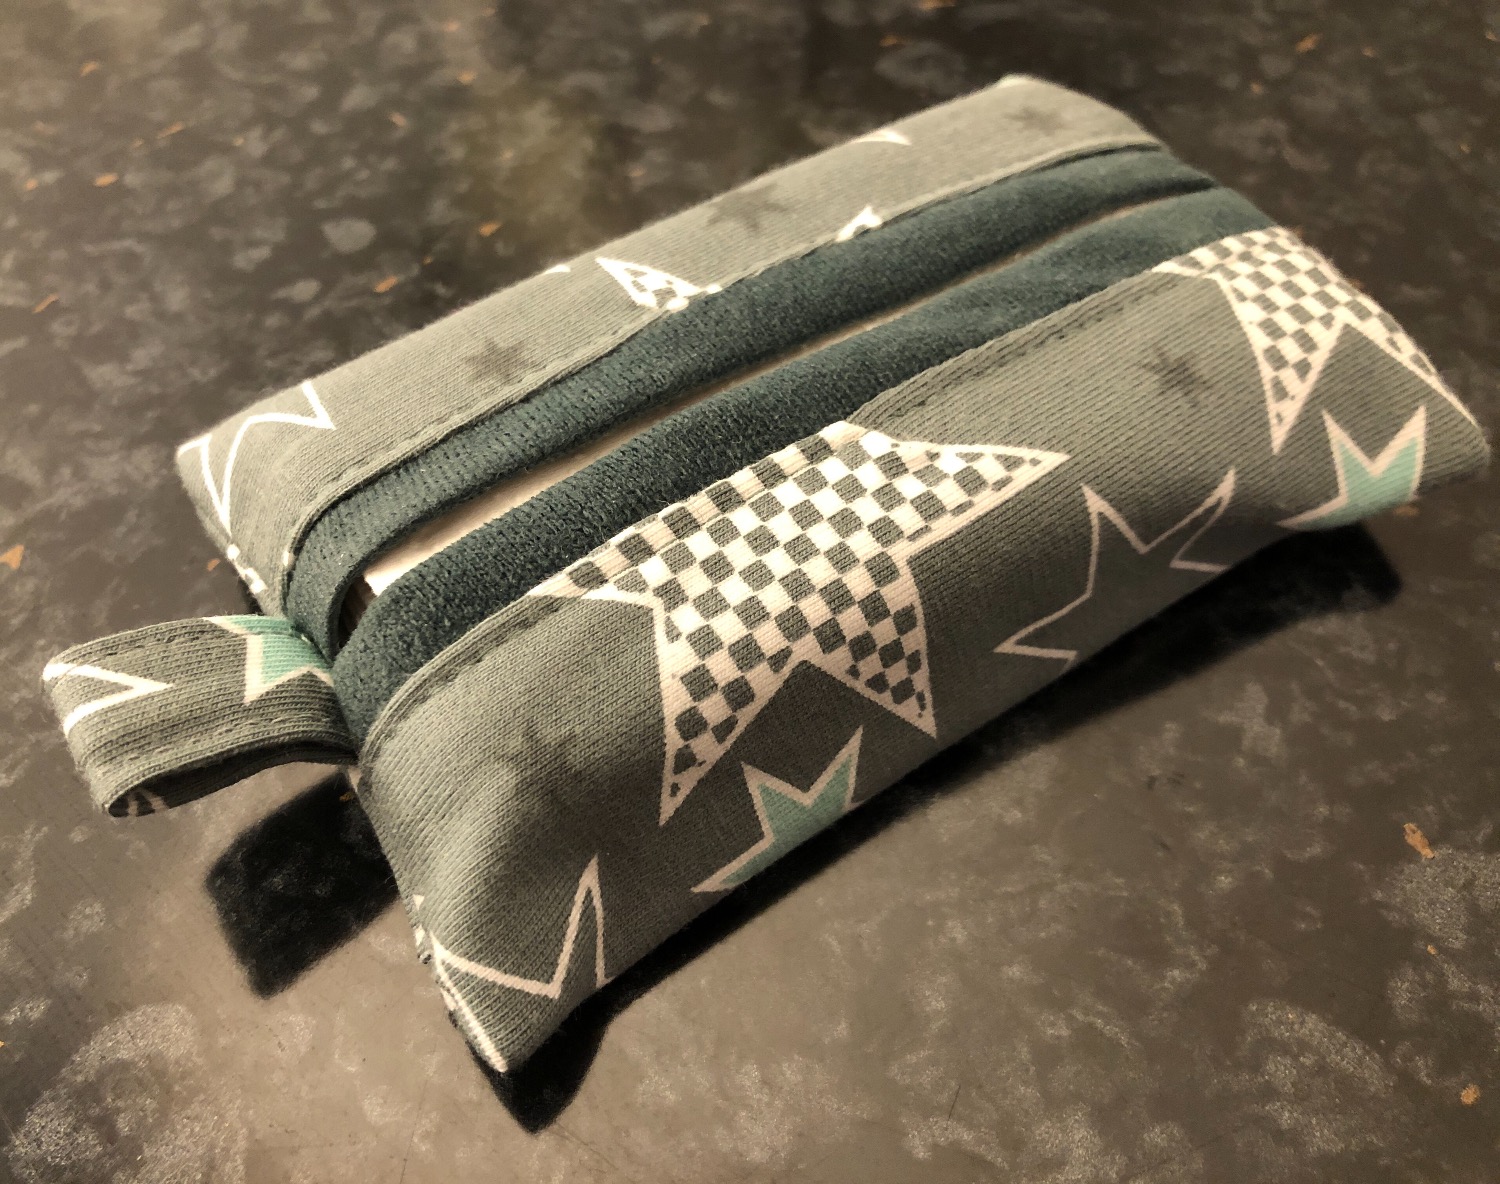
The last minute gift is ready!

Bild zum Schritt 21 für das Bastel- und DIY-Abenteuer für Kinder: 'Fertig ist das Last-Minute-Geschenk!'