Print Options:

Make fir cones wankers

Material for1 ChildPrep Time5 min.Adv. Time25 min.Total Time30 min.

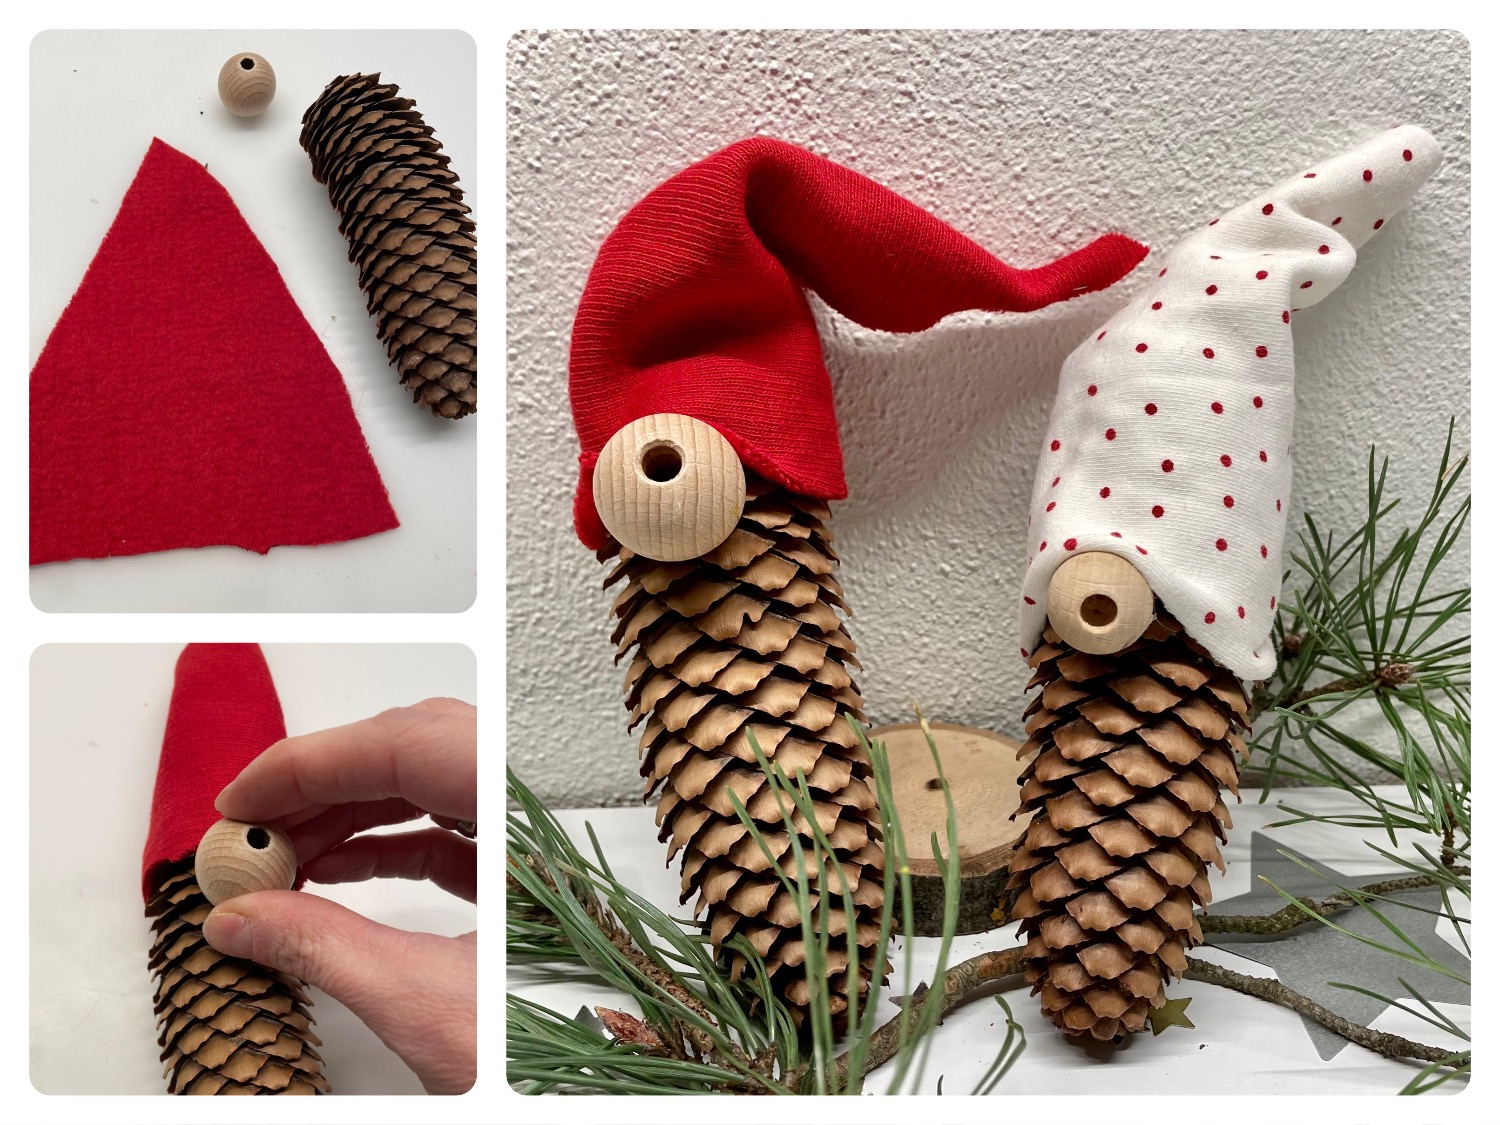
From cones of any kind can be made very simple kibbles. With a felt or fabric triangle the zip cap is glued together. A large wooden bead is the nose. Both you attach to the cone and the kibble is ready to decorate. See for yourself.

Titelbild zur Bastel- und DIY-Idee für Kinder '(898) Tannenzapfen Wichtel basteln'

 1 Pine conesor pine cones
 1 Wood bead
 1 Residual substanceor felt, fleece fabric
 1 Scissors
 1 Hot glue gun or glued wood, glued
 1 Builder's pad
 1 possible clothes clip
All links marked with a shopping cart lead to Amazon - here we have selected products that we would order ourselves and in part also ordered. In a qualified purchase via the advertising link, we as Amazon partner receive a commission, for you there are no costs. You thus support our cost- and advertising banner-free, educational offer.
1

Get the material ready first.
Then cut out a triangle from the felt. The lower side of the triangle must pass around the pine cone. Attention, leave the lower side a little longer.

Bild zum Schritt 1 für das Bastel- und DIY-Abenteuer für Kinder: 'Lege euch zuerst das Material bereit.   Dann schneidet...'

2

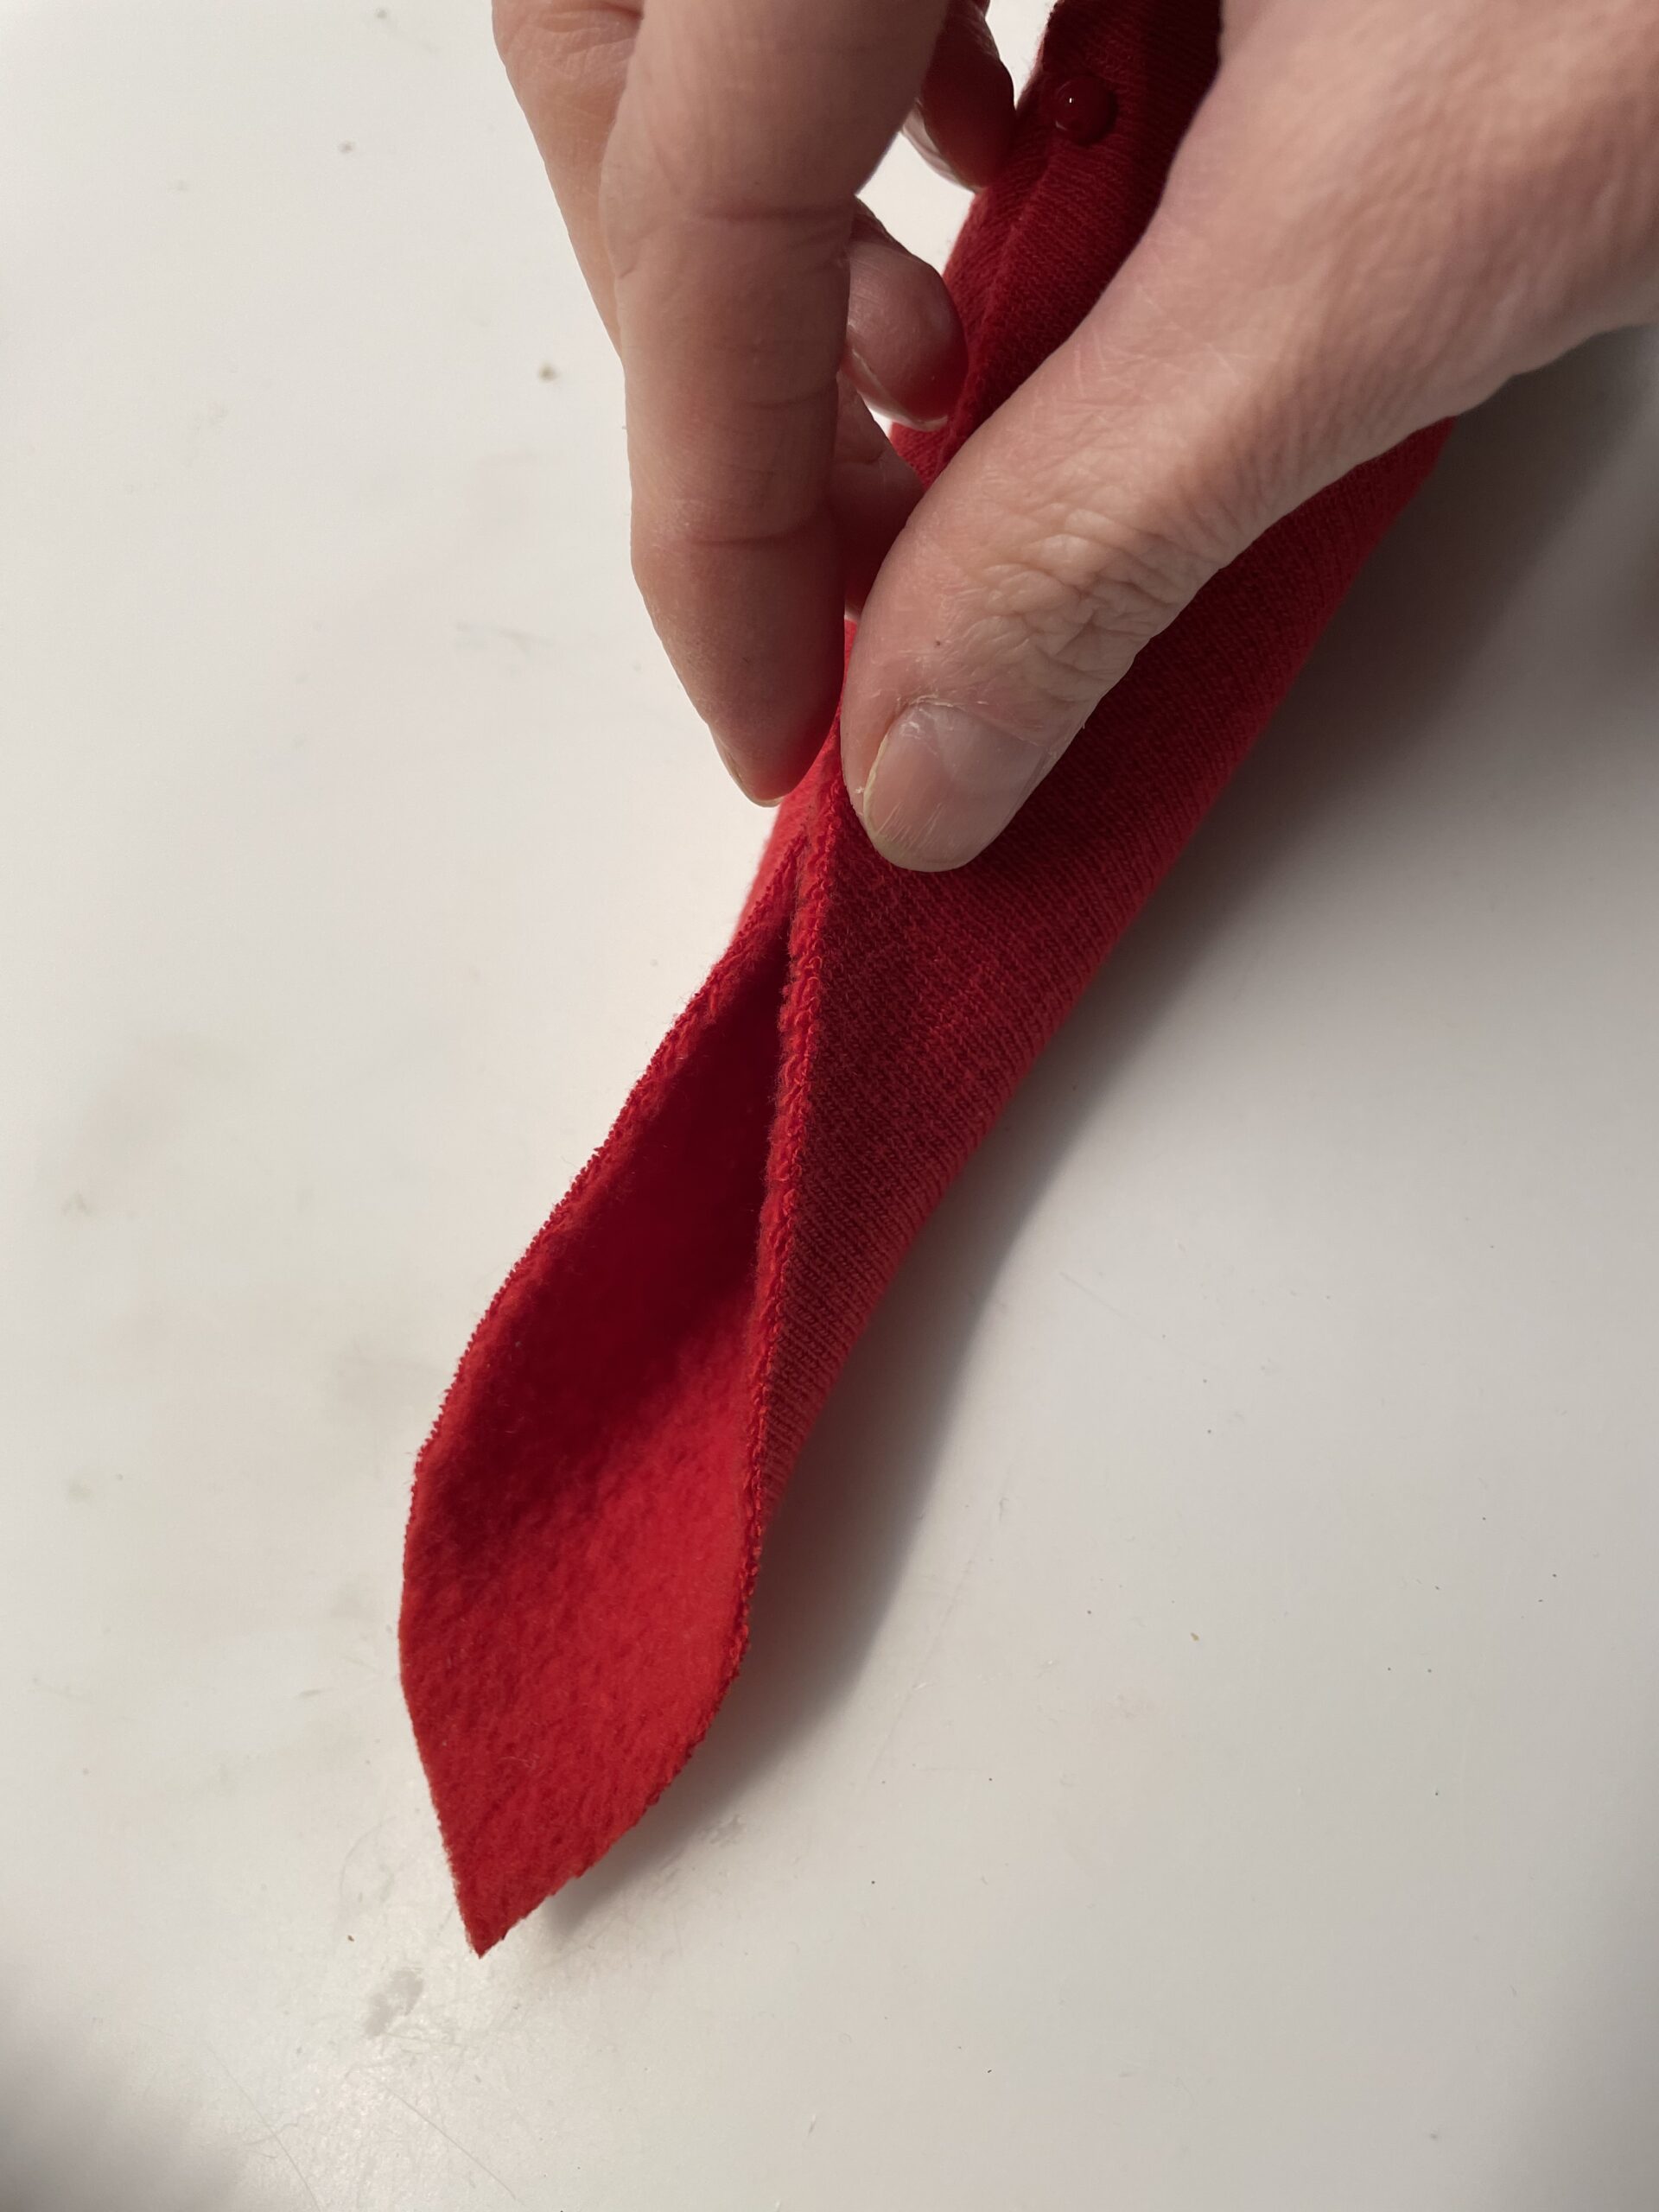
Now you fold the triangle together at the two long times and form a zip cap from it. Stick the two long sides together and hold the glued place firmly until the glue is dried. Use a clothespin to fix it.

Bild zum Schritt 2 für das Bastel- und DIY-Abenteuer für Kinder: 'Jetzt faltet ihr das Dreieck an den zwei langen Zeiten...'

3

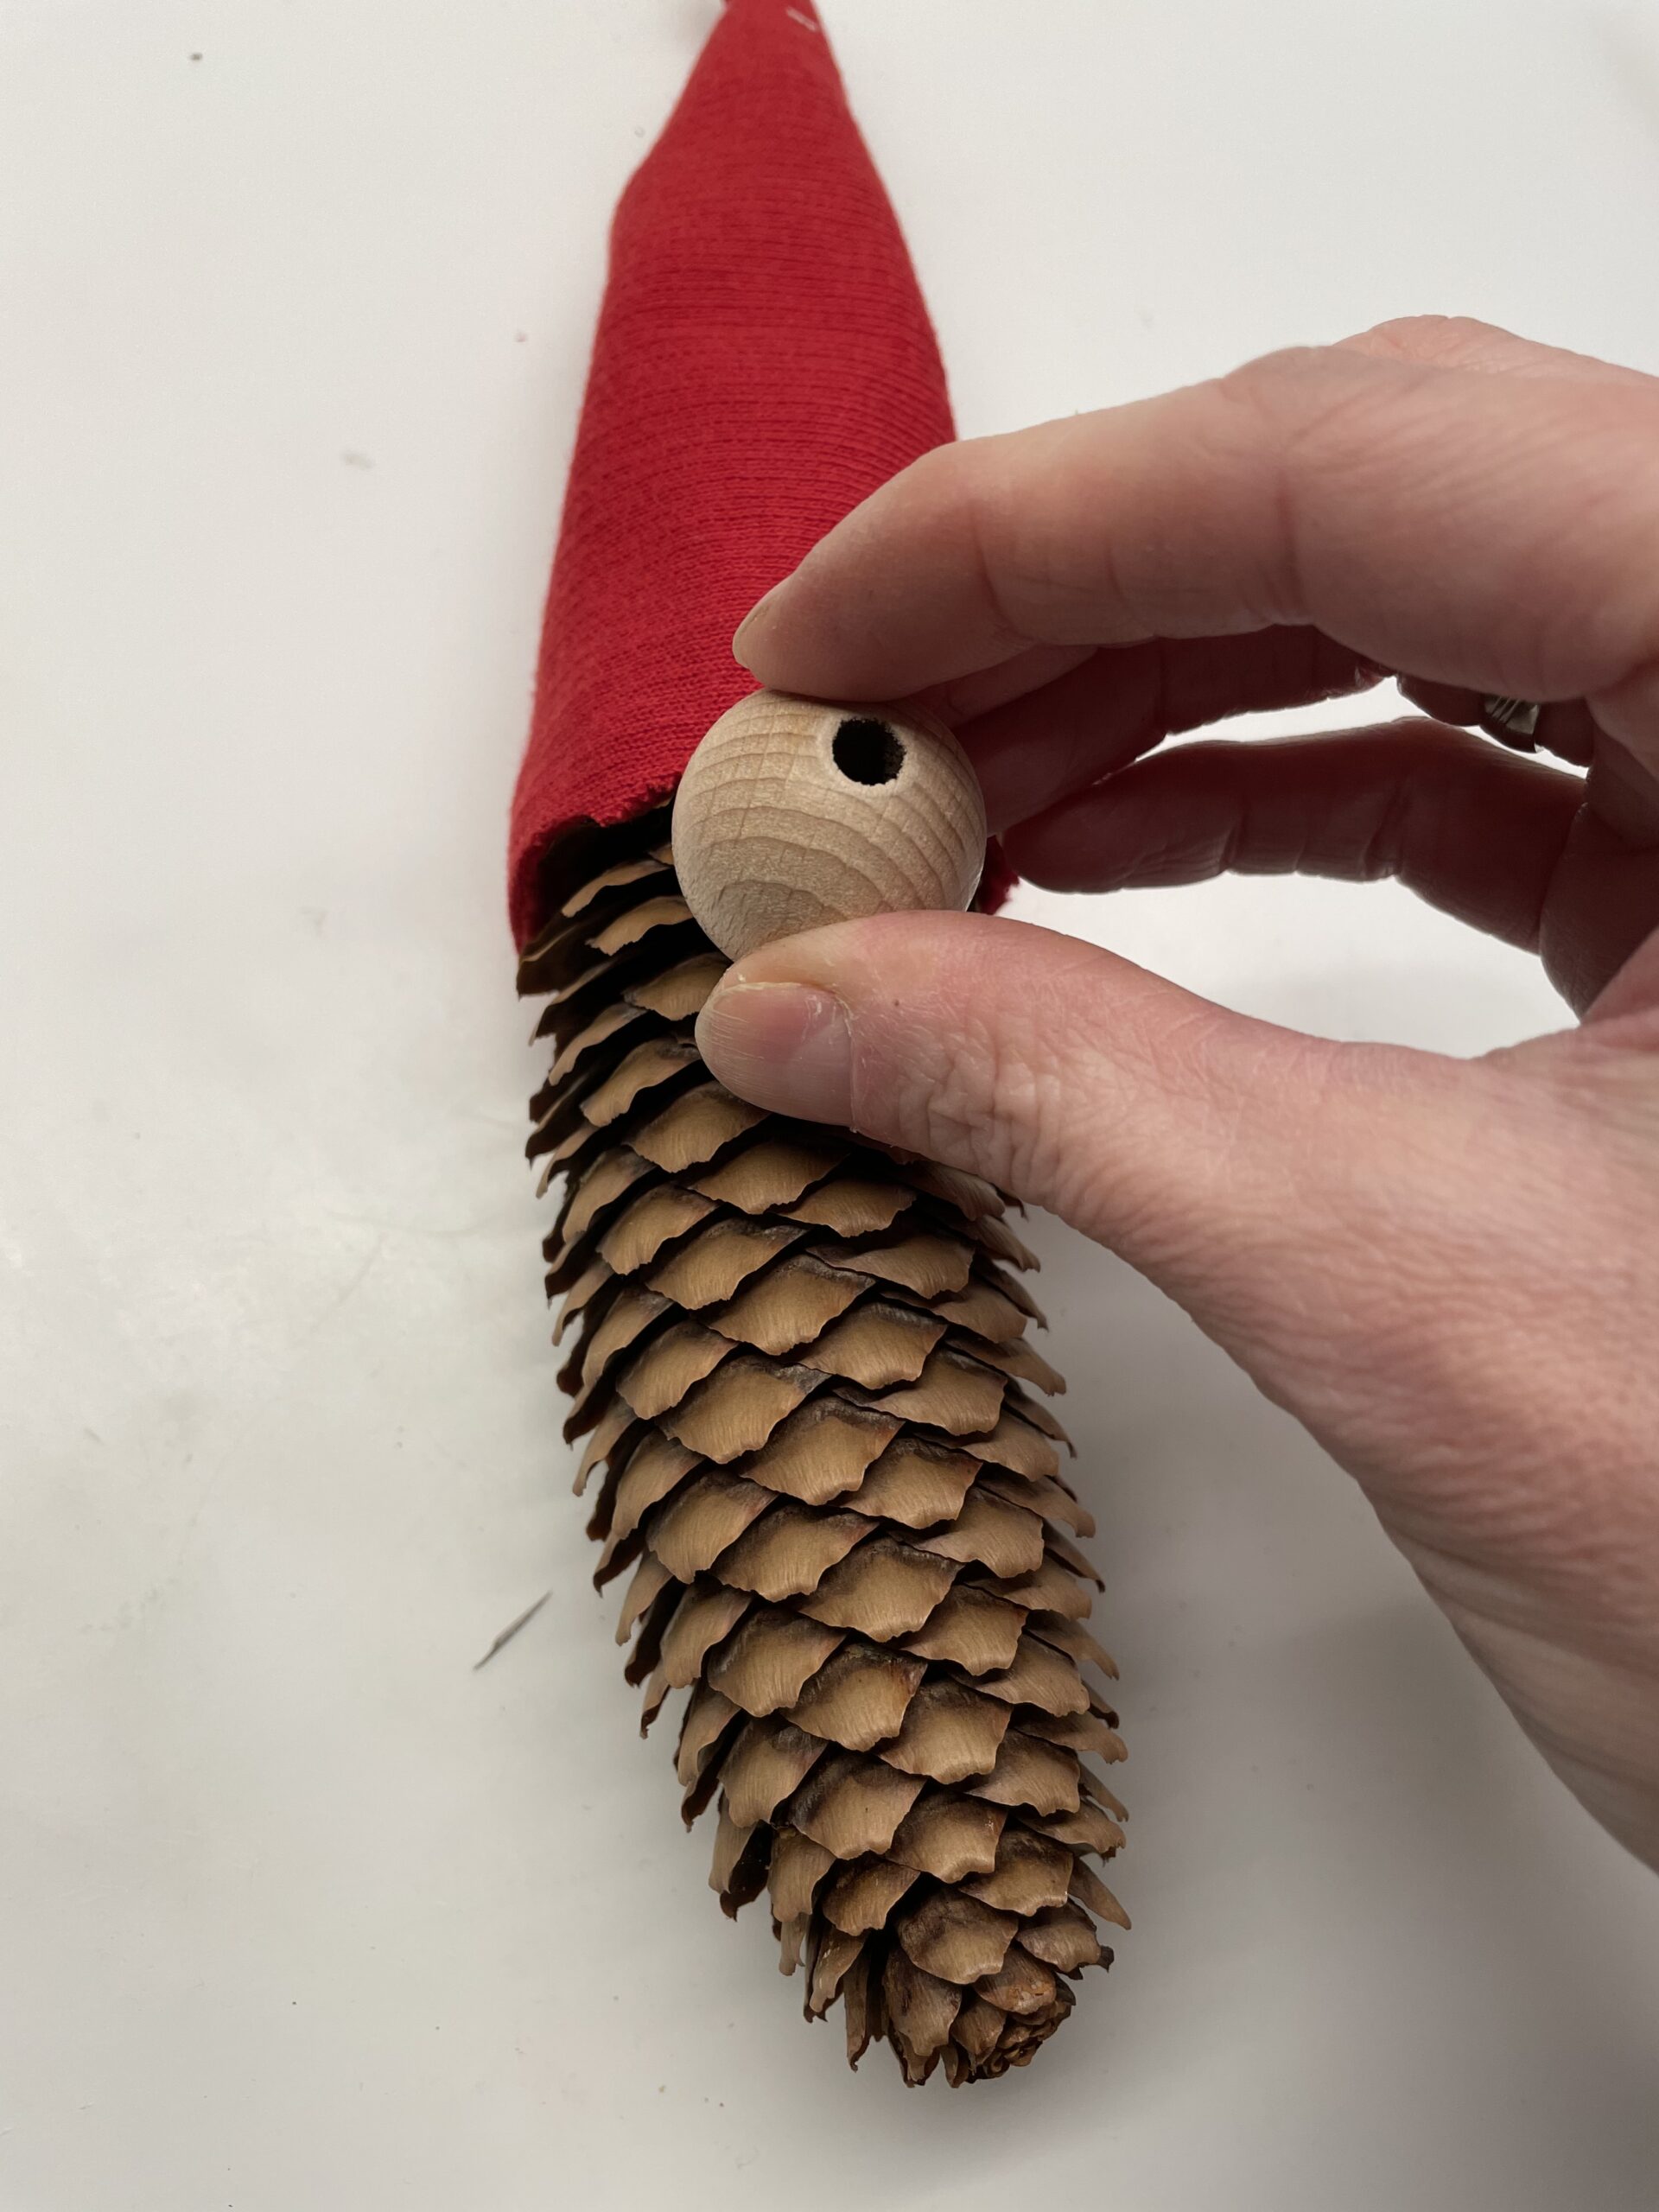
Then you put the tip cap on the pine cone.

Bild zum Schritt 3 für das Bastel- und DIY-Abenteuer für Kinder: 'Dann setzt ihr die Zipfelmütze auf den Tannenzapfen.'

4

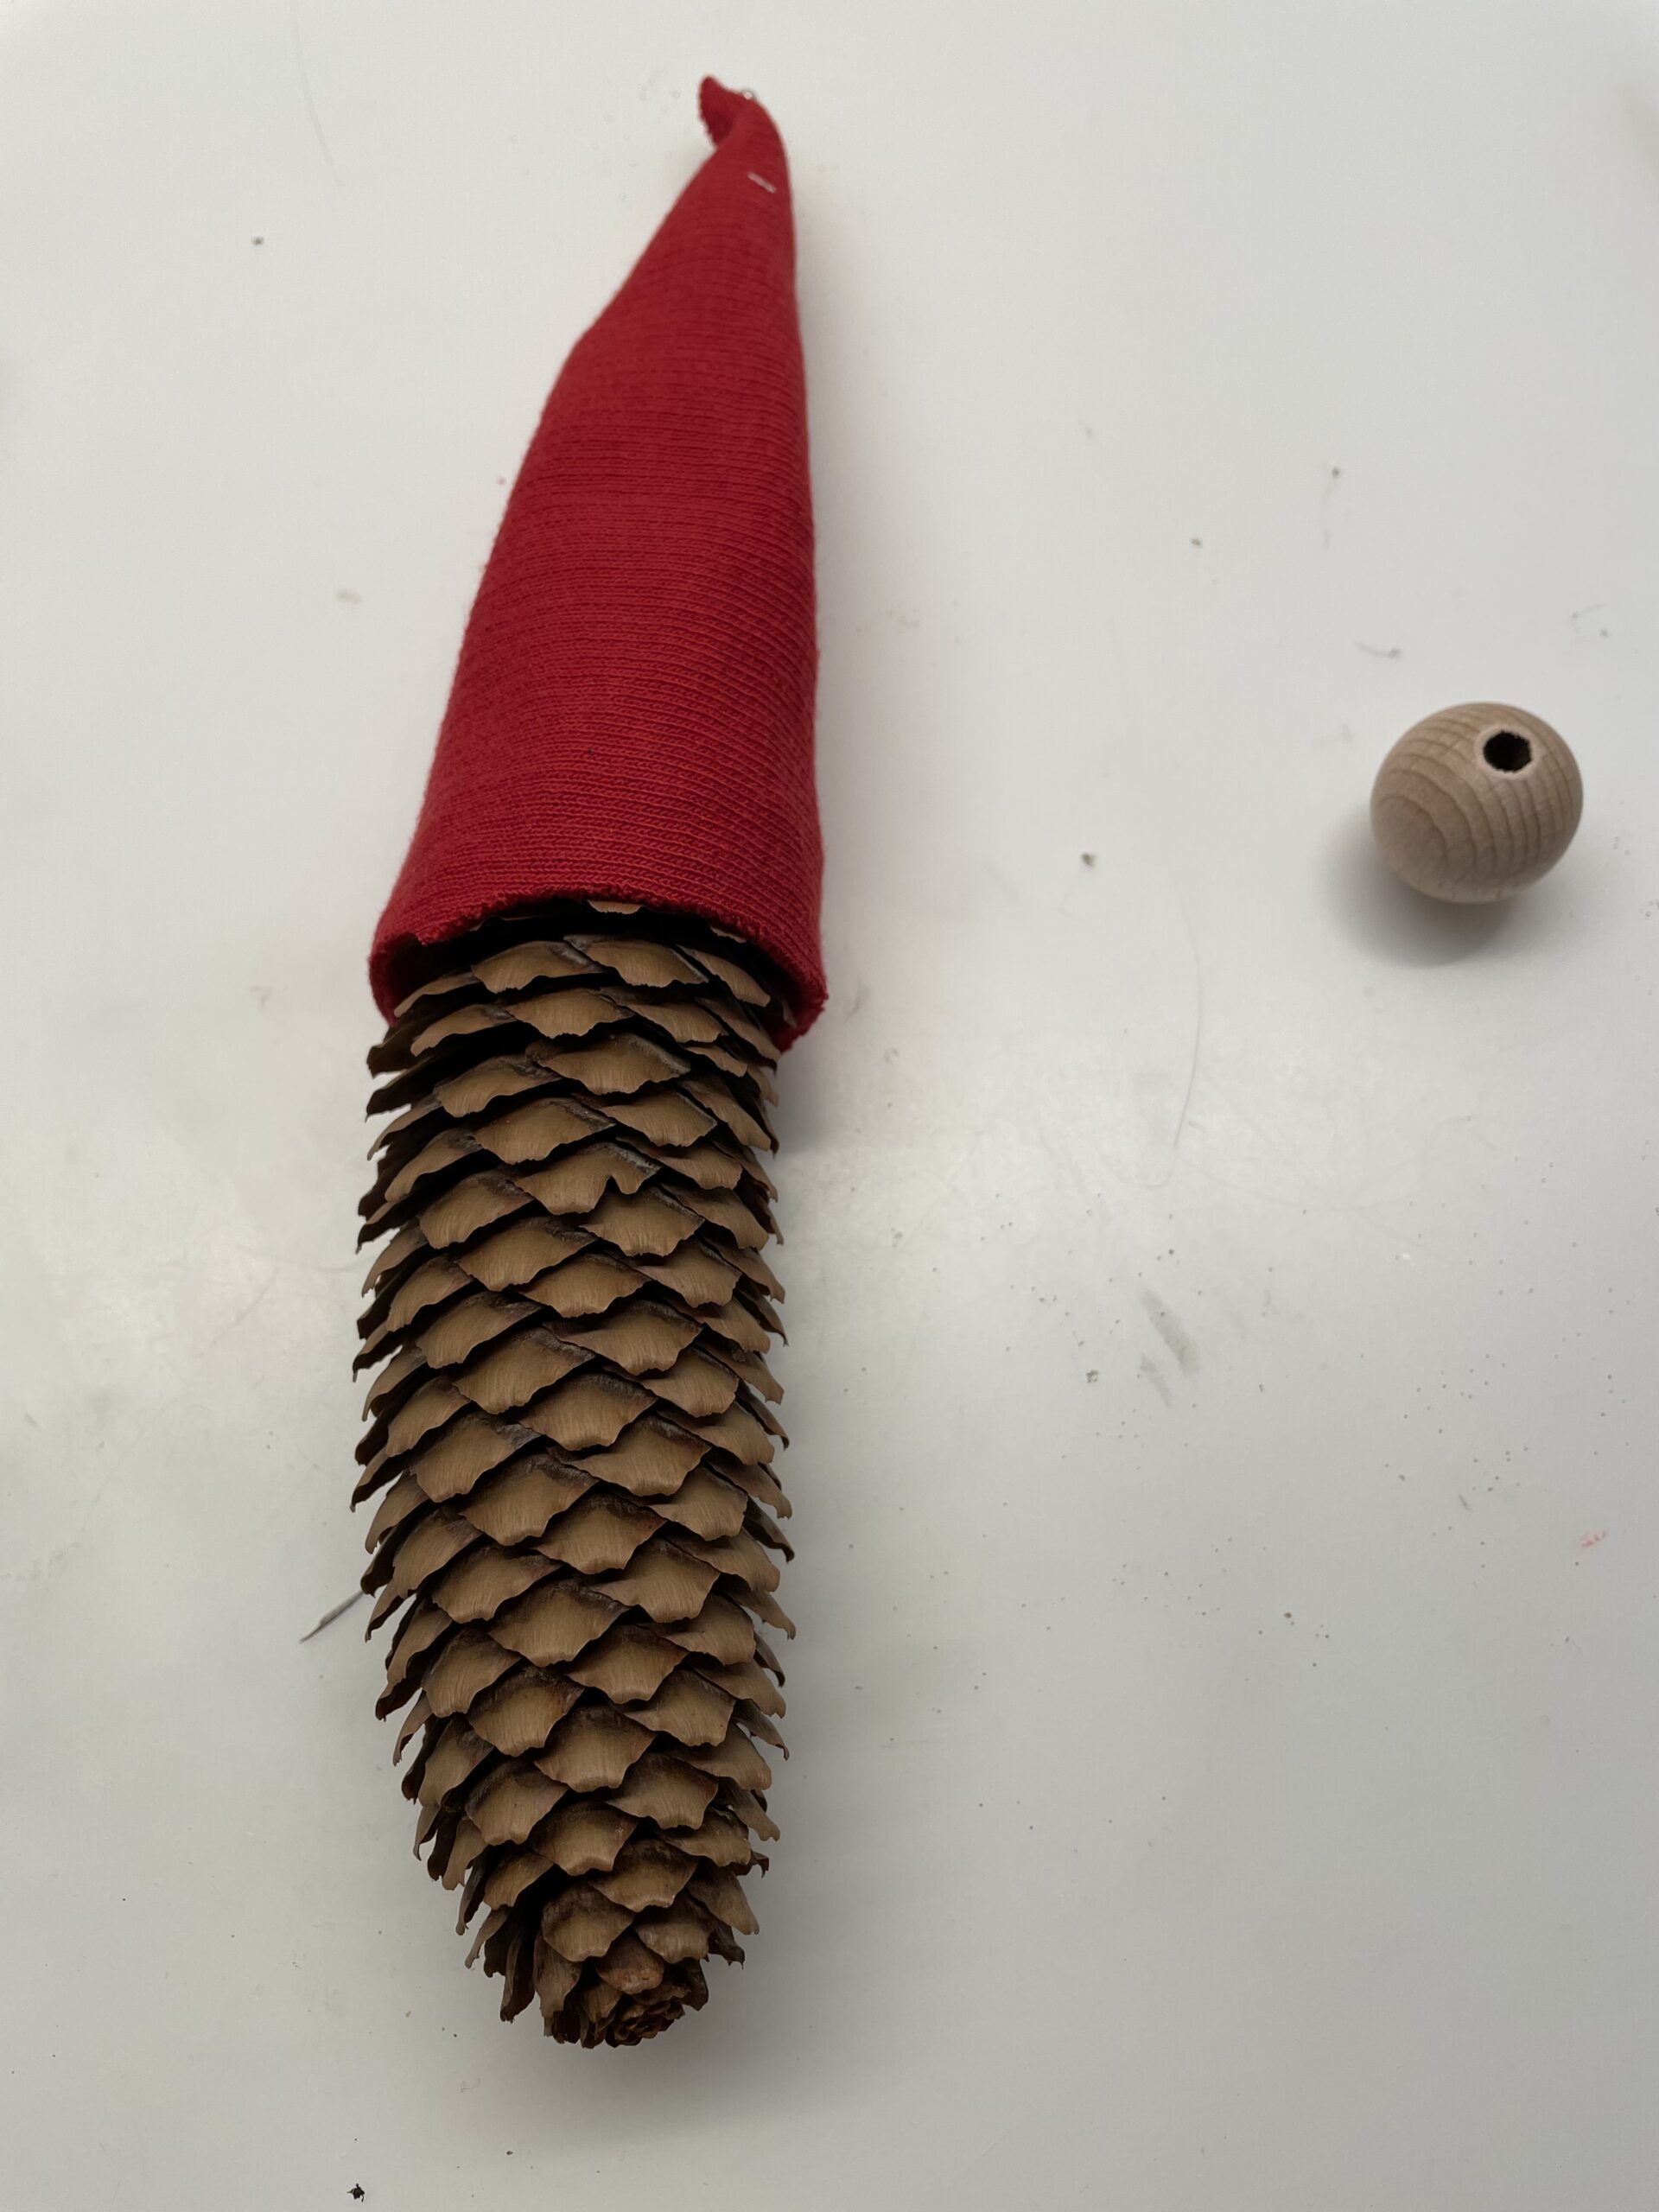
Then glue the wooden ball directly below the cap on the pine cones.

Bild zum Schritt 4 für das Bastel- und DIY-Abenteuer für Kinder: 'Danach klebt ihr die Holzkugel direkt unterhalb der Mütze auf...'

5

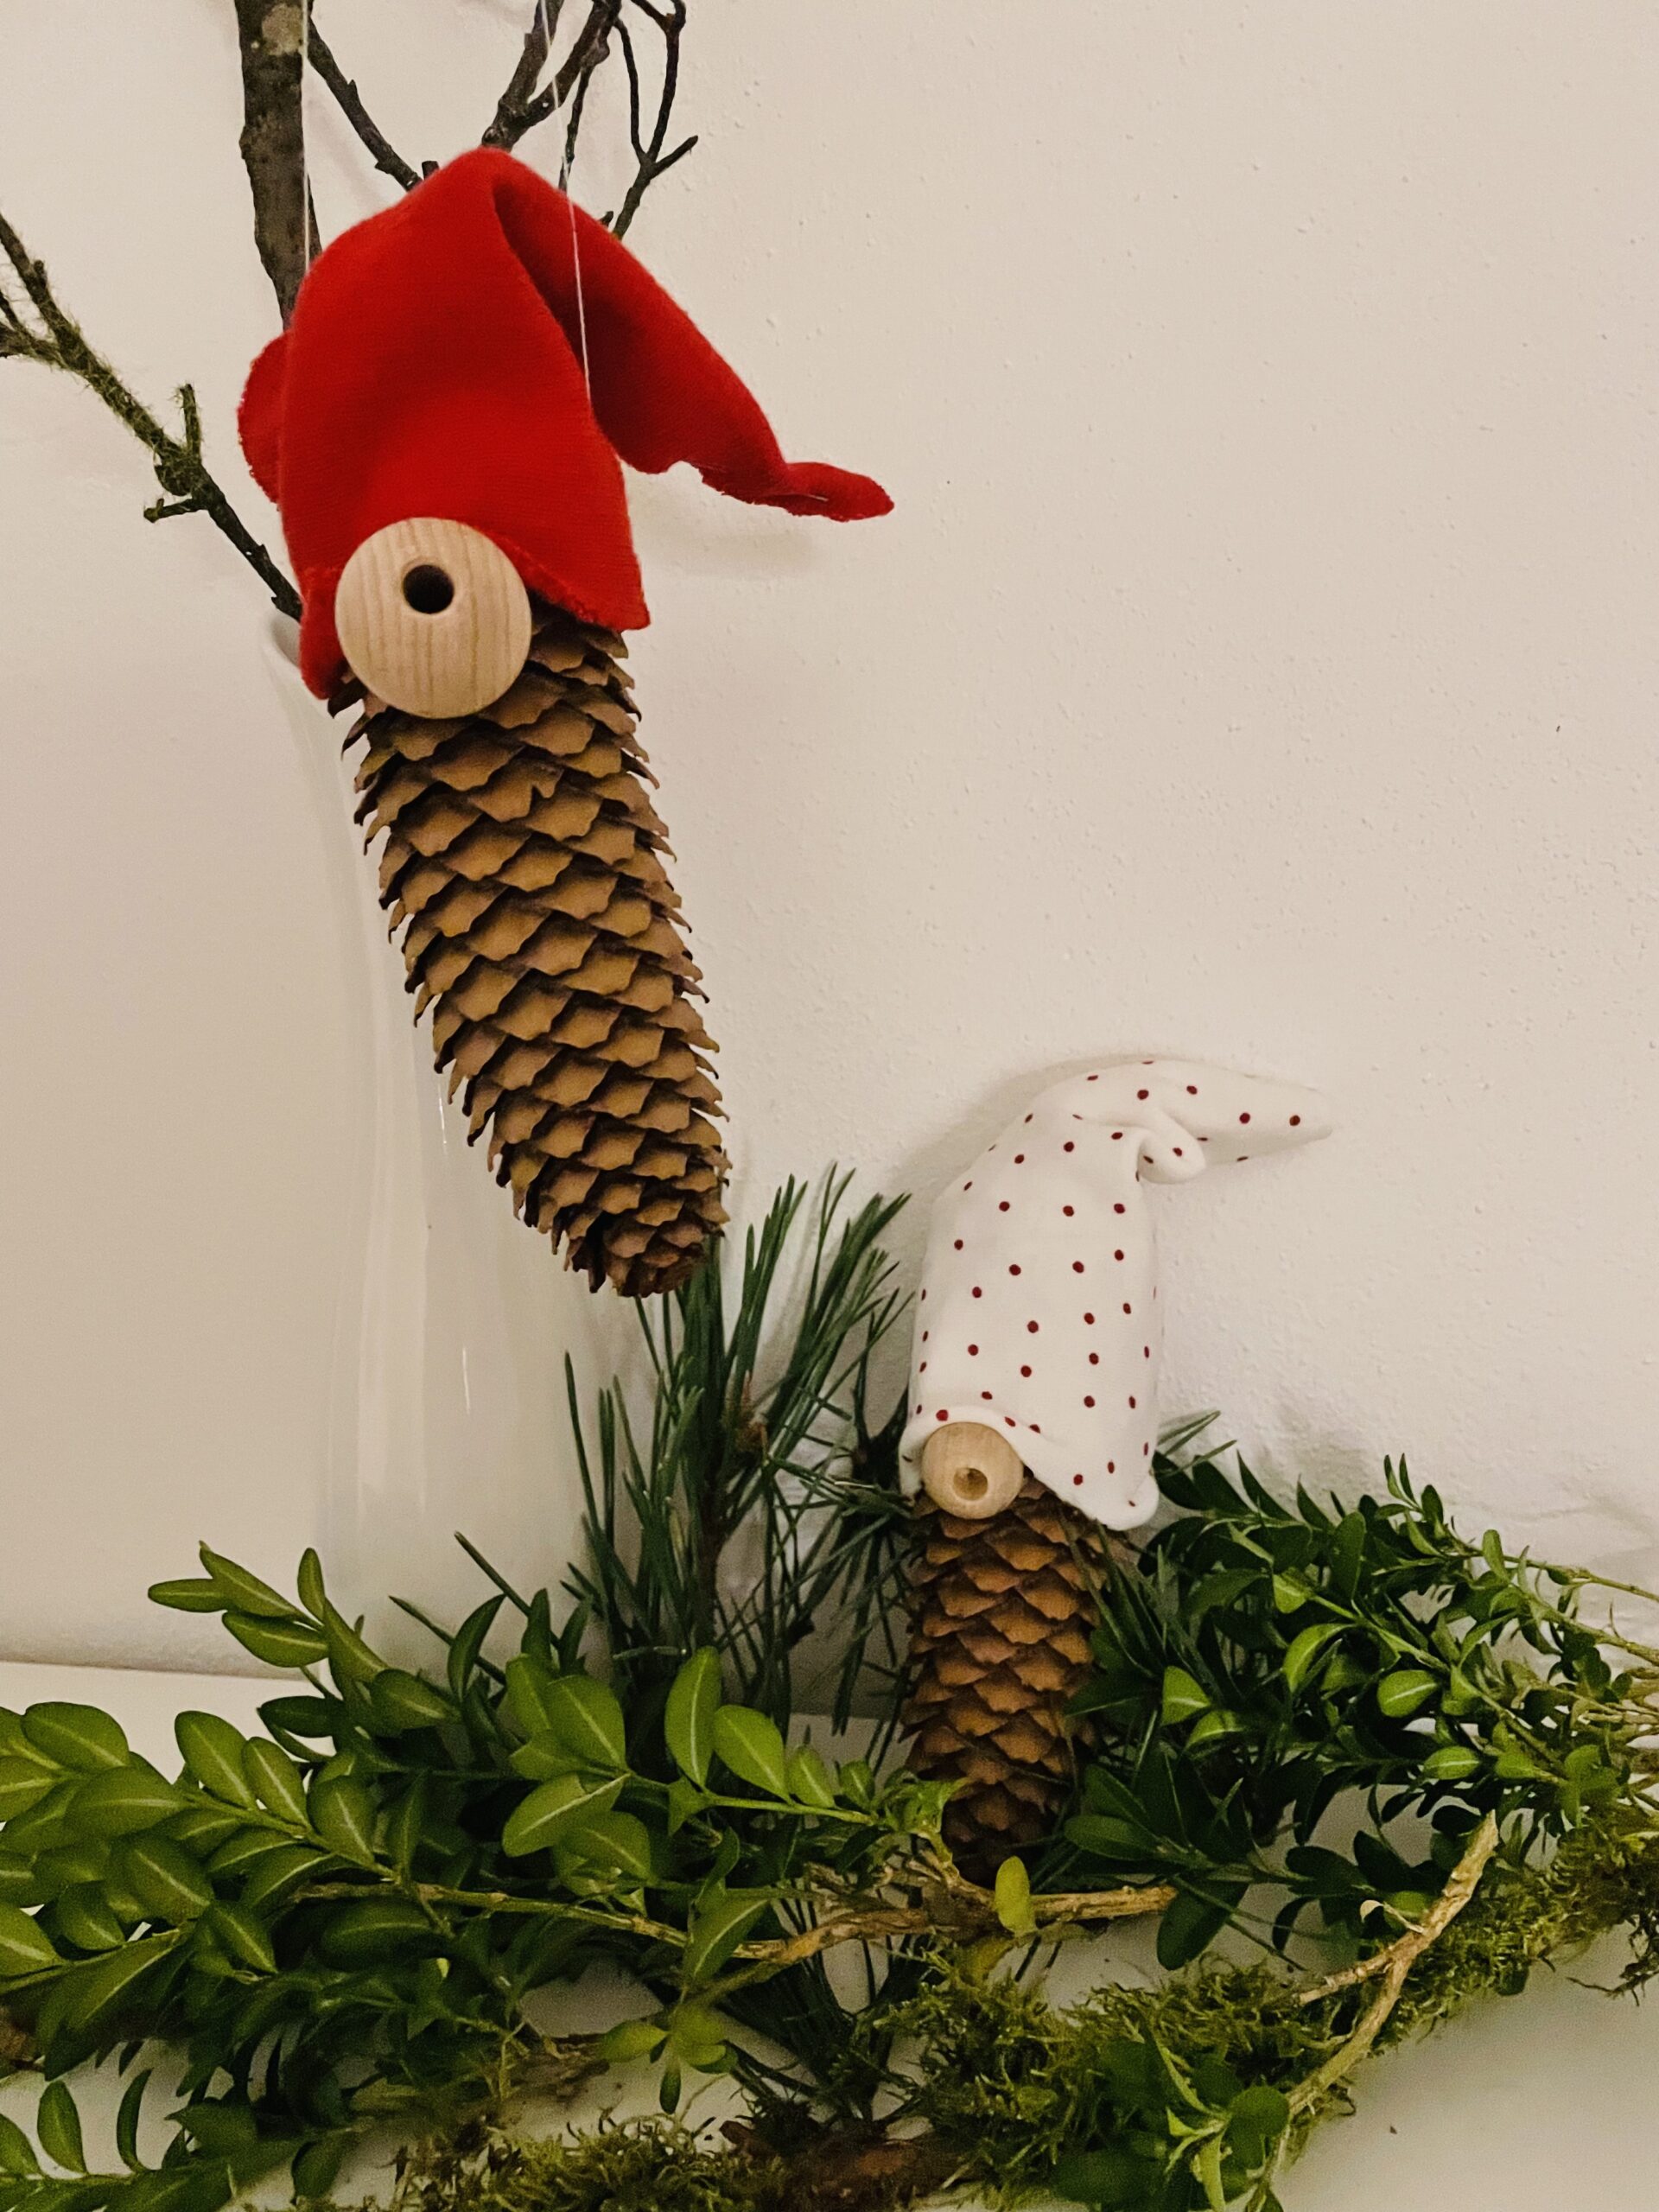
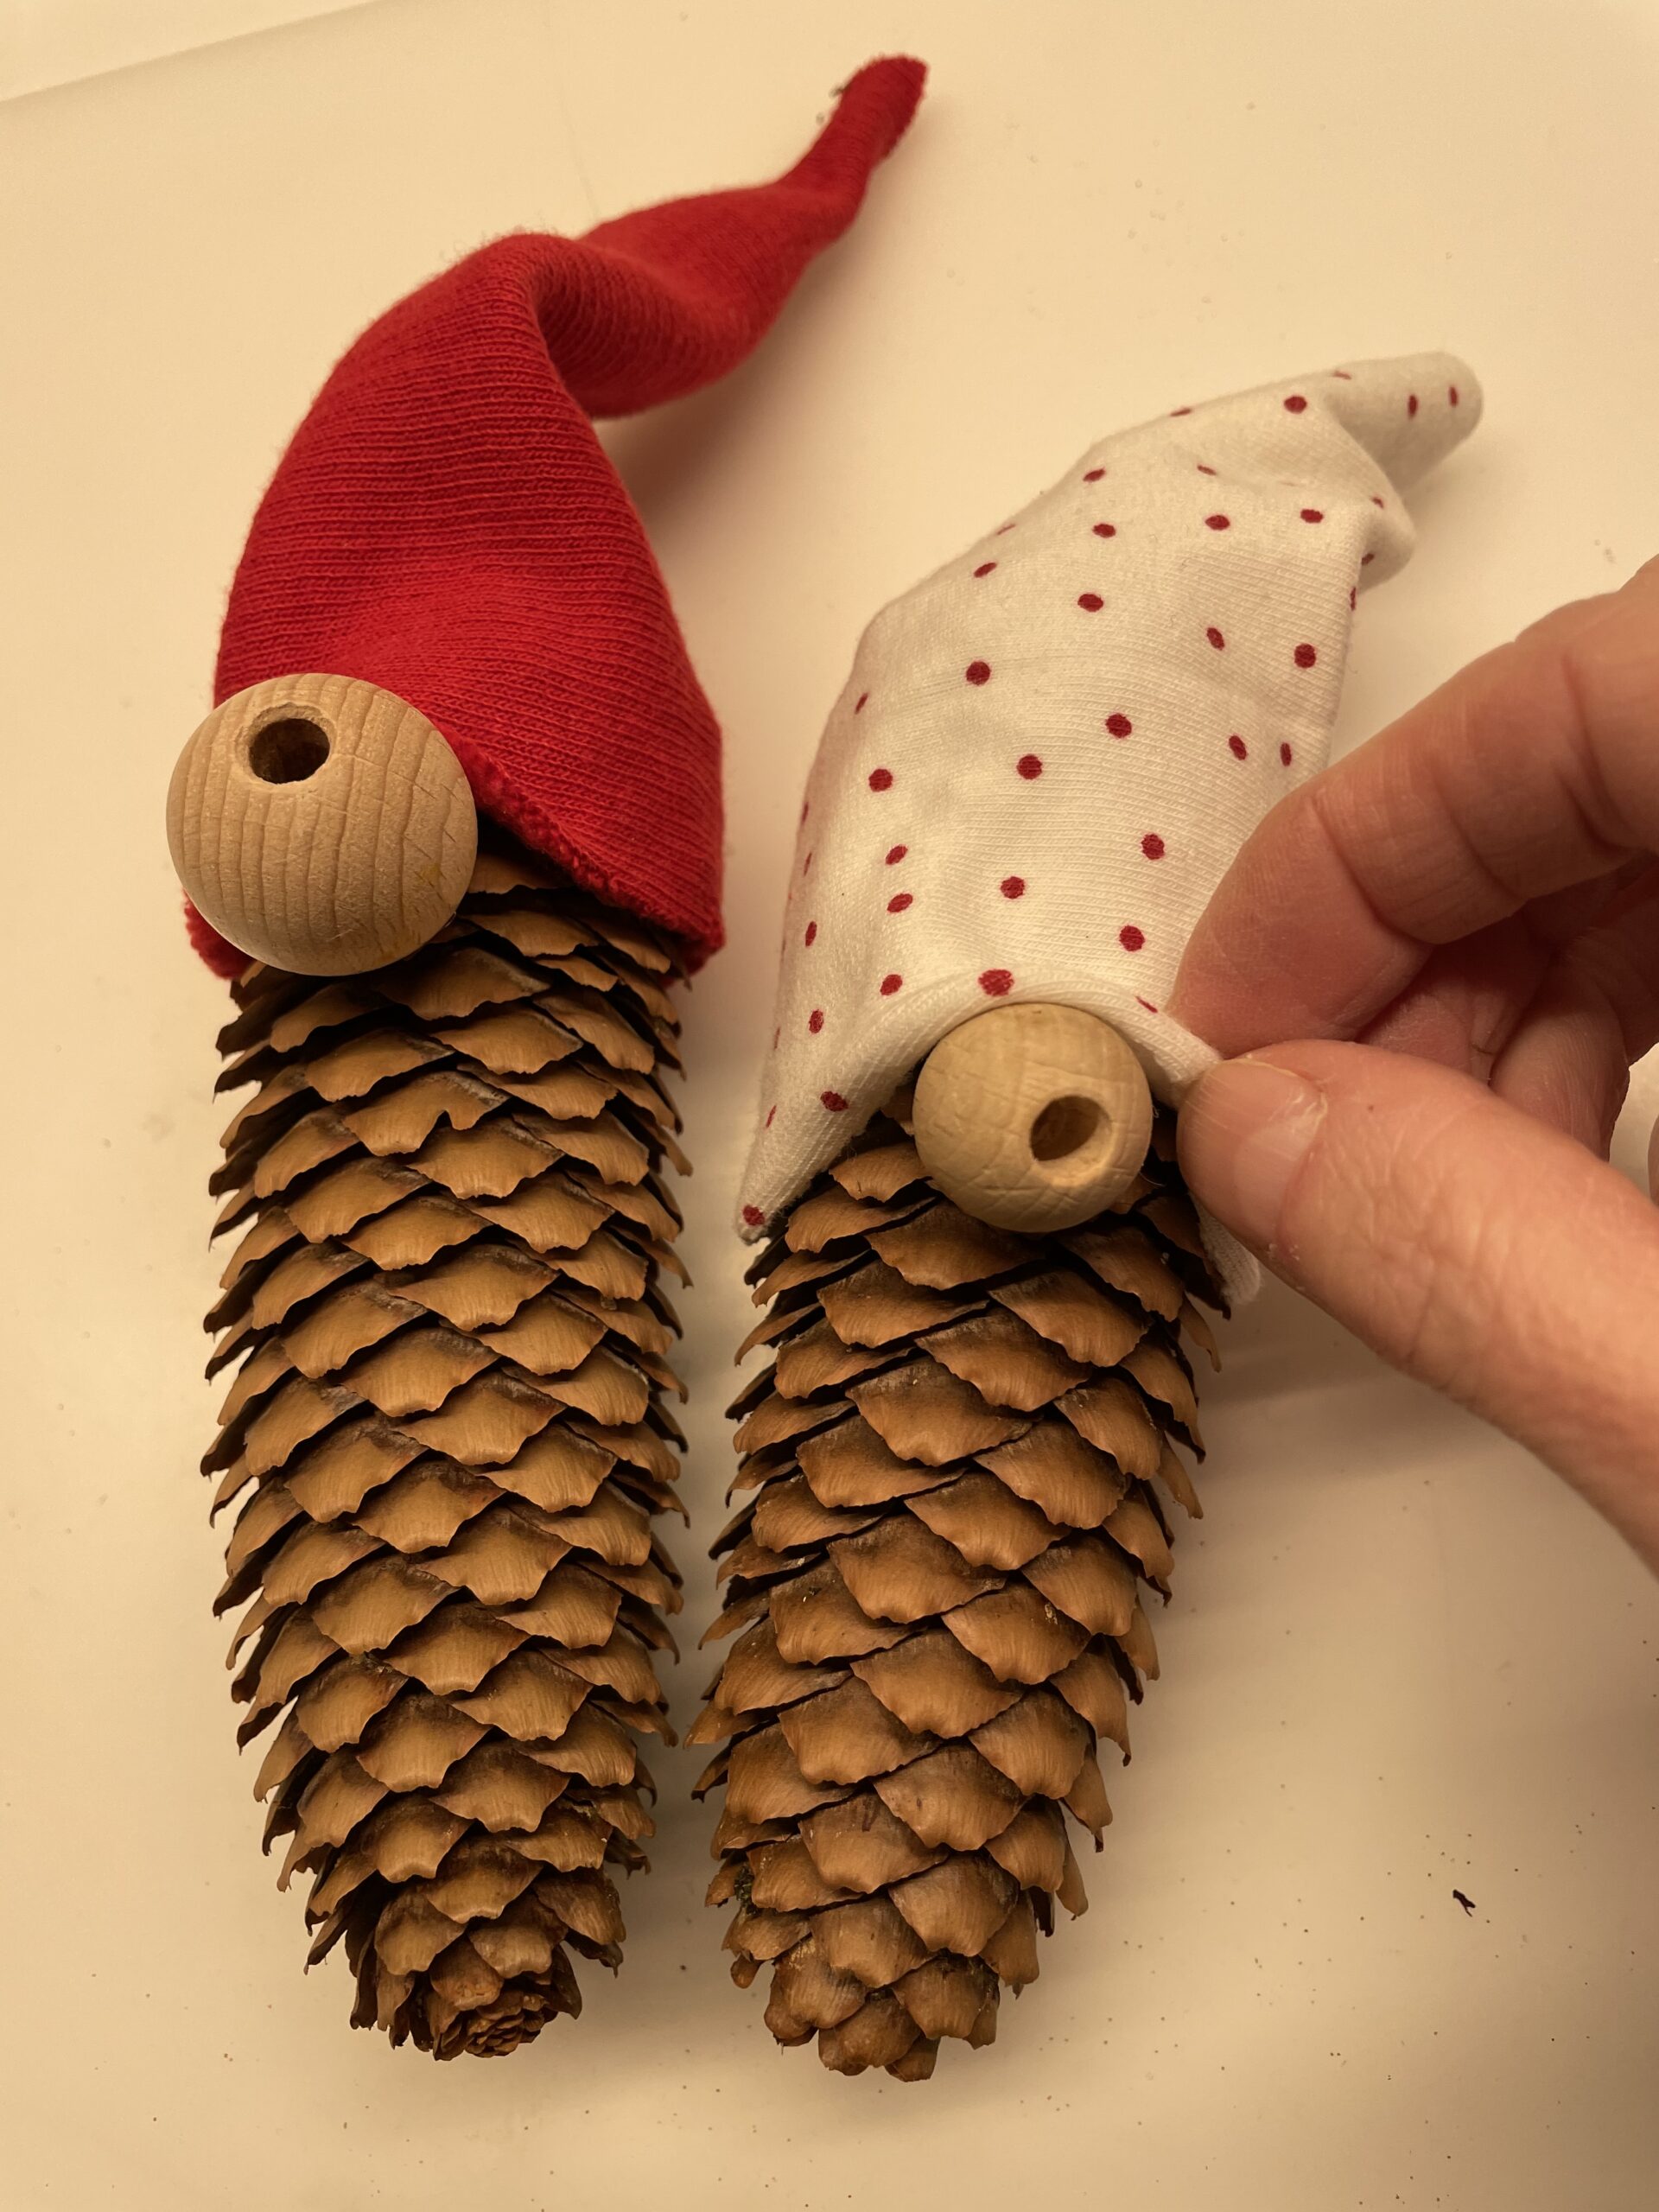
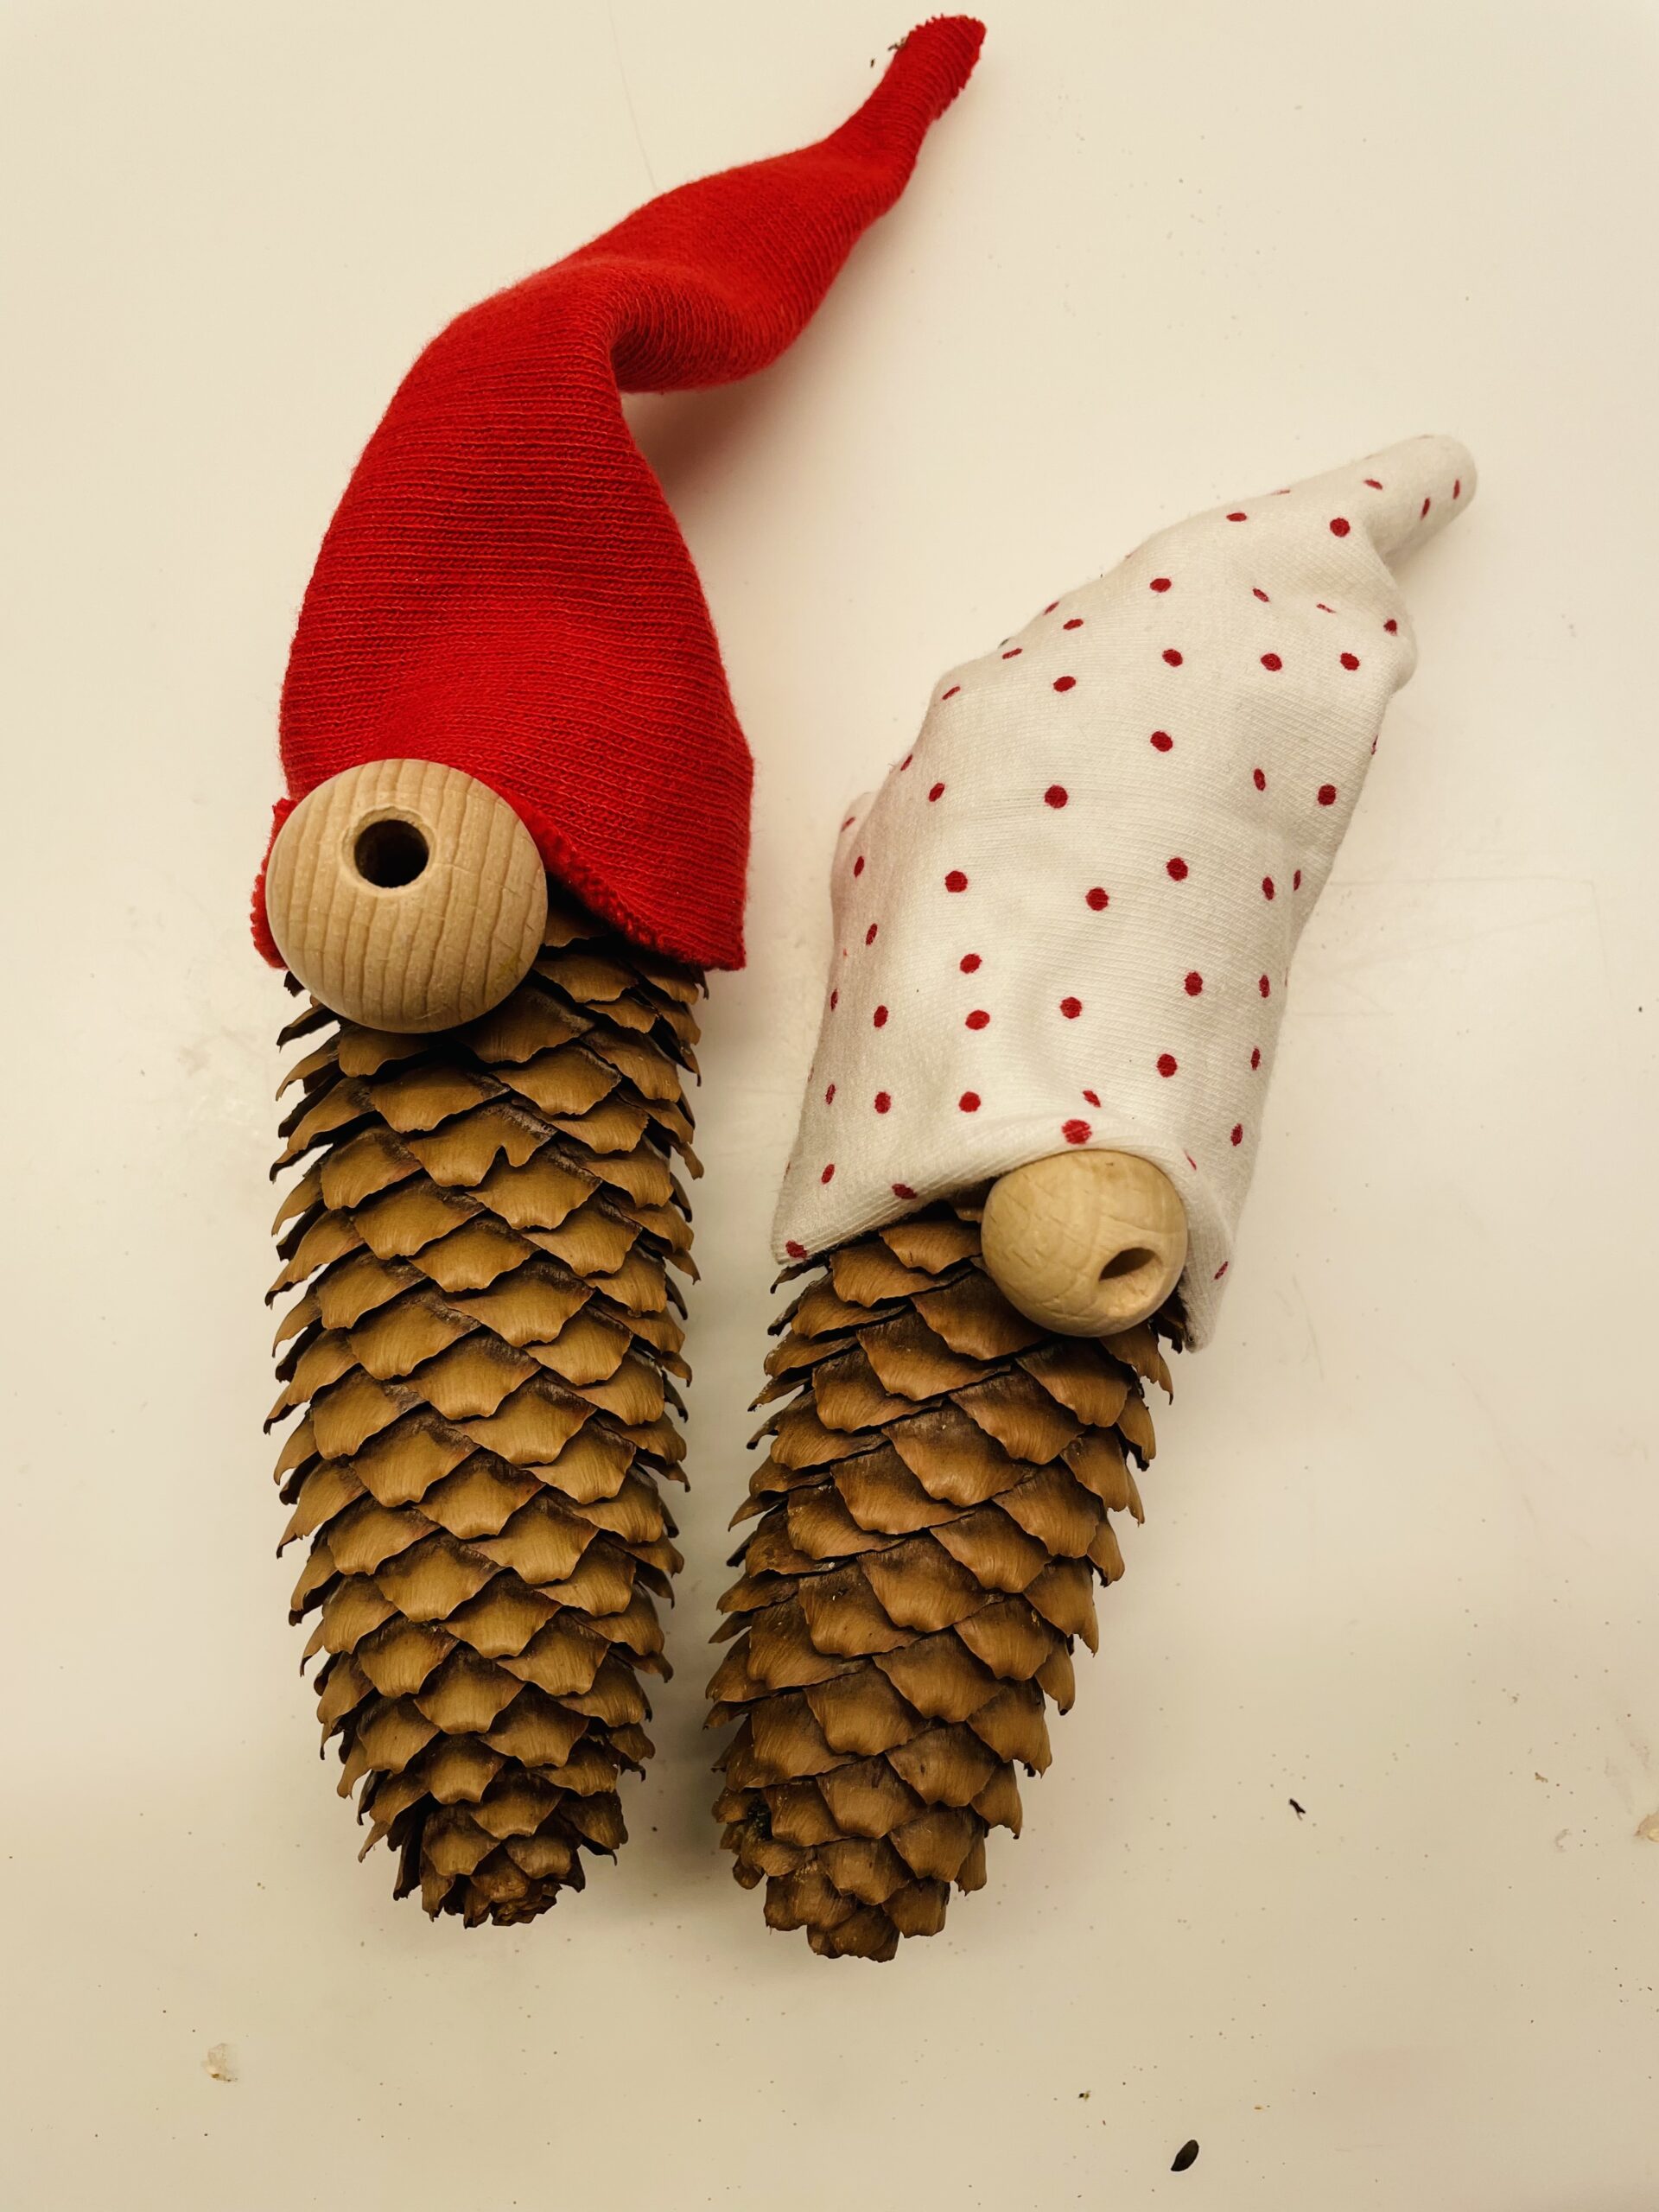
Makes so several cone wichtels, e.g. with different colored tip caps.

Bild zum Schritt 5 für das Bastel- und DIY-Abenteuer für Kinder: 'Bastelt so mehrere Zapfenwichtel, z.B. mit verschieden farbigen Zipfelmützen.'

6

2. Bild zum Schritt 5 für das Bastel- und DIY-Abenteuer für Kinder: 'Bastelt so mehrere Zapfenwichtel, z.B. mit verschieden farbigen Zipfelmützen.'

7

Then look for a nice place and decorate the cone wichtel.

Bild zum Schritt 7 für das Bastel- und DIY-Abenteuer für Kinder: 'Anschließend sucht einen schönen Platz und dekoriert die Zapfenwichtel.'

8

Enjoy crafting and decorating!

Bild zum Schritt 8 für das Bastel- und DIY-Abenteuer für Kinder: 'Viel Spaß beim Basteln und Dekorieren!'