This sewing project has a simple cut and is still demanding and requires a precise procedure that can be implemented with the help of step by step instructions.
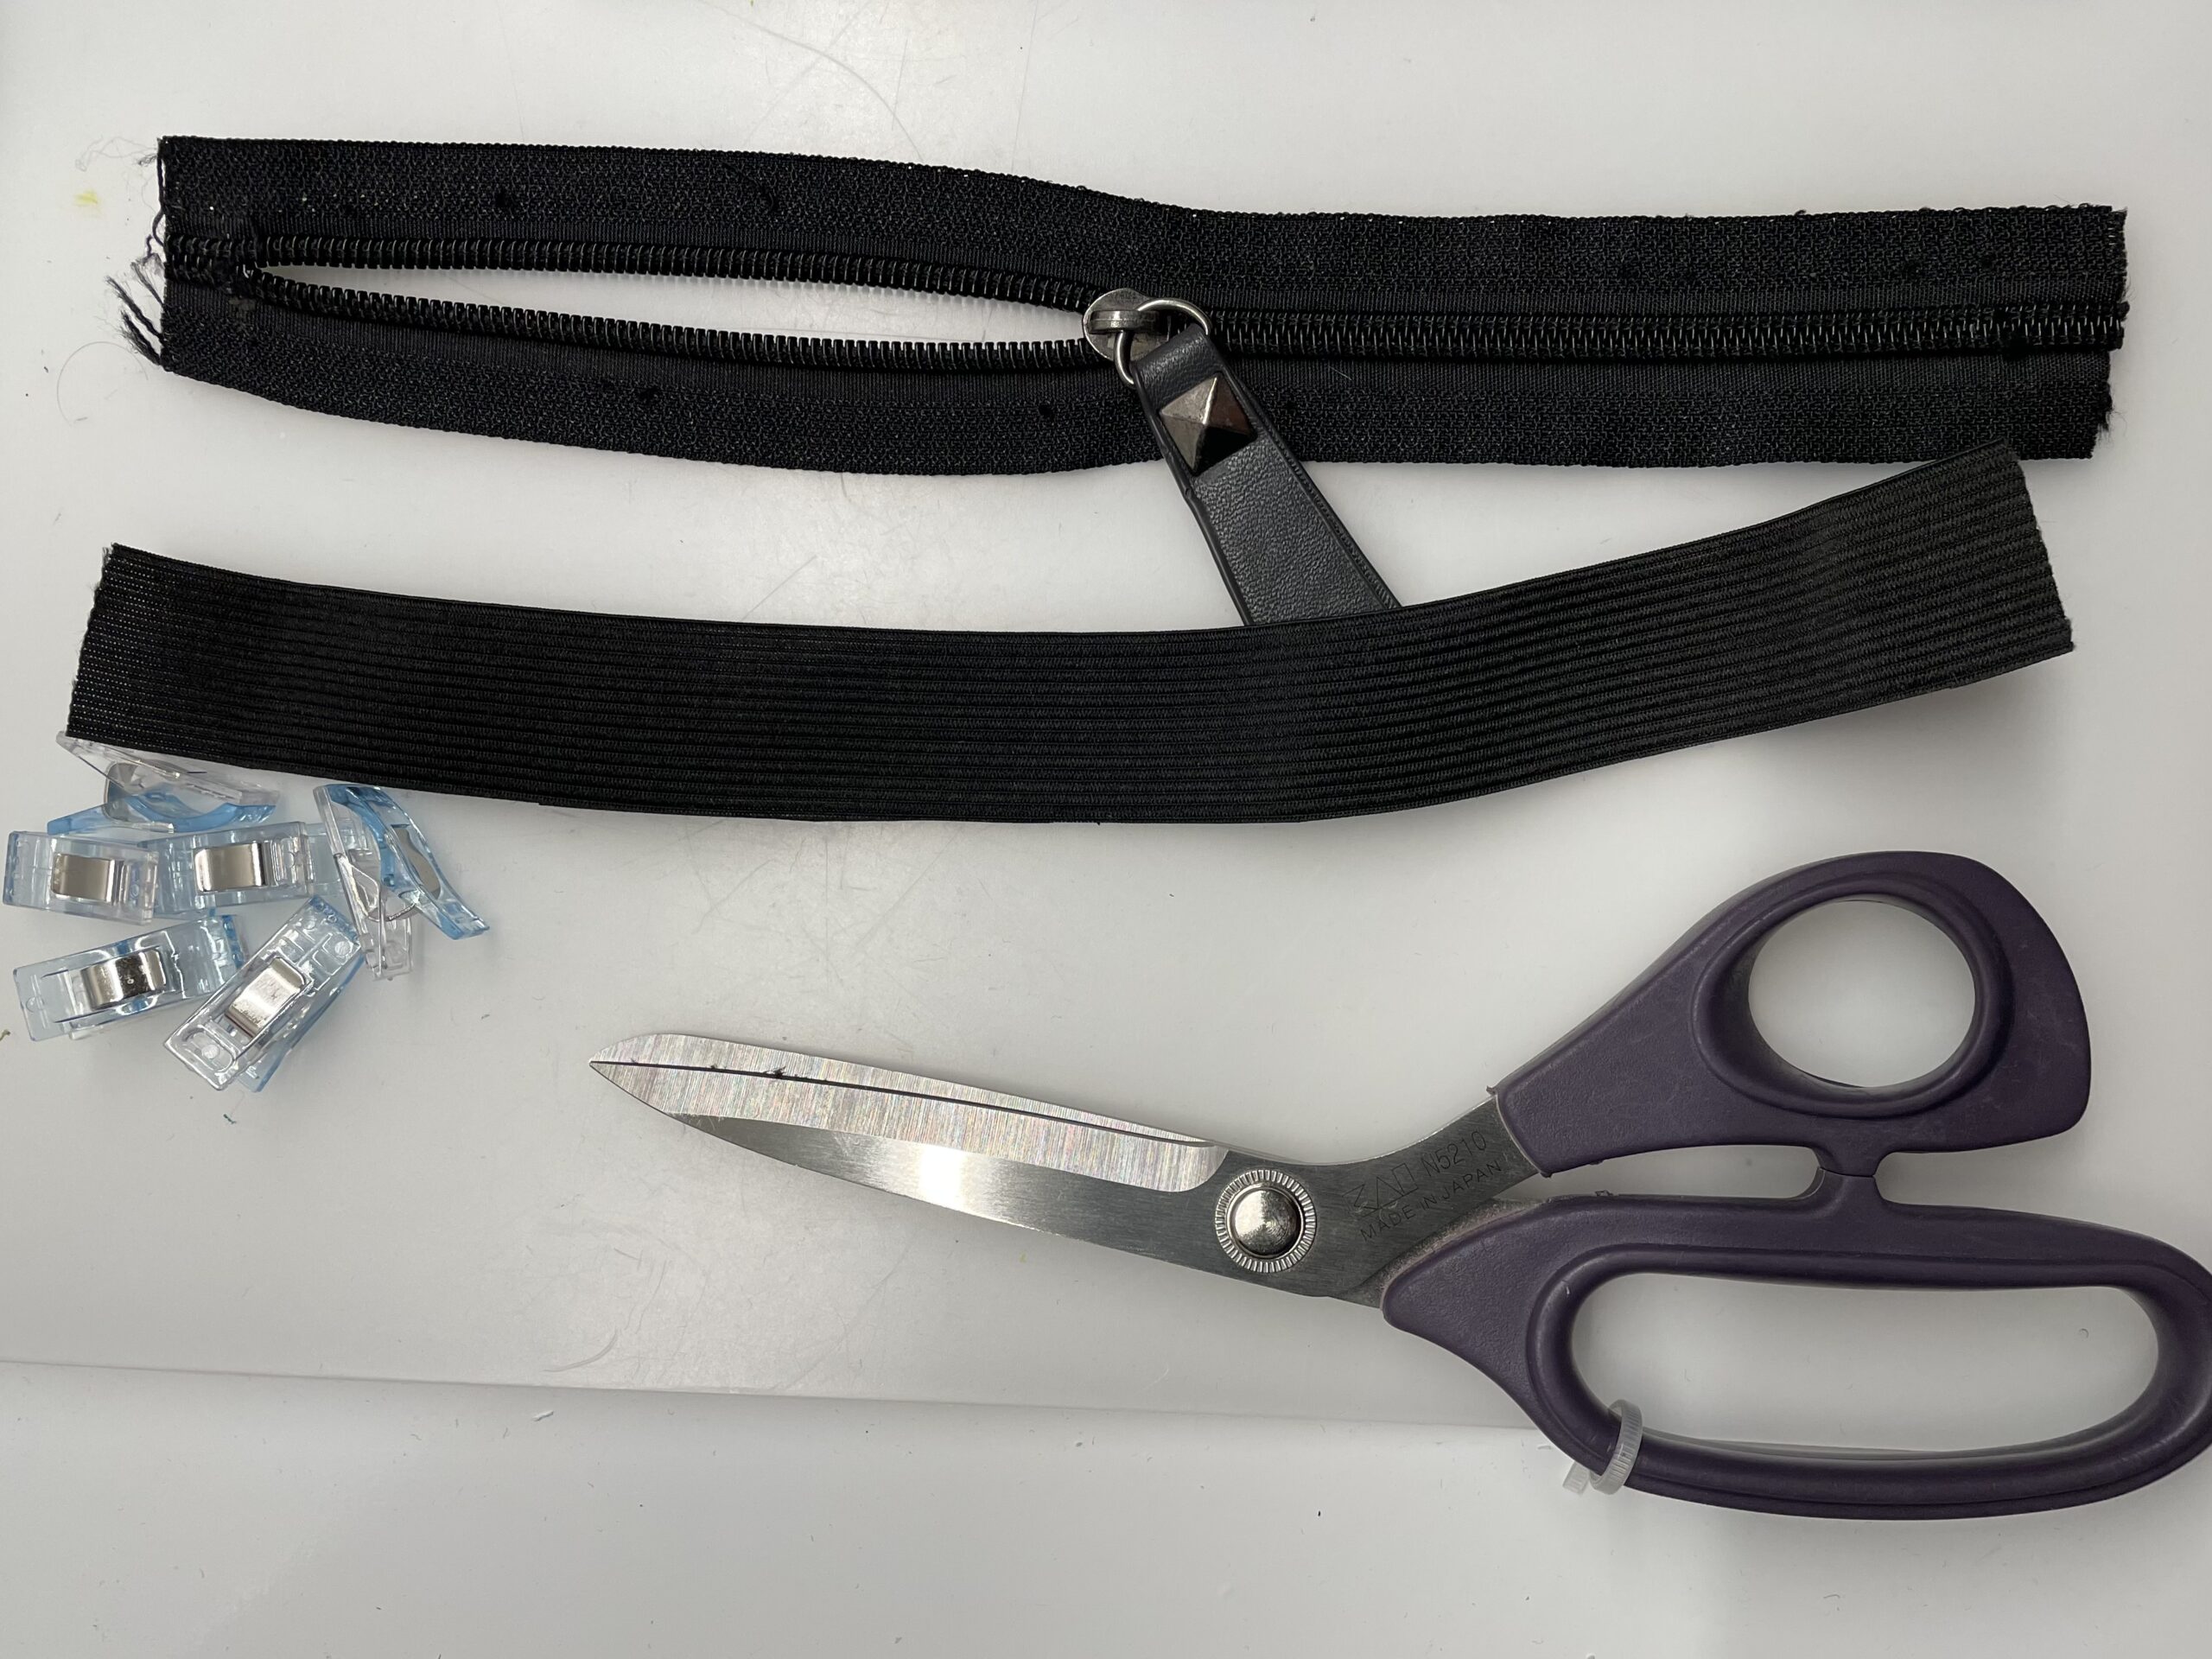
Choose a firmer cotton fabric and a thinner inner fabric. Both fabrics should not be stretchy. A 20cm long zipper and a wide rubber band are also required.
Then you can start already.
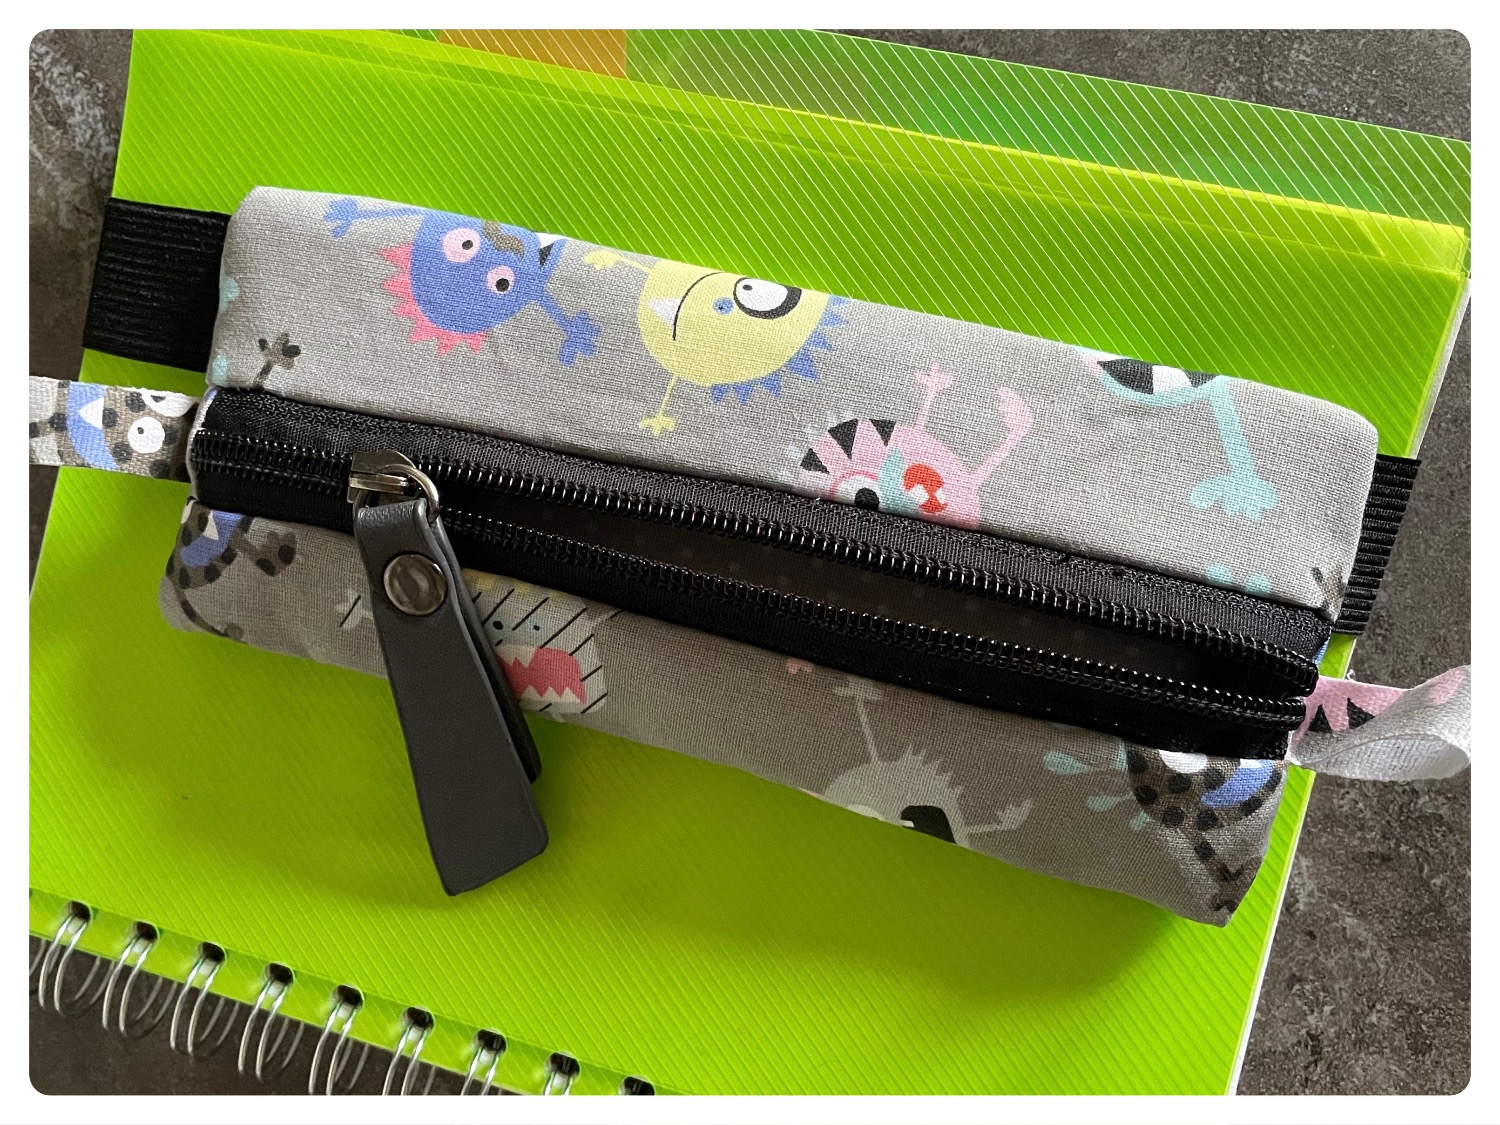
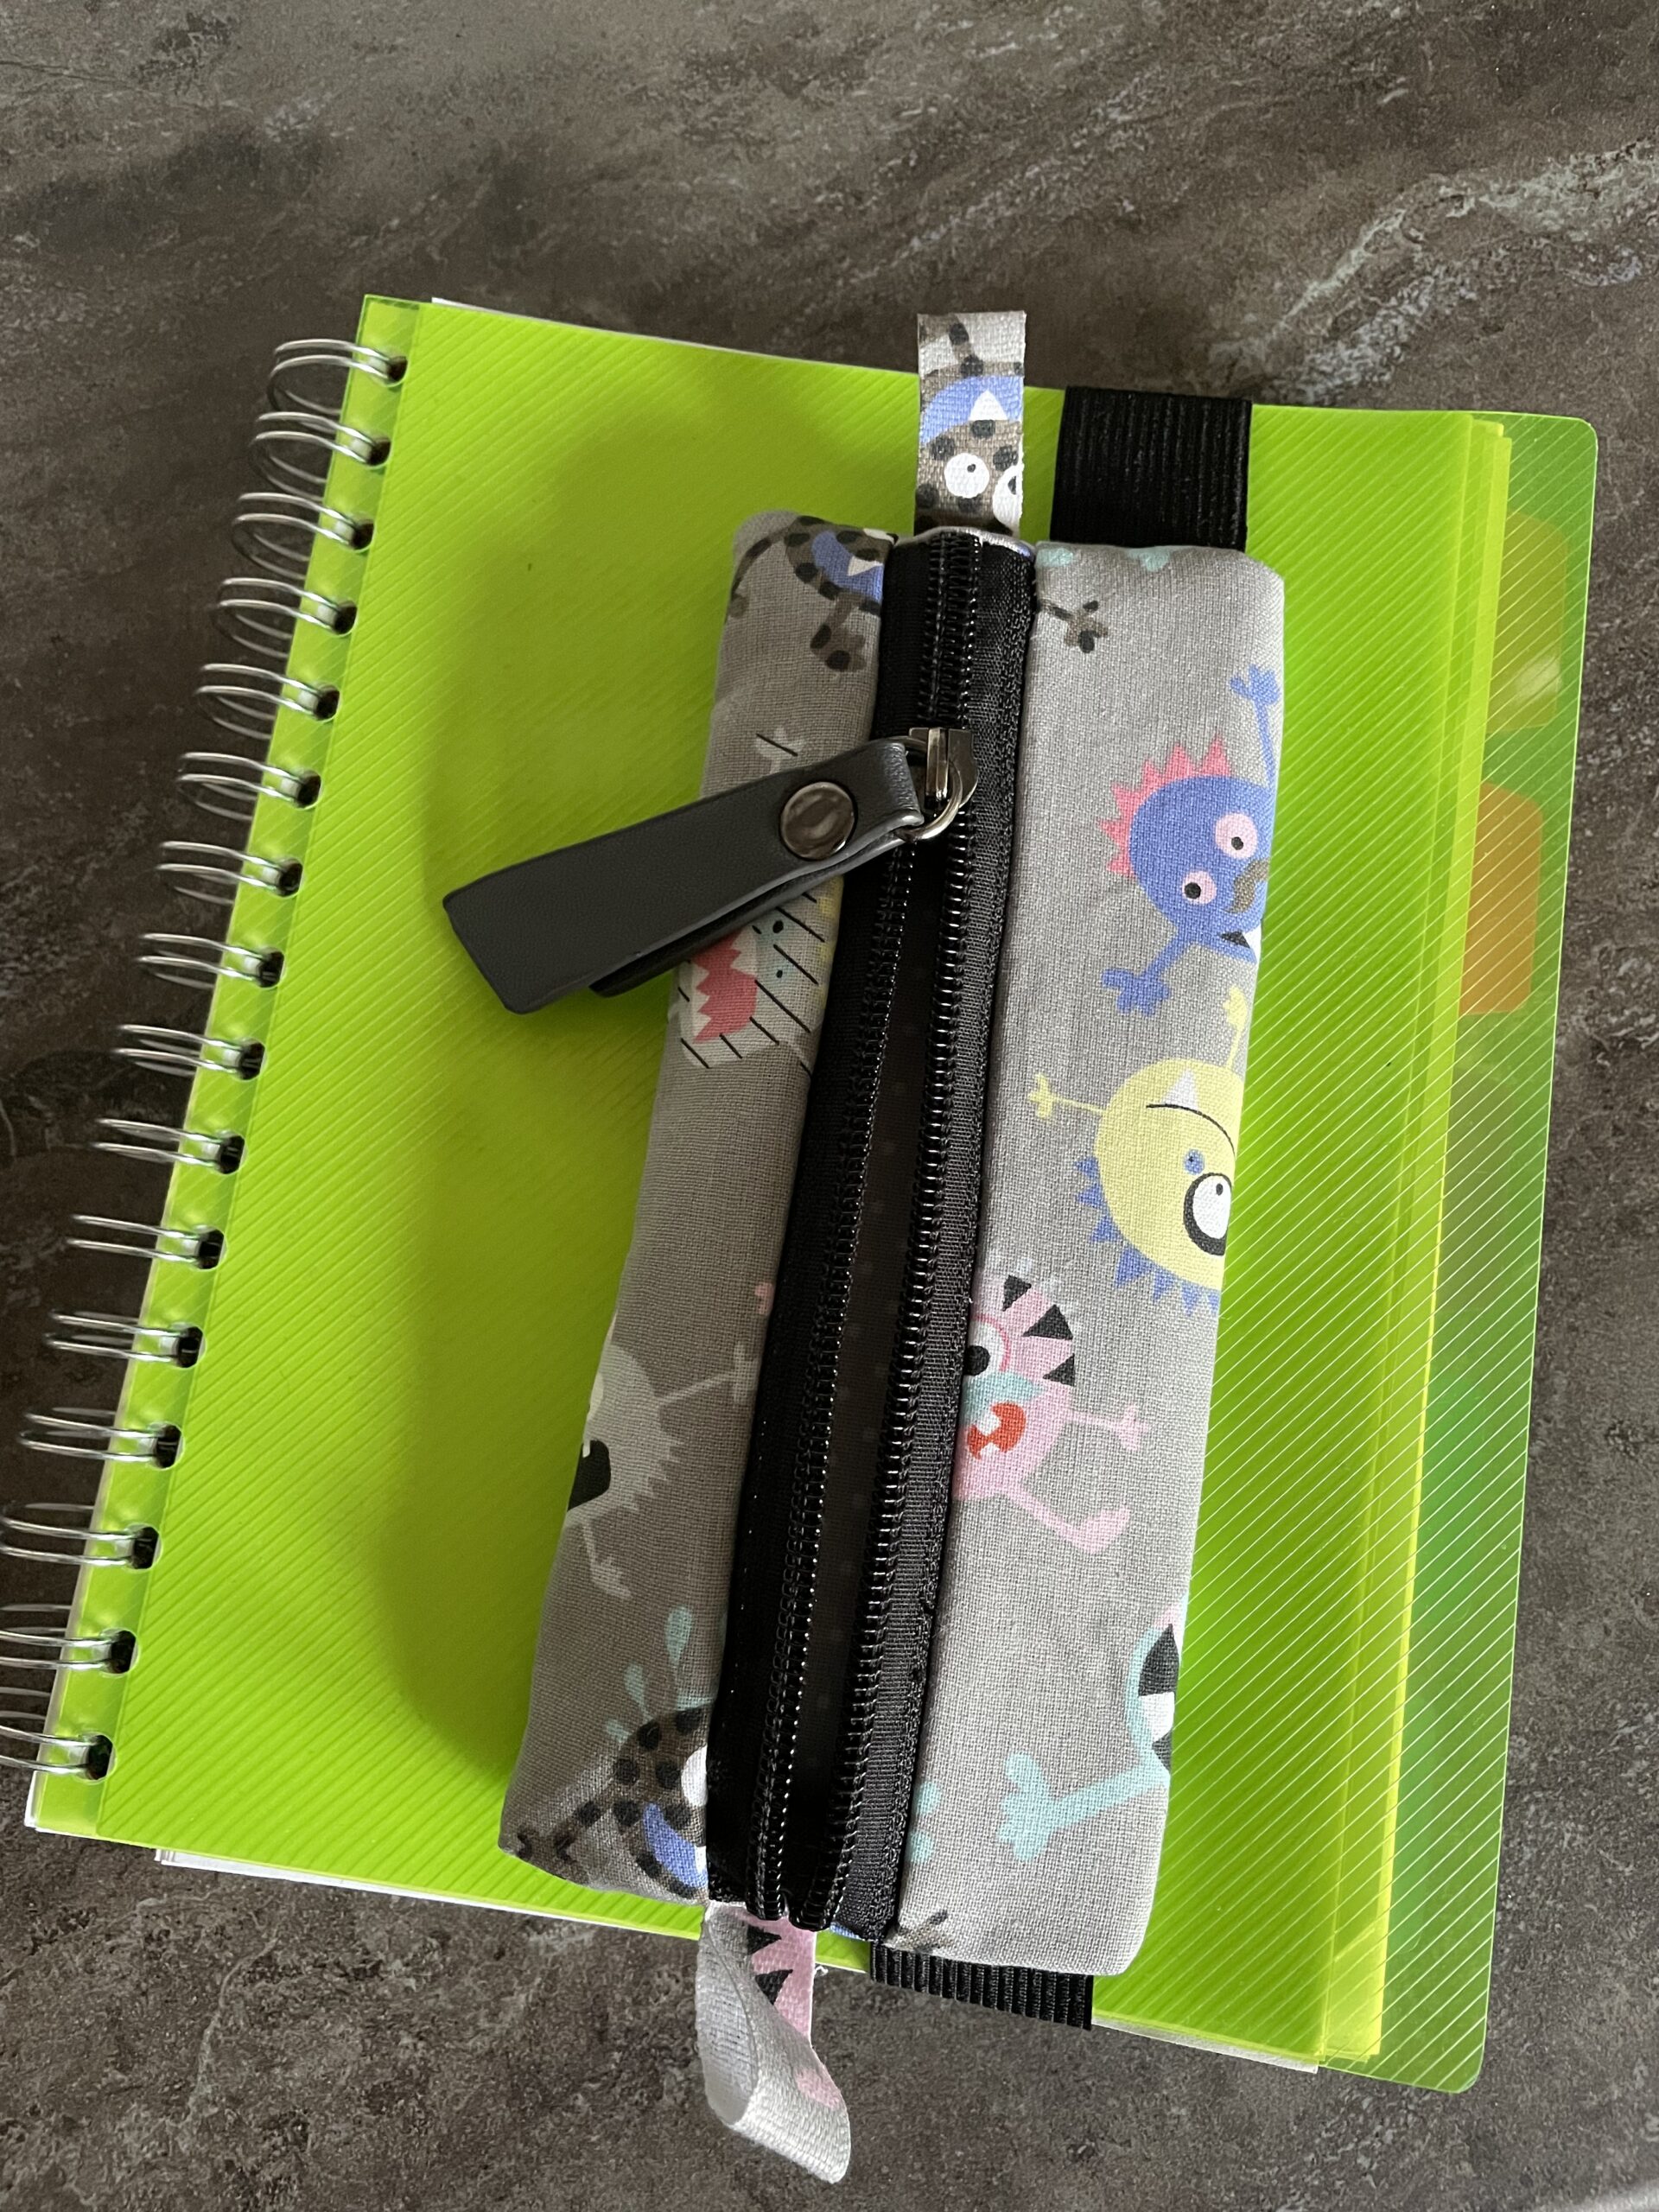
Follow the instructions and you will get a nice pen case which you can attach by a DIN A 5 block. You can fill this case with pens. Have fun trying out.
Choose your fabric. It should be a non-stretchable cotton fabric. A firmer fabric can be used as an outer fabric. If the outer fabric is very thin, it will be reinforced by an ironing tile. (Alternatively, you can use a fleece dishcloth! Then just double the fabric!) A thin cotton fabric is suitable for the inner fabric. Cuts one outer part and one inner part each. Both should have a size of 24cm x 15cm each. Here the seam allowance is already included. In addition, you need two small pieces of fabric of approx. 5cm x 2.5 cm from the outer fabric.
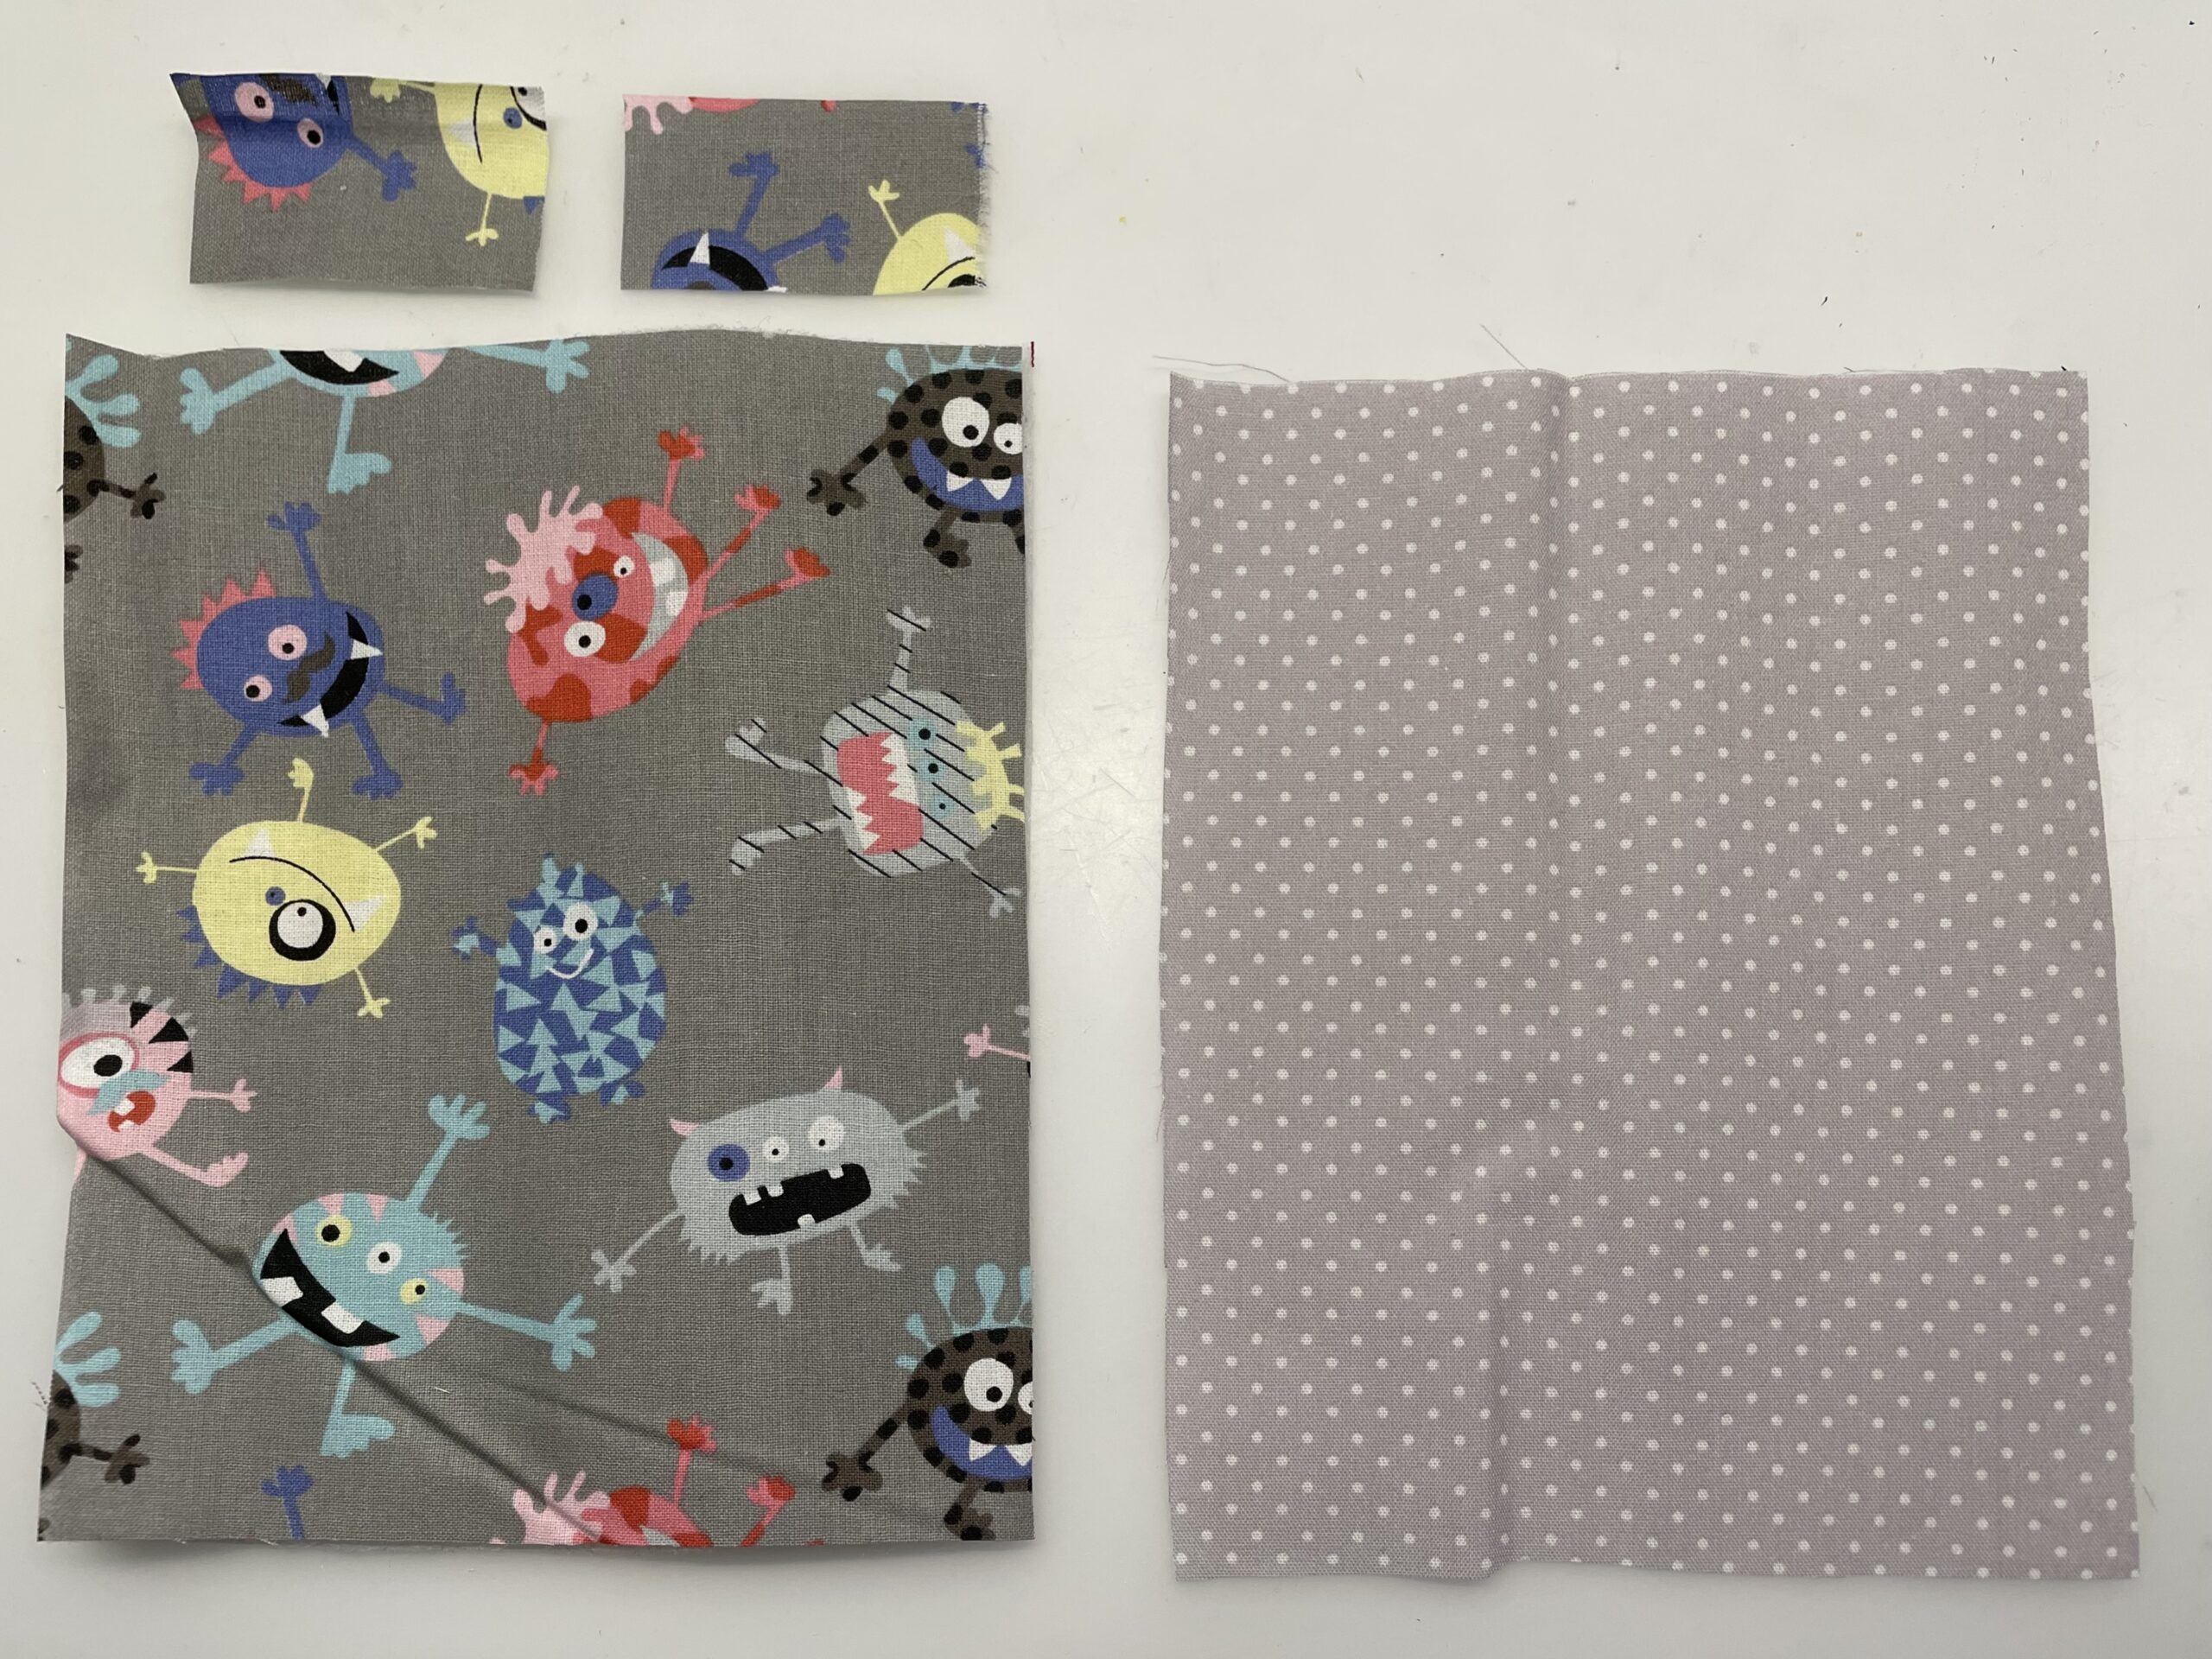
A zipper in the length of at least 20cm to 24cm is required and a rubber band with the length of 24cm x 1-2 cm width.
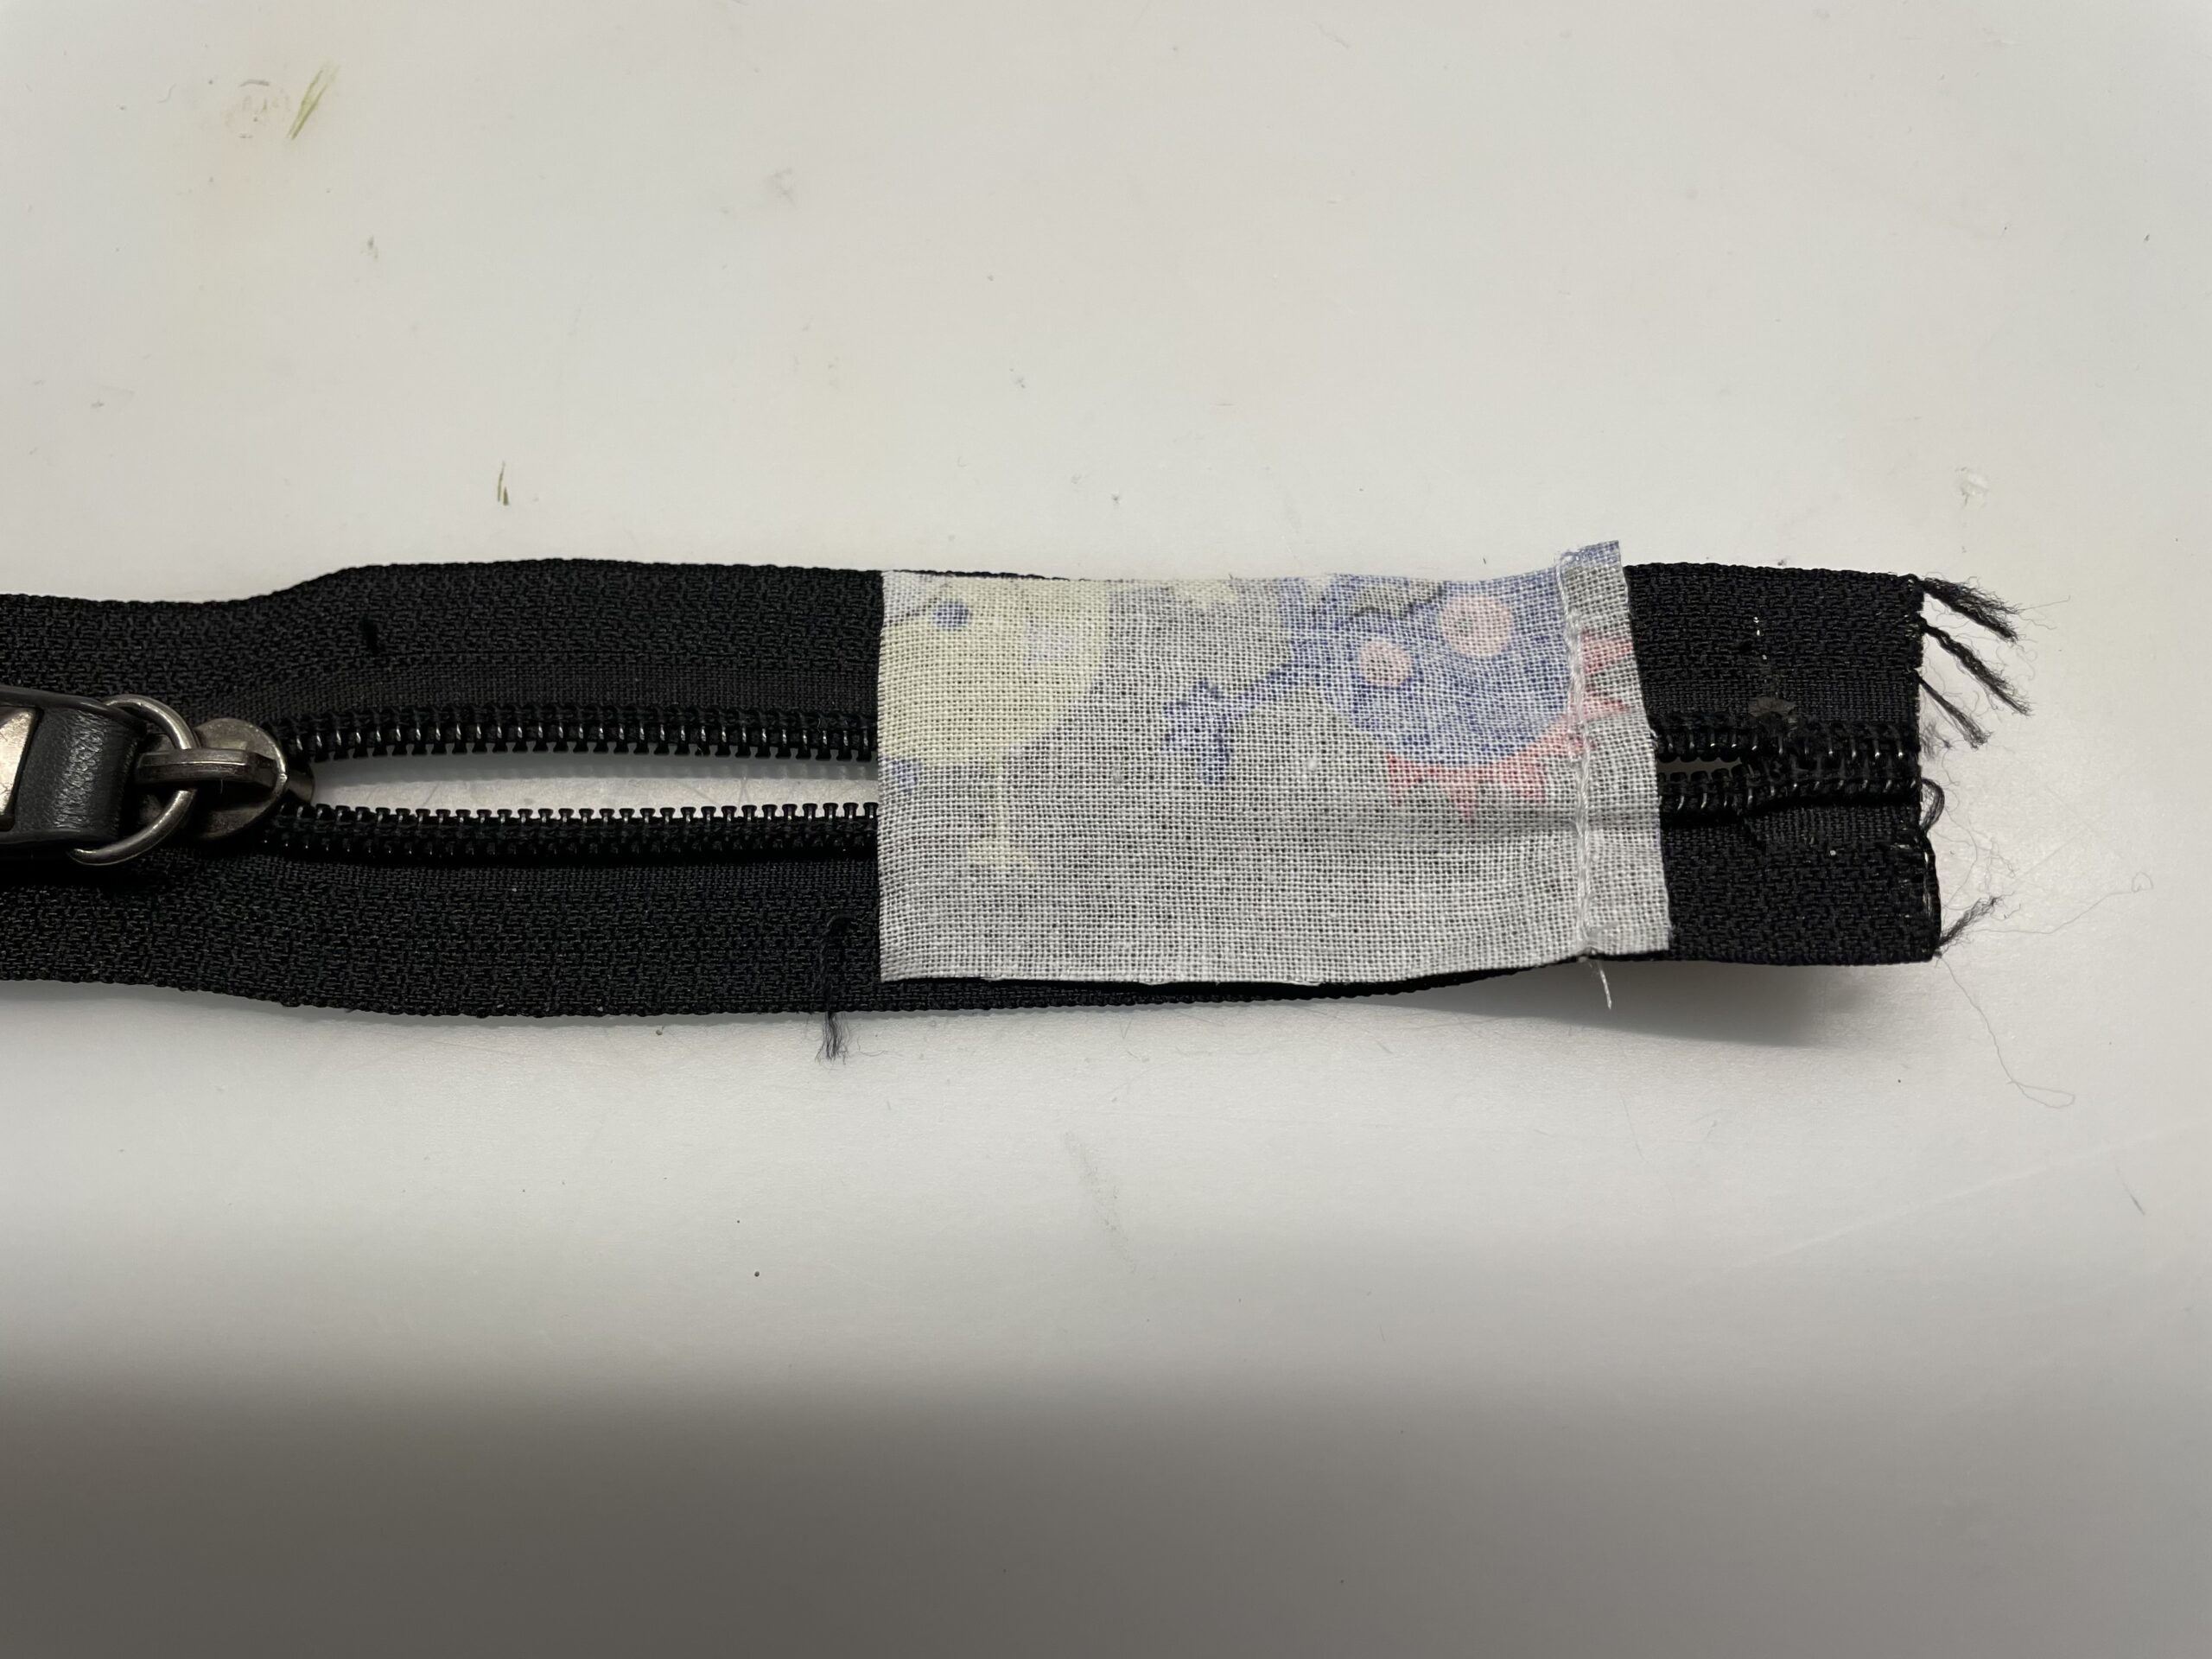
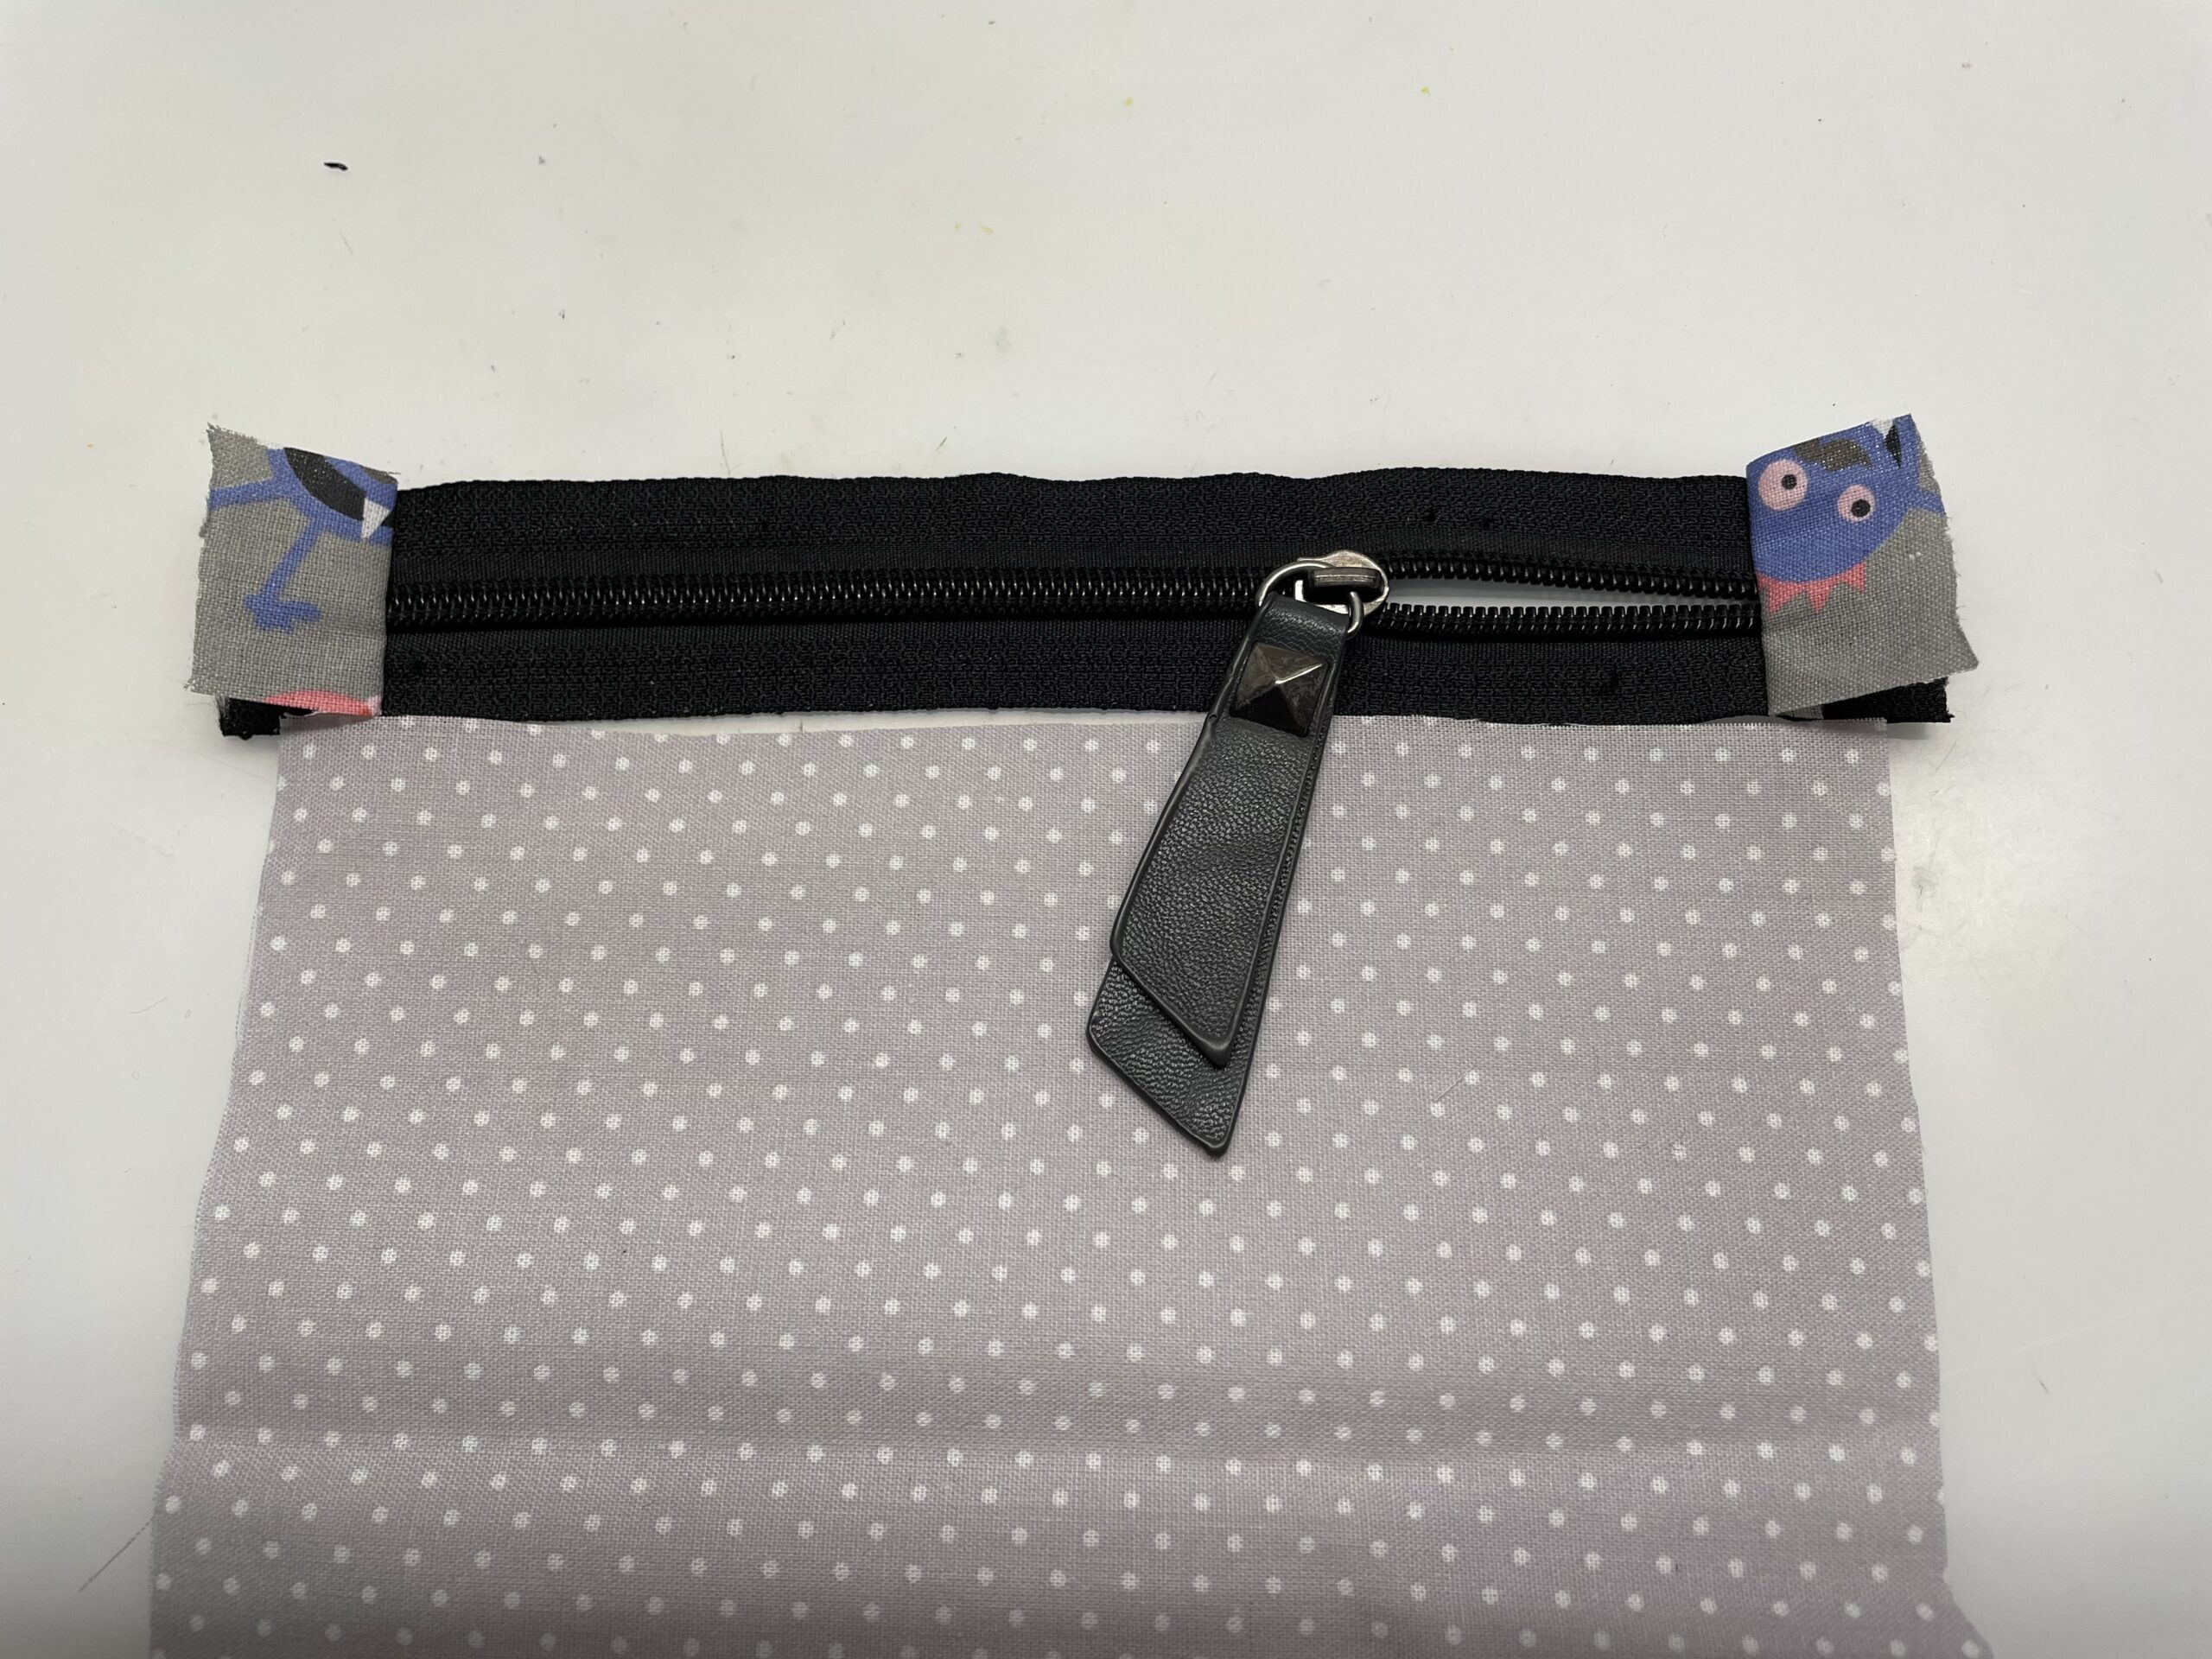
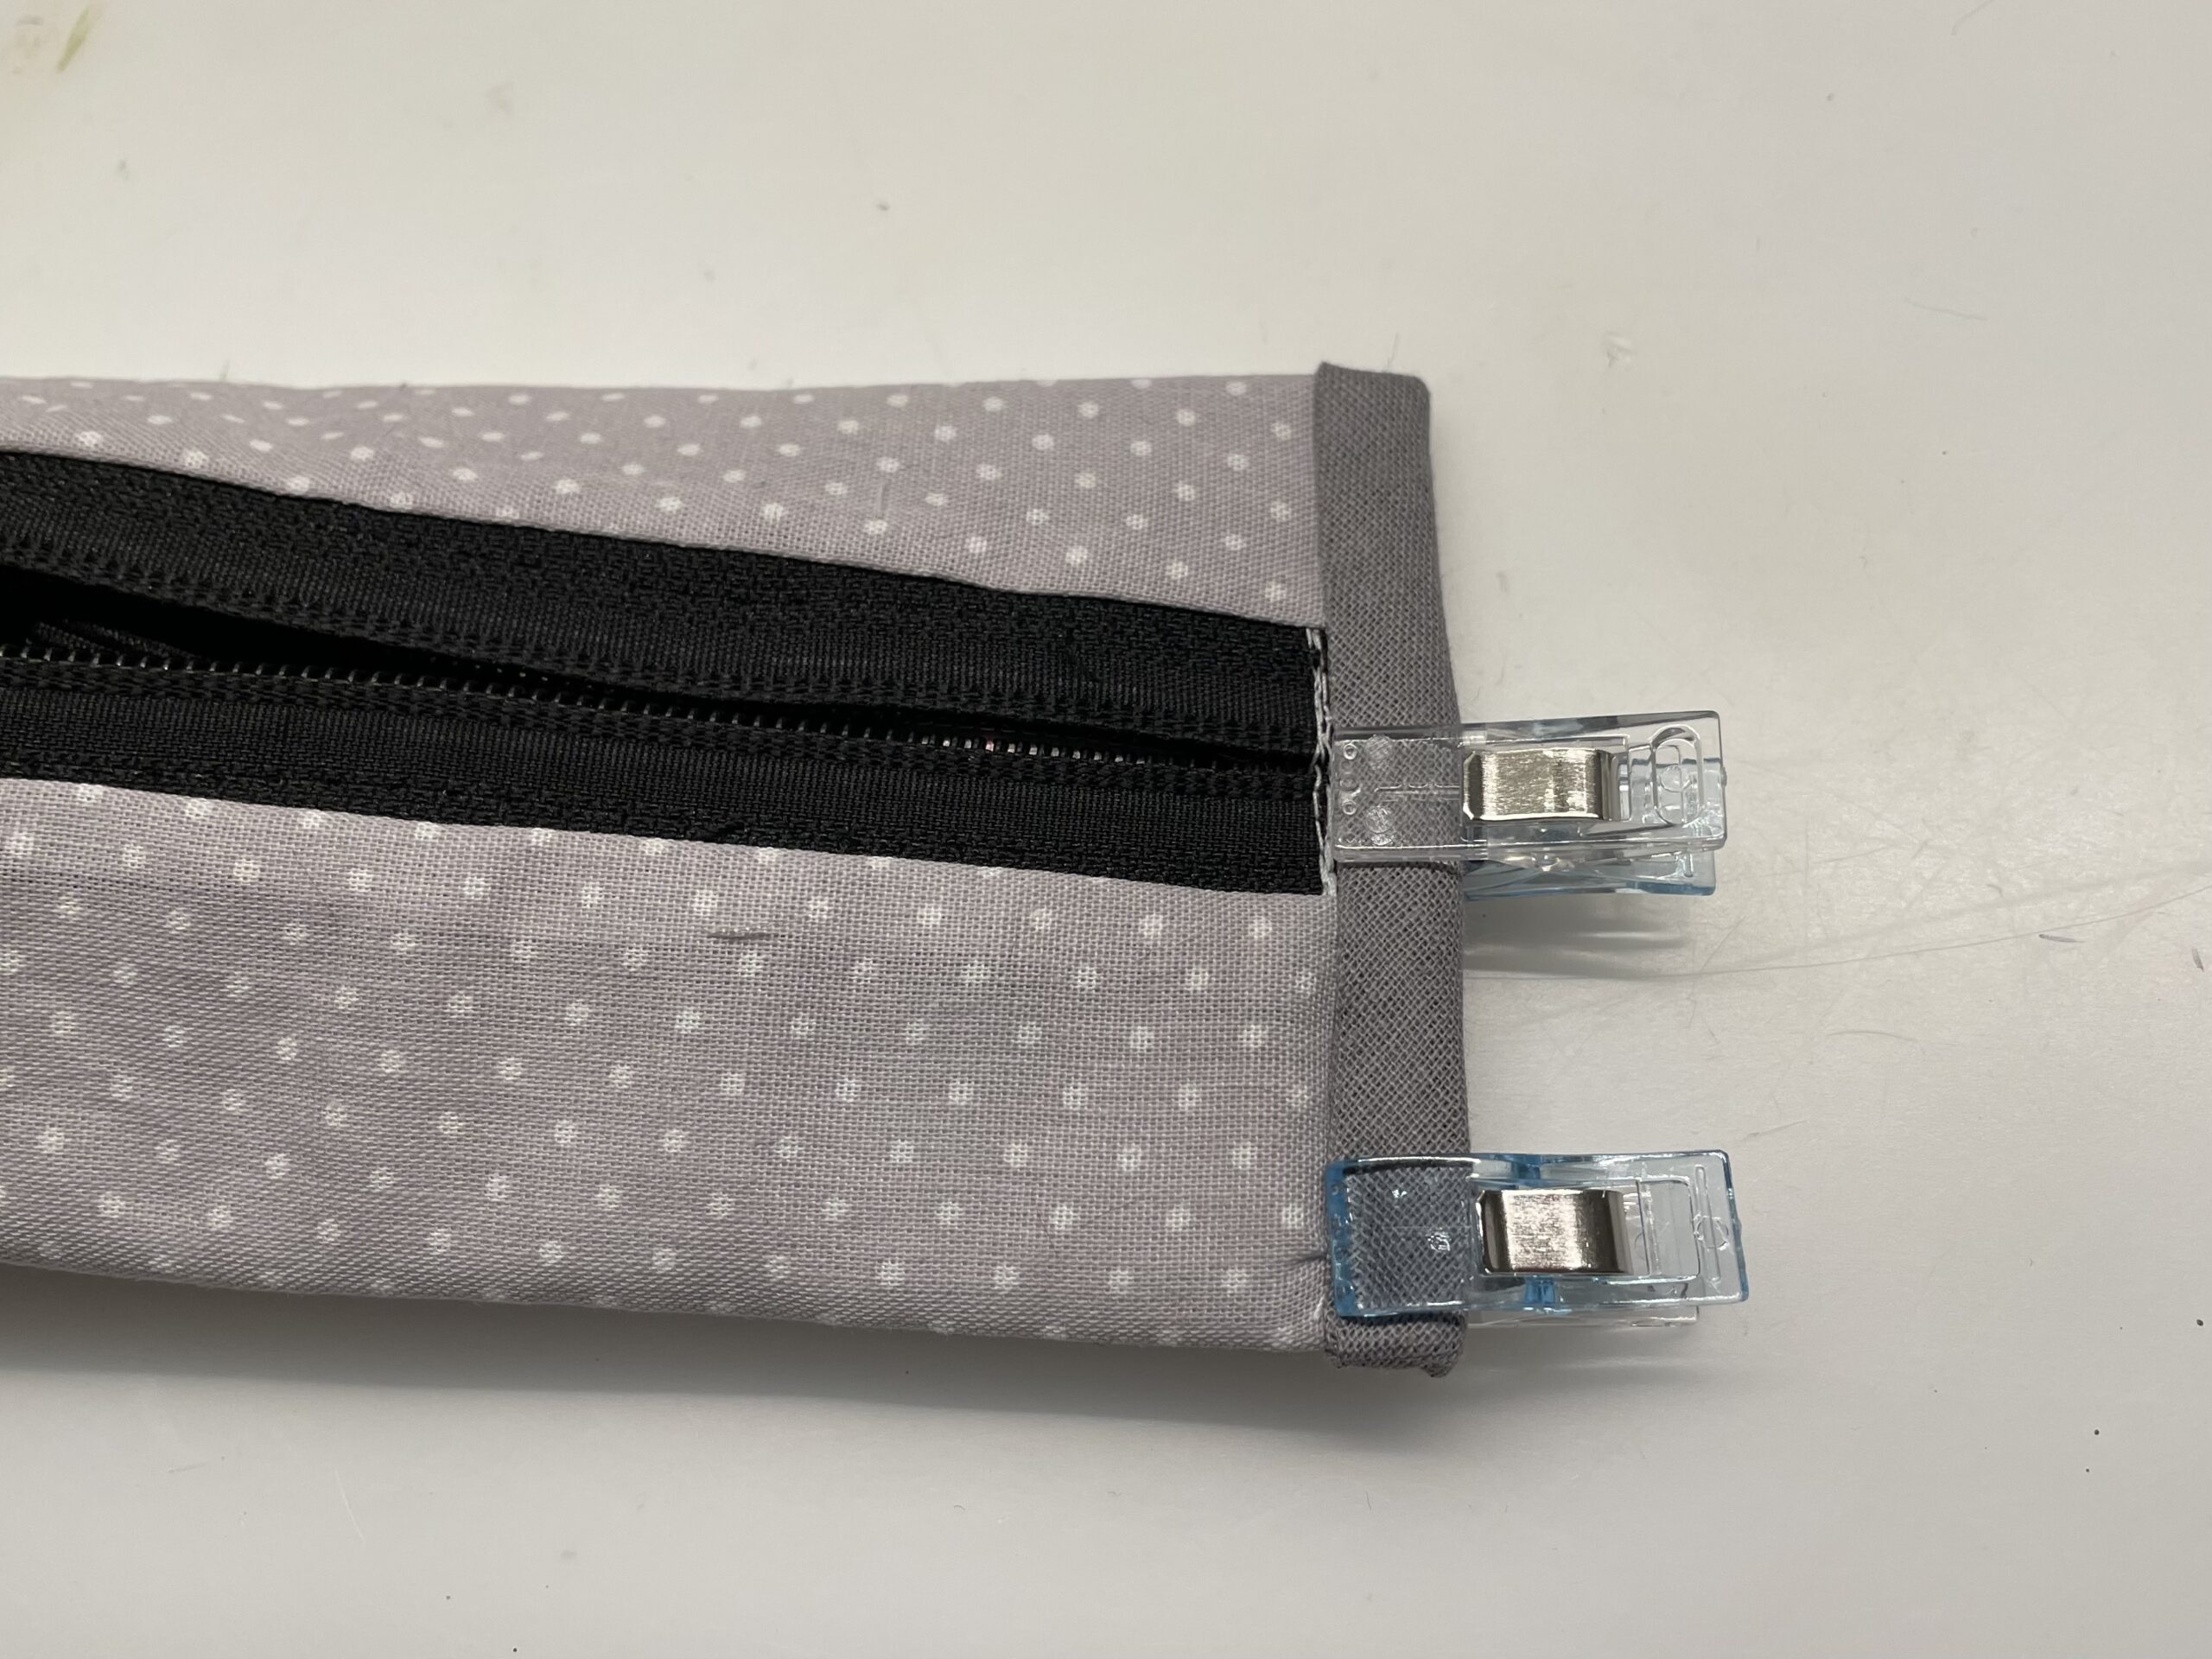
First take the zipper and two short pieces of fabric. These are sewn to the left and right of the zipper to properly limit the zipper.
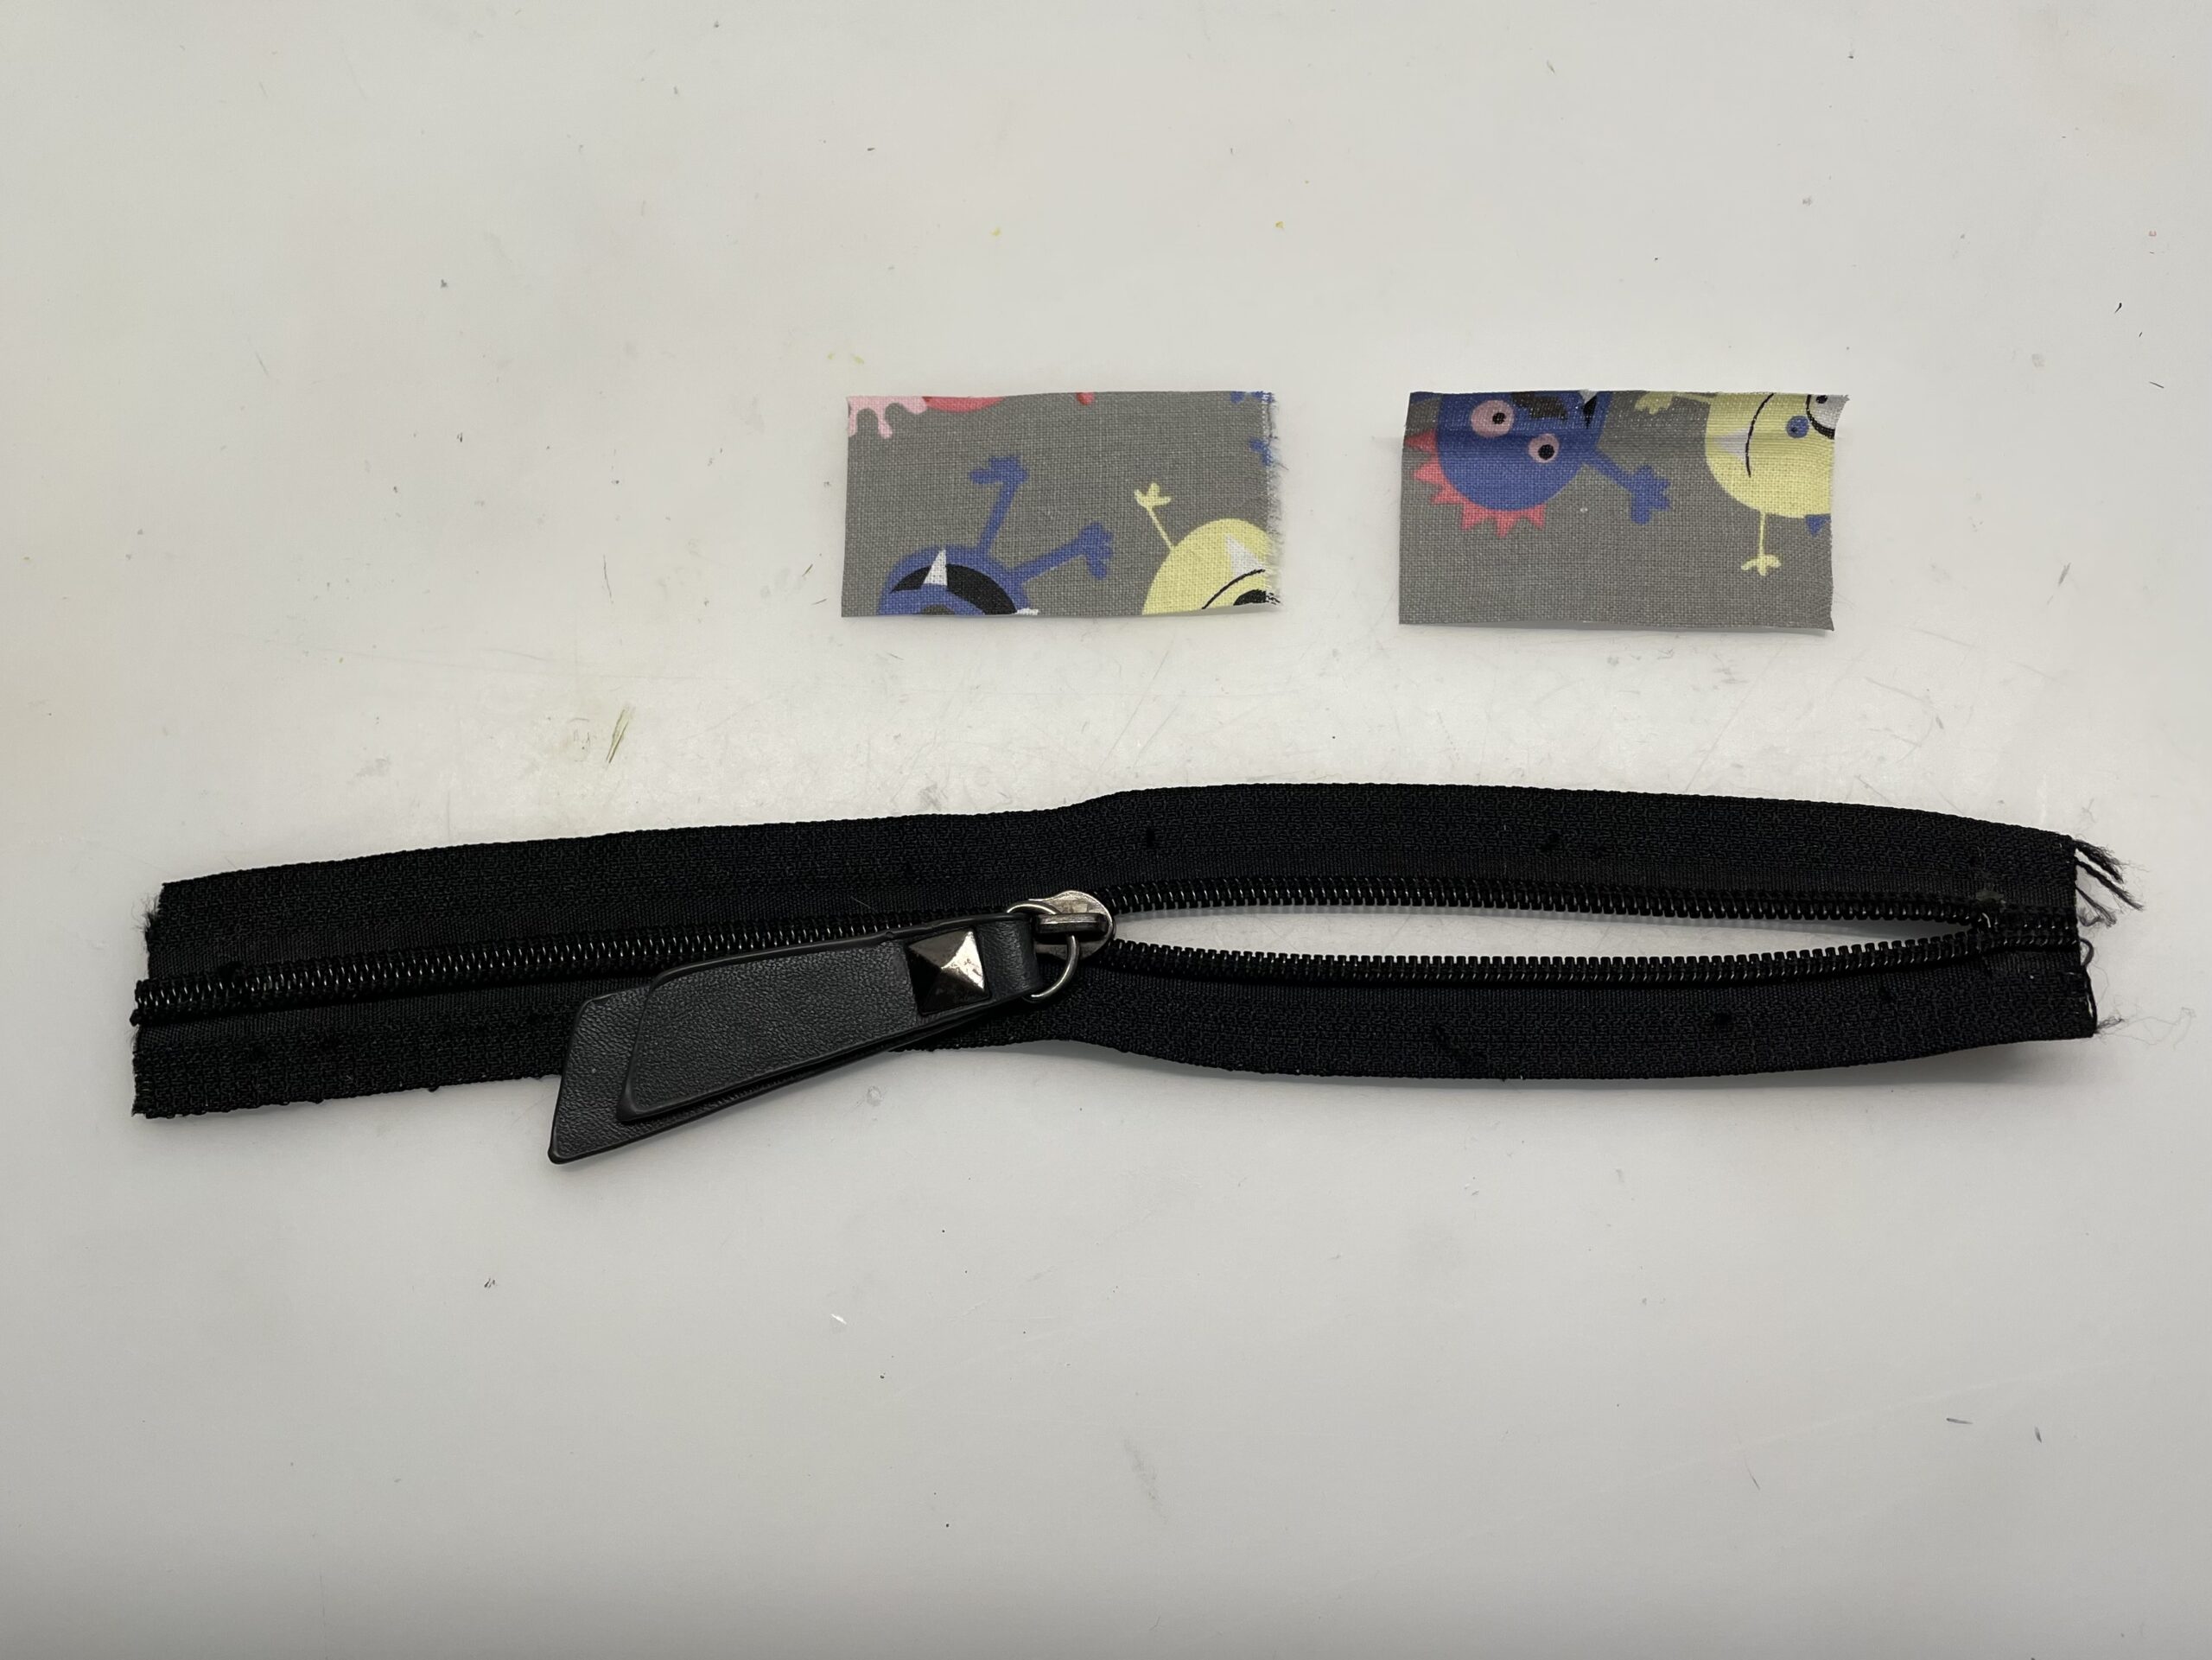
Put a strip of fabric with the beautiful side on one side of the zipper. Moves the fabric a small piece from the edge inwards. Fixes the fabric with a clamp or needle.
Tip: first look at the next three pictures before you start sewing!

Tighten the fabric on the zipper.
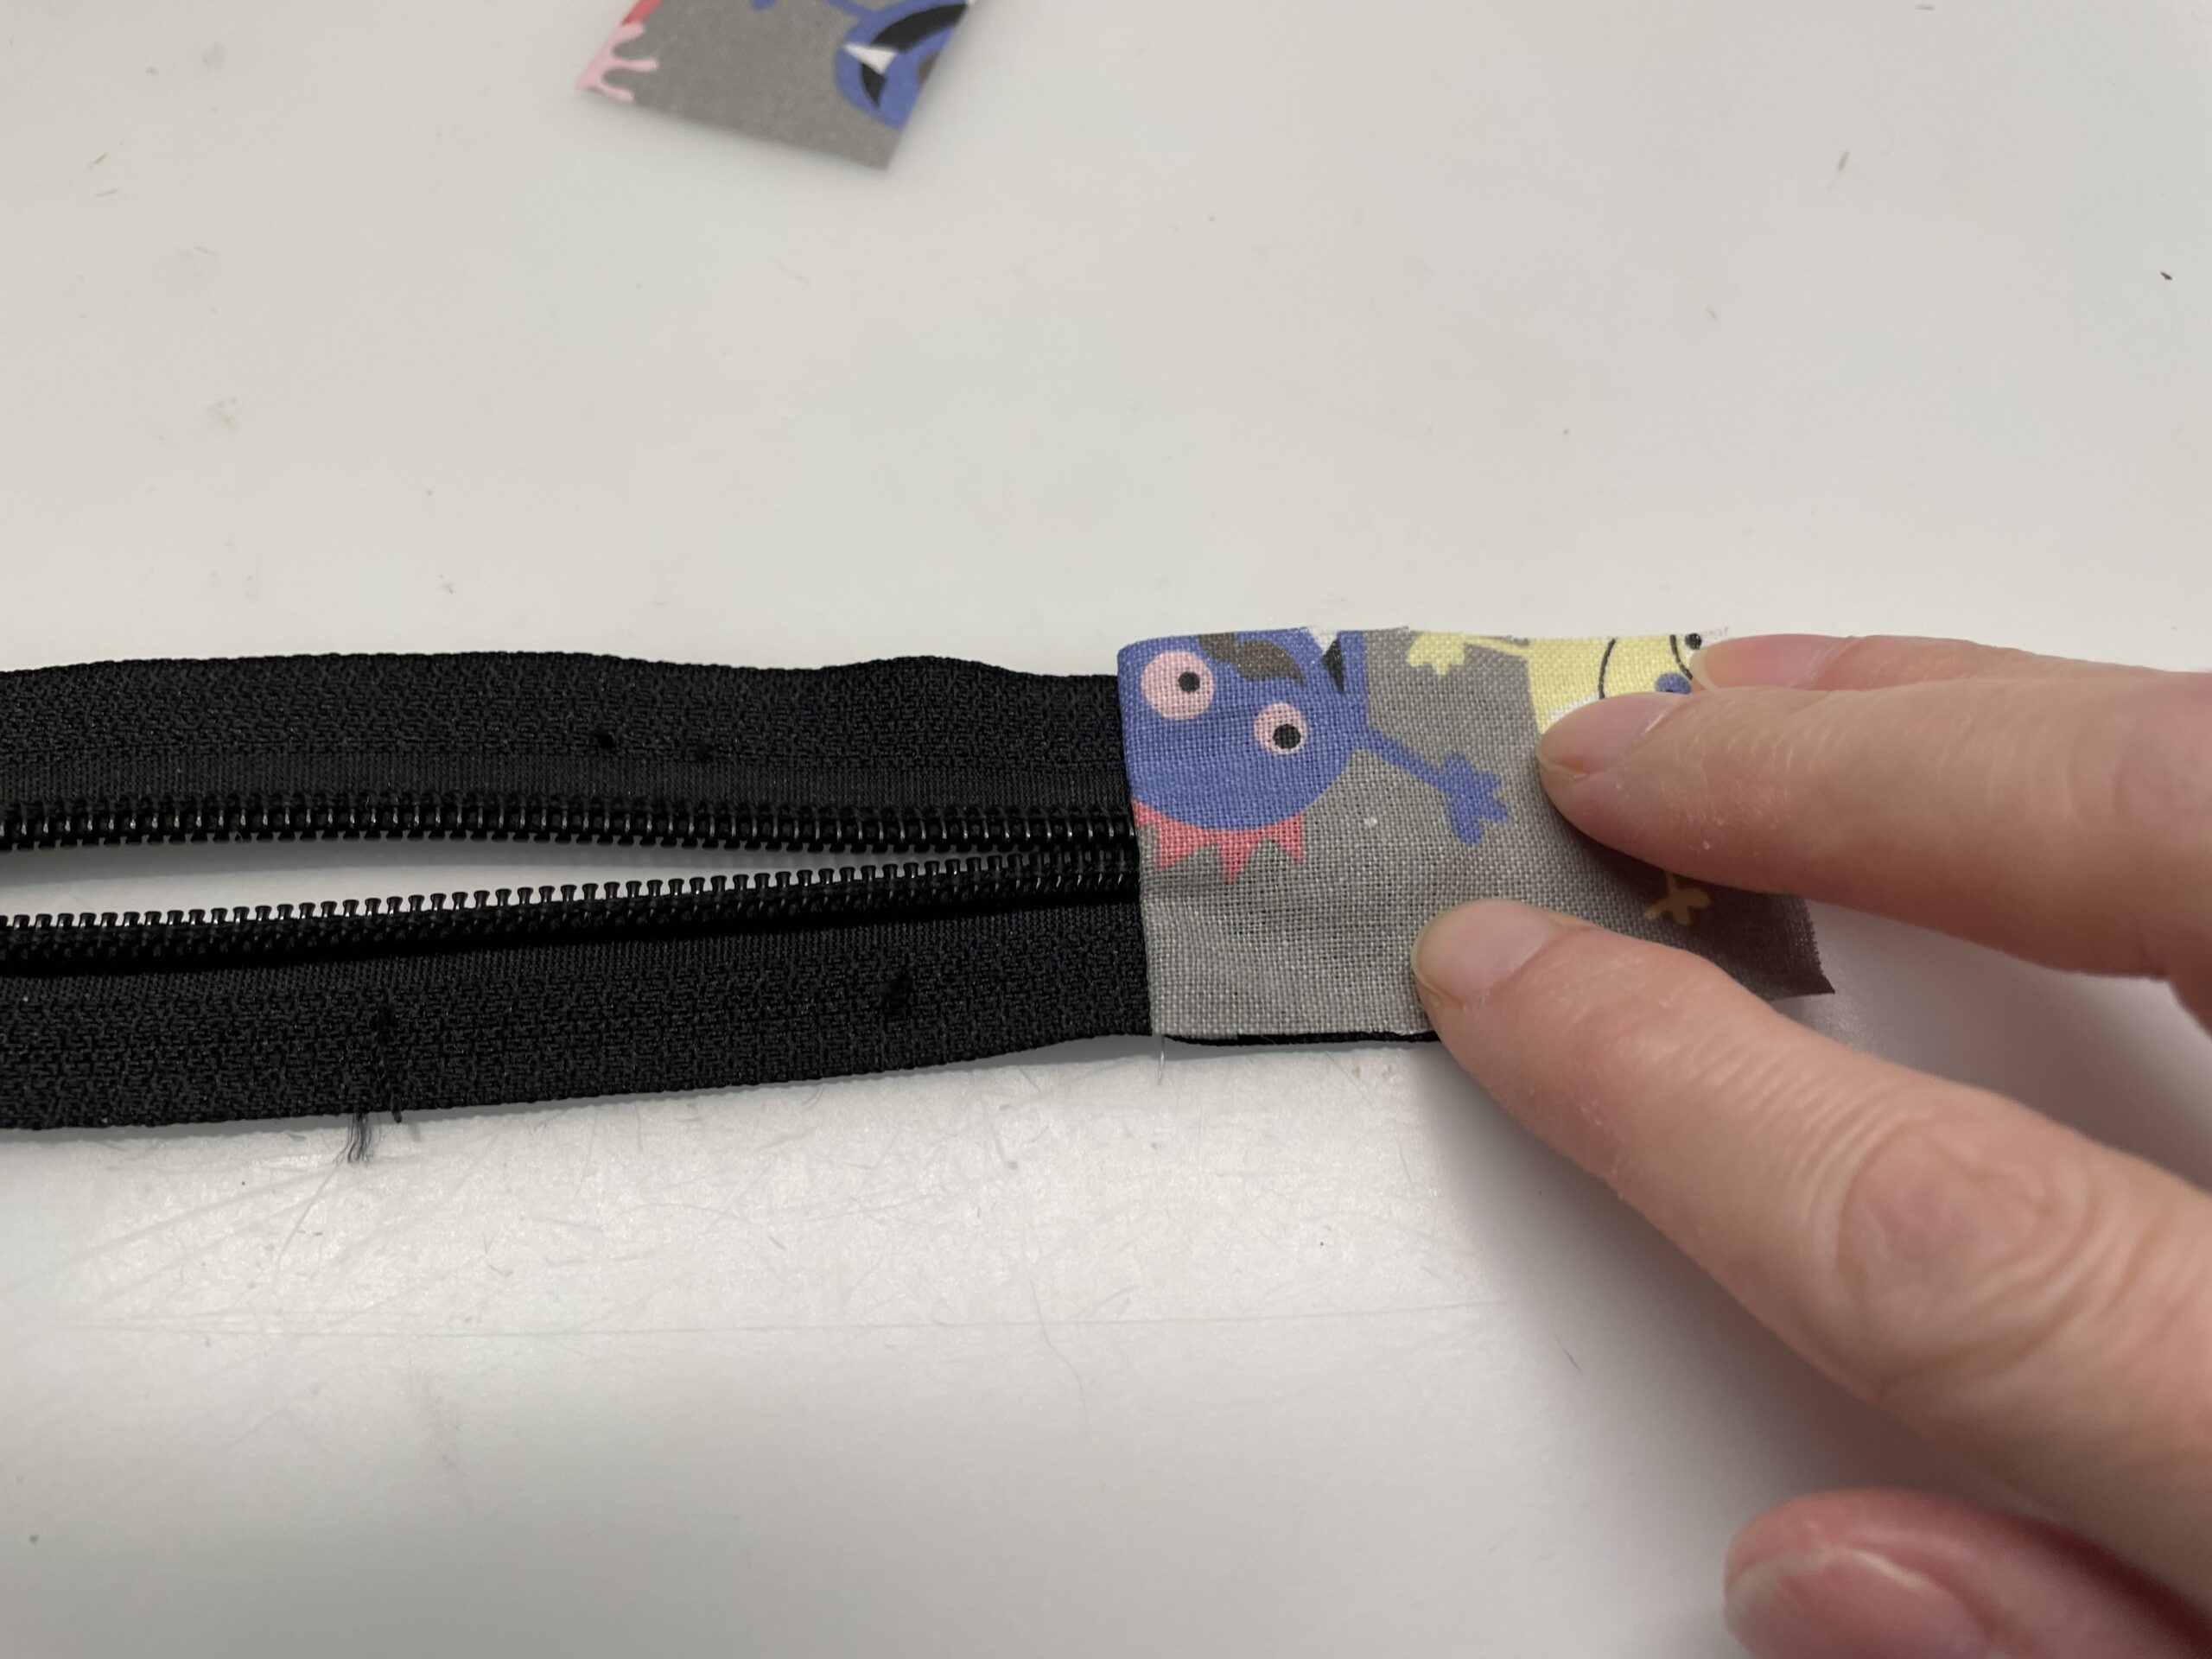
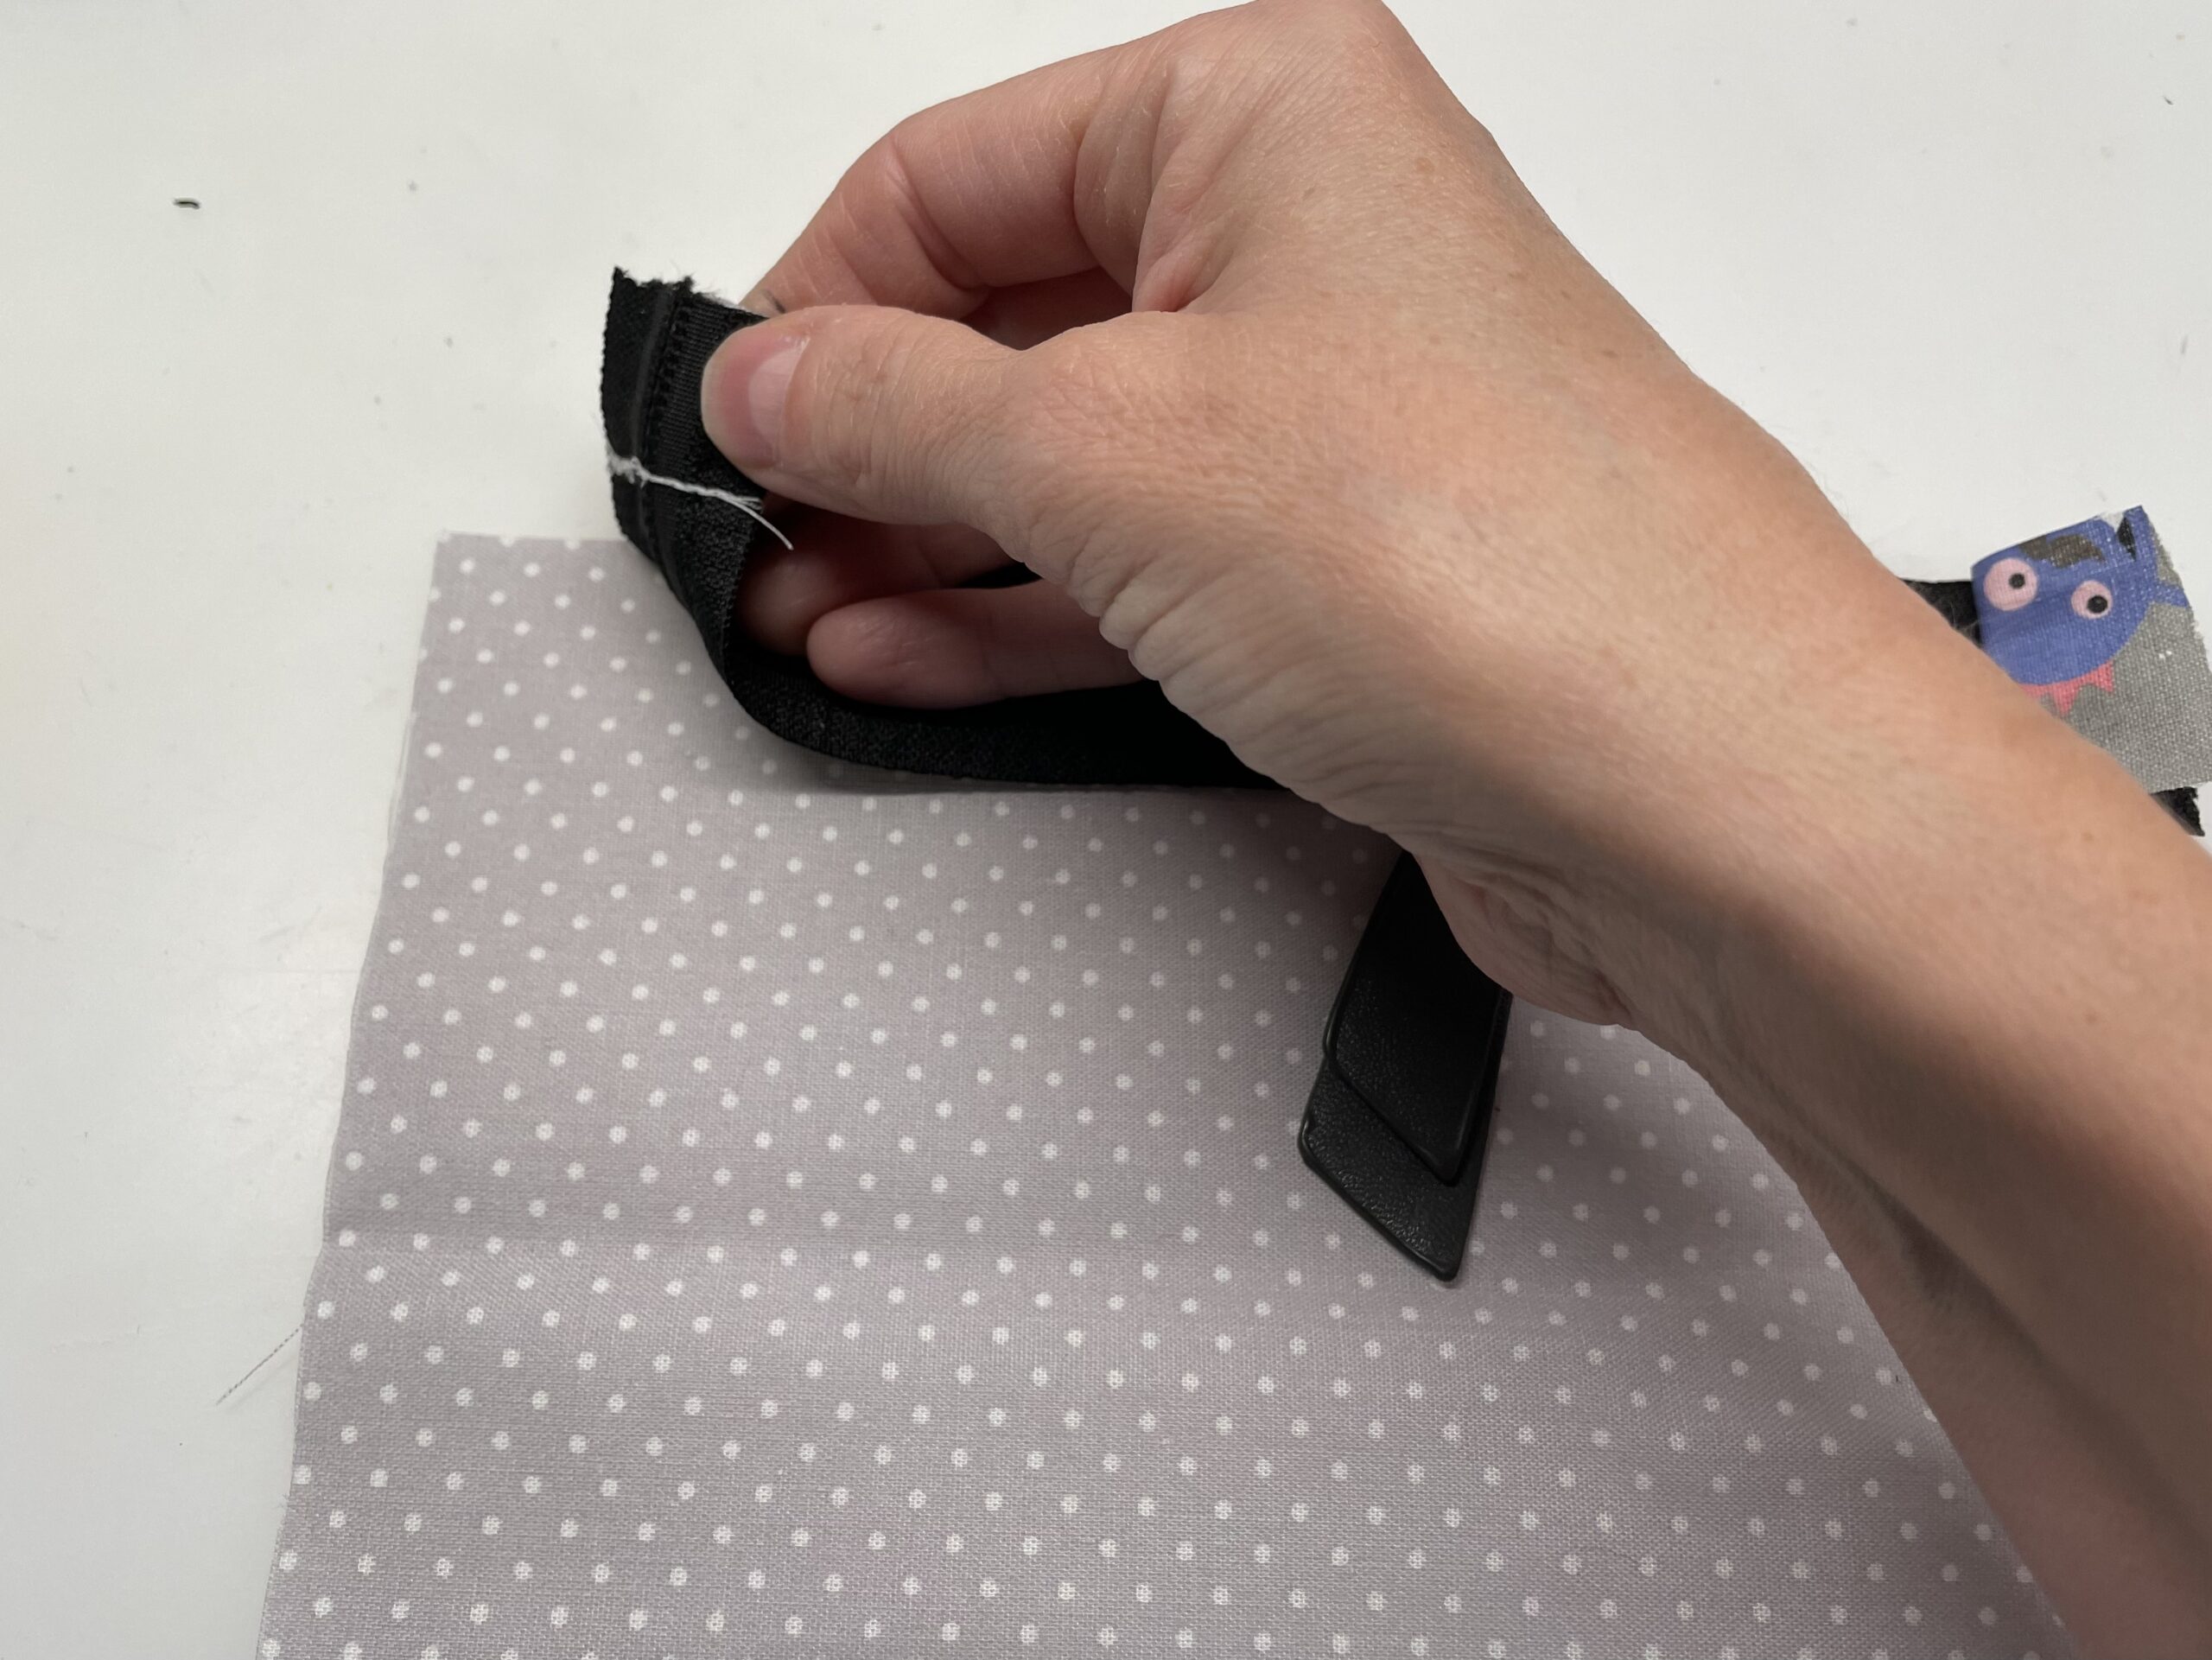
Folds the sewn-on fabric outwards. It limits the zipper.
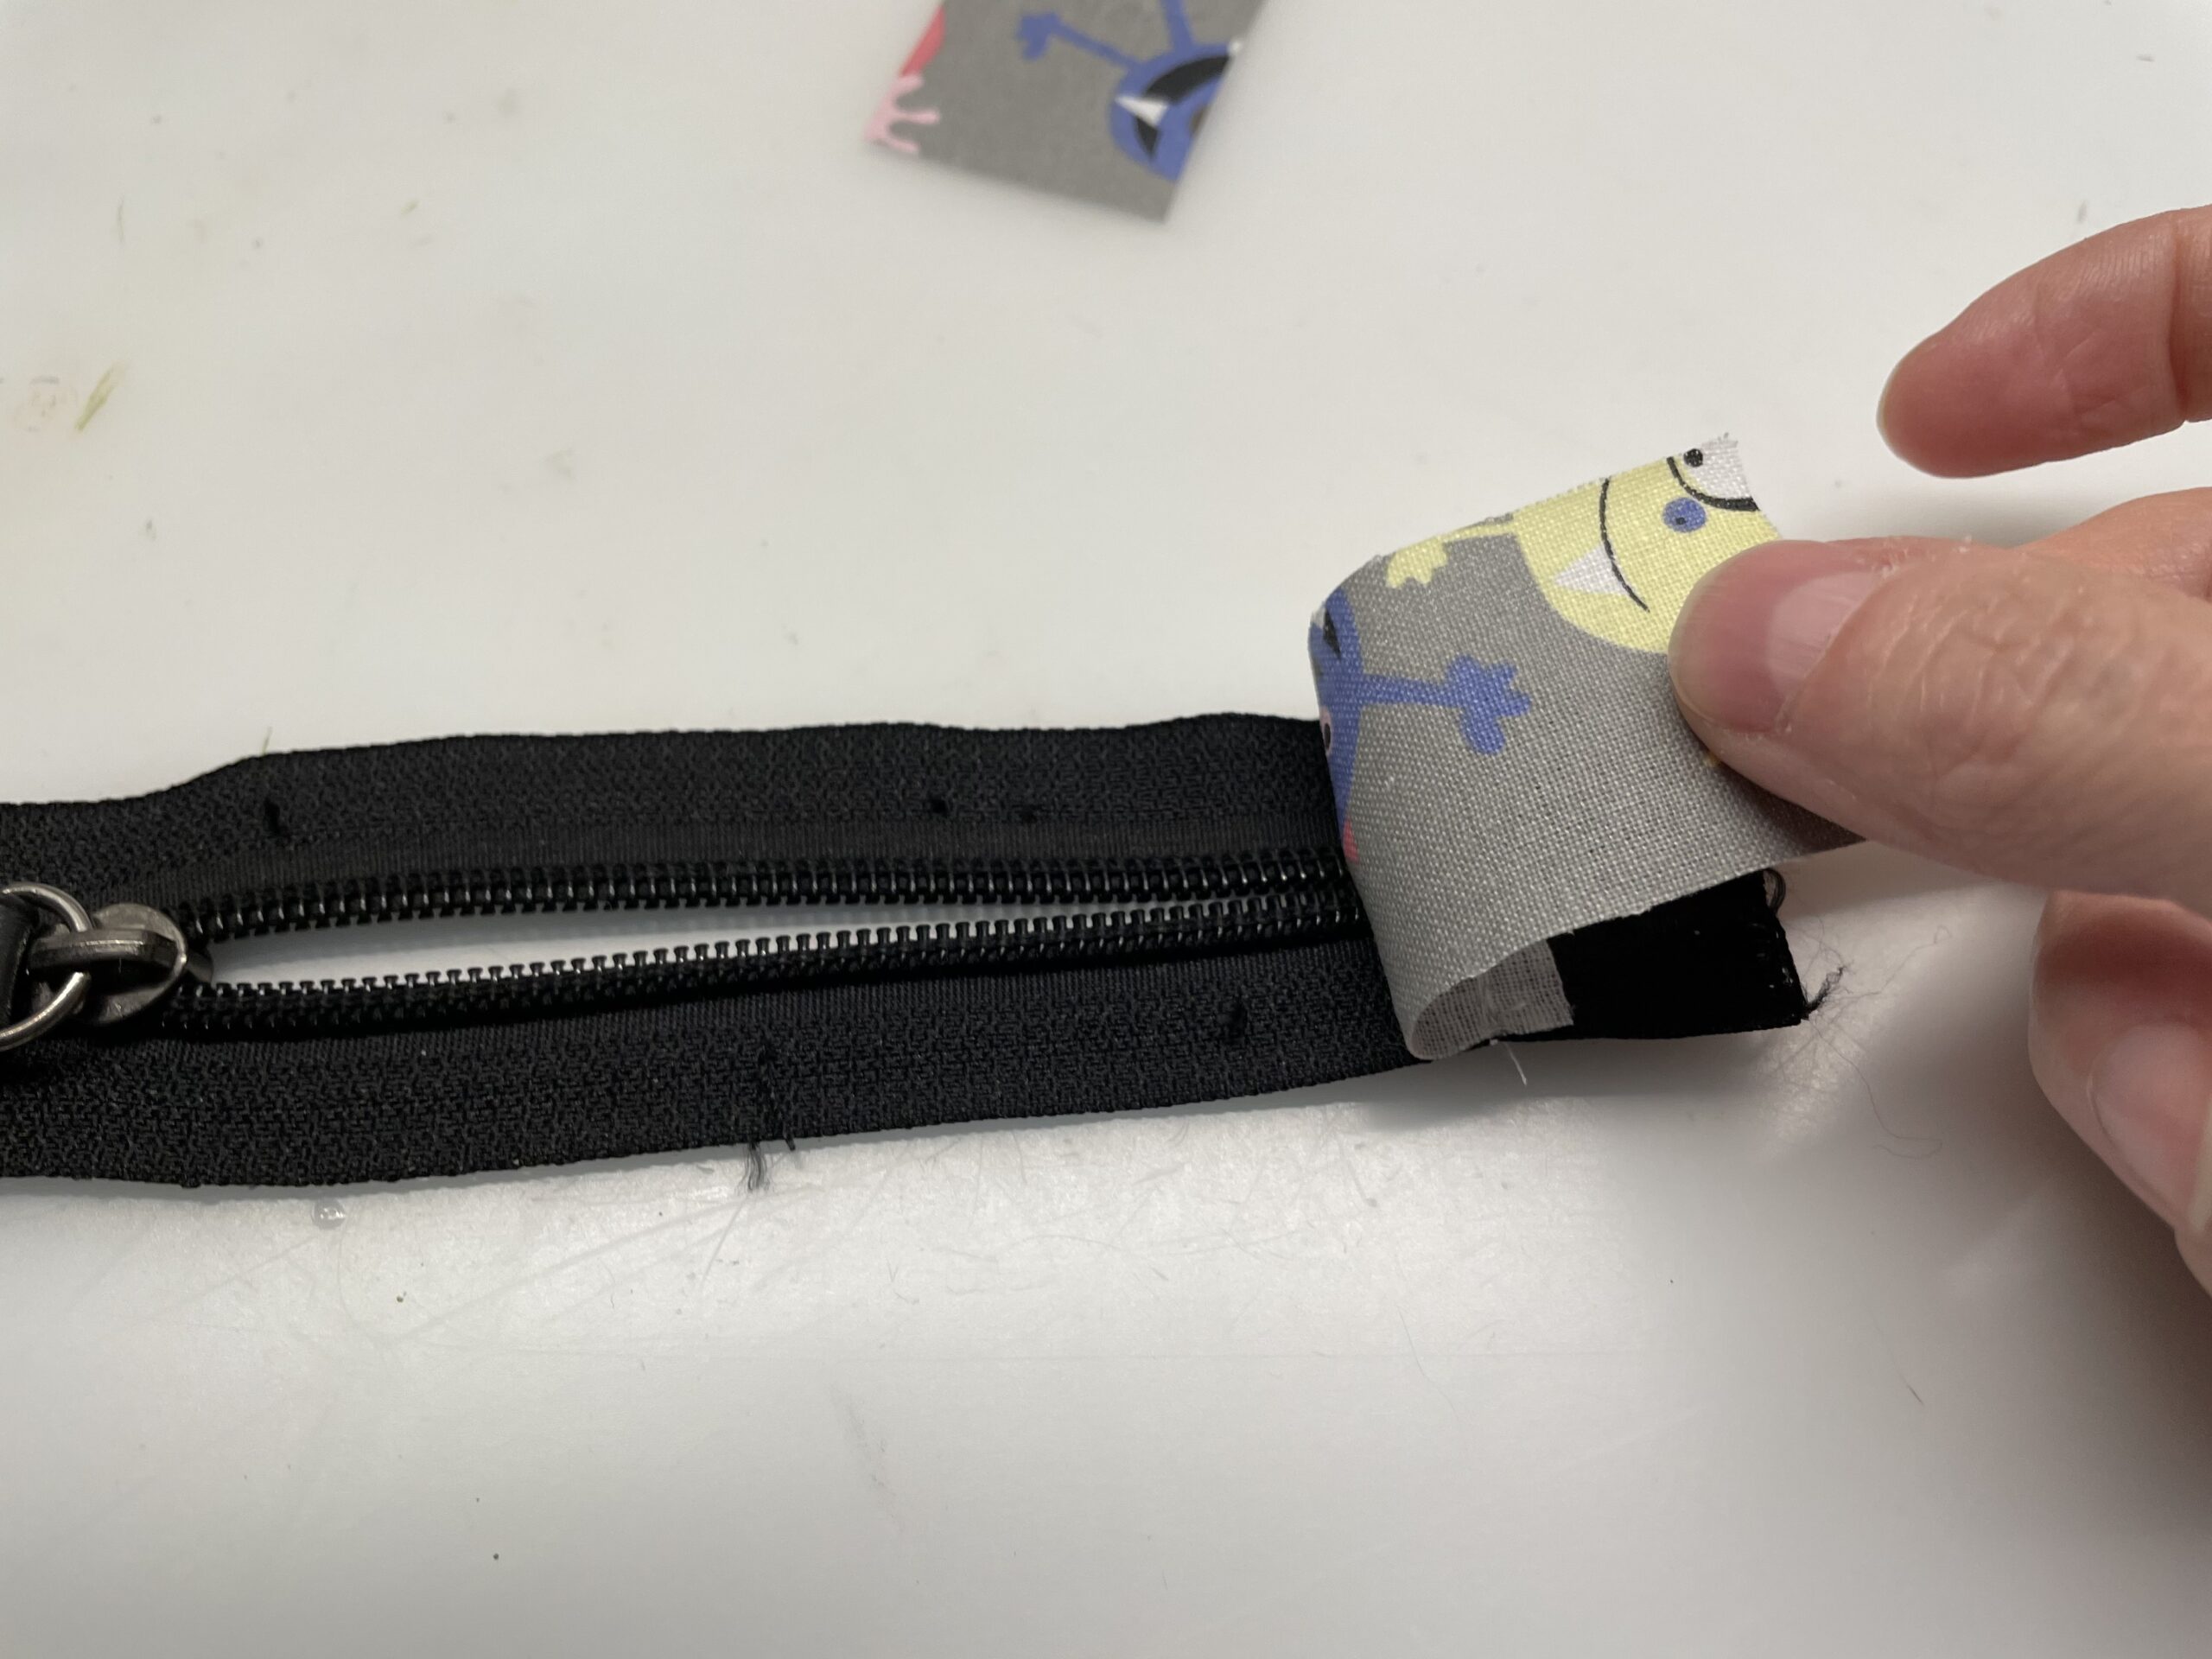
The fabric remains folded outwards. (Evtl. Can you iron it)
Repeat sewing of the piece of fabric at the other end of the zipper. First take the fabric of the inner part and mark the position of the second piece of fabric on the zipper. See further picture.
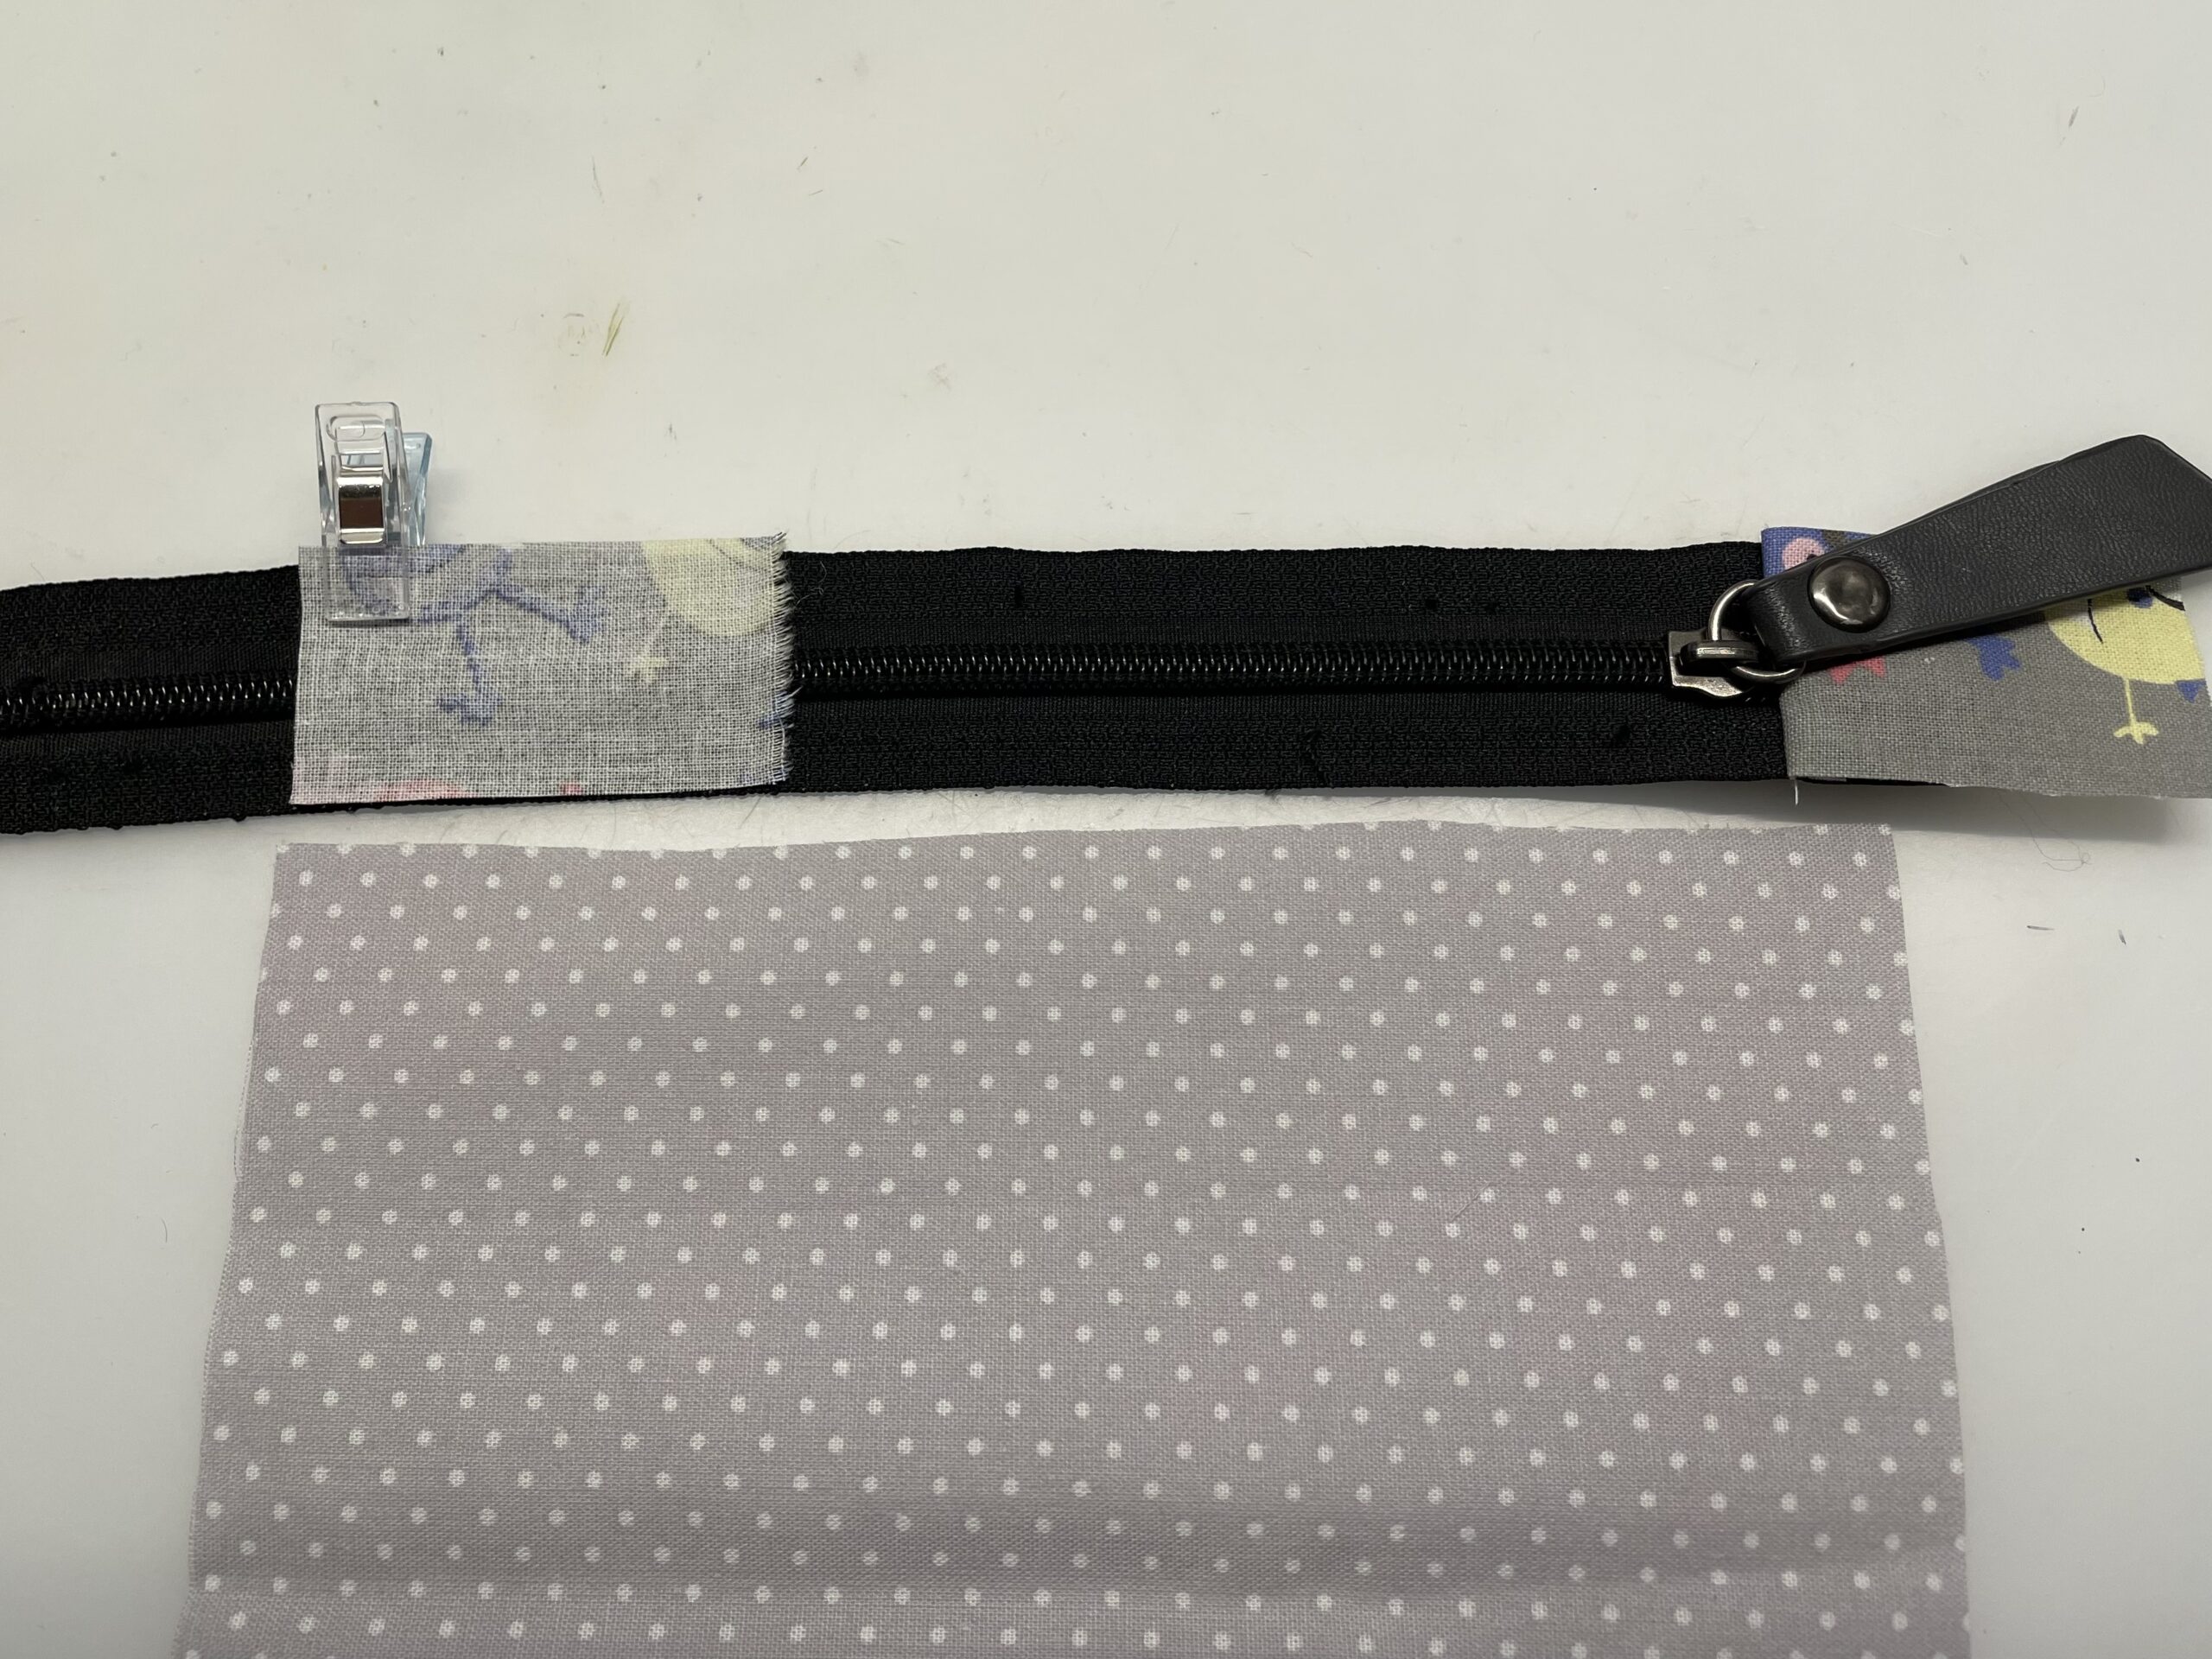
The two tails should be attached to the zipper.
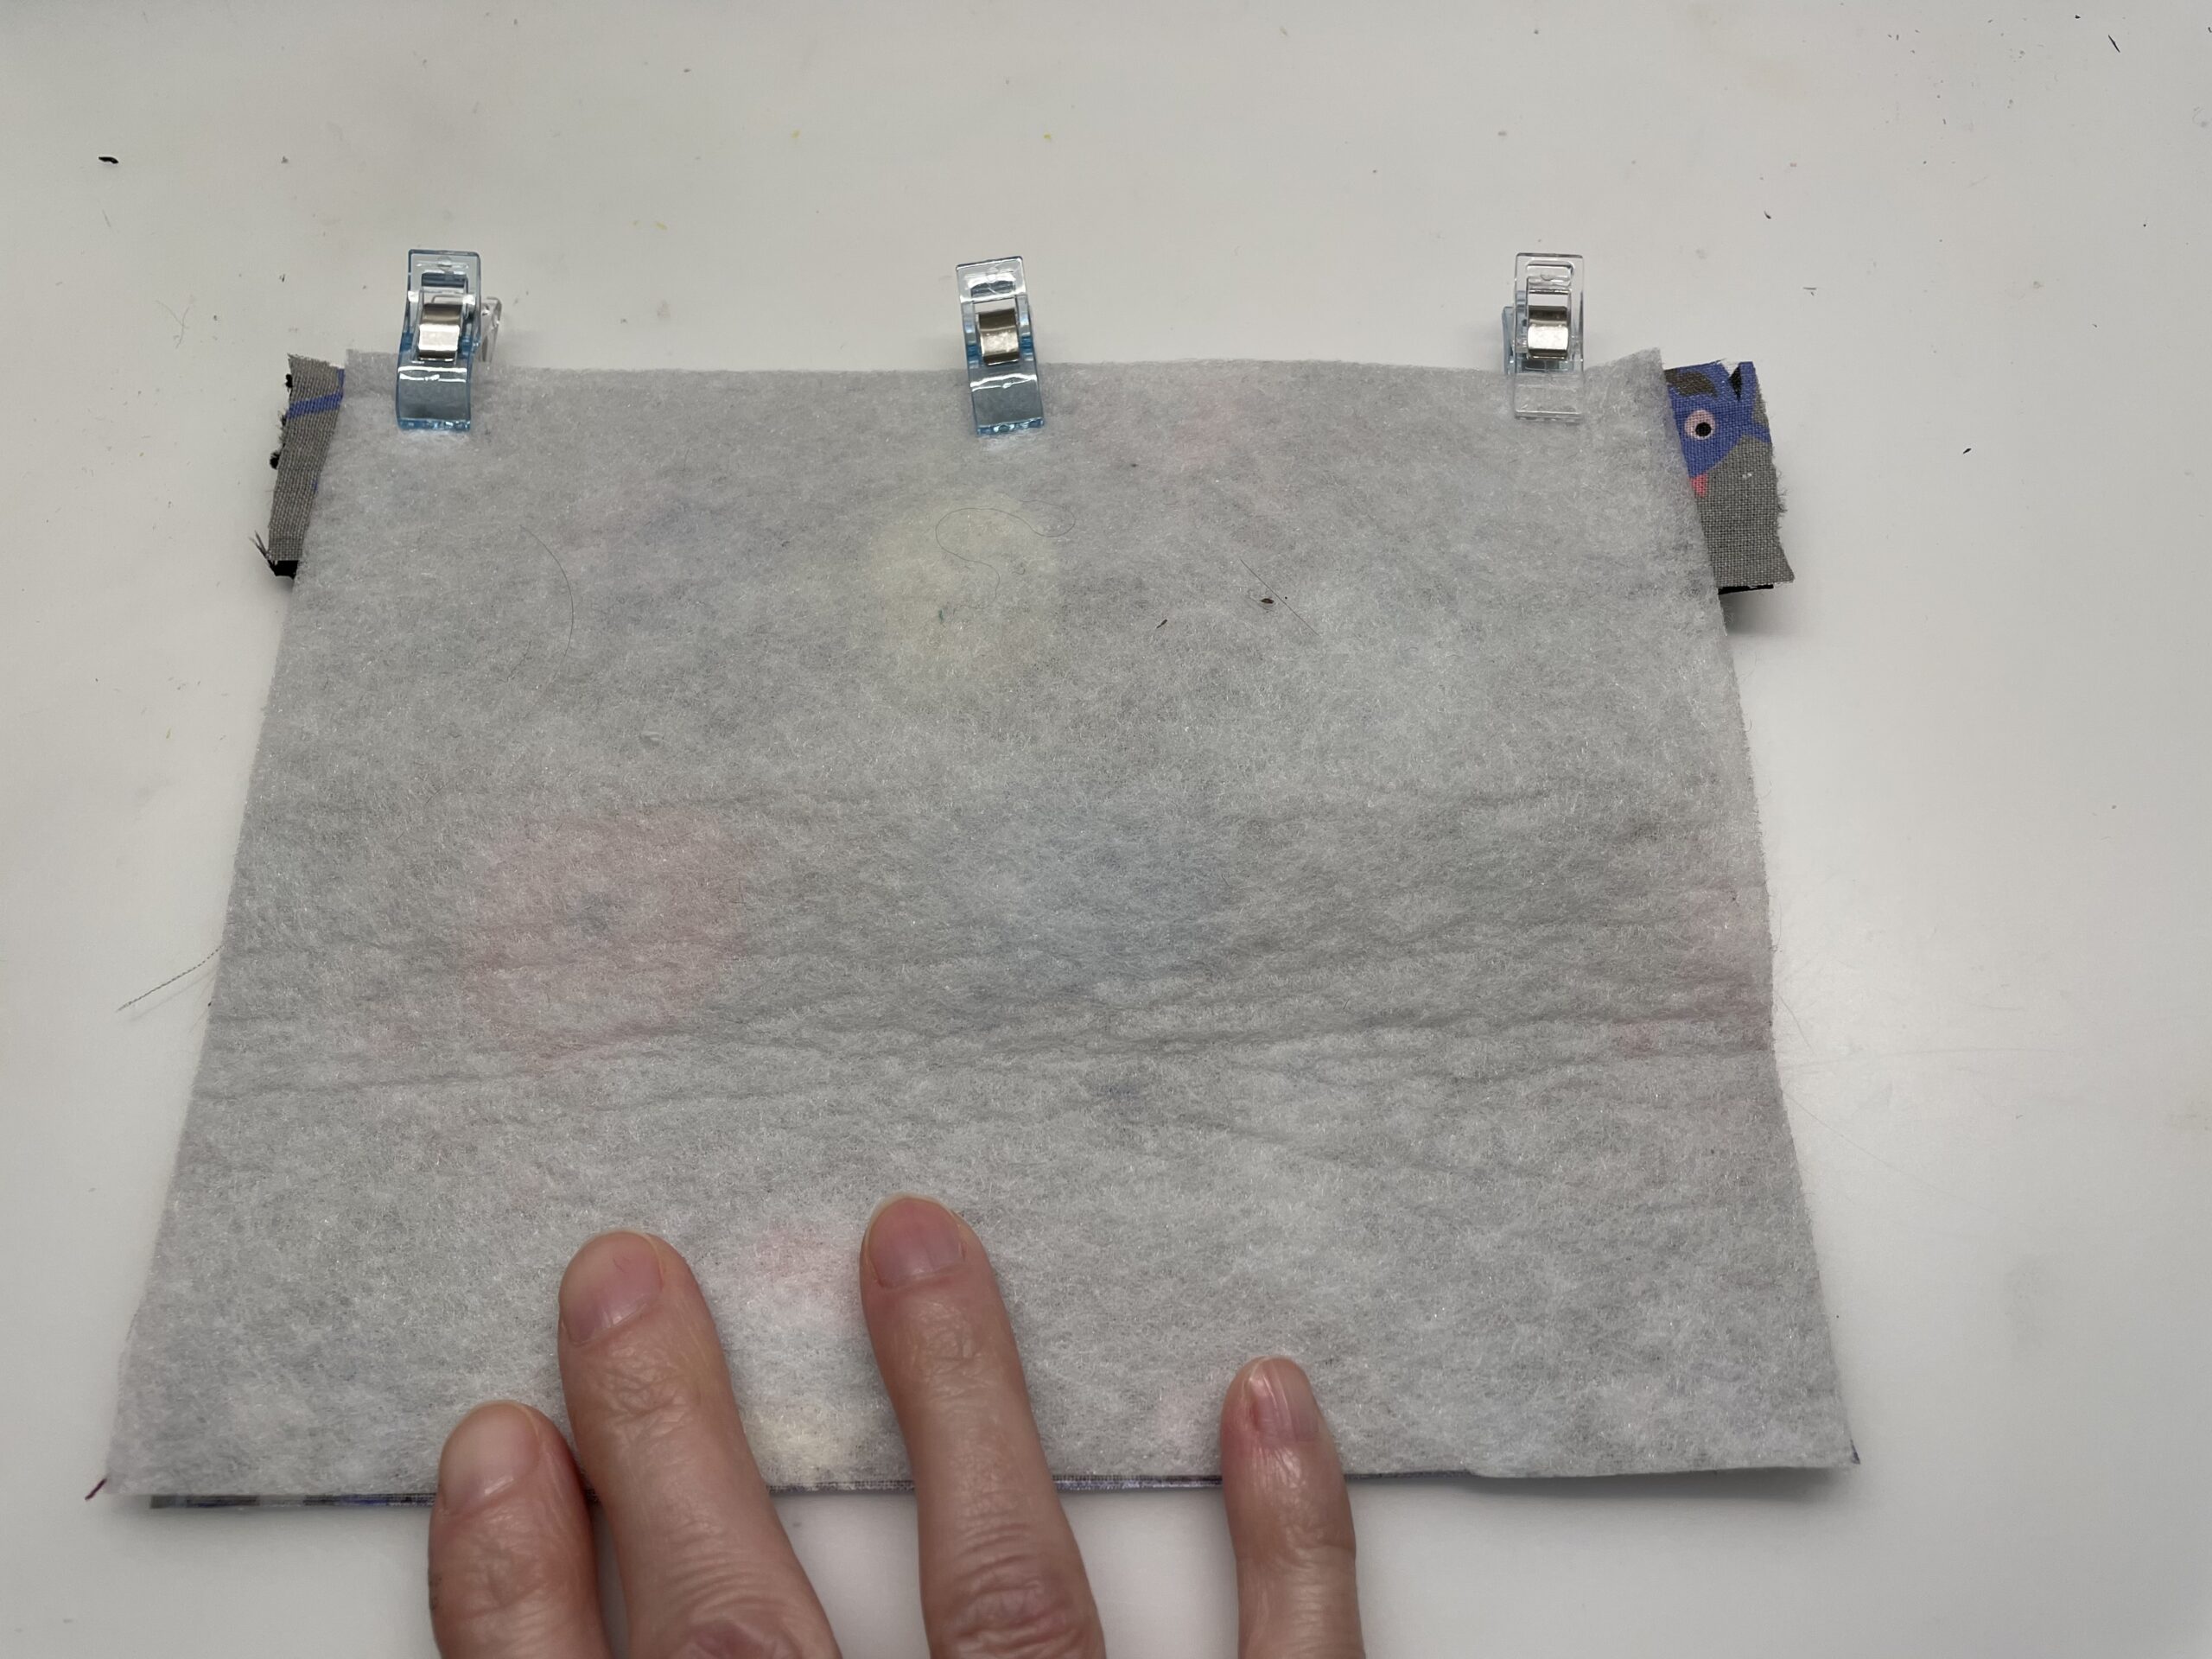
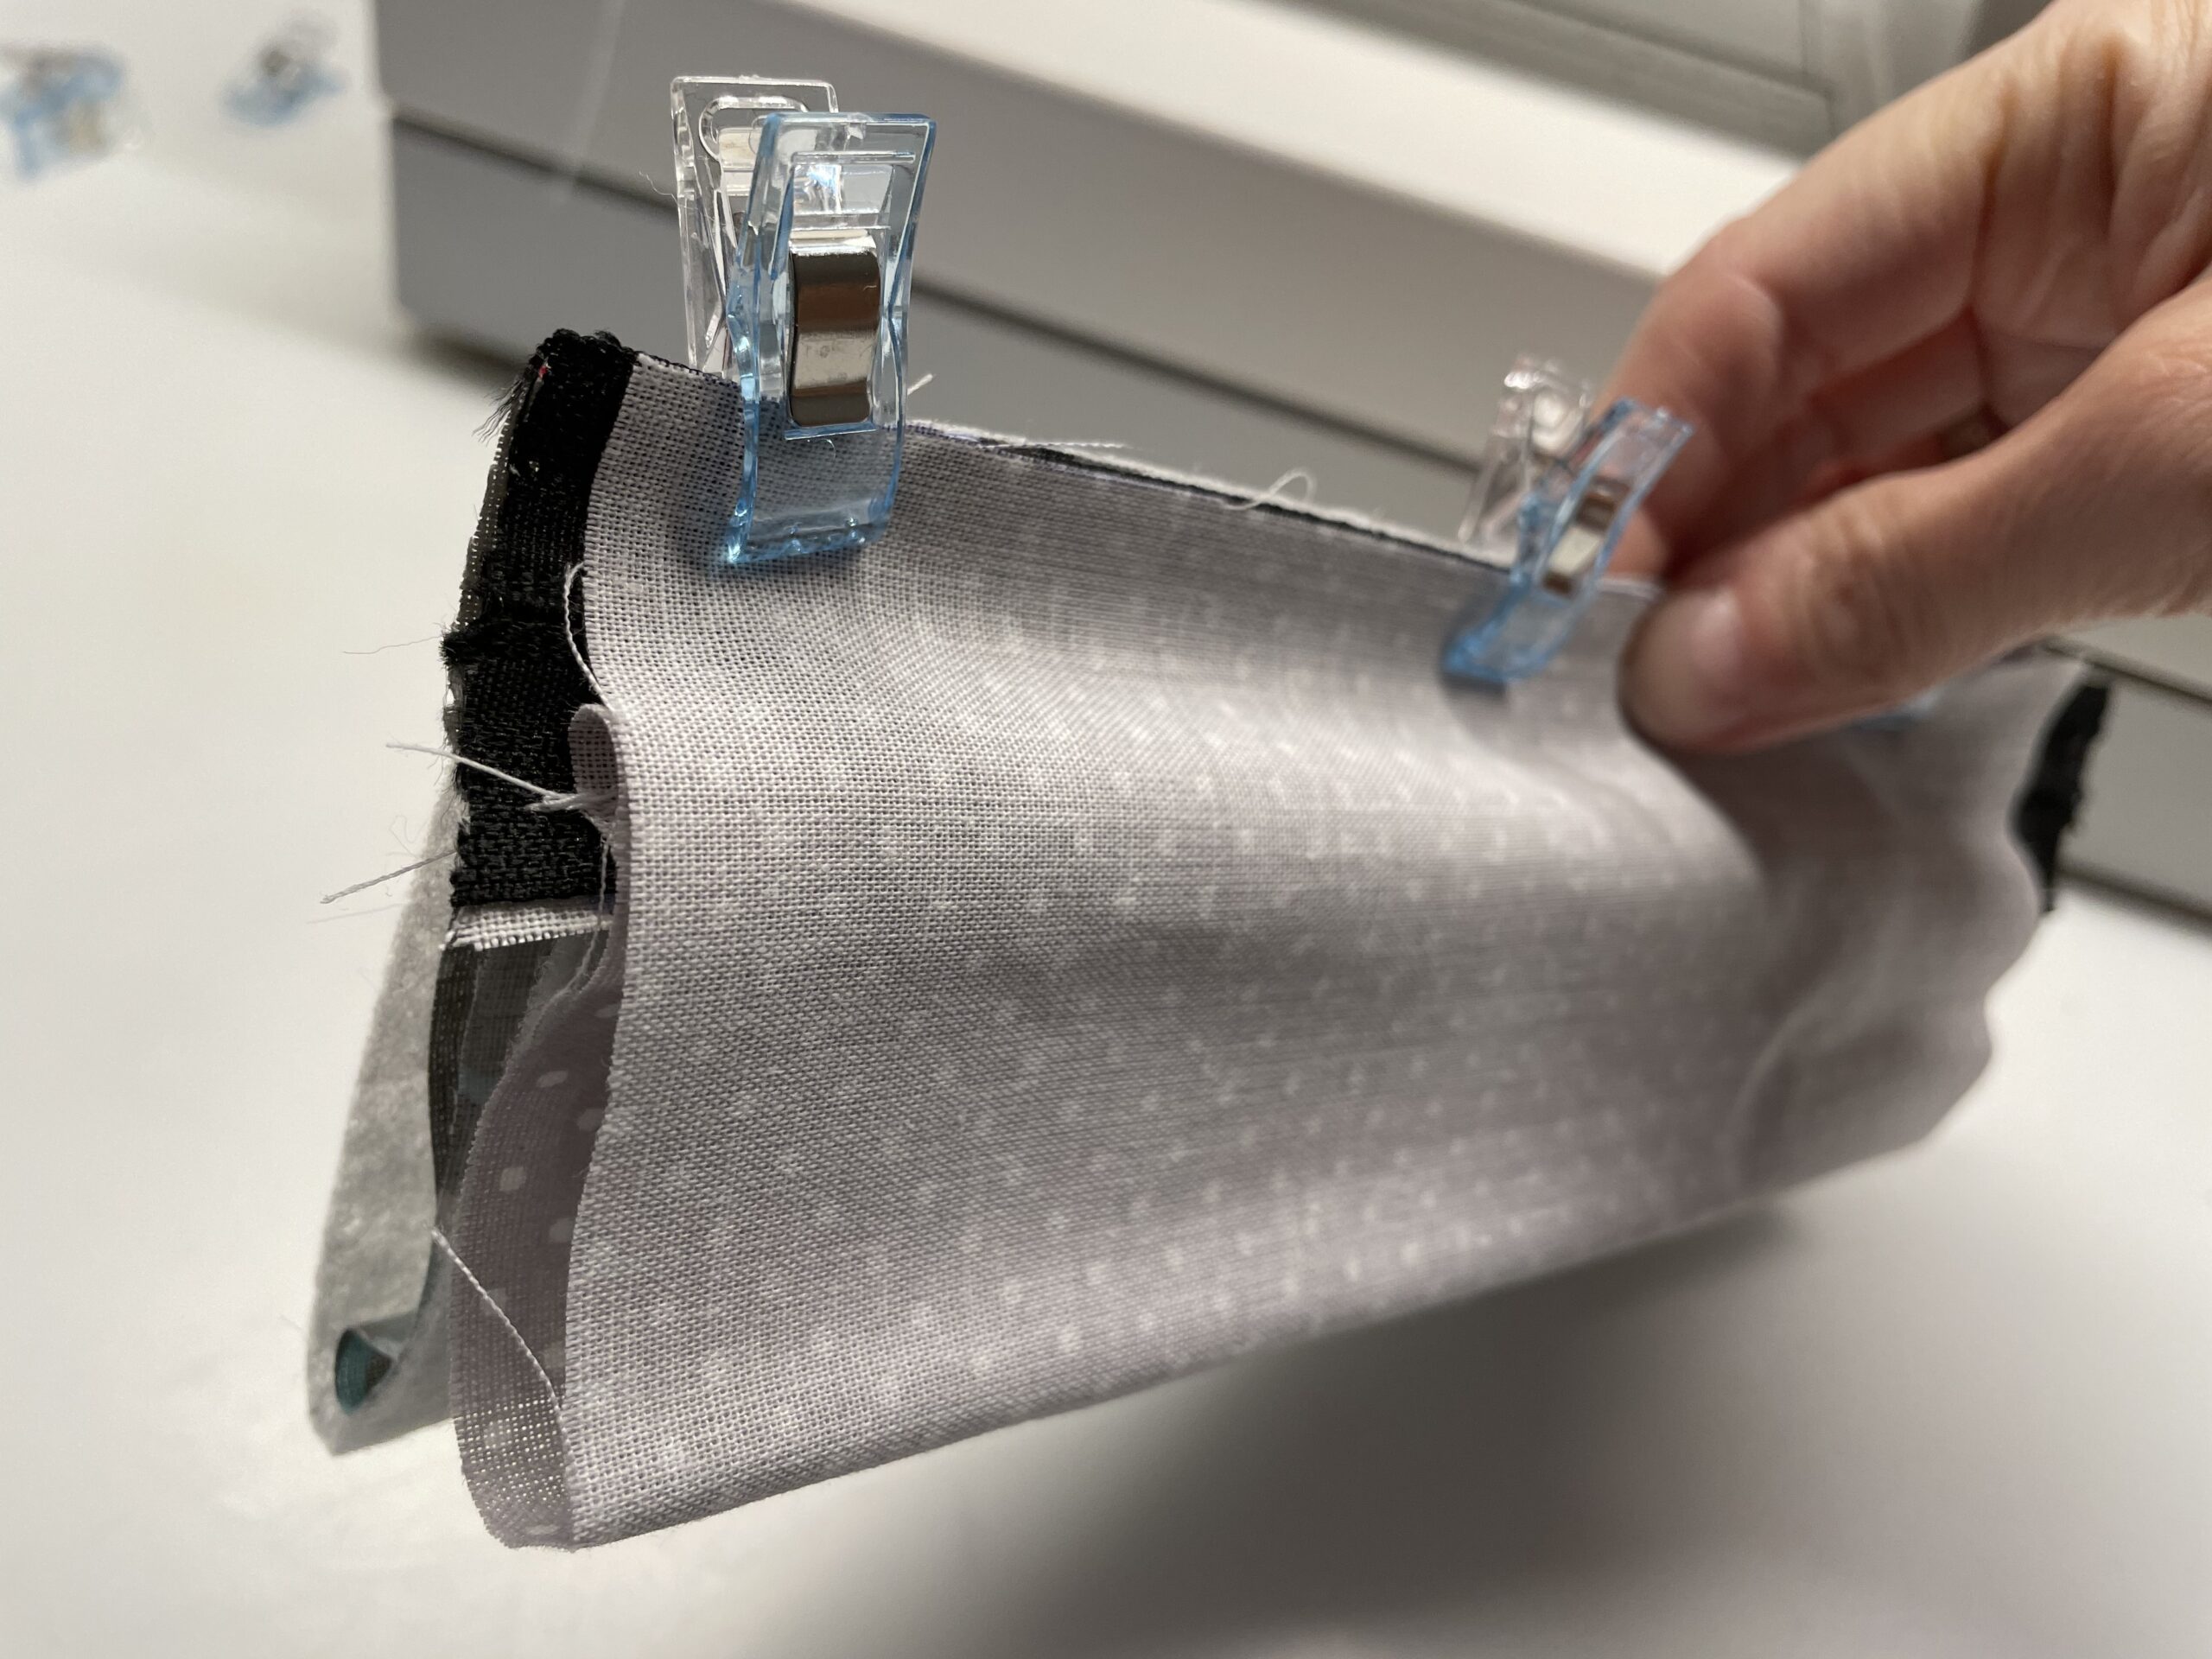
Now place the zipper with the beautiful side on the upper edge of the inner fabric.
The outer fabric we also put on it. Interior fabric, zipper and outer fabric lie cleanly on top of each other and are fixed with clamps.
Make sure that the fabric width is exactly on top of each other.
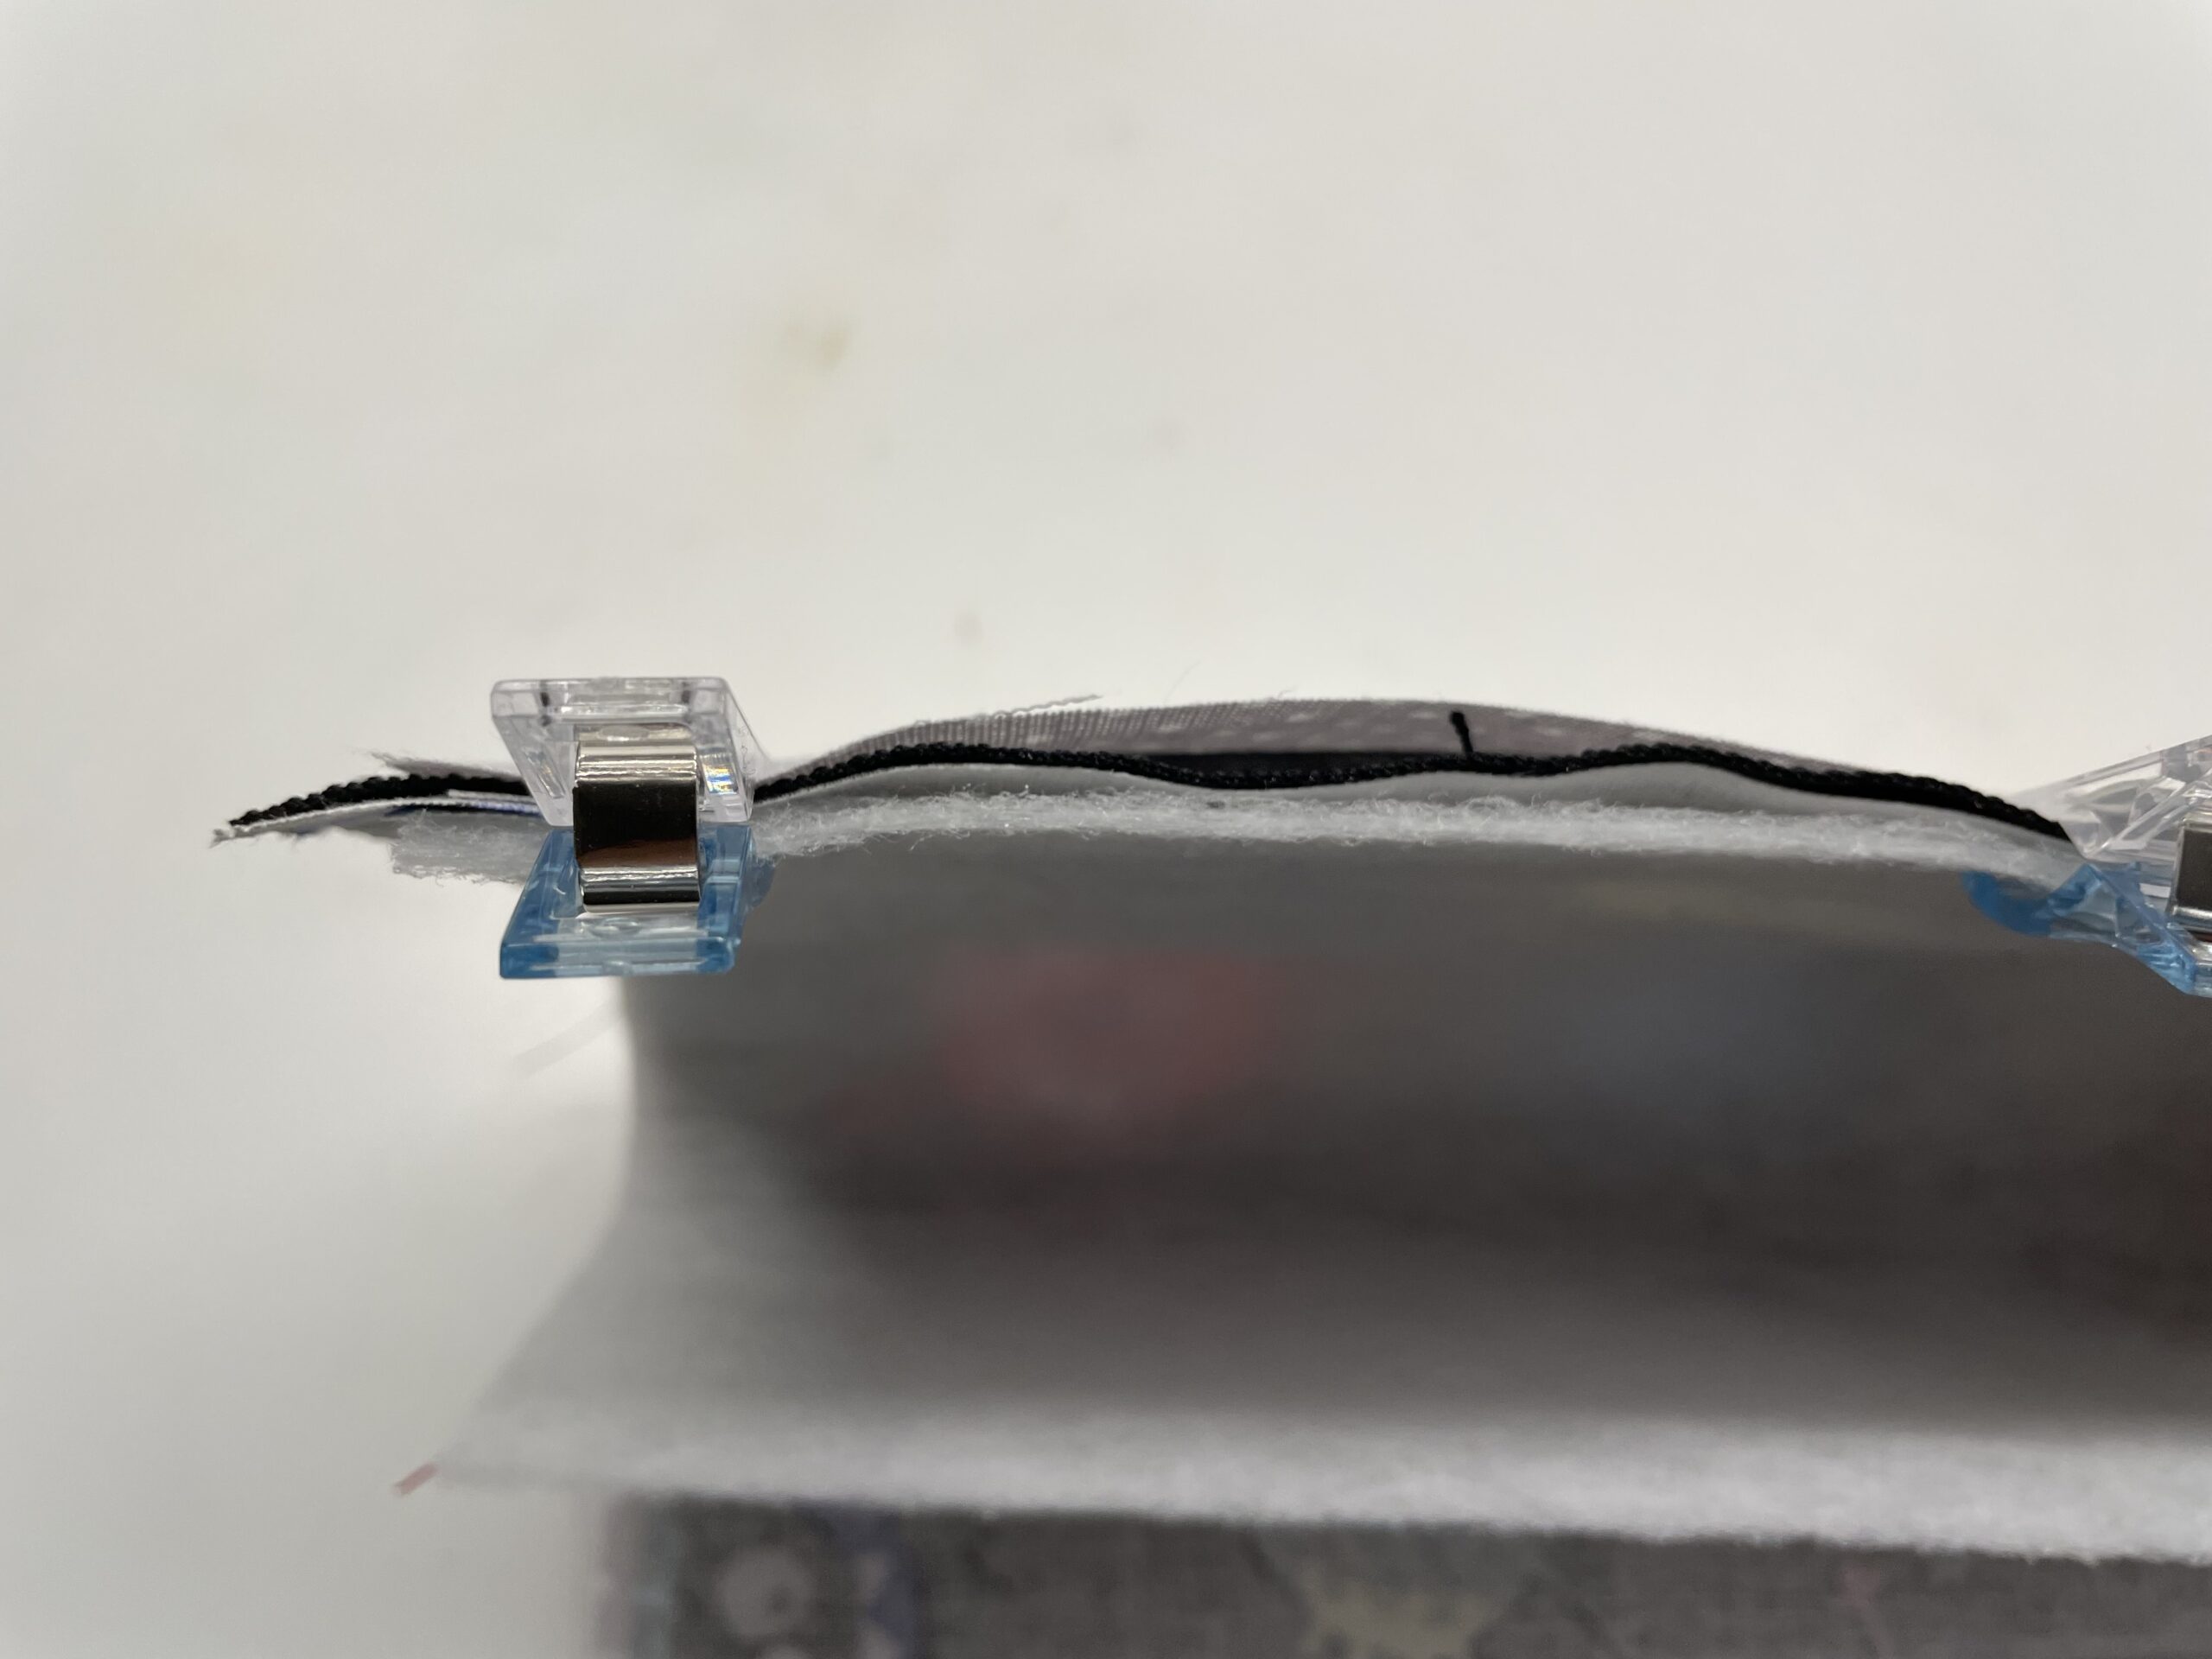
The reinforcement fleece is also attached here. (As reinforcement of the outer material!)
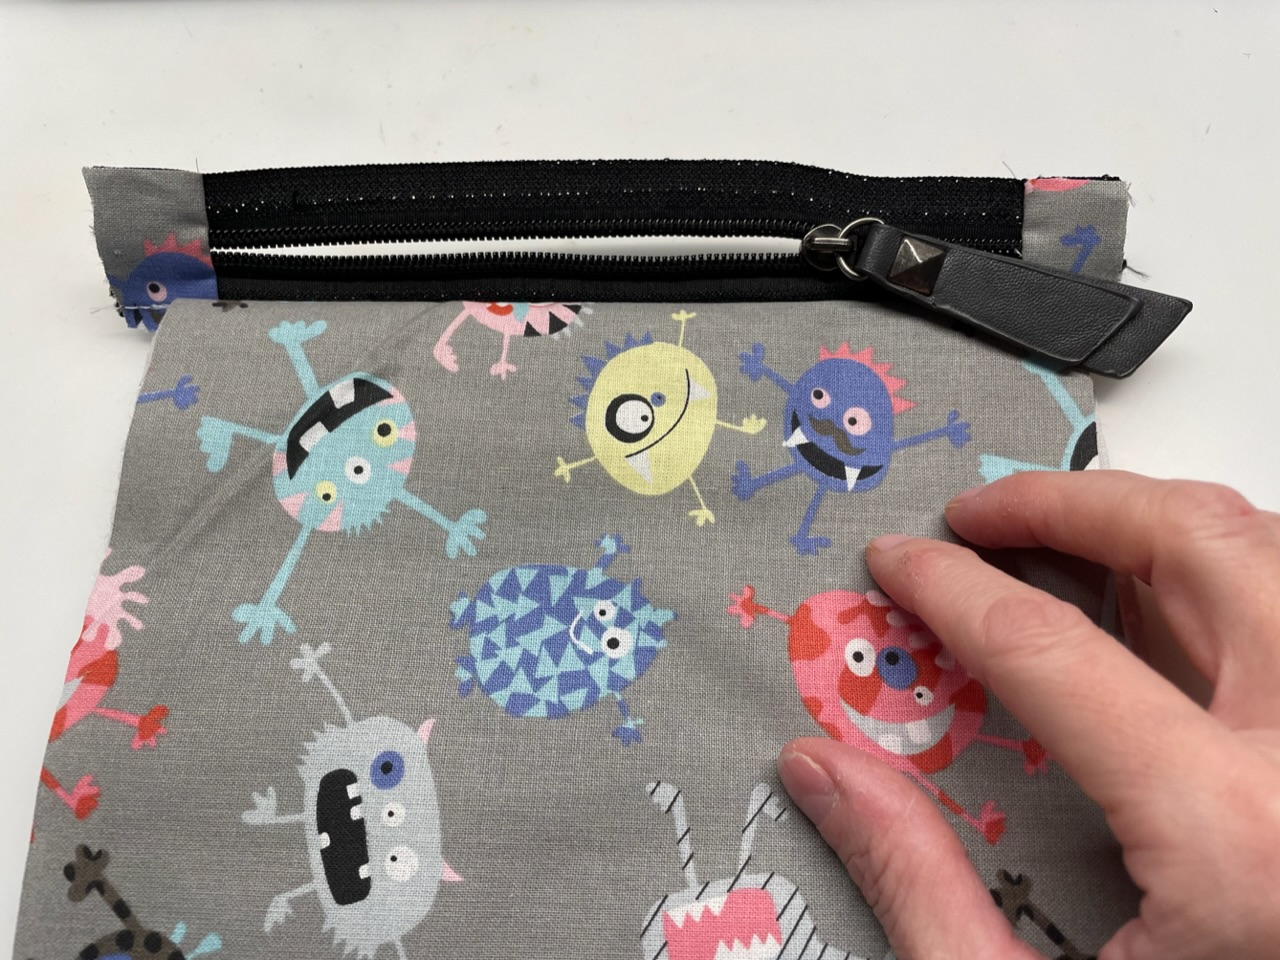
Seams the top seam with the sewing machine.
Folds the fabric apart. One side of the zipper is now finished sewn.
Now set up the fabrics for the second part of the zipper. Here are the following pictures:
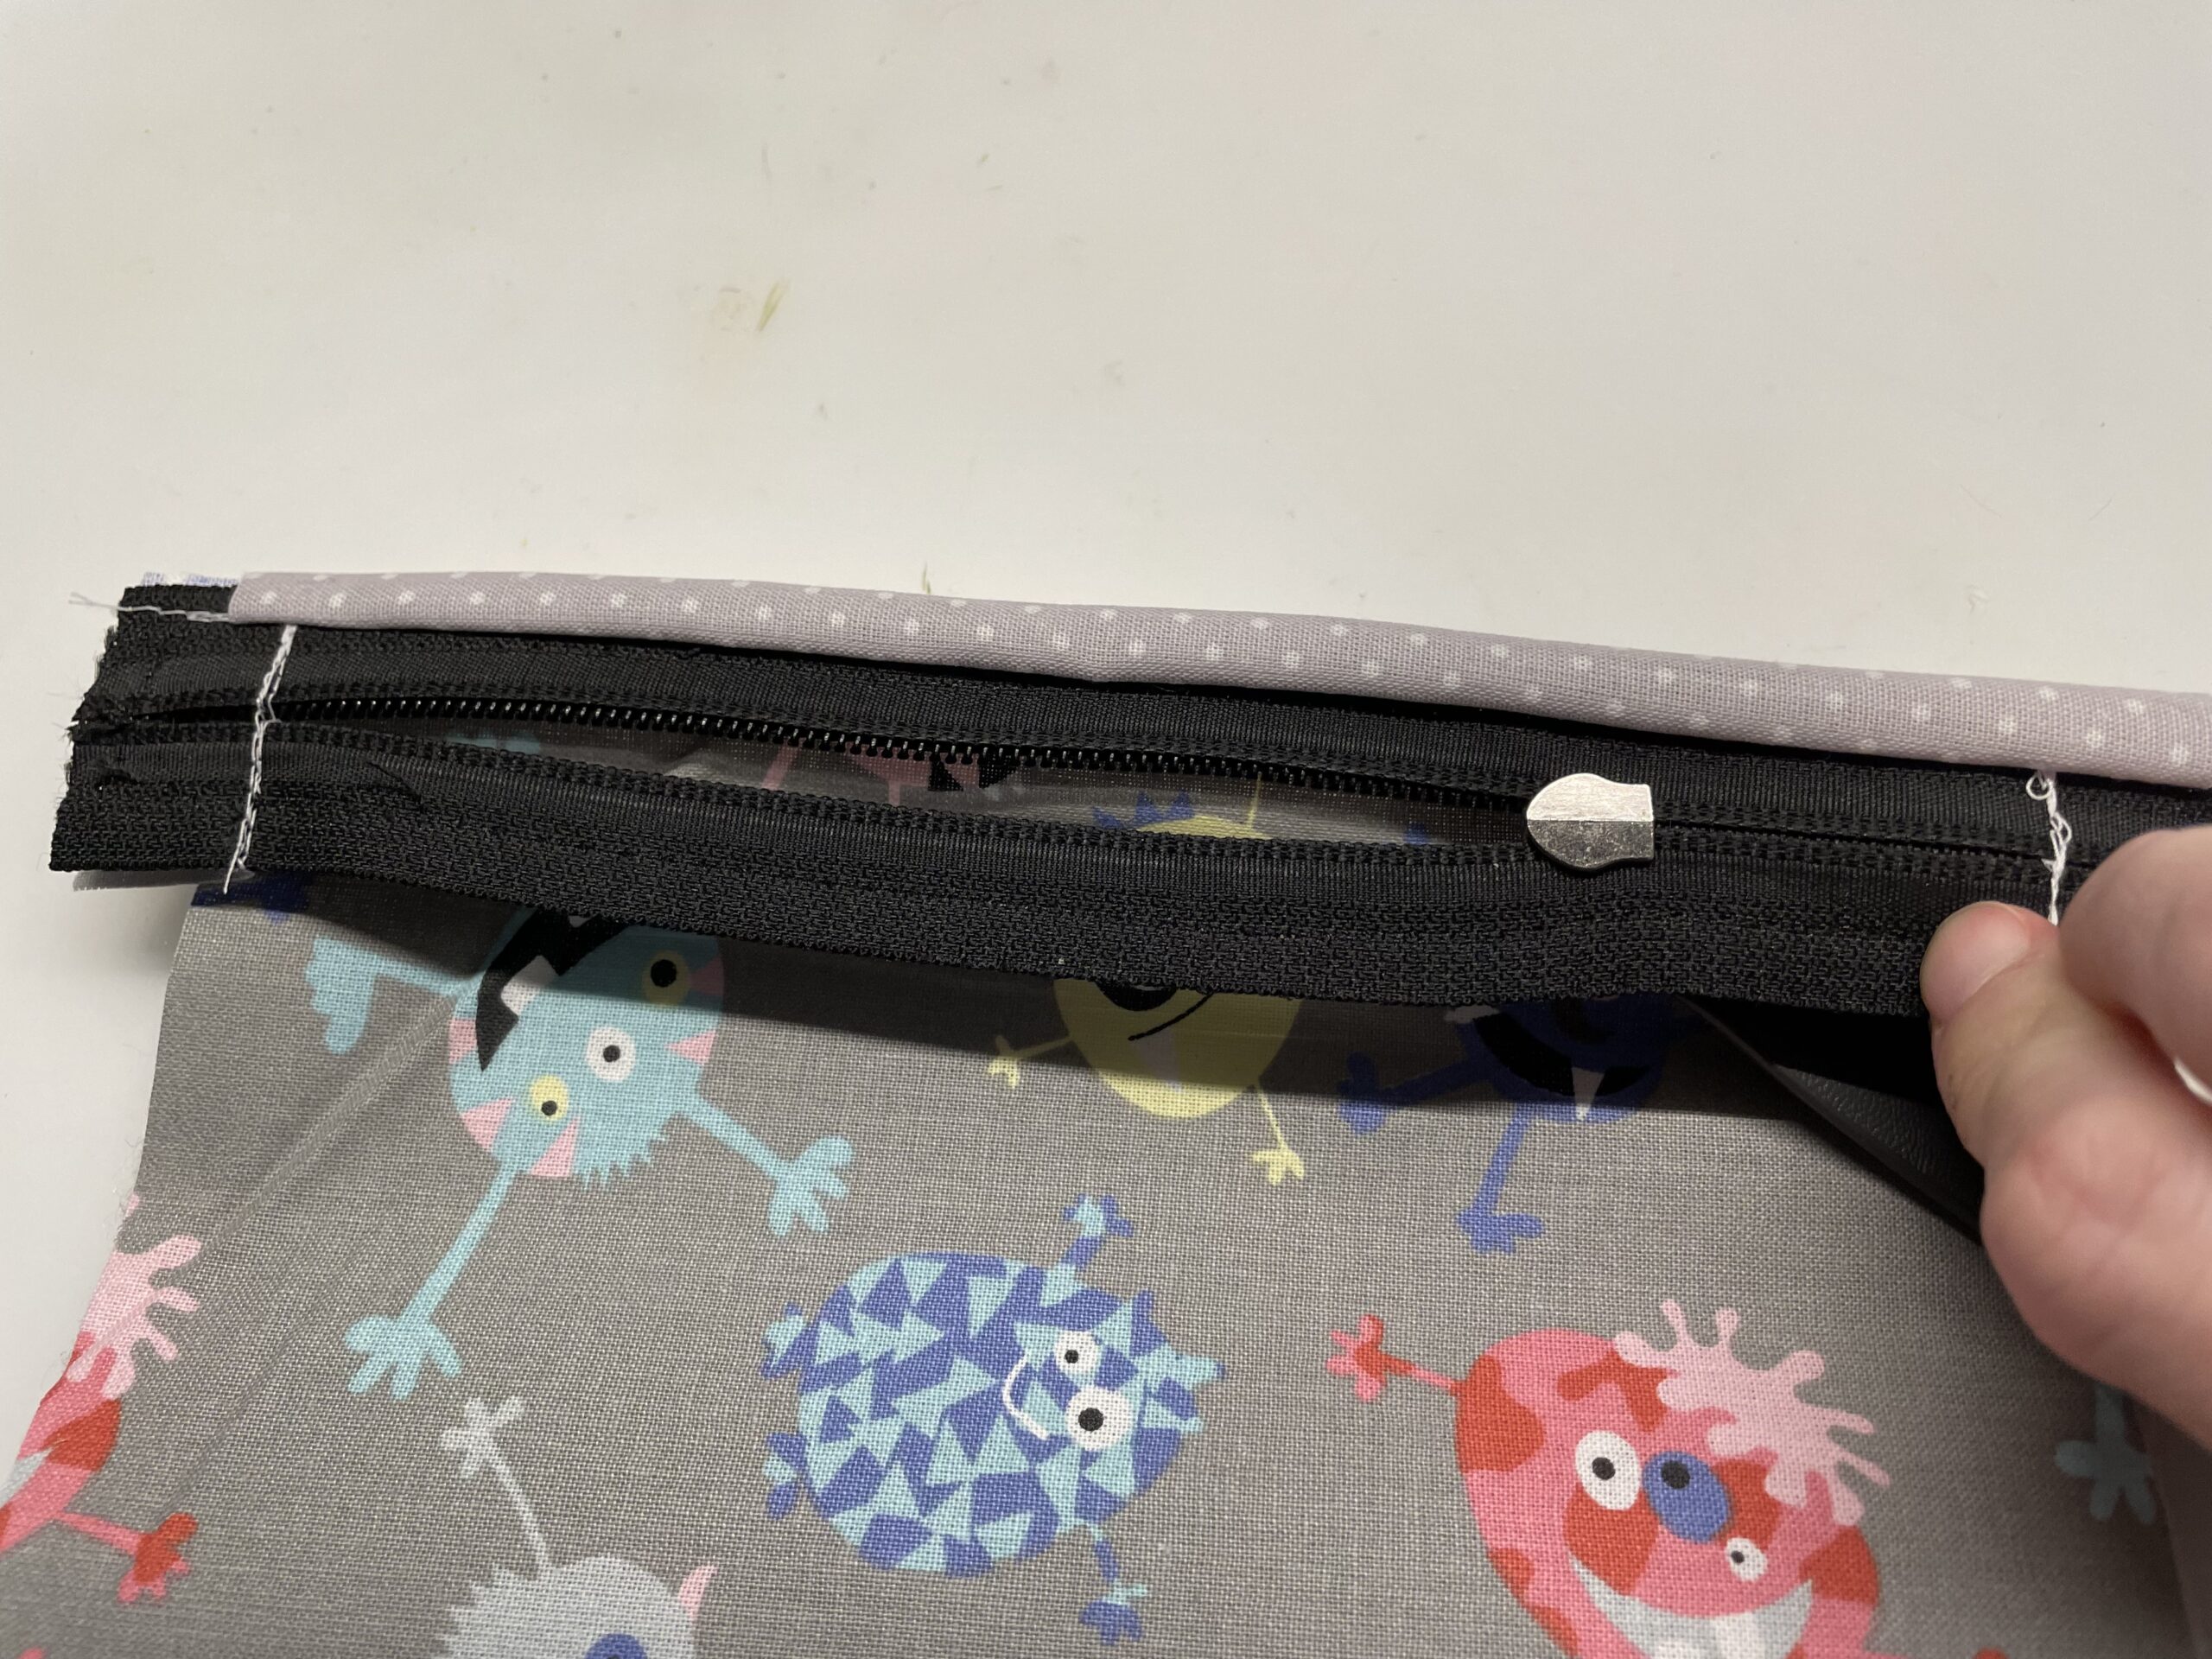
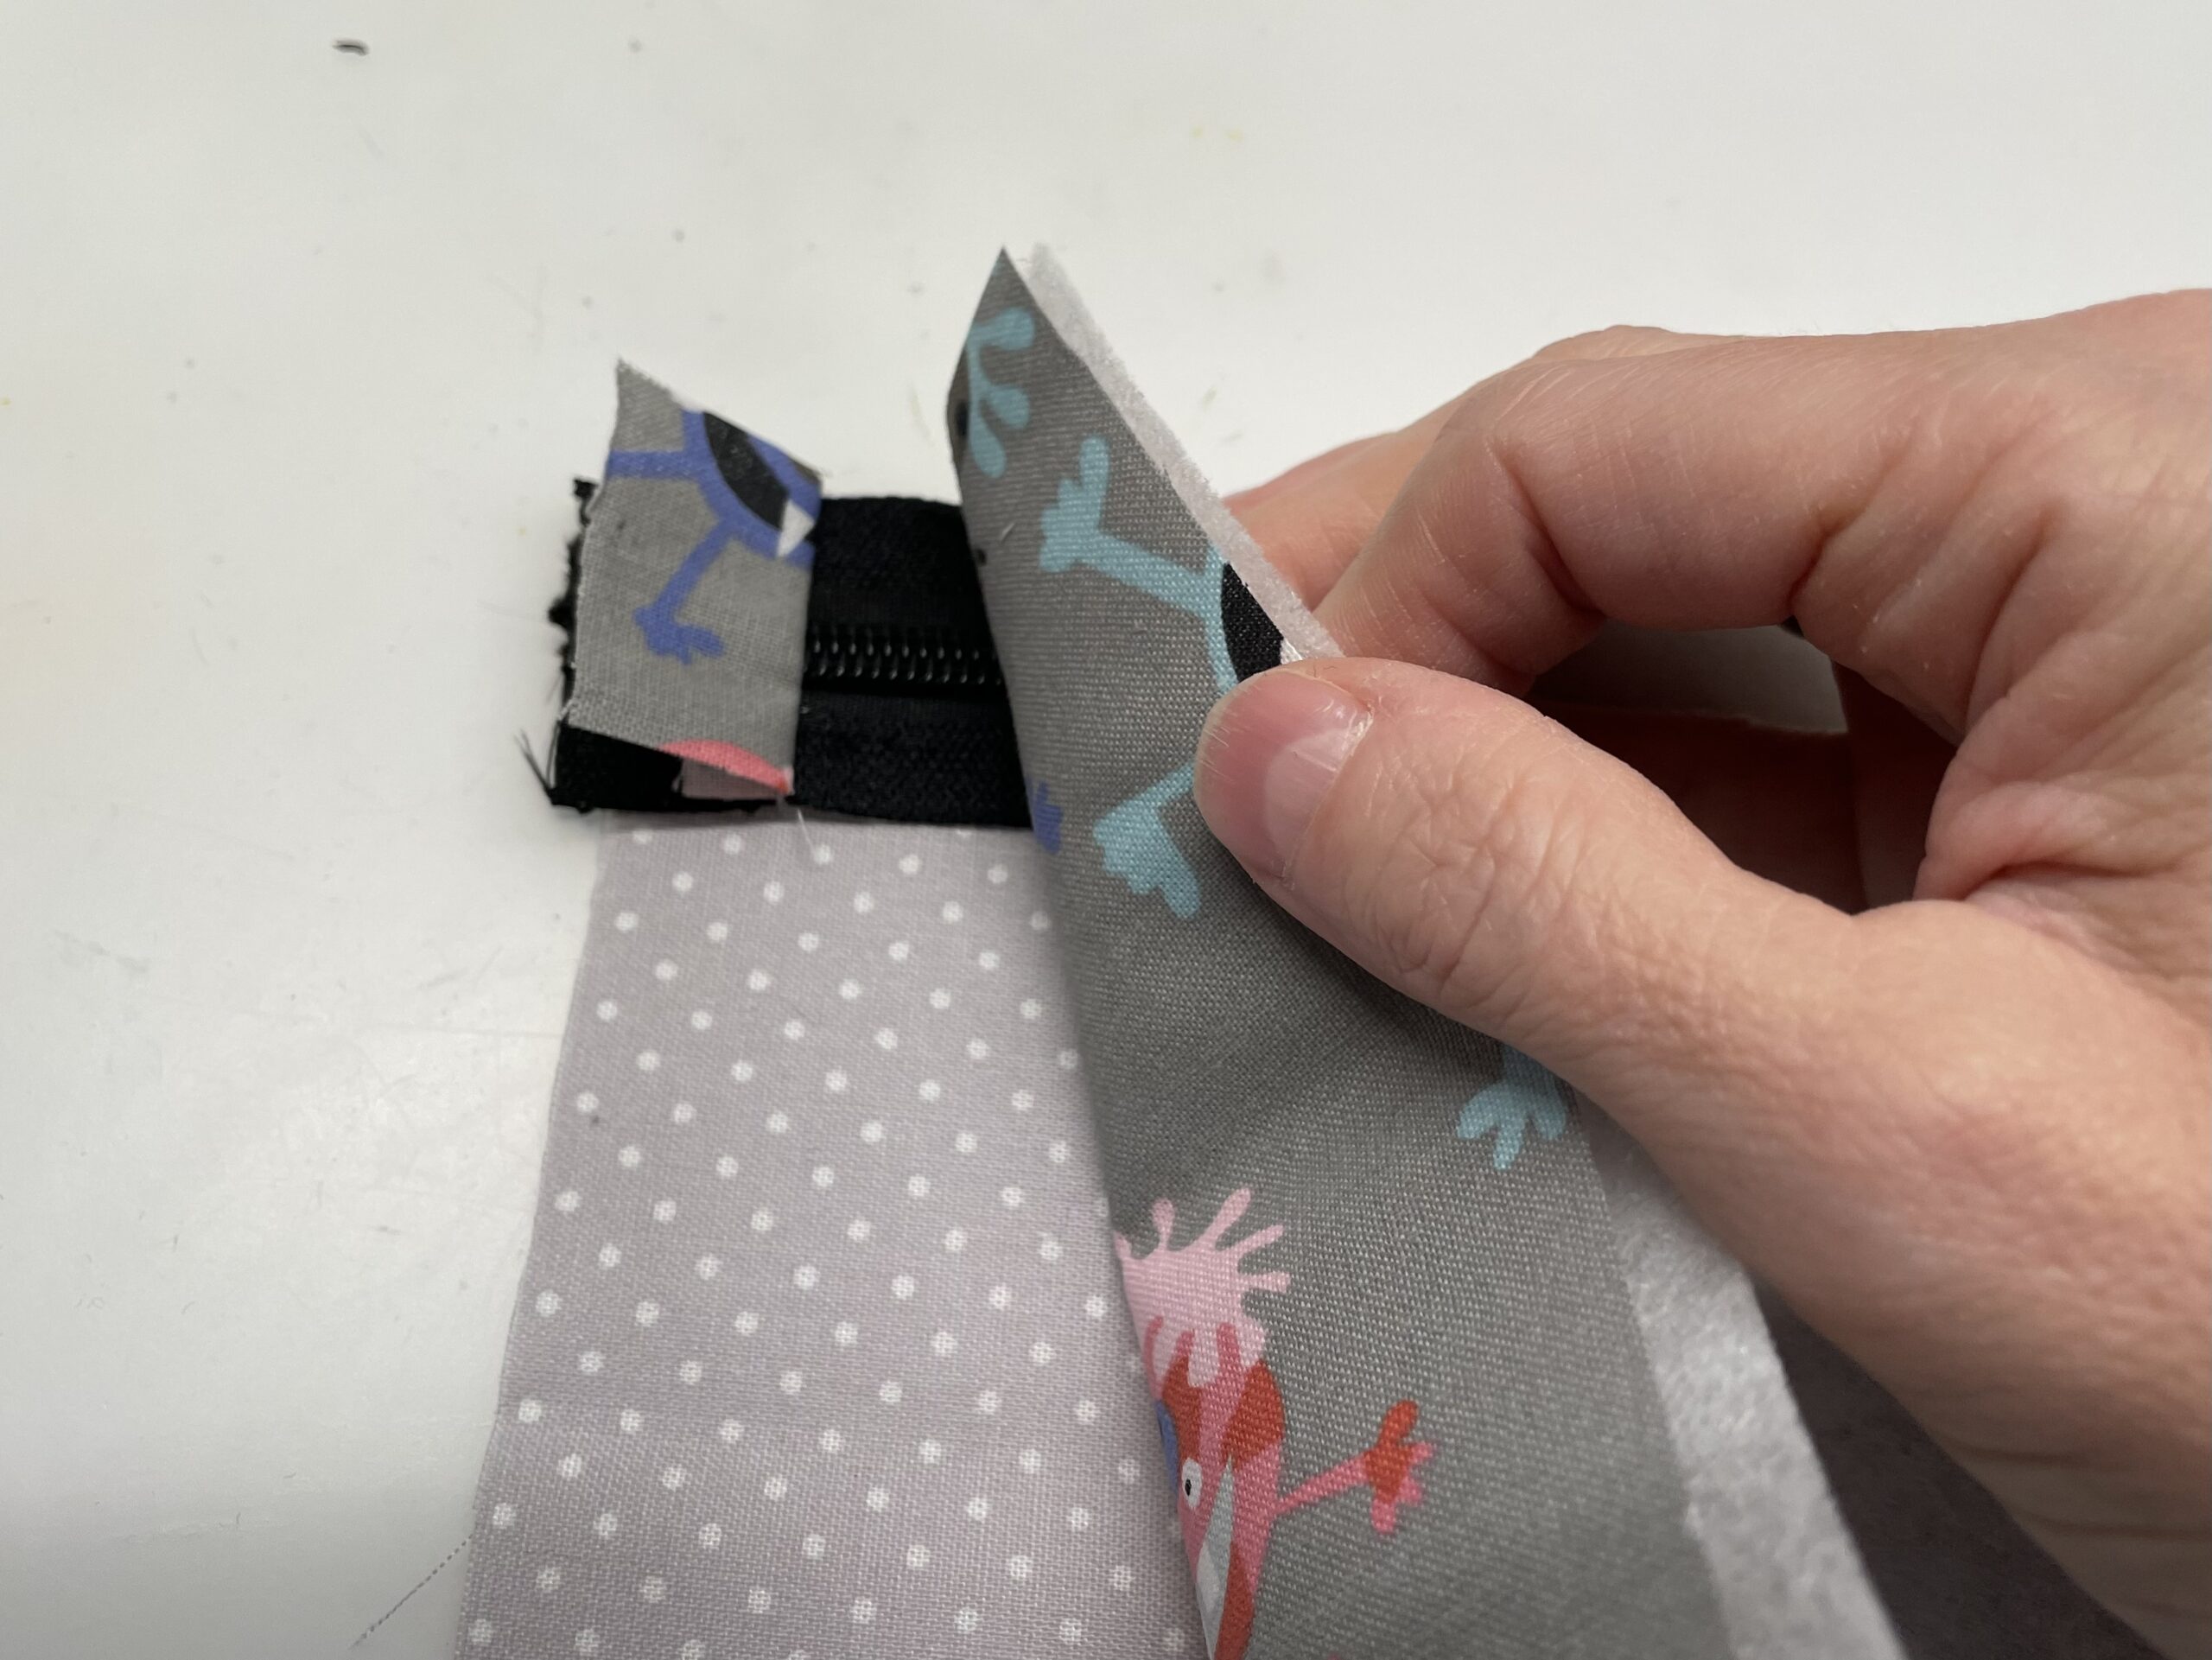
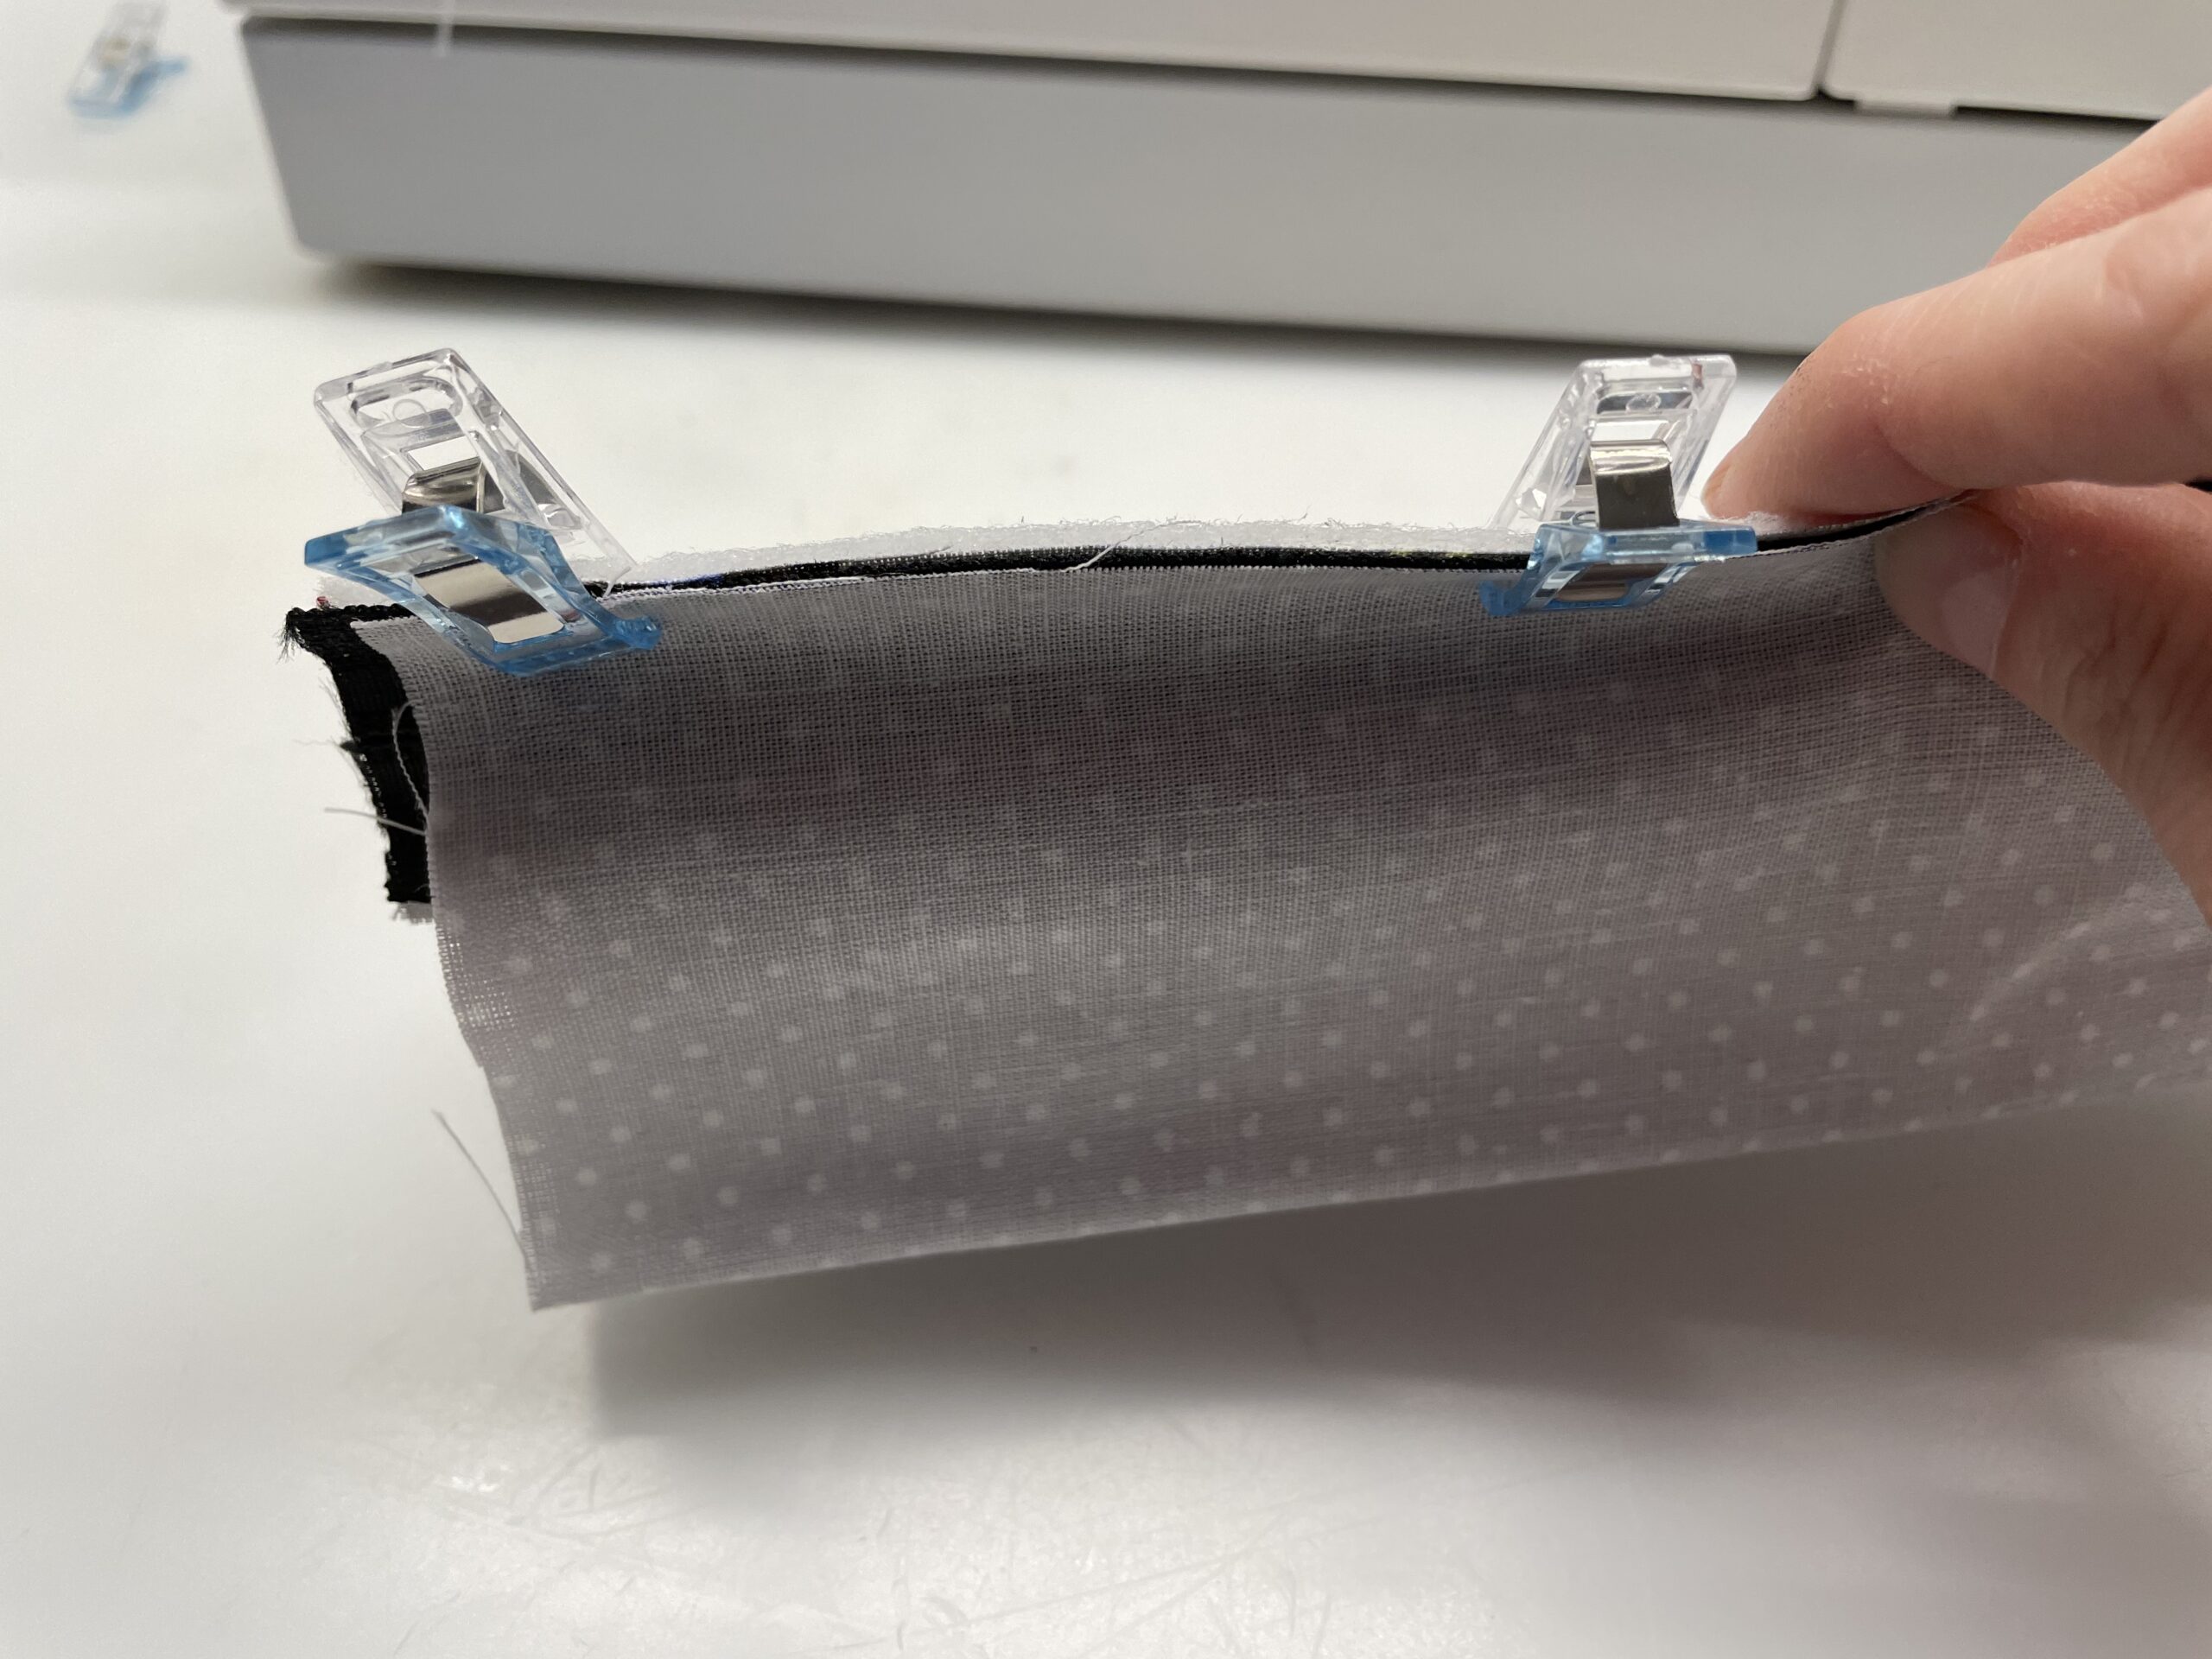
The opposite sides of the fabric are now placed on the other side of the zipper. The inner fabric is folded onto the back and positioned at the back of the zipper. The fabrics always lie on each other with the beautiful sides.

Fixes the position of the later seam with clamps.
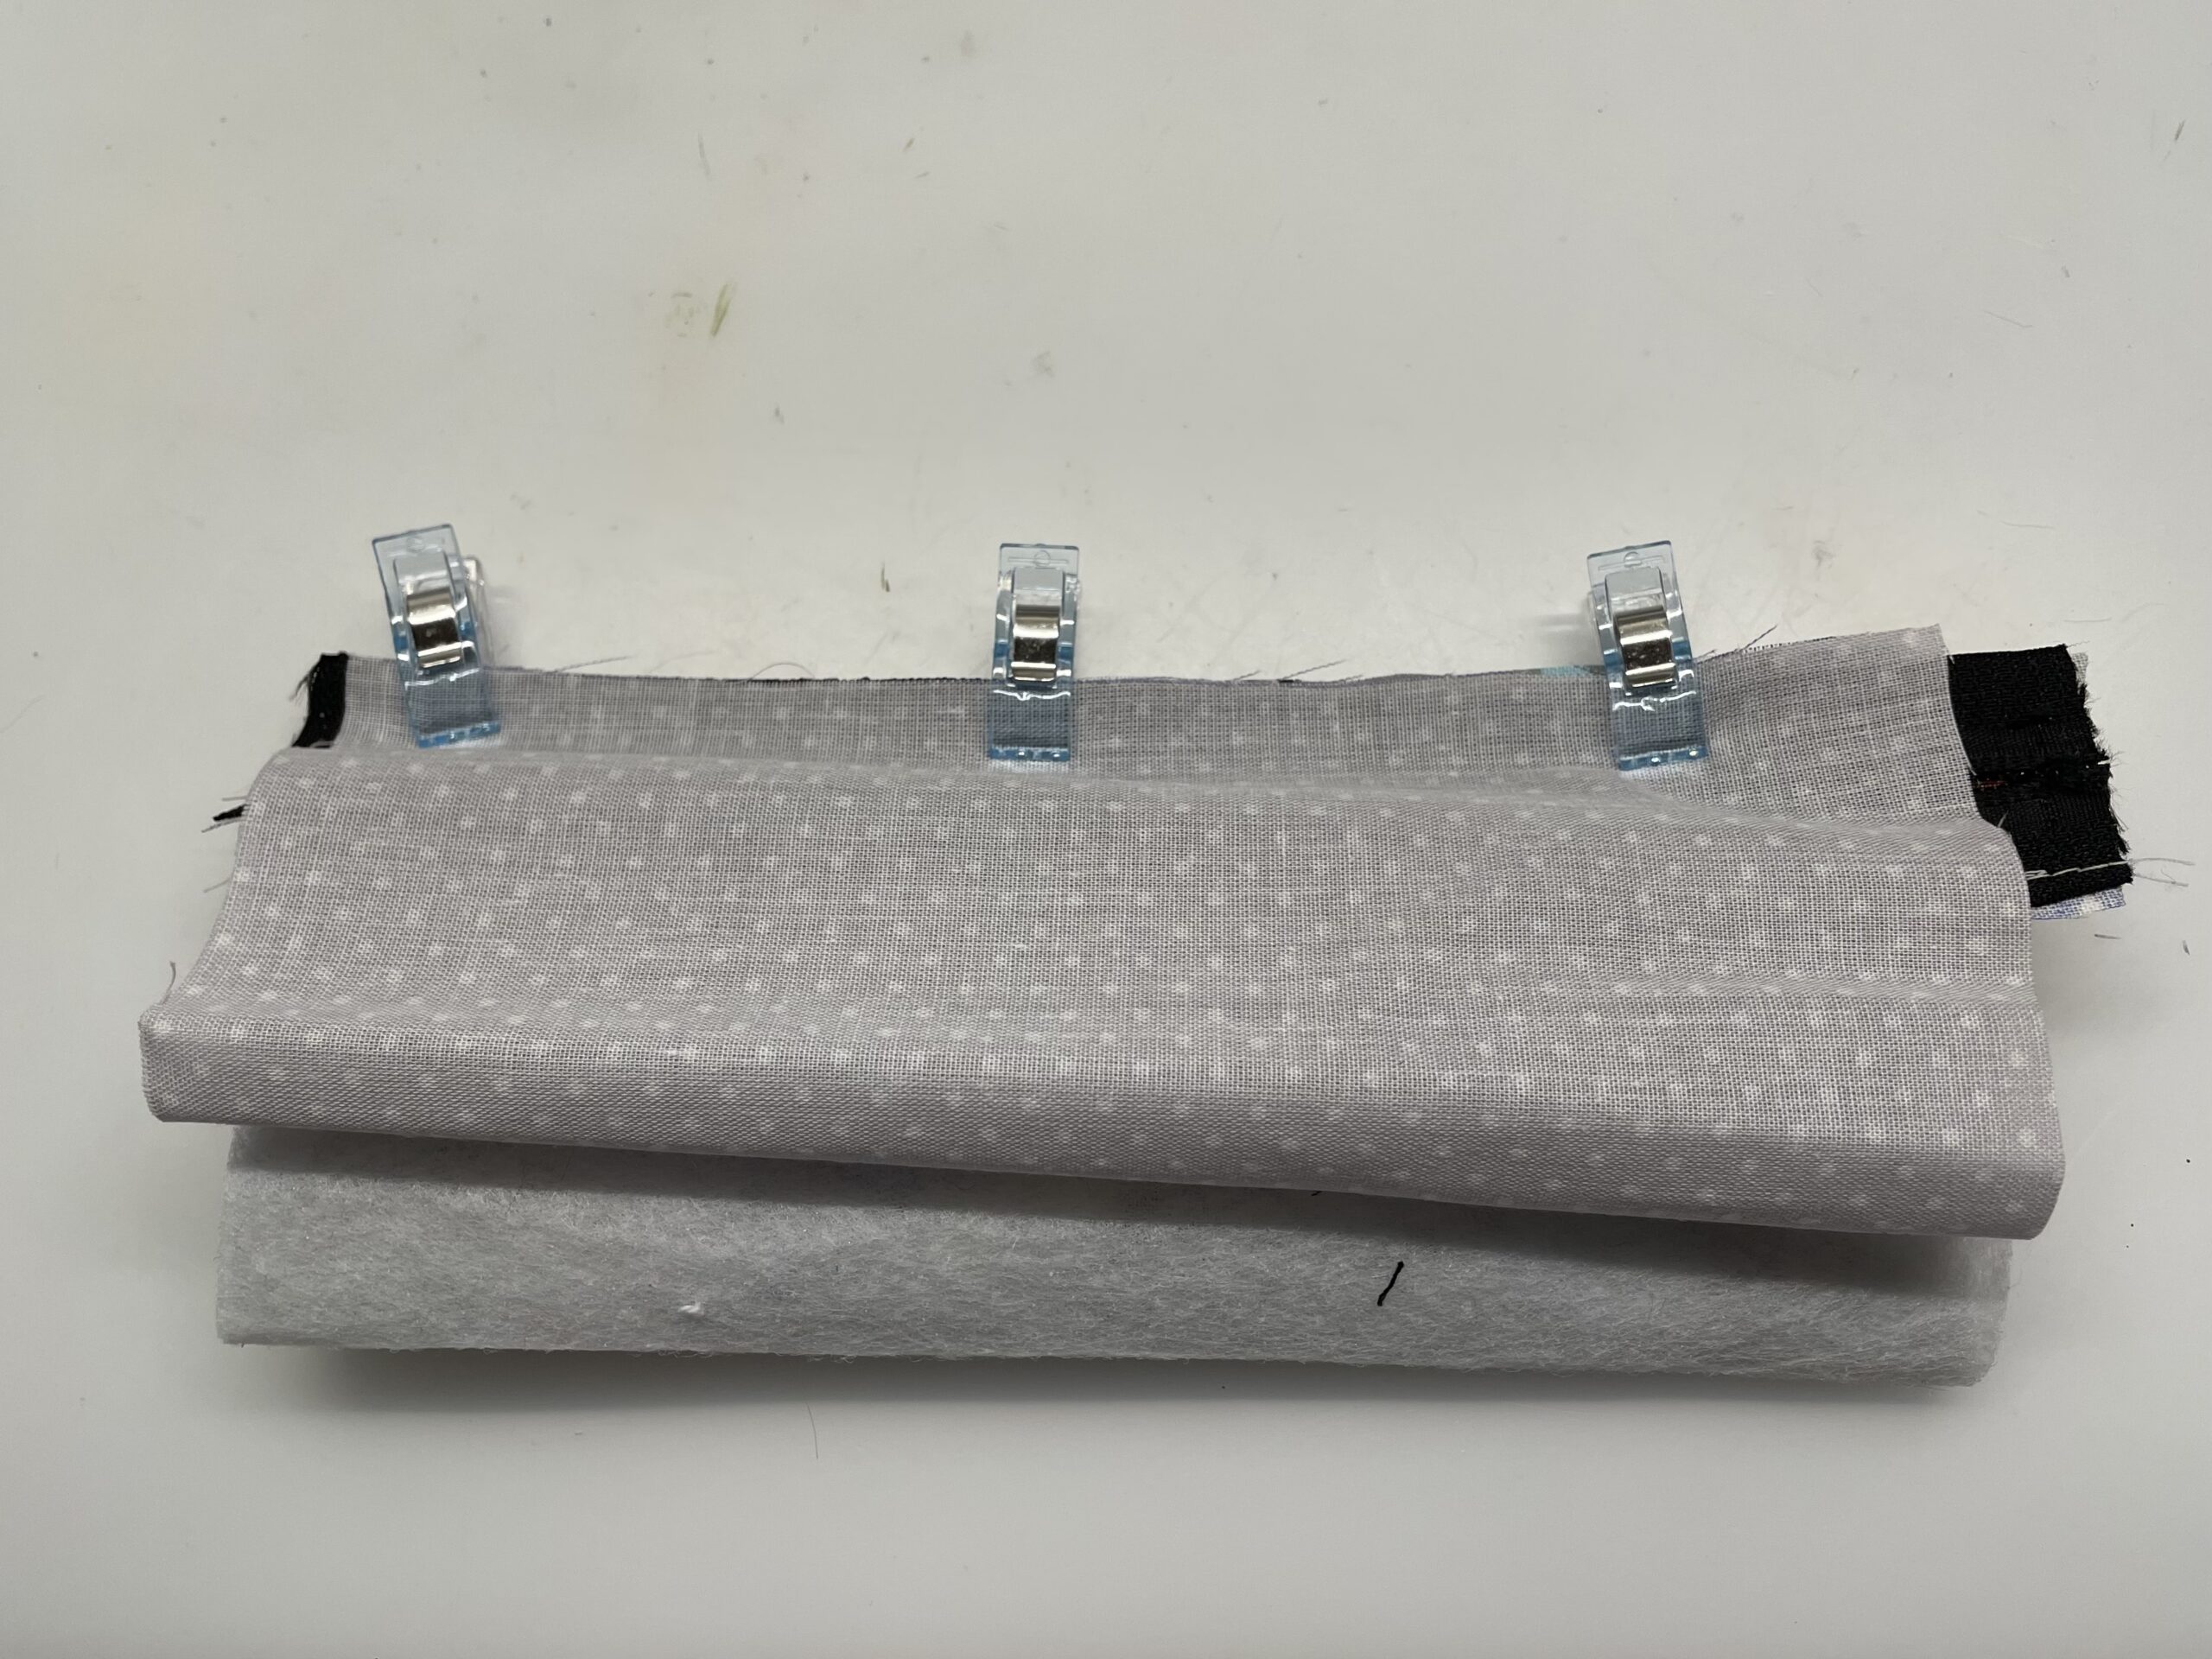
Sews a seam along the zipper.
Turns the fabric part after sewing. The outer fabric is placed outwards and the inner side neatly inwards.
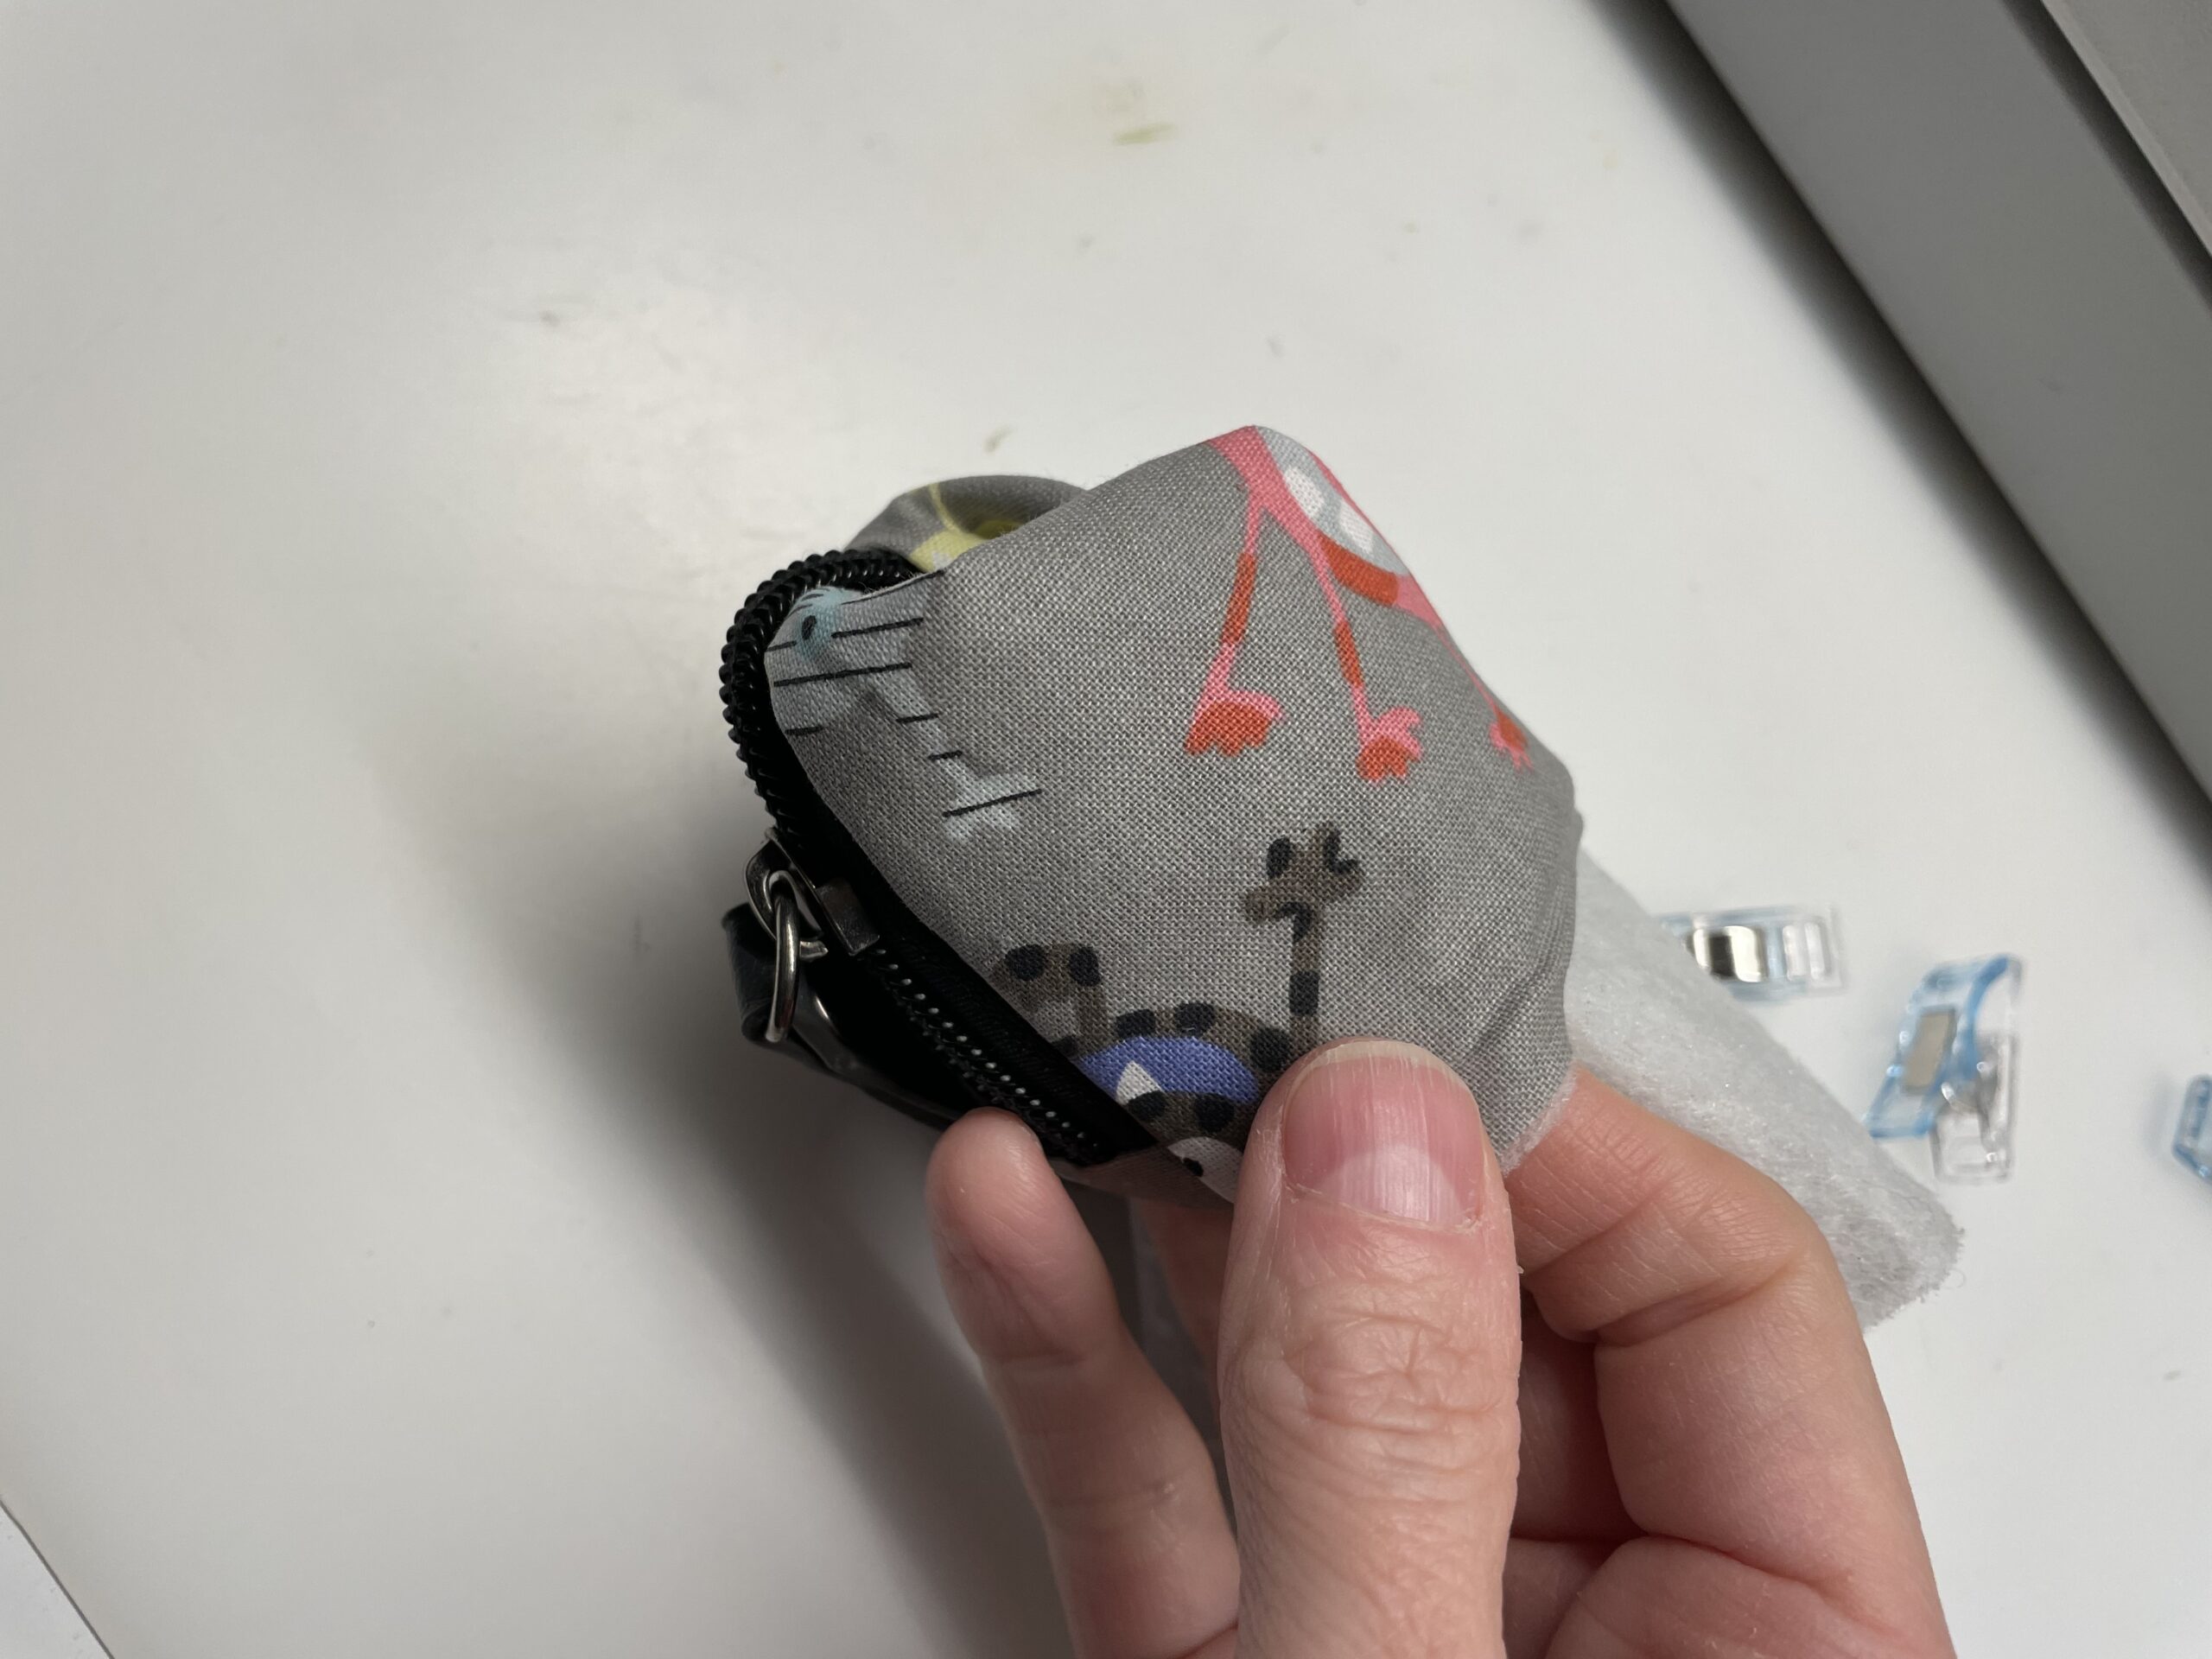
Now you can see the little girl.
Straighten out the zipper in the middle and flatten the cap.
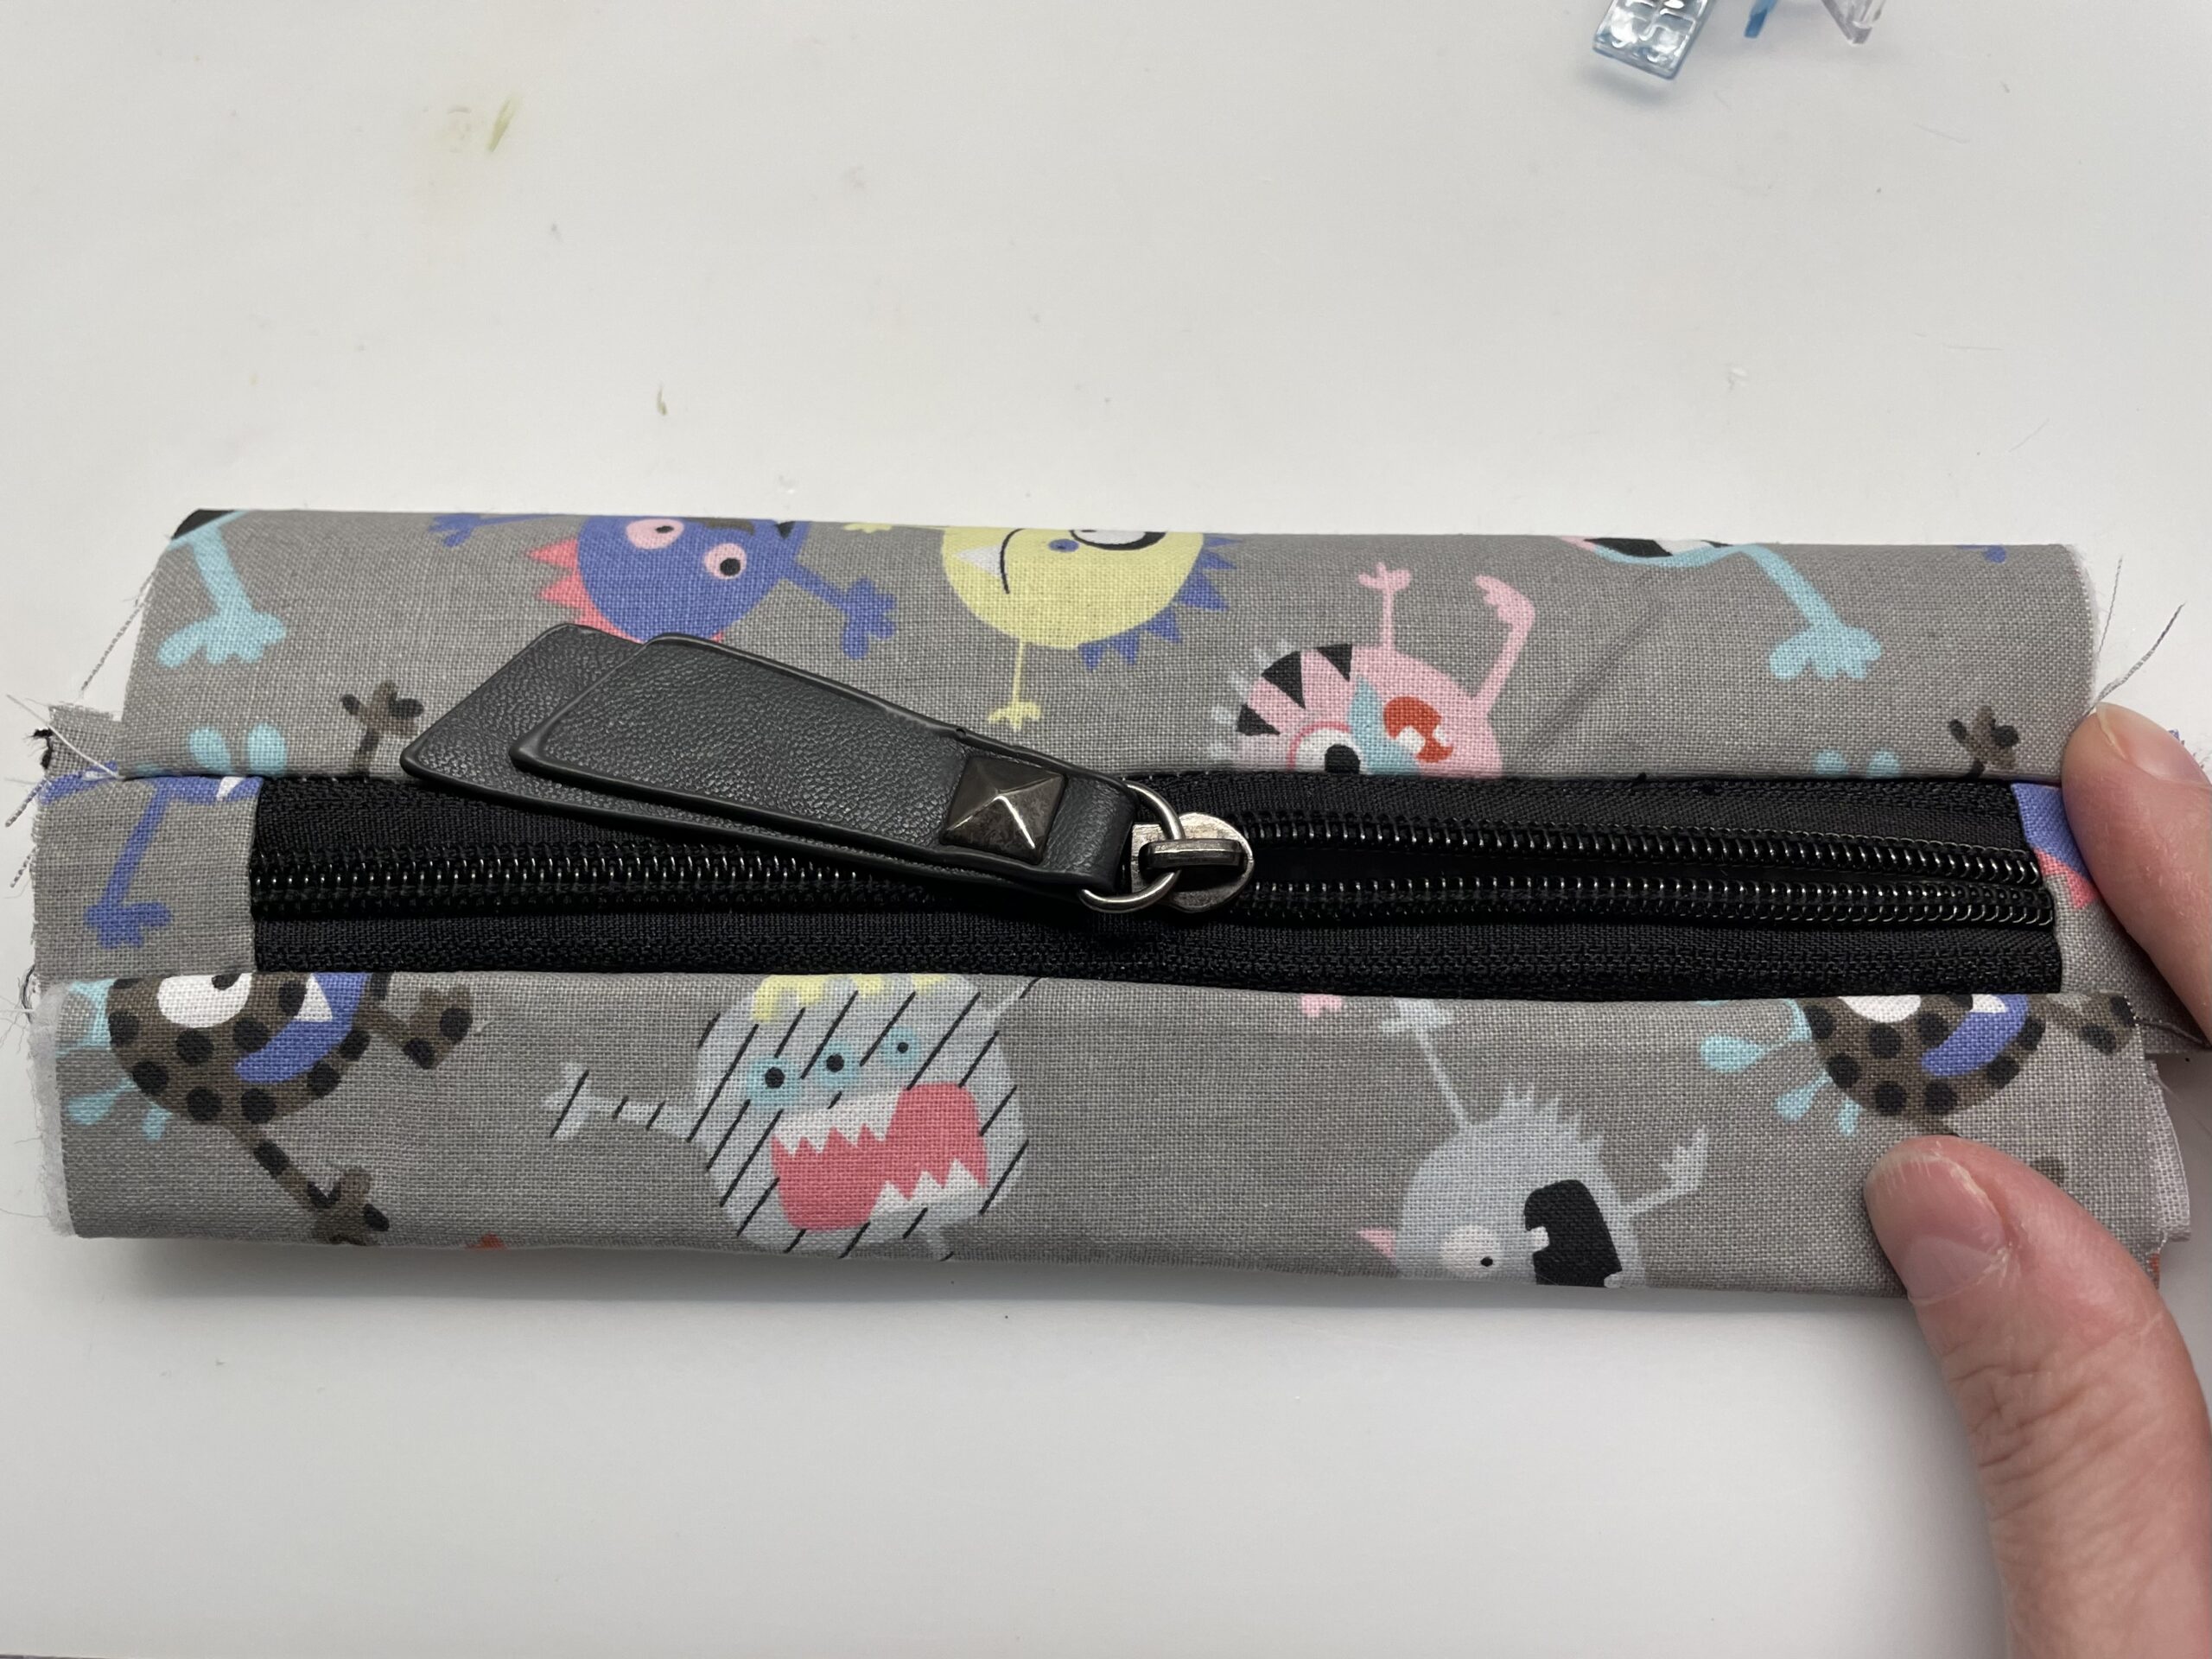
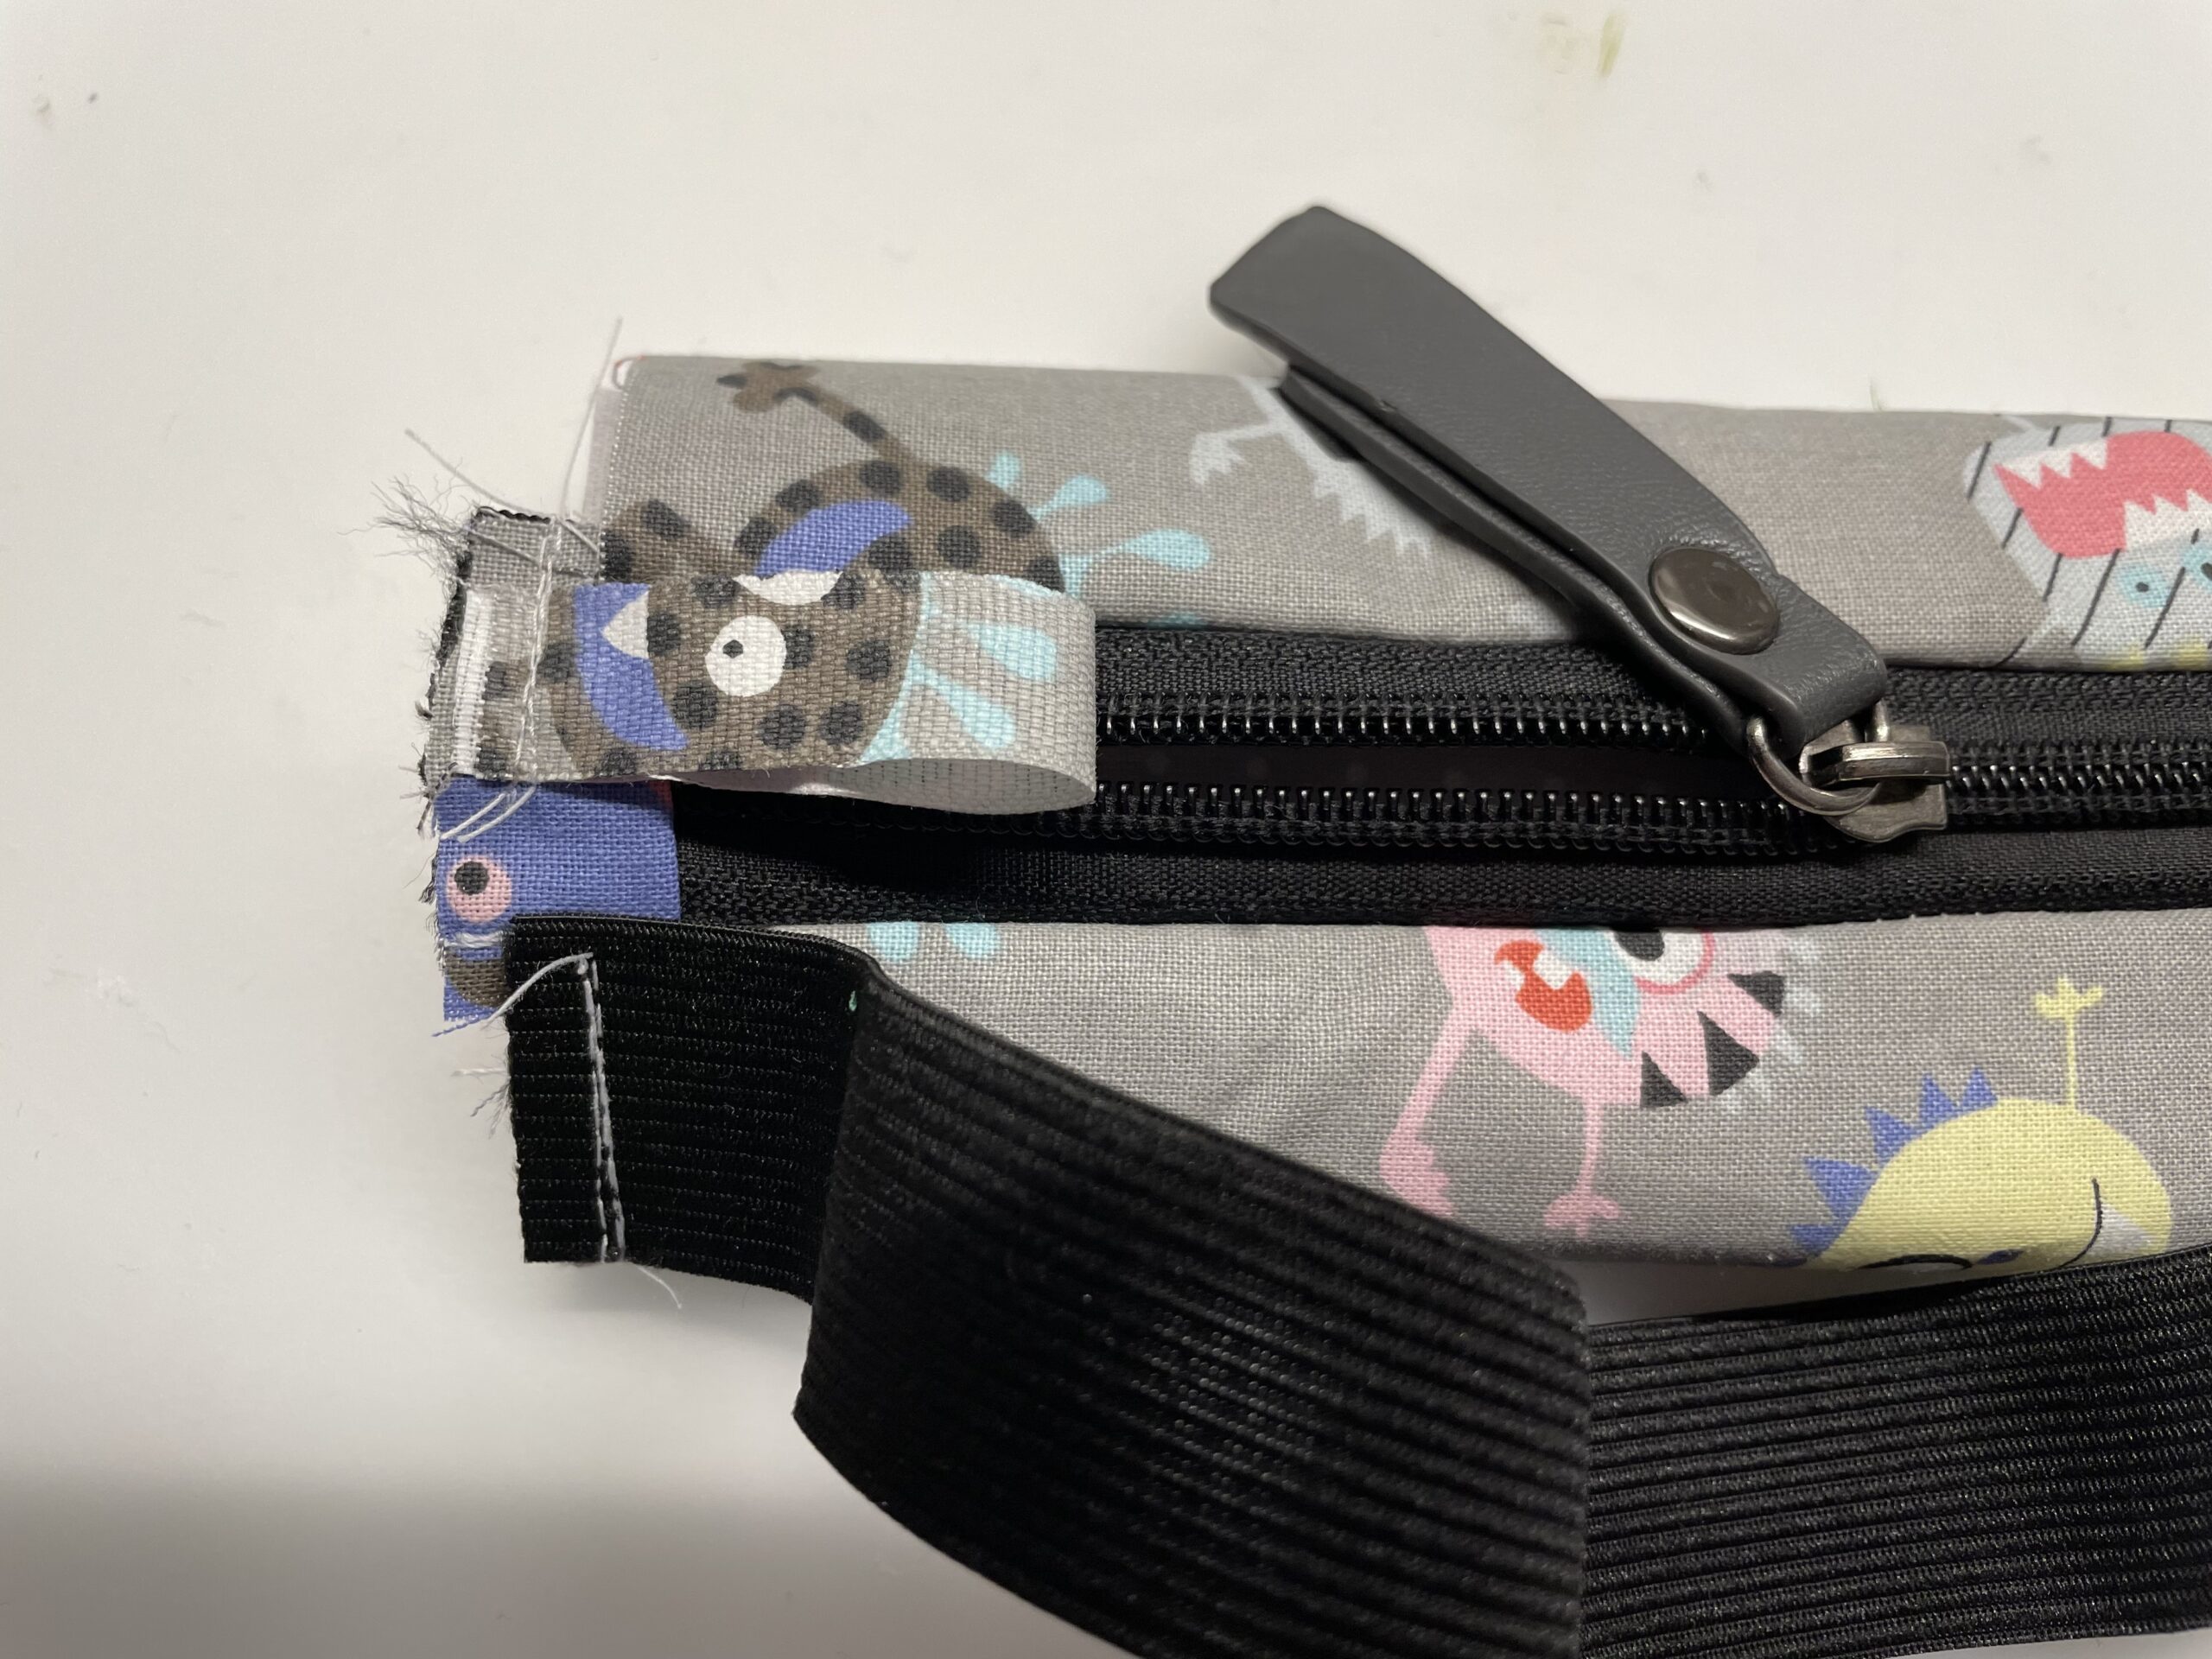
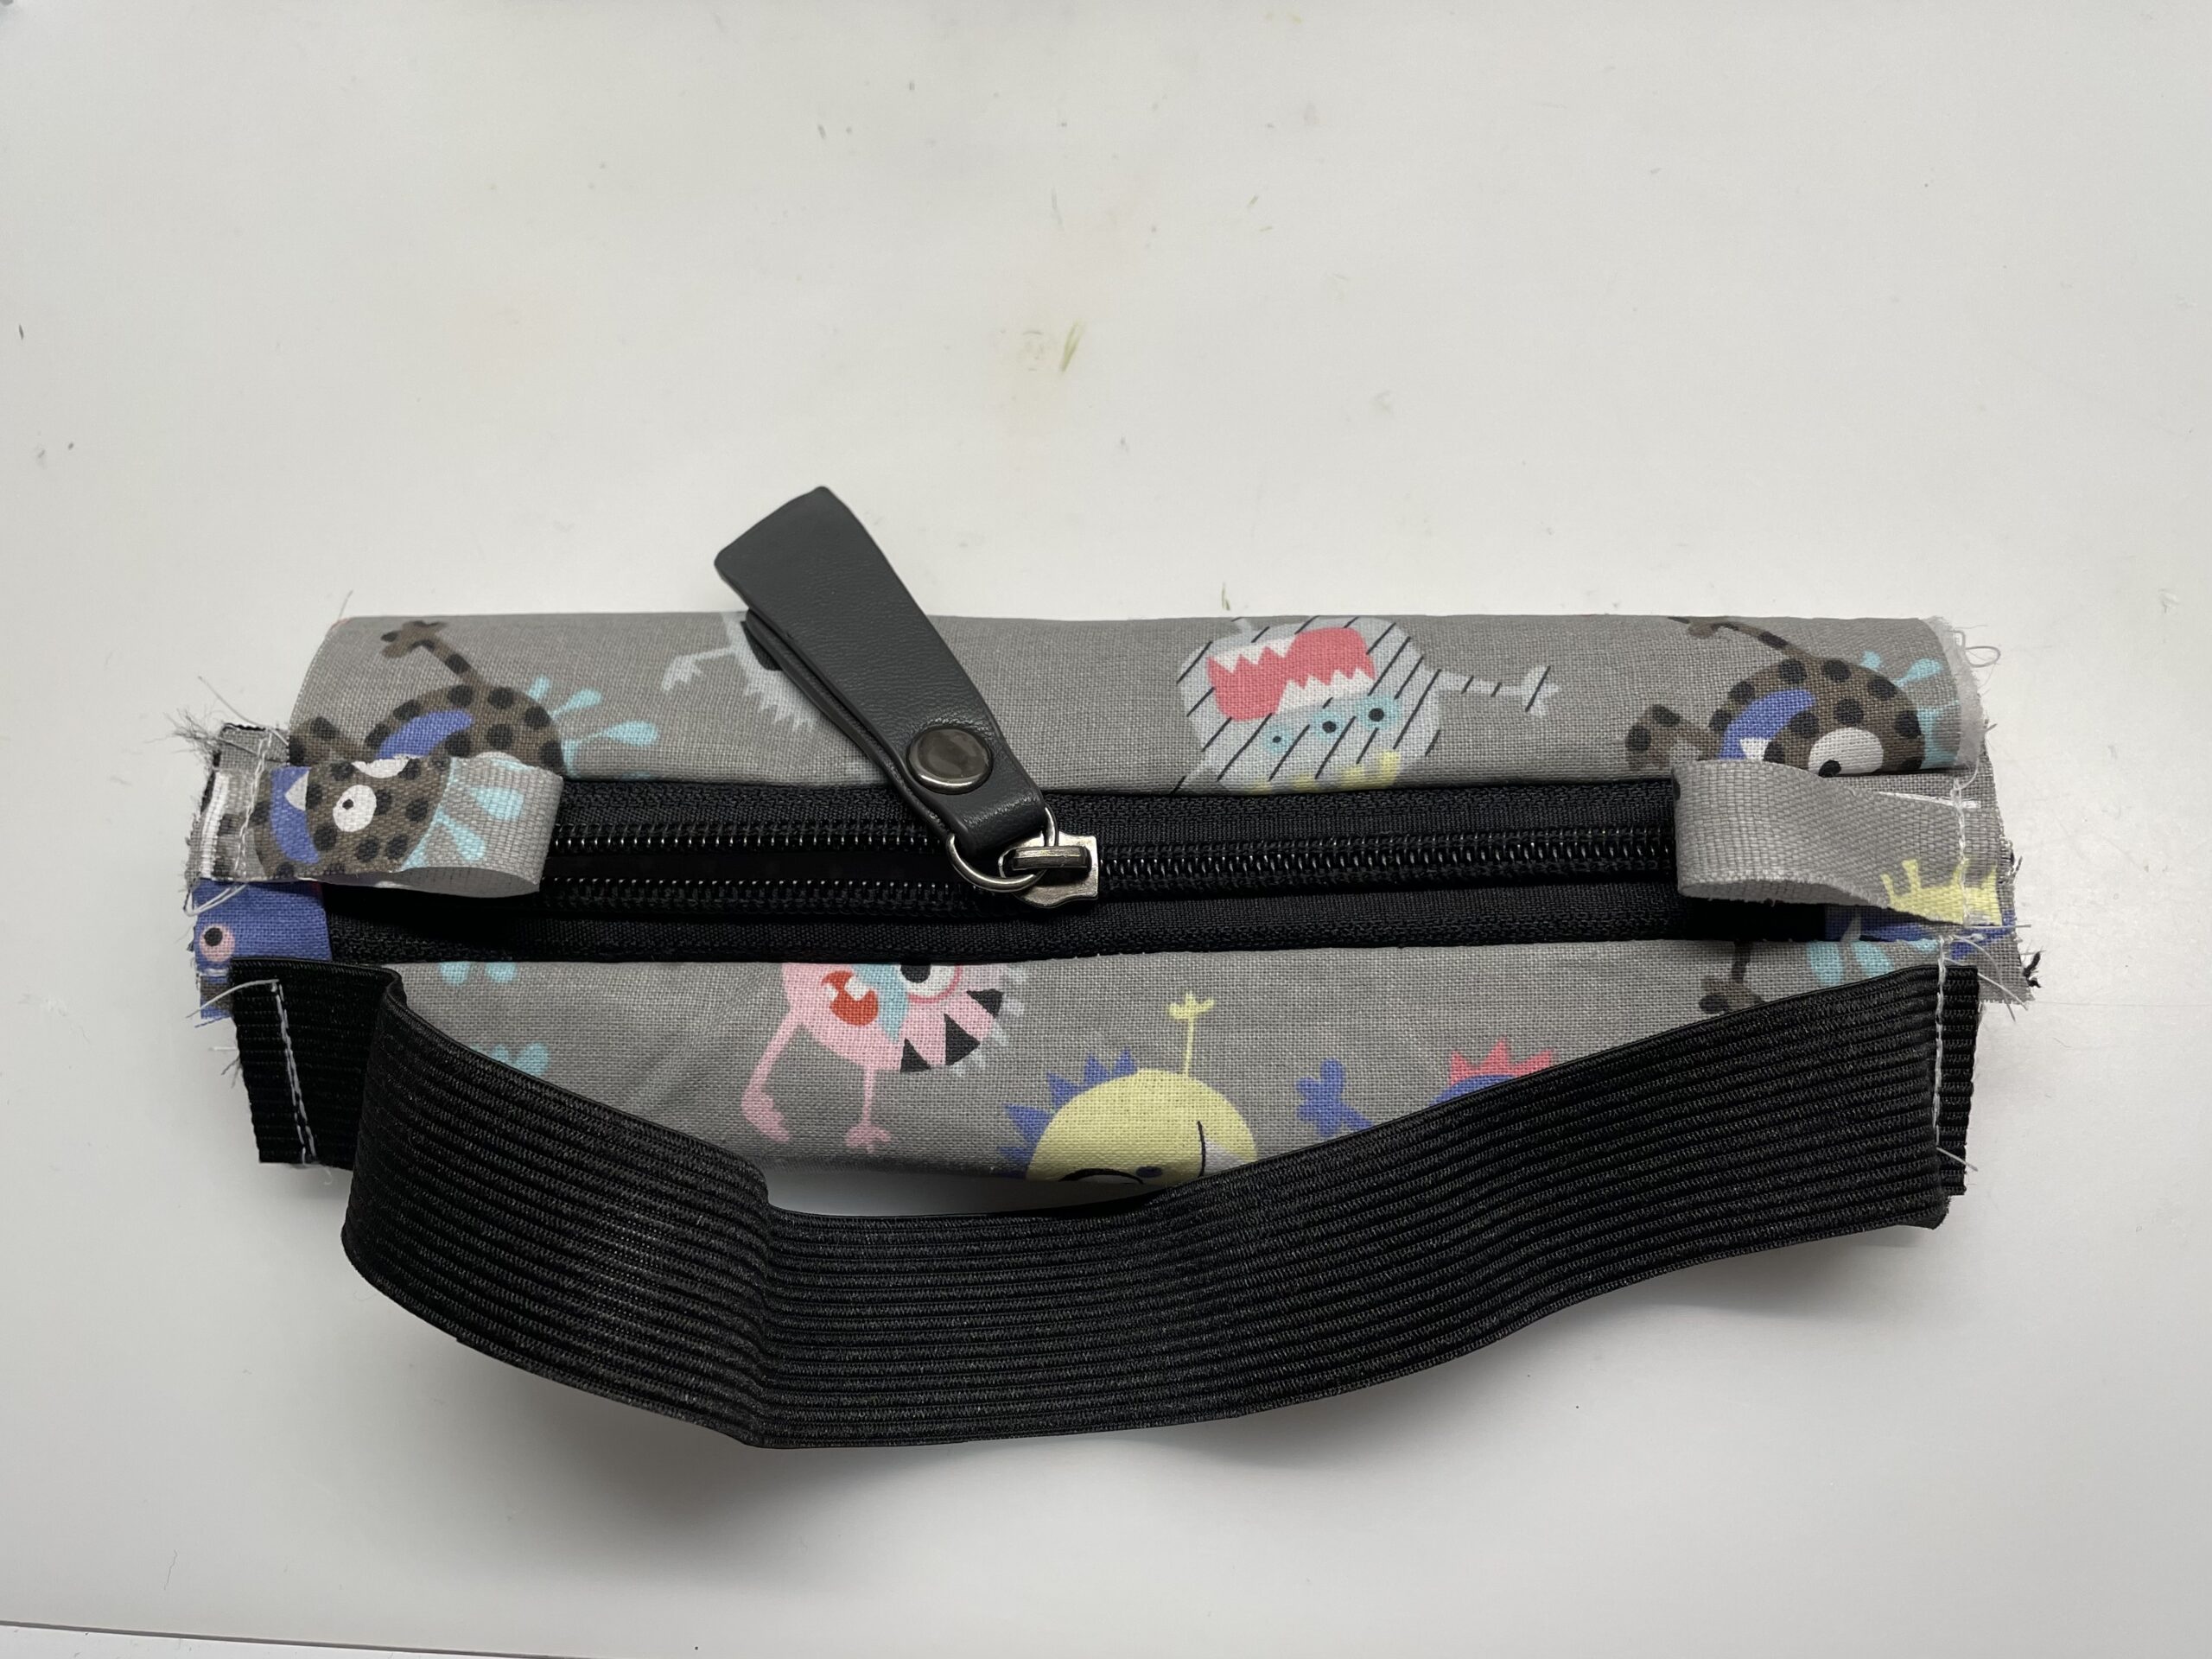
On the open sides to the left and right you can add additional loops and sew the rubber band. Make sure that you do not close the opening or sew the fabrics together.
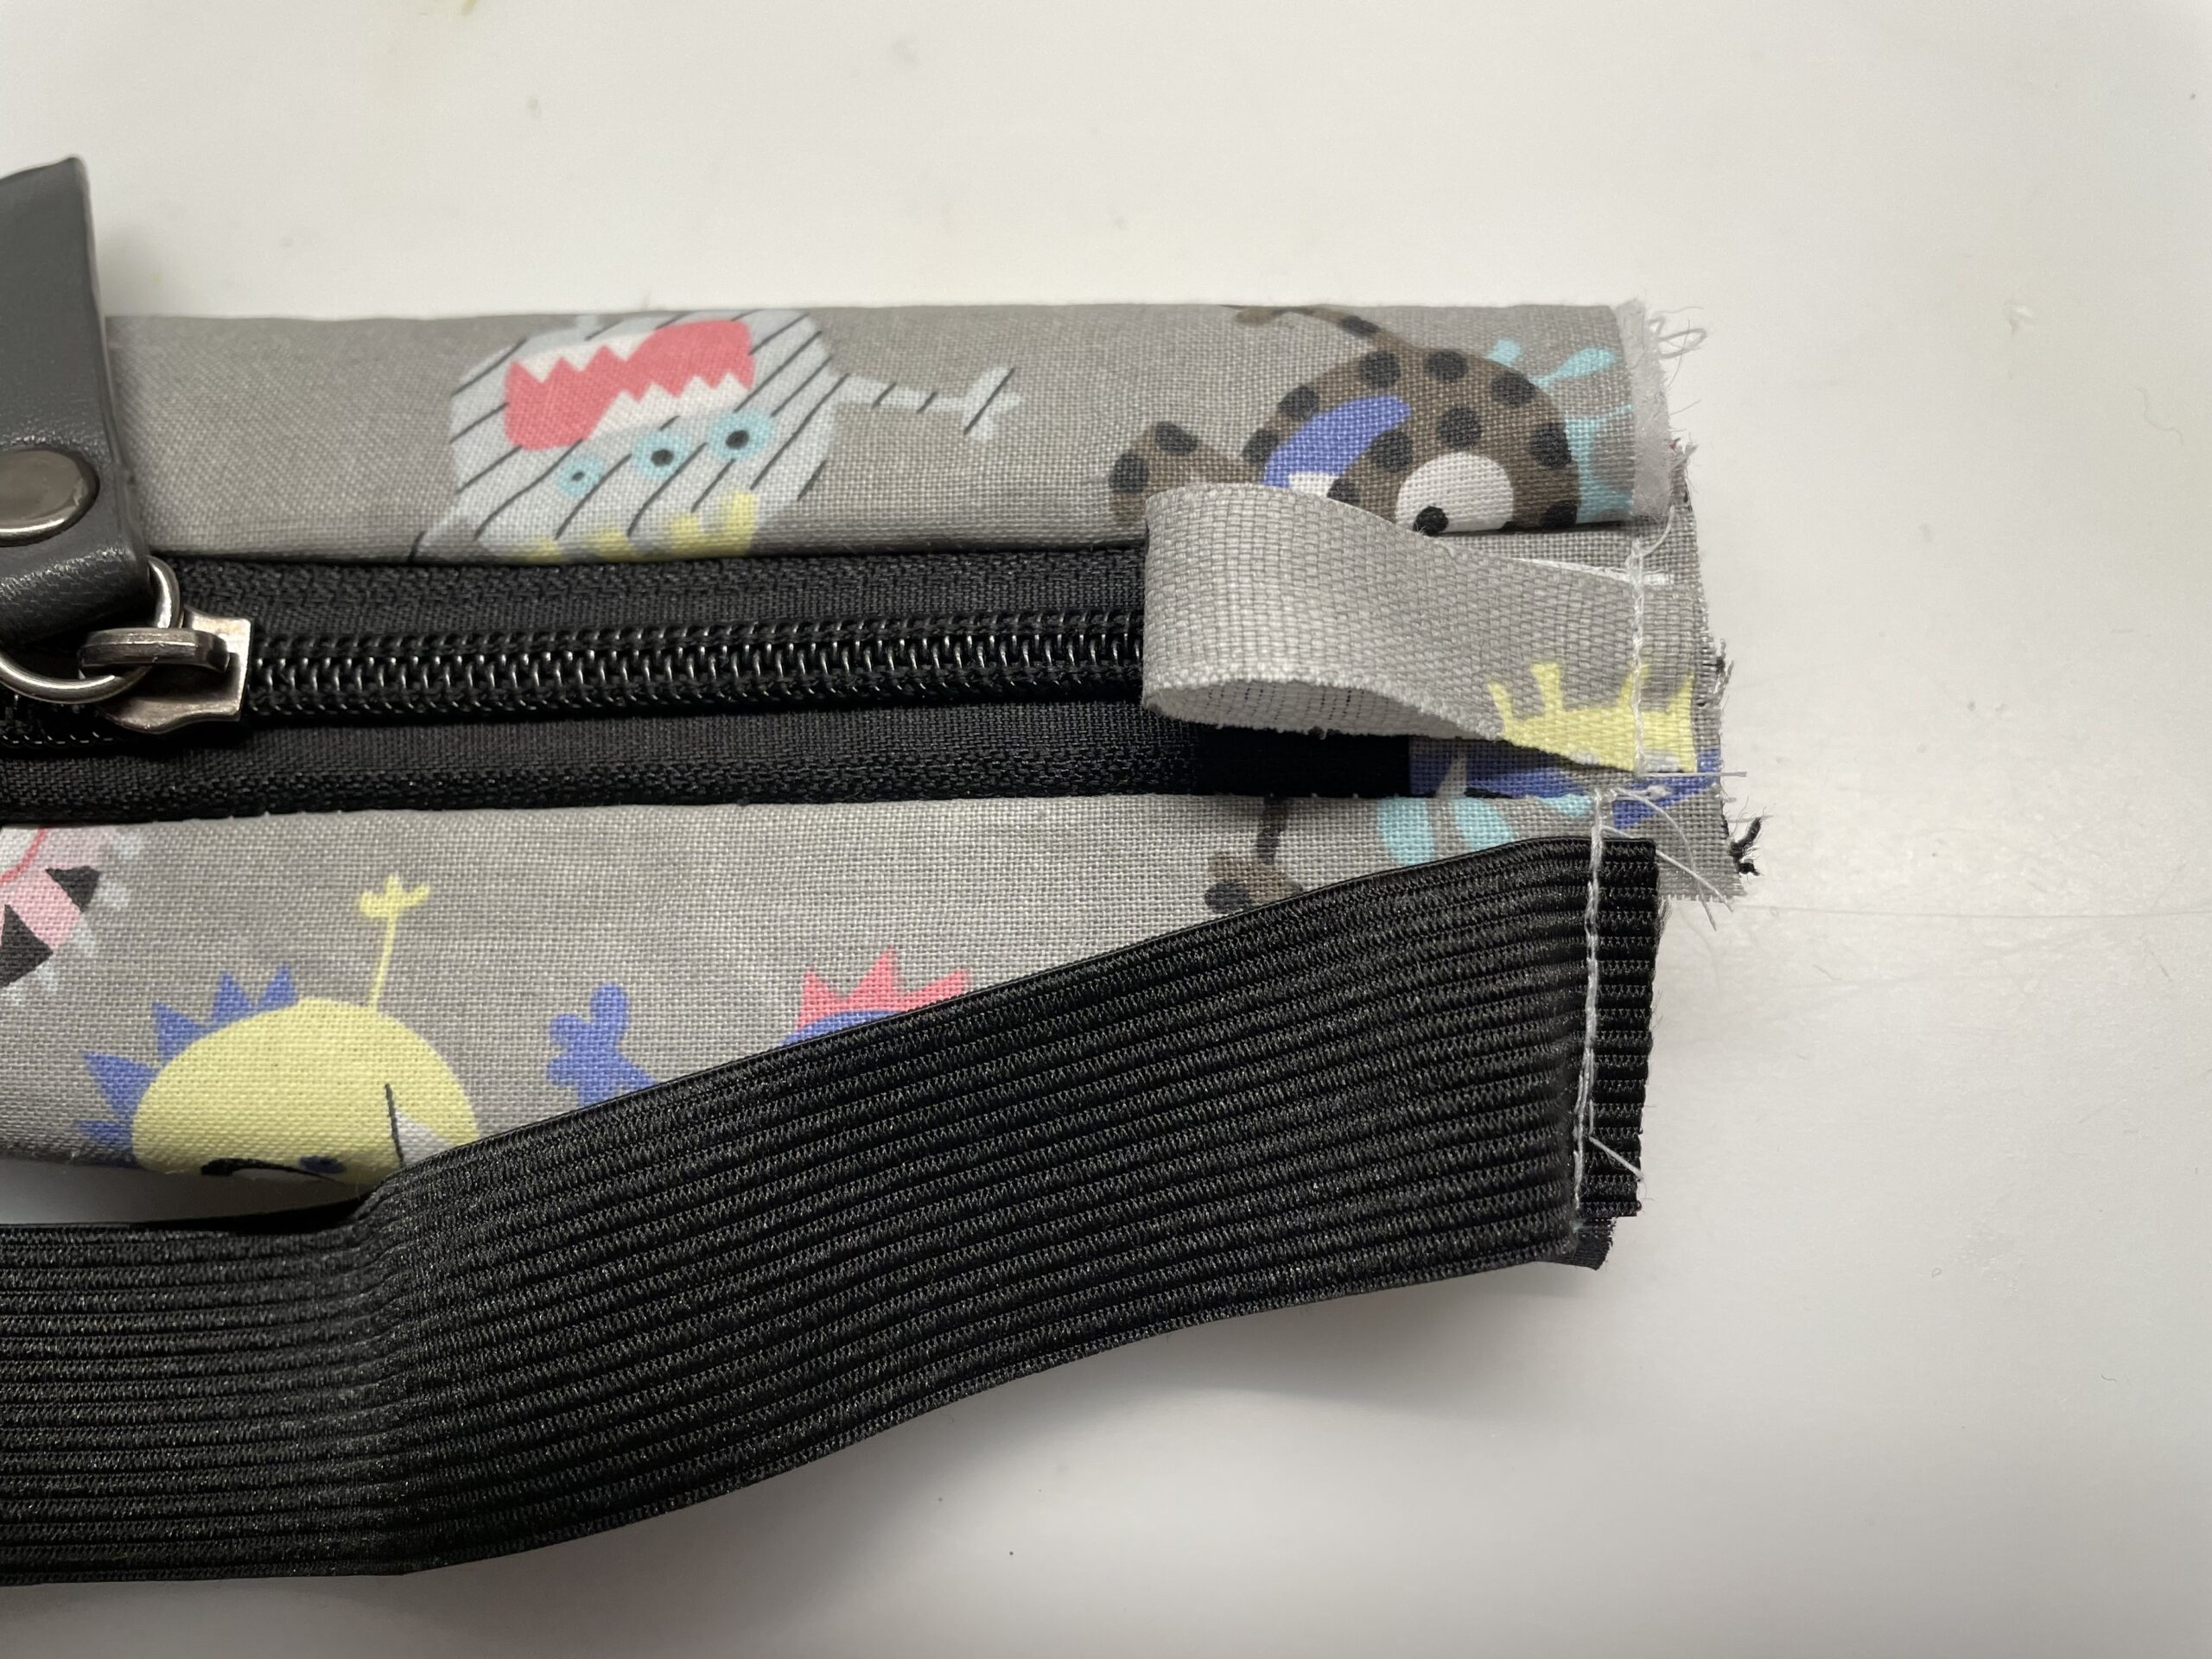
Just fix the rubber band and the loops on the top fabric. Sew as far as possible outside!
Turn the cap so that the inside is on the outside.
Fixes the cap that the zipper is centered and closes the two open sides. First sew the sides once. Then take a piece of tape and place it over the fabric edge of the side. Sew this firmly.
So the insides are neatly sewn.

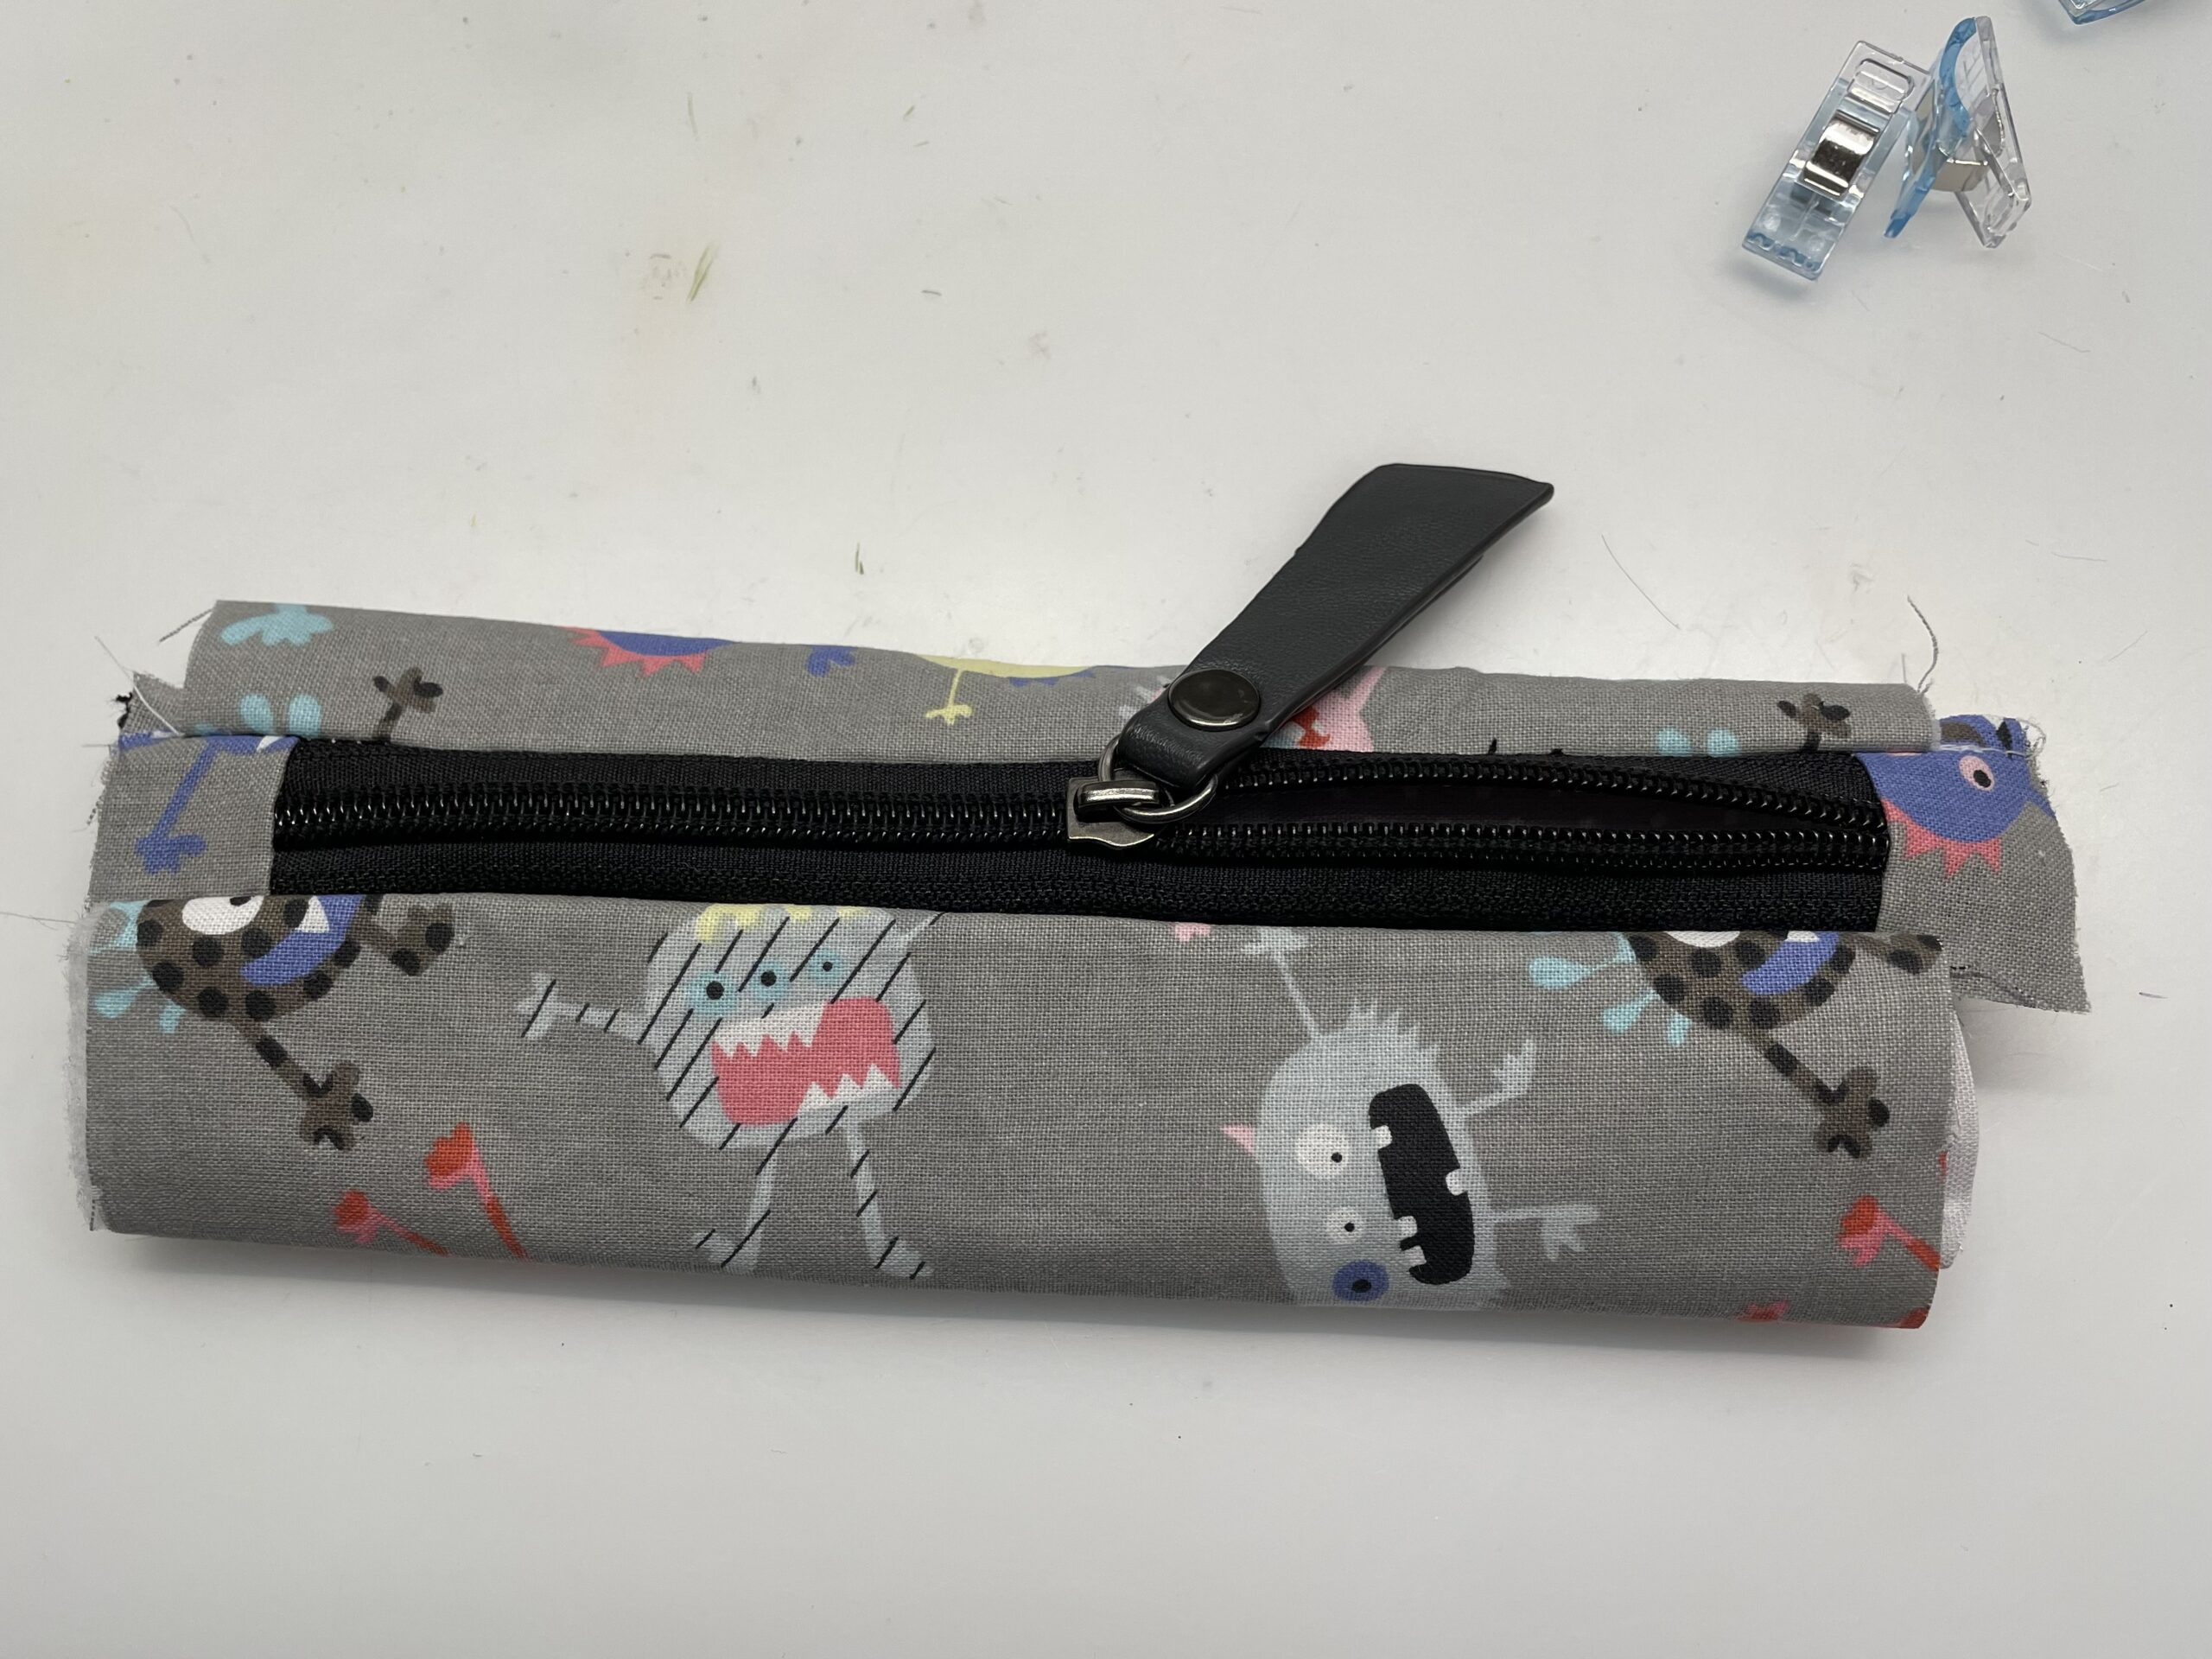
Turn the cap around.
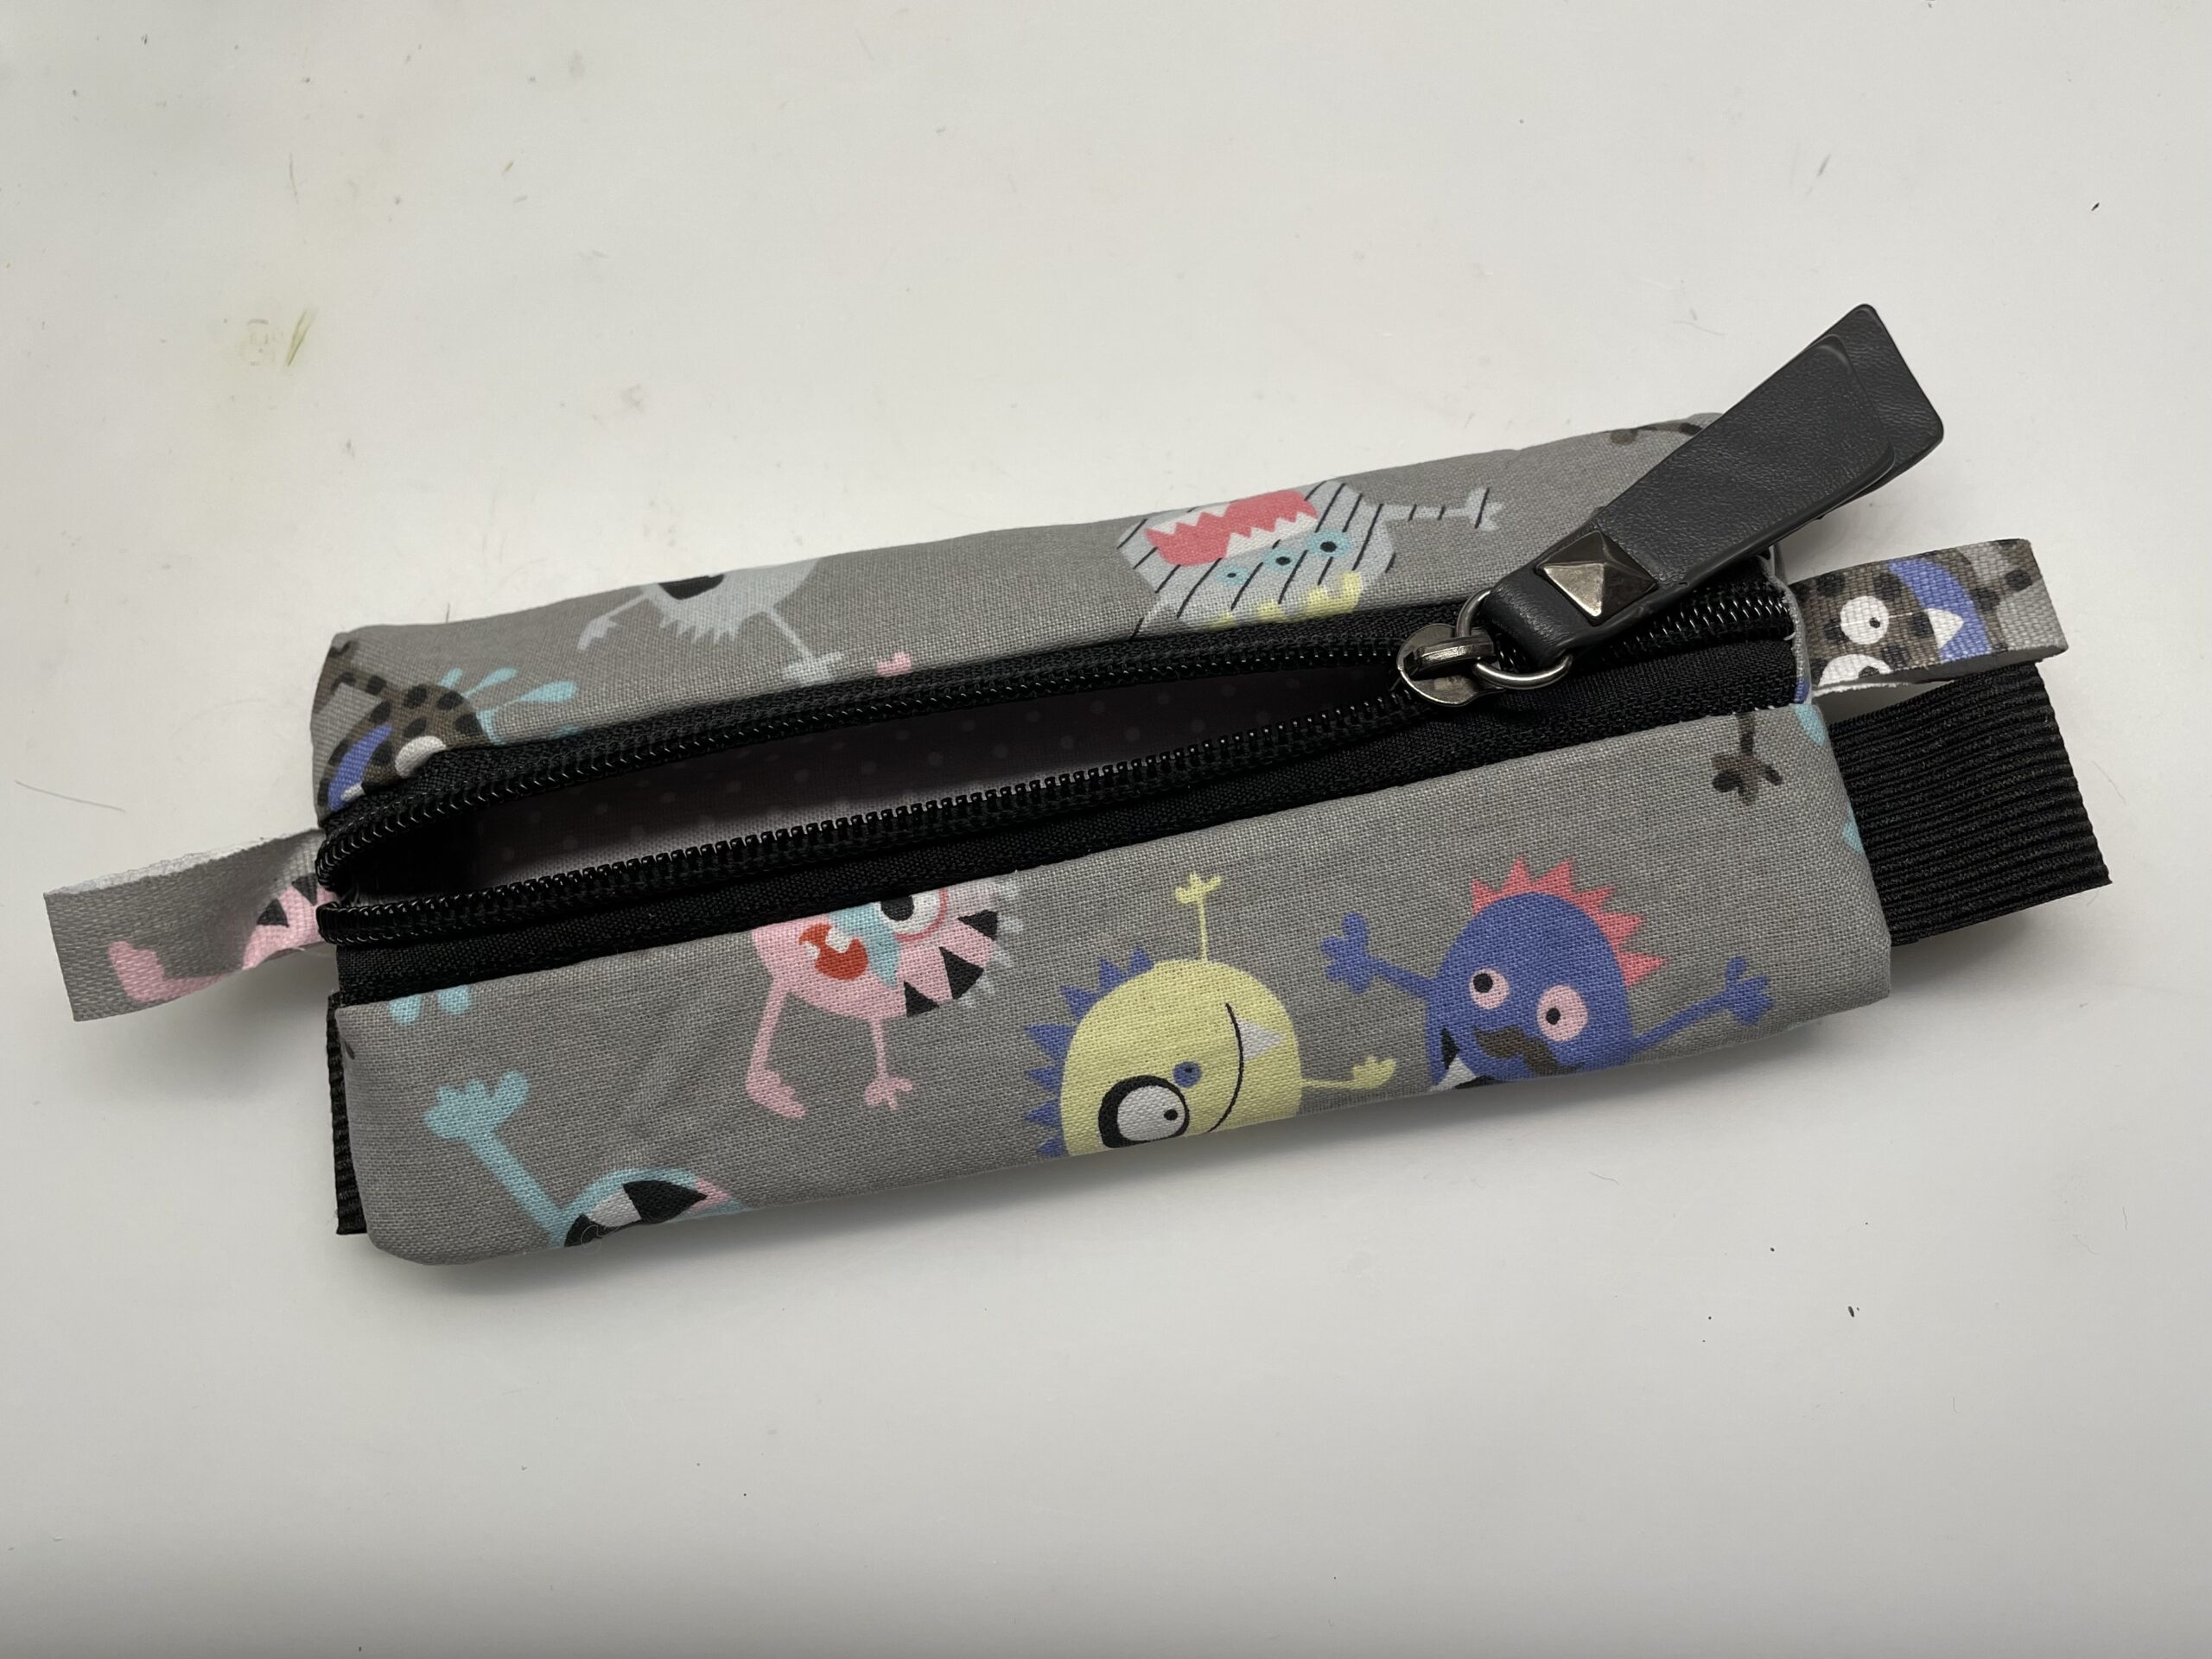
The pen case is ready.
The rubber band is used to attach to a DIN A5 block.
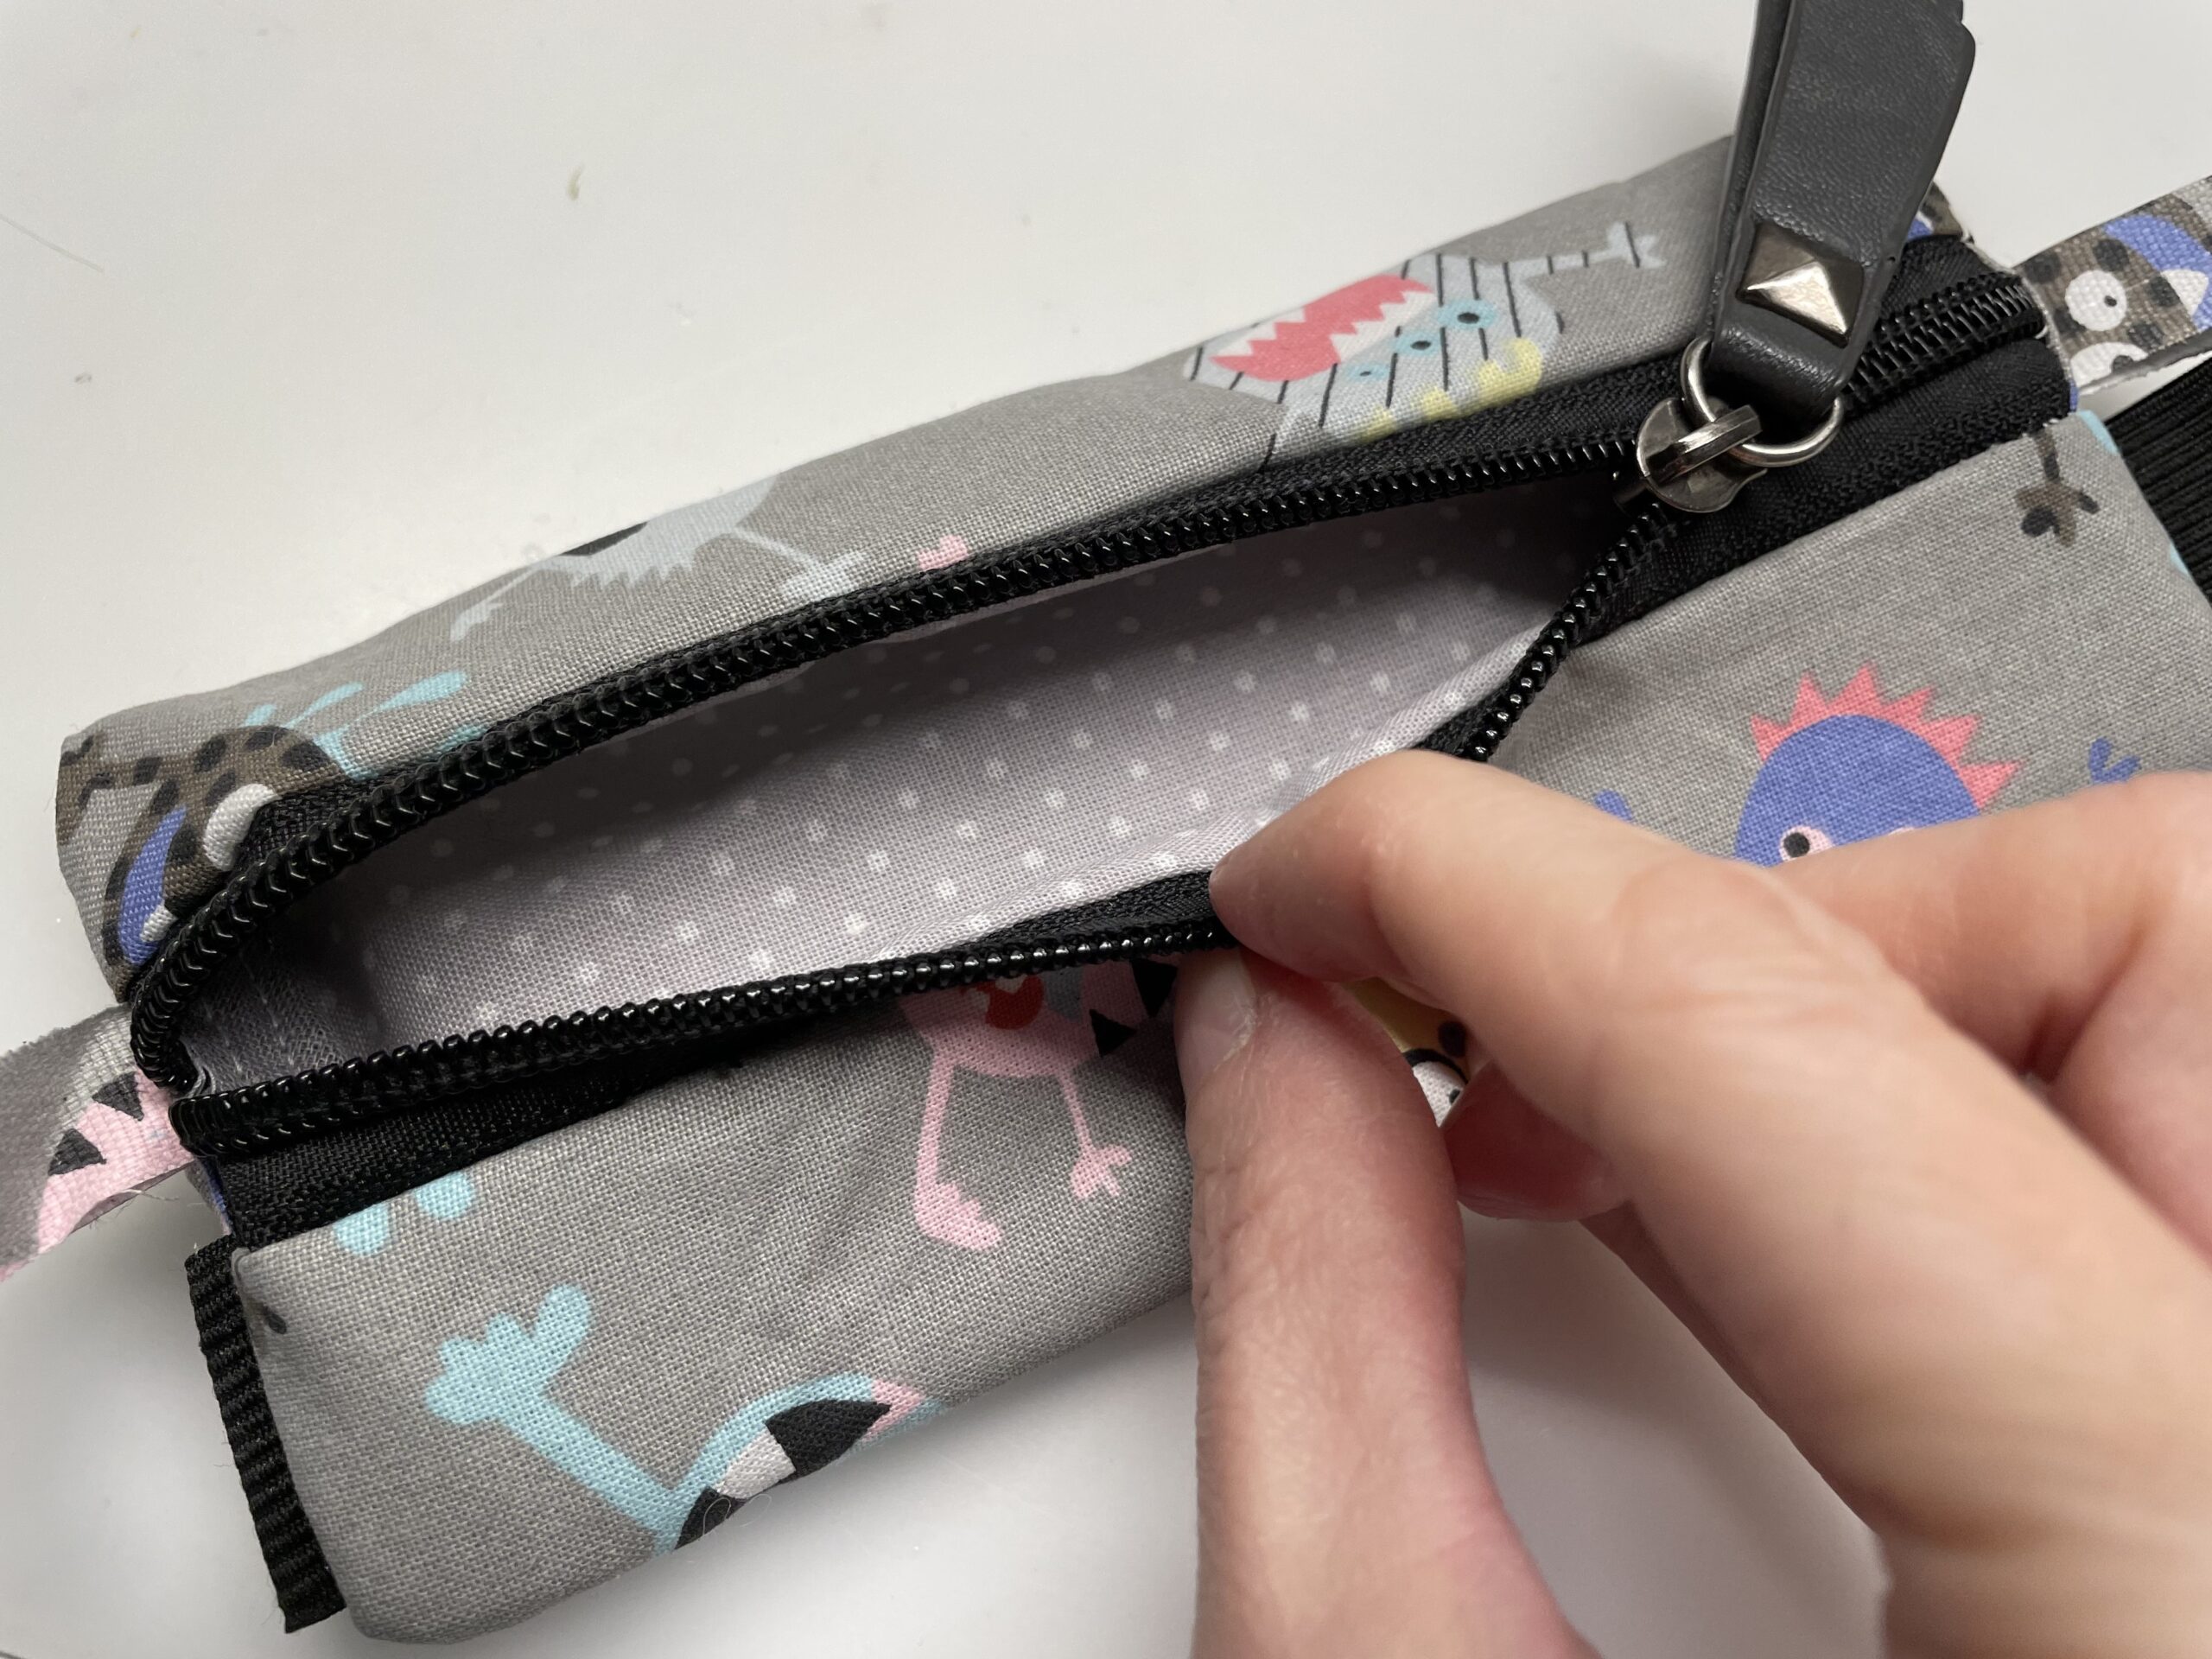
Now pens and other utensils can be stored in it.

Have fun trying out.