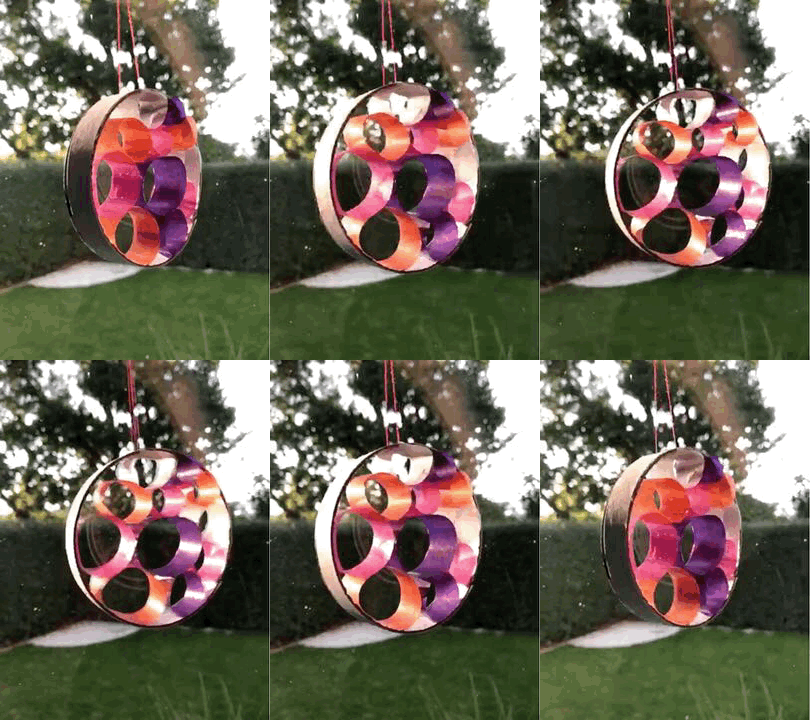
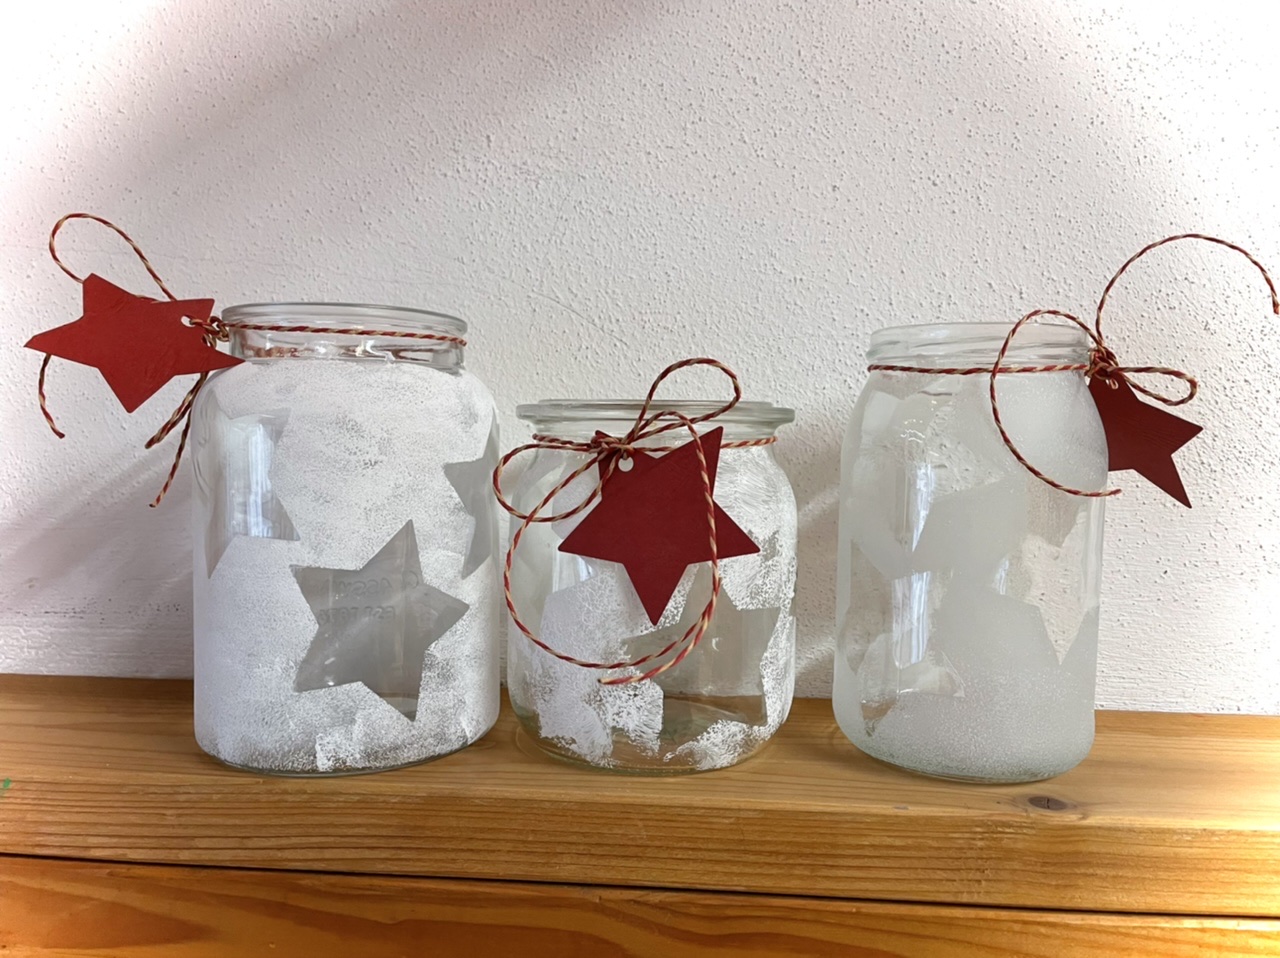
These beautiful star glasses are suitable for the Advent and Christmas season as wind lights and for decoration. Cut out stars and stick them with some adhesive film and a lot of distance on a large masonry glass.
Covers the glass around with white paint and pulls off the glued-on stars after drying.
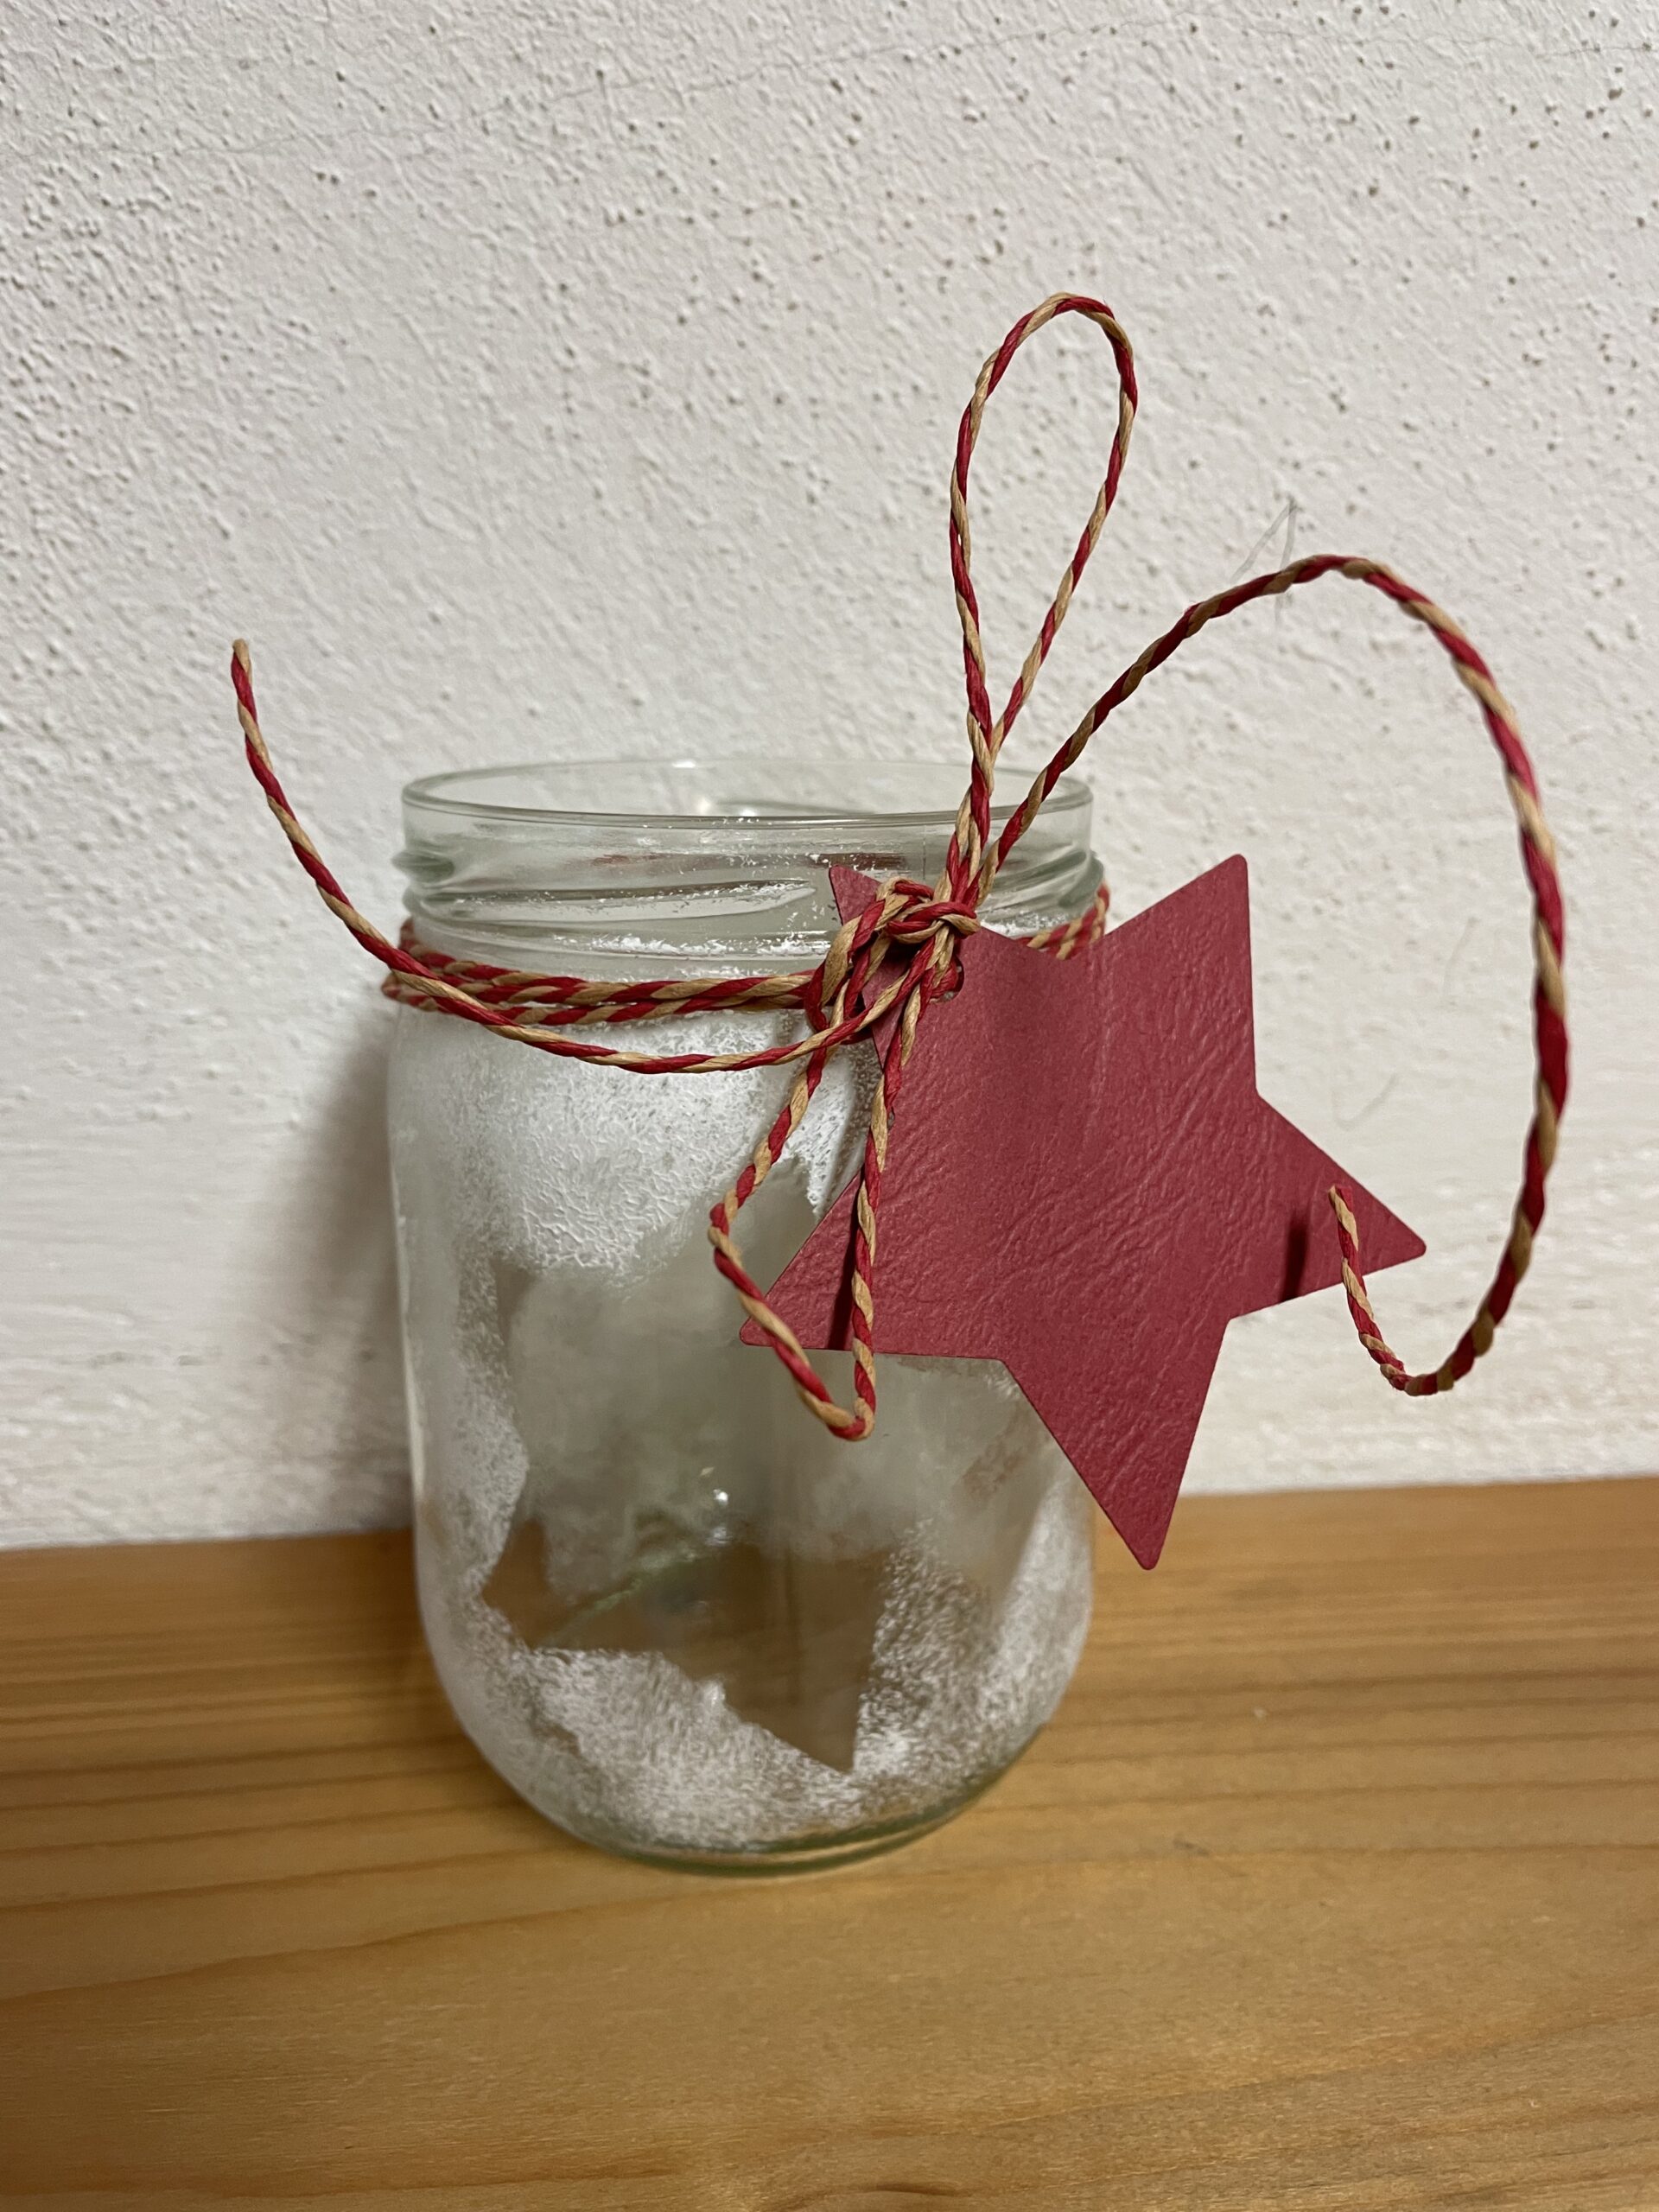
Cut out a star as a pendant and tie it to a ribbon around the glass edge. The star glass is finished. With a candle or a small chains of lights, the star glass looks particularly pretty.
Have fun!
Media Education for Kindergarten and Hort

Relief in everyday life, targeted promotion of individual children, independent learning and - without any pre-knowledge already usable by the youngest!
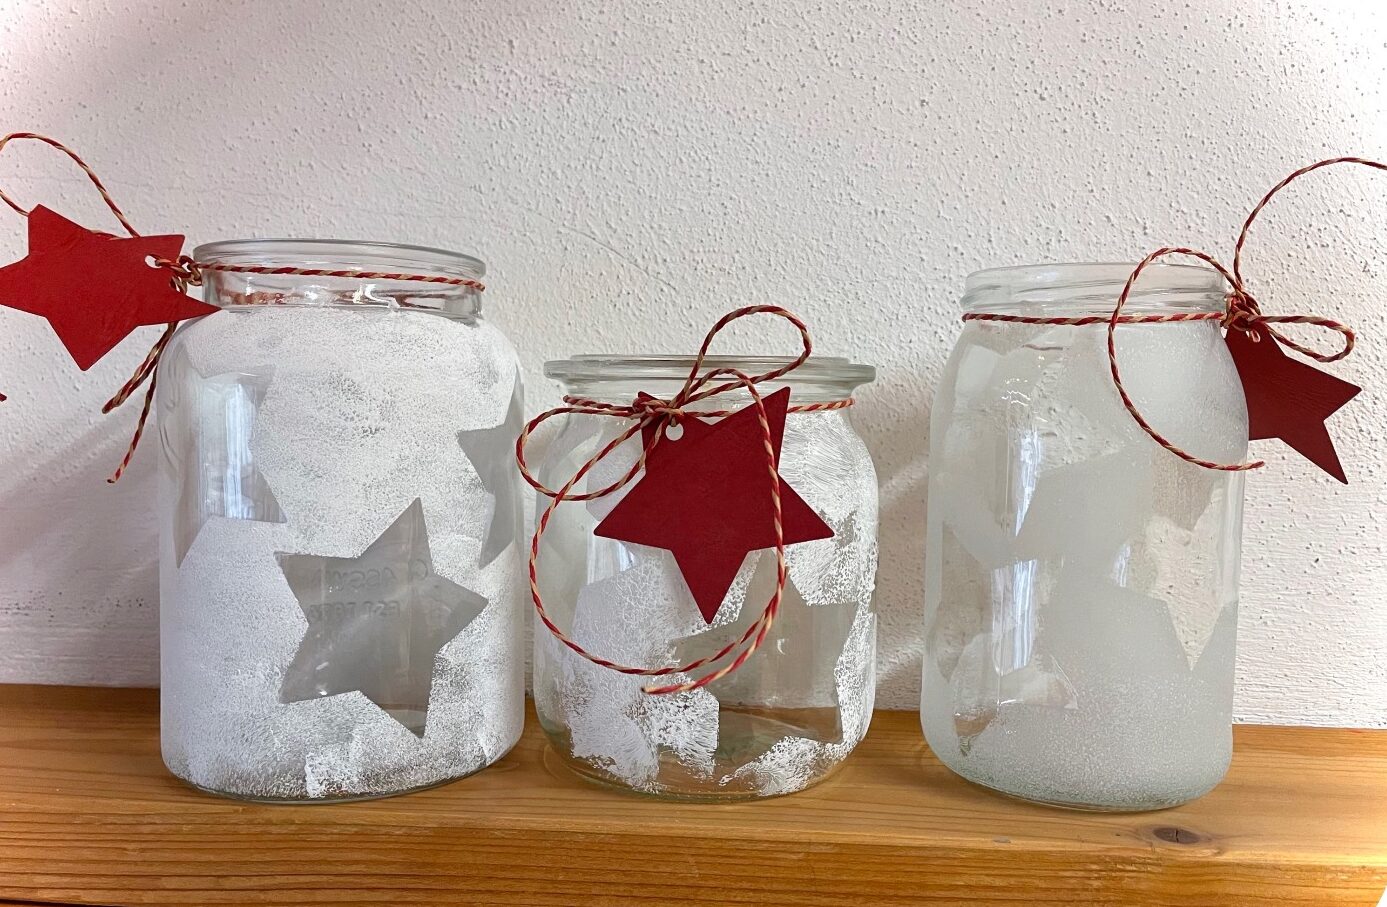
Lay out the craft pad and prepare the materials. First you need a large glass, the sponge and some white color.
Tip: Uses a small screw glass lid or flat plate for the paint.
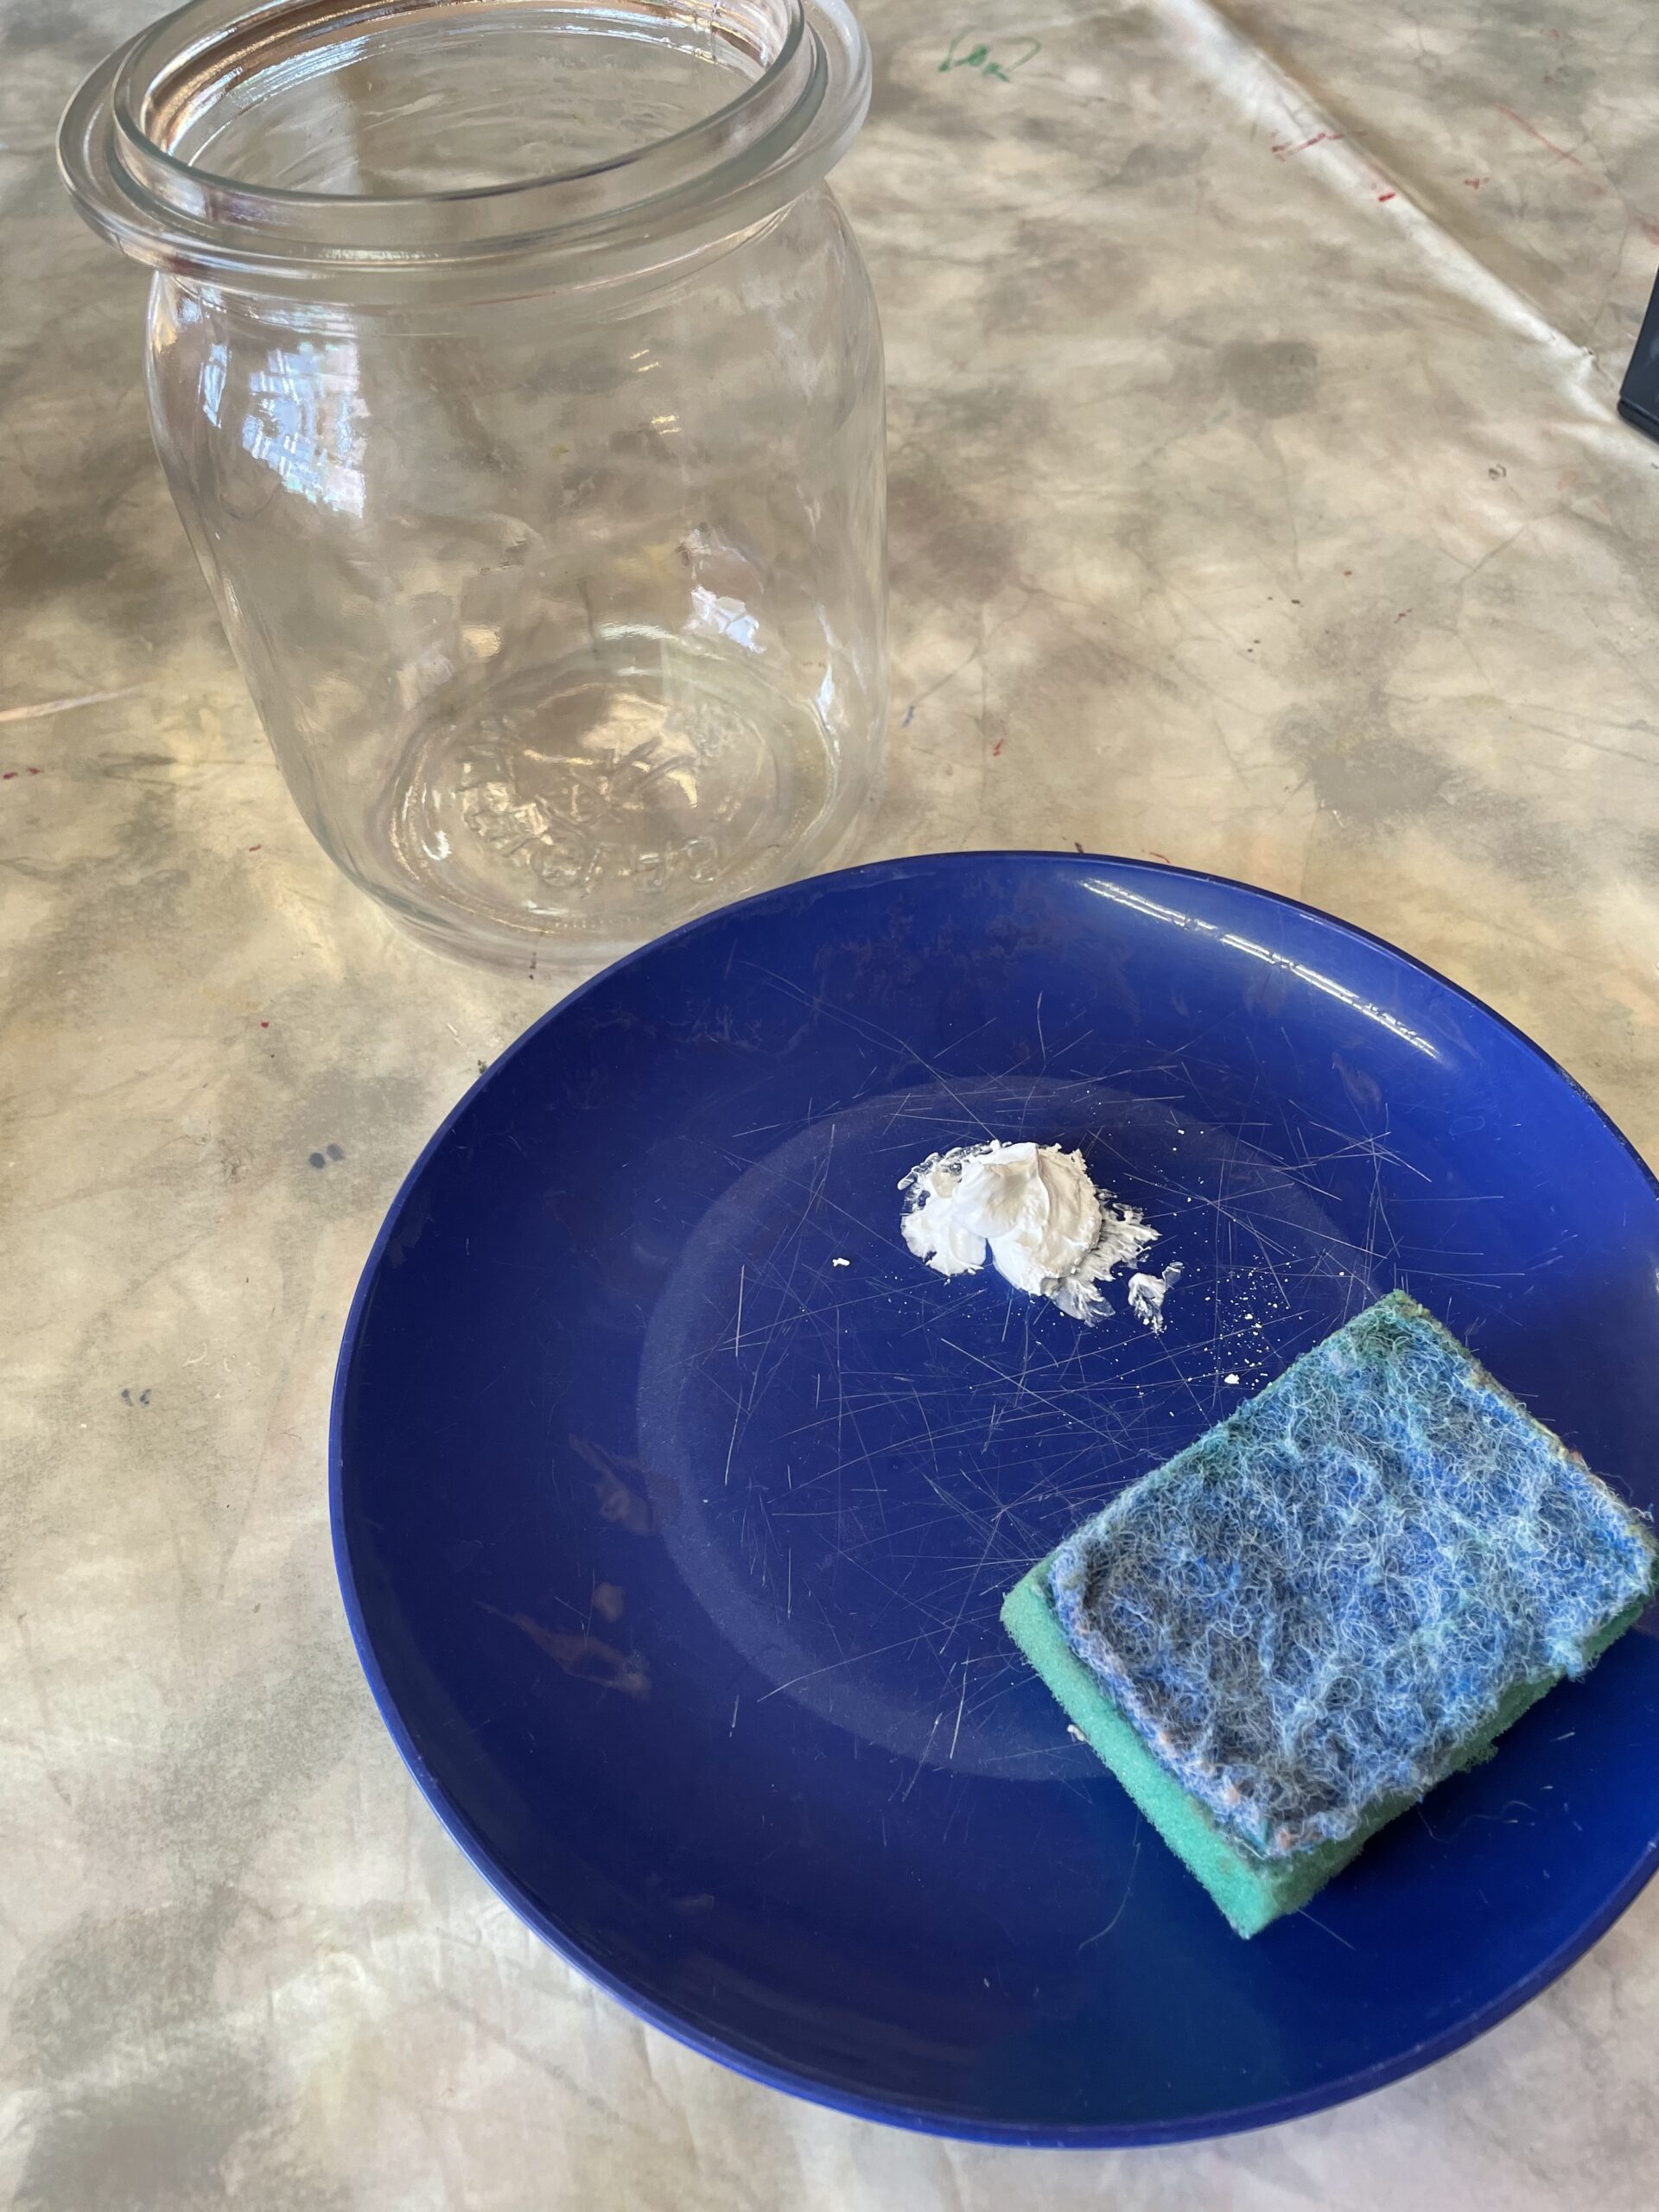
Cuts out some stars now or punches them out with a star-stancer.
Templates for stars to print out, you can find further down!
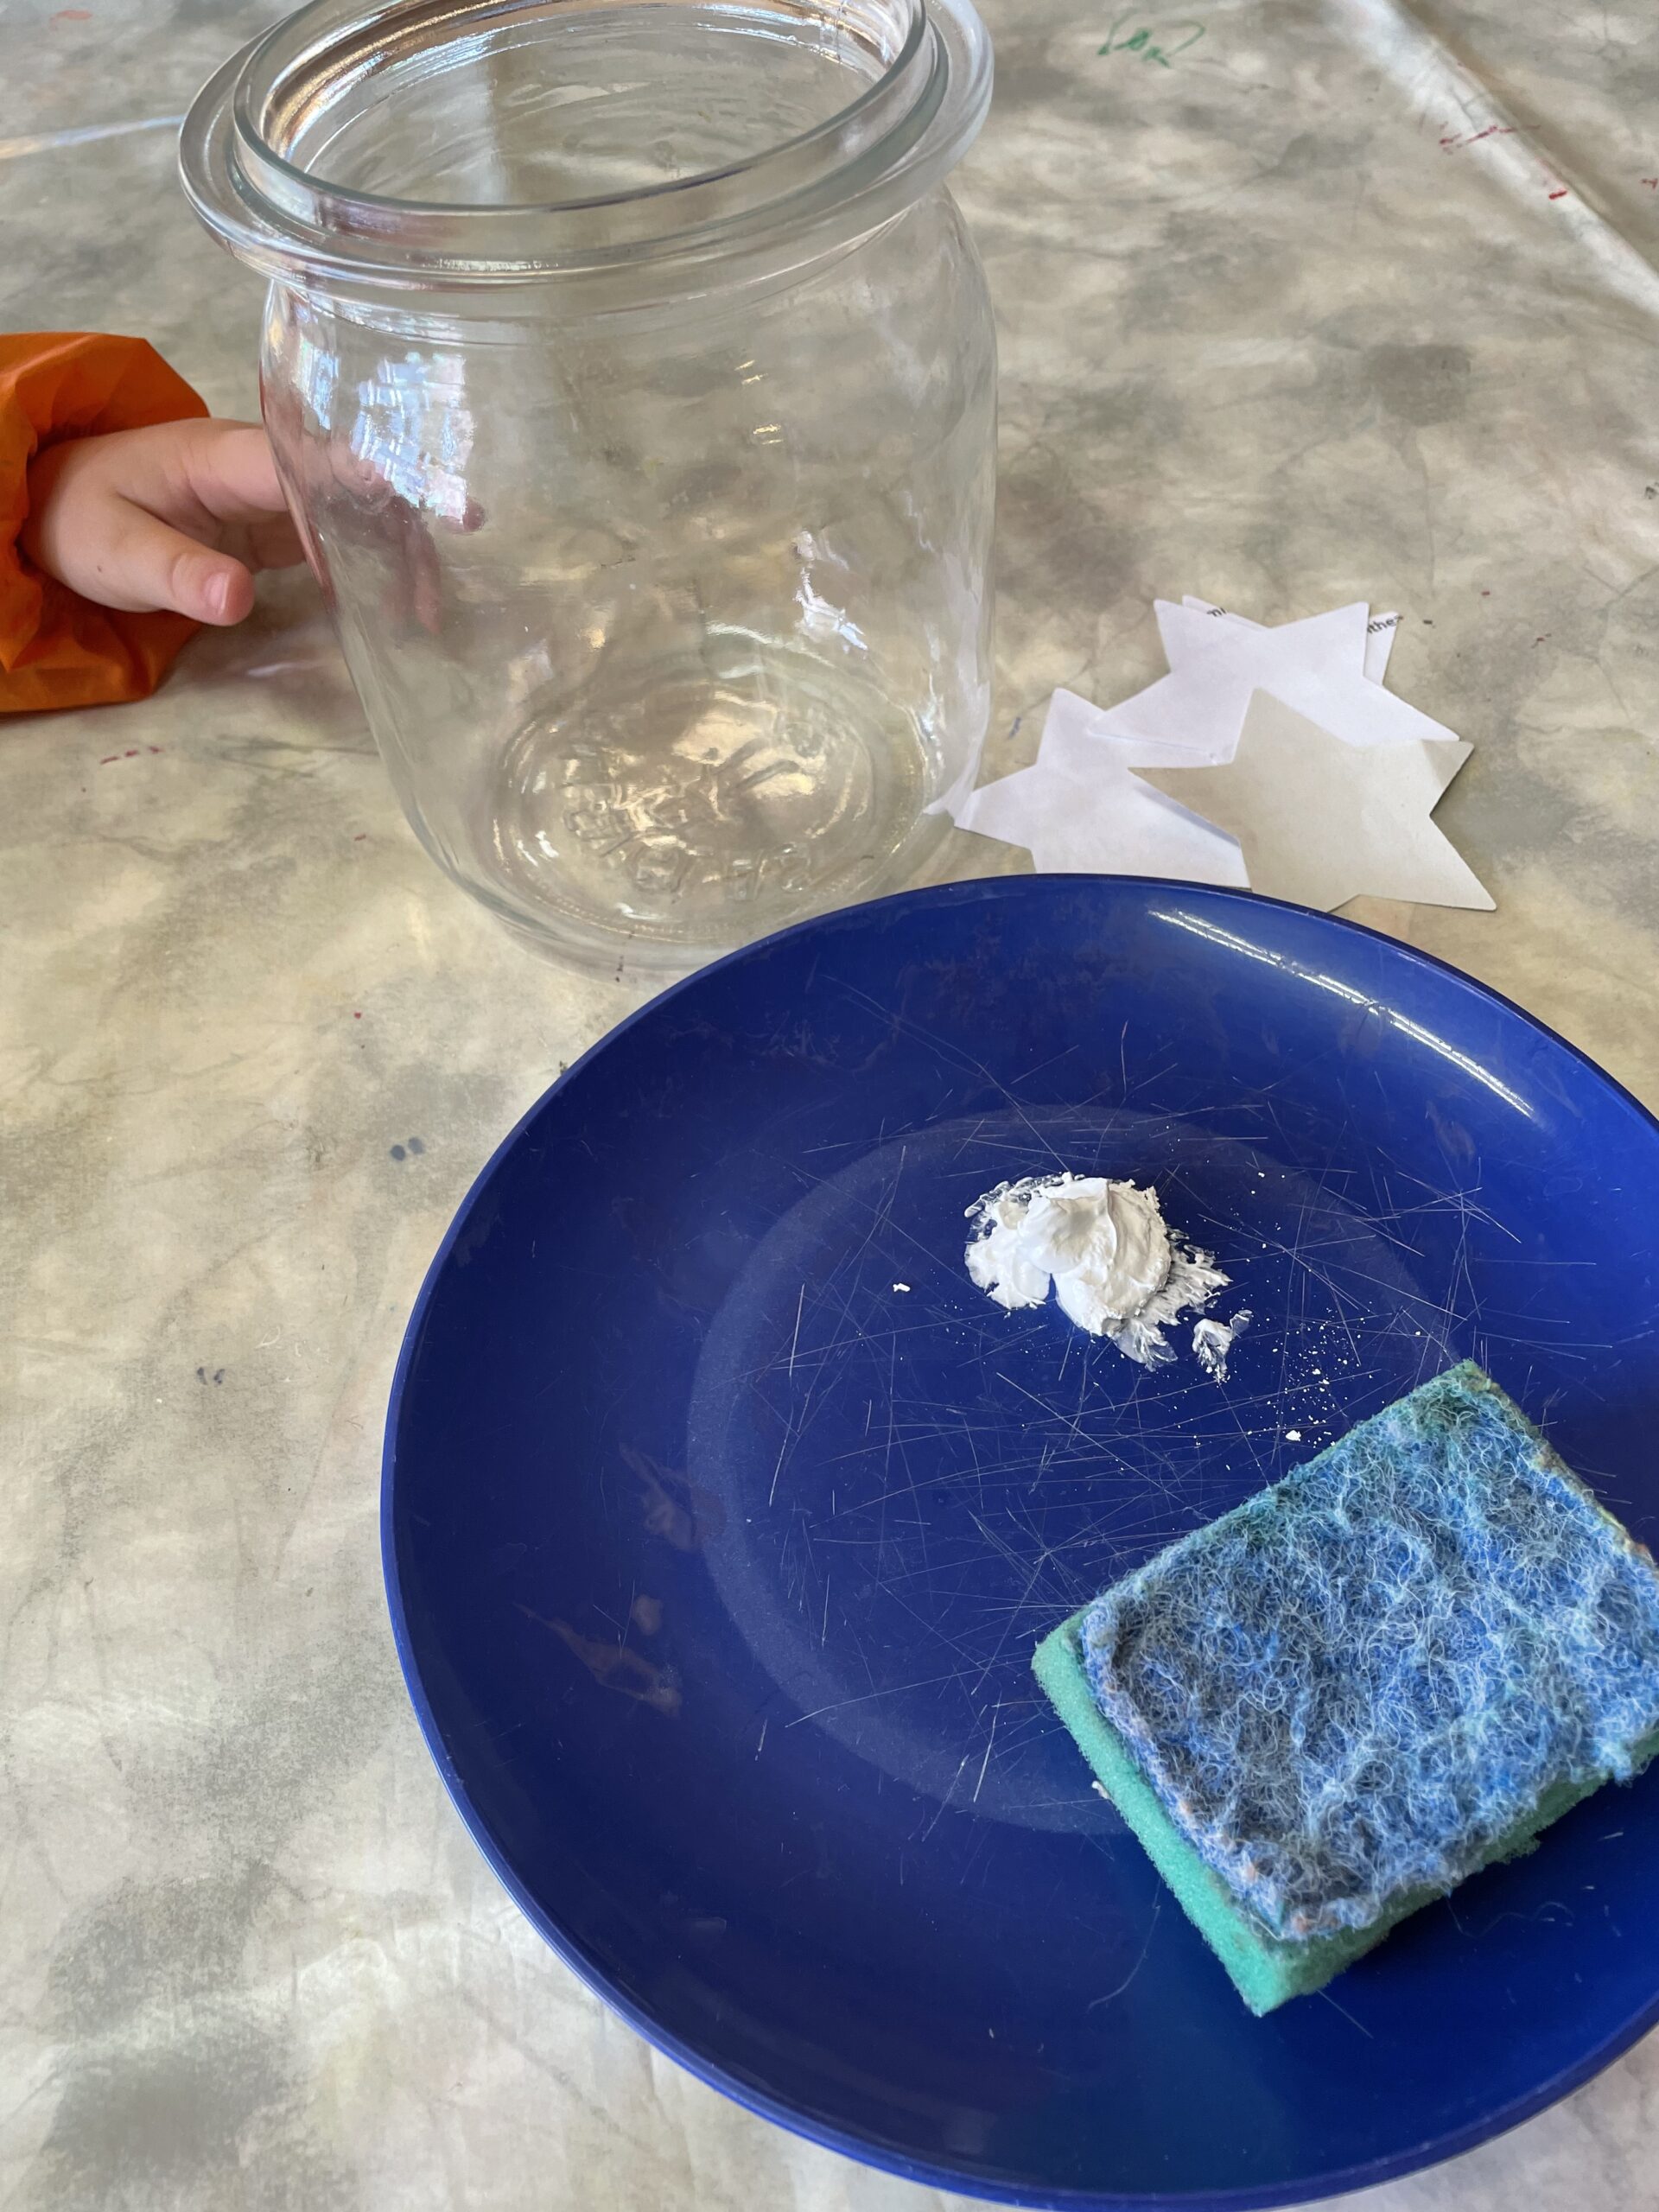


Then you roll up a piece of adhesive film and attach the star to the outside of the glass.
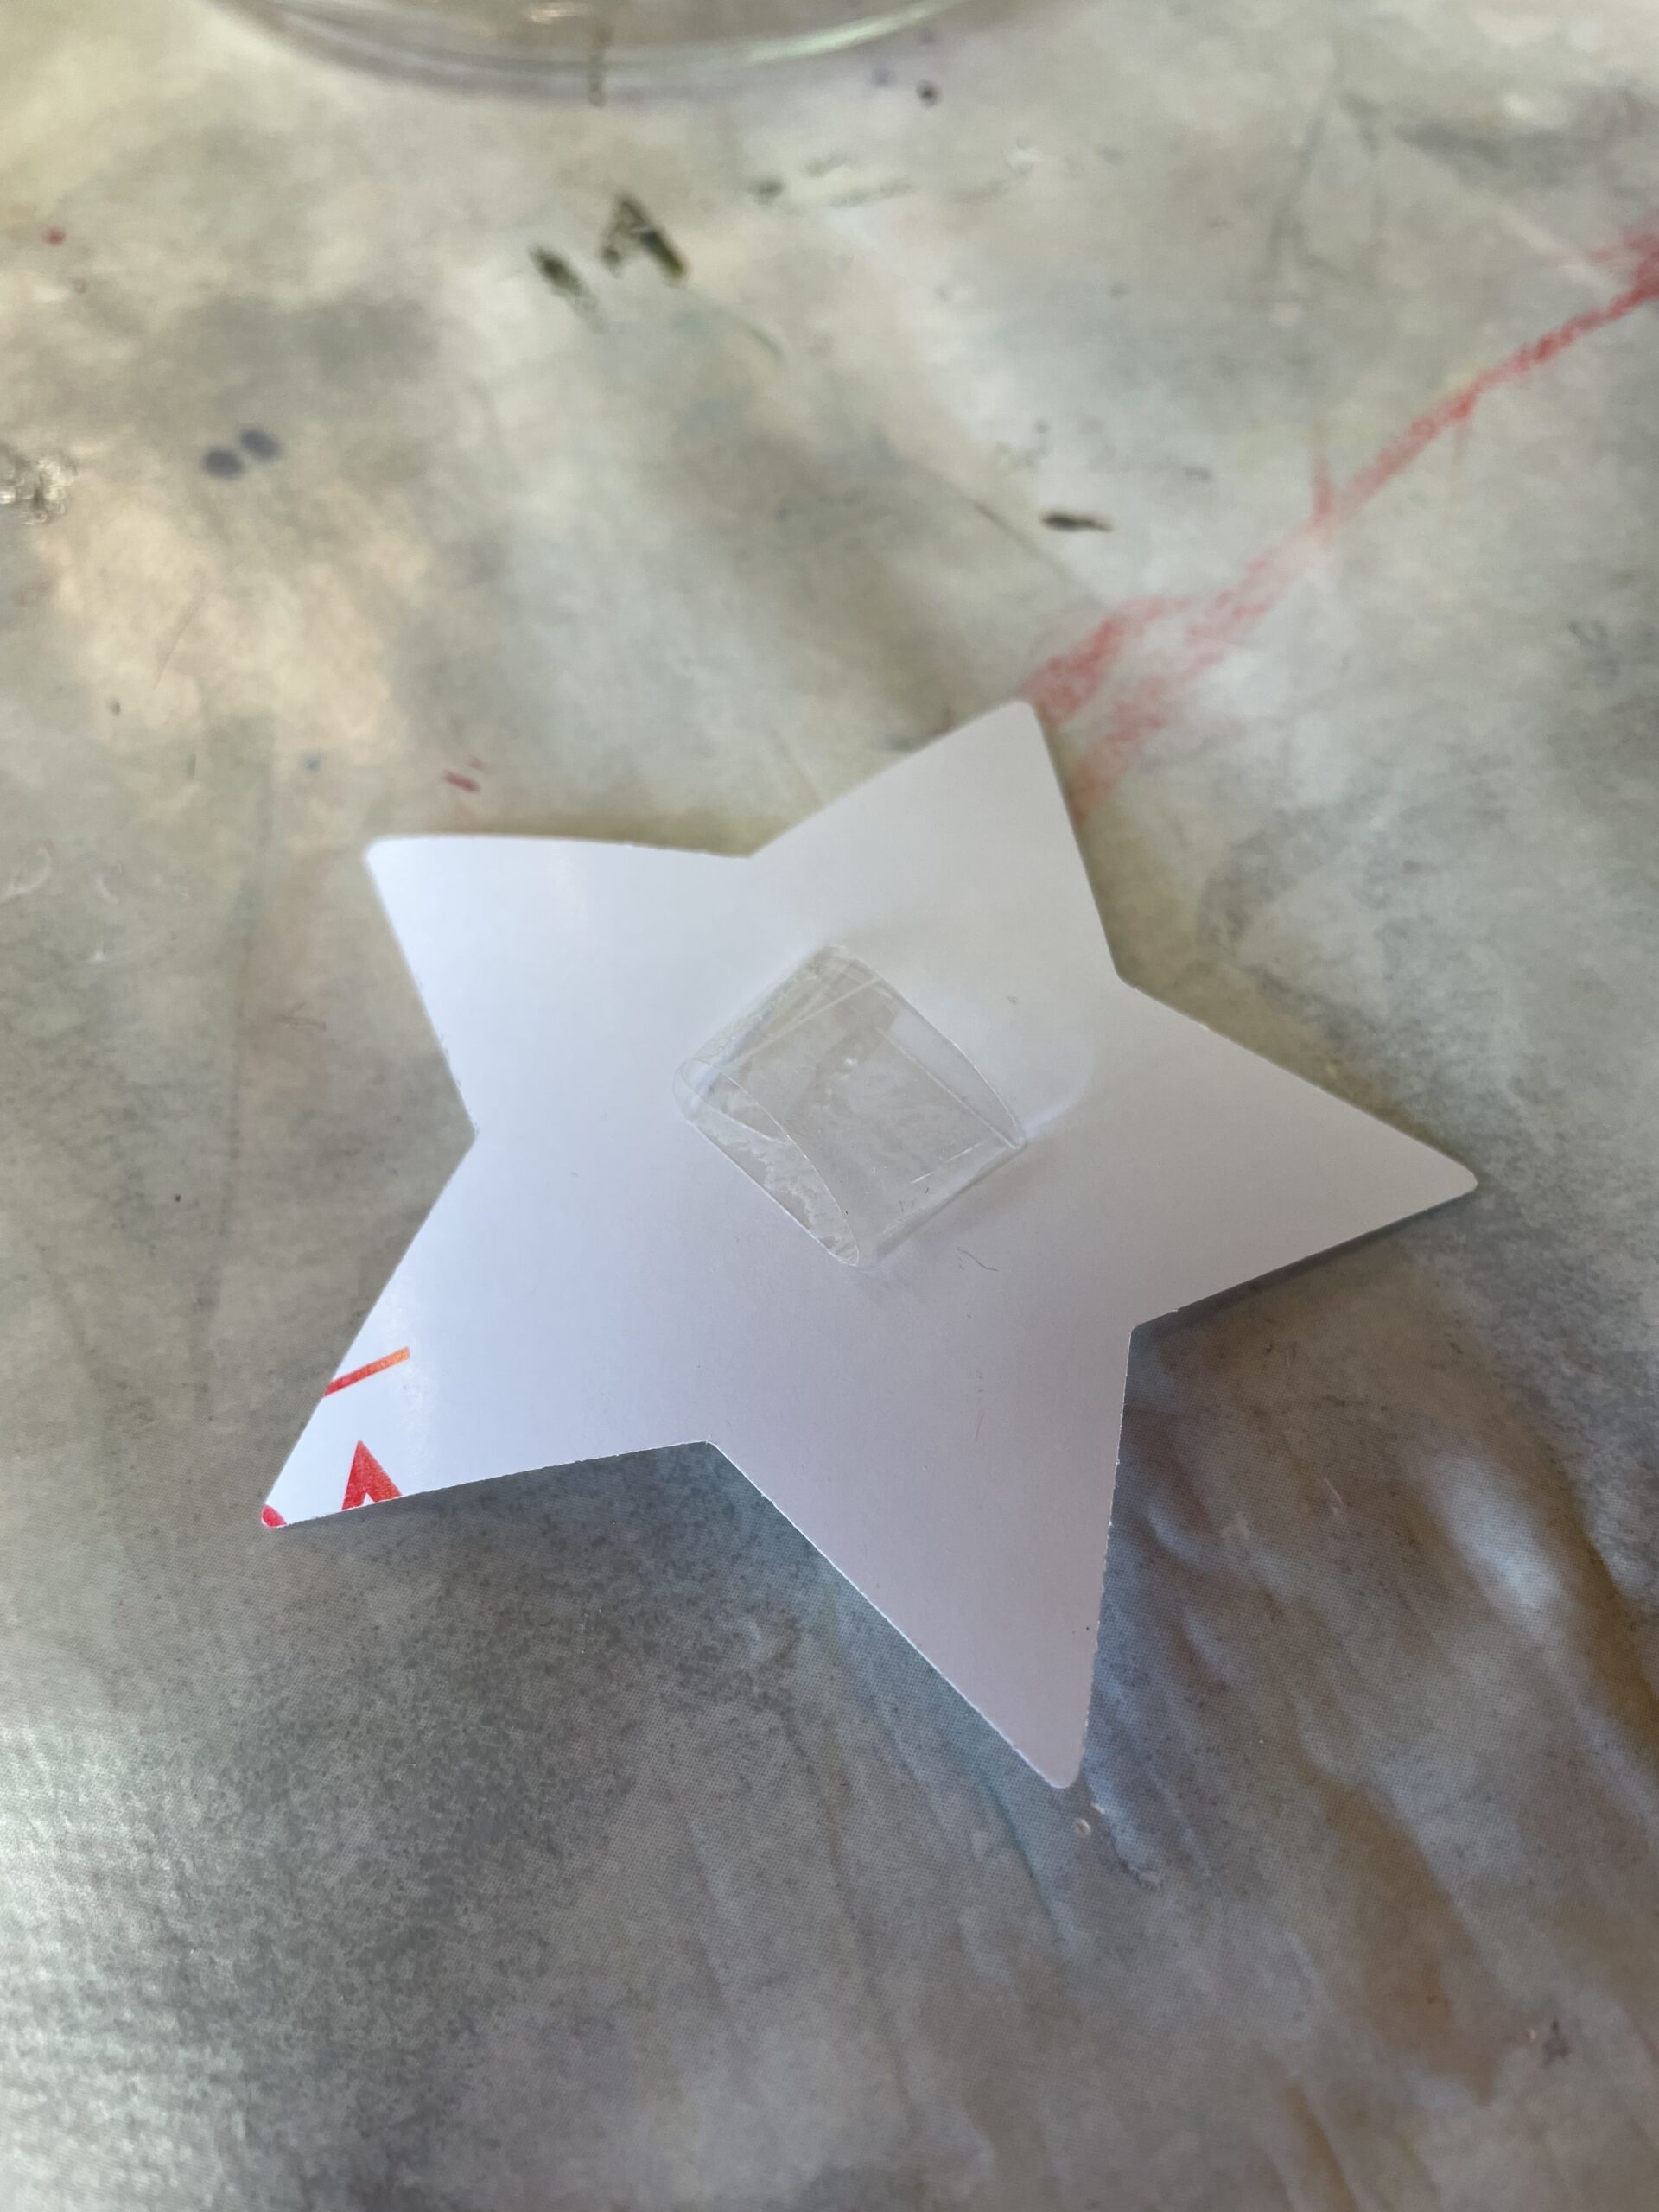


So glue all the stars up and leave enough space between the stars.
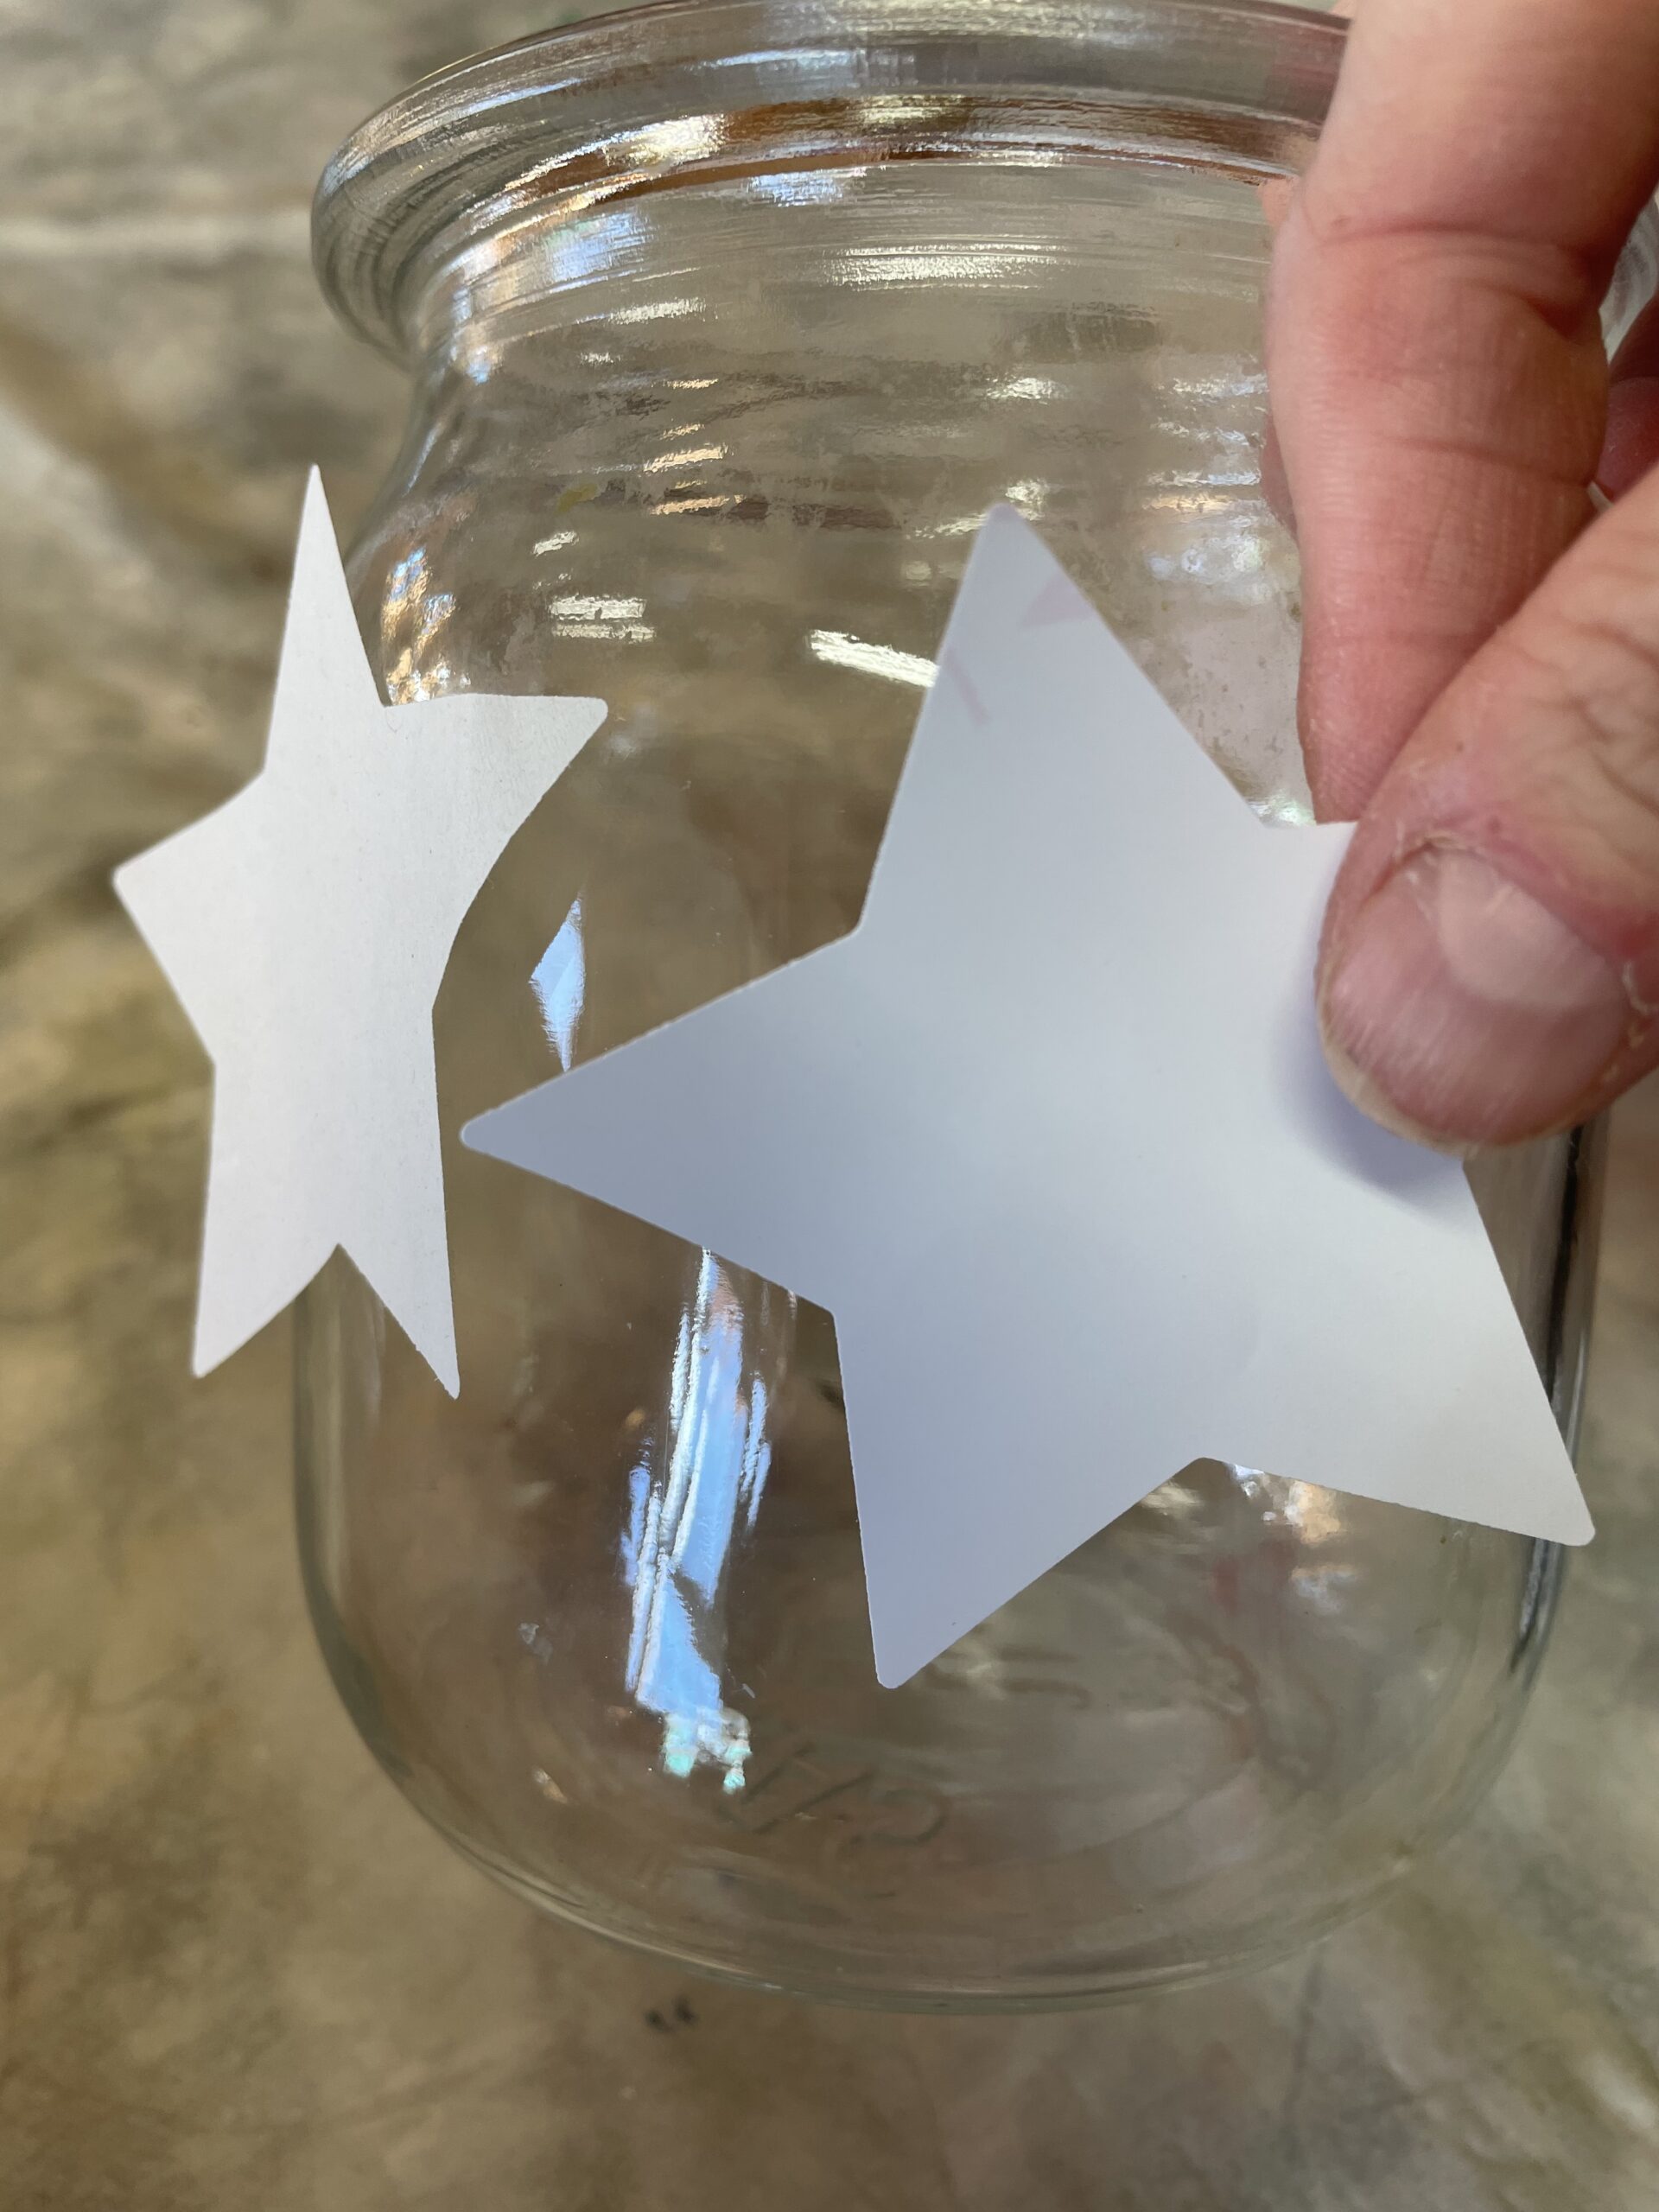


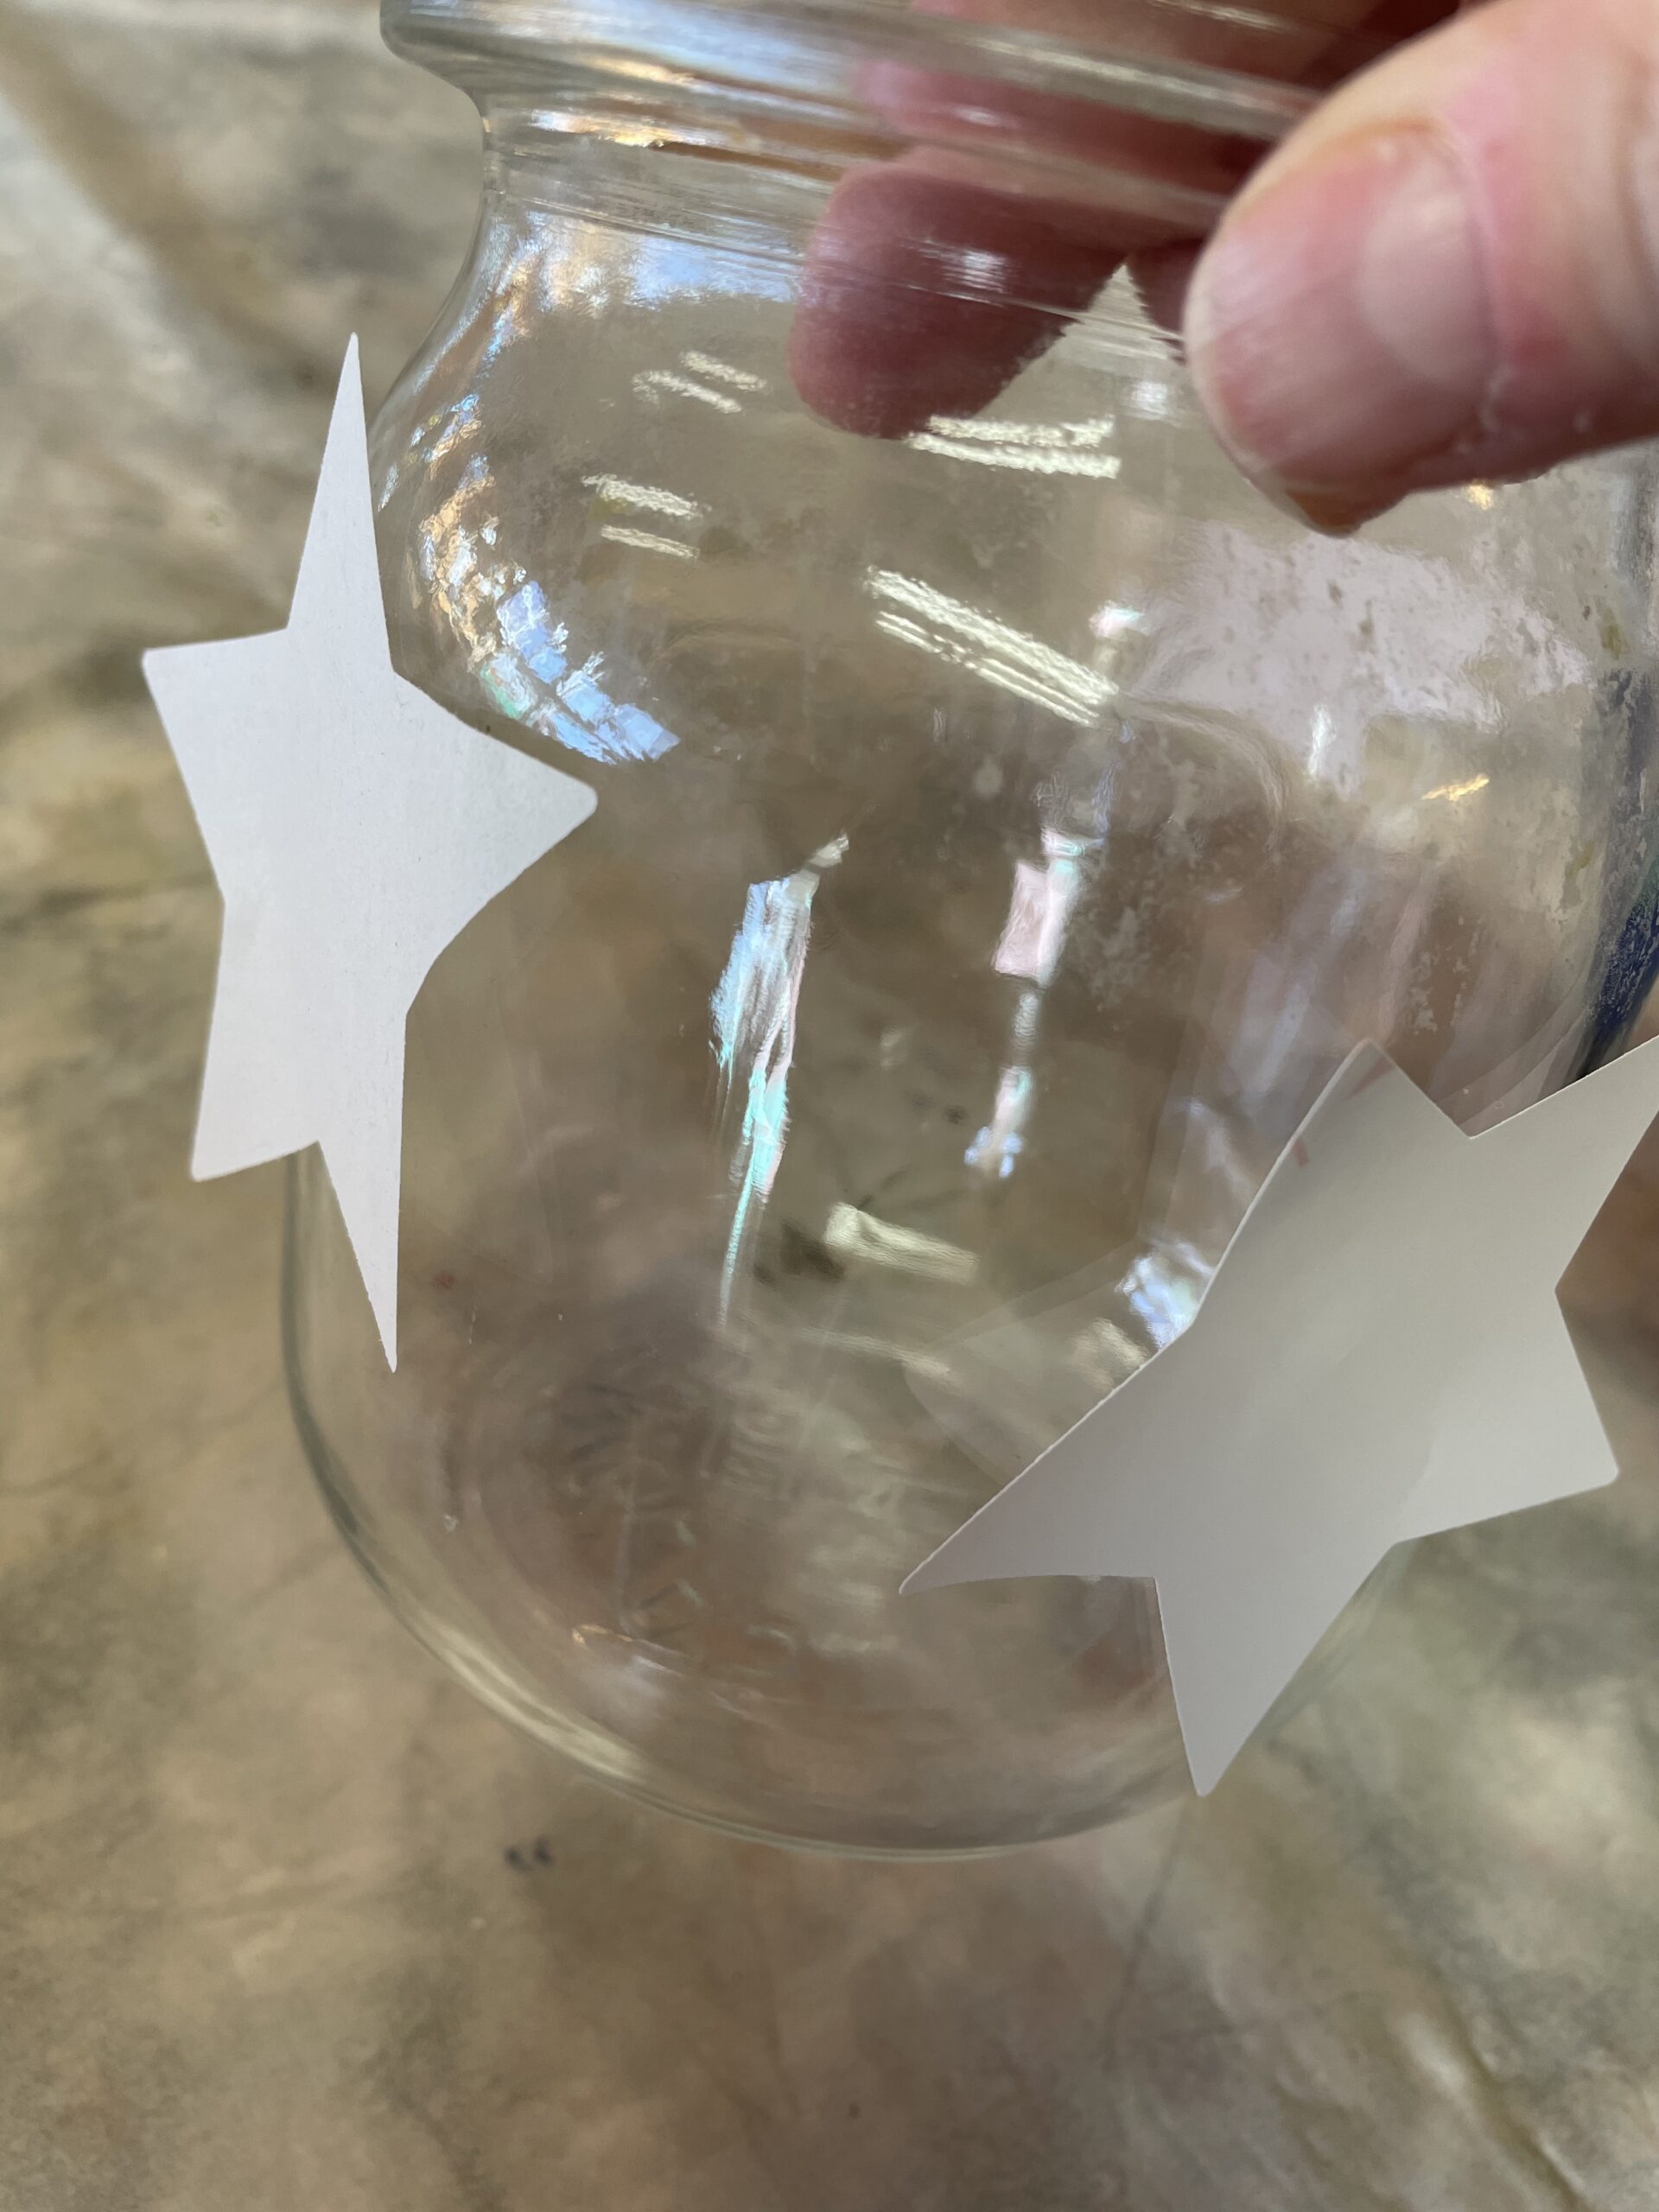
Distributes the stars all around.


Now you dip the sponge into the paint and cover the glass with it. Dump over the glued-on stars and make sure to dab enough paint around it.
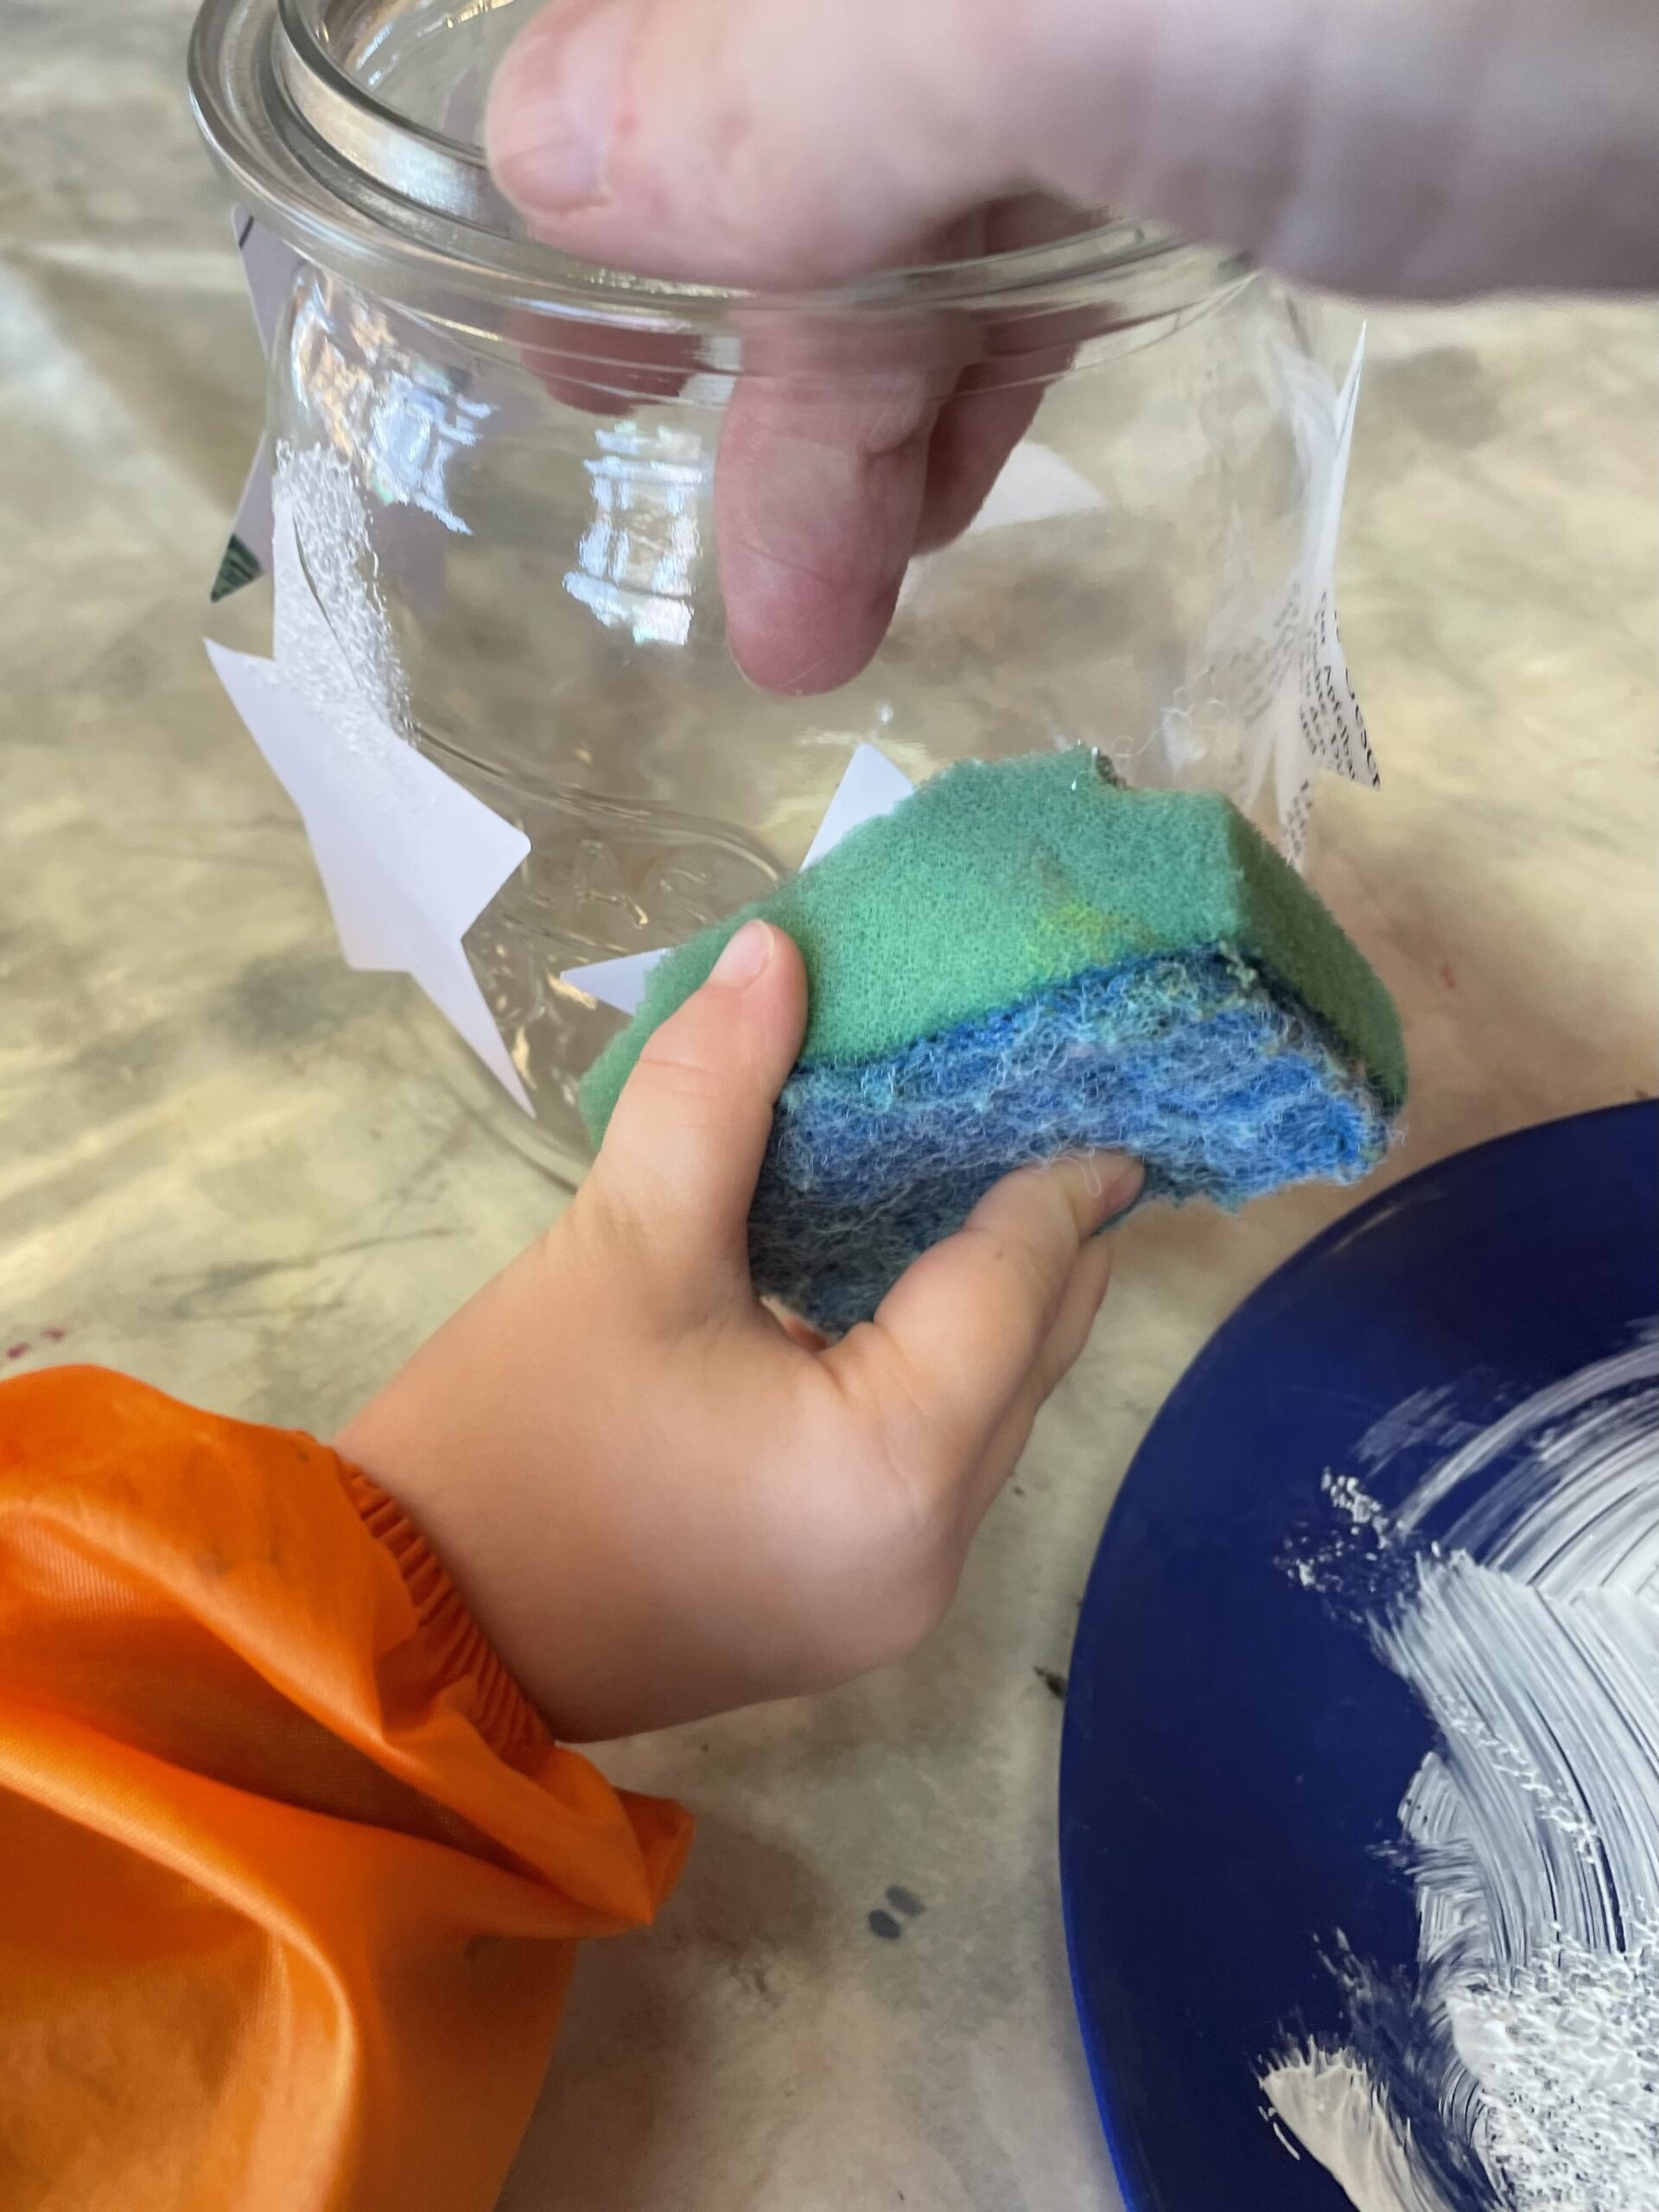


Help smaller children to hold the glass.
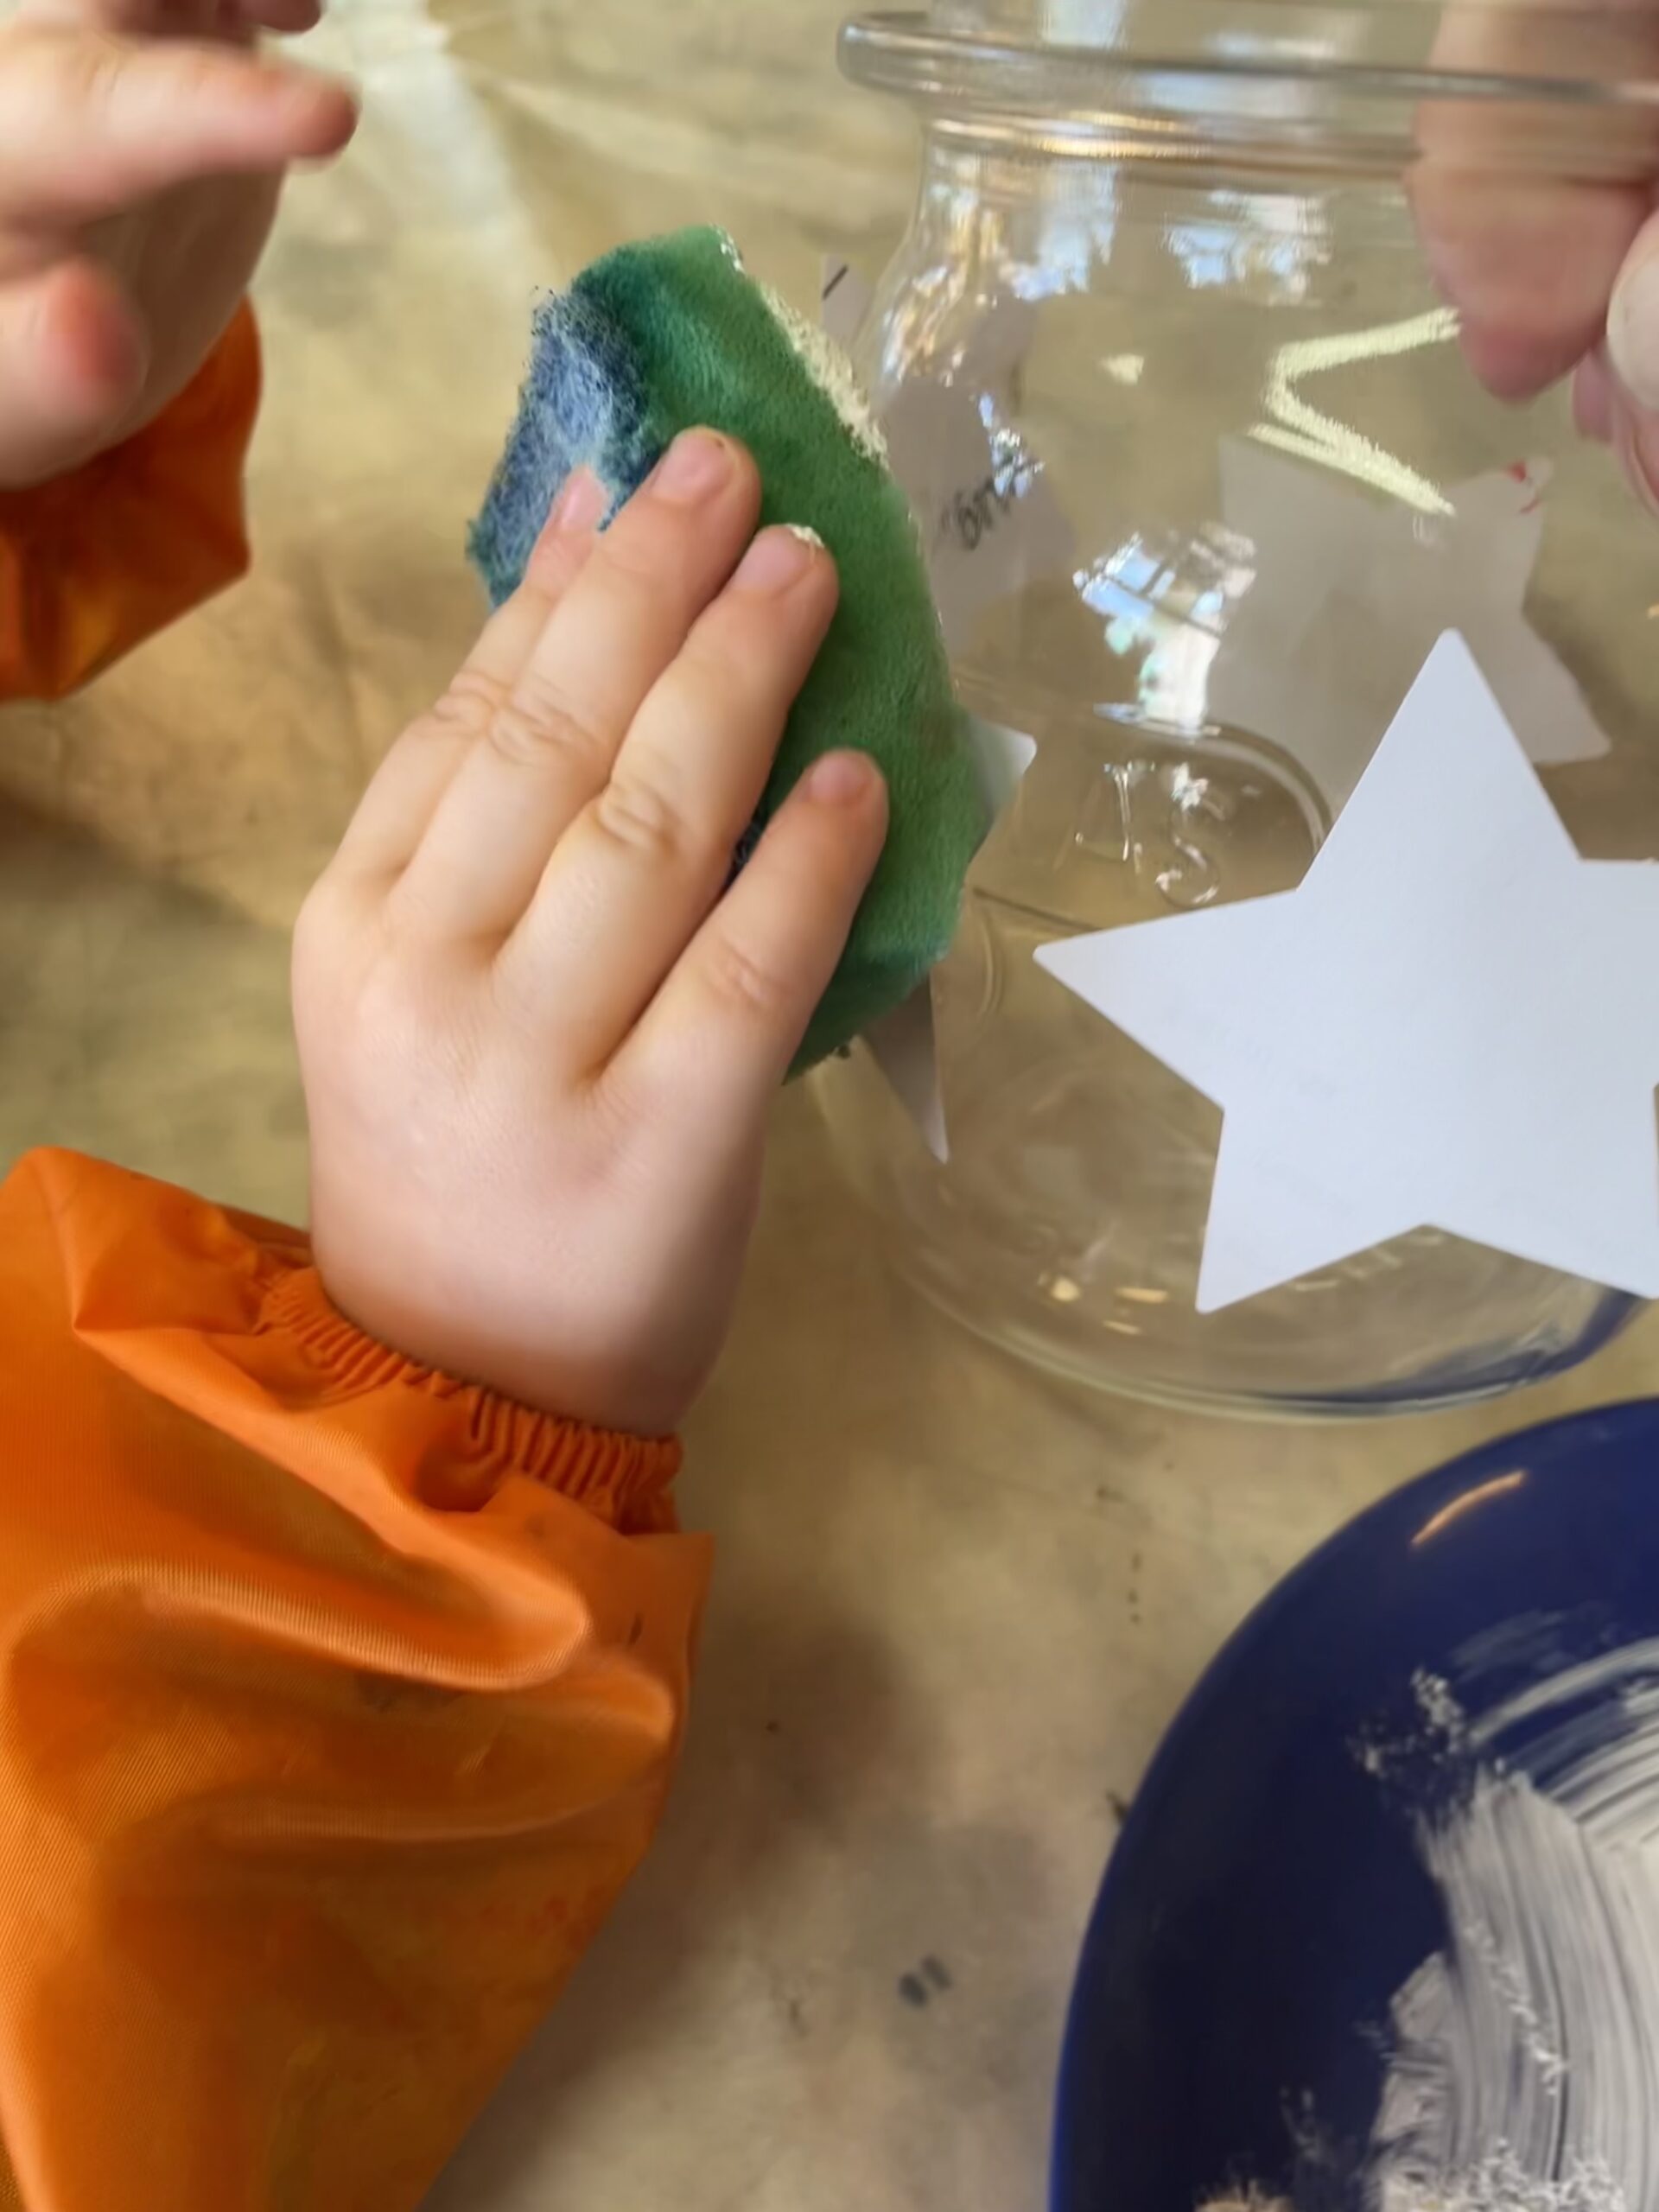


Covers the whole glass with paint or only part of the glass.
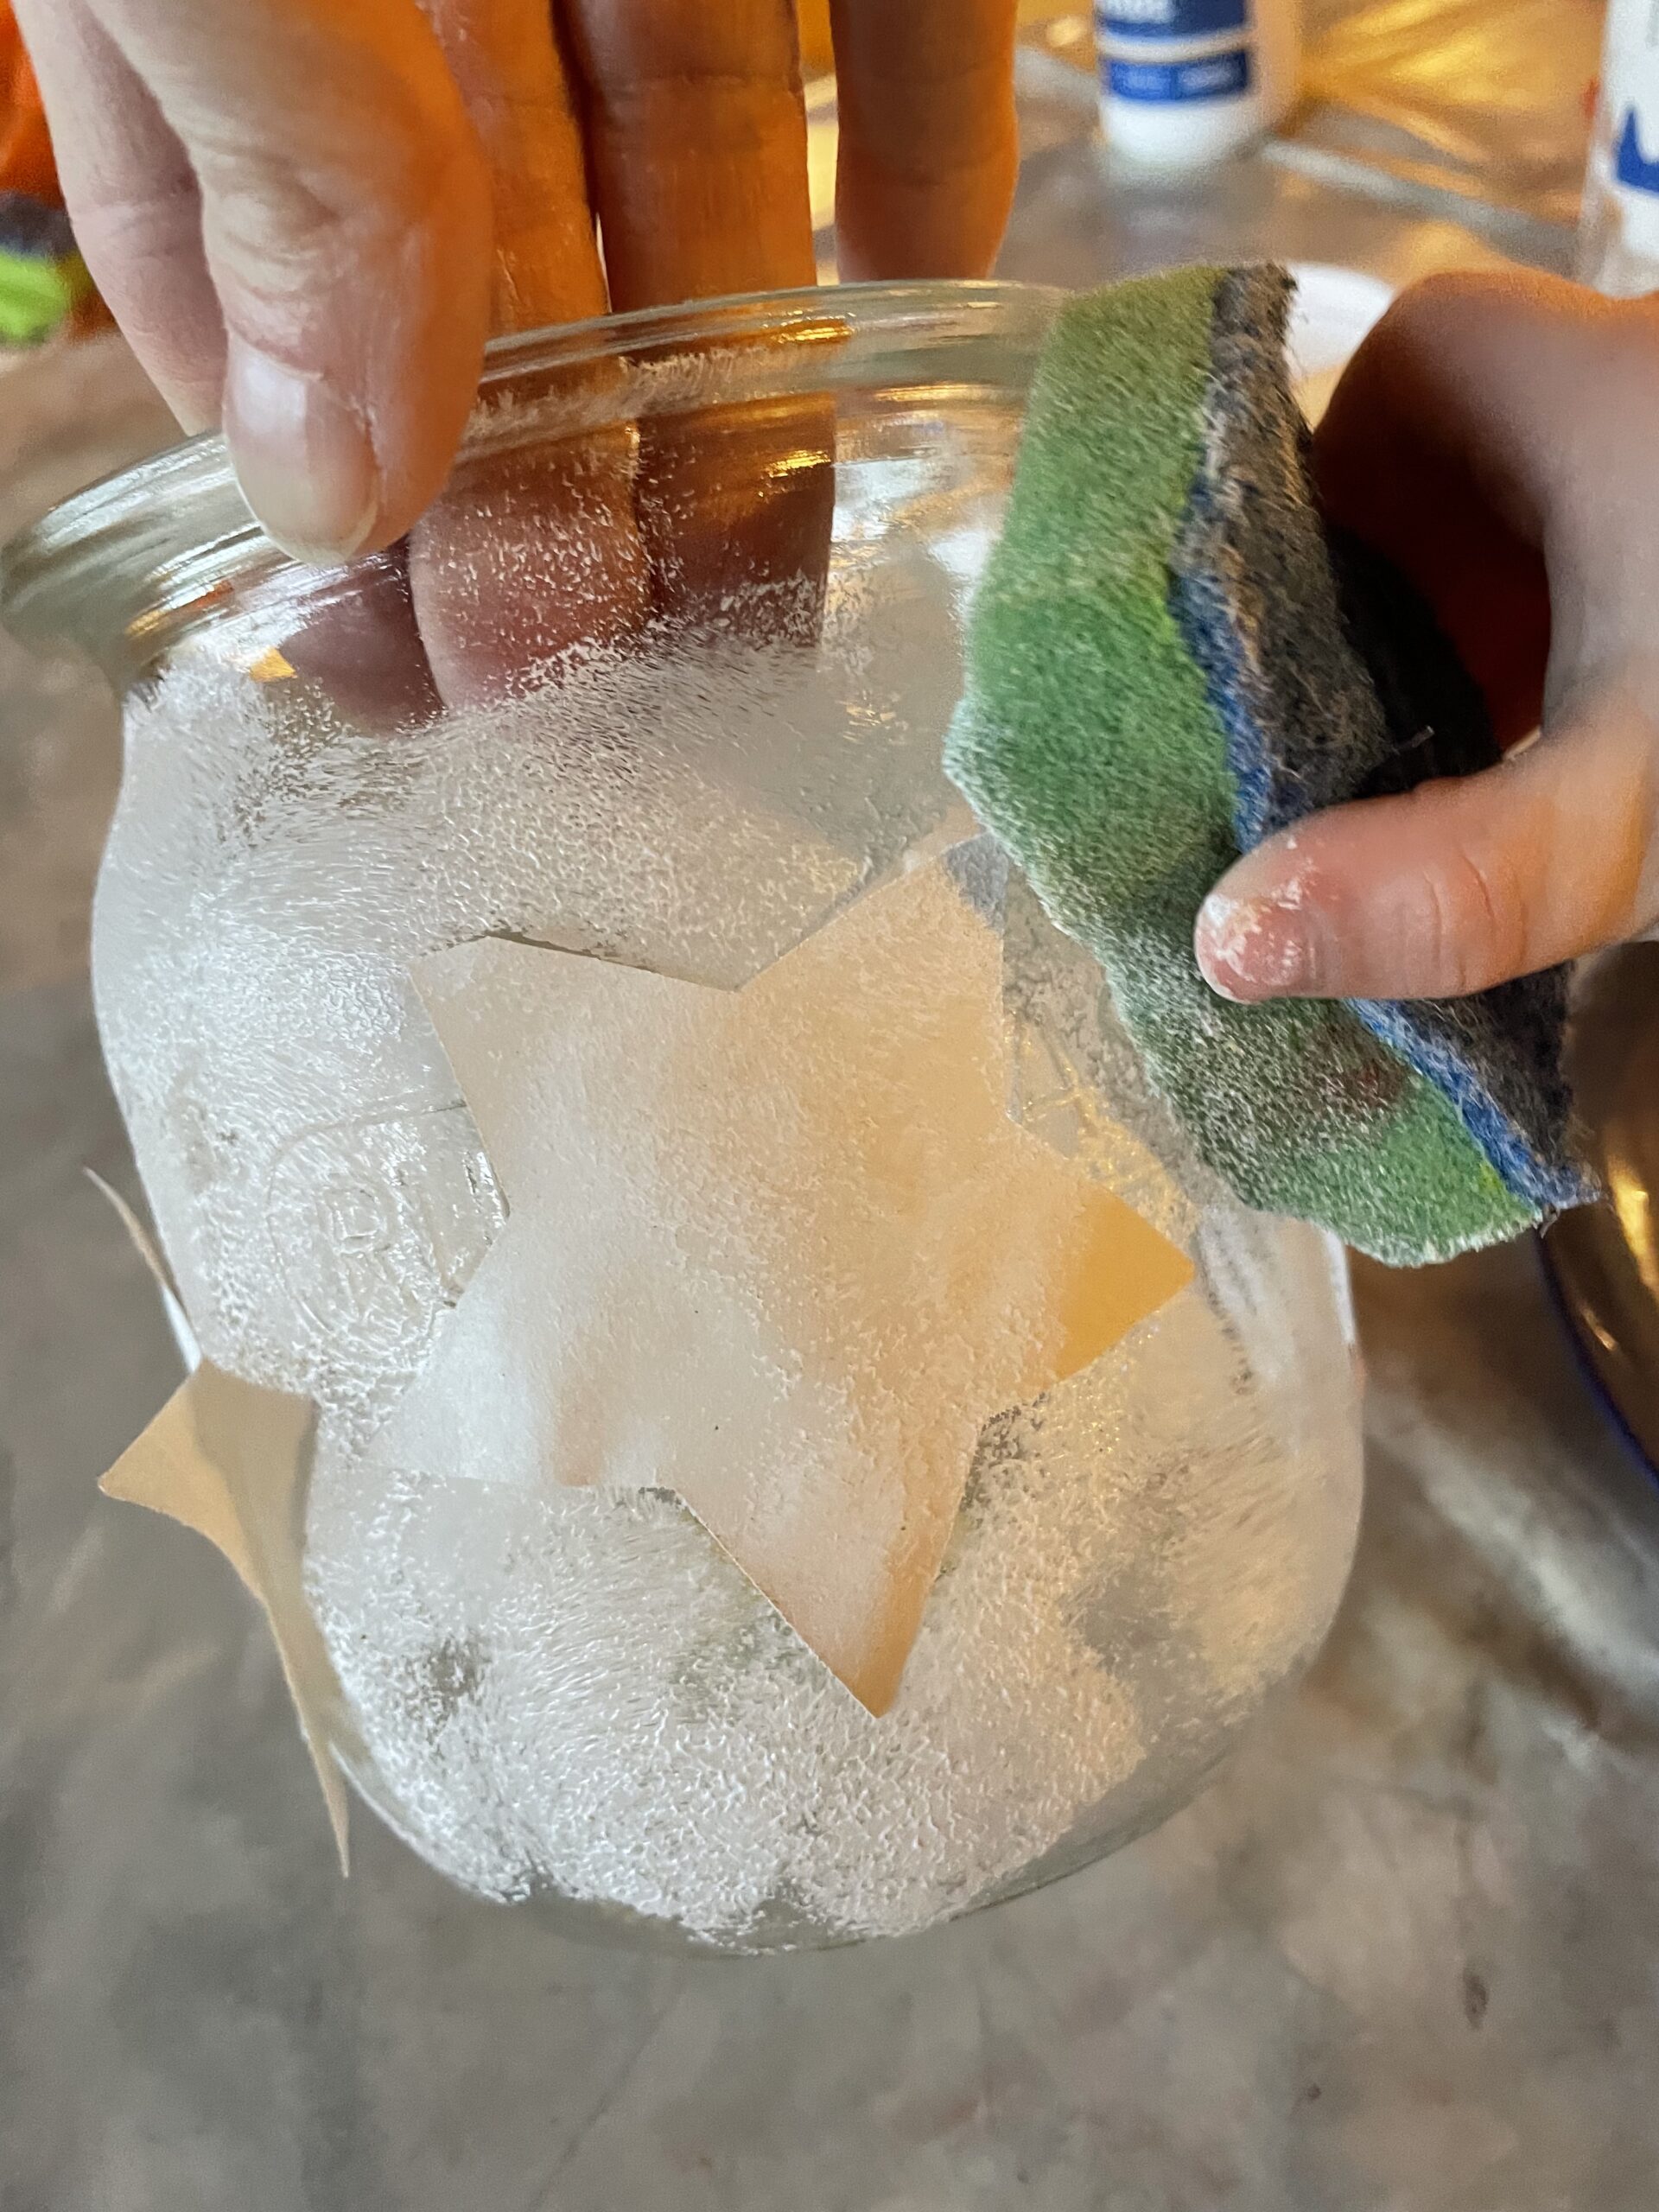


Then put the glass to dry.
Wait for the stars to pull off until the color is slightly dried.
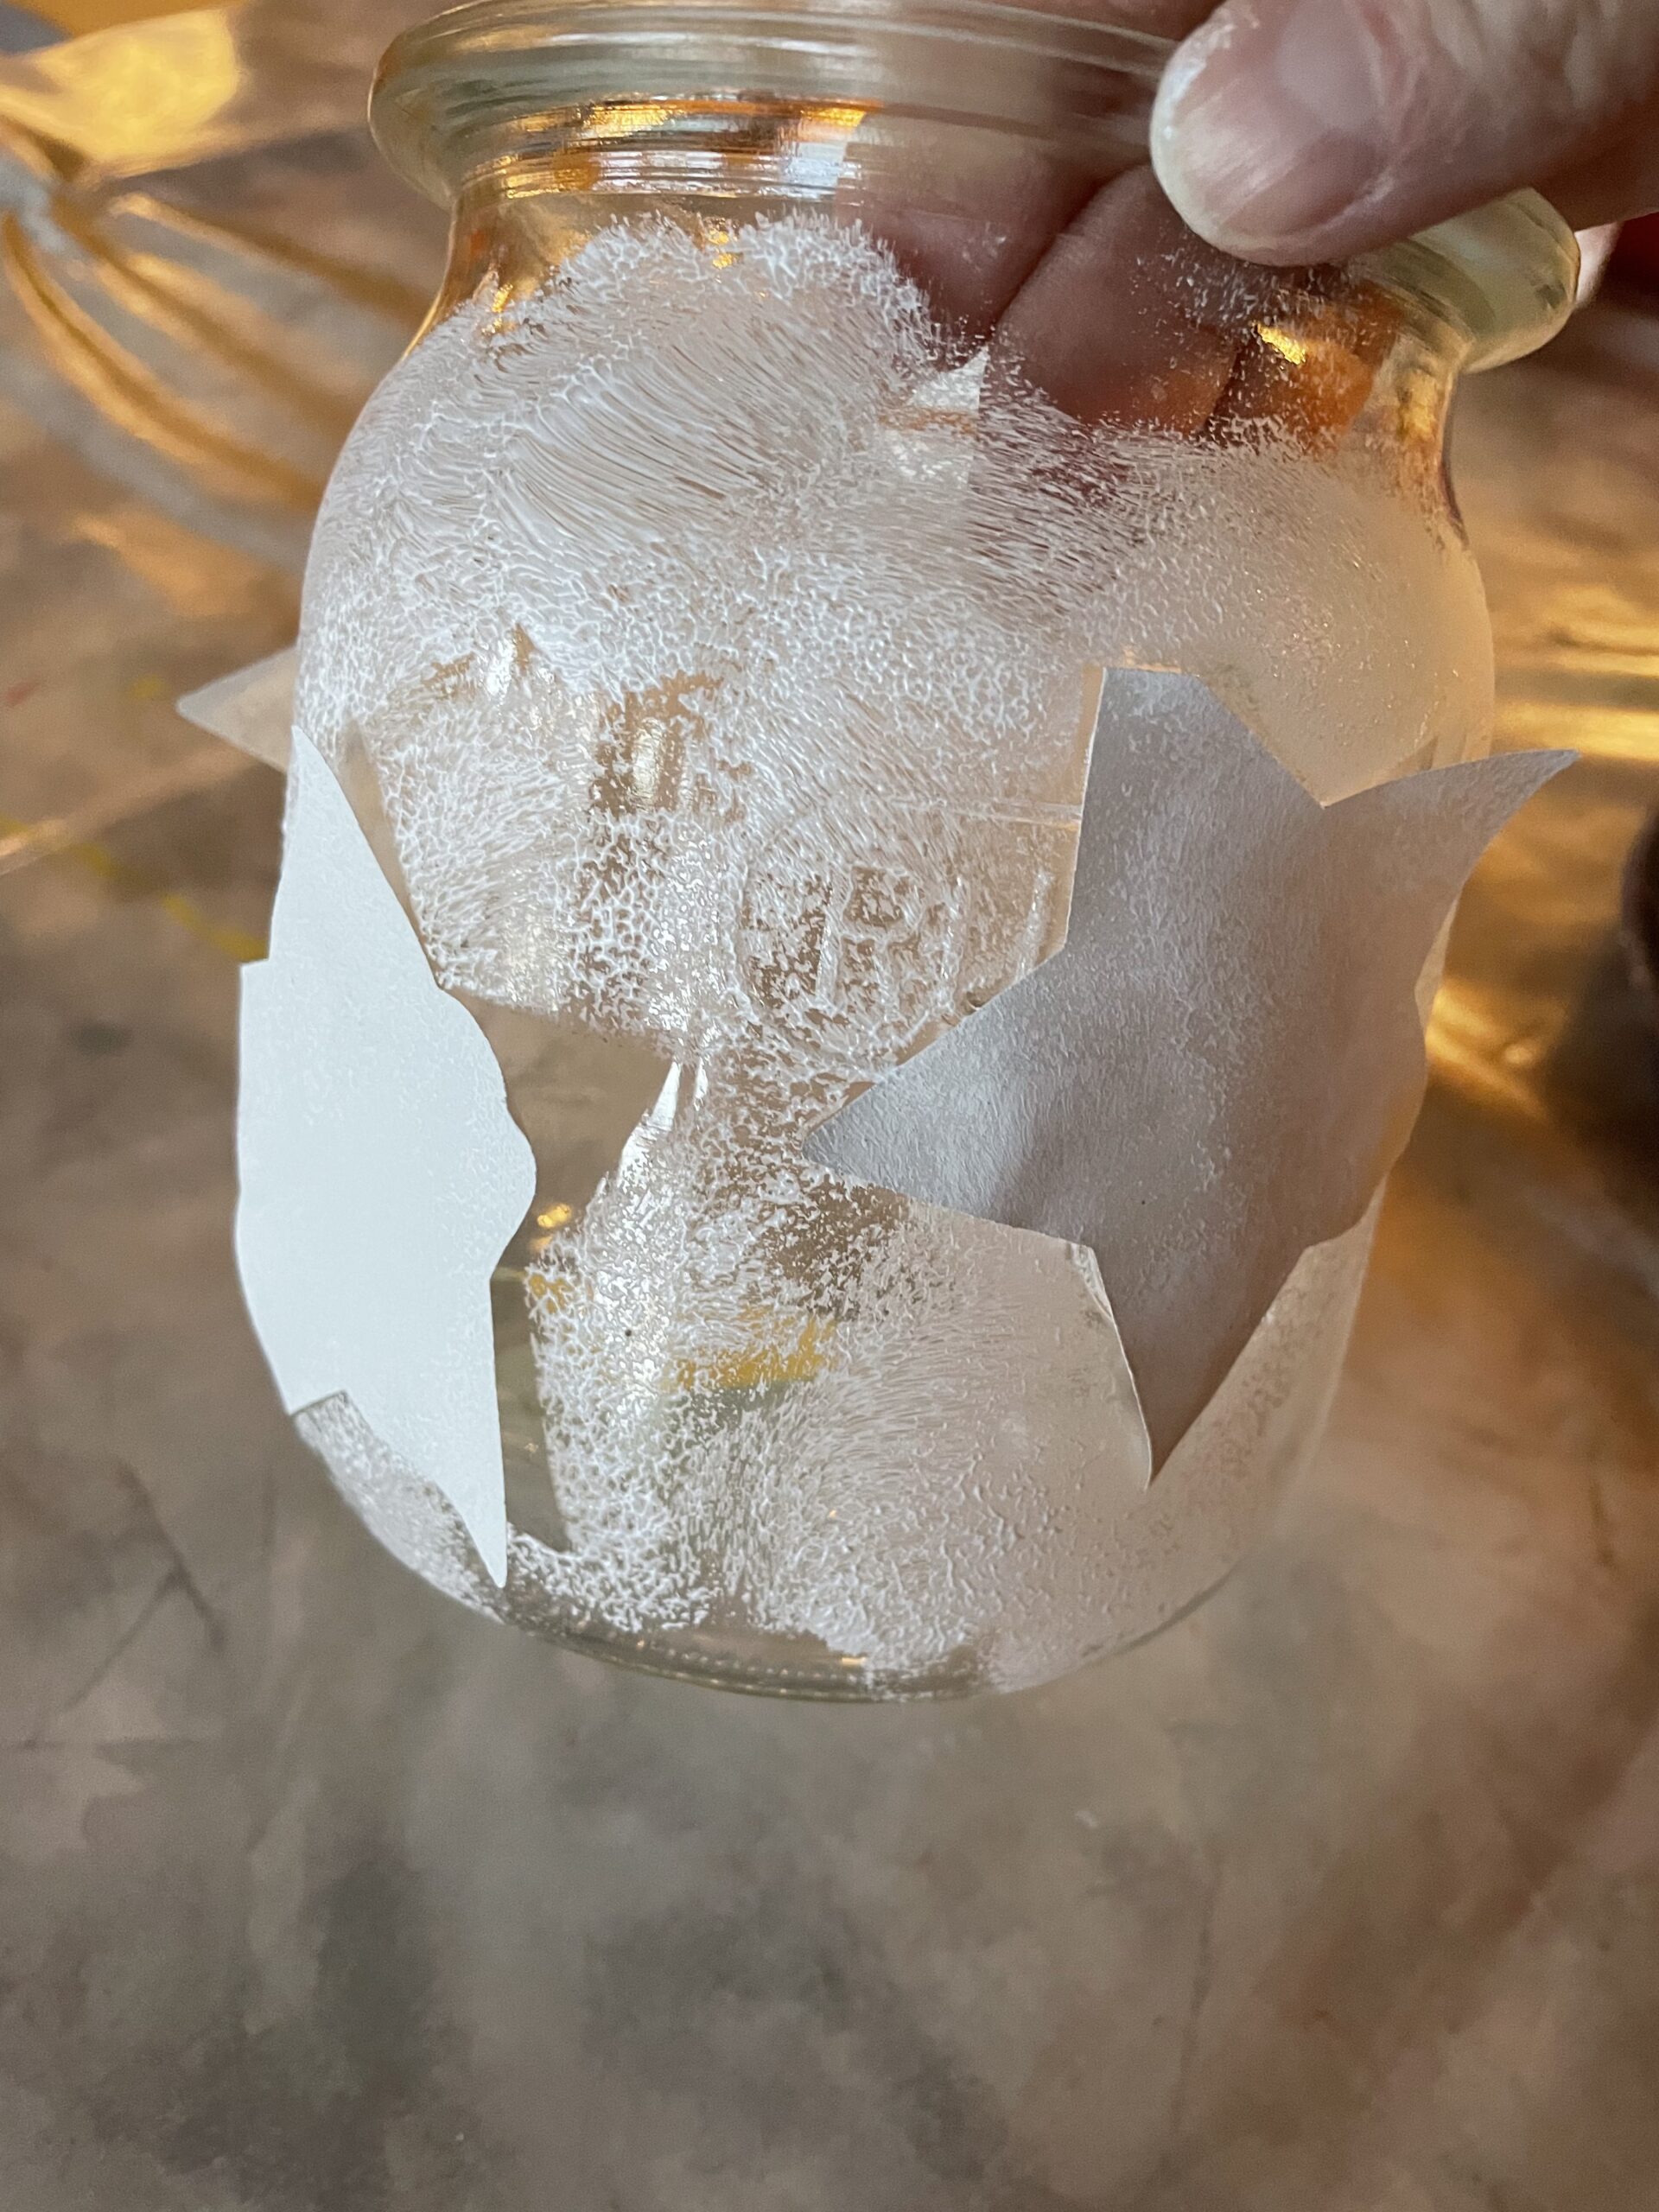


Now cut off a 40 cm long piece of gift ribbon and cut out a star of colored clay paper. After that you punch the star on a pitcher with a punch.
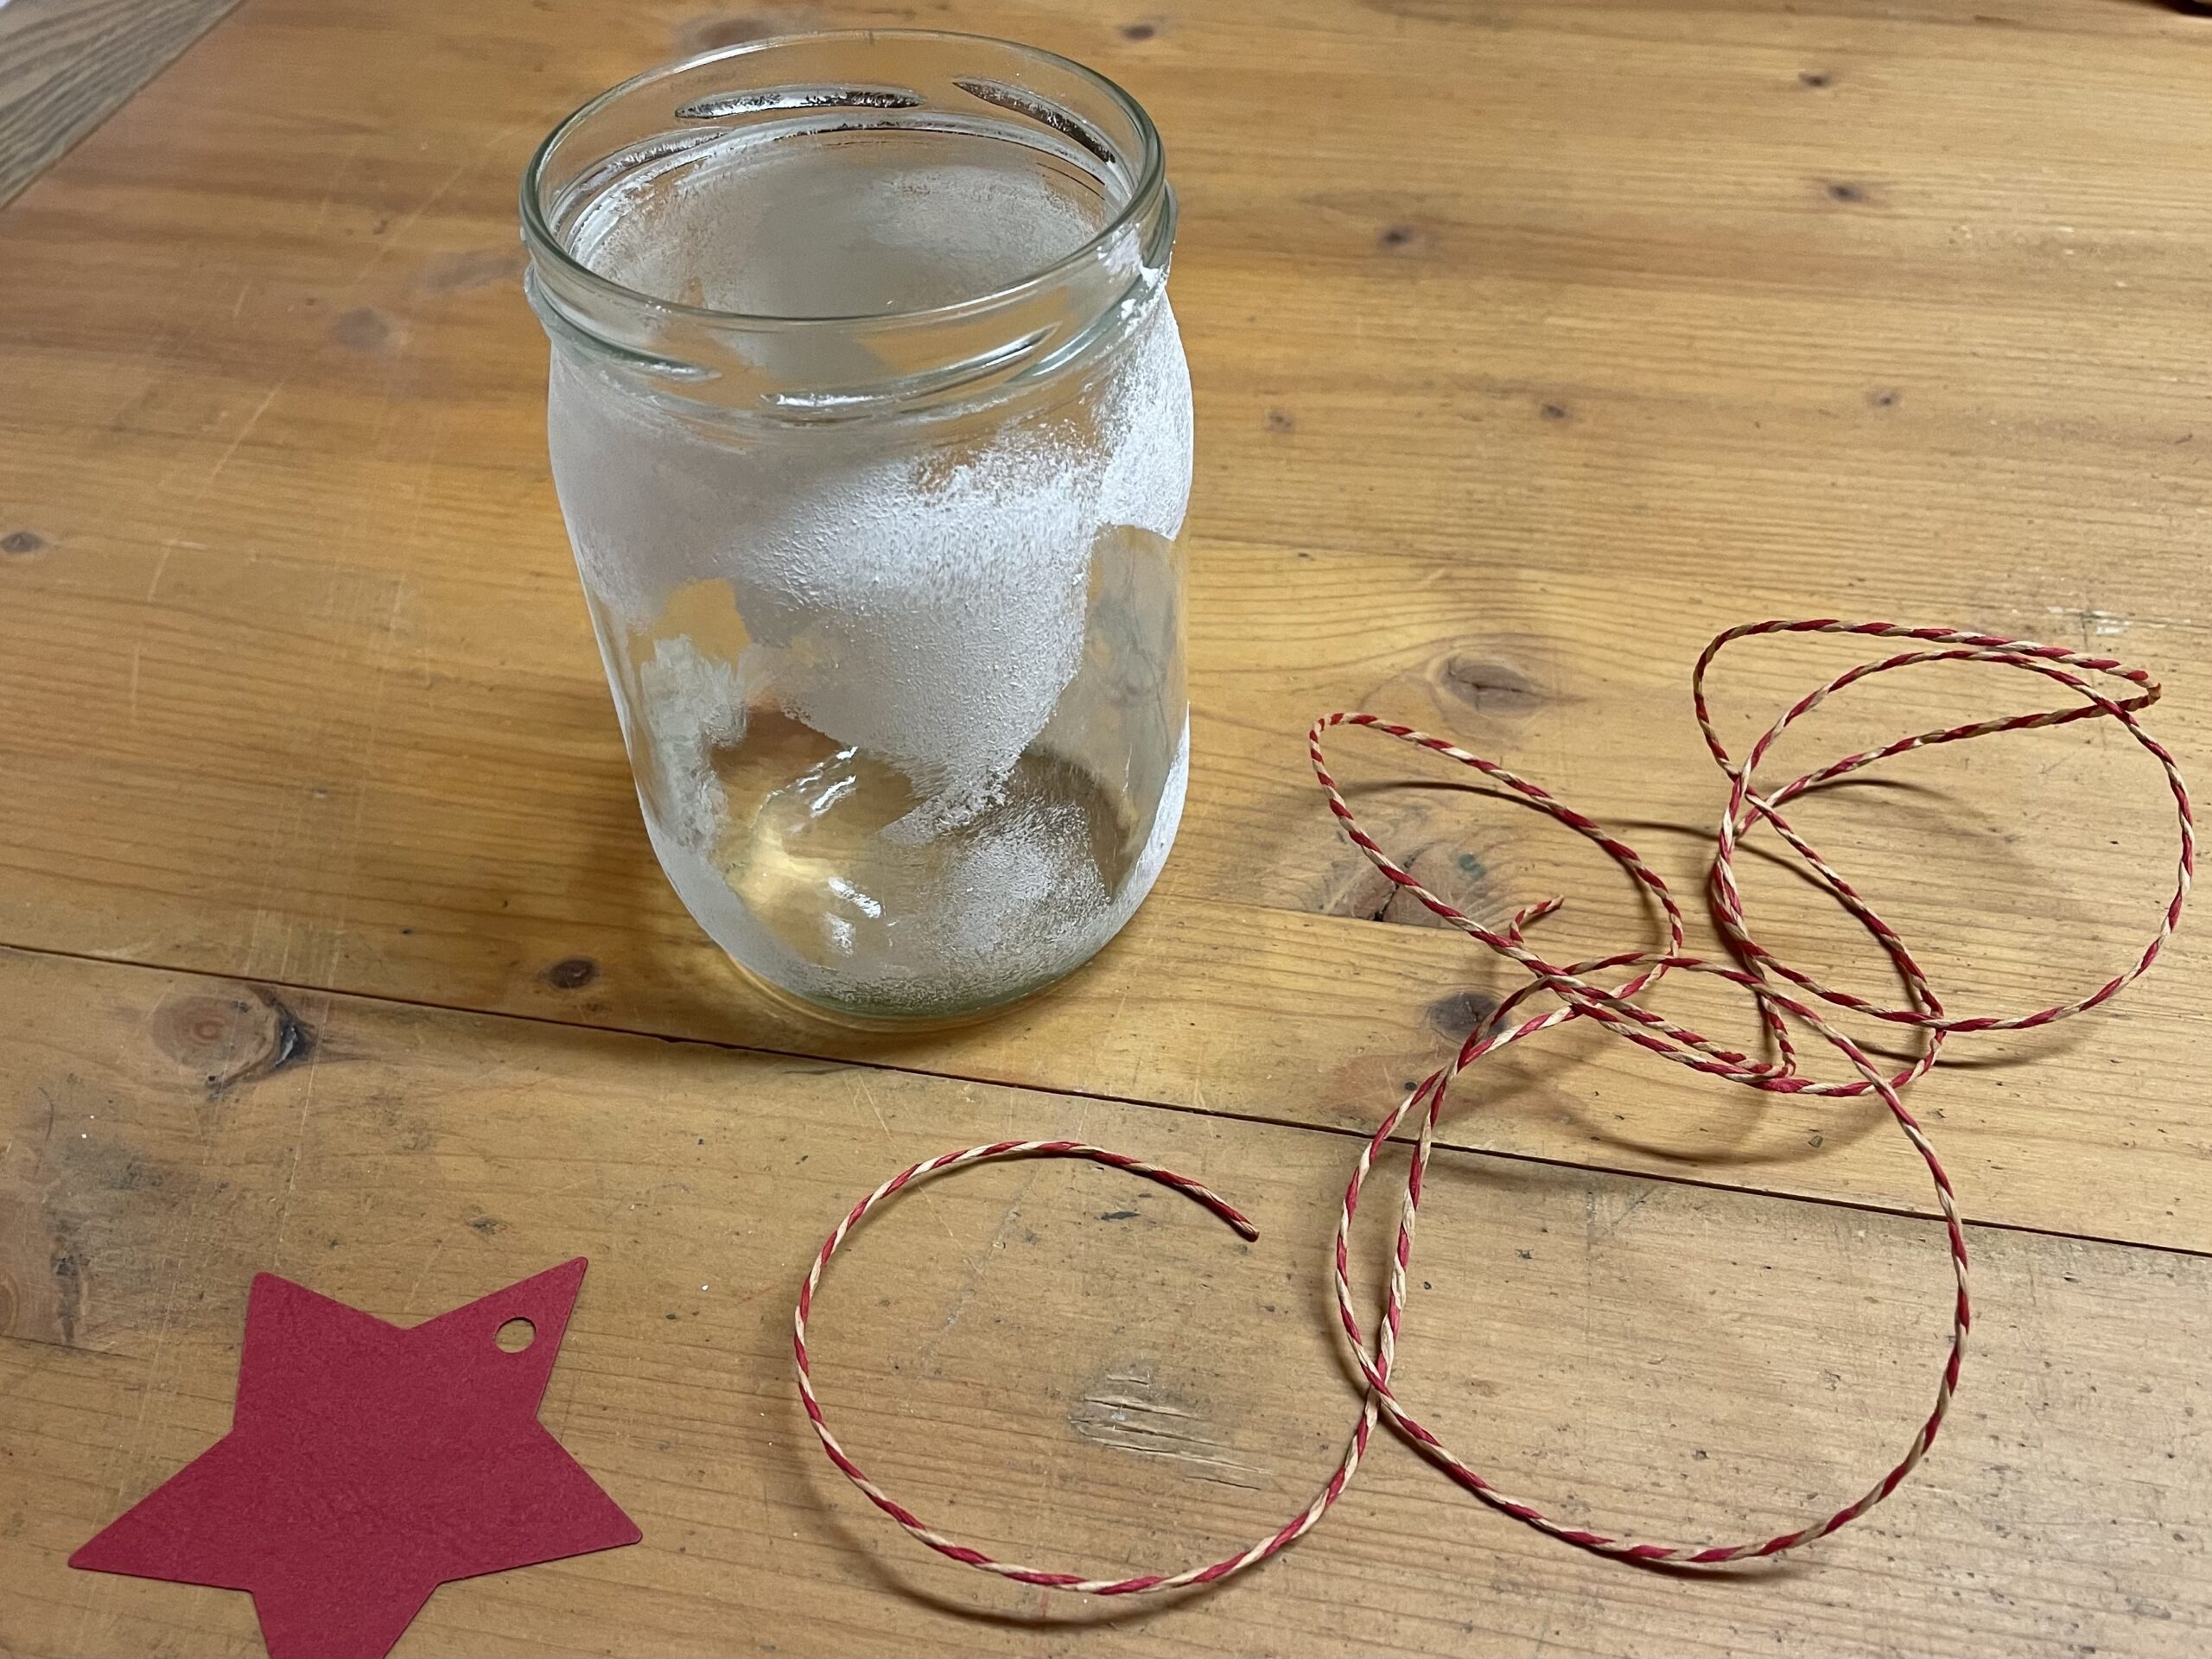


Then tie the tape around the upper edge of the glass and knot it. Then thread the star onto the standing tape.
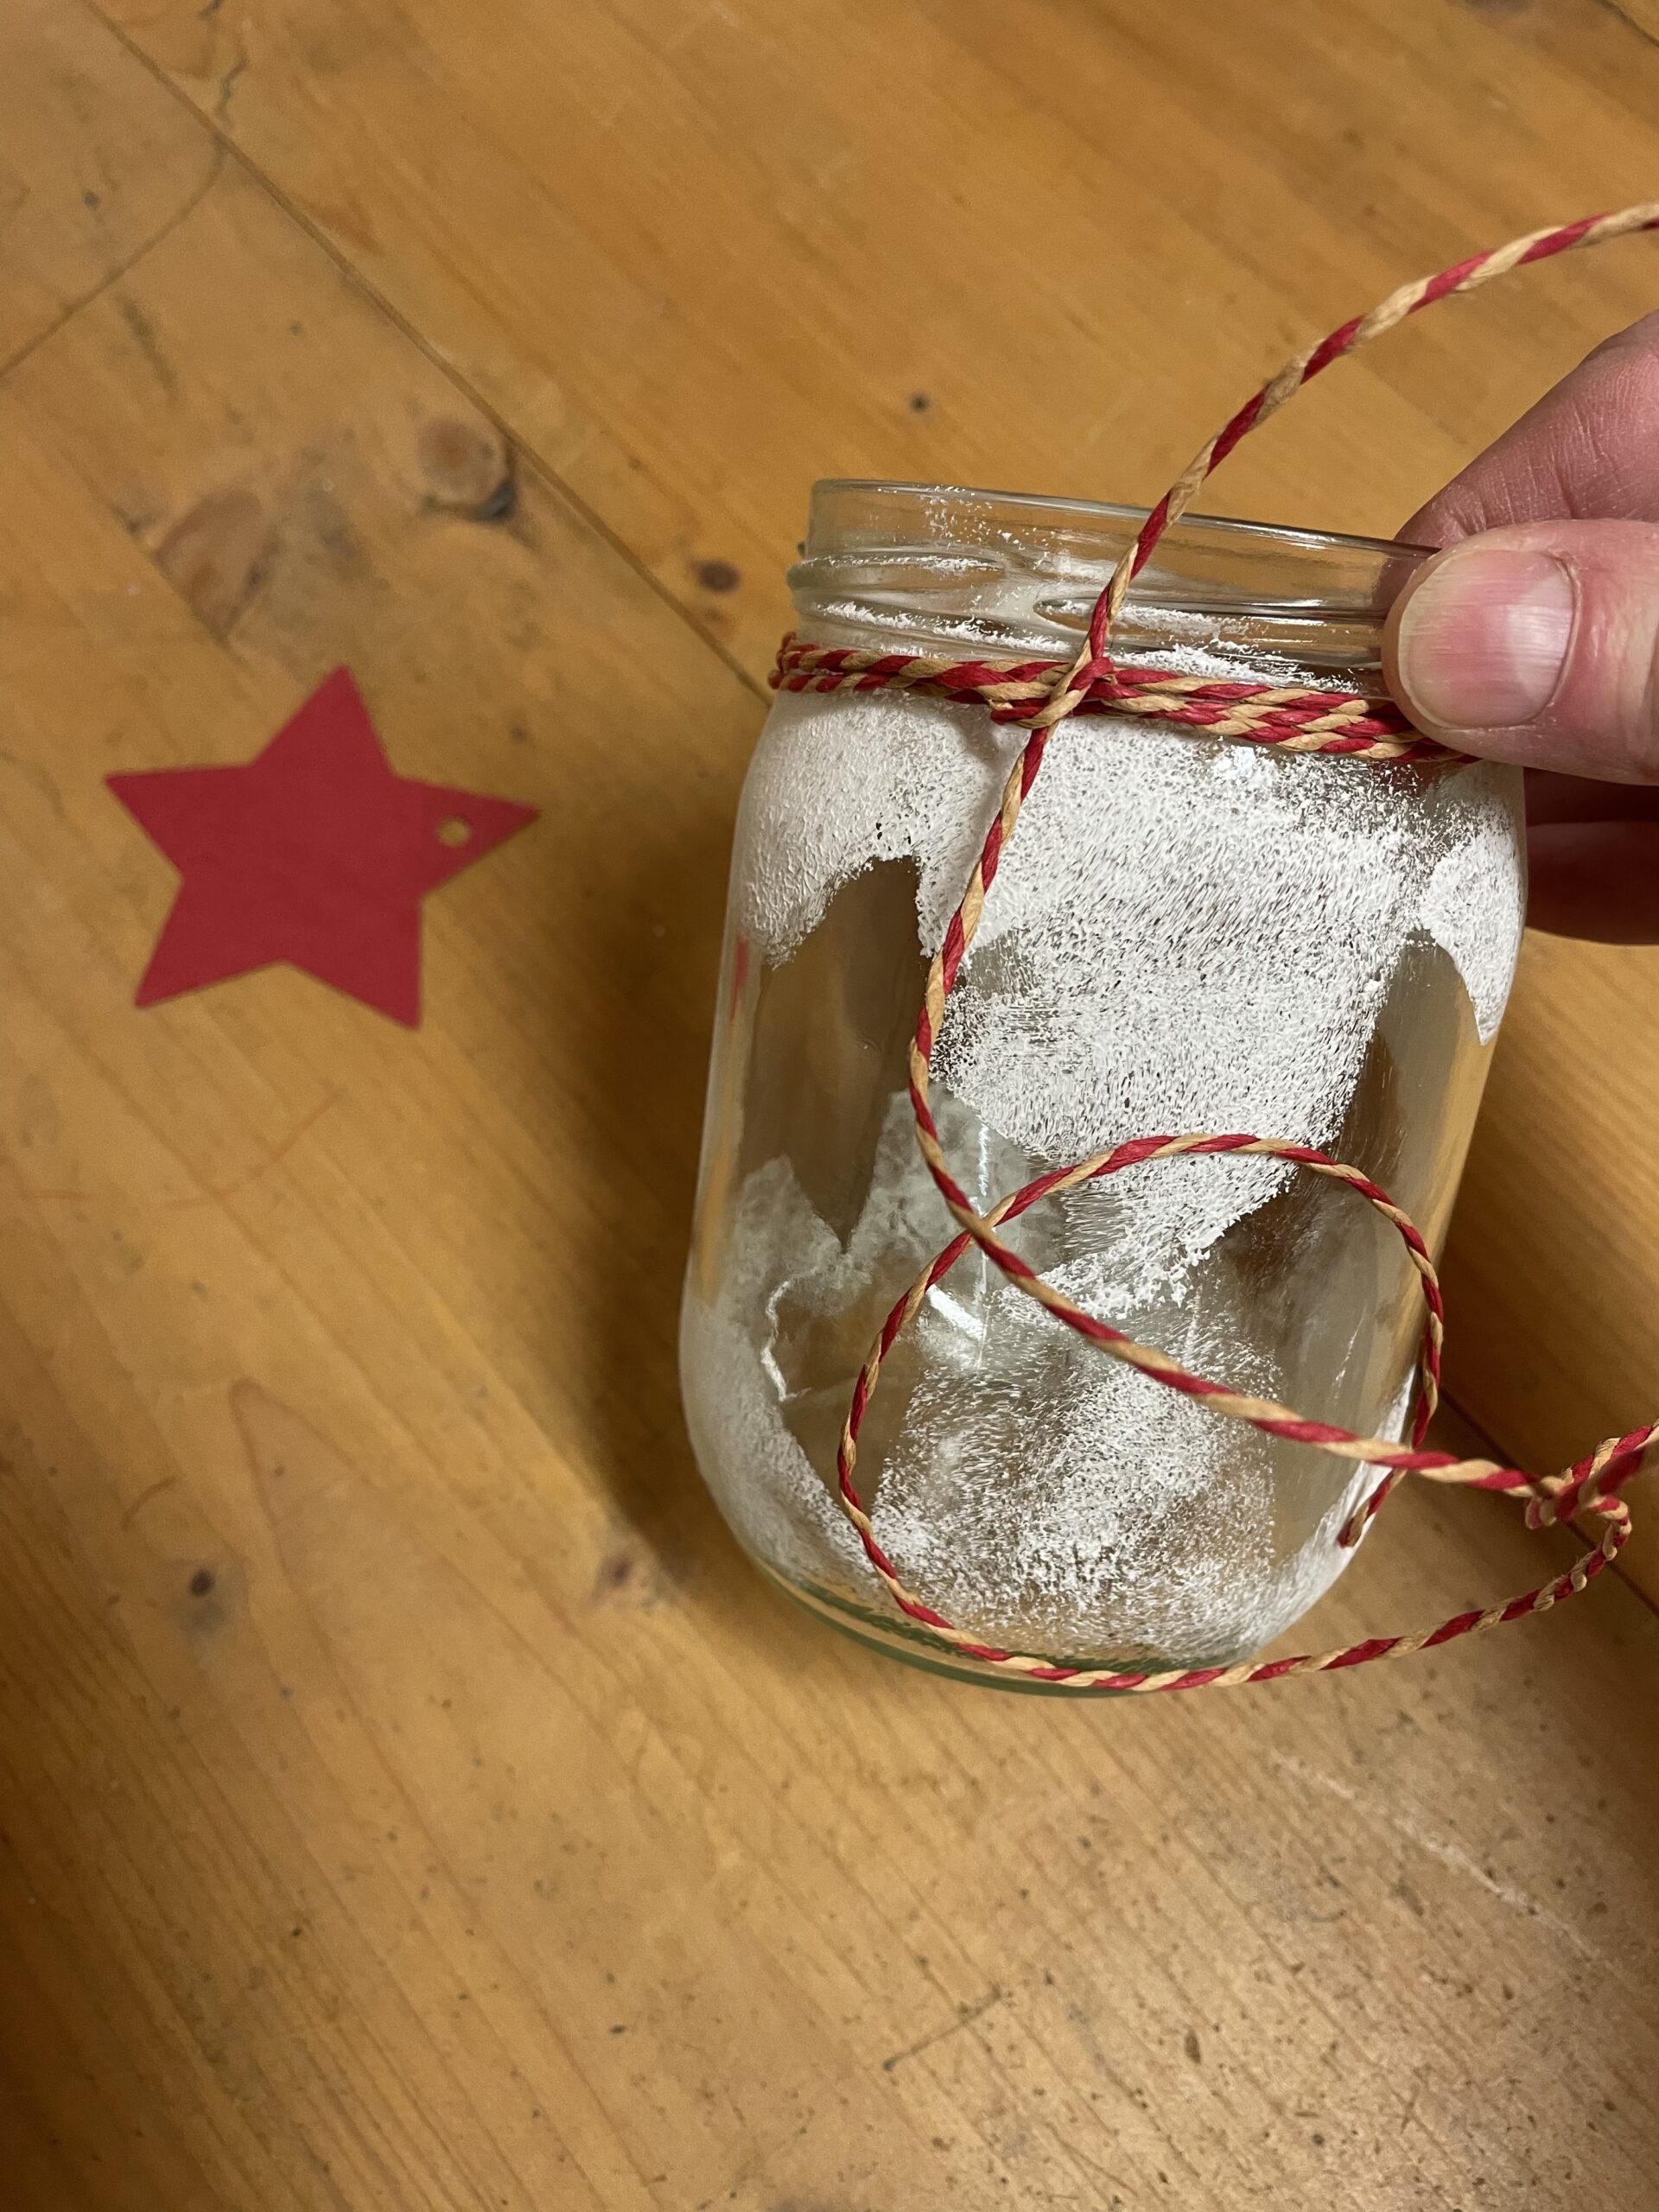


Ties a loop from the rest of the band.
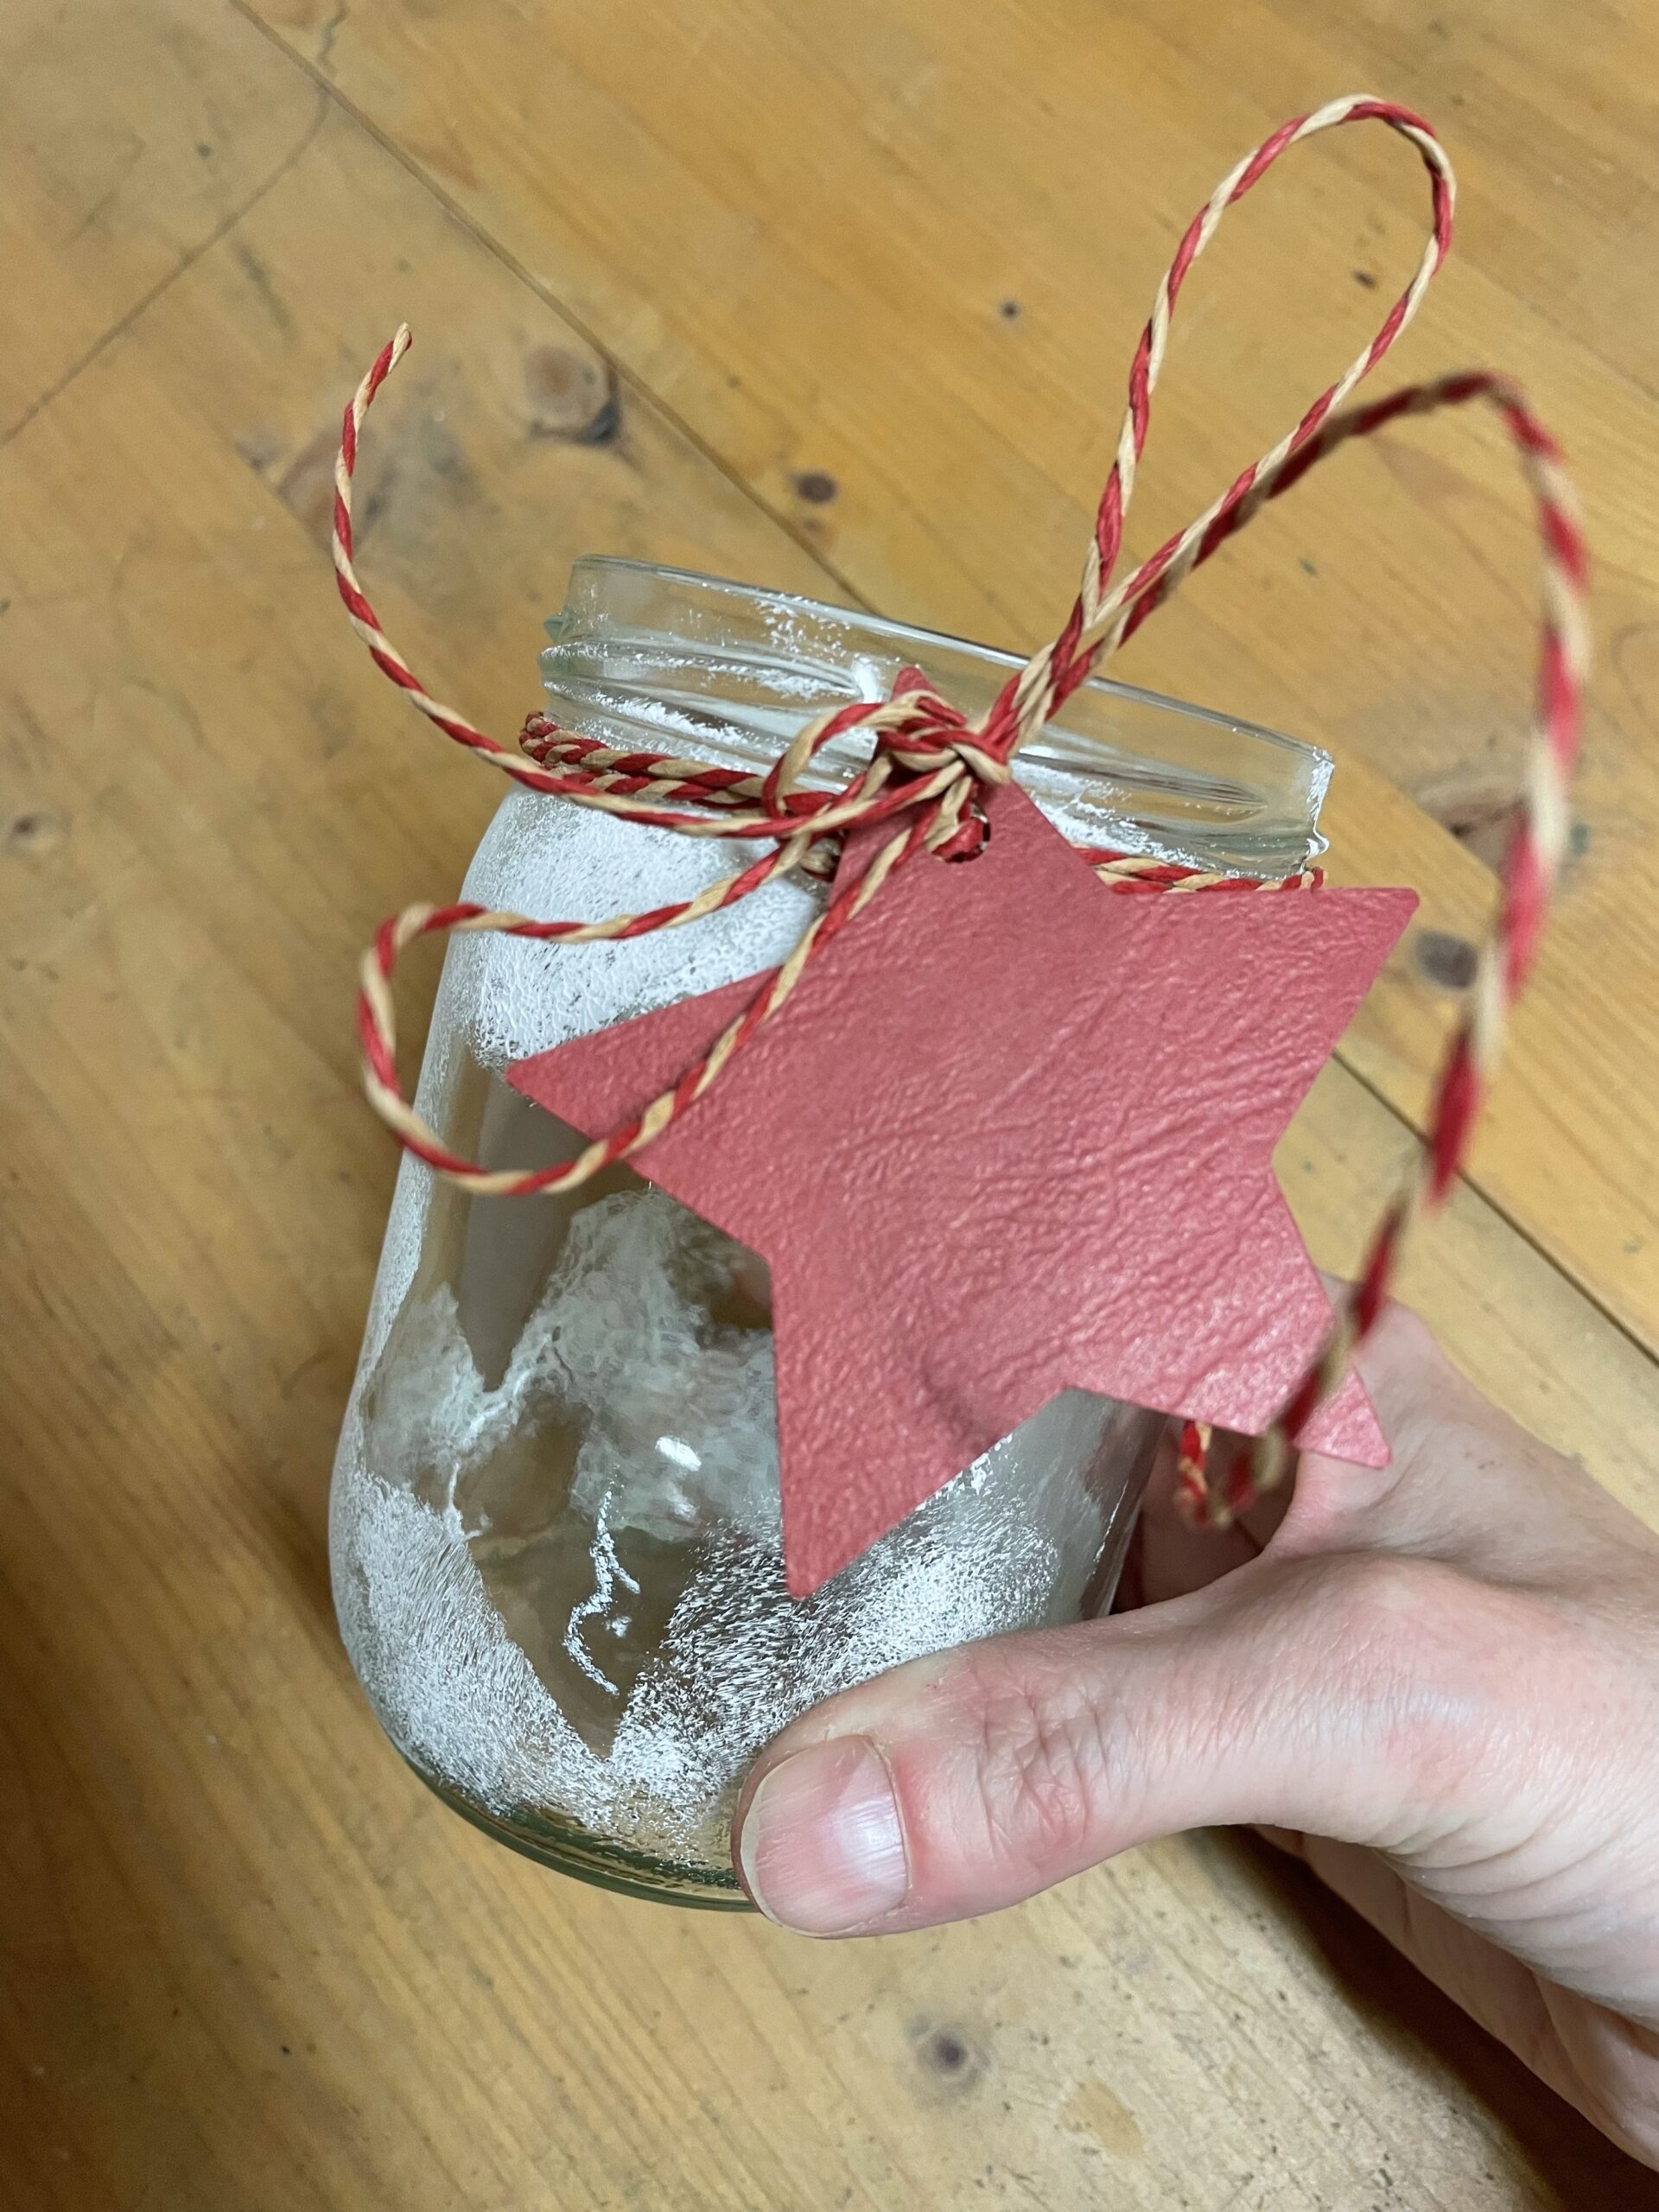


The star glass is ready.


You can also make several star glasses and decorate them as a group. Or you can give away a star glass and fill it with delicious cookies.


If you need a template for stars, print out this template and cut out the stars.
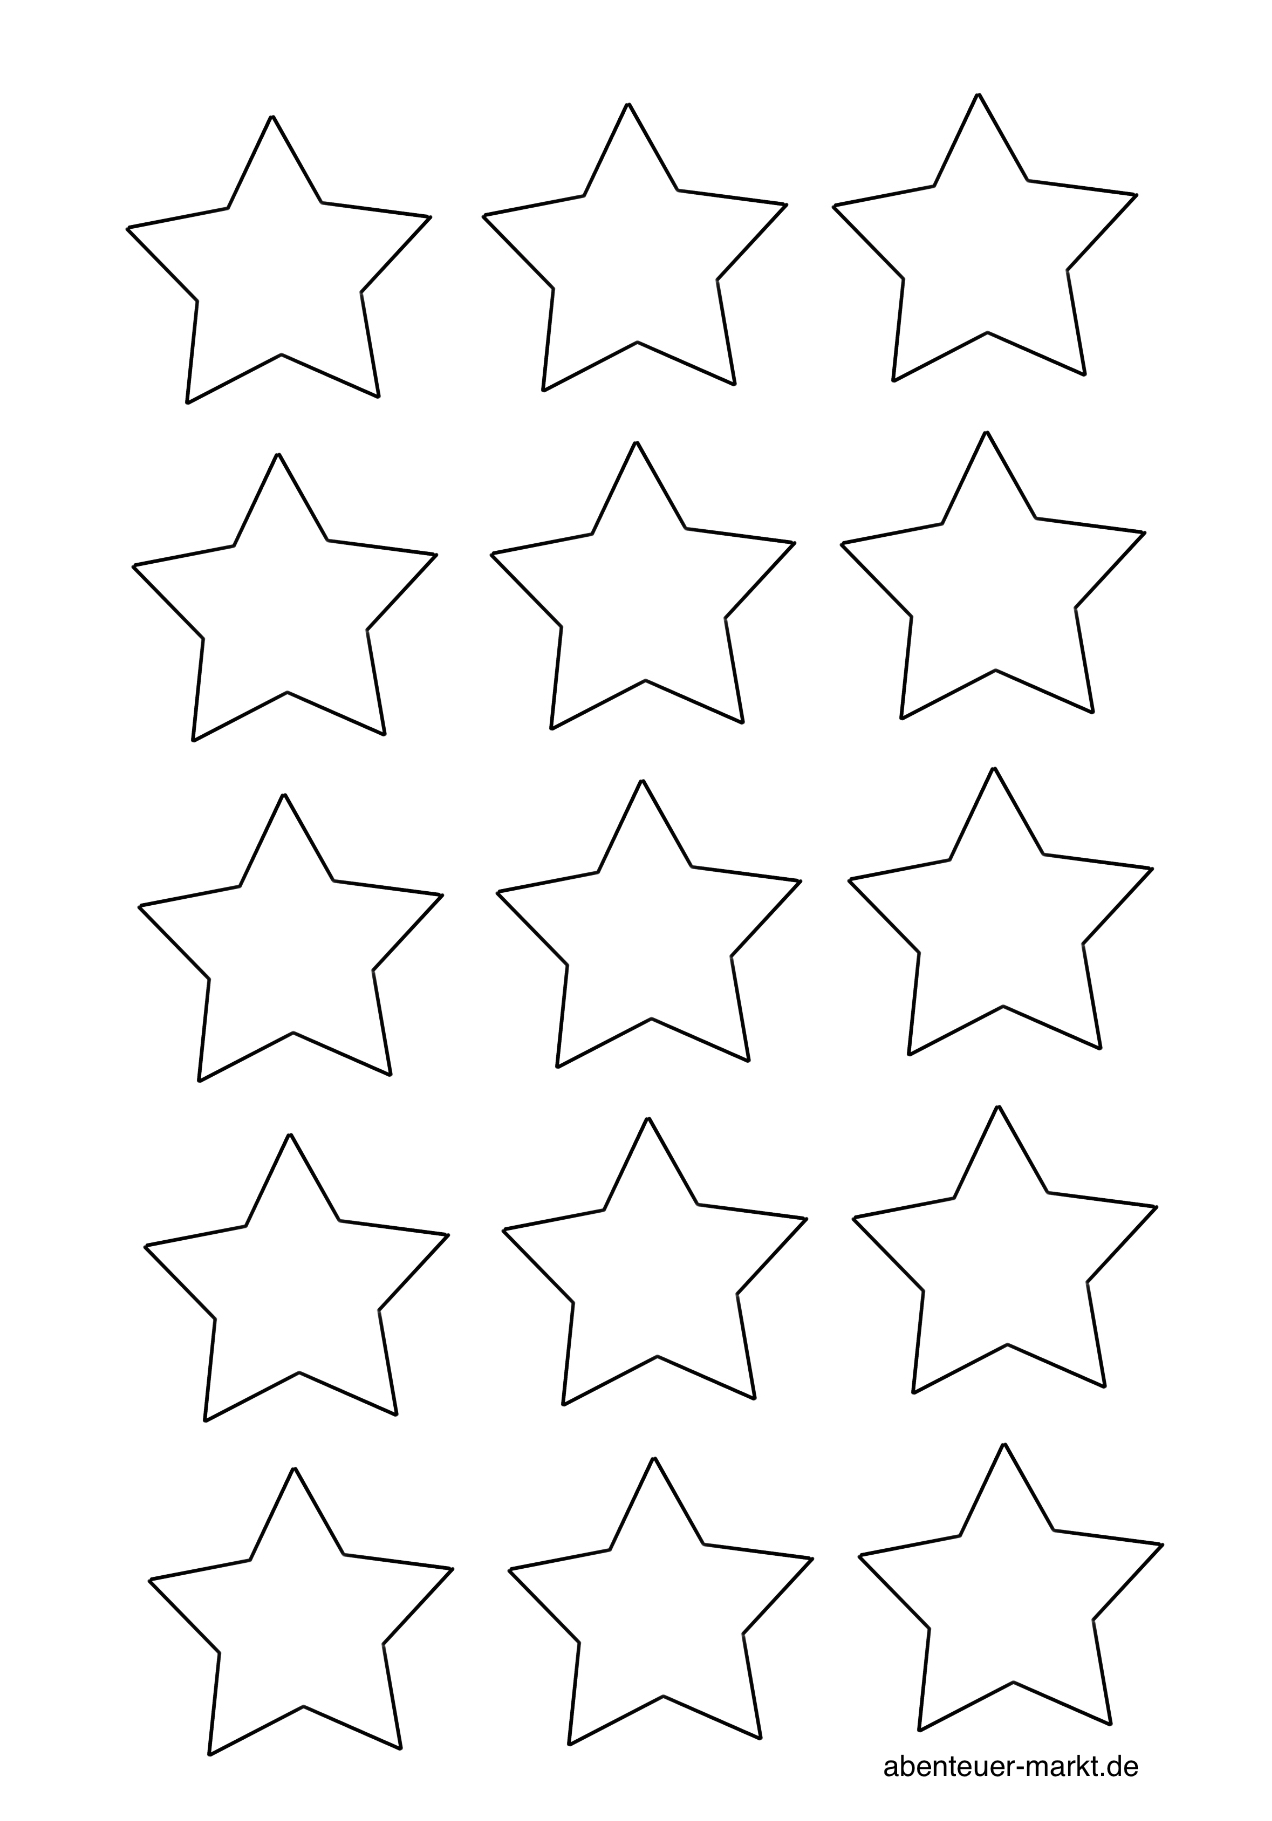


Have fun doing crafts!
Materials
Directions
Lay out the craft pad and prepare the materials. First you need a large glass, the sponge and some white color.
Tip: Uses a small screw glass lid or flat plate for the paint.


Cuts out some stars now or punches them out with a star-stancer.
Templates for stars to print out, you can find further down!


Then you roll up a piece of adhesive film and attach the star to the outside of the glass.


So glue all the stars up and leave enough space between the stars.


Distributes the stars all around.


Now you dip the sponge into the paint and cover the glass with it. Dump over the glued-on stars and make sure to dab enough paint around it.


Help smaller children to hold the glass.


Covers the whole glass with paint or only part of the glass.


Then put the glass to dry.
Wait for the stars to pull off until the color is slightly dried.


Now cut off a 40 cm long piece of gift ribbon and cut out a star of colored clay paper. After that you punch the star on a pitcher with a punch.


Then tie the tape around the upper edge of the glass and knot it. Then thread the star onto the standing tape.


Ties a loop from the rest of the band.


The star glass is ready.


You can also make several star glasses and decorate them as a group. Or you can give away a star glass and fill it with delicious cookies.


If you need a template for stars, print out this template and cut out the stars.


Have fun doing crafts!
Follow us on Facebook , Instagram and Pinterest
Don't miss any more adventures: Our bottle mail


