This Stecken-Nikolaus is not only intended as a decorative plug. It is also suitable as a "theatre figure" for a puppet theatre. You only need a daumendicken plug, which has a smooth bark as possible and no standing price. Furthermore, a red clay paper residue, a cotton ball and a cotton pad are needed. Equipped with pen, scissors and glue, you can start crafting. Have fun with the step-by-step instructions.
Media Education for Kindergarten and Hort

Relief in everyday life, targeted promotion of individual children, independent learning and - without any pre-knowledge already usable by the youngest!
Get ready.
Paint a circle on a paper. For this you can use a screw glass lid or a drinking glass. Paint it with a pen.
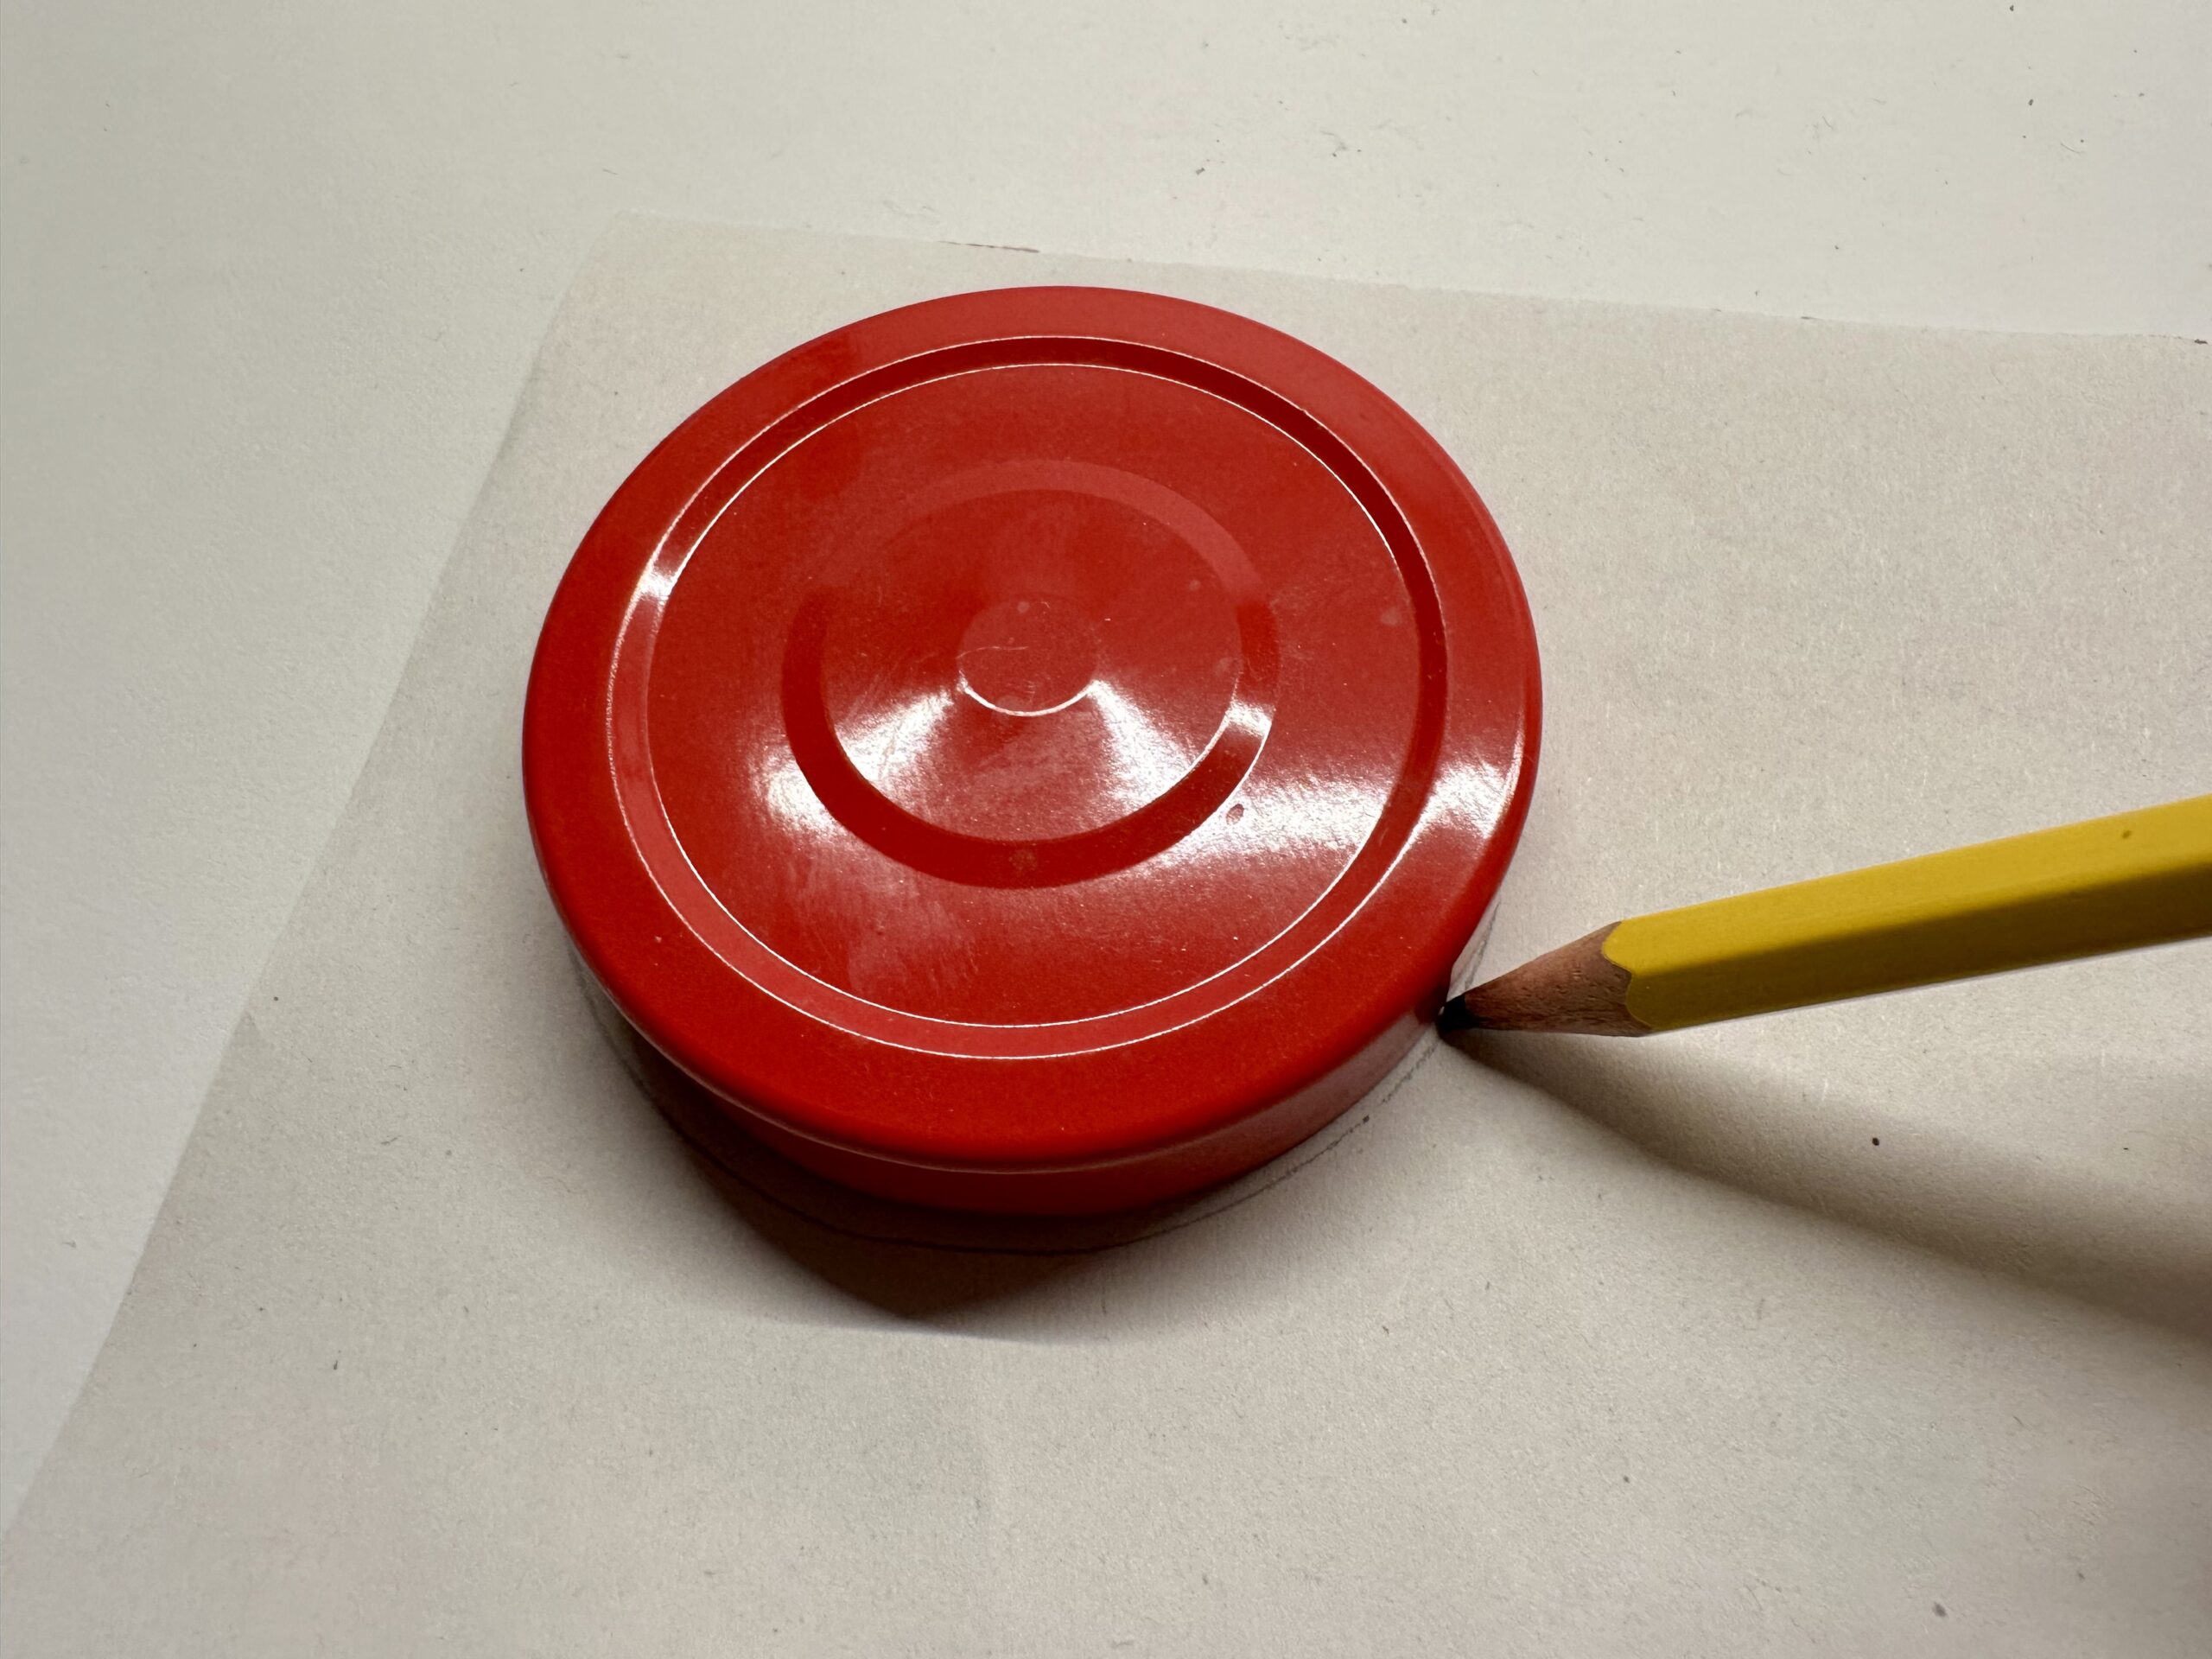
Cut out the painted circle with the scissors.
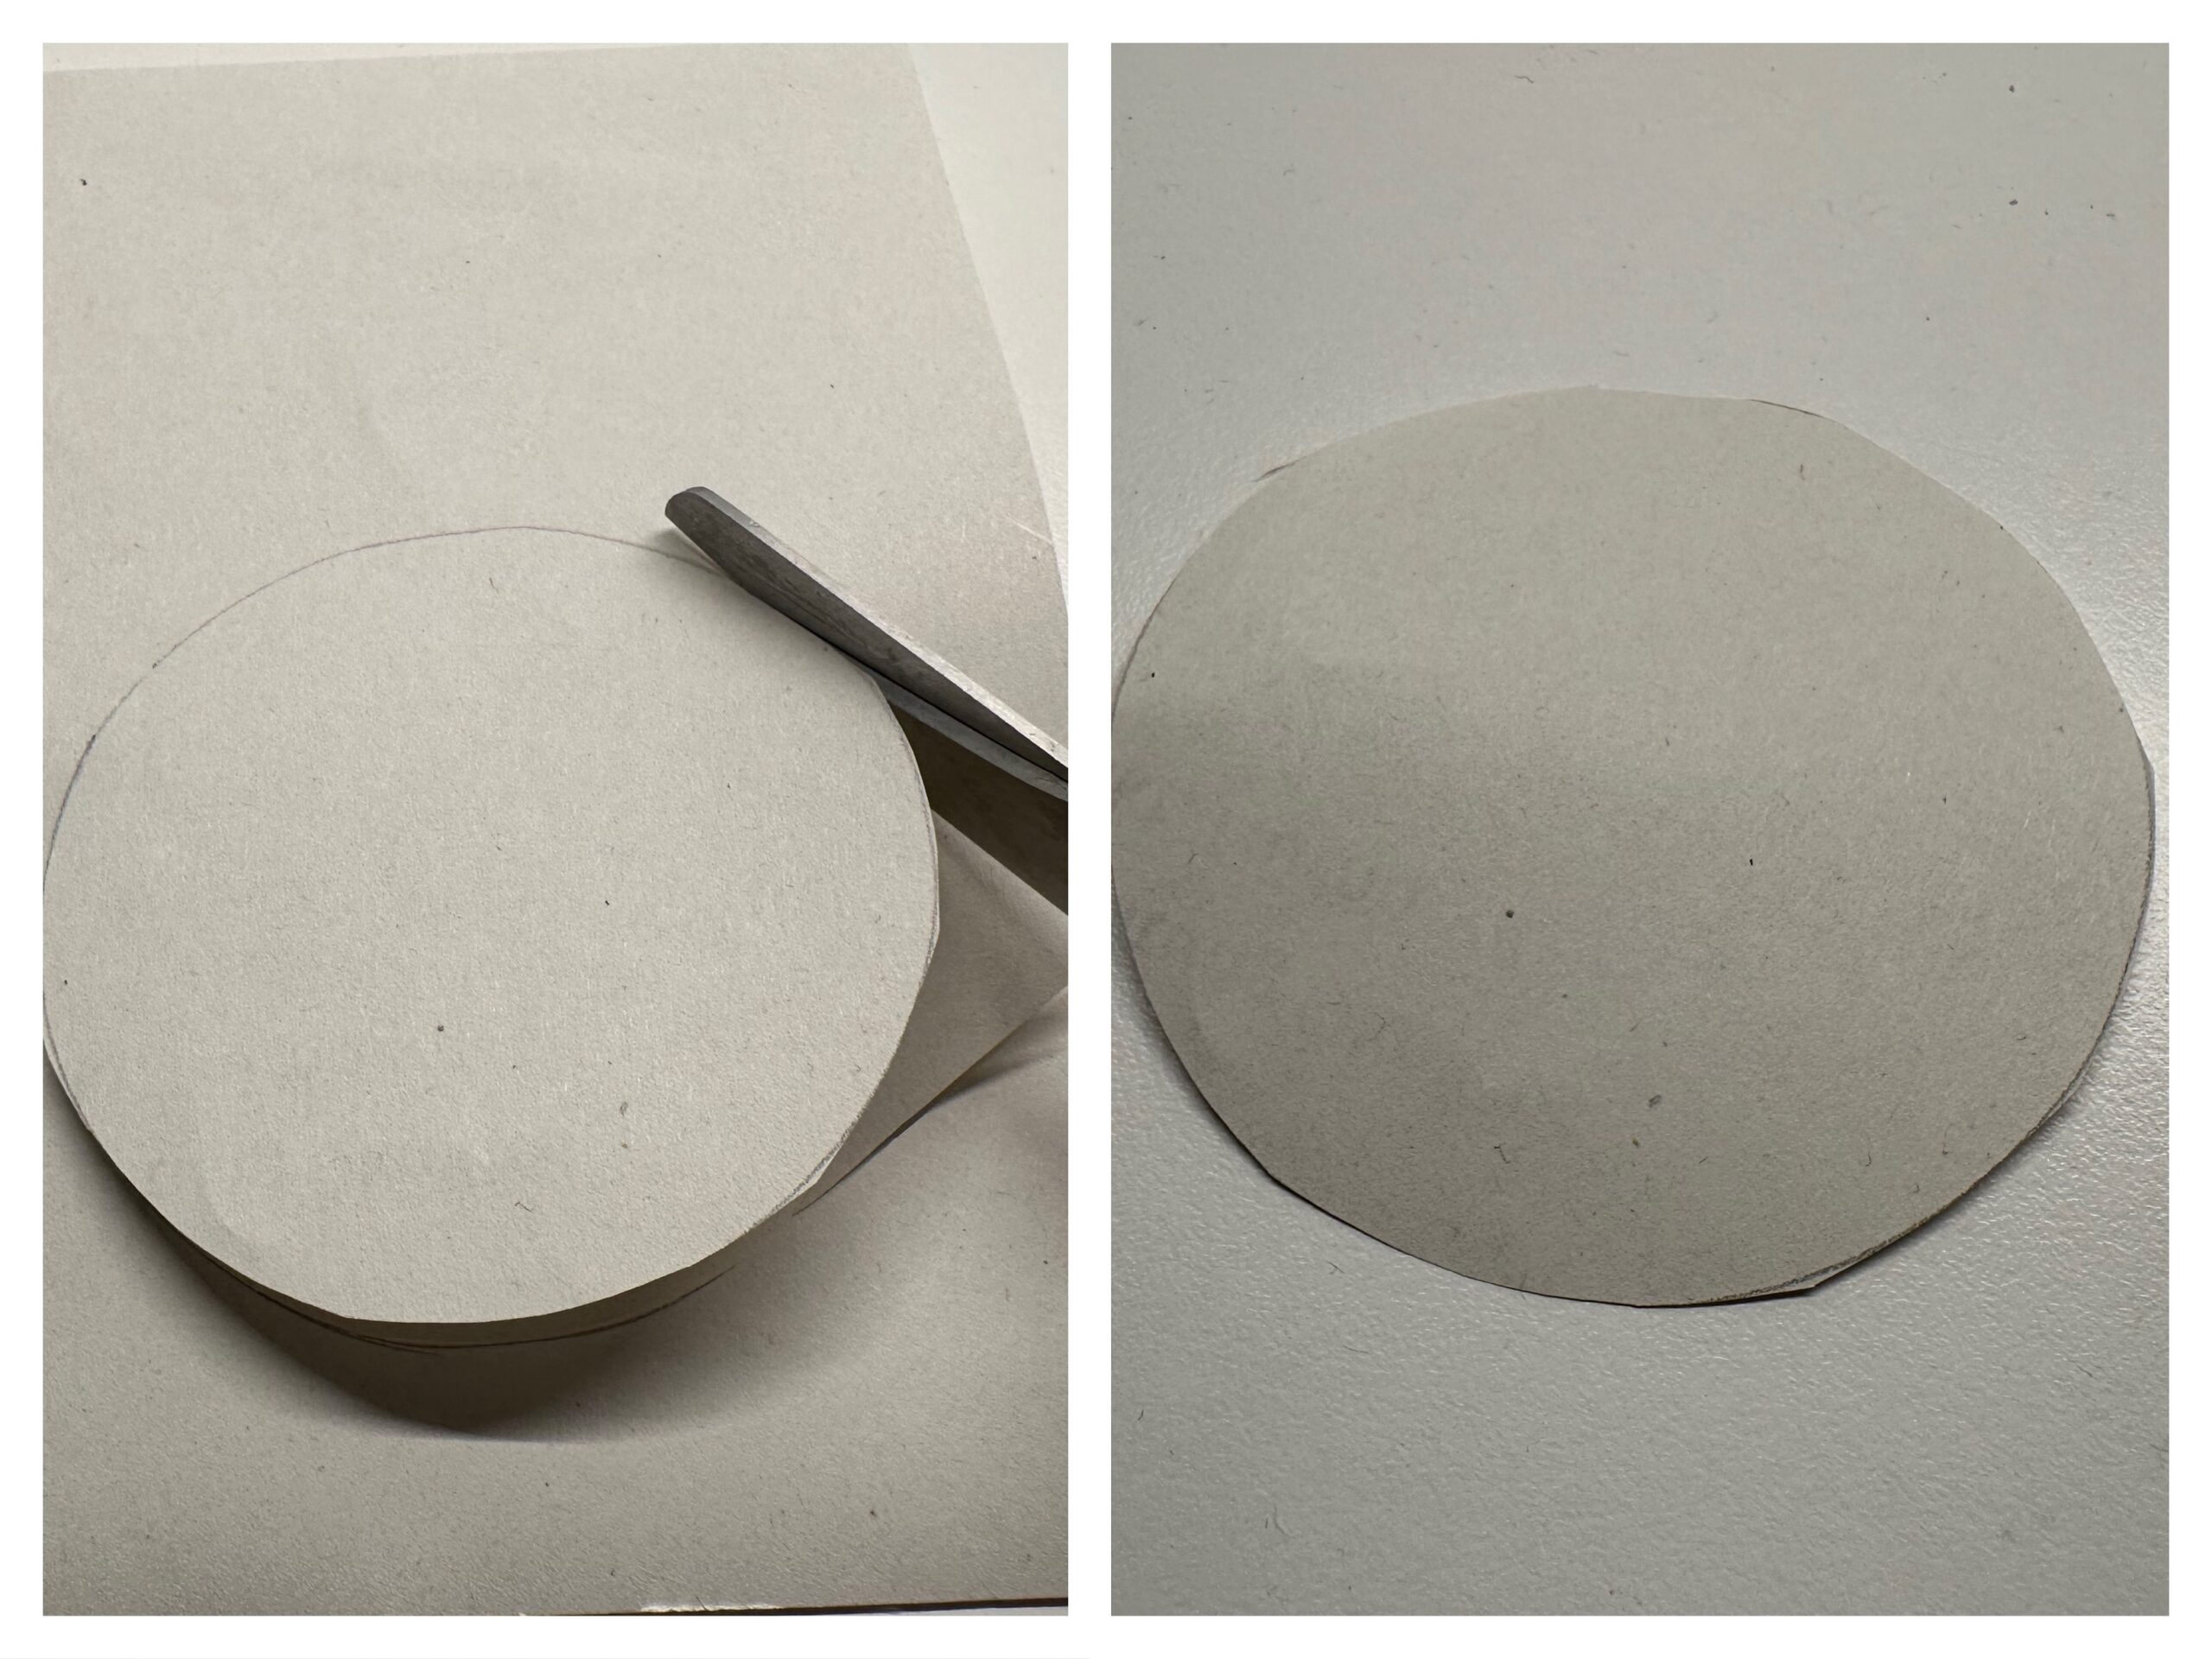


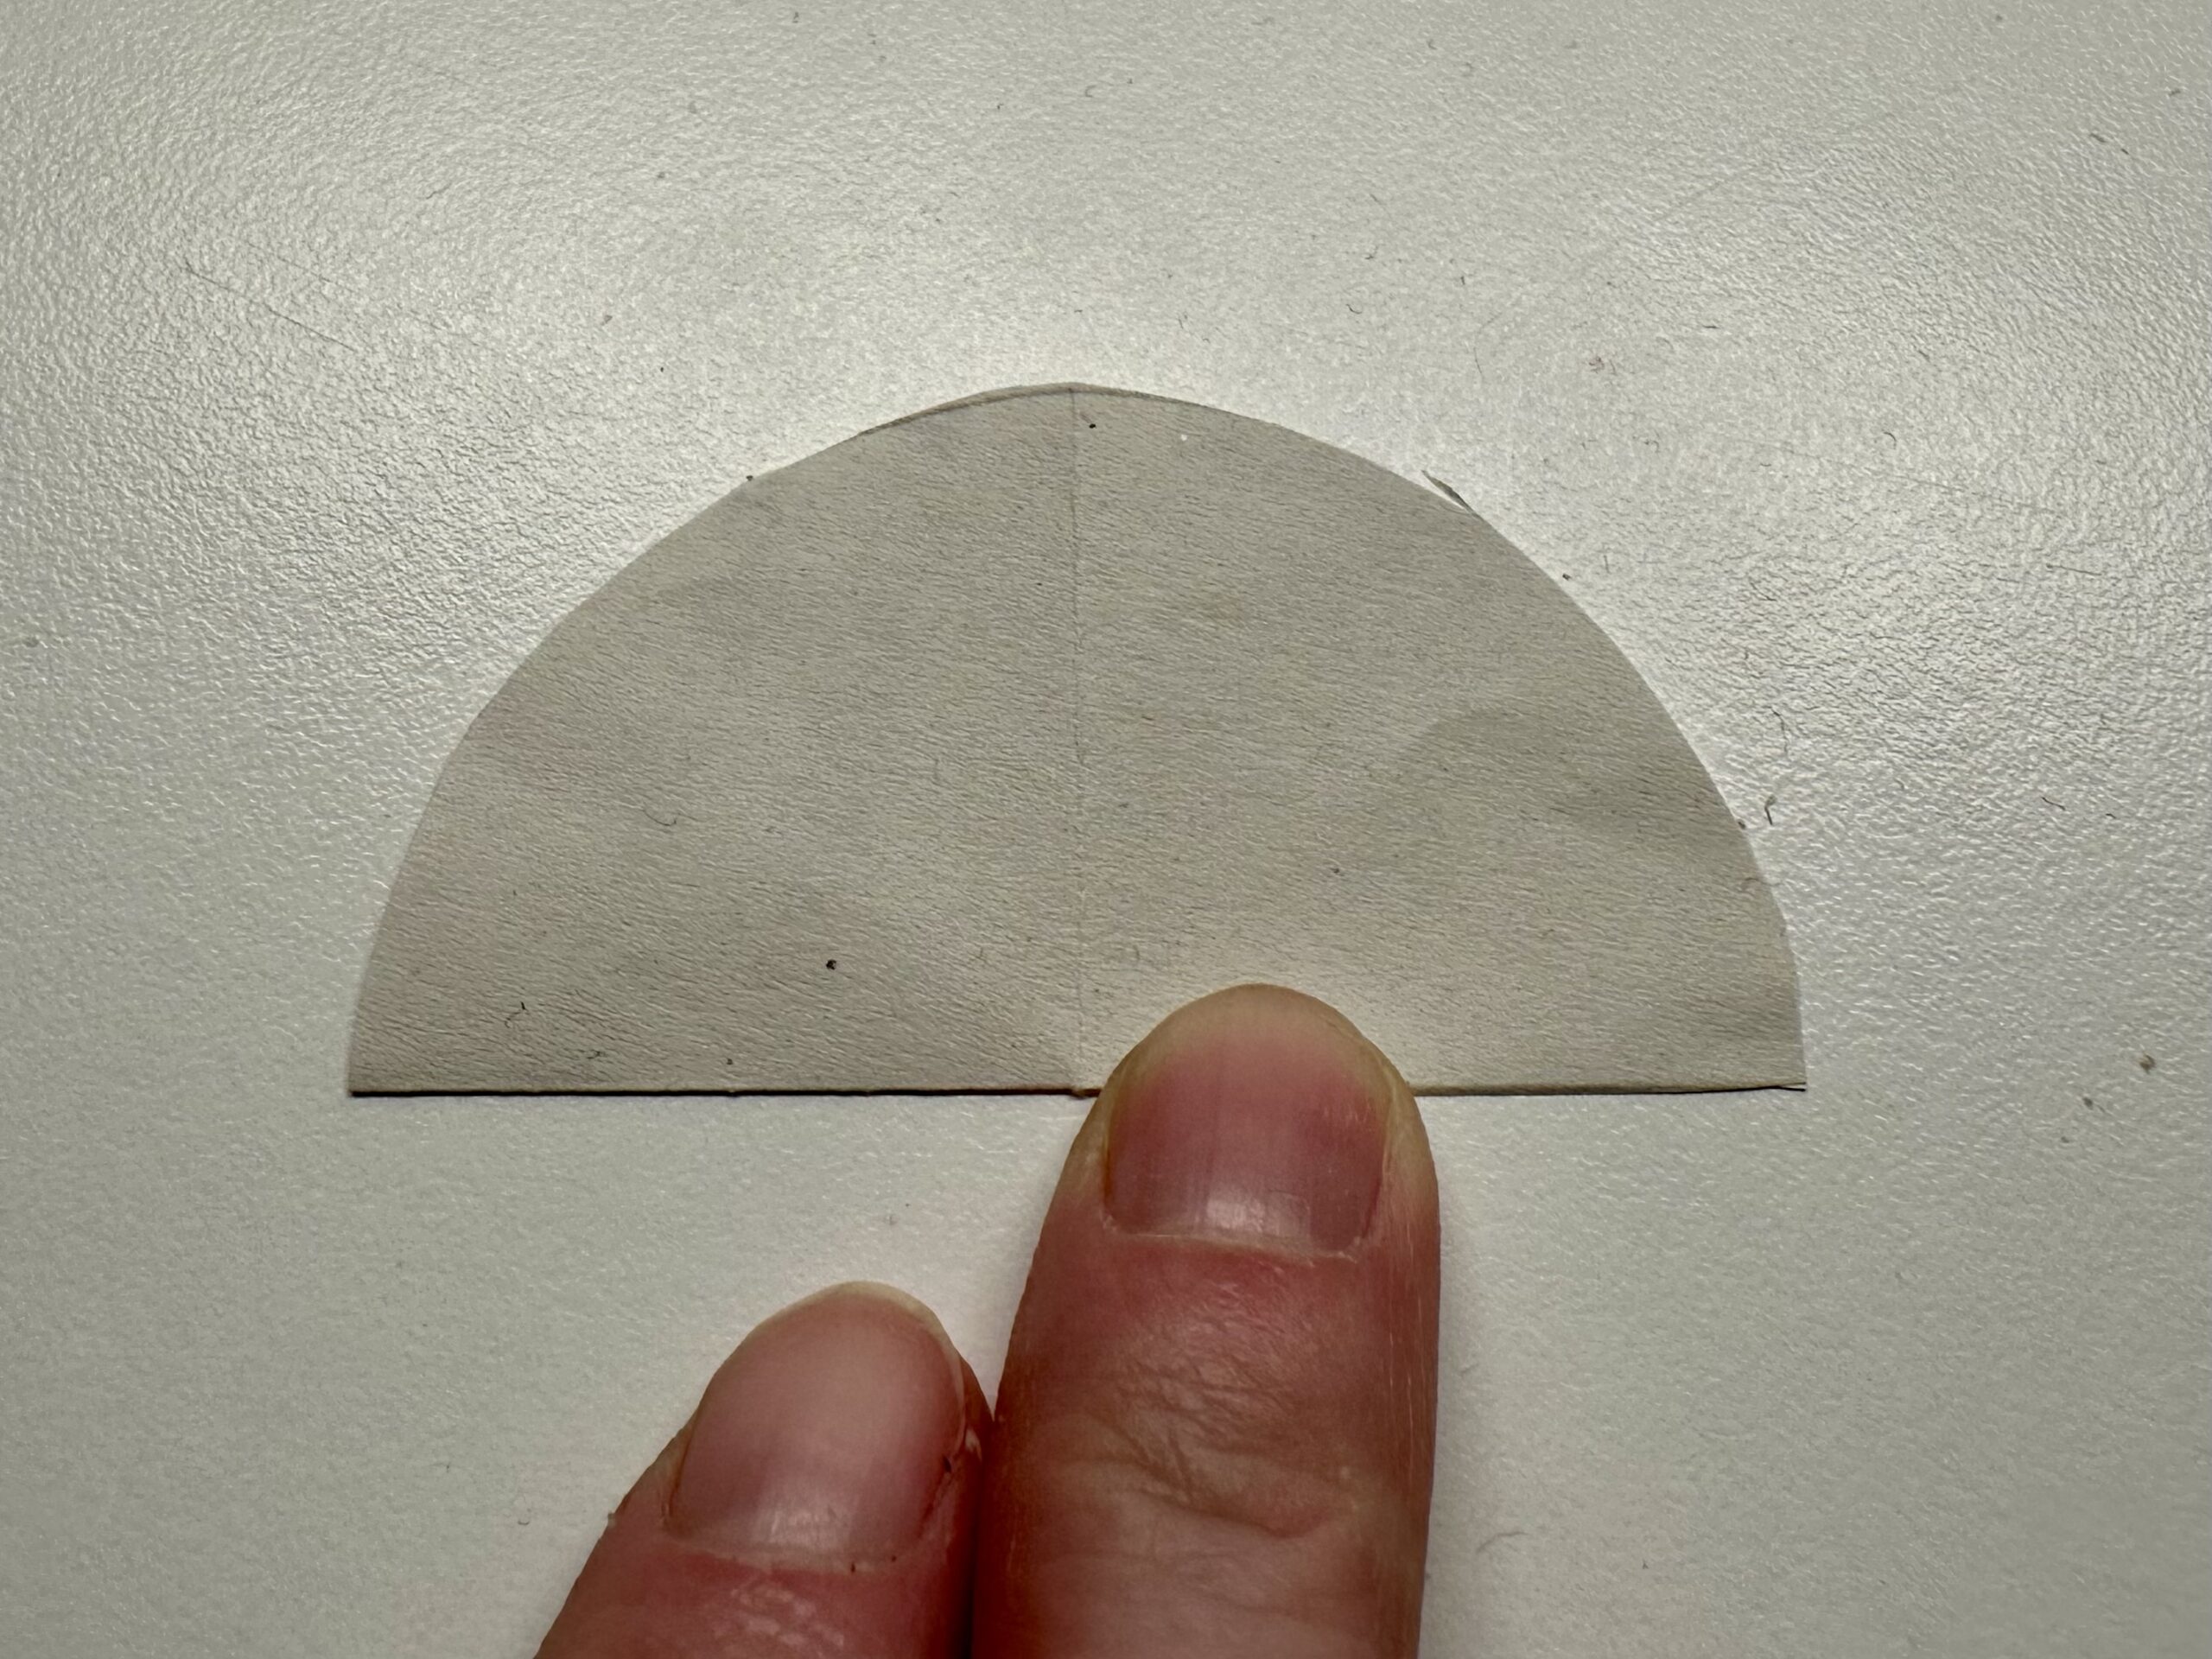
Fold half the circle.
You need this semicircle as a template.


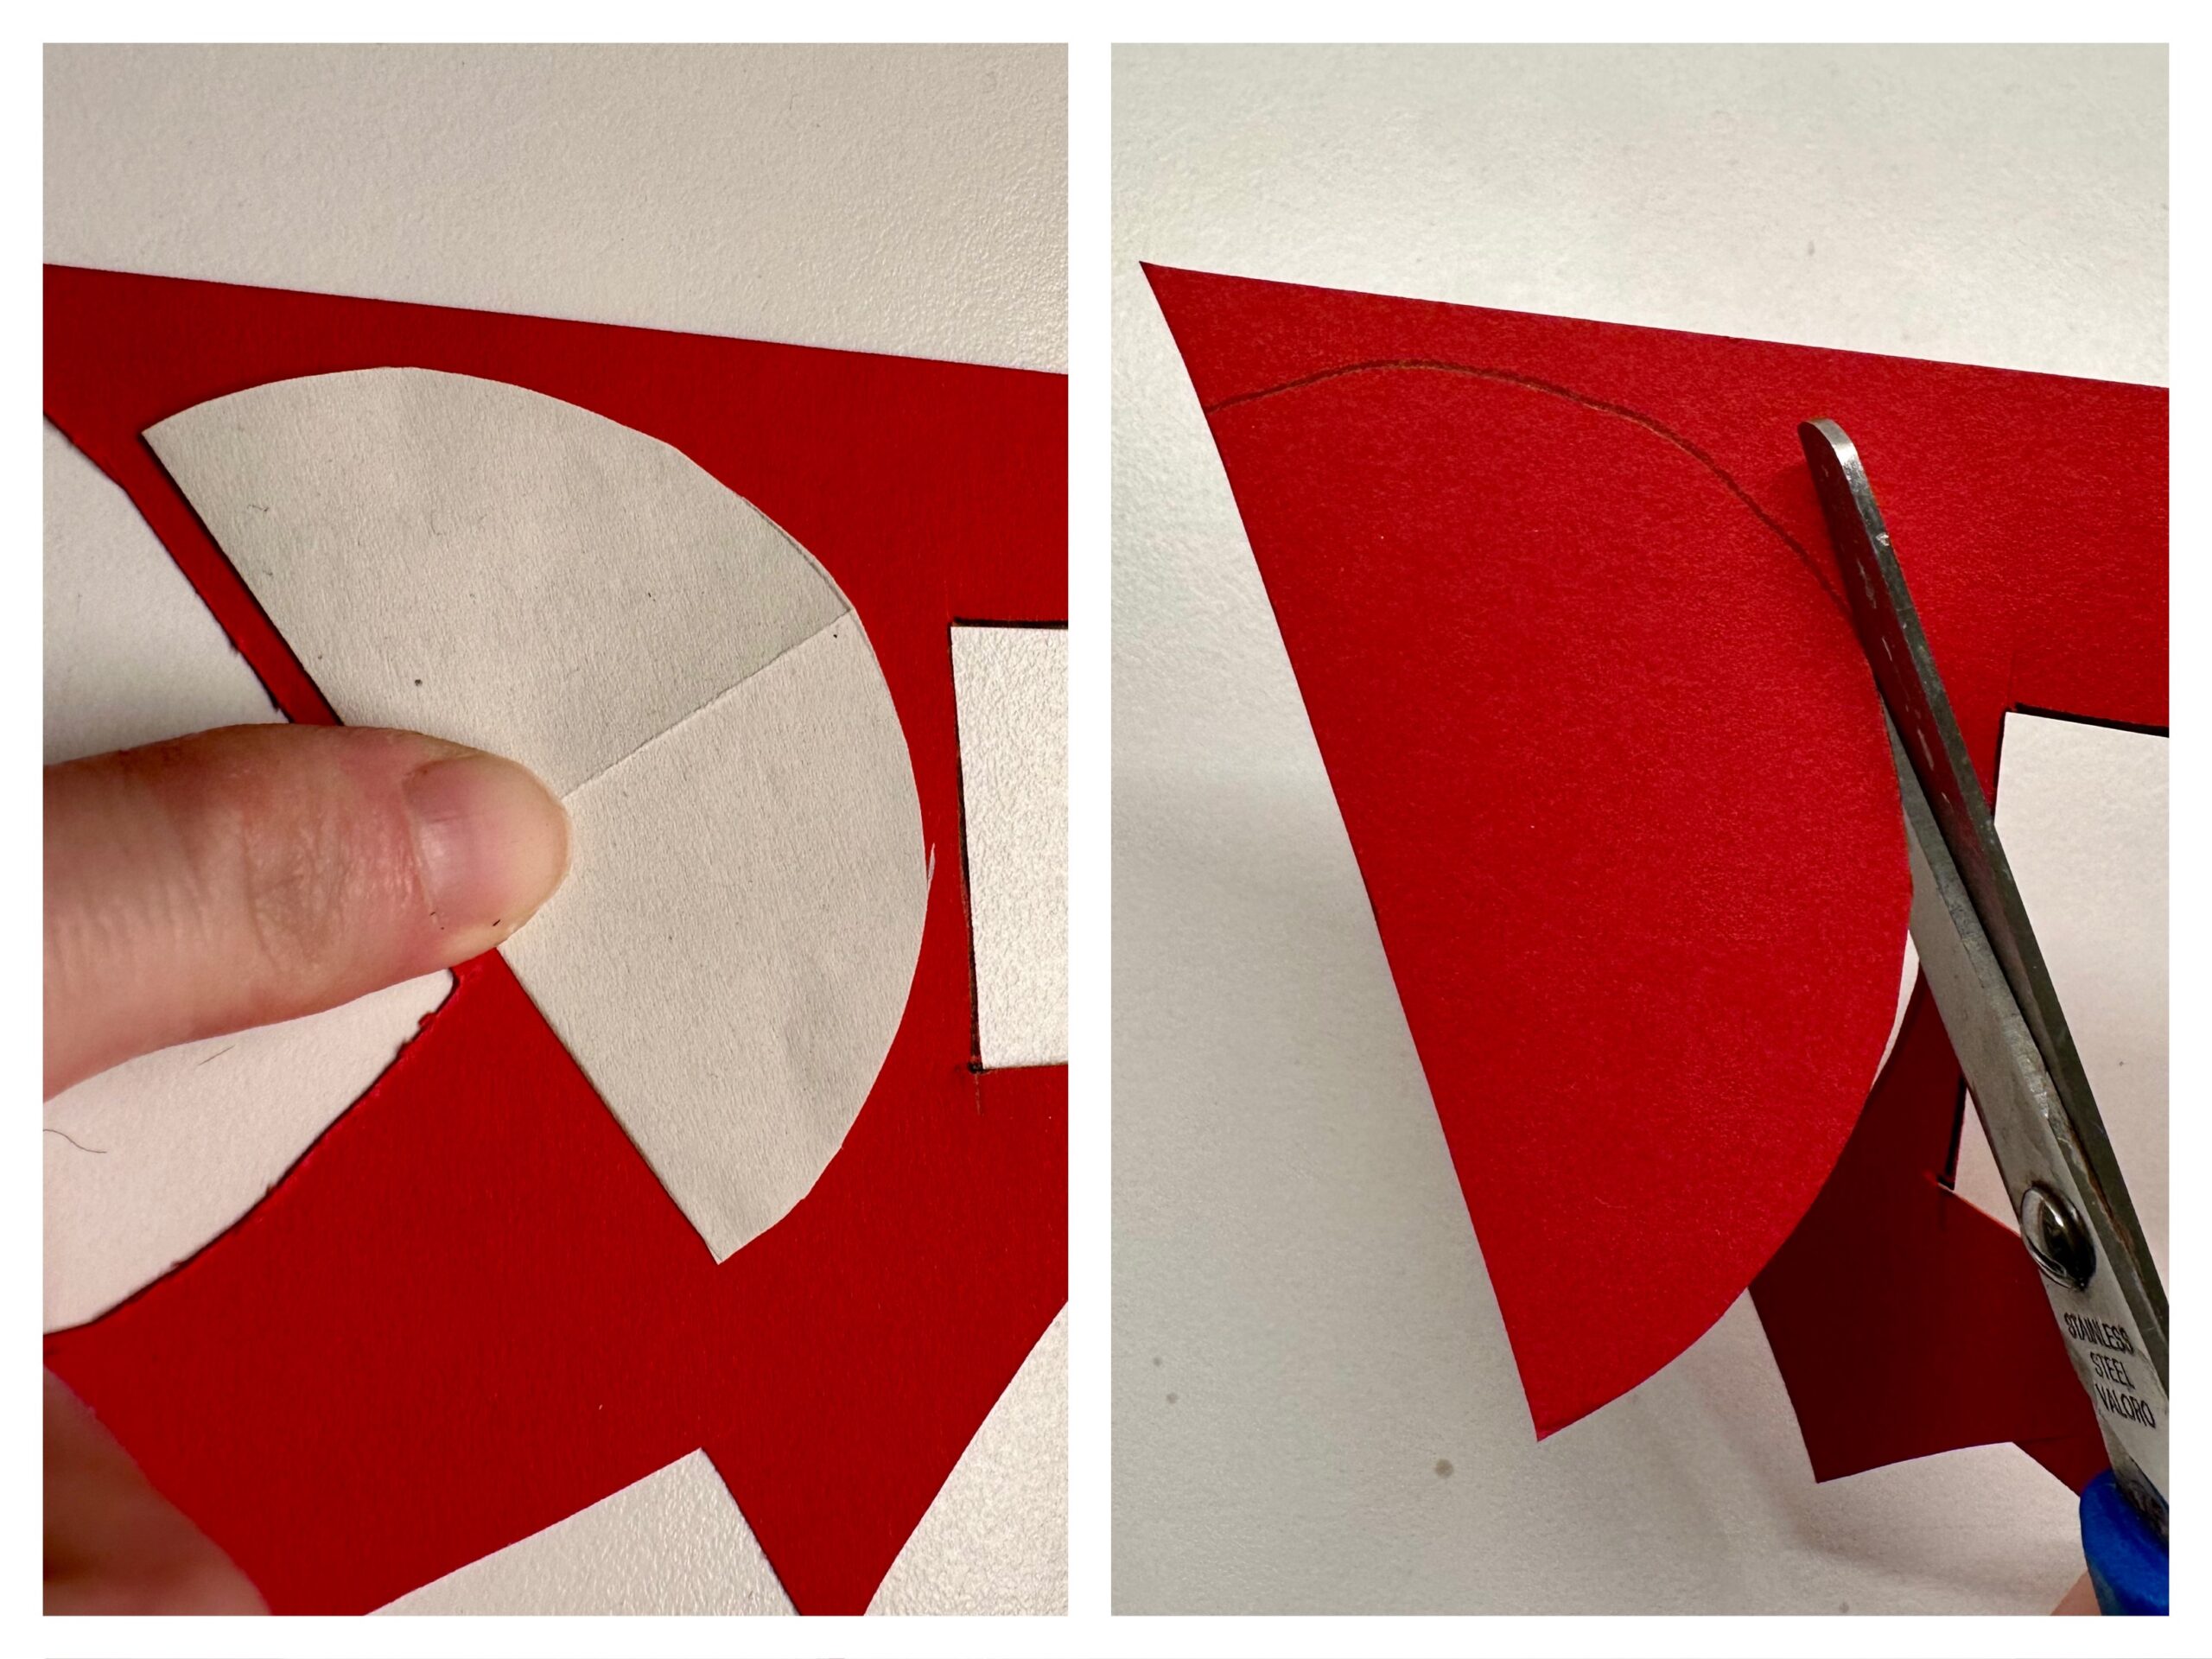
Place the template on a red clay paper residue. Cover the template with a pen and then cut out the half circle with the scissors.


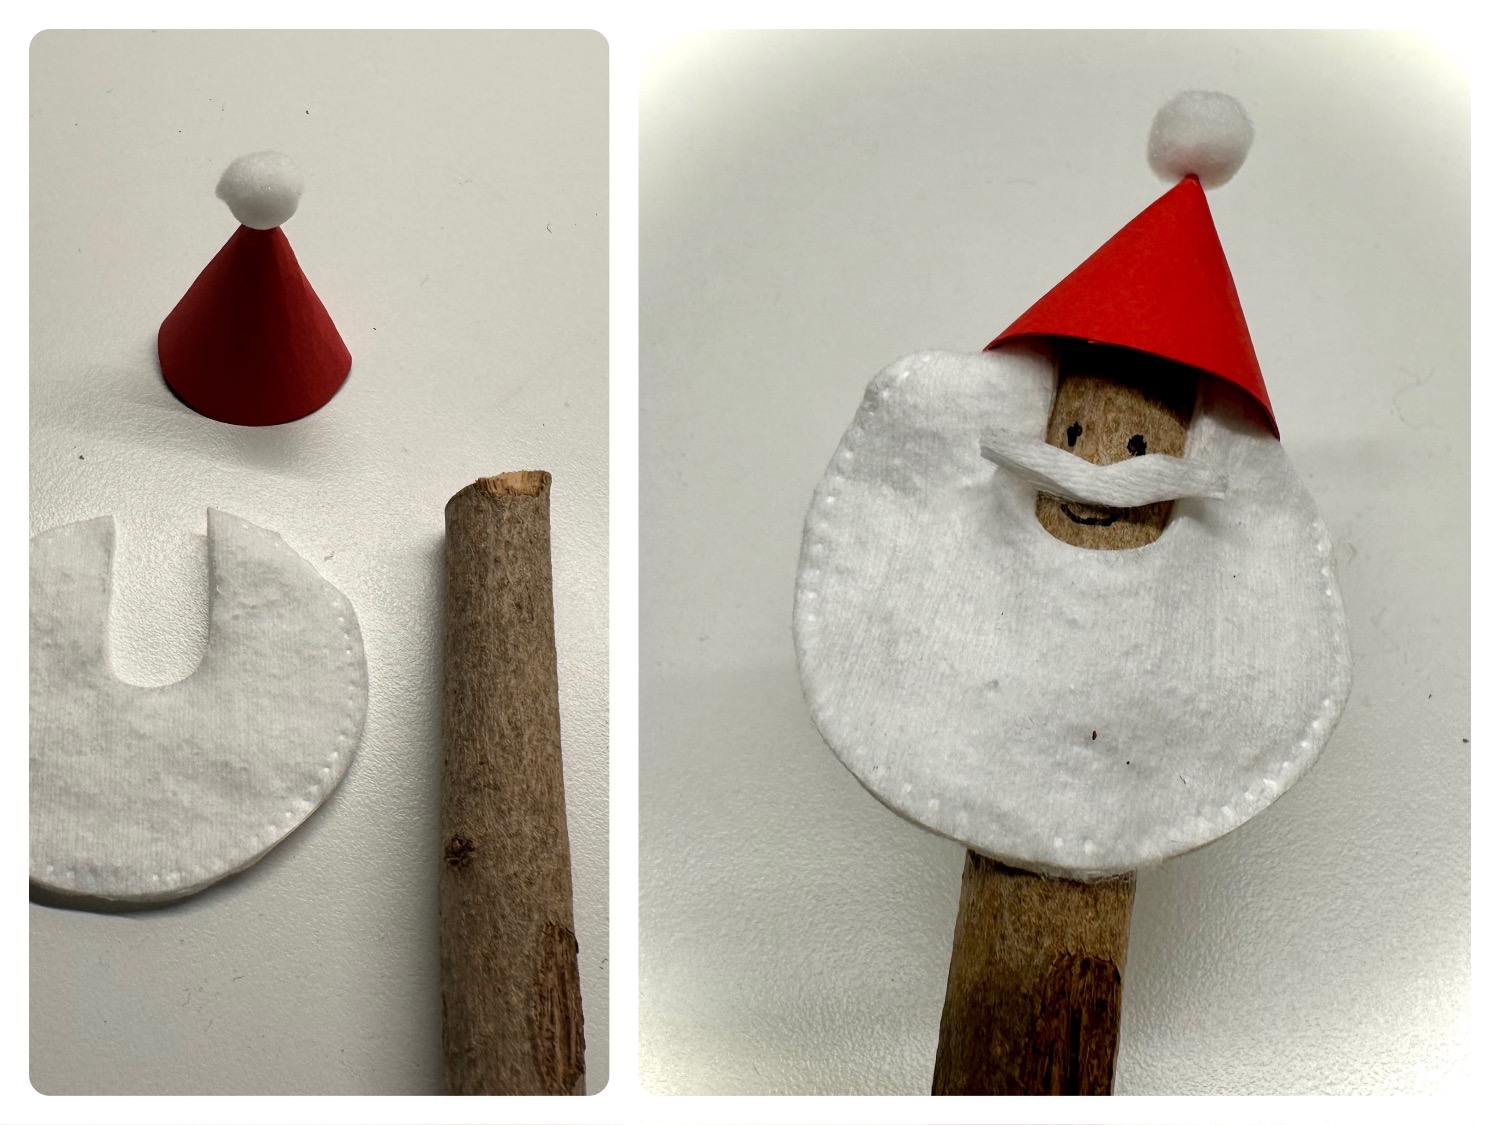
From the red half circle becomes the tip cap of Nicholas. Take the half circle in your hand and bend the paper with the two tips a little bit.
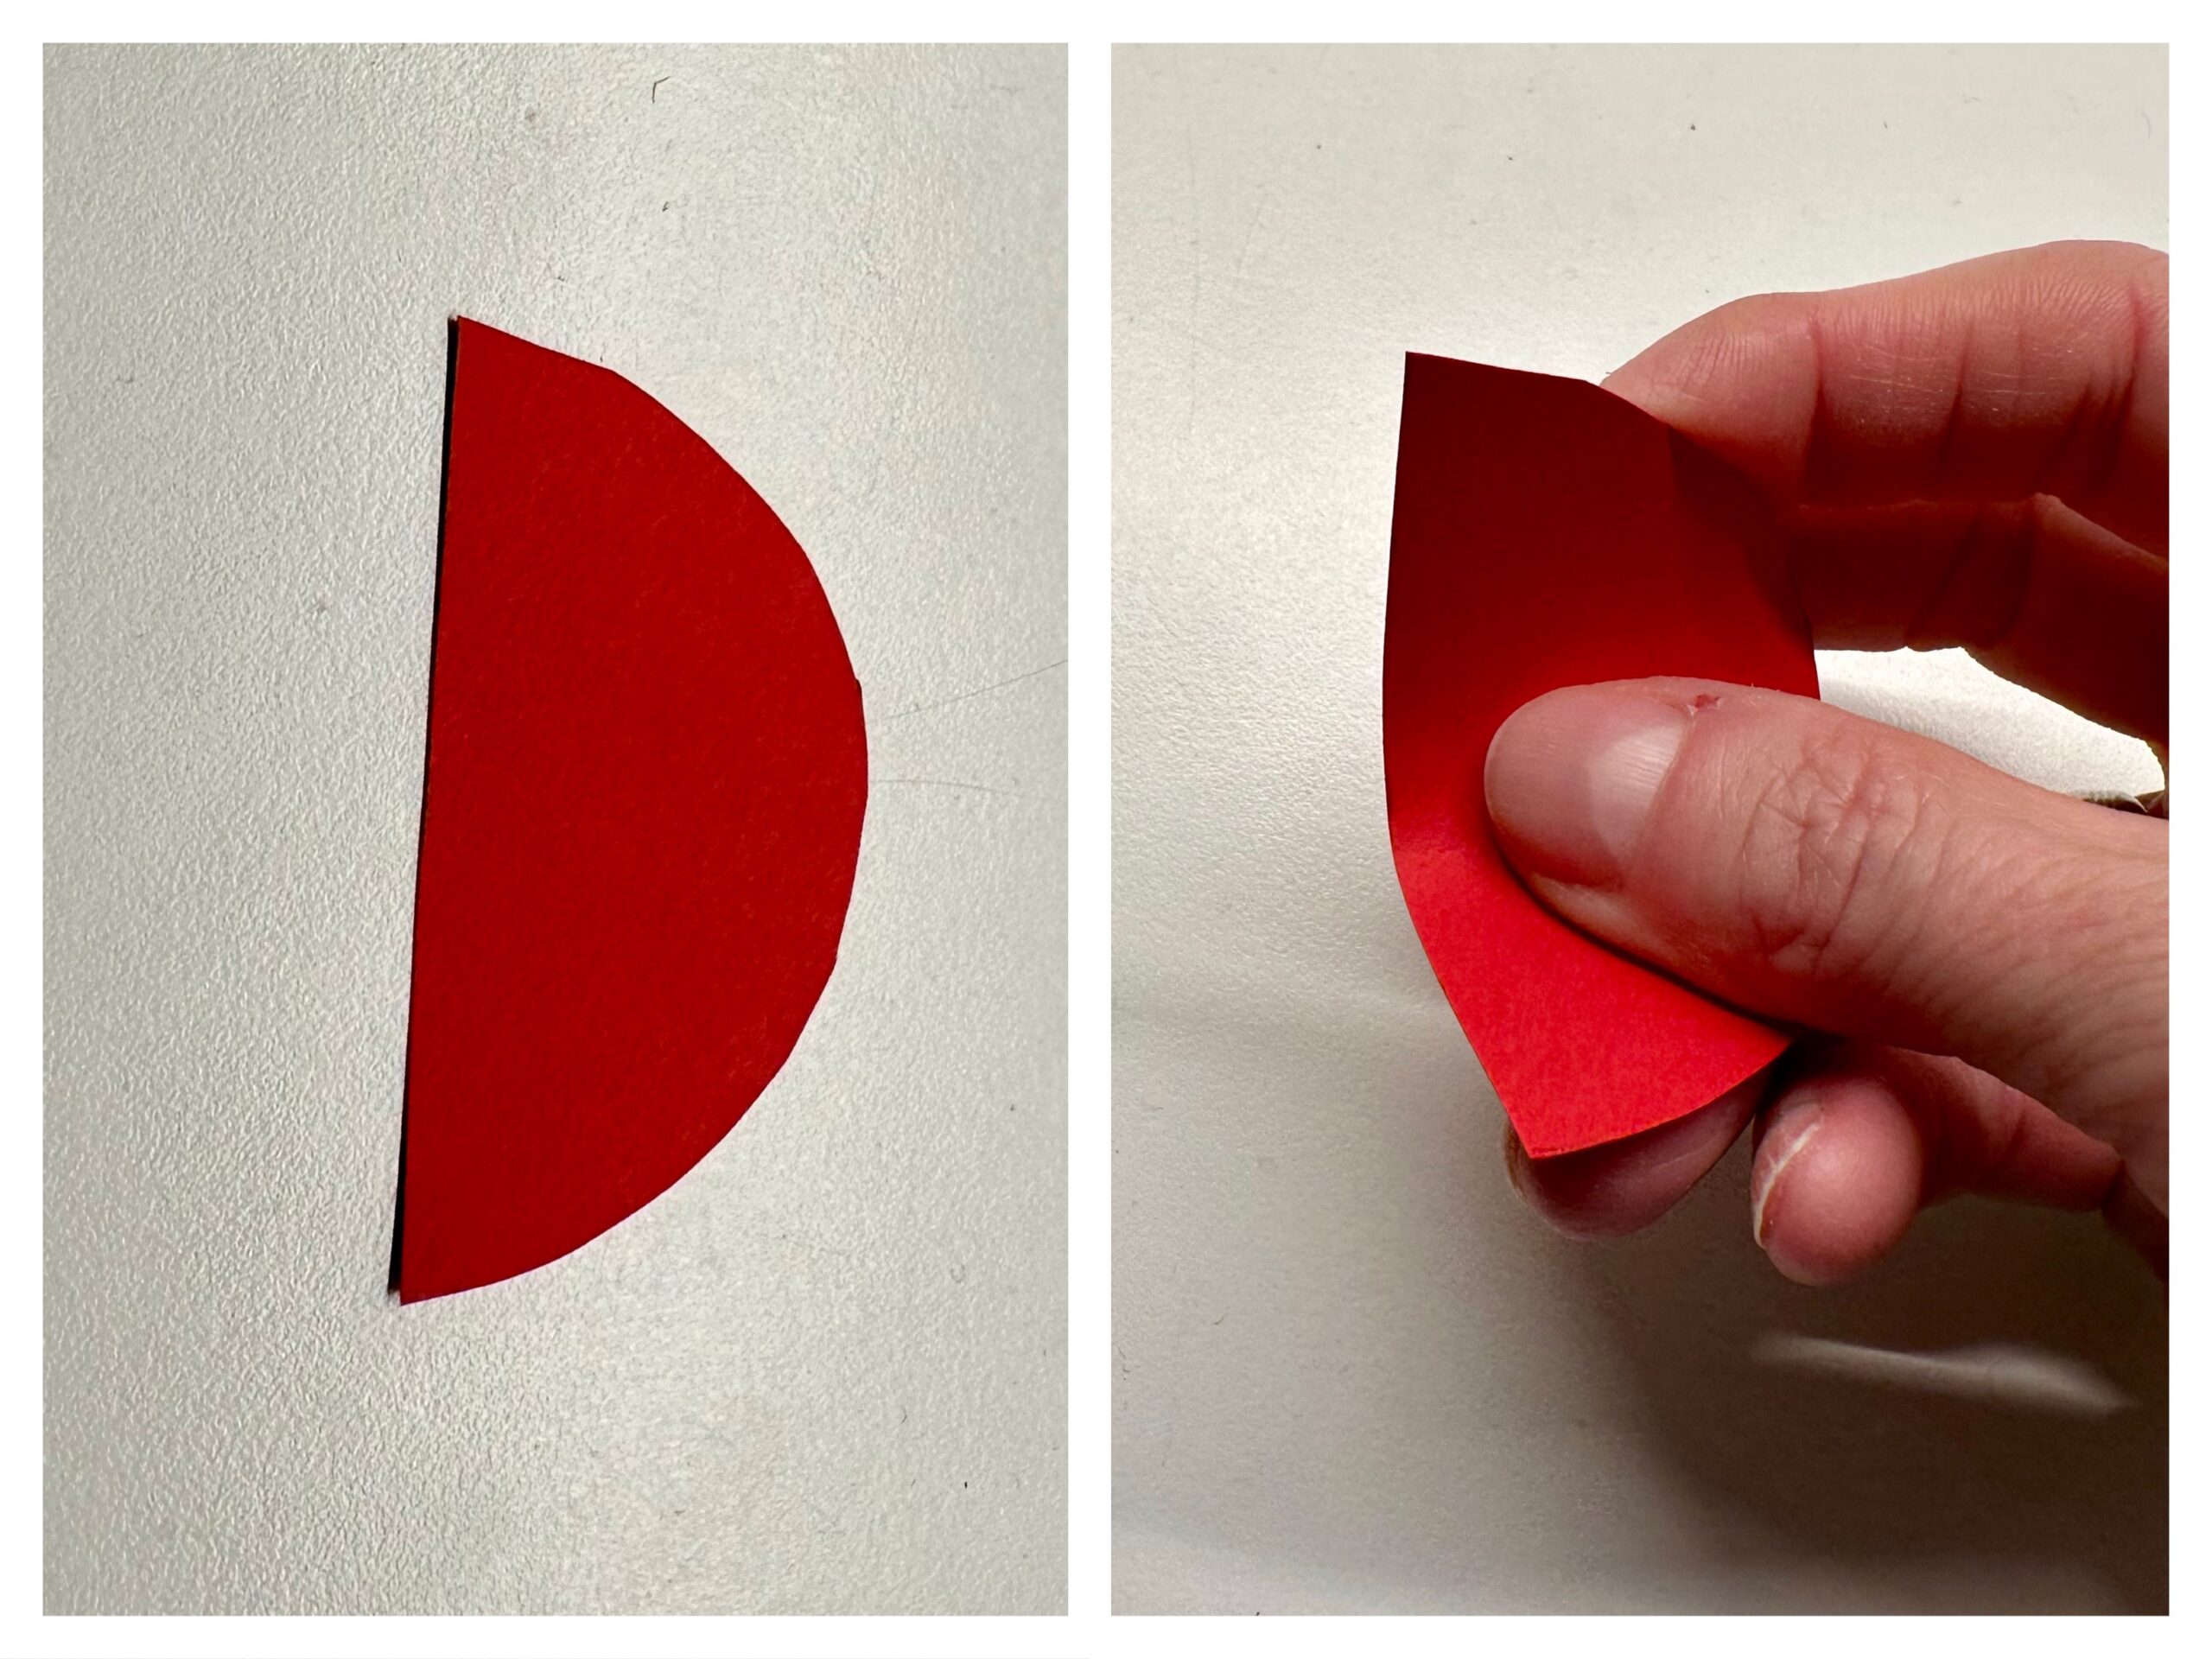


Take a round pen and pull the paper several times from the middle to the outside. So the paper bends. Look at the picture. Both tips bend upwards.


The straight edge of the half circle is glued half over each other. The middle of the straight edge is then the tip of the Santa's cap. Apply to half the length of the straight edge glue.
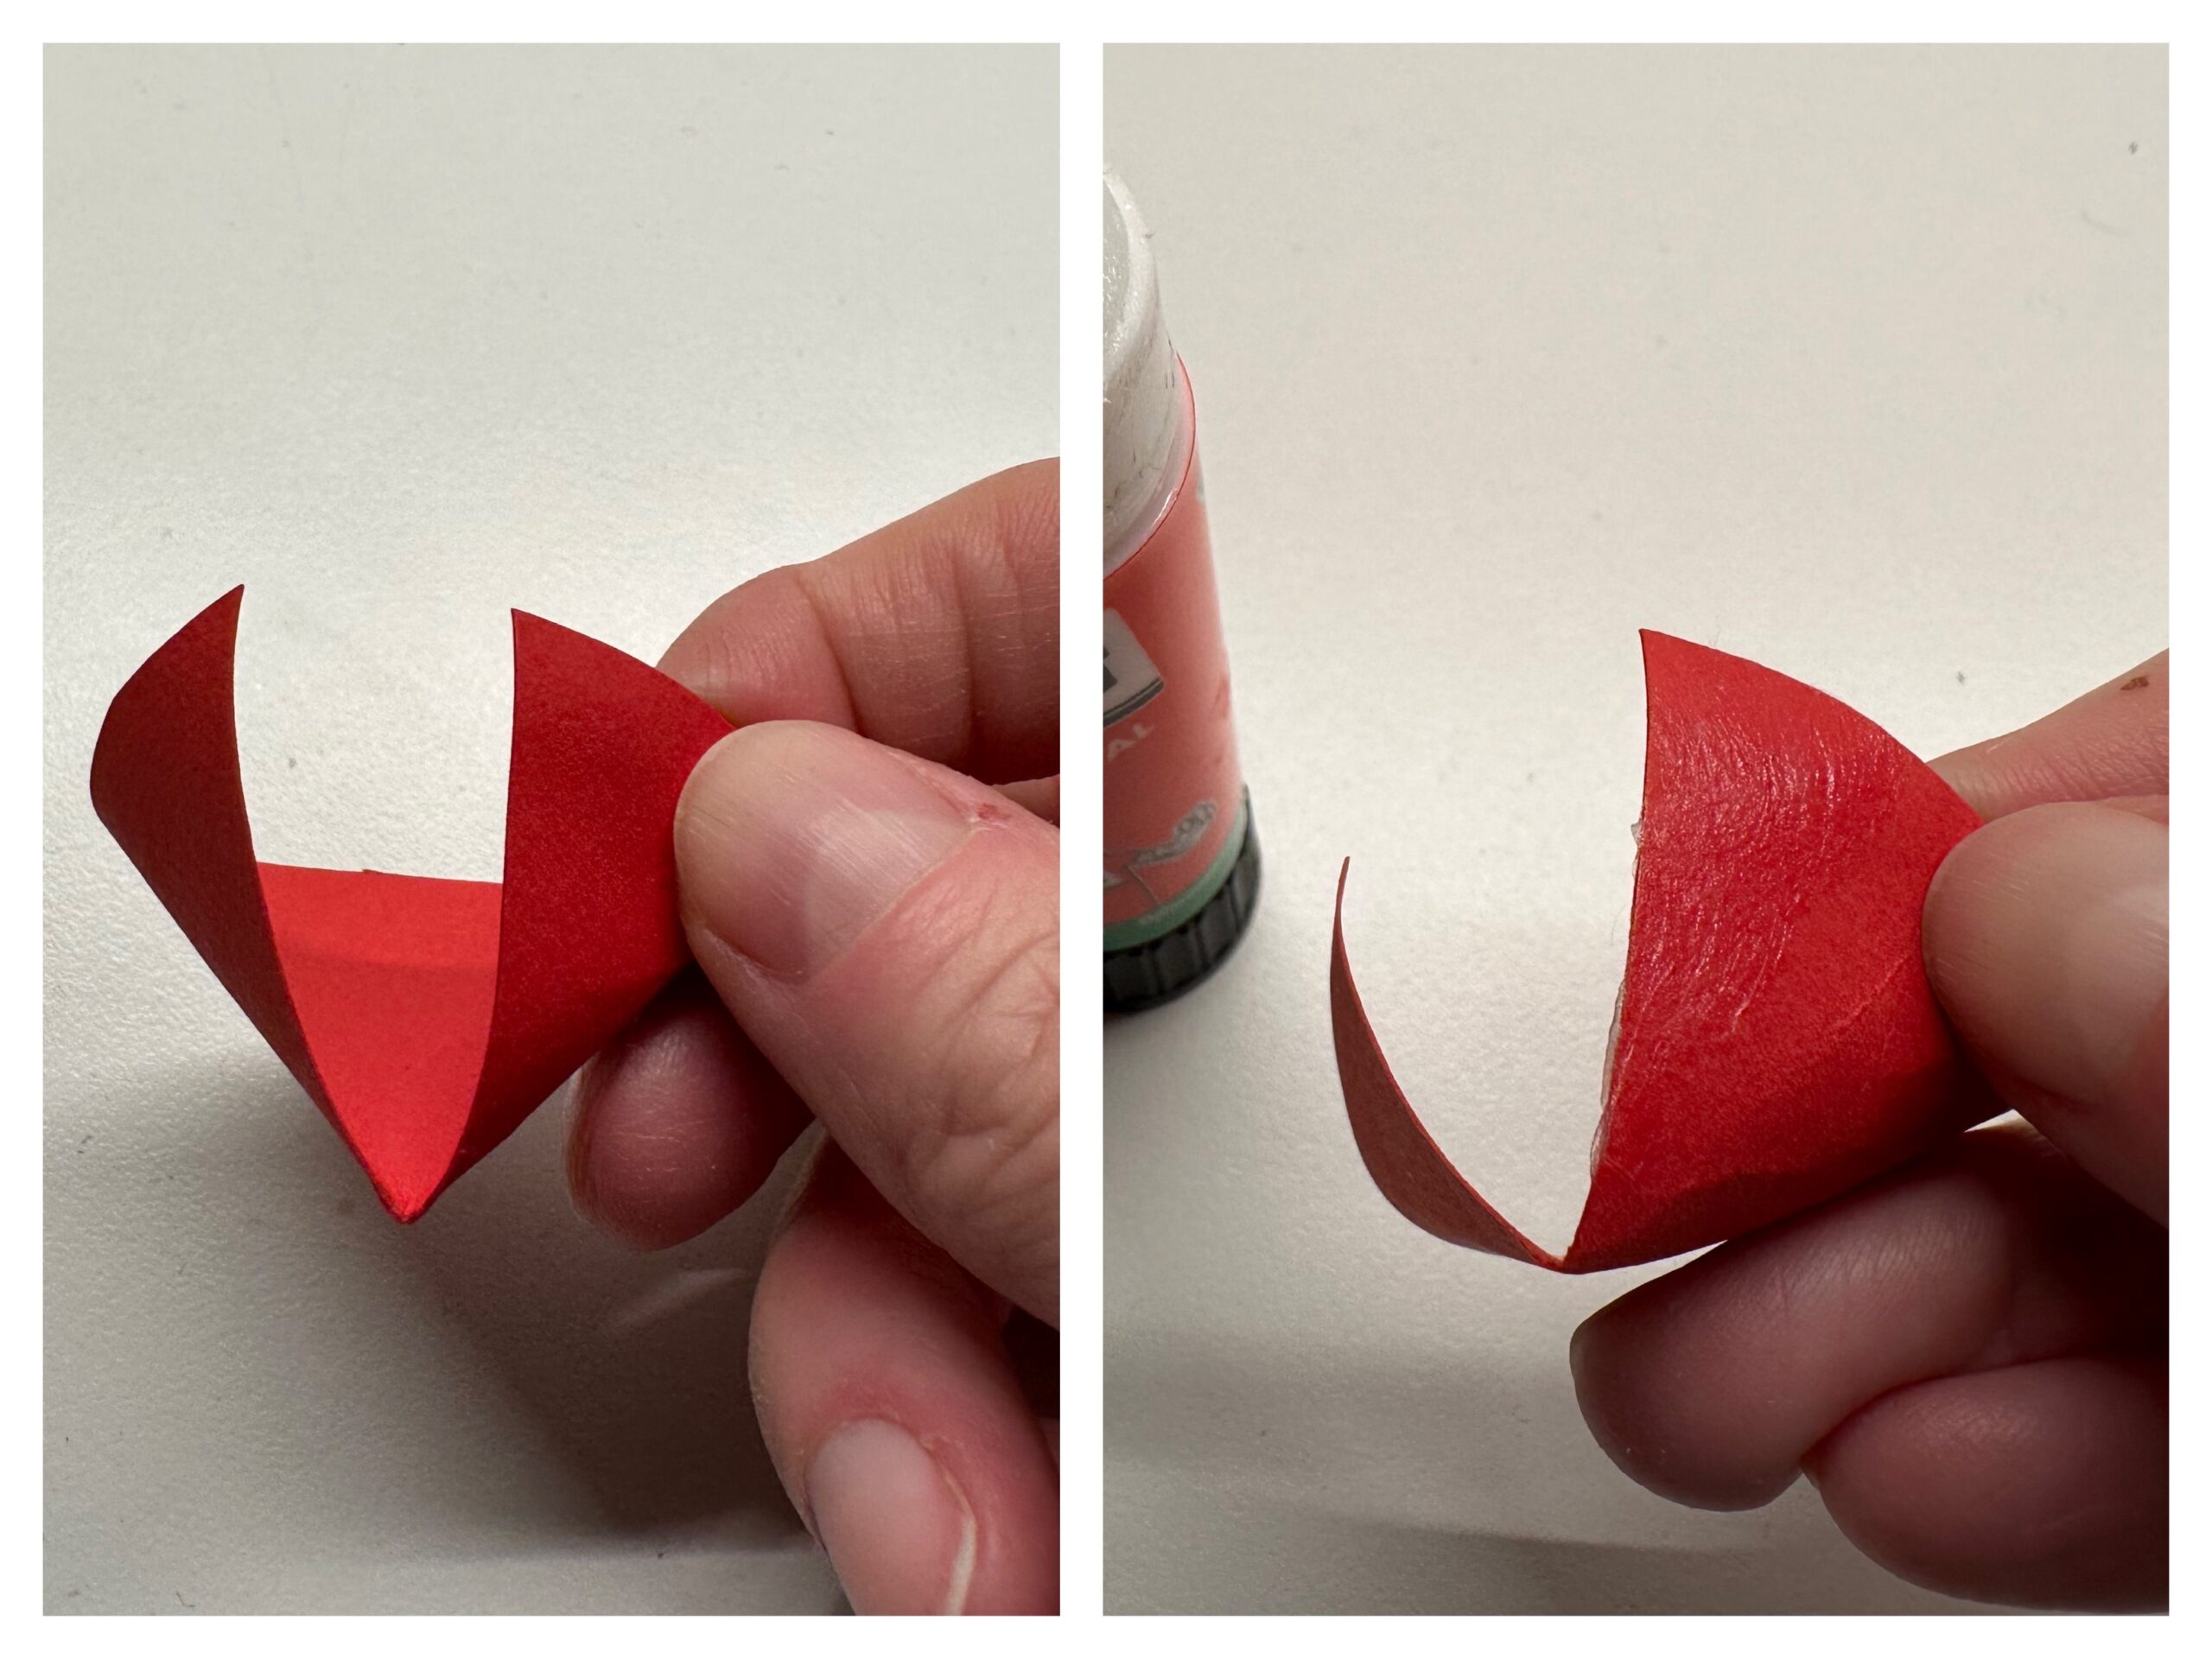


Now put the paper on top of each other and you have a little cap.
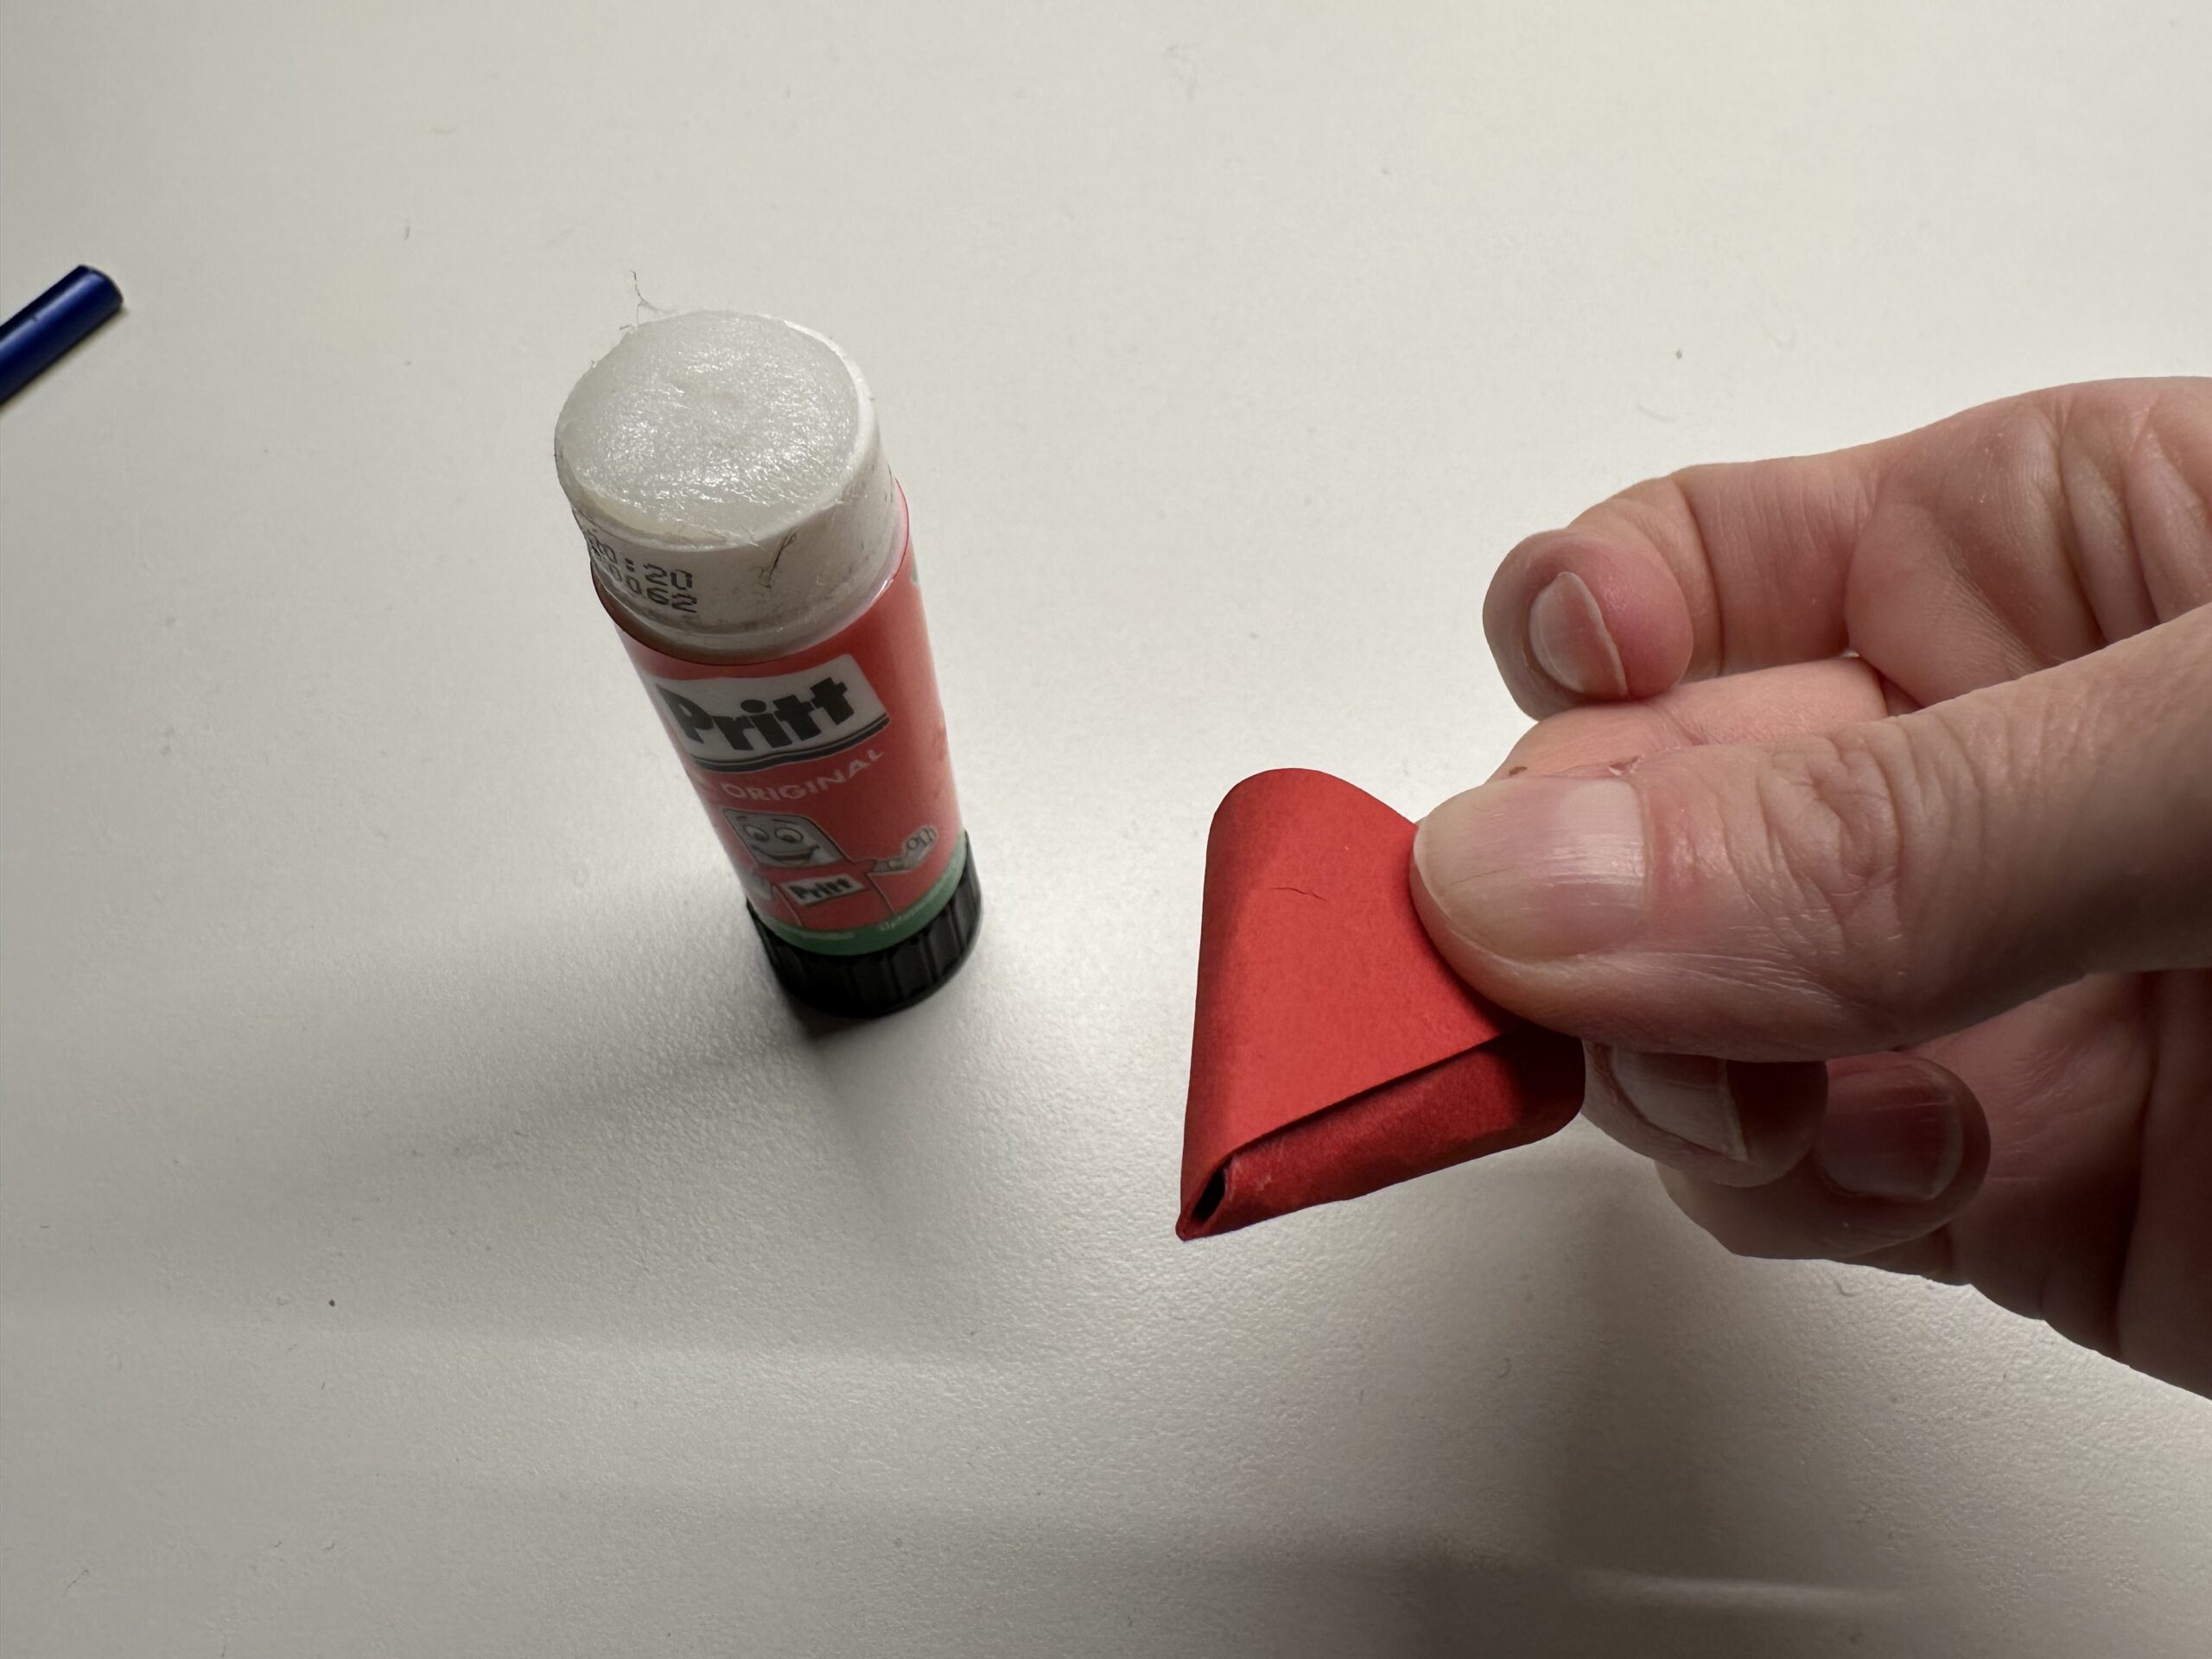


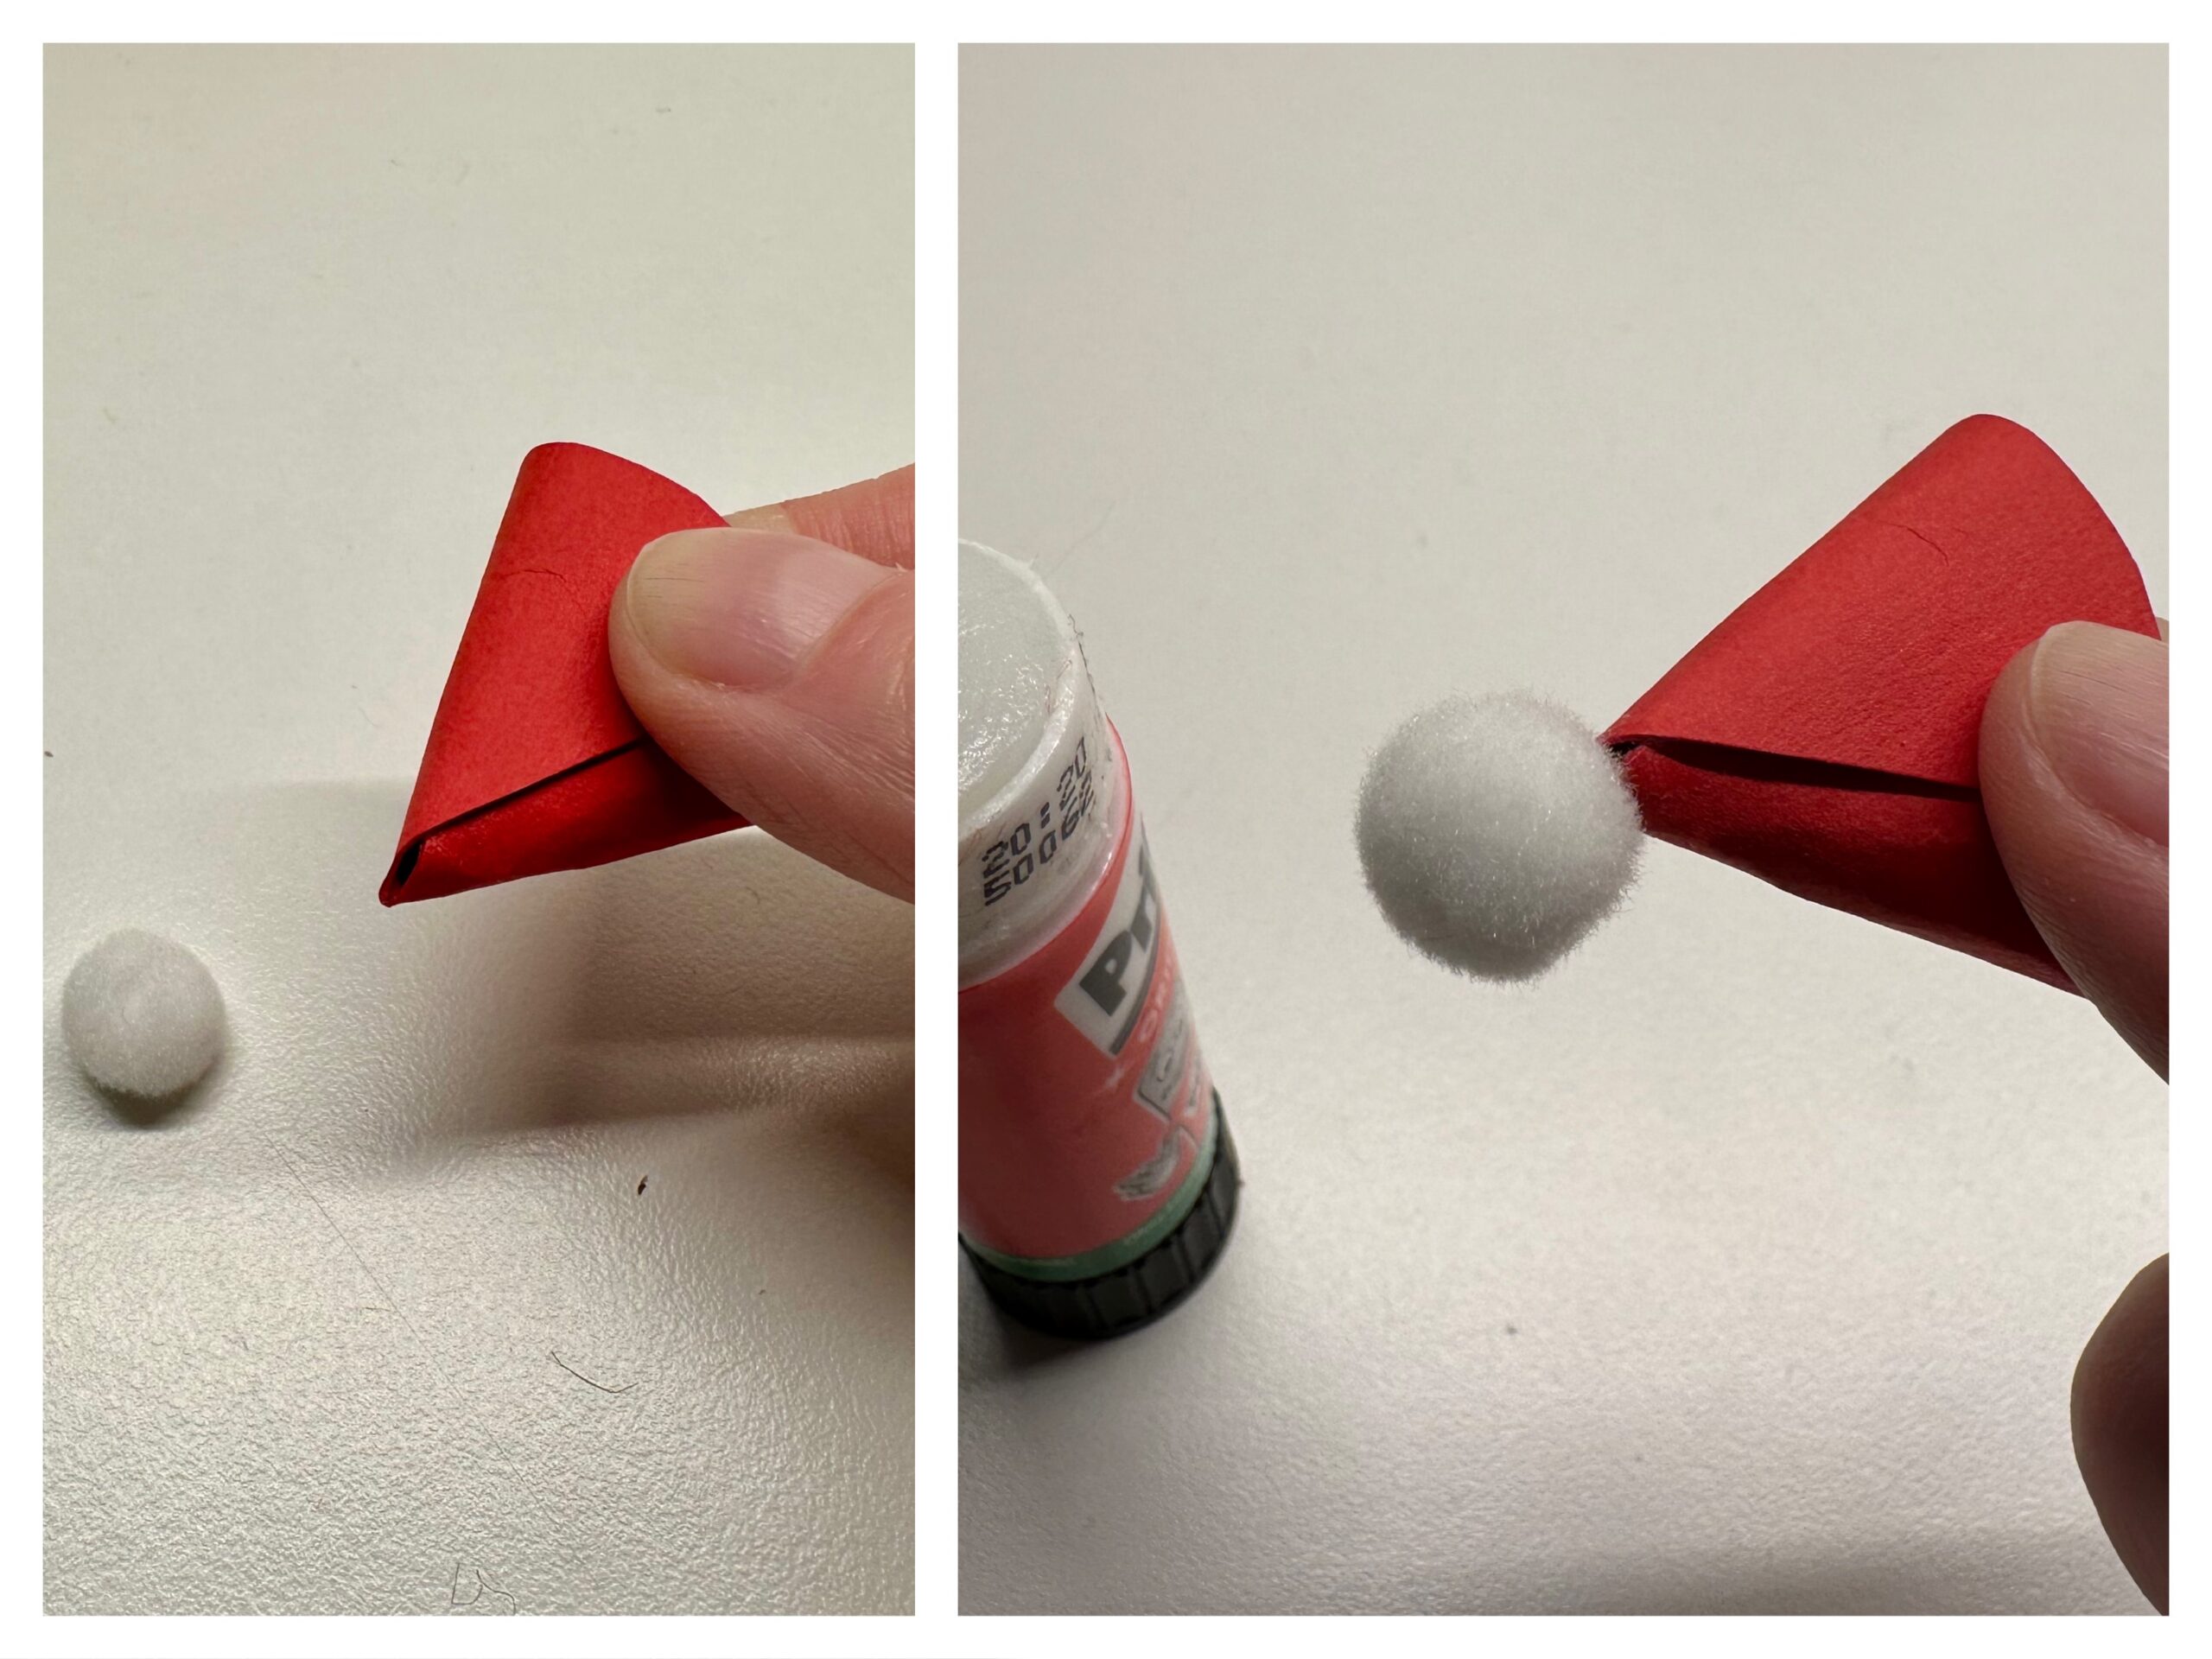
On the tip of the tip cap you now stick a small cotton ball.


Now take a cotton pad. Paint a small bow as you can see on the photo, with the pencil on the cotton pad. Then cut it out with the scissors.
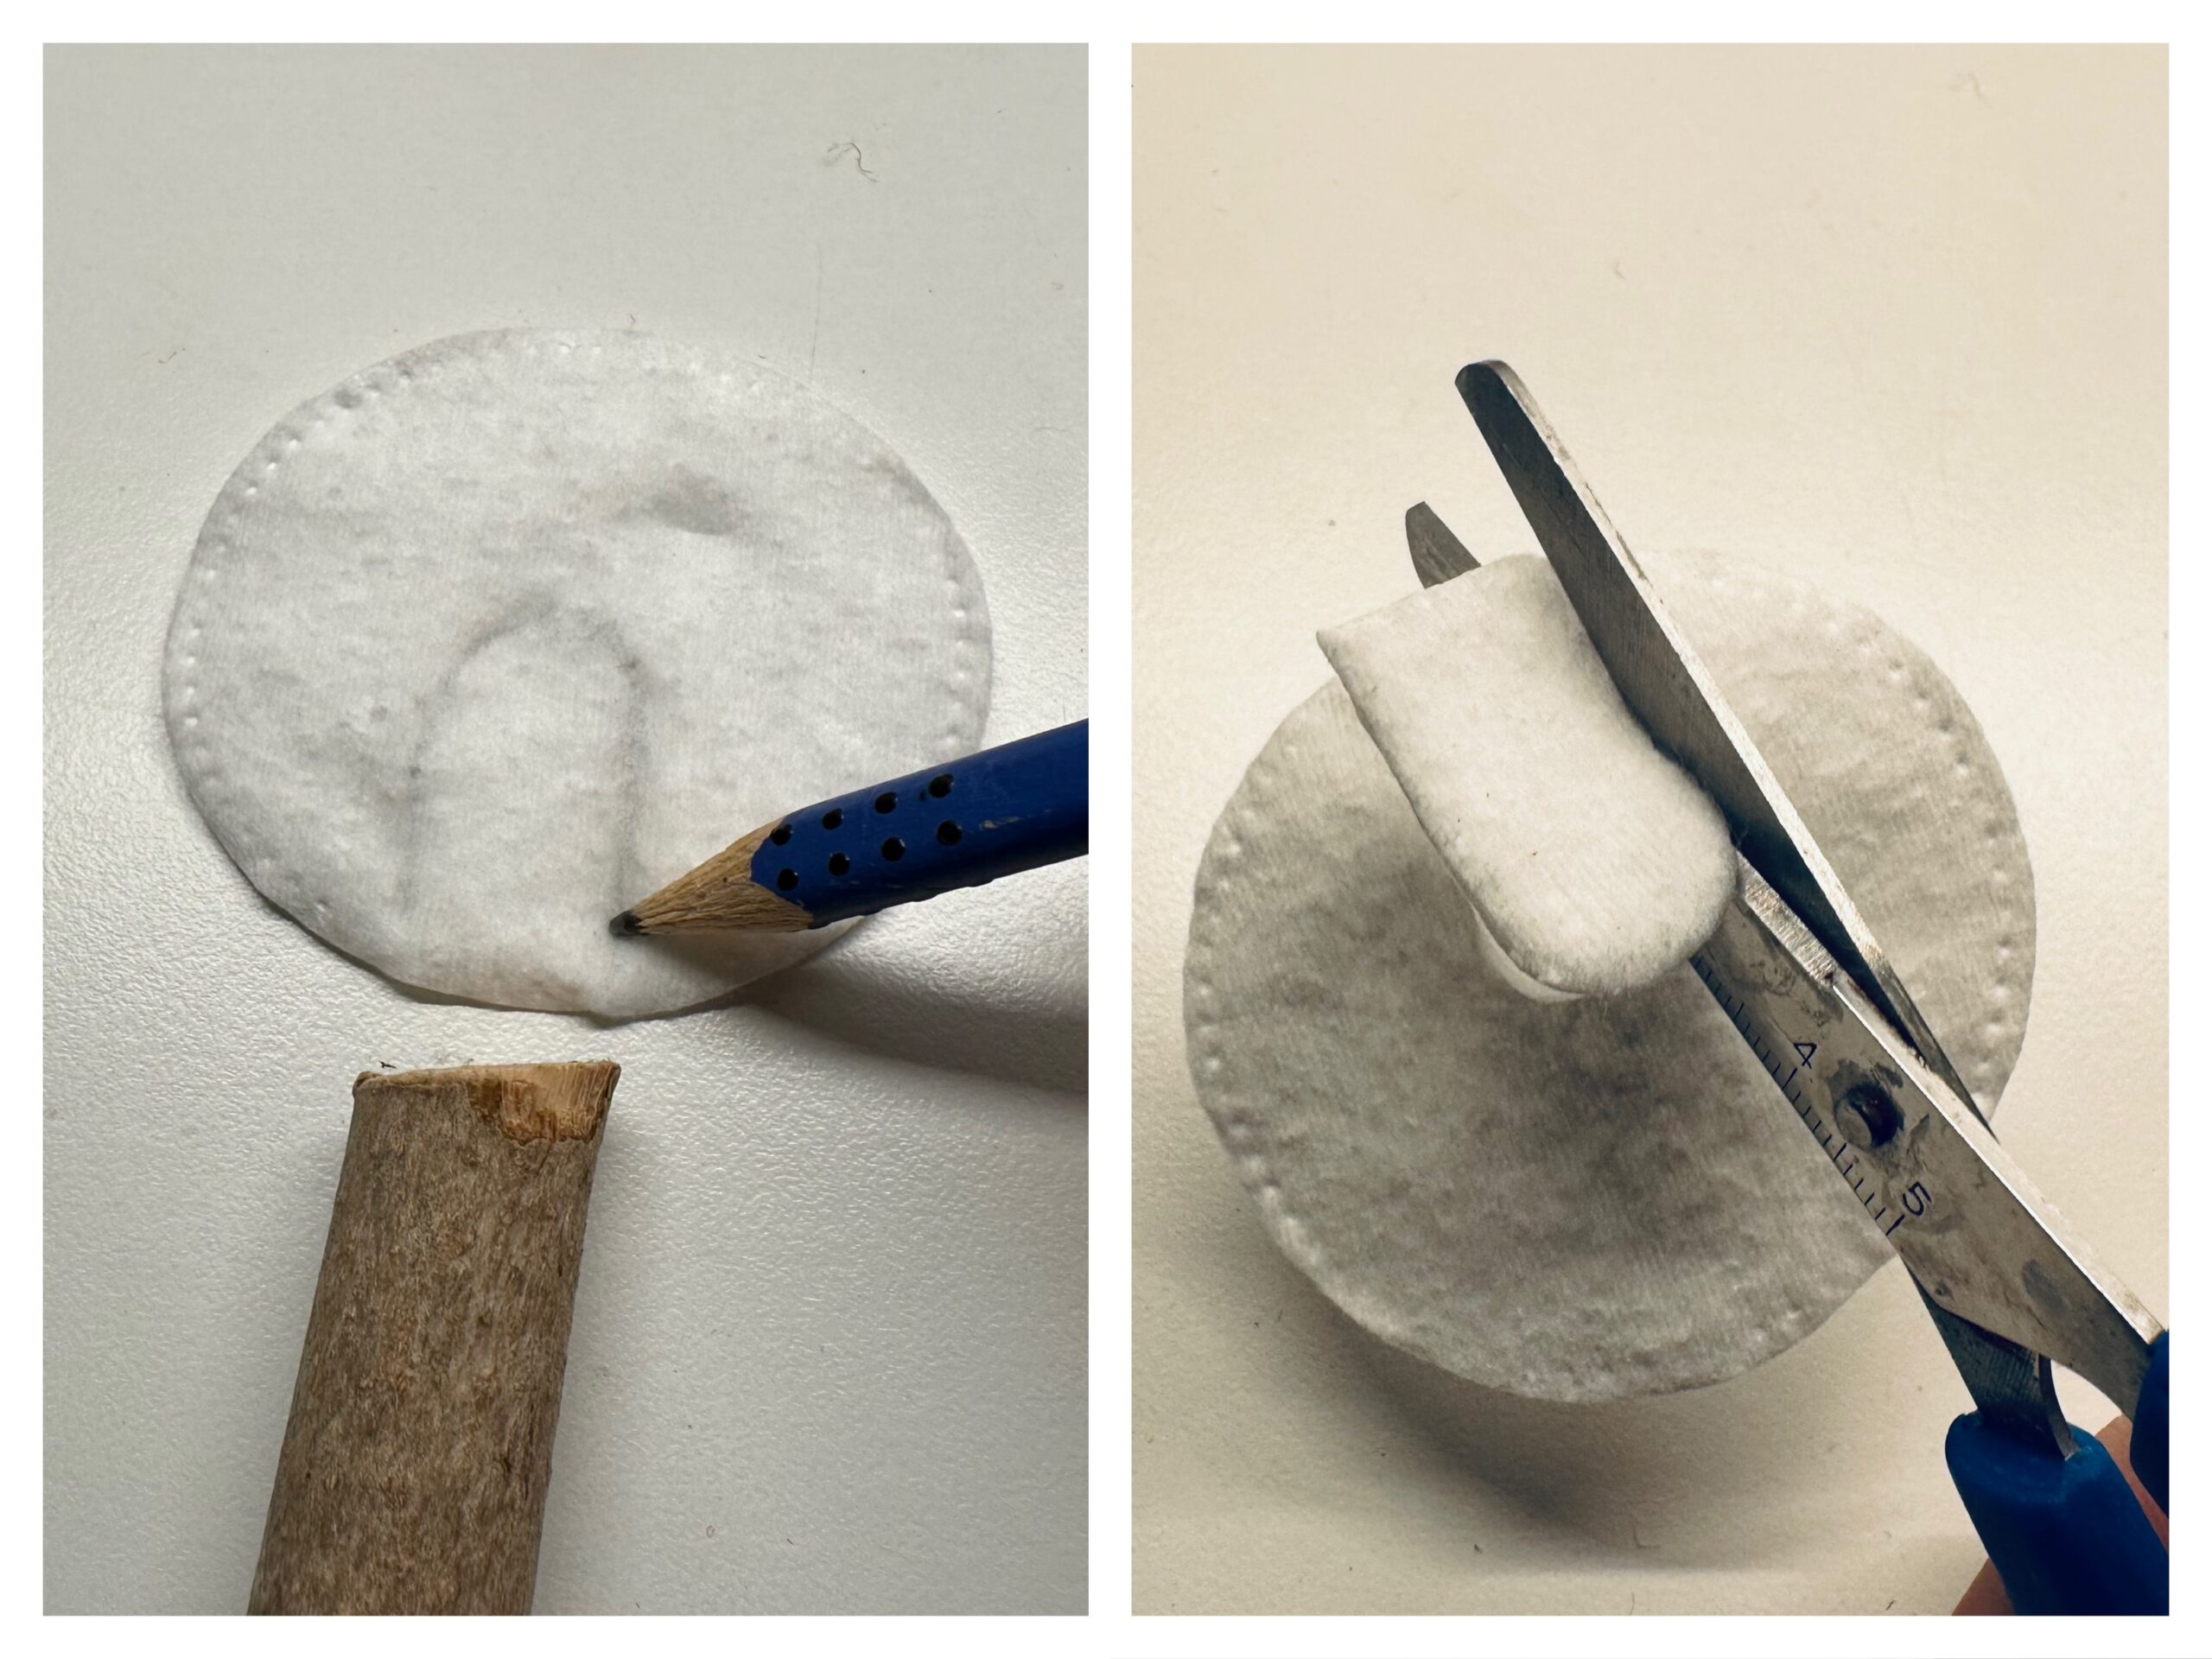


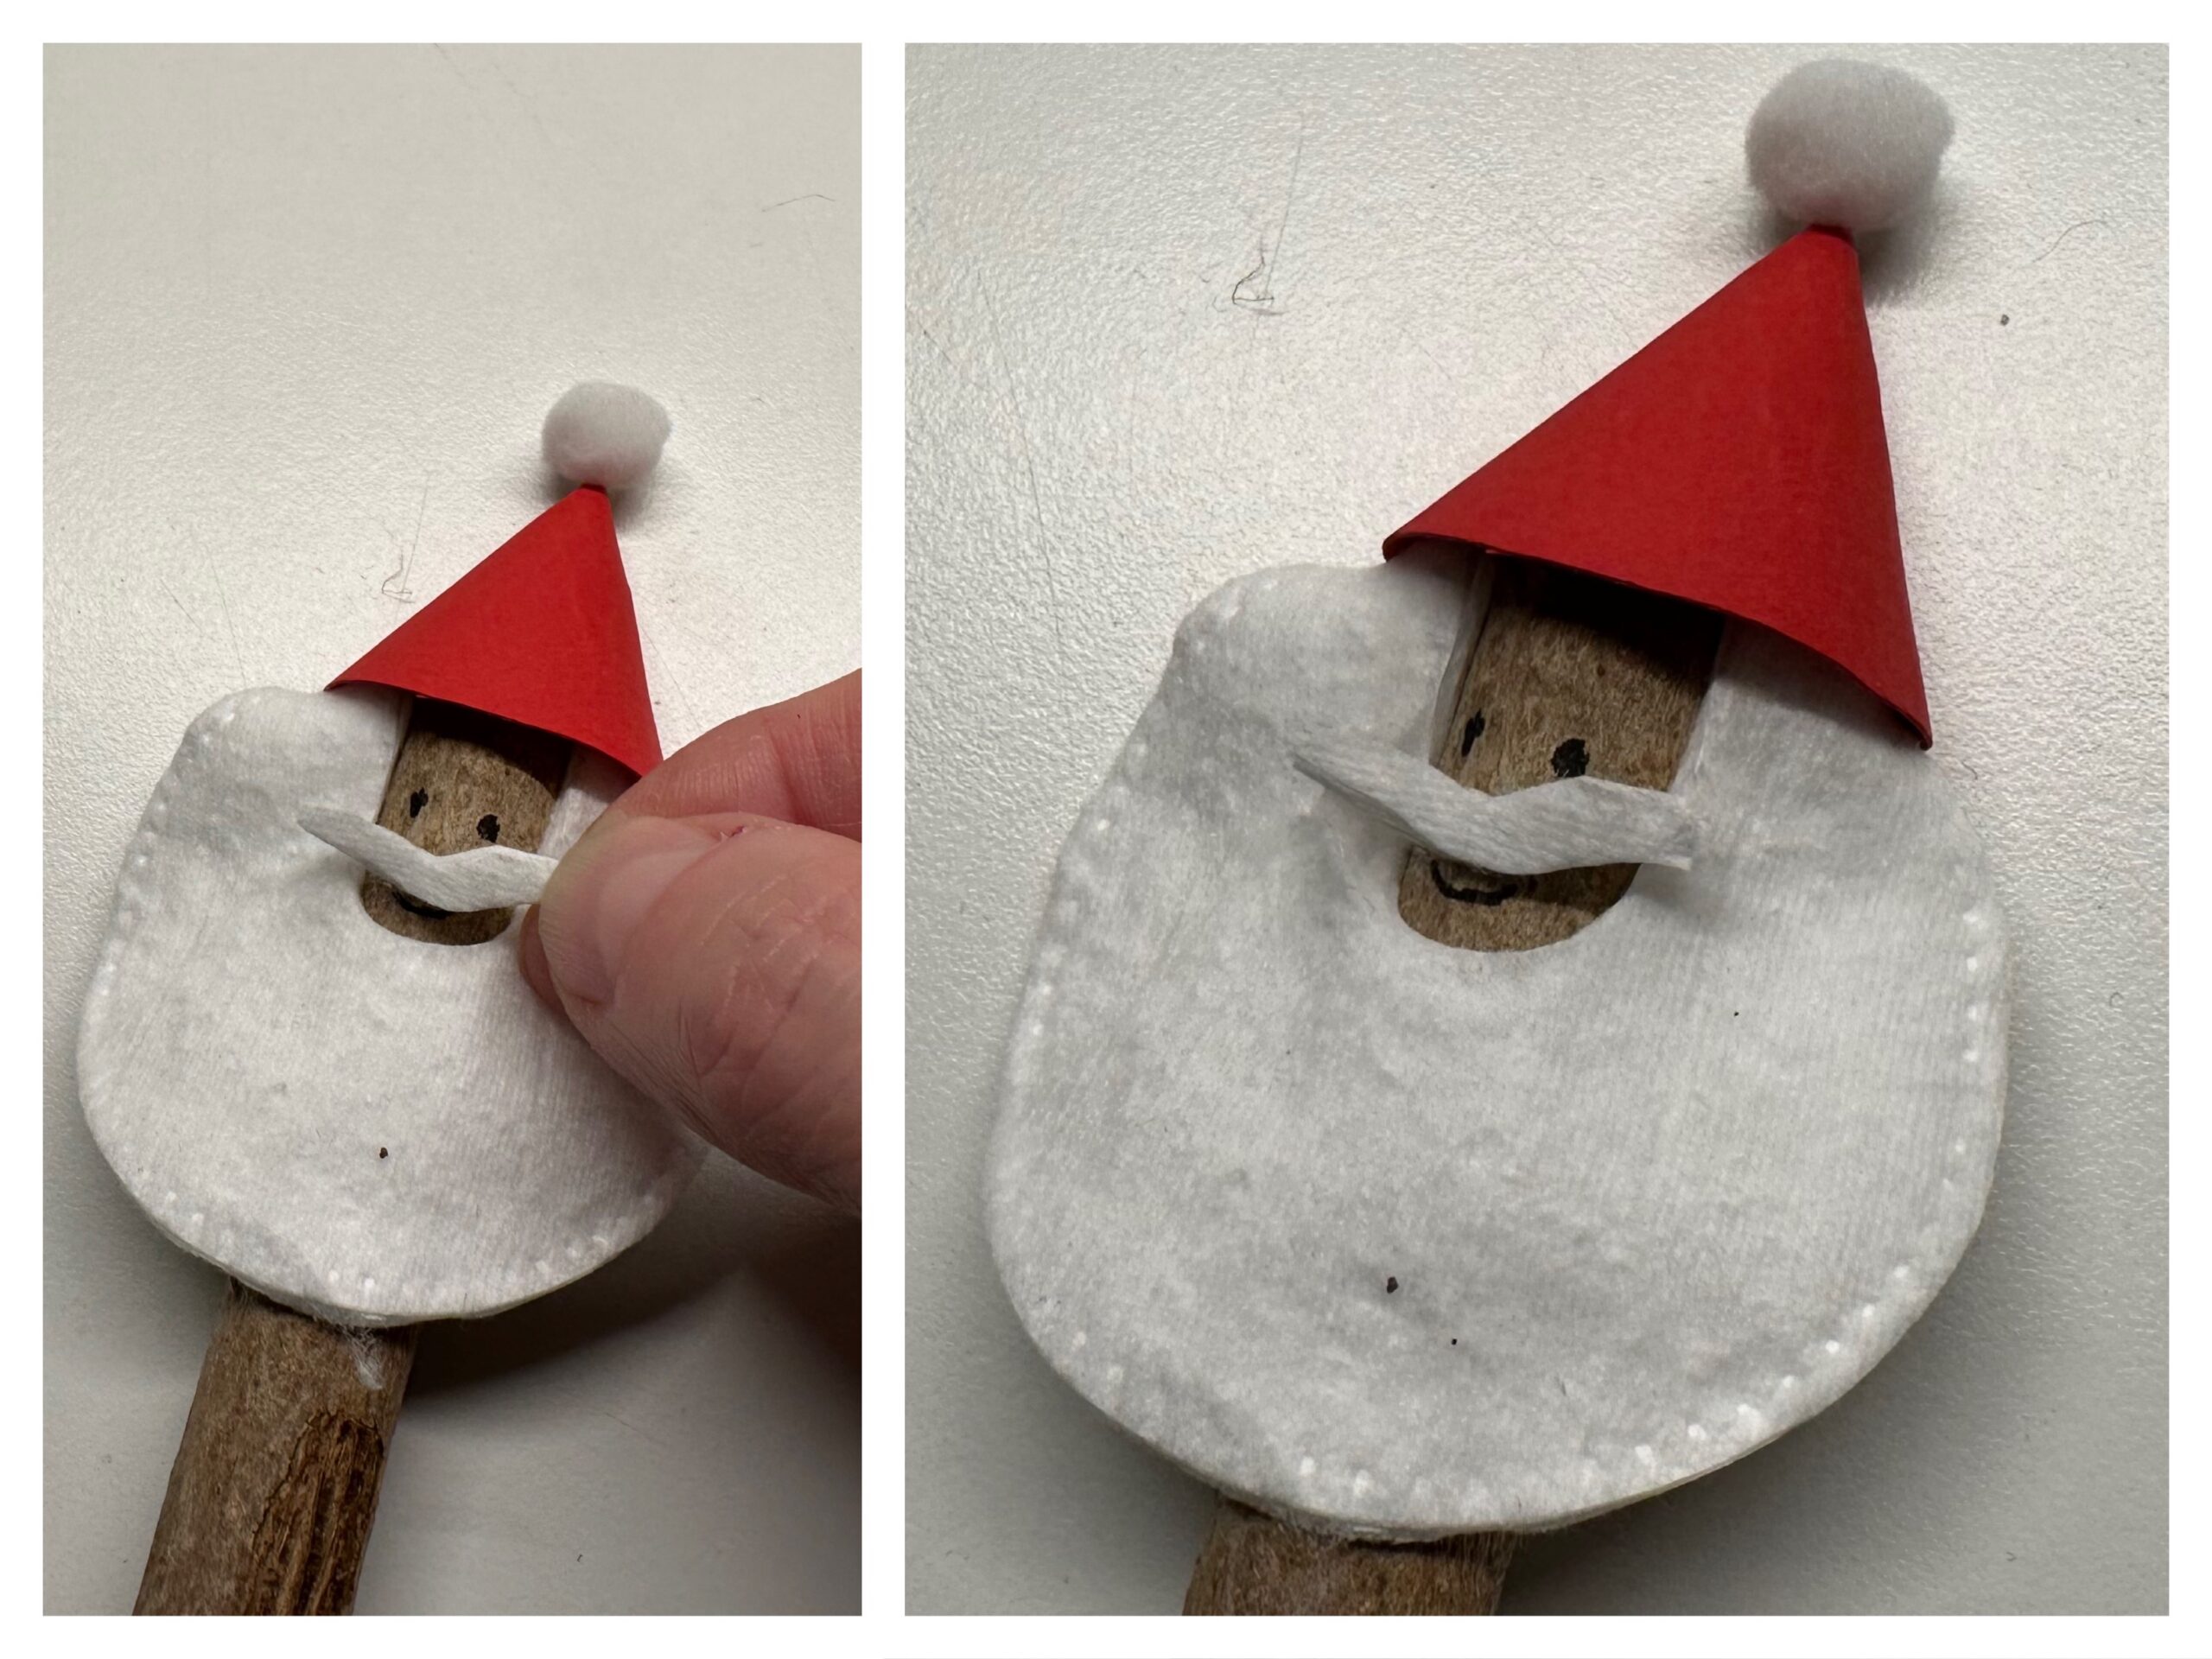
Now you get the stick and stick the cotton pad to your stick. It becomes the beard of Nicholas.


Here you can see it again.


From the rest of the cotton pad you can cut something off. You can use it as a moustache and stick it on. Take a felt pen and paint another face to Santa Claus.


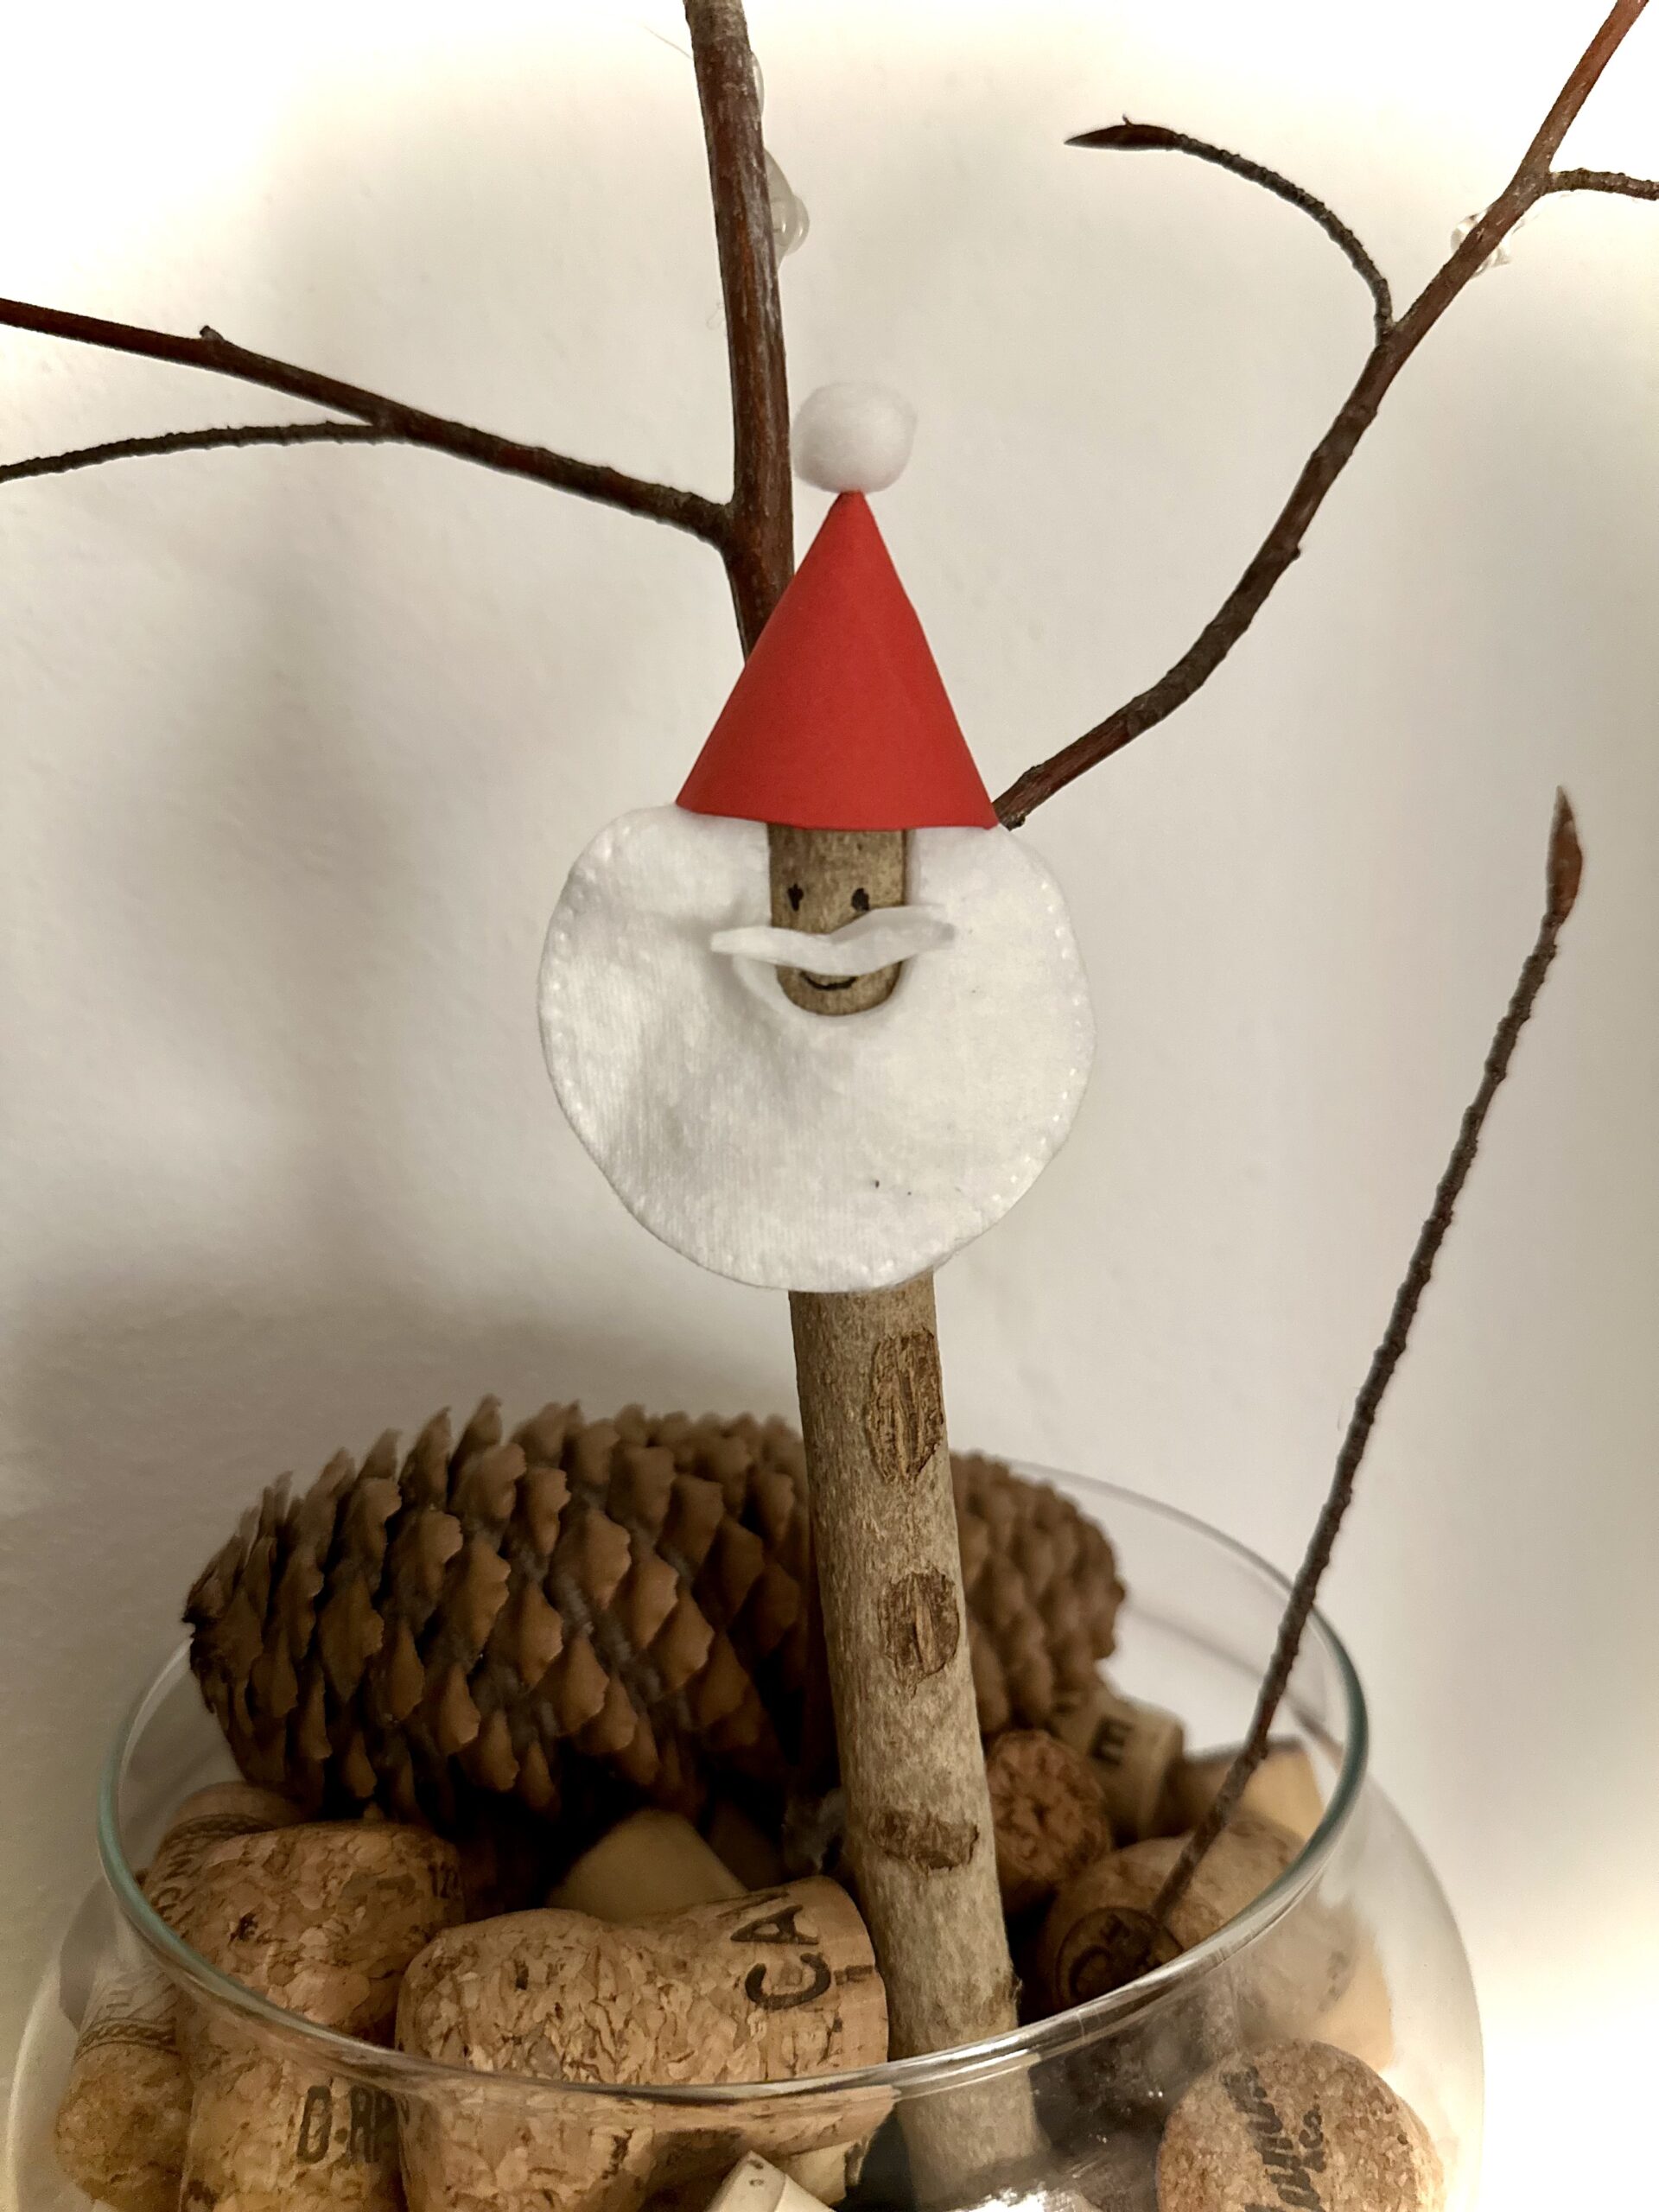
That's how your Santa is done.


Materials
Directions
Get ready.
Paint a circle on a paper. For this you can use a screw glass lid or a drinking glass. Paint it with a pen.


Cut out the painted circle with the scissors.


Fold half the circle.
You need this semicircle as a template.


Place the template on a red clay paper residue. Cover the template with a pen and then cut out the half circle with the scissors.


From the red half circle becomes the tip cap of Nicholas. Take the half circle in your hand and bend the paper with the two tips a little bit.


Take a round pen and pull the paper several times from the middle to the outside. So the paper bends. Look at the picture. Both tips bend upwards.


The straight edge of the half circle is glued half over each other. The middle of the straight edge is then the tip of the Santa's cap. Apply to half the length of the straight edge glue.


Now put the paper on top of each other and you have a little cap.


On the tip of the tip cap you now stick a small cotton ball.


Now take a cotton pad. Paint a small bow as you can see on the photo, with the pencil on the cotton pad. Then cut it out with the scissors.


Now you get the stick and stick the cotton pad to your stick. It becomes the beard of Nicholas.


Here you can see it again.


From the rest of the cotton pad you can cut something off. You can use it as a moustache and stick it on. Take a felt pen and paint another face to Santa Claus.


That's how your Santa is done.


Follow us on Facebook , Instagram and Pinterest
Don't miss any more adventures: Our bottle mail


