Print Options:

Wrinkle napkin – fir tree napkin

Material for1 ChildPrep Time5 min.Adv. Time30 min.Total Time35 min.

You need a quick table decoration? Then this fir tree napkin may be perfect. You will need a green napkin and the printed tree template for each plate. With a few steps, the napkin is quickly folded. This napkin is also suitable for newcomers, in this field. Cut out the print templates and place them together with a small fir branch on the napkin. The table decoration is already ready. Try it out, here you will find the detailed instructions.

Titelbild zur Bastel- und DIY-Idee für Kinder '(916) Serviette falten – Tannenbaum-Serviette'

 1 Serviette dark green
 1 Template fir tree
 1 Scissors
 Coloured pencils
 Adhesive pen
 1 Fir branch
All links marked with a shopping cart lead to Amazon - here we have selected products that we would order ourselves and in part also ordered. In a qualified purchase via the advertising link, we as Amazon partner receive a commission, for you there are no costs. You thus support our cost- and advertising banner-free, educational offer.
Tree of fir:
1

First print out the template or just paint a tree yourself.

Bild zum Schritt 2 für das Bastel- und DIY-Abenteuer für Kinder: 'Druckt euch zuerst die Vorlage aus oder malt einfach selbst...'

2

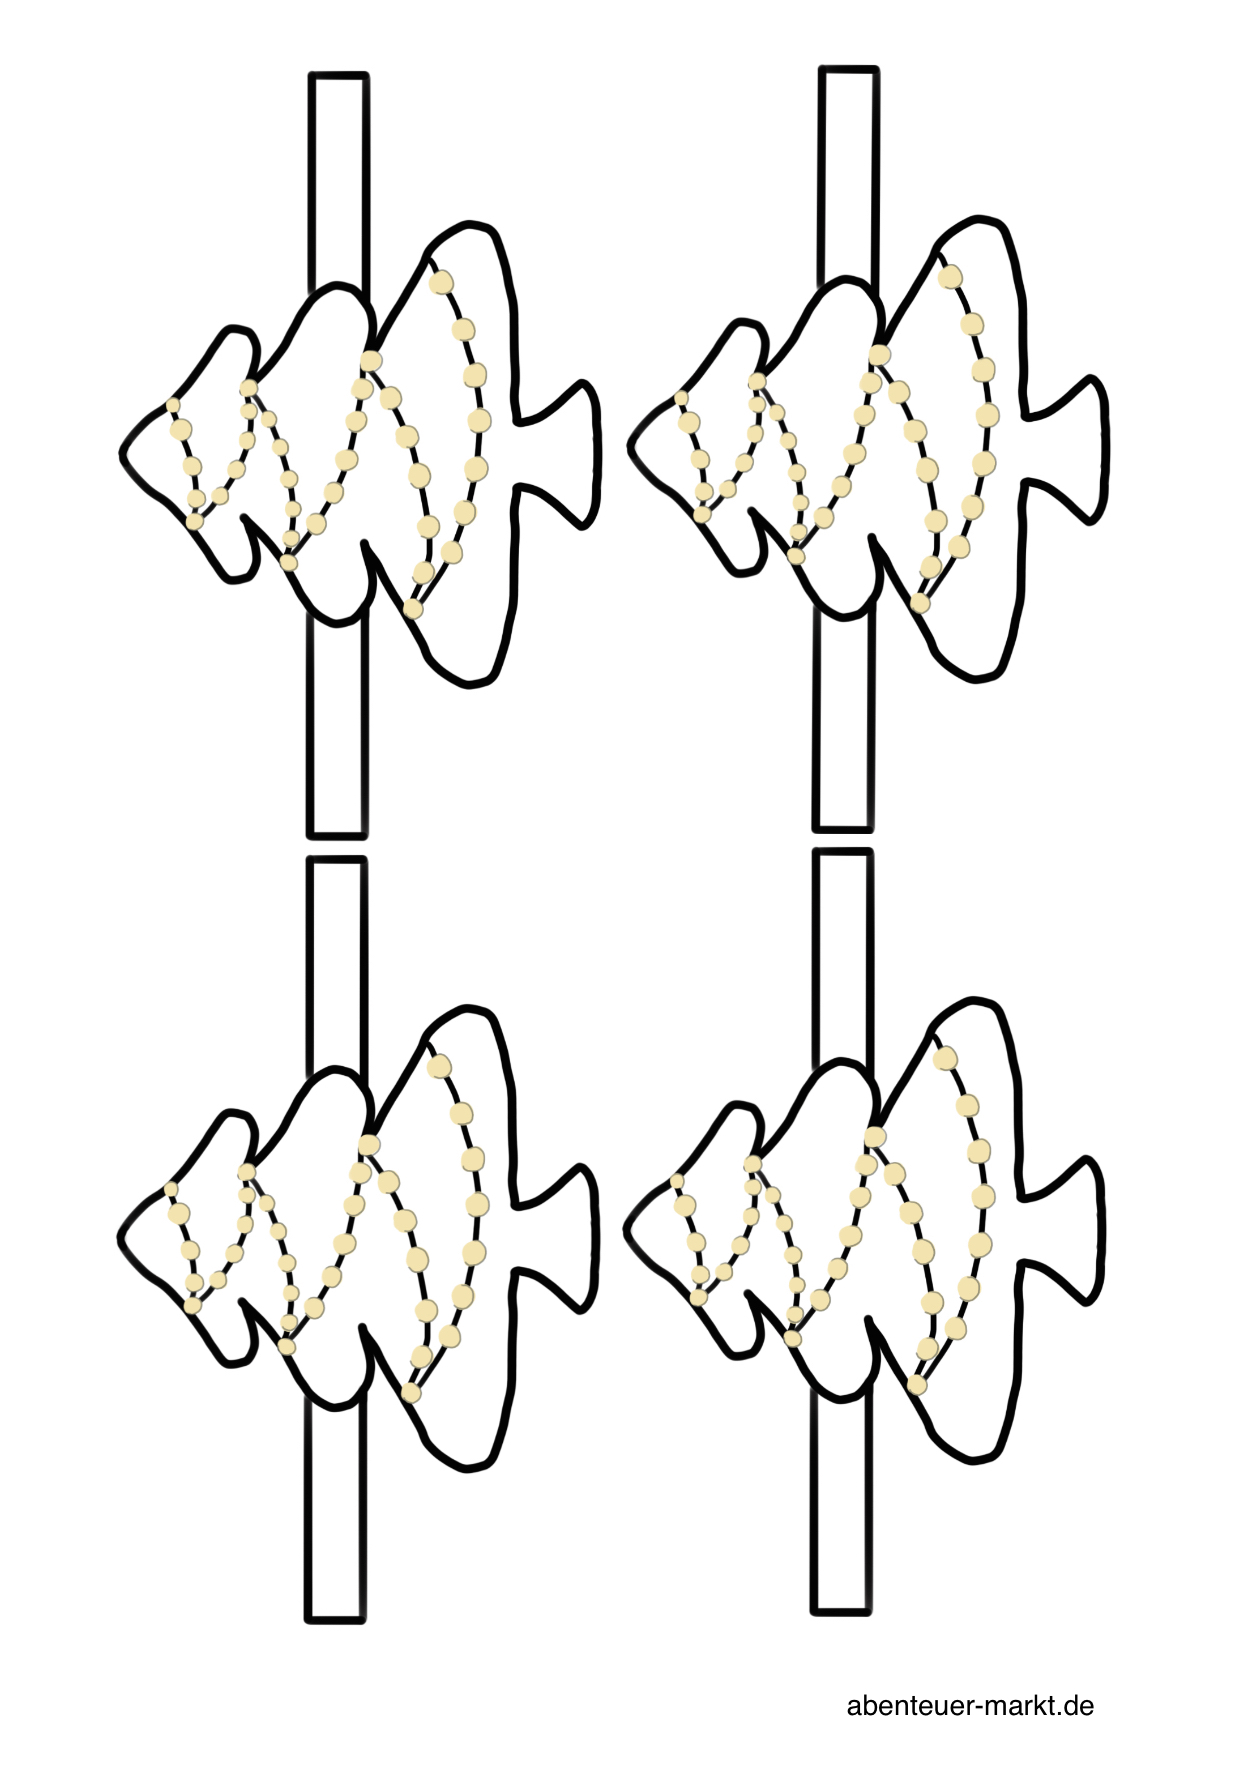
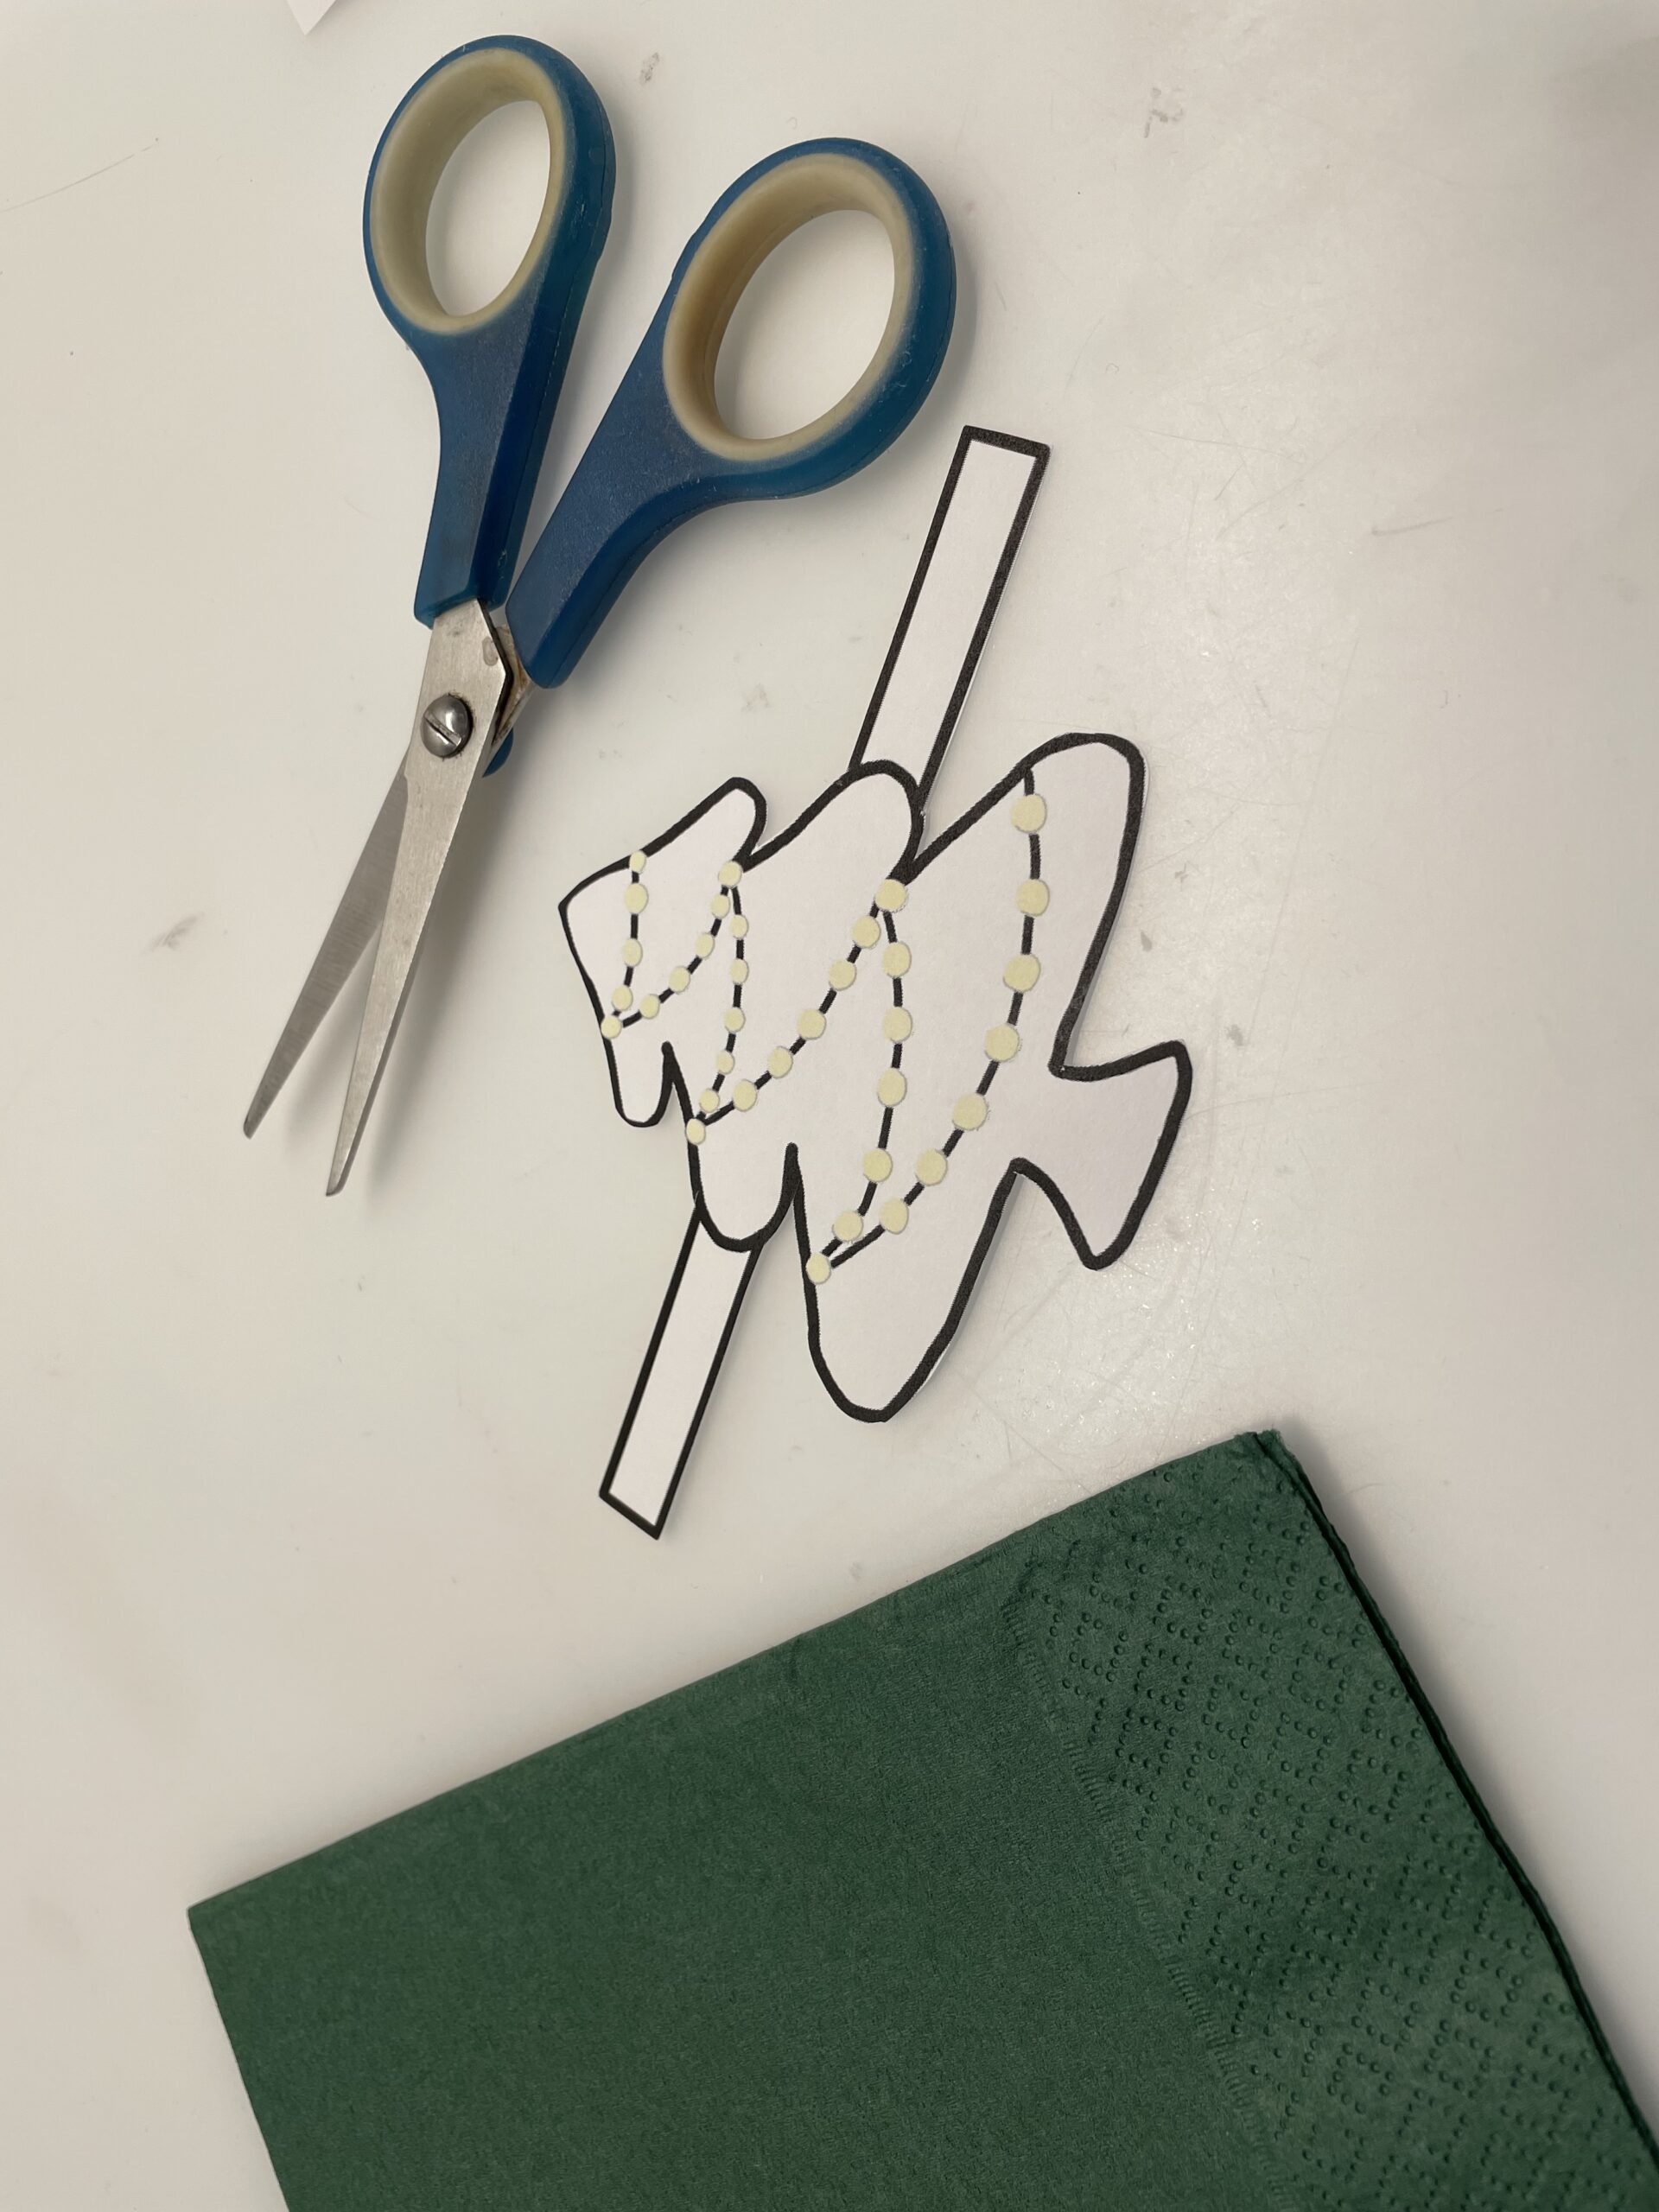
Then cut out the fir trees. For each napkin you need a fir tree.

Bild zum Schritt 3 für das Bastel- und DIY-Abenteuer für Kinder: 'Anschließend schneidet ihr die Tannenbäume aus. Für jede Serviette benötigt...'

3

Now you put the napkin in front of you so that a tip points to you.

Bild zum Schritt 4 für das Bastel- und DIY-Abenteuer für Kinder: 'Jetzt legt ihr die Serviette so vor dich hin, dass...'

4

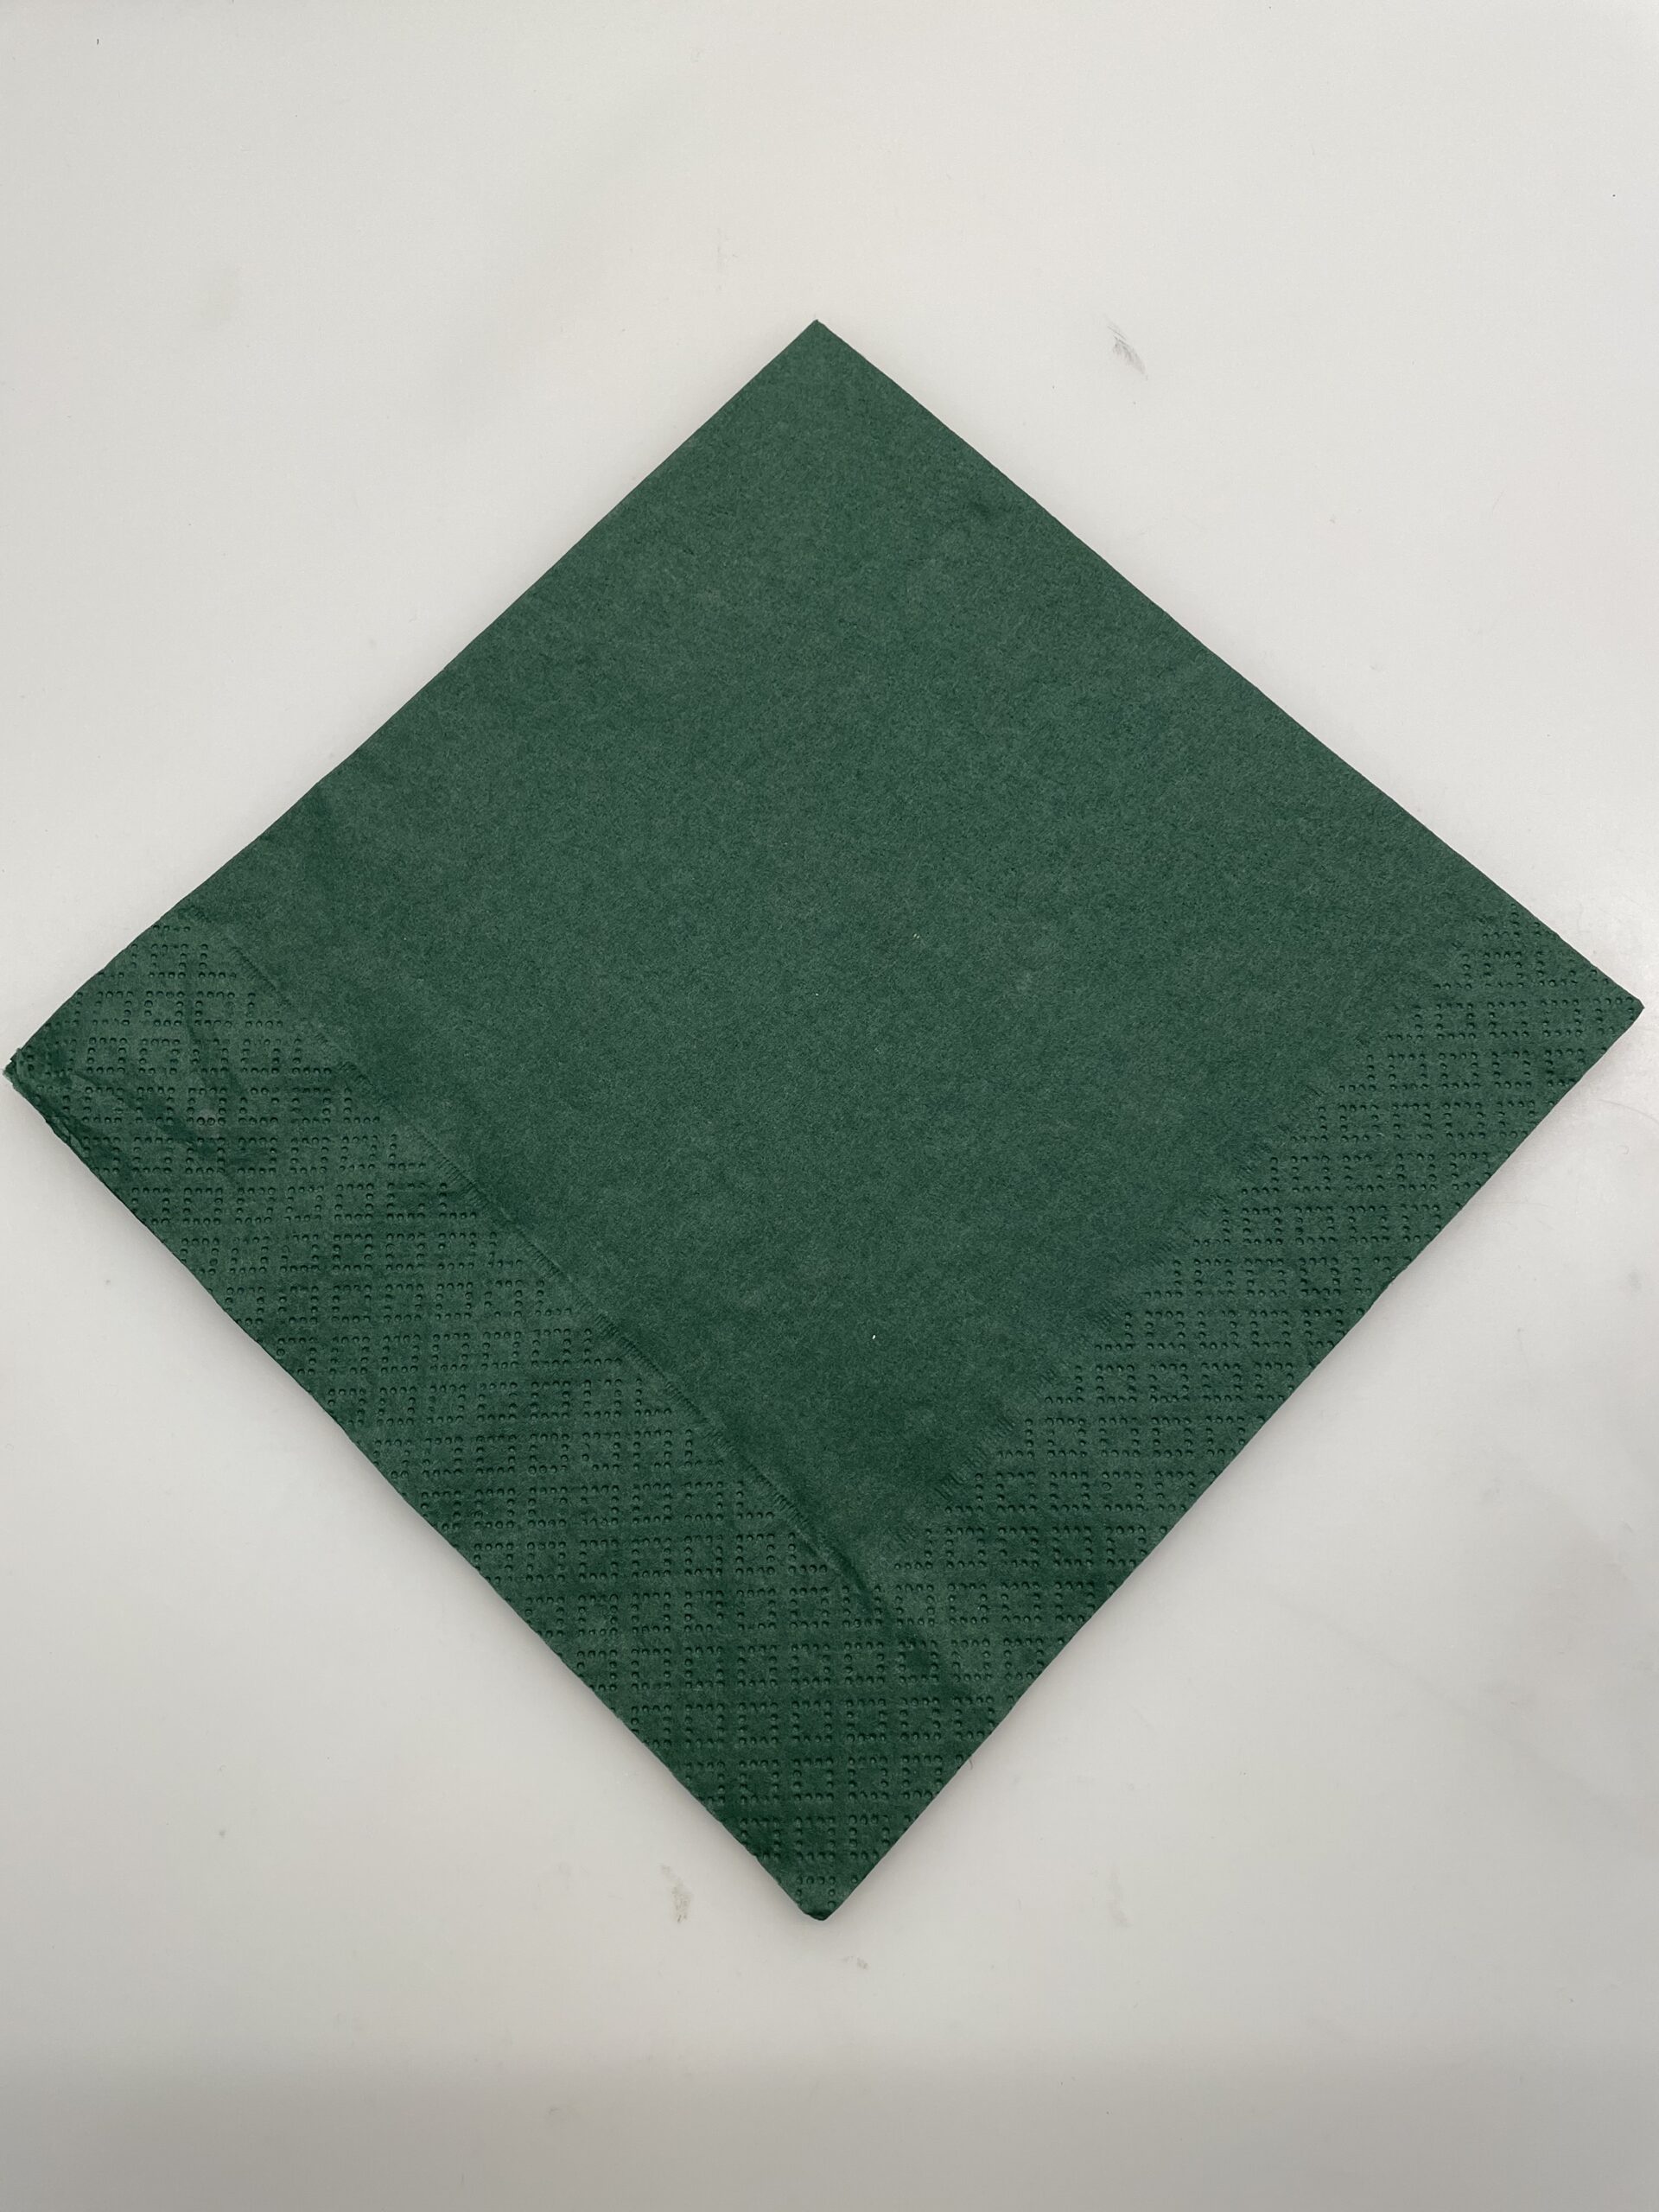
Now take the lower tip and fold it to the upper tip. After that, you strip the fracture thoroughly.

Bild zum Schritt 5 für das Bastel- und DIY-Abenteuer für Kinder: 'Nehmt nun die untere Spitze und faltet sie auf die...'

5

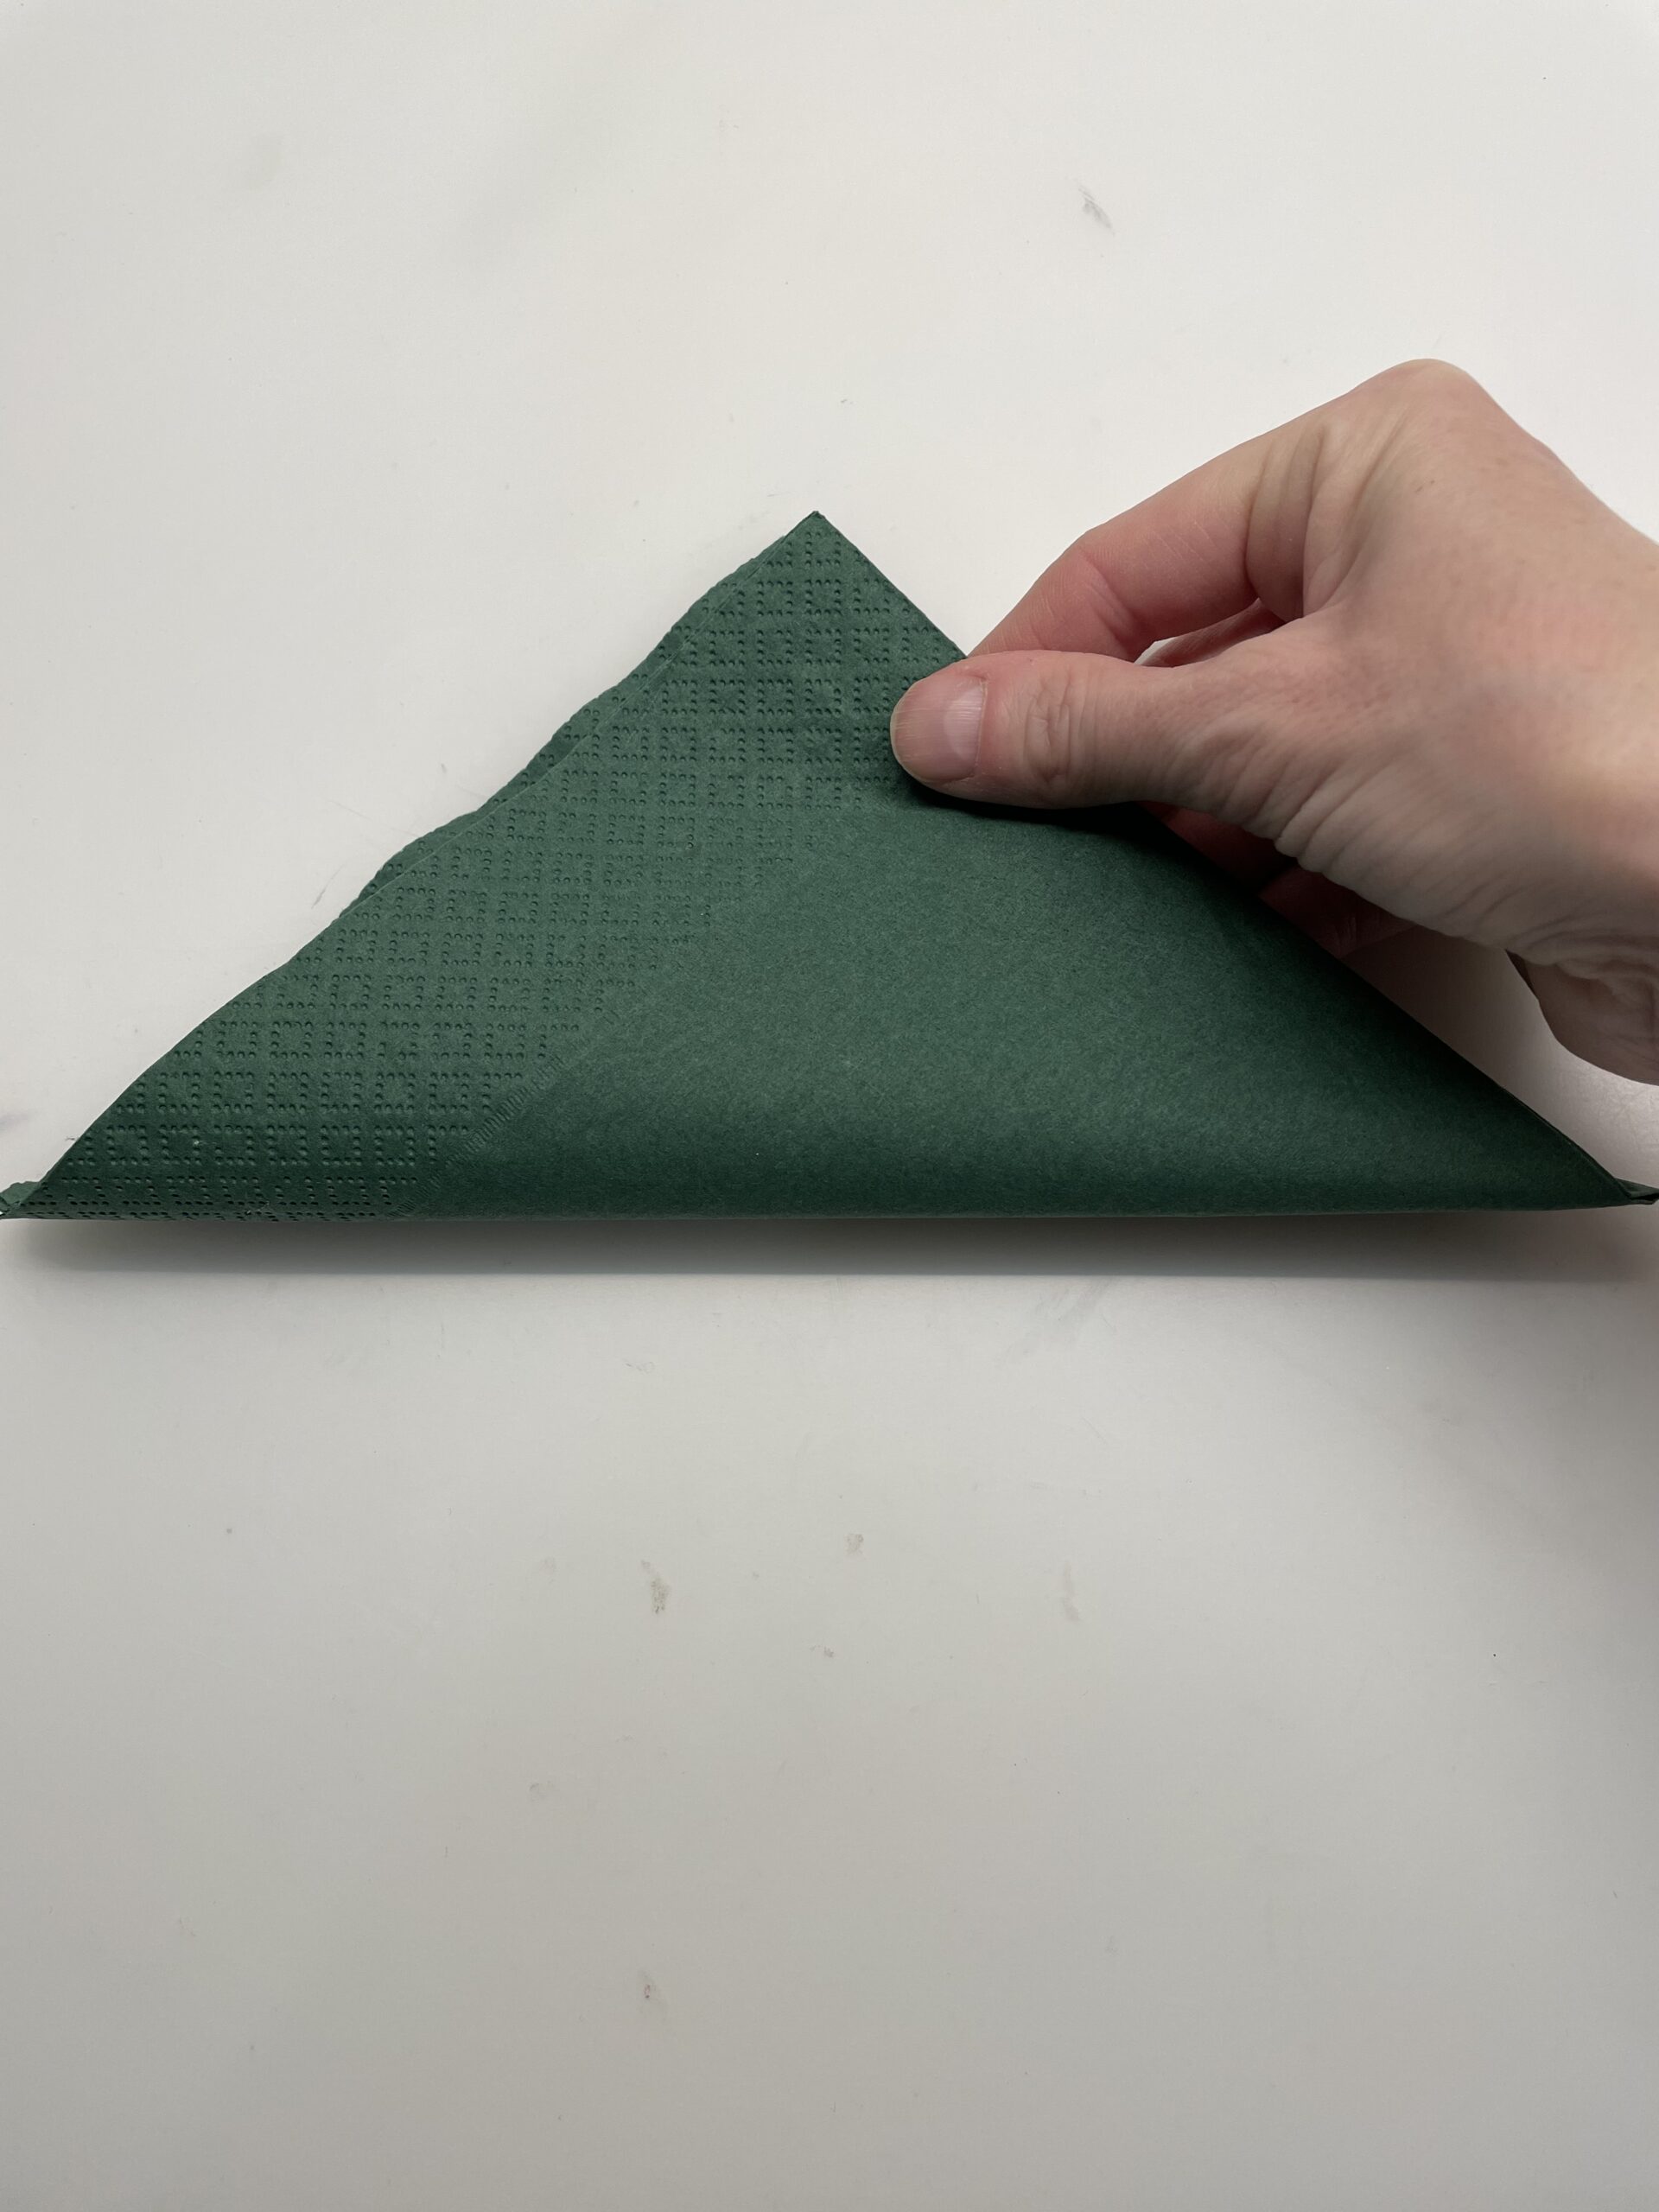
Then you fold the napkin again. Then turn the napkin on the table so that the break points from top to bottom.

Bild zum Schritt 6 für das Bastel- und DIY-Abenteuer für Kinder: 'Anschließend faltet ihr die Serviette wieder auseinander. Dreht dann die...'

6

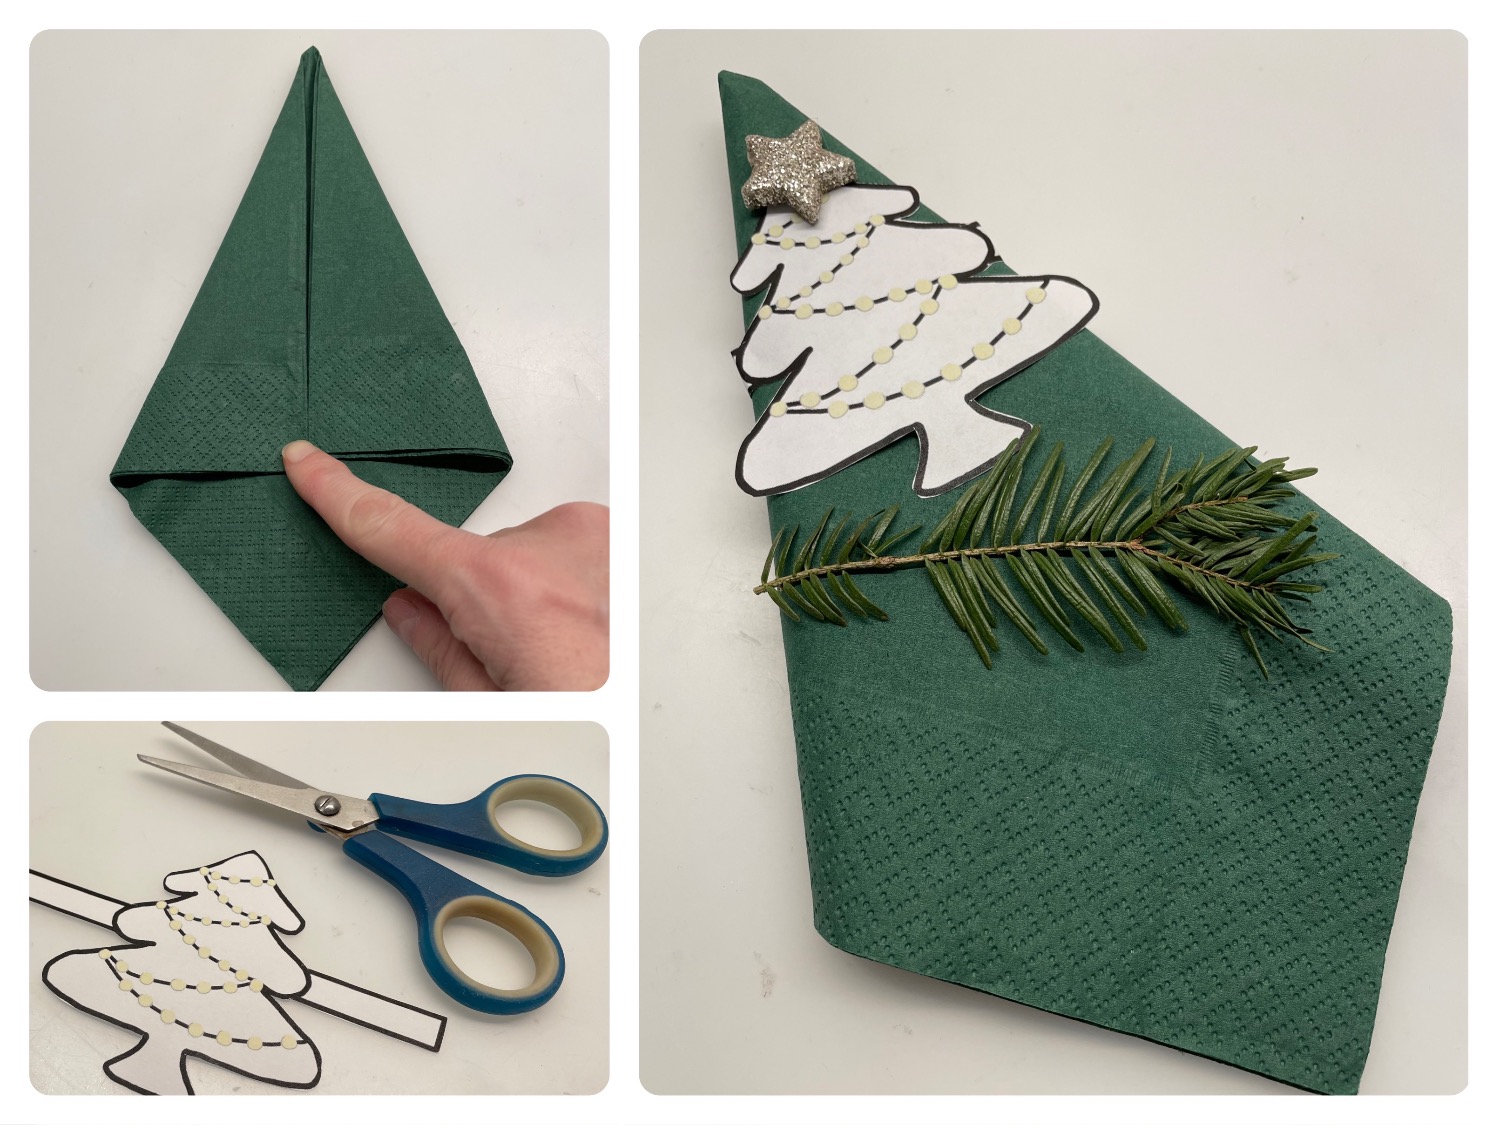
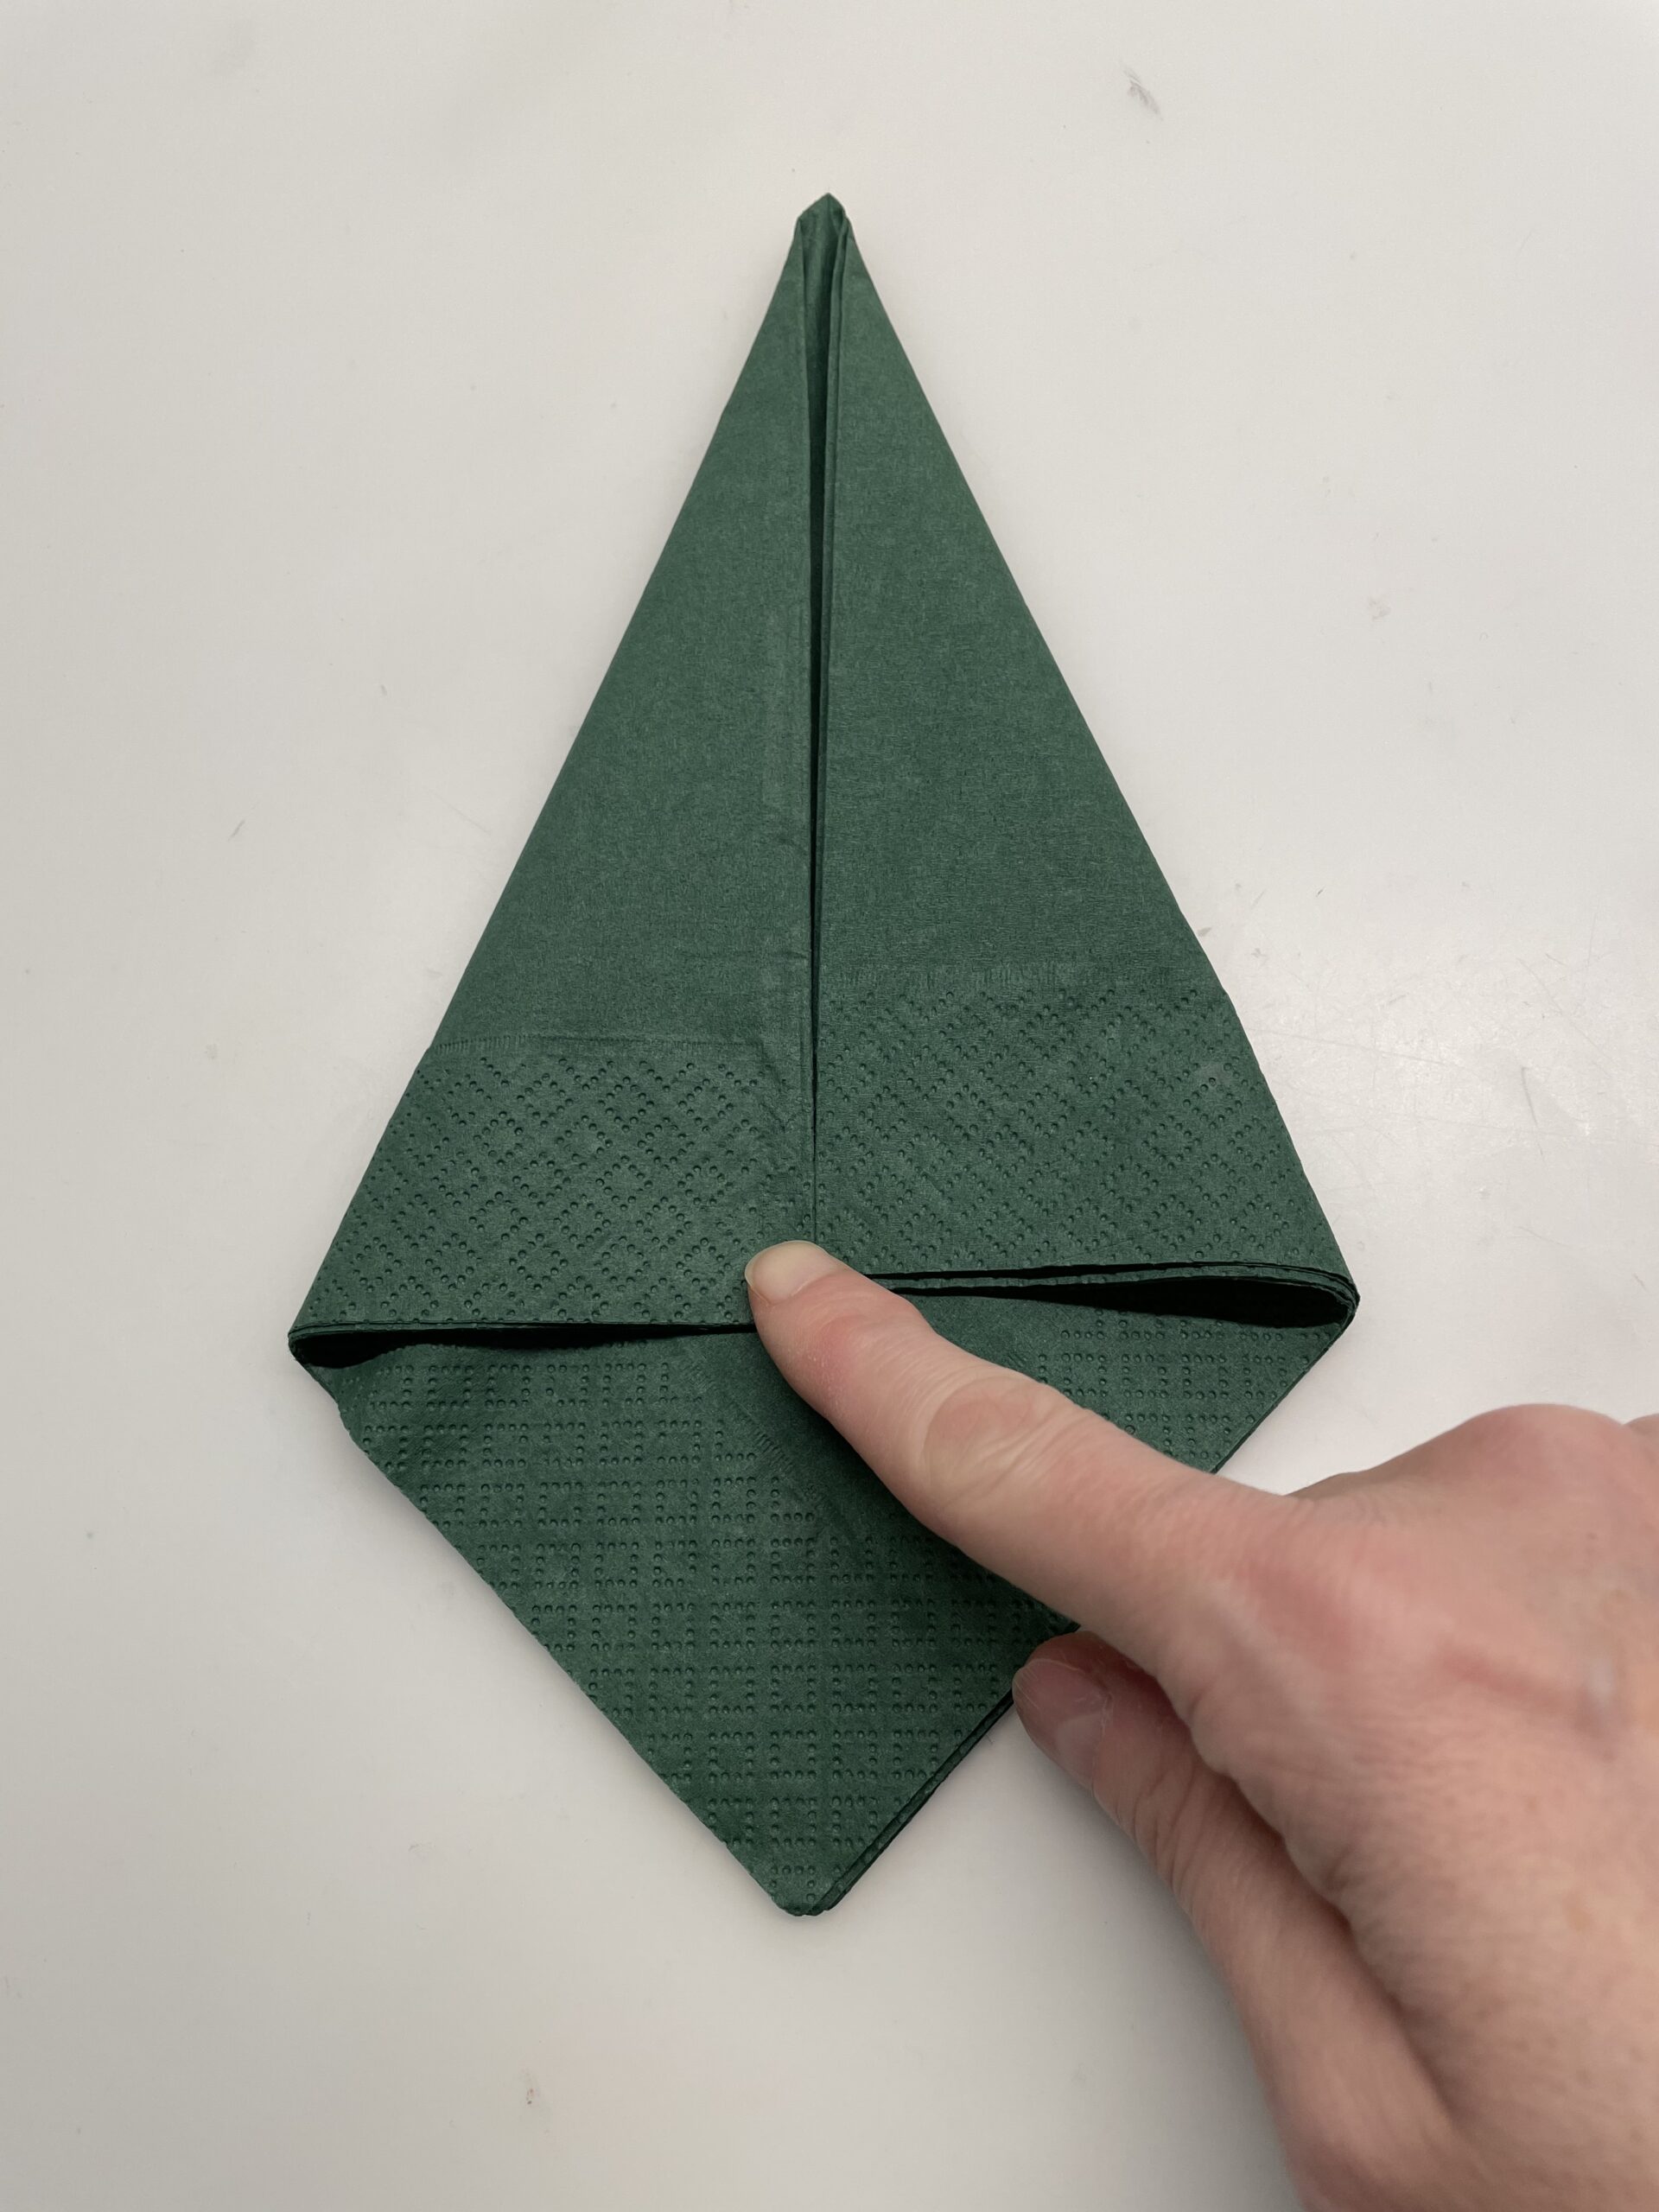
Next, fold the corners on the left and right to the center line.

Bild zum Schritt 7 für das Bastel- und DIY-Abenteuer für Kinder: 'Als nächstes faltet ihr die links und rechts liegenden Ecken...'

7

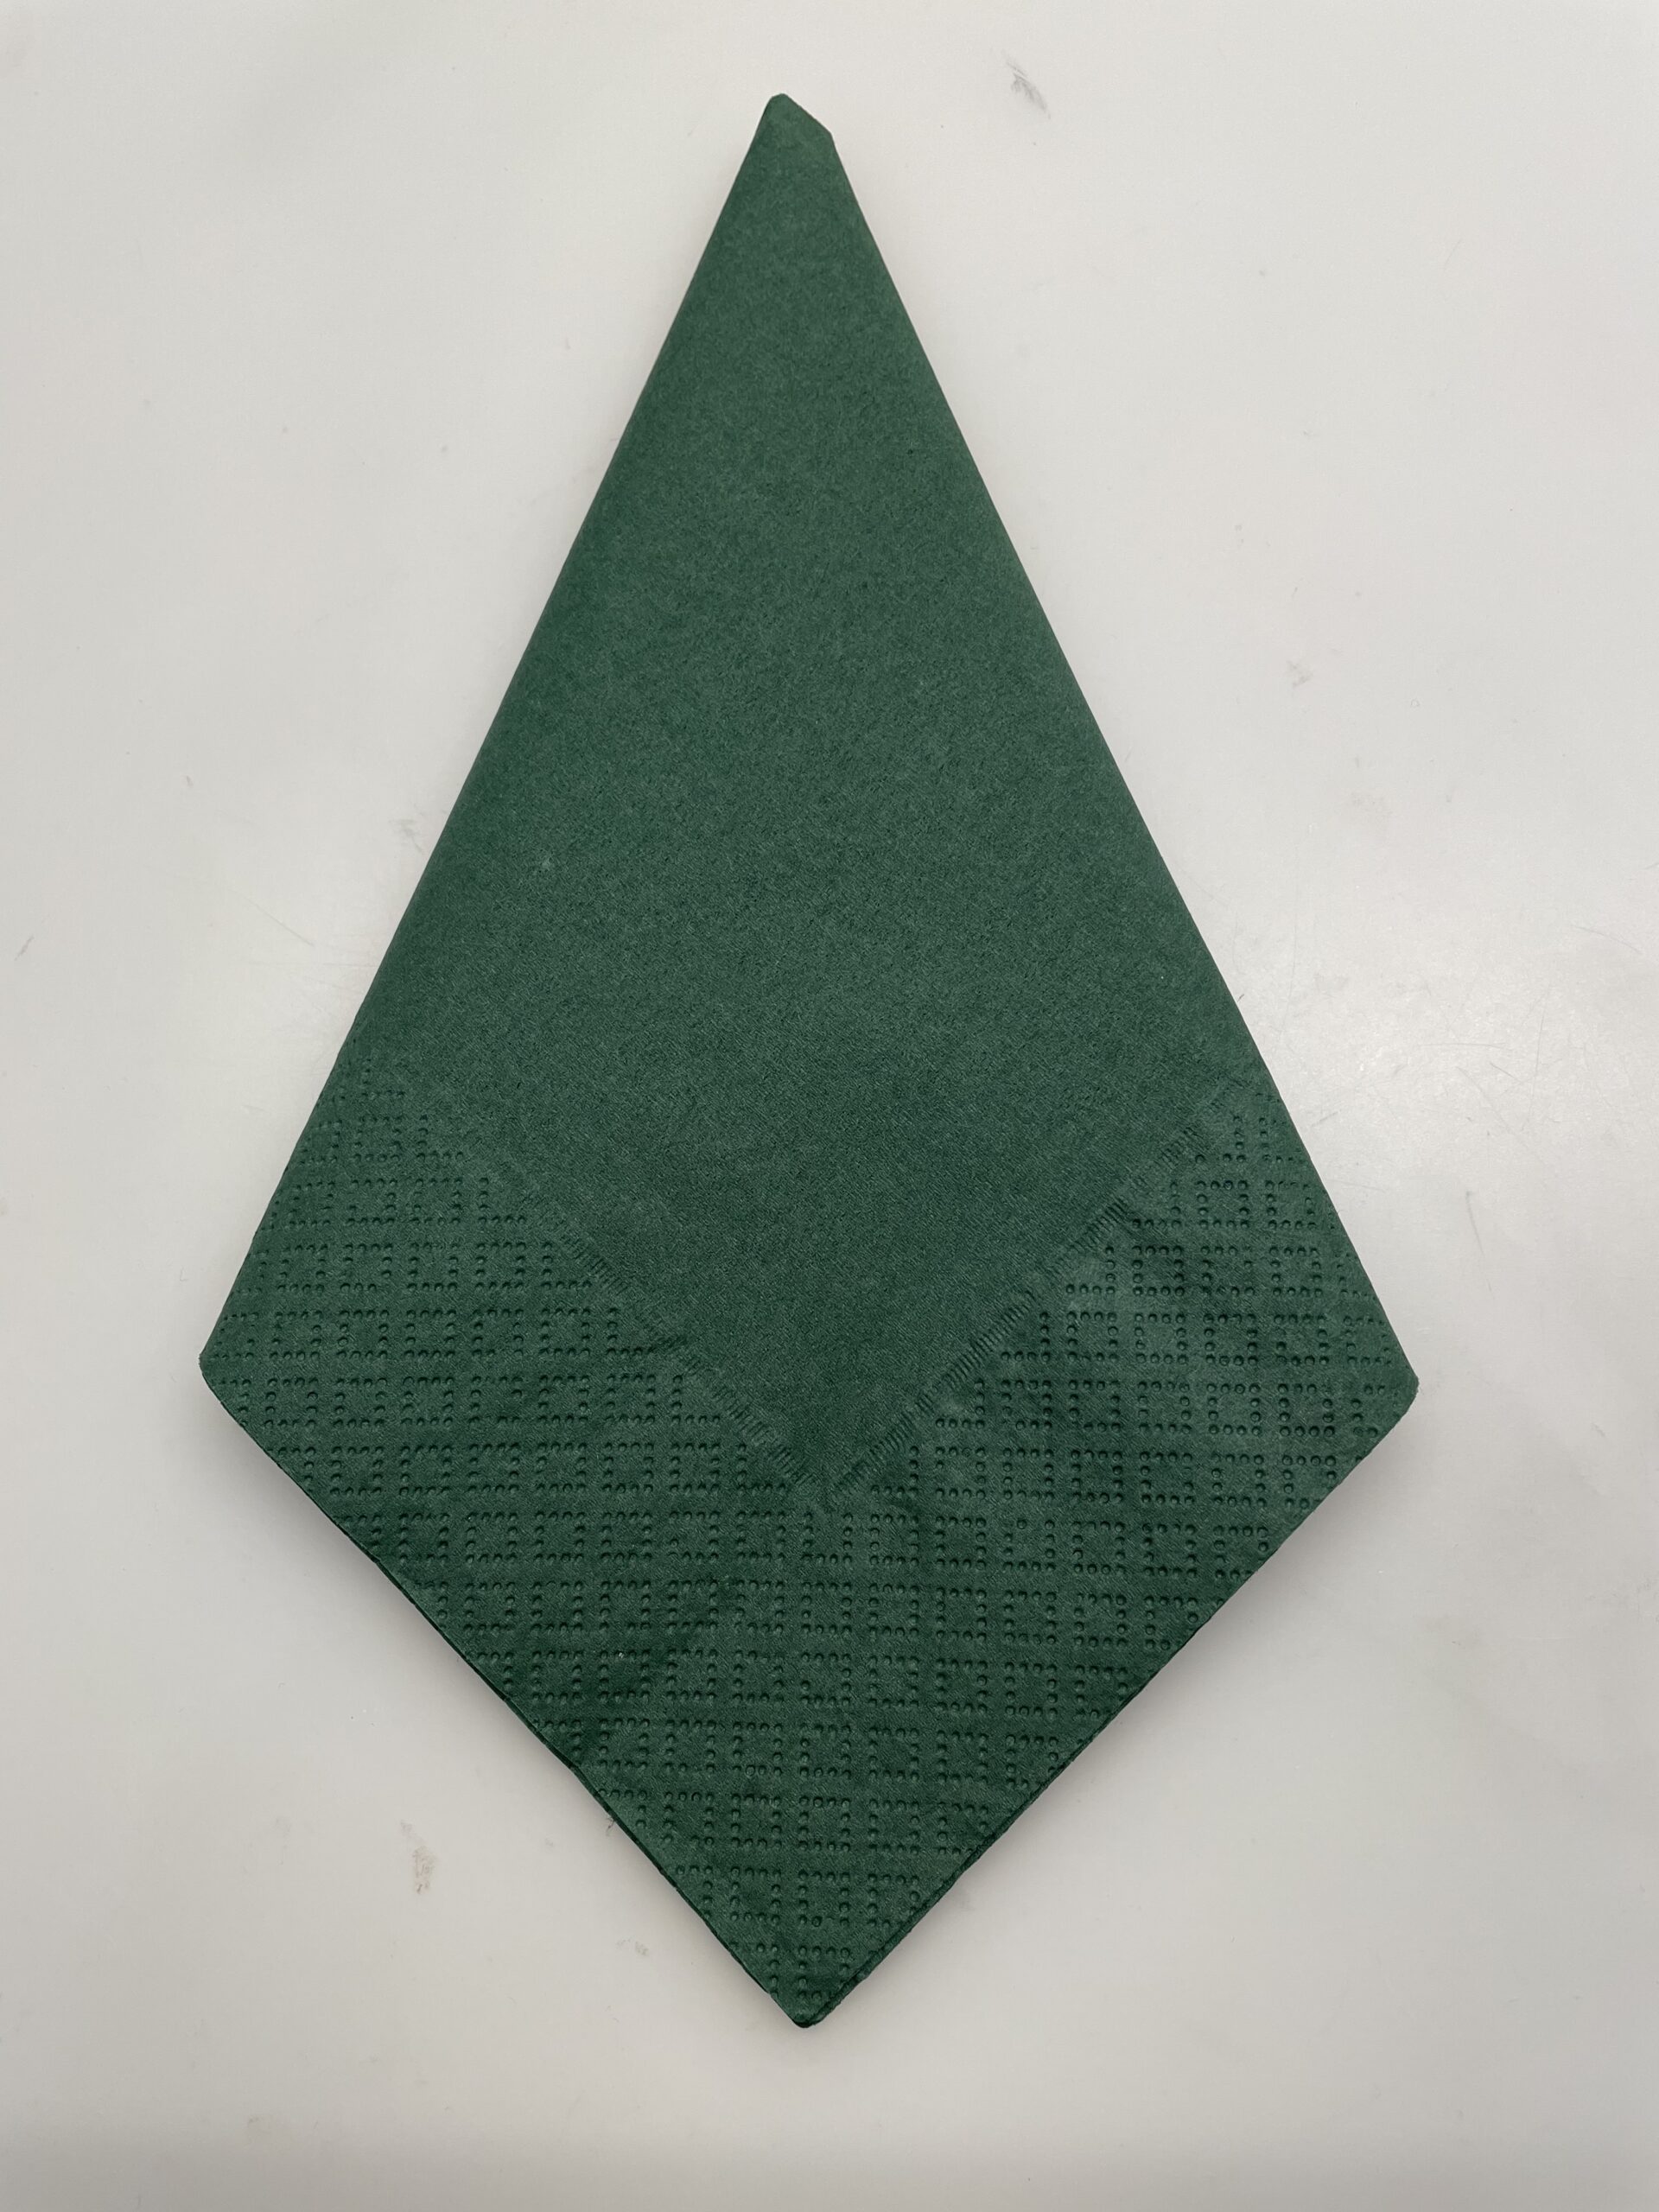
This creates a long tip. Now strip both fractures vigorously.

Bild zum Schritt 8 für das Bastel- und DIY-Abenteuer für Kinder: 'So entsteht eine lange Spitze. Streift jetzt beide Brüche kräftig...'

8

Then you turn the folded napkin completely.

Bild zum Schritt 9 für das Bastel- und DIY-Abenteuer für Kinder: 'Danach dreht ihr die gefaltete Serviette einmal komplett um.'

9

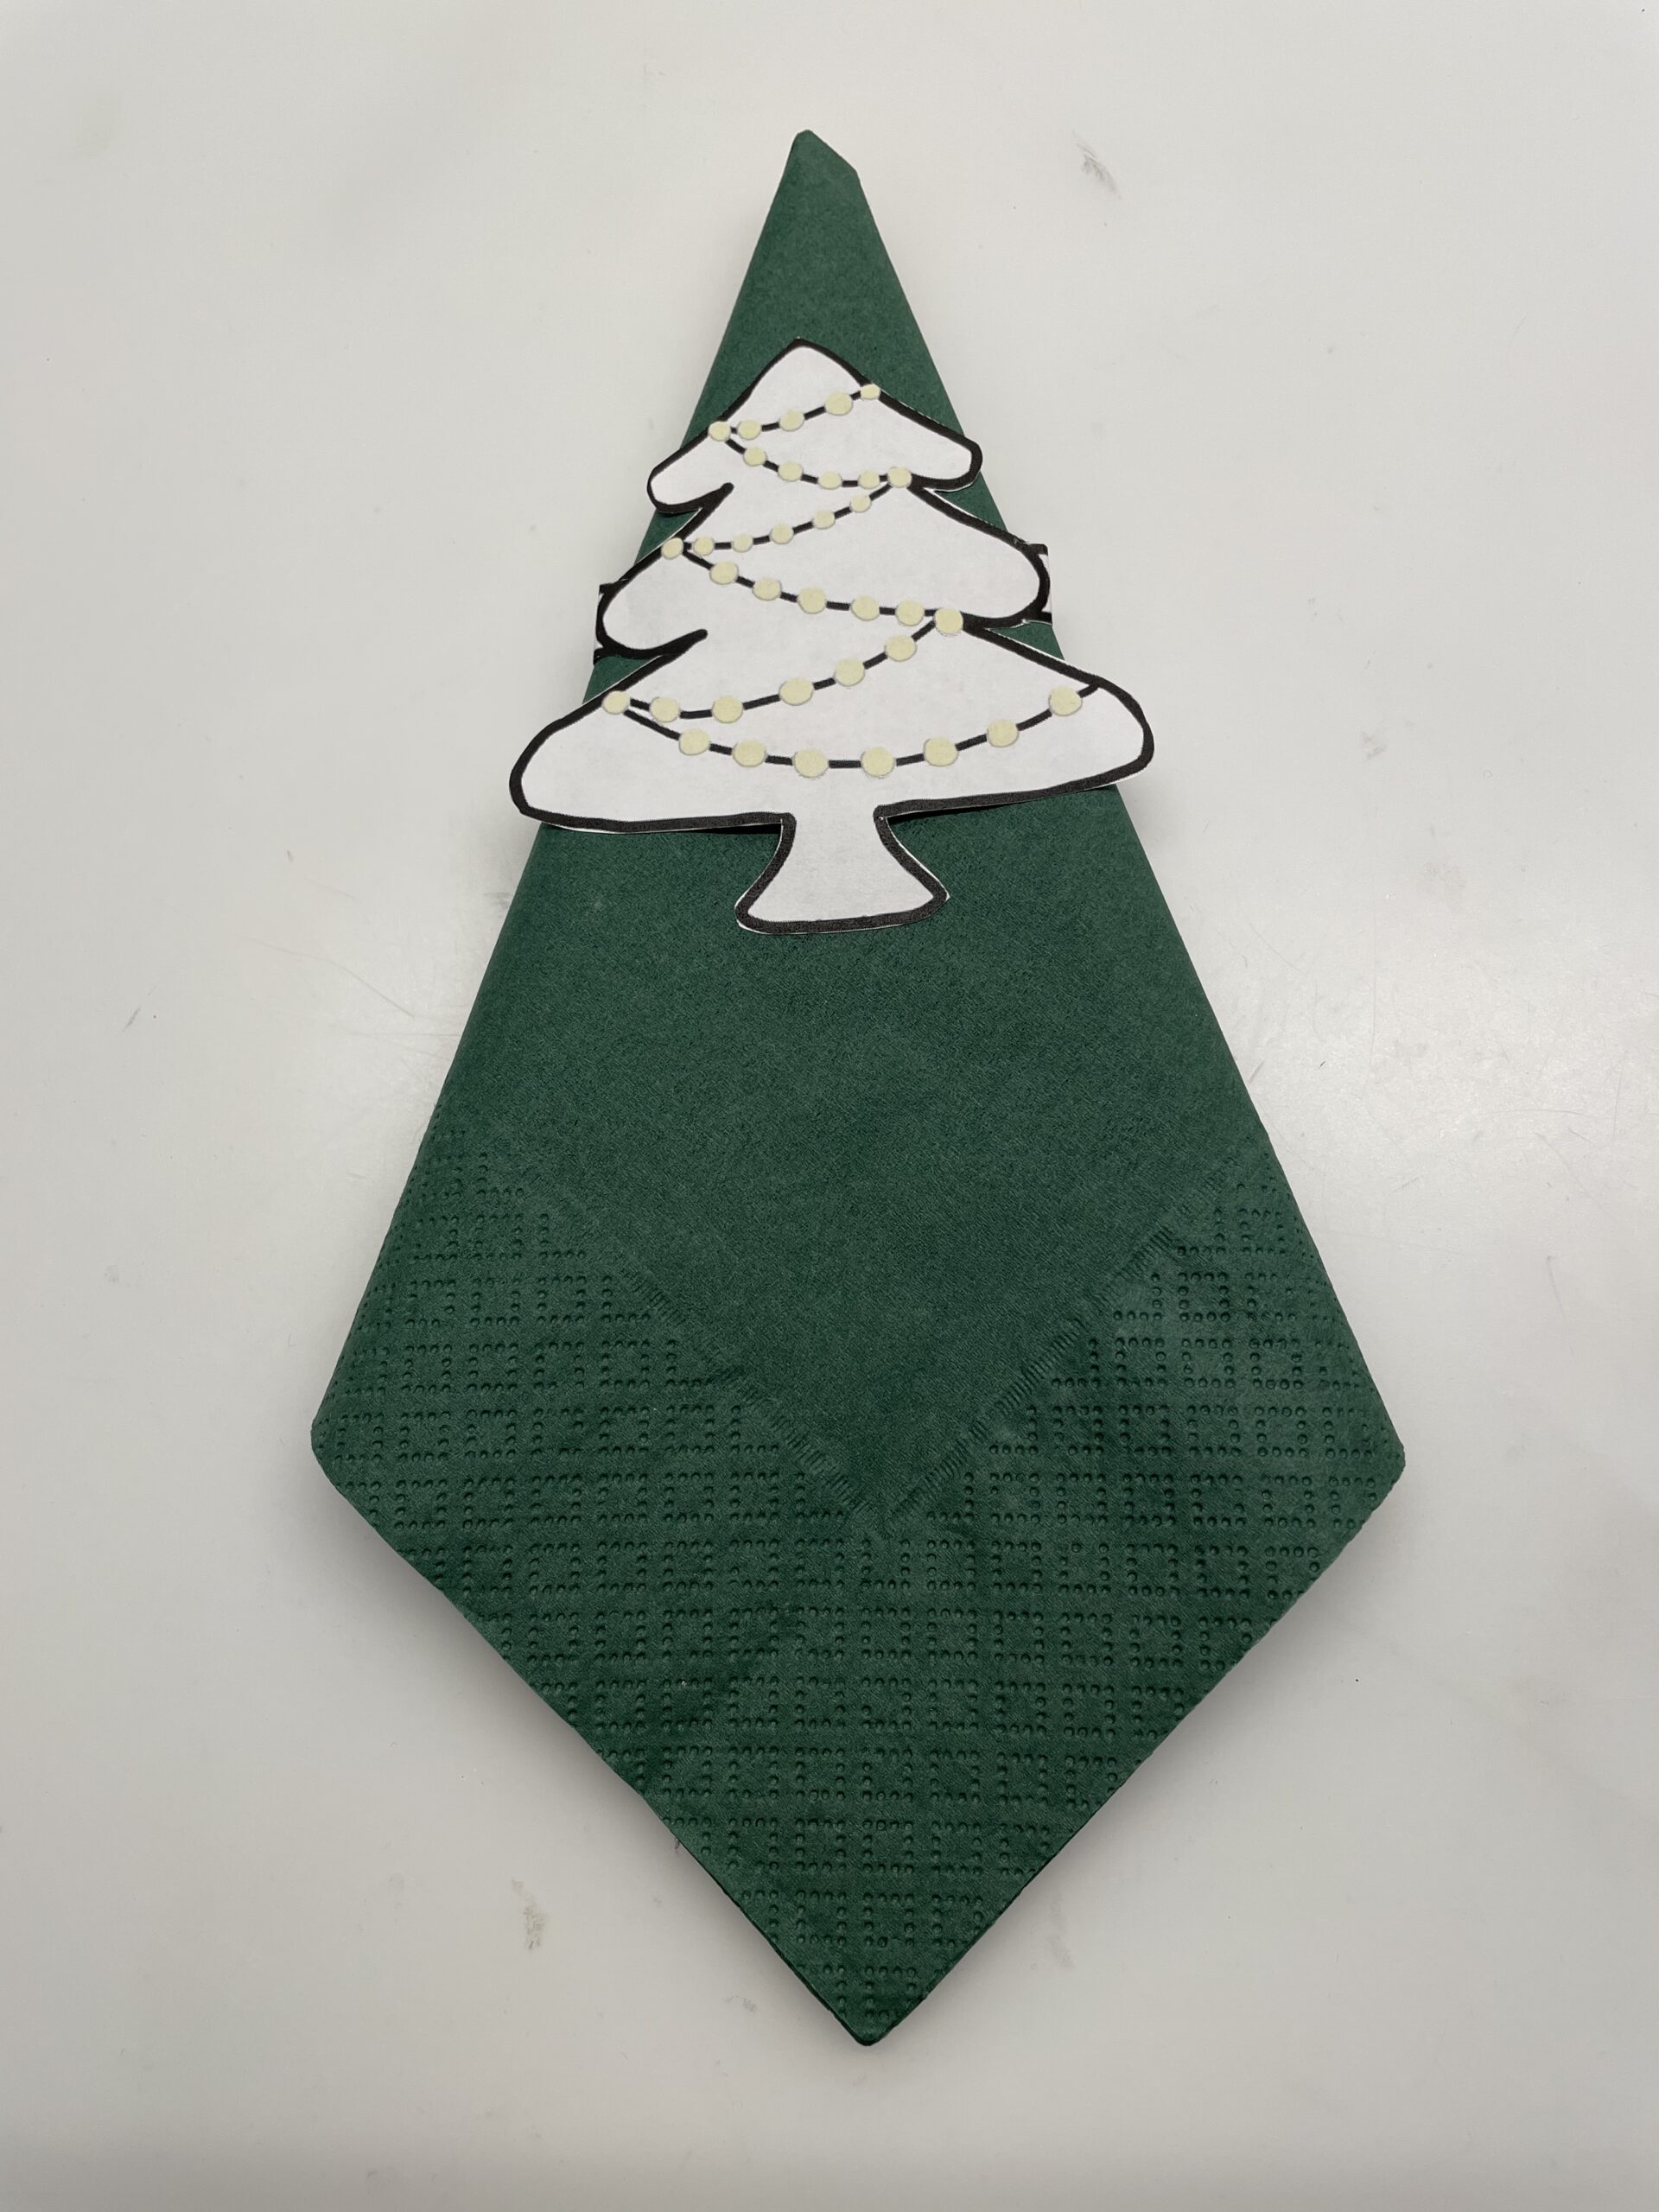
Now you put the cut-out fir tree on the long tip of the napkin. Both stripes rise above the napkin.

Bild zum Schritt 10 für das Bastel- und DIY-Abenteuer für Kinder: 'Jetzt legt ihr den ausgeschnittenen Tannenbaum auf die lange Spitze...'

10

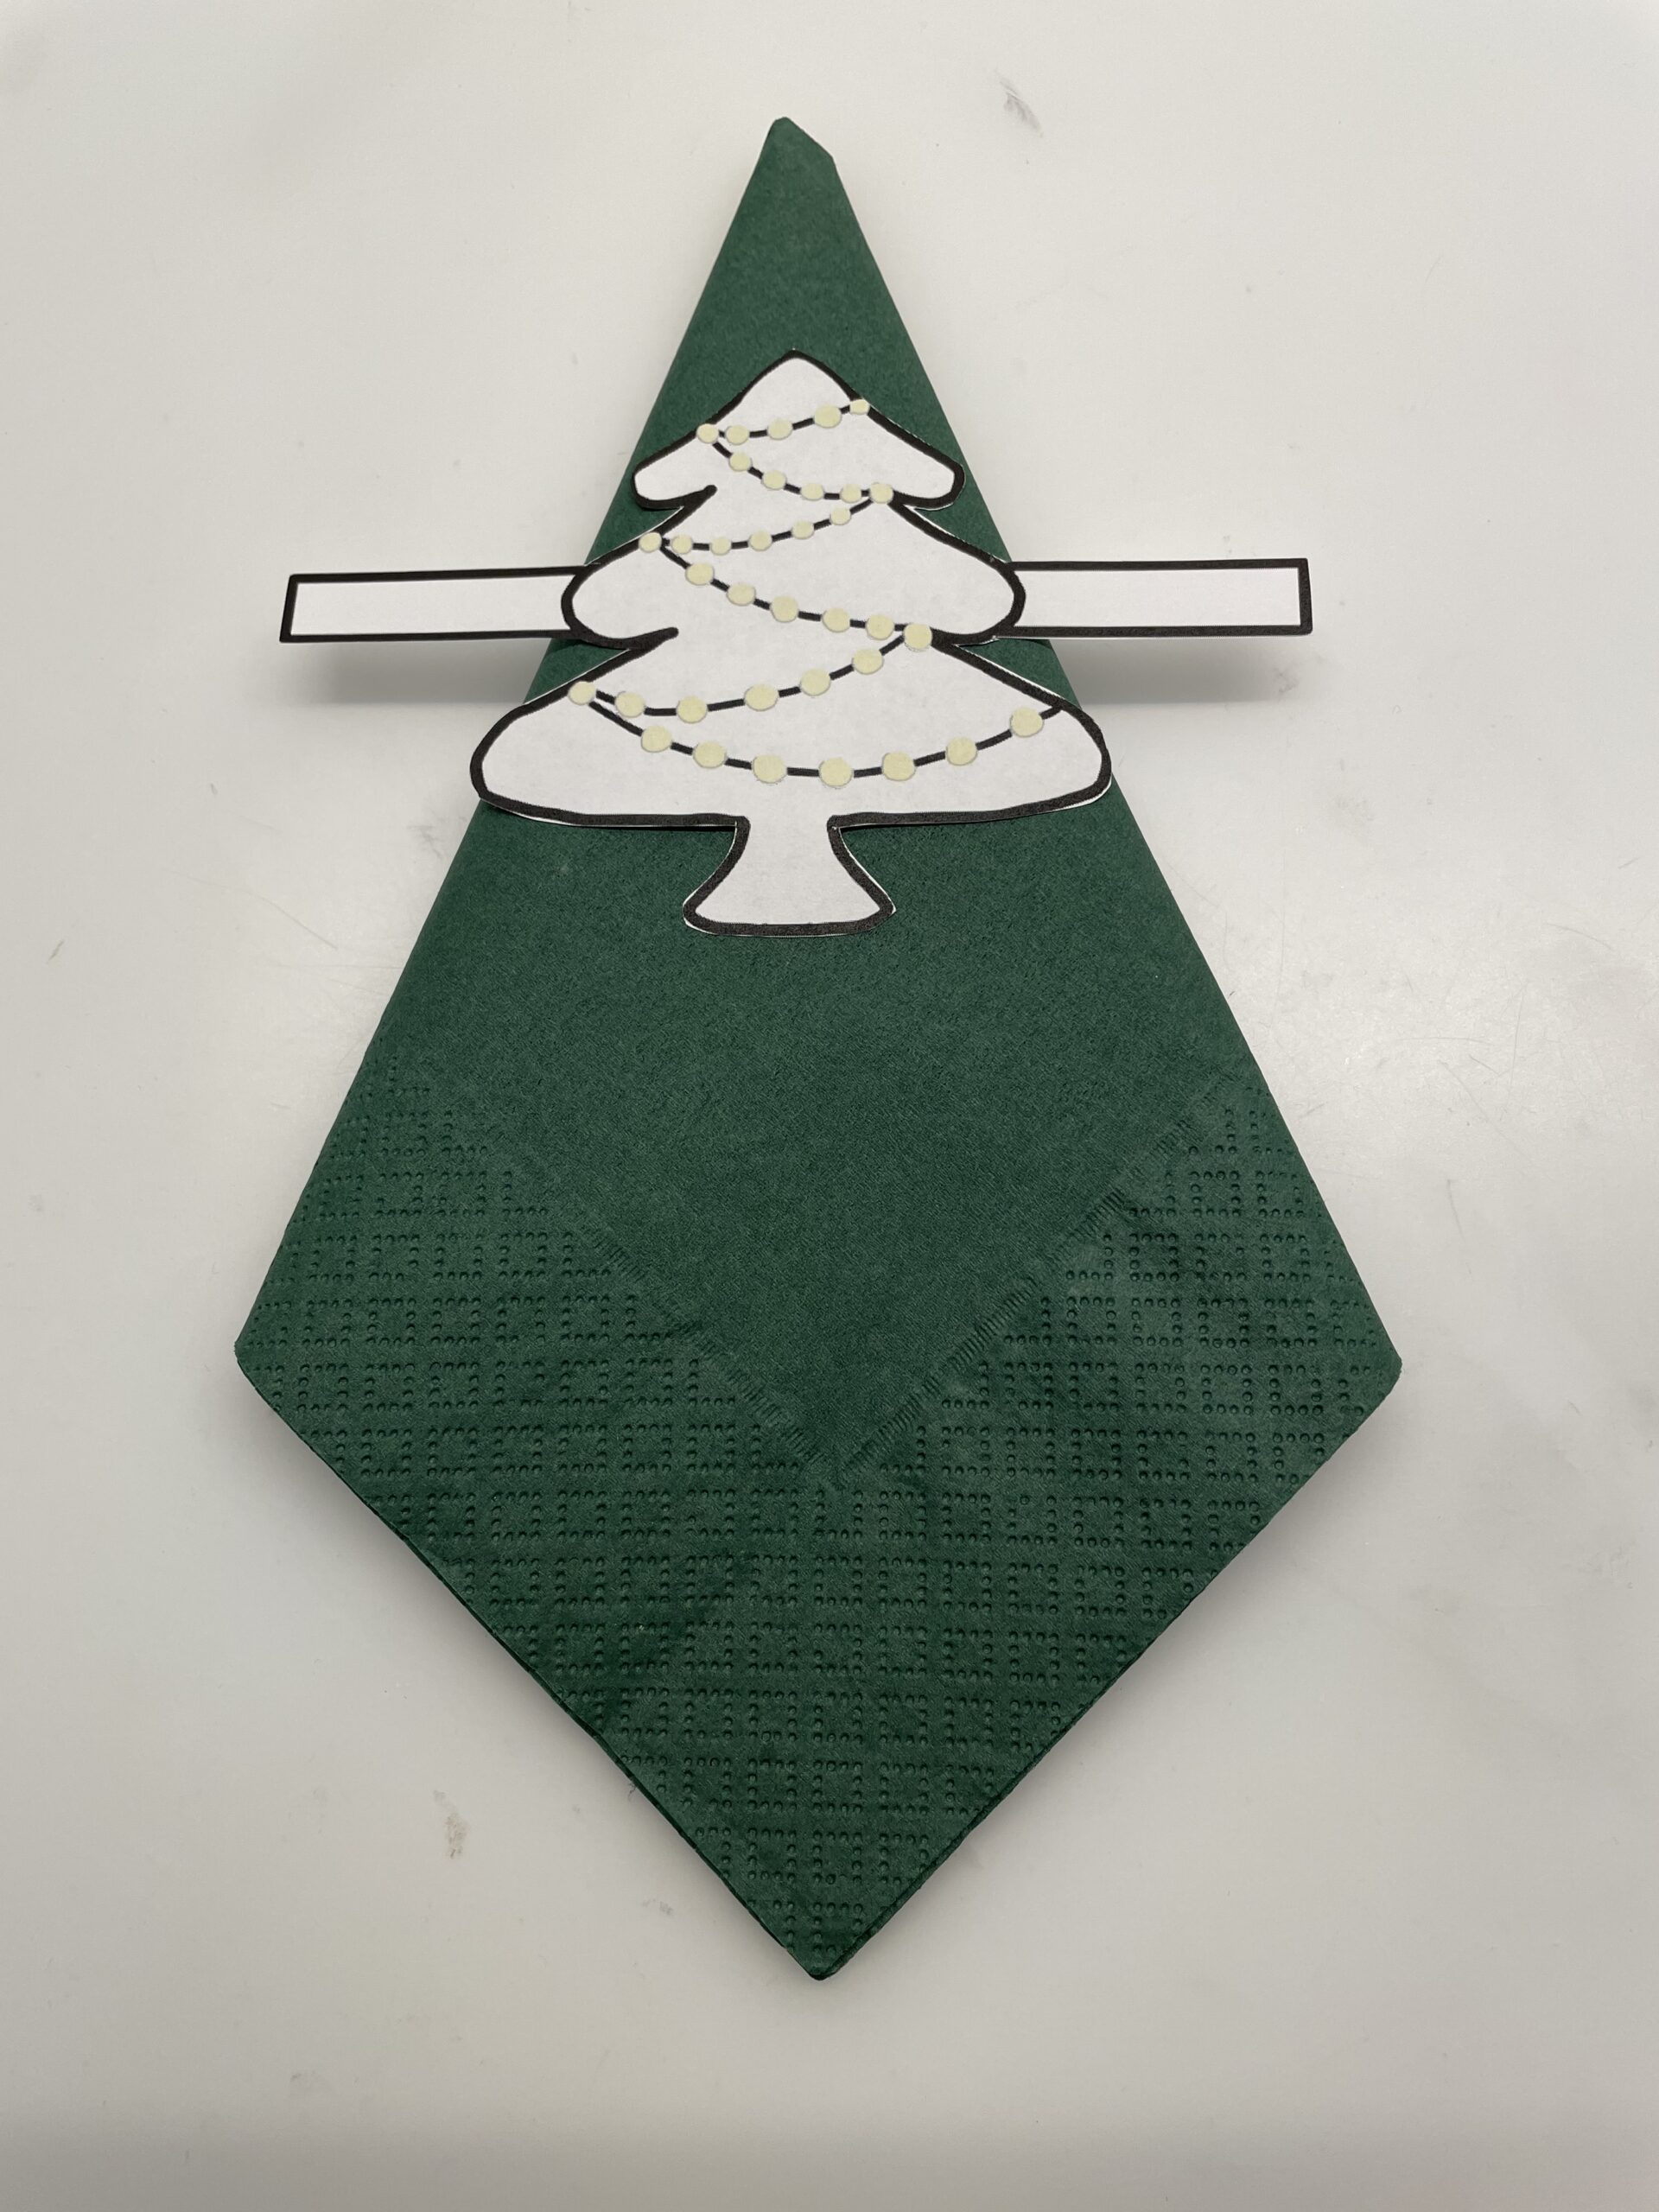
Now bend the stripes backwards.

Bild zum Schritt 11 für das Bastel- und DIY-Abenteuer für Kinder: 'Biegt nun die Streifen nach hinten um.'

11

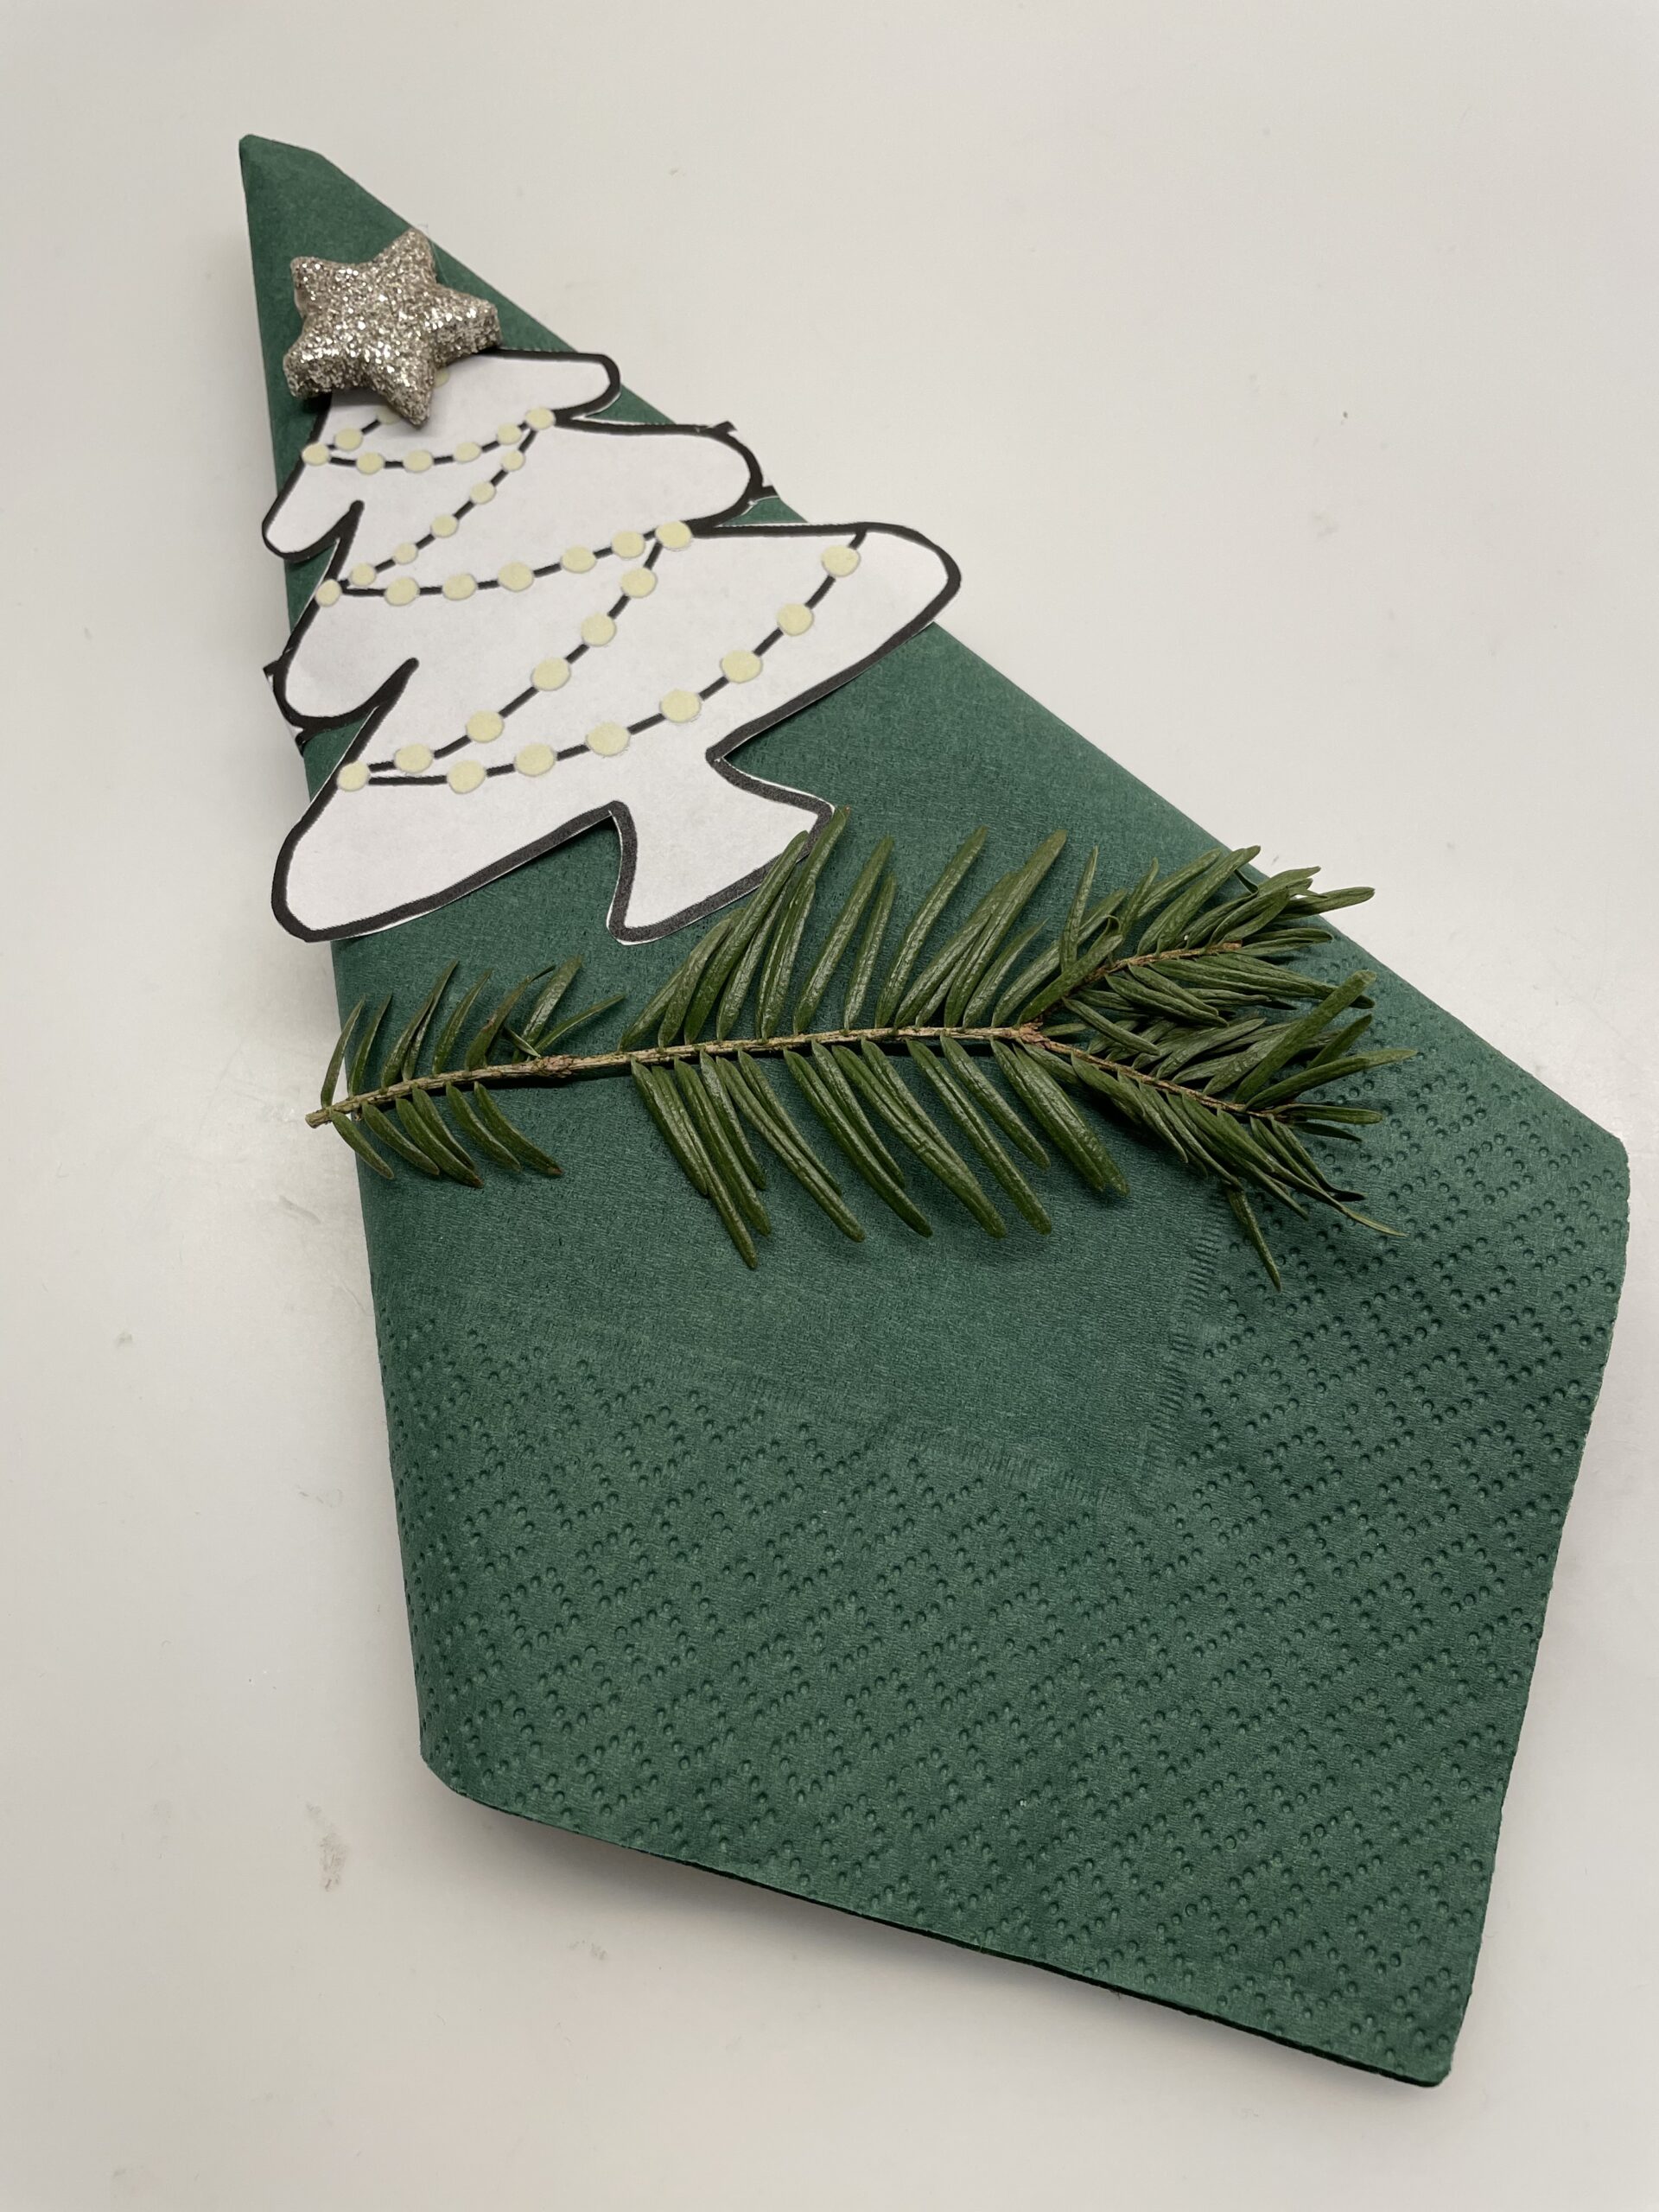
Then you put the napkin on a plate and decorate it with a small fir branch and a punched (or cut out) star. Your fir tree napkin is ready.

Bild zum Schritt 12 für das Bastel- und DIY-Abenteuer für Kinder: 'Danach legt ihr die Serviette auf einen Teller und dekoriert...'

12

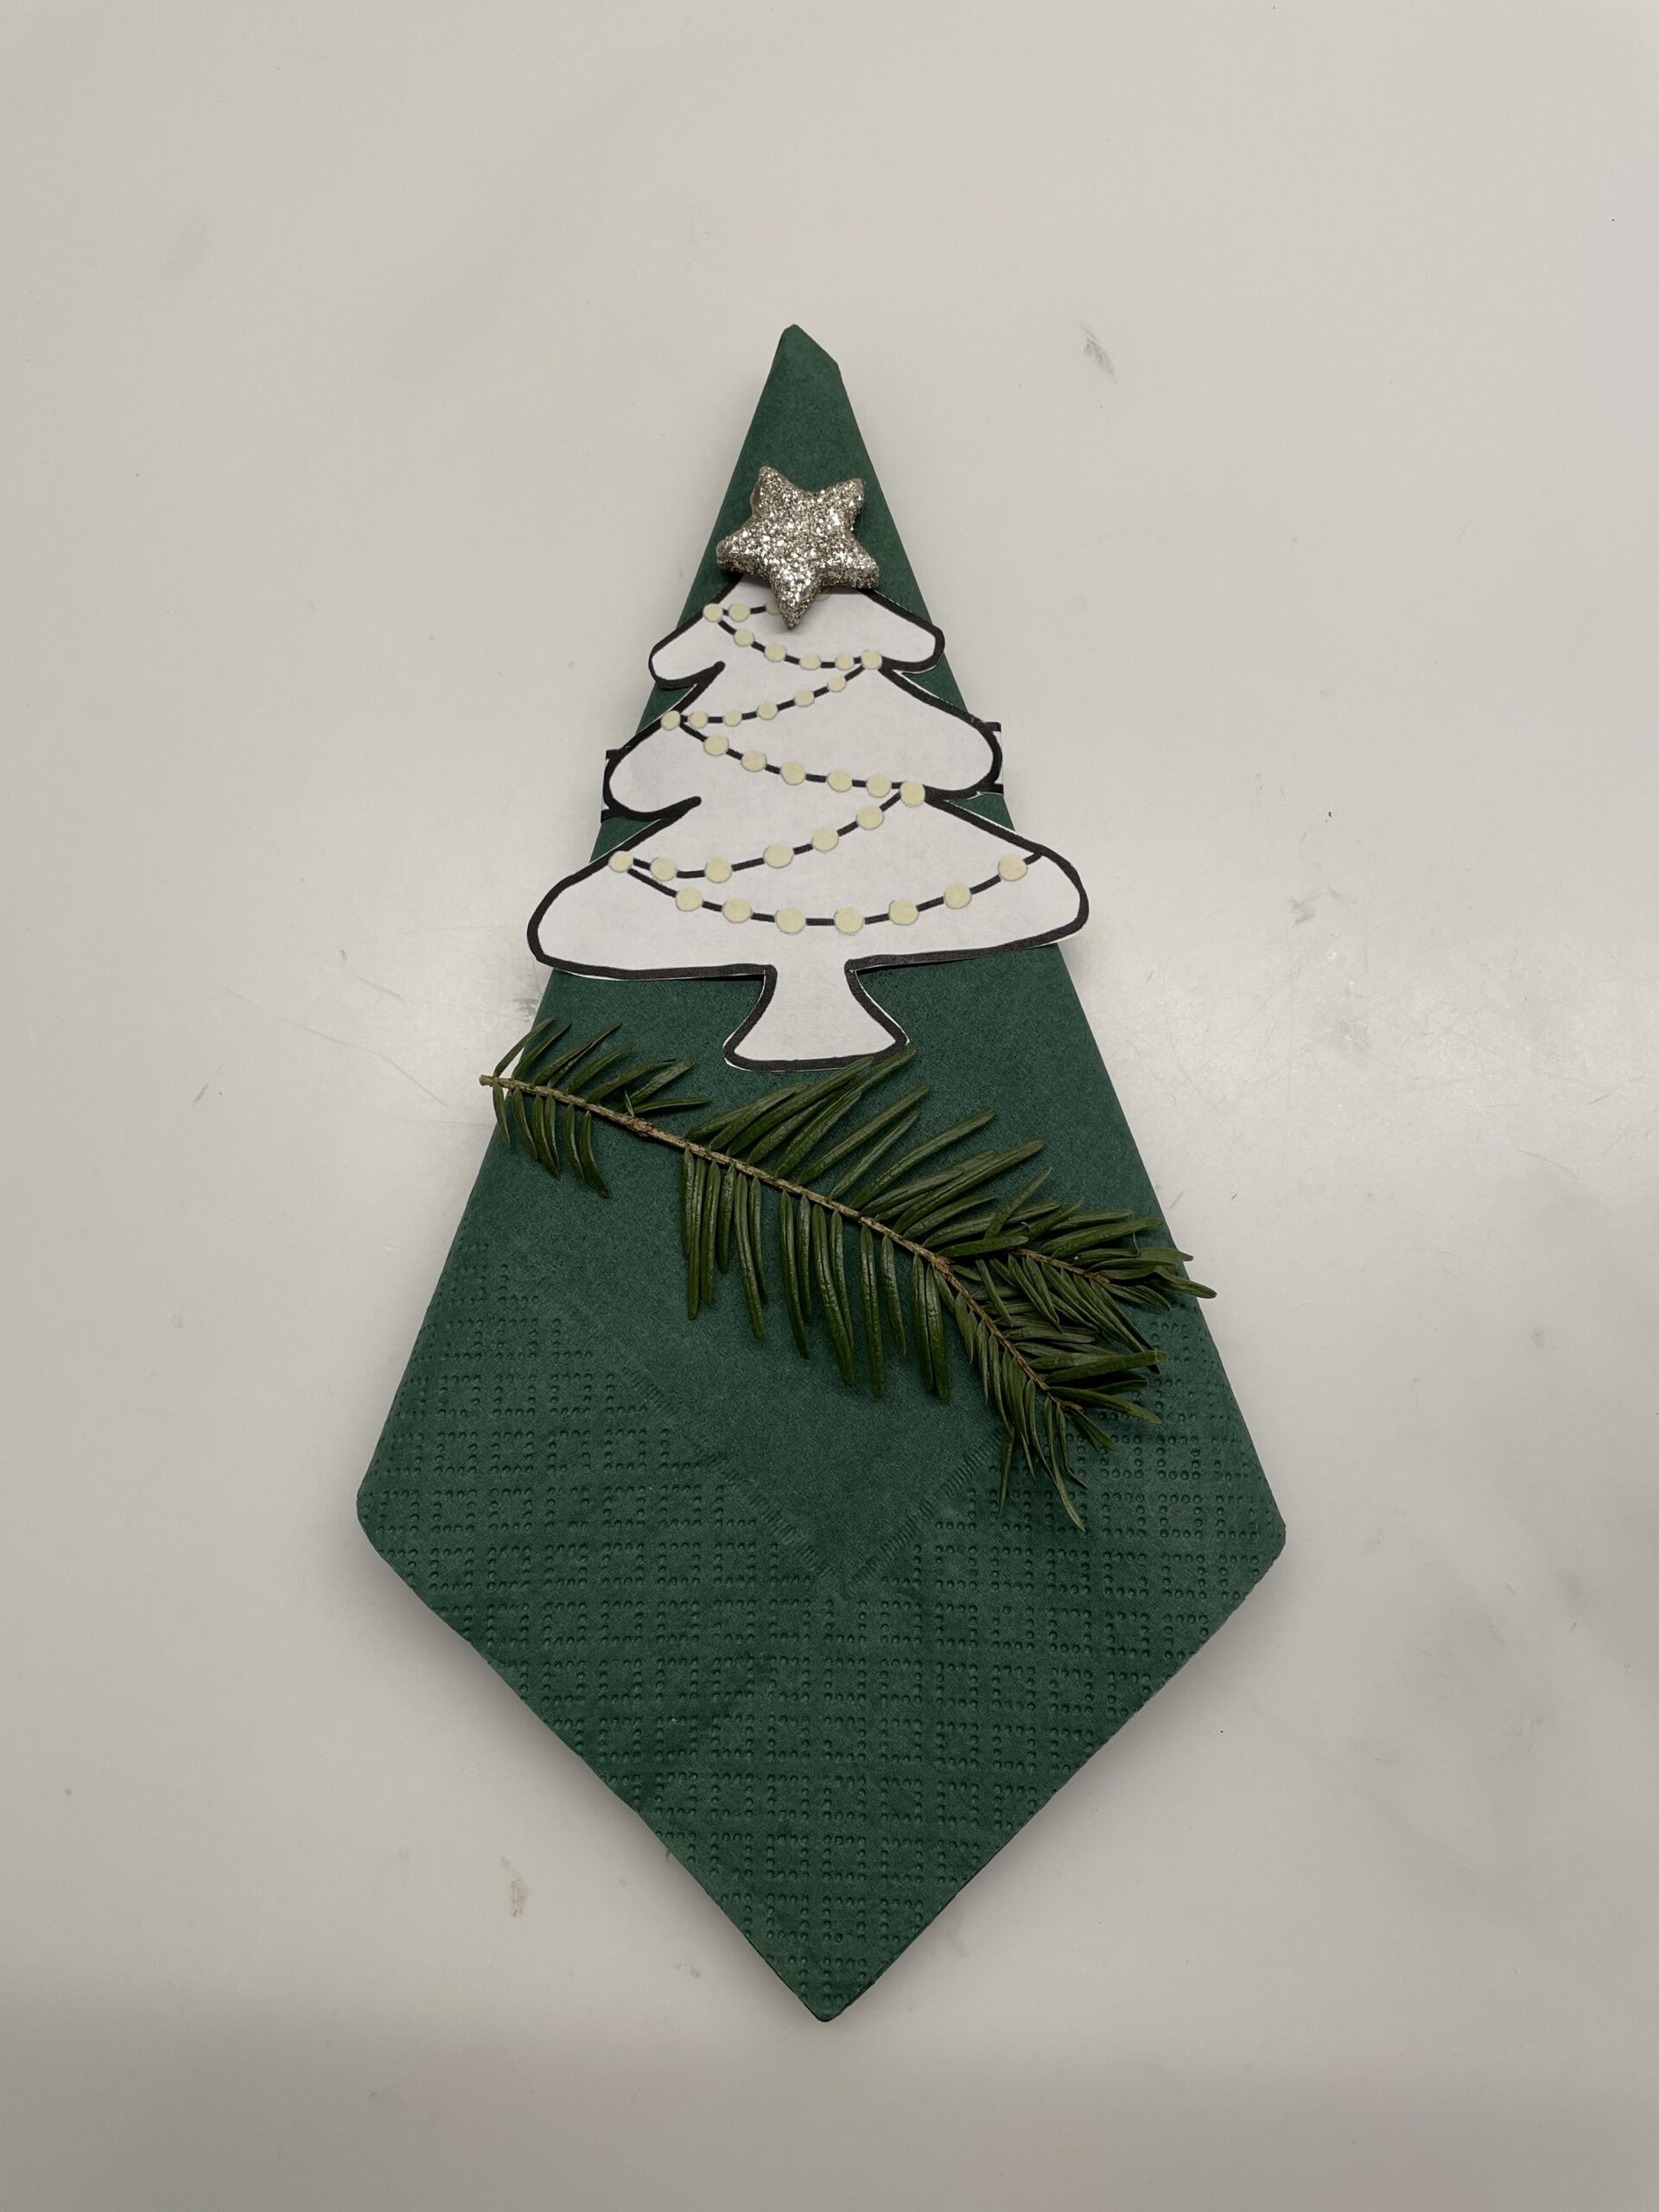
Have fun folding napkins and decorating them.

Bild zum Schritt 13 für das Bastel- und DIY-Abenteuer für Kinder: 'Viel Spaß beim Serviettenfalten und Dekorieren.'

13

A fast napkin decoration also offers the Santa Serviette or Santa Claus Serviette.

Bild zum Schritt 14 für das Bastel- und DIY-Abenteuer für Kinder: 'Eine schnelle Servietten-Dekoration bietet auch die Nikolaus-Serviette oder Weihnachtsmann-Serviette.'