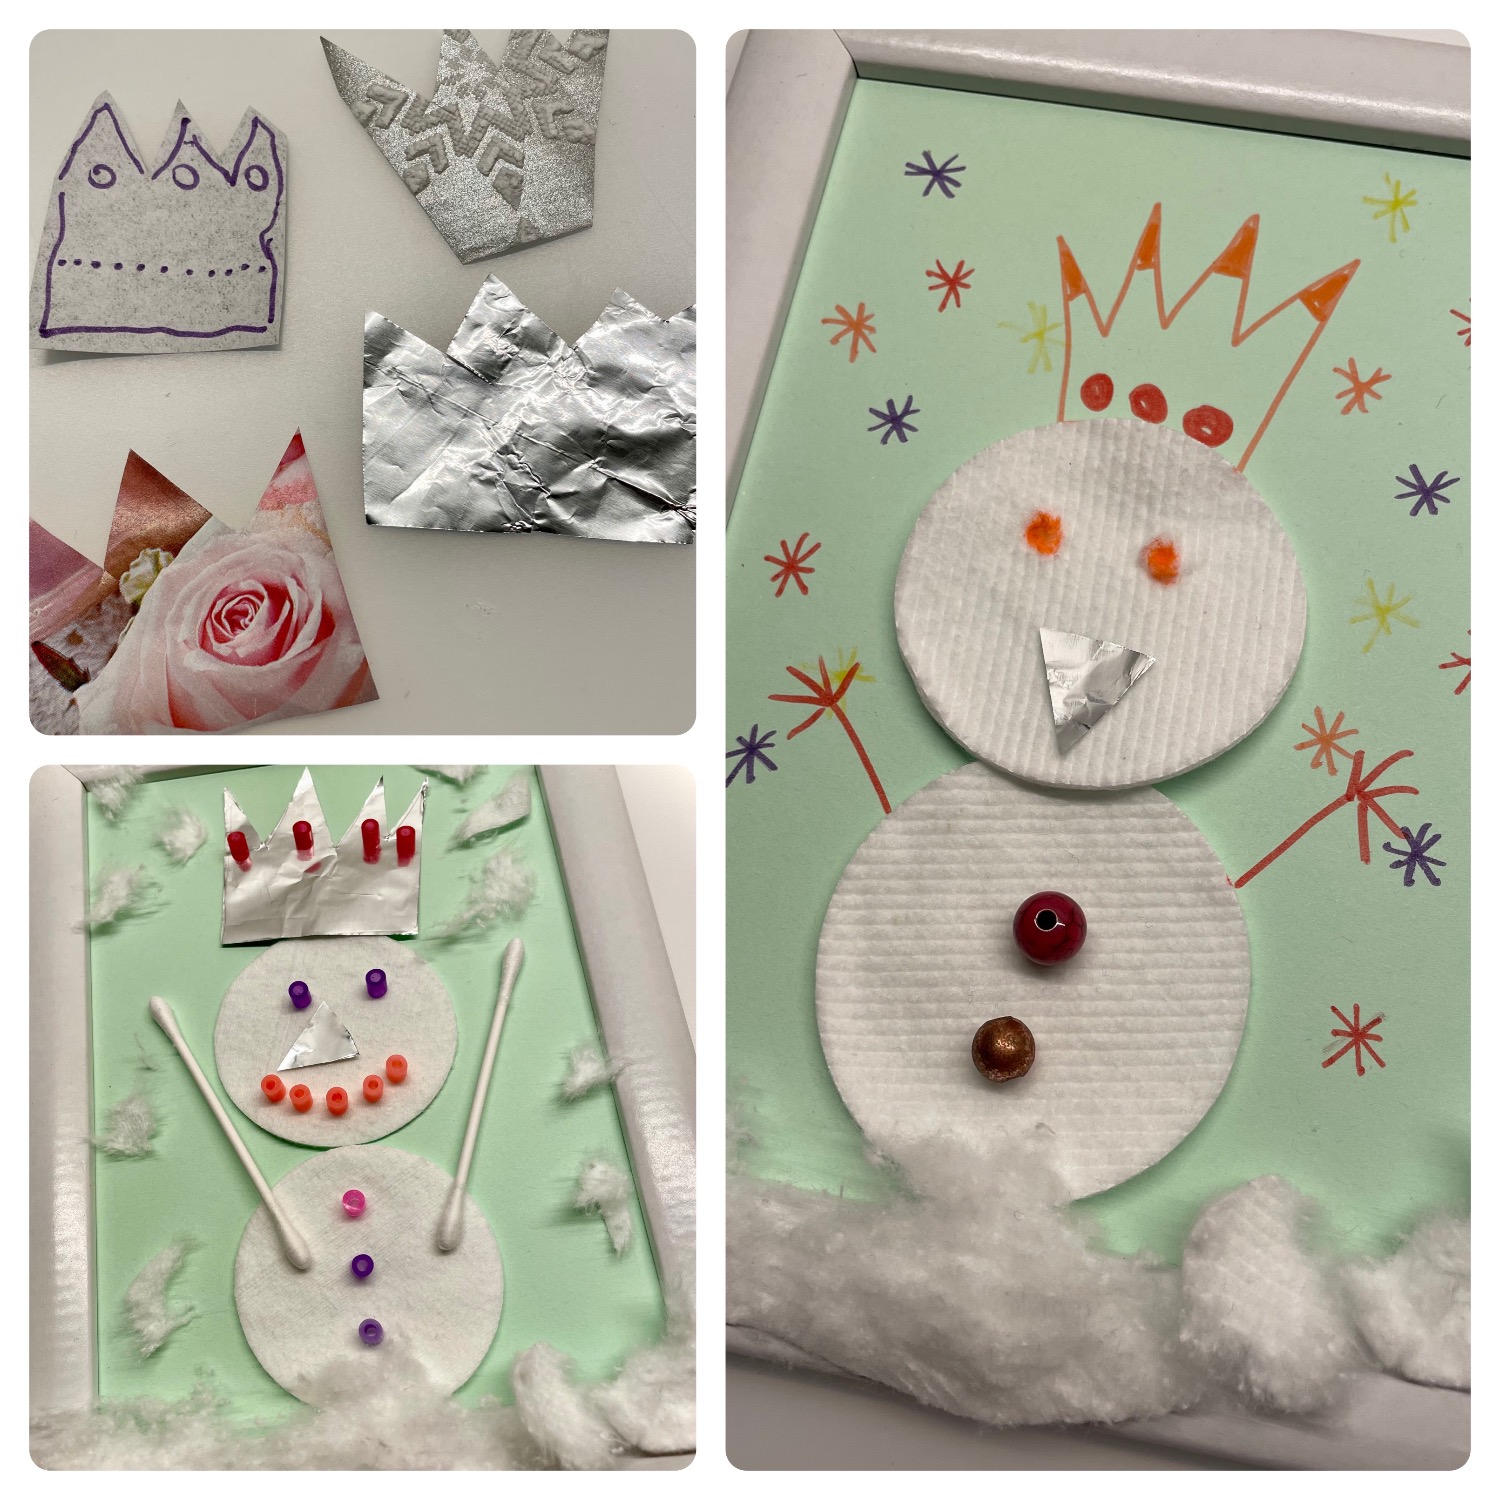
When designing a snowman, bring some variety and above all creativity into play.
I told the kids a little story you can find here.
Have I made you curious? Then look inside. Maybe this adventure is exactly for you!
Media Education for Kindergarten and Hort

Relief in everyday life, targeted promotion of individual children, independent learning and - without any pre-knowledge already usable by the youngest!
"Do you know the story of the enchanted snowman?
There was once a snowman who didn't want a pot on his head. He also didn't want a hat or a hat. He thought all this was totally boring and ugly. No one understood the snowman. He ran away again and again - as fast as he could - if someone with a hat or a pot only came near him.
One day he fanned something in the snow that shimmered and sparkled beautifully. What was that? He could not trust his eyes what he saw was so beautiful. It was a small crown. With one time the snowman knew what he wanted to wear on his head. A crown. Exactly this crown.
He felt beautiful, he was enchanted, because suddenly he was a snow king, a snow queen.
But the dark buttons and eyes, he didn't like them anymore. They didn't fit the beautiful crown at all. So he decided to exchange them for colorful buttons for pearls. From then on he decorated himself with beautiful colorful things. He was so happy. He danced through the snow and told all the world stories about the Snow King/Snow Queen. And at night, when the Snow King/Snow Queen dreamed, then even colorful snow crystals fell down.
Do you like to make a snow king like that?"
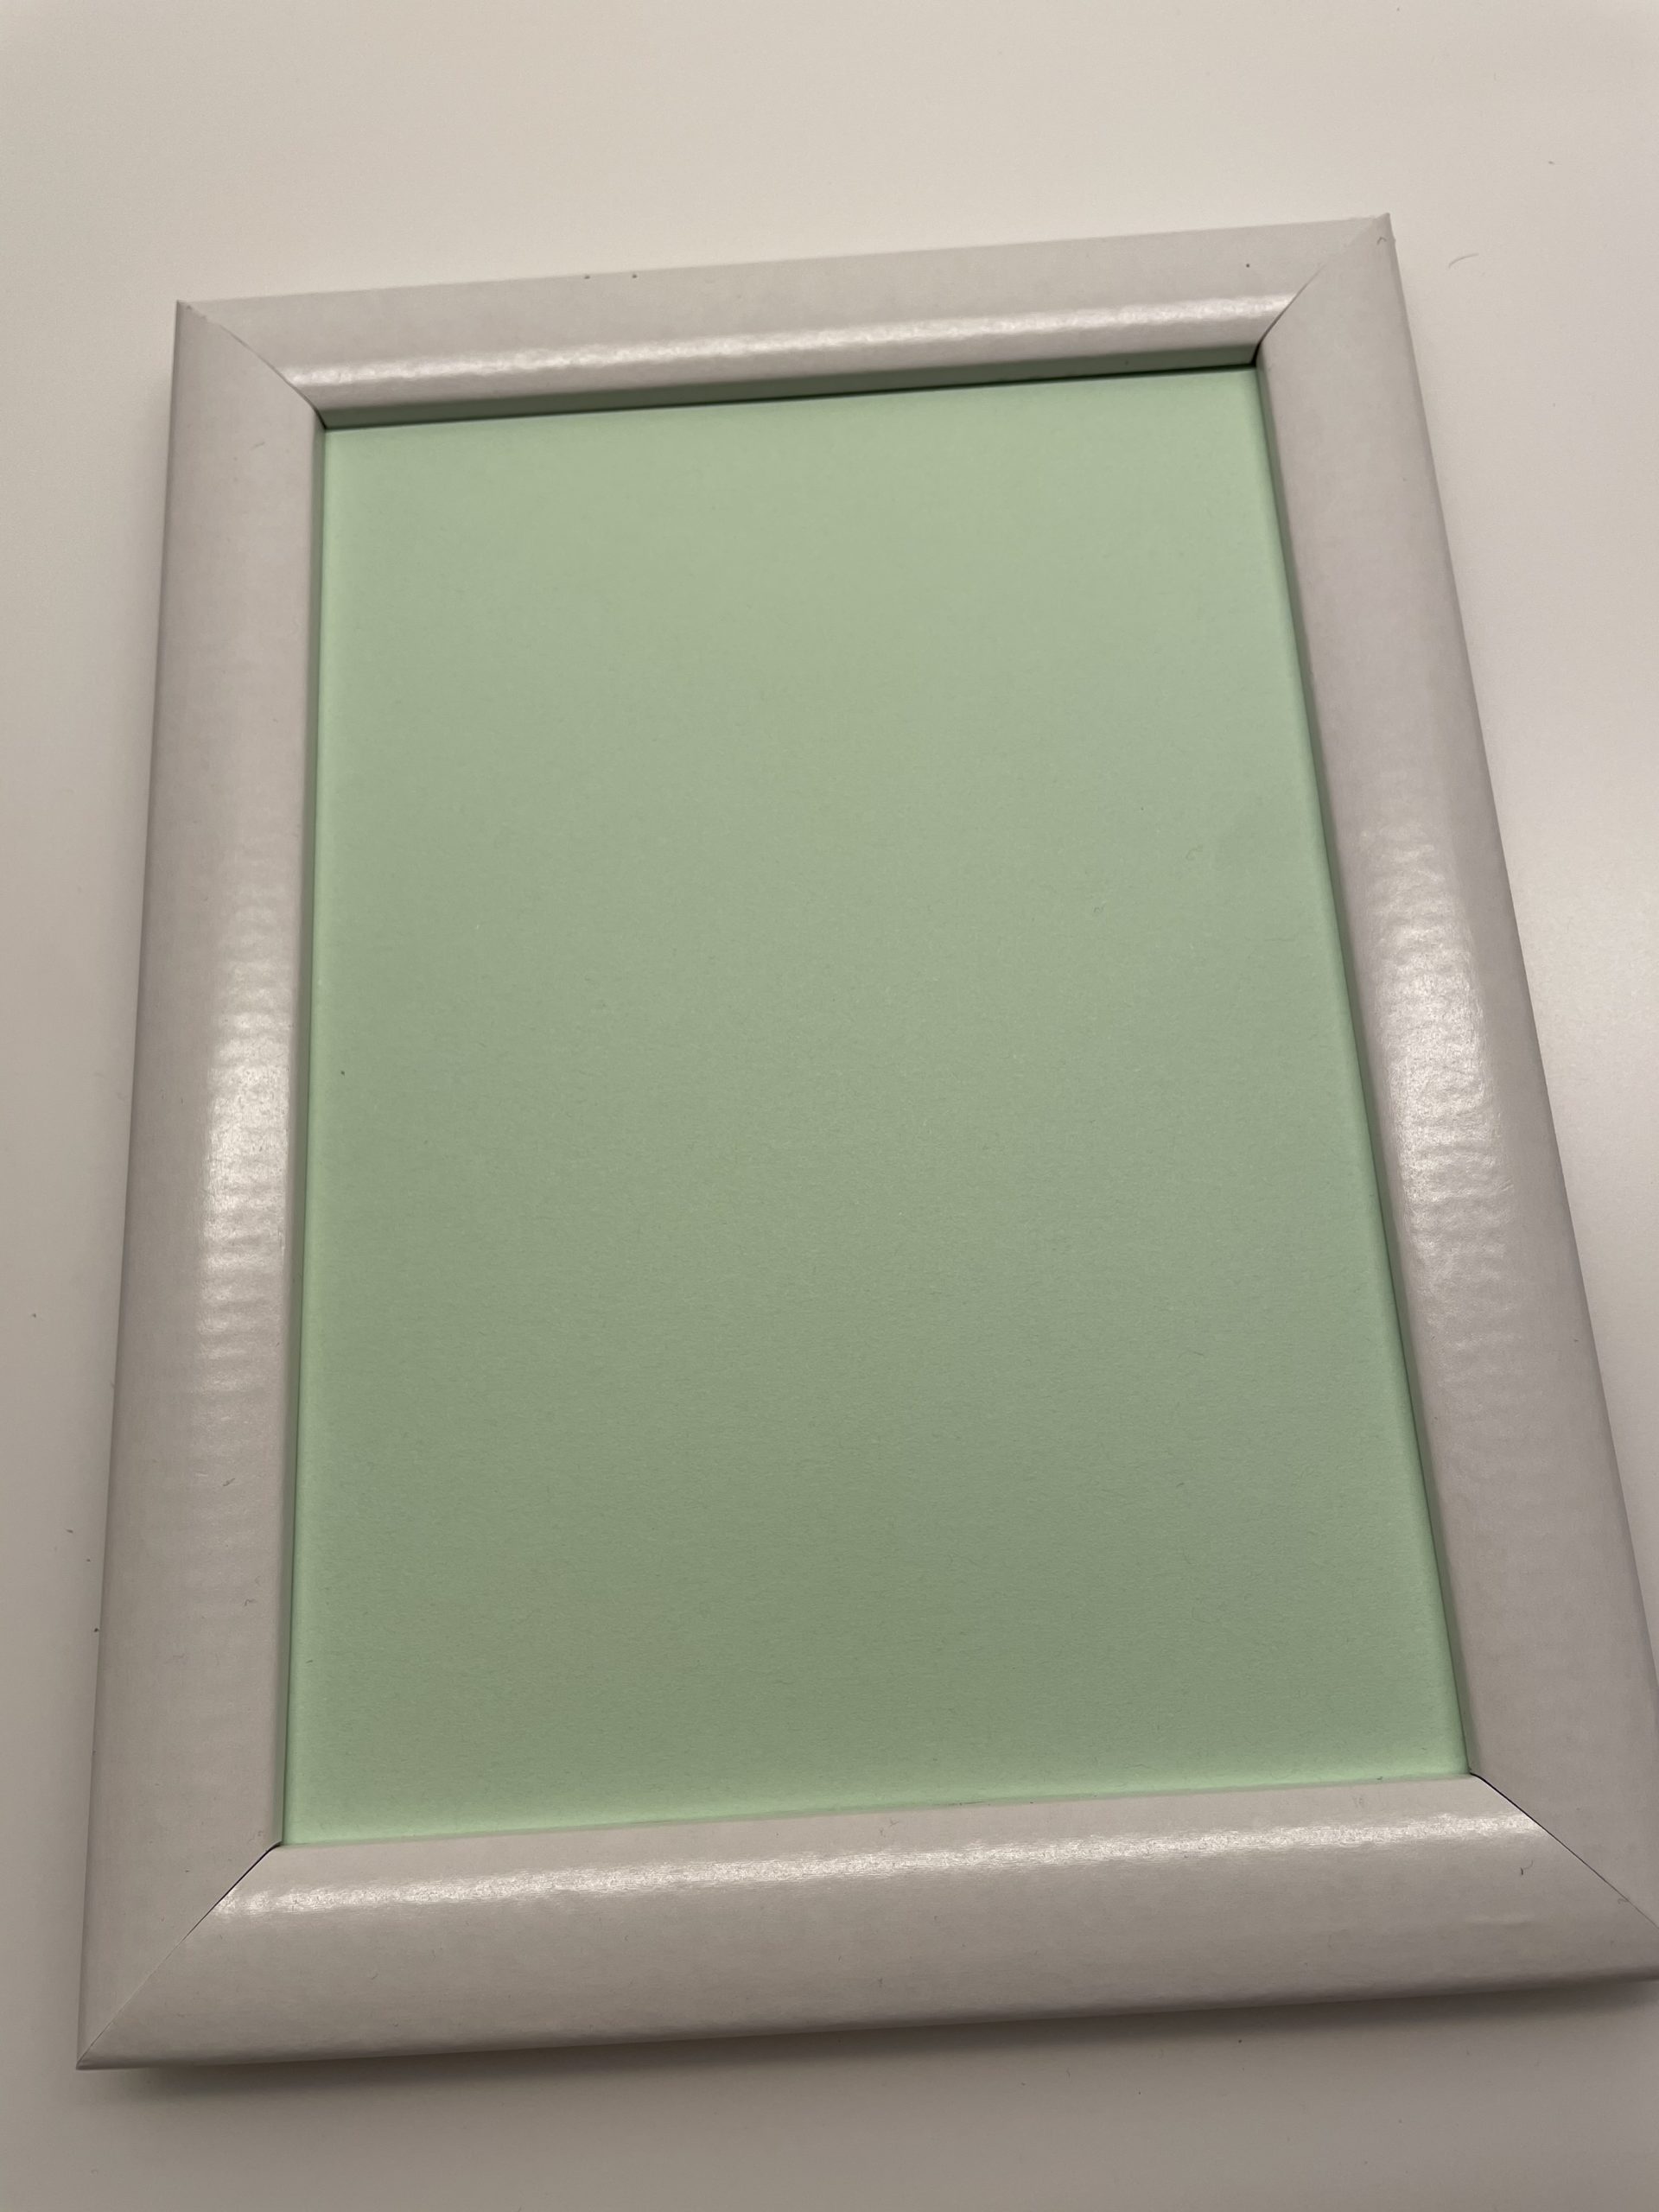
First prepares a maximum DinA5 large picture frame.
To do this, put a monochrome sheet of paper in a picture frame.
You take out the window of the frame, you don't need it.
So you can design your snowman directly on the inserted paper.
Now put two cotton pads on the paper in the frame.
Then glue the two cotton pads with the glue pin.
Now you turn your snowman into a snow king, a snow queen.


Make a crown for it first.
For example, from colorful paper, gift paper remnants, glitter foil or aluminium foil. For this you paint the crown with a pen and then cut it out with the scissors.
Attention: Aluminium foil can be cut hard!
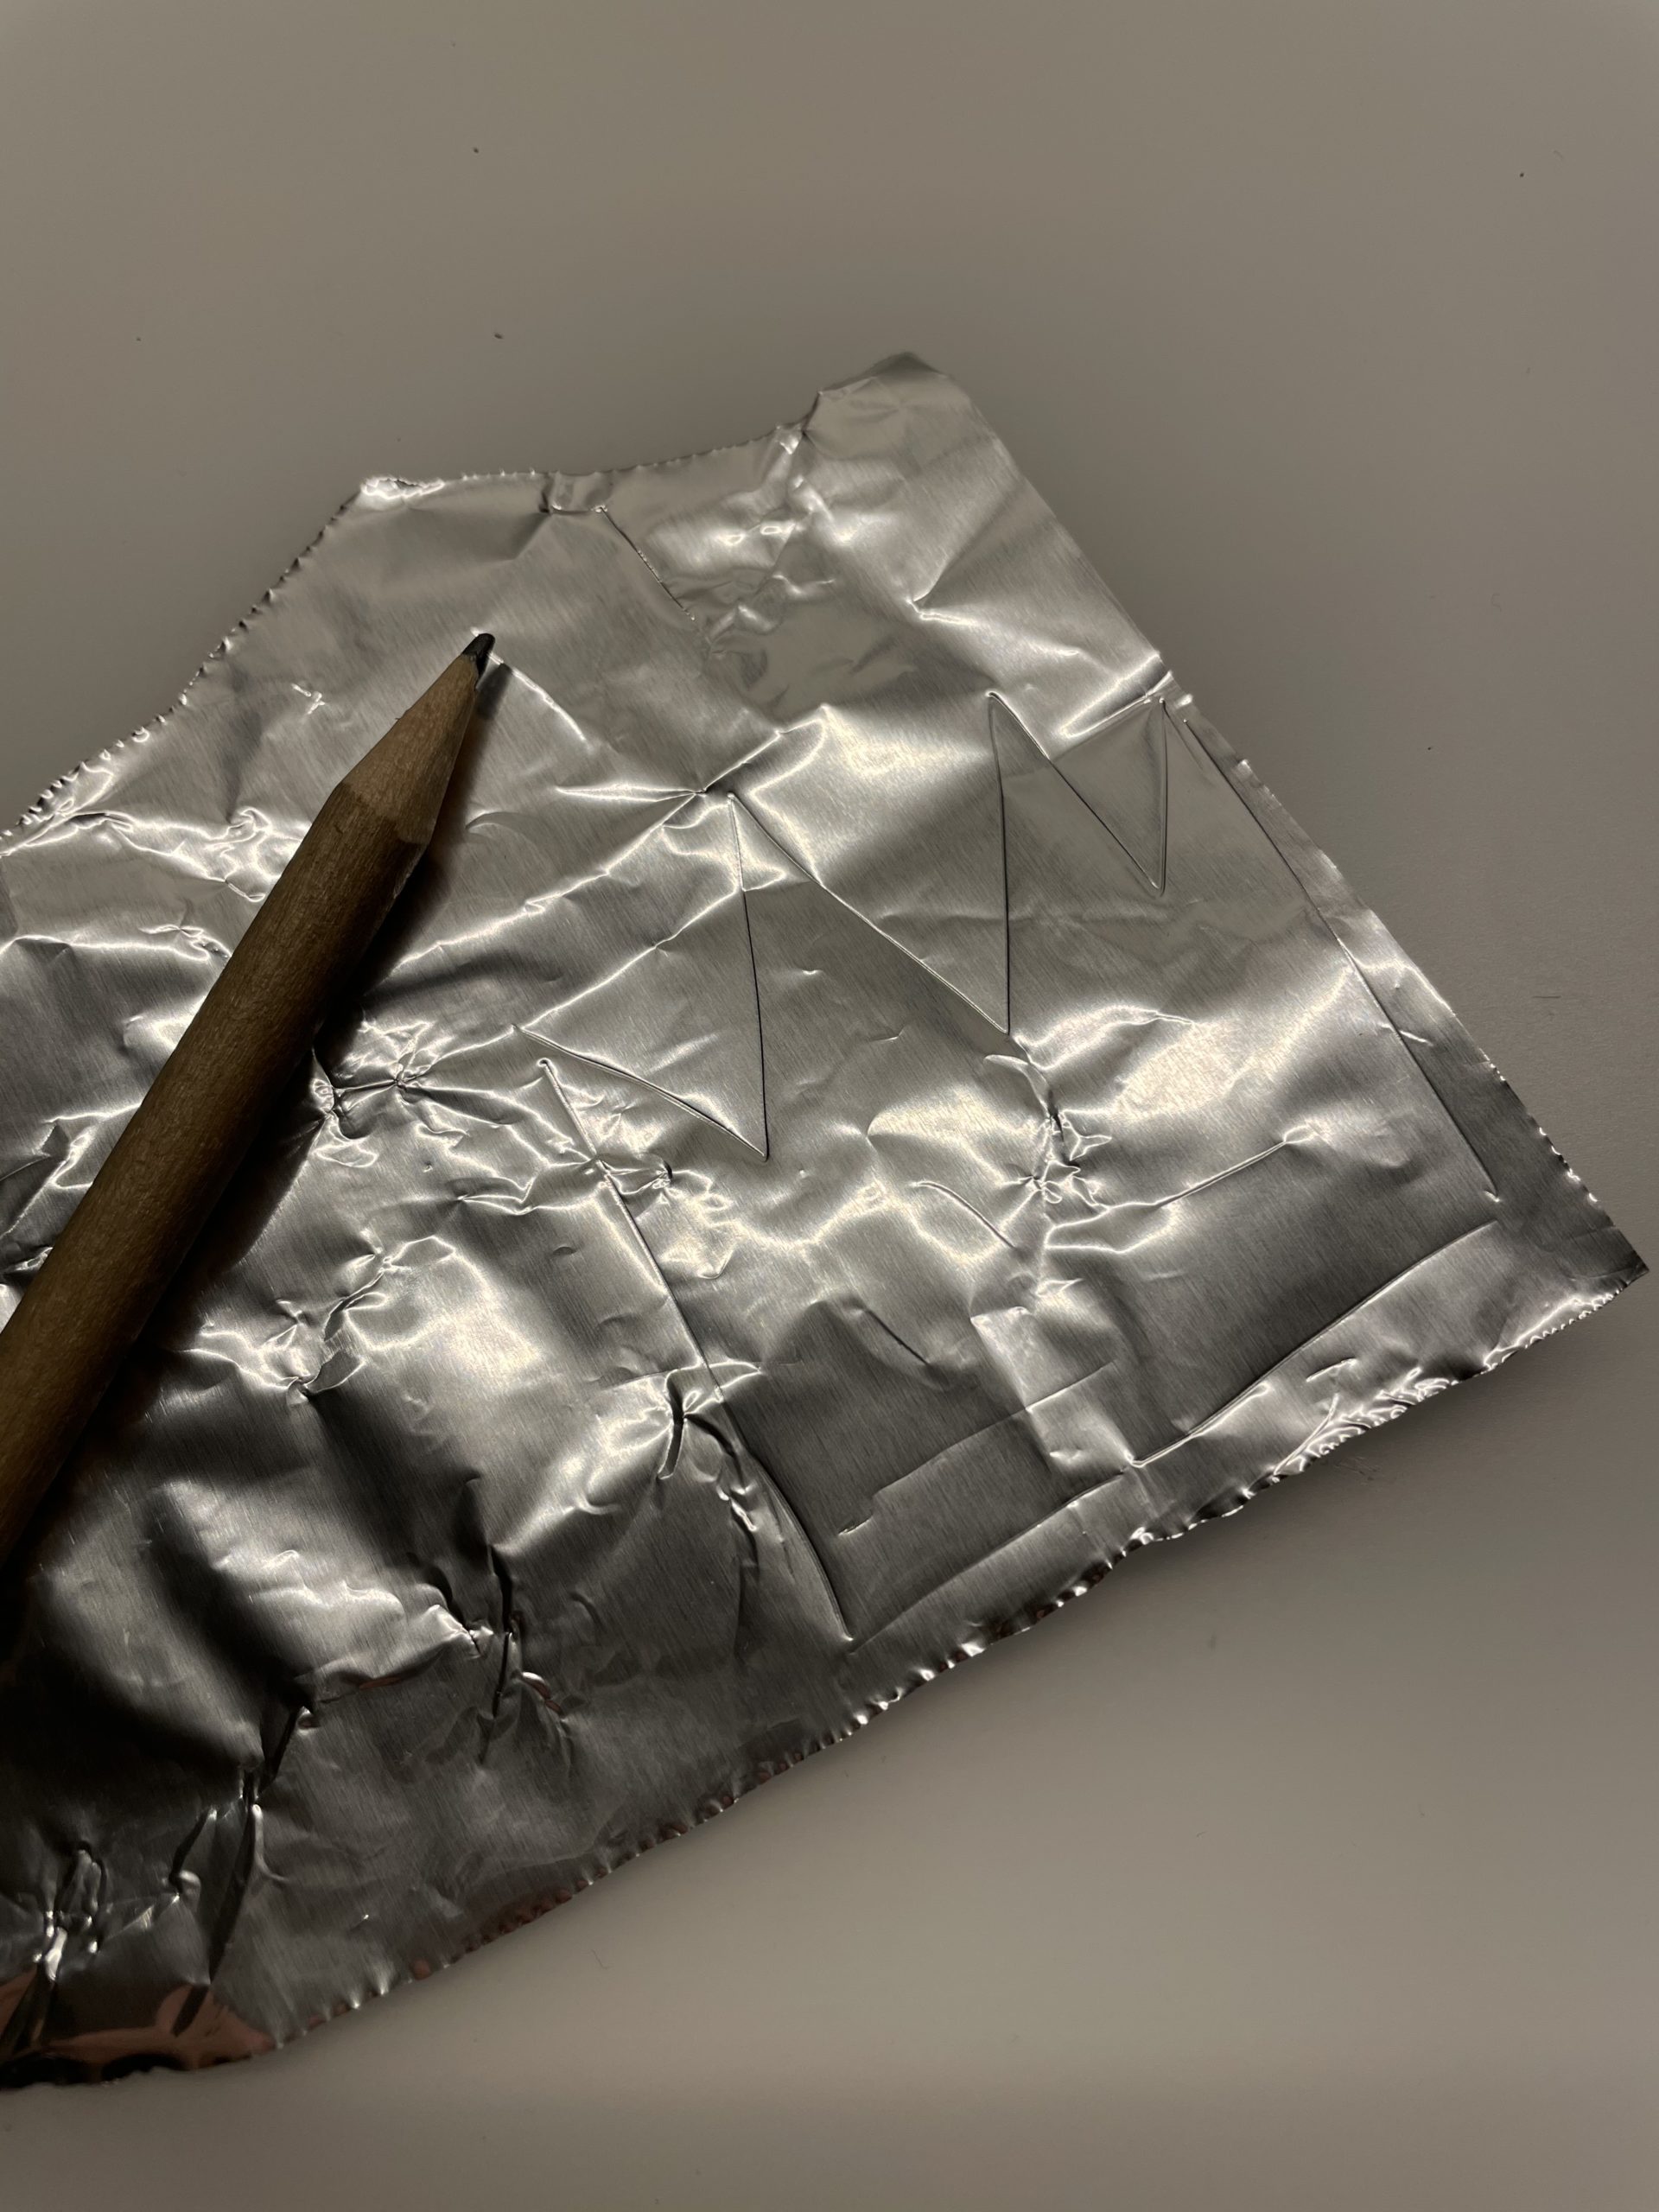


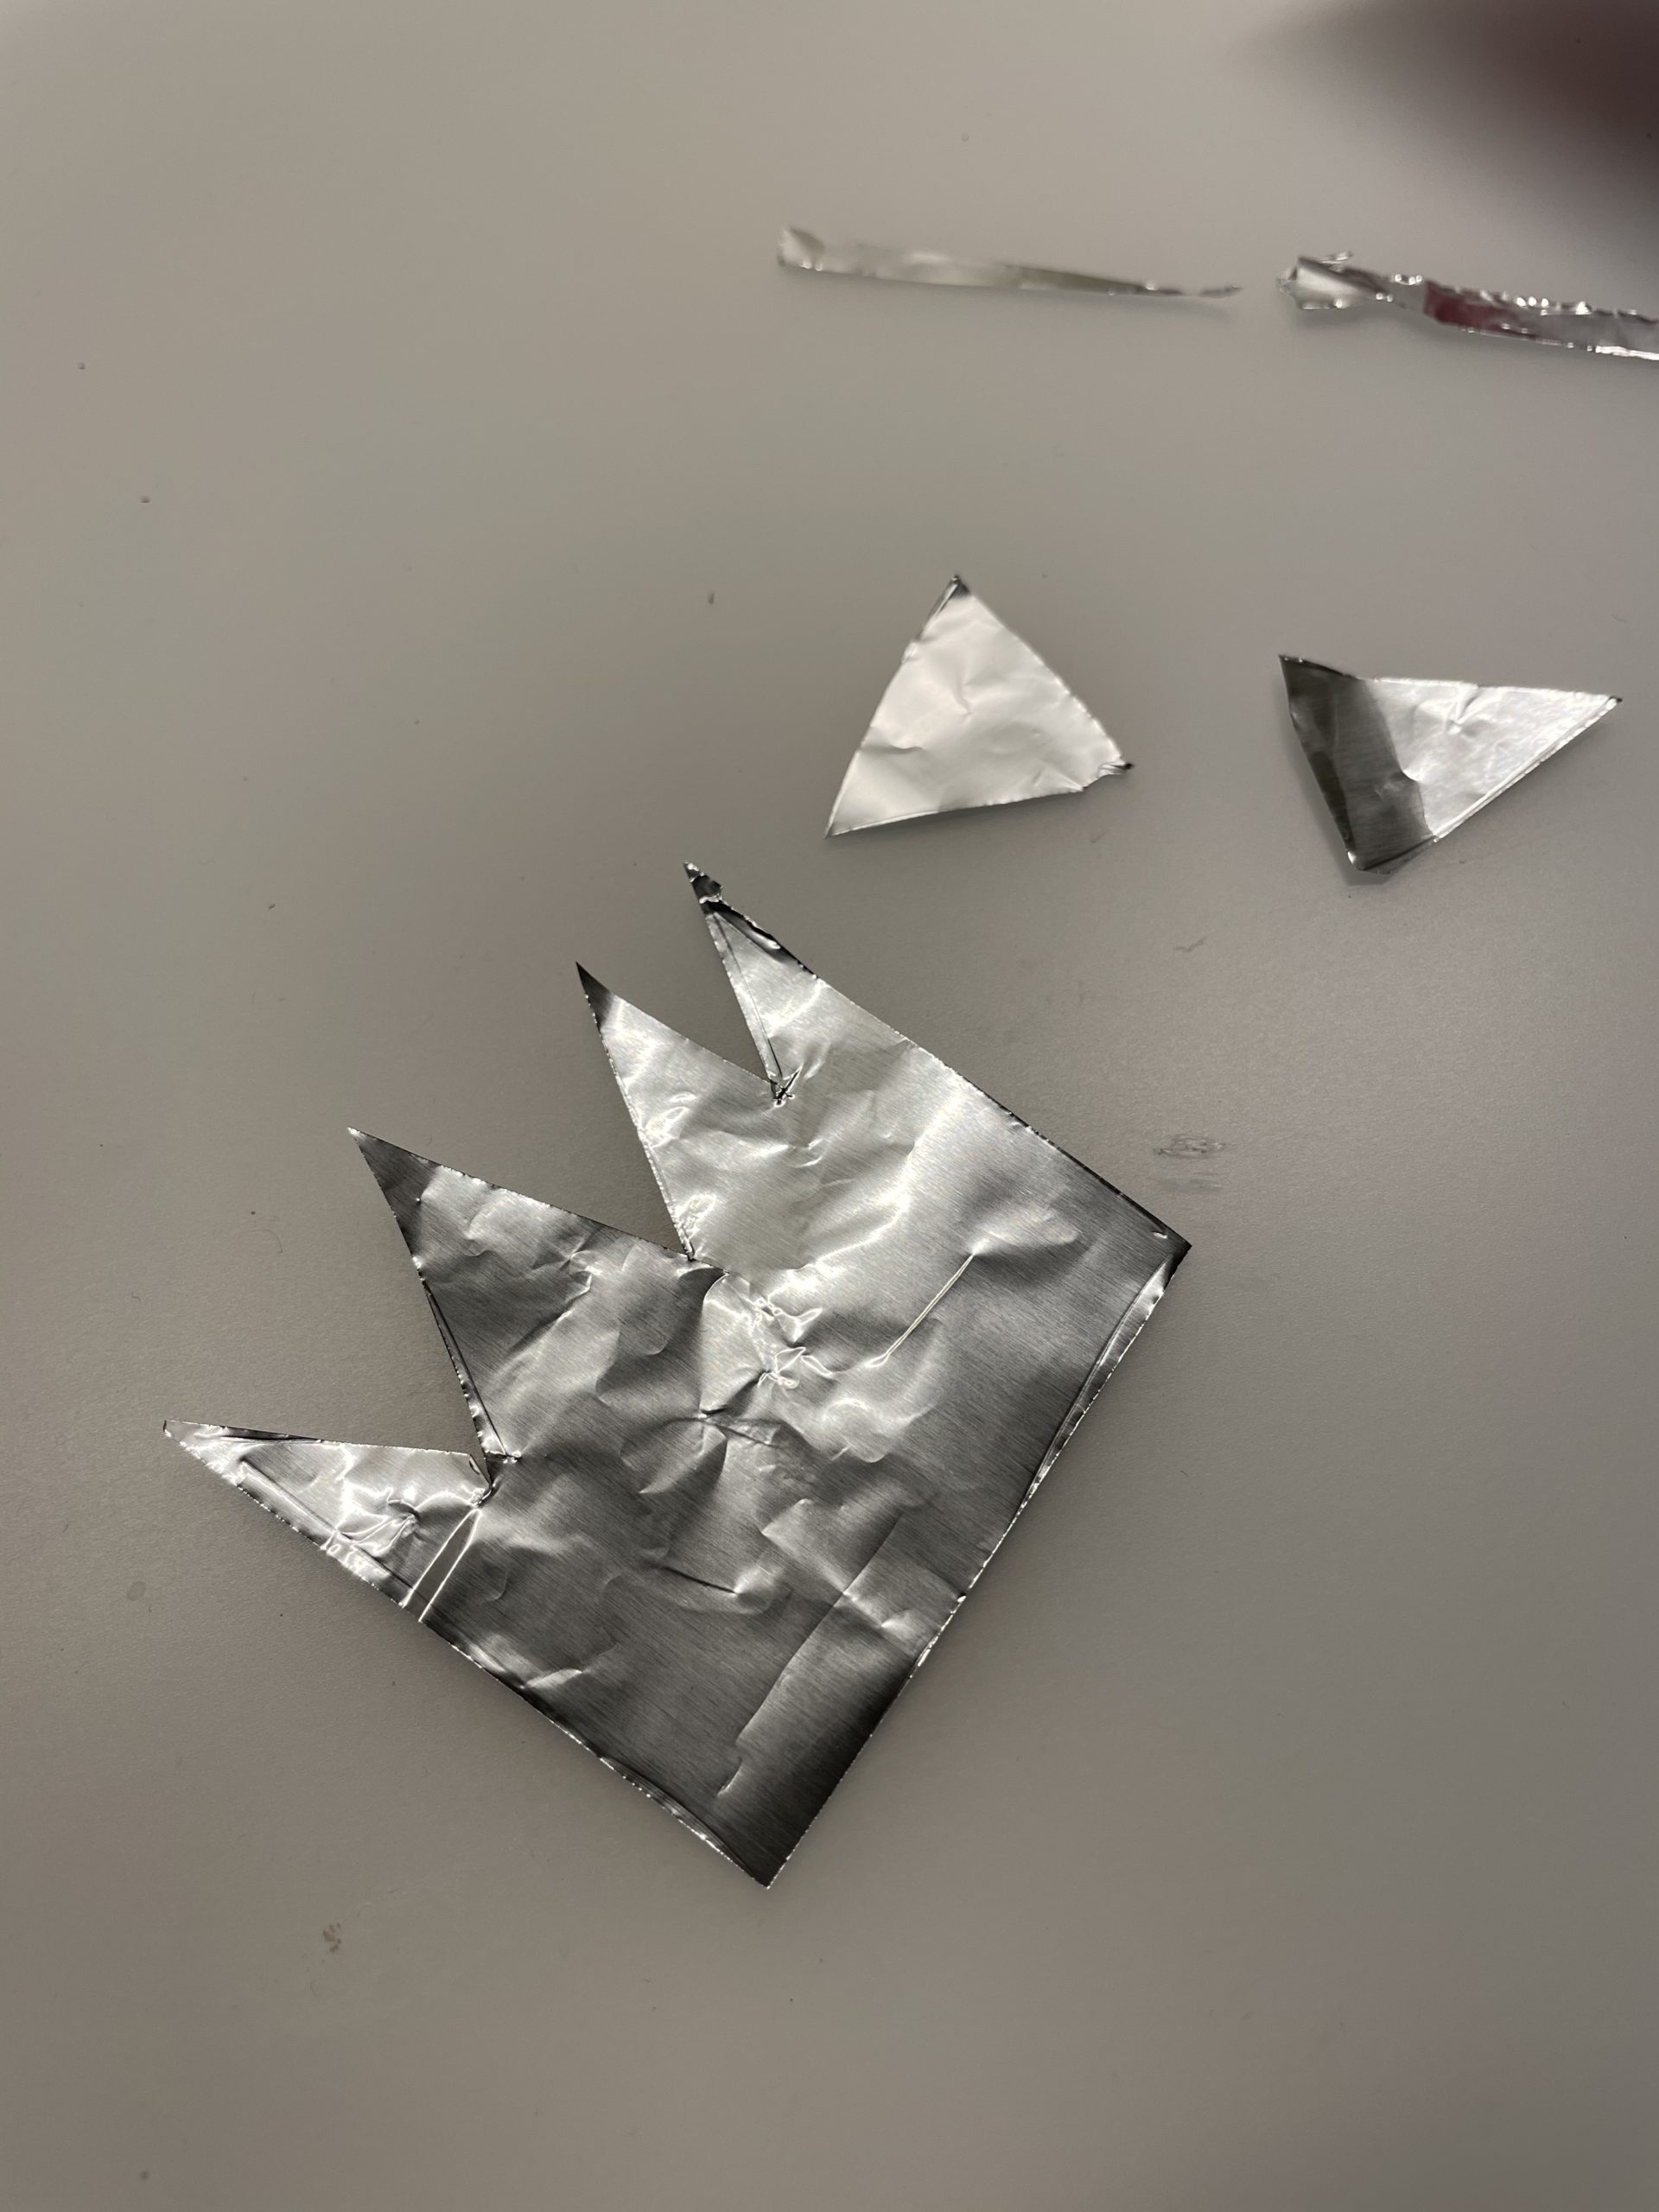


Examples of crowns.
Make your own crown as you like it.
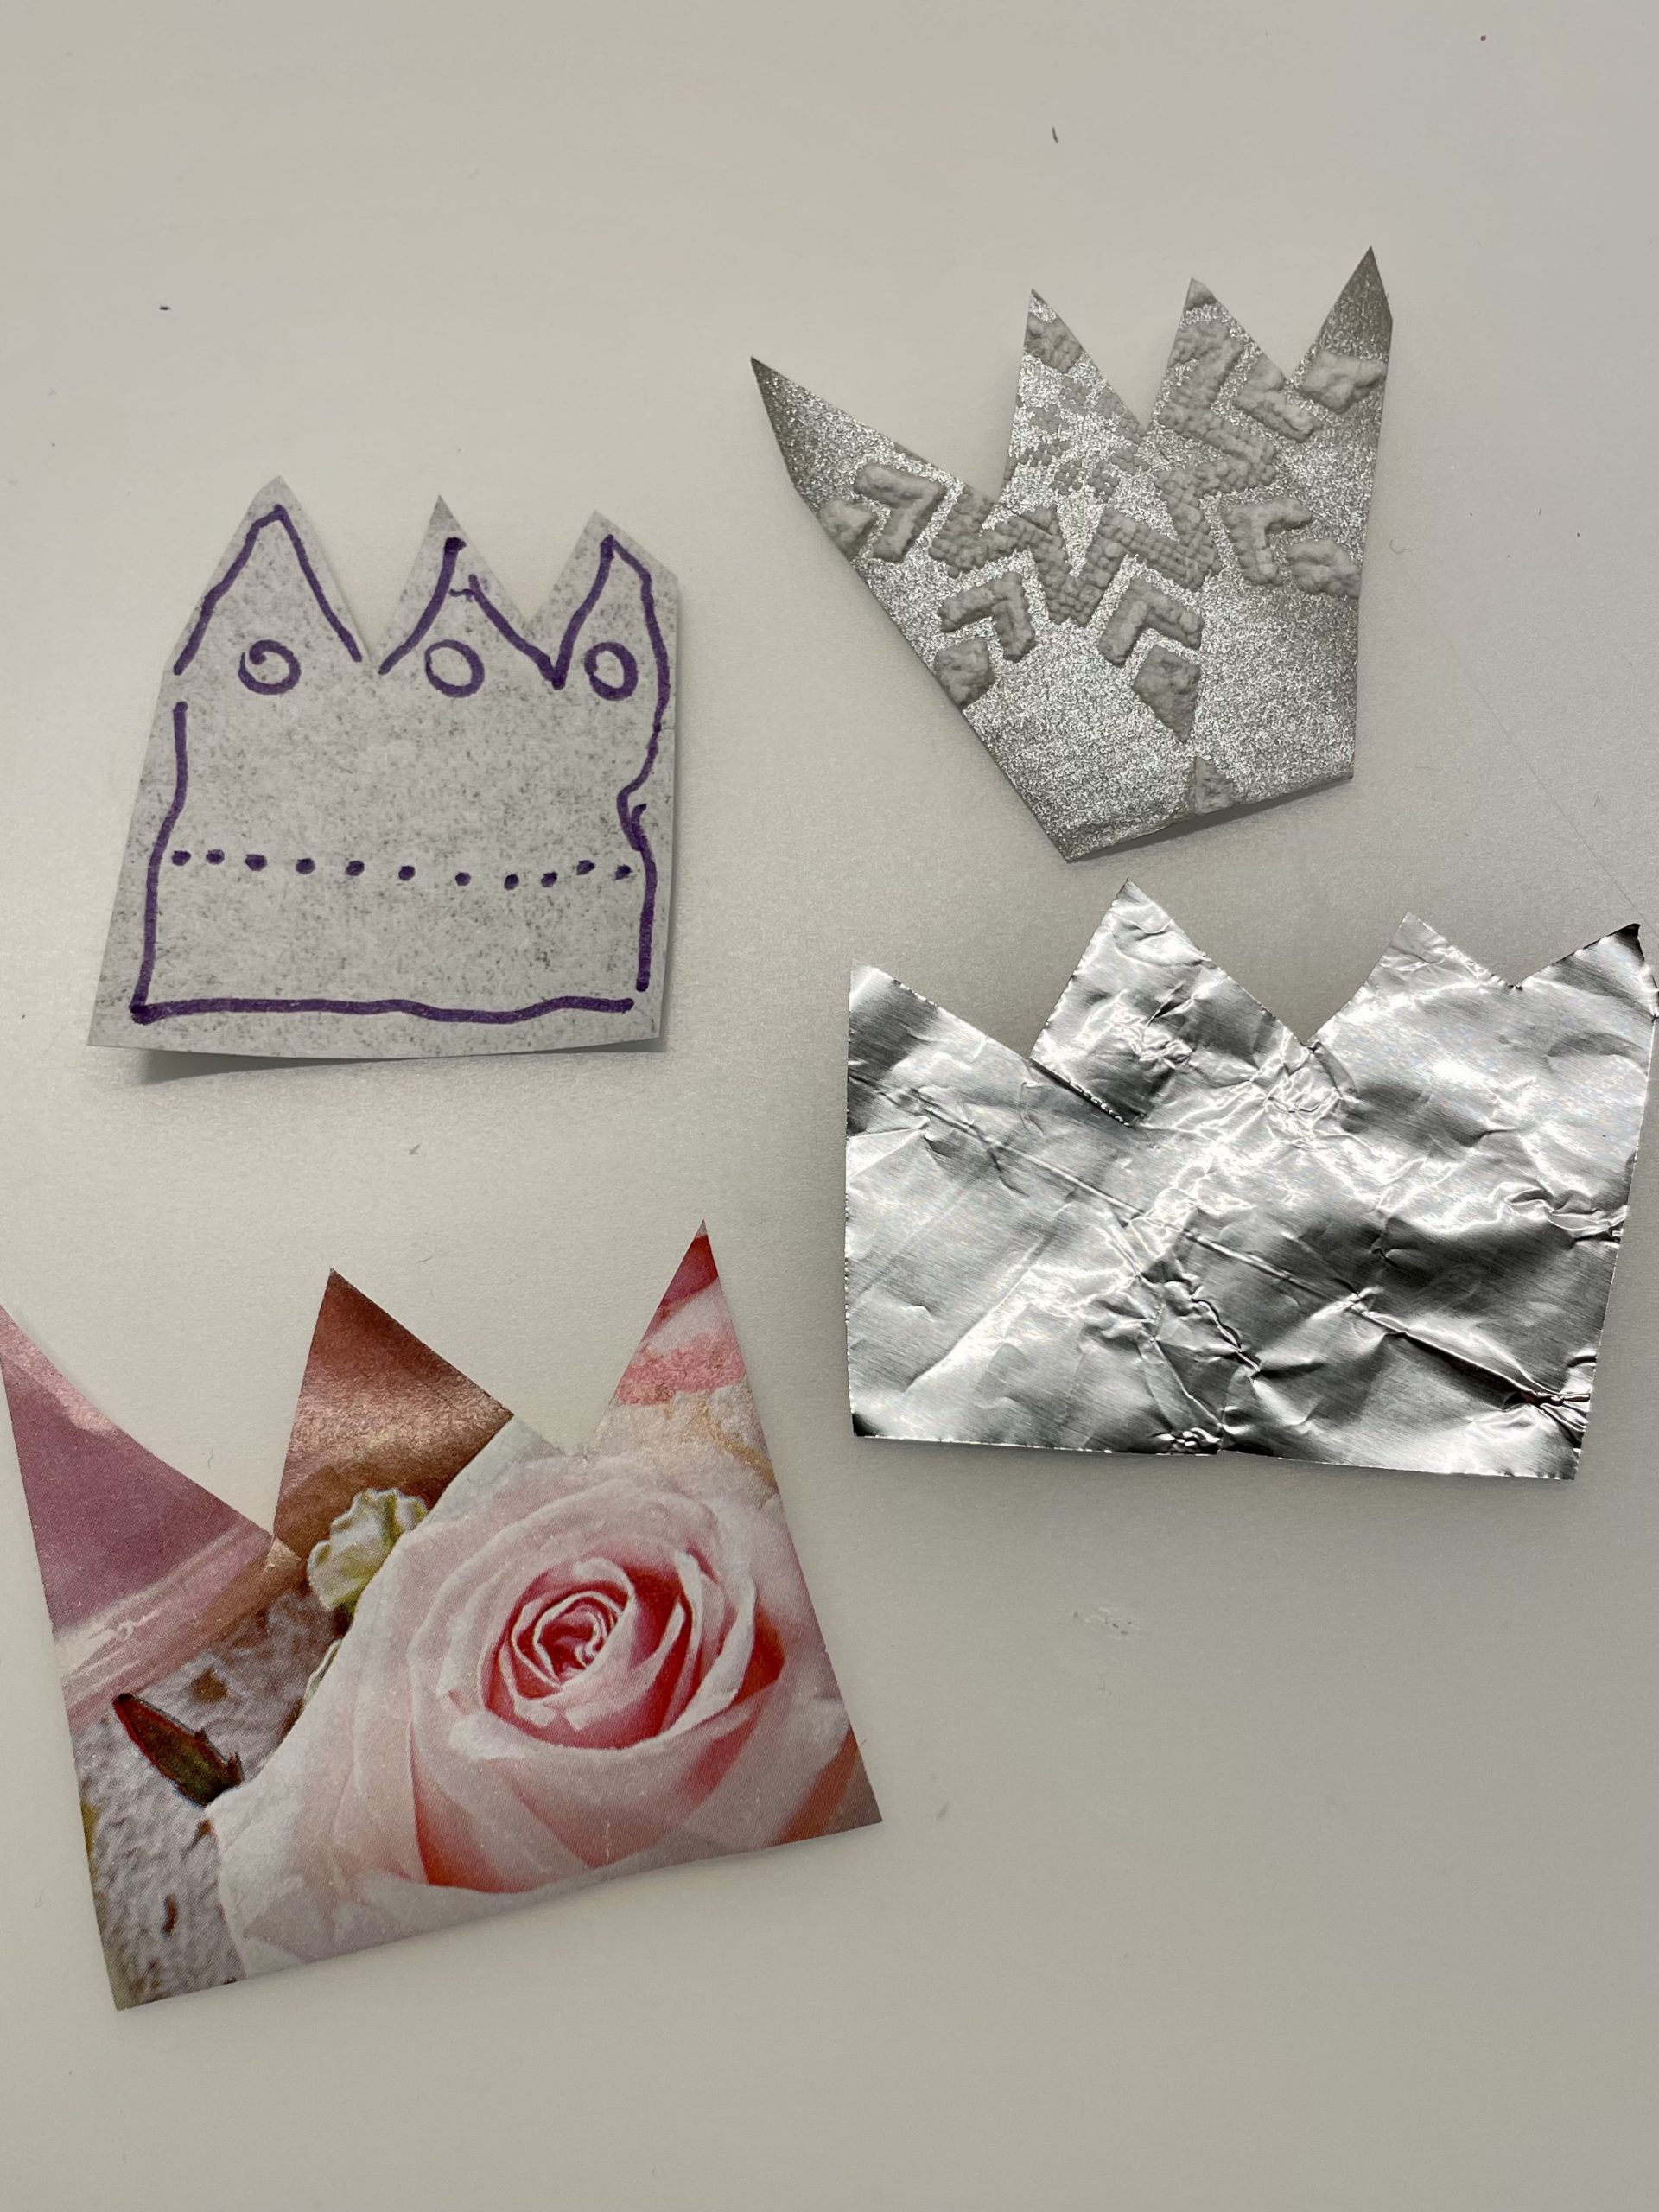


Then glues the crown over the upper cotton pad with a glue pin.


Now the face and the buttons are designed.
Use as colorful materials as possible, such as colorful temple beads, coloured sequins, colorful pearls or small buttons and pompons. Put the materials first on the Snow King, the Snow Queen and stick them on until you like the Snow King.
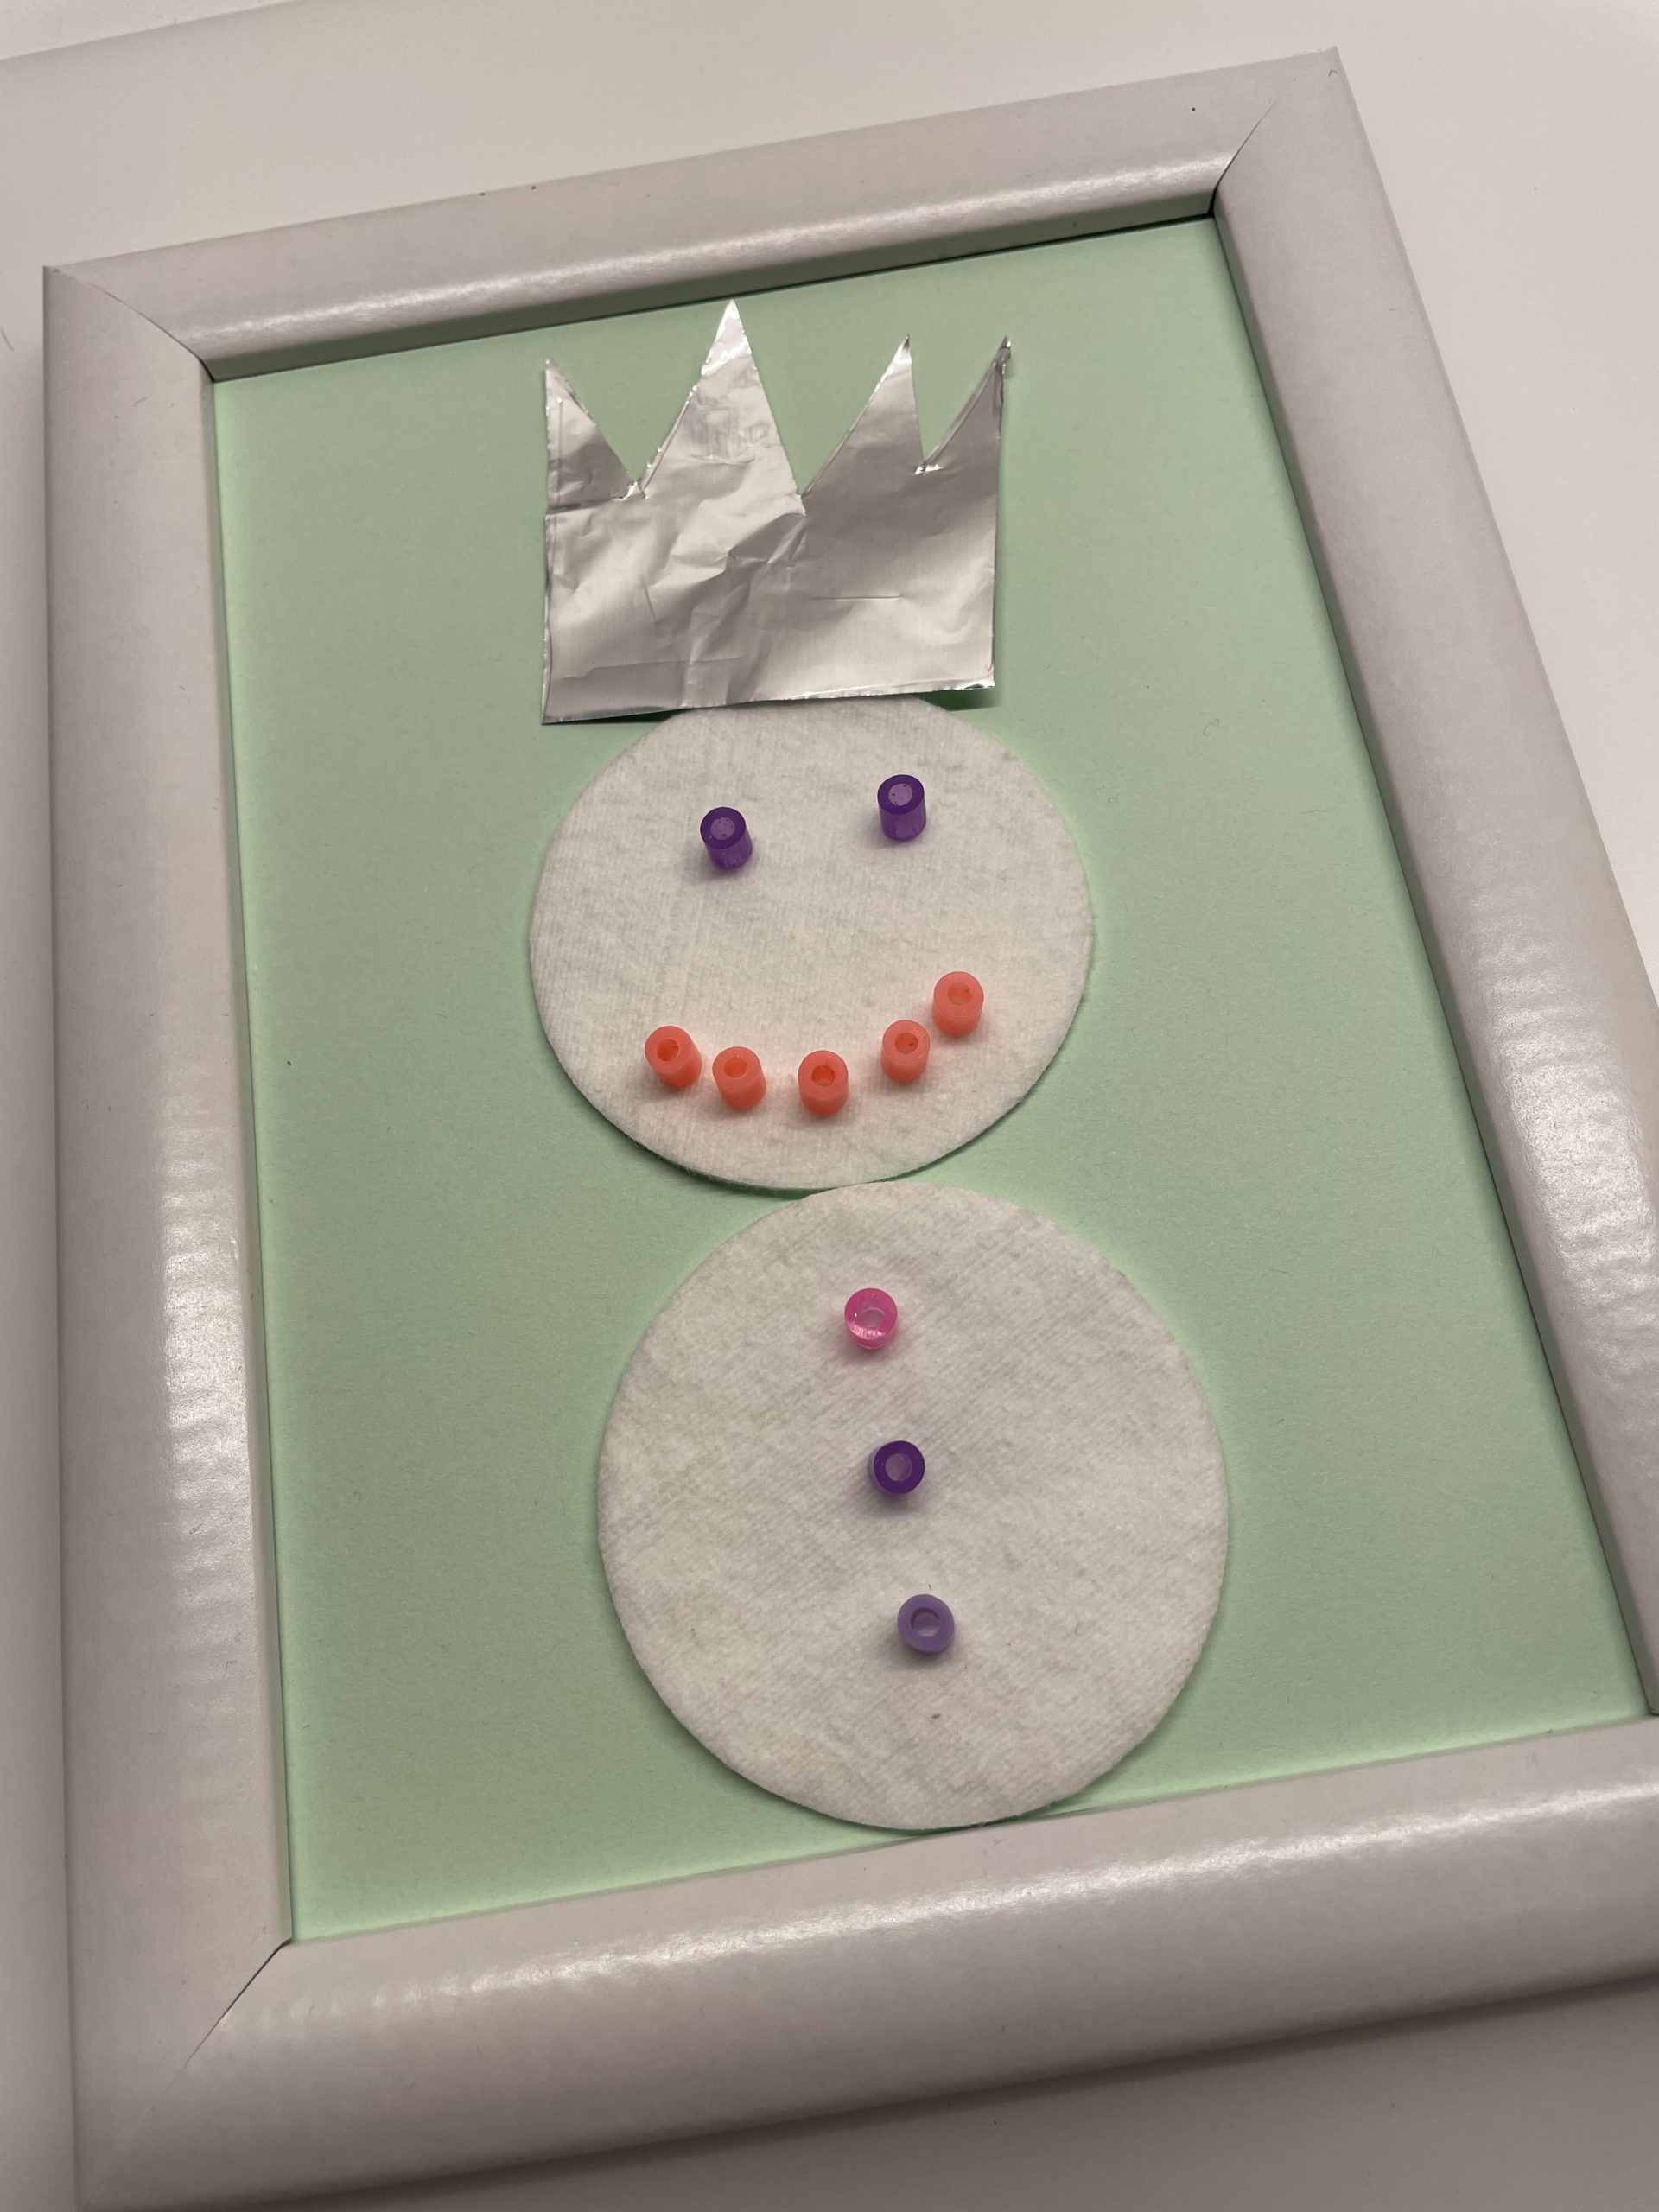


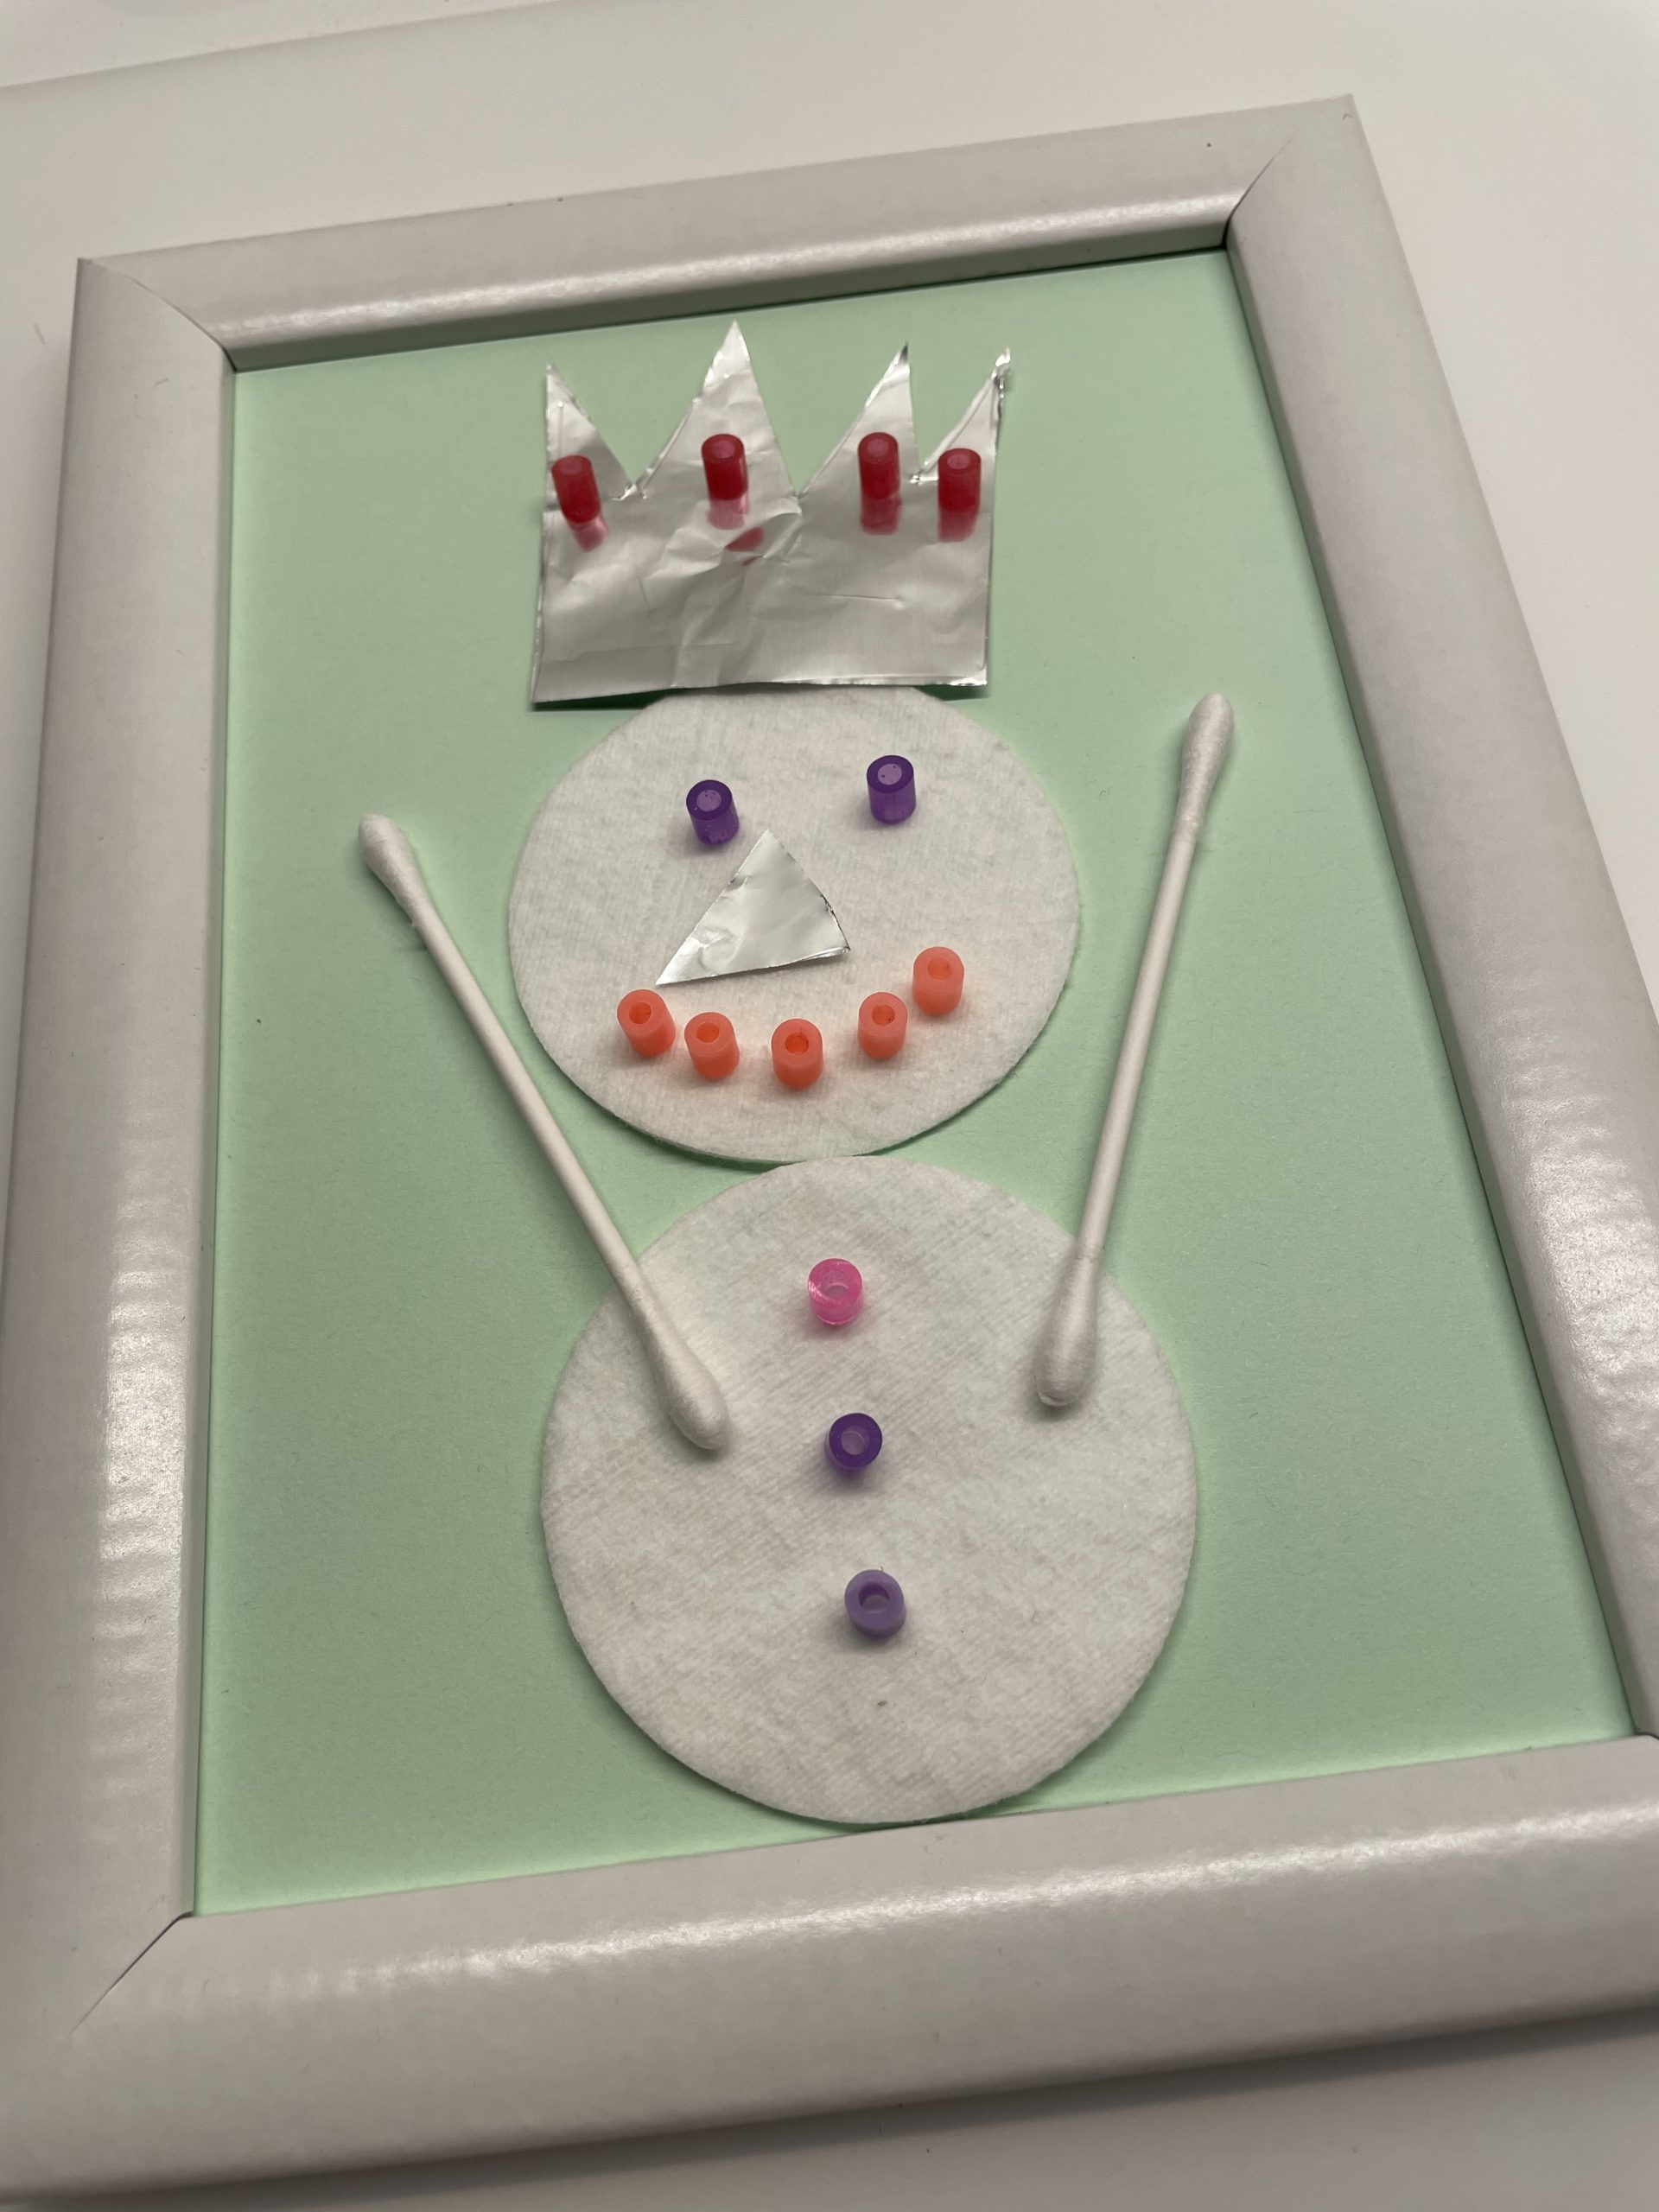
Attach a cotton swab as an arm to the left and right of the snowman's belly.
Tip: You can also paint arms.


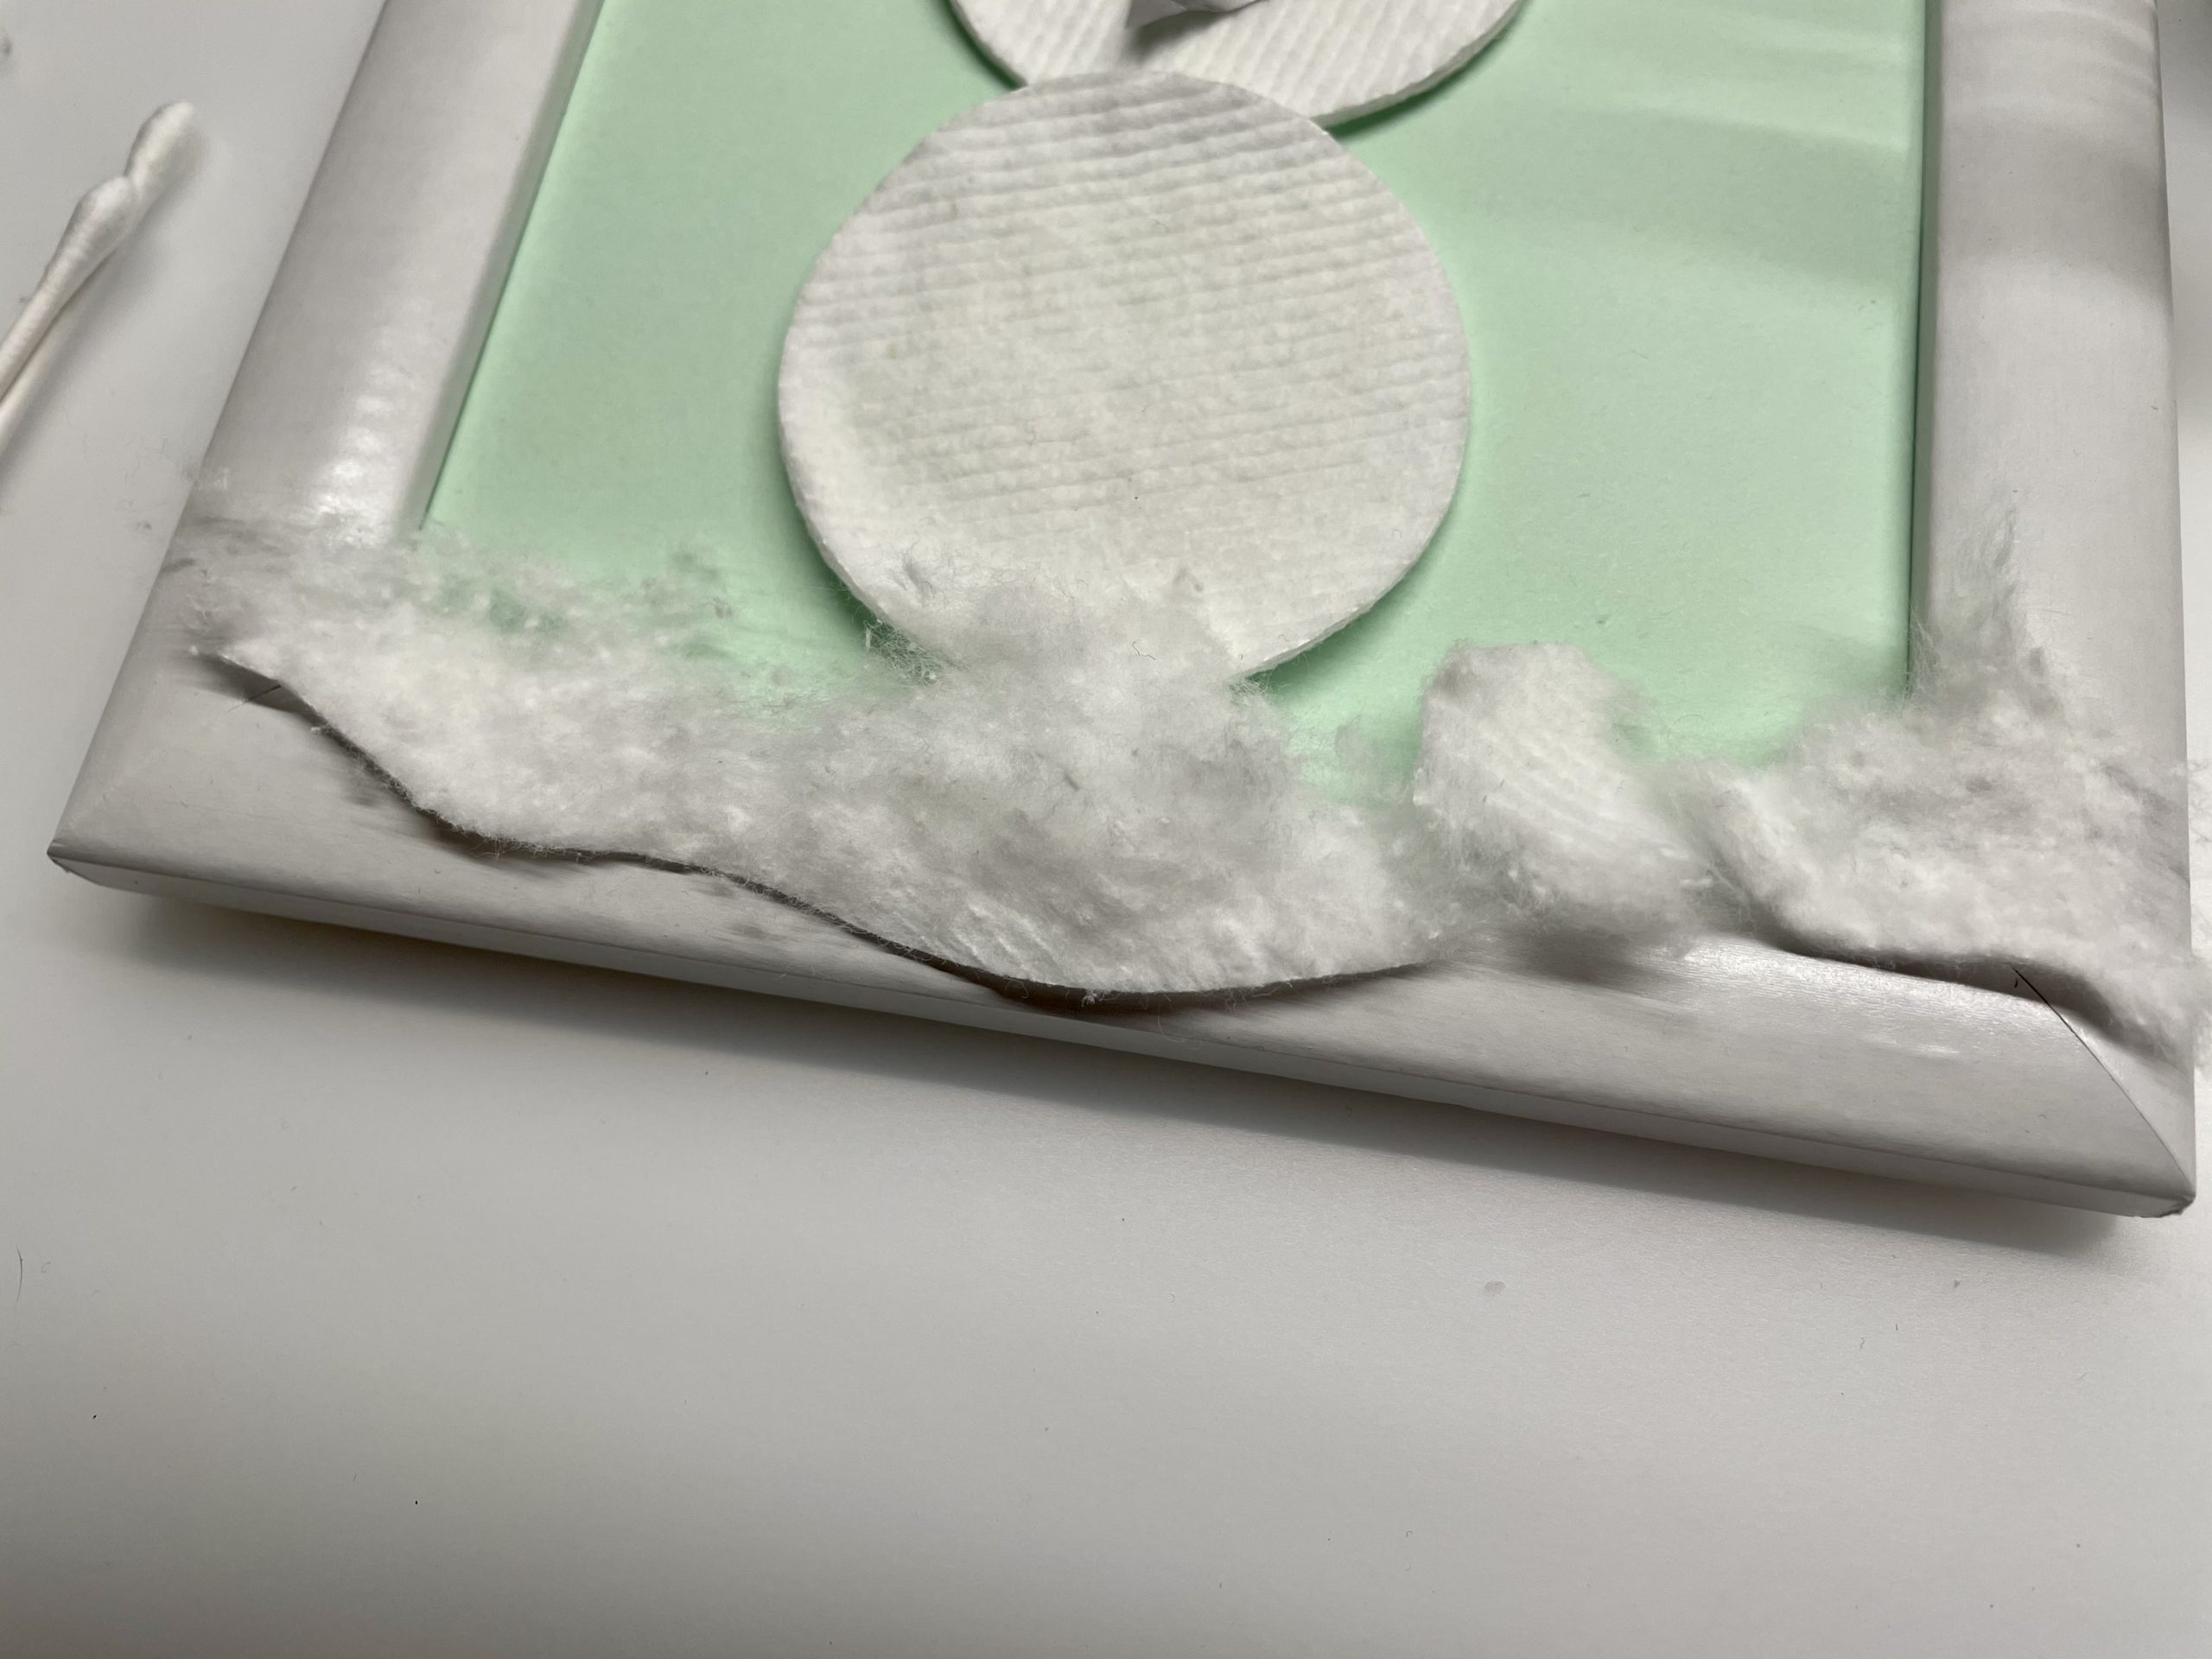
Use cotton wool for the snow on the ground.
Tip: Tap another cotton pad for the snow on the ground and stick it to the ground as snow. A cotton pad can be divided into several layers, which you can then pull in length.
Then stick the cotton to the bottom. You can also stick it to the picture frame.


Idea: If you still tear tiny cotton wool pieces, you can stick them as snowflakes.
Your Snow King/Your Snow Queen is ready.
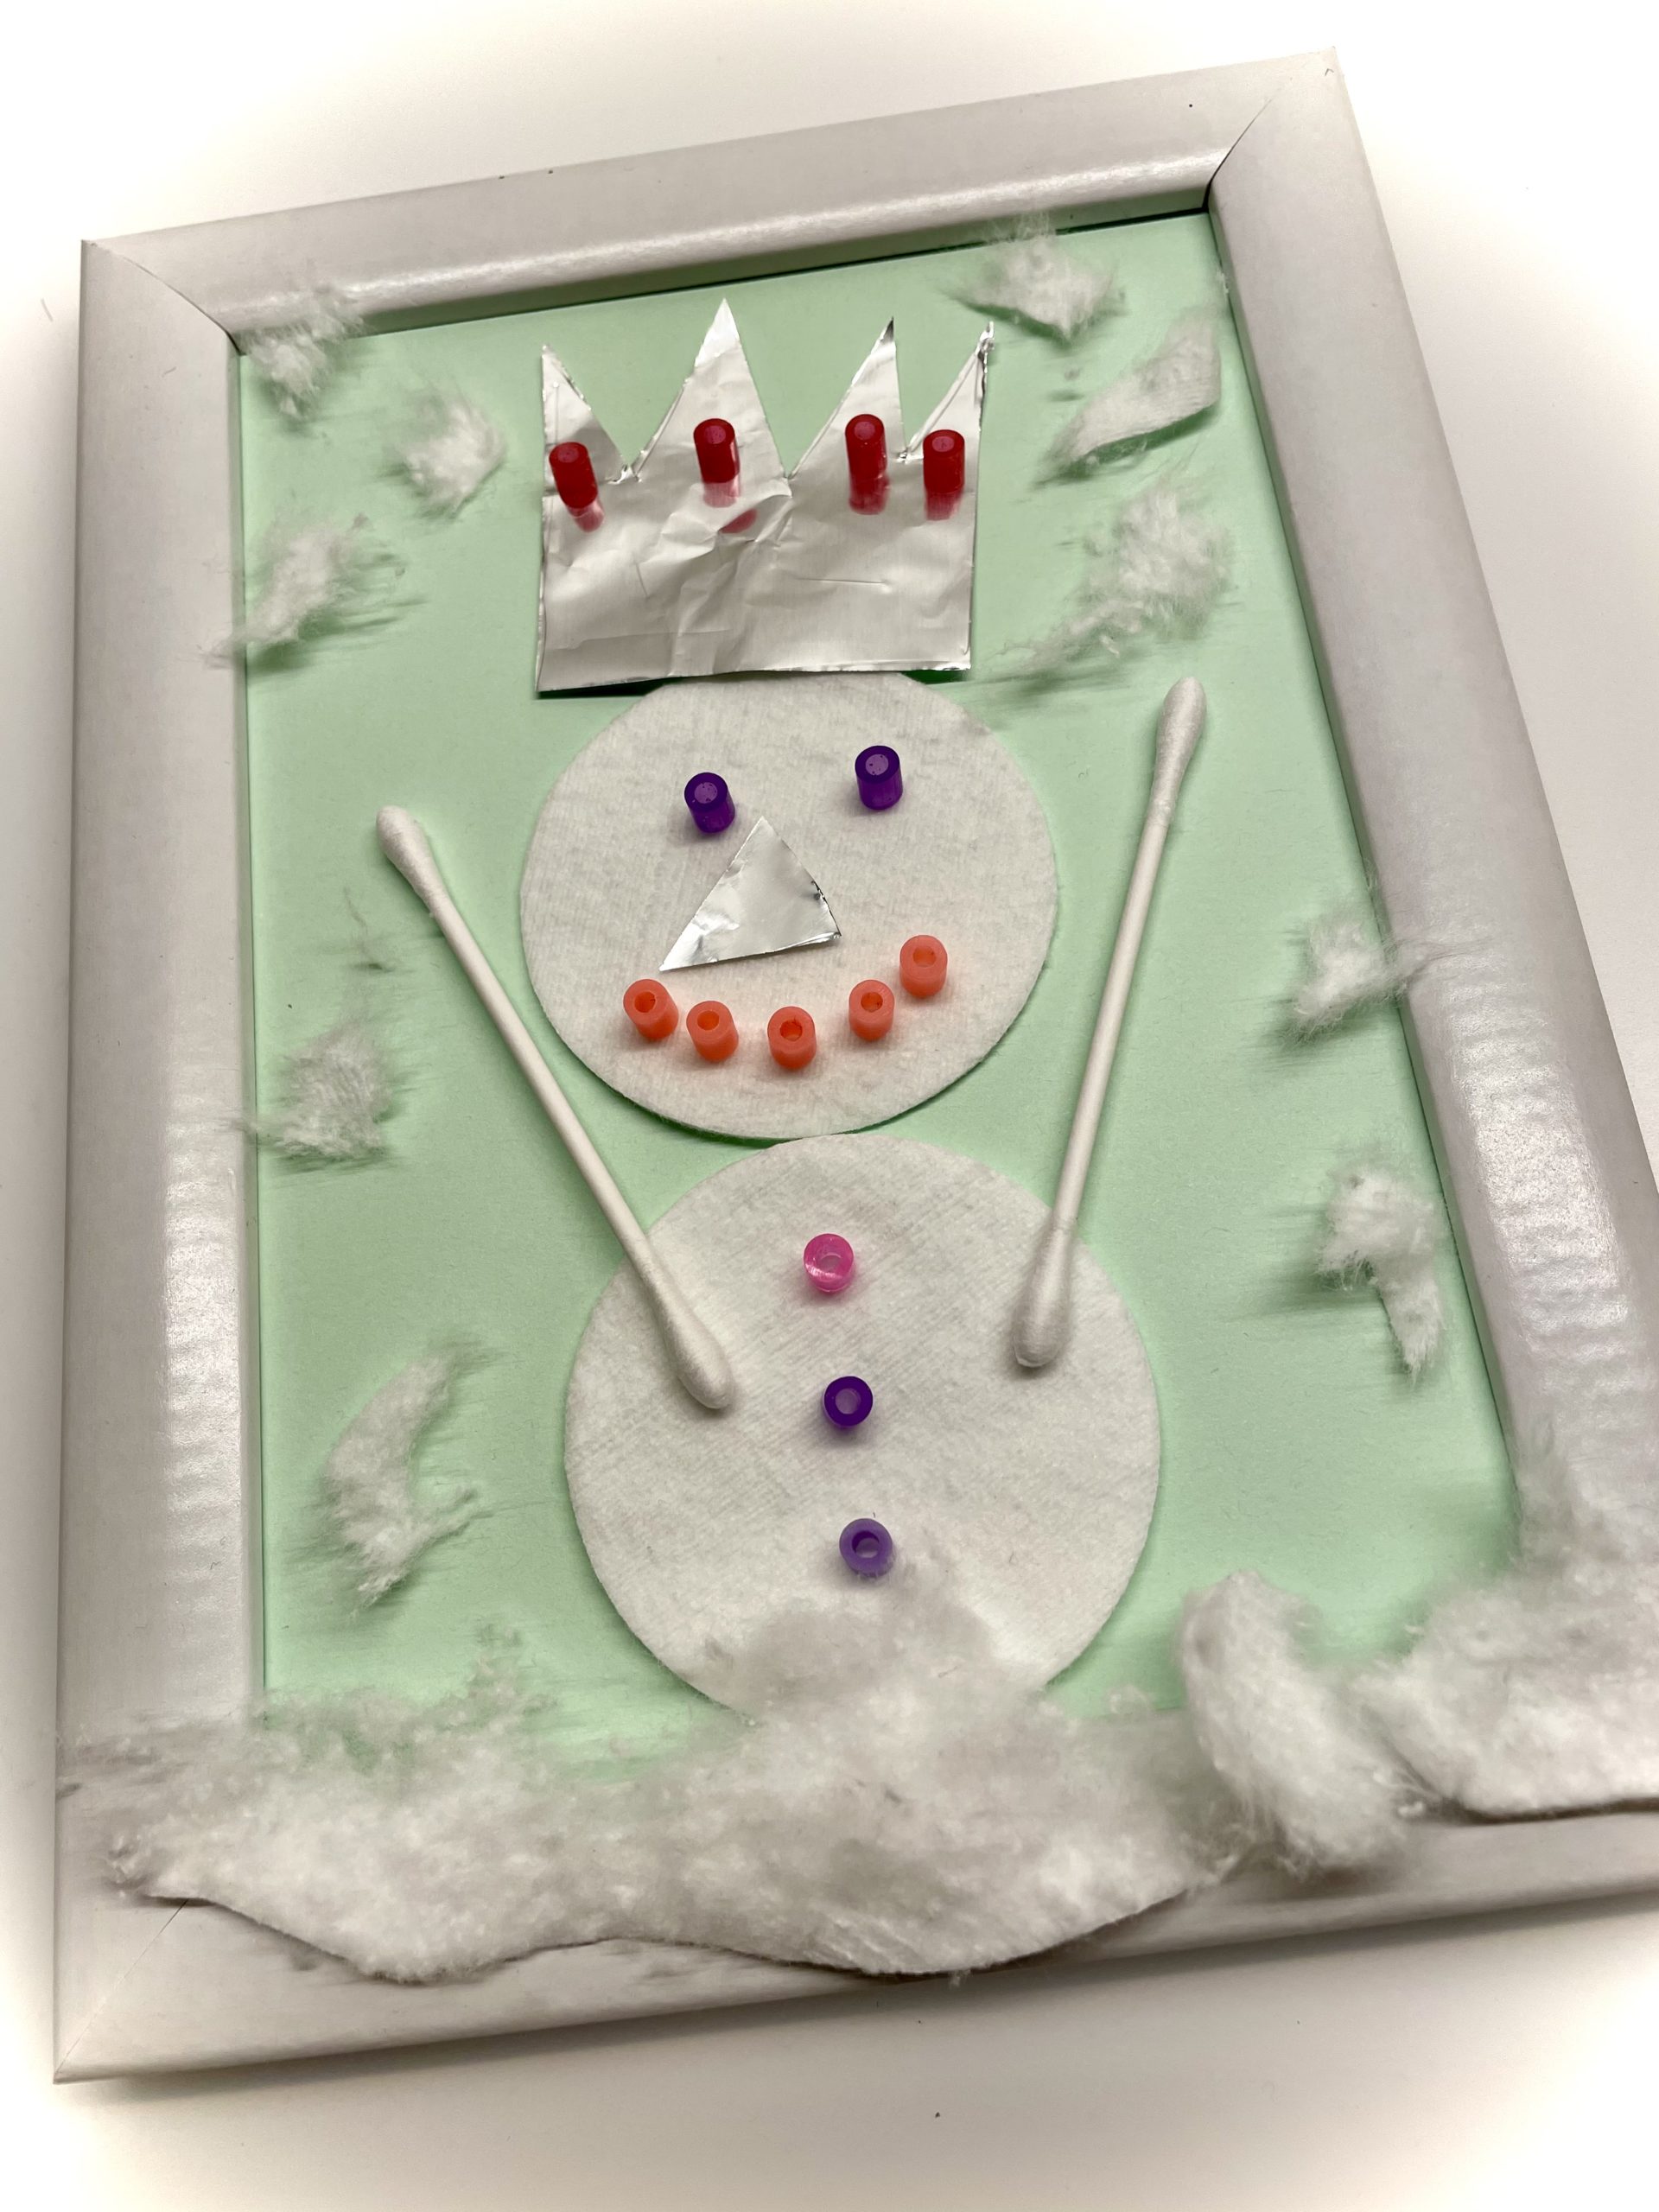


This Snow Queen has a crown of gift paper and is equipped with temple beads.
The snowflakes are cut out of paper here.
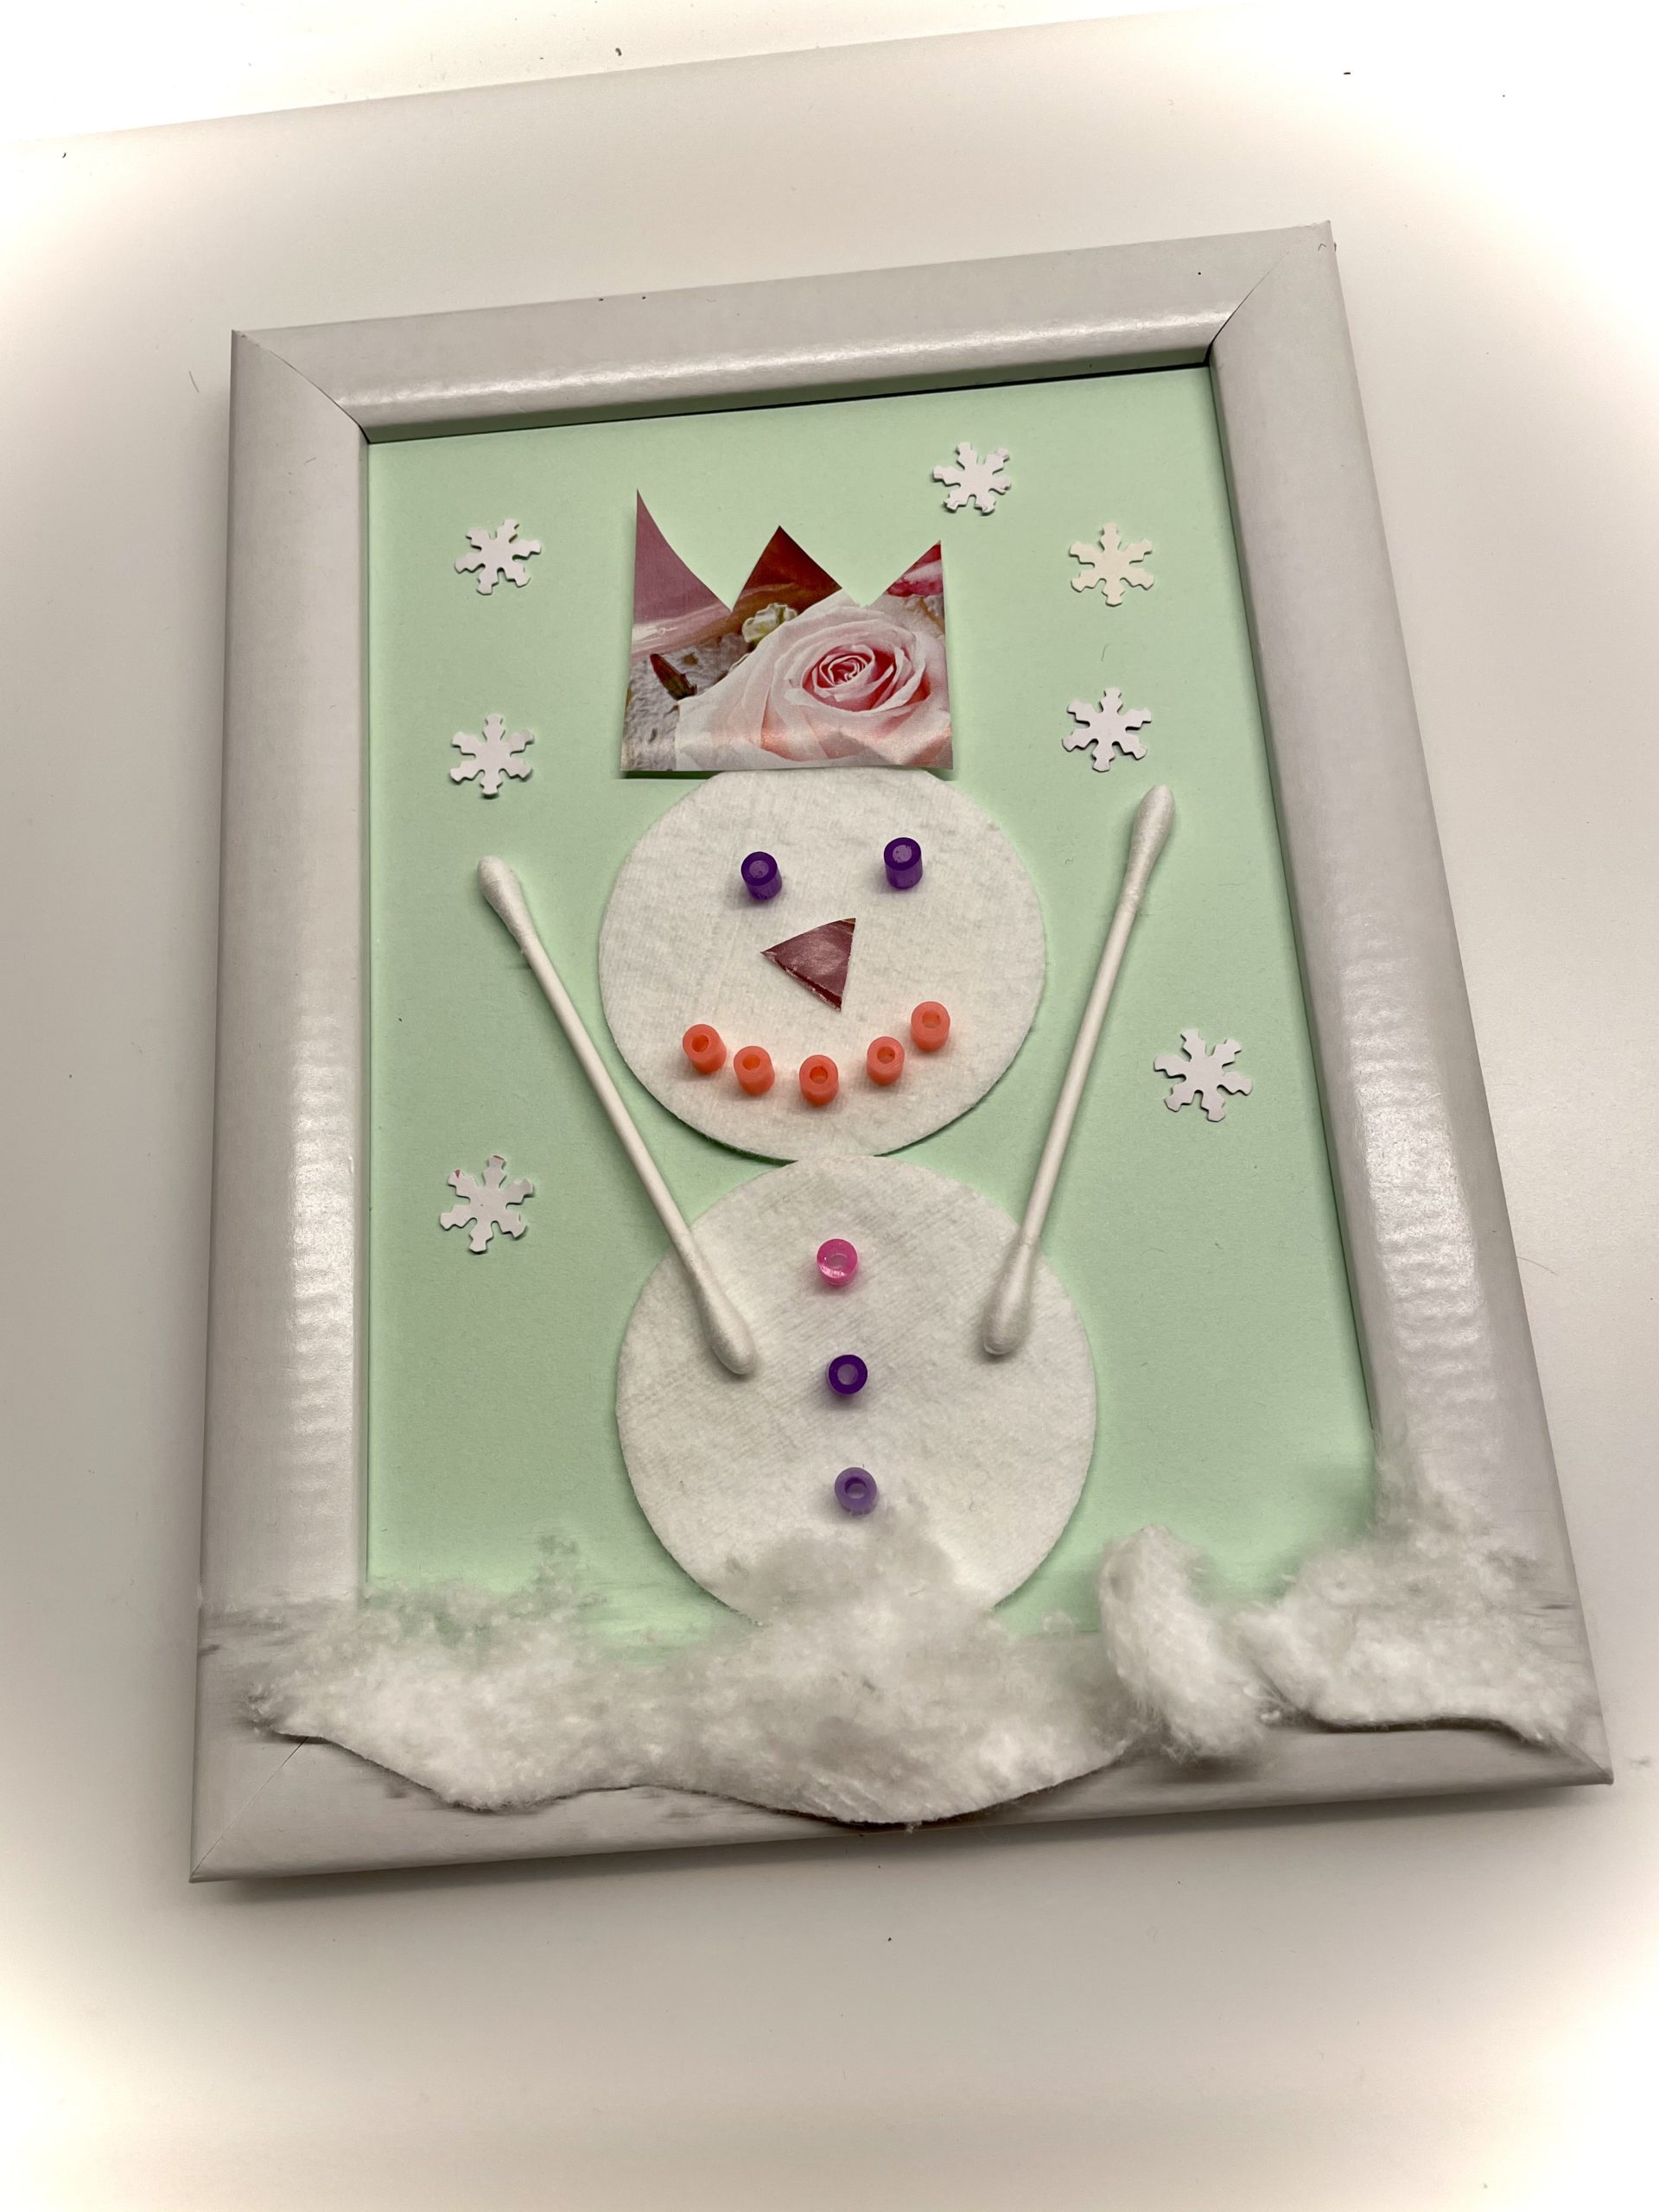


This snow queen has a crown of aluminium foil and many colorful sequins.
The snowflakes are also sequin stars.
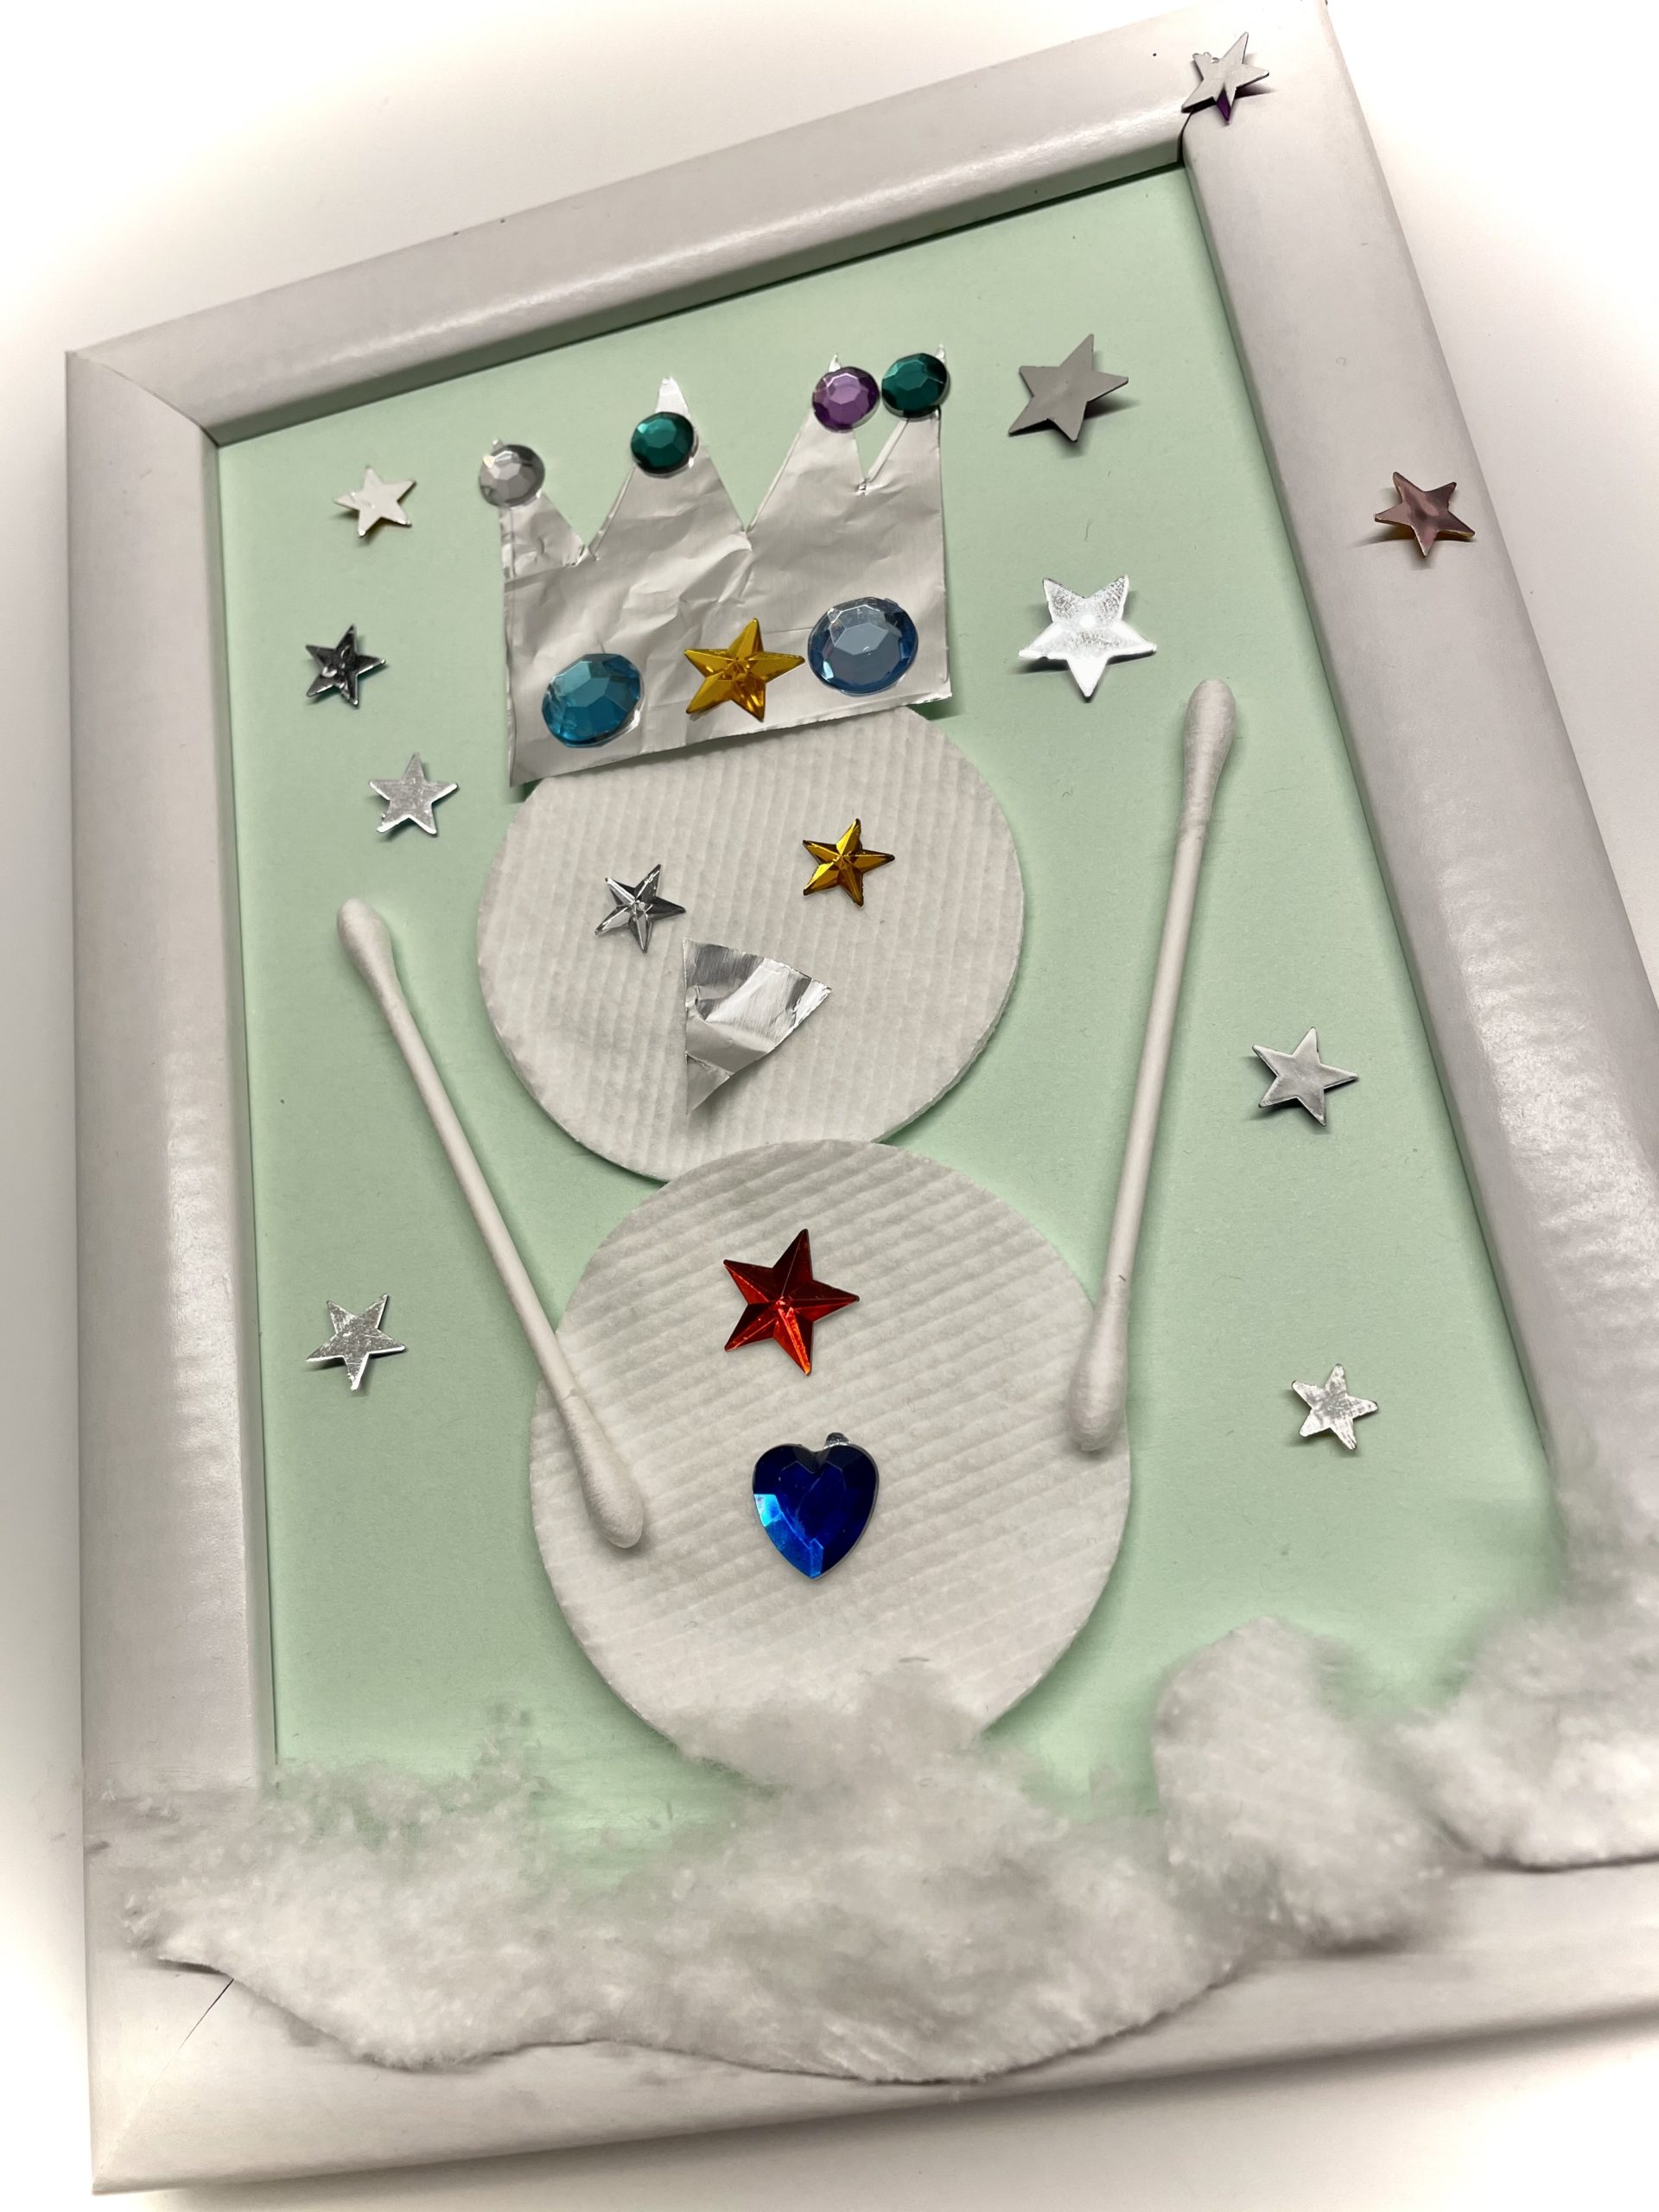


This Snow Queen wears pearls and the snowflakes were punched with a Snow Crystal Dancer.
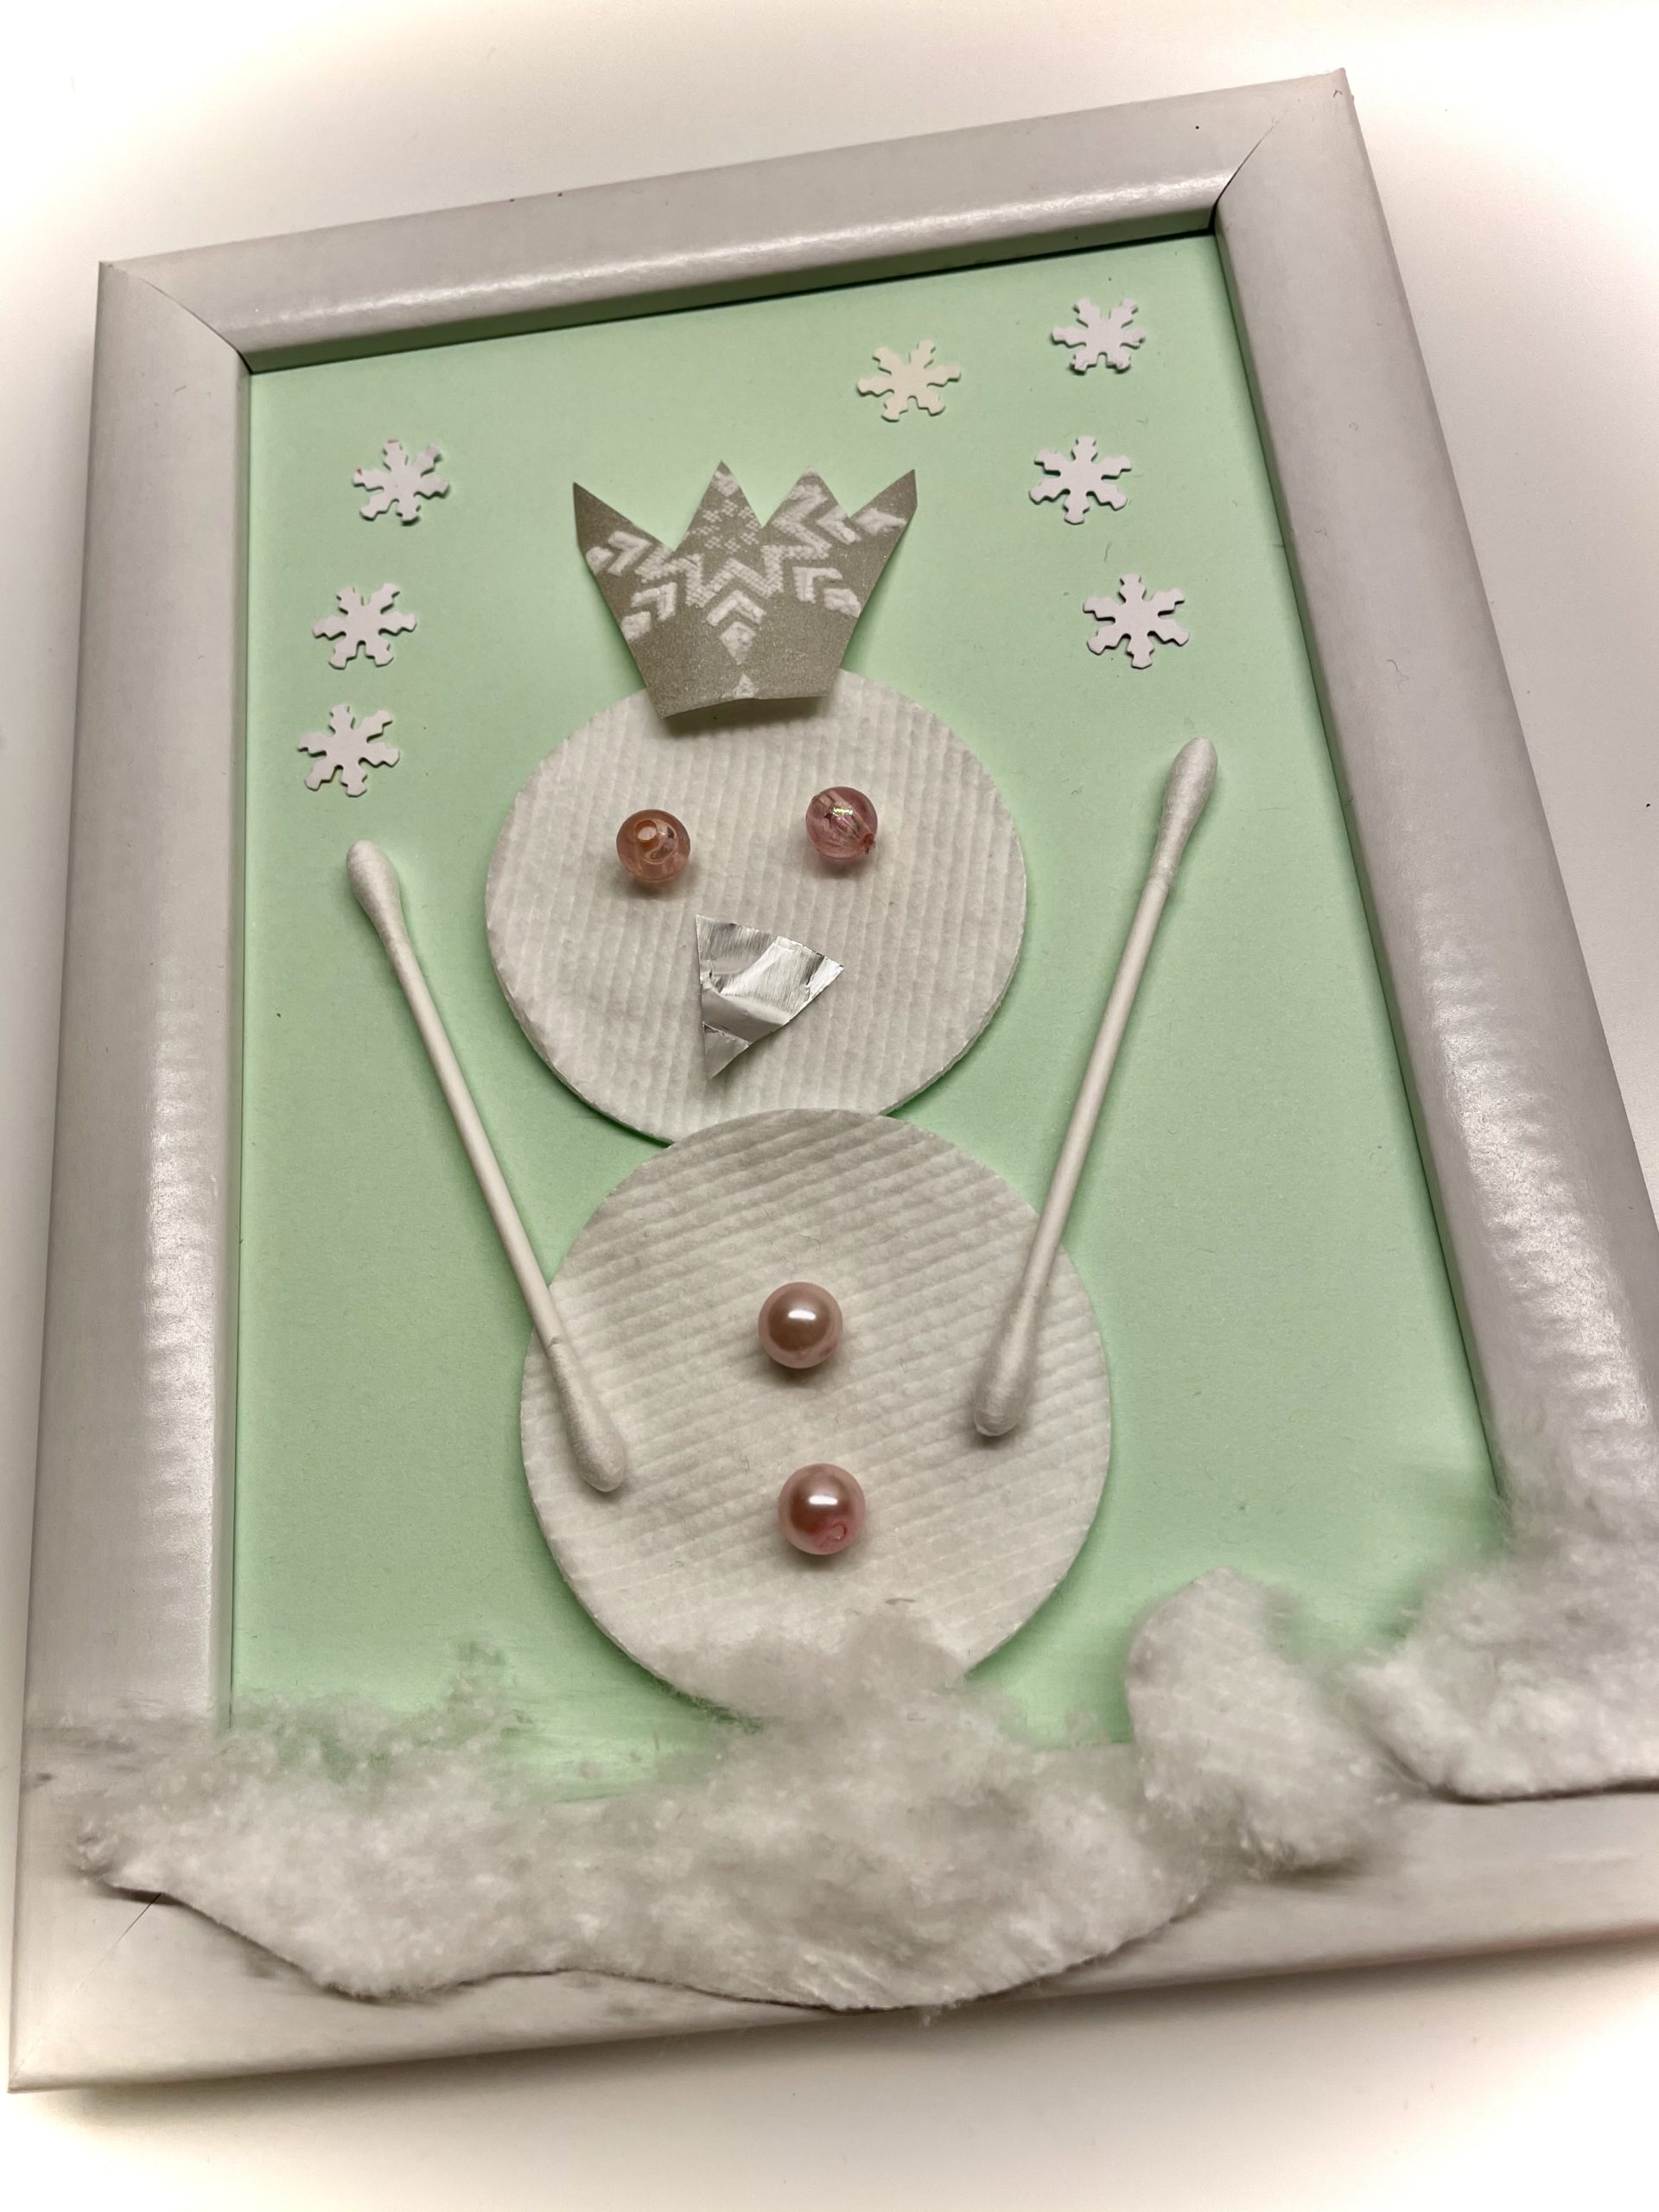


This snow queen wears pearls, wobble eyes and is surrounded by painted stars.


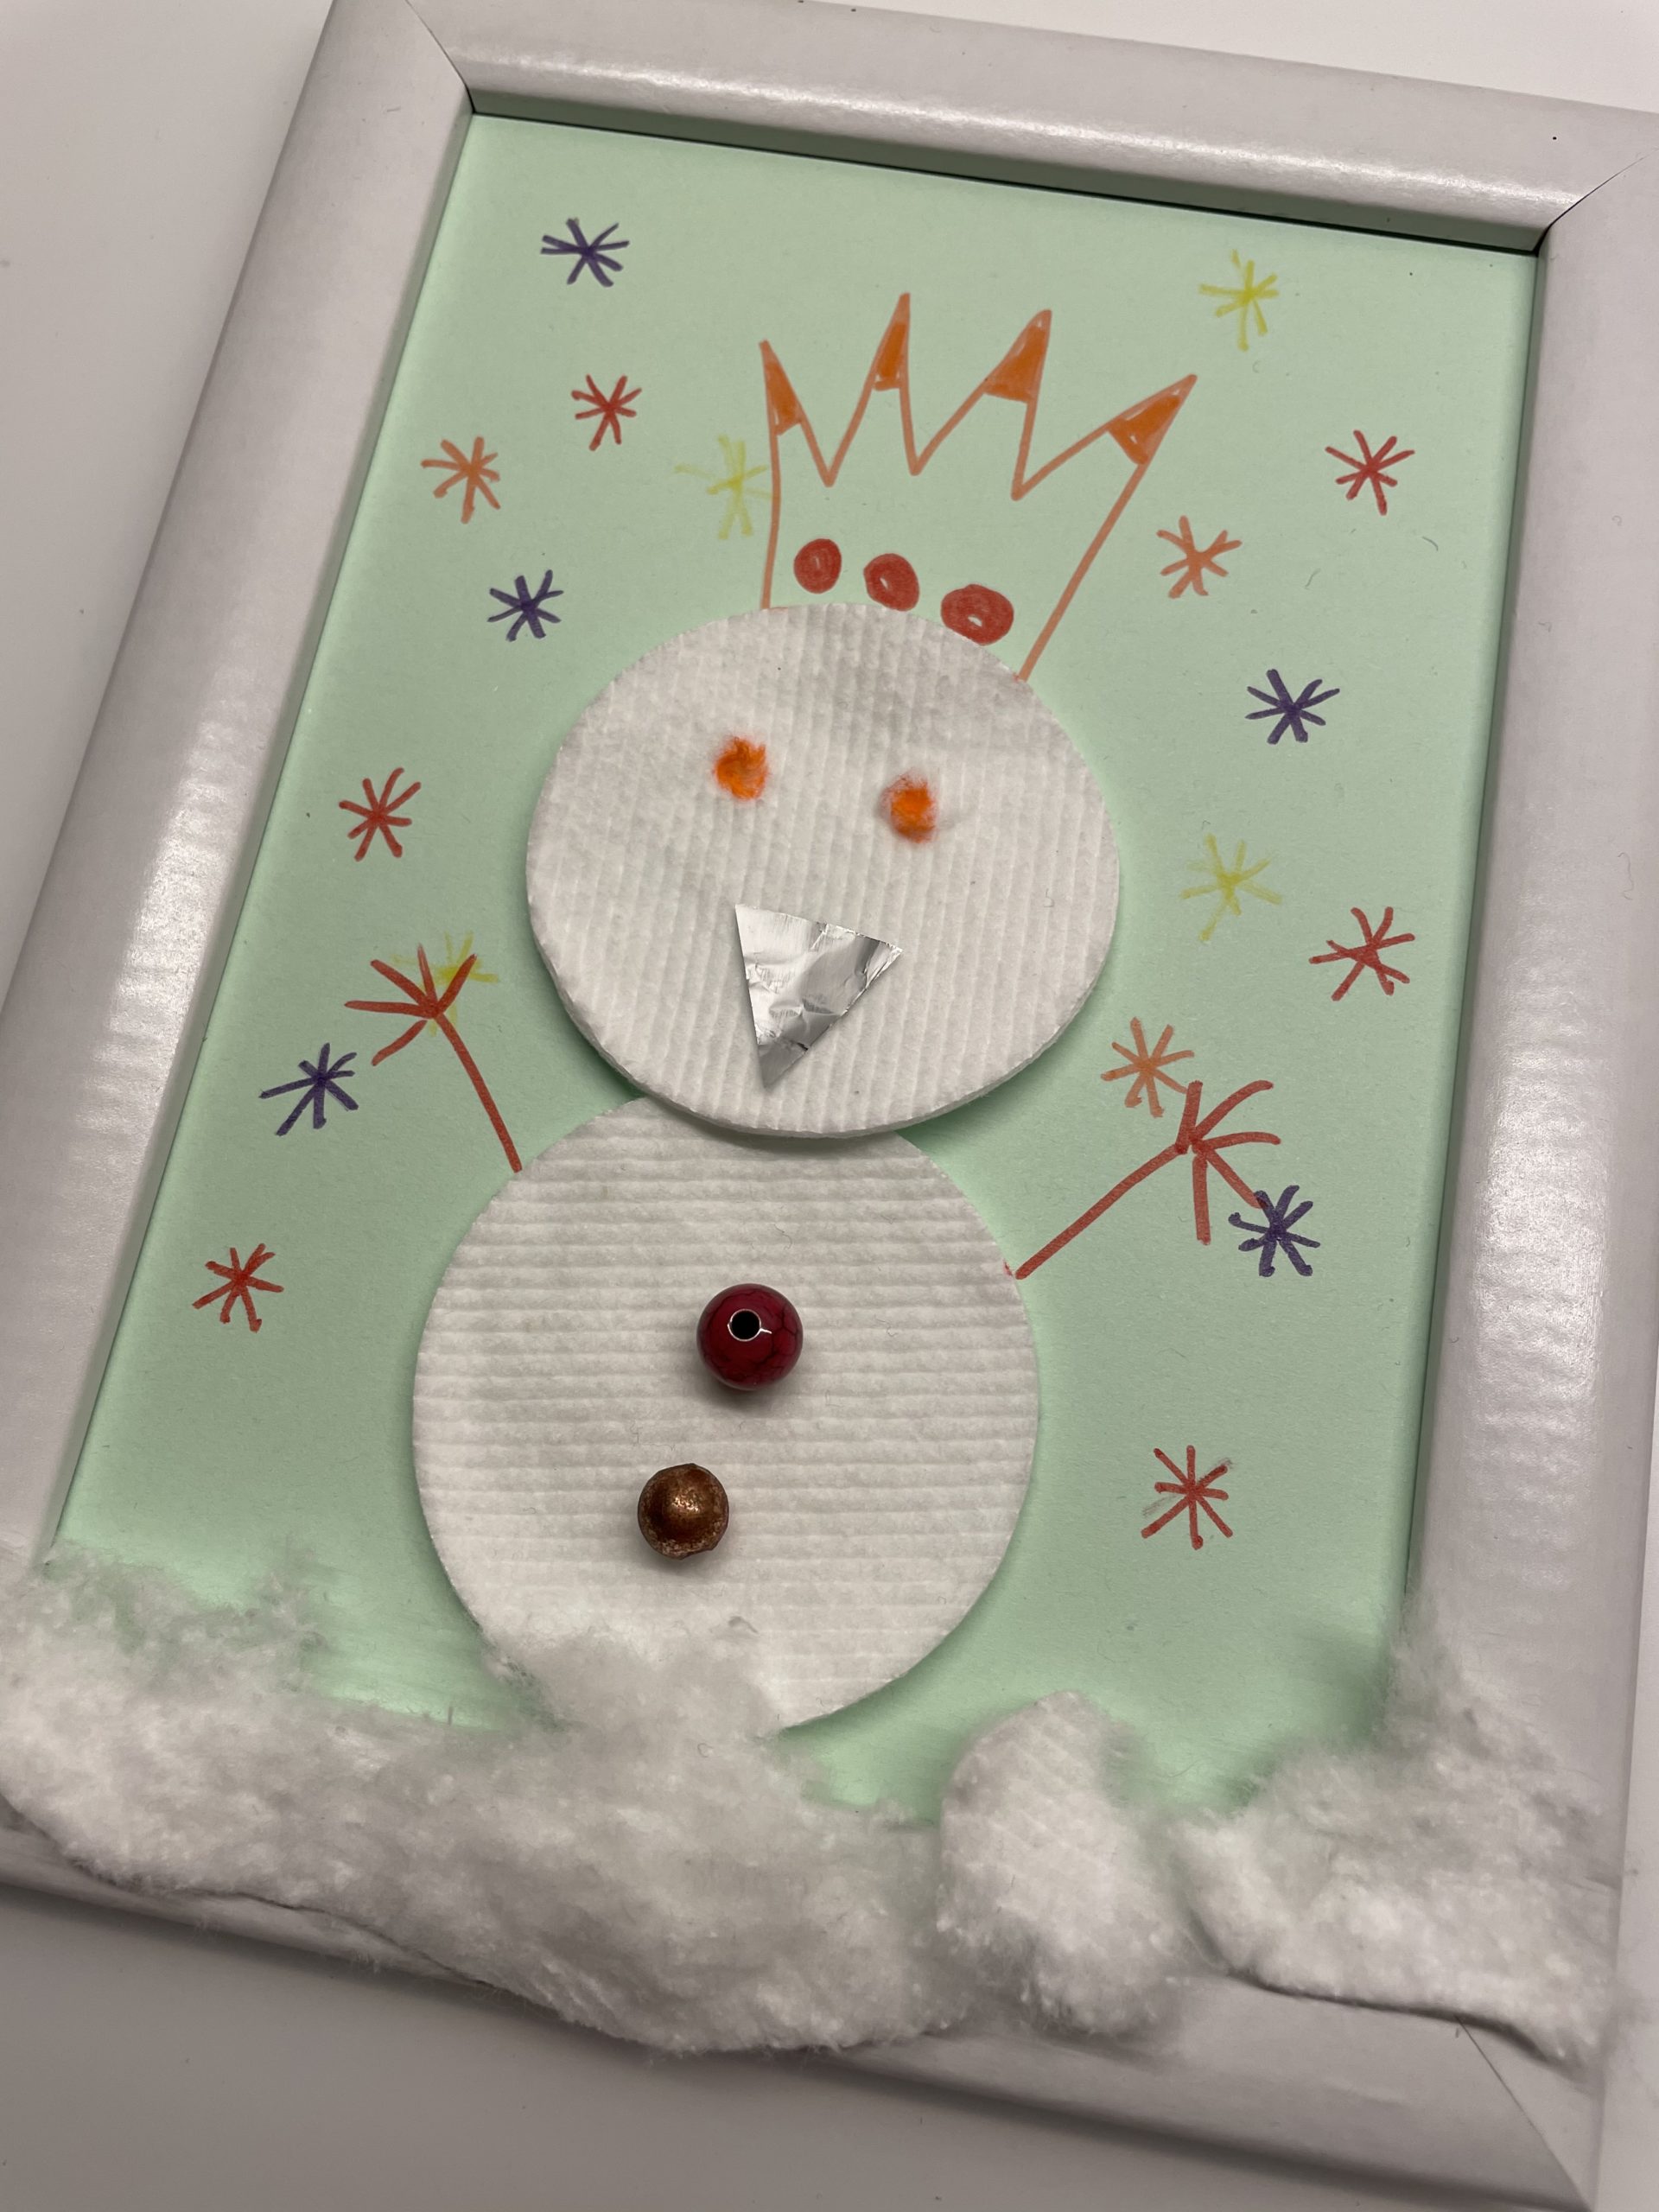
This Snow Queen has a painted crown, painted arms and is surrounded by painted snowflakes.


Use the materials you have at home. Stay flexible when choosing materials
and decide what you like best.
Enjoy this adventure.
I'm glad to see your Snow Kings and Snow Queens.
Materials
Directions
"Do you know the story of the enchanted snowman?
There was once a snowman who didn't want a pot on his head. He also didn't want a hat or a hat. He thought all this was totally boring and ugly. No one understood the snowman. He ran away again and again - as fast as he could - if someone with a hat or a pot only came near him.
One day he fanned something in the snow that shimmered and sparkled beautifully. What was that? He could not trust his eyes what he saw was so beautiful. It was a small crown. With one time the snowman knew what he wanted to wear on his head. A crown. Exactly this crown.
He felt beautiful, he was enchanted, because suddenly he was a snow king, a snow queen.
But the dark buttons and eyes, he didn't like them anymore. They didn't fit the beautiful crown at all. So he decided to exchange them for colorful buttons for pearls. From then on he decorated himself with beautiful colorful things. He was so happy. He danced through the snow and told all the world stories about the Snow King/Snow Queen. And at night, when the Snow King/Snow Queen dreamed, then even colorful snow crystals fell down.
Do you like to make a snow king like that?"
First prepares a maximum DinA5 large picture frame.
To do this, put a monochrome sheet of paper in a picture frame.
You take out the window of the frame, you don't need it.
So you can design your snowman directly on the inserted paper.


Now put two cotton pads on the paper in the frame.
Then glue the two cotton pads with the glue pin.
Now you turn your snowman into a snow king, a snow queen.


Make a crown for it first.
For example, from colorful paper, gift paper remnants, glitter foil or aluminium foil. For this you paint the crown with a pen and then cut it out with the scissors.
Attention: Aluminium foil can be cut hard!


Examples of crowns.
Make your own crown as you like it.


Then glues the crown over the upper cotton pad with a glue pin.


Now the face and the buttons are designed.
Use as colorful materials as possible, such as colorful temple beads, coloured sequins, colorful pearls or small buttons and pompons. Put the materials first on the Snow King, the Snow Queen and stick them on until you like the Snow King.


Attach a cotton swab as an arm to the left and right of the snowman's belly.
Tip: You can also paint arms.


Use cotton wool for the snow on the ground.
Tip: Tap another cotton pad for the snow on the ground and stick it to the ground as snow. A cotton pad can be divided into several layers, which you can then pull in length.
Then stick the cotton to the bottom. You can also stick it to the picture frame.


Idea: If you still tear tiny cotton wool pieces, you can stick them as snowflakes.
Your Snow King/Your Snow Queen is ready.


This Snow Queen has a crown of gift paper and is equipped with temple beads.
The snowflakes are cut out of paper here.


This snow queen has a crown of aluminium foil and many colorful sequins.
The snowflakes are also sequin stars.


This Snow Queen wears pearls and the snowflakes were punched with a Snow Crystal Dancer.


This snow queen wears pearls, wobble eyes and is surrounded by painted stars.


This Snow Queen has a painted crown, painted arms and is surrounded by painted snowflakes.


Use the materials you have at home. Stay flexible when choosing materials
and decide what you like best.
Enjoy this adventure.
I'm glad to see your Snow Kings and Snow Queens.
Follow us on Facebook , Instagram and Pinterest
Don't miss any more adventures: Our bottle mail


