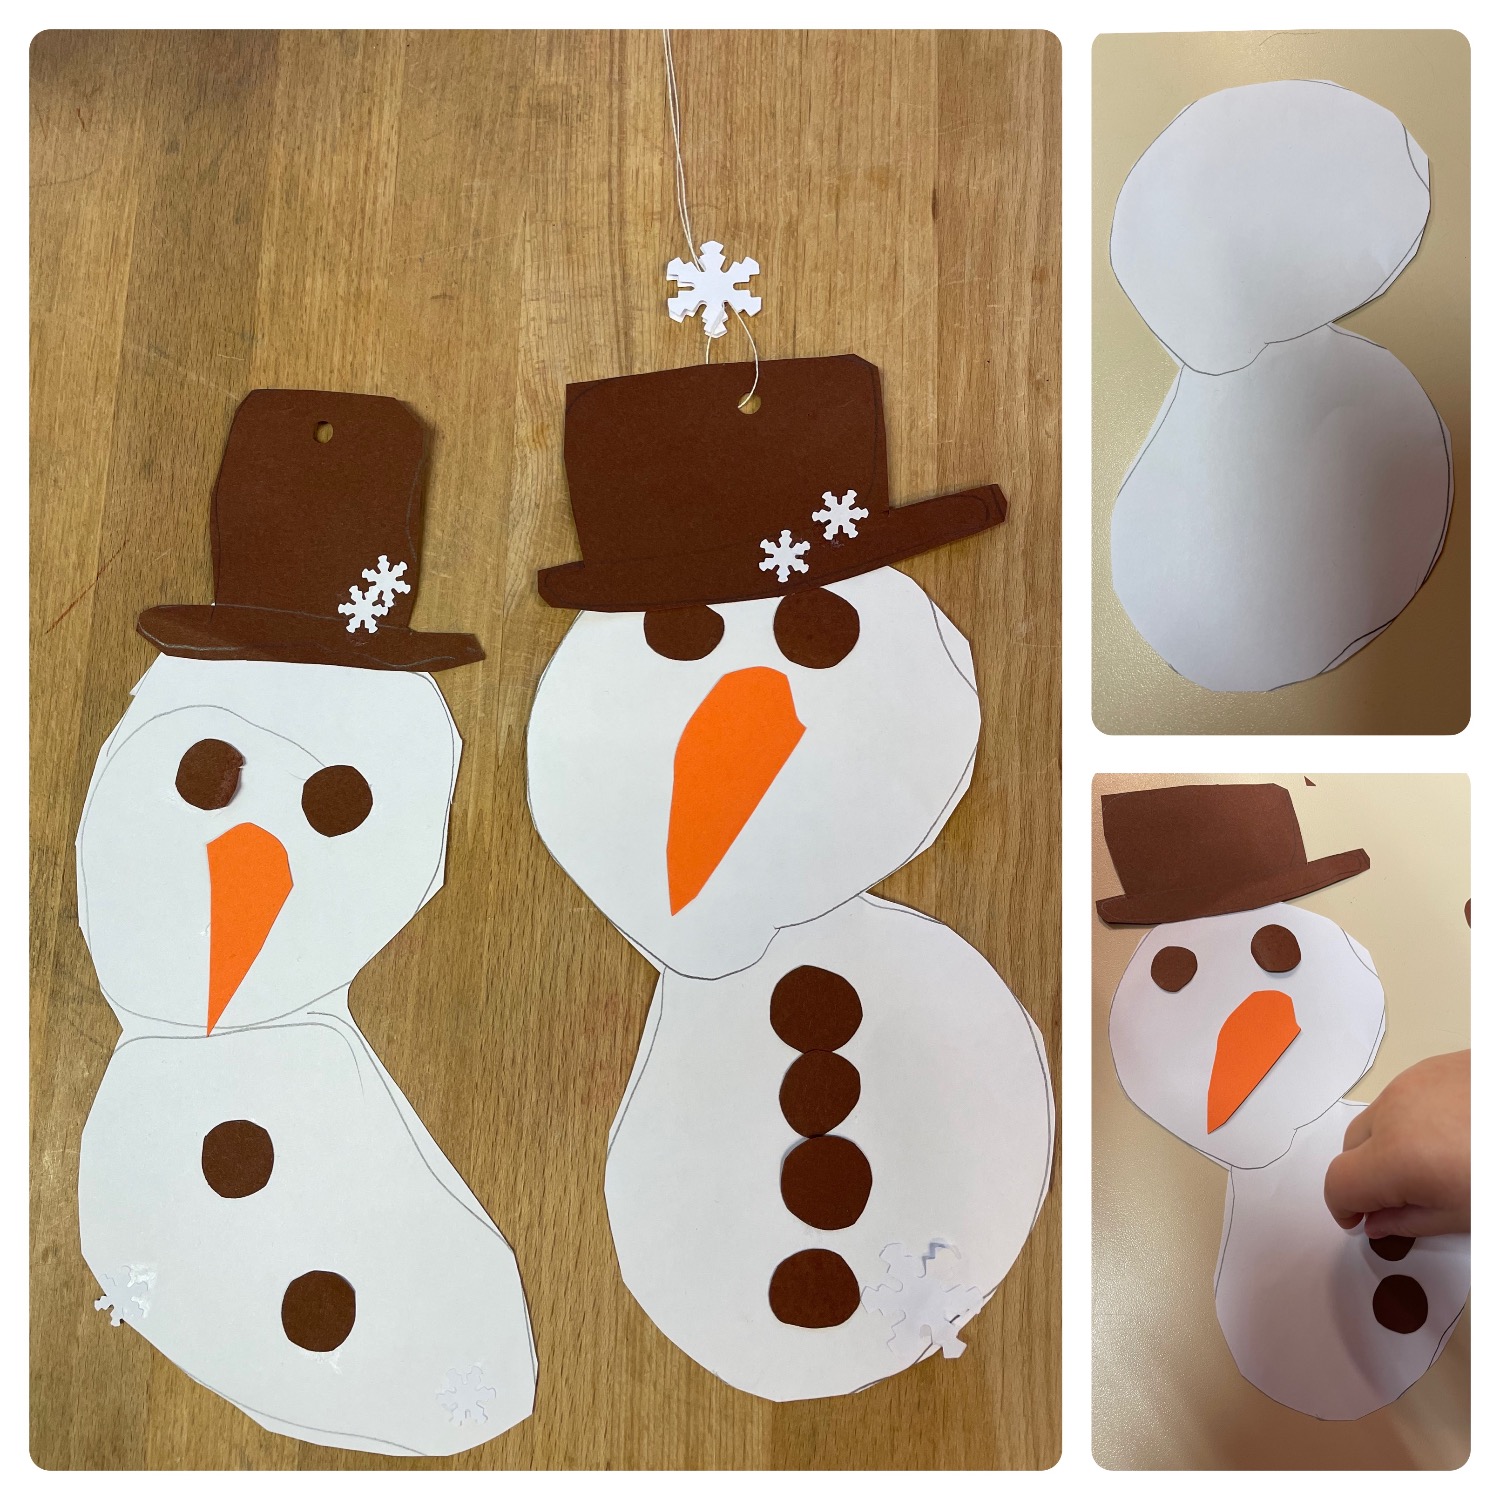
Today we make snowmen from paper - quite simple, completely individual and without template!
First let the children paint and cut all parts. All parts are based on simple geometric shapes: Hat = Rectangle, Carrot = Triangle, Body, Buttons and Eyes = Circle. With this information even smaller children can make the snowman completely independently. Then the parts are put together and glued together. The snowman is ready!

First you paint two circles on a white sheet of paper. These can also overlap a bit. Then cut them out in one. Otherwise cut out two separate circles and stick them together.

Then paint a hat and buttons on brown or black clay paper. Cut them out afterwards.
On orange paper you paint a carrot and cut it out.
Tip: It helps smaller children to recognize the geometric shapes in an object. The hat consists of a rectangle and a line underneath. The carrot from a triangle or a pointed roof and the buttons and eyes are circles.
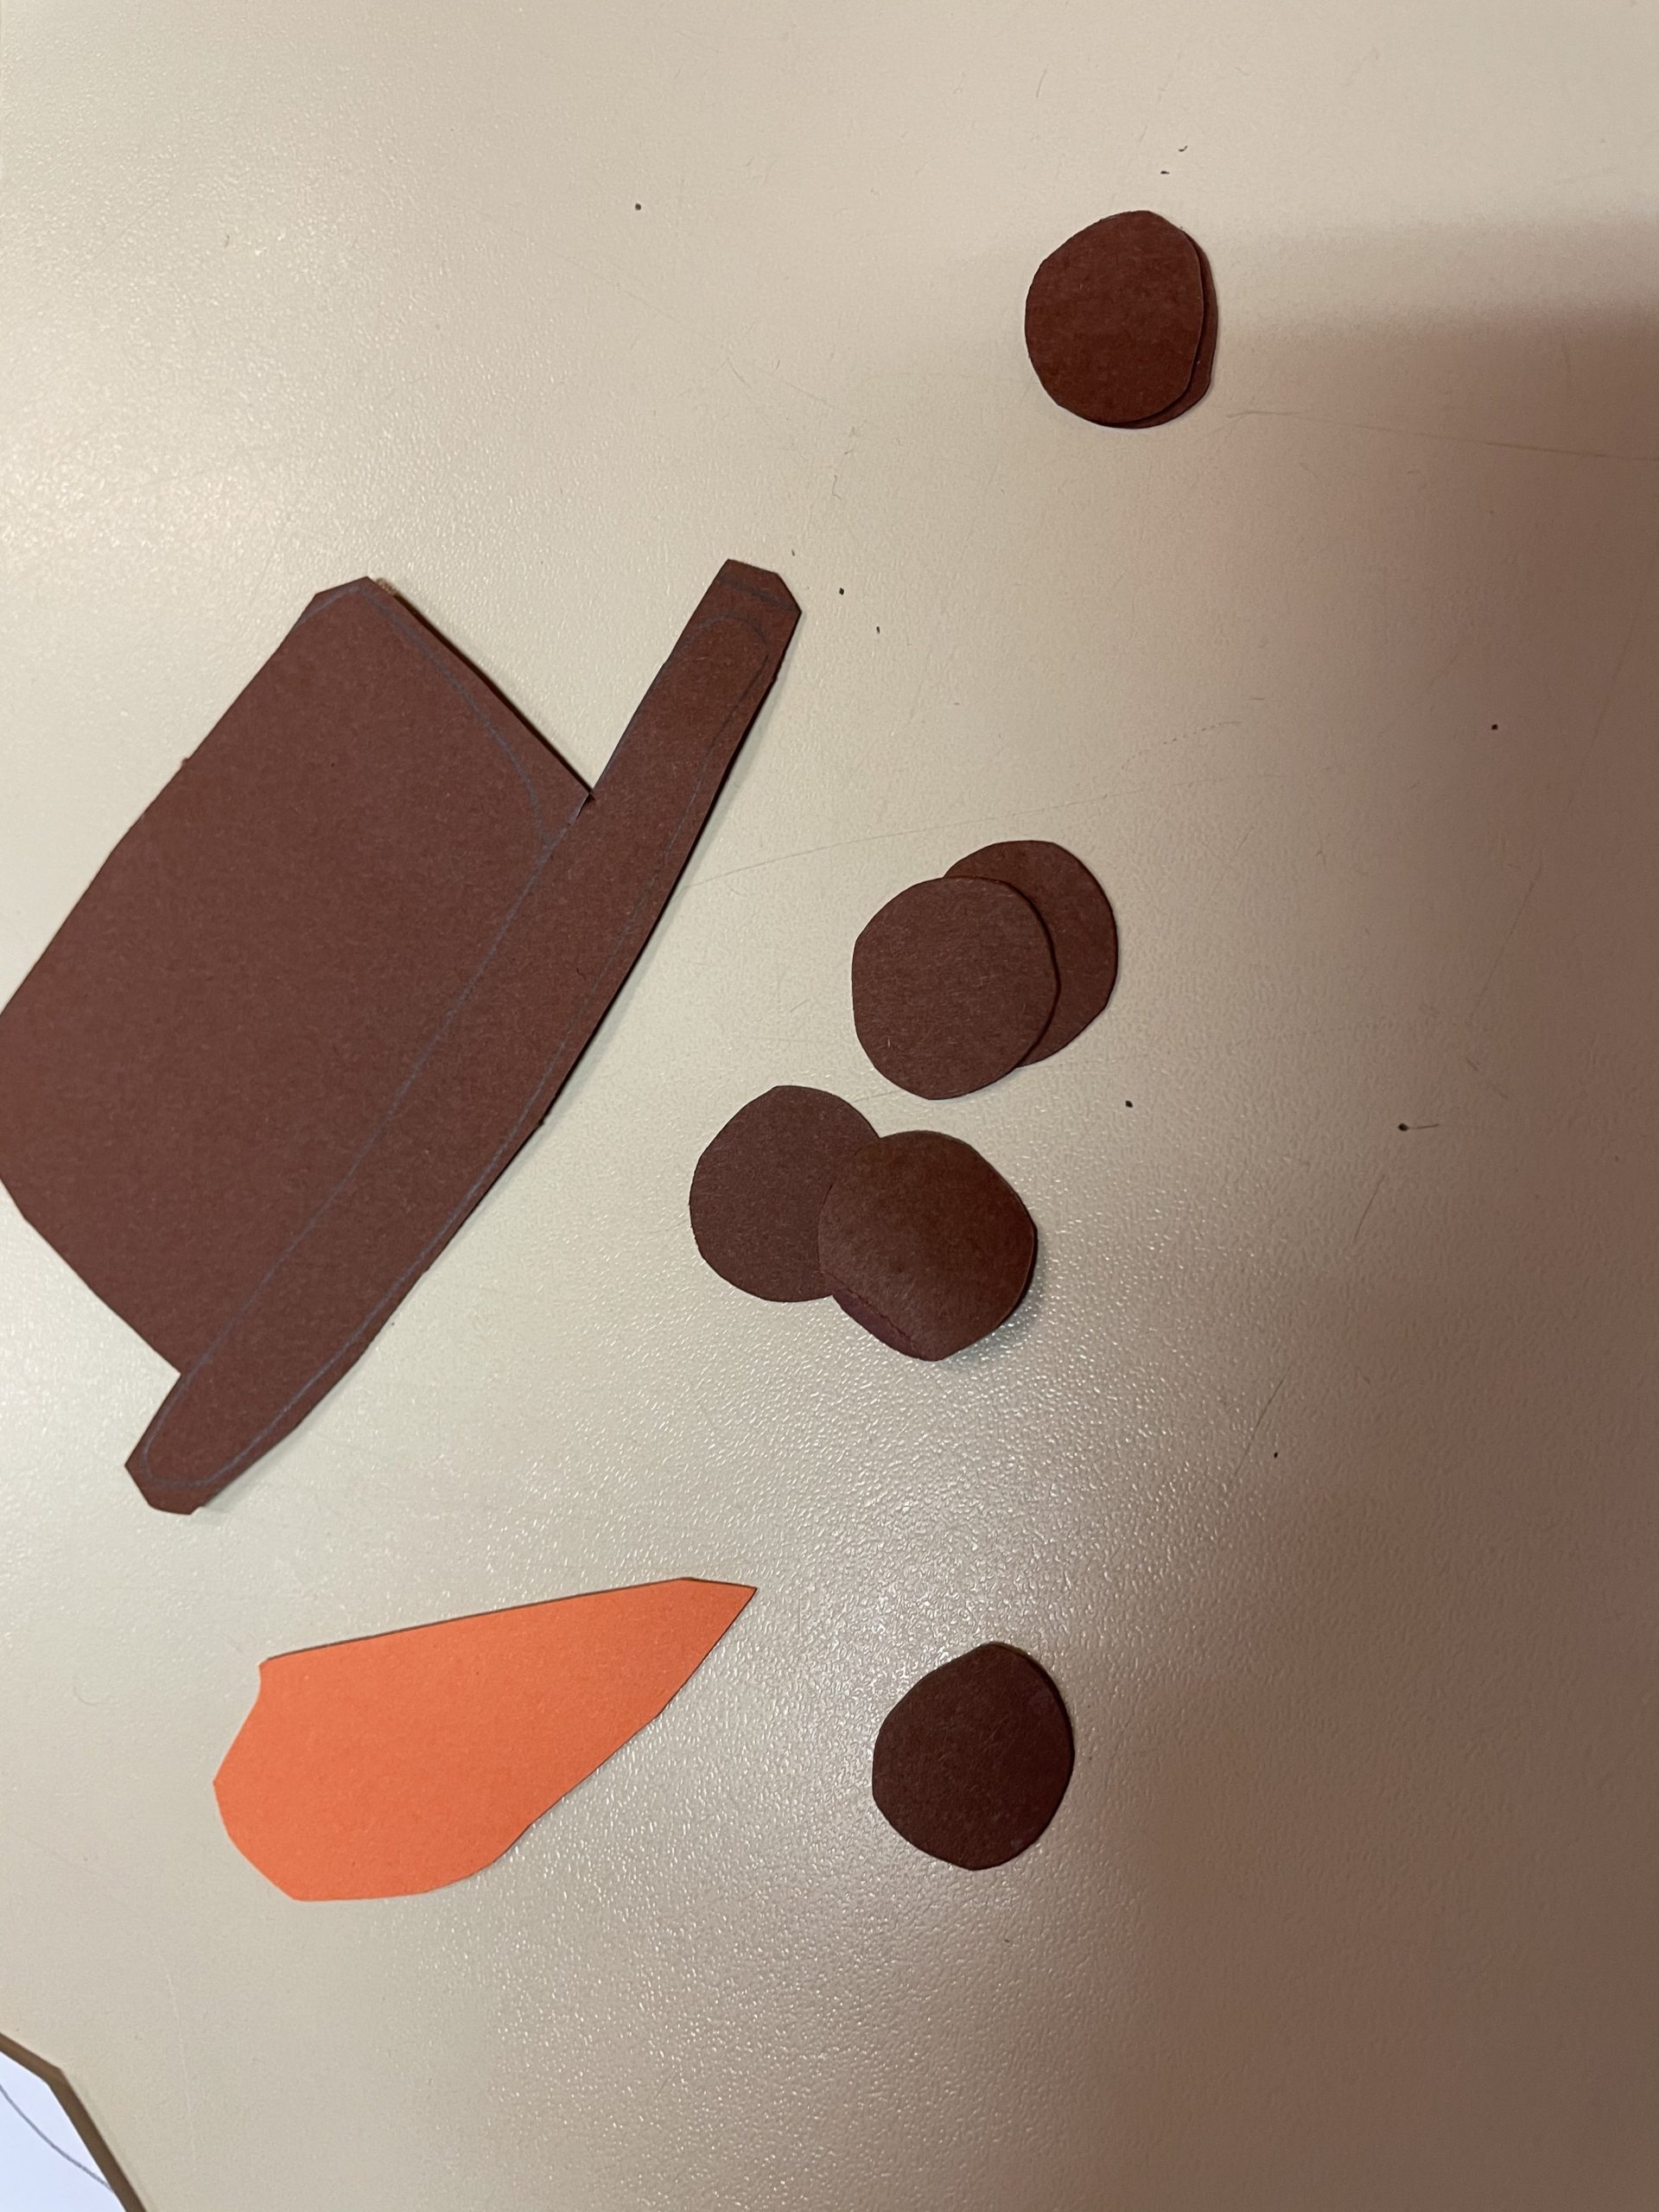
If all the items are cut out, then she puts together to form a snowman.
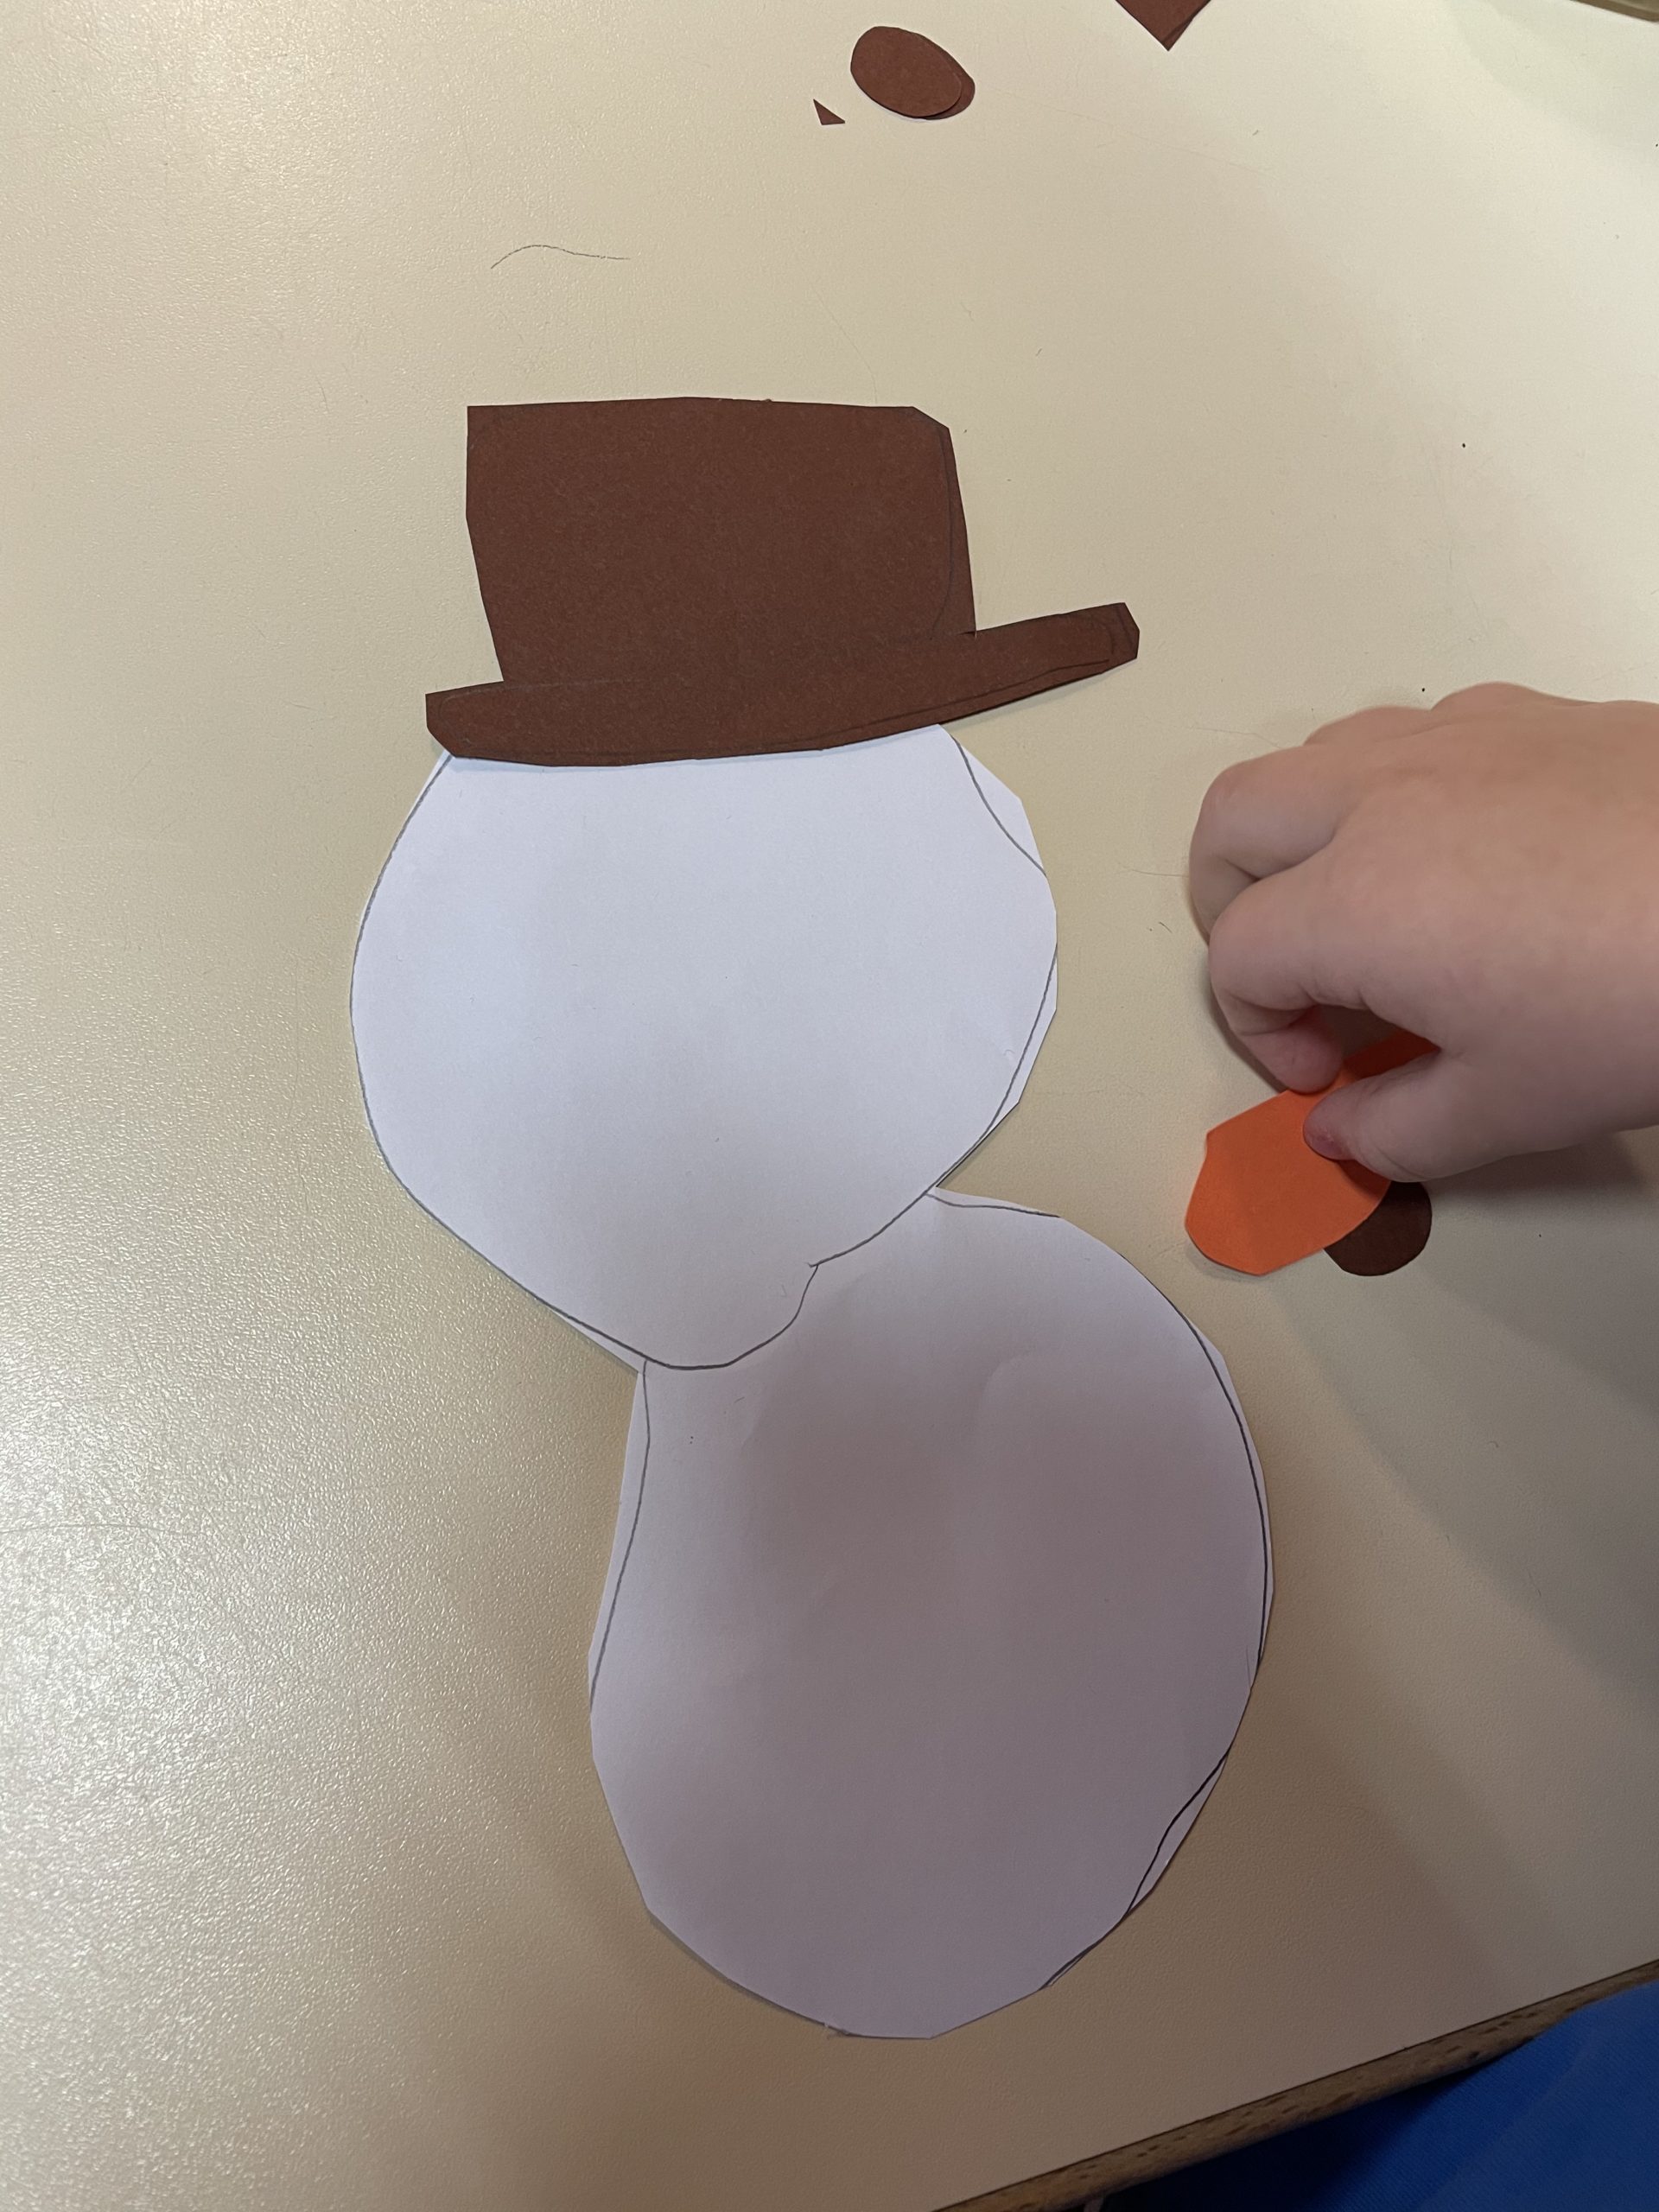
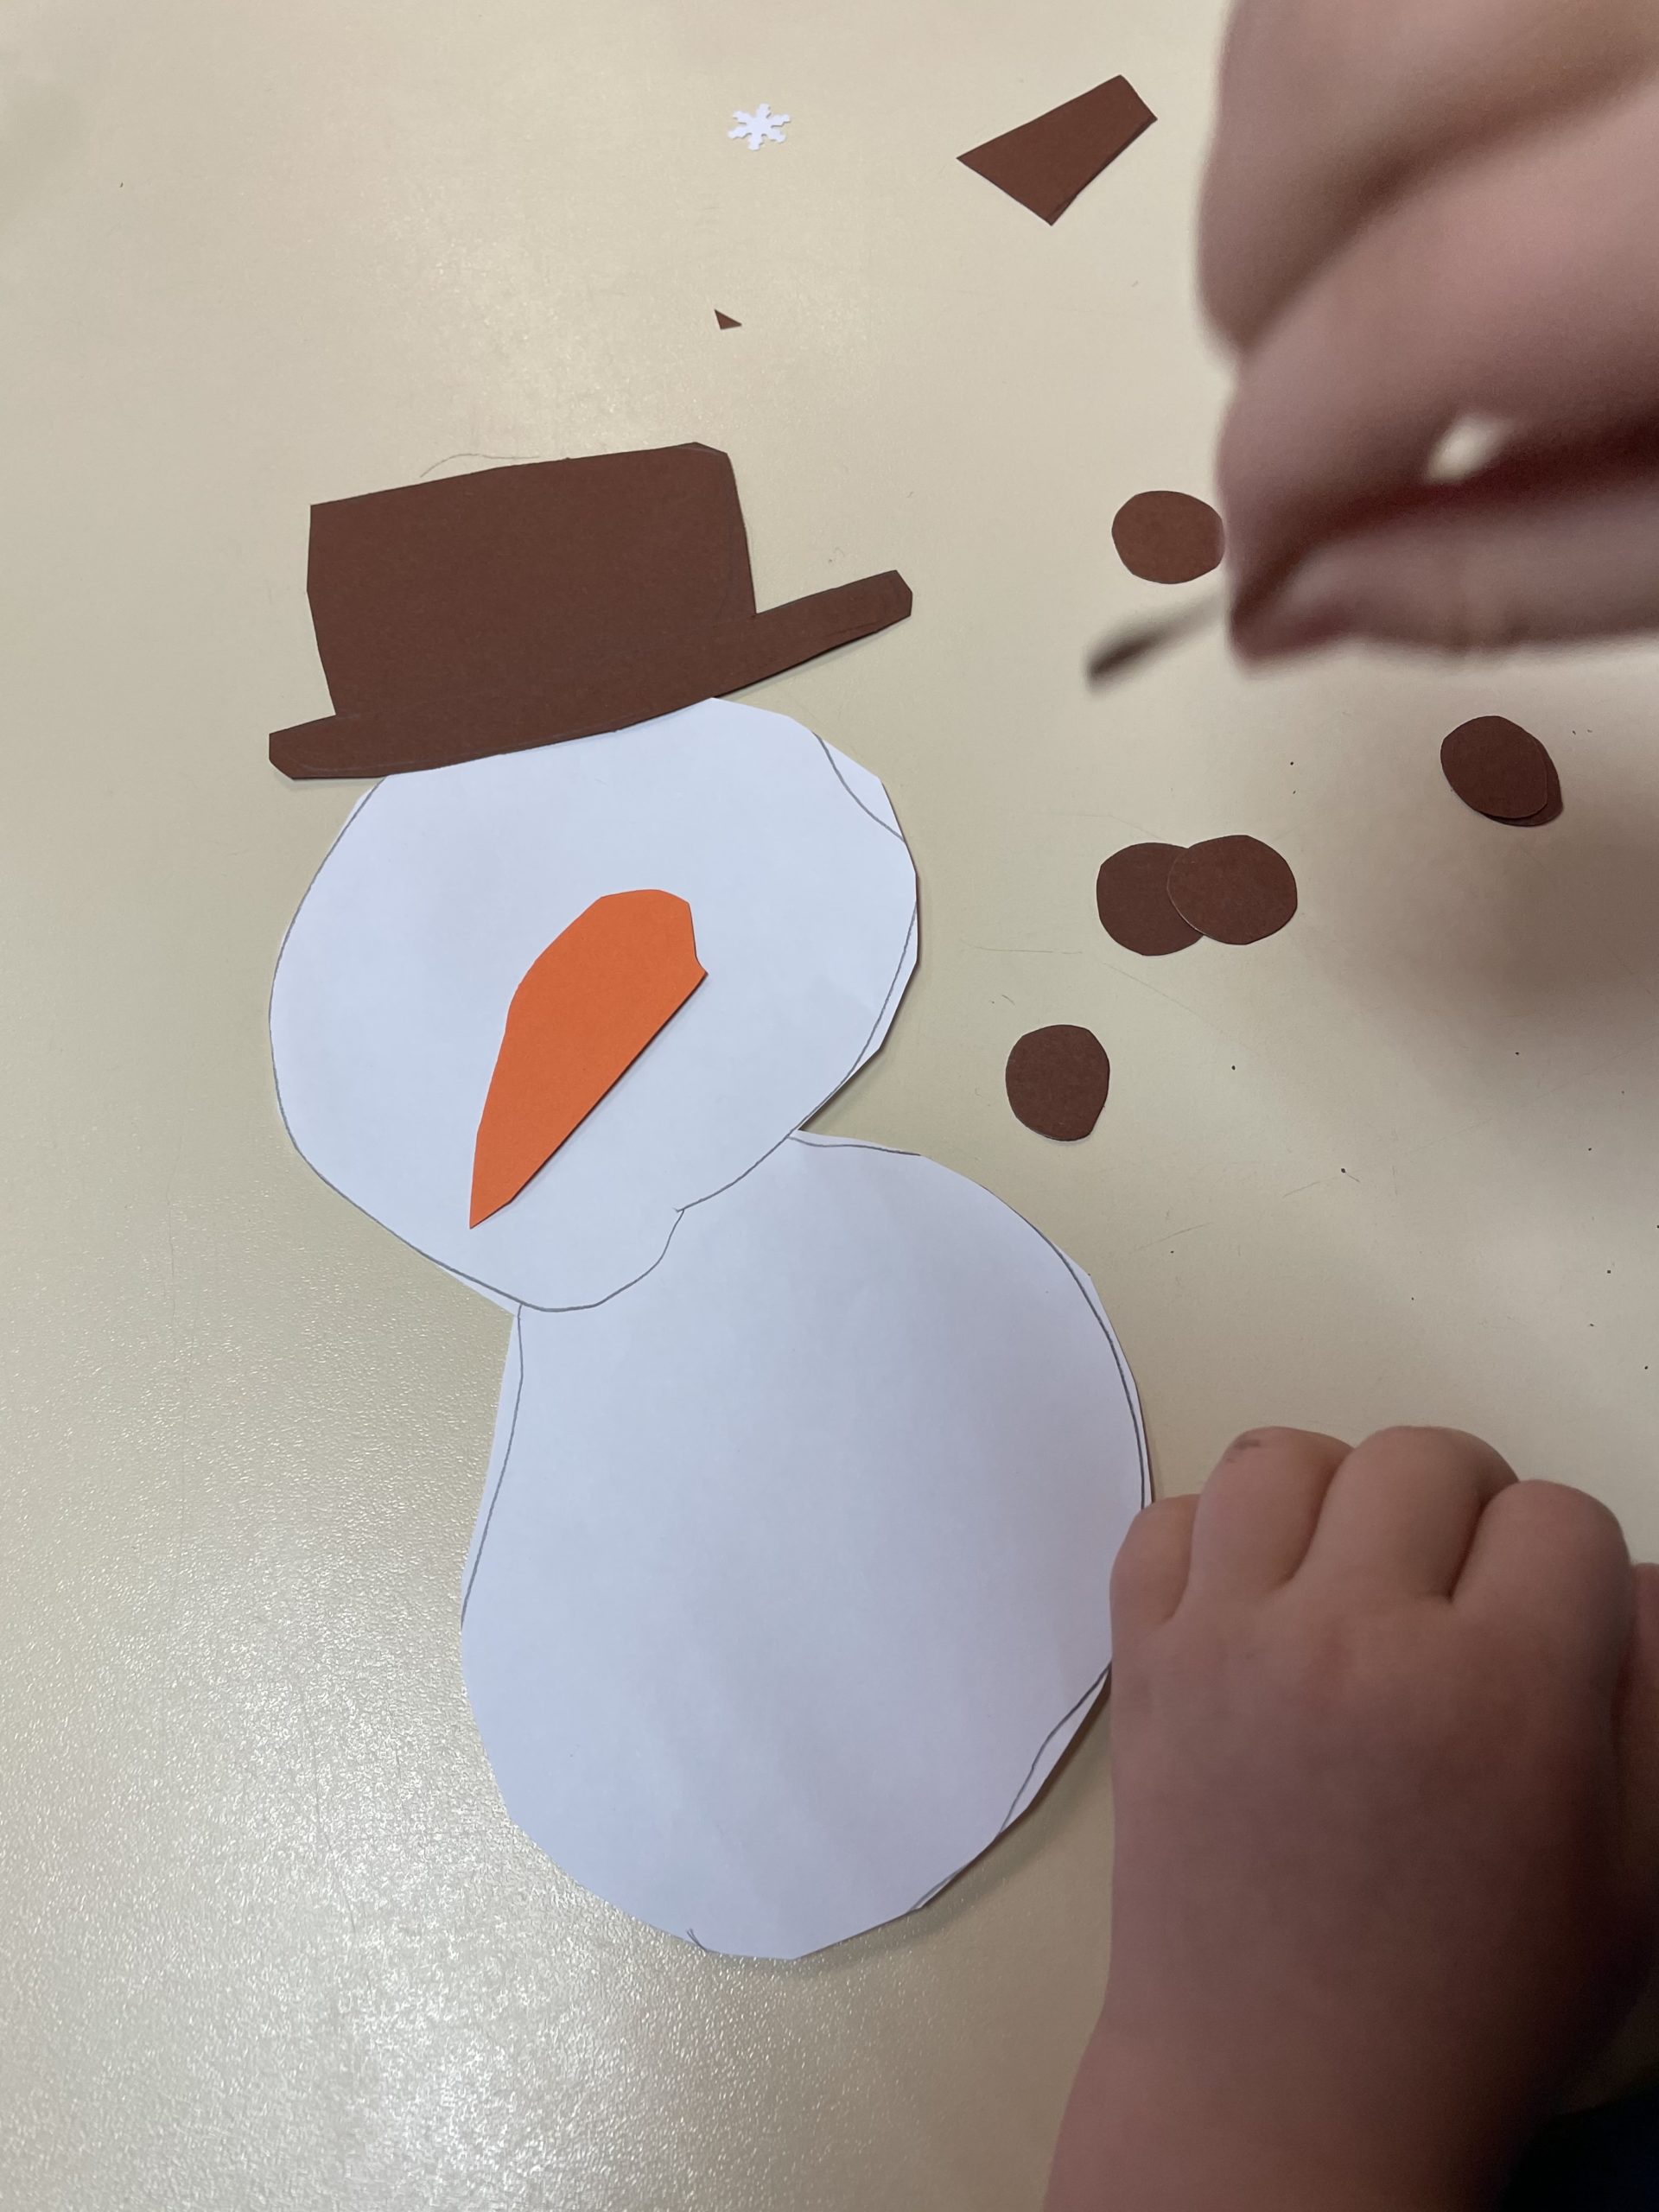
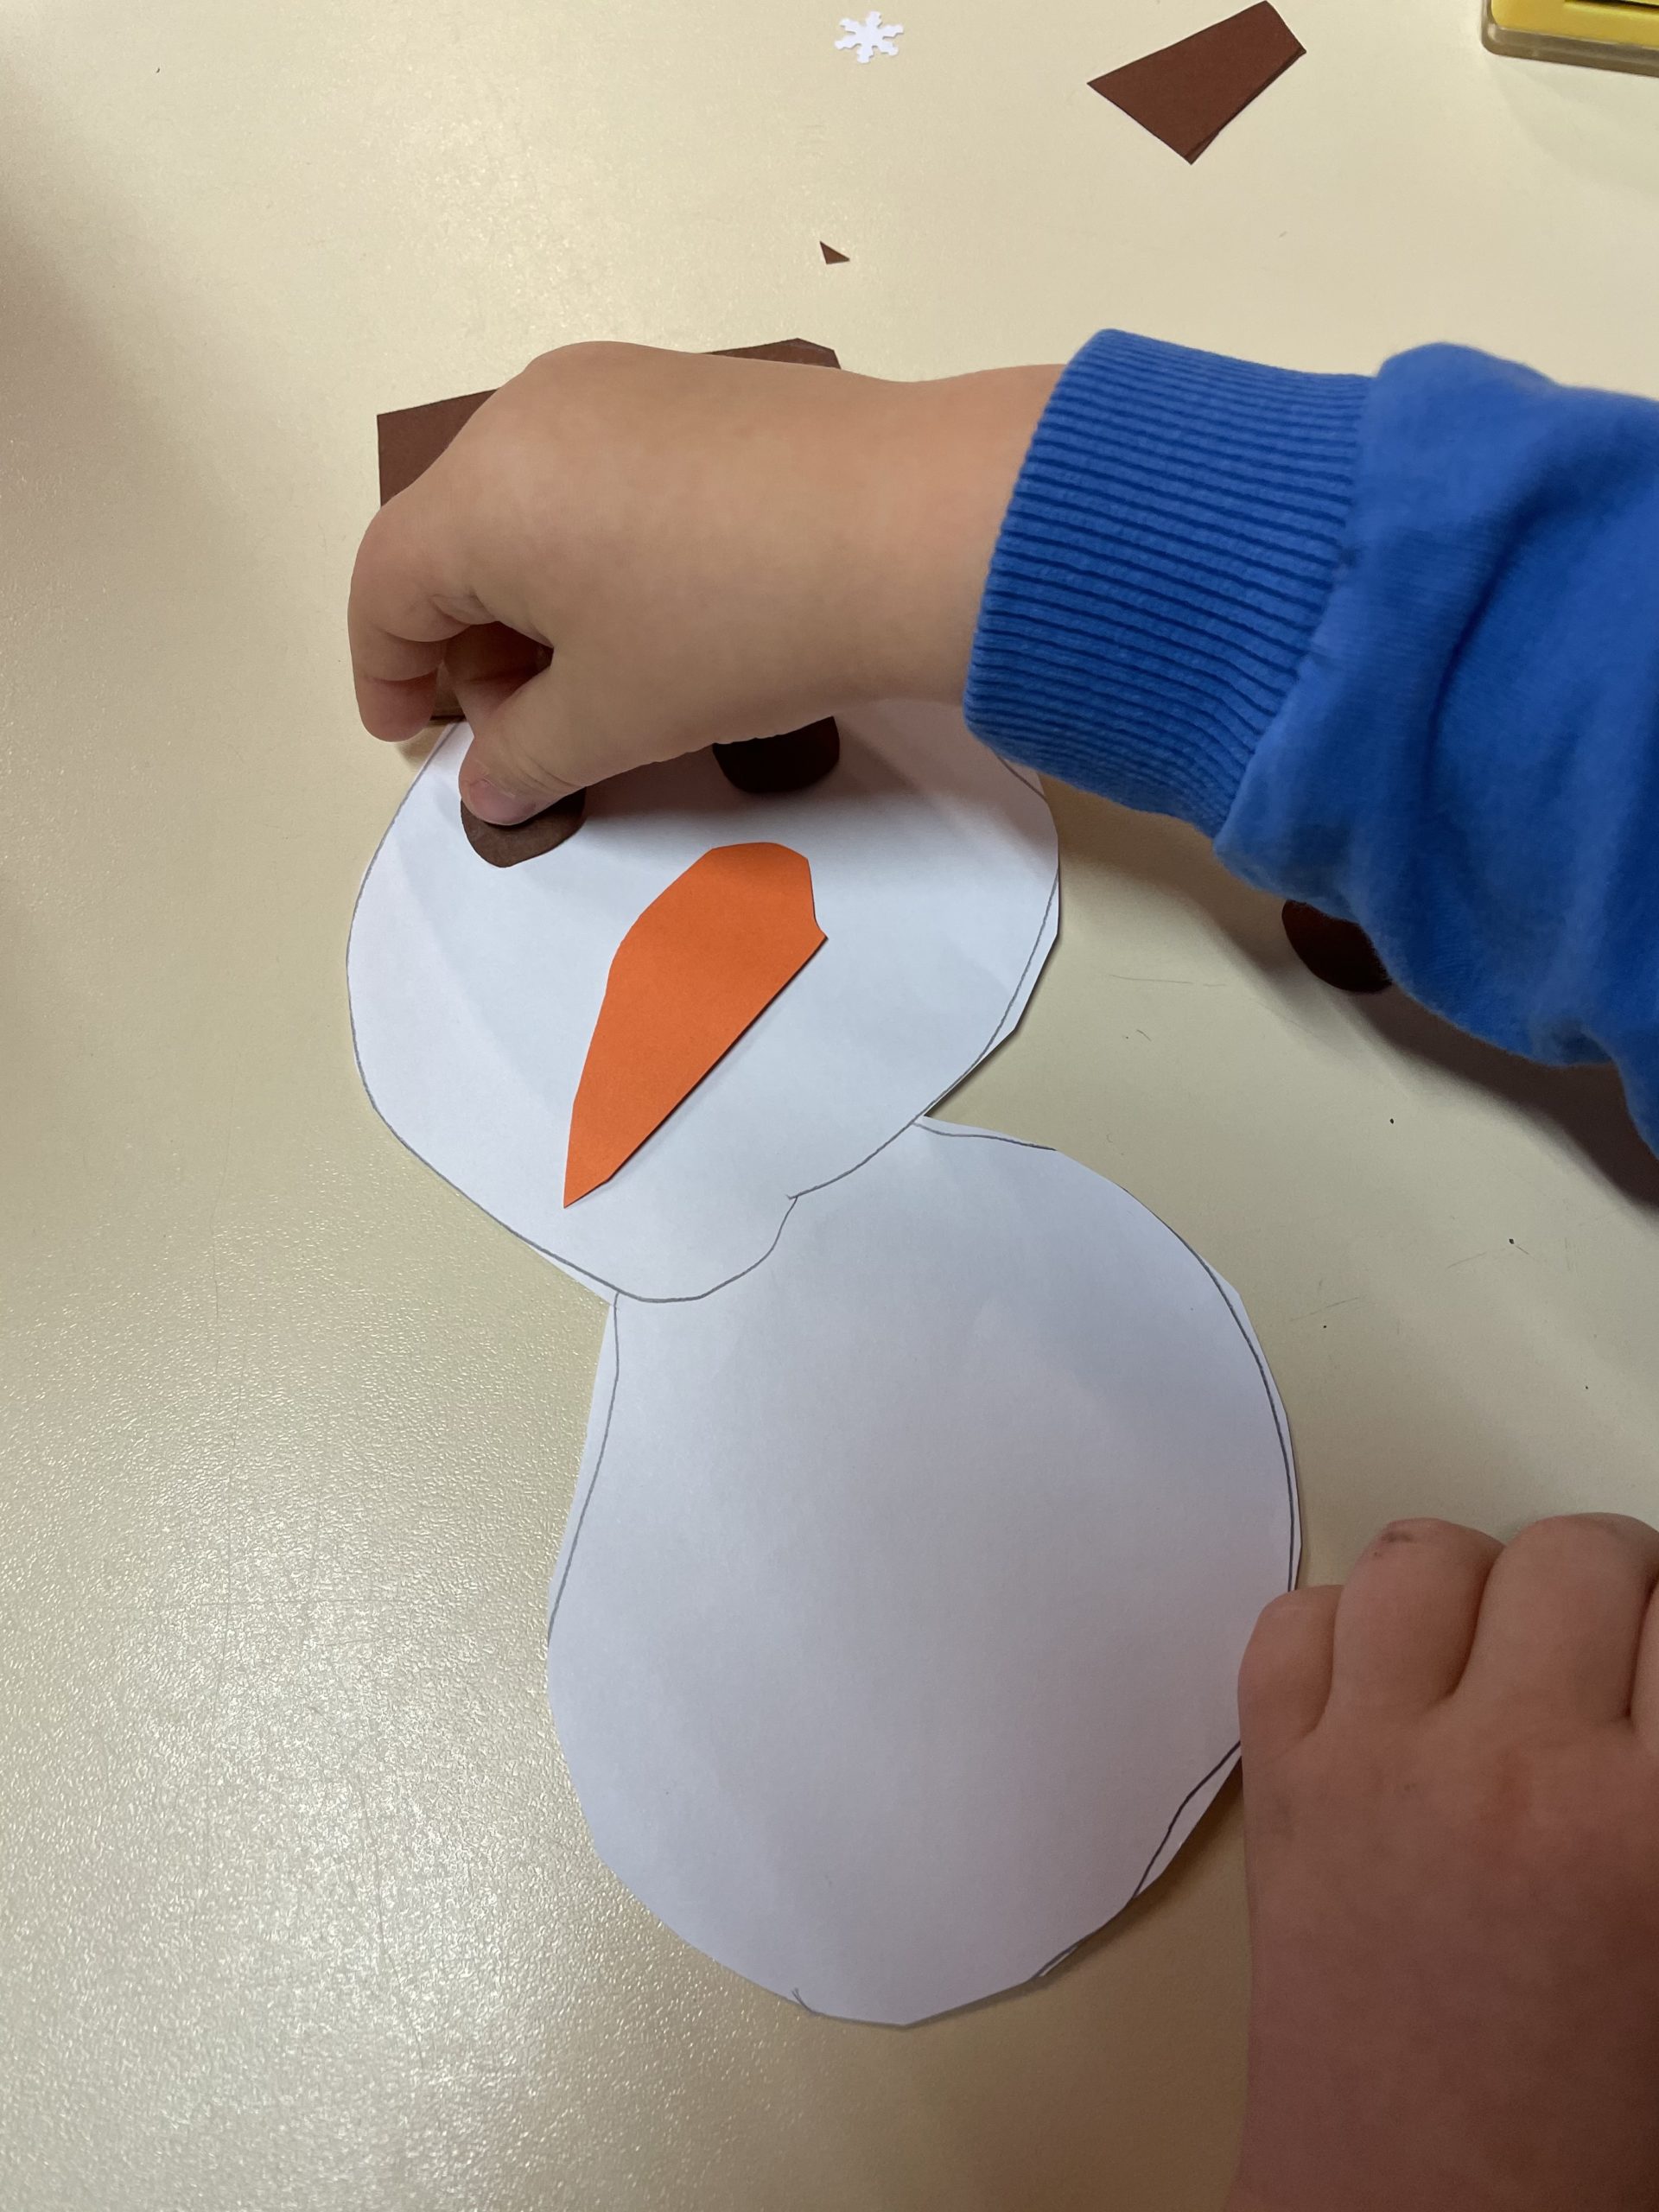
Now you stick all the parts with the glue stick.
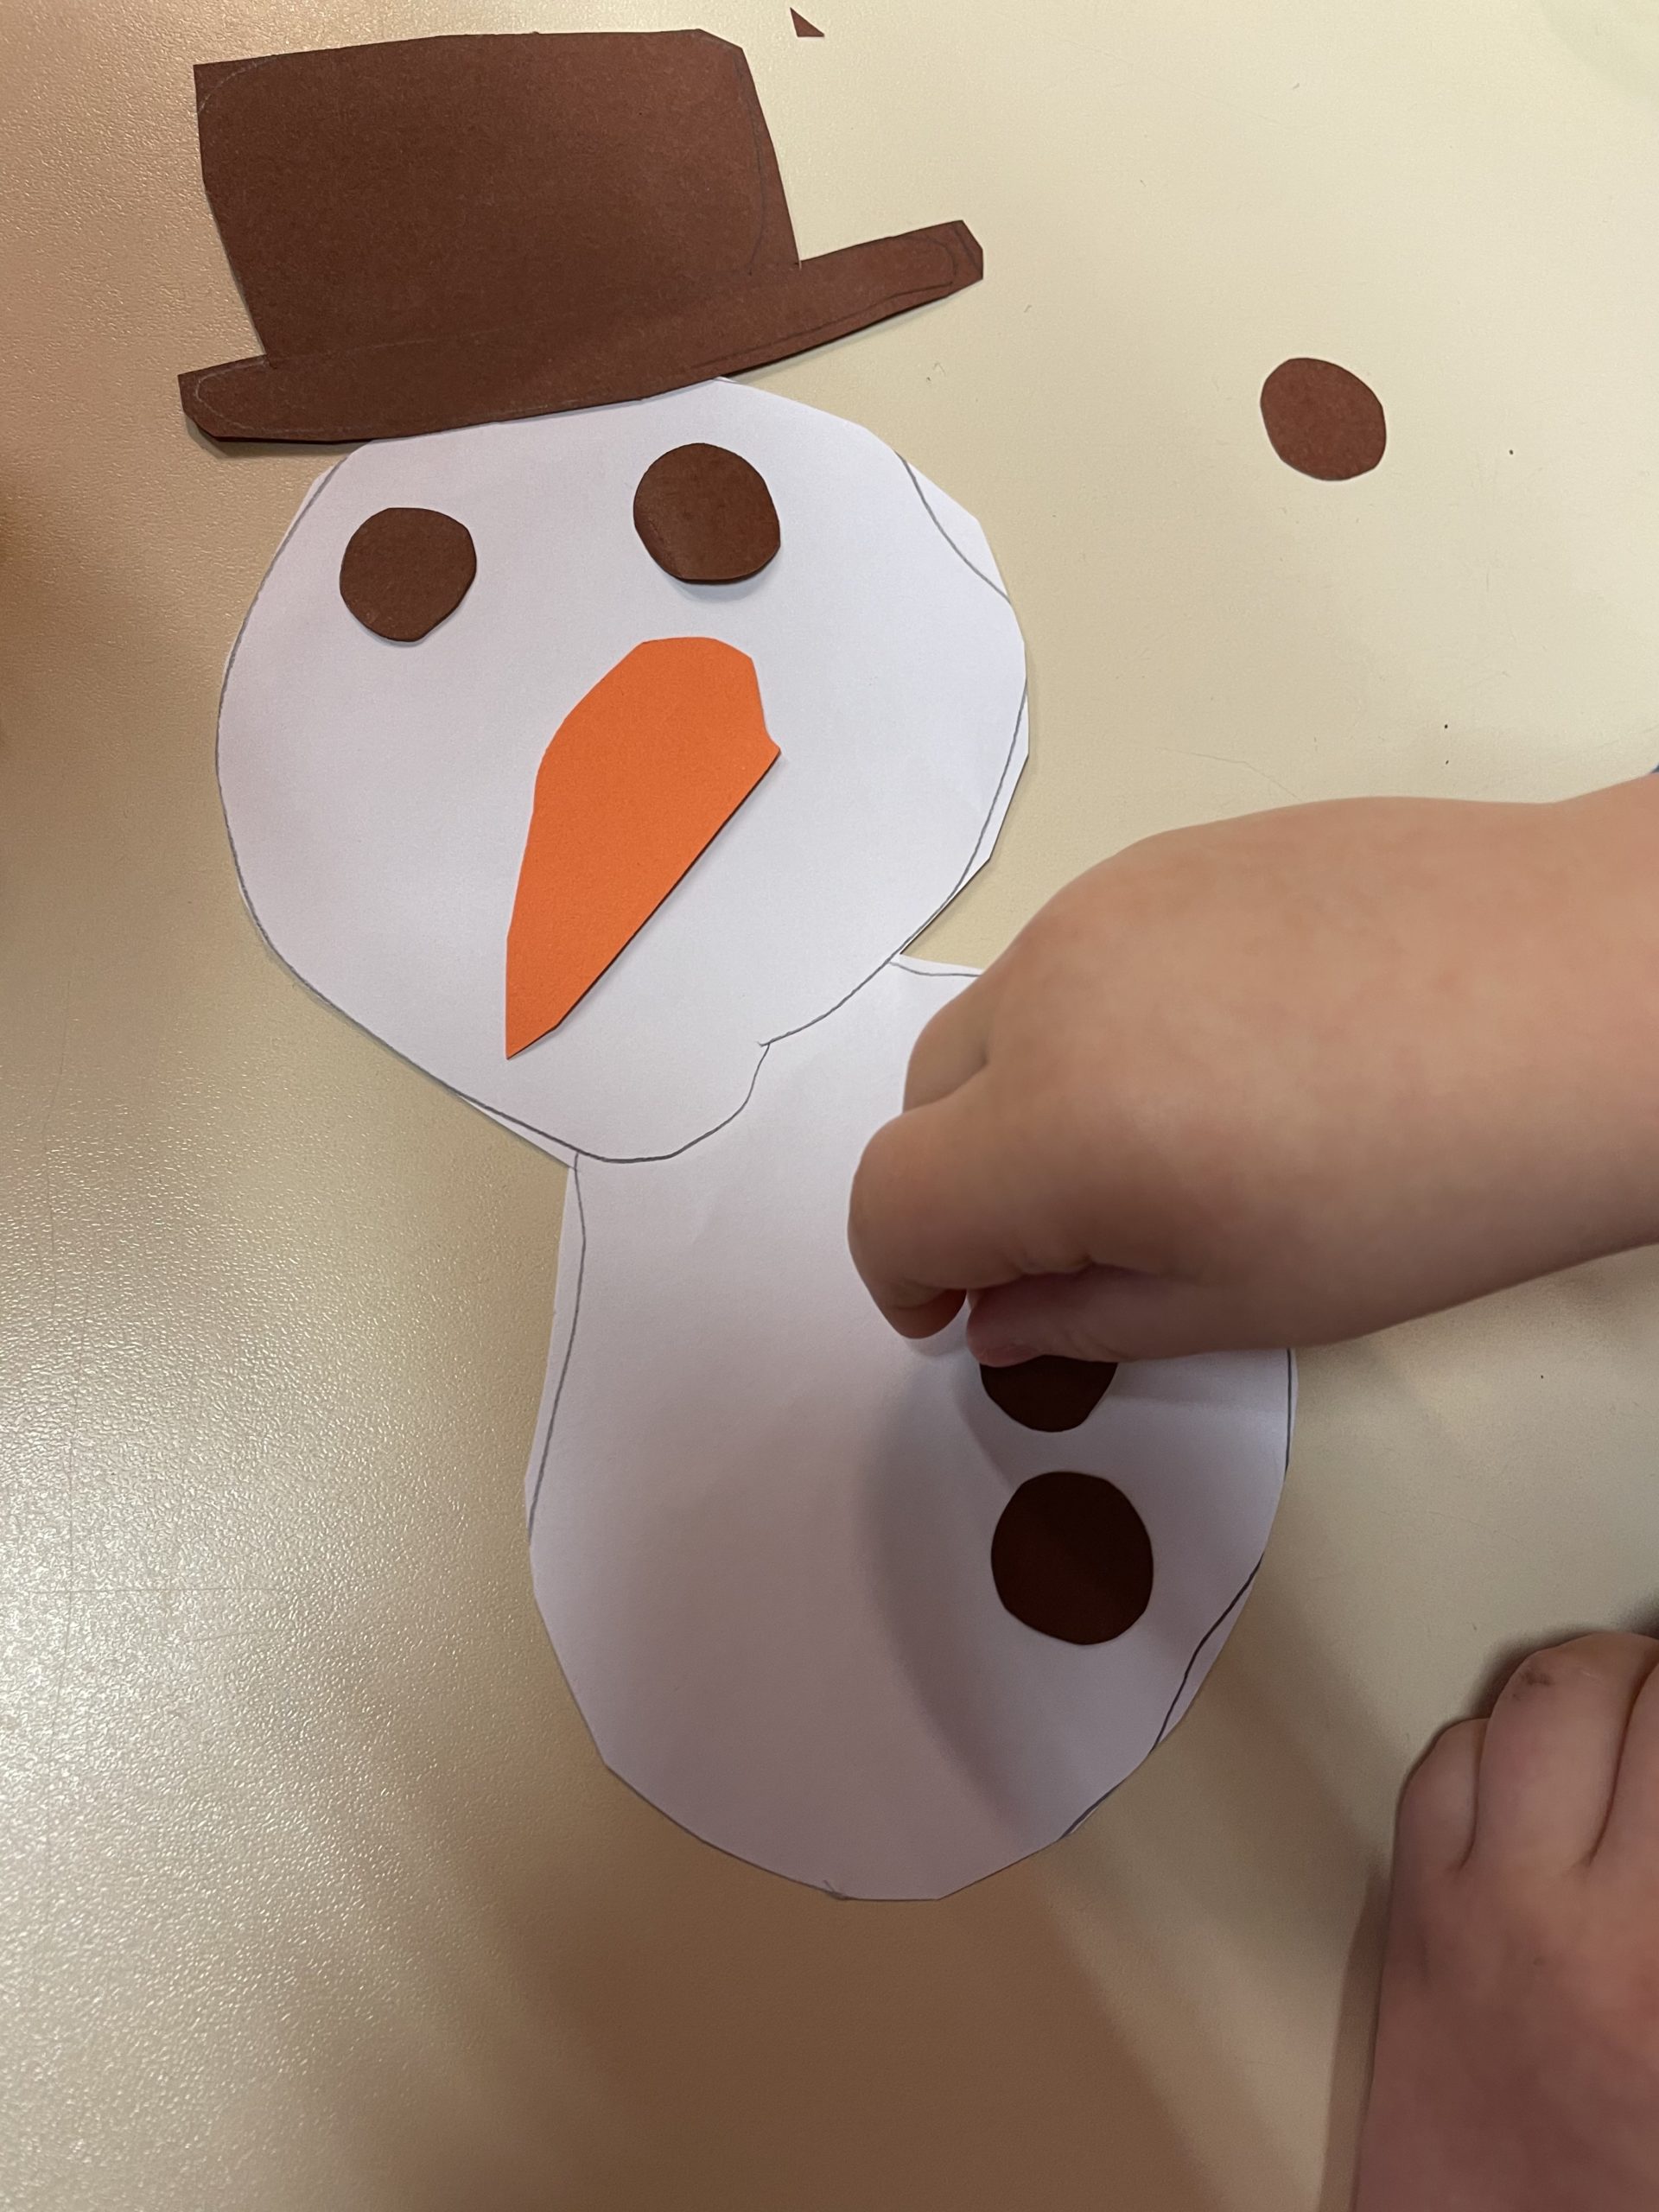
Now you can decorate your snowman. For example with punched snow crystals or a broom of clay paper. The snowmen are ready.
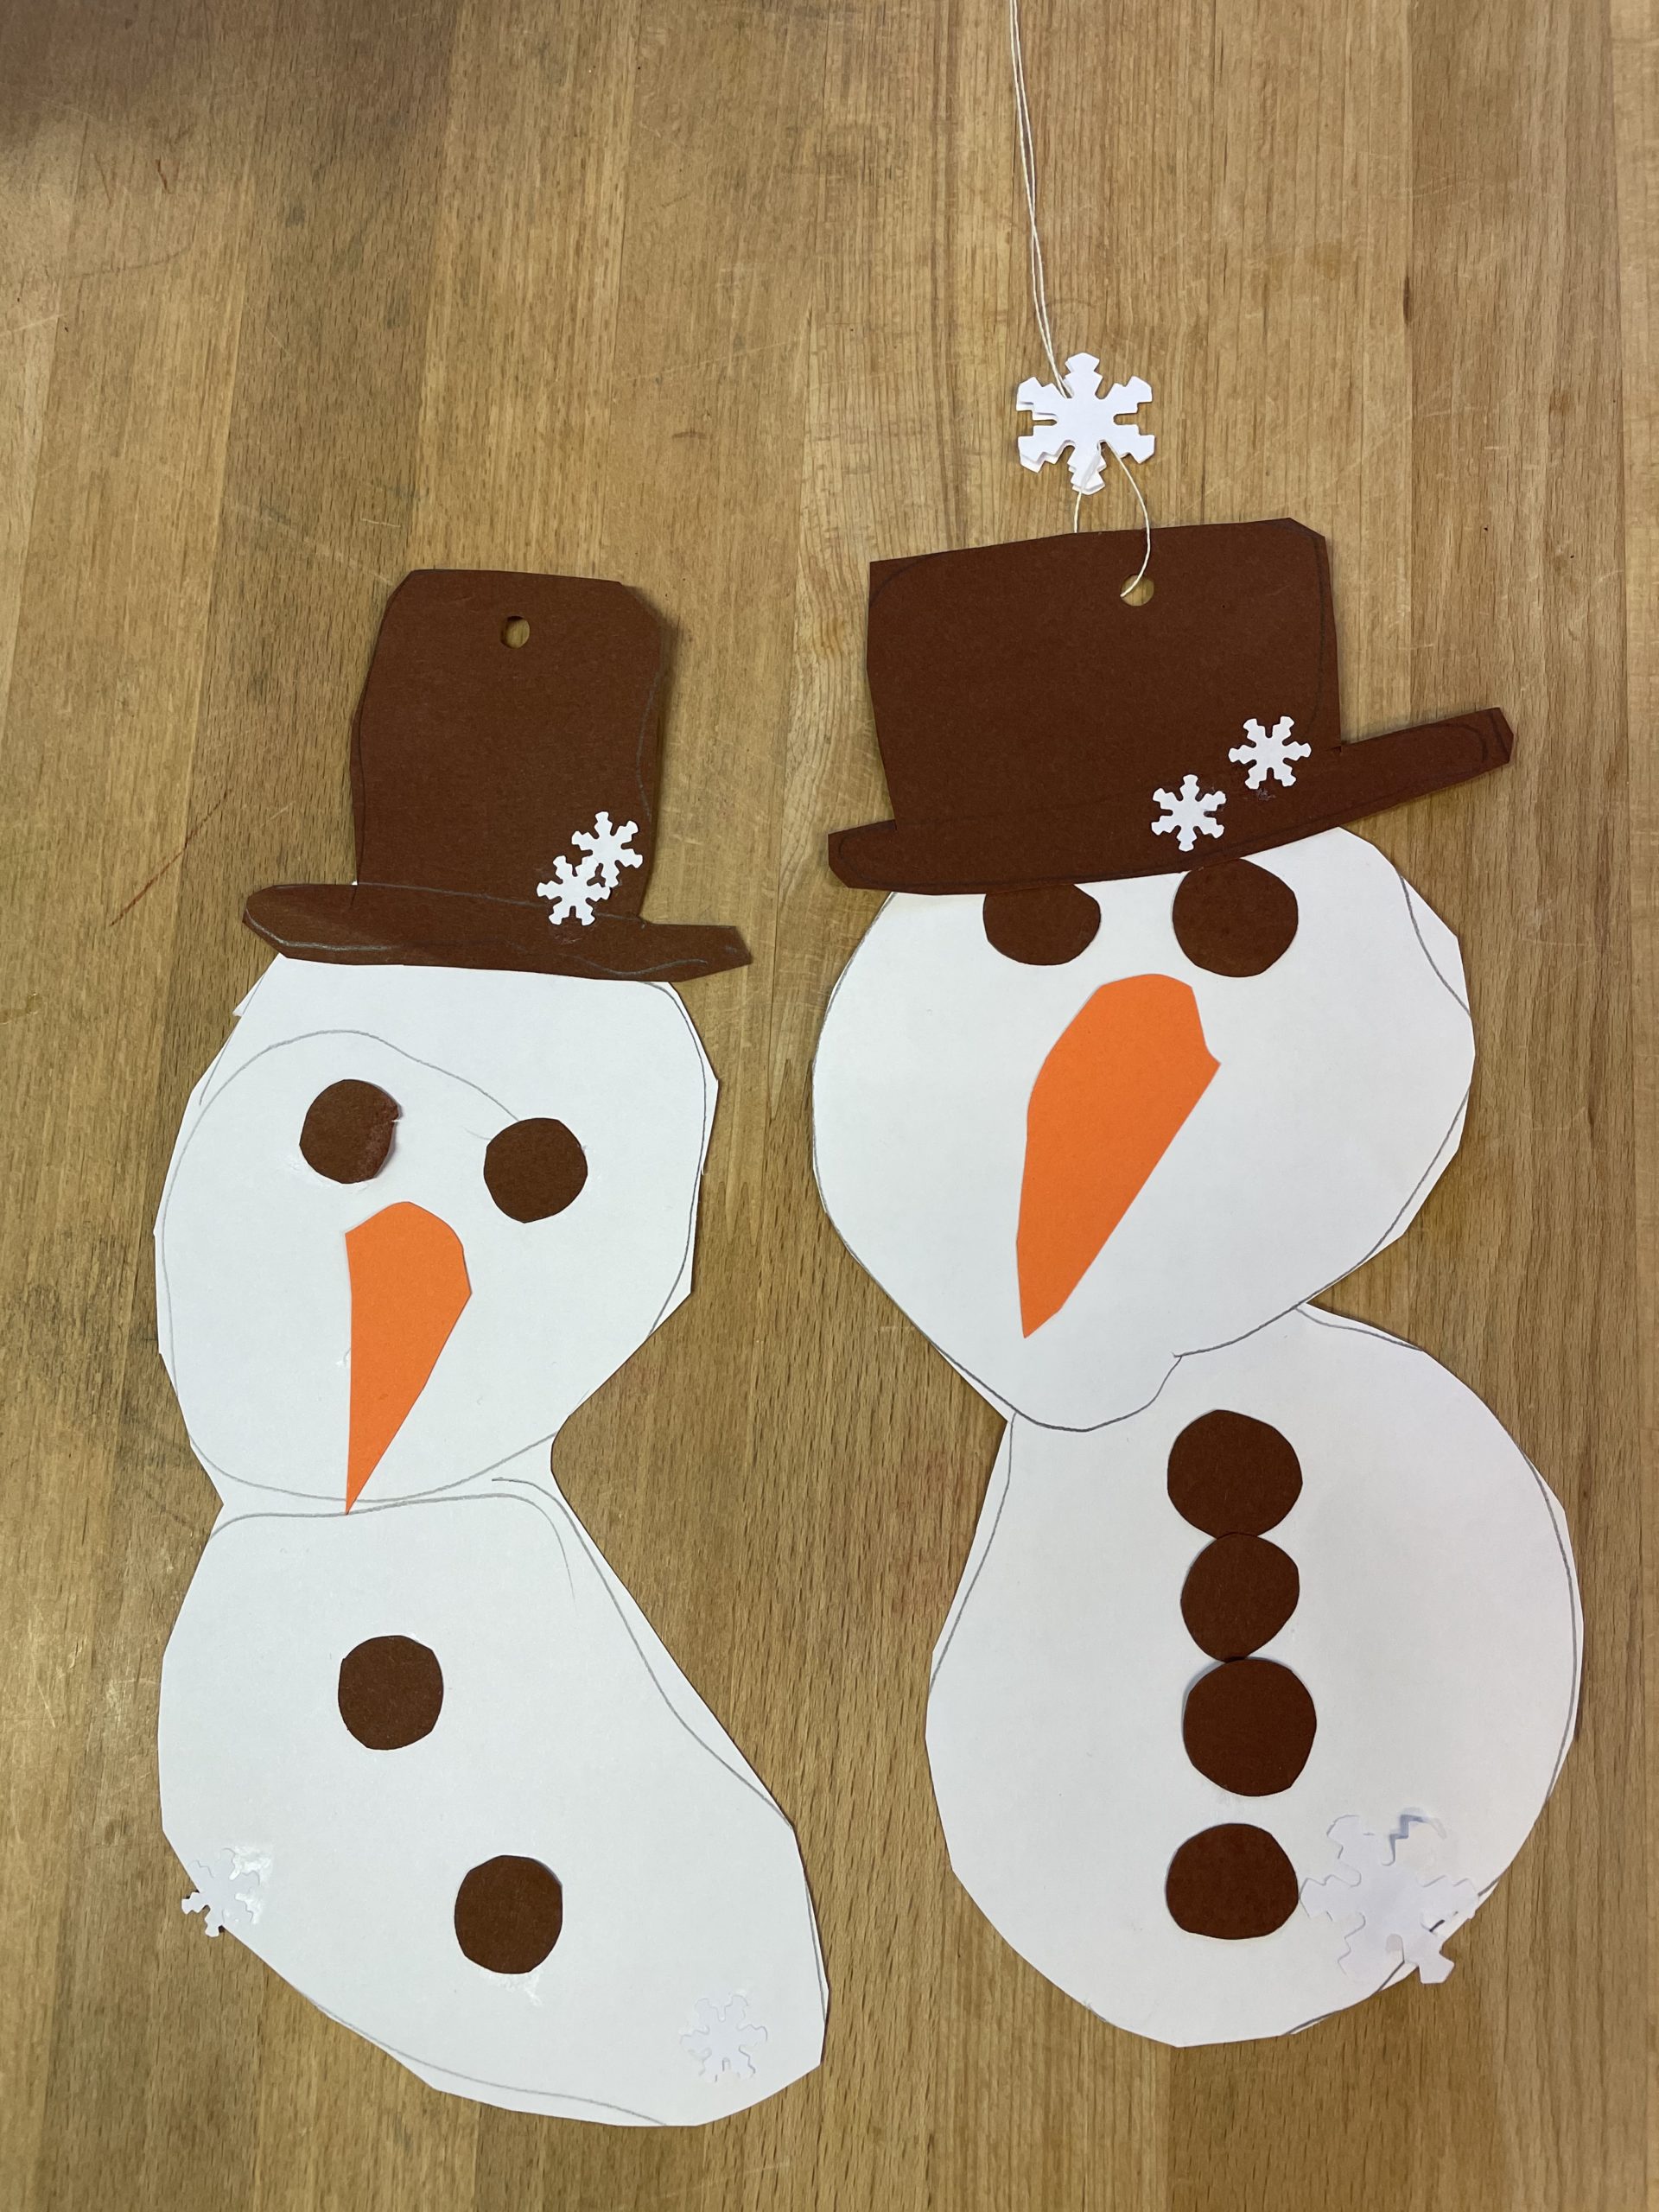
Hang it on a thread in the window or directly on the window pane!
Have fun doing crafts!