This adventure is quickly made out of screw-glass lids, an old plastic bag and a thin branch. It's great for children to see how worthless packaging waste creates something new that needs to be treated carefully to enjoy it for a long time. A careful handling, sensitivity, dexterity, appreciation and environmental experience is taught here and experience fun, while playing with specially crafted items. Try it out yourself. Have fun with it.
Media Education for Kindergarten and Hort

Relief in everyday life, targeted promotion of individual children, independent learning and - without any pre-knowledge already usable by the youngest!
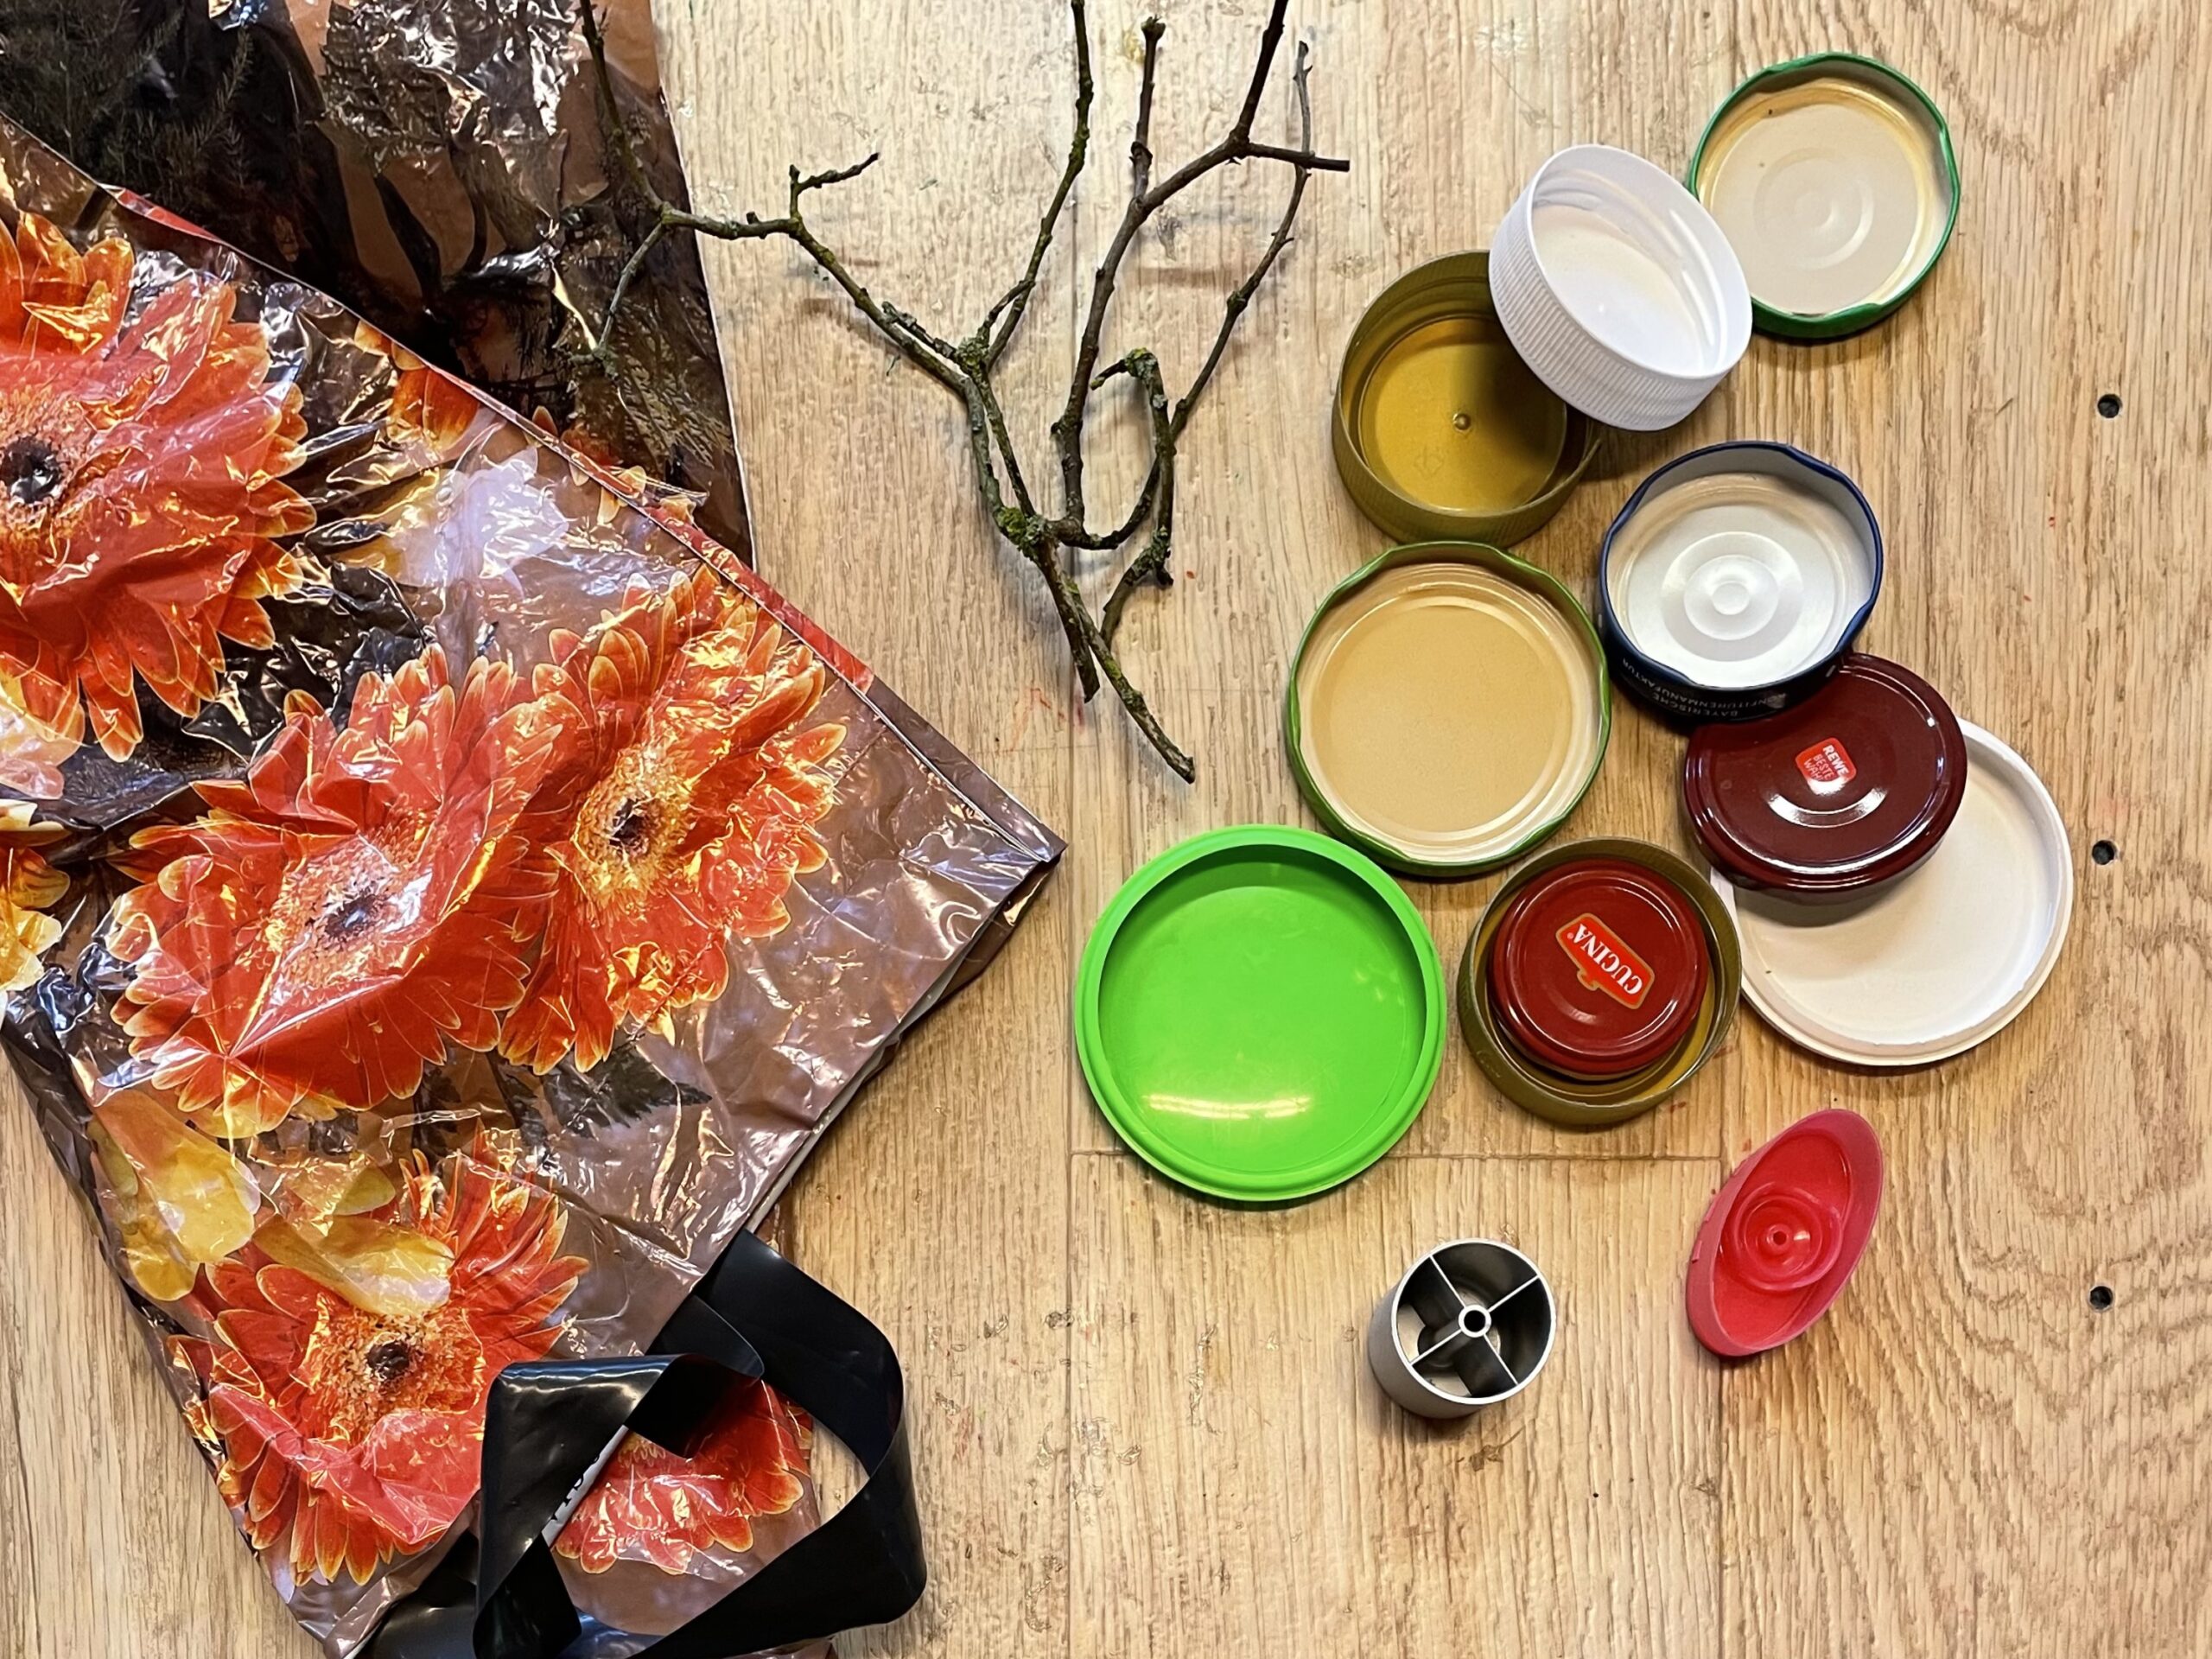
Prepare all the materials. For each boat you want to make, you will need a lid, a small piece of plastic foil and a thin branch.
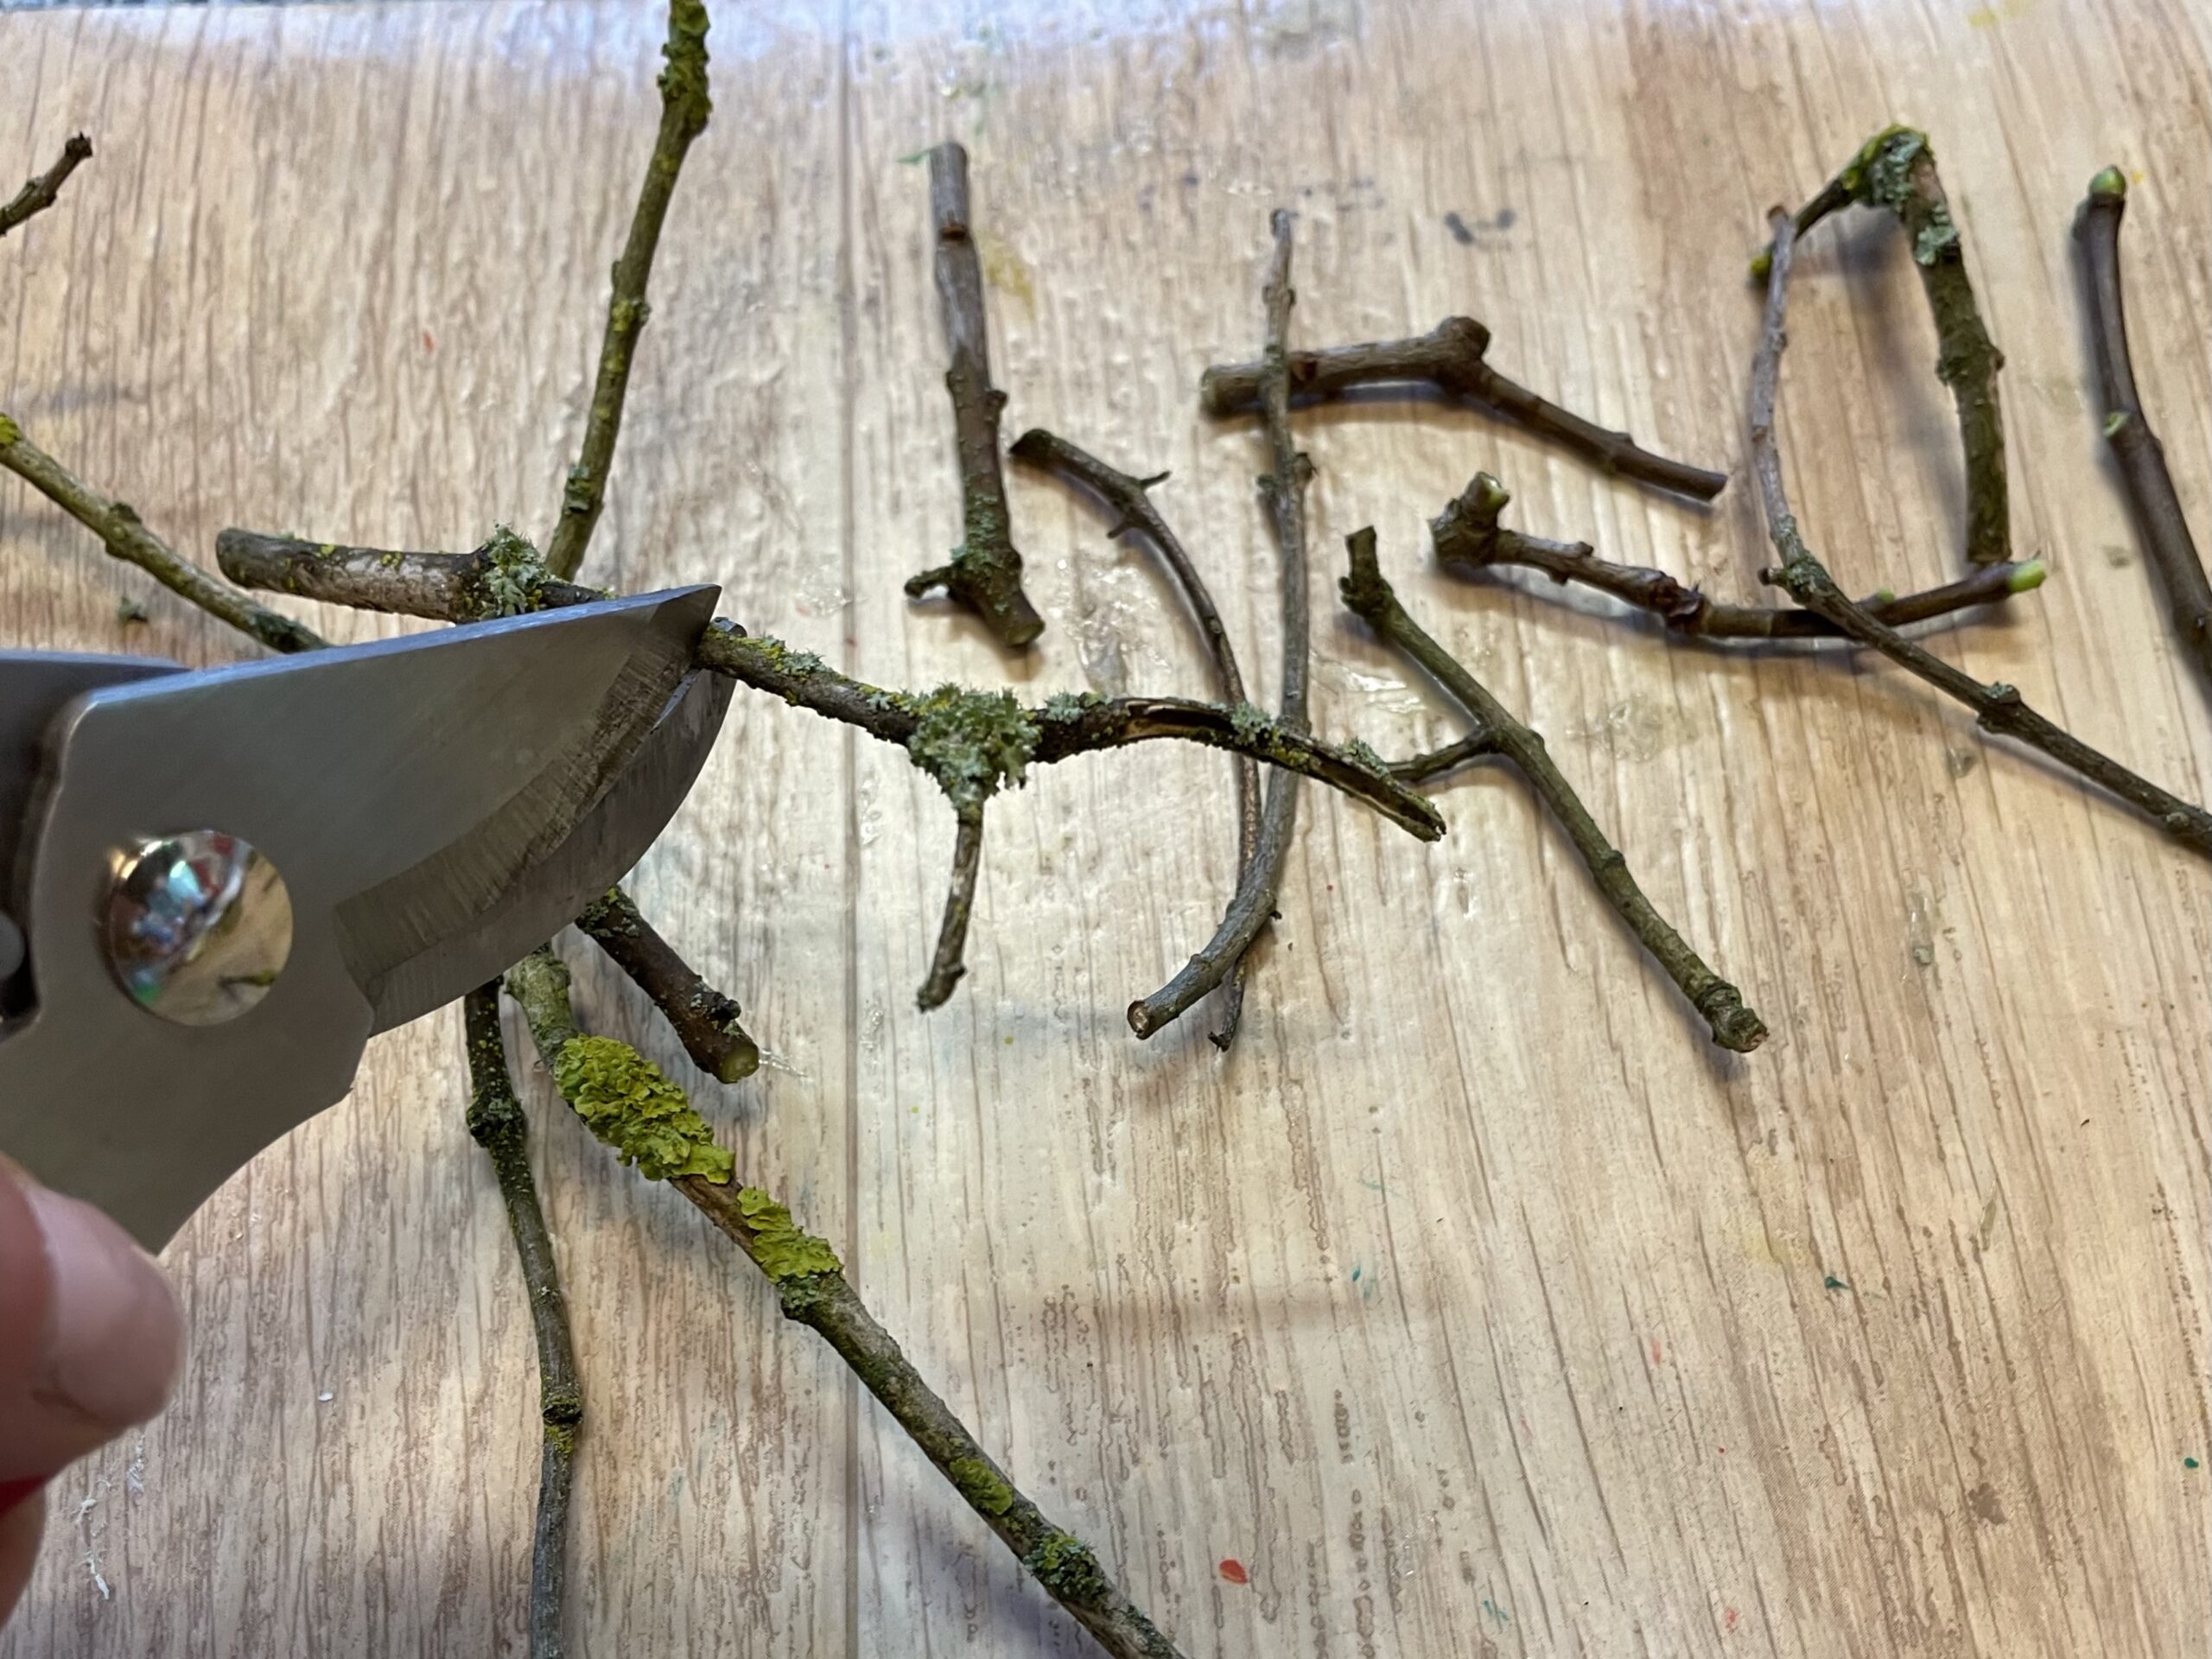
Let an adult cut you the thin branches. Approx. 6-7 cm long are sufficient here. (You can also measure your finger length).


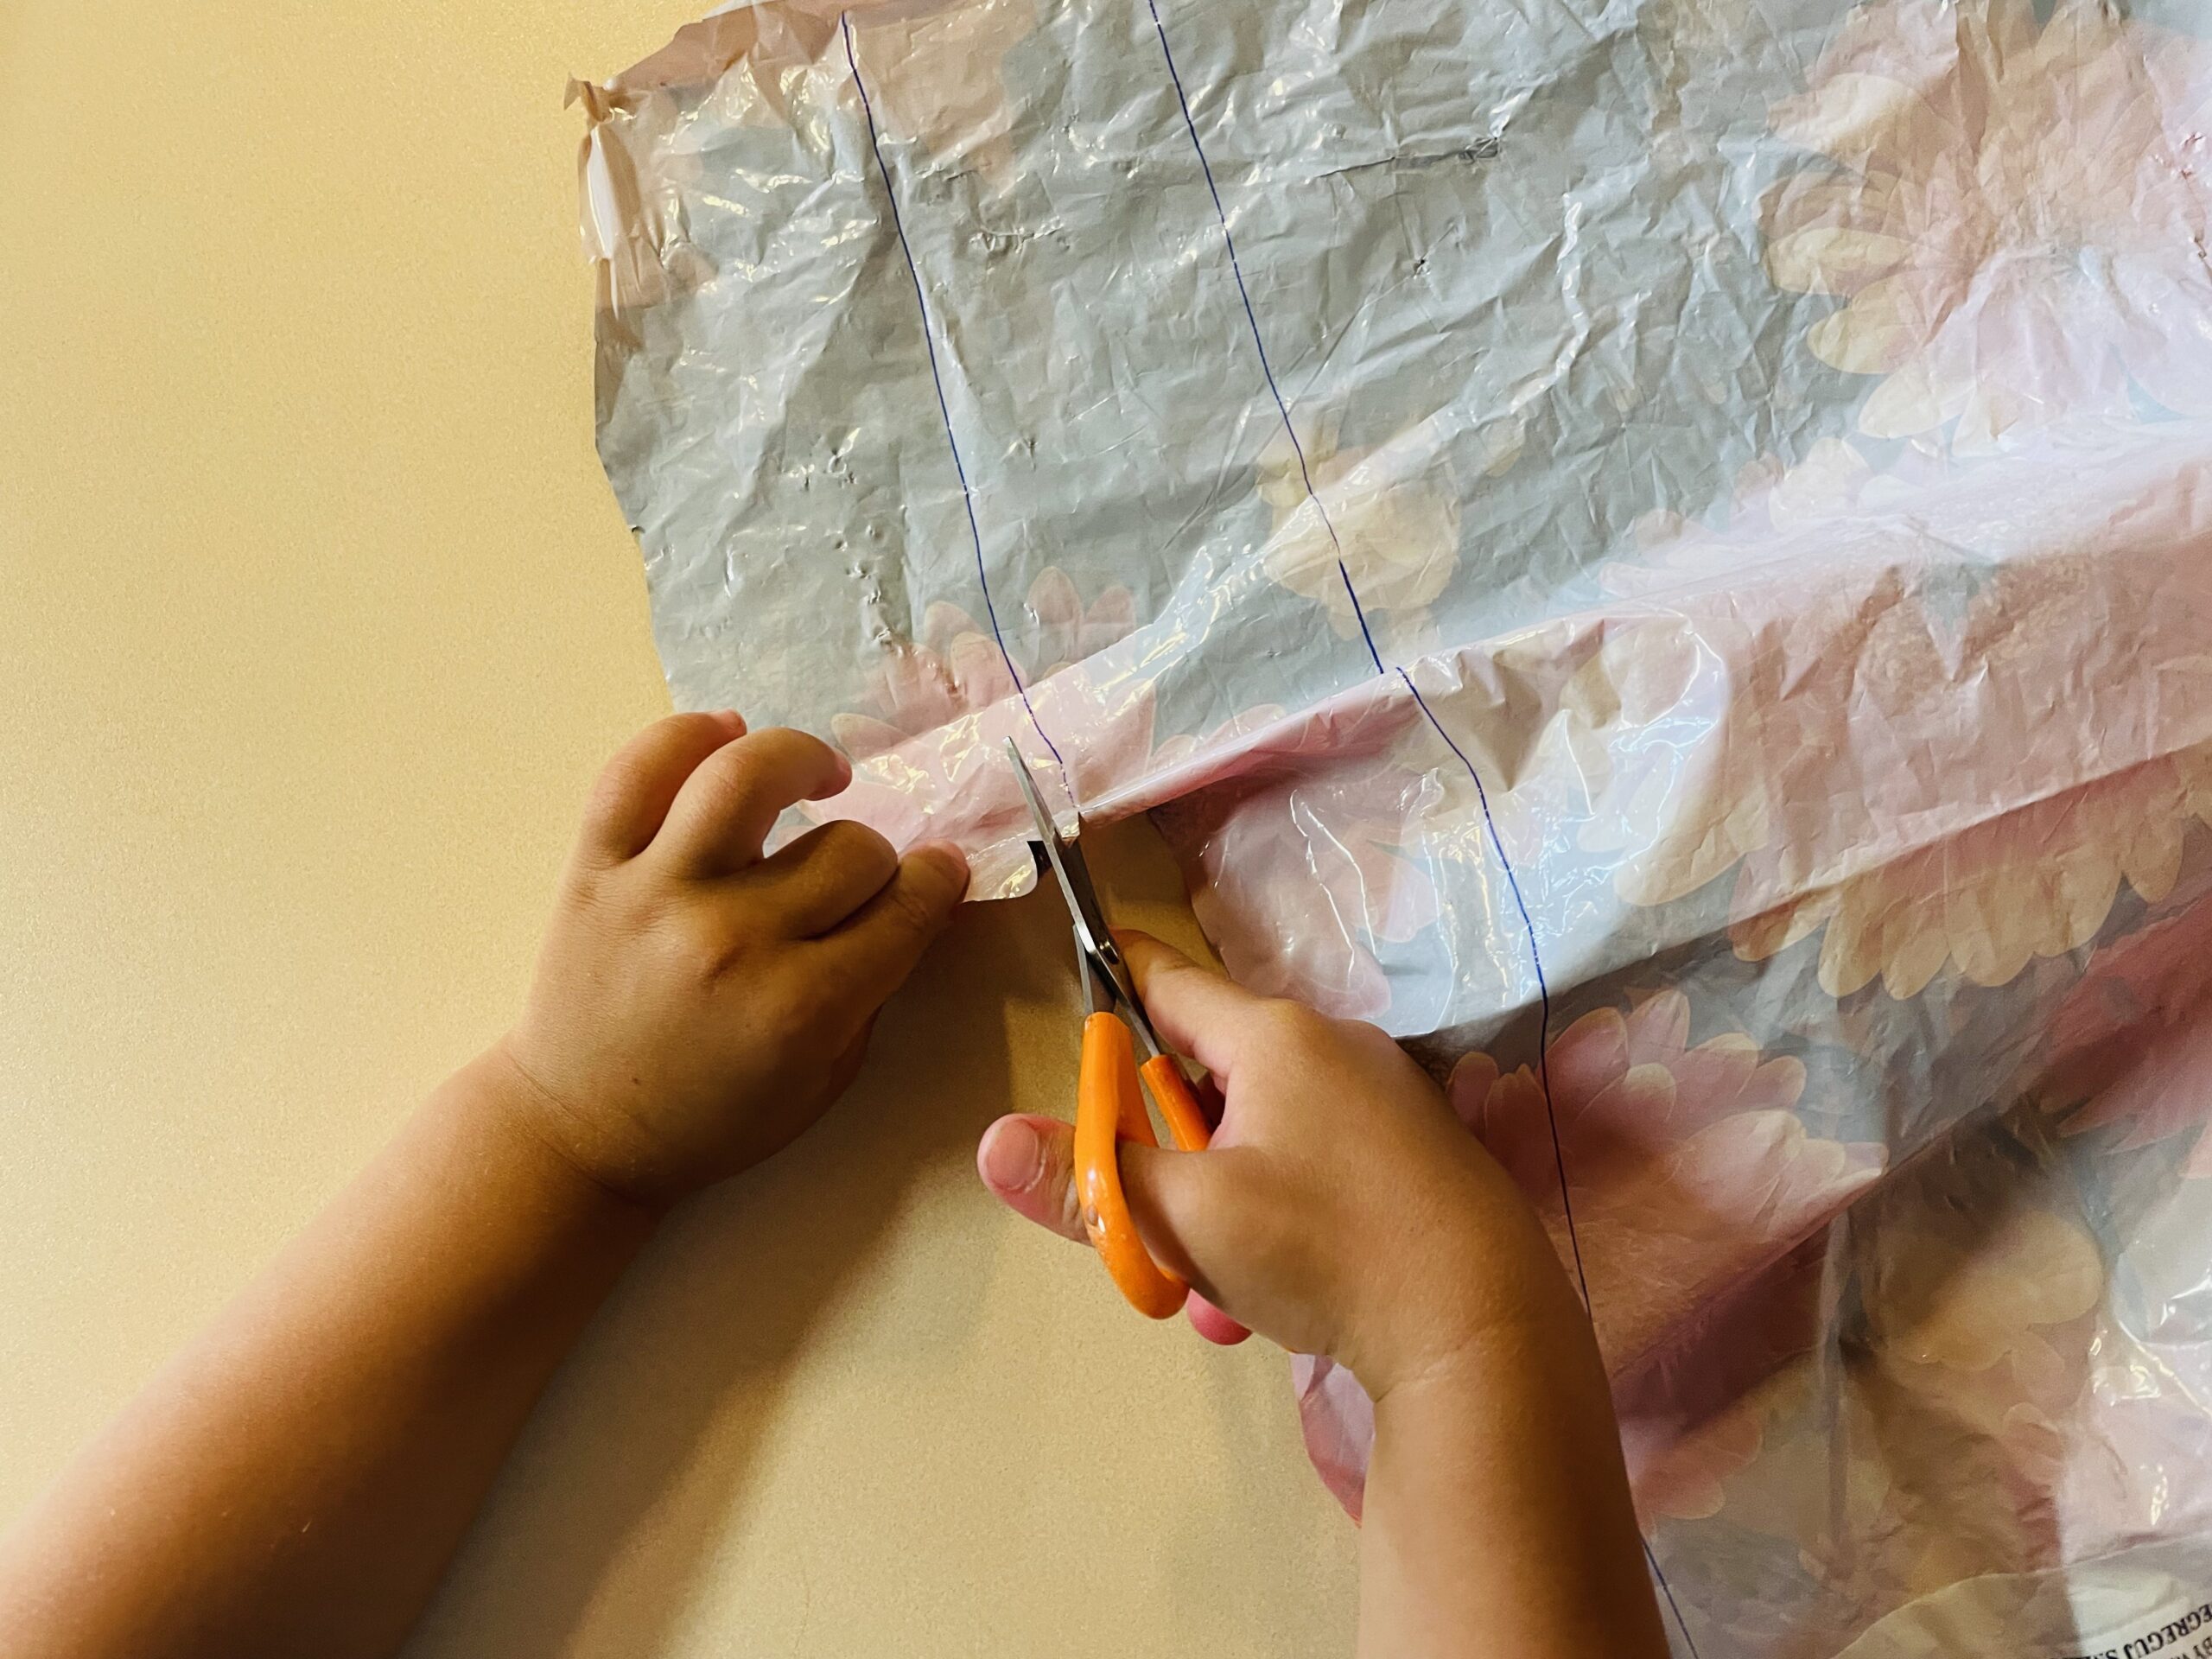
Cuts off a strip of plastic bag (packaging garbage or old shopping bag).


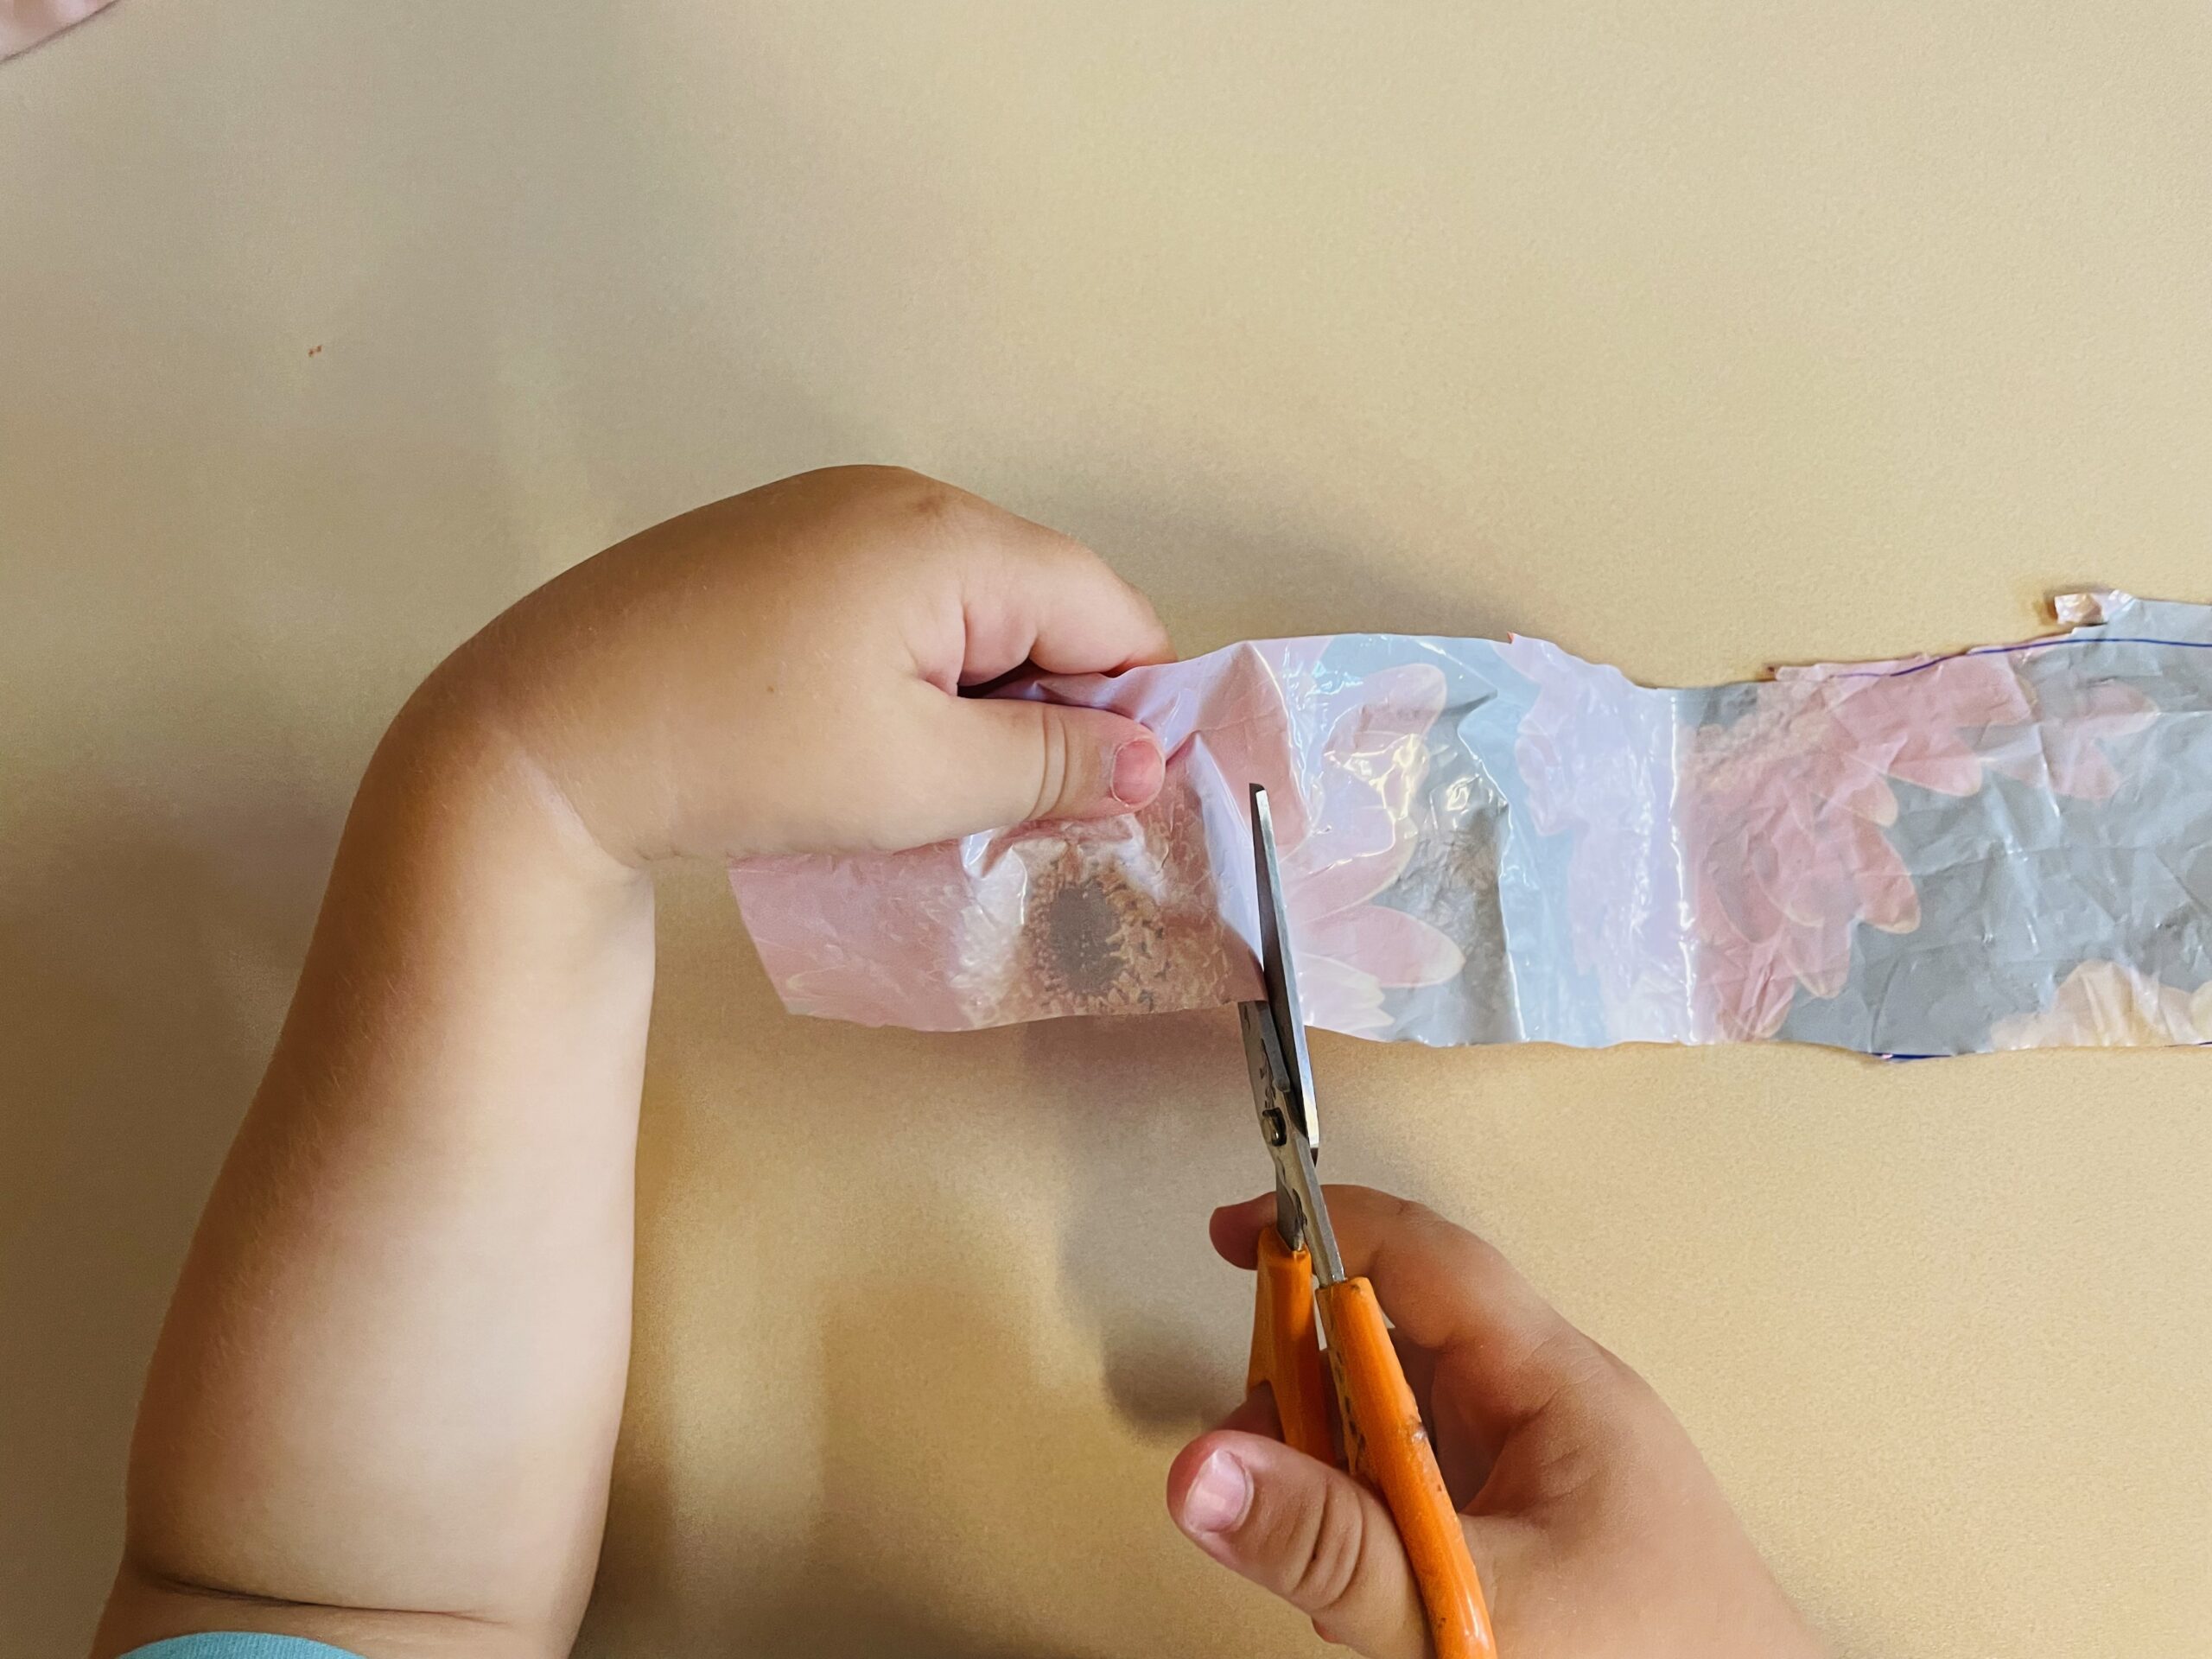
A short piece is needed from the long strip. About the same width and length. The piece should be about the size of a small child's hand.


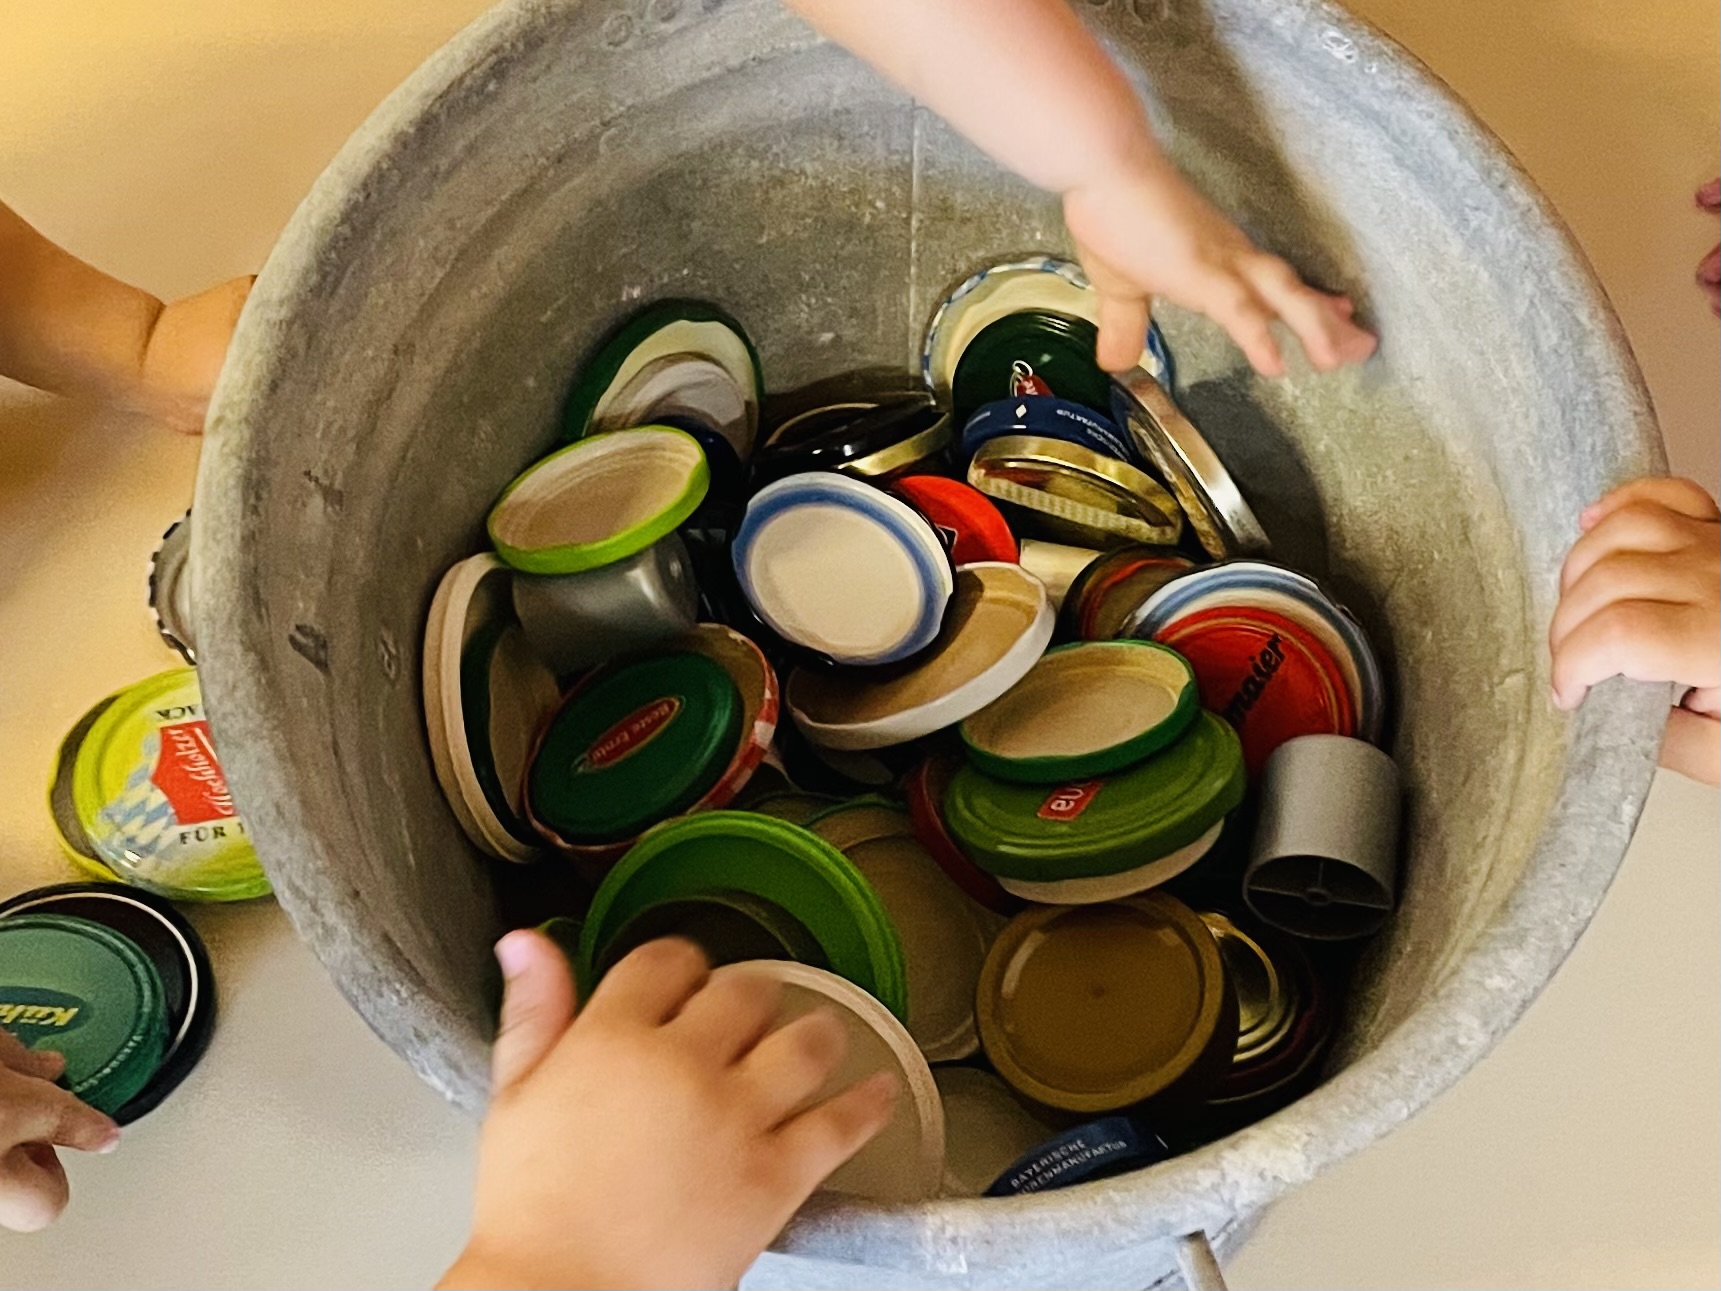
Now pick out a screw-glass lid that you like.


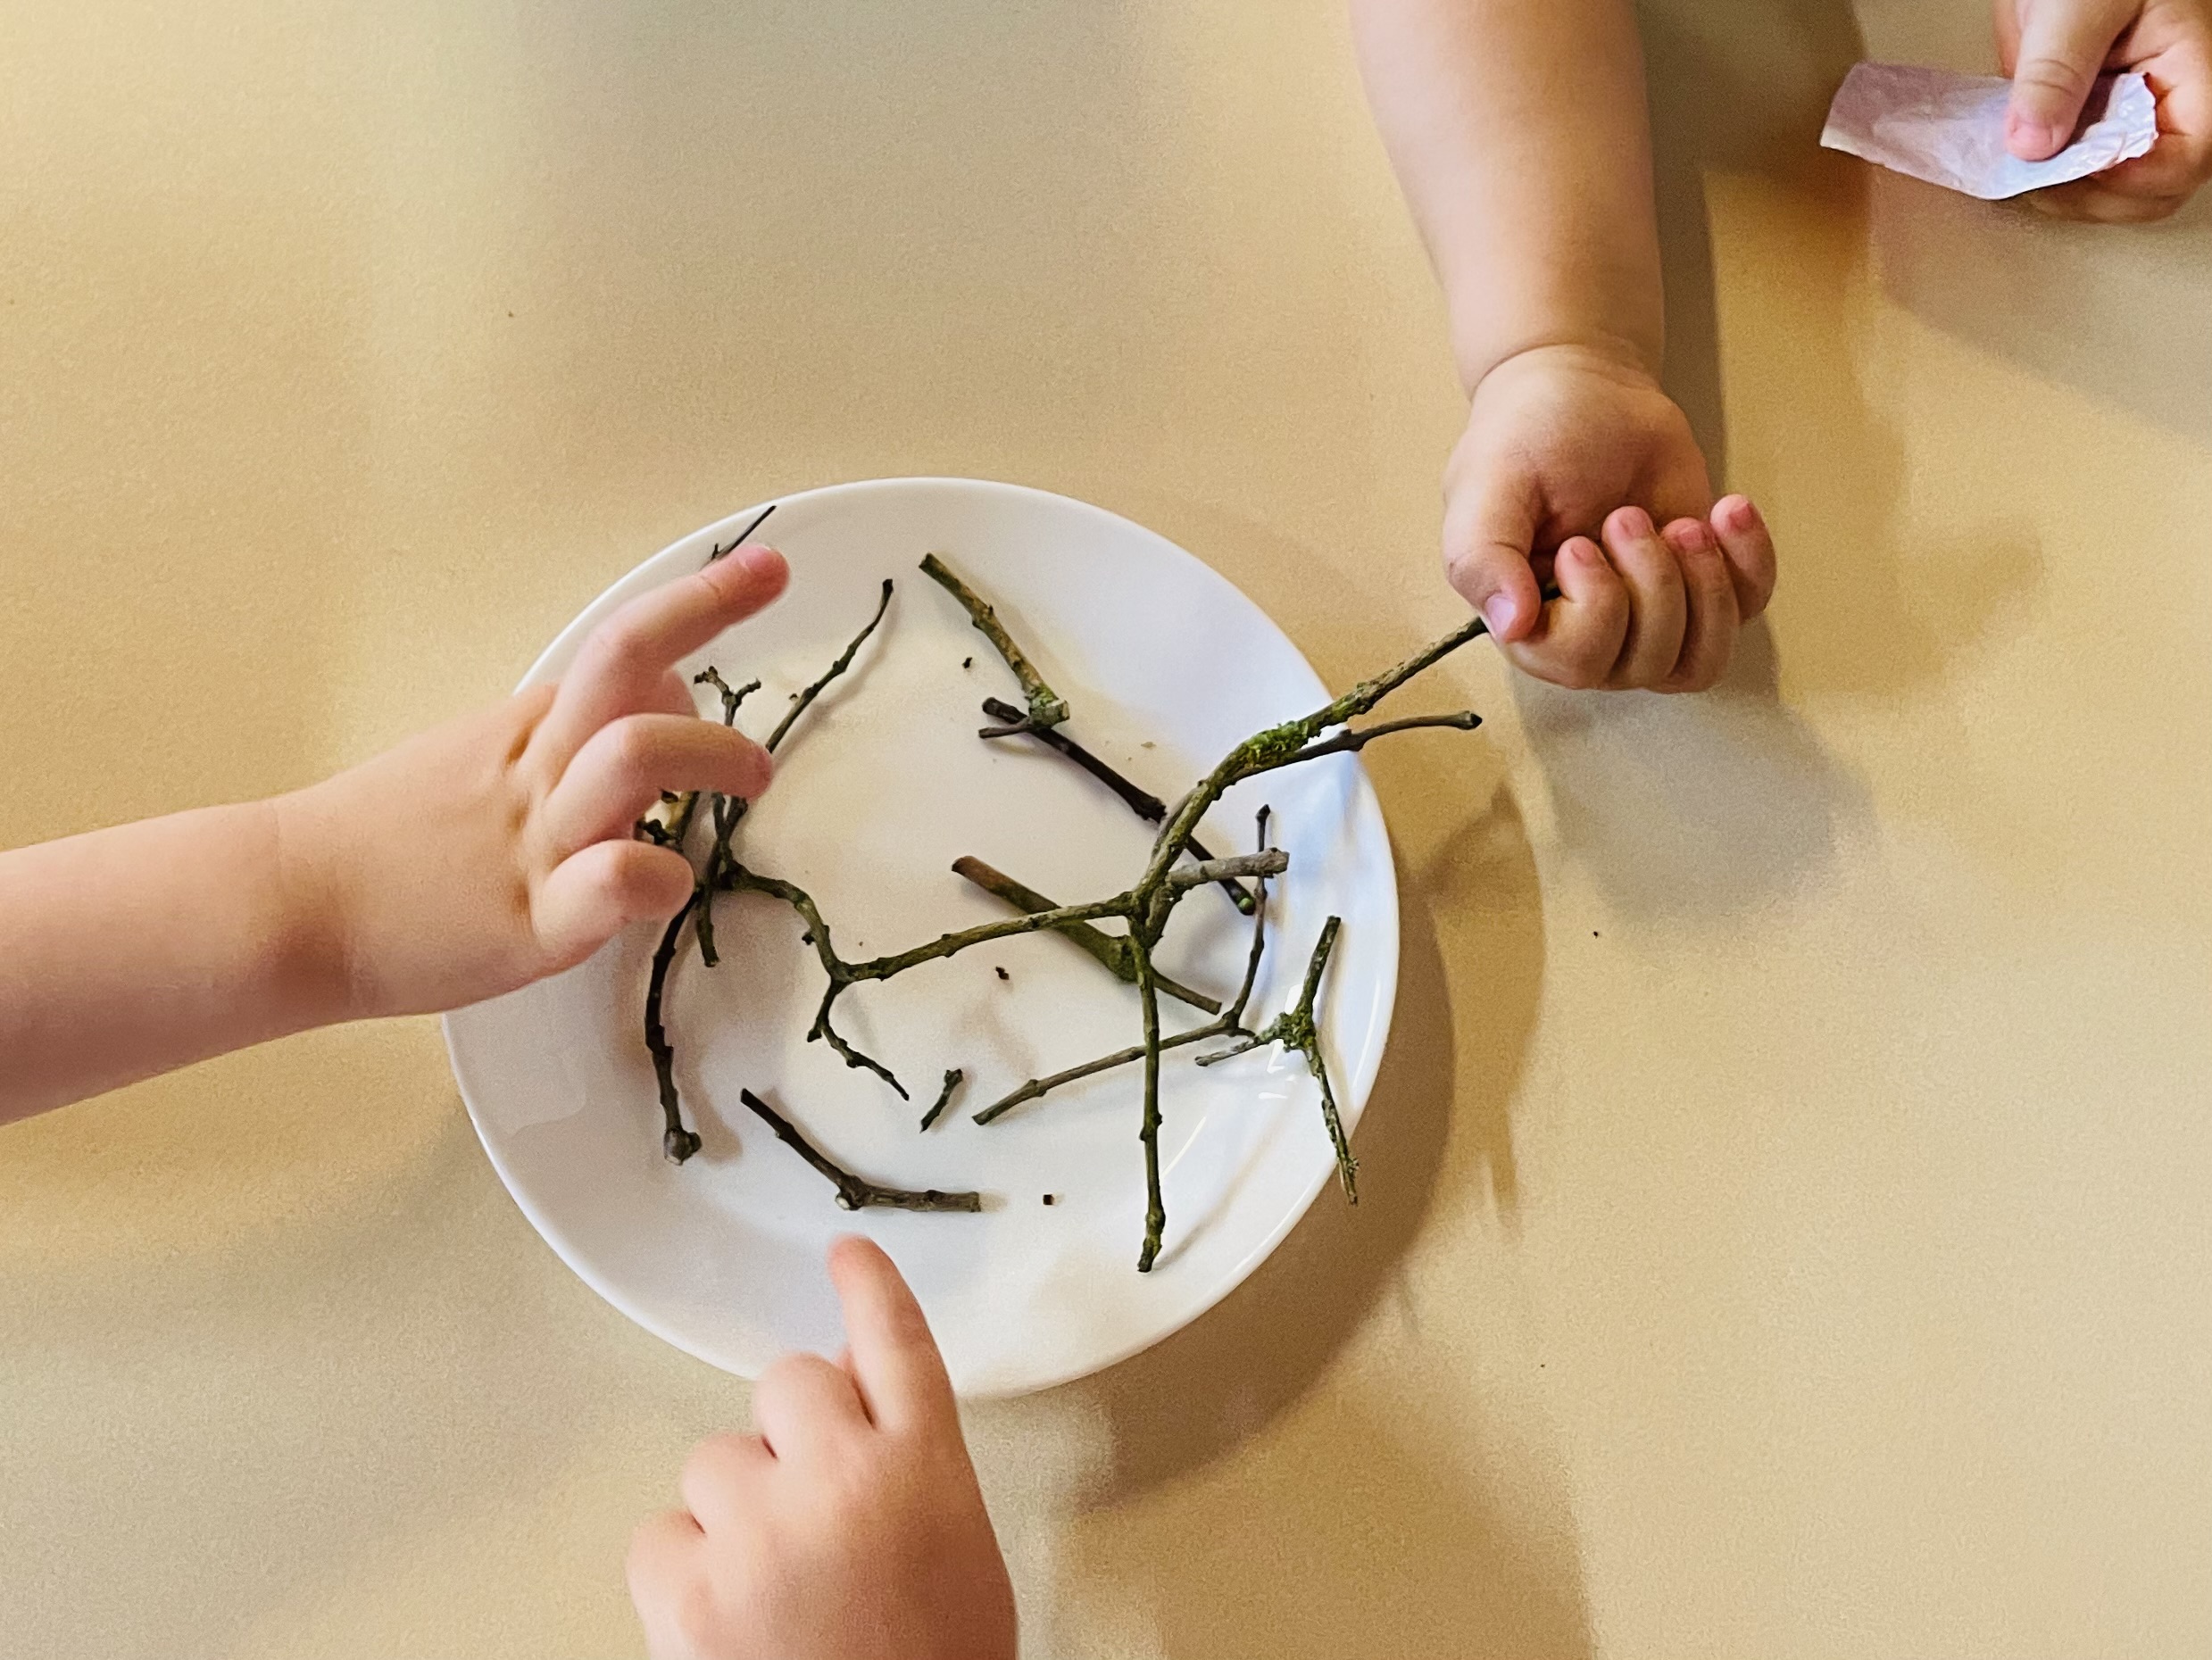
Next, take a thin branch.


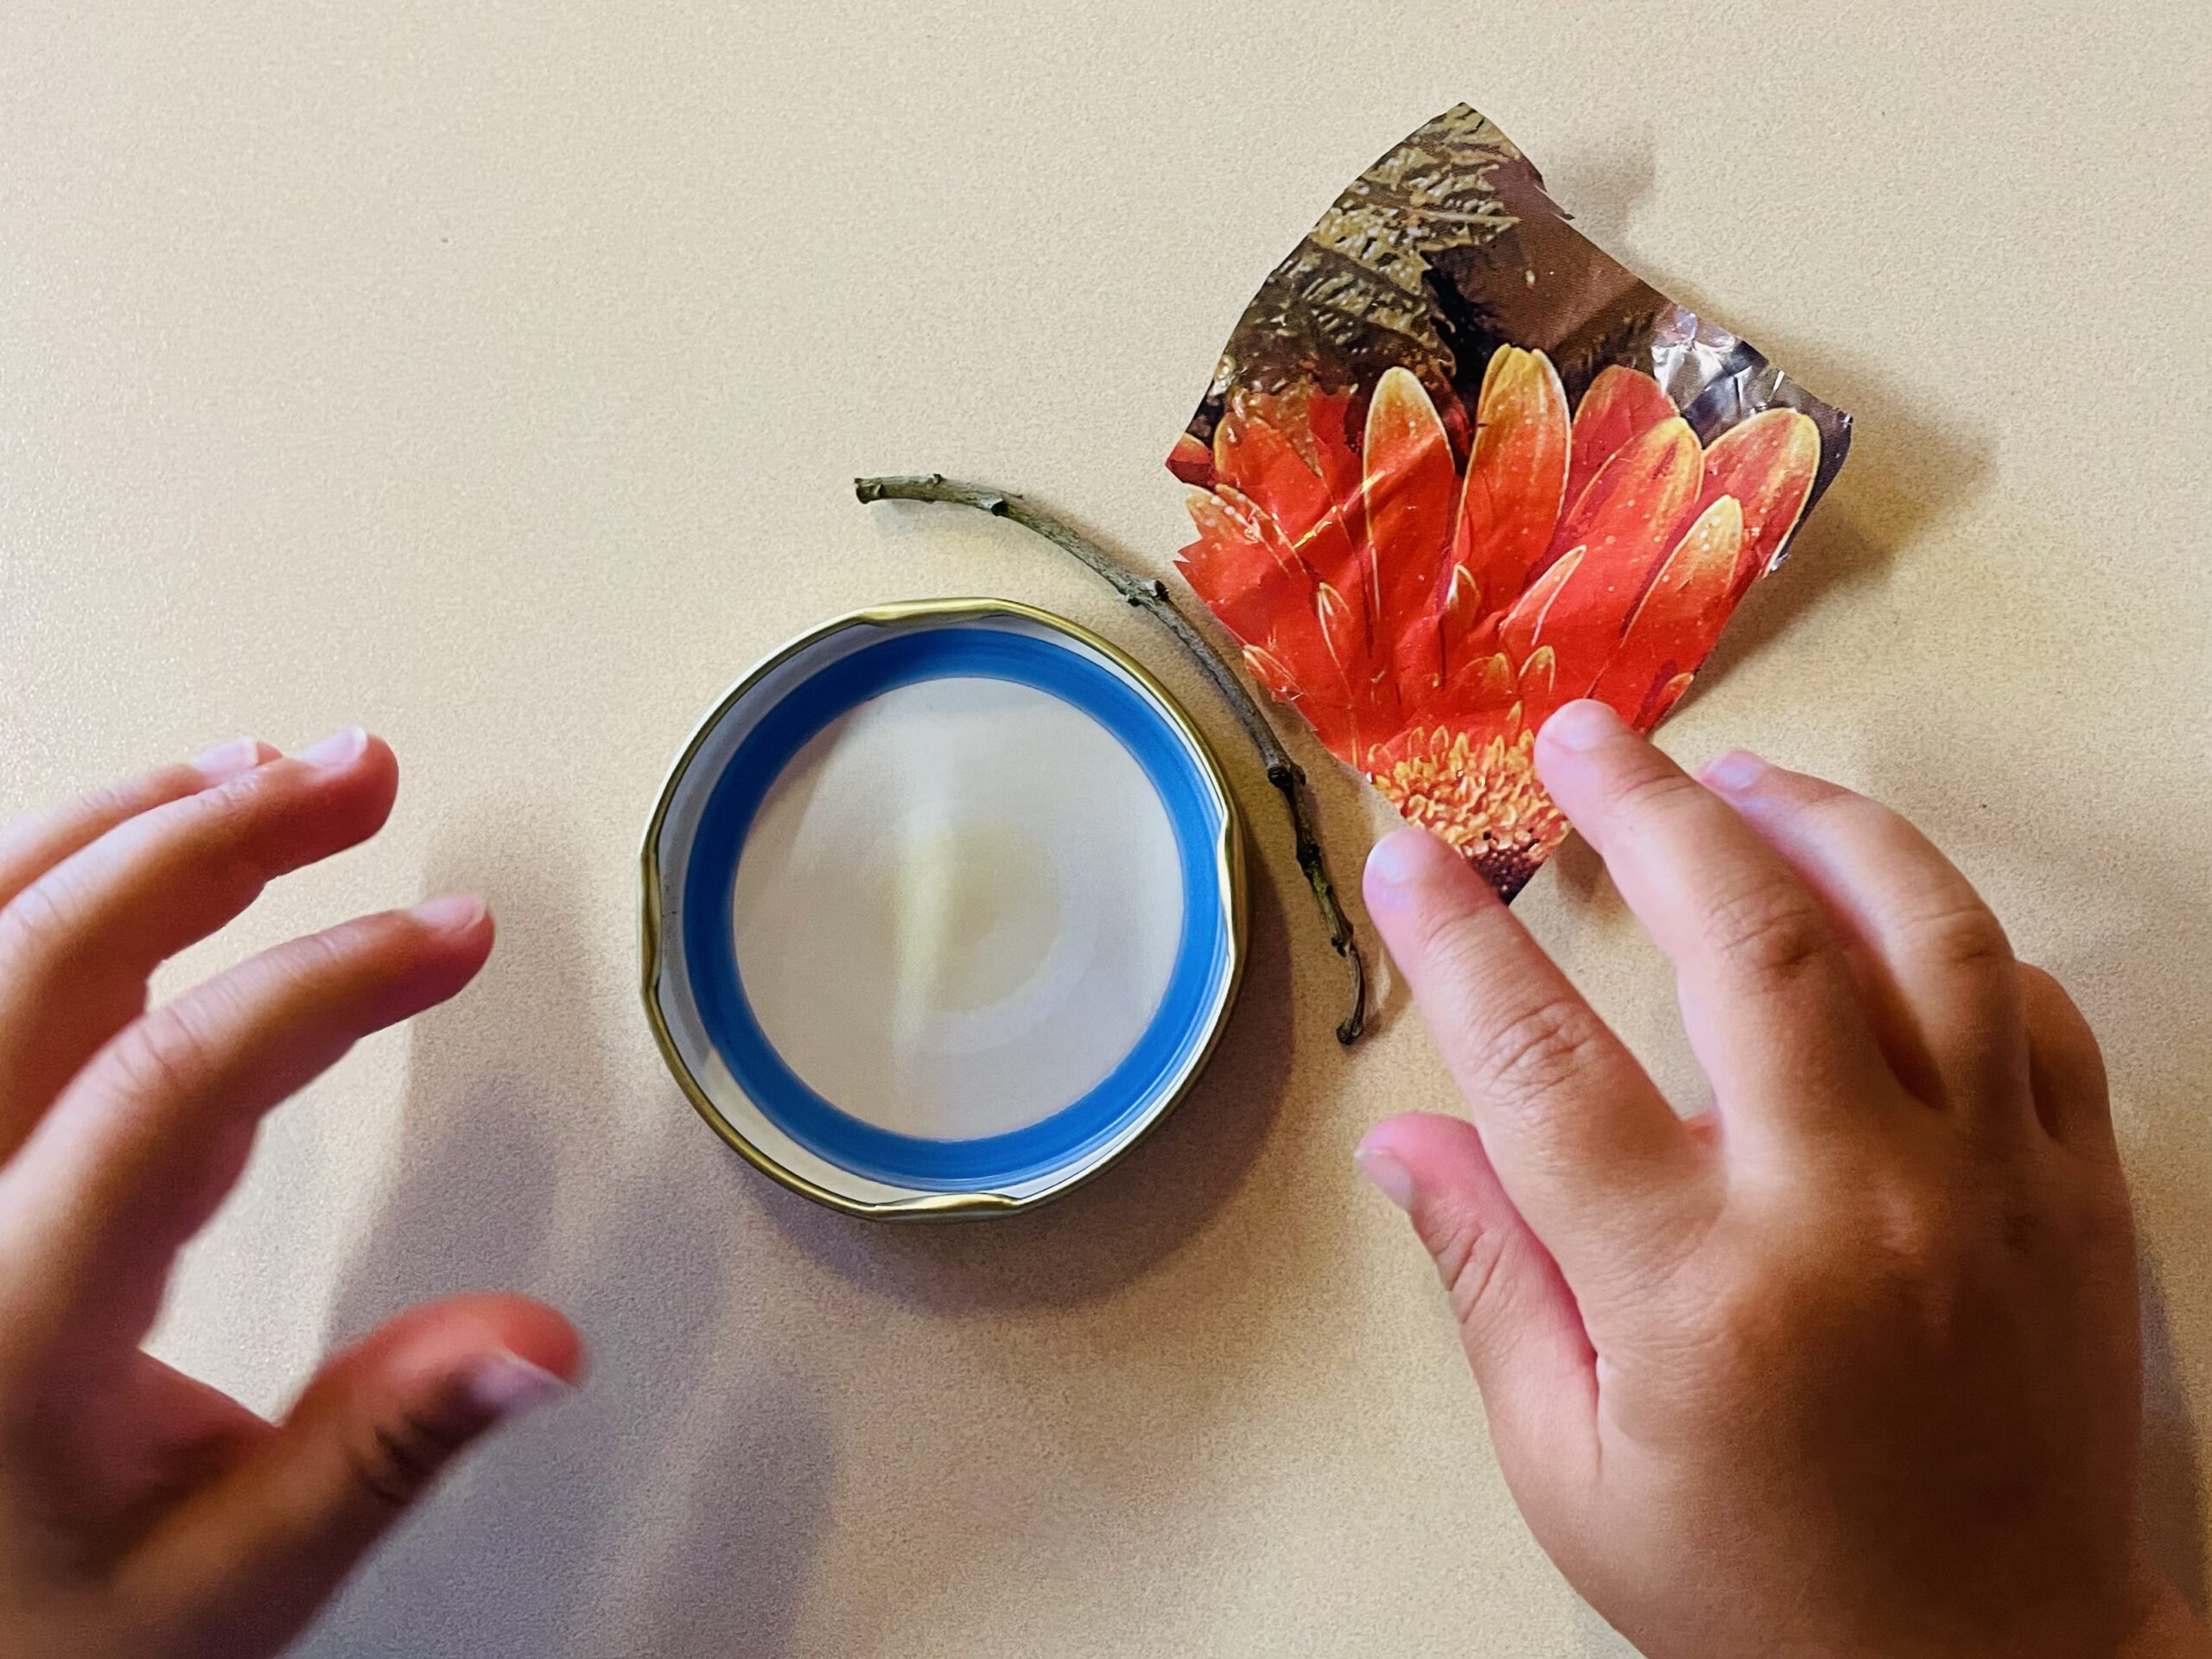
Put together everything you need for a boat.


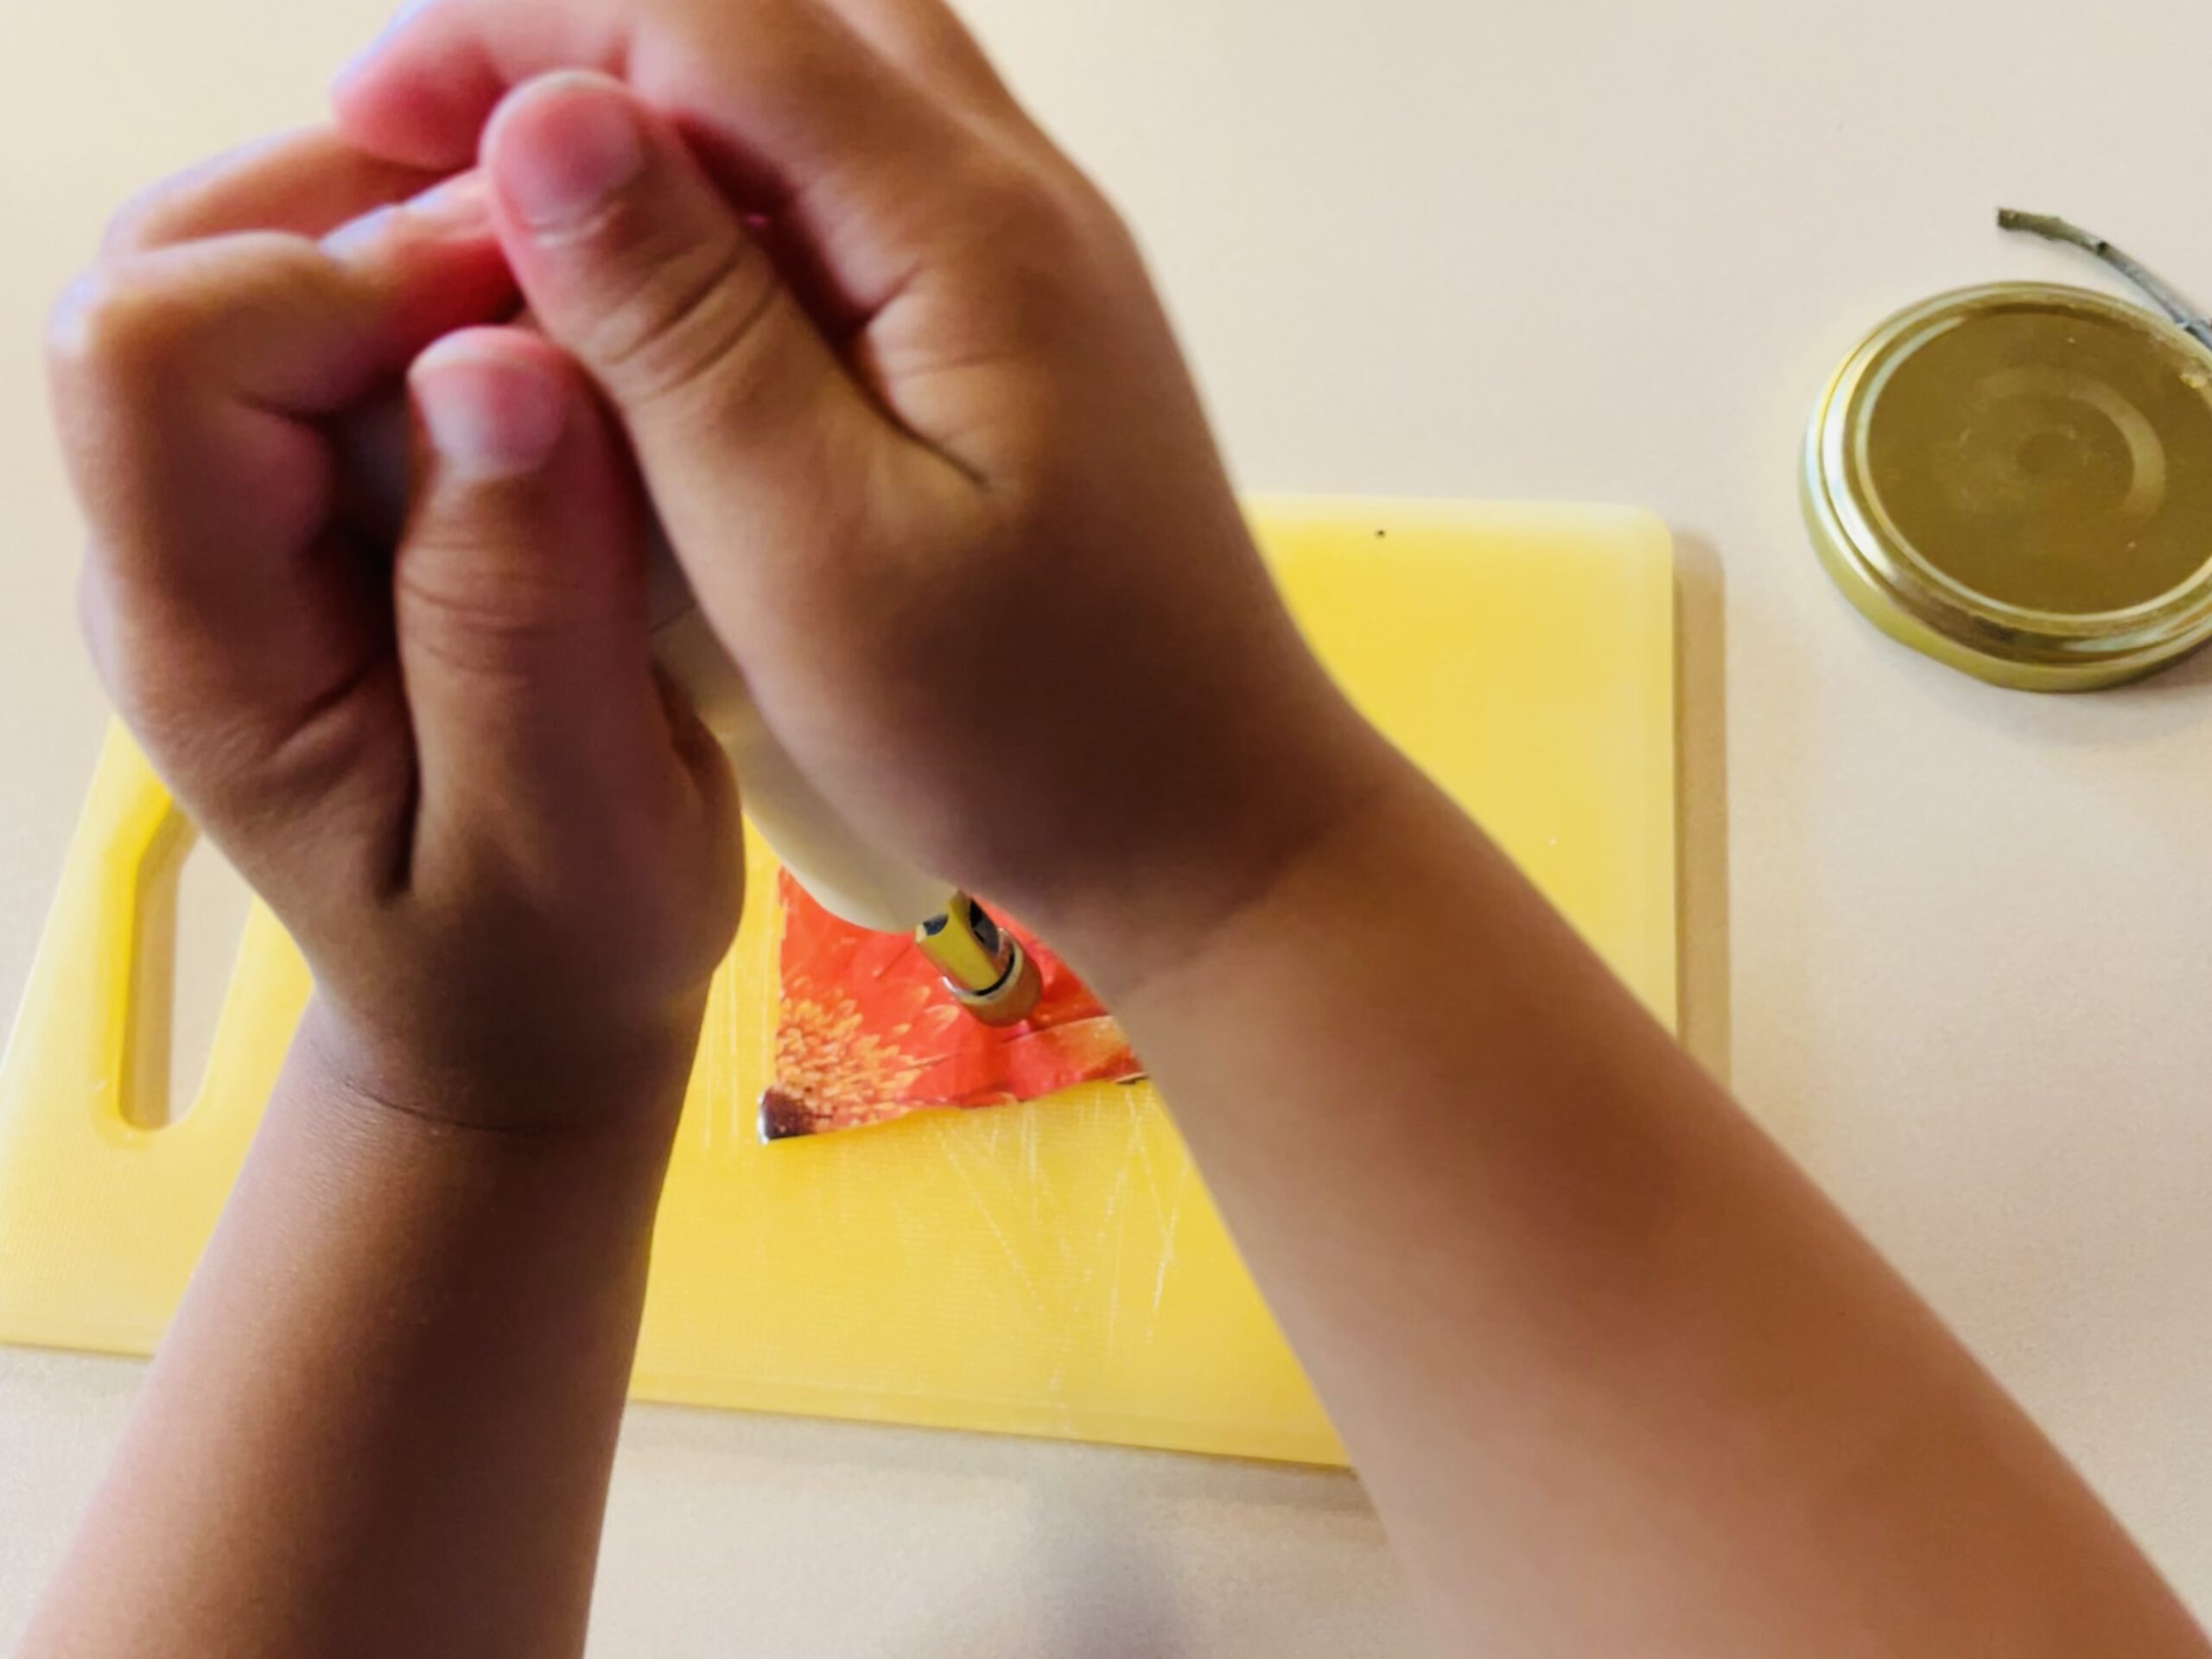
Now you put the foil piece on a board and put two holes in the foil. Take a punch or a pointed needle for this (let's help you with this - risk of injury!)


The two holes lie opposite each other, at the top and bottom of the foil.
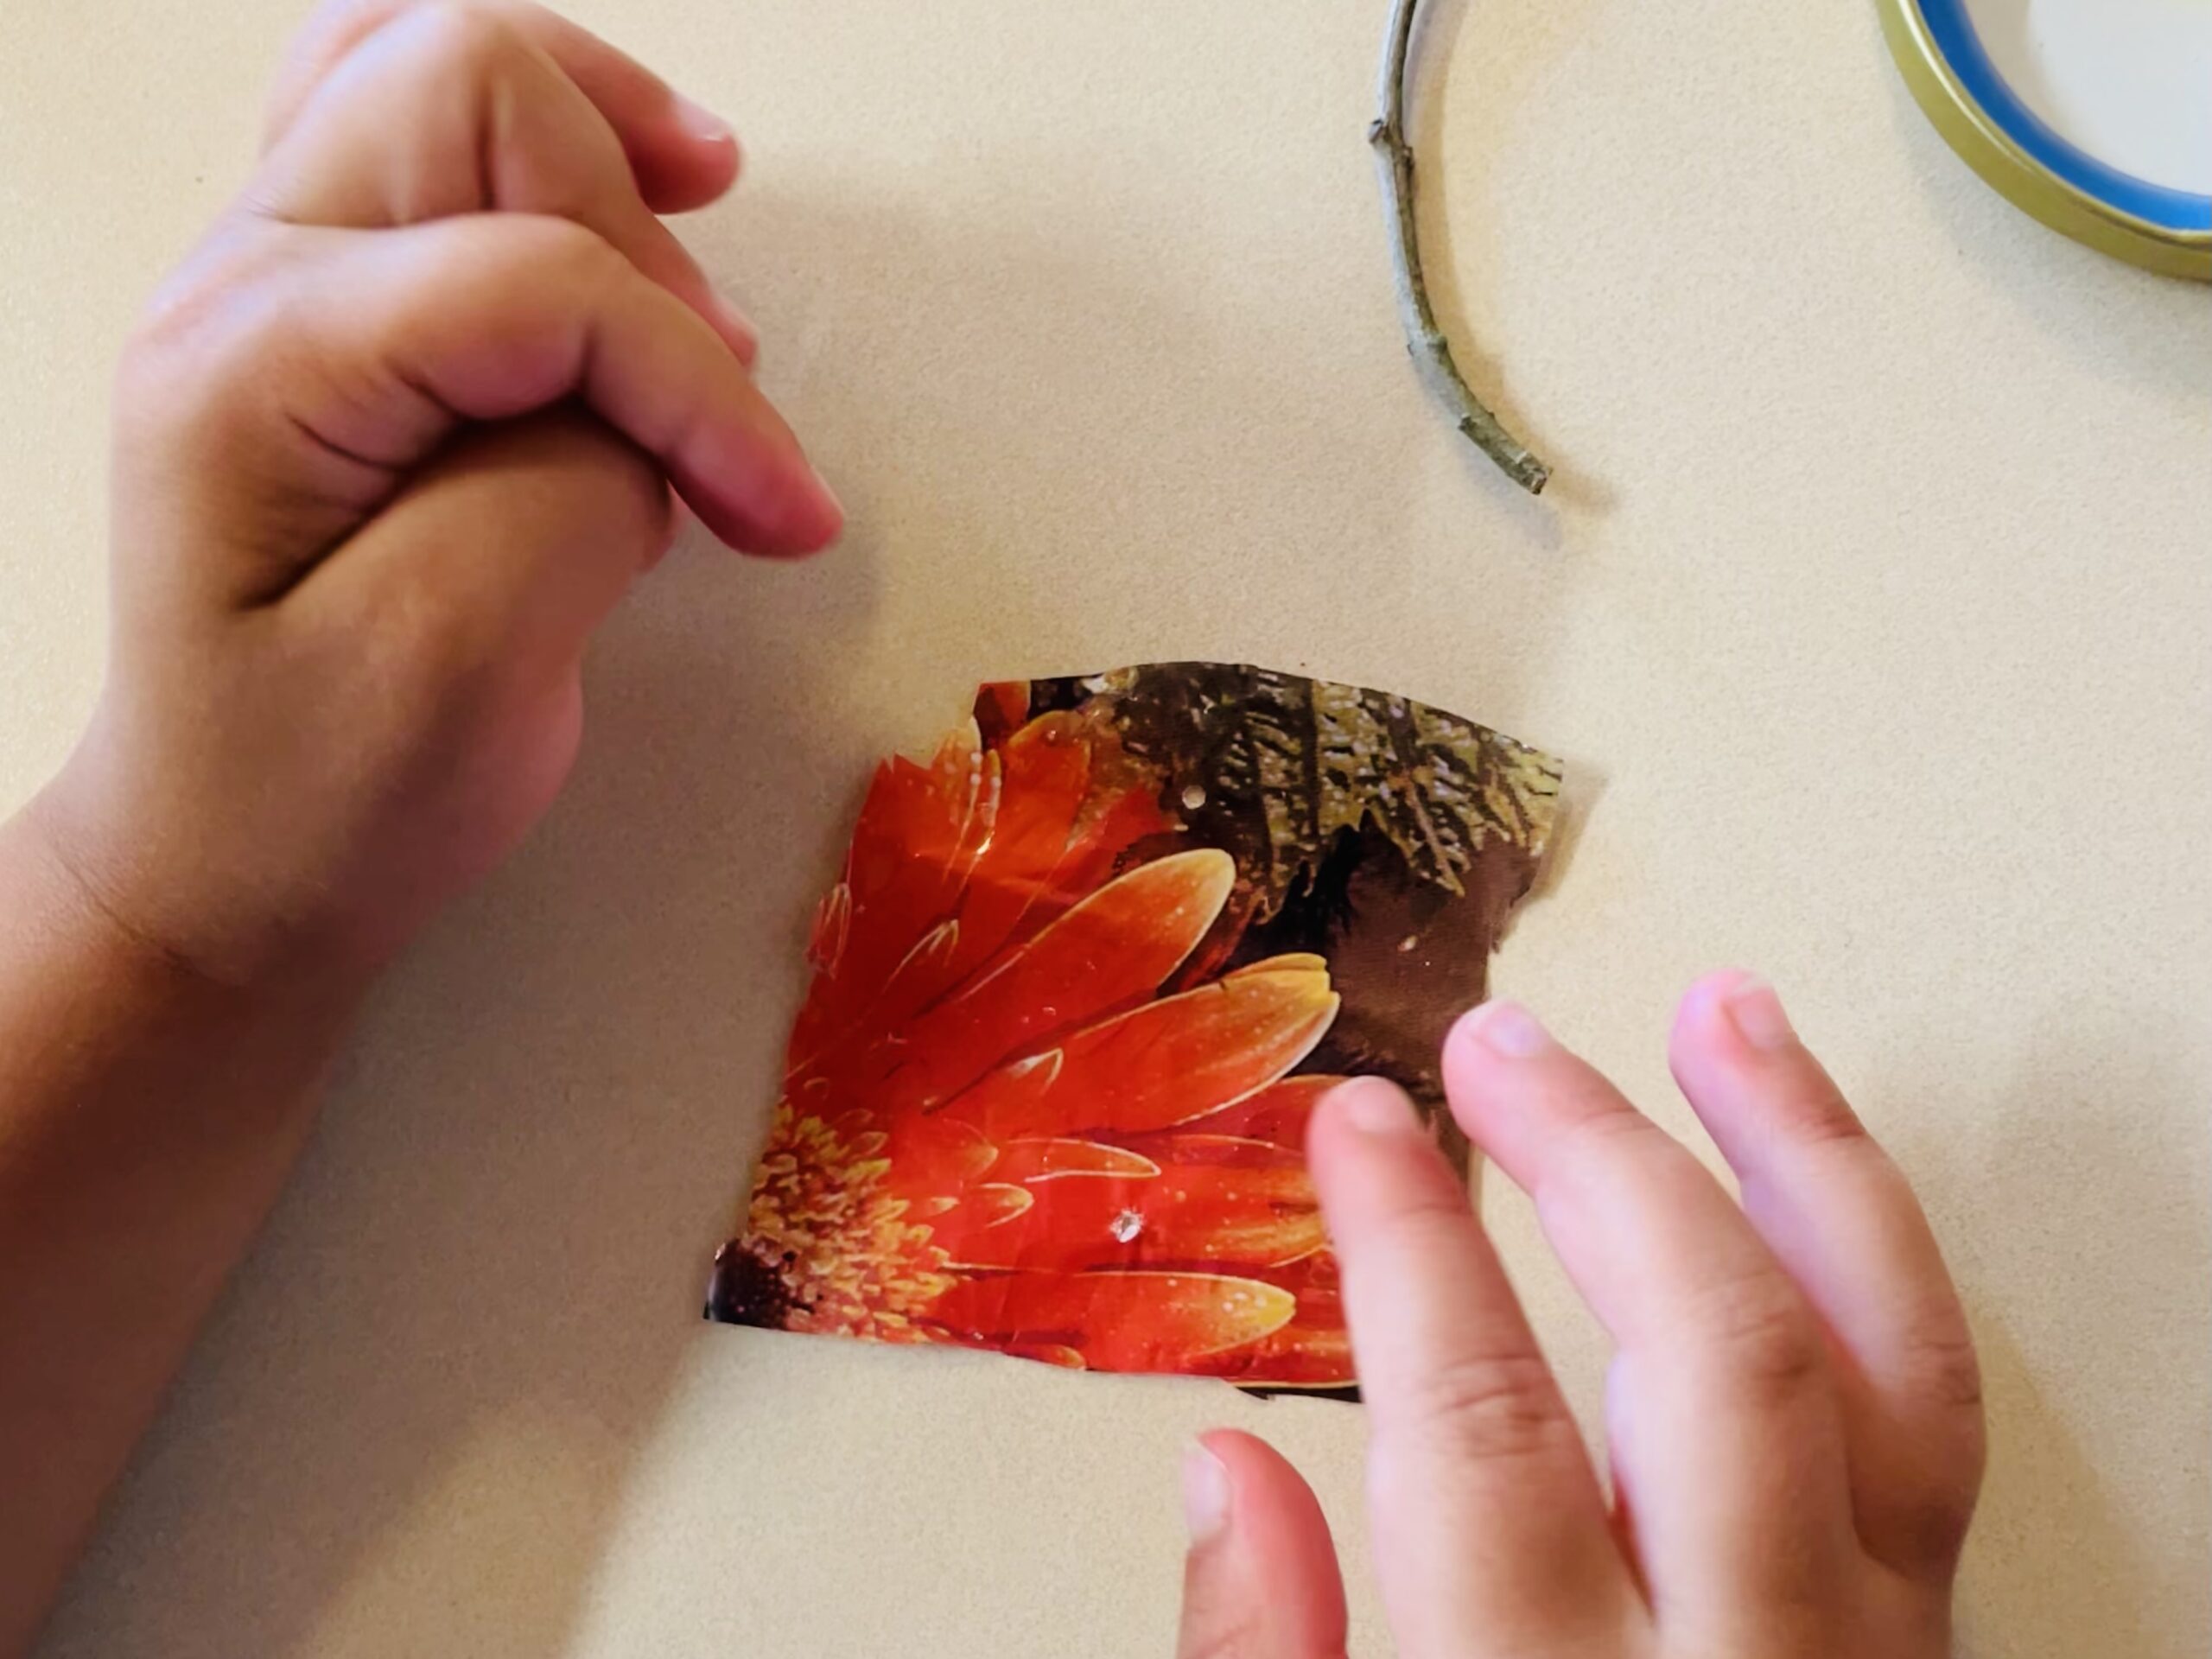


Then you take the twig and put it one by one through both holes.
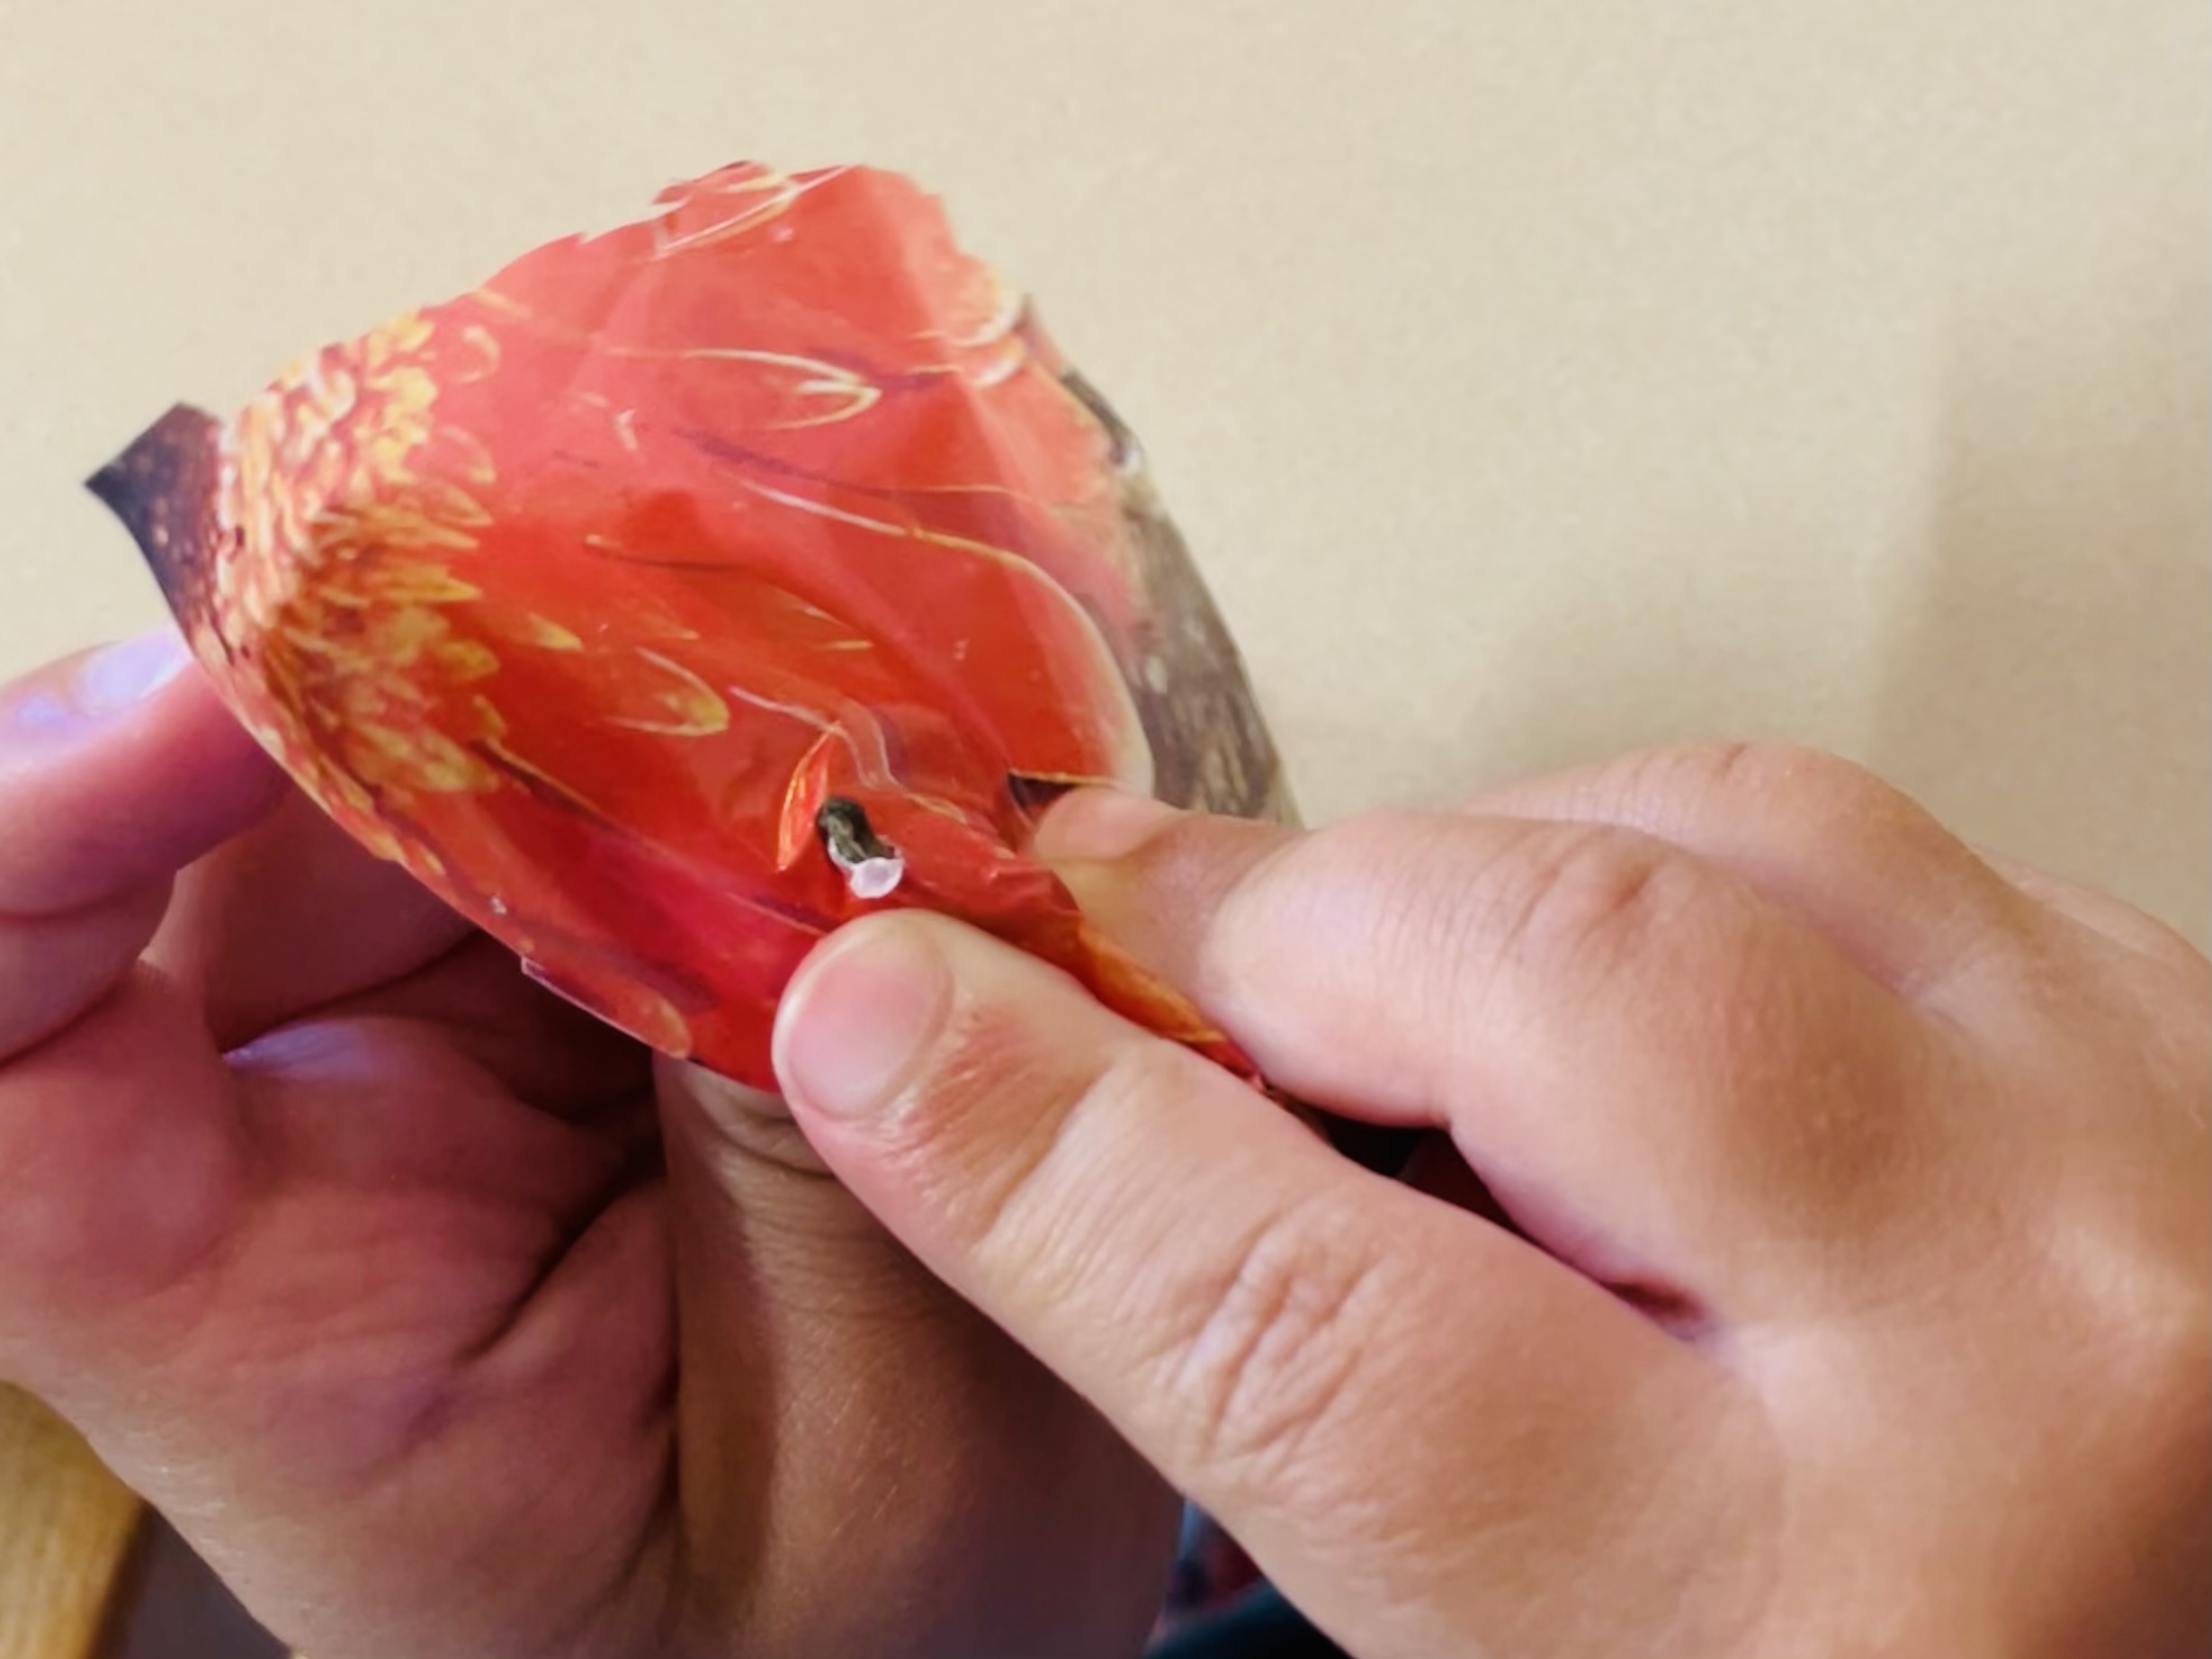


You put the branch forward and back out again.
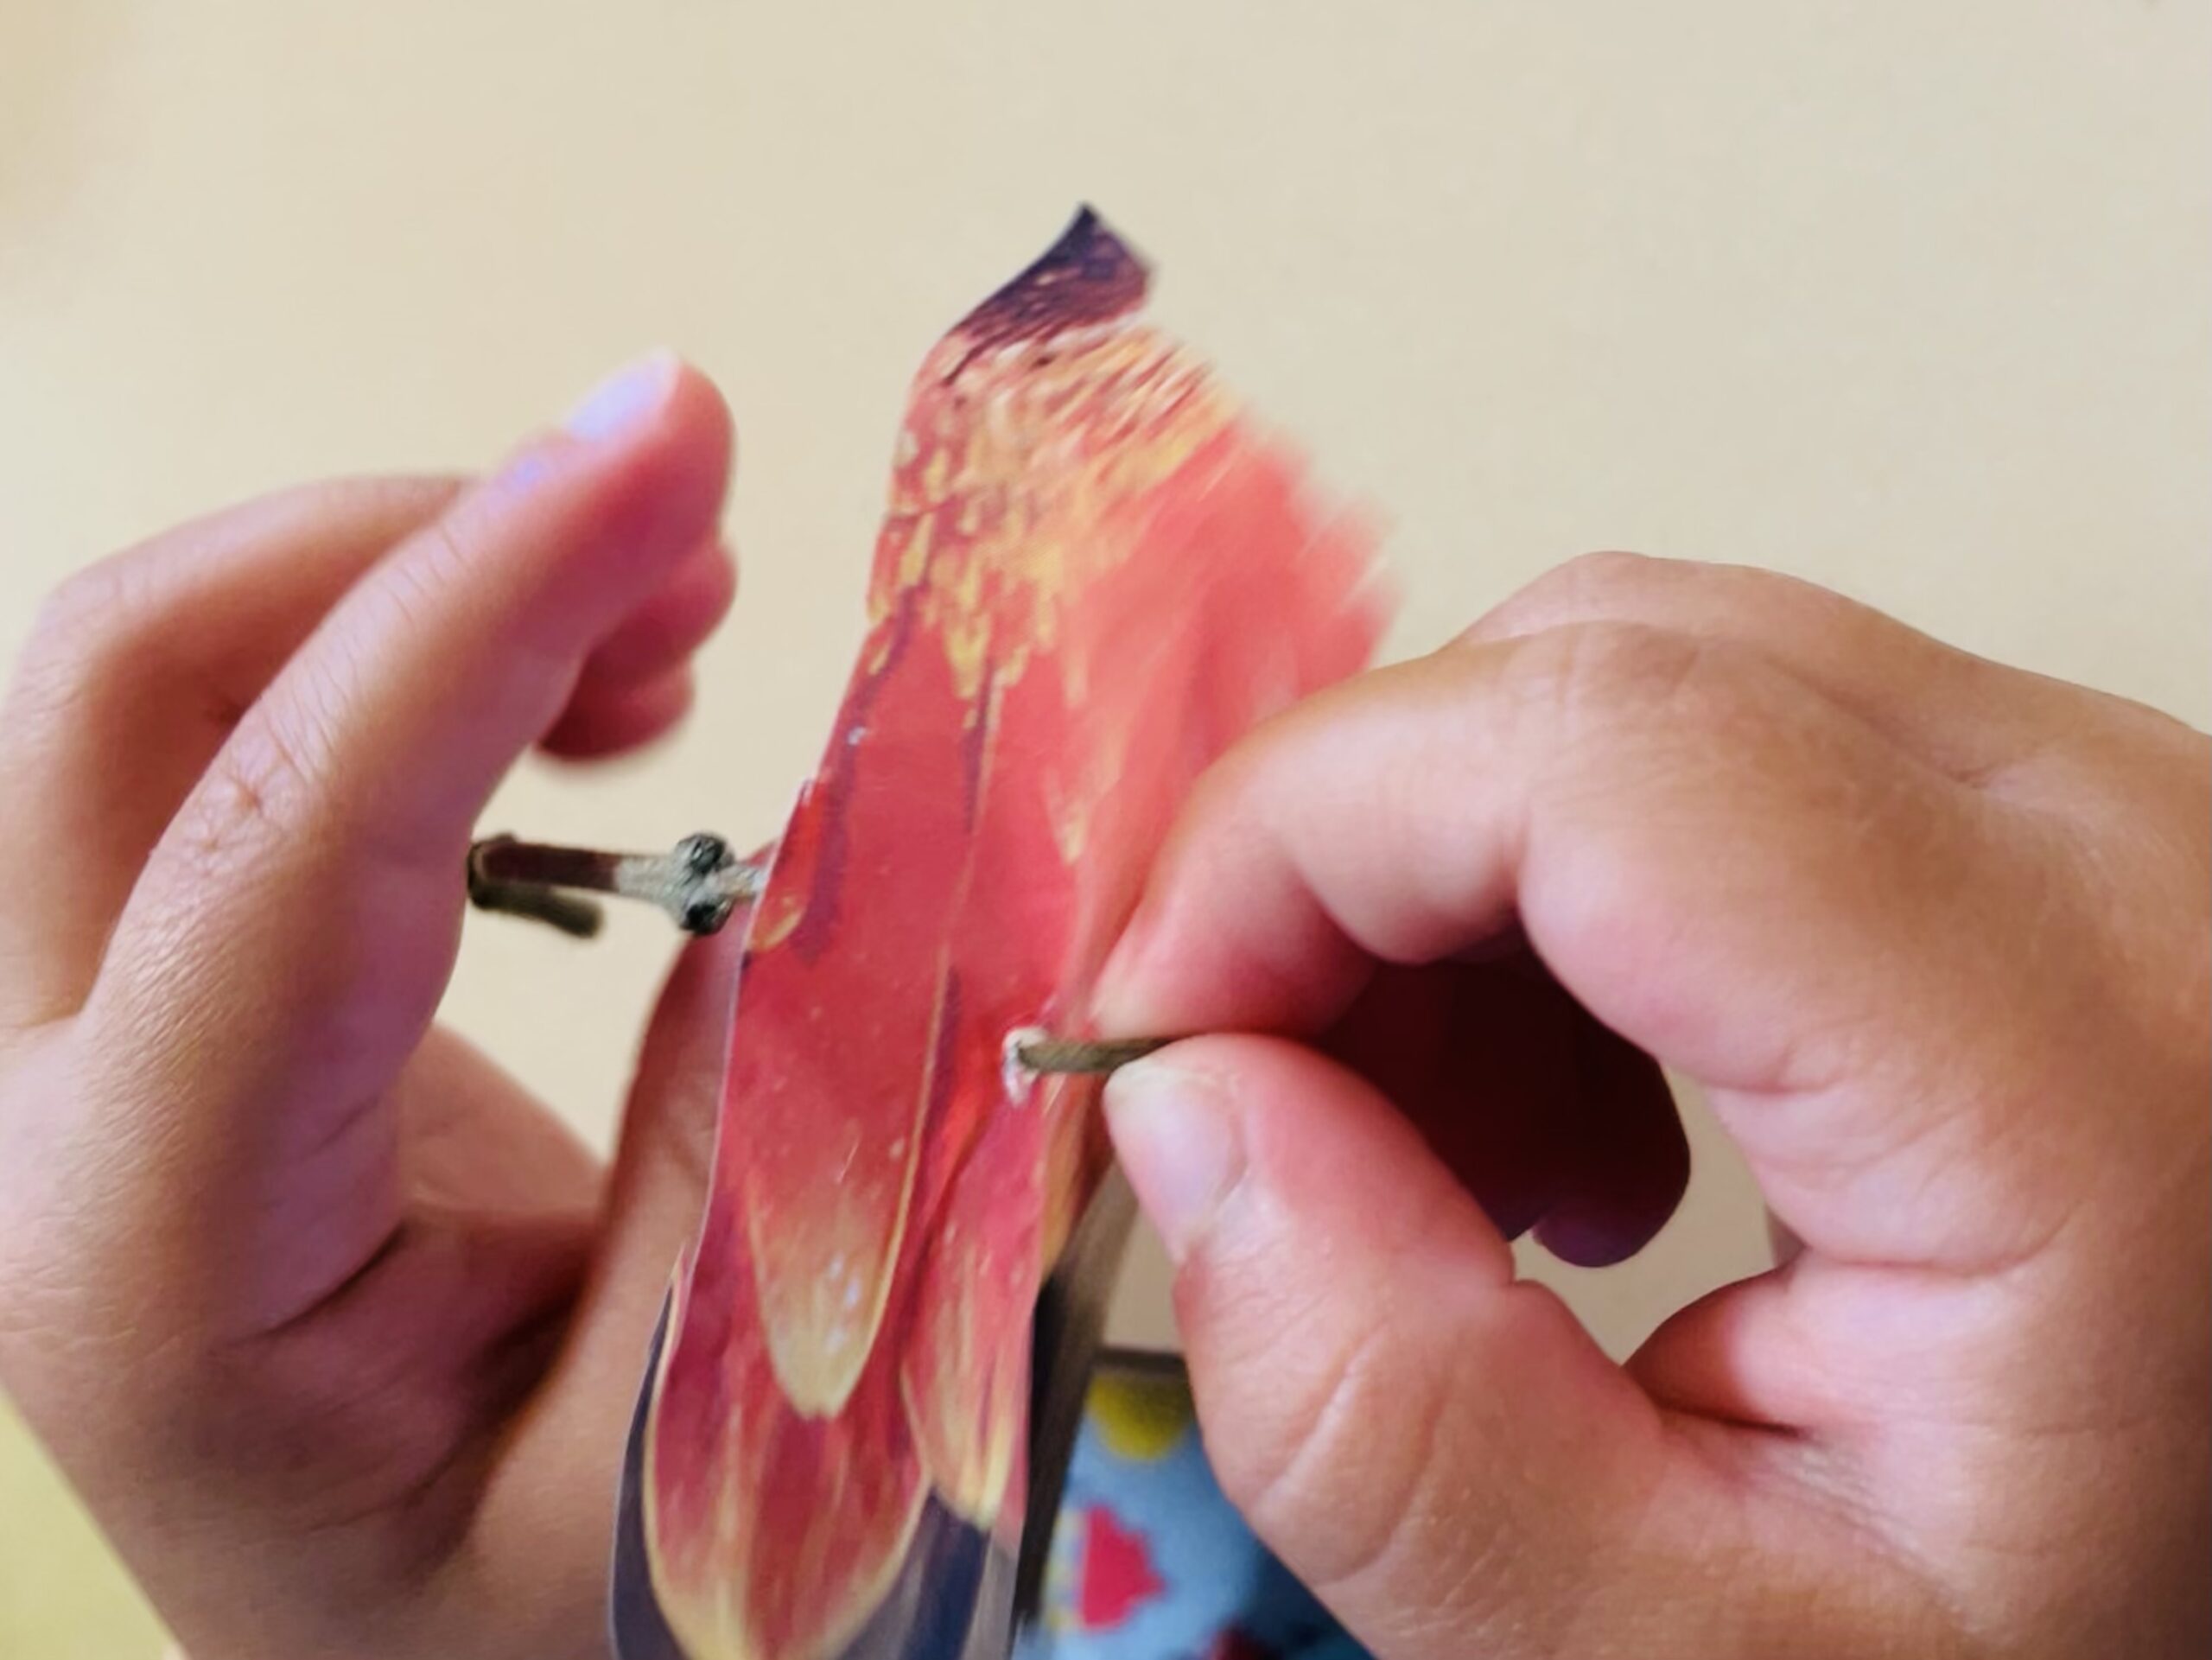


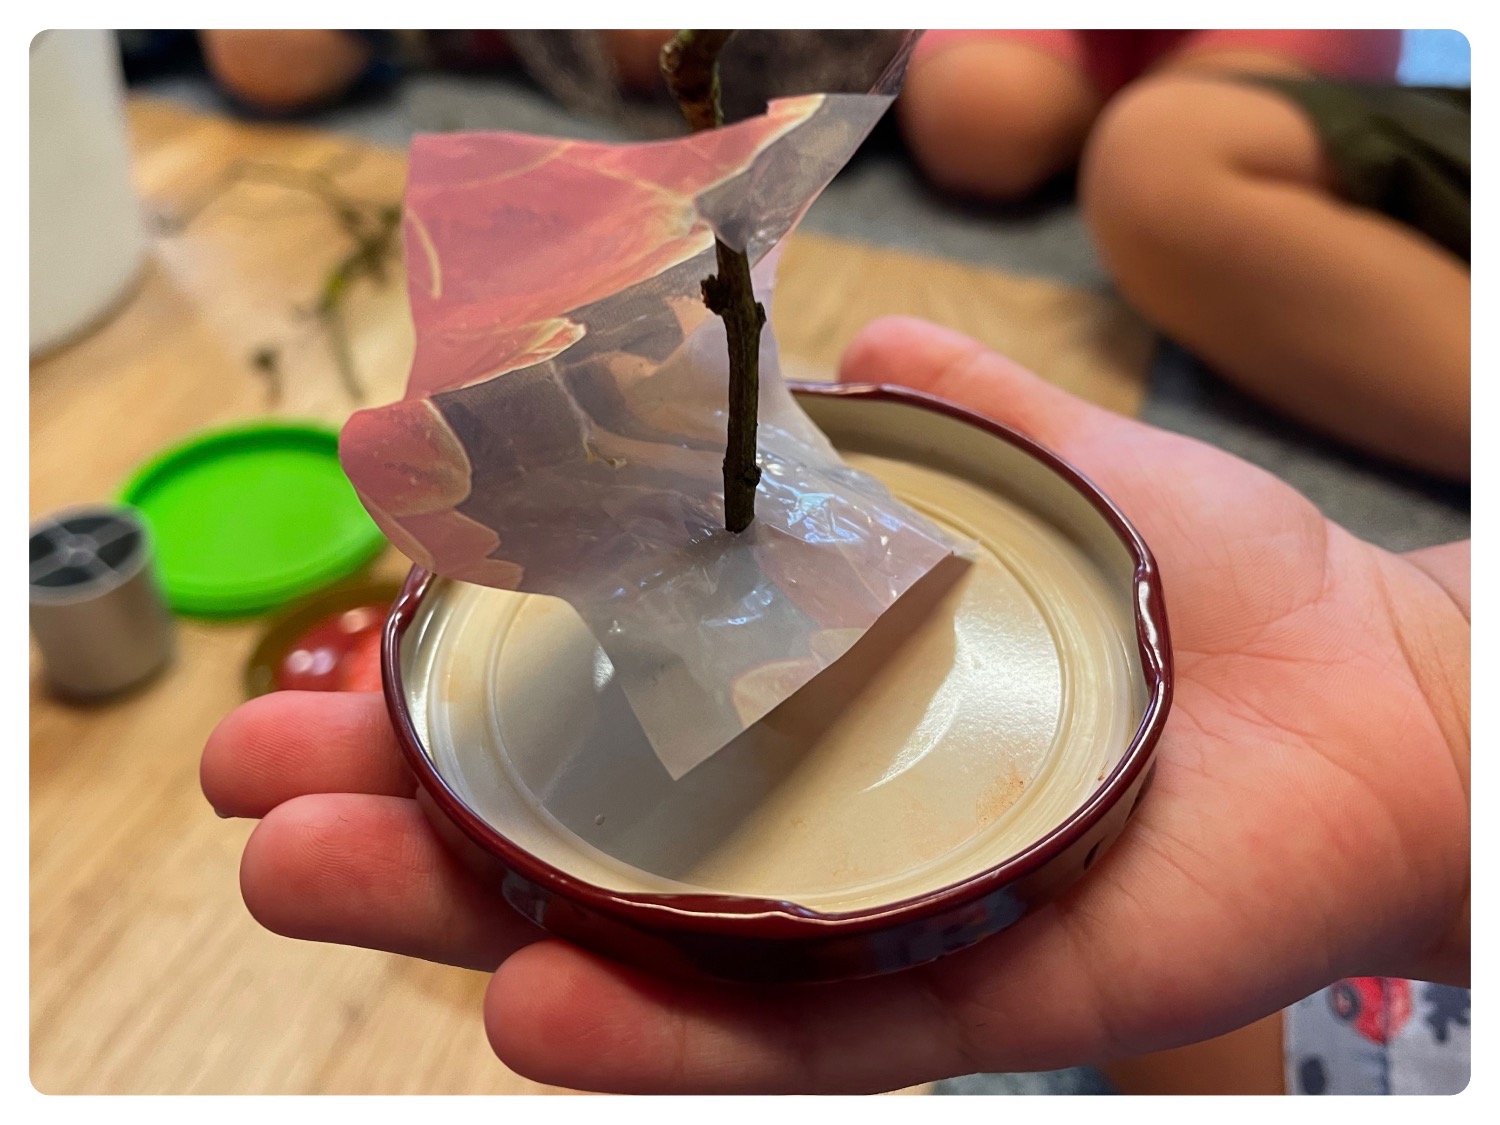
This is what the sail with the mast looks like now.
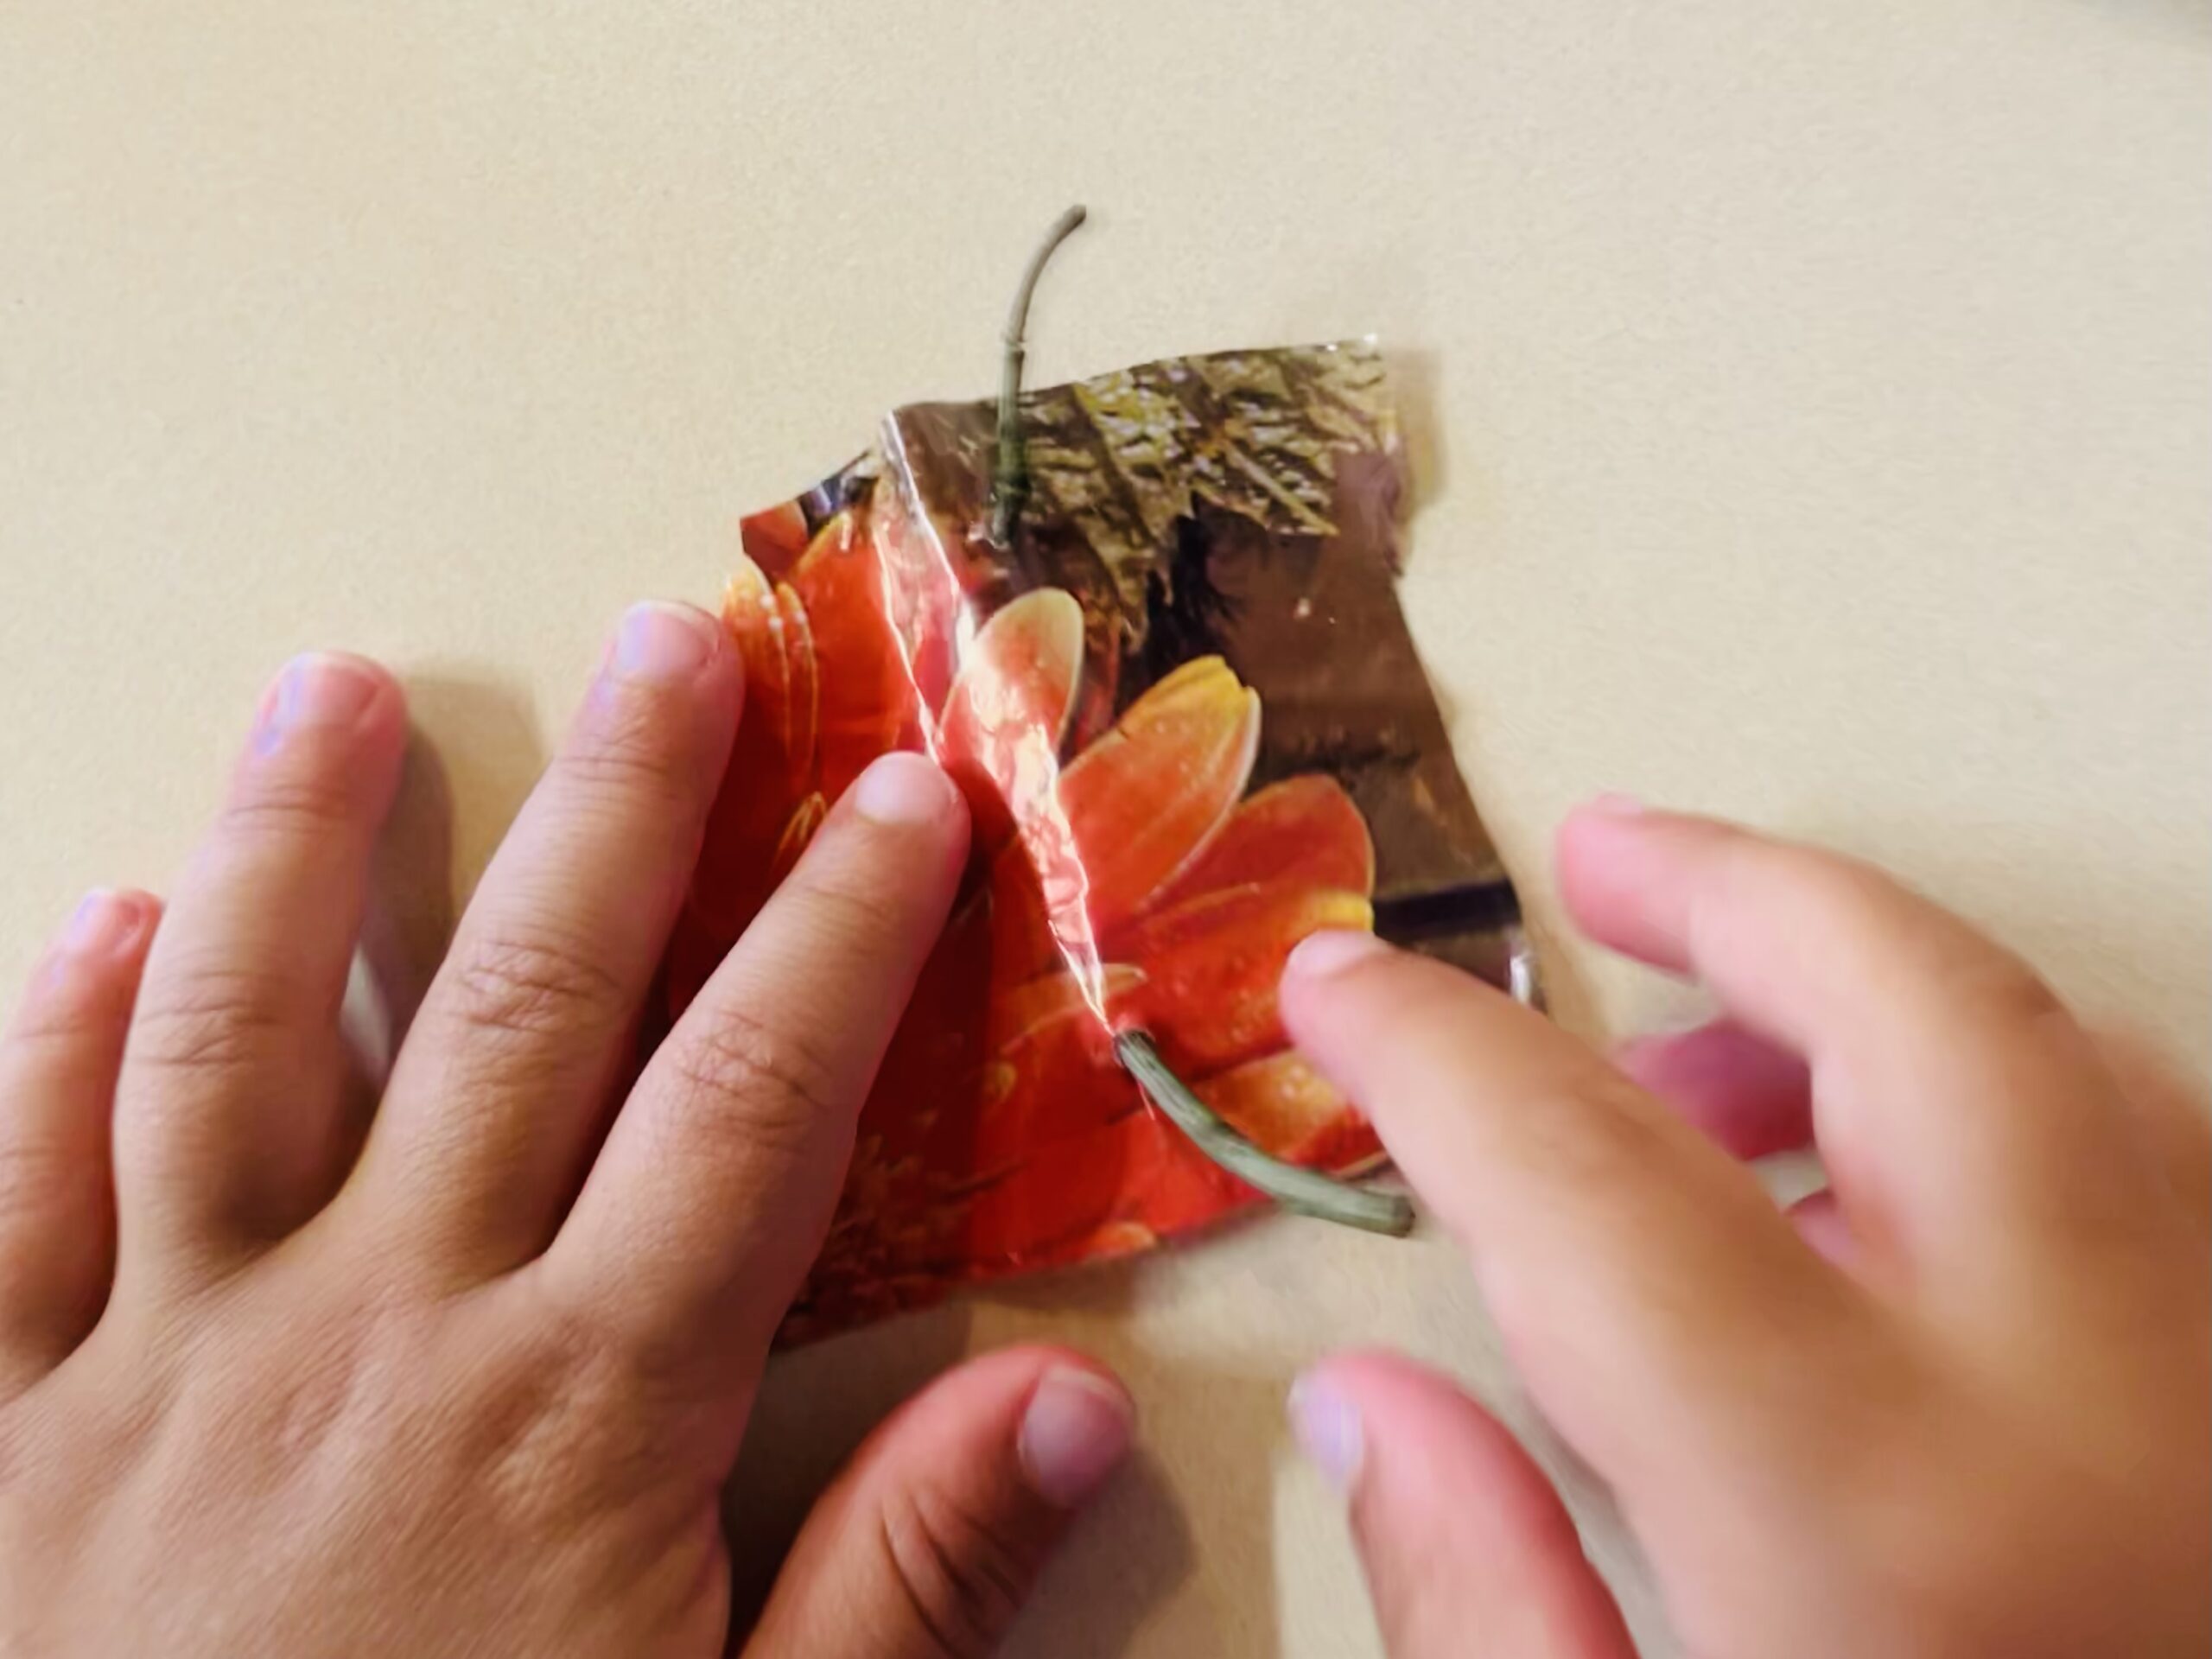


The sail is placed with the mast centered on the inside of the screw-glass lid.
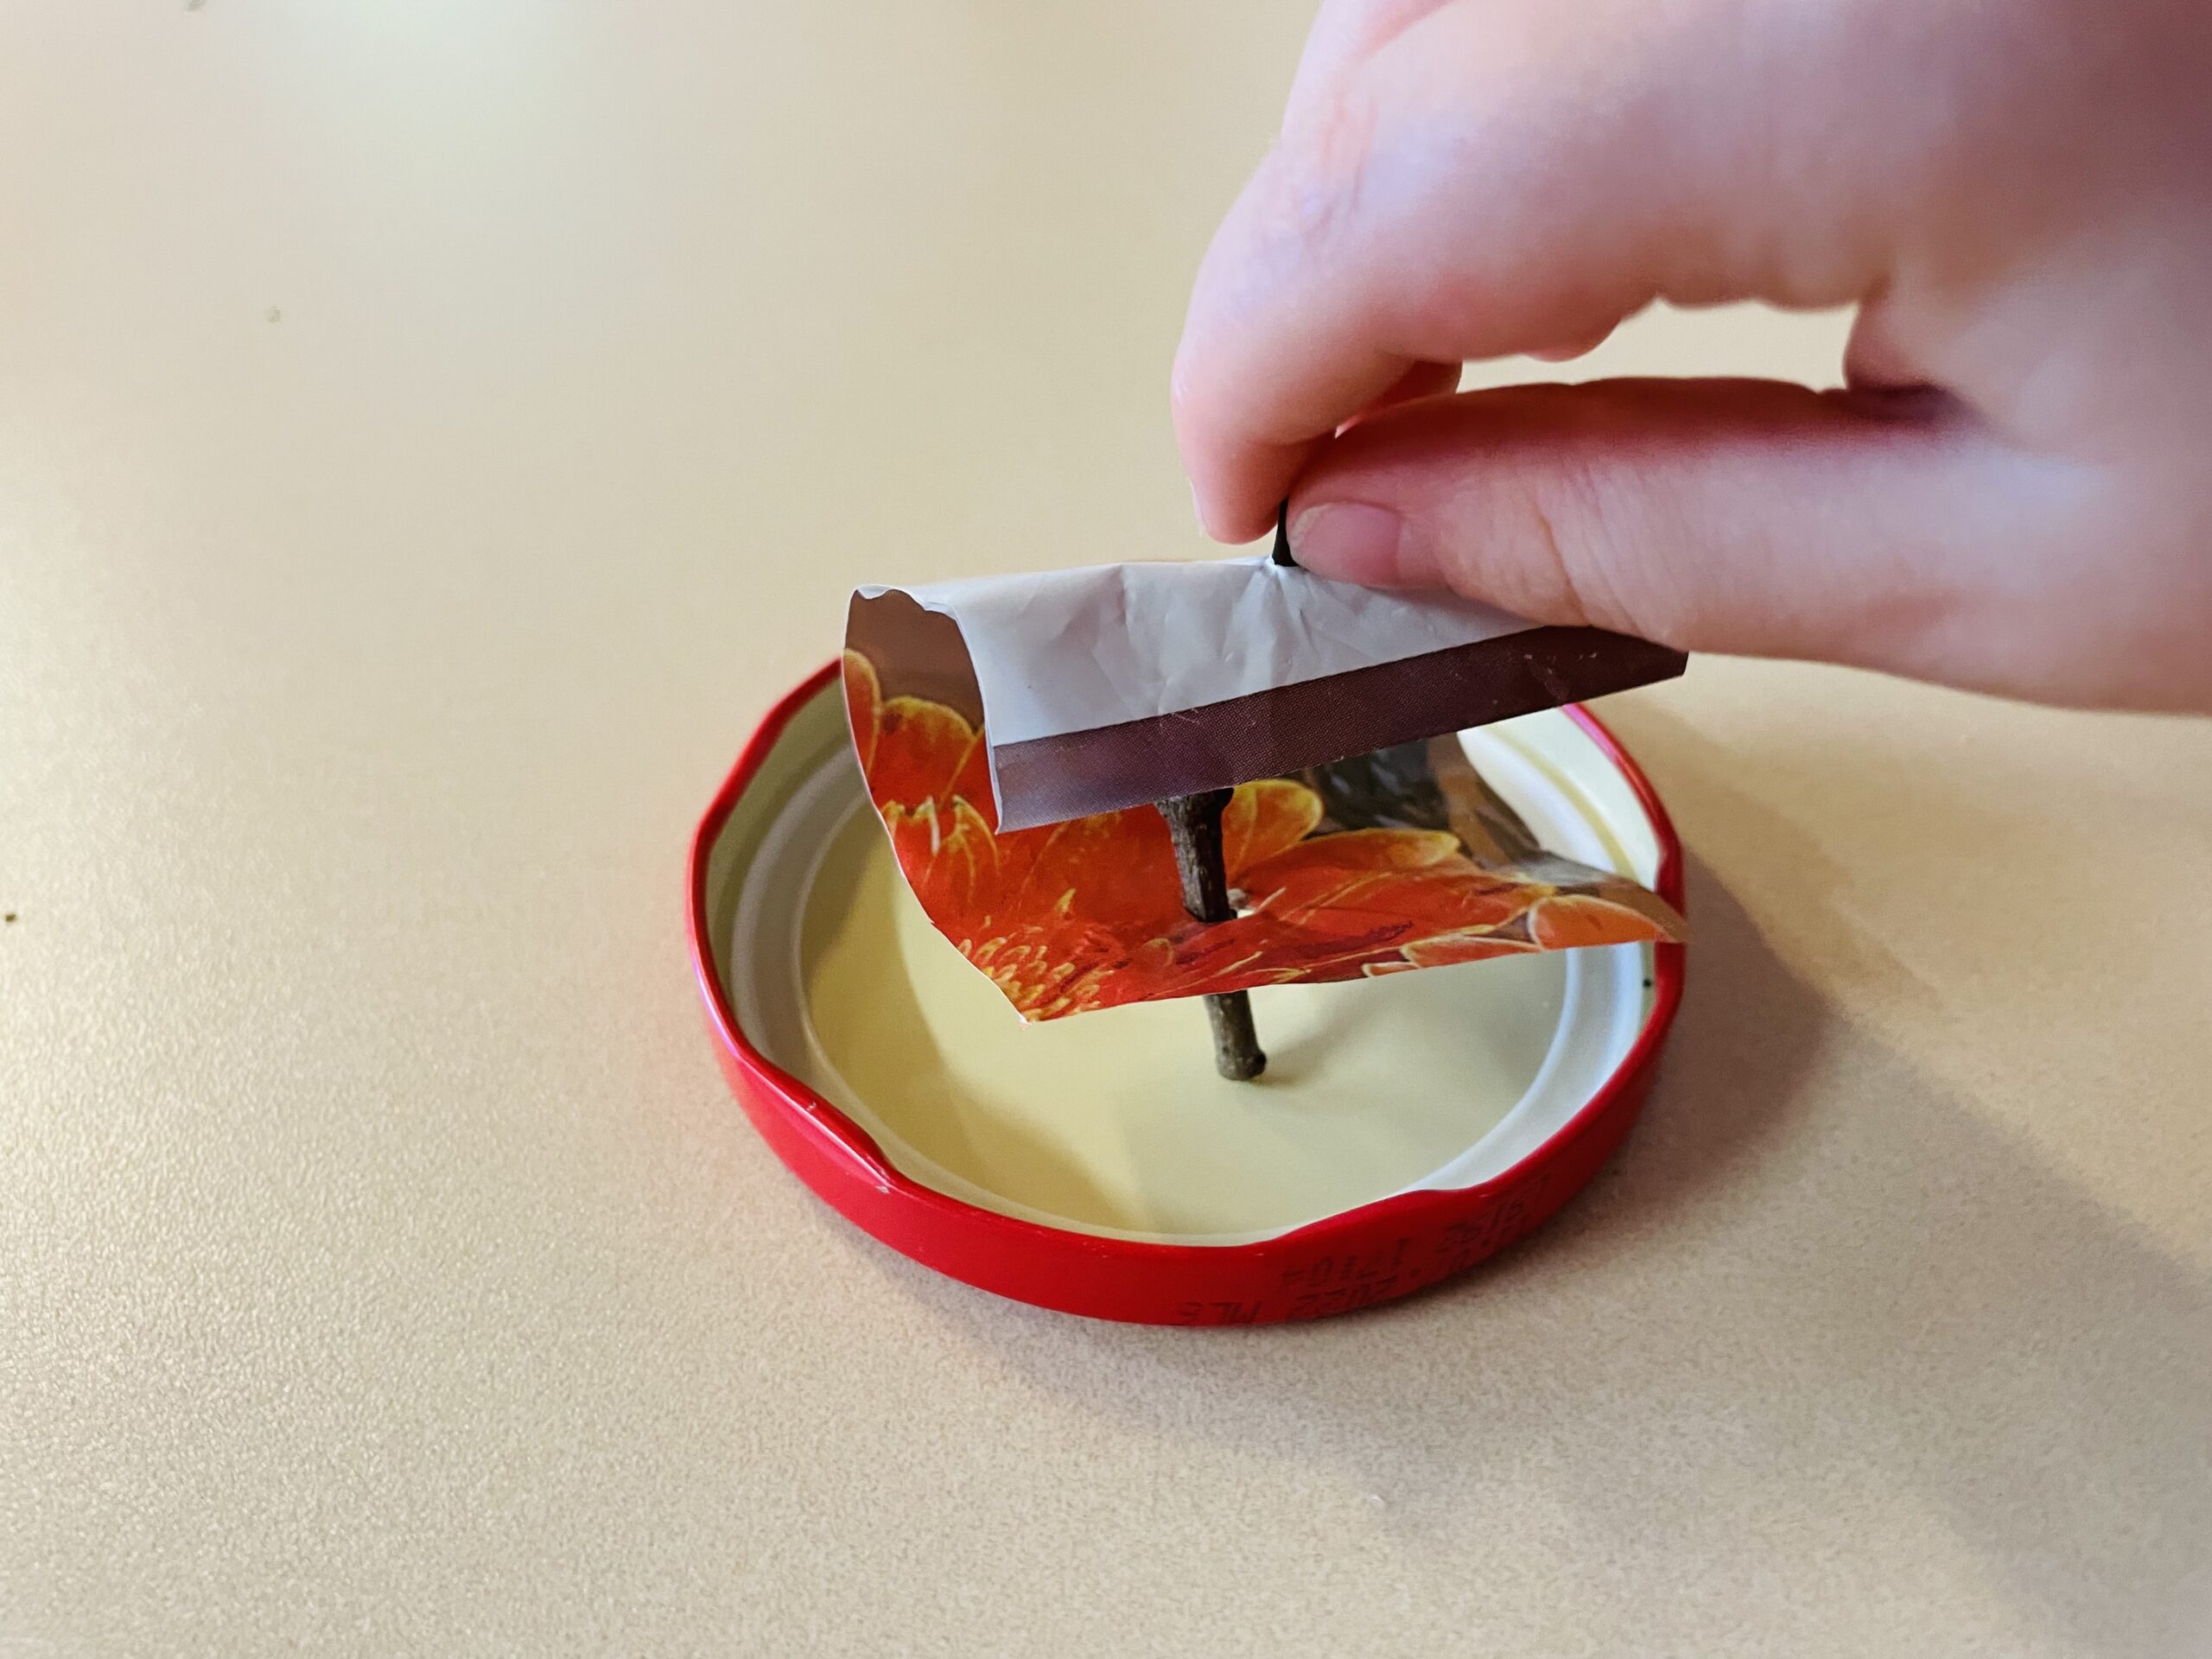


Sticks the branch with the hot glue gun. This must be done by an adult - risk of injury!
Hold the branch briefly after gluing until the glue is slightly dried.
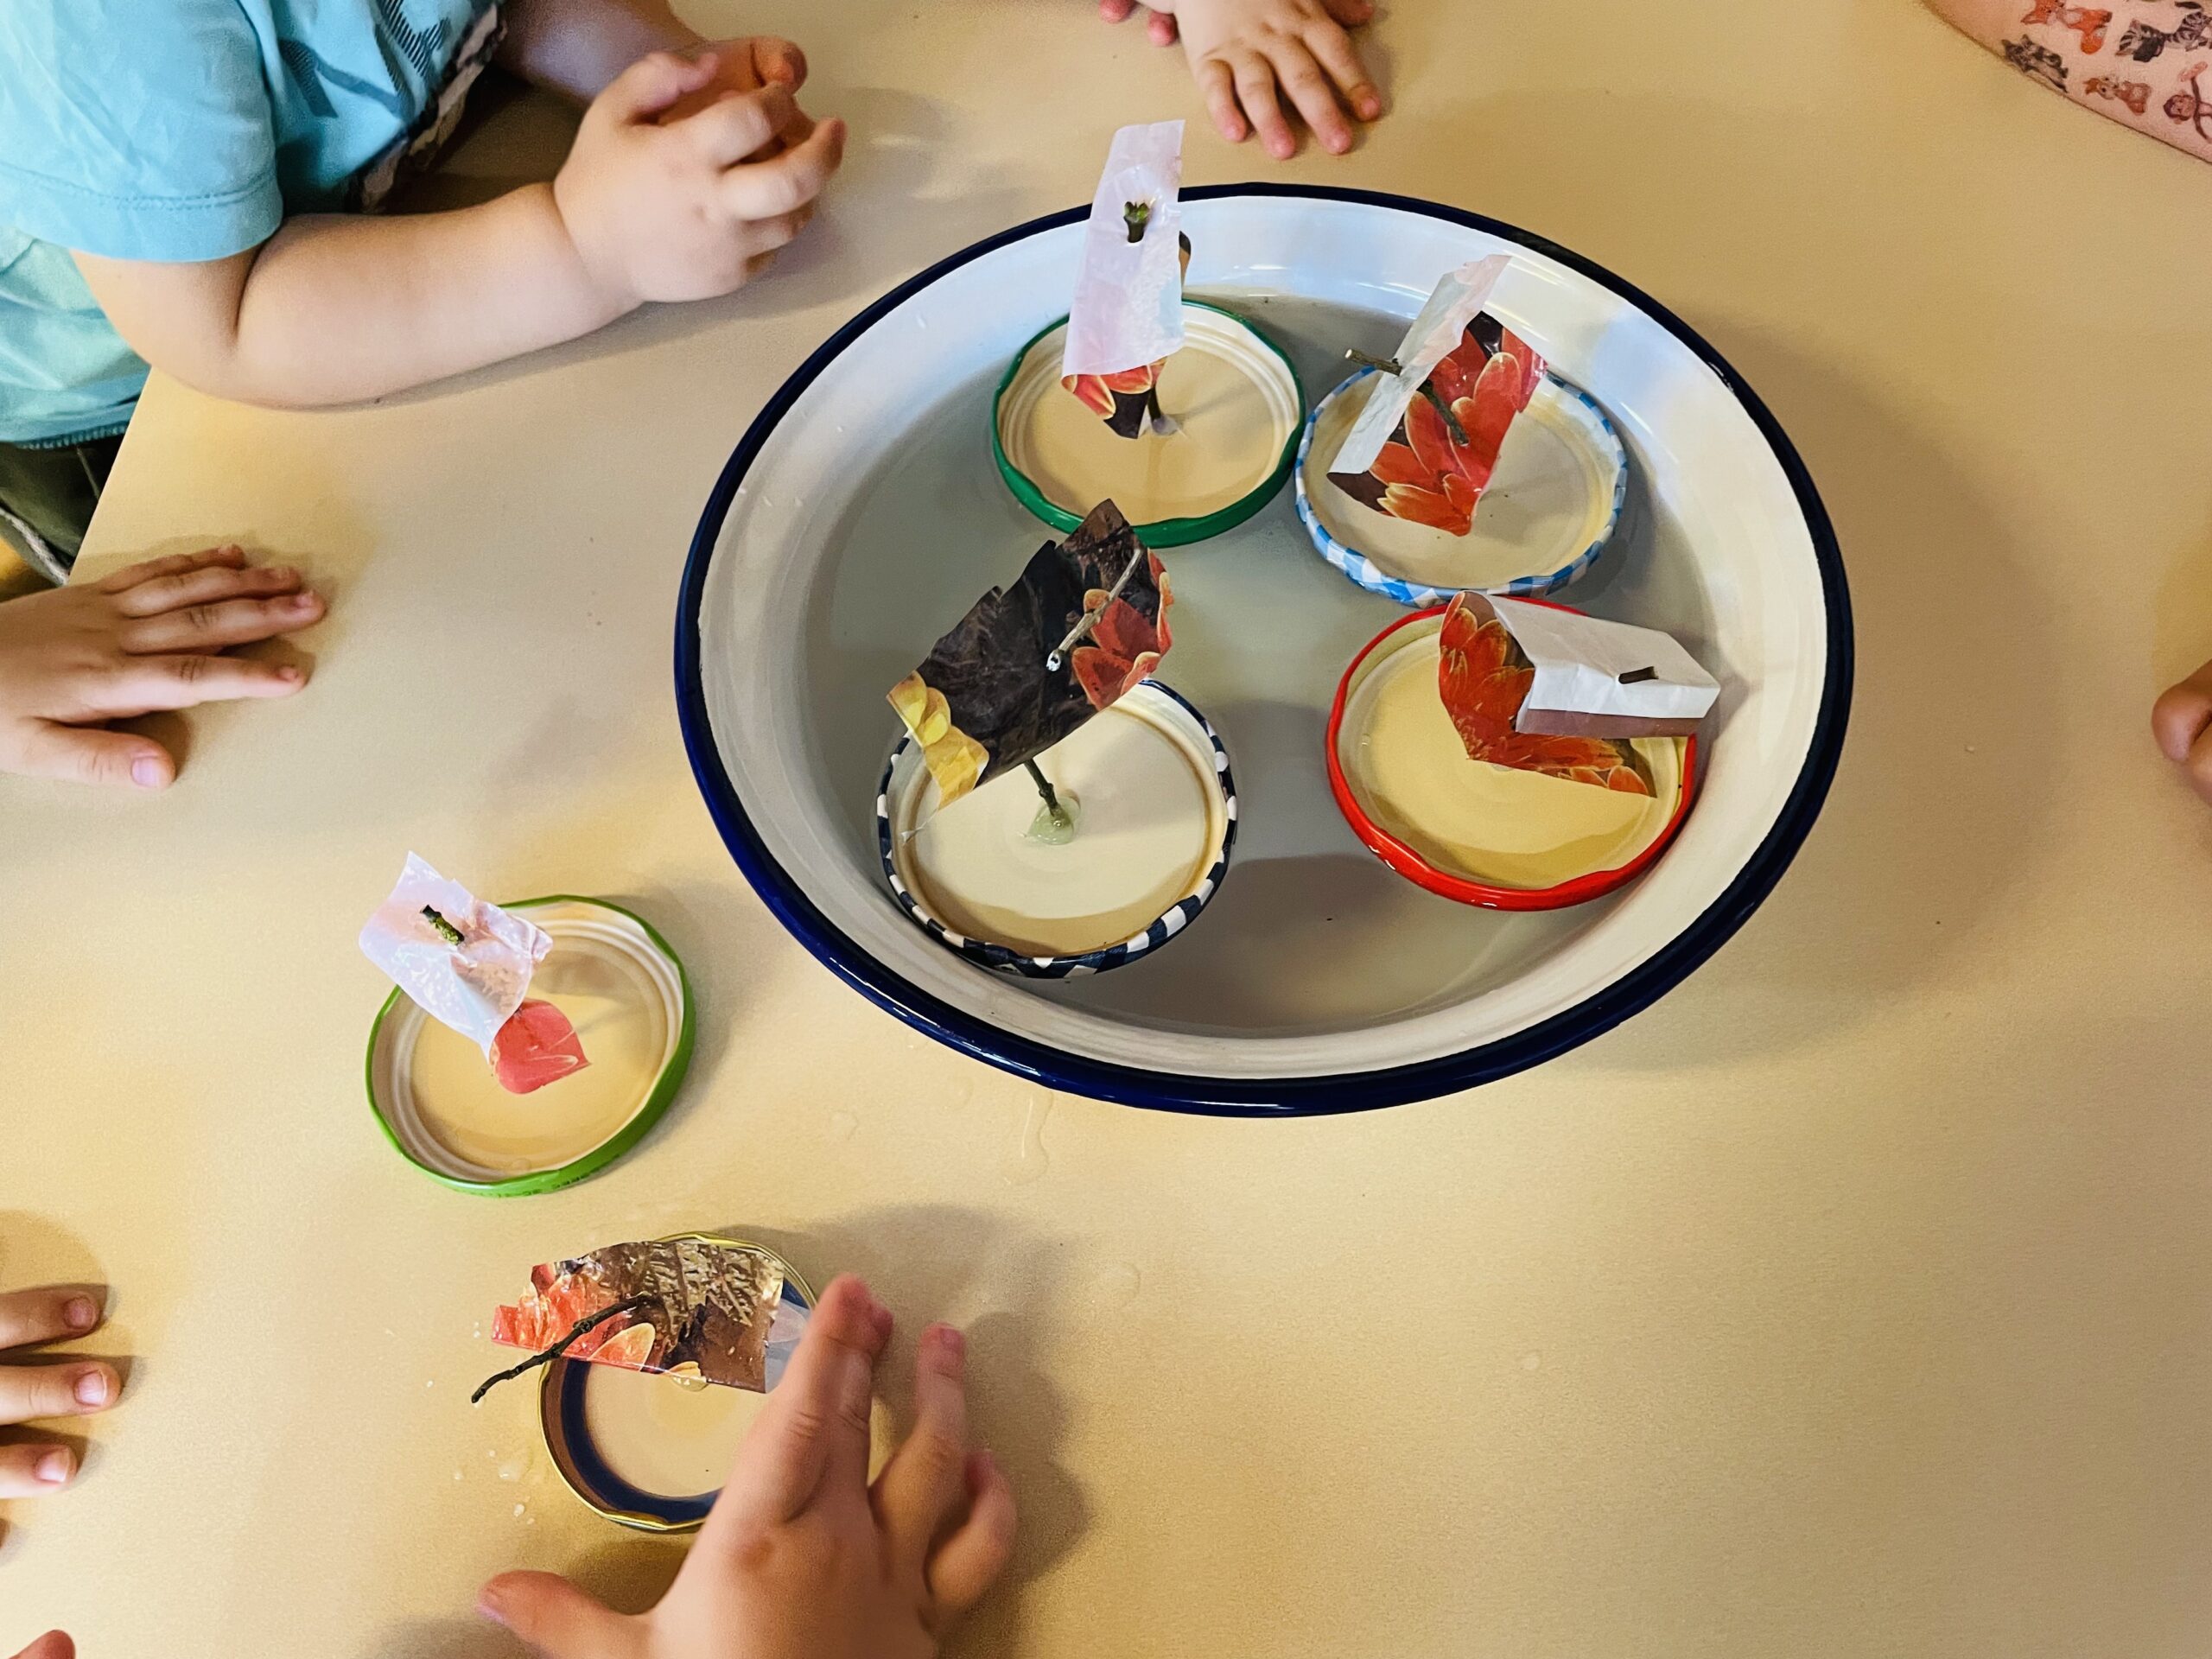
The first boat is ready.
In the same way you can now make as many boats as you like.
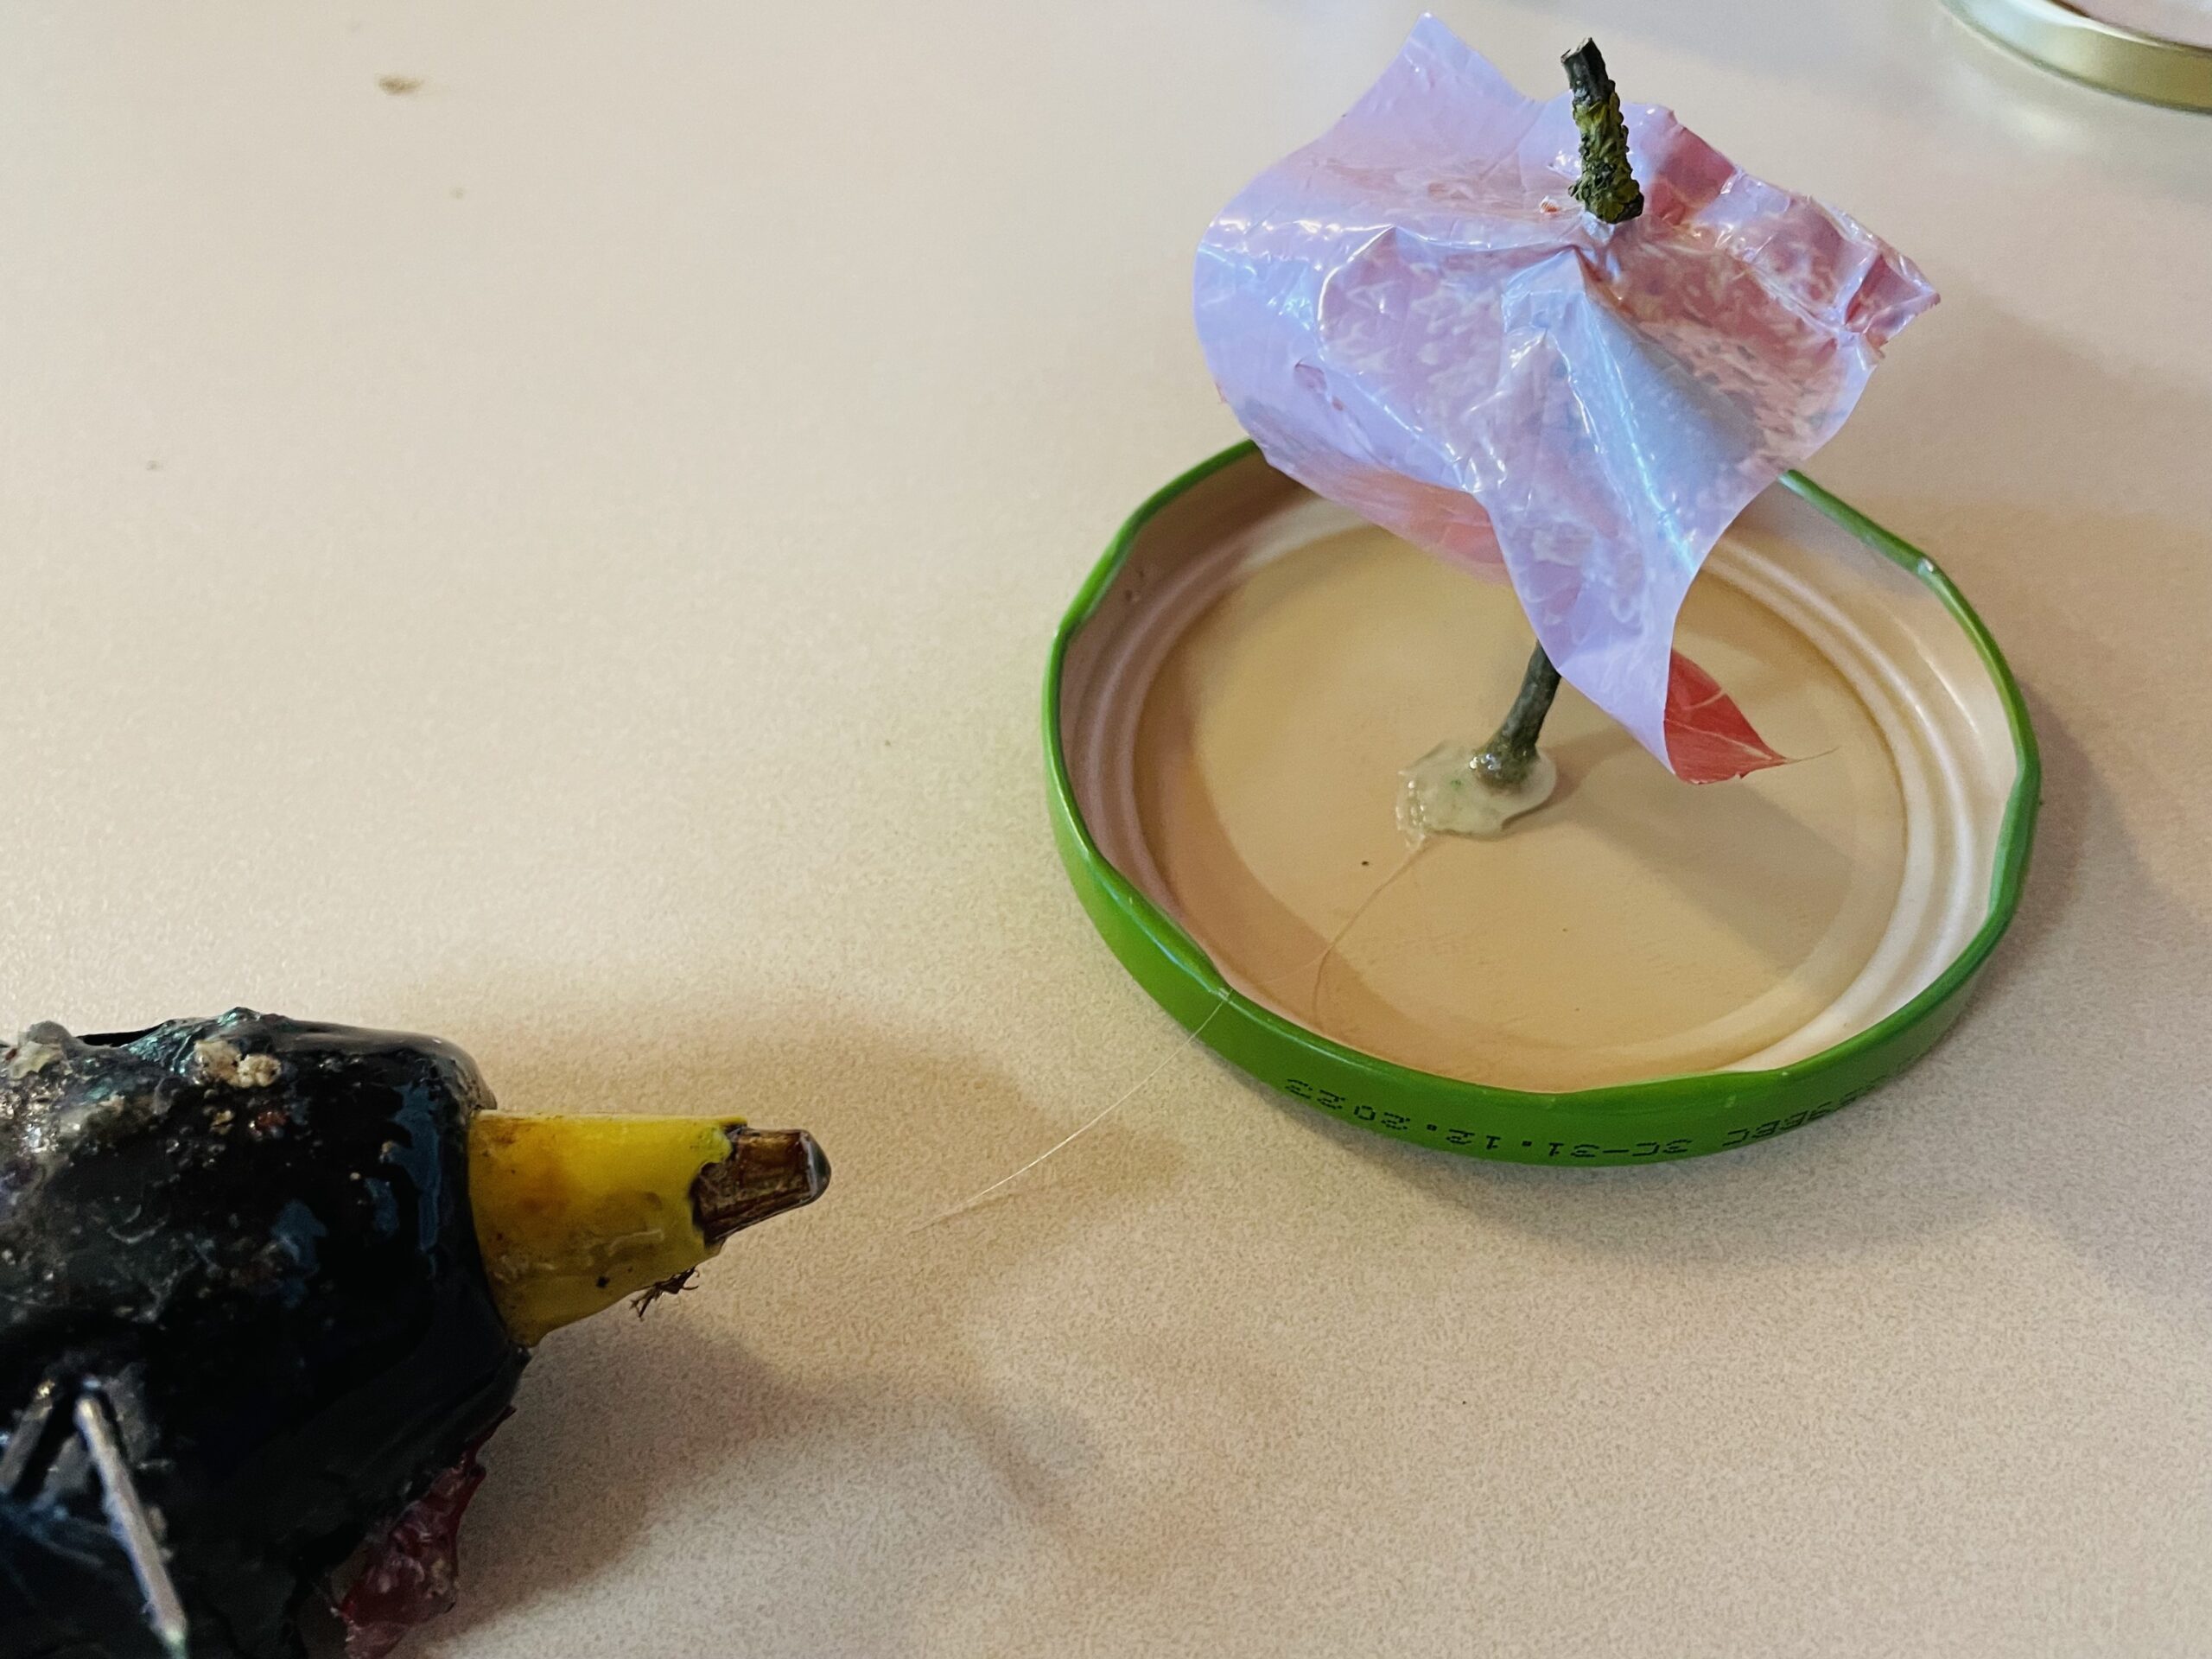


Now the boats can go swimming. For this, put water in a large bowl, a tub or a big bucket.
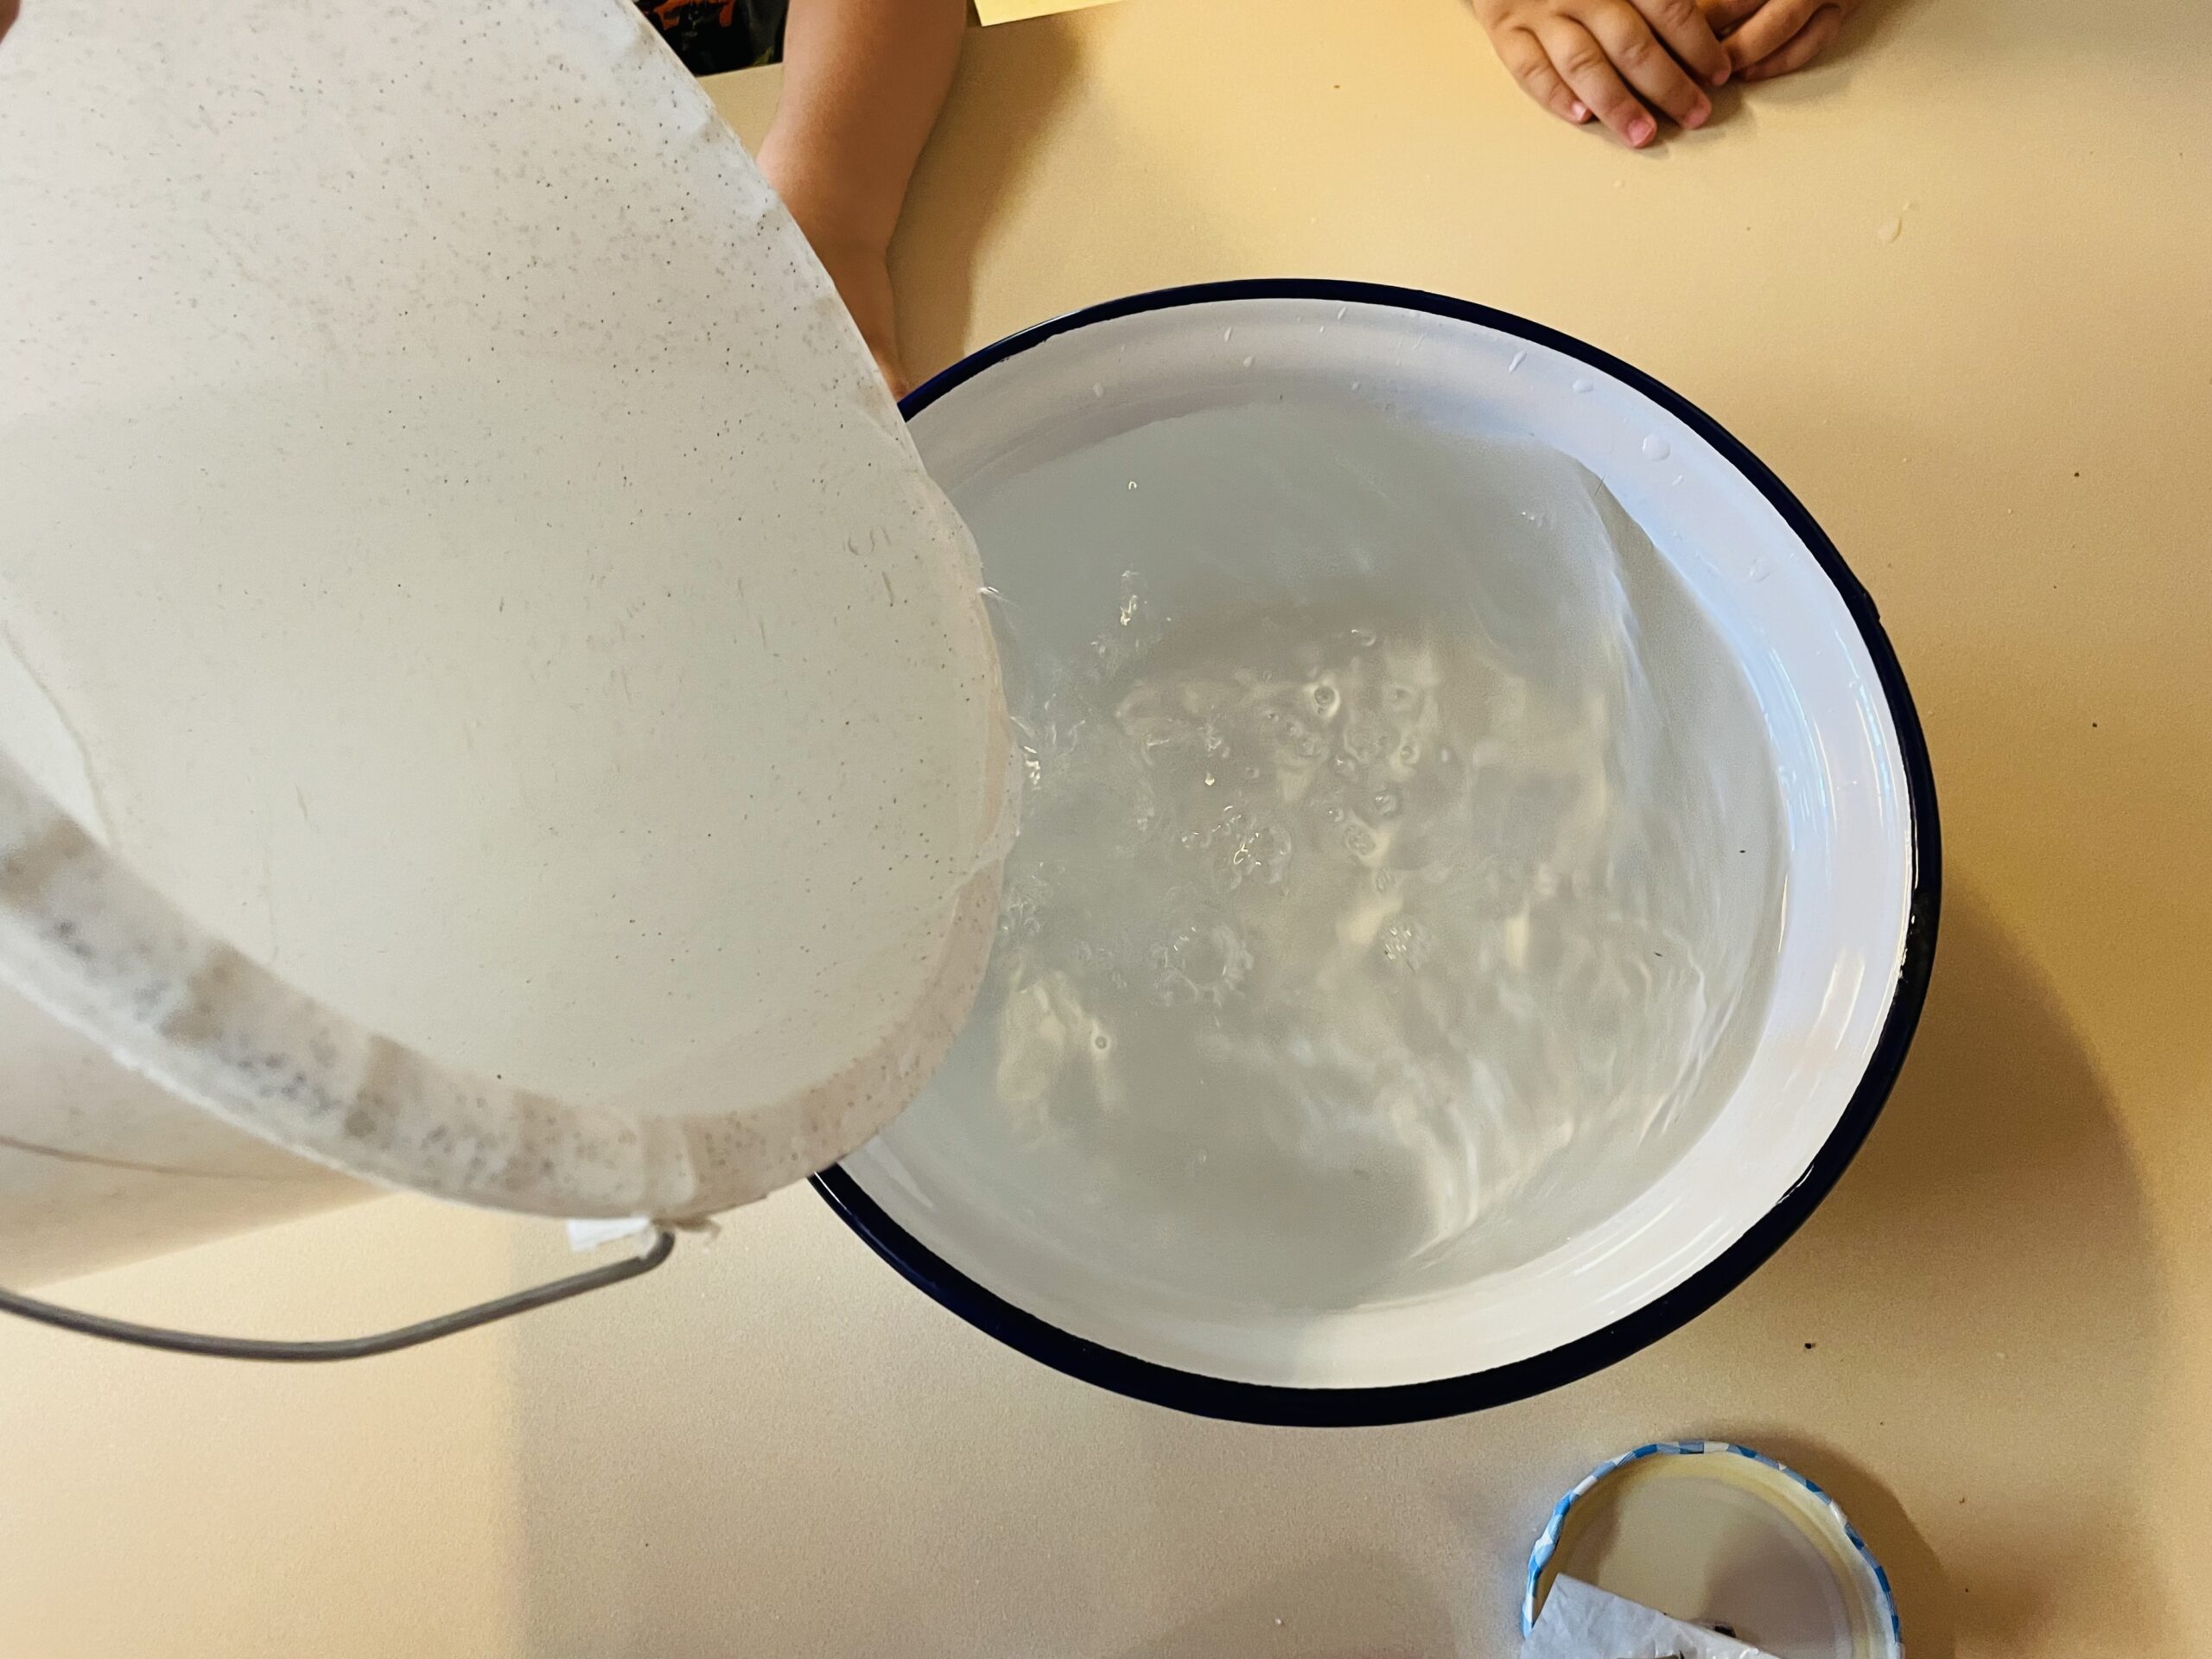


Then you can let your crafted boats swim.
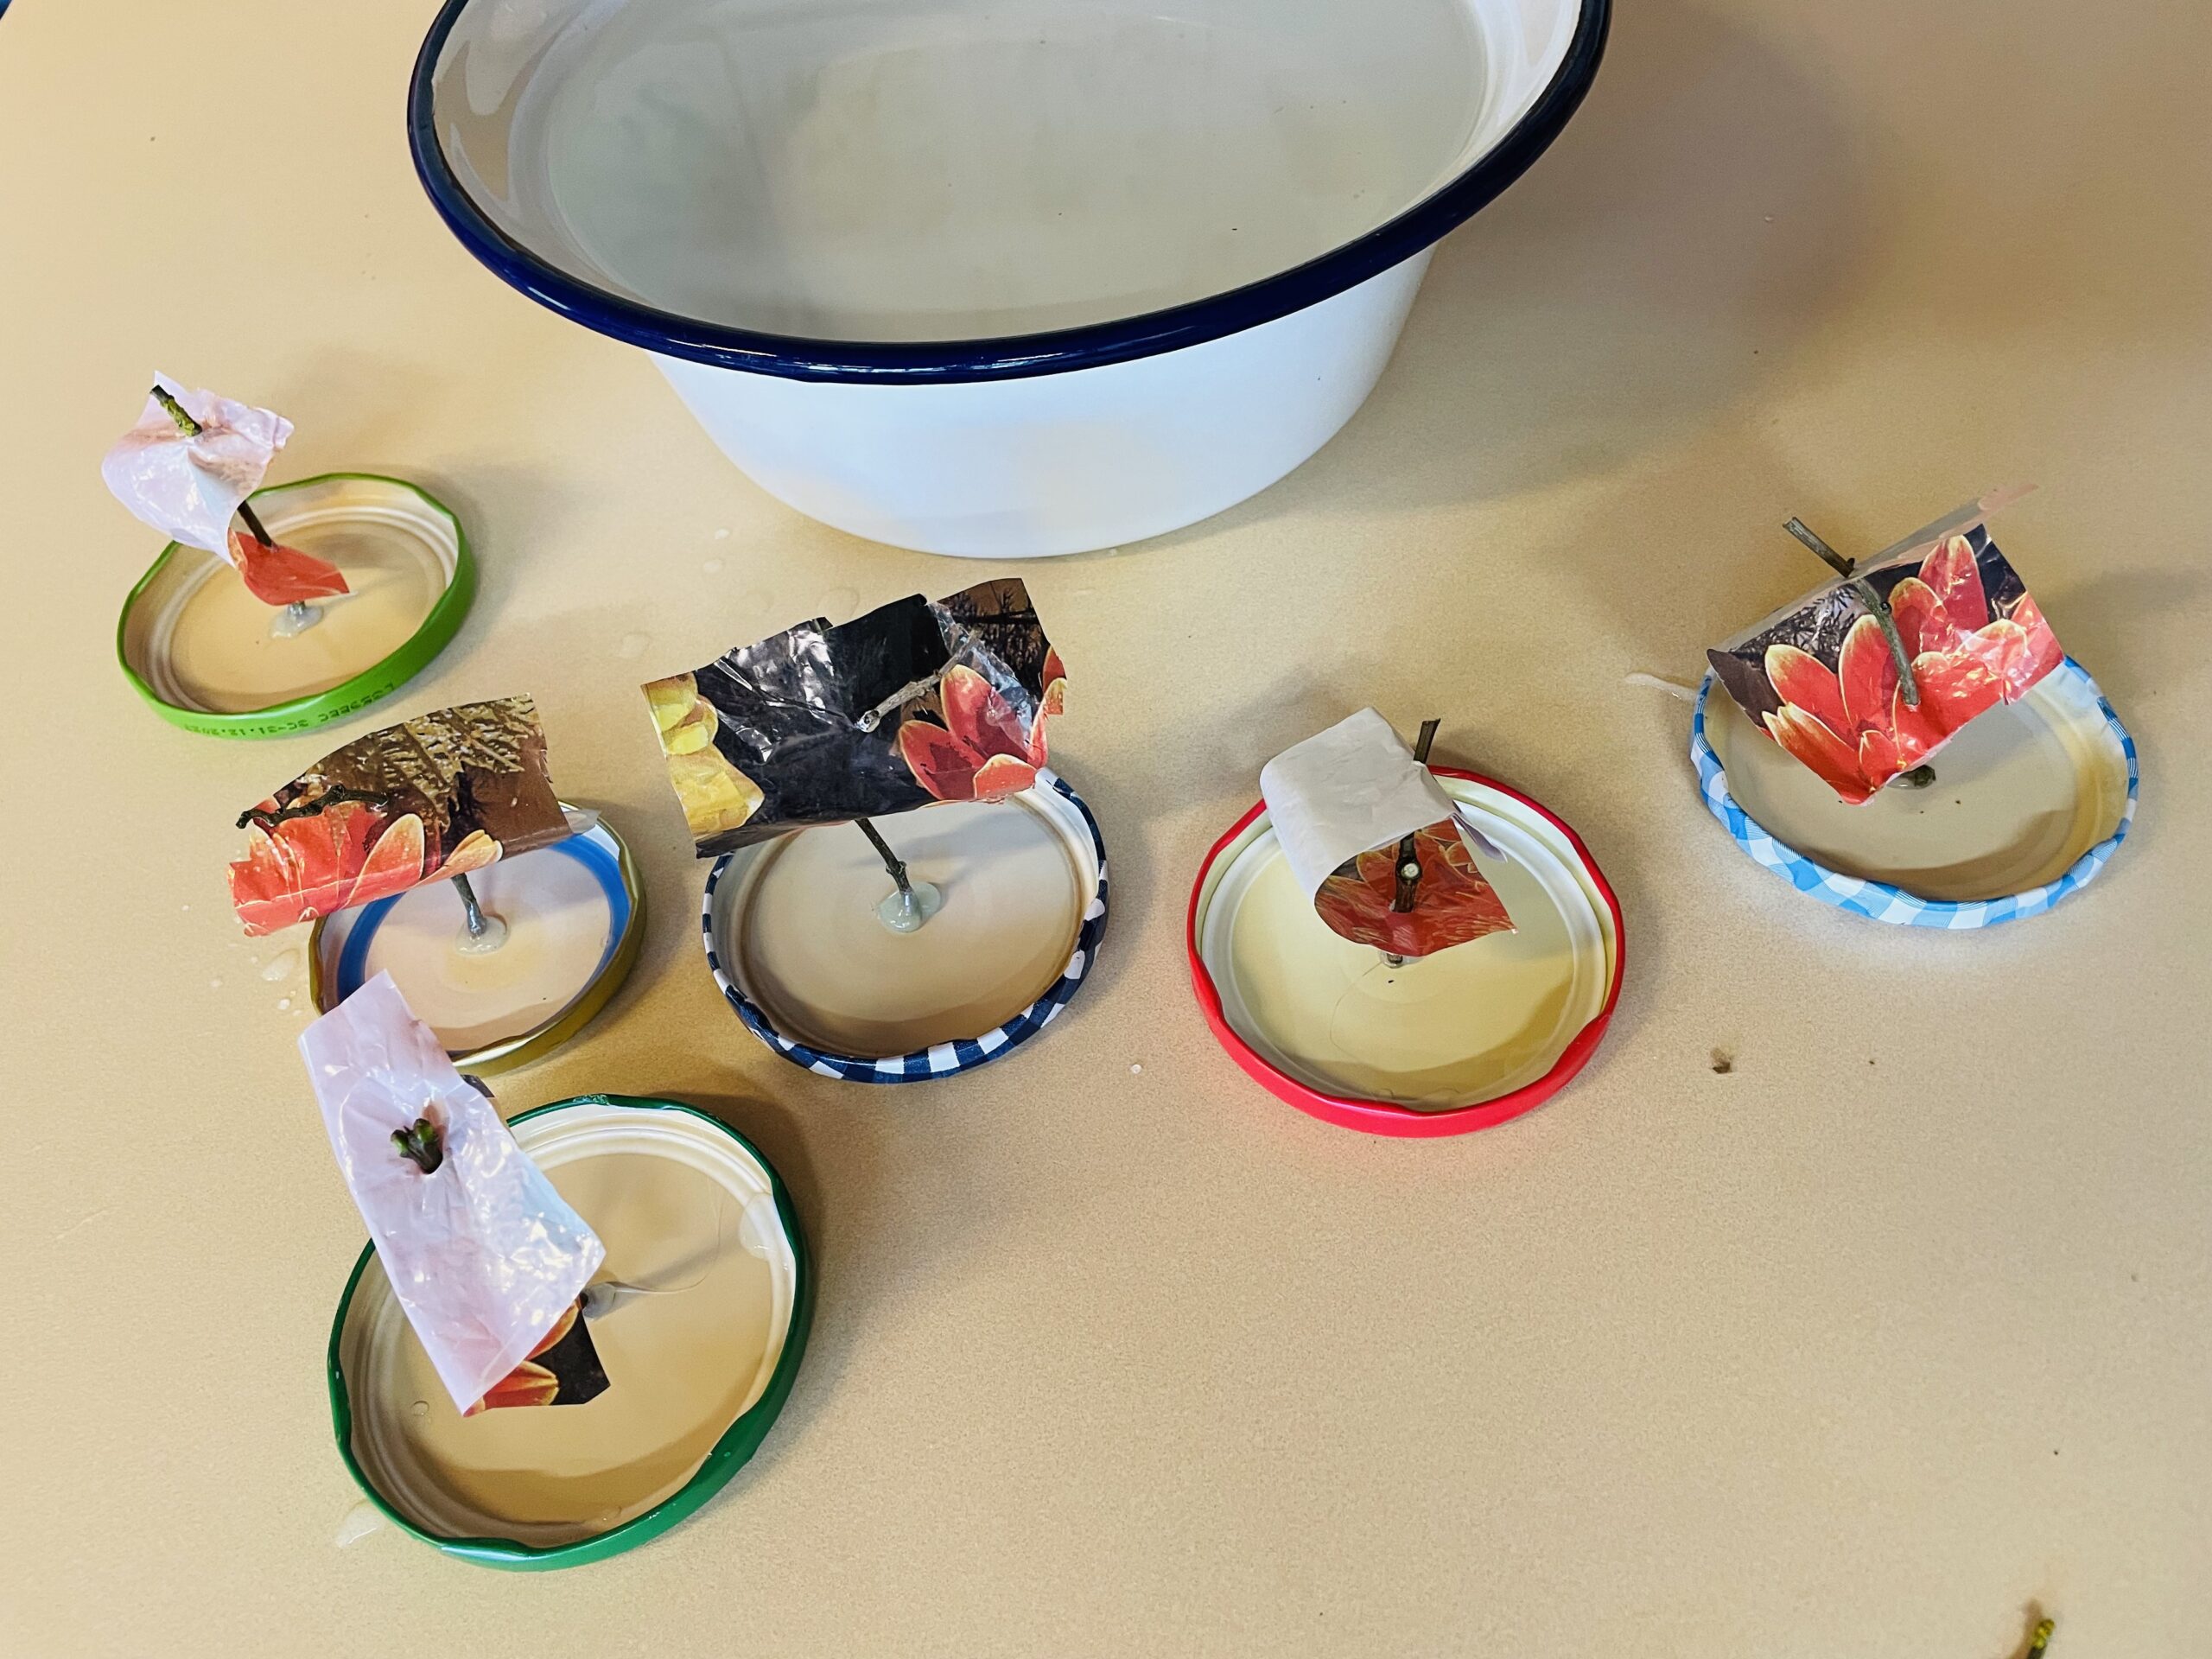


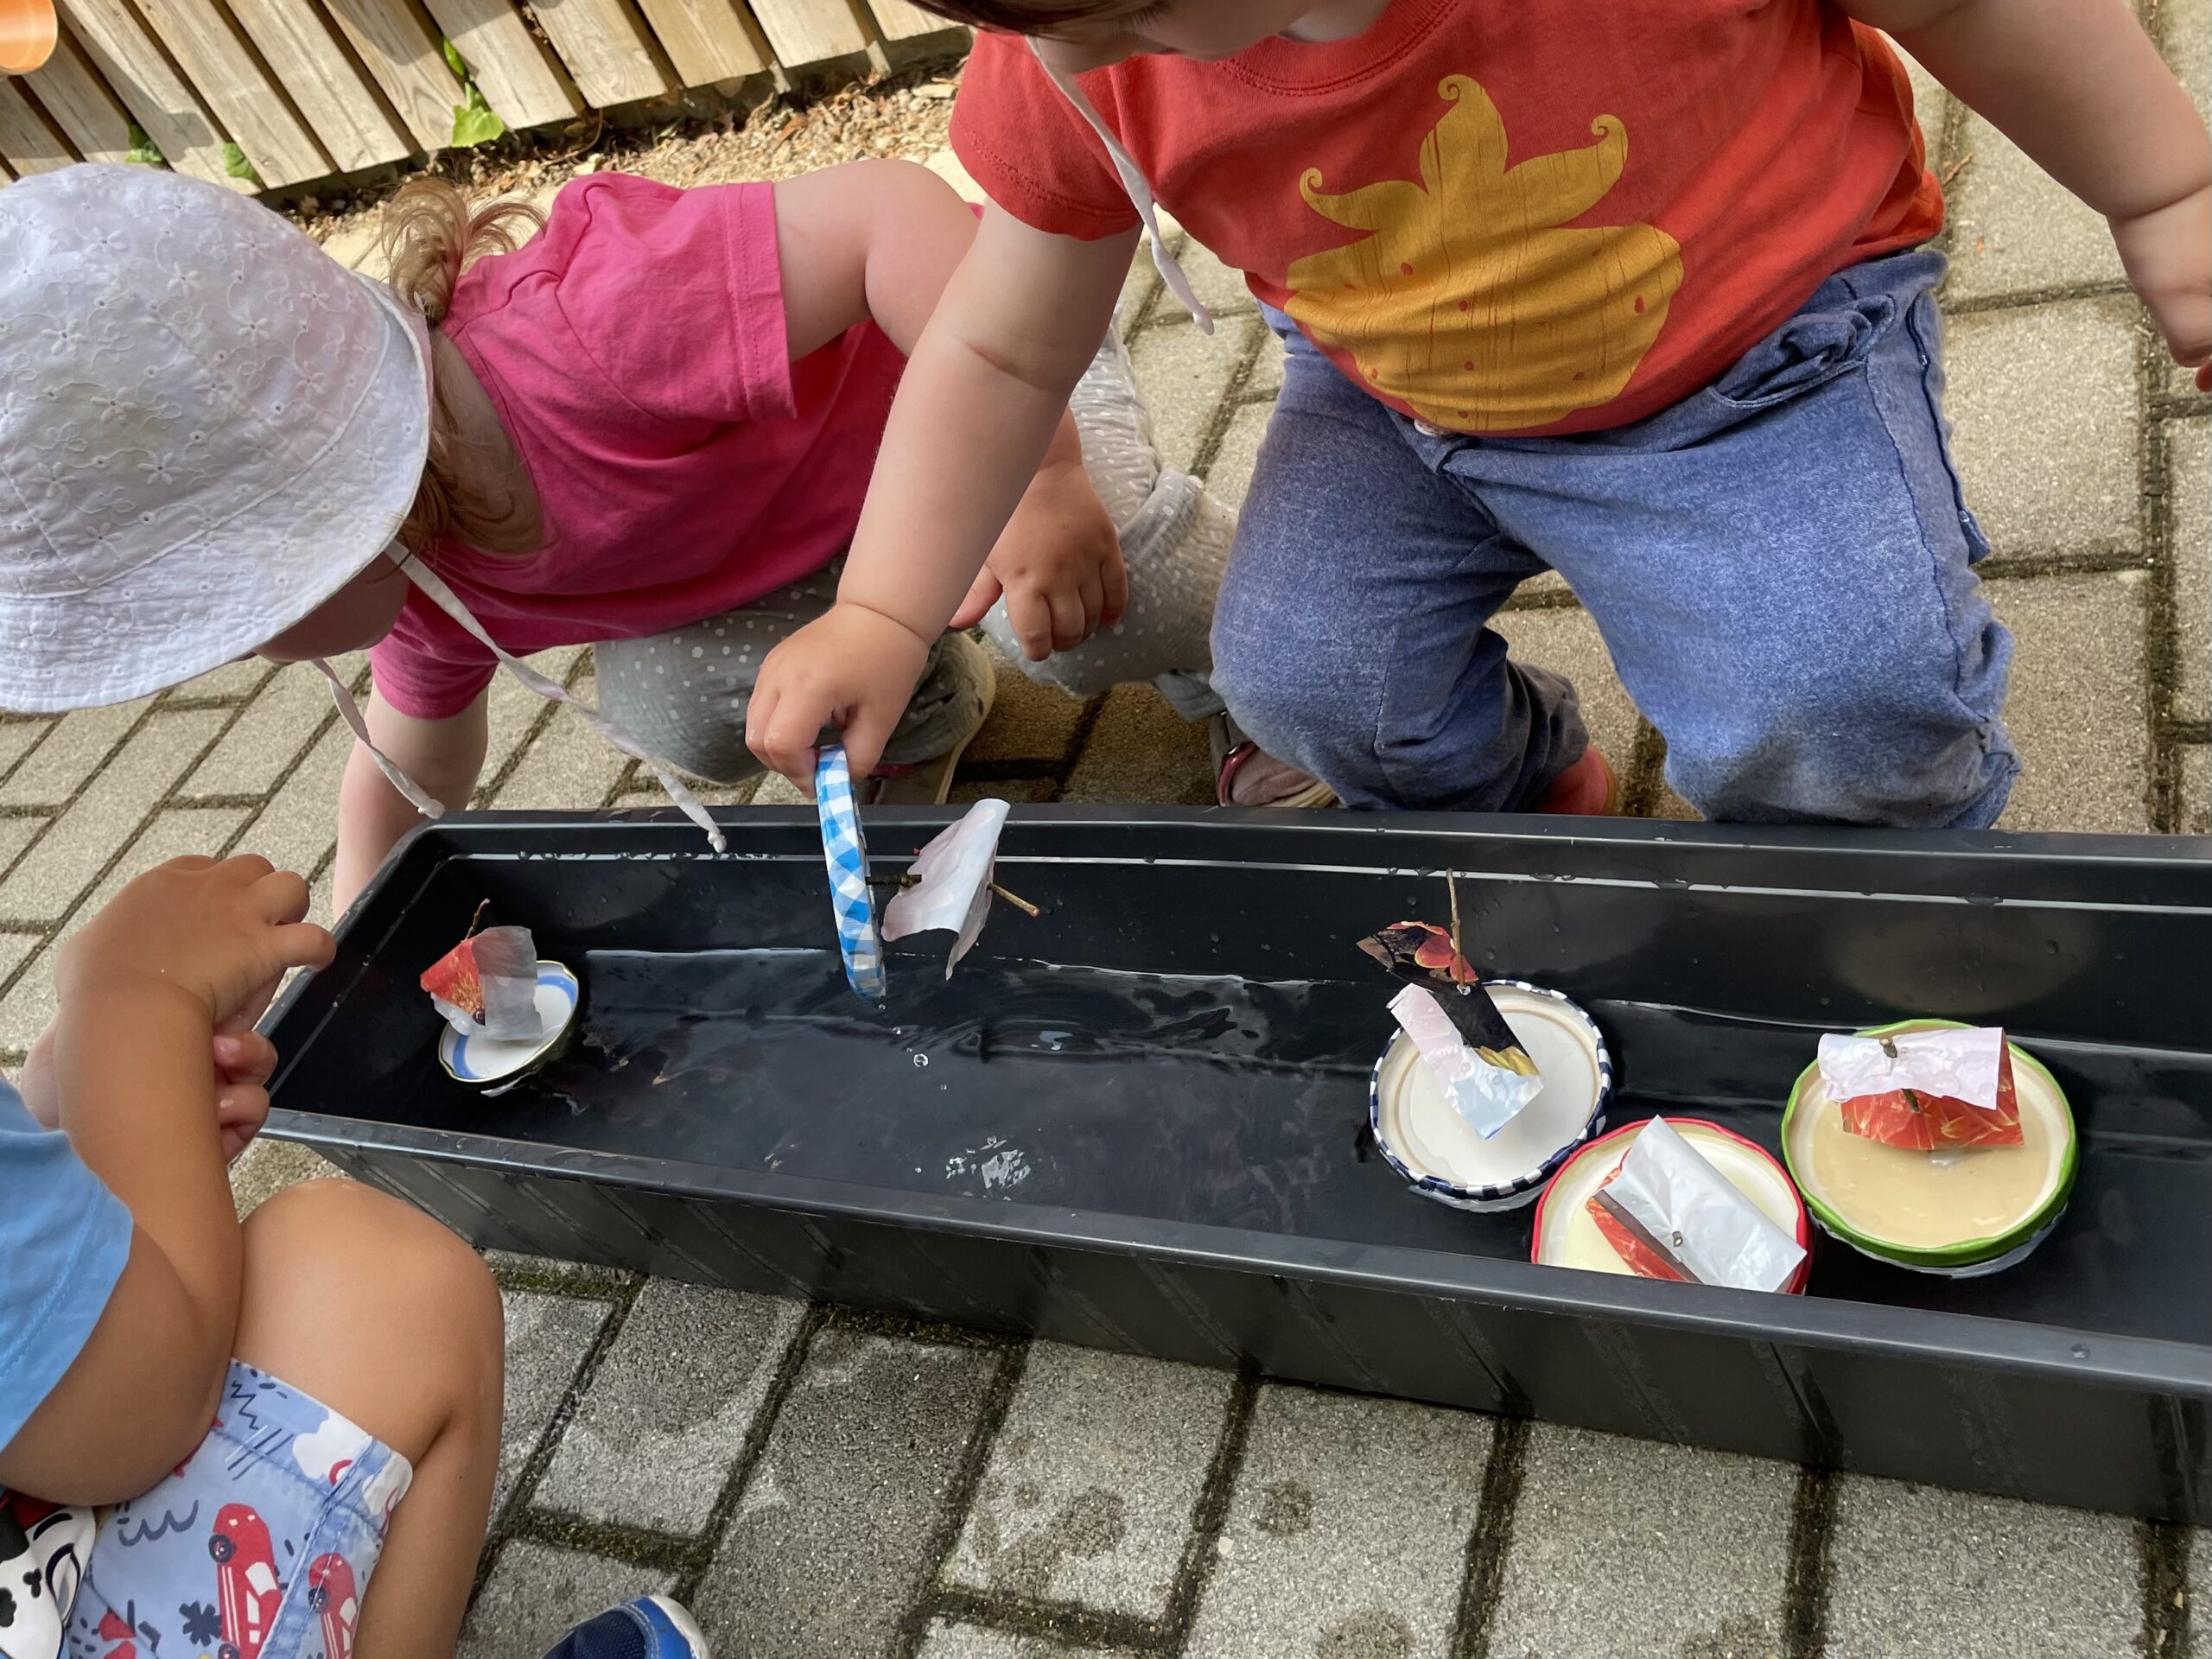
Put them carefully on the water! Hold them as low as possible on the lid and gently place them on the water surface. Swim all boats, you can make a game out of it or build a "water road" in the garden on which they can ride boats.


A long, empty flower box is particularly suitable for this.


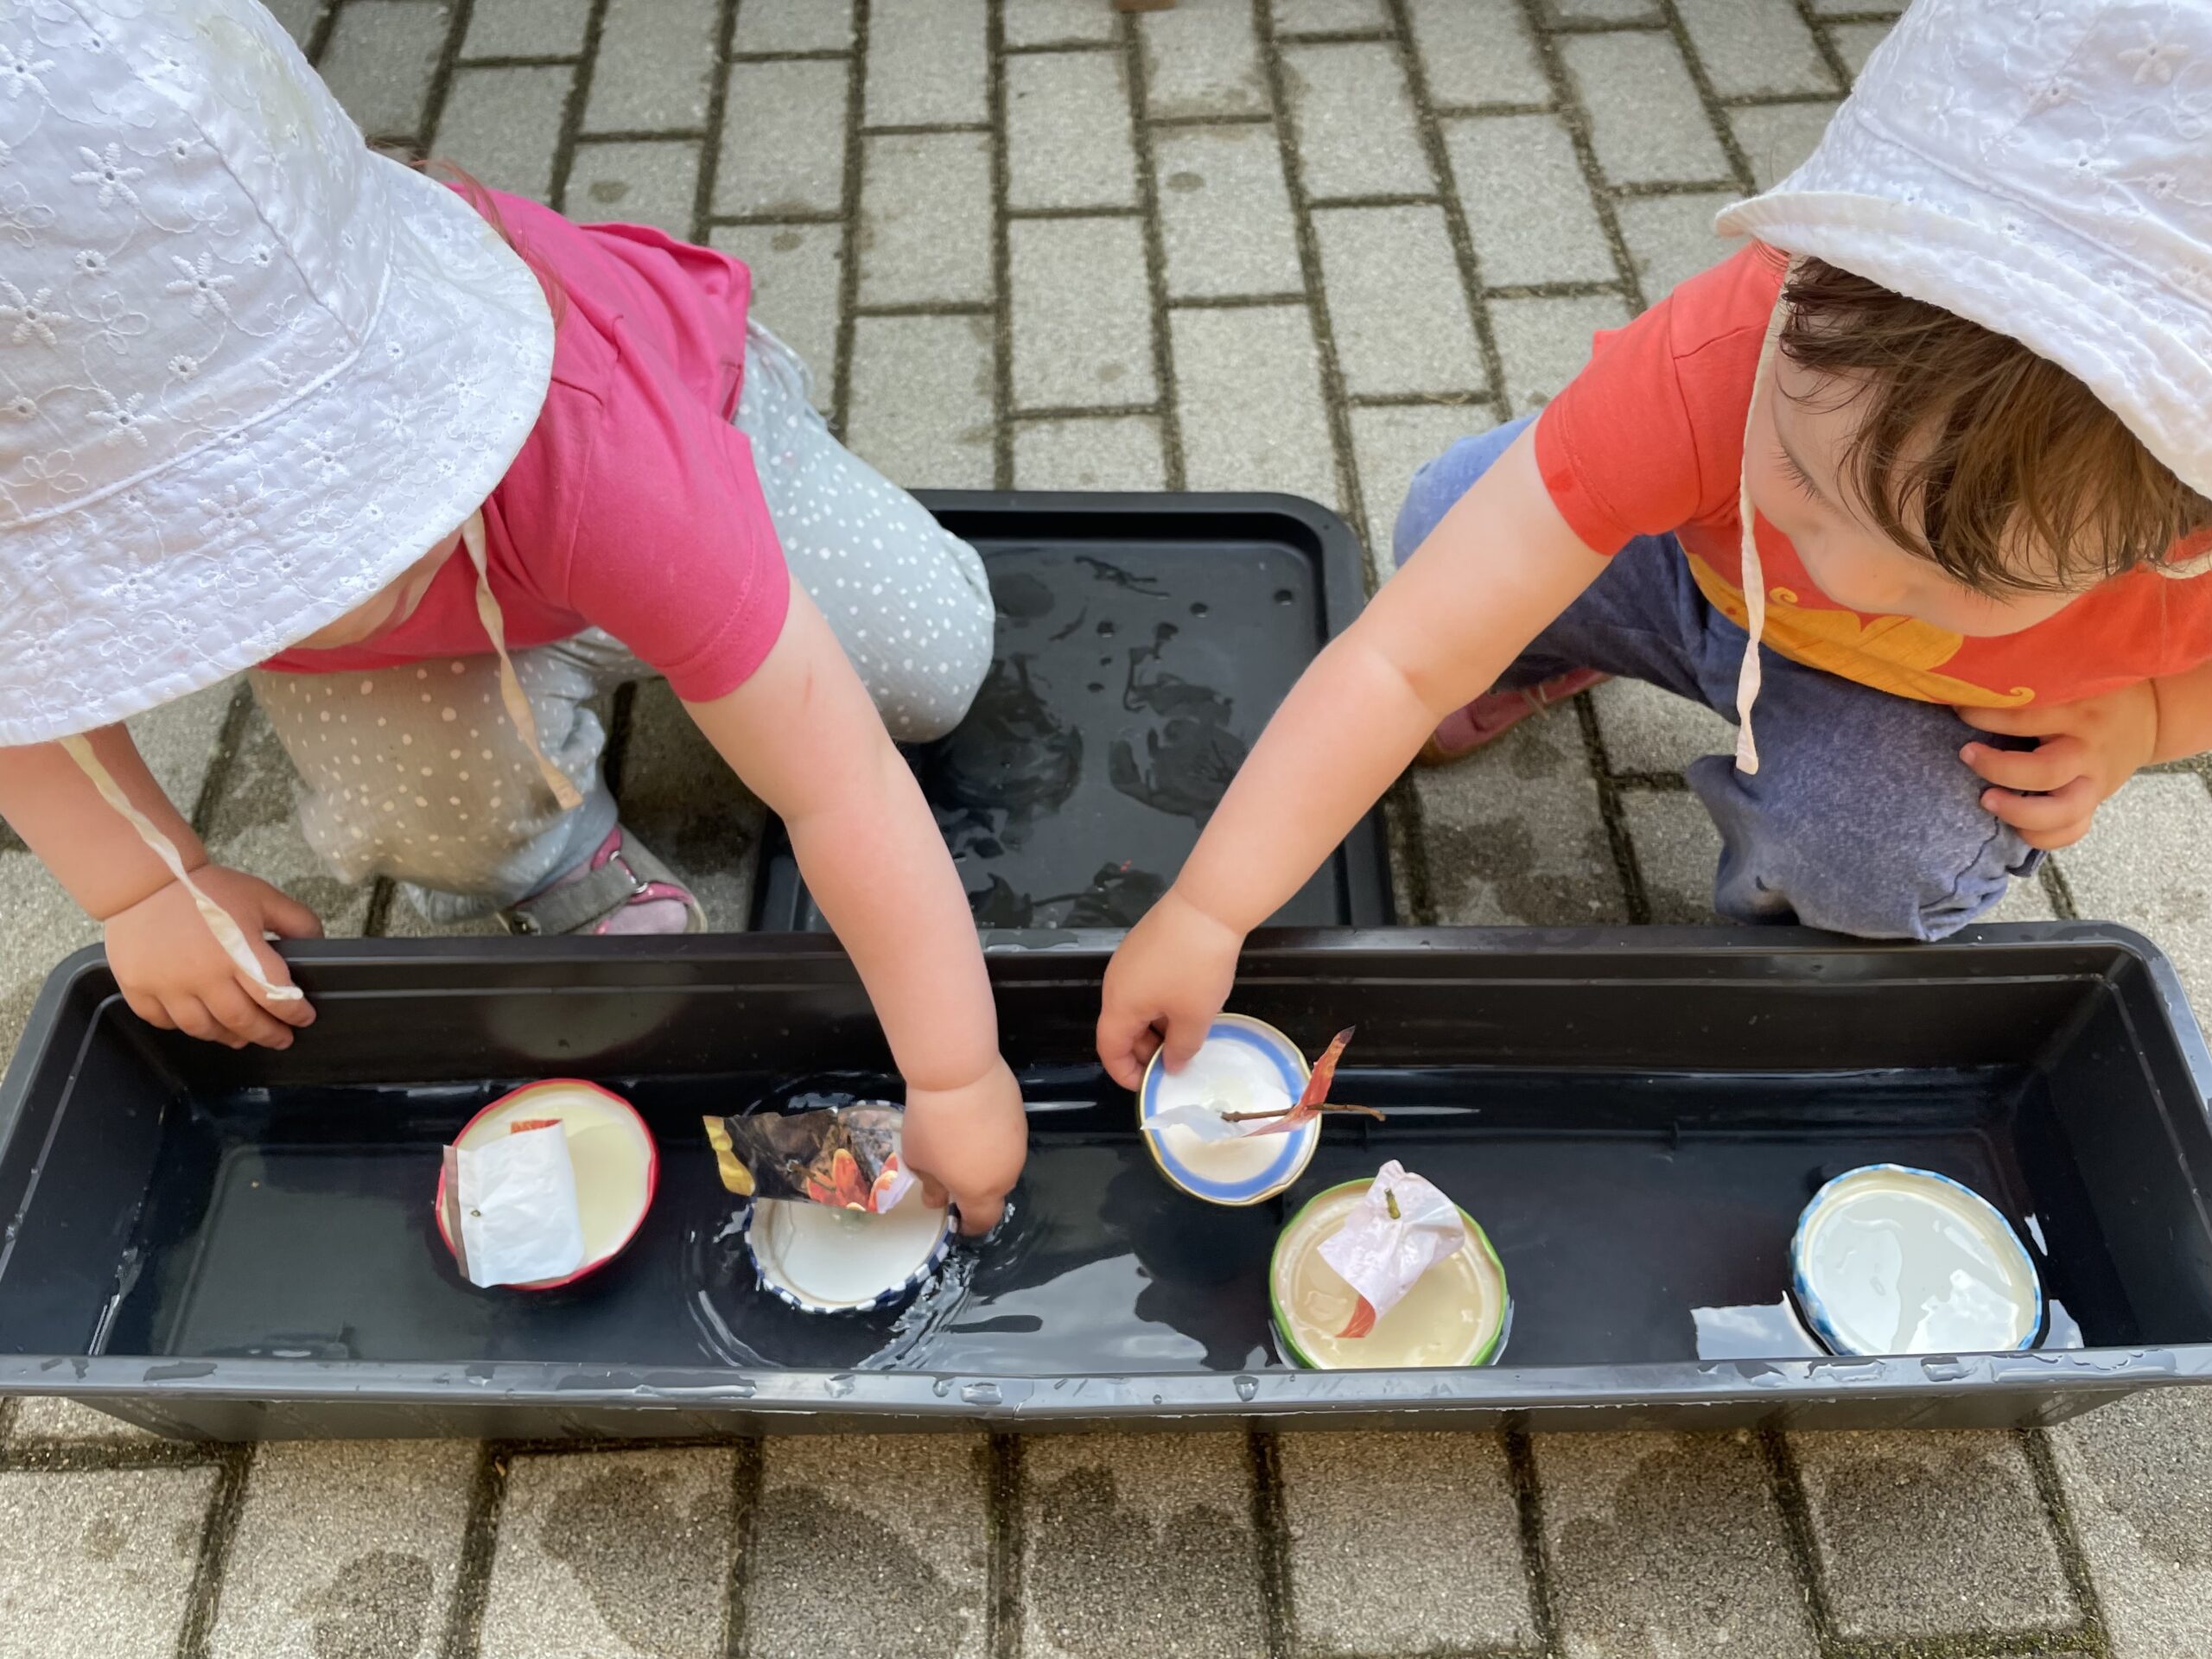
It requires some practice that the used boats do not sink immediately.


From submerged boats you can tilt the water and then carefully put it on the water surface again. This trains the fine motor skills.
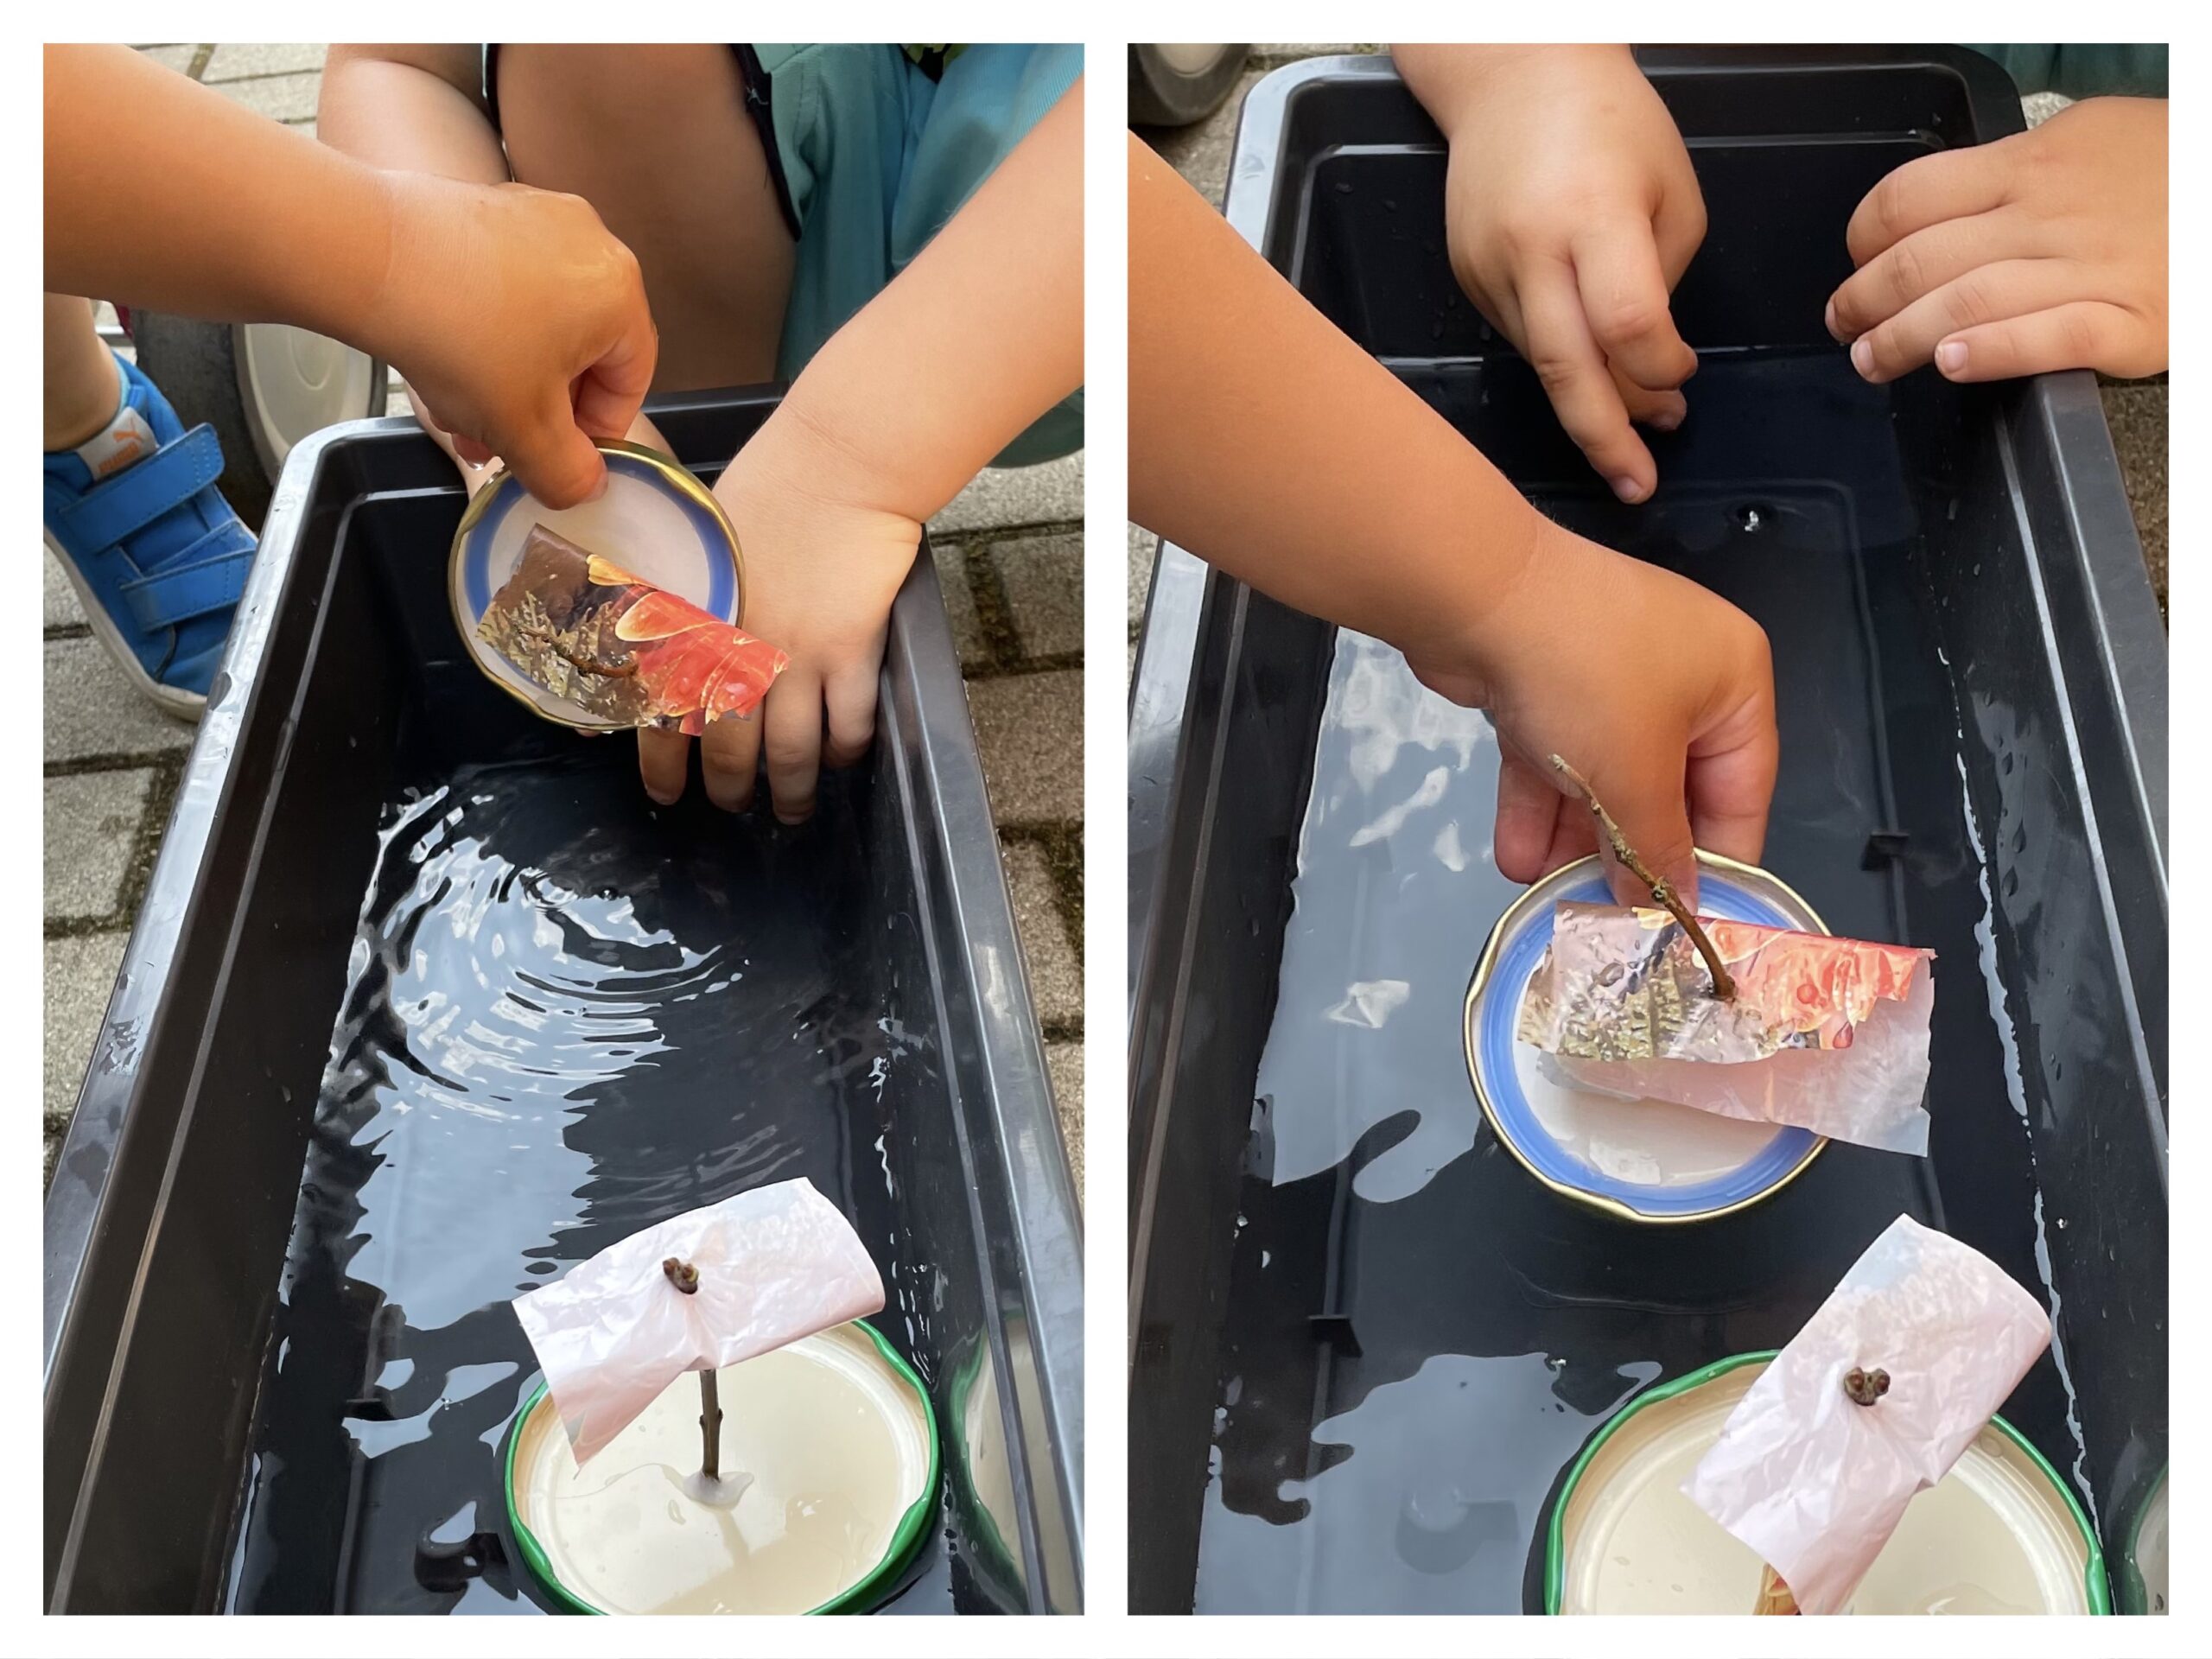


It is important that you touch and transport the boats on the lid and not lift them up at the mast. So they break very easily and that would be a pity.
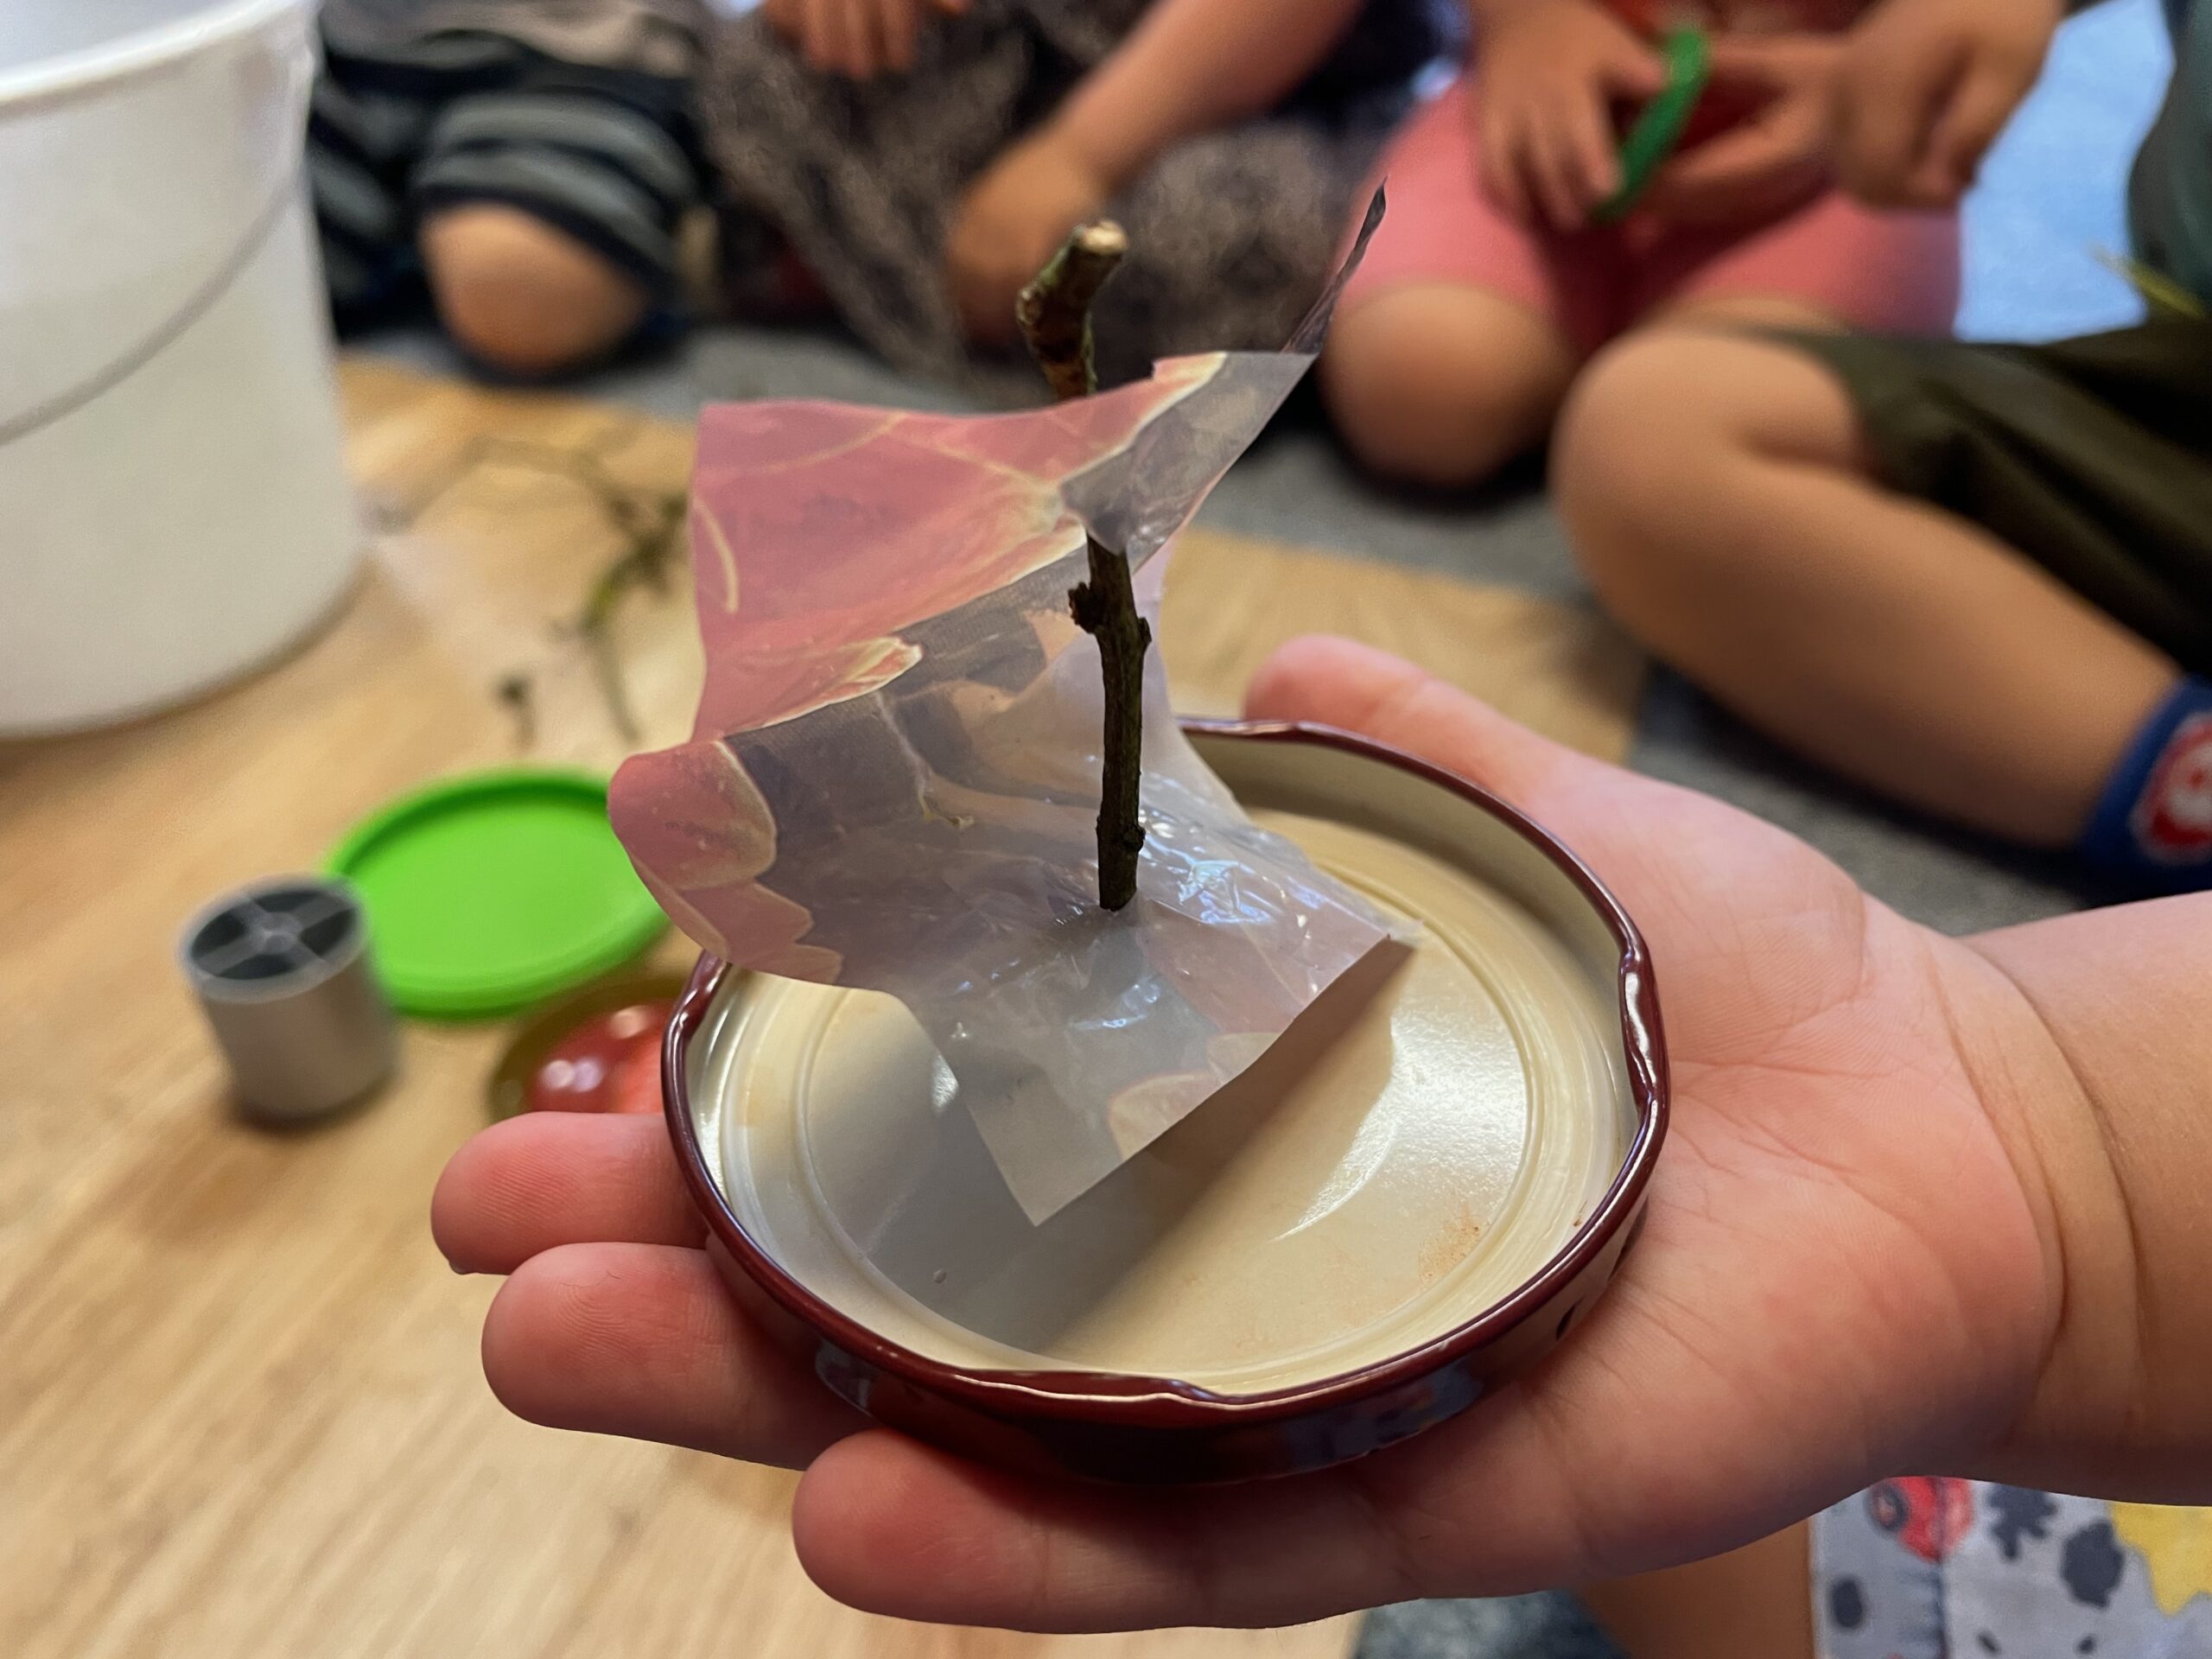


A careful approach is practiced here. Appreciation towards the crafted, even if it is garbage. This is the biggest field of experience here.
Have fun trying it out.
Materials
Directions
Prepare all the materials. For each boat you want to make, you will need a lid, a small piece of plastic foil and a thin branch.


Let an adult cut you the thin branches. Approx. 6-7 cm long are sufficient here. (You can also measure your finger length).


Cuts off a strip of plastic bag (packaging garbage or old shopping bag).


A short piece is needed from the long strip. About the same width and length. The piece should be about the size of a small child's hand.


Now pick out a screw-glass lid that you like.


Next, take a thin branch.


Put together everything you need for a boat.


Now you put the foil piece on a board and put two holes in the foil. Take a punch or a pointed needle for this (let's help you with this - risk of injury!)


The two holes lie opposite each other, at the top and bottom of the foil.


Then you take the twig and put it one by one through both holes.


You put the branch forward and back out again.


This is what the sail with the mast looks like now.


The sail is placed with the mast centered on the inside of the screw-glass lid.


Sticks the branch with the hot glue gun. This must be done by an adult - risk of injury!
Hold the branch briefly after gluing until the glue is slightly dried.
The first boat is ready.
In the same way you can now make as many boats as you like.


Now the boats can go swimming. For this, put water in a large bowl, a tub or a big bucket.


Then you can let your crafted boats swim.


Put them carefully on the water! Hold them as low as possible on the lid and gently place them on the water surface. Swim all boats, you can make a game out of it or build a "water road" in the garden on which they can ride boats.


A long, empty flower box is particularly suitable for this.


It requires some practice that the used boats do not sink immediately.


From submerged boats you can tilt the water and then carefully put it on the water surface again. This trains the fine motor skills.


It is important that you touch and transport the boats on the lid and not lift them up at the mast. So they break very easily and that would be a pity.


A careful approach is practiced here. Appreciation towards the crafted, even if it is garbage. This is the biggest field of experience here.
Have fun trying it out.
Follow us on Facebook , Instagram and Pinterest
Don't miss any more adventures: Our bottle mail


