Keyring with pearls

AdventurerKatzi
Rating0.05.5 thousand times. (0) DifficultyIntermediate

With colored beads you can make great keyrings.

Media Education for Kindergarten and Hort

Kind bastelt eine Rassel mit dem Navi
The Adventure Navi, the app for DIY projects, enables media education for the youngest.

Relief in everyday life, targeted promotion of individual children, independent learning and - without any pre-knowledge already usable by the youngest!
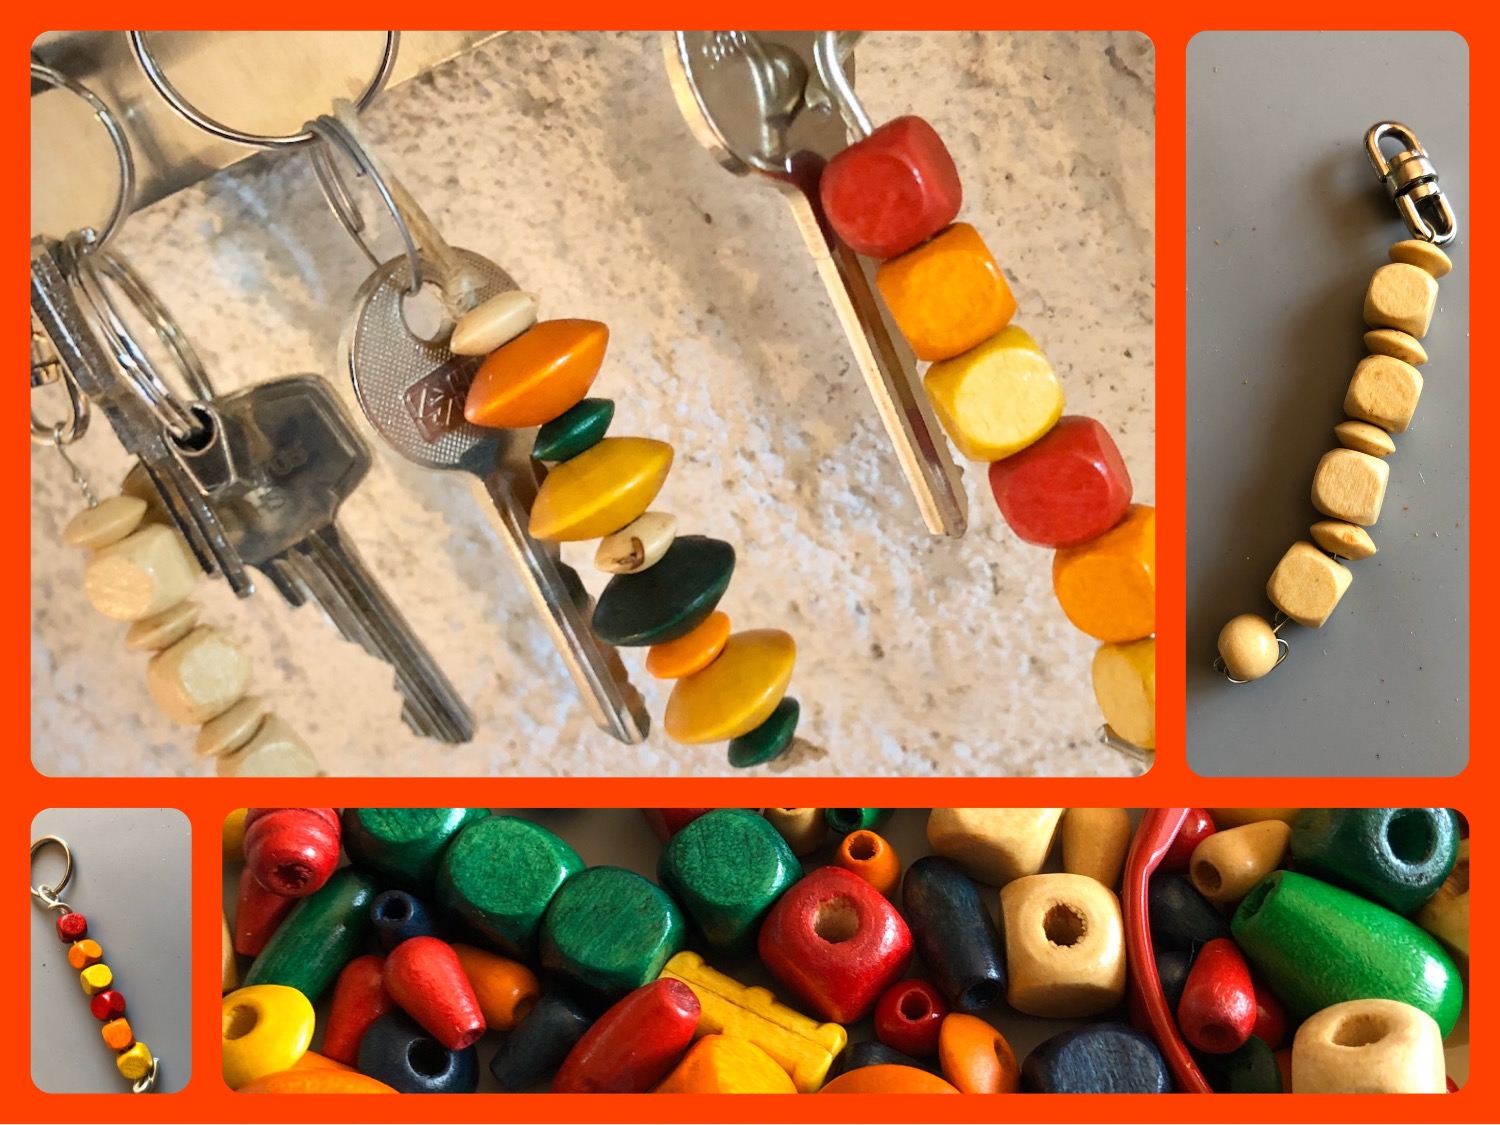


Titelbild zur Bastel- und DIY-Idee für Kinder '(190) Schlüsselanhänger mit Perlen'
Material for1 Child
Prep Time5 min.Adv. Time15 min.Total Time20 min.
 Coloured wood beads
 1 20 cm long piece of cord or wire
 1 Scissors or pliers
 1 Key ring
1

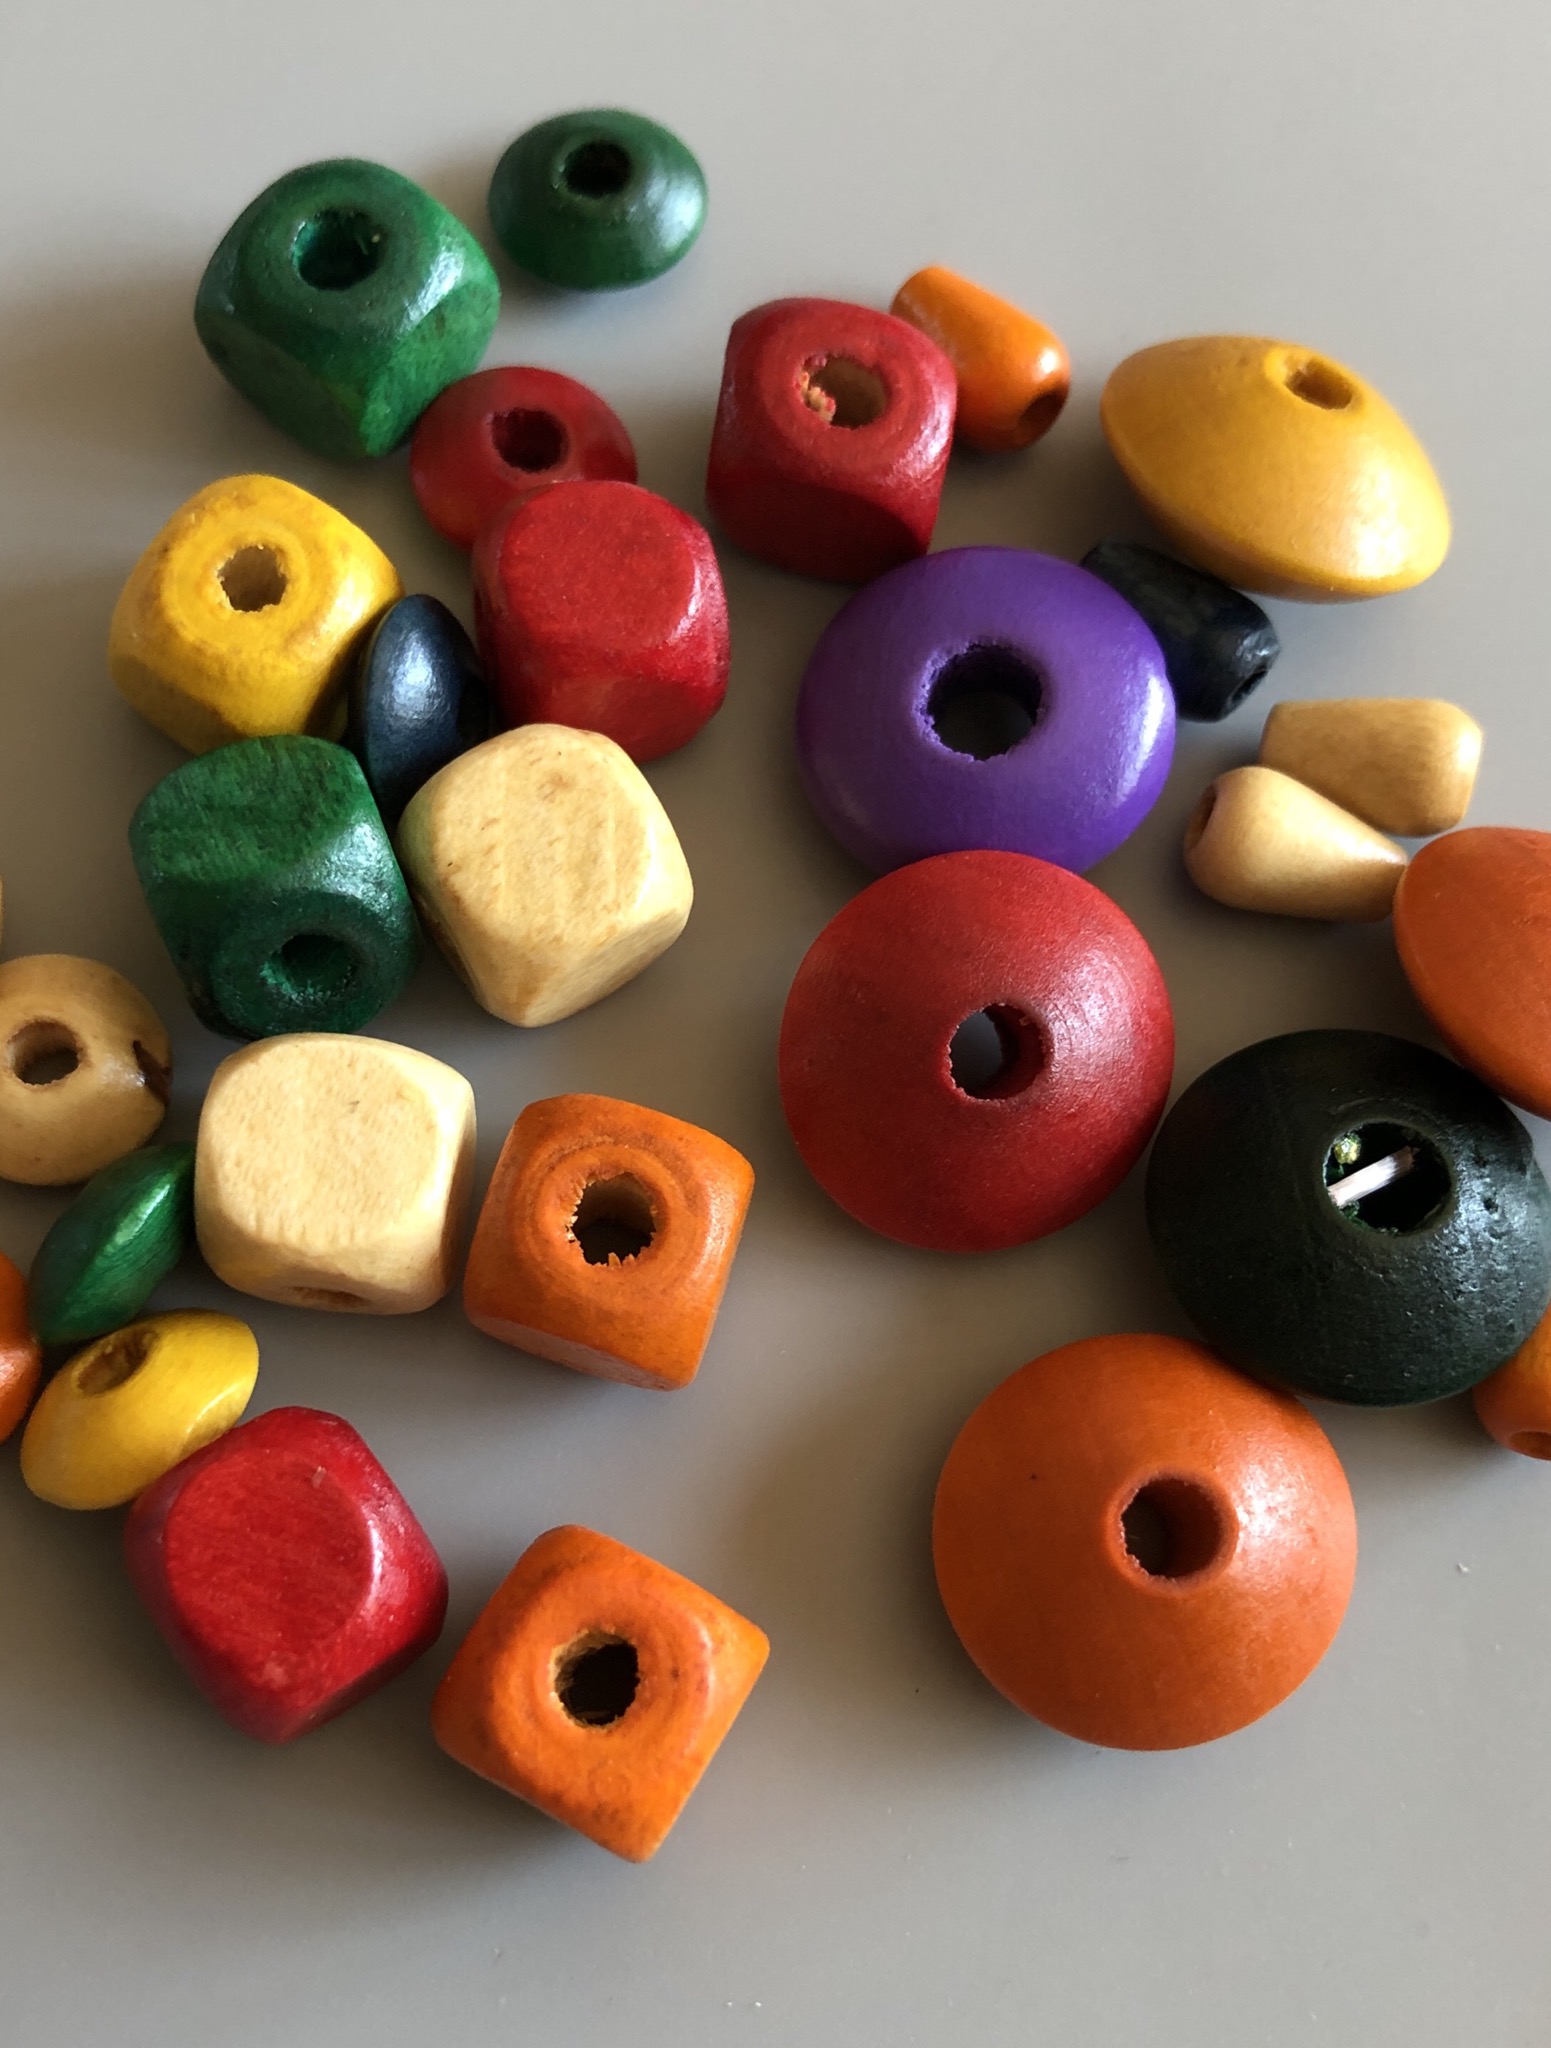
Select Colored Beads.

Bild zum Schritt 1 für das Bastel- und DIY-Abenteuer für Kinder: 'Farbige Perlen auswählen.'

2

To the cord a loop knot to attach to the key ring.
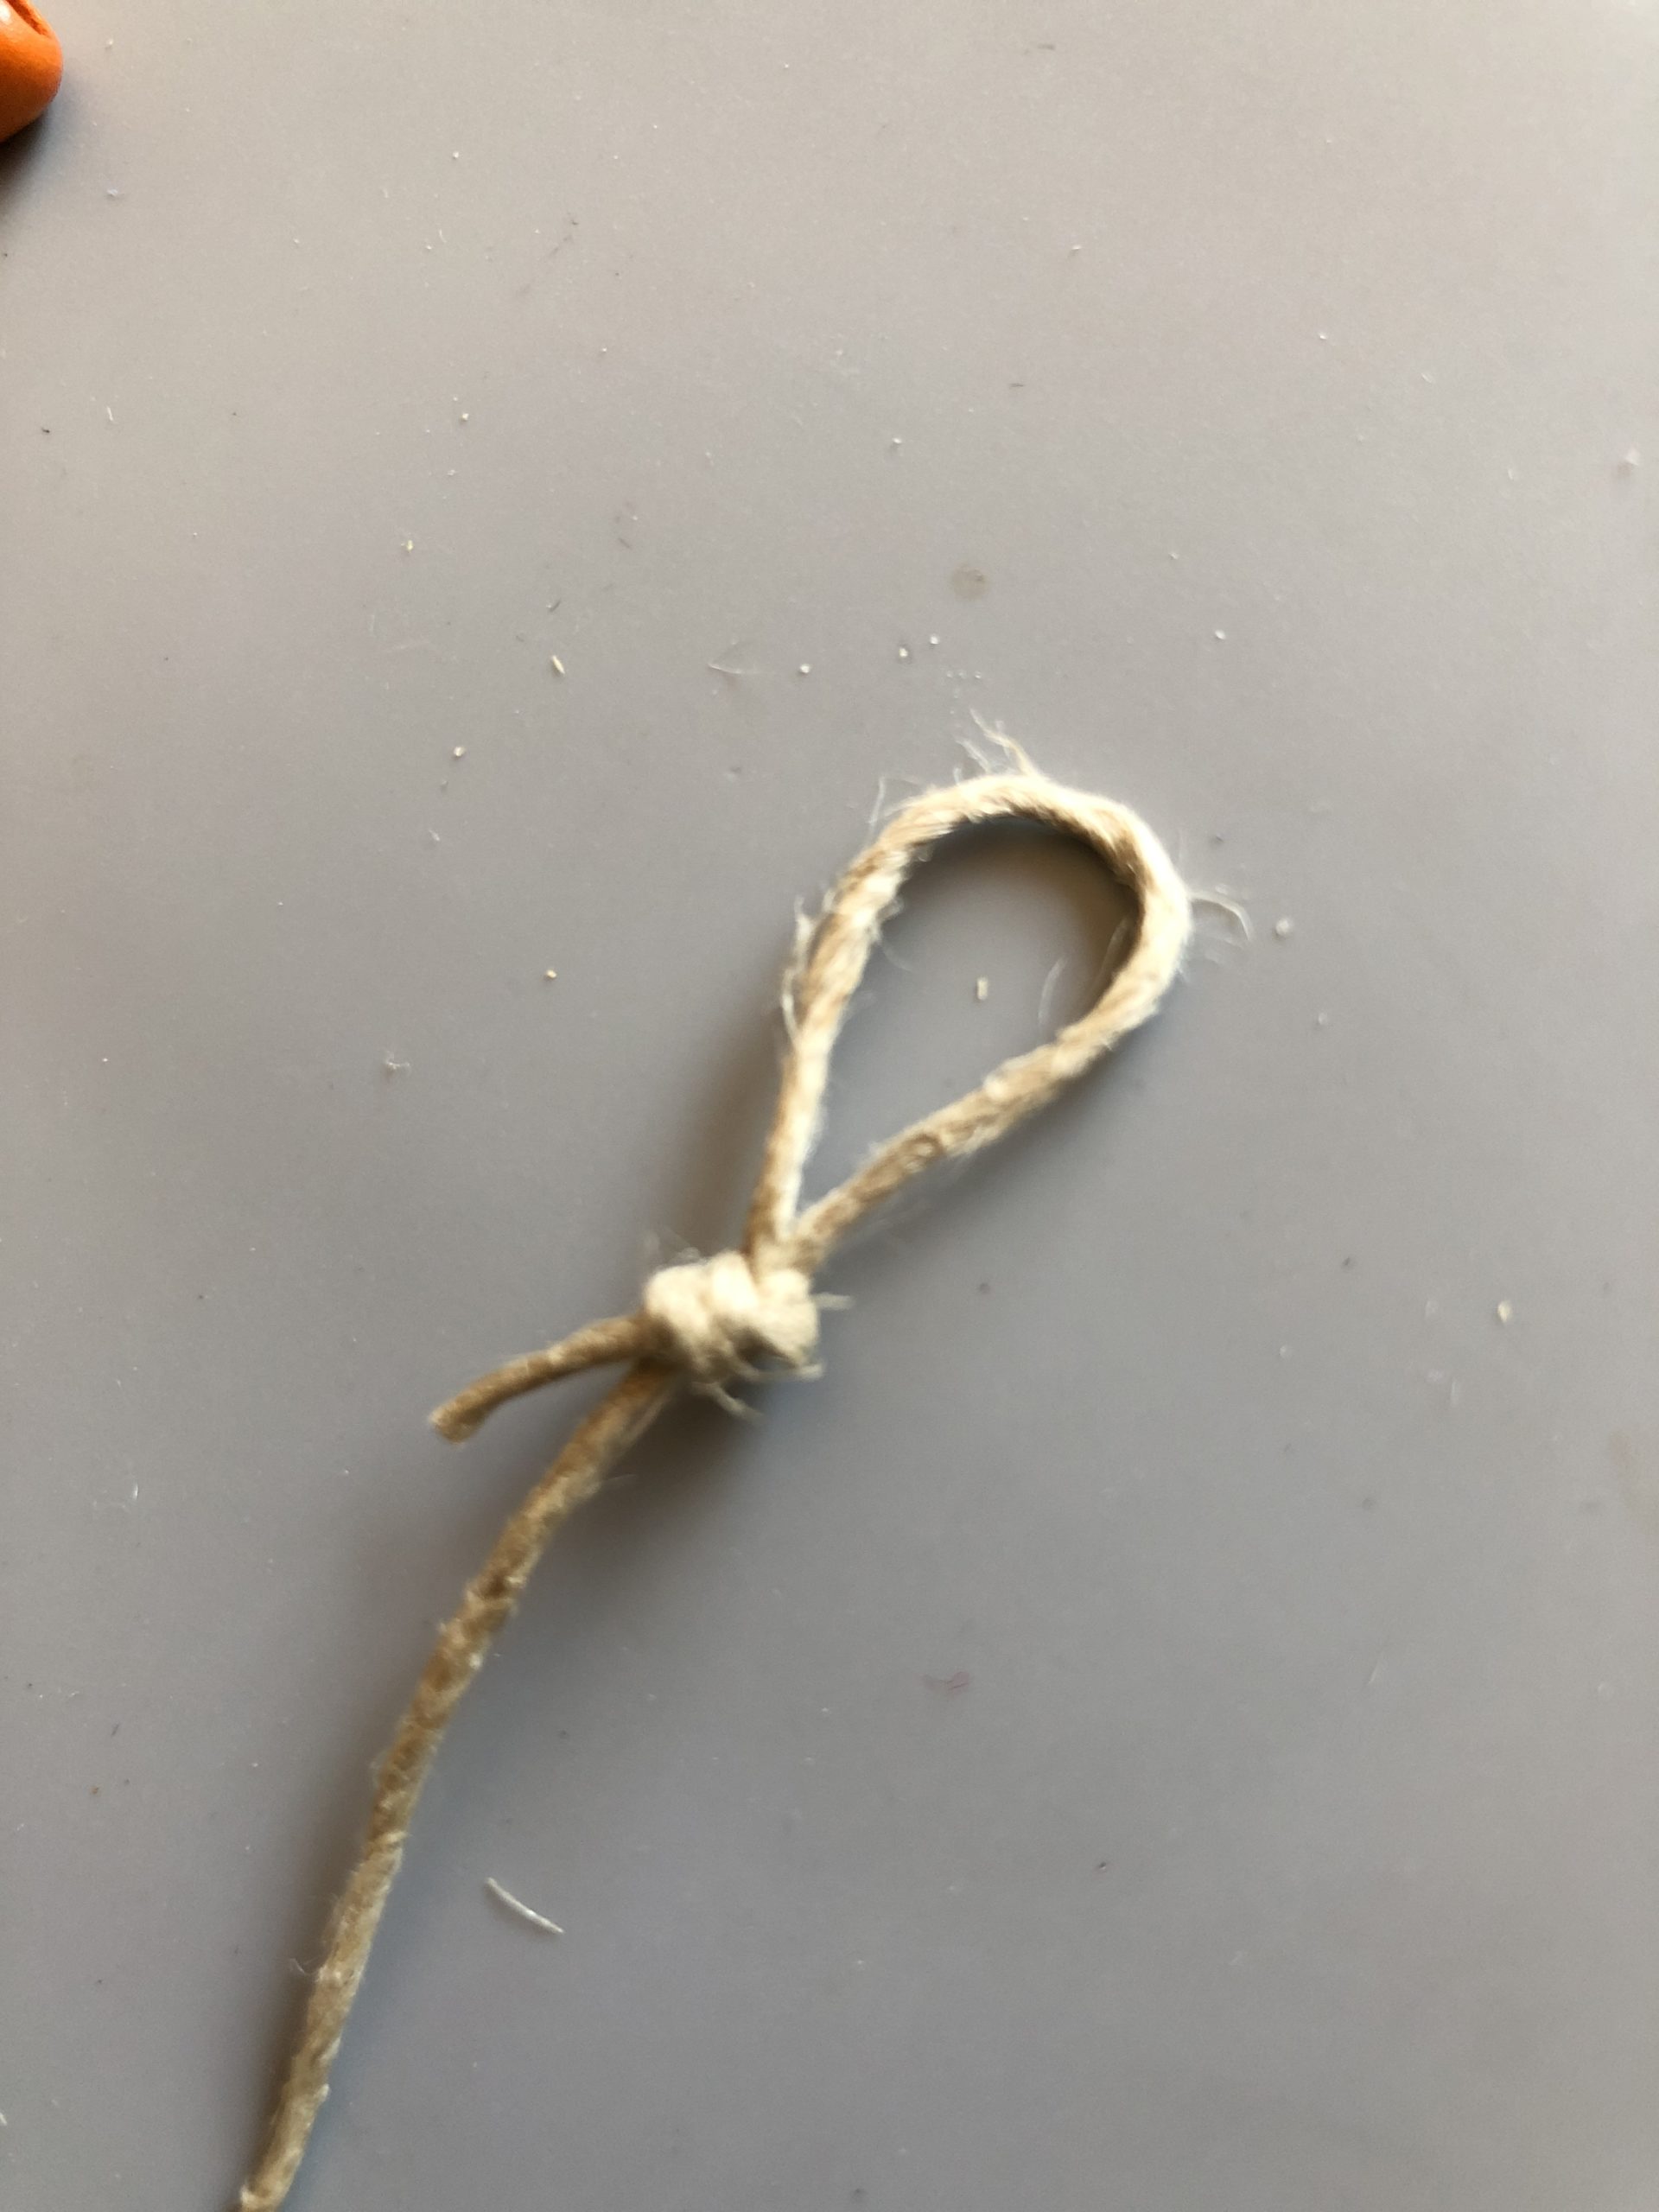
Bild zum Schritt 2 für das Bastel- und DIY-Abenteuer für Kinder: 'An die Schnur eine Schlaufe knoten zum festmachen am Schlüsselring.'

3

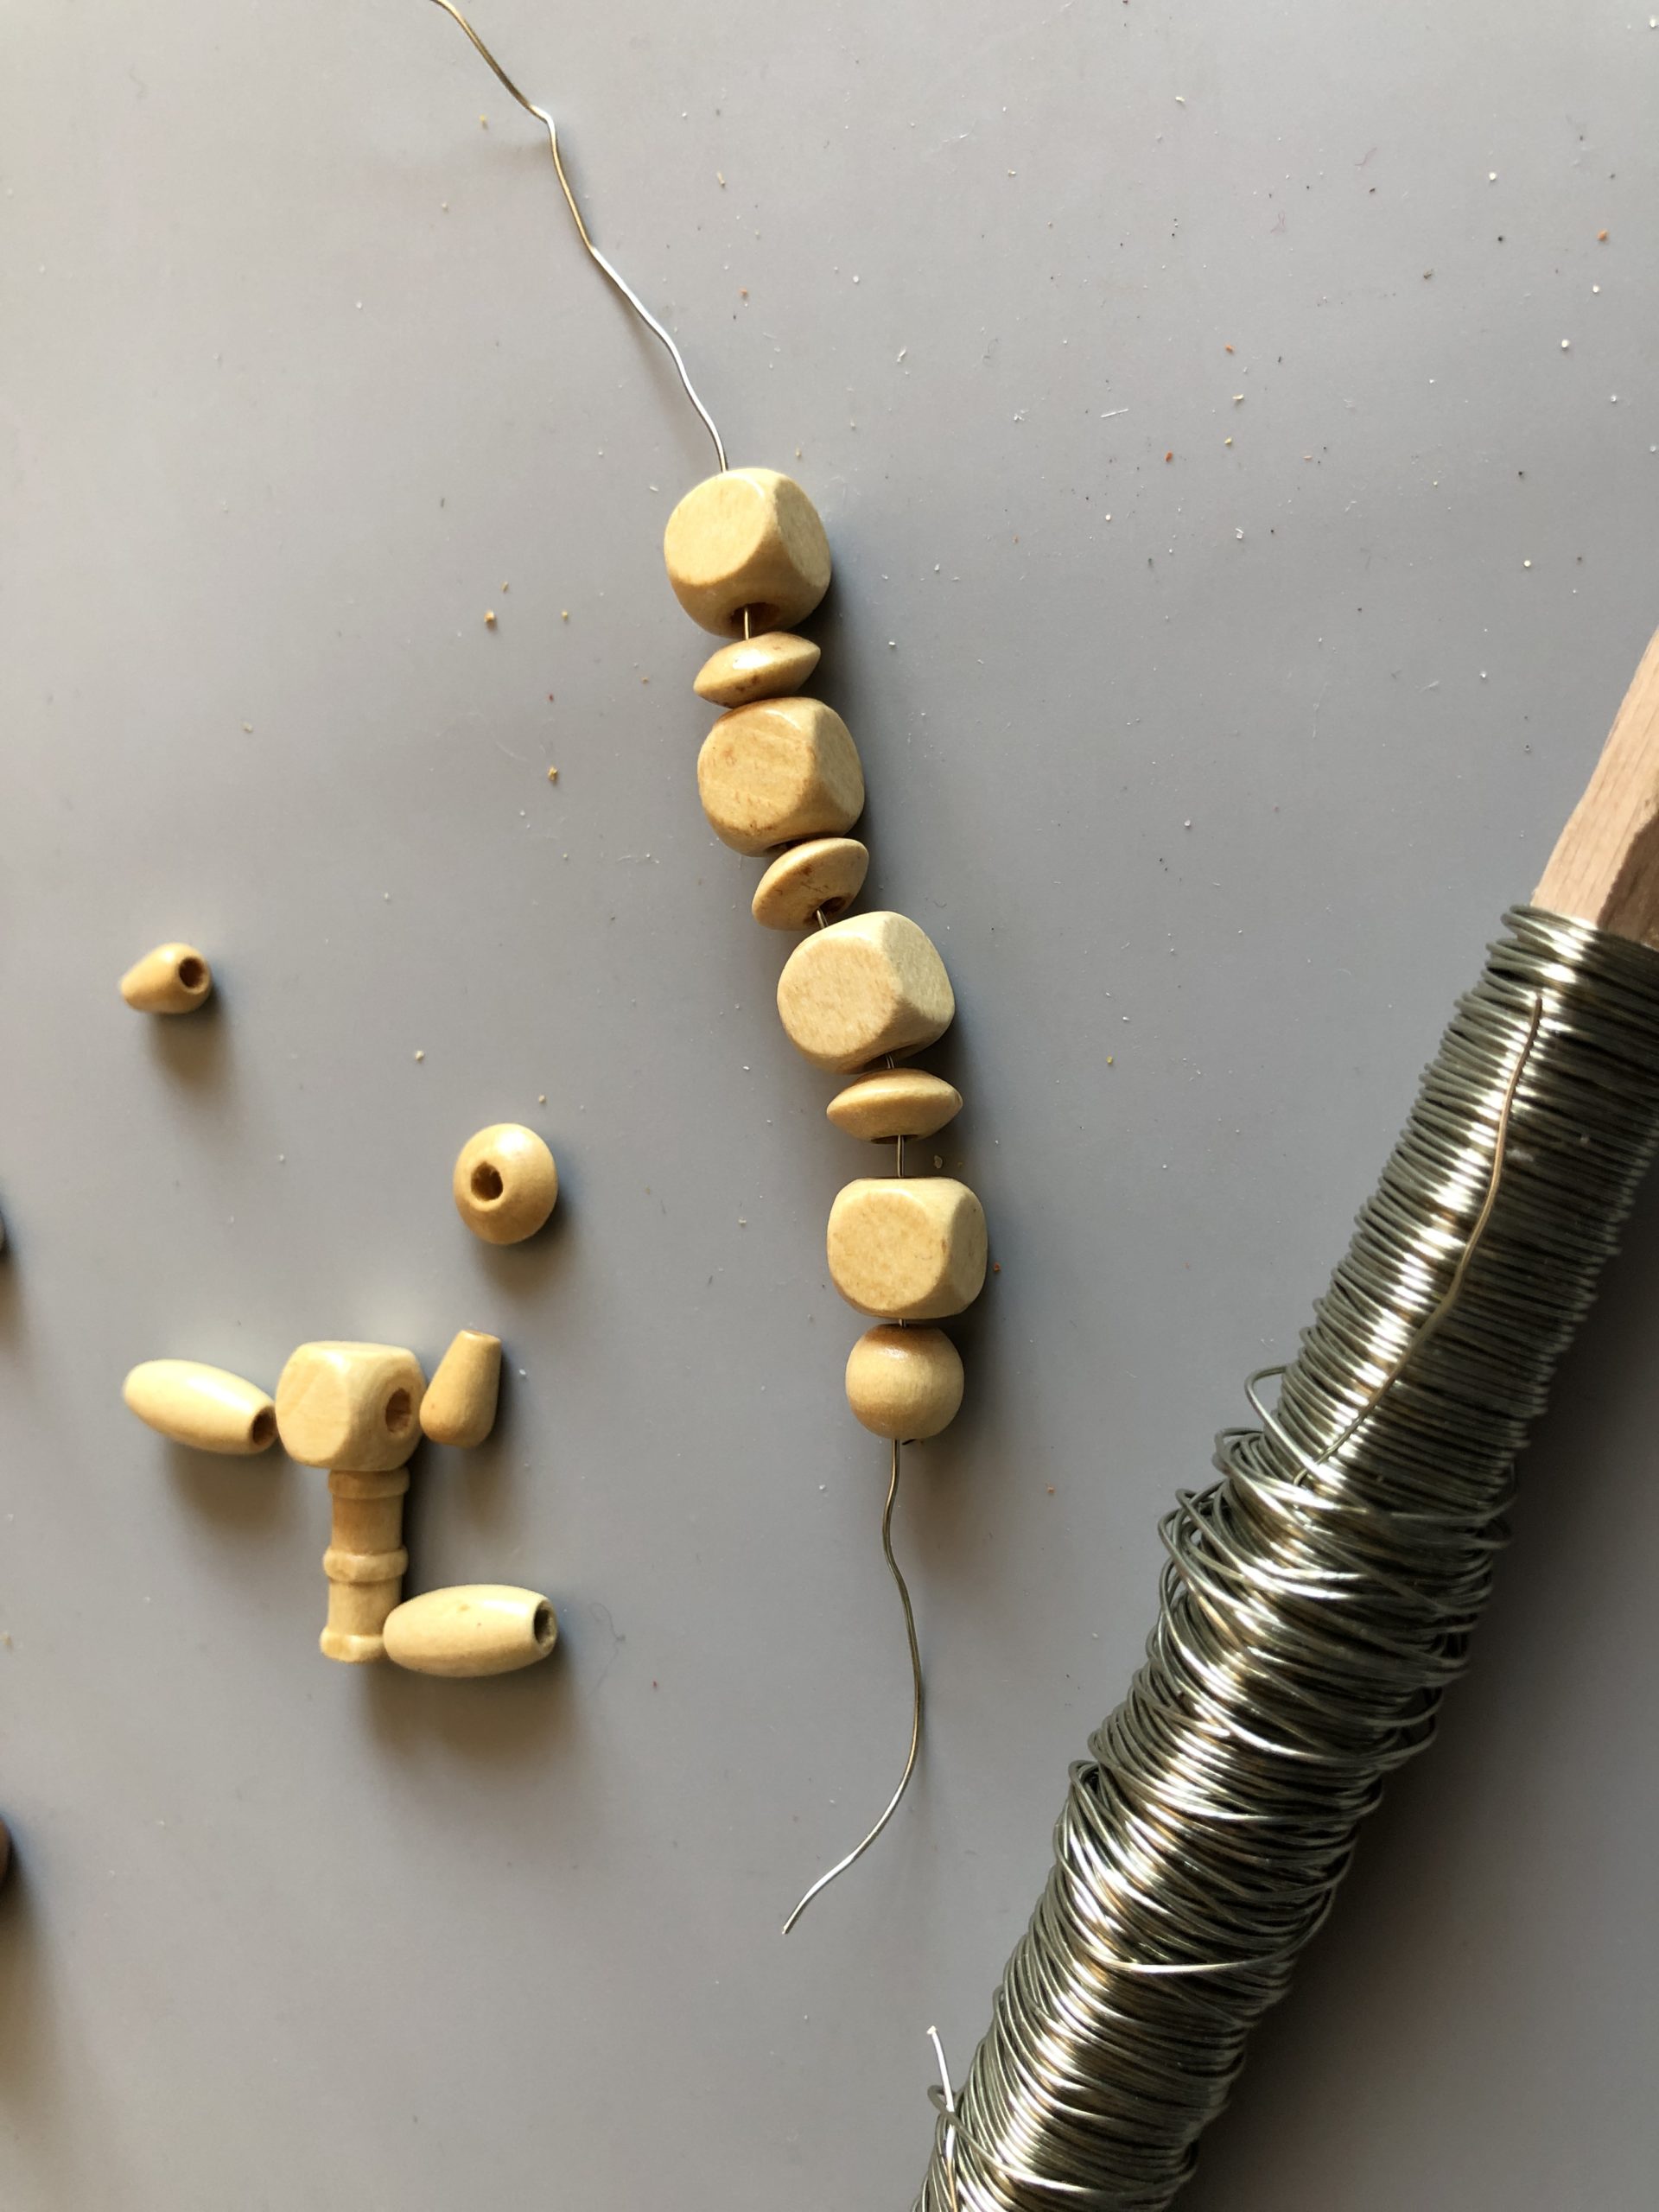
threading beads to a length of about 6 cm

Bild zum Schritt 3 für das Bastel- und DIY-Abenteuer für Kinder: 'Perlen auffädeln auf eine Länge von ca 6 cm'

4

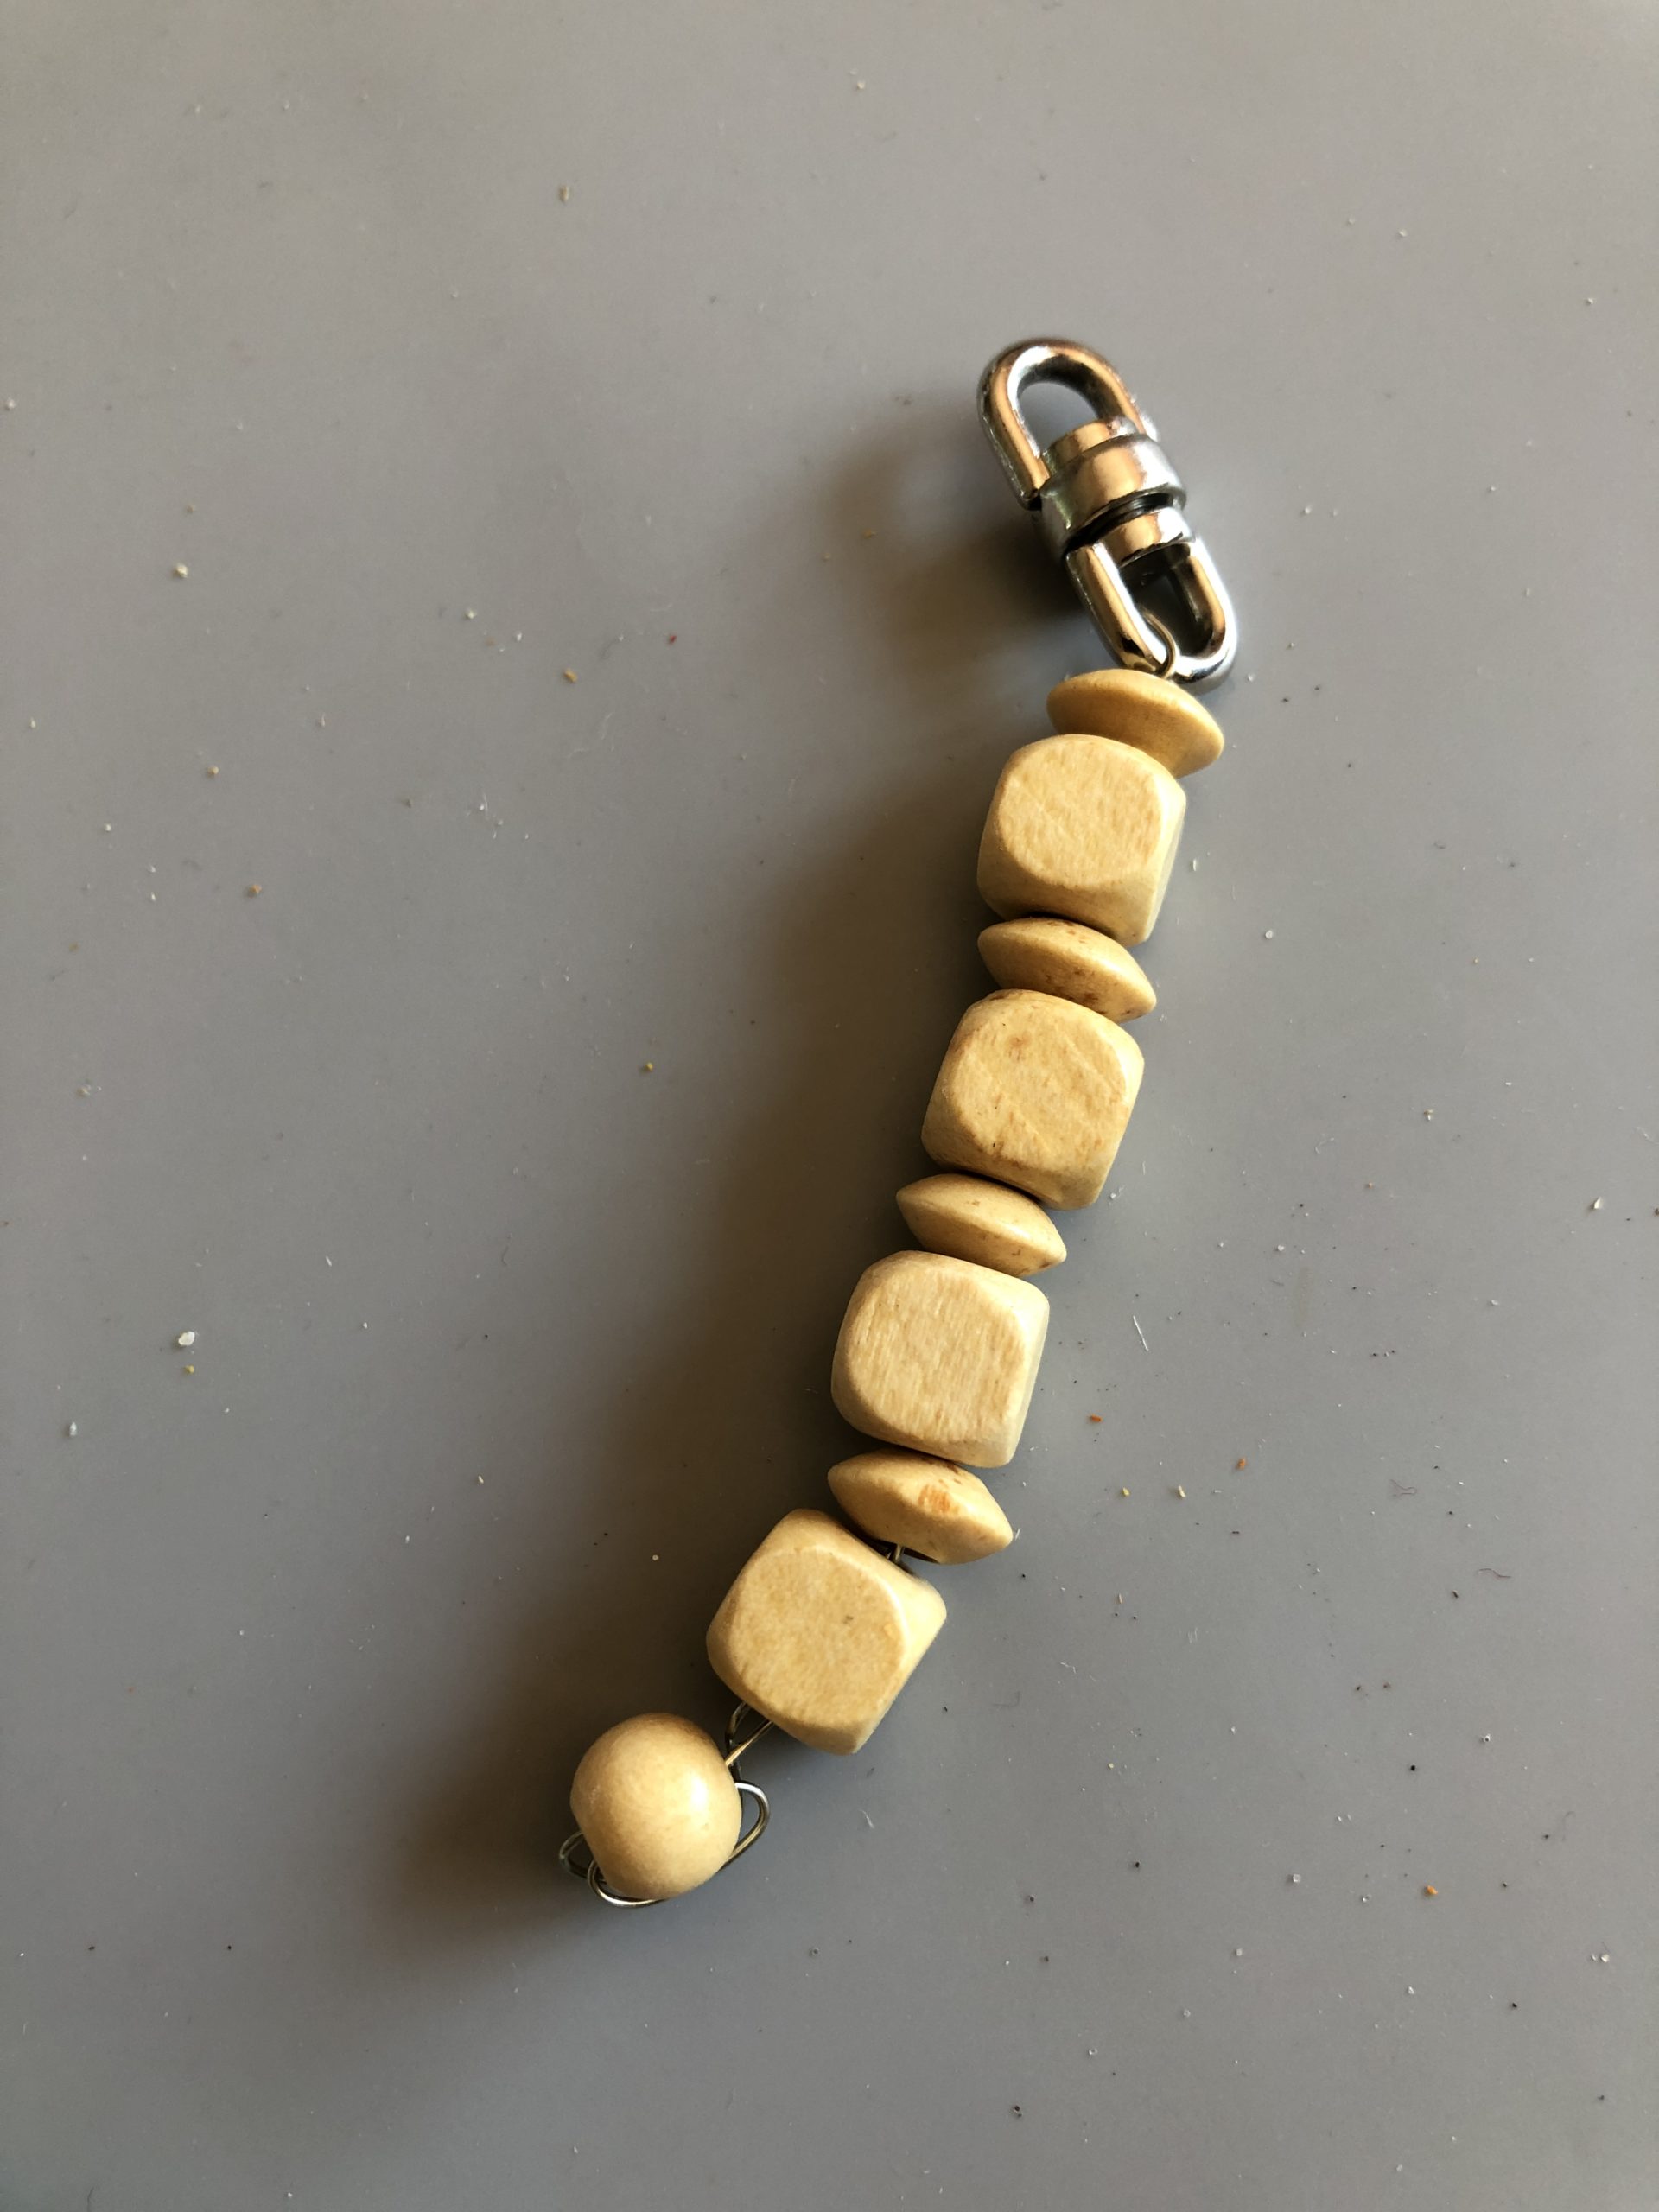
Make a thick knot to the lower end.

Bild zum Schritt 4 für das Bastel- und DIY-Abenteuer für Kinder: 'An das untere Ende einen dicken Knoten machen.'

5

Another idea with monochrome wood beads and wire...

Bild zum Schritt 5 für das Bastel- und DIY-Abenteuer für Kinder: 'Eine weitere Idee mit einfarbigen Holzperlen und Draht...'

6

Cut wire also about 20 cm

Bild zum Schritt 6 für das Bastel- und DIY-Abenteuer für Kinder: 'Draht auch ca. 20 cm abschneiden'

7

At the top, twist the wire and attach it to the key ring.

Bild zum Schritt 7 für das Bastel- und DIY-Abenteuer für Kinder: 'Am oberen Ende Draht verdrehen und am Schlüsselring festmachen.'

8

Retread the wire end through the threaded beads

Bild zum Schritt 8 für das Bastel- und DIY-Abenteuer für Kinder: 'Drahtende durch die aufgefädelten Perlen zurückfädeln'

9

Push beads high and thread back through the last bead at the bottom and twist so that it holds.

Bild zum Schritt 9 für das Bastel- und DIY-Abenteuer für Kinder: 'Perlen hoch schieben und am unteren Ende durch die letzte...'

10

Cut the wire.

Bild zum Schritt 10 für das Bastel- und DIY-Abenteuer für Kinder: 'Draht abschneiden.'

11

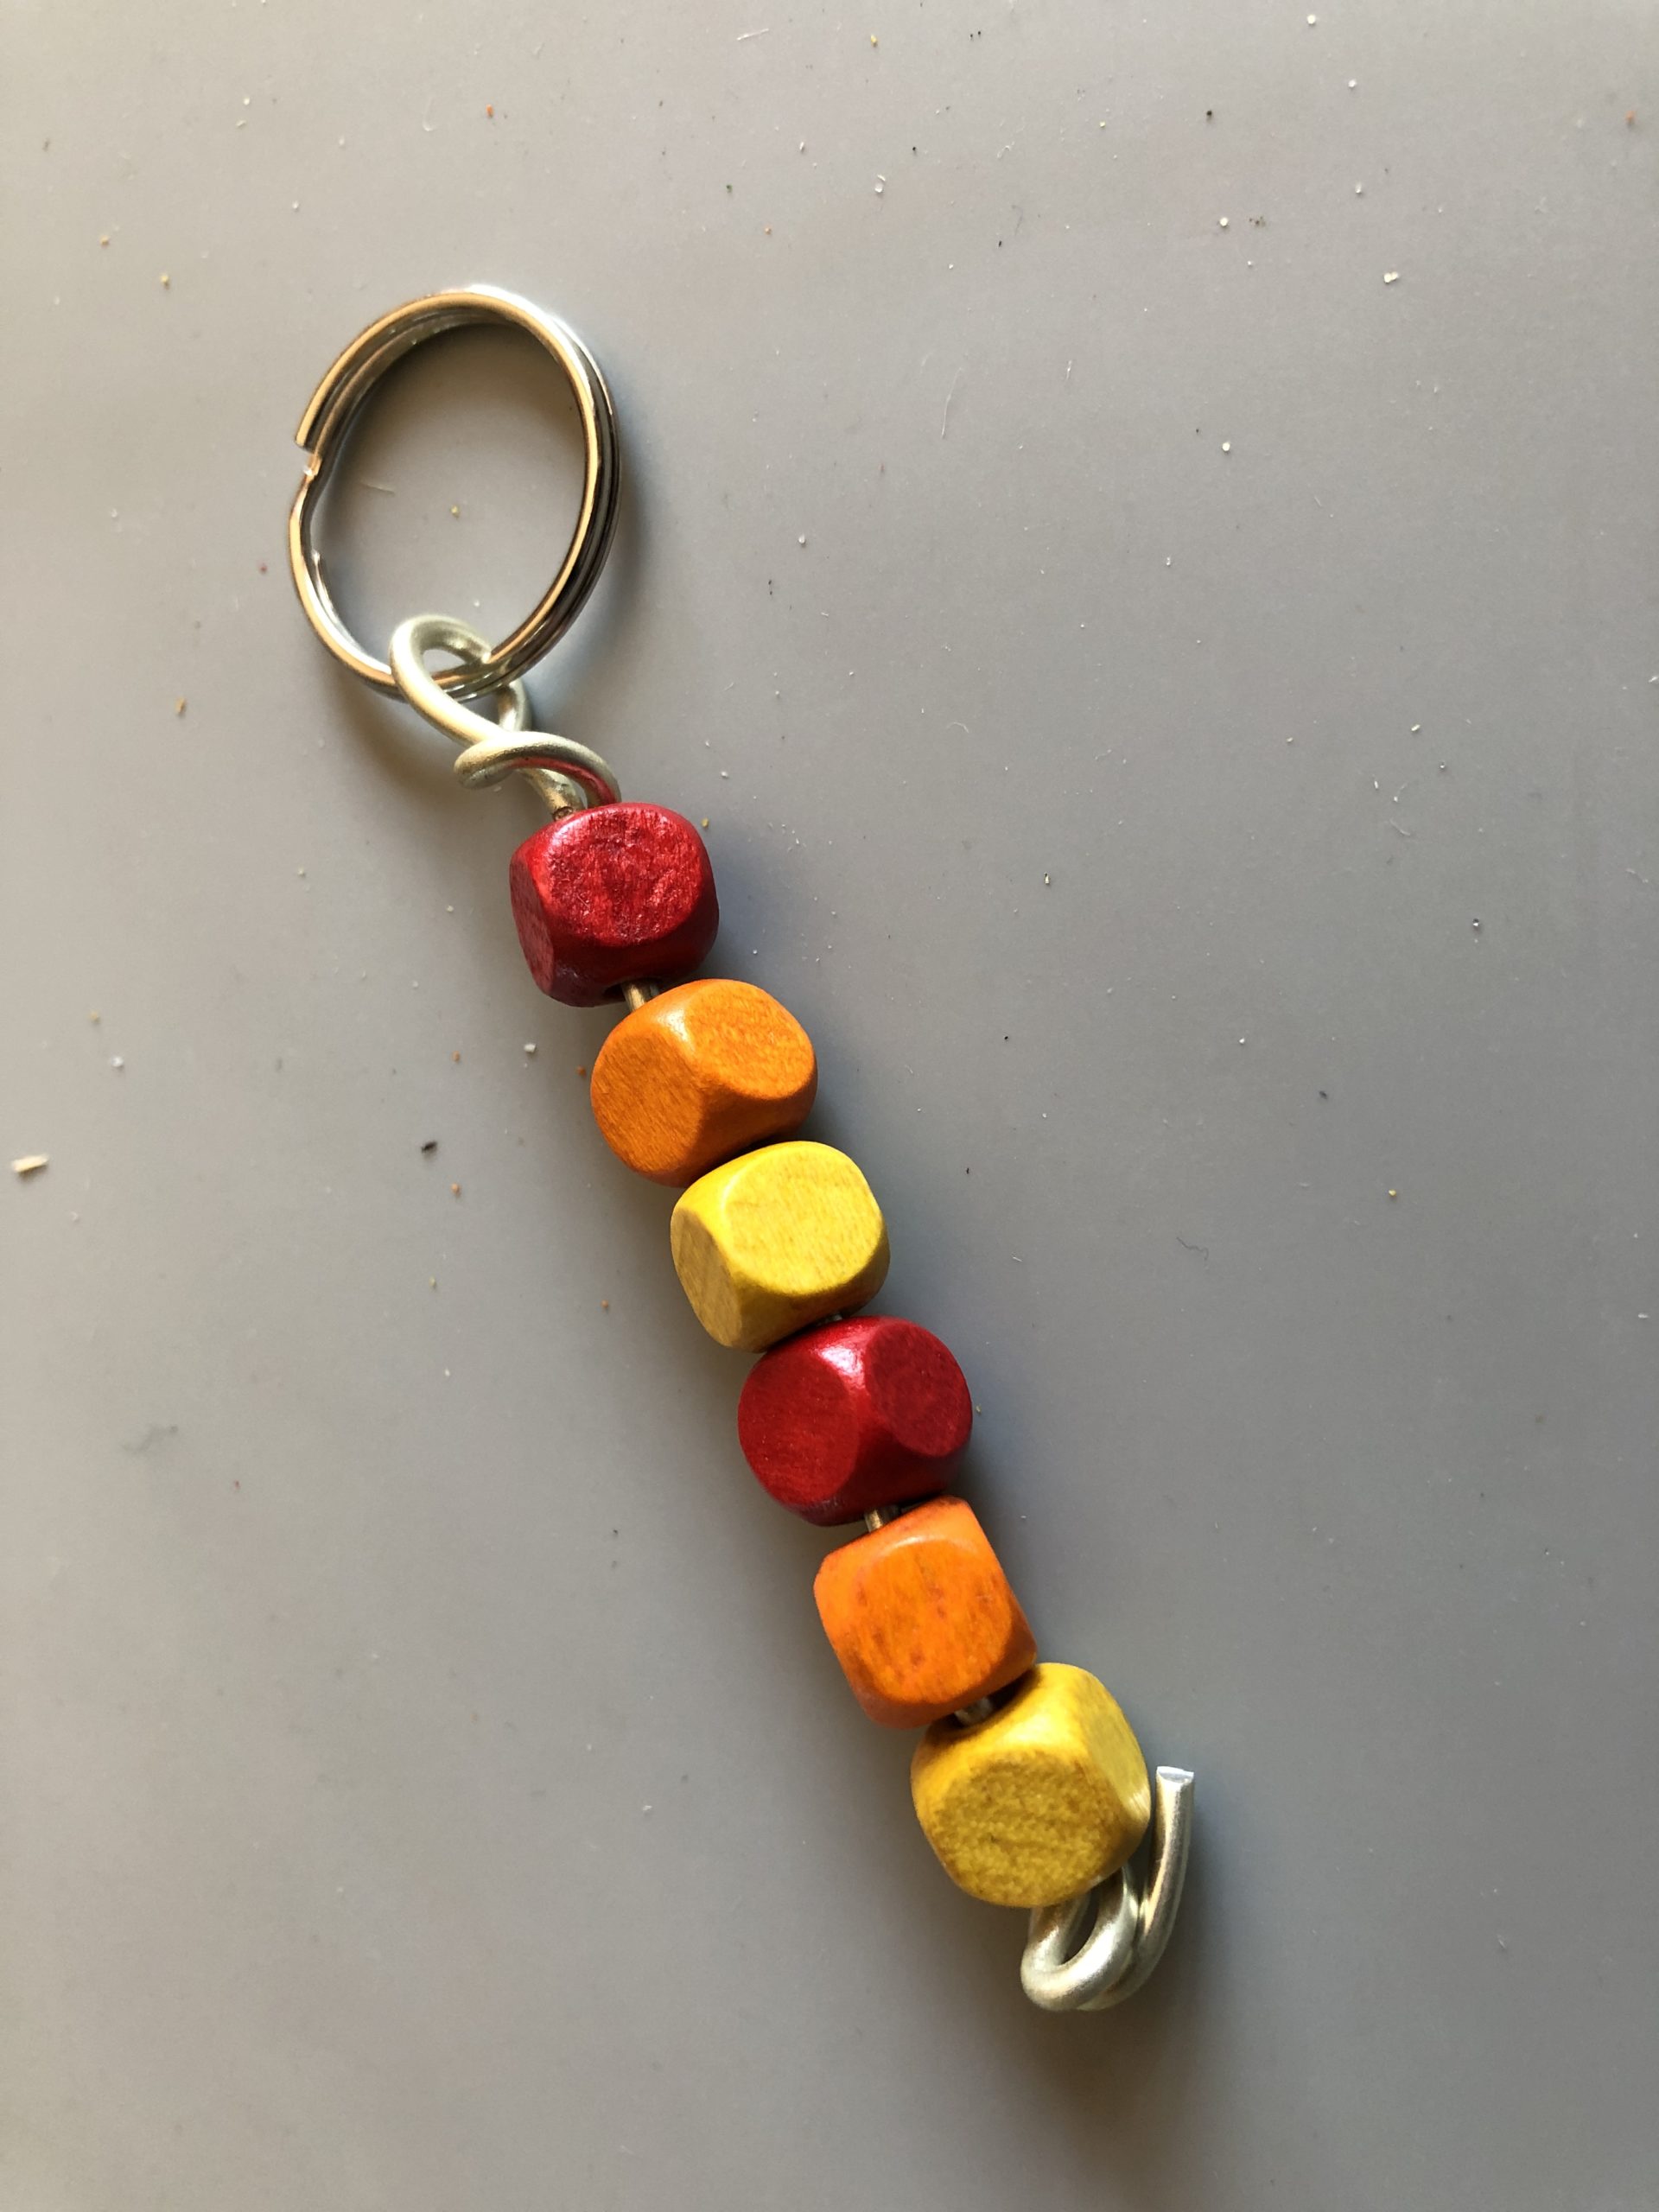
Further idea: with thicker craft wire, put a loop on top and twist, thread up beads and also twist and cut wire at the bottom end.

Bild zum Schritt 11 für das Bastel- und DIY-Abenteuer für Kinder: 'Weitere Idee: mit dickerem Basteldraht, oben eine Schlaufe legen und...'

12

2. Bild zum Schritt 11 für das Bastel- und DIY-Abenteuer für Kinder: 'Weitere Idee: mit dickerem Basteldraht, oben eine Schlaufe legen und...'

13

3. Bild zum Schritt 12 für das Bastel- und DIY-Abenteuer für Kinder: 'Weitere Idee: mit dickerem Basteldraht, oben eine Schlaufe legen und...'

14

Think for yourself what your keychain should look like and experiment with the pearls!

Materials

 Coloured wood beads
 1 20 cm long piece of cord or wire
 1 Scissors or pliers
 1 Key ring

Directions

1

Select Colored Beads.

Bild zum Schritt 1 für das Bastel- und DIY-Abenteuer für Kinder: 'Farbige Perlen auswählen.'

2

To the cord a loop knot to attach to the key ring.

Bild zum Schritt 2 für das Bastel- und DIY-Abenteuer für Kinder: 'An die Schnur eine Schlaufe knoten zum festmachen am Schlüsselring.'

3

threading beads to a length of about 6 cm

Bild zum Schritt 3 für das Bastel- und DIY-Abenteuer für Kinder: 'Perlen auffädeln auf eine Länge von ca 6 cm'

4

Make a thick knot to the lower end.
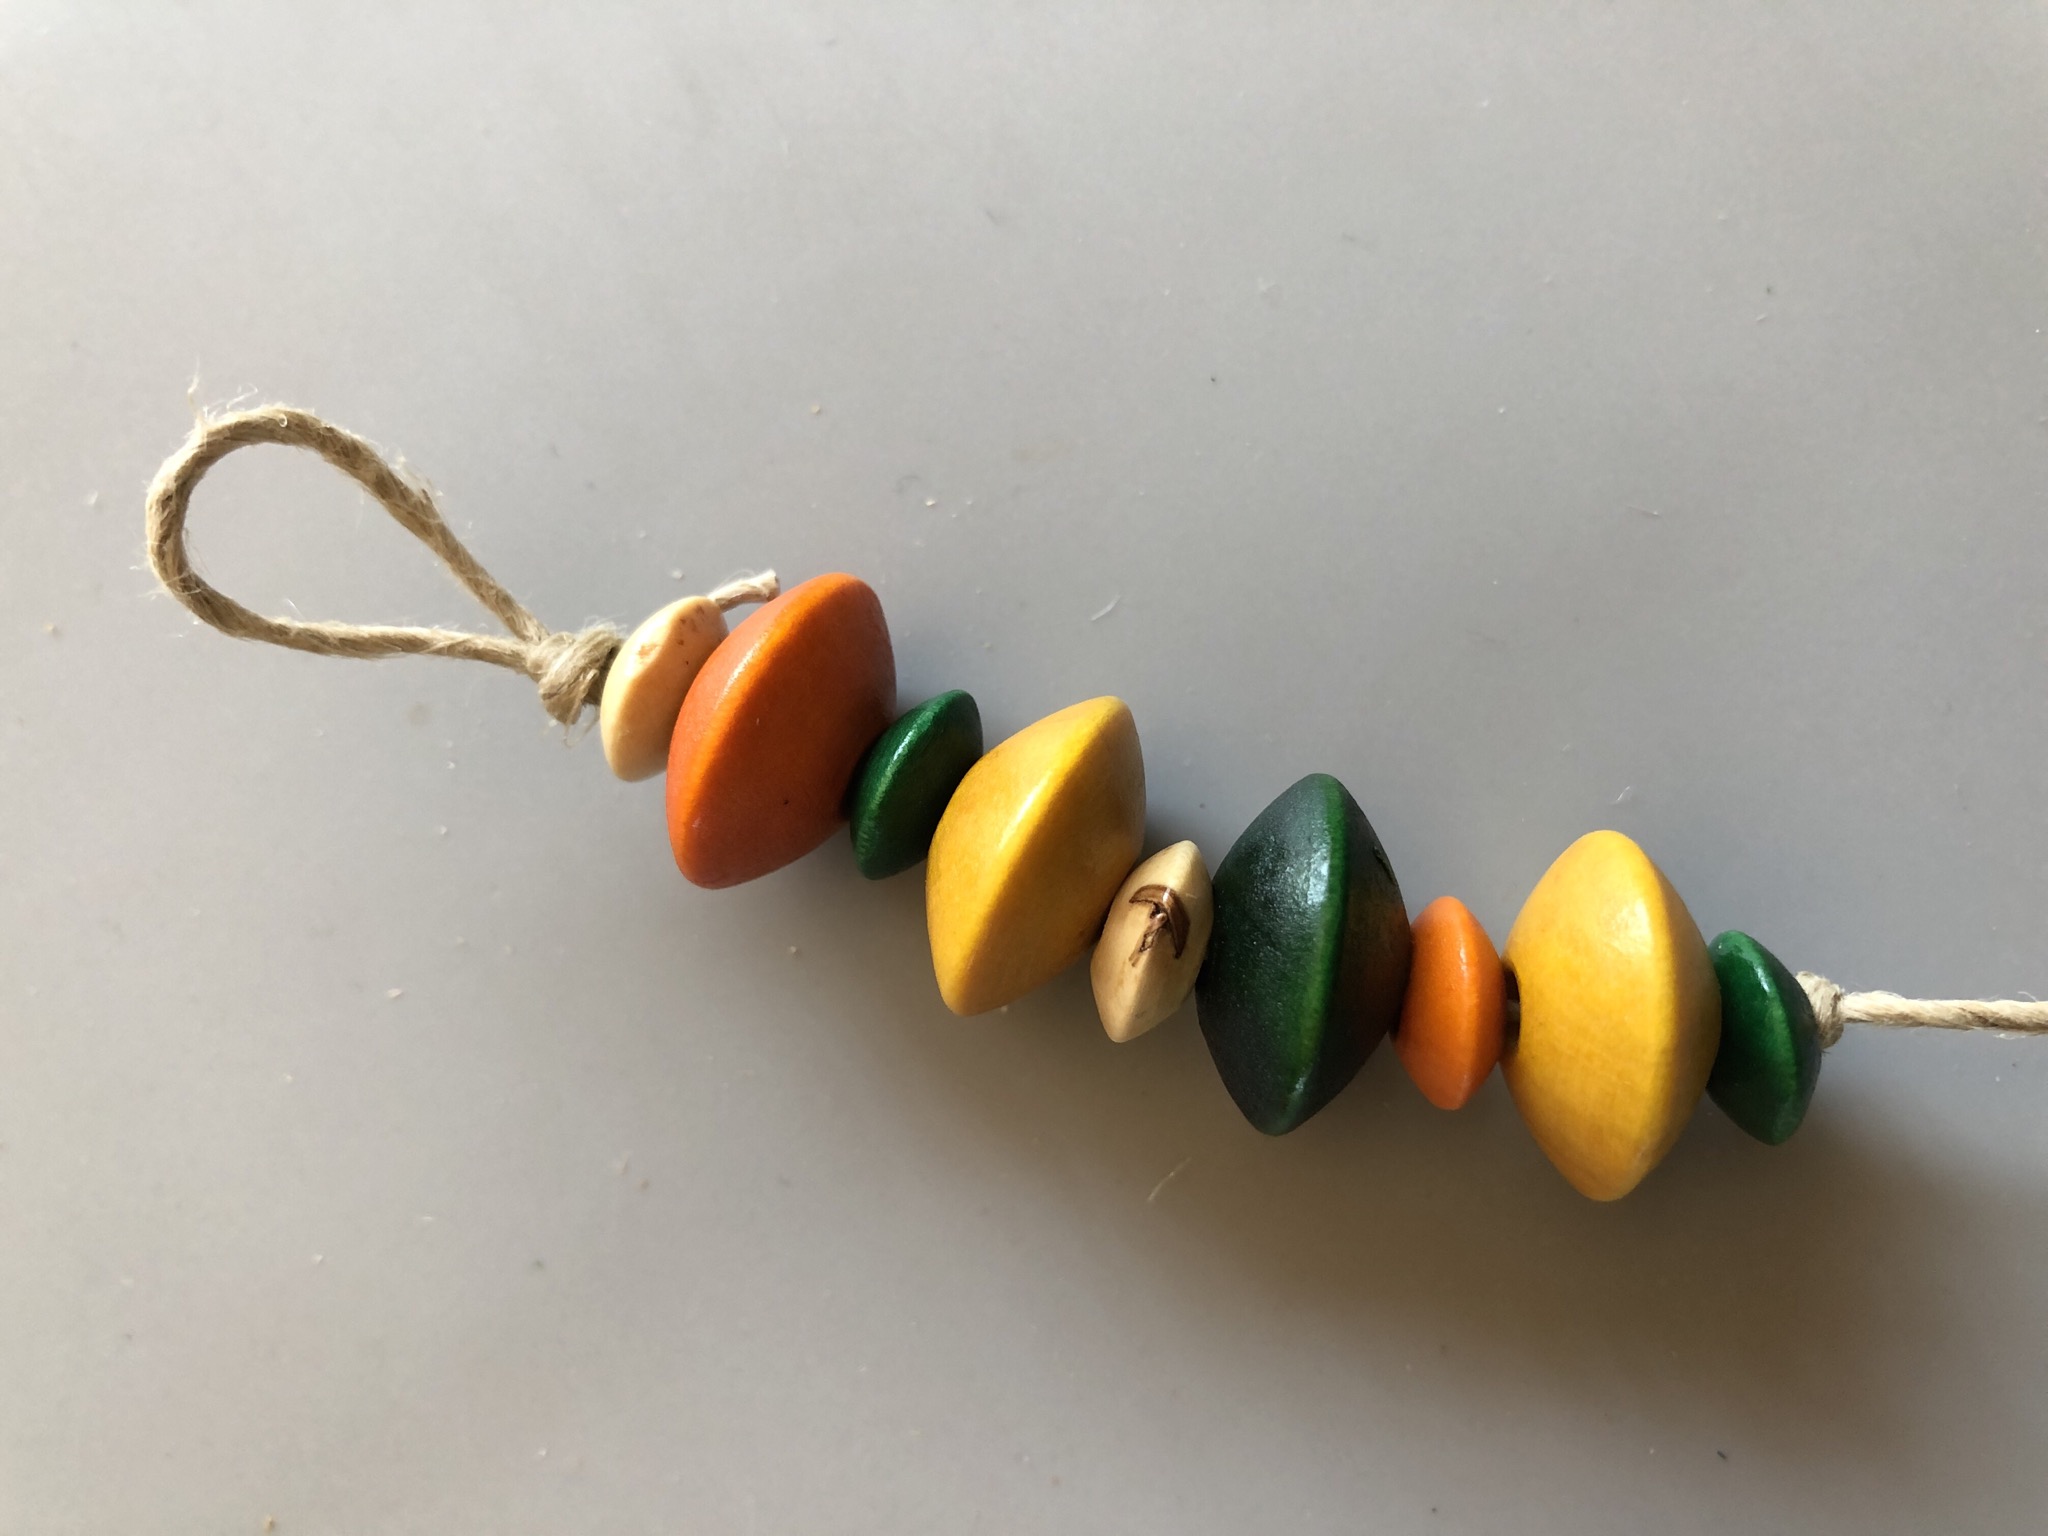
Bild zum Schritt 4 für das Bastel- und DIY-Abenteuer für Kinder: 'An das untere Ende einen dicken Knoten machen.'

5

Another idea with monochrome wood beads and wire...
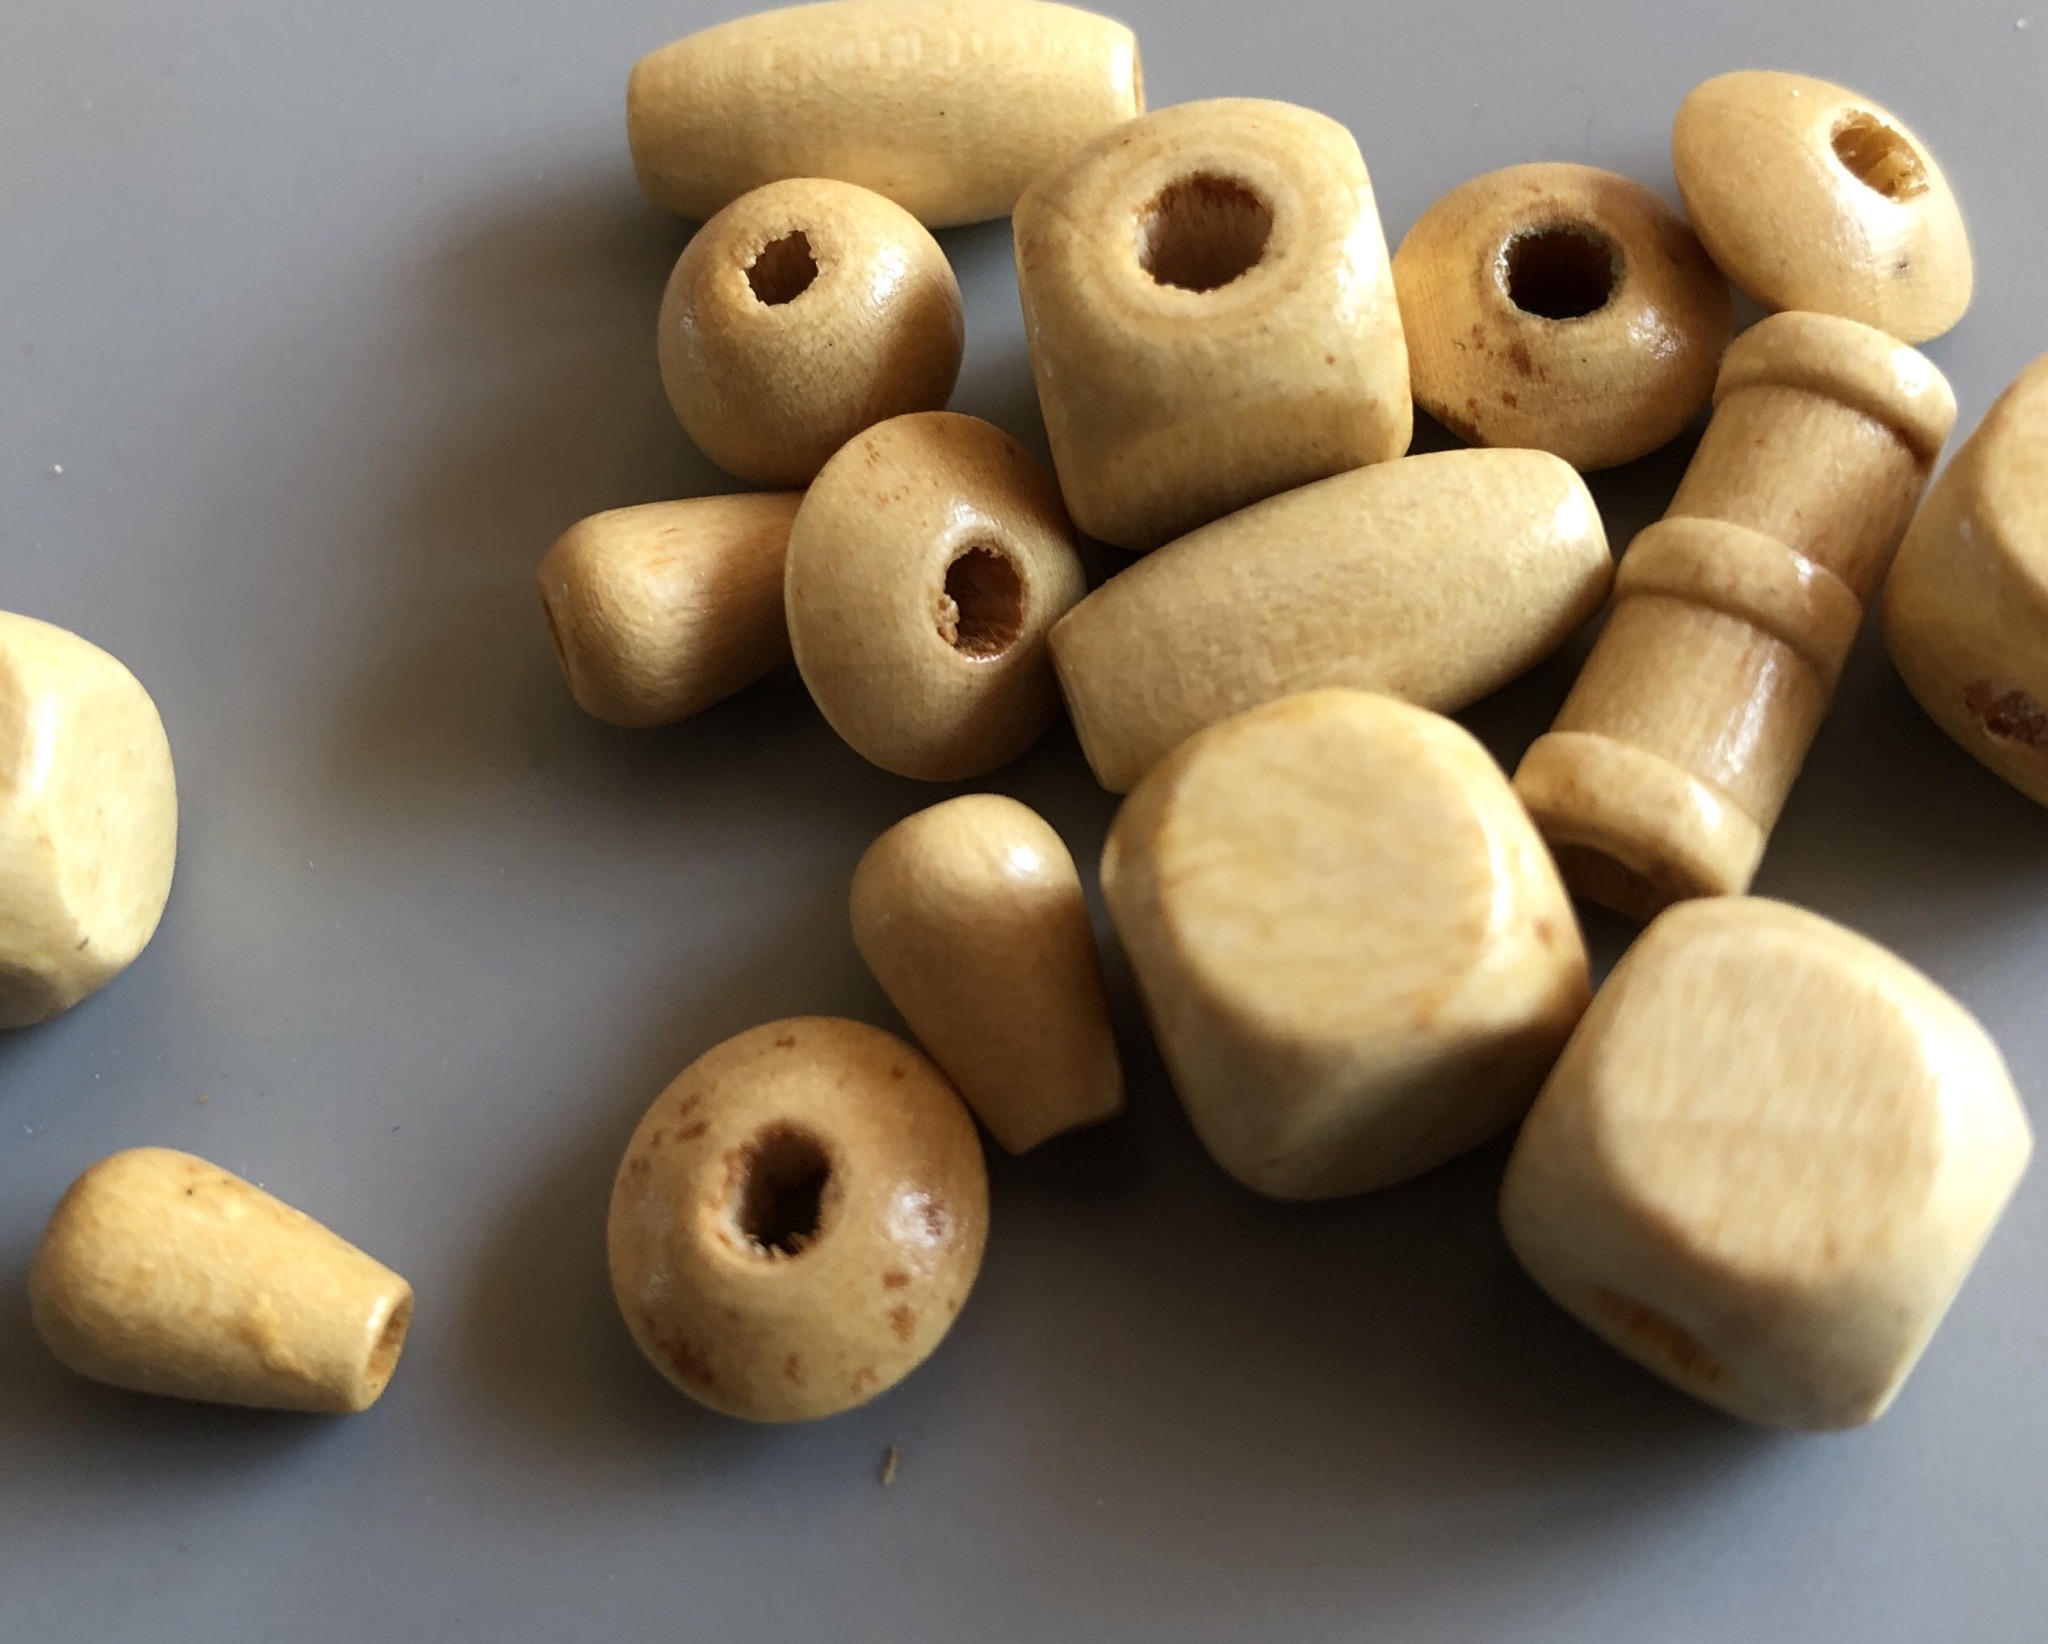
Bild zum Schritt 5 für das Bastel- und DIY-Abenteuer für Kinder: 'Eine weitere Idee mit einfarbigen Holzperlen und Draht...'

6

Cut wire also about 20 cm

Bild zum Schritt 6 für das Bastel- und DIY-Abenteuer für Kinder: 'Draht auch ca. 20 cm abschneiden'

7

At the top, twist the wire and attach it to the key ring.
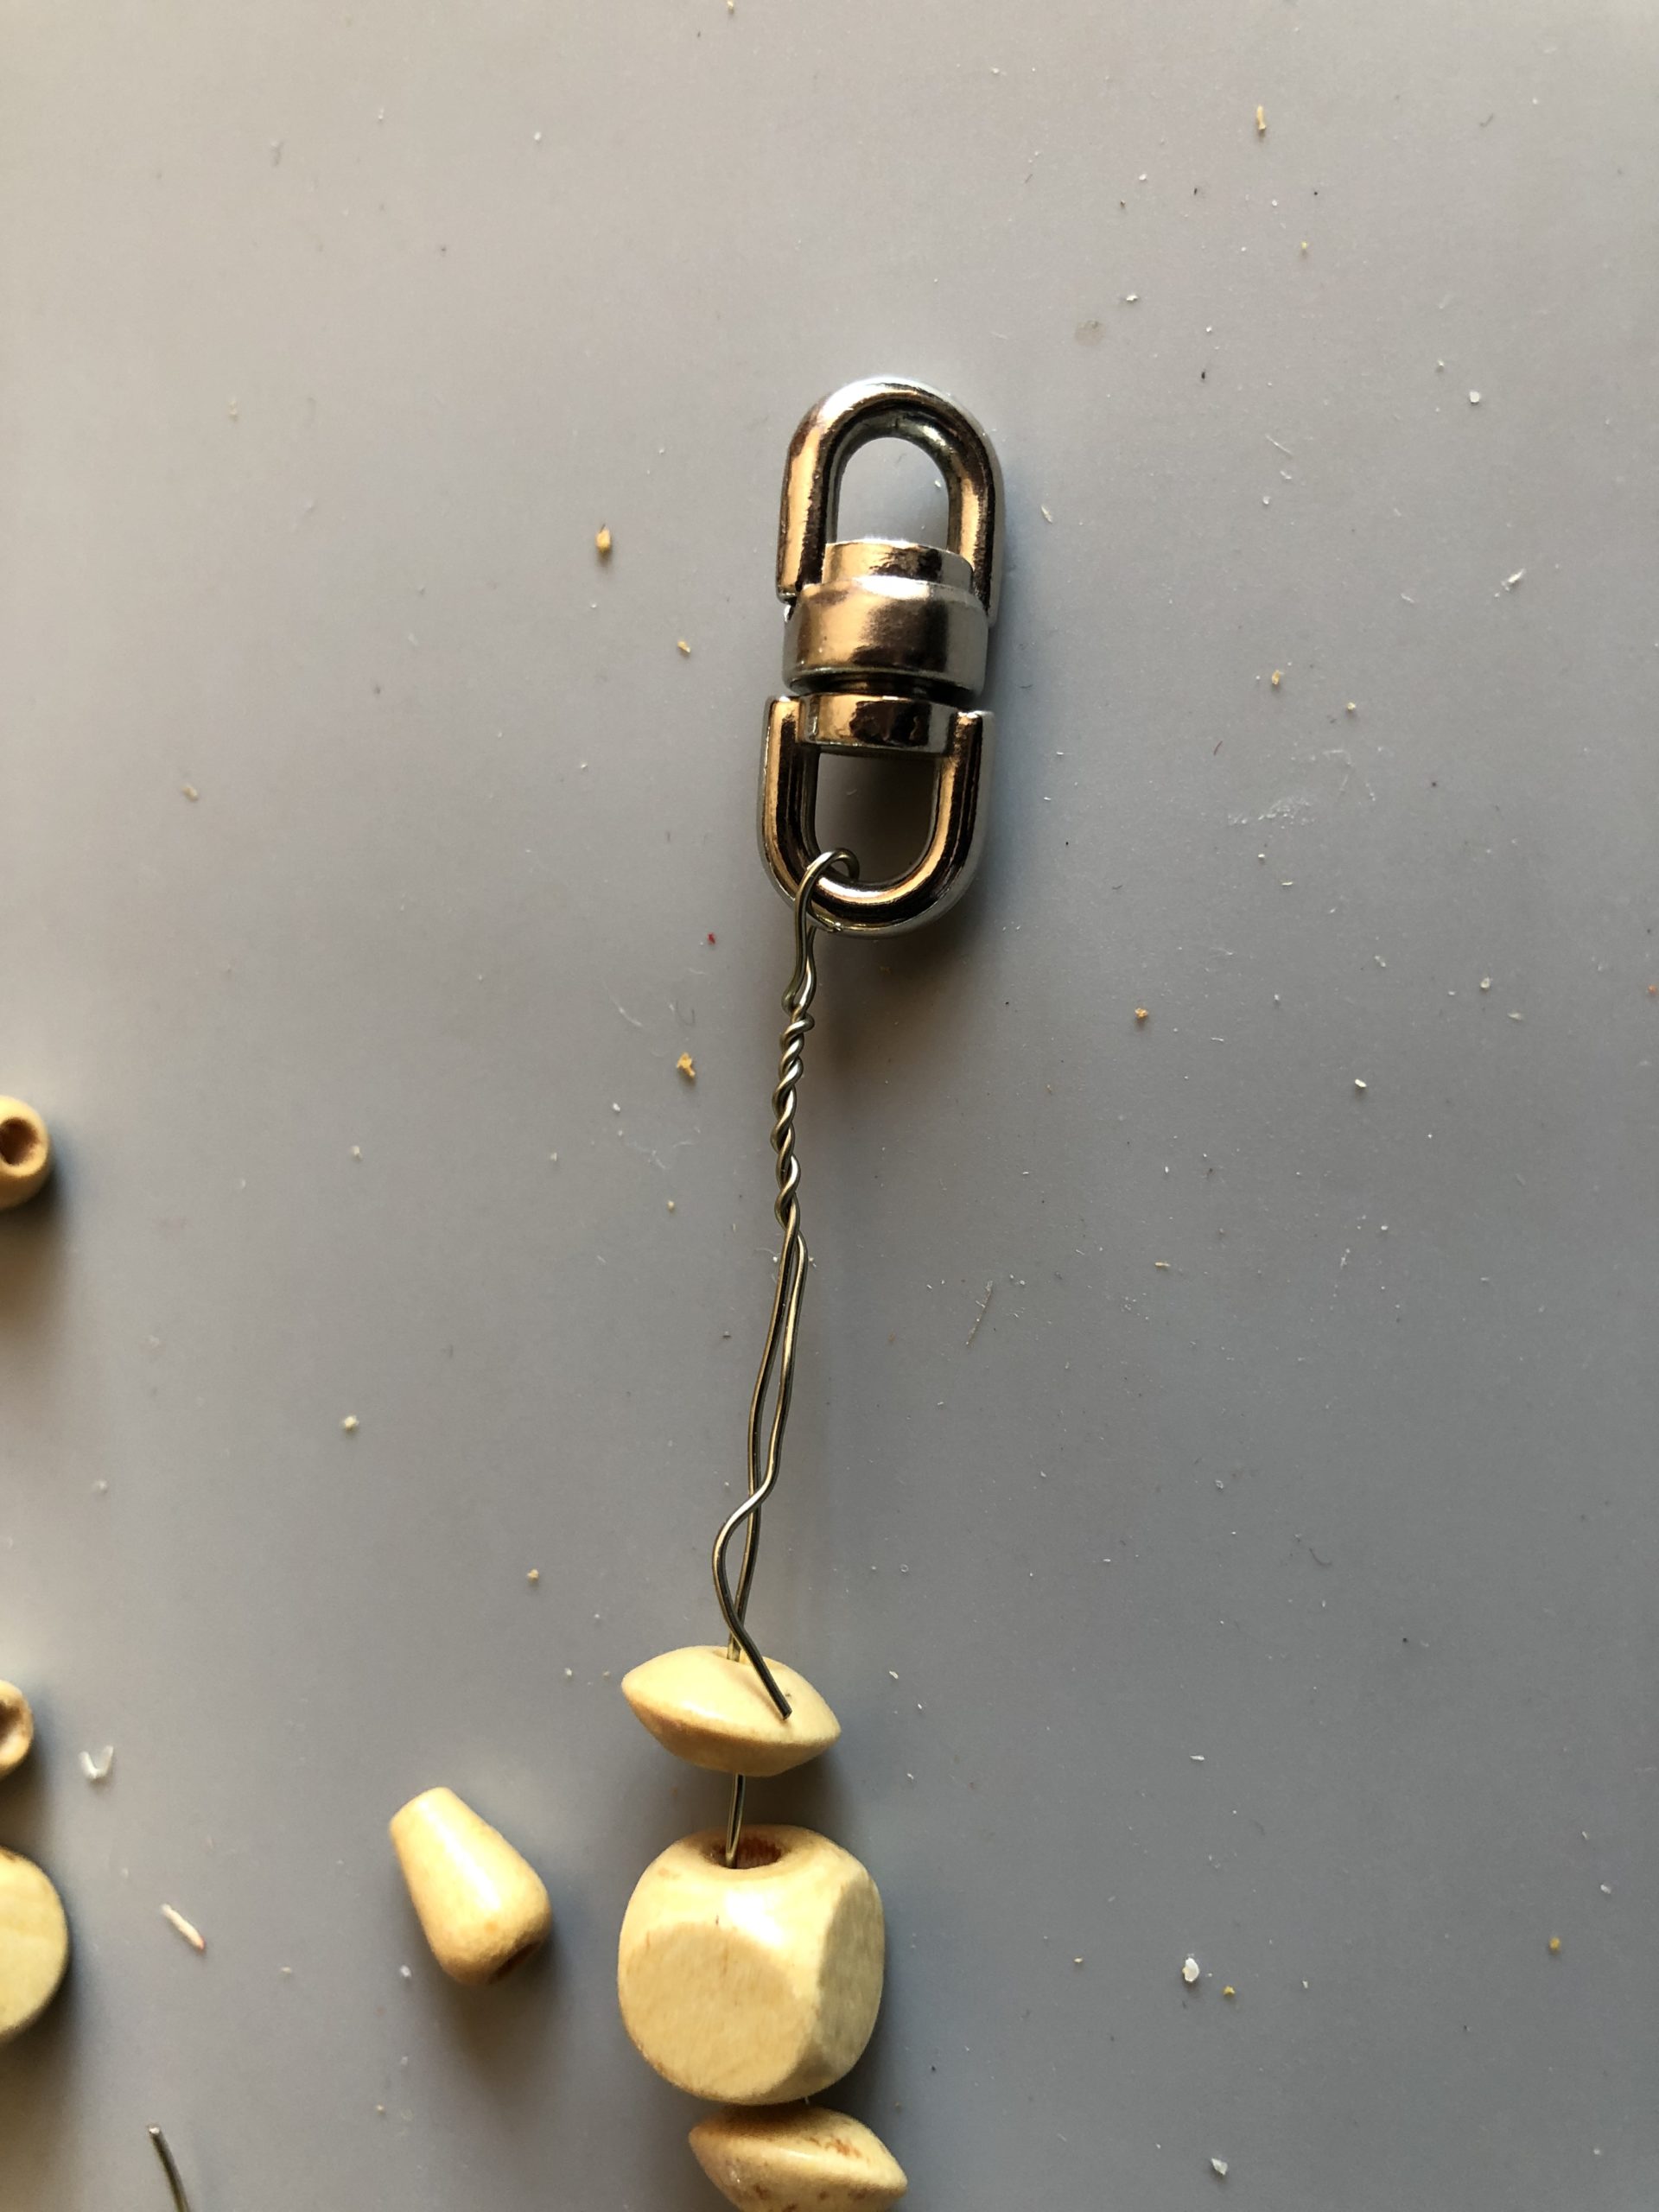
Bild zum Schritt 7 für das Bastel- und DIY-Abenteuer für Kinder: 'Am oberen Ende Draht verdrehen und am Schlüsselring festmachen.'

8

Retread the wire end through the threaded beads
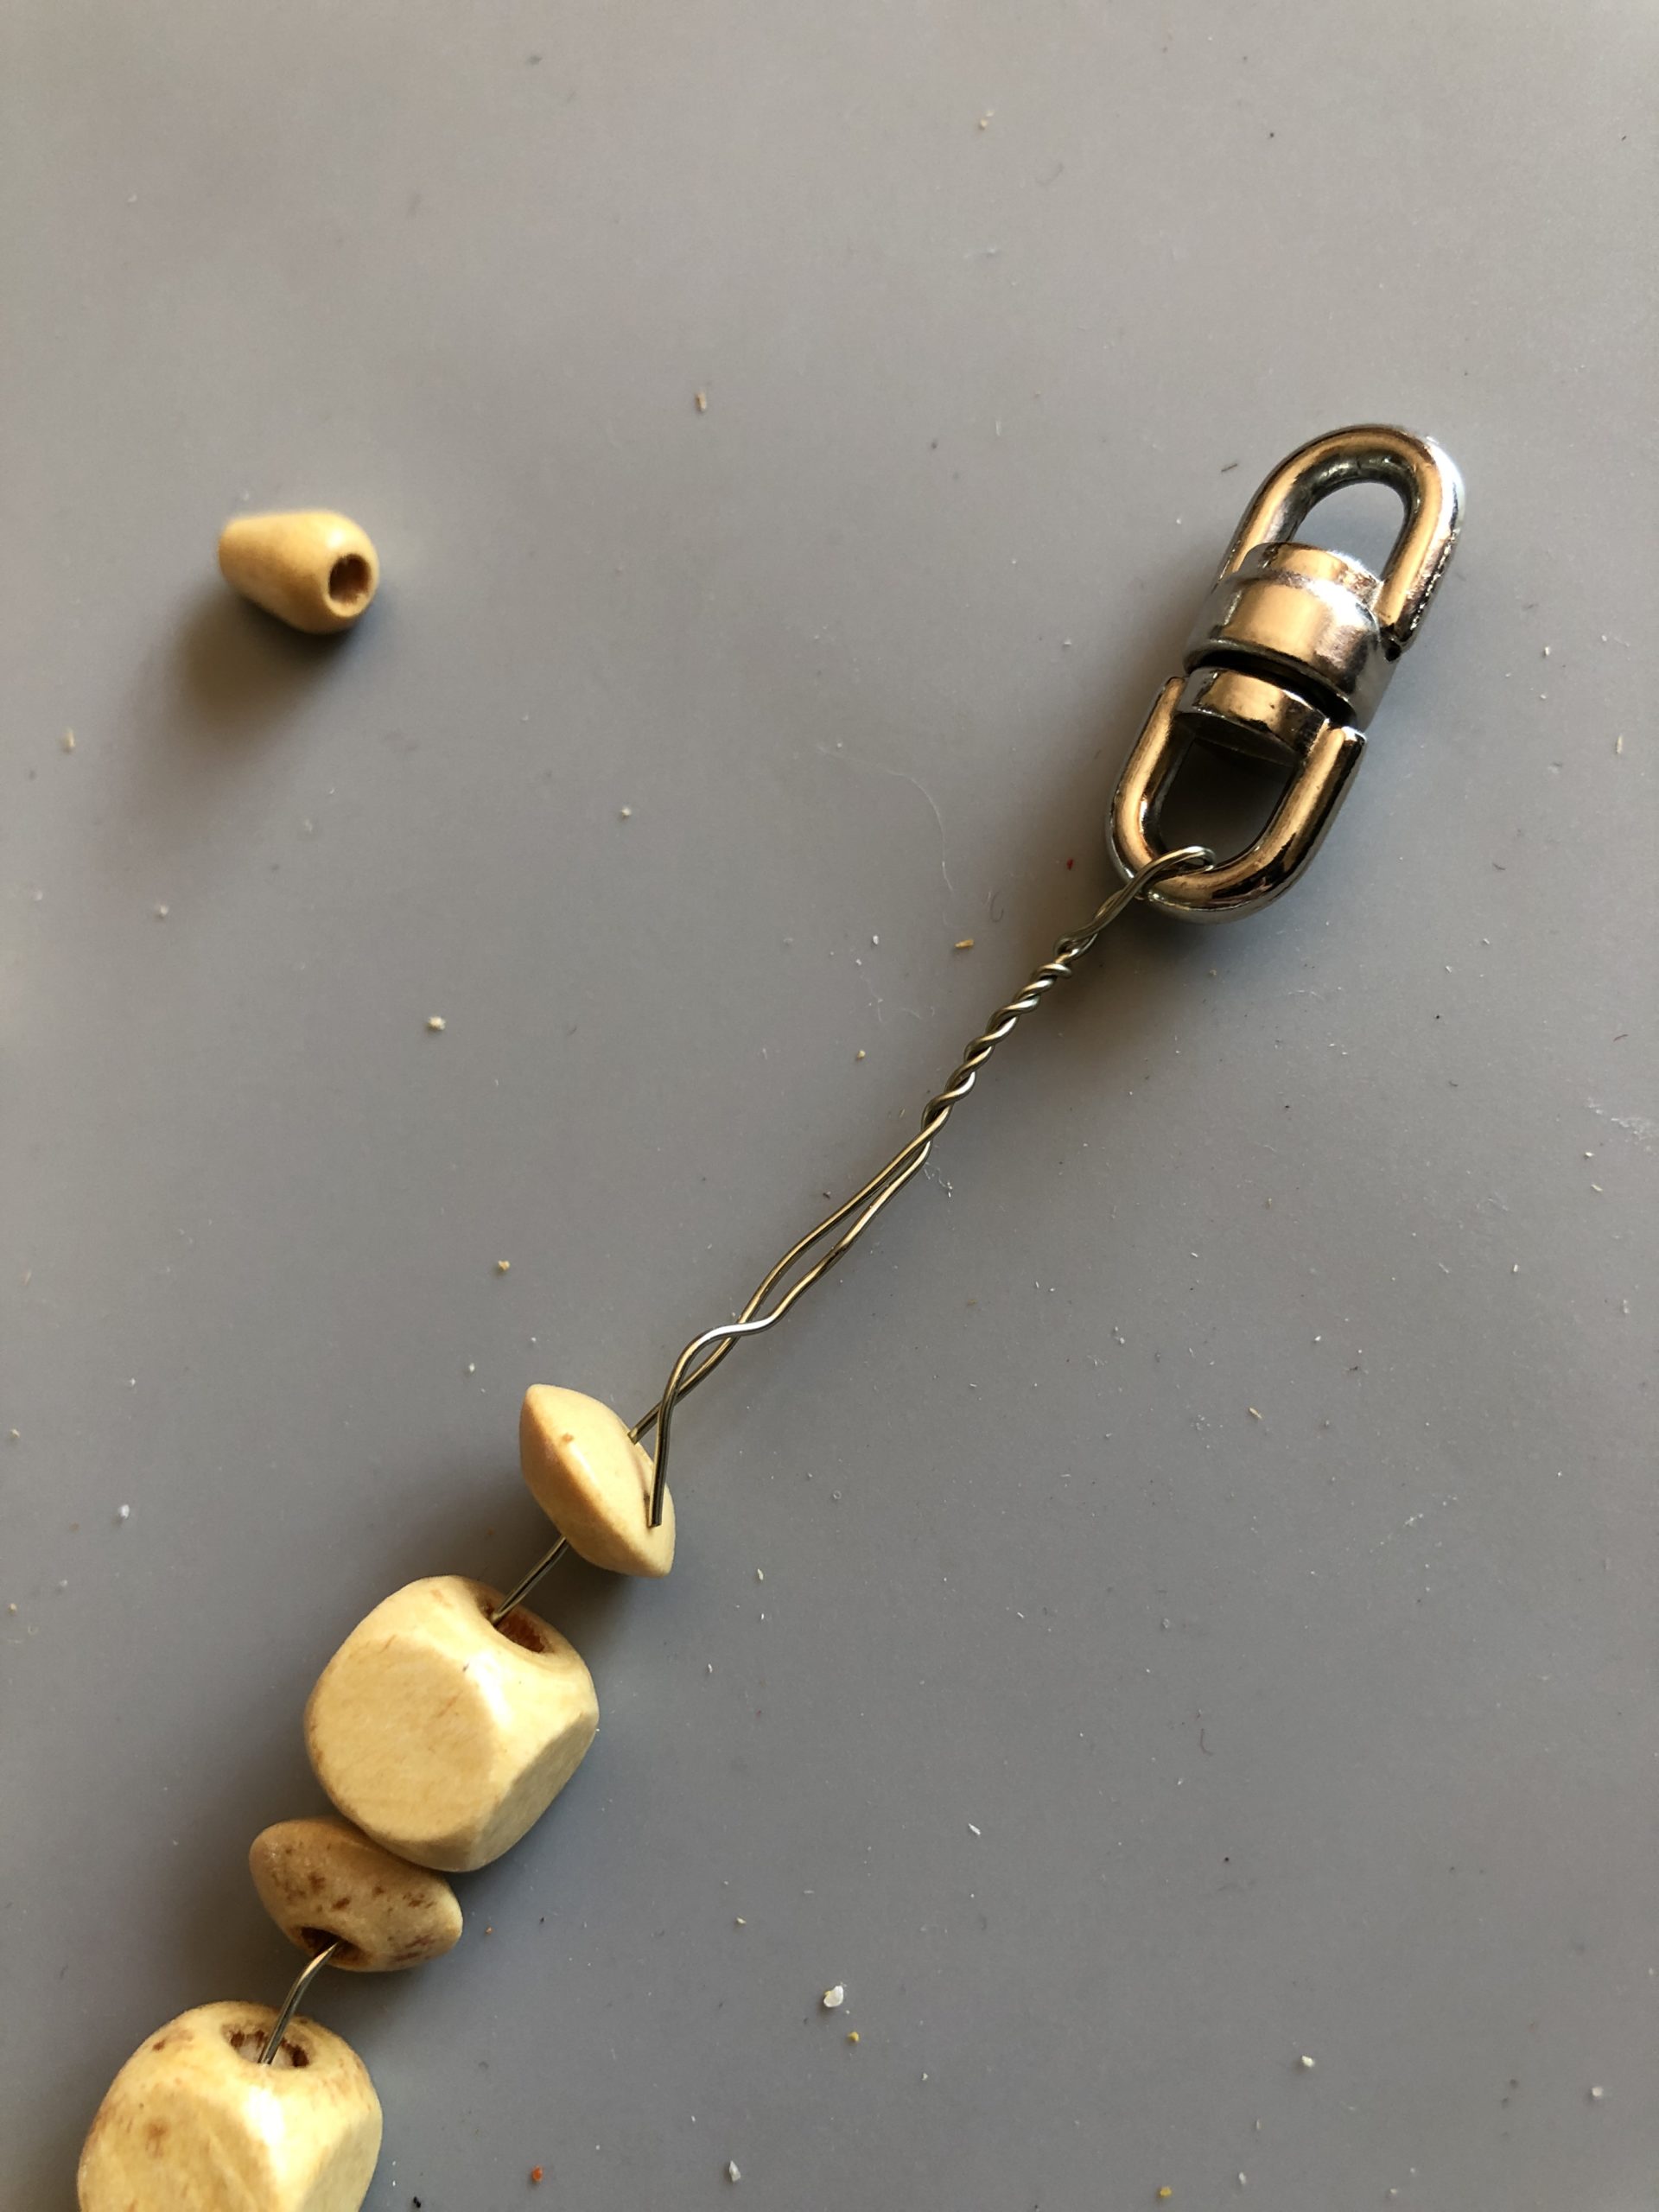
Bild zum Schritt 8 für das Bastel- und DIY-Abenteuer für Kinder: 'Drahtende durch die aufgefädelten Perlen zurückfädeln'

9

Push beads high and thread back through the last bead at the bottom and twist so that it holds.

Bild zum Schritt 9 für das Bastel- und DIY-Abenteuer für Kinder: 'Perlen hoch schieben und am unteren Ende durch die letzte...'

10

Cut the wire.

Bild zum Schritt 10 für das Bastel- und DIY-Abenteuer für Kinder: 'Draht abschneiden.'

11

Further idea: with thicker craft wire, put a loop on top and twist, thread up beads and also twist and cut wire at the bottom end.
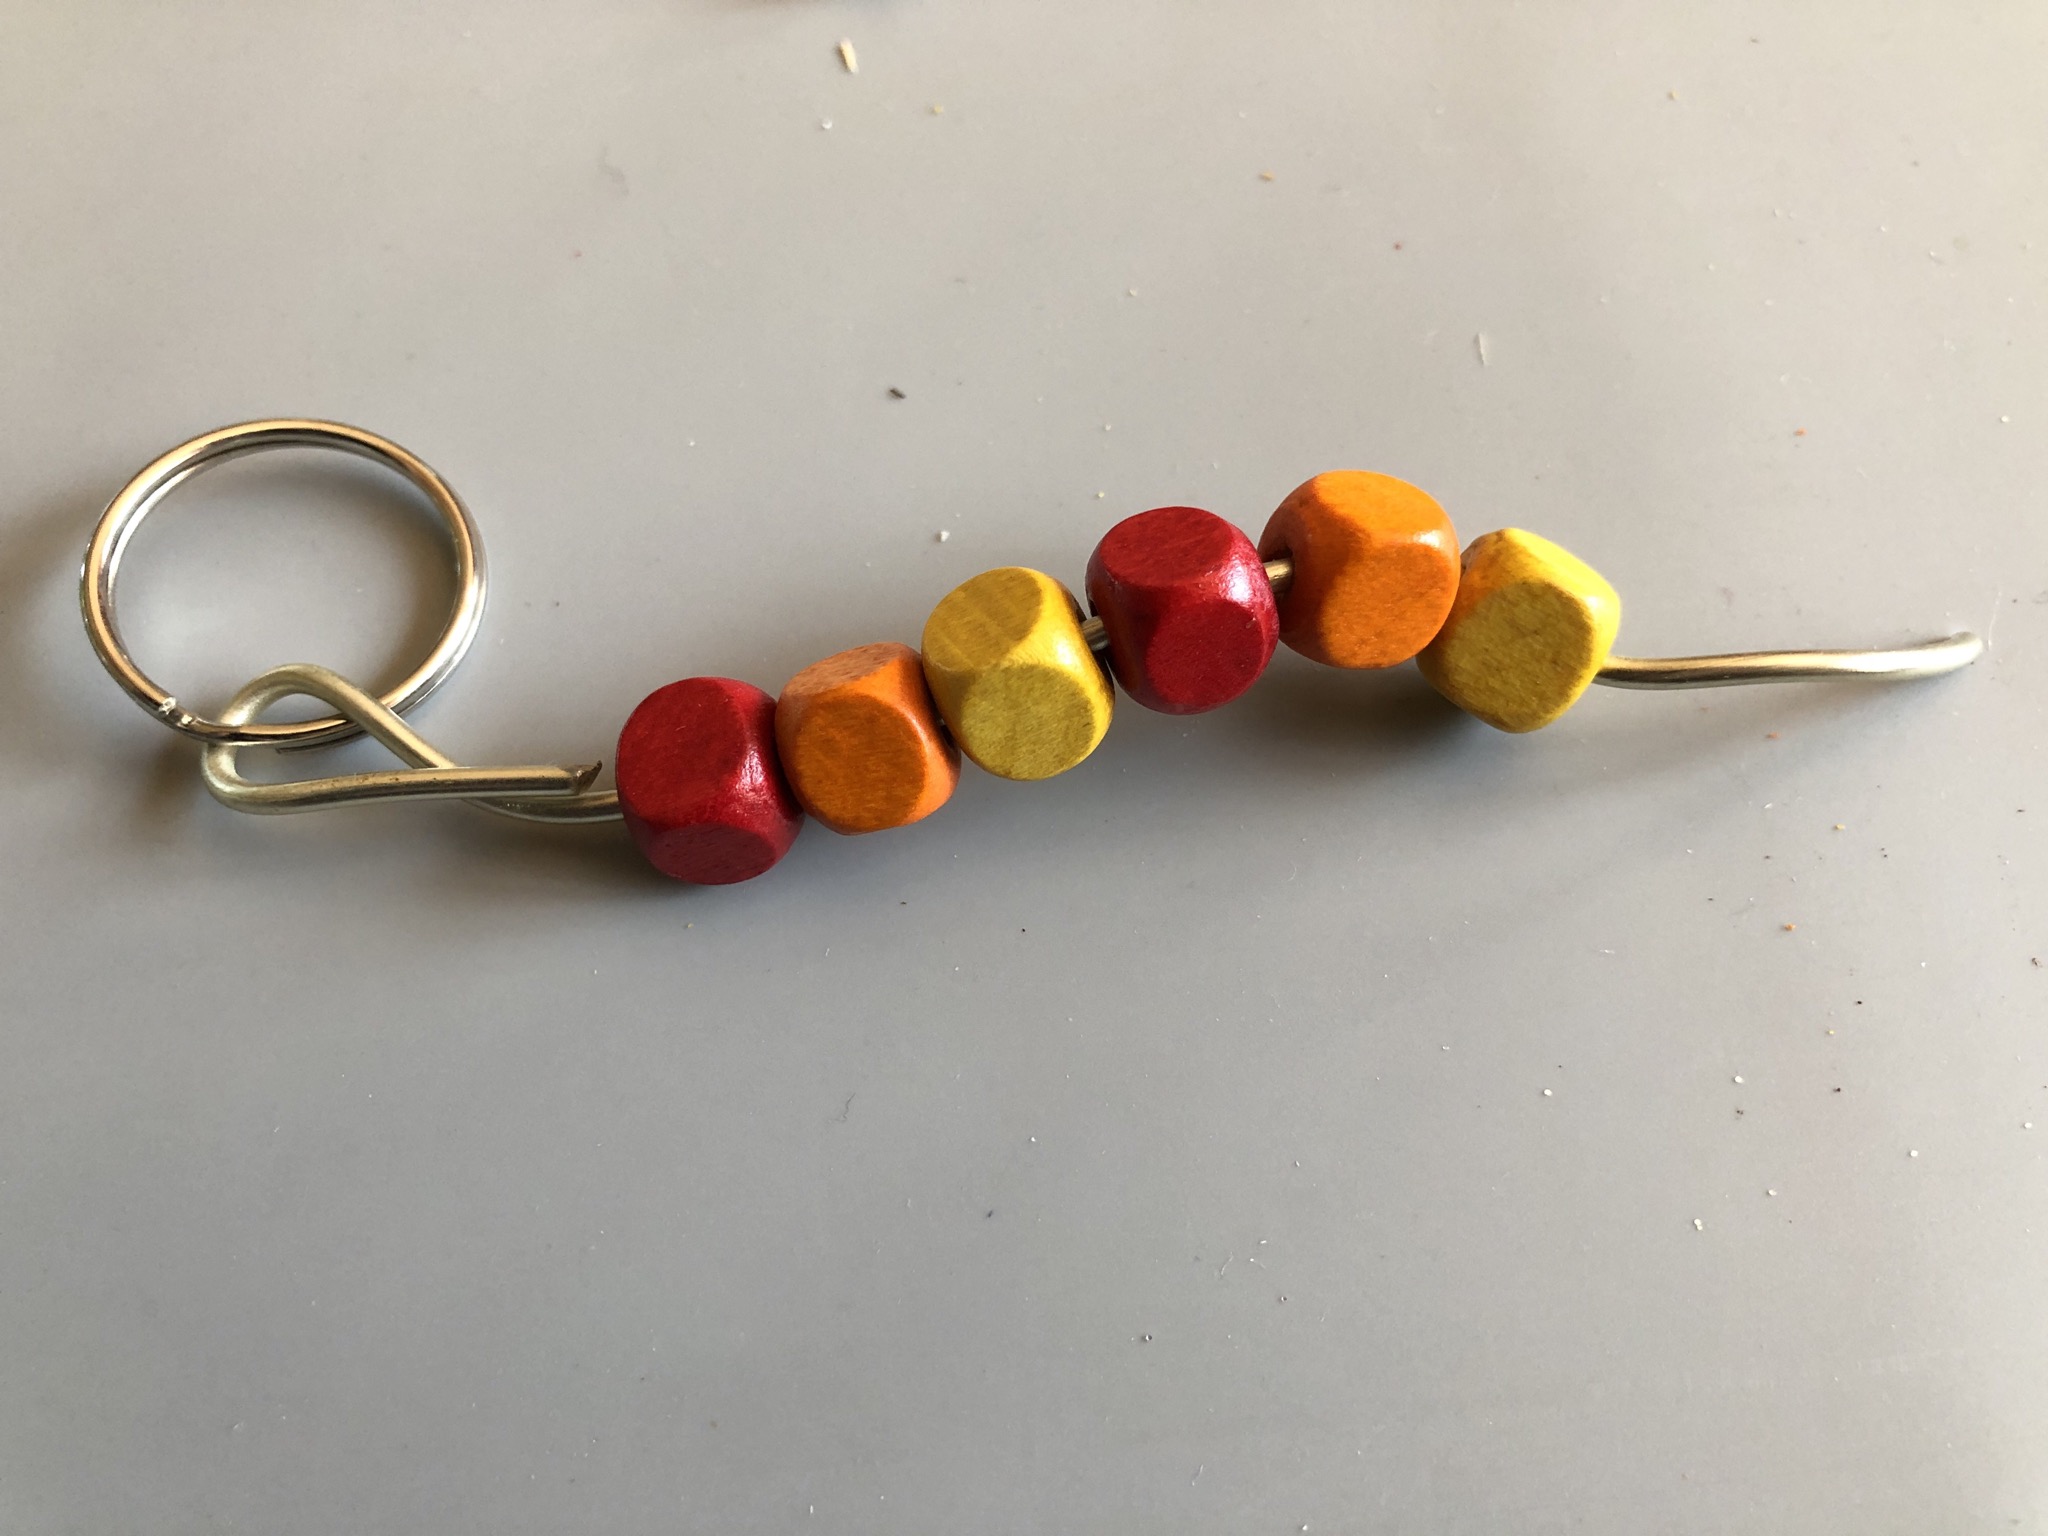
Bild zum Schritt 11 für das Bastel- und DIY-Abenteuer für Kinder: 'Weitere Idee: mit dickerem Basteldraht, oben eine Schlaufe legen und...'

12

2. Bild zum Schritt 11 für das Bastel- und DIY-Abenteuer für Kinder: 'Weitere Idee: mit dickerem Basteldraht, oben eine Schlaufe legen und...'

13

3. Bild zum Schritt 12 für das Bastel- und DIY-Abenteuer für Kinder: 'Weitere Idee: mit dickerem Basteldraht, oben eine Schlaufe legen und...'

14

Think for yourself what your keychain should look like and experiment with the pearls!

Keyring with pearls

Follow us on Facebook , Instagram and Pinterest
Don't miss any more adventures: Our bottle mail

Leave a Reply

Your email address will not be published.

The maximum upload file size: 5 MB. You can upload: image, document. Drop file here