Make keychains

AdventurerKatzi
Rating5.07.0 thousand times & (2) DifficultyIntermediate

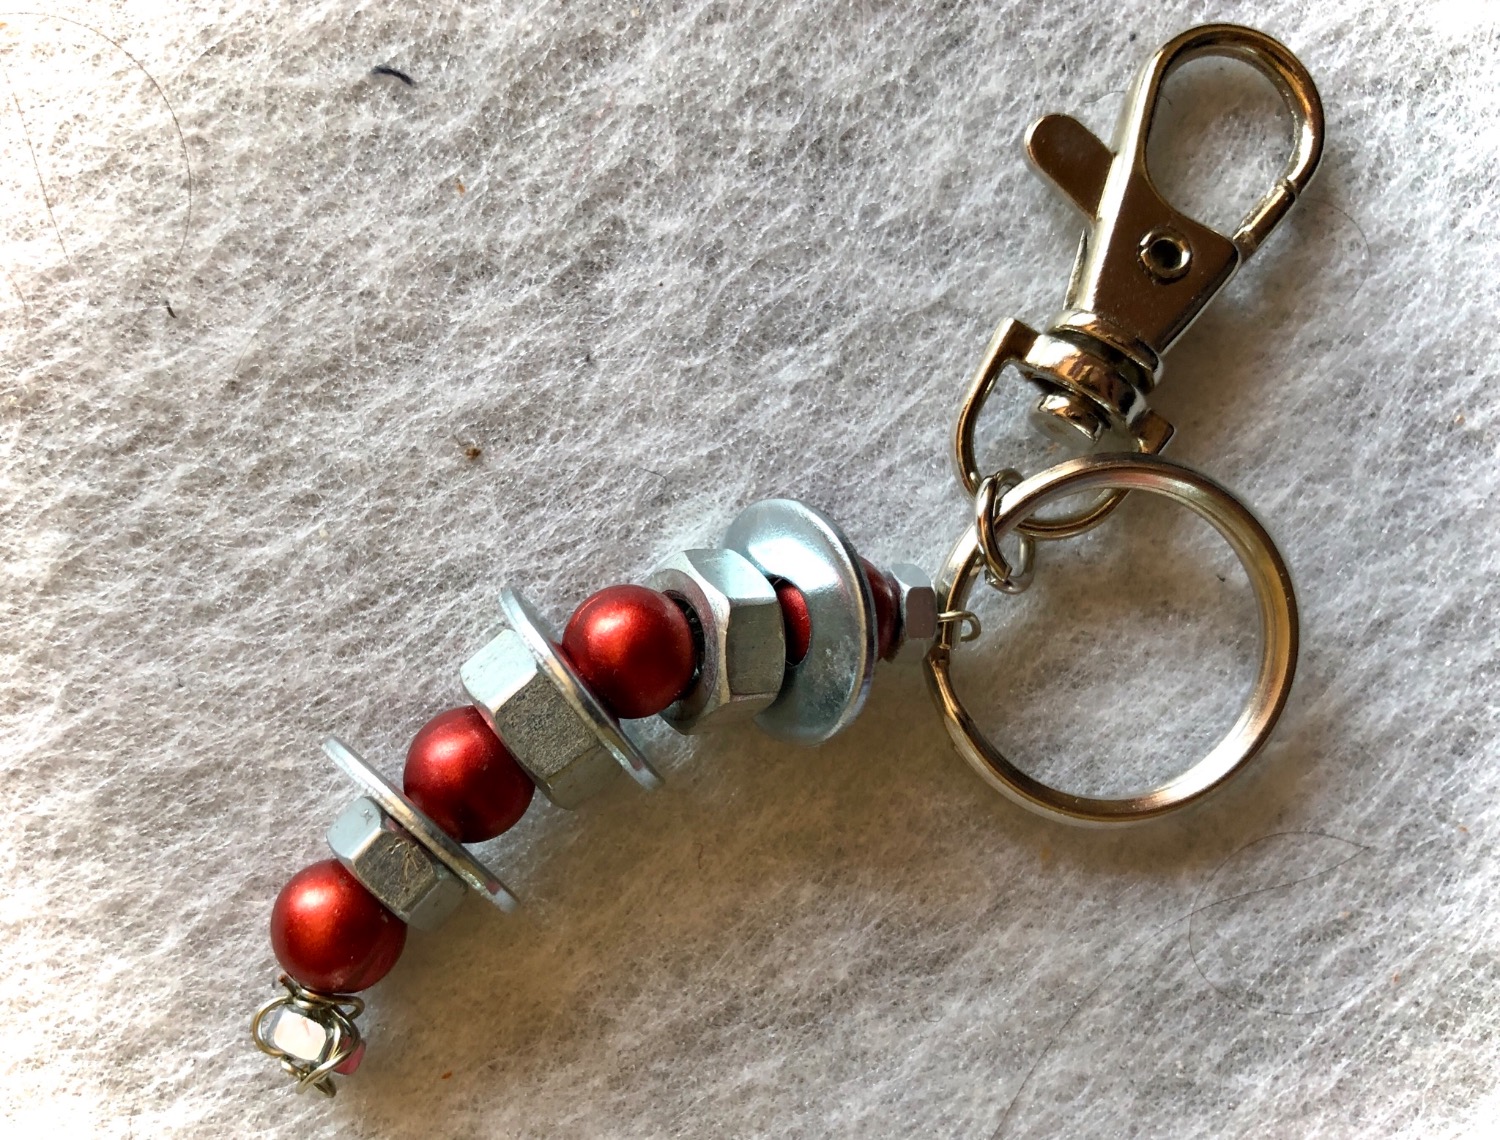
A keyring for dad made of washers and screw nuts.

Media Education for Kindergarten and Hort

Kind bastelt eine Rassel mit dem Navi
The Adventure Navi, the app for DIY projects, enables media education for the youngest.

Relief in everyday life, targeted promotion of individual children, independent learning and - without any pre-knowledge already usable by the youngest!


Titelbild zur Bastel- und DIY-Idee für Kinder '(192) Schlüsselanhänger basteln'
Material for1 Child
Prep Time5 min.Adv. Time15 min.Total Time20 min.
 1 Key ring
 Screw nuts
 Adhesives
 1 Wire about 20 cm long
 1 Small wire pliers
1

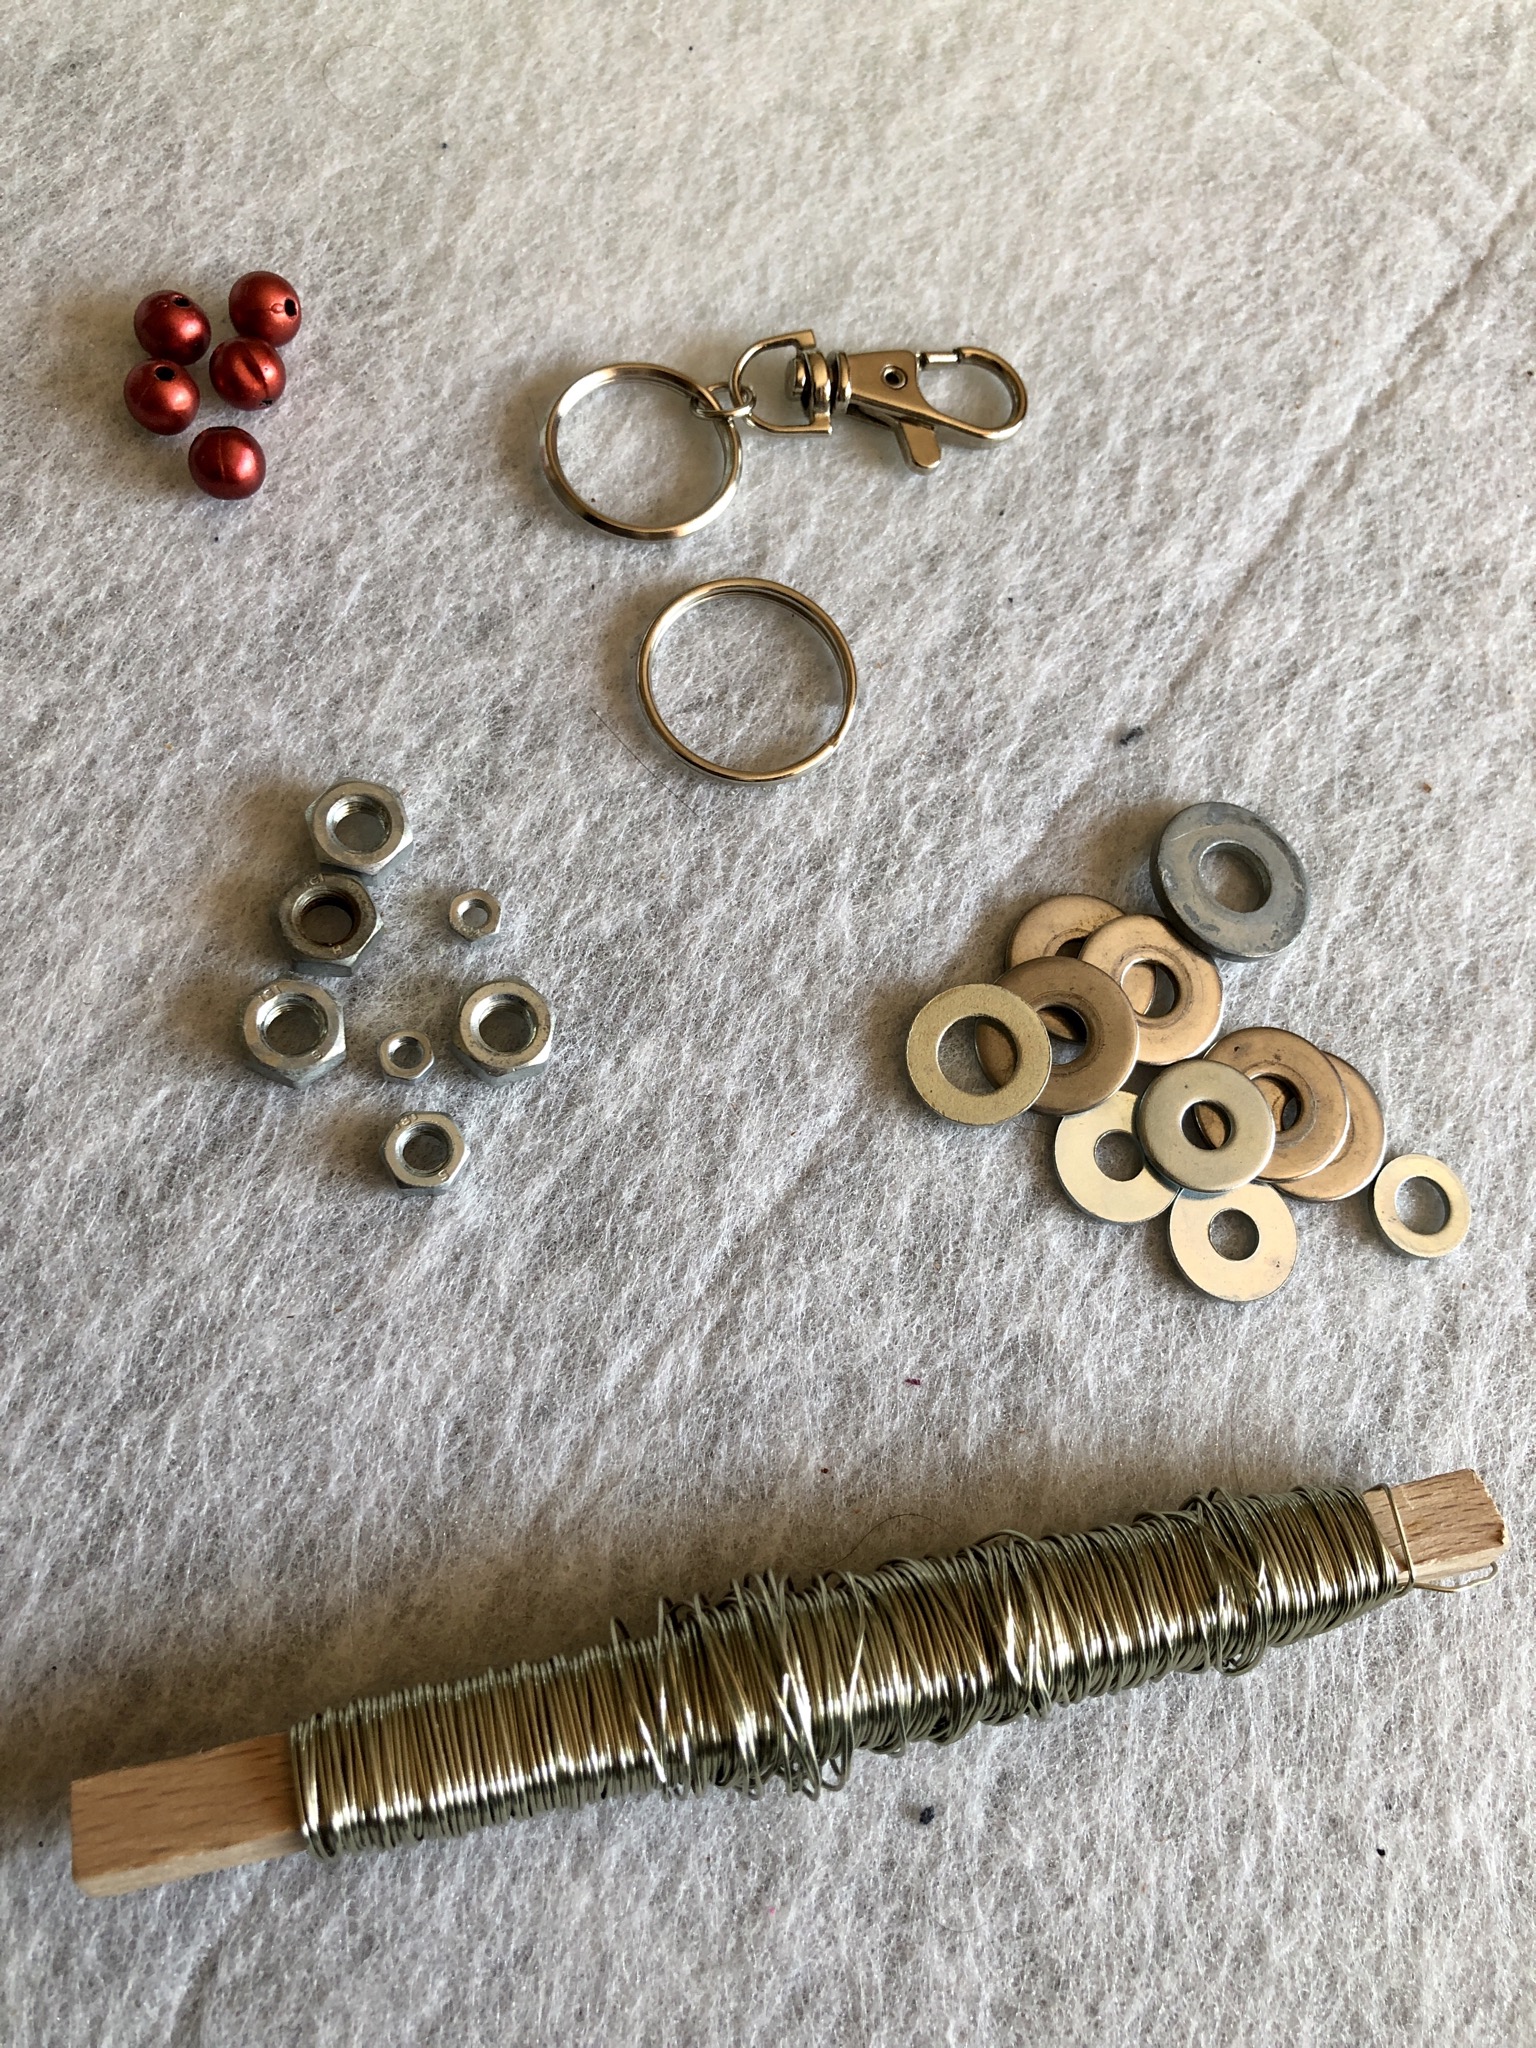
Get things ready.

Bild zum Schritt 1 für das Bastel- und DIY-Abenteuer für Kinder: 'Sachen bereit legen.'

2

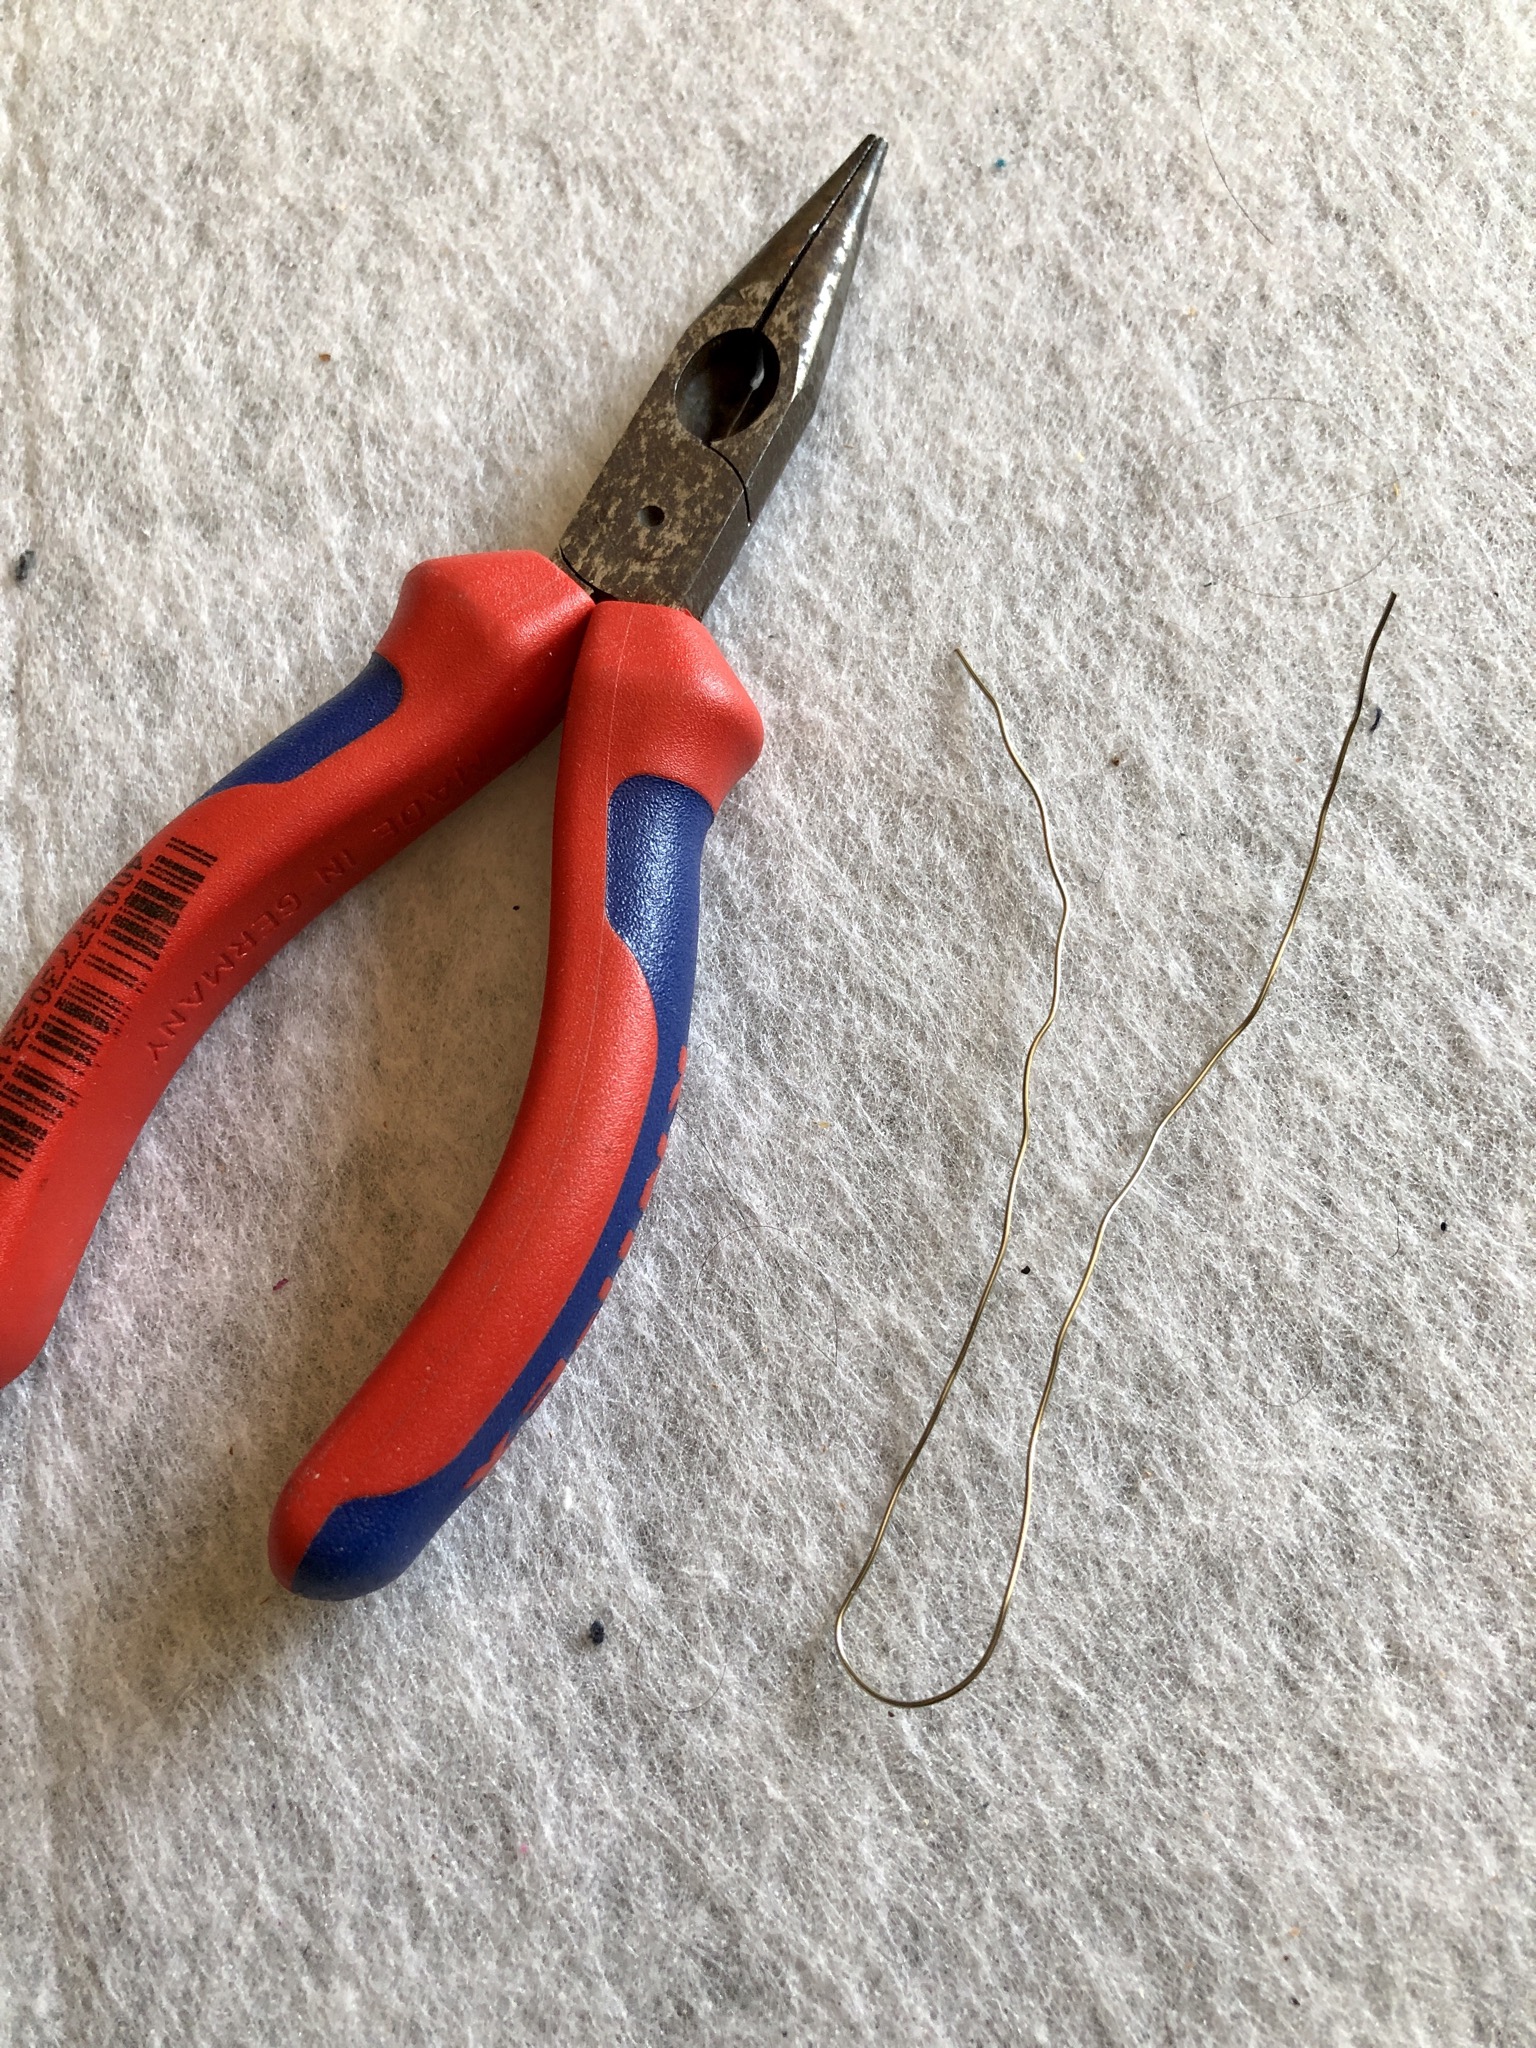
Cut off wire. Approx. 20 cm

Bild zum Schritt 2 für das Bastel- und DIY-Abenteuer für Kinder: 'Draht abschneiden. Ca. 20 cm'

3

Connect to the key ring (halved) and twist
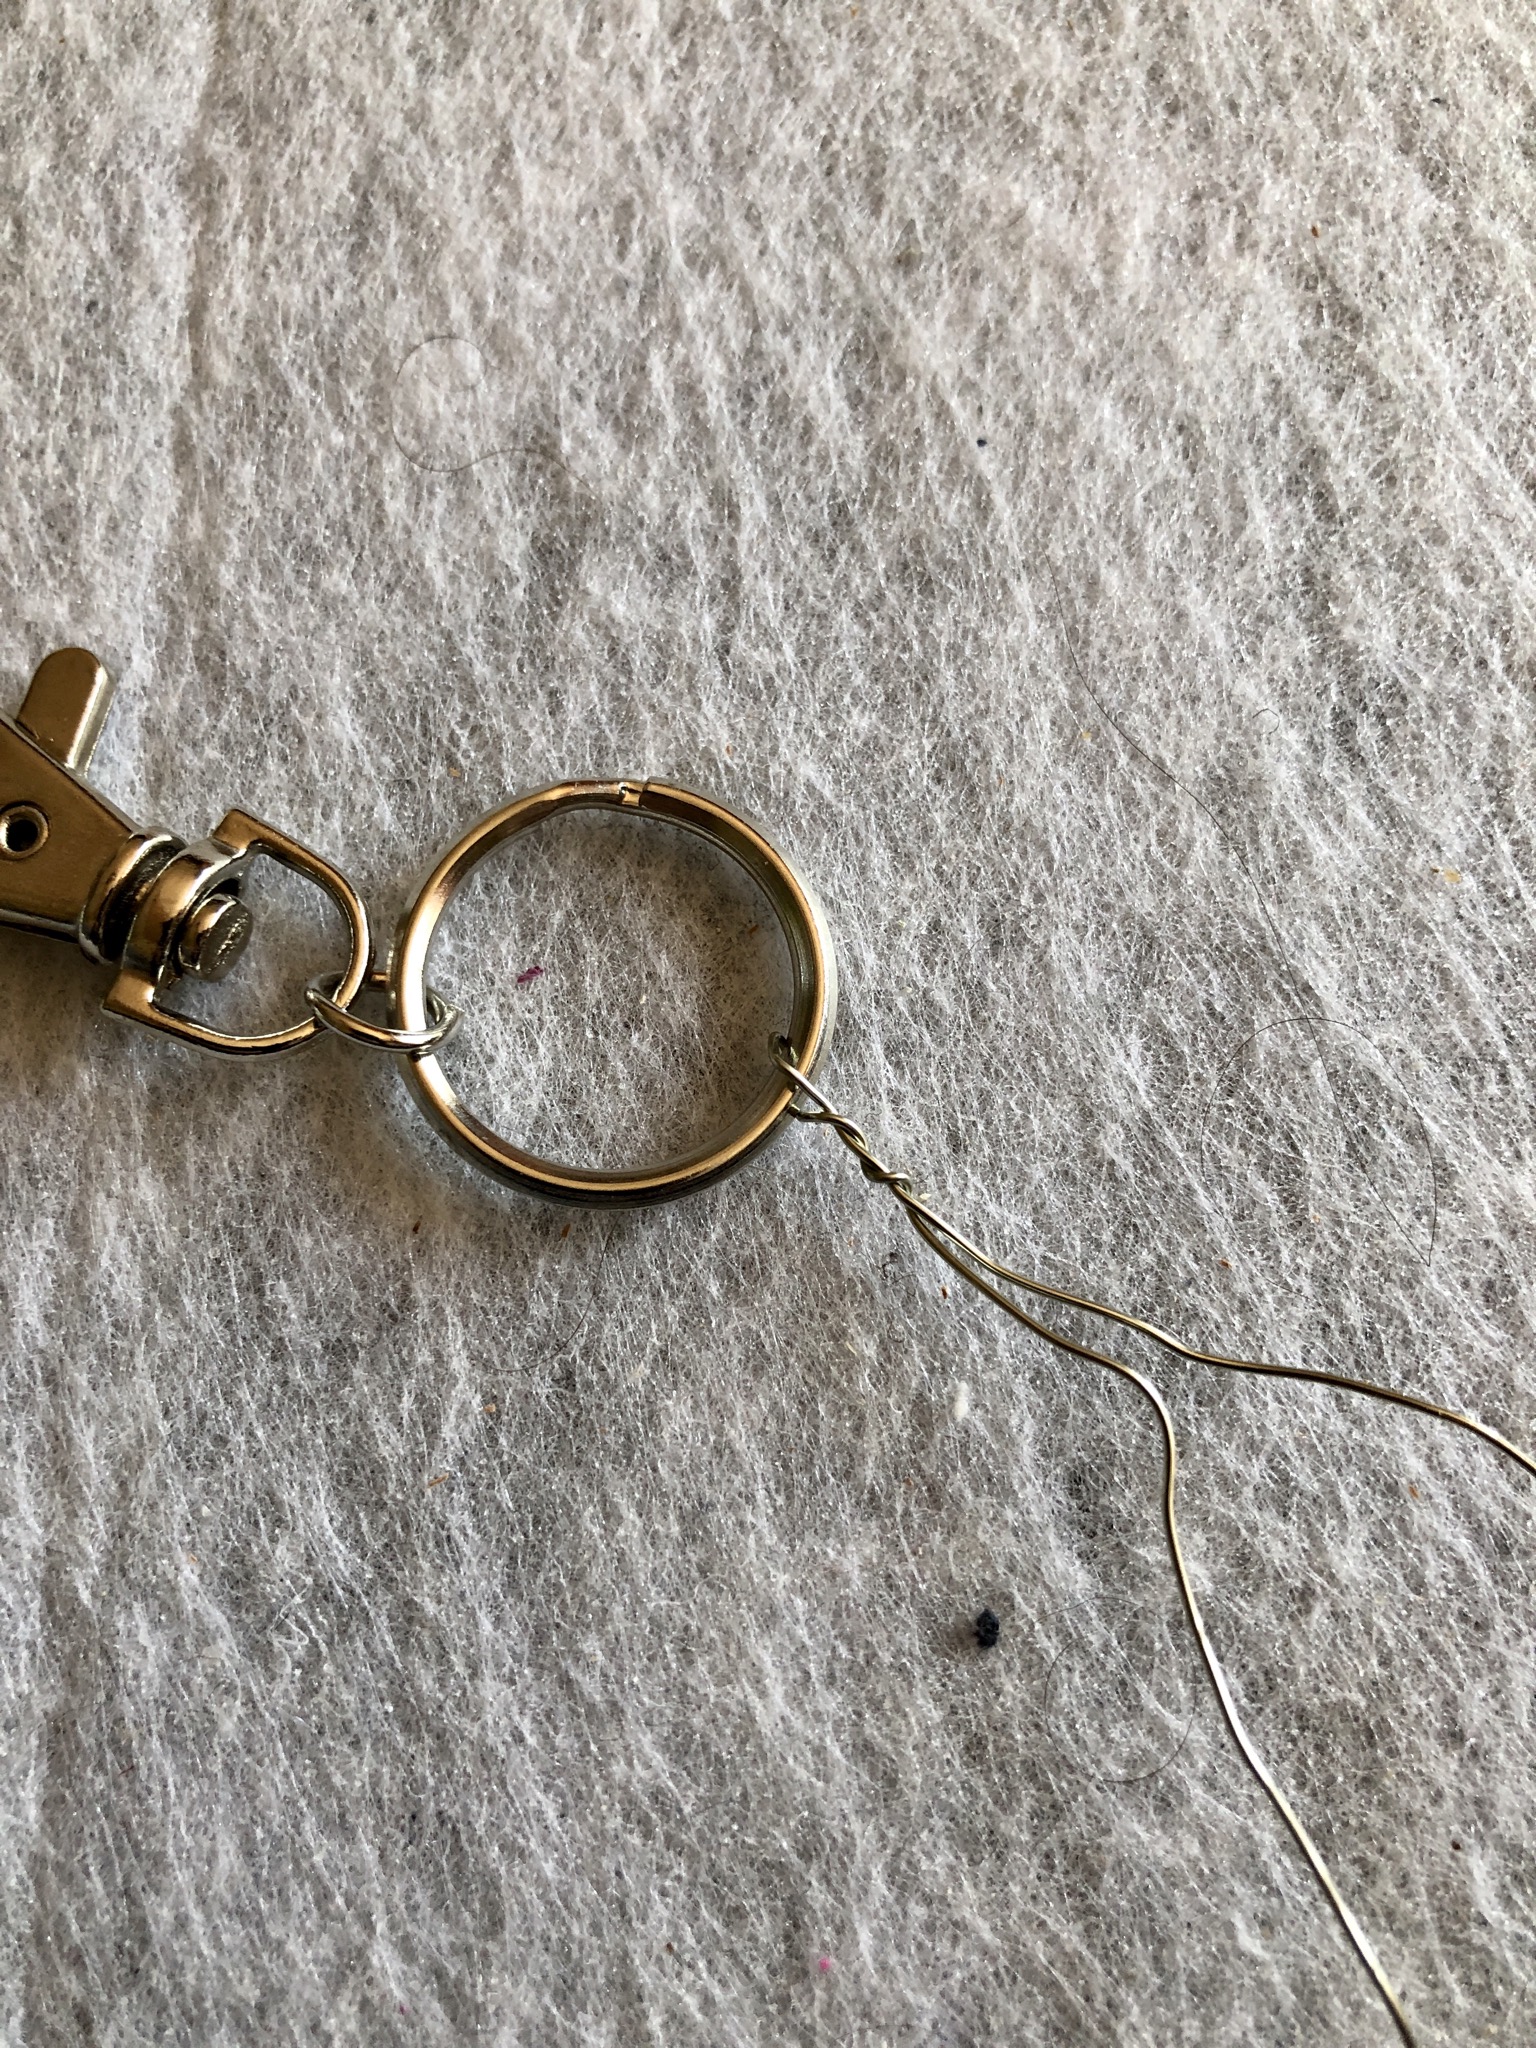
Bild zum Schritt 3 für das Bastel- und DIY-Abenteuer für Kinder: 'Am Schlüsselring (halbiert) festbinden und verdrehen'

4

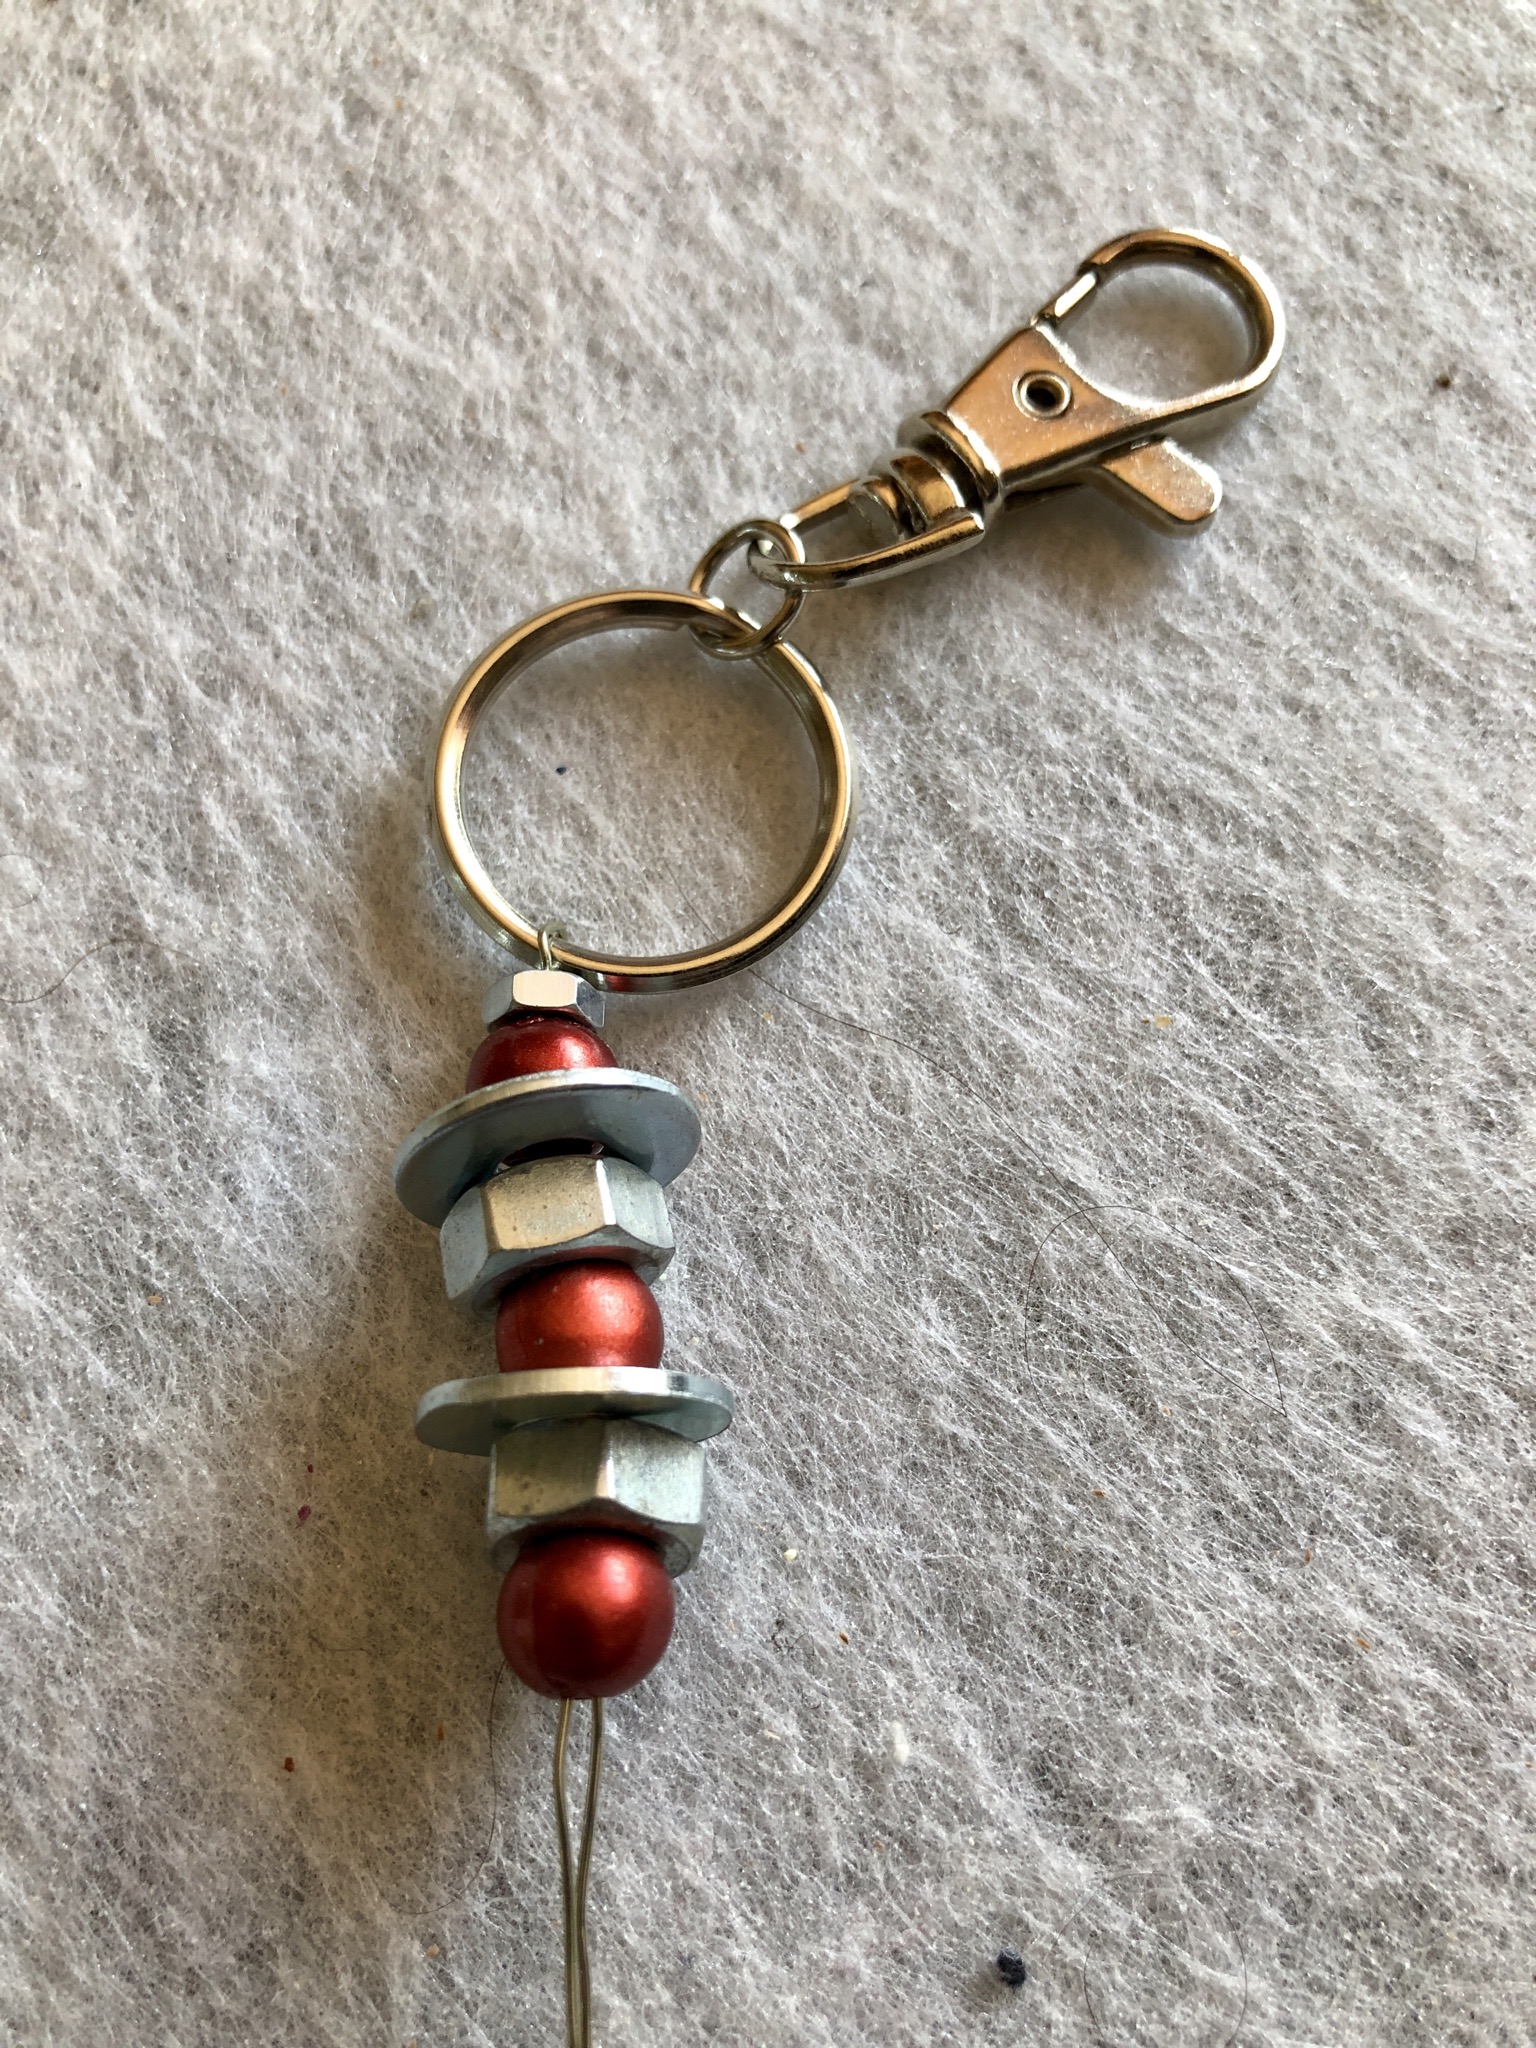
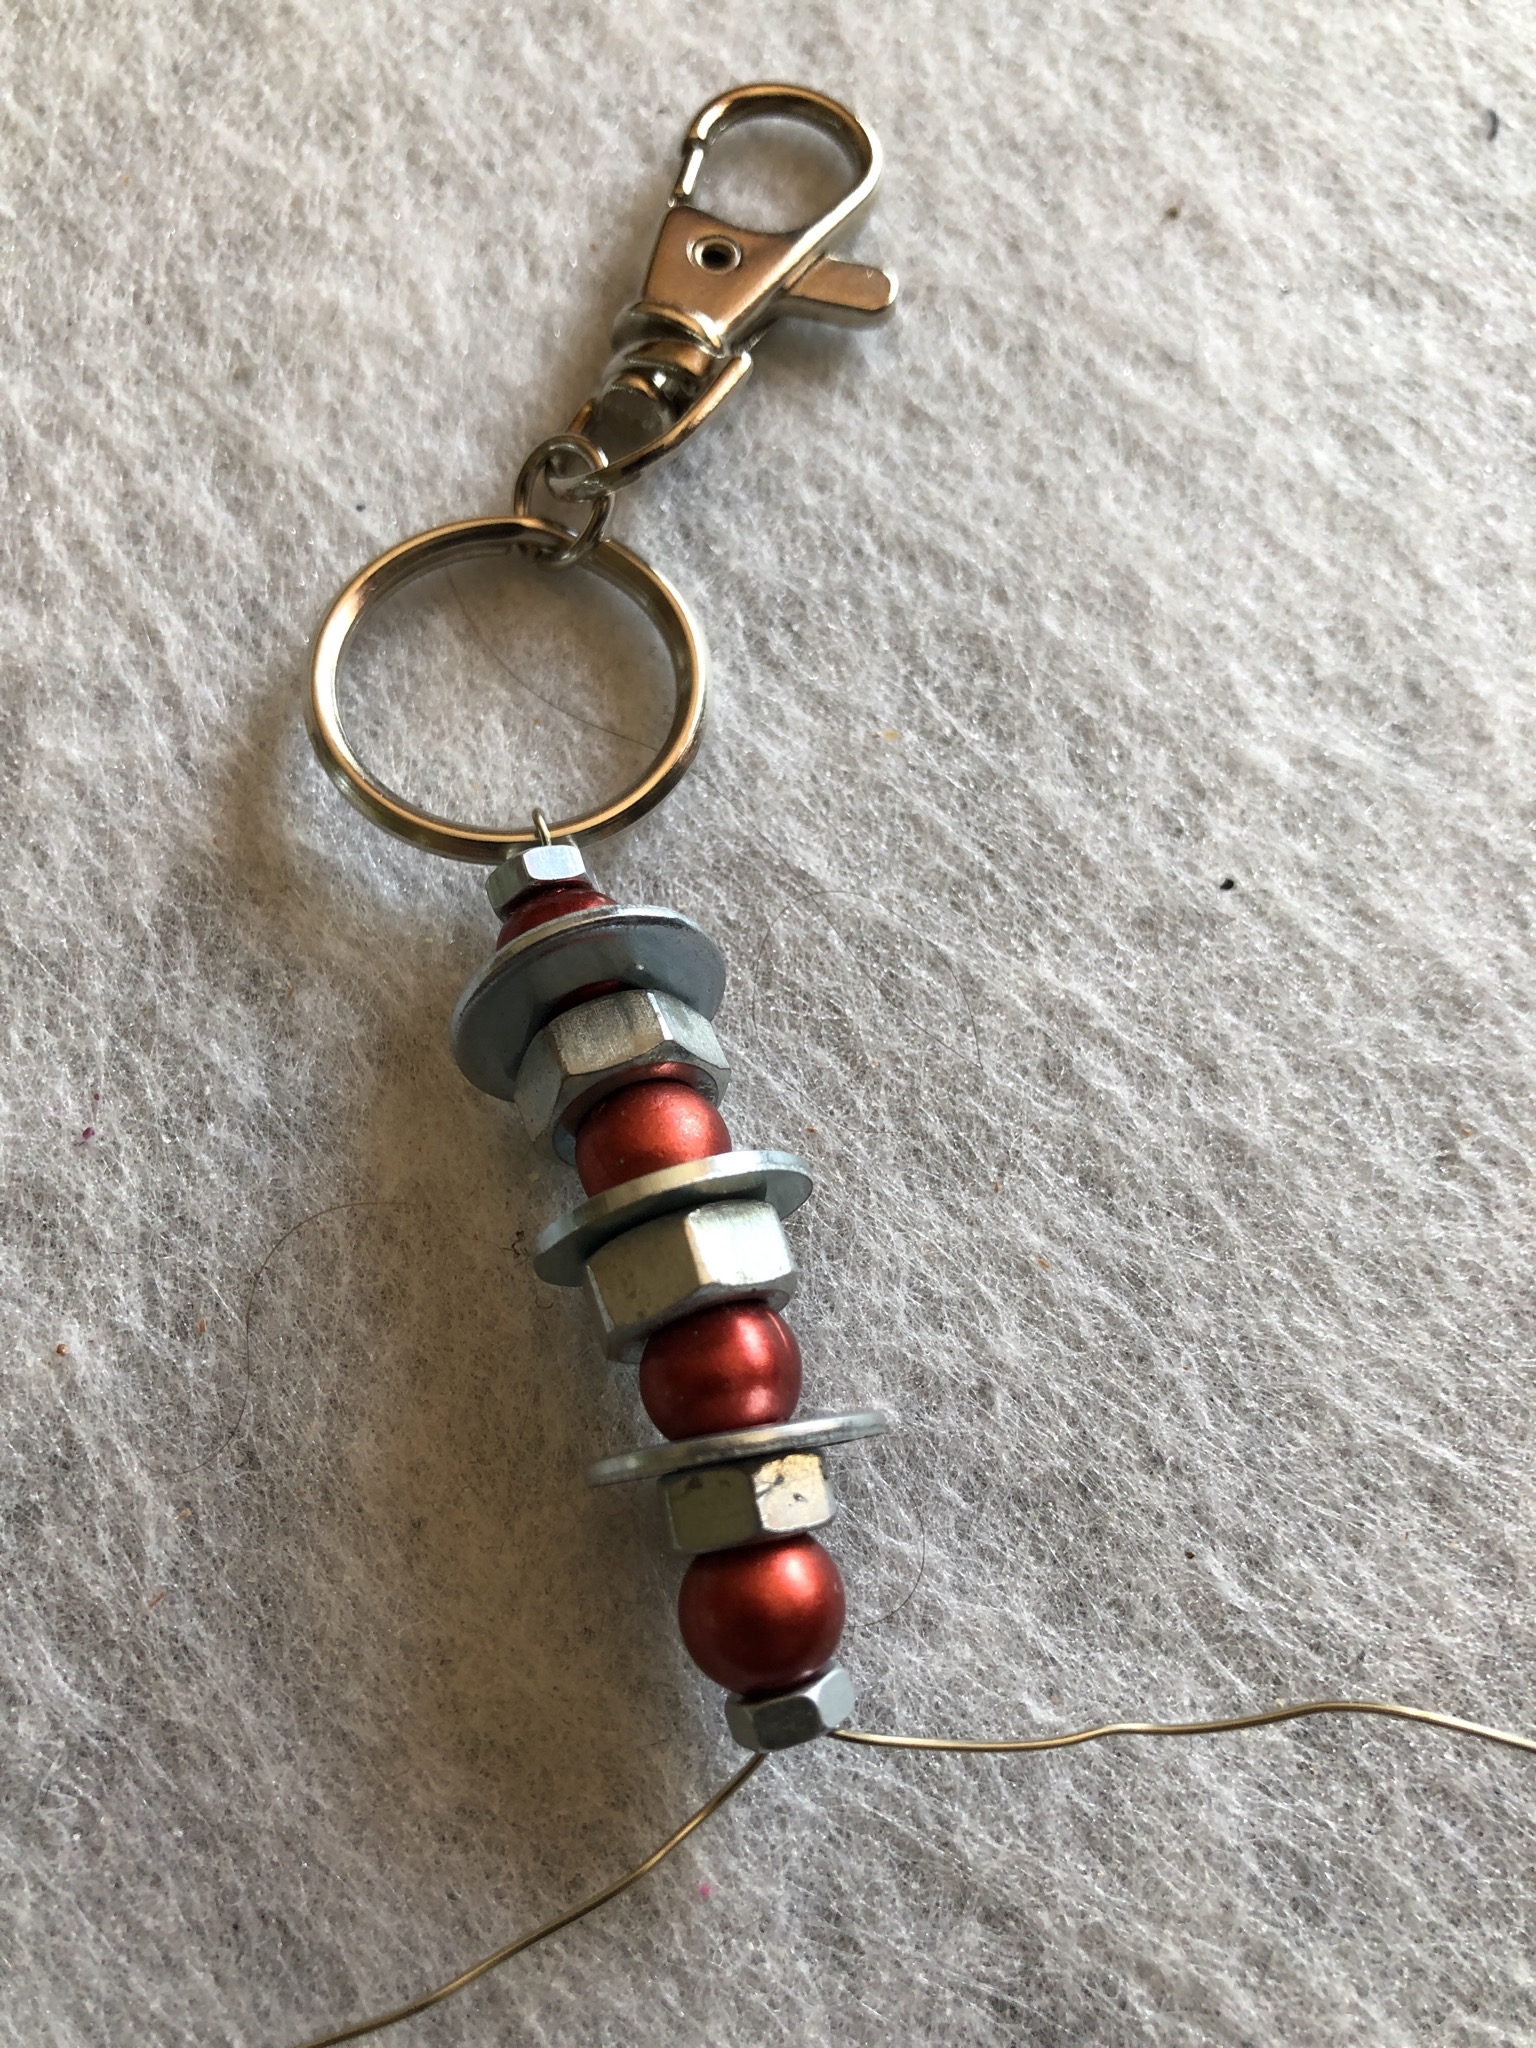
Threading of nuts, pearls and washers alternately

Bild zum Schritt 4 für das Bastel- und DIY-Abenteuer für Kinder: 'Muttern, Perlen und Beilegscheiben abwechselnd auffädeln'

5

2. Bild zum Schritt 4 für das Bastel- und DIY-Abenteuer für Kinder: 'Muttern, Perlen und Beilegscheiben abwechselnd auffädeln'

6

3. Bild zum Schritt 5 für das Bastel- und DIY-Abenteuer für Kinder: 'Muttern, Perlen und Beilegscheiben abwechselnd auffädeln'

7

At the end, tie a little mother to the end, thread the wire back.

Bild zum Schritt 7 für das Bastel- und DIY-Abenteuer für Kinder: 'Am Ende eine kleine Mutter als Abschluss festmachen, dazu den...'

8

Push the nut firmly to the other threaded parts and bend wire around the nut downwards, once loop and shorten between the last two threaded parts.

Bild zum Schritt 8 für das Bastel- und DIY-Abenteuer für Kinder: 'Mutter fest an die anderen gefädelten Teile schieben und Draht...'

9

2. Bild zum Schritt 8 für das Bastel- und DIY-Abenteuer für Kinder: 'Mutter fest an die anderen gefädelten Teile schieben und Draht...'

10

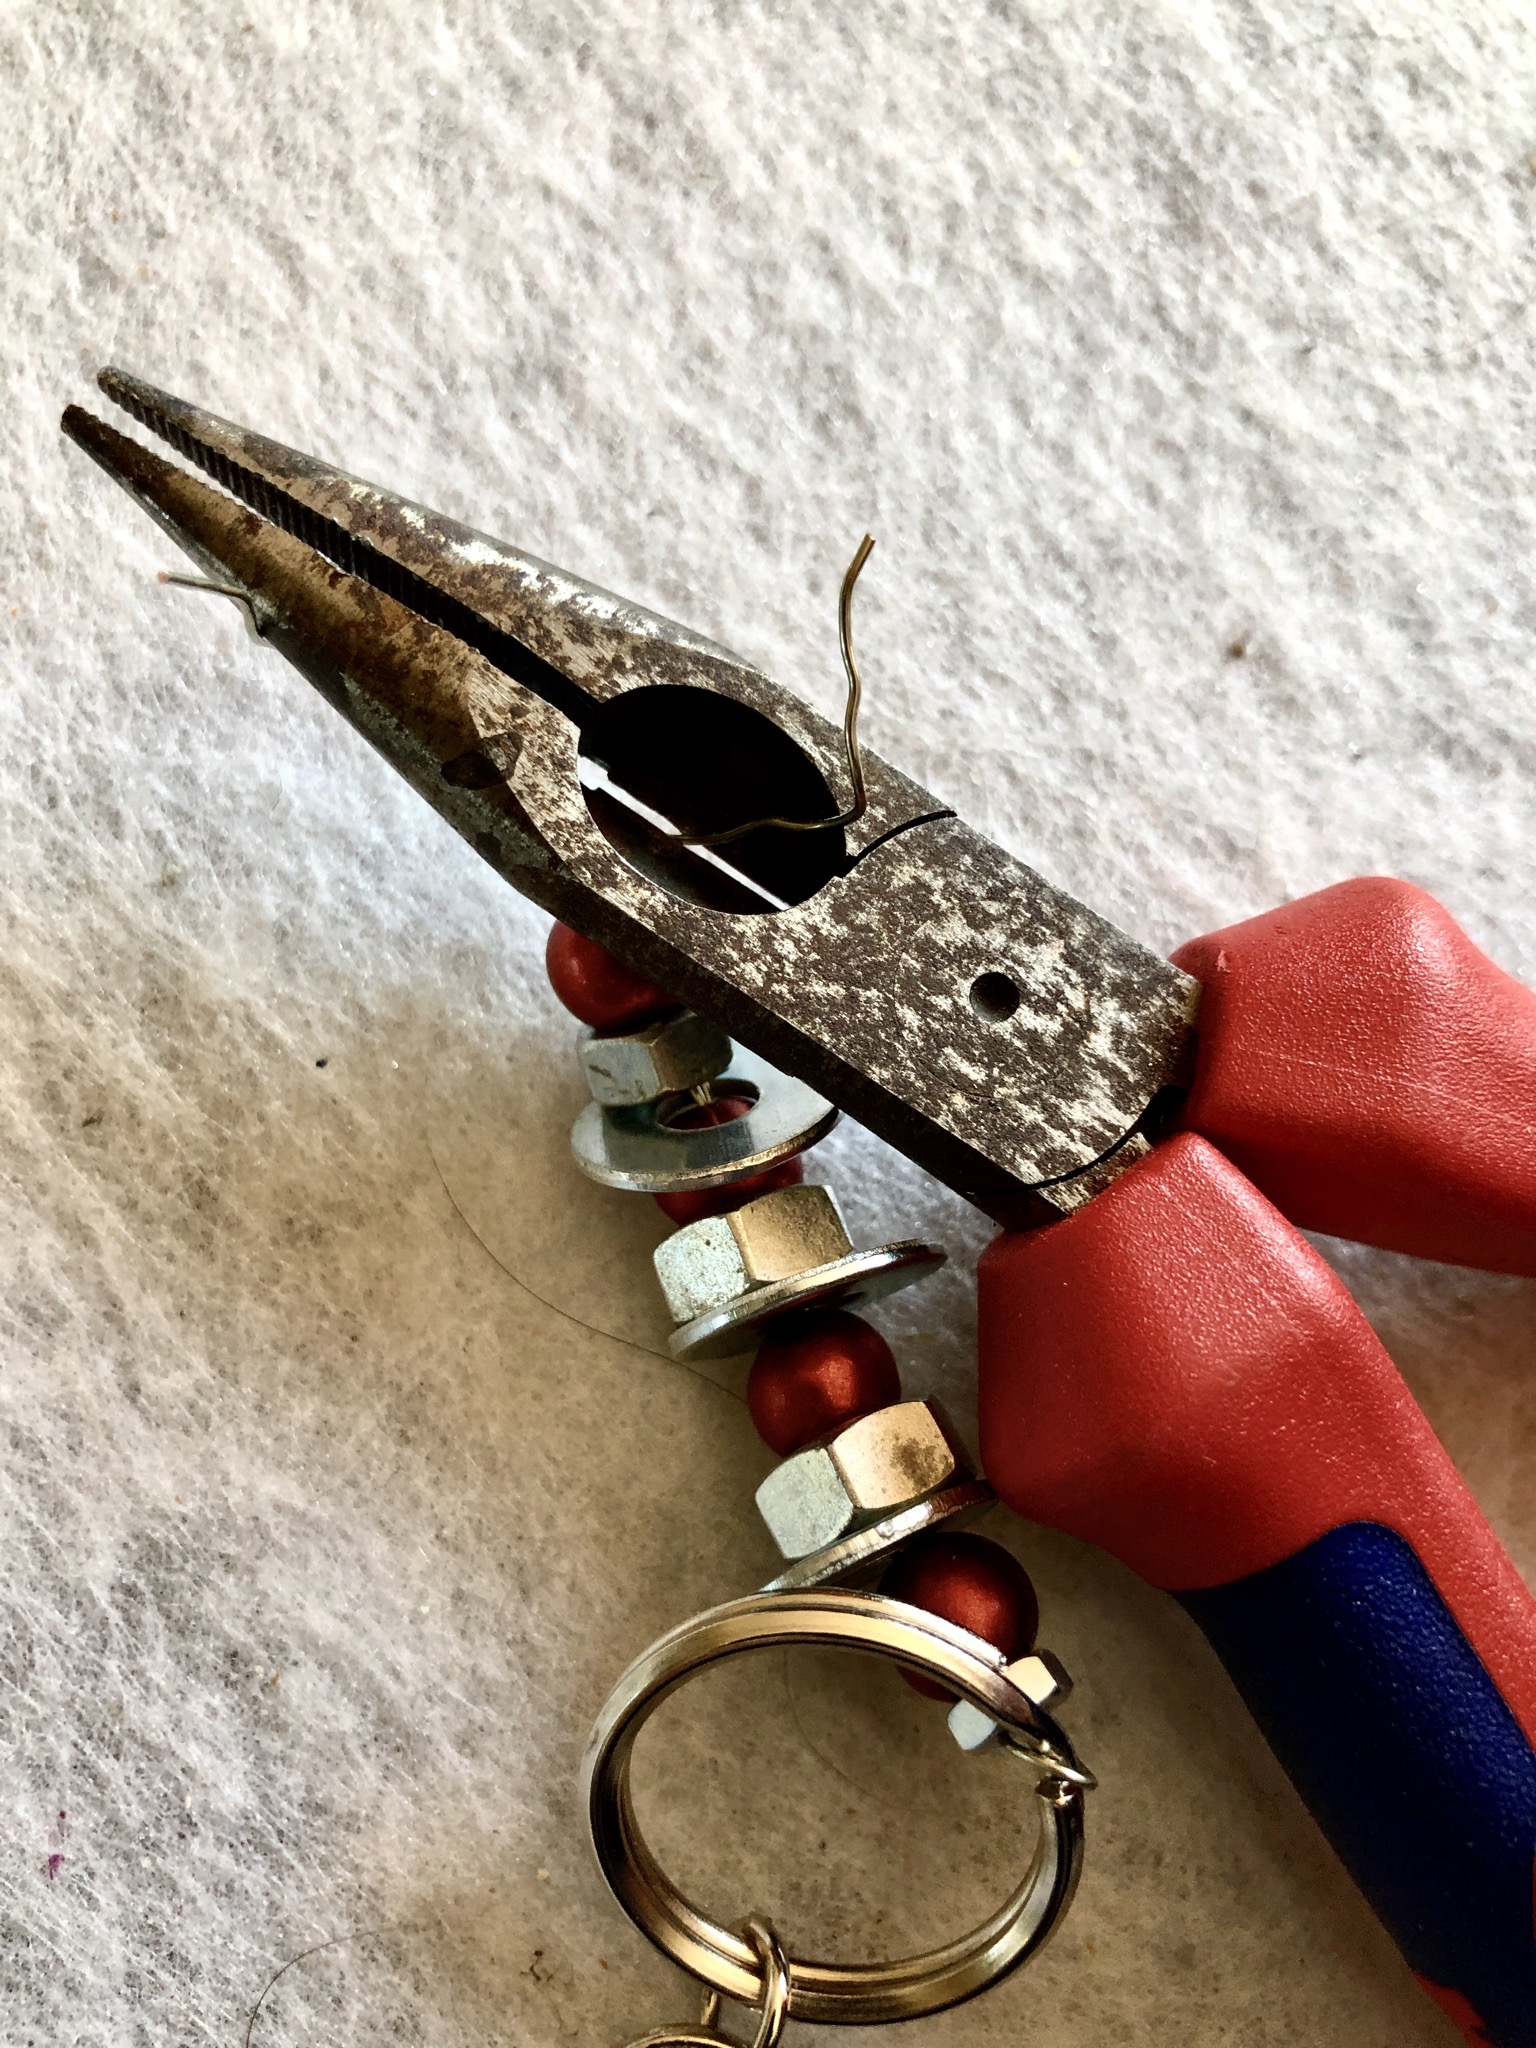
Bend wire ends inwards (that you can't hurt yourself!)

Bild zum Schritt 10 für das Bastel- und DIY-Abenteuer für Kinder: 'Drahtenden nach innen biegen (dass man sich nicht verletzen kann!)'

11

The keychain is ready! Ready to give away!

Bild zum Schritt 11 für das Bastel- und DIY-Abenteuer für Kinder: 'Fertig ist der Schlüsselanhänger! Bereit zum Verschenken!'

Materials

 1 Key ring
 Screw nuts
 Adhesives
 1 Wire about 20 cm long
 1 Small wire pliers

Directions

1

Get things ready.

Bild zum Schritt 1 für das Bastel- und DIY-Abenteuer für Kinder: 'Sachen bereit legen.'

2

Cut off wire. Approx. 20 cm

Bild zum Schritt 2 für das Bastel- und DIY-Abenteuer für Kinder: 'Draht abschneiden. Ca. 20 cm'

3

Connect to the key ring (halved) and twist

Bild zum Schritt 3 für das Bastel- und DIY-Abenteuer für Kinder: 'Am Schlüsselring (halbiert) festbinden und verdrehen'

4

Threading of nuts, pearls and washers alternately
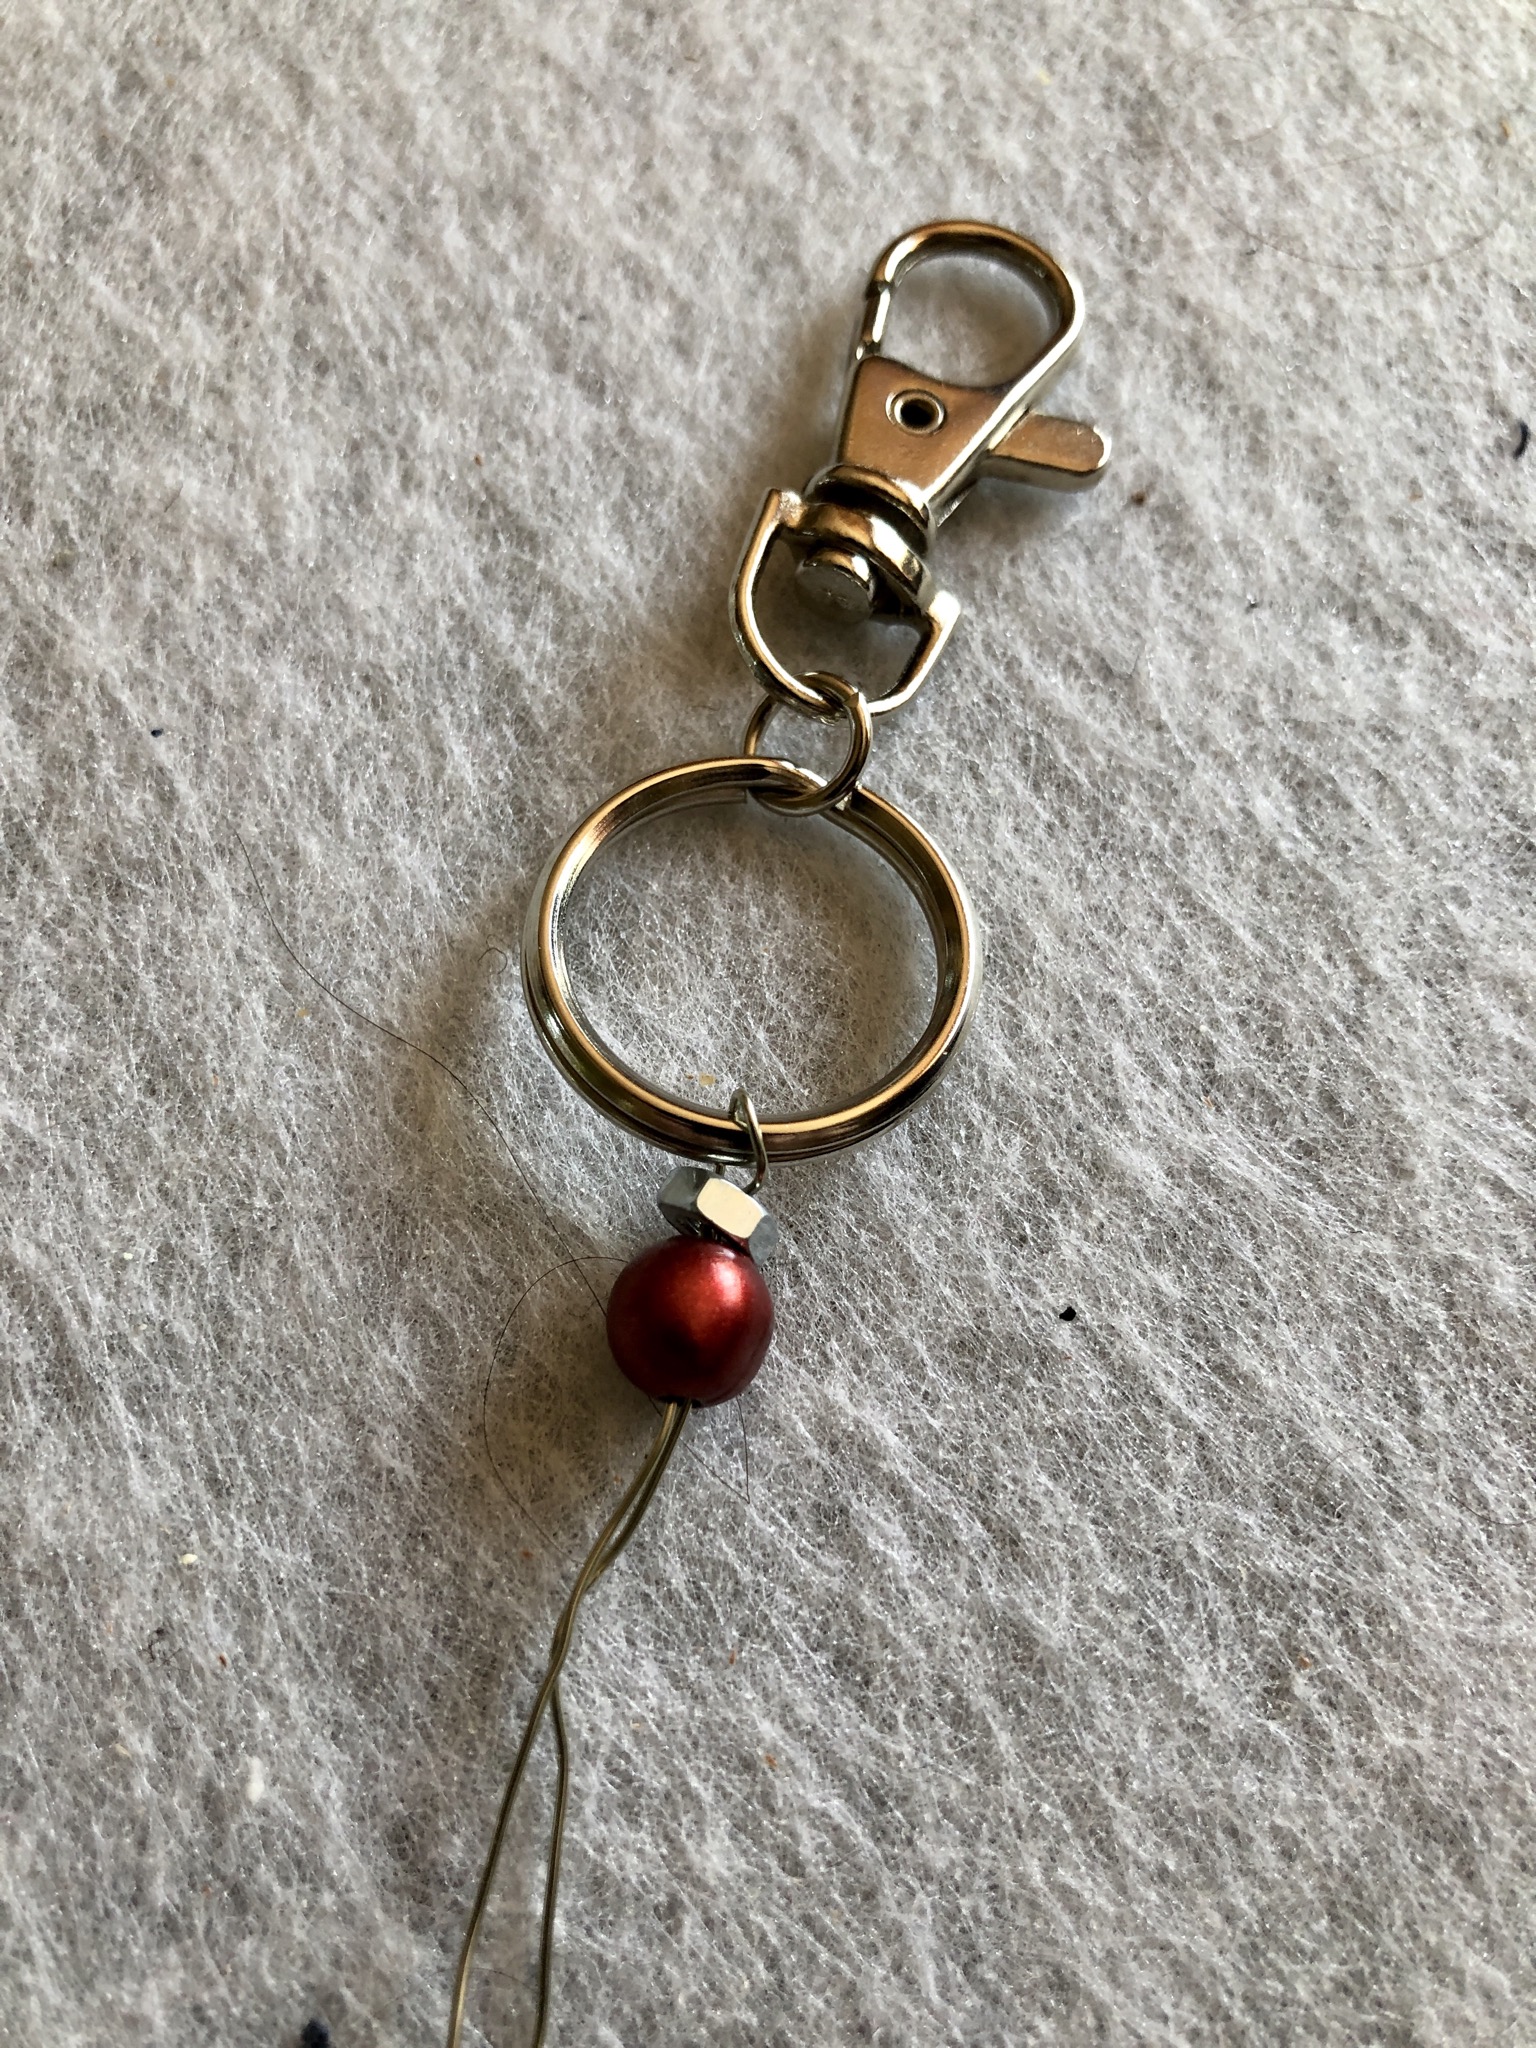
Bild zum Schritt 4 für das Bastel- und DIY-Abenteuer für Kinder: 'Muttern, Perlen und Beilegscheiben abwechselnd auffädeln'

5

2. Bild zum Schritt 4 für das Bastel- und DIY-Abenteuer für Kinder: 'Muttern, Perlen und Beilegscheiben abwechselnd auffädeln'

6

3. Bild zum Schritt 5 für das Bastel- und DIY-Abenteuer für Kinder: 'Muttern, Perlen und Beilegscheiben abwechselnd auffädeln'

7

At the end, tie a little mother to the end, thread the wire back.

Bild zum Schritt 7 für das Bastel- und DIY-Abenteuer für Kinder: 'Am Ende eine kleine Mutter als Abschluss festmachen, dazu den...'

8

Push the nut firmly to the other threaded parts and bend wire around the nut downwards, once loop and shorten between the last two threaded parts.
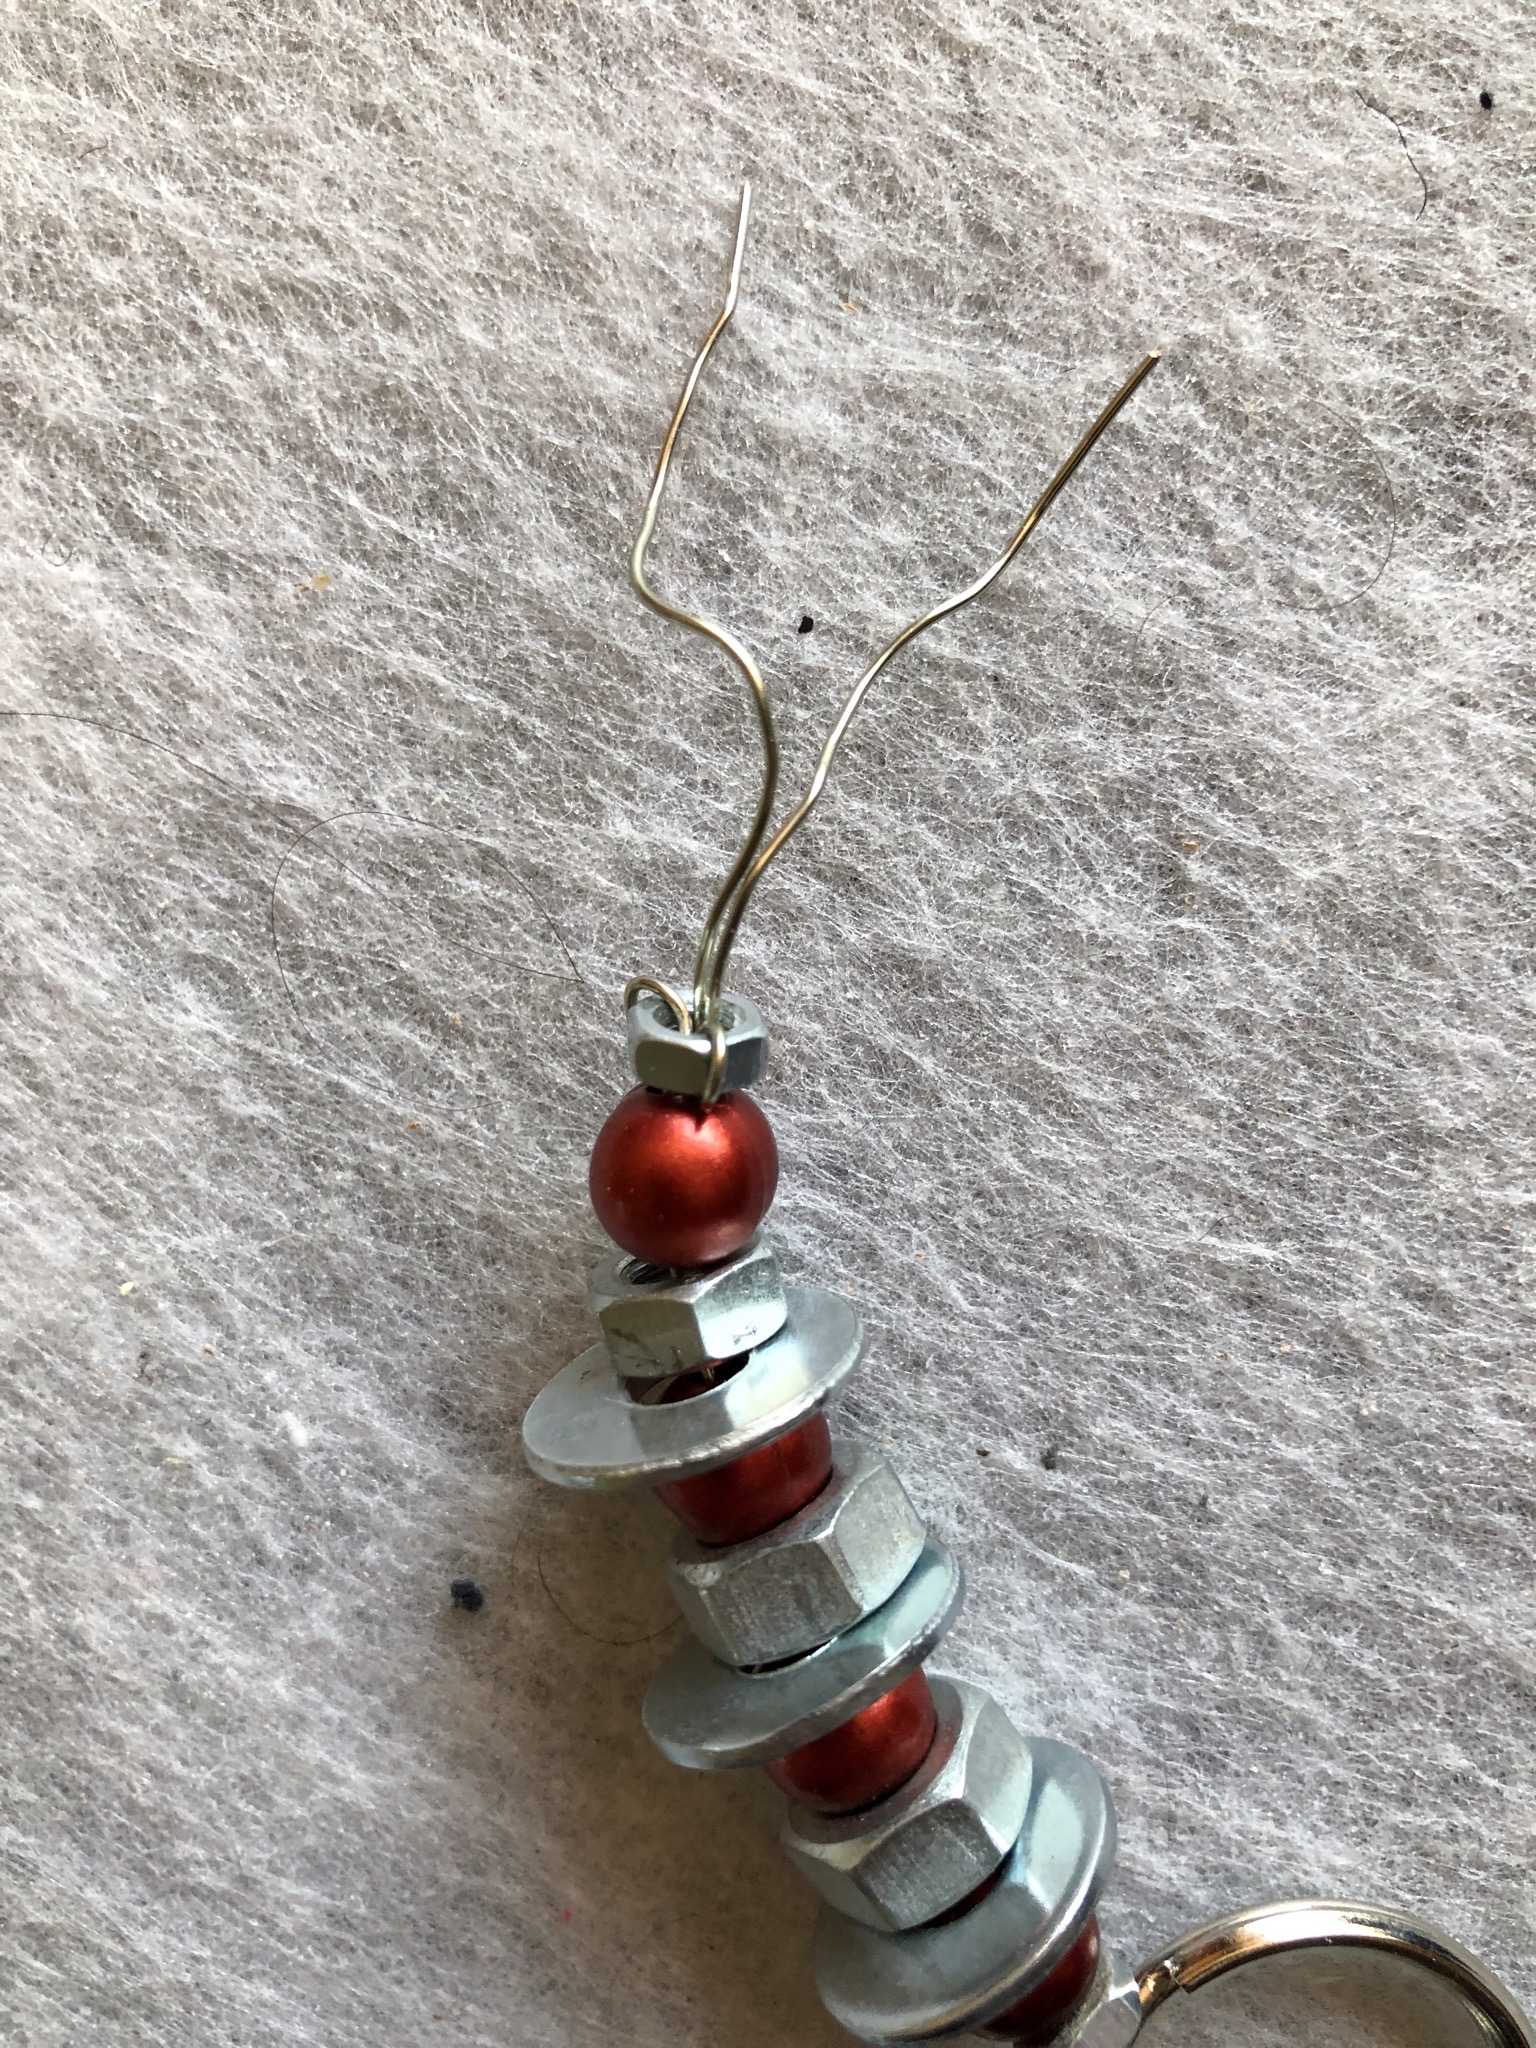
Bild zum Schritt 8 für das Bastel- und DIY-Abenteuer für Kinder: 'Mutter fest an die anderen gefädelten Teile schieben und Draht...'

9

2. Bild zum Schritt 8 für das Bastel- und DIY-Abenteuer für Kinder: 'Mutter fest an die anderen gefädelten Teile schieben und Draht...'

10

Bend wire ends inwards (that you can't hurt yourself!)
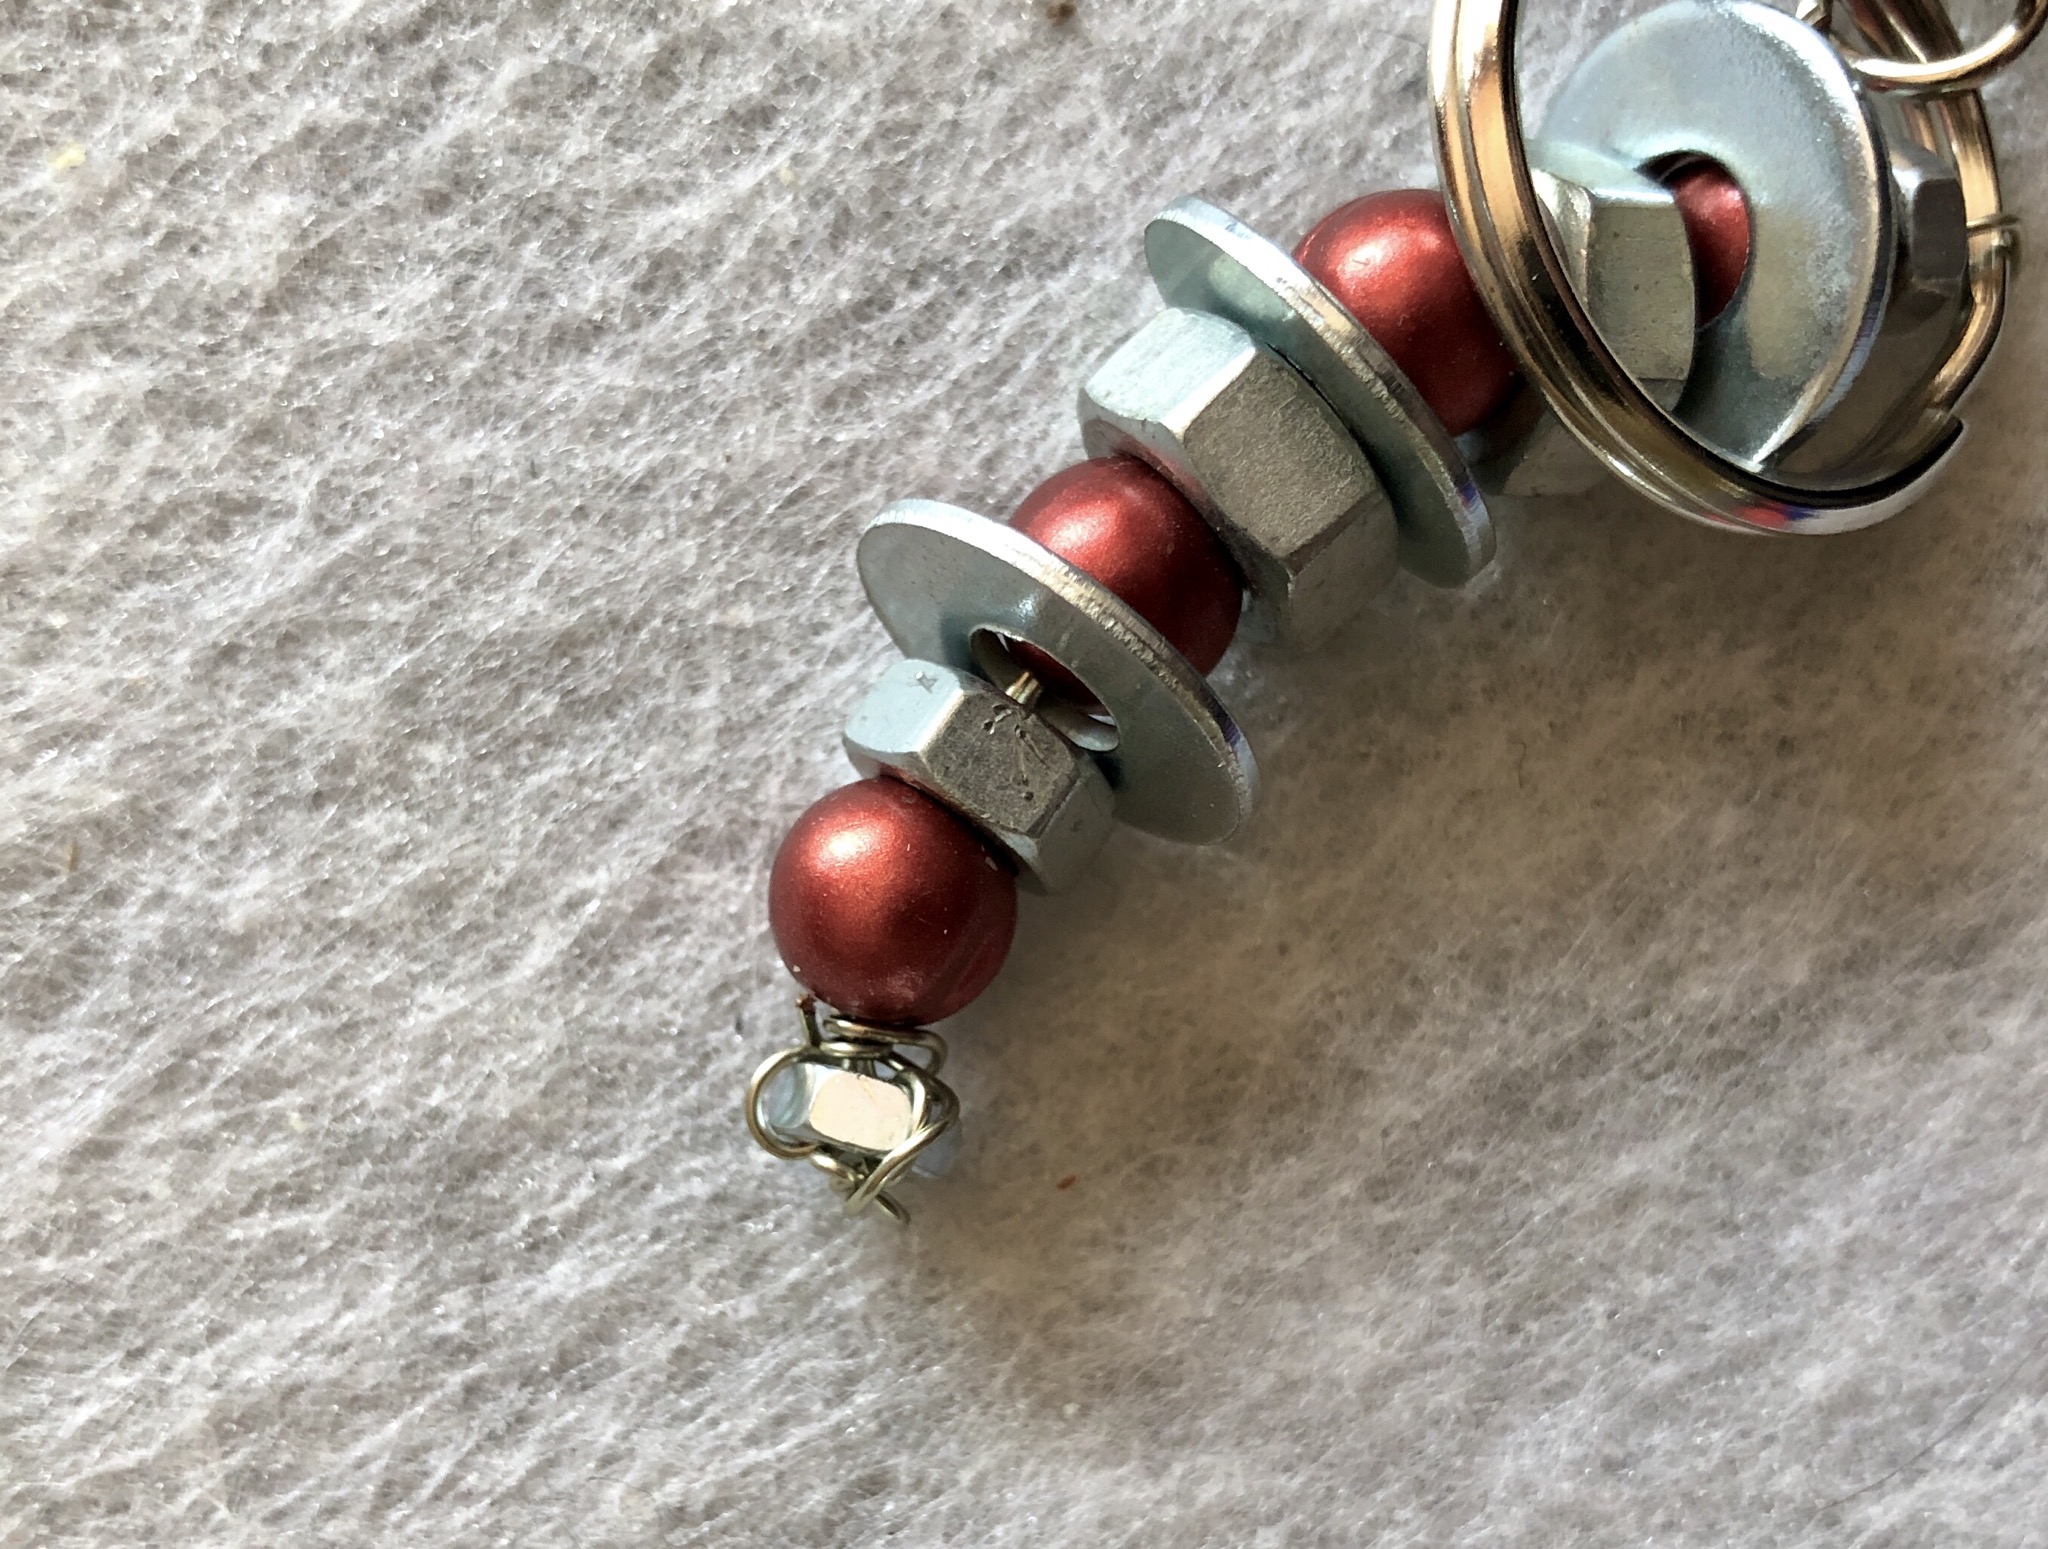
Bild zum Schritt 10 für das Bastel- und DIY-Abenteuer für Kinder: 'Drahtenden nach innen biegen (dass man sich nicht verletzen kann!)'

11

The keychain is ready! Ready to give away!
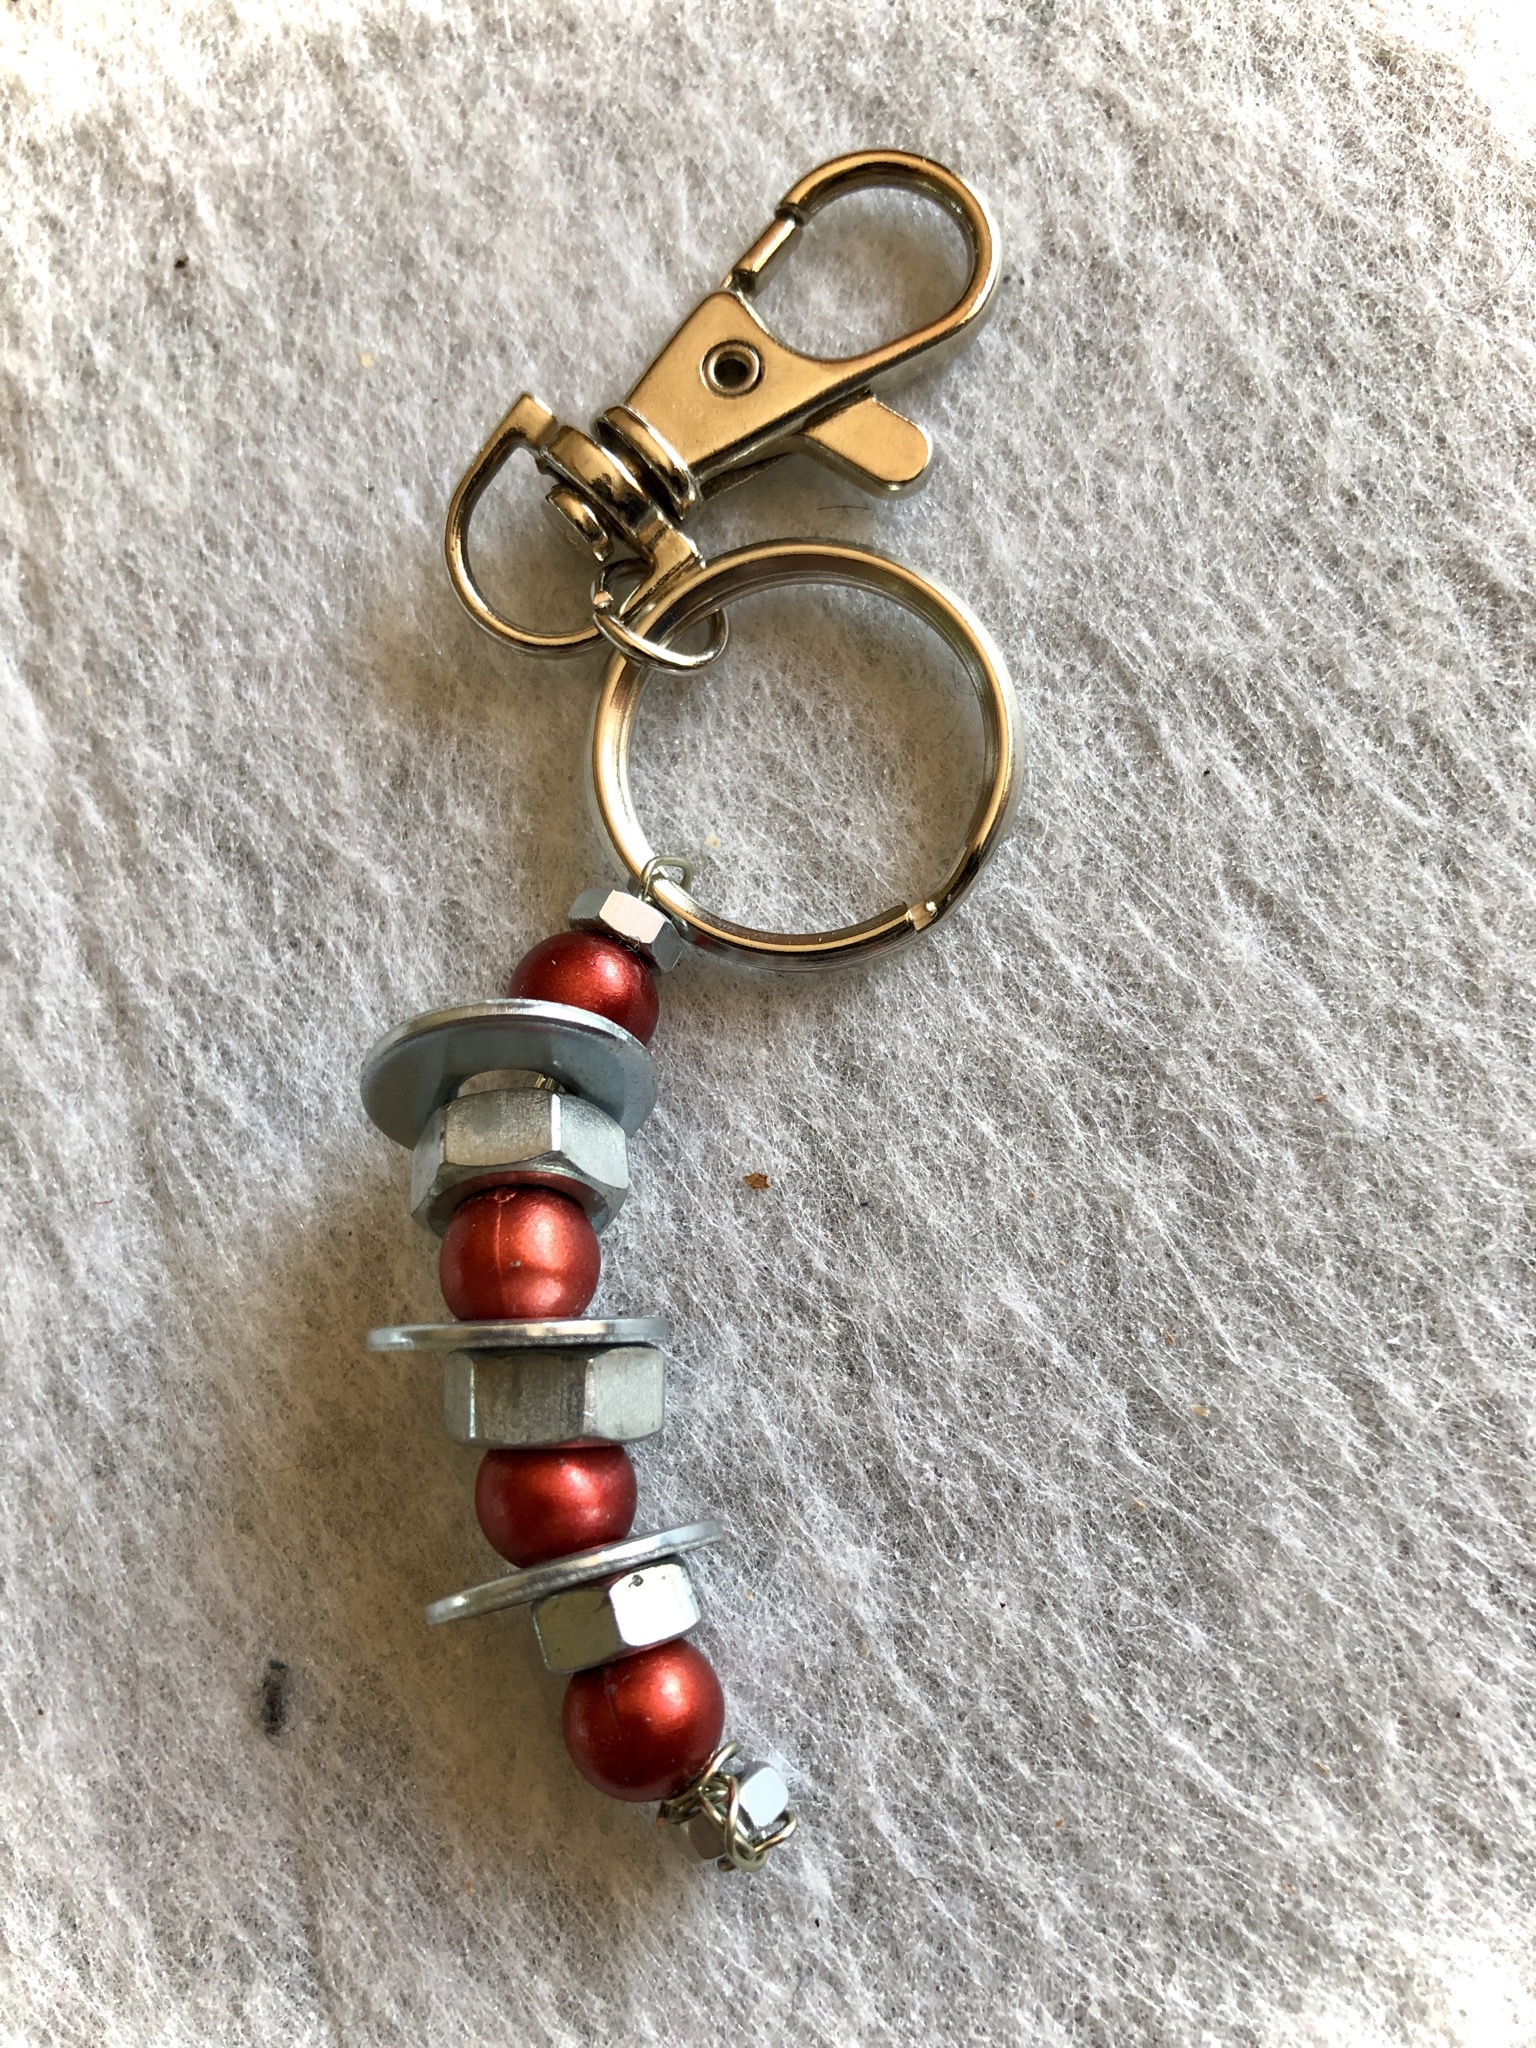
Bild zum Schritt 11 für das Bastel- und DIY-Abenteuer für Kinder: 'Fertig ist der Schlüsselanhänger! Bereit zum Verschenken!'

Make keychains

Follow us on Facebook , Instagram and Pinterest
Don't miss any more adventures: Our bottle mail

Leave a Reply

Your email address will not be published.

The maximum upload file size: 5 MB. You can upload: image, document. Drop file here