Print Options:

Learn to tie loop – 3 variants

Material for1 ChildPrep Time5 min.Adv. Time10 min.Total Time15 min.

Titelbild zur Bastel- und DIY-Idee für Kinder '(86) Schleife binden lernen – 3 Varianten'

 1 hard cardboard box
 1 Shoelaces
 1 Scissors
All links marked with a shopping cart lead to Amazon - here we have selected products that we would order ourselves and in part also ordered. In a qualified purchase via the advertising link, we as Amazon partner receive a commission, for you there are no costs. You thus support our cost- and advertising banner-free, educational offer.
1

To cut cardboard into a handy size for children. Here approximately. 10x15 cm.

Bild zum Schritt 1 für das Bastel- und DIY-Abenteuer für Kinder: 'Pappkarton in eine für Kinder handliche Größe zu schneiden. Hier...'

2

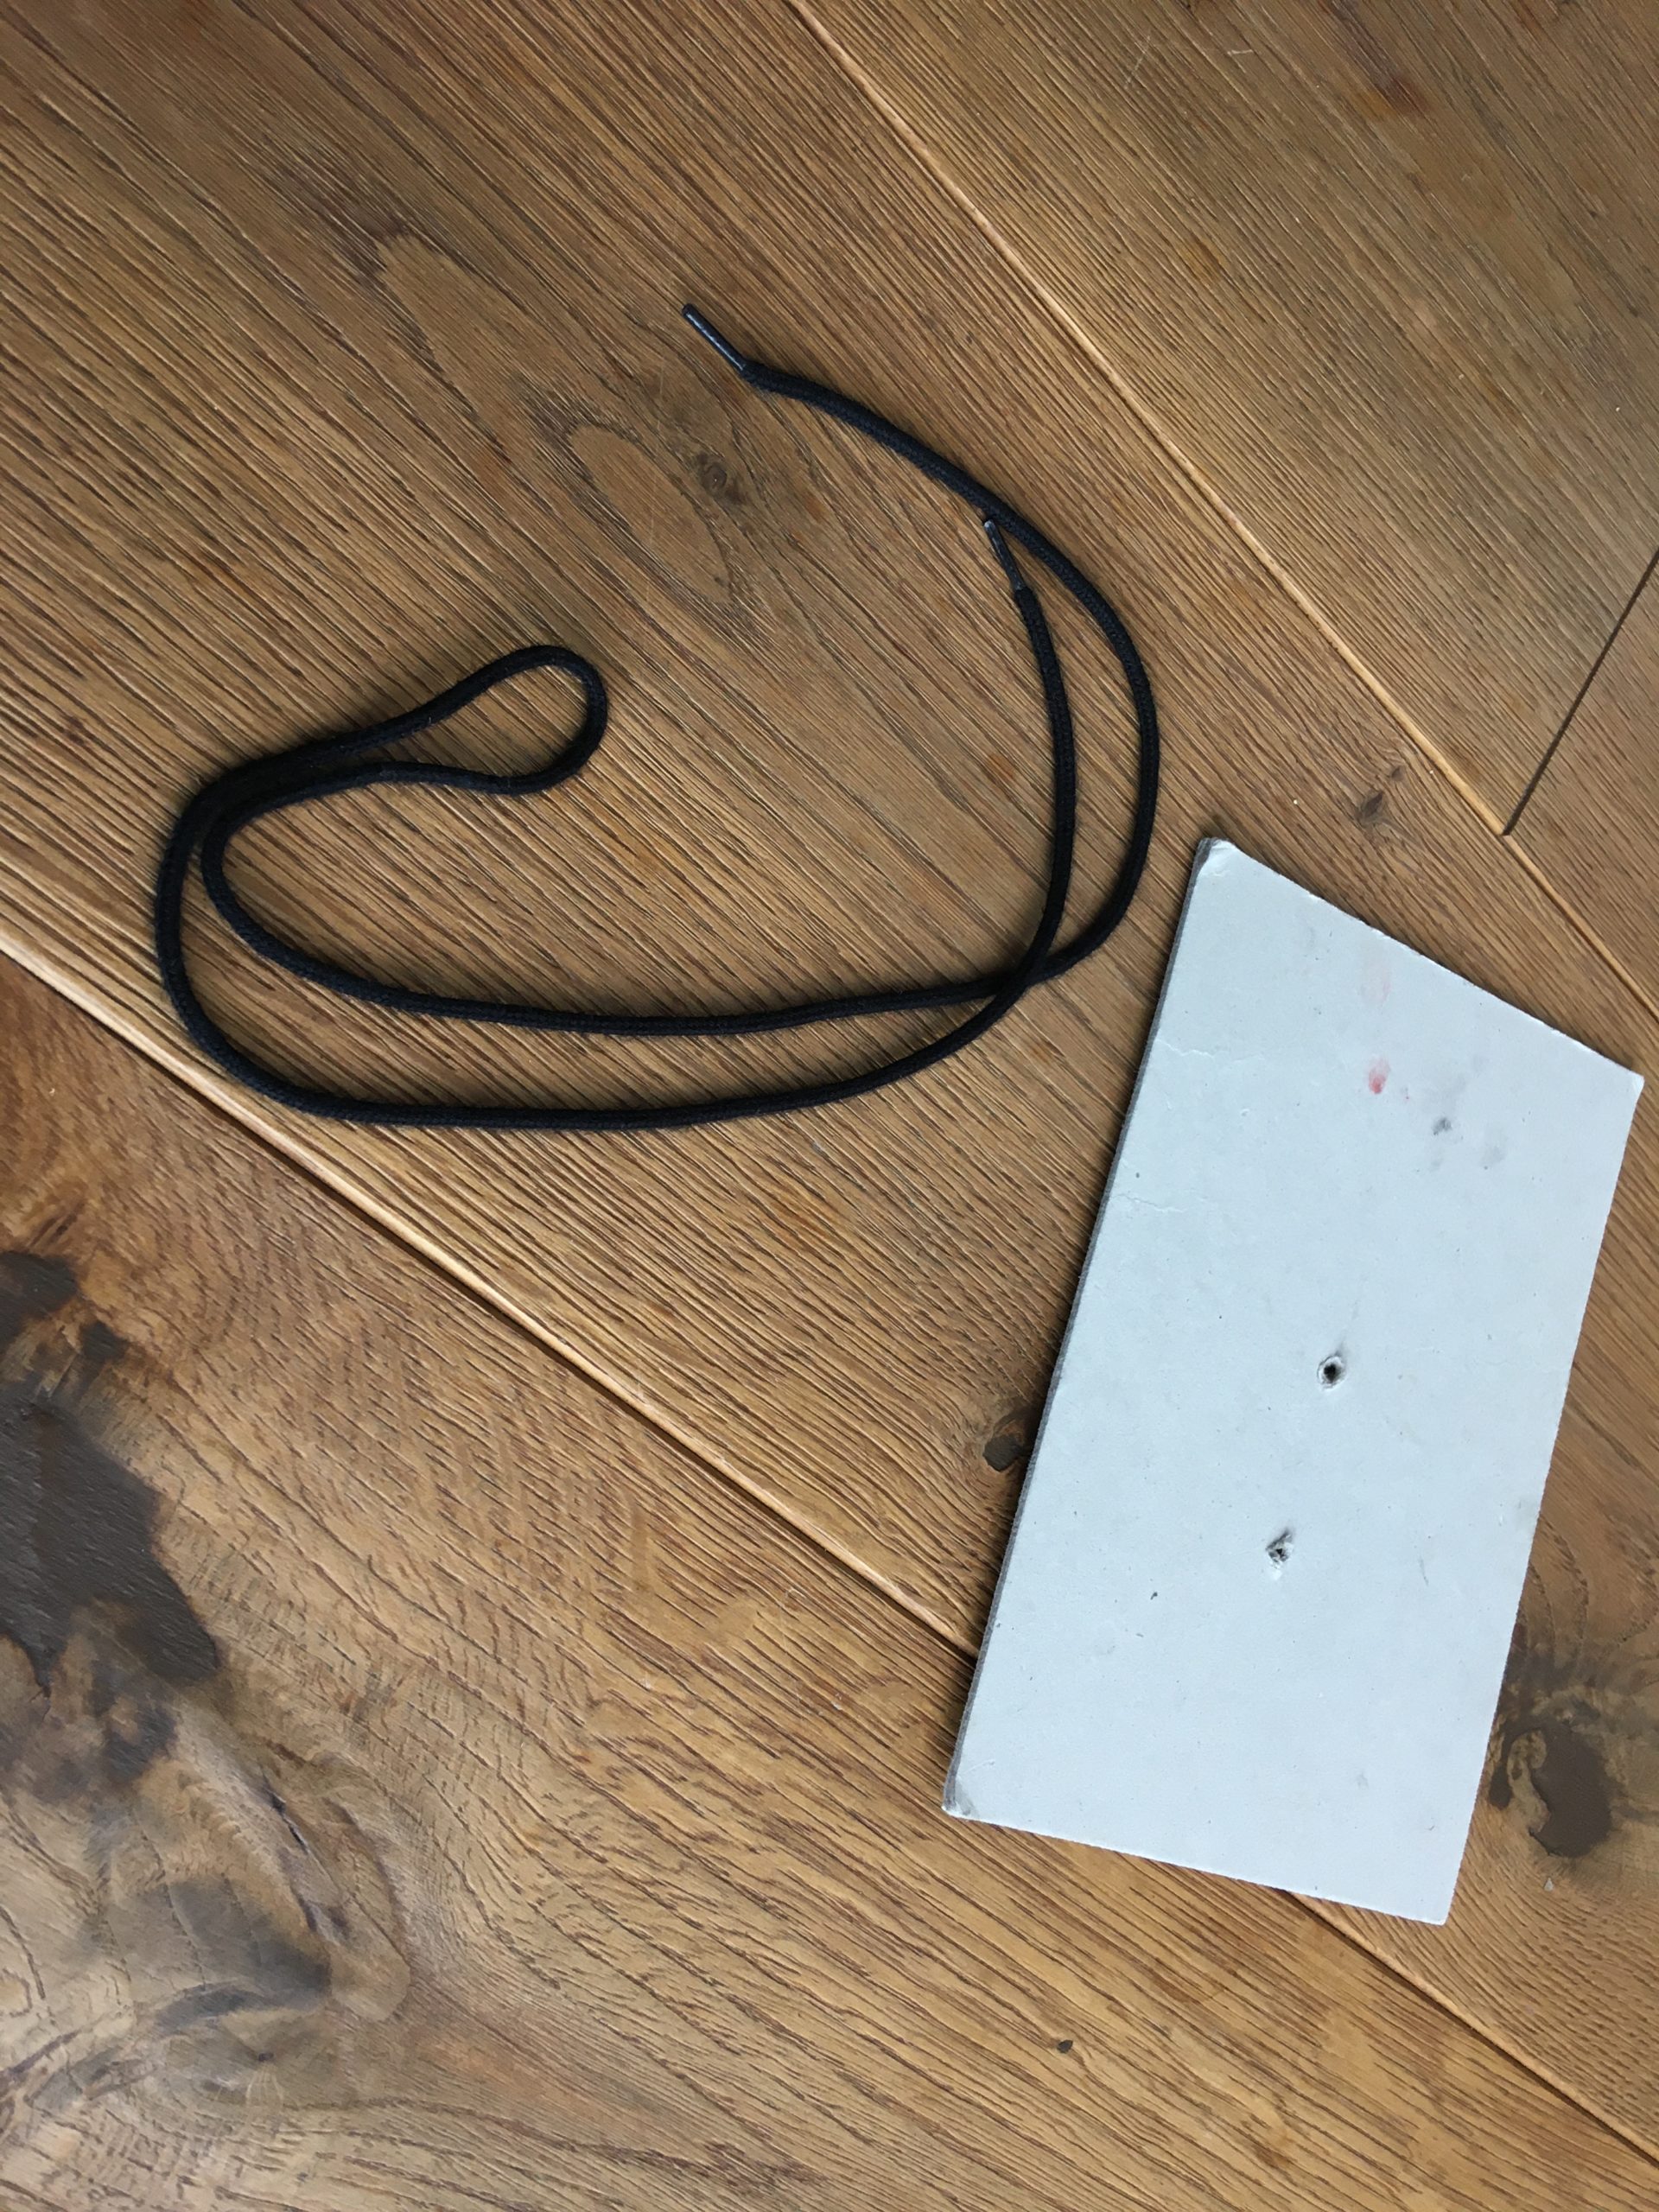
Then drill two holes in the box with the scissors. Children should not do this alone (risk of injury!).

3

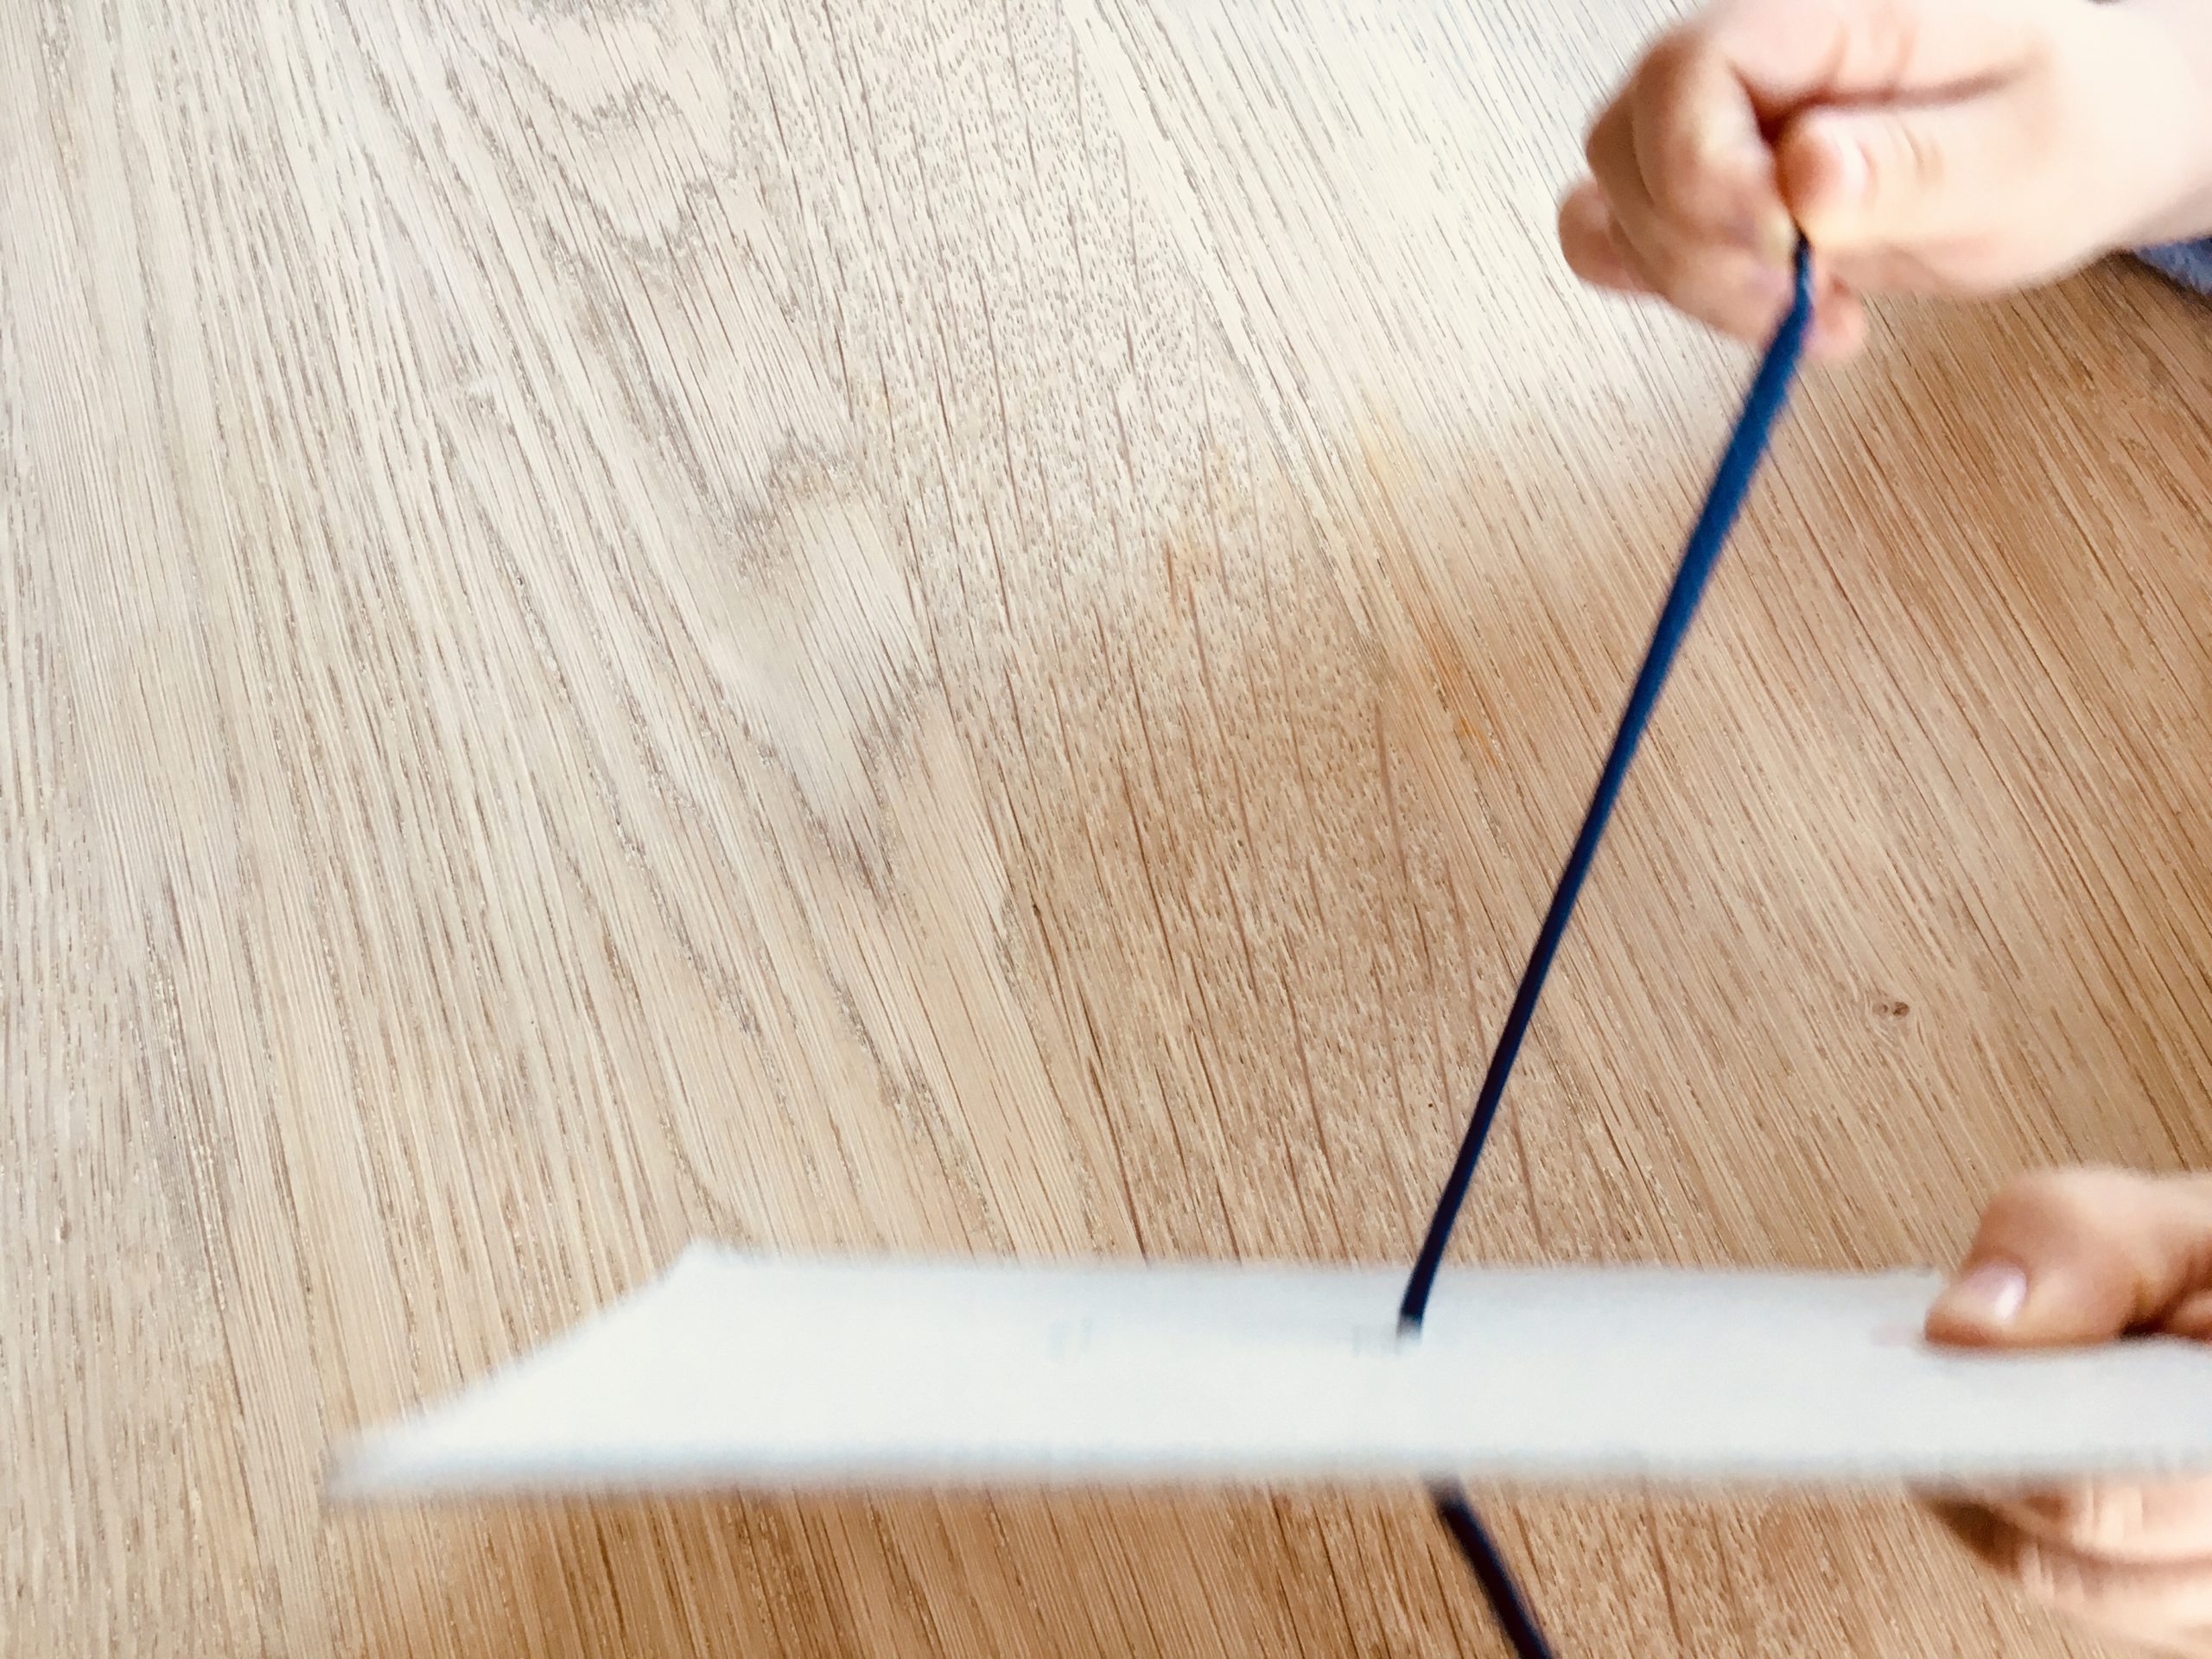
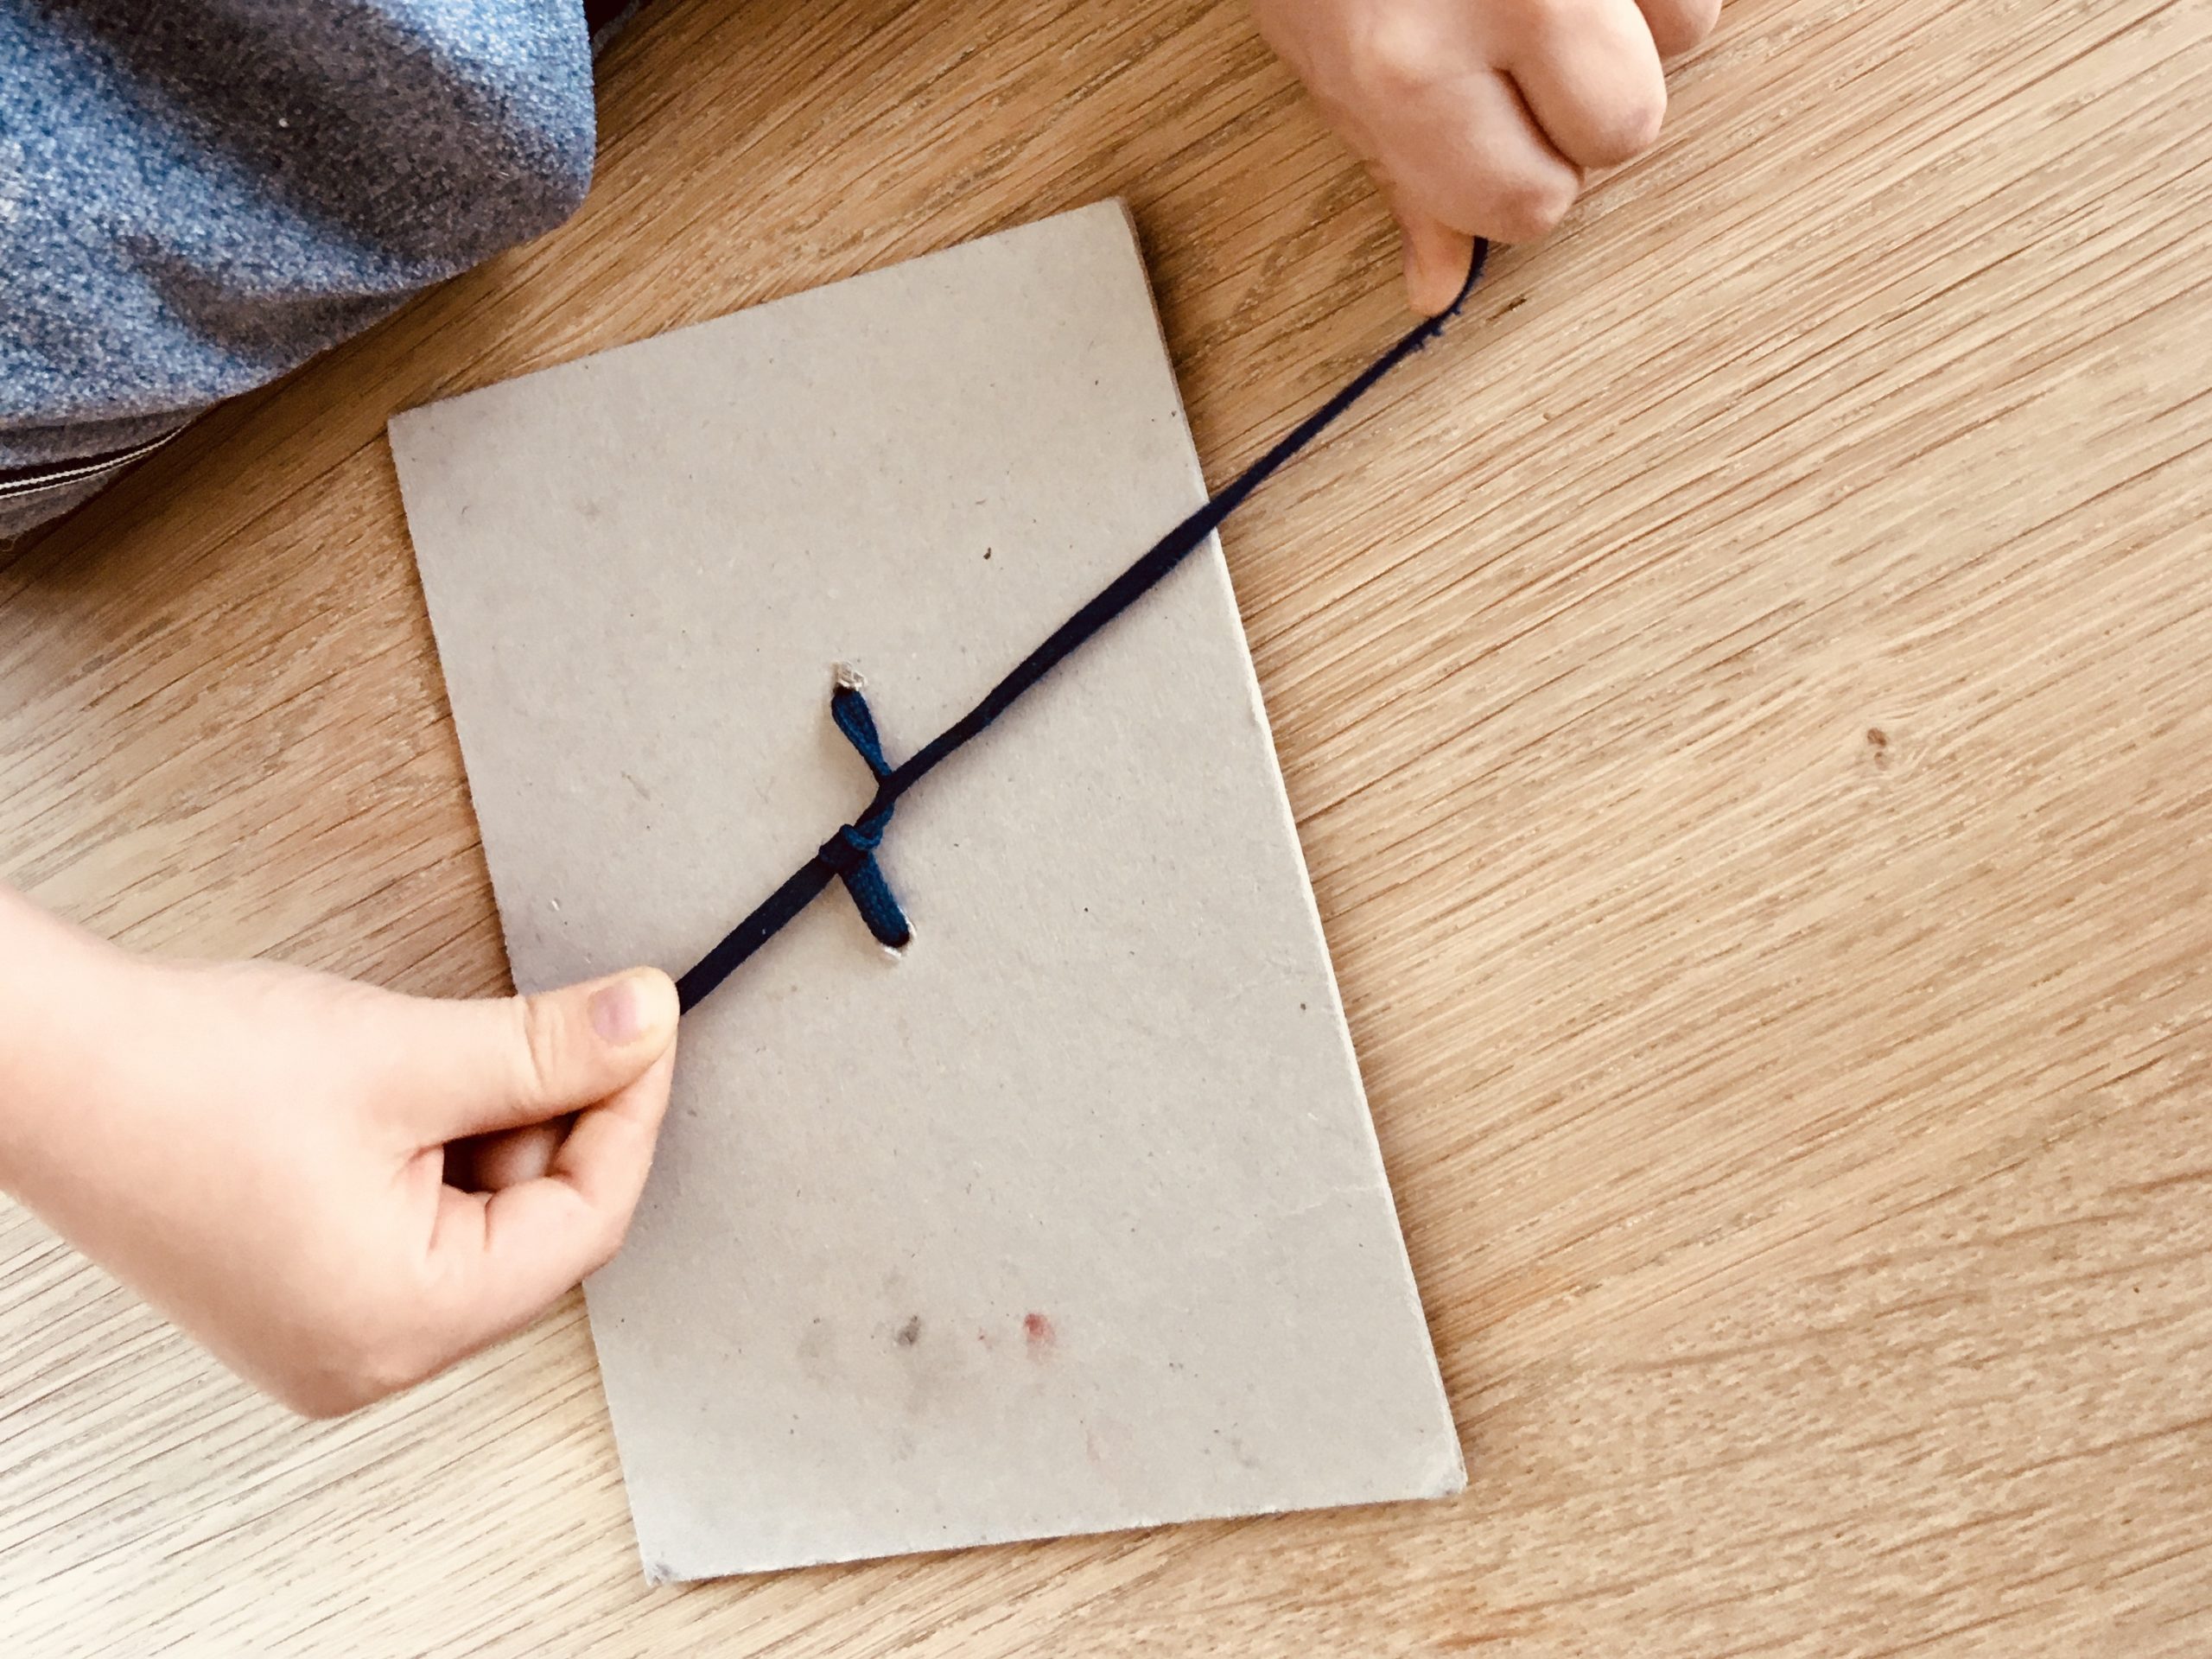
Pull the shoe strap through both holes.

Bild zum Schritt 3 für das Bastel- und DIY-Abenteuer für Kinder: 'Den Schuhbändel durch beide Löcher ziehen.'

4

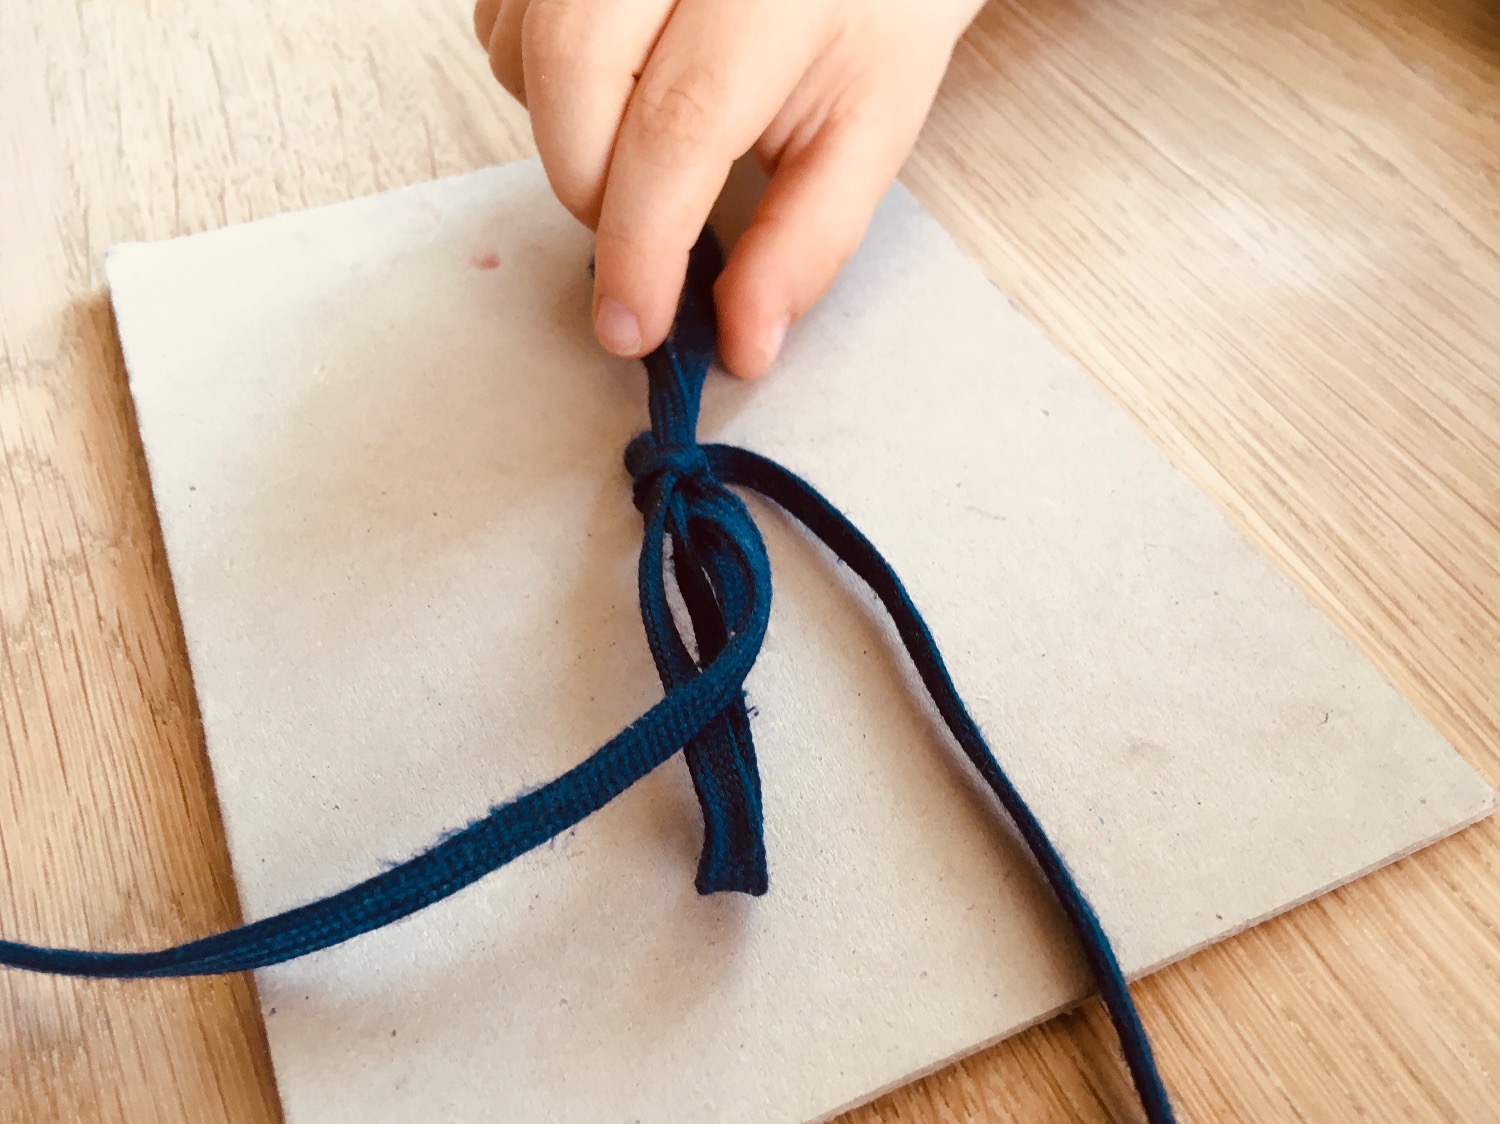
Show the child how to tie a loop and then let the child practice.
In the beginning the children lose interest again and again, because the loop often does not succeed immediately. However, our children take the cardboard again and again and want to get the loop shown. Also for longer car rides or restaurant visits a possibility to bridge the times.

Bild zum Schritt 4 für das Bastel- und DIY-Abenteuer für Kinder: 'Dem Kind zeigen, wie es eine Schleife bindet und dann...'

5

1. Variant: as described with the cardboard box
2. Variant: uses an empty egg box; turns it around and inserts a shoe ribbon through the elevations (the children may need support)
3. Variant: there is also an old shoe in which the children can practice threading and binding of the loop.

Nutrition Facts

Children 0