Print Options:

Penguin from a paper circle

Material for1 ChildPrep Time5 min.Adv. Time30 min.Total Time35 min.

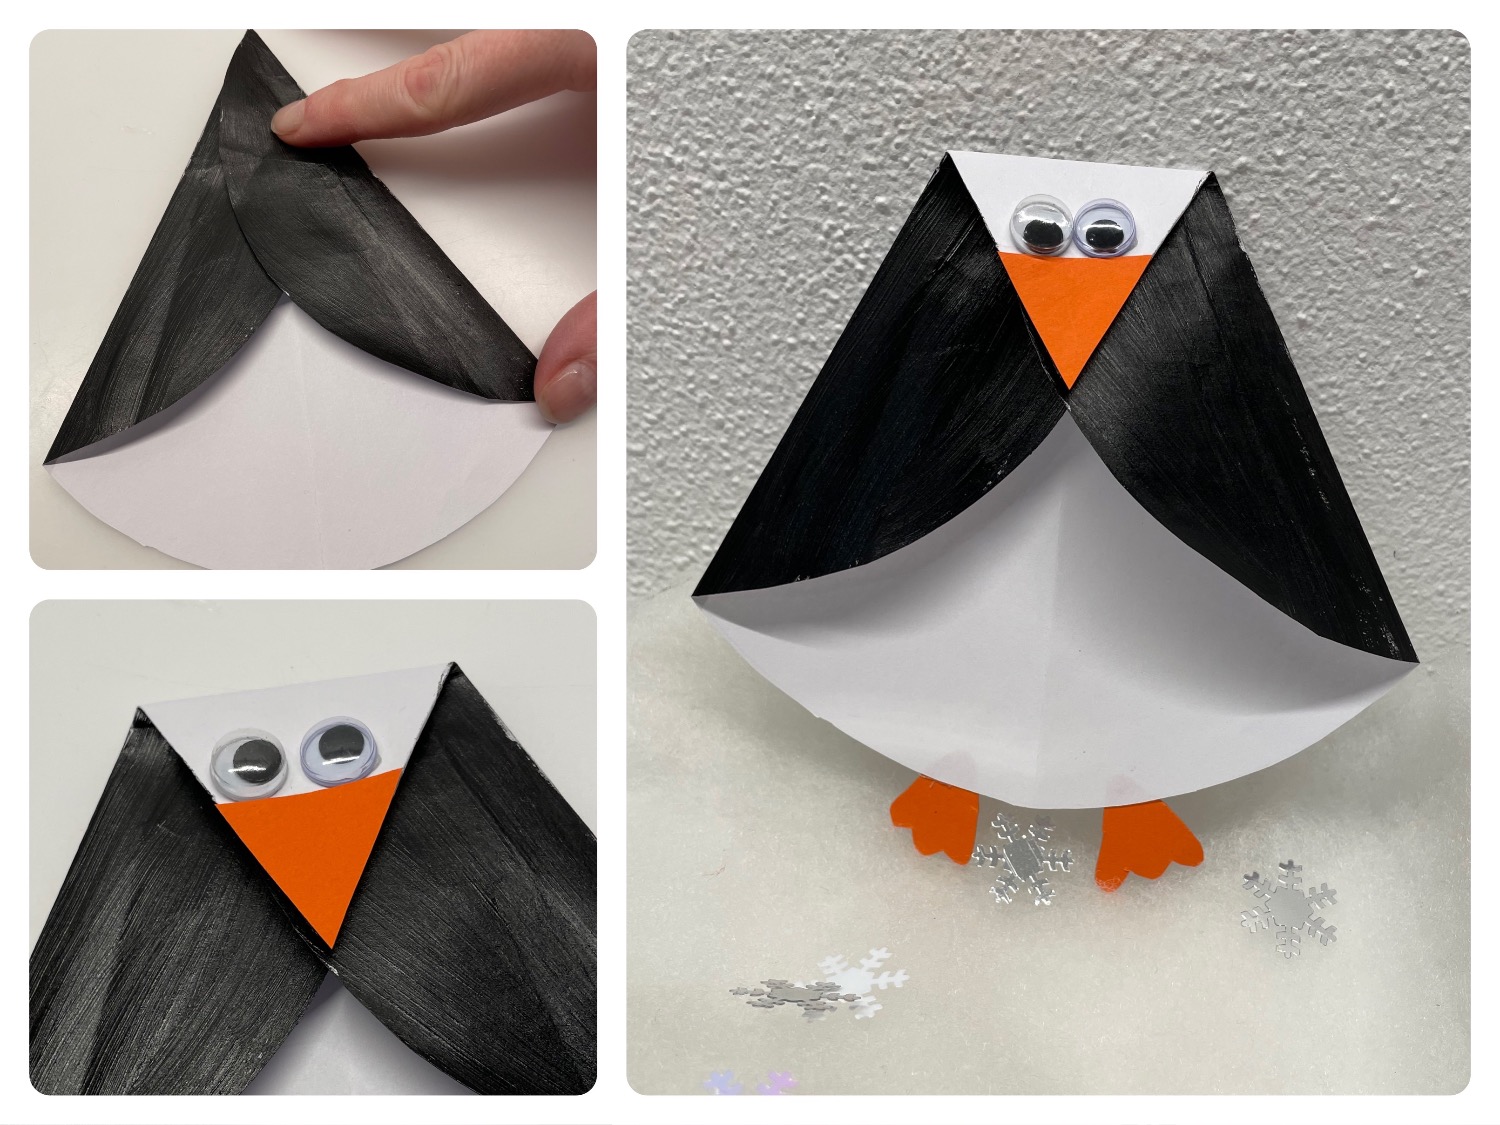
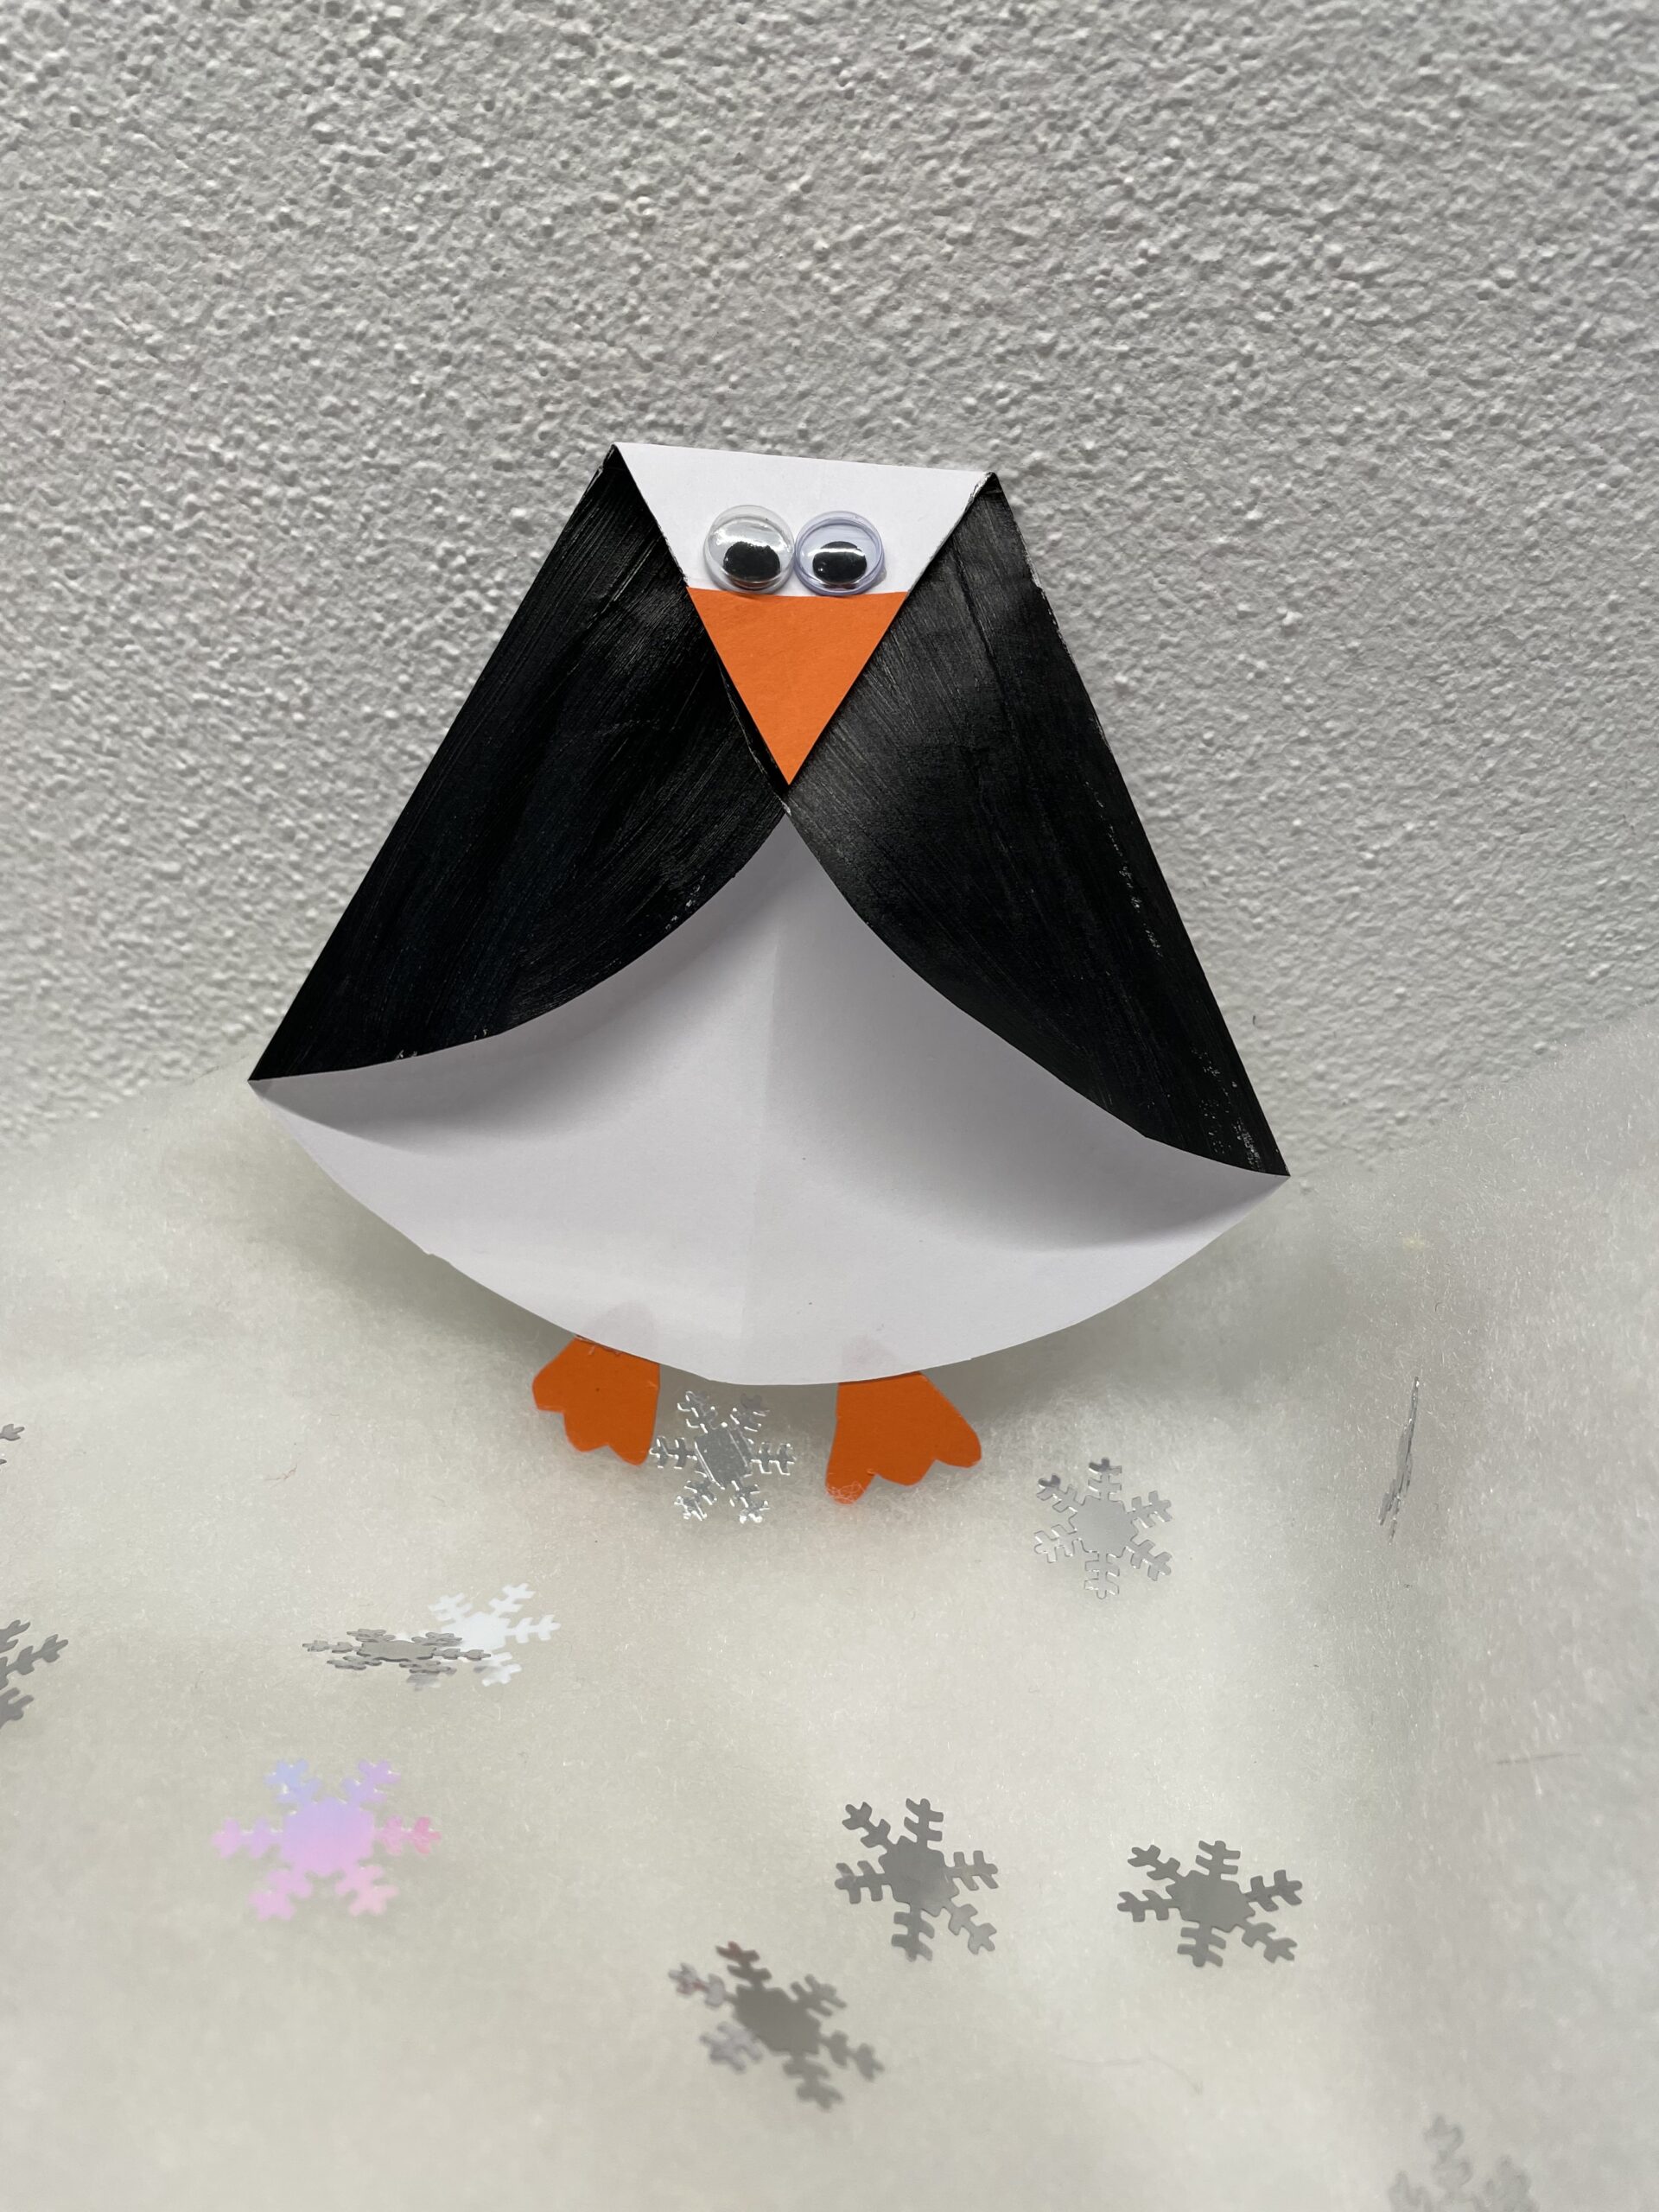
This penguin has been created from a paper circle. Alternatively, you can use a cardboard plate. Fold the two opposite sides so that you get into a tip. Then you open the fold again and paint the back with black paint. After drying, you fold both wings back inwards. Now you fold the resulting tip a piece down and fix it with glue. Then you stick the beak on the top. Two wobble eyes and two small feet to it and the penguin is finished. Enjoy crafting, painting and gluing!

Titelbild zur Bastel- und DIY-Idee für Kinder '(945) Pinguin aus einem Papierkreis'

 1 Paper circleor cardboard plates
 1 Rest of paper orange
 Color blacke.g. water paints, crayon
 2 Wax eyes
 1 Scissors
 1 Pen
 1 Adhesive pen
 Builder's pad
All links marked with a shopping cart lead to Amazon - here we have selected products that we would order ourselves and in part also ordered. In a qualified purchase via the advertising link, we as Amazon partner receive a commission, for you there are no costs. You thus support our cost- and advertising banner-free, educational offer.
1

First paint a large circle on a white paper. Then mark the two wings by drawing a line to the left and right of the circle, so that both lines meet in the middle.
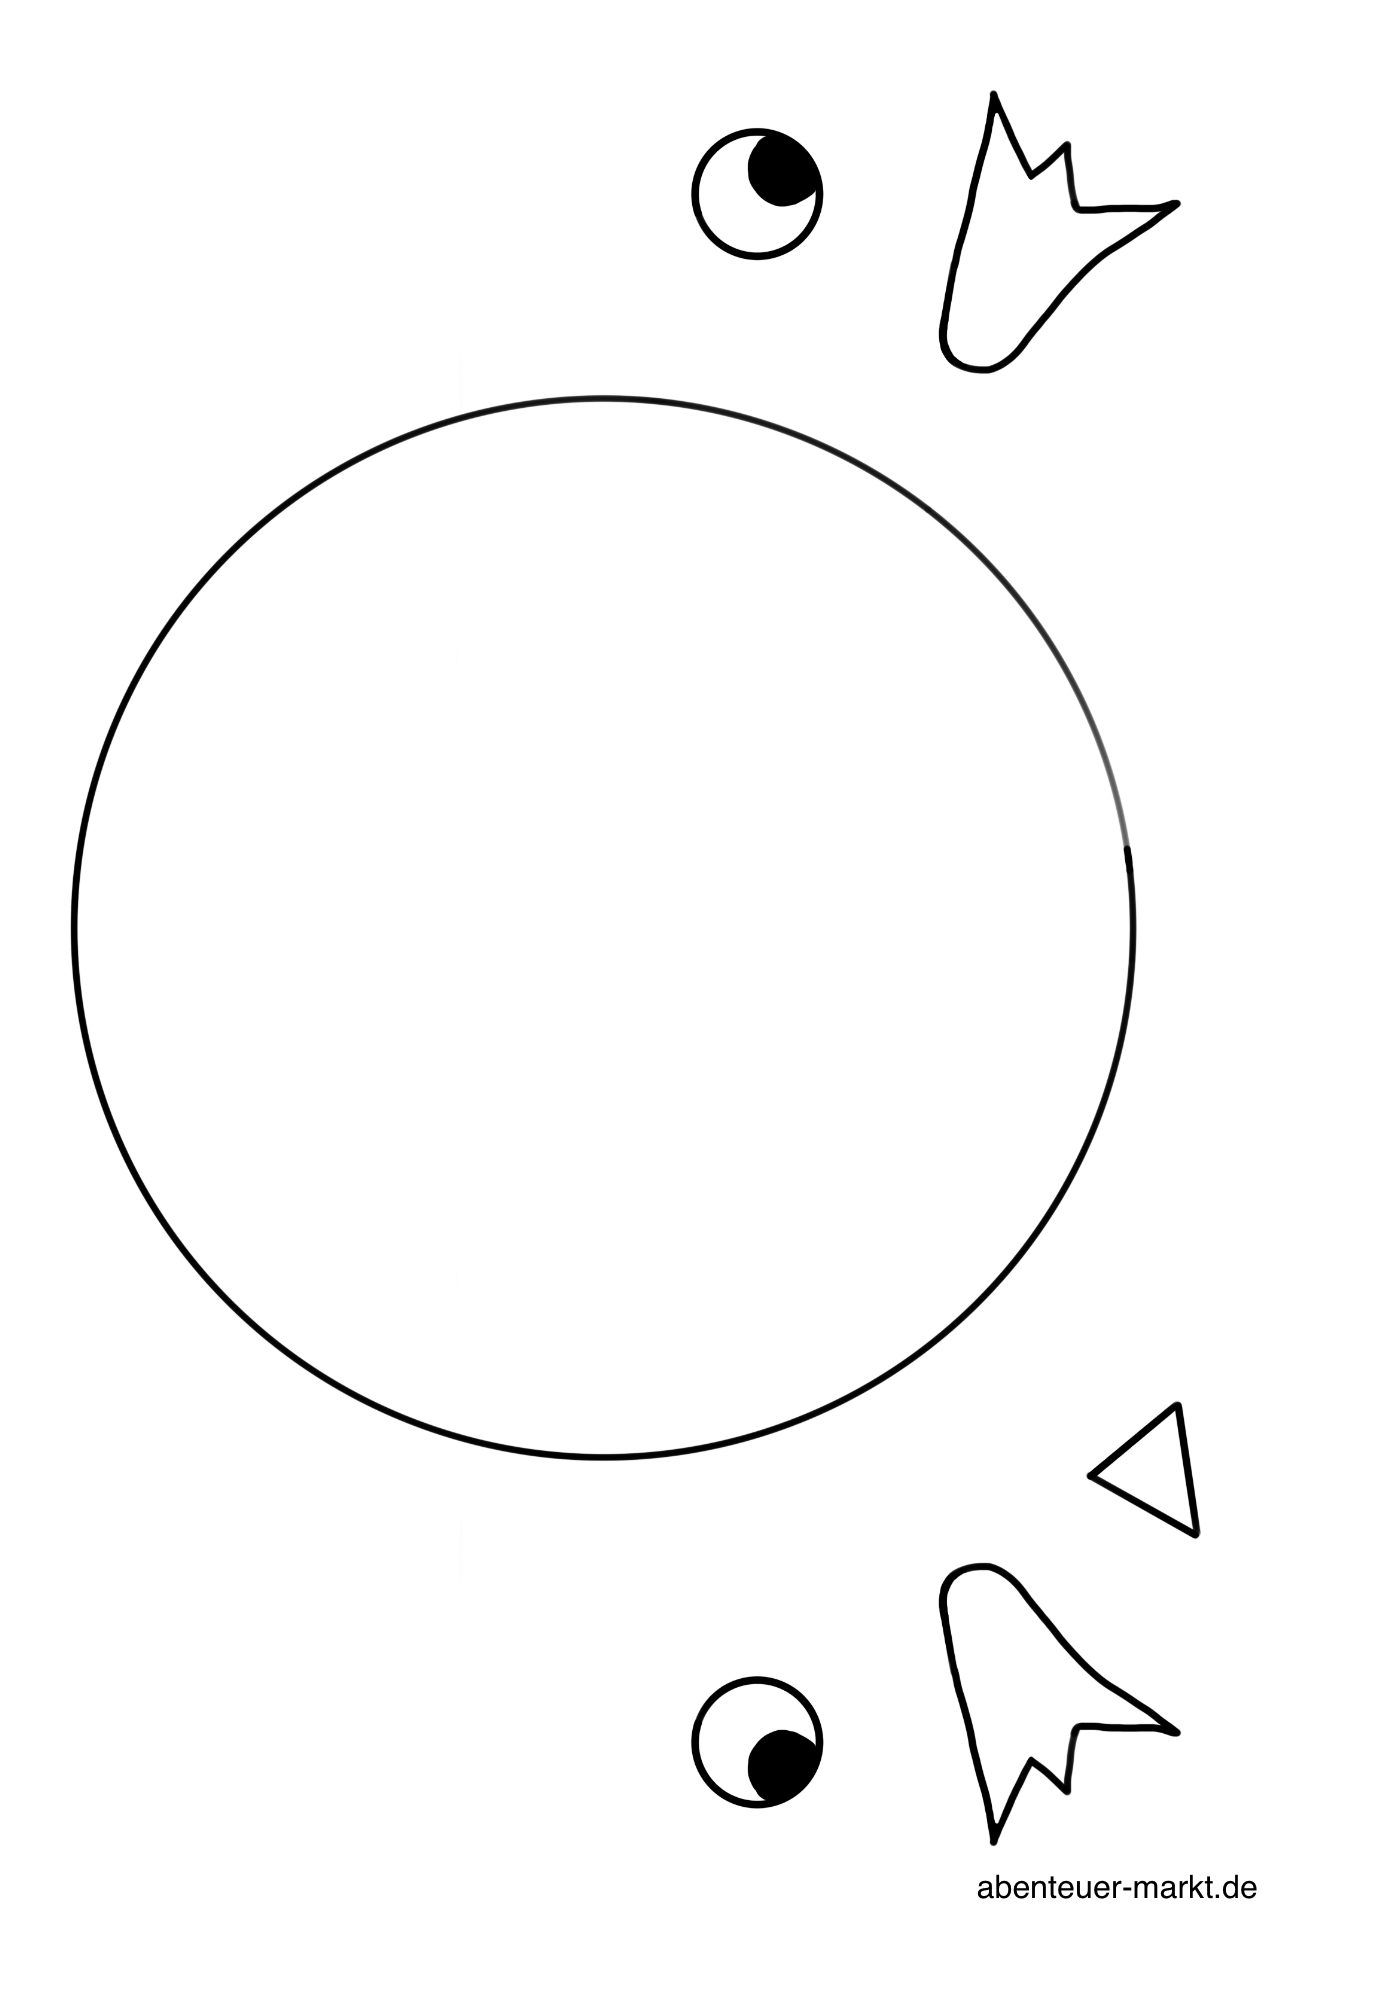
Tip: At the end of the description you will find a template.

Bild zum Schritt 1 für das Bastel- und DIY-Abenteuer für Kinder: 'Malt euch zuerst einen großen Kreis auf ein weißes Papier....'

2

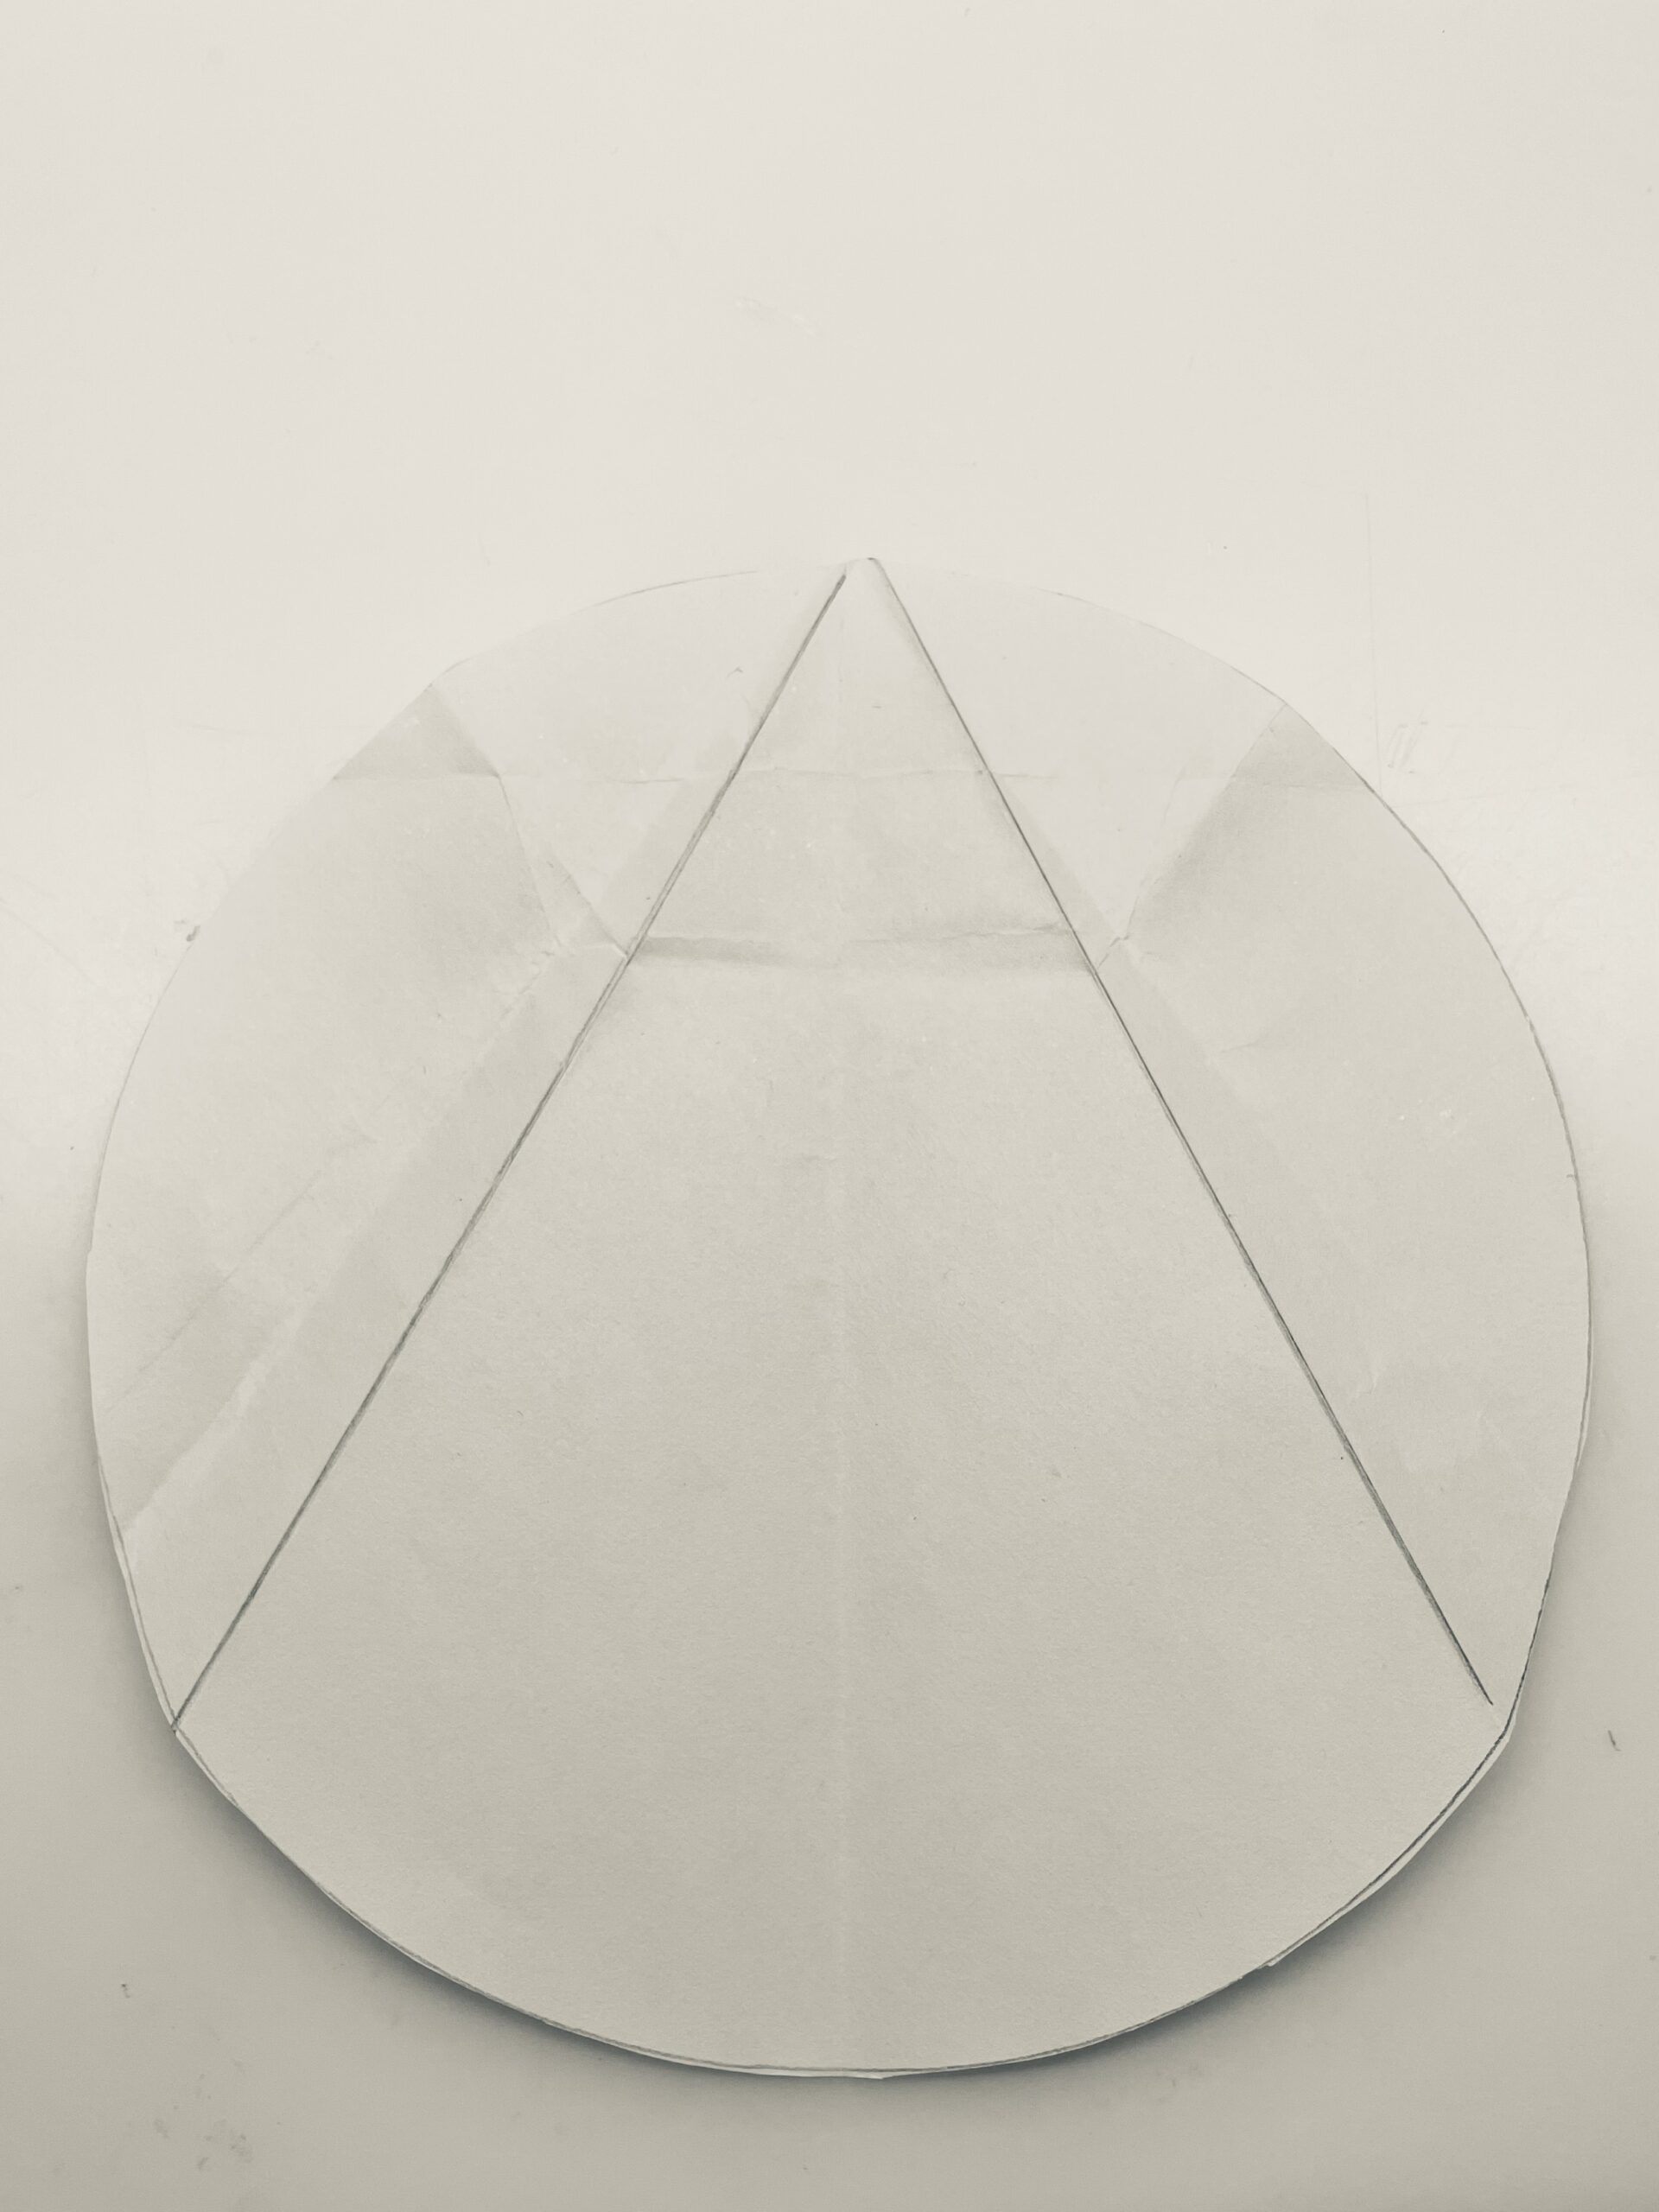
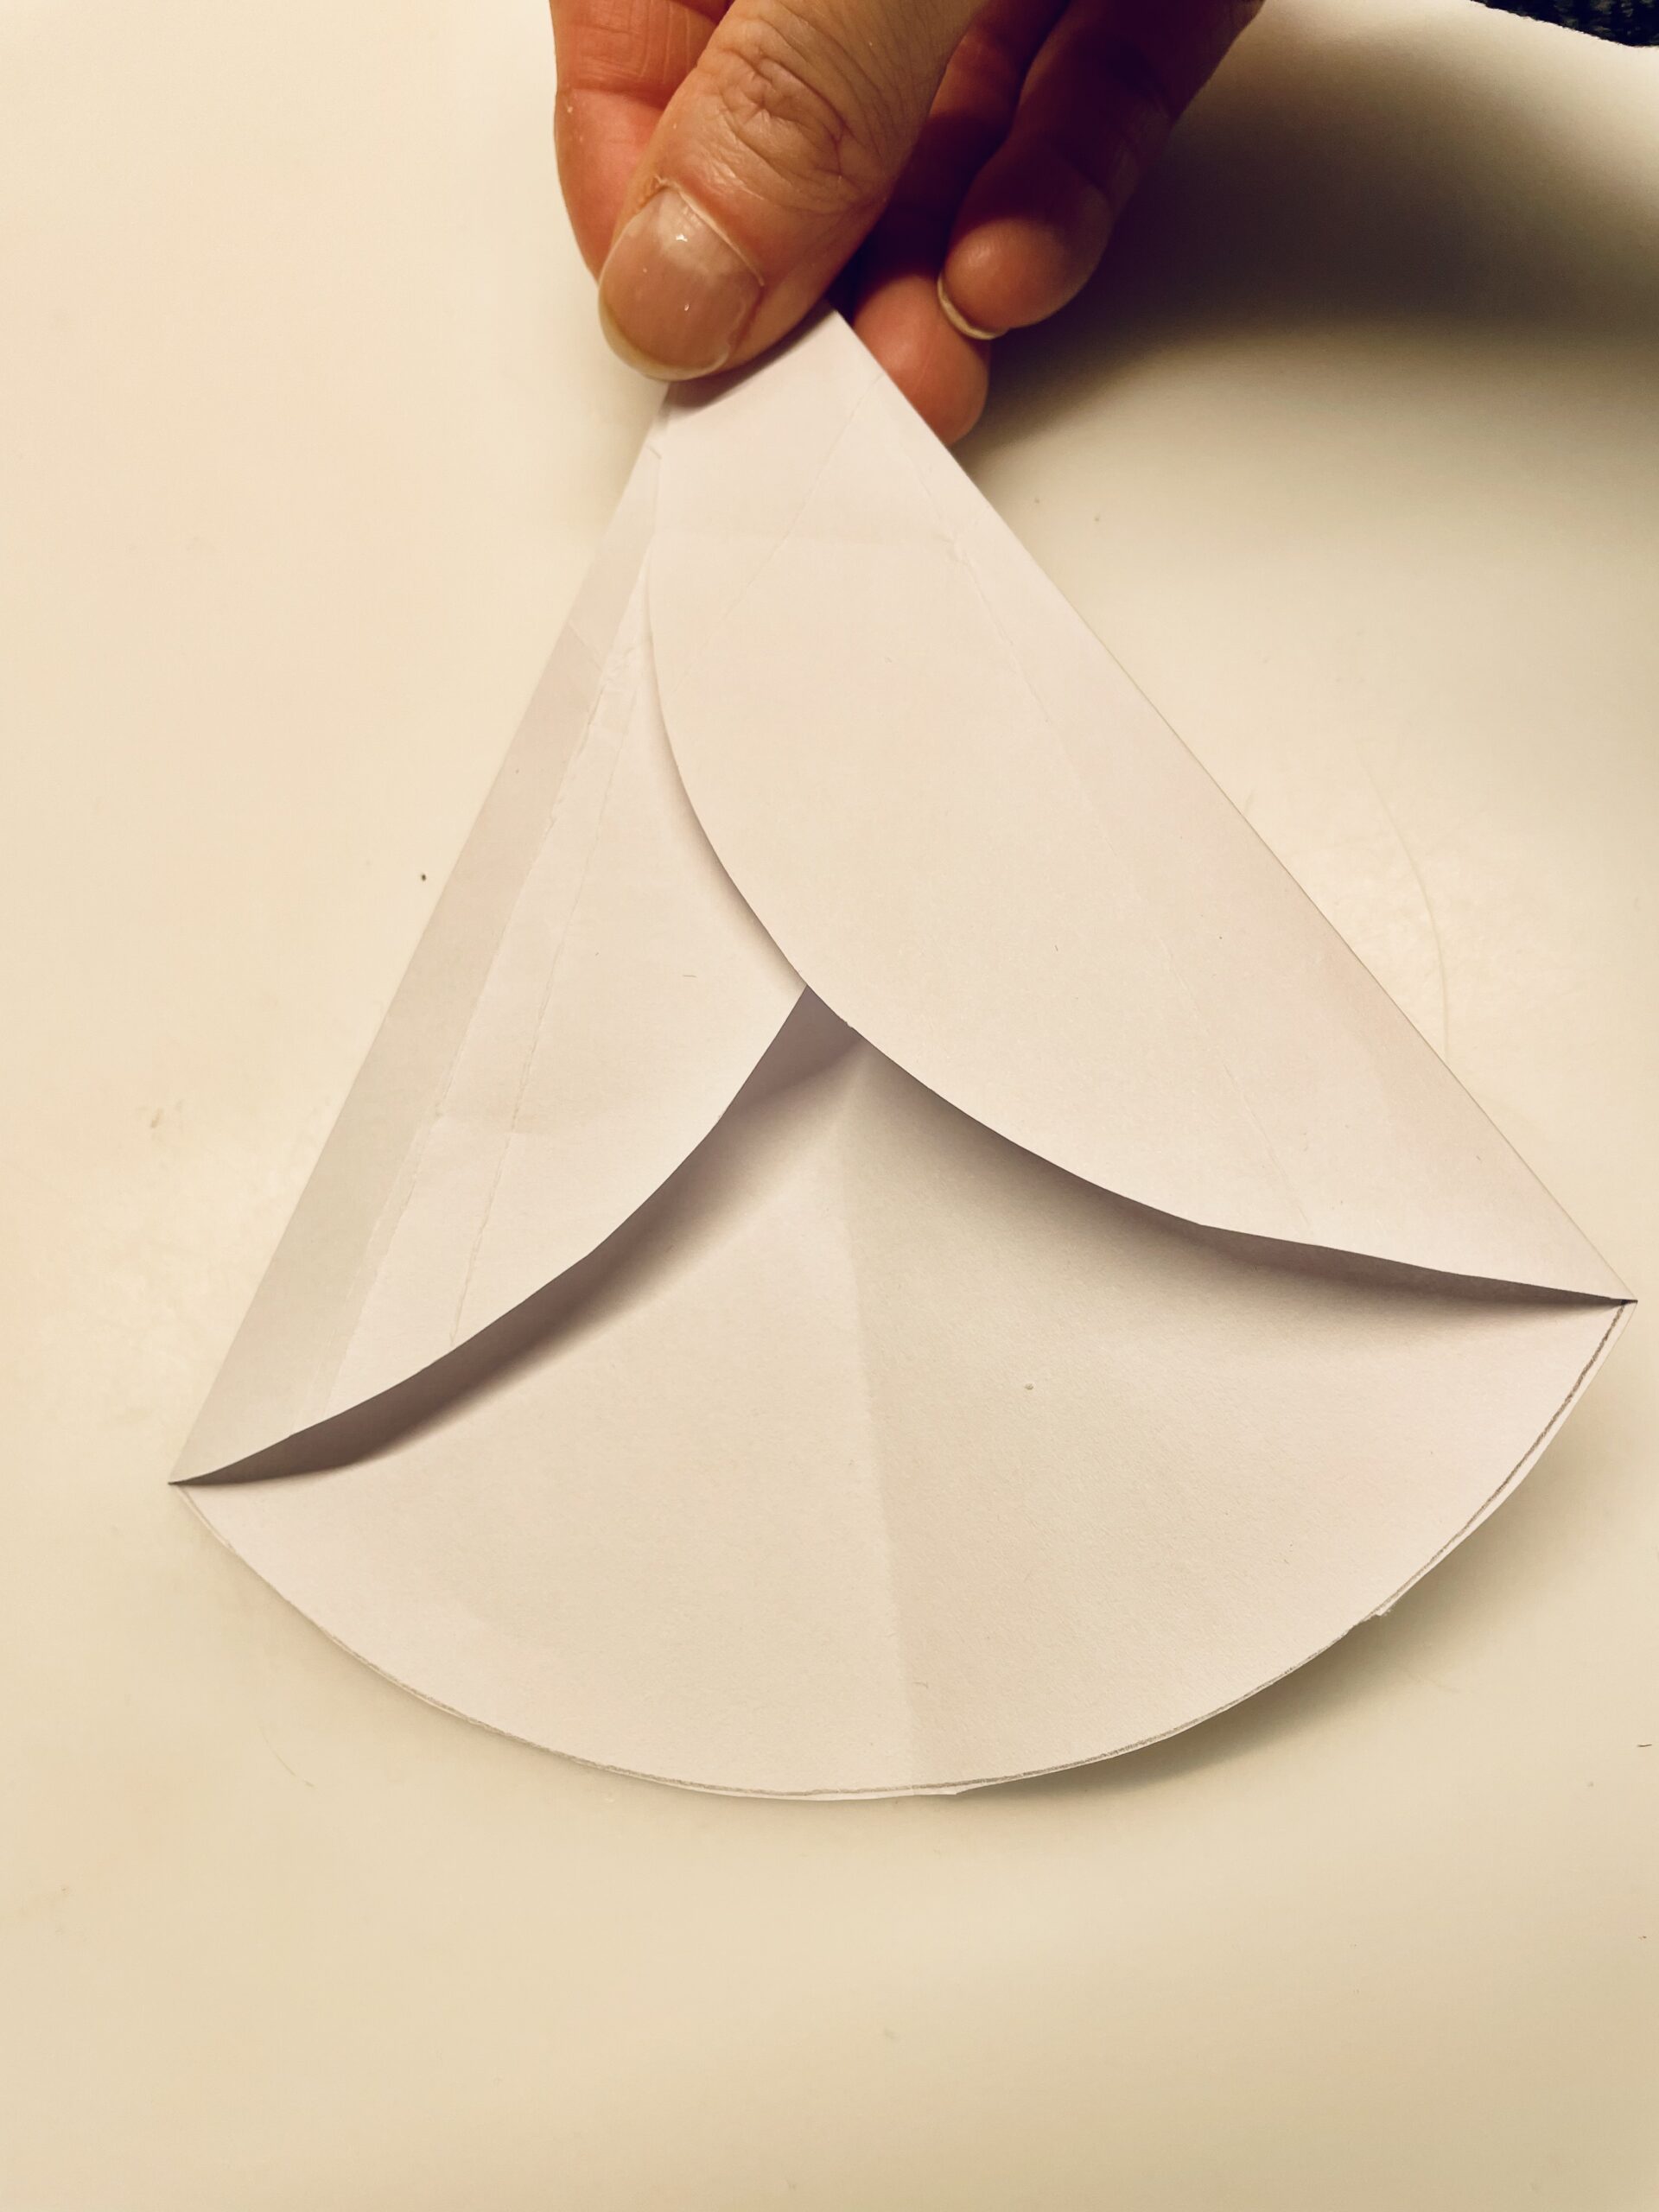
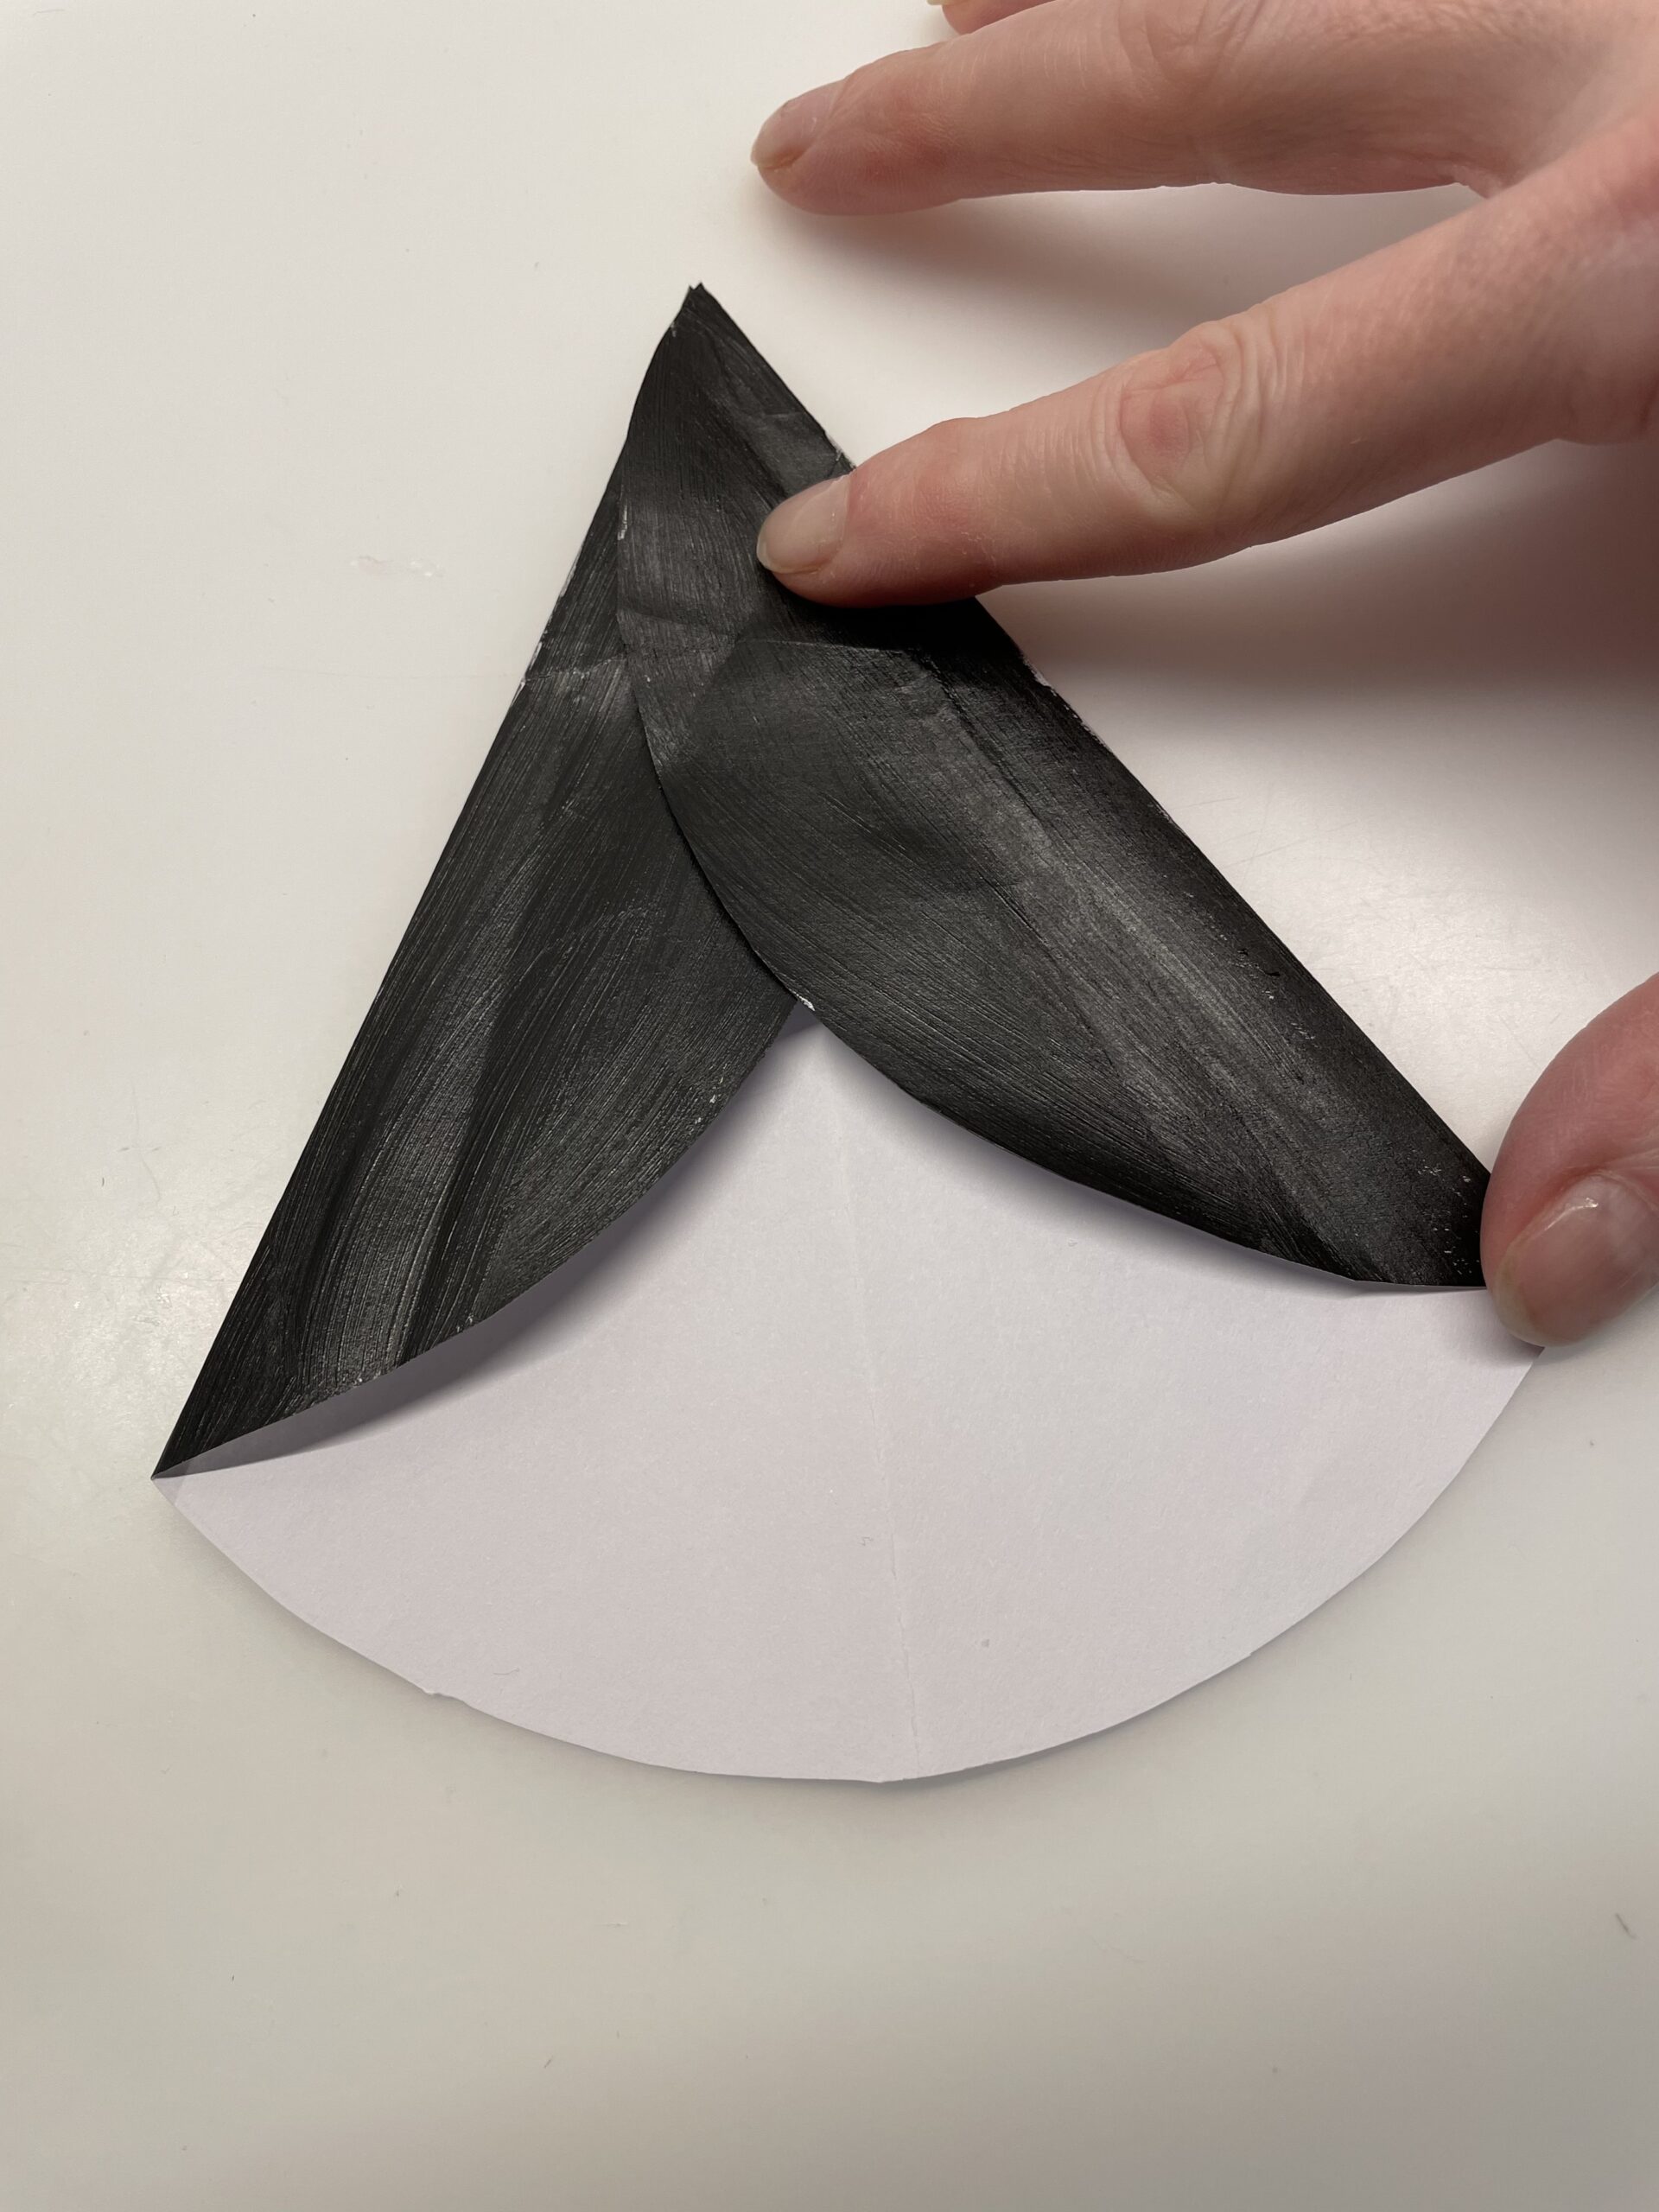
Fold the two wings to the middle and then open the folded sides again.

Bild zum Schritt 2 für das Bastel- und DIY-Abenteuer für Kinder: 'Faltet die beiden Flügel zur Mitte und öffnet danach die...'

3

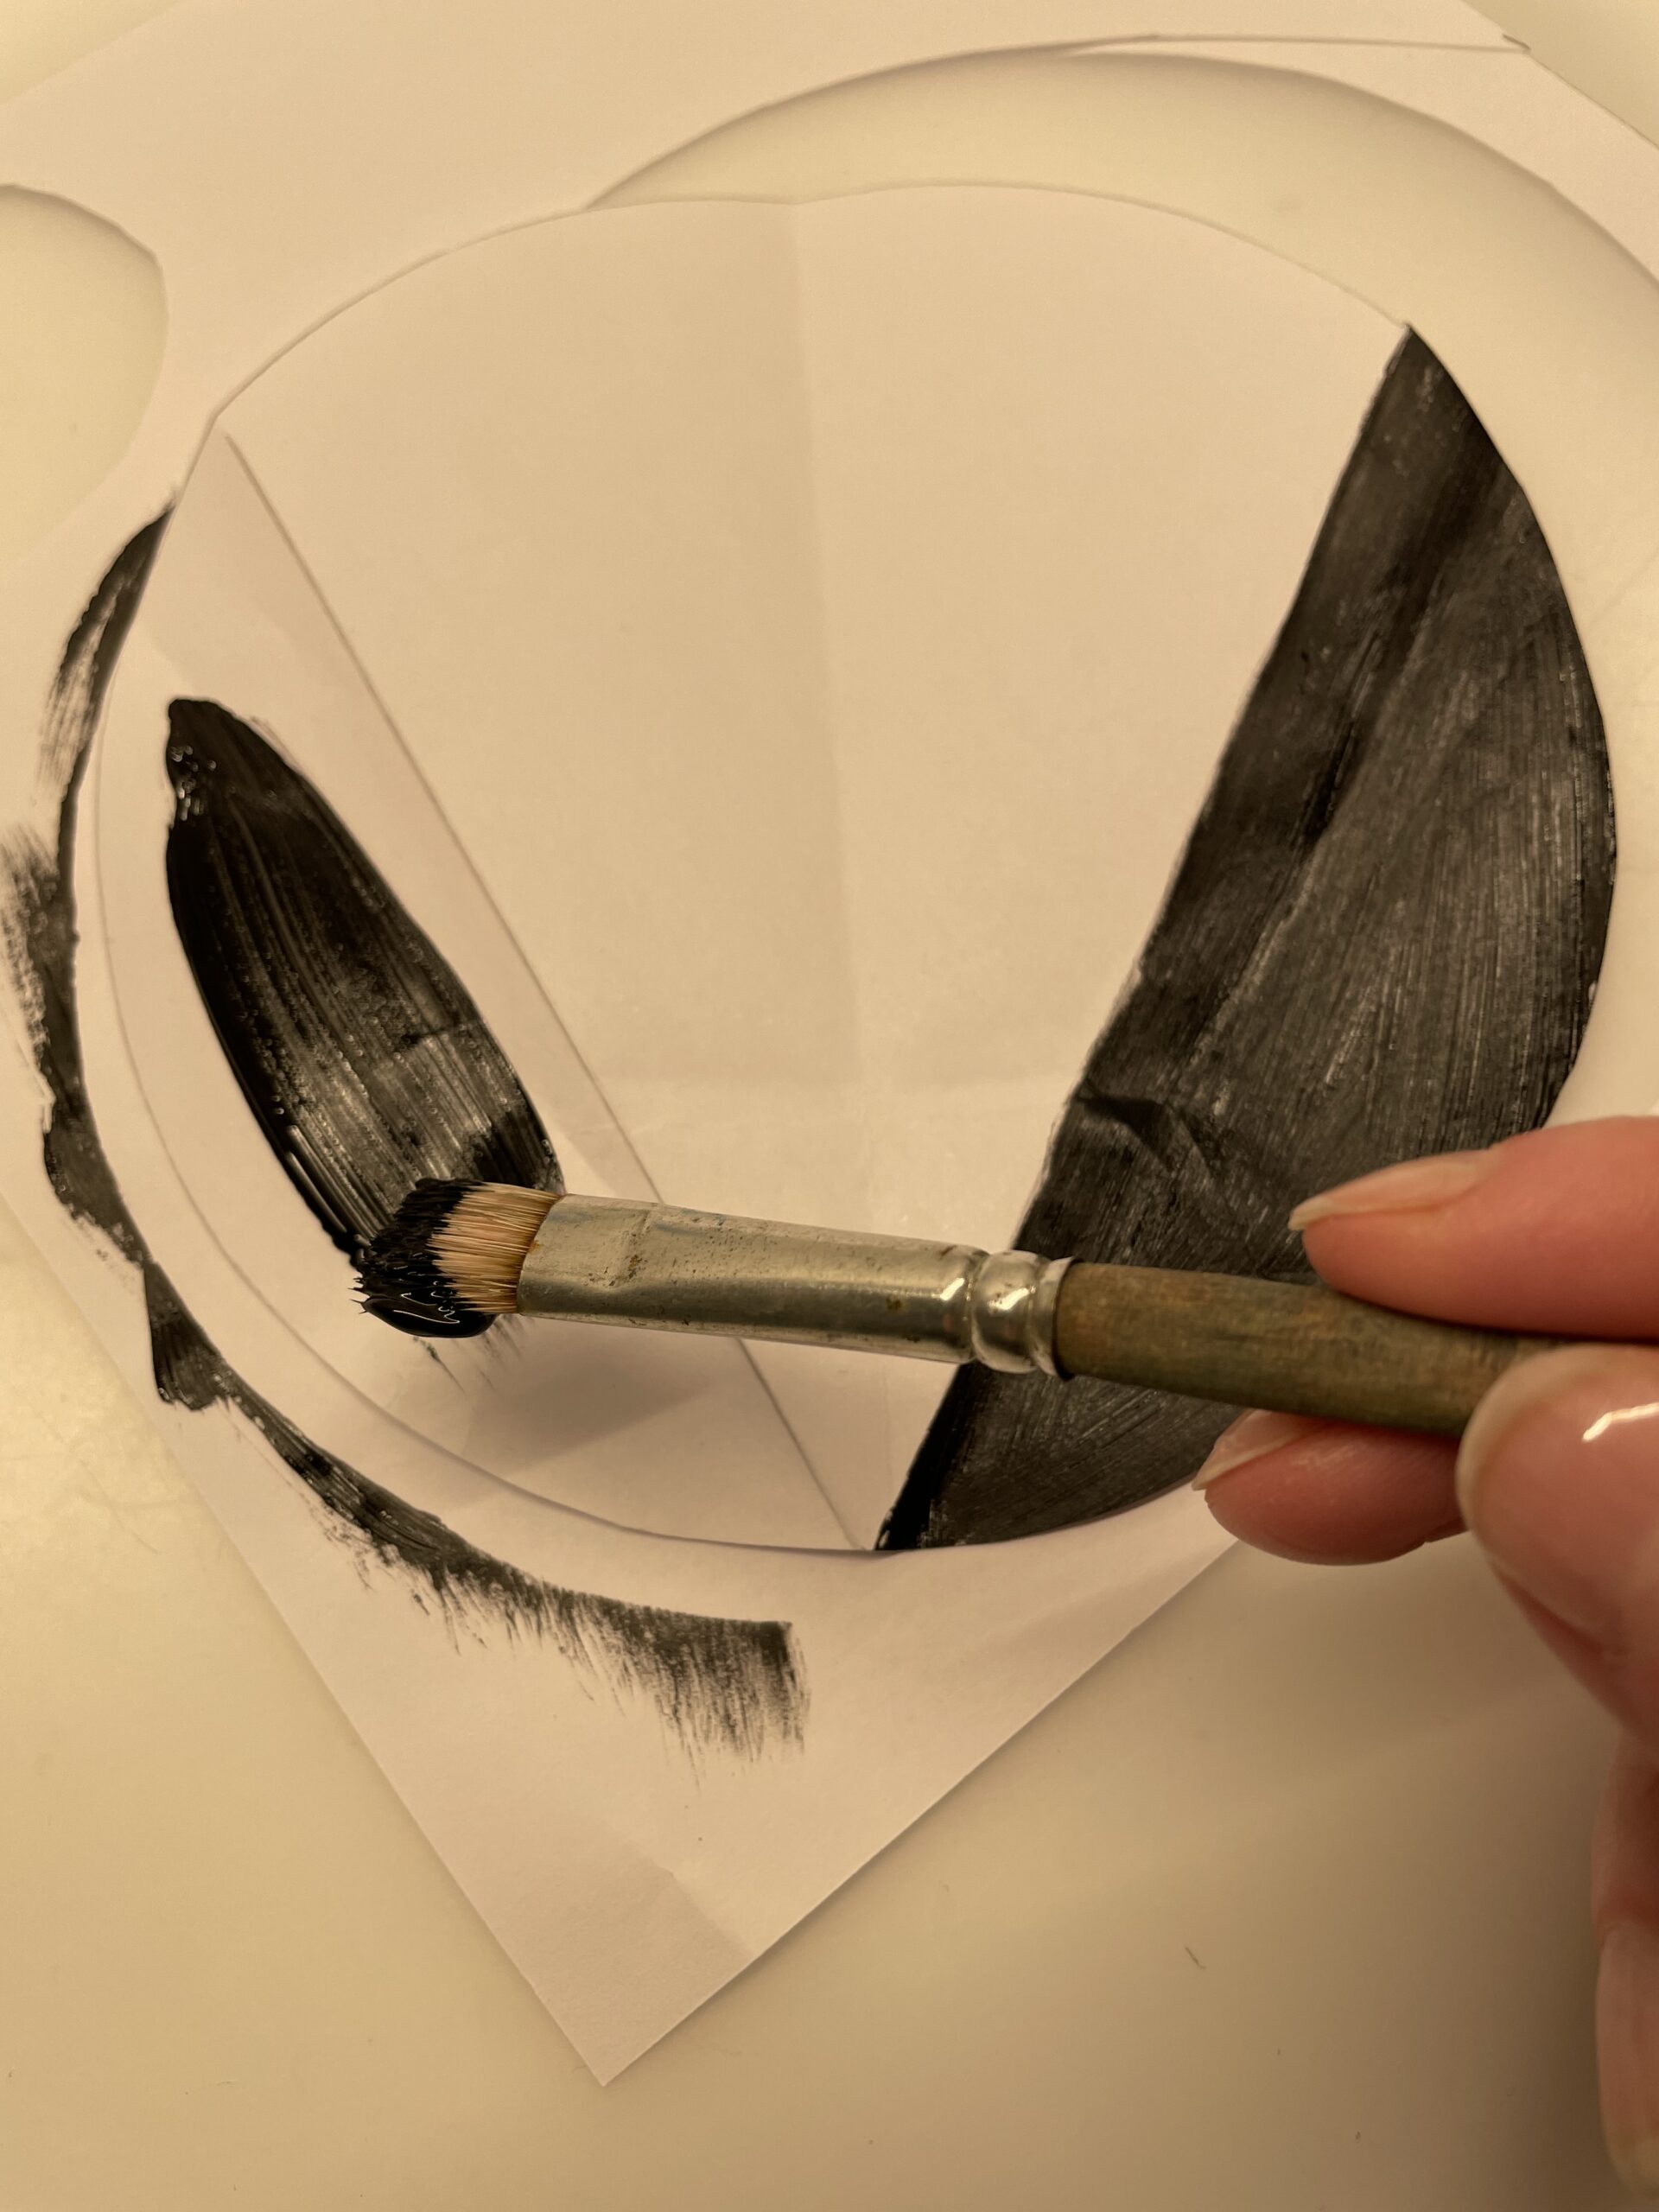
Then you paint the two wings with black color.

Bild zum Schritt 3 für das Bastel- und DIY-Abenteuer für Kinder: 'Anschließend malt ihr die beiden Flügel mit schwarzer Farbe an.'

4

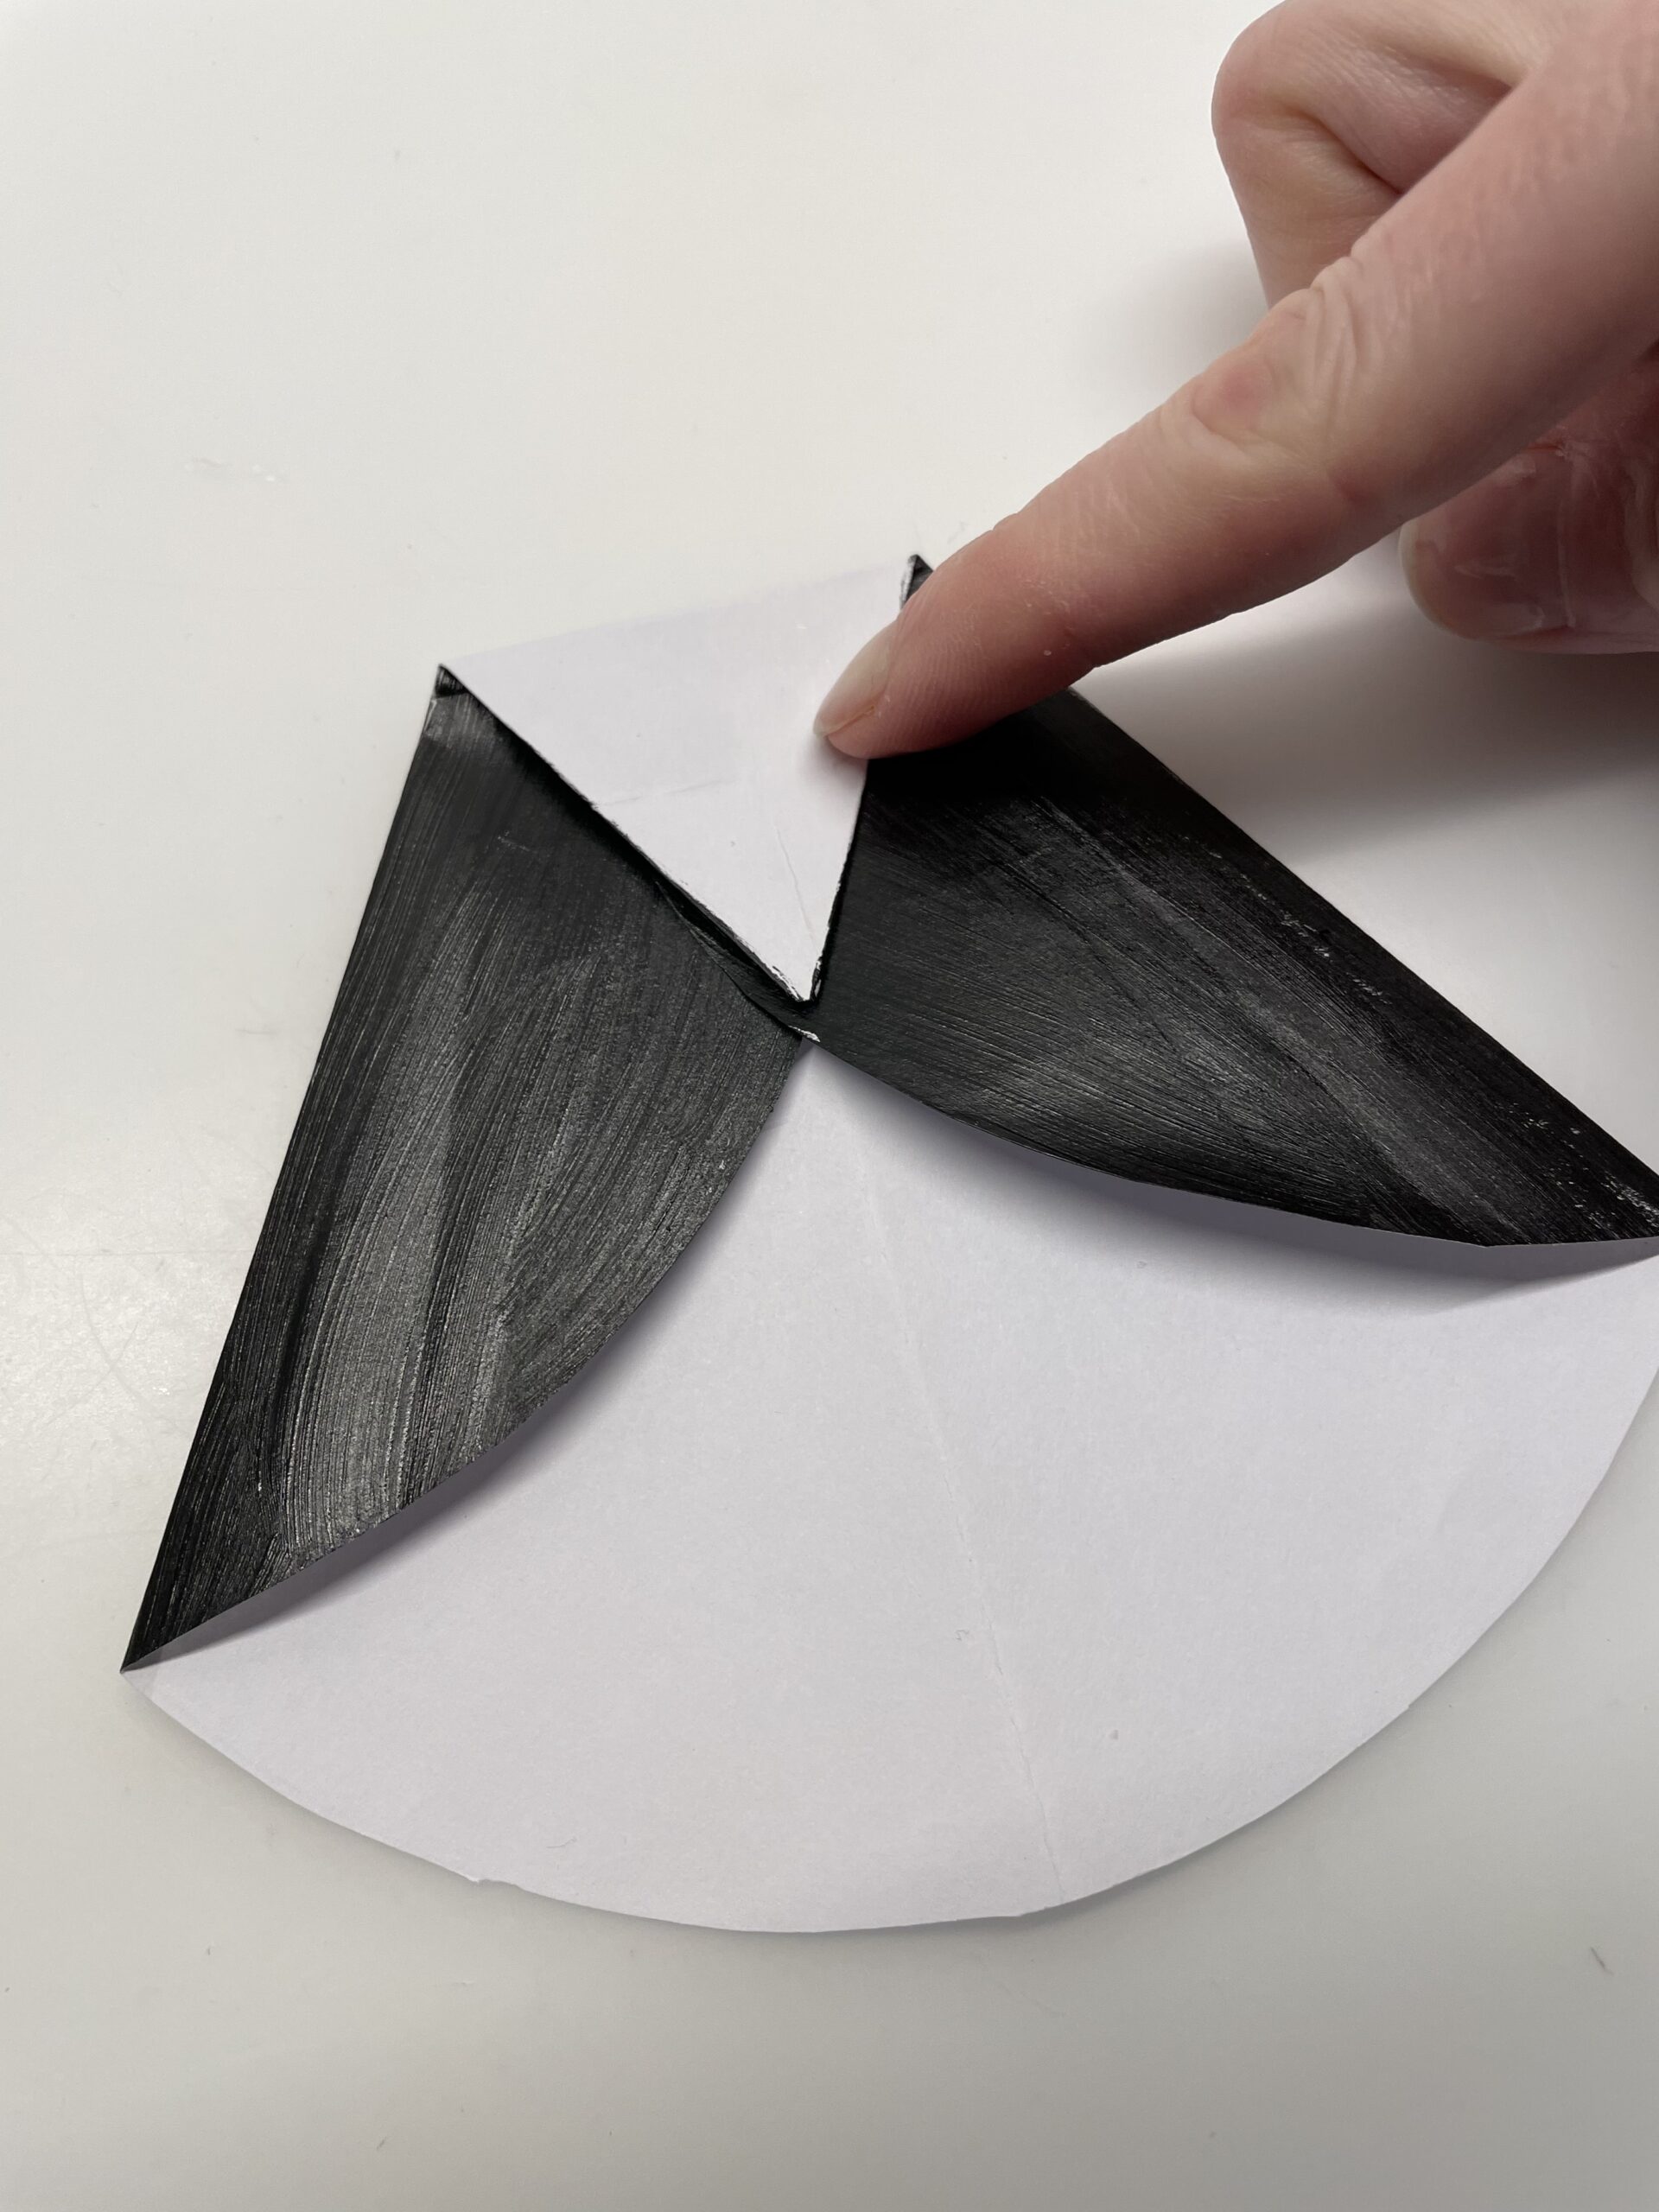
After the paint is dried, fold the black wings inside.

Bild zum Schritt 4 für das Bastel- und DIY-Abenteuer für Kinder: 'Nachdem die Farbe getrocknet ist, faltet ihr die schwarzen Flügel...'

5

Now fold the tip down and stick it tight.

Bild zum Schritt 5 für das Bastel- und DIY-Abenteuer für Kinder: 'Nun faltet ihr die Spitze nach unten und klebt sie...'

6

Draw a small triangle on orange paper. Alternatively, paint the paper in color.

Bild zum Schritt 6 für das Bastel- und DIY-Abenteuer für Kinder: 'Zeichnet euch ein kleines Dreieck auf orangefarbenes Papier. Alternativ malt...'

7

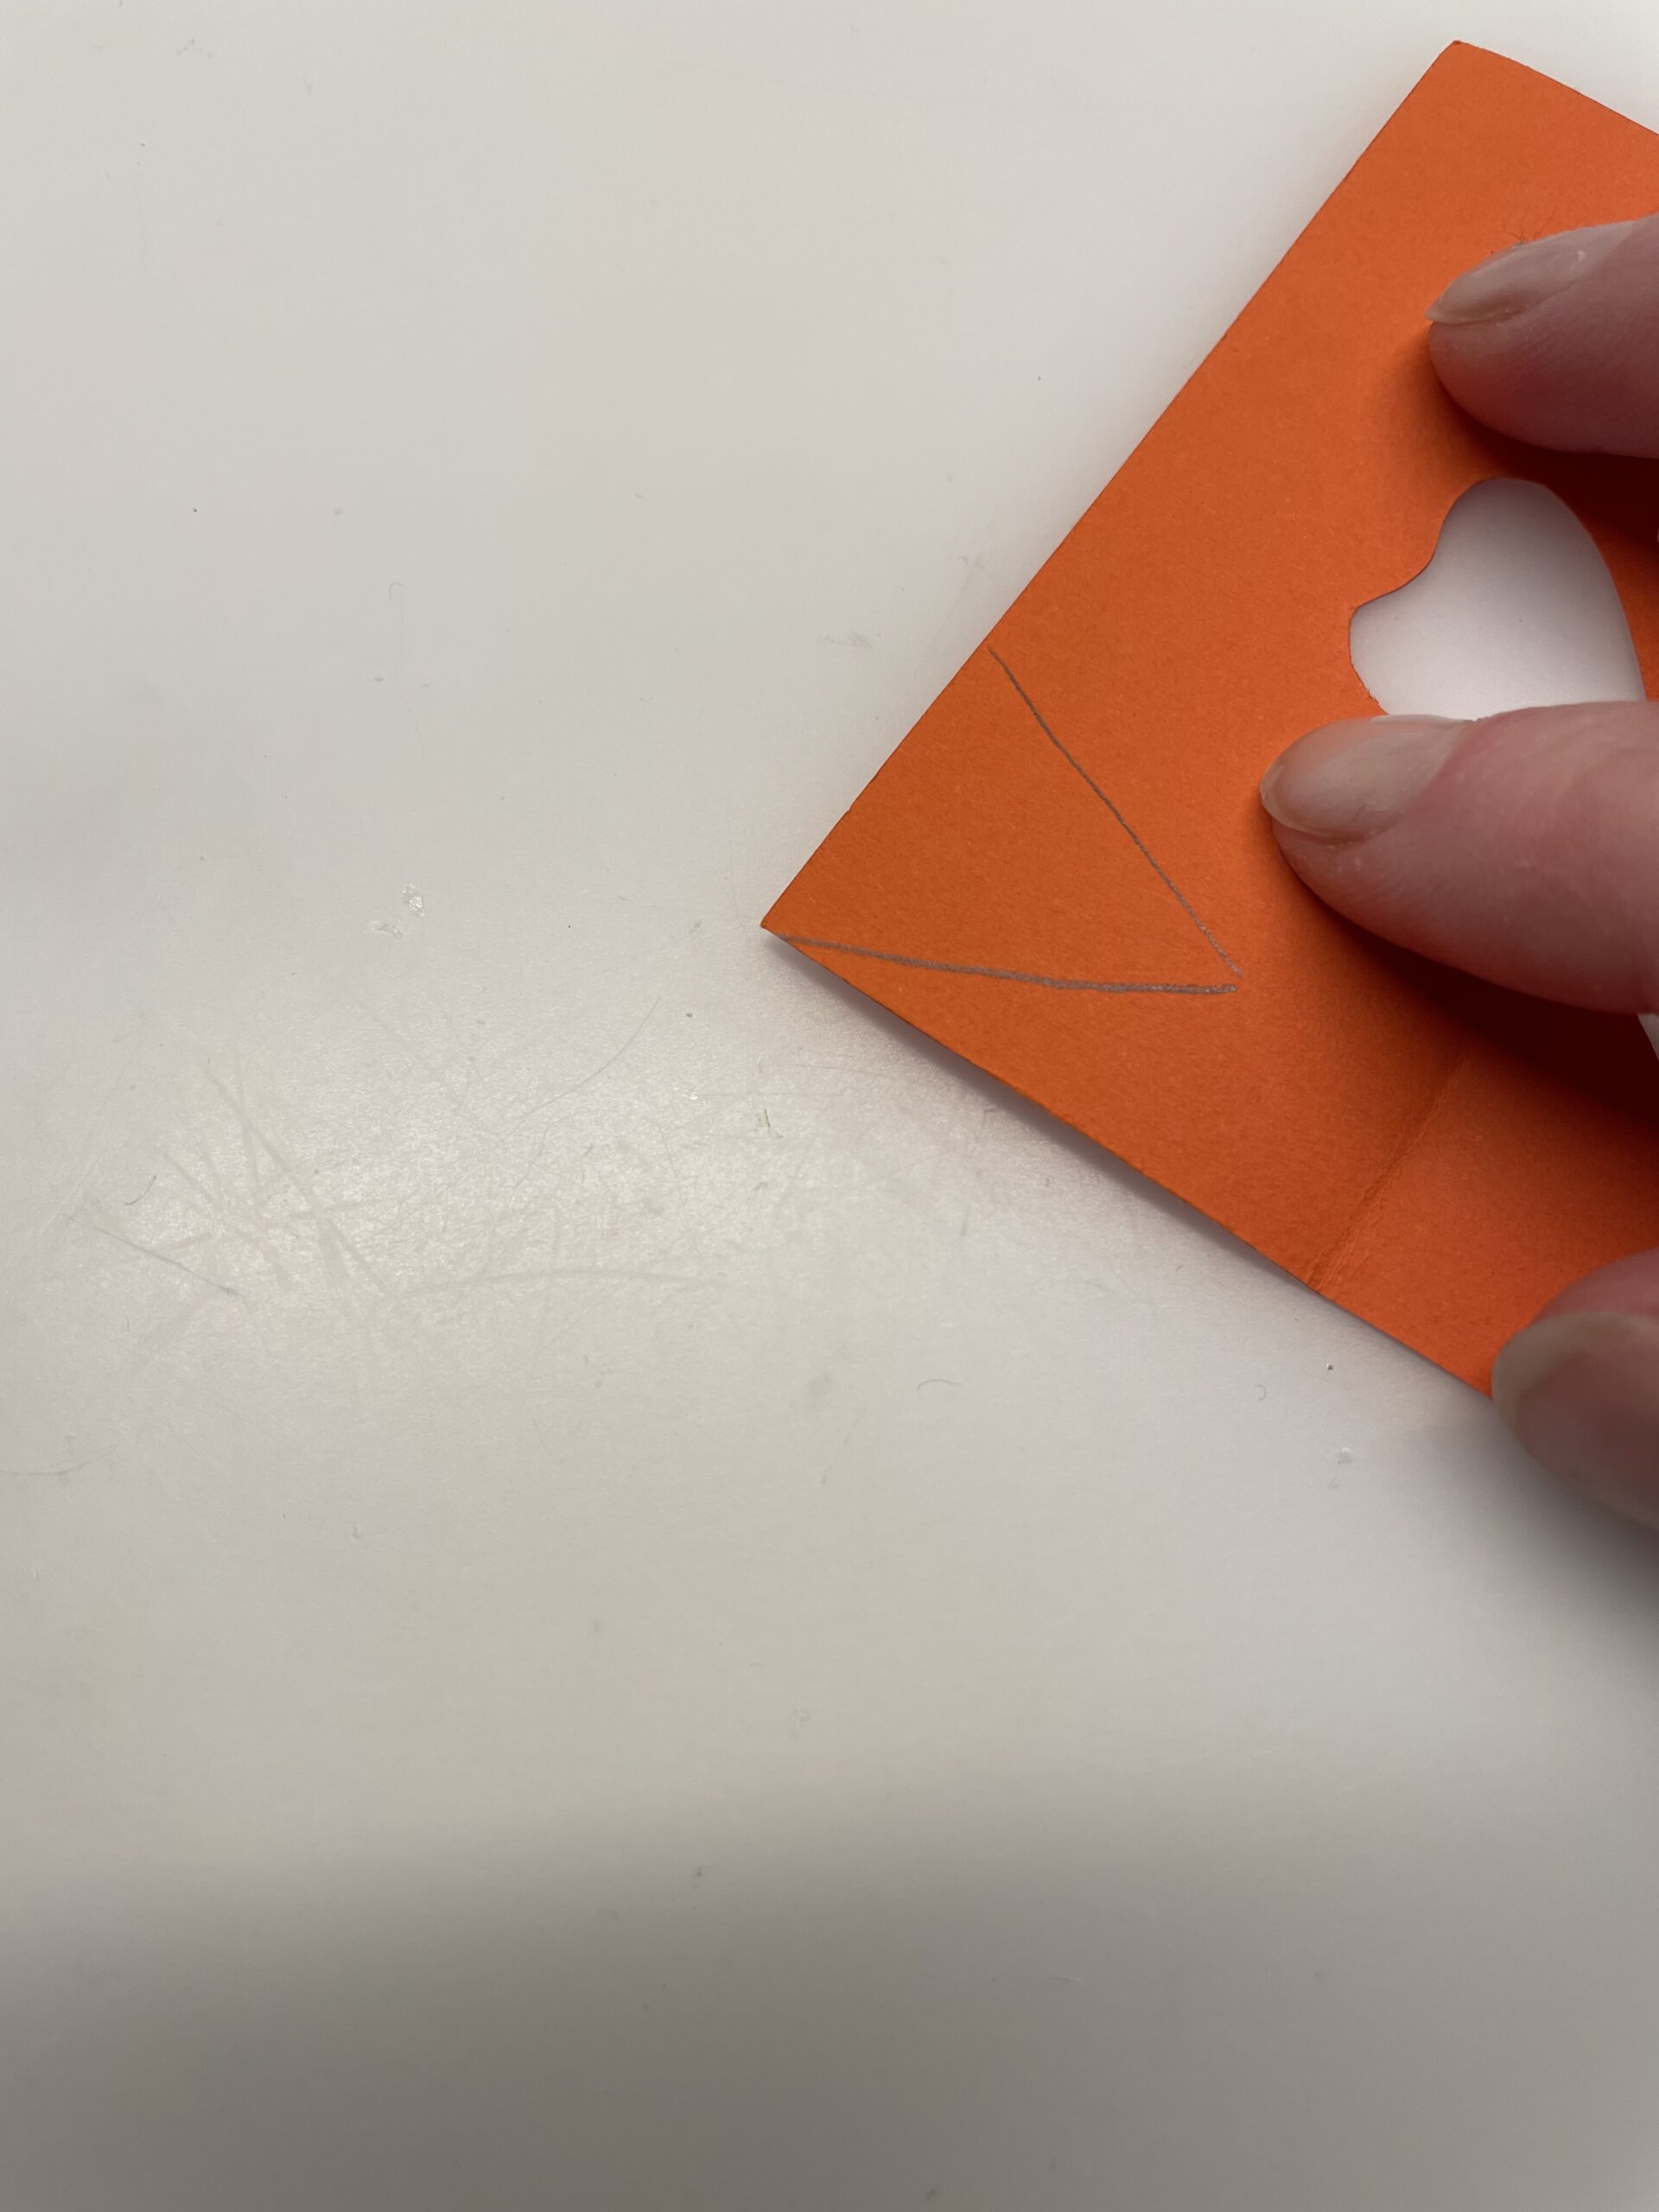
Then glues the triangle to create the beak.

Bild zum Schritt 7 für das Bastel- und DIY-Abenteuer für Kinder: 'Klebt anschließend das Dreieck auf. So entsteht der Schnabel.'

8

Just above it, you stick two wobble eyes. Alternatively, you paint your eyes.

Bild zum Schritt 8 für das Bastel- und DIY-Abenteuer für Kinder: 'Direkt darüber klebt ihr zwei Wackelaugen. Alternativ malt ihr die...'

9

Now paint two feet for the penguin on orange paper.

Bild zum Schritt 9 für das Bastel- und DIY-Abenteuer für Kinder: 'Jetzt malt euch auf orangefarbenes Papier zwei Füße für den...'

10

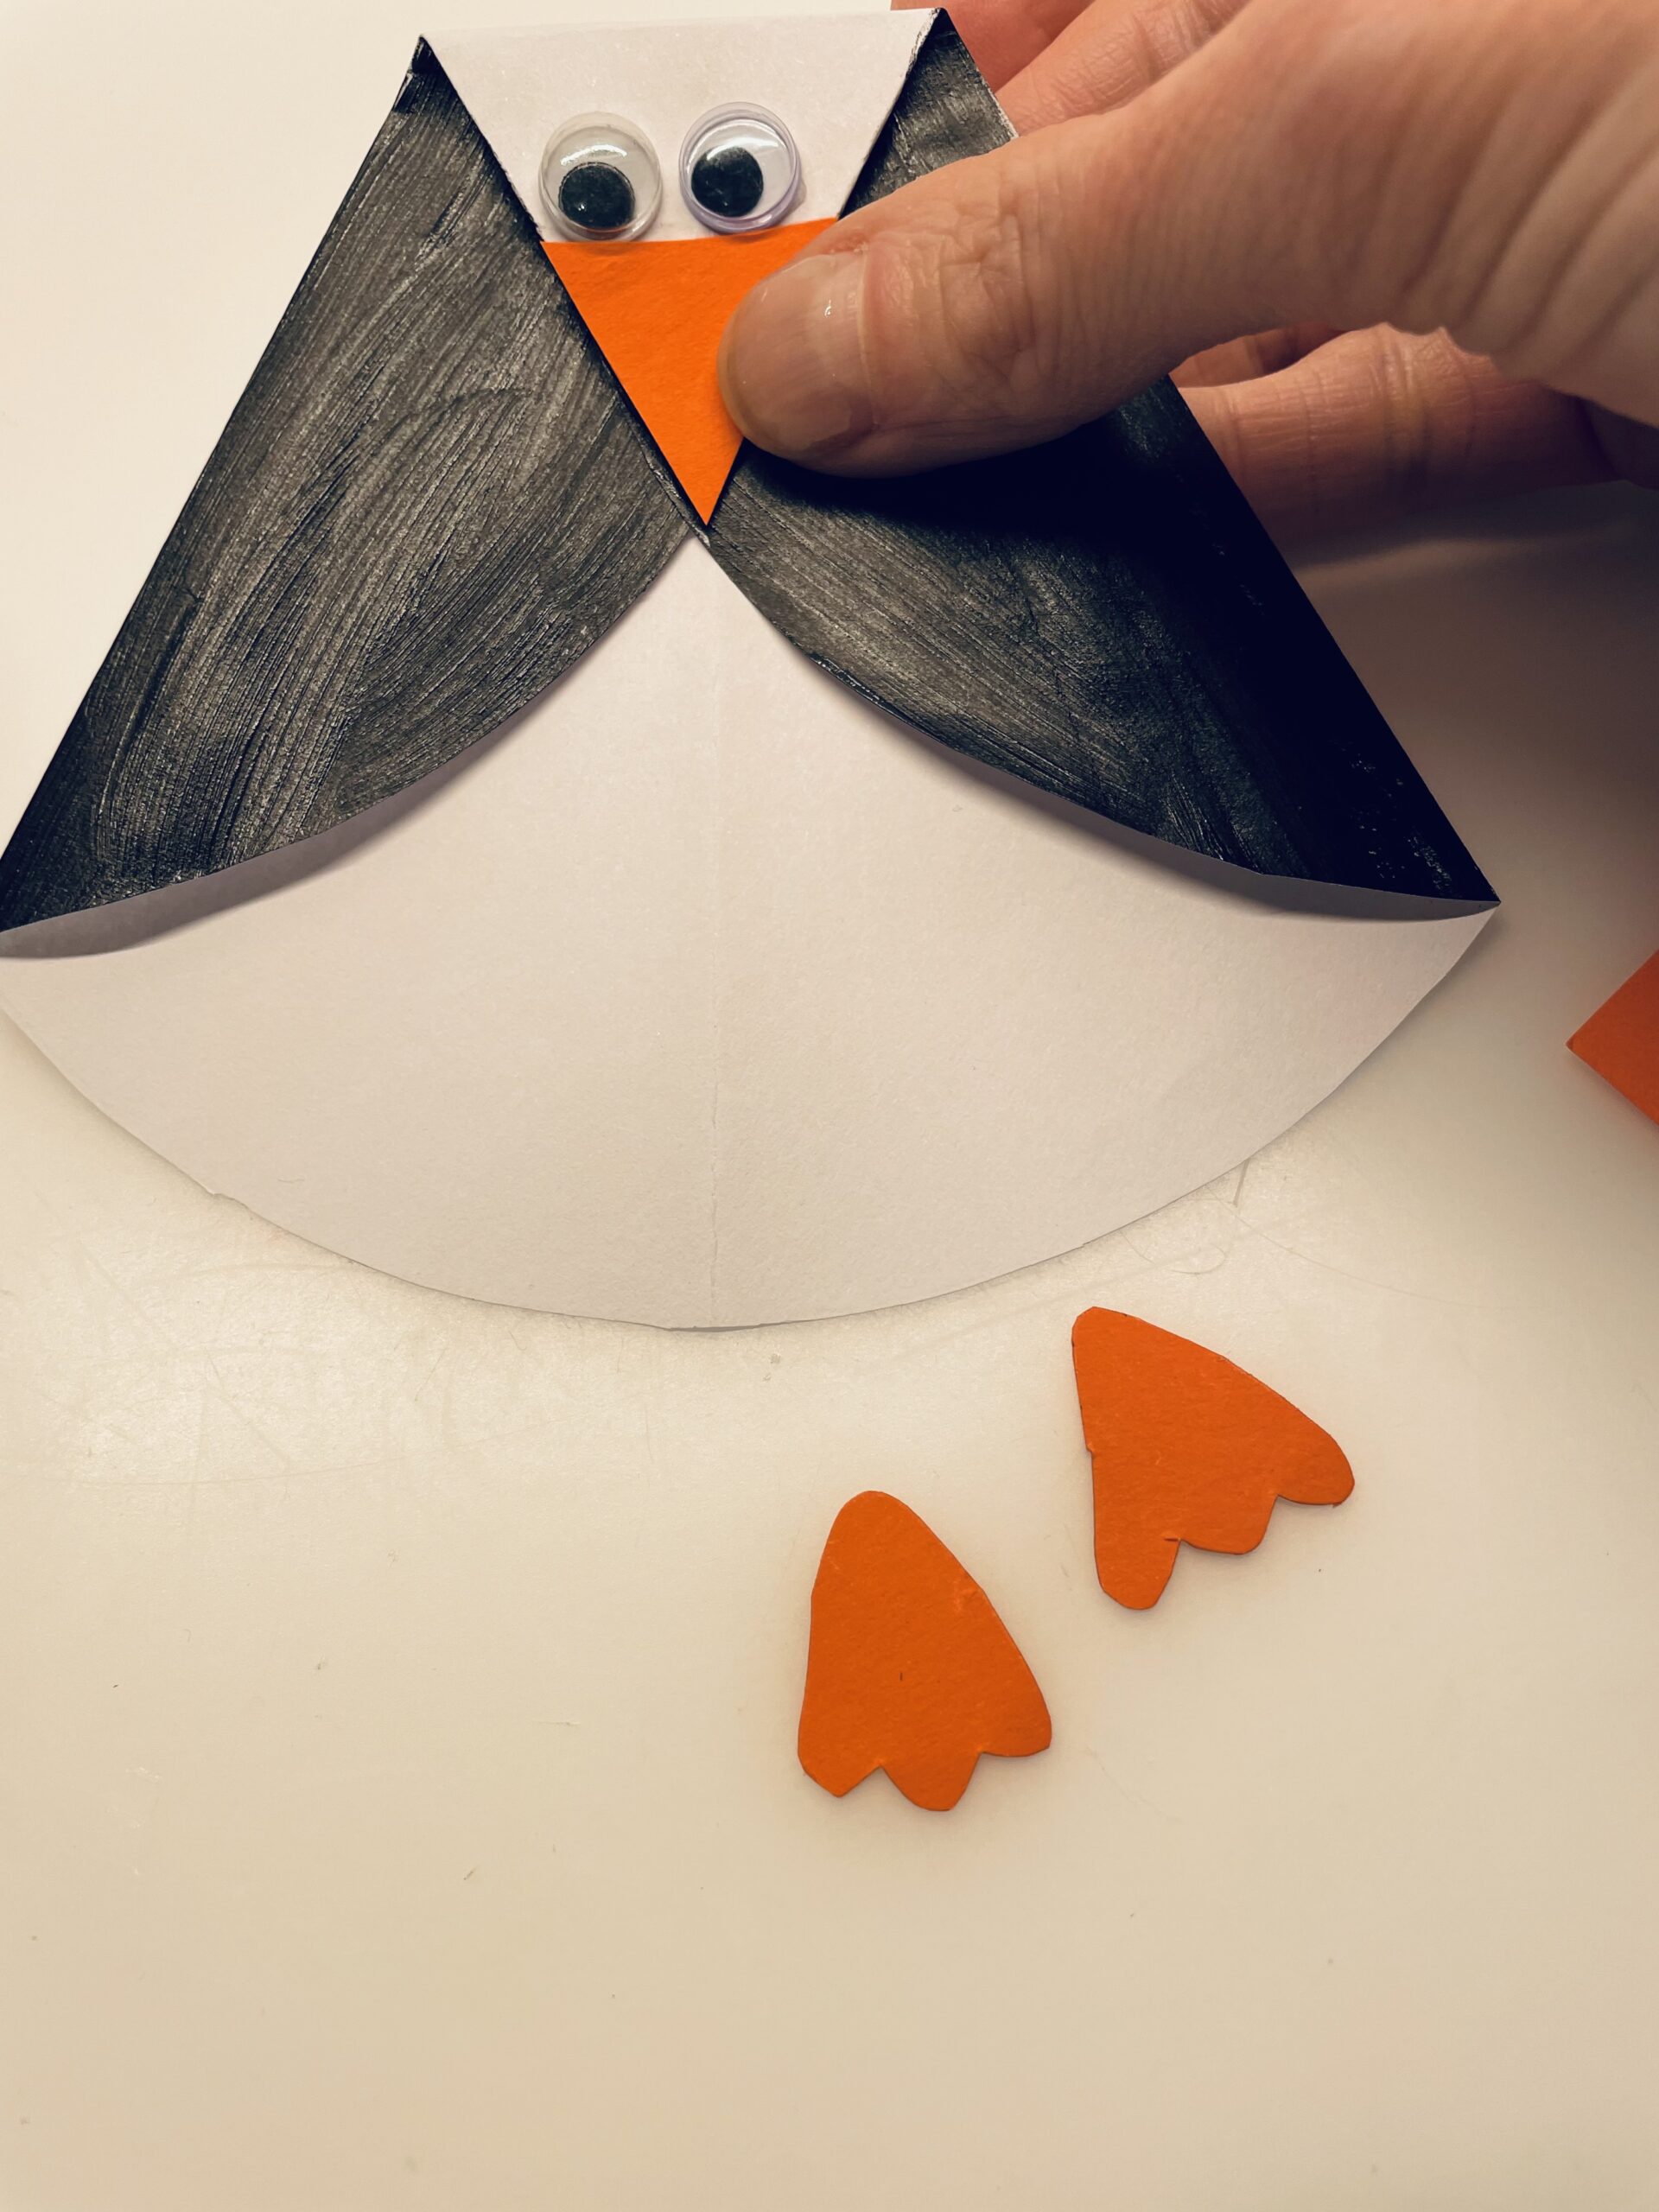
Then her feet stick to the lower edge of the penguin.
The penguin is ready.

Tip: This penguin is also suitable as an invitation card or as a small gift. For this you write a small message under the wings.

Bild zum Schritt 10 für das Bastel- und DIY-Abenteuer für Kinder: 'Die Füße klebt ihr dann an den unteren Rand des...'

Printable template
11

You can use this template as well as a cardboard plate.

Bild zum Schritt 12 für das Bastel- und DIY-Abenteuer für Kinder: 'Ihr könnt diese Vorlage ebenso verwenden, wie einen Pappteller.'

12

Have fun!