If the seeds are sprouted and the plants are isolated, the next step is to plant them outdoors.
You can put the plants directly in a bed or in a large flower pot.
Make sure that you regularly look for your little plants to protect them from snails. Young herb plants taste good not only to us, but also to snails.?
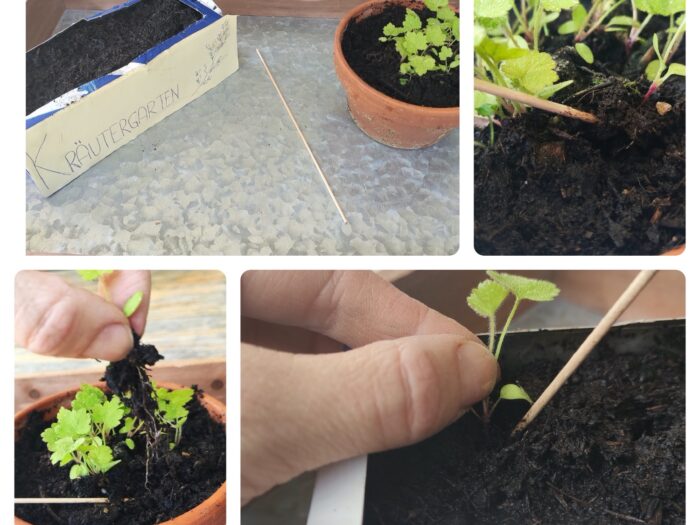
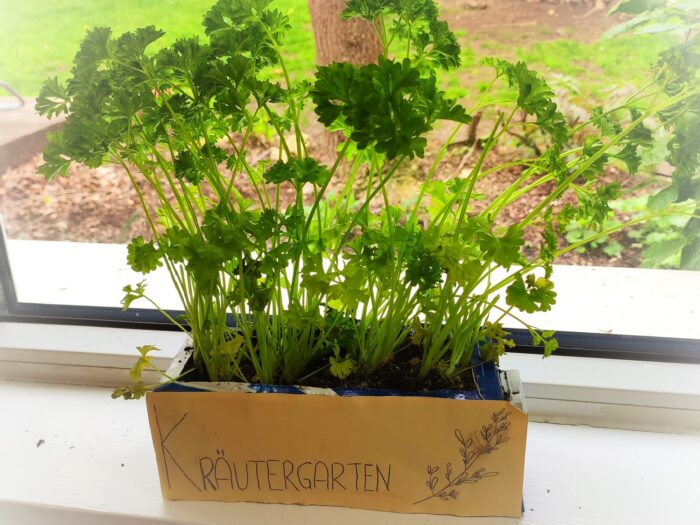
To plant outdoors, you need your Tetra-Pack Beet with your seedlings, a outdoor bed or a large flower pot and a small shovel or pikier wood.
Have fun in gardening!
Media Education for Kindergarten and Hort

Relief in everyday life, targeted promotion of individual children, independent learning and - without any pre-knowledge already usable by the youngest!

First, take your Tetra-Pack Beet with your herb plants.

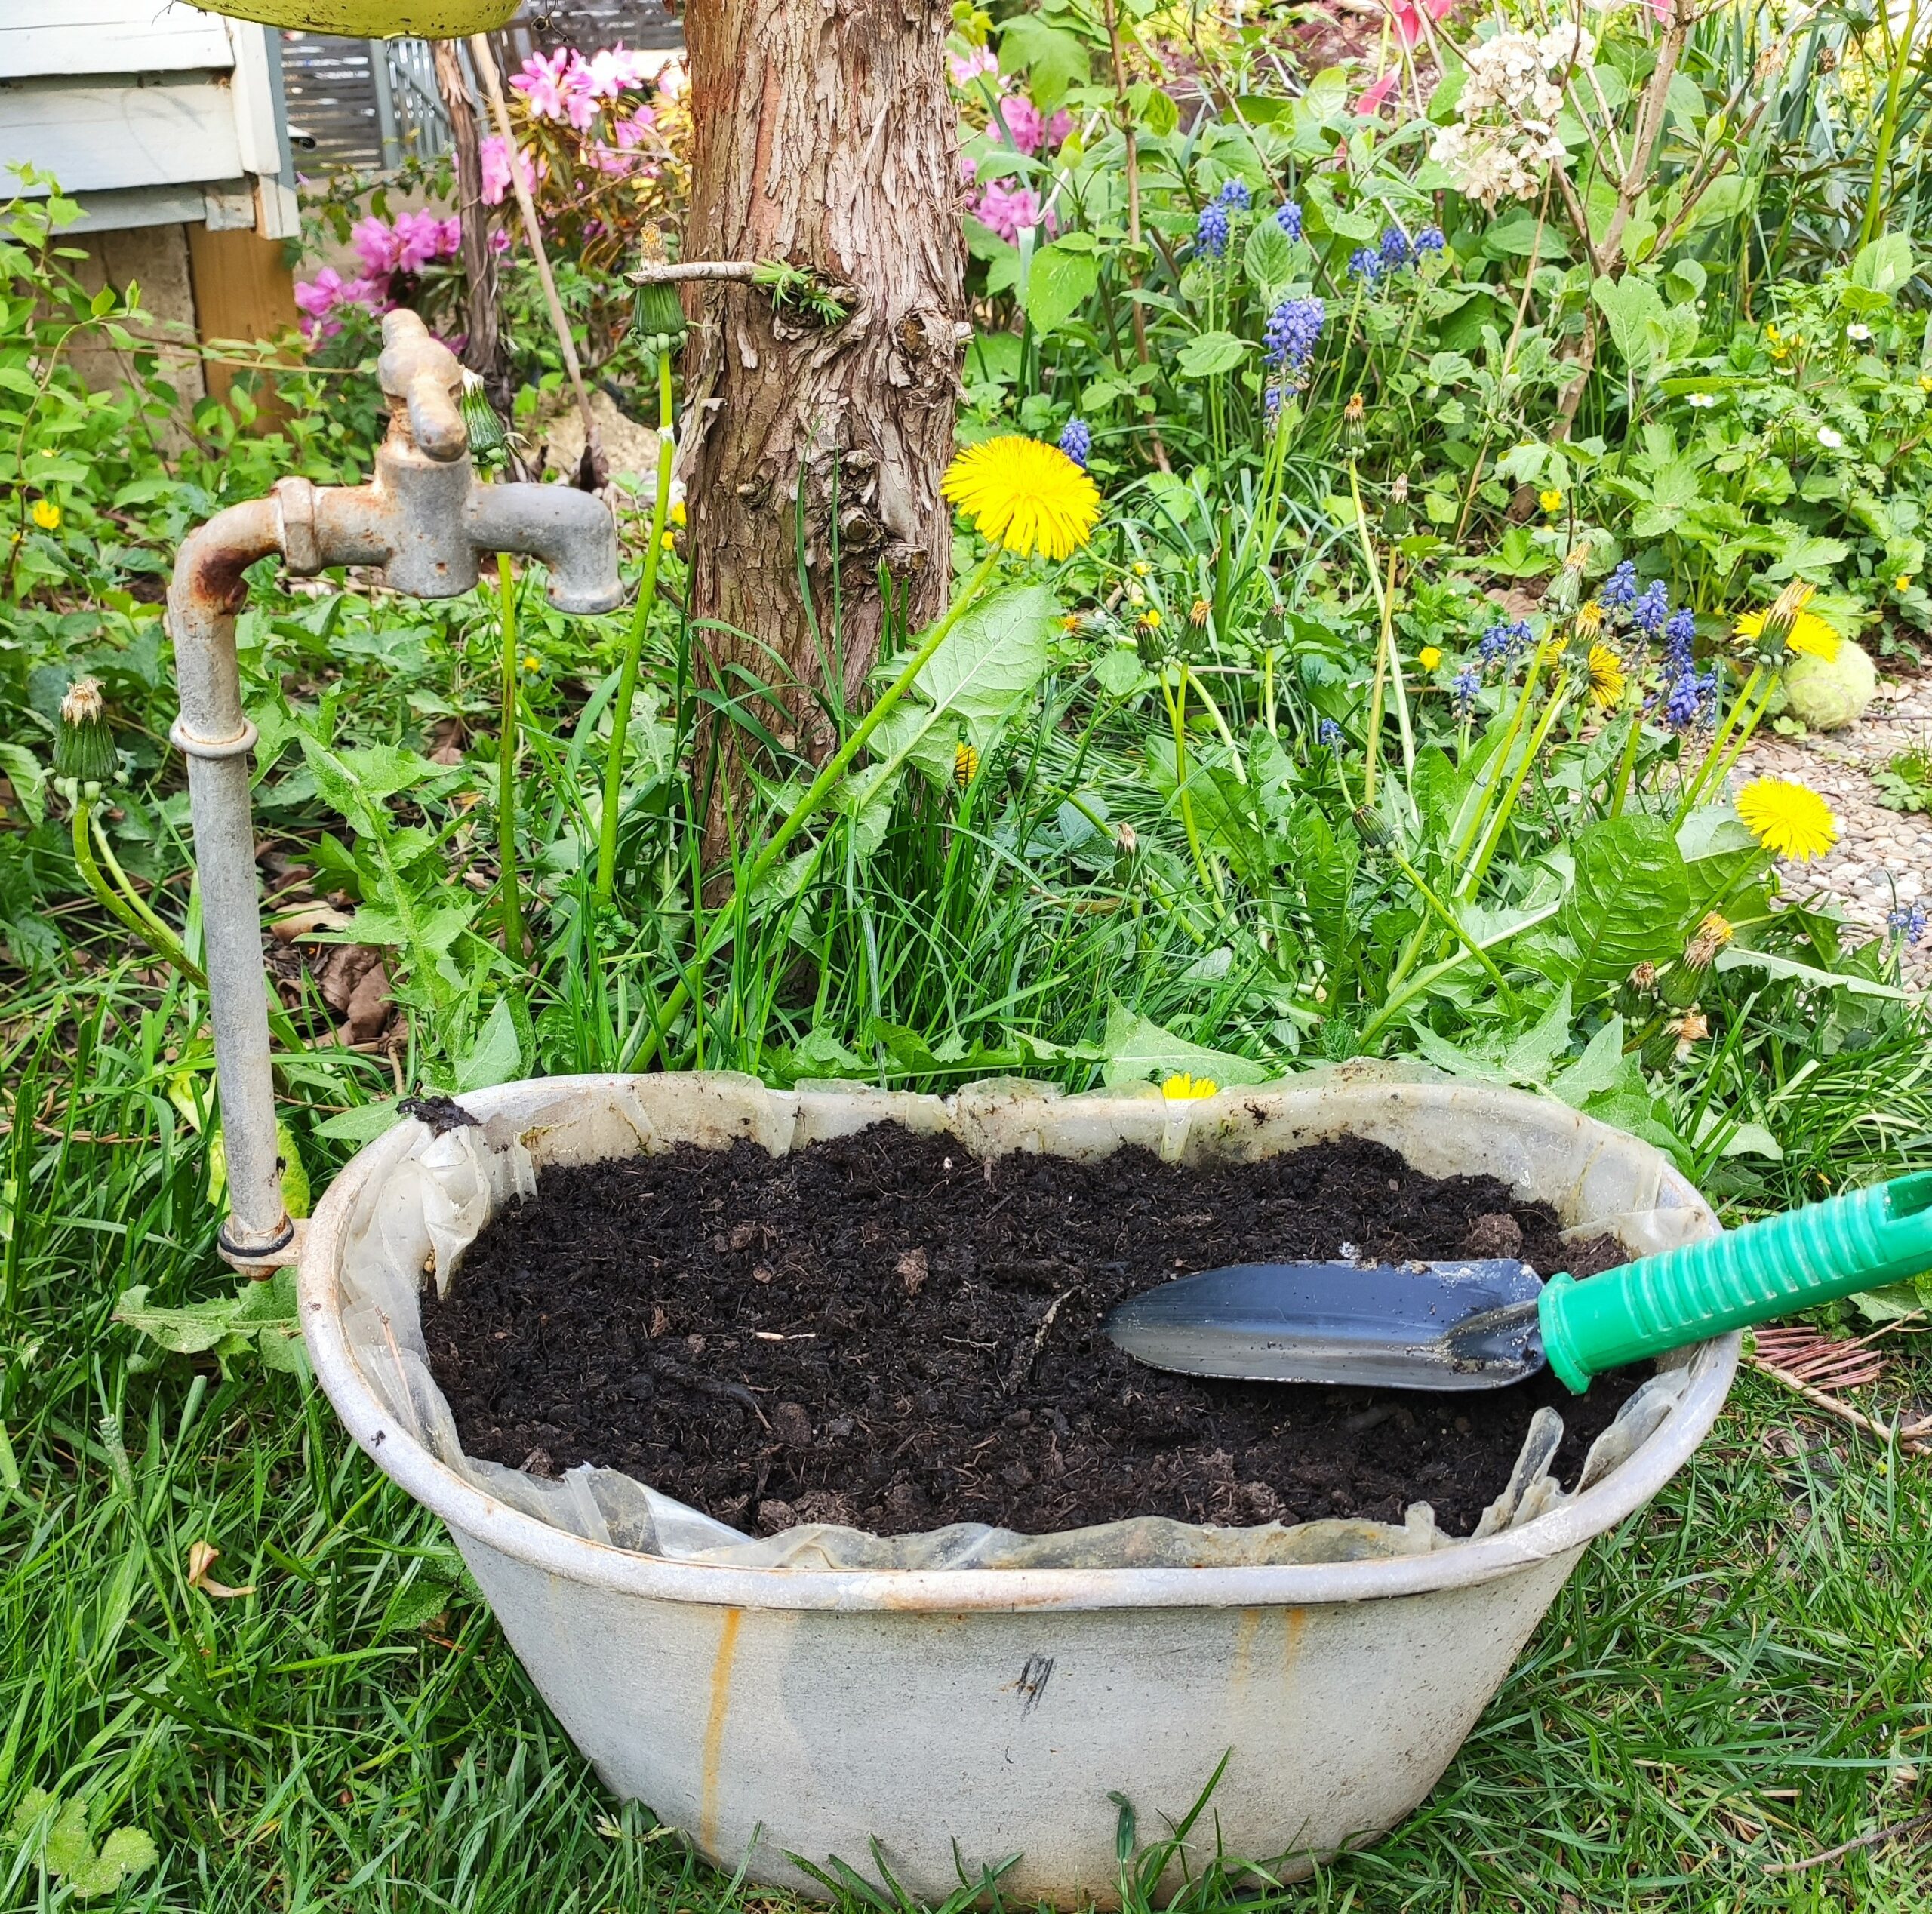
Fill a flower pot with soil or find a place in the open air. The earth should be loose and moist.


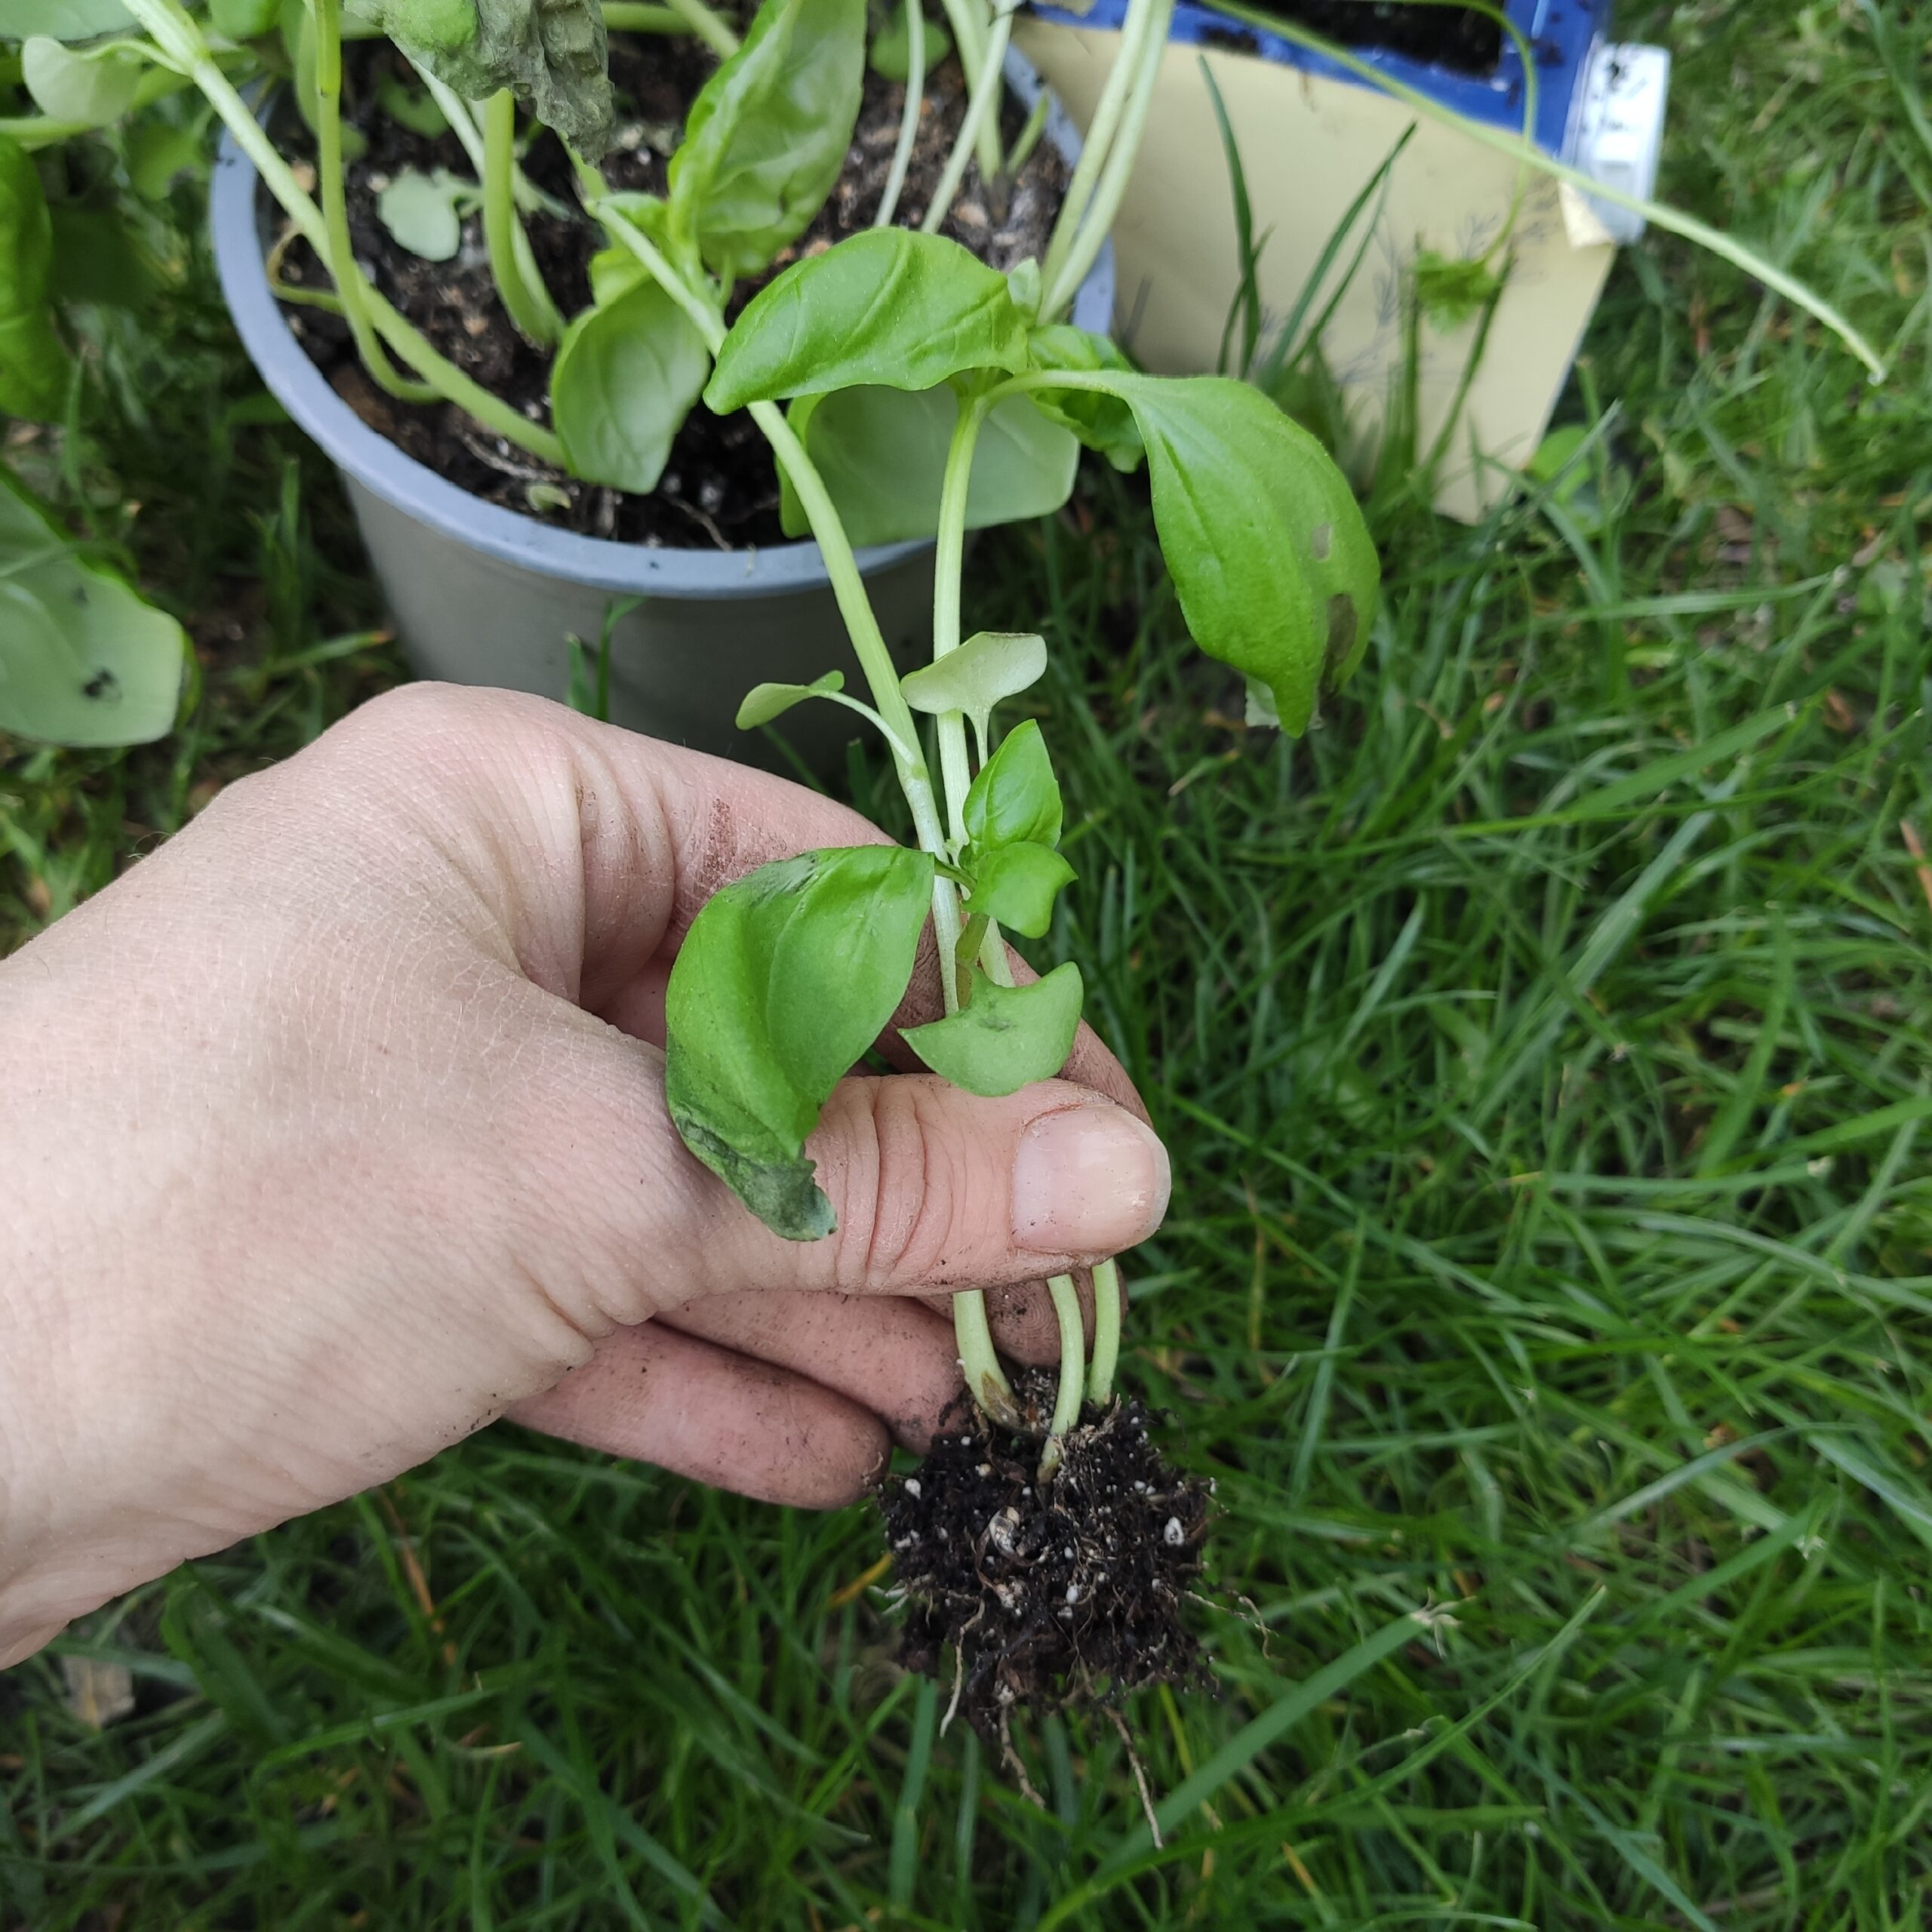
Then carefully release the plants from the Tetra-Pack Beet with the pikier wood.
Garden tip:
?? Go with the wooden stick under the roots of the plant to raise them carefully. Thus the roots of the plant remain unharmed.


Drill small holes into your bed with your index finger or pikier wood and gradually put the plants into the small holes in the bed.


Then gently push the earth around the plants.
Garden tip:
?? Make sure you plant the plants deep enough.
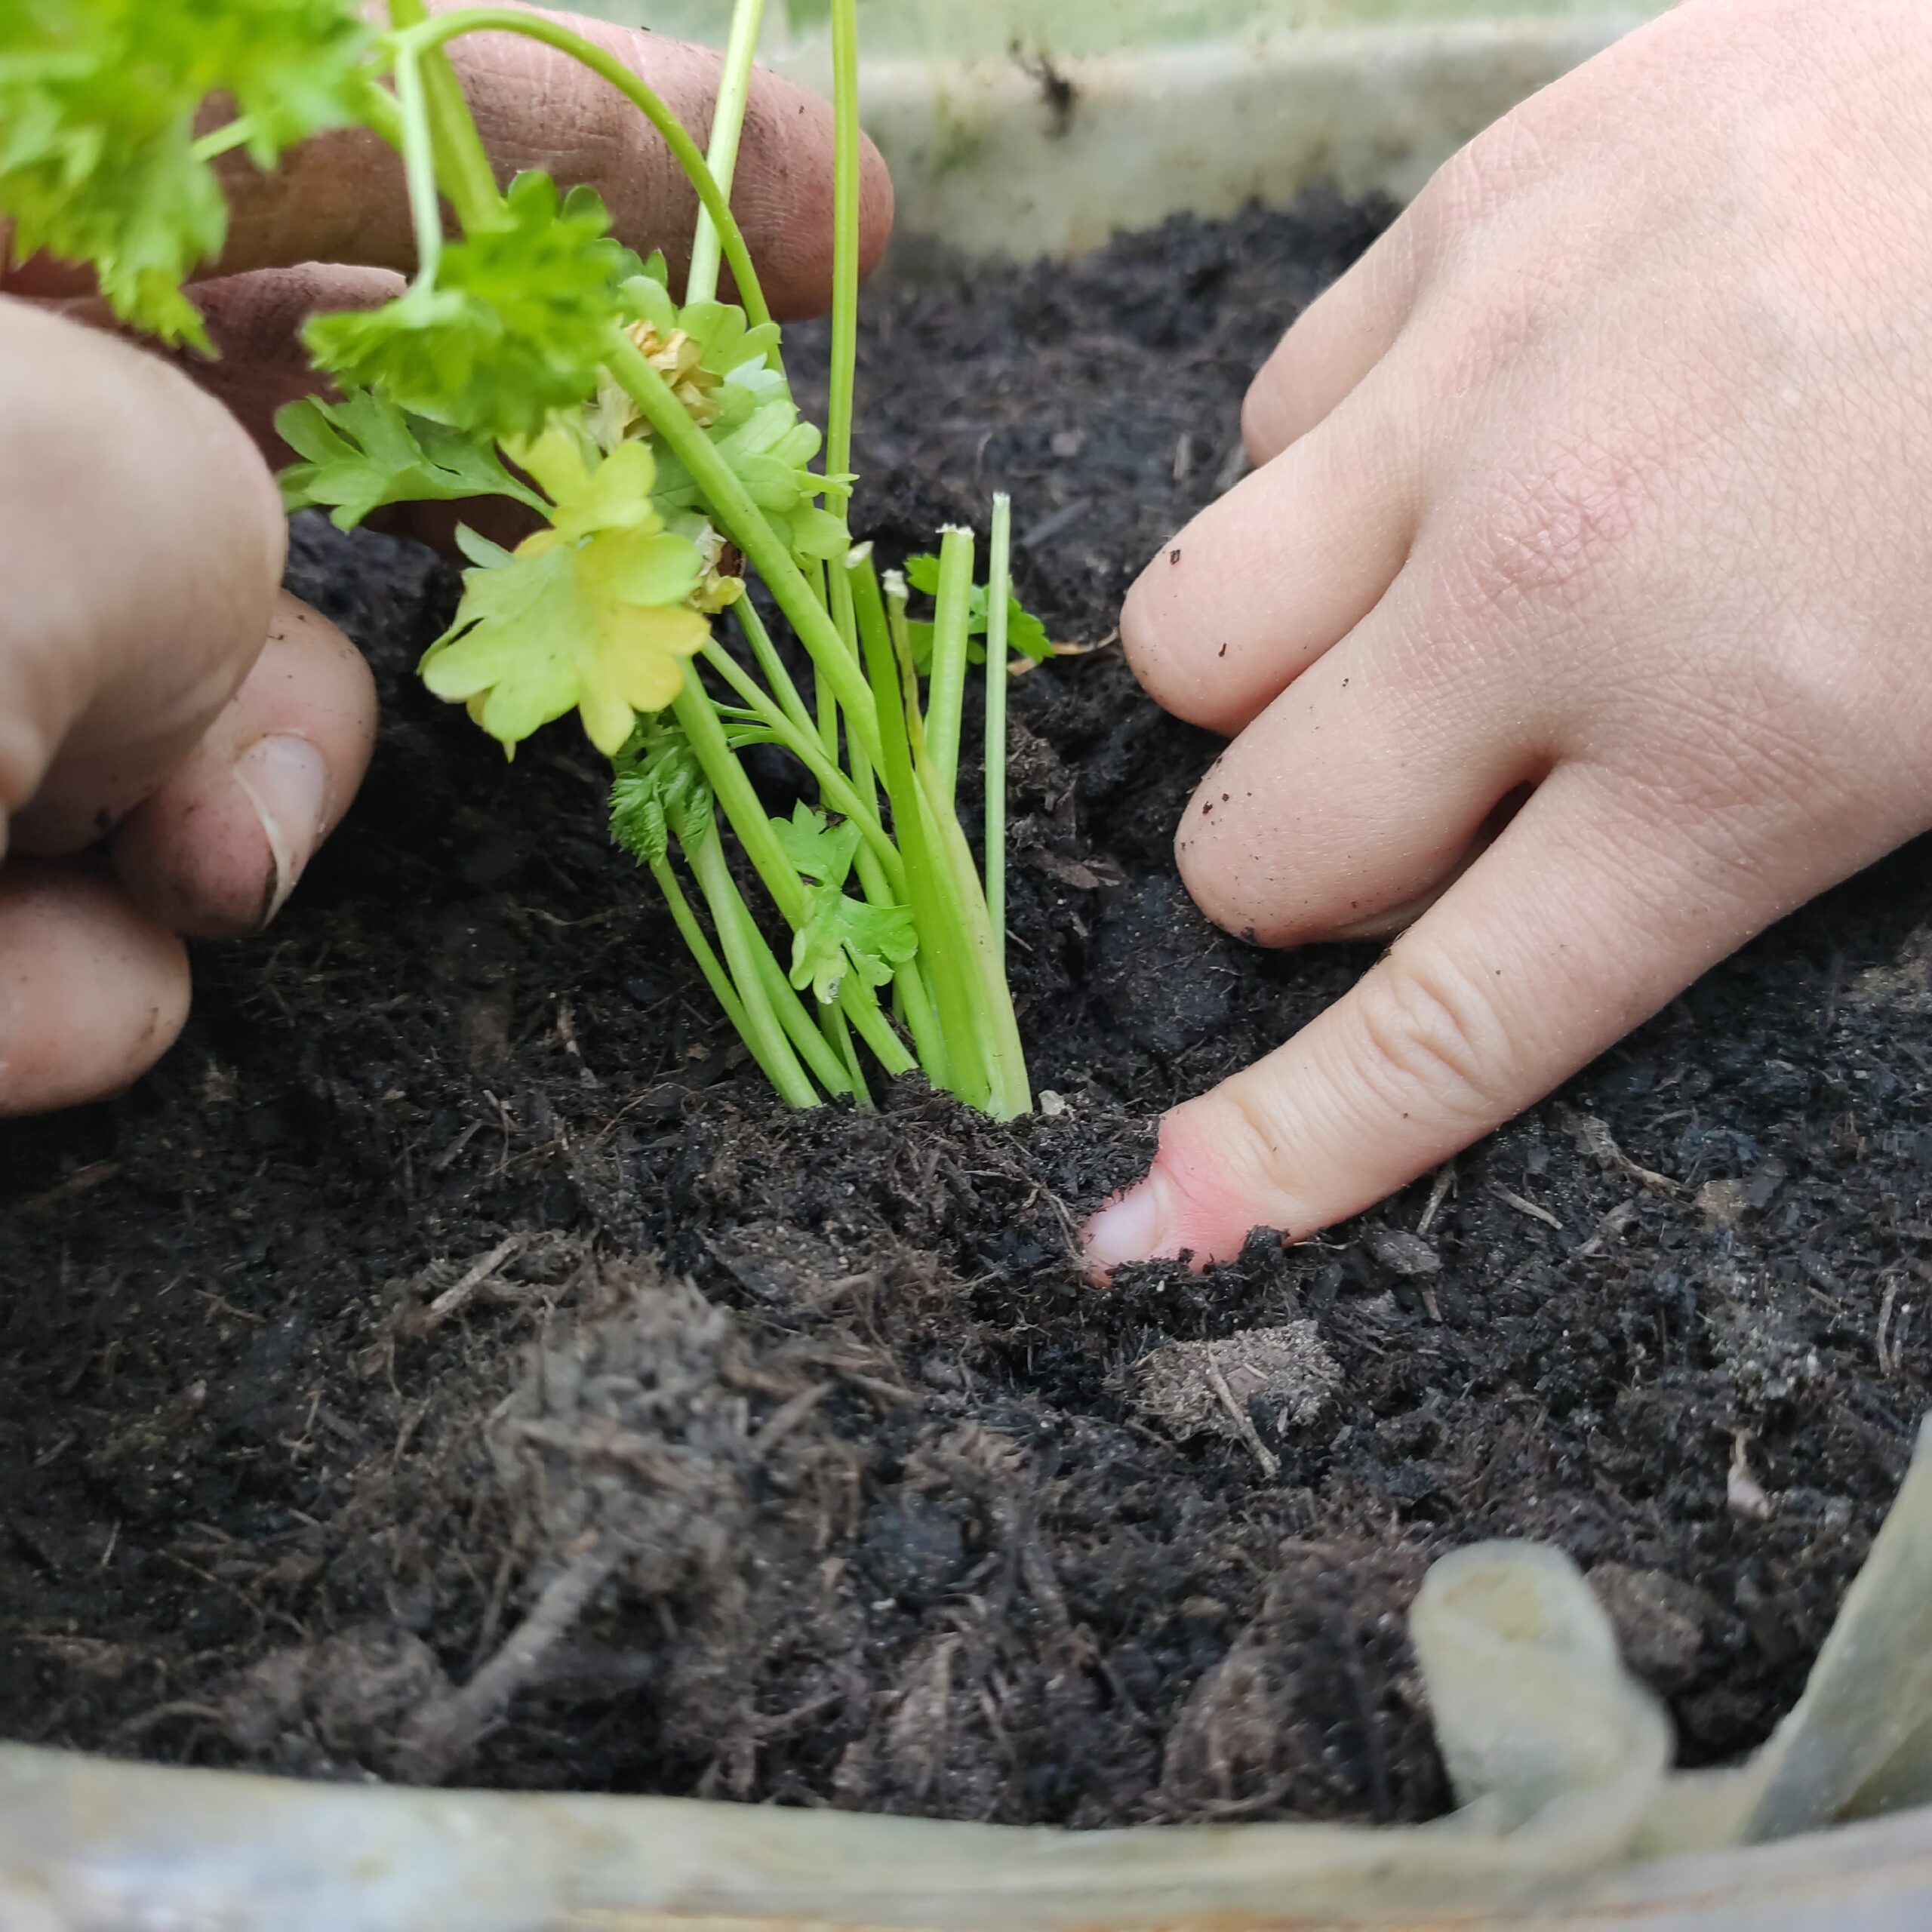


Plant your seedlings gradually in their new place.
Garden tip:
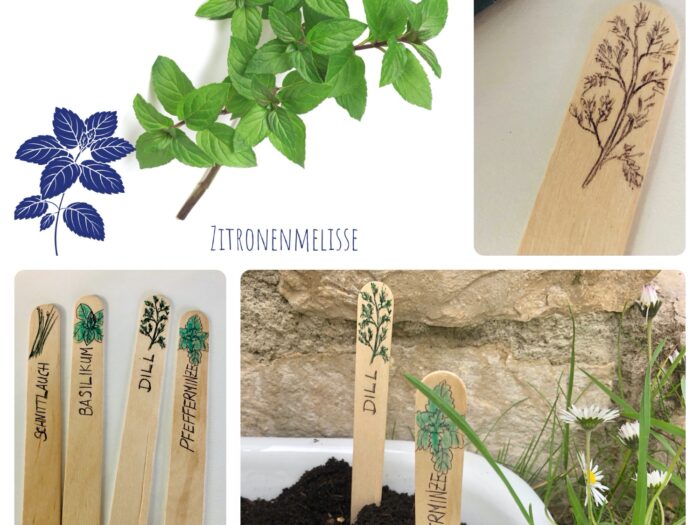
?? Once again, take your herbal card and read the distance at which the herbs must be planted, because this is different from herb to herb.


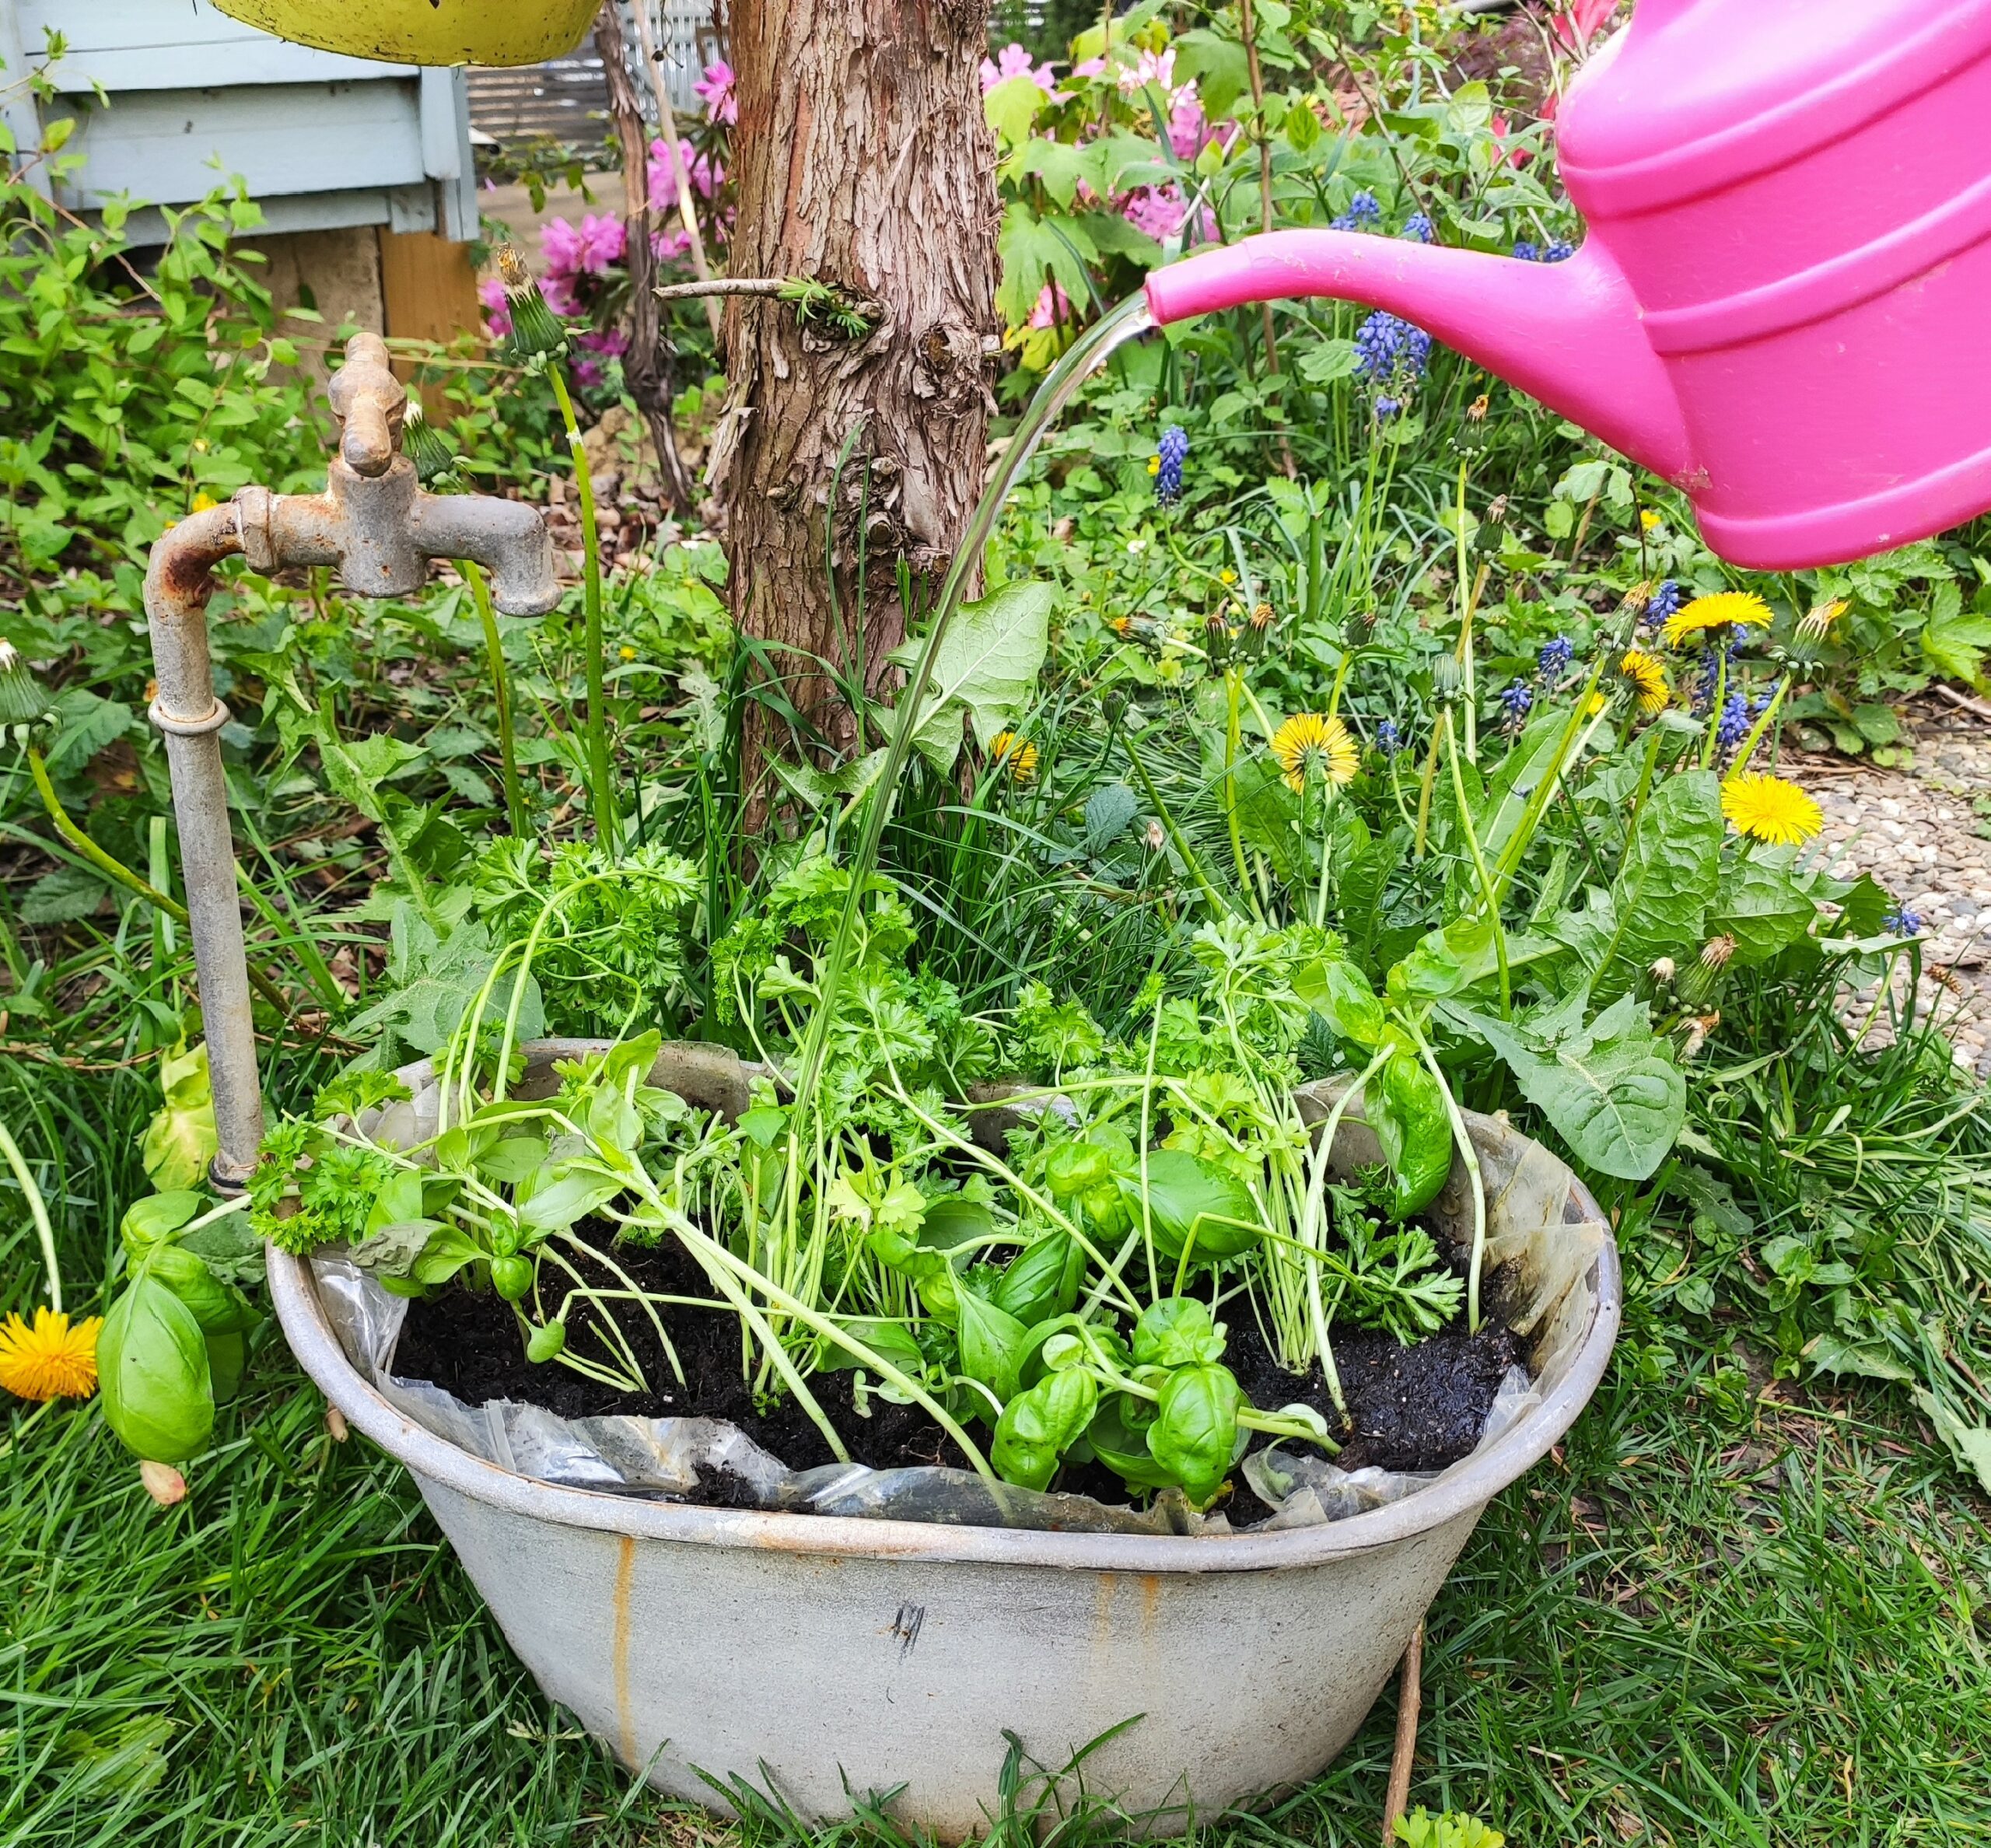
Finally, carefully pour your planted herbs.
Garden tip:
?? In the beginning, shortly after replanting, the herbs may still hang their heads. But soon they will have gotten used to their new place.


Have fun gardening!
Materials
Directions
First, take your Tetra-Pack Beet with your herb plants.


Fill a flower pot with soil or find a place in the open air. The earth should be loose and moist.


Then carefully release the plants from the Tetra-Pack Beet with the pikier wood.
Garden tip:
?? Go with the wooden stick under the roots of the plant to raise them carefully. Thus the roots of the plant remain unharmed.


Drill small holes into your bed with your index finger or pikier wood and gradually put the plants into the small holes in the bed.


Then gently push the earth around the plants.
Garden tip:
?? Make sure you plant the plants deep enough.


Plant your seedlings gradually in their new place.
Garden tip:
?? Once again, take your herbal card and read the distance at which the herbs must be planted, because this is different from herb to herb.


Finally, carefully pour your planted herbs.
Garden tip:
?? In the beginning, shortly after replanting, the herbs may still hang their heads. But soon they will have gotten used to their new place.


Have fun gardening!
Follow us on Facebook , Instagram and Pinterest
Don't miss any more adventures: Our bottle mail


