Folding paper vessel

AdventurerThe
Rating4.56.2 Thousand times & (2) DifficultyIntermediate

To fold a paper ship is one of the classics. We know this from our childhood. For a day at the lake or for a hike along the stream, it is a nice little craft. Also on rainy days it is great to let a paper ship drive in the bathtub. In summer you can organize a paper ship race in the paddling pool. Have fun crafting.

Media Education for Kindergarten and Hort

Kind bastelt eine Rassel mit dem Navi
The Adventure Navi, the app for DIY projects, enables media education for the youngest.

Relief in everyday life, targeted promotion of individual children, independent learning and - without any pre-knowledge already usable by the youngest!
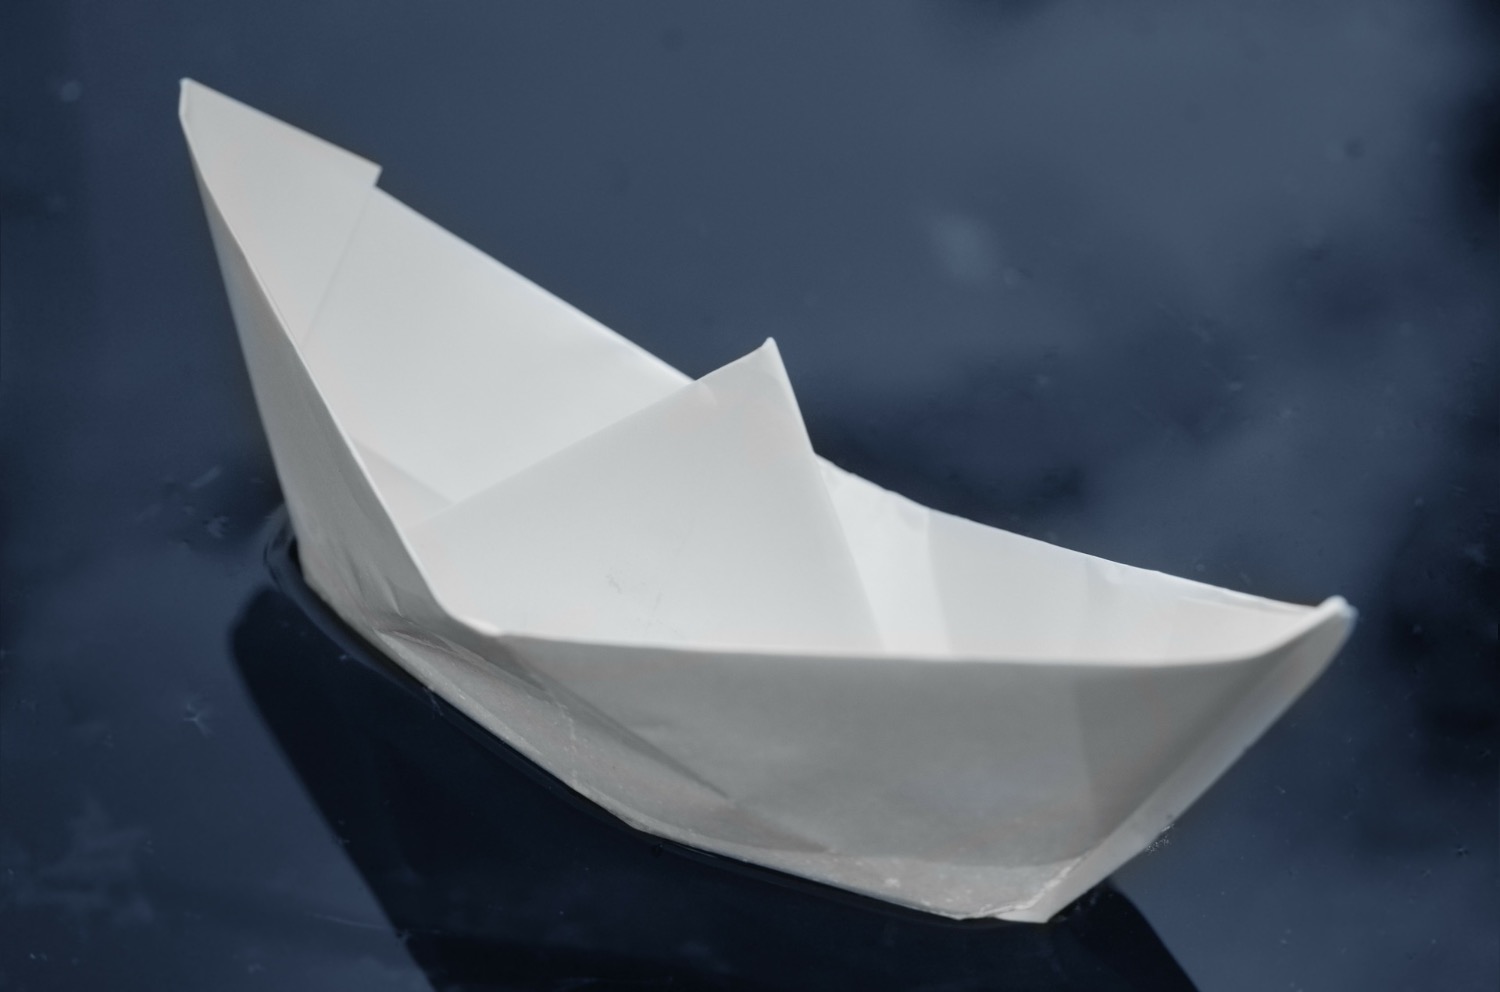


Titelbild zur Bastel- und DIY-Idee für Kinder '(307) Papierschiff falten'
Material for1 Child
Adv. Time5 min.Total Time5 min.
 1 Sheet paper DIN A 4or old newspapers, sound paper or advertising brochures
1

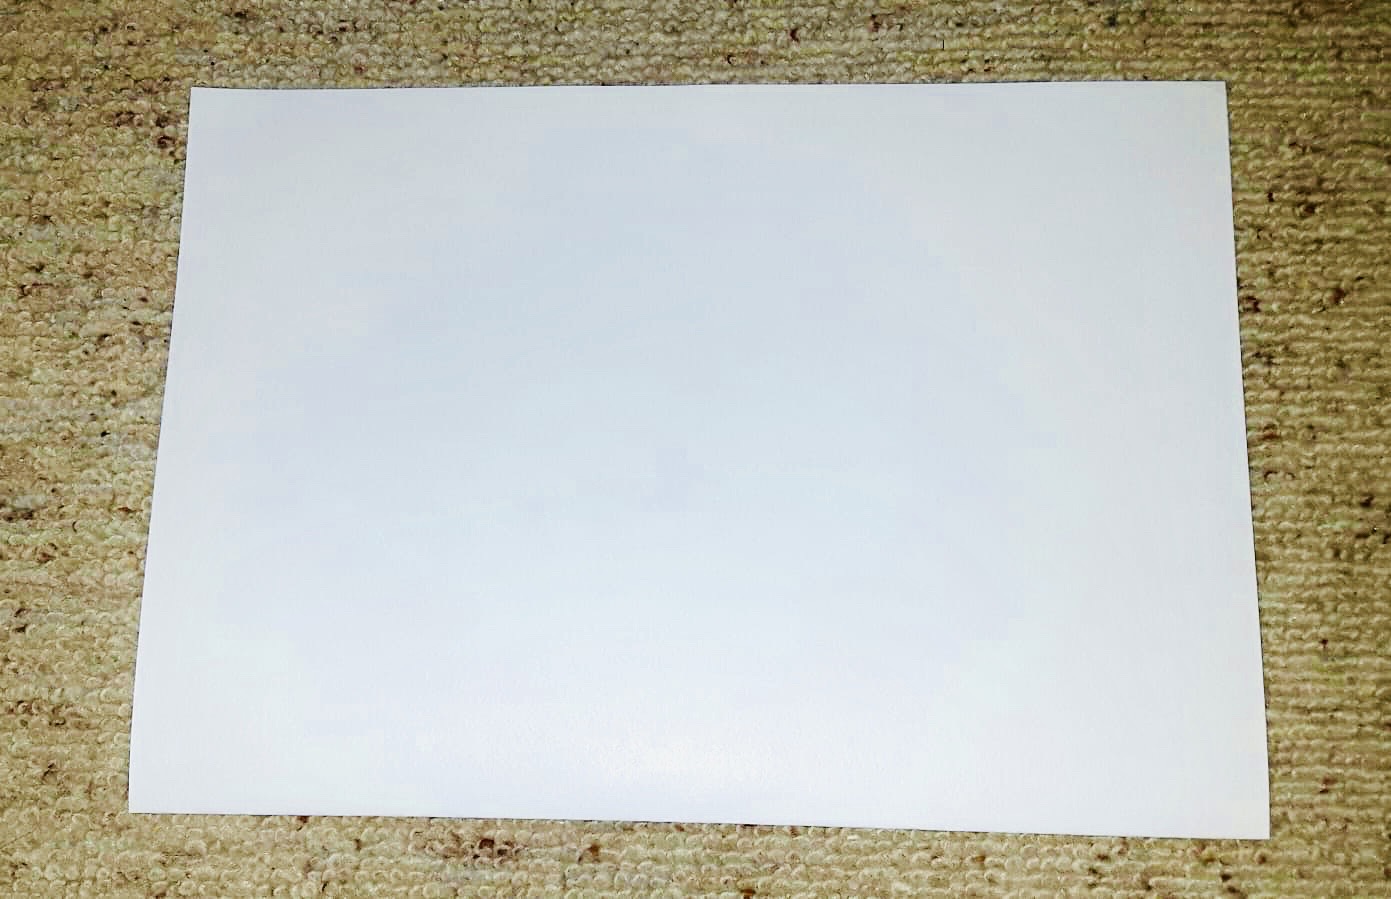
Take a sheet of paper and fold in the middle once (to a book).
Then turn the folded paper so that the open side points to the body.

Bild zum Schritt 1 für das Bastel- und DIY-Abenteuer für Kinder: 'Ein Blatt Papier nehmen und in der Mitte einmal zusammenfalten...'

2

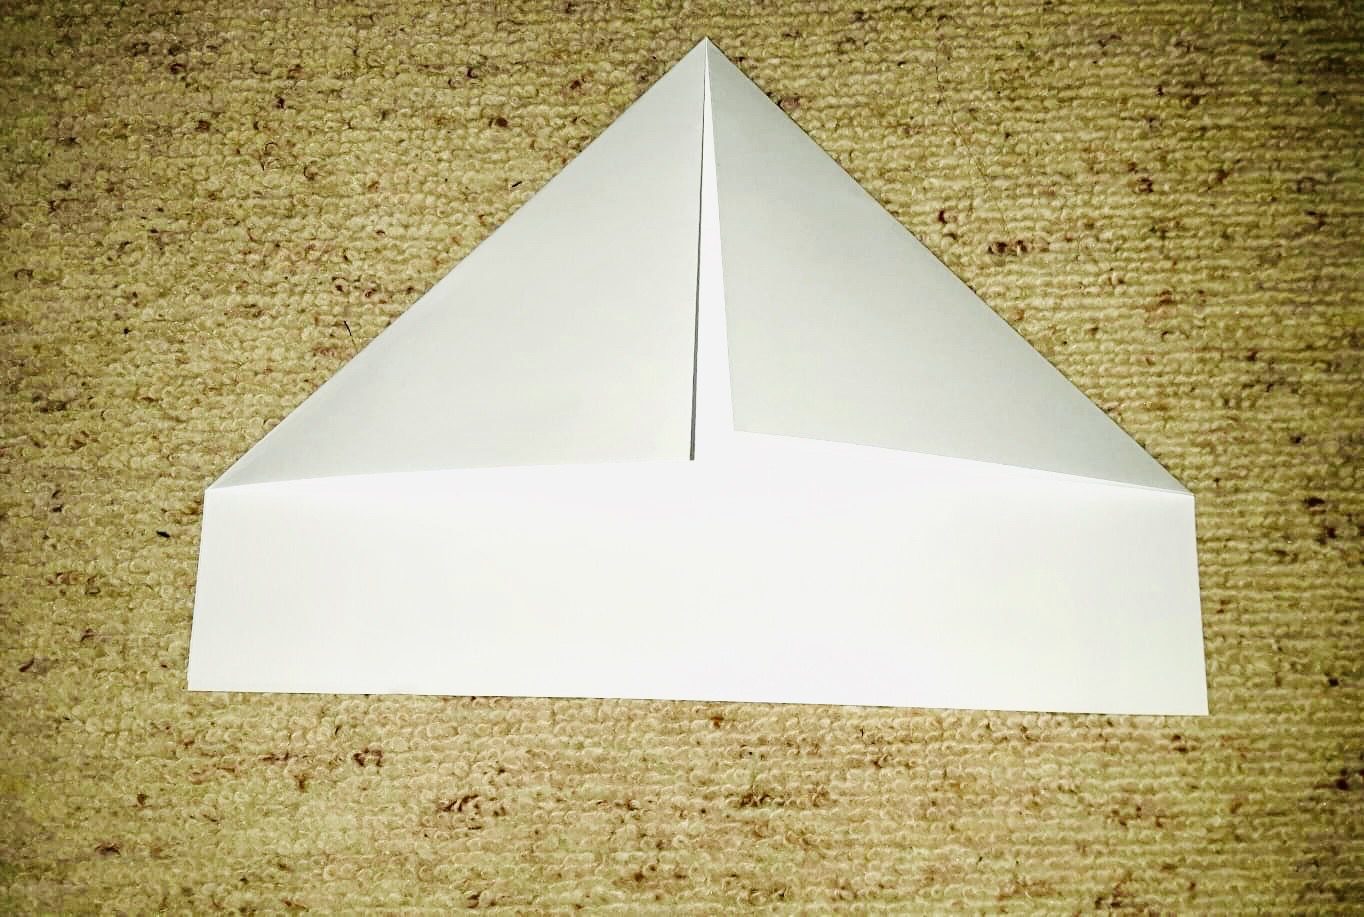
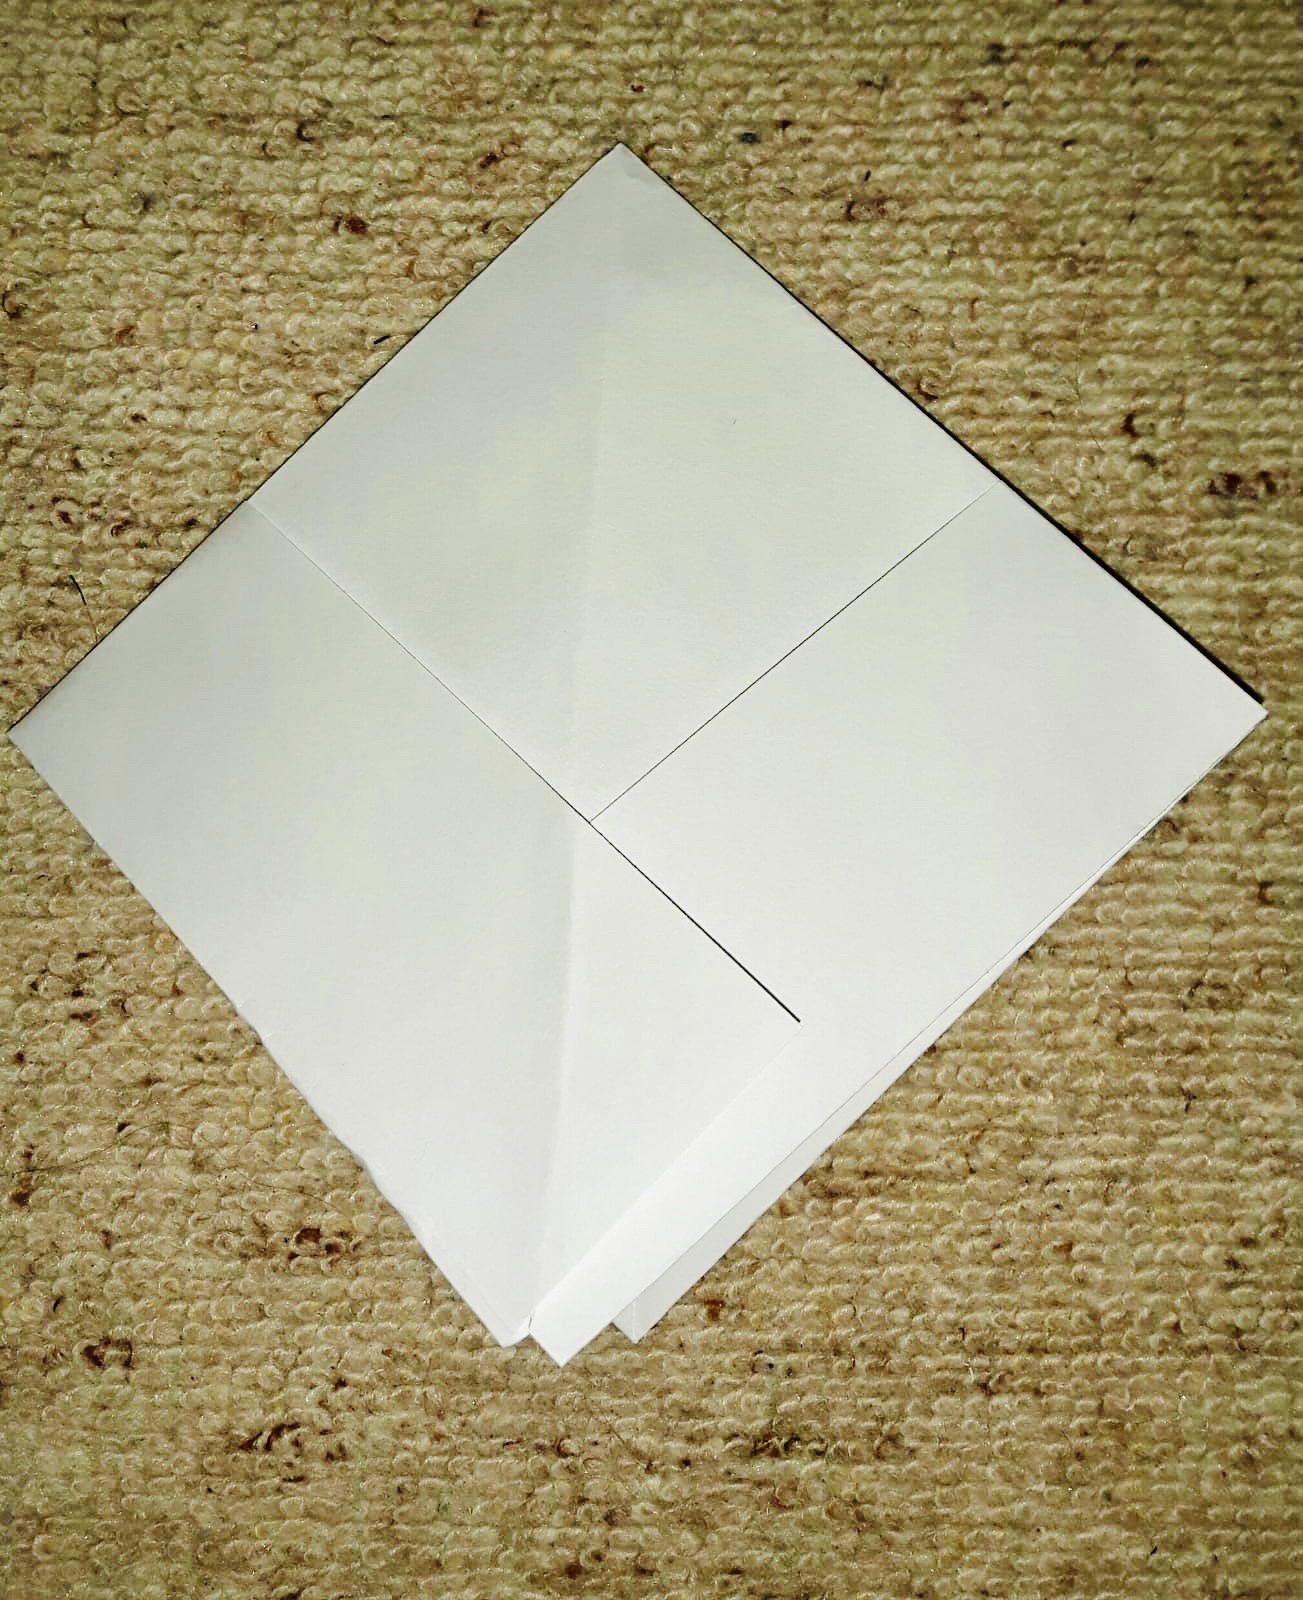
Fold the corners to the middle. The folding exercises are not only fun, they also train the children's eye-hand coordination.

Bild zum Schritt 2 für das Bastel- und DIY-Abenteuer für Kinder: 'Die Ecken nun bis zur Mitte falten. Die Faltübungen machen...'

3

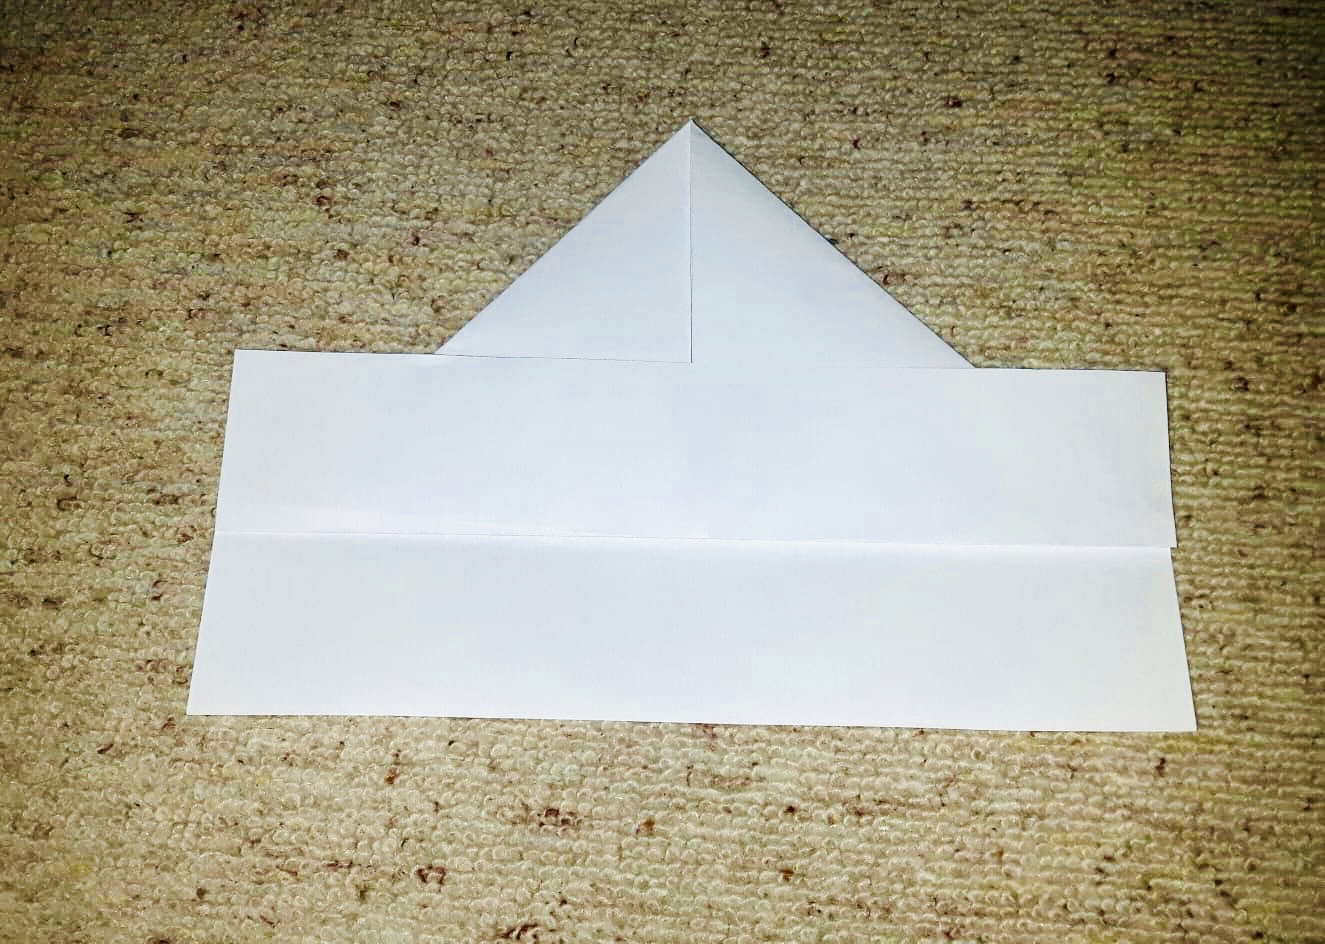
Fold the lower side upwards and fold the edges backwards.

Bild zum Schritt 3 für das Bastel- und DIY-Abenteuer für Kinder: 'Die untere Seite nach oben falten und die Ränder nach...'

4

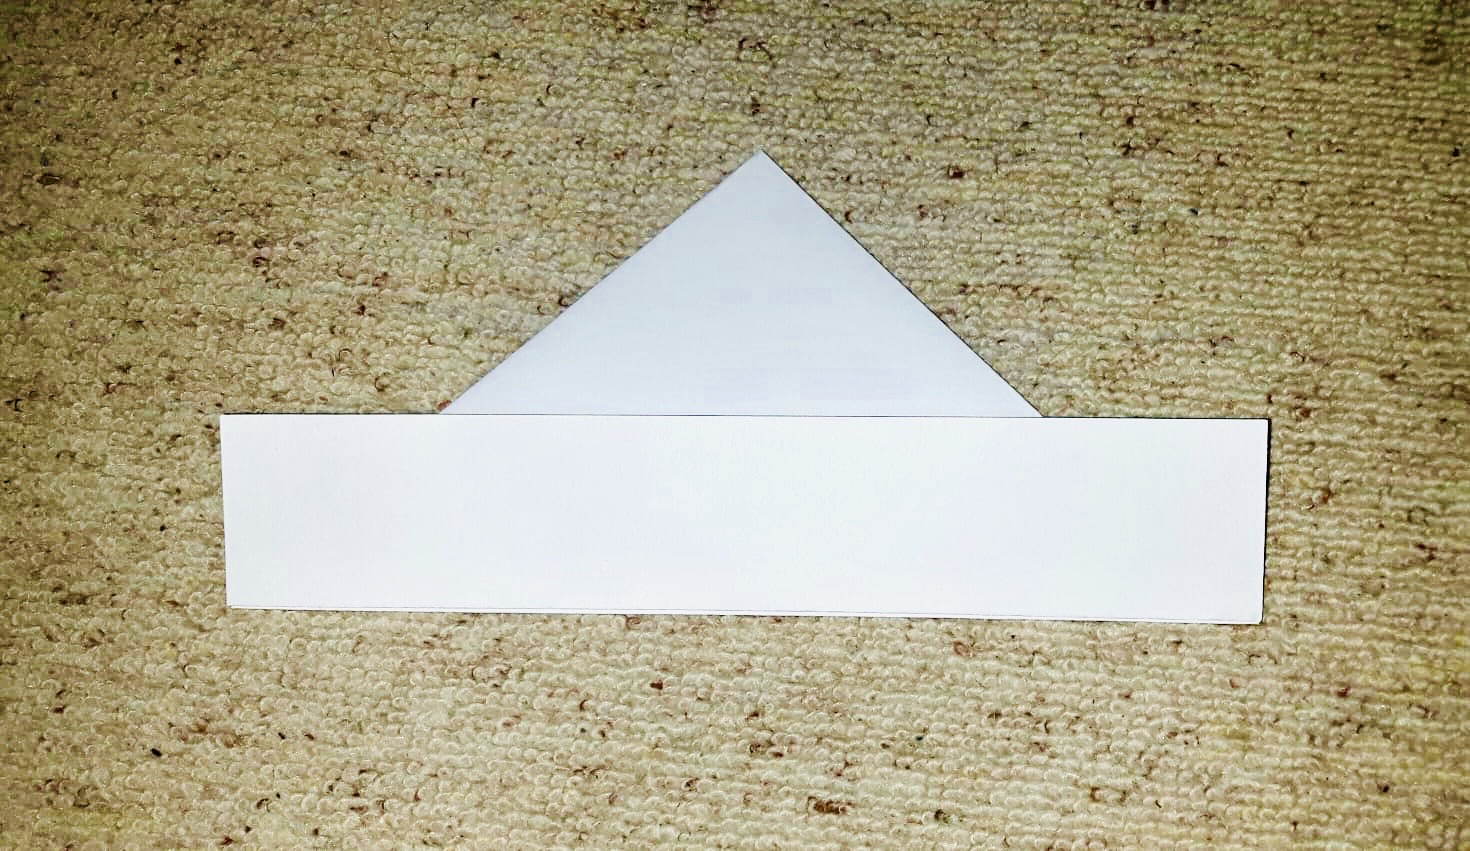
Turn everything around and fold up the lower side on the back as well and fold the edges backwards.

Bild zum Schritt 4 für das Bastel- und DIY-Abenteuer für Kinder: 'Alles umdrehen und auf der Rückseite ebenso die untere Seite...'

5

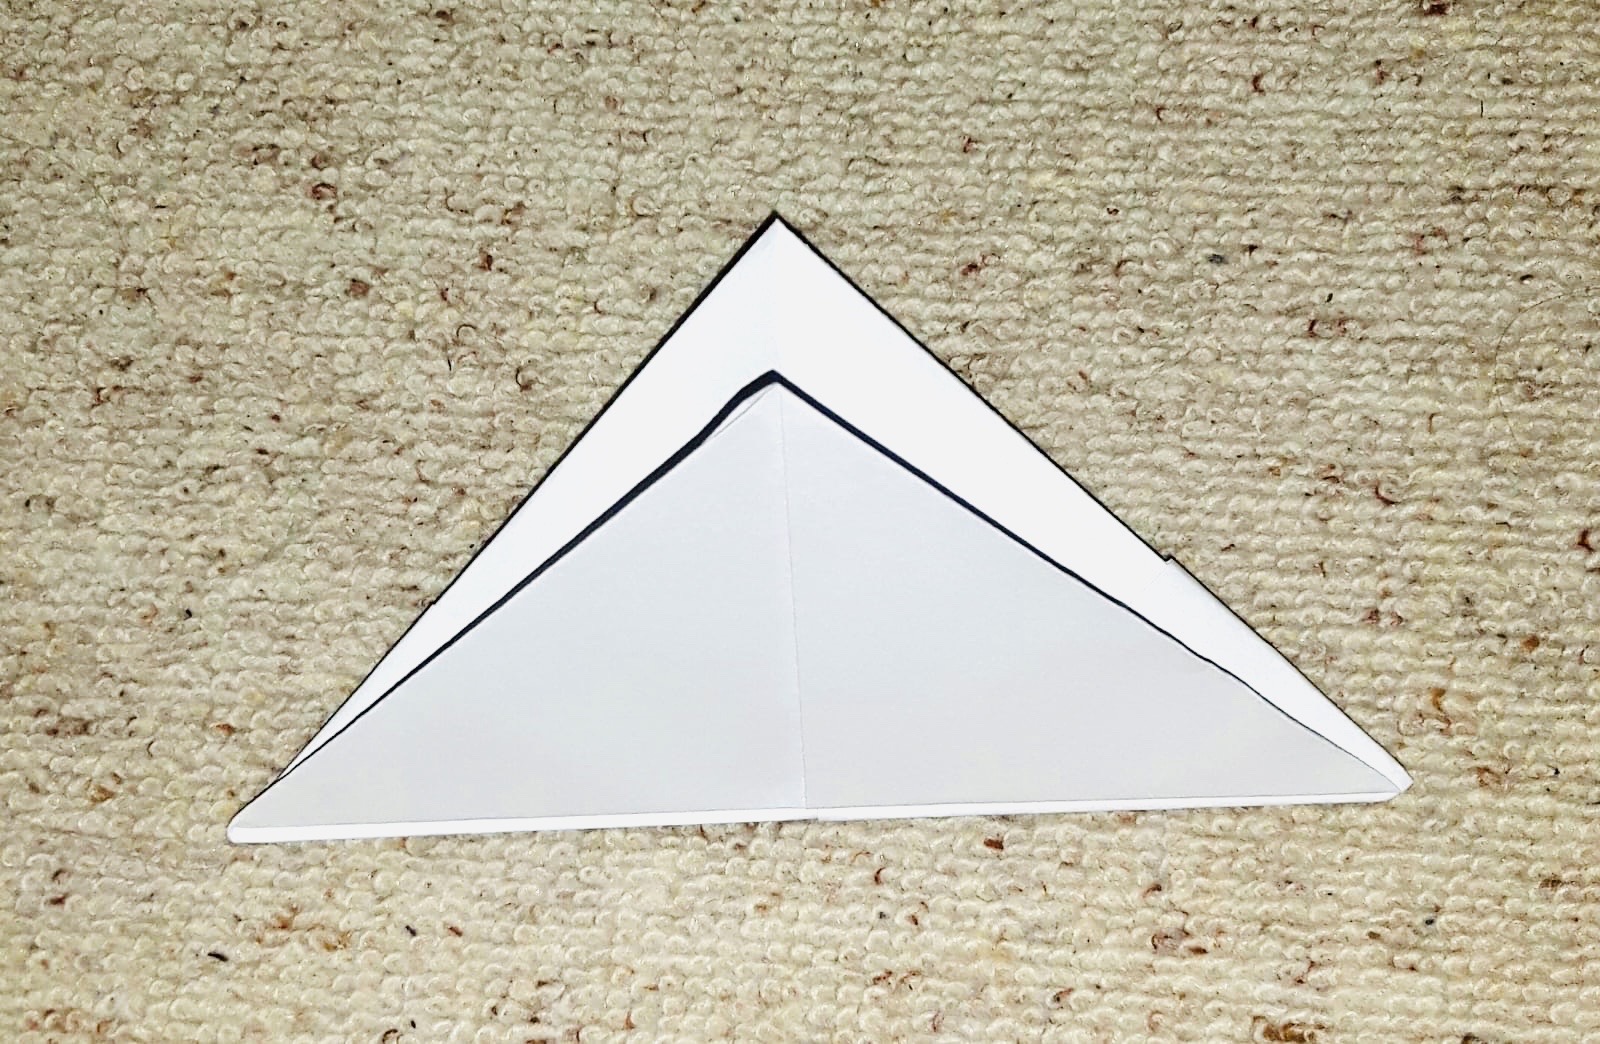
Now open the triangle (is now a Paper hat).

Bild zum Schritt 5 für das Bastel- und DIY-Abenteuer für Kinder: 'Nun das Dreieck öffnen (ist jetzt ein

6

Then put the corners of the paper hat on top of each other so that it looks like on the picture.

Bild zum Schritt 6 für das Bastel- und DIY-Abenteuer für Kinder: 'Dann die Ecken des Papierhutes aufeinanderlegen, so dass es aussieht...'

7

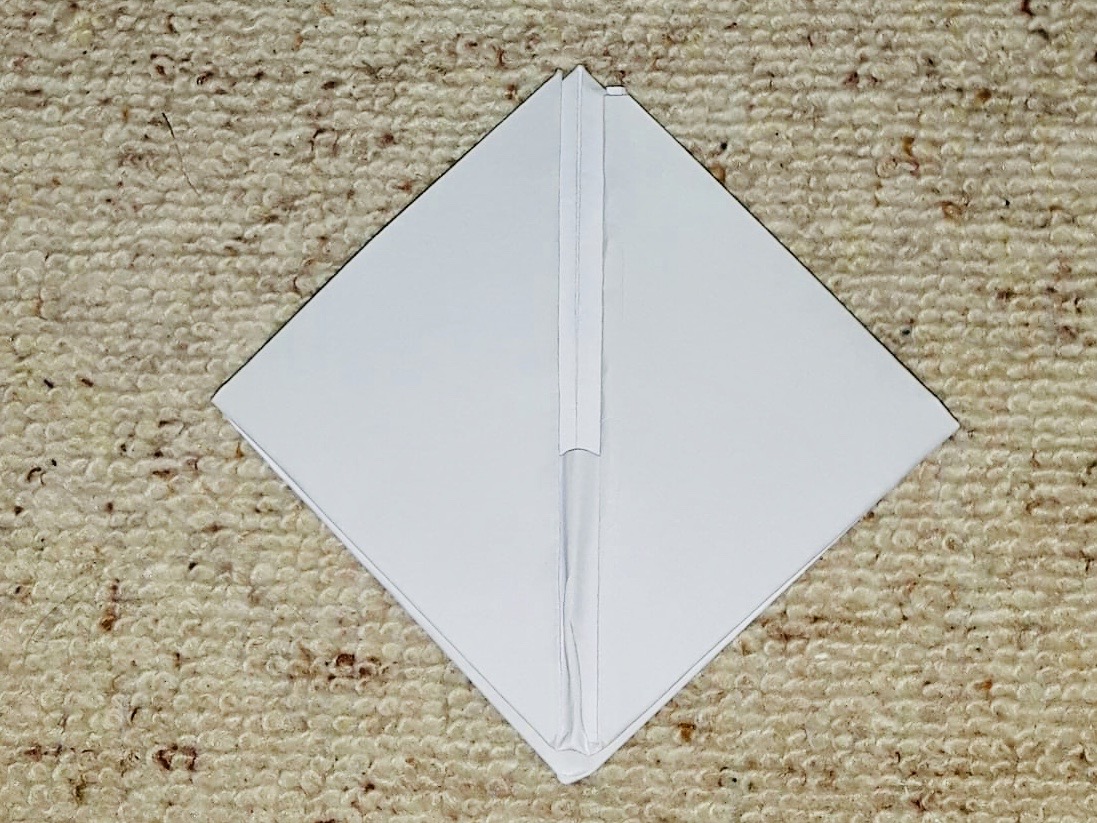
Now fold the lower corner upwards. Then turn everything around and fold the lower corner upwards on the back as well.

Bild zum Schritt 7 für das Bastel- und DIY-Abenteuer für Kinder: 'Jetzt die untere Ecke nach oben falten. Dann alles umdrehen...'

8

Now squeeze the corners.

Bild zum Schritt 8 für das Bastel- und DIY-Abenteuer für Kinder: 'Jetzt die Ecken zusammendrücken.'

9

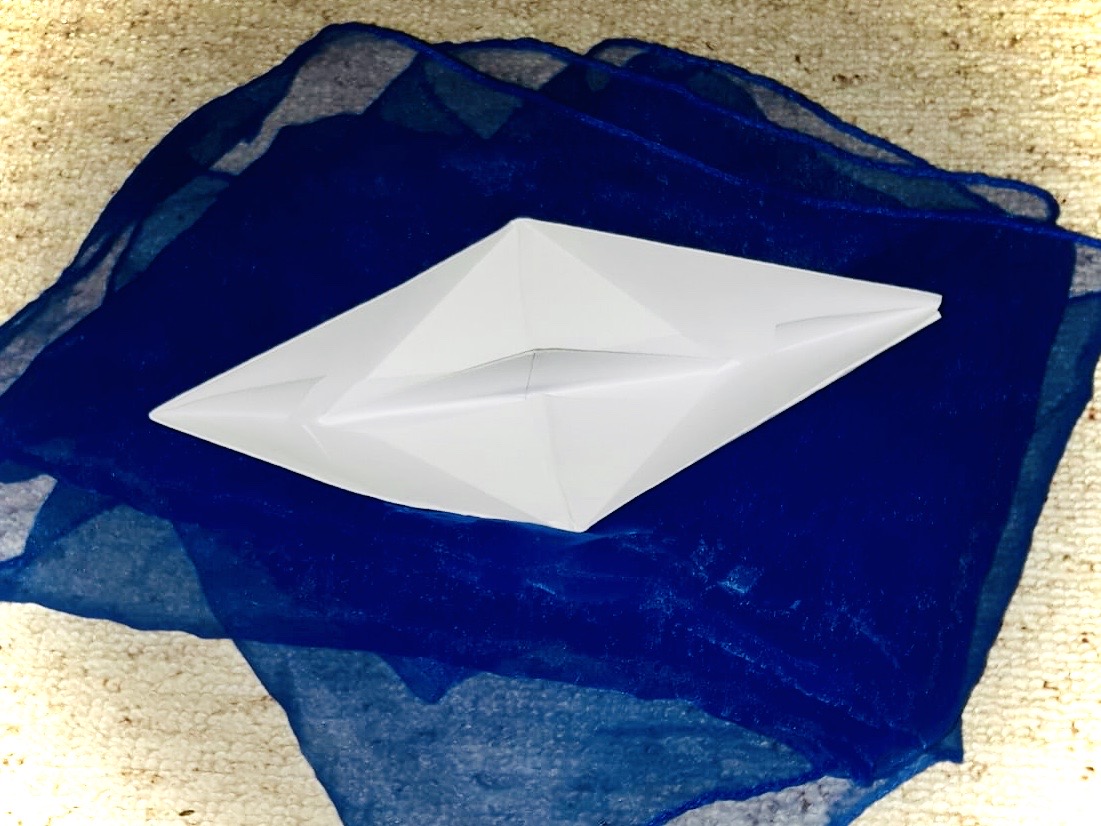
Now pull the corners apart. Your paper ship is ready.

If you've done this a few times, you can certainly memorize the steps. Let your ship ride in the bathtub, in the pool, in an outdoor tub, on the lake or in the river. Maybe a Lego man also likes to go with you?
You can also paint it colorfully or glue it.
Have fun!

Bild zum Schritt 9 für das Bastel- und DIY-Abenteuer für Kinder: 'Nun zieht die Ecken auseinander. Fertig ist euer Papierschiff. ...'

Materials

 1 Sheet paper DIN A 4or old newspapers, sound paper or advertising brochures

Directions

1

Take a sheet of paper and fold in the middle once (to a book).
Then turn the folded paper so that the open side points to the body.

Bild zum Schritt 1 für das Bastel- und DIY-Abenteuer für Kinder: 'Ein Blatt Papier nehmen und in der Mitte einmal zusammenfalten...'

2

Fold the corners to the middle. The folding exercises are not only fun, they also train the children's eye-hand coordination.

Bild zum Schritt 2 für das Bastel- und DIY-Abenteuer für Kinder: 'Die Ecken nun bis zur Mitte falten. Die Faltübungen machen...'

3

Fold the lower side upwards and fold the edges backwards.

Bild zum Schritt 3 für das Bastel- und DIY-Abenteuer für Kinder: 'Die untere Seite nach oben falten und die Ränder nach...'

4

Turn everything around and fold up the lower side on the back as well and fold the edges backwards.

Bild zum Schritt 4 für das Bastel- und DIY-Abenteuer für Kinder: 'Alles umdrehen und auf der Rückseite ebenso die untere Seite...'

5

Now open the triangle (is now a Paper hat).

Bild zum Schritt 5 für das Bastel- und DIY-Abenteuer für Kinder: 'Nun das Dreieck öffnen (ist jetzt ein

6

Then put the corners of the paper hat on top of each other so that it looks like on the picture.

Bild zum Schritt 6 für das Bastel- und DIY-Abenteuer für Kinder: 'Dann die Ecken des Papierhutes aufeinanderlegen, so dass es aussieht...'

7

Now fold the lower corner upwards. Then turn everything around and fold the lower corner upwards on the back as well.

Bild zum Schritt 7 für das Bastel- und DIY-Abenteuer für Kinder: 'Jetzt die untere Ecke nach oben falten. Dann alles umdrehen...'

8

Now squeeze the corners.

Bild zum Schritt 8 für das Bastel- und DIY-Abenteuer für Kinder: 'Jetzt die Ecken zusammendrücken.'

9

Now pull the corners apart. Your paper ship is ready.

If you've done this a few times, you can certainly memorize the steps. Let your ship ride in the bathtub, in the pool, in an outdoor tub, on the lake or in the river. Maybe a Lego man also likes to go with you?
You can also paint it colorfully or glue it.
Have fun!

Bild zum Schritt 9 für das Bastel- und DIY-Abenteuer für Kinder: 'Nun zieht die Ecken auseinander. Fertig ist euer Papierschiff. ...'

Folding paper vessel

Follow us on Facebook , Instagram and Pinterest
Don't miss any more adventures: Our bottle mail

Leave a Reply

Your email address will not be published.

The maximum upload file size: 5 MB. You can upload: image, document. Drop file here