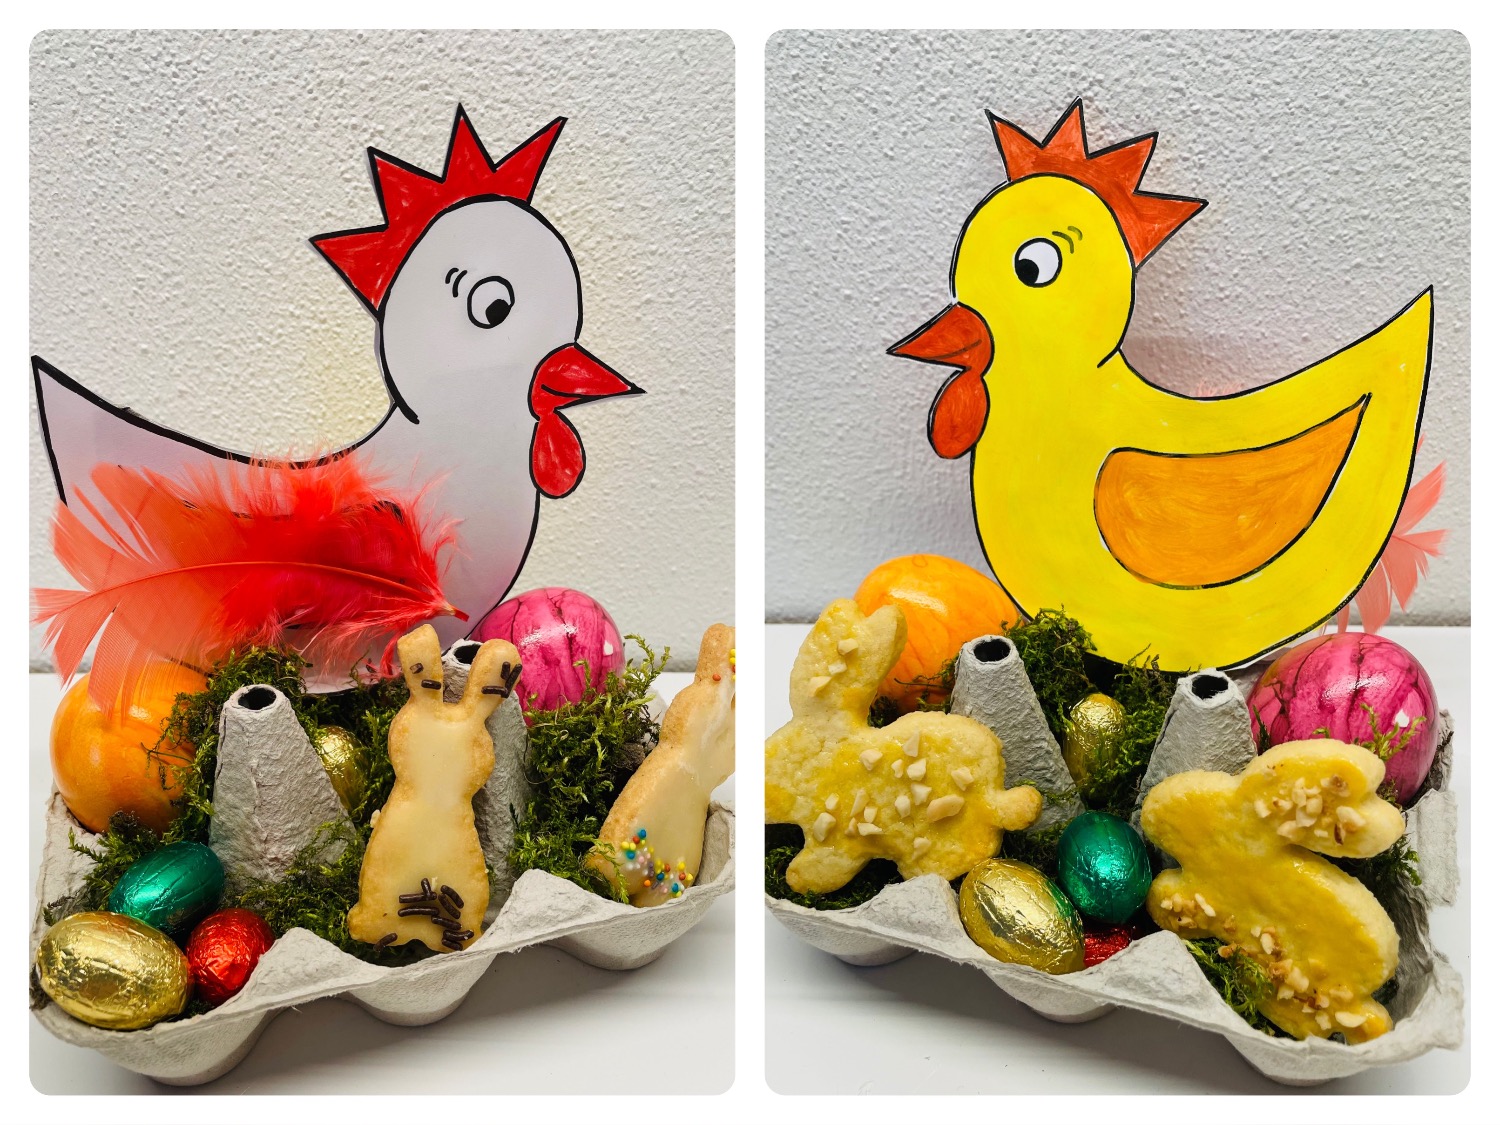
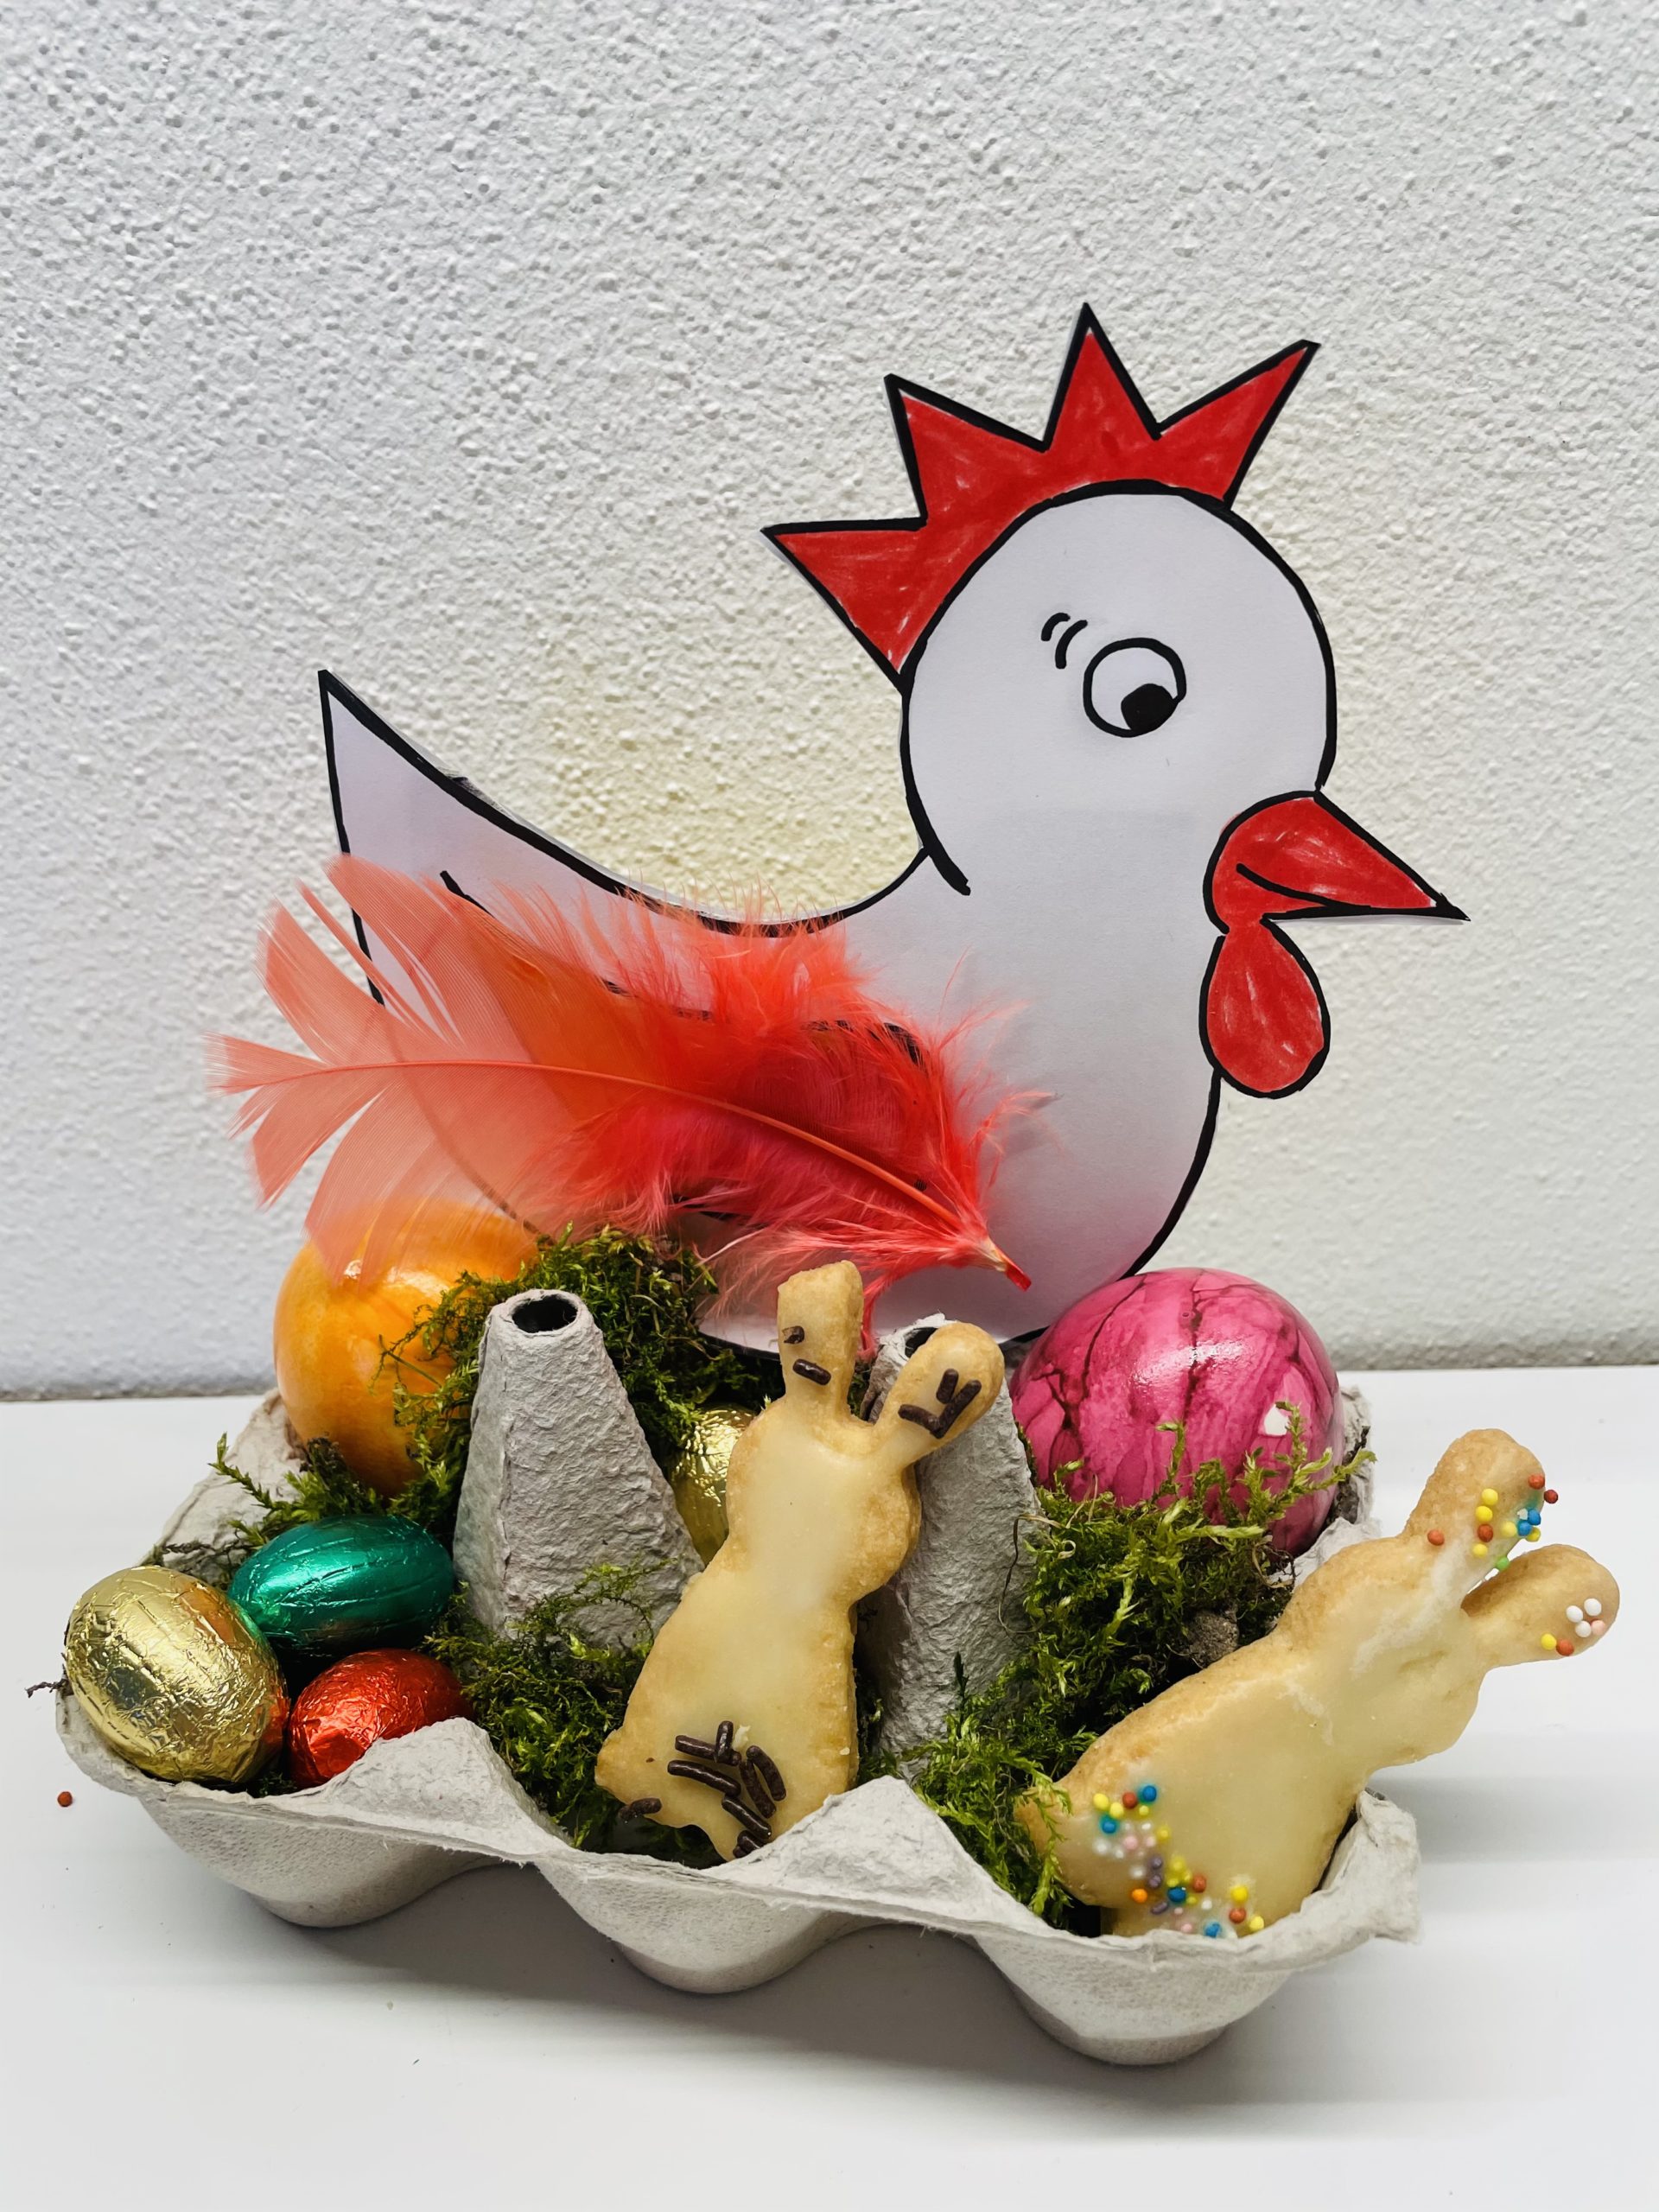
Make a small Easter nest out of an egg box. Use the template for the chicken and paint it with water colours, felt or crayons. After that you attach the chicken to the egg box as in the instructions and you can lay out the nest with moss and put a few Easter eggs or bunnies in it. Happy Easter!

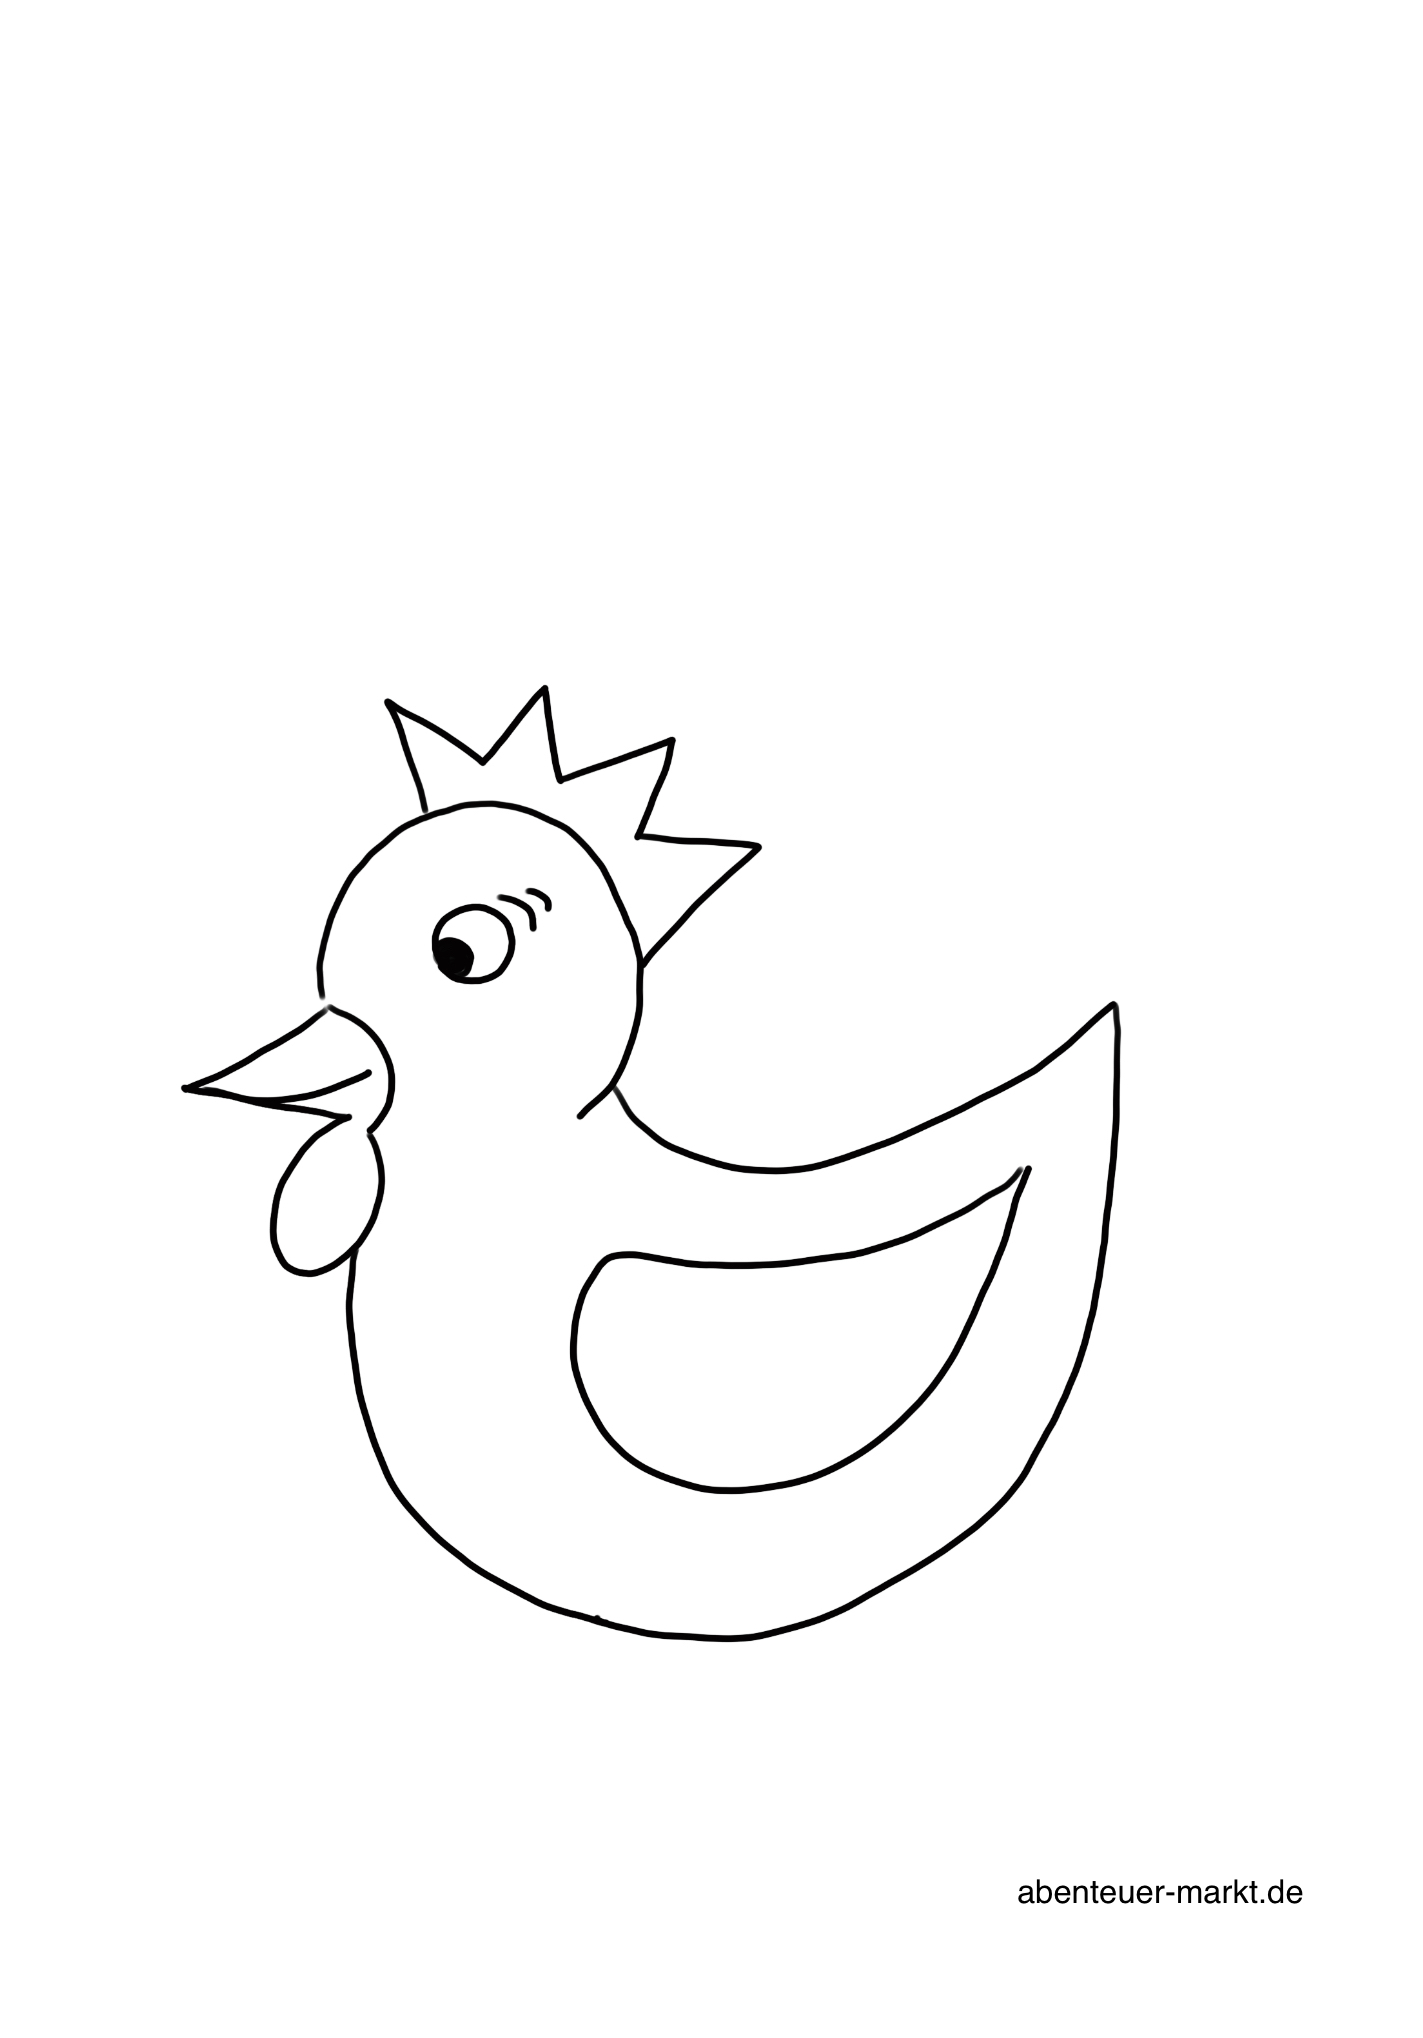
Print out one of these templates.
If you want to design the front and back, you use the chicken twice.
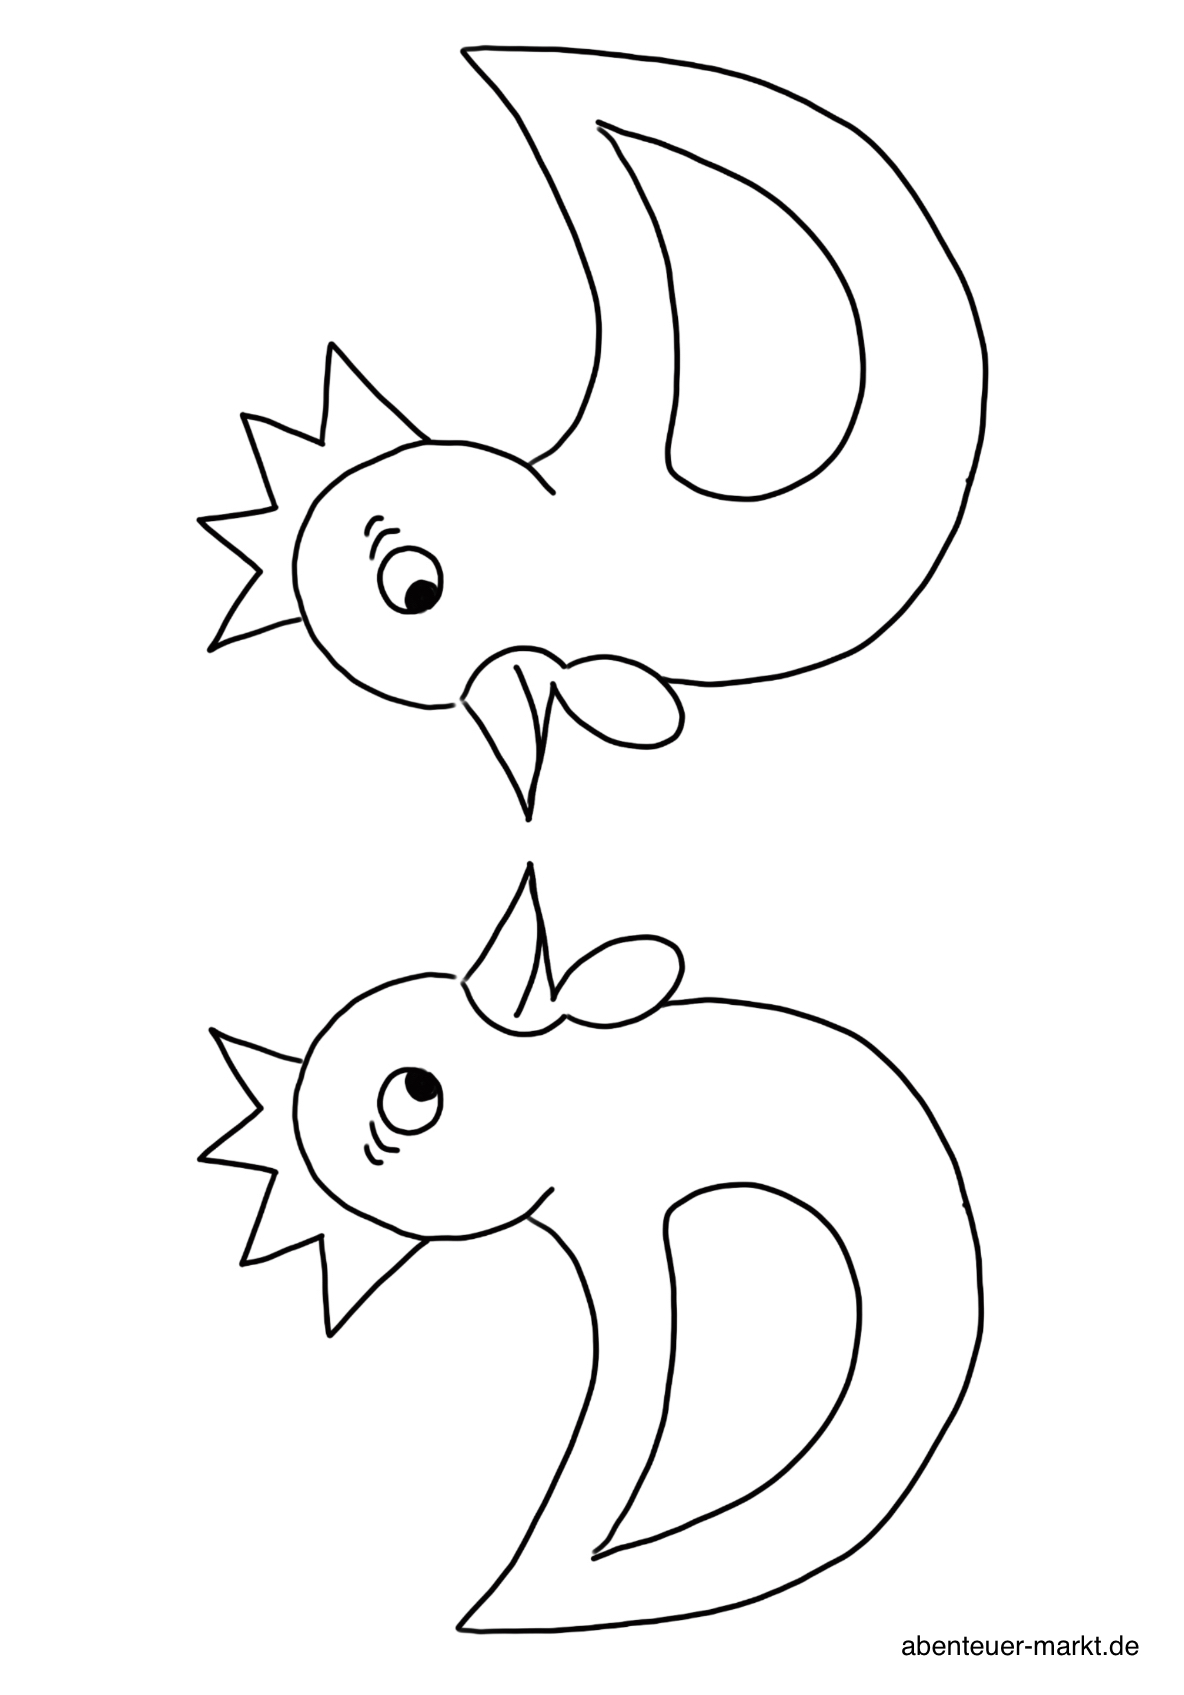
If you only paint the front, this template is enough for you. It is also suitable as a colouring image.
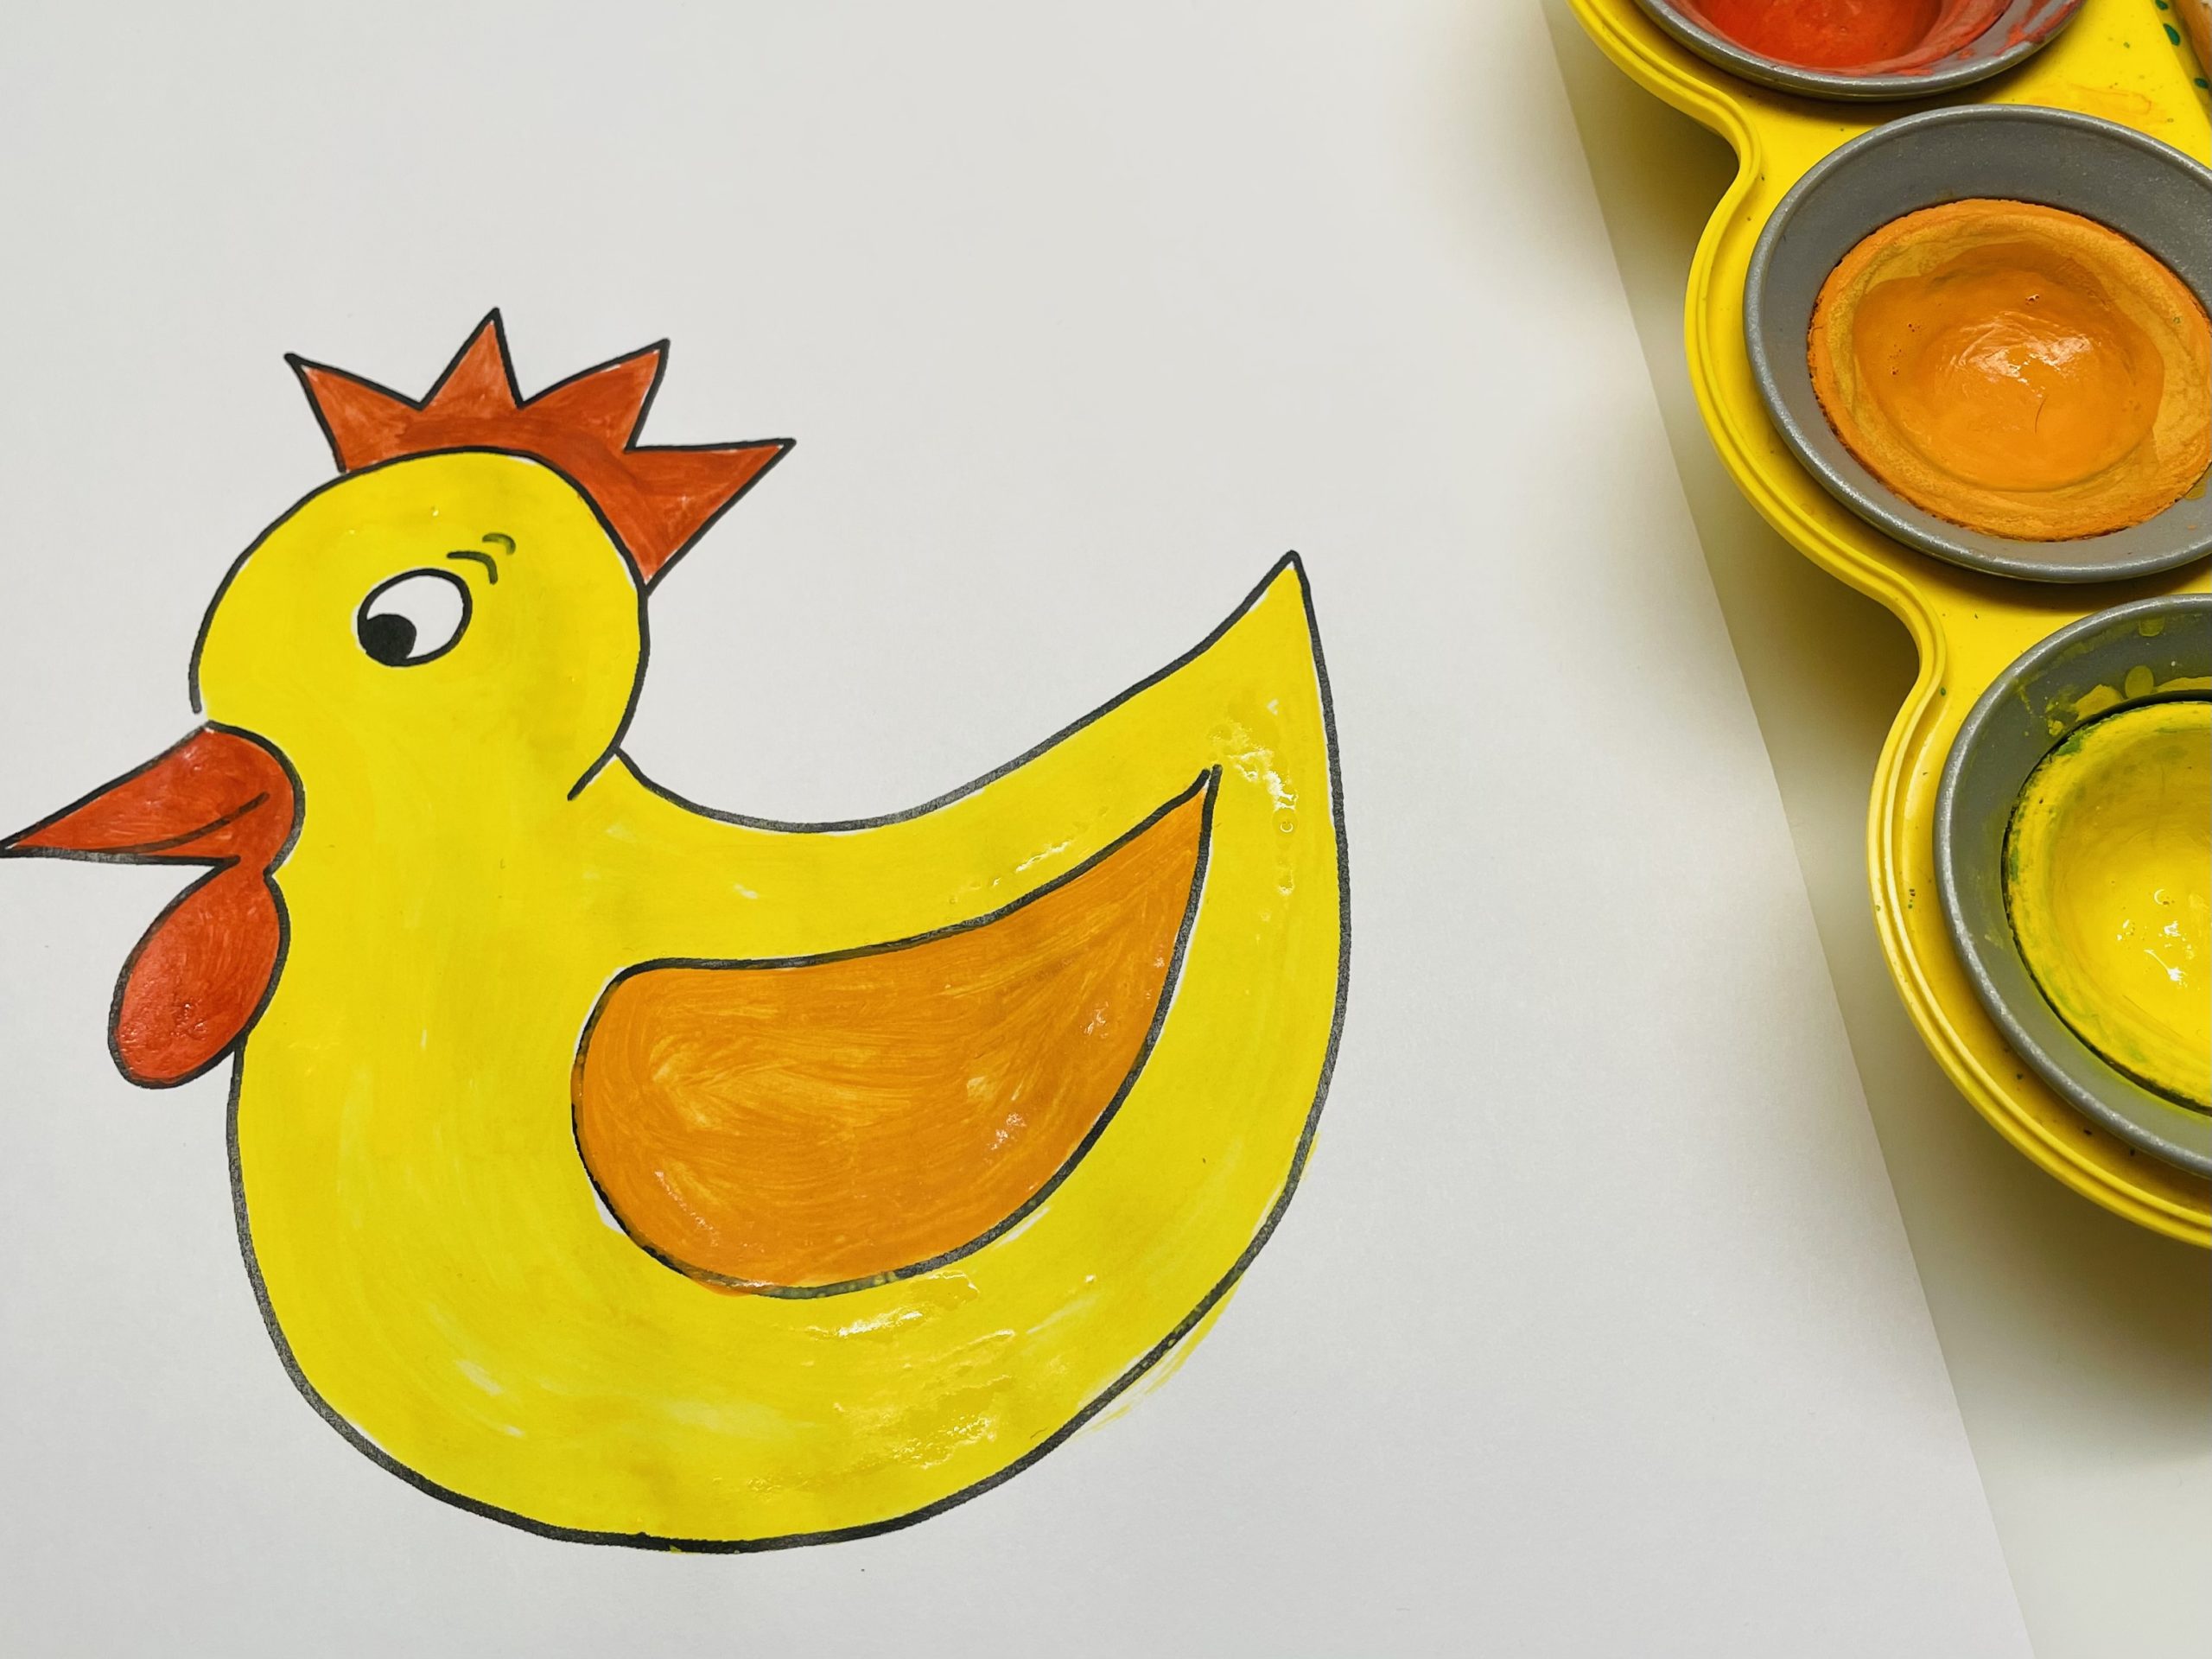
Paints the template with water colors.
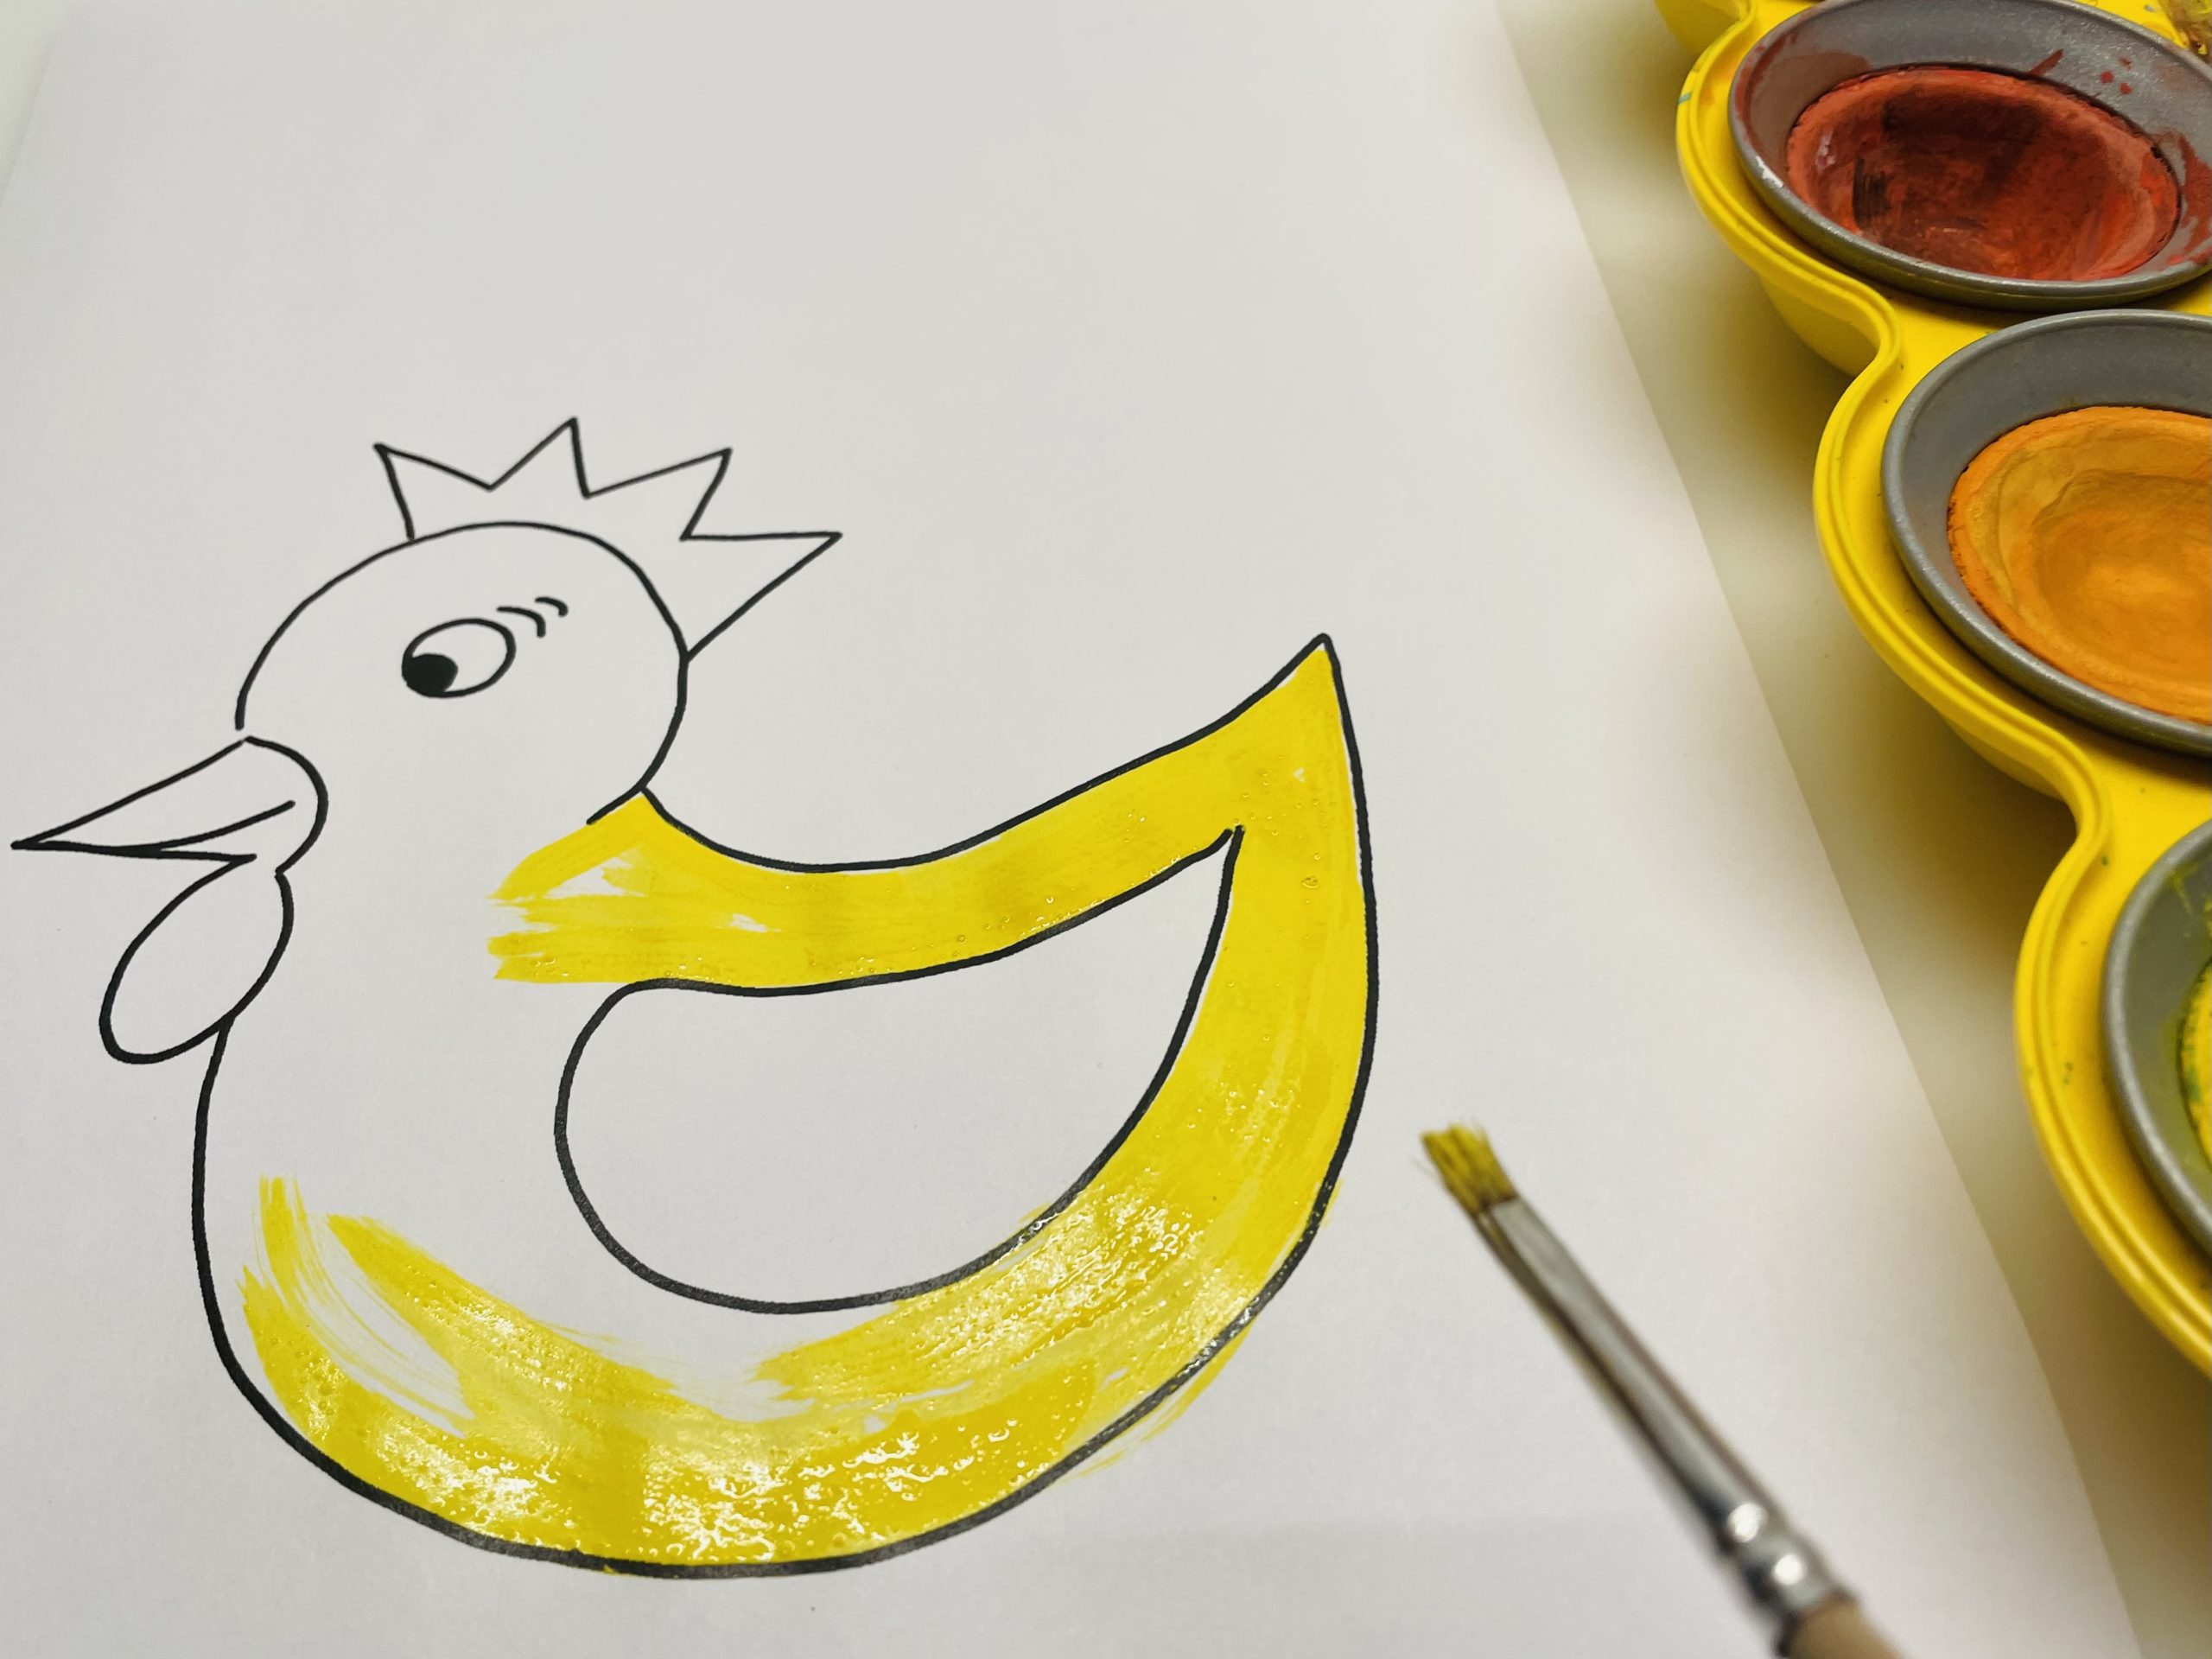
Let the paint dry.
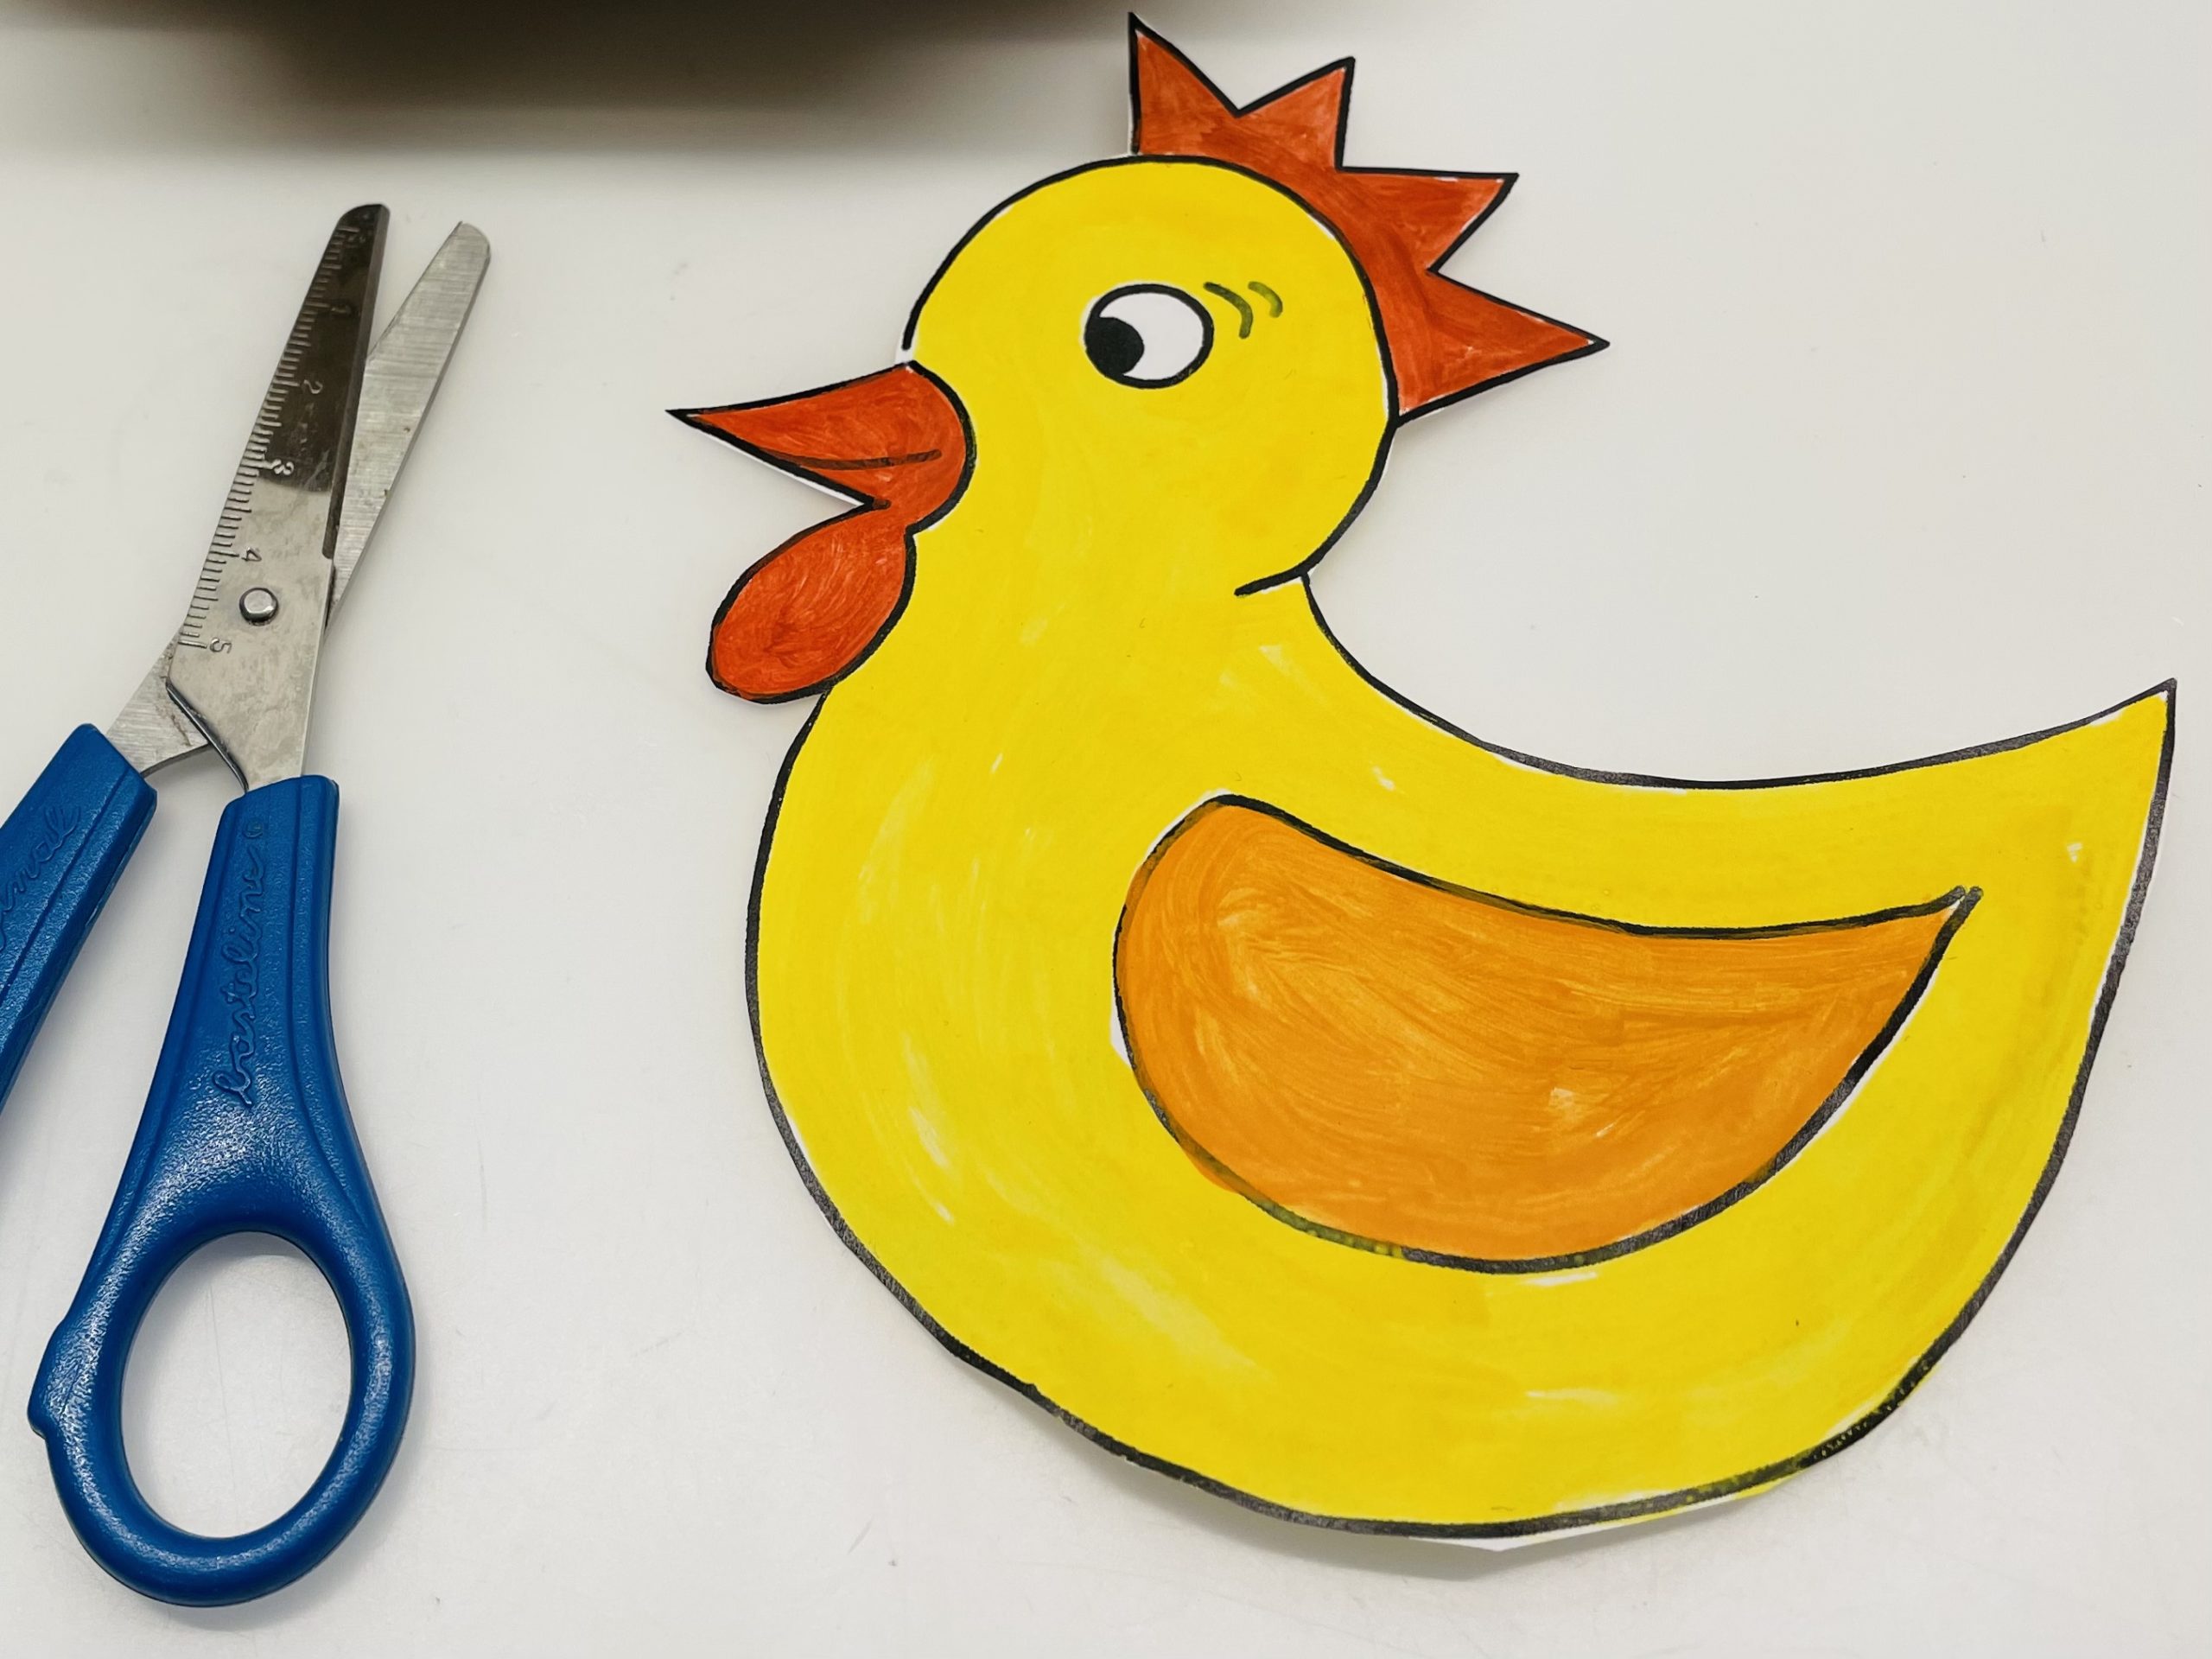
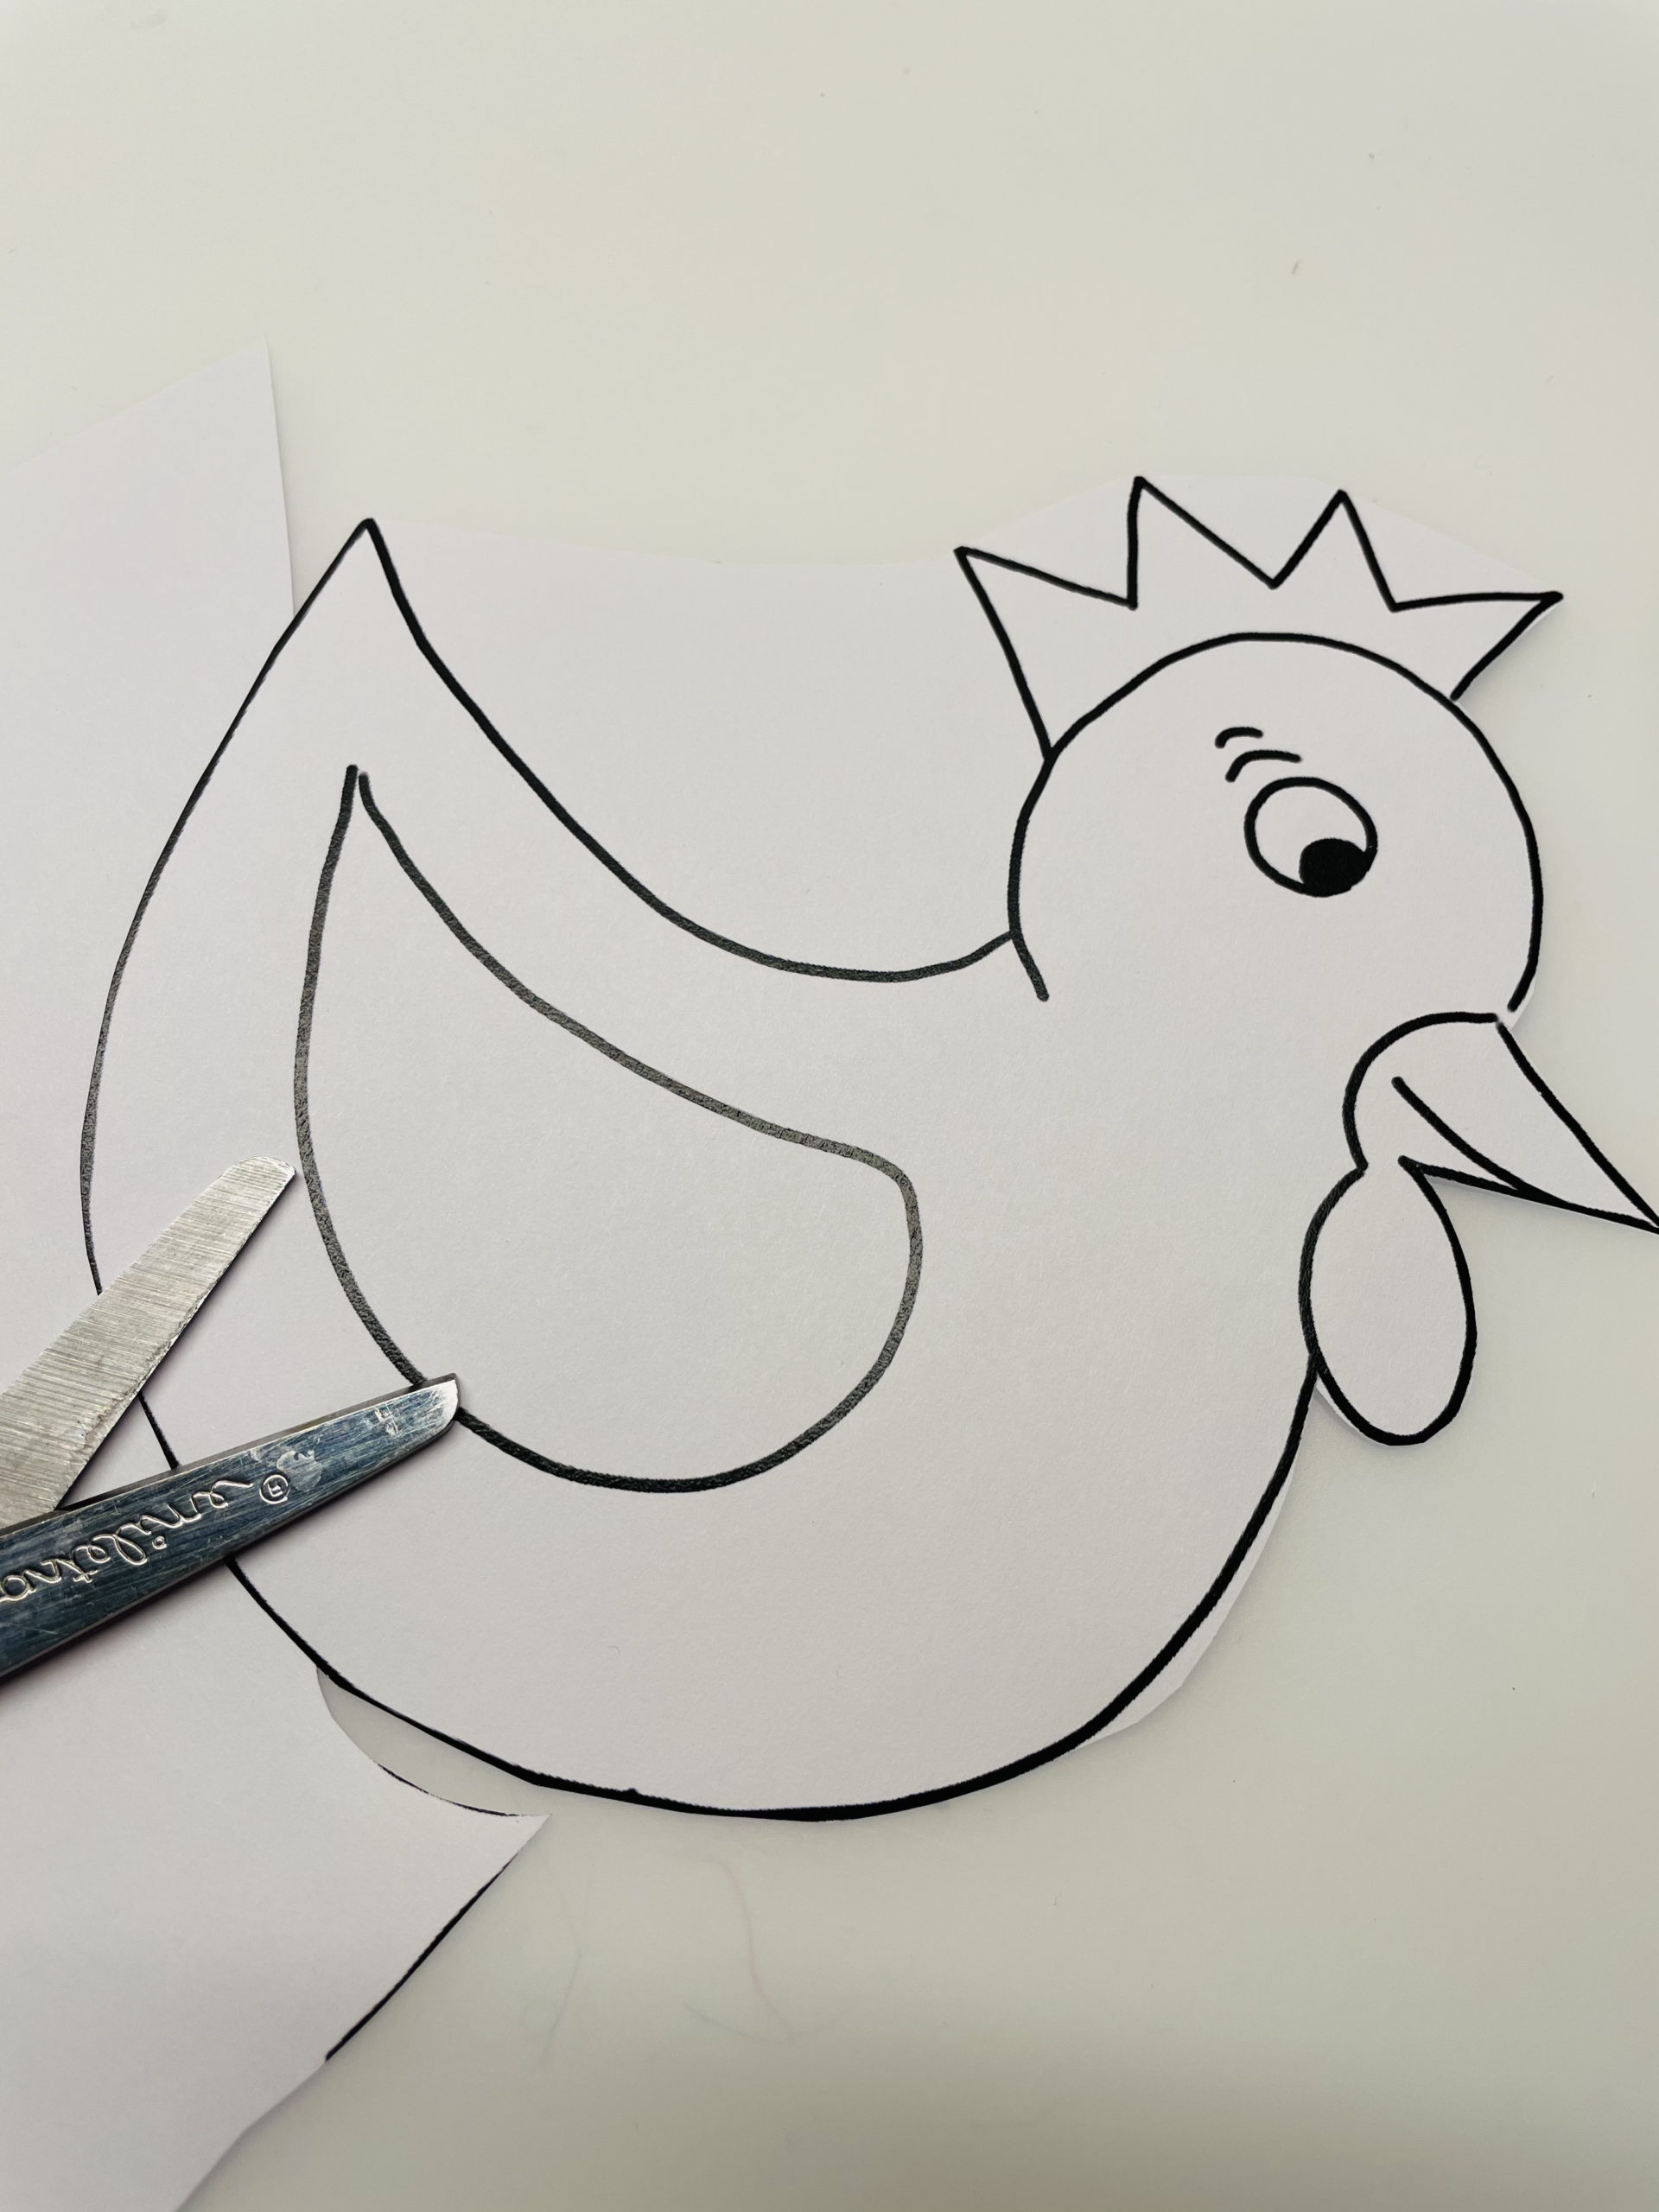
Then cut out the chicken with the scissors.
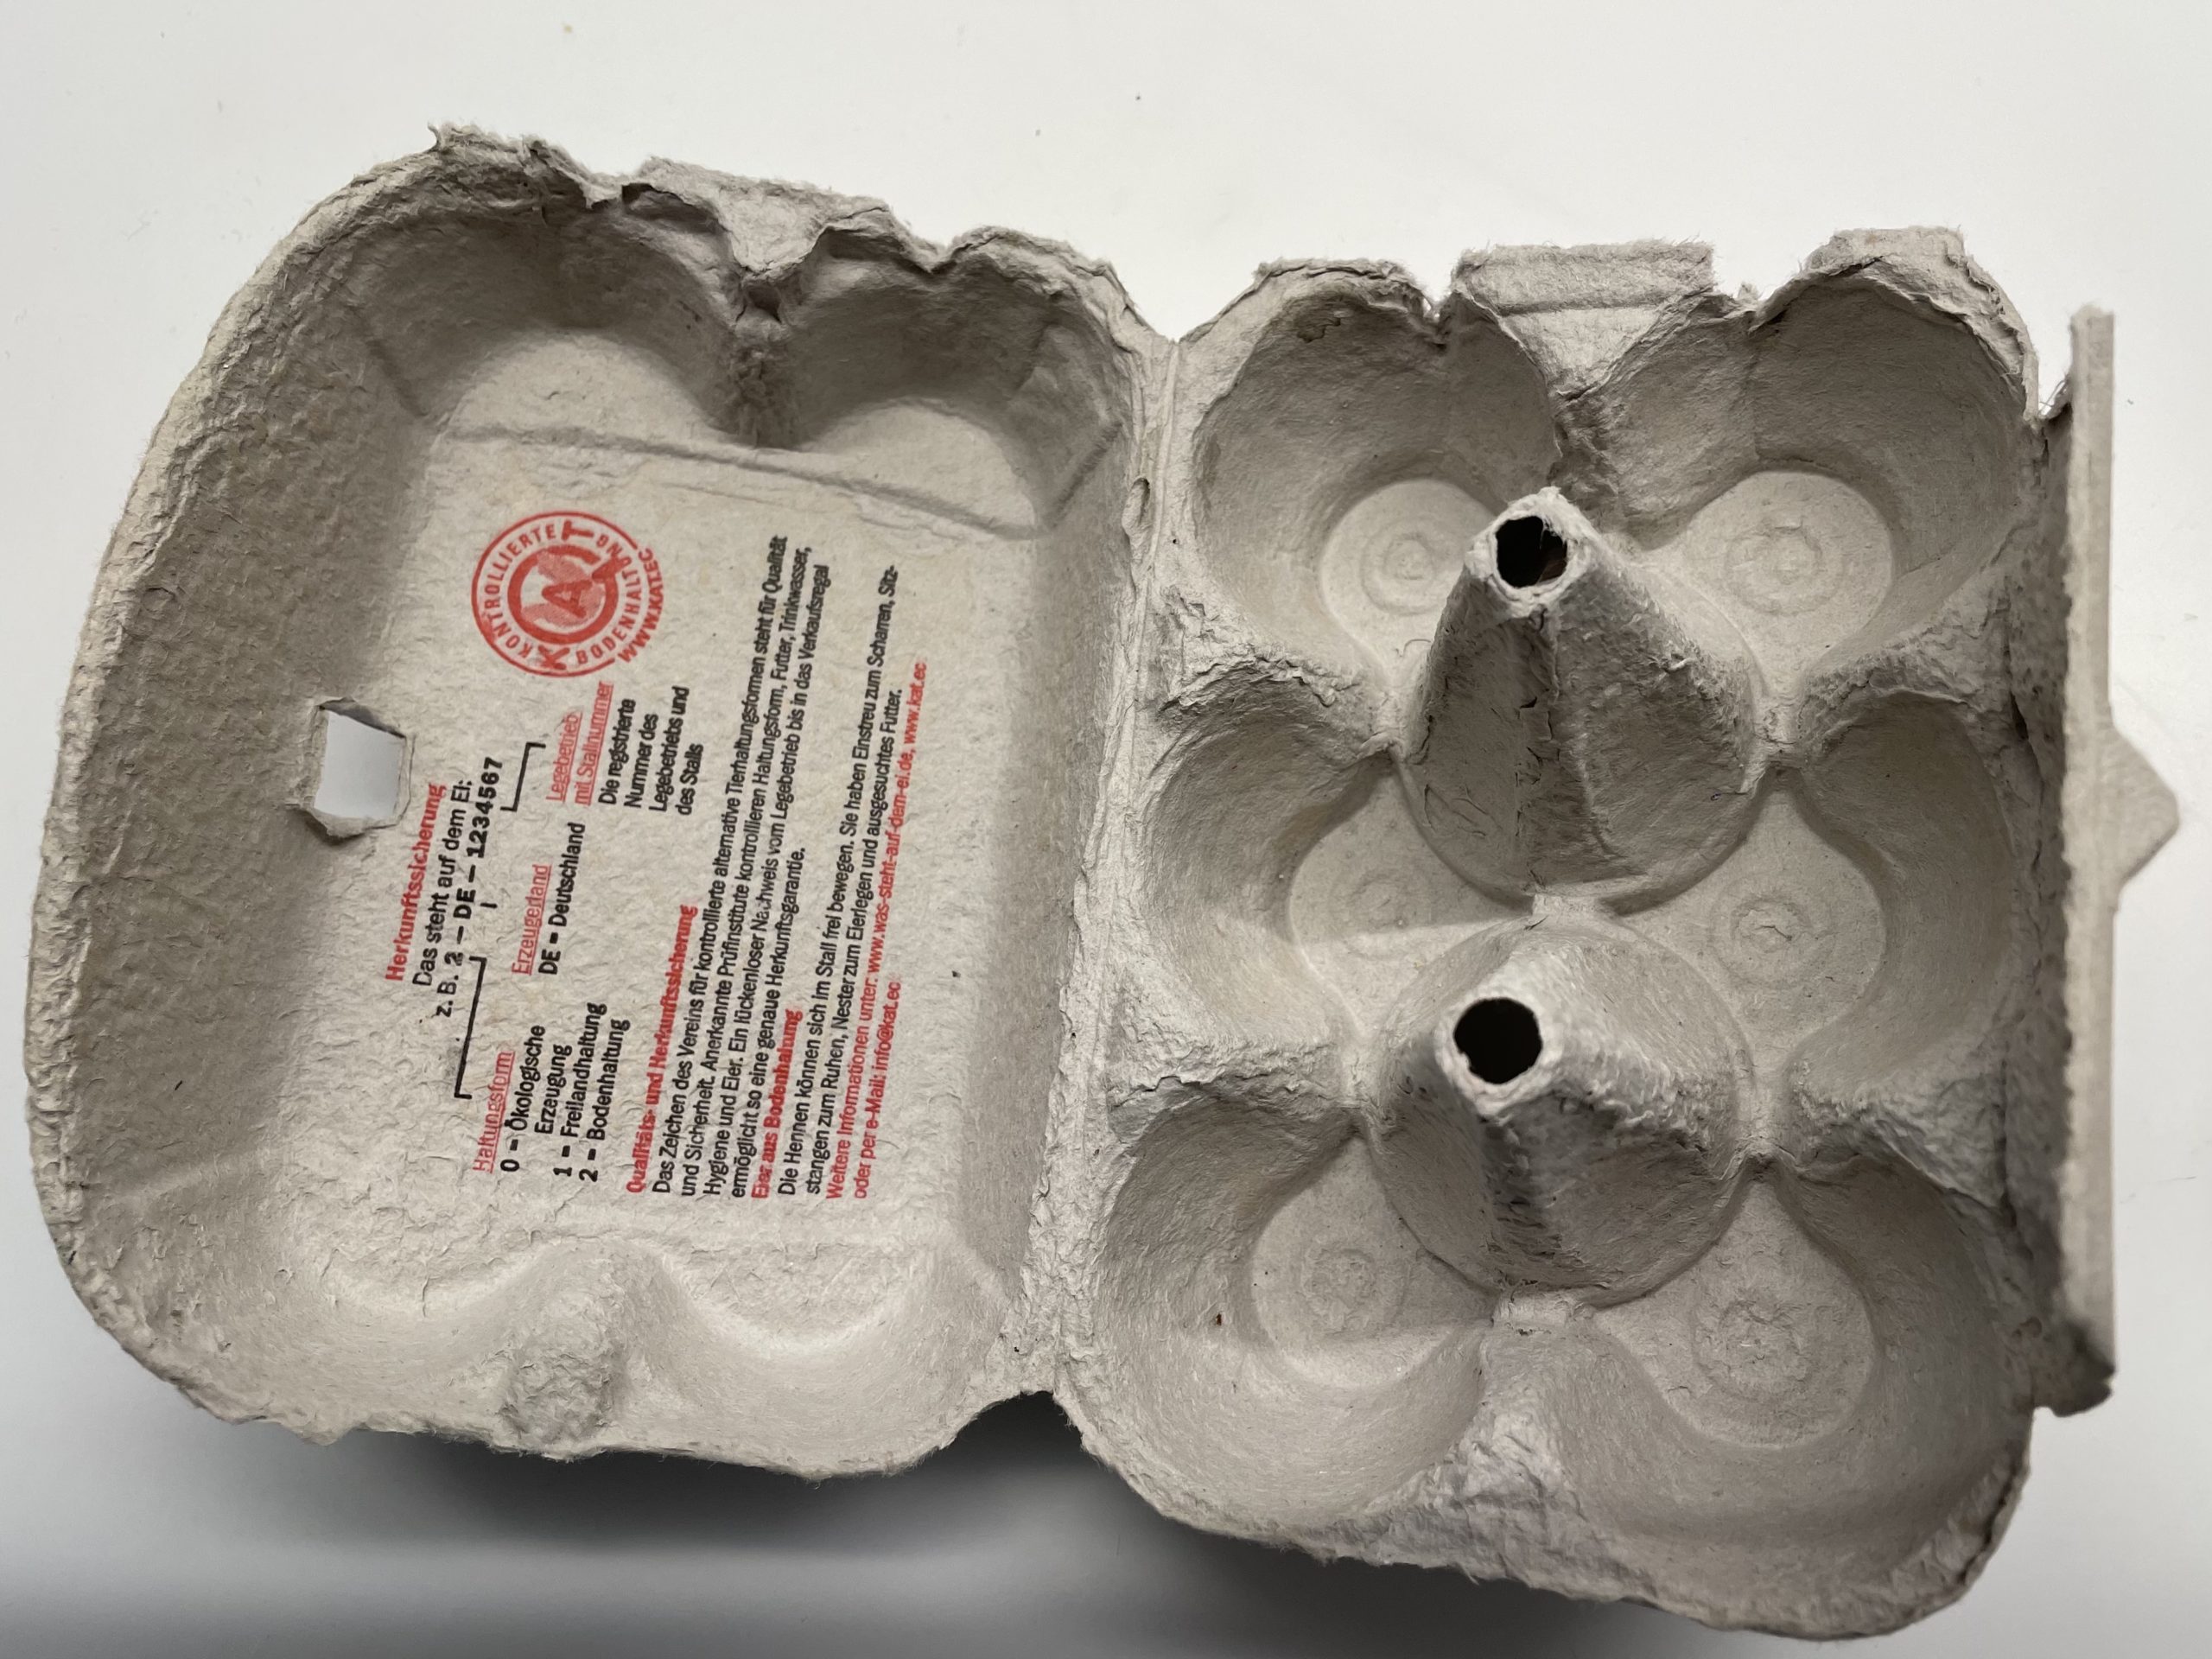
Get a six egg box ready.
Now cut off the lid and the opposite edge with the scissors.
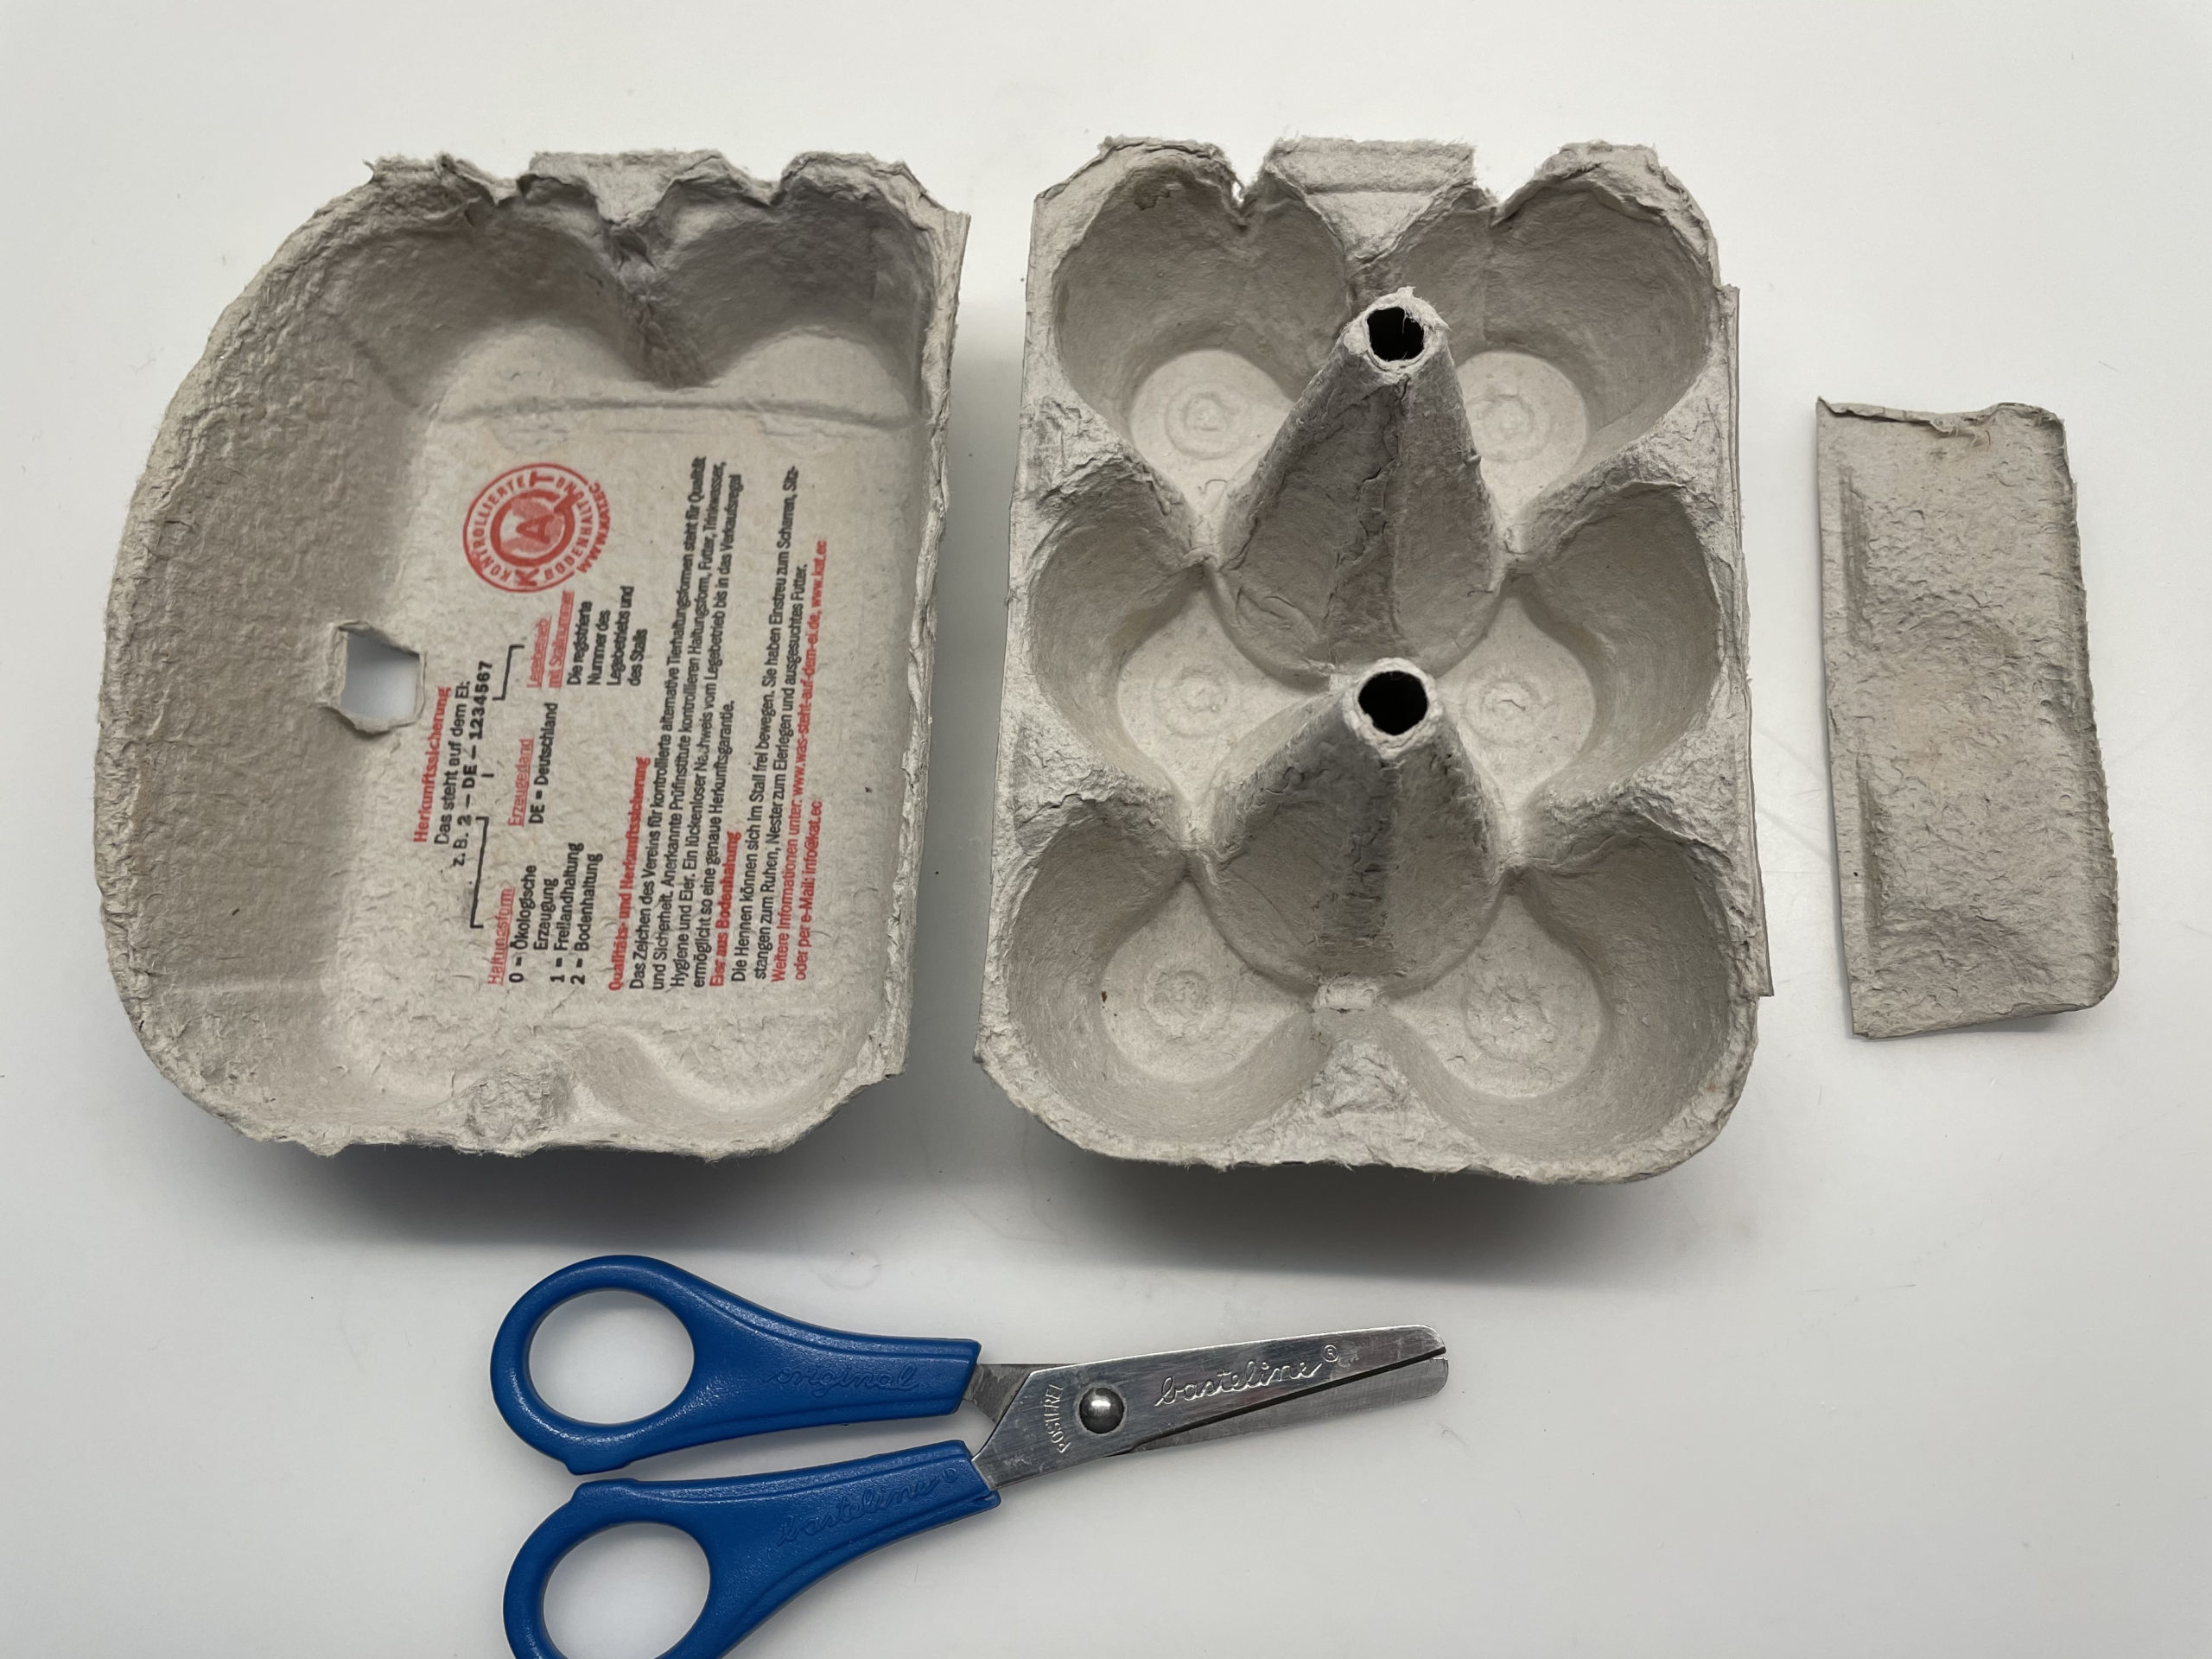
In addition you need that straight inner part out of the lid. Leave here also one side standing.
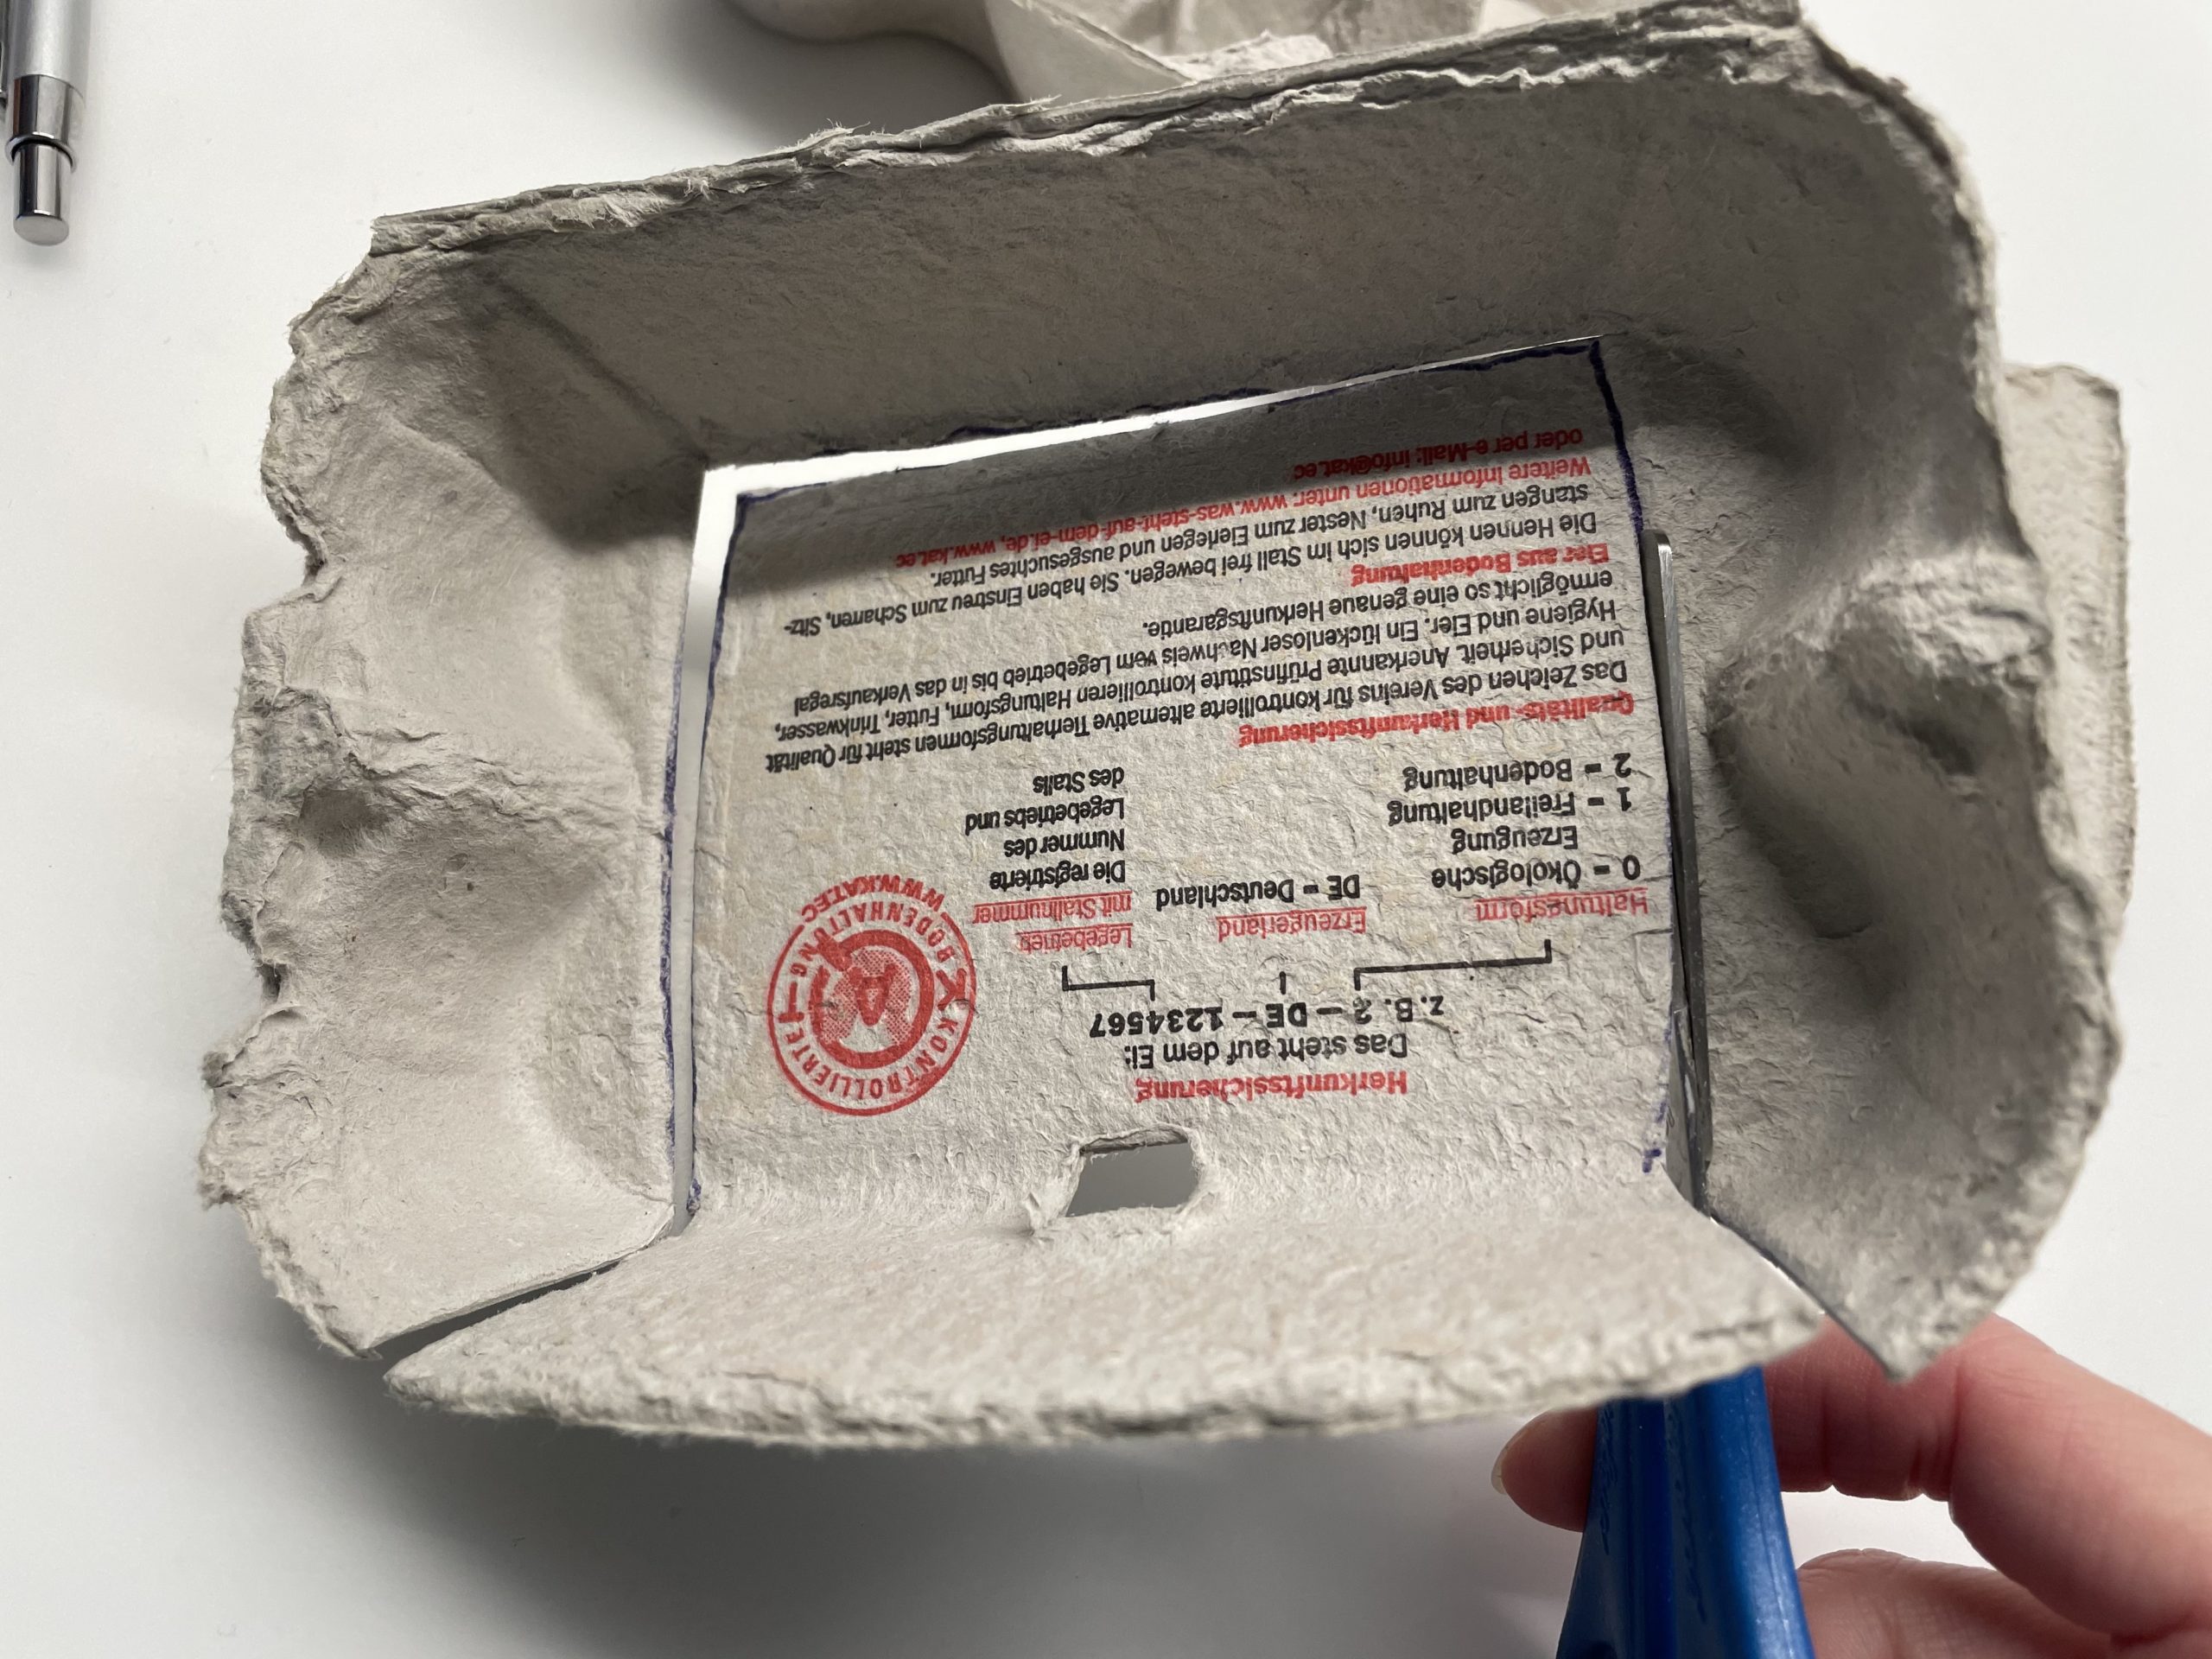
That's what the cut-out part should look like.
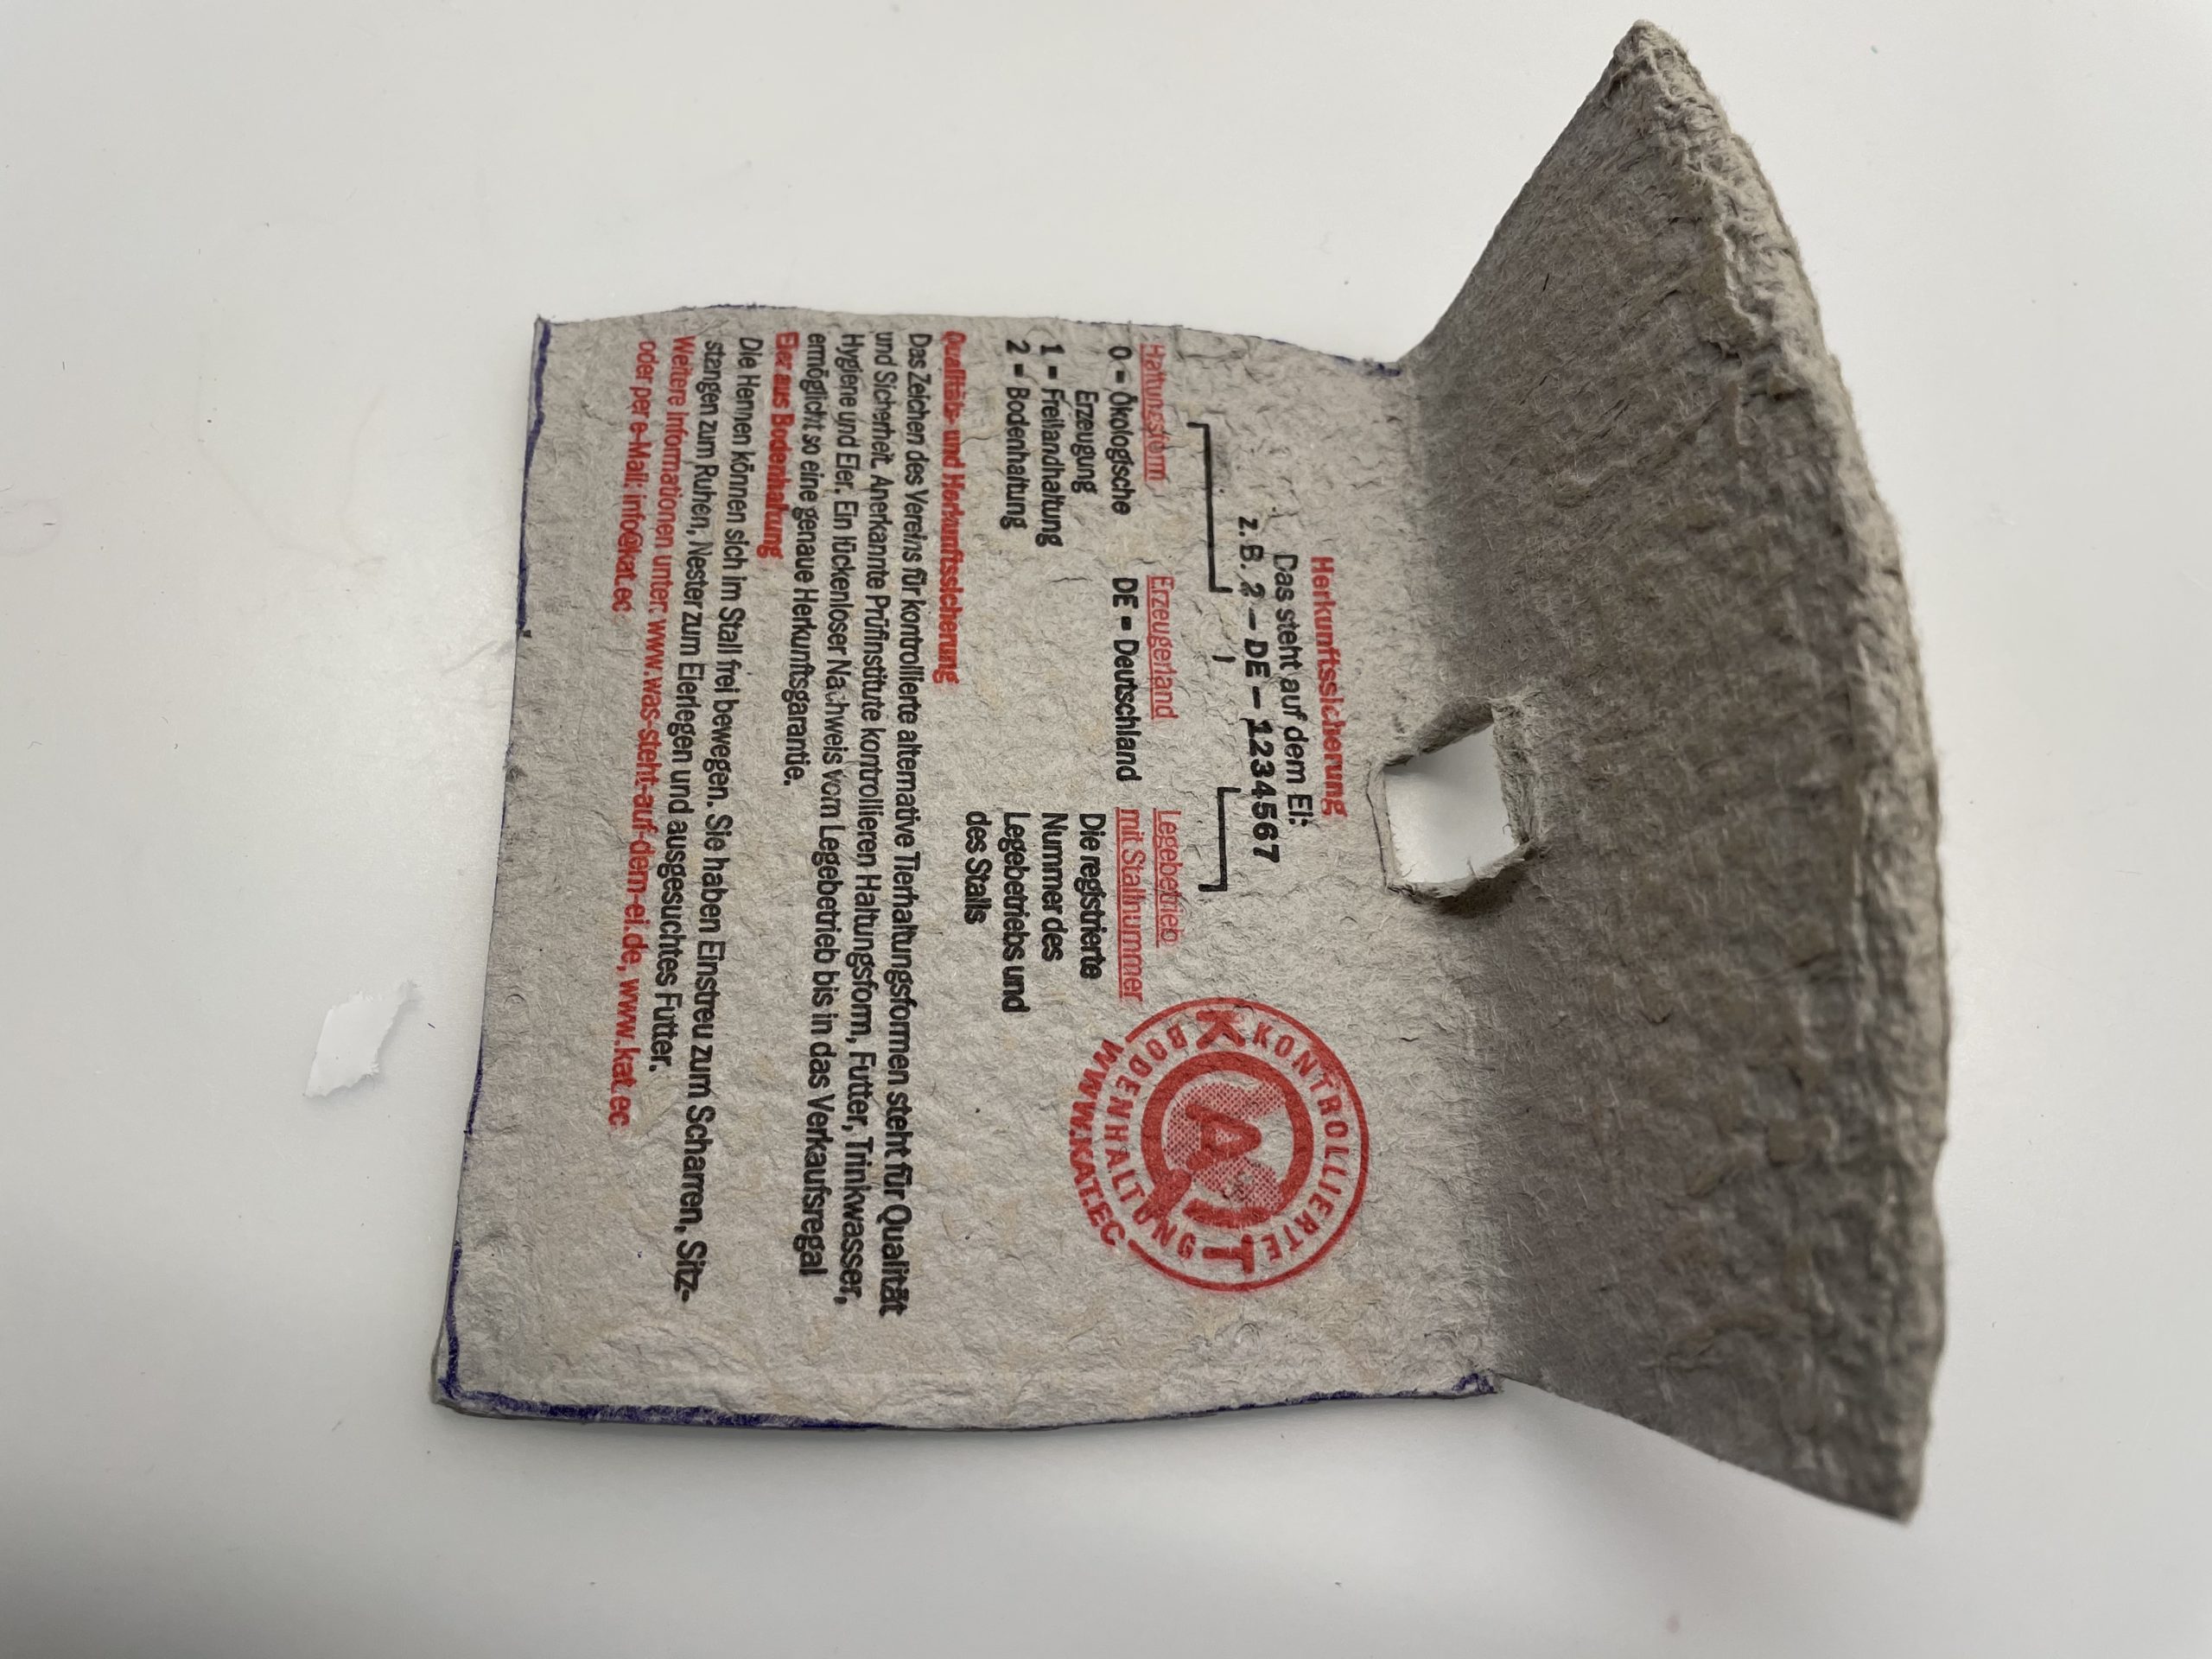
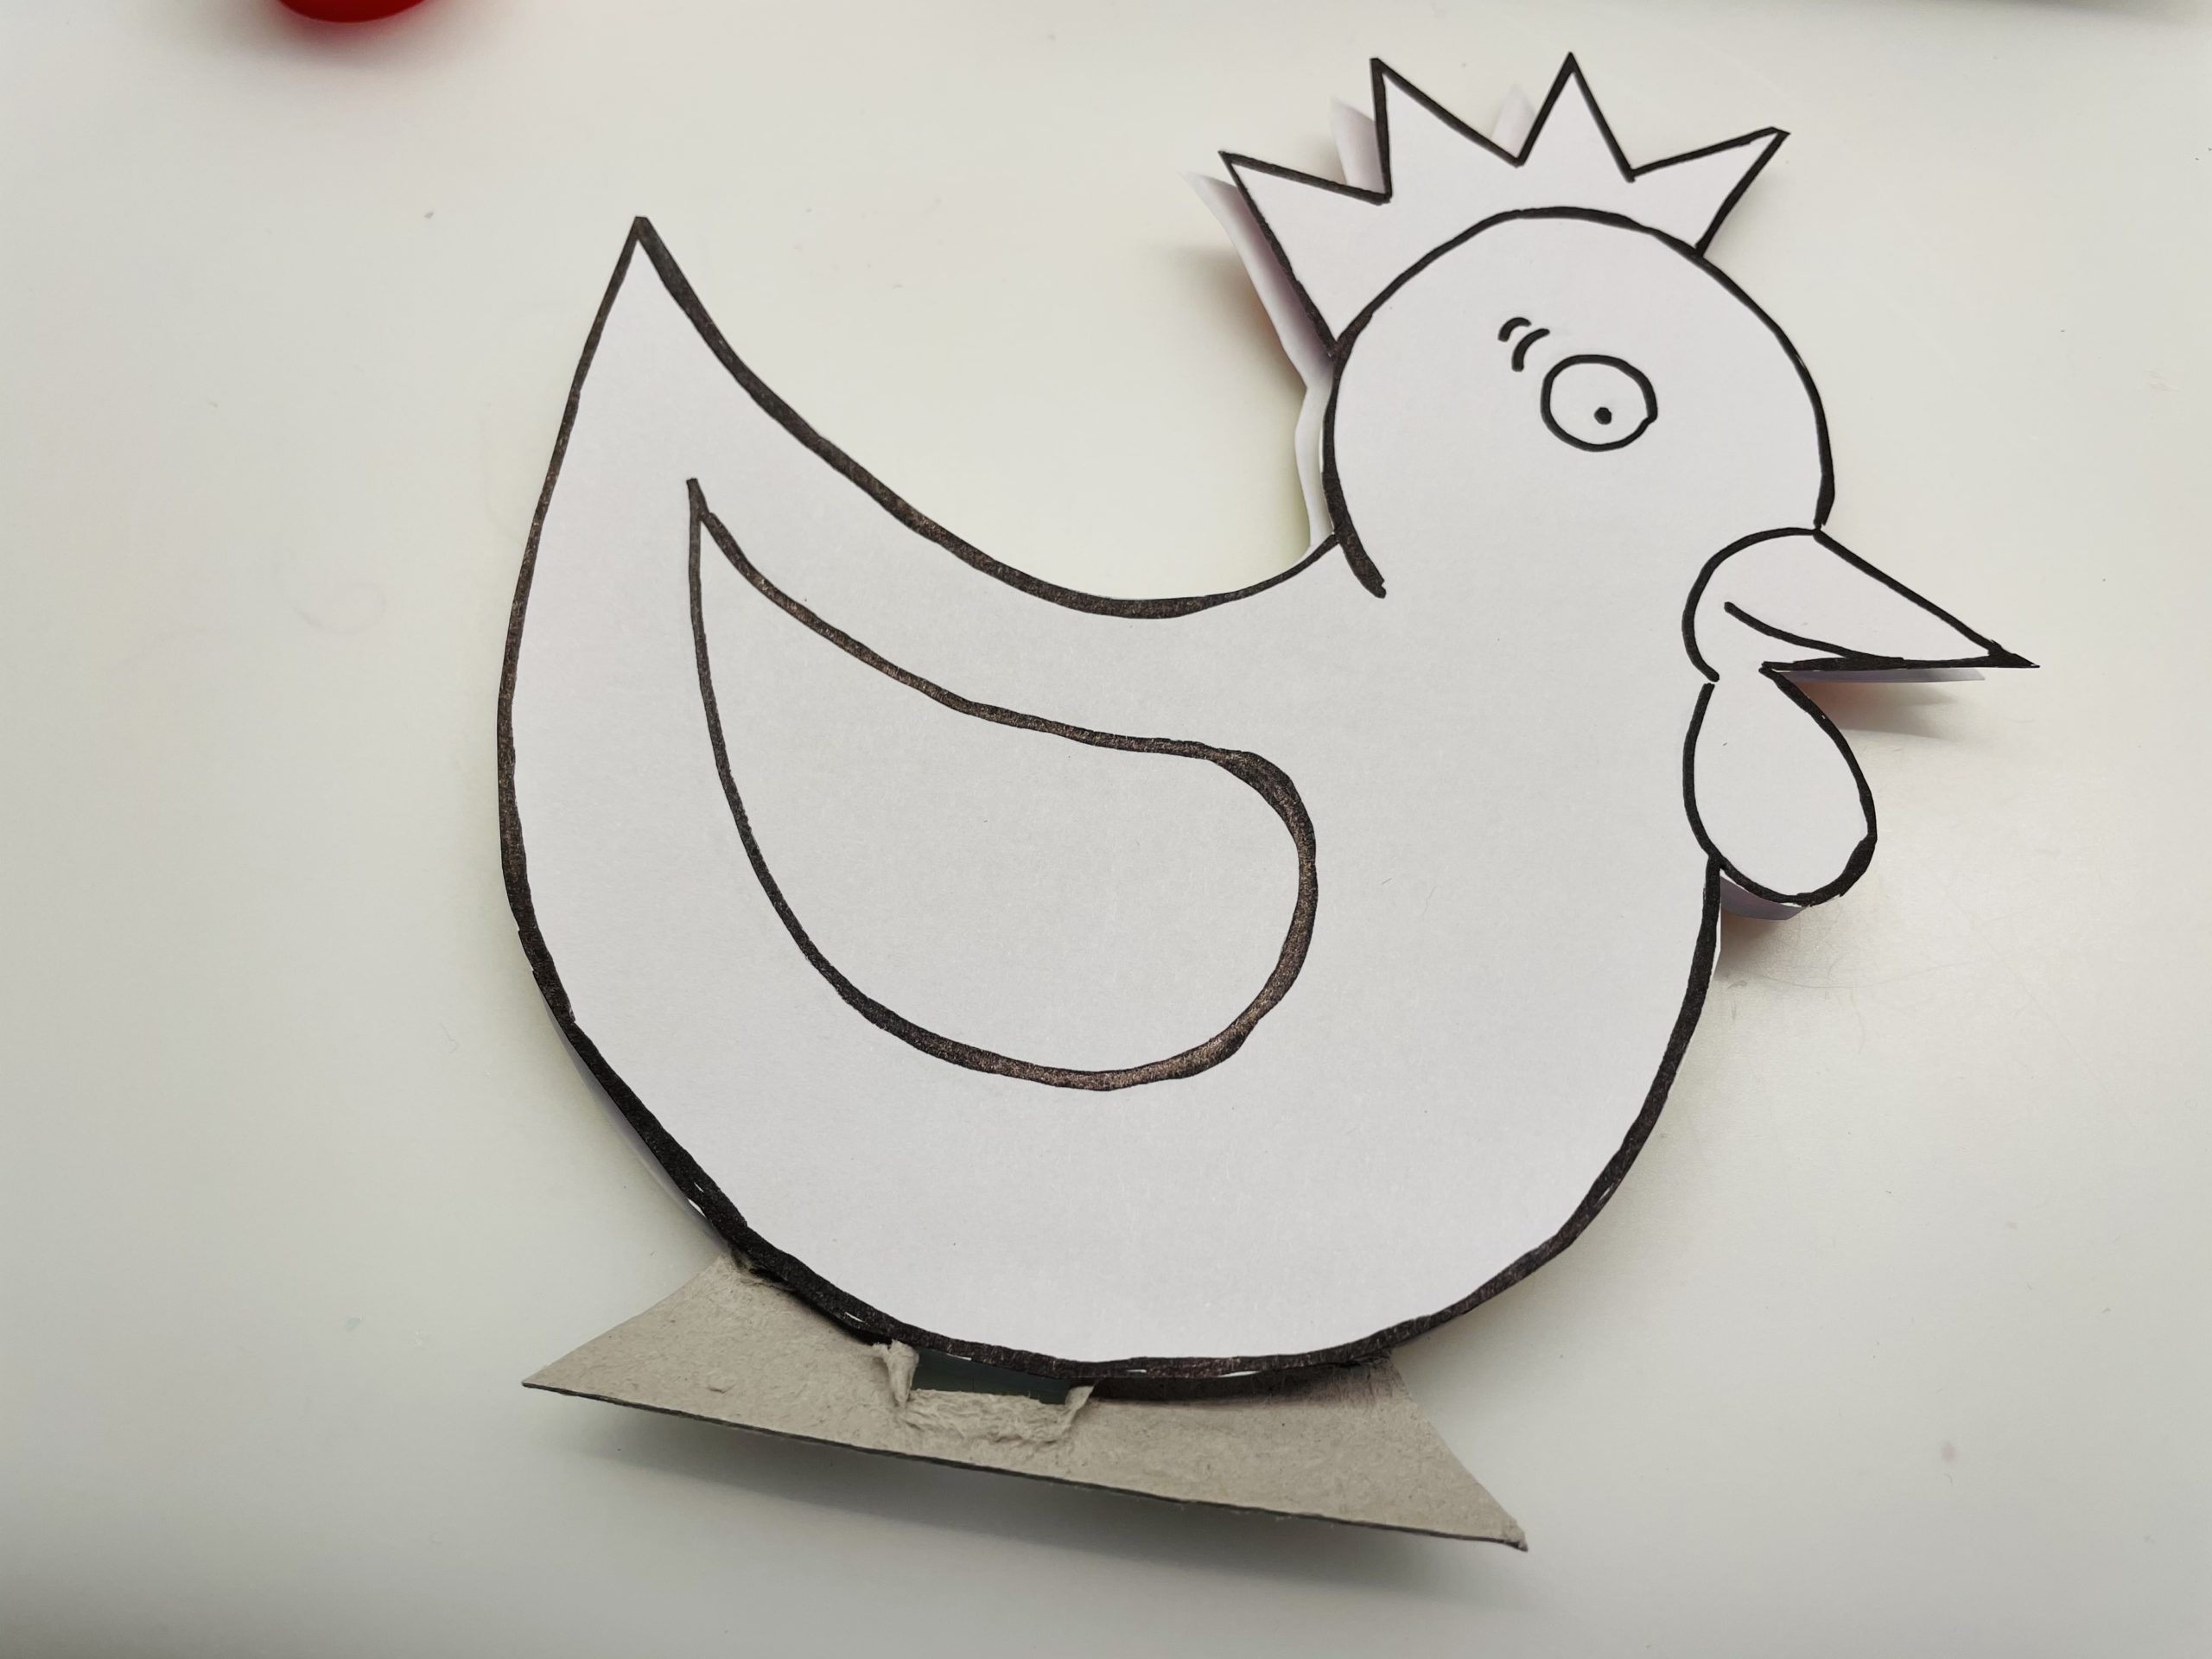
Place the chicken on the cut-out piece of the lid and cut off the overhanging carton.
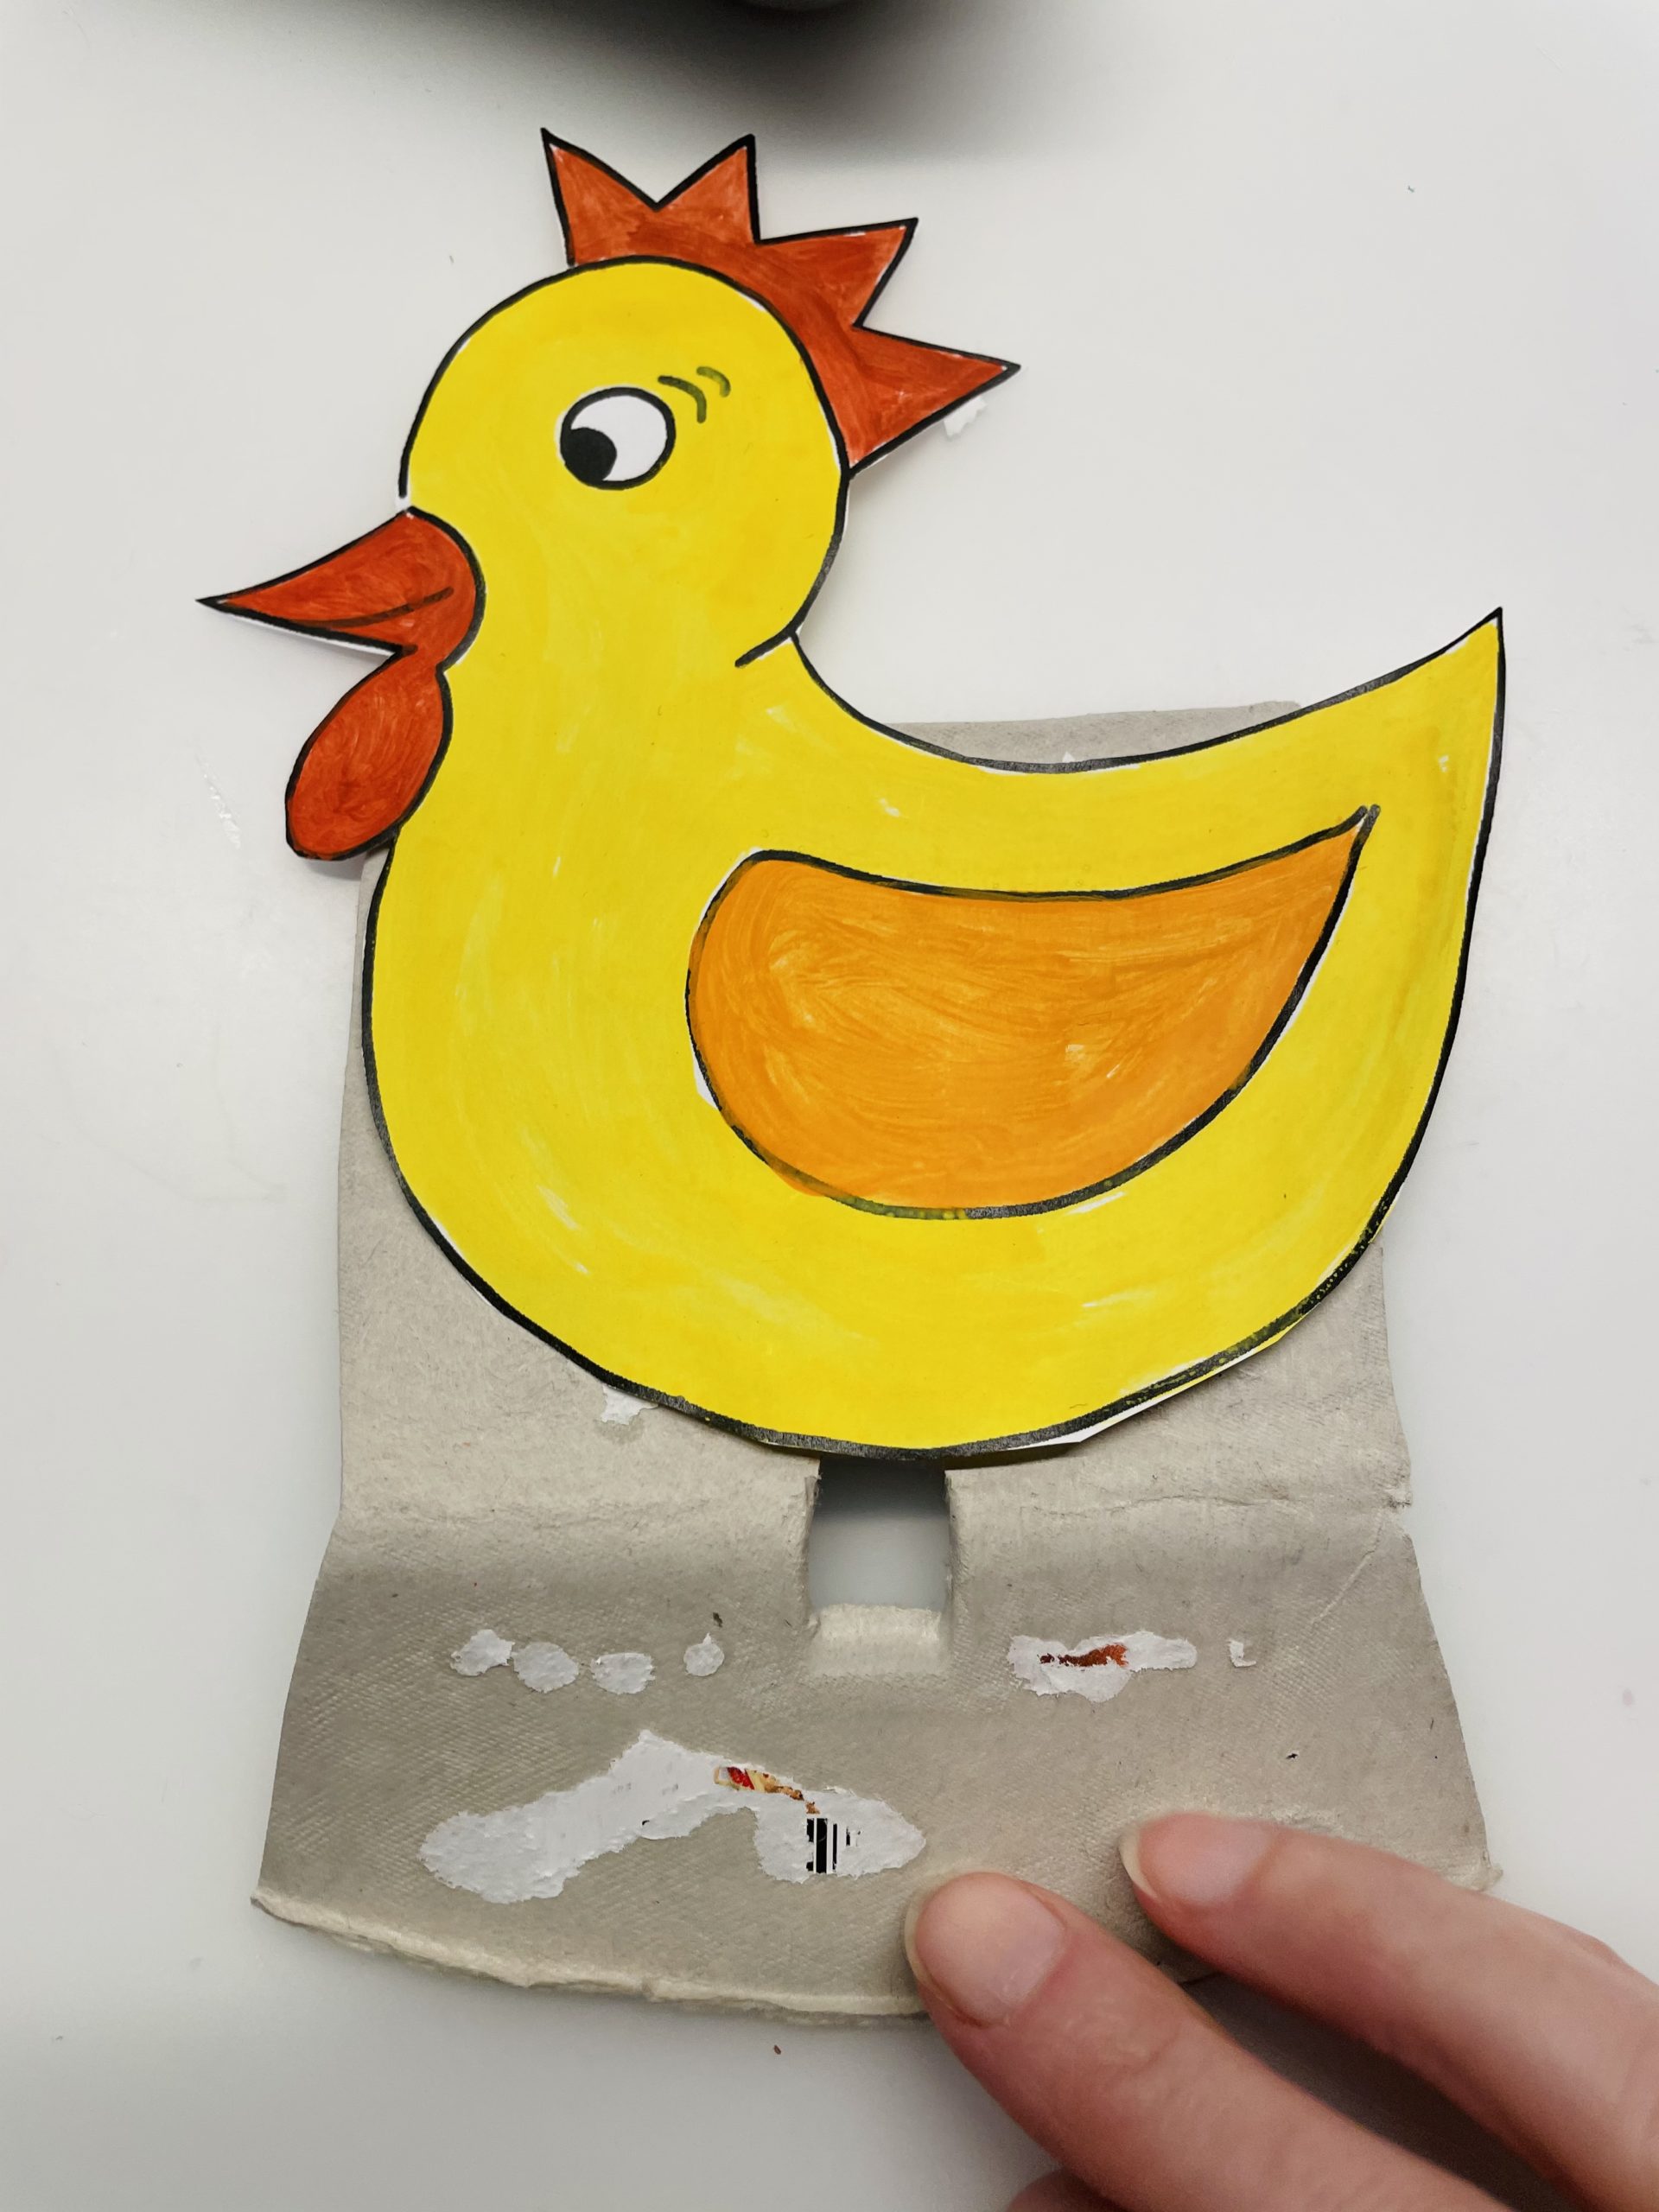
Then stick the chicken to the front.
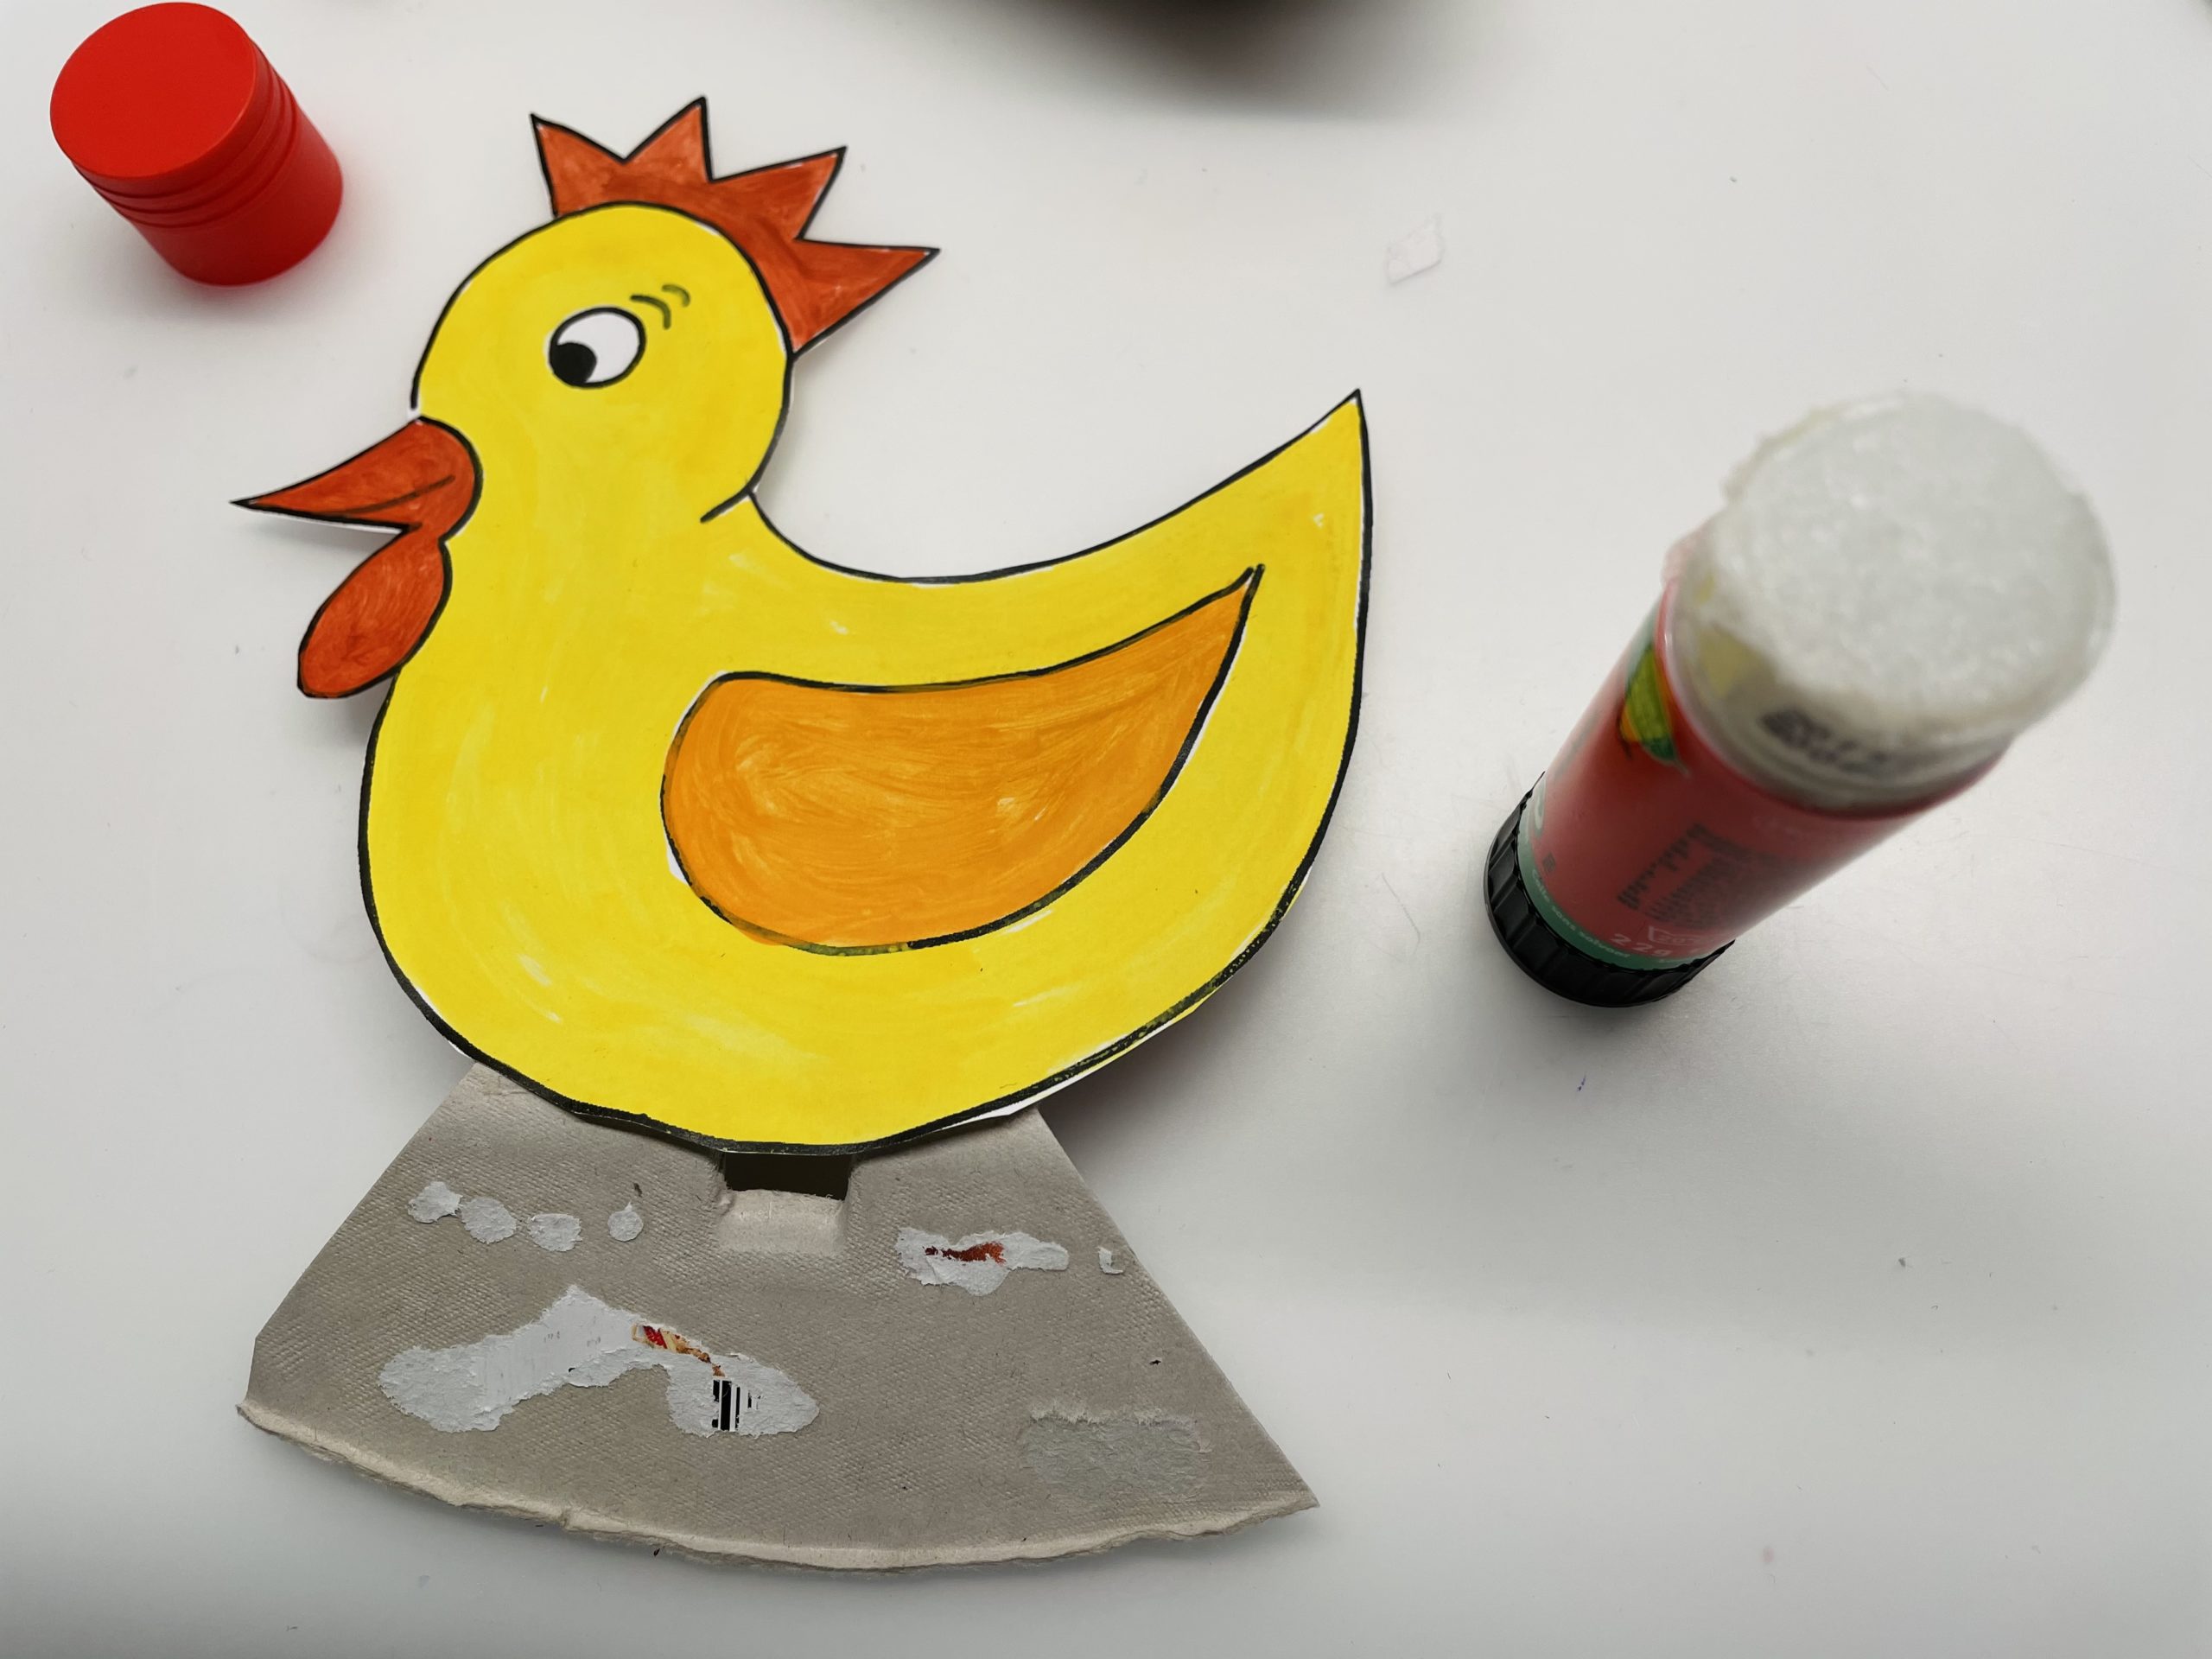
Now cut off the standing edge up to 1 centimeter.

Now you can also stick a chicken on the back, then the nest looks beautiful from both sides.

Then you attach the chicken to the edge of the egg box. Use hot glue. Attention: hot! Let an adult help you with this.

Now the nest is ready.
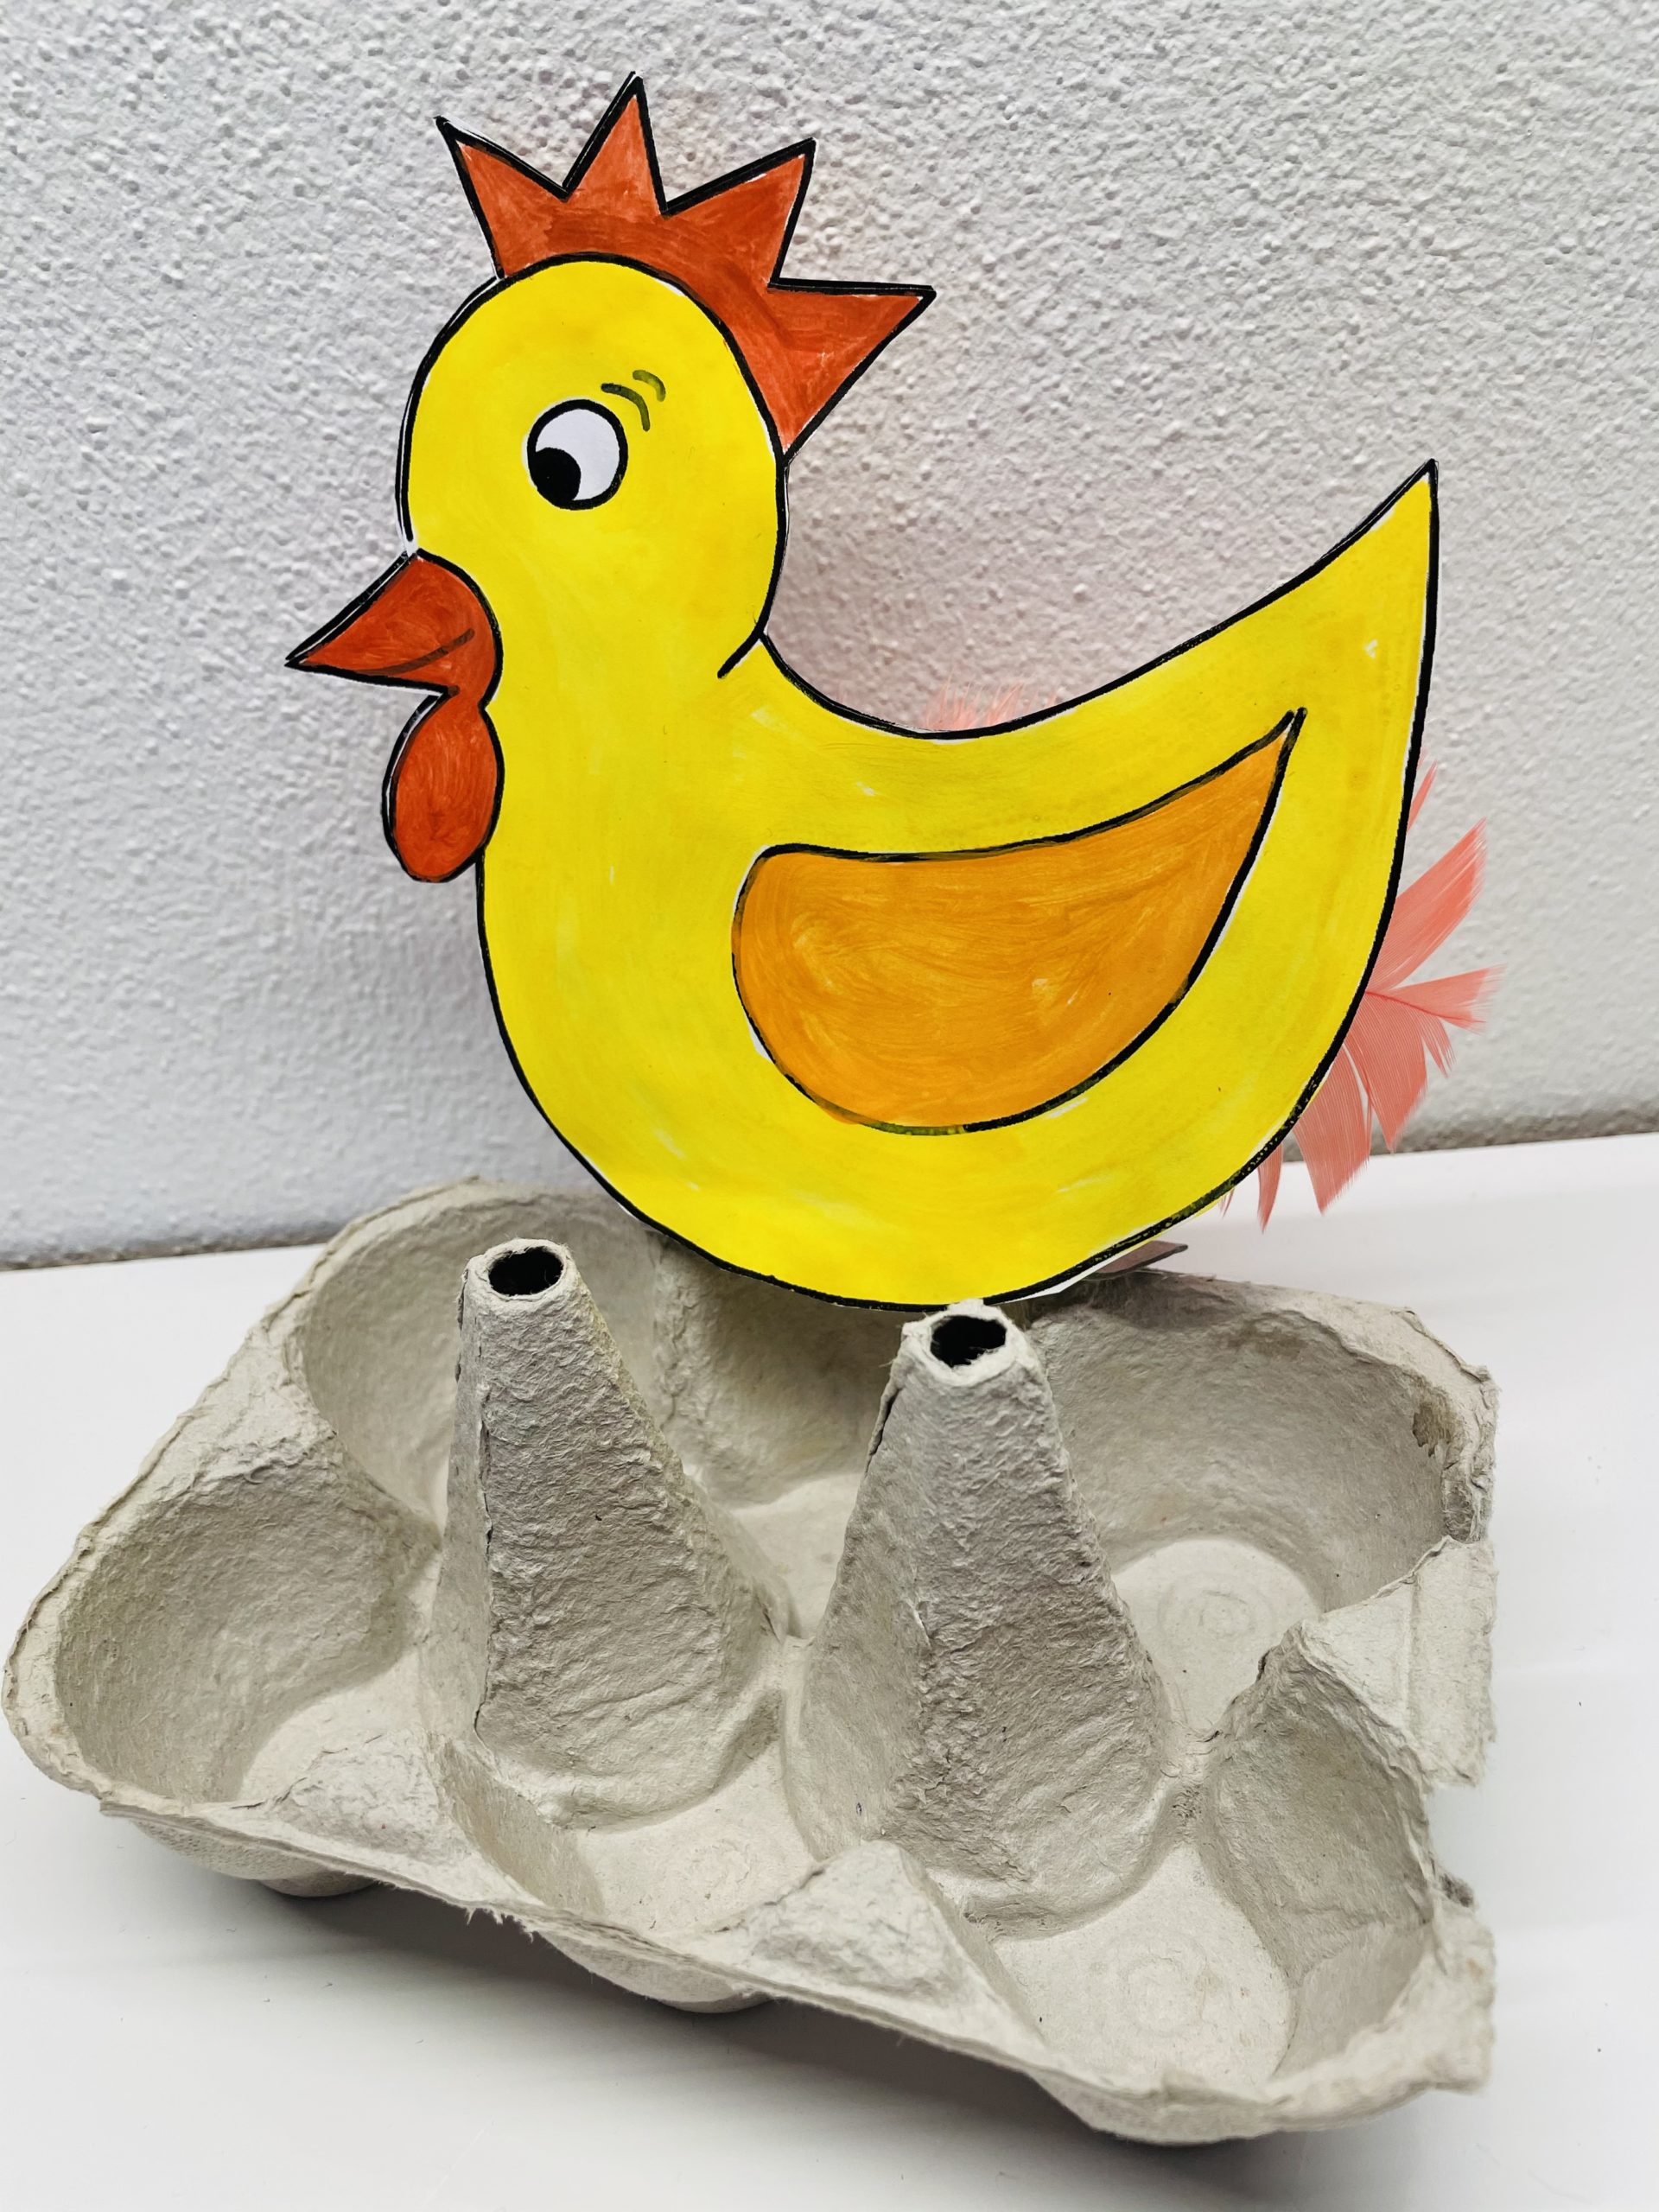
Decorates the nest with some fresh or dried moss.
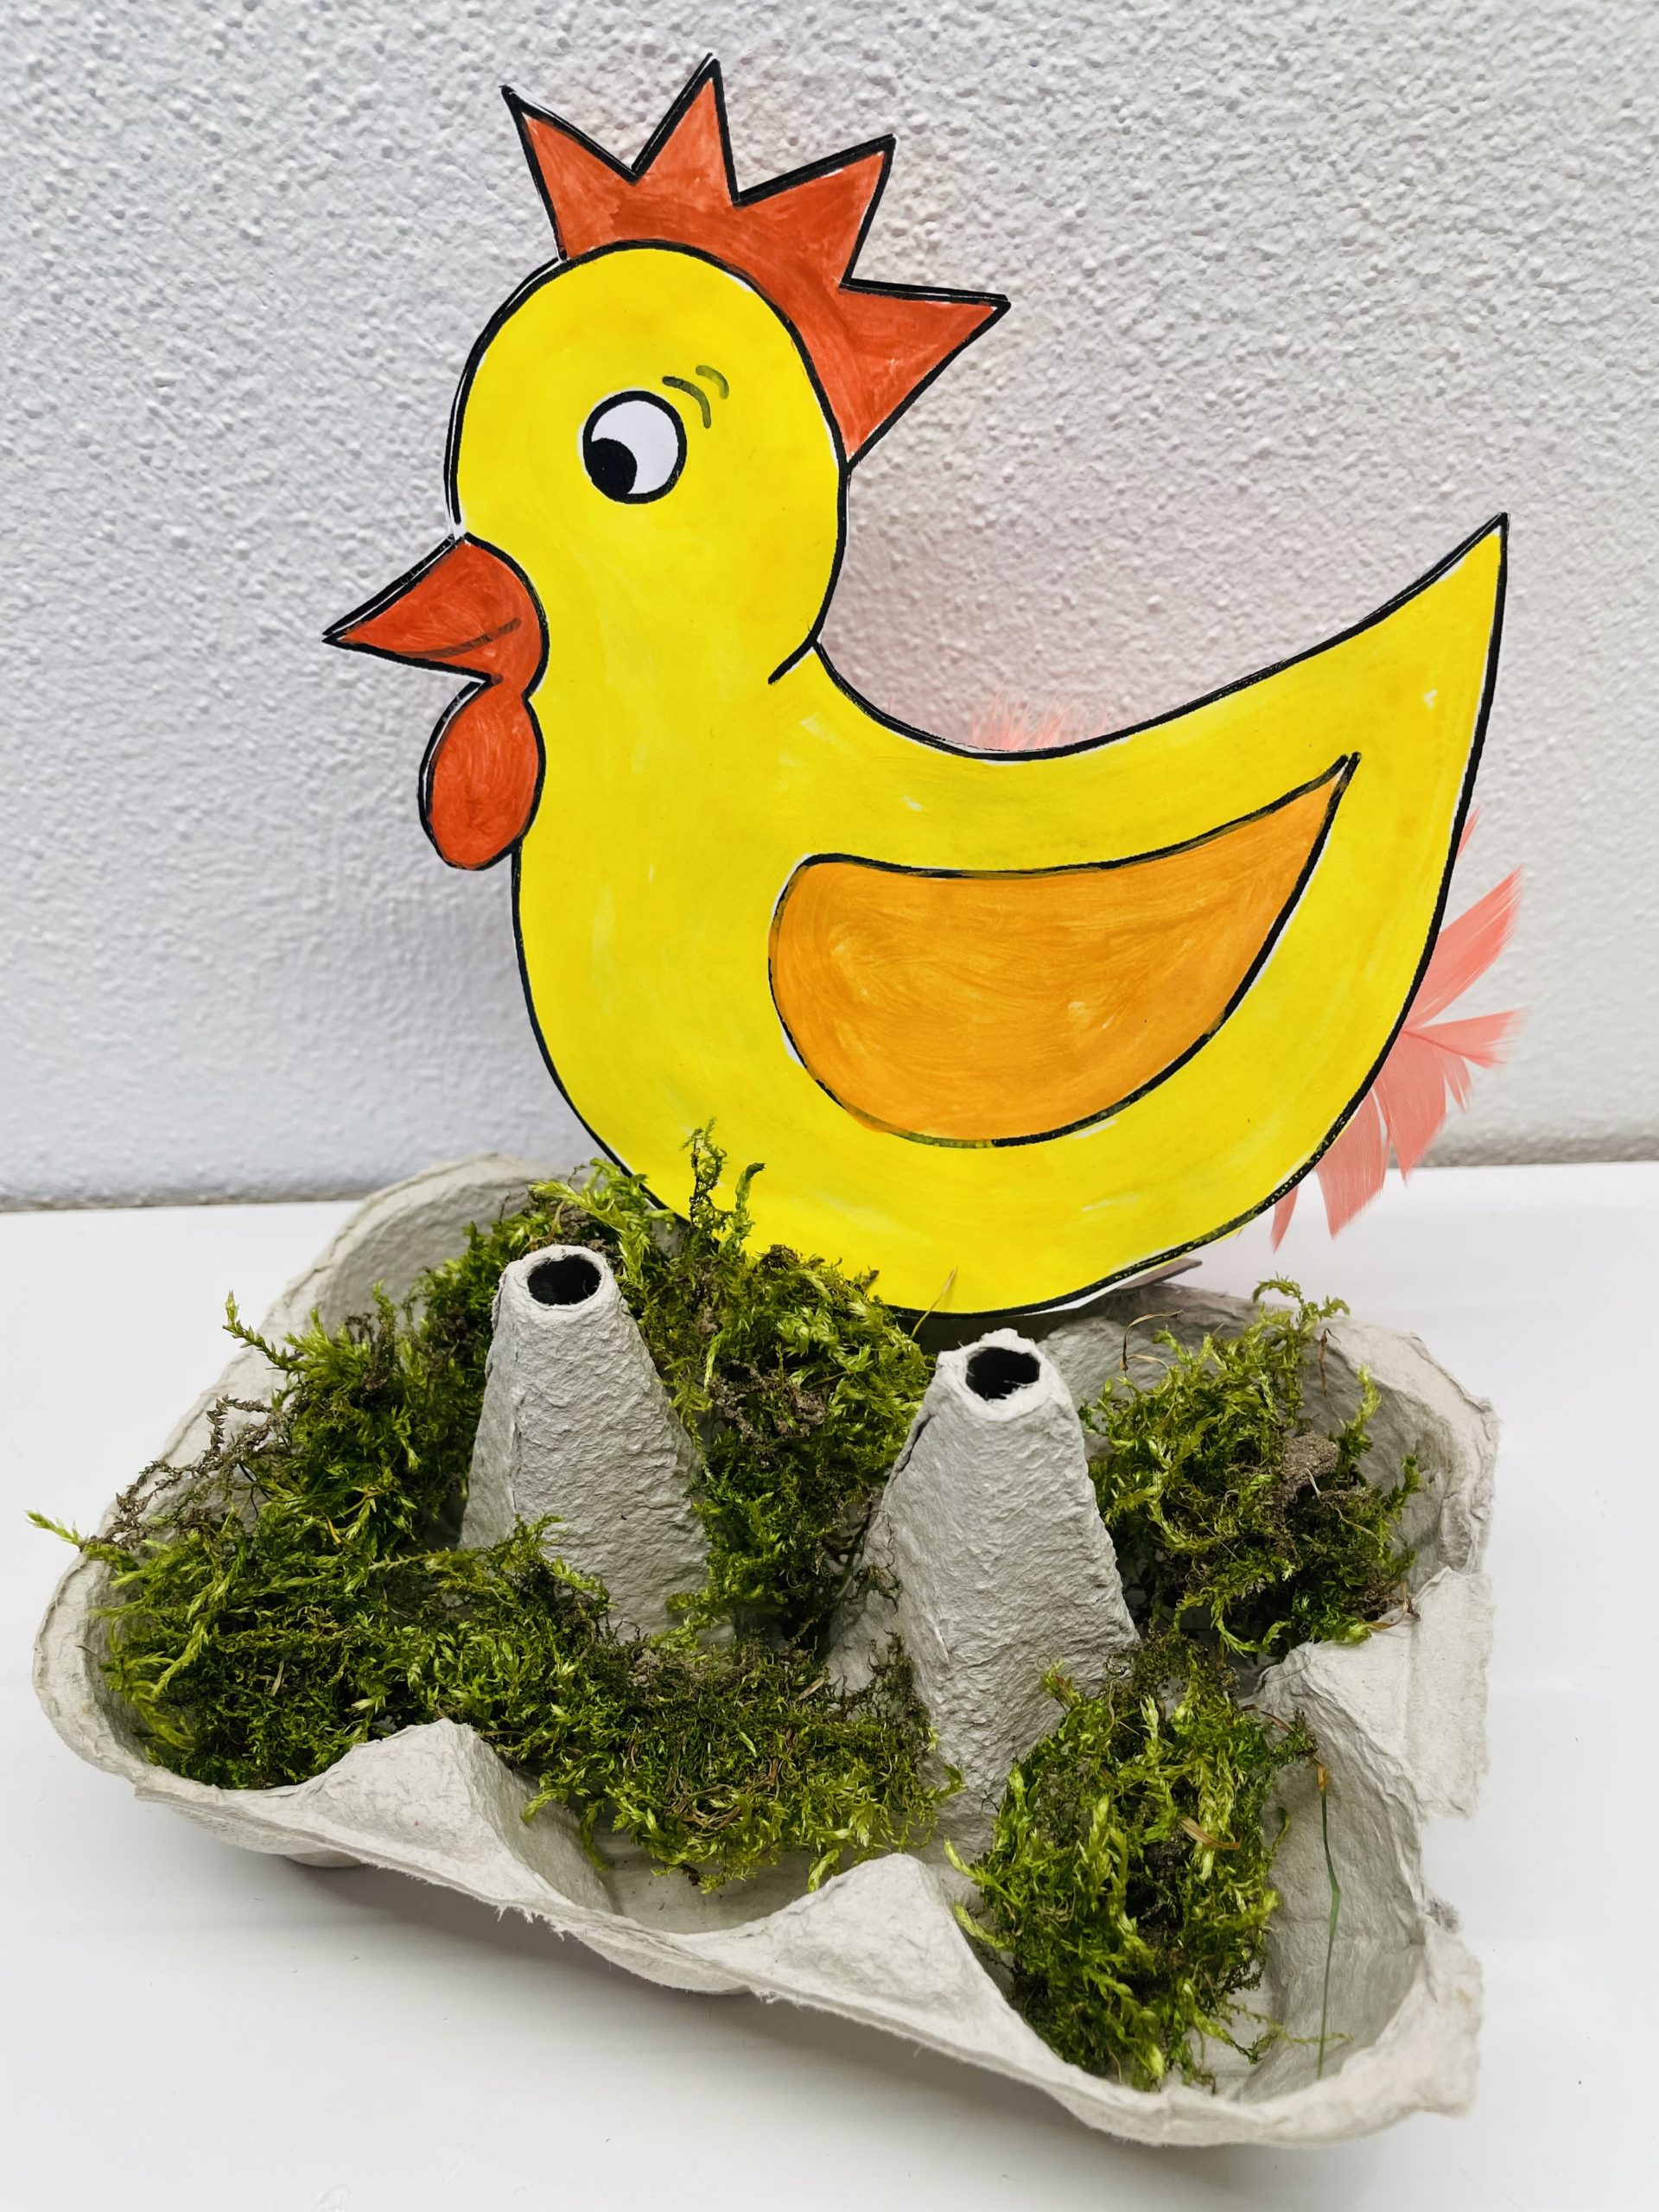
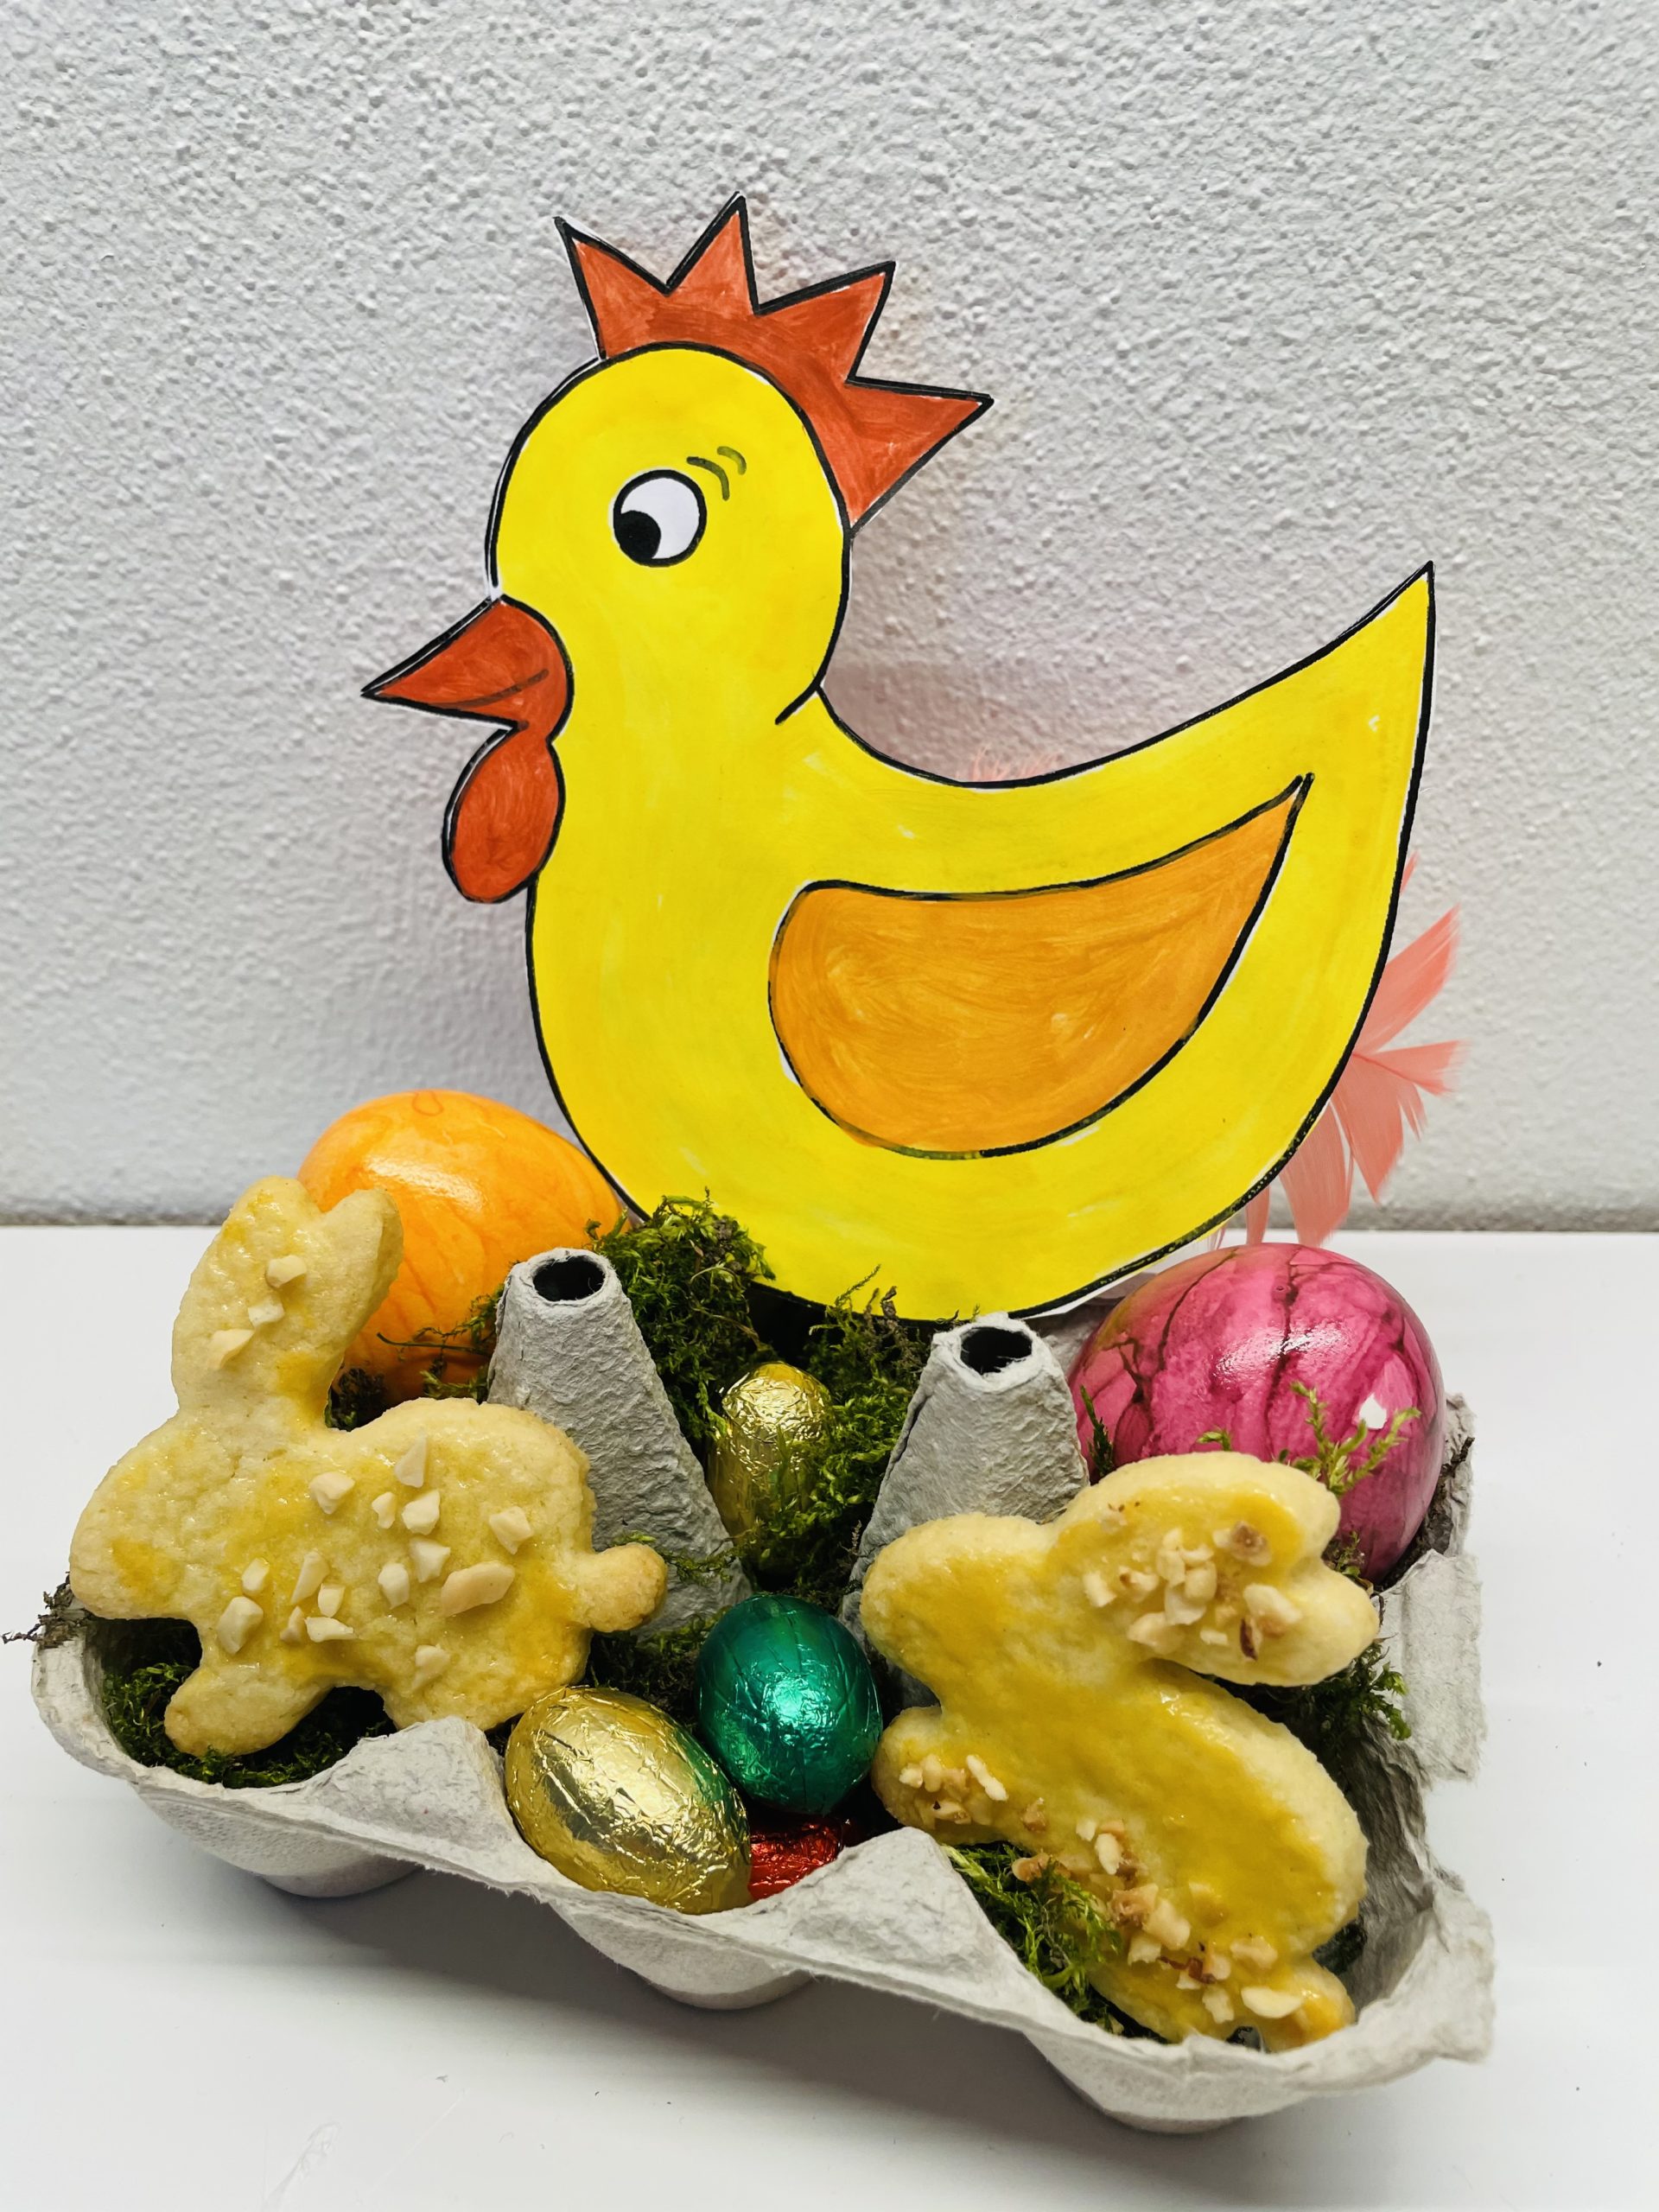
Then put in some Easter eggs and baked bunnies.
Your Easterest is ready.
Cut out the chicken template. If you want to design front and back, you need two chickens.
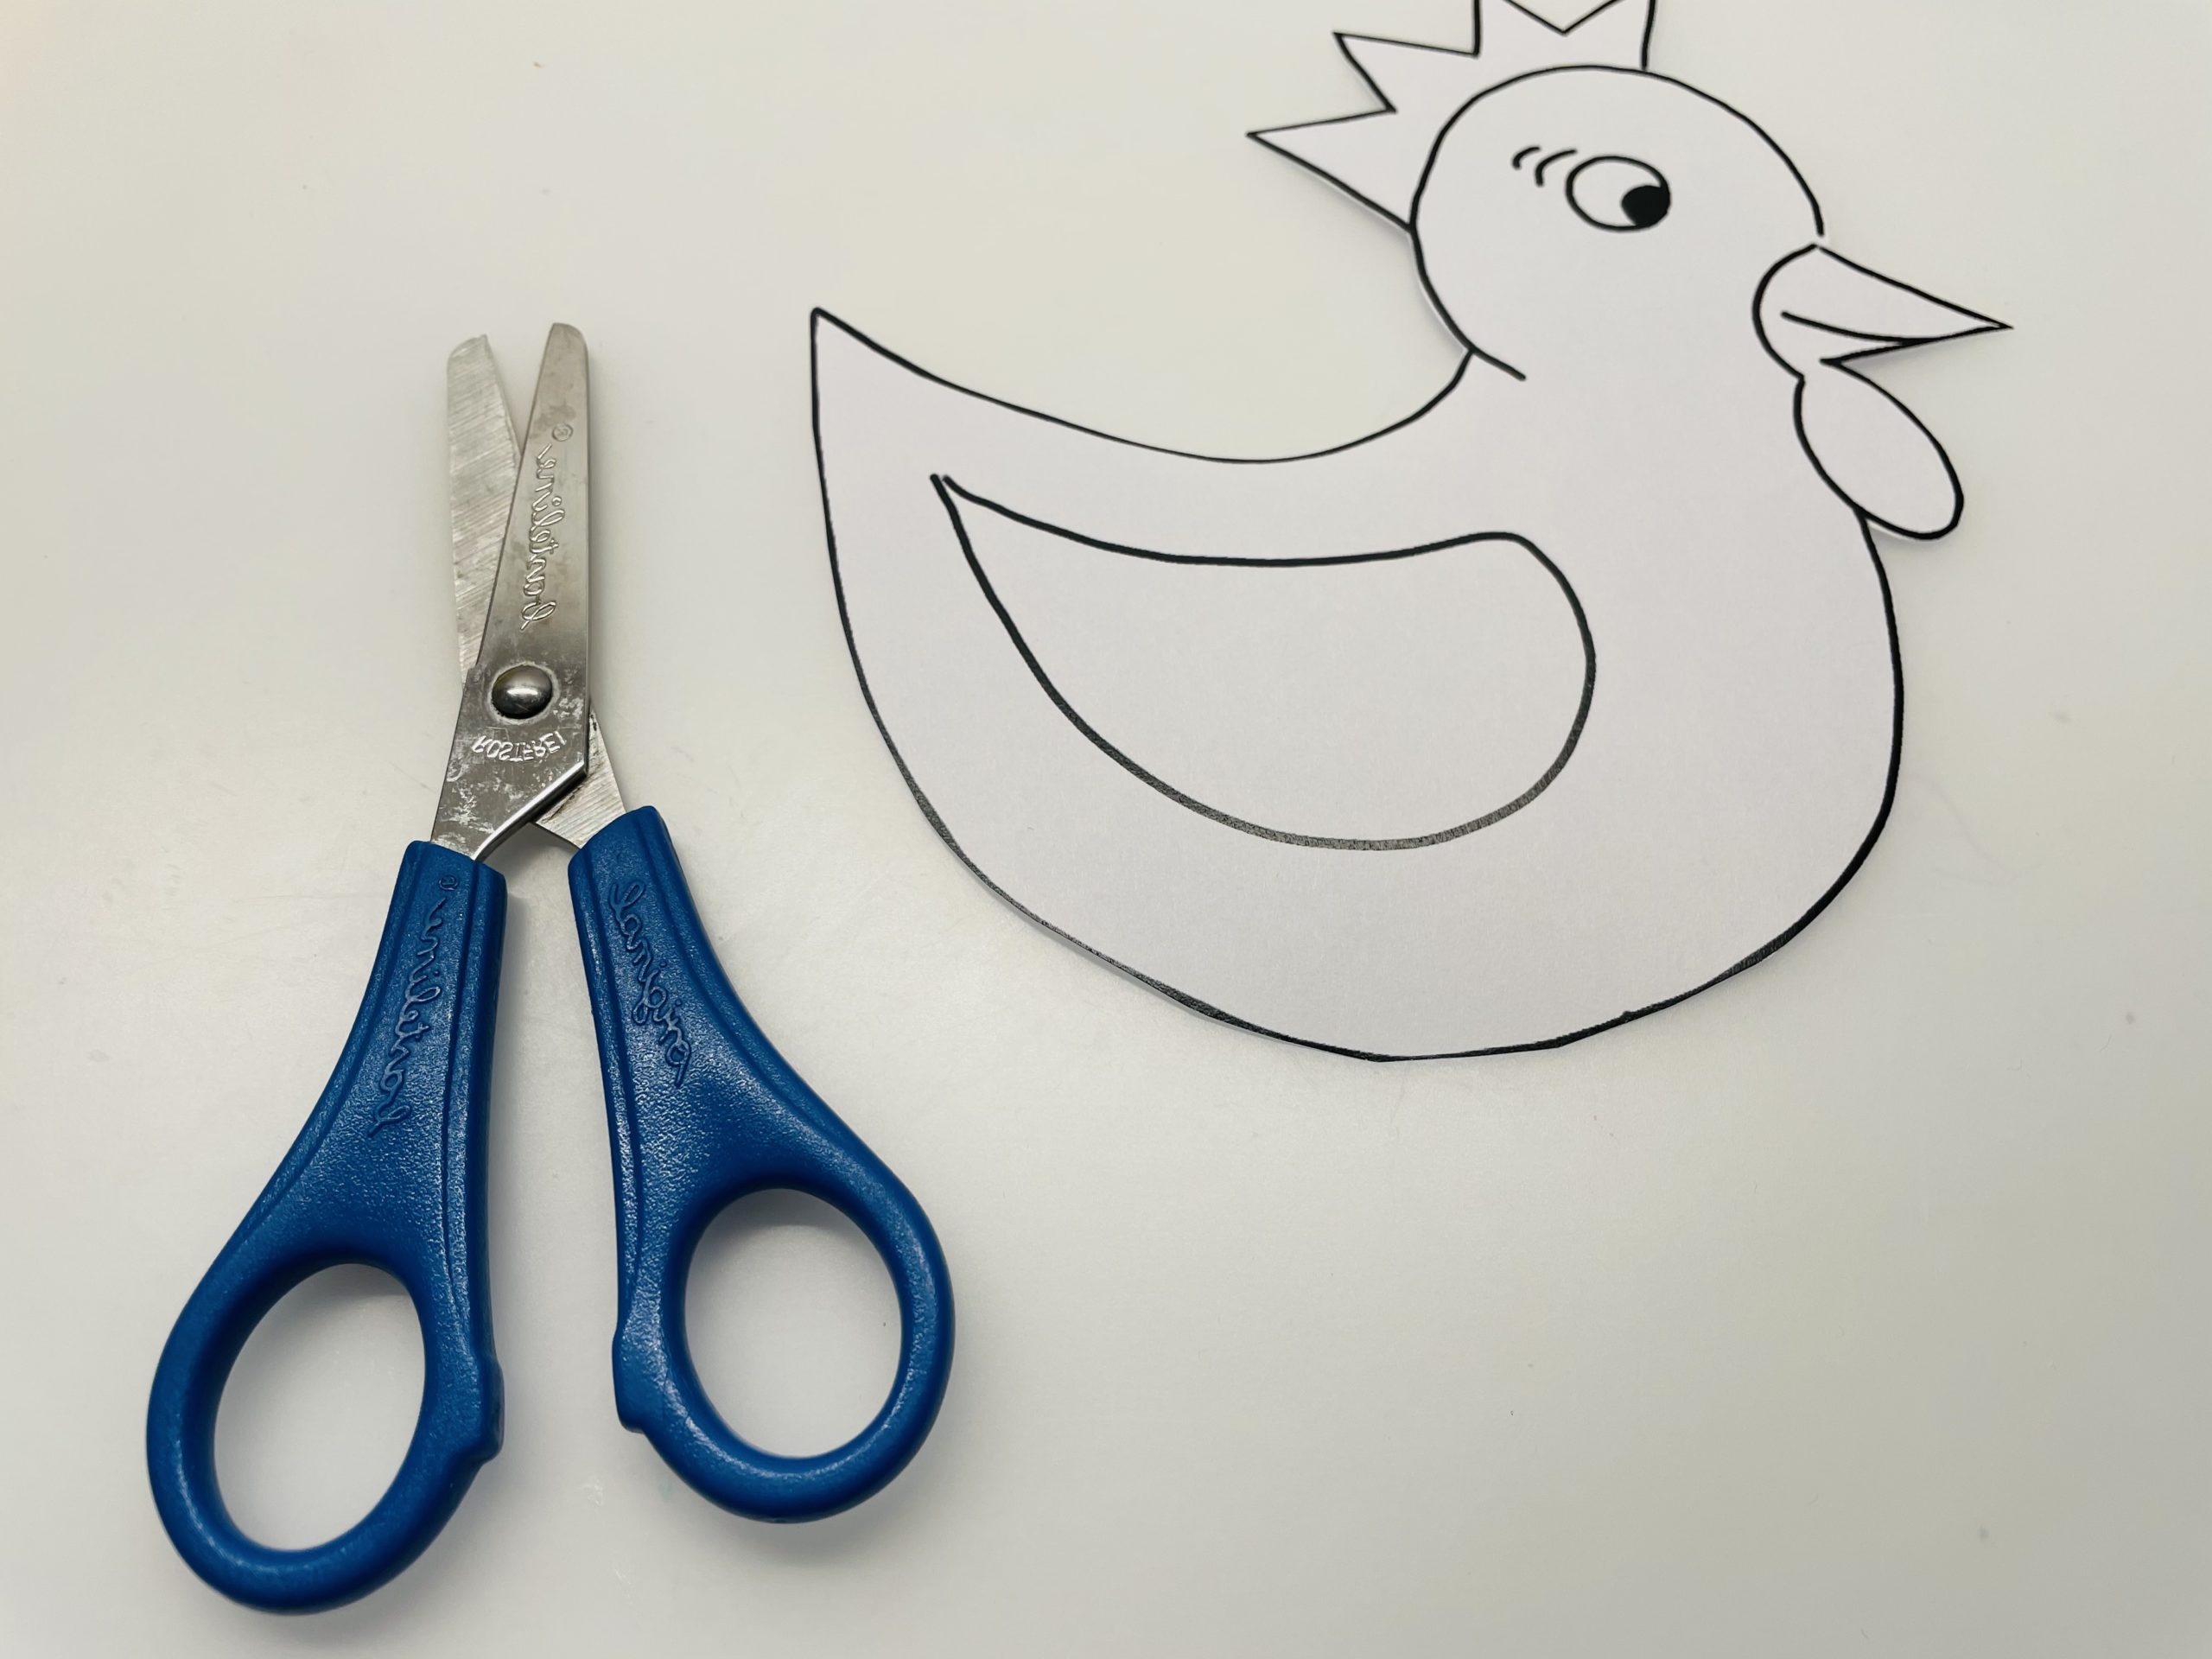
Then stick the chicken on the already cut lid (see above) of the egg box.
Now you paint the chicken with markers or crayons.
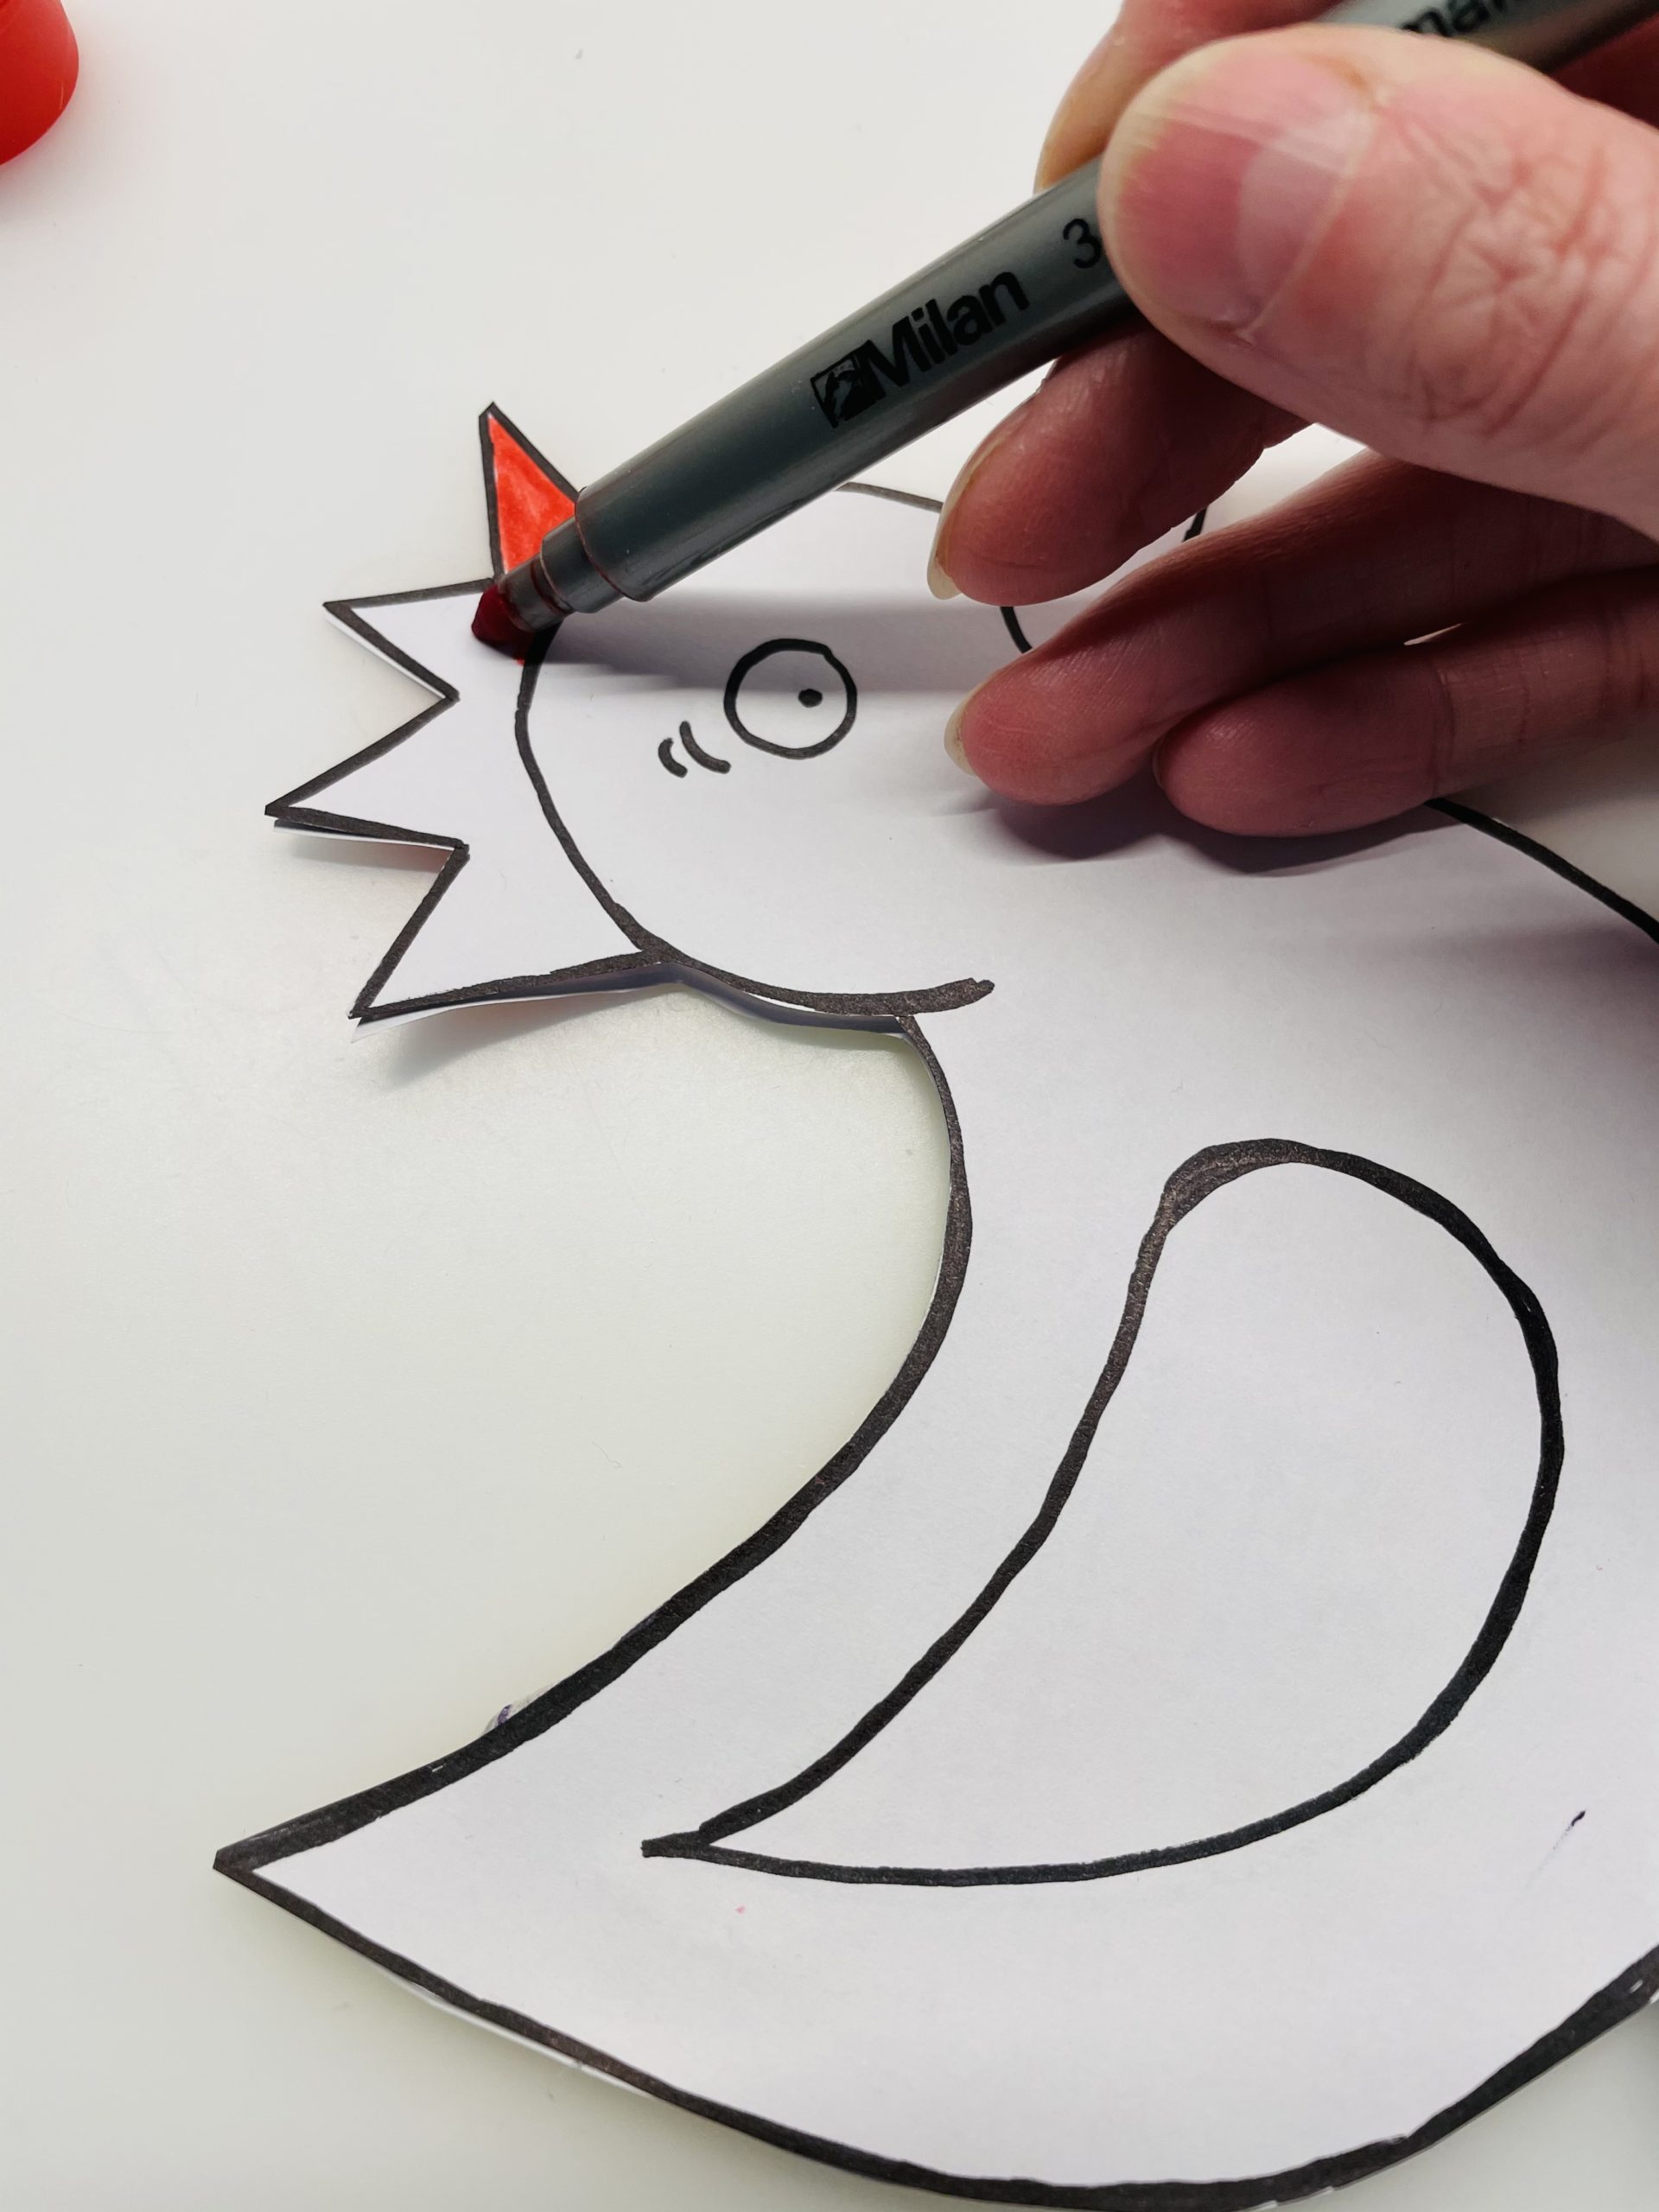
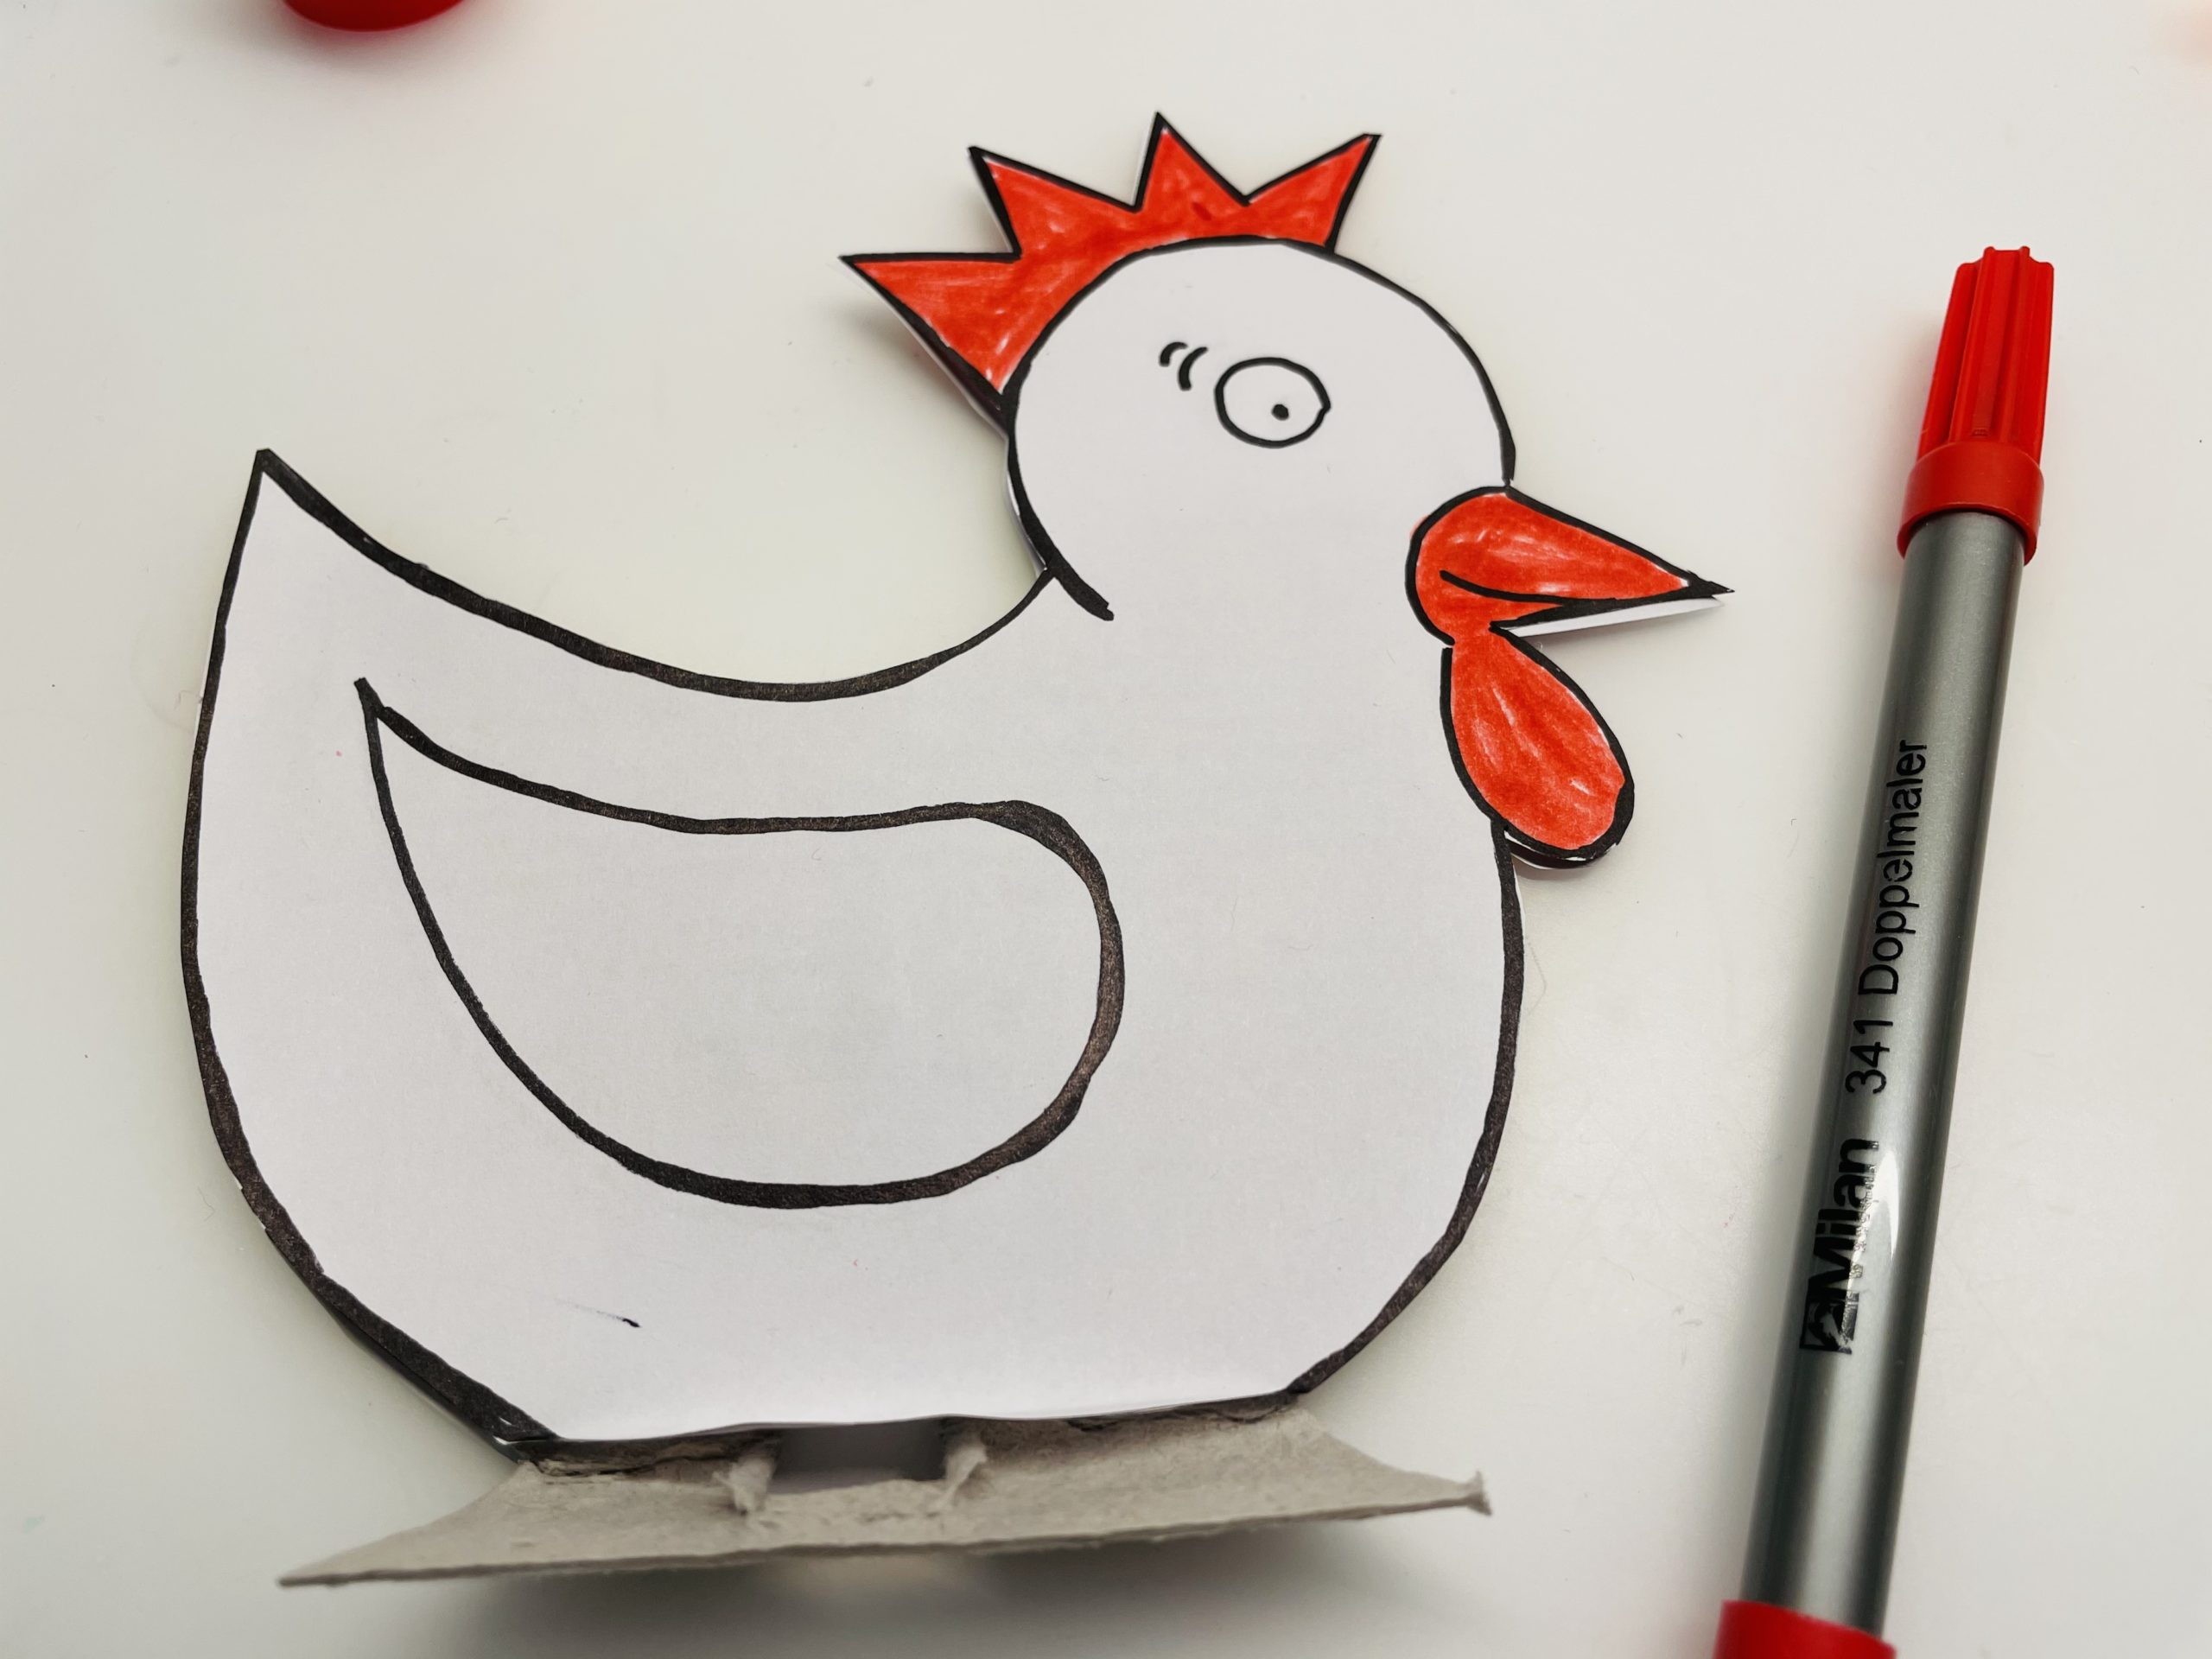
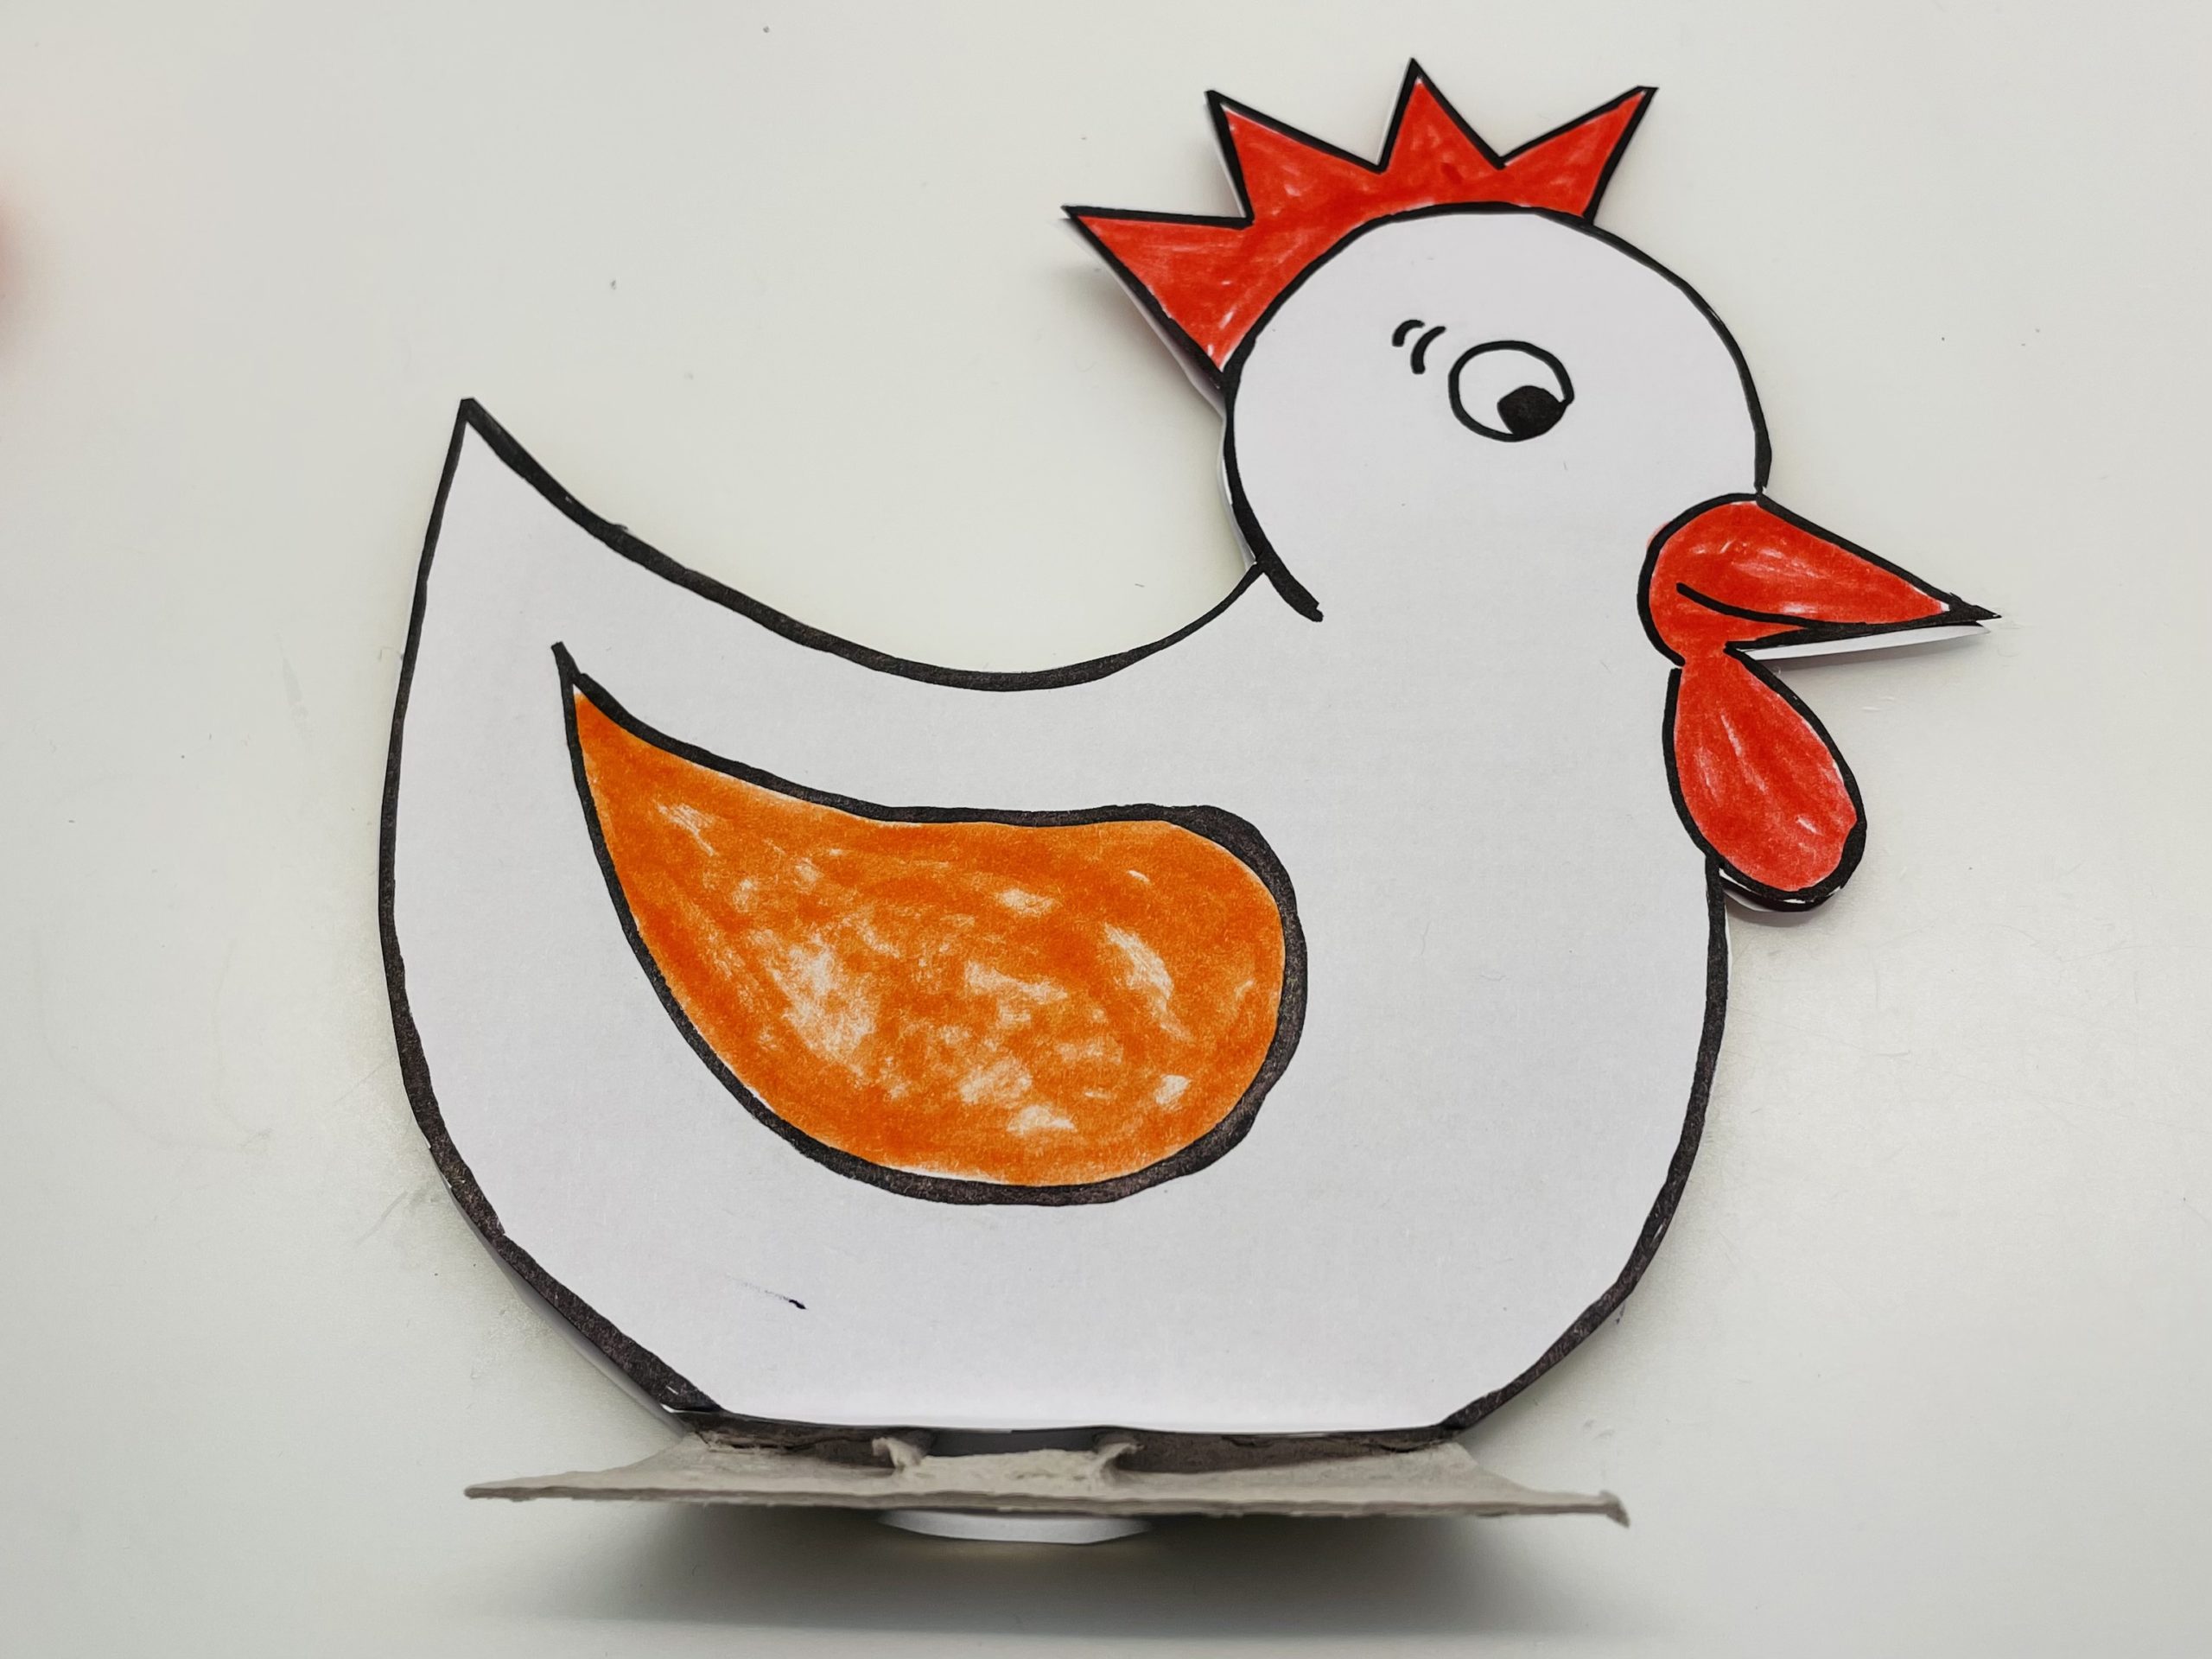
Then she sticks a feather on the wing of the chicken.
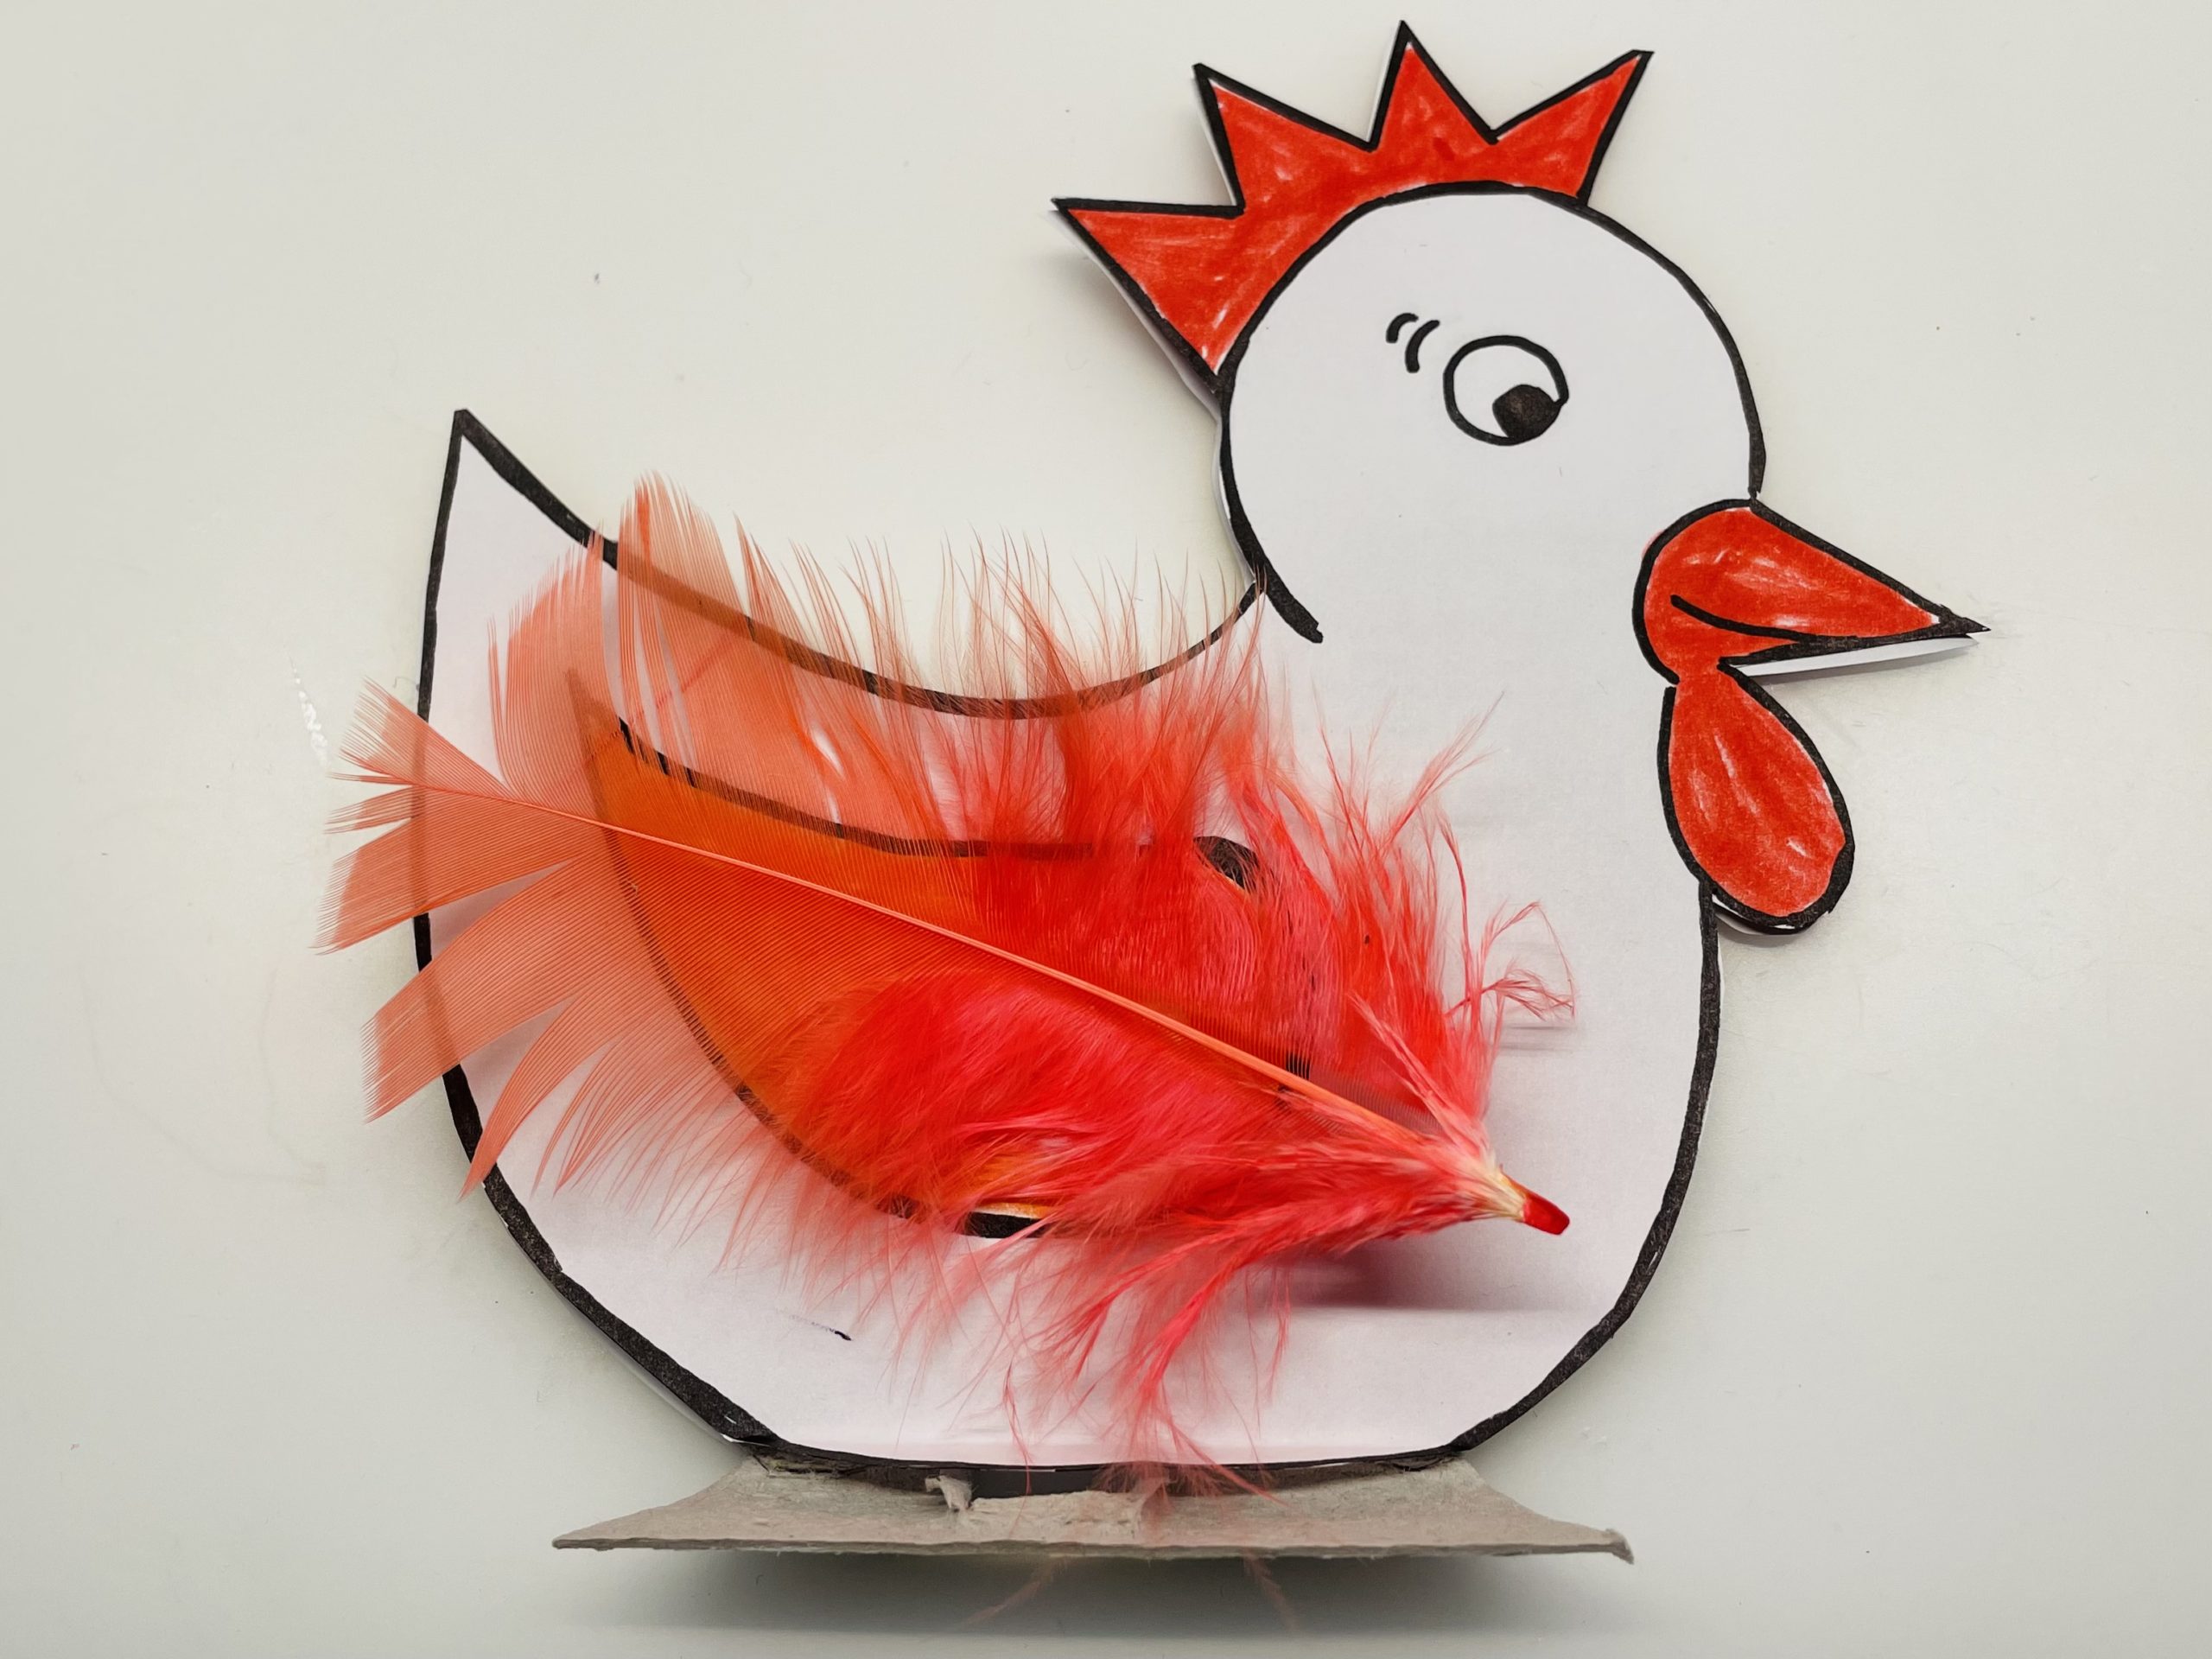
Now attach the finished (possibly designed from both sides) lid to the edge of the egg box. Use hot glue. Attention: hot! Let an adult help you with this!
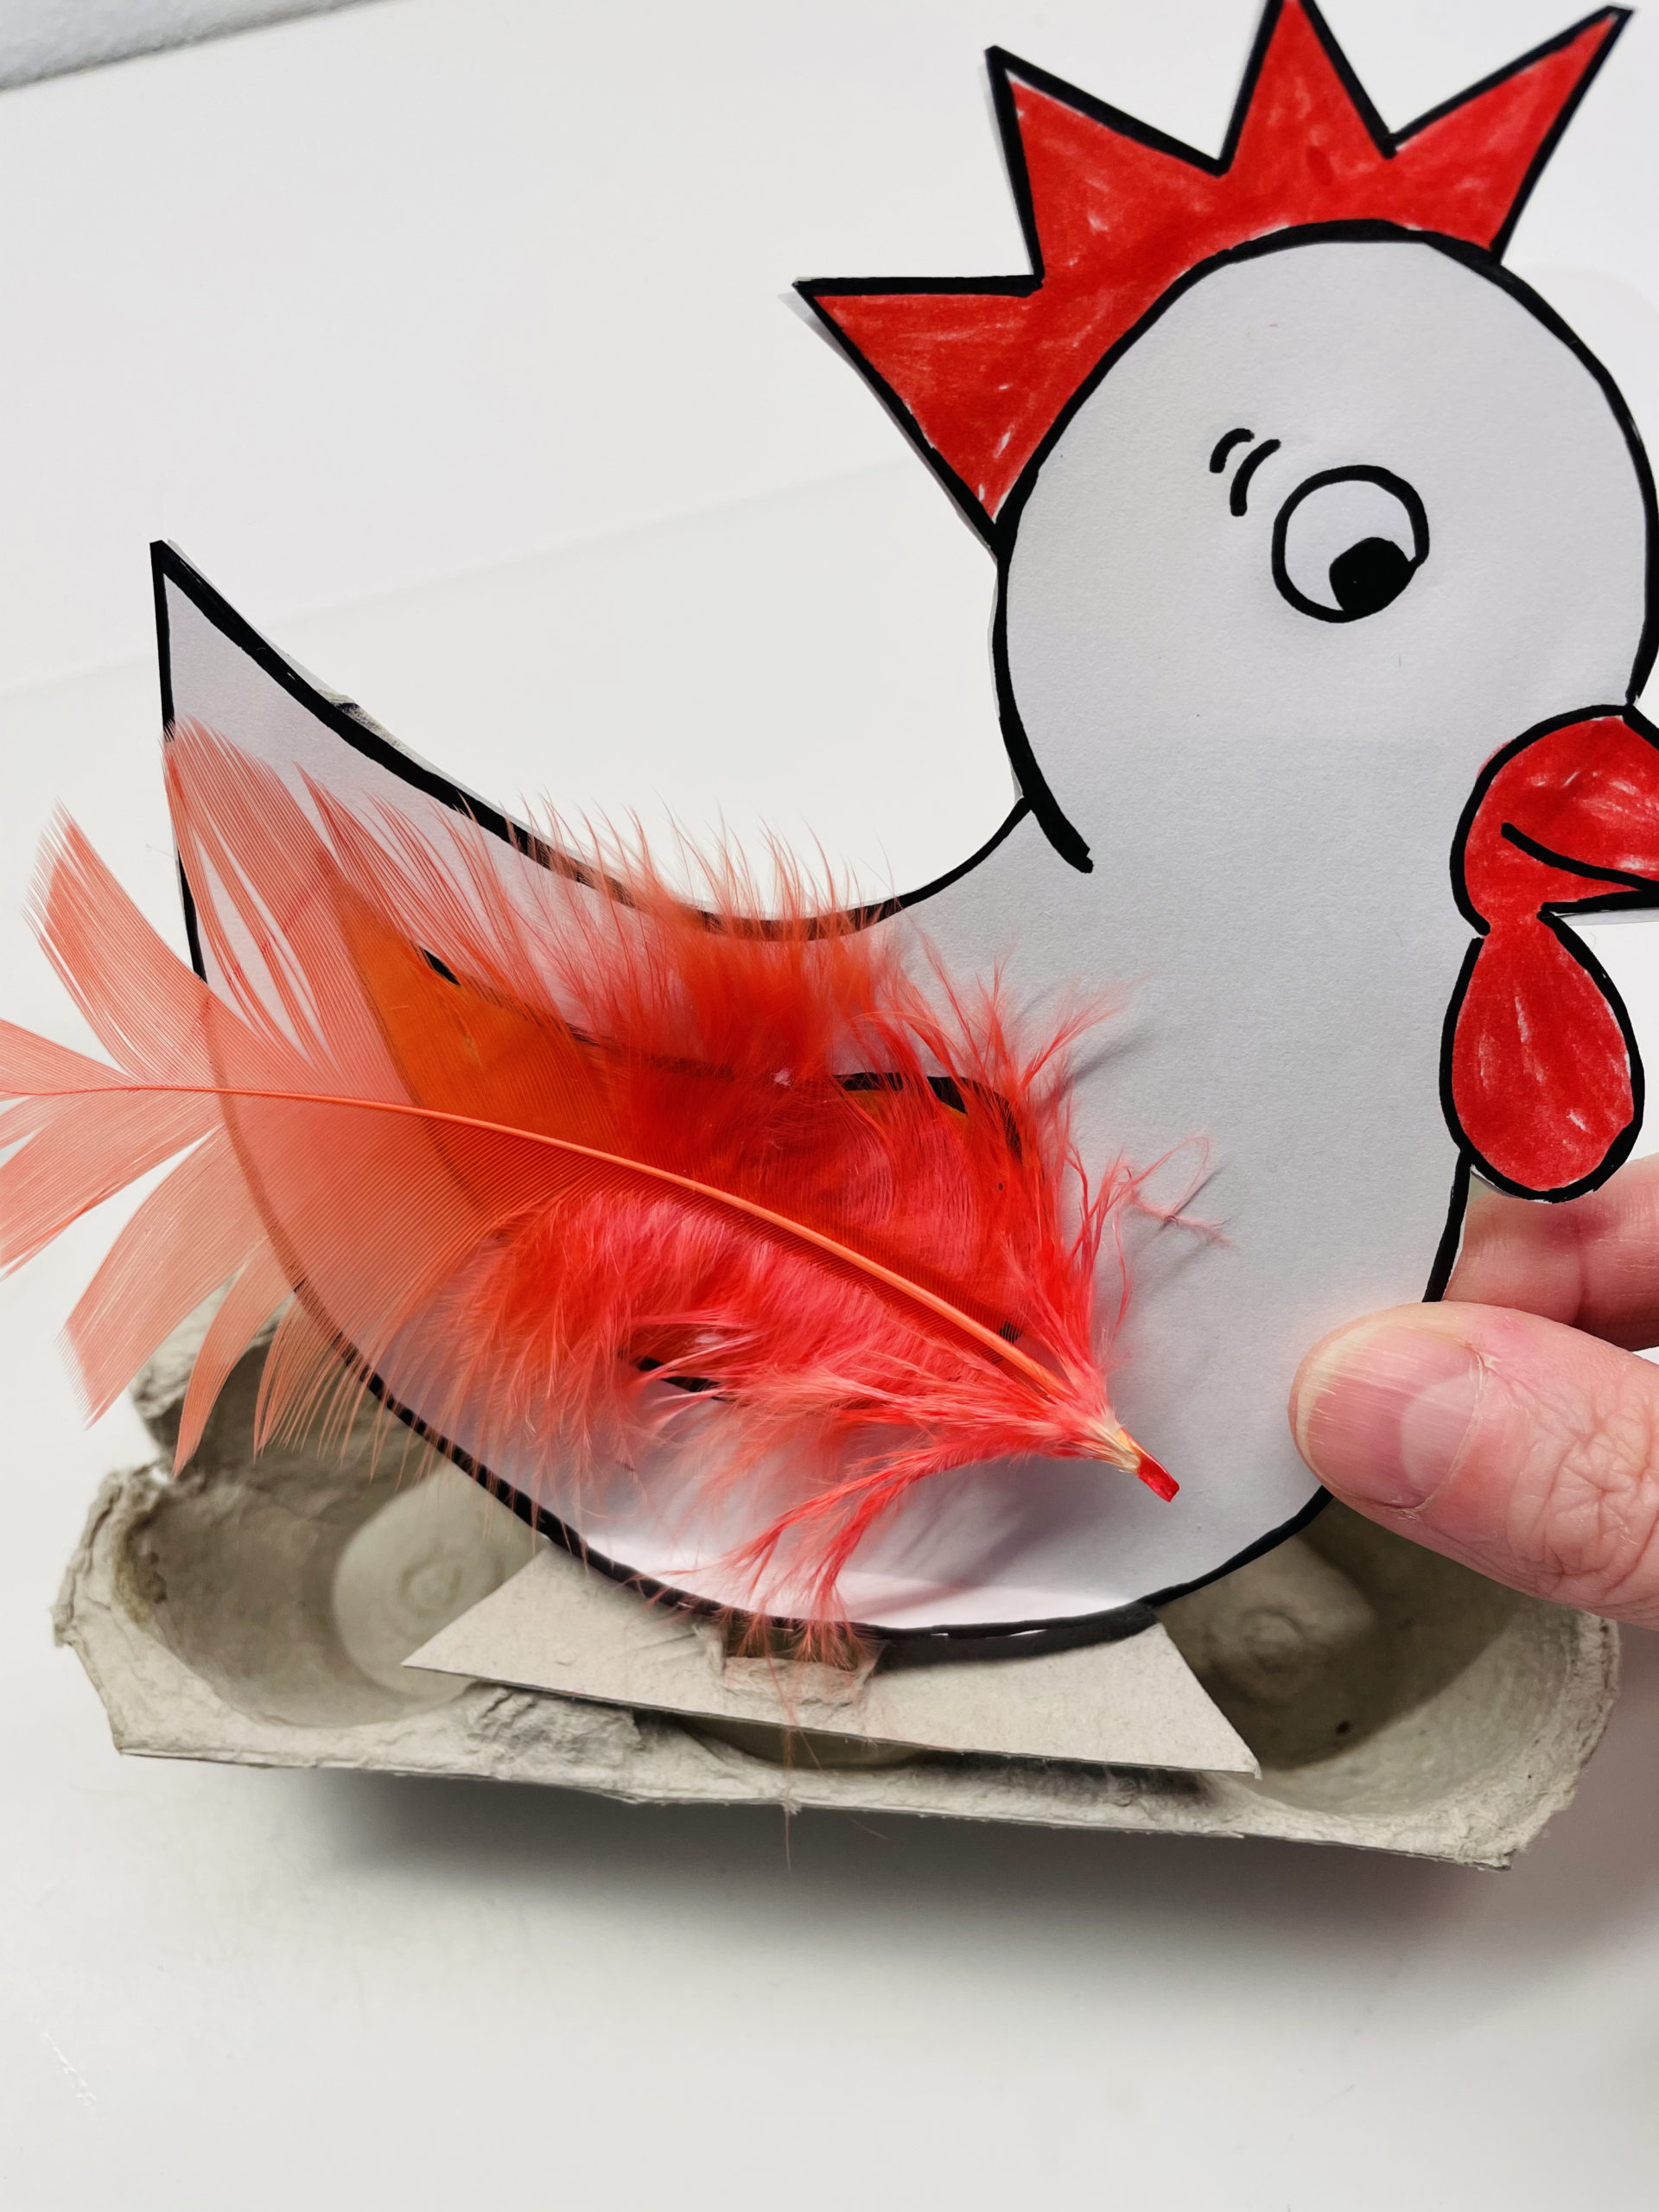
Now the nest can be filled or decorated as described above.
Idea: Hides the nest in the garden, which is still unfilled and only equipped with moss.
Maybe the Easter bunny puts something in it??
Enjoy your crafting!