Print Options:

Make gift bags – more than 10 design ideas

Material for1 ChildPrep Time15 min.Adv. Time15 min.Total Time30 min.

From a DINA4 paper we fold a gift bag for e.g. Easter, as a gift bag at the children's birthday party, as a lucky bag or for recovery. They are quickly made and are ideal for all kinds of occasions.

Titelbild zur Bastel- und DIY-Idee für Kinder '(89) Geschenktütchen basteln – mehr als 10 Gestaltungsideen'

 1 DIN A4 sheet e.g. the template can be used (express!)
 1 Adhesive pen
 1 Adhesive stripse.g. Tesafilm or Washi tape
 possibly coloured pencilsIf your own motif is painted or when using the attached coloring template
All links marked with a shopping cart lead to Amazon - here we have selected products that we would order ourselves and in part also ordered. In a qualified purchase via the advertising link, we as Amazon partner receive a commission, for you there are no costs. You thus support our cost- and advertising banner-free, educational offer.
1

For the Easter bags: print out and paint out a painting template. Or print out a finished motif image. Or paint your own motif (painted is the middle third of a DIN A4 sheet = crosswise! Leave an at least 5 cm wide strip unpainted from below!)

2

Either: print the colouring image and possibly paint it...

Bild zum Schritt 2 für das Bastel- und DIY-Abenteuer für Kinder: 'Entweder: Ausmalbild ausdrucken und evtl. ausmalen...'

3

or: print out the complete motif picture!

For simple white bags just leave the sheet empty and first make the bag and design it afterwards.
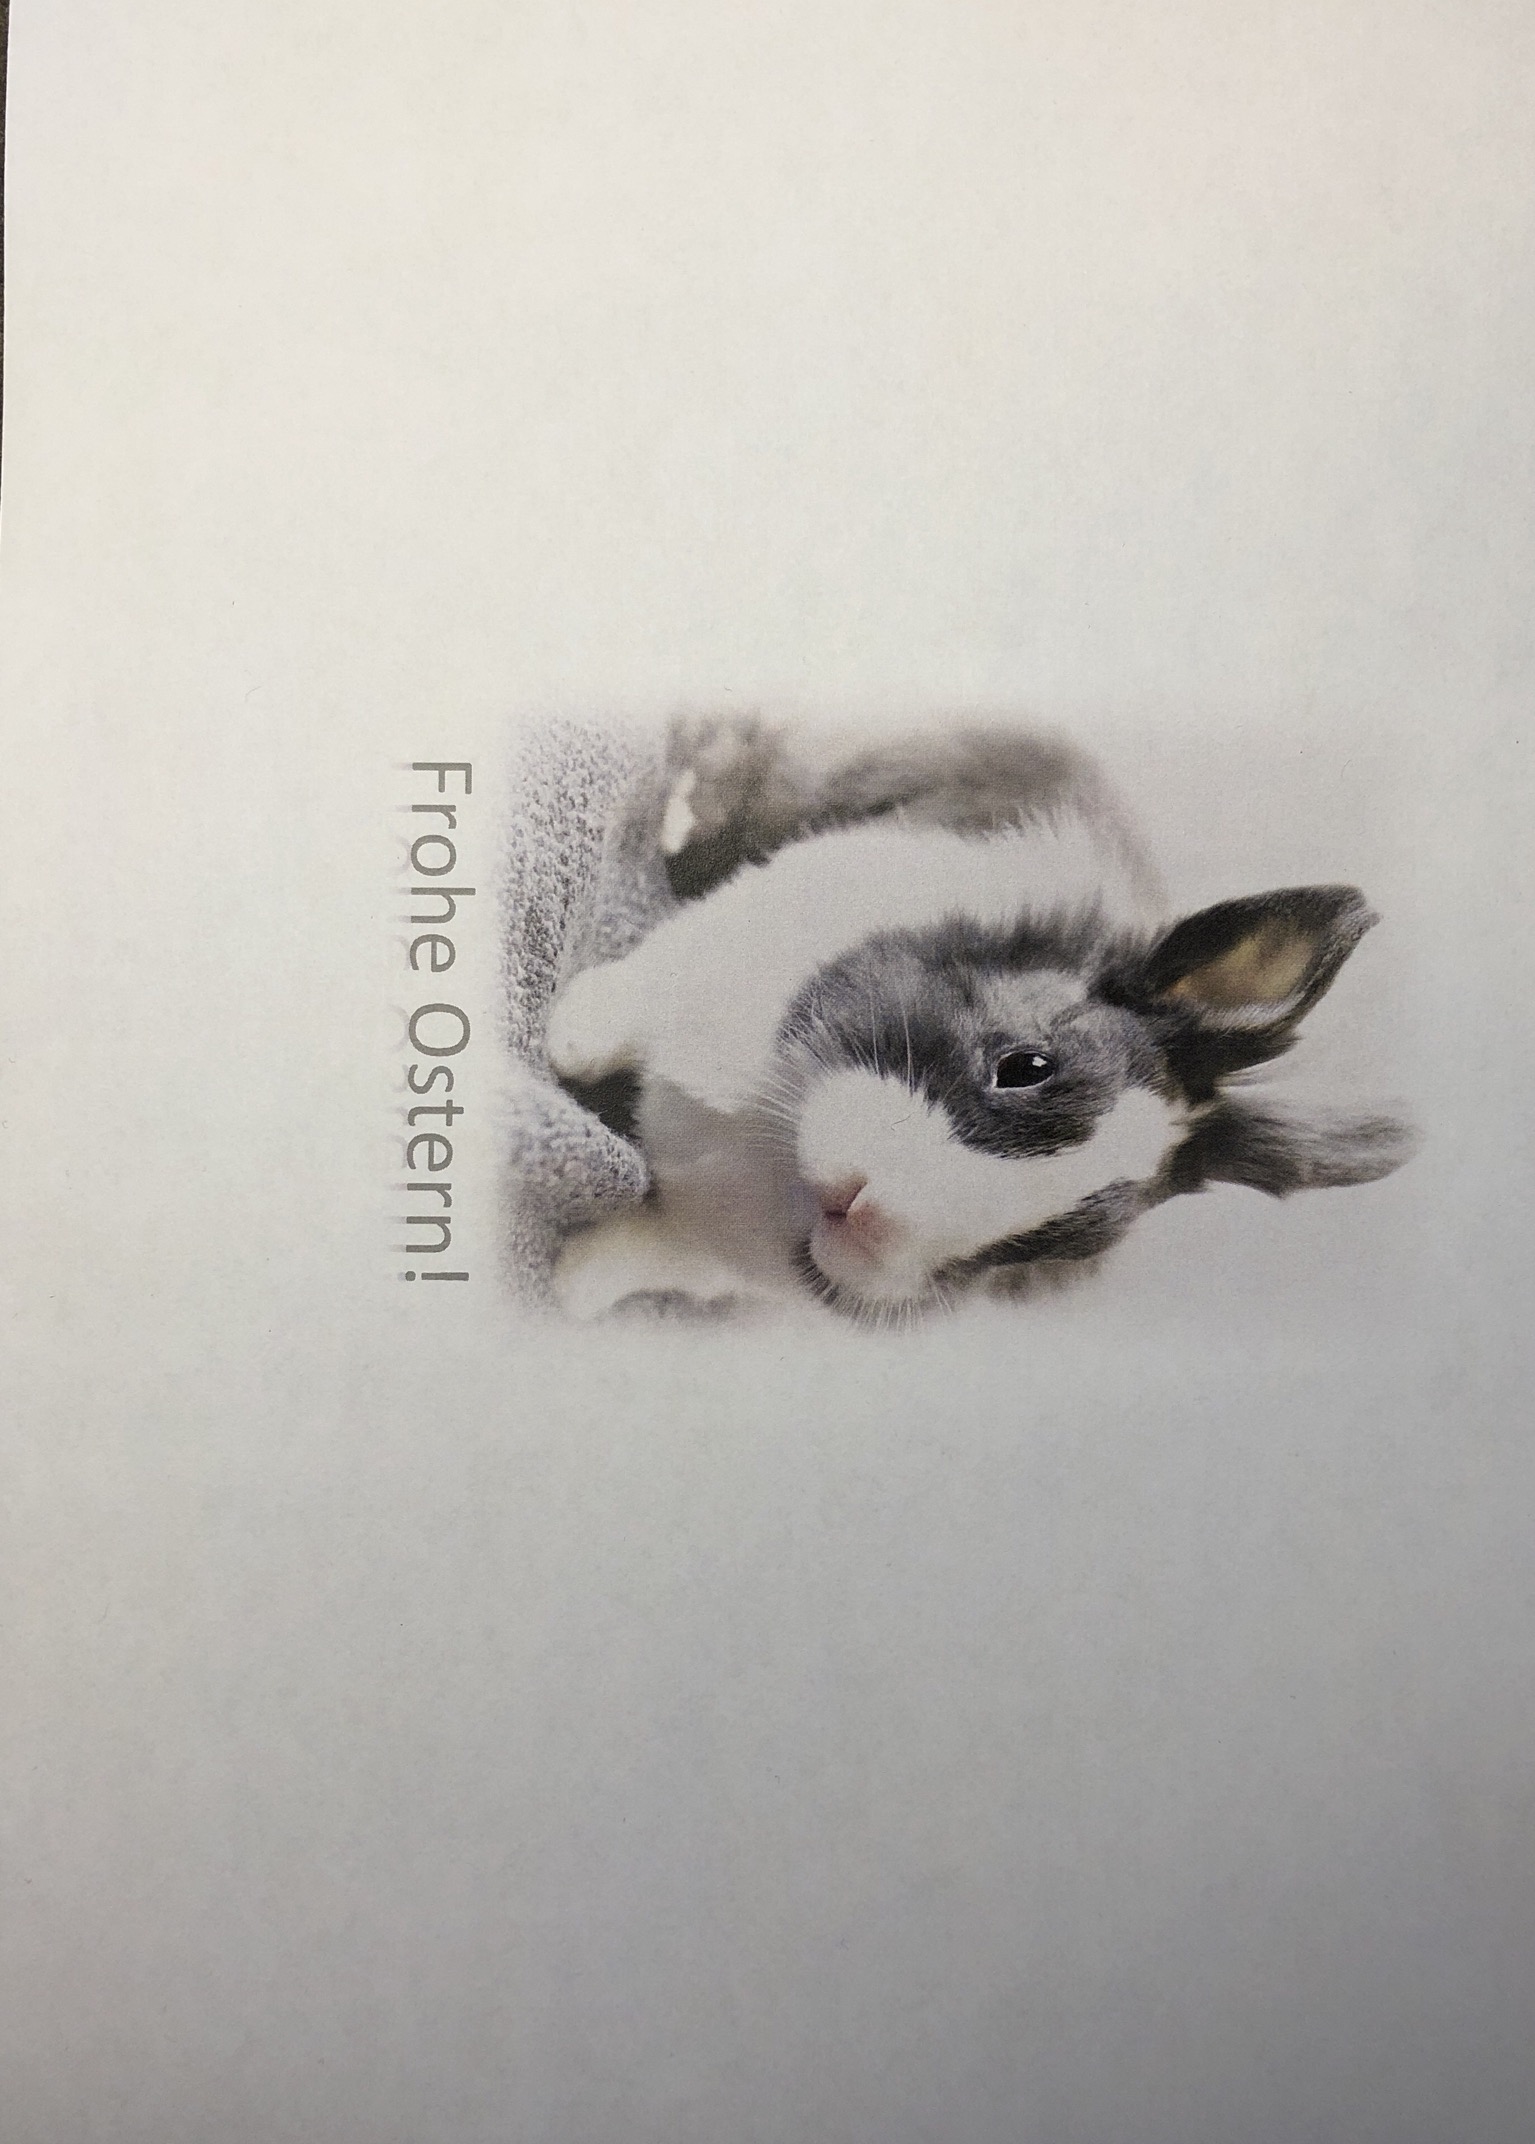
Bild zum Schritt 3 für das Bastel- und DIY-Abenteuer für Kinder: 'oder: fertiges Motivbild ausdrucken!    Für schlichte weiße...'

4

Turn over sheet of paper that the painted/printed side lies on the table.
Fold about 1/3 of the paper in the middle and strip out.
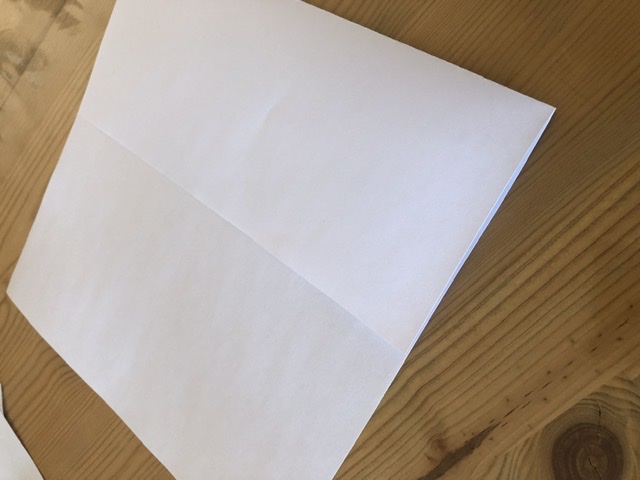
Bild zum Schritt 4 für das Bastel- und DIY-Abenteuer für Kinder: 'Blatt Papier umdrehen, dass die bemalte/ bedruckte Seite auf dem...'

5

Fold from the other side also from the outside. The motif must be in the middle.
A piece of beaten-in paper lies on top of each other.
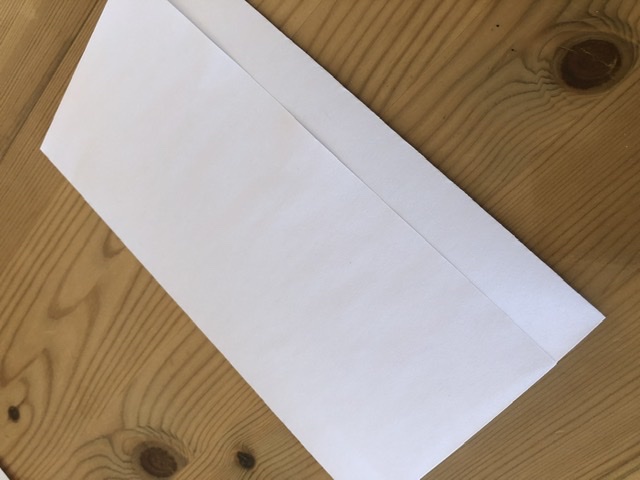
Bild zum Schritt 5 für das Bastel- und DIY-Abenteuer für Kinder: 'Von der anderen Seite ebenfalls von außen einfalten. Das Motiv...'

6

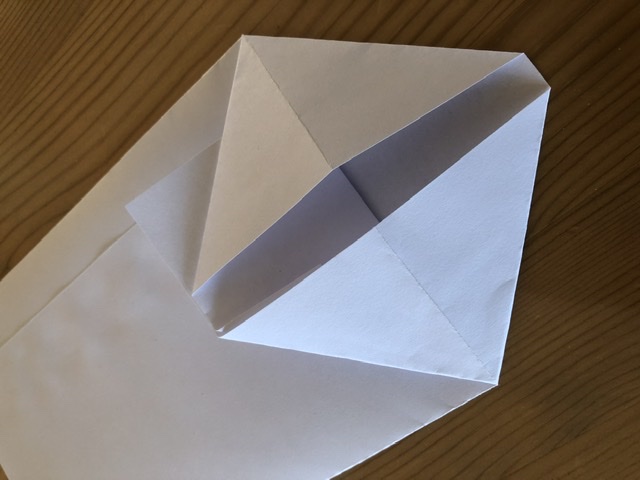
Beat the lower end about 4.5 cm upwards and strip out the crease.
Note that the kink should be below the "painted" or image. (see picture!)

Bild zum Schritt 6 für das Bastel- und DIY-Abenteuer für Kinder: 'Unteres Ende ca. 4,5 cm nach oben schlagen und Knick...'

7

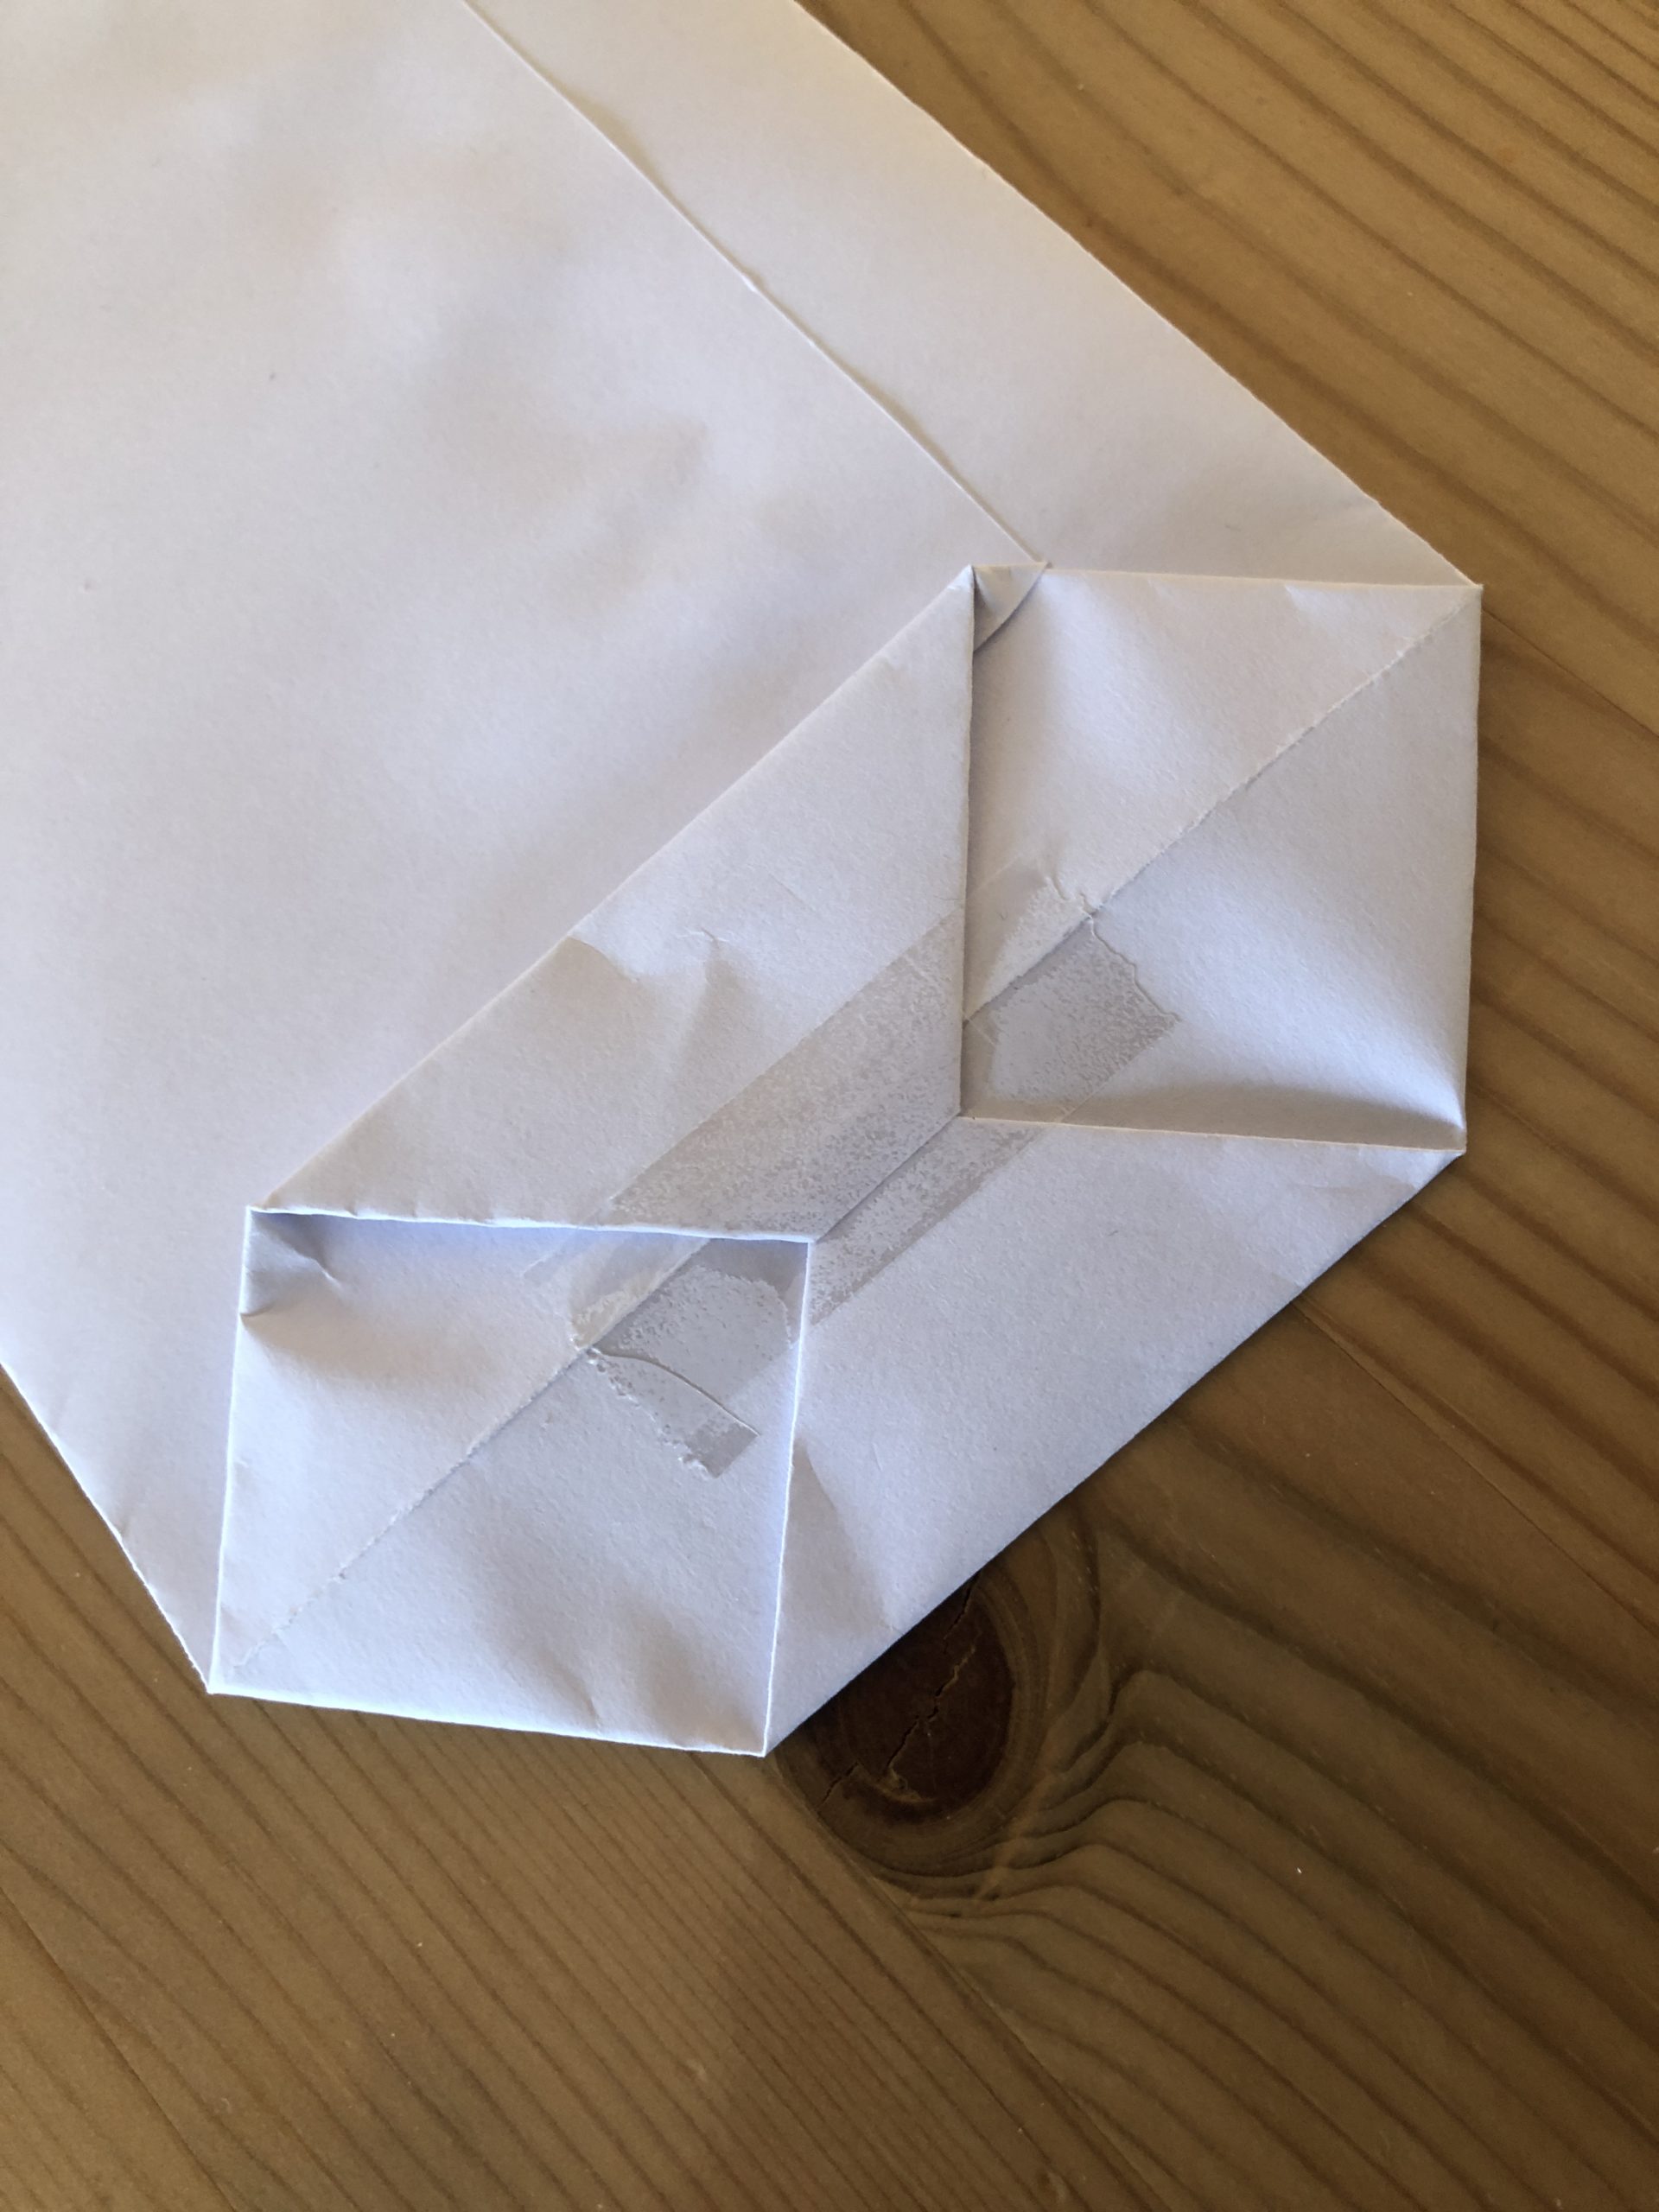
Turn the paper. Glue the sheets on top of each other with a glue stick to the kink. (see picture!)

Bild zum Schritt 7 für das Bastel- und DIY-Abenteuer für Kinder: 'Papier wenden. Mit einem Klebestift die übereinander liegenden Blätter bis...'

8

Now open the bottom end and grab your fingers in the corner and push them apart.
Press the tips flat. The center is well aligned to the middle stroke due to the already existing kink (at the outer edge).

Bild zum Schritt 8 für das Bastel- und DIY-Abenteuer für Kinder: 'Unteres Ende nun öffnen und mit den Fingern in die...'

9

Repeat the process at both corners.

Bild zum Schritt 9 für das Bastel- und DIY-Abenteuer für Kinder: 'Vorgang an beiden Ecken wiederholen.'

10

Then fold one side upwards. (This will be the bottom of the bag)
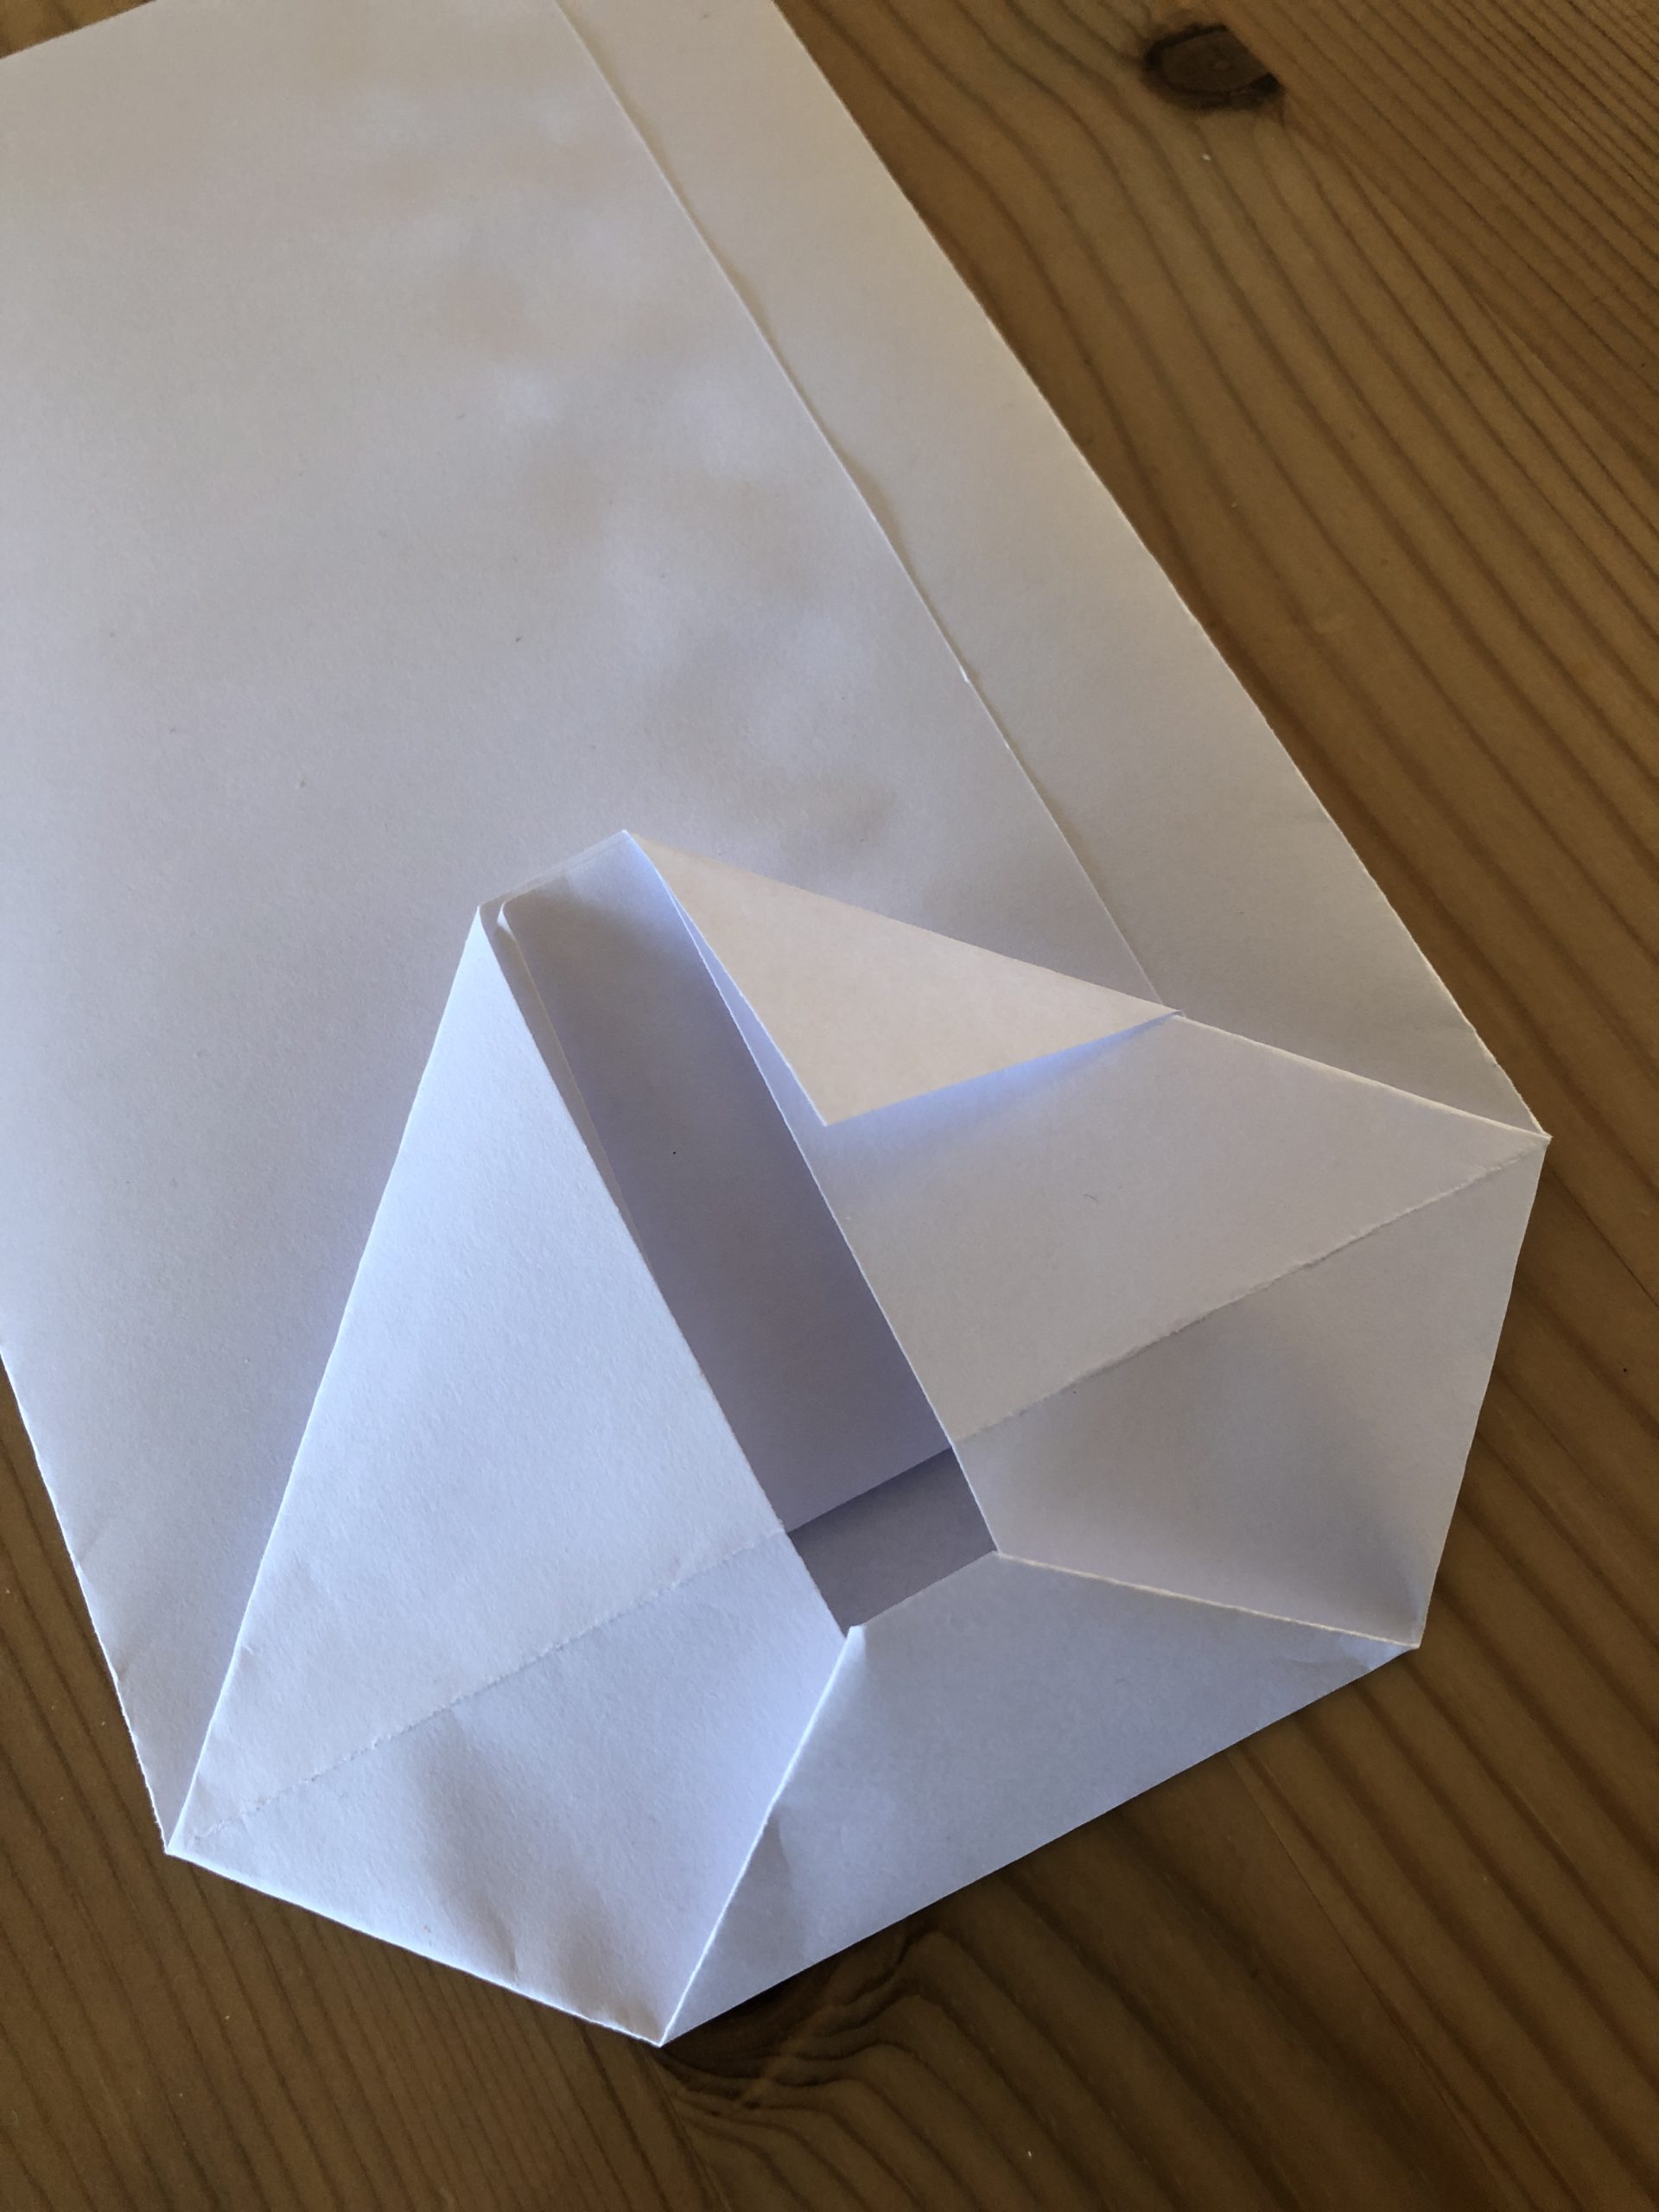
Bild zum Schritt 10 für das Bastel- und DIY-Abenteuer für Kinder: 'Dann eine Seite nach oben falten. (Das wird der Boden...'

11

Fold the opposite side downwards, these may overlap slightly.
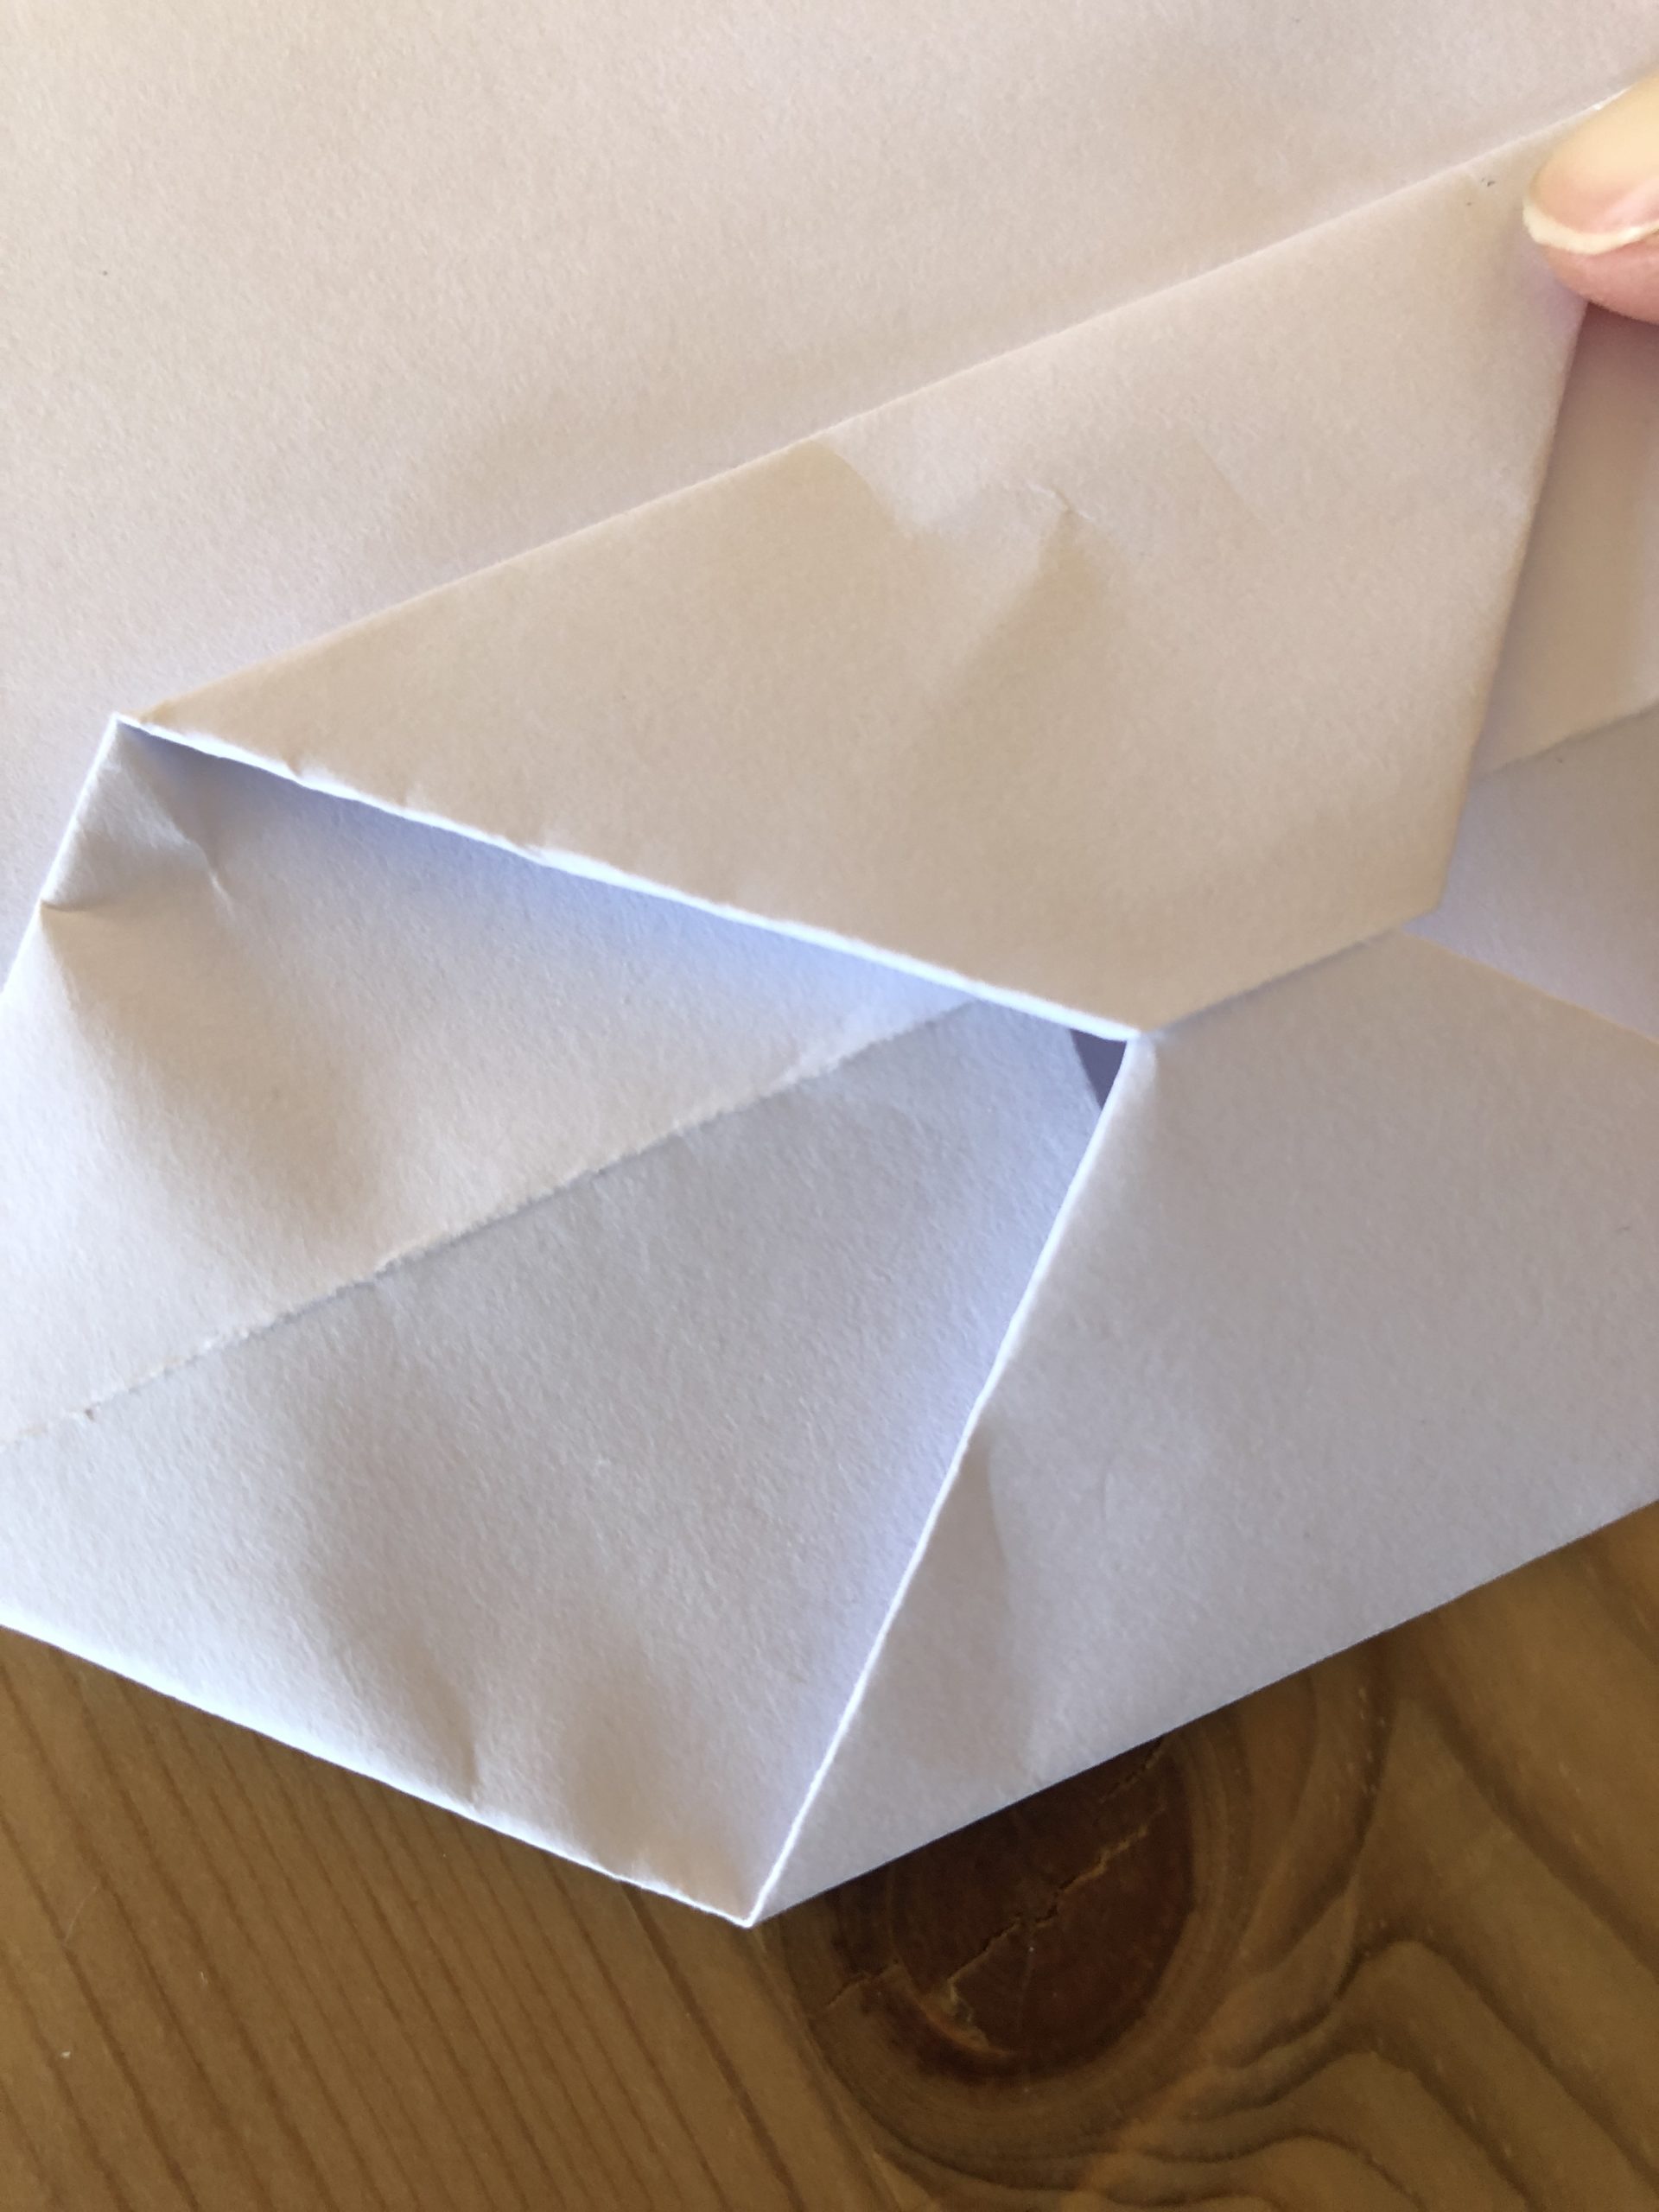
Bild zum Schritt 11 für das Bastel- und DIY-Abenteuer für Kinder: 'Die gegenüberliegende Seite nach unten falten, diese dürfen sich leicht...'

12

Close with an adhesive tape.

Bild zum Schritt 12 für das Bastel- und DIY-Abenteuer für Kinder: 'Mit einem Klebestreifen verschließen.'

13

Gently reach into the upper opening and slowly push the bag apart. Place on the glued floor.
The Easter bag is ready.
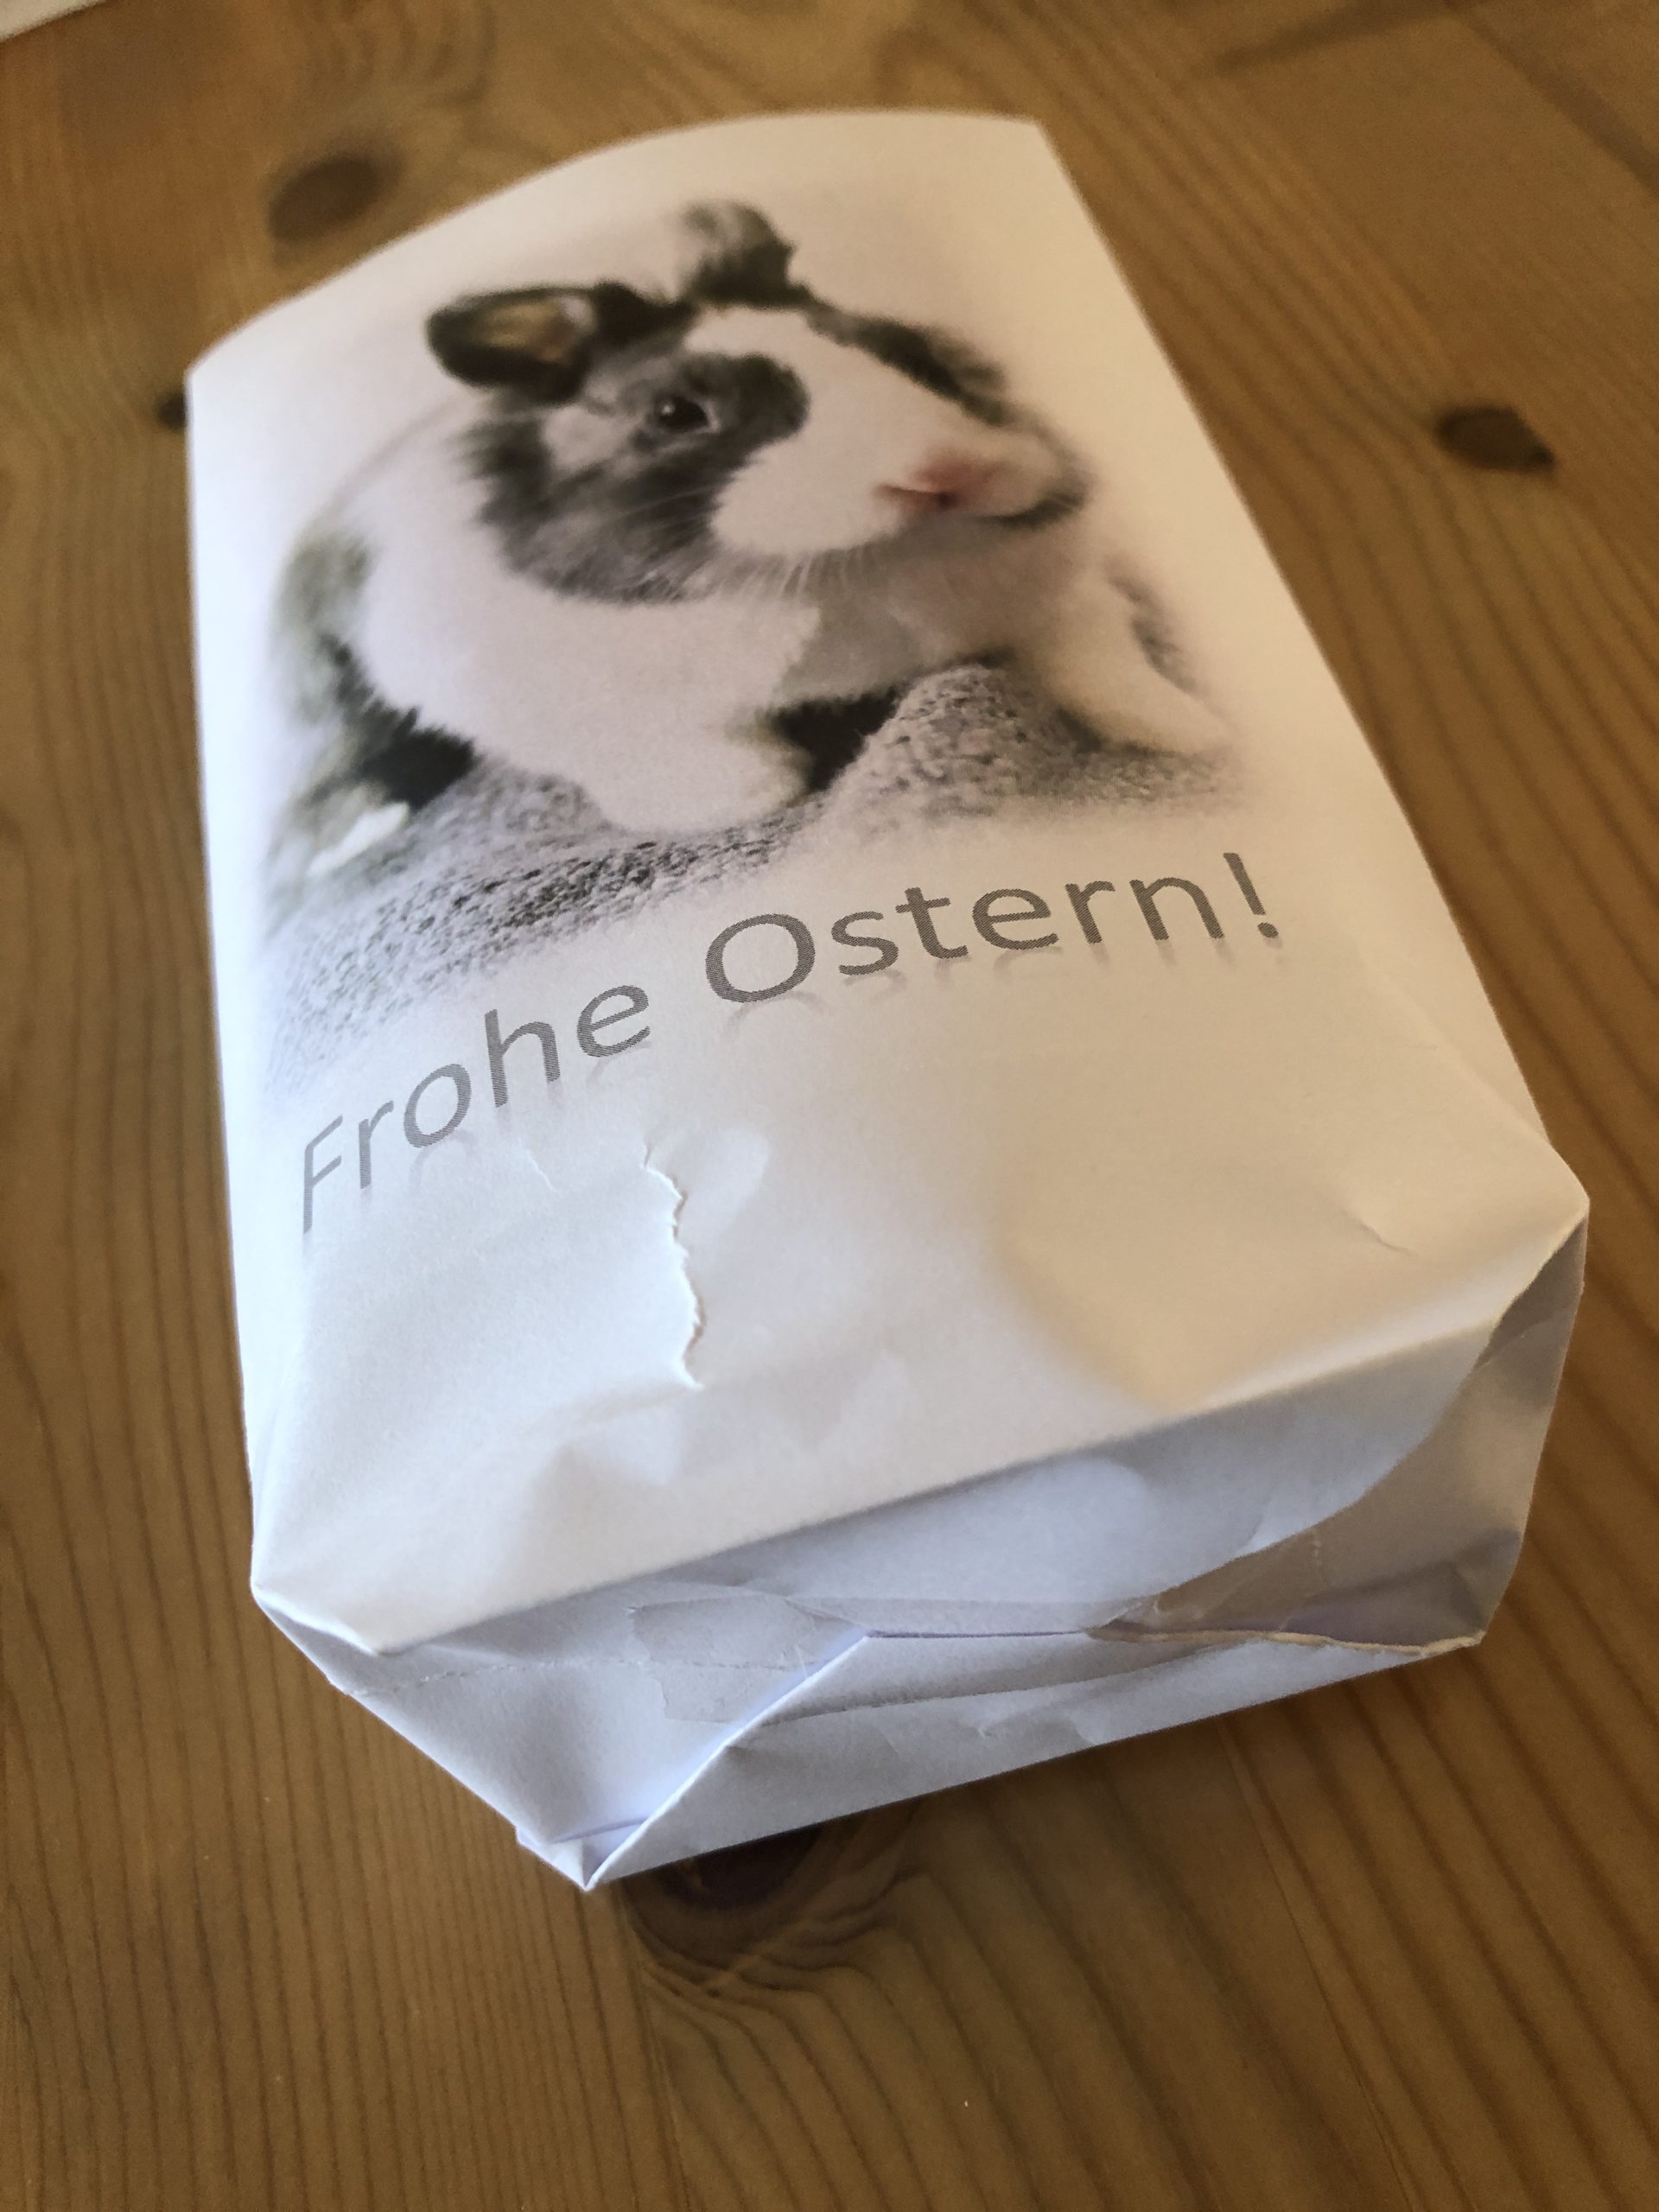
Bild zum Schritt 13 für das Bastel- und DIY-Abenteuer für Kinder: 'In die obere Öffnung vorsichtig hineingreifen und die Tüte langsam...'

14

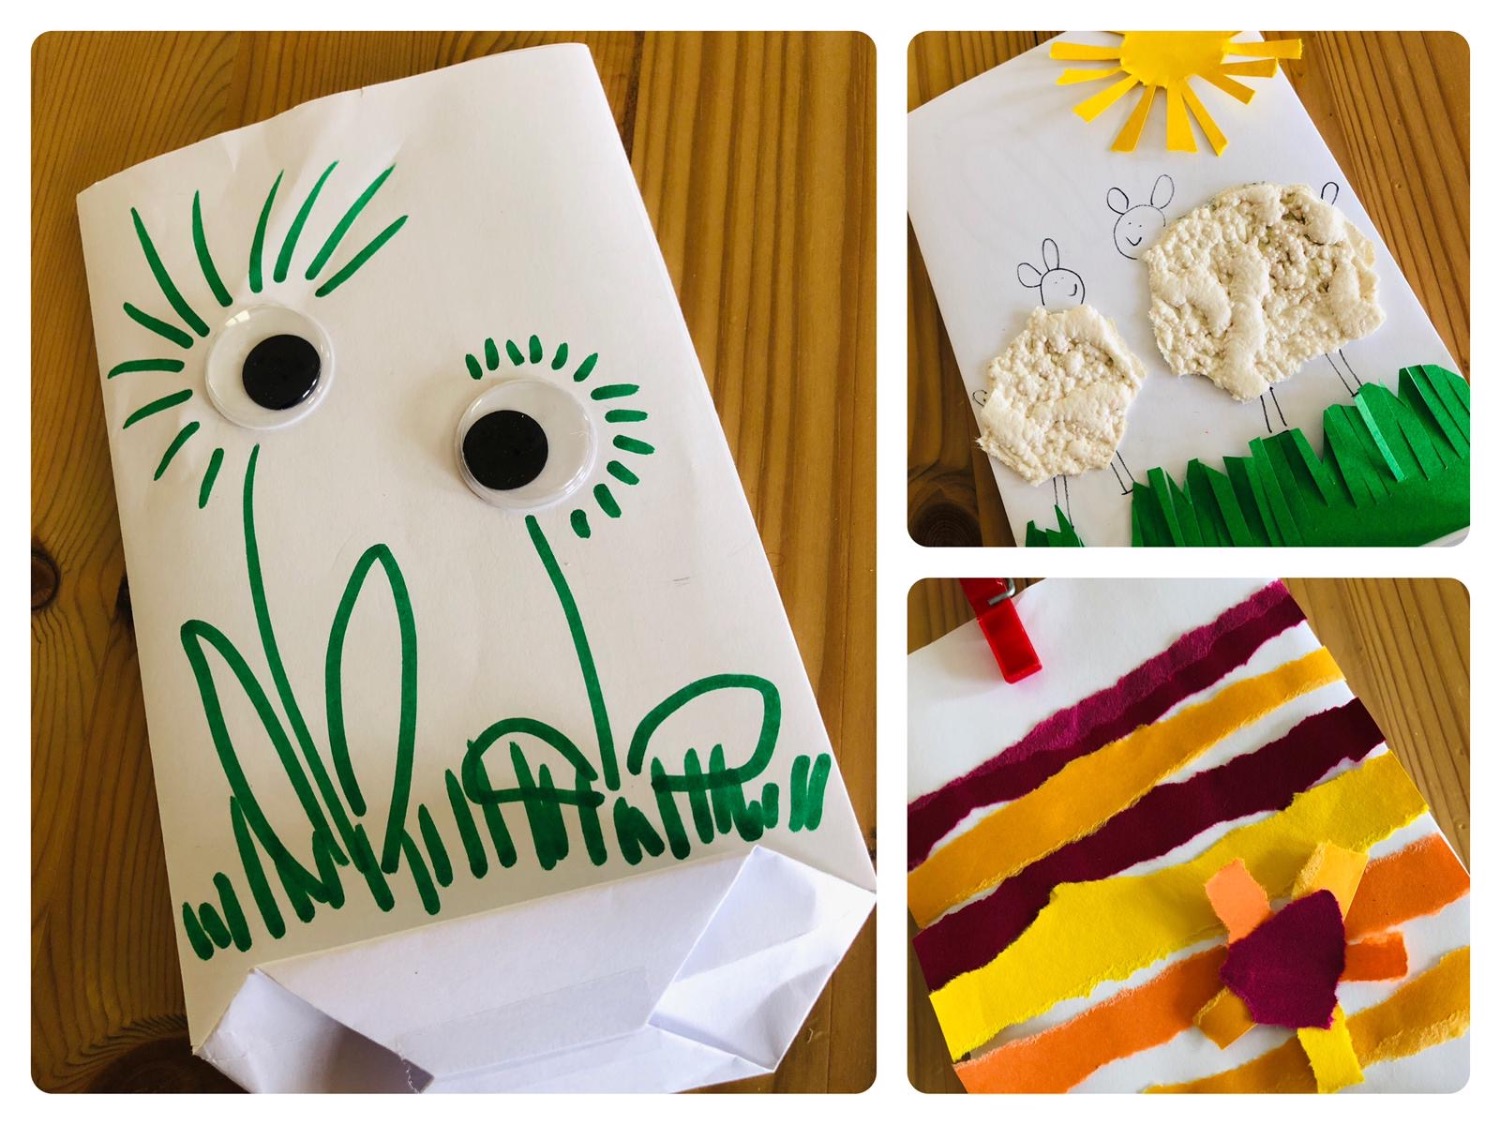
Happiness Bats

Bild zum Schritt 14 für das Bastel- und DIY-Abenteuer für Kinder: 'Glückstütchen'

15

Summer sachets

Bild zum Schritt 15 für das Bastel- und DIY-Abenteuer für Kinder: 'Sommertütchen'

16

Bags for children's birthday

Bild zum Schritt 16 für das Bastel- und DIY-Abenteuer für Kinder: 'Mitgebsel-Tütchen für den Kindergeburtstag'

17

Thank you bag

Bild zum Schritt 17 für das Bastel- und DIY-Abenteuer für Kinder: 'Dankeschön-Tütchen'

18

...and other ideas

Bild zum Schritt 18 für das Bastel- und DIY-Abenteuer für Kinder: '...und weitere Ideen'

19

2. Bild zum Schritt 18 für das Bastel- und DIY-Abenteuer für Kinder: '...und weitere Ideen'

20

3. Bild zum Schritt 19 für das Bastel- und DIY-Abenteuer für Kinder: '...und weitere Ideen'

21

4. Bild zum Schritt 20 für das Bastel- und DIY-Abenteuer für Kinder: '...und weitere Ideen'

22

5. Bild zum Schritt 21 für das Bastel- und DIY-Abenteuer für Kinder: '...und weitere Ideen'

23

6. Bild zum Schritt 22 für das Bastel- und DIY-Abenteuer für Kinder: '...und weitere Ideen'

Nutrition Facts

Children 0