Easter Bags – Easter Gift Bags

AdventurerFantebaer
Rating4.56.4 Thousand times & (3) DifficultyBeginner

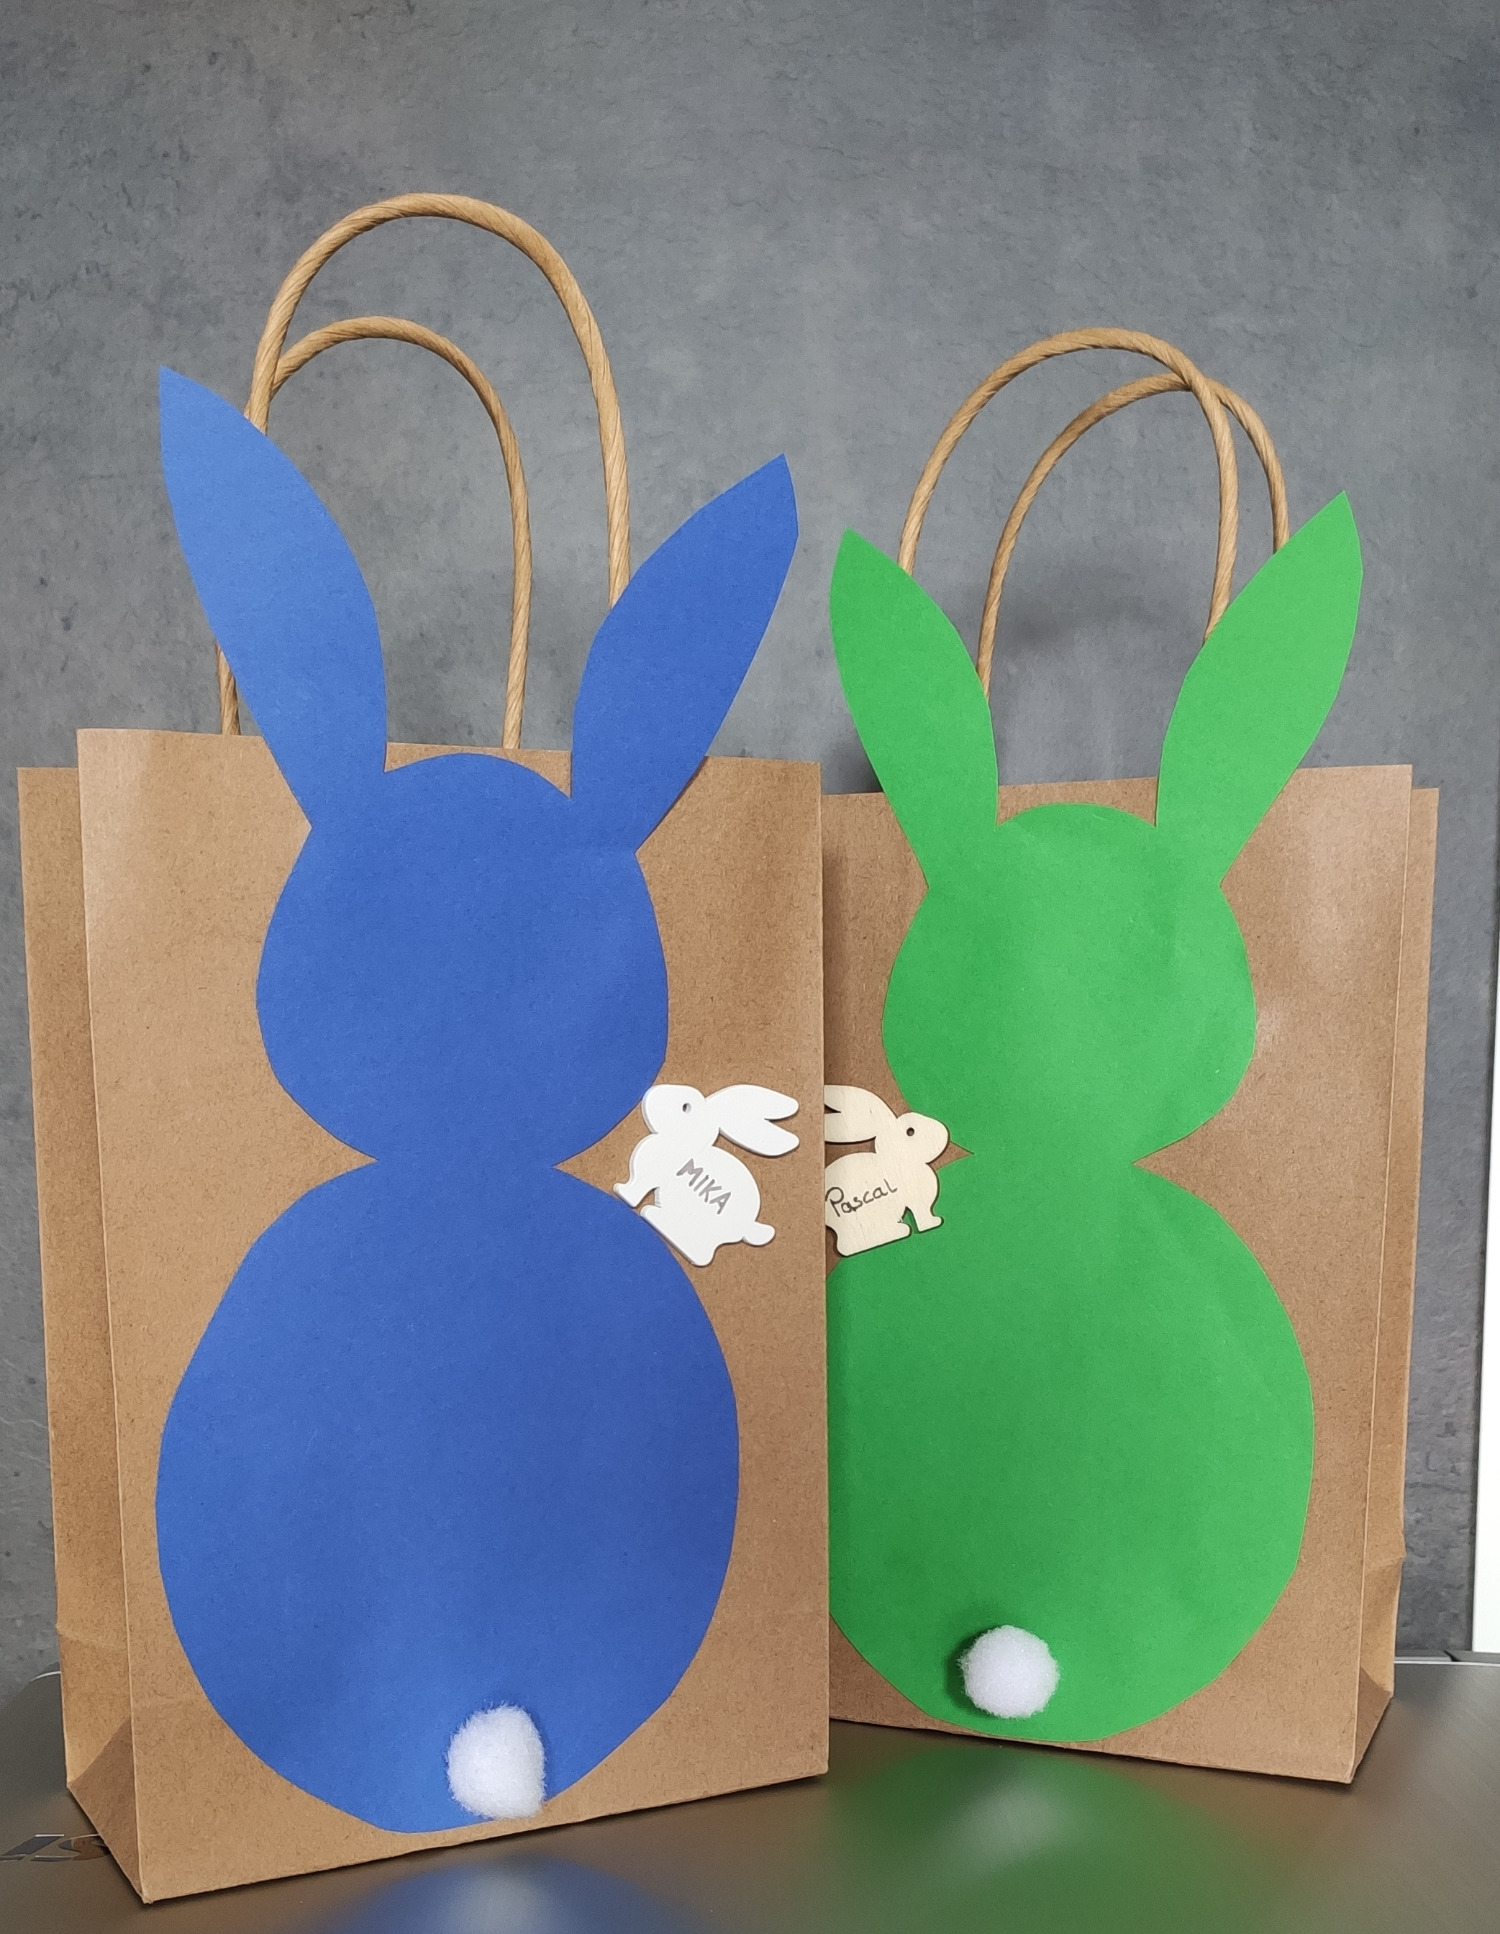
Easter is at your doorstep and you are looking for an alternative to the Easter nest? Then look at these beautiful Easter bunny bags. They are fast and easy to craft and in it all kinds of Easter treats can find space. See for yourself.

Media Education for Kindergarten and Hort

Kind bastelt eine Rassel mit dem Navi
The Adventure Navi, the app for DIY projects, enables media education for the youngest.

Relief in everyday life, targeted promotion of individual children, independent learning and - without any pre-knowledge already usable by the youngest!


Titelbild zur Bastel- und DIY-Idee für Kinder '(704) Ostertaschen – Geschenktaschen zu Ostern'
Material for1 Child
Prep Time5 min.Adv. Time25 min.Total Time30 min.
 1 Gift bag monochrome
 1 gal Craft pompons
 Tonal drawing paper or other colorful paper
 1 gal Deco hares
 Glue
 Rabbit template
 Builder's pad
All links marked with a shopping cart lead to Amazon - here we have selected products that we would order ourselves and in part also ordered. In a qualified purchase via the advertising link, we as Amazon partner receive a commission, for you there are no costs. You thus support our cost- and advertising banner-free, educational offer.
1

First lay out the craft file and select the required materials.
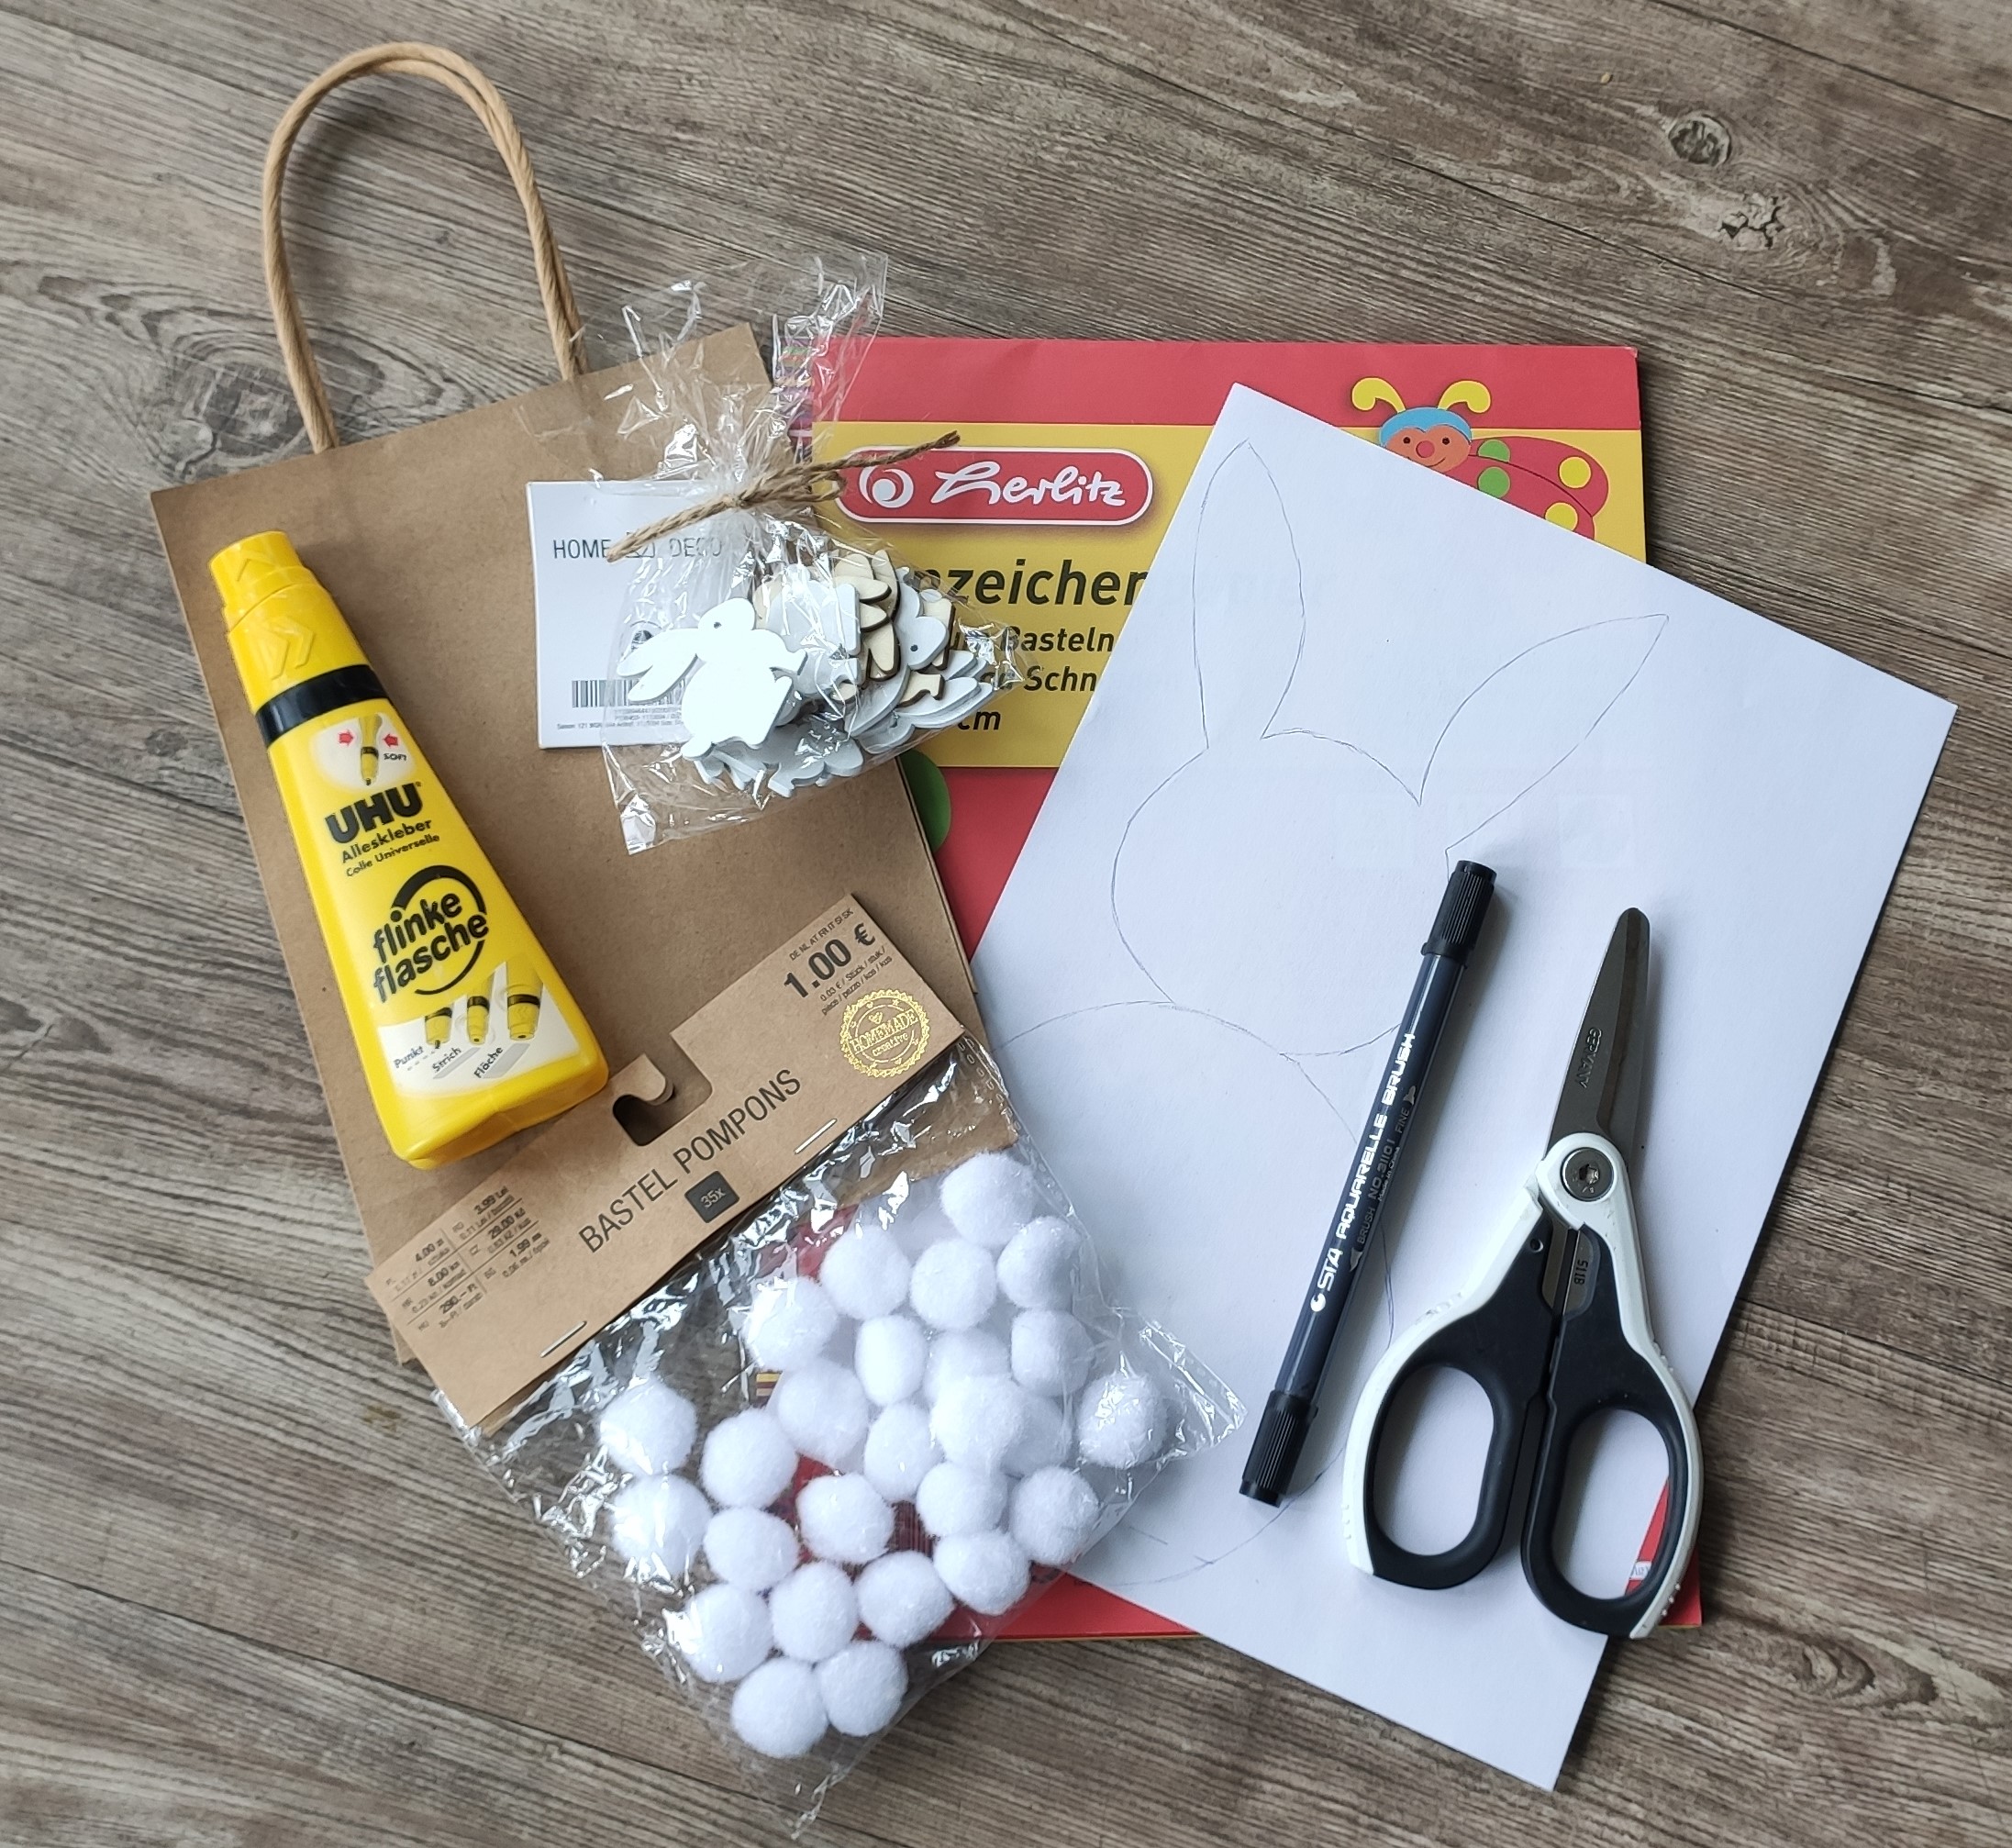
Bild zum Schritt 1 für das Bastel- und DIY-Abenteuer für Kinder: 'Legt euch zuerst die Bastelunterlage aus und sucht die benötigten...'

2

Print out the rabbit template or paint yourself an Easter bunny. Then cut out the template.
Tip: Alternatively, you can cut out a sitting rabbit or a chick.
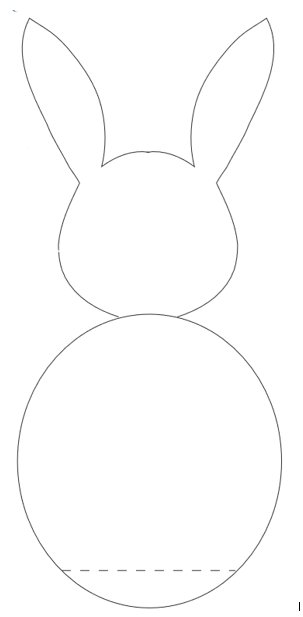
Bild zum Schritt 2 für das Bastel- und DIY-Abenteuer für Kinder: 'Druckt euch die Hasenvorlage aus oder malt euch selbst einen...'

3

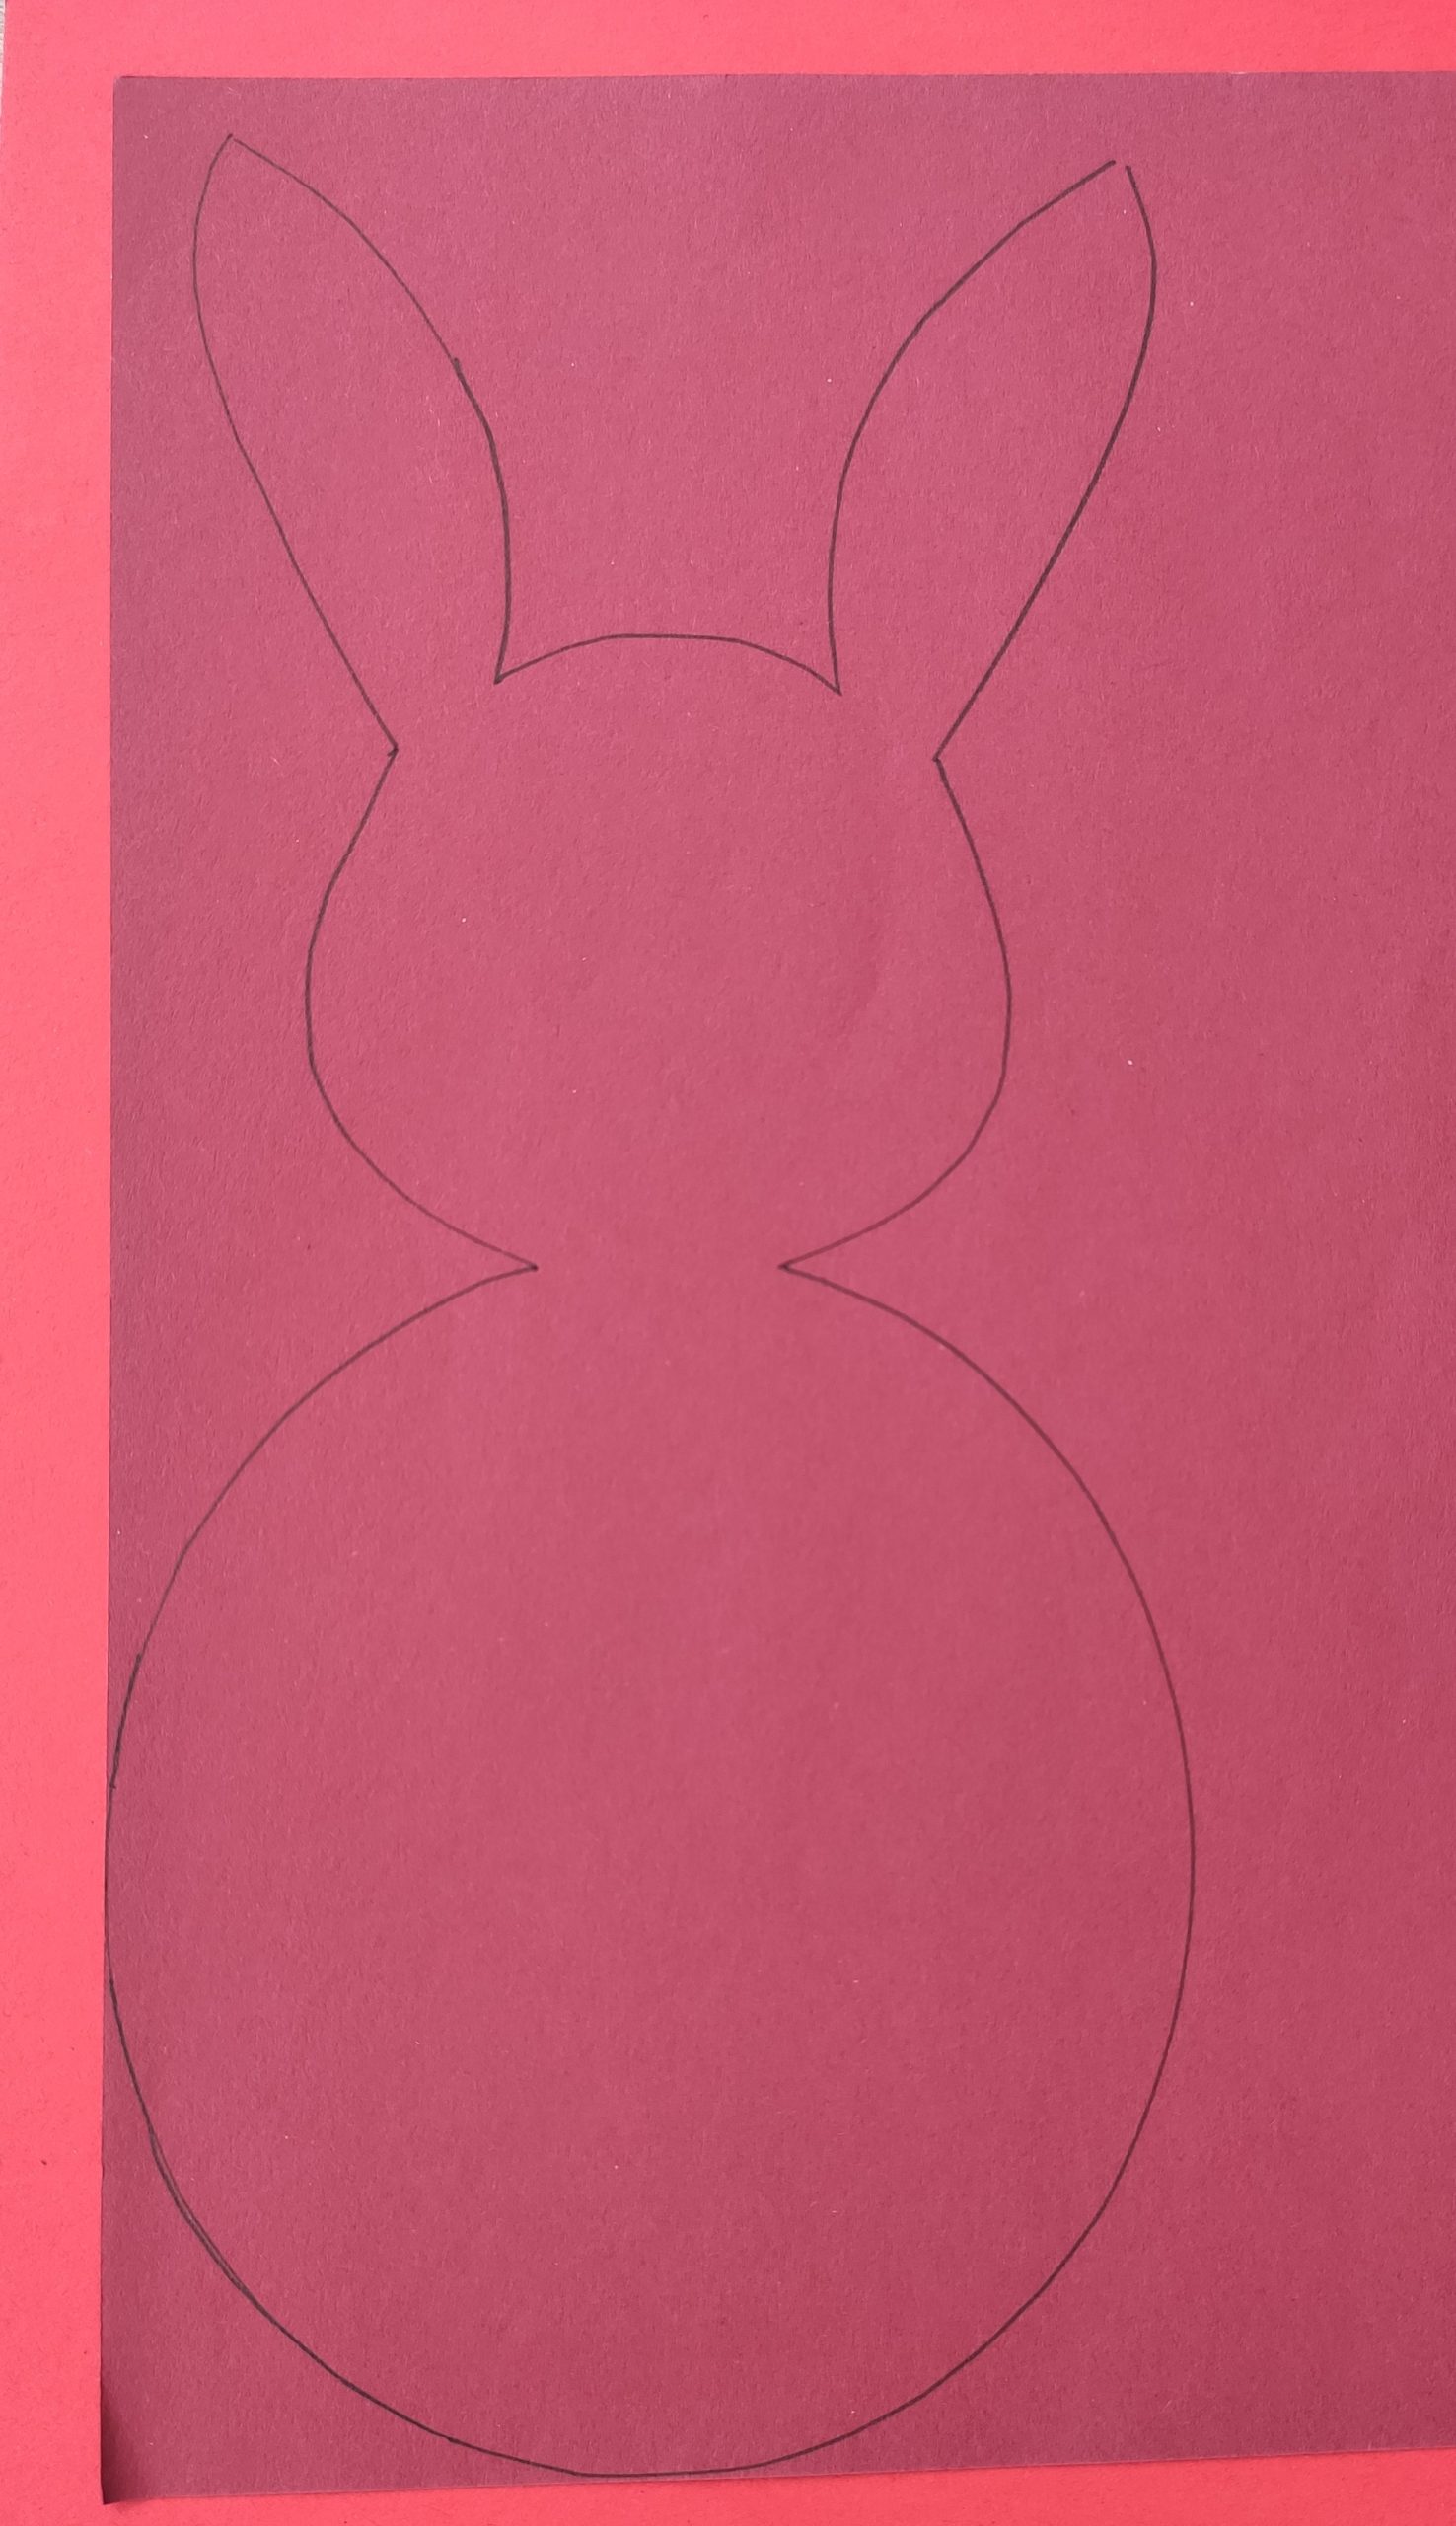
Now you put the cut-out template so on a colorful paper that you have as little waste as possible. Then you go with a pen to the border of the template.

Bild zum Schritt 3 für das Bastel- und DIY-Abenteuer für Kinder: 'Jetzt legt ihr die ausgeschnittene Vorlage so auf das bunte...'

4

2. Bild zum Schritt 3 für das Bastel- und DIY-Abenteuer für Kinder: 'Jetzt legt ihr die ausgeschnittene Vorlage so auf das bunte...'

5

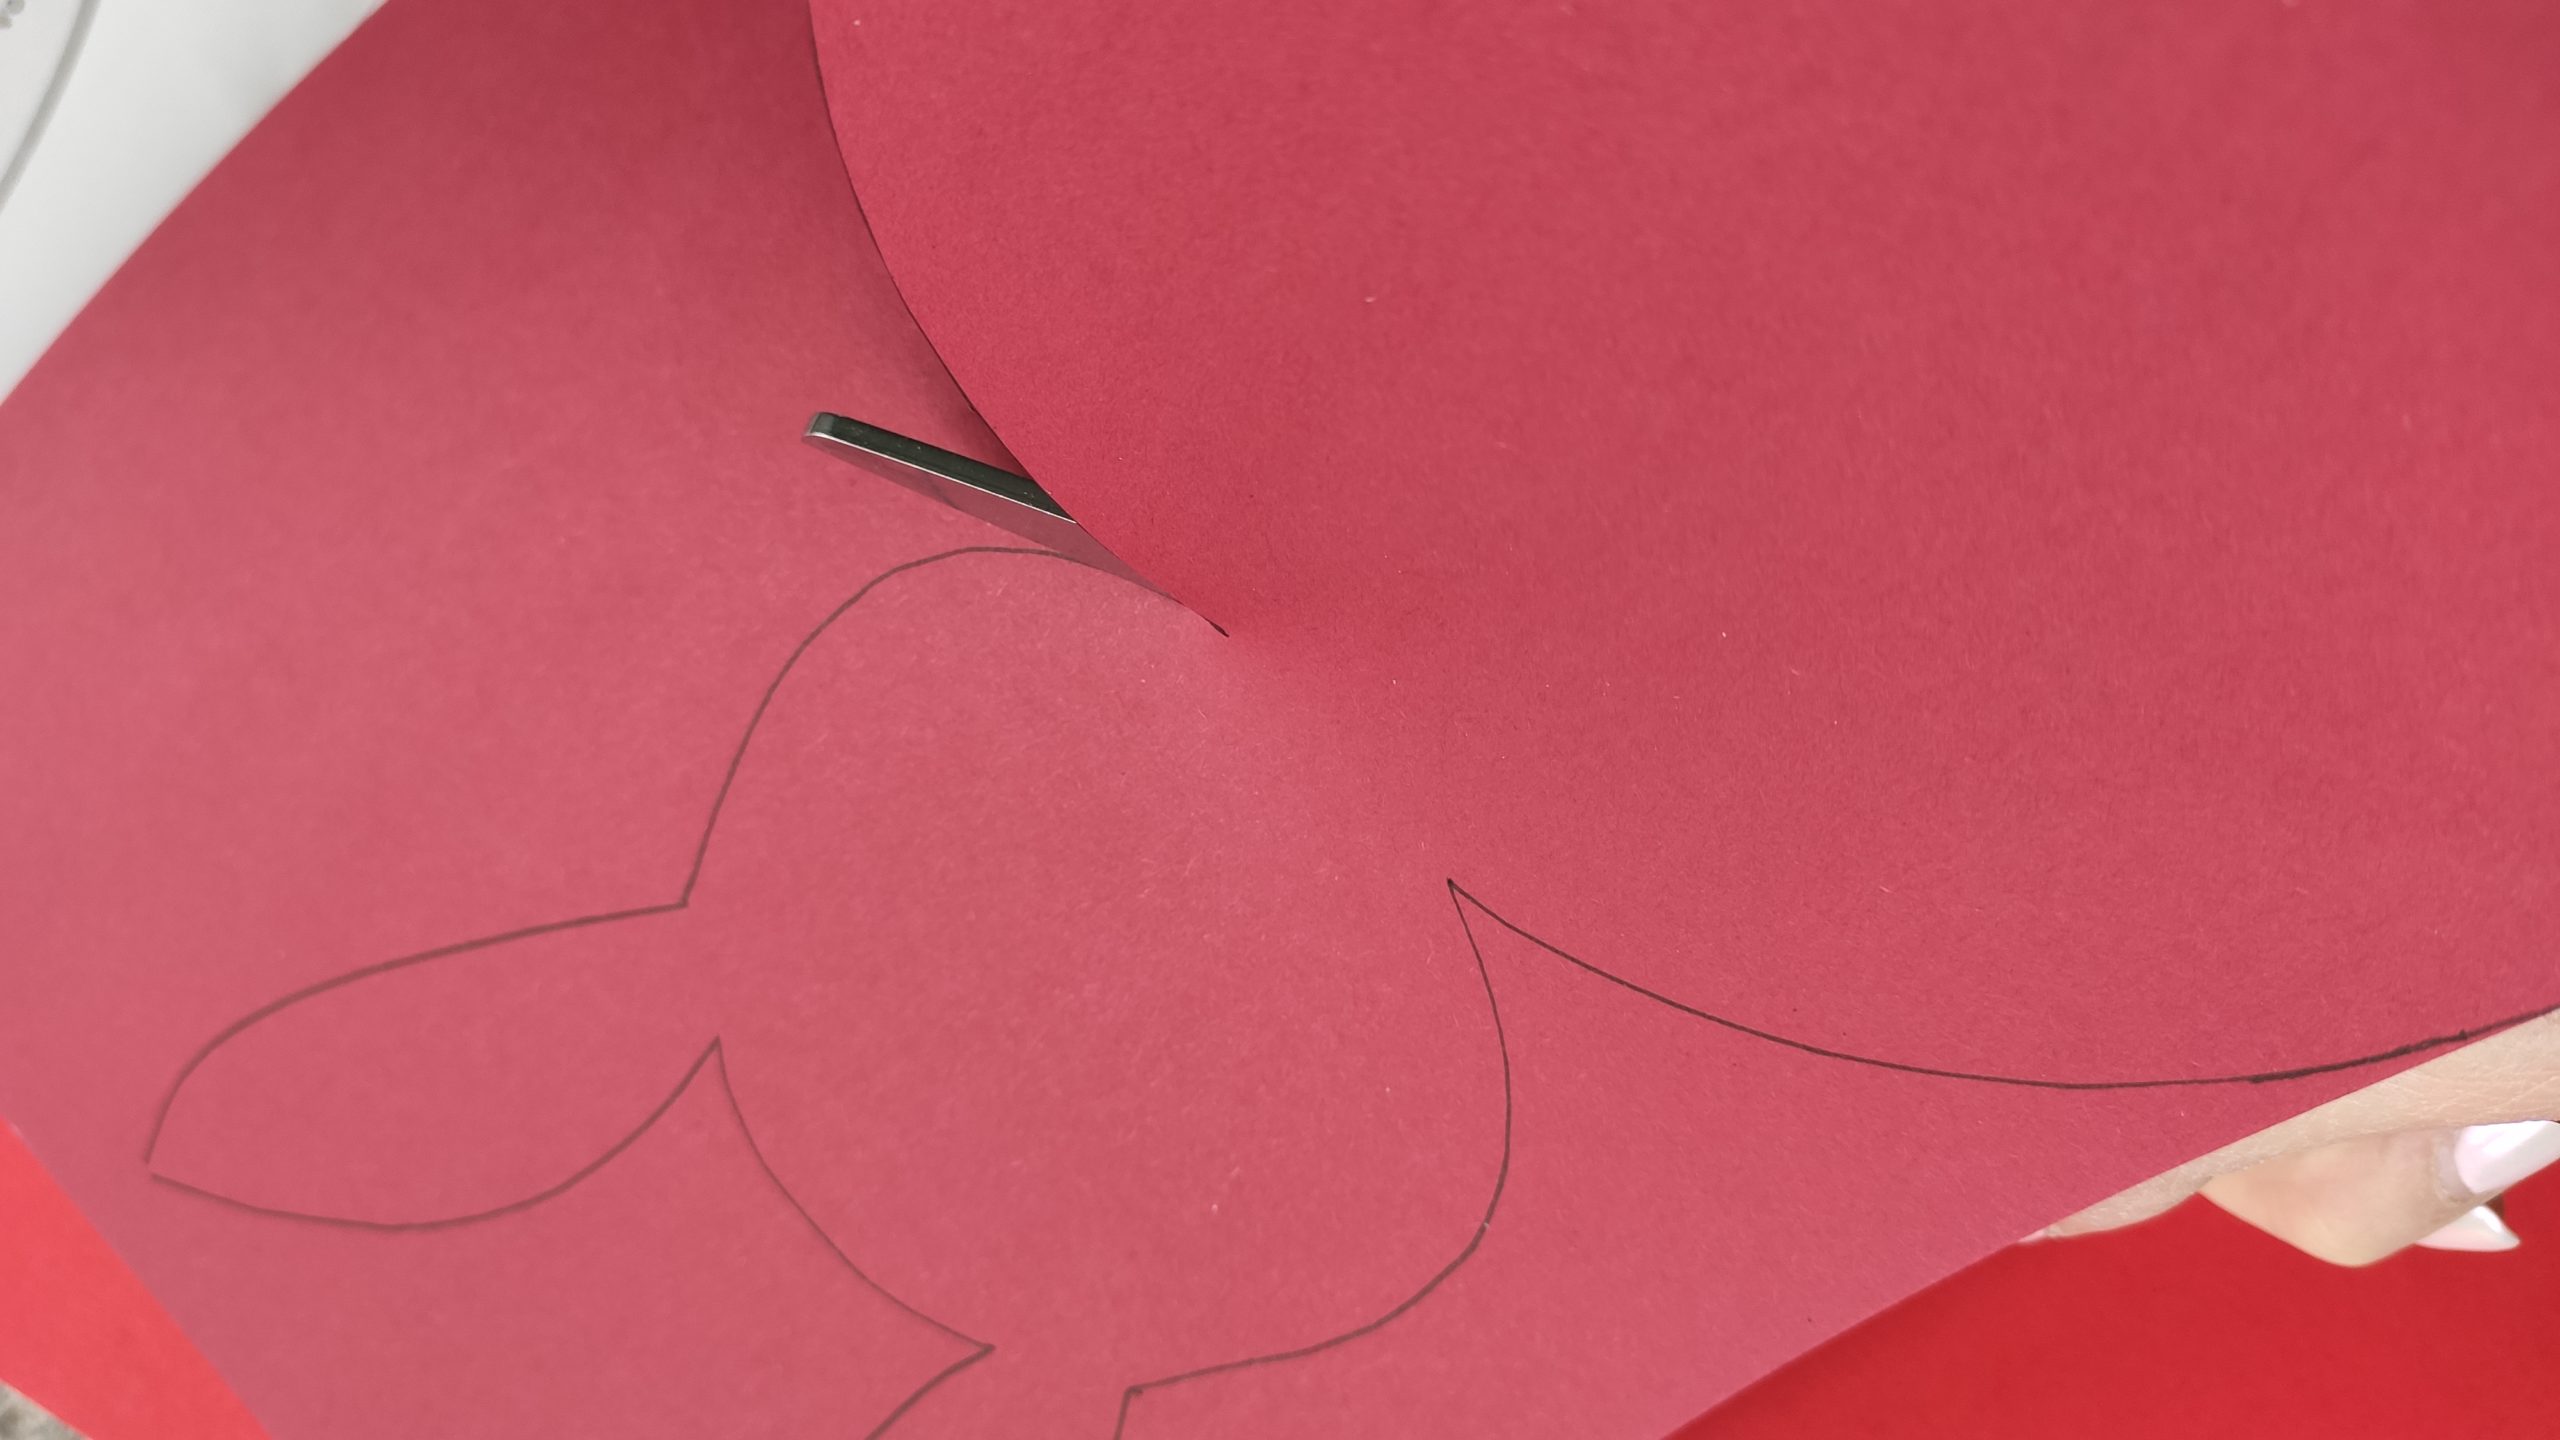
Cut out the rabbit.

Bild zum Schritt 5 für das Bastel- und DIY-Abenteuer für Kinder: 'Schneidet nun den Hasen aus.'

6

Then you apply glue to the rabbit - except for the ears - because only the part of the rabbit that is placed on the bag is covered with glue.

Bild zum Schritt 6 für das Bastel- und DIY-Abenteuer für Kinder: 'Dann streicht ihr den Hasen - außer die Ohren -...'

7

After that you stick the rabbit on the pocket. Press it a little tight and brush it smoothly.

Bild zum Schritt 7 für das Bastel- und DIY-Abenteuer für Kinder: 'Danach klebt ihr den Hasen auf die Tasche. Drückt ihn...'

8

Then you drip a stick of glue into the place where the bunny tail is supposed to sit.

Bild zum Schritt 8 für das Bastel- und DIY-Abenteuer für Kinder: 'Dann tropft ihr einen Klecks Klebstoff an die Stelle, an...'

9

Now you put the pompom on it and press it on.

Bild zum Schritt 9 für das Bastel- und DIY-Abenteuer für Kinder: 'Jetzt klebt ihr den Pompon drauf und drückt ihn an.'

10

Now you can stick on the little decorative hat.

Bild zum Schritt 10 für das Bastel- und DIY-Abenteuer für Kinder: 'Jetzt könnt ihr noch den kleinen Deko-Hasen ankleben.'

11

Write the name for the recipient on it.

Bild zum Schritt 11 für das Bastel- und DIY-Abenteuer für Kinder: 'Schreibt den Namen für den Beschenkten darauf.'

12

This bunny bag or Easter bag is for grandma.

Bild zum Schritt 12 für das Bastel- und DIY-Abenteuer für Kinder: 'Diese Hasentasche bzw. Ostertüte ist für Oma.'

13

Have fun designing your Easter bags.
I'm looking forward to your pictures.

Bild zum Schritt 13 für das Bastel- und DIY-Abenteuer für Kinder: 'Viel Spaß beim Gestalten eurer Ostertaschen.  Ich freue mich...'

Materials

 1 Gift bag monochrome
 1 gal Craft pompons
 Tonal drawing paper or other colorful paper
 1 gal Deco hares
 Glue
 Rabbit template
 Builder's pad
All links marked with a shopping cart lead to Amazon - here we have selected products that we would order ourselves and in part also ordered. In a qualified purchase via the advertising link, we as Amazon partner receive a commission, for you there are no costs. You thus support our cost- and advertising banner-free, educational offer.

Directions

1

First lay out the craft file and select the required materials.

Bild zum Schritt 1 für das Bastel- und DIY-Abenteuer für Kinder: 'Legt euch zuerst die Bastelunterlage aus und sucht die benötigten...'

2

Print out the rabbit template or paint yourself an Easter bunny. Then cut out the template.
Tip: Alternatively, you can cut out a sitting rabbit or a chick.

Bild zum Schritt 2 für das Bastel- und DIY-Abenteuer für Kinder: 'Druckt euch die Hasenvorlage aus oder malt euch selbst einen...'

3

Now you put the cut-out template so on a colorful paper that you have as little waste as possible. Then you go with a pen to the border of the template.
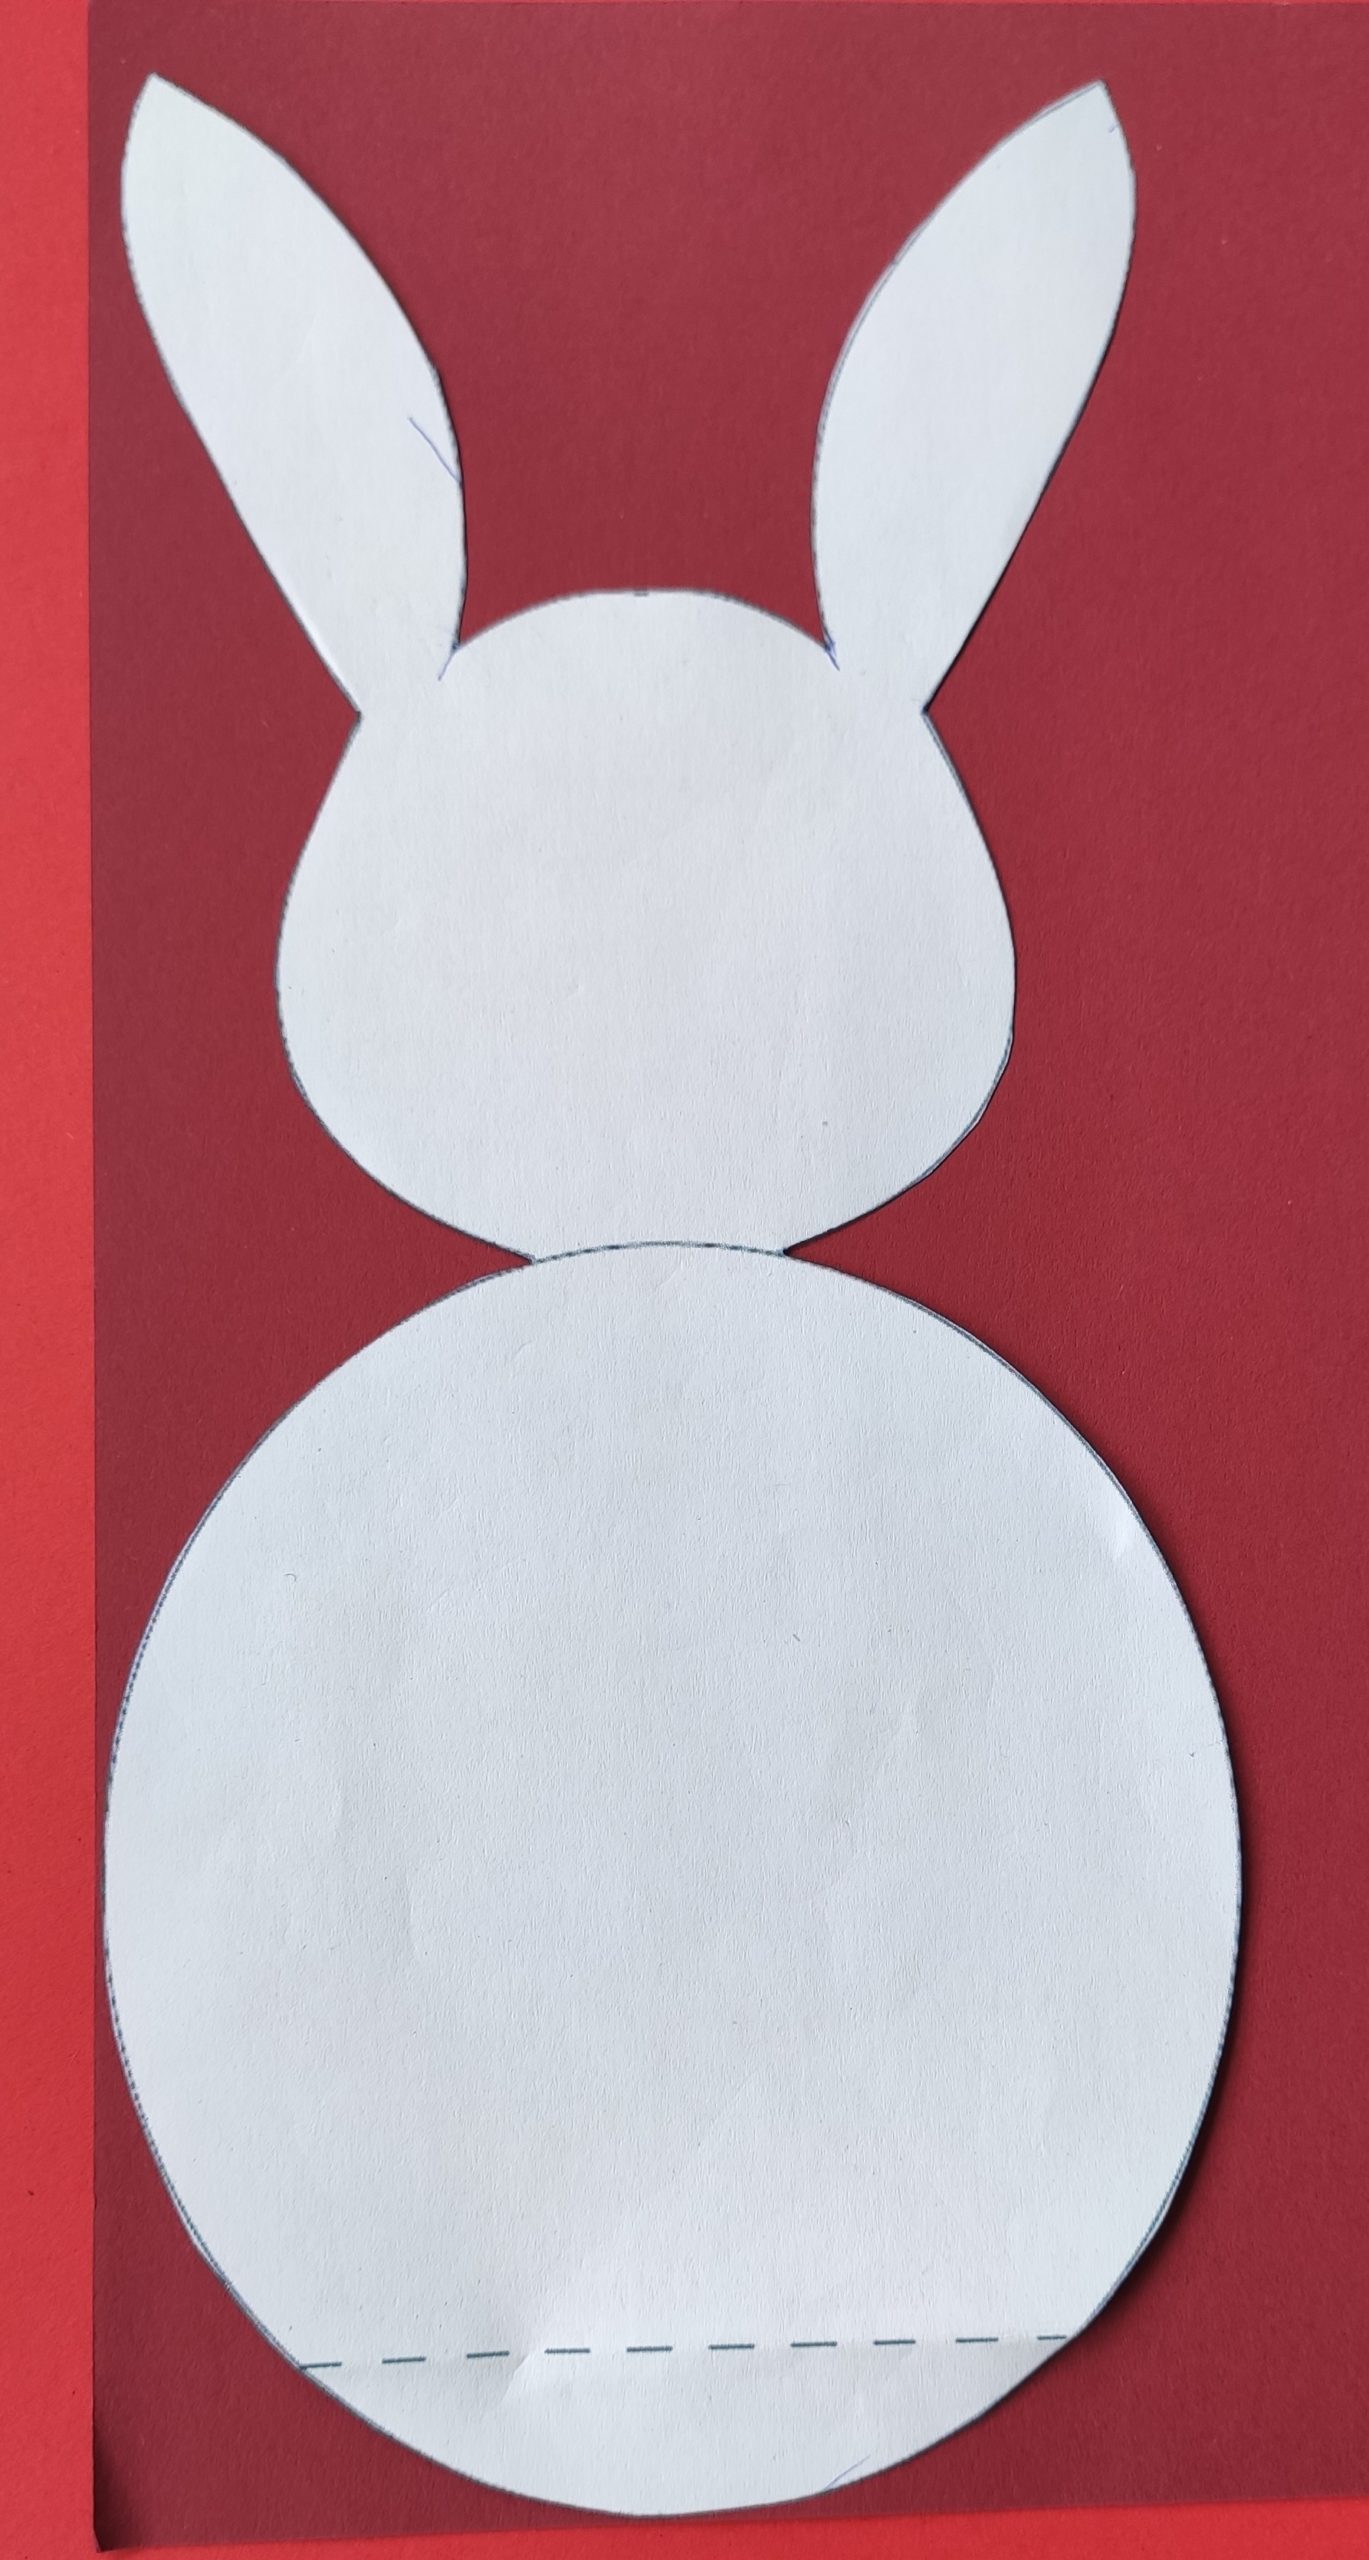
Bild zum Schritt 3 für das Bastel- und DIY-Abenteuer für Kinder: 'Jetzt legt ihr die ausgeschnittene Vorlage so auf das bunte...'

4

2. Bild zum Schritt 3 für das Bastel- und DIY-Abenteuer für Kinder: 'Jetzt legt ihr die ausgeschnittene Vorlage so auf das bunte...'

5

Cut out the rabbit.

Bild zum Schritt 5 für das Bastel- und DIY-Abenteuer für Kinder: 'Schneidet nun den Hasen aus.'

6

Then you apply glue to the rabbit - except for the ears - because only the part of the rabbit that is placed on the bag is covered with glue.
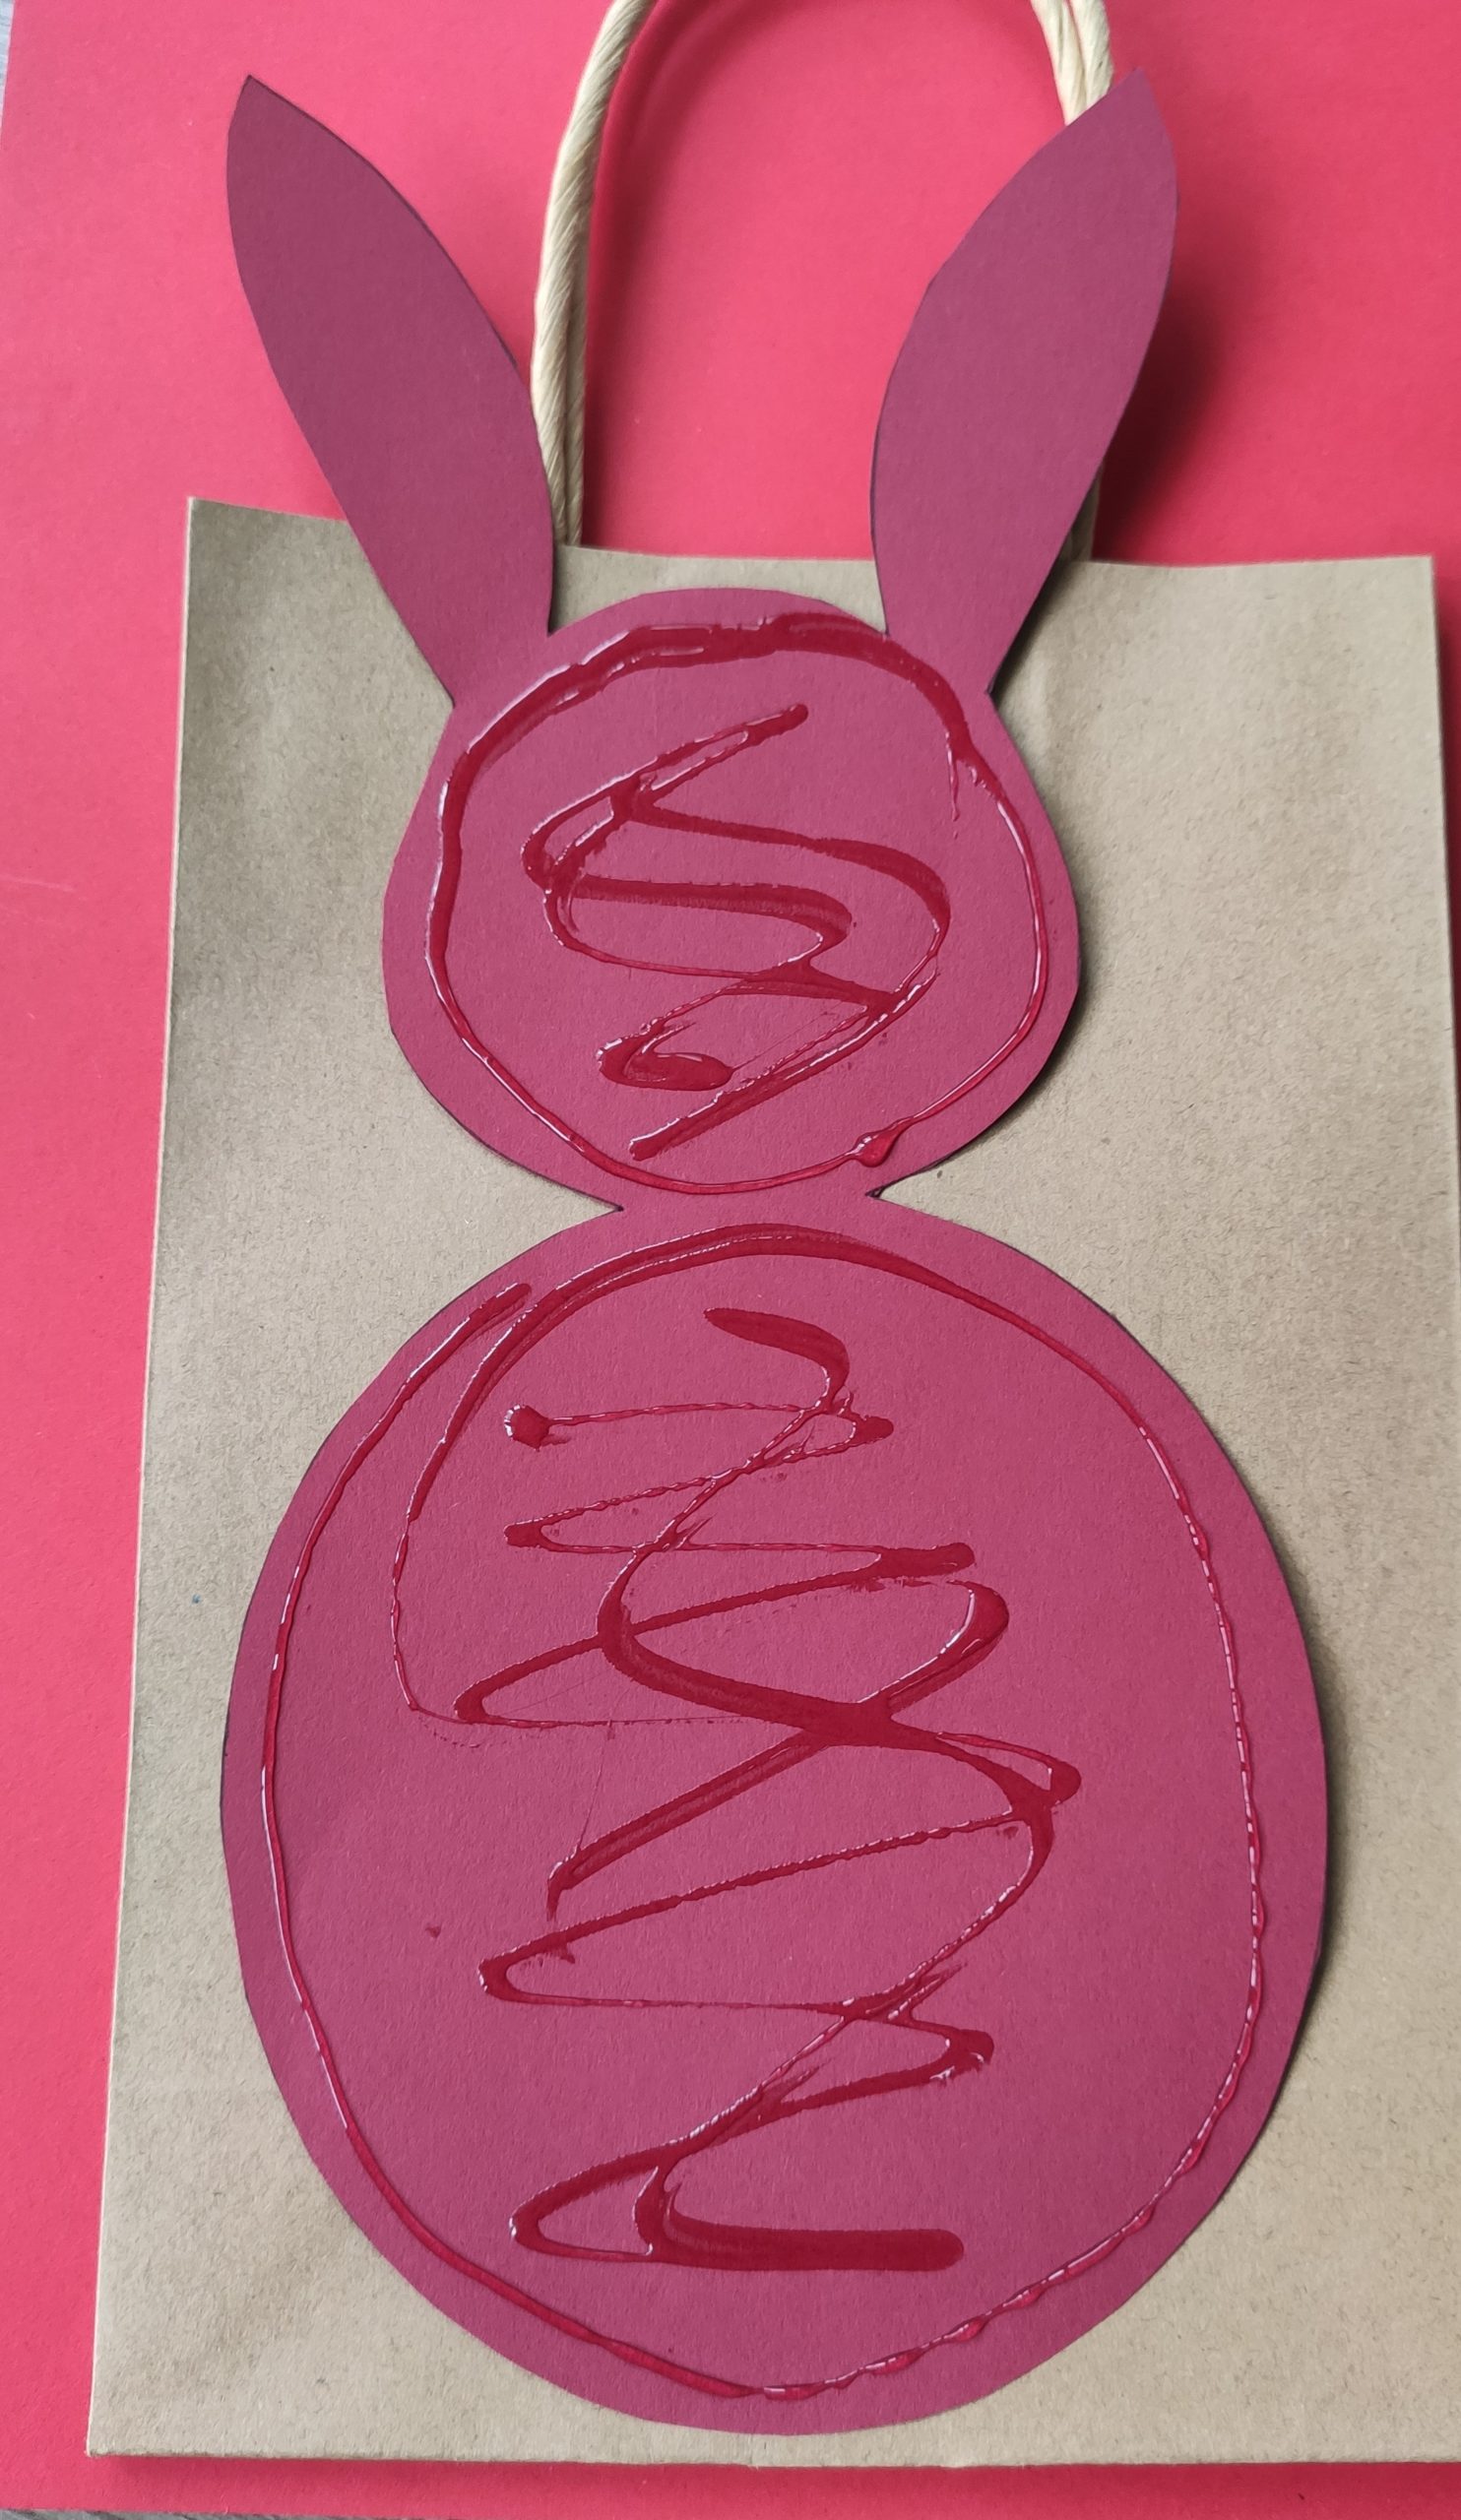
Bild zum Schritt 6 für das Bastel- und DIY-Abenteuer für Kinder: 'Dann streicht ihr den Hasen - außer die Ohren -...'

7

After that you stick the rabbit on the pocket. Press it a little tight and brush it smoothly.
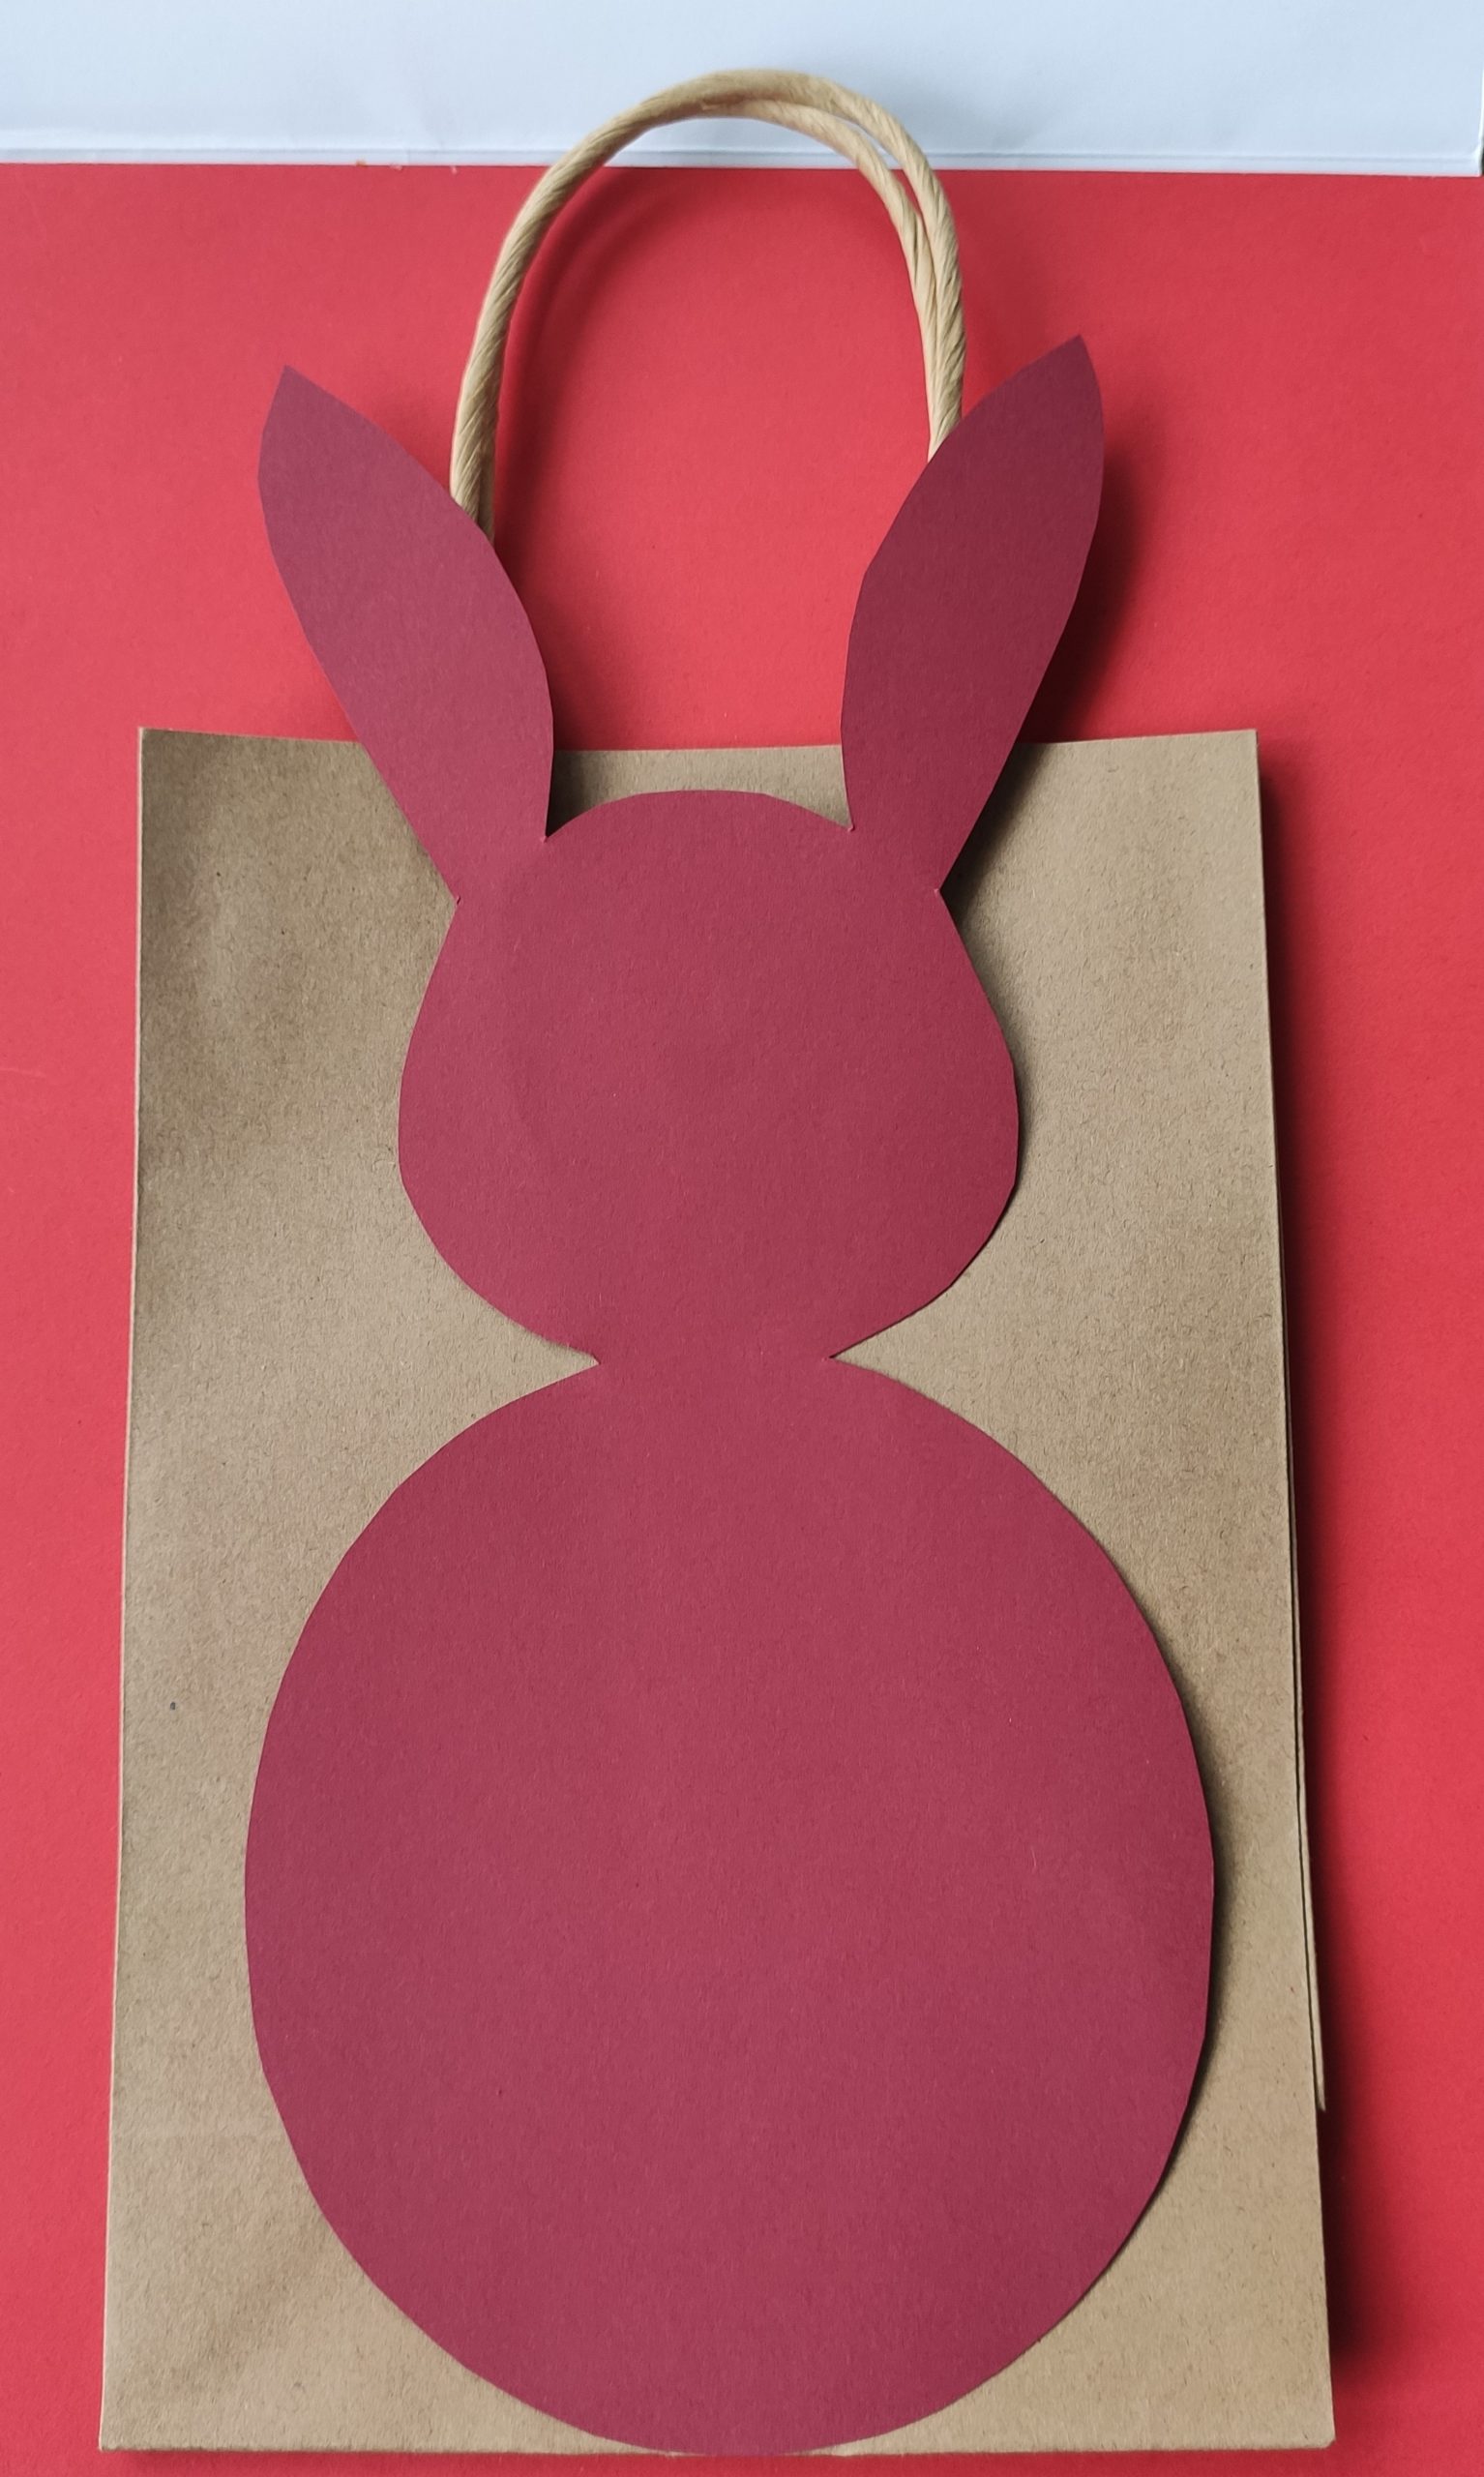
Bild zum Schritt 7 für das Bastel- und DIY-Abenteuer für Kinder: 'Danach klebt ihr den Hasen auf die Tasche. Drückt ihn...'

8

Then you drip a stick of glue into the place where the bunny tail is supposed to sit.
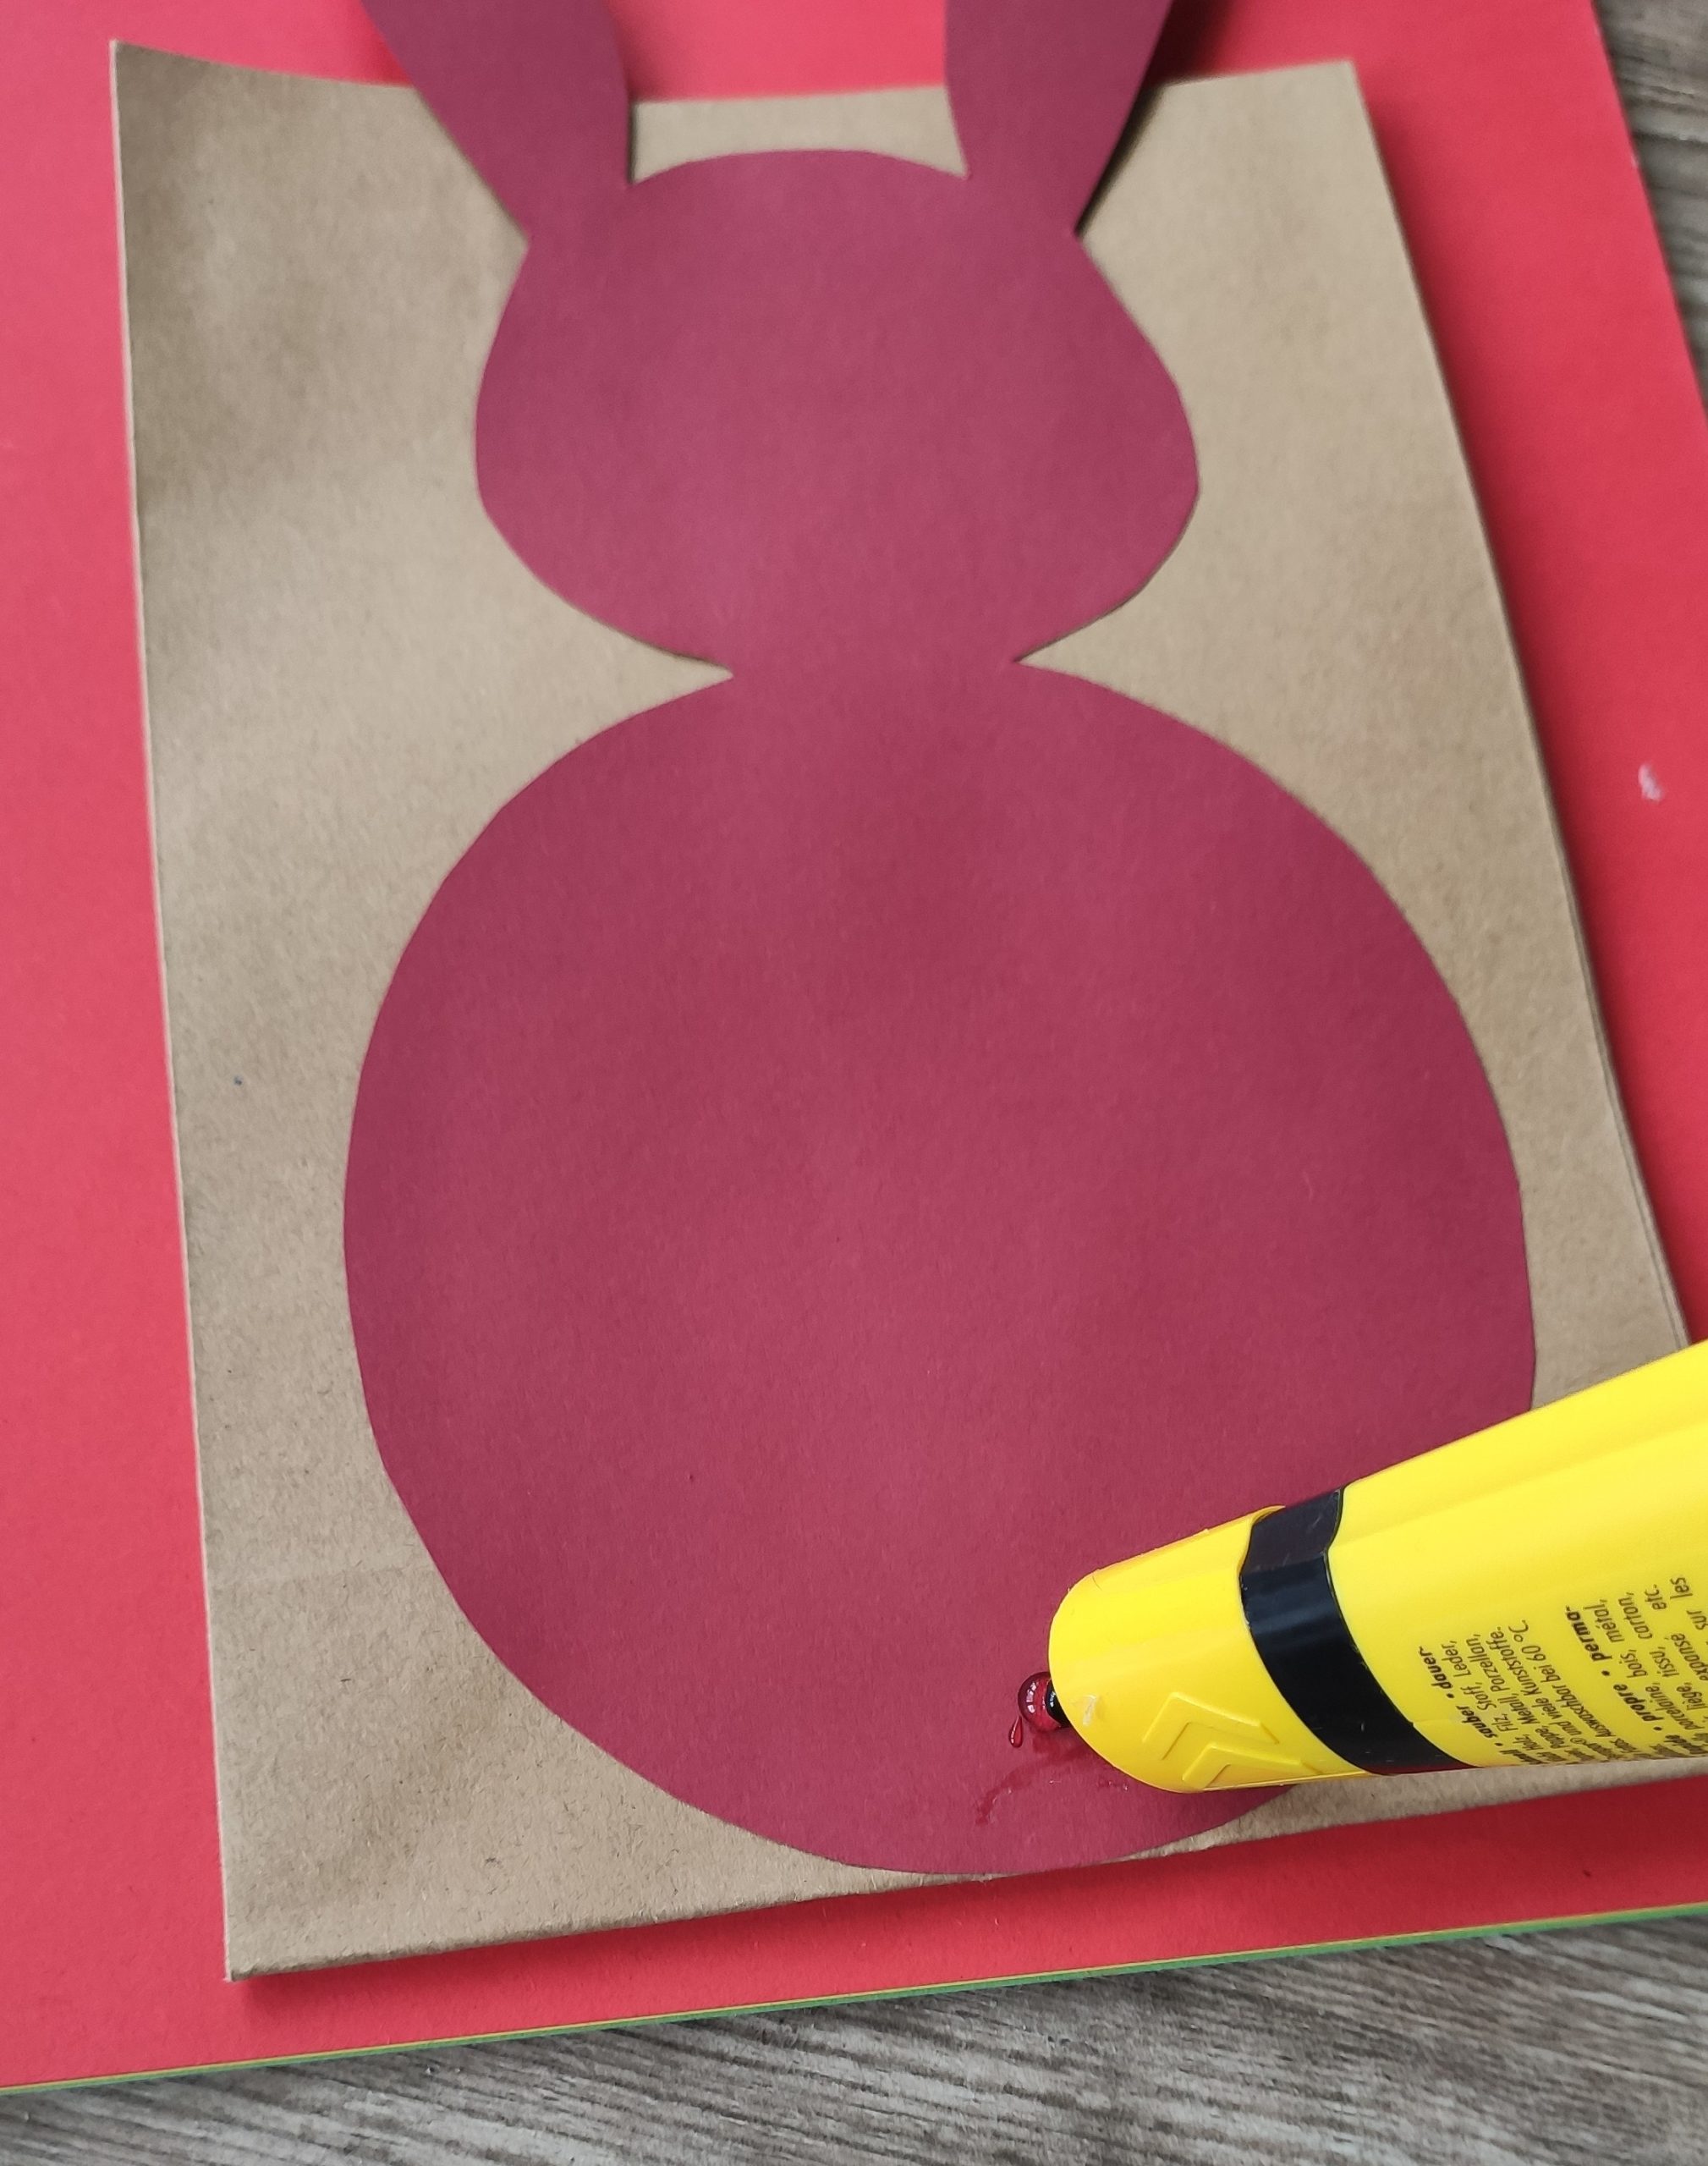
Bild zum Schritt 8 für das Bastel- und DIY-Abenteuer für Kinder: 'Dann tropft ihr einen Klecks Klebstoff an die Stelle, an...'

9

Now you put the pompom on it and press it on.
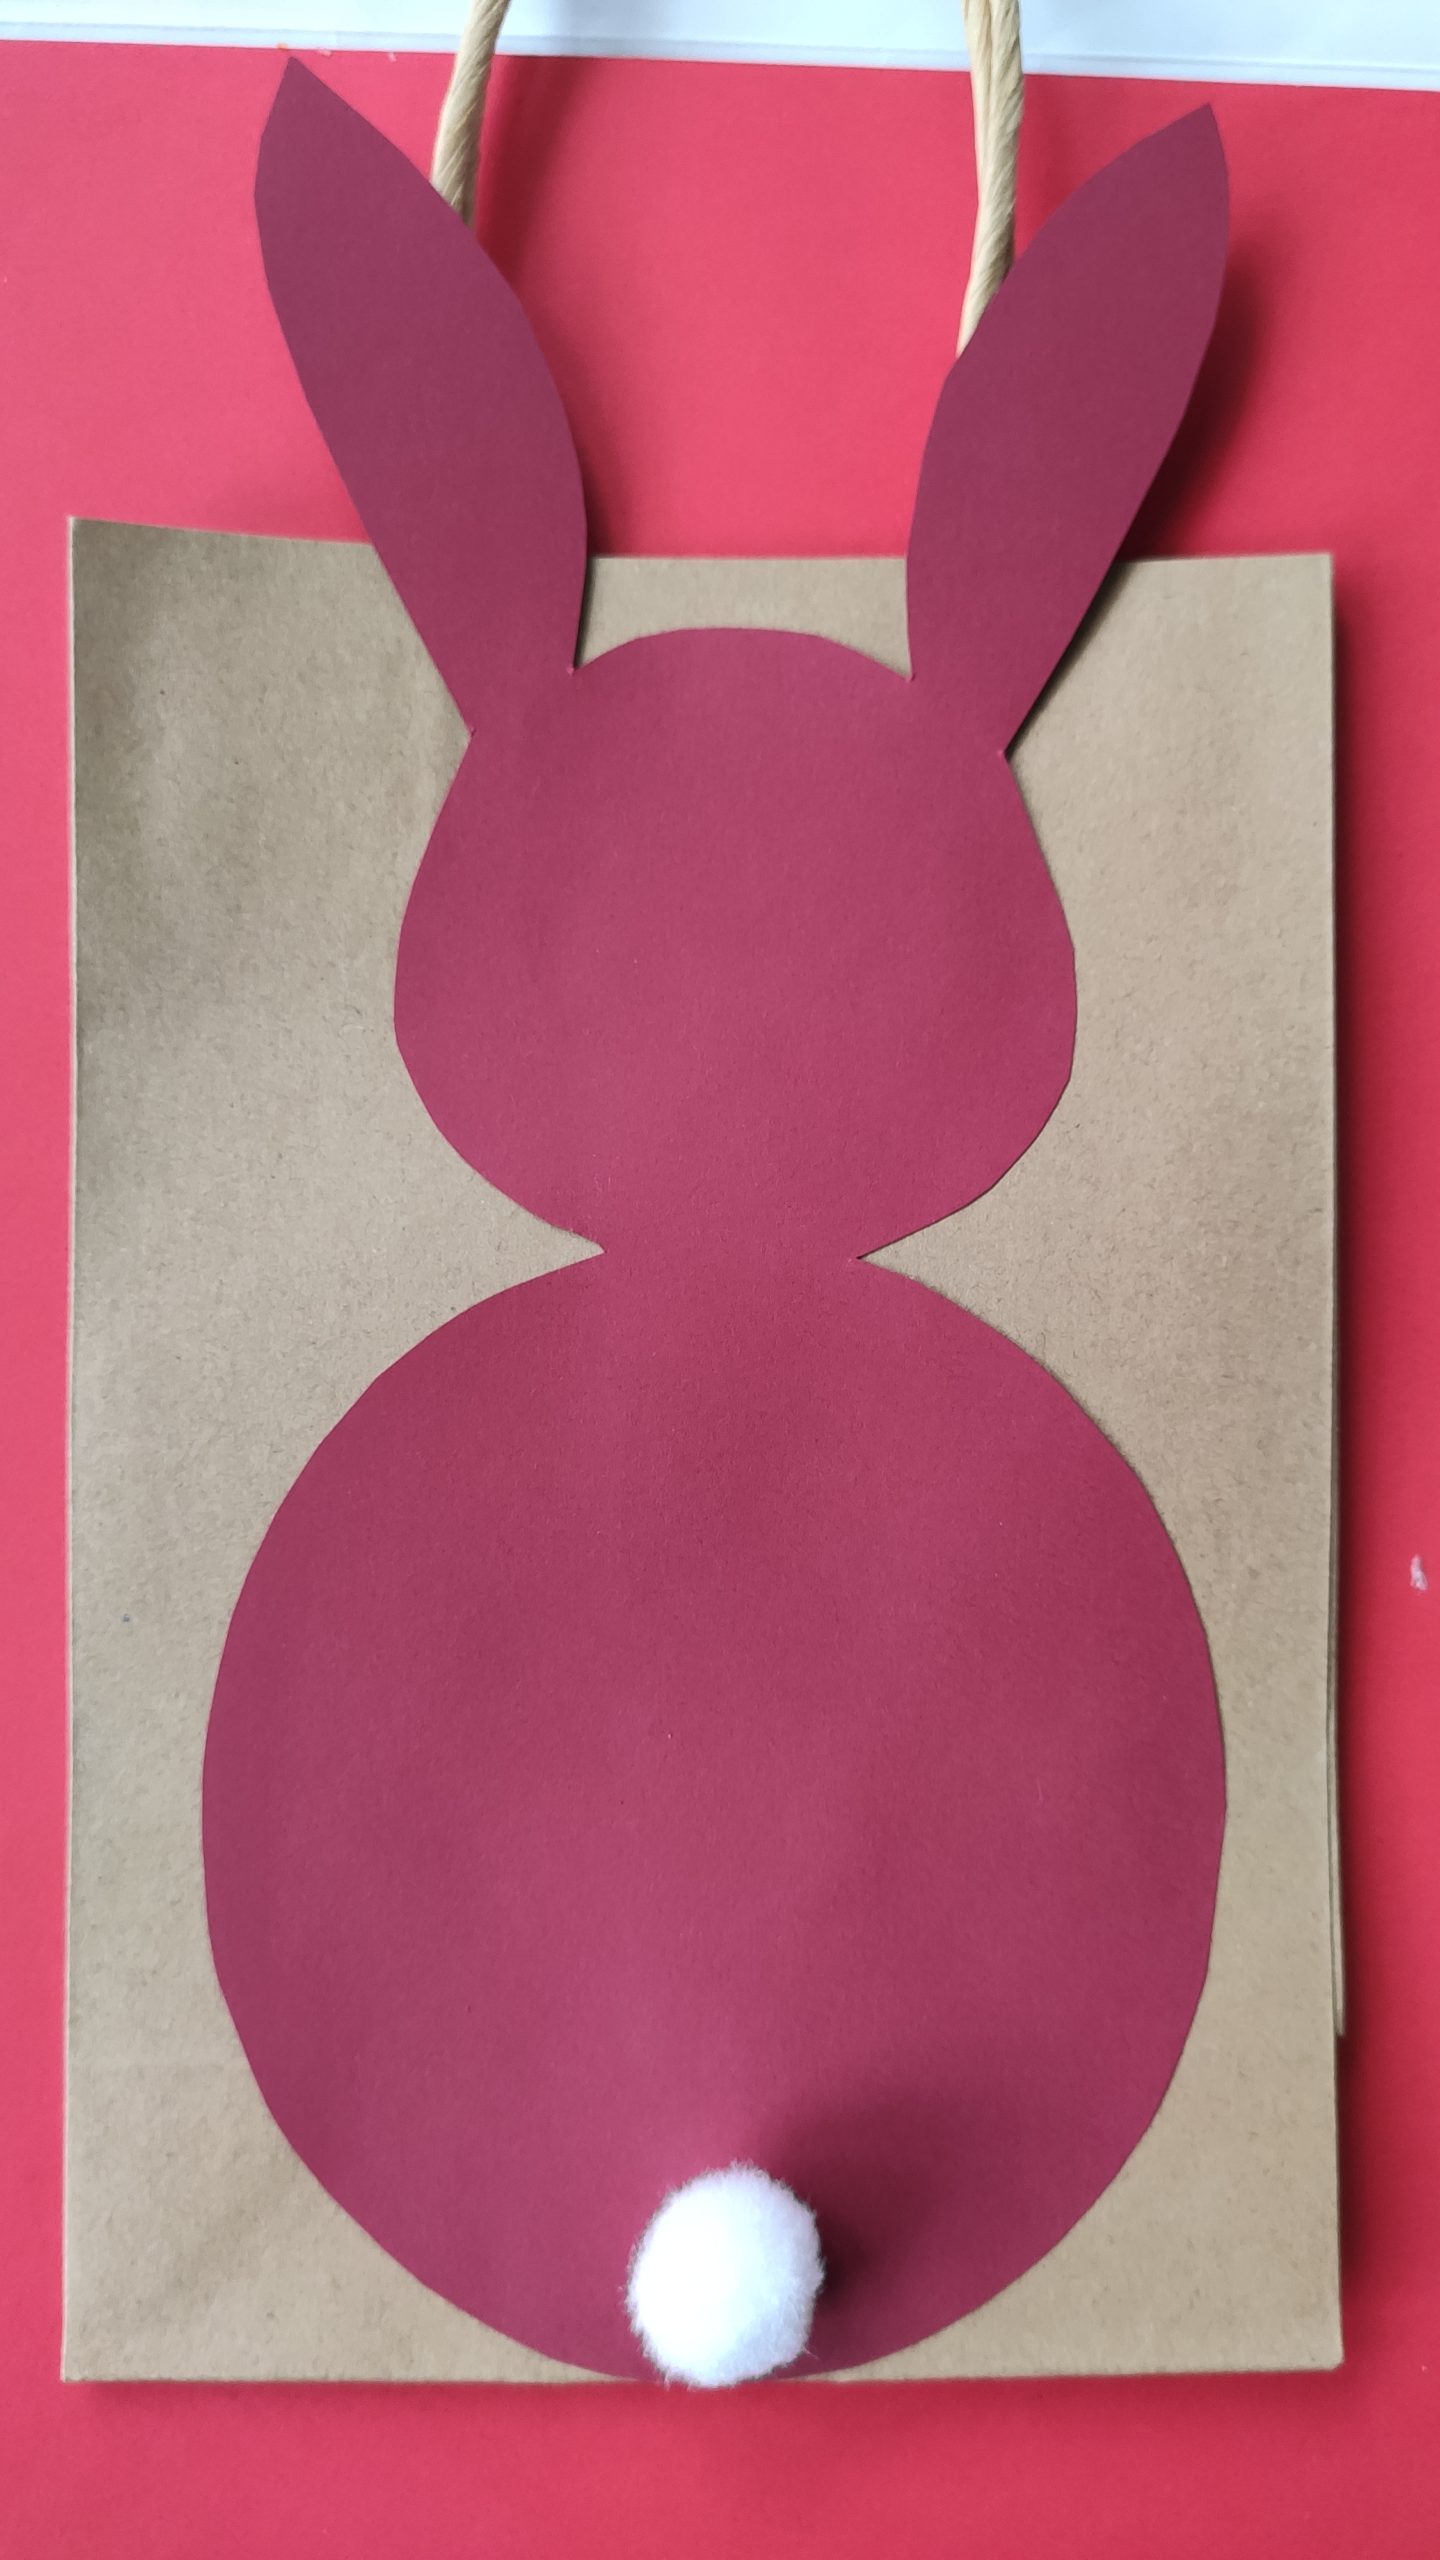
Bild zum Schritt 9 für das Bastel- und DIY-Abenteuer für Kinder: 'Jetzt klebt ihr den Pompon drauf und drückt ihn an.'

10

Now you can stick on the little decorative hat.
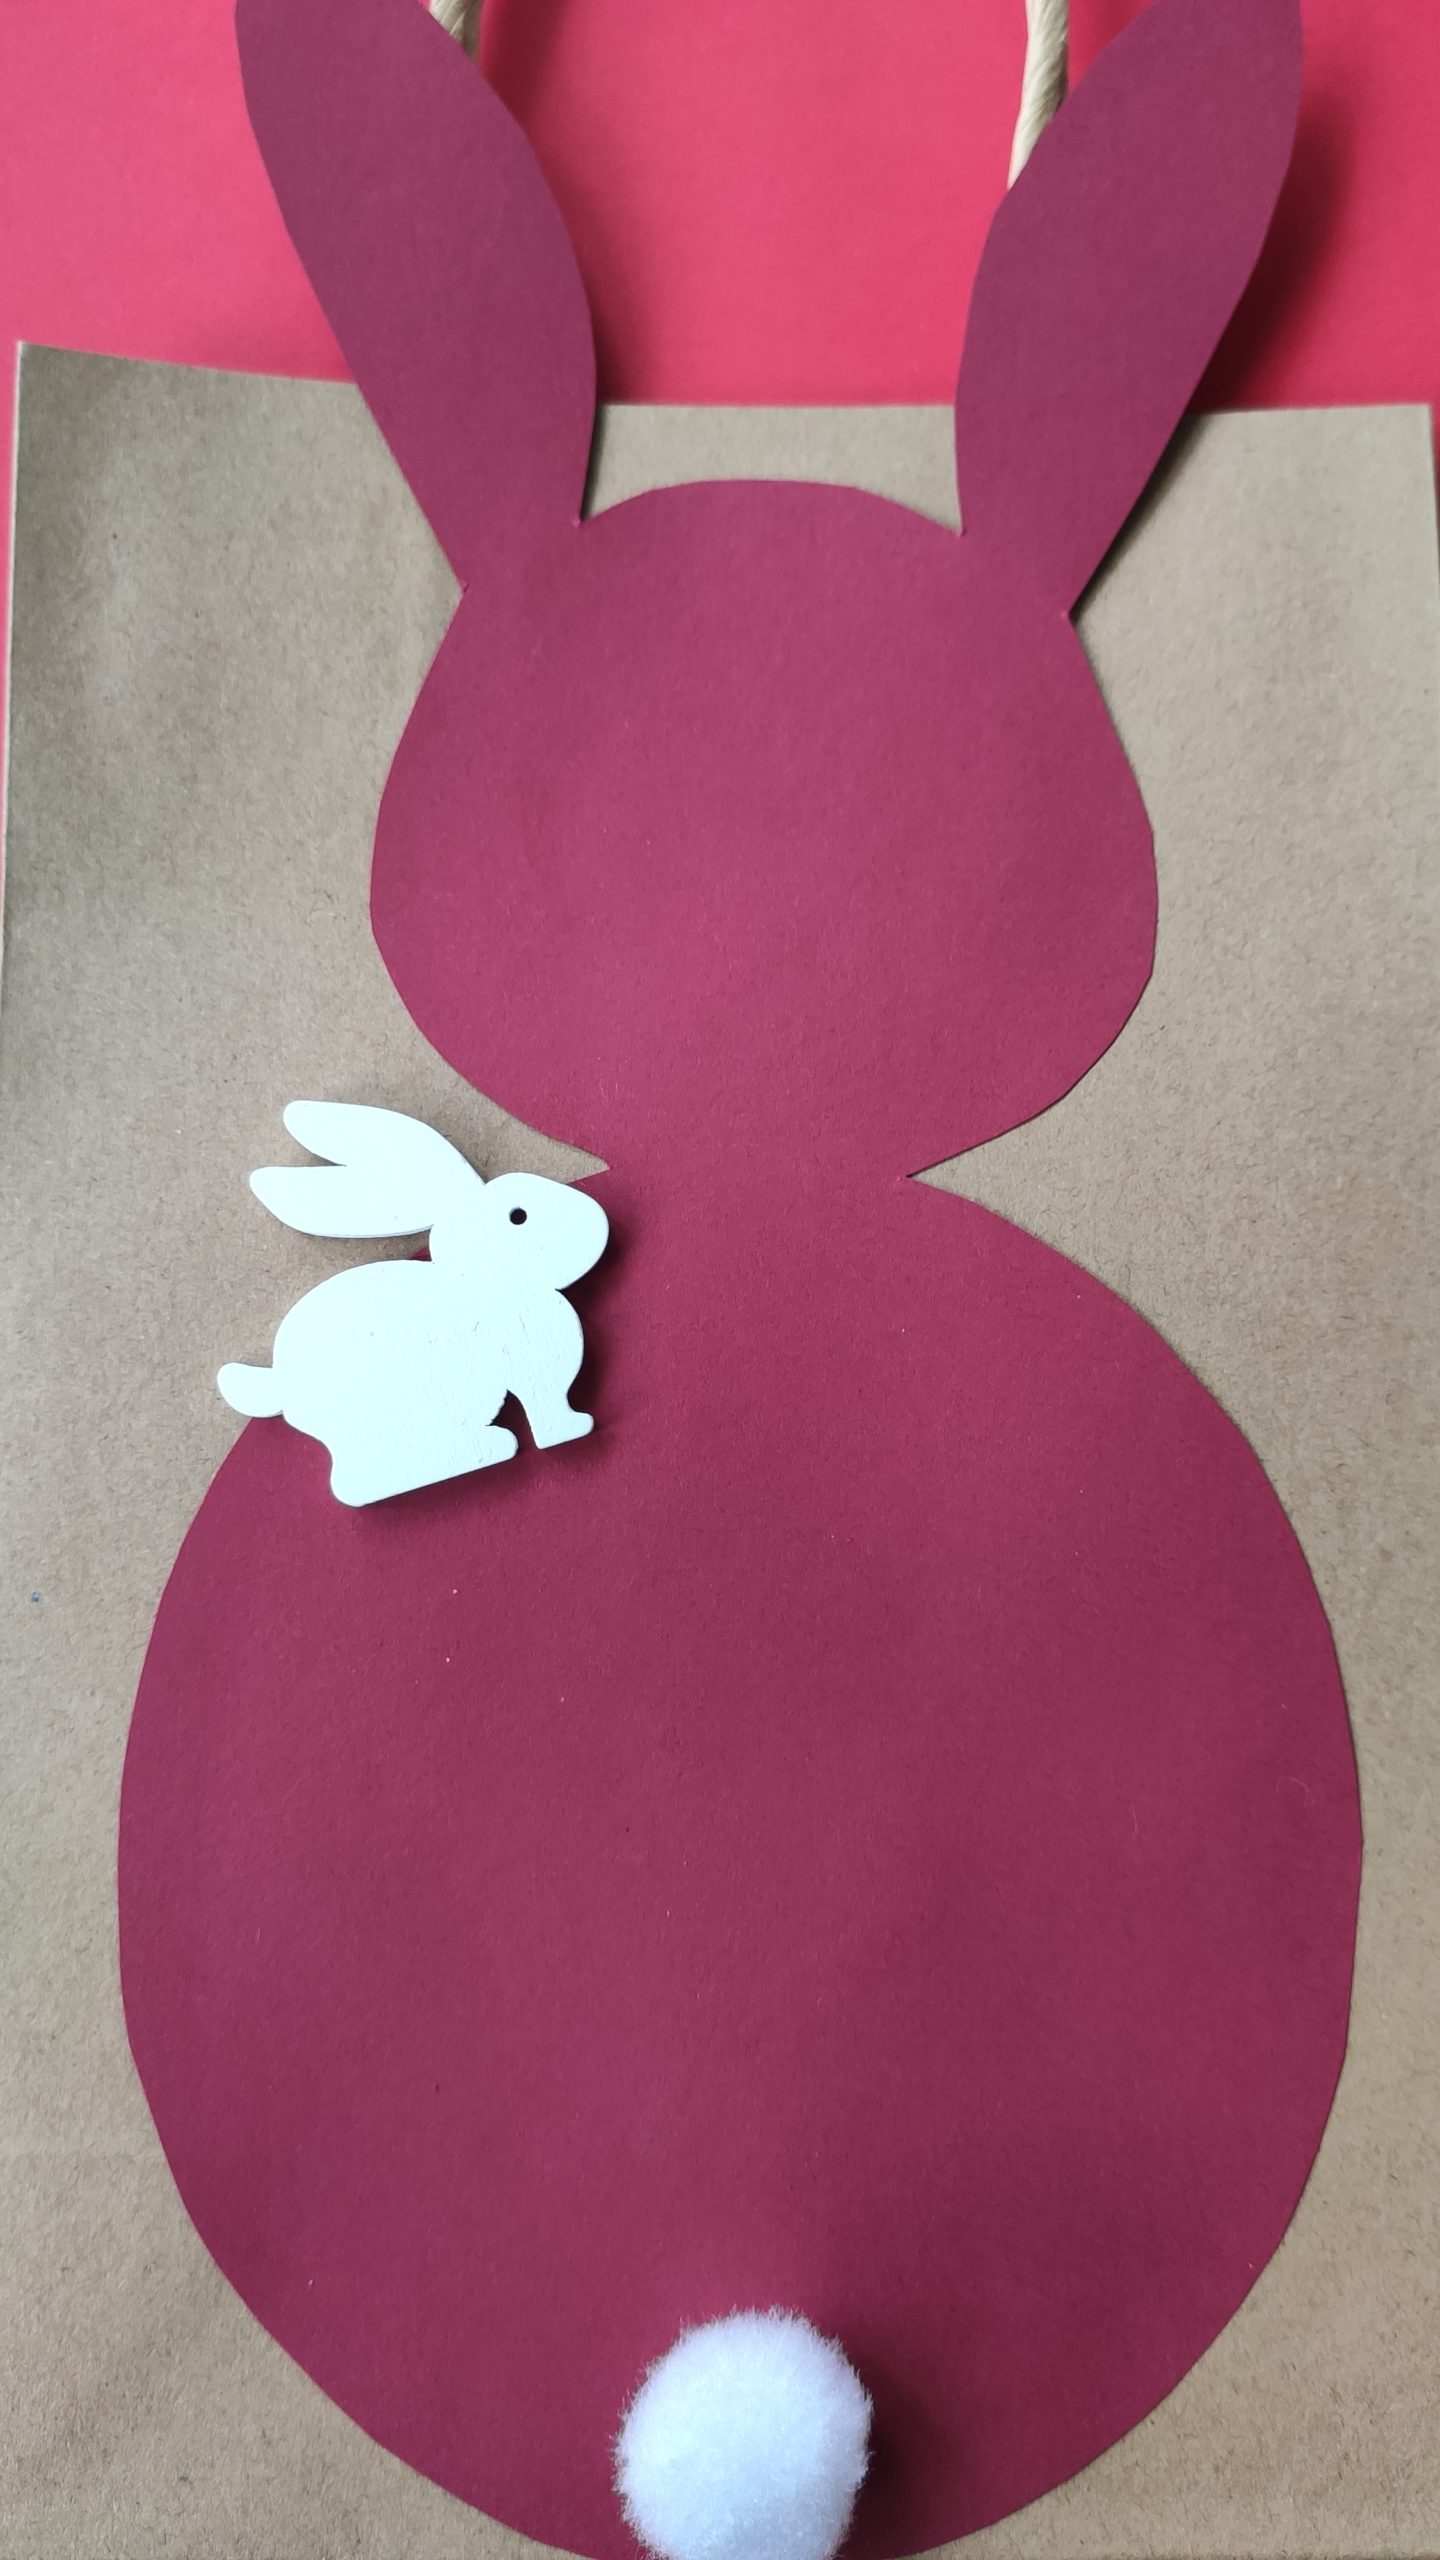
Bild zum Schritt 10 für das Bastel- und DIY-Abenteuer für Kinder: 'Jetzt könnt ihr noch den kleinen Deko-Hasen ankleben.'

11

Write the name for the recipient on it.
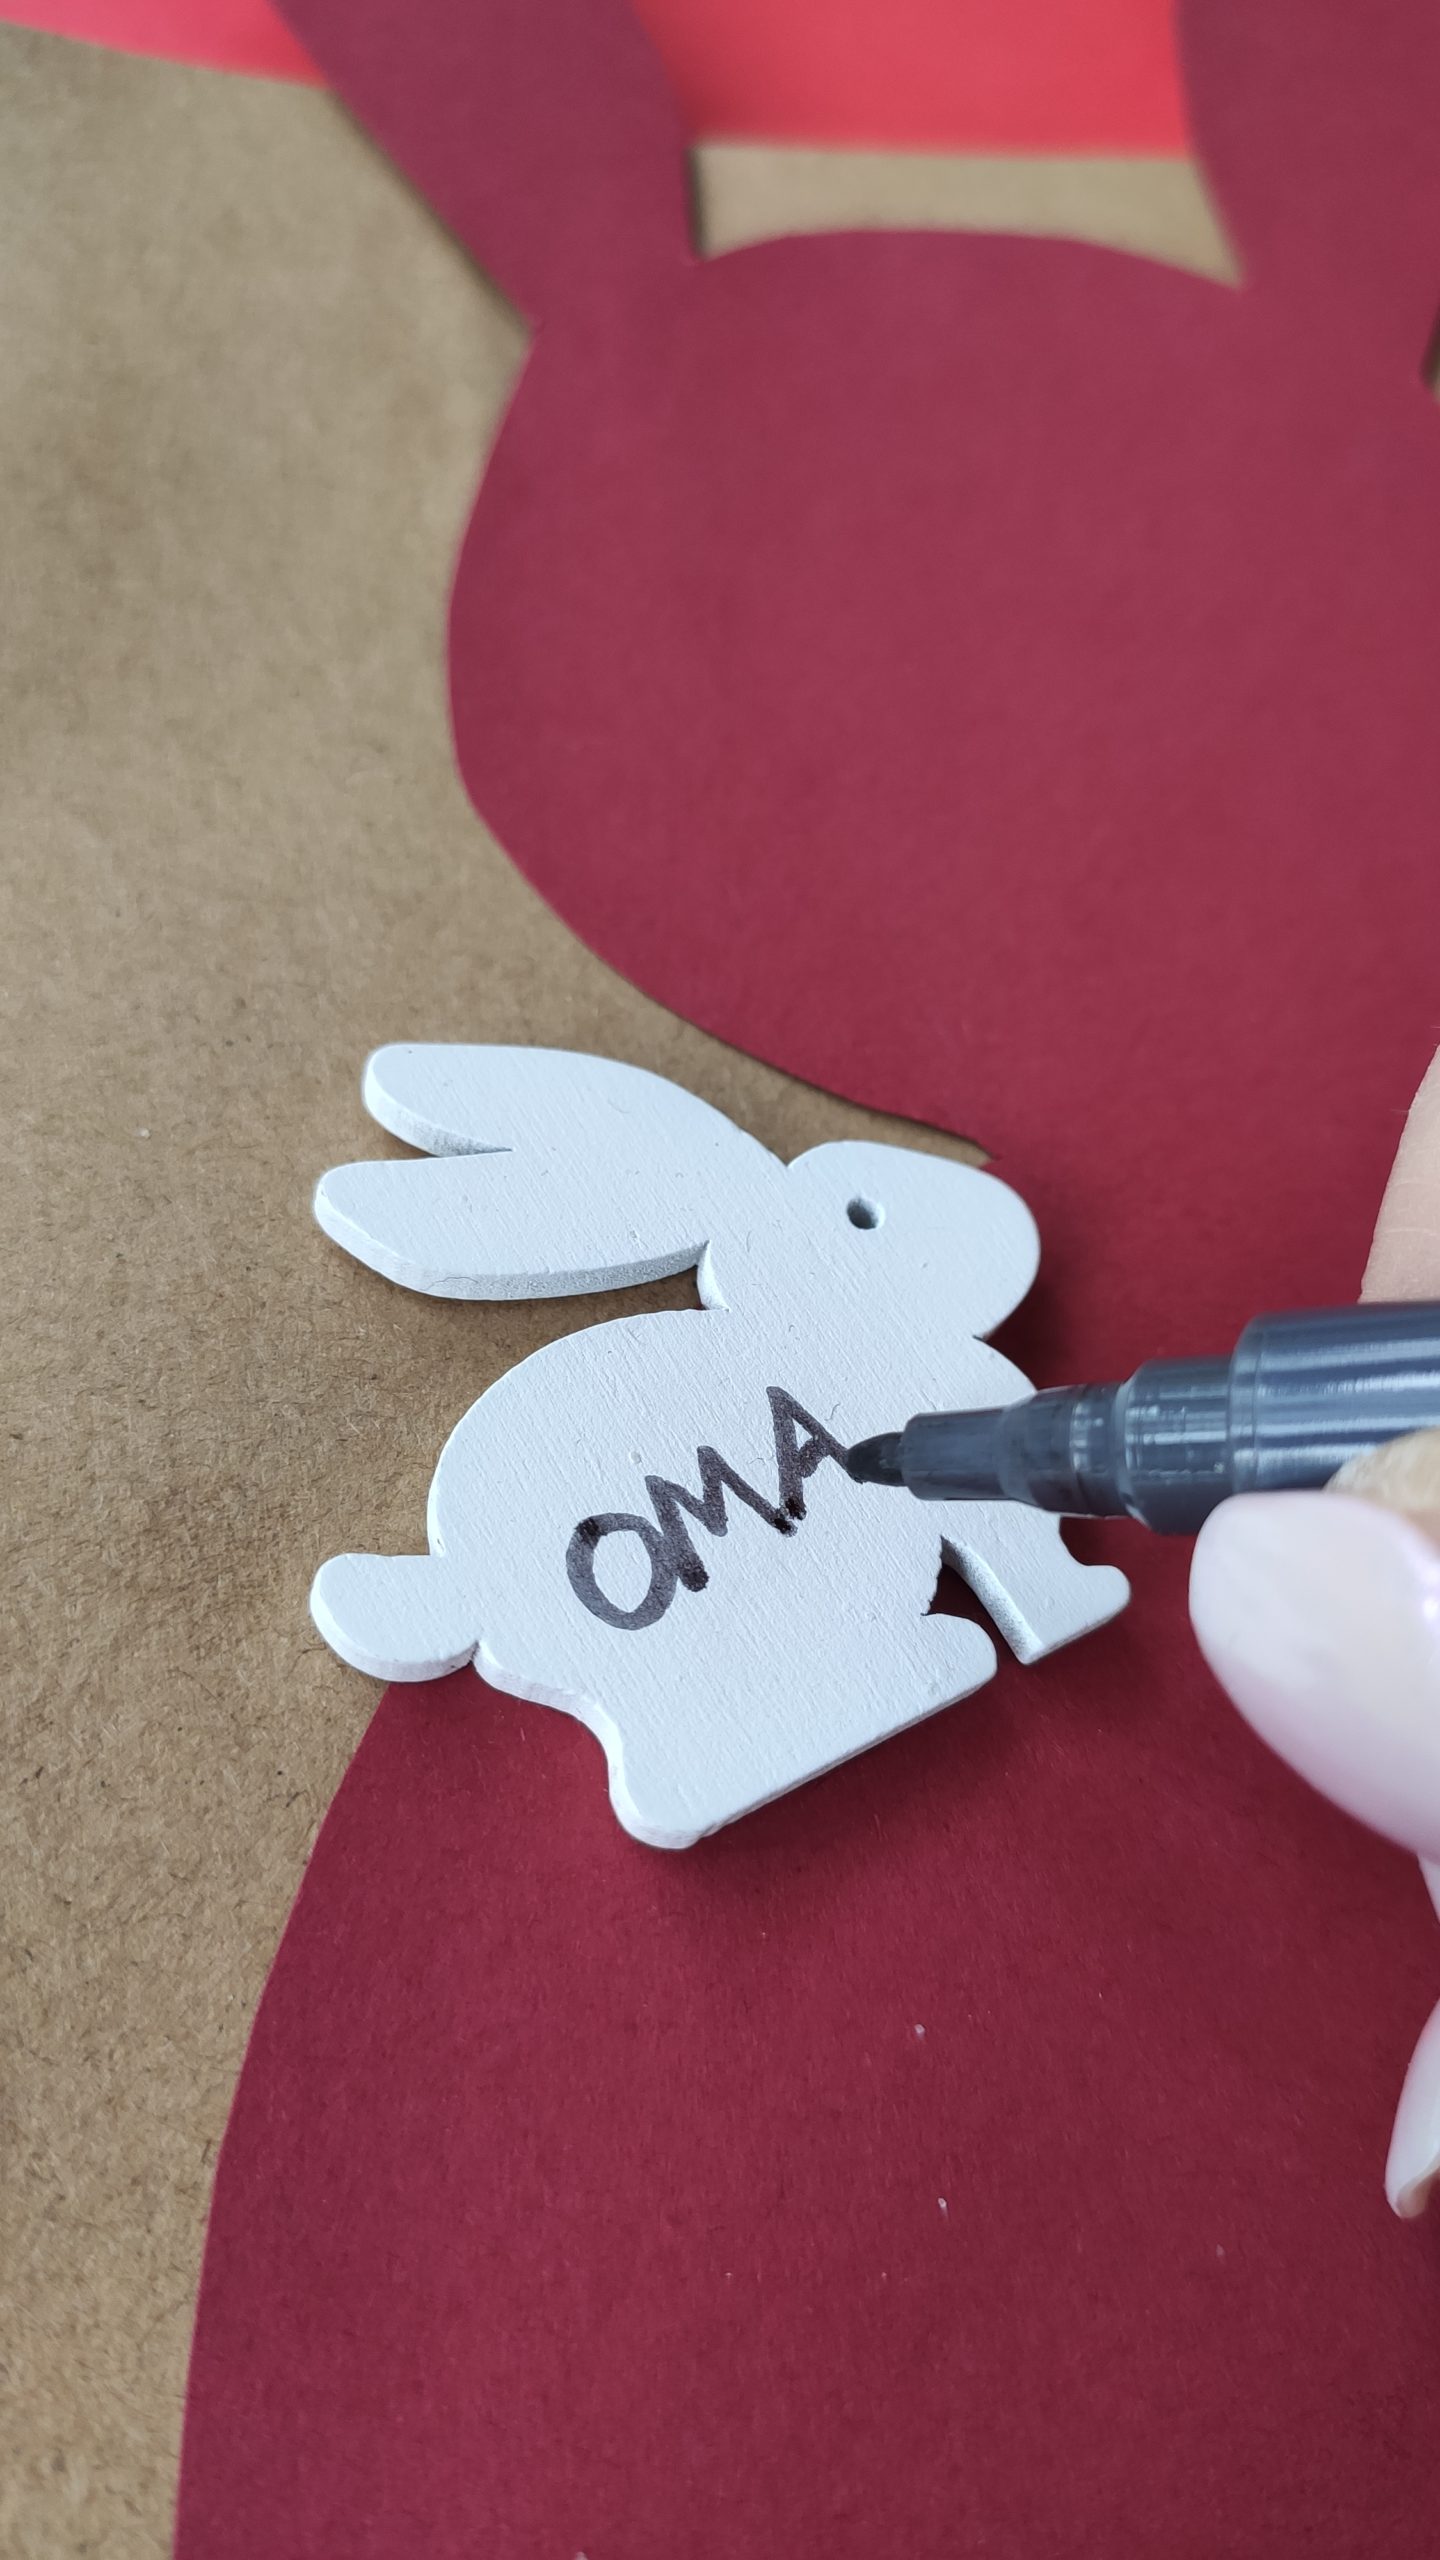
Bild zum Schritt 11 für das Bastel- und DIY-Abenteuer für Kinder: 'Schreibt den Namen für den Beschenkten darauf.'

12

This bunny bag or Easter bag is for grandma.
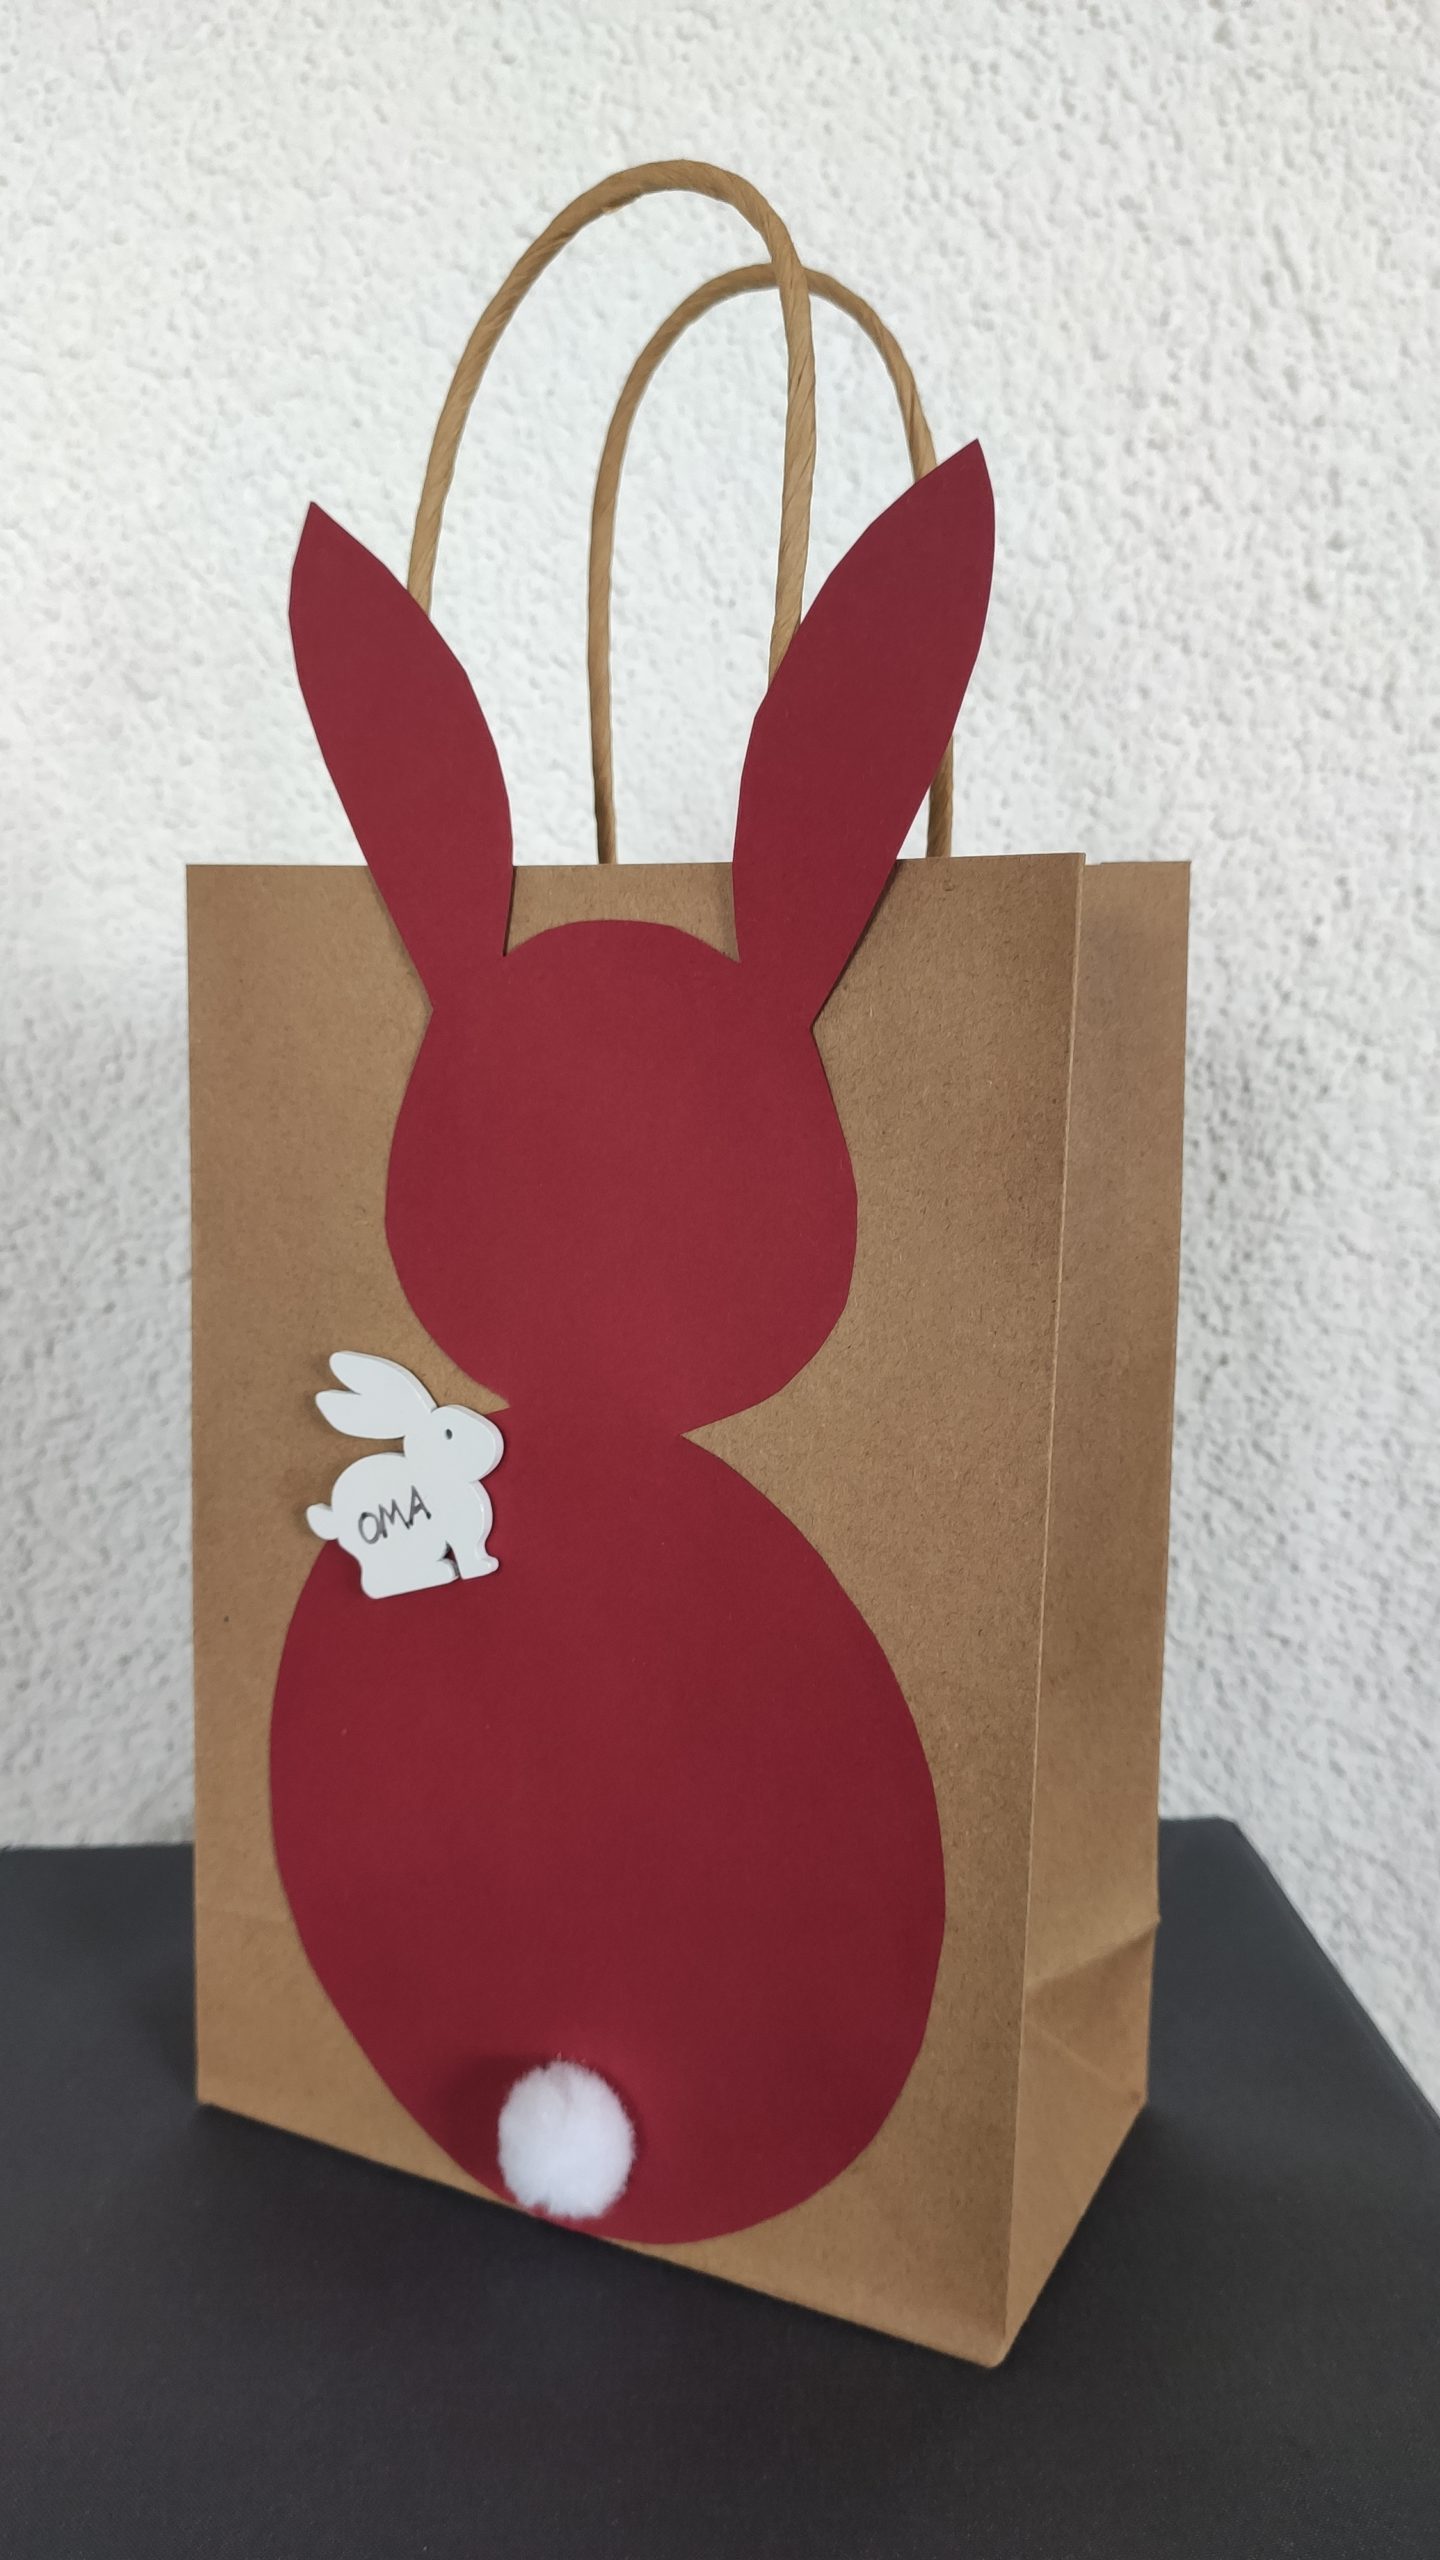
Bild zum Schritt 12 für das Bastel- und DIY-Abenteuer für Kinder: 'Diese Hasentasche bzw. Ostertüte ist für Oma.'

13

Have fun designing your Easter bags.
I'm looking forward to your pictures.
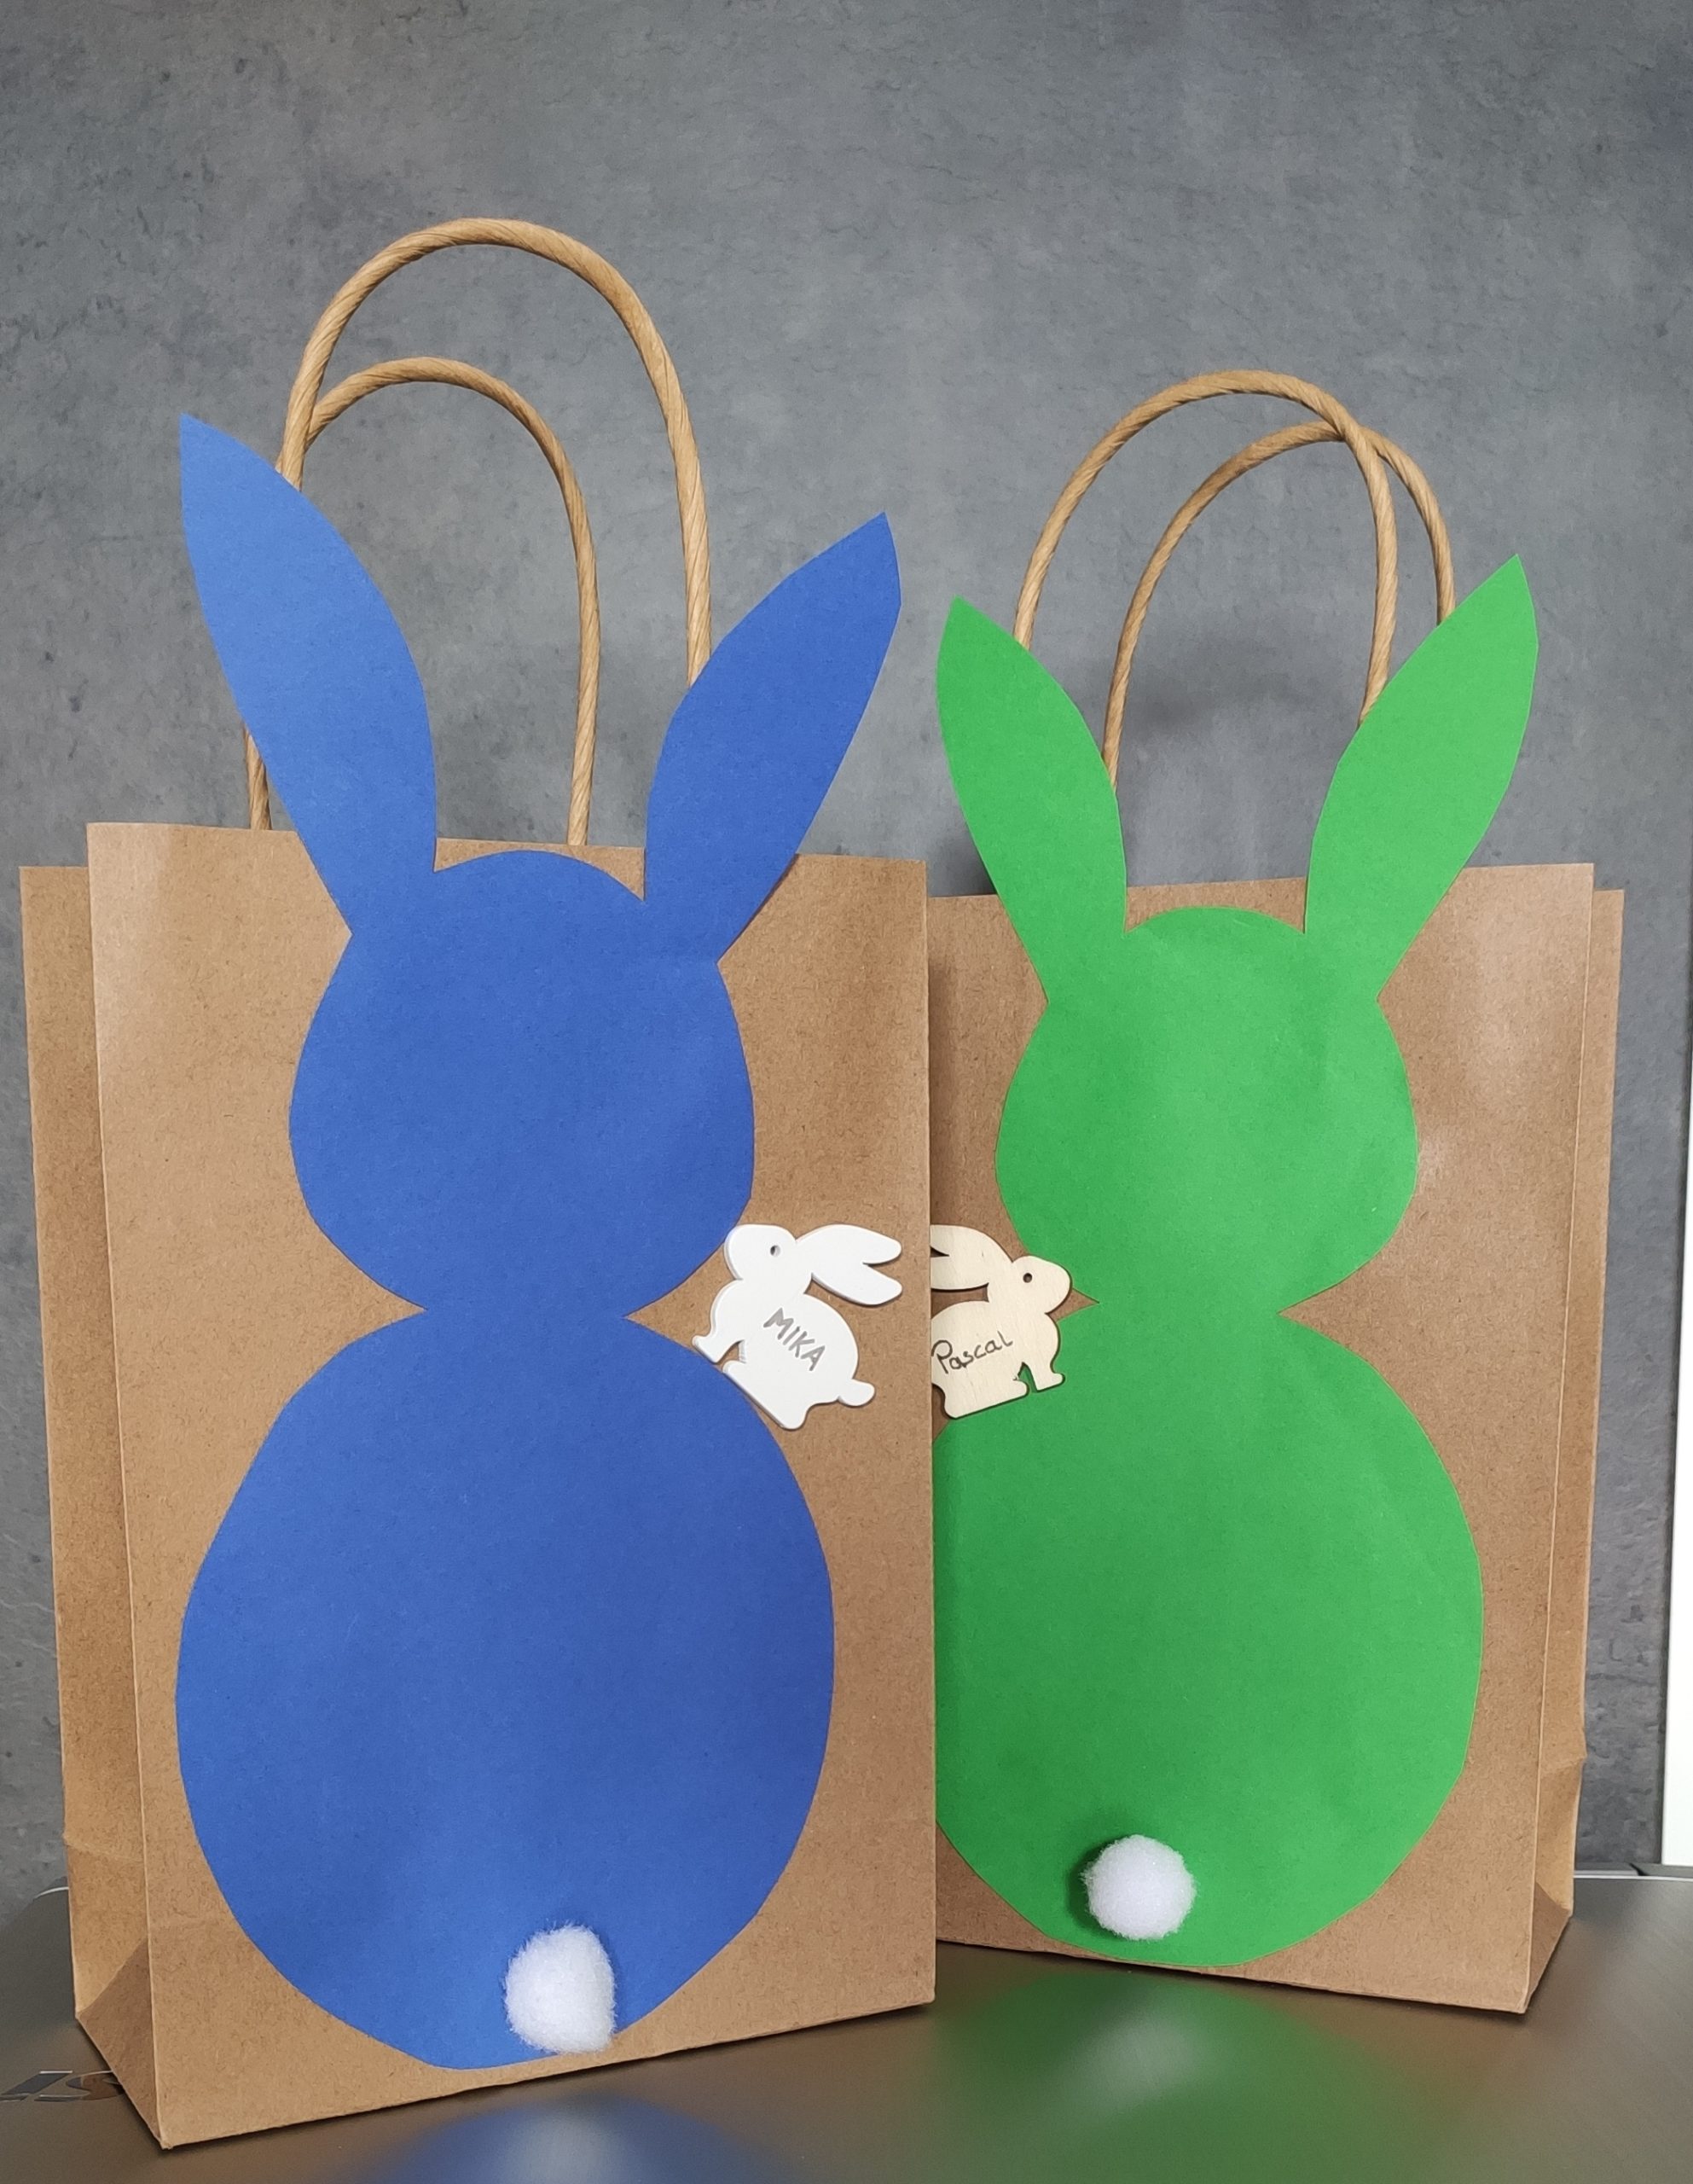
Bild zum Schritt 13 für das Bastel- und DIY-Abenteuer für Kinder: 'Viel Spaß beim Gestalten eurer Ostertaschen.  Ich freue mich...'

Easter Bags – Easter Gift Bags

Follow us on Facebook , Instagram and Pinterest
Don't miss any more adventures: Our bottle mail

Leave a Reply

Your email address will not be published.

The maximum upload file size: 5 MB. You can upload: image, document. Drop file here