AdventurerKitaForst
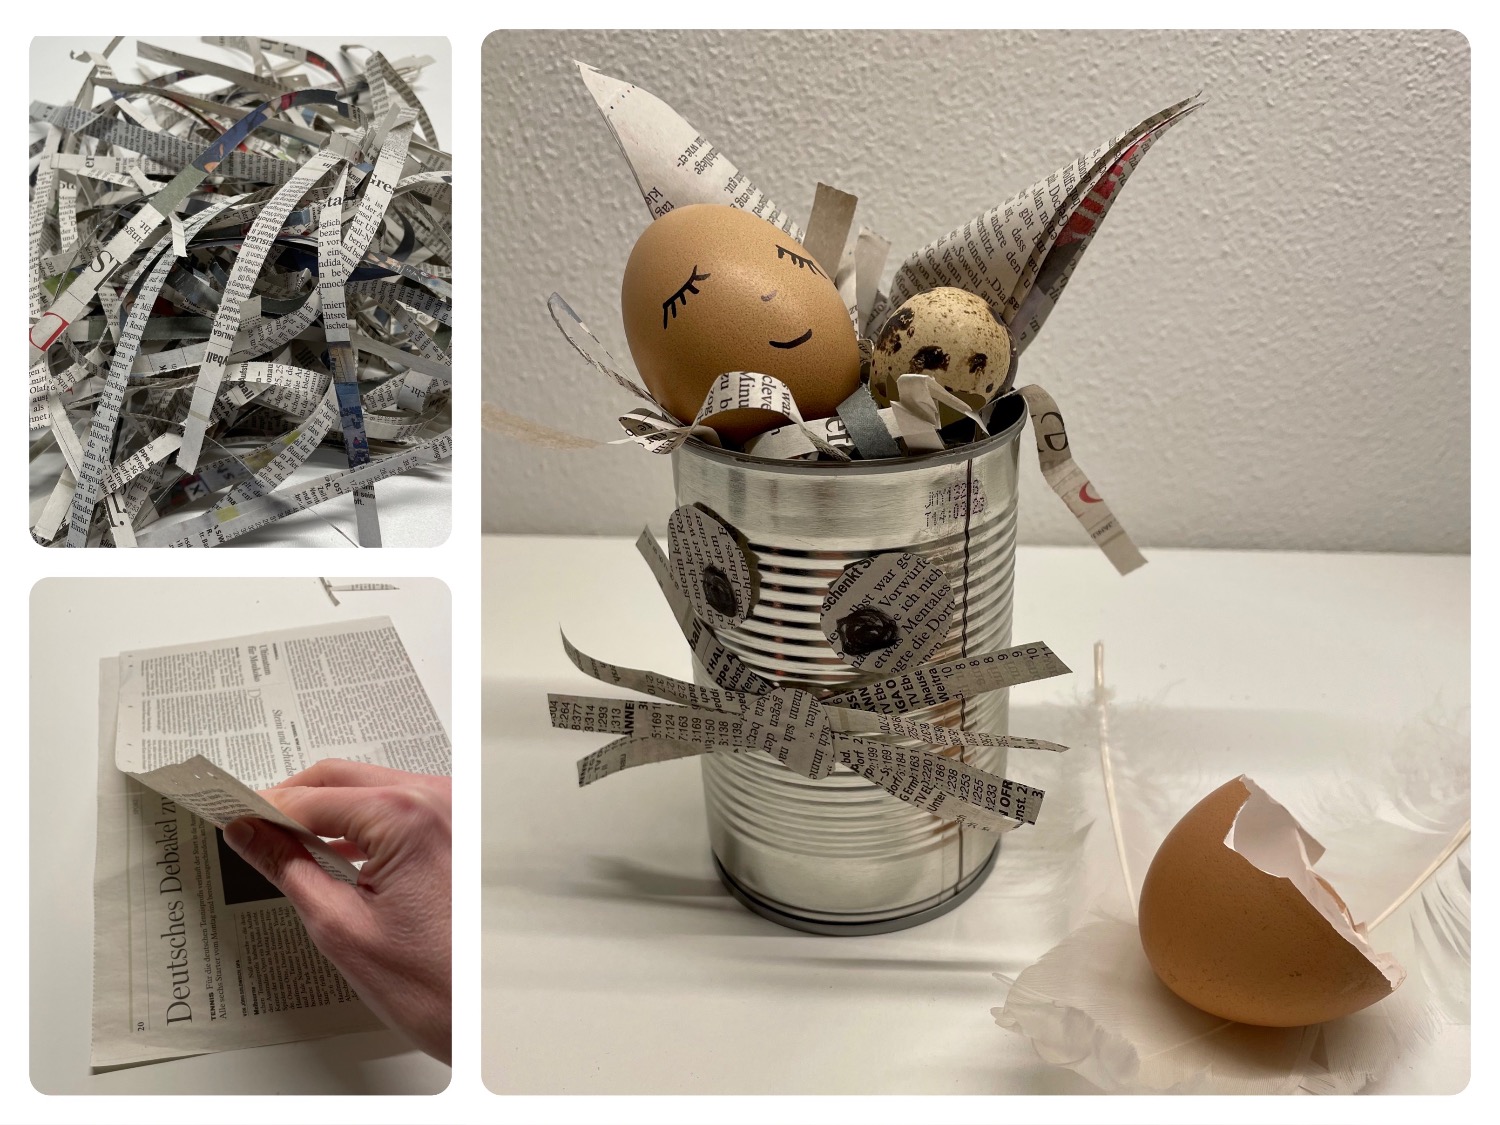
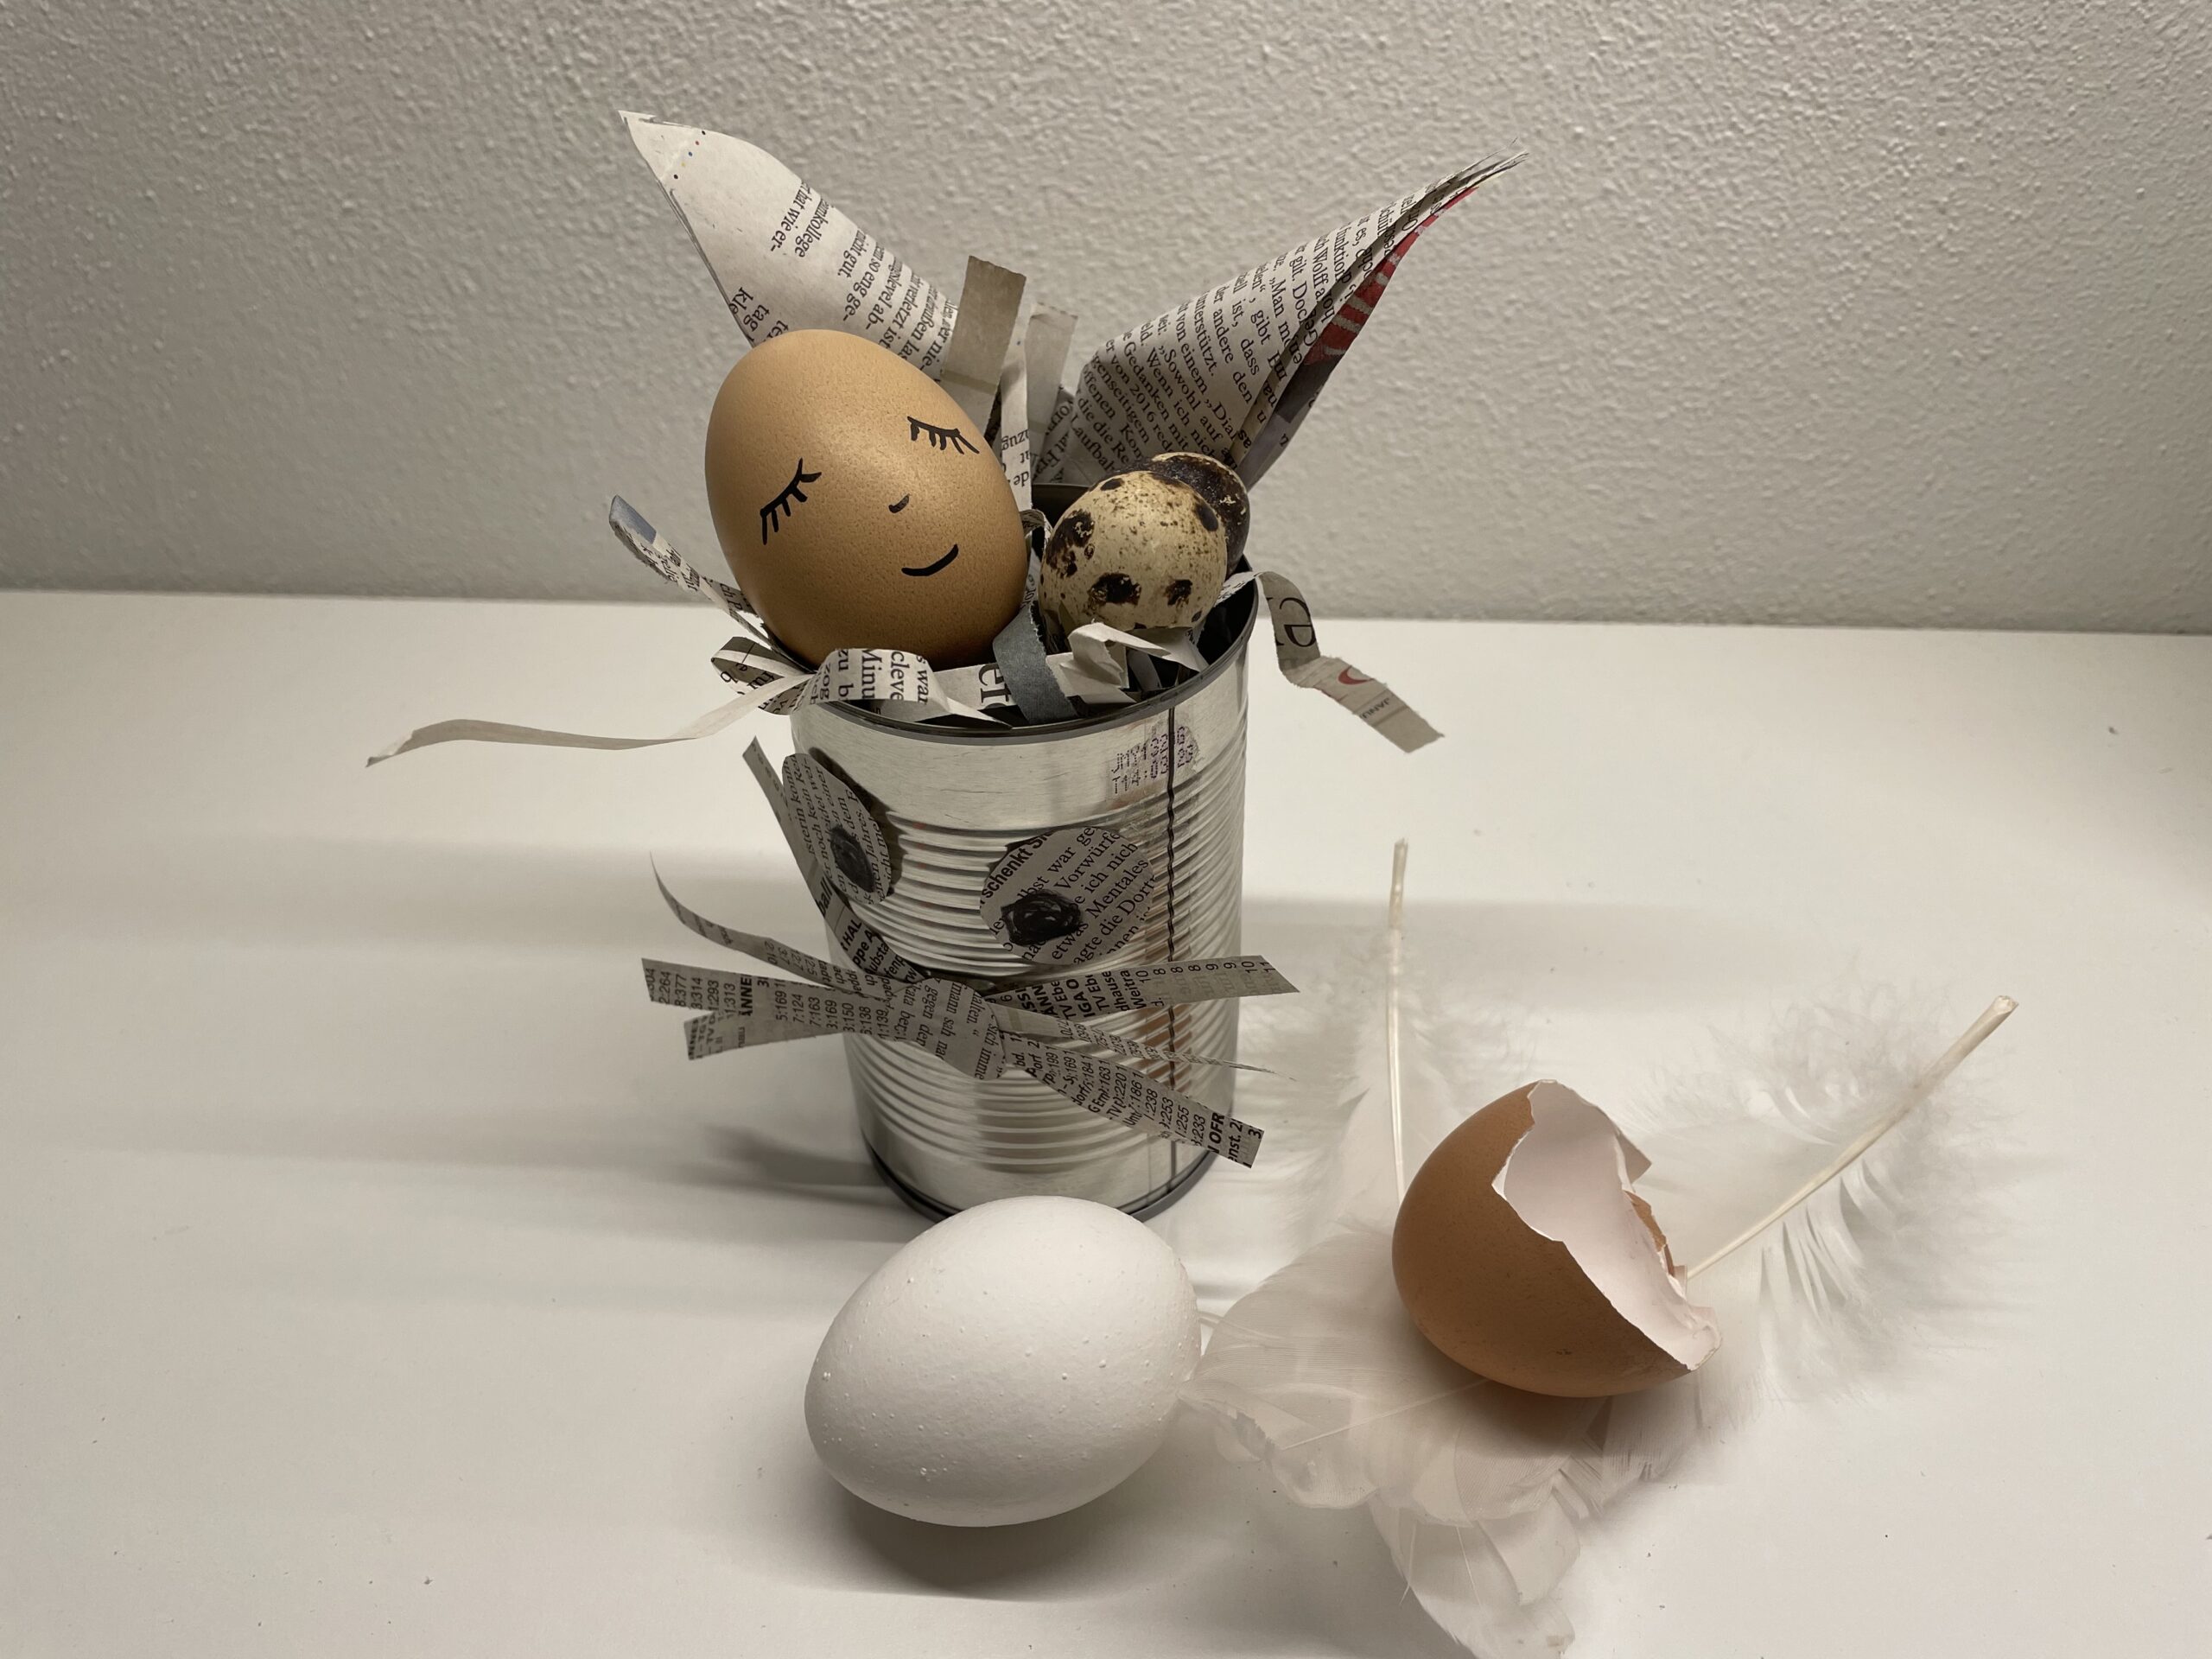
You can use this Easter bunny can as decoration or as a small Easter gift or Easter nest. The Easter bunny can is made only from recycled products. All you need is a tin can with rounded edge and newspaper. The rabbit head forms the can, the ears and the face are made of newspaper. For filling the newspaper is also suitable. For this purpose you shred it with the paper shredder. This is how a complete upcycle project is created. Enjoy trying out!
Media Education for Kindergarten and Hort

Relief in everyday life, targeted promotion of individual children, independent learning and - without any pre-knowledge already usable by the youngest!
Put your craft material on the table. Find all craft materials together.
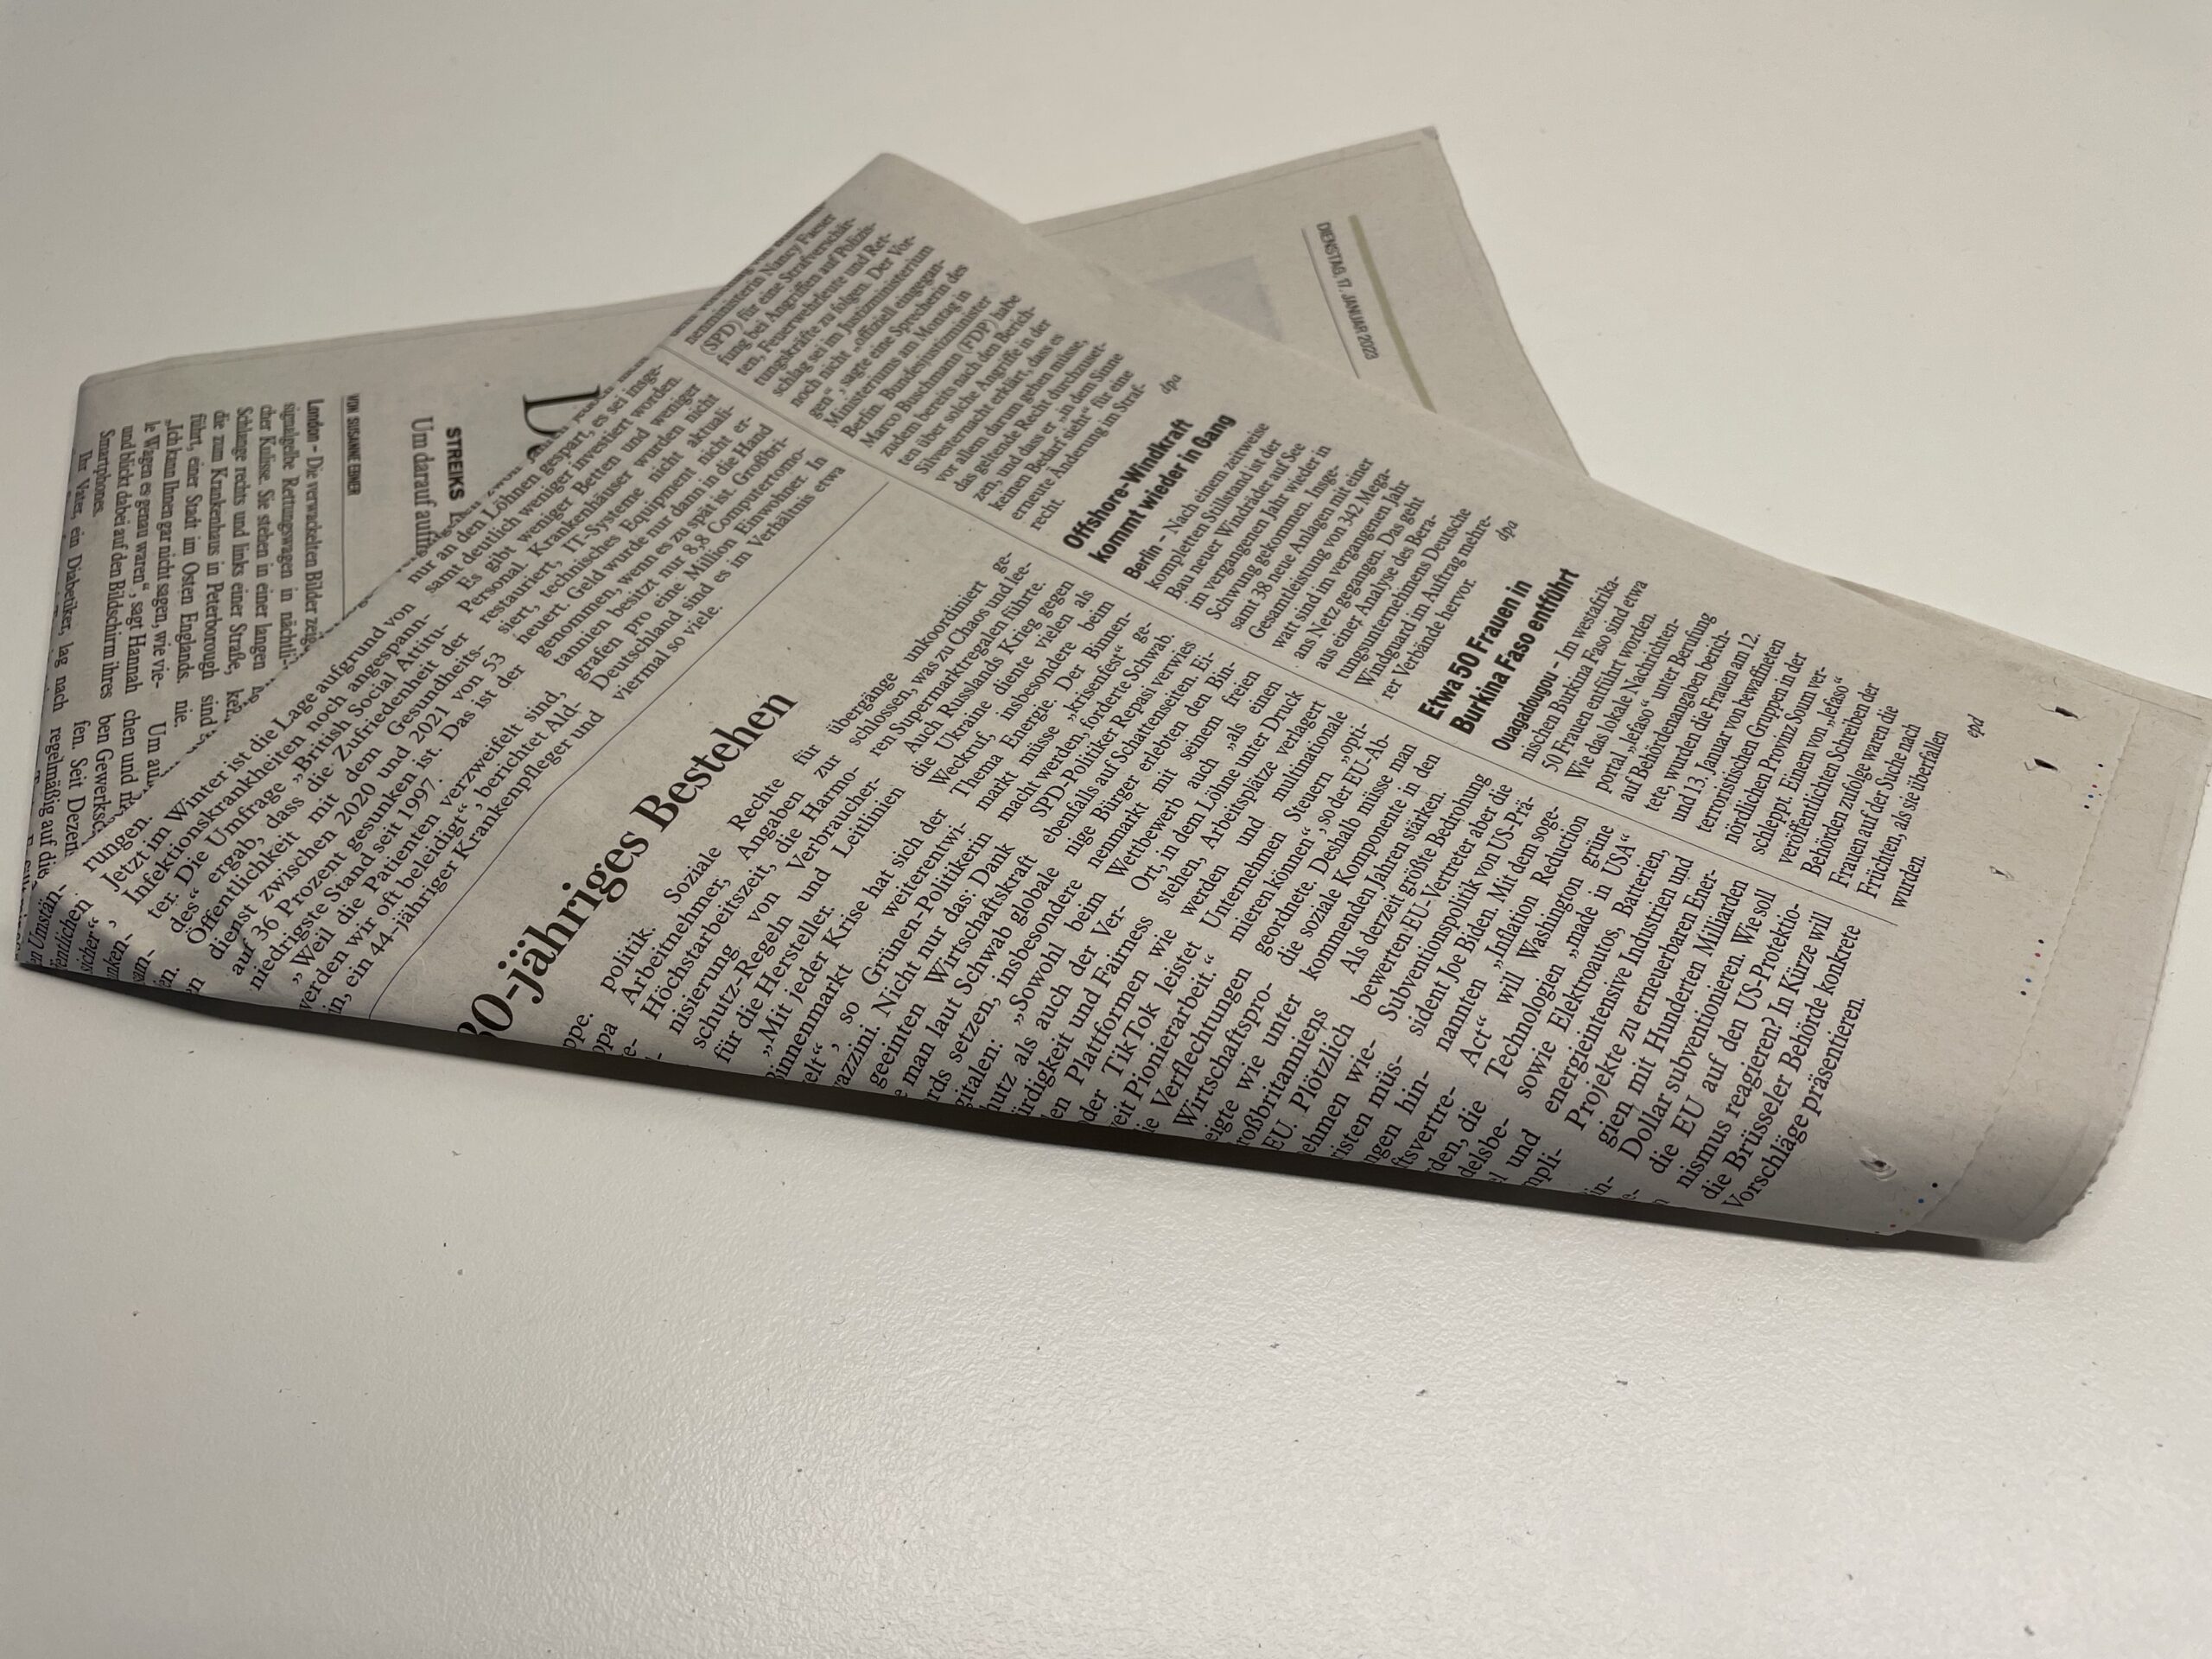
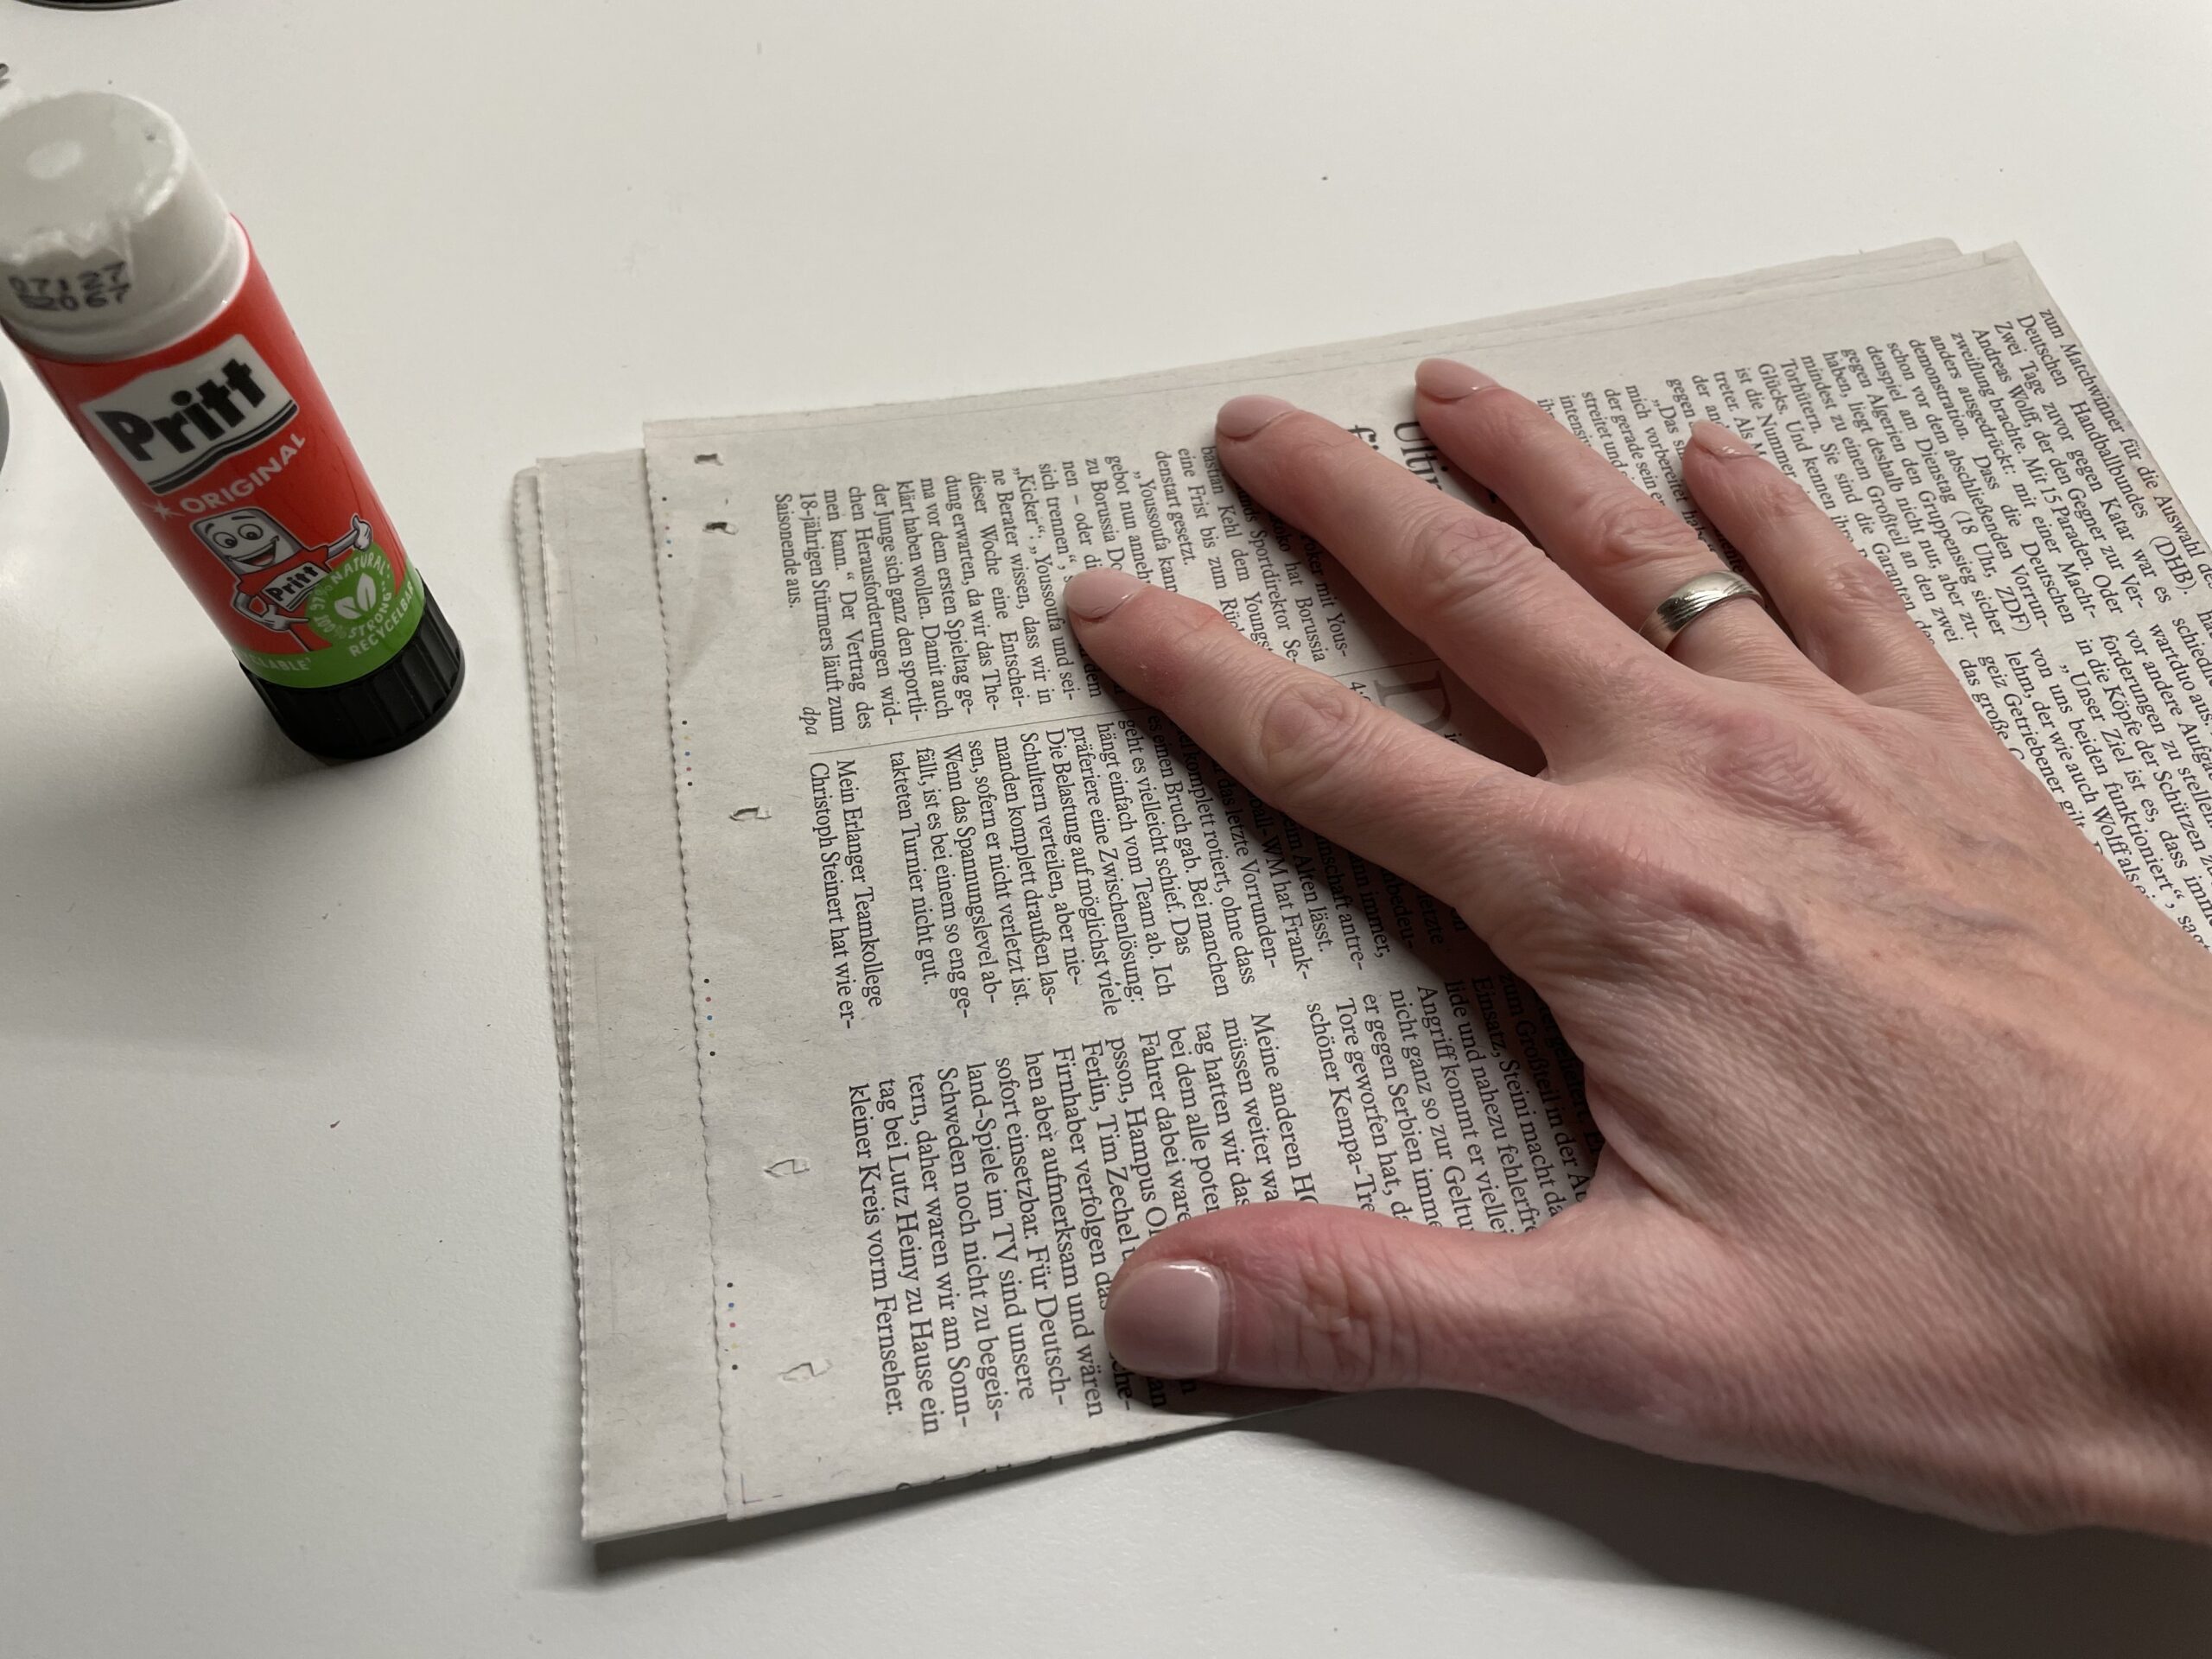
First, you need an old newspaper.
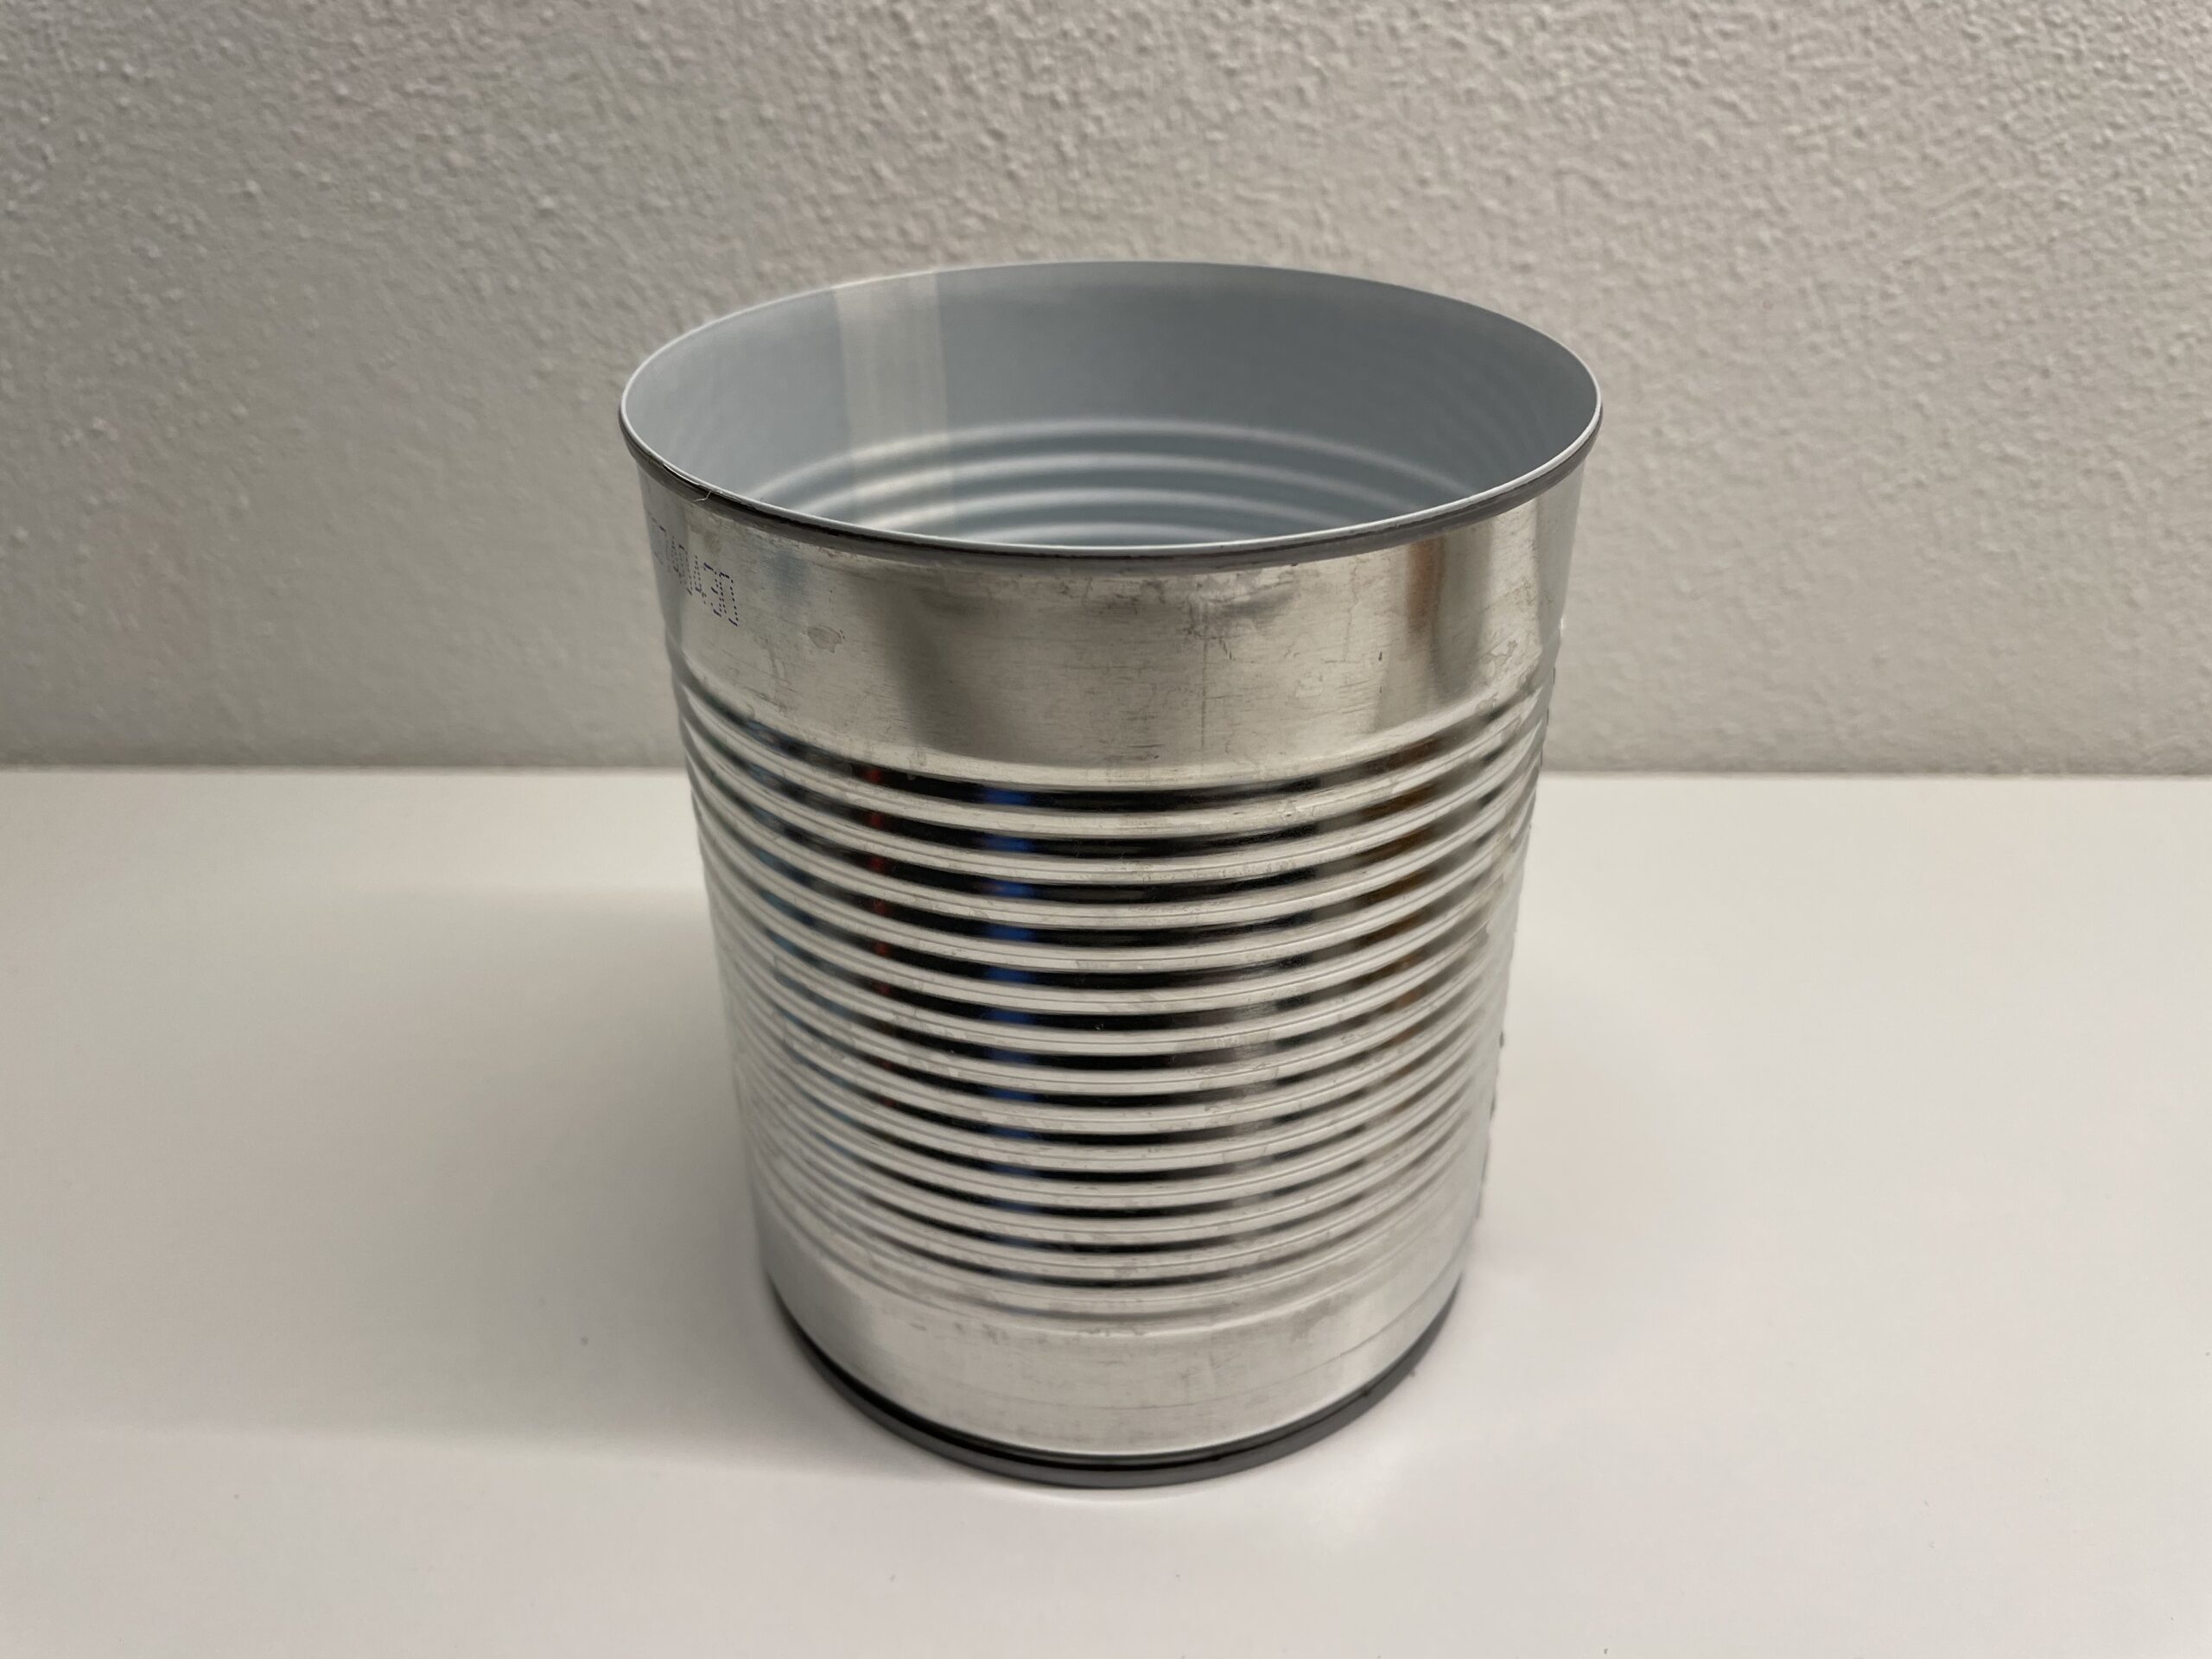
Then find a tin can with a rounded edge. It should be clean and dry and no longer contain any paper banderoles.
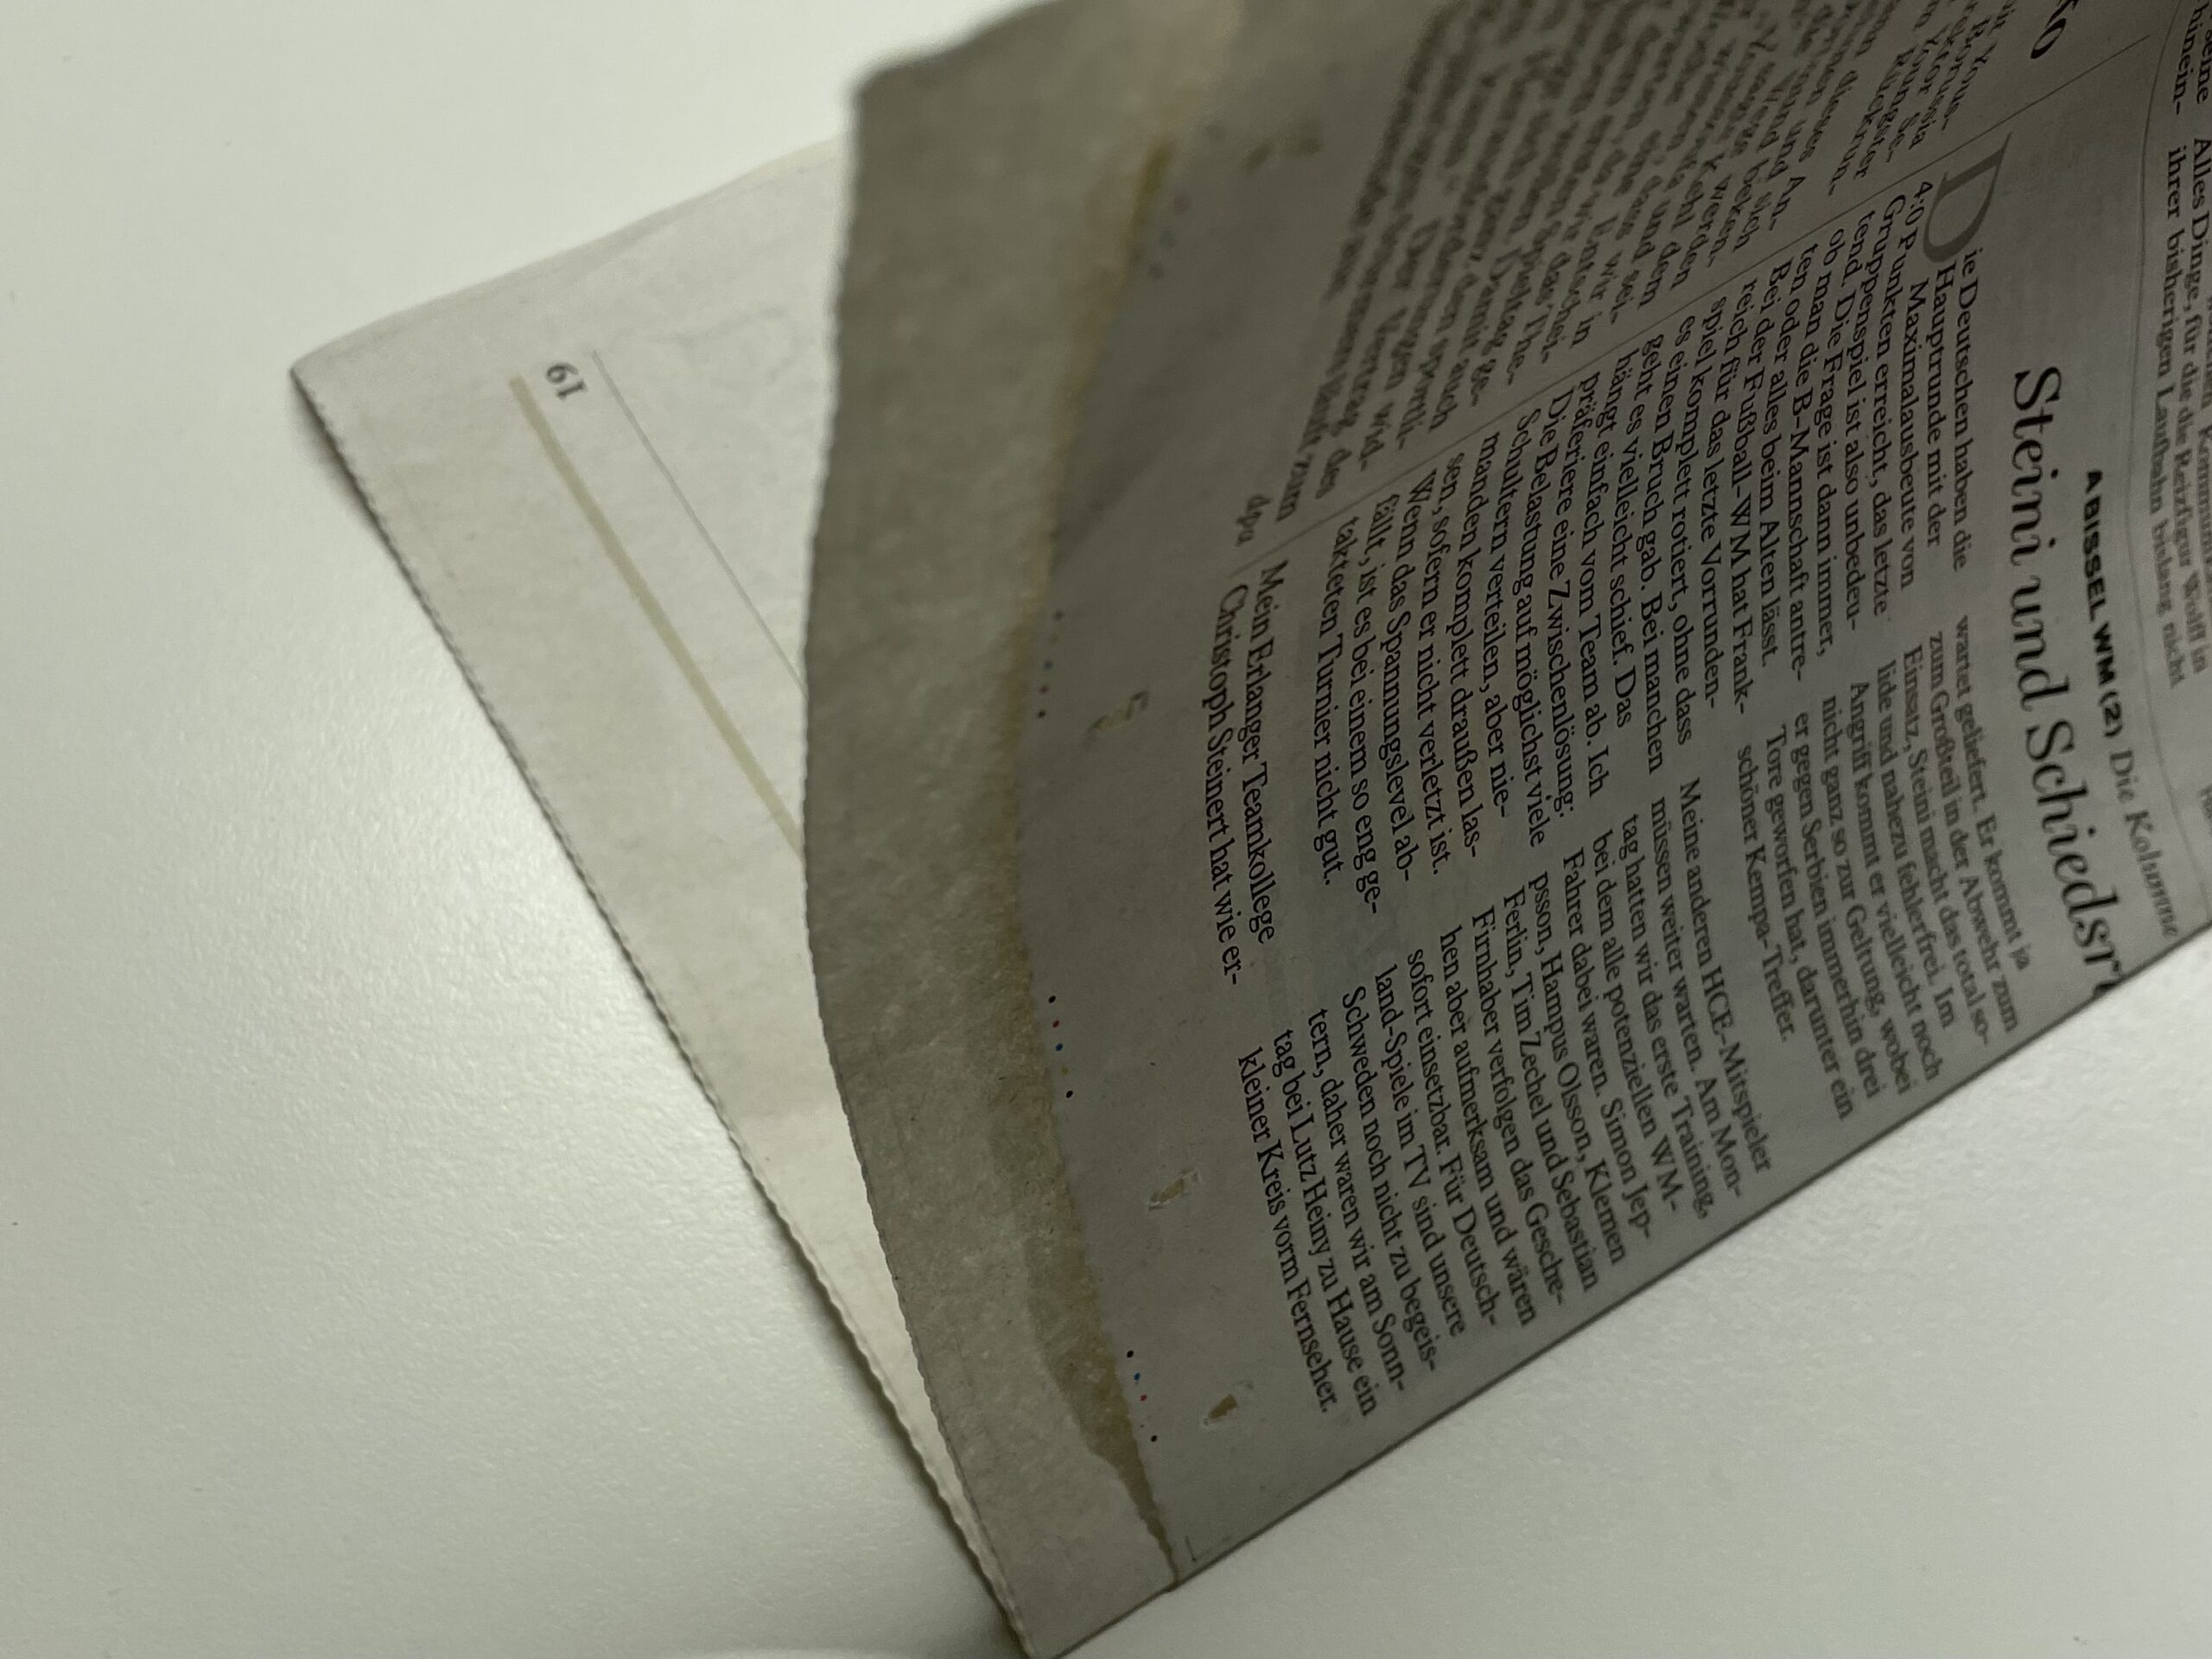
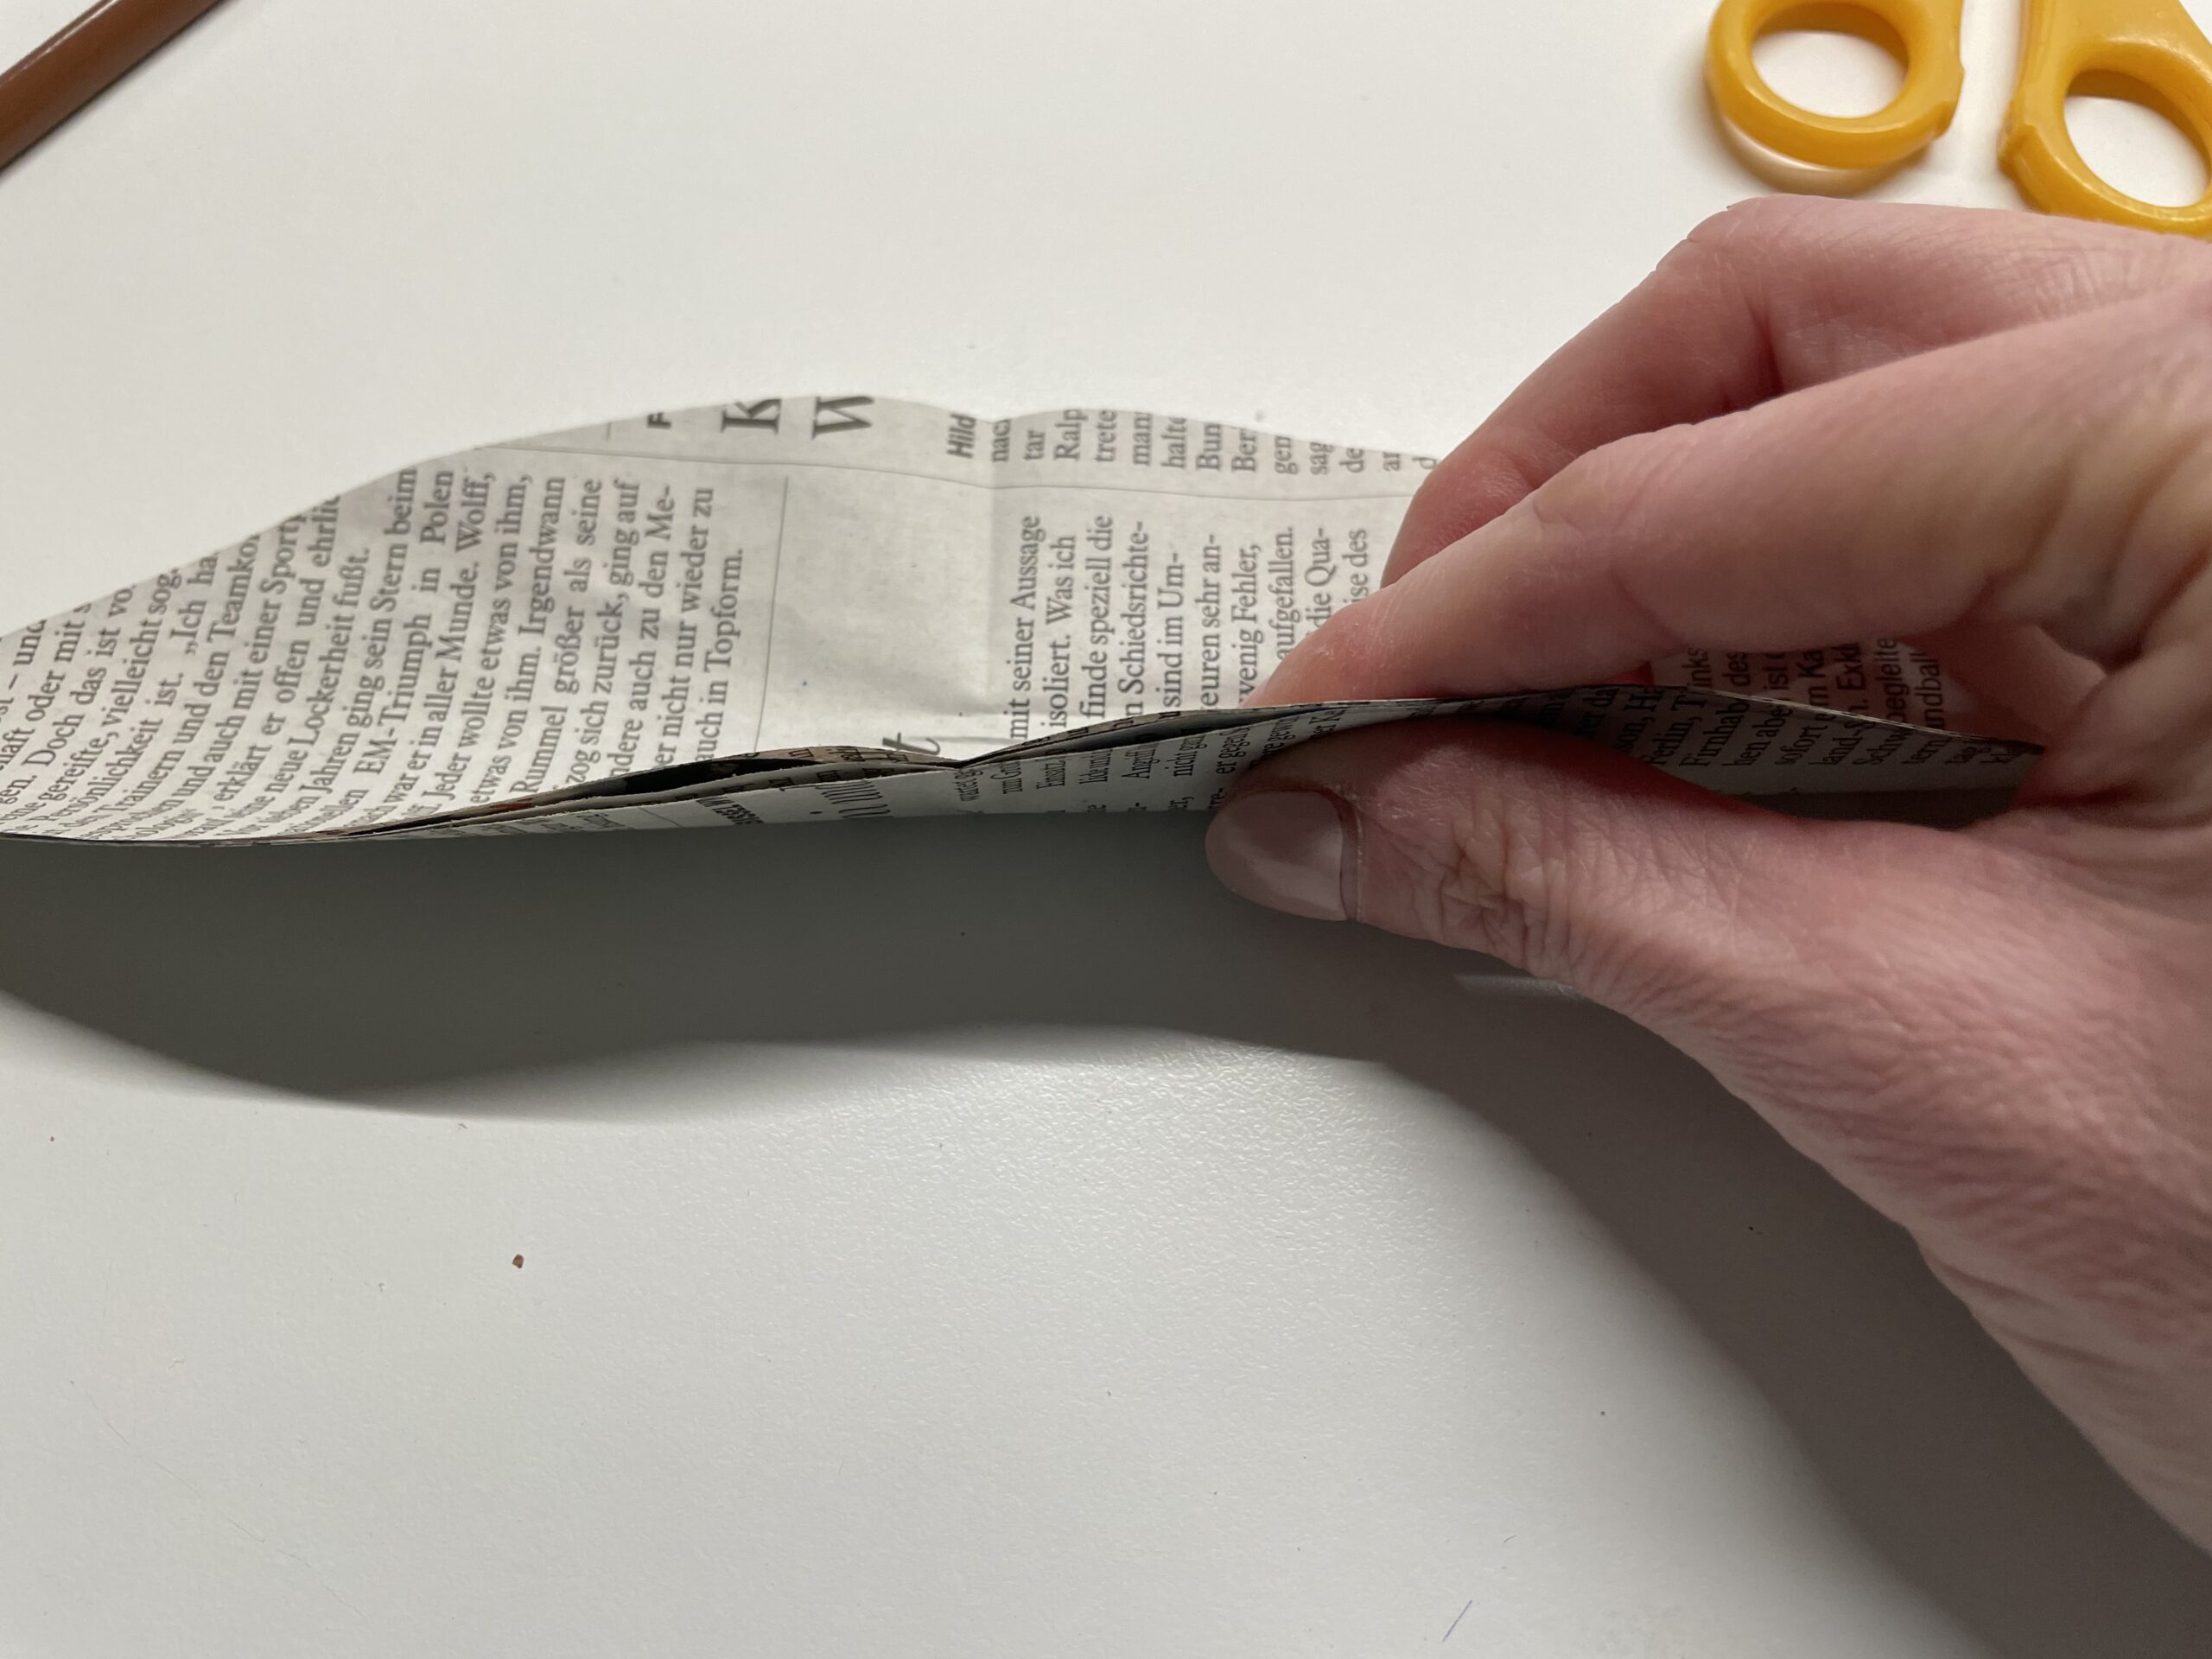
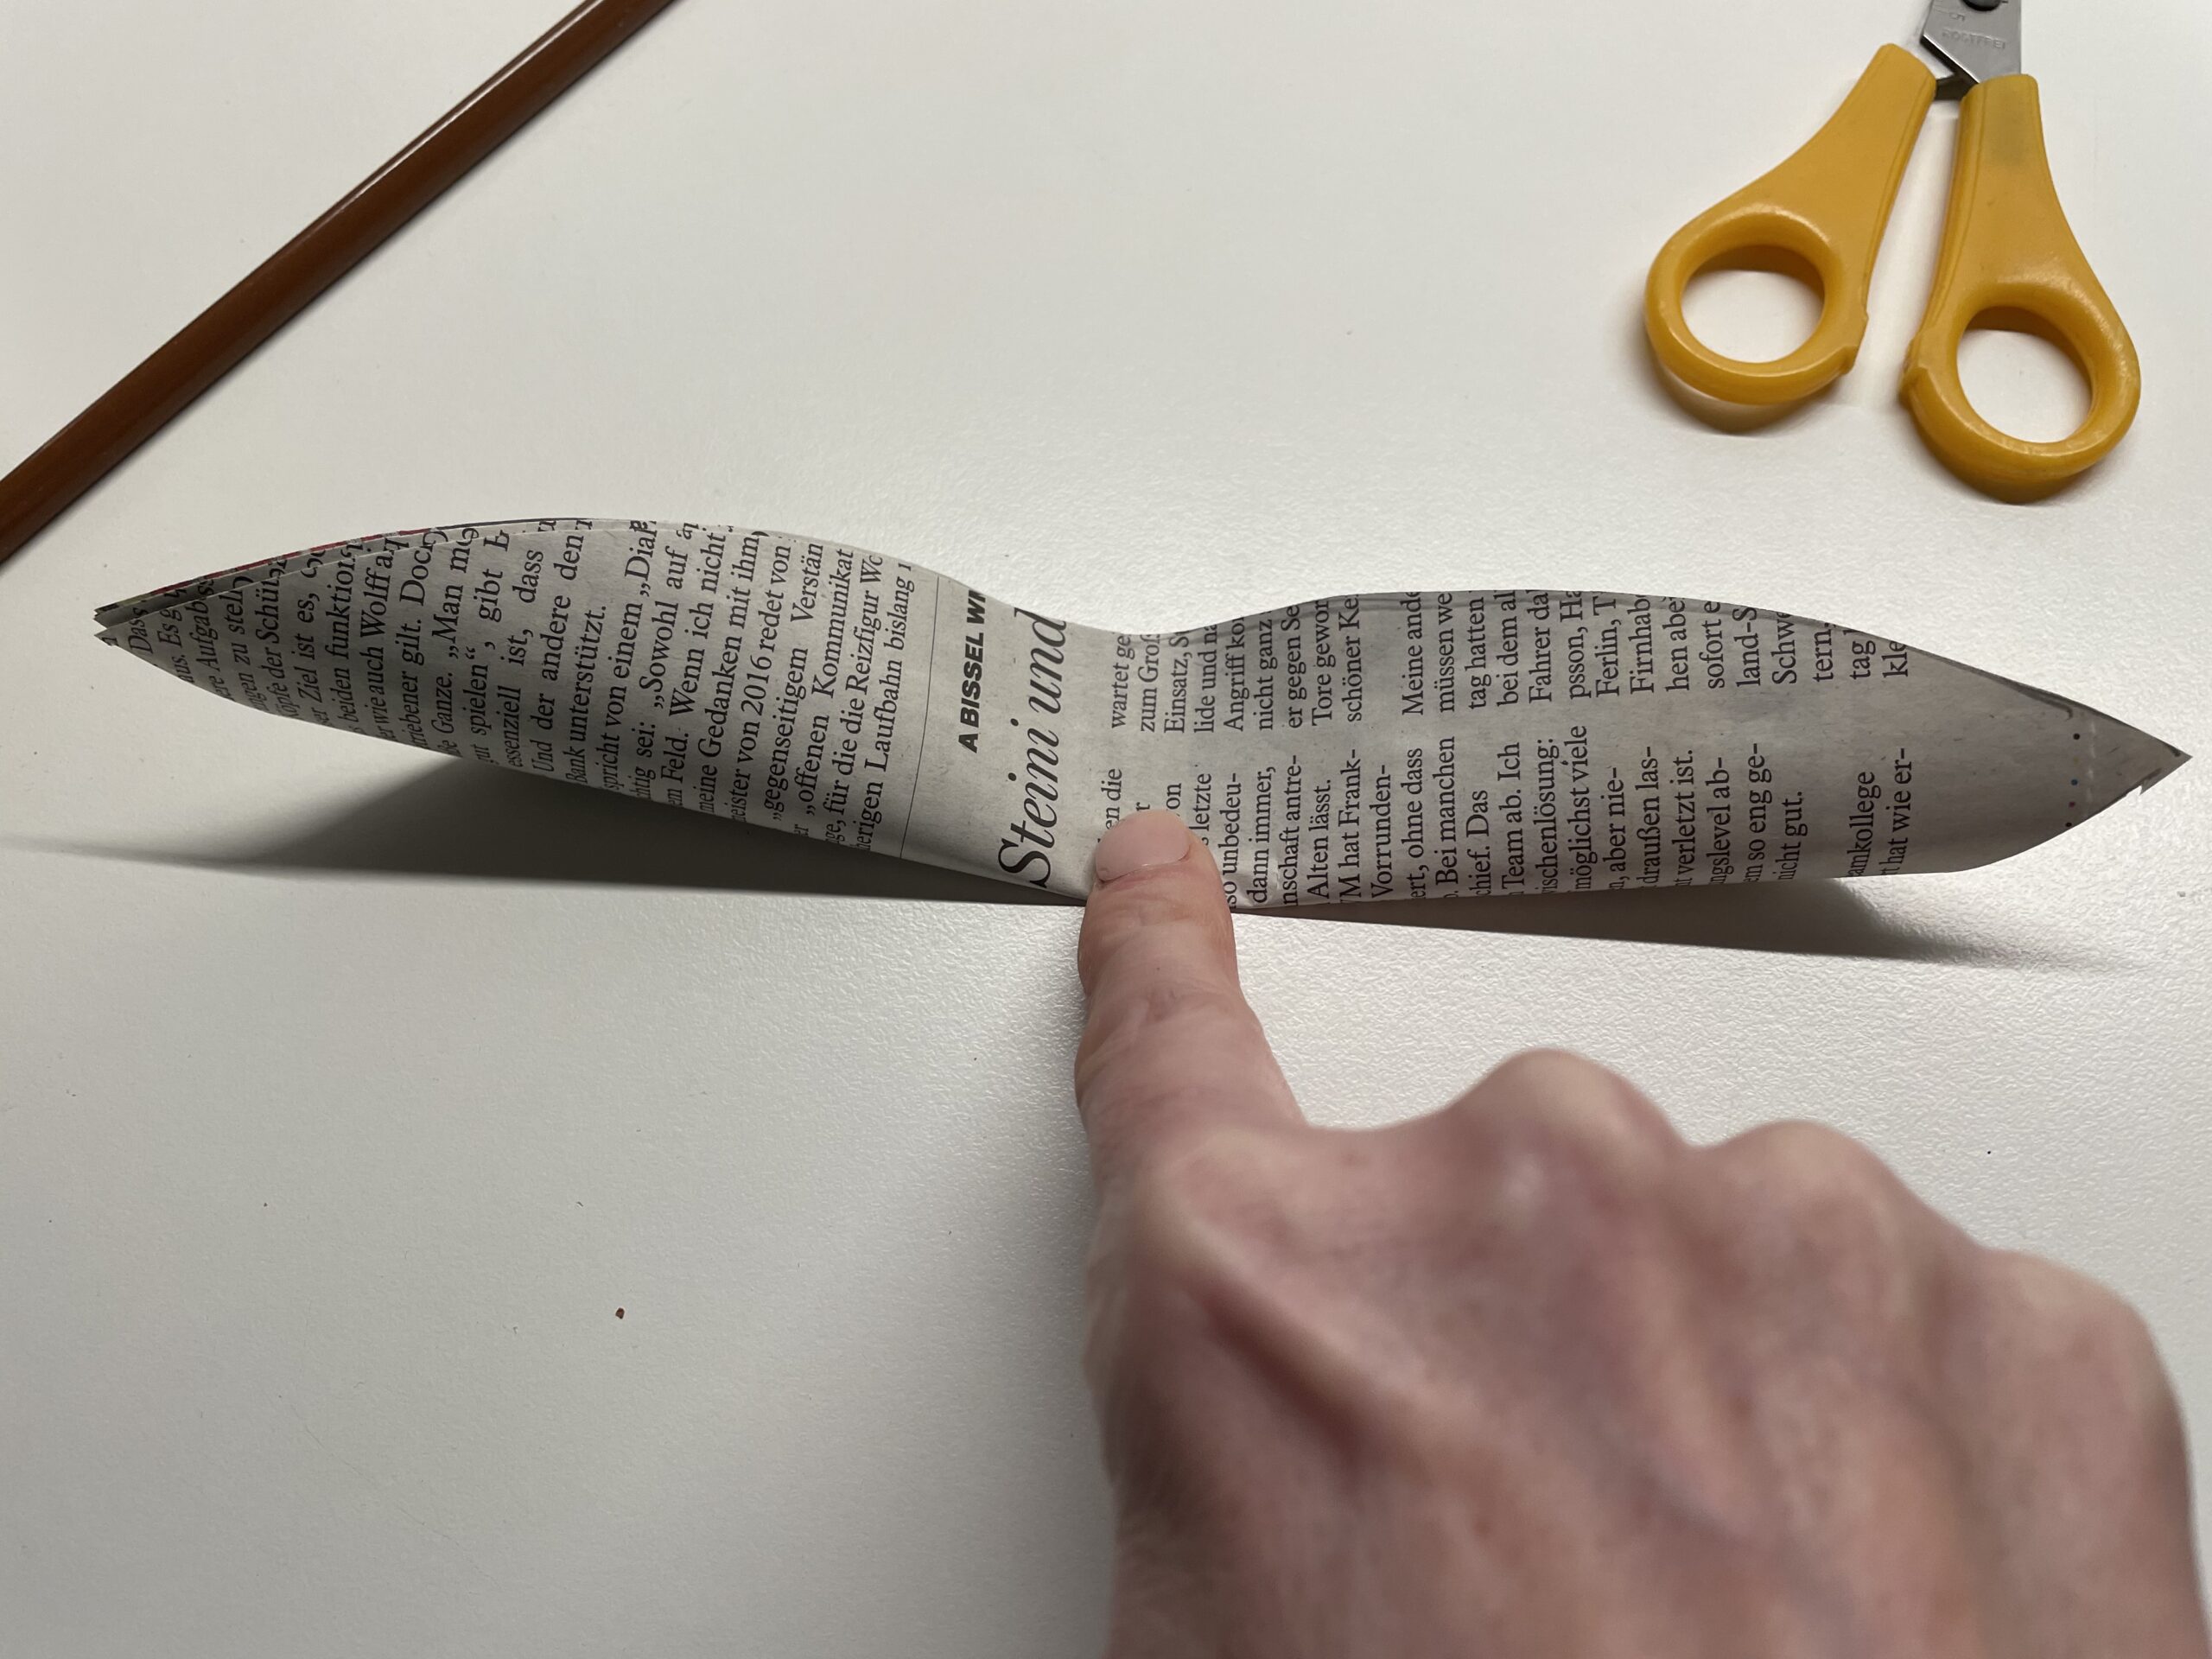
Then take the newspaper and leave it folded.

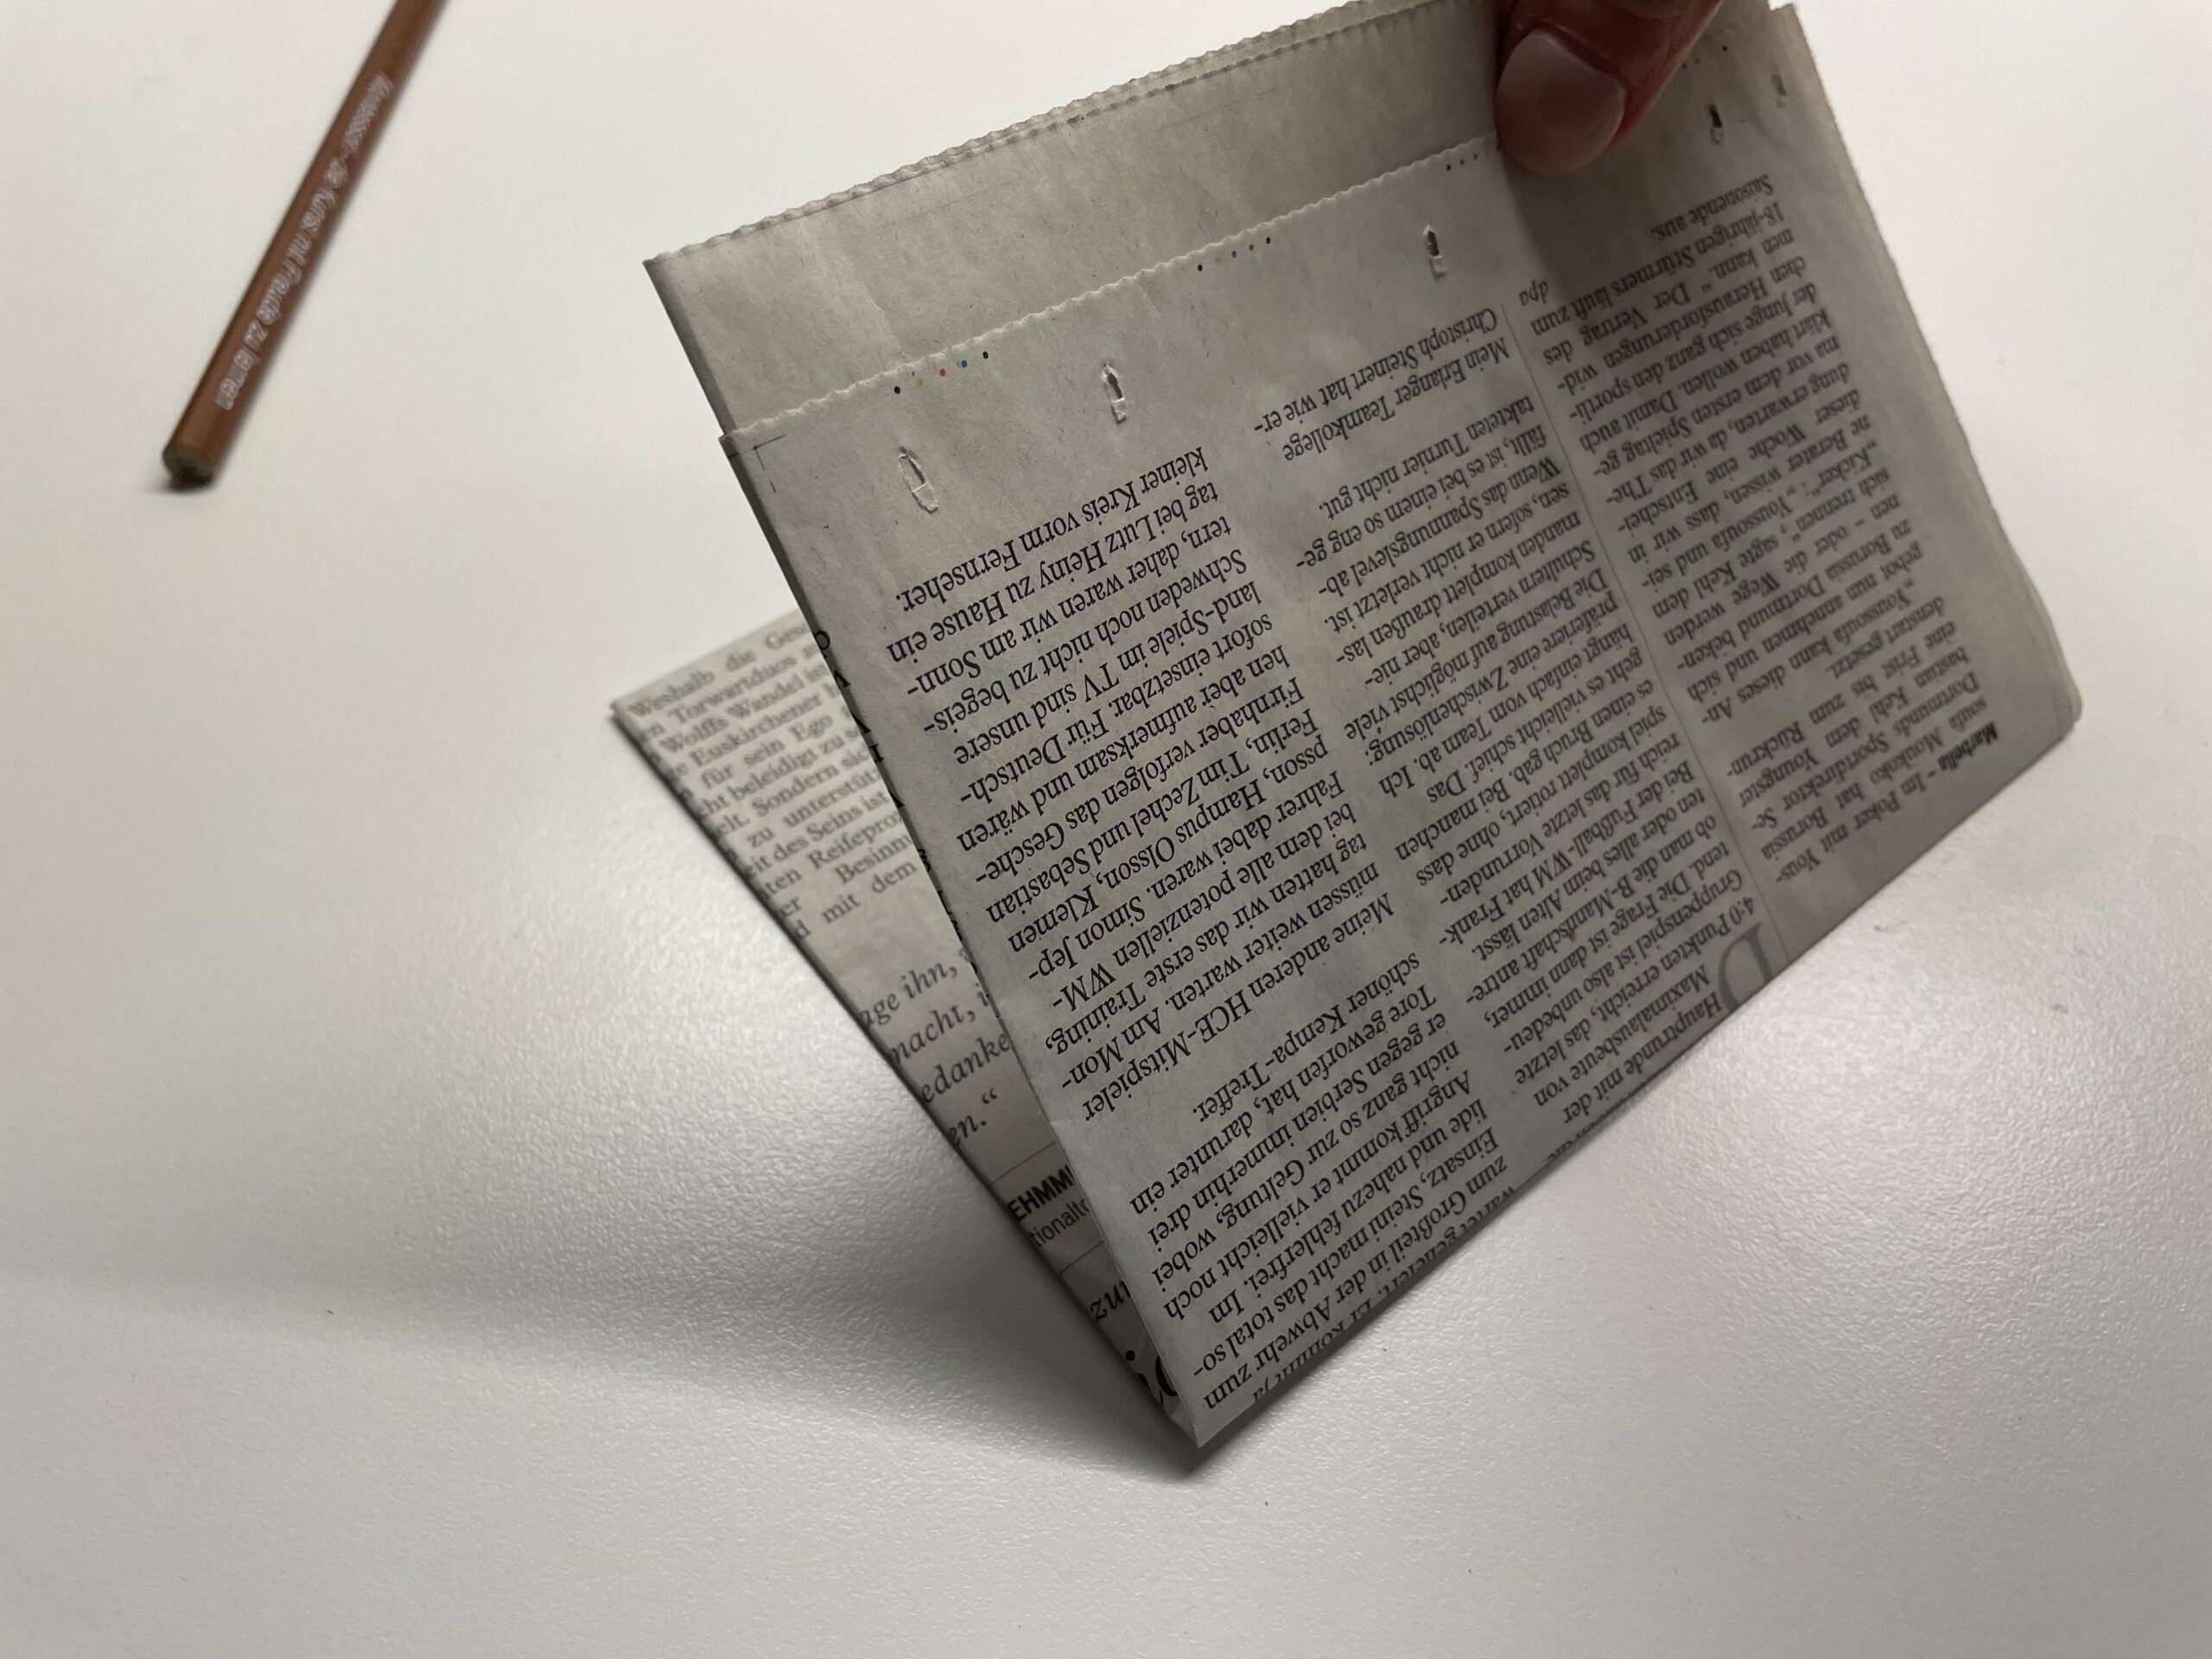
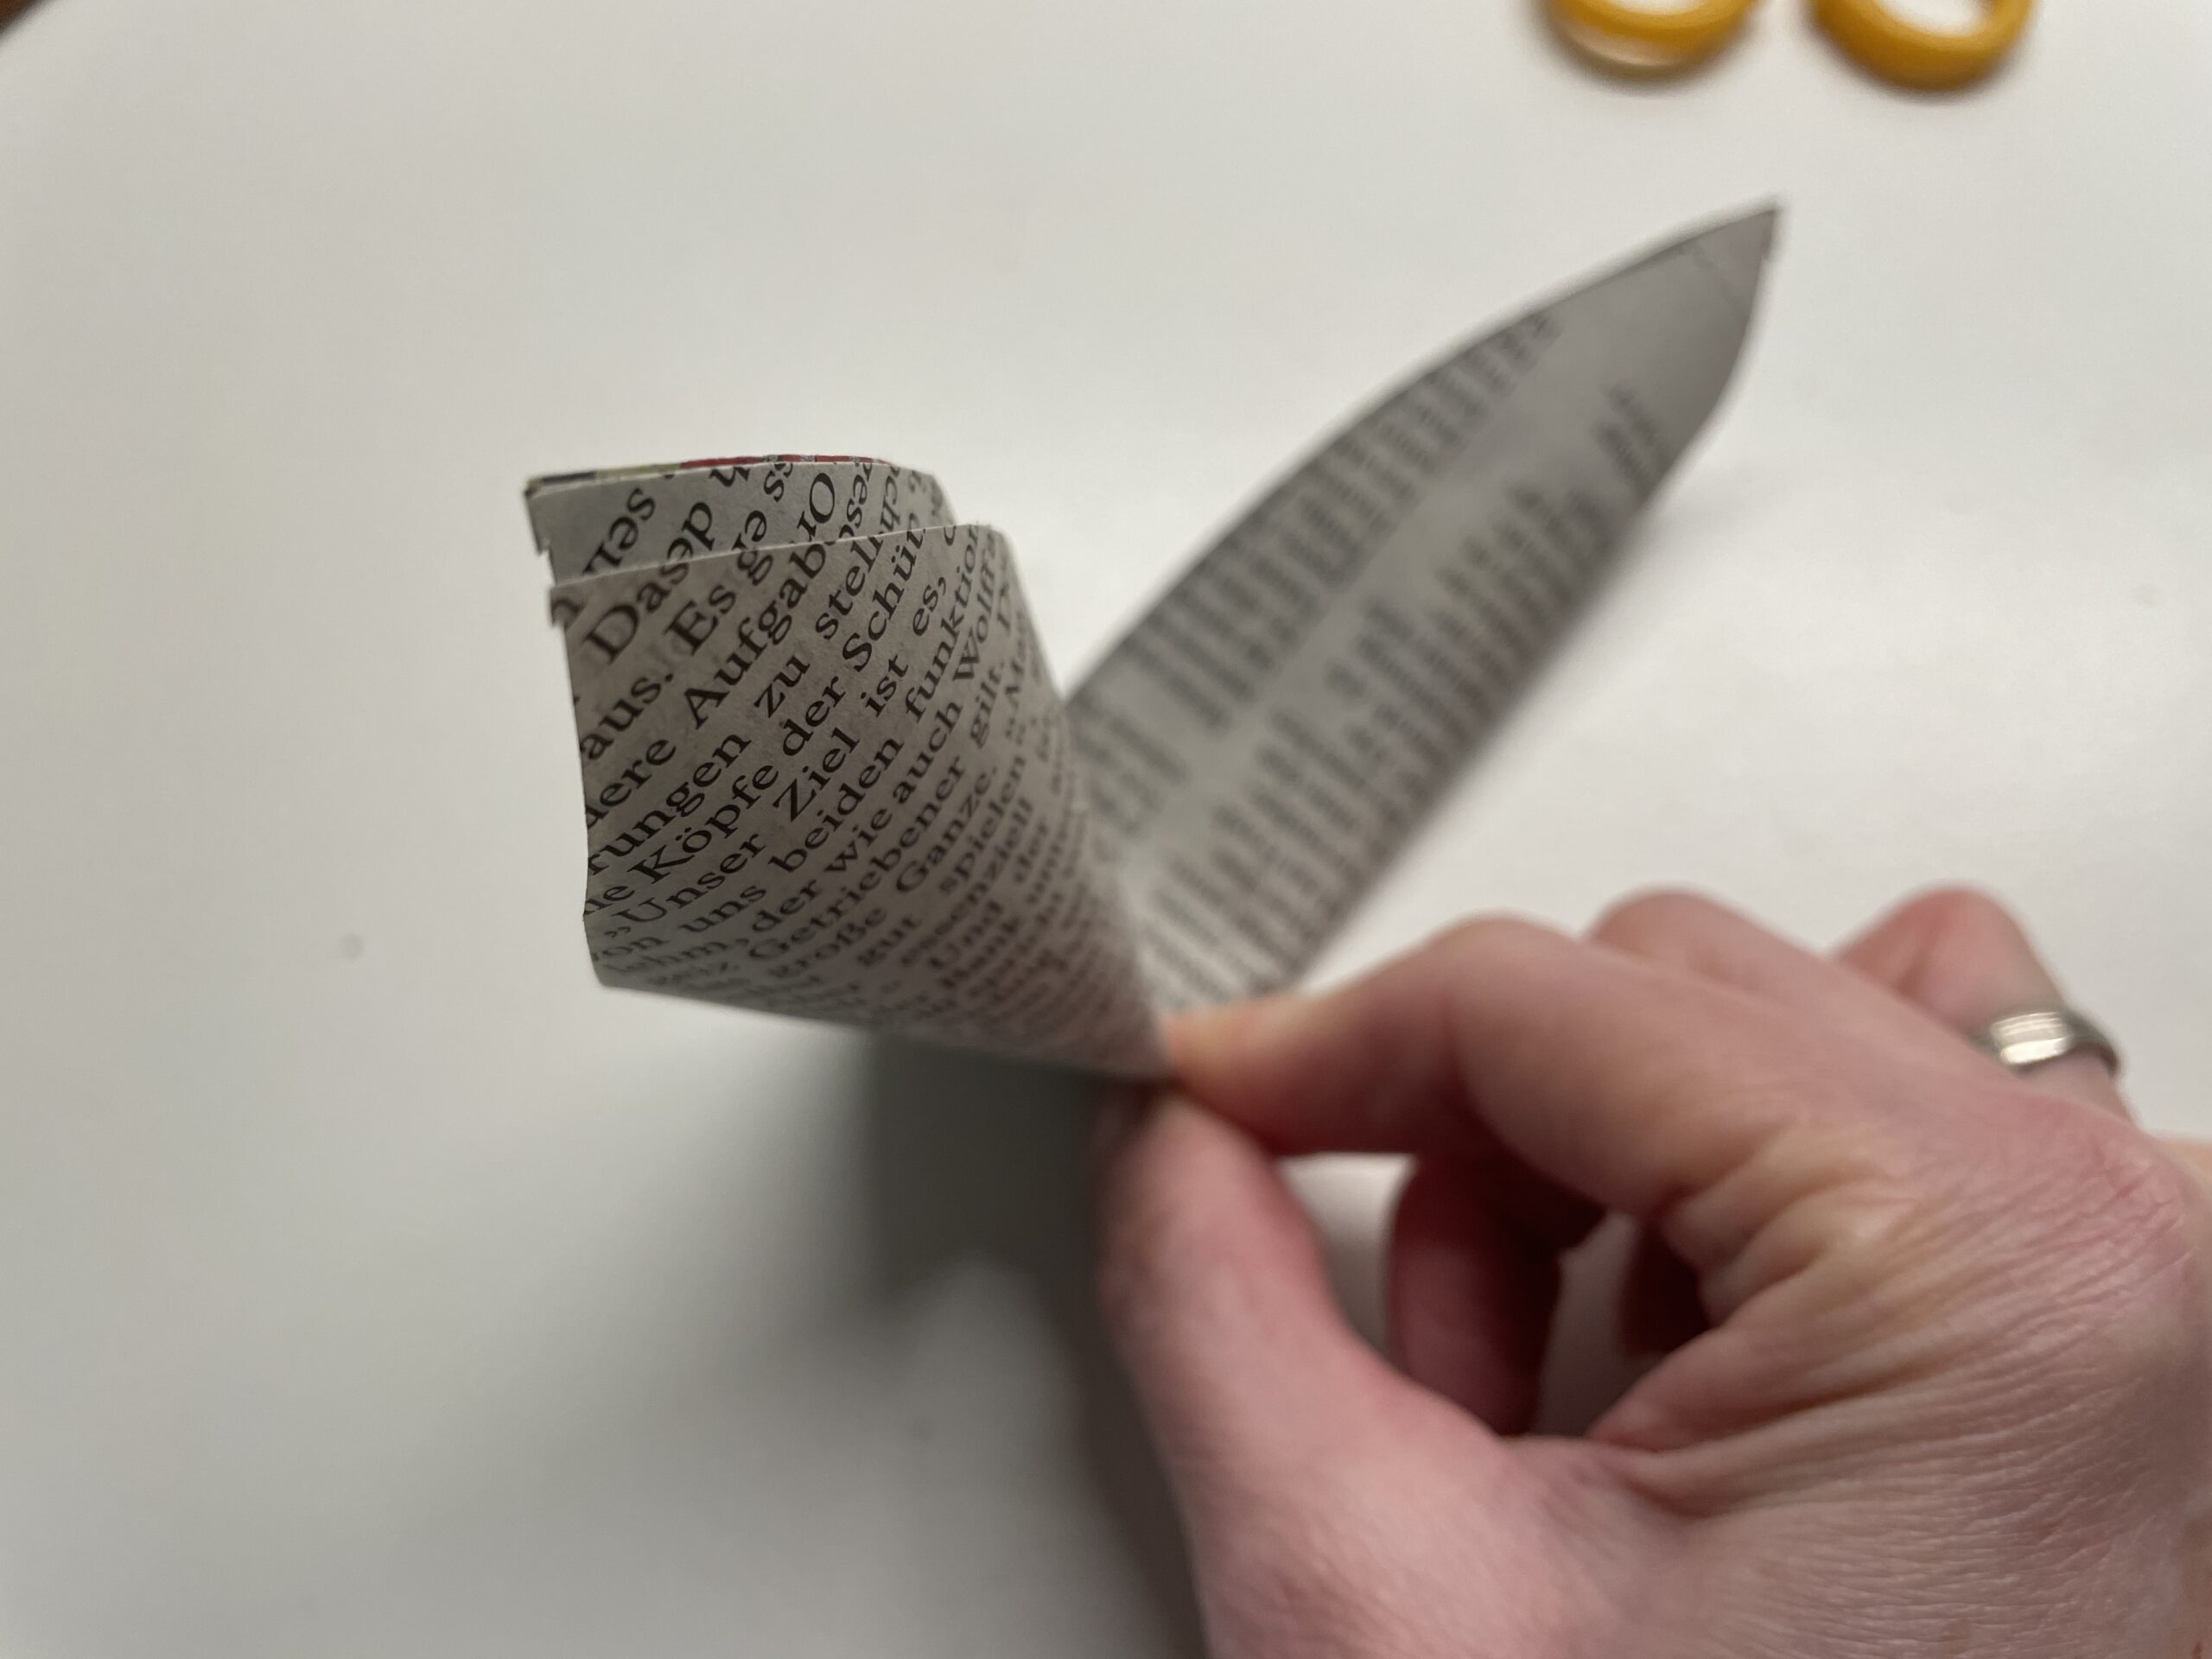
After that, the paper, which is already double lying, folds up to half more.
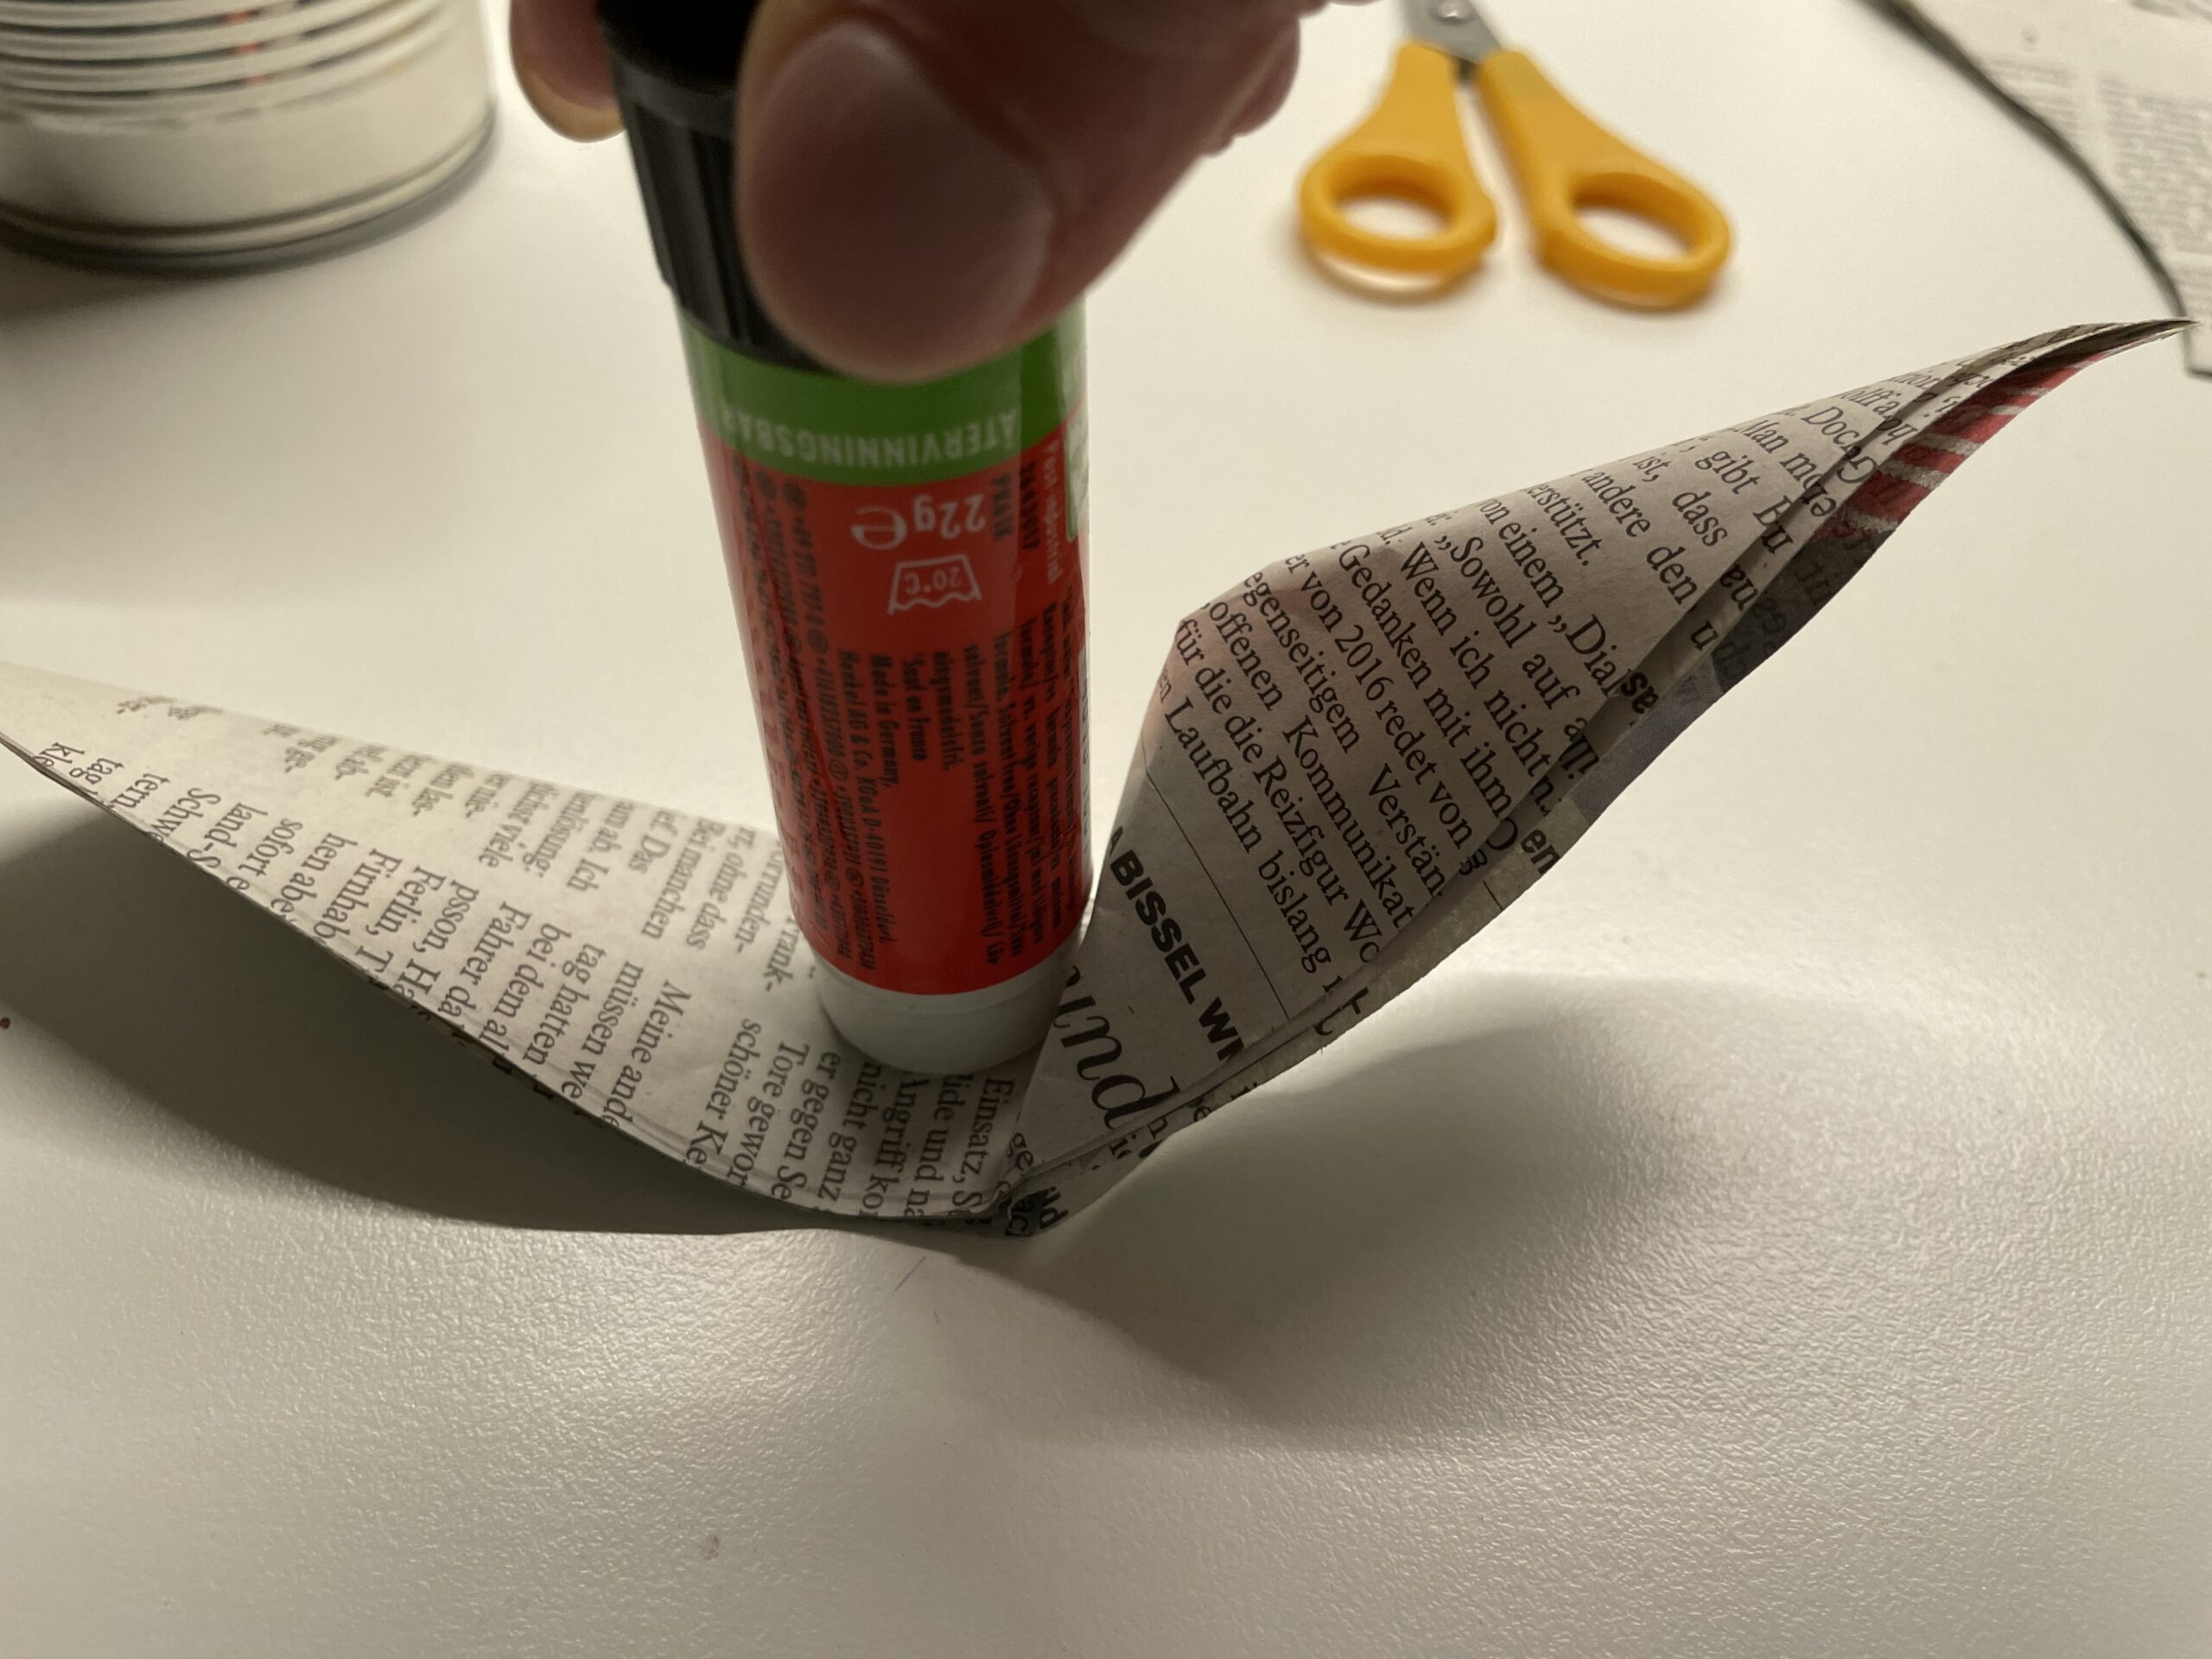
The newspaper is now 4-ply on each other. Now you stick all sides together with a glue pen.
The paper is now very stable.
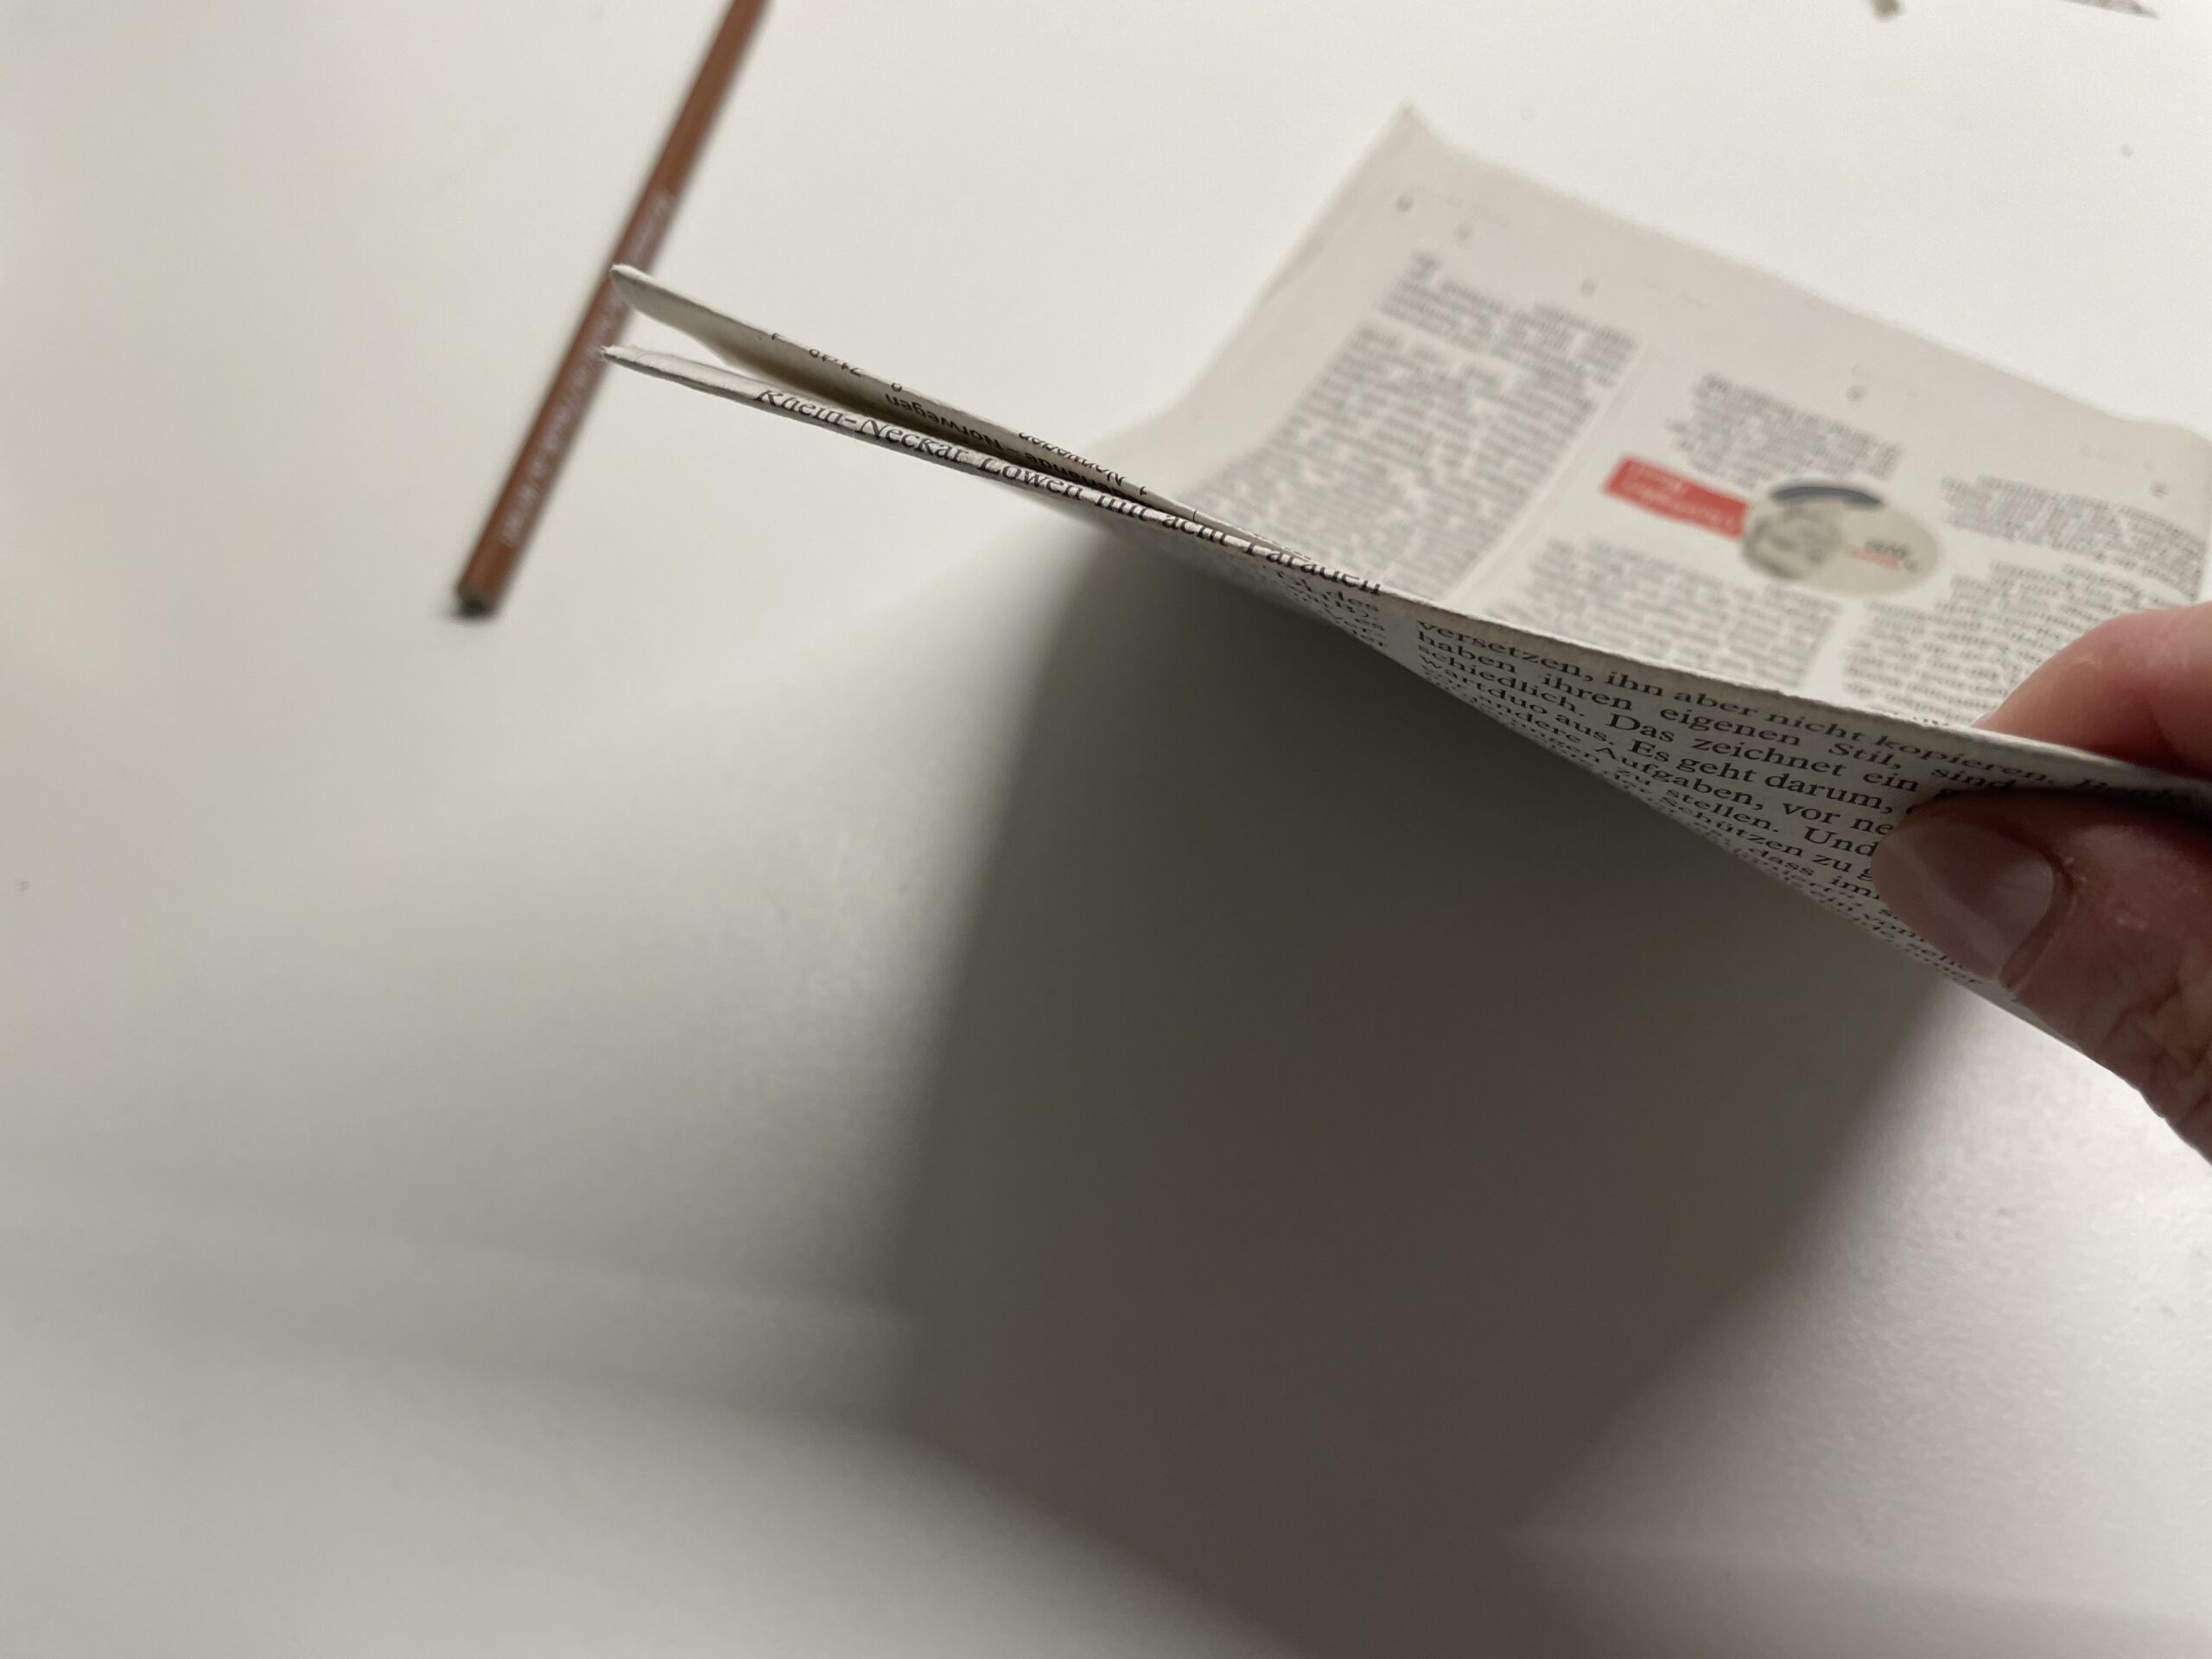
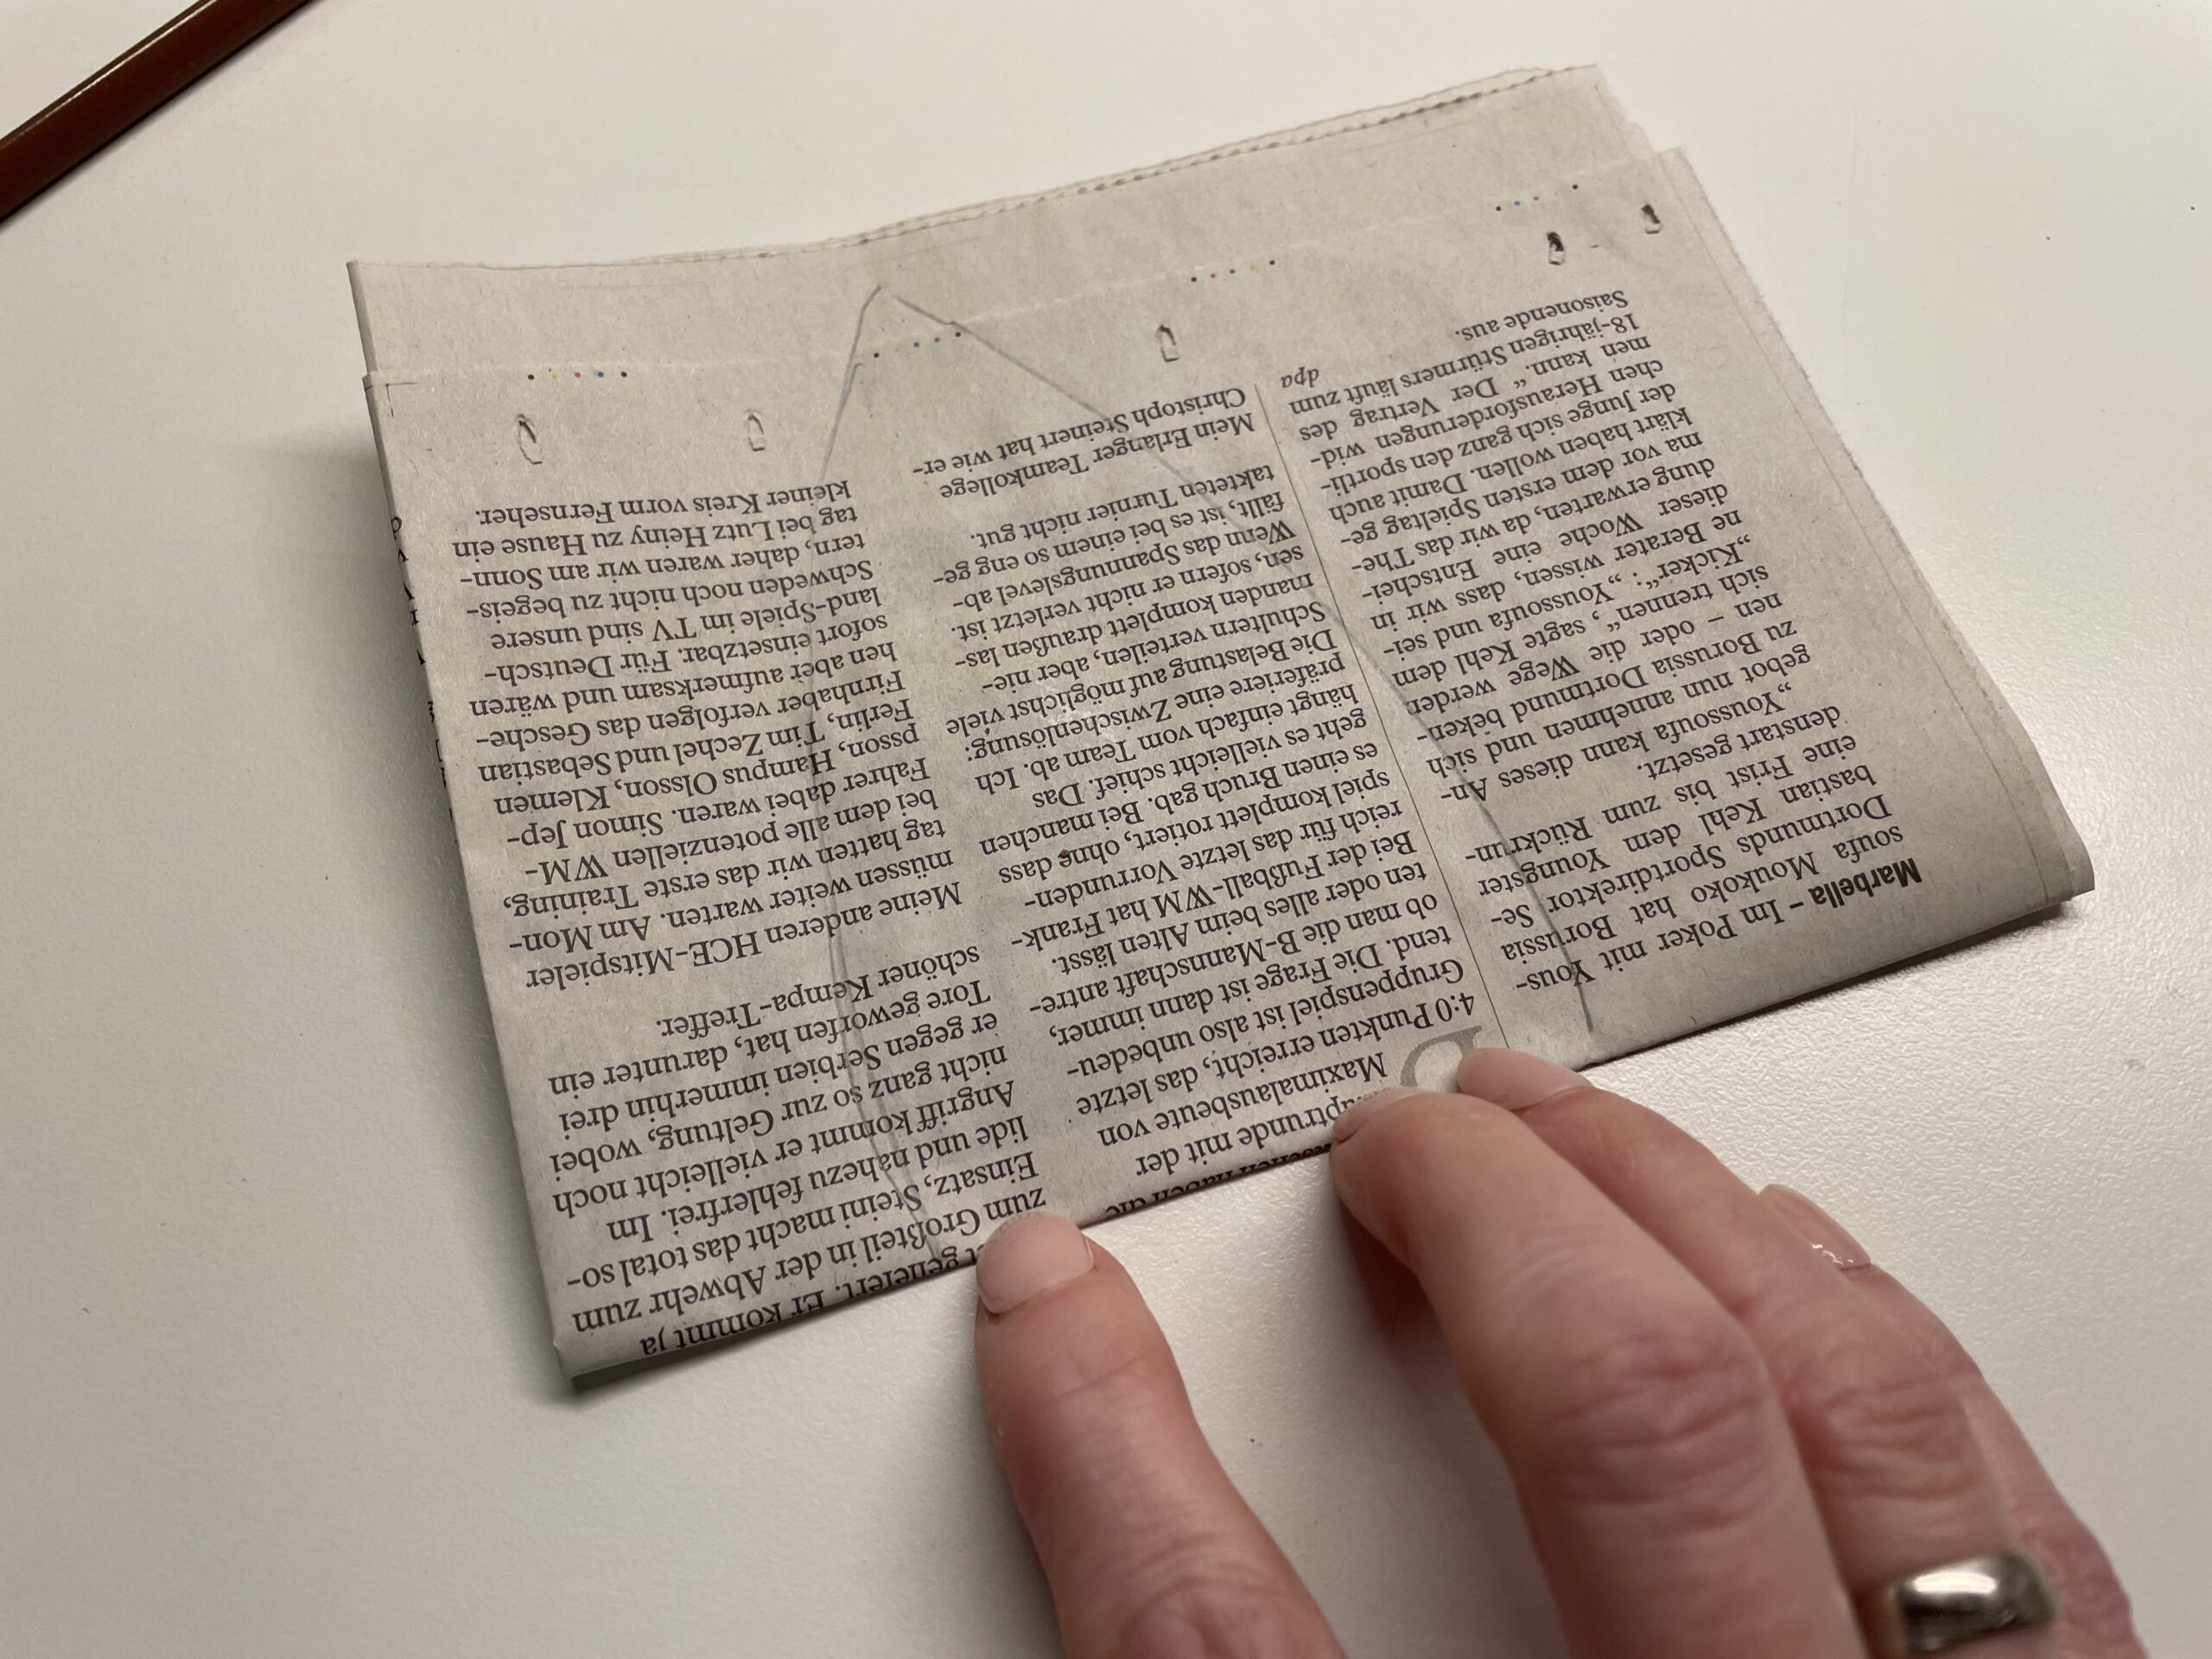
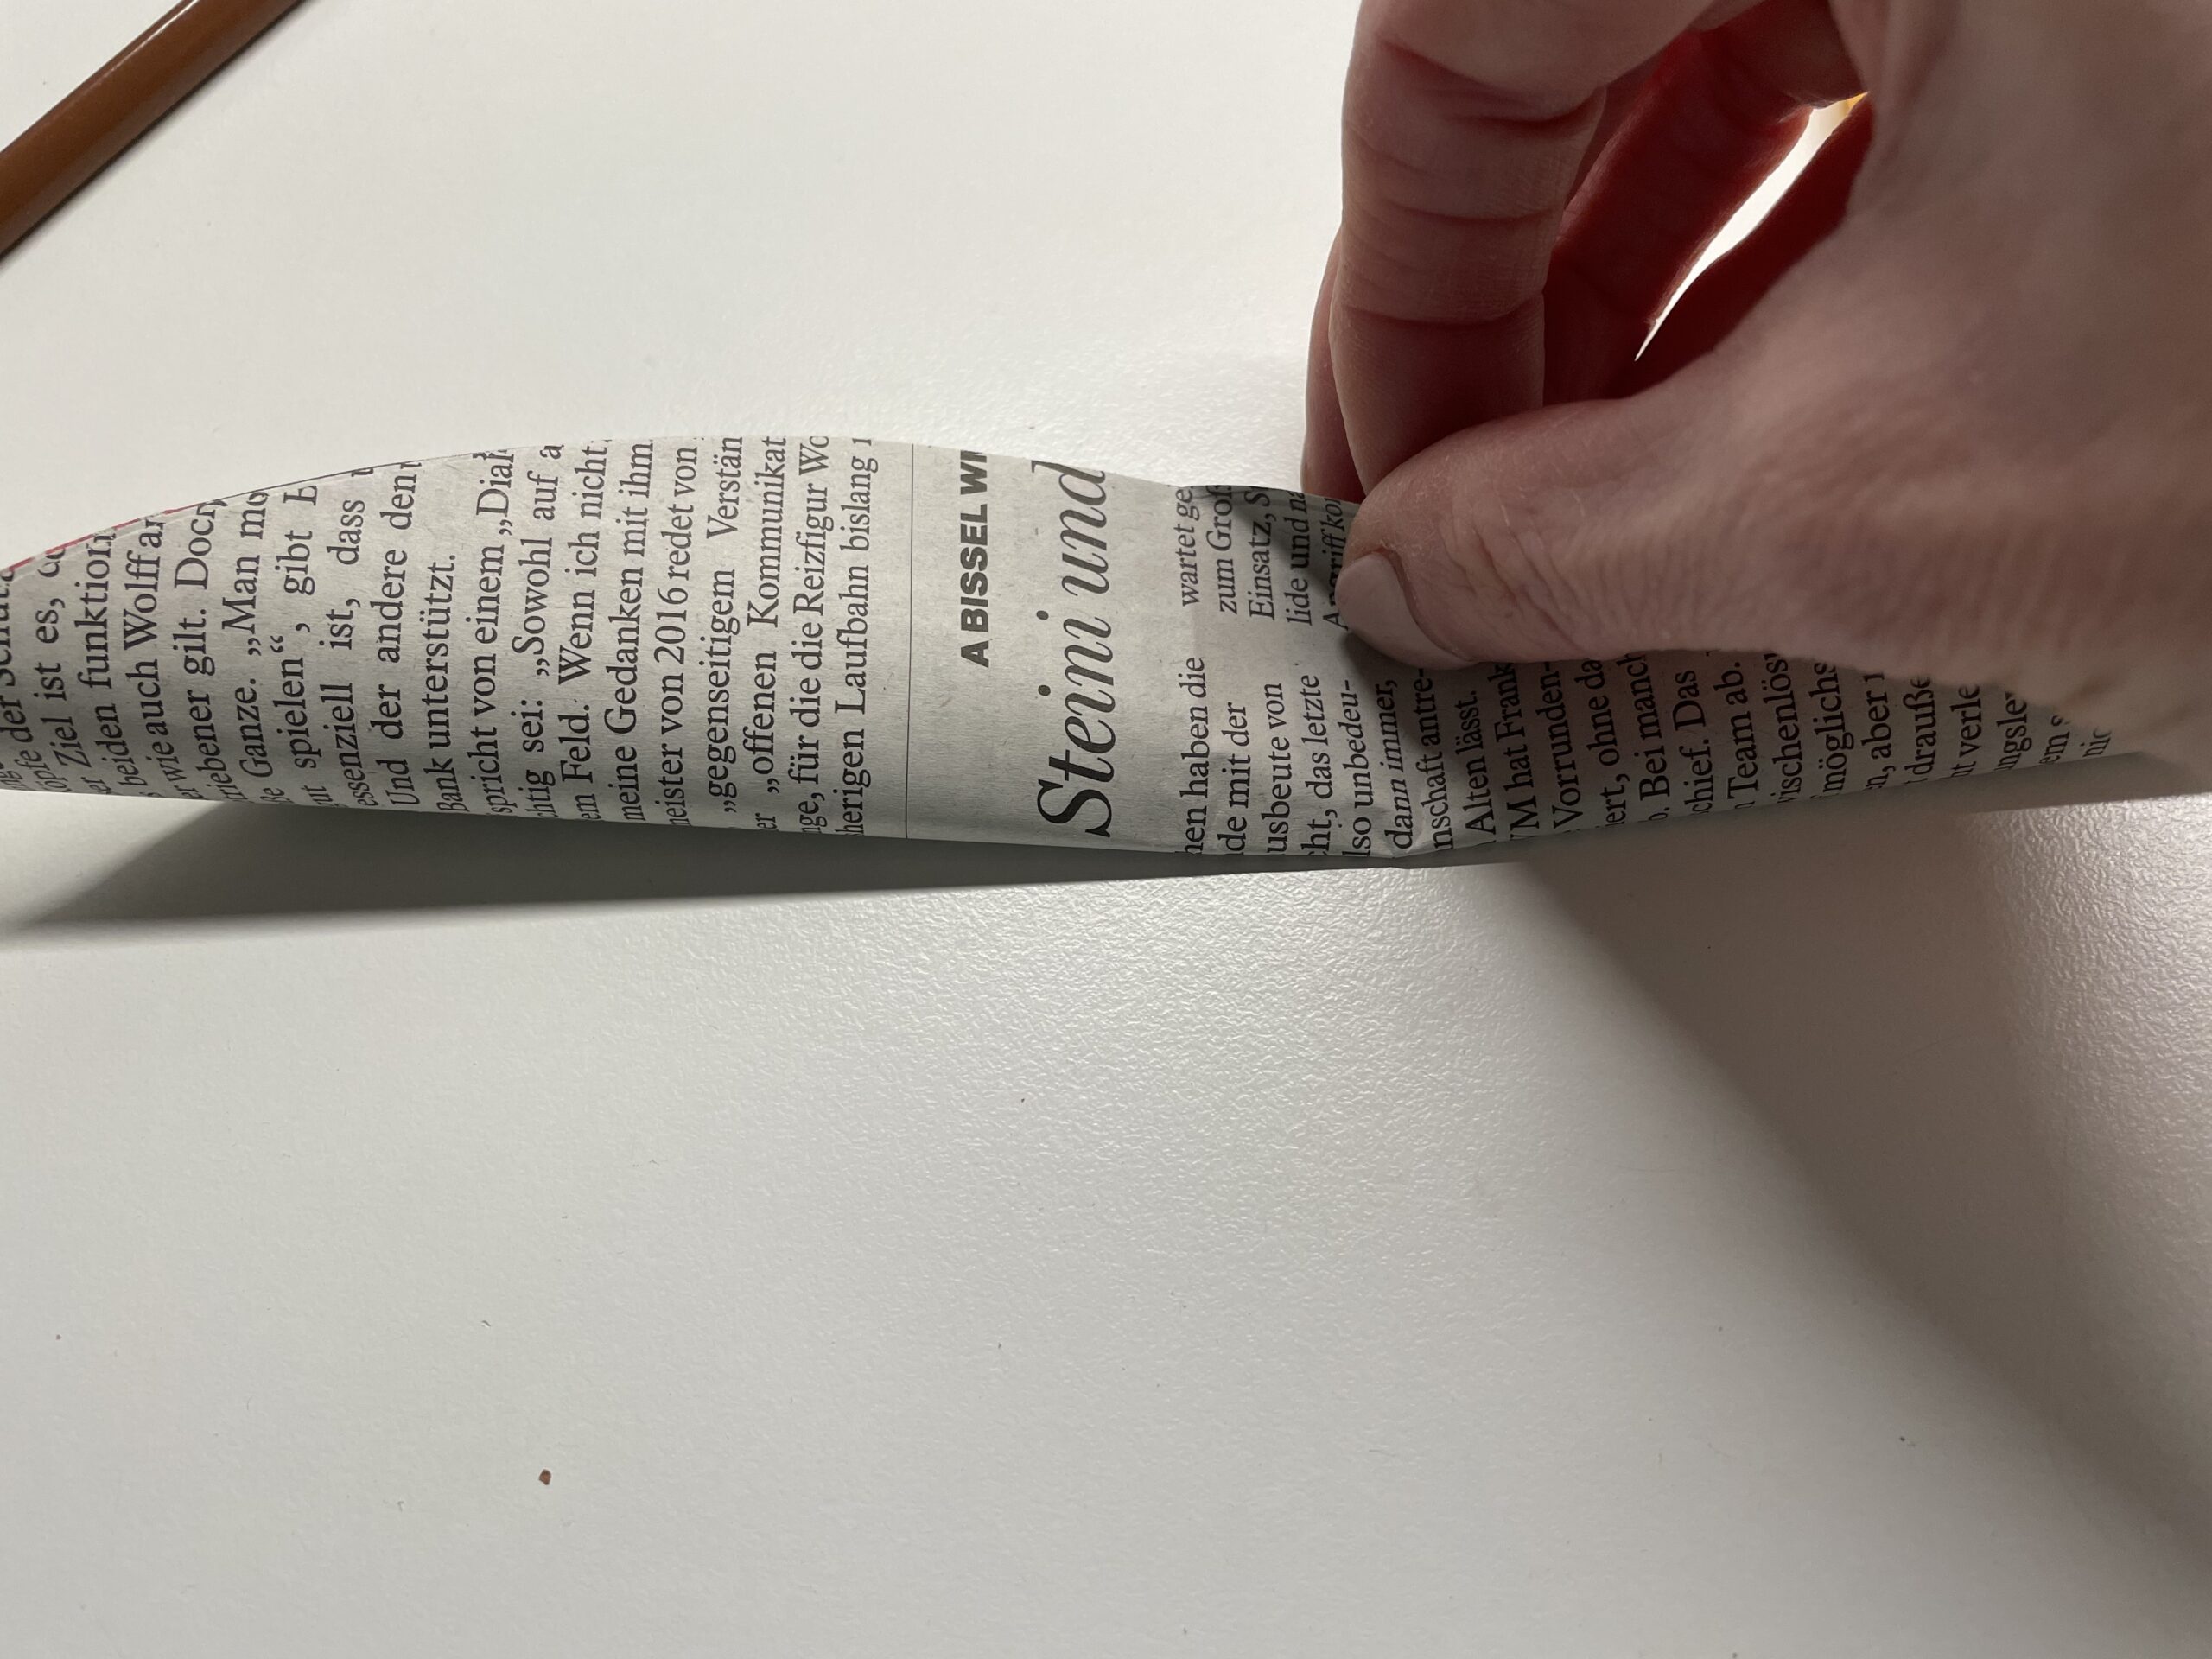
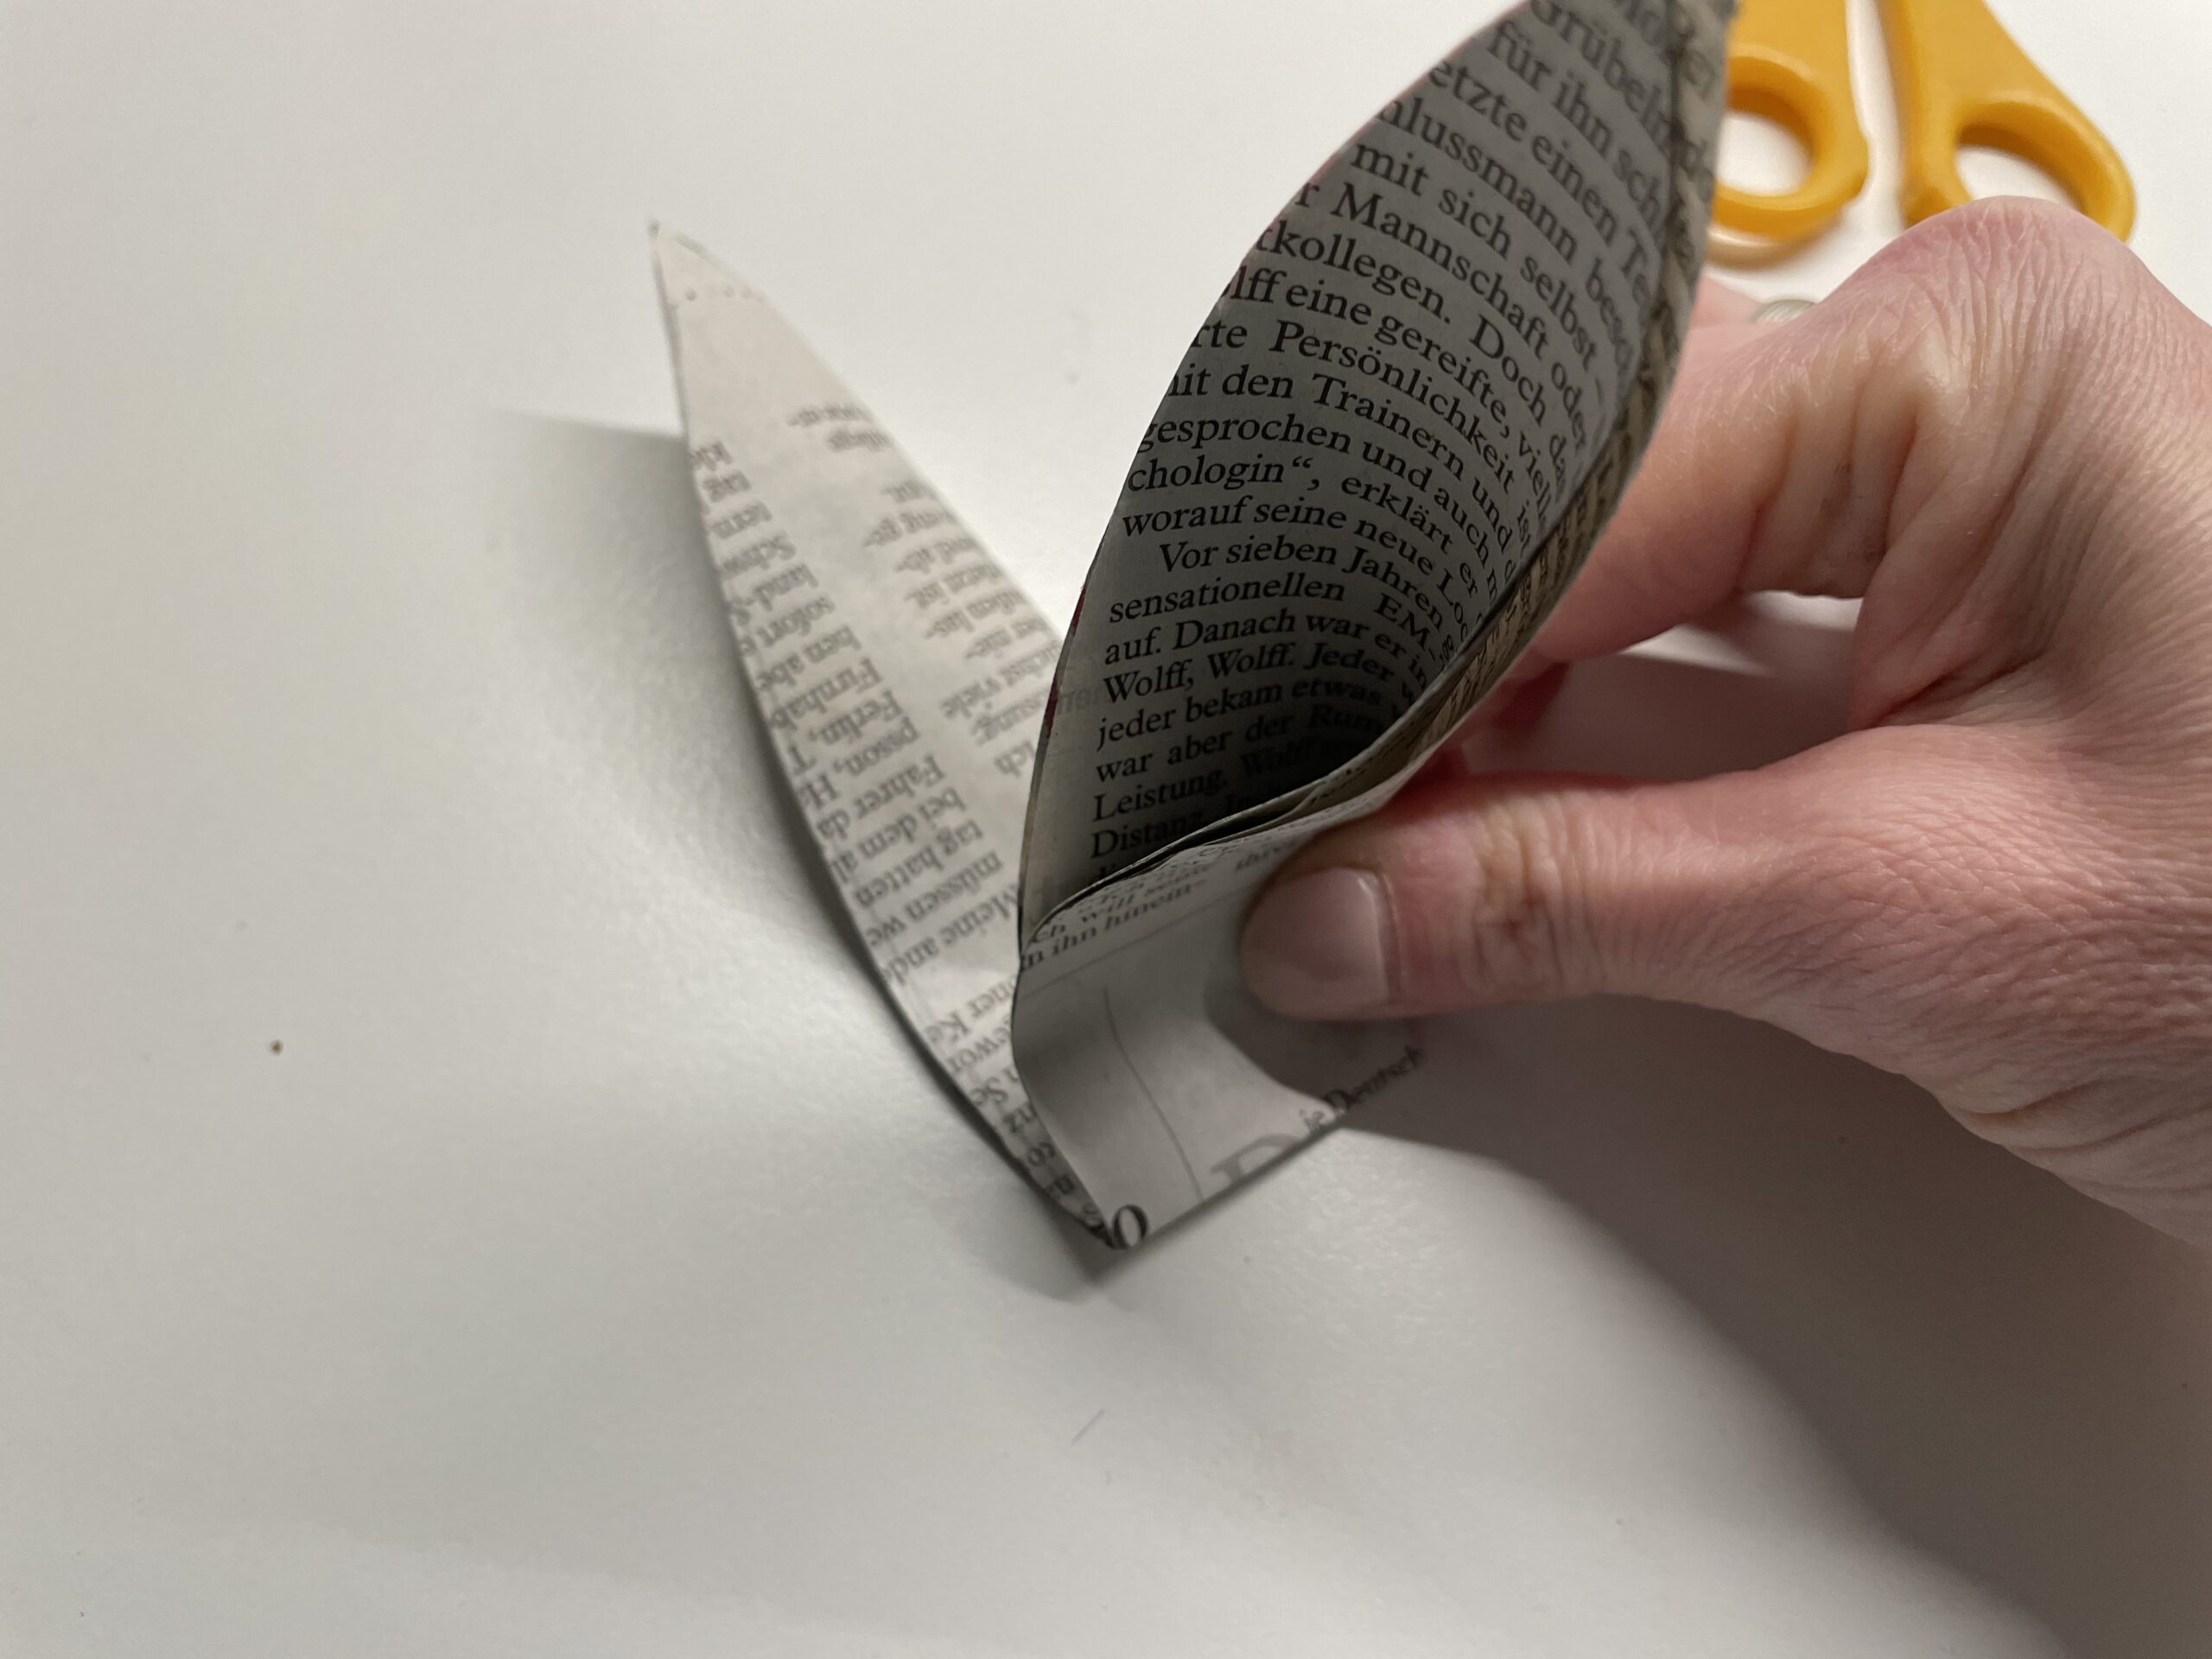
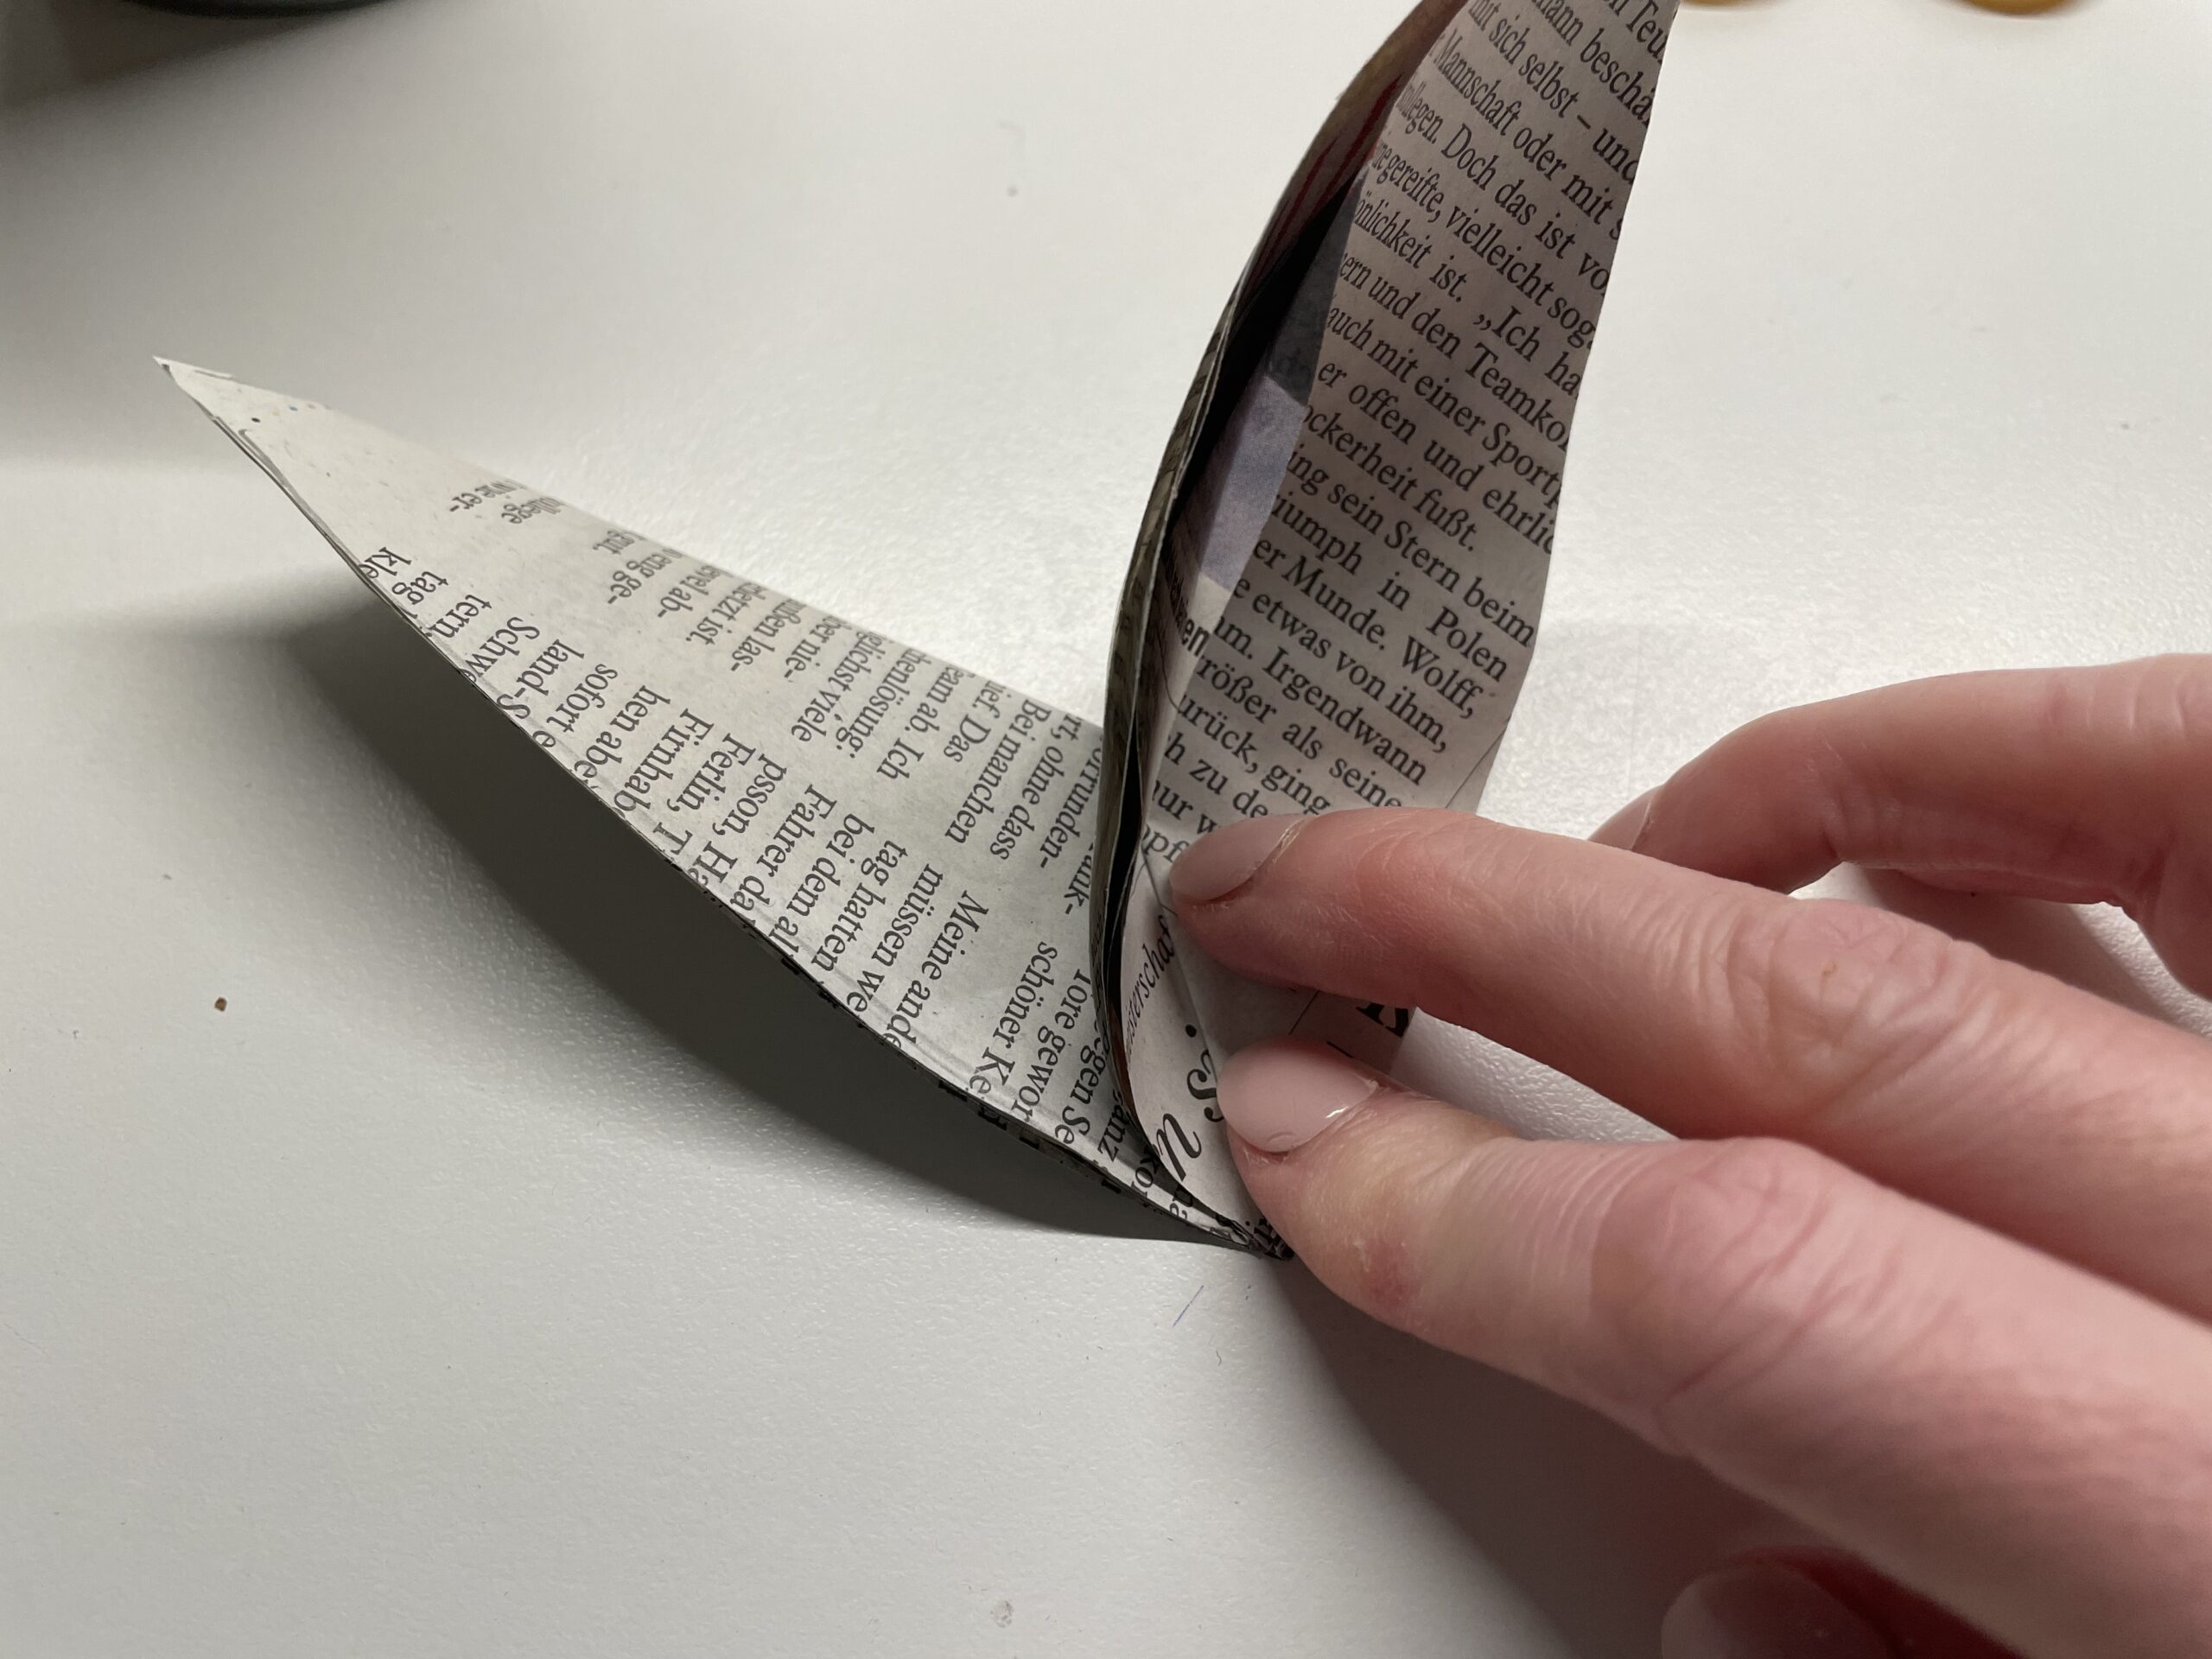
Now you're half-folding the paper again. This time you just fold it and don't stick it together.
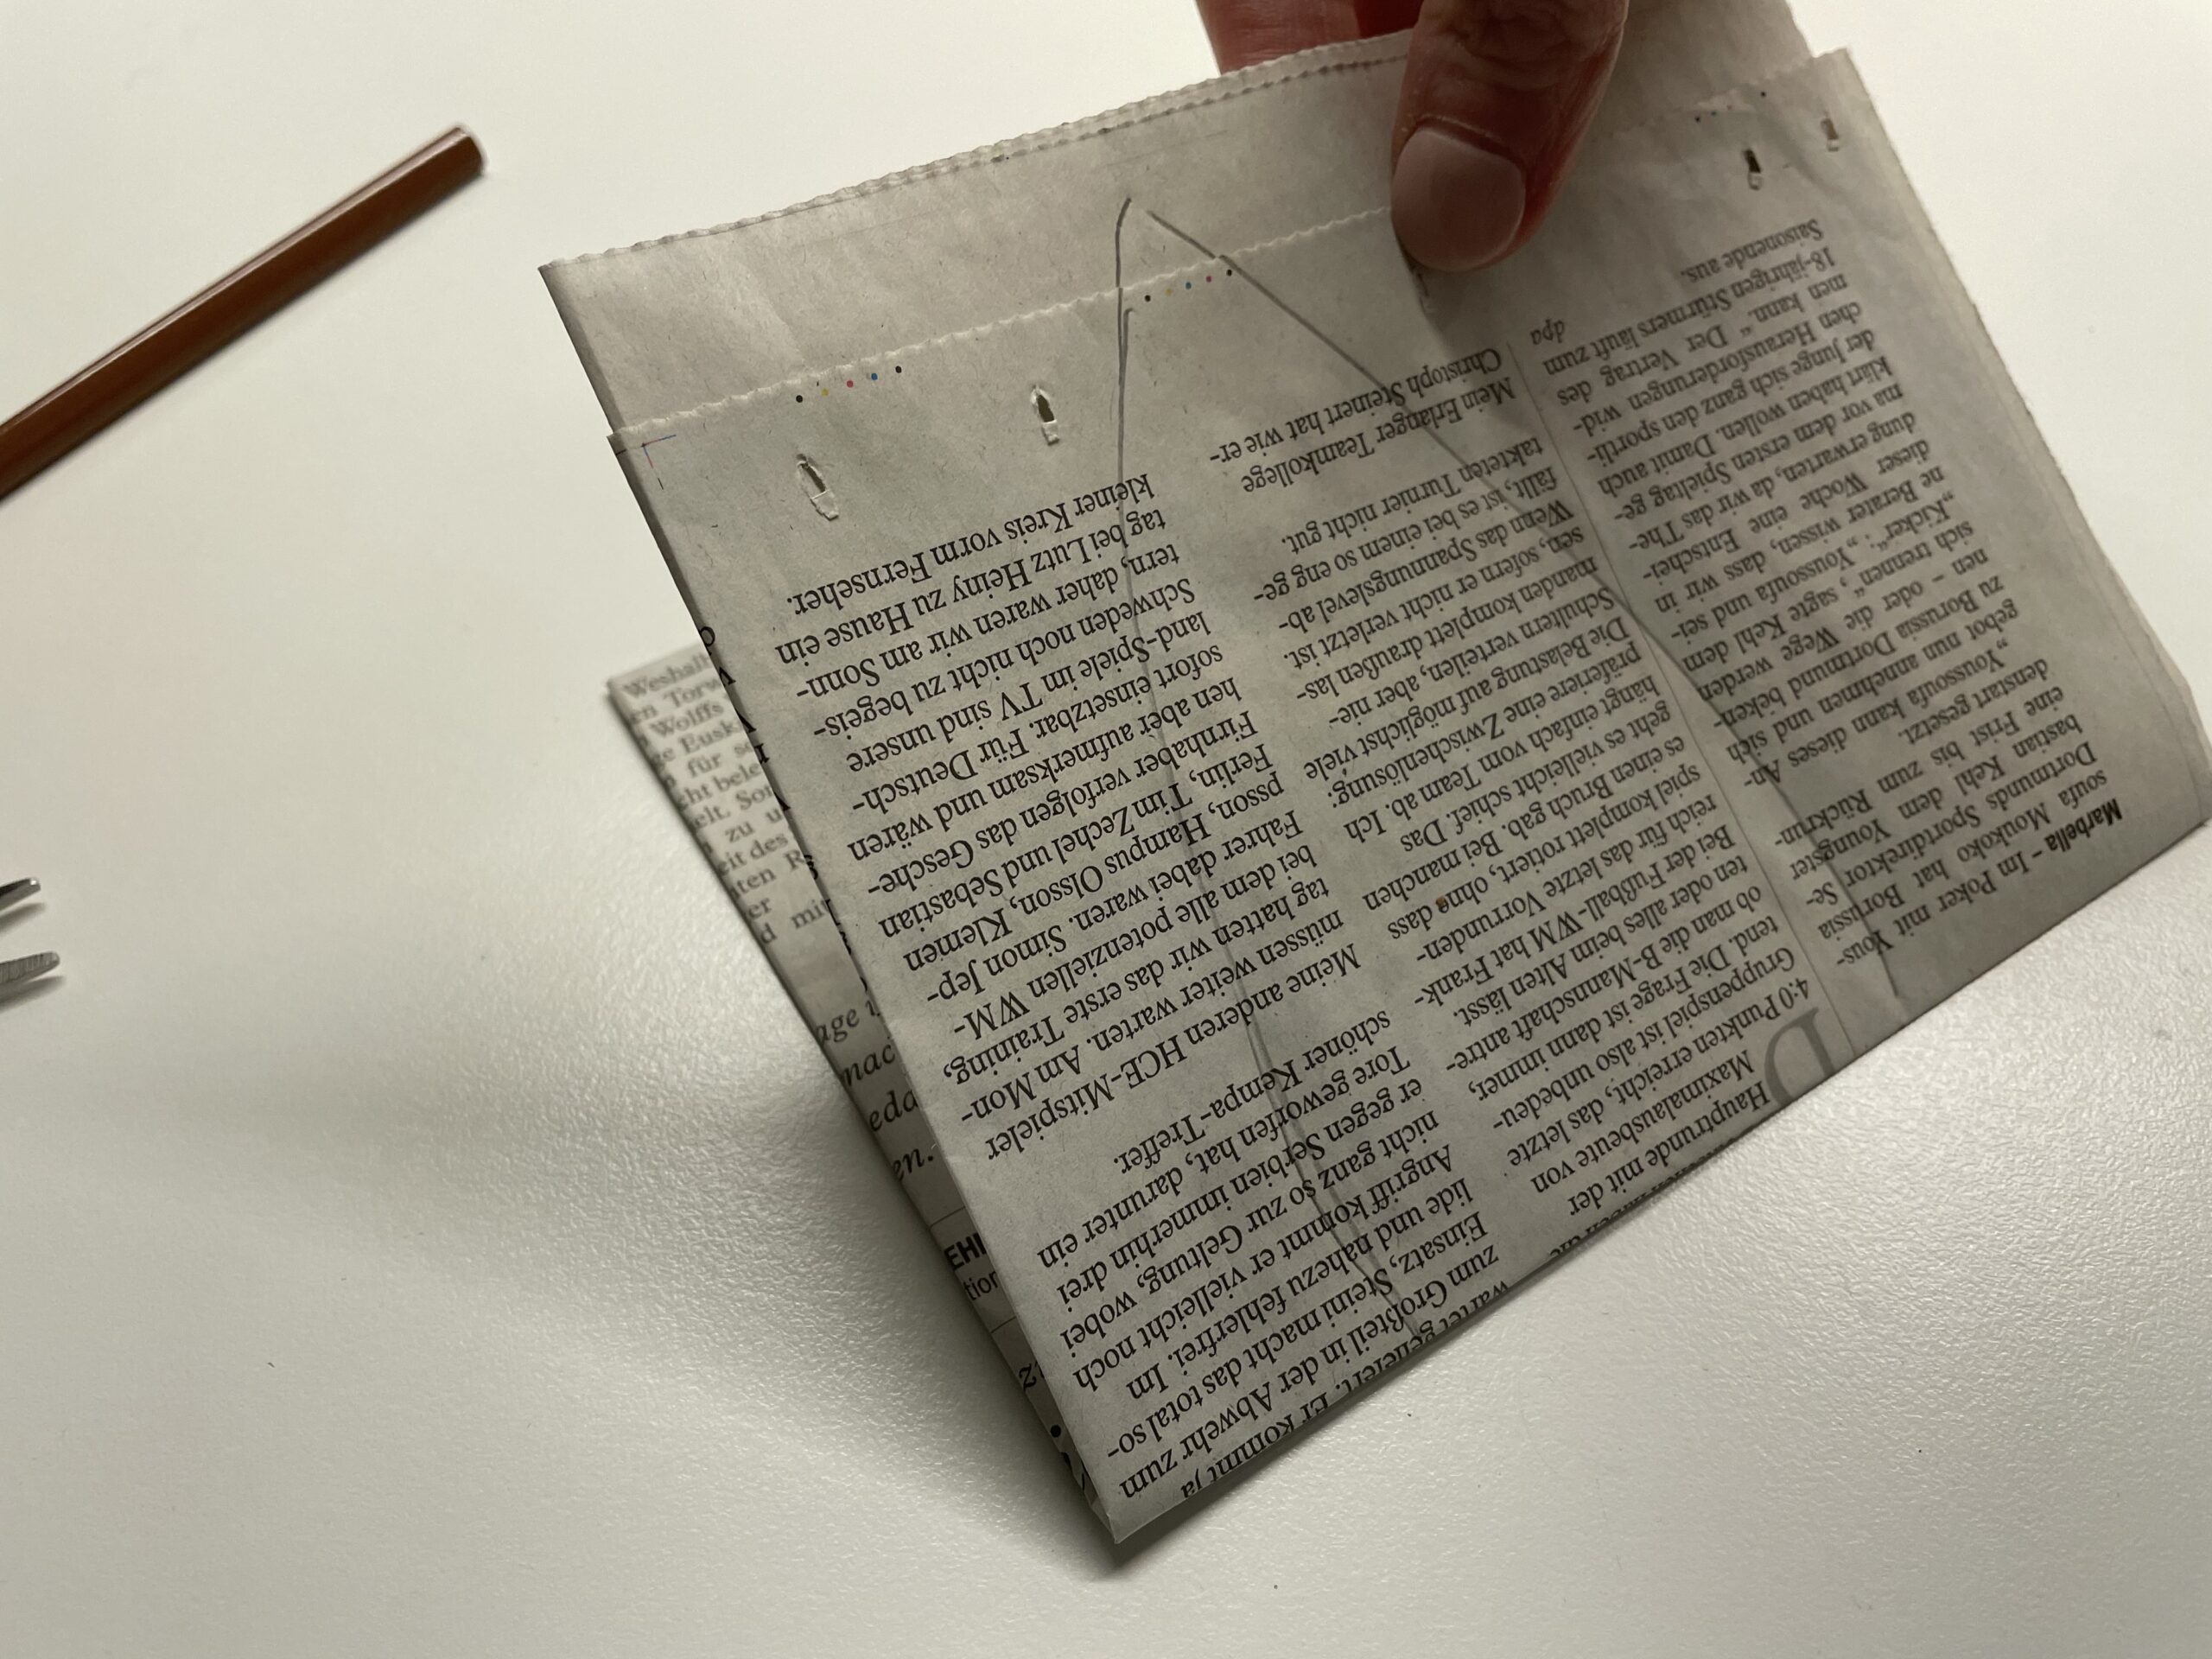
Then draw a hare ear on the folded leaf. Paint the ear from the folding line upwards. There it is pointed towards.
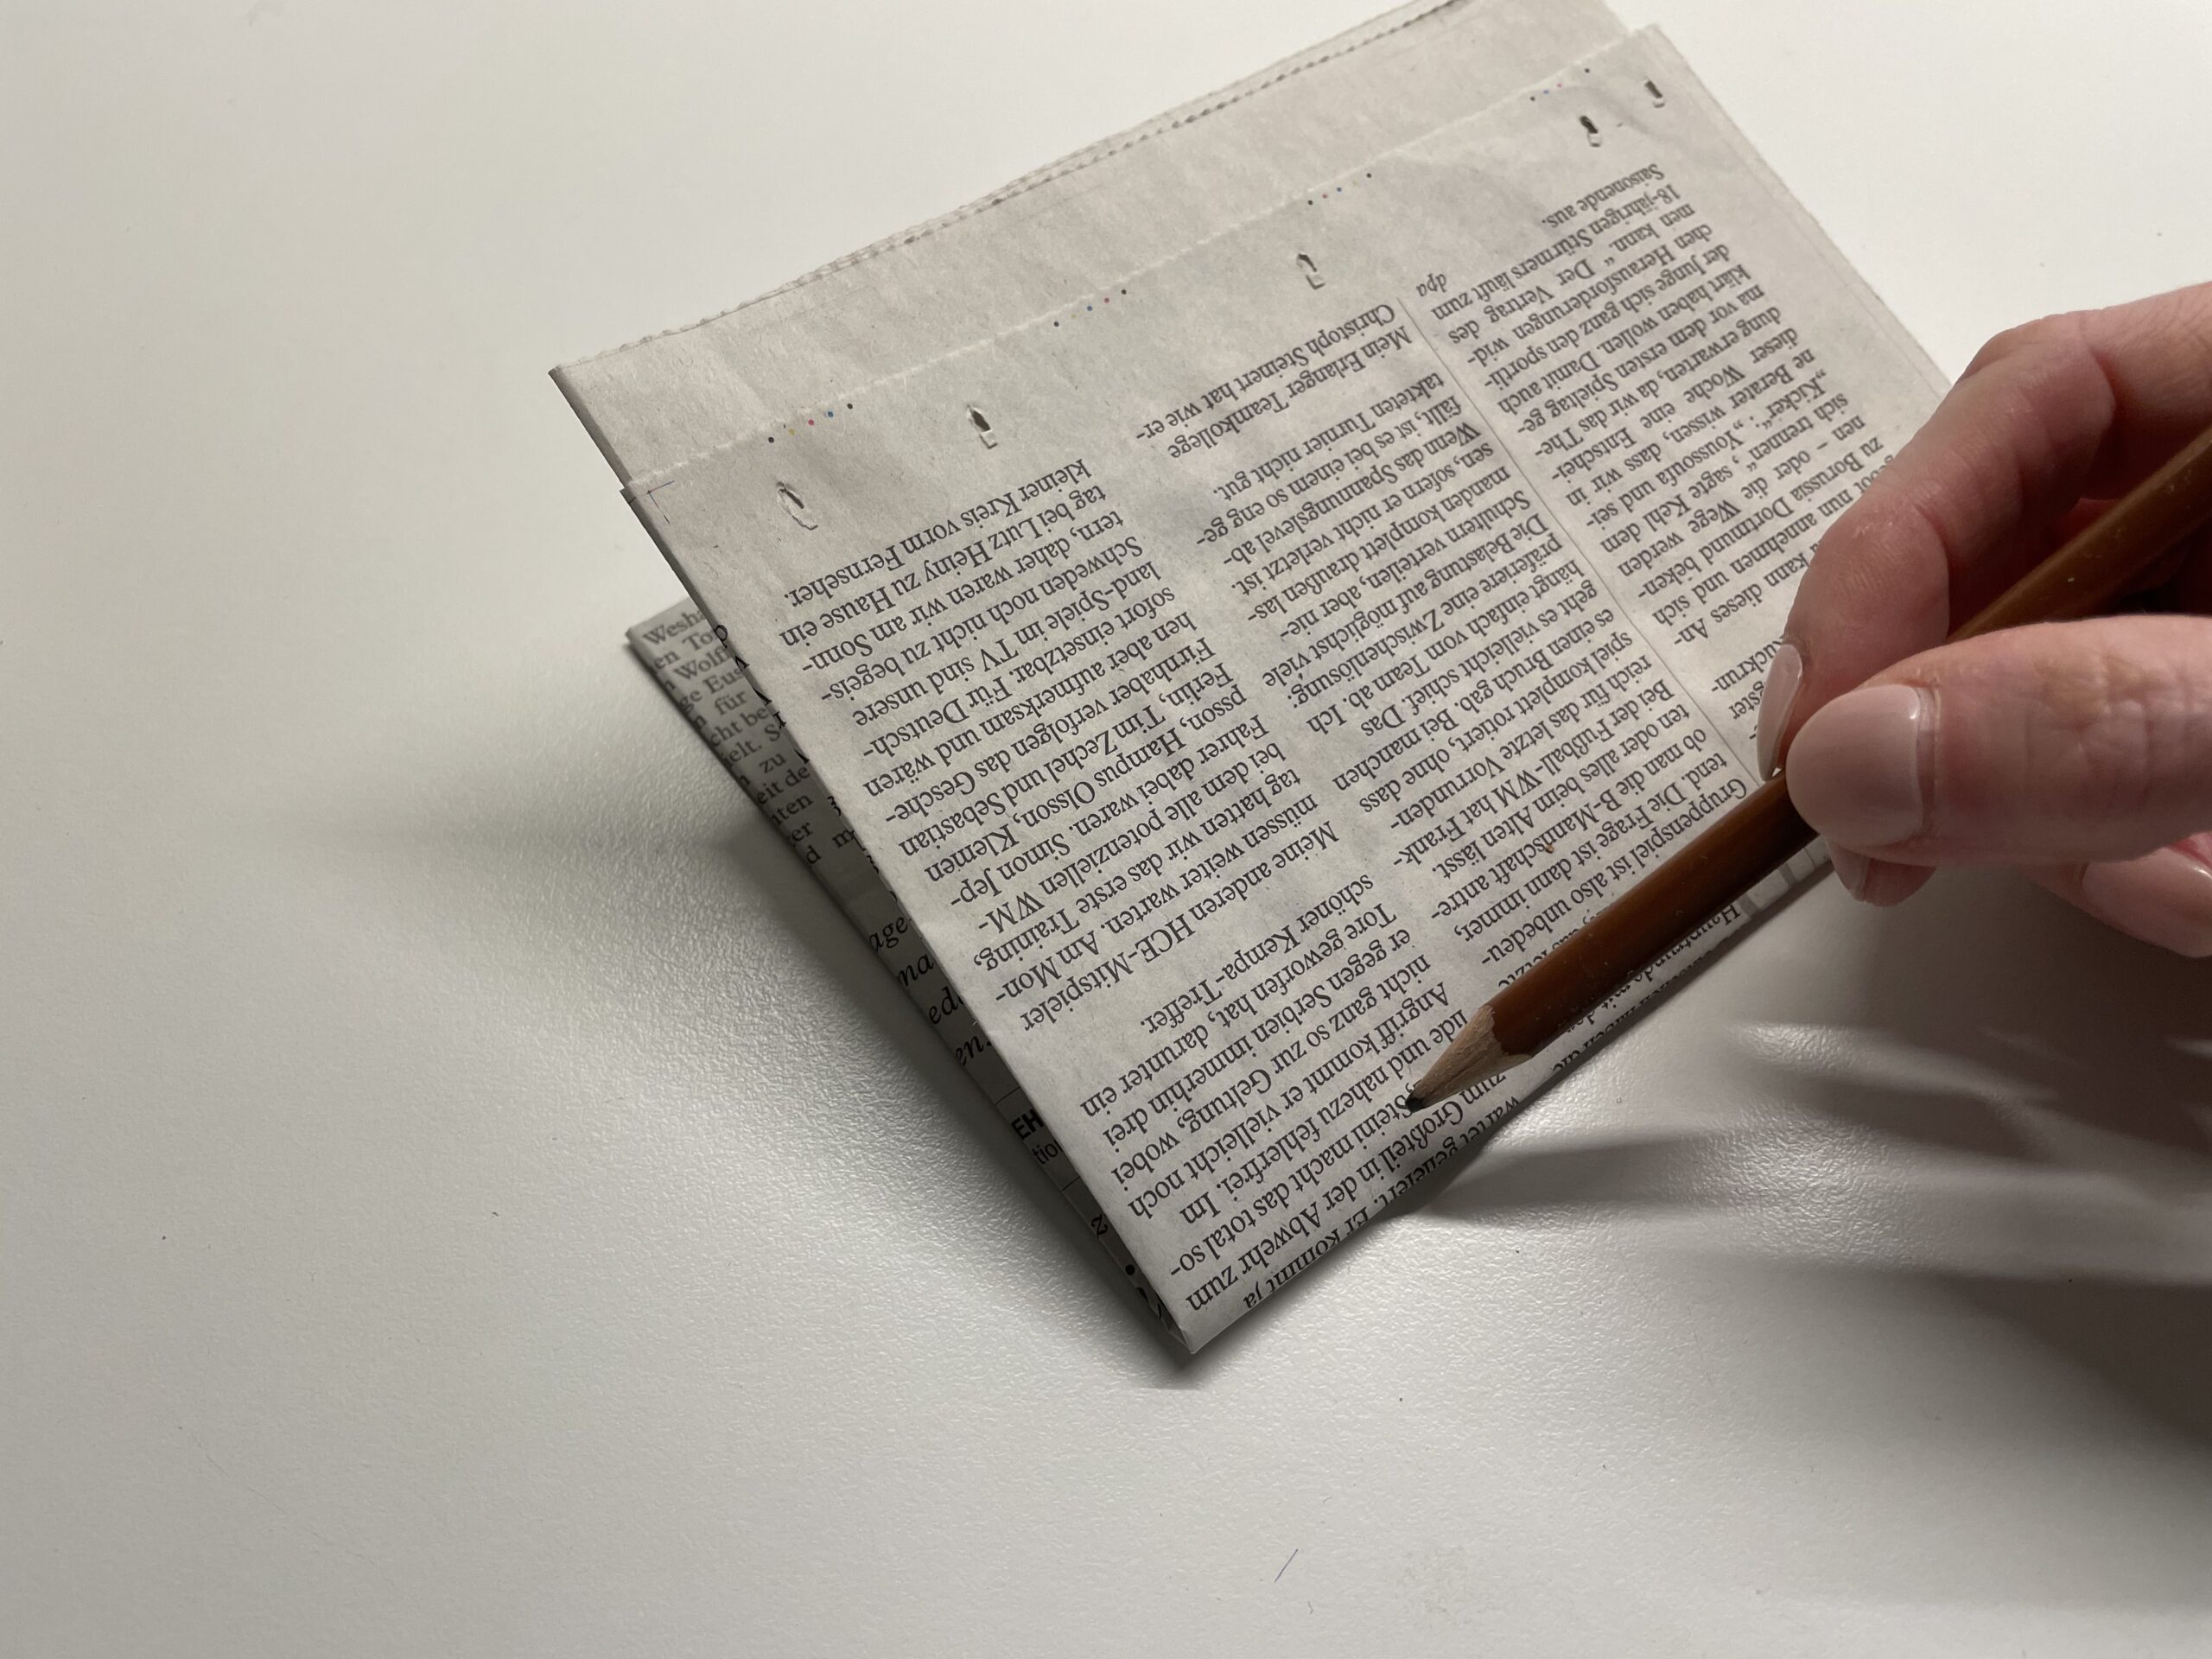
After that you drive down again and down it gets wider again.
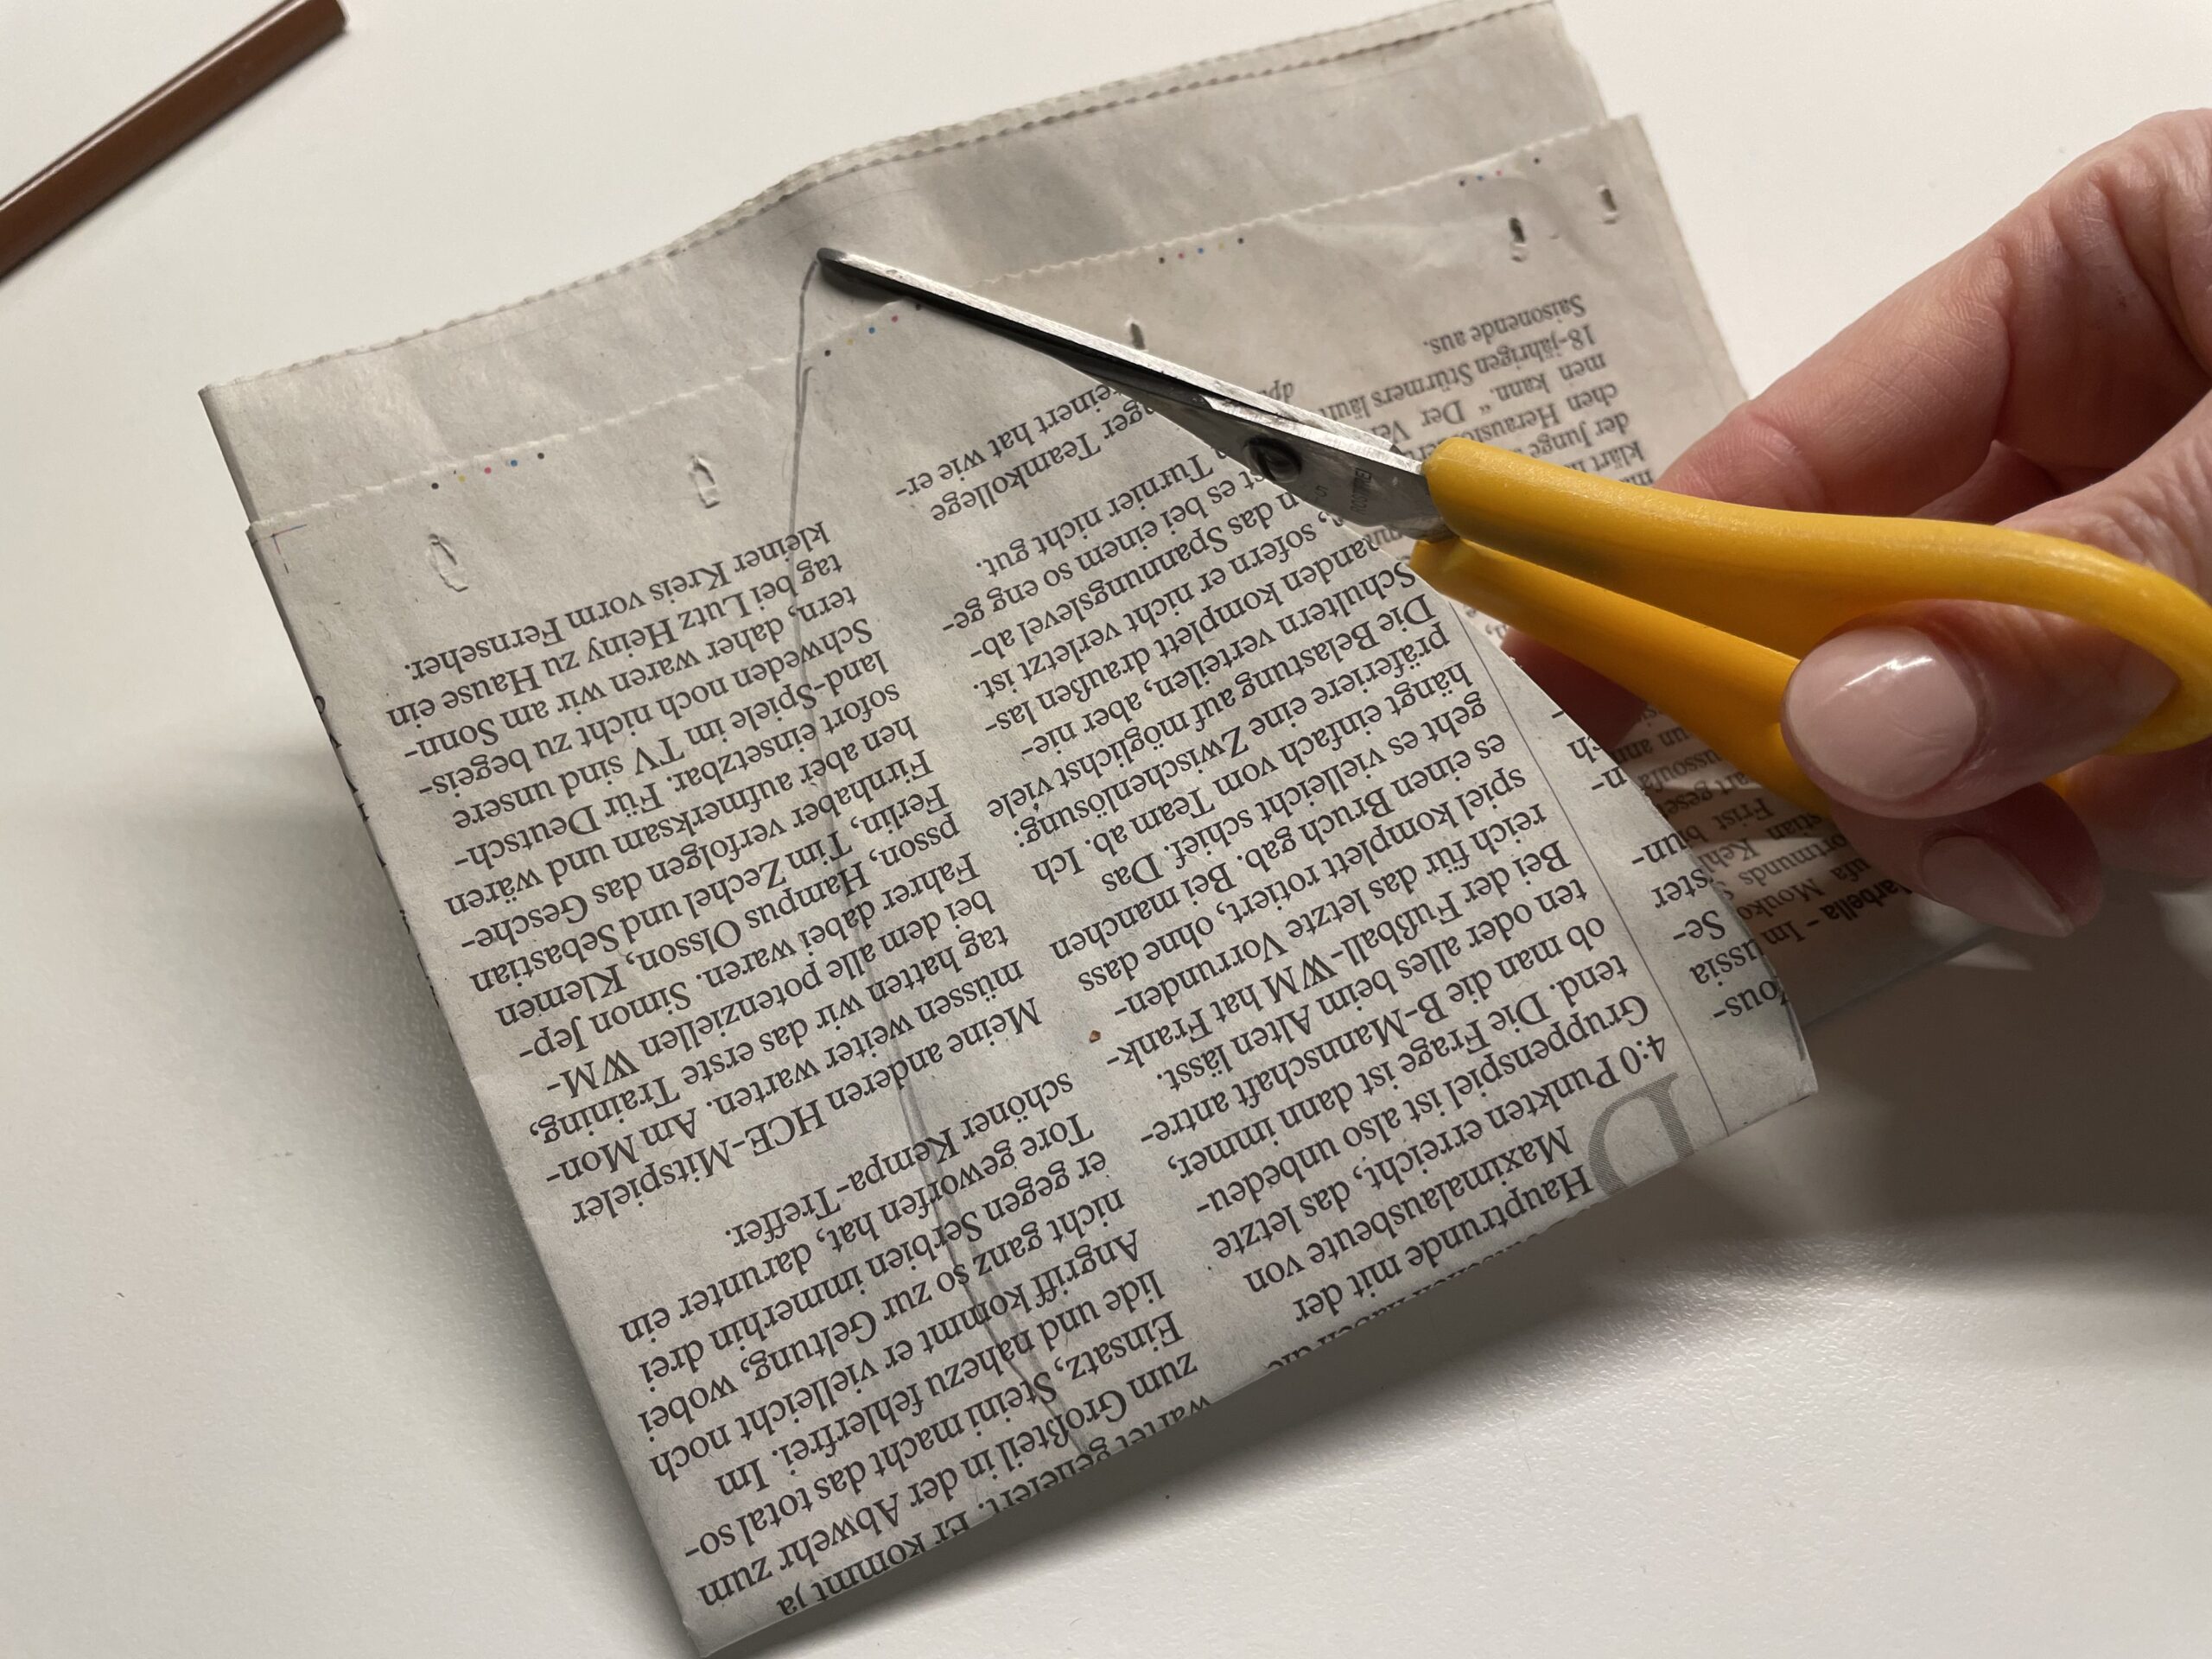
When the ear is finished, hold together the folded paper and cut out the ear twice lying down.
At the bottom of the ear (the folding edge) do not cut the paper apart.
That's what the cut-out ears look like now.
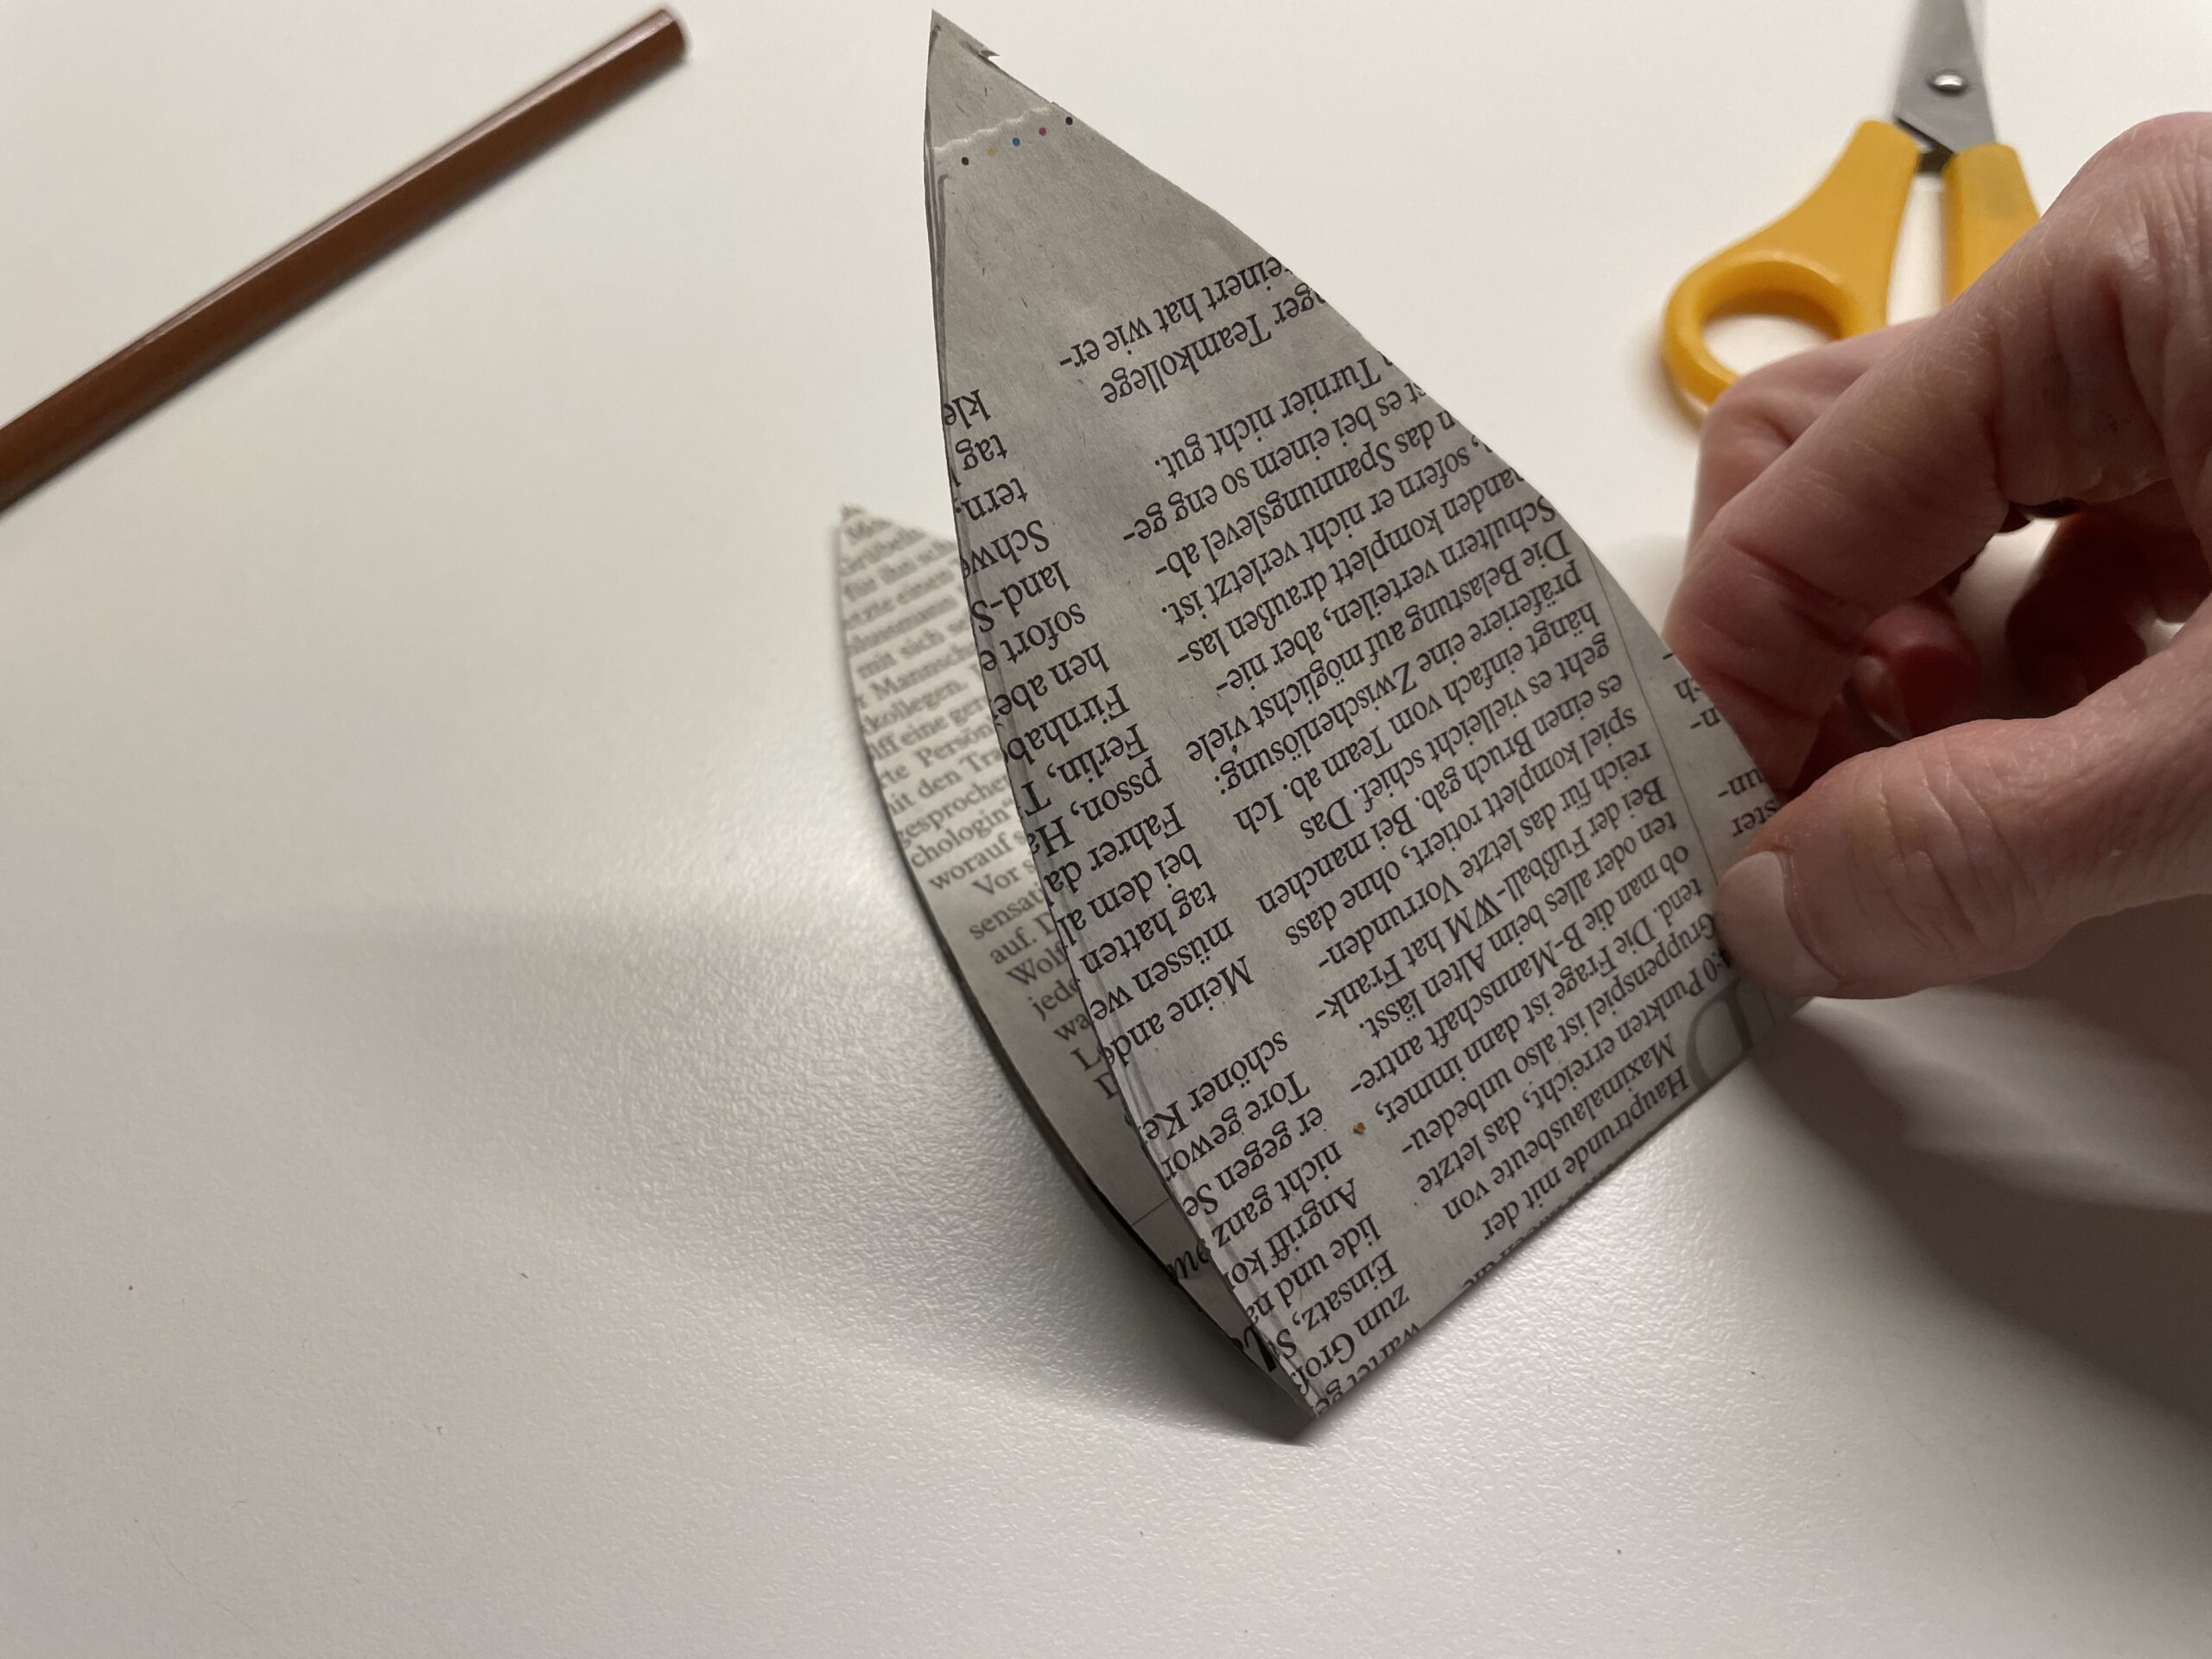
After that, you'll fold your ears apart.
Now fold your ears in length.
Keep the paper only knotted in the middle.
Then you'll get the rabbit ears together again.
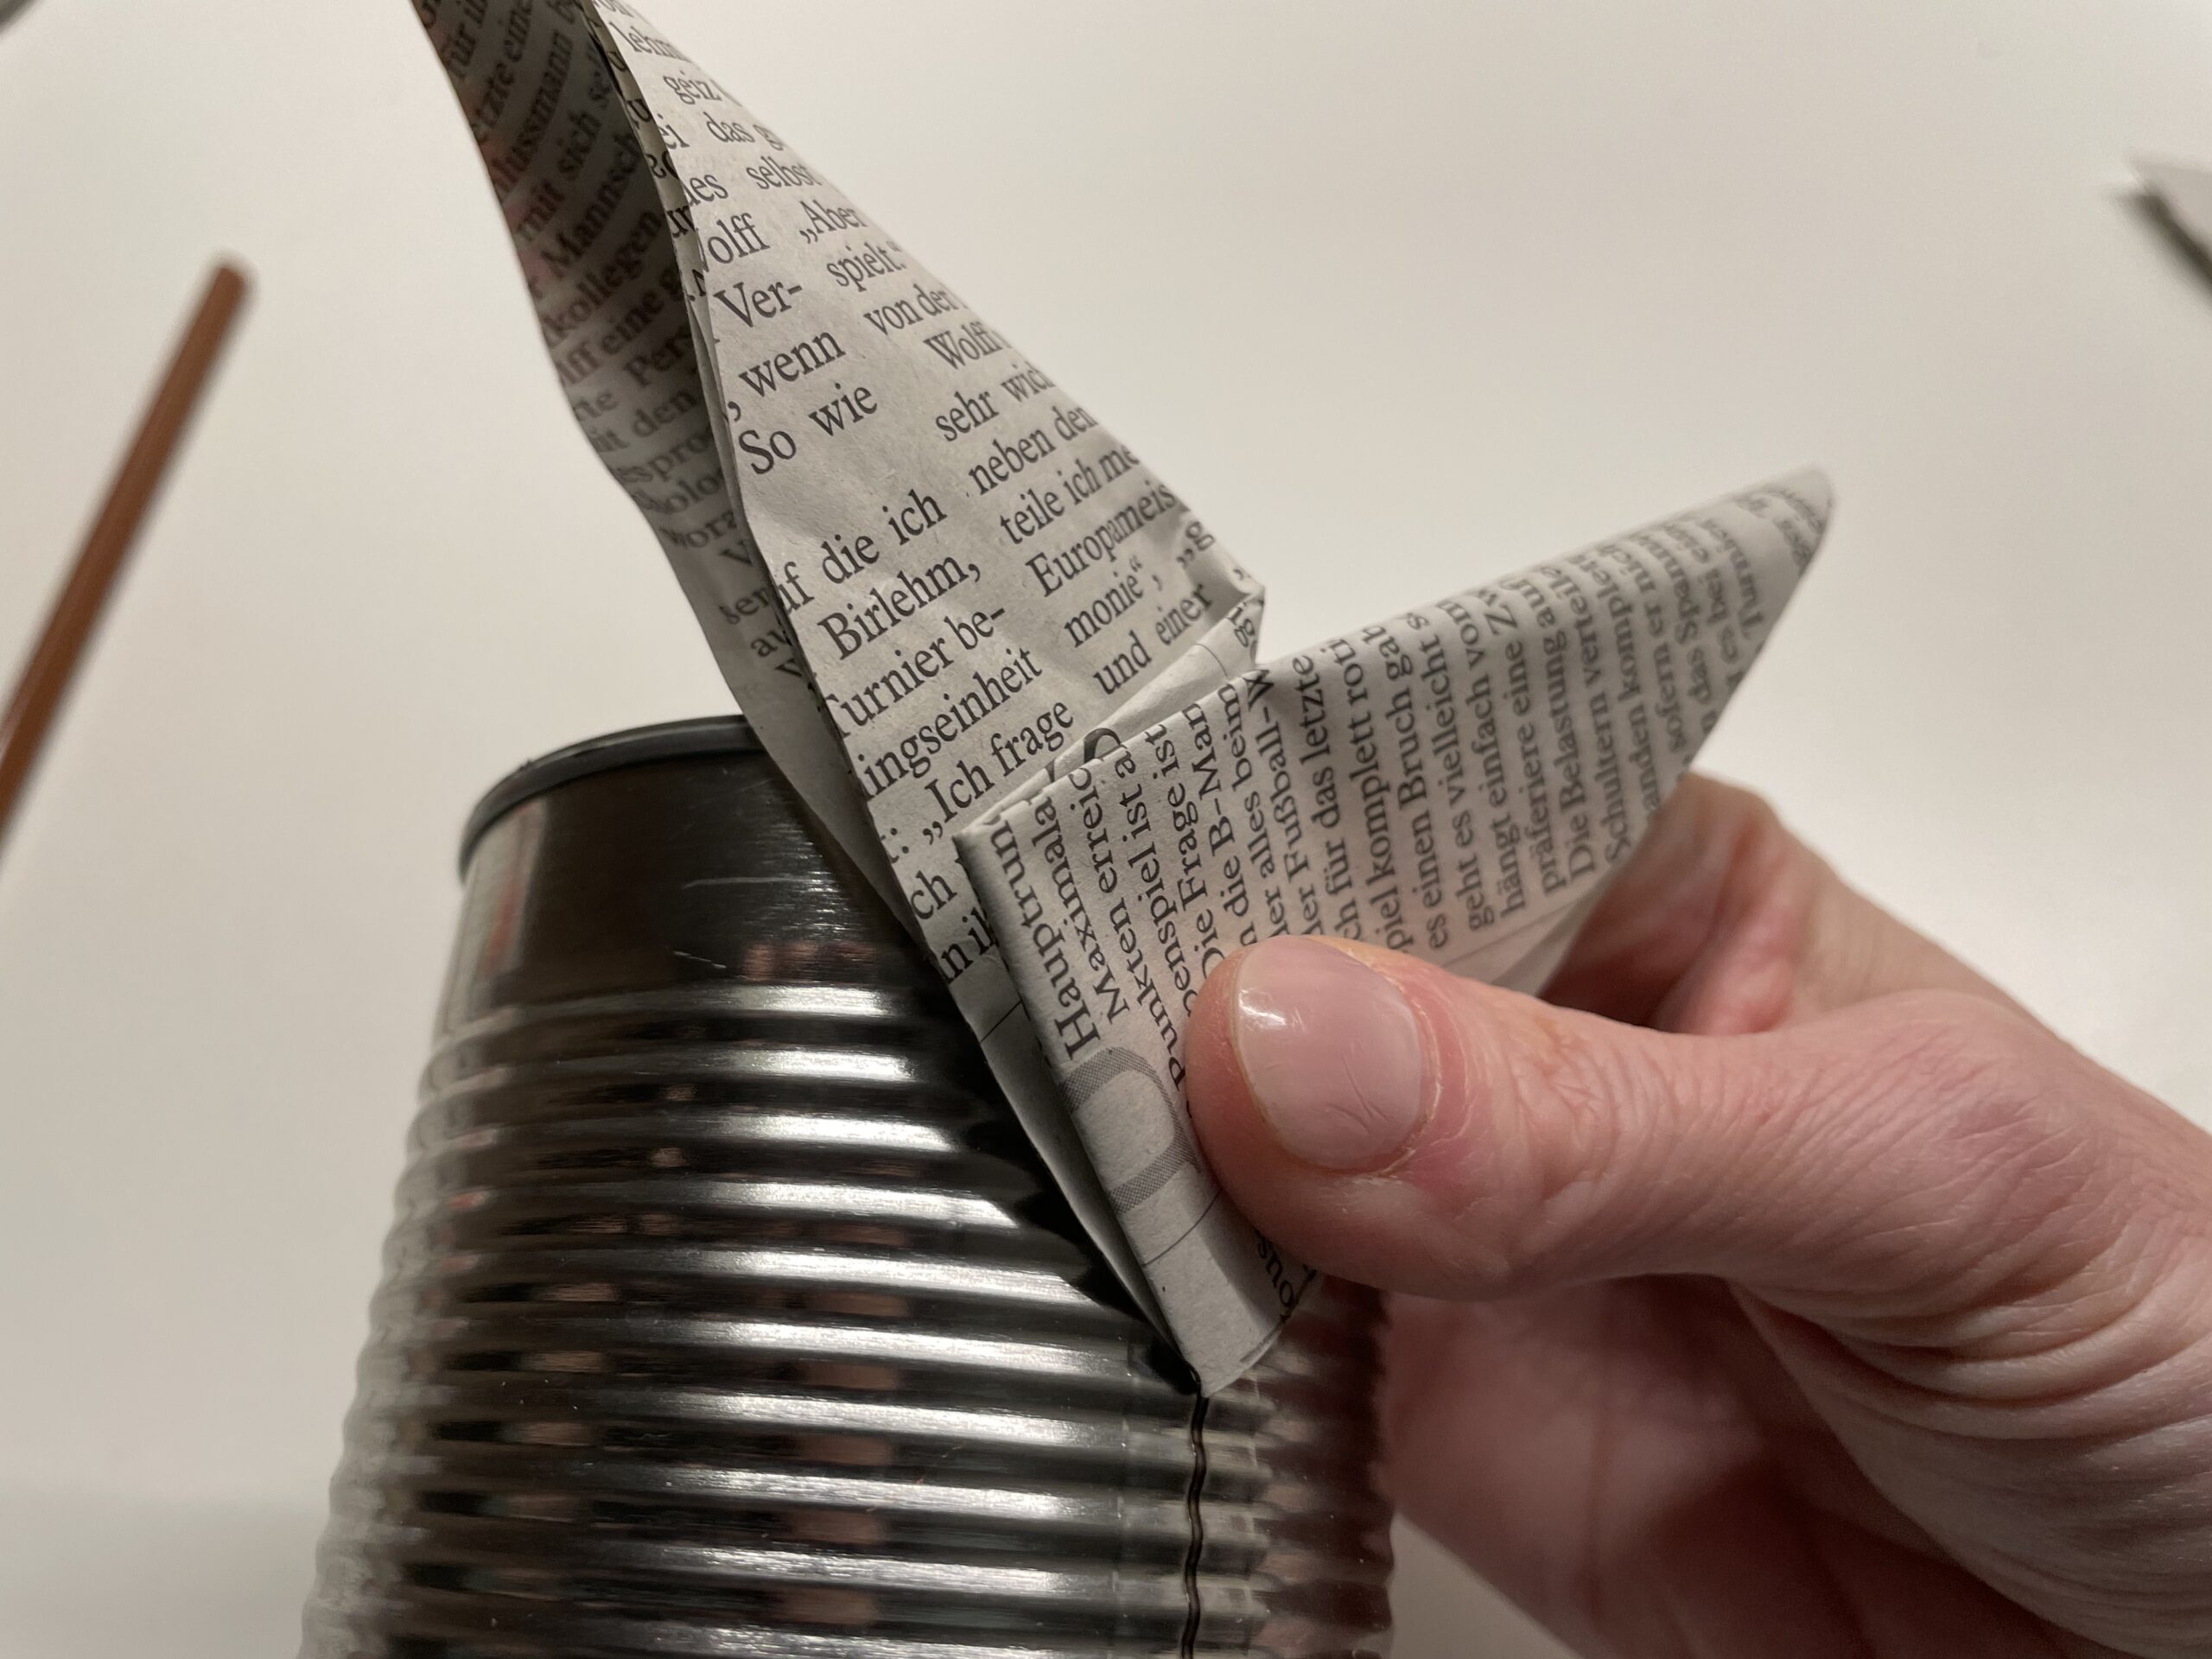
Now you fold the above ear diagonally outwards.
Now fix the position of the ears with glue.
Press the ears together for a short moment until the glue sticks.
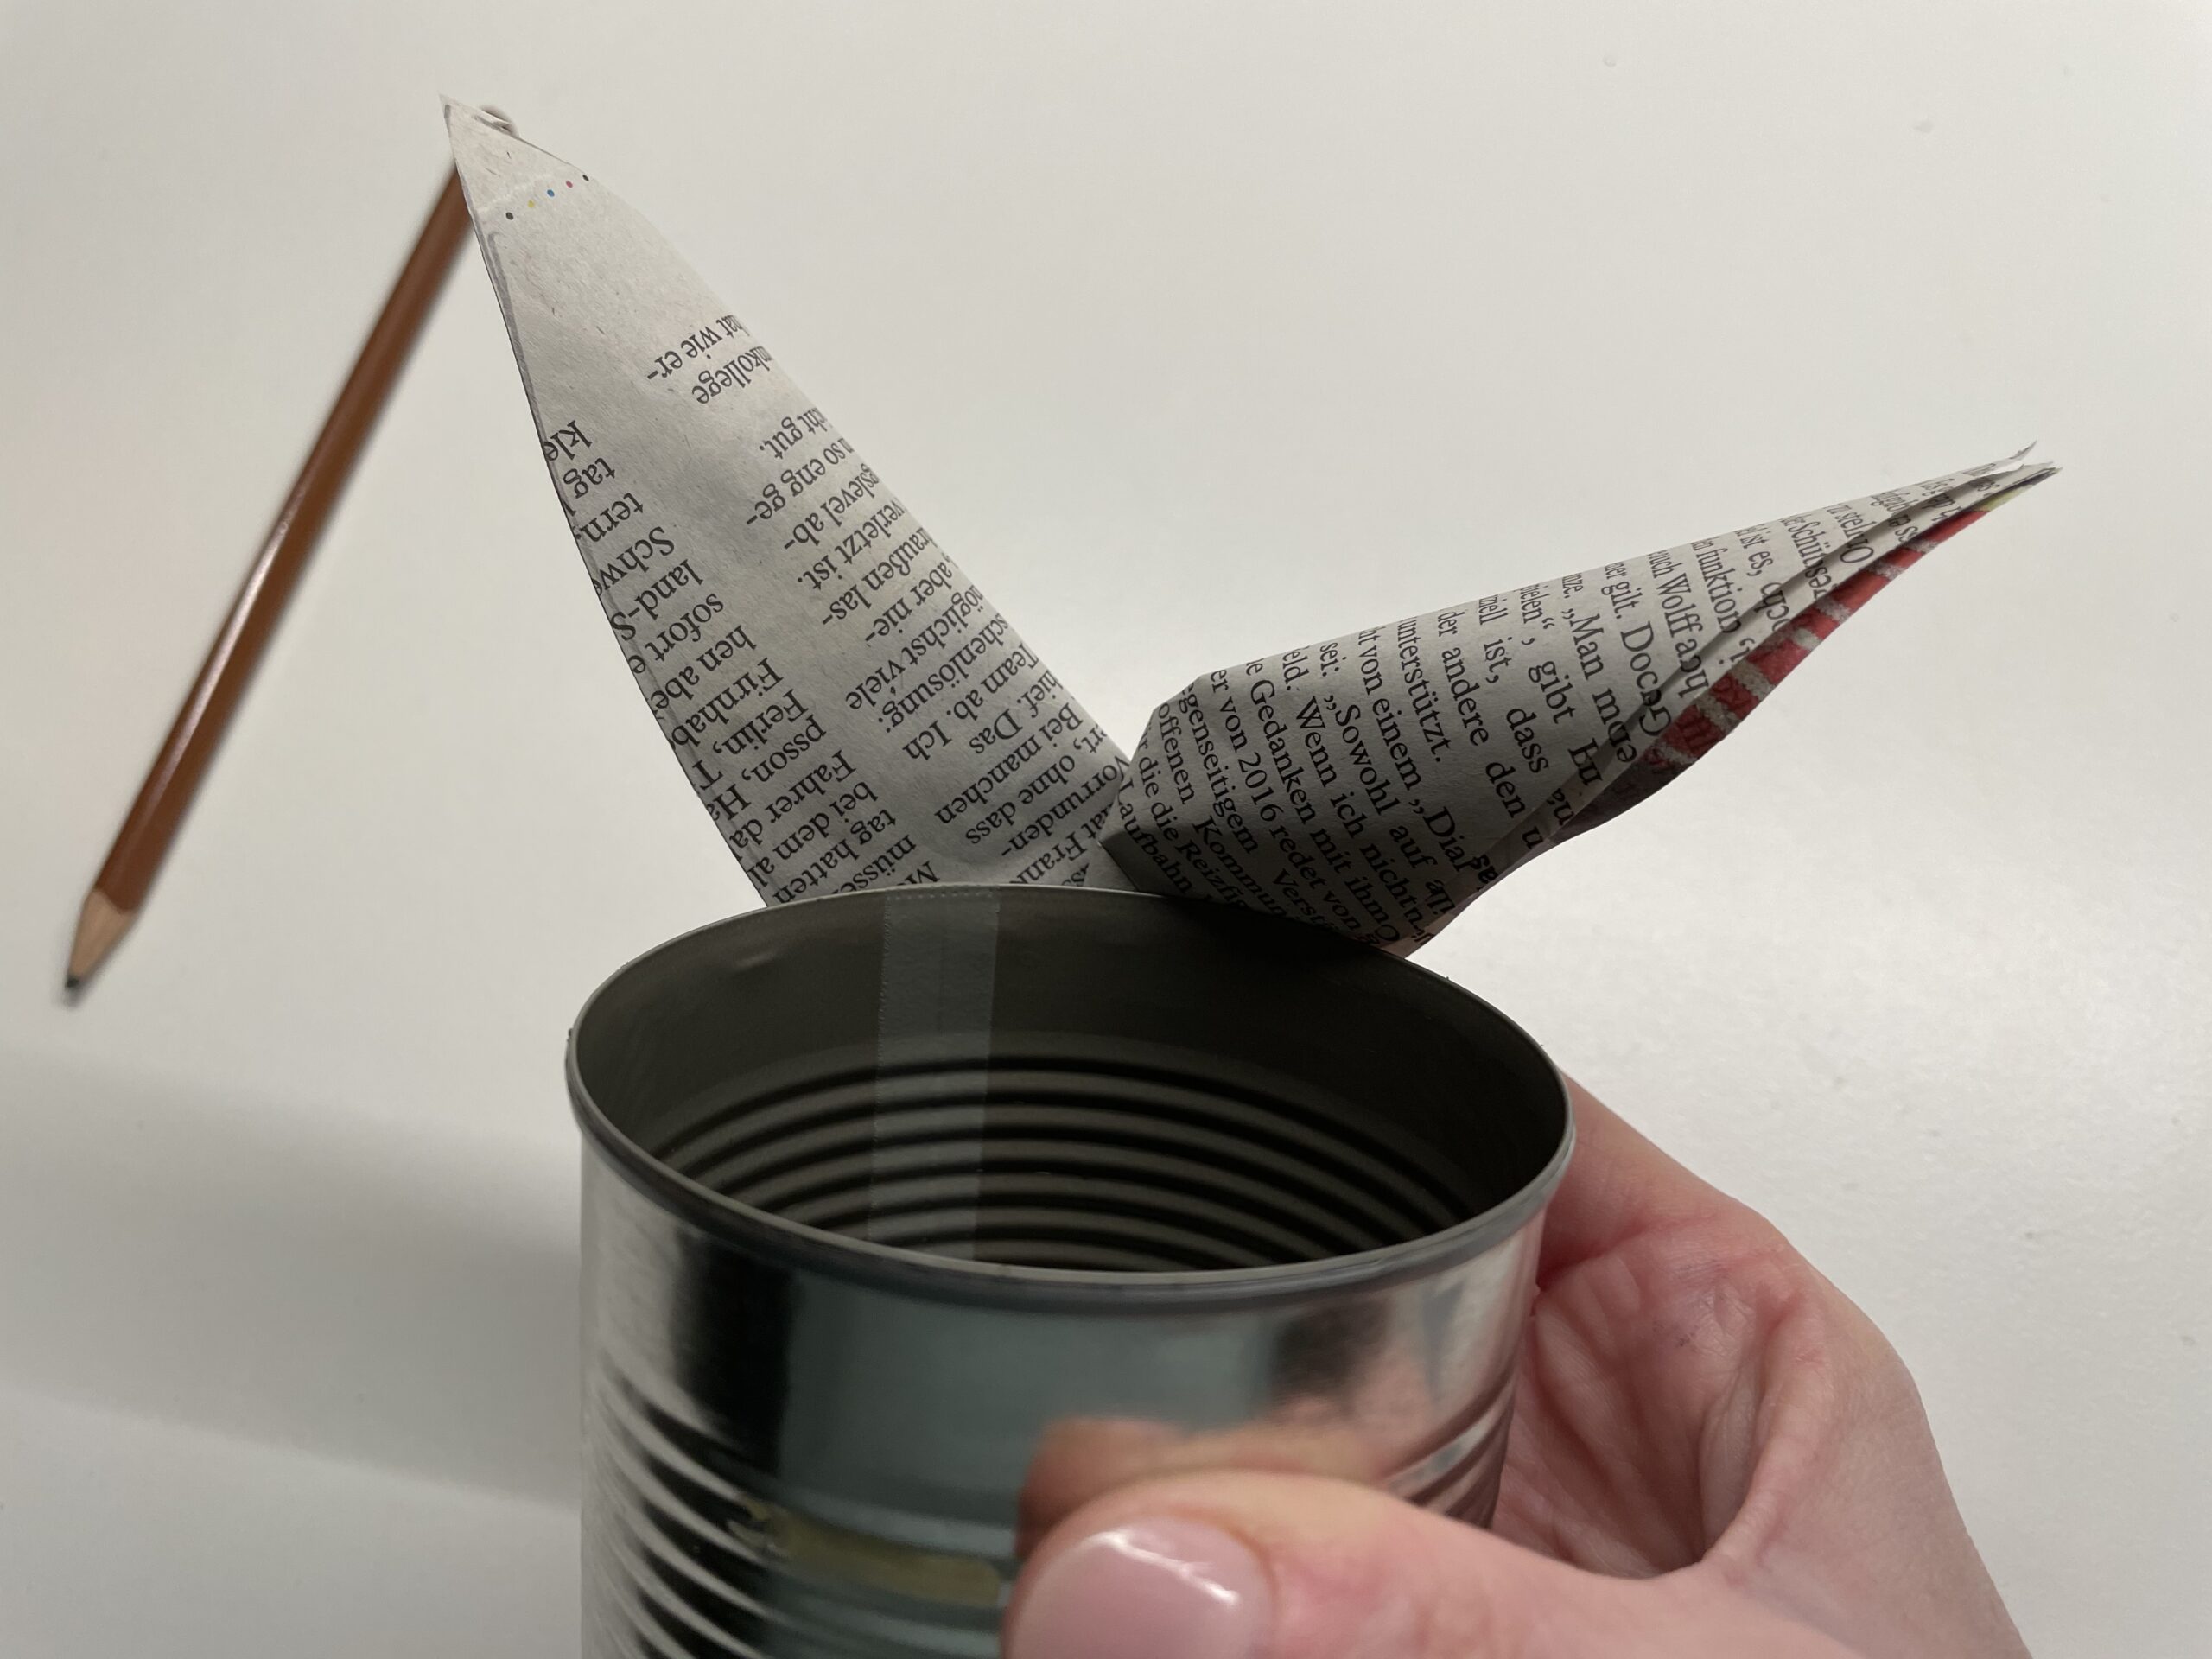
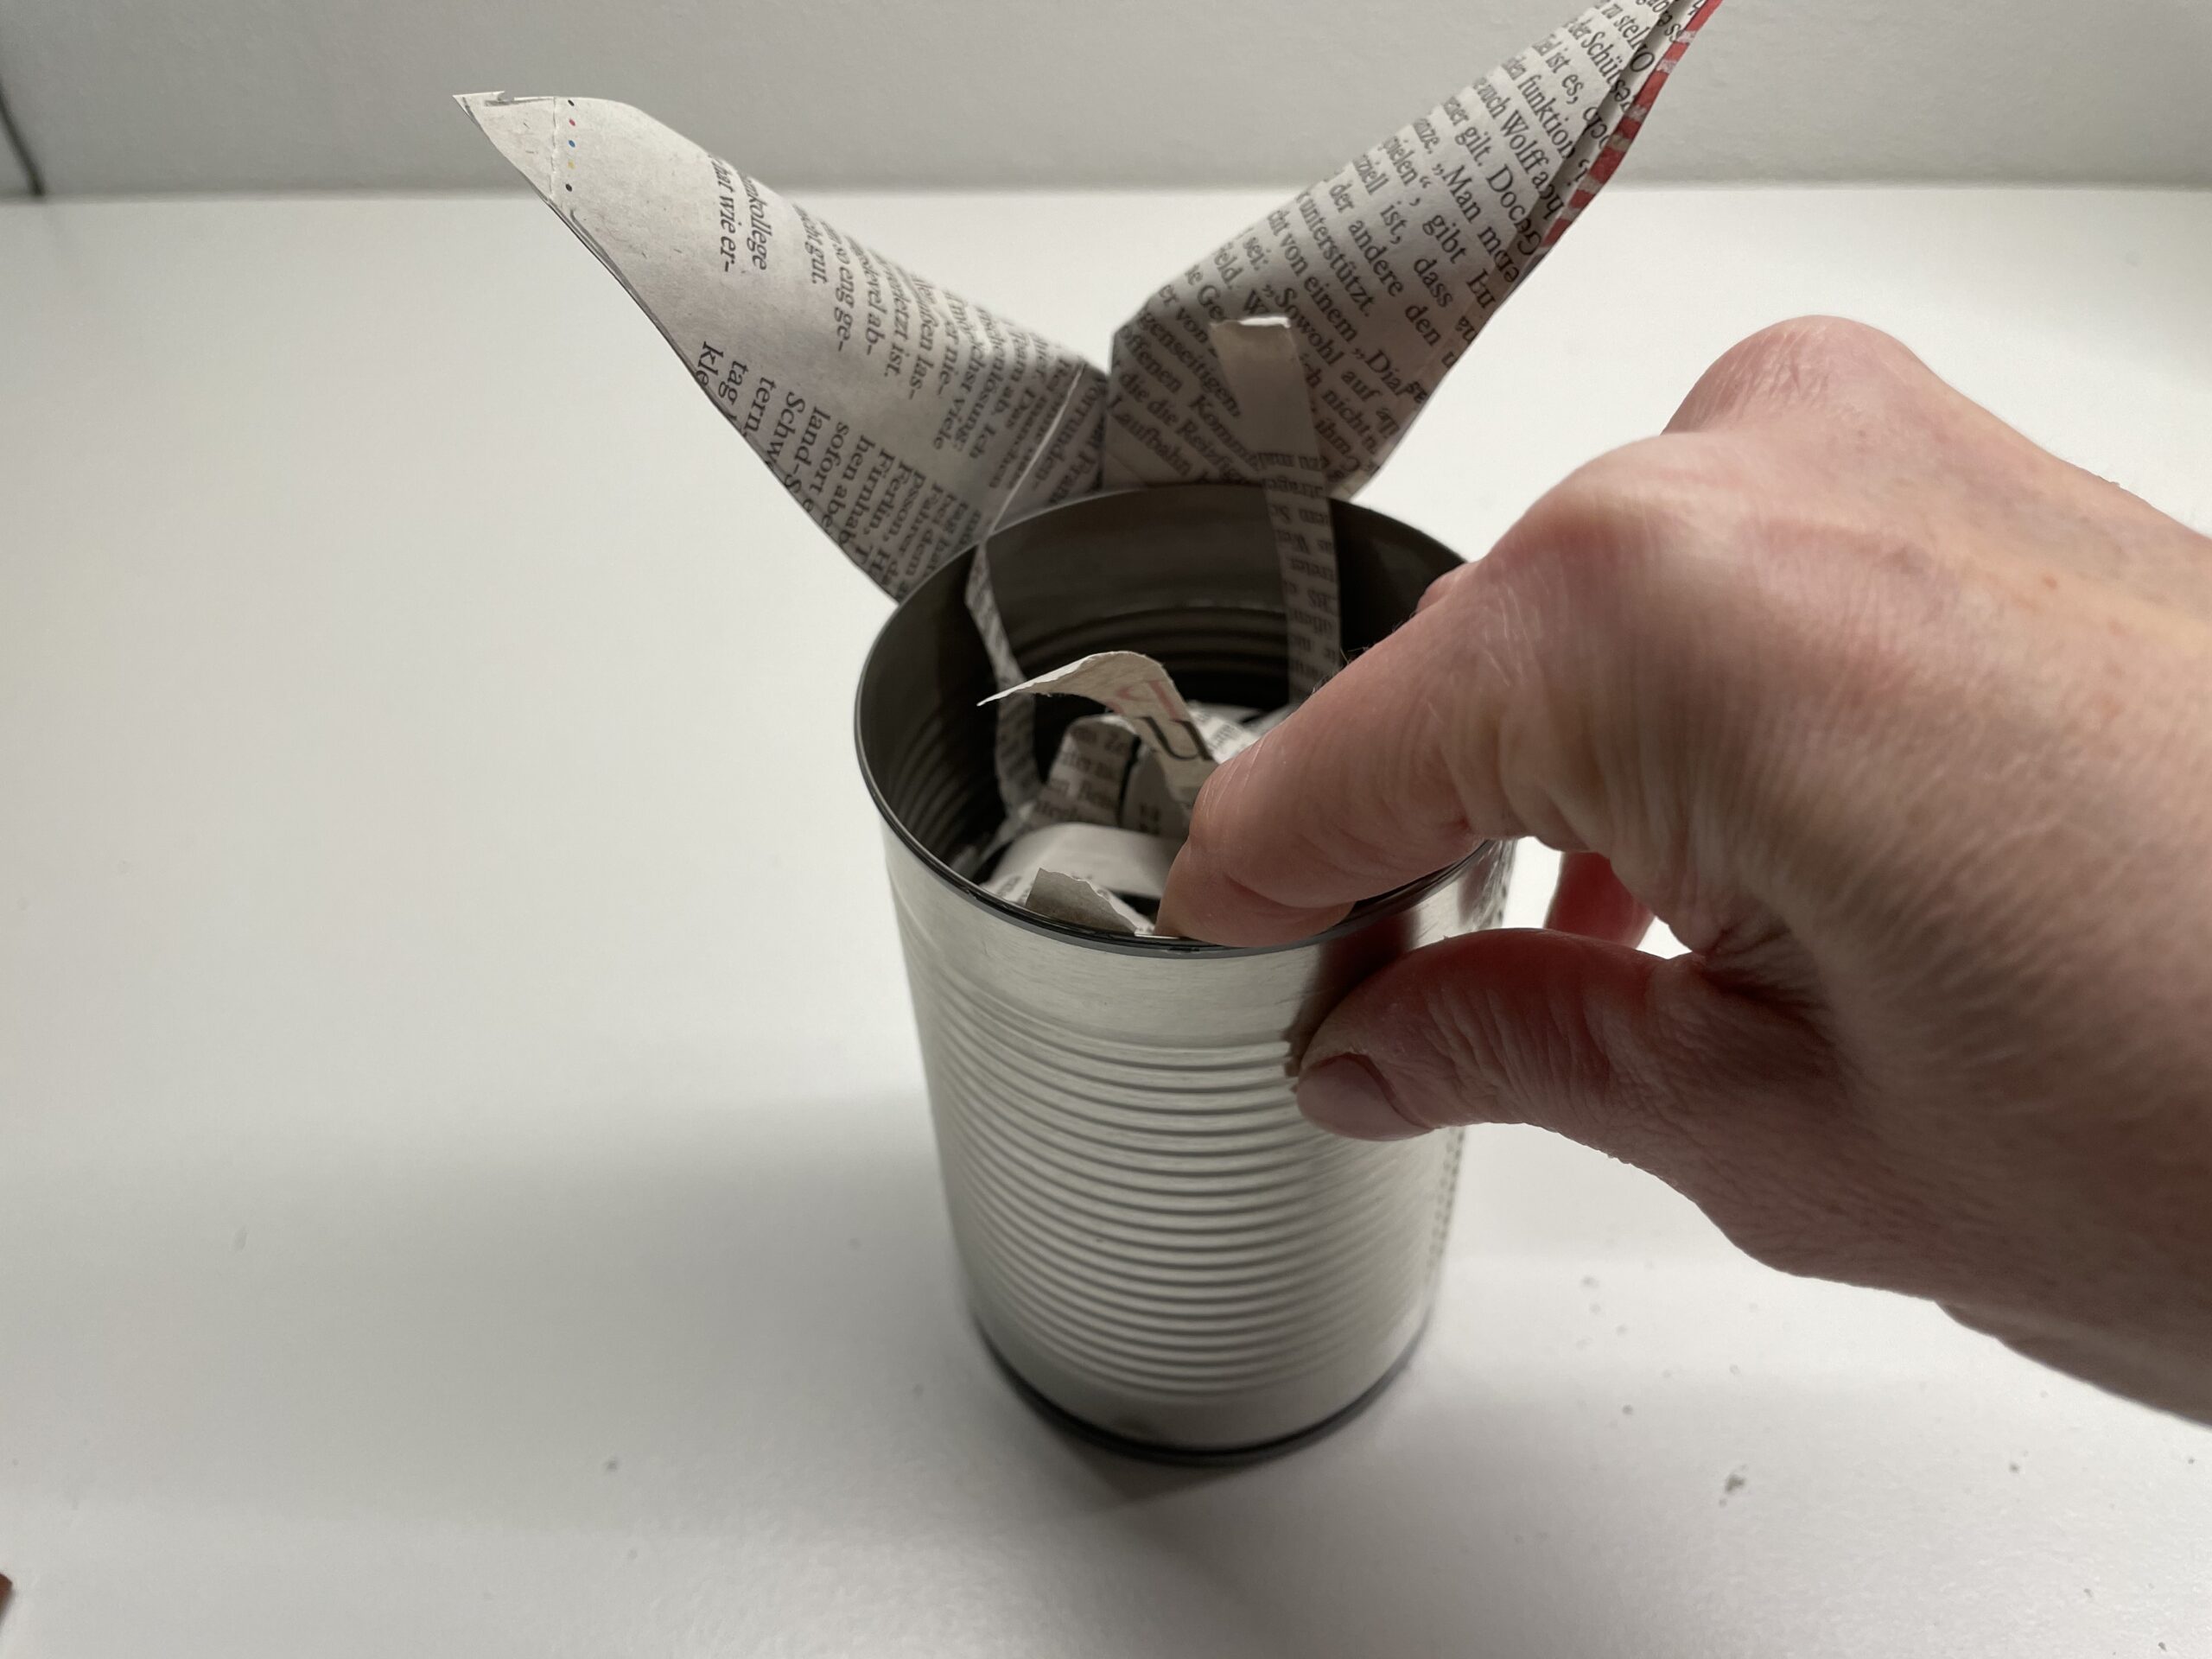
Now attach the pair of ears to the back of the can with an adhesive point.
Keep your ears pressed so they're tight.
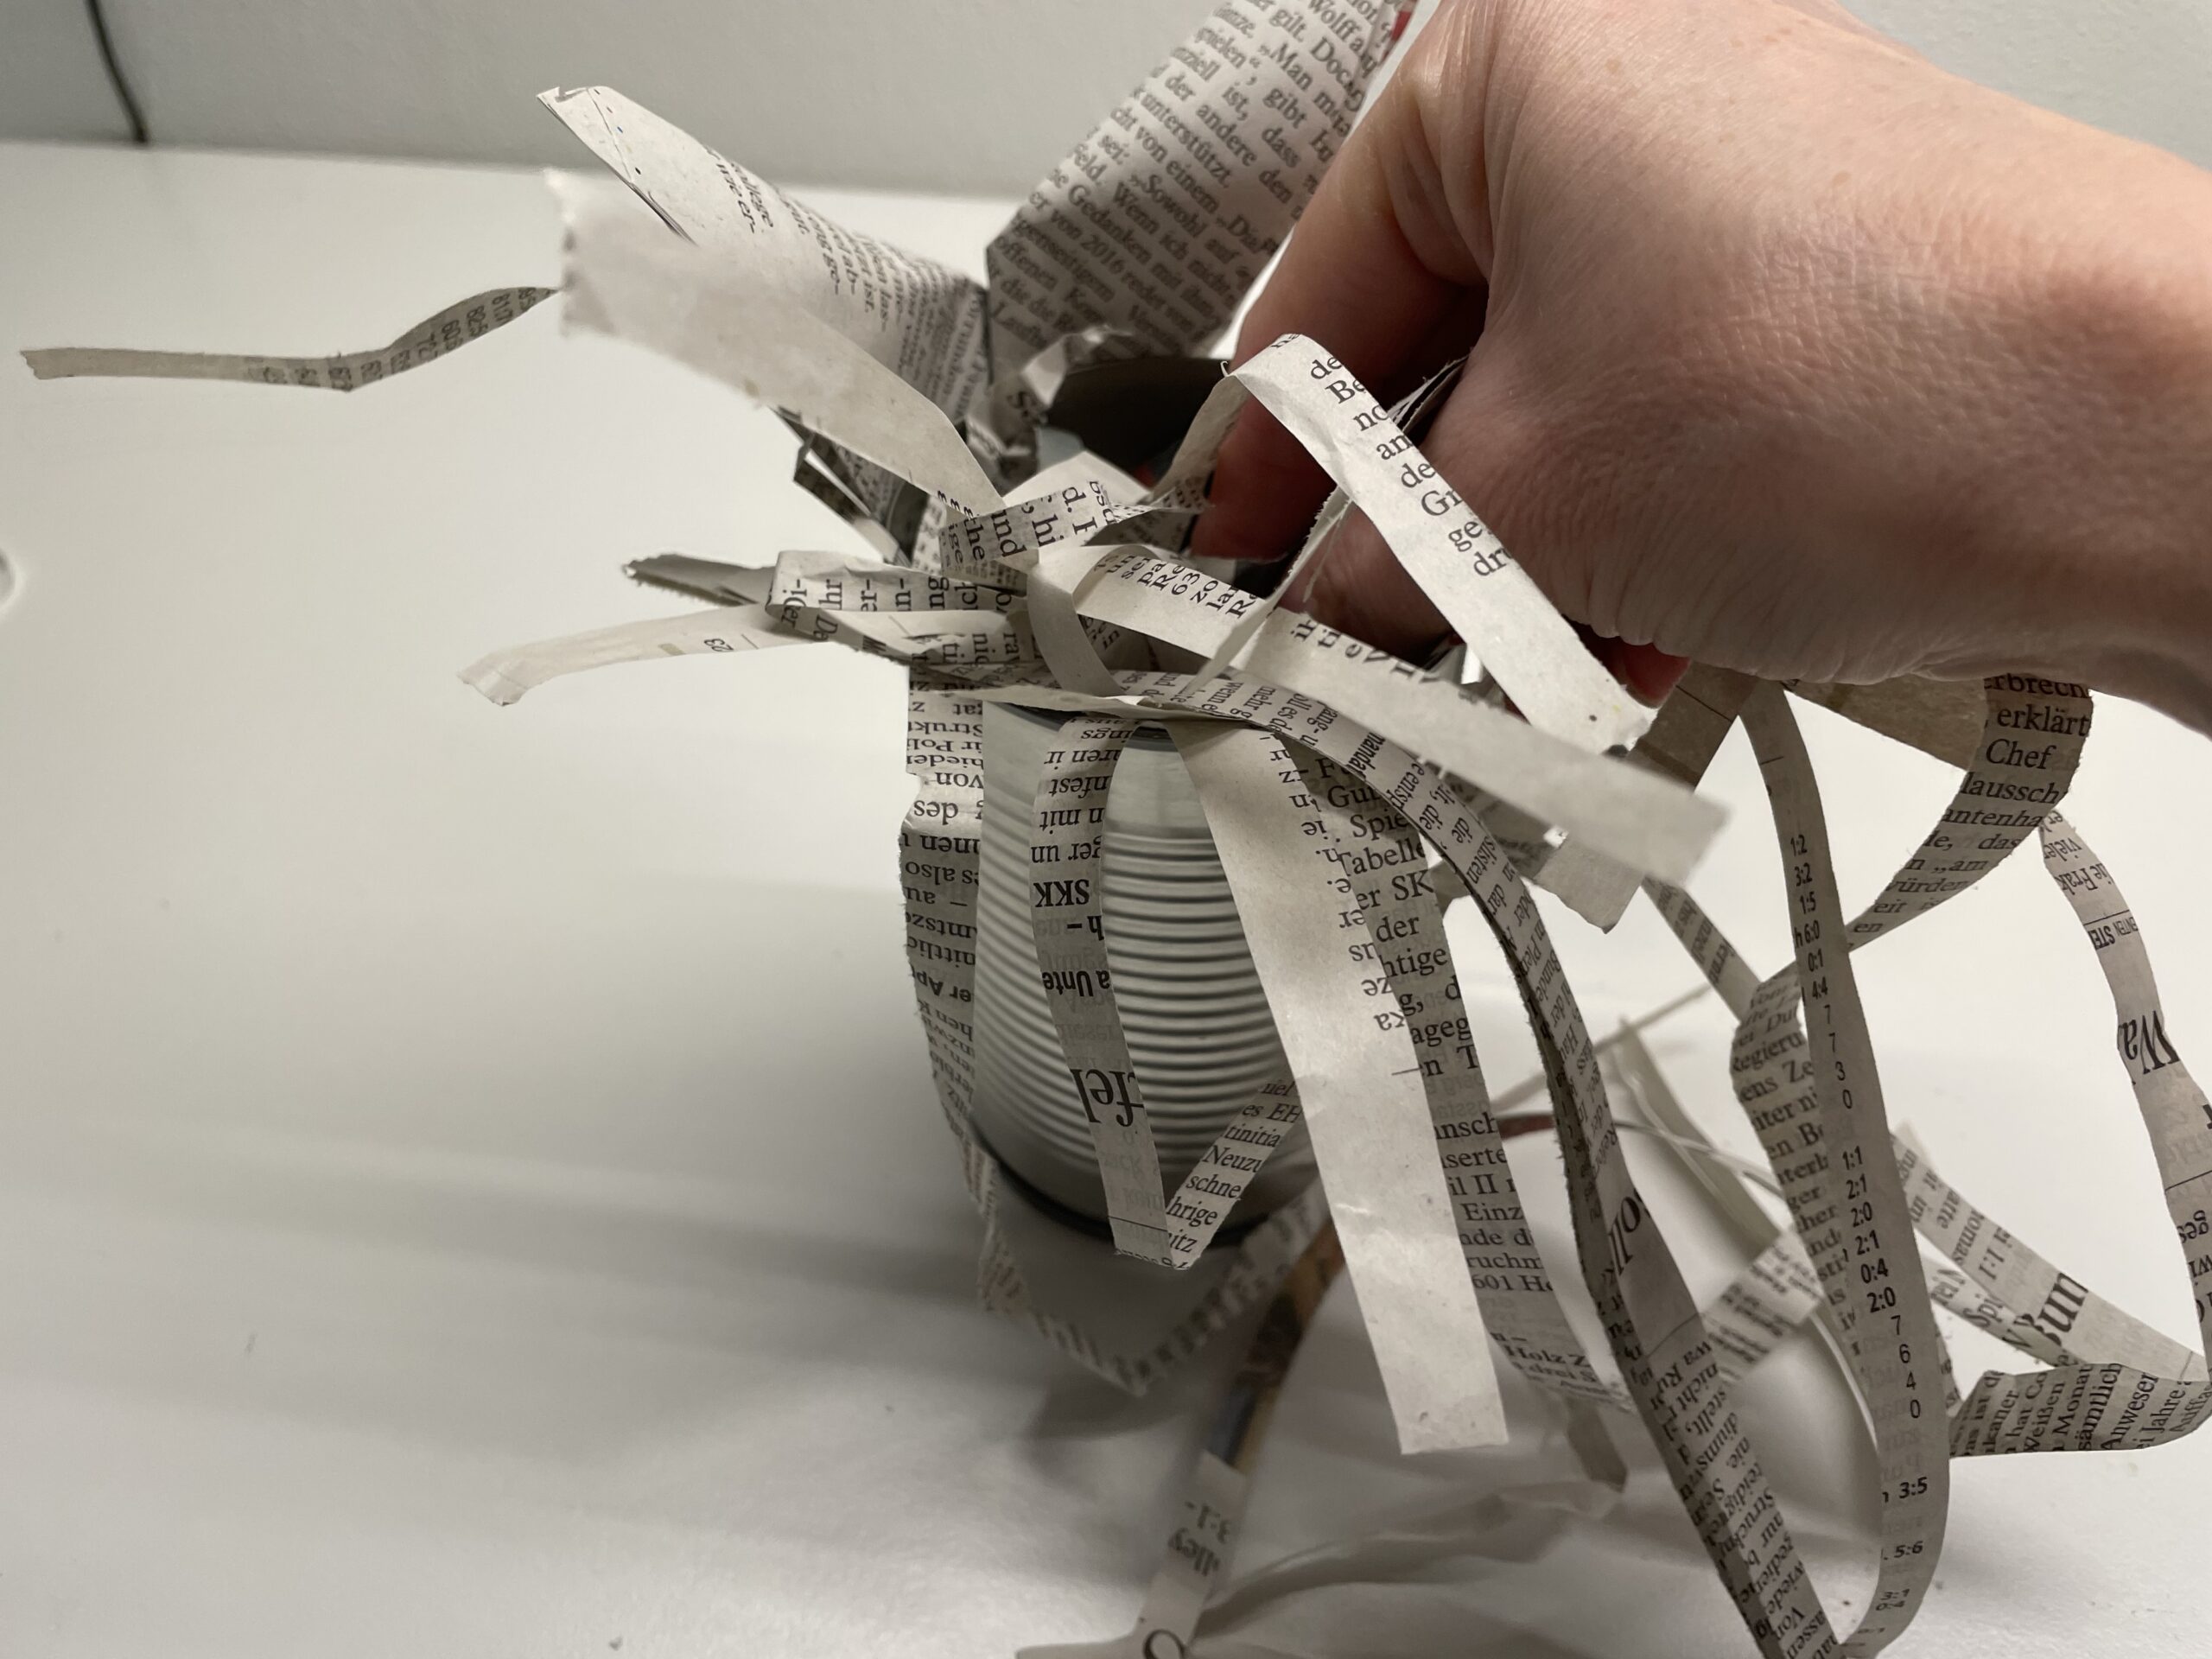
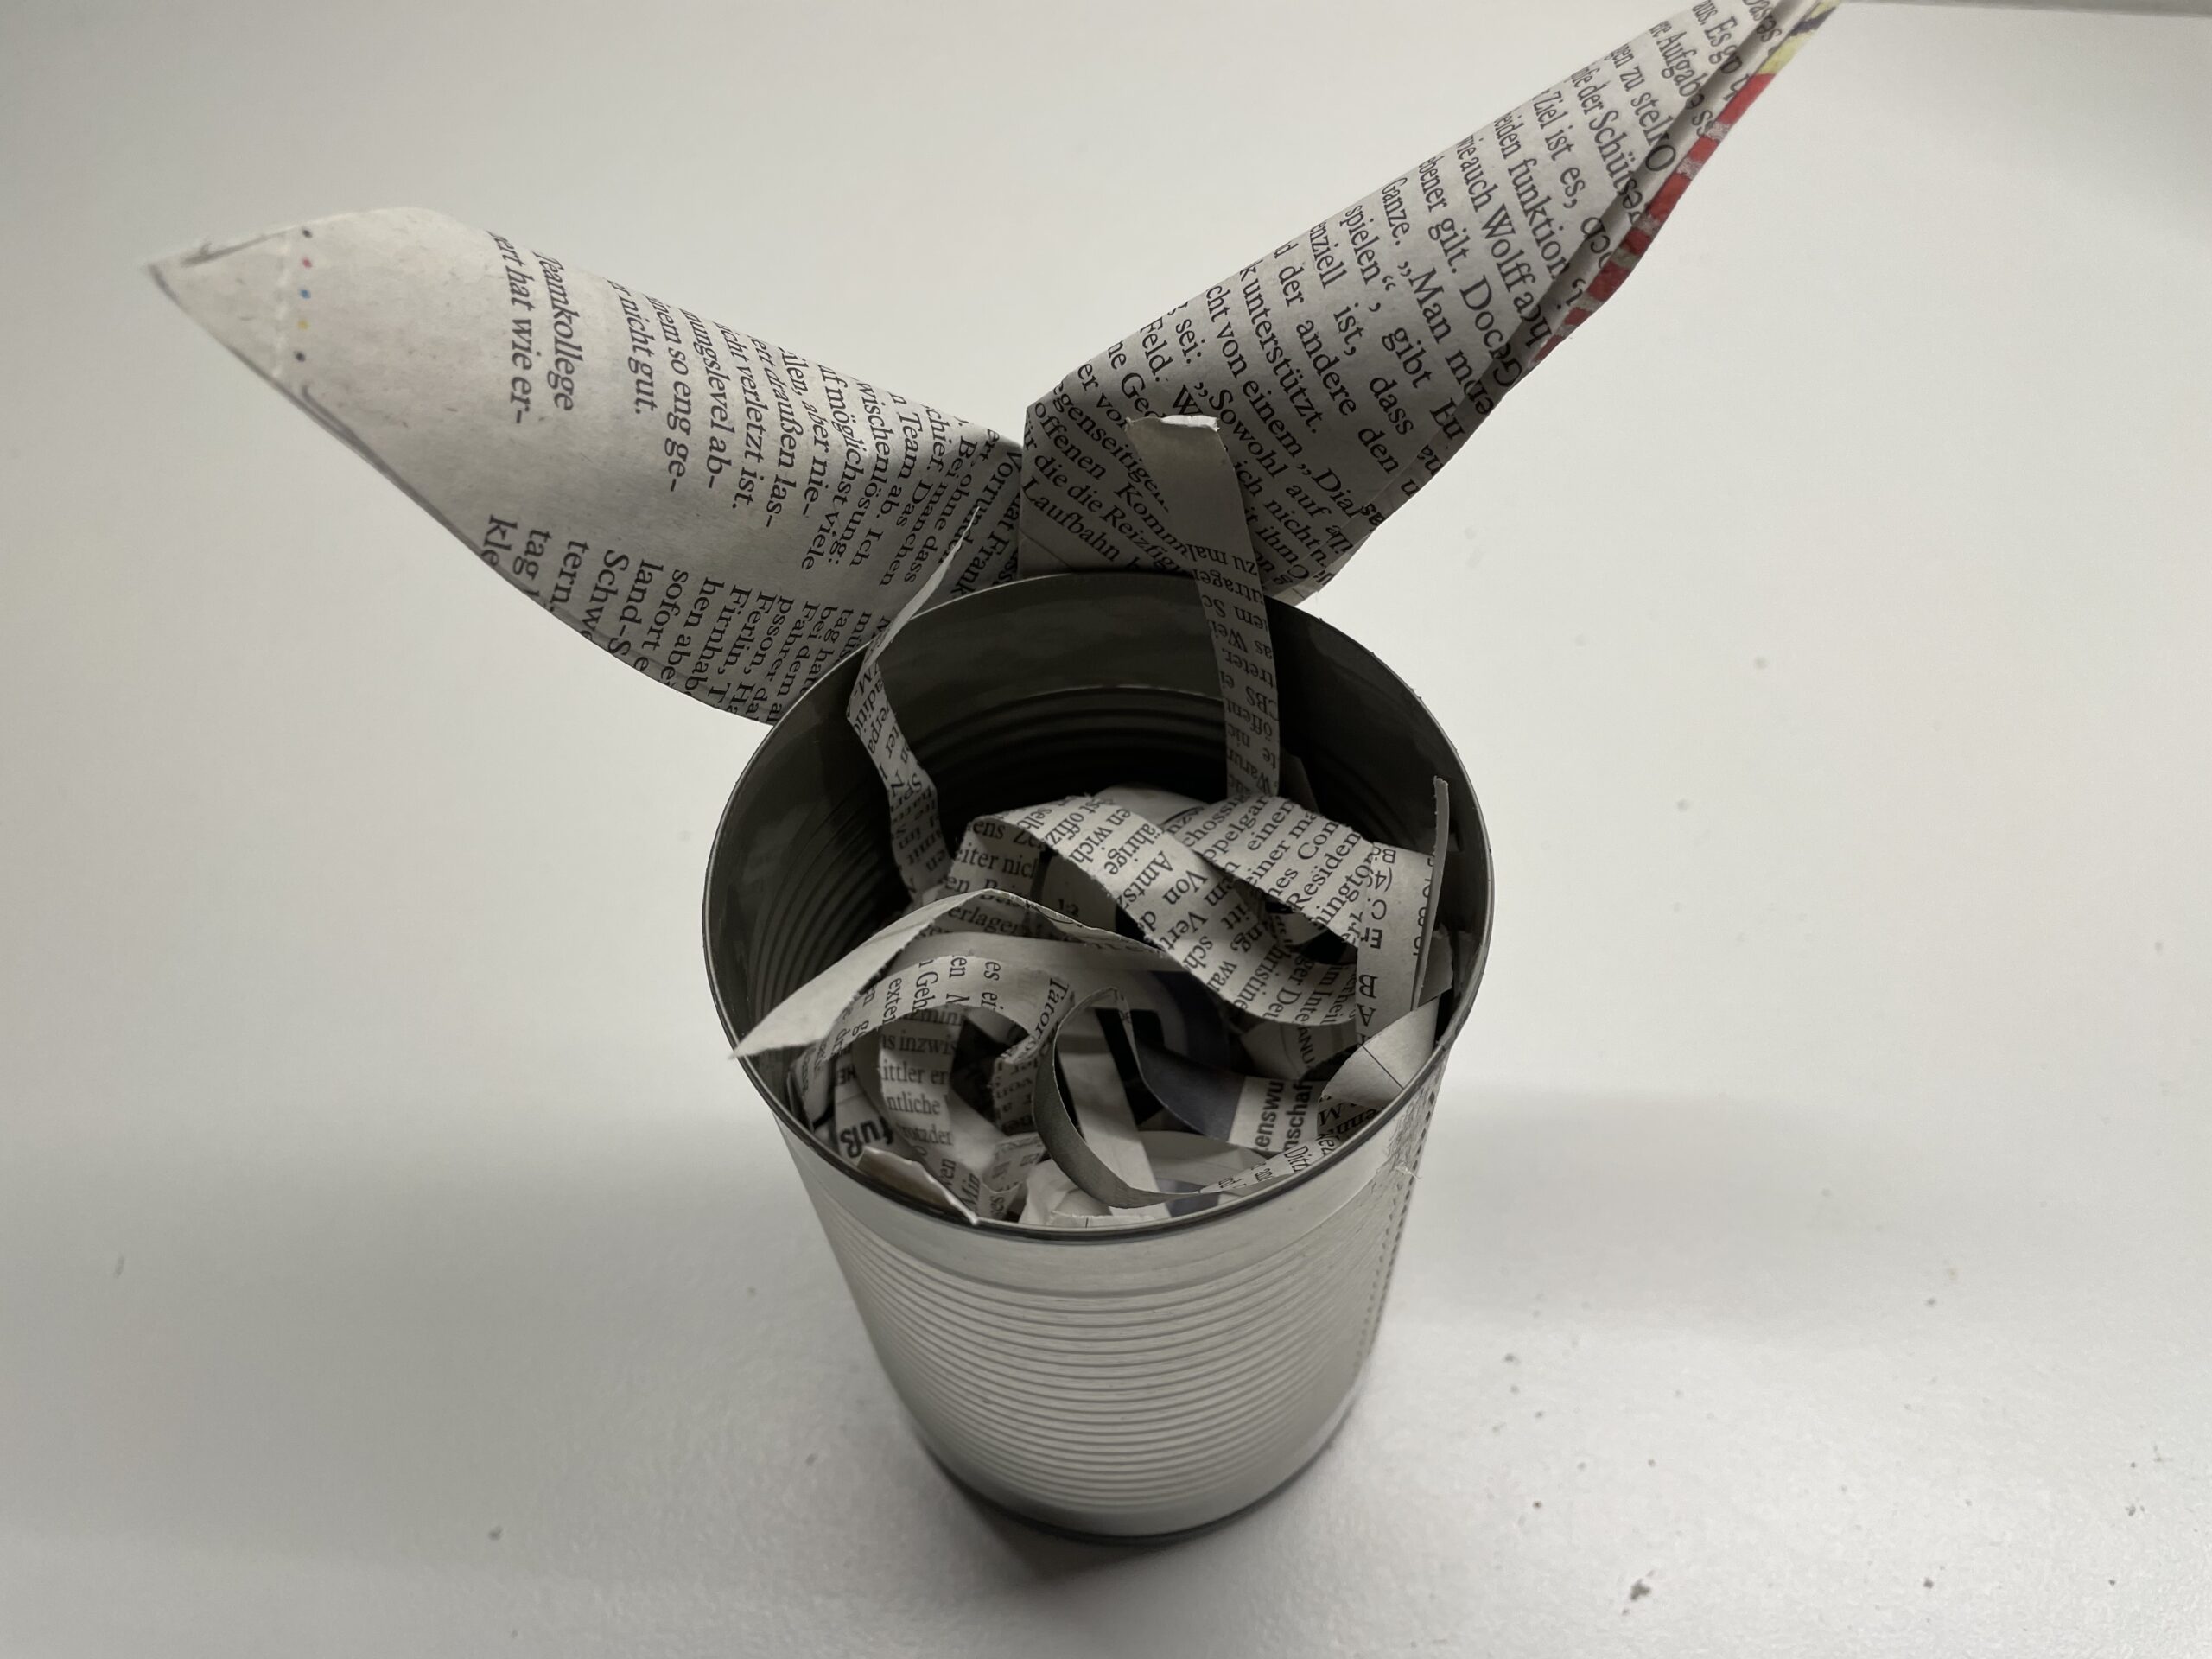
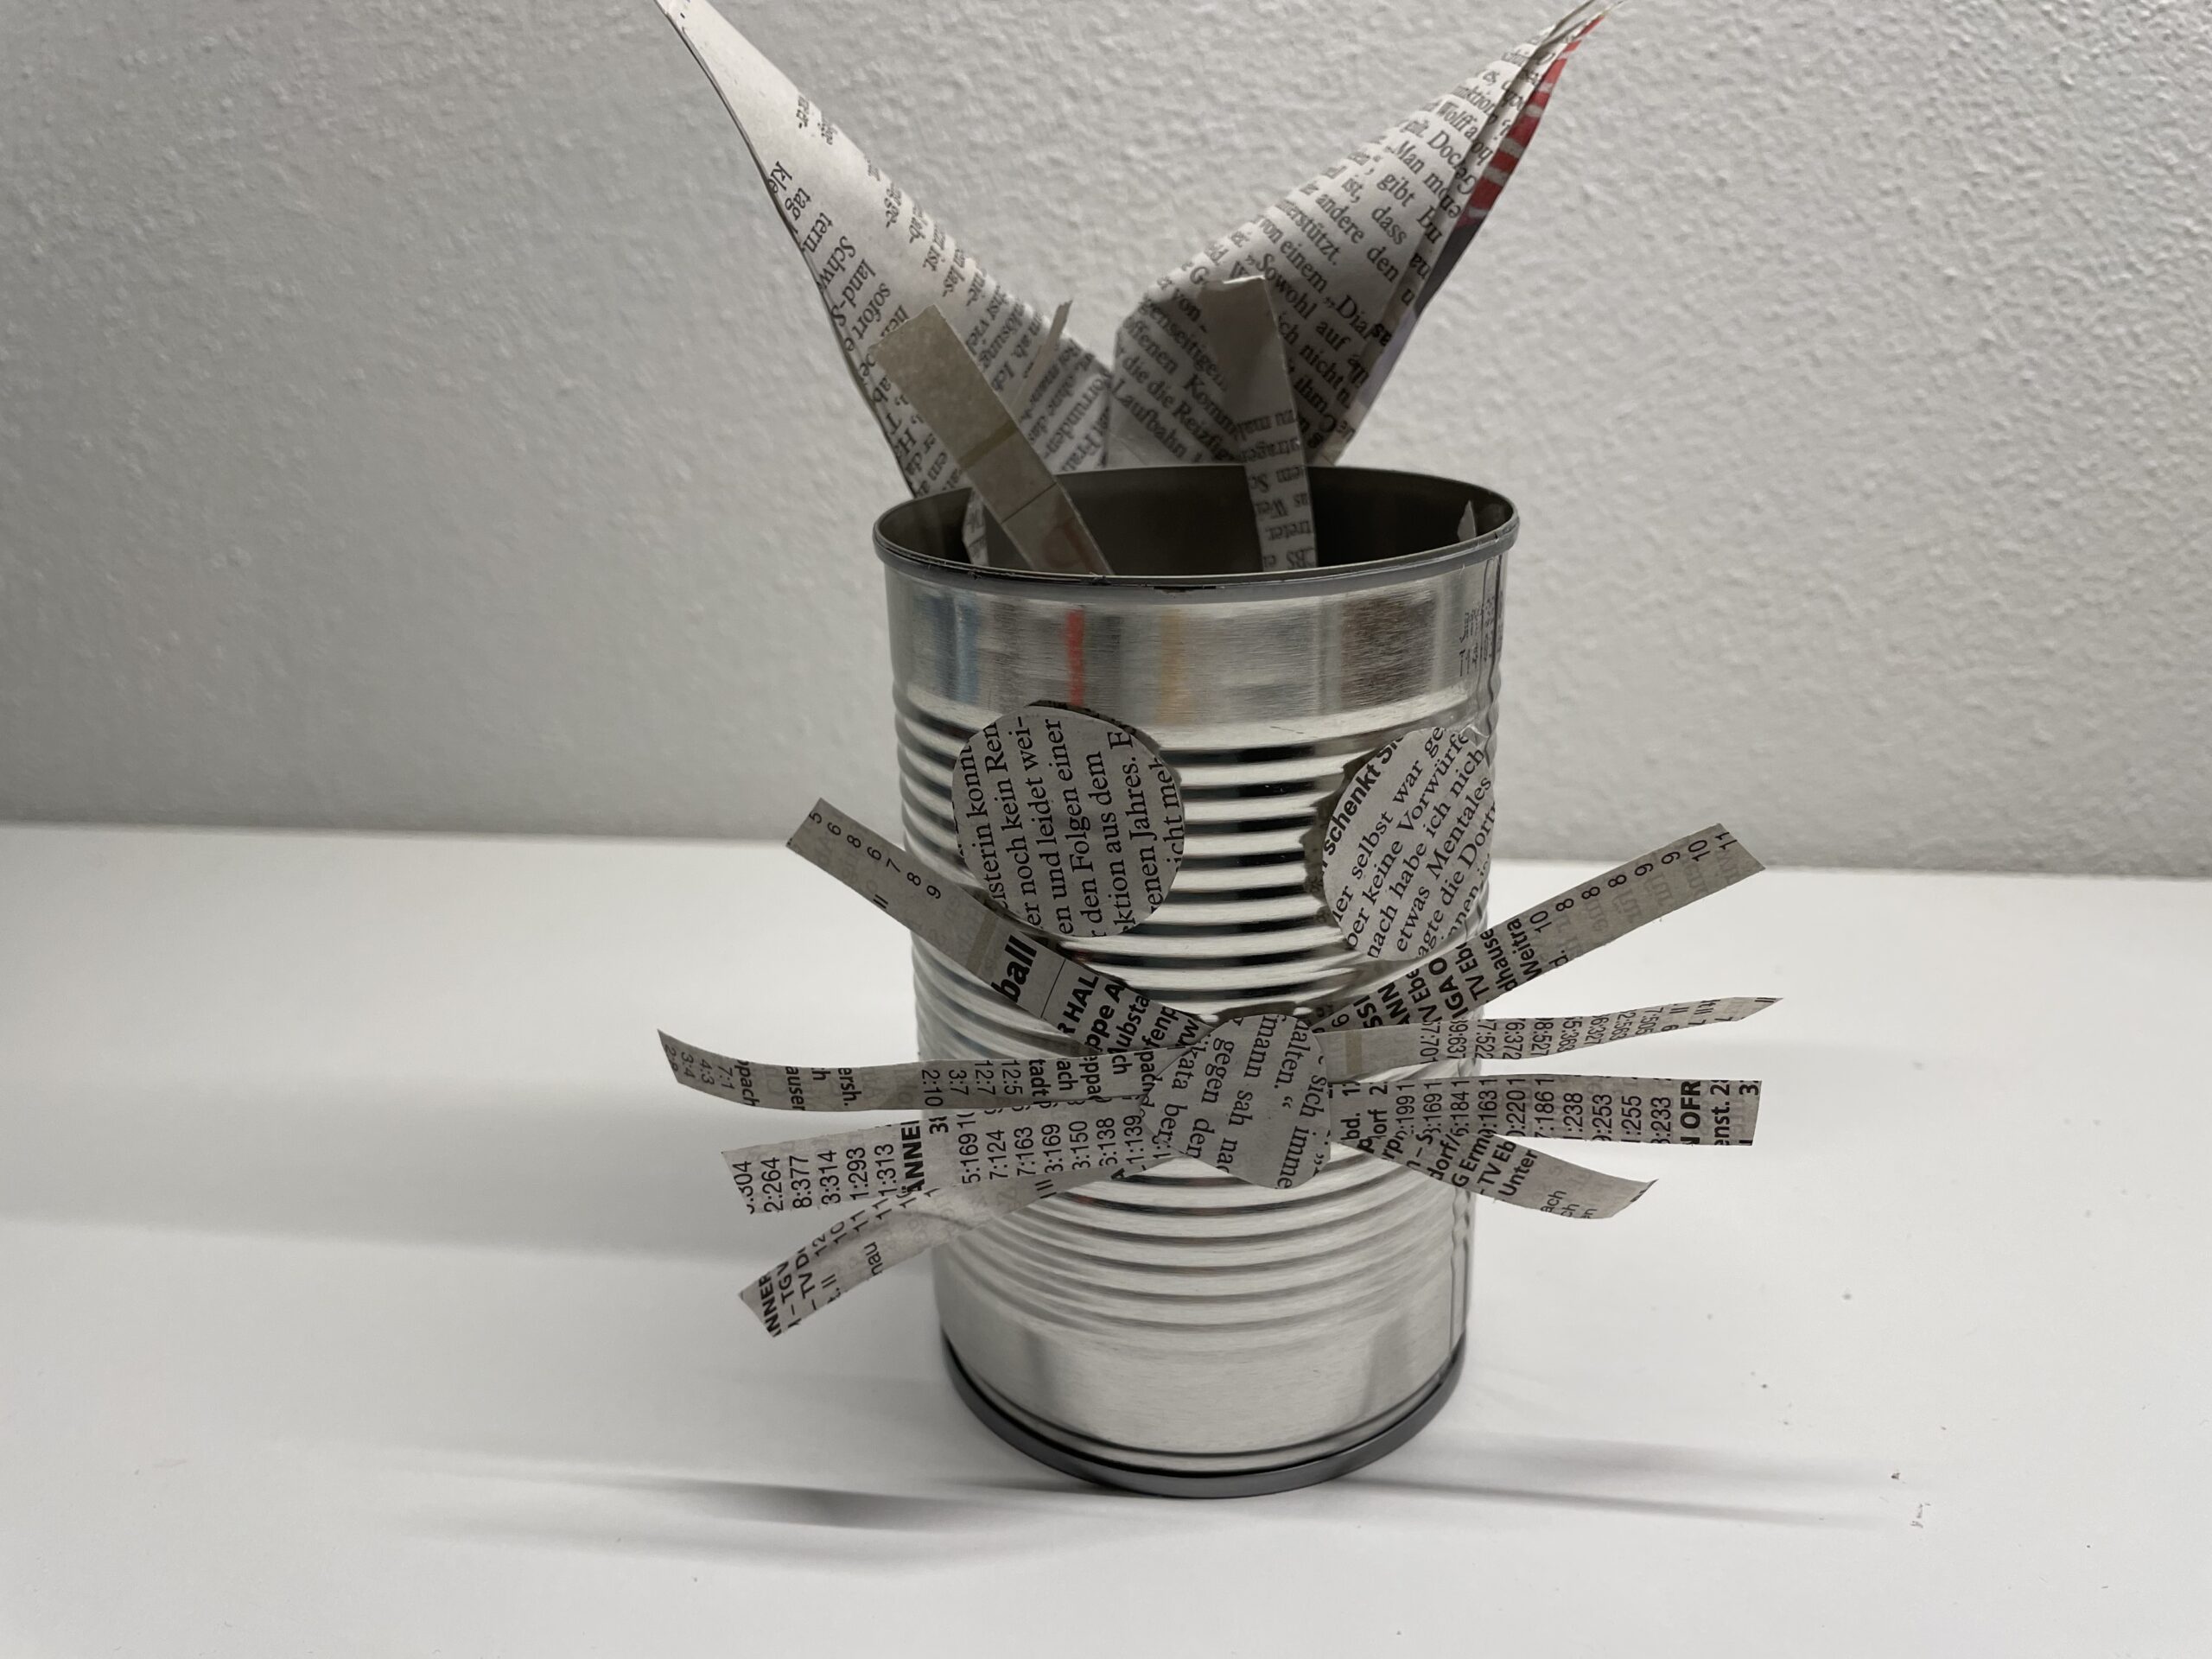
Now take shredded newsprint / paper to fill.

Crash the paper strips loosely, so that the can is well filled.
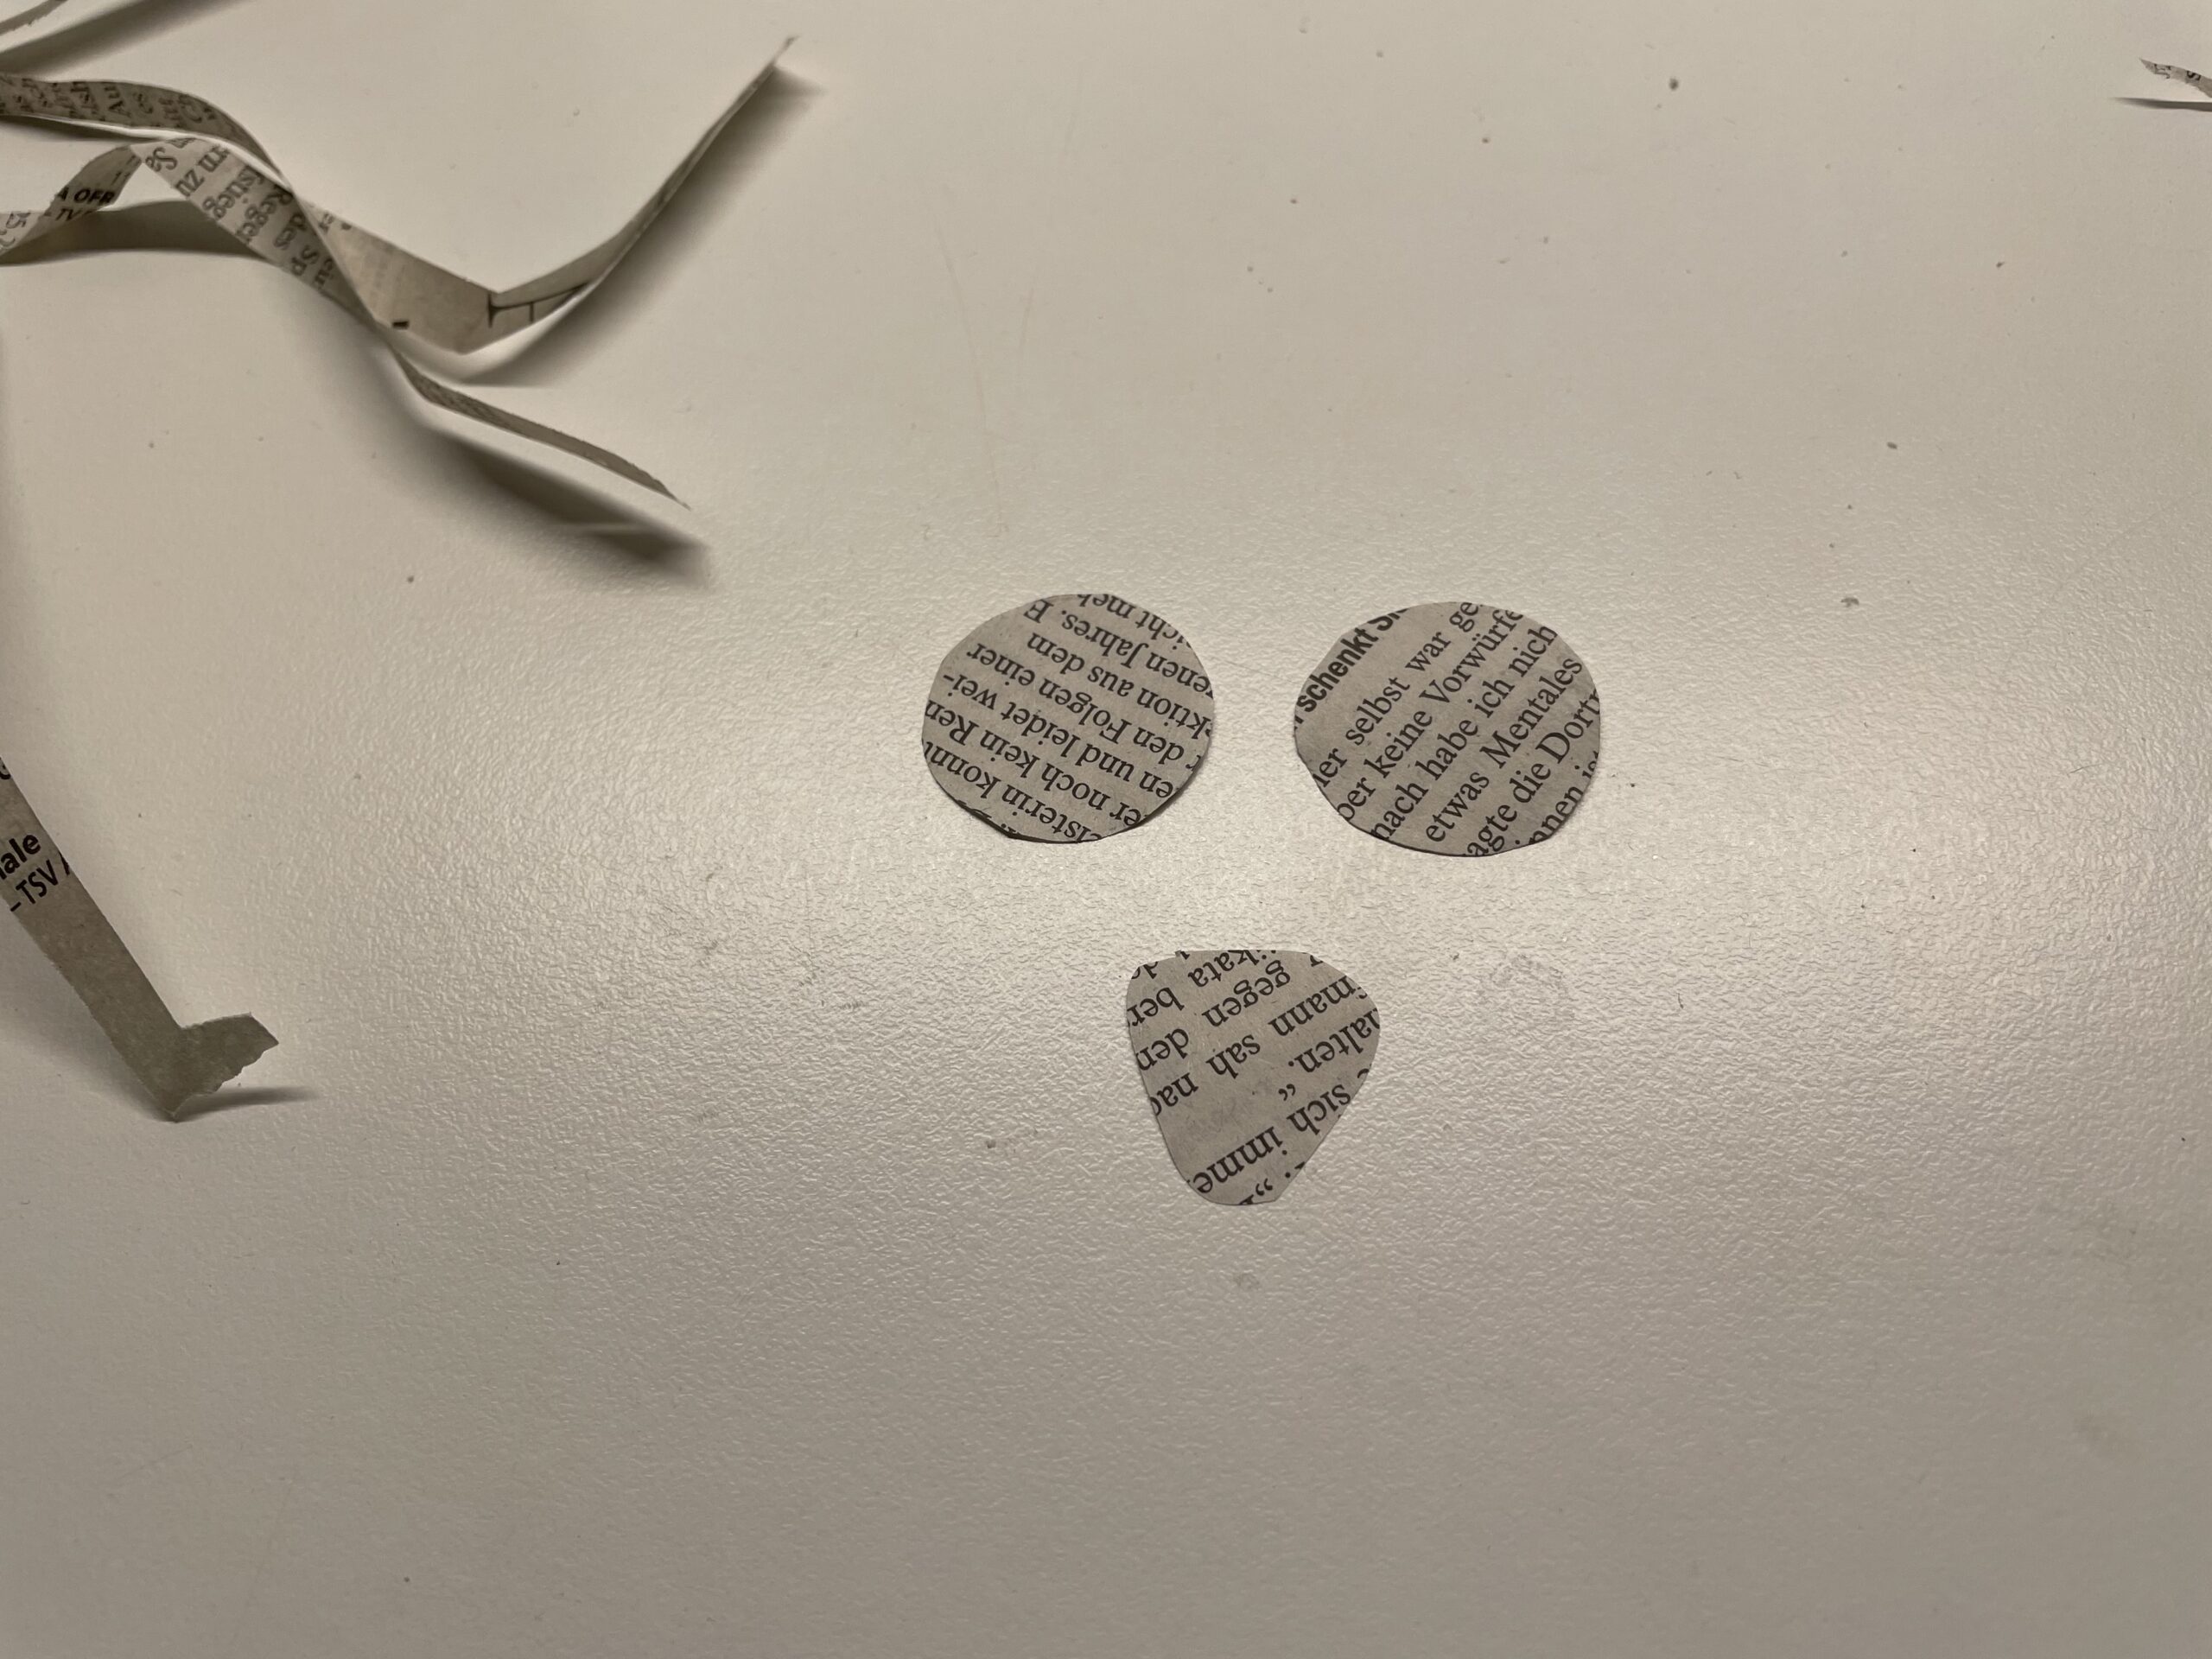
The rabbit's face is crafted from newspaper. Paints two eyes and a nose on the paper.
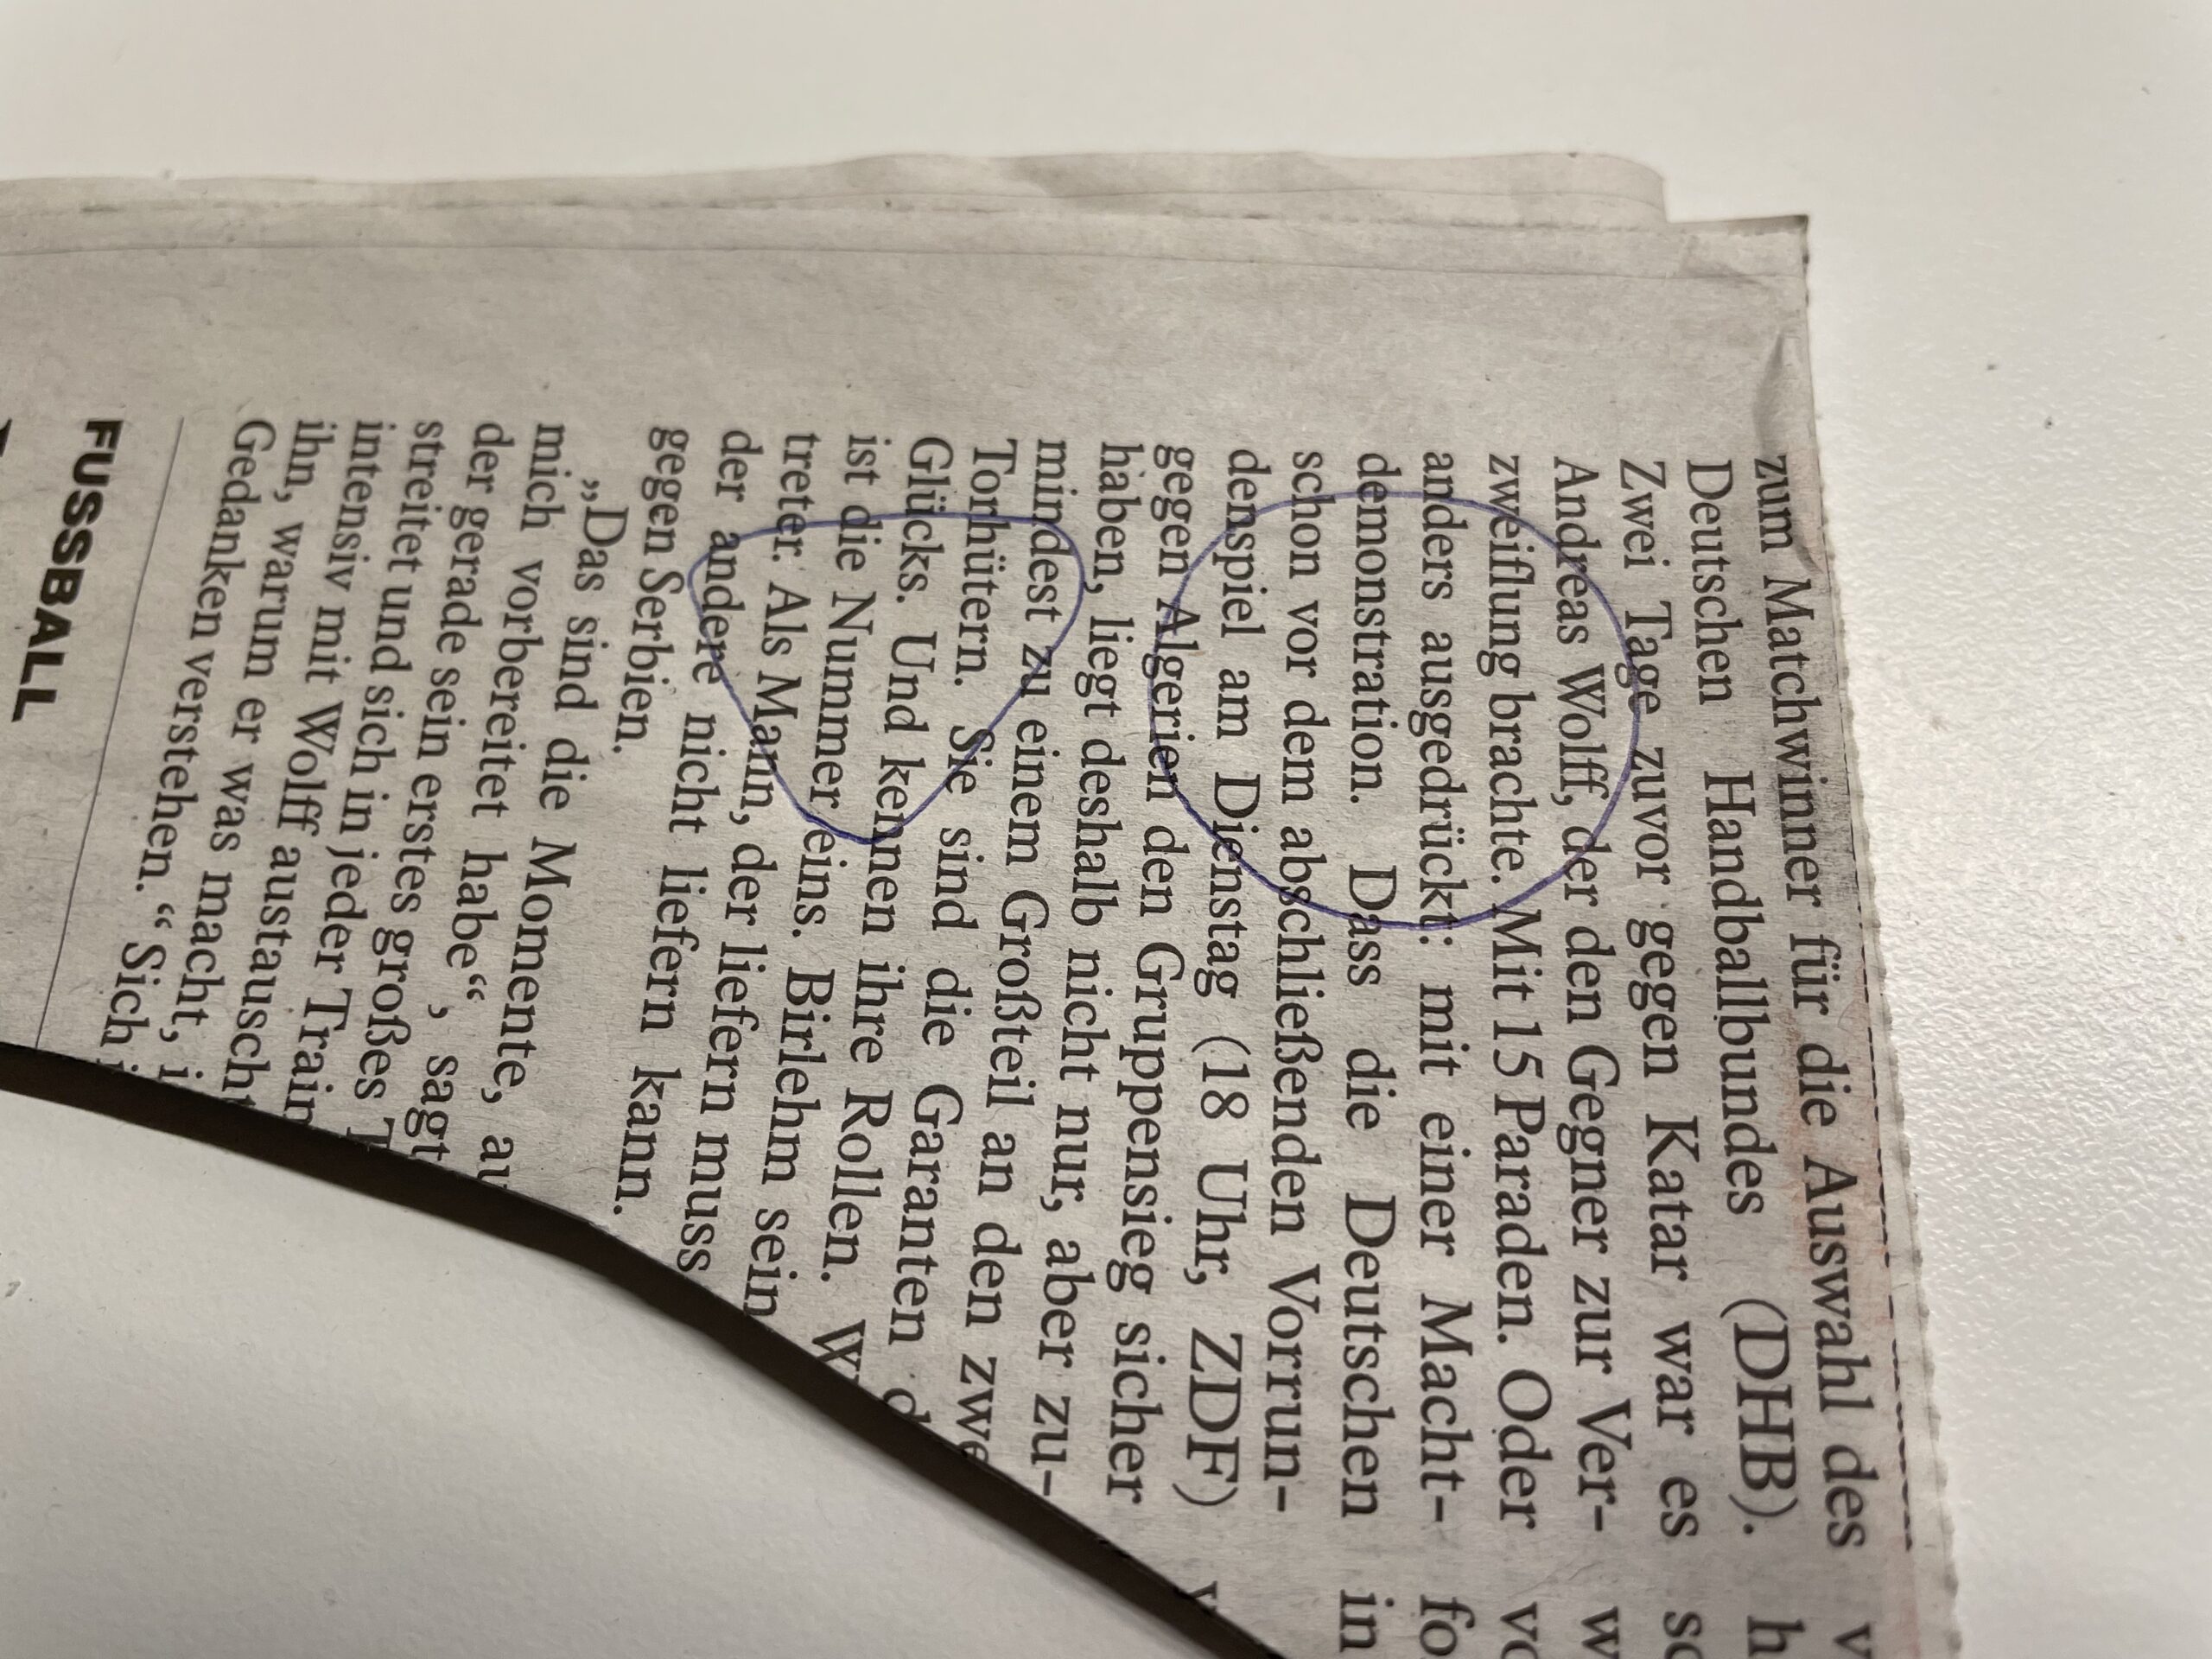
Cut out everything with scissors.
A few single strips of paper are needed for whiskers.
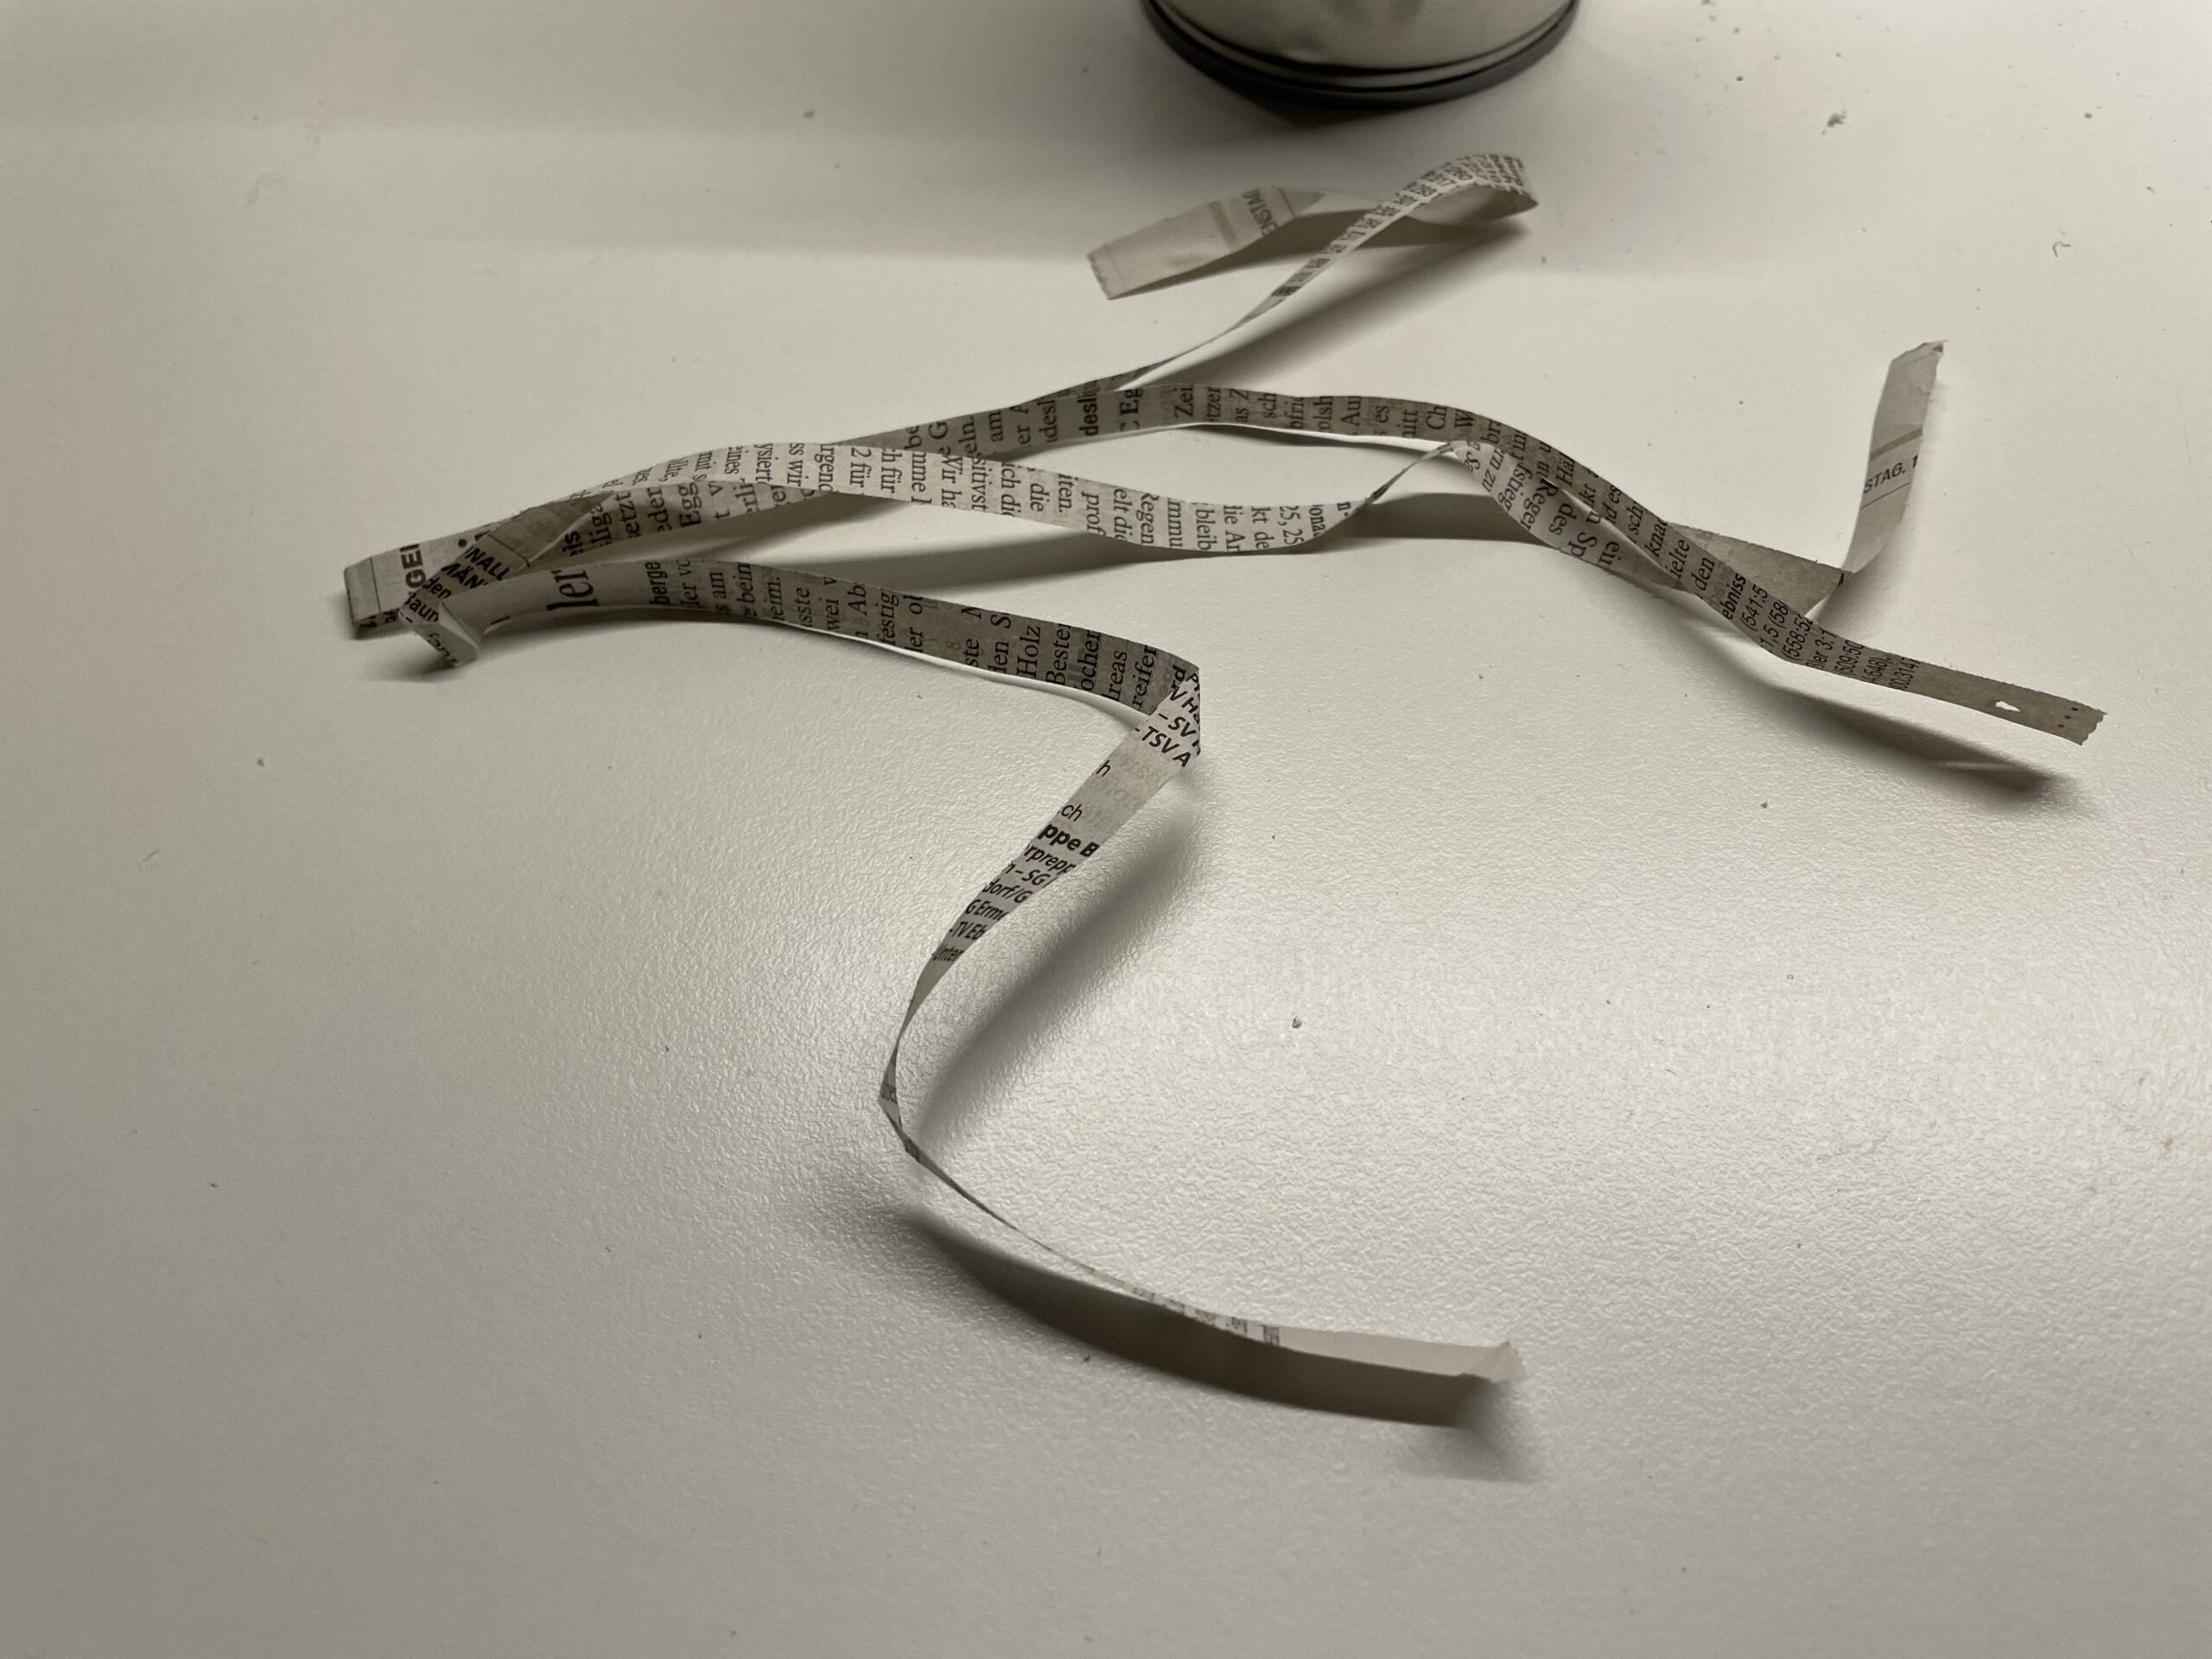
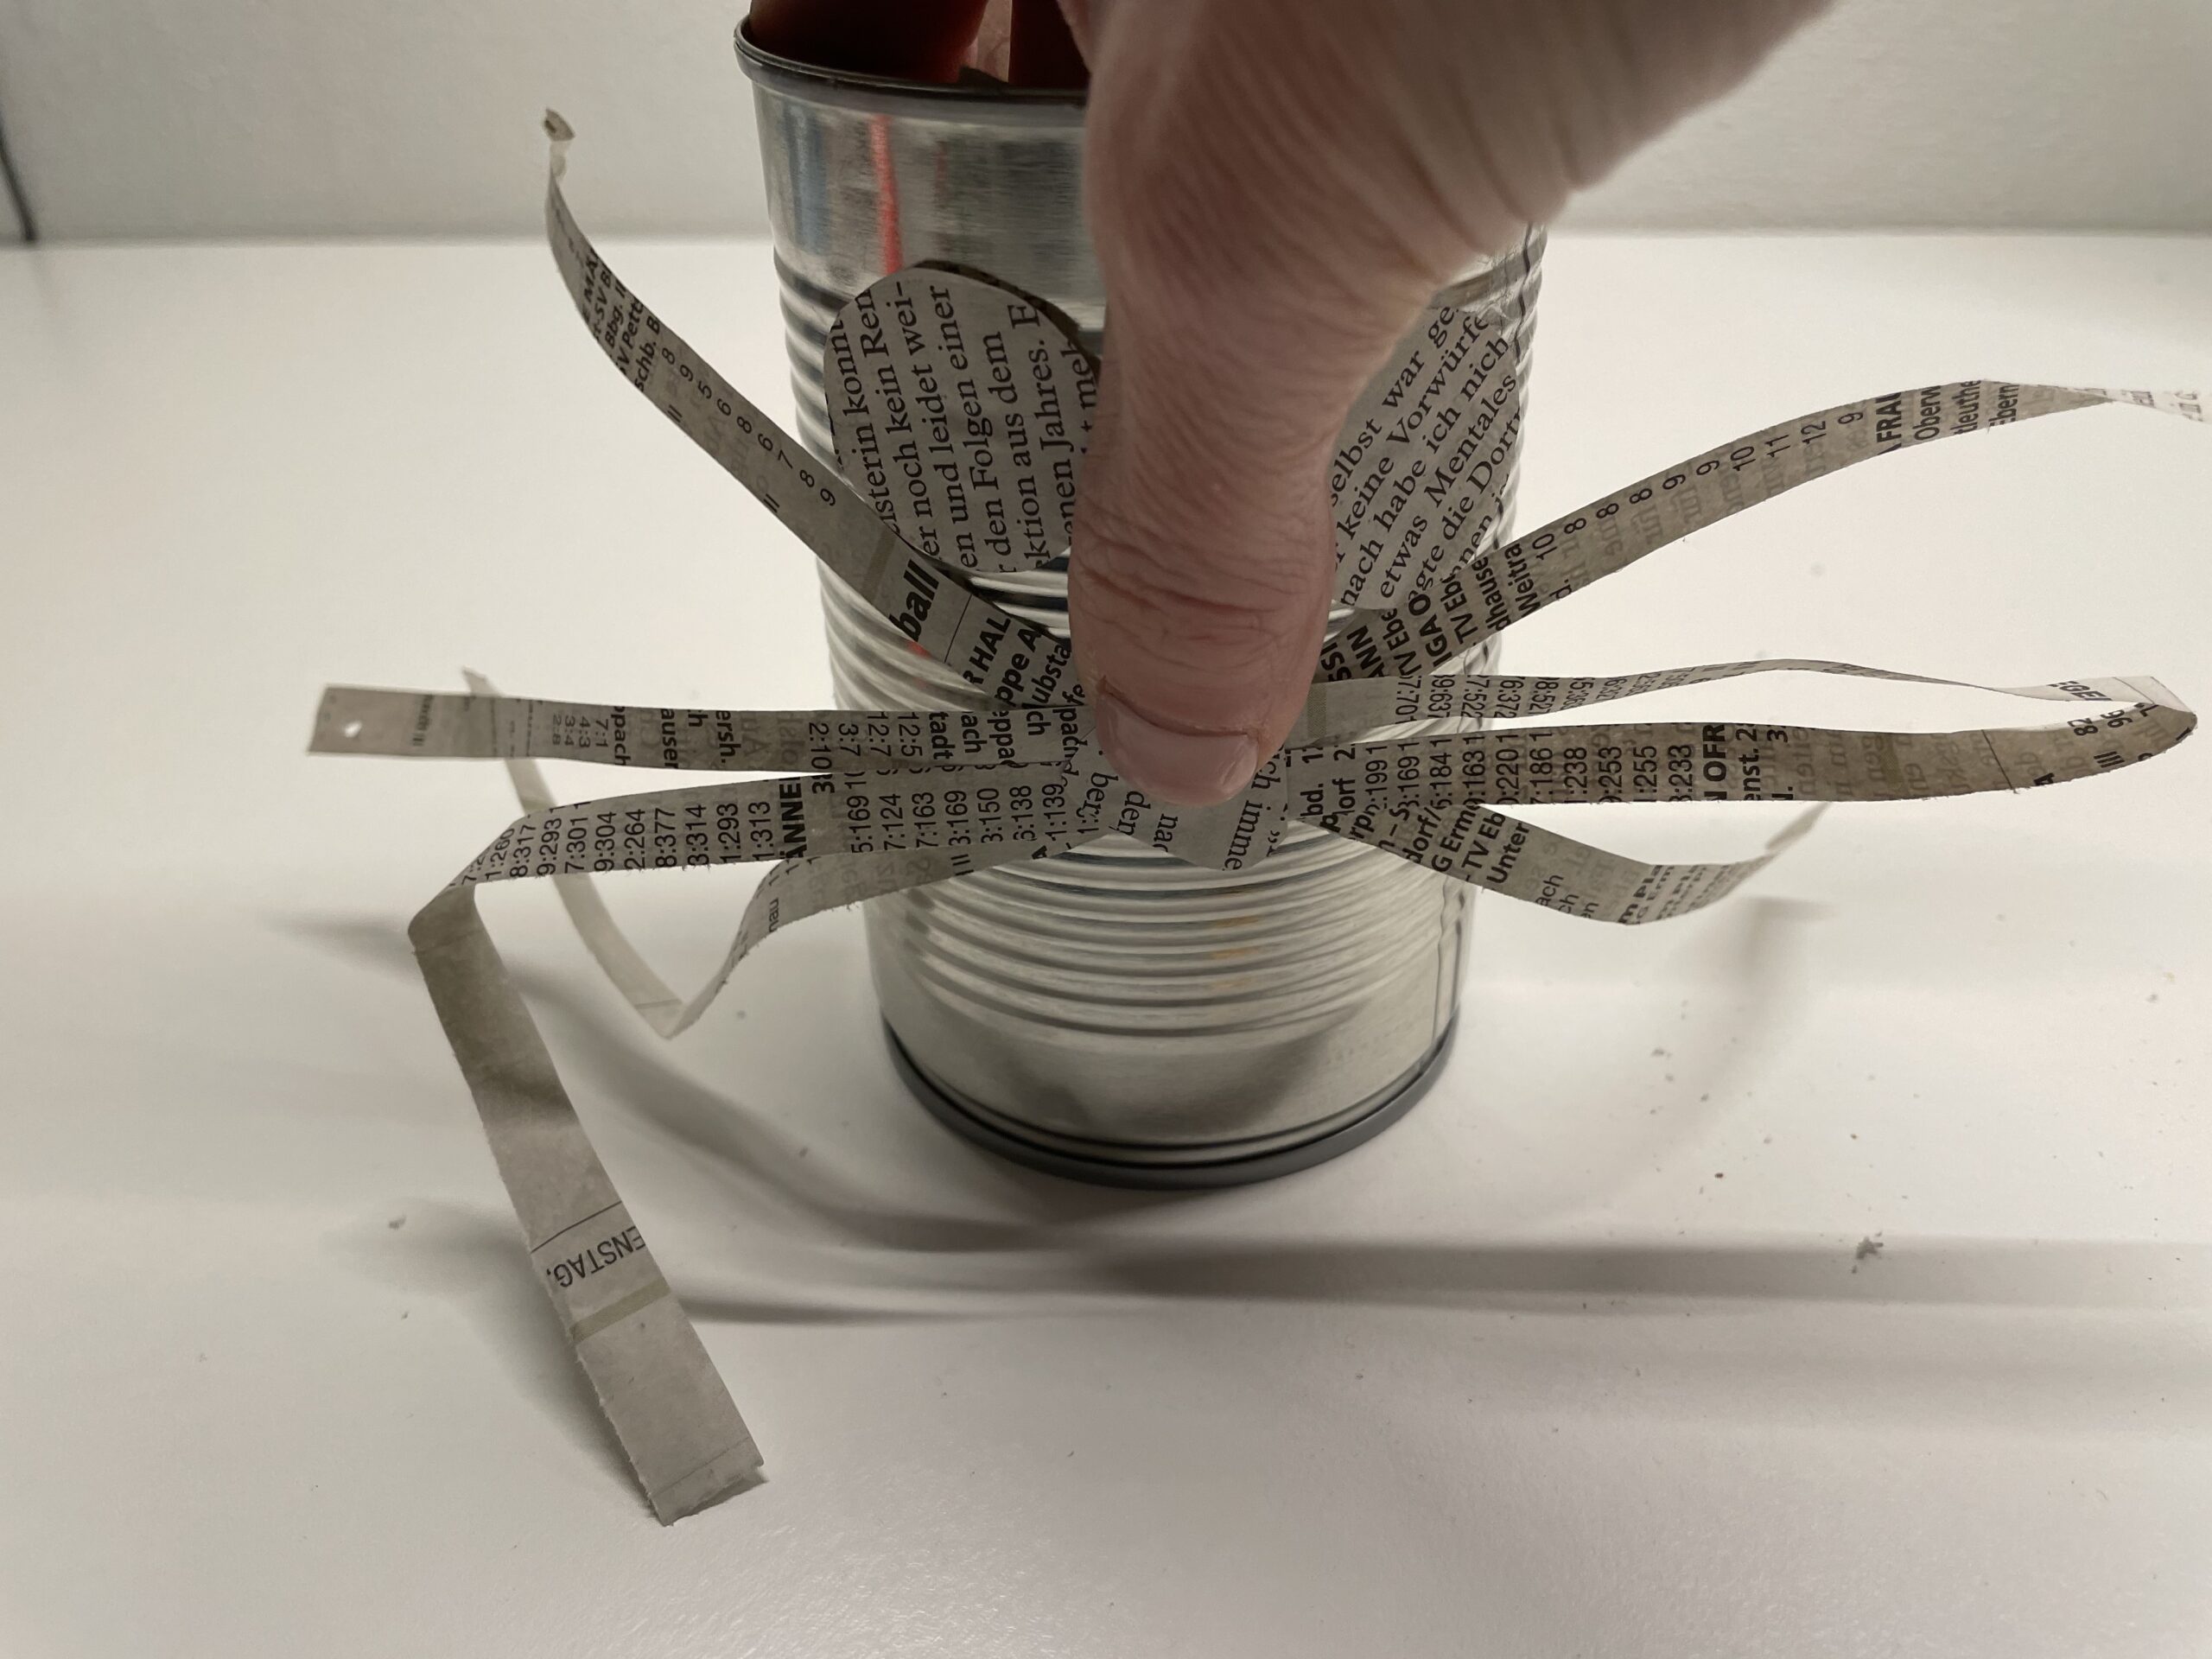
Put three strips of paper on top of each other as in the picture. In the middle, the nose is glued on and thus holds the whiskers together.

Stick the face to the can. Make sure that the face is placed opposite the rabbit ears.
May season the whiskers with scissors.

The Easter bunny can is ready.
Use it as a gift, Easter nest or table decoration.
Have fun.
Materials
Directions
Put your craft material on the table. Find all craft materials together.
First, you need an old newspaper.
Then find a tin can with a rounded edge. It should be clean and dry and no longer contain any paper banderoles.
Then take the newspaper and leave it folded.
After that, the paper, which is already double lying, folds up to half more.
The newspaper is now 4-ply on each other. Now you stick all sides together with a glue pen.
The paper is now very stable.
Now you're half-folding the paper again. This time you just fold it and don't stick it together.
Then draw a hare ear on the folded leaf. Paint the ear from the folding line upwards. There it is pointed towards.
After that you drive down again and down it gets wider again.
When the ear is finished, hold together the folded paper and cut out the ear twice lying down.
At the bottom of the ear (the folding edge) do not cut the paper apart.
That's what the cut-out ears look like now.
After that, you'll fold your ears apart.
Now fold your ears in length.
Keep the paper only knotted in the middle.
Then you'll get the rabbit ears together again.
Now you fold the above ear diagonally outwards.
Now fix the position of the ears with glue.
Press the ears together for a short moment until the glue sticks.
Now attach the pair of ears to the back of the can with an adhesive point.
Keep your ears pressed so they're tight.
Now take shredded newsprint / paper to fill.
Crash the paper strips loosely, so that the can is well filled.
The rabbit's face is crafted from newspaper. Paints two eyes and a nose on the paper.
Cut out everything with scissors.
A few single strips of paper are needed for whiskers.
Put three strips of paper on top of each other as in the picture. In the middle, the nose is glued on and thus holds the whiskers together.
Stick the face to the can. Make sure that the face is placed opposite the rabbit ears.
May season the whiskers with scissors.
The Easter bunny can is ready.
Use it as a gift, Easter nest or table decoration.
Have fun.
Follow us on Facebook , Instagram and Pinterest
Don't miss any more adventures: Our bottle mail