The perfect last minute lantern!
Hardly a lantern is made that fast.
Media Education for Kindergarten and Hort

Relief in everyday life, targeted promotion of individual children, independent learning and - without any pre-knowledge already usable by the youngest!
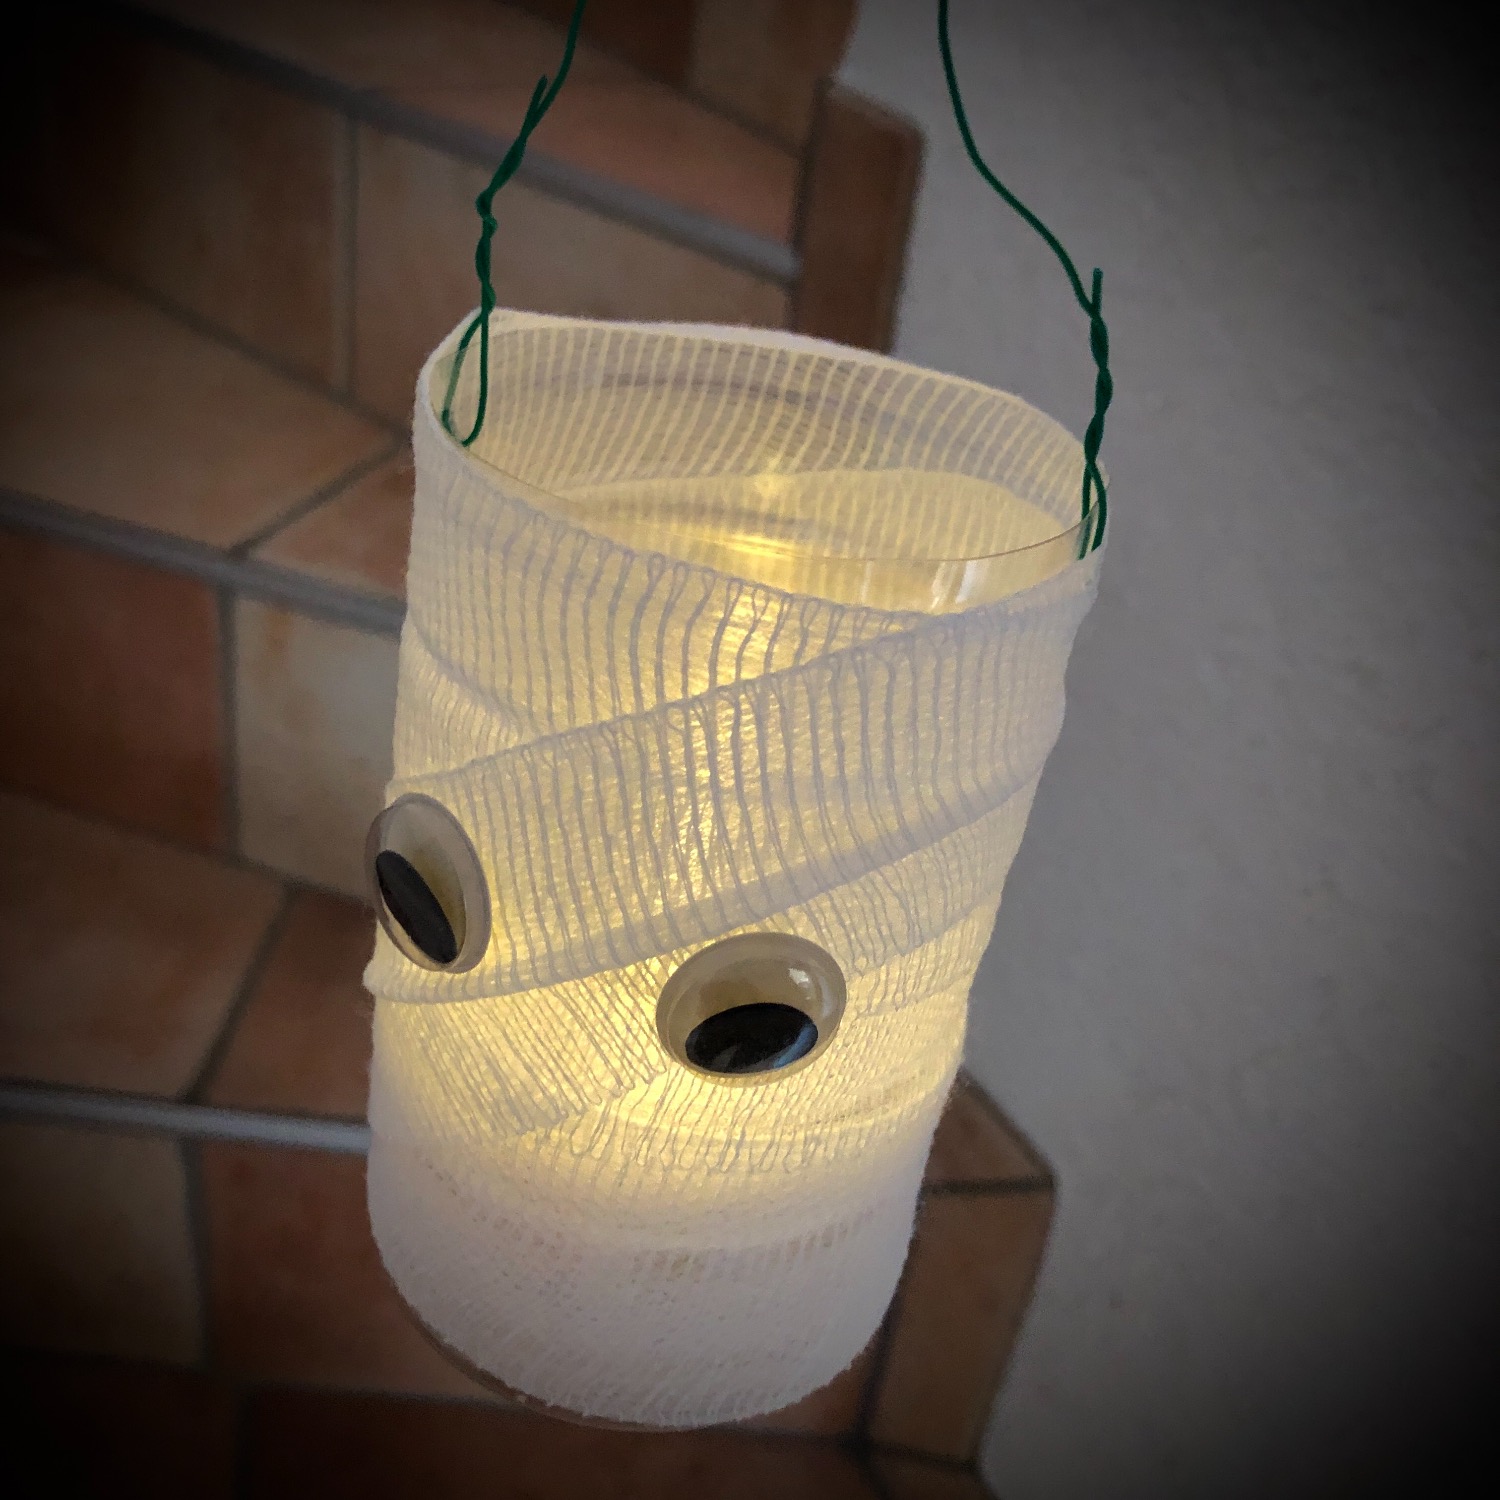
From the bottle, cut off the bottle neck completely.
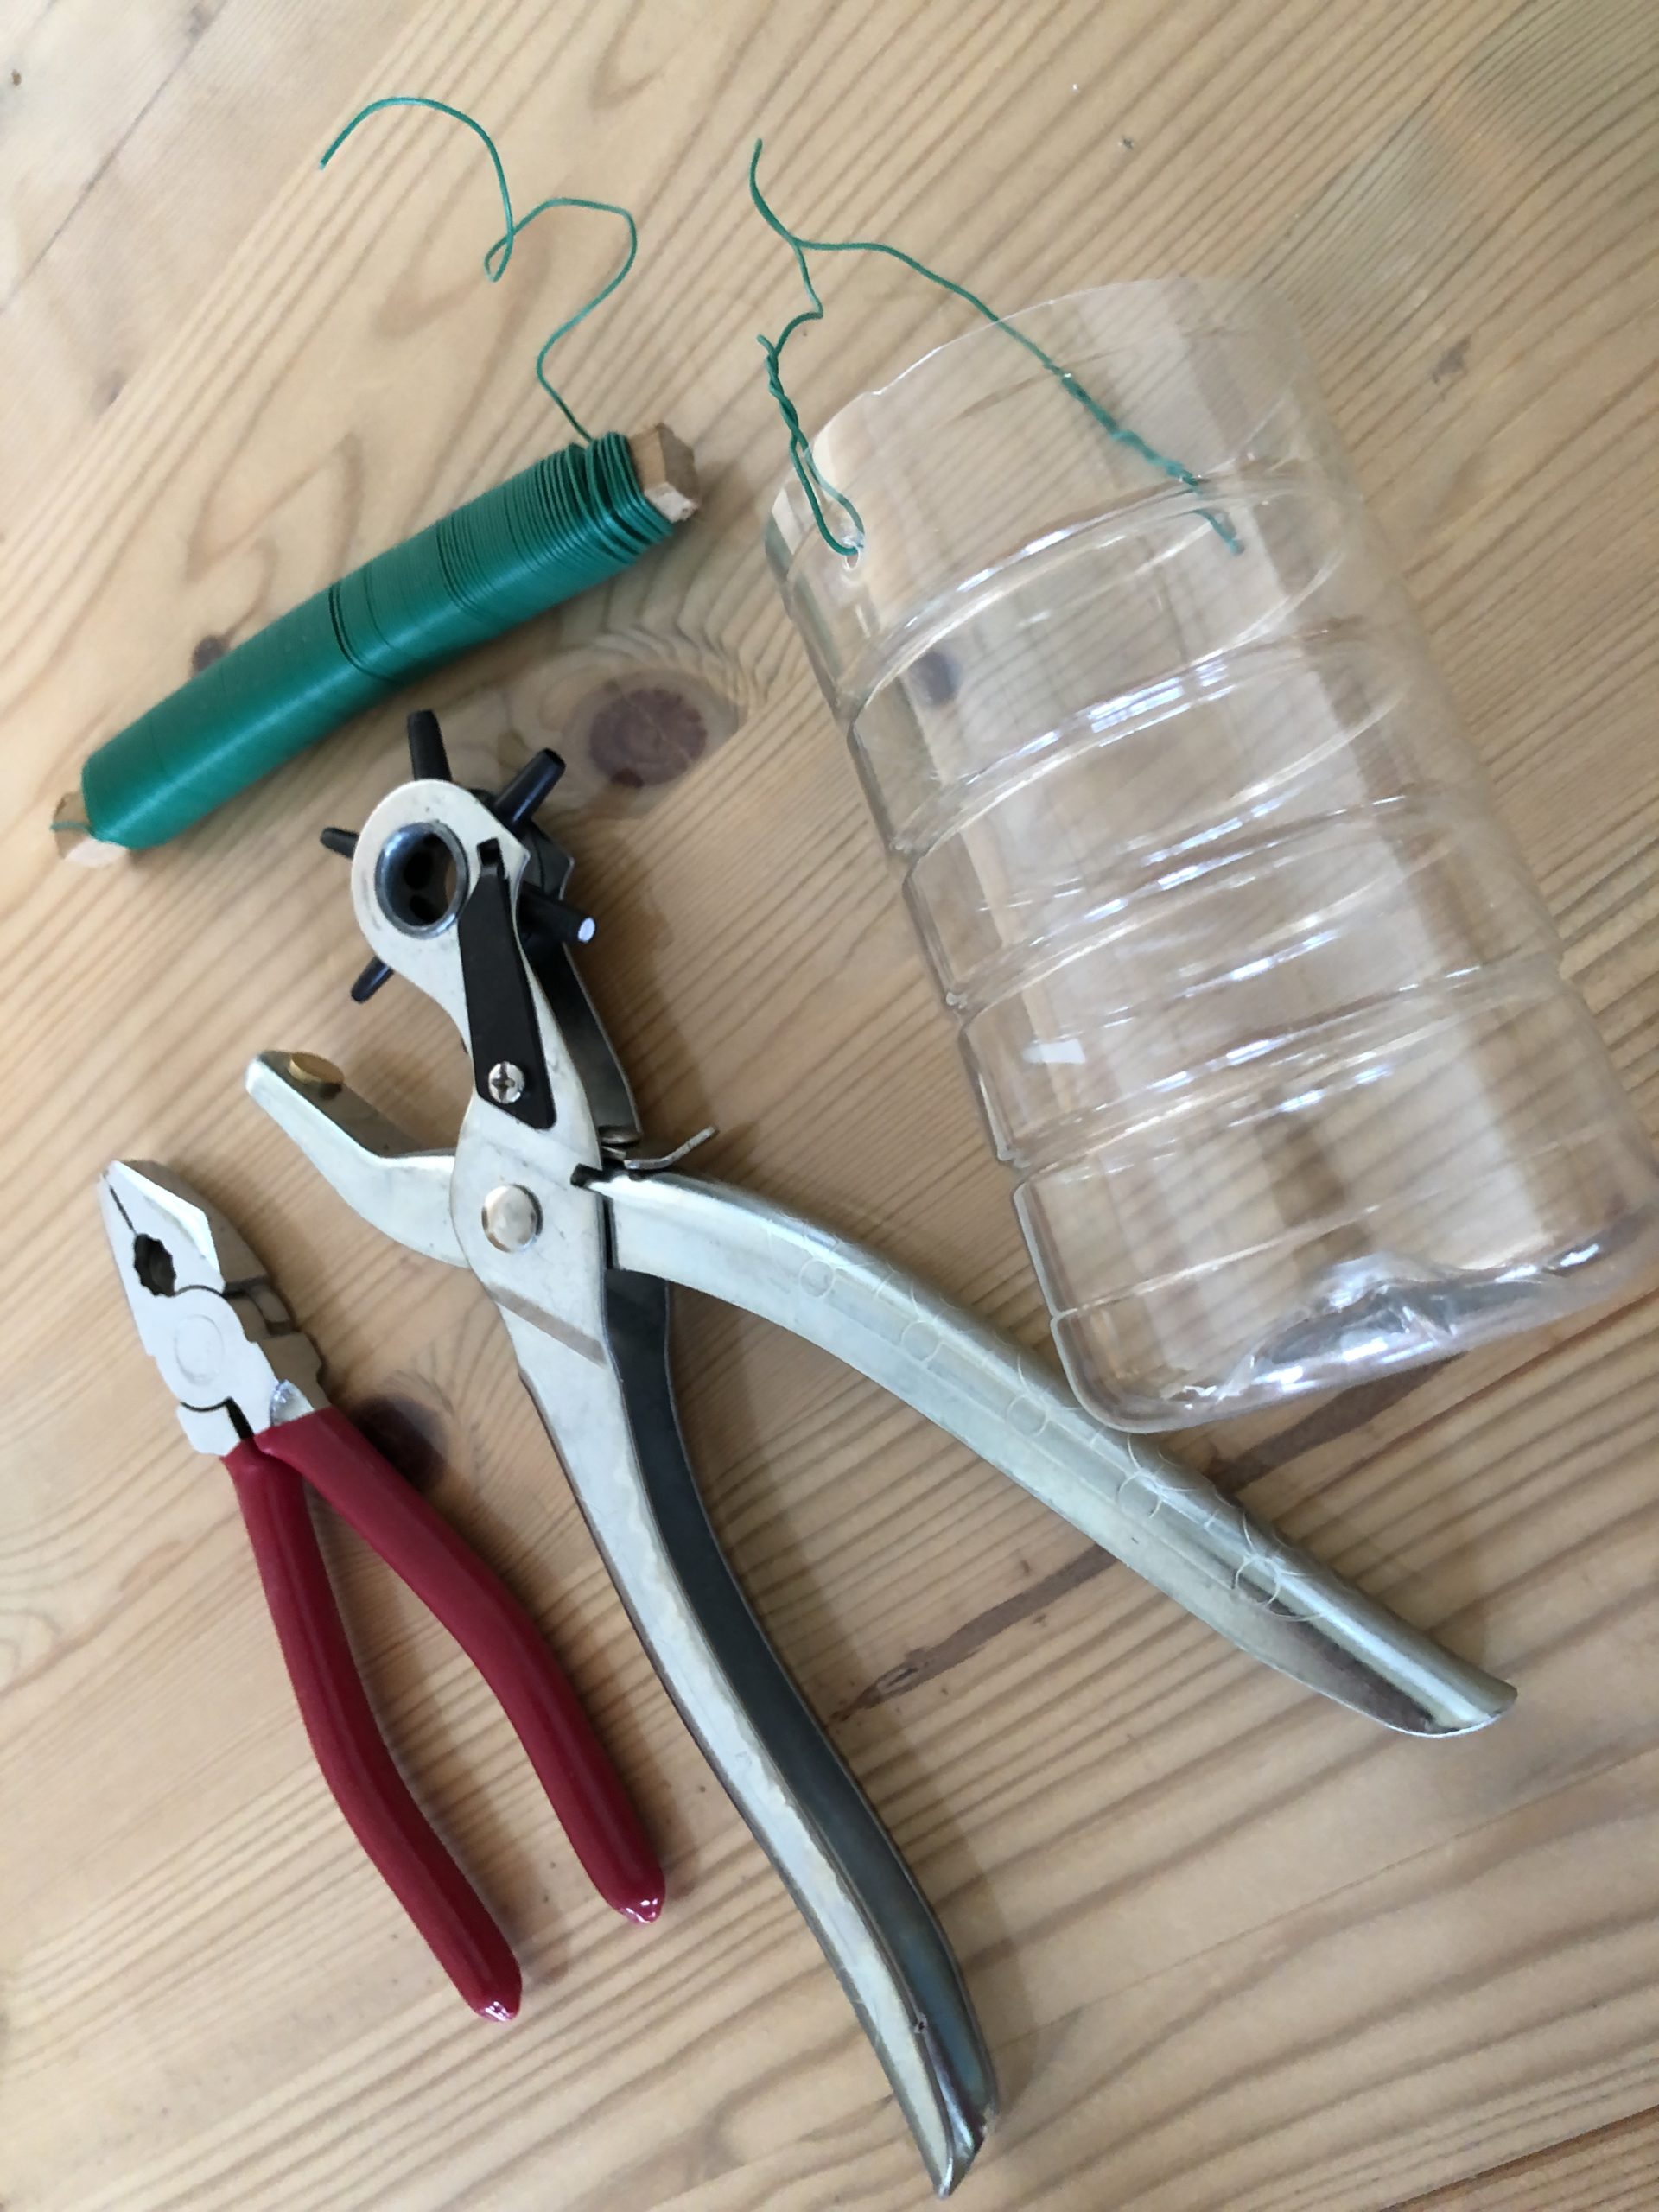
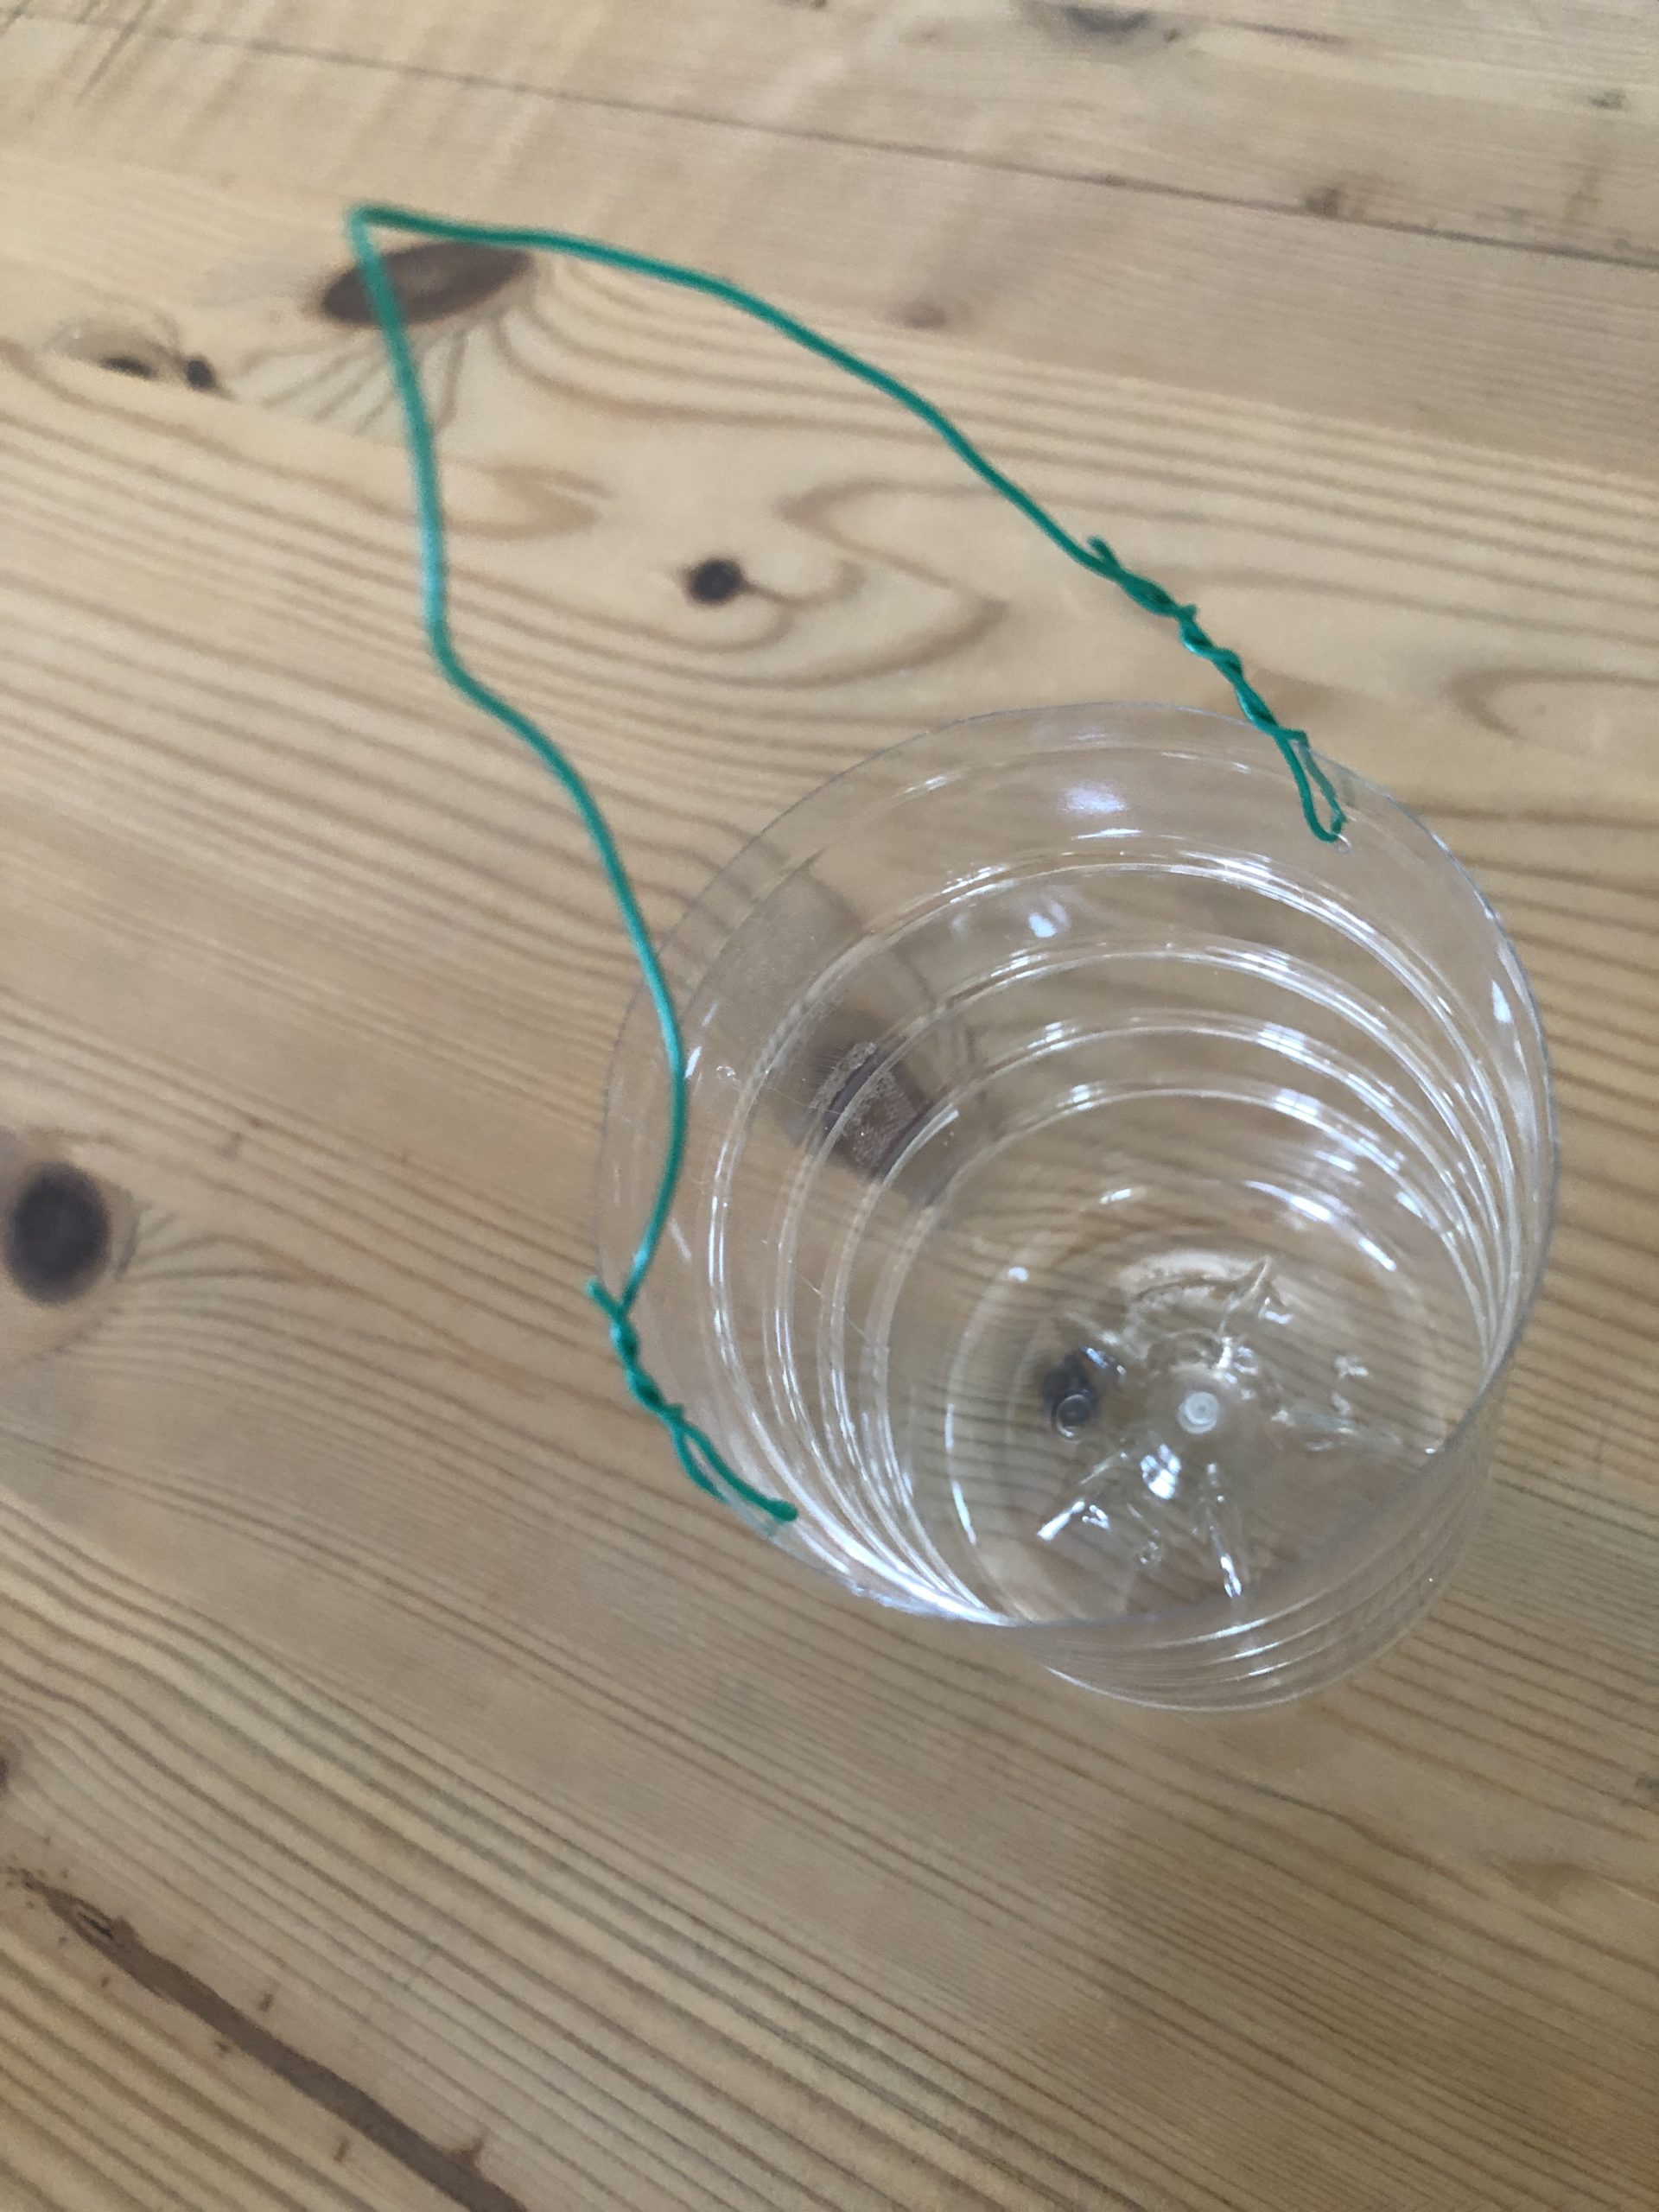
At the top you hole two holes in the opposite sides of the bottle. You attach the wire to it and twist it to the ends.


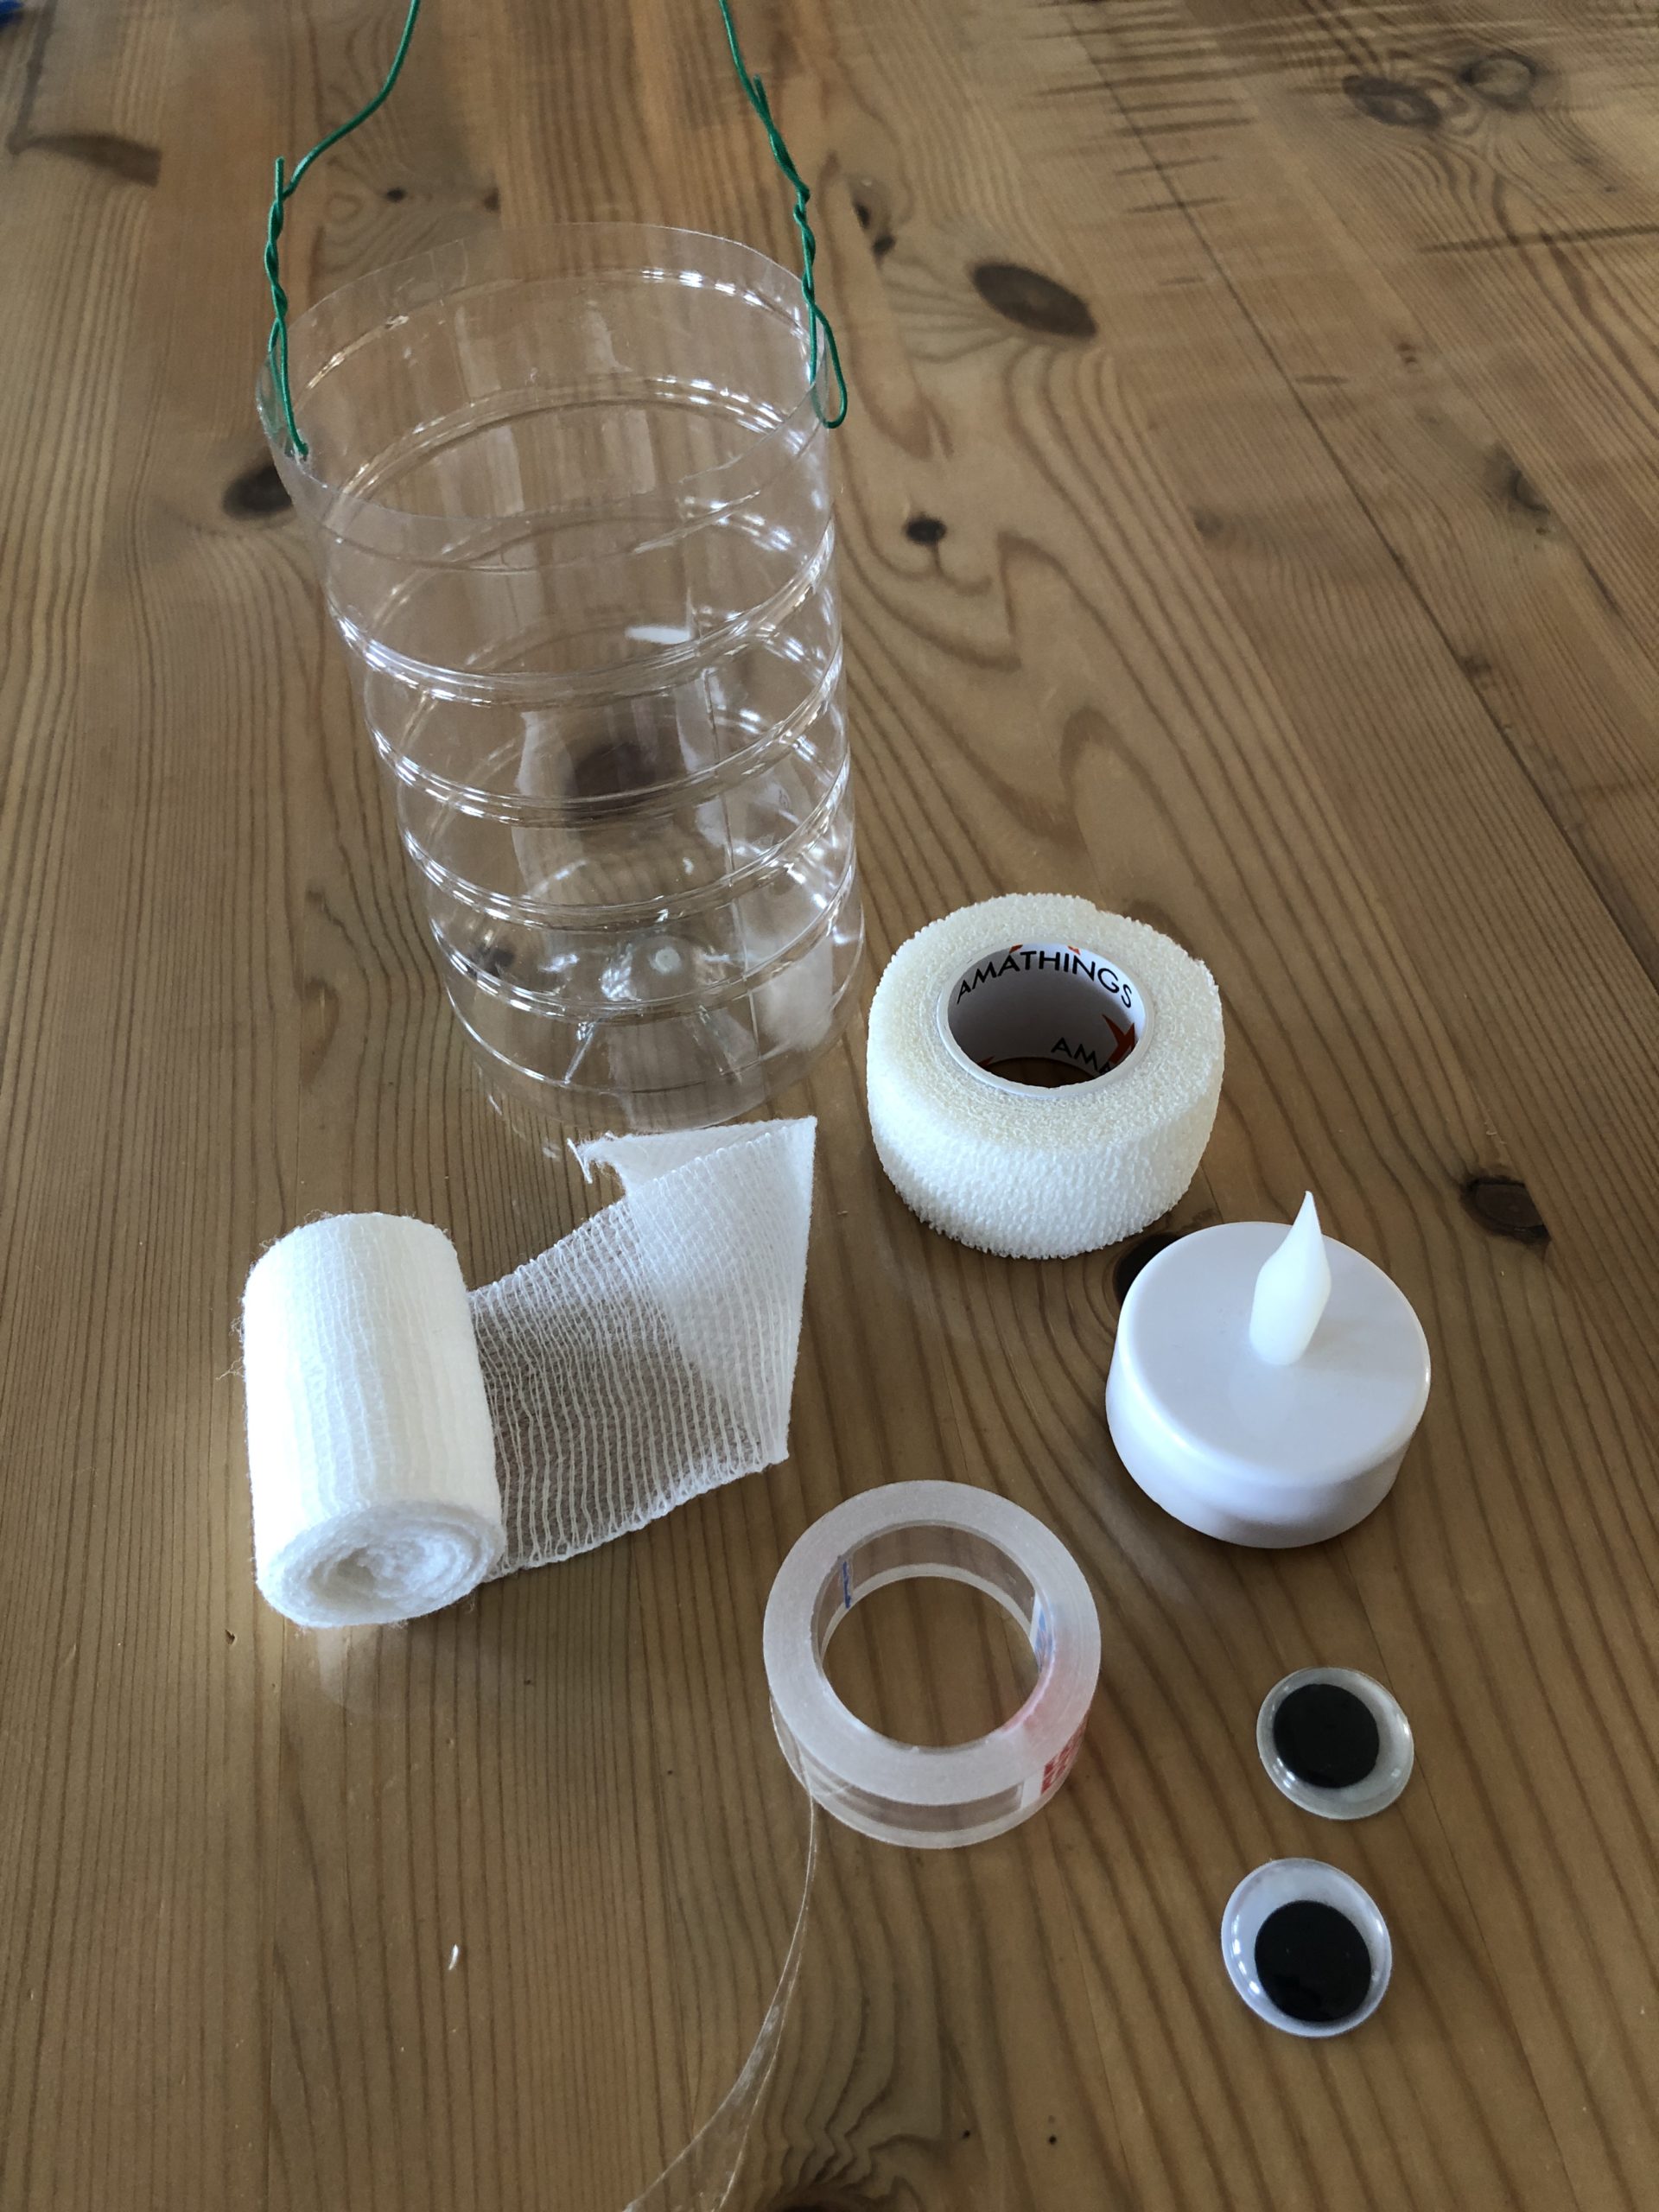
Provides adhesive strips and tealight with button cell.
Then you take the gauze bandage (or self-adhesive bandage material).


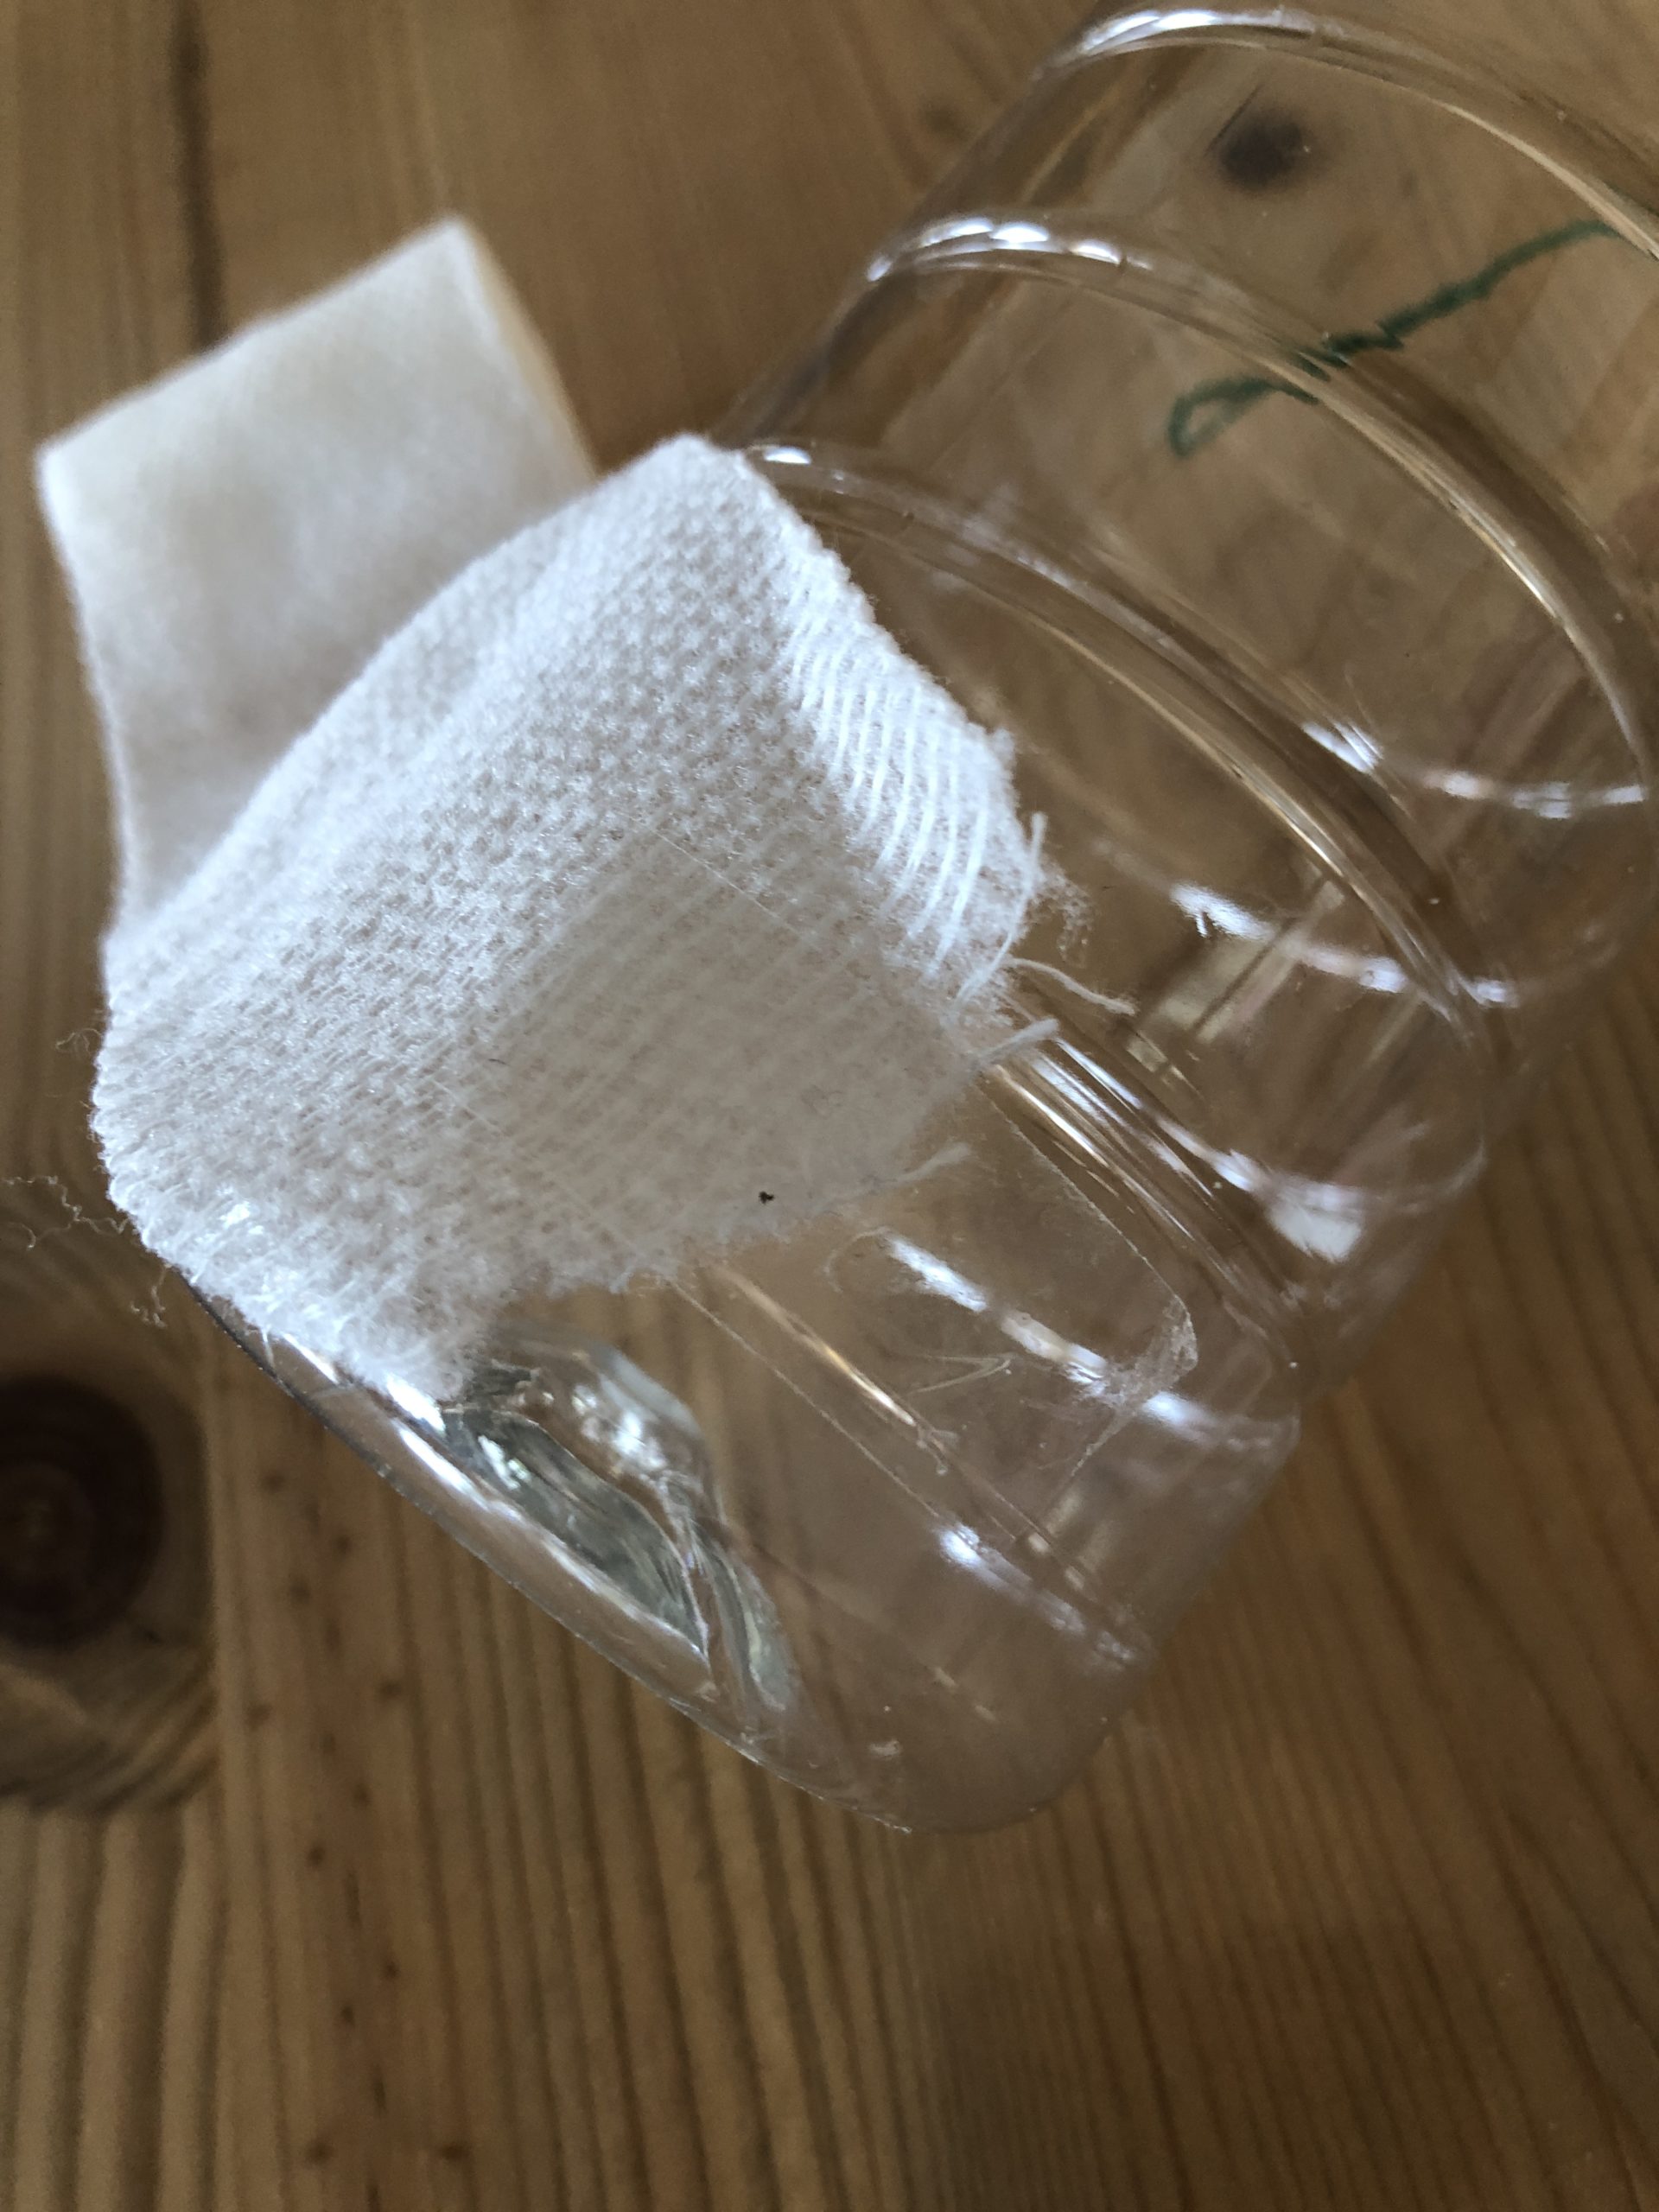
At the bottom of the bottle you fix the gauze band with the adhesive tape.


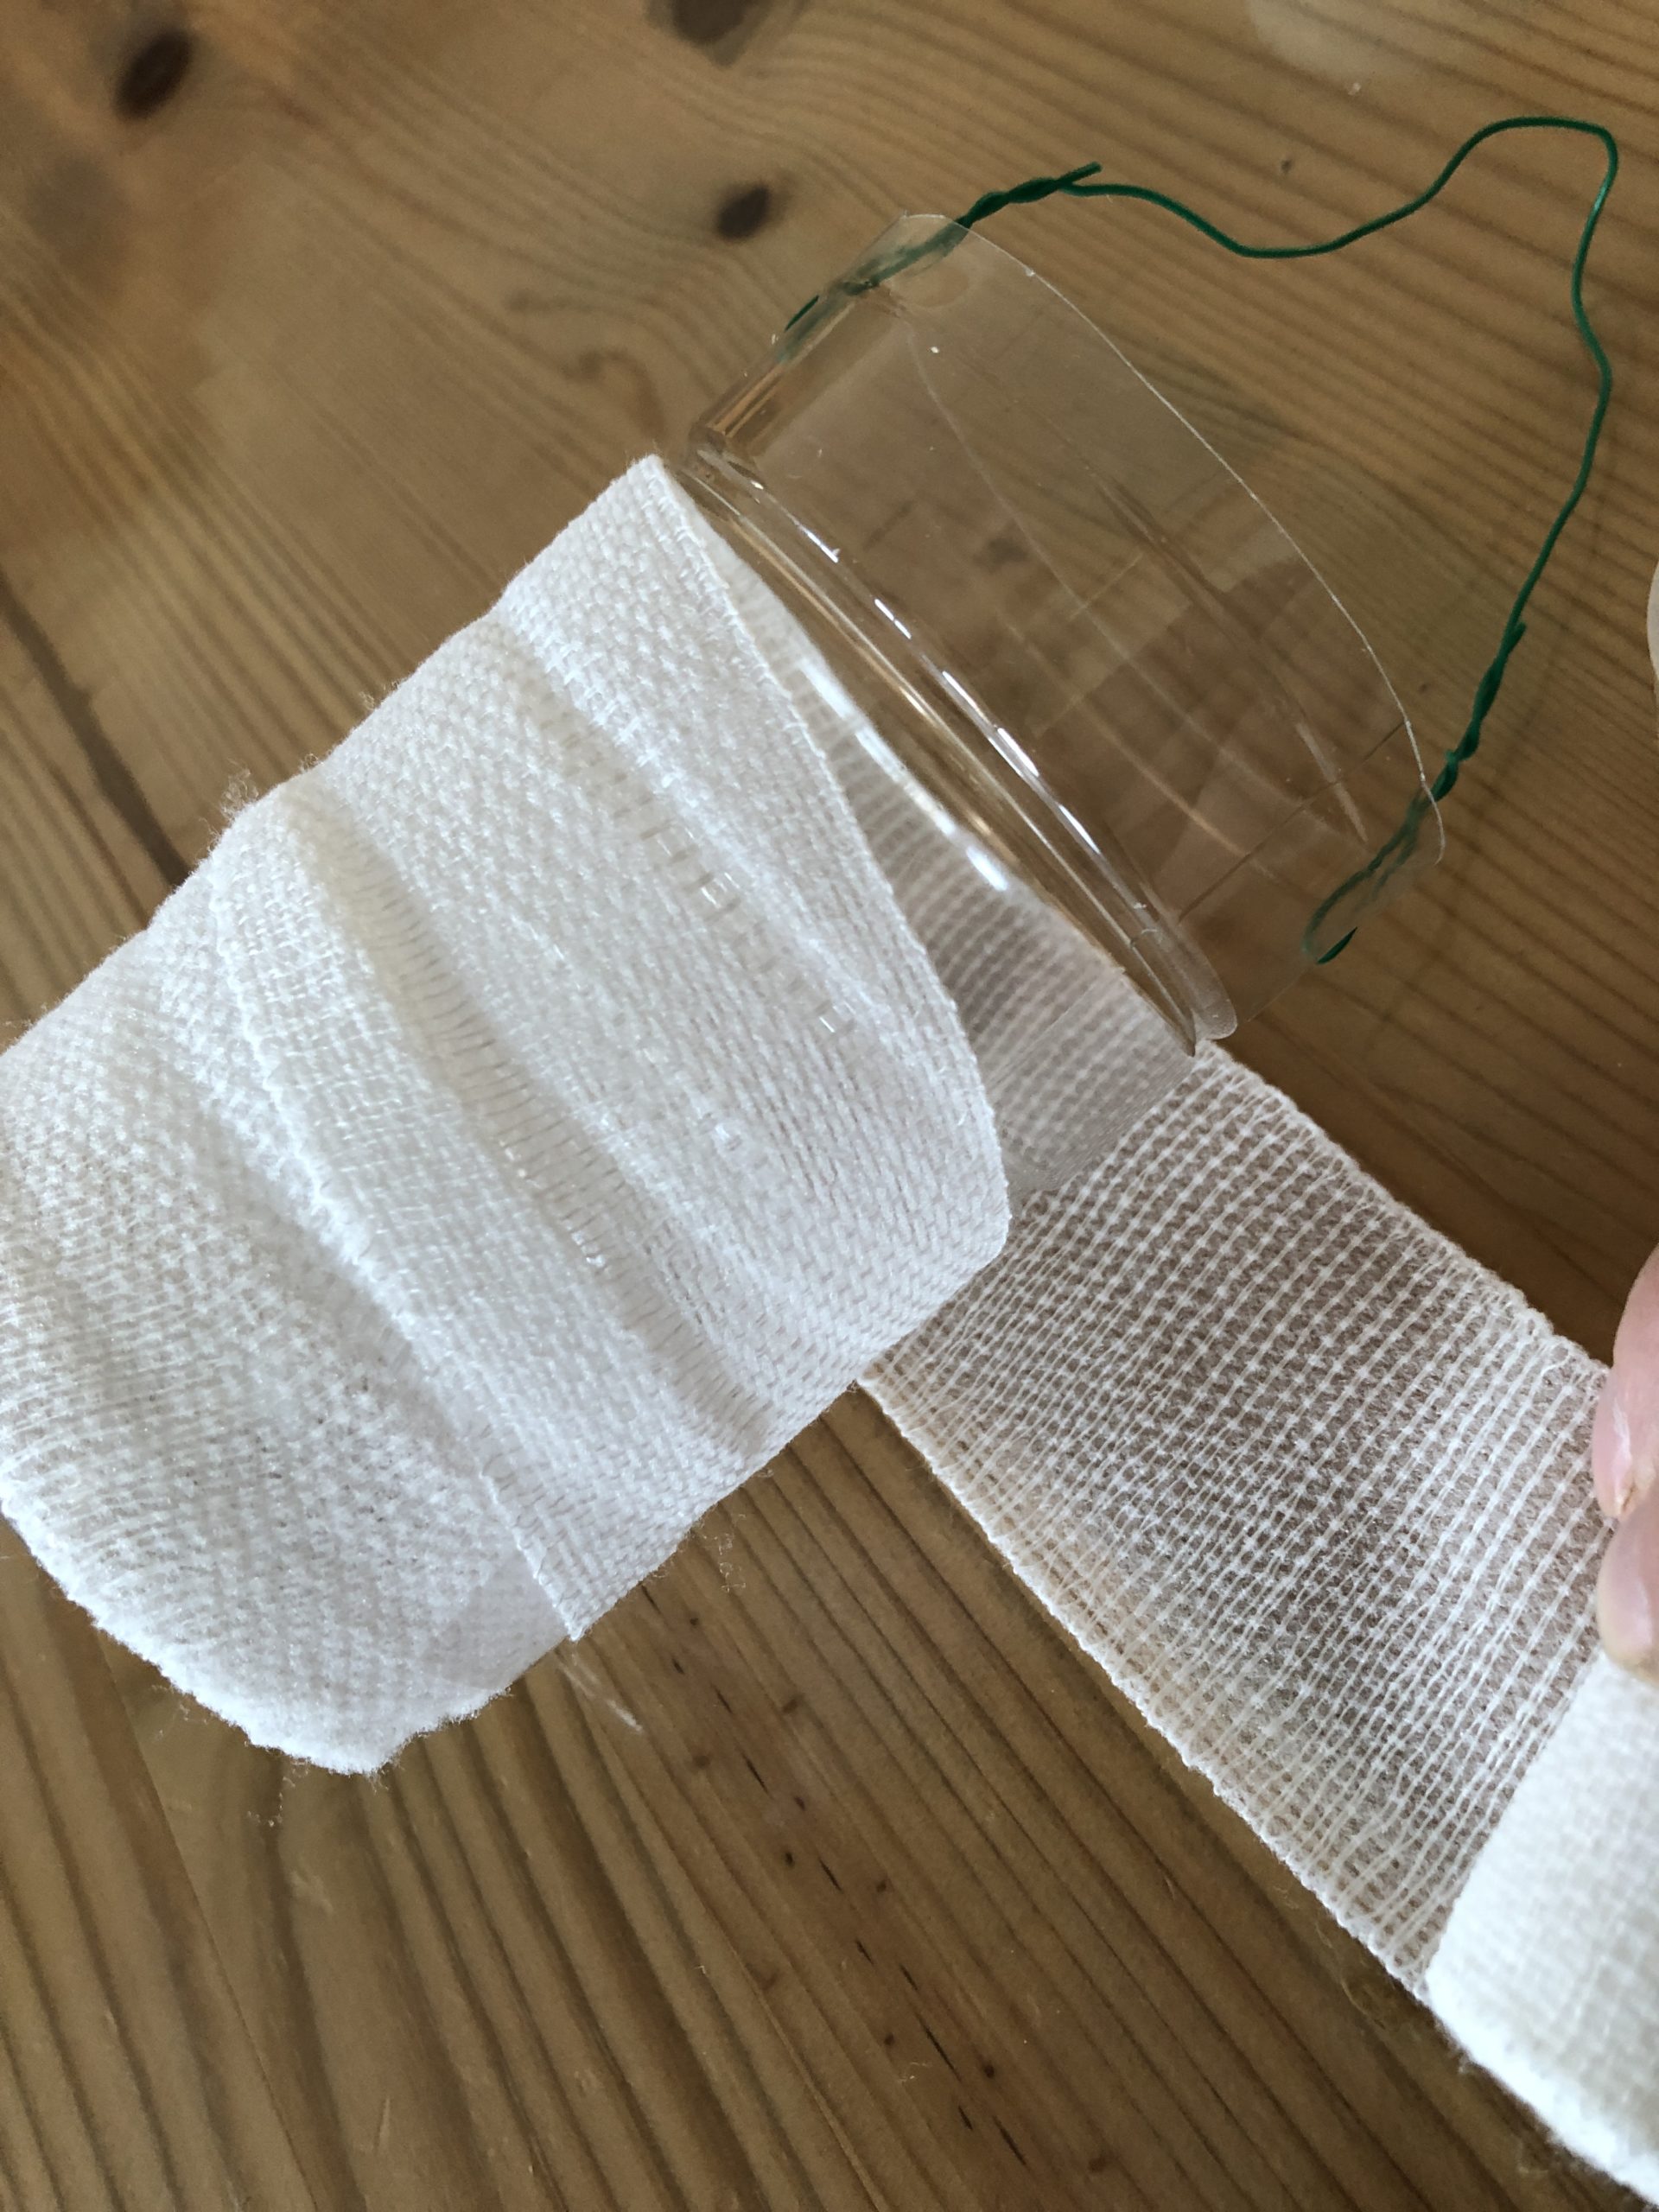
Then you wrap the bandage around the bottle. The bottle should be covered everywhere.


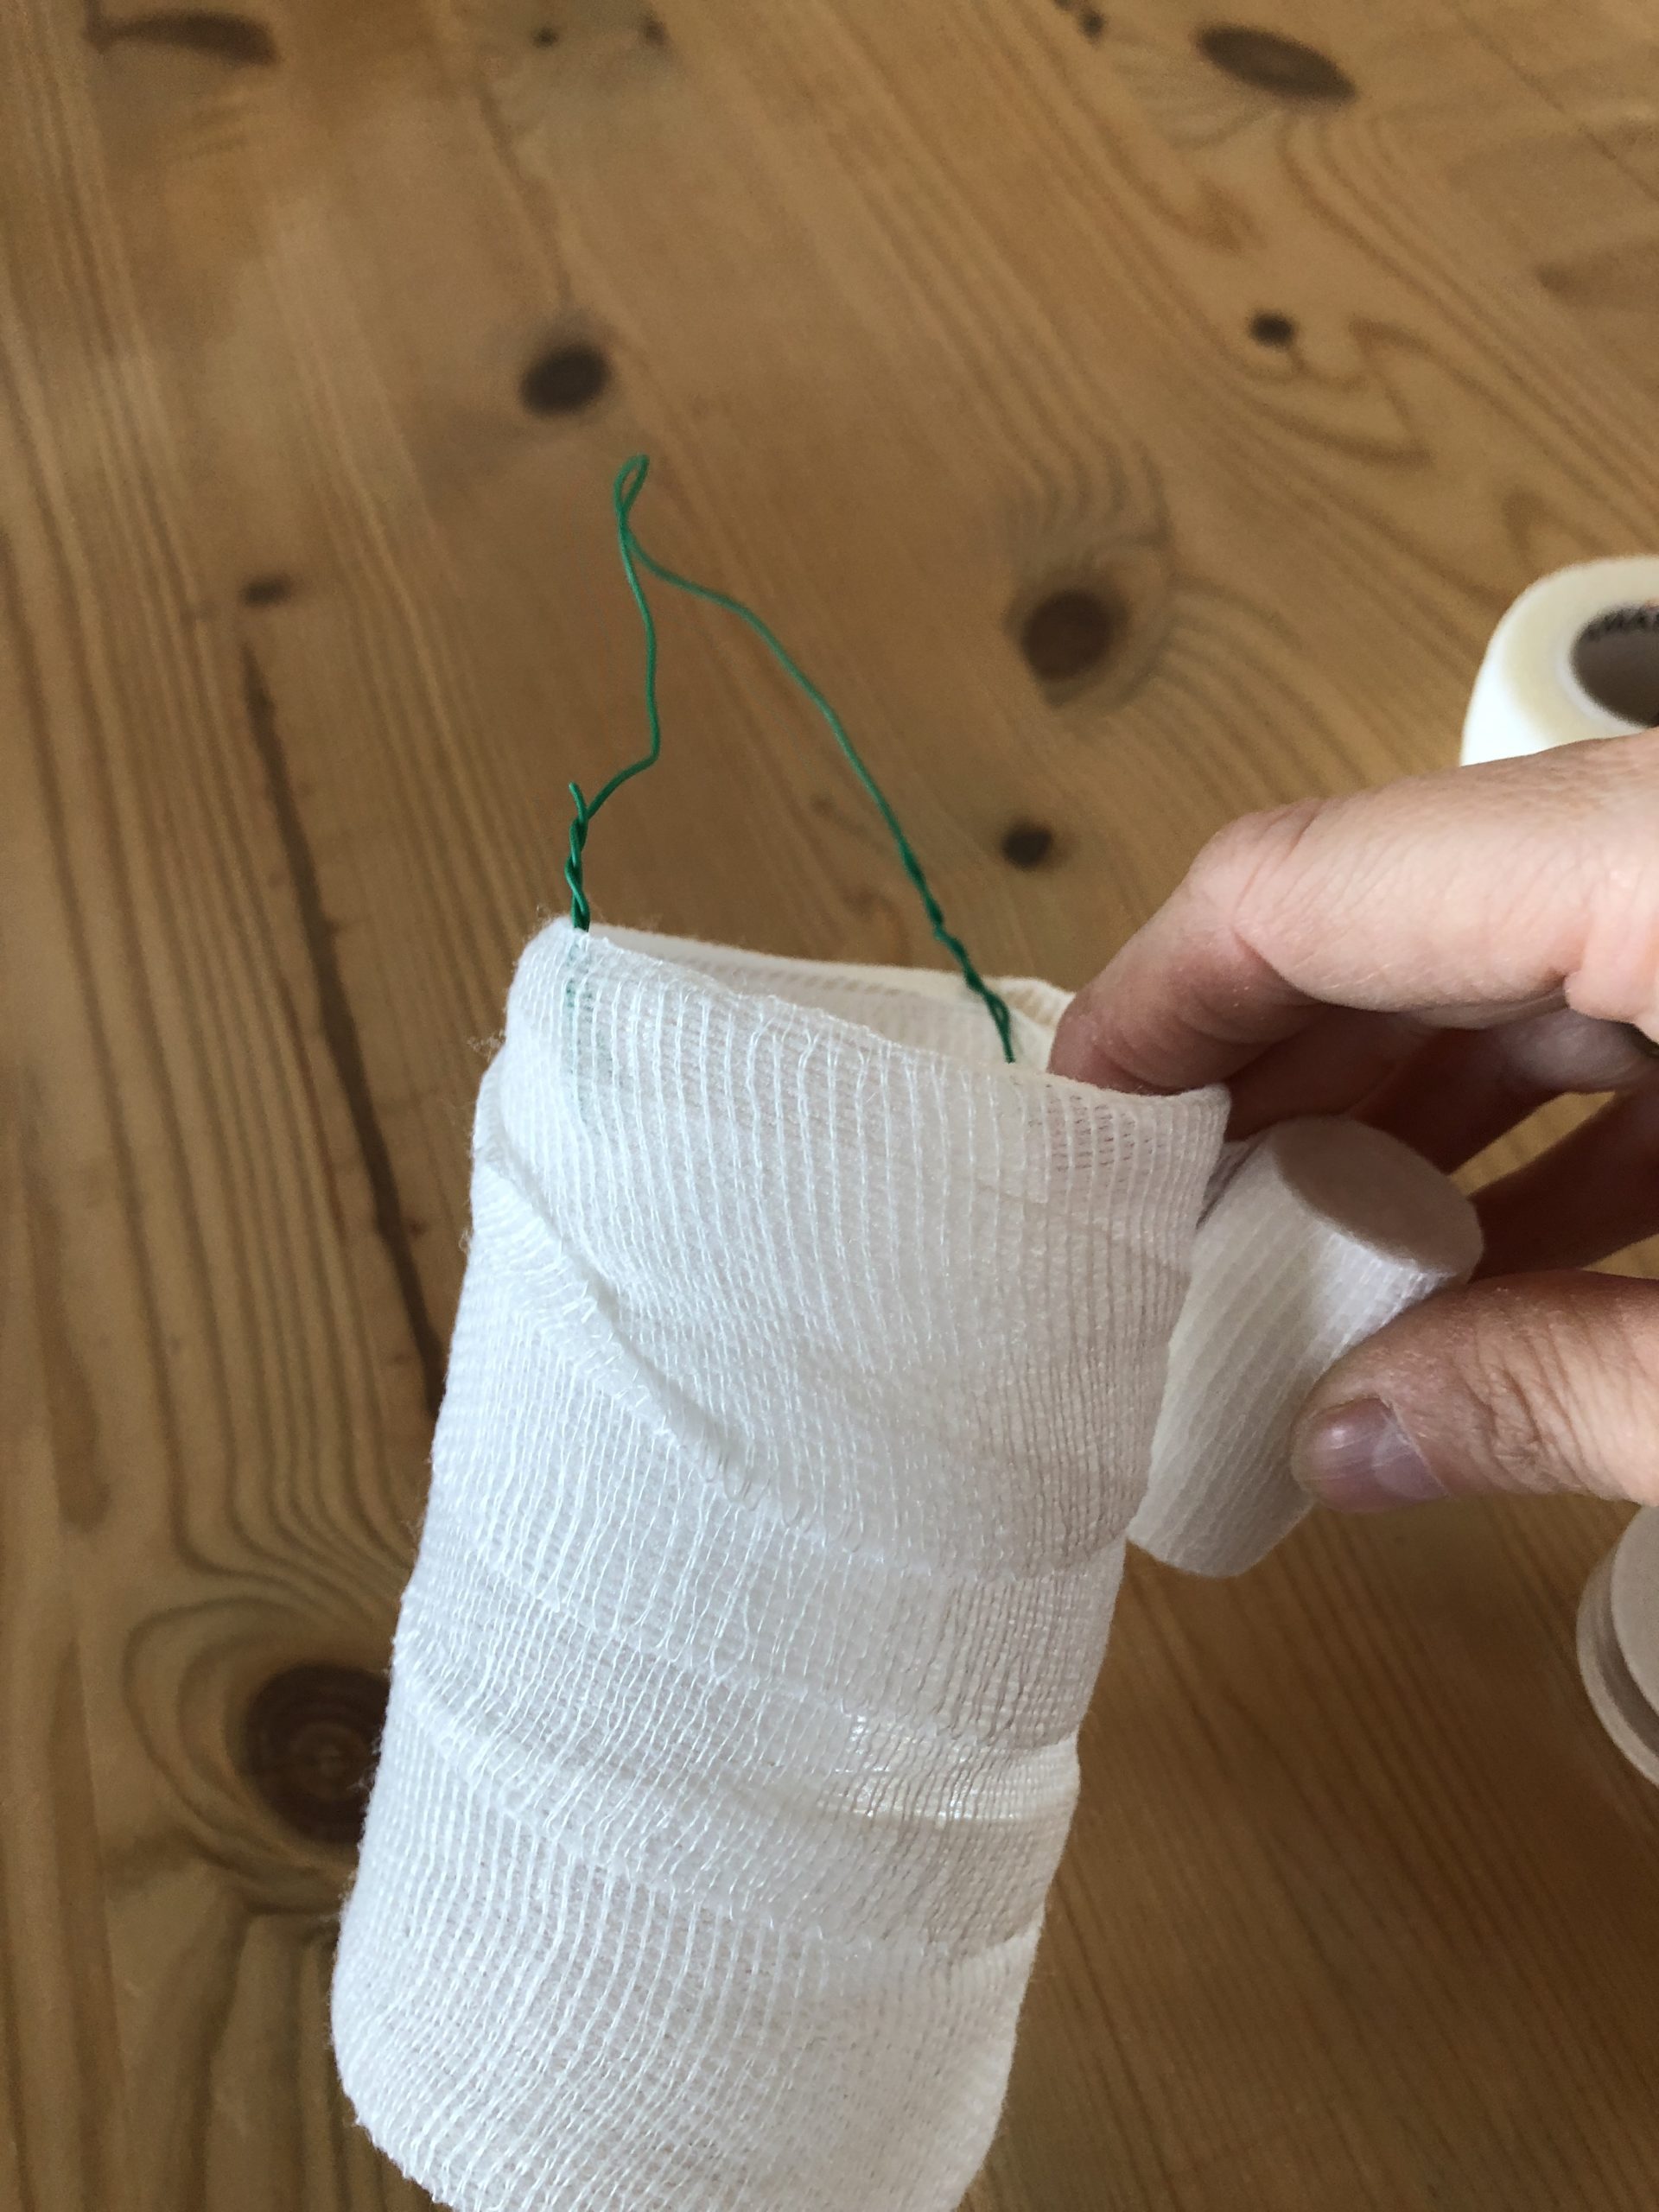


Cut off the bandage and fix the end again with an adhesive tape.


Ready.
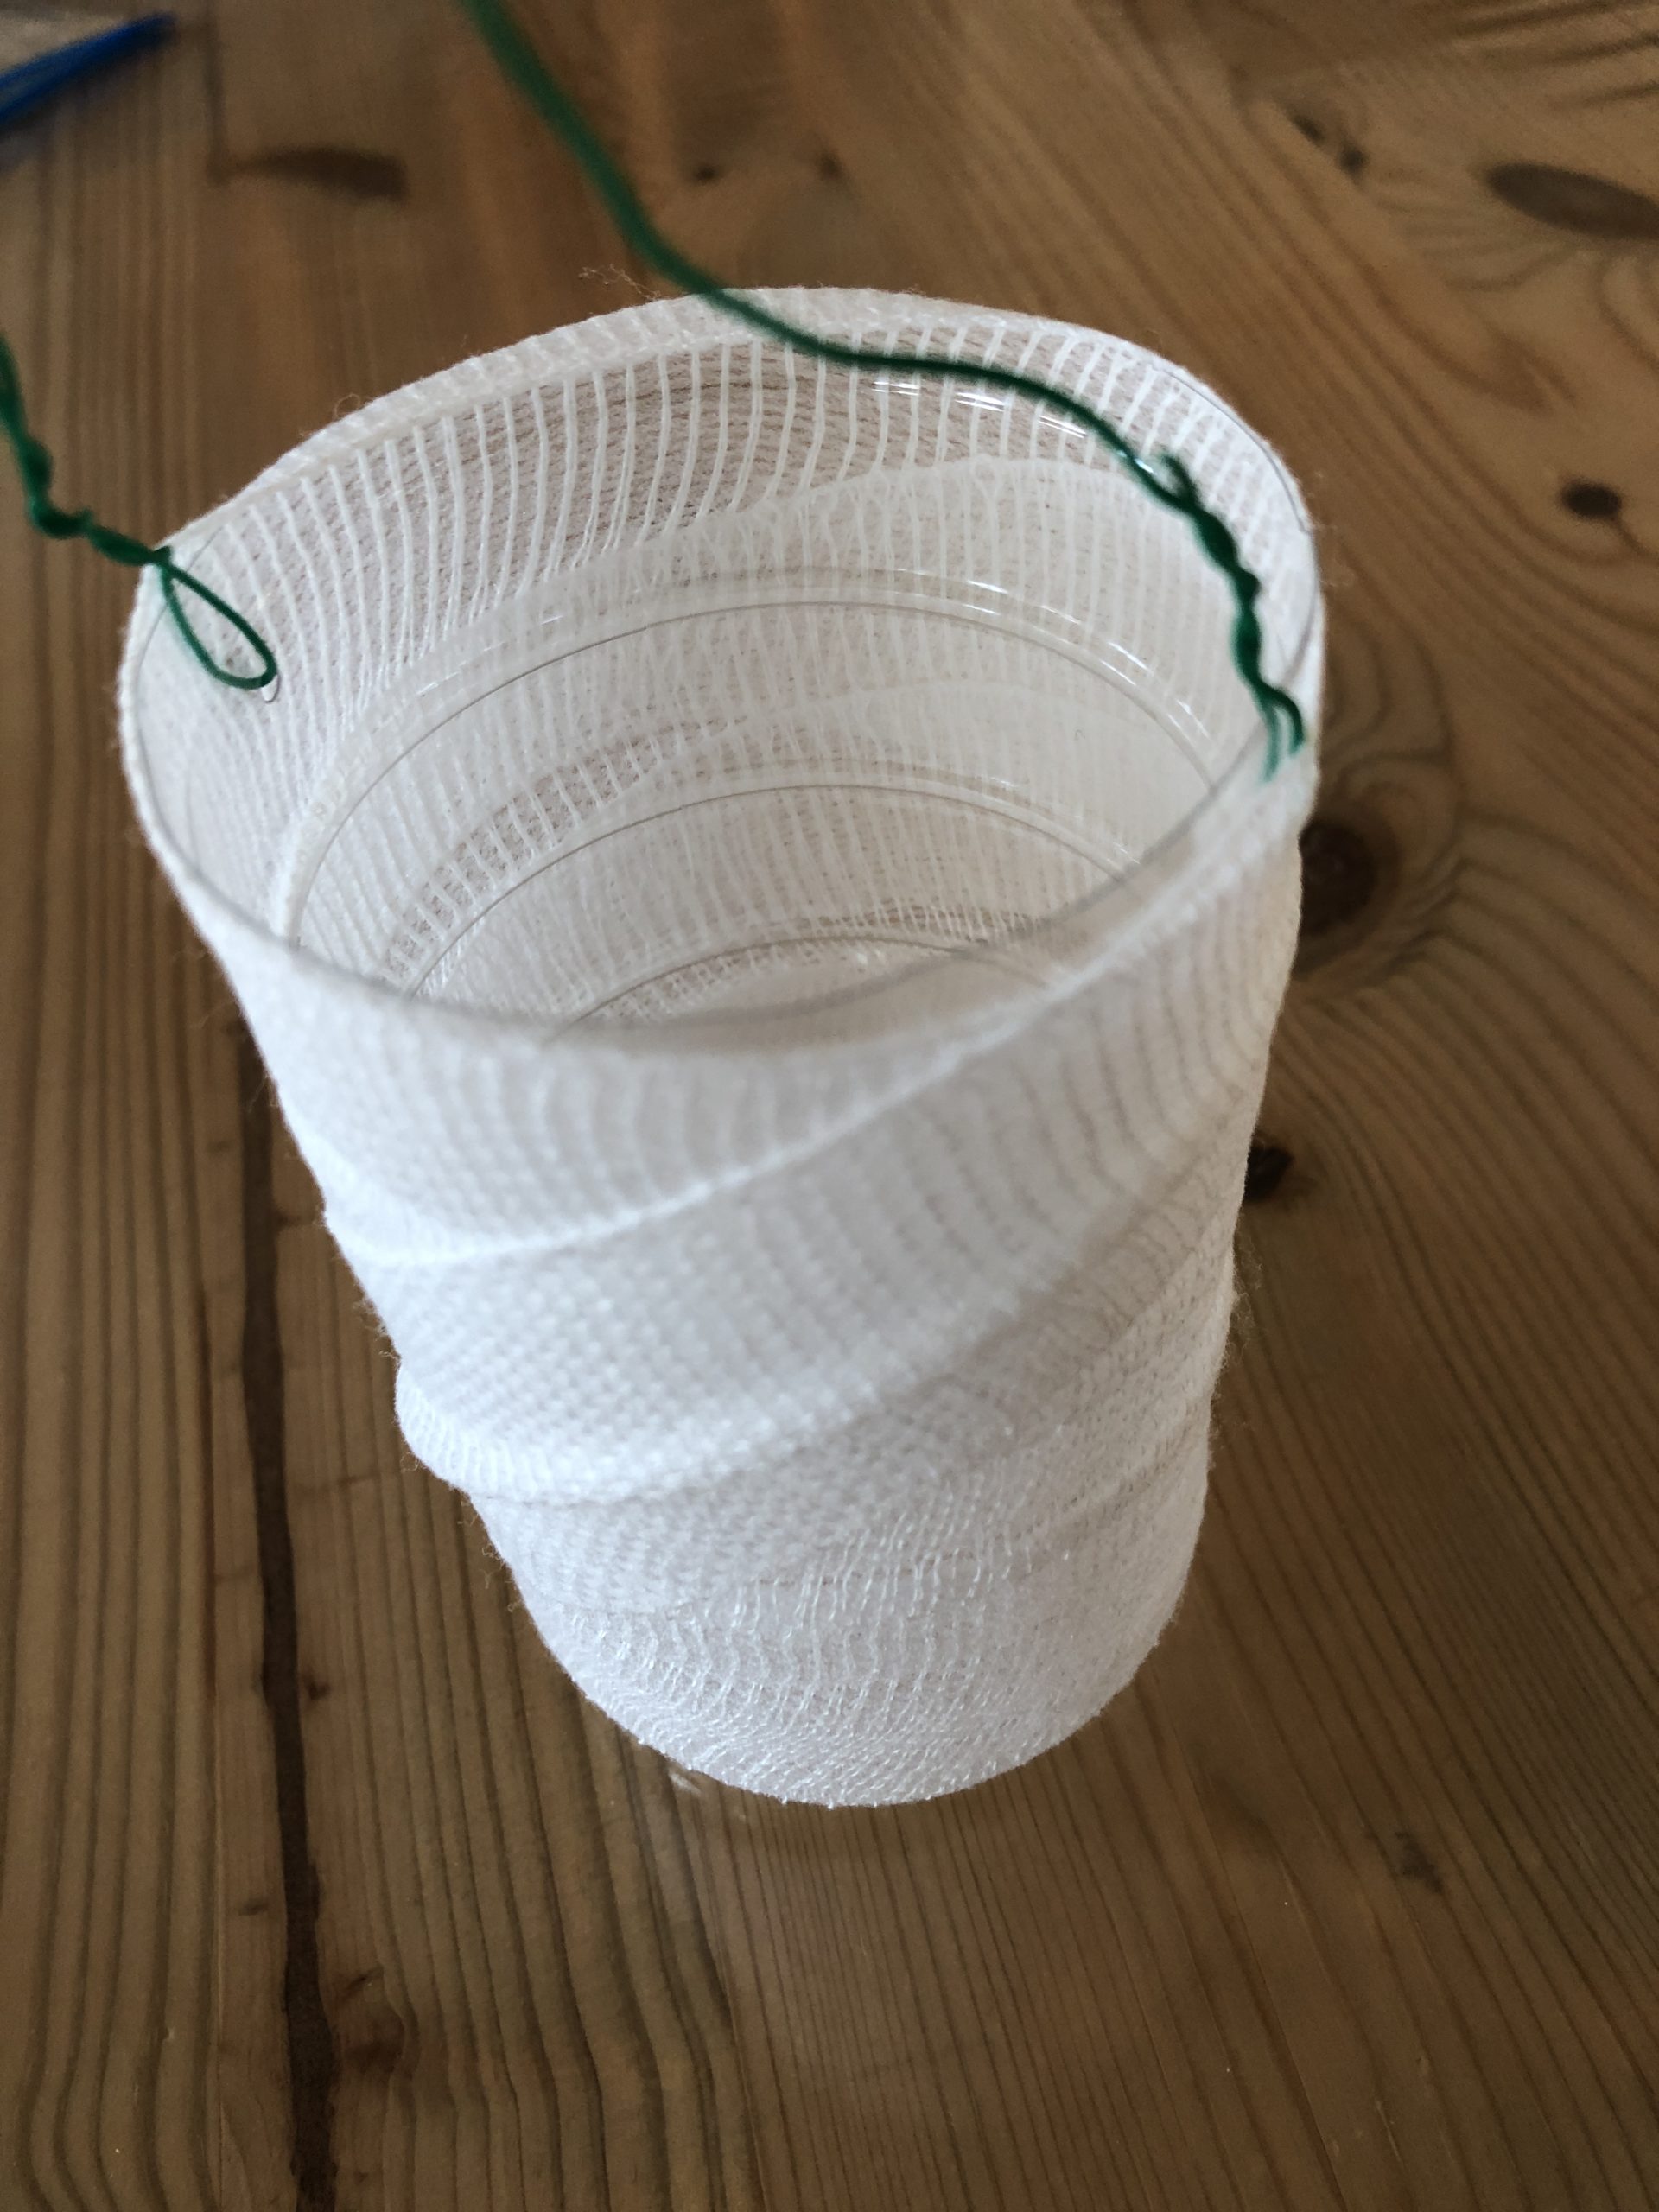


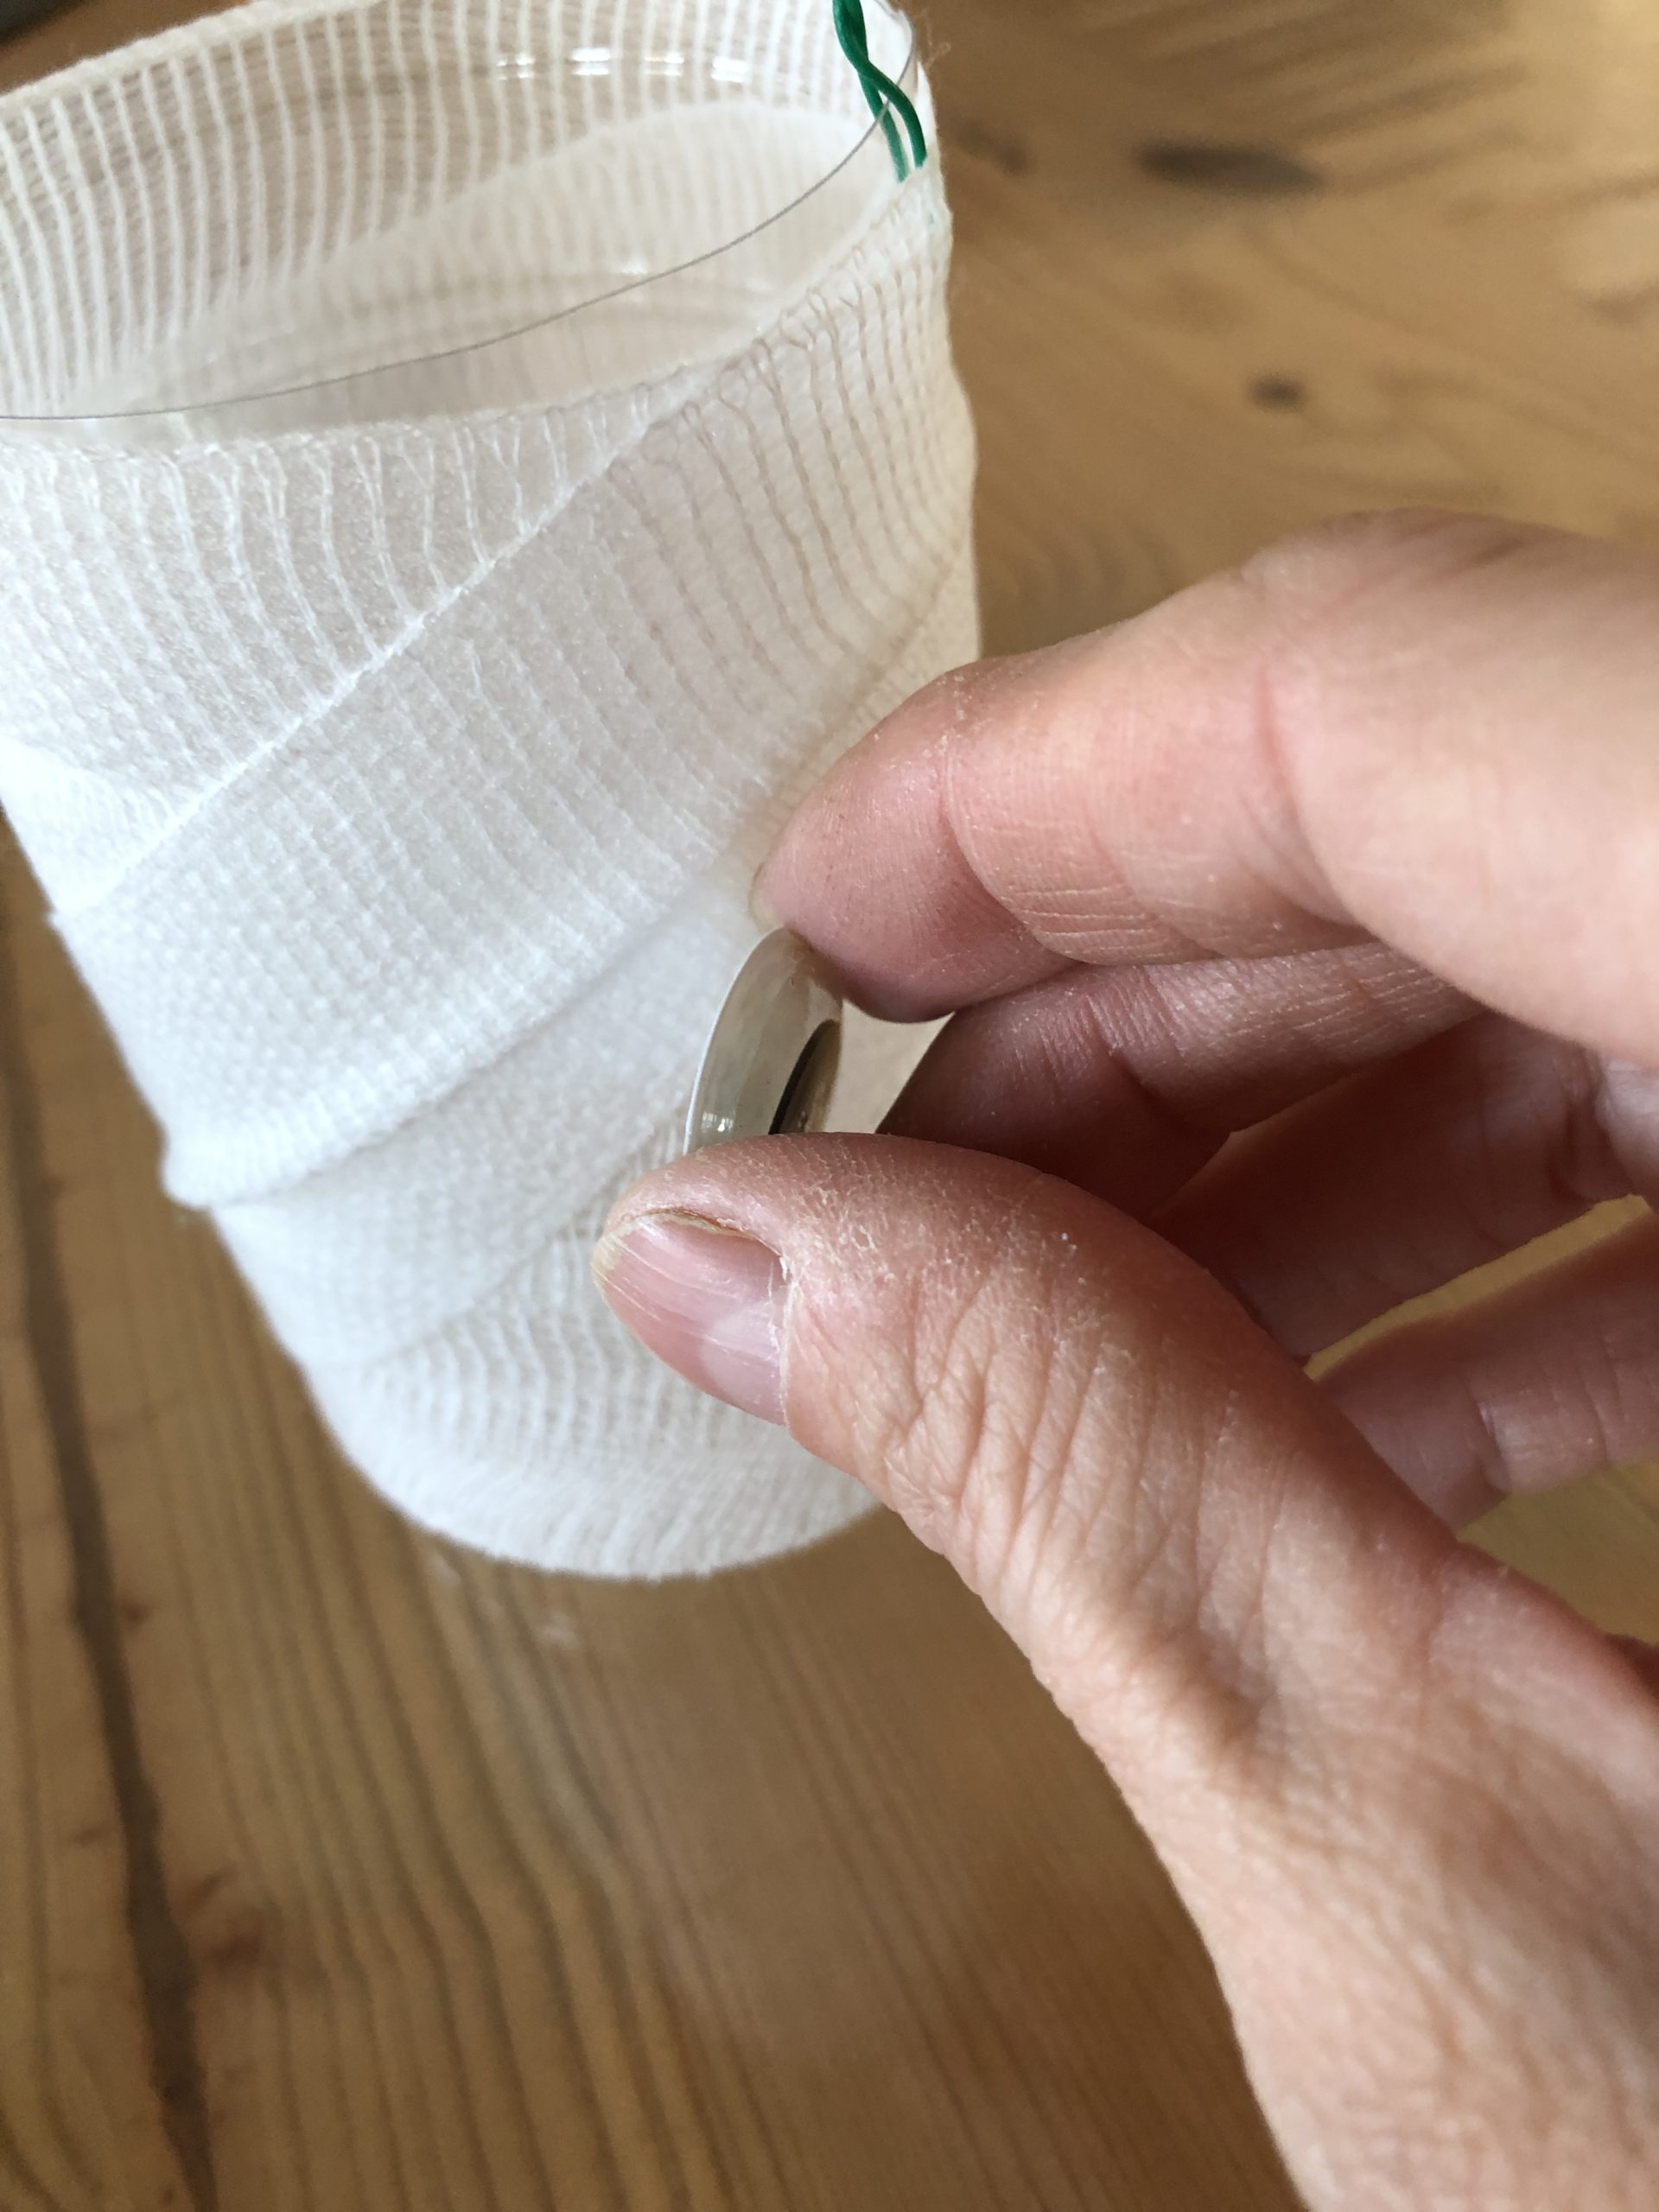
Now two wobble eyes are glued to the bandage.


Then put a tea light in the bottle.


The little lantern is already shining.
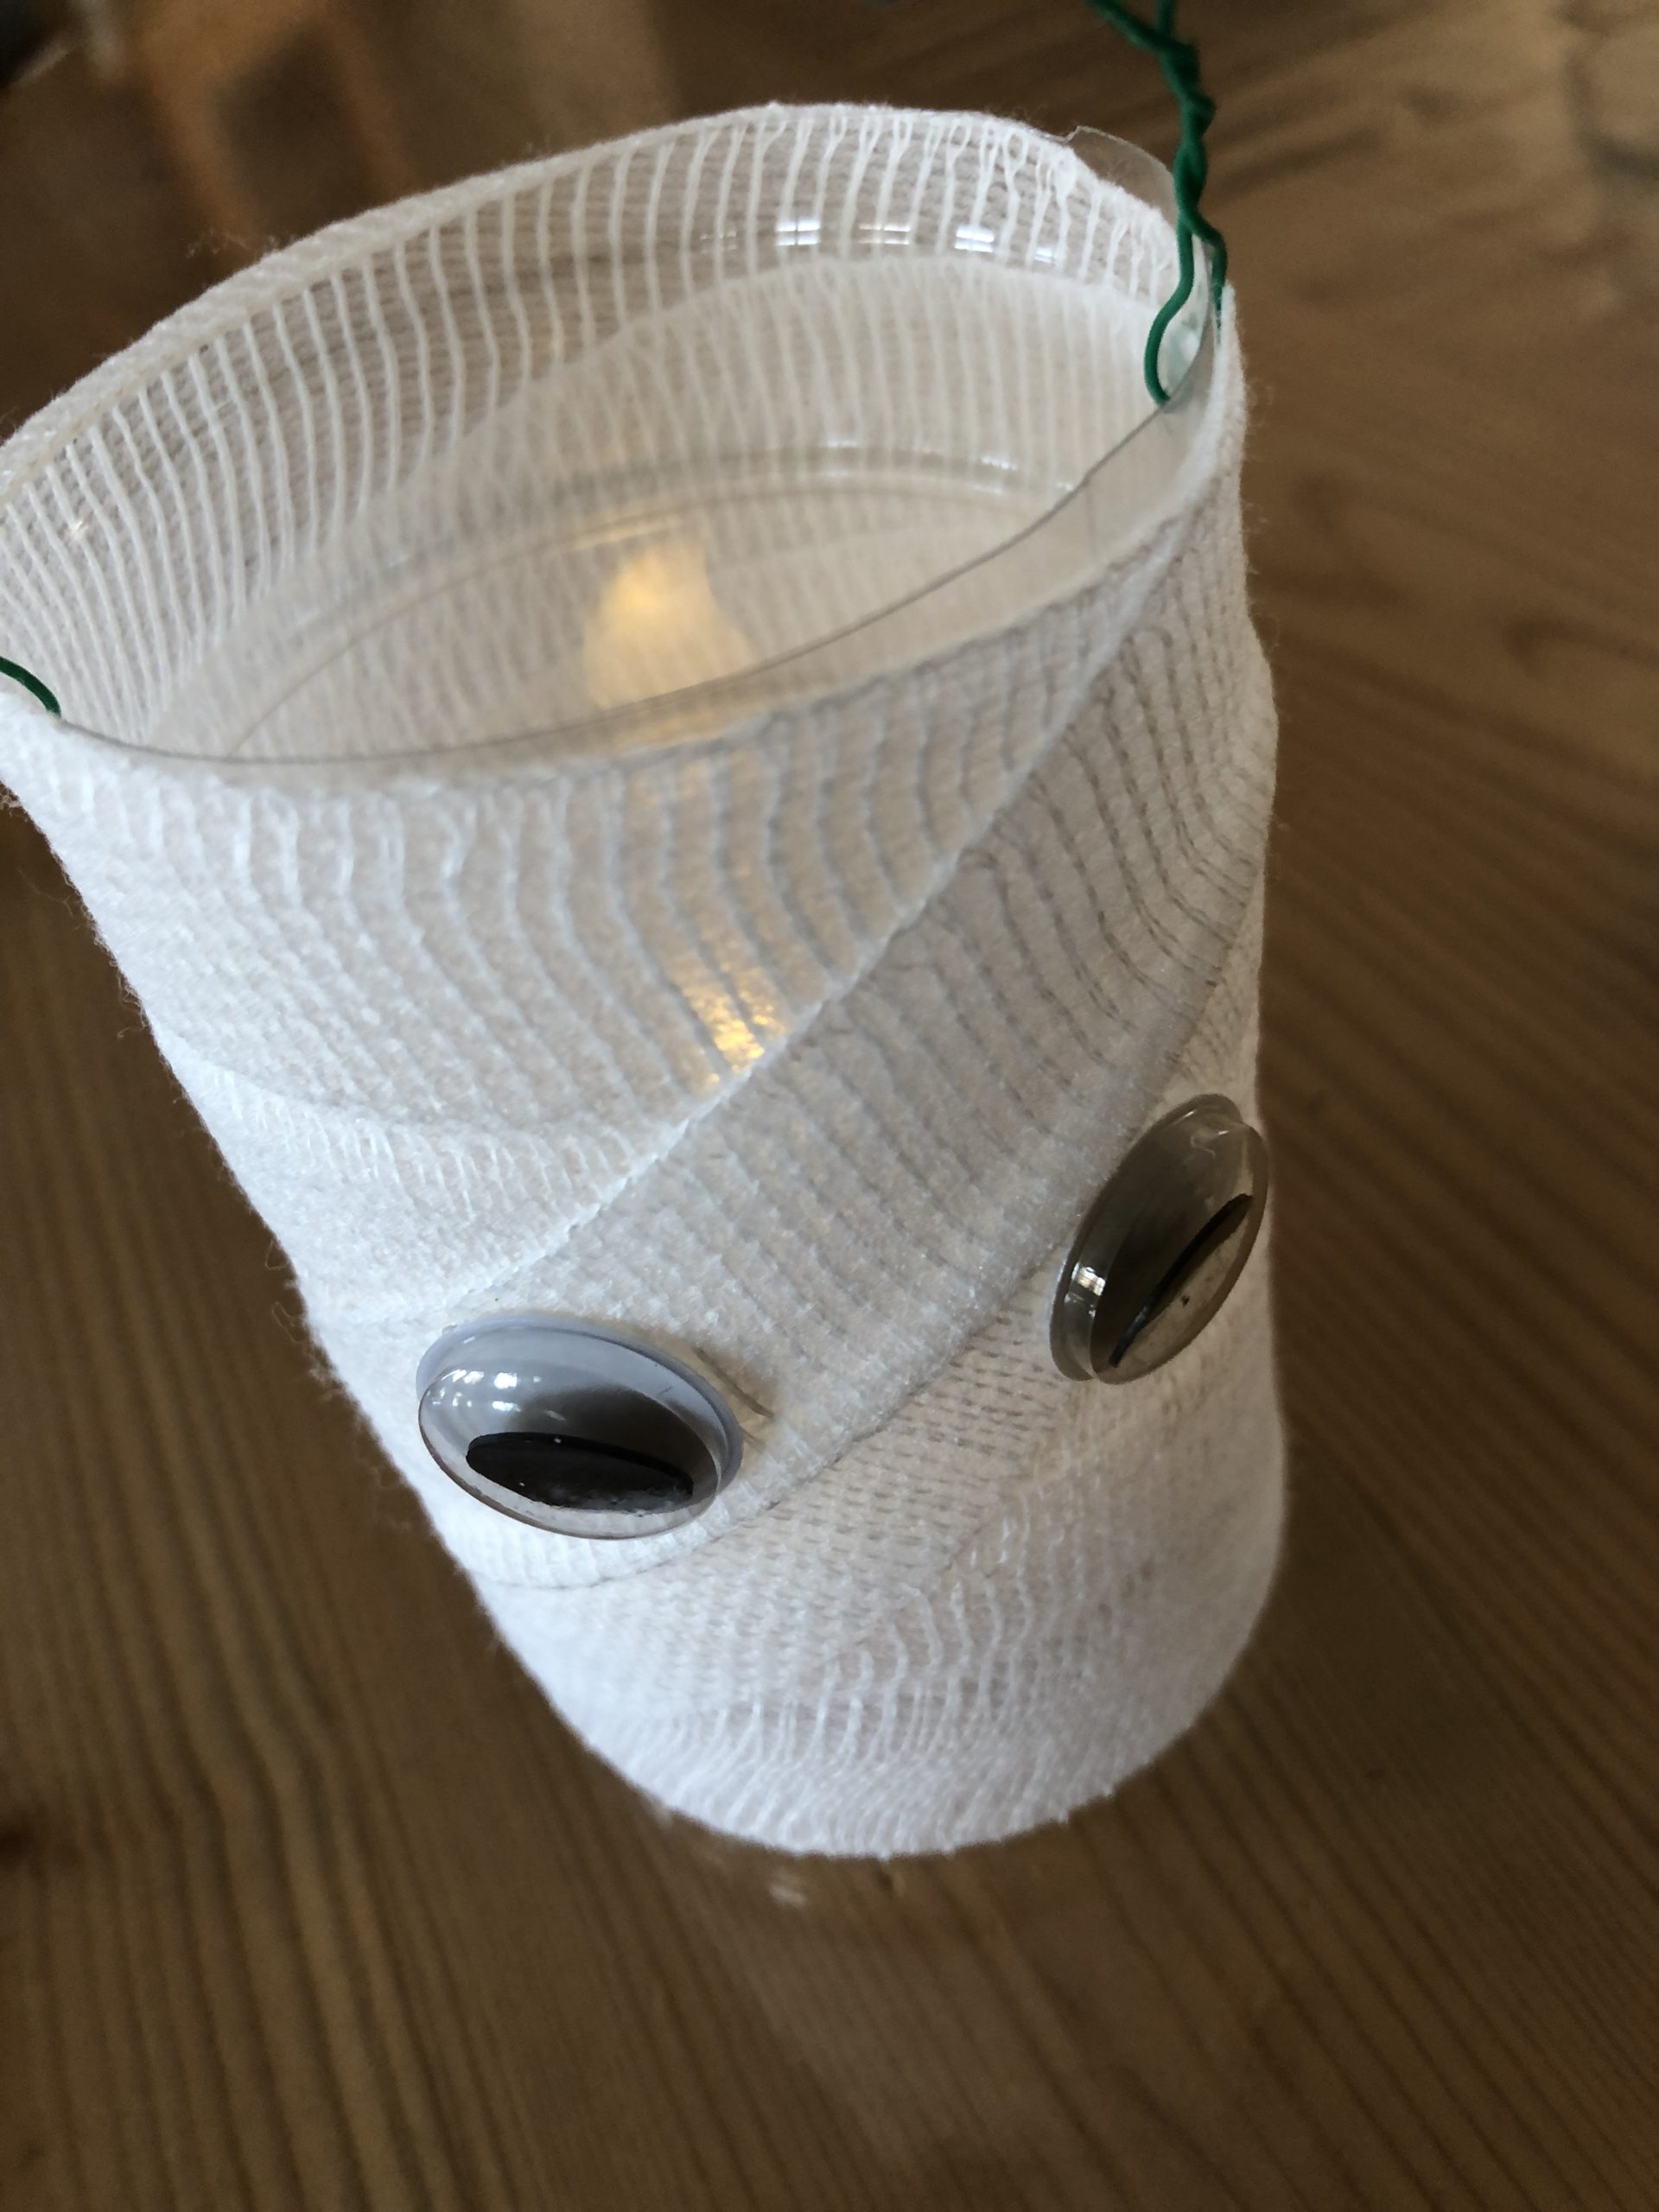


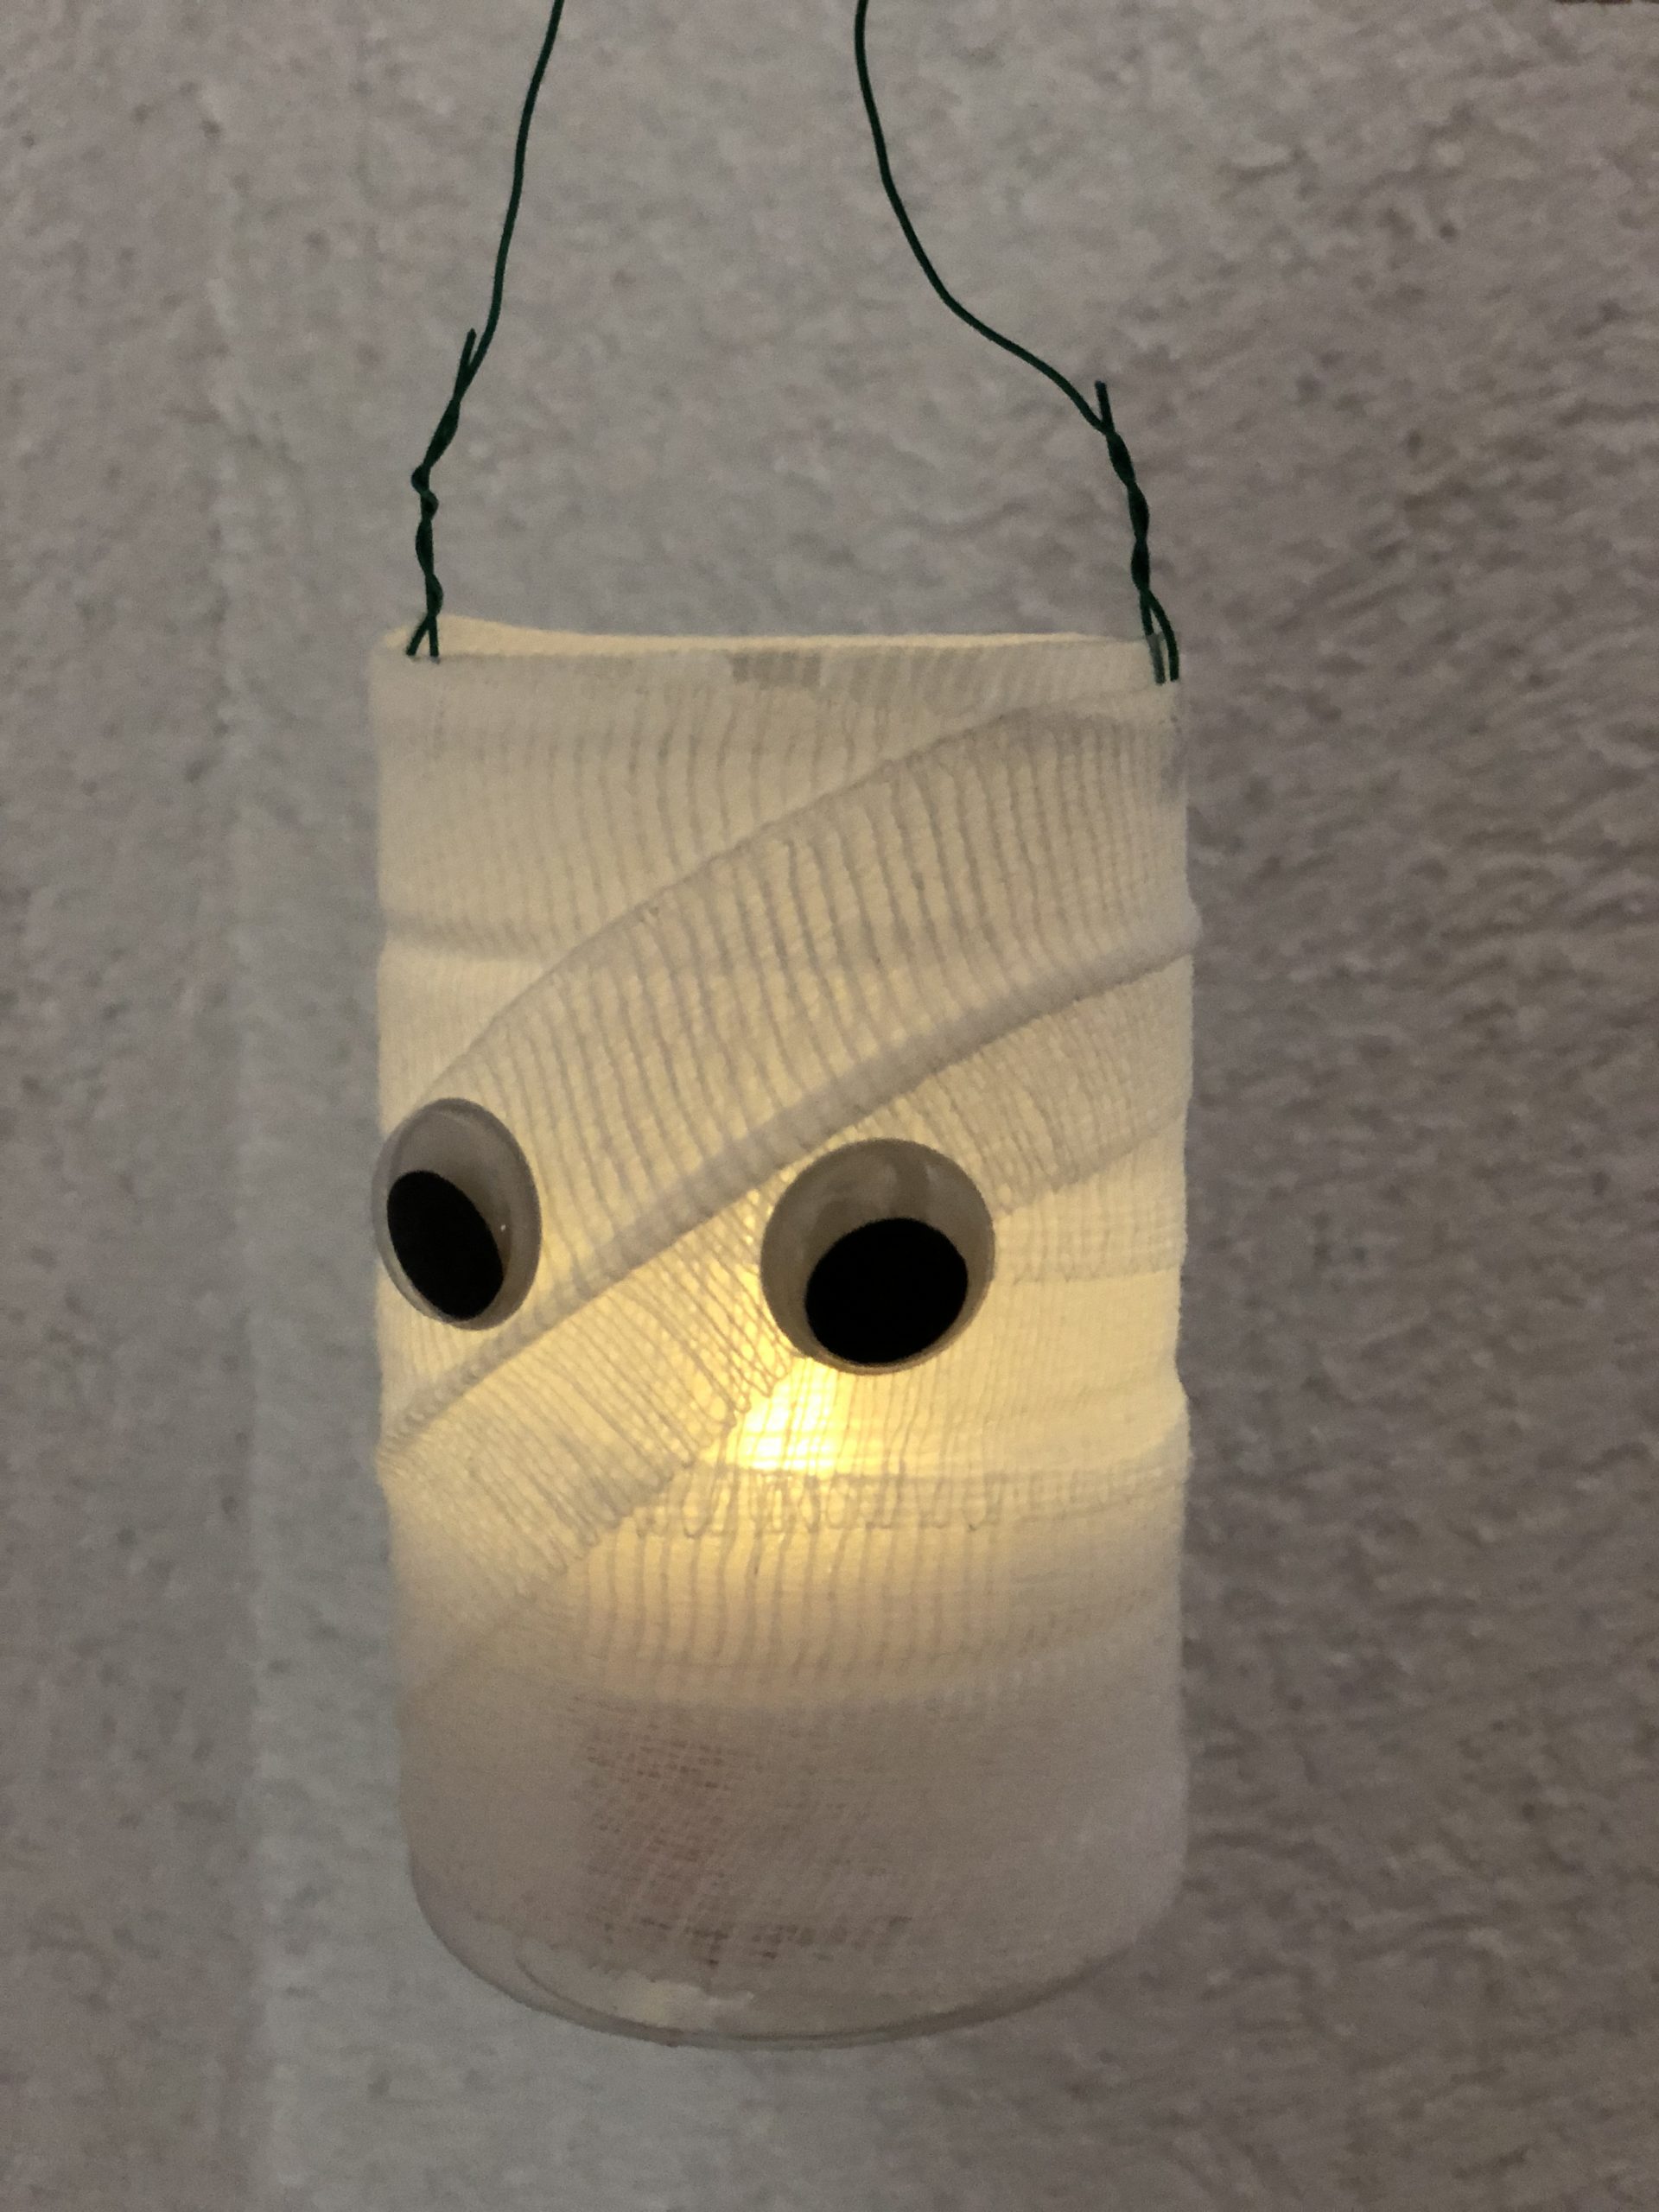


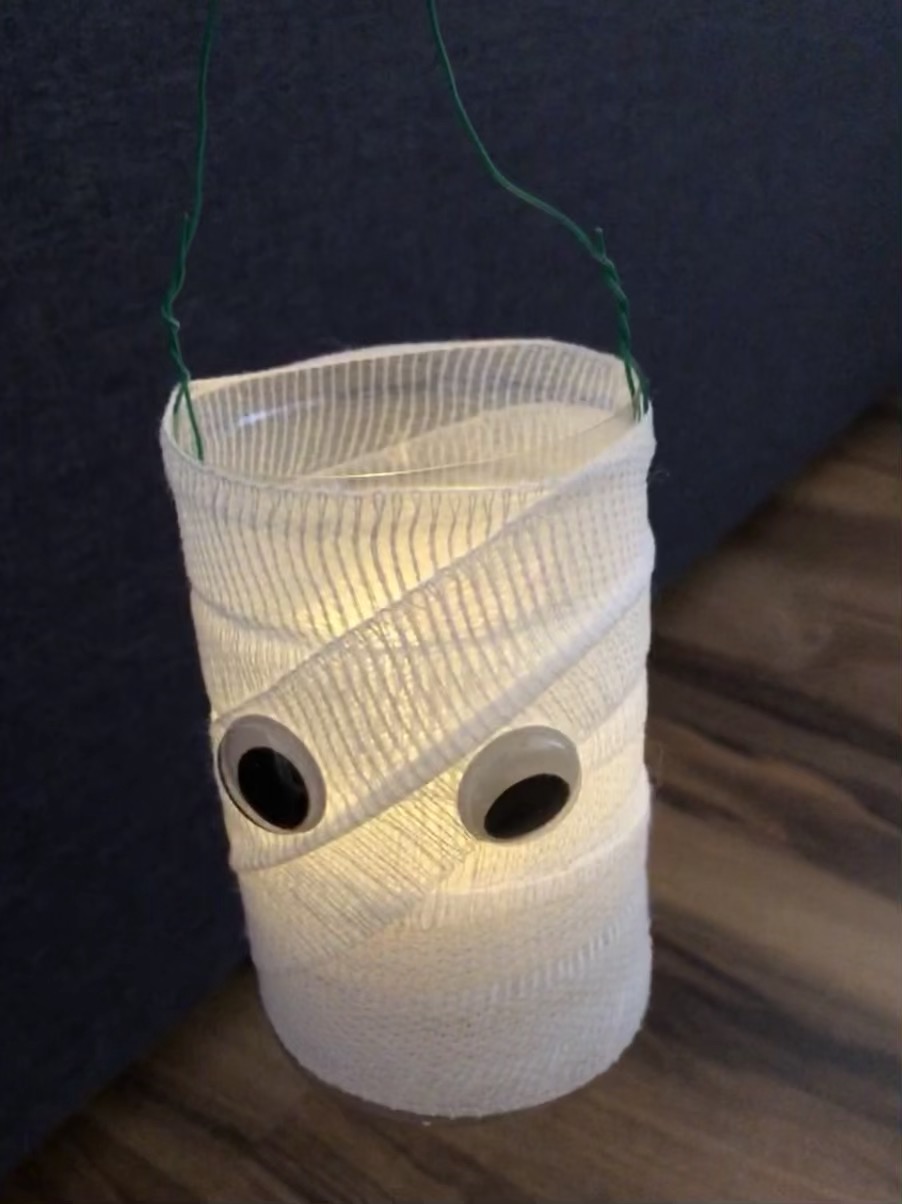


Also an idea for a quickly crafted table lamp for Halloween!
Have fun!
Materials
Directions
From the bottle, cut off the bottle neck completely.


At the top you hole two holes in the opposite sides of the bottle. You attach the wire to it and twist it to the ends.


Provides adhesive strips and tealight with button cell.
Then you take the gauze bandage (or self-adhesive bandage material).


At the bottom of the bottle you fix the gauze band with the adhesive tape.


Then you wrap the bandage around the bottle. The bottle should be covered everywhere.


Cut off the bandage and fix the end again with an adhesive tape.


Ready.


Now two wobble eyes are glued to the bandage.


Then put a tea light in the bottle.


The little lantern is already shining.


Also an idea for a quickly crafted table lamp for Halloween!
Have fun!
Follow us on Facebook , Instagram and Pinterest
Don't miss any more adventures: Our bottle mail


