Baking Martins-Weck - rolls for Saint Martin

AdventurerKitaForst
Rating5.01.5 thousand times & (2) DifficultyIntermediate

We always bake Martins-Wicken on Martinstag. This old tradition is as popular with small children as with older children. The rolls are made of quark oil dough, because they become very loose and fluffy, are not crumbly and can be wonderfully shared. - and also by children's hands.
In addition, a quark oil dough bun tastes even without "cover" and is by no means dry.
Due to the simple way of making it is not difficult to make successful rolls, which all look very tasty. See for yourself how easy this can be.
Children have joy in sharing and joy in being "gifted" and this gesture is just lived and passed on by Saint Martin.
Have fun with it.

Media Education for Kindergarten and Hort

Kind bastelt eine Rassel mit dem Navi
The Adventure Navi, the app for DIY projects, enables media education for the youngest.

Relief in everyday life, targeted promotion of individual children, independent learning and - without any pre-knowledge already usable by the youngest!


Titelbild zur Bastel- und DIY-Idee für Kinder '(234) Martins-Weck backen – Brötchen für Sankt Martin'
Material for1 Child
Prep Time10 min.Adv. Time30 min.Total Time40 min.
Ingredients for the curd oil dough:
 300 g FlourMaybe a little more if the dough is too soft.
 1 gal Baking powder
 50 g Sugar
 1 pinch Salt
 1 Egg
 125 g Quark
 60 ml Milk
 50 ml Oil
In addition:
 FlourCut/shape to dough
That's what you need.
 1 Bowl large
 1 Baking plateWith baking paper
 1 Hand stirrers with kneading hooksor kitchen machine
 1 Bank documentTablecloth or clean work surface
 1 Aprons
 1 Children's knivesIt doesn't have to be sharp!
 1 Table spoons
 2 PotholdersPot gloves
 1 Bread basket
All links marked with a shopping cart lead to Amazon - here we have selected products that we would order ourselves and in part also ordered. In a qualified purchase via the advertising link, we as Amazon partner receive a commission, for you there are no costs. You thus support our cost- and advertising banner-free, educational offer.
1

Put on an apron, crawl your sleeves back and wash your hands. Now you can get started. Get all the ingredients and utensils ready.

2

First put all the dry ingredients in a bowl. Weighs the flour and sugar. Add the baking powder and a pinch of salt.
Mix everything with a spoon.

Bild zum Schritt 2 für das Bastel- und DIY-Abenteuer für Kinder: 'Gebt zuerst alle trockenen Zutaten in eine Schüssel. Wiegt Mehl...'

3

Then all the liquid or soft ingredients are added. Pick up an entire egg and add it to it. Weighs the quark, messes oil and milk and pours it into the bowl.
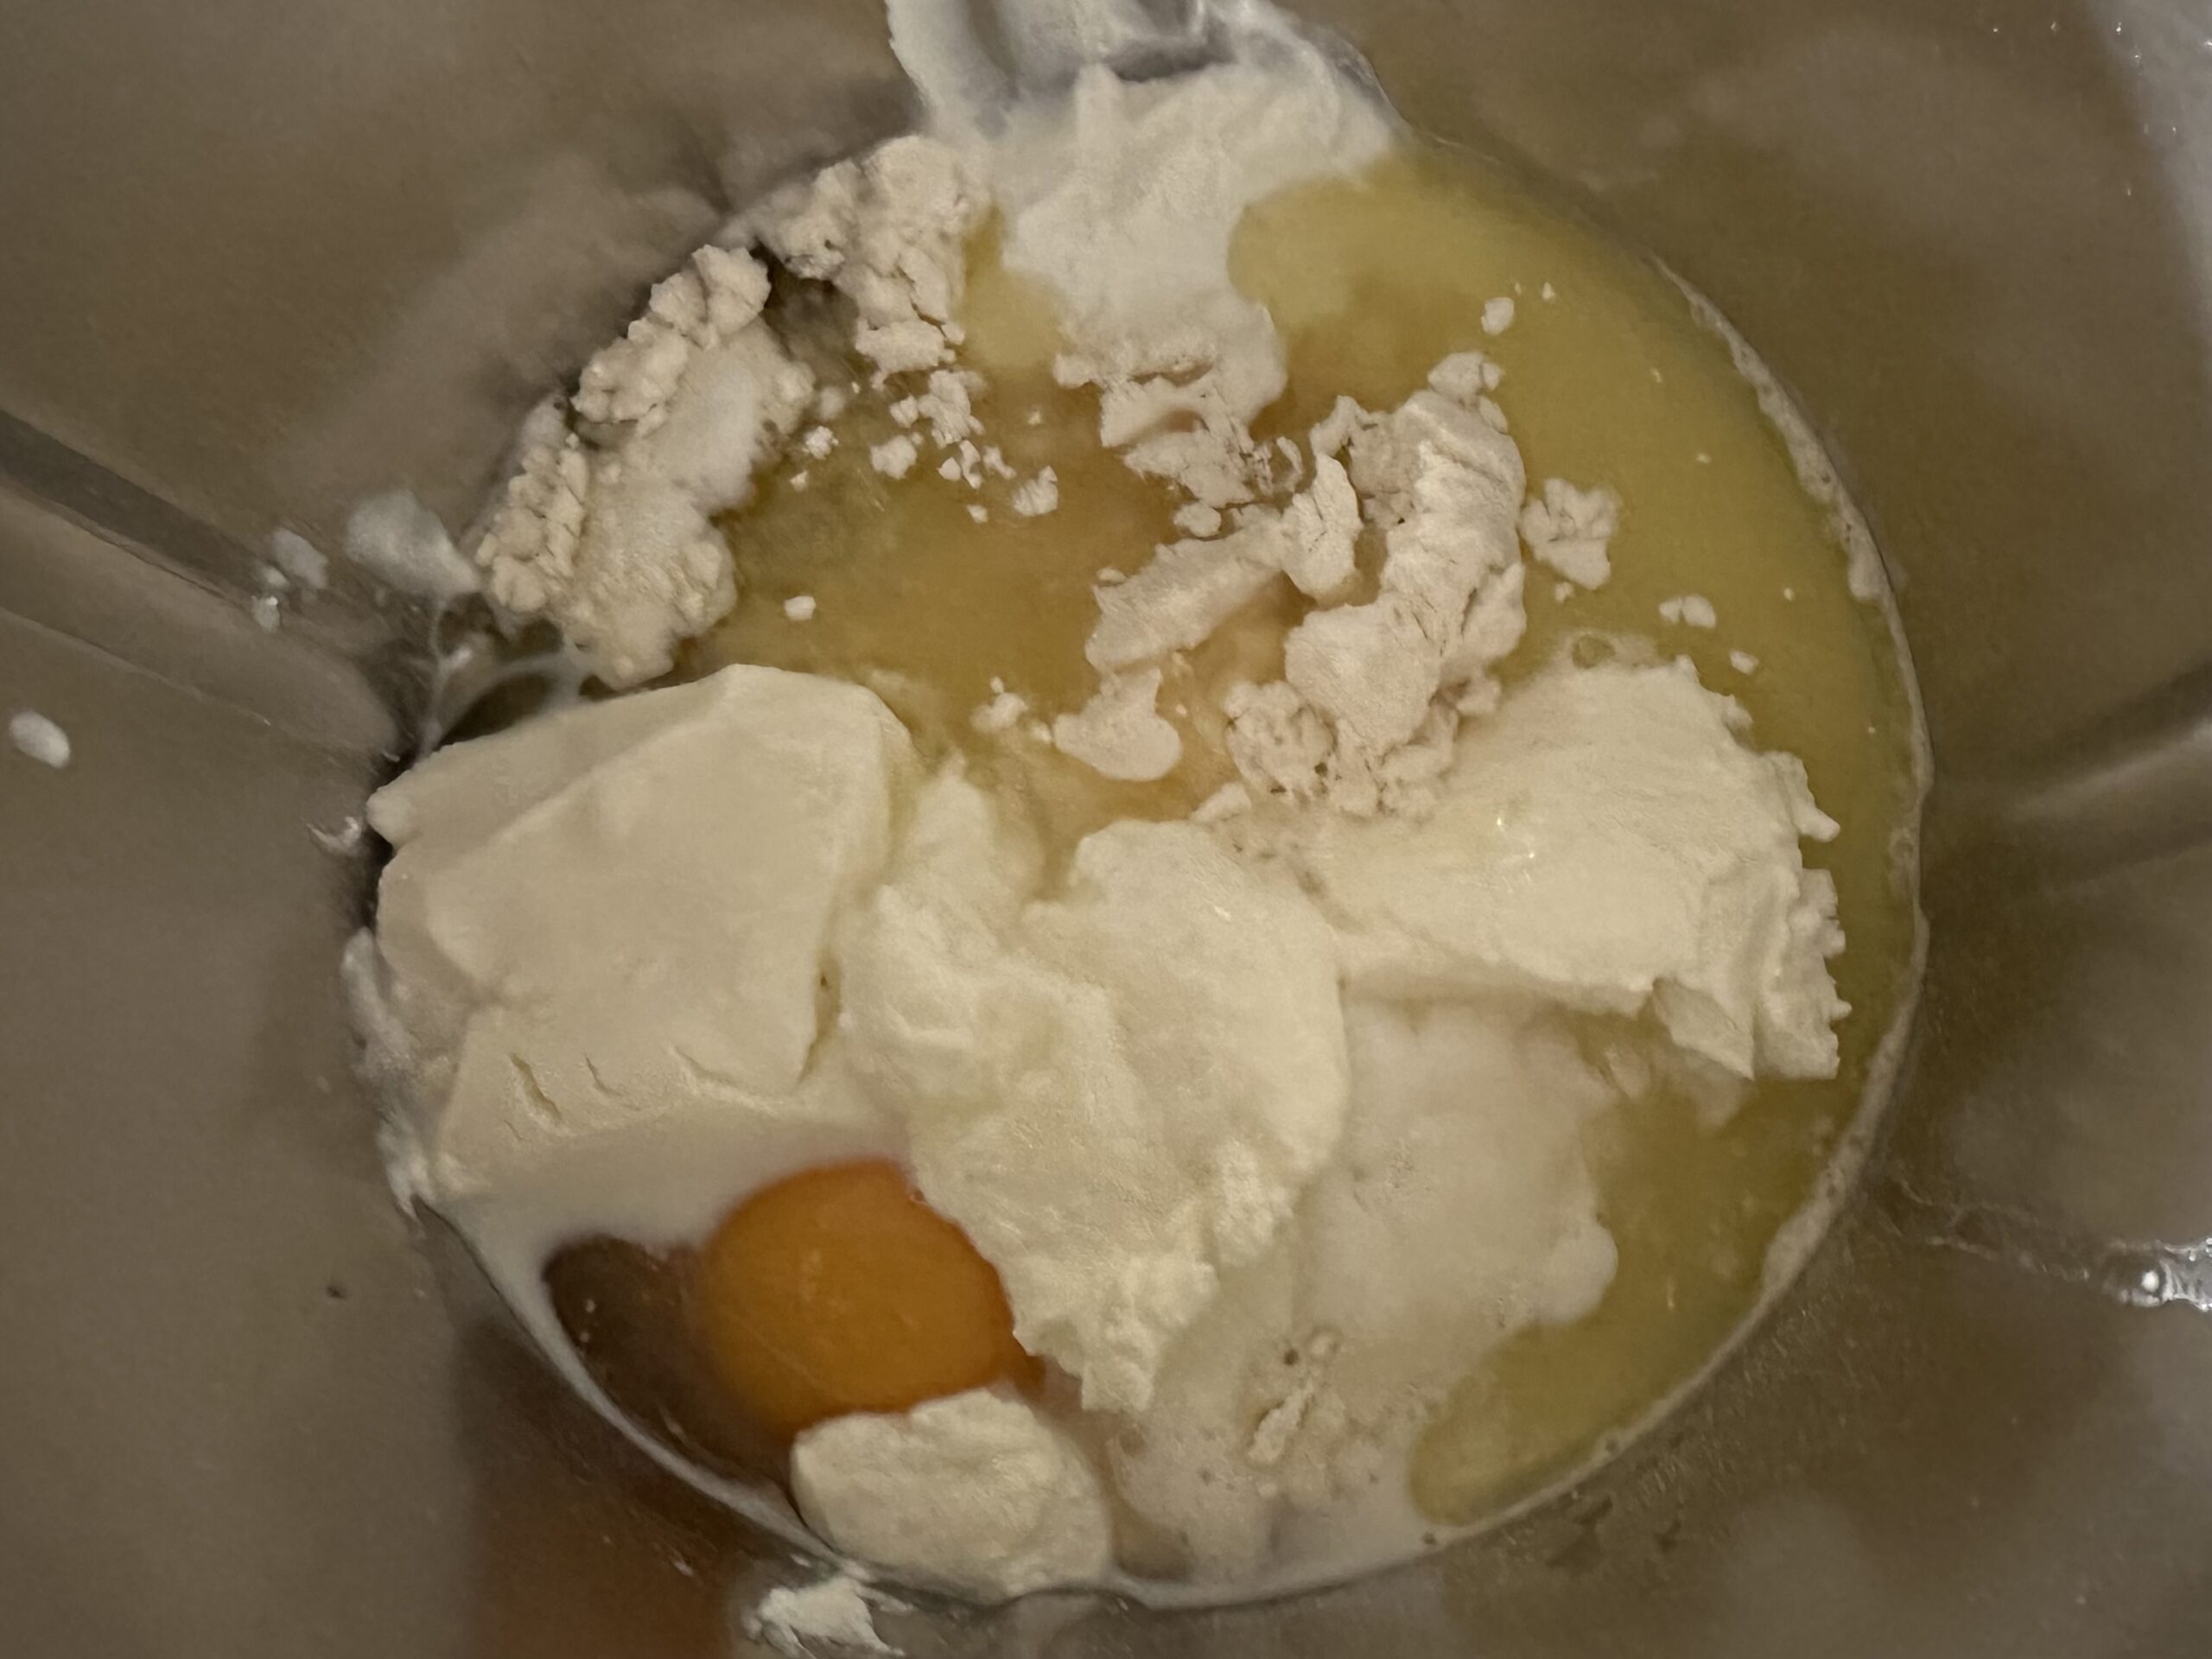
Bild zum Schritt 3 für das Bastel- und DIY-Abenteuer für Kinder: 'Dann kommen alle flüssigen oder weichen Zutaten dazu. Schlagt ein...'

4

Kneads everything to a smooth dough. Add some flour if the dough is still sticky.

Bild zum Schritt 4 für das Bastel- und DIY-Abenteuer für Kinder: 'Verknetet alles zu einem glatten Teig. Gebt evtl. noch etwas...'

5

When the dough is prepared, you can also start to form it as a roll or wake. Cut a piece of dough with the spoon or knife. This should not be bigger than what fits on a tablespoon. (The amount of dough should fit into children's hands!)
Put some flour on the base and on the hands of the child.

Bild zum Schritt 5 für das Bastel- und DIY-Abenteuer für Kinder: 'Wenn der Teig vorbereitet ist, könnt ihr auch schon beginnen,...'

6

Then you can start to form a roll out of the dough.

Bild zum Schritt 6 für das Bastel- und DIY-Abenteuer für Kinder: 'Dann könnt ihr beginnen, aus dem Teig ein Brötchen zu...'

7

The shape is not so important here, the dough is almost twice as large when baking, thus also unshaped rolls become great.

Bild zum Schritt 7 für das Bastel- und DIY-Abenteuer für Kinder: 'Die Form ist hierbei nicht so wichtig, der Teig geht...'

8

The first contact with dough is very exciting for children. Give them time to explore the dough.

Bild zum Schritt 8 für das Bastel- und DIY-Abenteuer für Kinder: 'Der Erstkontakt mit Teig ist für Kinder sehr spannend. Gebt...'

9

If the bun likes, then put it on the base.

Bild zum Schritt 9 für das Bastel- und DIY-Abenteuer für Kinder: 'Wenn das Brötchen gefällt, dann legt es auf der Unterlage...'

10

Take a child's knife and press a notch in the middle of the roll. This shows the children already now that this bun is later divided into two pieces.

Bild zum Schritt 10 für das Bastel- und DIY-Abenteuer für Kinder: 'Nehmt ein Kindermesser zur Hand und drückt damit mittig ins...'

11

Place the prepared dough pieces on a sheet with baking paper.
They can still be a bit floury outside, that doesn't matter. Further processing of the dough pieces is not necessary.
Put them on the sheet with plenty of distance, because they become almost twice as big.

Bild zum Schritt 11 für das Bastel- und DIY-Abenteuer für Kinder: 'Legt die vorbereiteten Teiglinge auf ein Blech mit Backpapier. ...'

12

Put the sheet in the oven and bake the rolls for about 8-10 minutes at 180 degrees of recirculation. When they turn brown, they are ready.

Bild zum Schritt 12 für das Bastel- und DIY-Abenteuer für Kinder: 'Stellt das Blech in den Ofen und backt die Brötchen...'

13

After baking, let them cool down briefly on the sheet and then put them in a bread basket. (They could still be a little warm!)

Bild zum Schritt 13 für das Bastel- und DIY-Abenteuer für Kinder: 'Lasst sie nach dem backen noch kurz auf dem Blech...'

14

Baked and consumed on Martinstag they taste best!
The rolls are ready to share. Break it in the middle.

Bild zum Schritt 14 für das Bastel- und DIY-Abenteuer für Kinder: 'Am Martinstag gebacken und verzehrt schmecken sie am Besten! ...'

15

Children do this quite well by the previously pressed indentation.

Bild zum Schritt 15 für das Bastel- und DIY-Abenteuer für Kinder: 'Kinder schaffen das ganz gut durch die zuvor eingedrückte Einkerbung.'

16

Find a friend, sister or brother, mom or dad and share the rolls. "Gift" one half of your rolls to others.

Bild zum Schritt 16 für das Bastel- und DIY-Abenteuer für Kinder: 'Sucht euch einen Freund, Schwester oder Bruder, Mama oder Papa...'

17

Shared joy is double joy! Have fun trying out.

Bild zum Schritt 17 für das Bastel- und DIY-Abenteuer für Kinder: 'Geteilte Freude ist doppelte Freude! Viel Spaß beim Ausprobieren.'

Materials

Ingredients for the curd oil dough:
 300 g FlourMaybe a little more if the dough is too soft.
 1 gal Baking powder
 50 g Sugar
 1 pinch Salt
 1 Egg
 125 g Quark
 60 ml Milk
 50 ml Oil
In addition:
 FlourCut/shape to dough
That's what you need.
 1 Bowl large
 1 Baking plateWith baking paper
 1 Hand stirrers with kneading hooksor kitchen machine
 1 Bank documentTablecloth or clean work surface
 1 Aprons
 1 Children's knivesIt doesn't have to be sharp!
 1 Table spoons
 2 PotholdersPot gloves
 1 Bread basket
All links marked with a shopping cart lead to Amazon - here we have selected products that we would order ourselves and in part also ordered. In a qualified purchase via the advertising link, we as Amazon partner receive a commission, for you there are no costs. You thus support our cost- and advertising banner-free, educational offer.

Directions

1

Put on an apron, crawl your sleeves back and wash your hands. Now you can get started. Get all the ingredients and utensils ready.

2

First put all the dry ingredients in a bowl. Weighs the flour and sugar. Add the baking powder and a pinch of salt.
Mix everything with a spoon.

Bild zum Schritt 2 für das Bastel- und DIY-Abenteuer für Kinder: 'Gebt zuerst alle trockenen Zutaten in eine Schüssel. Wiegt Mehl...'

3

Then all the liquid or soft ingredients are added. Pick up an entire egg and add it to it. Weighs the quark, messes oil and milk and pours it into the bowl.

Bild zum Schritt 3 für das Bastel- und DIY-Abenteuer für Kinder: 'Dann kommen alle flüssigen oder weichen Zutaten dazu. Schlagt ein...'

4

Kneads everything to a smooth dough. Add some flour if the dough is still sticky.
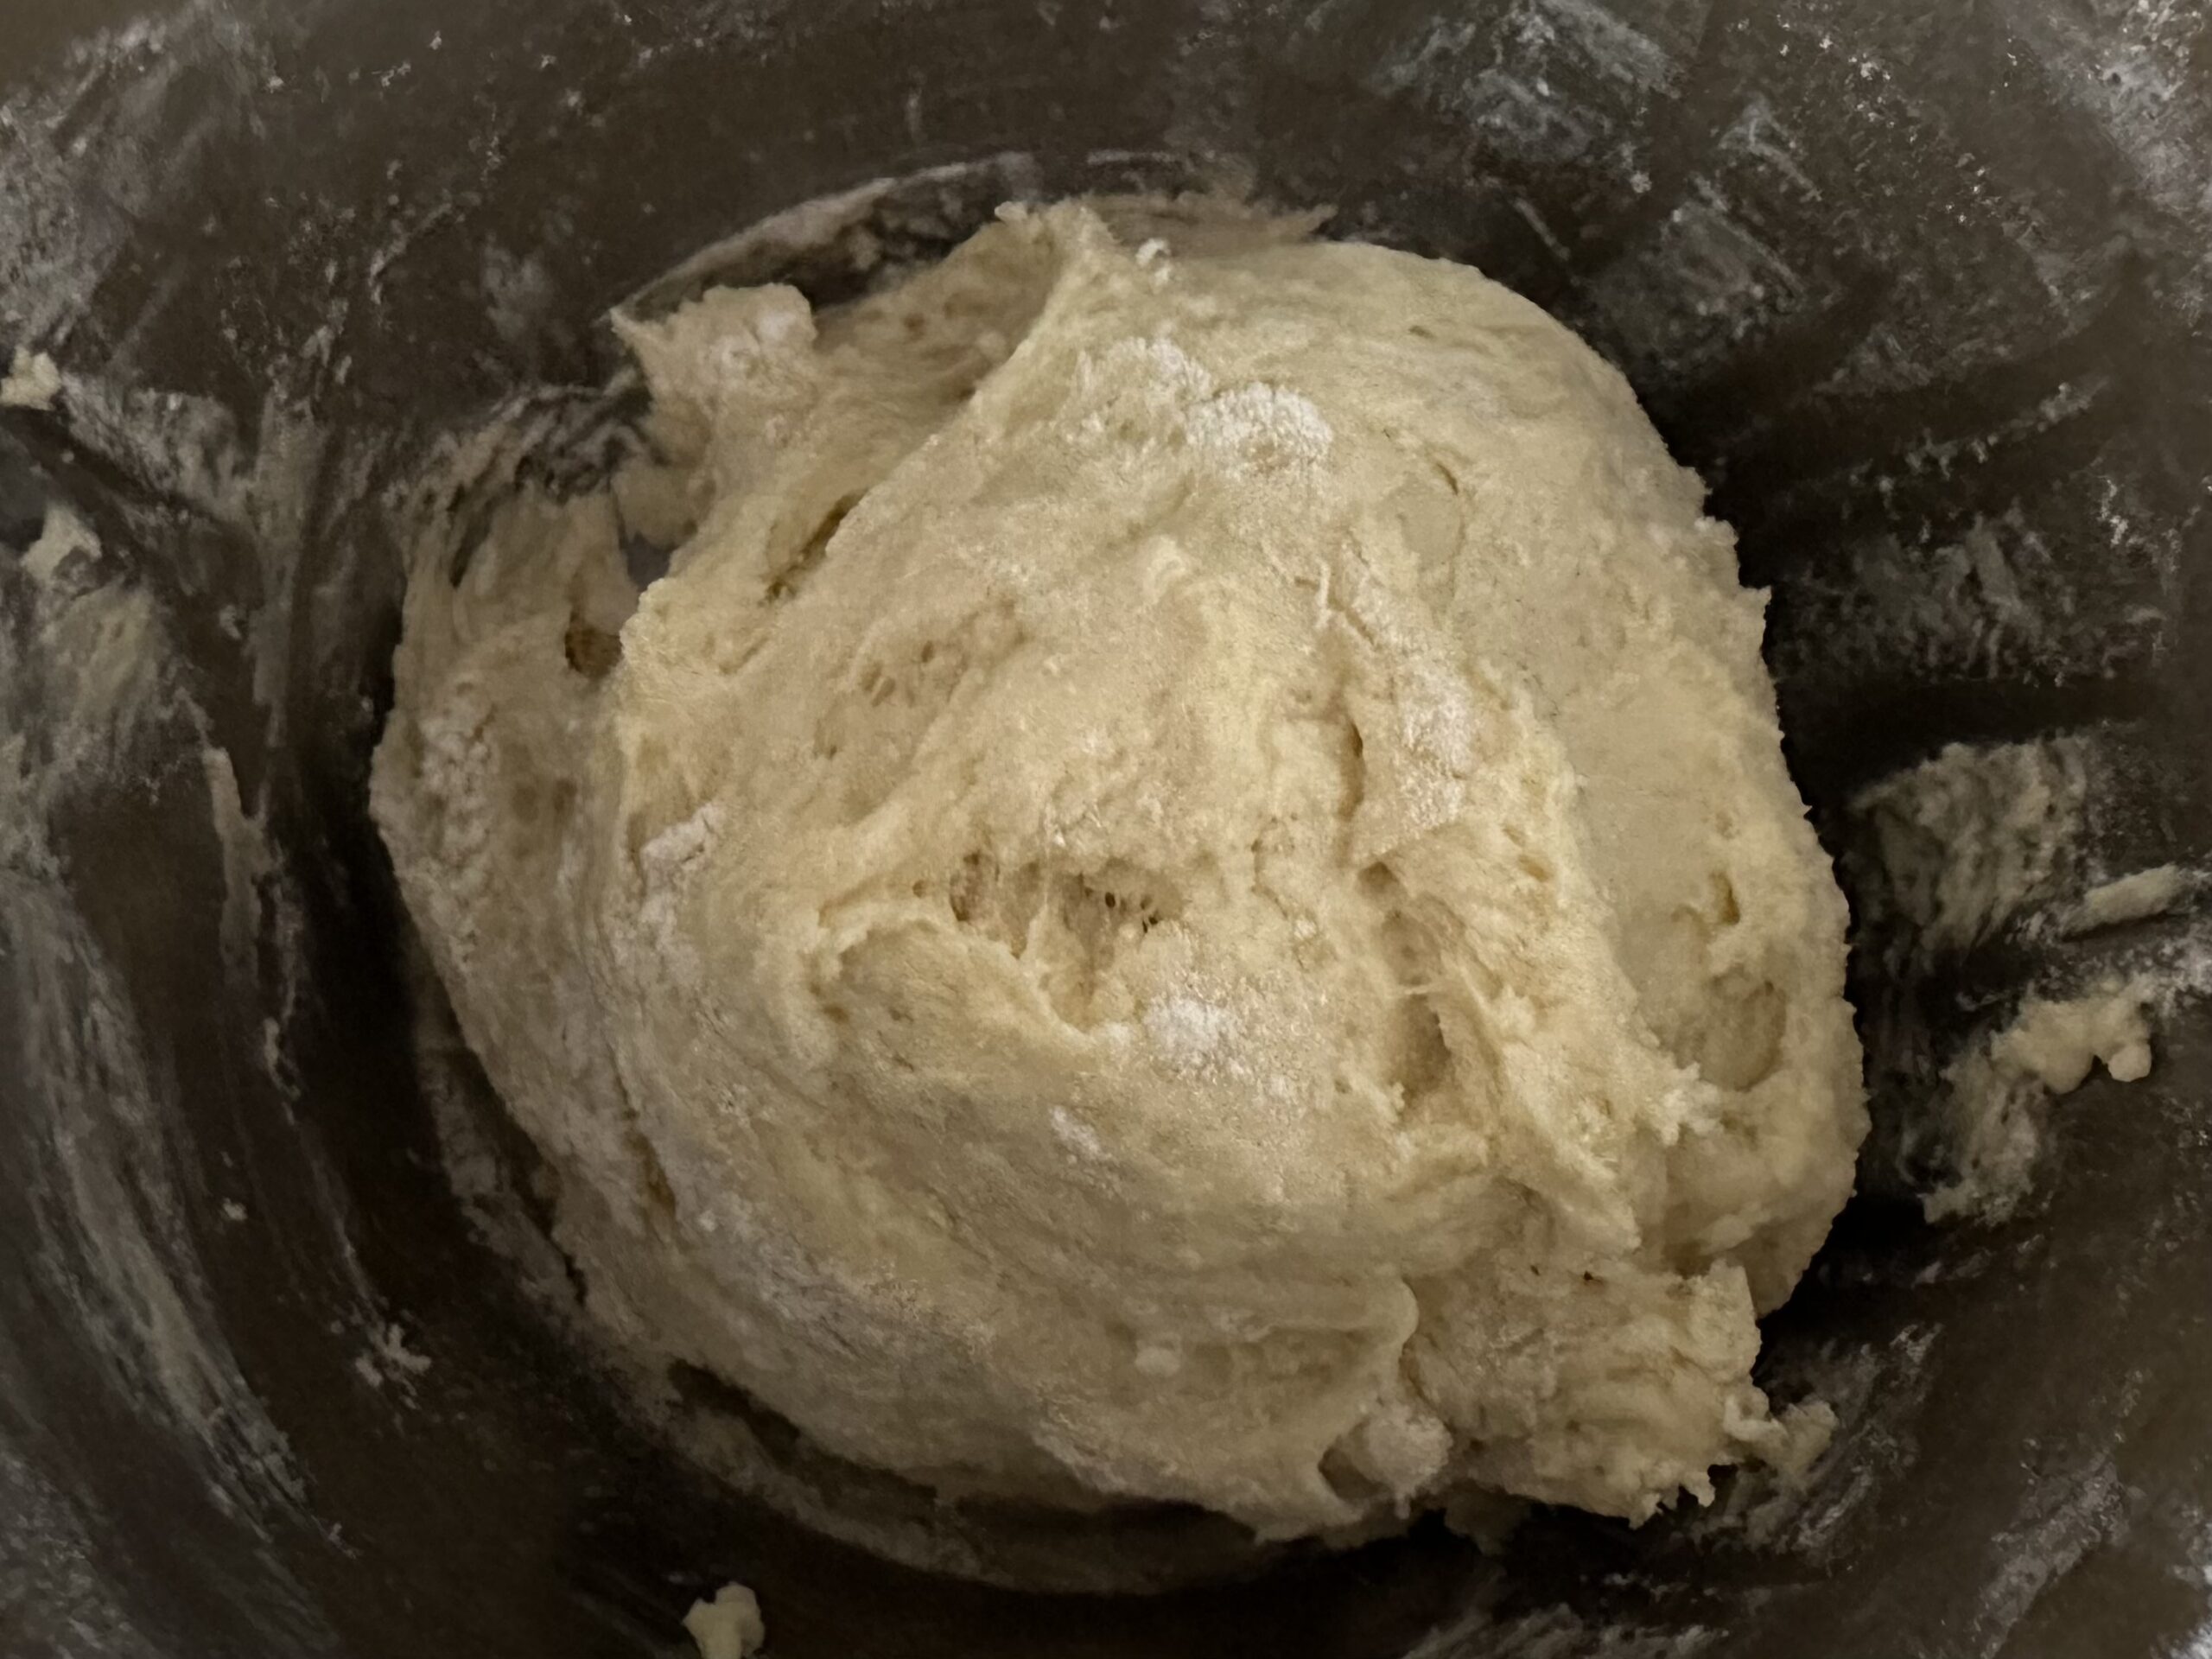
Bild zum Schritt 4 für das Bastel- und DIY-Abenteuer für Kinder: 'Verknetet alles zu einem glatten Teig. Gebt evtl. noch etwas...'

5

When the dough is prepared, you can also start to form it as a roll or wake. Cut a piece of dough with the spoon or knife. This should not be bigger than what fits on a tablespoon. (The amount of dough should fit into children's hands!)
Put some flour on the base and on the hands of the child.
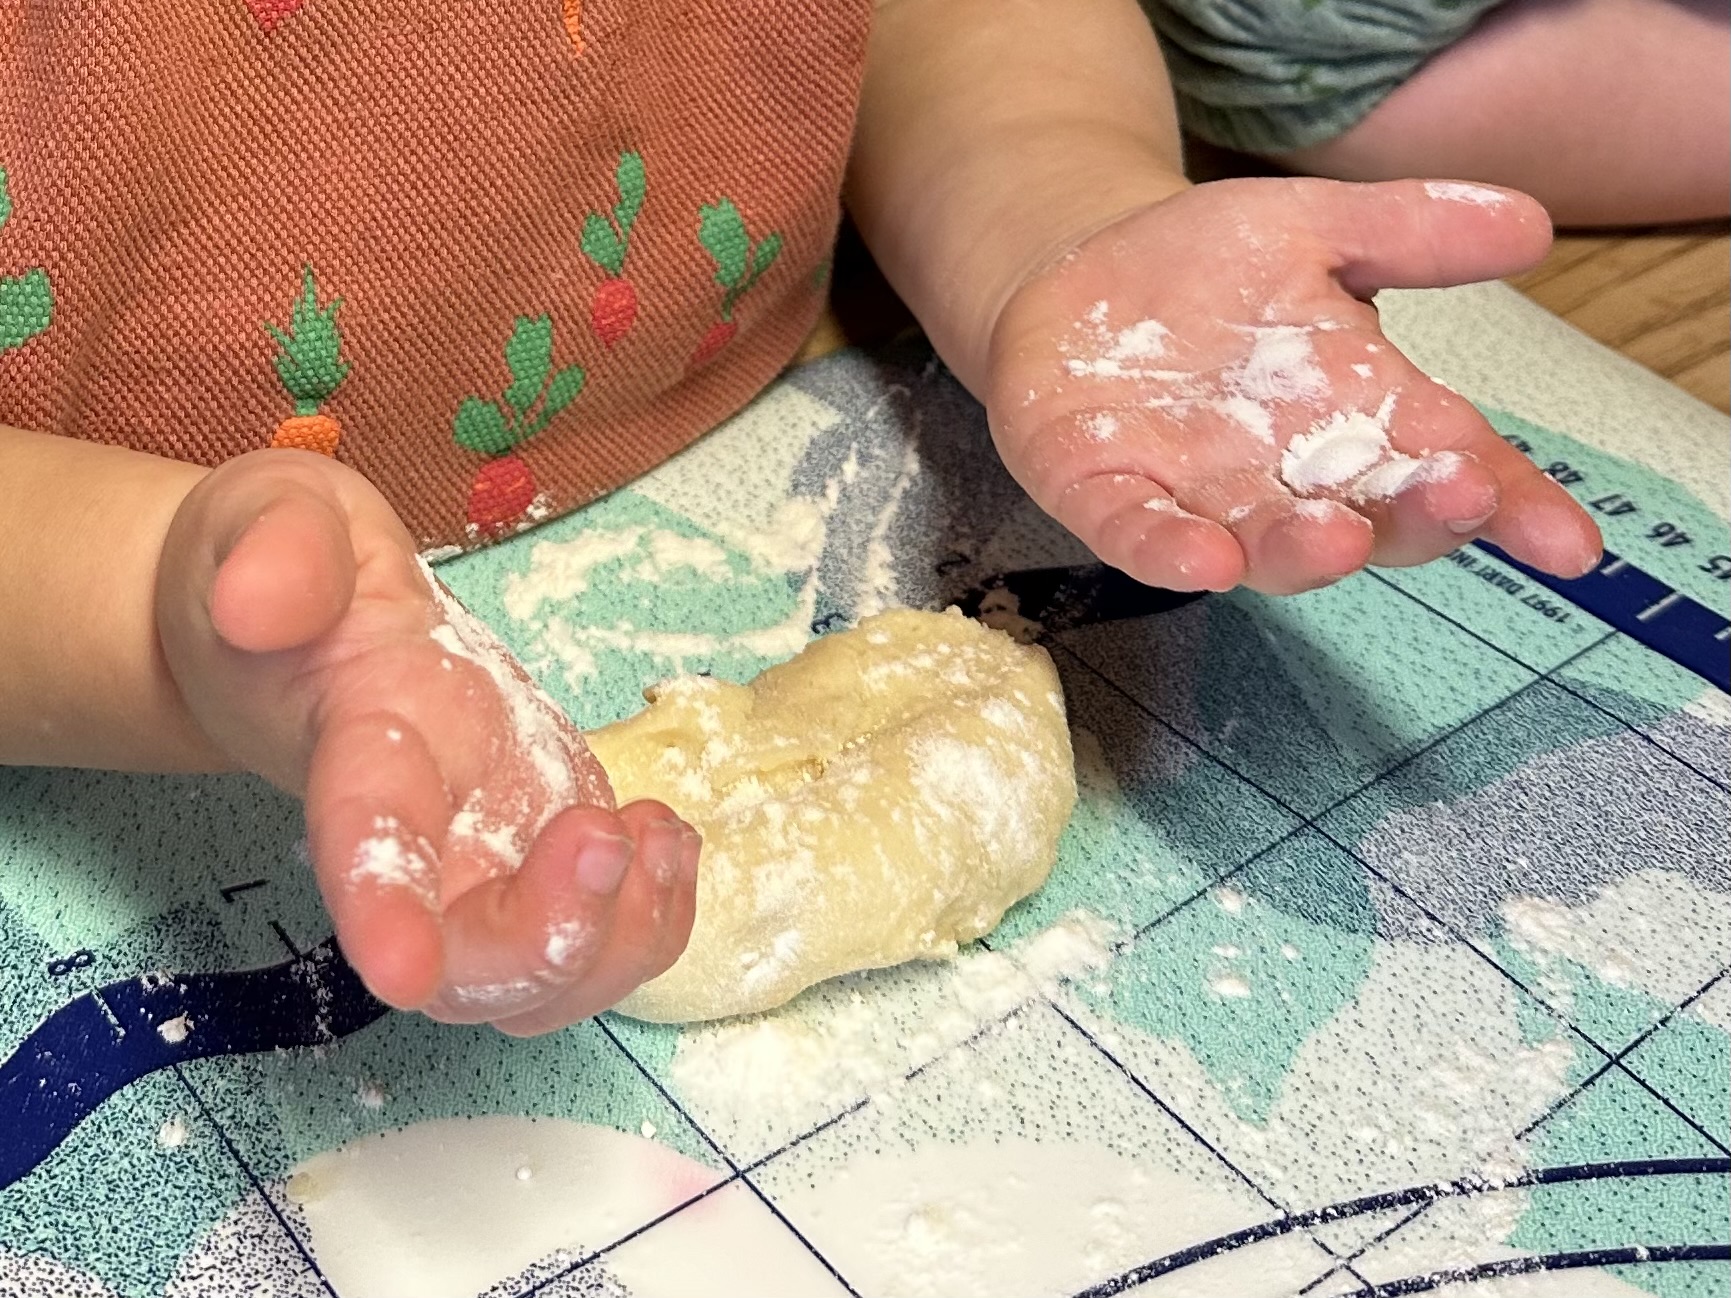
Bild zum Schritt 5 für das Bastel- und DIY-Abenteuer für Kinder: 'Wenn der Teig vorbereitet ist, könnt ihr auch schon beginnen,...'

6

Then you can start to form a roll out of the dough.
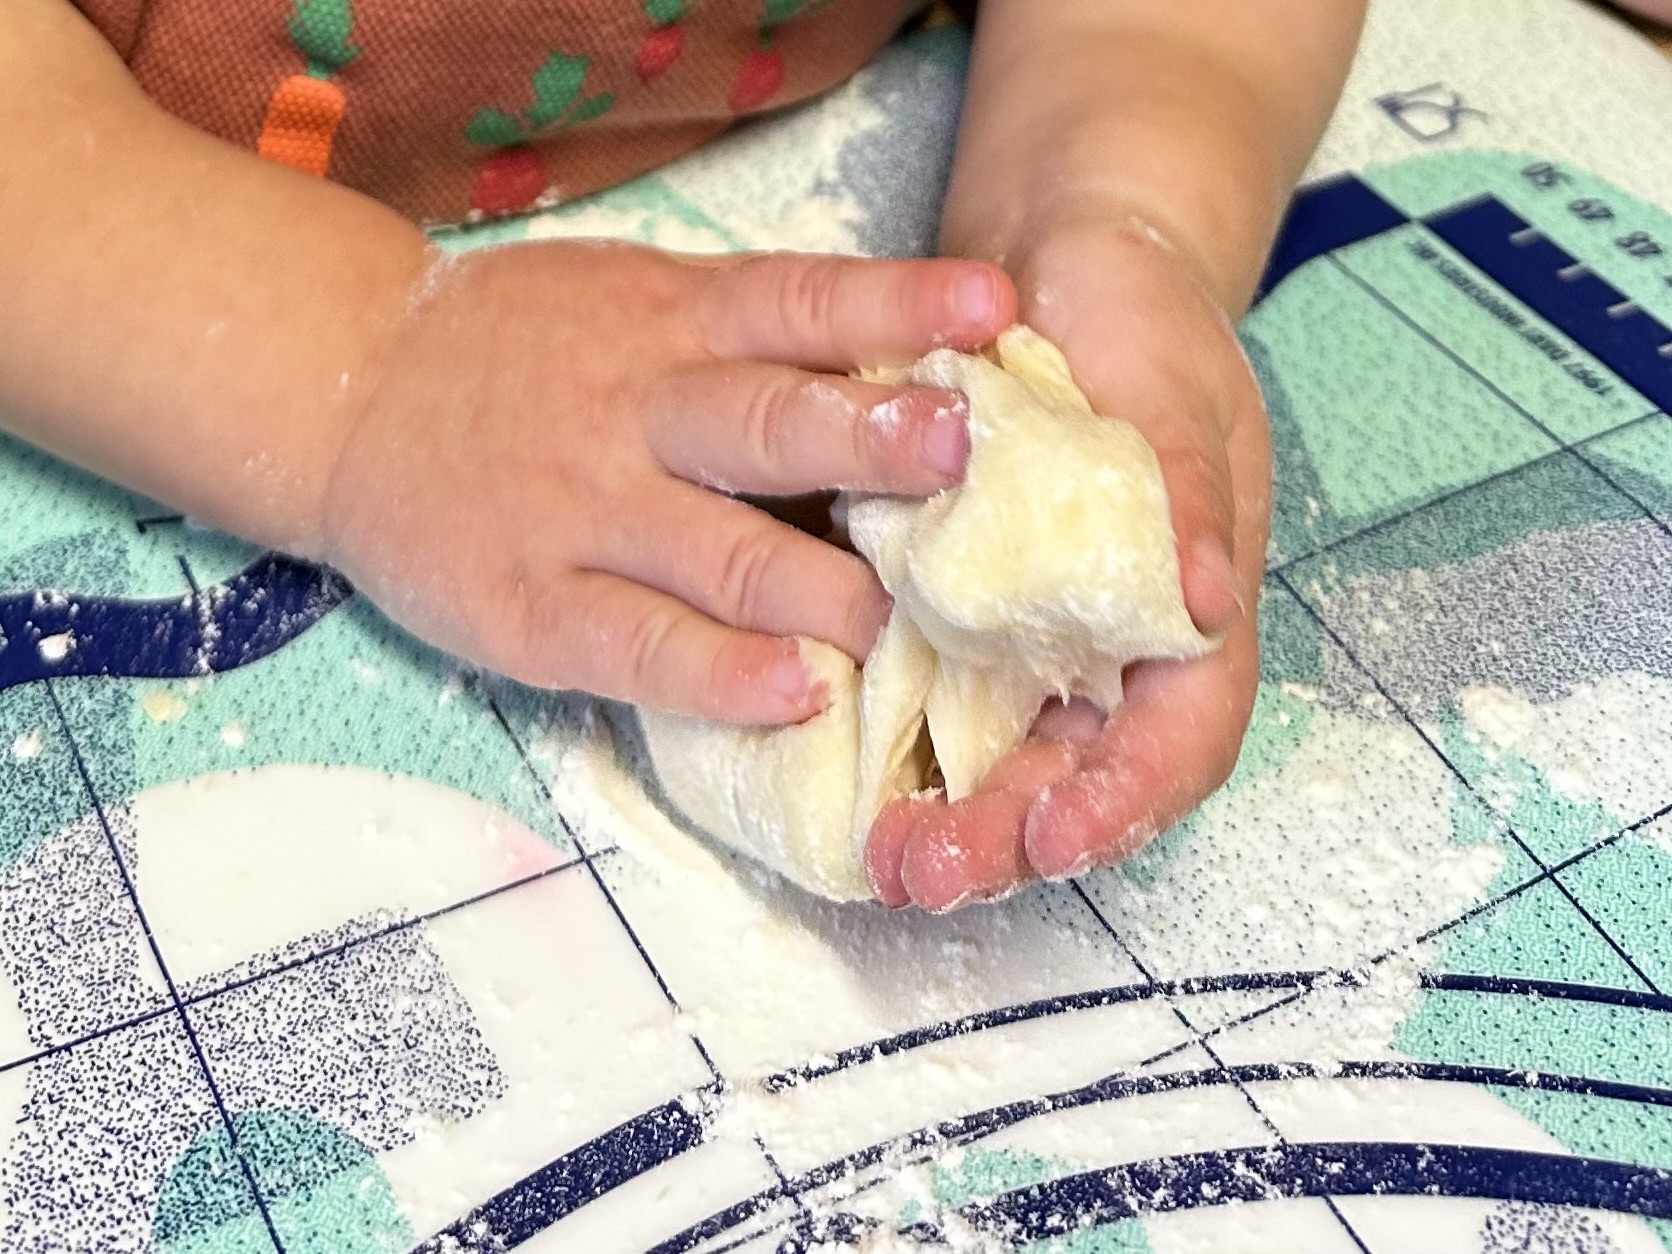
Bild zum Schritt 6 für das Bastel- und DIY-Abenteuer für Kinder: 'Dann könnt ihr beginnen, aus dem Teig ein Brötchen zu...'

7

The shape is not so important here, the dough is almost twice as large when baking, thus also unshaped rolls become great.

Bild zum Schritt 7 für das Bastel- und DIY-Abenteuer für Kinder: 'Die Form ist hierbei nicht so wichtig, der Teig geht...'

8

The first contact with dough is very exciting for children. Give them time to explore the dough.

Bild zum Schritt 8 für das Bastel- und DIY-Abenteuer für Kinder: 'Der Erstkontakt mit Teig ist für Kinder sehr spannend. Gebt...'

9

If the bun likes, then put it on the base.

Bild zum Schritt 9 für das Bastel- und DIY-Abenteuer für Kinder: 'Wenn das Brötchen gefällt, dann legt es auf der Unterlage...'

10

Take a child's knife and press a notch in the middle of the roll. This shows the children already now that this bun is later divided into two pieces.
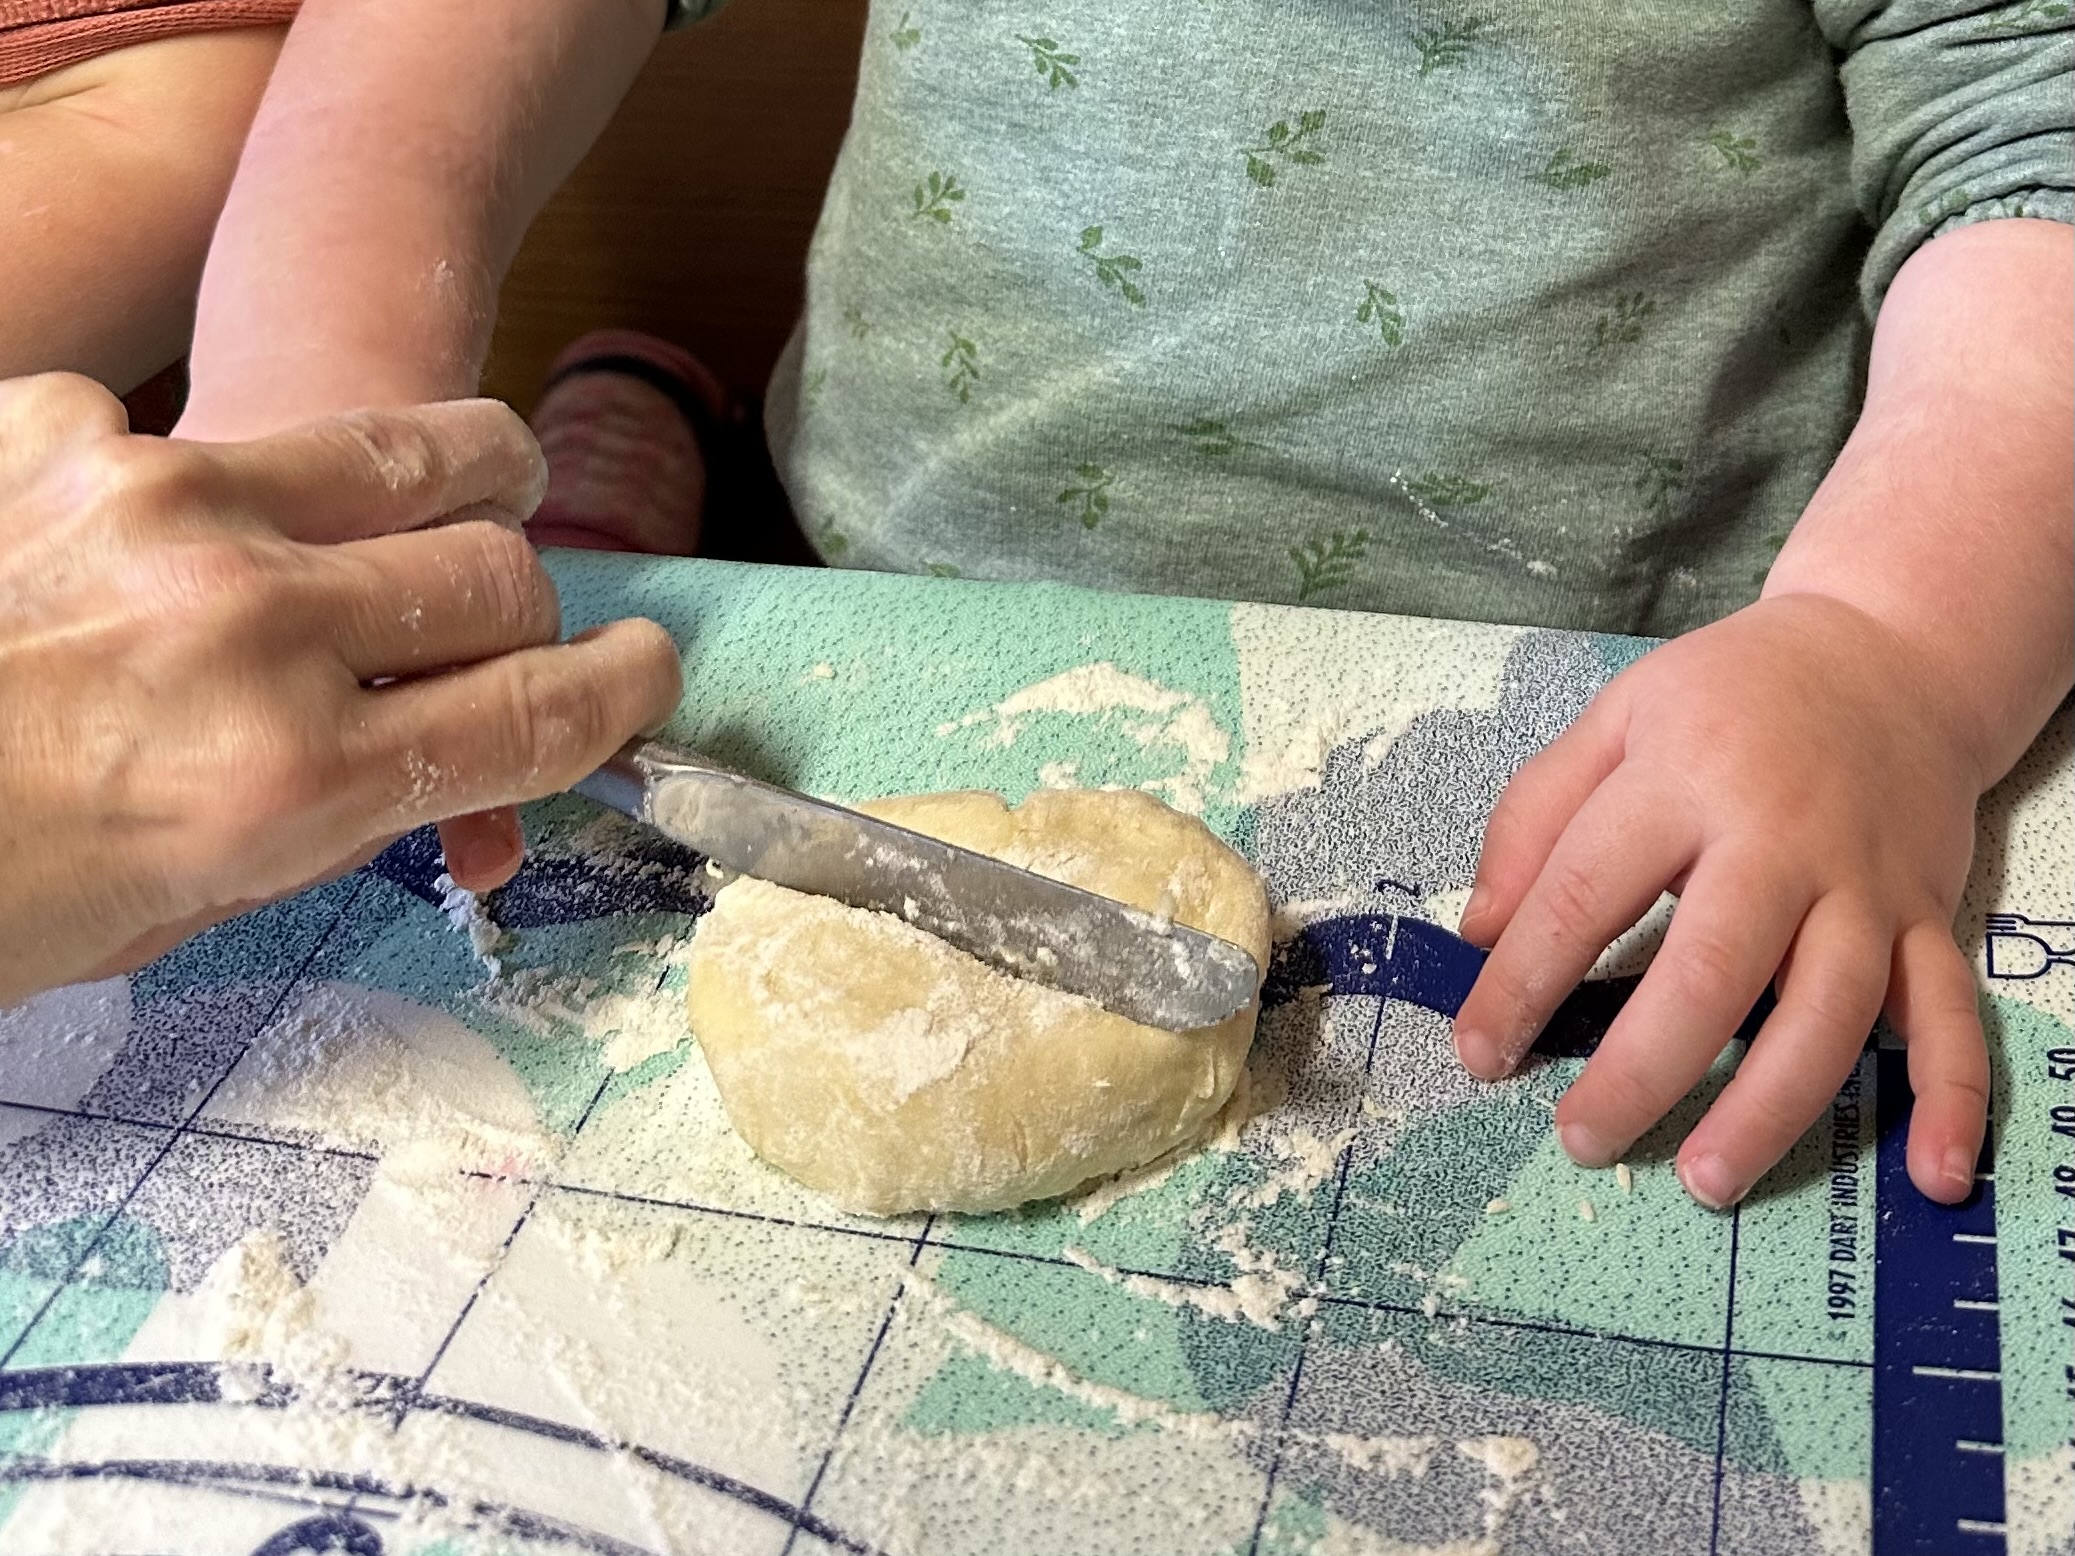
Bild zum Schritt 10 für das Bastel- und DIY-Abenteuer für Kinder: 'Nehmt ein Kindermesser zur Hand und drückt damit mittig ins...'

11

Place the prepared dough pieces on a sheet with baking paper.
They can still be a bit floury outside, that doesn't matter. Further processing of the dough pieces is not necessary.
Put them on the sheet with plenty of distance, because they become almost twice as big.

Bild zum Schritt 11 für das Bastel- und DIY-Abenteuer für Kinder: 'Legt die vorbereiteten Teiglinge auf ein Blech mit Backpapier. ...'

12

Put the sheet in the oven and bake the rolls for about 8-10 minutes at 180 degrees of recirculation. When they turn brown, they are ready.

Bild zum Schritt 12 für das Bastel- und DIY-Abenteuer für Kinder: 'Stellt das Blech in den Ofen und backt die Brötchen...'

13

After baking, let them cool down briefly on the sheet and then put them in a bread basket. (They could still be a little warm!)

Bild zum Schritt 13 für das Bastel- und DIY-Abenteuer für Kinder: 'Lasst sie nach dem backen noch kurz auf dem Blech...'

14

Baked and consumed on Martinstag they taste best!
The rolls are ready to share. Break it in the middle.
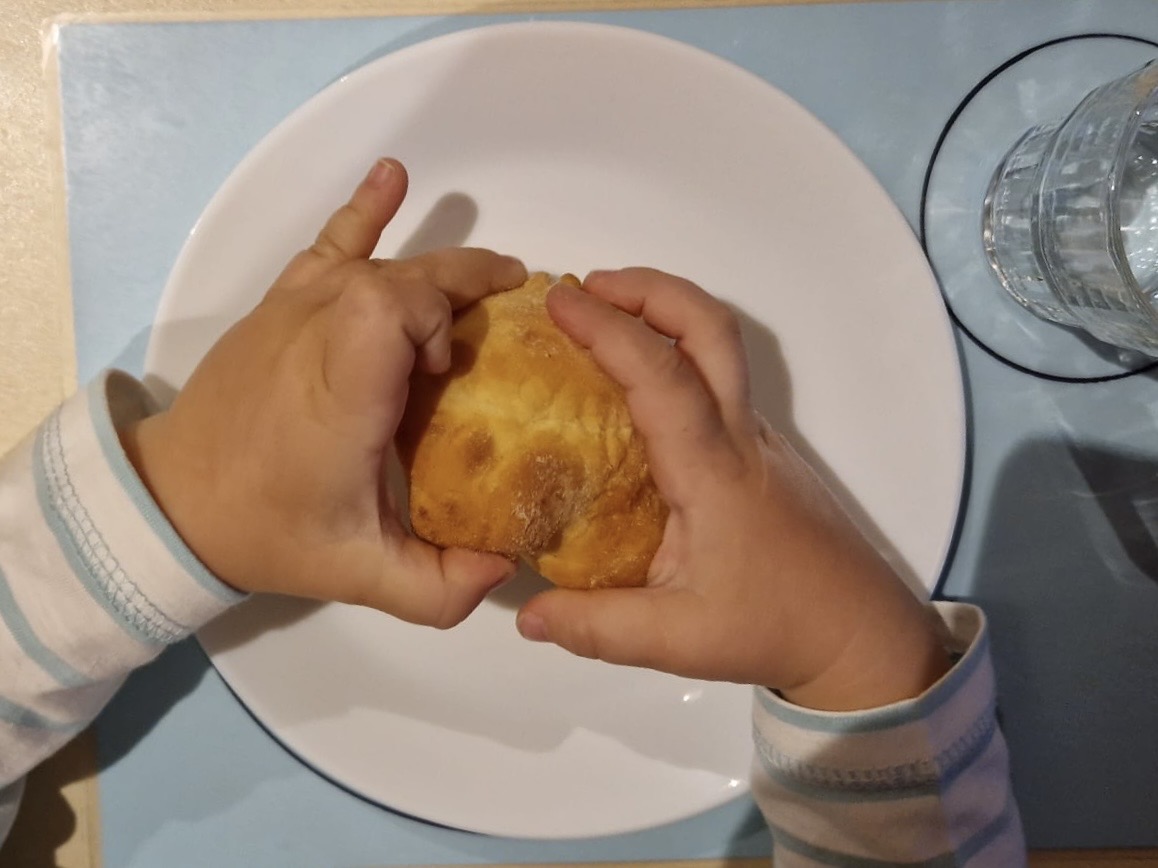
Bild zum Schritt 14 für das Bastel- und DIY-Abenteuer für Kinder: 'Am Martinstag gebacken und verzehrt schmecken sie am Besten! ...'

15

Children do this quite well by the previously pressed indentation.

Bild zum Schritt 15 für das Bastel- und DIY-Abenteuer für Kinder: 'Kinder schaffen das ganz gut durch die zuvor eingedrückte Einkerbung.'

16

Find a friend, sister or brother, mom or dad and share the rolls. "Gift" one half of your rolls to others.

Bild zum Schritt 16 für das Bastel- und DIY-Abenteuer für Kinder: 'Sucht euch einen Freund, Schwester oder Bruder, Mama oder Papa...'

17

Shared joy is double joy! Have fun trying out.

Bild zum Schritt 17 für das Bastel- und DIY-Abenteuer für Kinder: 'Geteilte Freude ist doppelte Freude! Viel Spaß beim Ausprobieren.'

Baking Martins-Weck - rolls for Saint Martin

Follow us on Facebook , Instagram and Pinterest
Don't miss any more adventures: Our bottle mail

Leave a Reply

Your email address will not be published.

The maximum upload file size: 5 MB. You can upload: image, document. Drop file here