Shining Ghosts – Bags & Filled Ghosts

AdventurerBaSo
Rating5.05.2 Thousand times & (2) DifficultyIntermediate

These little ghost bags are ideal for a ghost party or as decoration for Halloween. Also as gift bags they own themselves. Equipped with a light chain, the little ghosts shine. Alternatively, you can fill the ghost bags and use them as small gift bags. You can find both instructions here. Have fun!

Media Education for Kindergarten and Hort

Kind bastelt eine Rassel mit dem Navi
The Adventure Navi, the app for DIY projects, enables media education for the youngest.

Relief in everyday life, targeted promotion of individual children, independent learning and - without any pre-knowledge already usable by the youngest!
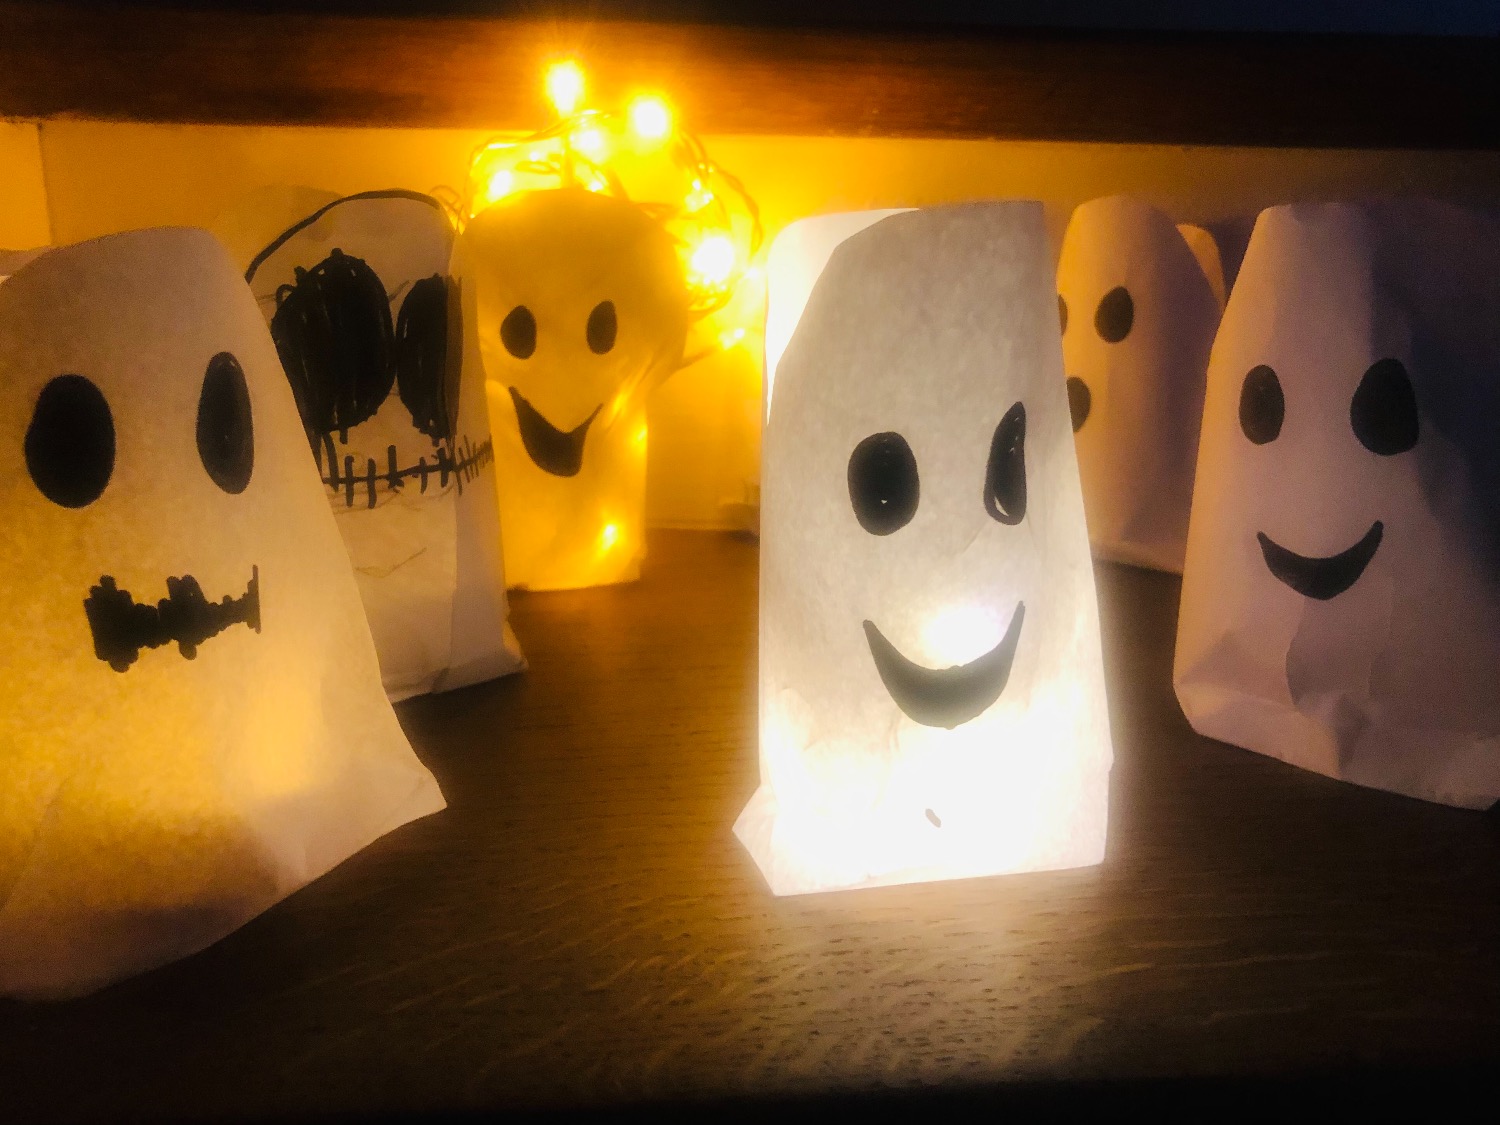


Titelbild zur Bastel- und DIY-Idee für Kinder '(851) Leuchtende Gespenster – Tüten & Gefüllte Gespenster'
Material for1 Child
Adv. Time15 min.Total Time15 min.
 Paper
 Pen black
 Builder's pad
All links marked with a shopping cart lead to Amazon - here we have selected products that we would order ourselves and in part also ordered. In a qualified purchase via the advertising link, we as Amazon partner receive a commission, for you there are no costs. You thus support our cost- and advertising banner-free, educational offer.
1

First, you prepare your material and spread out your craft material.
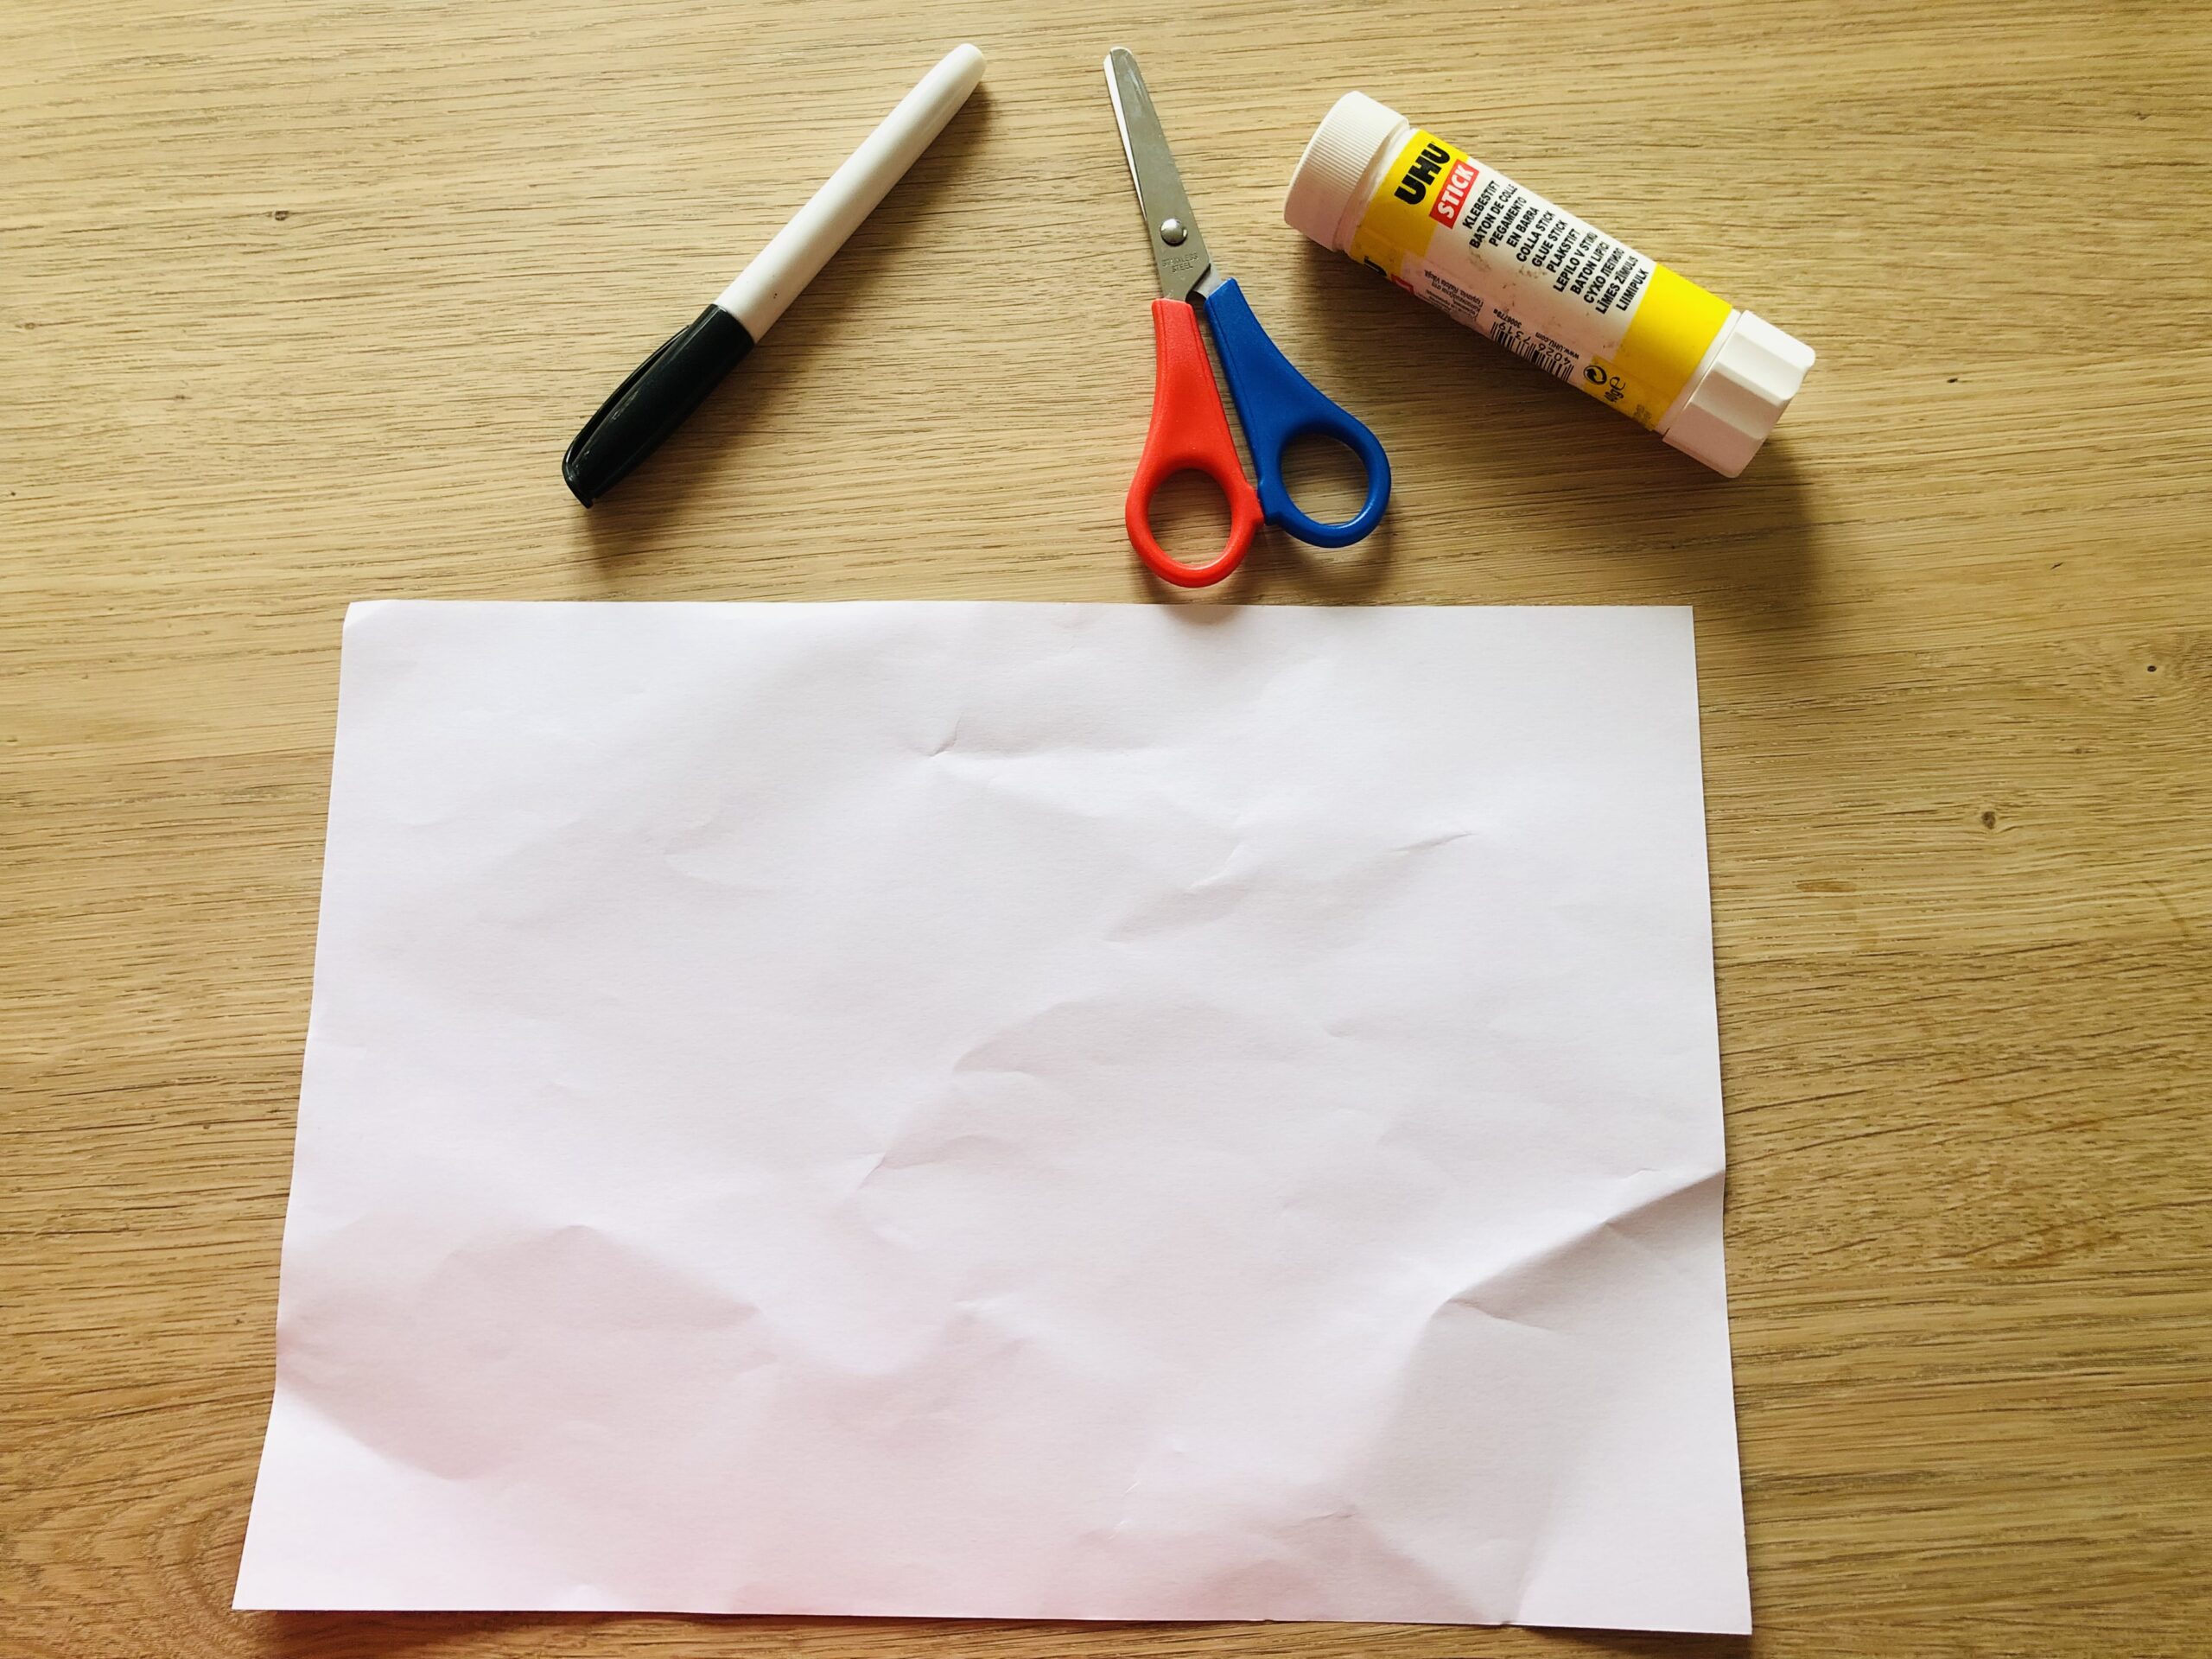
Bild zum Schritt 1 für das Bastel- und DIY-Abenteuer für Kinder: 'Zuerst legt ihr euer Material bereit und breitet eure Bastelunterlage...'

2

Then fold the DINA4 paper once in the middle.

Tip: Always let the children fold from the bottom to the top - away from the body.
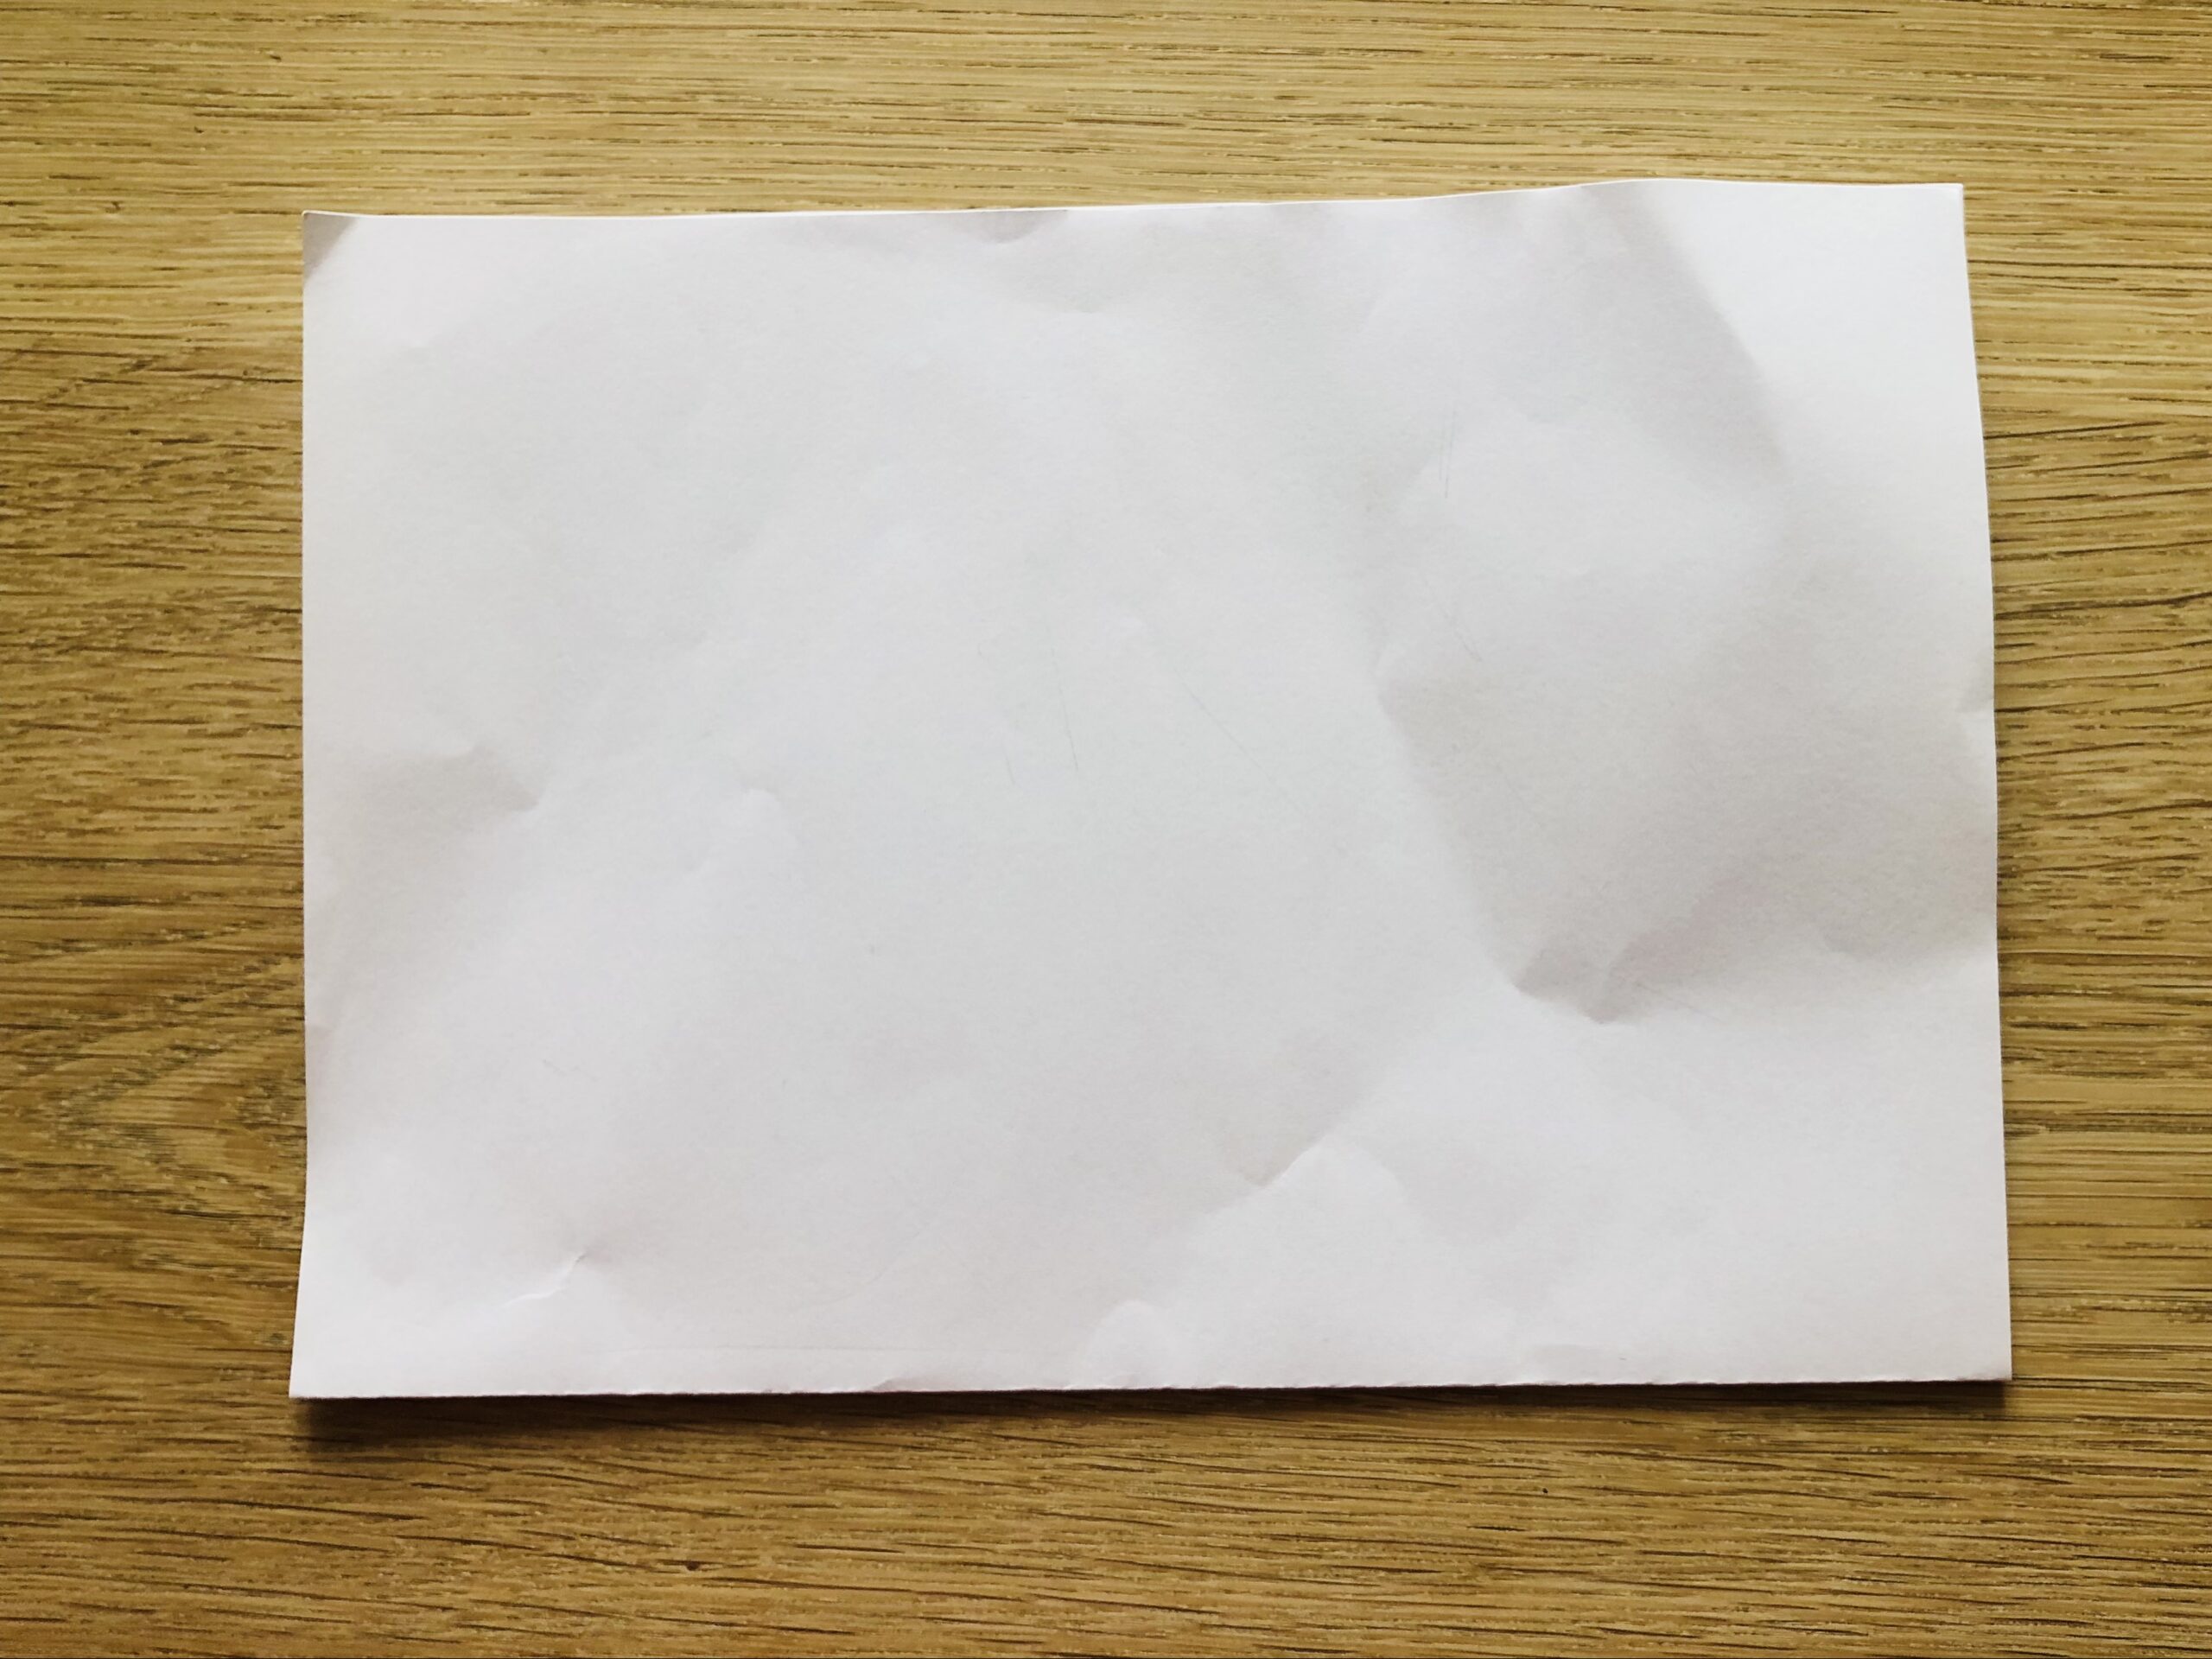
Bild zum Schritt 2 für das Bastel- und DIY-Abenteuer für Kinder: 'Dann faltet ihr das DINA4 Papier einmal in der Mitte...'

3

Then you open the fold again and cut the paper along the fold in two.
Two pieces are produced in DINA5 format.

Bild zum Schritt 3 für das Bastel- und DIY-Abenteuer für Kinder: 'Dann öffnet ihr die Faltung wieder und schneidet das Papier...'

4

Now you take a paper and put it in front of you in length.

Bild zum Schritt 4 für das Bastel- und DIY-Abenteuer für Kinder: 'Jetzt nehmt ihr ein Papier und legt es der Länge...'

5

Now folds from bottom to top. Thereby a approximately 2cm wide edge stands.

Bild zum Schritt 5 für das Bastel- und DIY-Abenteuer für Kinder: 'Faltet nun von unten nach oben. Dabei bleibt ein circa...'

6

Starting, you turn the paper around and fold the overhanging edge over the fold.

Bild zum Schritt 6 für das Bastel- und DIY-Abenteuer für Kinder: 'Anschießend dreht ihr das Papier um und faltet ihr den...'

7

After that, you stick the narrow side on the paper.

Bild zum Schritt 7 für das Bastel- und DIY-Abenteuer für Kinder: 'Danach klebt ihr die schmale Seite auf das Papier.'

8

Now you turn the paper in such a way that it is back to the length in front of you. Then you fold a small edge (approx. 2 cm) upwards from the bottom to the top.

Bild zum Schritt 8 für das Bastel- und DIY-Abenteuer für Kinder: 'Jetzt dreht ihr das Papier so, dass es wieder der...'

9

Then you pinch the left and right corners until the fold. Then you fold out the corners again.

Bild zum Schritt 9 für das Bastel- und DIY-Abenteuer für Kinder: 'Anschließend knickt ihr die linke und rechte Ecke bis zur...'

10

Now turn the bag around once. Then fold the right and left corner on the back until the fold.

Bild zum Schritt 10 für das Bastel- und DIY-Abenteuer für Kinder: 'Dreht nun die Tüte einmal um. Anschließend faltet ihr auch...'

11

Now you open the folded corners again.

Bild zum Schritt 11 für das Bastel- und DIY-Abenteuer für Kinder: 'Jetzt öffnet ihr die eingefalteten Ecken wieder.'

12

Then go with your fingers into the middle and strip the fold apart. This is how the bottom of the bag is created.

Bild zum Schritt 12 für das Bastel- und DIY-Abenteuer für Kinder: 'Dann fahrt ihr mit den Fingern in die Mitte und...'

13

Folds from bottom to top the lower side slightly over the middle.

Bild zum Schritt 13 für das Bastel- und DIY-Abenteuer für Kinder: 'Faltet von unten nach oben die untere Seite etwas über...'

14

Then fold the top side over the fold.

Bild zum Schritt 14 für das Bastel- und DIY-Abenteuer für Kinder: 'Anschließend faltet ihr die obere Seite über die Faltung.'

15

Then you stick the overlapping strip with the glue stick. This creates a stable ground.

Bild zum Schritt 15 für das Bastel- und DIY-Abenteuer für Kinder: 'Danach klebt ihr den überlappenden Streifen mit dem Klebestift fest....'

16

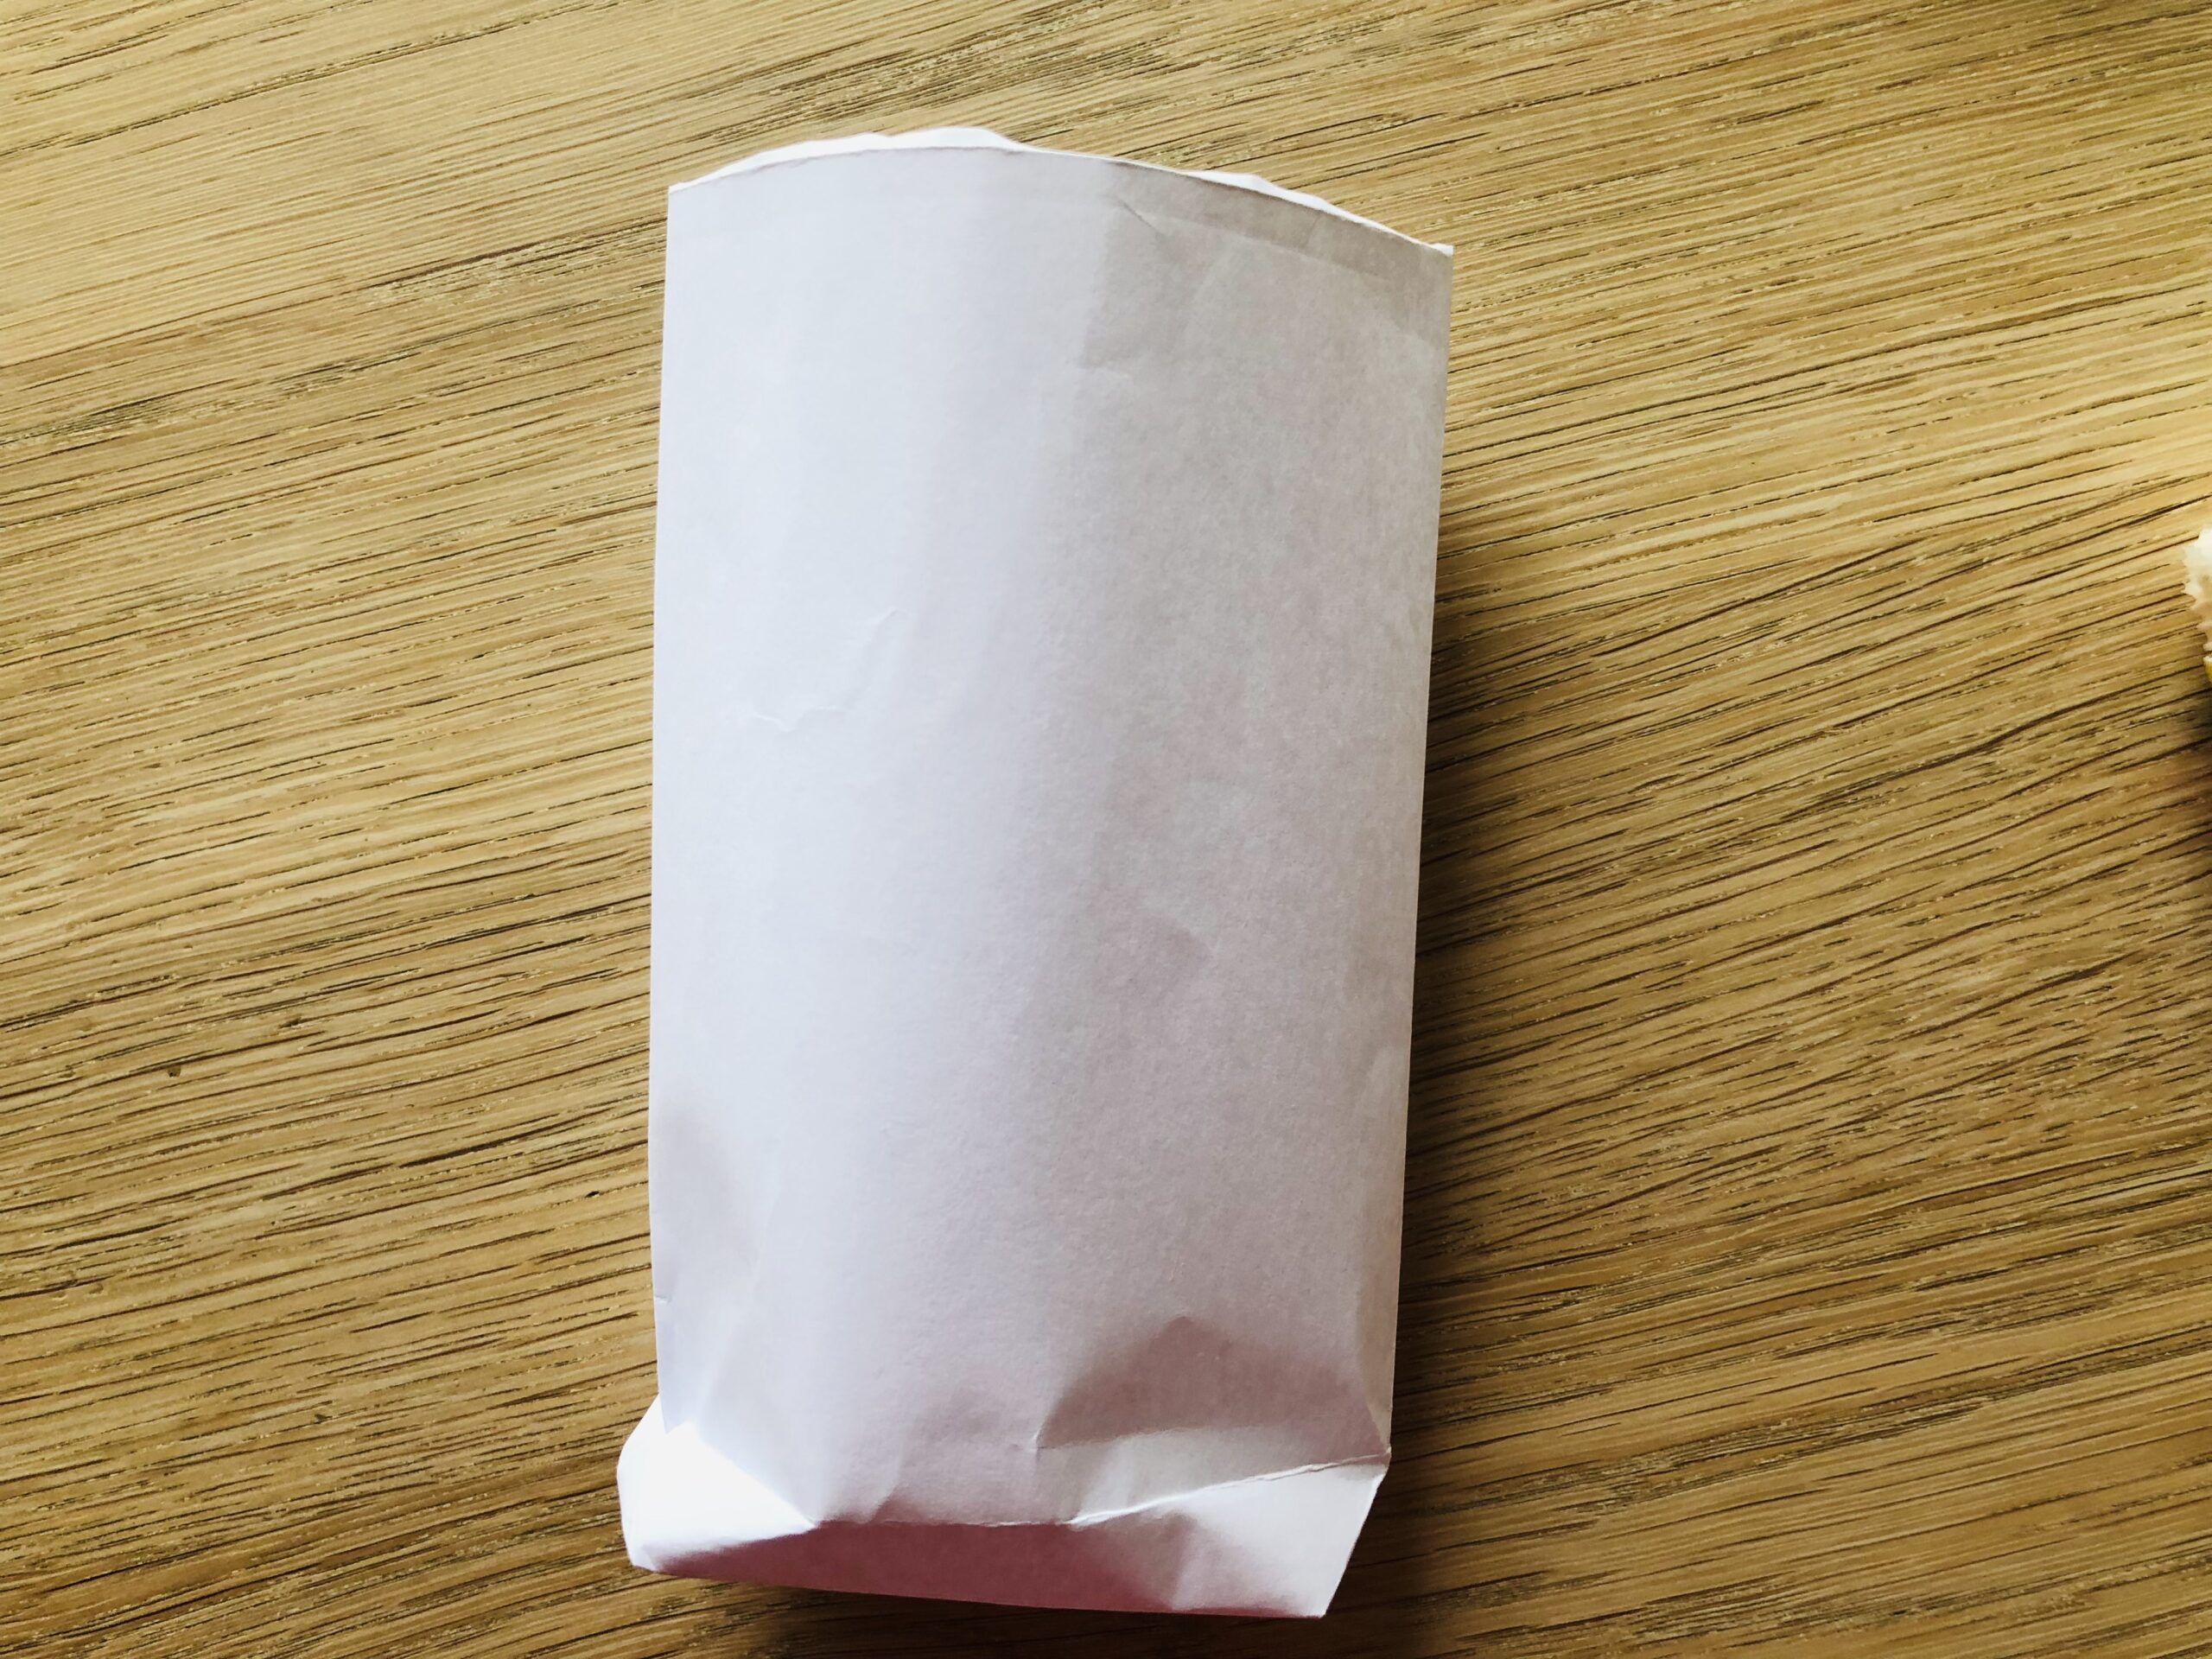
Now the bag is ready.

Bild zum Schritt 16 für das Bastel- und DIY-Abenteuer für Kinder: 'Jetzt ist die Tüte fertig.'

17

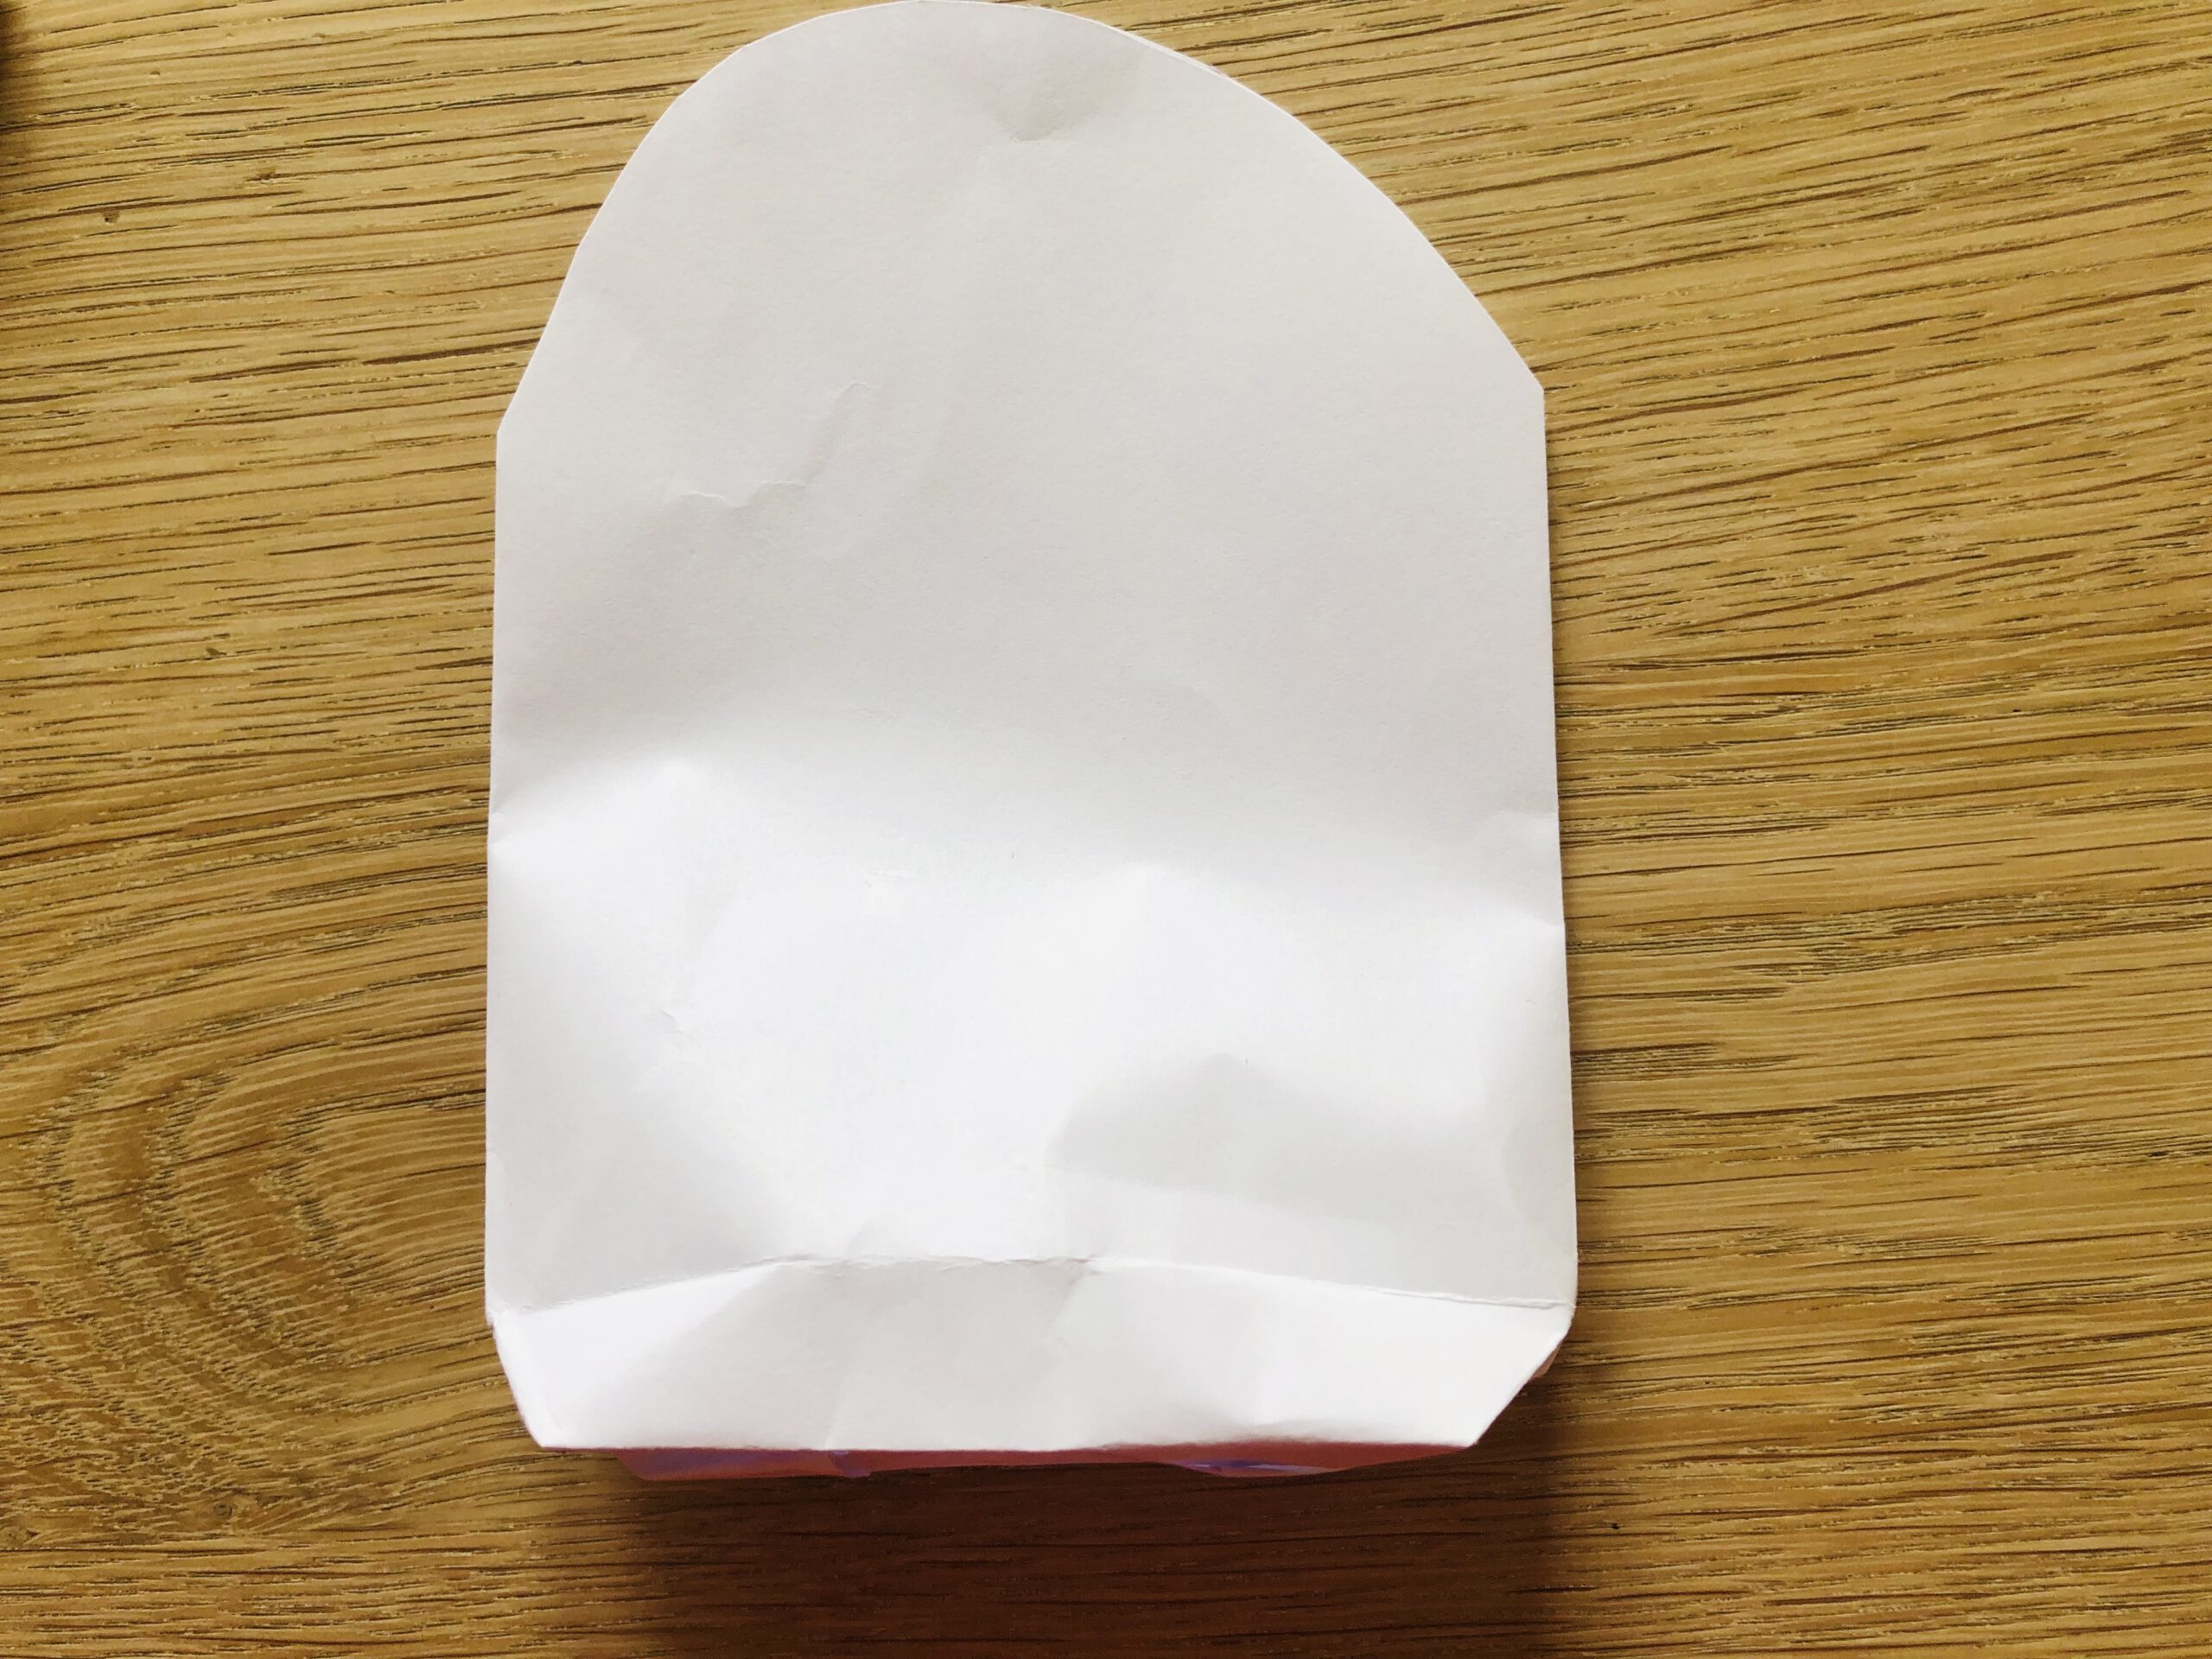
Now paint with the pen a large bow around the opening of the bag.

Bild zum Schritt 17 für das Bastel- und DIY-Abenteuer für Kinder: 'Malt nun mit dem Stift einen großen Bogen um die...'

18

Cut this one out afterwards.

Bild zum Schritt 18 für das Bastel- und DIY-Abenteuer für Kinder: 'Schneidet diesen danach aus.'

19

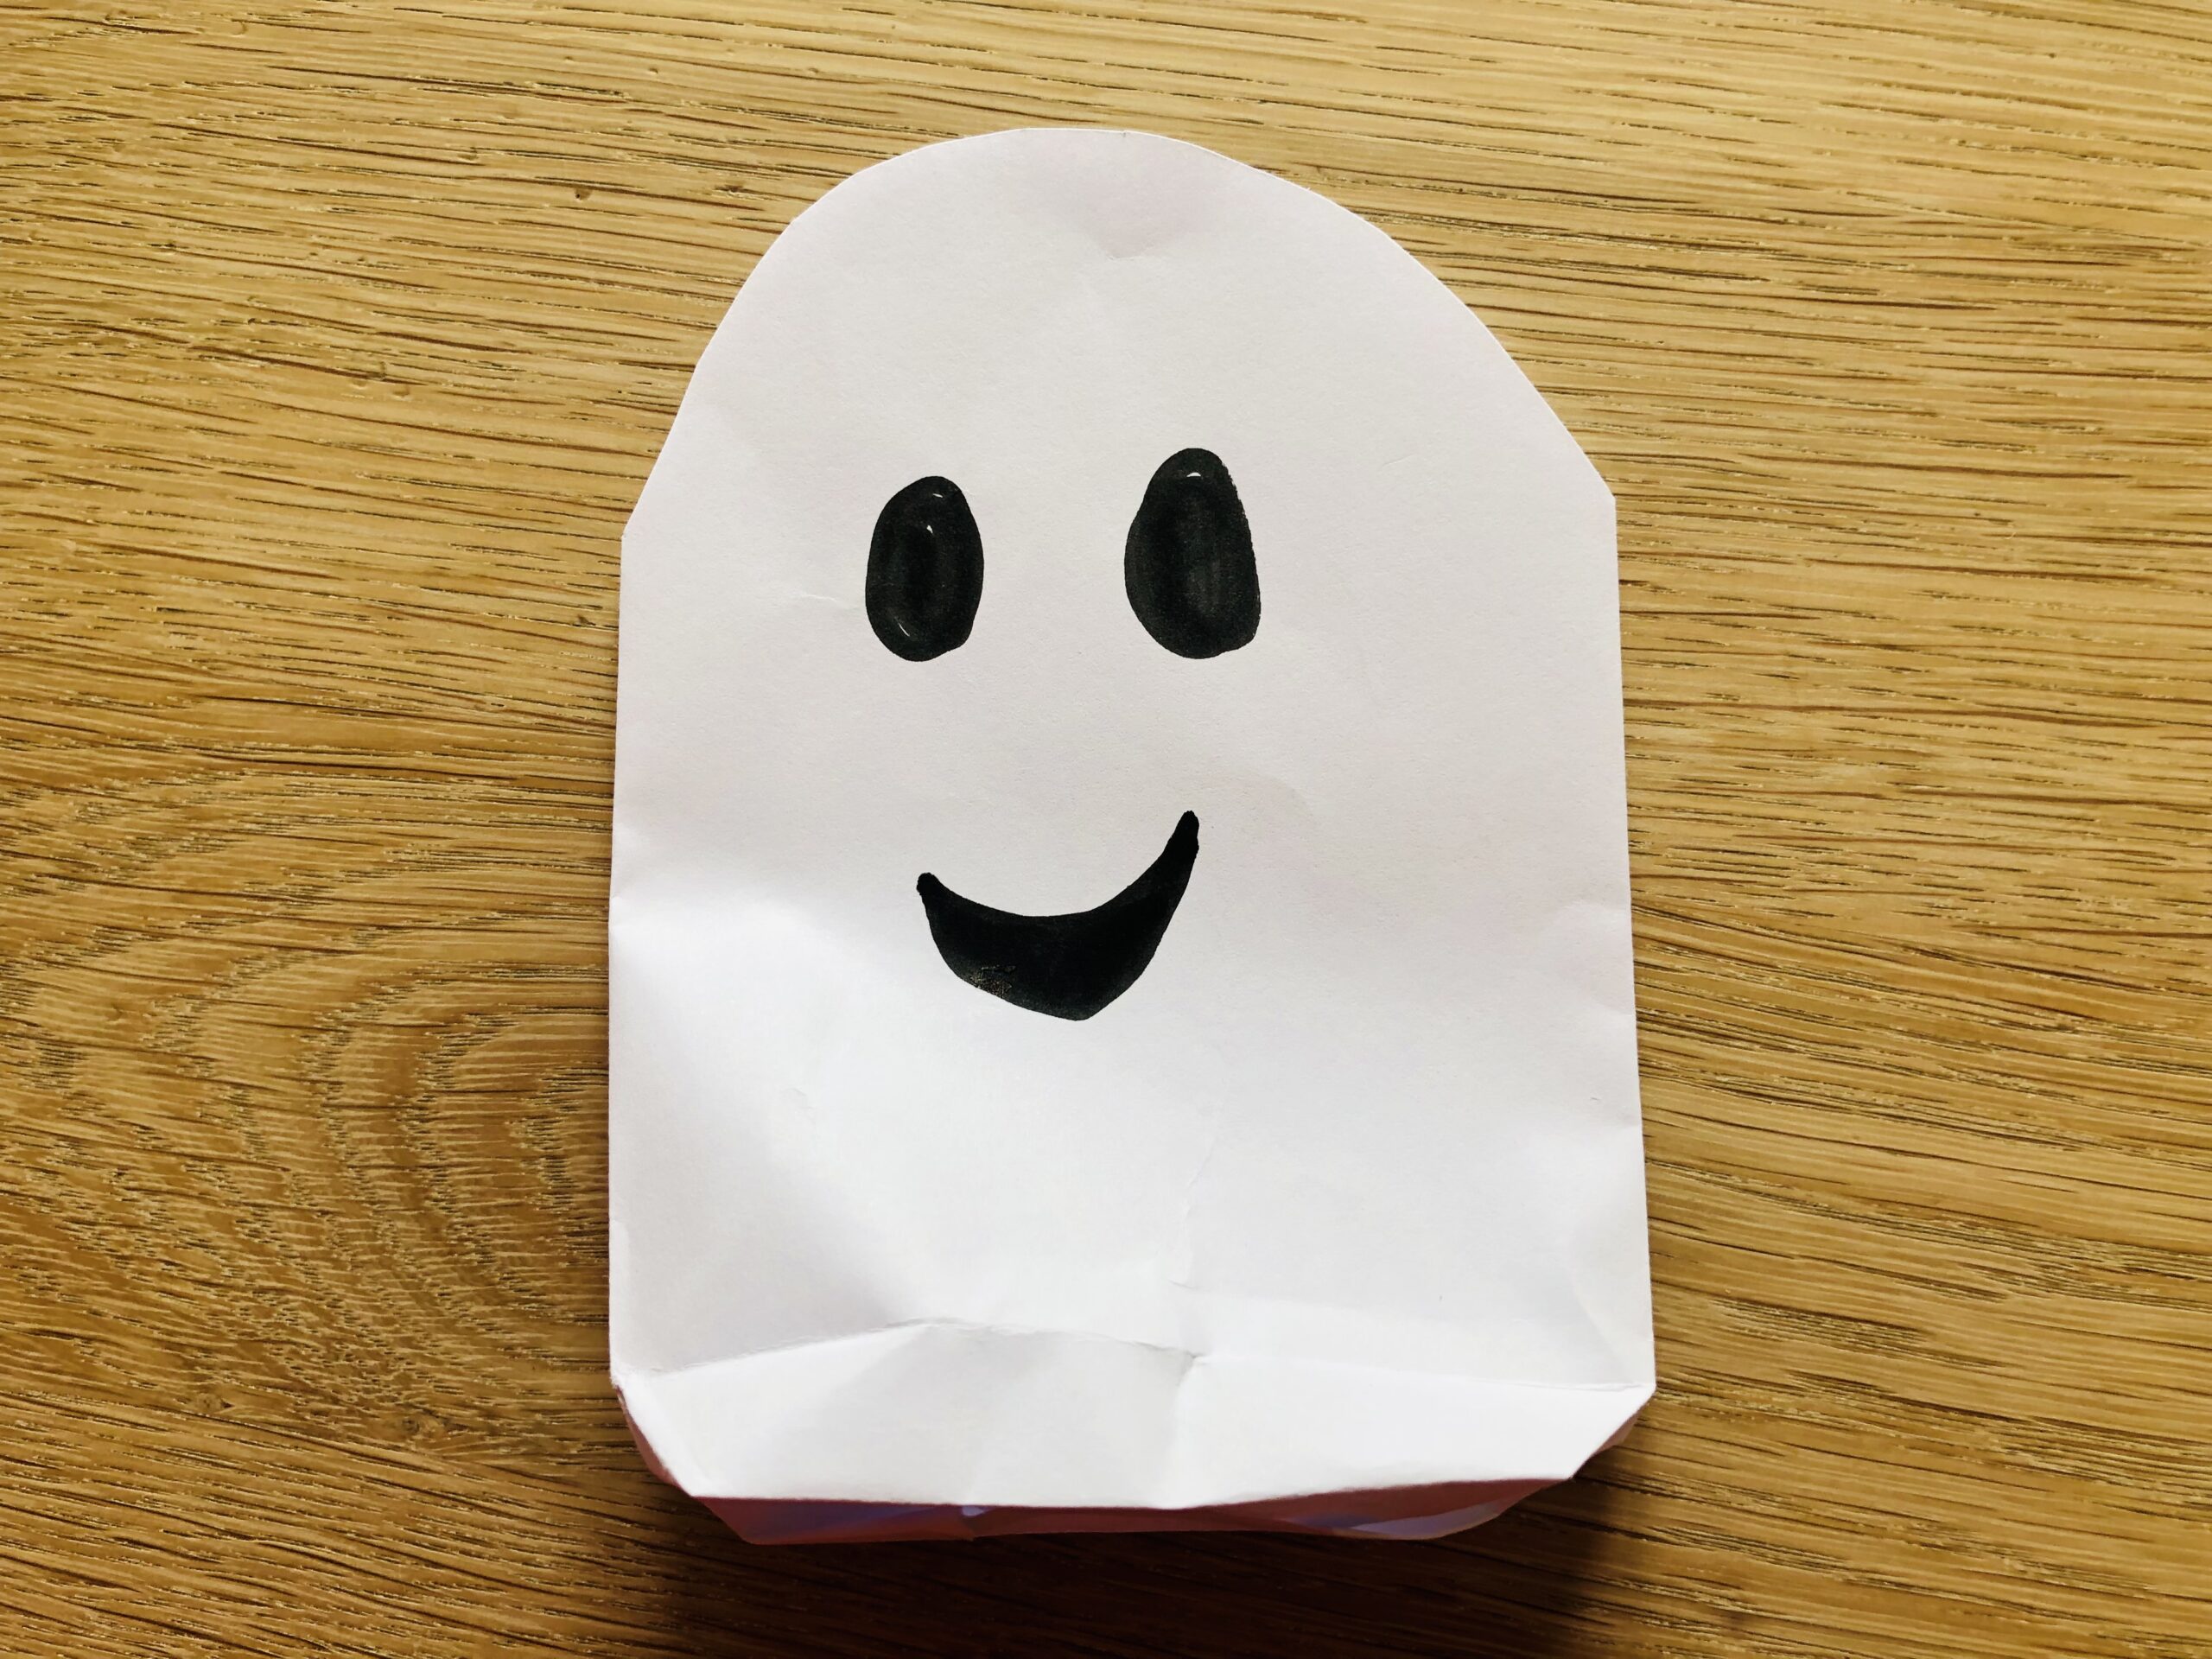
Now paint a ghost face, for which you paint two big black eyes.

Bild zum Schritt 19 für das Bastel- und DIY-Abenteuer für Kinder: 'Jetzt malt ein Gespenstergesicht auf. Dafür malt ihr zwei große...'

20

Then you paint a mouth.

Bild zum Schritt 20 für das Bastel- und DIY-Abenteuer für Kinder: 'Anschließend malt ihr einen Mund auf.'

21

Now put another chain of lights in the bag.

Bild zum Schritt 21 für das Bastel- und DIY-Abenteuer für Kinder: 'Nun legt noch eine Lichterkette in die Tüte.'

22

Finally, find a place to decorate. Maybe on the window sill or on the table or a staircase.

Bild zum Schritt 22 für das Bastel- und DIY-Abenteuer für Kinder: 'Abschließend sucht euch einen Platz zum Dekorieren. Vielleicht auf dem...'

23

Have fun with the bright ghost bags.

Bild zum Schritt 23 für das Bastel- und DIY-Abenteuer für Kinder: 'Viel Spaß mit den leuchtenden Gespenster - Tüten.'

Stuffed Ghosts
24

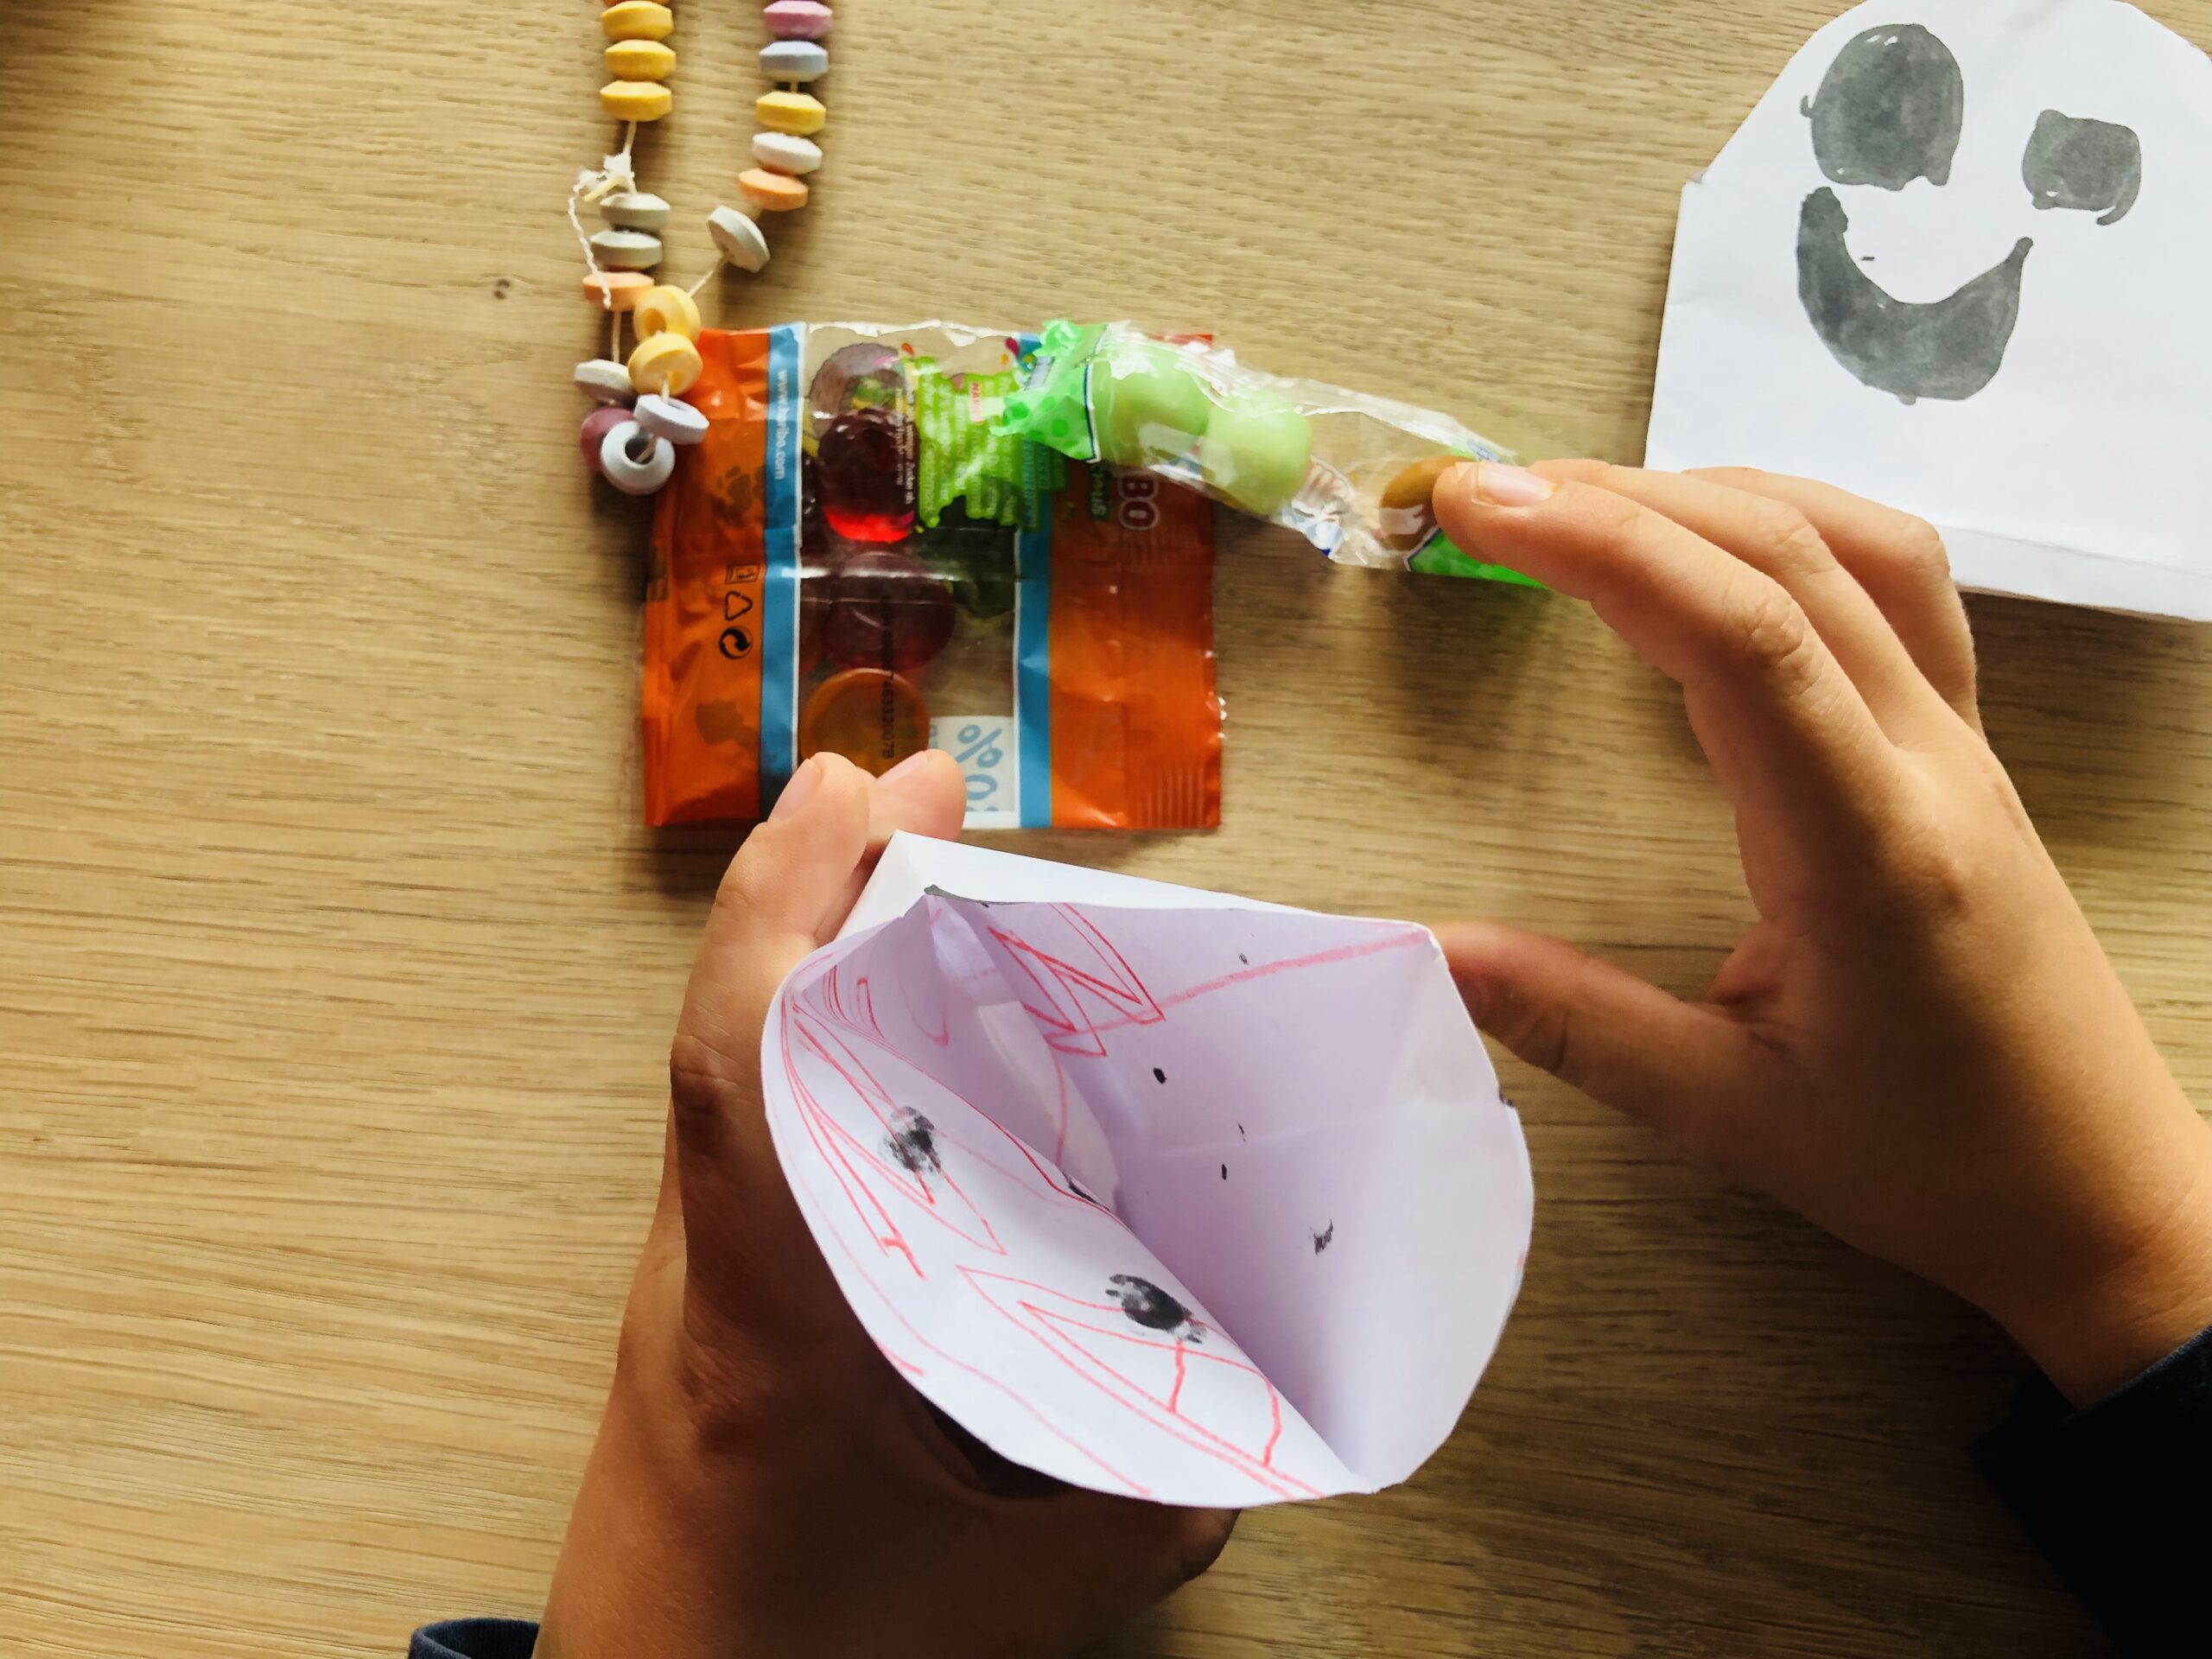
After making the ghost bags, you fill them with small things, such as sweets or a small foam bath or nuts.

Bild zum Schritt 25 für das Bastel- und DIY-Abenteuer für Kinder: 'Nachdem ihr die Gespenster - Tüten gebastelt habt, füllt ihr...'

25

2. Bild zum Schritt 25 für das Bastel- und DIY-Abenteuer für Kinder: 'Nachdem ihr die Gespenster - Tüten gebastelt habt, füllt ihr...'

26

These are suitable for giving away. For example for Halloween or at the children's birthday party.

Bild zum Schritt 27 für das Bastel- und DIY-Abenteuer für Kinder: 'Diese eignen sich zum Verschenken. Zum Beispiel zu Halloween oder...'

27

Have fun!

Materials

 Paper
 Pen black
 Builder's pad
All links marked with a shopping cart lead to Amazon - here we have selected products that we would order ourselves and in part also ordered. In a qualified purchase via the advertising link, we as Amazon partner receive a commission, for you there are no costs. You thus support our cost- and advertising banner-free, educational offer.

Directions

1

First, you prepare your material and spread out your craft material.

Bild zum Schritt 1 für das Bastel- und DIY-Abenteuer für Kinder: 'Zuerst legt ihr euer Material bereit und breitet eure Bastelunterlage...'

2

Then fold the DINA4 paper once in the middle.

Tip: Always let the children fold from the bottom to the top - away from the body.

Bild zum Schritt 2 für das Bastel- und DIY-Abenteuer für Kinder: 'Dann faltet ihr das DINA4 Papier einmal in der Mitte...'

3

Then you open the fold again and cut the paper along the fold in two.
Two pieces are produced in DINA5 format.
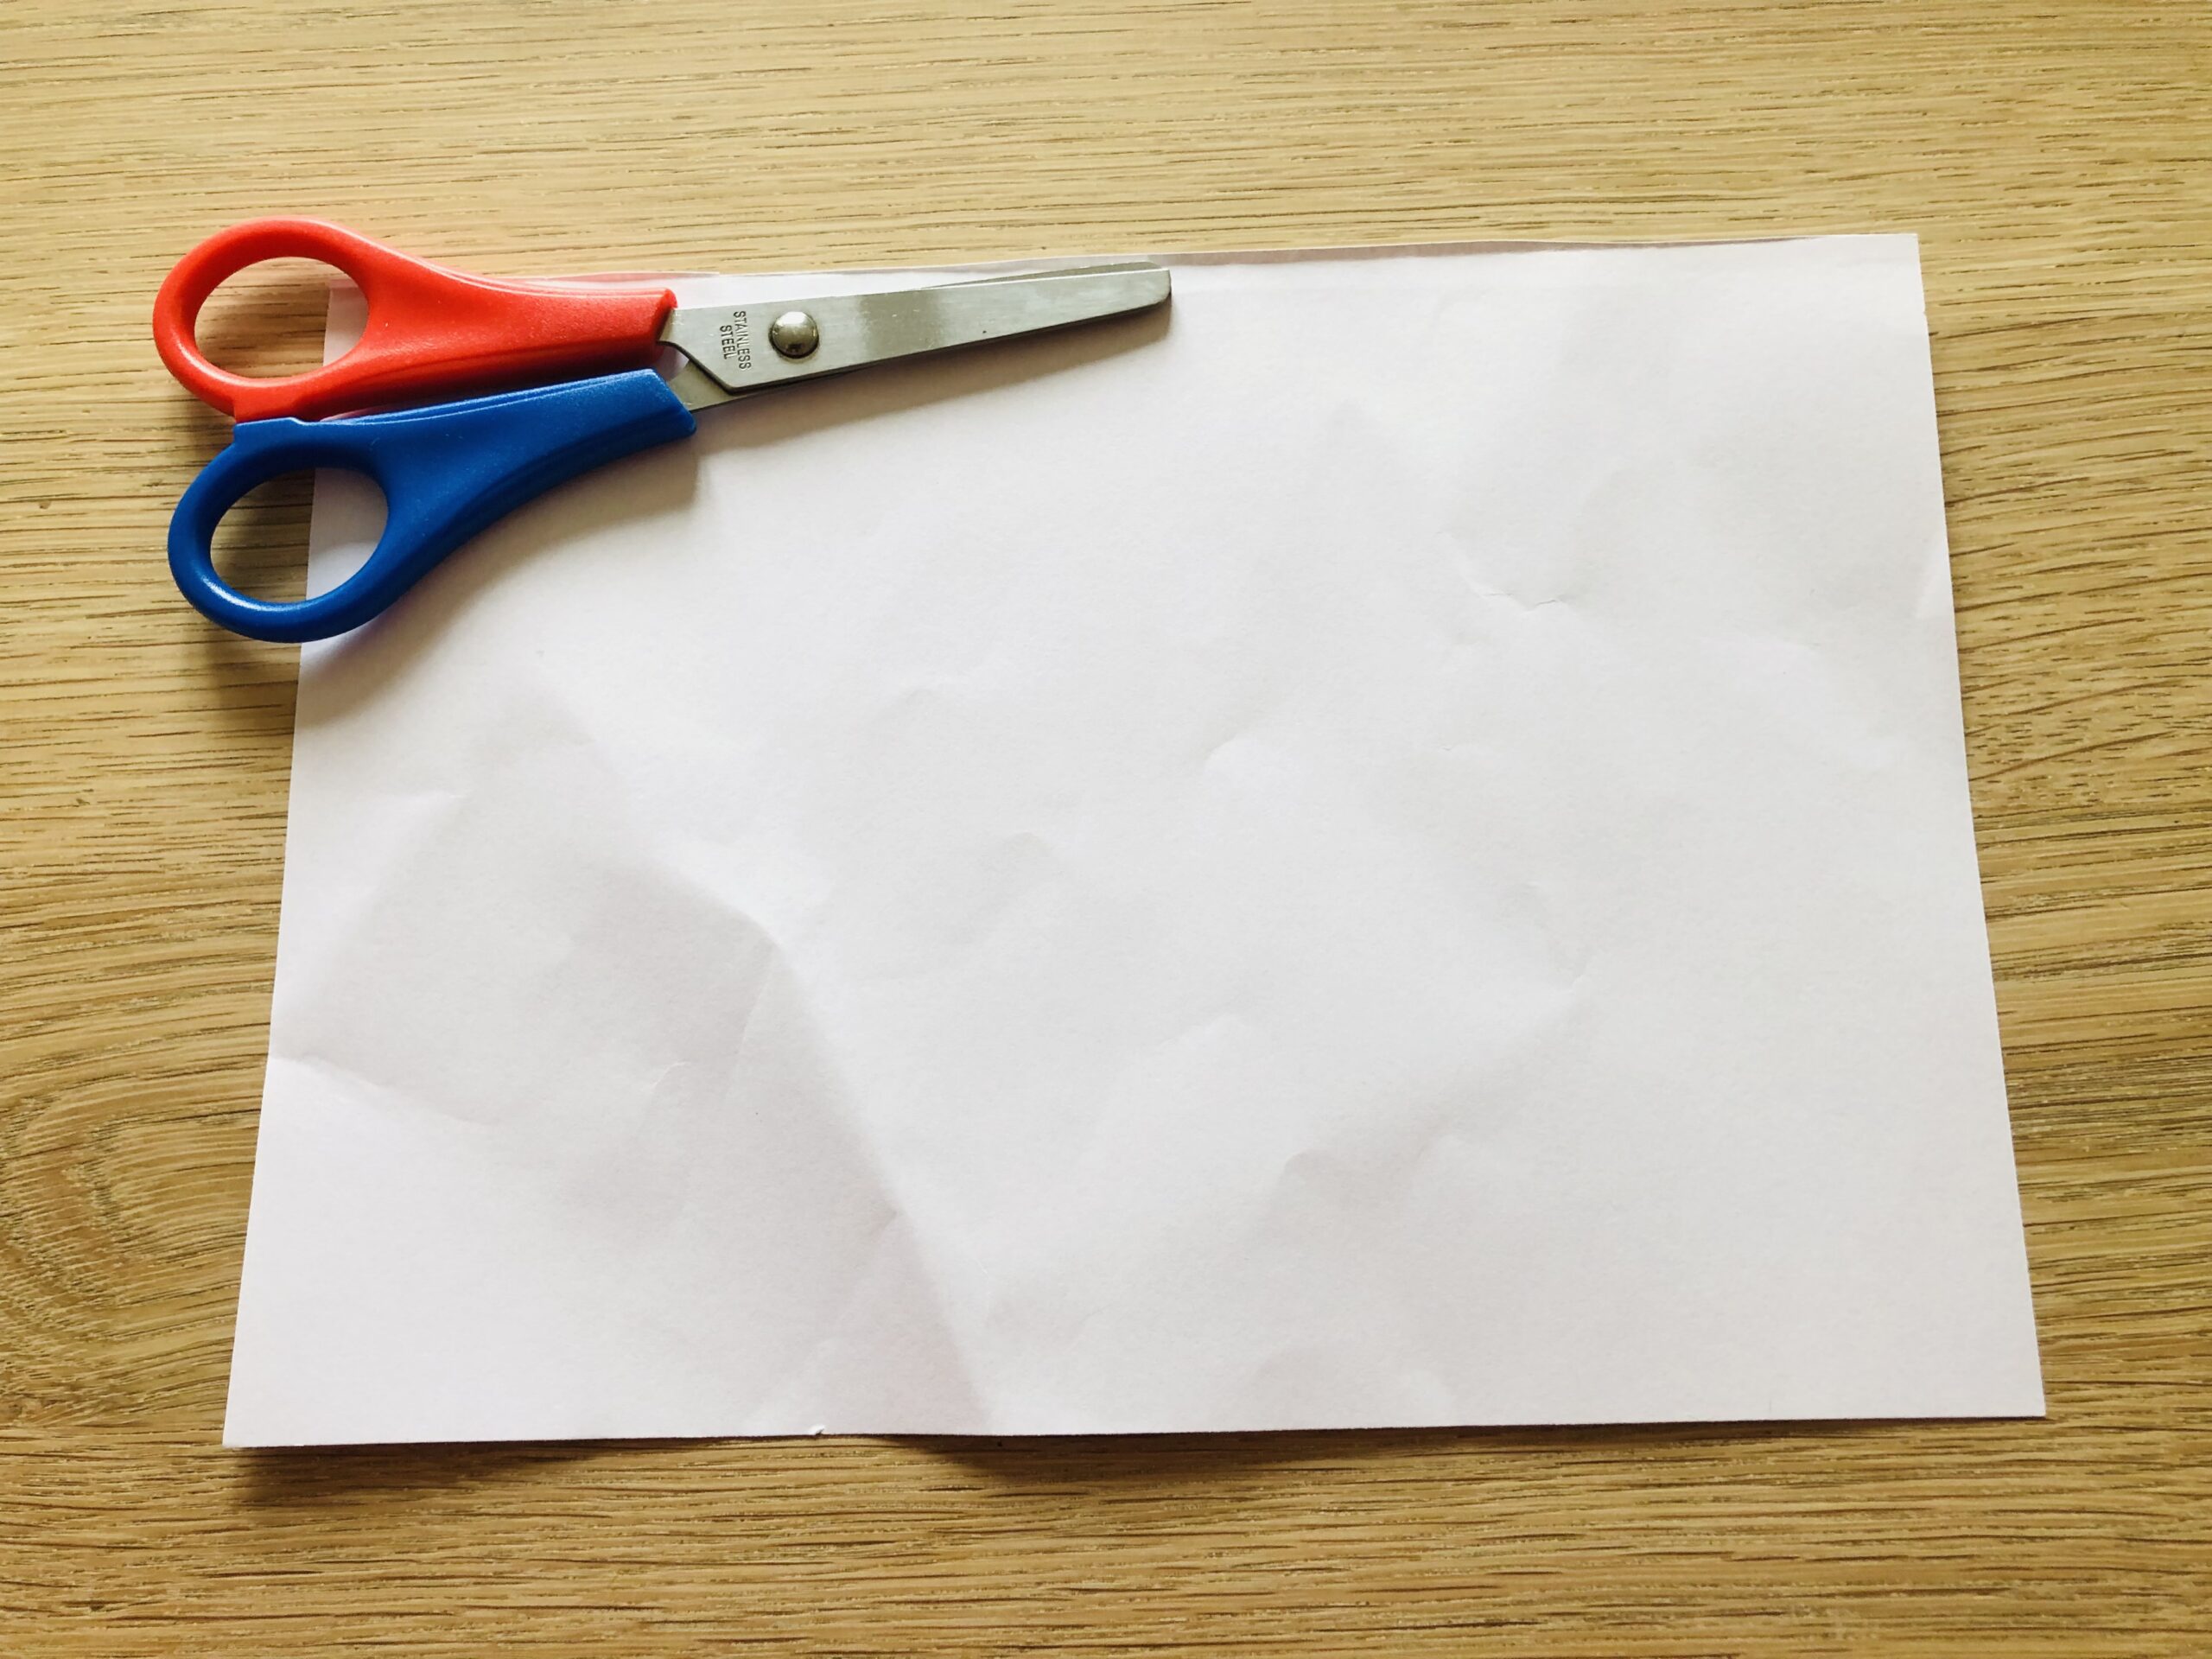
Bild zum Schritt 3 für das Bastel- und DIY-Abenteuer für Kinder: 'Dann öffnet ihr die Faltung wieder und schneidet das Papier...'

4

Now you take a paper and put it in front of you in length.
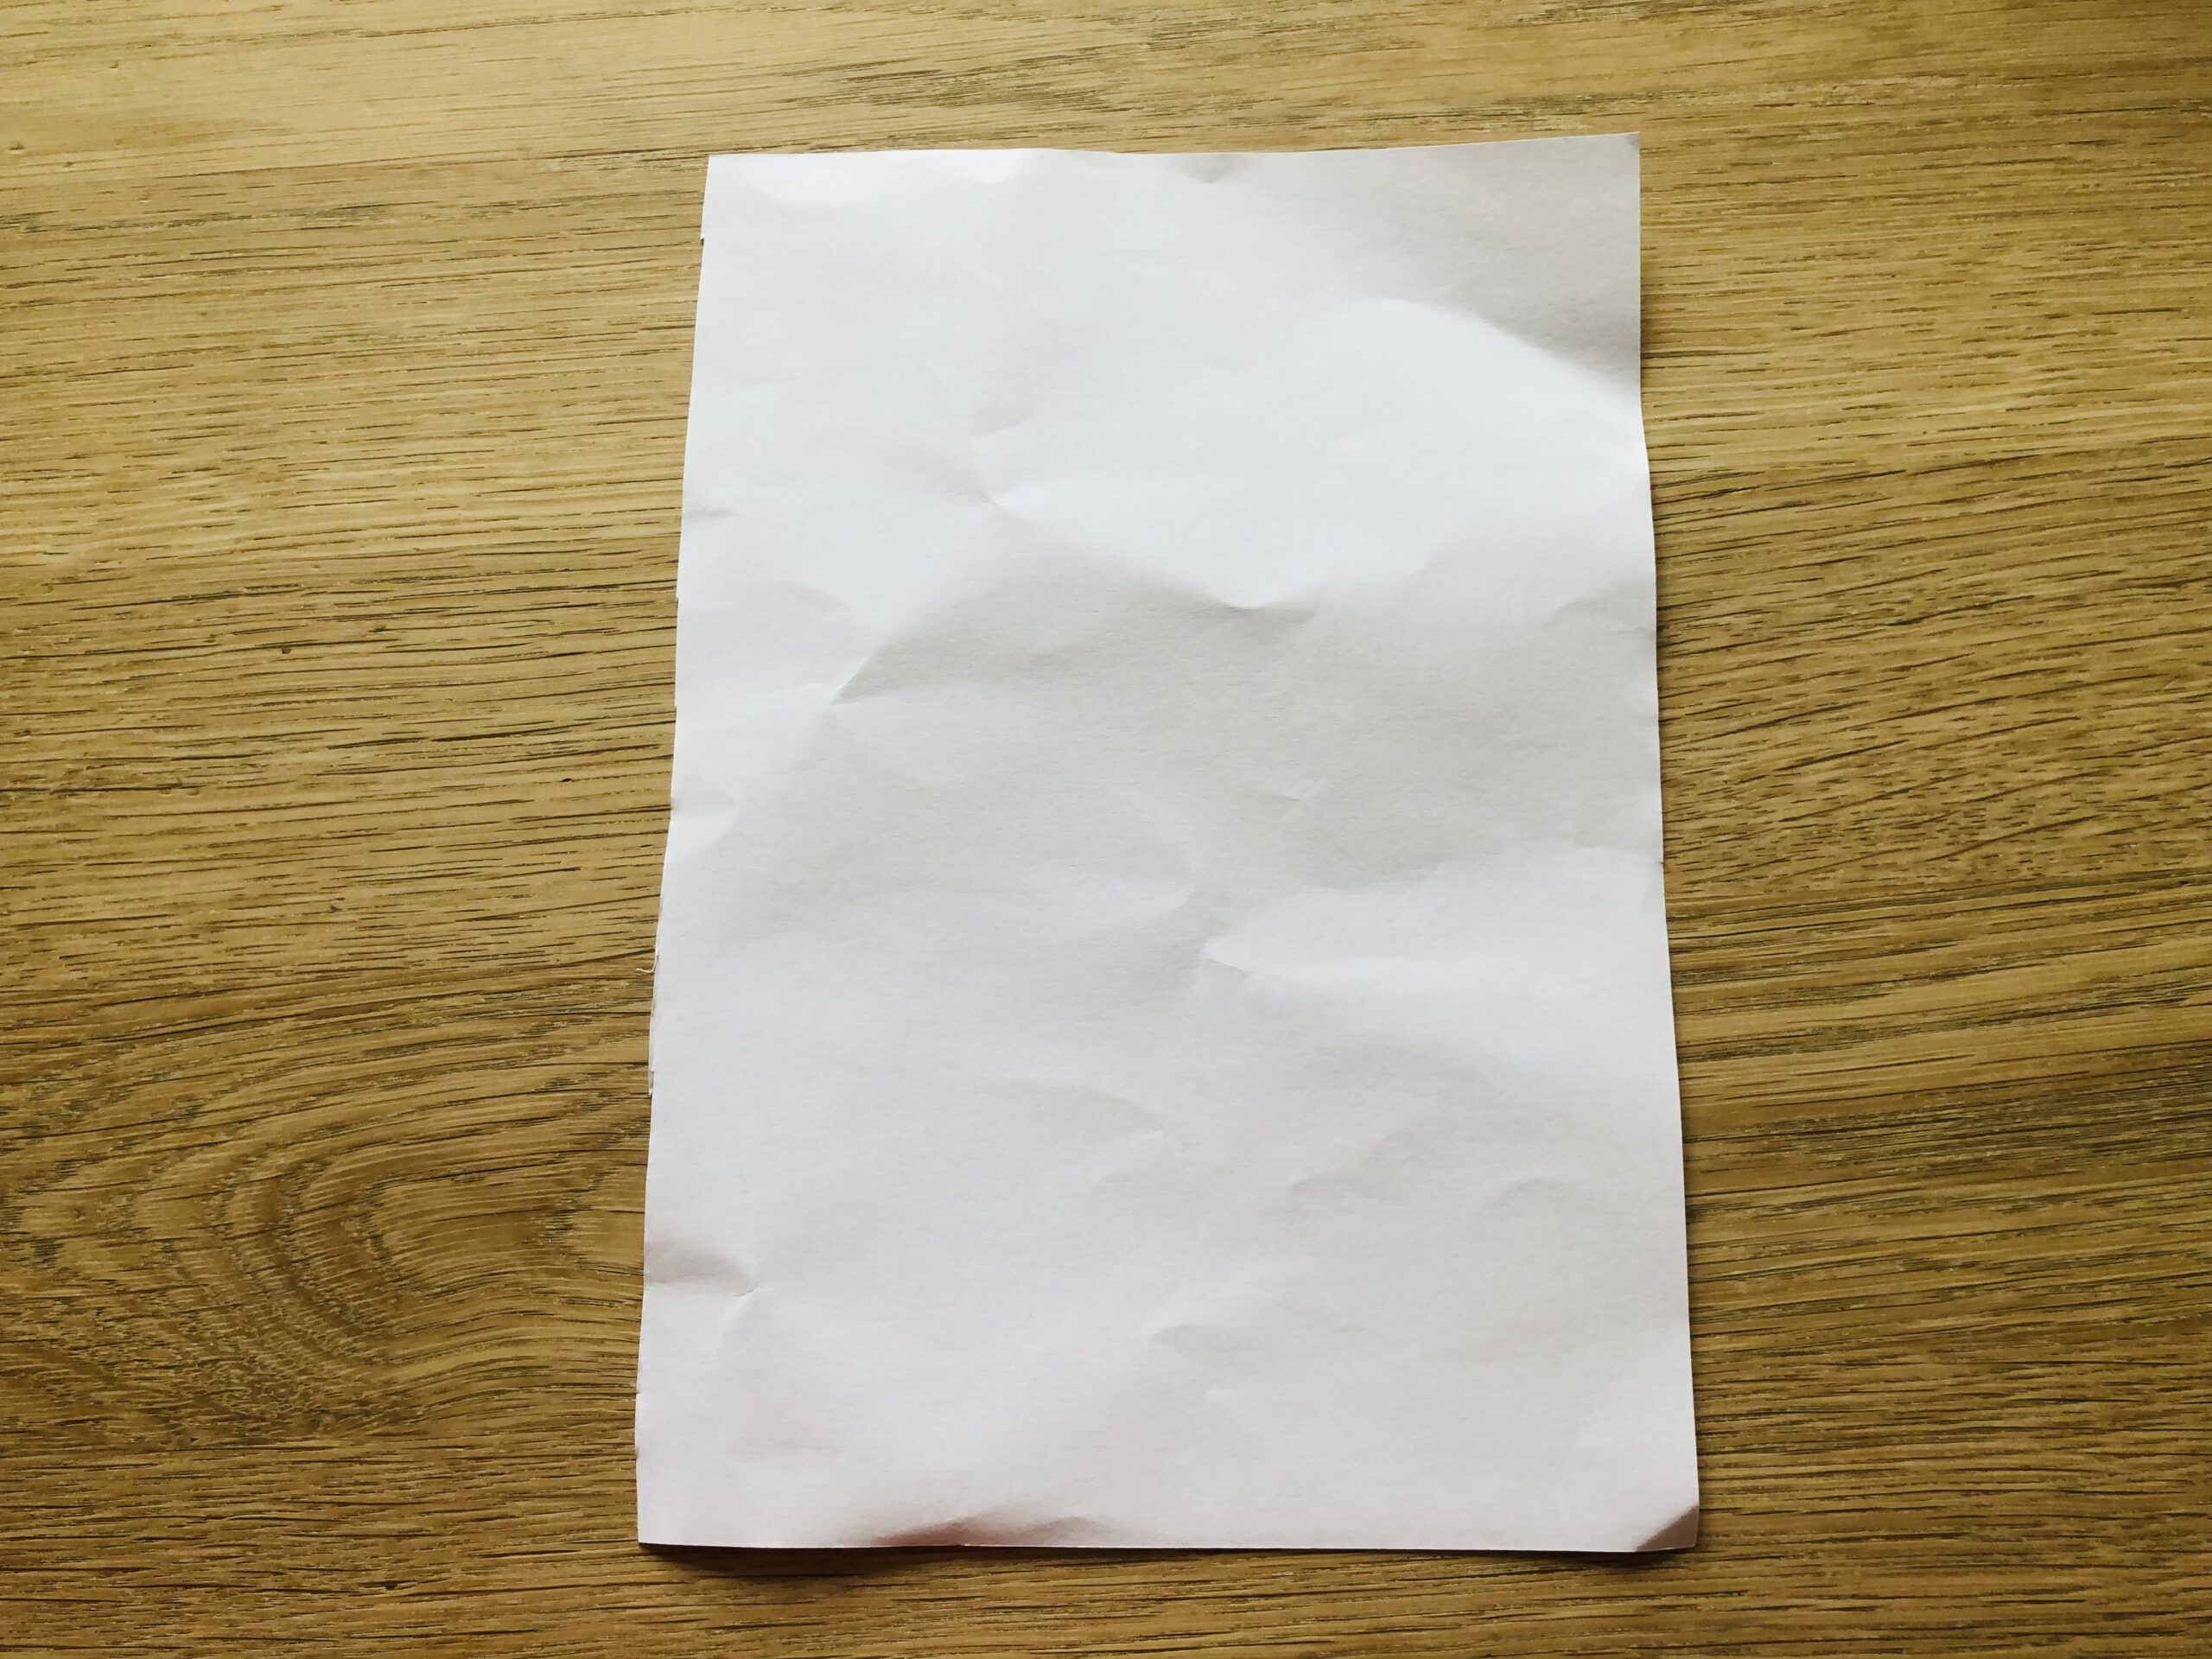
Bild zum Schritt 4 für das Bastel- und DIY-Abenteuer für Kinder: 'Jetzt nehmt ihr ein Papier und legt es der Länge...'

5

Now folds from bottom to top. Thereby a approximately 2cm wide edge stands.
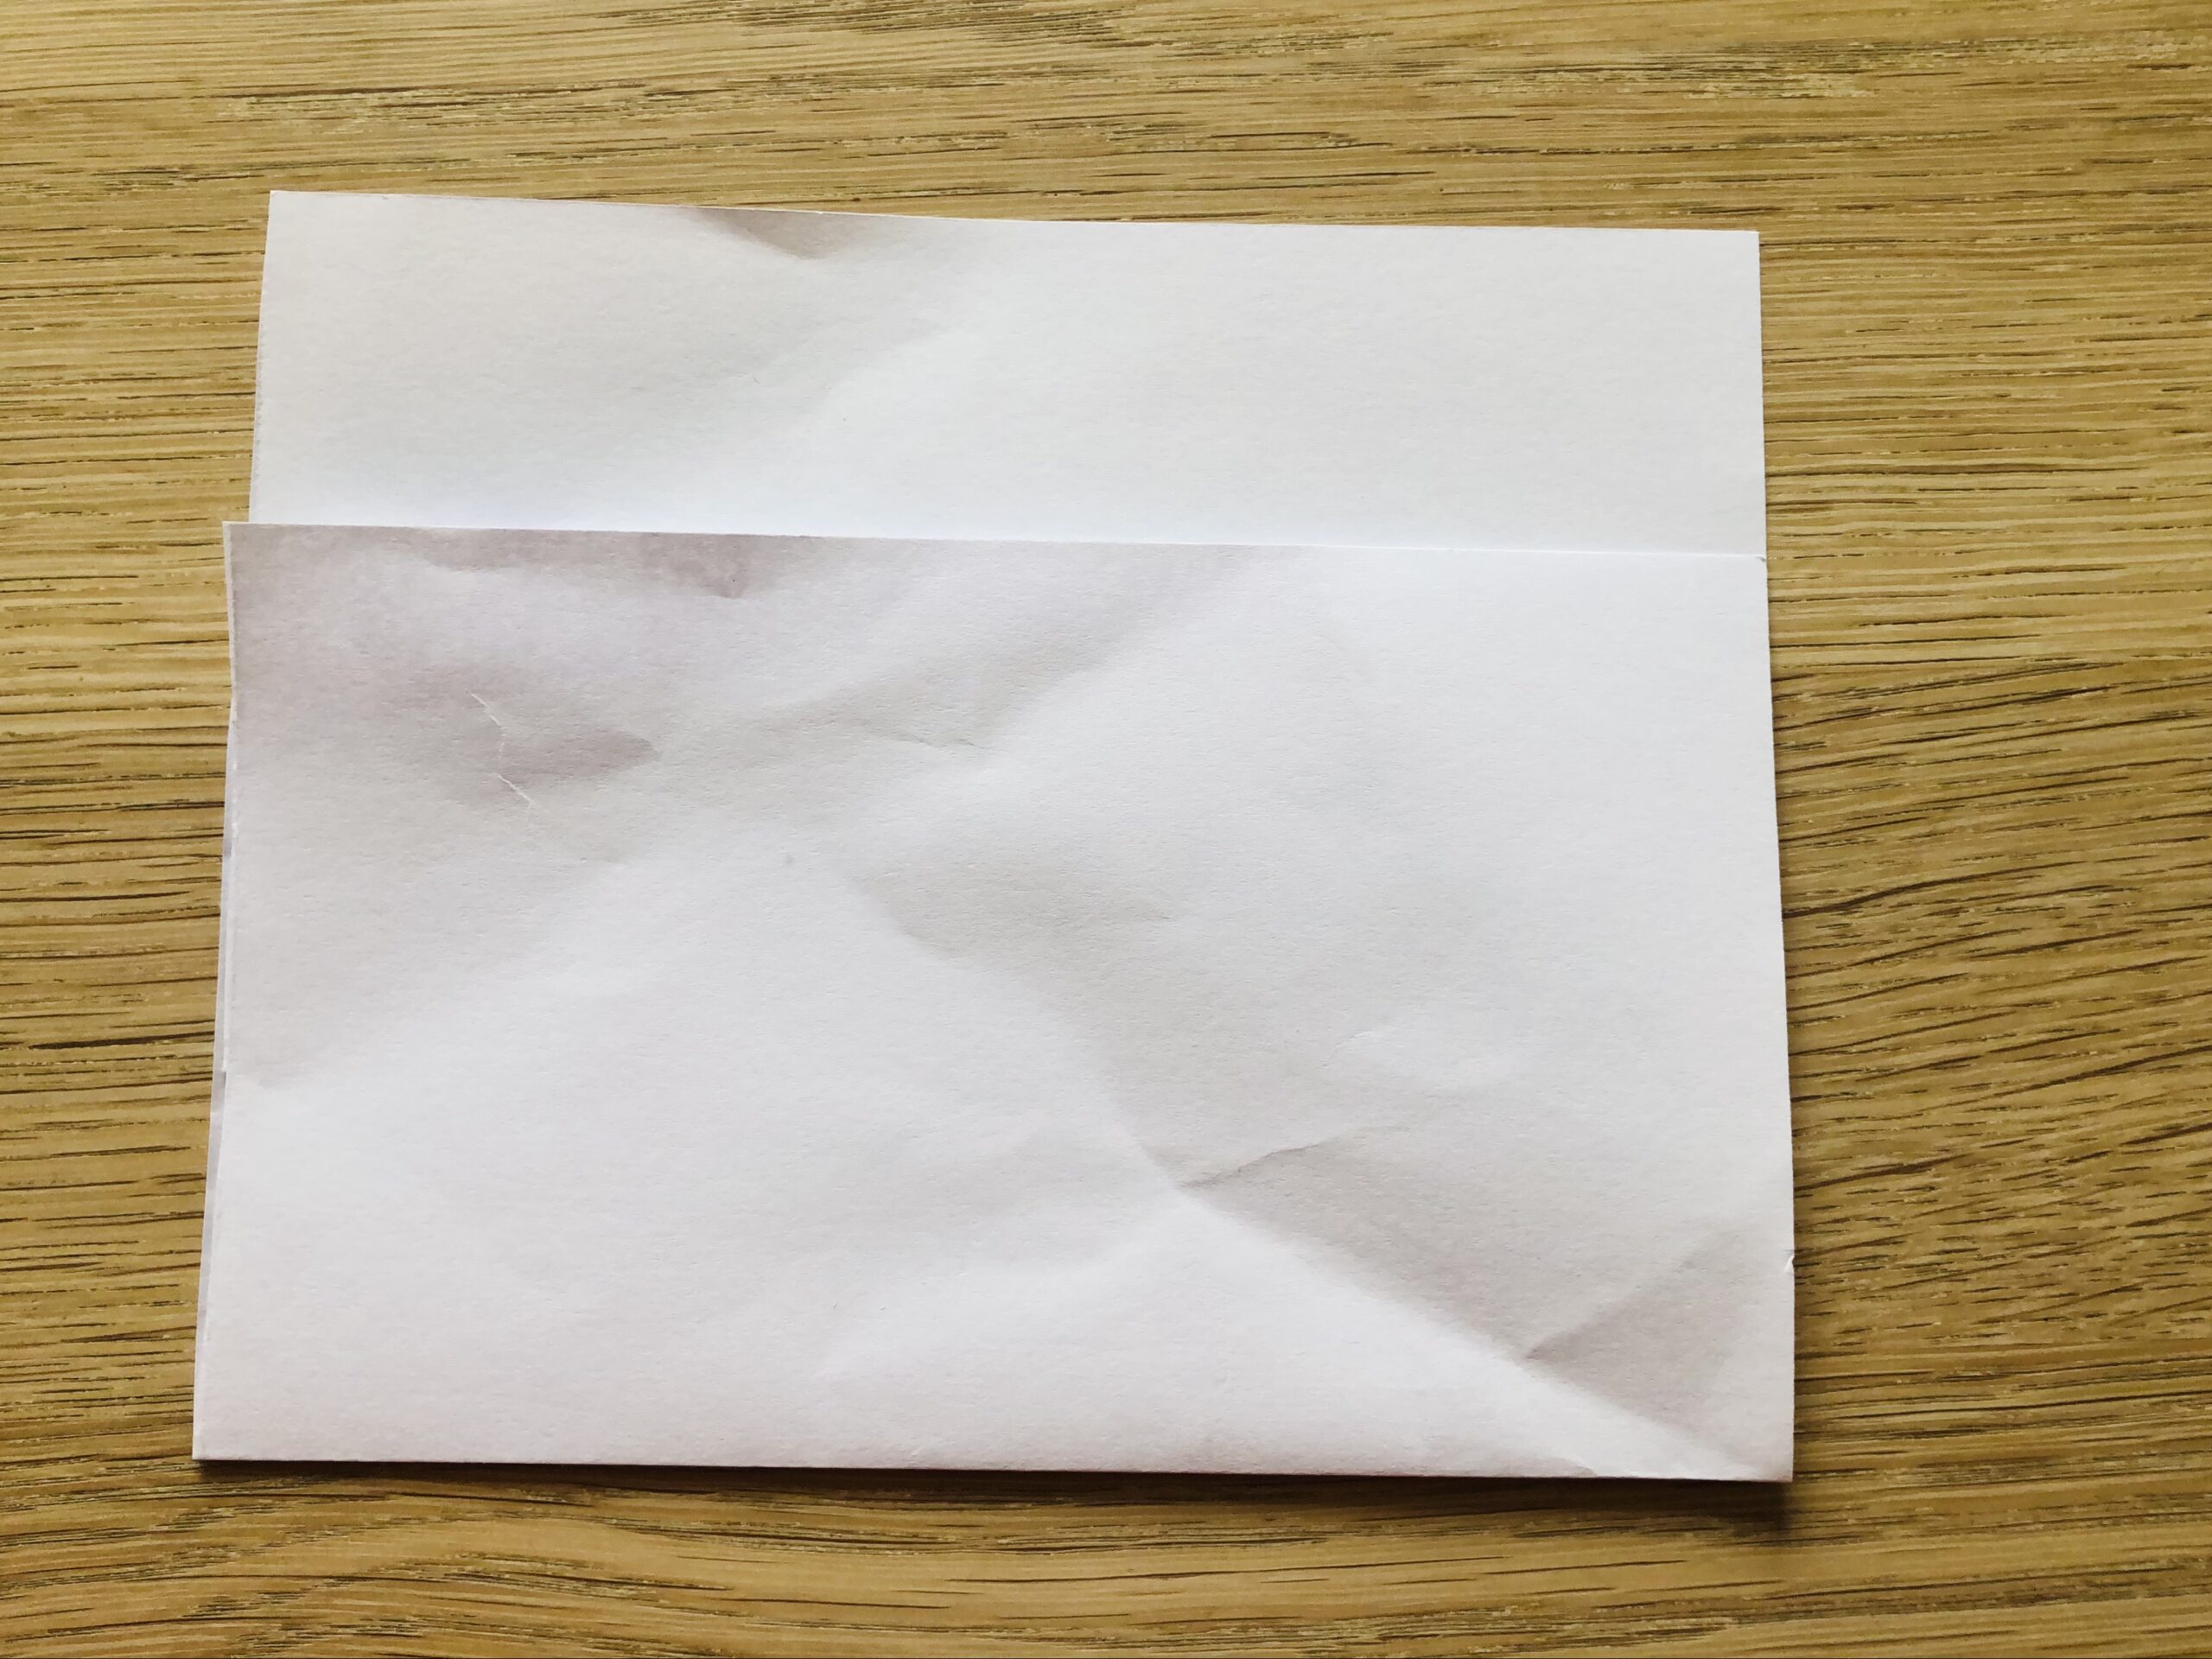
Bild zum Schritt 5 für das Bastel- und DIY-Abenteuer für Kinder: 'Faltet nun von unten nach oben. Dabei bleibt ein circa...'

6

Starting, you turn the paper around and fold the overhanging edge over the fold.
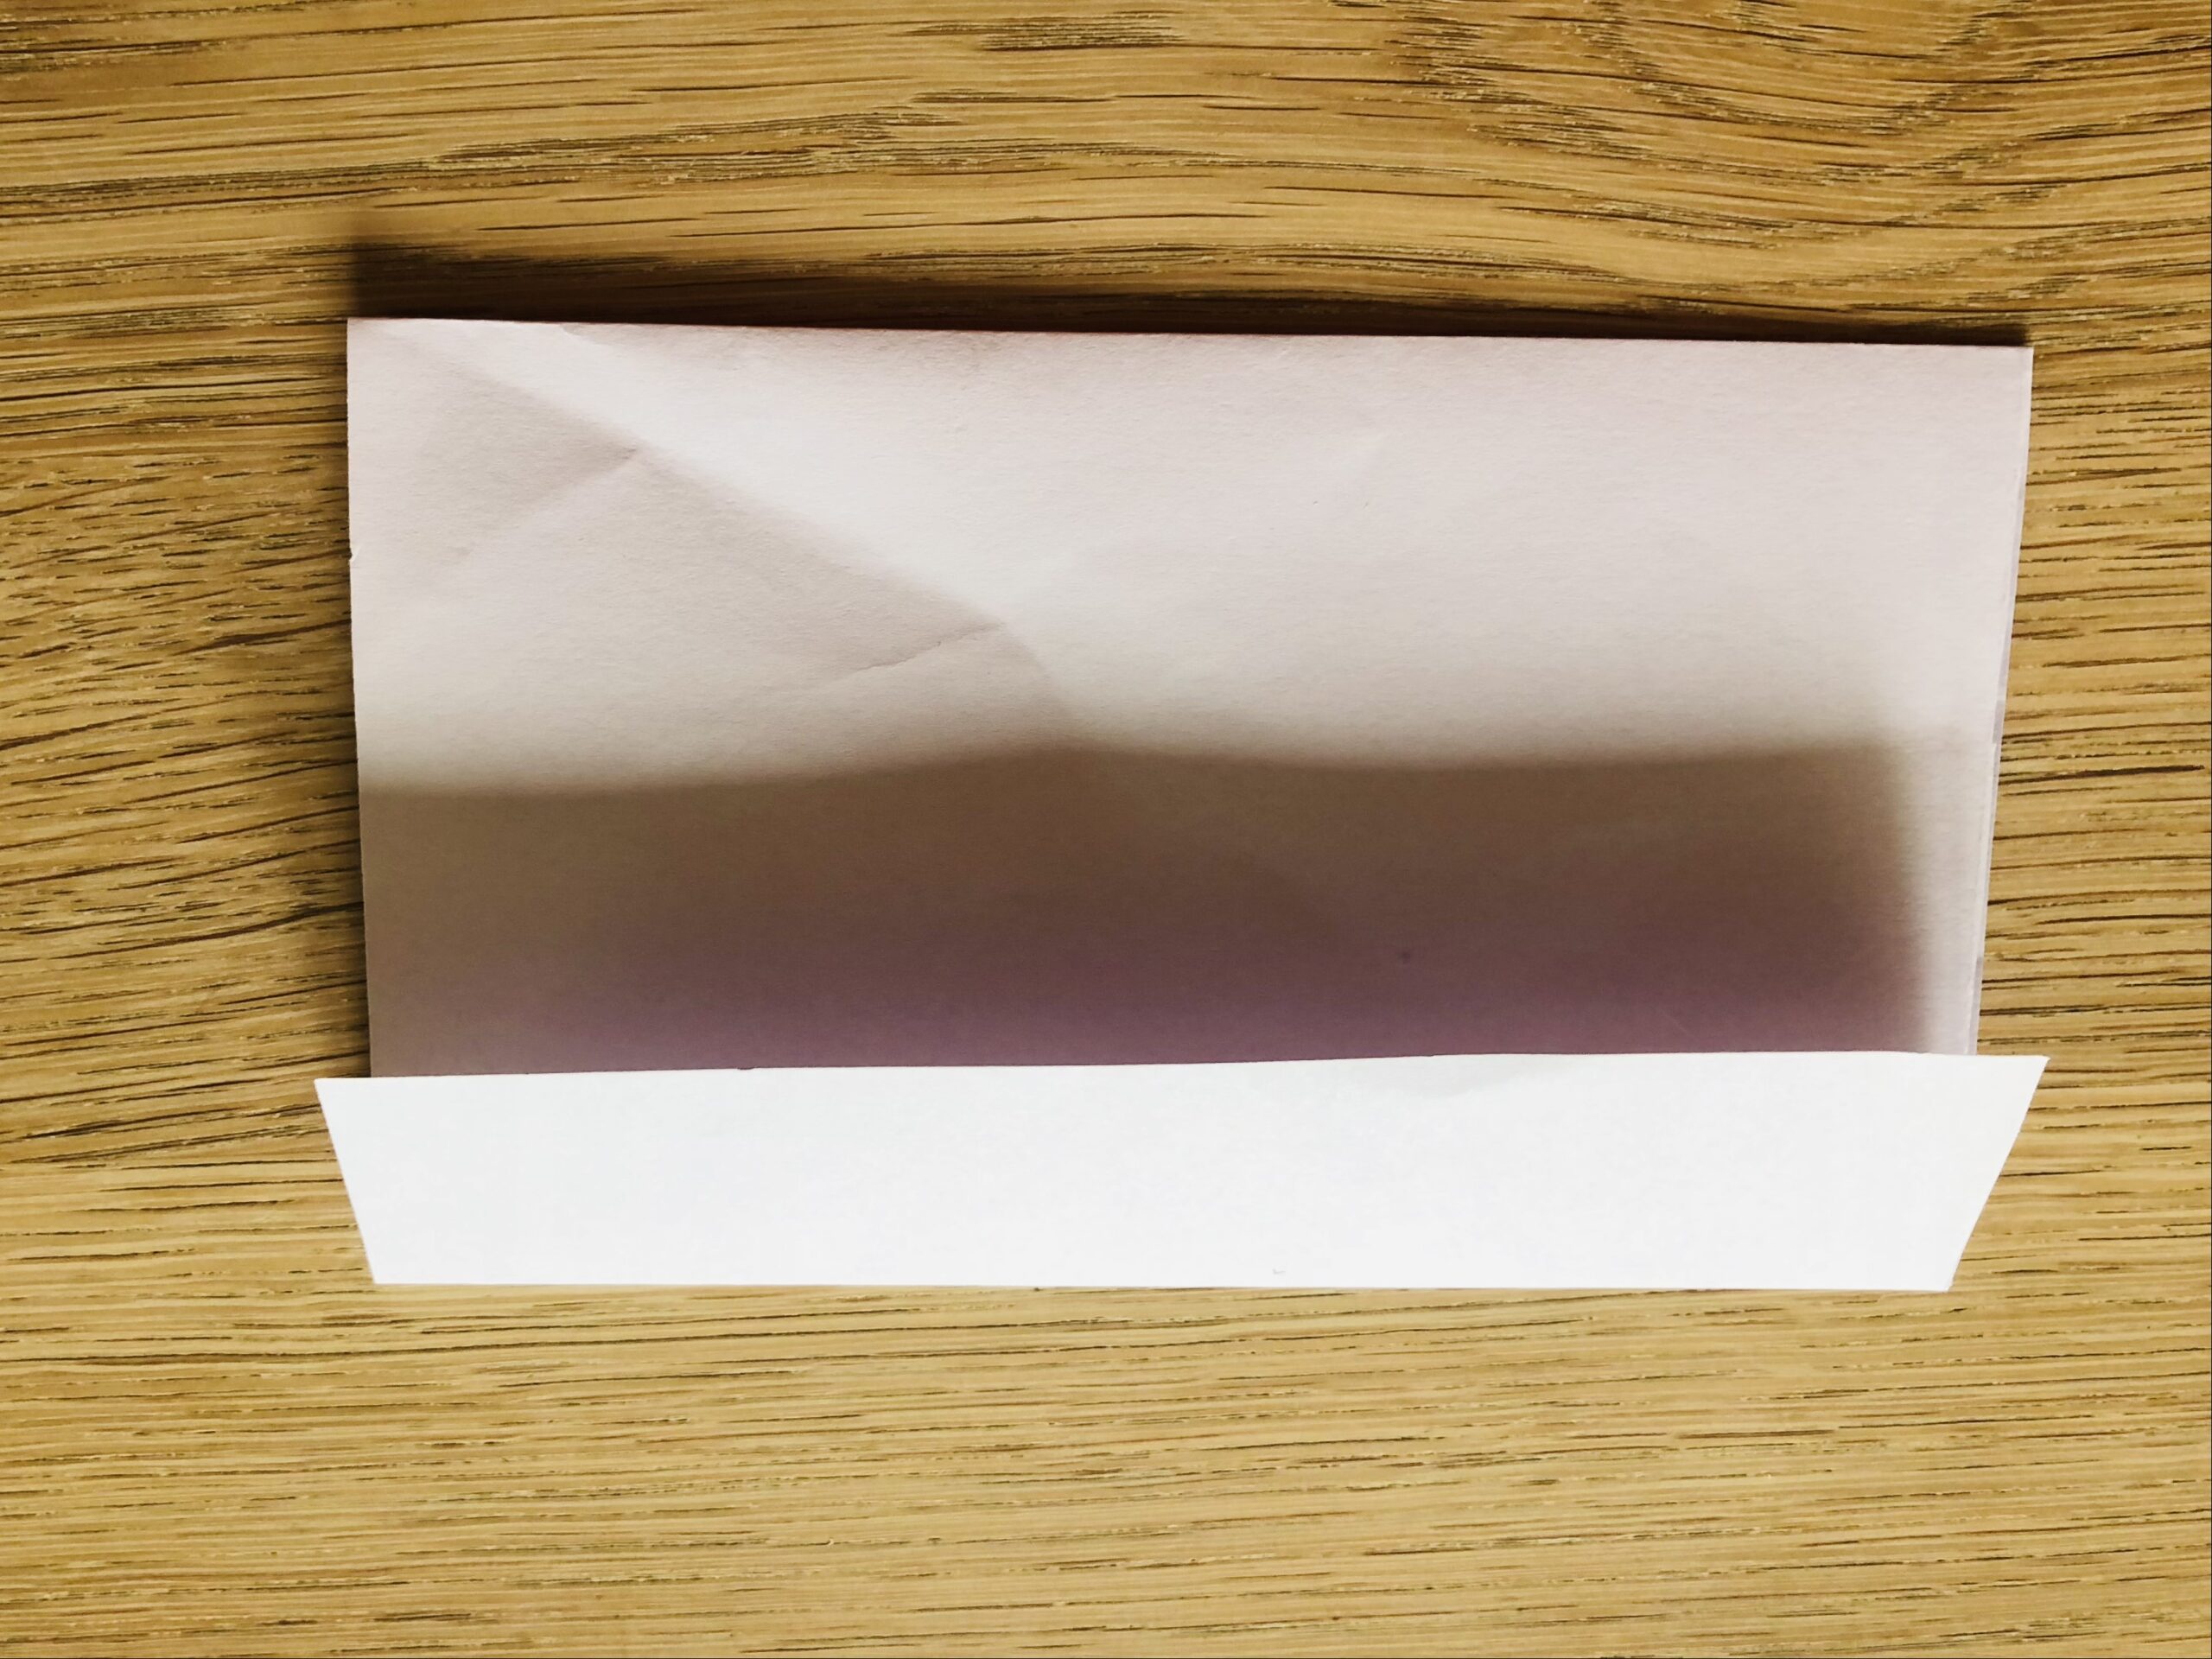
Bild zum Schritt 6 für das Bastel- und DIY-Abenteuer für Kinder: 'Anschießend dreht ihr das Papier um und faltet ihr den...'

7

After that, you stick the narrow side on the paper.
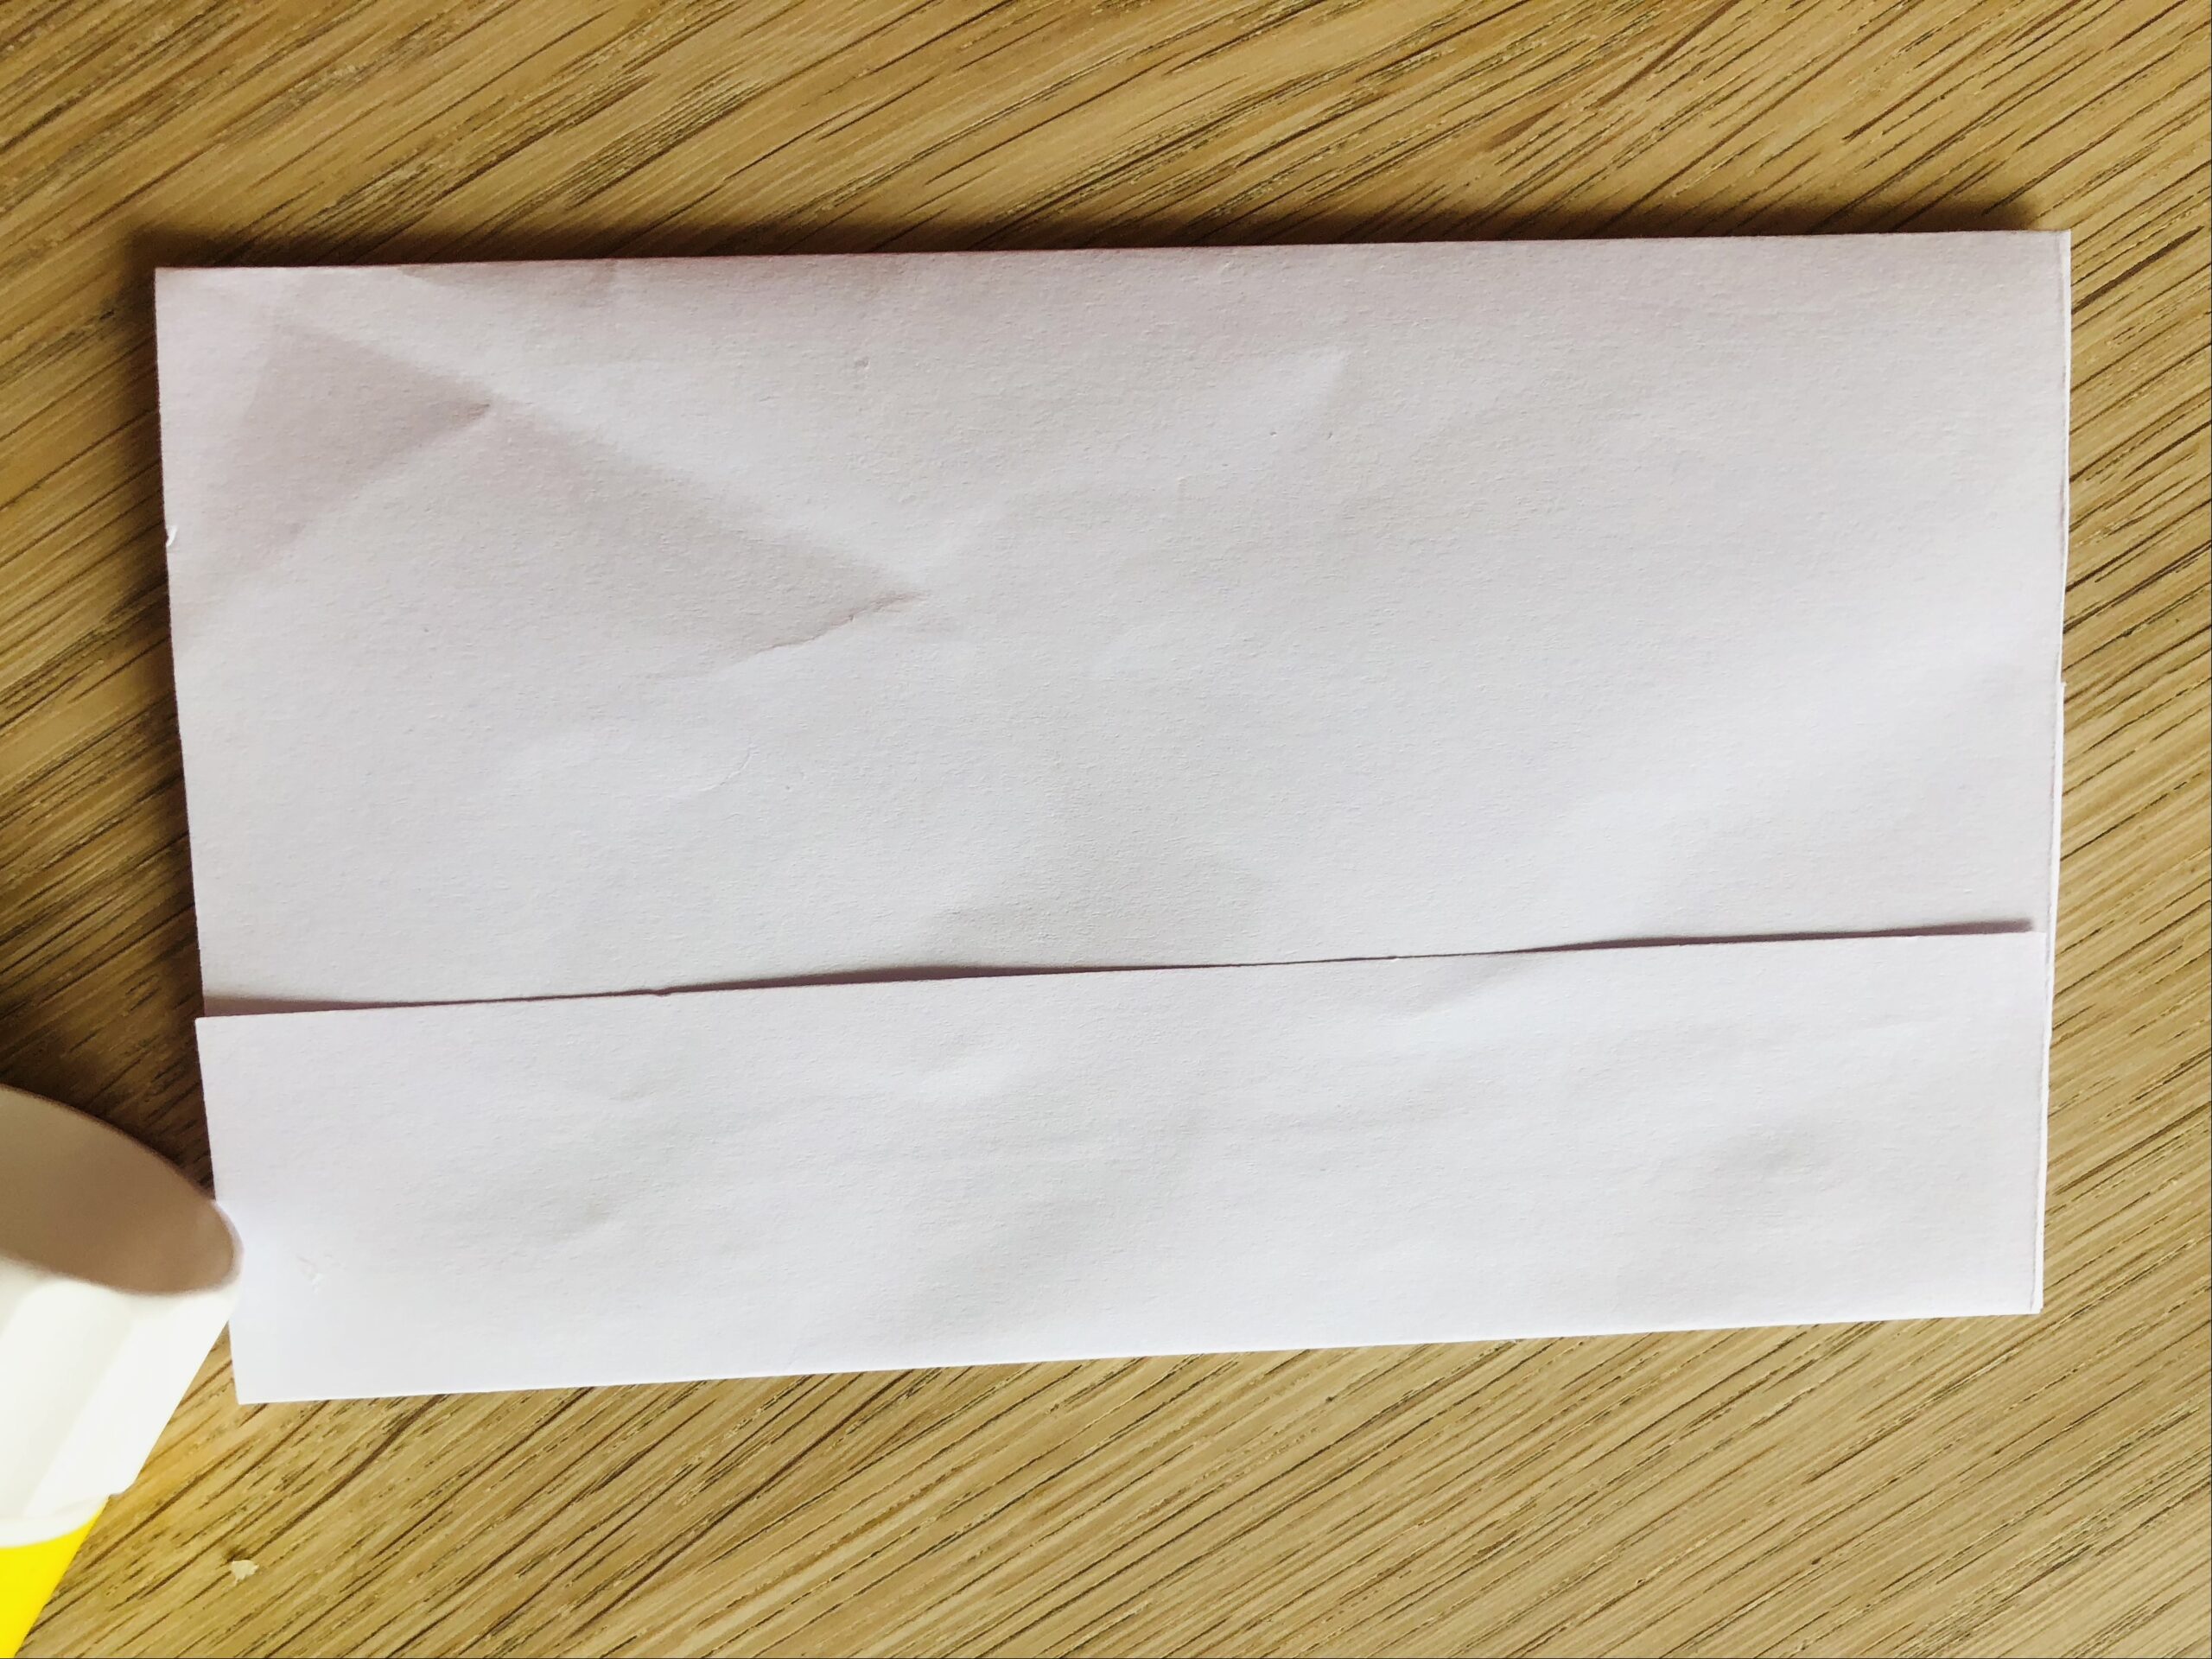
Bild zum Schritt 7 für das Bastel- und DIY-Abenteuer für Kinder: 'Danach klebt ihr die schmale Seite auf das Papier.'

8

Now you turn the paper in such a way that it is back to the length in front of you. Then you fold a small edge (approx. 2 cm) upwards from the bottom to the top.
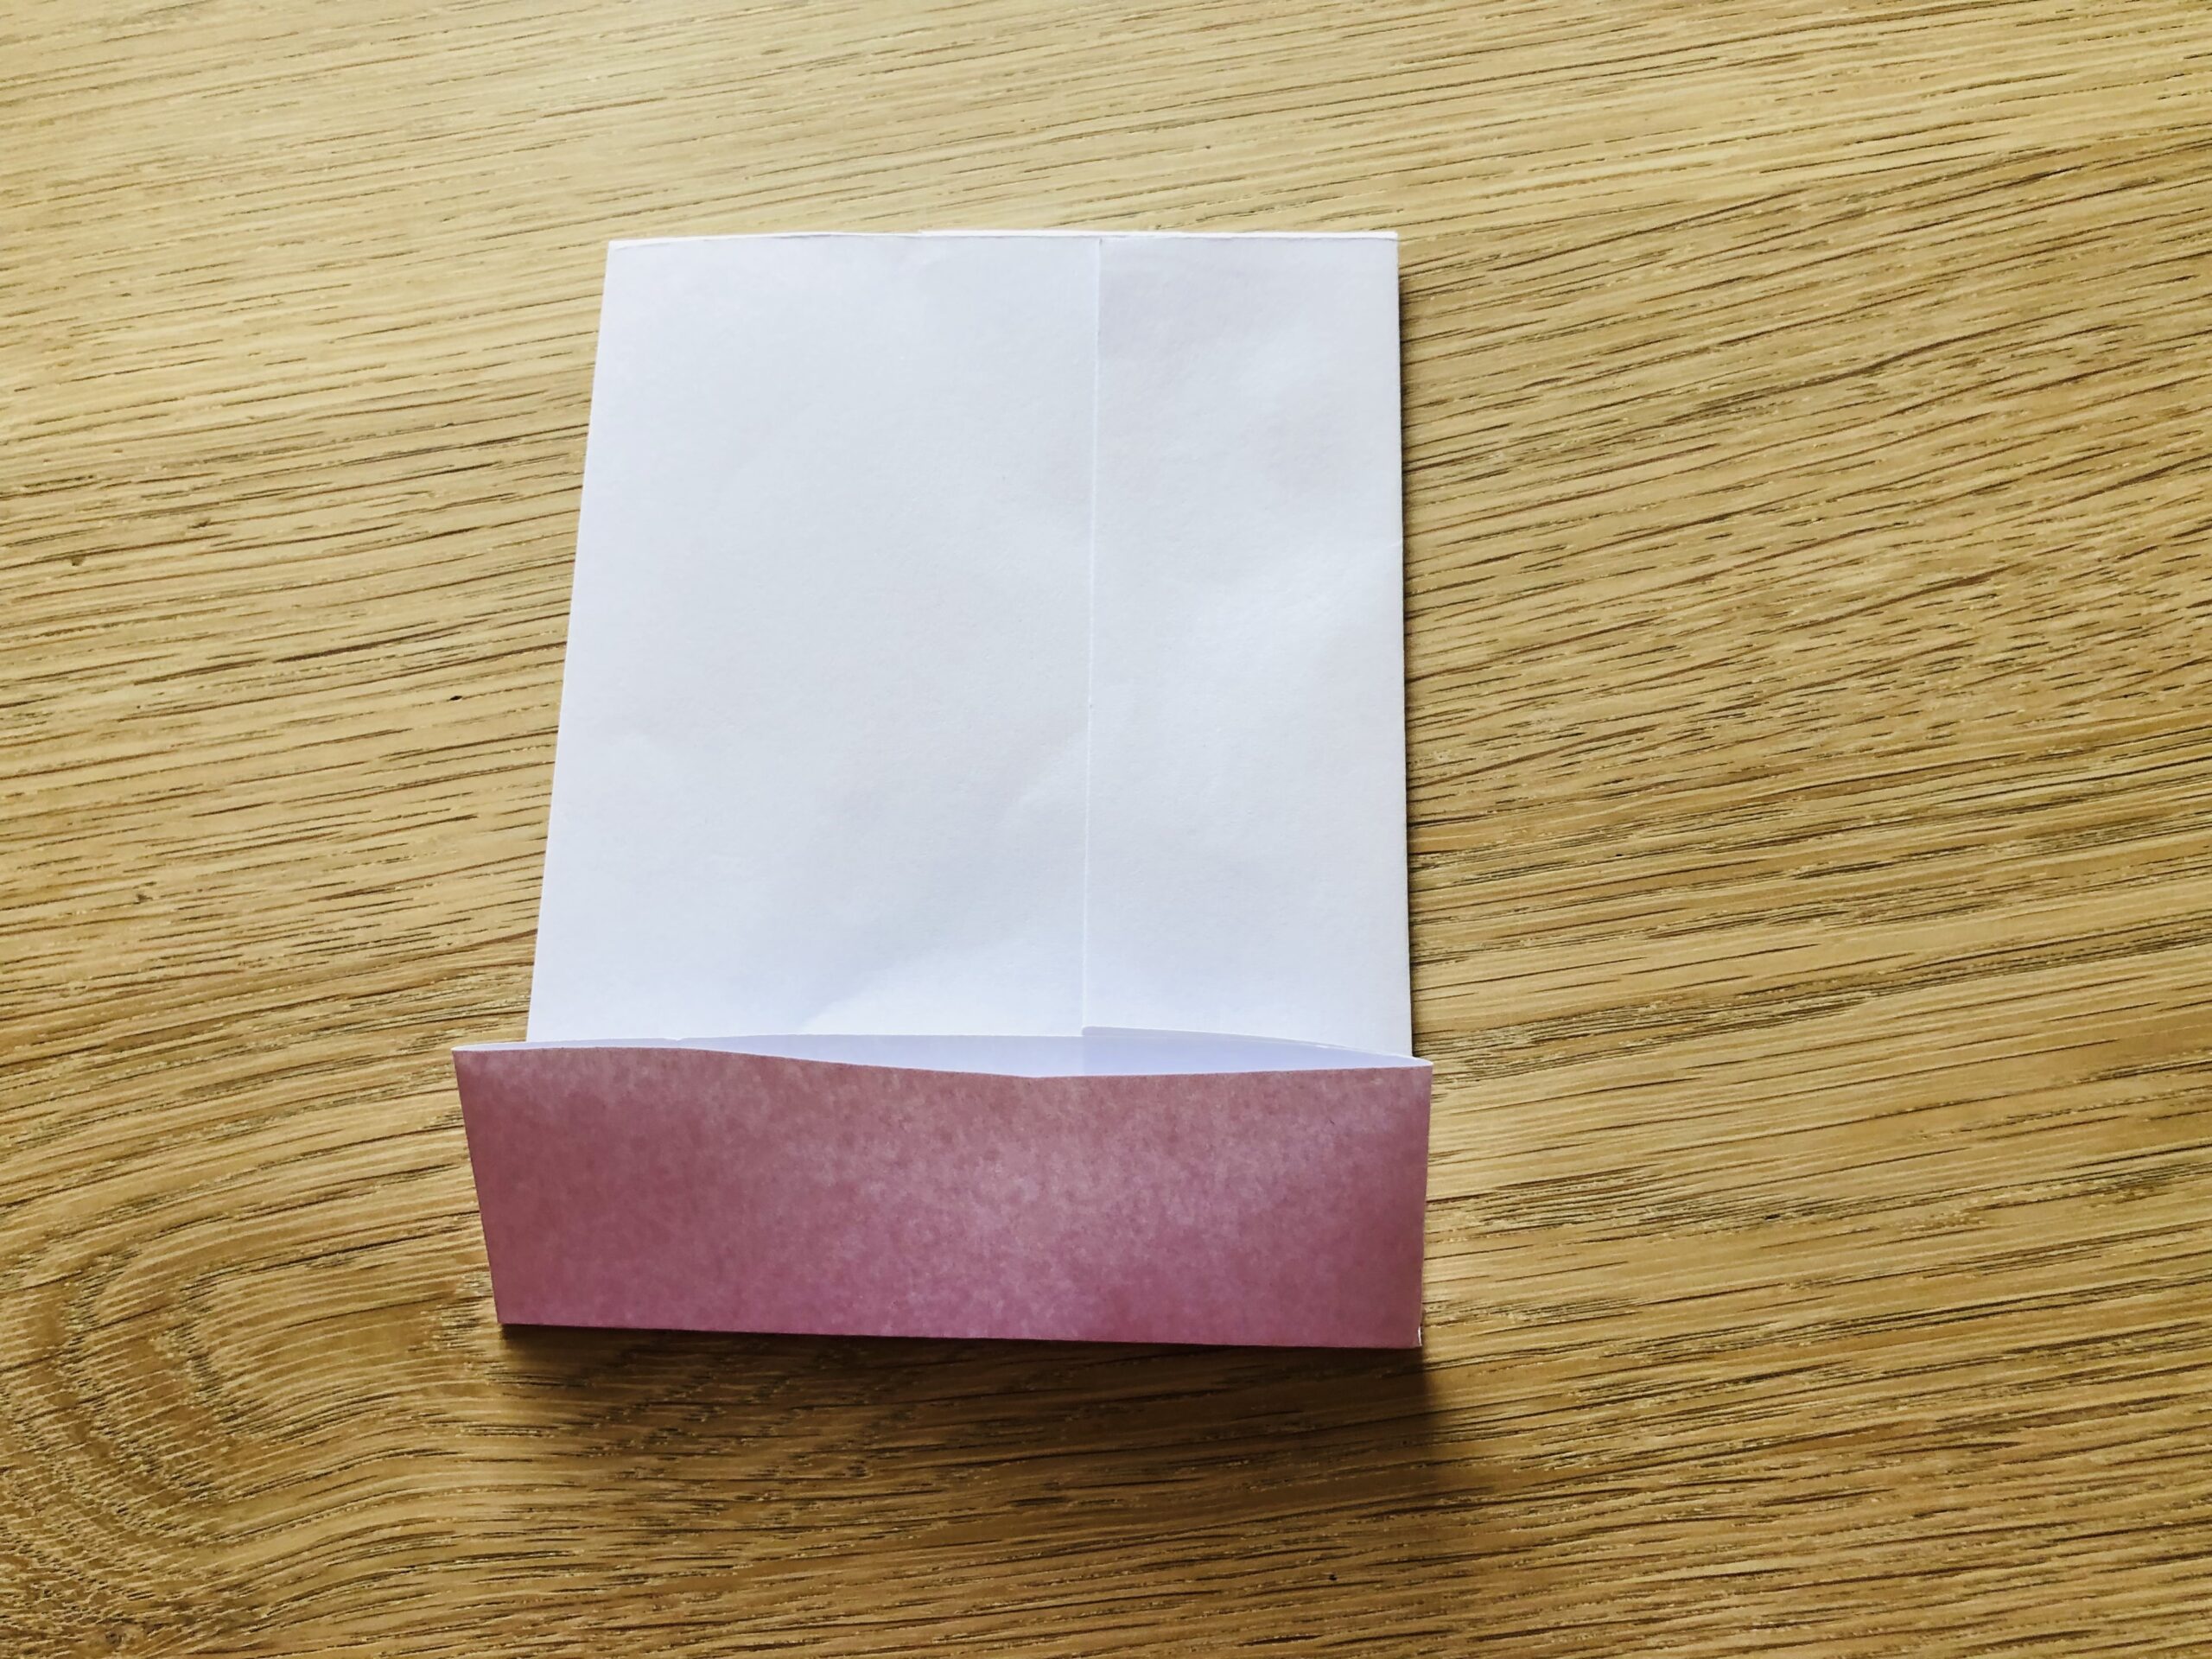
Bild zum Schritt 8 für das Bastel- und DIY-Abenteuer für Kinder: 'Jetzt dreht ihr das Papier so, dass es wieder der...'

9

Then you pinch the left and right corners until the fold. Then you fold out the corners again.
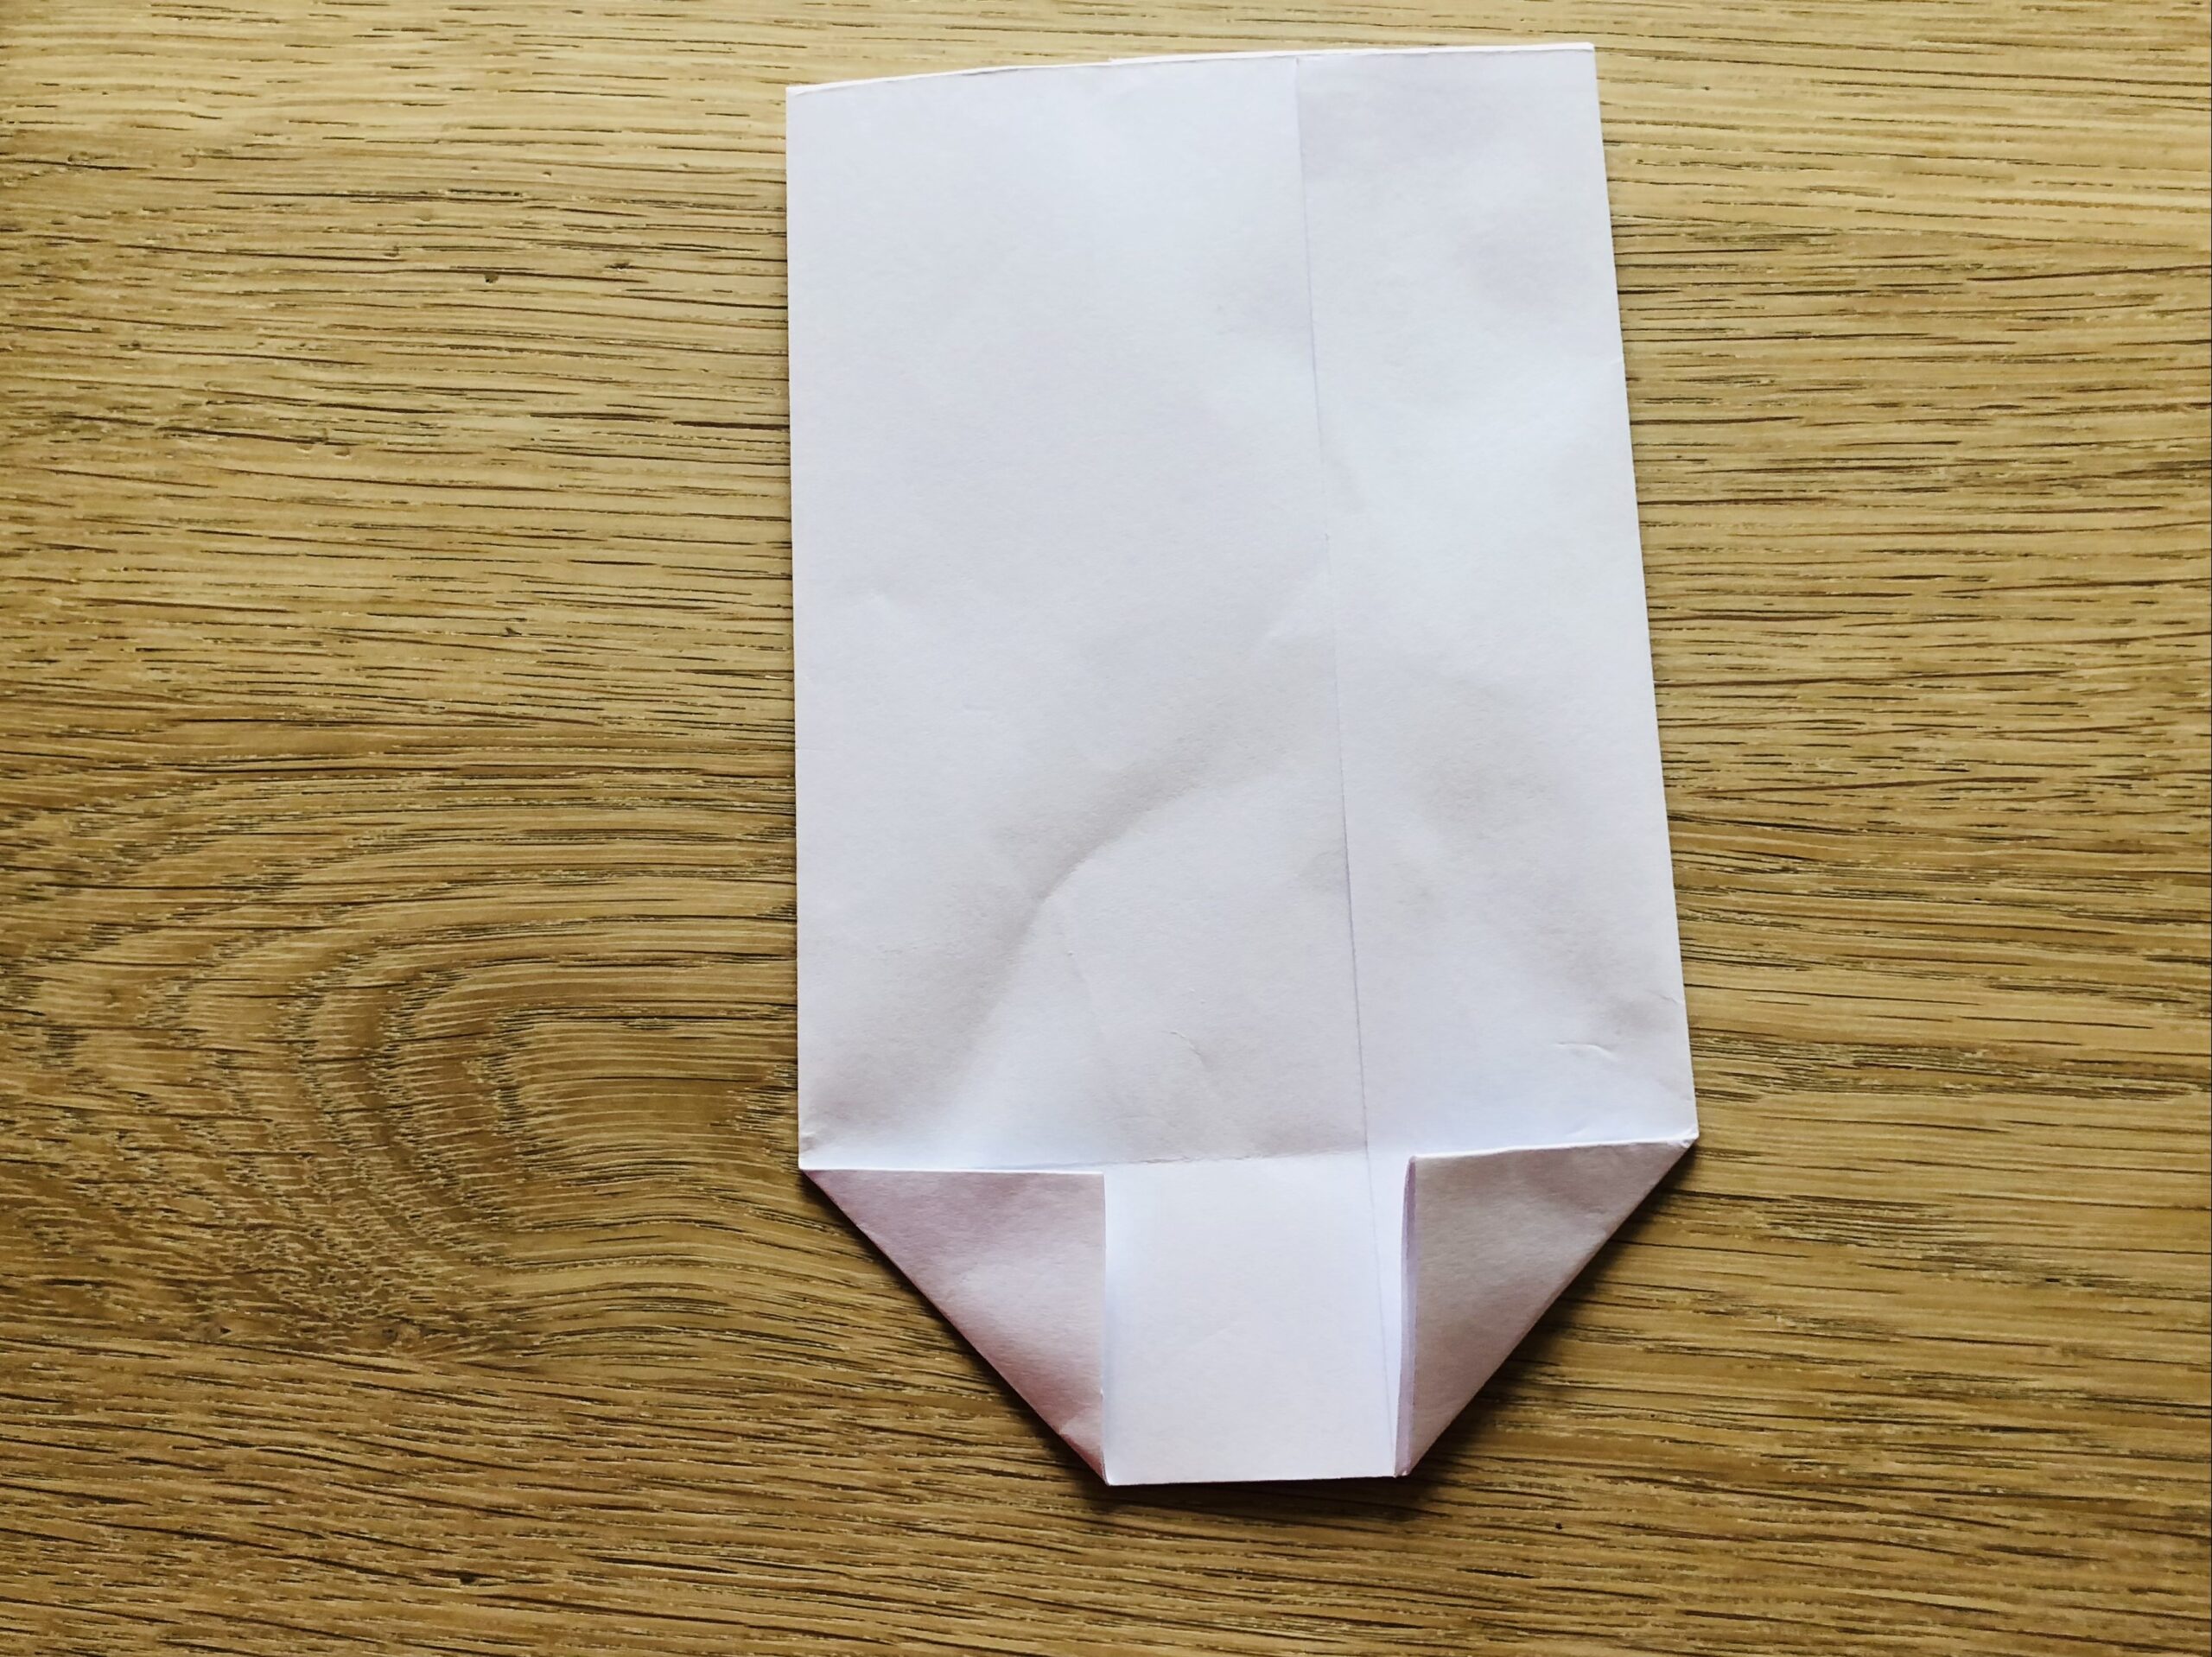
Bild zum Schritt 9 für das Bastel- und DIY-Abenteuer für Kinder: 'Anschließend knickt ihr die linke und rechte Ecke bis zur...'

10

Now turn the bag around once. Then fold the right and left corner on the back until the fold.
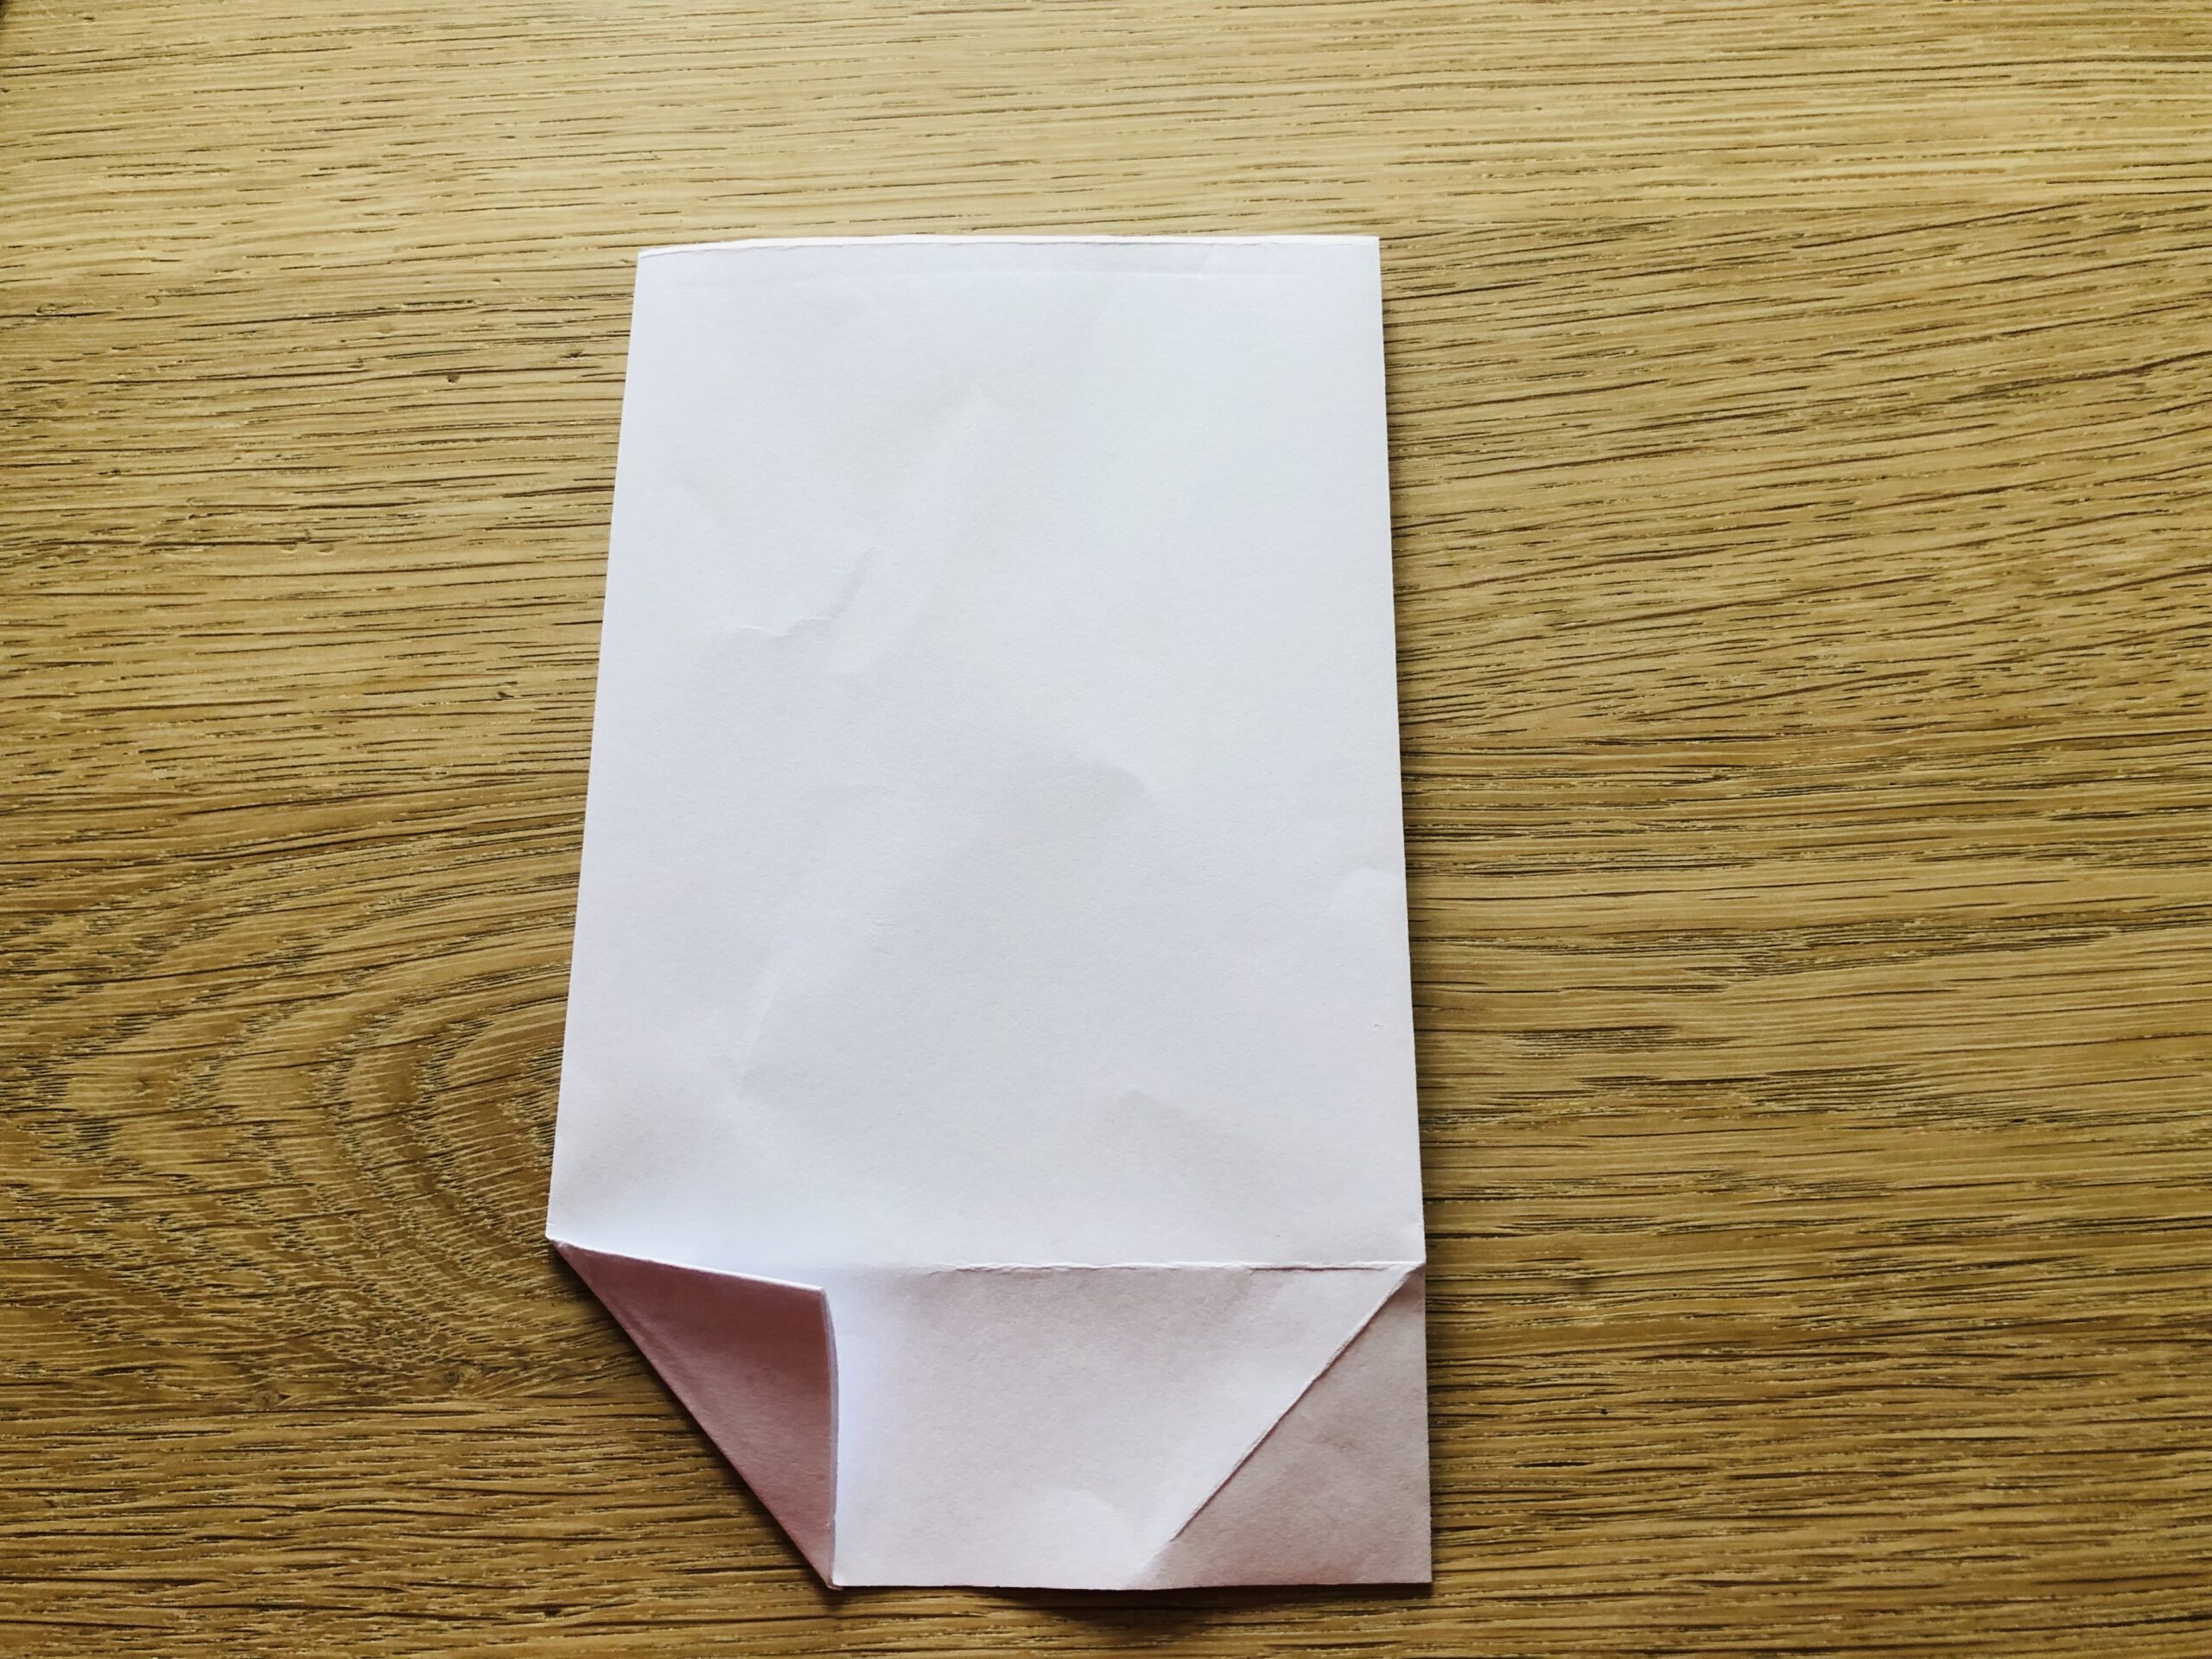
Bild zum Schritt 10 für das Bastel- und DIY-Abenteuer für Kinder: 'Dreht nun die Tüte einmal um. Anschließend faltet ihr auch...'

11

Now you open the folded corners again.
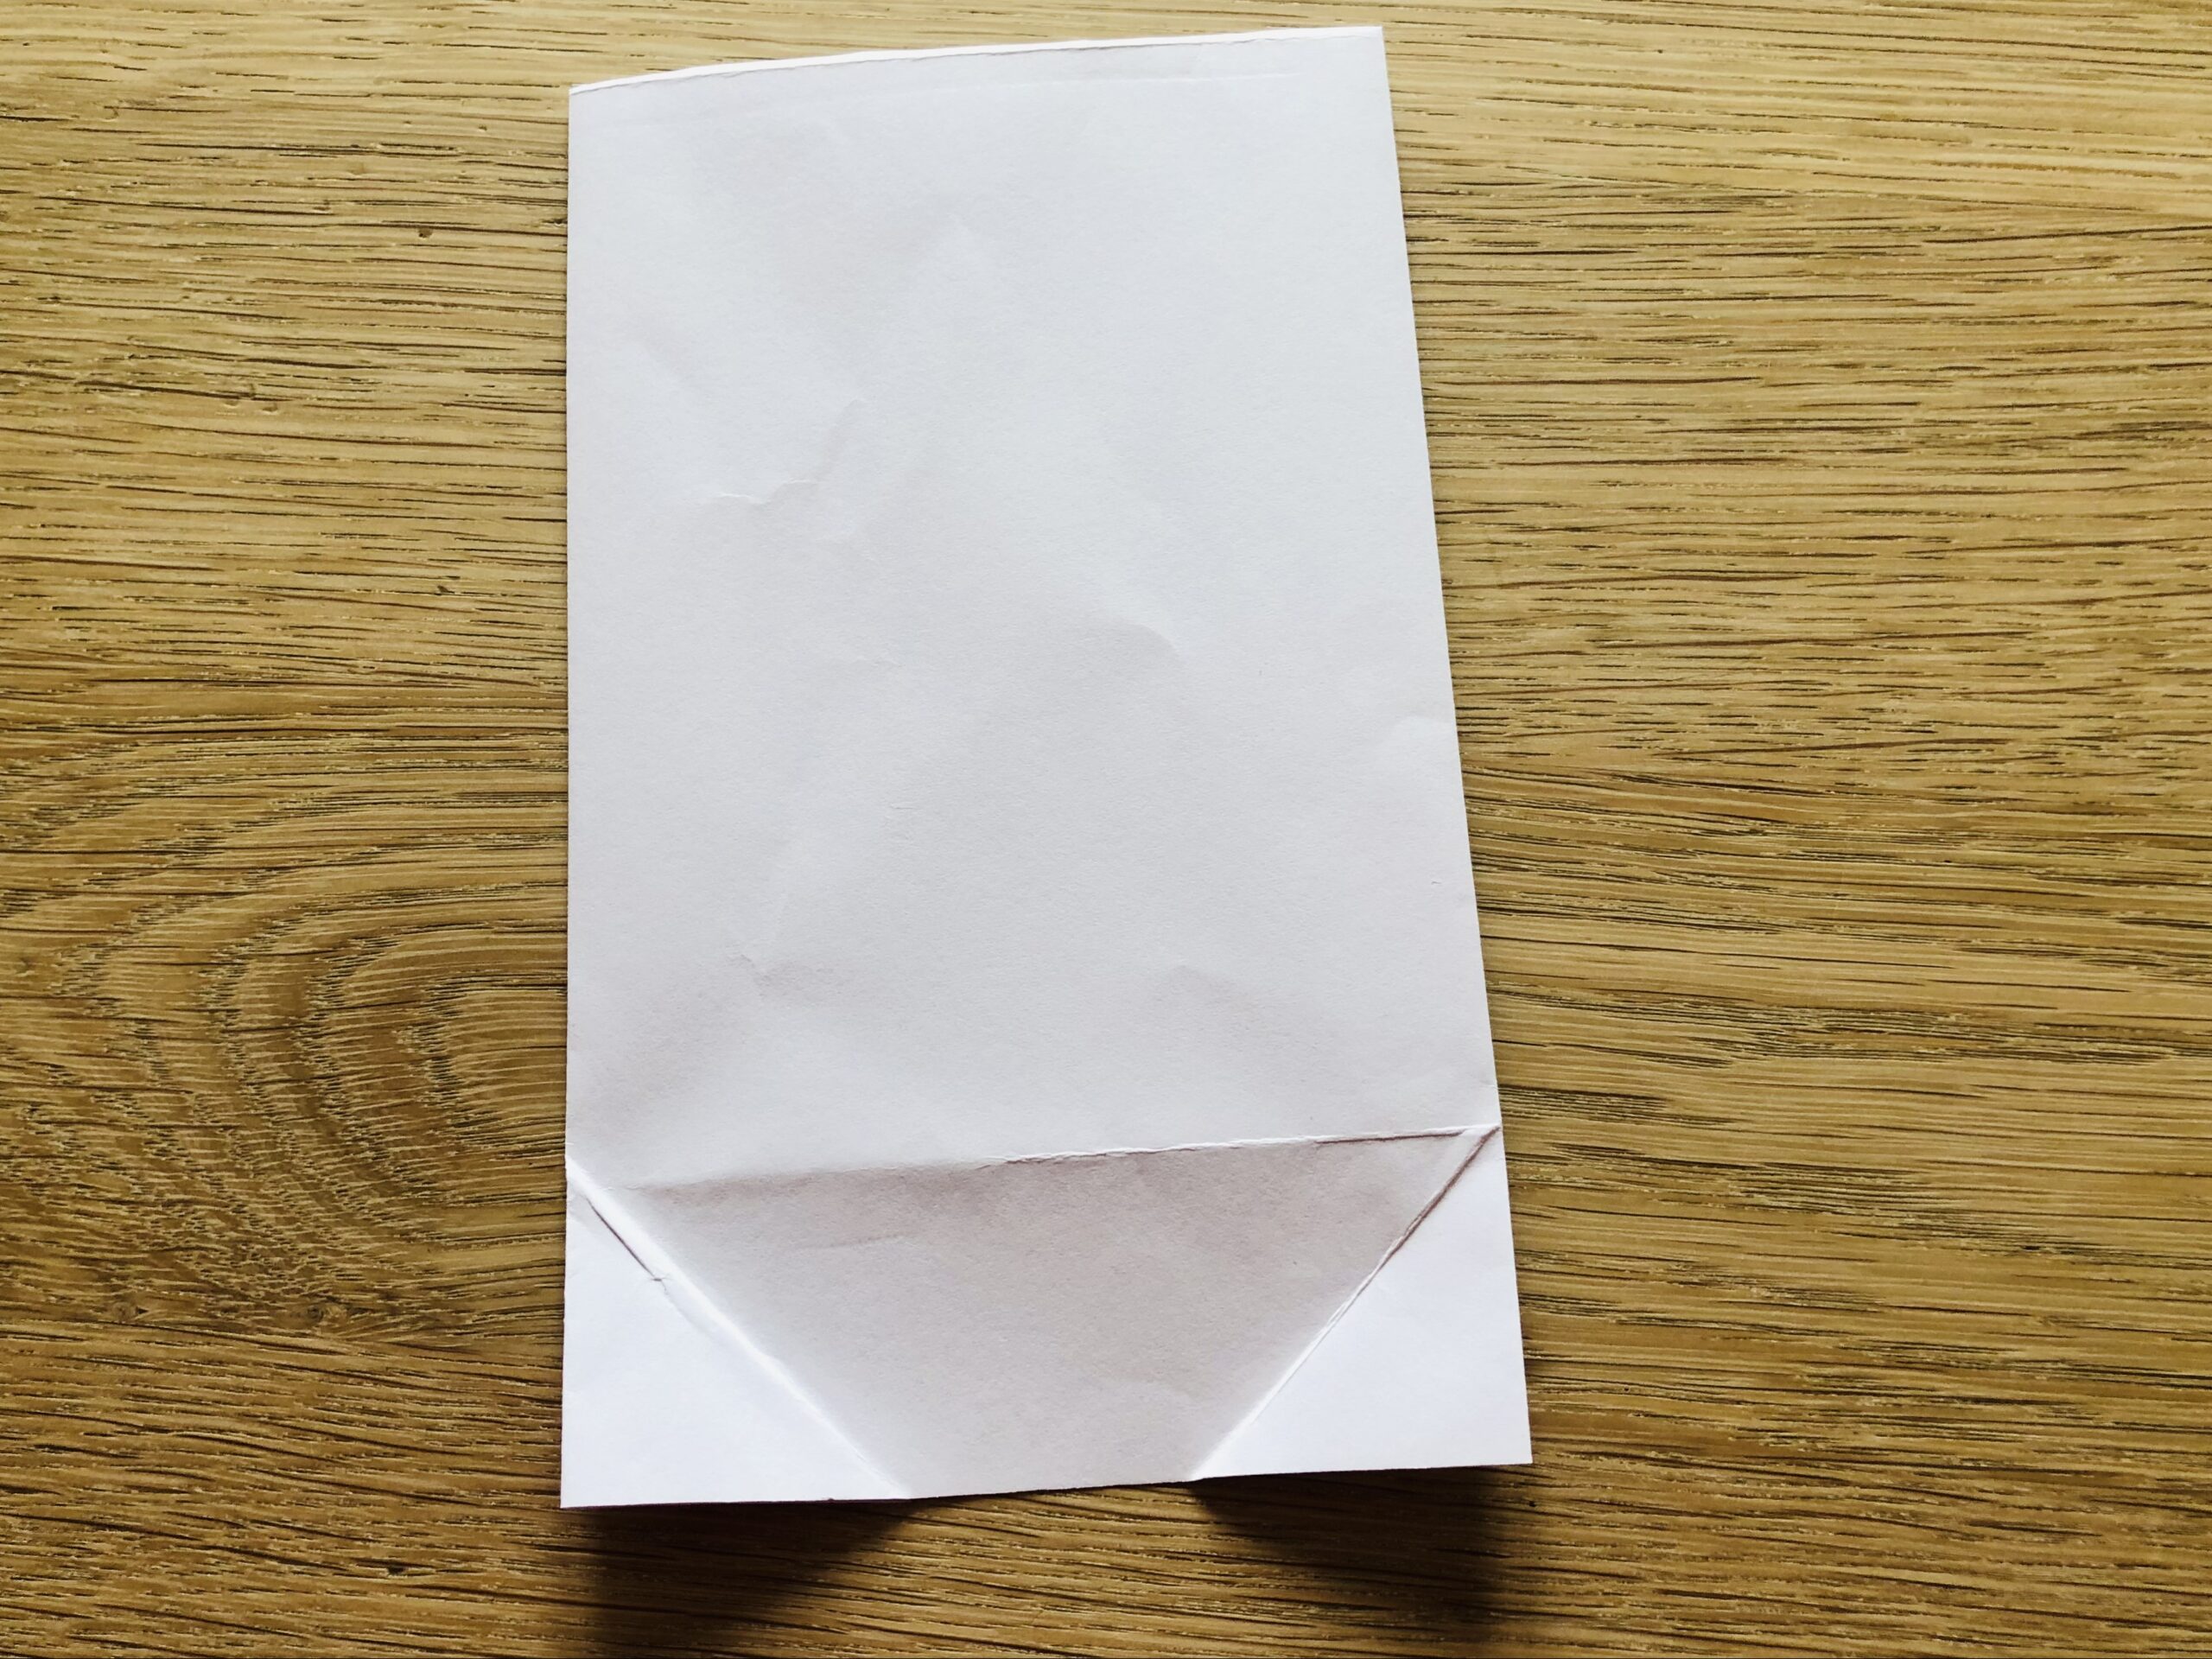
Bild zum Schritt 11 für das Bastel- und DIY-Abenteuer für Kinder: 'Jetzt öffnet ihr die eingefalteten Ecken wieder.'

12

Then go with your fingers into the middle and strip the fold apart. This is how the bottom of the bag is created.
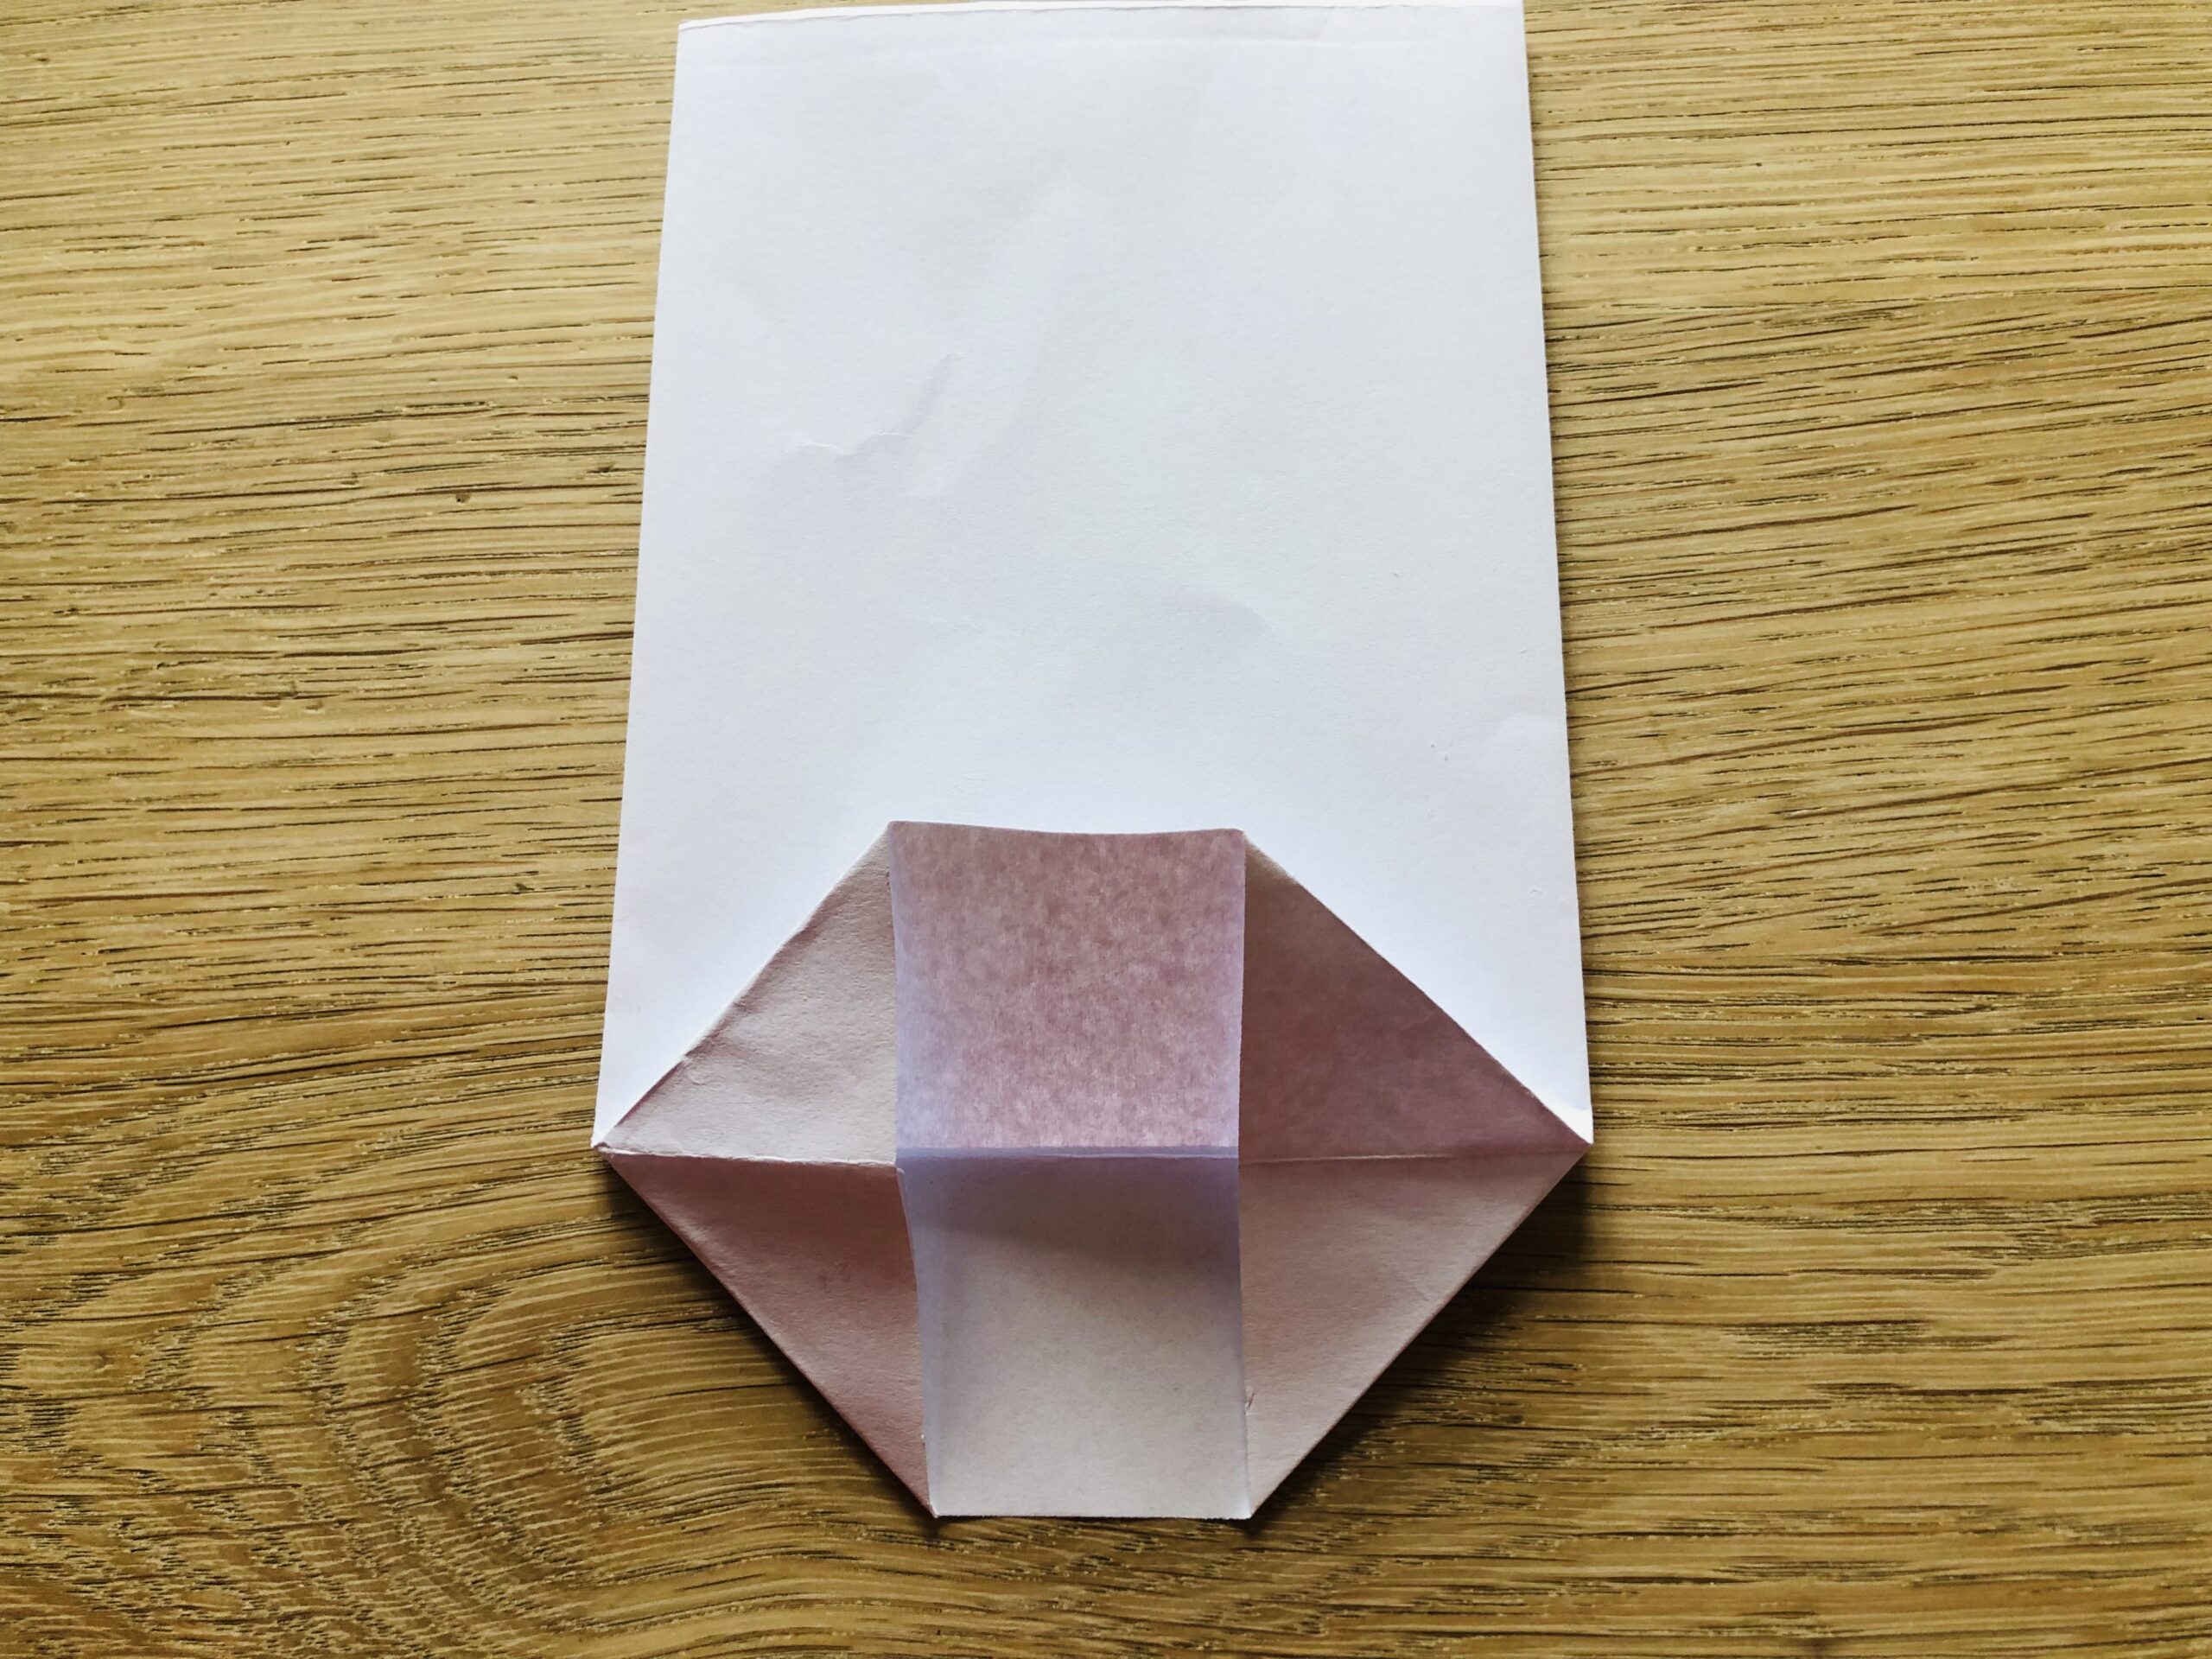
Bild zum Schritt 12 für das Bastel- und DIY-Abenteuer für Kinder: 'Dann fahrt ihr mit den Fingern in die Mitte und...'

13

Folds from bottom to top the lower side slightly over the middle.
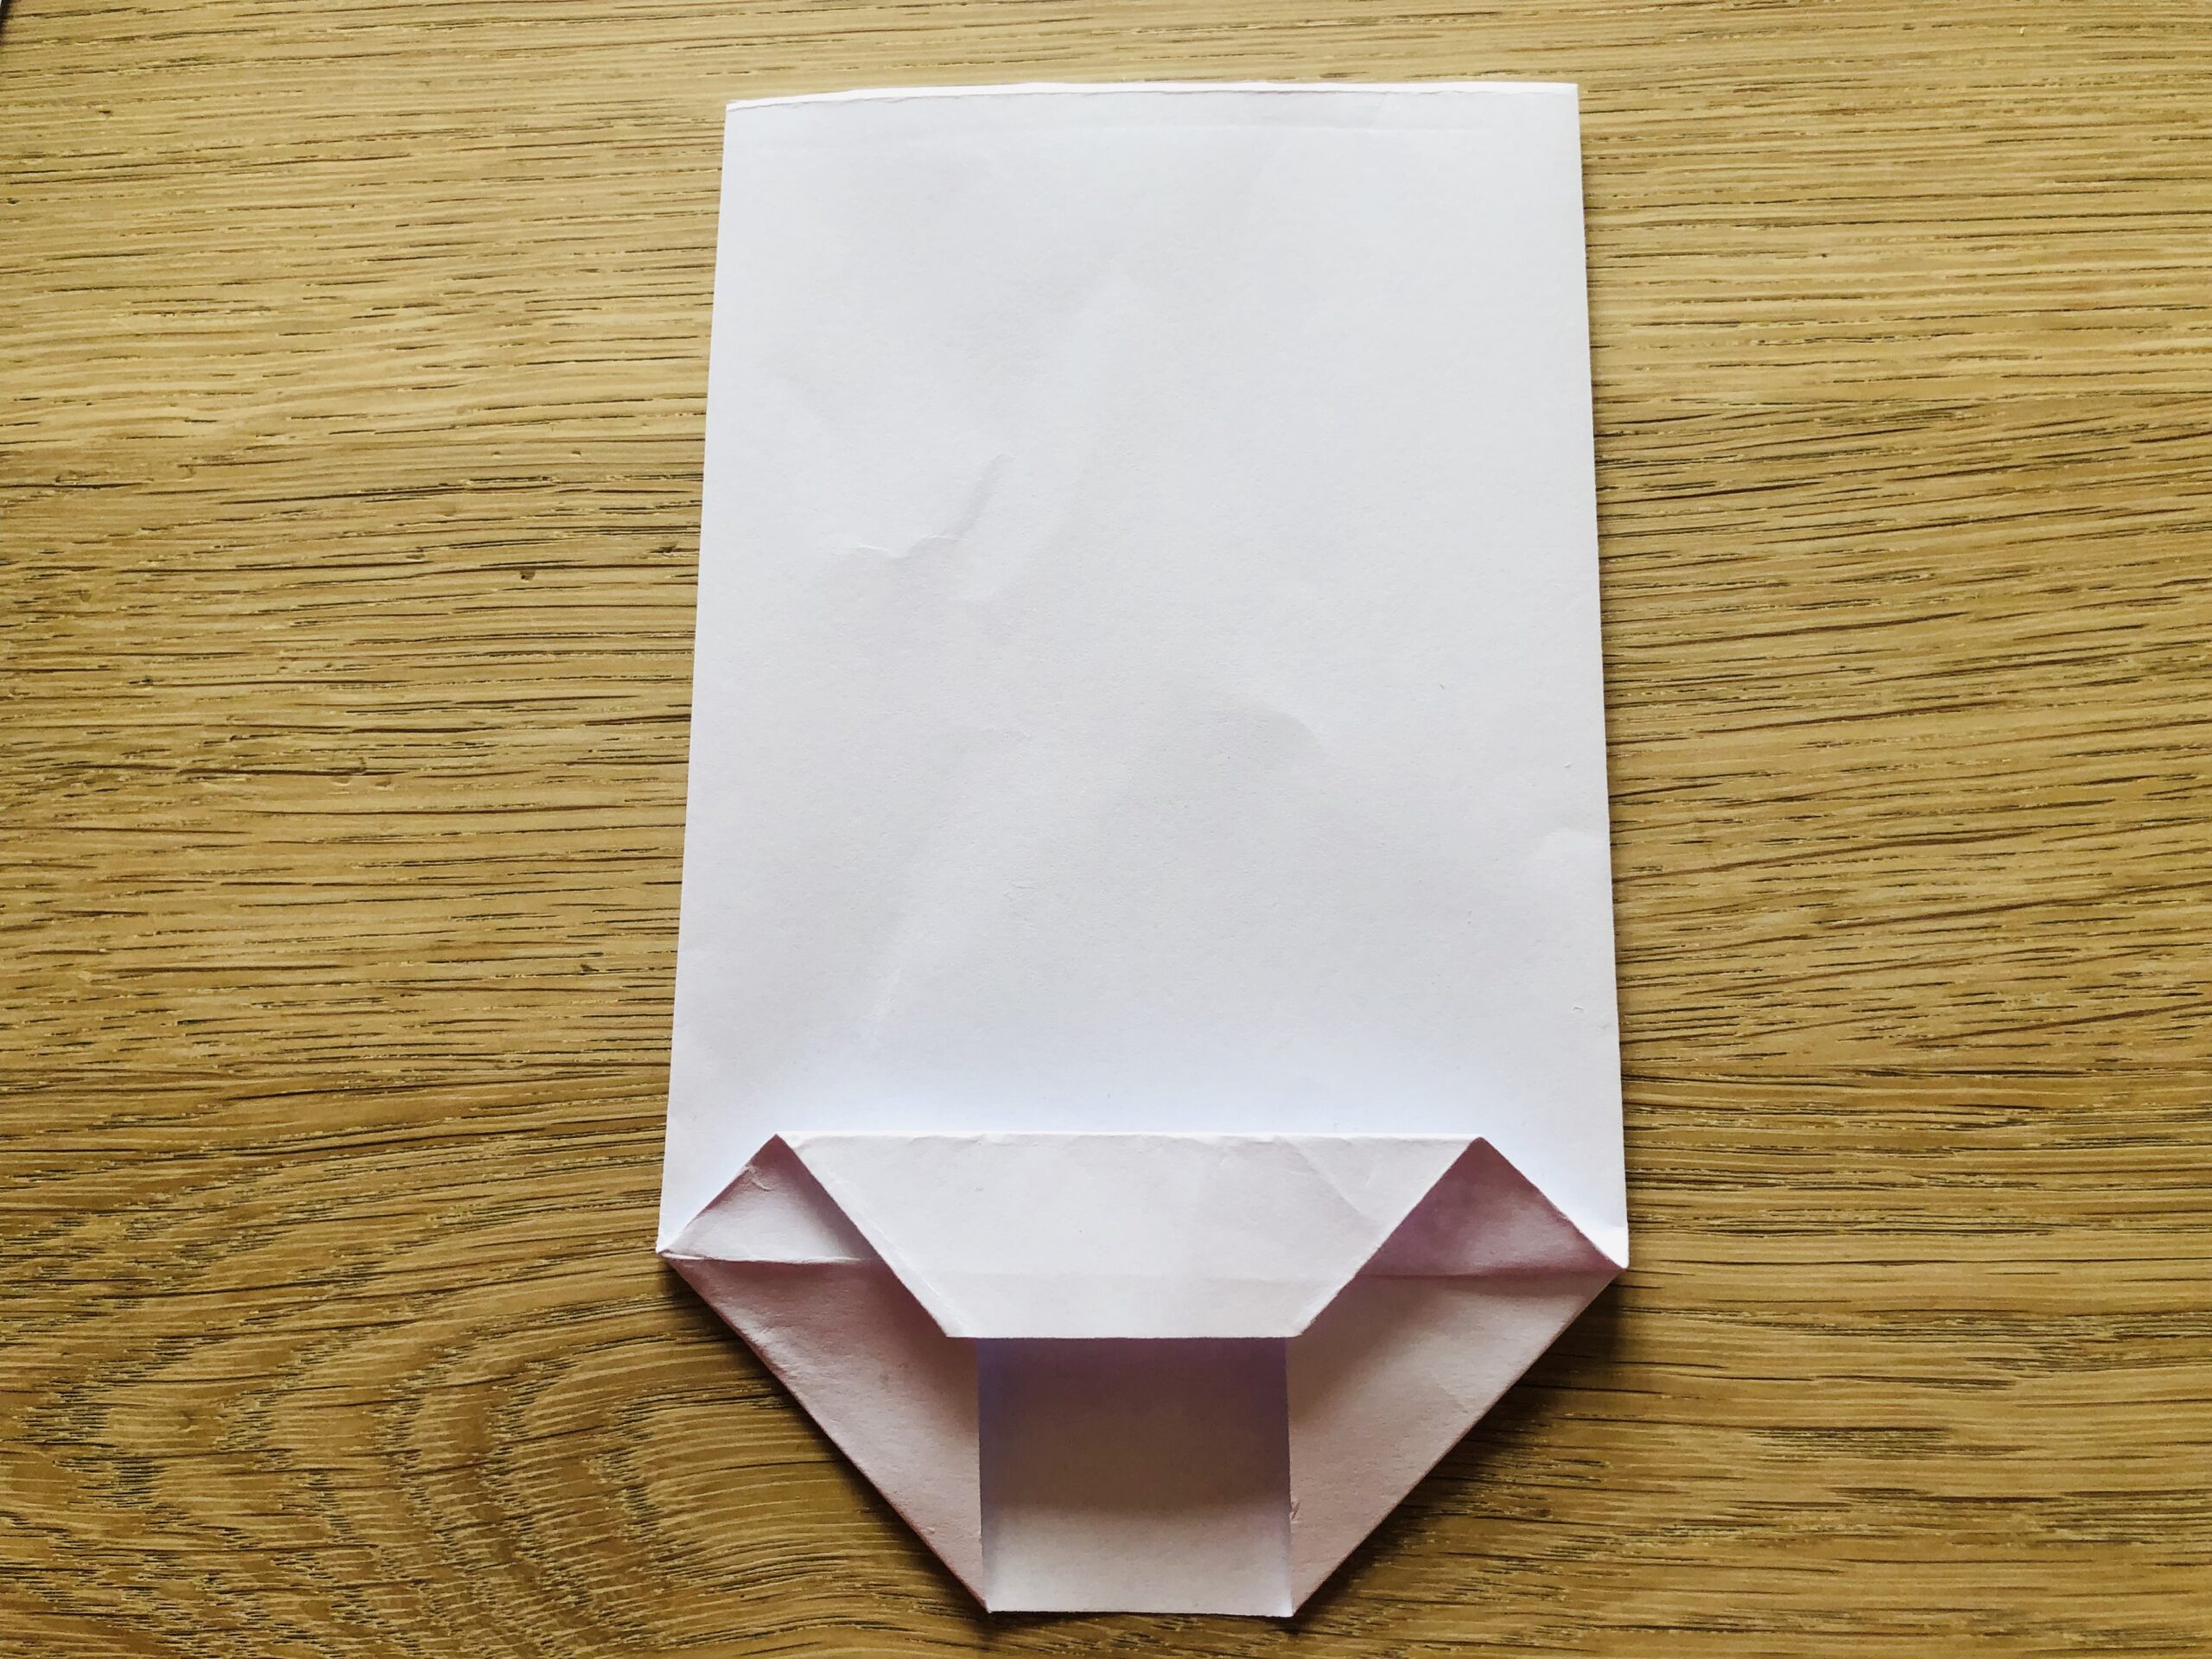
Bild zum Schritt 13 für das Bastel- und DIY-Abenteuer für Kinder: 'Faltet von unten nach oben die untere Seite etwas über...'

14

Then fold the top side over the fold.
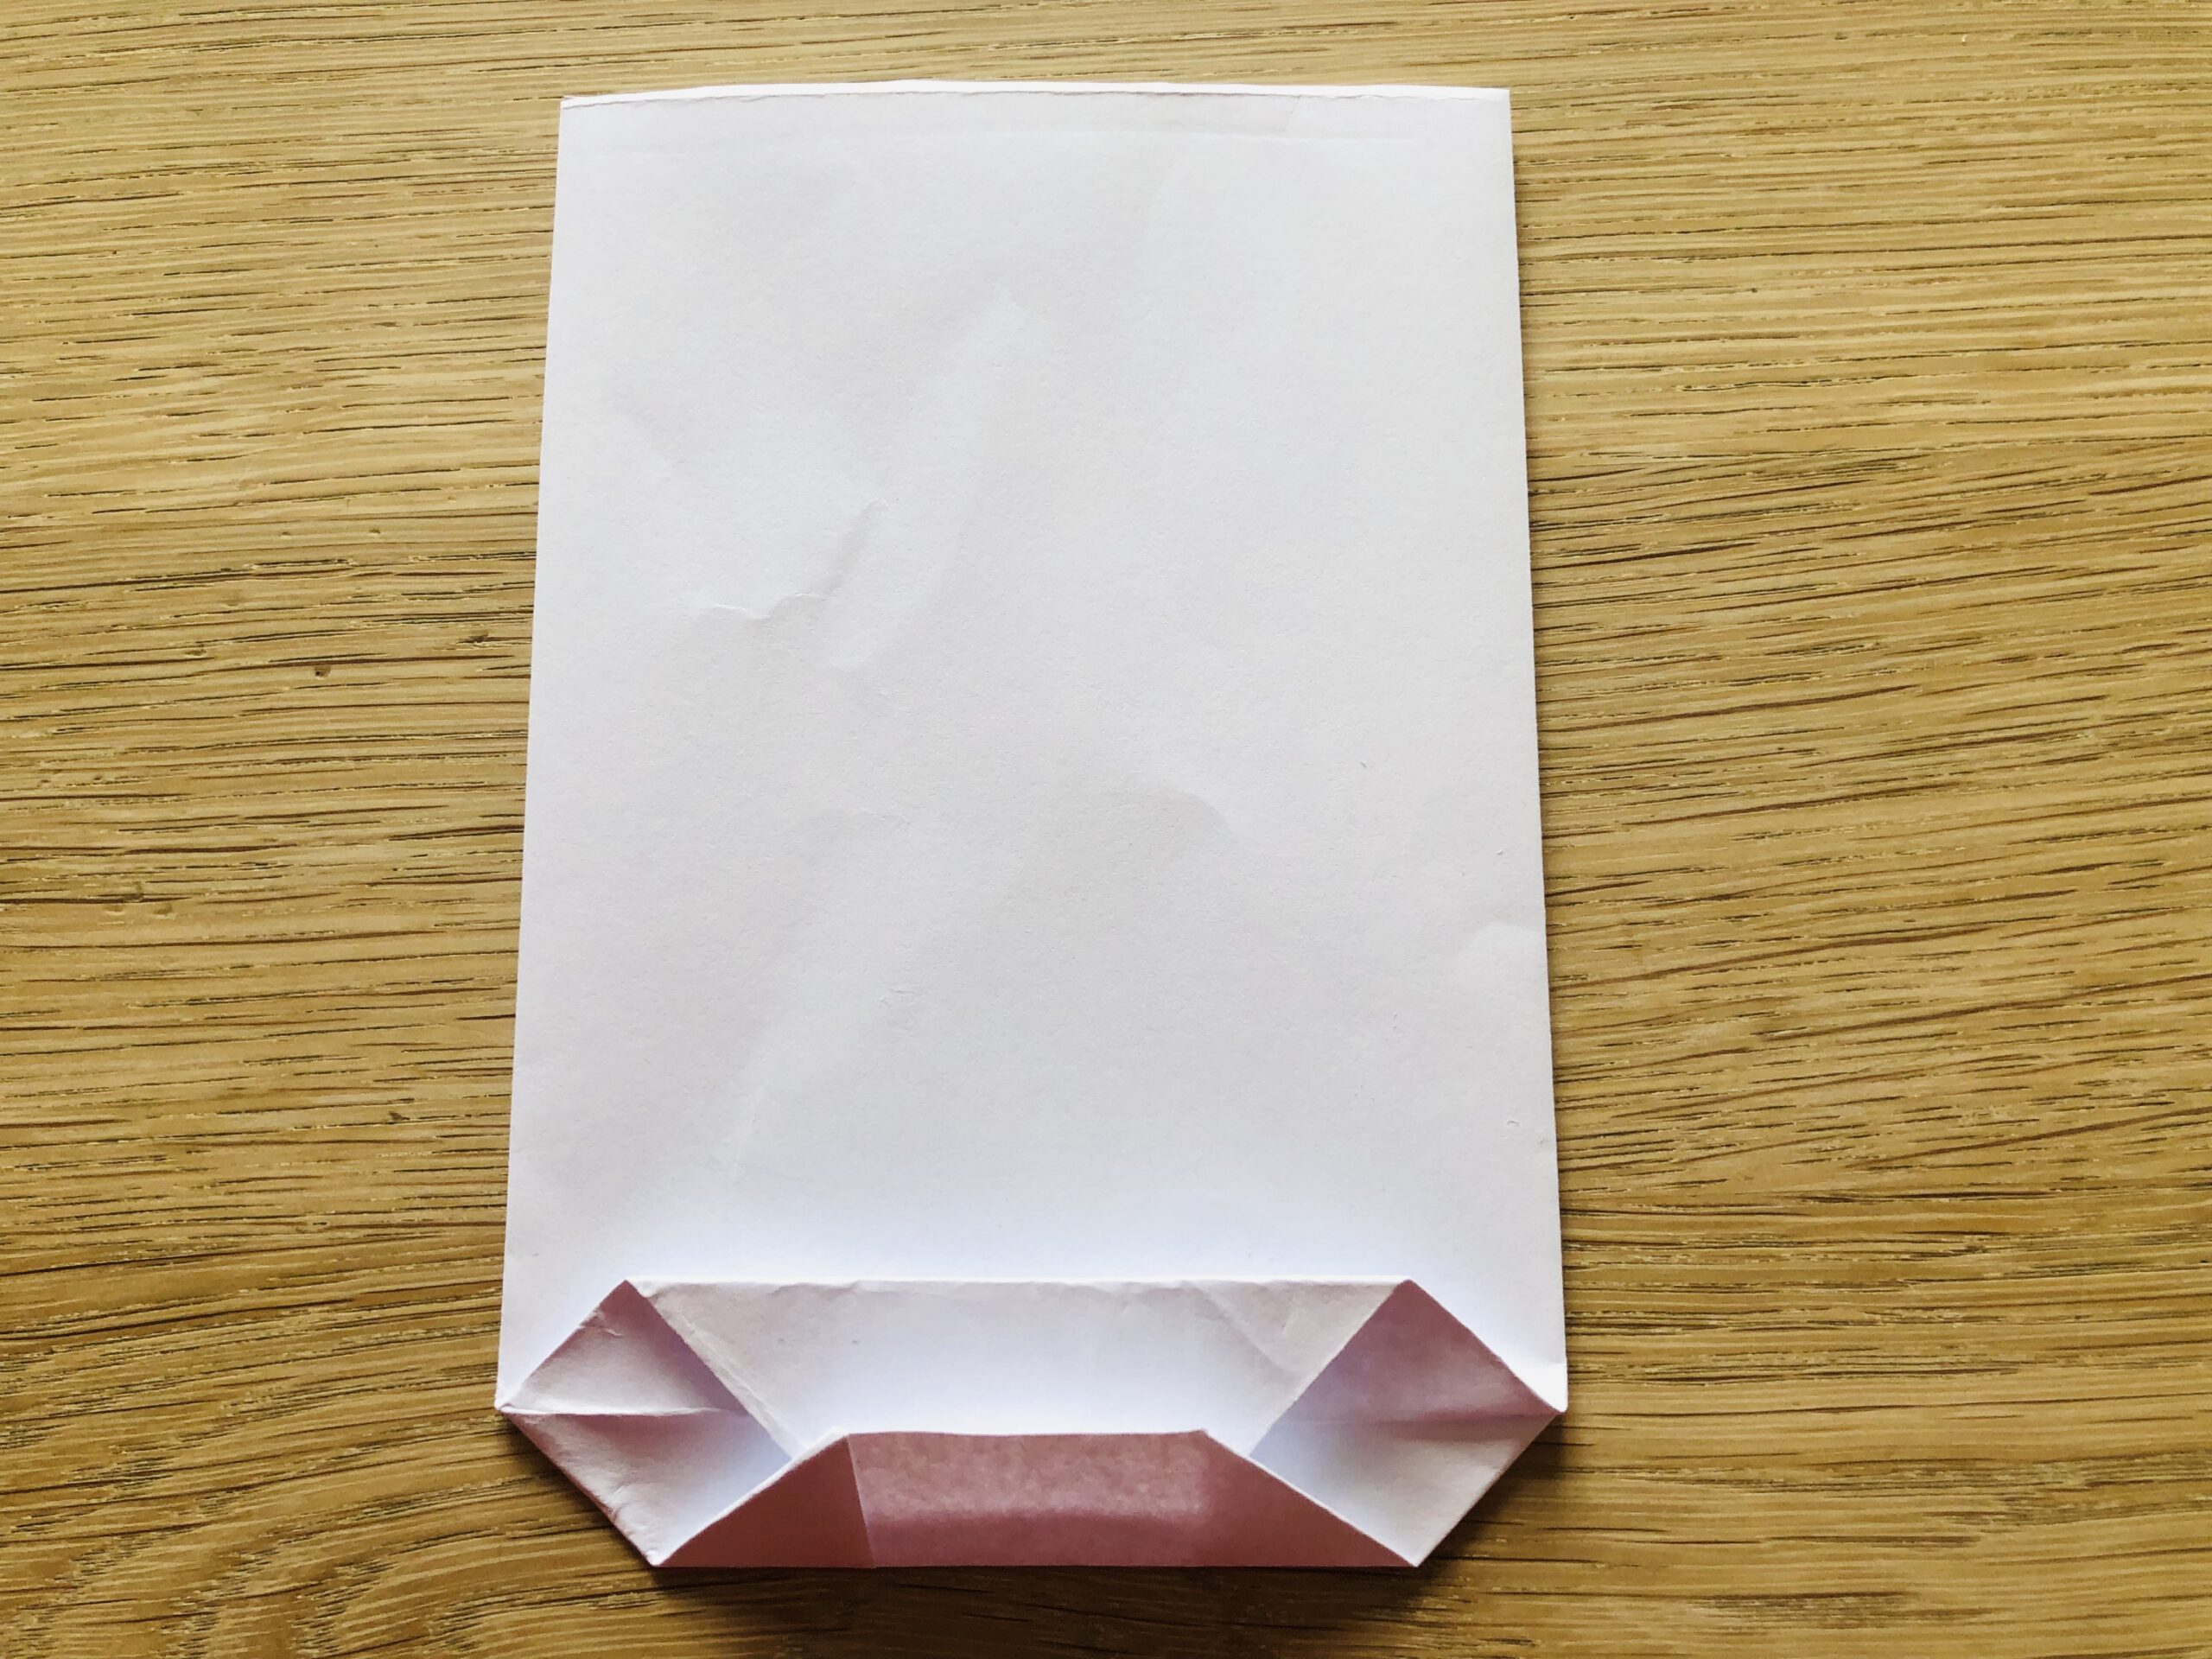
Bild zum Schritt 14 für das Bastel- und DIY-Abenteuer für Kinder: 'Anschließend faltet ihr die obere Seite über die Faltung.'

15

Then you stick the overlapping strip with the glue stick. This creates a stable ground.
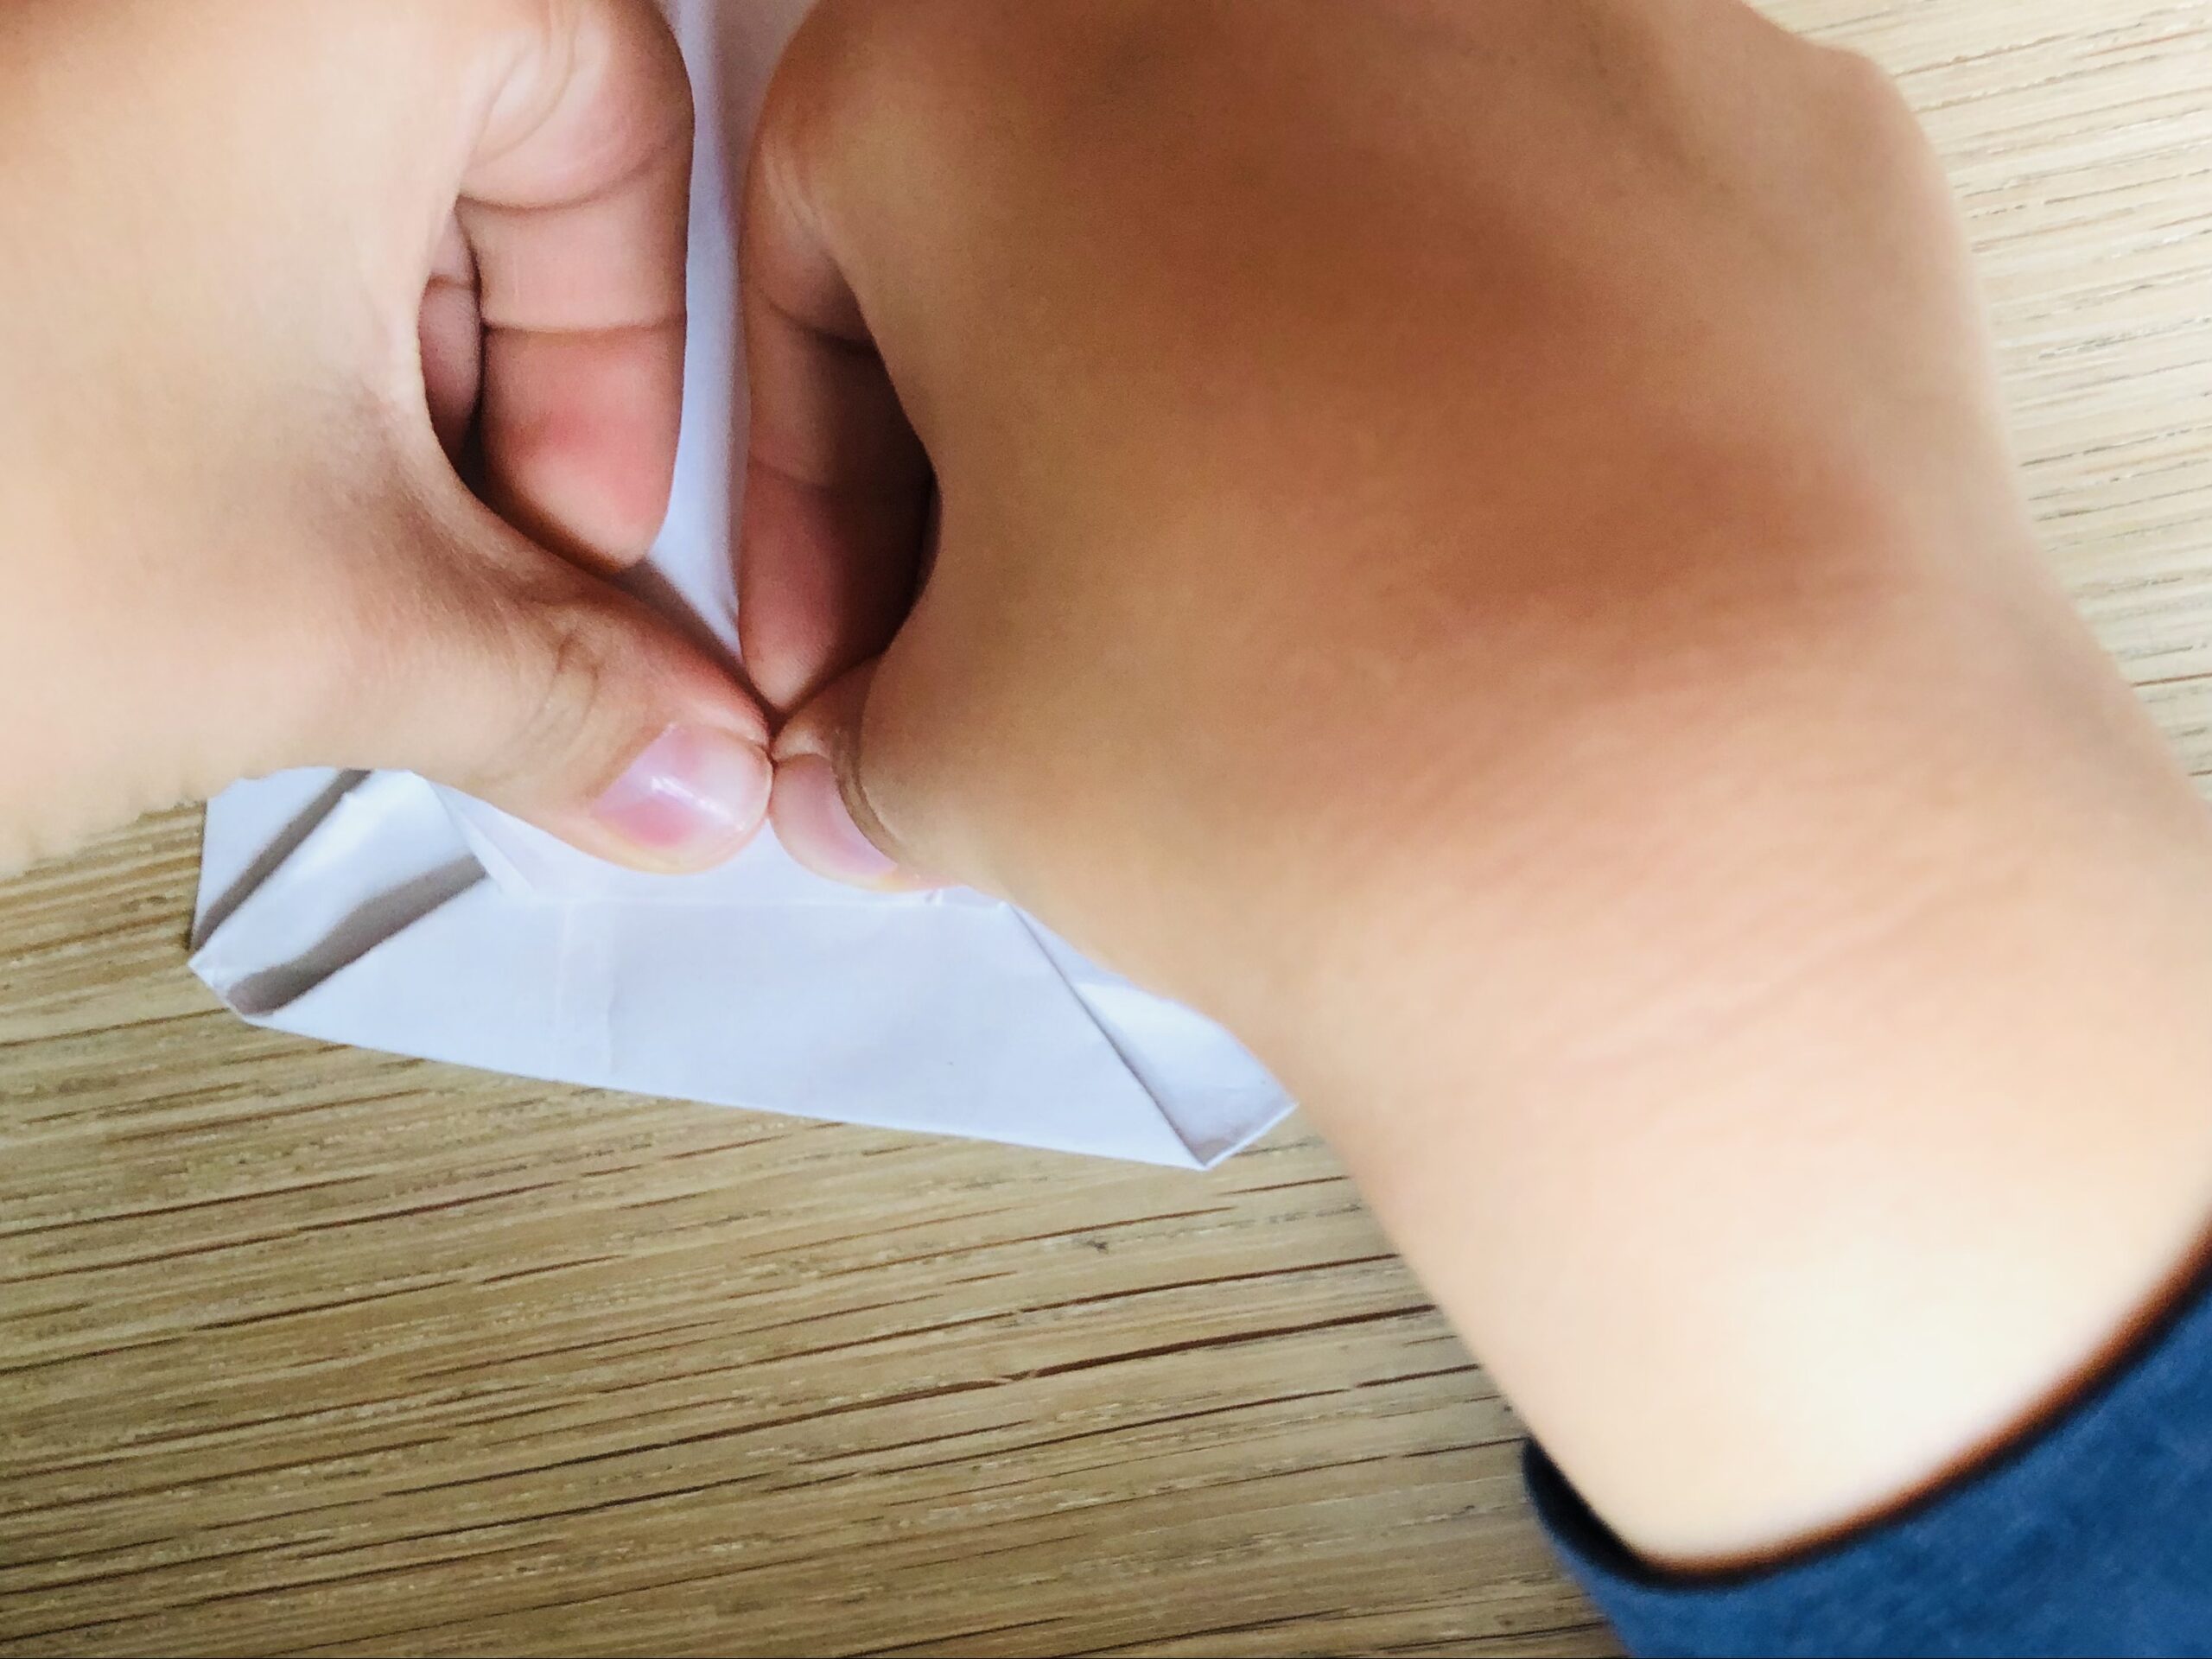
Bild zum Schritt 15 für das Bastel- und DIY-Abenteuer für Kinder: 'Danach klebt ihr den überlappenden Streifen mit dem Klebestift fest....'

16

Now the bag is ready.

Bild zum Schritt 16 für das Bastel- und DIY-Abenteuer für Kinder: 'Jetzt ist die Tüte fertig.'

17

Now paint with the pen a large bow around the opening of the bag.
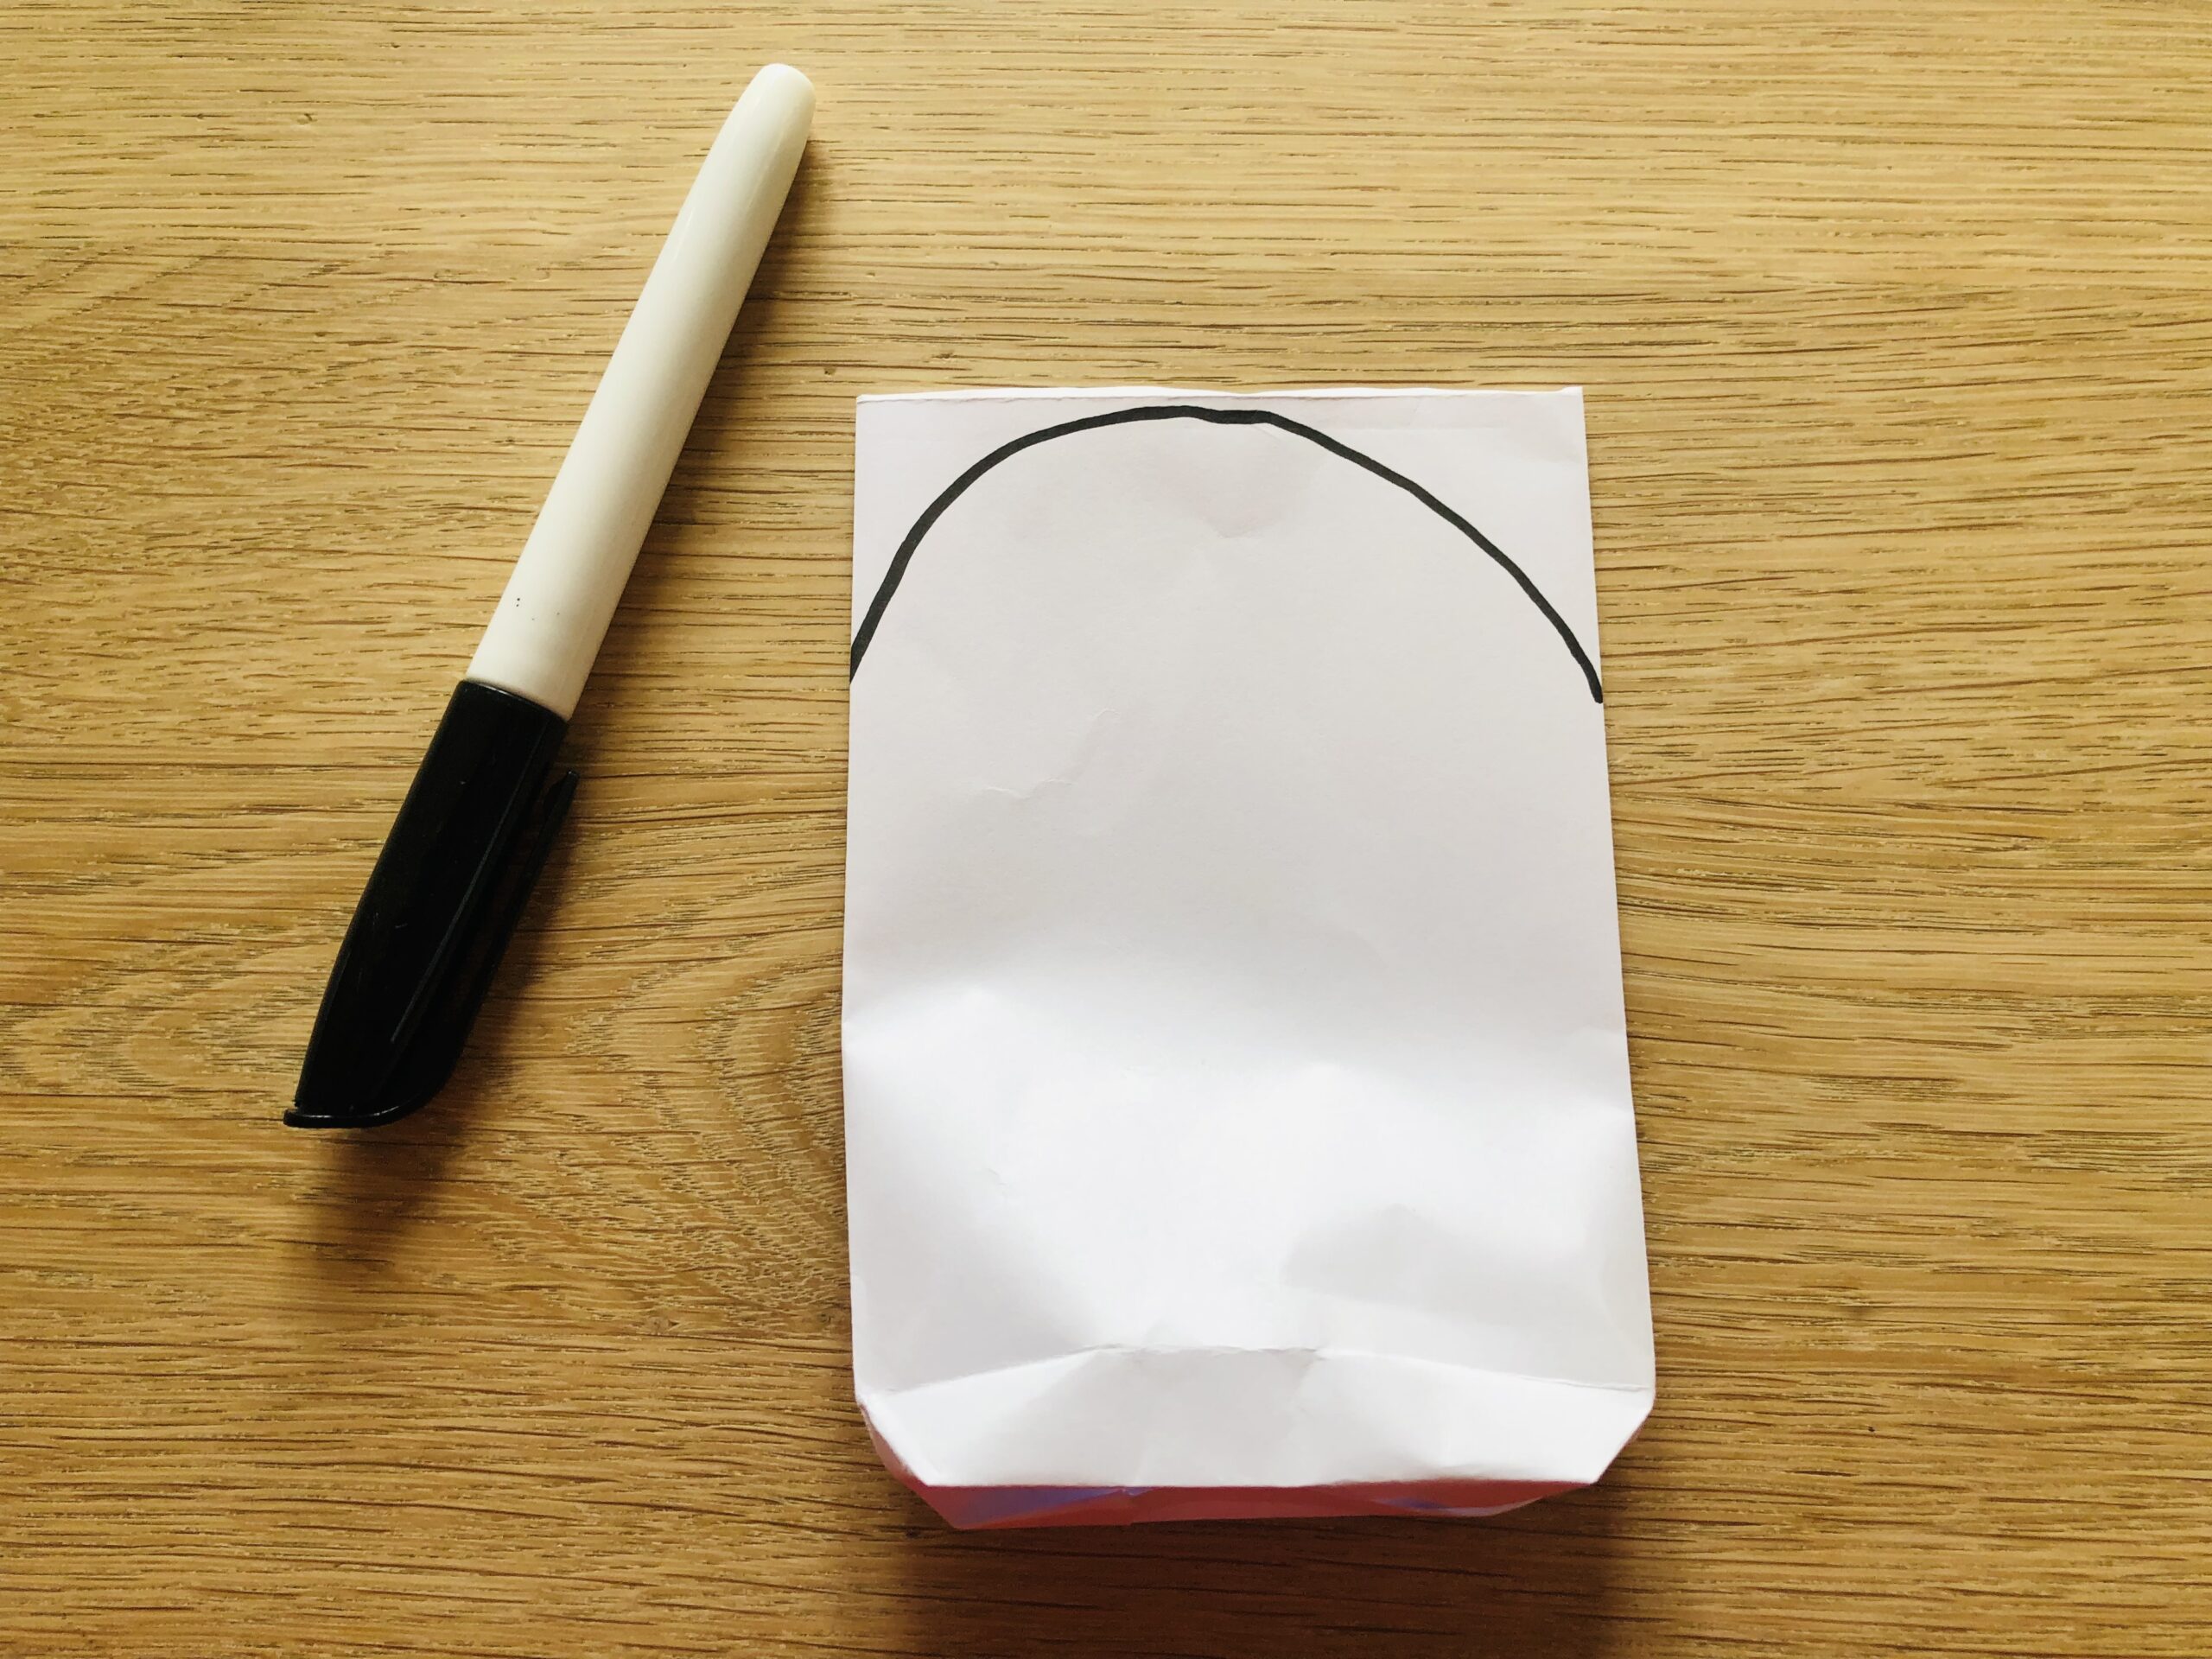
Bild zum Schritt 17 für das Bastel- und DIY-Abenteuer für Kinder: 'Malt nun mit dem Stift einen großen Bogen um die...'

18

Cut this one out afterwards.

Bild zum Schritt 18 für das Bastel- und DIY-Abenteuer für Kinder: 'Schneidet diesen danach aus.'

19

Now paint a ghost face, for which you paint two big black eyes.
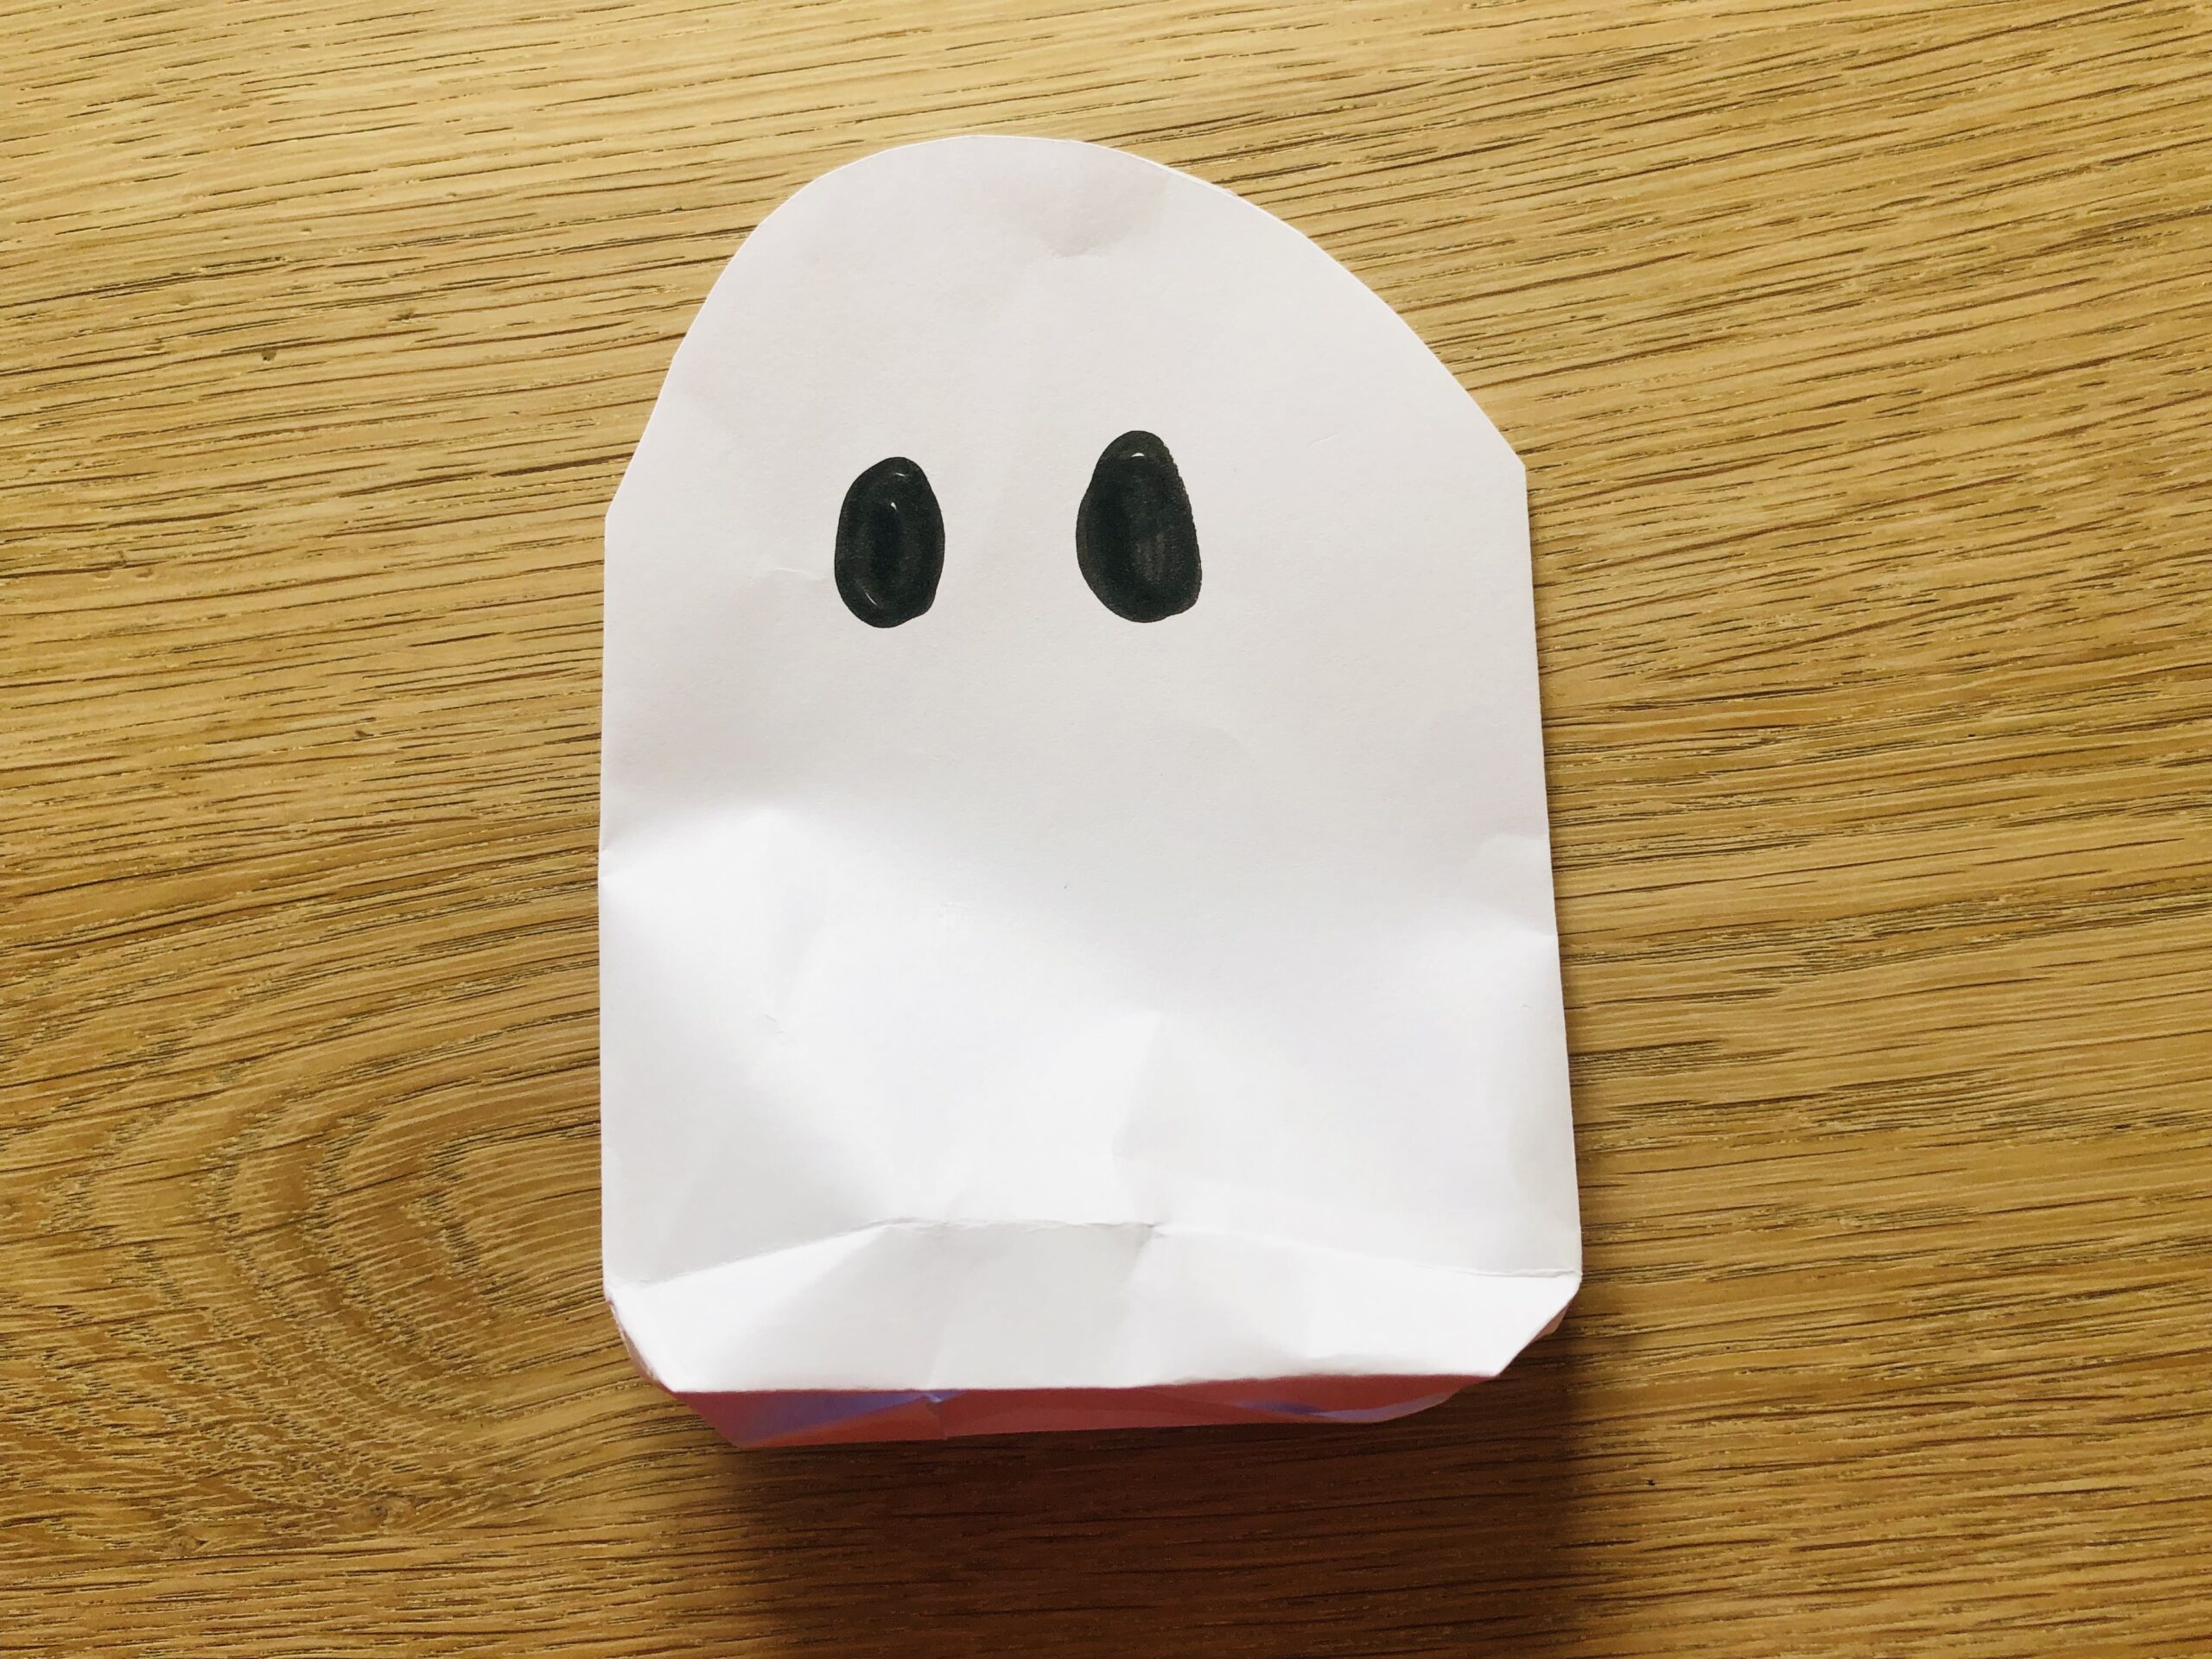
Bild zum Schritt 19 für das Bastel- und DIY-Abenteuer für Kinder: 'Jetzt malt ein Gespenstergesicht auf. Dafür malt ihr zwei große...'

20

Then you paint a mouth.

Bild zum Schritt 20 für das Bastel- und DIY-Abenteuer für Kinder: 'Anschließend malt ihr einen Mund auf.'

21

Now put another chain of lights in the bag.
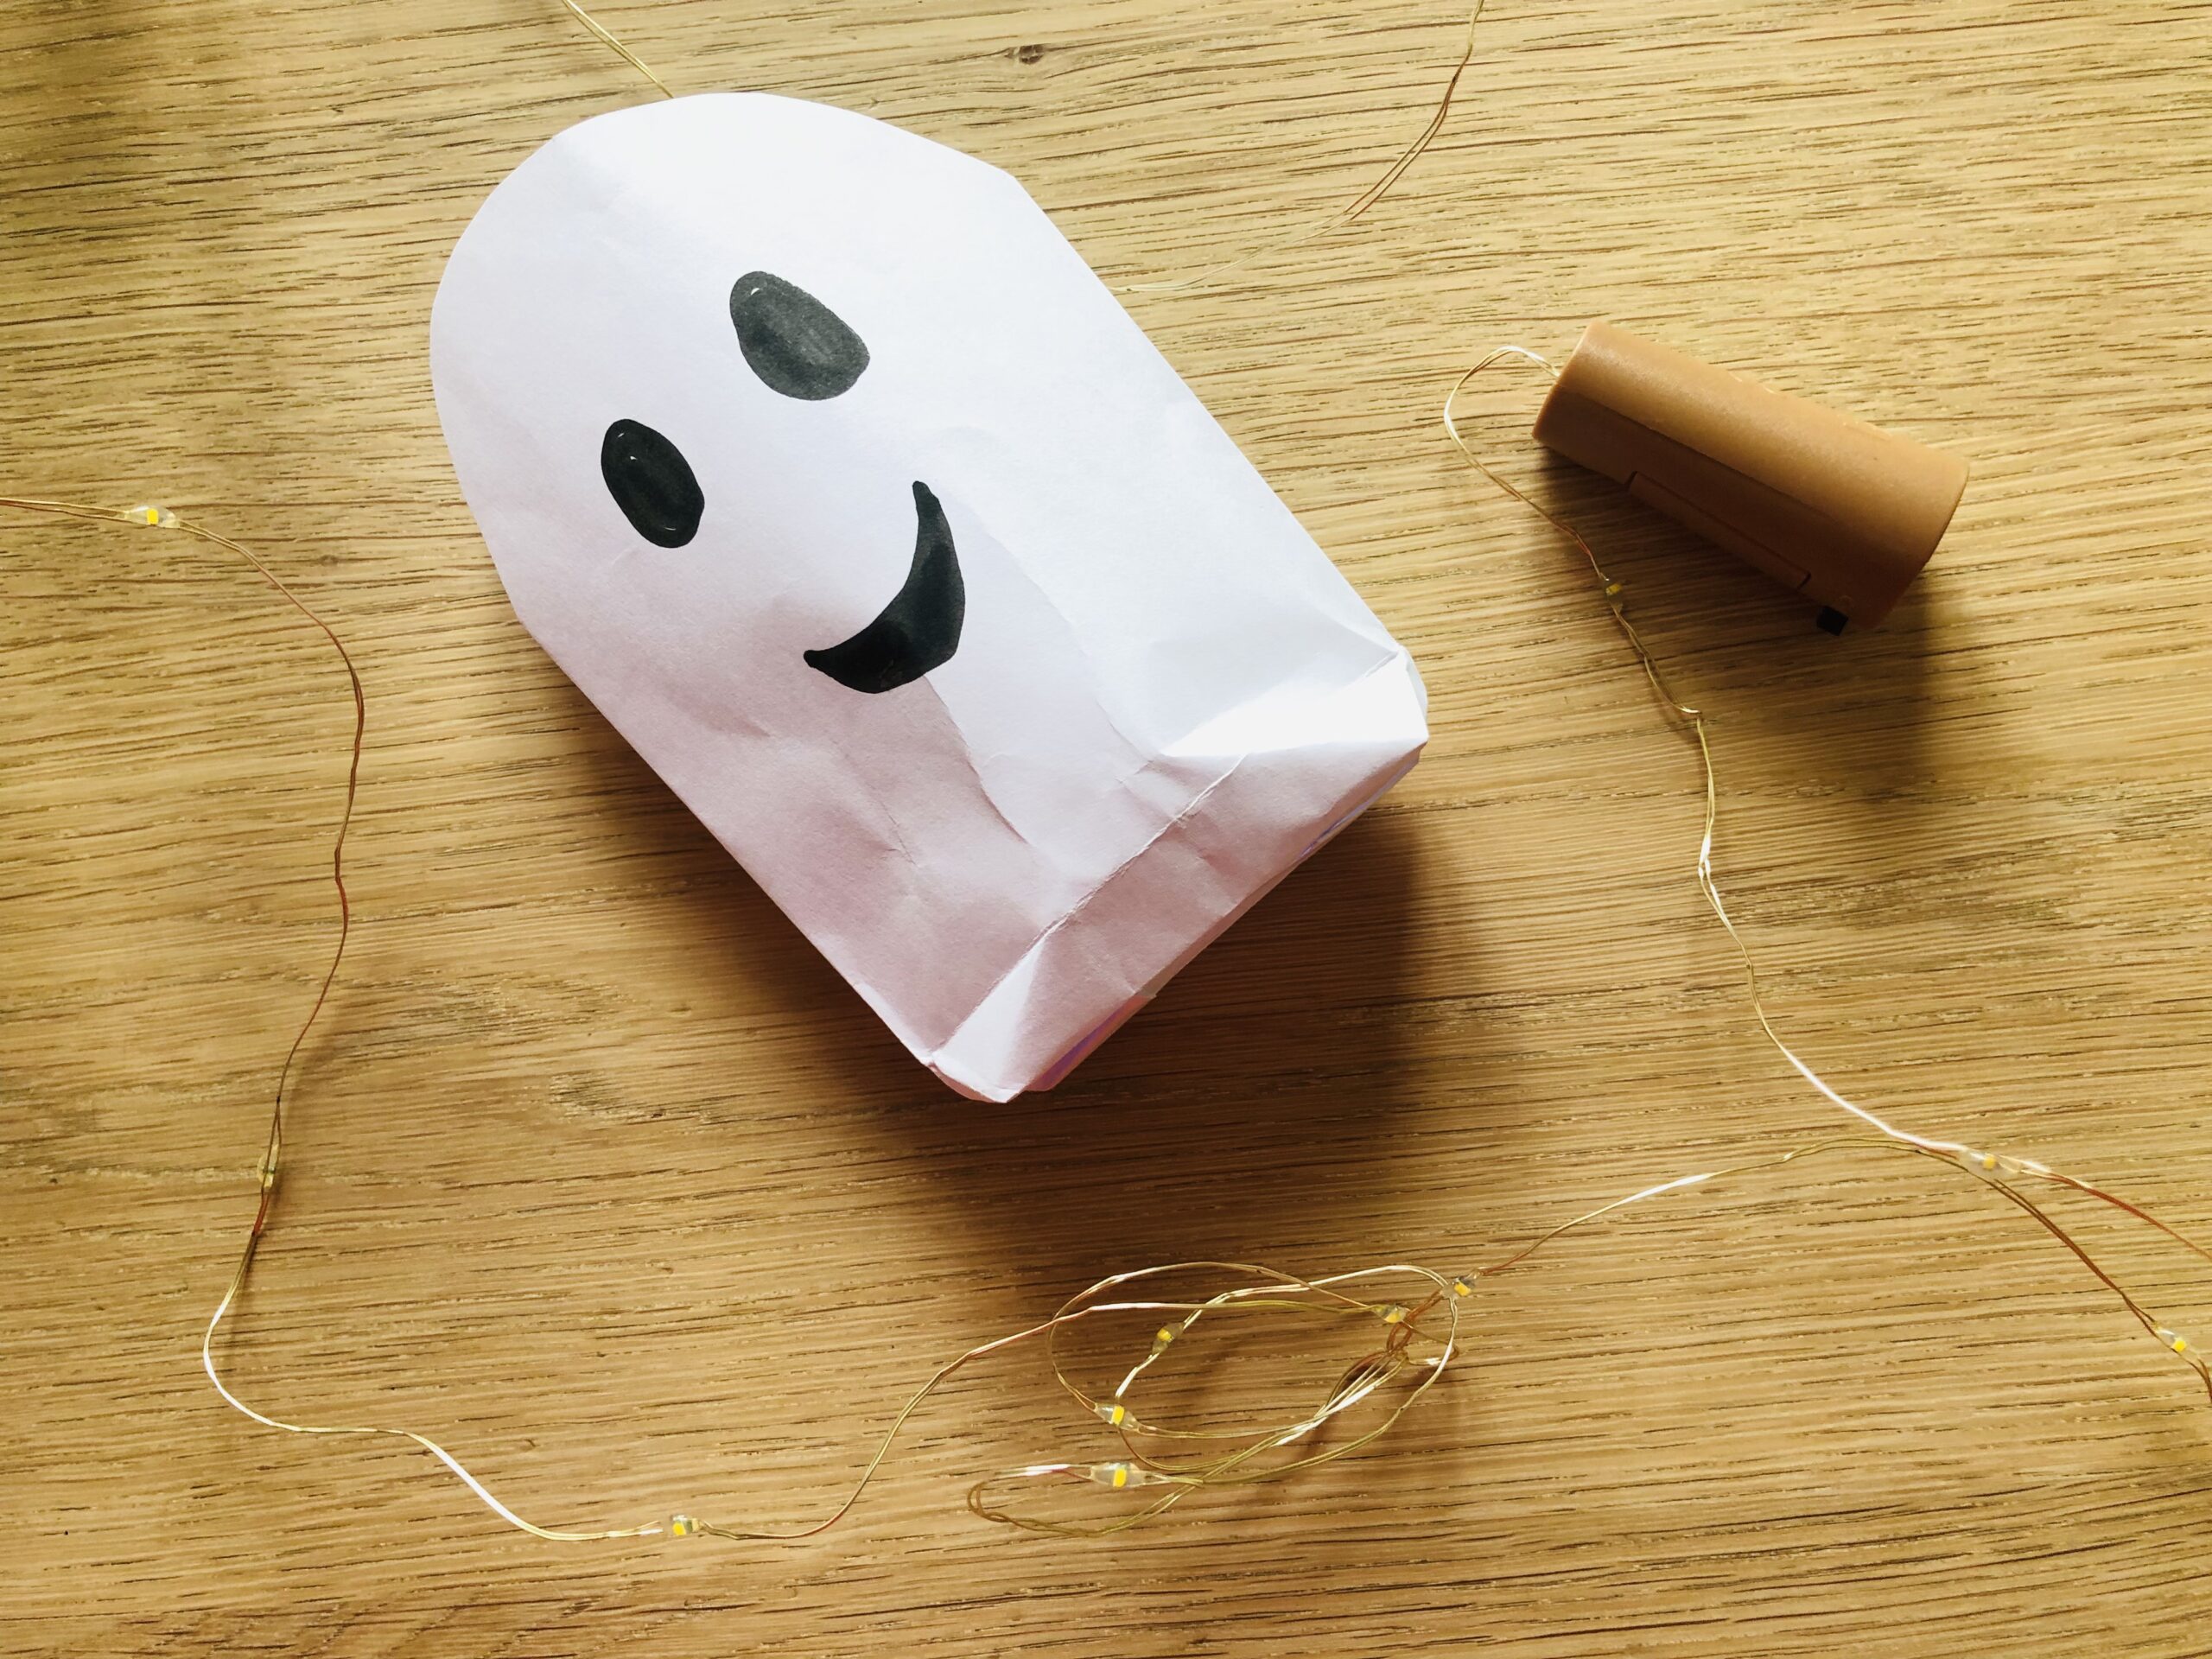
Bild zum Schritt 21 für das Bastel- und DIY-Abenteuer für Kinder: 'Nun legt noch eine Lichterkette in die Tüte.'

22

Finally, find a place to decorate. Maybe on the window sill or on the table or a staircase.
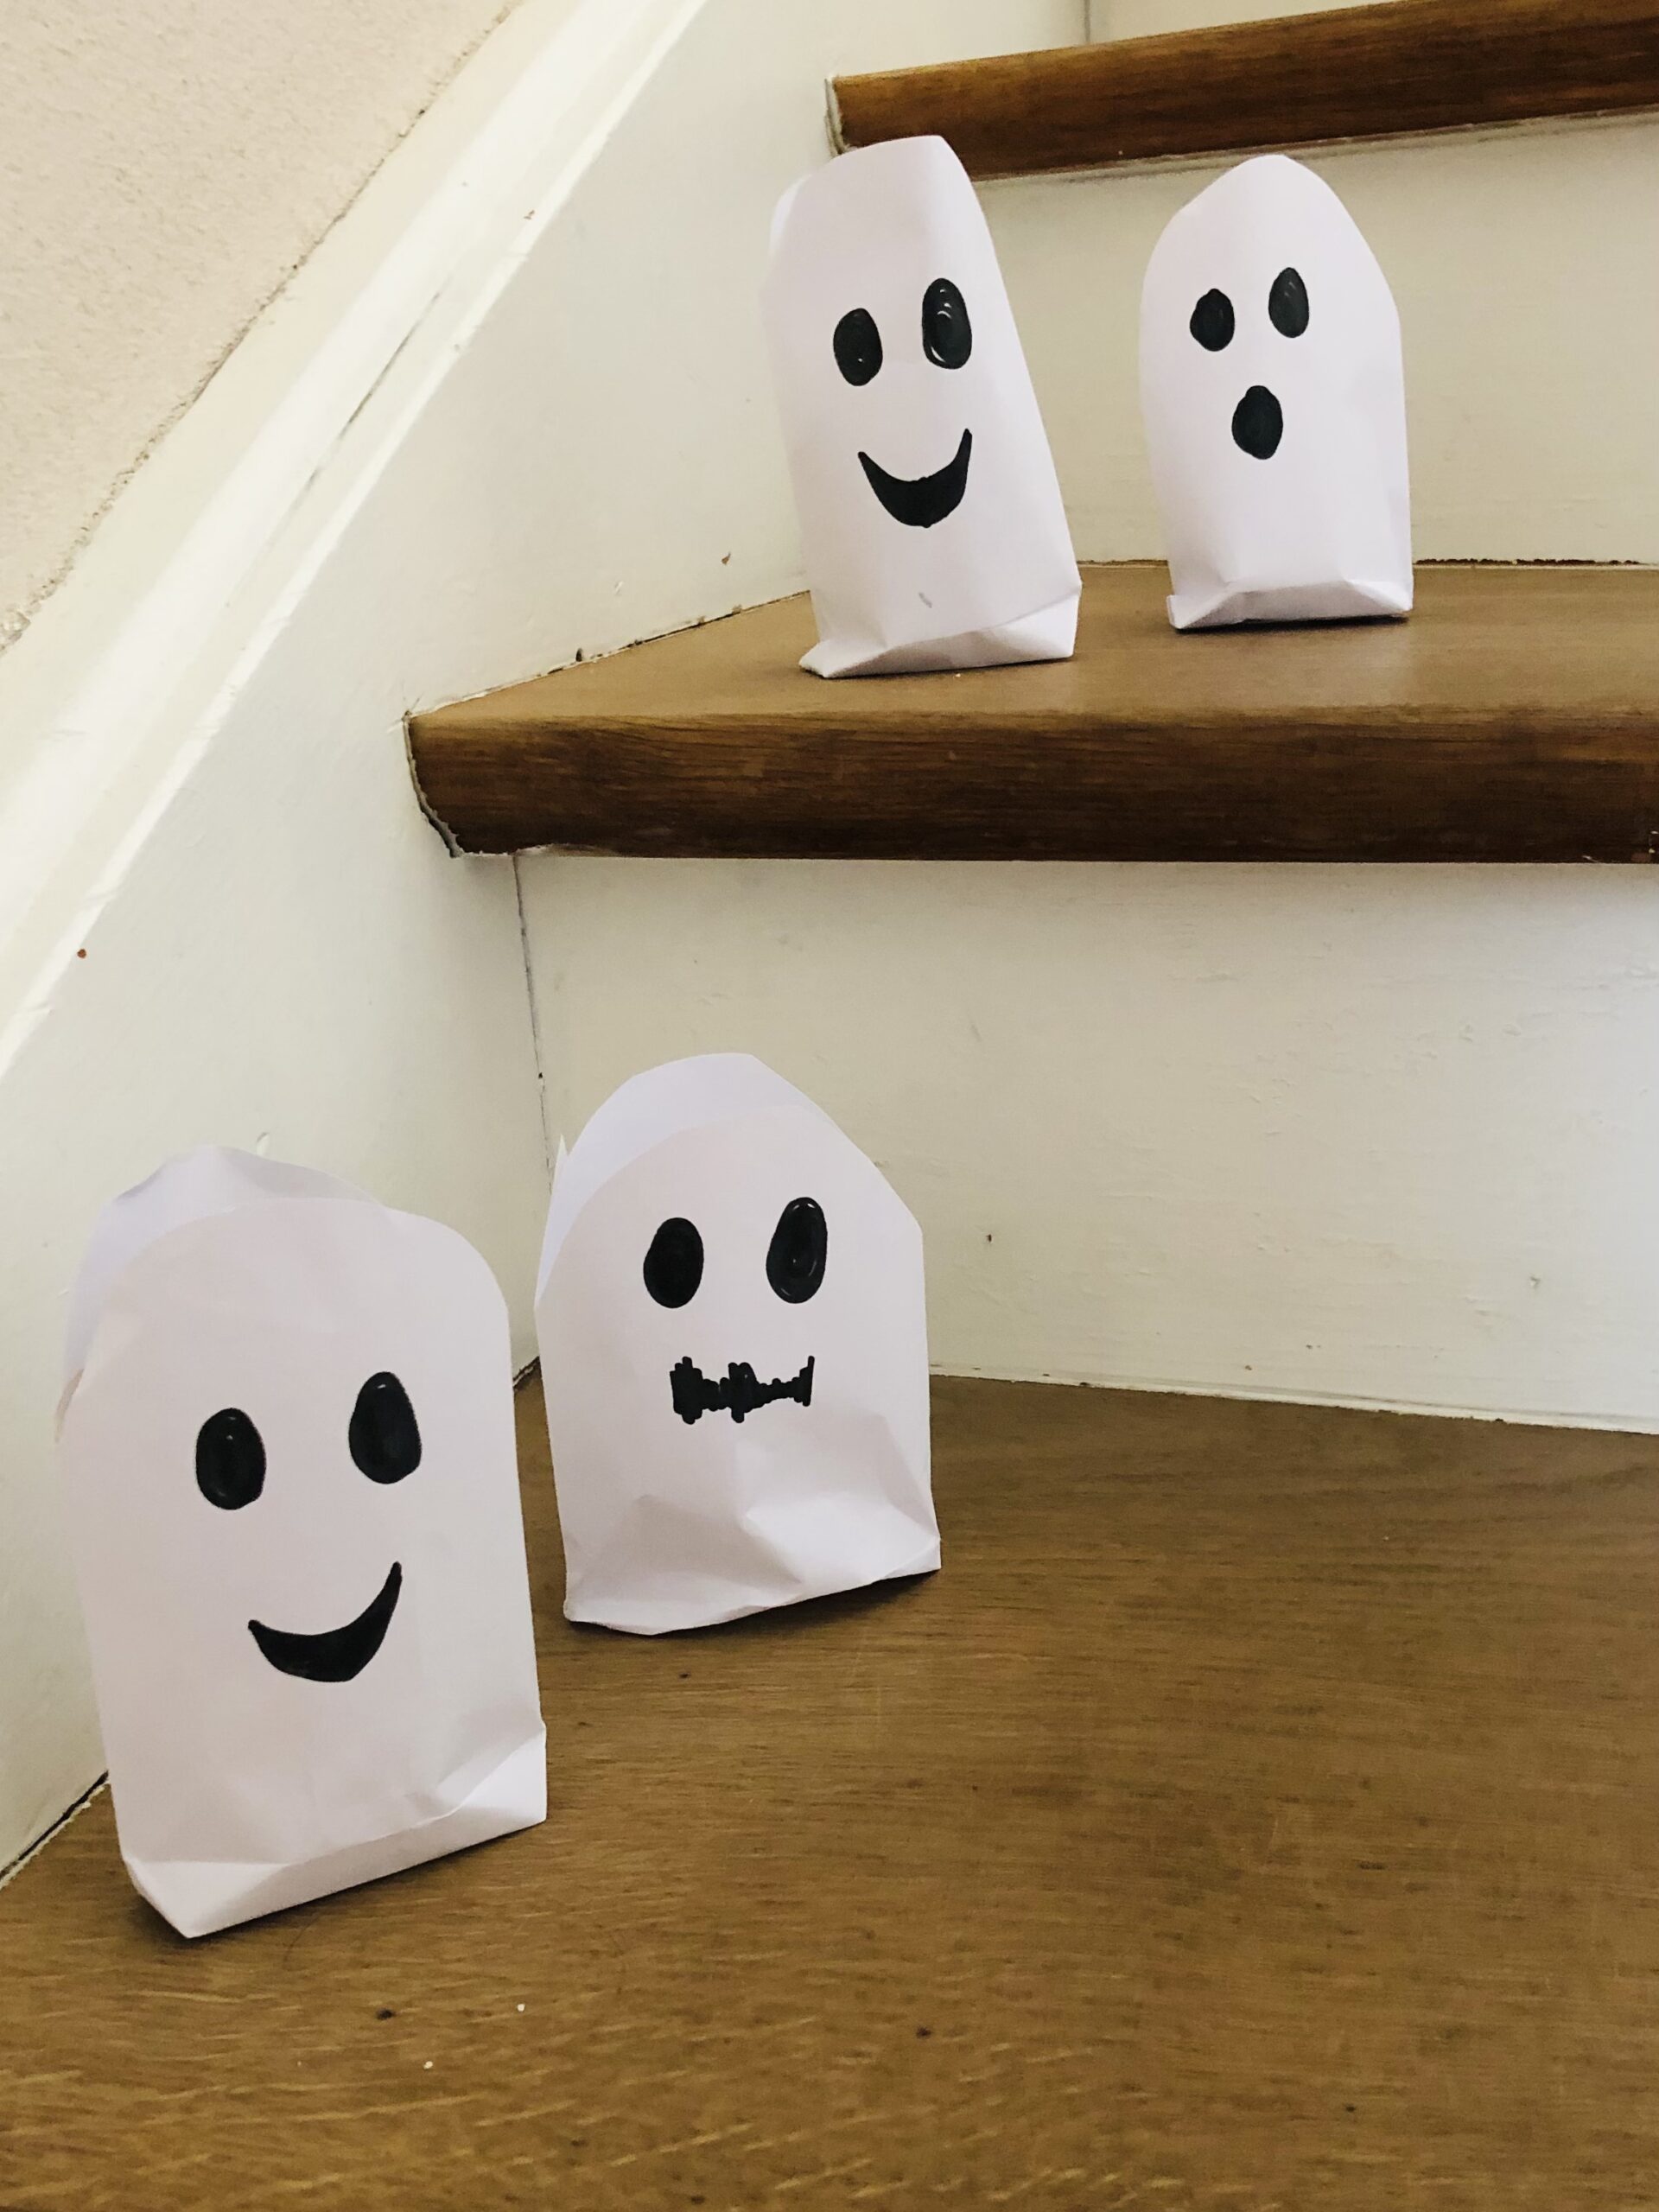
Bild zum Schritt 22 für das Bastel- und DIY-Abenteuer für Kinder: 'Abschließend sucht euch einen Platz zum Dekorieren. Vielleicht auf dem...'

23

Have fun with the bright ghost bags.

Bild zum Schritt 23 für das Bastel- und DIY-Abenteuer für Kinder: 'Viel Spaß mit den leuchtenden Gespenster - Tüten.'

Stuffed Ghosts
24

After making the ghost bags, you fill them with small things, such as sweets or a small foam bath or nuts.

Bild zum Schritt 25 für das Bastel- und DIY-Abenteuer für Kinder: 'Nachdem ihr die Gespenster - Tüten gebastelt habt, füllt ihr...'

25

2. Bild zum Schritt 25 für das Bastel- und DIY-Abenteuer für Kinder: 'Nachdem ihr die Gespenster - Tüten gebastelt habt, füllt ihr...'

26

These are suitable for giving away. For example for Halloween or at the children's birthday party.
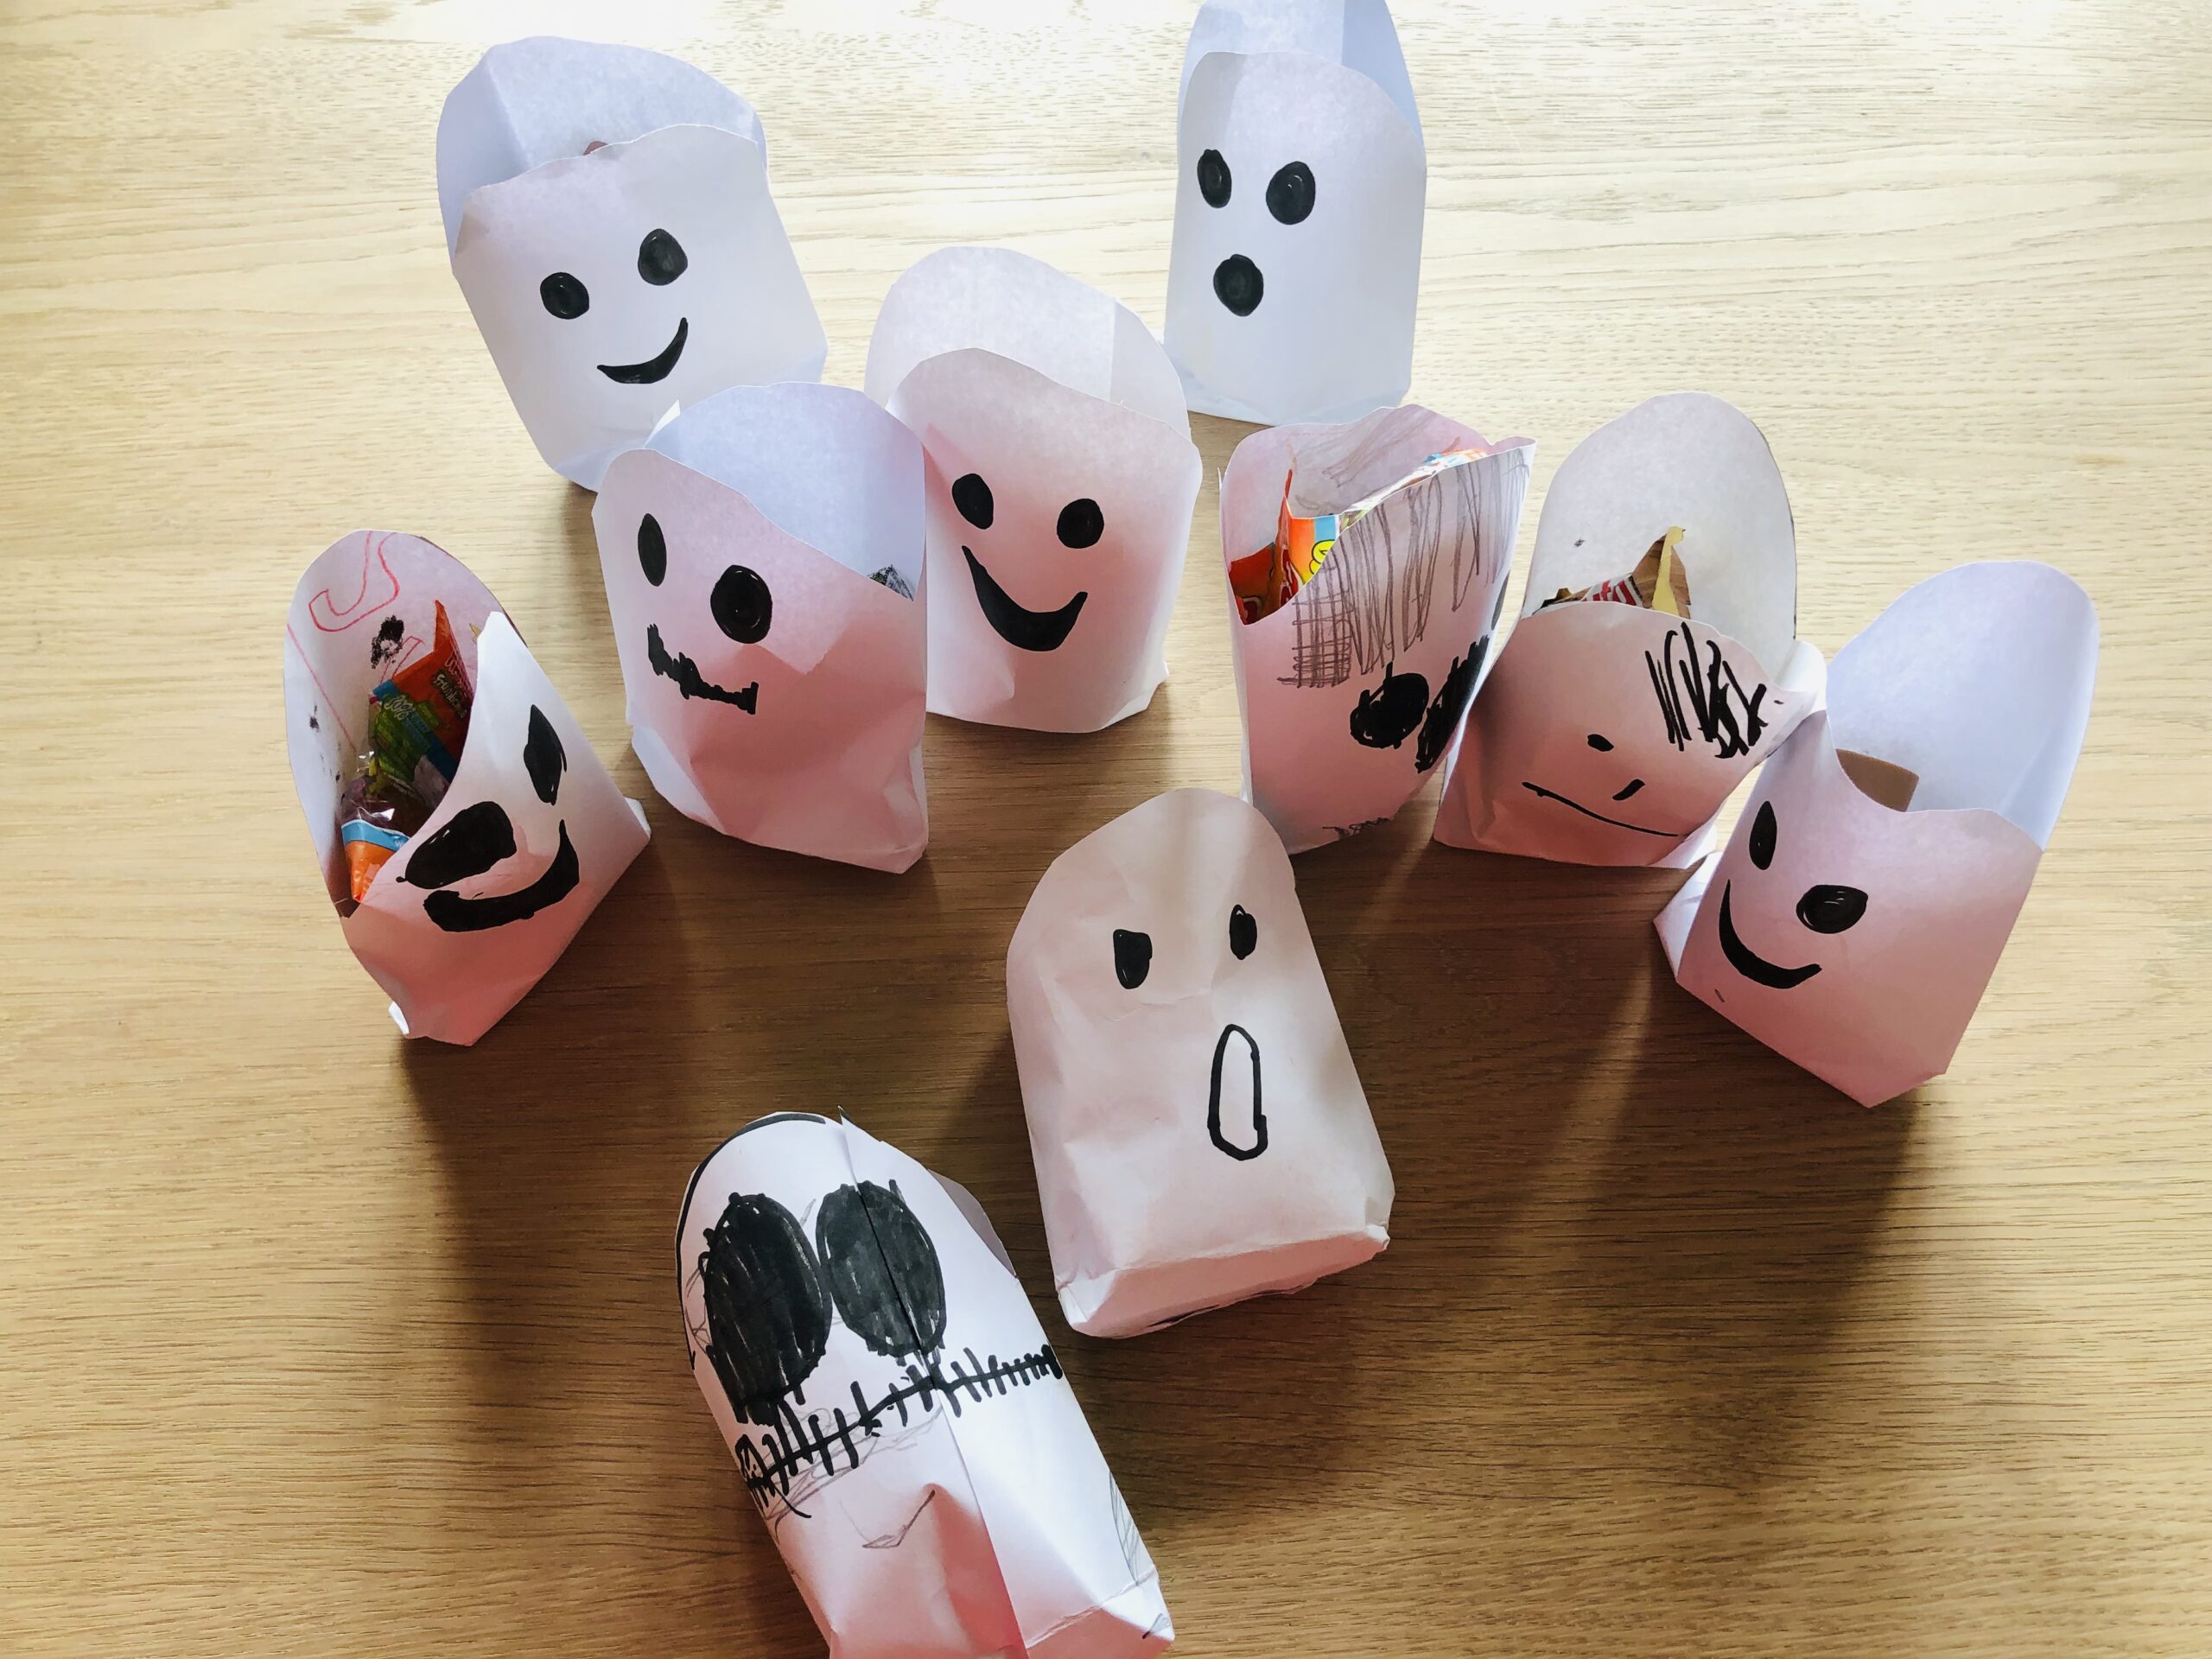
Bild zum Schritt 27 für das Bastel- und DIY-Abenteuer für Kinder: 'Diese eignen sich zum Verschenken. Zum Beispiel zu Halloween oder...'

27

Have fun!

Shining Ghosts – Bags & Filled Ghosts

Follow us on Facebook , Instagram and Pinterest
Don't miss any more adventures: Our bottle mail

Leave a Reply

Your email address will not be published.

The maximum upload file size: 5 MB. You can upload: image, document. Drop file here