Print Options:

Campfire Tearwork

Material for1 ChildPrep Time5 min.Adv. Time25 min.Total Time30 min.

The element "fire" is exciting, fascinating, exciting and dangerous at the same time. A respectful approach that pays attention to the dangers and the charm of the mysterious are all challenges when dealing with the topic: fire.
No fire is the same! There are big and small flames, all are hot and can hurt. This glue image of a fireplace or campfire makes children creative. Each result is unique and has as much luminosity as a real fire.
Look here how you can recreate it and get started right away.

Titelbild zur Bastel- und DIY-Idee für Kinder '(231) Lagerfeuer Reißarbeit'

 1 Sheet of paperForm, if any
 Unwrought paper or paperboardin red, yellow and orange
 1 Glue
 1 Builder's pad
1

Get all the craft utensils ready.
Uses three clay papers or folding papers in bright red, yellow and orange.
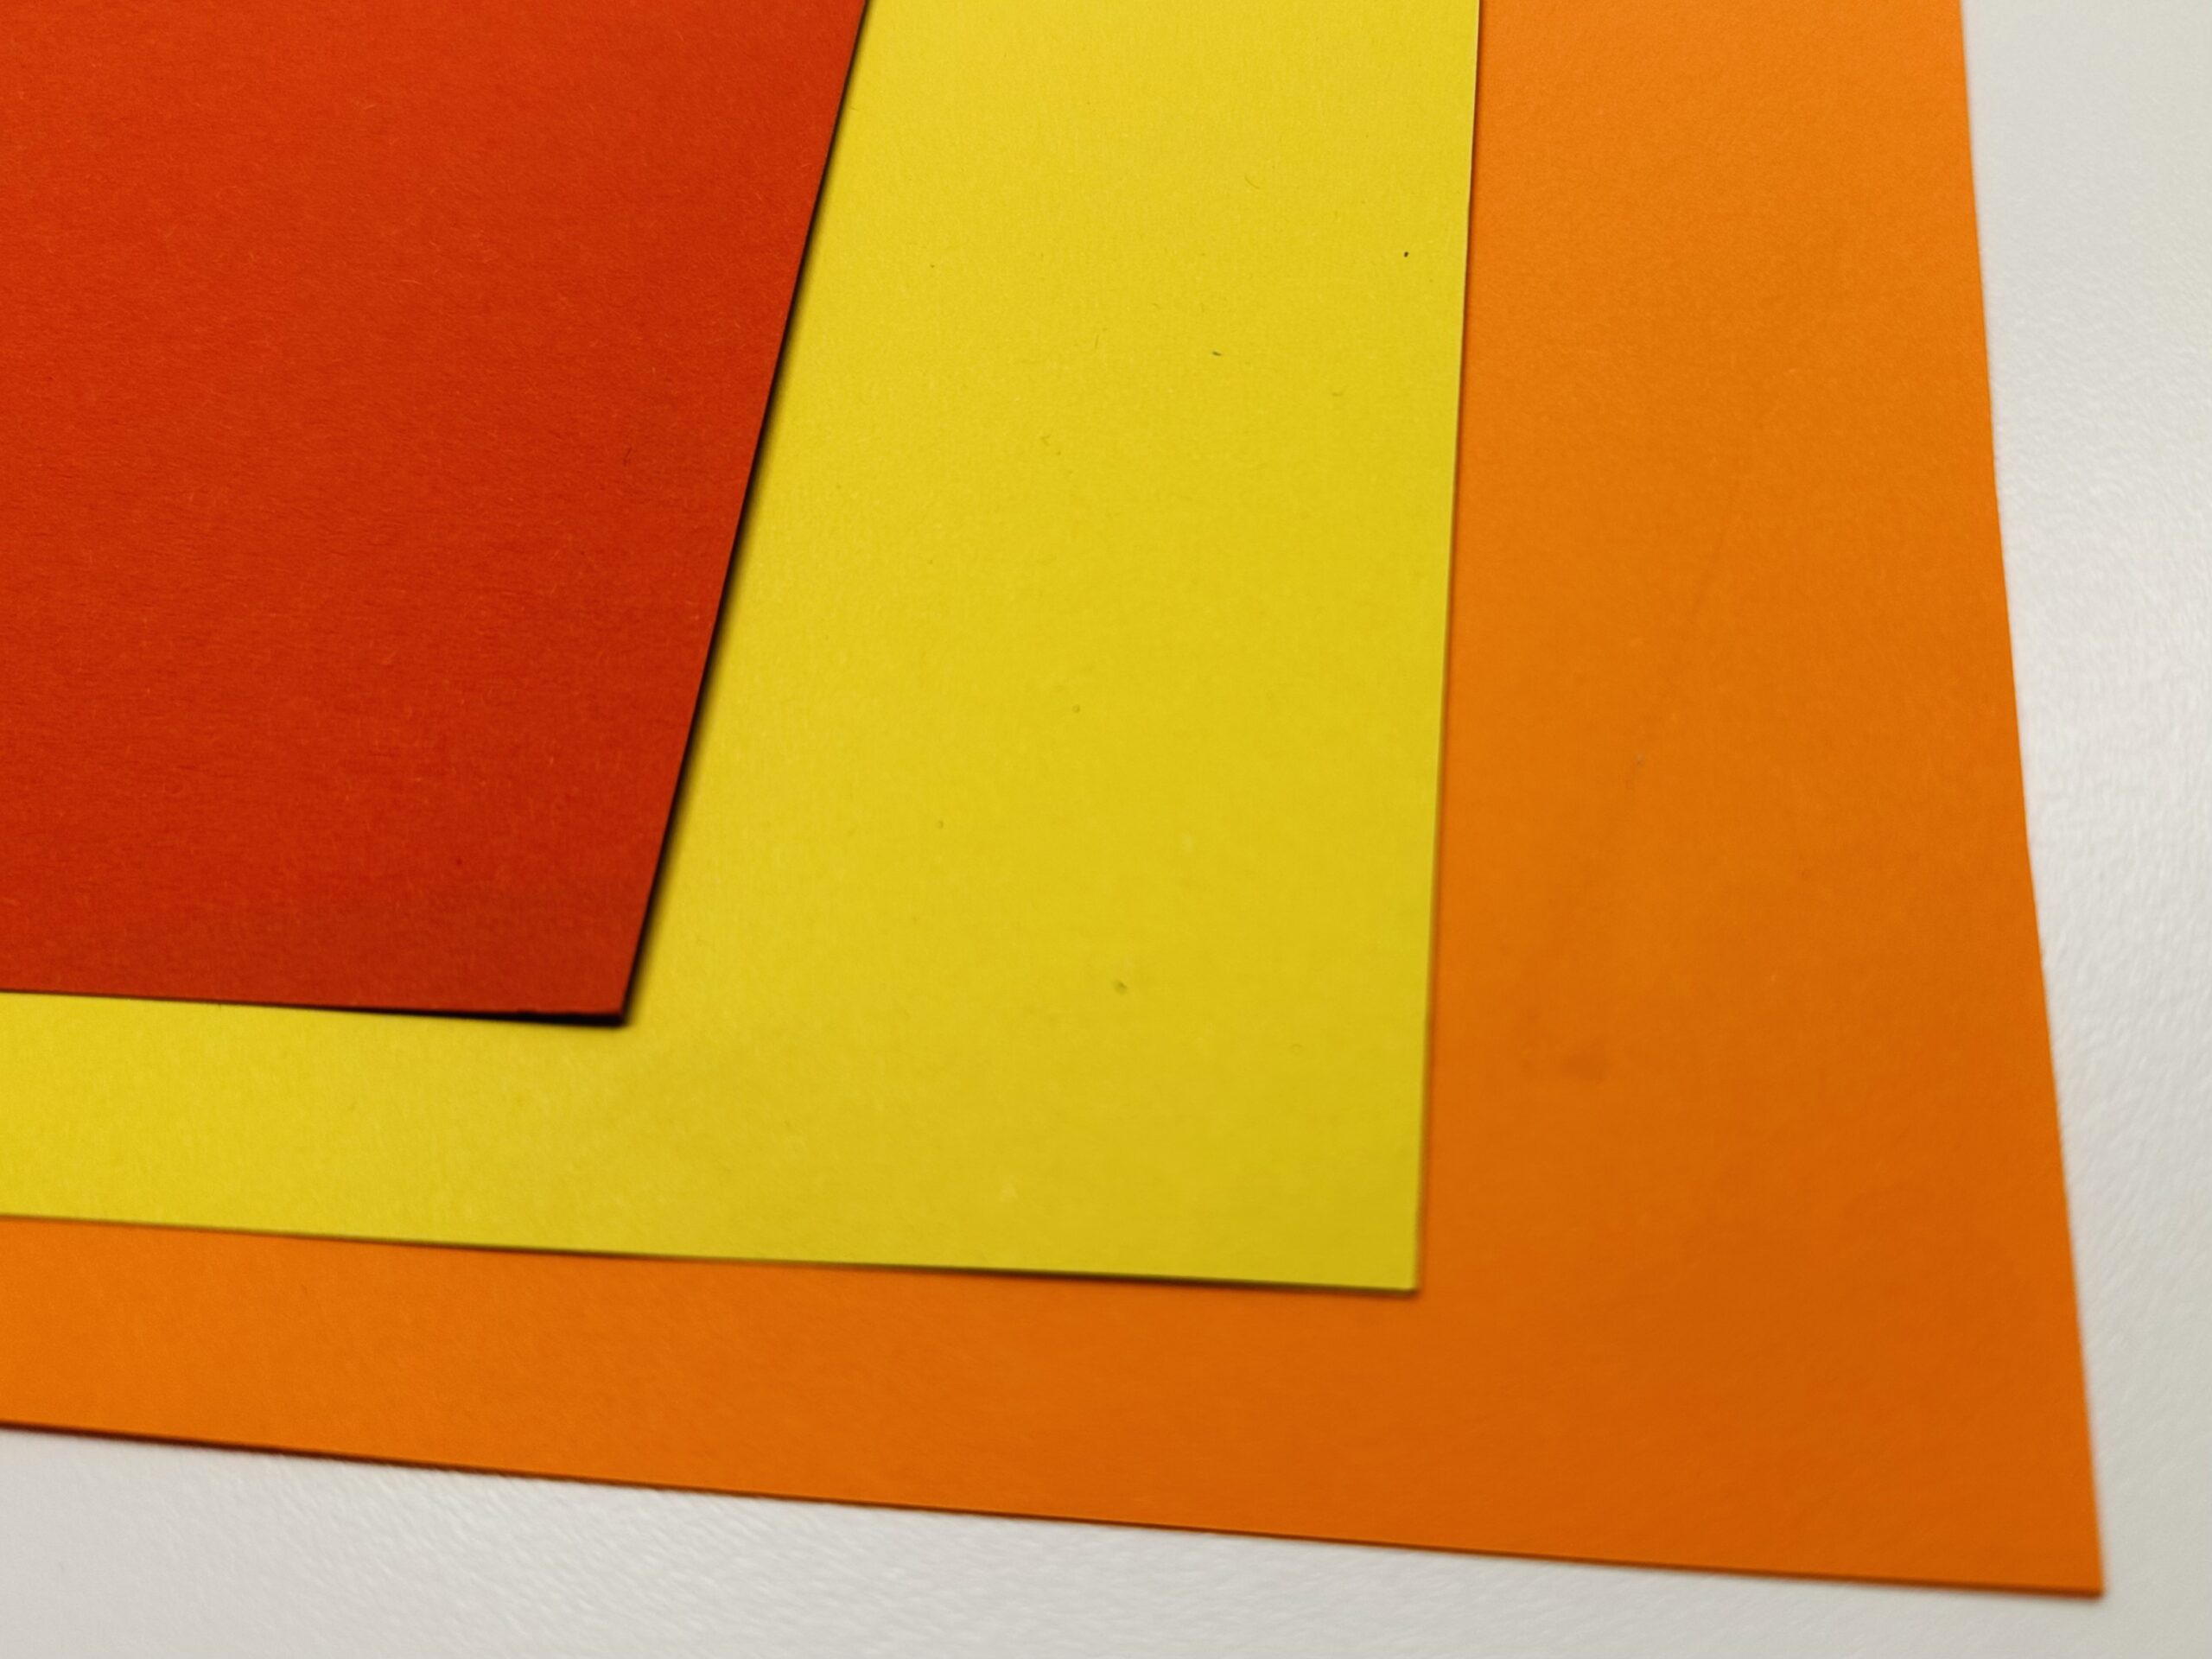
Bild zum Schritt 1 für das Bastel- und DIY-Abenteuer für Kinder: 'Legt euch alle Bastelutensilien bereit.  Verwendet drei Tonpapiere oder...'

2

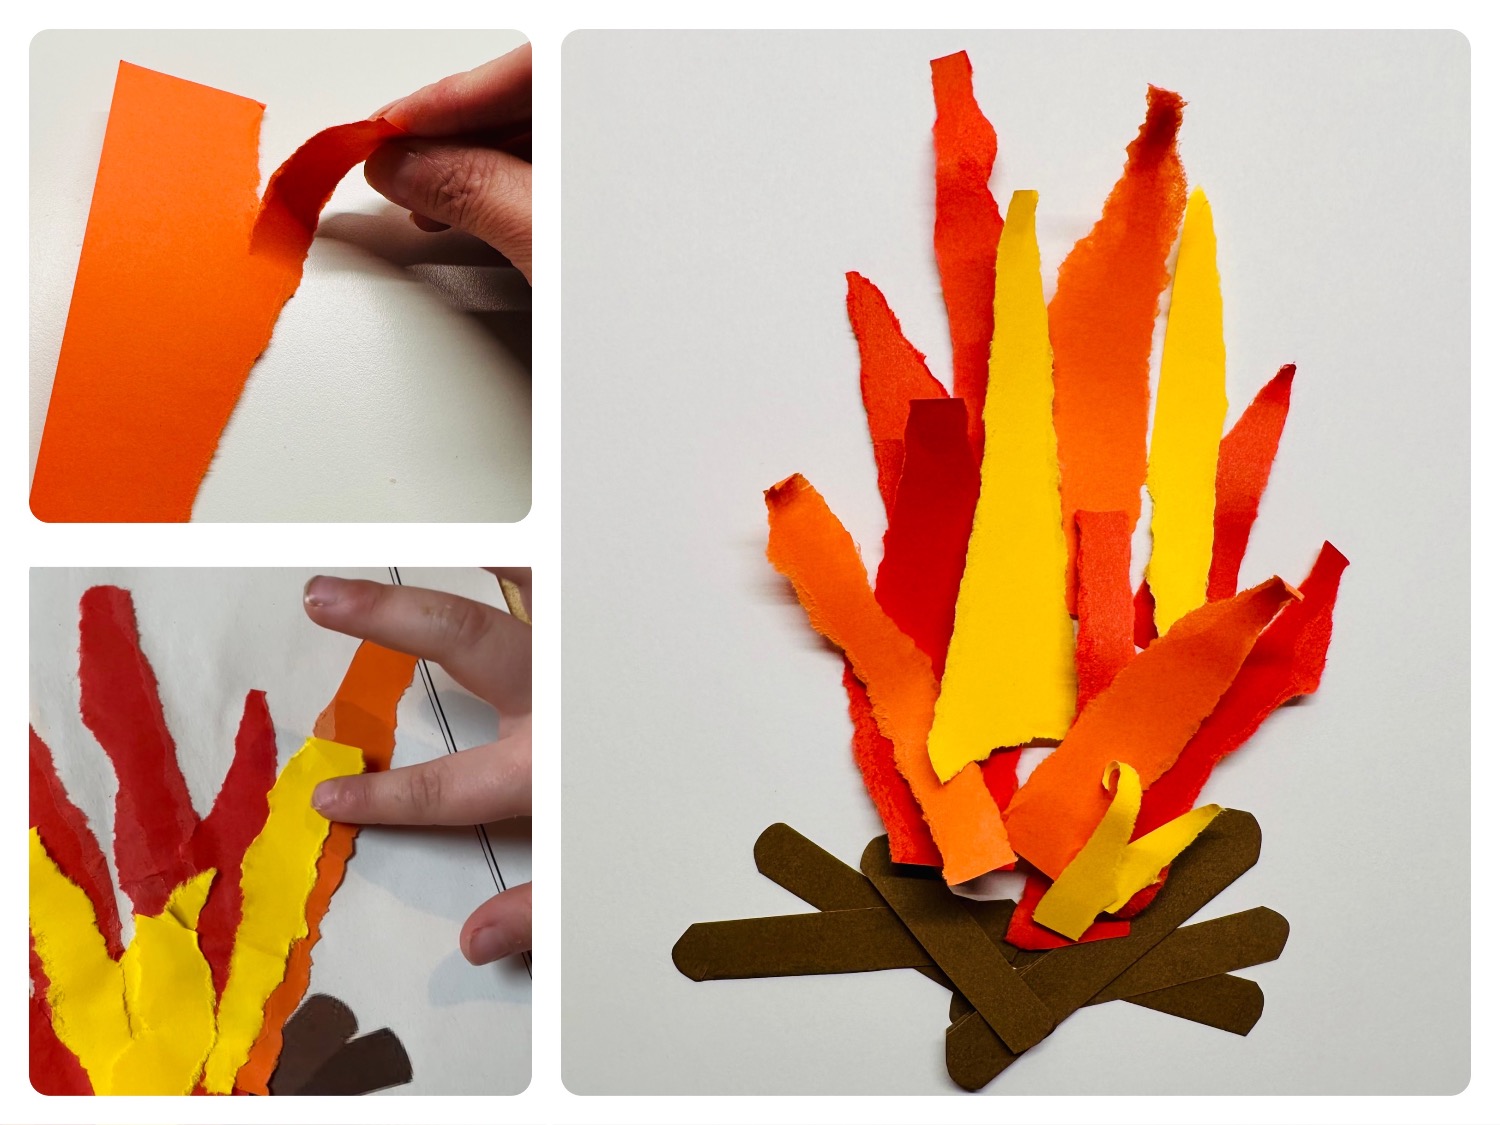
Take the colorful clay paper and tear it into long pointed strips.
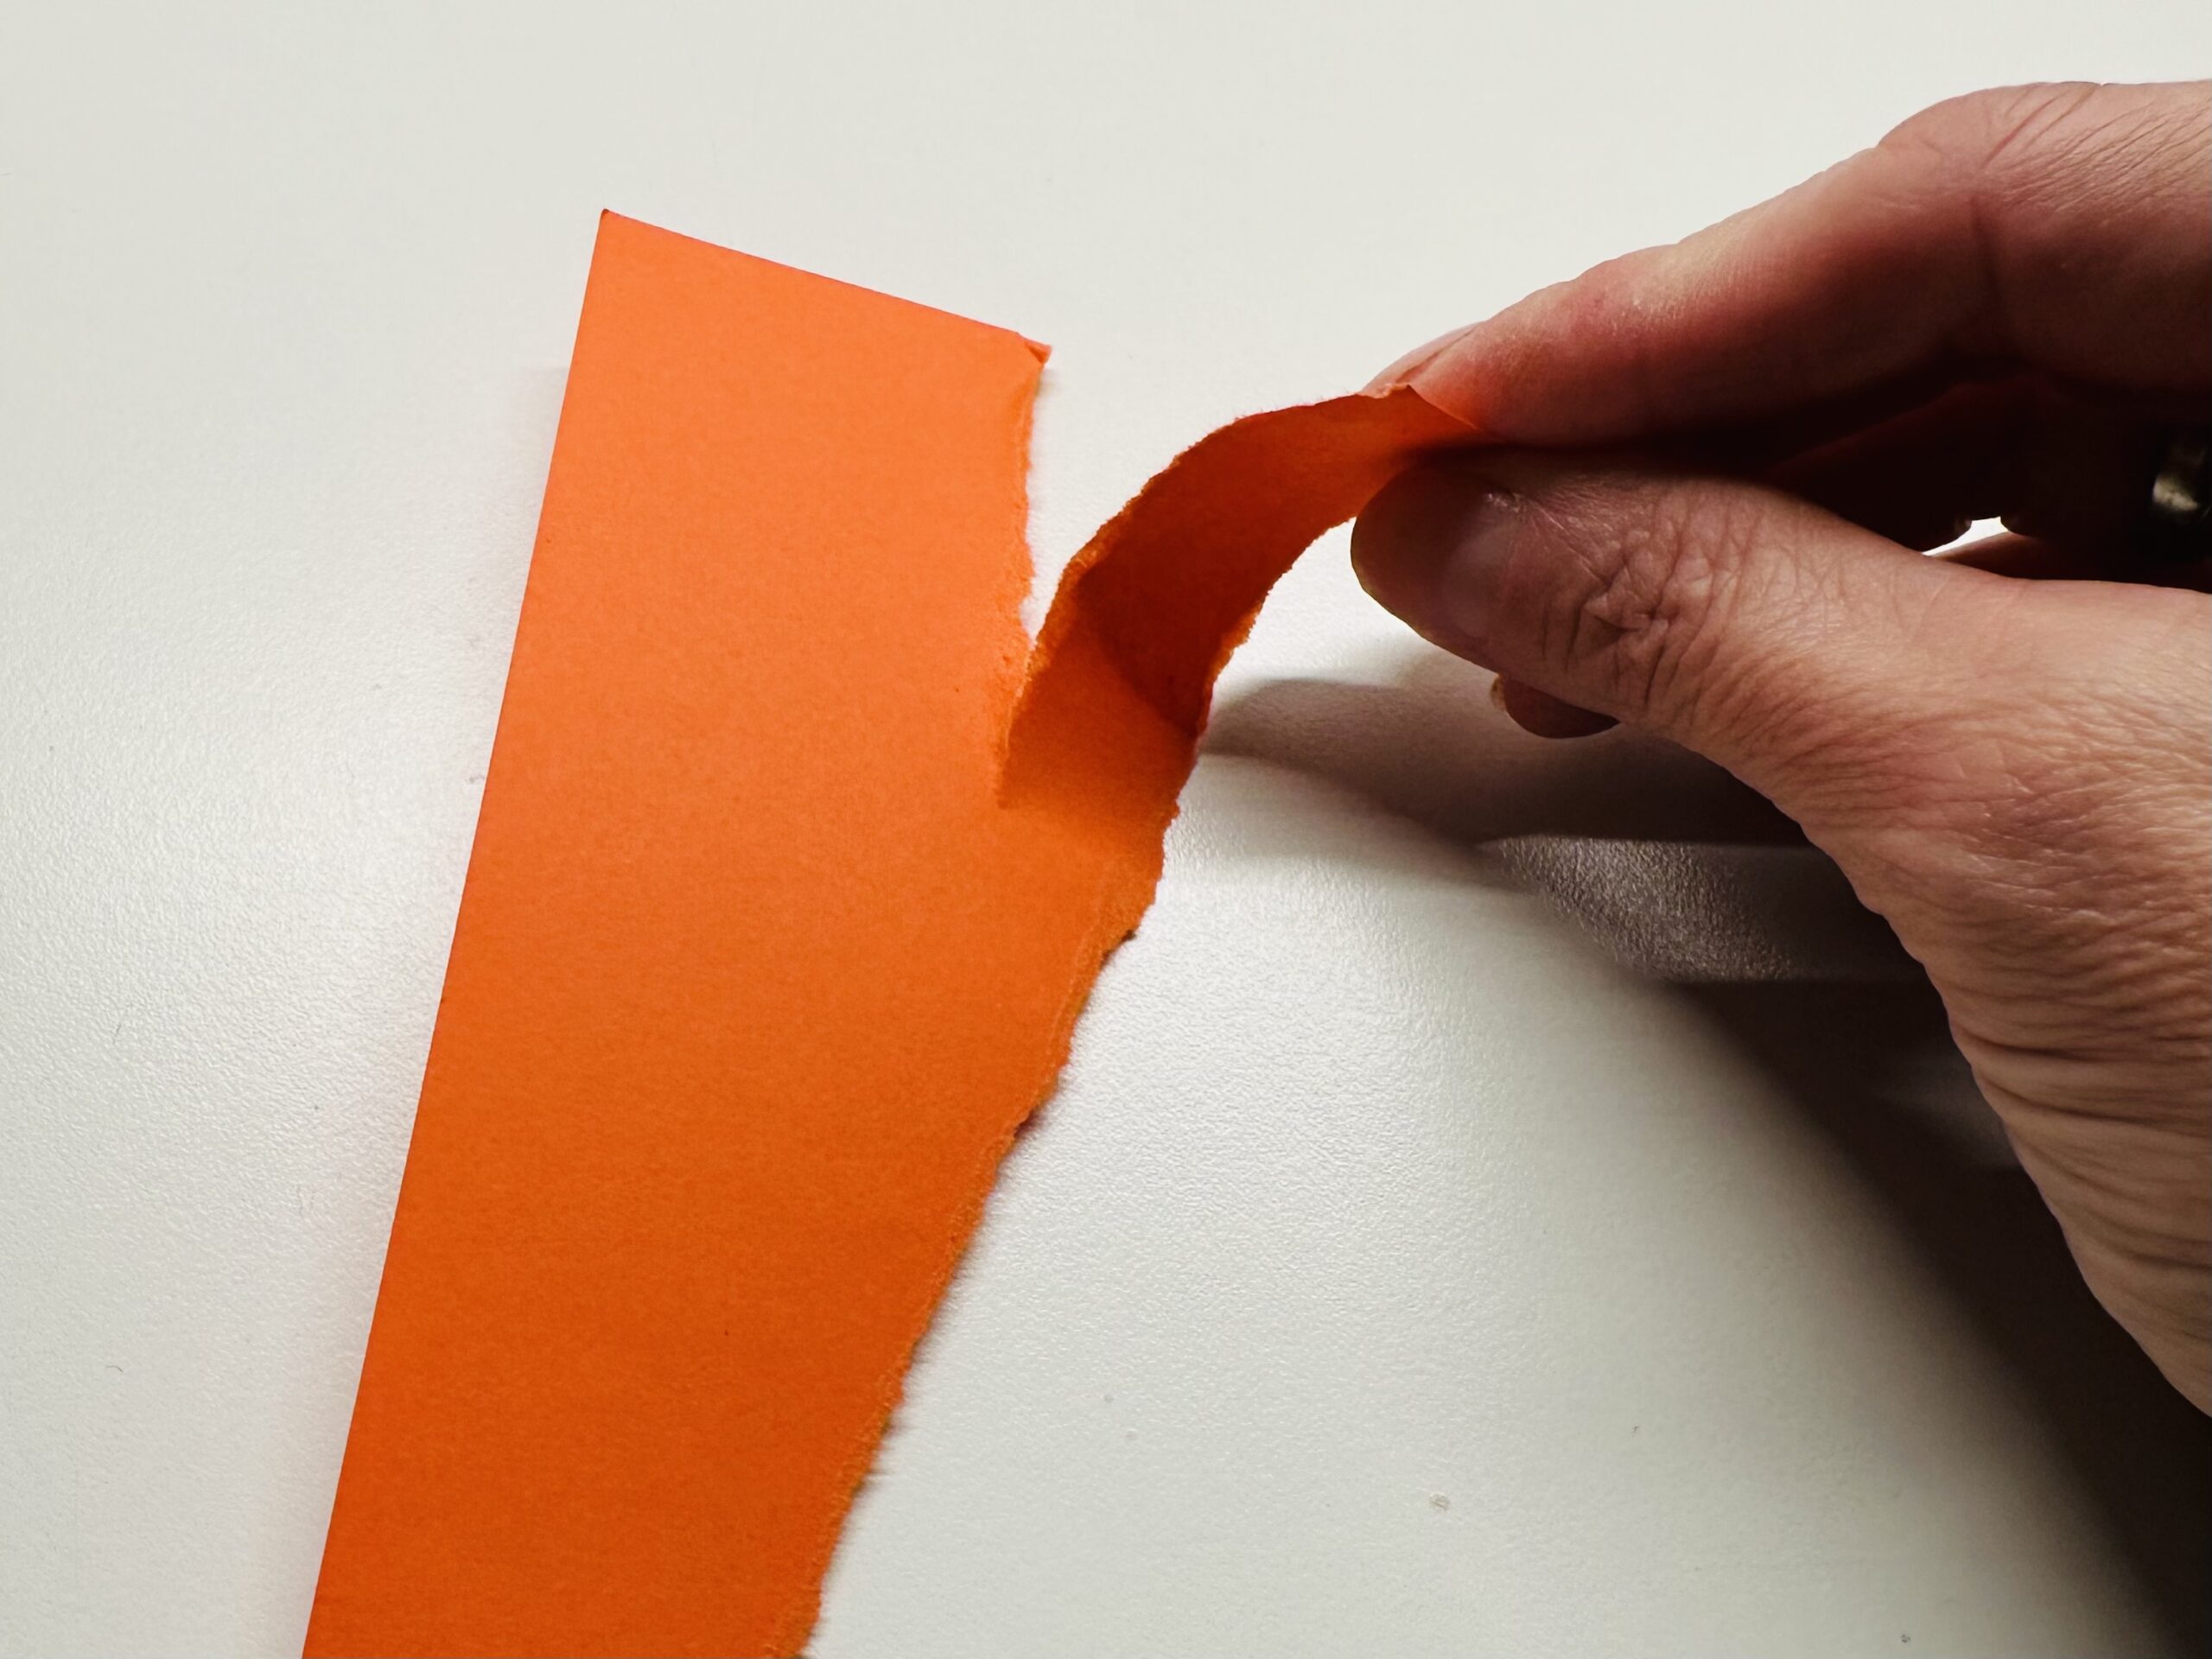
Bild zum Schritt 2 für das Bastel- und DIY-Abenteuer für Kinder: 'Nehmt das bunte Tonpapier und reißt es in lange spitz...'

3

The torn pieces can be very different.
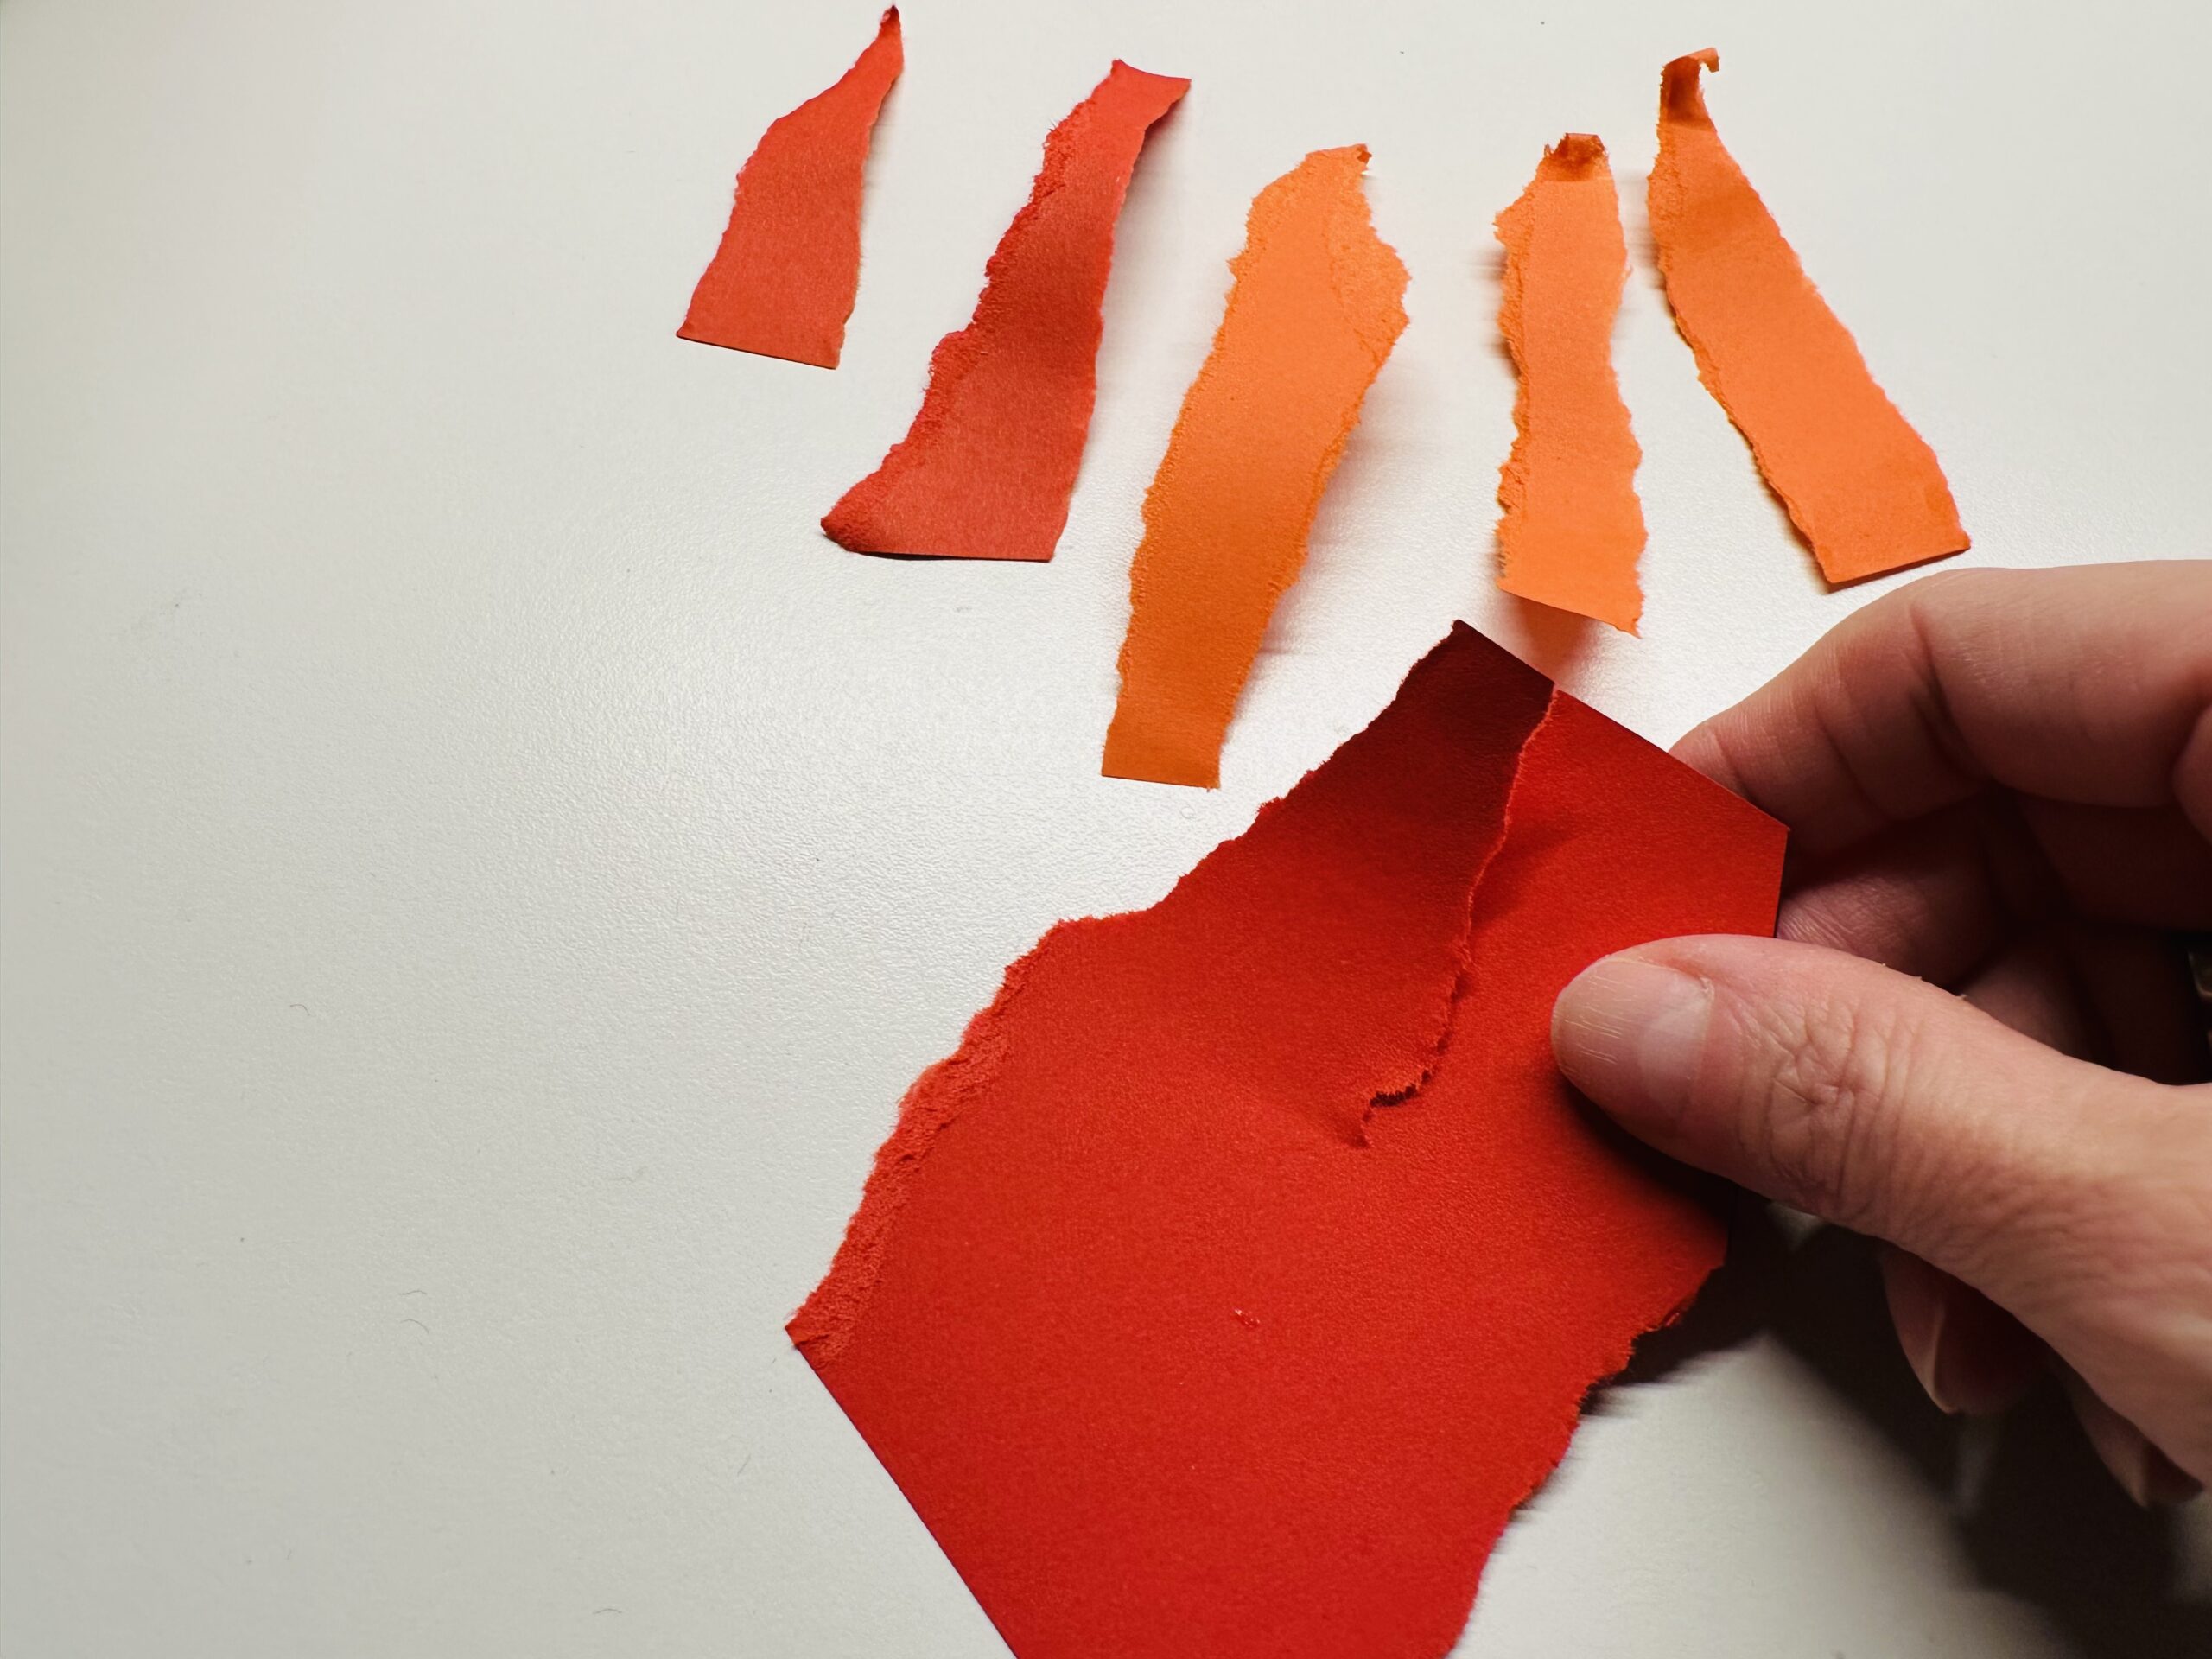
Bild zum Schritt 3 für das Bastel- und DIY-Abenteuer für Kinder: 'Die gerissenen Stücke können sehr unterschiedlich sein.'

4

These are the stripes you need for the flames.
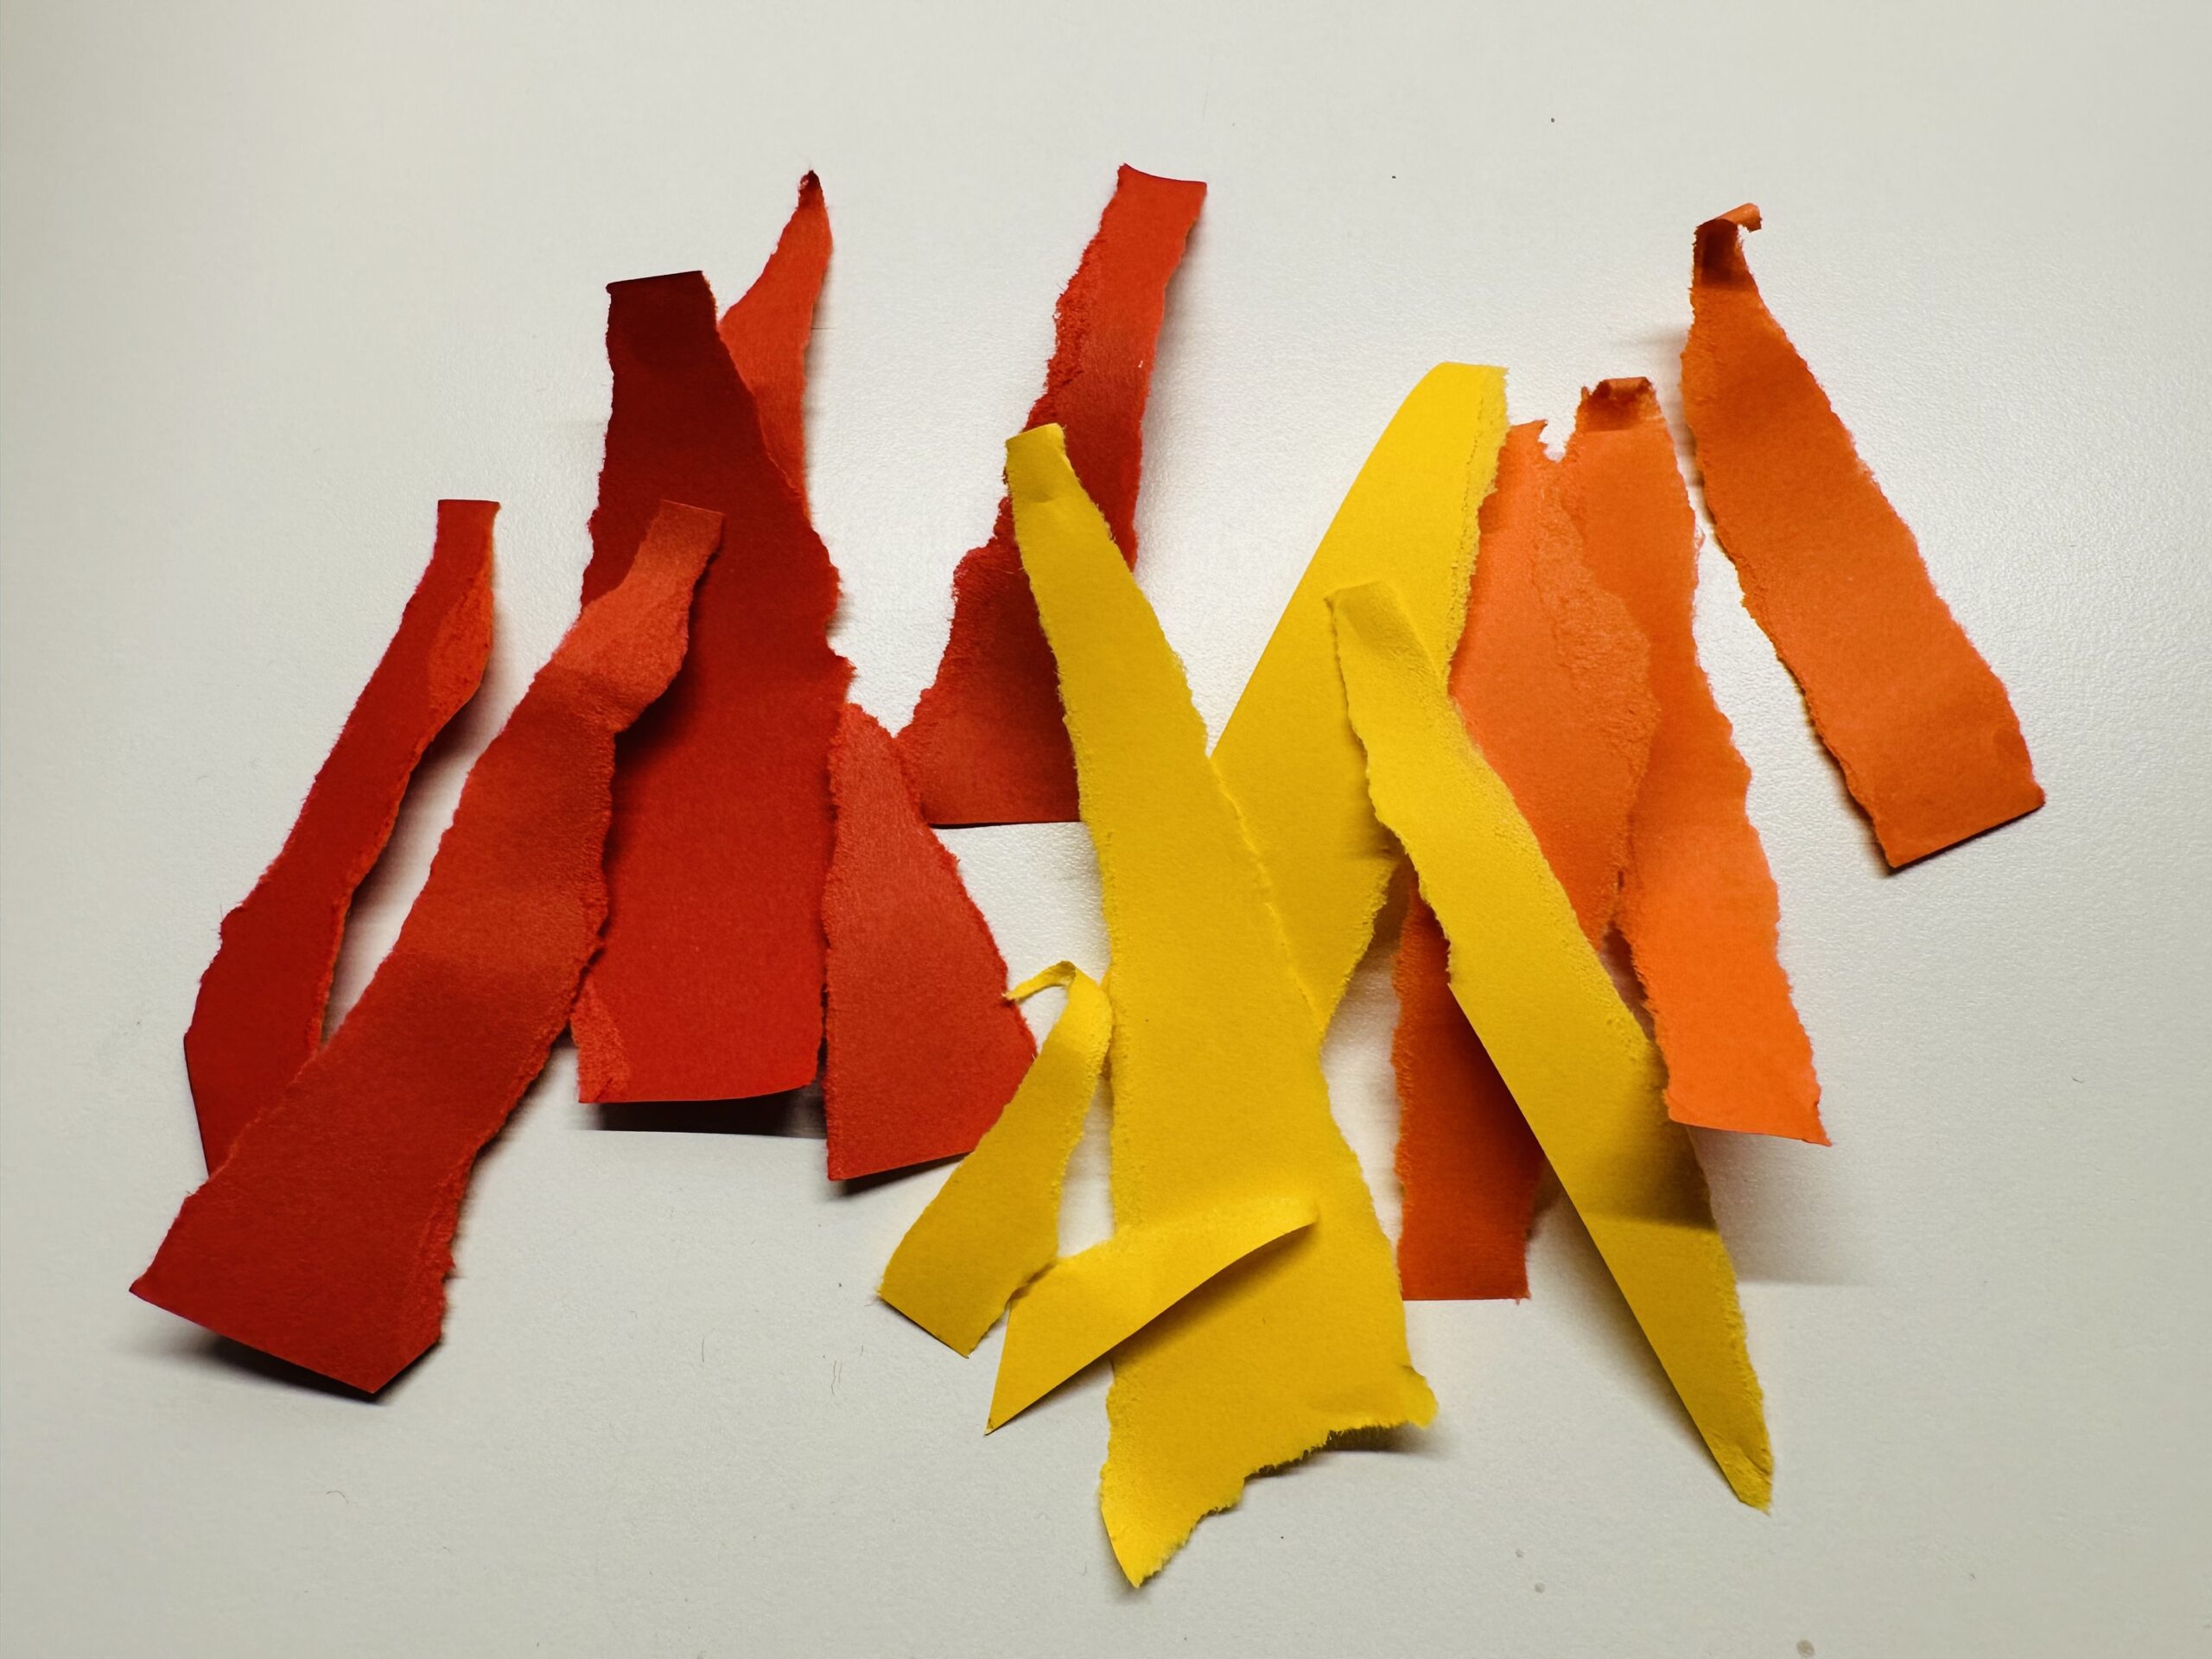
Bild zum Schritt 4 für das Bastel- und DIY-Abenteuer für Kinder: 'Das sind die Streifen, die ihr für die Flammen braucht.'

5

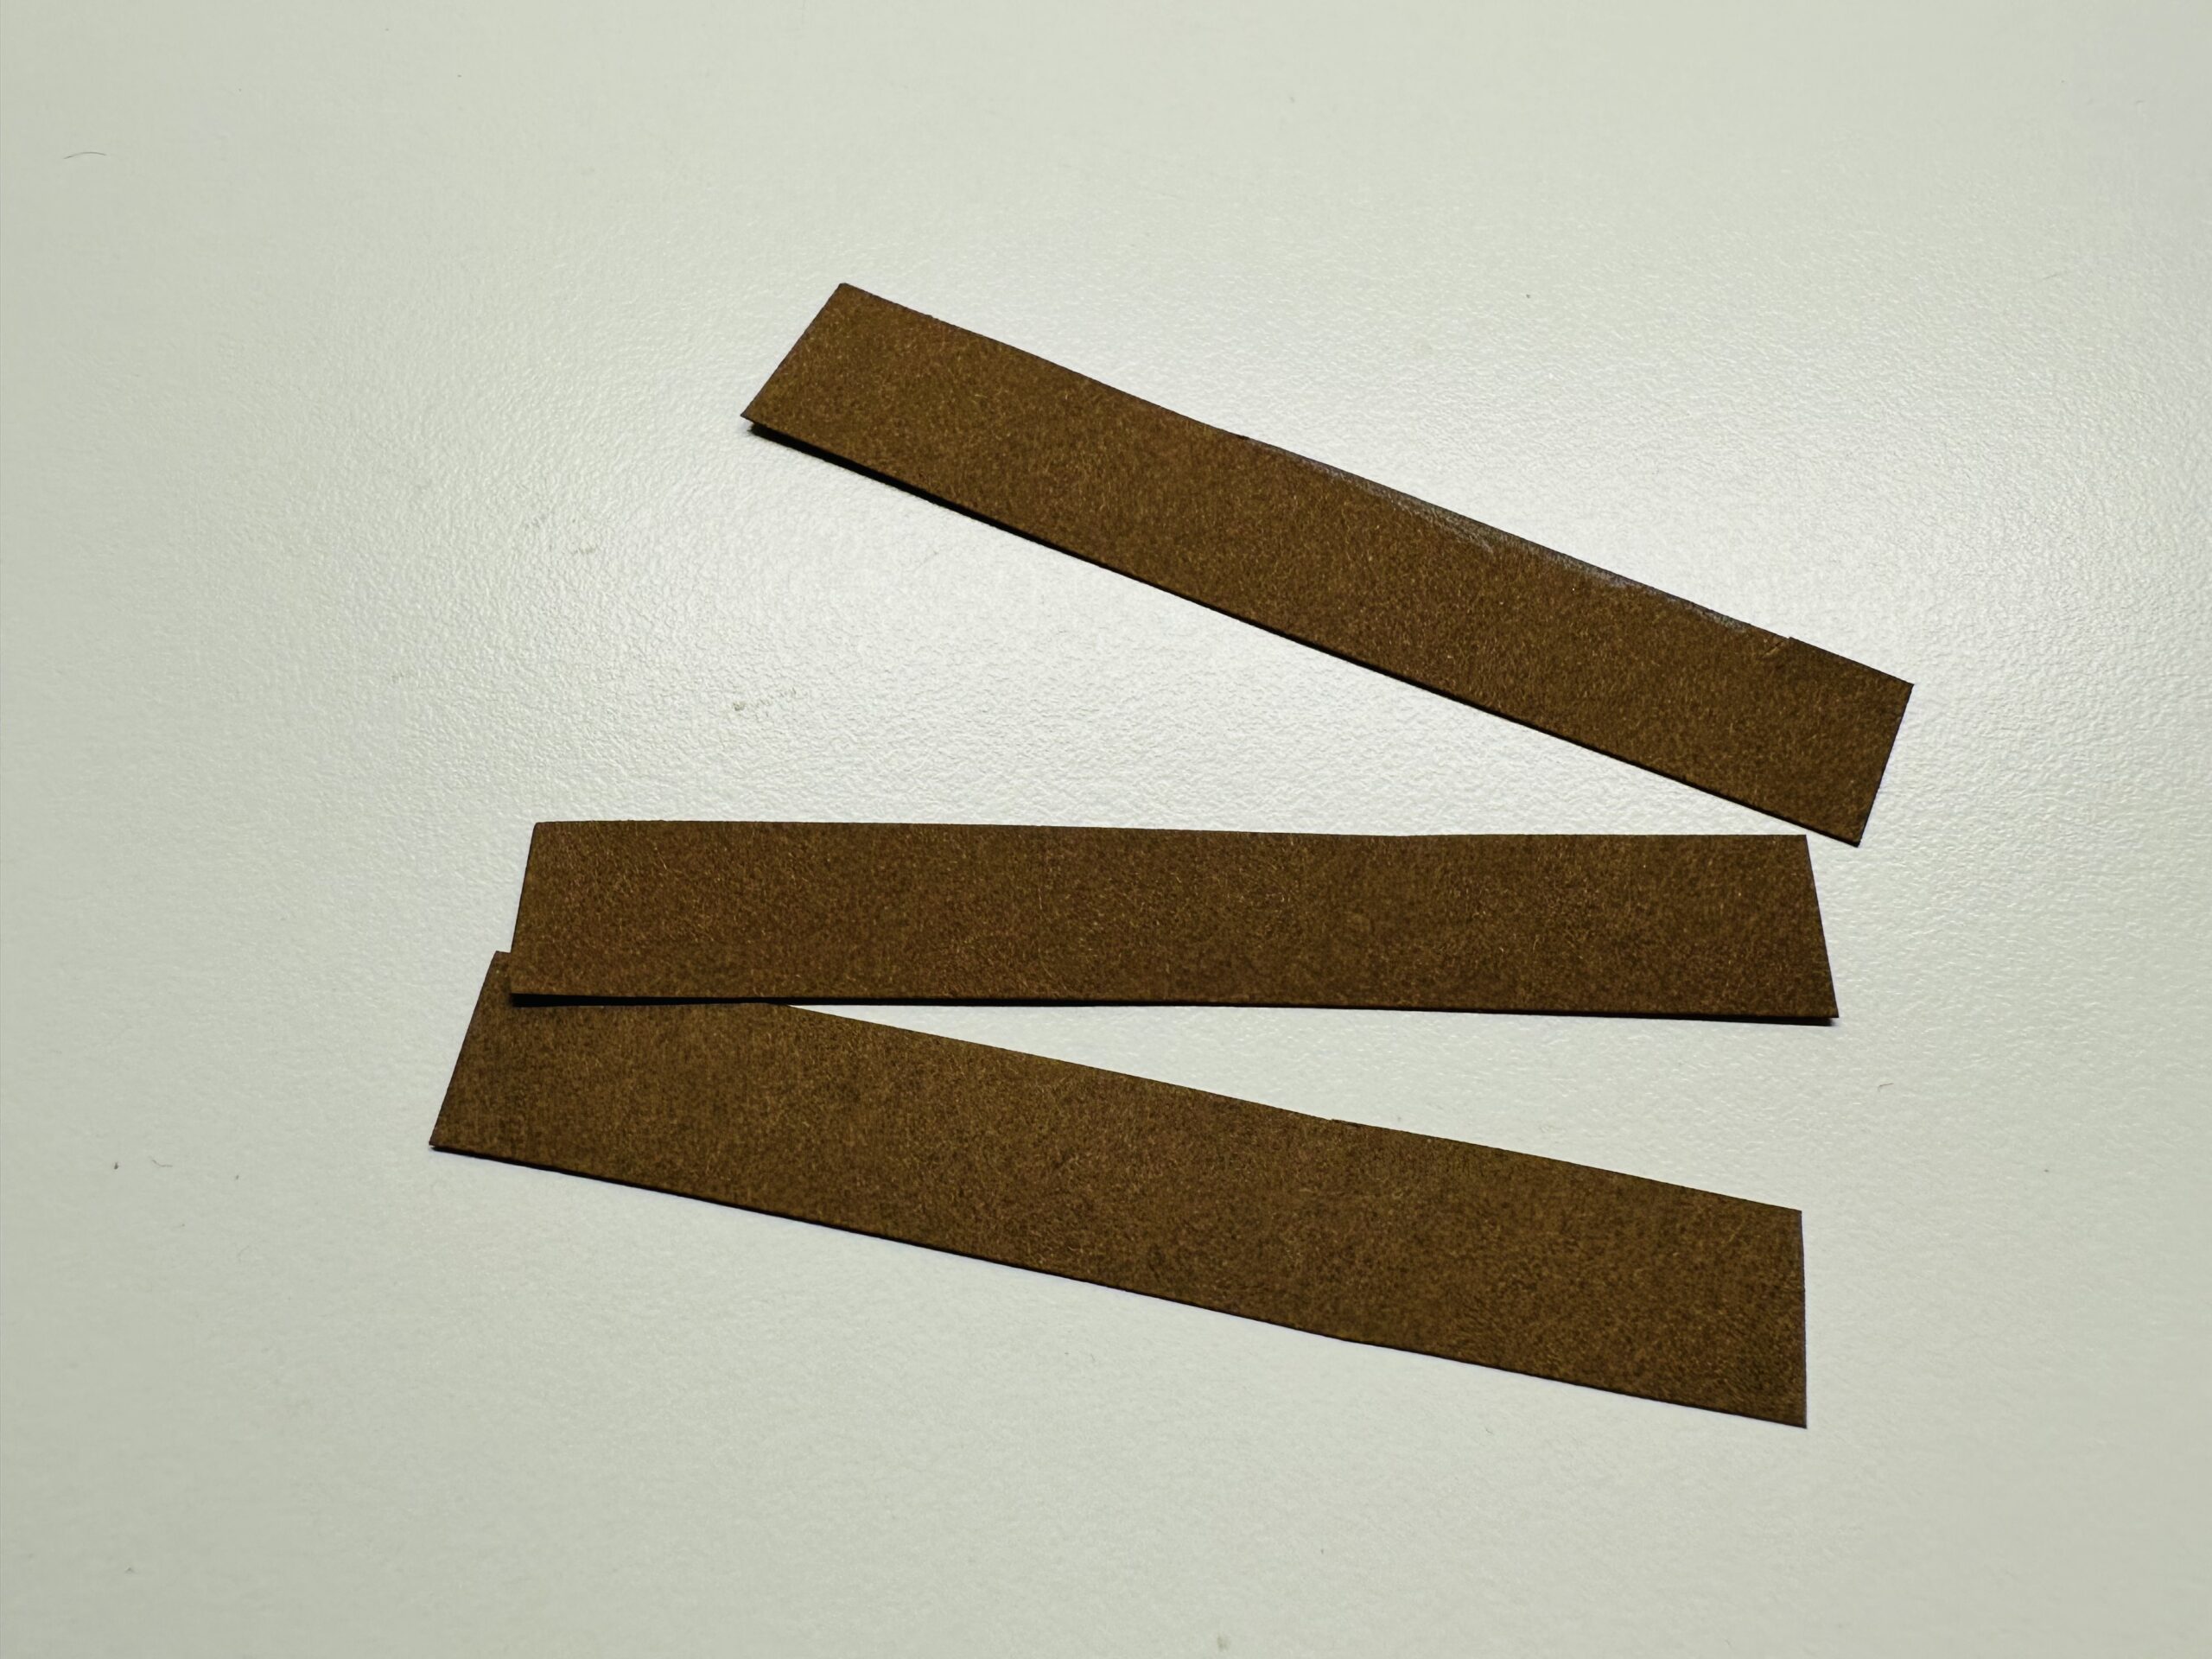
Now take a piece of brown clay paper.
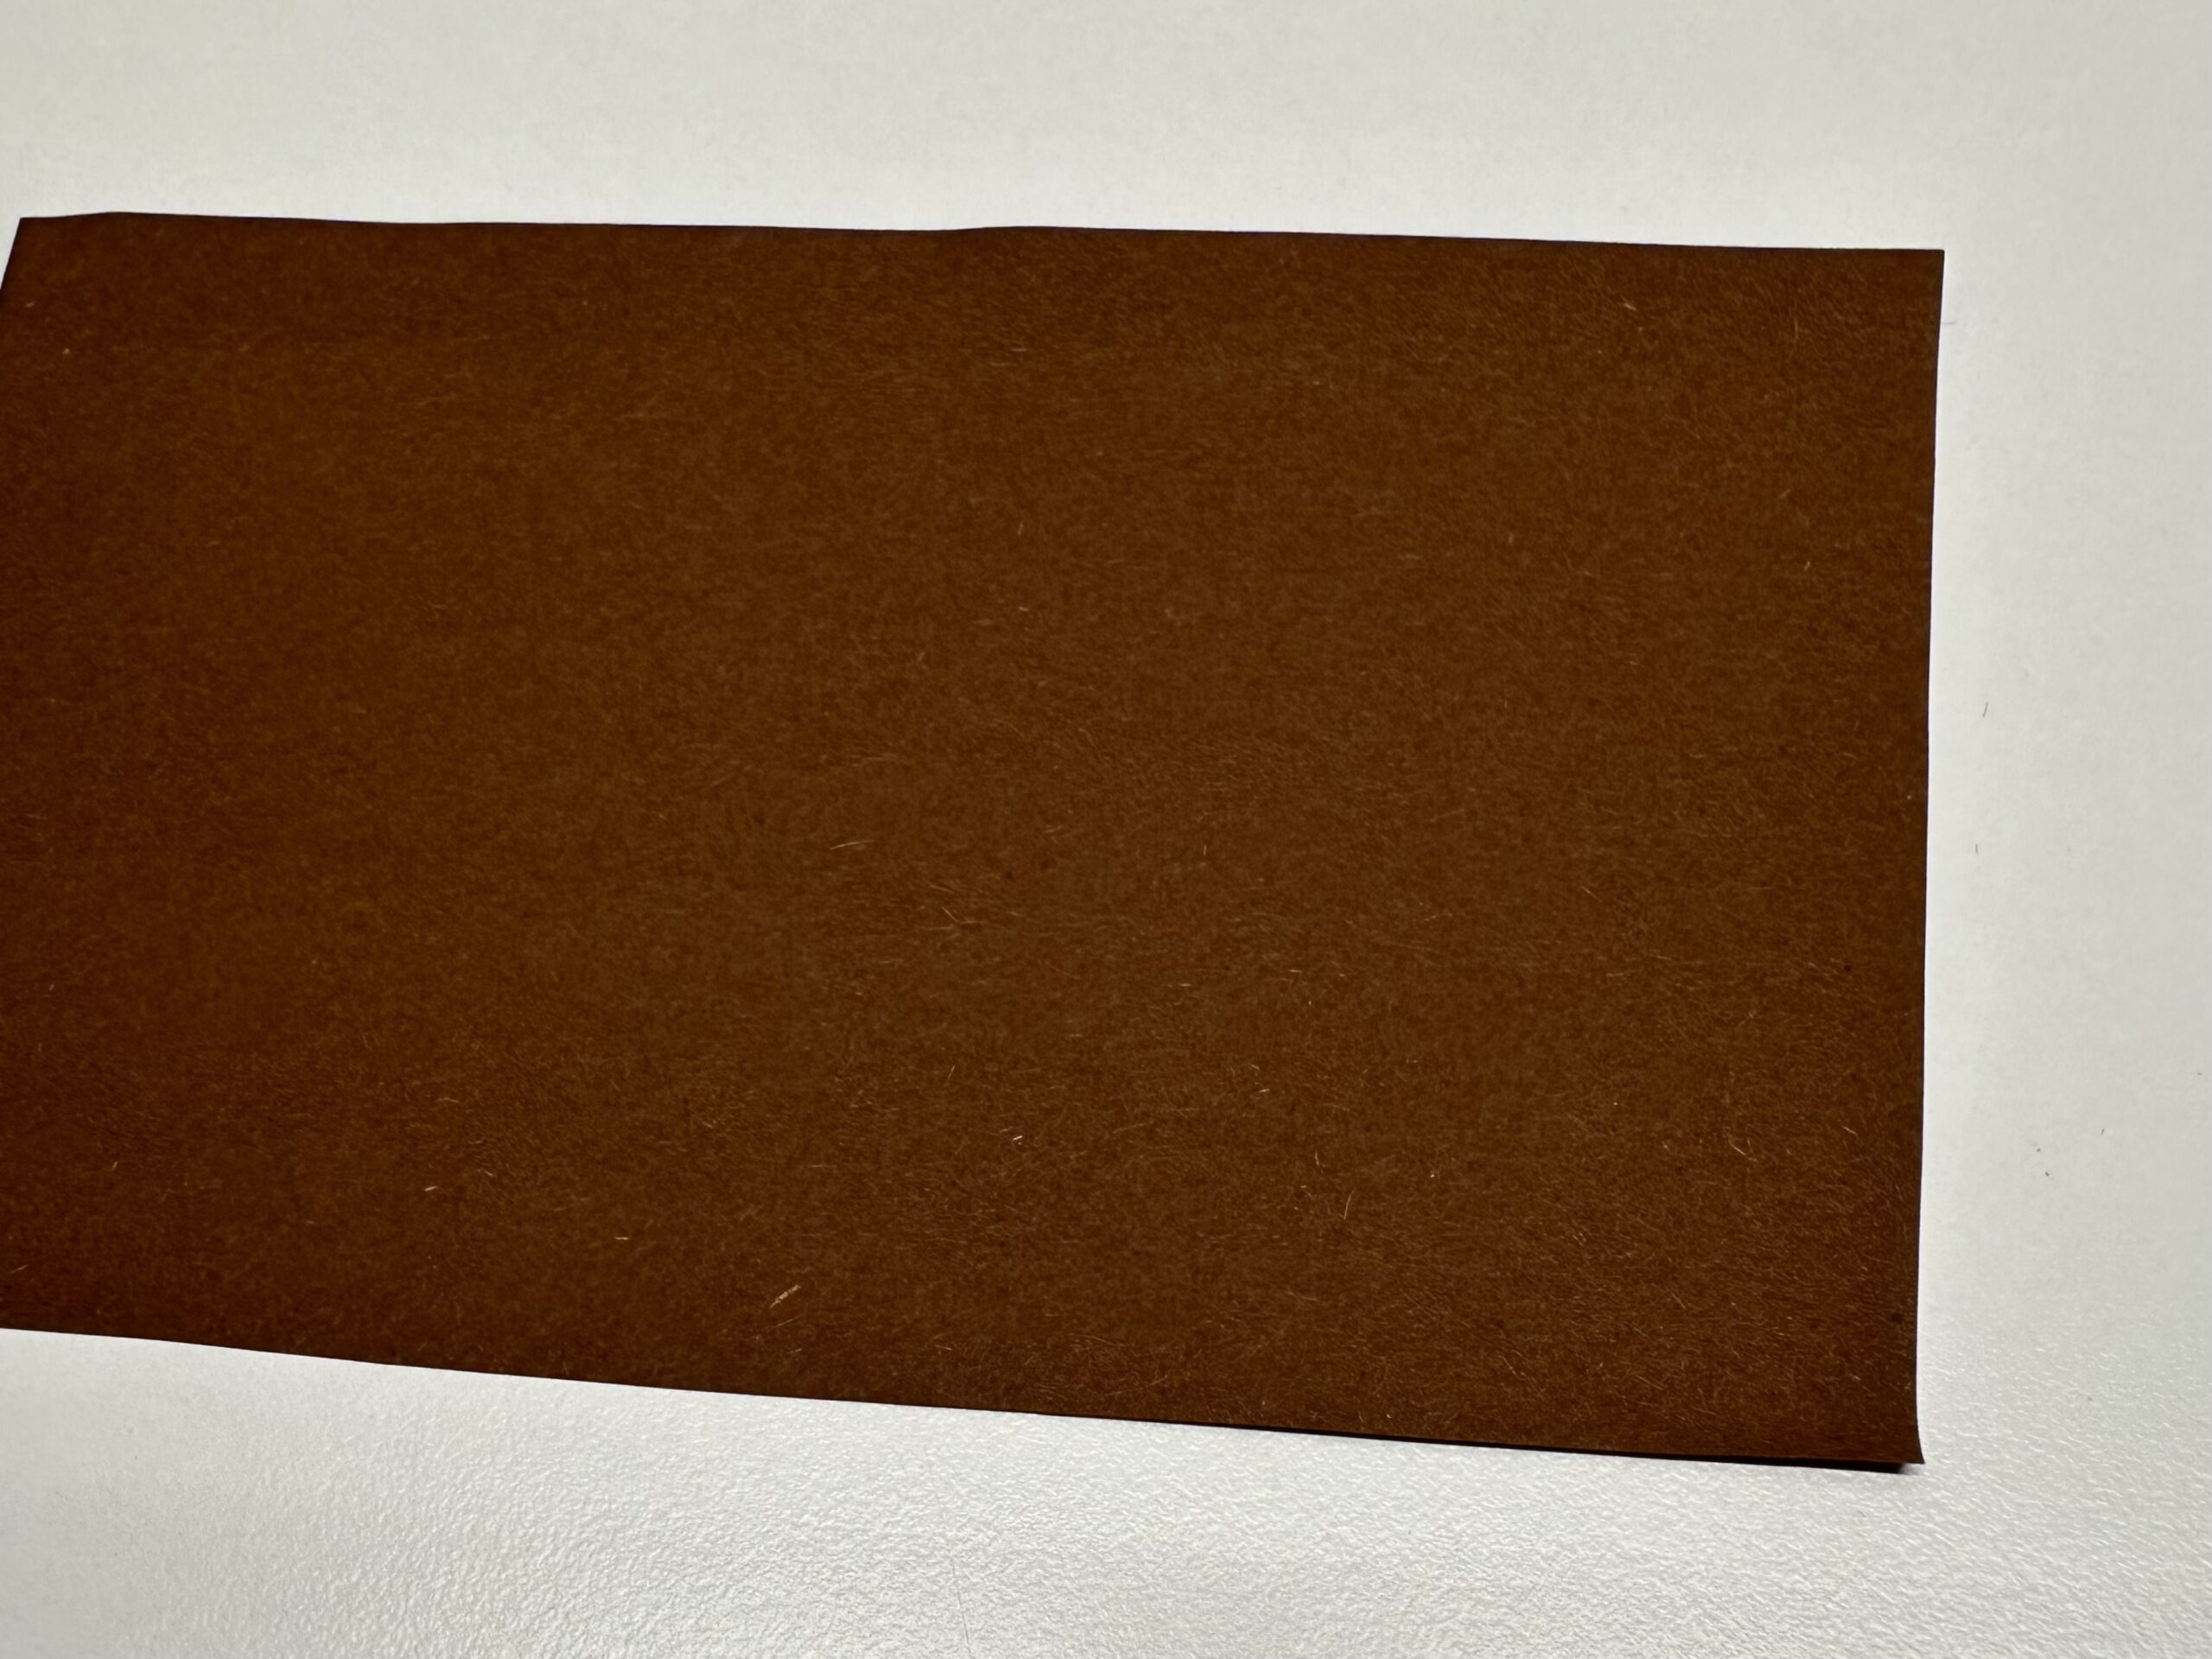
Bild zum Schritt 5 für das Bastel- und DIY-Abenteuer für Kinder: 'Nehmt jetzt ein Reststück braunes Tonpapier.'

6

Cut off a few strips of paper.

Bild zum Schritt 6 für das Bastel- und DIY-Abenteuer für Kinder: 'Schneidet ein paar Streifen vom Tonpapier ab.'

7

You can cut the tails of the stripes in an arch.
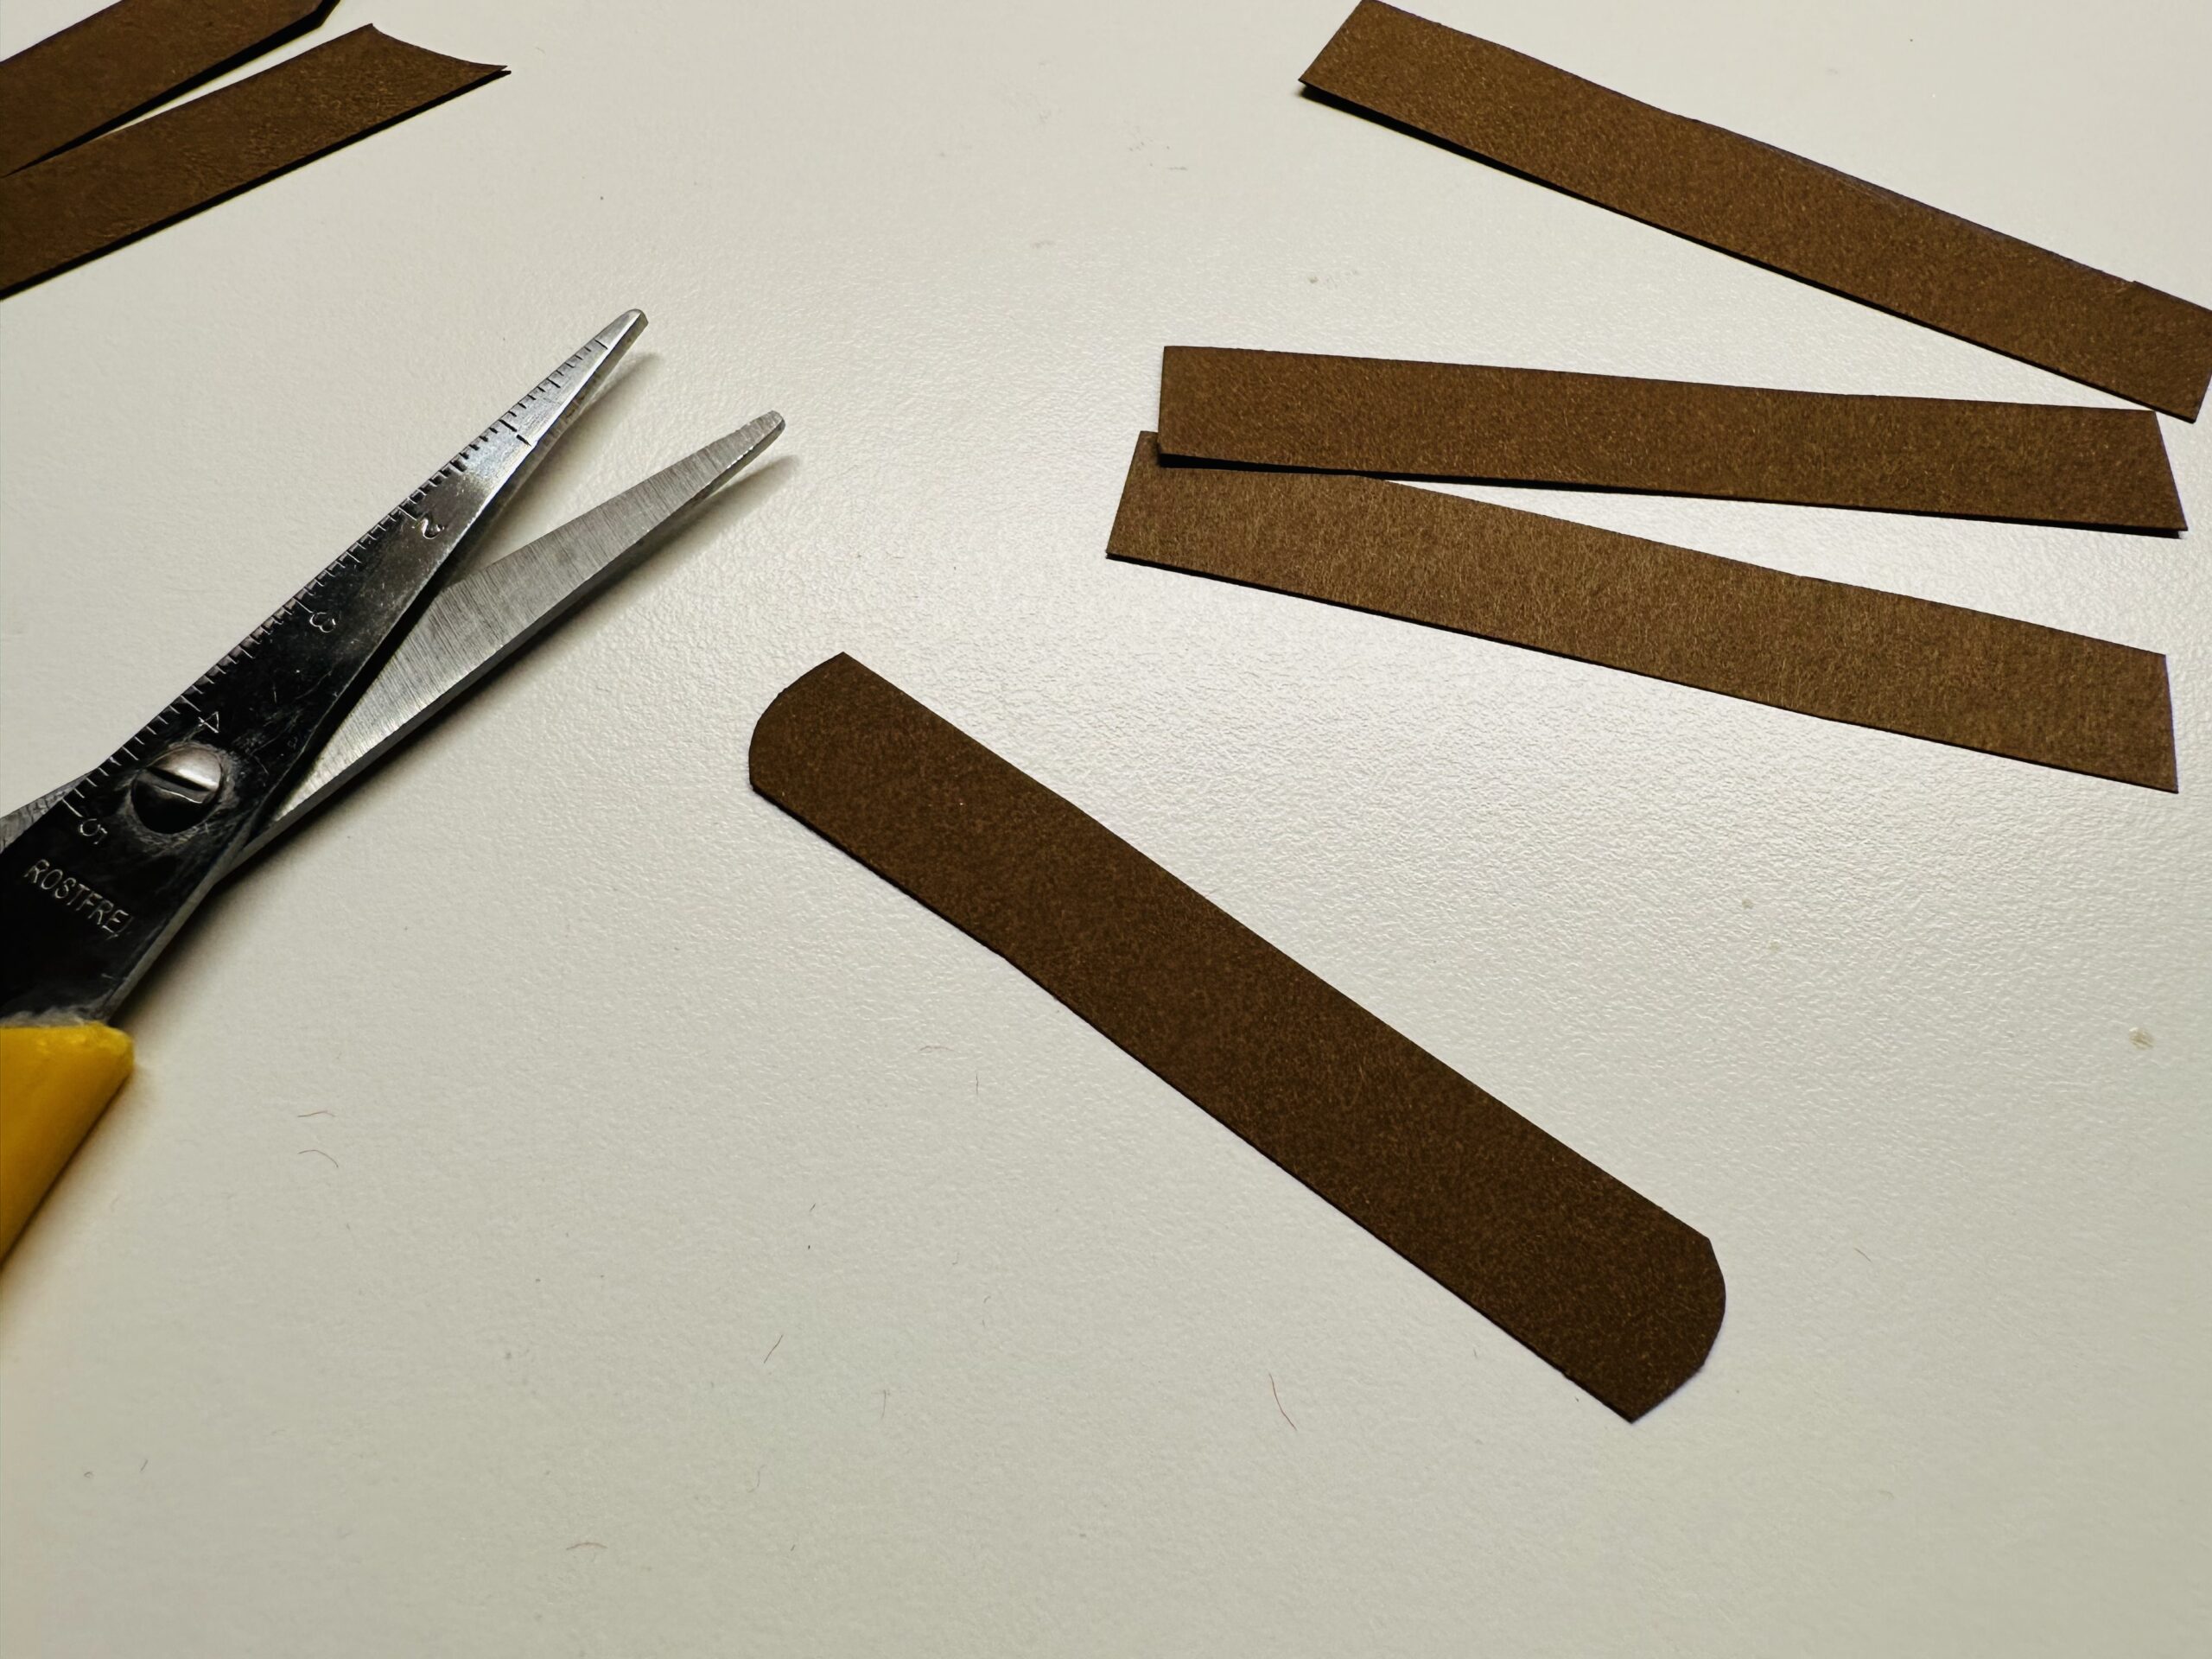
Bild zum Schritt 7 für das Bastel- und DIY-Abenteuer für Kinder: 'Die Endstücke der Streifen könnt ihr bogenförmig zuschneiden.'

8

Cut all the strips like that, they look like woods.
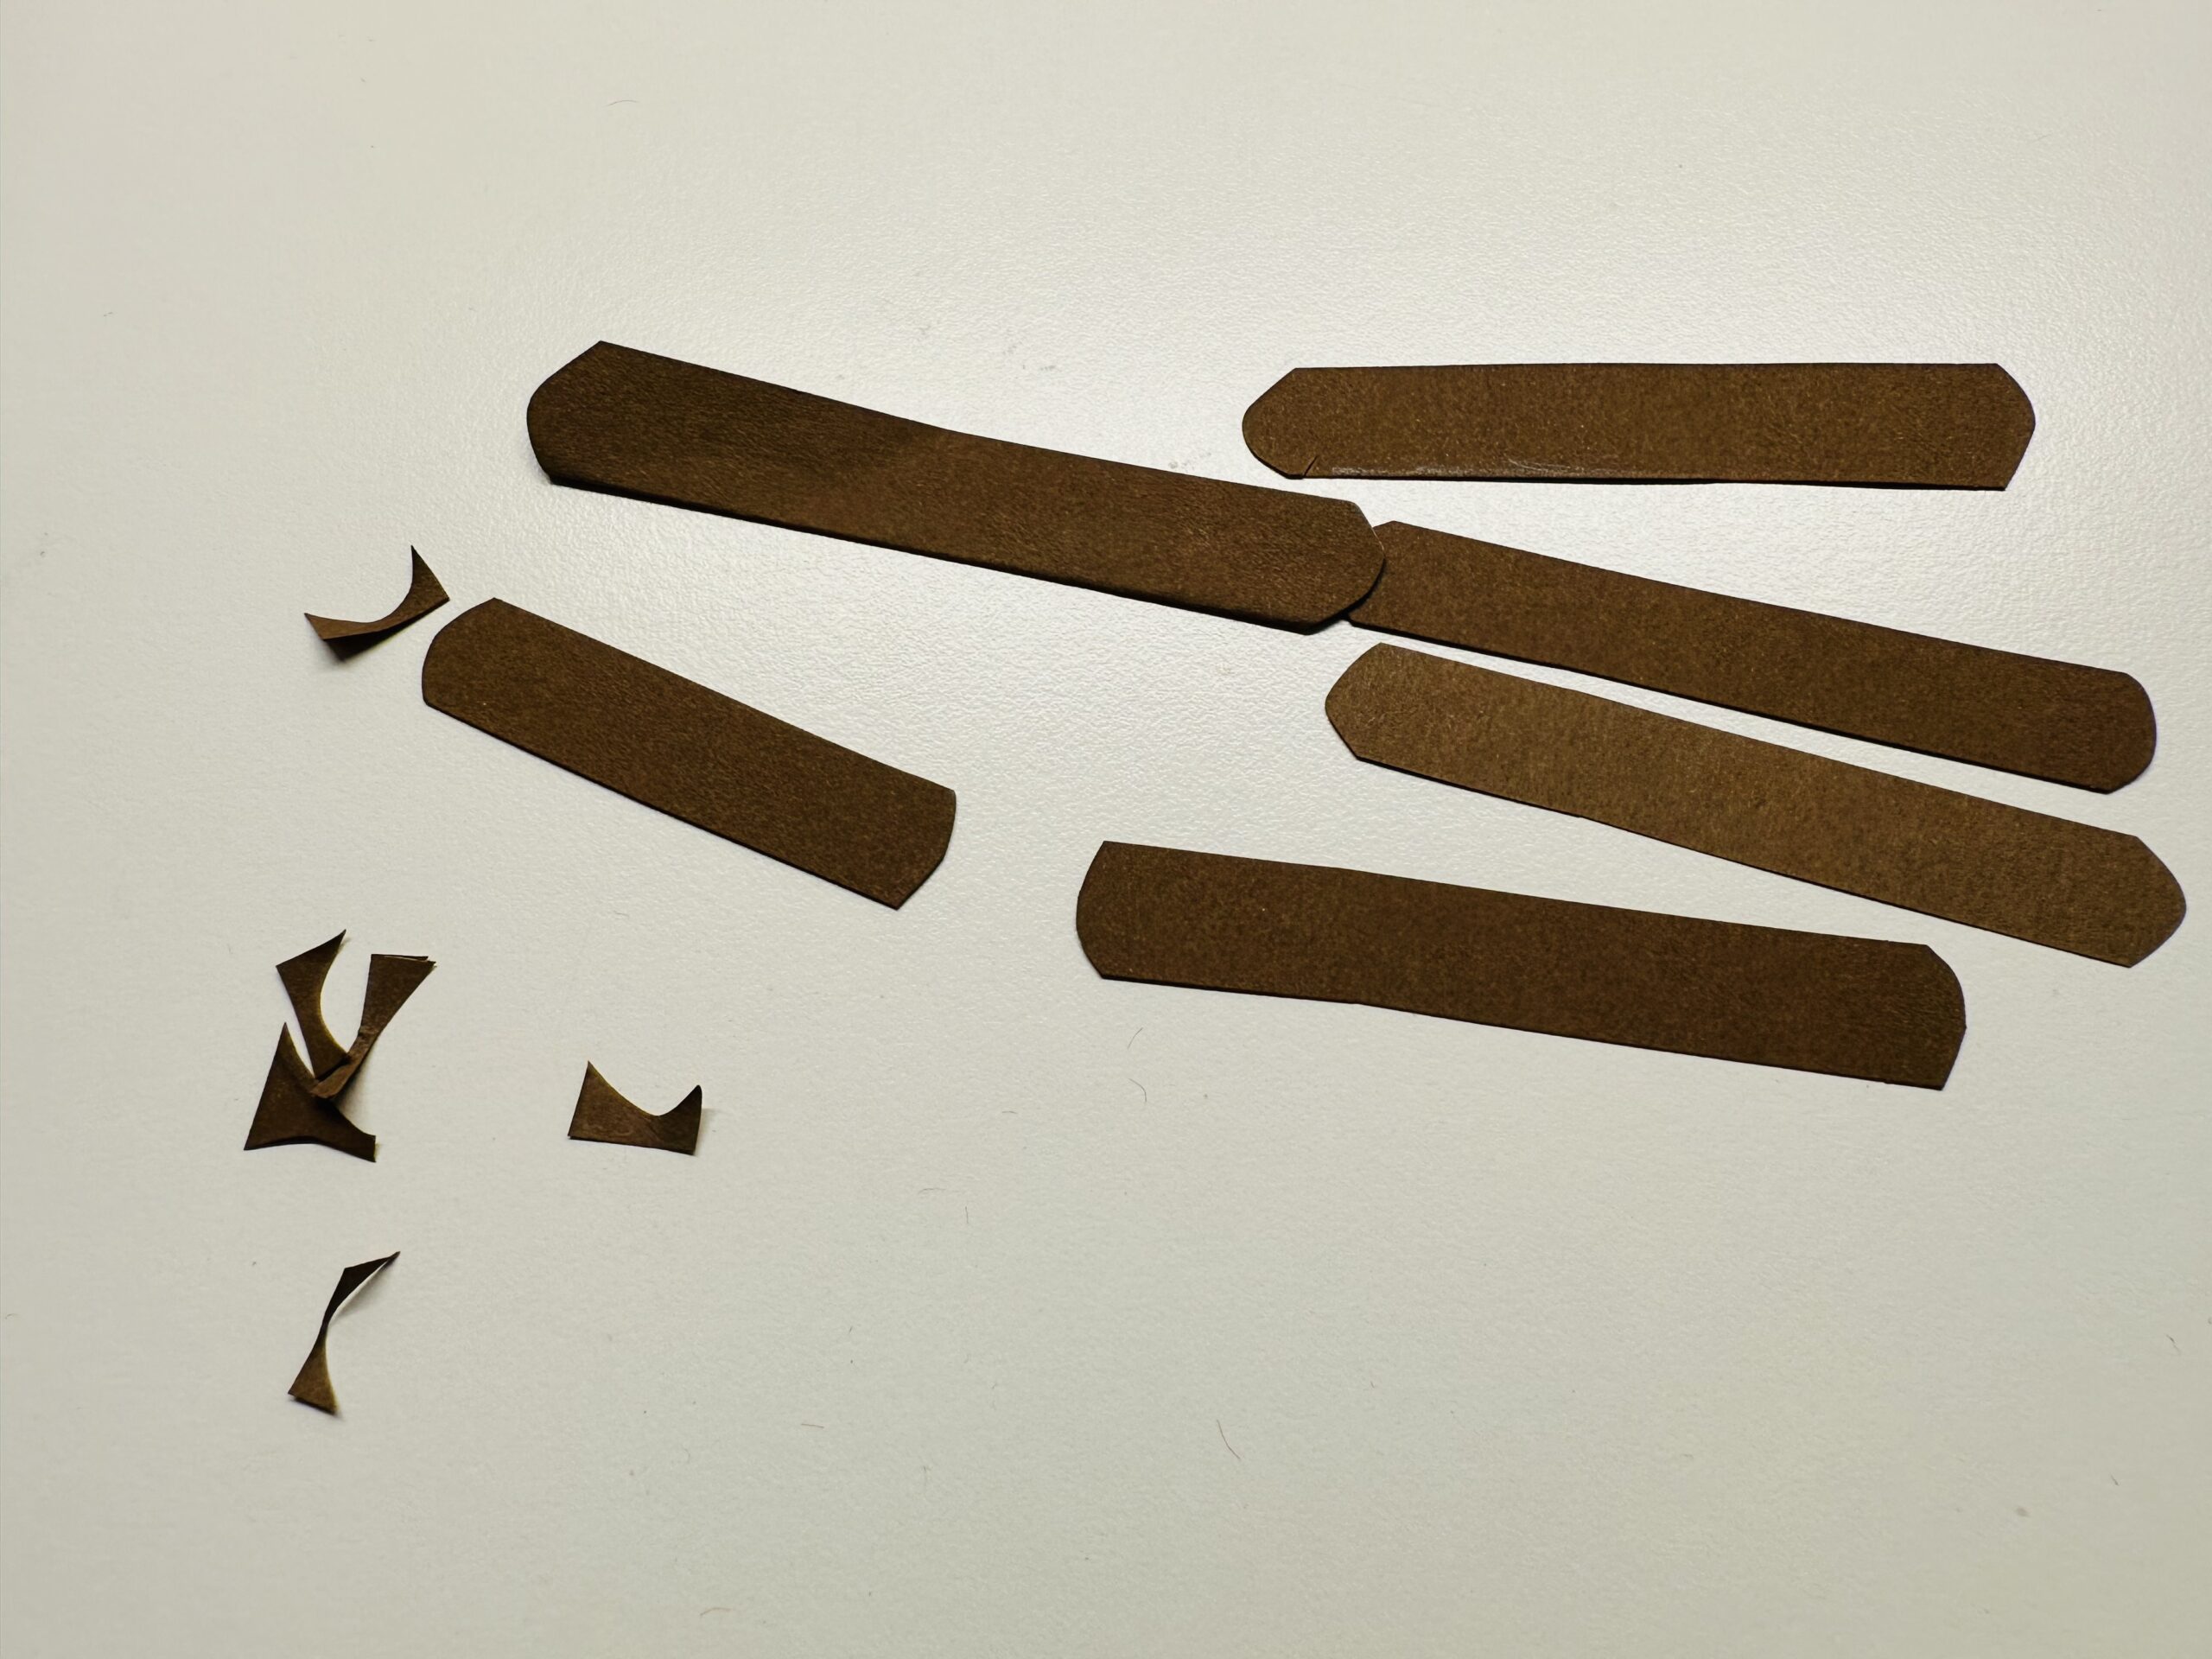
Bild zum Schritt 8 für das Bastel- und DIY-Abenteuer für Kinder: 'Schneidet  allen Streifen so zu, so sehen sie aus...'

9

Put the "woods" on your white sheet of paper like a layer fire. (See picture)
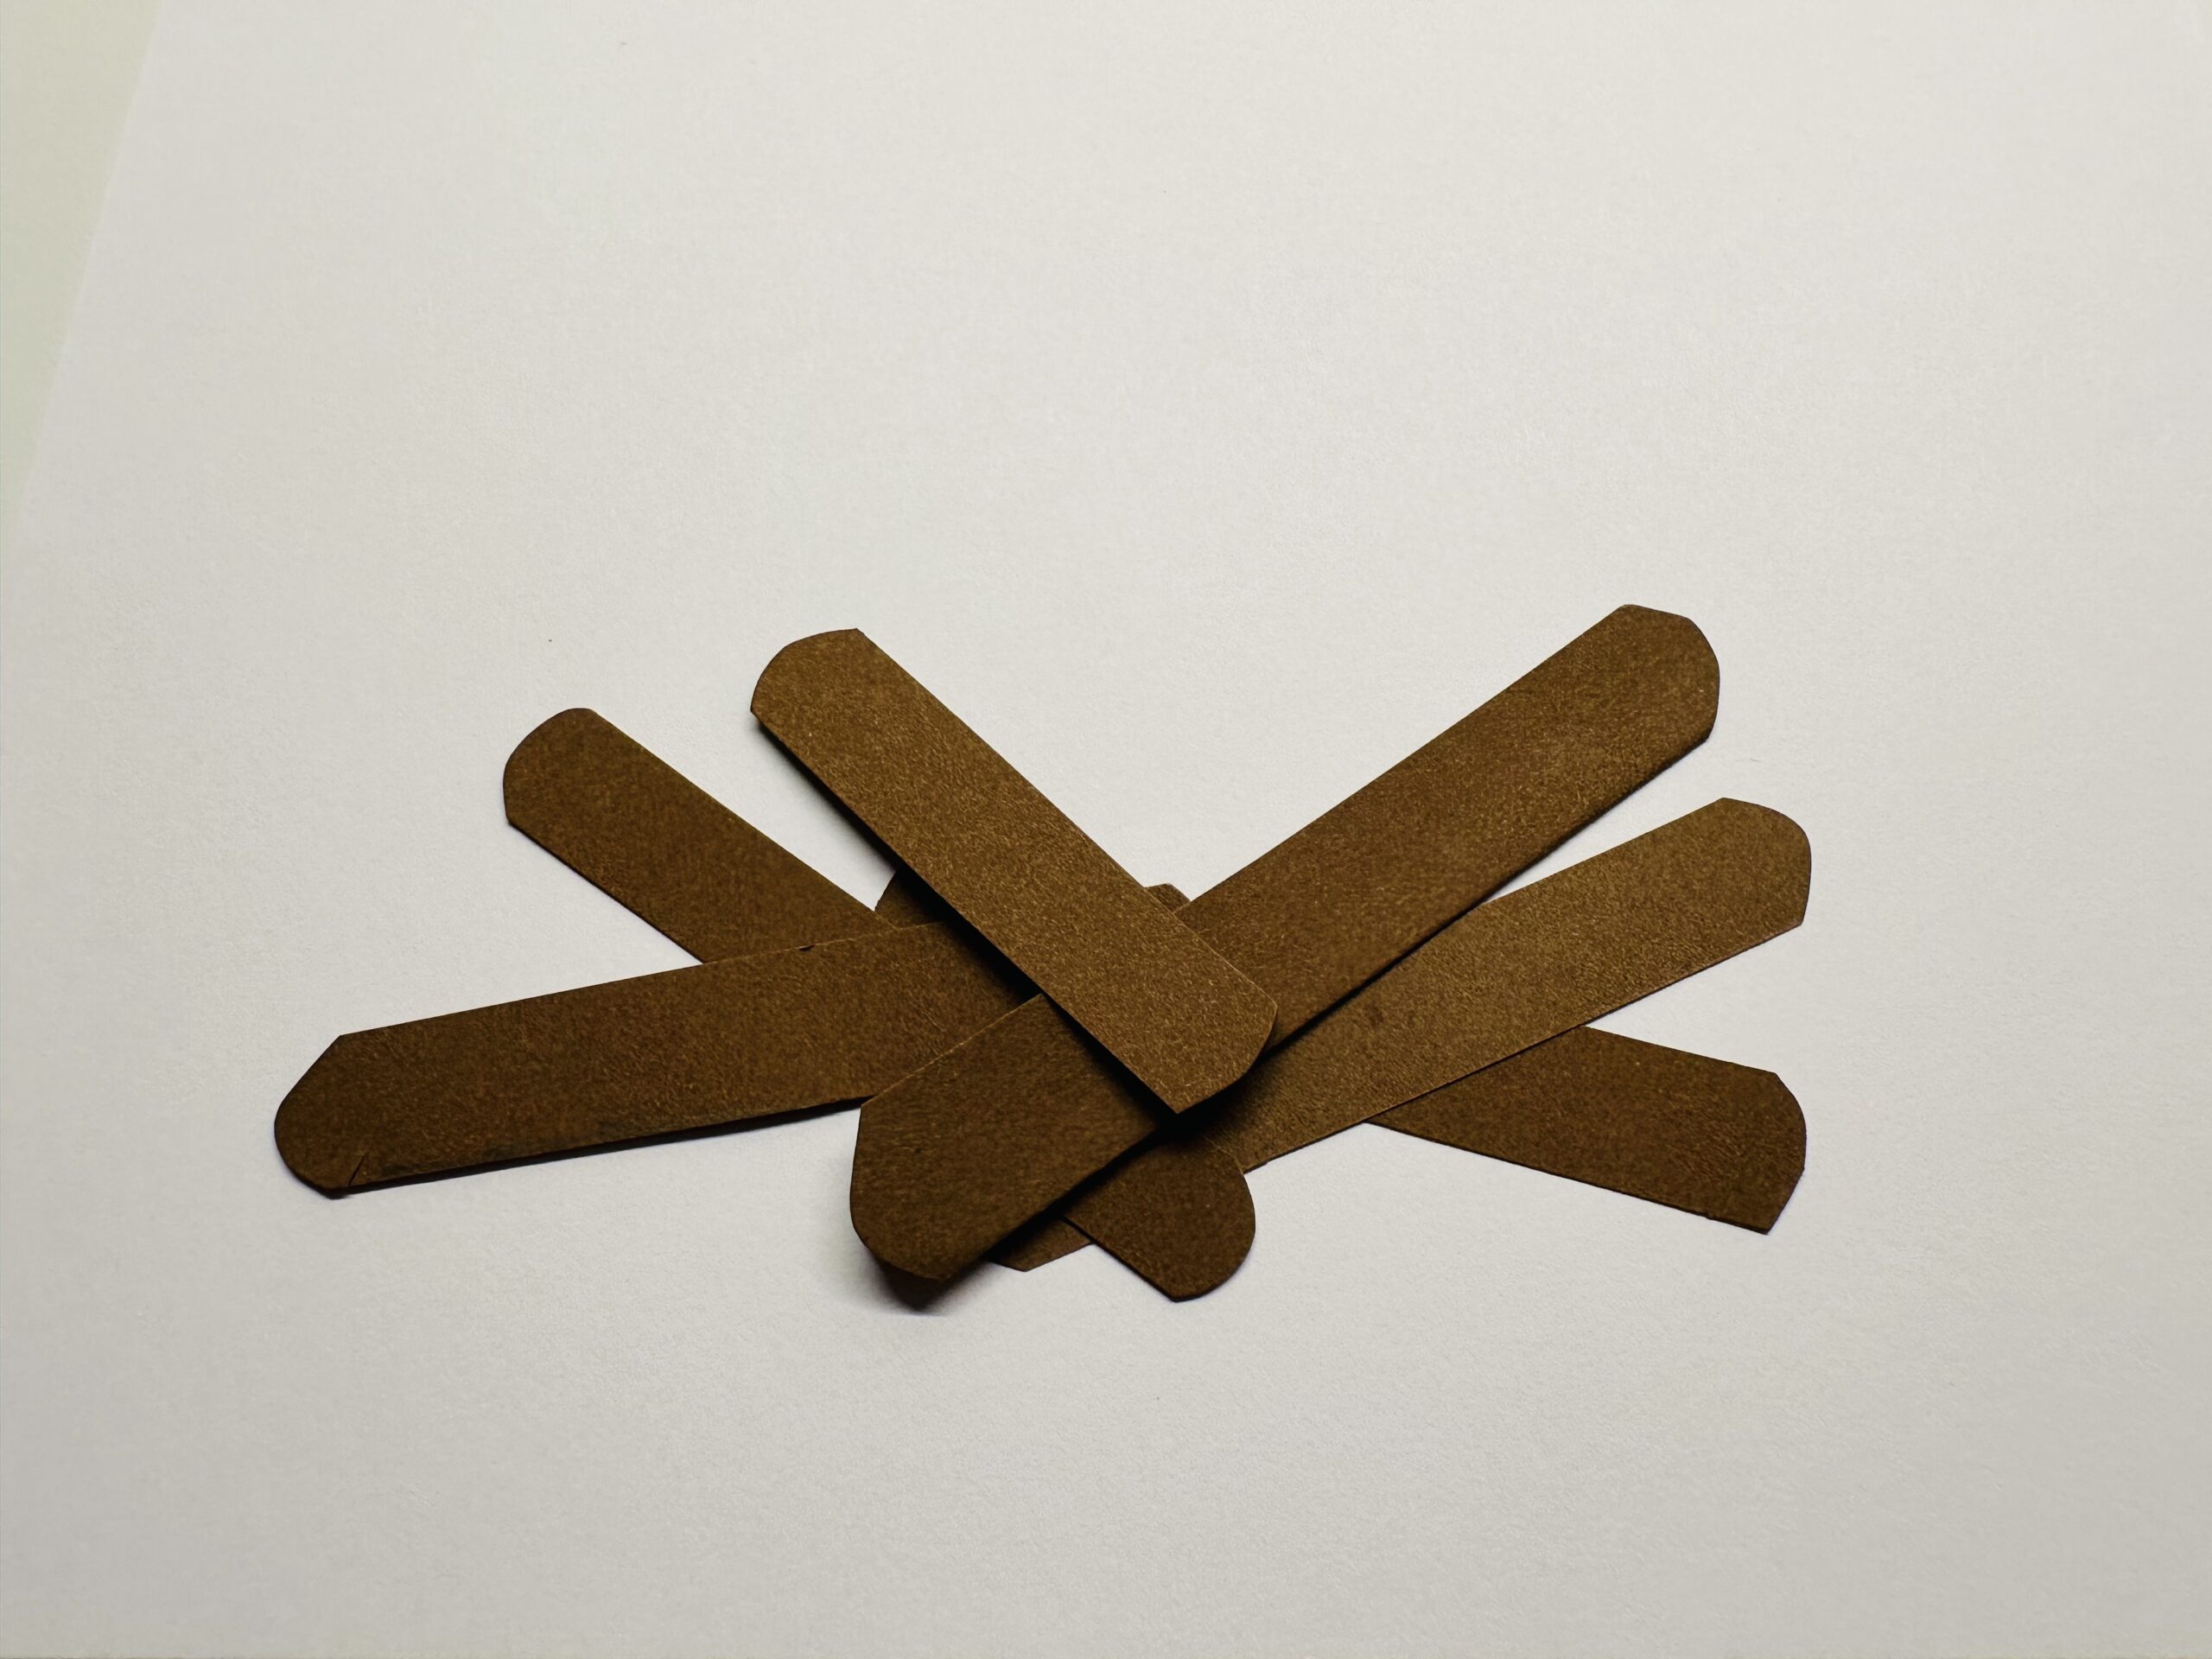
Bild zum Schritt 9 für das Bastel- und DIY-Abenteuer für Kinder: 'Legt die „Hölzer“ wie bei einem Lagenfeuer auf dein weißes...'

10

Now you start with the red "flames" (topped paper strips)
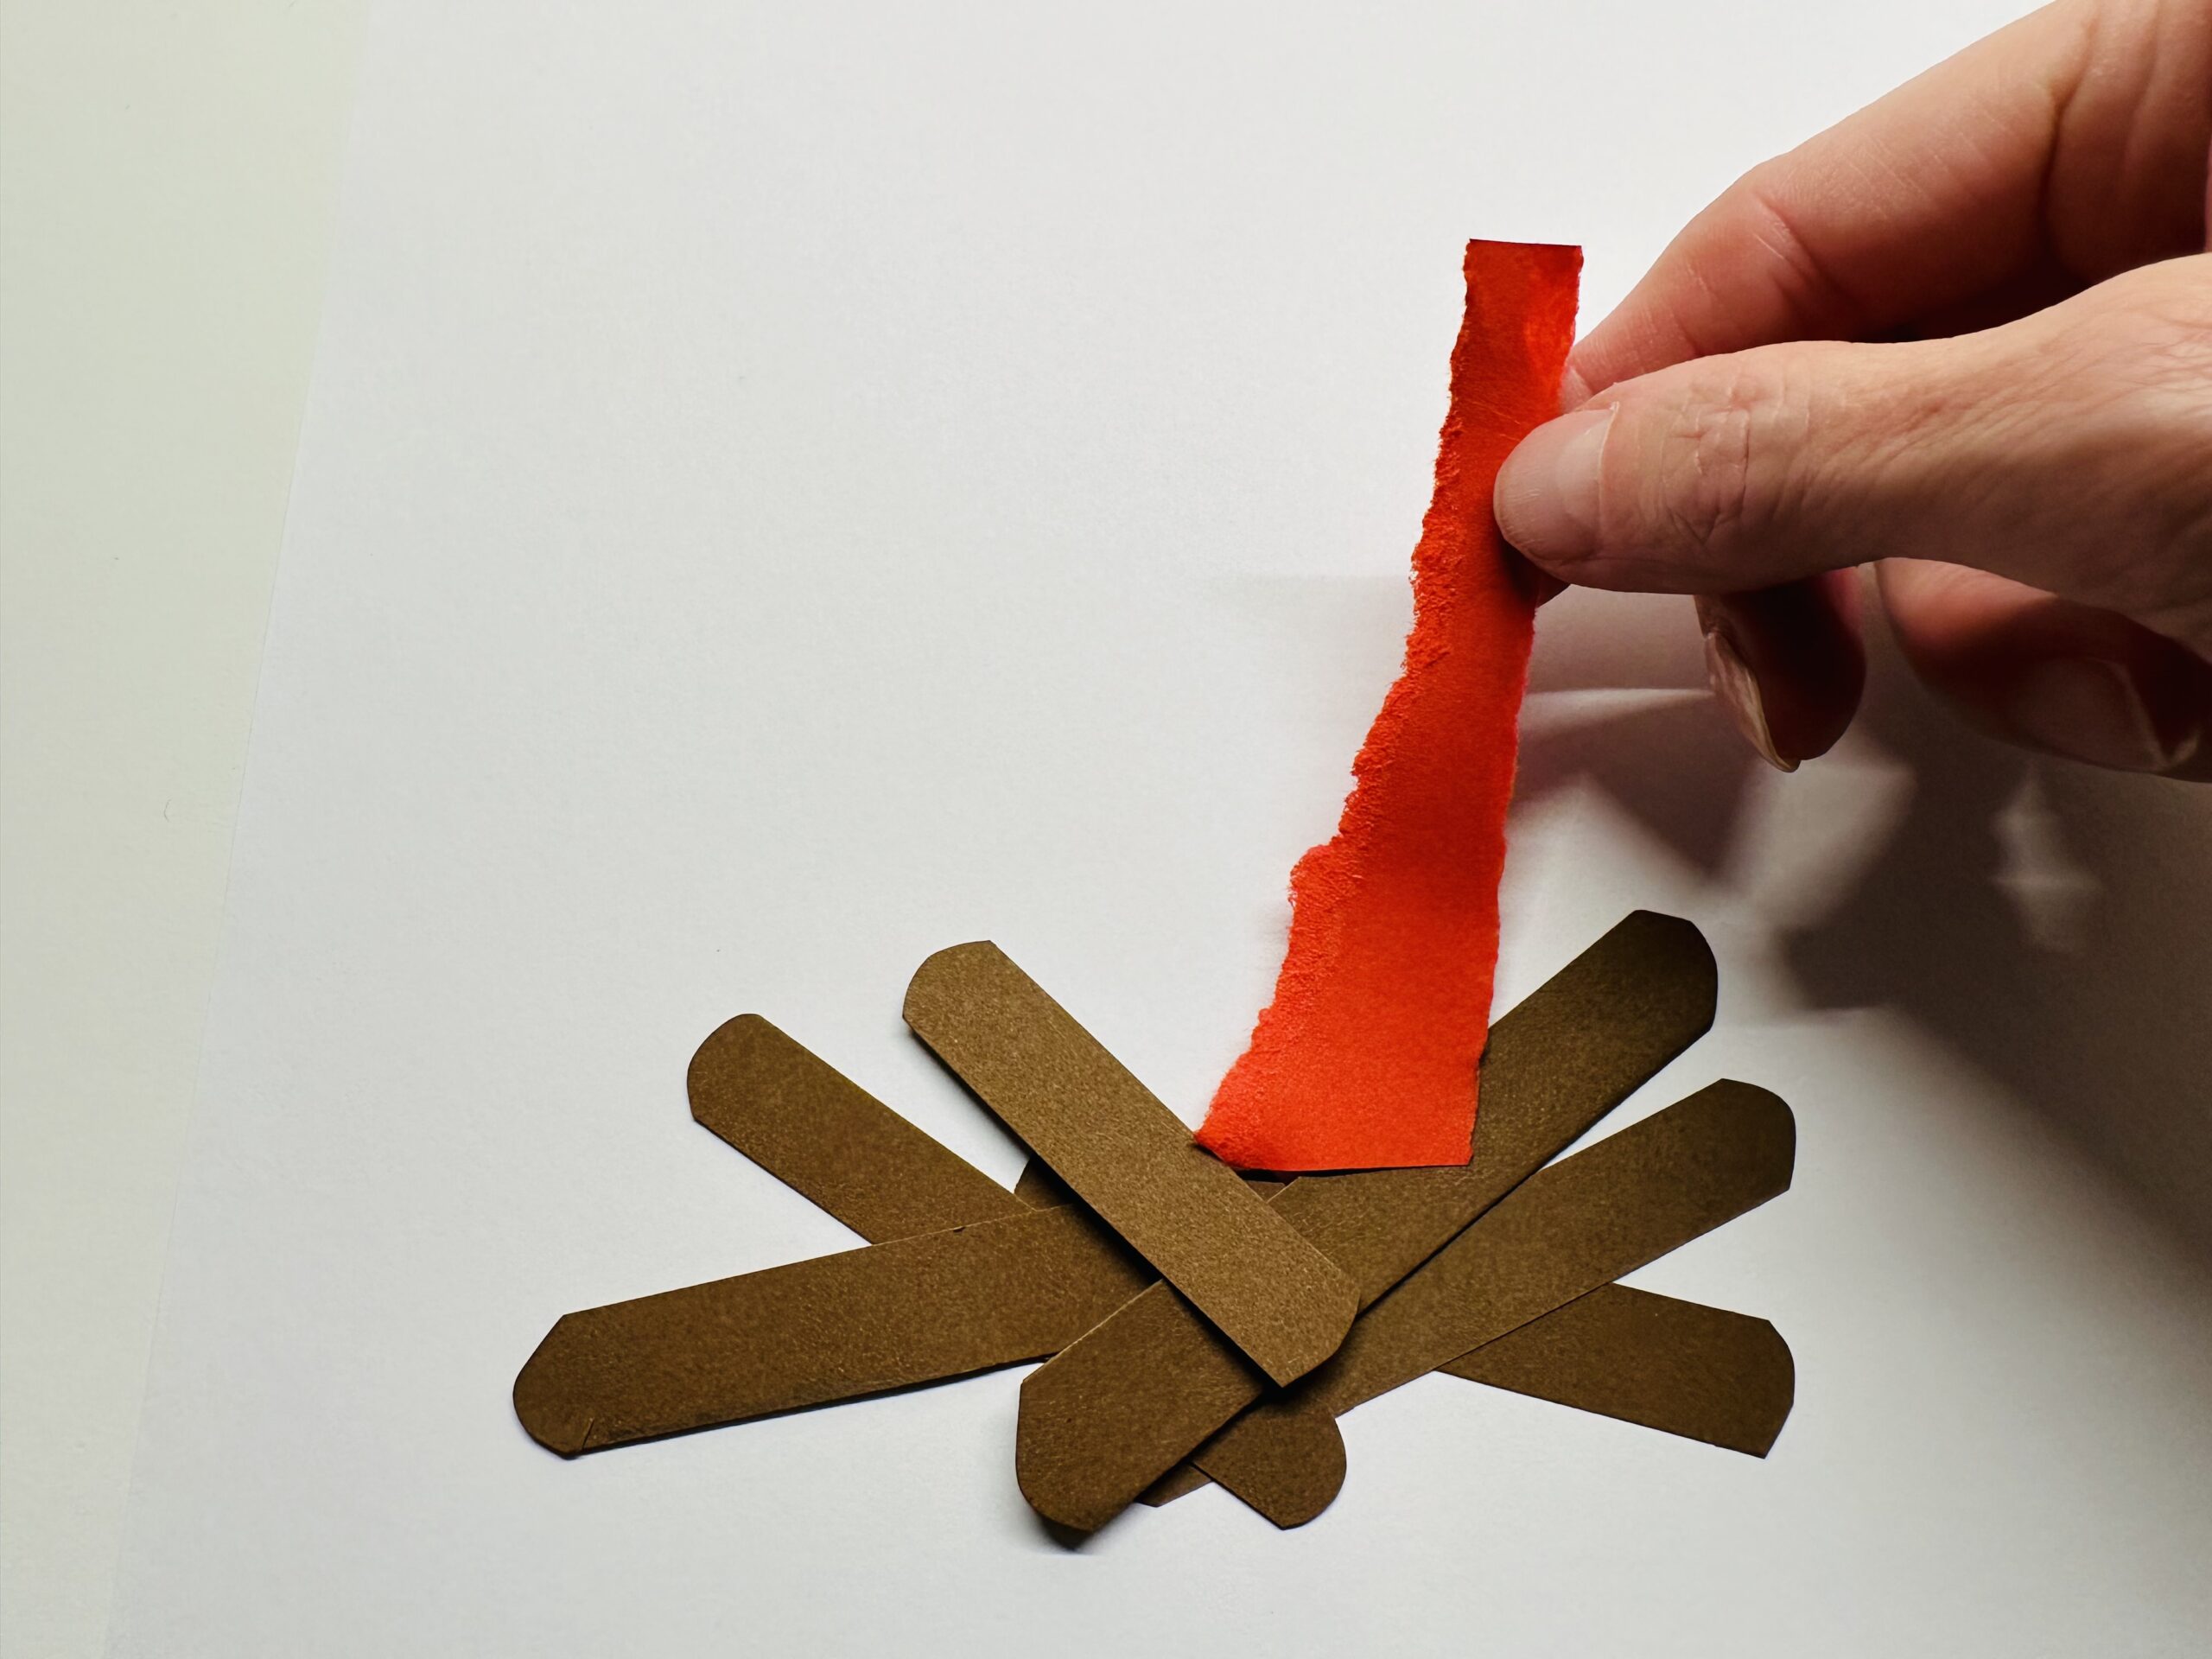
Bild zum Schritt 10 für das Bastel- und DIY-Abenteuer für Kinder: 'Nun beginnt ihr mit den roten „Flammen“ (gerissenen Papierstreifen)'

11

Place the flames in such a way that always the pointed sides of the torn stripes point upwards and slightly point outwards.
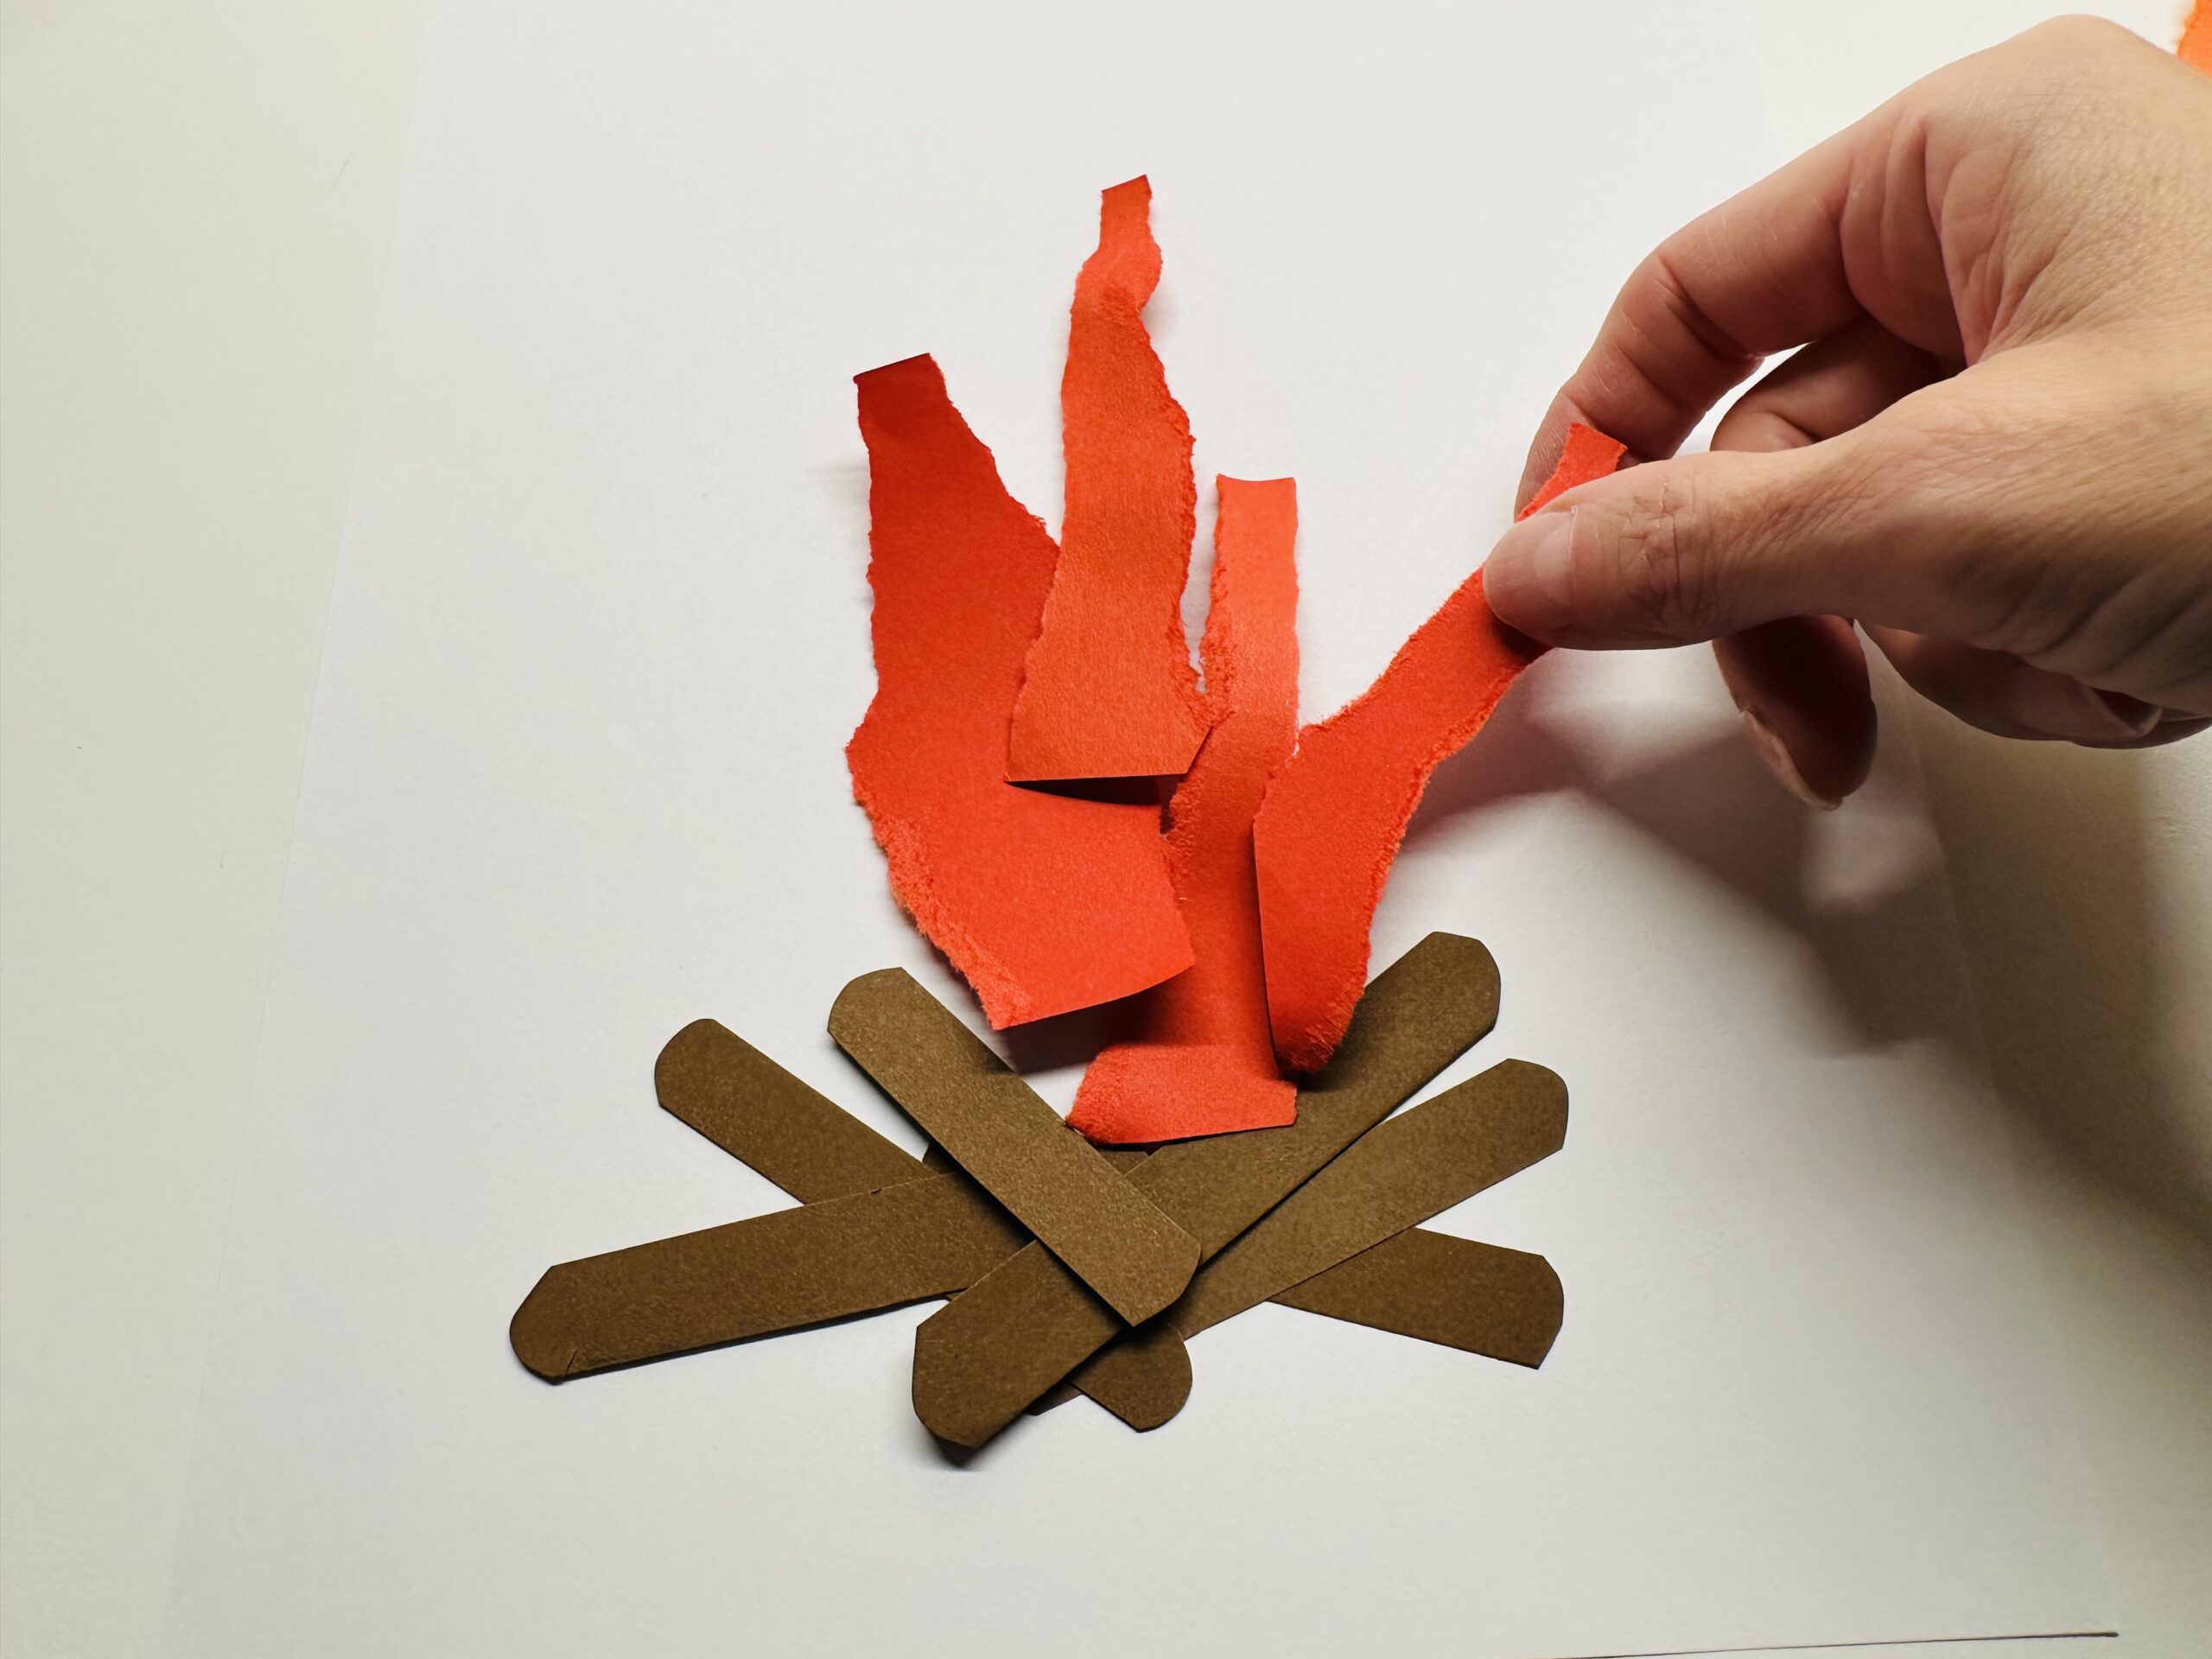
Bild zum Schritt 11 für das Bastel- und DIY-Abenteuer für Kinder: 'Legt die Flammen so, dass immer die spitzen Seiten der...'

12

Put some orange flames on the red flames.
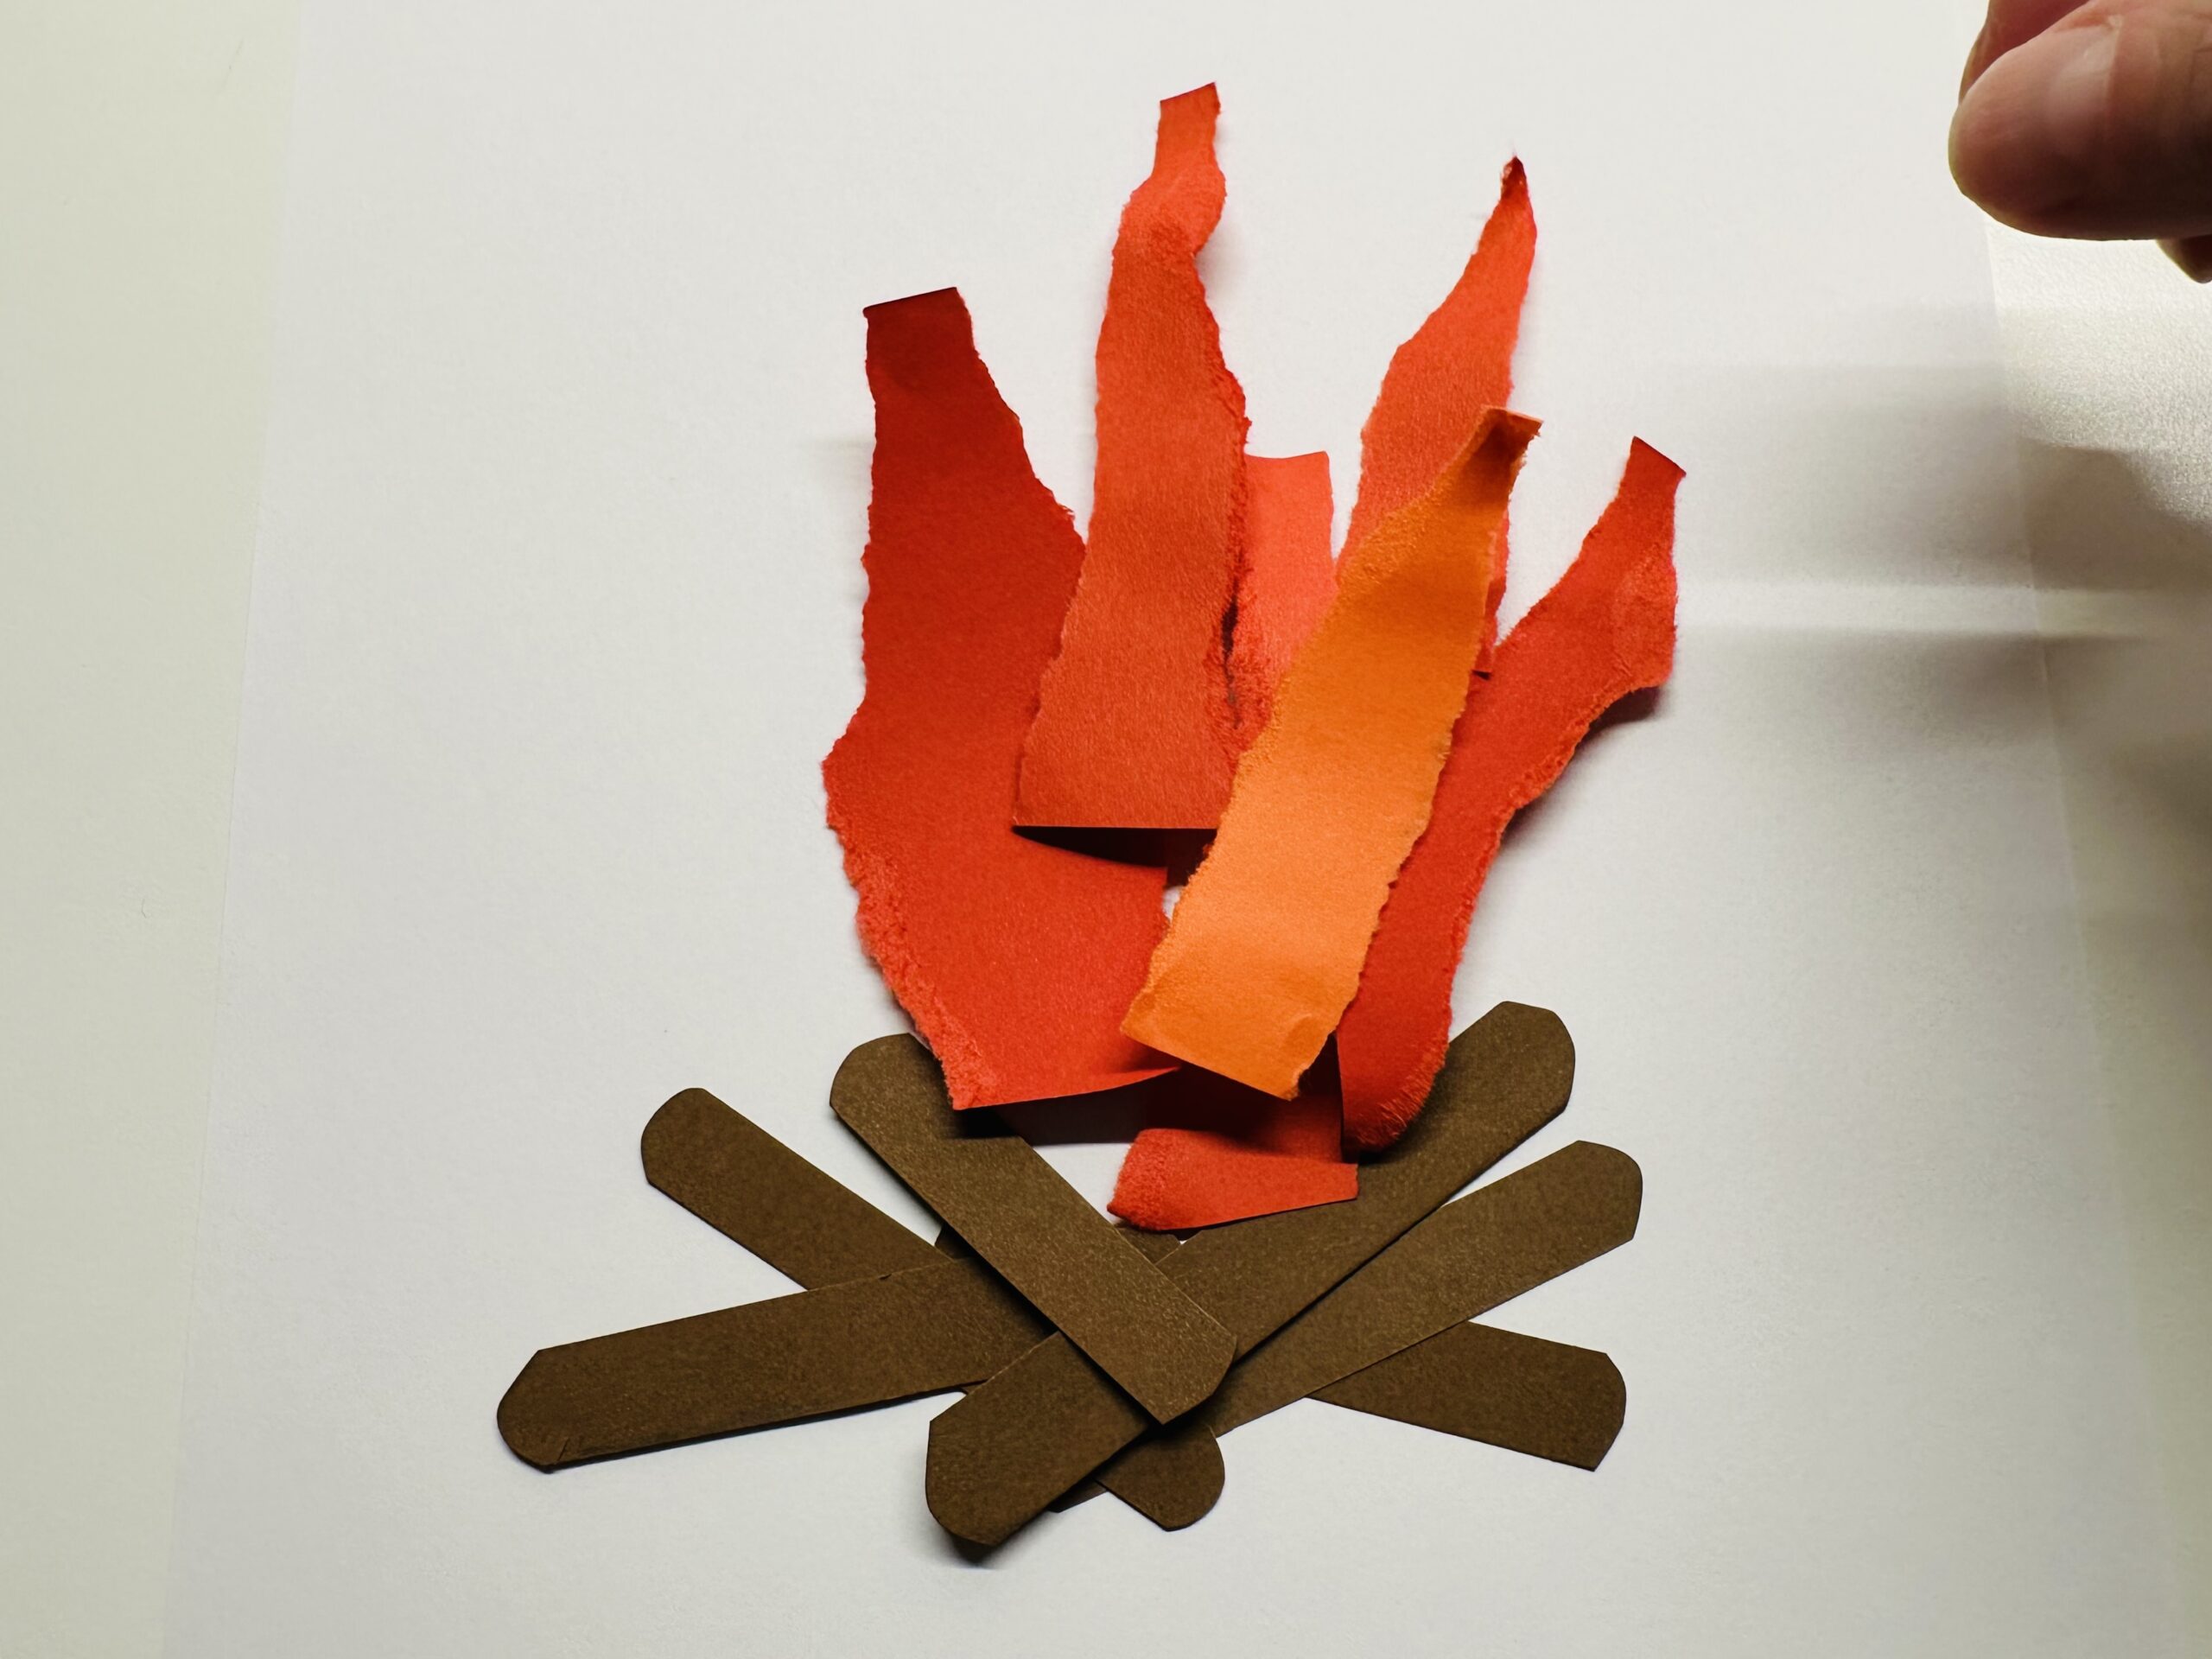
Bild zum Schritt 12 für das Bastel- und DIY-Abenteuer für Kinder: 'Legt auf die roten Flammen ein paar orangefarbene Flammen.'

13

Finally, you can put a few yellow flames on the fire. This creates a realistic flame image.
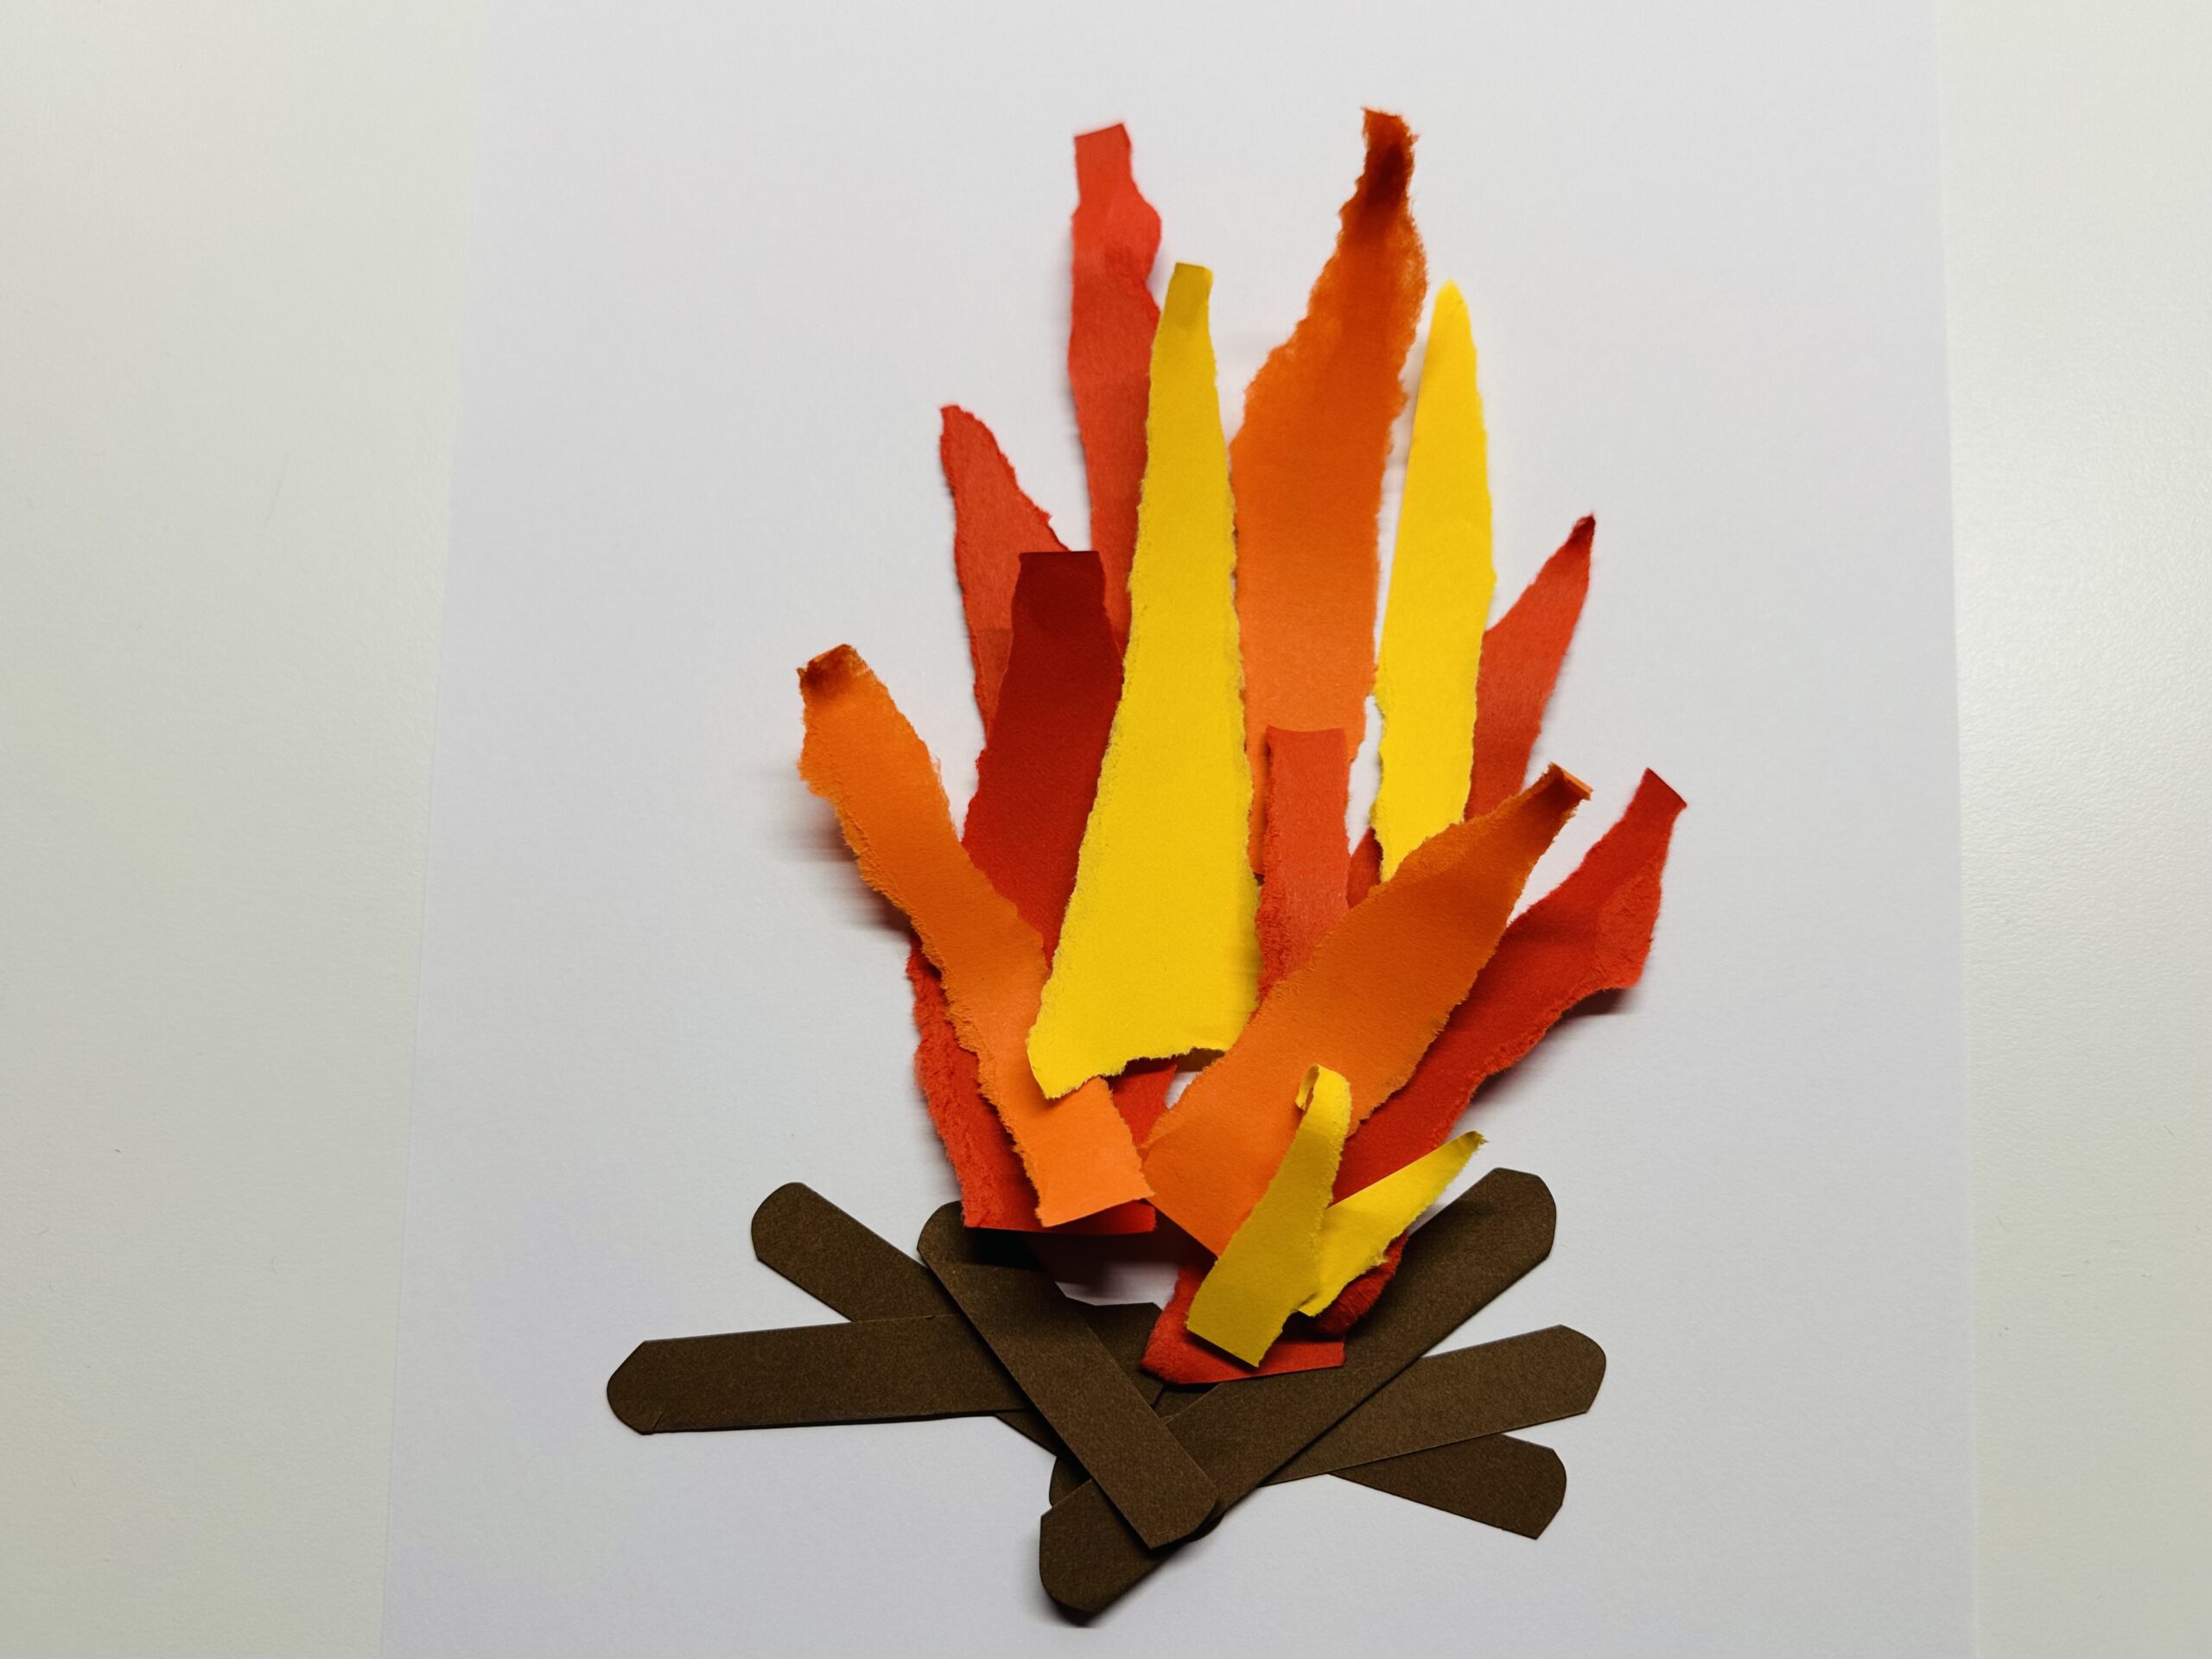
Bild zum Schritt 13 für das Bastel- und DIY-Abenteuer für Kinder: 'Zuletzt könnt ihr noch ein paar gelbe Flammen auf das...'

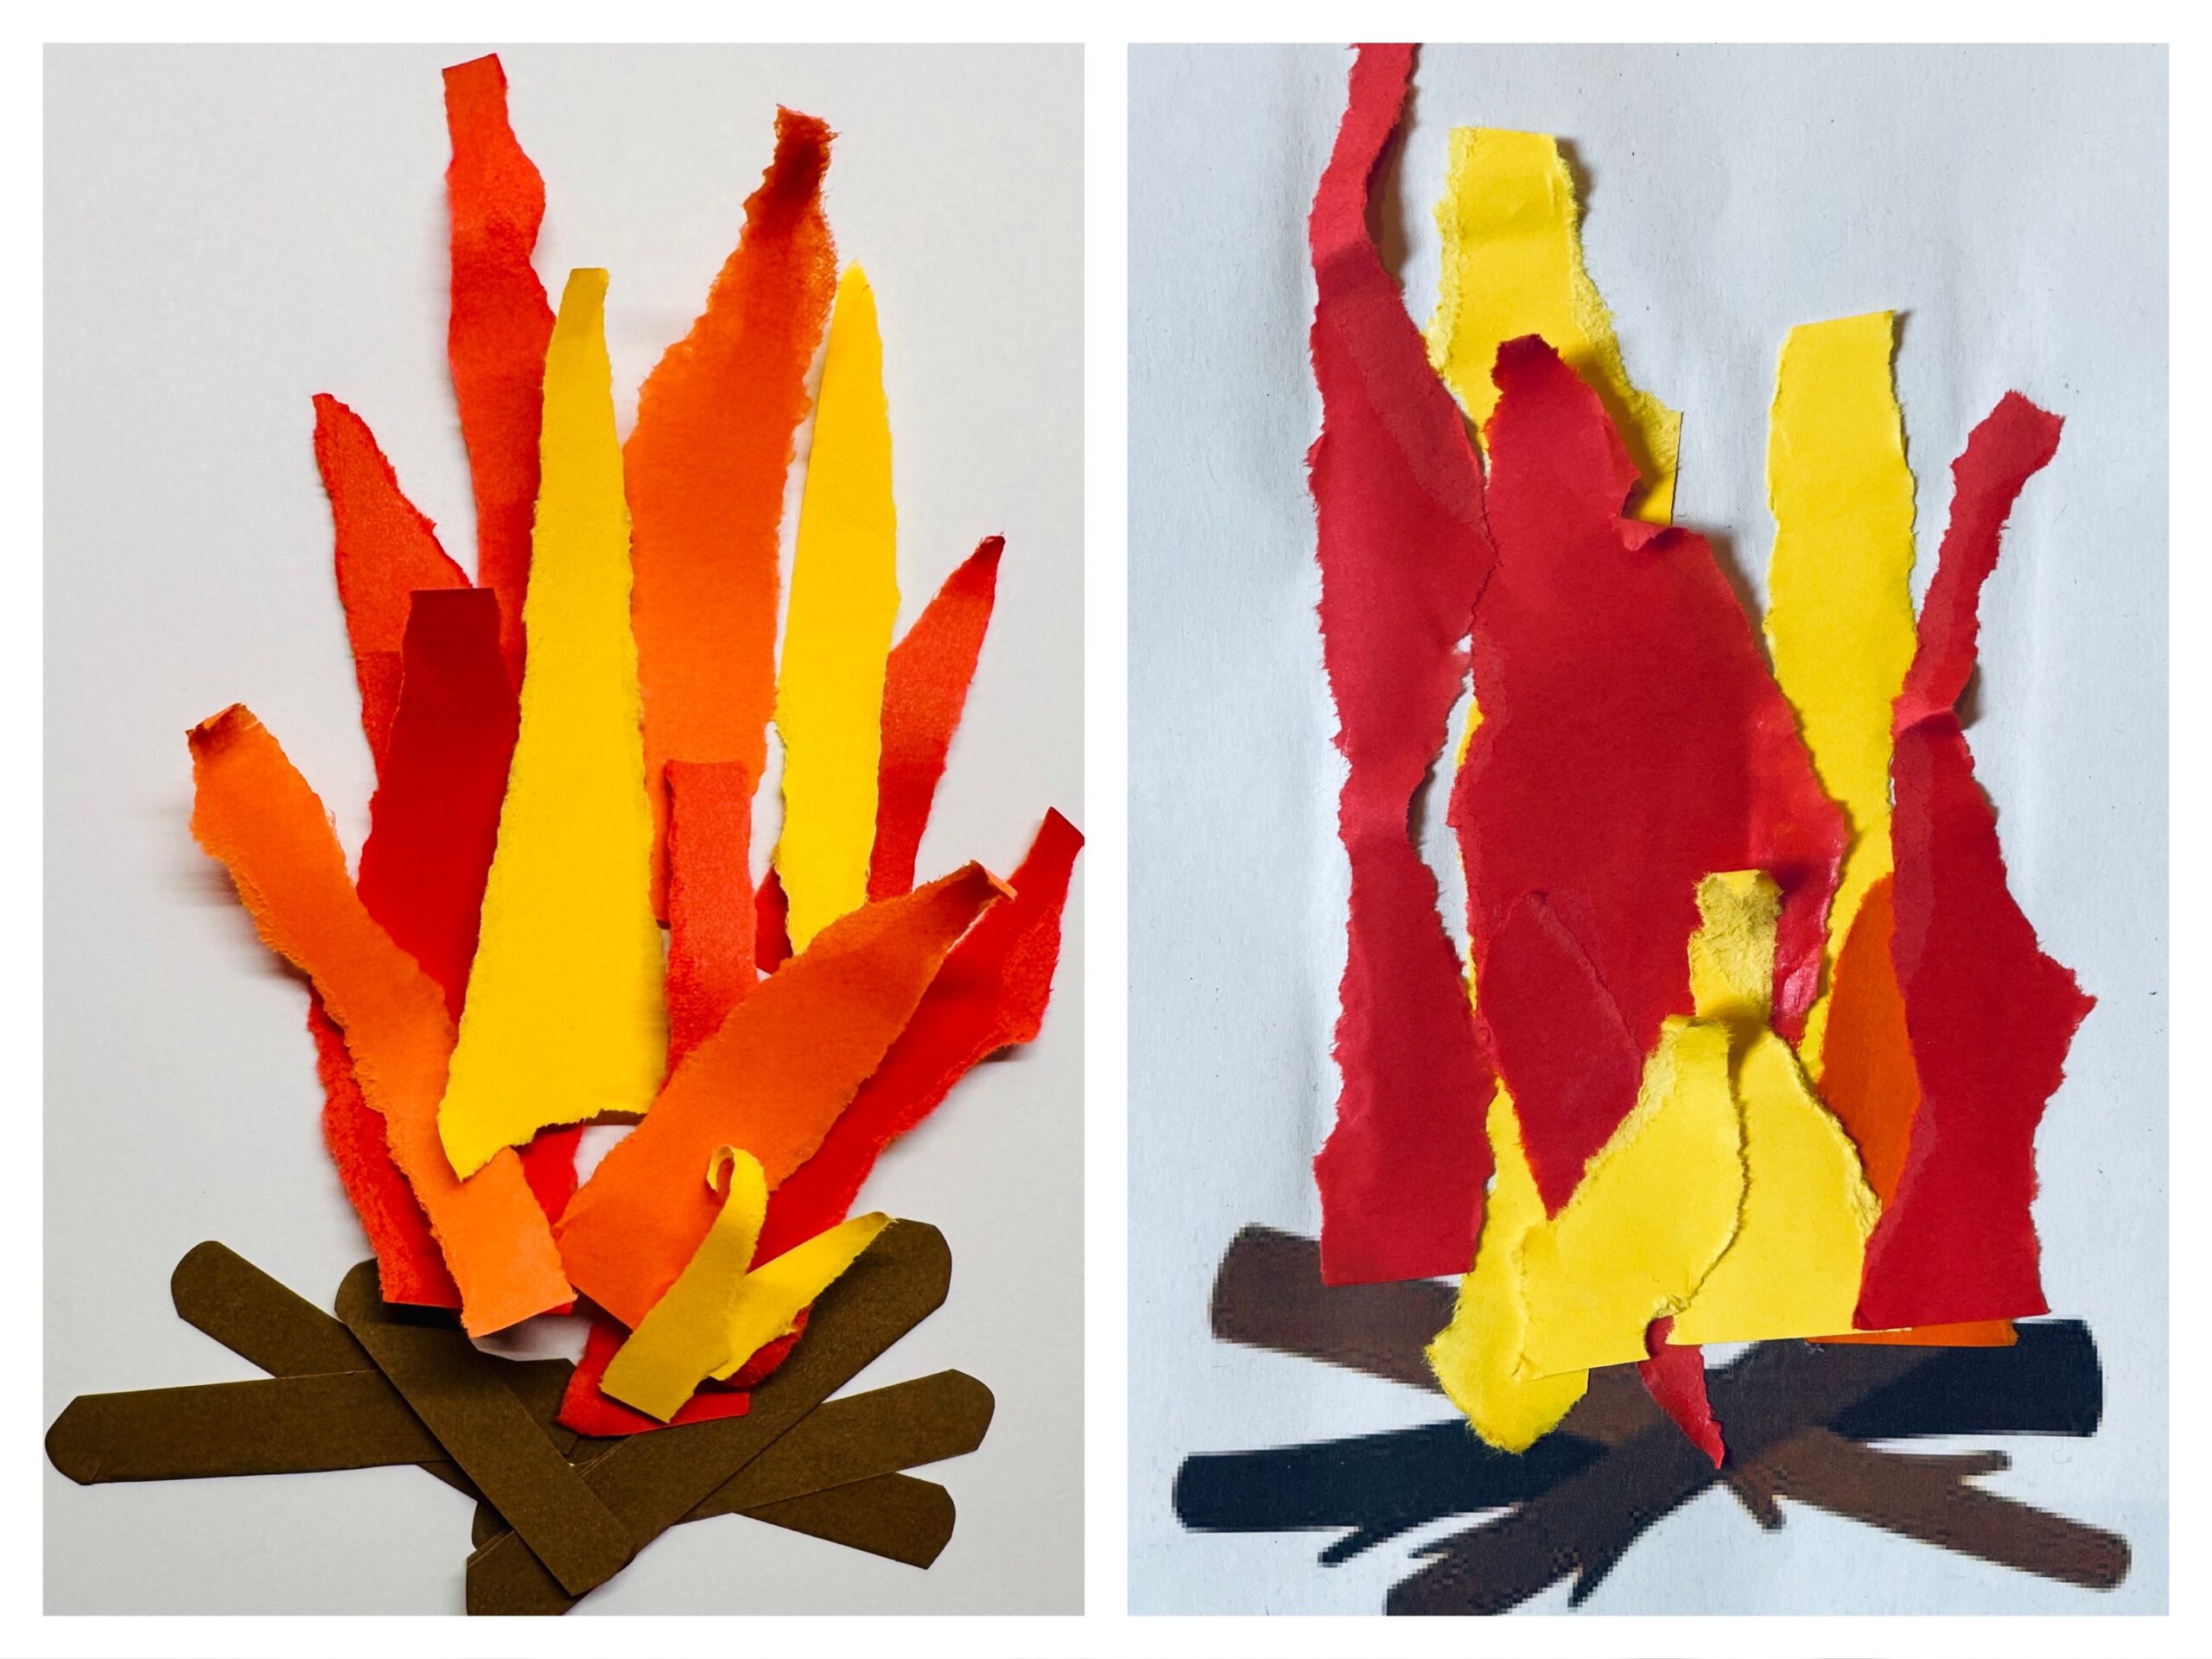
A few examples of how different the campfires can look:
14

The flames / campfires can be very different, which shows how unpredictable fire can be.
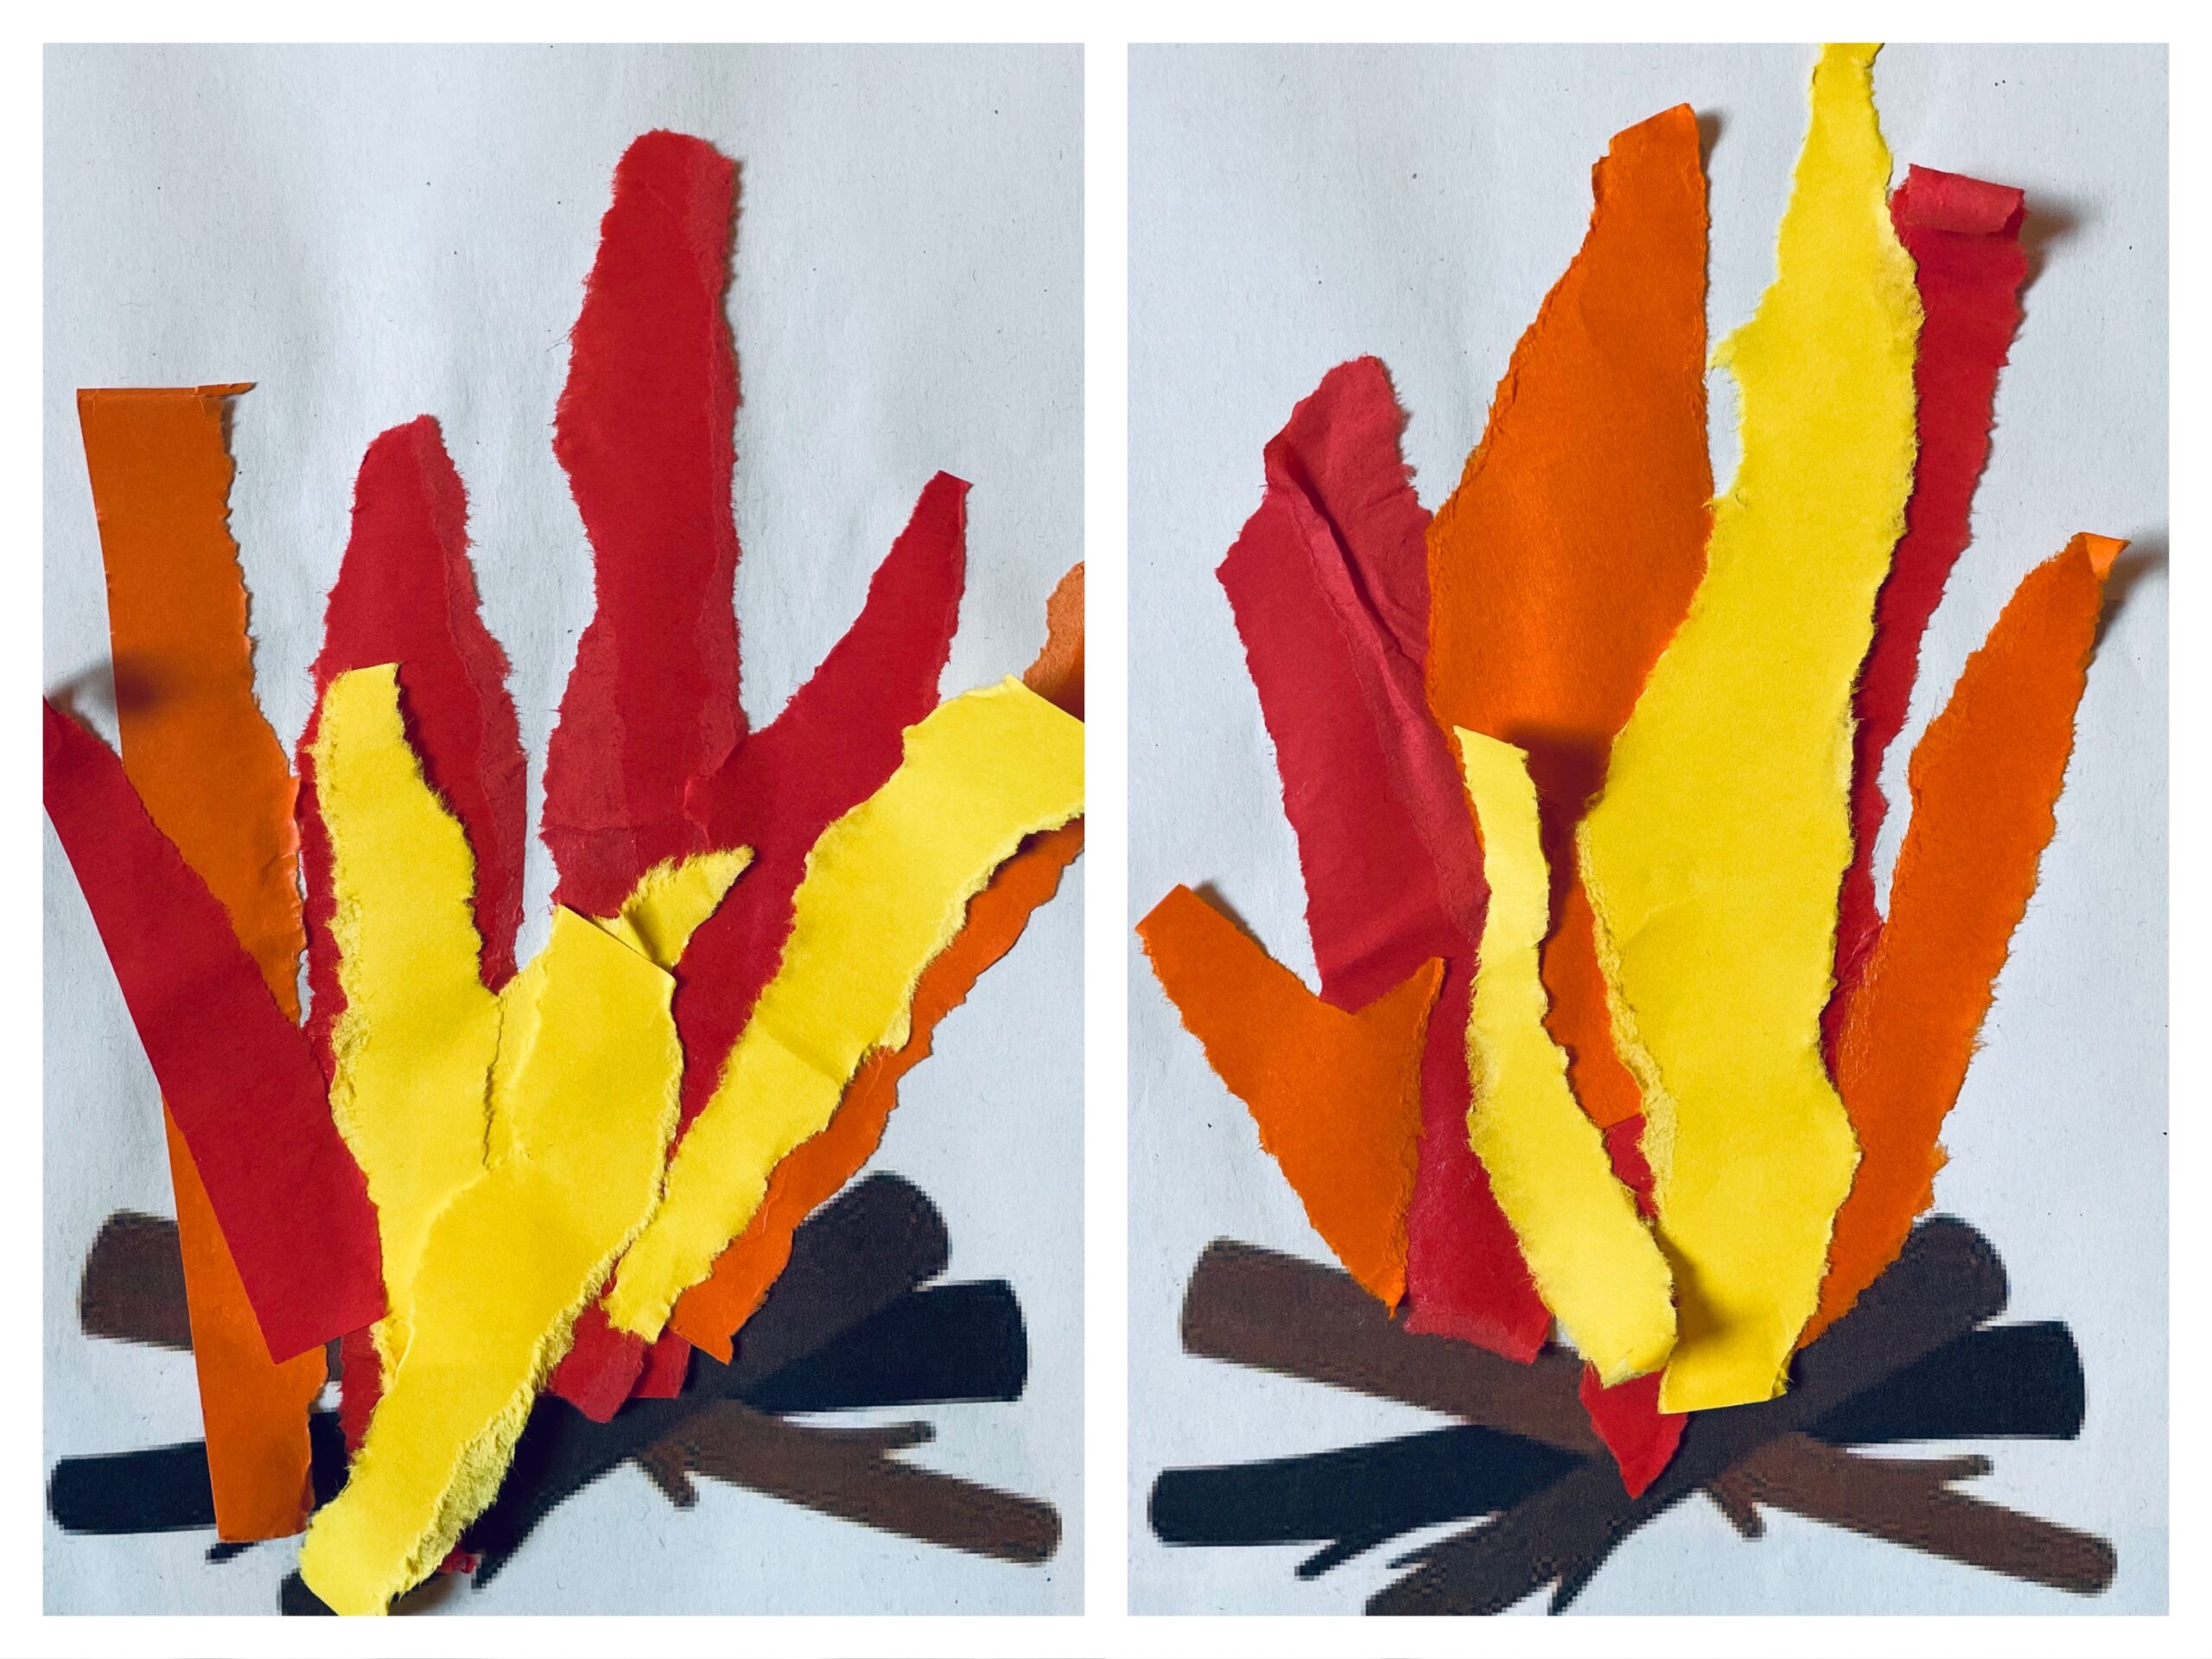
Bild zum Schritt 15 für das Bastel- und DIY-Abenteuer für Kinder: 'Die Flammen/ Lagerfeuer können sehr unterschiedlich sein, das zeigt wie...'

15

2. Bild zum Schritt 15 für das Bastel- und DIY-Abenteuer für Kinder: 'Die Flammen/ Lagerfeuer können sehr unterschiedlich sein, das zeigt wie...'

16

Have fun trying out.