Campfire Tearwork

AdventurerKitaForst
Rating0.01.2 thousand times & (0) DifficultyAdvanced

The element "fire" is exciting, fascinating, exciting and dangerous at the same time. A respectful approach that pays attention to the dangers and the charm of the mysterious are all challenges when dealing with the topic: fire.
No fire is the same! There are big and small flames, all are hot and can hurt. This glue image of a fireplace or campfire makes children creative. Each result is unique and has as much luminosity as a real fire.
Look here how you can recreate it and get started right away.

Media Education for Kindergarten and Hort

Kind bastelt eine Rassel mit dem Navi
The Adventure Navi, the app for DIY projects, enables media education for the youngest.

Relief in everyday life, targeted promotion of individual children, independent learning and - without any pre-knowledge already usable by the youngest!
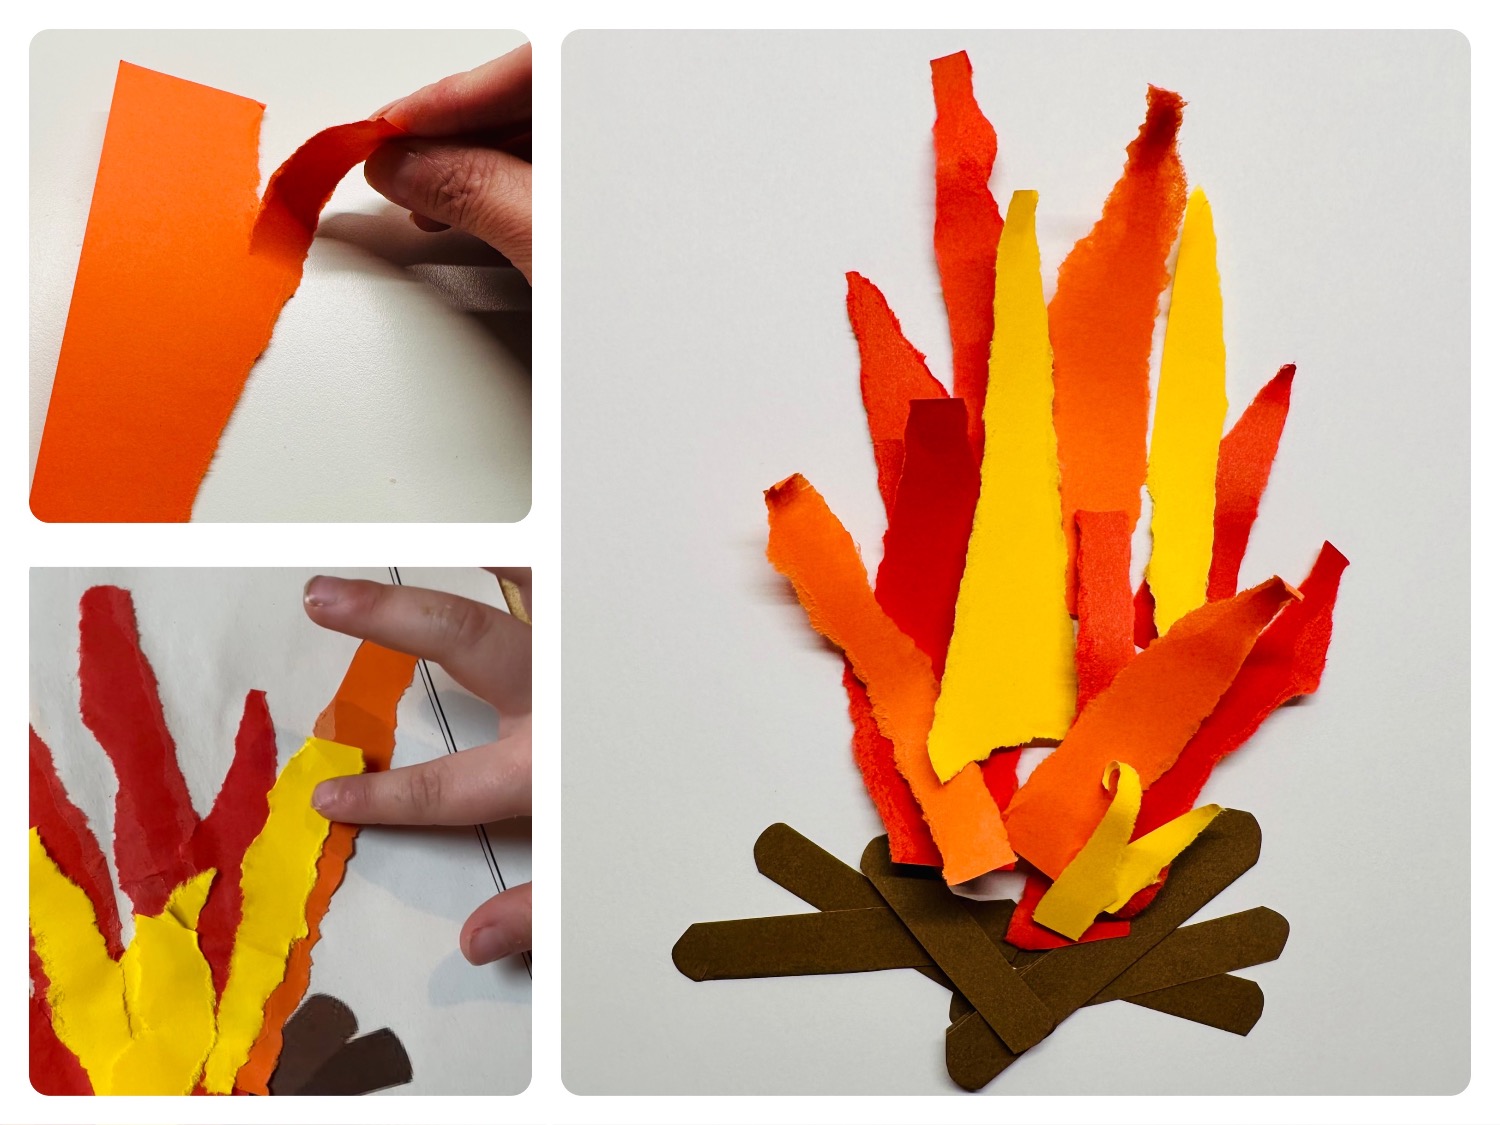


Titelbild zur Bastel- und DIY-Idee für Kinder '(231) Lagerfeuer Reißarbeit'
Material for1 Child
Prep Time5 min.Adv. Time25 min.Total Time30 min.
 1 Sheet of paperForm, if any
 Unwrought paper or paperboardin red, yellow and orange
 1 Glue
 1 Builder's pad
1

Get all the craft utensils ready.
Uses three clay papers or folding papers in bright red, yellow and orange.
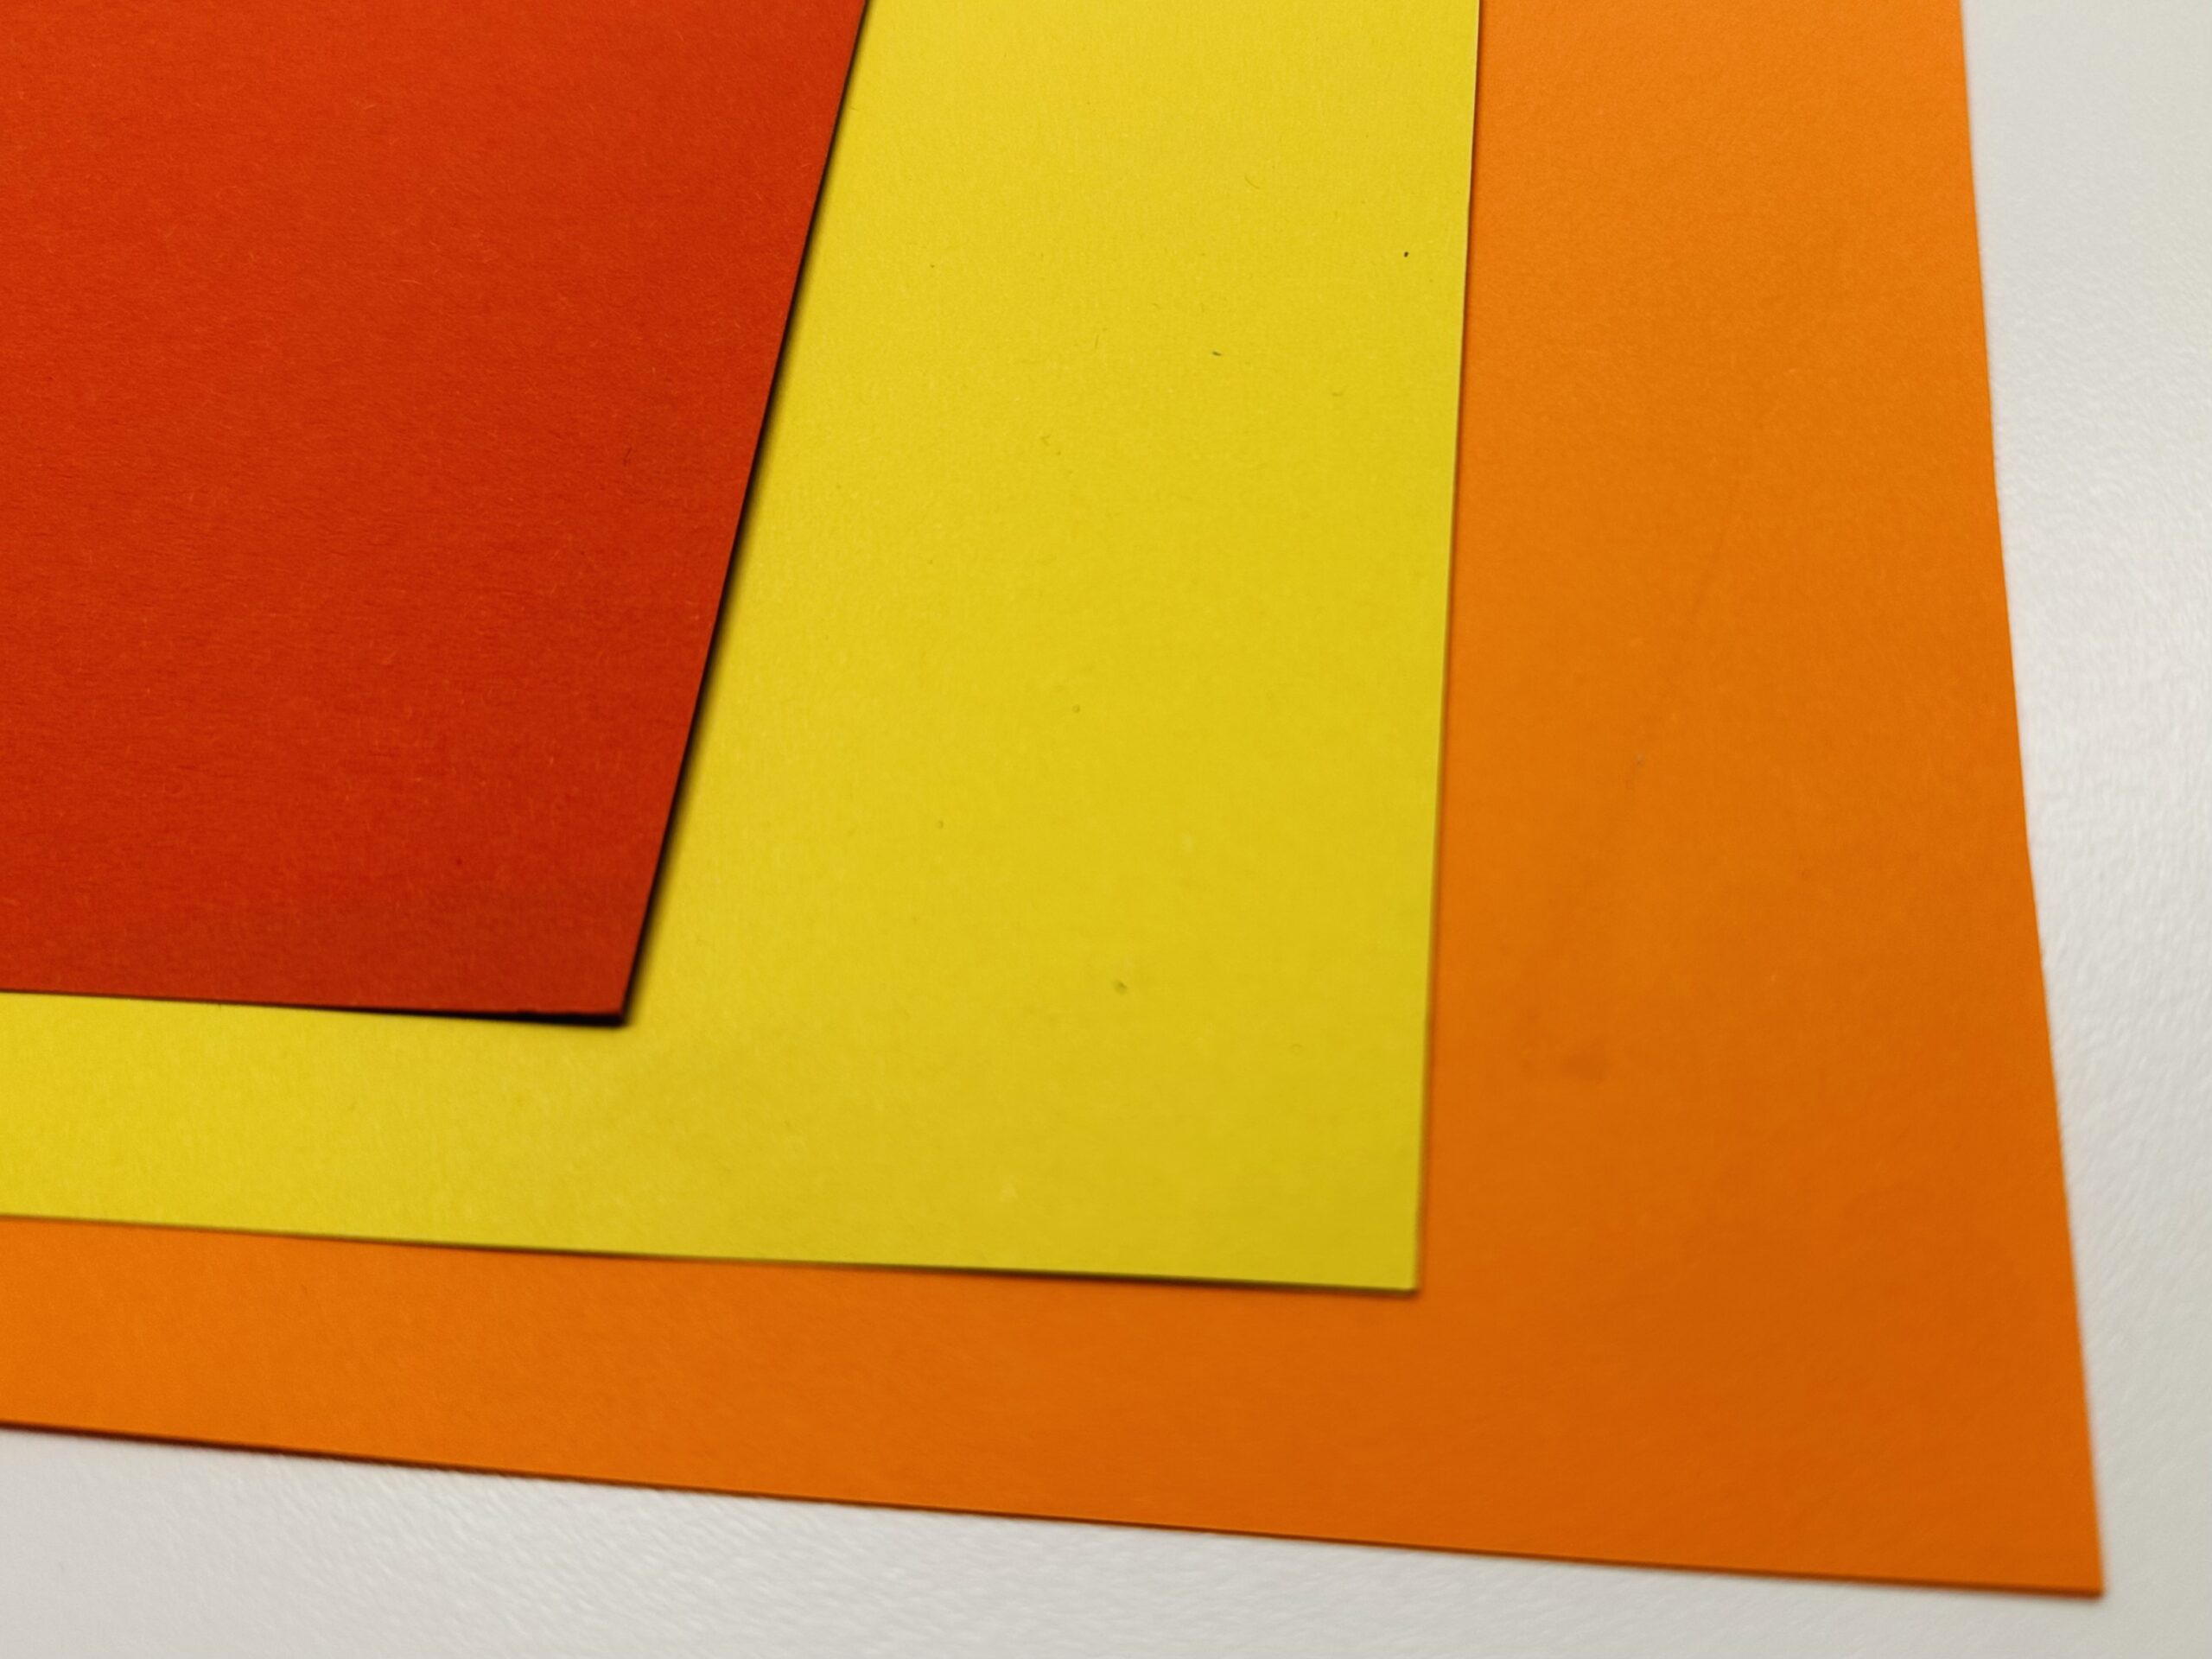
Bild zum Schritt 1 für das Bastel- und DIY-Abenteuer für Kinder: 'Legt euch alle Bastelutensilien bereit.  Verwendet drei Tonpapiere oder...'

2

Take the colorful clay paper and tear it into long pointed strips.
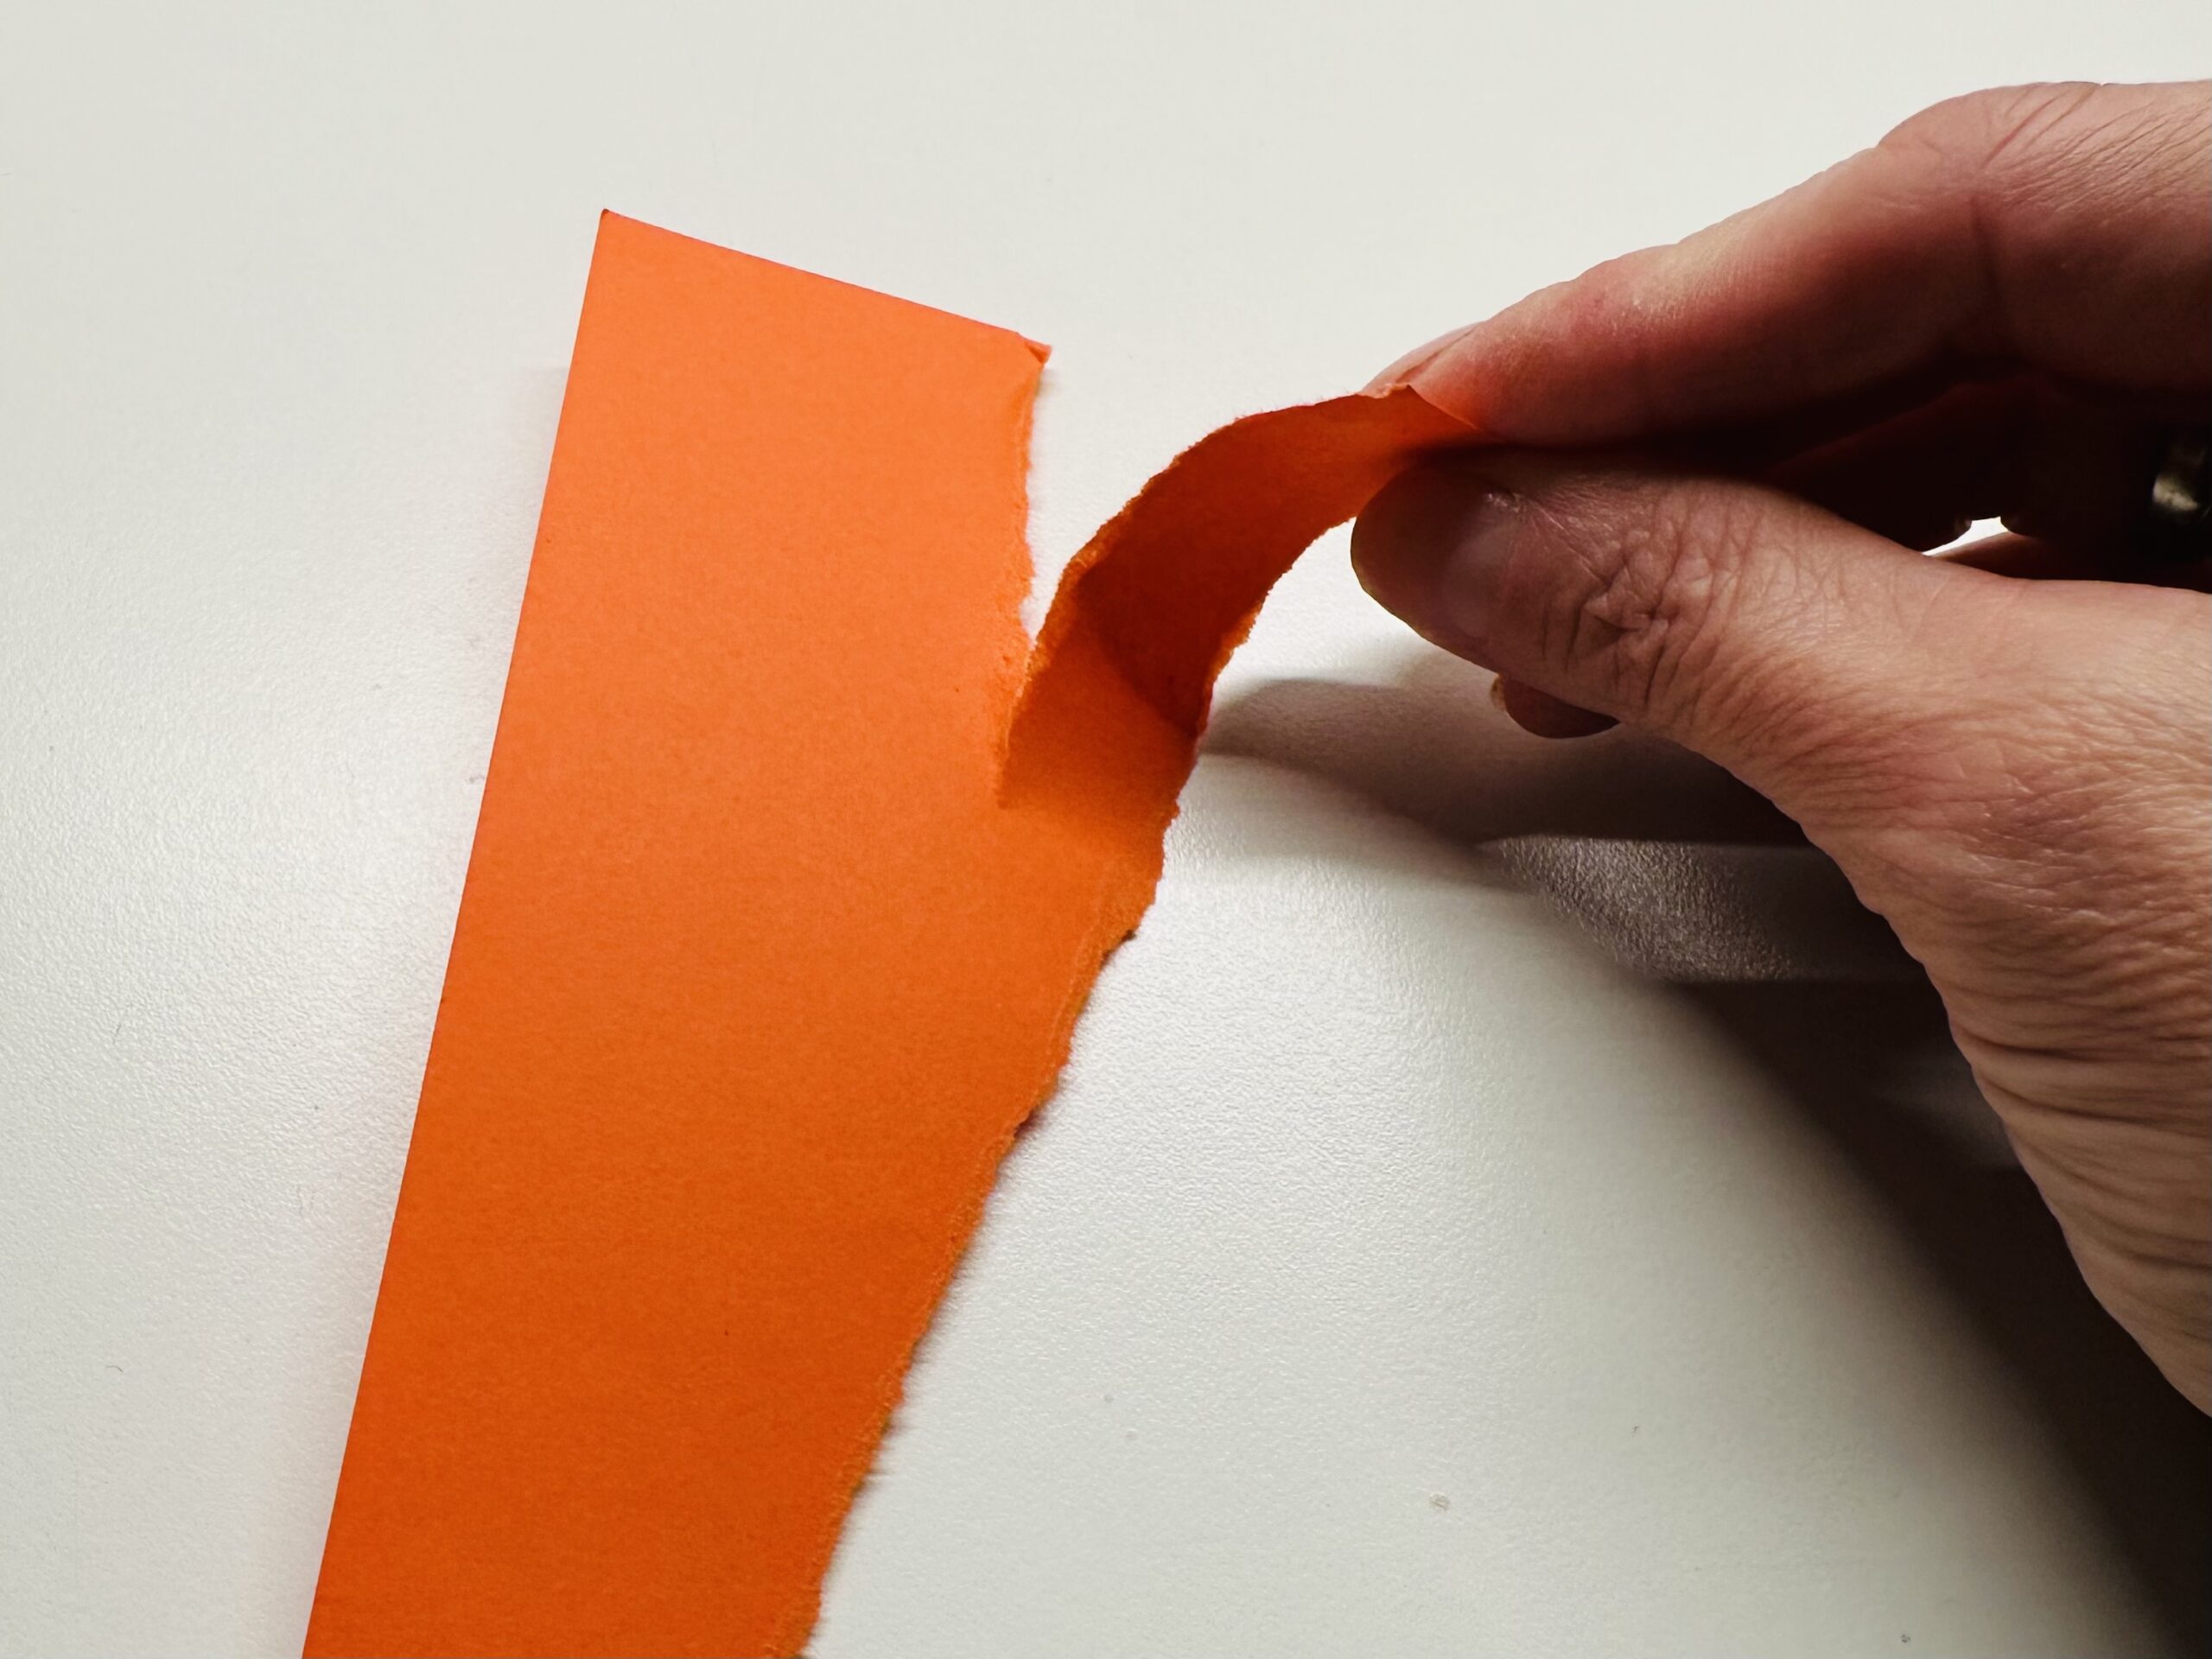
Bild zum Schritt 2 für das Bastel- und DIY-Abenteuer für Kinder: 'Nehmt das bunte Tonpapier und reißt es in lange spitz...'

3

The torn pieces can be very different.

Bild zum Schritt 3 für das Bastel- und DIY-Abenteuer für Kinder: 'Die gerissenen Stücke können sehr unterschiedlich sein.'

4

These are the stripes you need for the flames.

Bild zum Schritt 4 für das Bastel- und DIY-Abenteuer für Kinder: 'Das sind die Streifen, die ihr für die Flammen braucht.'

5

Now take a piece of brown clay paper.

Bild zum Schritt 5 für das Bastel- und DIY-Abenteuer für Kinder: 'Nehmt jetzt ein Reststück braunes Tonpapier.'

6

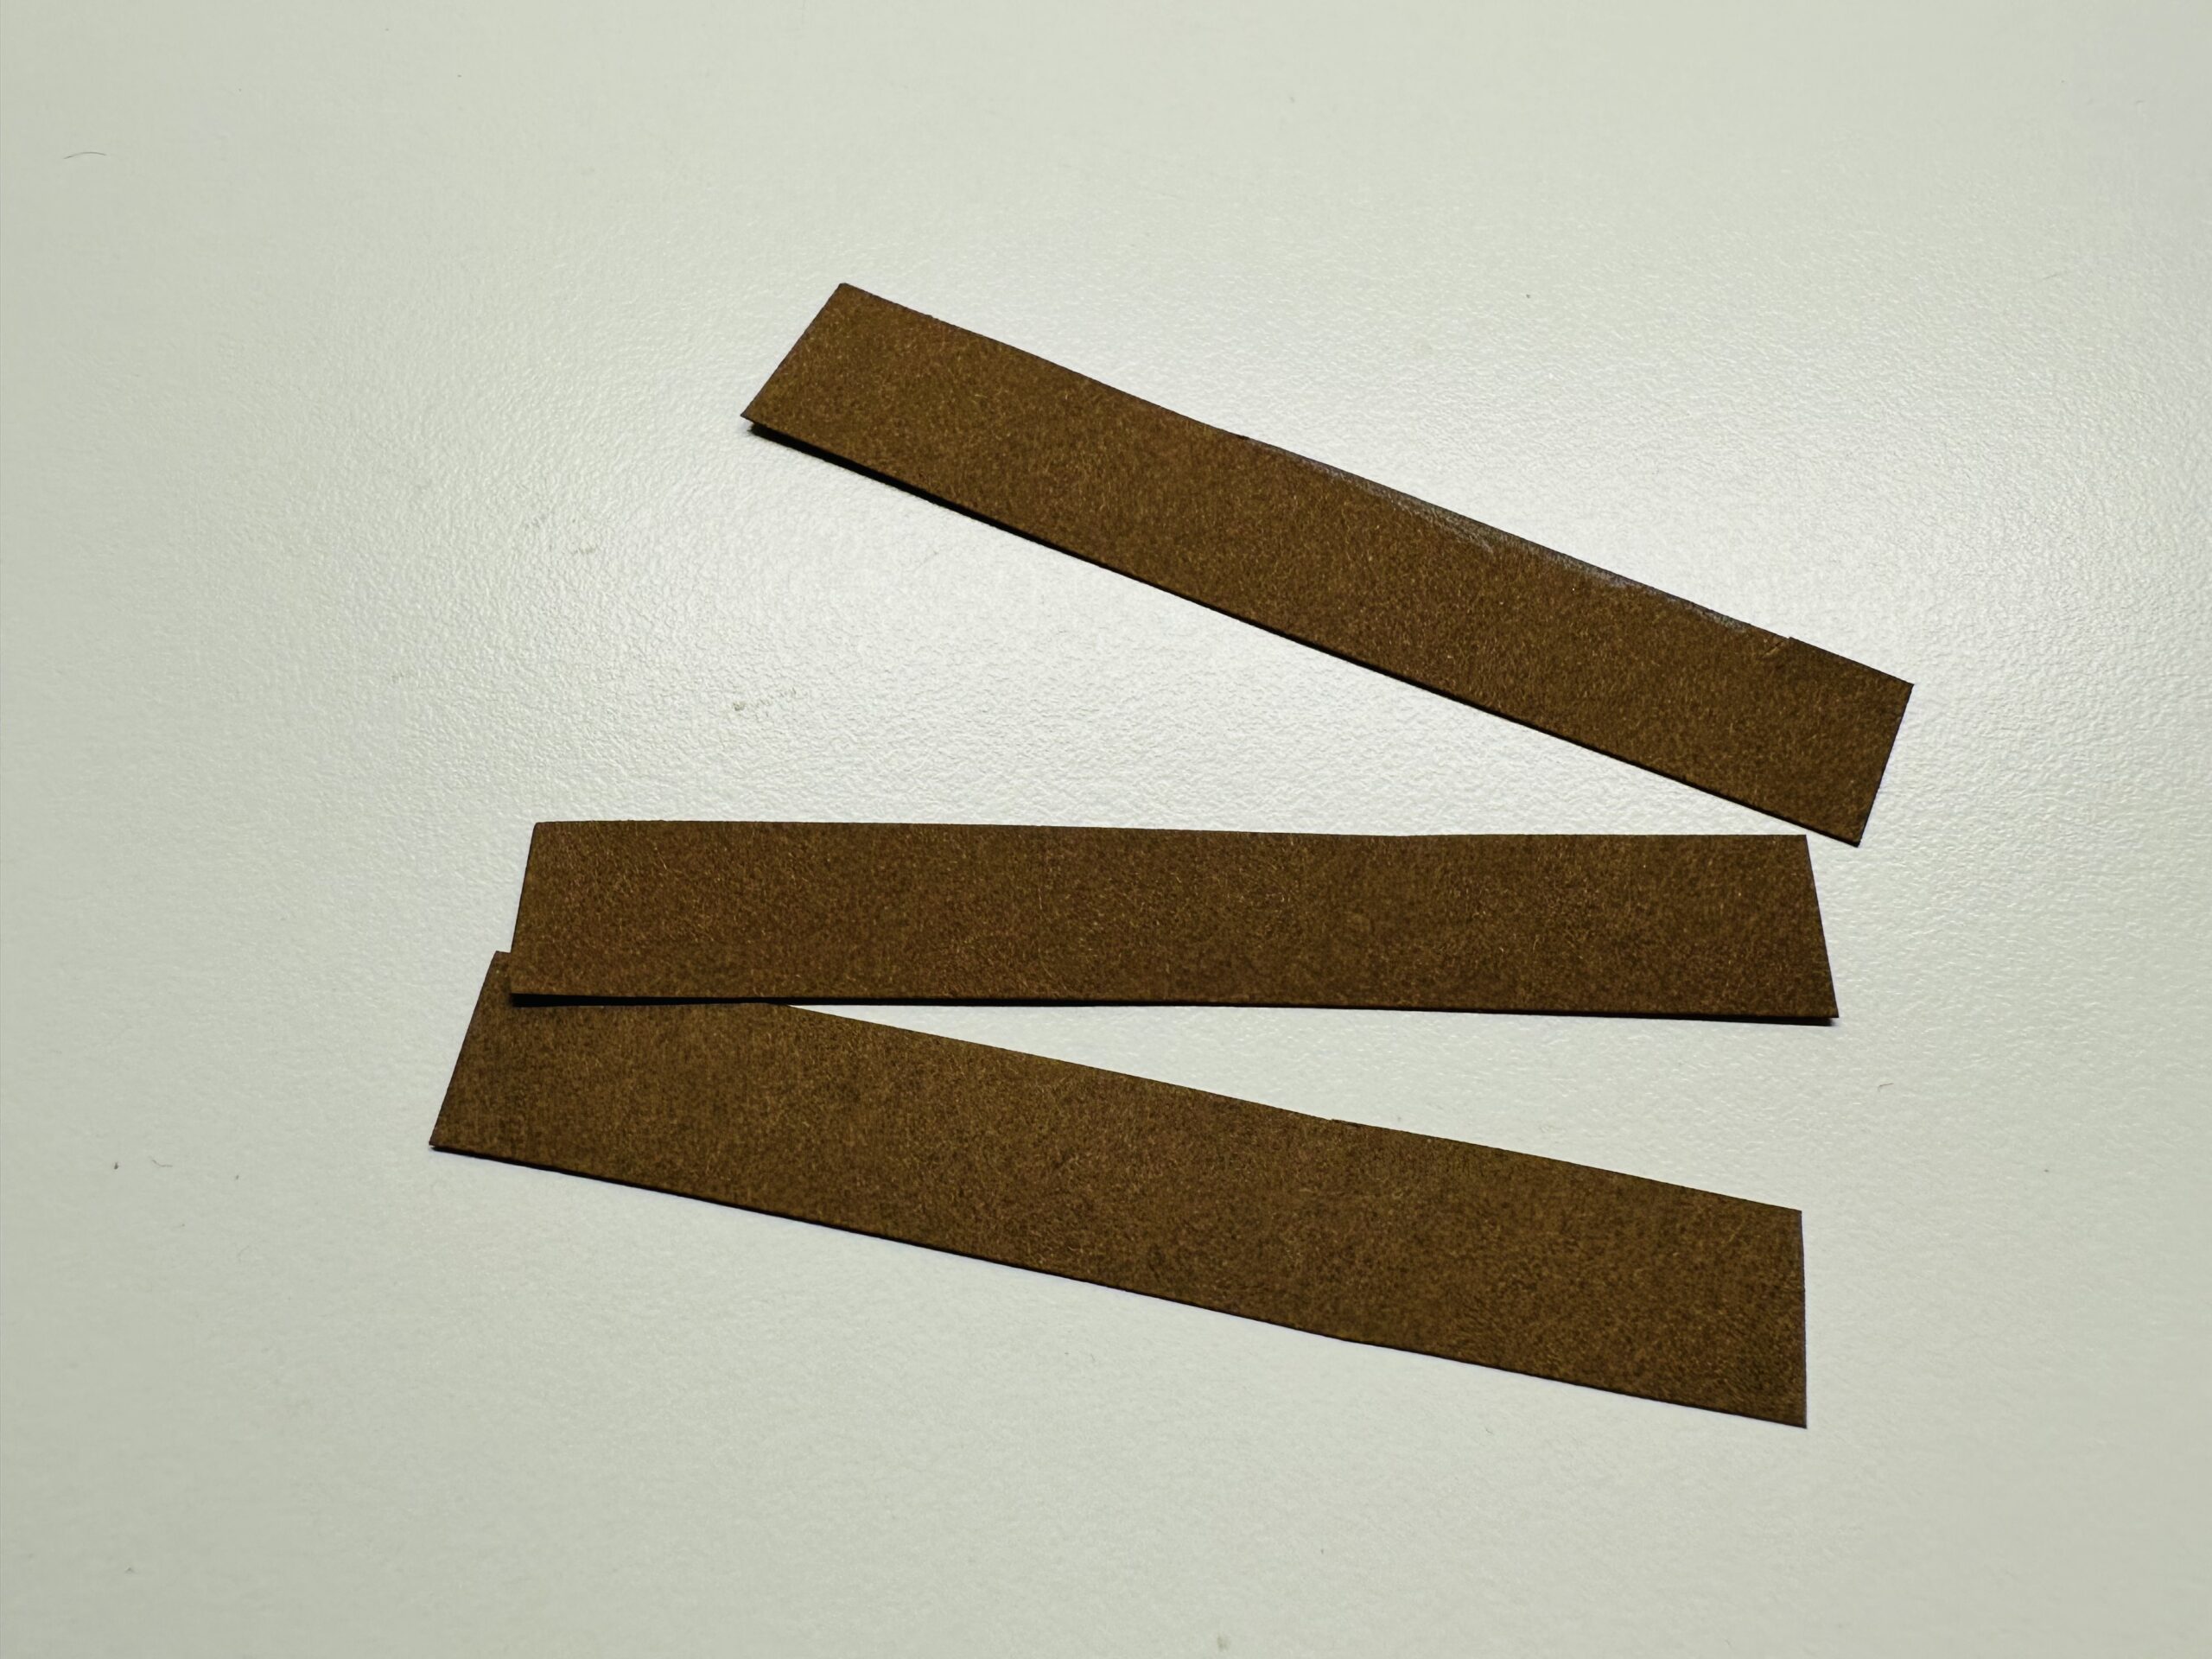
Cut off a few strips of paper.

Bild zum Schritt 6 für das Bastel- und DIY-Abenteuer für Kinder: 'Schneidet ein paar Streifen vom Tonpapier ab.'

7

You can cut the tails of the stripes in an arch.

Bild zum Schritt 7 für das Bastel- und DIY-Abenteuer für Kinder: 'Die Endstücke der Streifen könnt ihr bogenförmig zuschneiden.'

8

Cut all the strips like that, they look like woods.

Bild zum Schritt 8 für das Bastel- und DIY-Abenteuer für Kinder: 'Schneidet  allen Streifen so zu, so sehen sie aus...'

9

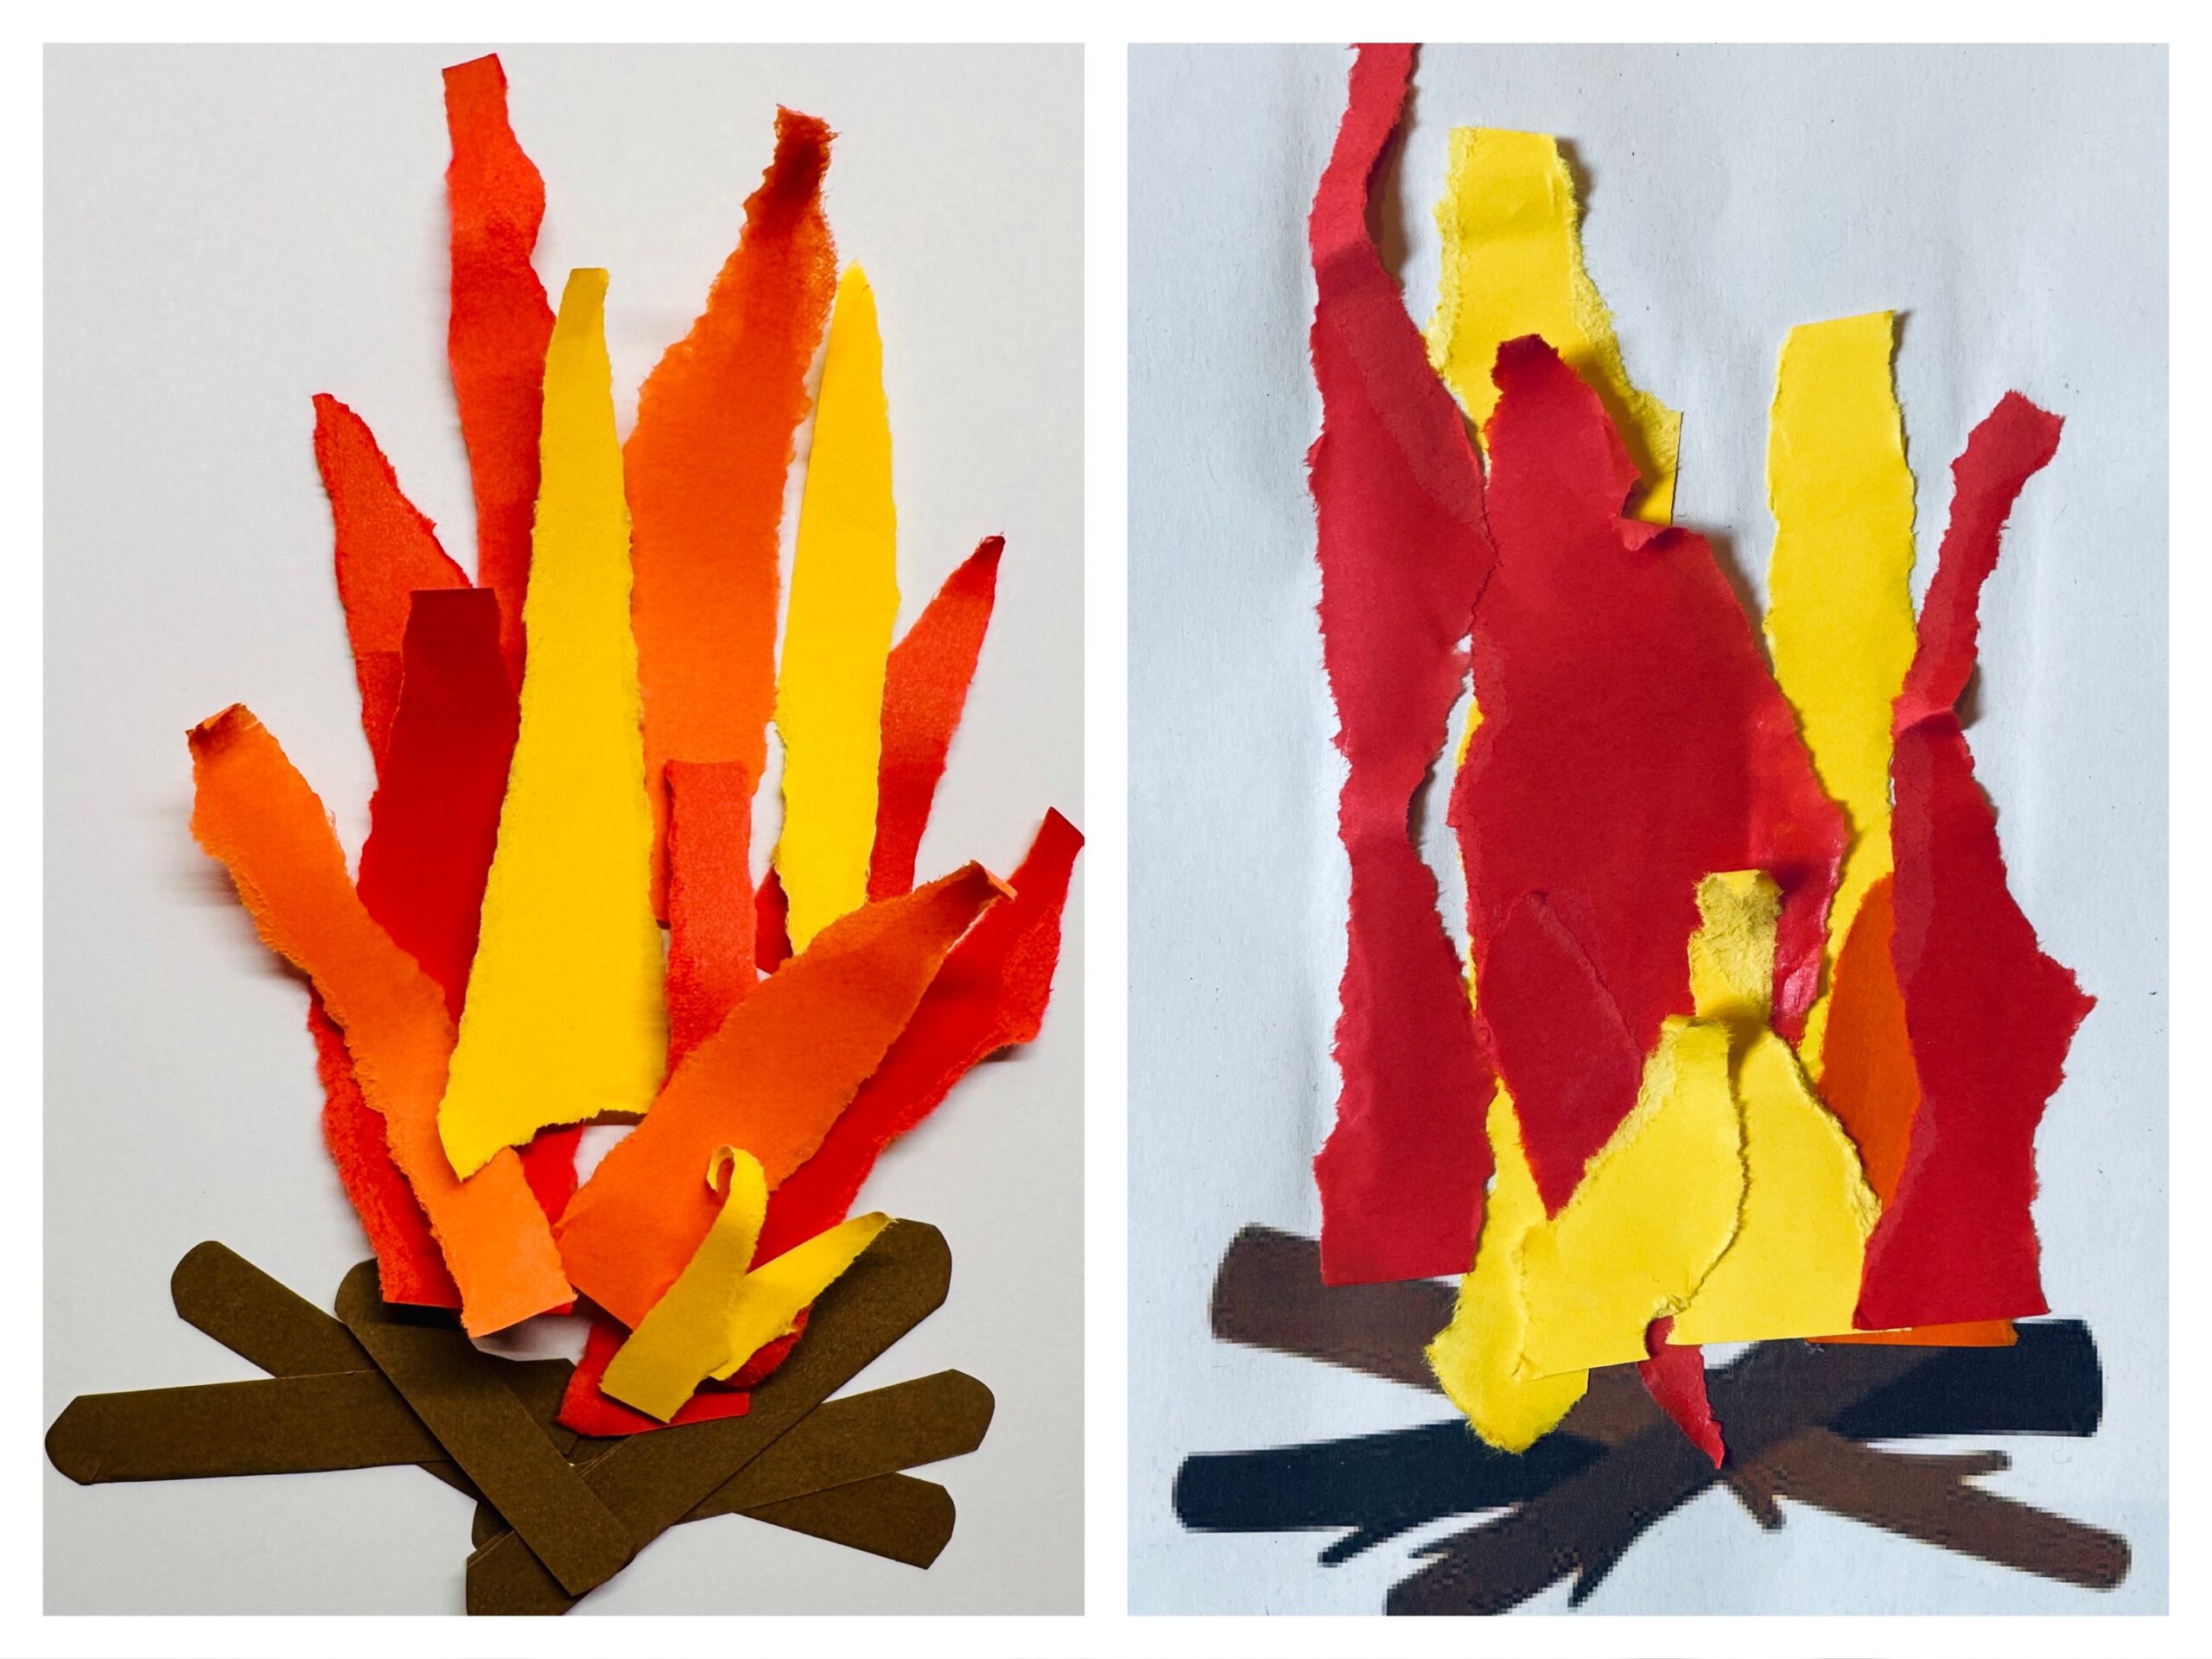
Put the "woods" on your white sheet of paper like a layer fire. (See picture)

Bild zum Schritt 9 für das Bastel- und DIY-Abenteuer für Kinder: 'Legt die „Hölzer“ wie bei einem Lagenfeuer auf dein weißes...'

10

Now you start with the red "flames" (topped paper strips)

Bild zum Schritt 10 für das Bastel- und DIY-Abenteuer für Kinder: 'Nun beginnt ihr mit den roten „Flammen“ (gerissenen Papierstreifen)'

11

Place the flames in such a way that always the pointed sides of the torn stripes point upwards and slightly point outwards.

Bild zum Schritt 11 für das Bastel- und DIY-Abenteuer für Kinder: 'Legt die Flammen so, dass immer die spitzen Seiten der...'

12

Put some orange flames on the red flames.

Bild zum Schritt 12 für das Bastel- und DIY-Abenteuer für Kinder: 'Legt auf die roten Flammen ein paar orangefarbene Flammen.'

13

Finally, you can put a few yellow flames on the fire. This creates a realistic flame image.

Bild zum Schritt 13 für das Bastel- und DIY-Abenteuer für Kinder: 'Zuletzt könnt ihr noch ein paar gelbe Flammen auf das...'

A few examples of how different the campfires can look:
14

The flames / campfires can be very different, which shows how unpredictable fire can be.

Bild zum Schritt 15 für das Bastel- und DIY-Abenteuer für Kinder: 'Die Flammen/ Lagerfeuer können sehr unterschiedlich sein, das zeigt wie...'

15

2. Bild zum Schritt 15 für das Bastel- und DIY-Abenteuer für Kinder: 'Die Flammen/ Lagerfeuer können sehr unterschiedlich sein, das zeigt wie...'

16

Have fun trying out.

Materials

 1 Sheet of paperForm, if any
 Unwrought paper or paperboardin red, yellow and orange
 1 Glue
 1 Builder's pad

Directions

1

Get all the craft utensils ready.
Uses three clay papers or folding papers in bright red, yellow and orange.

Bild zum Schritt 1 für das Bastel- und DIY-Abenteuer für Kinder: 'Legt euch alle Bastelutensilien bereit.  Verwendet drei Tonpapiere oder...'

2

Take the colorful clay paper and tear it into long pointed strips.

Bild zum Schritt 2 für das Bastel- und DIY-Abenteuer für Kinder: 'Nehmt das bunte Tonpapier und reißt es in lange spitz...'

3

The torn pieces can be very different.
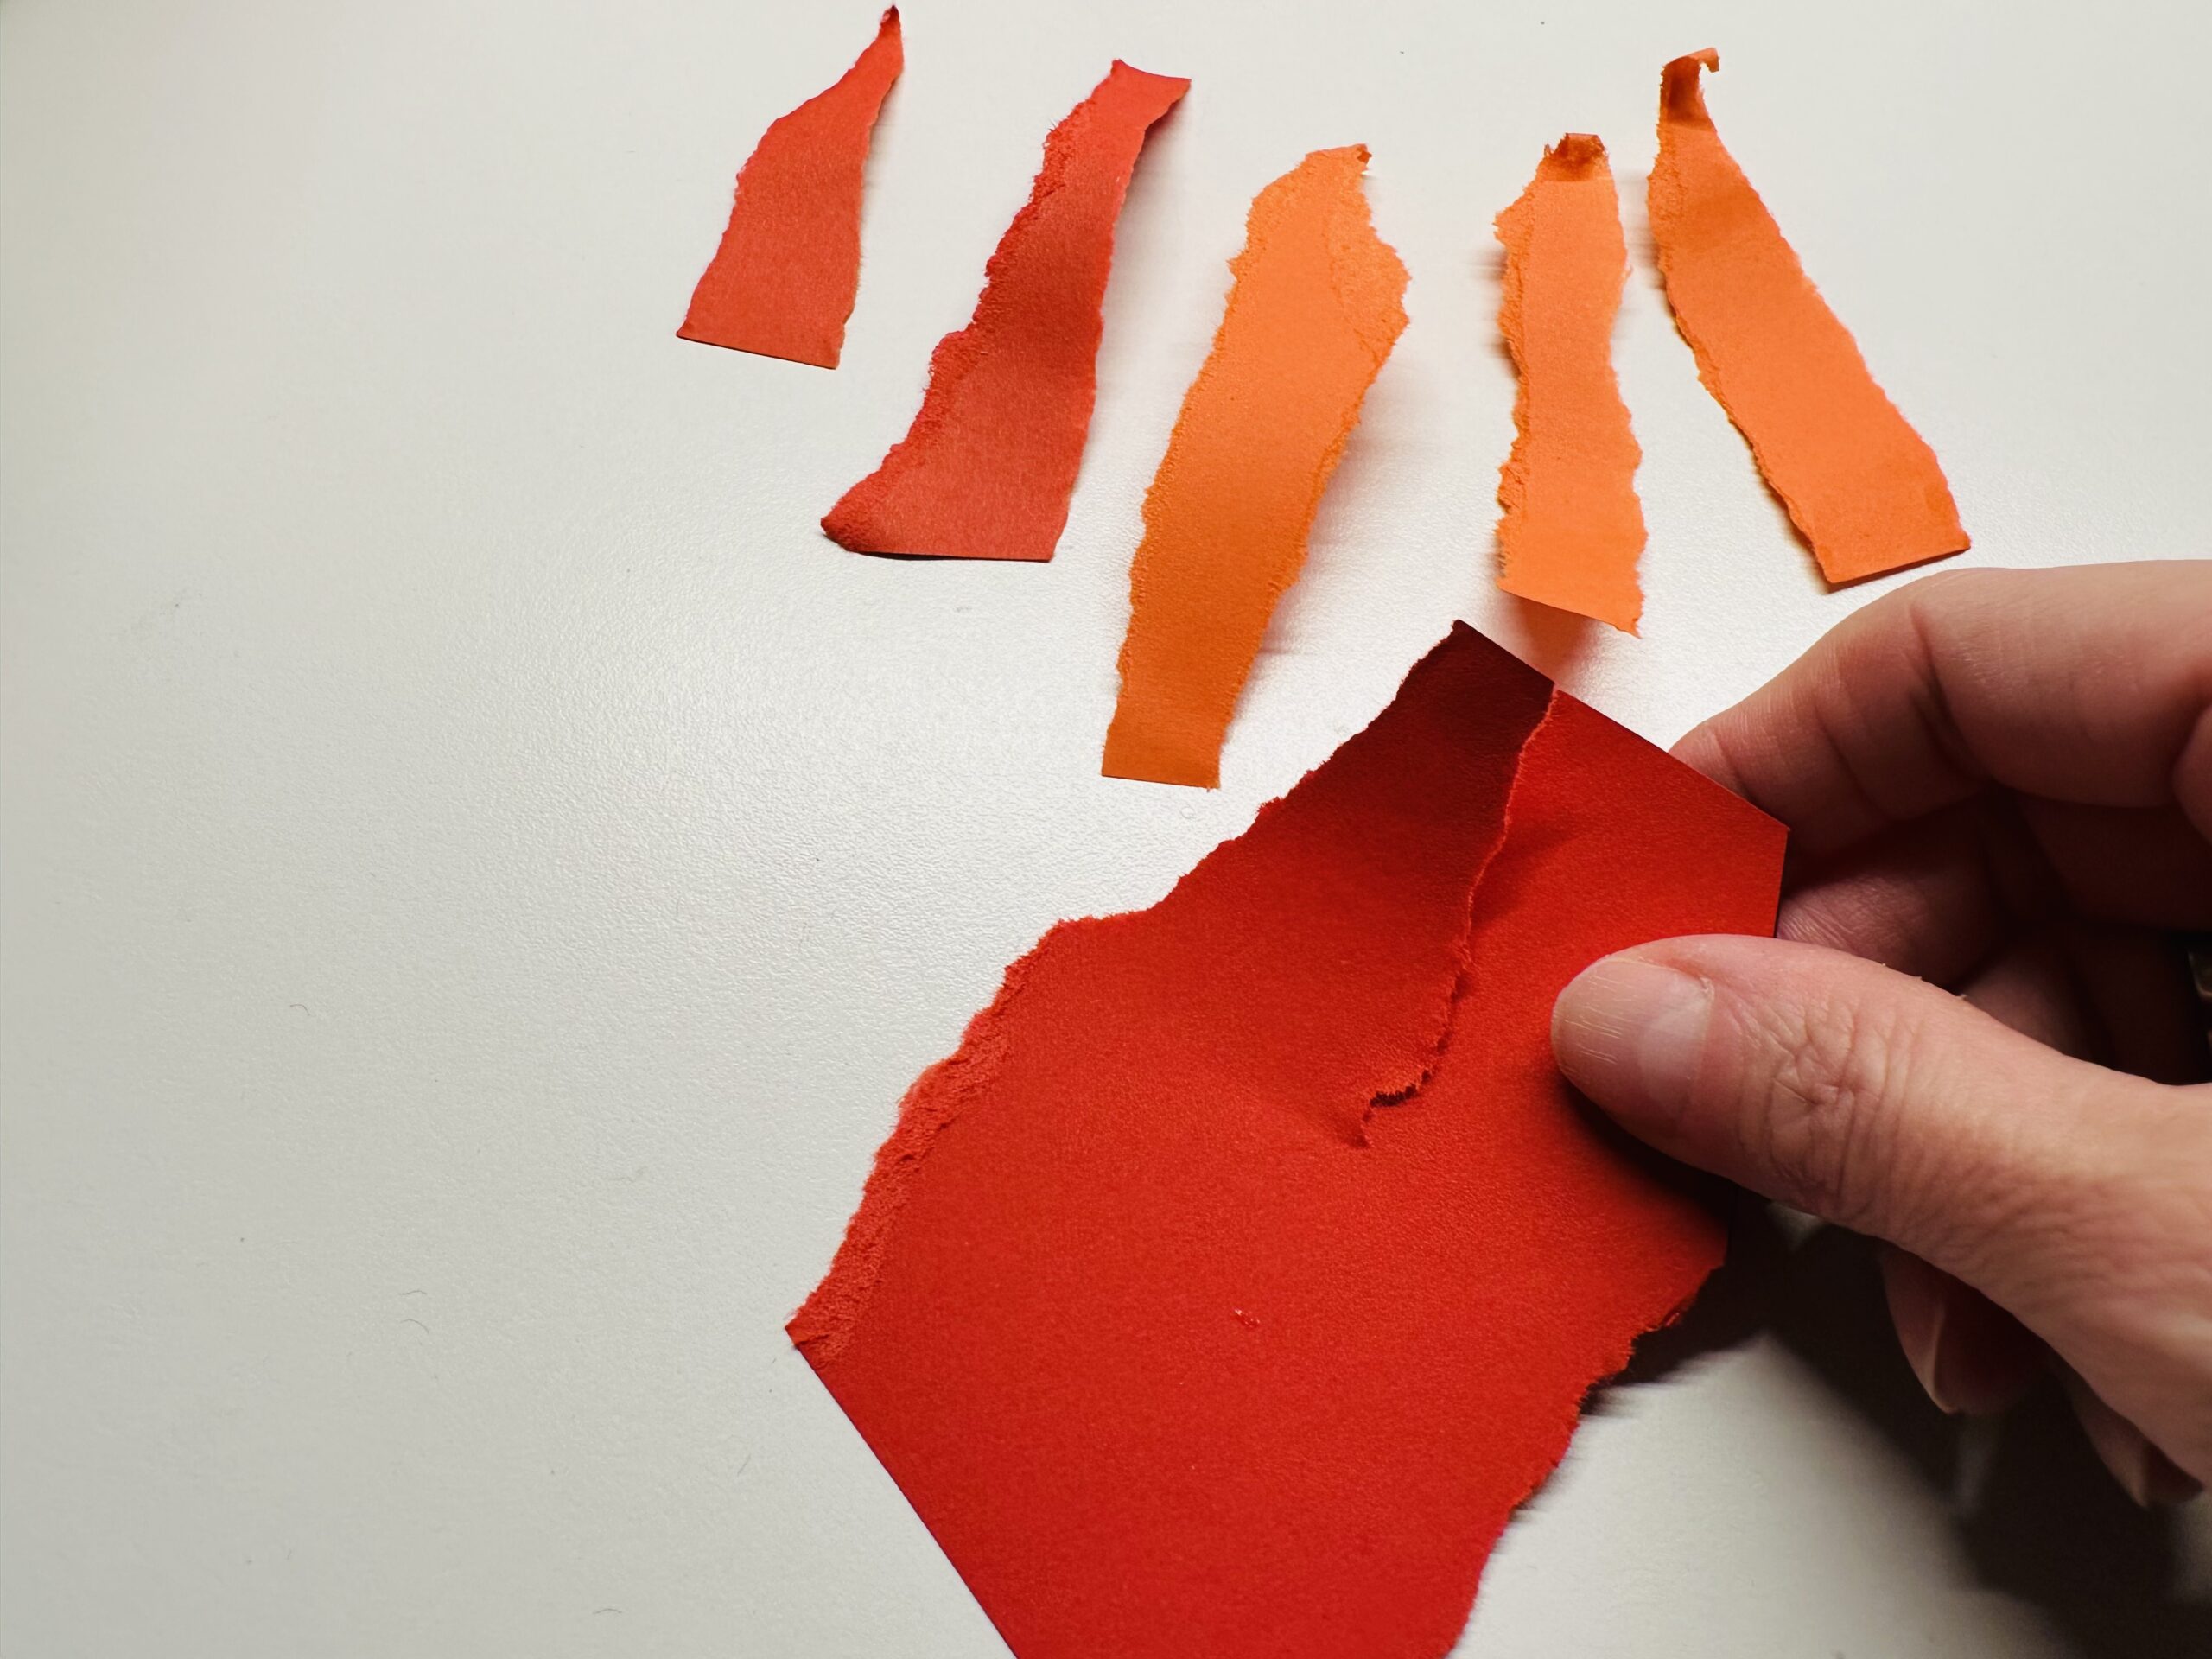
Bild zum Schritt 3 für das Bastel- und DIY-Abenteuer für Kinder: 'Die gerissenen Stücke können sehr unterschiedlich sein.'

4

These are the stripes you need for the flames.
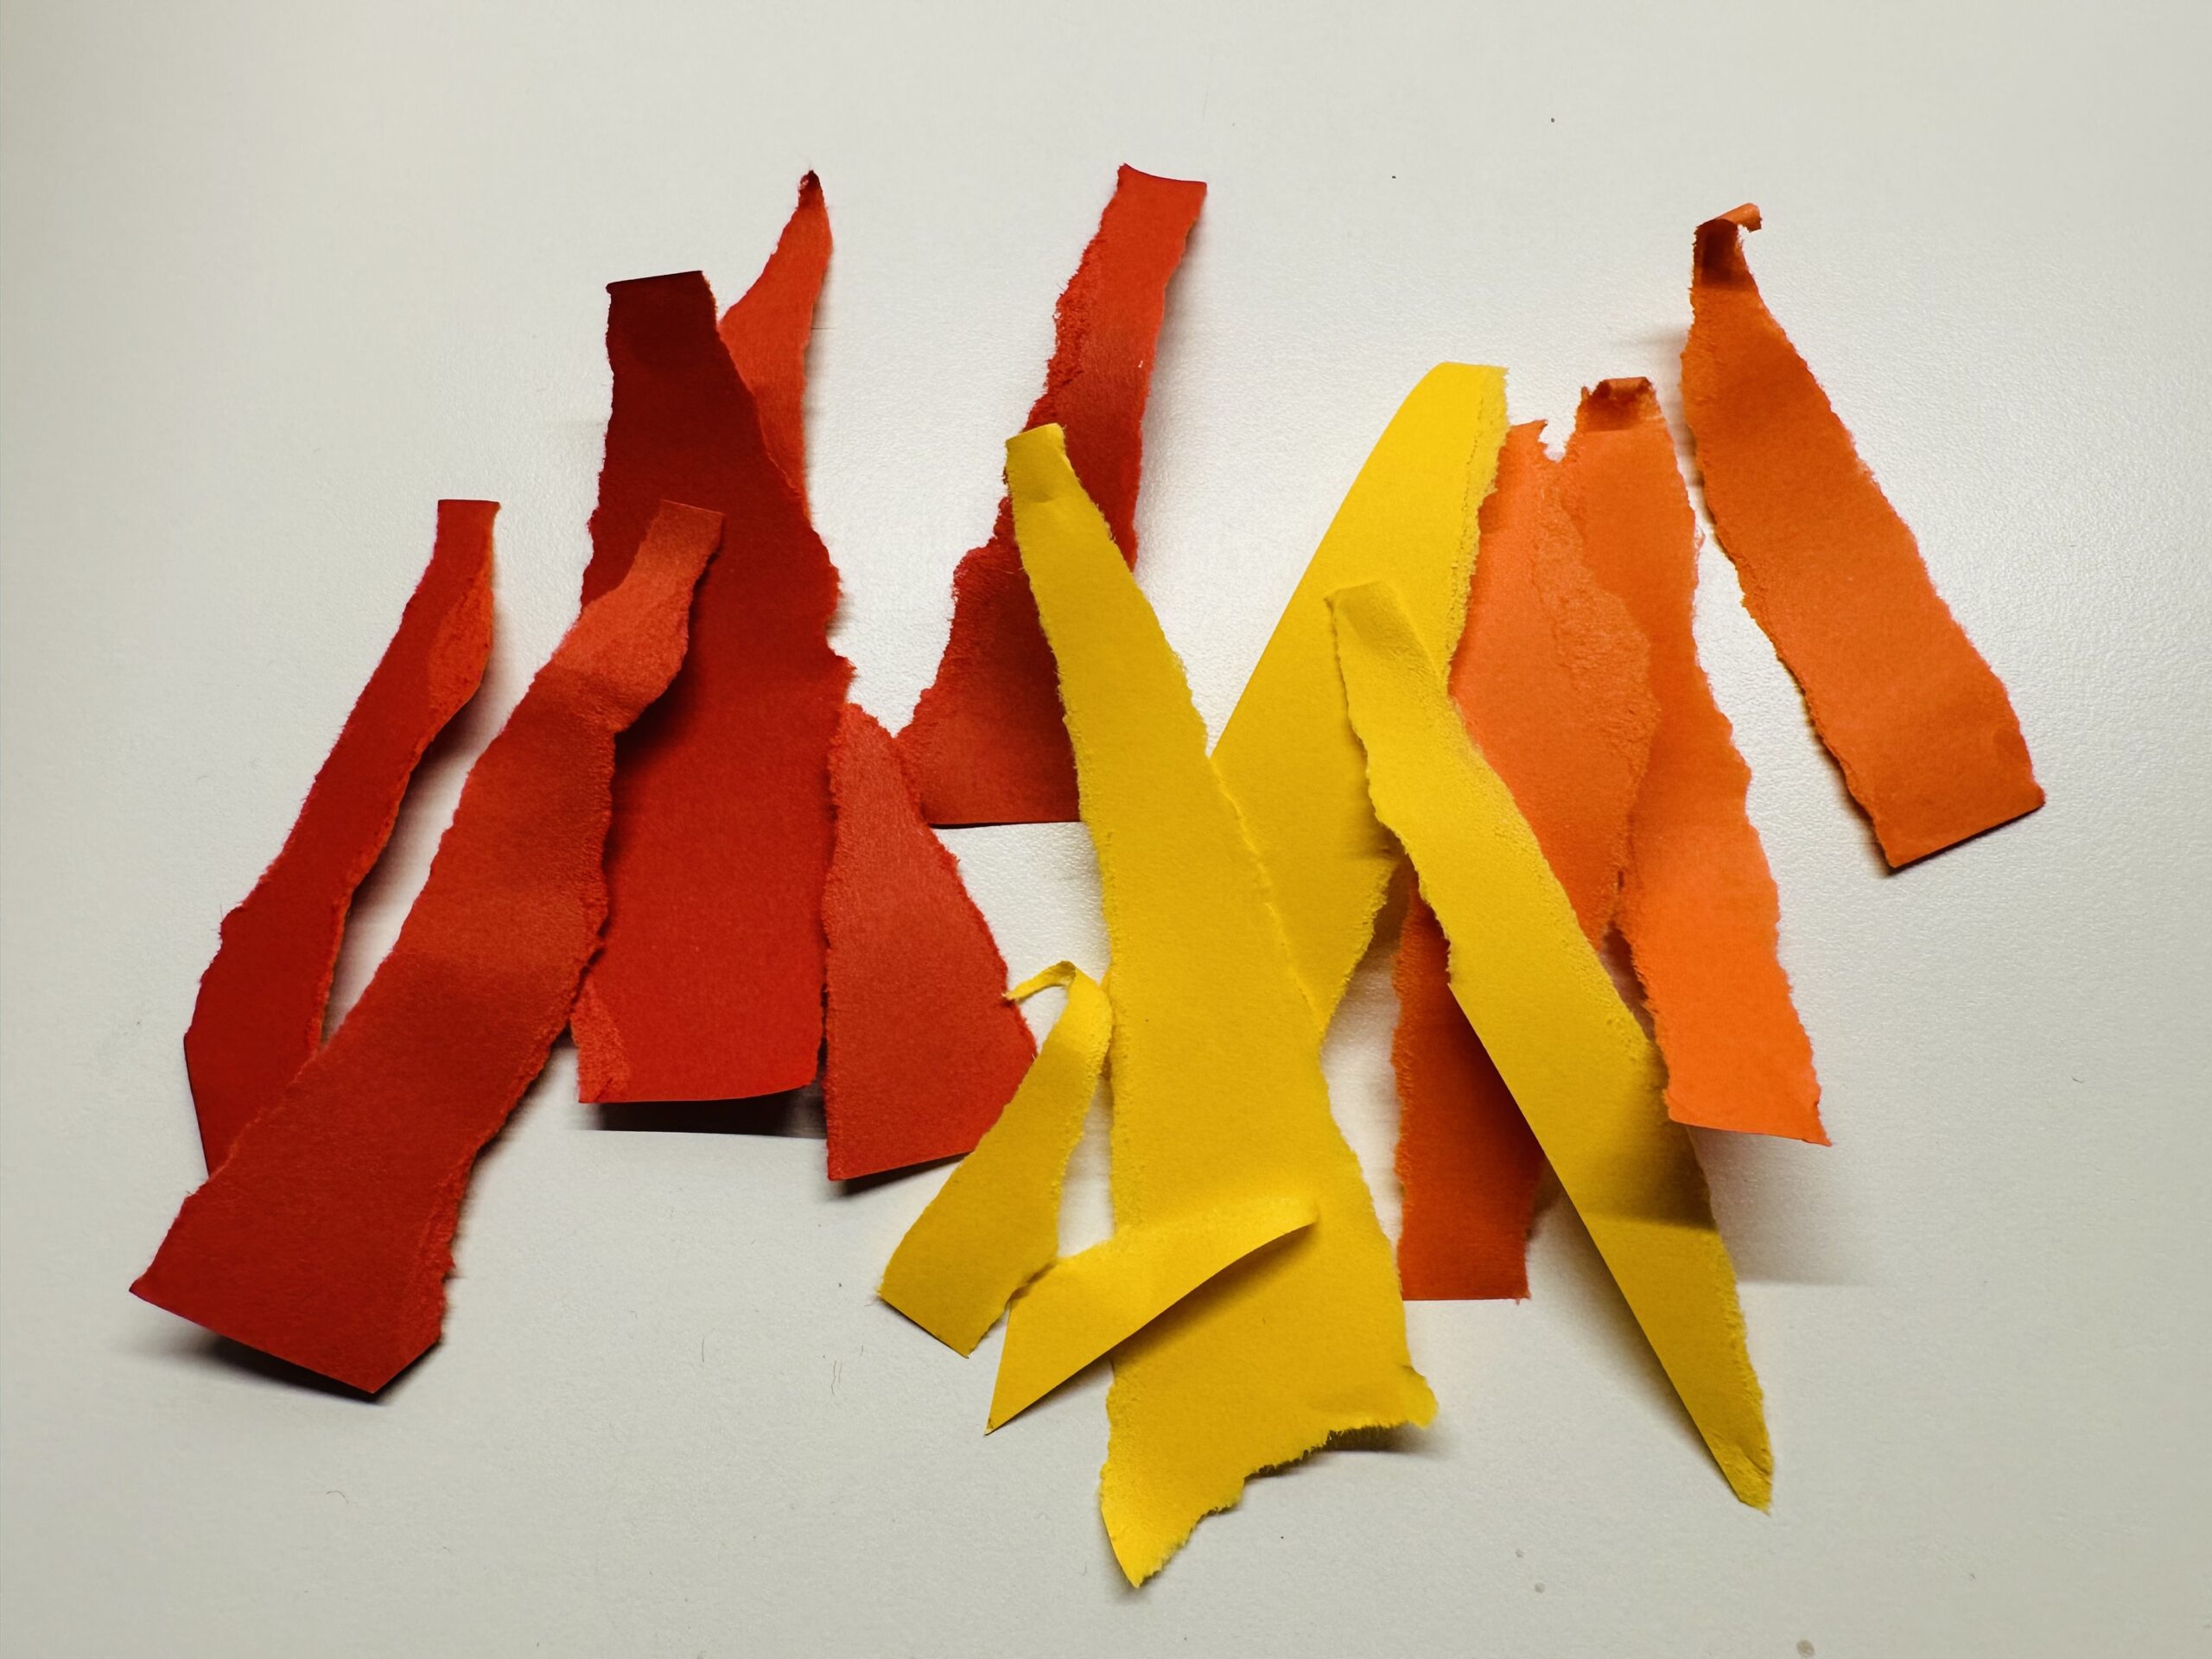
Bild zum Schritt 4 für das Bastel- und DIY-Abenteuer für Kinder: 'Das sind die Streifen, die ihr für die Flammen braucht.'

5

Now take a piece of brown clay paper.
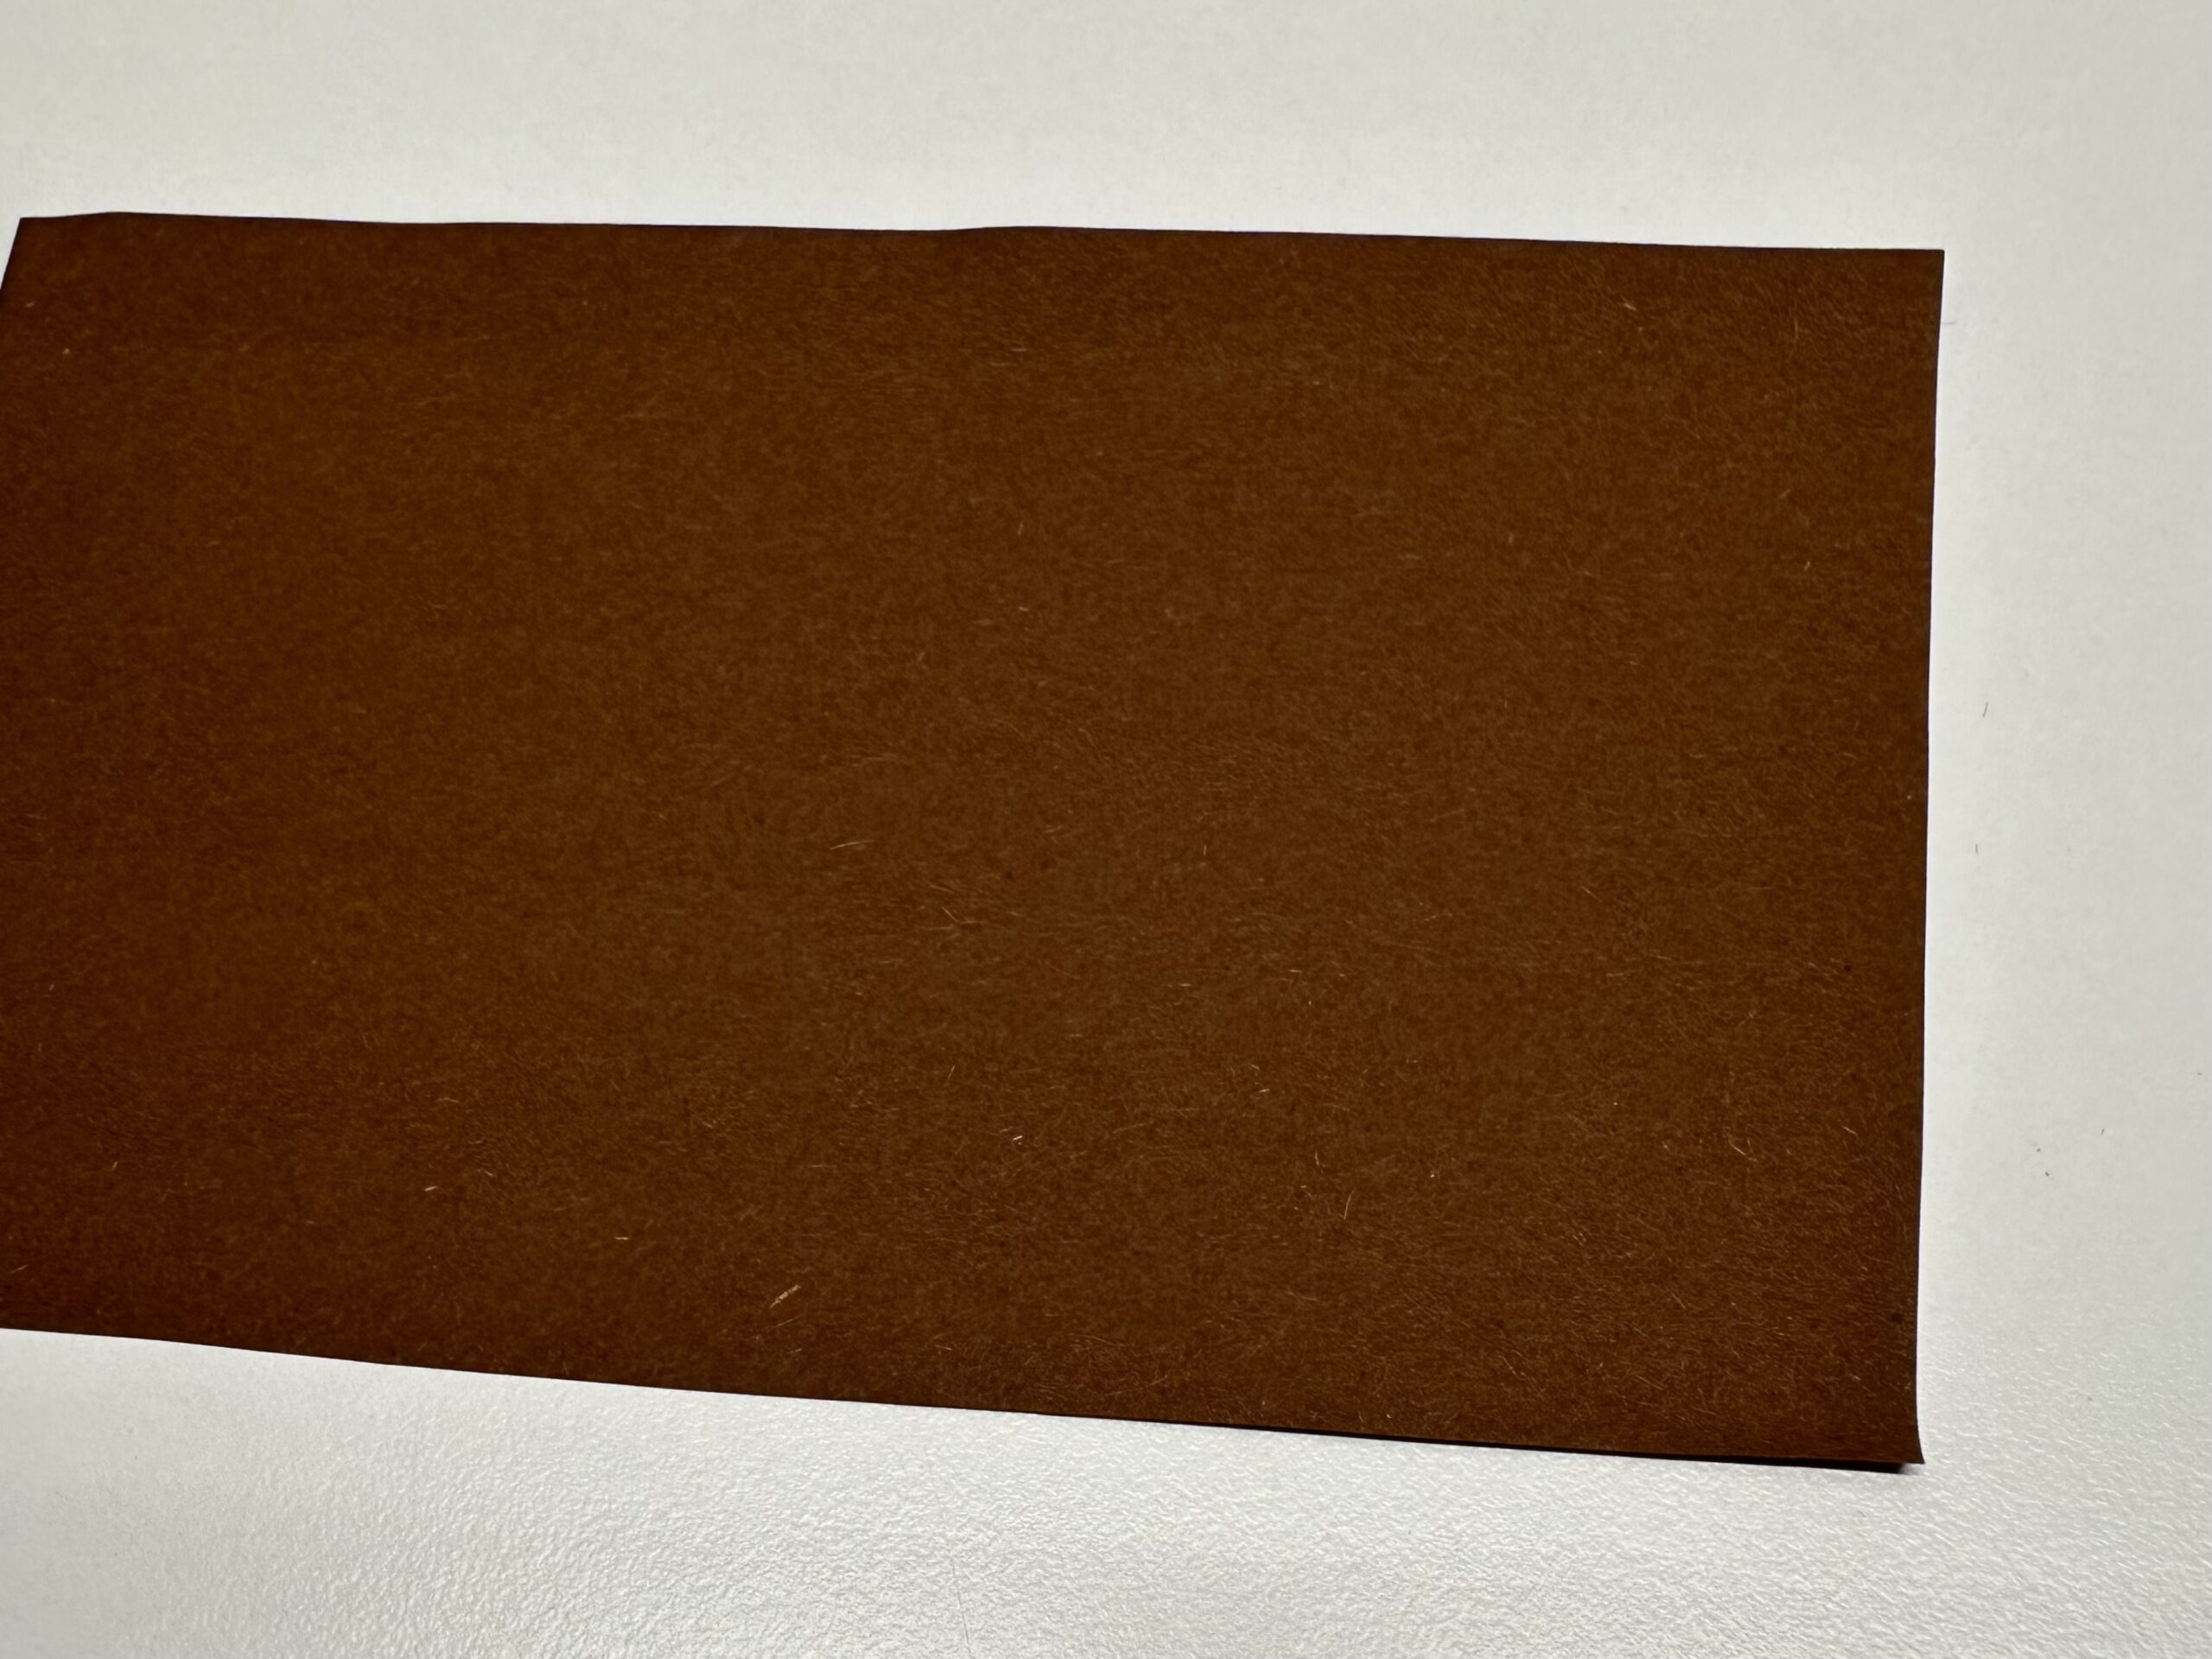
Bild zum Schritt 5 für das Bastel- und DIY-Abenteuer für Kinder: 'Nehmt jetzt ein Reststück braunes Tonpapier.'

6

Cut off a few strips of paper.

Bild zum Schritt 6 für das Bastel- und DIY-Abenteuer für Kinder: 'Schneidet ein paar Streifen vom Tonpapier ab.'

7

You can cut the tails of the stripes in an arch.
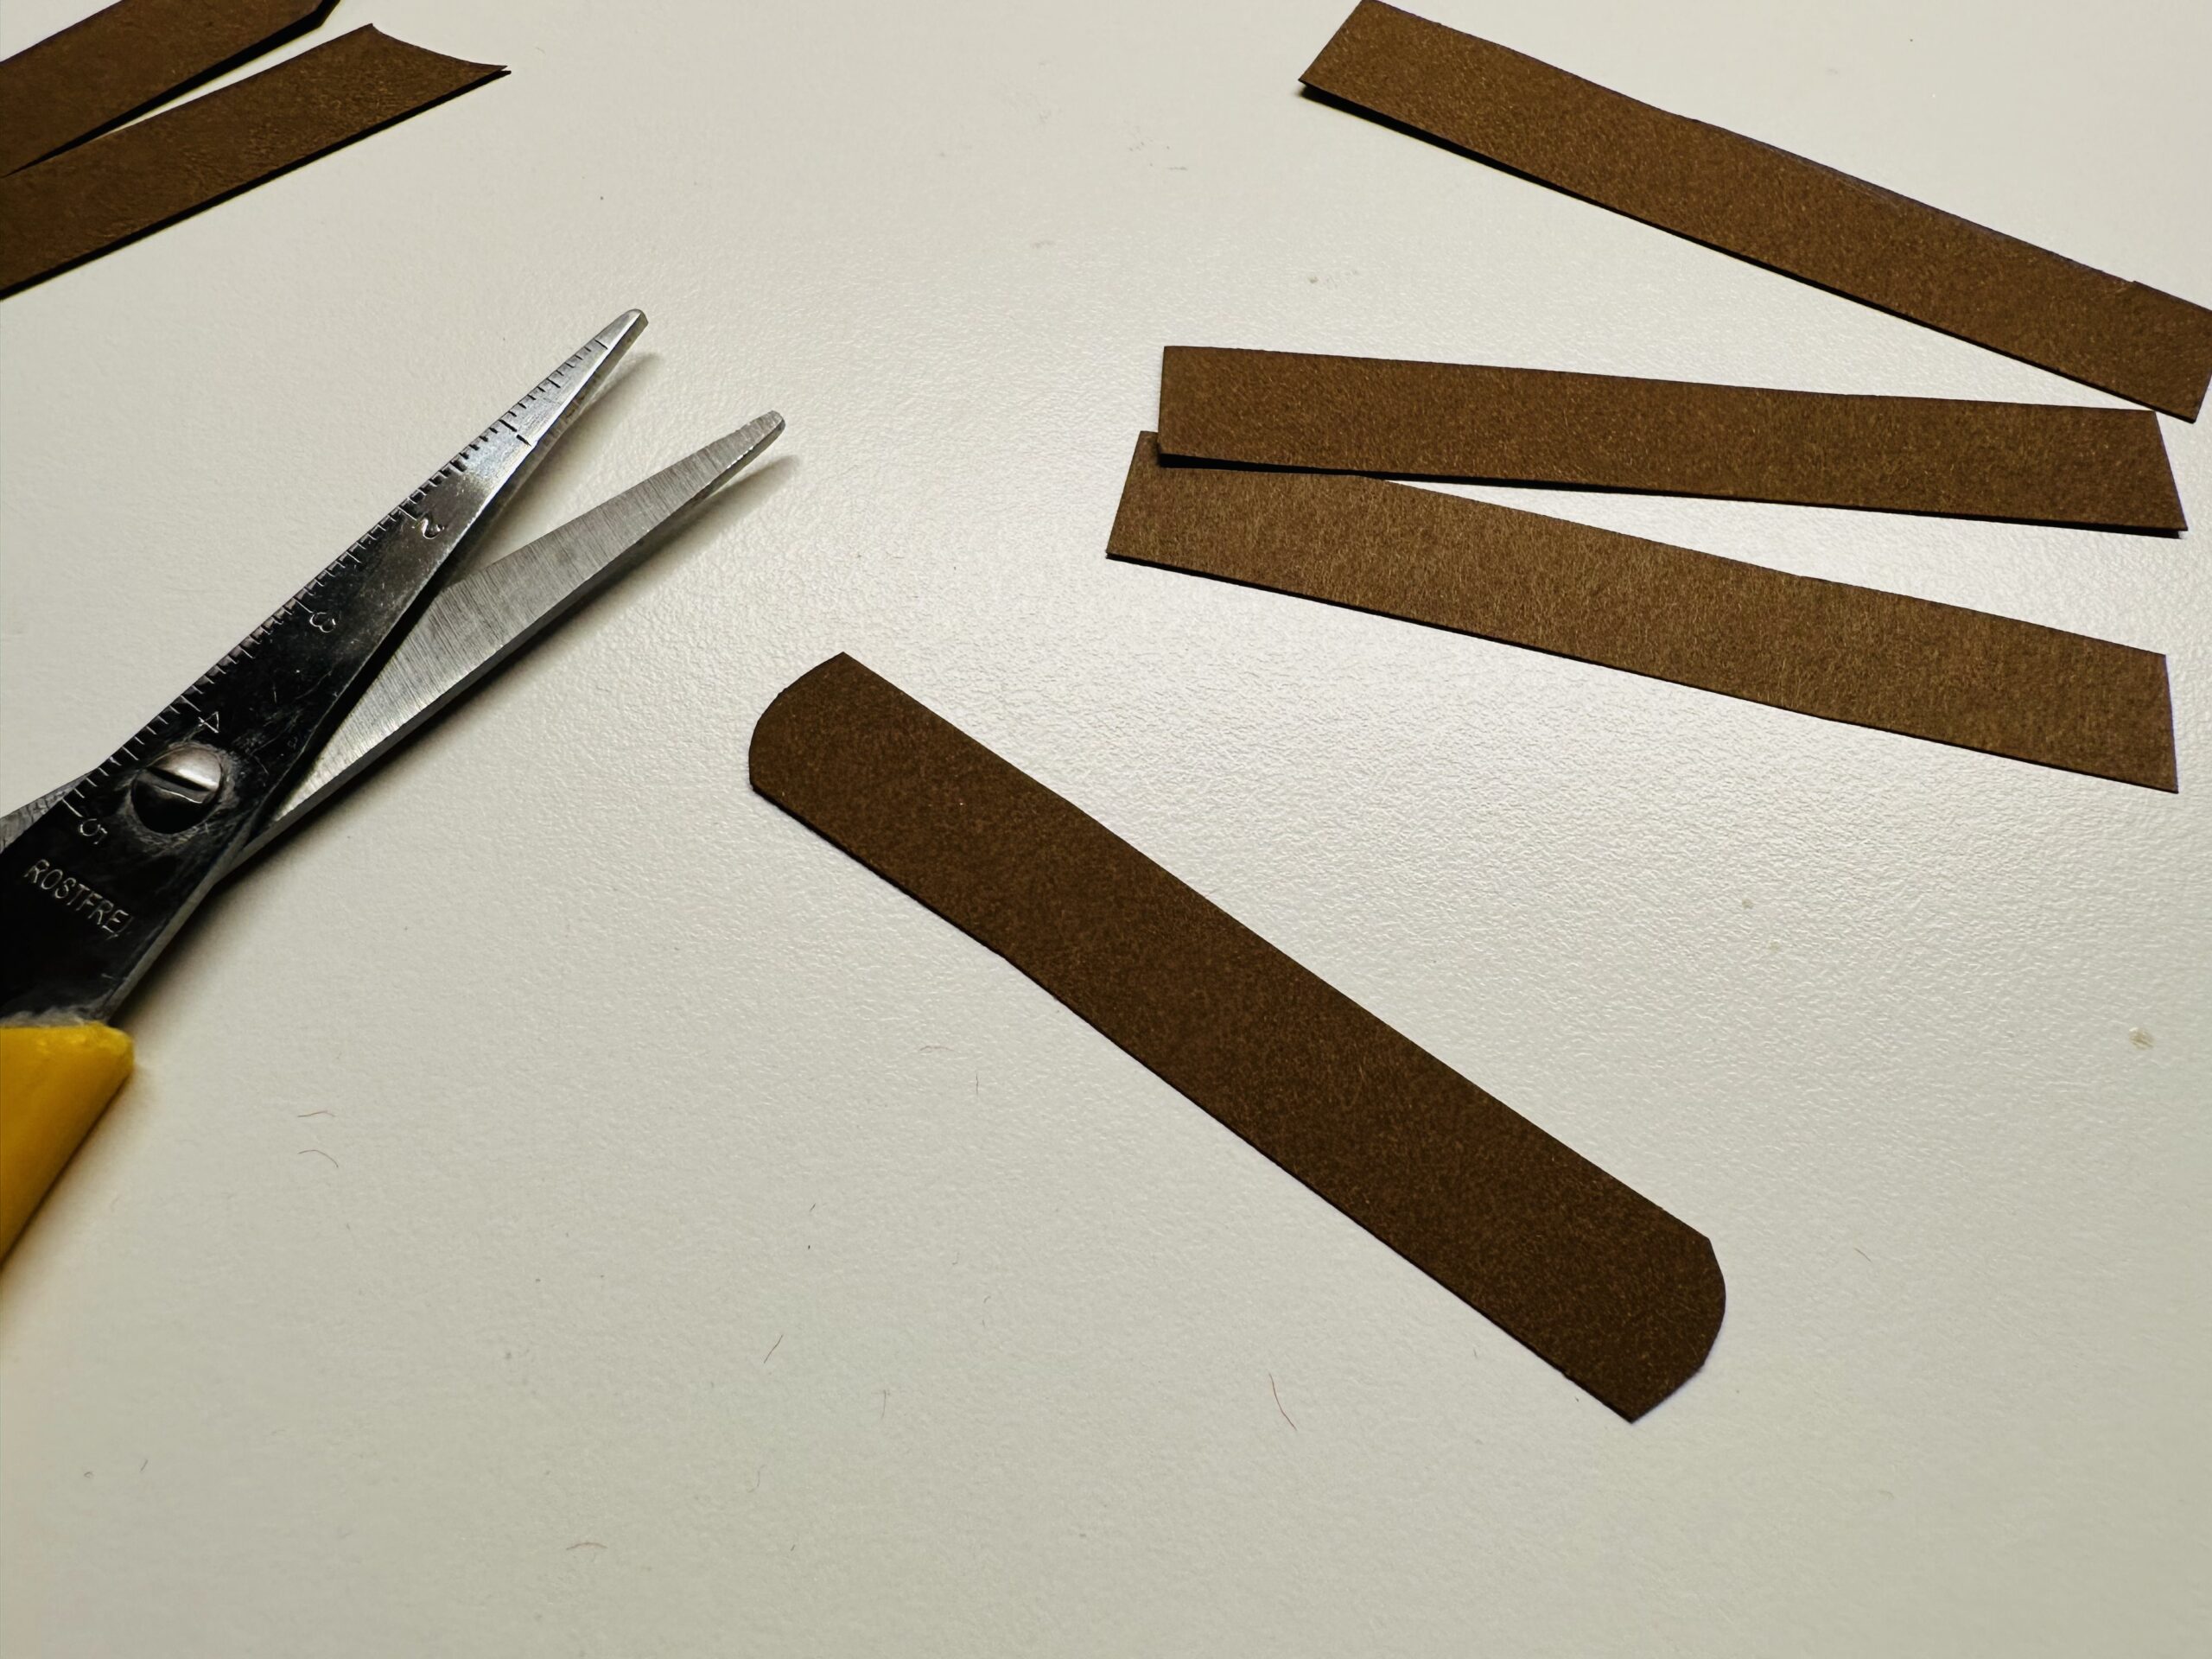
Bild zum Schritt 7 für das Bastel- und DIY-Abenteuer für Kinder: 'Die Endstücke der Streifen könnt ihr bogenförmig zuschneiden.'

8

Cut all the strips like that, they look like woods.
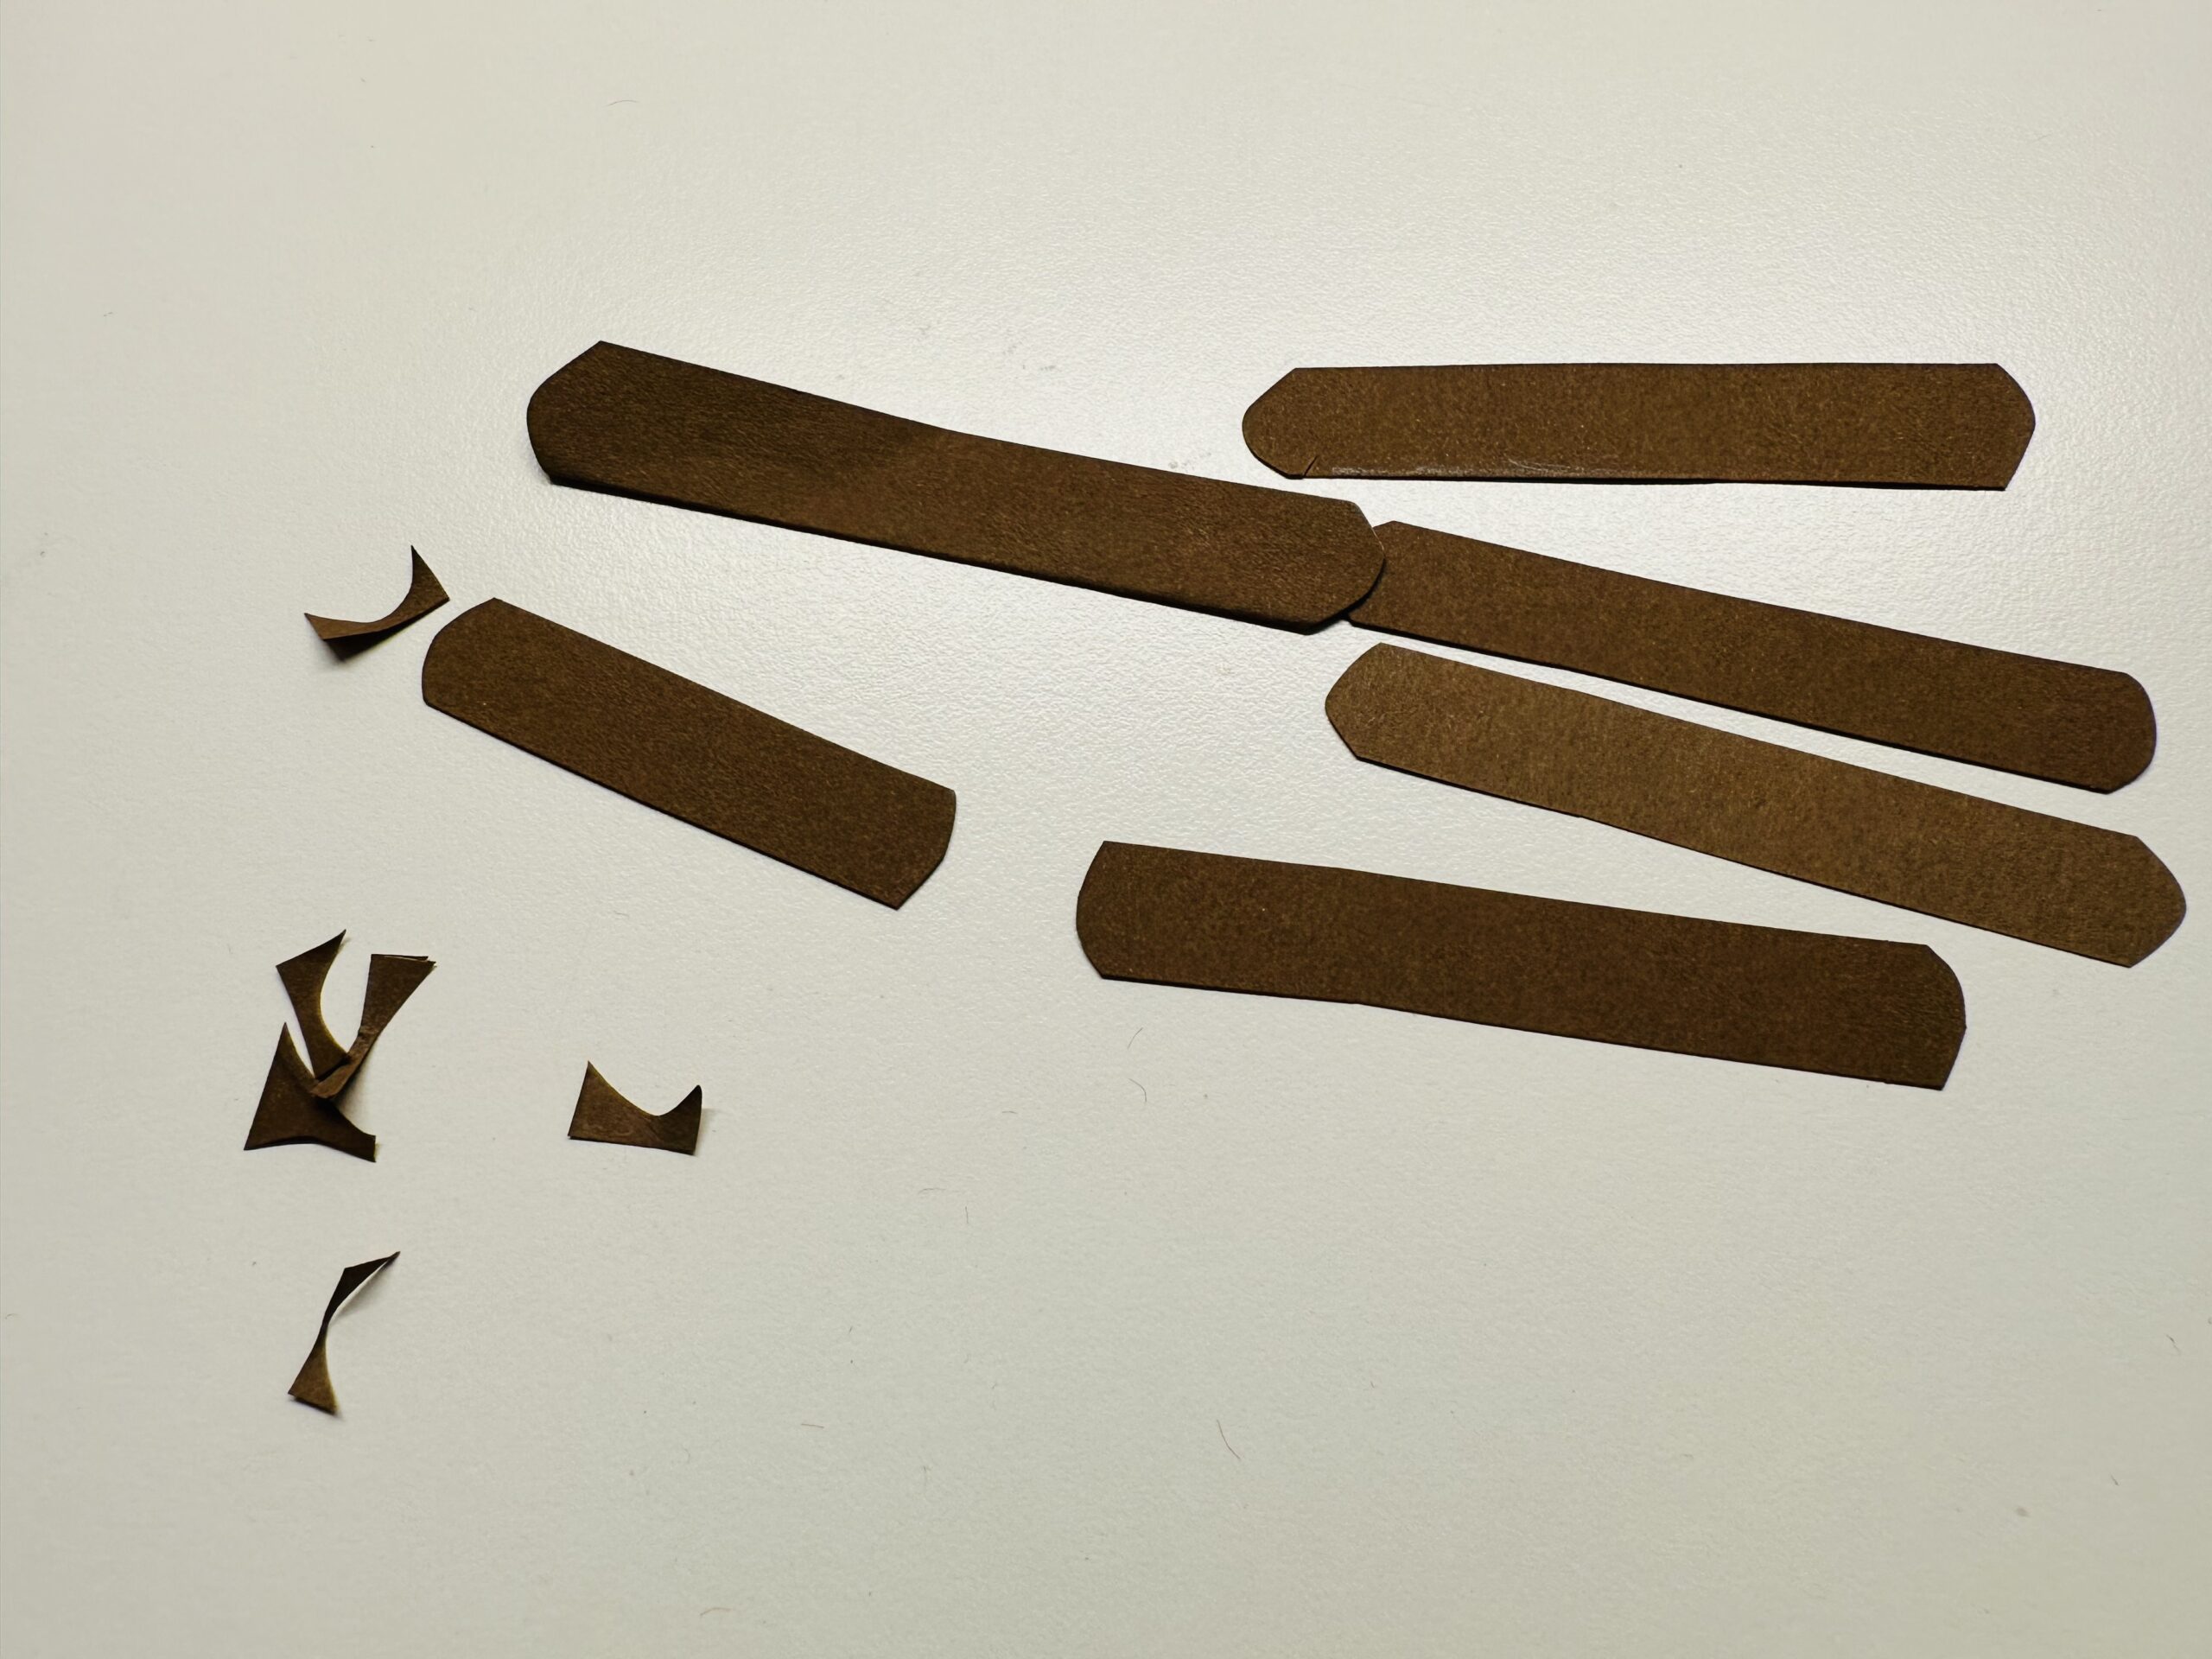
Bild zum Schritt 8 für das Bastel- und DIY-Abenteuer für Kinder: 'Schneidet  allen Streifen so zu, so sehen sie aus...'

9

Put the "woods" on your white sheet of paper like a layer fire. (See picture)
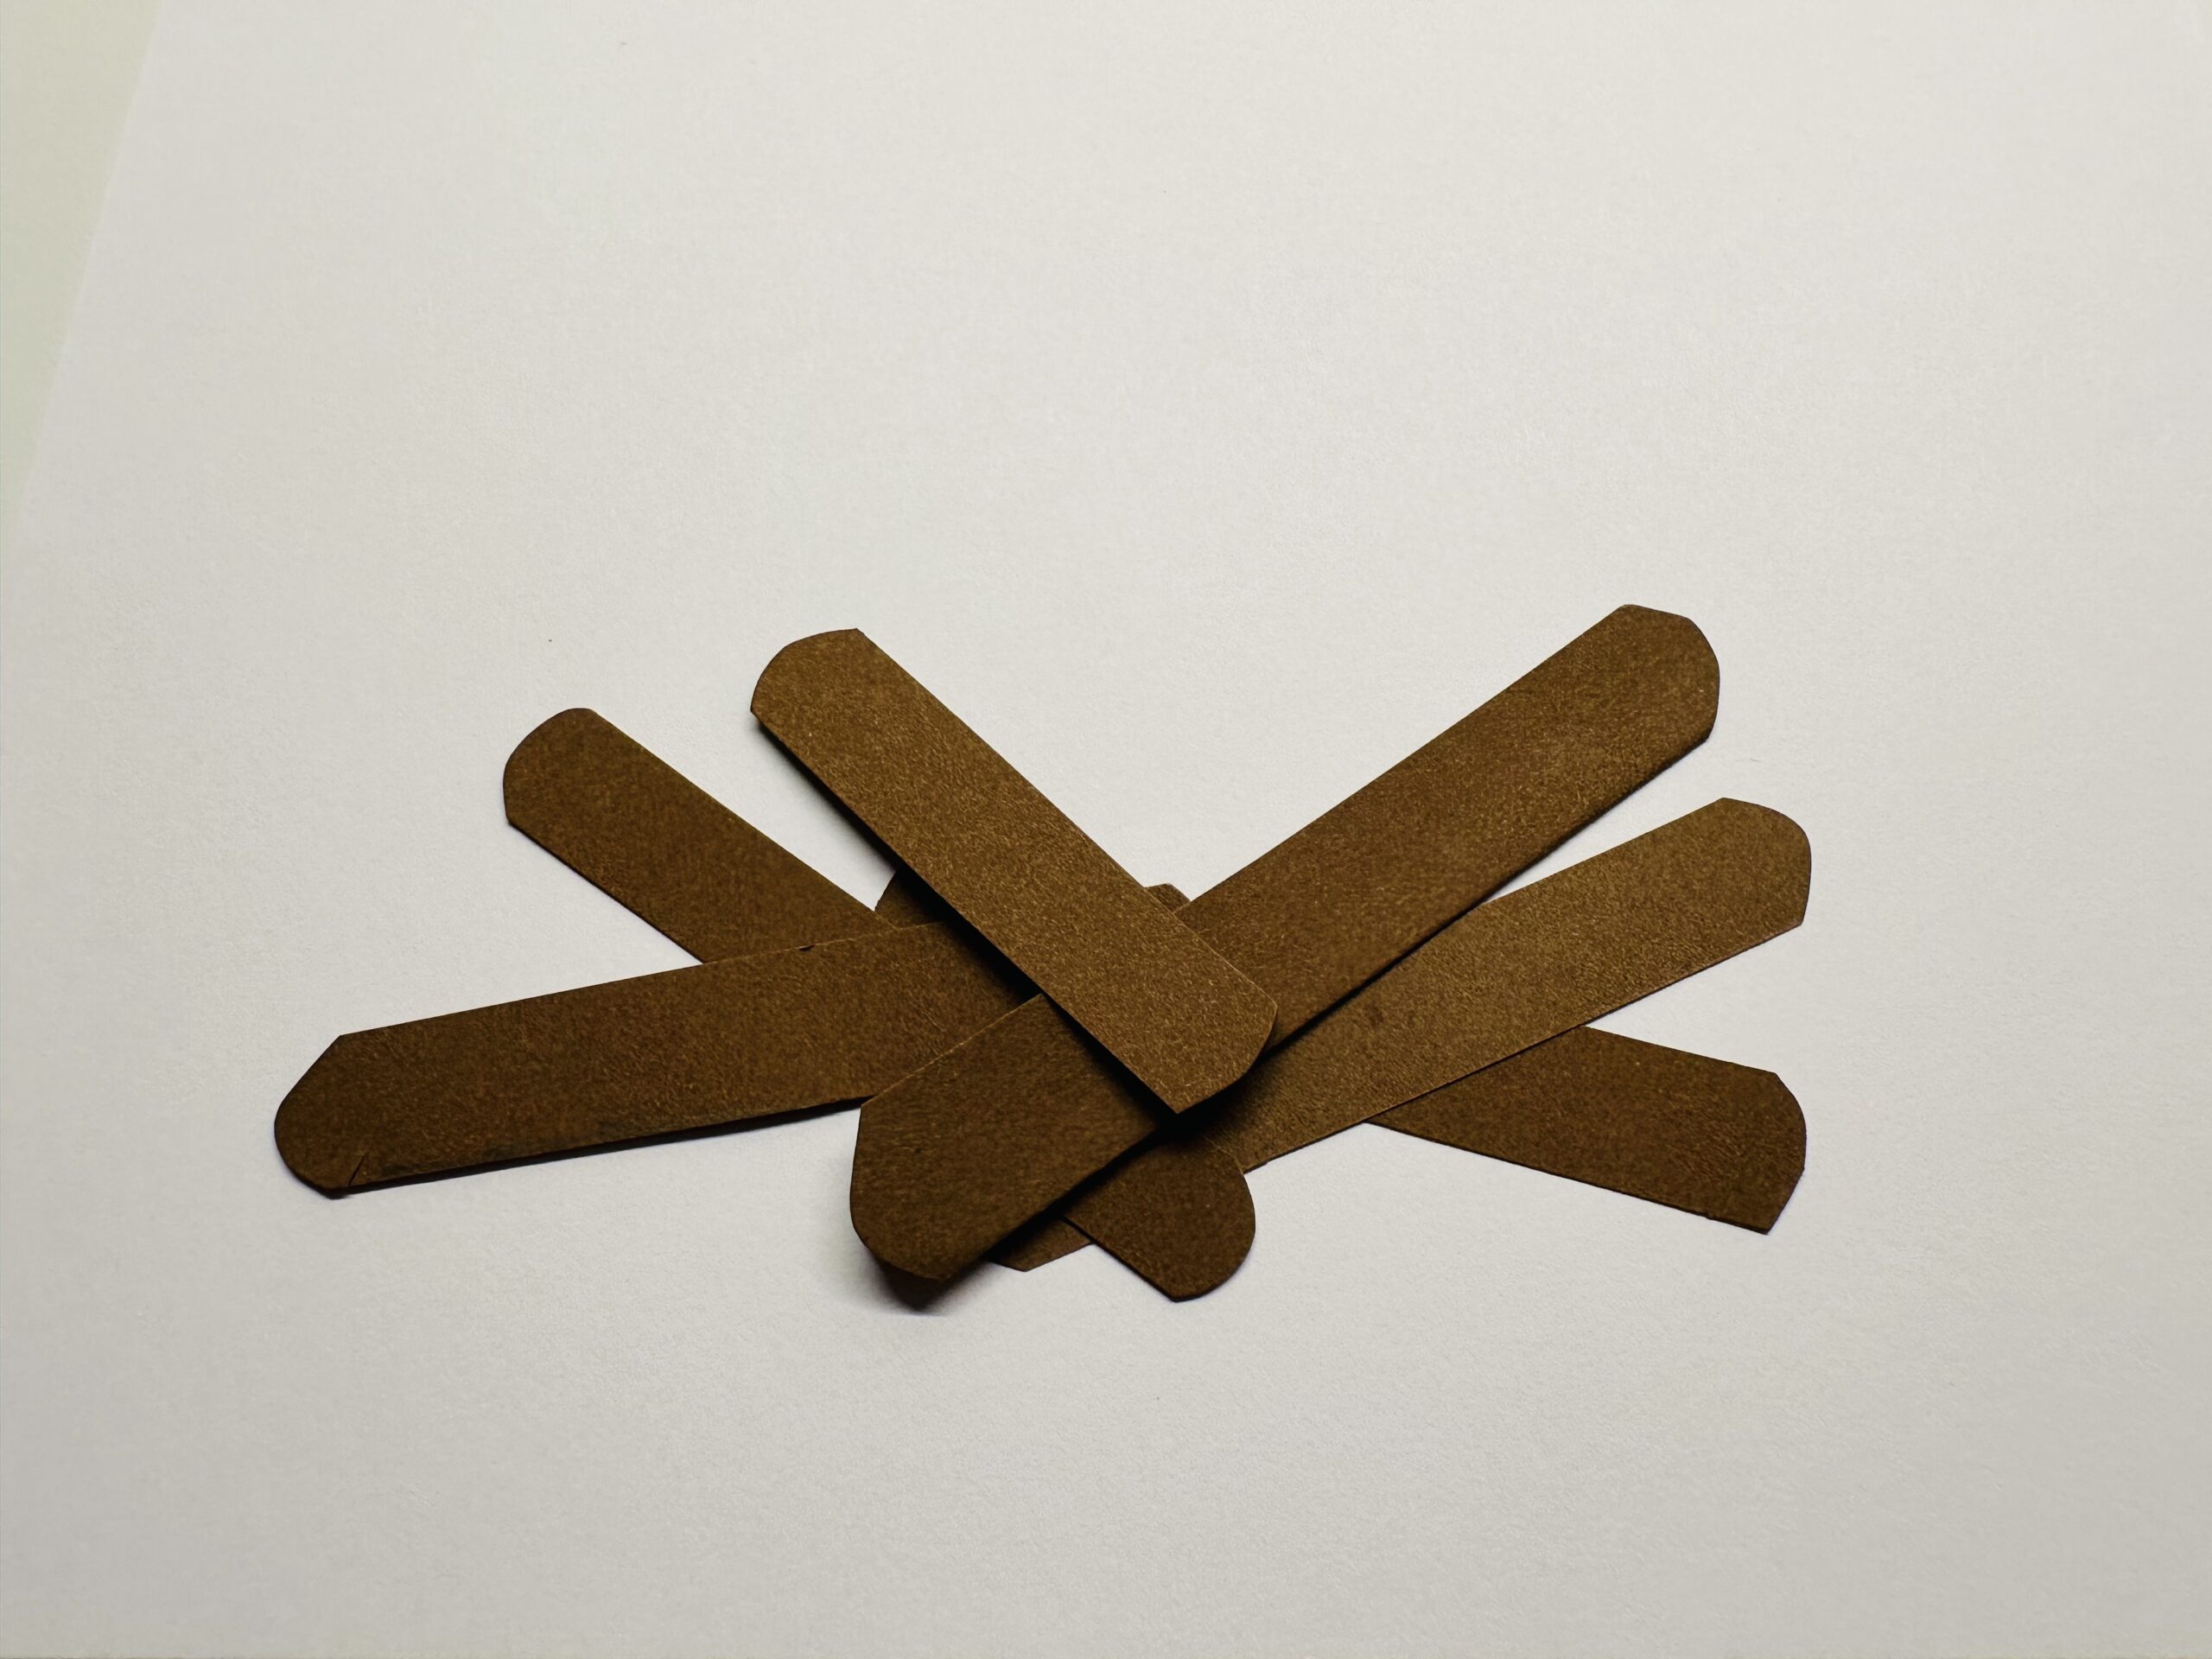
Bild zum Schritt 9 für das Bastel- und DIY-Abenteuer für Kinder: 'Legt die „Hölzer“ wie bei einem Lagenfeuer auf dein weißes...'

10

Now you start with the red "flames" (topped paper strips)
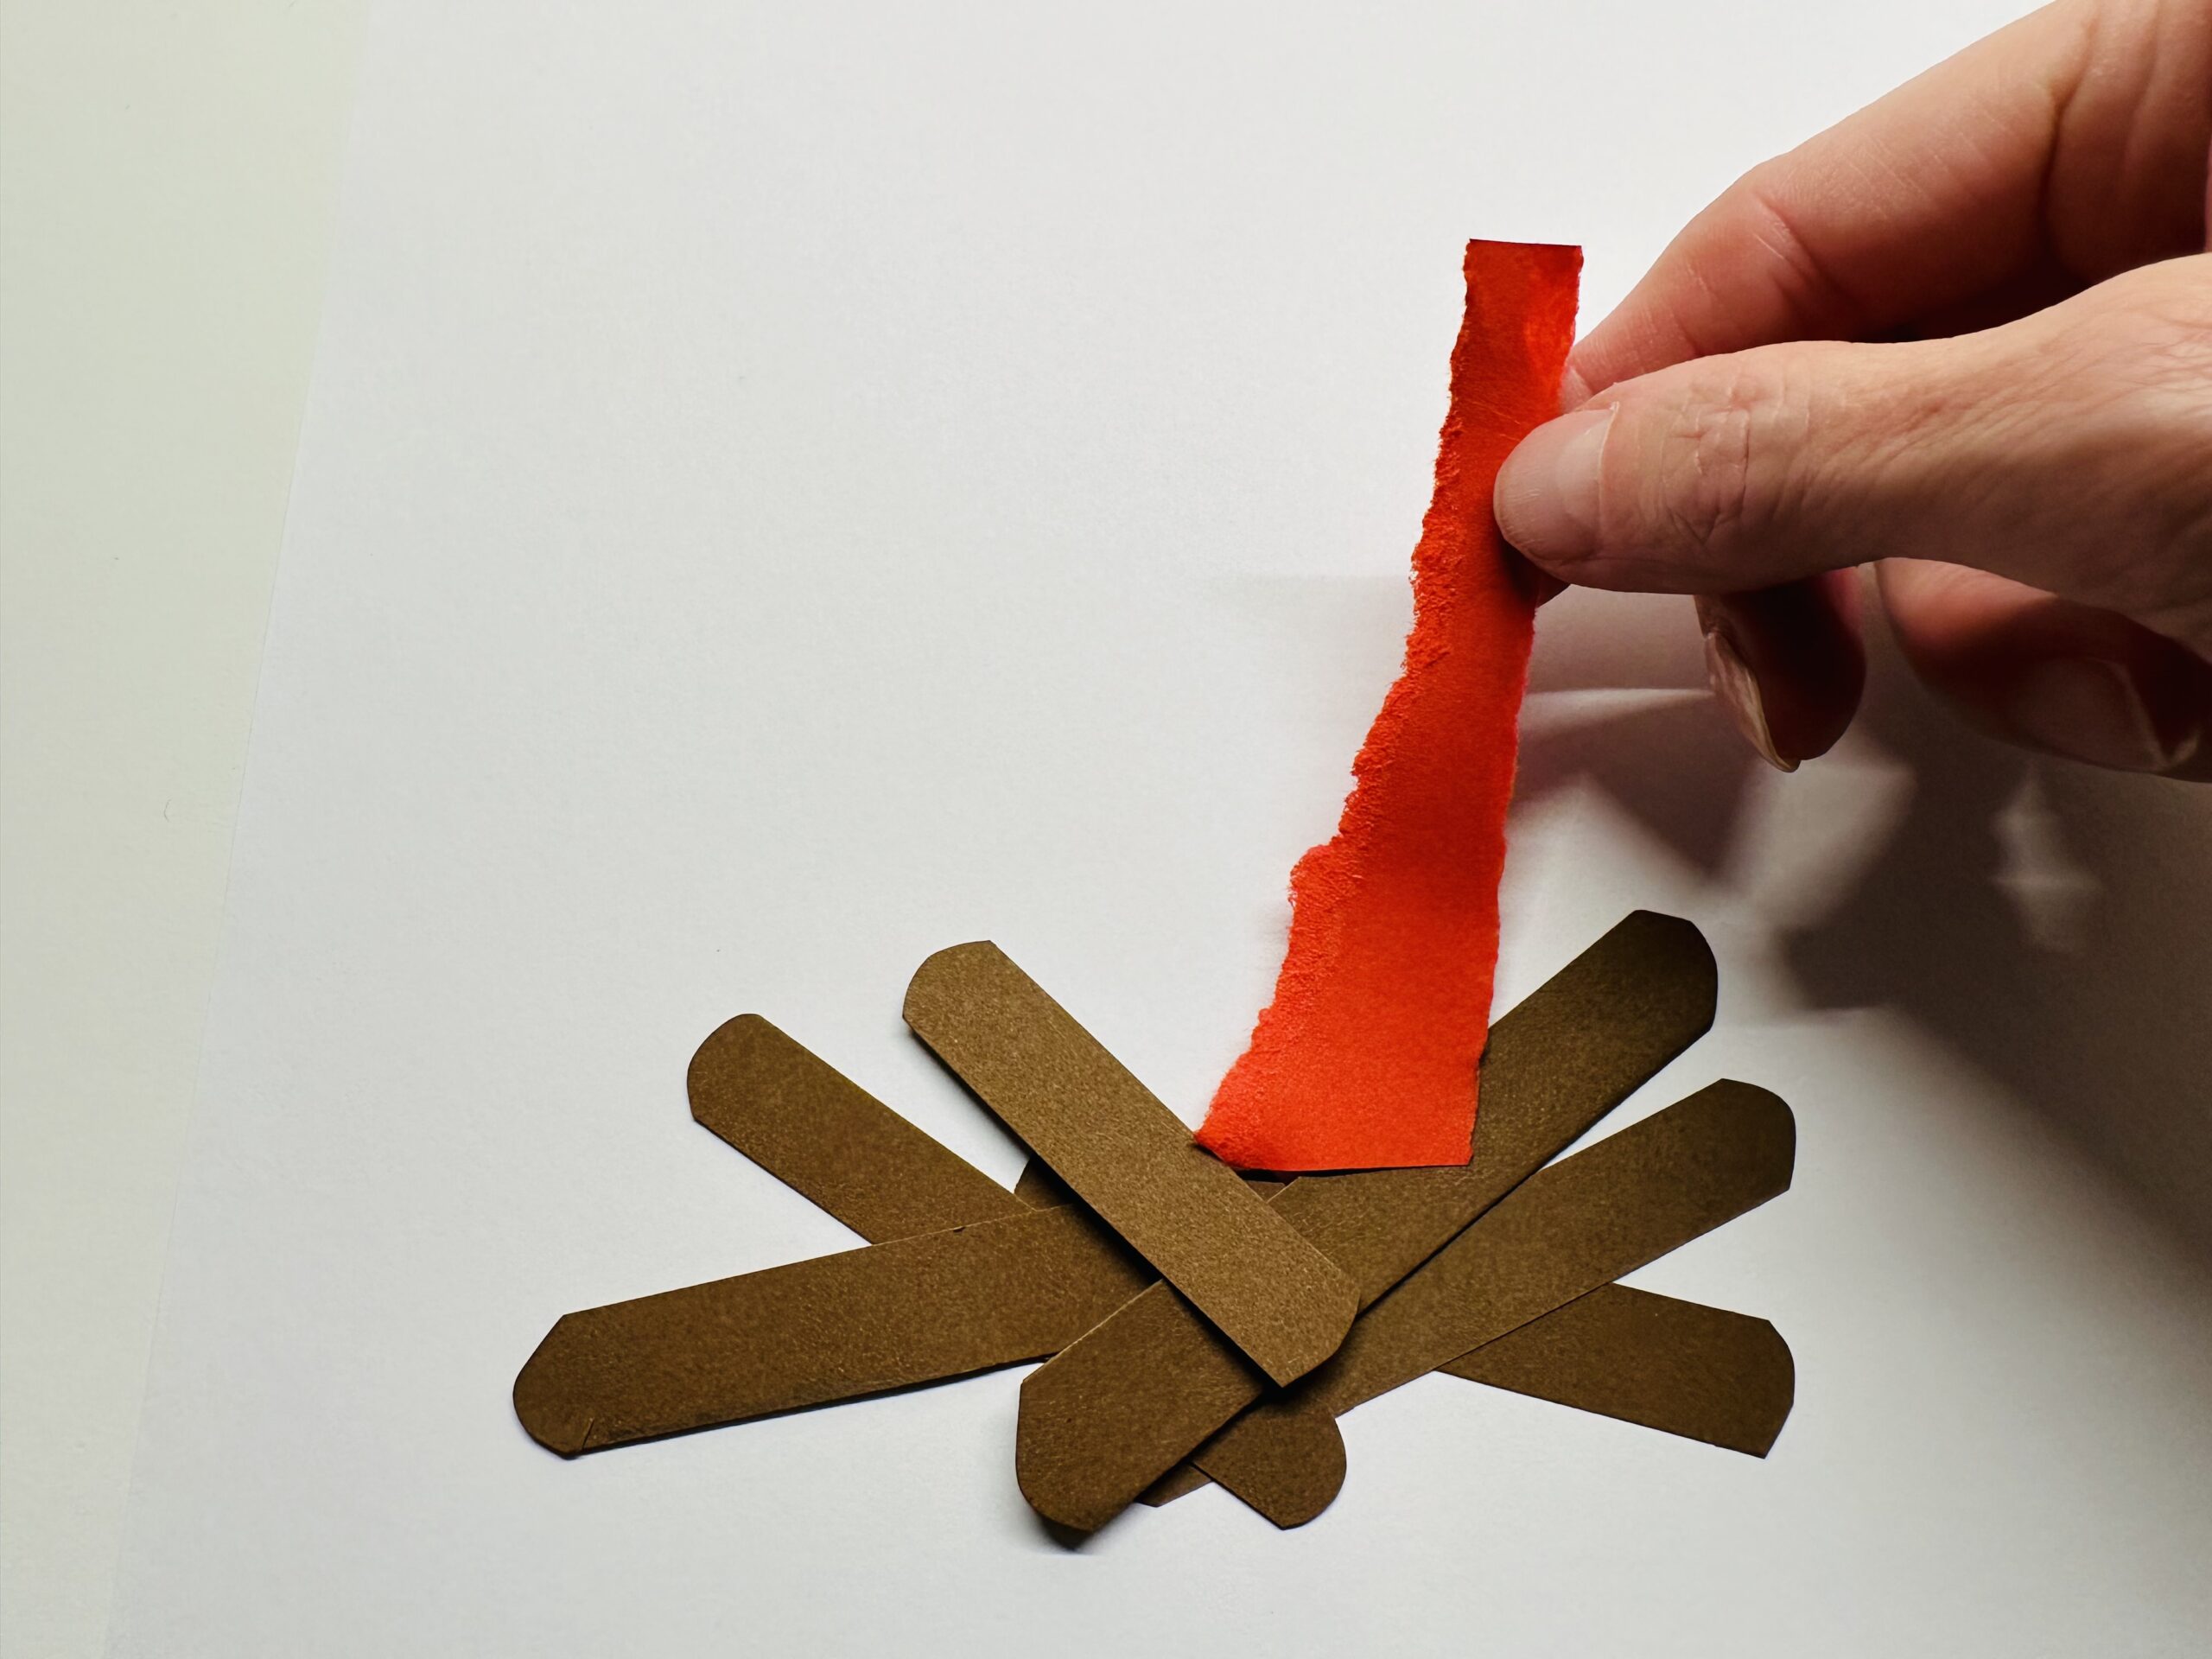
Bild zum Schritt 10 für das Bastel- und DIY-Abenteuer für Kinder: 'Nun beginnt ihr mit den roten „Flammen“ (gerissenen Papierstreifen)'

11

Place the flames in such a way that always the pointed sides of the torn stripes point upwards and slightly point outwards.
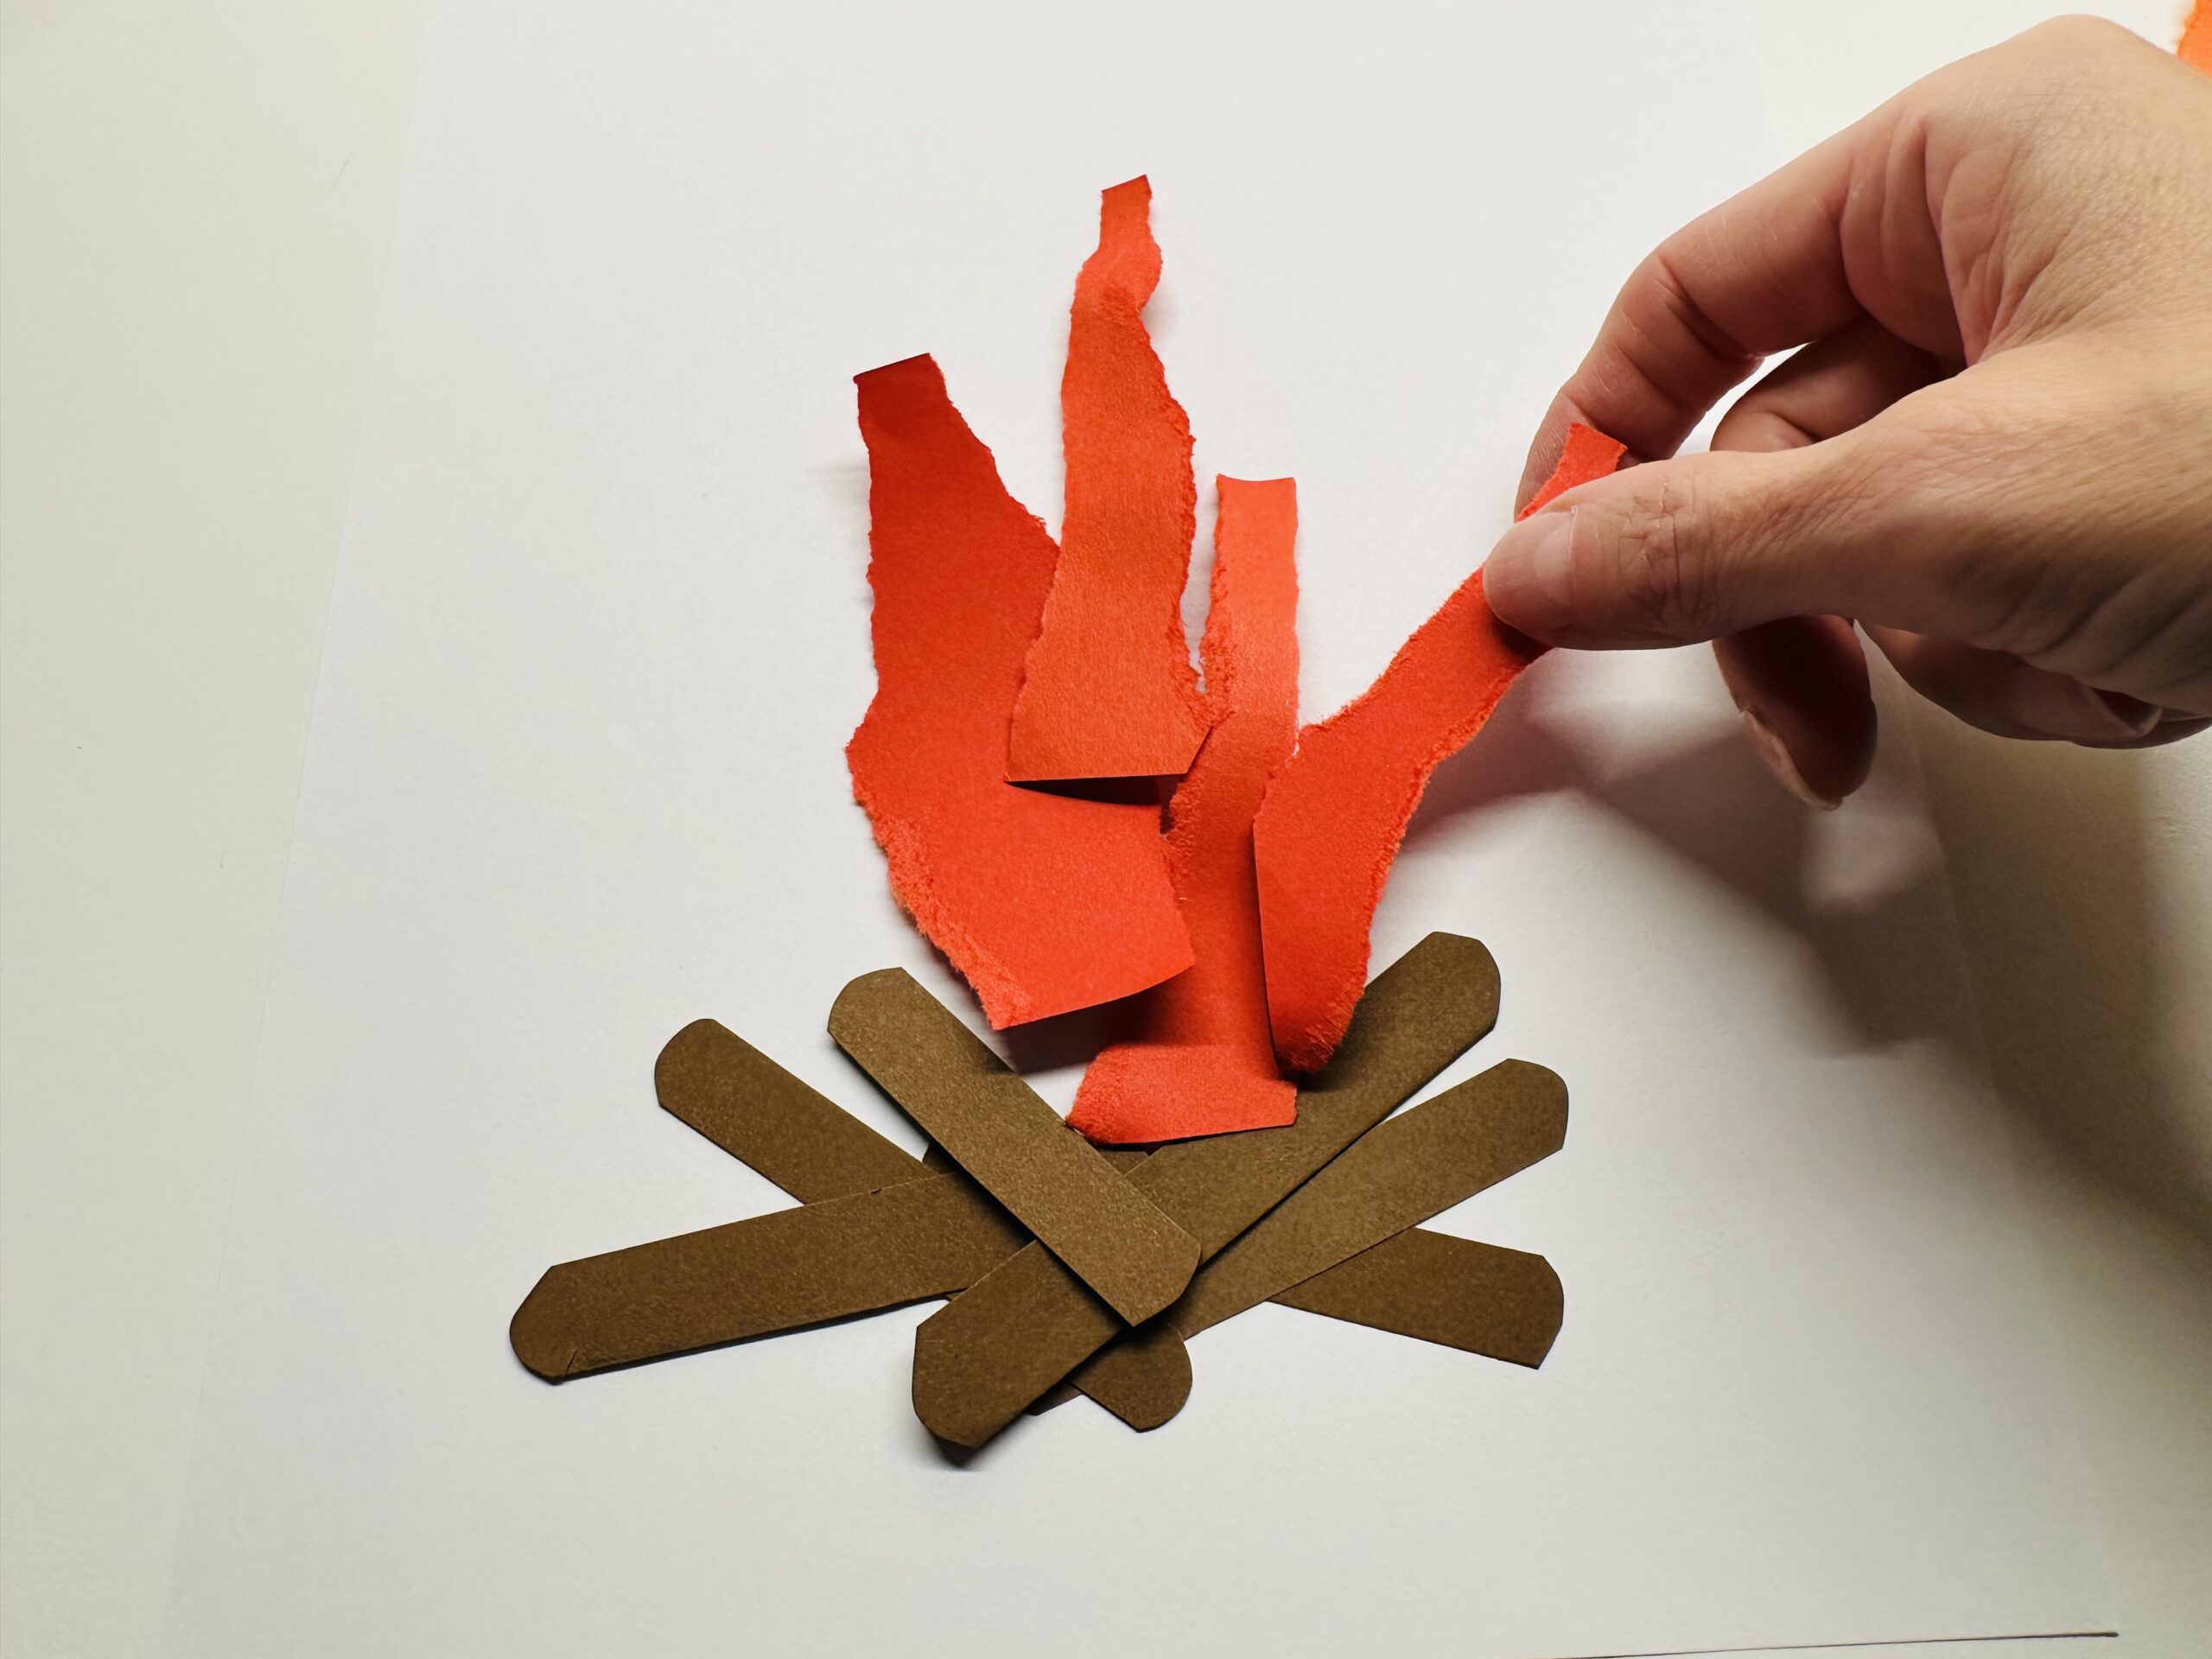
Bild zum Schritt 11 für das Bastel- und DIY-Abenteuer für Kinder: 'Legt die Flammen so, dass immer die spitzen Seiten der...'

12

Put some orange flames on the red flames.
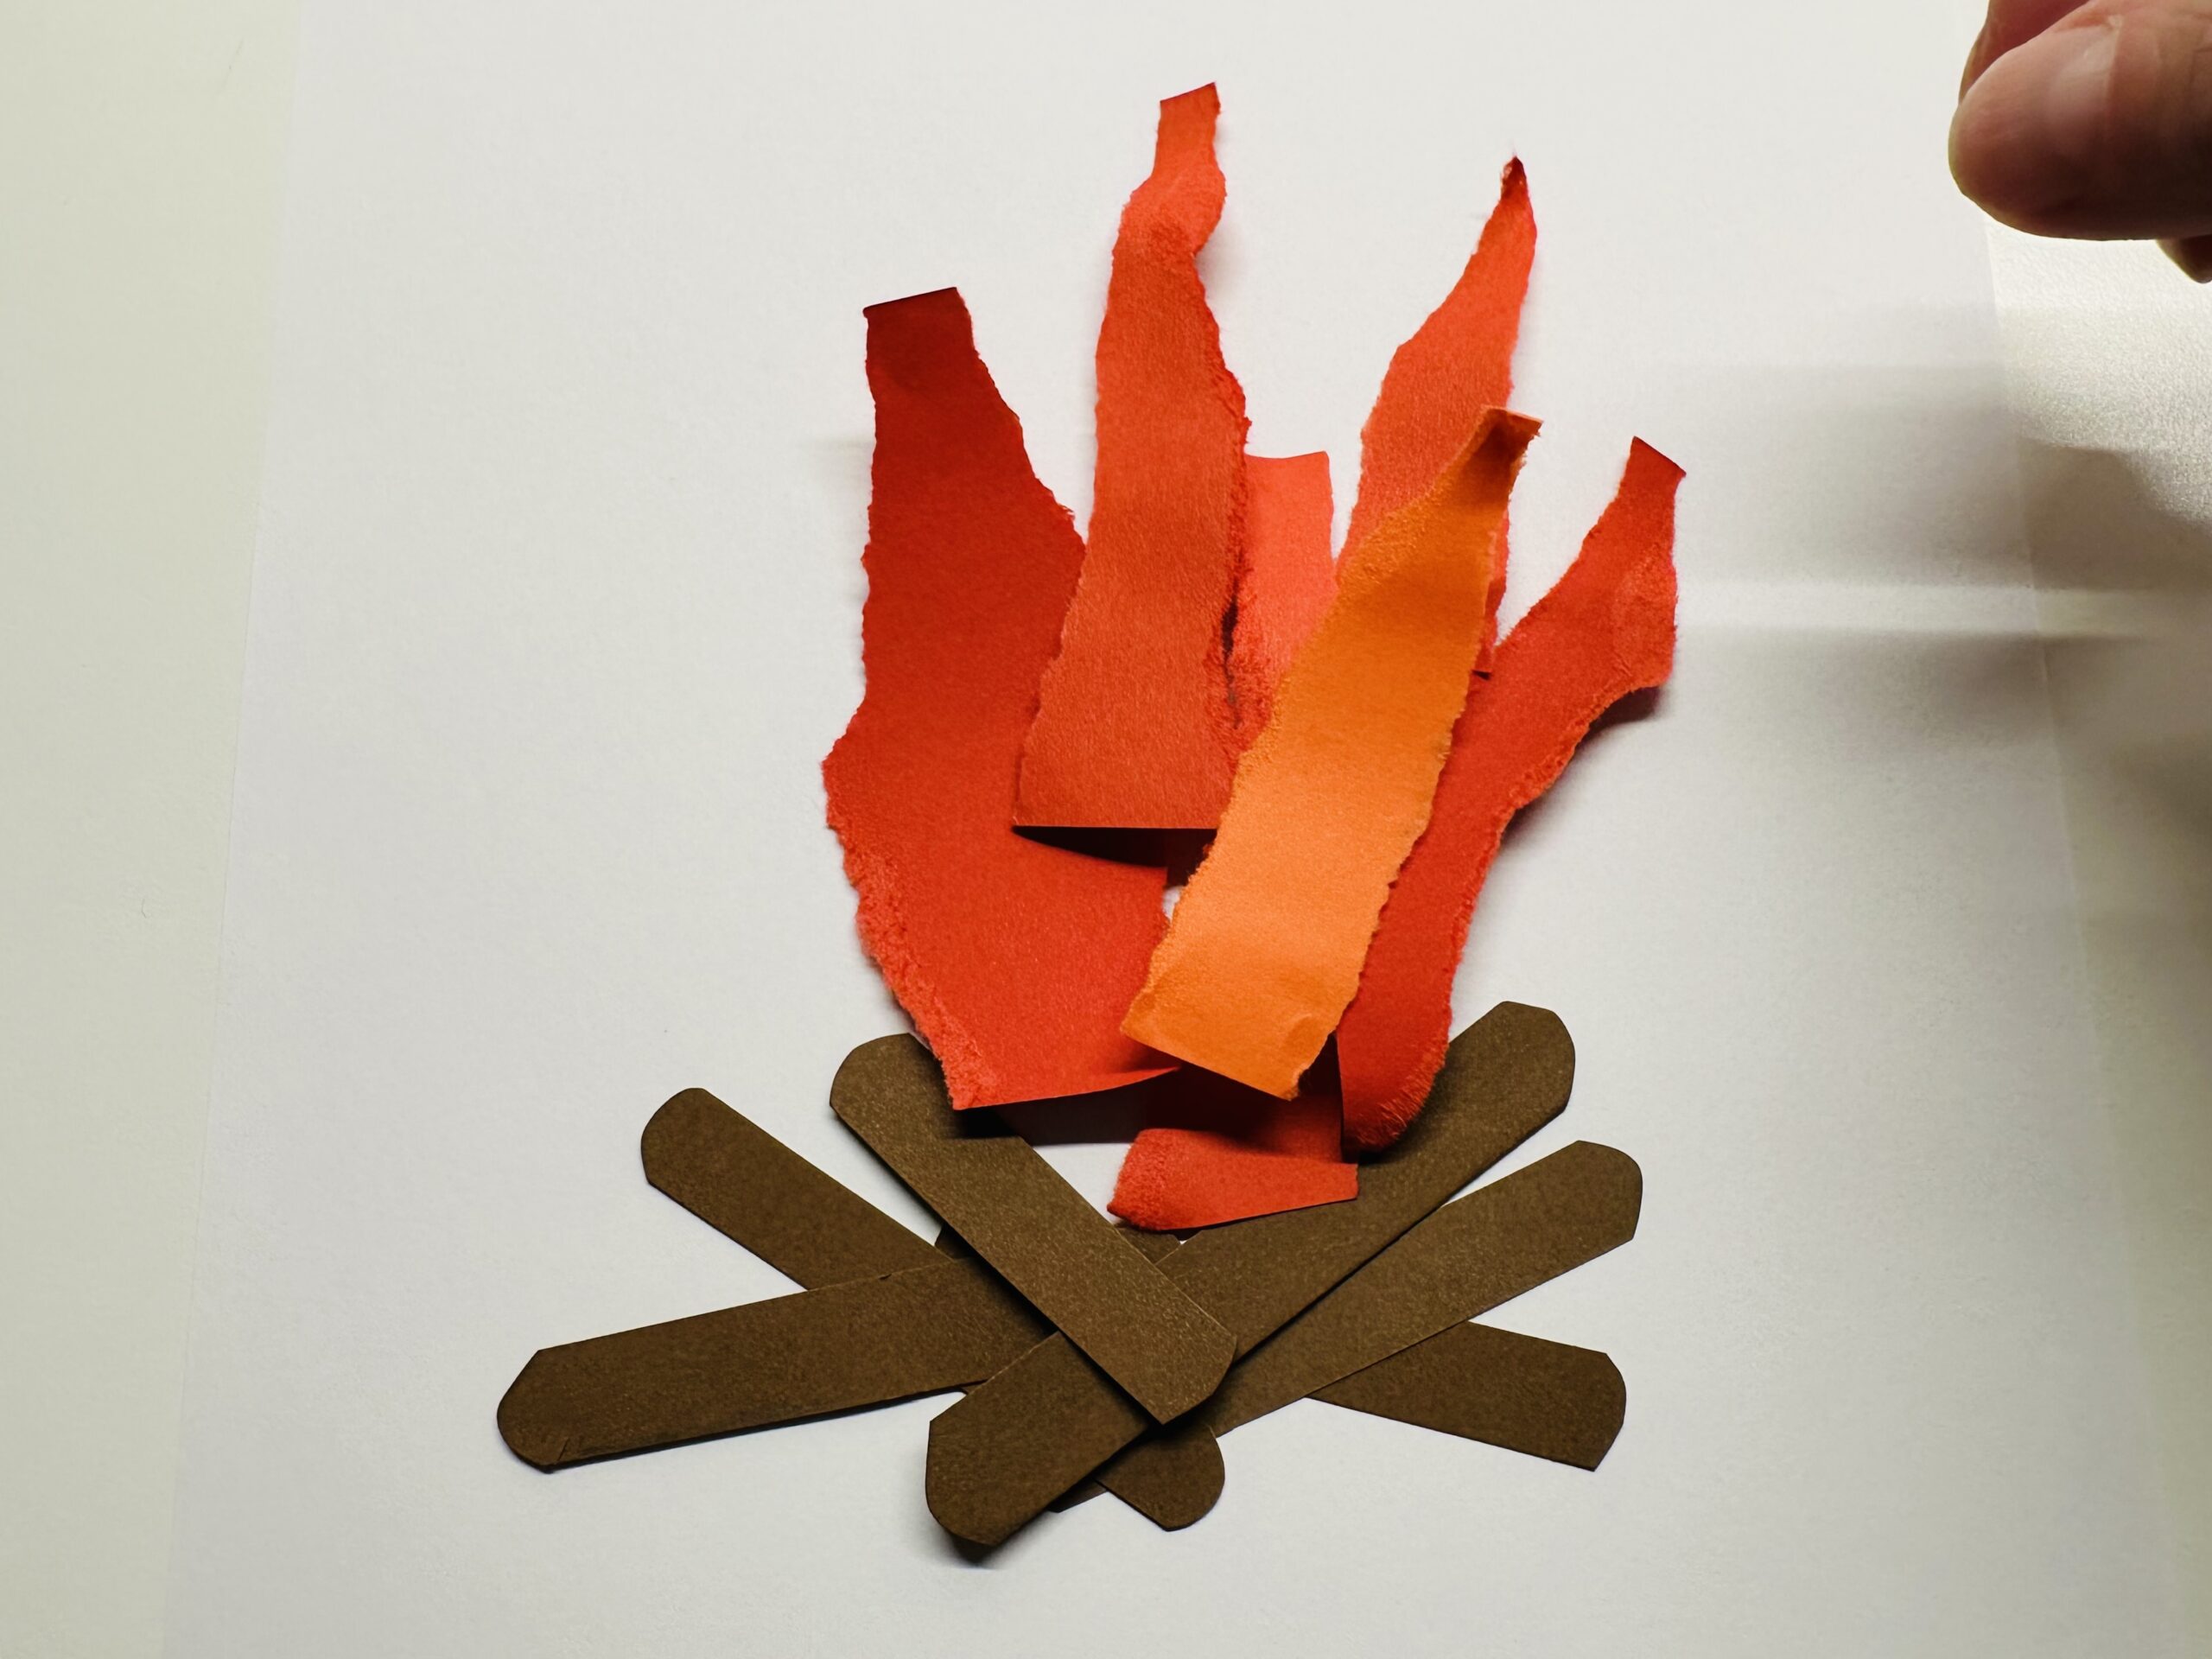
Bild zum Schritt 12 für das Bastel- und DIY-Abenteuer für Kinder: 'Legt auf die roten Flammen ein paar orangefarbene Flammen.'

13

Finally, you can put a few yellow flames on the fire. This creates a realistic flame image.
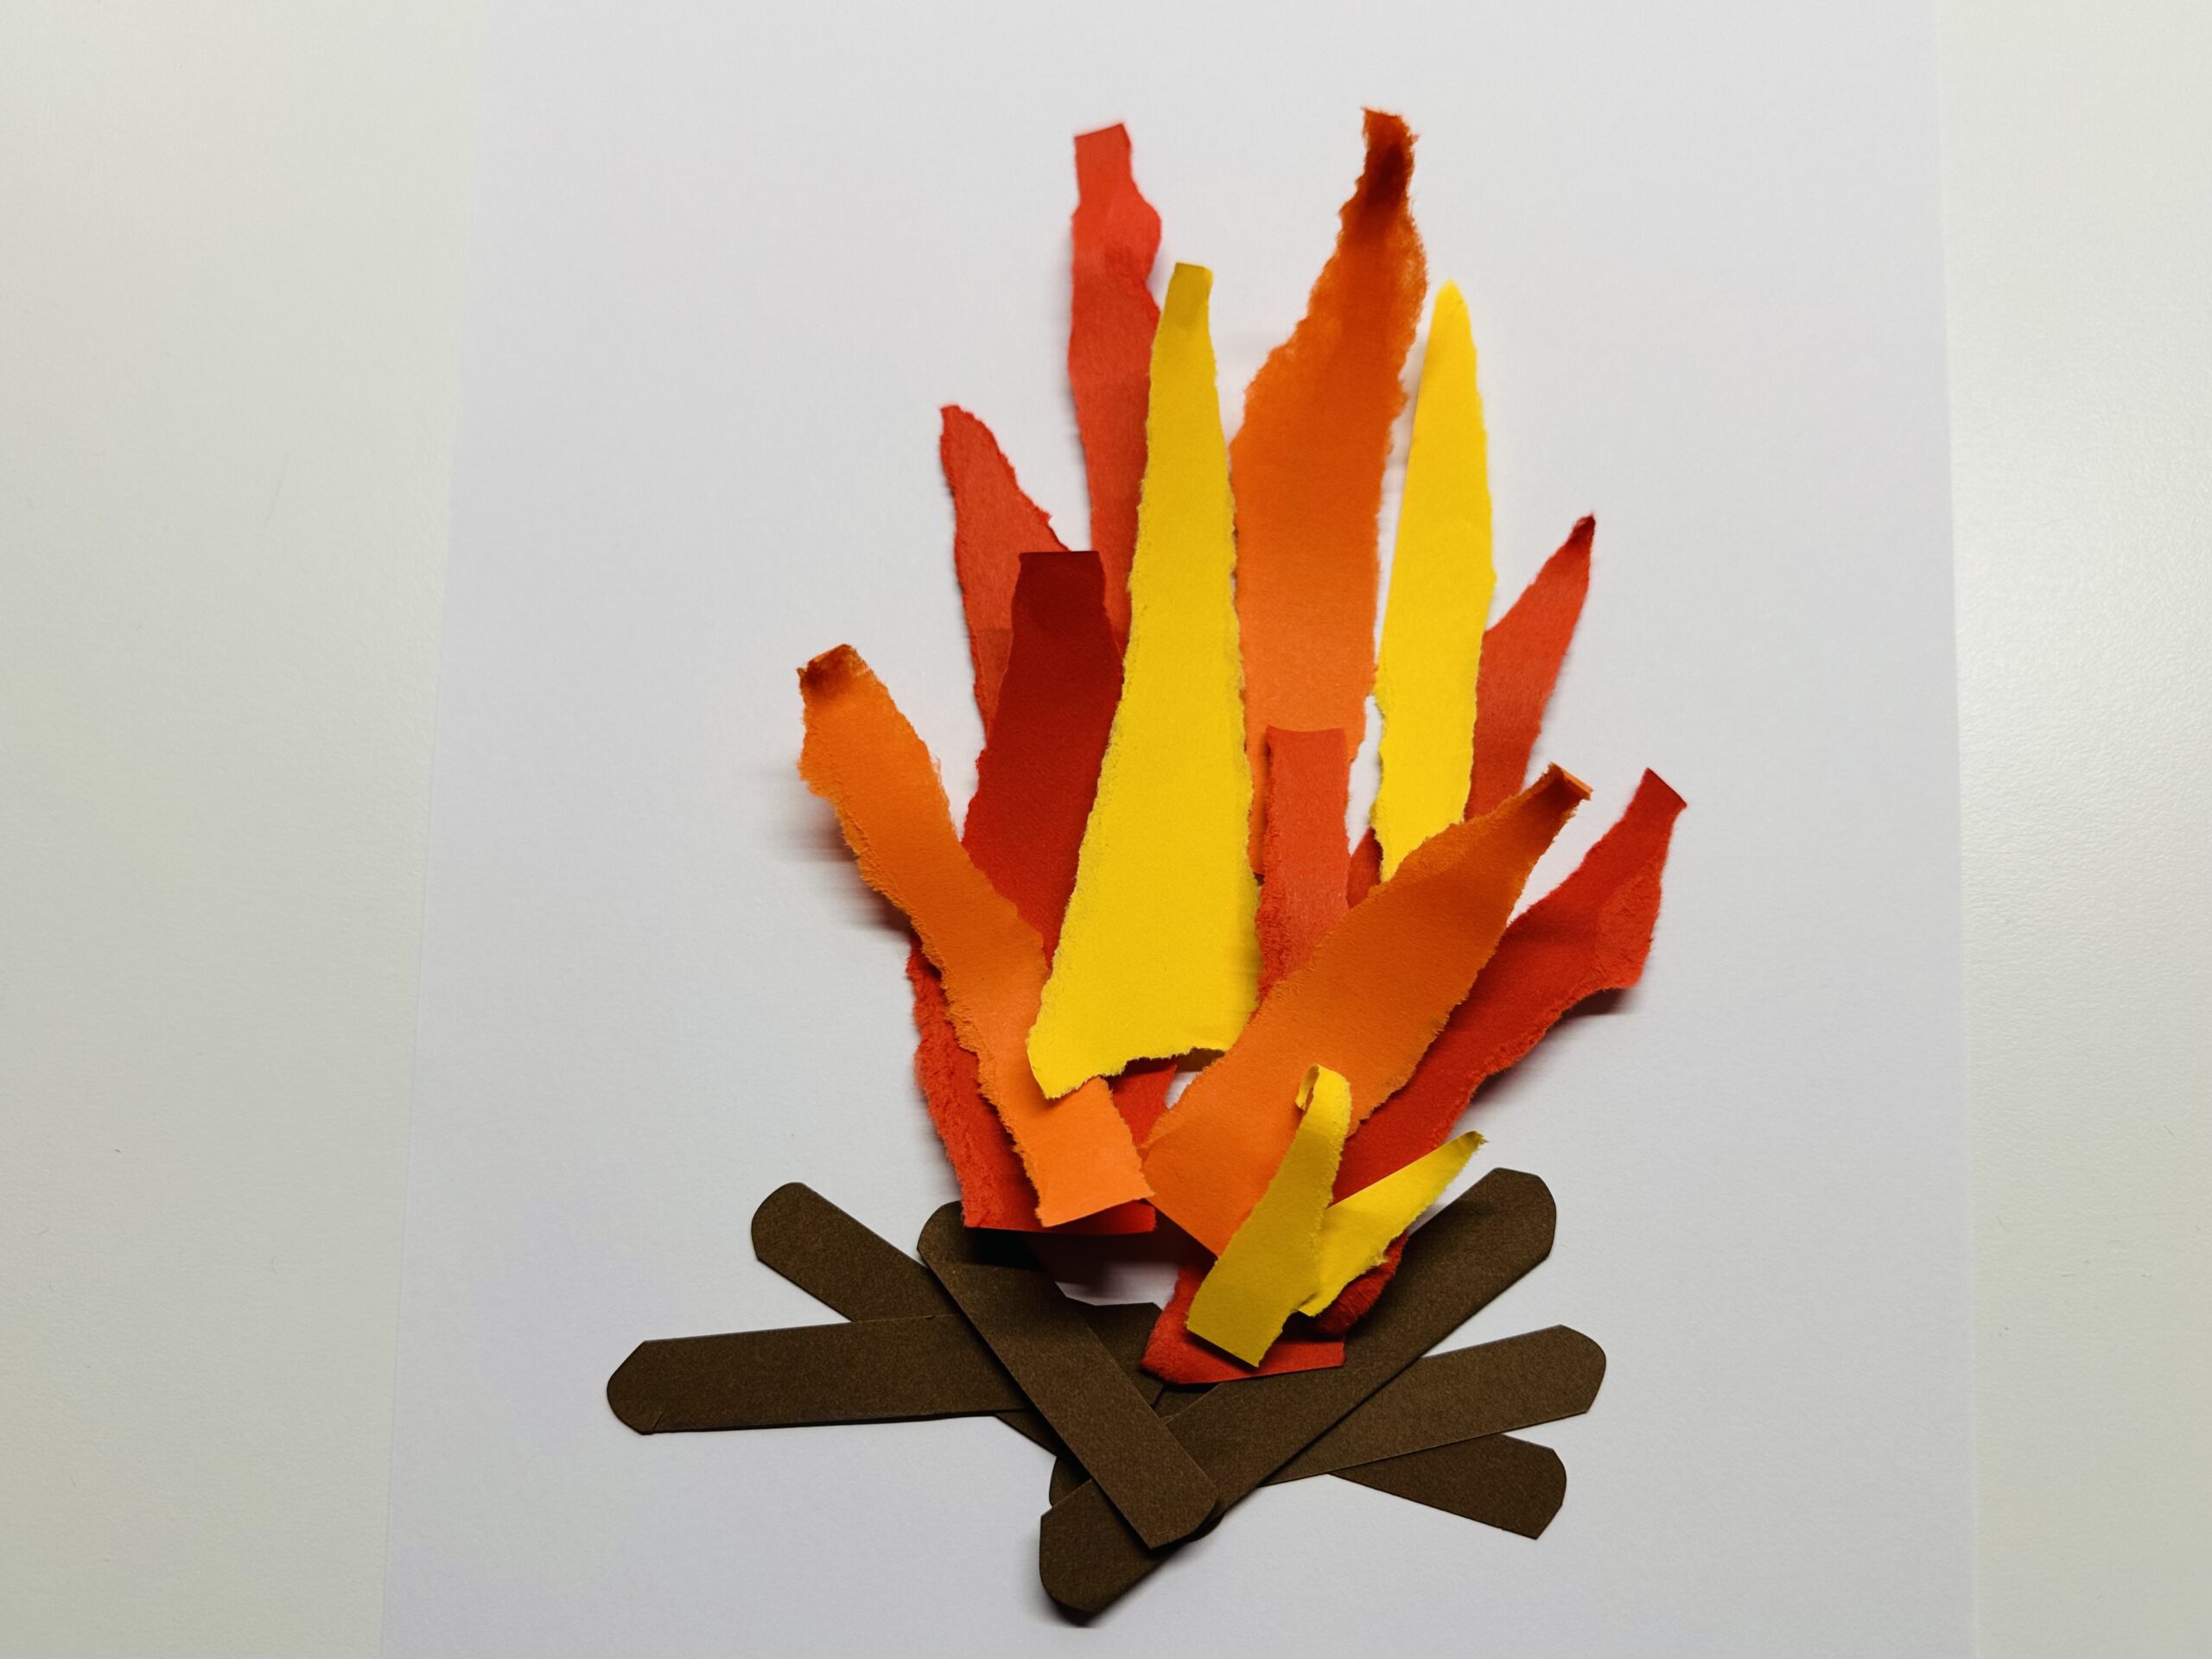
Bild zum Schritt 13 für das Bastel- und DIY-Abenteuer für Kinder: 'Zuletzt könnt ihr noch ein paar gelbe Flammen auf das...'

A few examples of how different the campfires can look:
14

The flames / campfires can be very different, which shows how unpredictable fire can be.
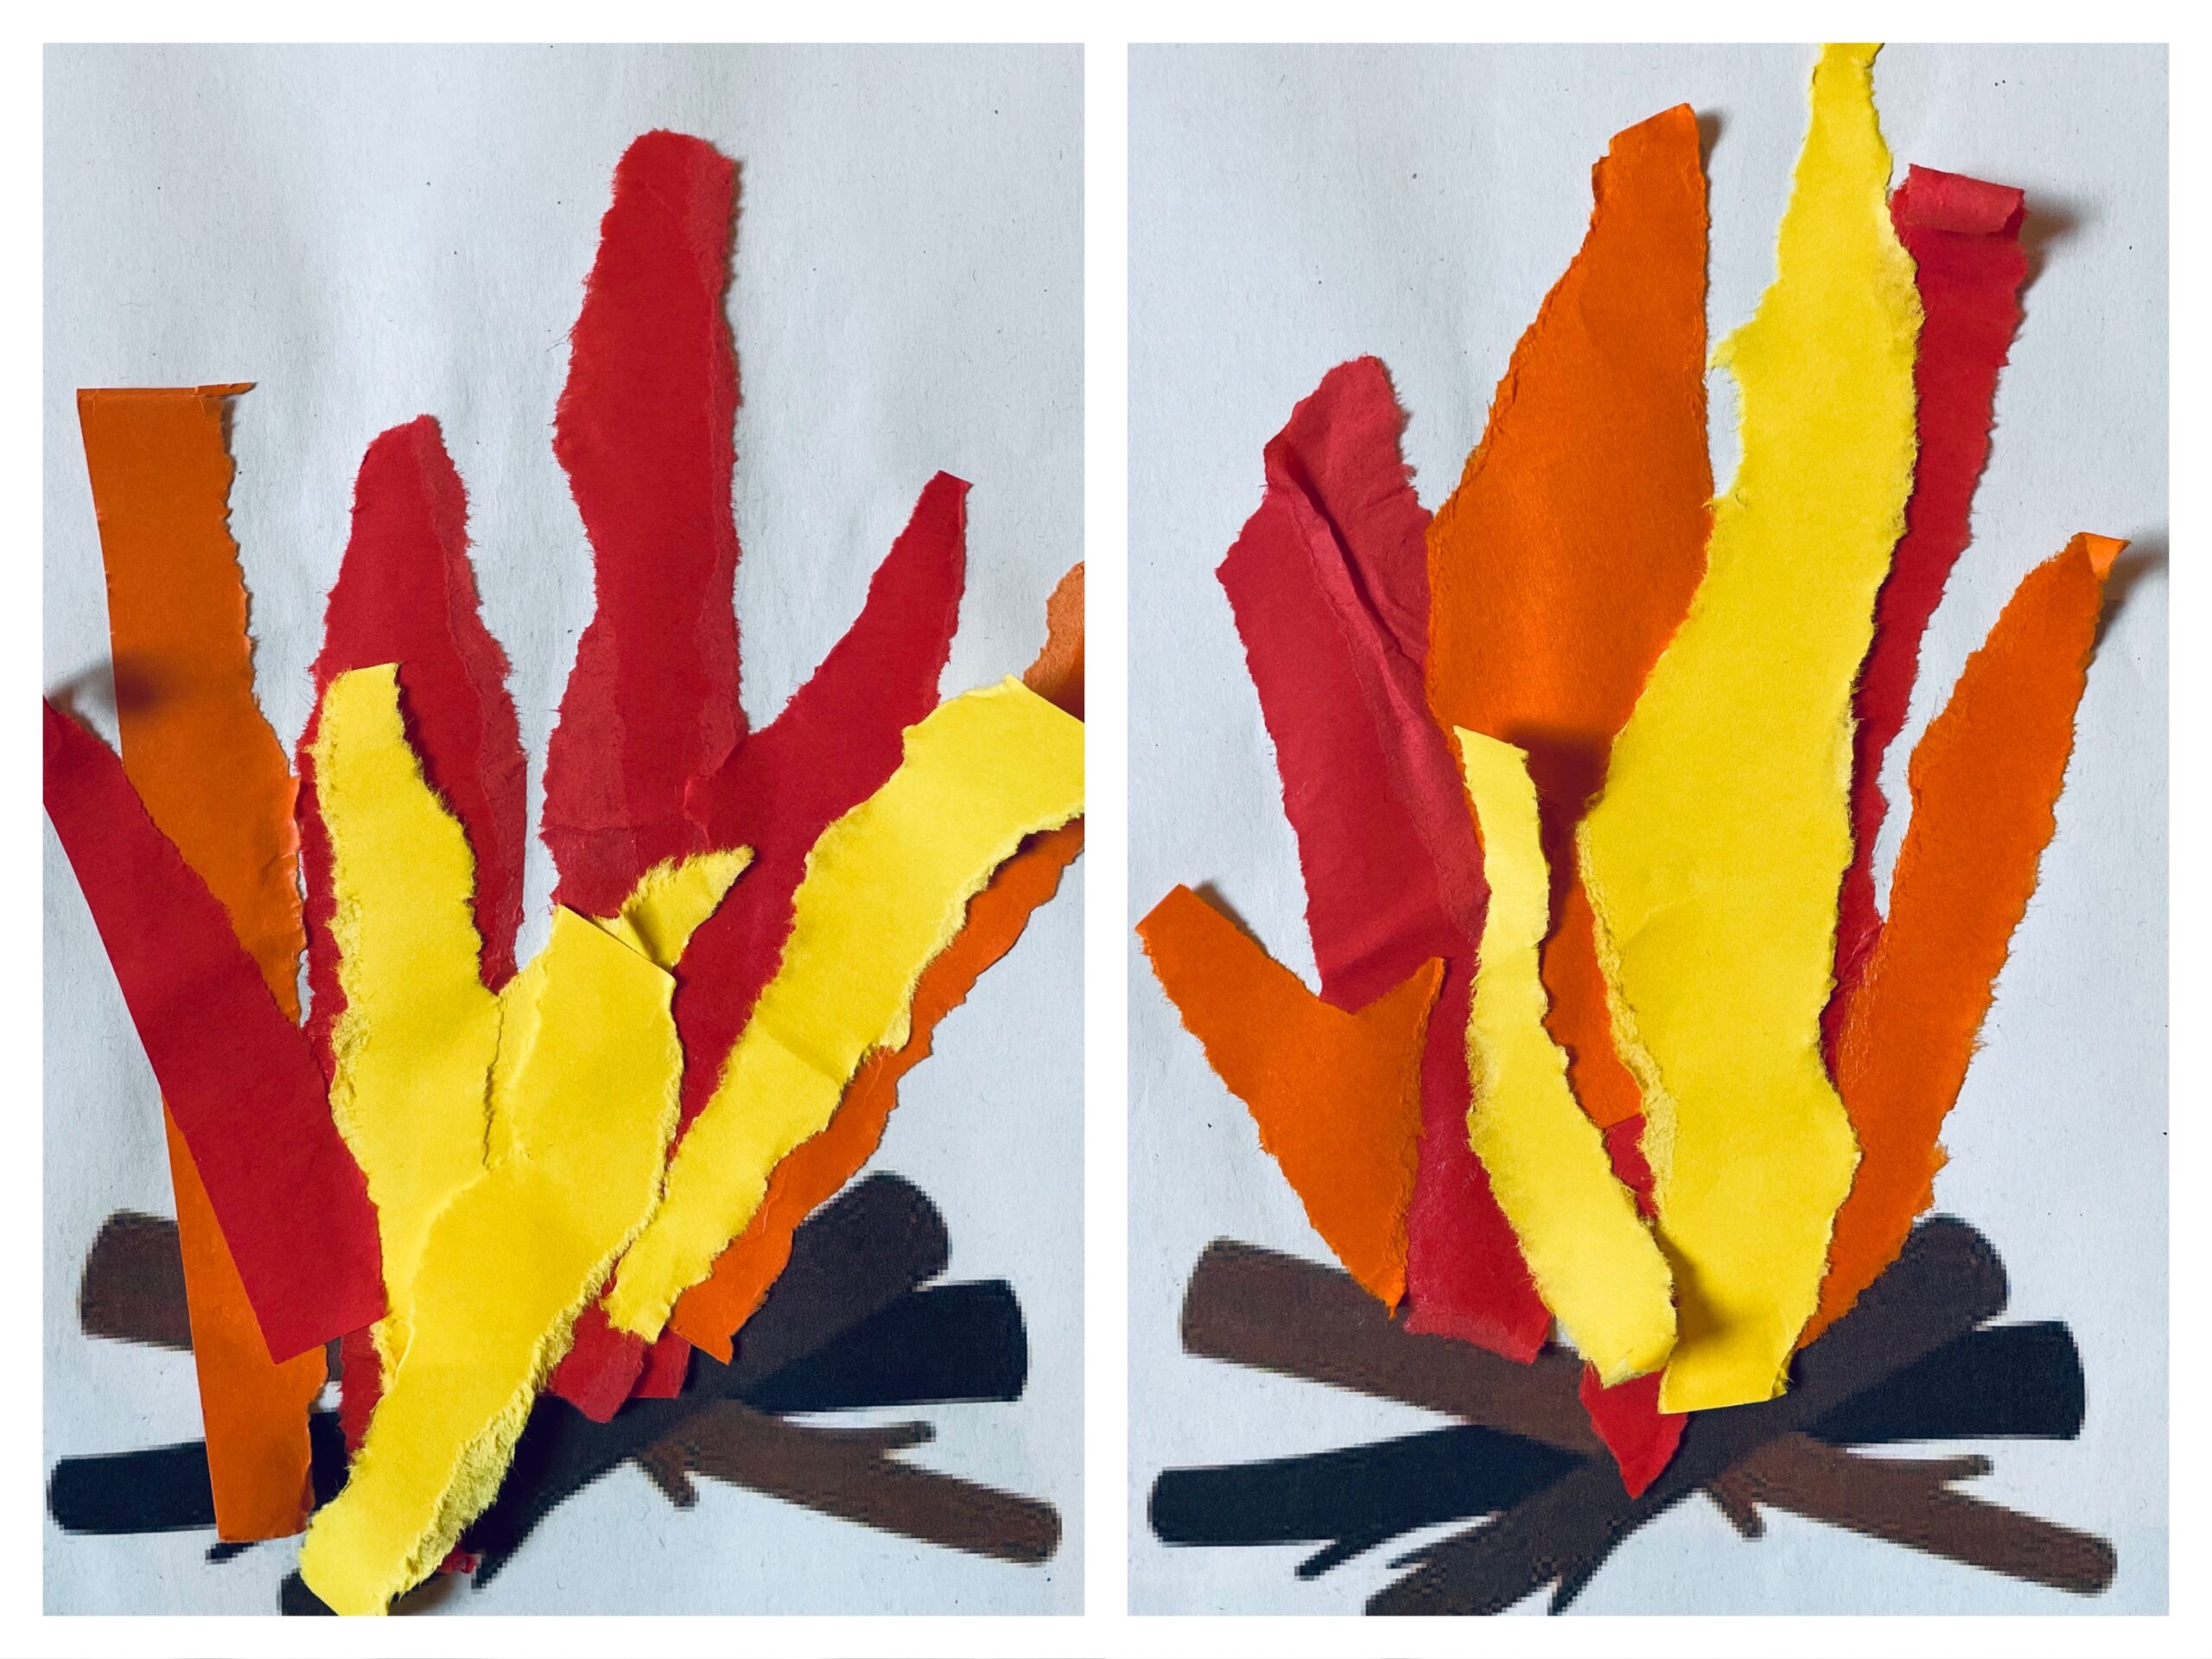
Bild zum Schritt 15 für das Bastel- und DIY-Abenteuer für Kinder: 'Die Flammen/ Lagerfeuer können sehr unterschiedlich sein, das zeigt wie...'

15

2. Bild zum Schritt 15 für das Bastel- und DIY-Abenteuer für Kinder: 'Die Flammen/ Lagerfeuer können sehr unterschiedlich sein, das zeigt wie...'

16

Have fun trying out.

Campfire Tearwork

Follow us on Facebook , Instagram and Pinterest
Don't miss any more adventures: Our bottle mail

Leave a Reply

Your email address will not be published.

The maximum upload file size: 5 MB. You can upload: image, document. Drop file here