Make your own paste – Step-by-Step Instructions for Children

AdventurerDivers
Rating5.018.8 thousand times (1) DifficultyBeginner

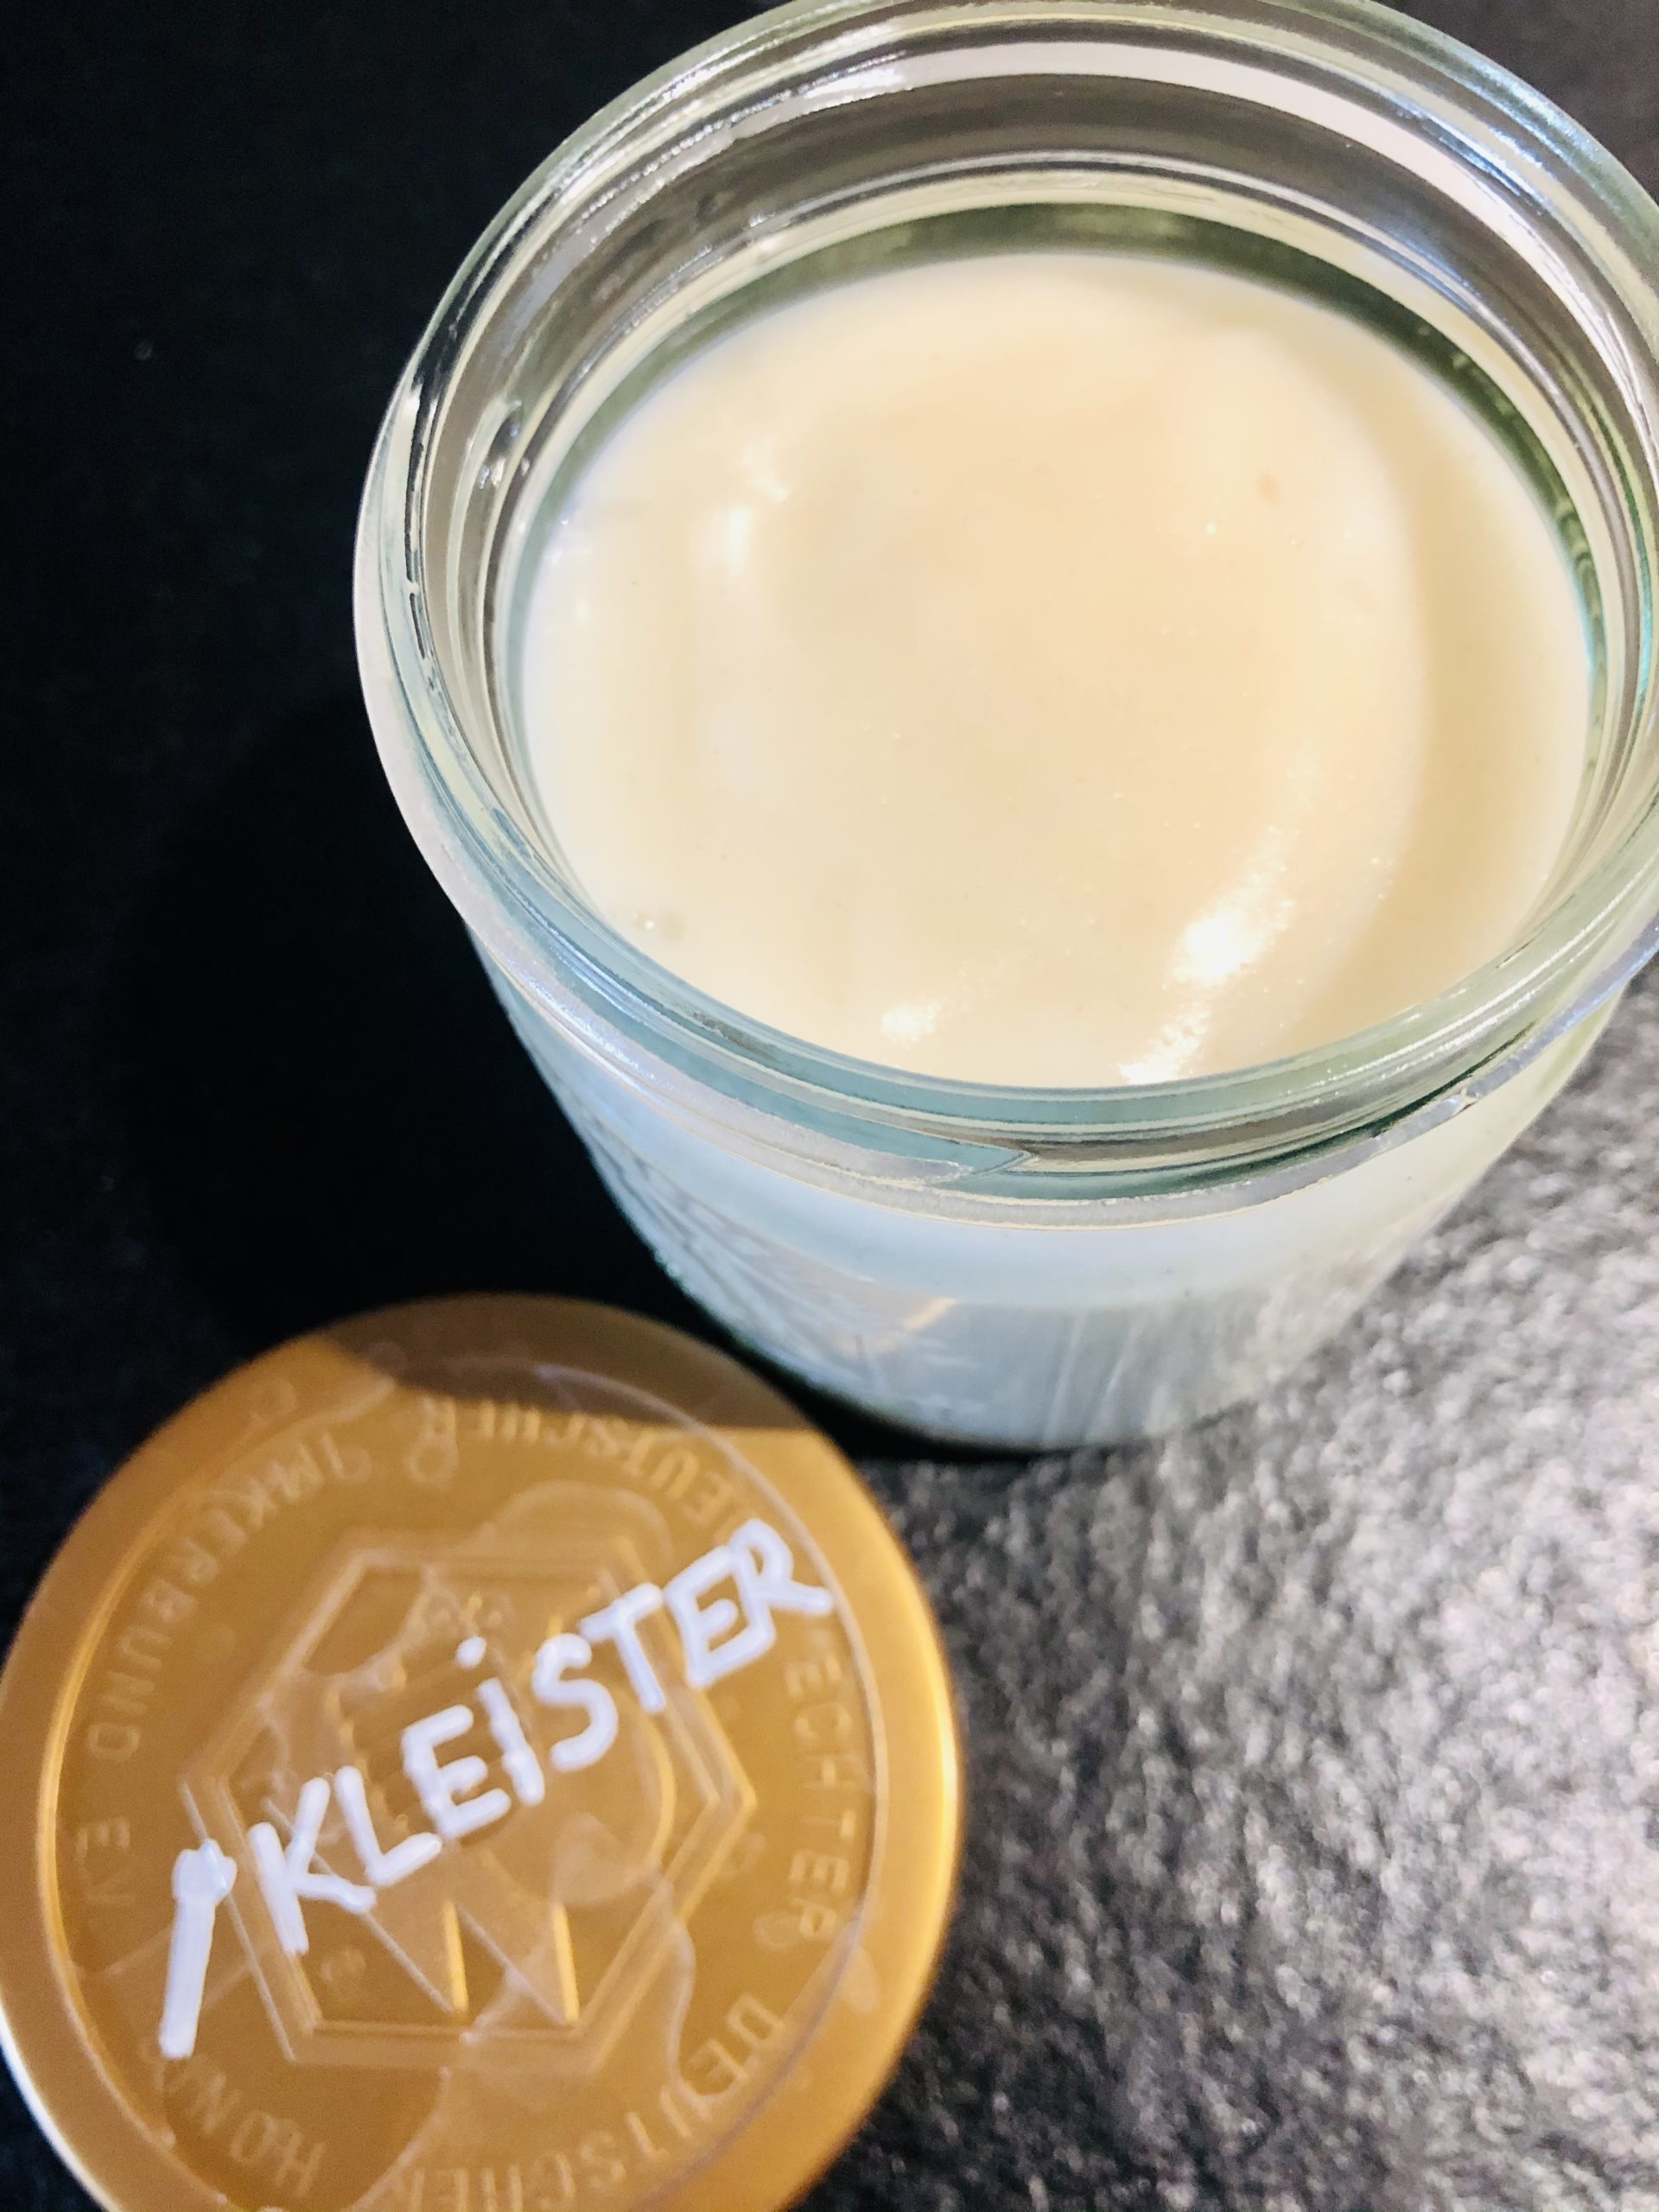
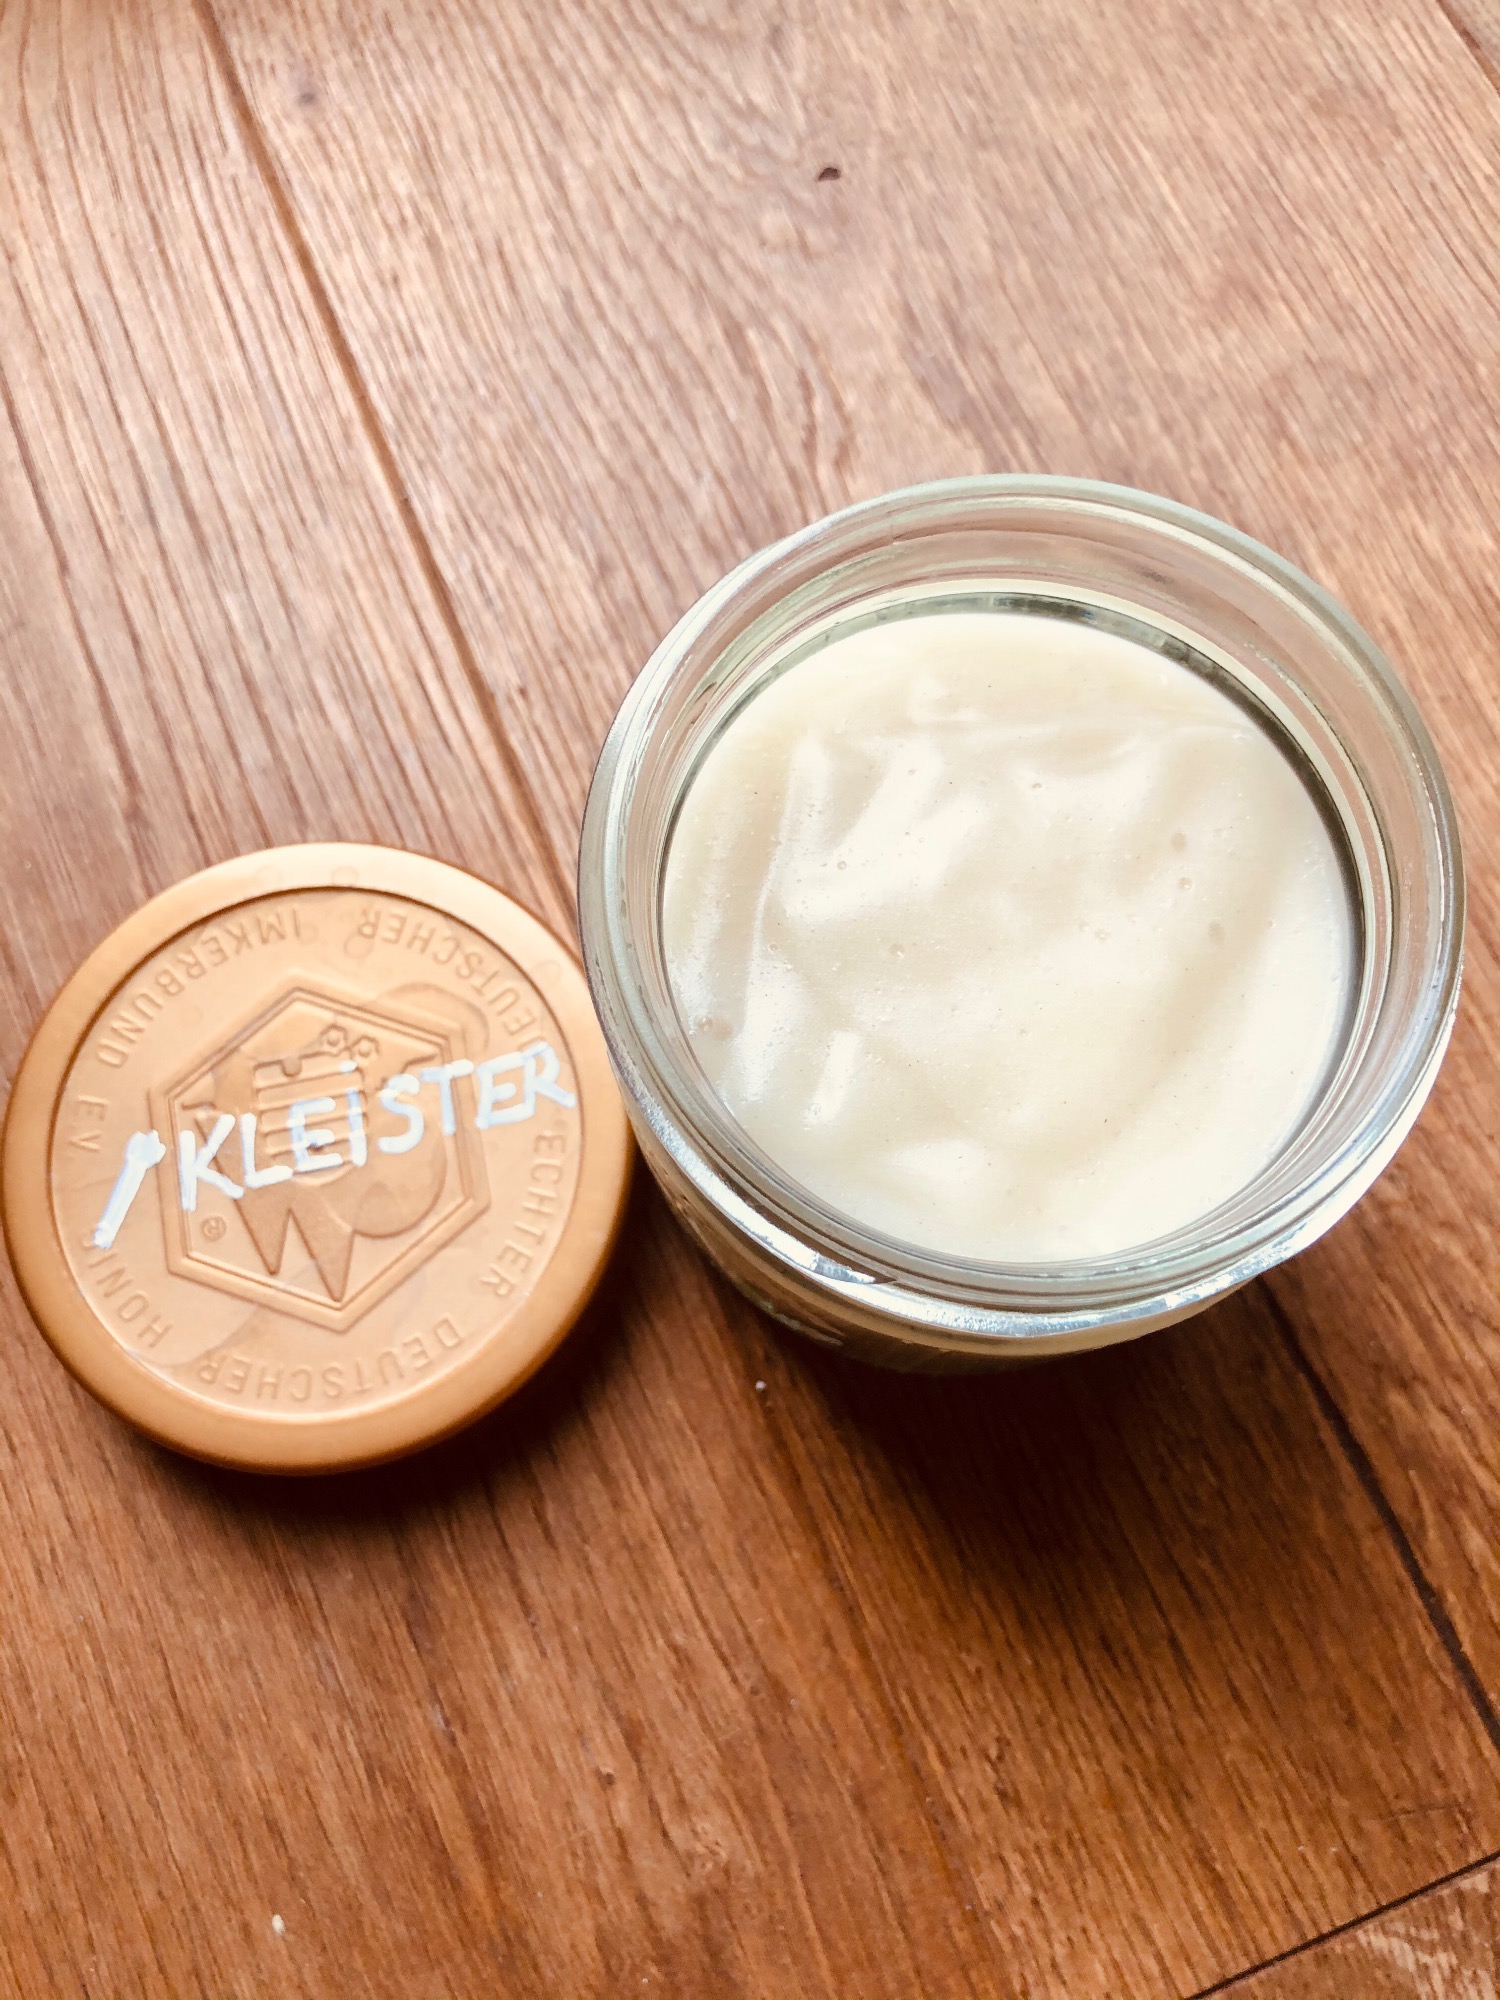
Kleister is used for many handicraft work. Kleister is known especially in the connection with cardboard machee. You can also make pastes easily yourself. It is important that you touch the paste a few hours before, because cold it sticks better. All you need for this natural paste is flour and water.

An adventure for papier machee are, for example, these Tulips.

Media Education for Kindergarten and Hort

Kind bastelt eine Rassel mit dem Navi
The Adventure Navi, the app for DIY projects, enables media education for the youngest.

Relief in everyday life, targeted promotion of individual children, independent learning and - without any pre-knowledge already usable by the youngest!


Titelbild zur Bastel- und DIY-Idee für Kinder '(544) Kleister selbst herstellen – Schritt-für-Schritt Anleitung für Kinder'
Material for1 Child
Adv. Time10 min.Total Time10 min.
 100 g Flour
 450 ml Water
 Pot
 High performance mixers (e.g. thermomix)alternative brooms of snow
 Filling glasse.g. empty honey glass or jam glass
 Pencil for labeling
All links marked with a shopping cart lead to Amazon - here we have selected products that we would order ourselves and in part also ordered. In a qualified purchase via the advertising link, we as Amazon partner receive a commission, for you there are no costs. You thus support our cost- and advertising banner-free, educational offer.
1

Measure the water and put it in a small pot.
Then bring the water to the boil.
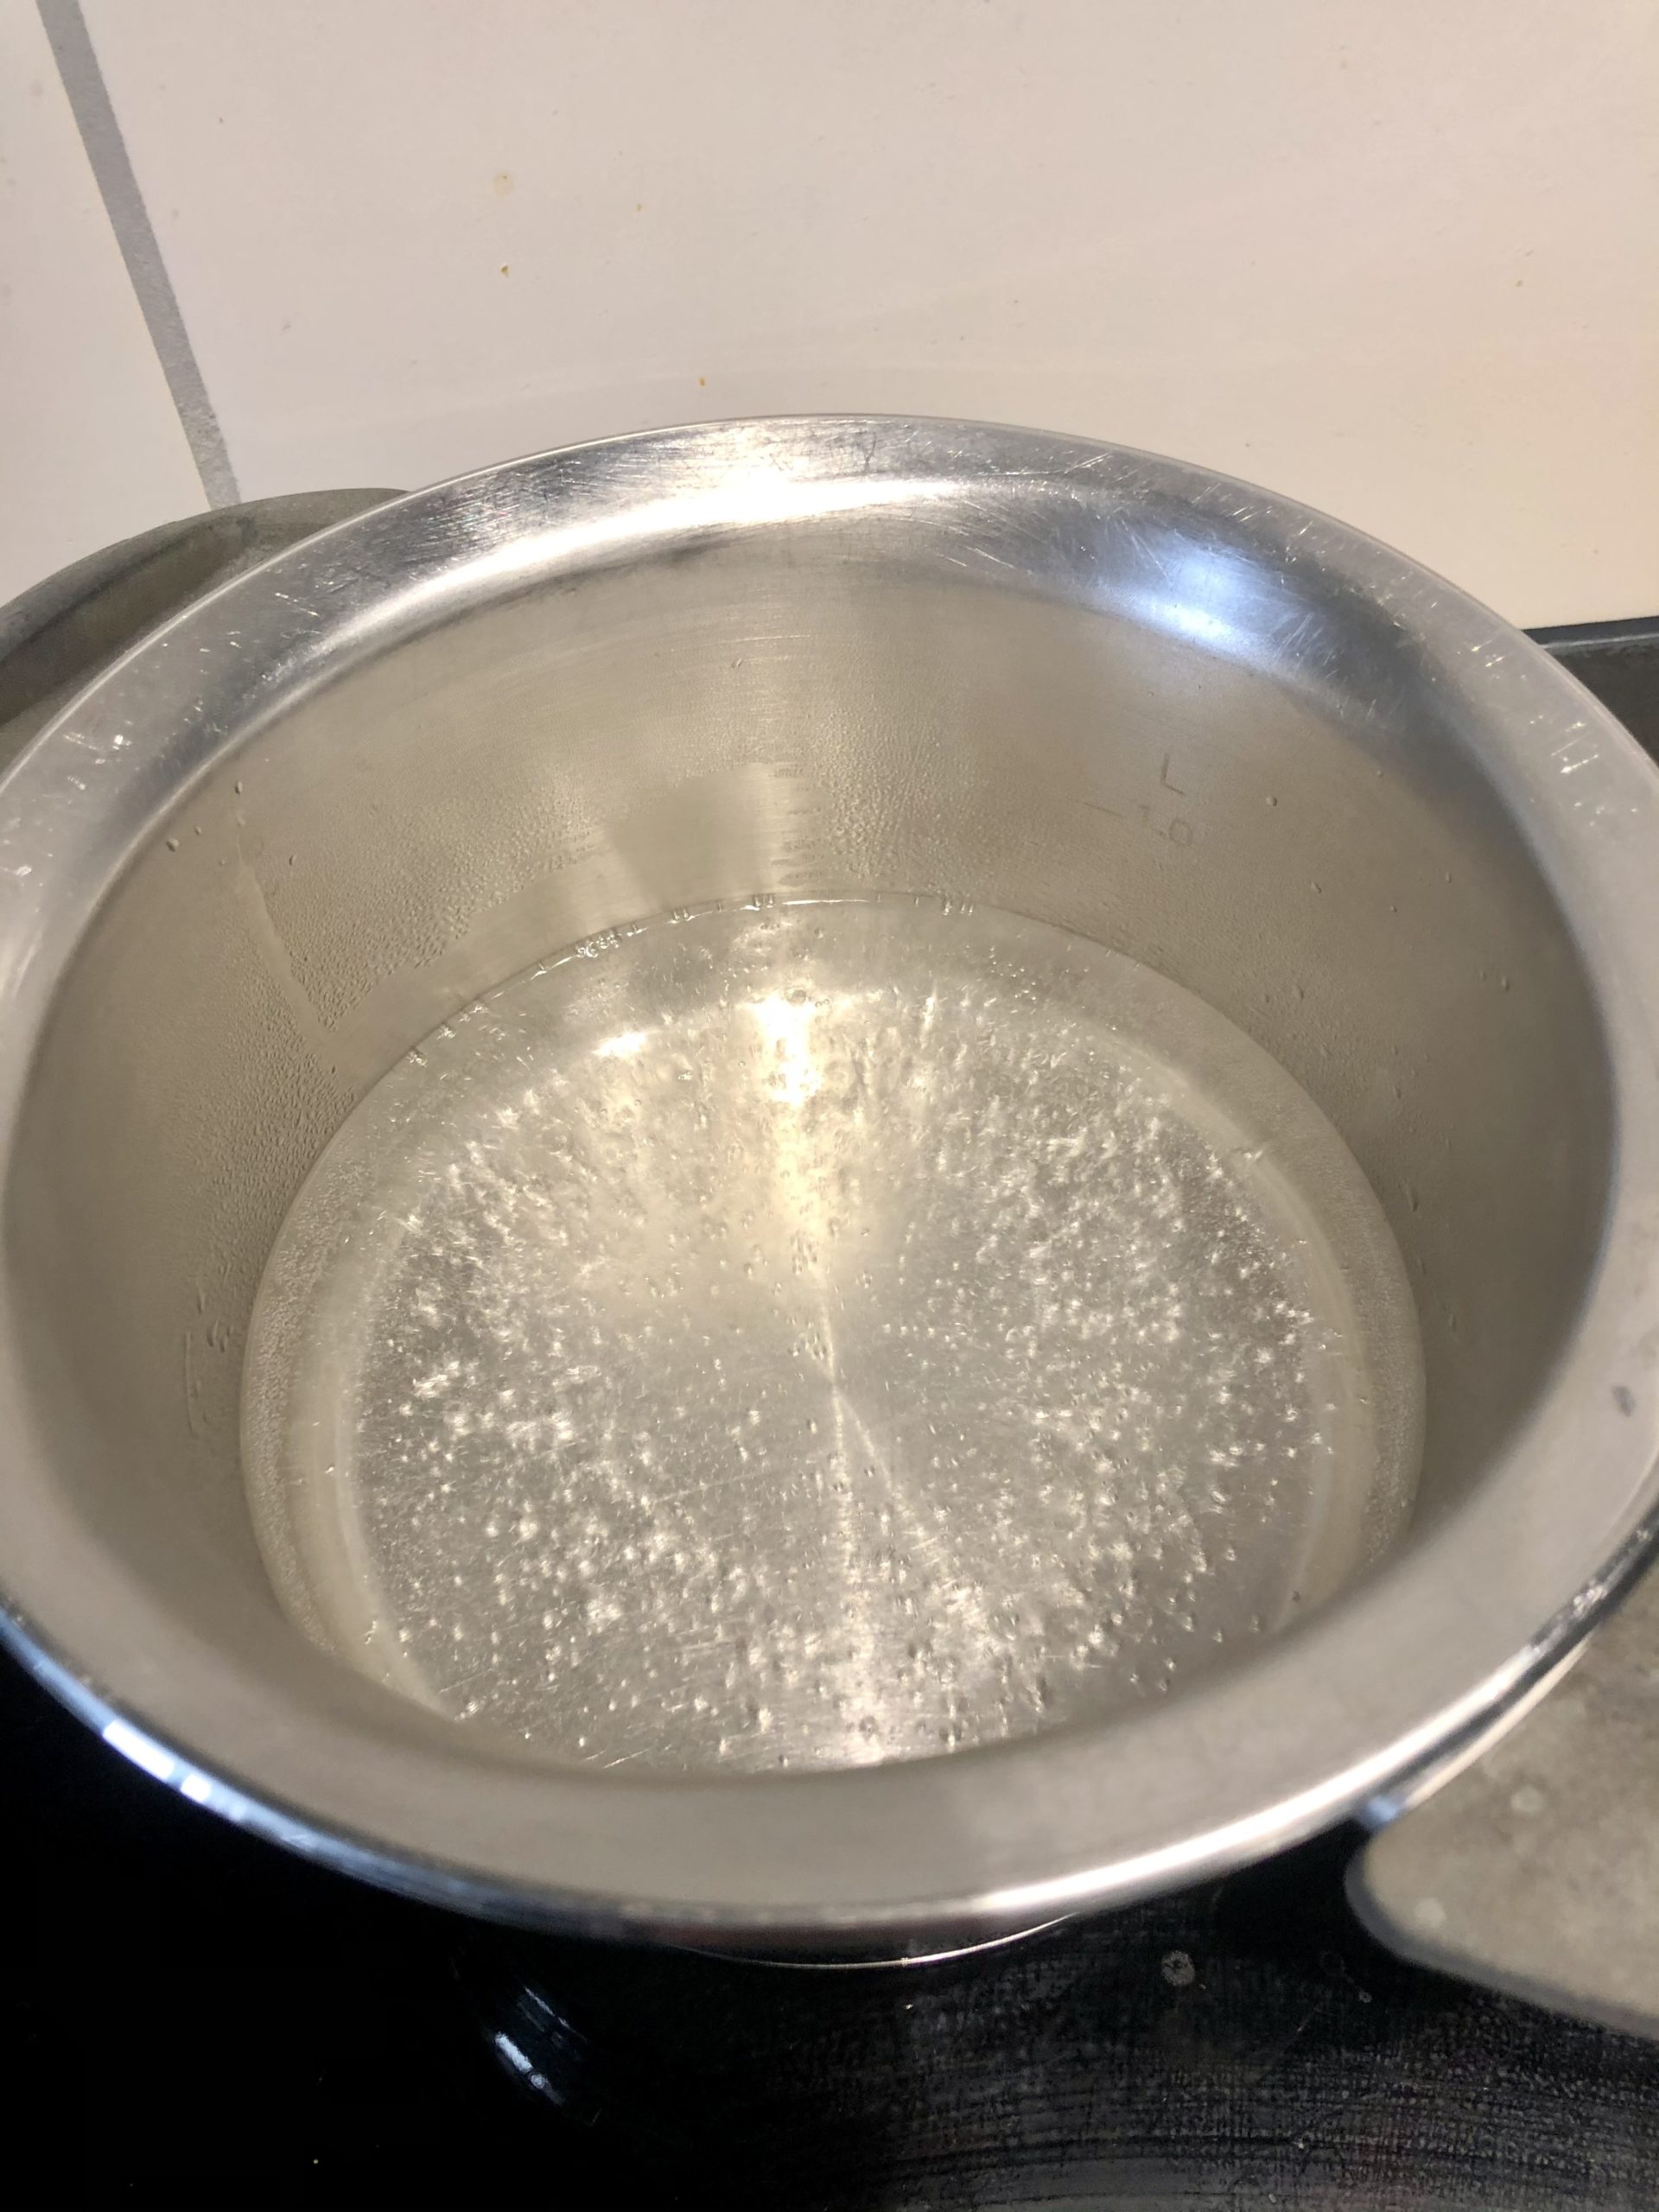
Bild zum Schritt 1 für das Bastel- und DIY-Abenteuer für Kinder: 'Messt das Wasser ab und gebt es in einen kleinen...'

2

Now you take off the flour and stir it with the whisk into the boiling water.
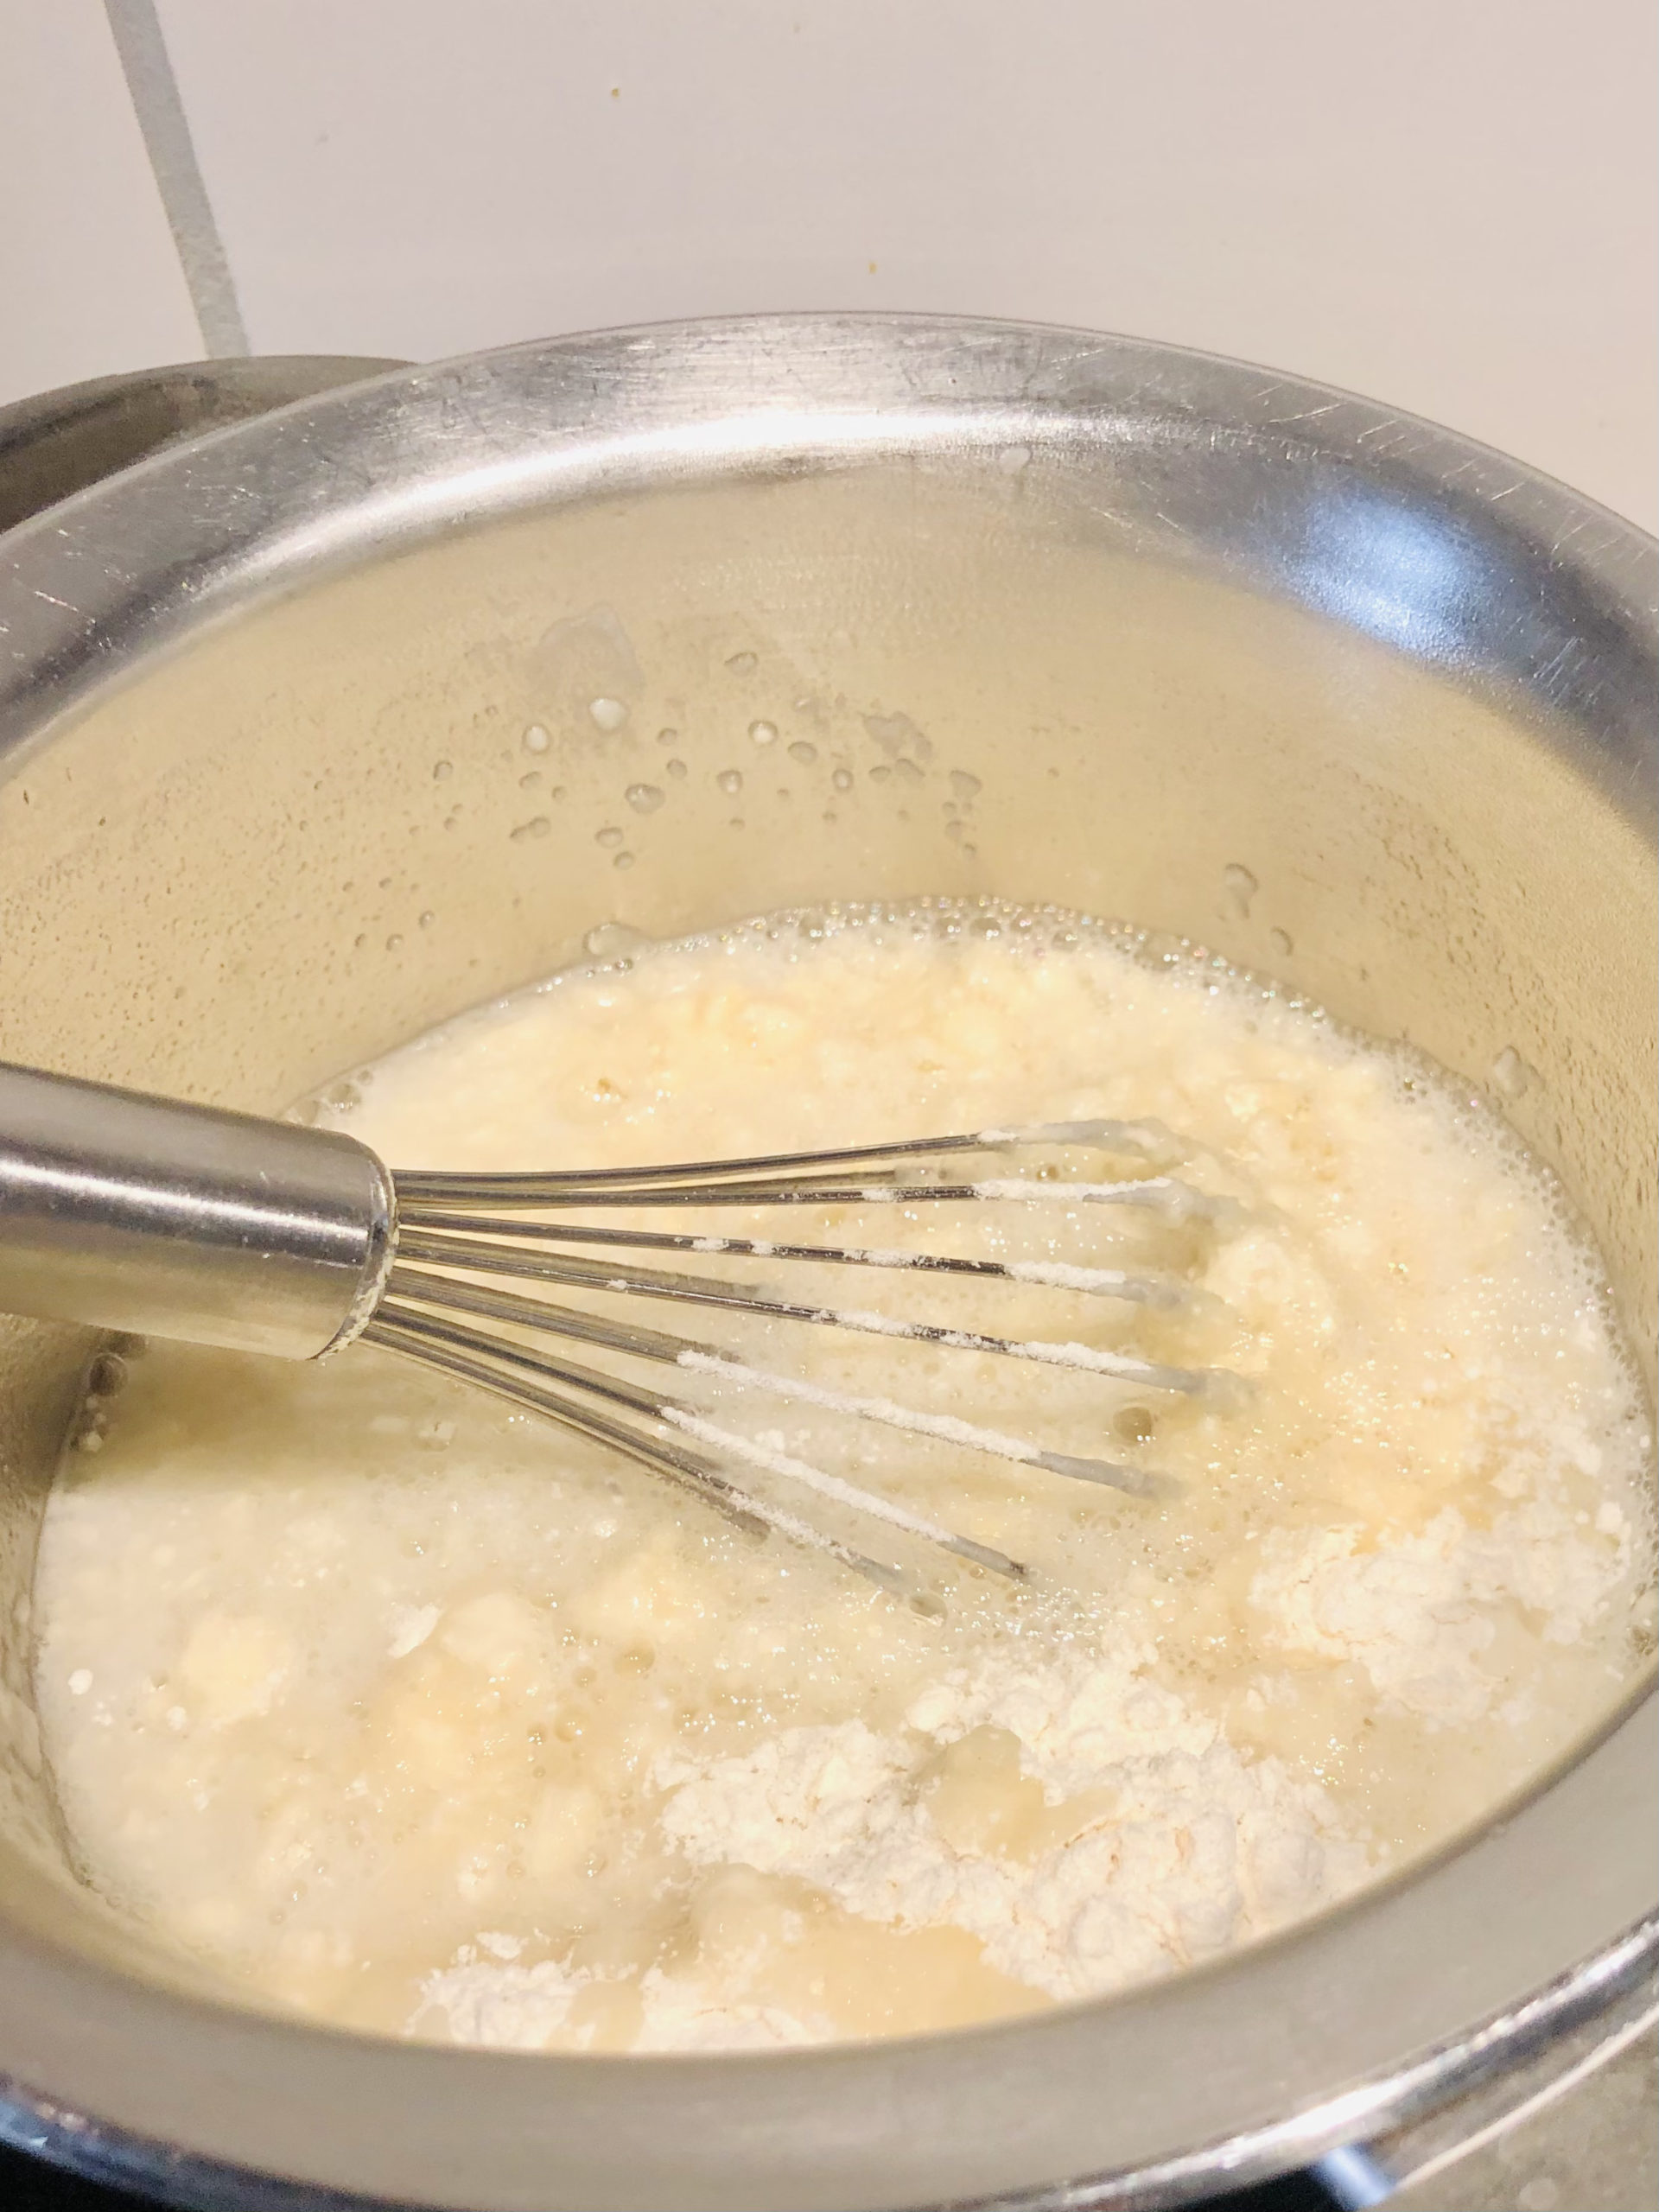
Bild zum Schritt 2 für das Bastel- und DIY-Abenteuer für Kinder: 'Jetzt messt ihr das Mehl ab und rührt es mit...'

3

Stirs until a smooth mass is formed.
You can also add the hot water and flour to the high-performance mixer and mix there.

Bild zum Schritt 3 für das Bastel- und DIY-Abenteuer für Kinder: 'Rührt so lange bis eine glatte Masse entsteht.  ...'

4

The advantage is that the paste no longer has any clumps in the high-performance mixer. With the snow broom, this result is difficult to achieve.

Bild zum Schritt 4 für das Bastel- und DIY-Abenteuer für Kinder: 'Der Vorteil ist, dass der Kleister im Hochleistungsmixer keine Klümpchen...'

5

Then let the mixture cool a little and then fill the paste in an empty glass.
You can already use it warm, but if the paste is cold, it'll stick better.

Bild zum Schritt 5 für das Bastel- und DIY-Abenteuer für Kinder: 'Anschließend lasst die Masse etwas auskühlen und füllt dann den...'

6

Finally, label the glass.

Bild zum Schritt 6 für das Bastel- und DIY-Abenteuer für Kinder: 'Beschriftet das Glas abschließend.'

7

Have fun!

Materials

 100 g Flour
 450 ml Water
 Pot
 High performance mixers (e.g. thermomix)alternative brooms of snow
 Filling glasse.g. empty honey glass or jam glass
 Pencil for labeling
All links marked with a shopping cart lead to Amazon - here we have selected products that we would order ourselves and in part also ordered. In a qualified purchase via the advertising link, we as Amazon partner receive a commission, for you there are no costs. You thus support our cost- and advertising banner-free, educational offer.

Directions

1

Measure the water and put it in a small pot.
Then bring the water to the boil.

Bild zum Schritt 1 für das Bastel- und DIY-Abenteuer für Kinder: 'Messt das Wasser ab und gebt es in einen kleinen...'

2

Now you take off the flour and stir it with the whisk into the boiling water.

Bild zum Schritt 2 für das Bastel- und DIY-Abenteuer für Kinder: 'Jetzt messt ihr das Mehl ab und rührt es mit...'

3

Stirs until a smooth mass is formed.
You can also add the hot water and flour to the high-performance mixer and mix there.
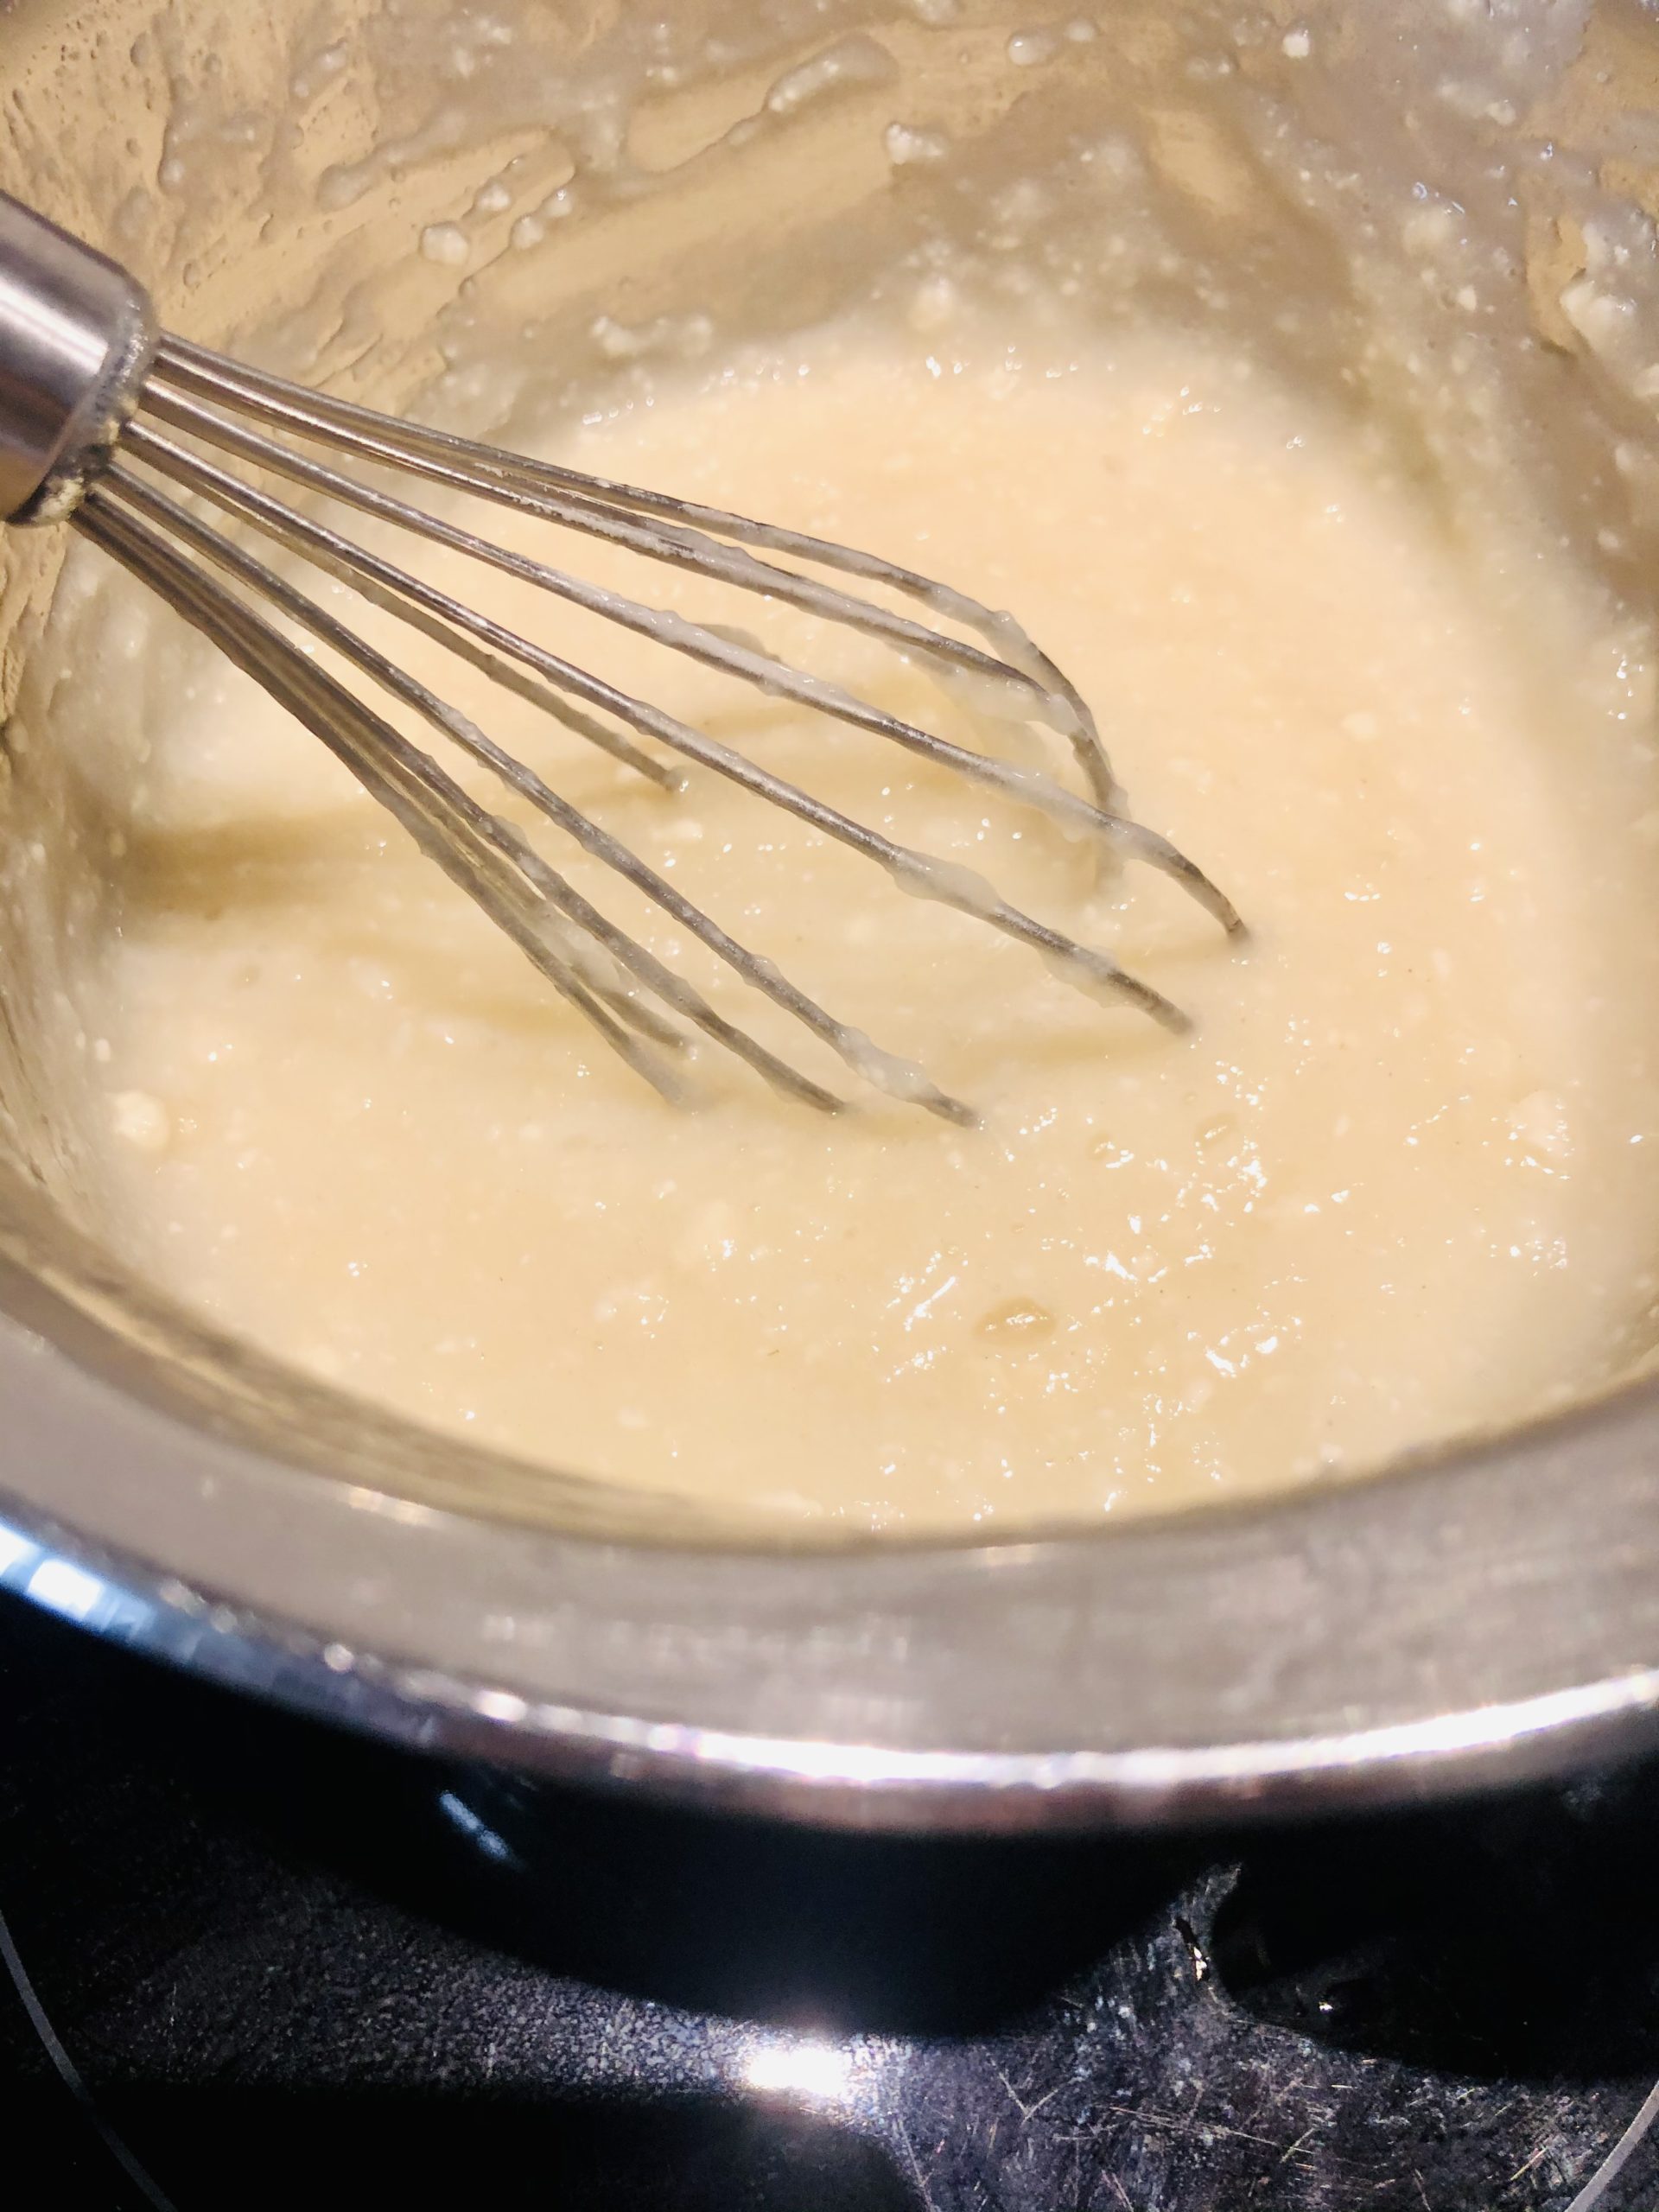
Bild zum Schritt 3 für das Bastel- und DIY-Abenteuer für Kinder: 'Rührt so lange bis eine glatte Masse entsteht.  ...'

4

The advantage is that the paste no longer has any clumps in the high-performance mixer. With the snow broom, this result is difficult to achieve.
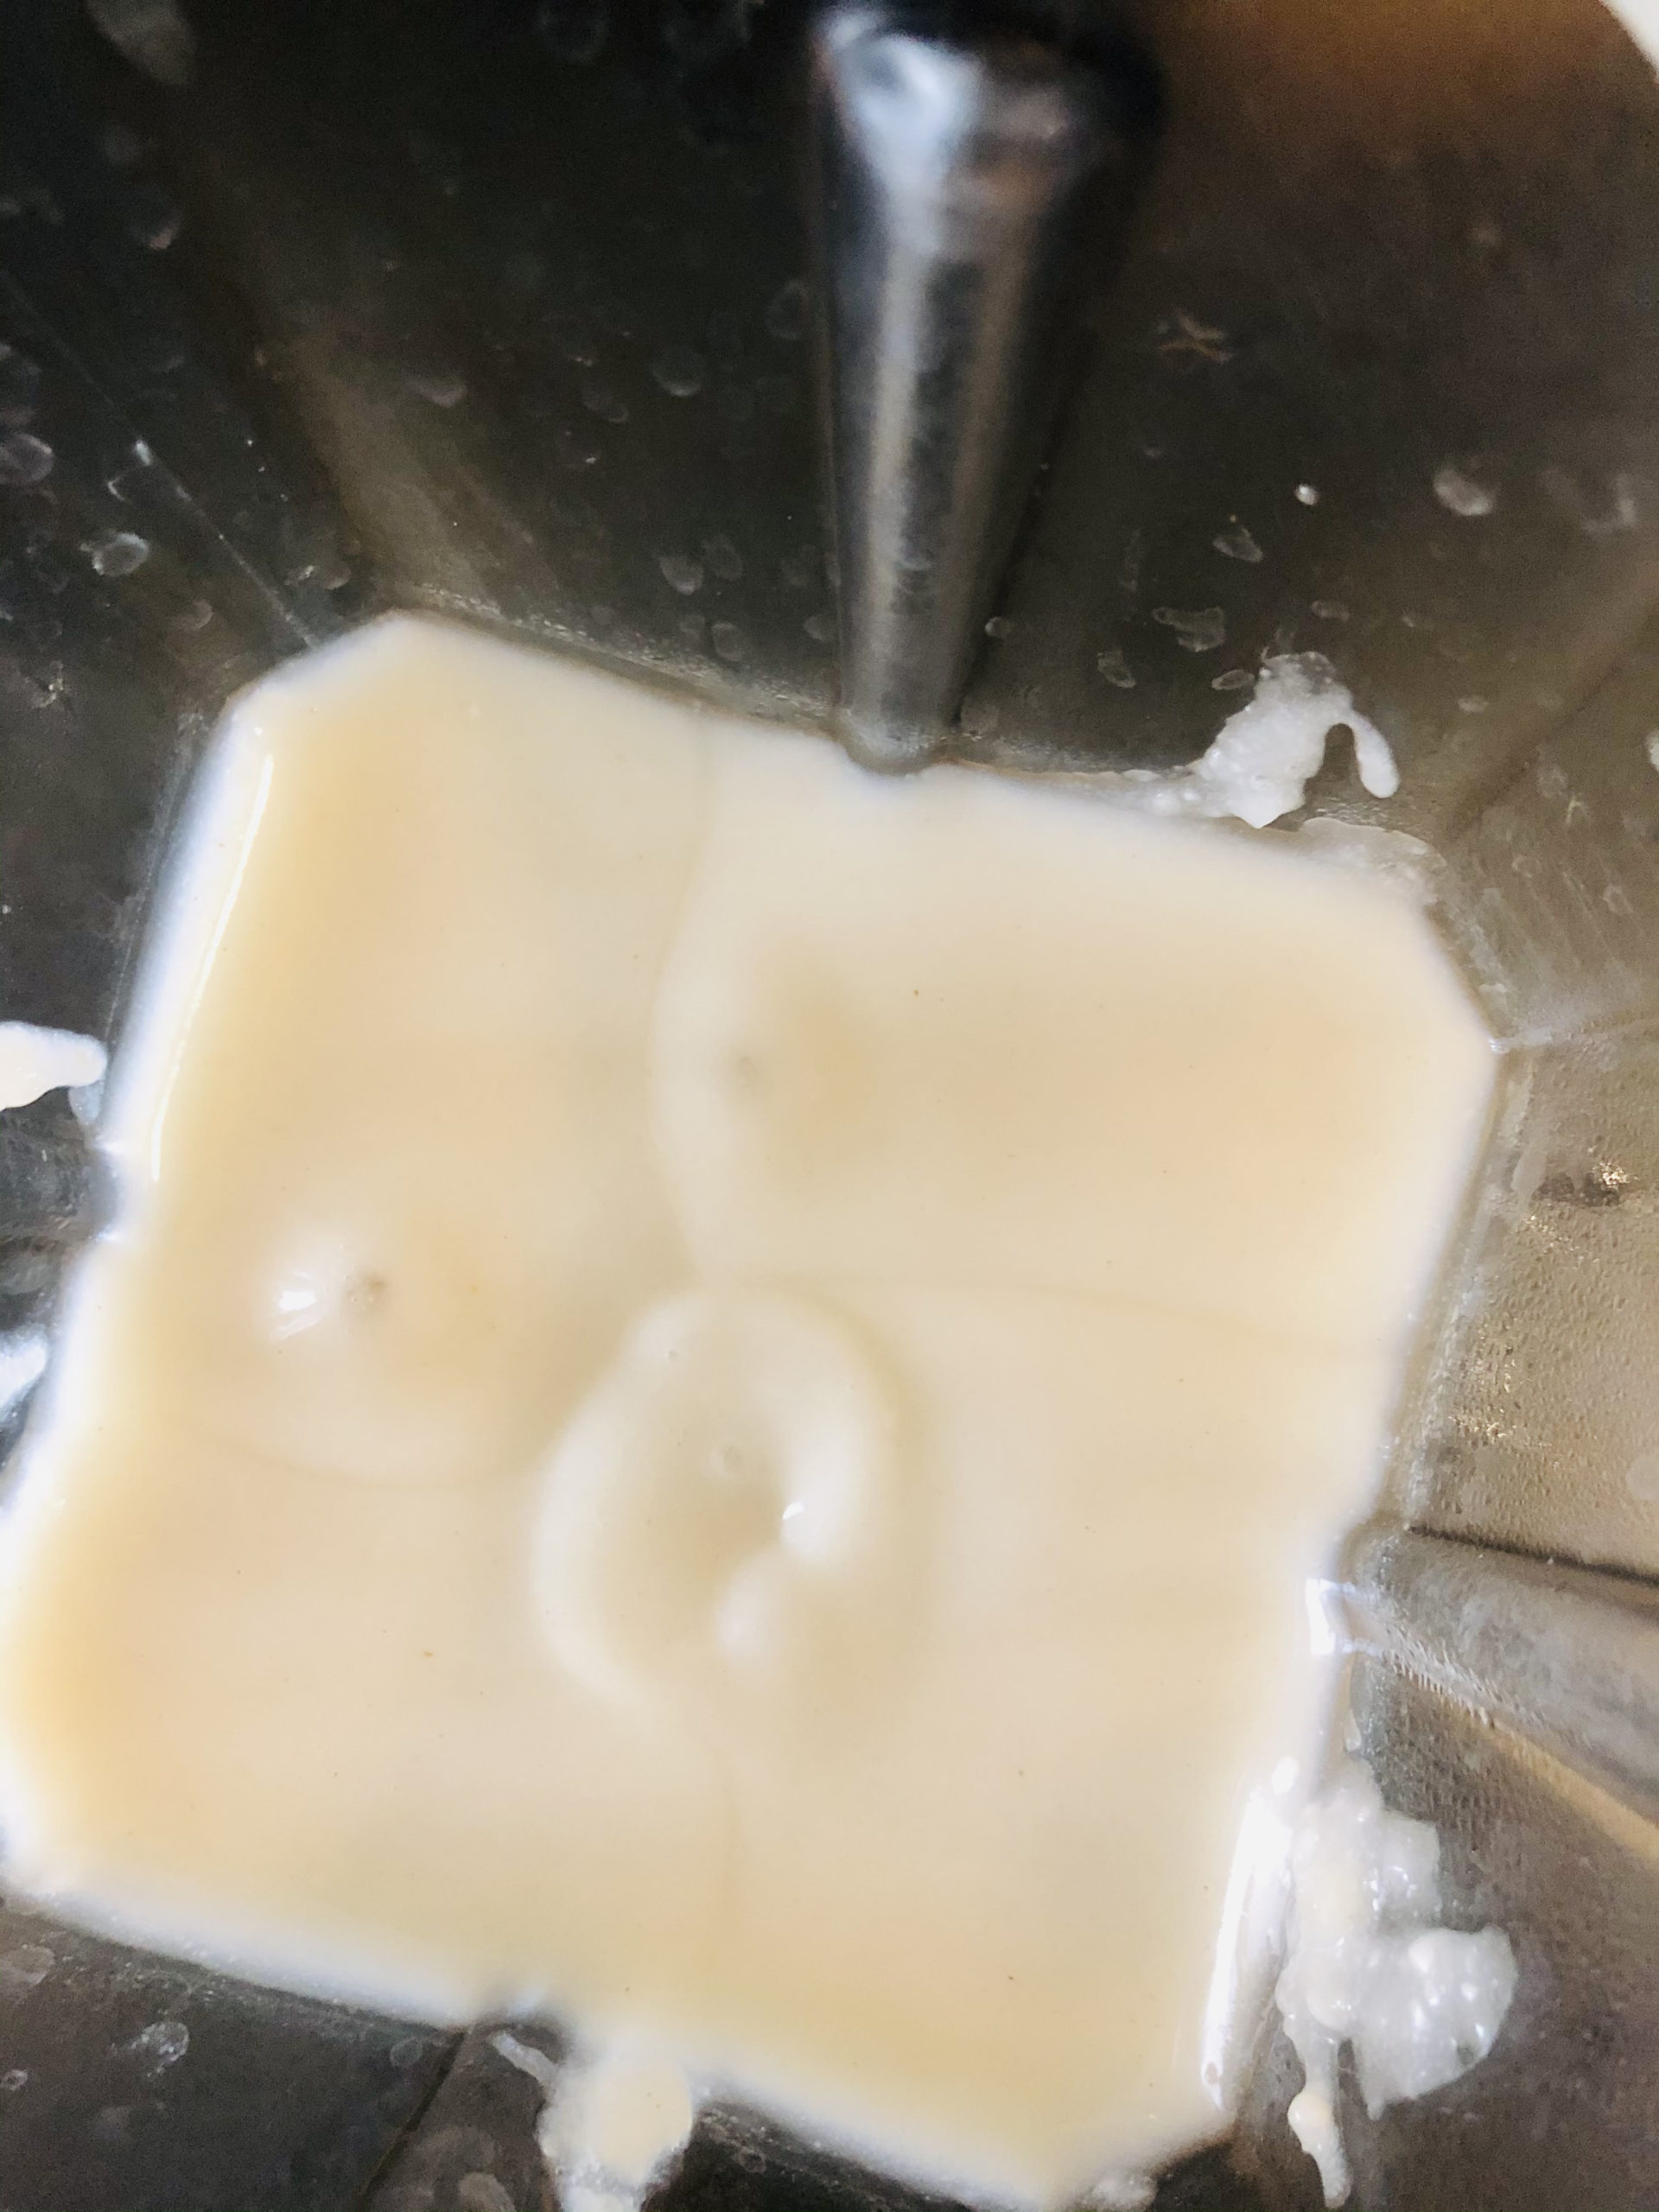
Bild zum Schritt 4 für das Bastel- und DIY-Abenteuer für Kinder: 'Der Vorteil ist, dass der Kleister im Hochleistungsmixer keine Klümpchen...'

5

Then let the mixture cool a little and then fill the paste in an empty glass.
You can already use it warm, but if the paste is cold, it'll stick better.
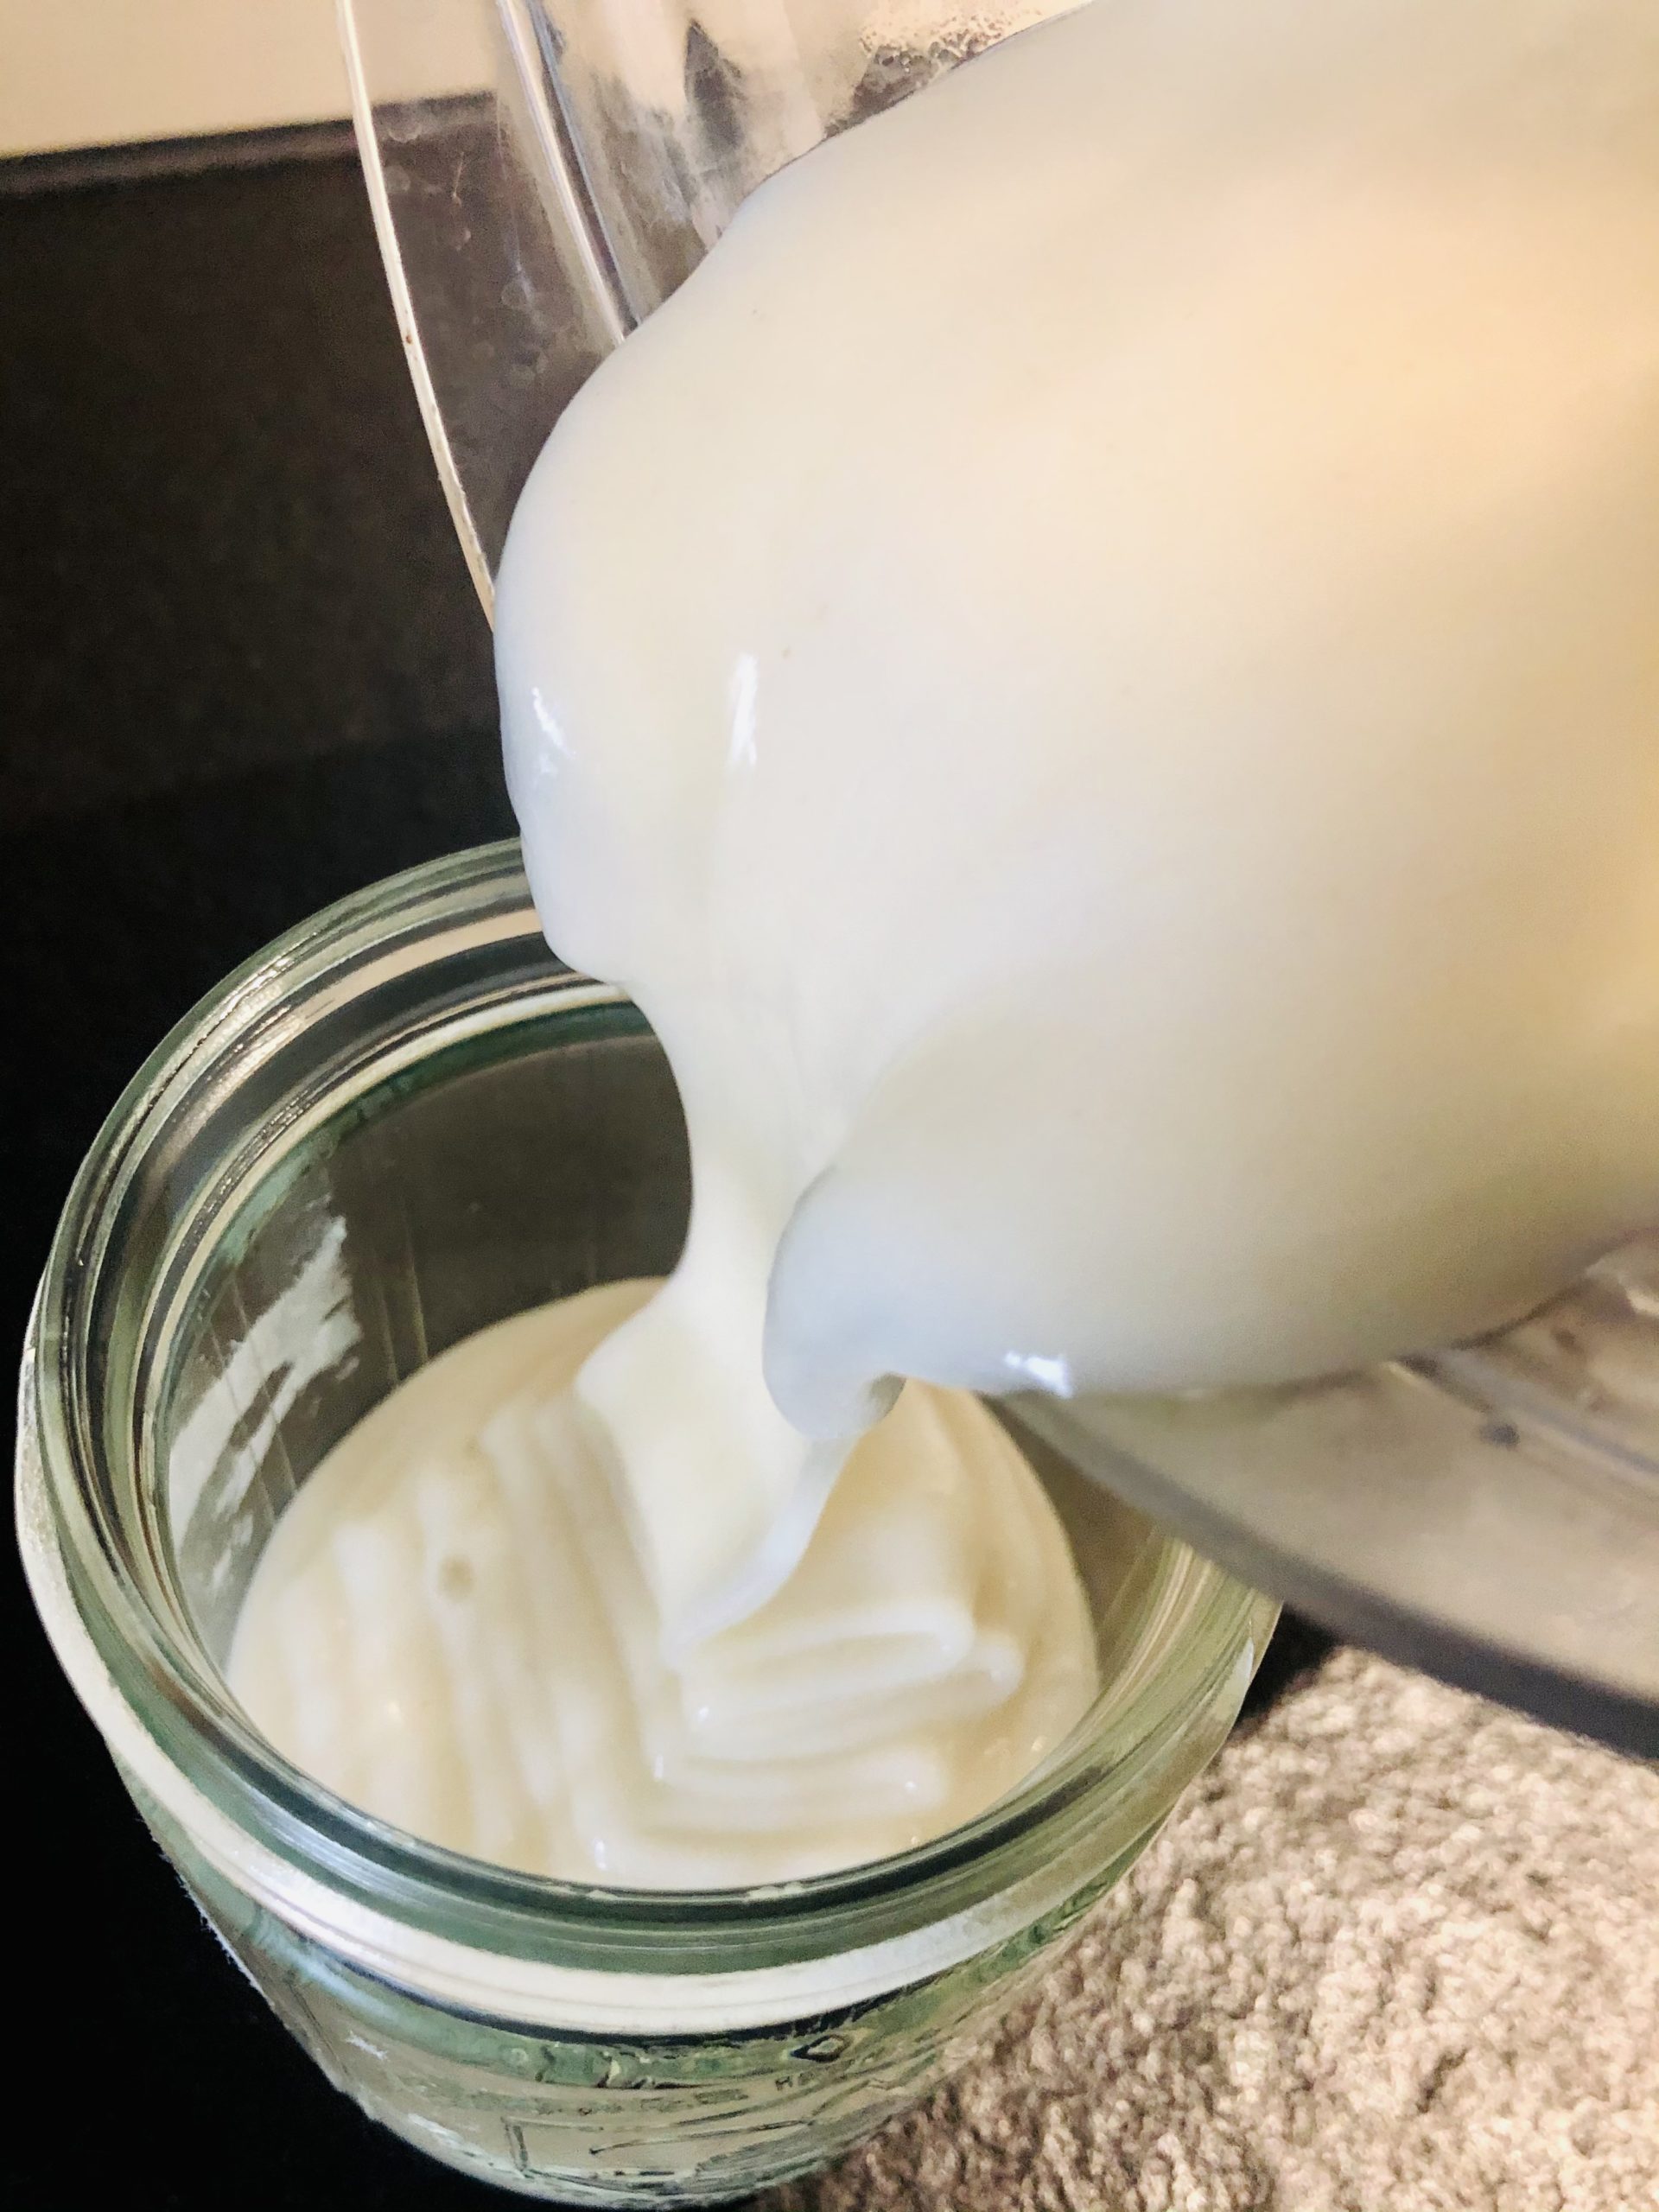
Bild zum Schritt 5 für das Bastel- und DIY-Abenteuer für Kinder: 'Anschließend lasst die Masse etwas auskühlen und füllt dann den...'

6

Finally, label the glass.

Bild zum Schritt 6 für das Bastel- und DIY-Abenteuer für Kinder: 'Beschriftet das Glas abschließend.'

7

Have fun!

Make your own paste – Step-by-Step Instructions for Children

Follow us on Facebook , Instagram and Pinterest
Don't miss any more adventures: Our bottle mail

Leave a Reply

Your email address will not be published.

The maximum upload file size: 5 MB. You can upload: image, document. Drop file here