Print Options:

Clasp leaf of iron or steel beads

Material for1 ChildPrep Time5 min.Adv. Time20 min.Total Time25 min.

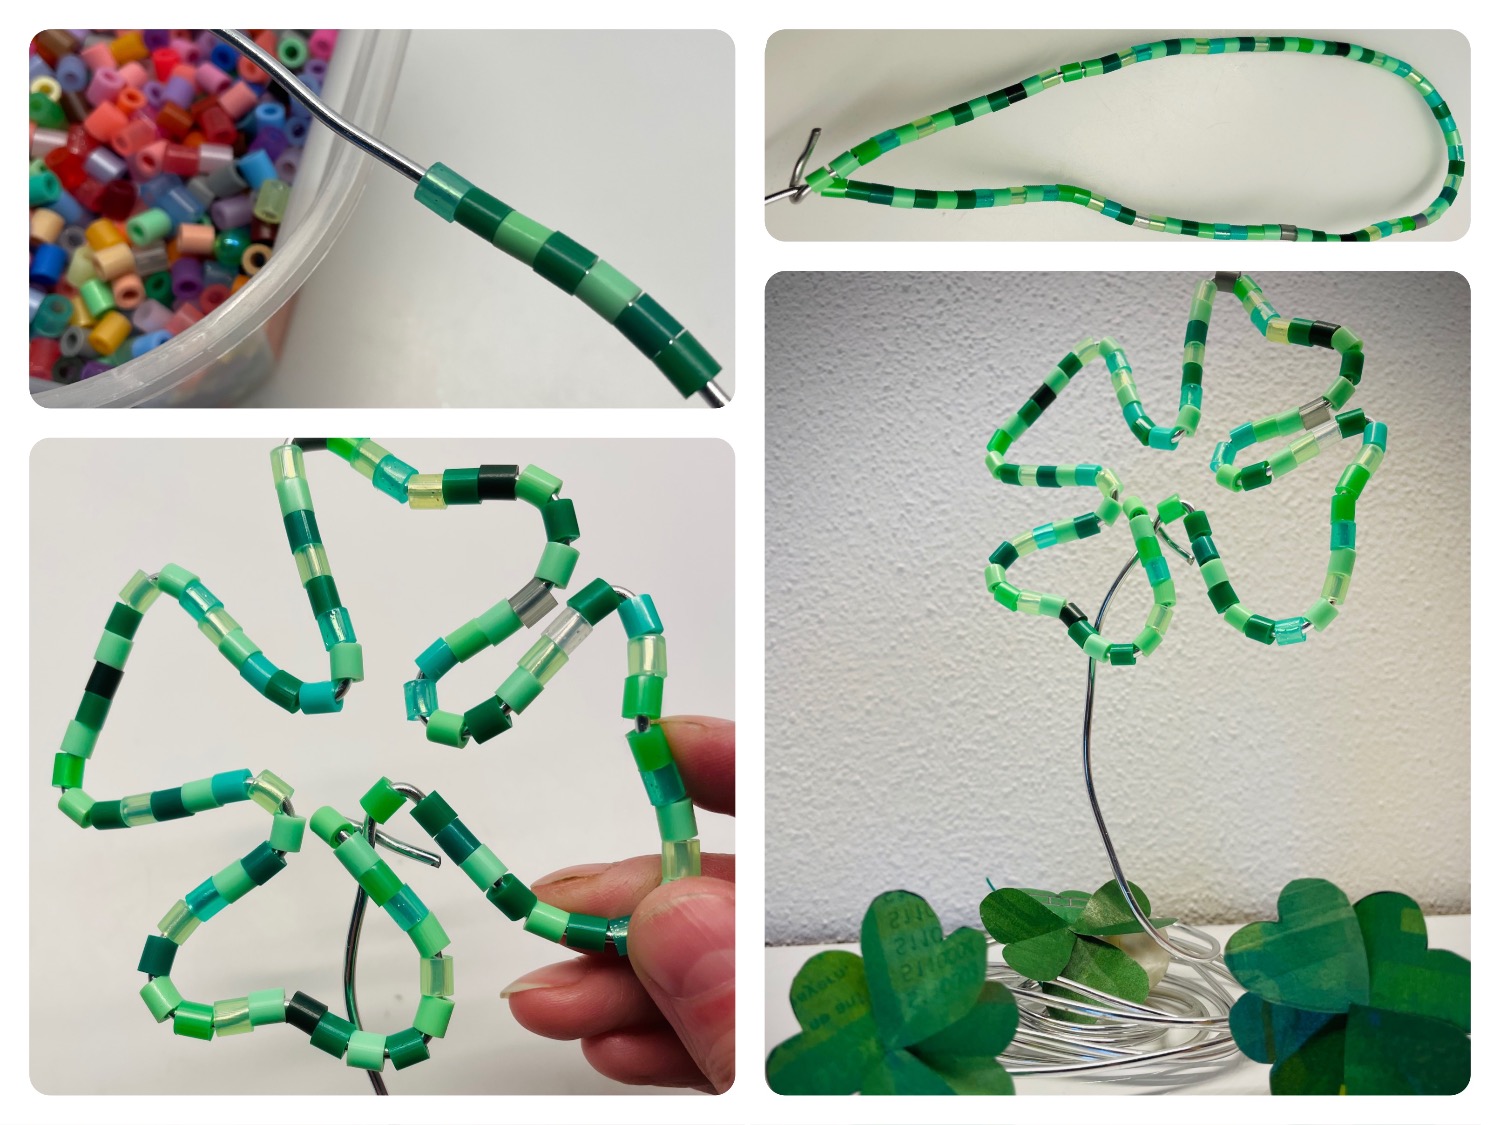
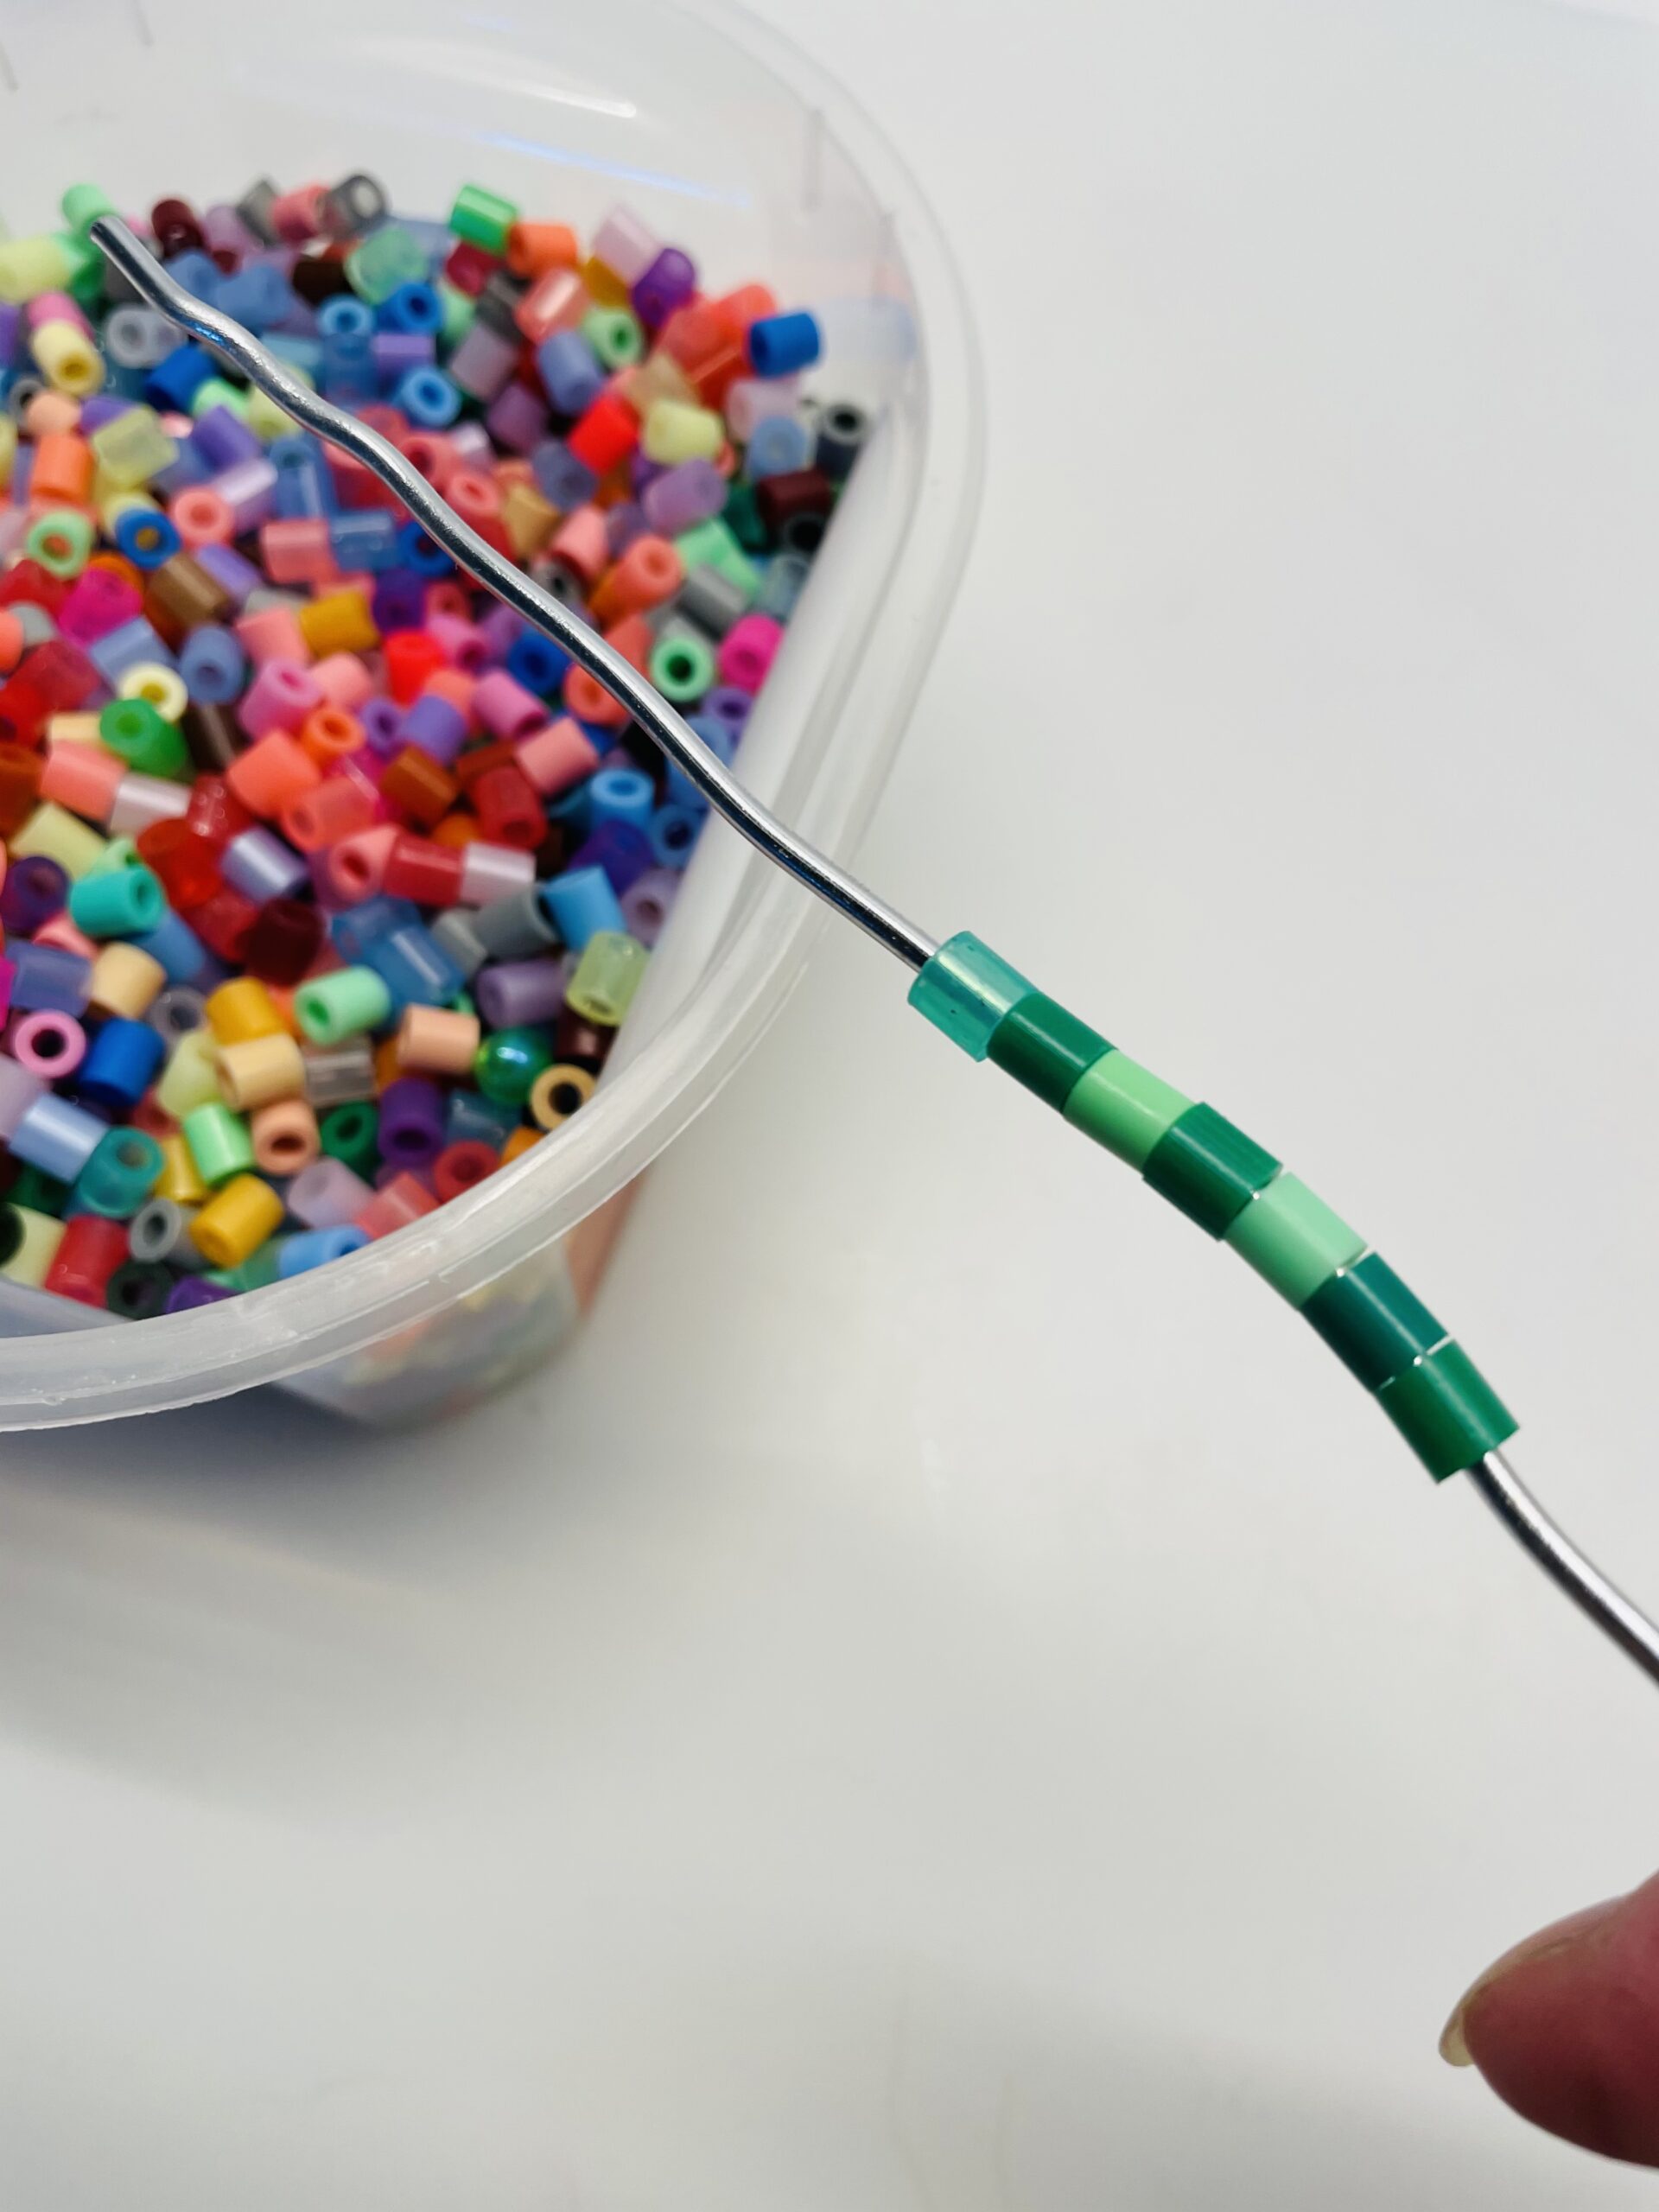
With iron beads you can create beautiful wire motifs. For this you thread the iron beads on a thick craft wire. Do not cut off the wire before threading, then the beads do not fall down at the end. Let yourself help with bending the wire from an adult, that goes with the threaded beads a bit heavy.

Titelbild zur Bastel- und DIY-Idee für Kinder '(737) Kleeblatt aus Bügelperlen'

 Bars and rods, not further worked than hot-rolled, hot-rolled, hot-rolled, not further worked than hot-rolled (cold-reduced), not further worked than hot-rolled (cold-reduced), hot-rolled (cold-reduced), hot-rolled (cold-reduced), hot-rolled (cold-reduced), hot-rolled (cold-reduced), hot-rolled (cold-reduced), hot-rolled (cold-reduced), hot-rolled (cold-reduced), hot-rolled (cold-reduced), hot-rolled (cold-reduced), hot-rolled (cold-reduced), hot-reduced (cold-reduced), hot-reduced-reduced-reduced-reduced-reduced-reduced-reduced-reduced-reduced-reduced-reduced-reduced-reduced-reduced-reduced different colors green beads
 Craft wire thickapprox. 40- 50cm long
 Wire shears
1

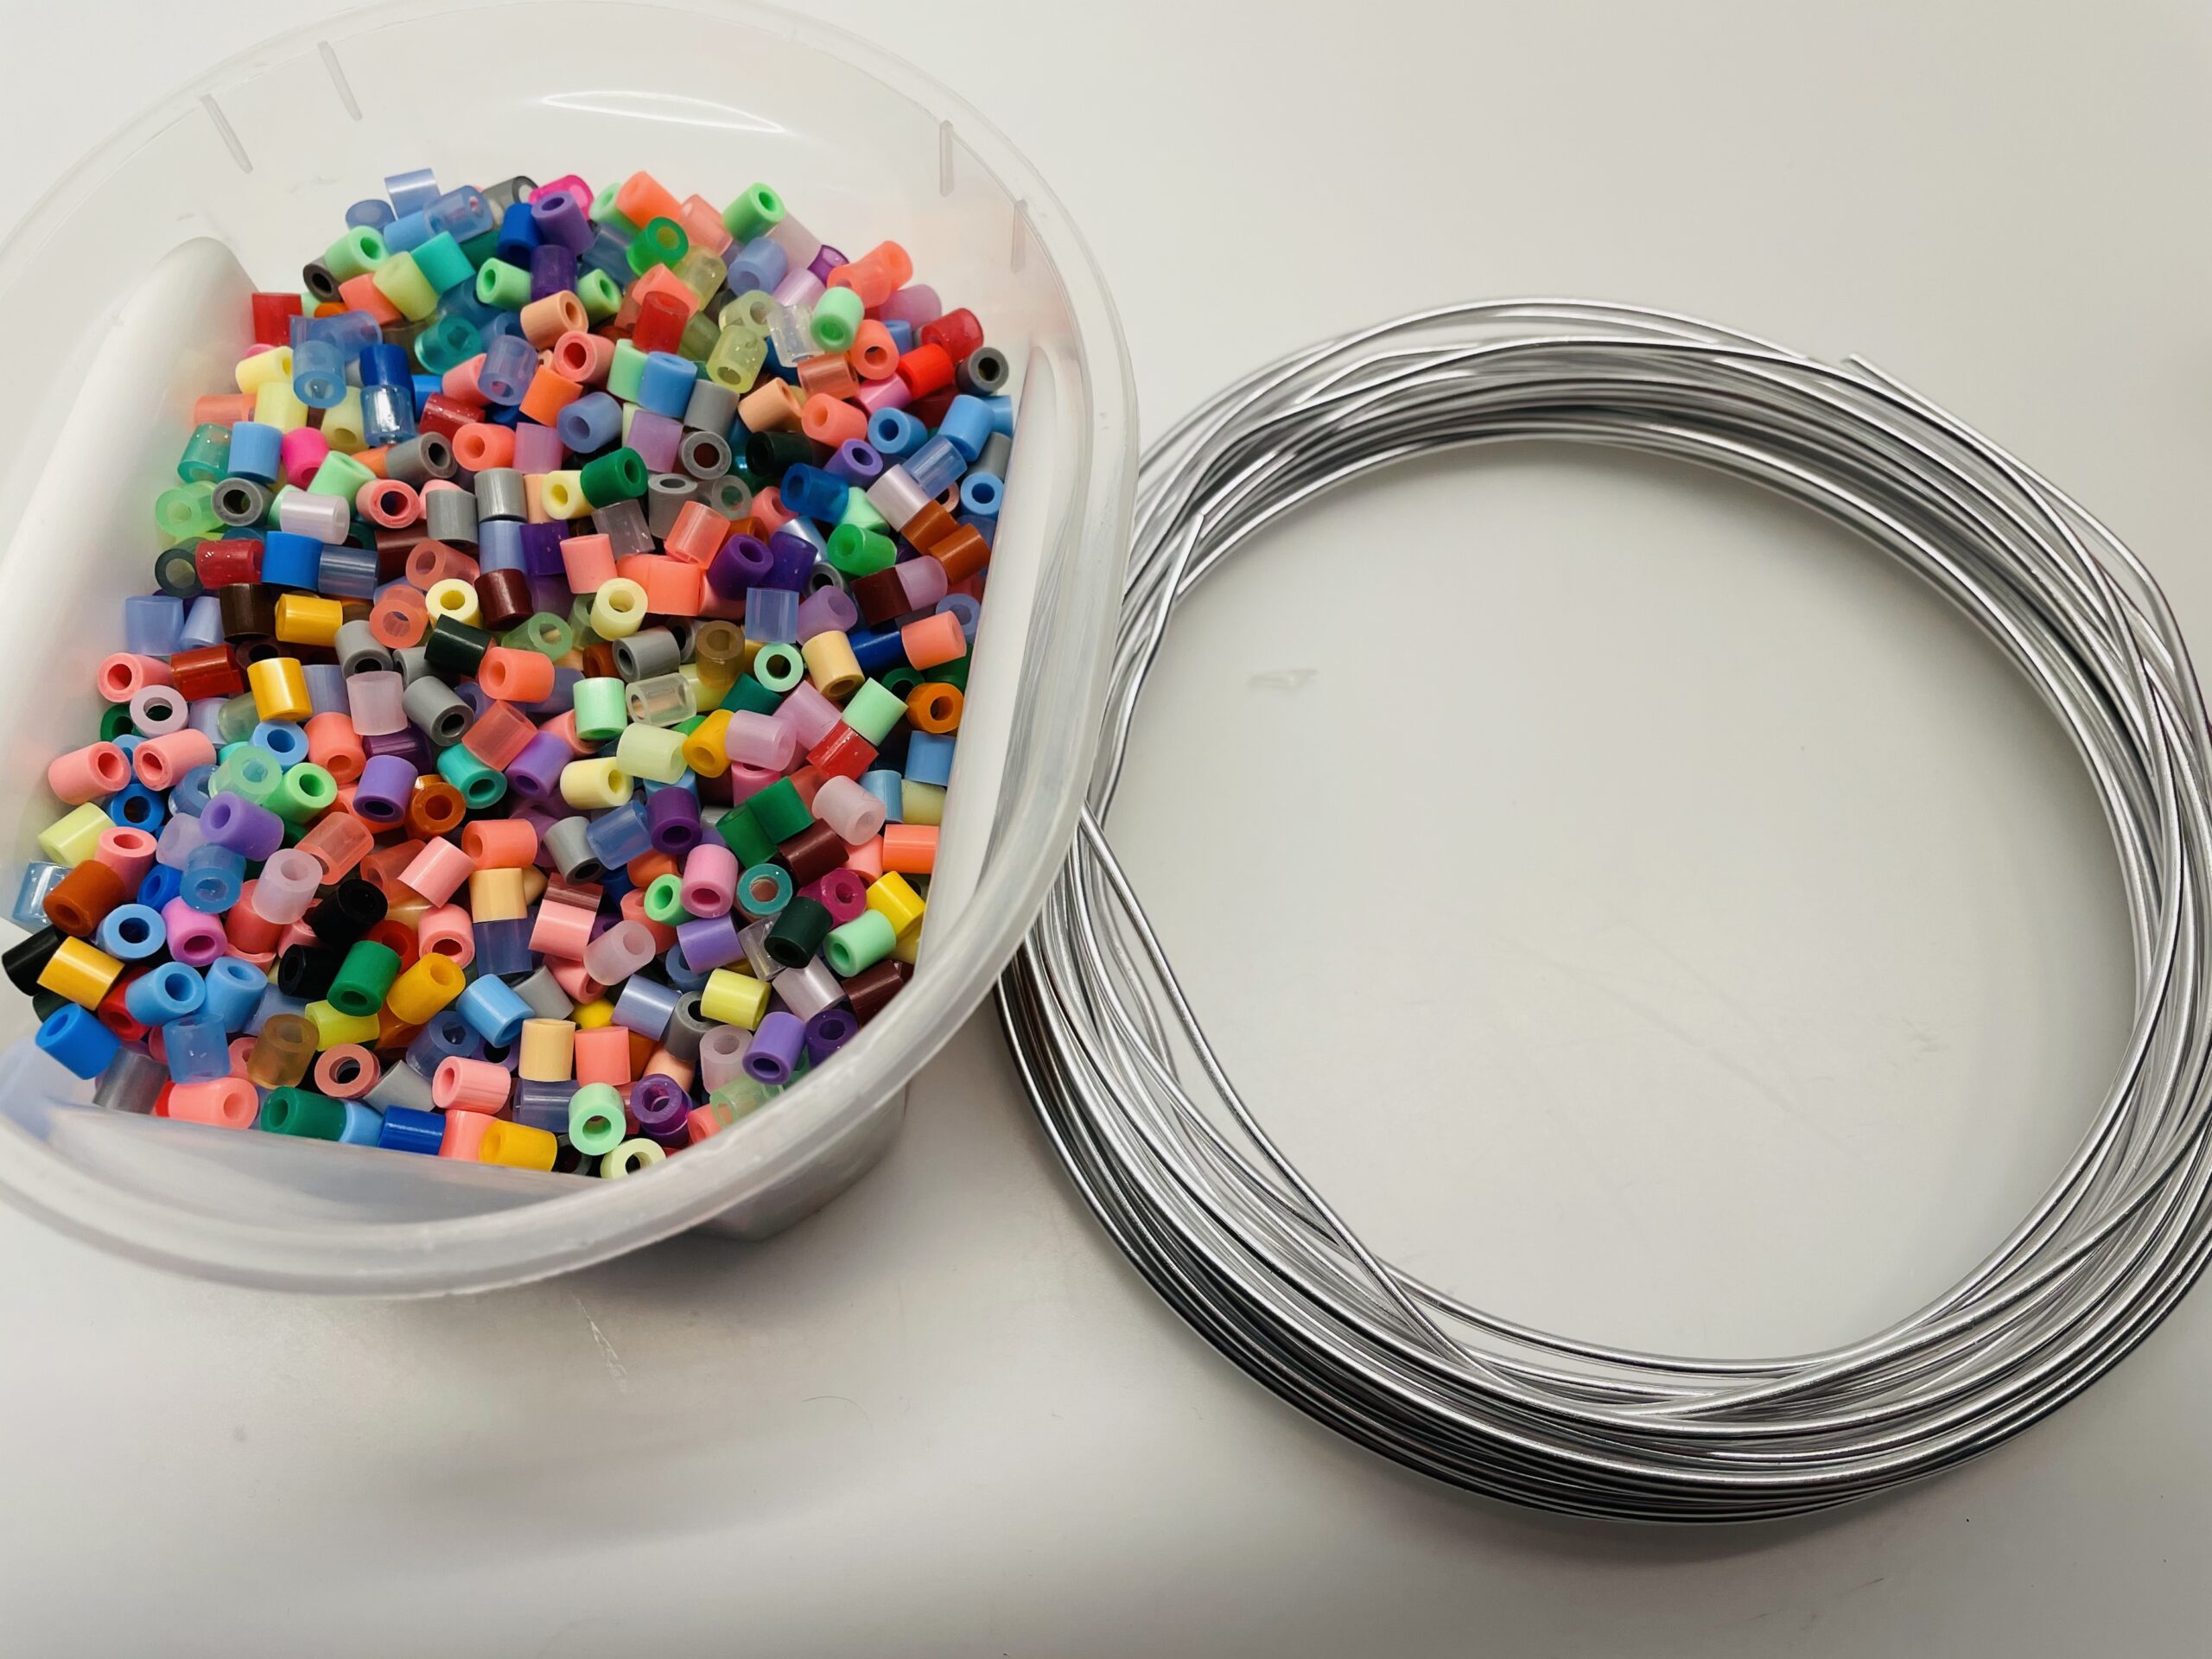
Get your materials ready first.

Bild zum Schritt 1 für das Bastel- und DIY-Abenteuer für Kinder: 'Legt euch zuerst eure Materialien bereit.'

2

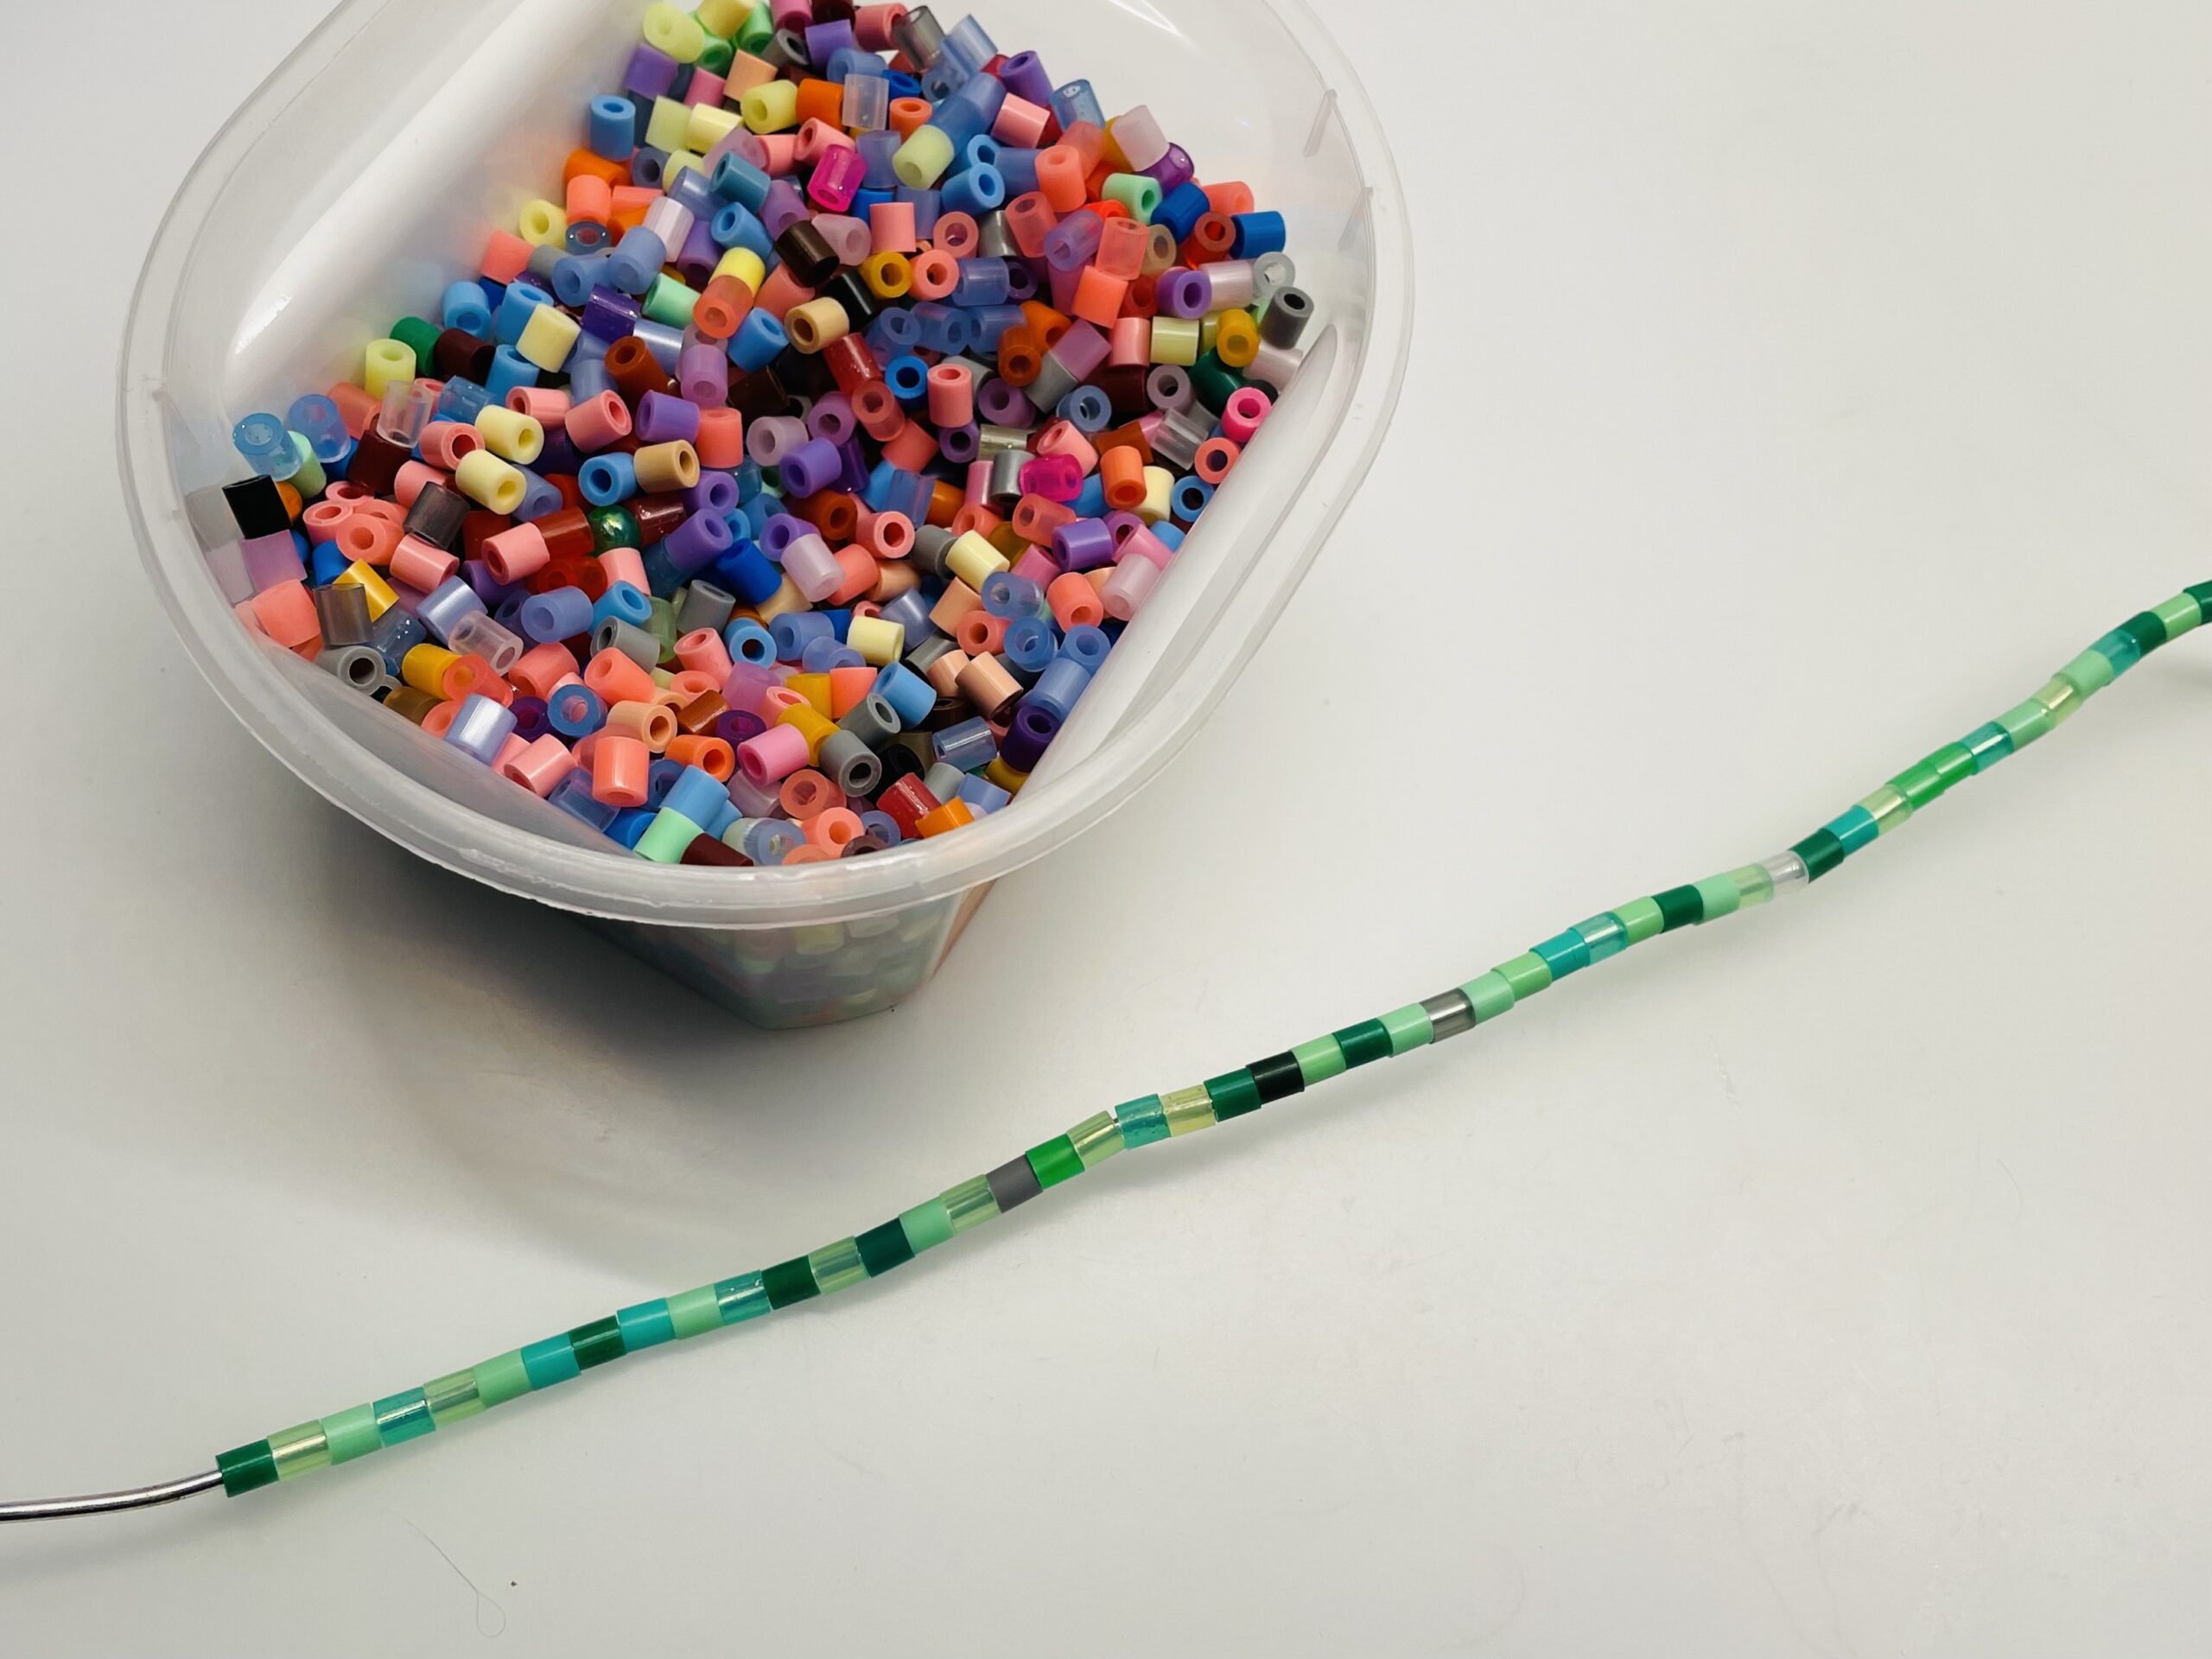
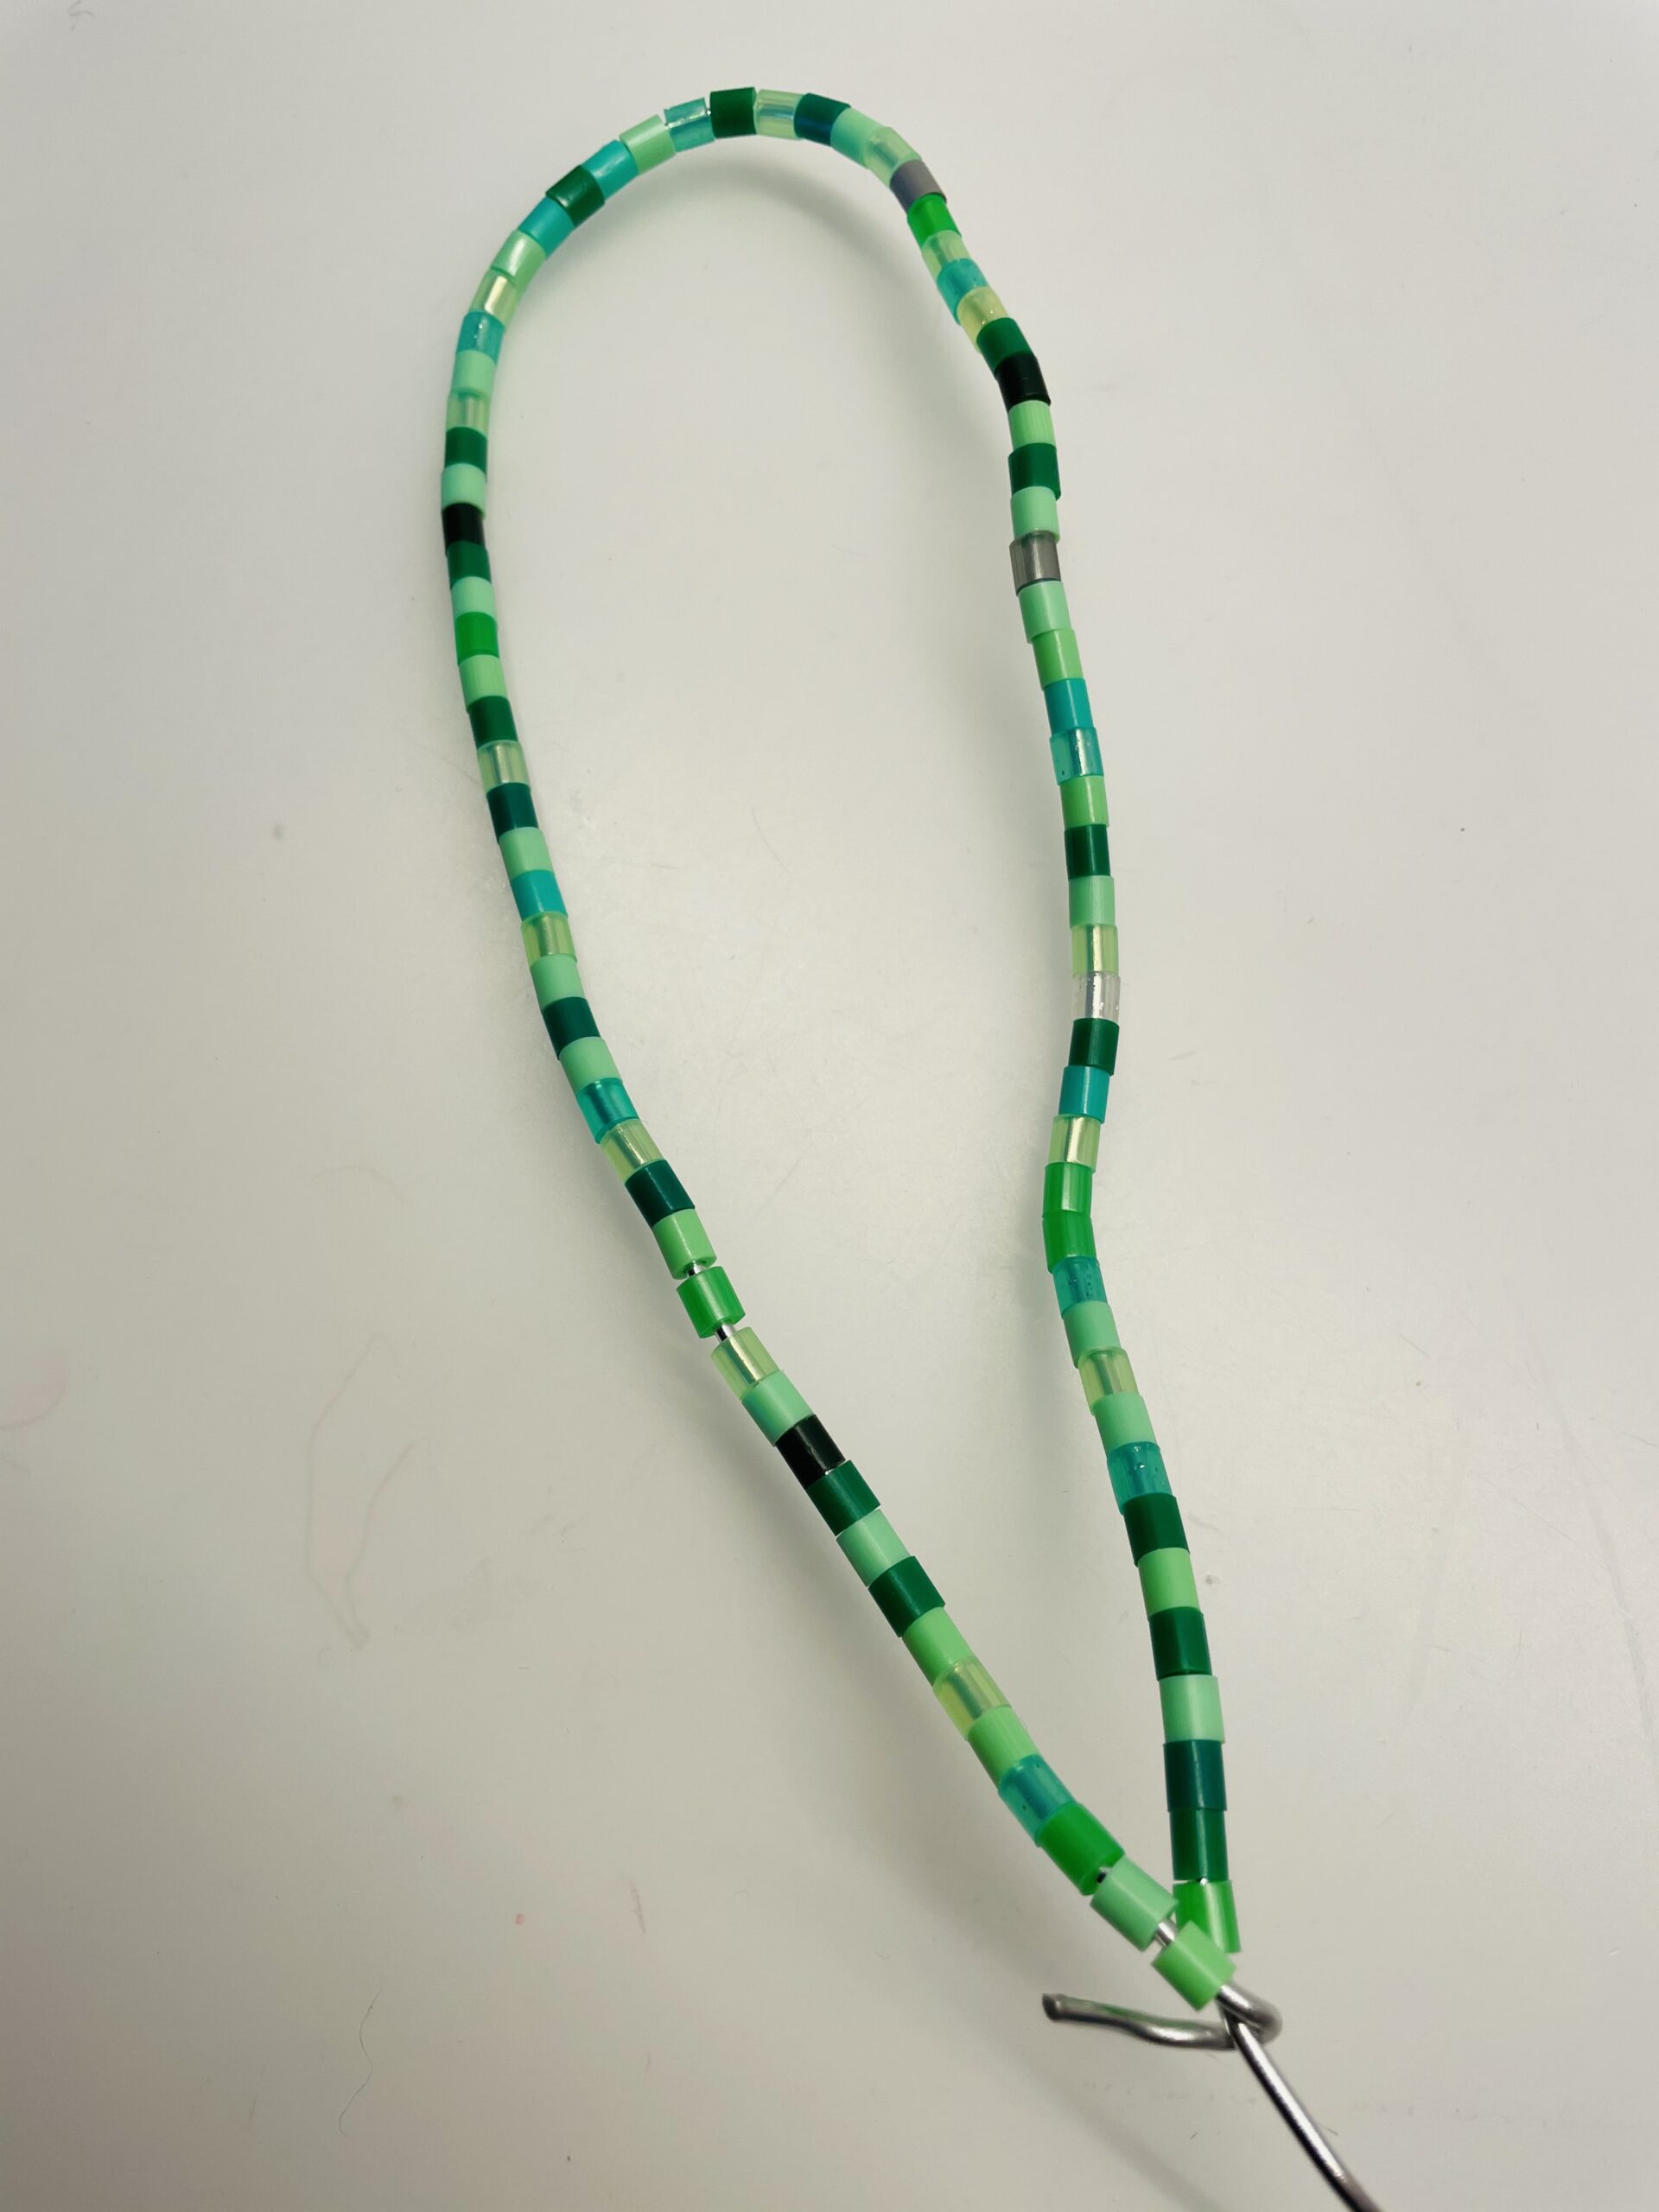
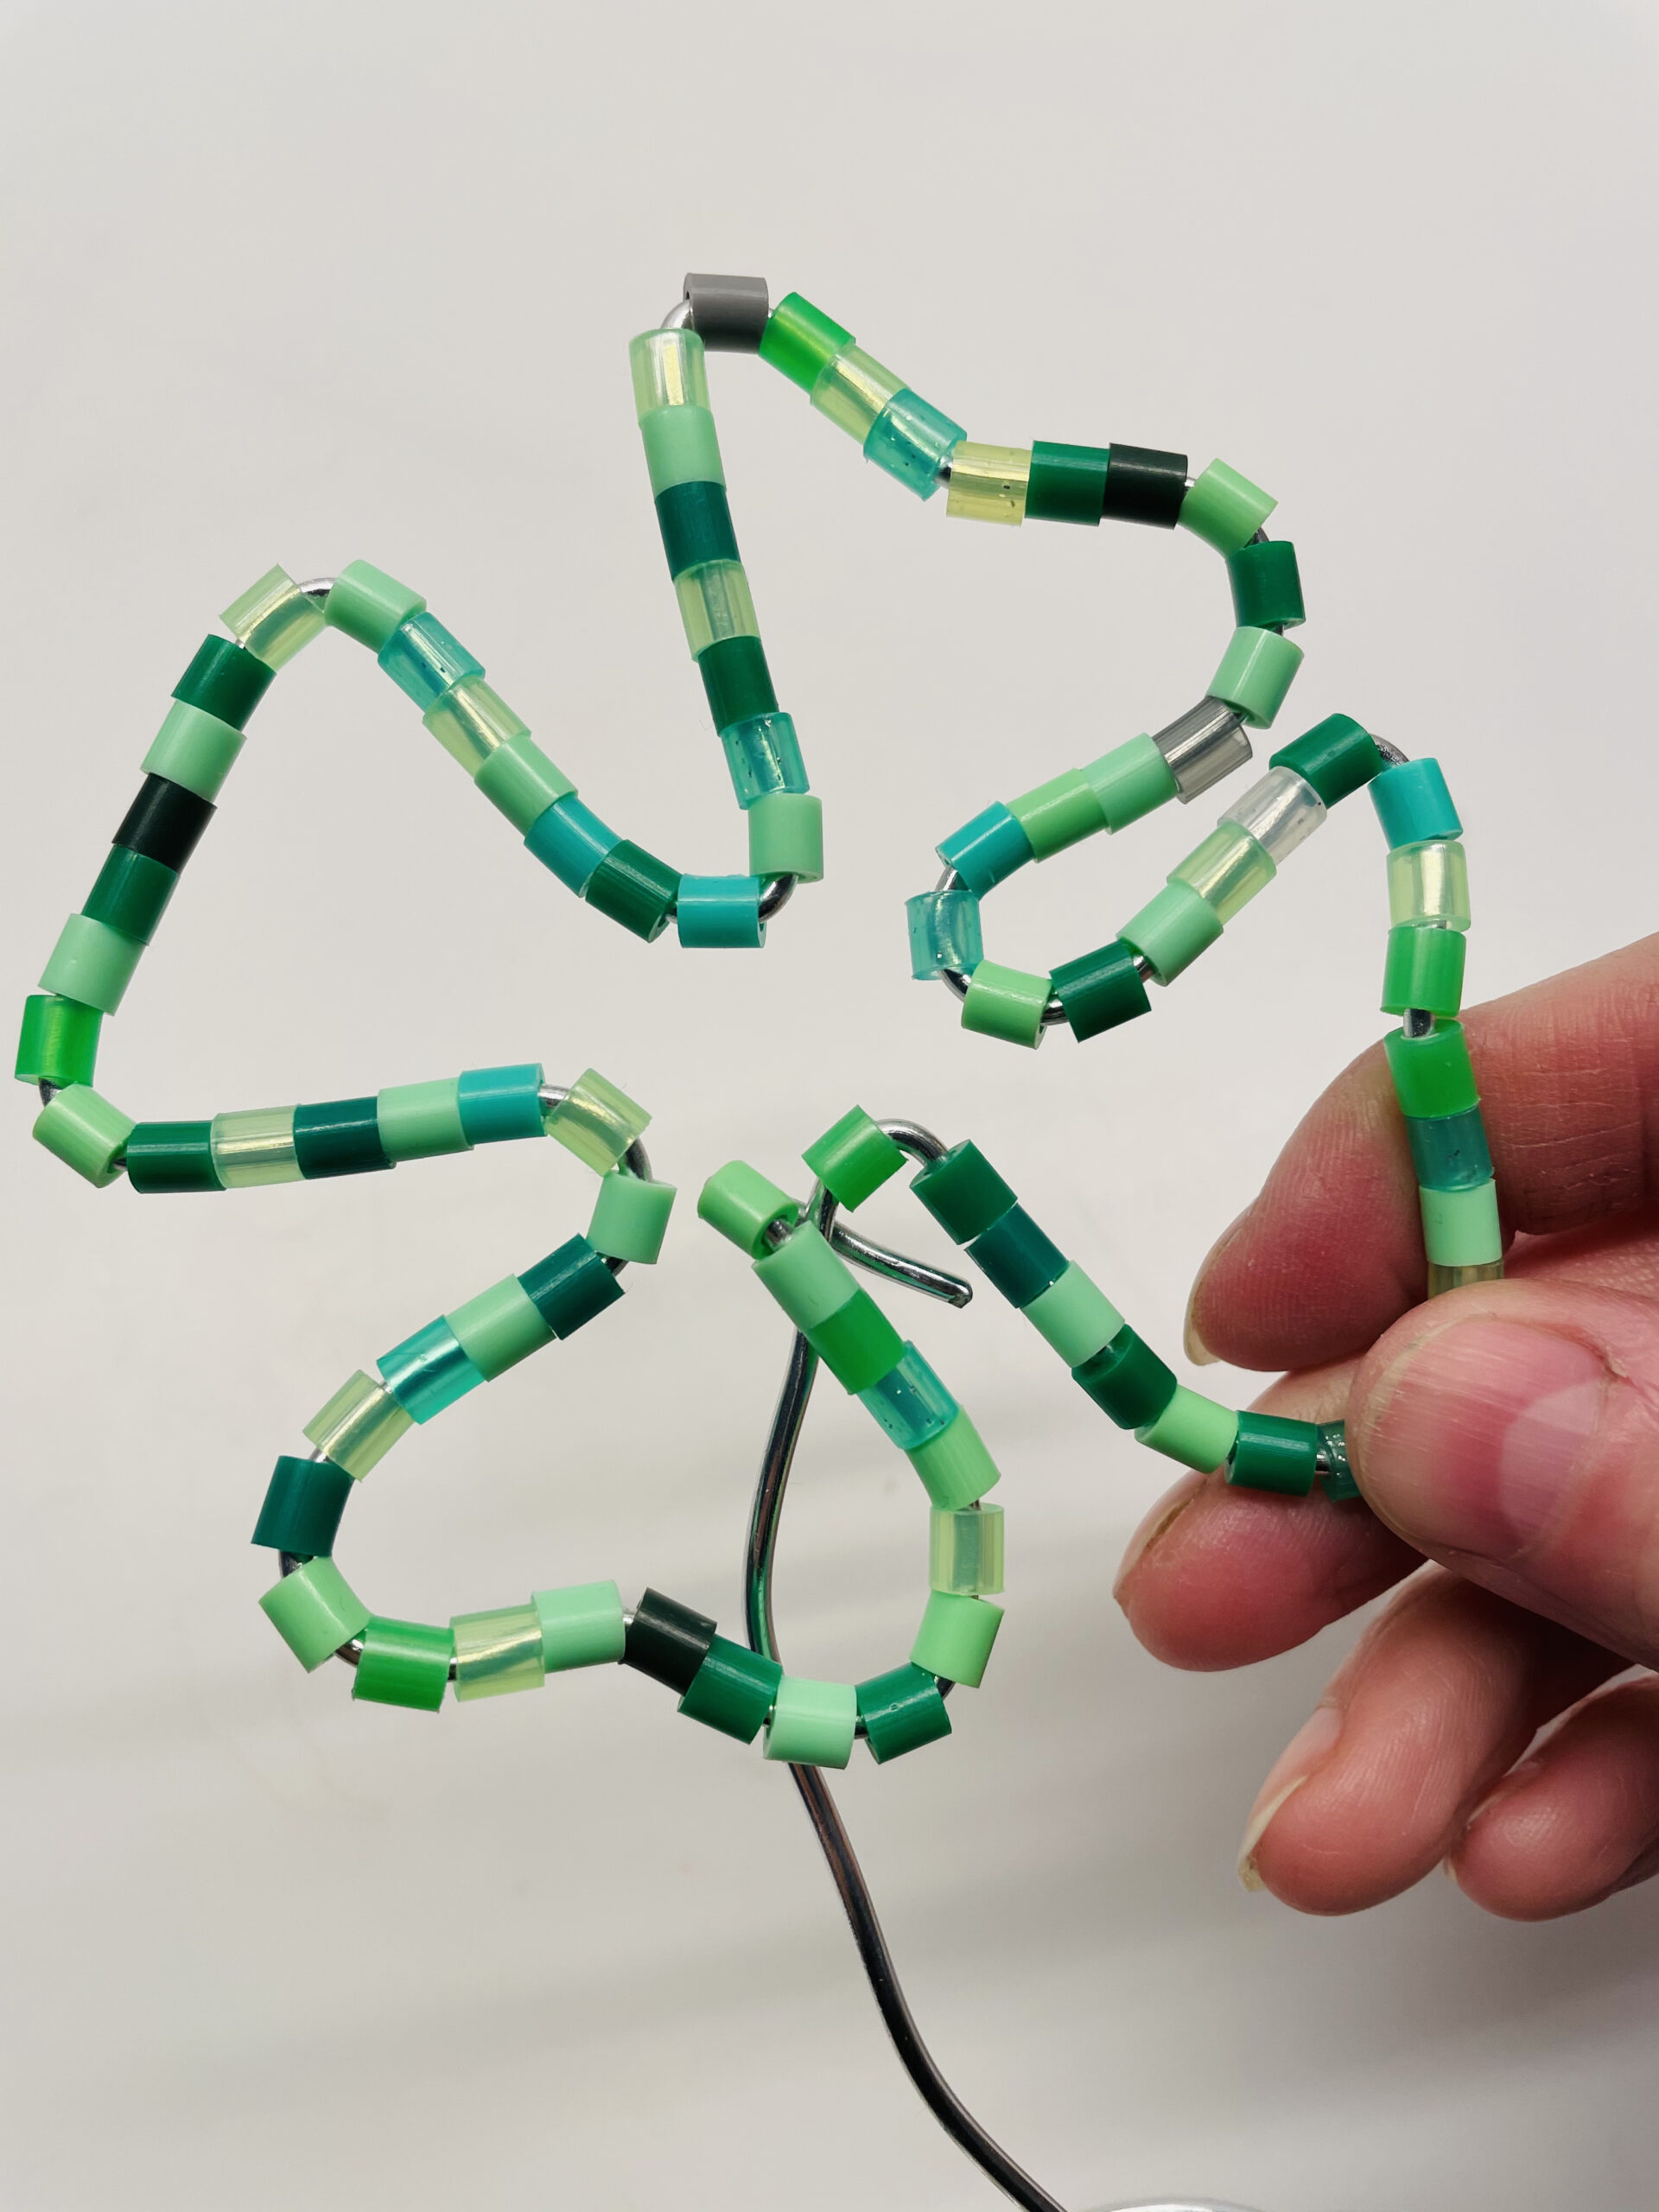
Then select iron beads in different shades of green. Then thread the iron beads onto the wire - without cutting it off!

Bild zum Schritt 2 für das Bastel- und DIY-Abenteuer für Kinder: 'Sucht anschließend Bügelperlen in verschiedenen Grüntönen aus. Dann fädelt ihr...'

3

You need a length of approx. 45 cm threaded beads.

Bild zum Schritt 3 für das Bastel- und DIY-Abenteuer für Kinder: 'Ihr benötigt eine Länge von insgesamt ca. 45 cm aufgefädelter...'

4

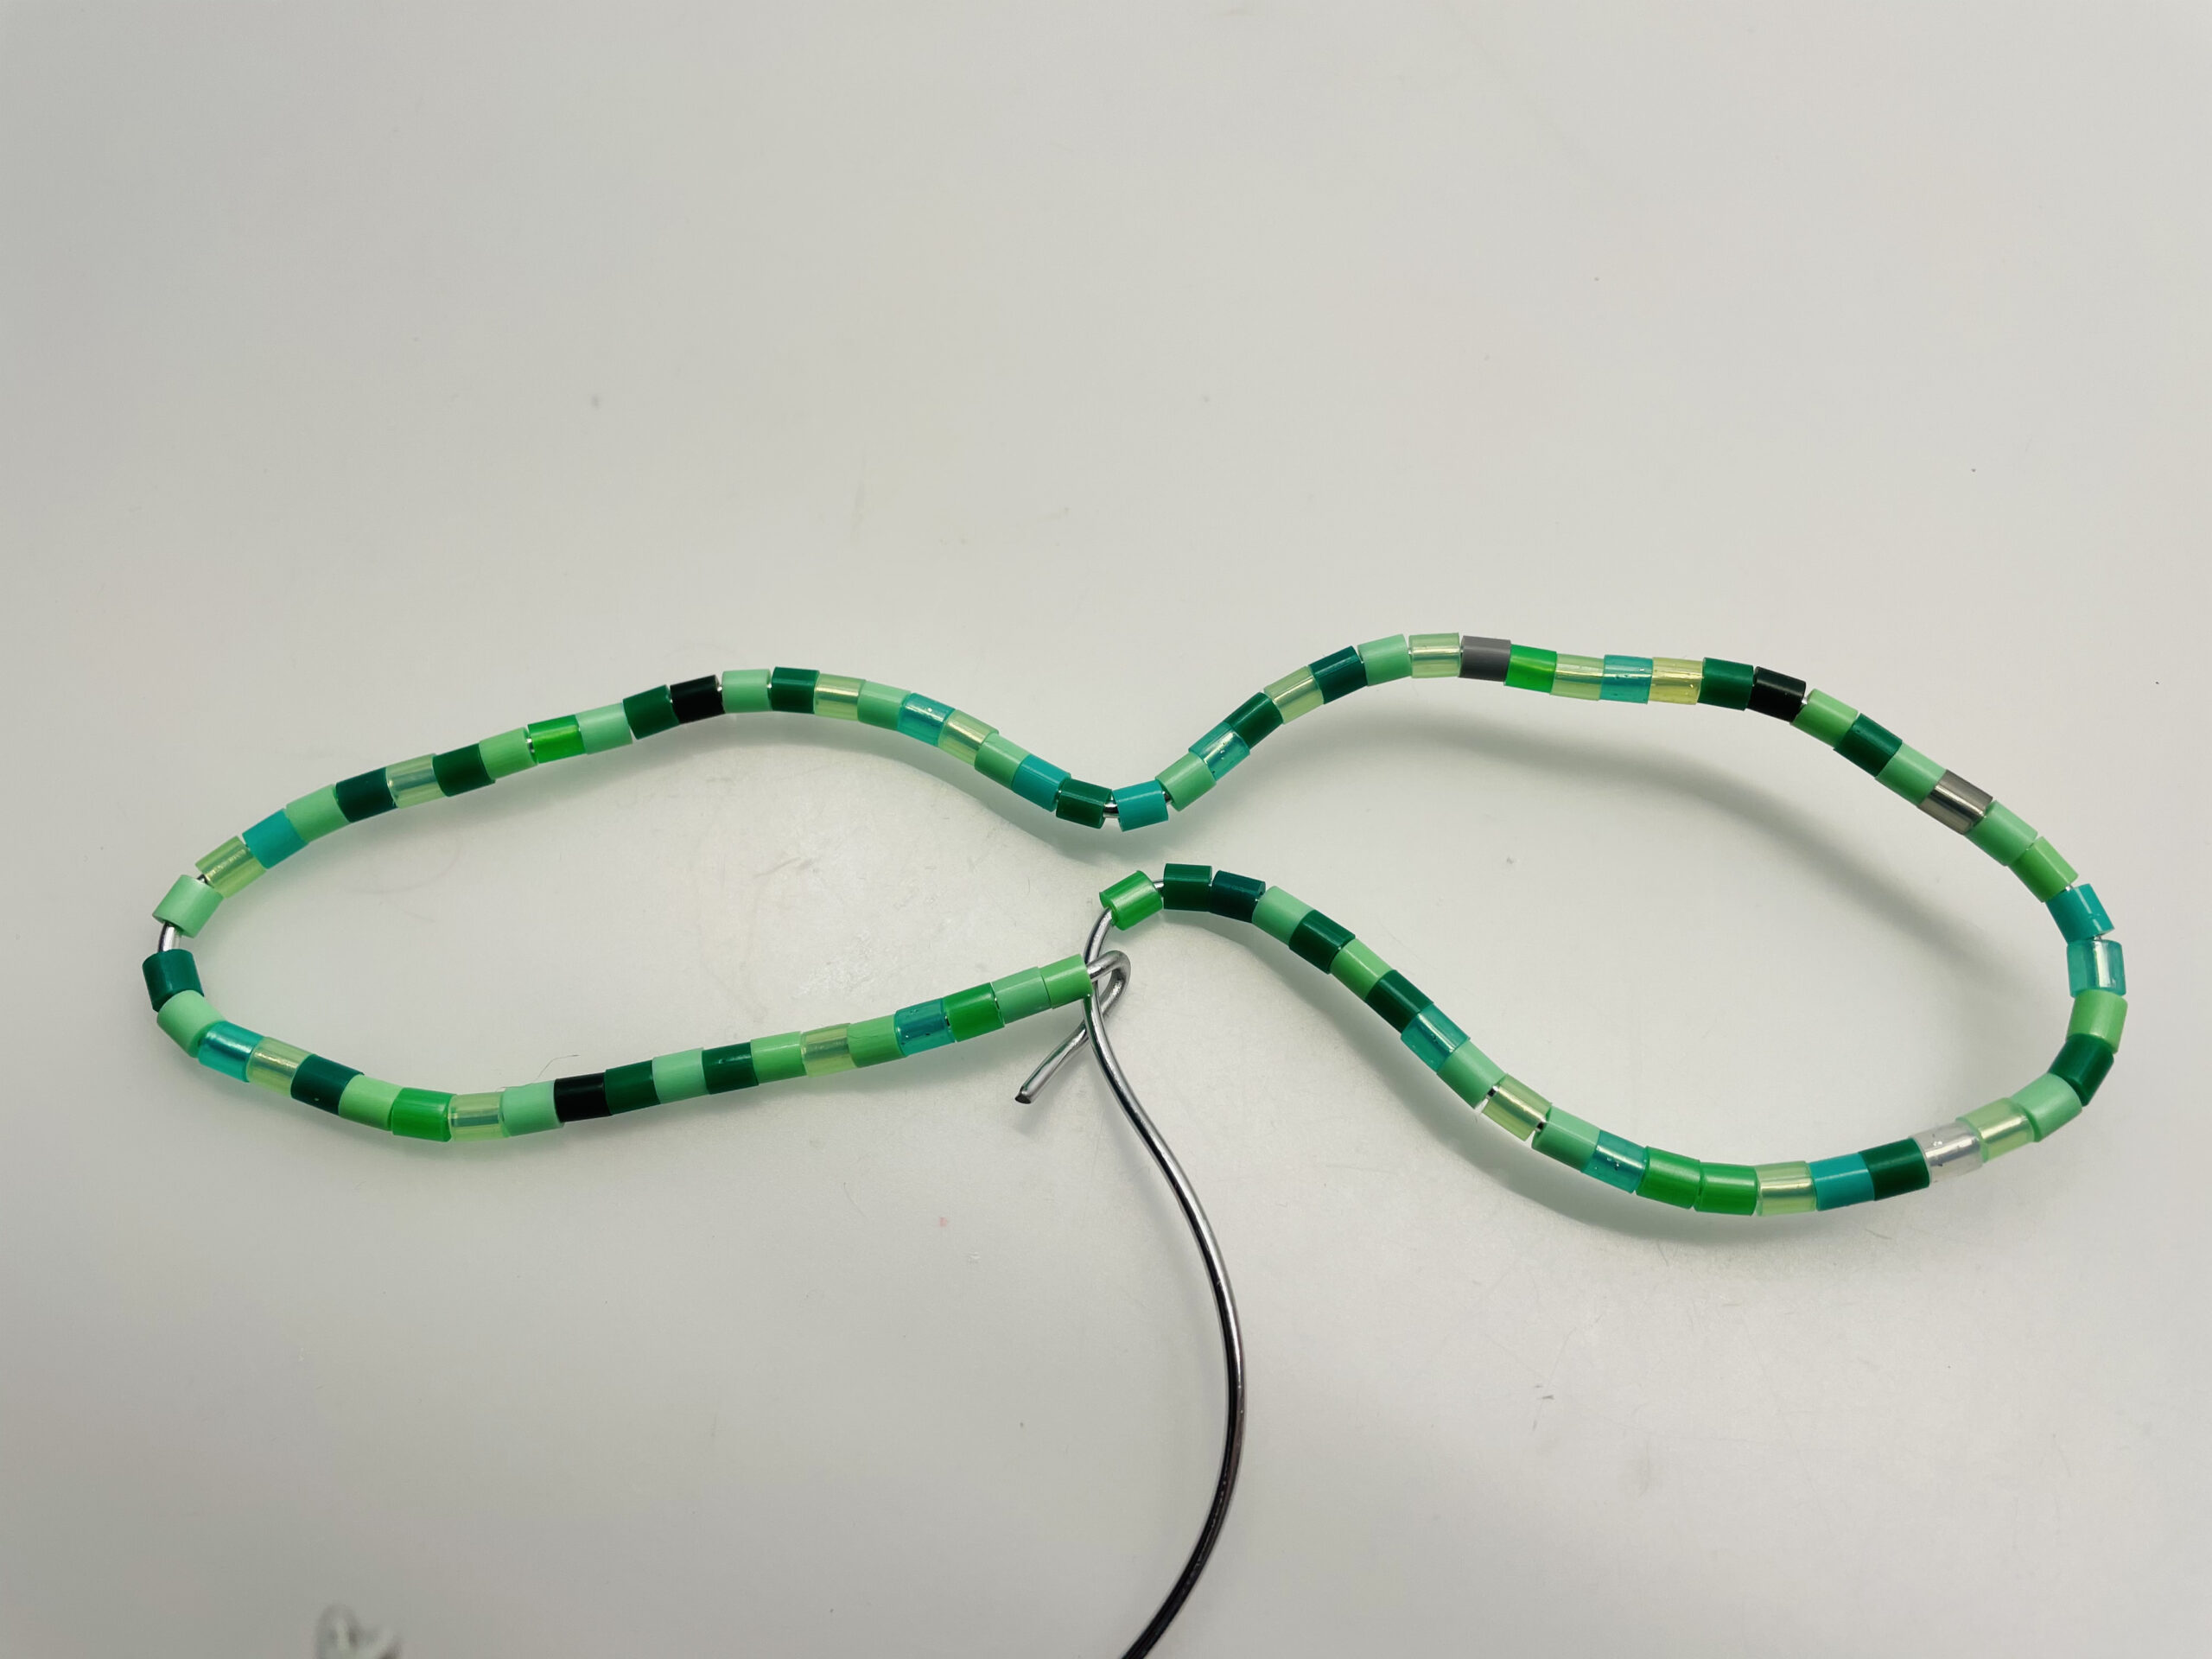
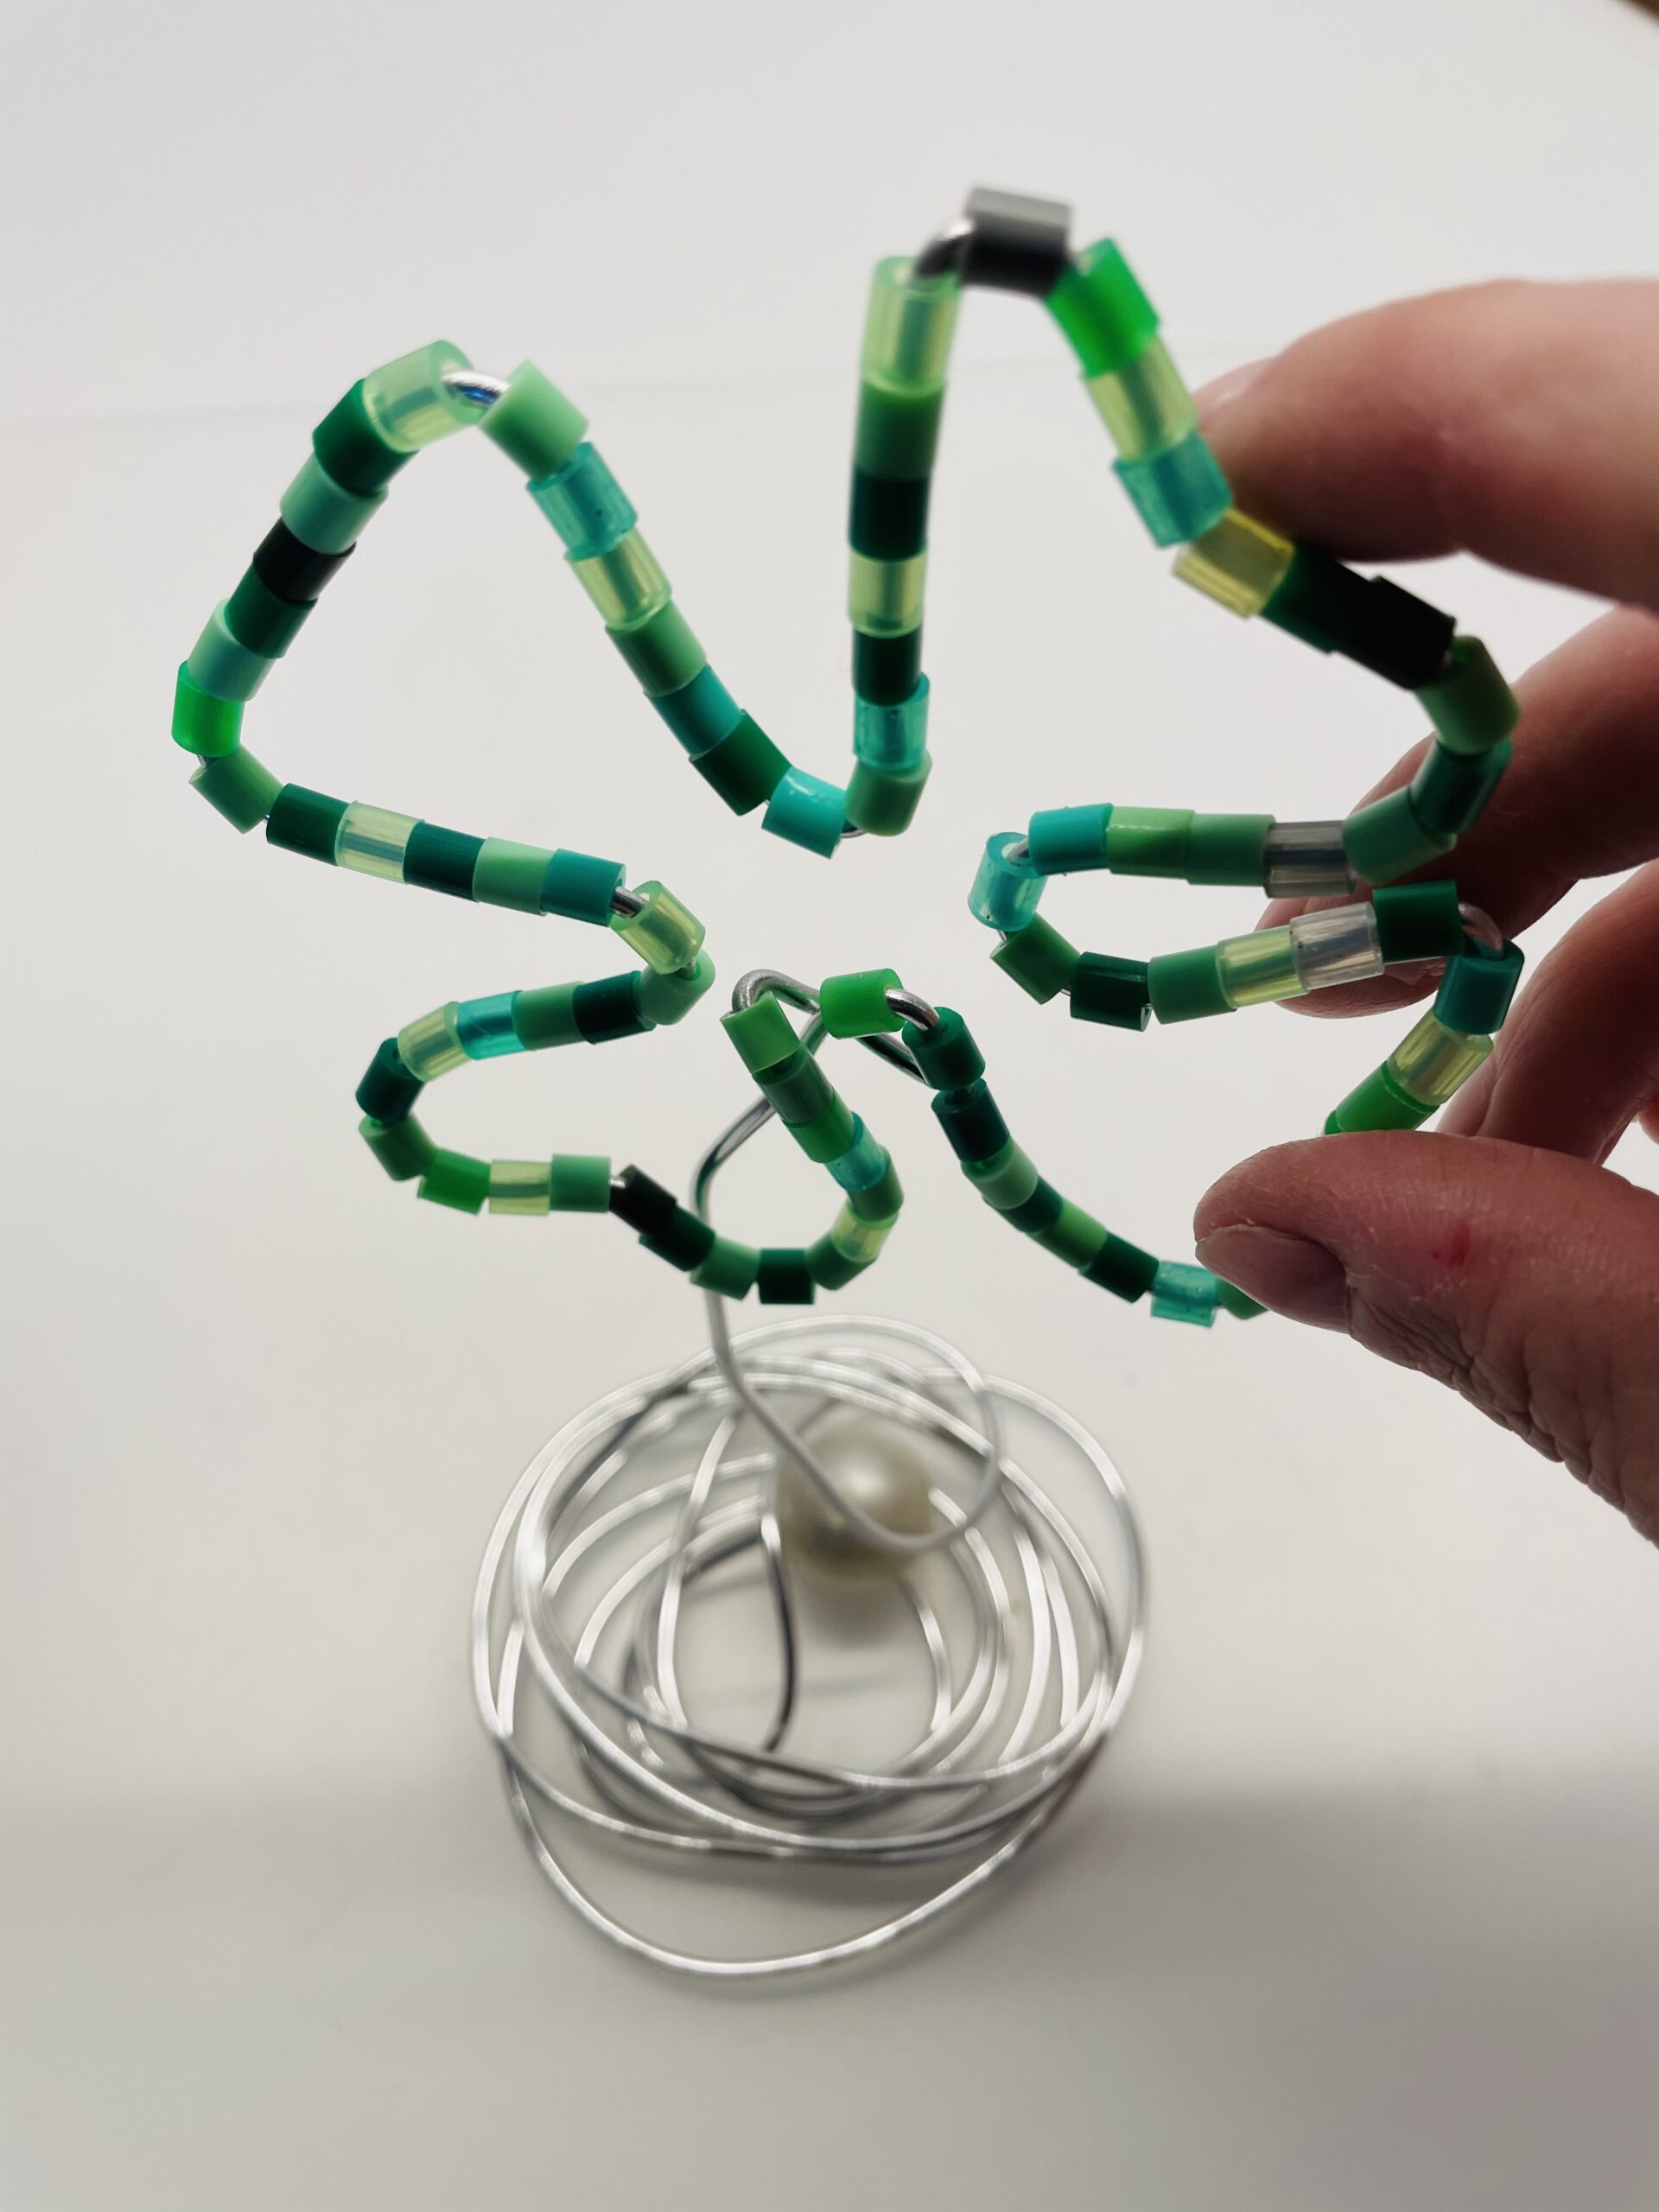
Bends the wire half and twists both ends. Leave it on the coil.

Bild zum Schritt 4 für das Bastel- und DIY-Abenteuer für Kinder: 'Biegt den Draht zur Hälfte und verdreht beide Enden. Lasst...'

5

Now you push the upper loop down.

Bild zum Schritt 5 für das Bastel- und DIY-Abenteuer für Kinder: 'Jetzt drückt ihr die obere Schlaufe nach unten.'

6

Press the loop so far that the two sides touch each other in the middle.

Bild zum Schritt 6 für das Bastel- und DIY-Abenteuer für Kinder: 'Drückt die Schlaufe so weit zusammen, dass sich die beiden...'

7

Then you bend the sides inwards to the middle.

Bild zum Schritt 7 für das Bastel- und DIY-Abenteuer für Kinder: 'Anschließend biegt ihr die Seiten ebenfalls nach innen zur Mitte.'

8

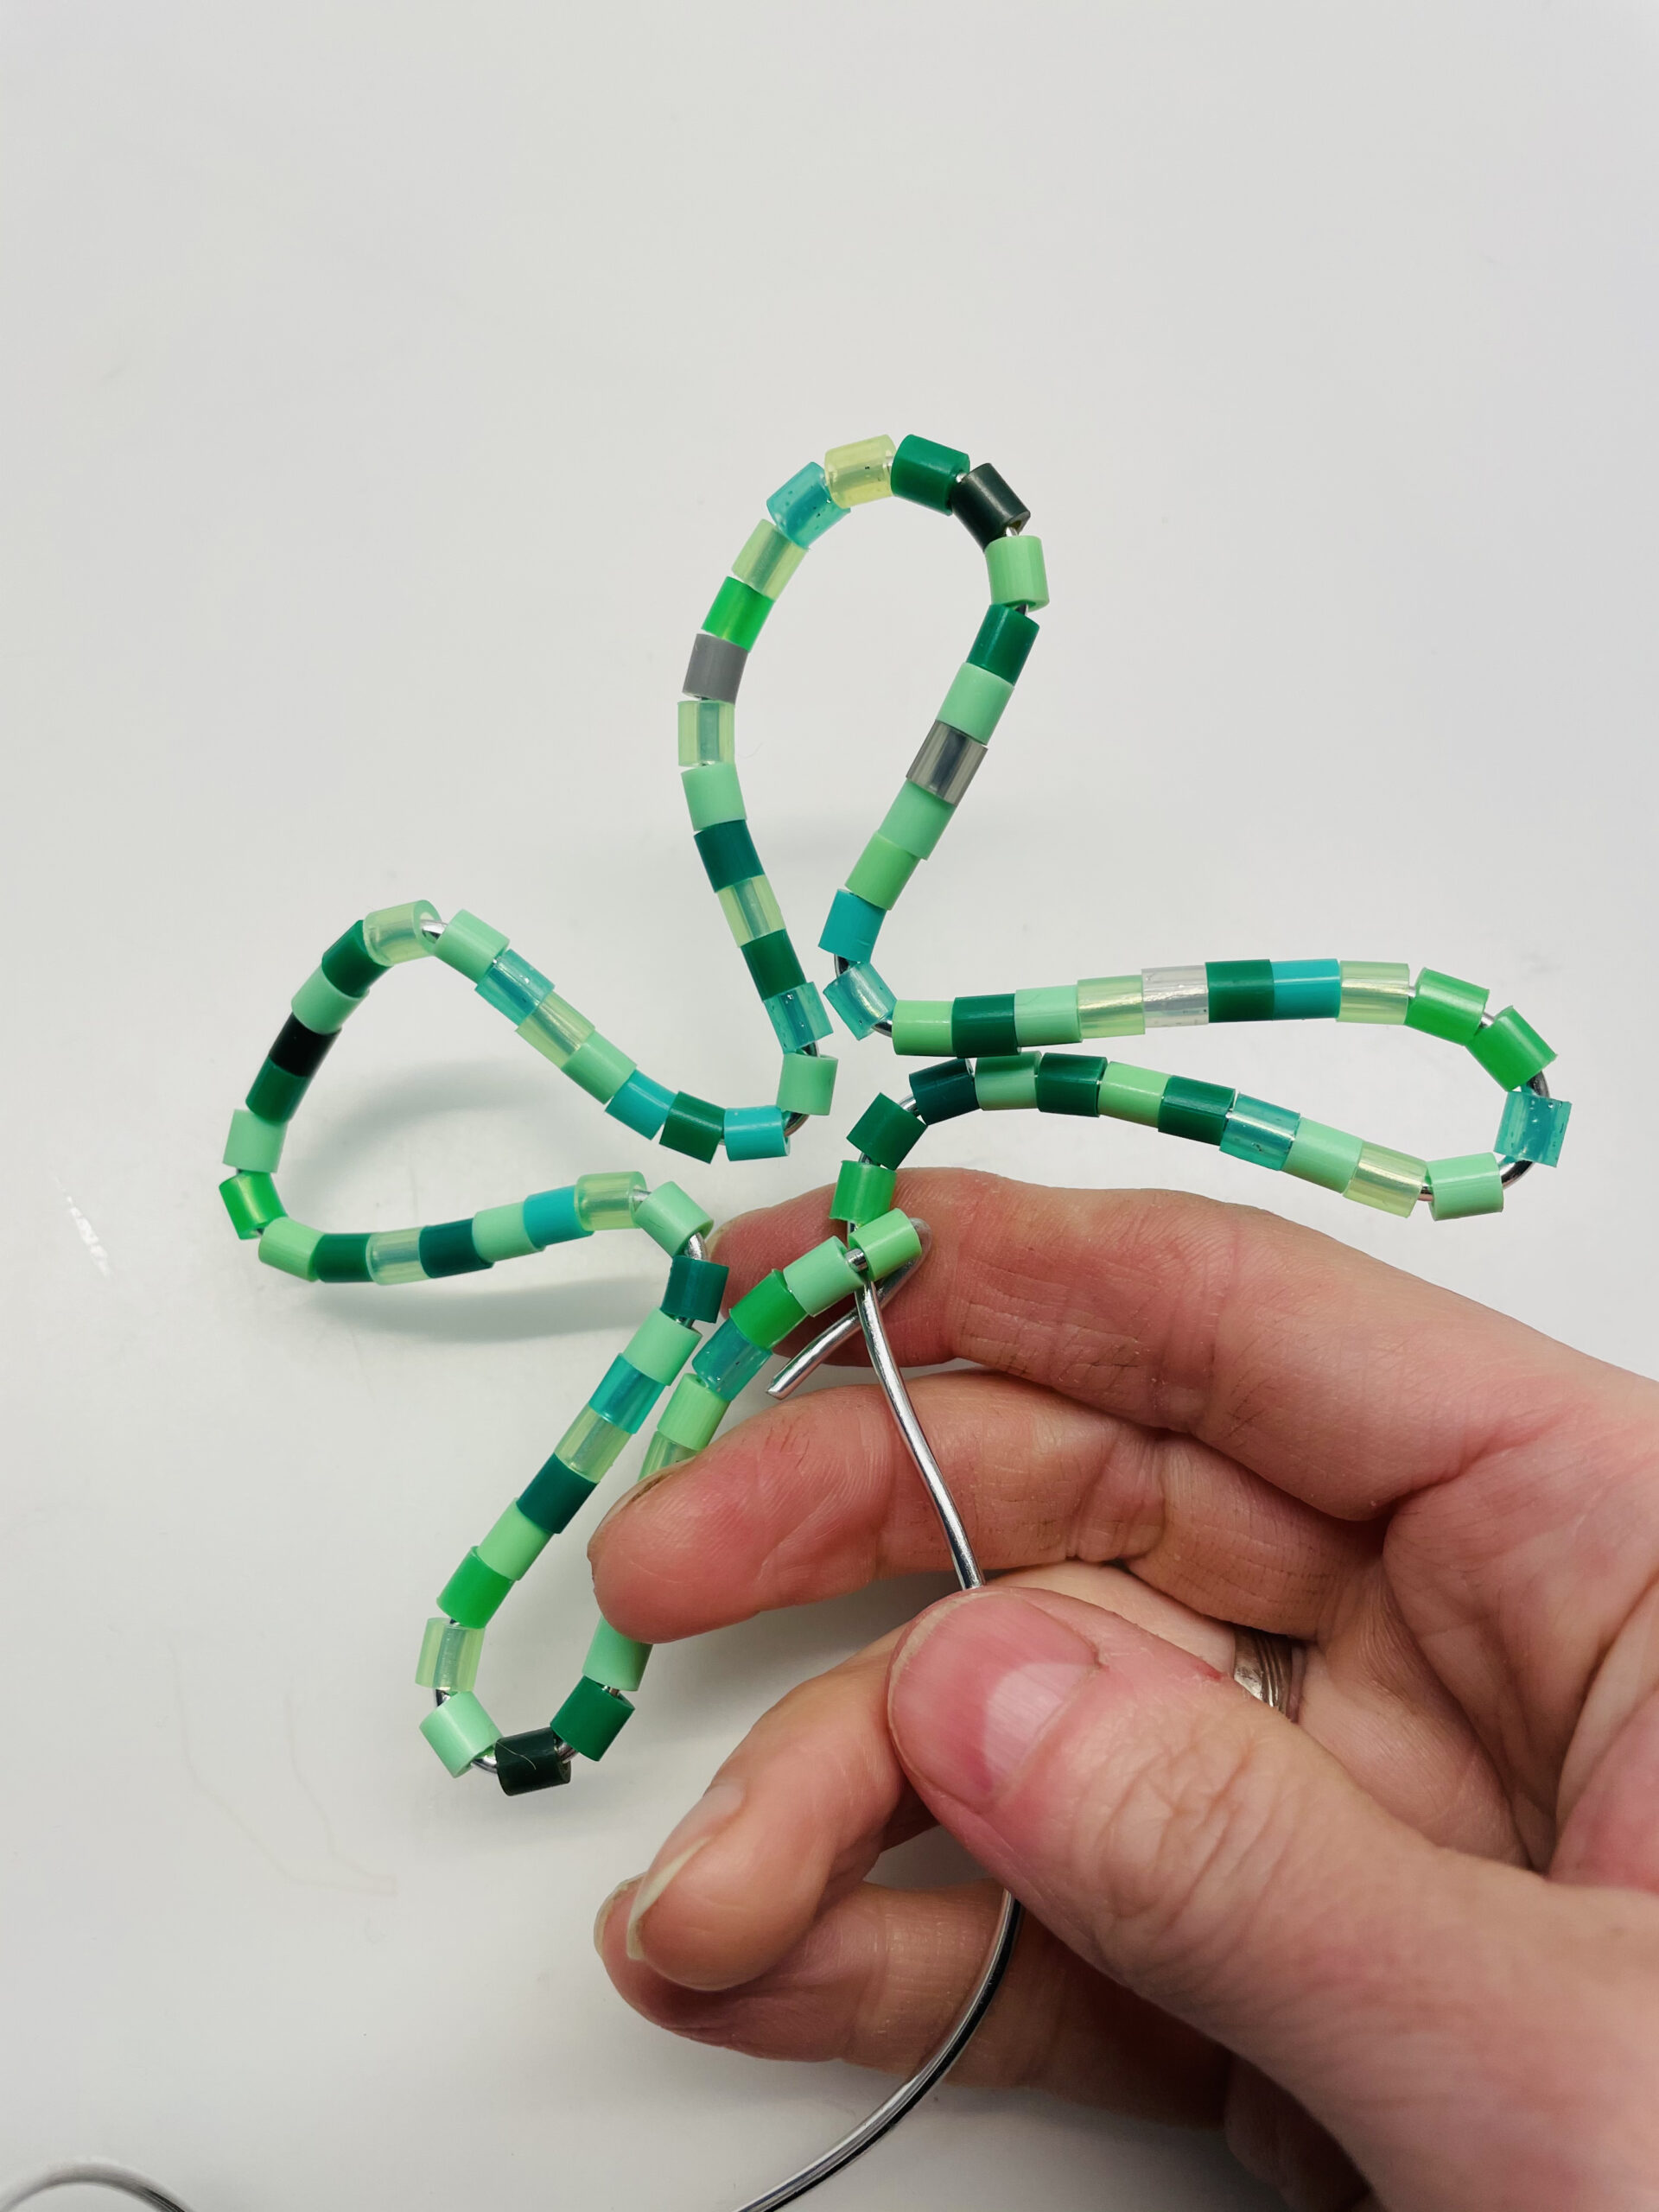
Now you press the loops created in this way into the middle. This is how the form of a clover is created. Each loop is in the form of a heart.

Bild zum Schritt 8 für das Bastel- und DIY-Abenteuer für Kinder: 'Jetzt drückt ihr die so entstandenen Schlaufen wird in die...'

9

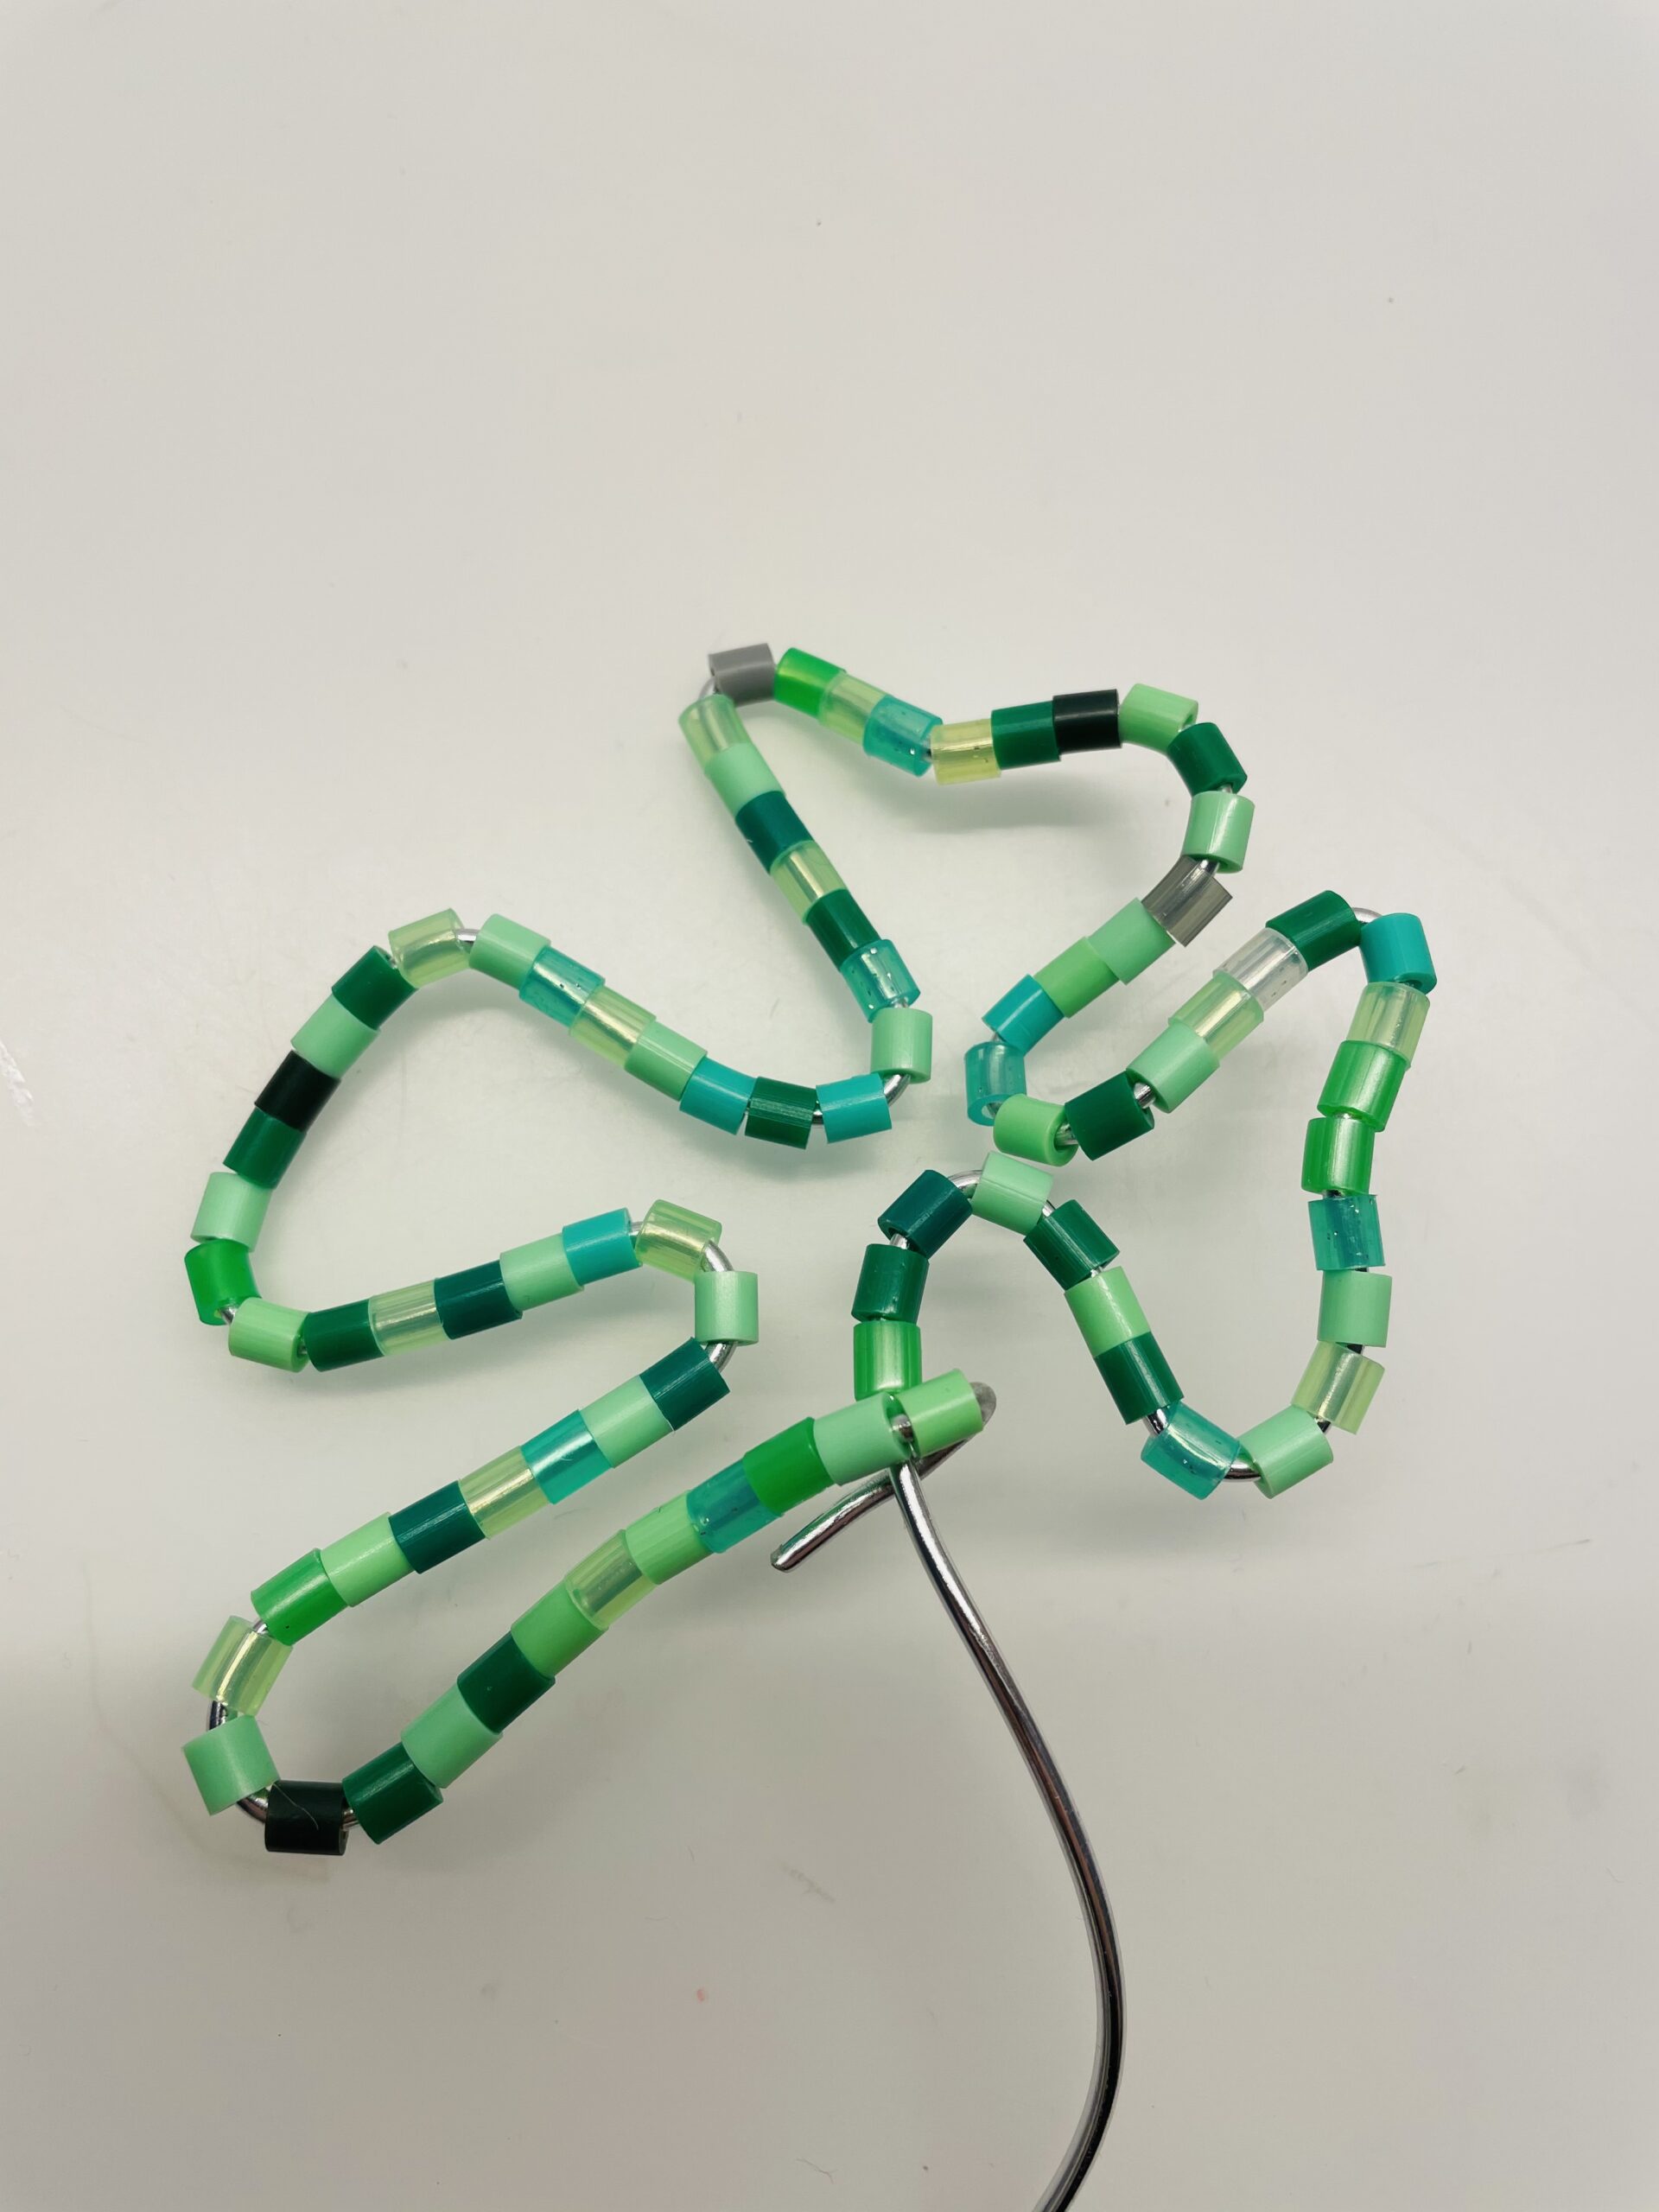
Bend and press the clover until you like the shape.

Bild zum Schritt 9 für das Bastel- und DIY-Abenteuer für Kinder: 'Biegt und drückt das Kleeblatt so lange bis euch die...'

10

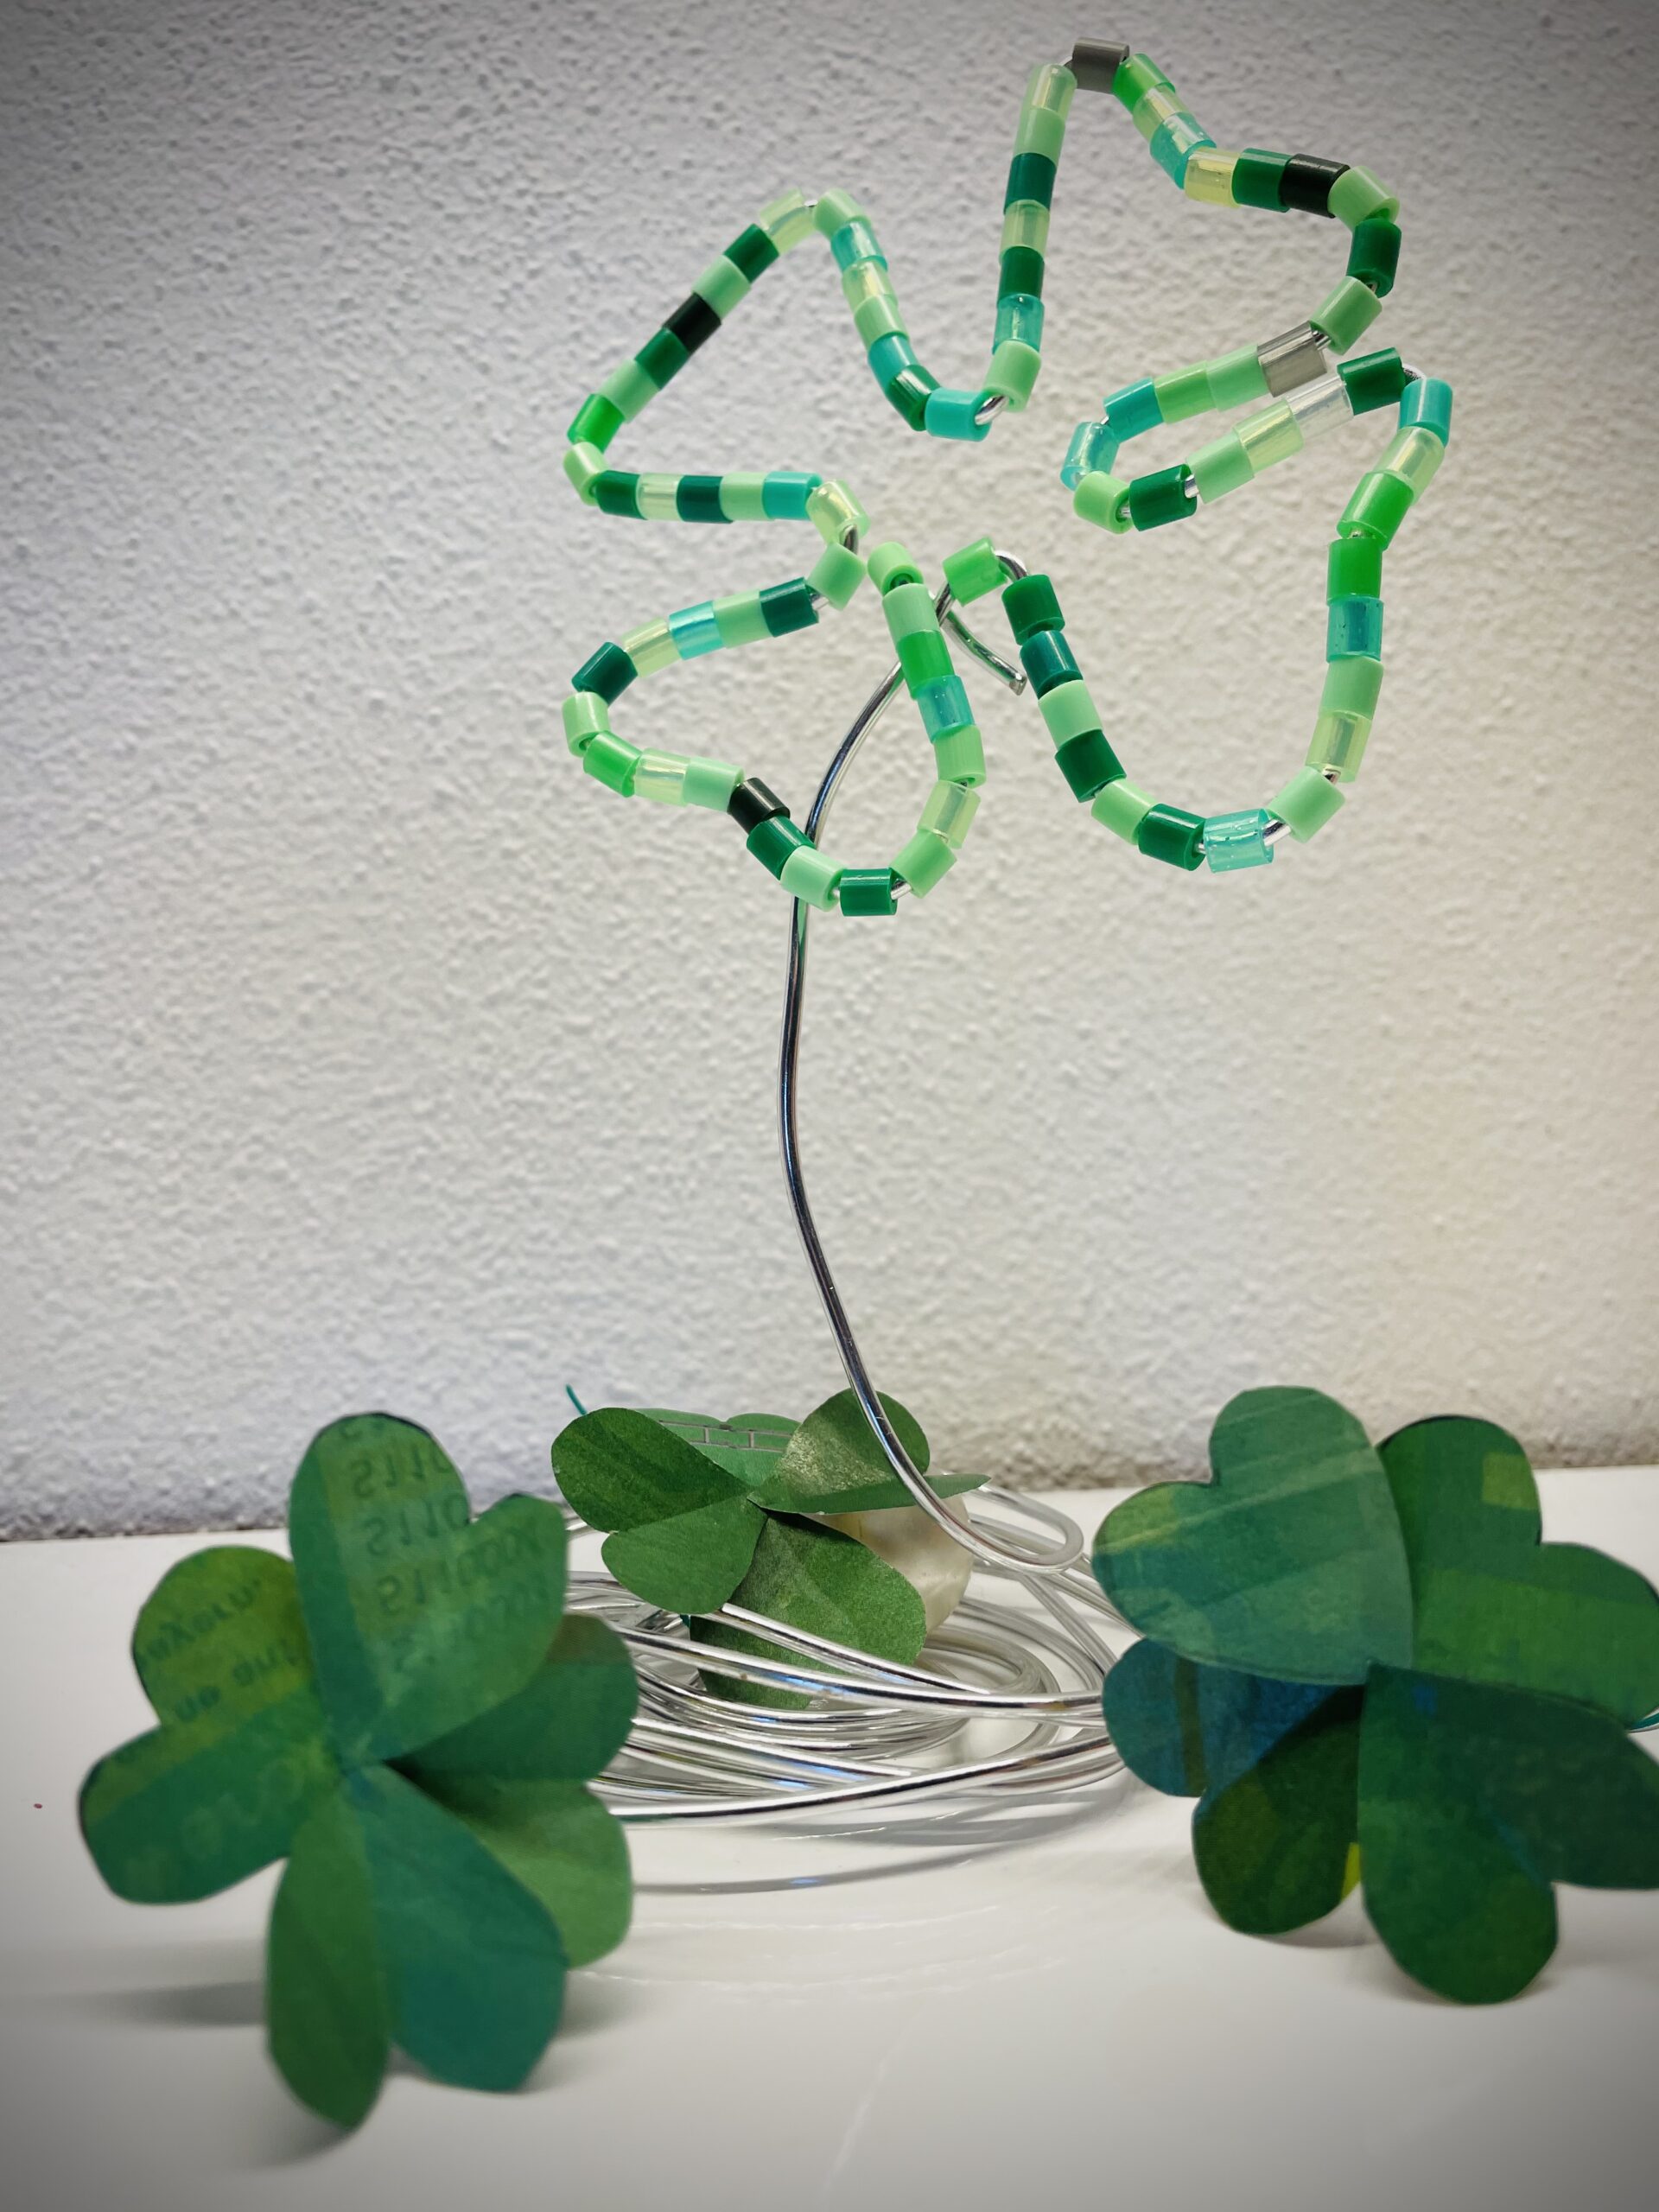
Now turn the wire to one foot. The clover sheet should stand stable.

Bild zum Schritt 10 für das Bastel- und DIY-Abenteuer für Kinder: 'Dreht nun den Draht zu einem Fuß. Das Kleeblatt soll...'

11

2. Bild zum Schritt 10 für das Bastel- und DIY-Abenteuer für Kinder: 'Dreht nun den Draht zu einem Fuß. Das Kleeblatt soll...'

12

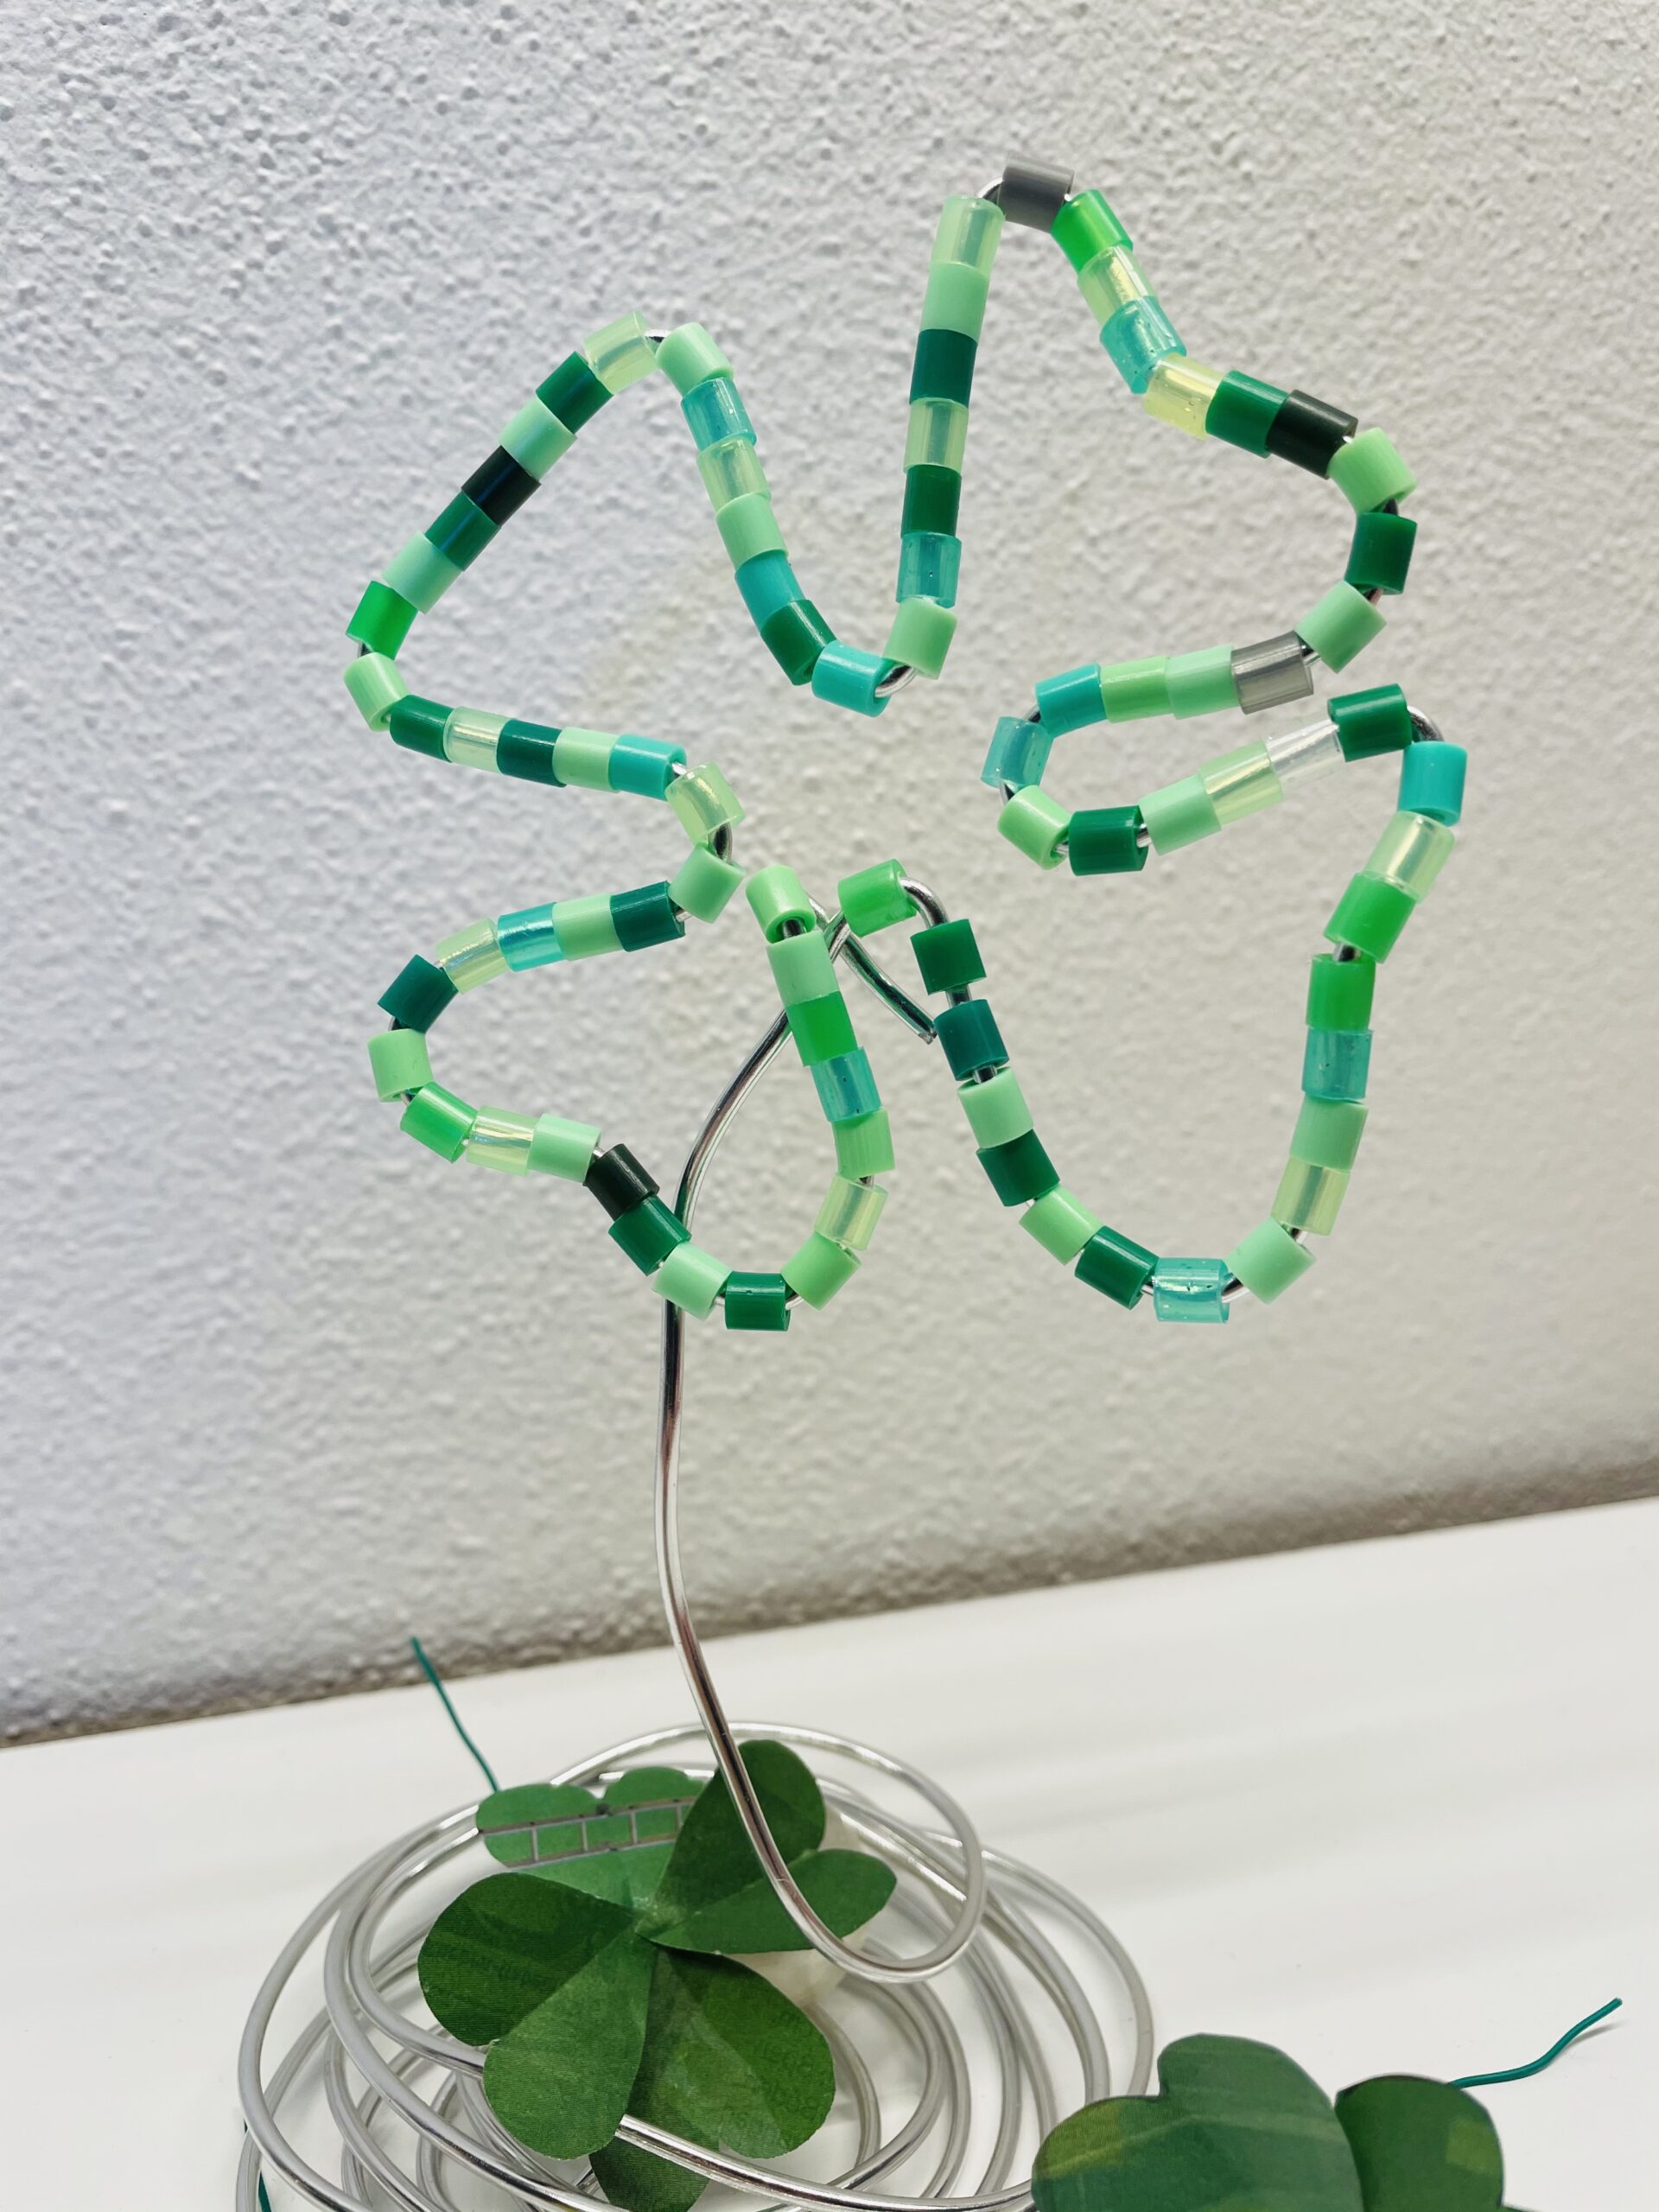
Your clover is ready.
As a lucky charm or as a decoration for New Year's Eve, New Year's or birthday.

Bild zum Schritt 12 für das Bastel- und DIY-Abenteuer für Kinder: 'Fertig ist euer Kleeblatt.   Als Glücksbringer oder als...'

13

Enjoy your crafting!