Cards for Father's Day (2 ideas)

AdventurerKatzi
Rating0.03.7 Thousand times & (0) DifficultyAdvanced

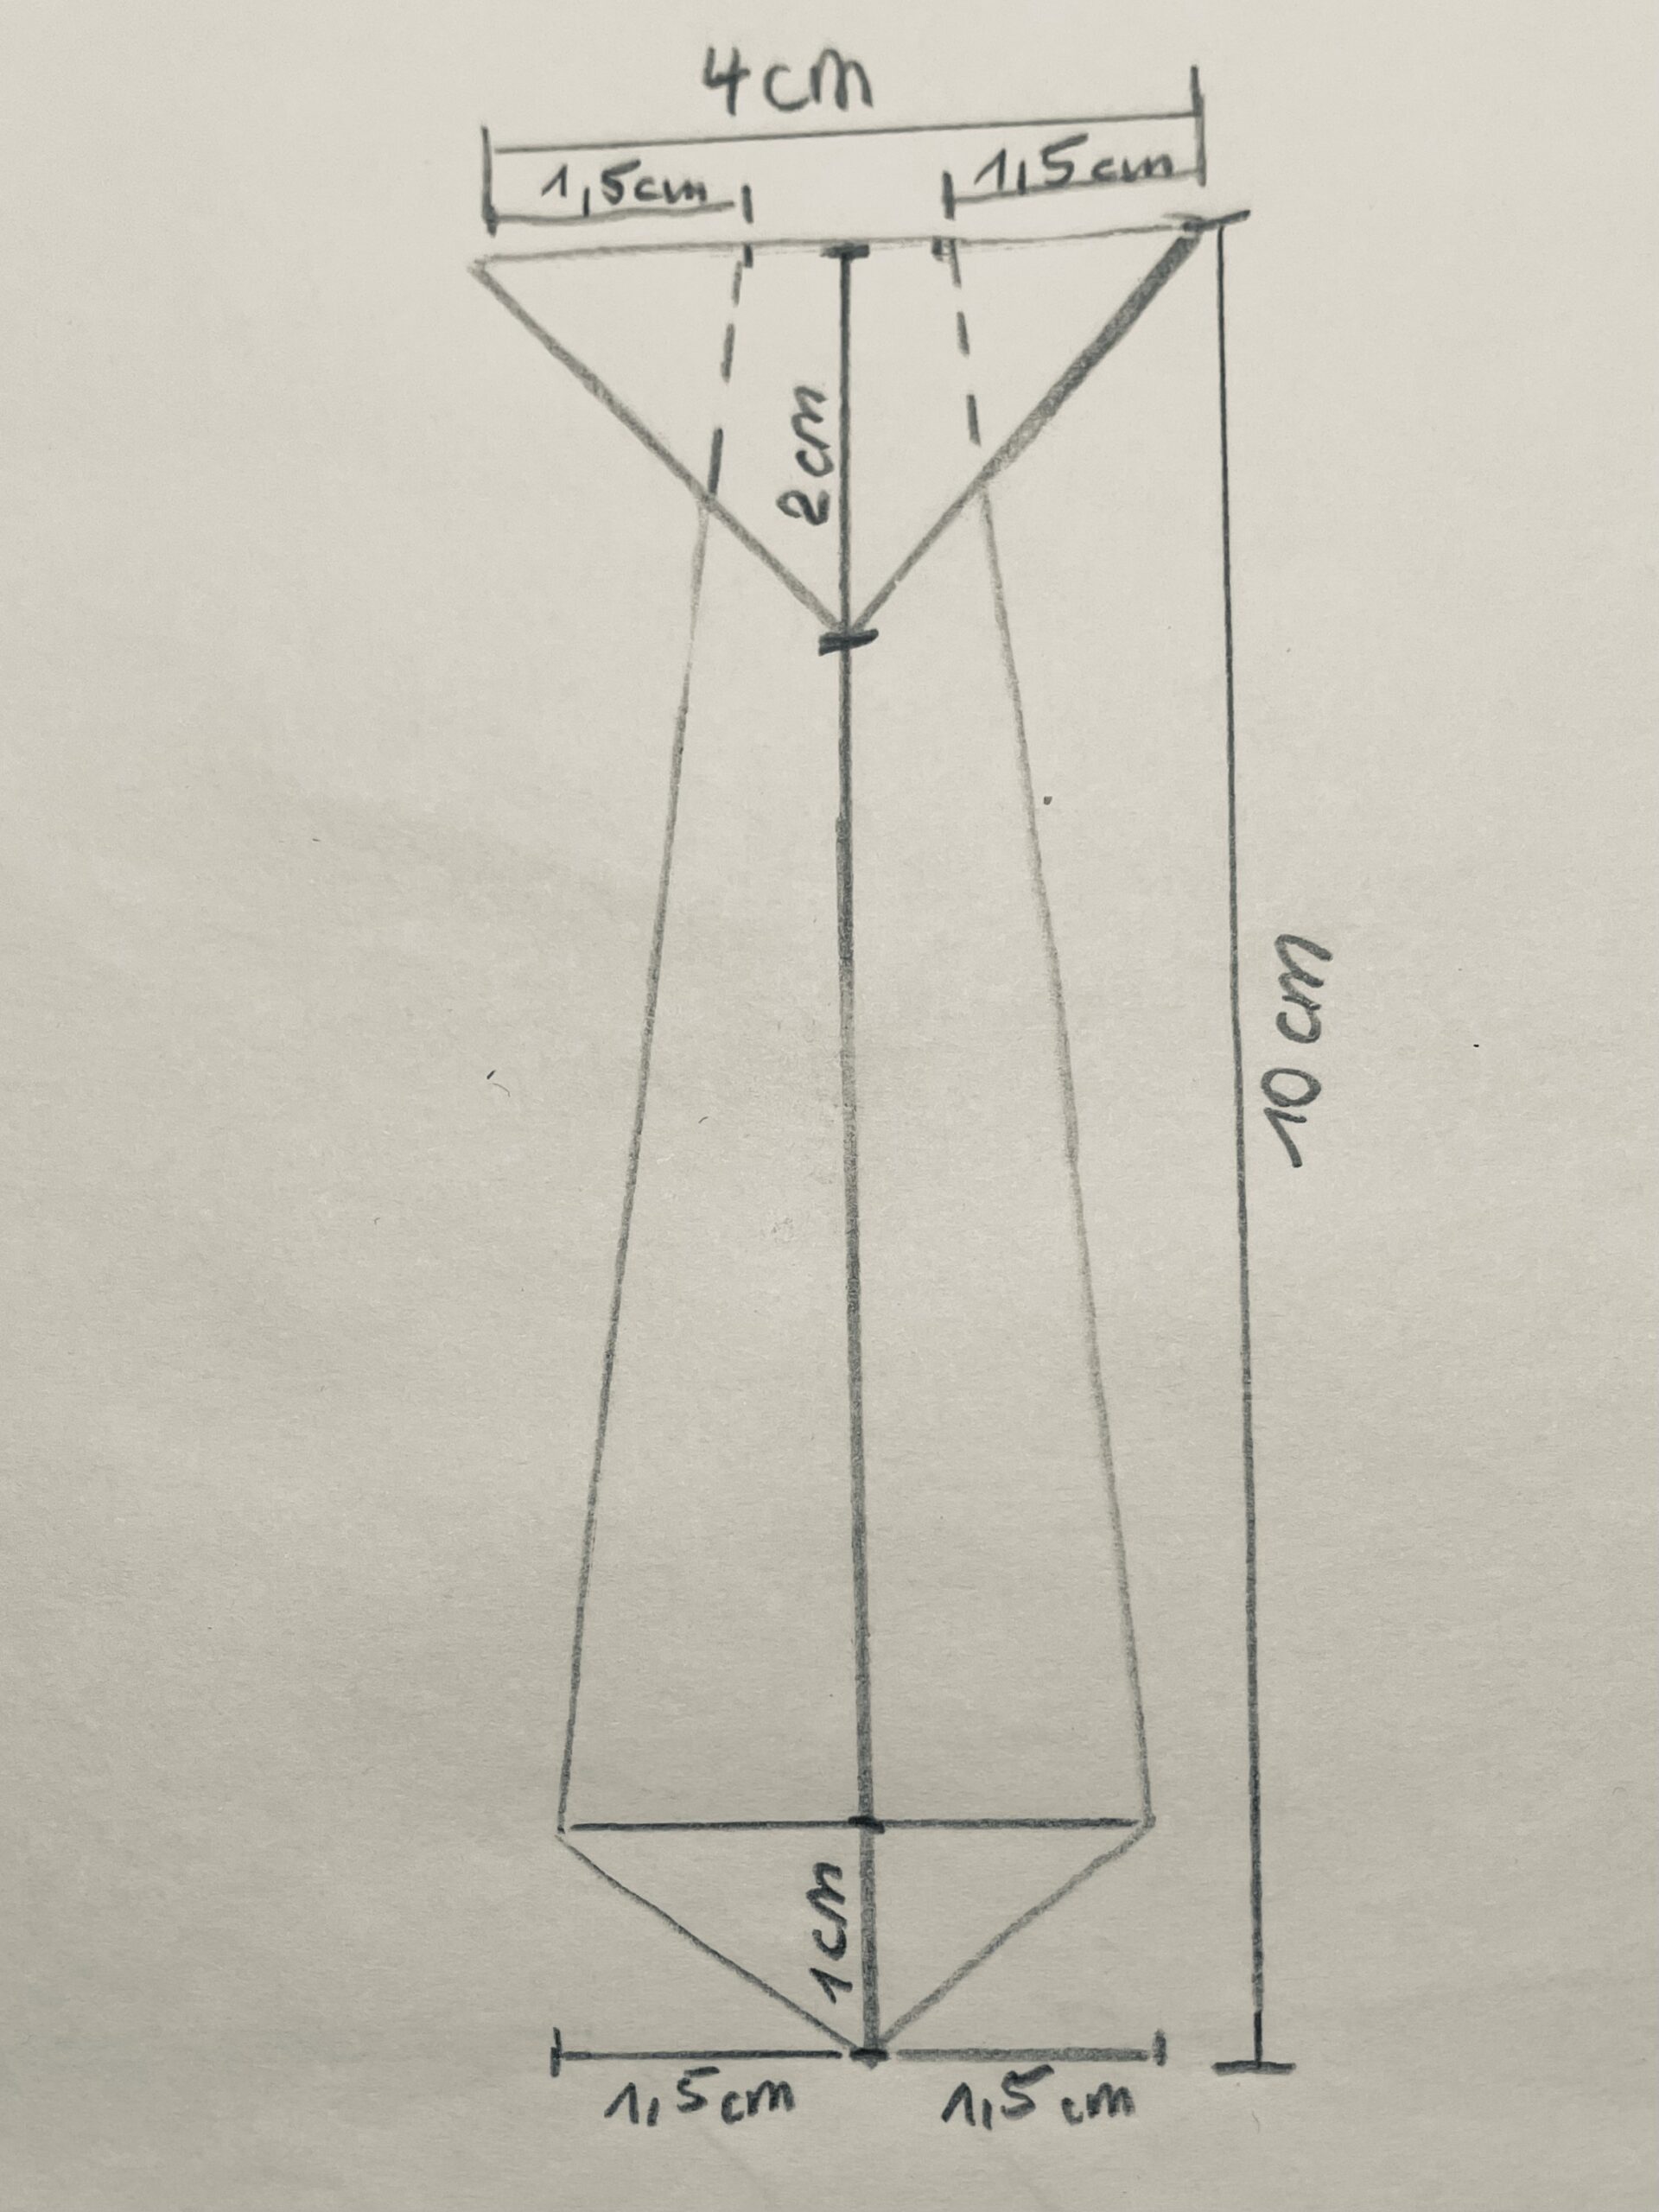
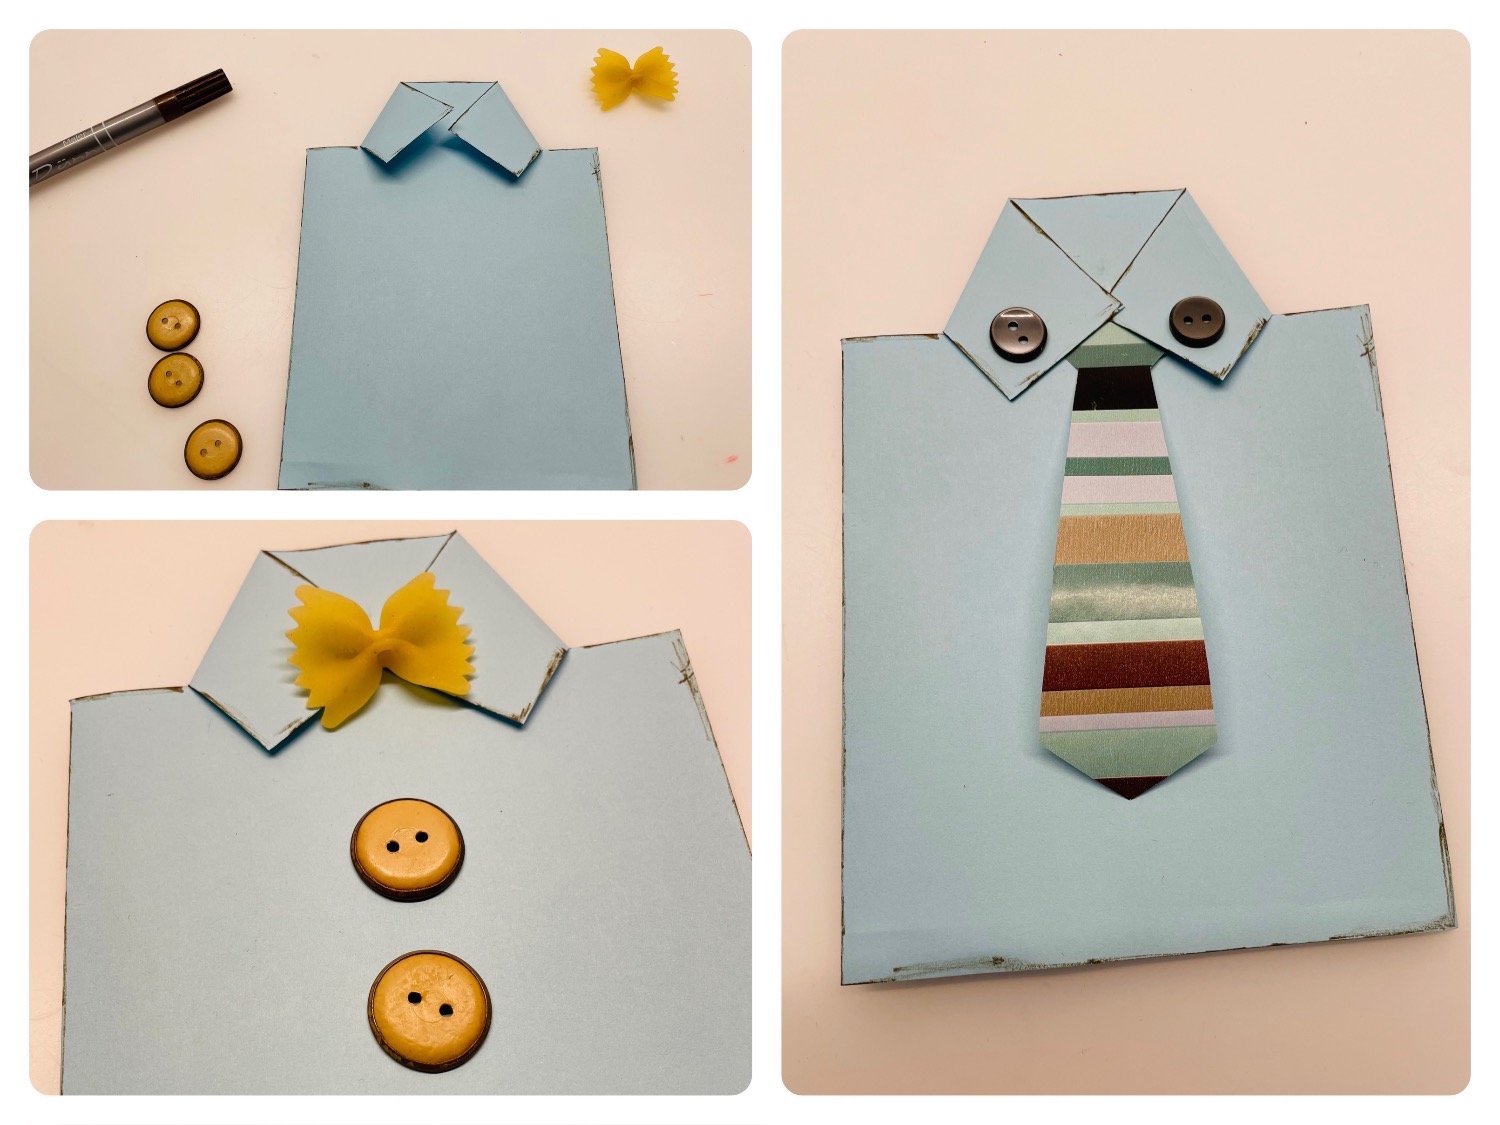
You need a card for your dad or grandpa? Then this card may be suitable. First you need a DIN A5 photo box. You fold it to a shirt according to the instructions. For the tie you use e.g. a piece of gift paper or a piece of newspaper. You can quickly paint the tie yourself with the help of a ruler. You can find a sketch with dimensions here! In addition you need two small buttons. You are already equipped to make this card. Have fun!

Media Education for Kindergarten and Hort

Kind bastelt eine Rassel mit dem Navi
The Adventure Navi, the app for DIY projects, enables media education for the youngest.

Relief in everyday life, targeted promotion of individual children, independent learning and - without any pre-knowledge already usable by the youngest!


Titelbild zur Bastel- und DIY-Idee für Kinder '(861) Karten zum Vatertag (2 Ideen)'
Material for1 Child
Prep Time5 min.Adv. Time15 min.Total Time20 min.
 1 Sound paper DIN A 5or photo box
 1 Pen
 1 Ruler or geotriangle
Variant 1:
 2 Buttons
 1 Gift paperOr newsprint, motif paper
Variant 1:
 2 Buttons small
 1 Grinding noodles
All links marked with a shopping cart lead to Amazon - here we have selected products that we would order ourselves and in part also ordered. In a qualified purchase via the advertising link, we as Amazon partner receive a commission, for you there are no costs. You thus support our cost- and advertising banner-free, educational offer.
1

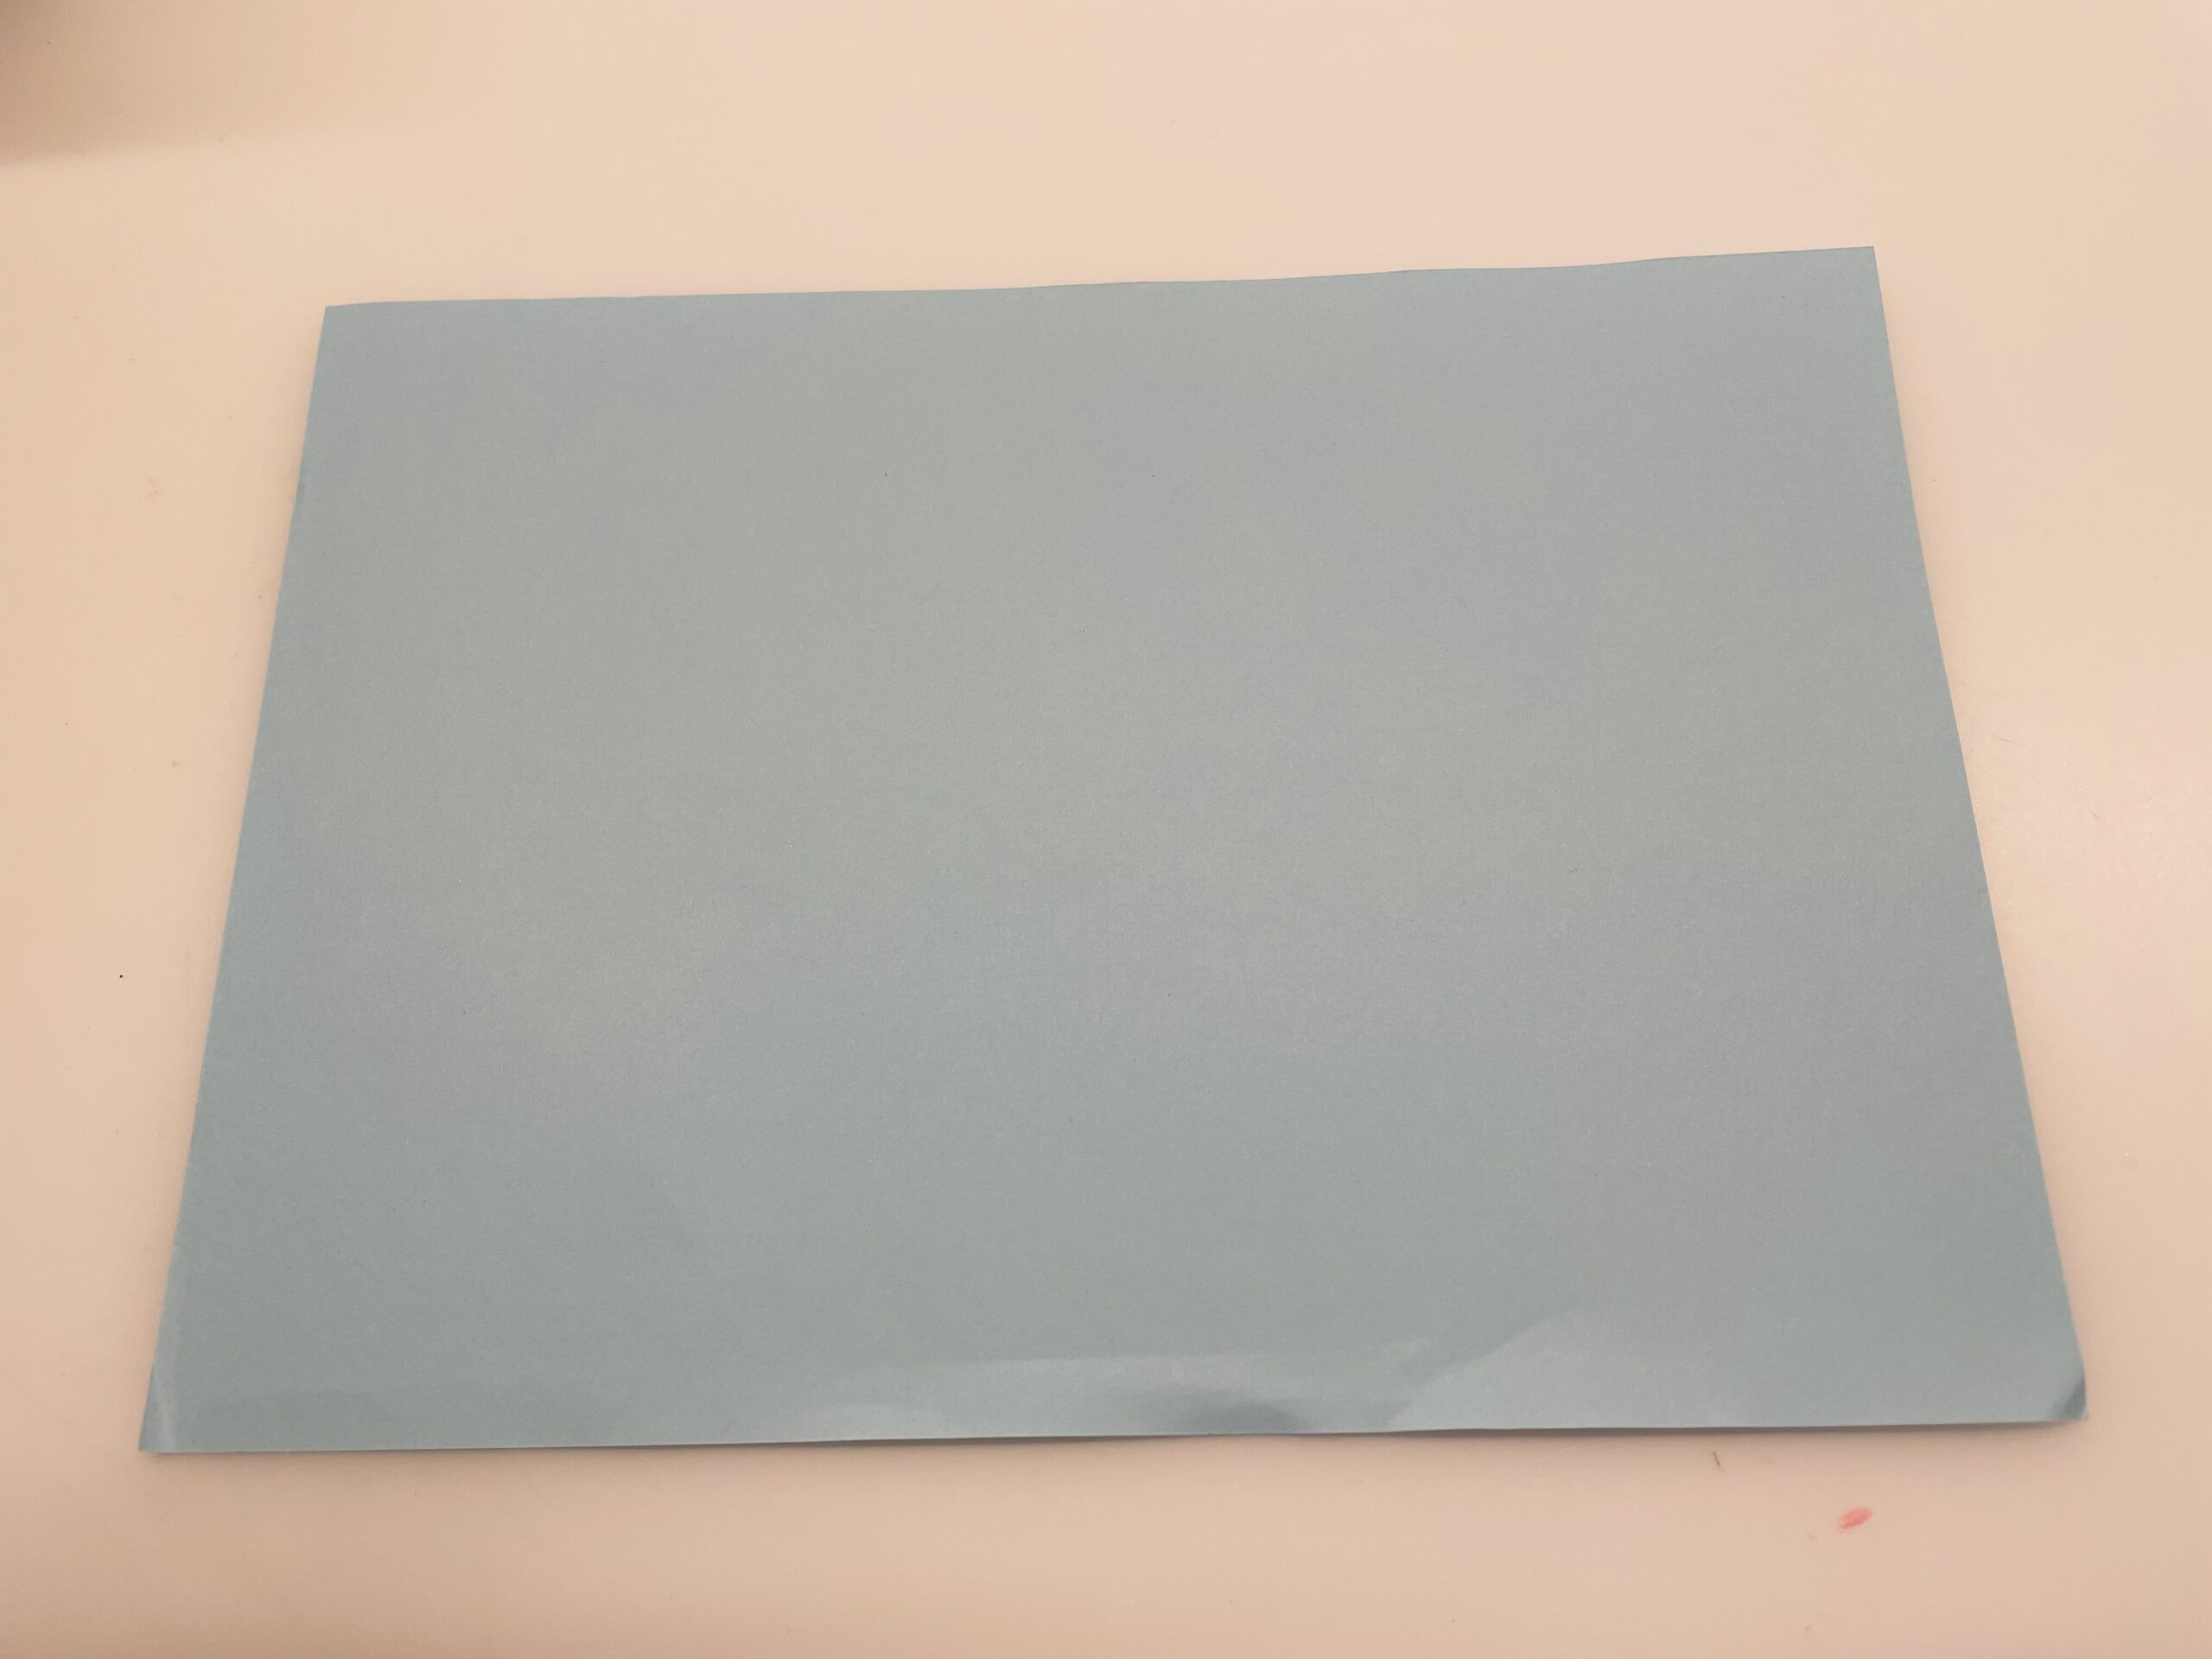
Uses a clay paper in size DIN A5.

Bild zum Schritt 1 für das Bastel- und DIY-Abenteuer für Kinder: 'Verwendet ein Tonpapier in der Größe DIN A5.'

2

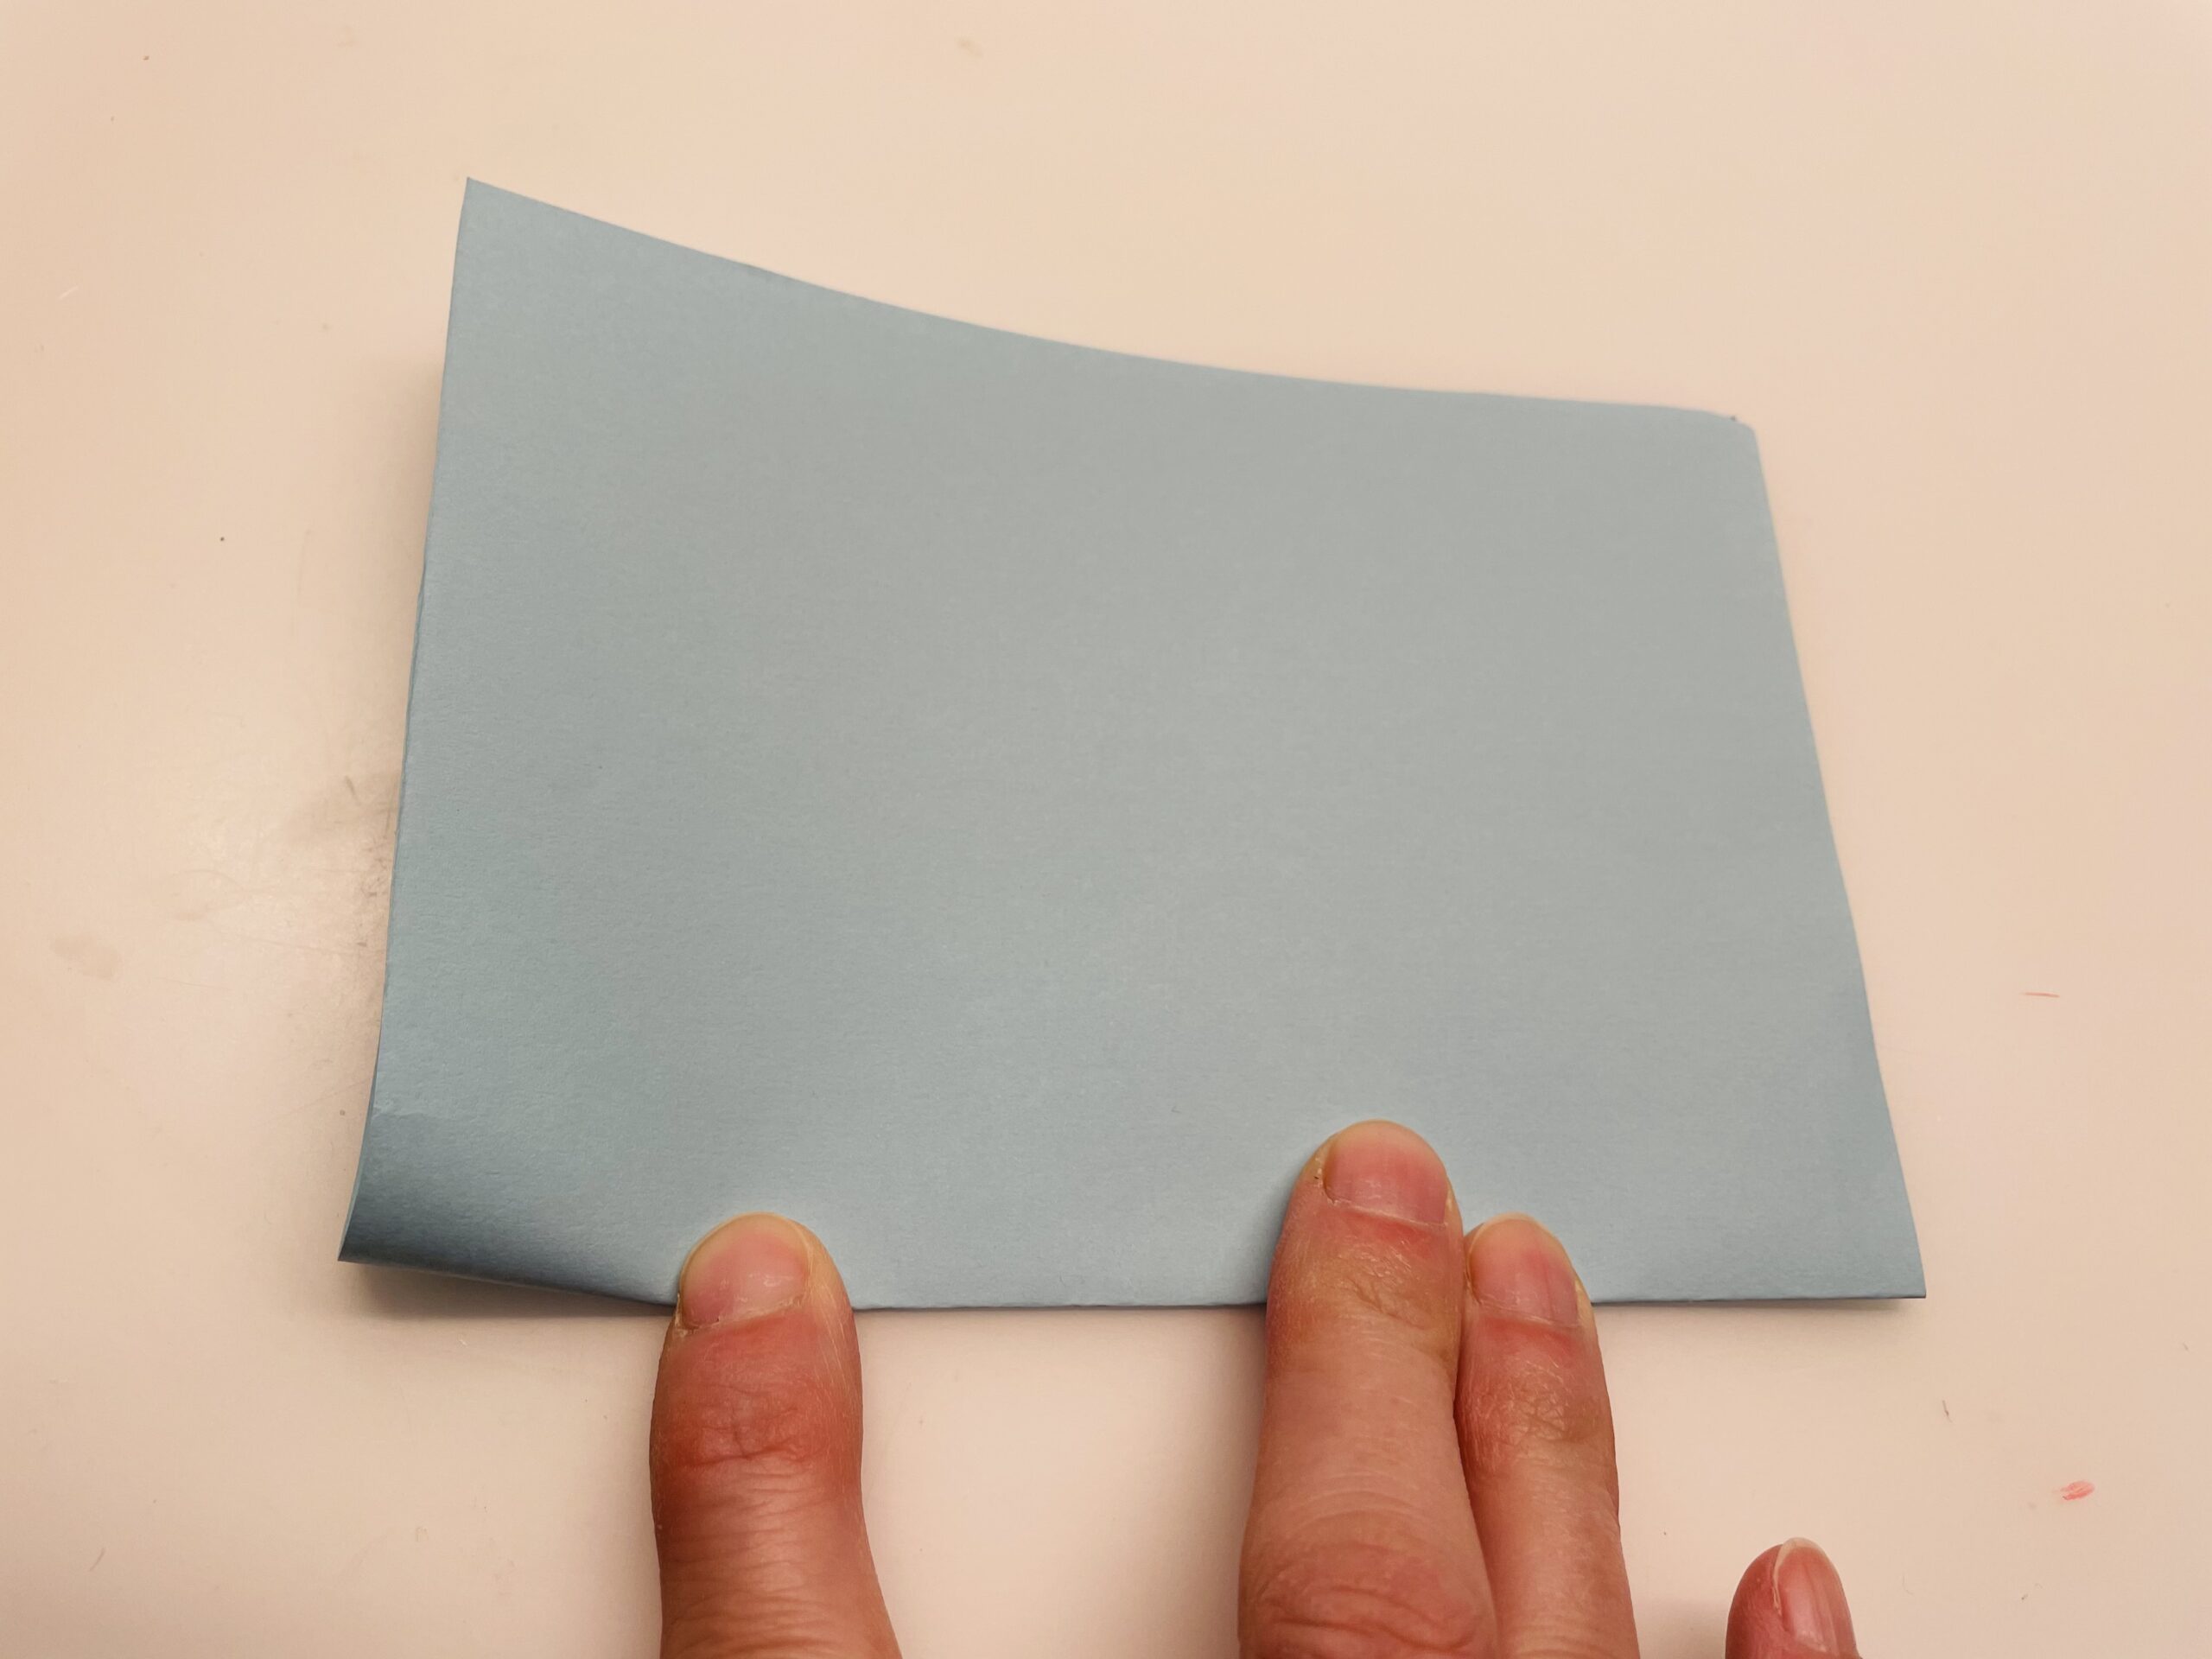
First, you fold half the paper.

Bild zum Schritt 2 für das Bastel- und DIY-Abenteuer für Kinder: 'Zuerst faltet ihr das Tonpapier zur Hälfte.'

3

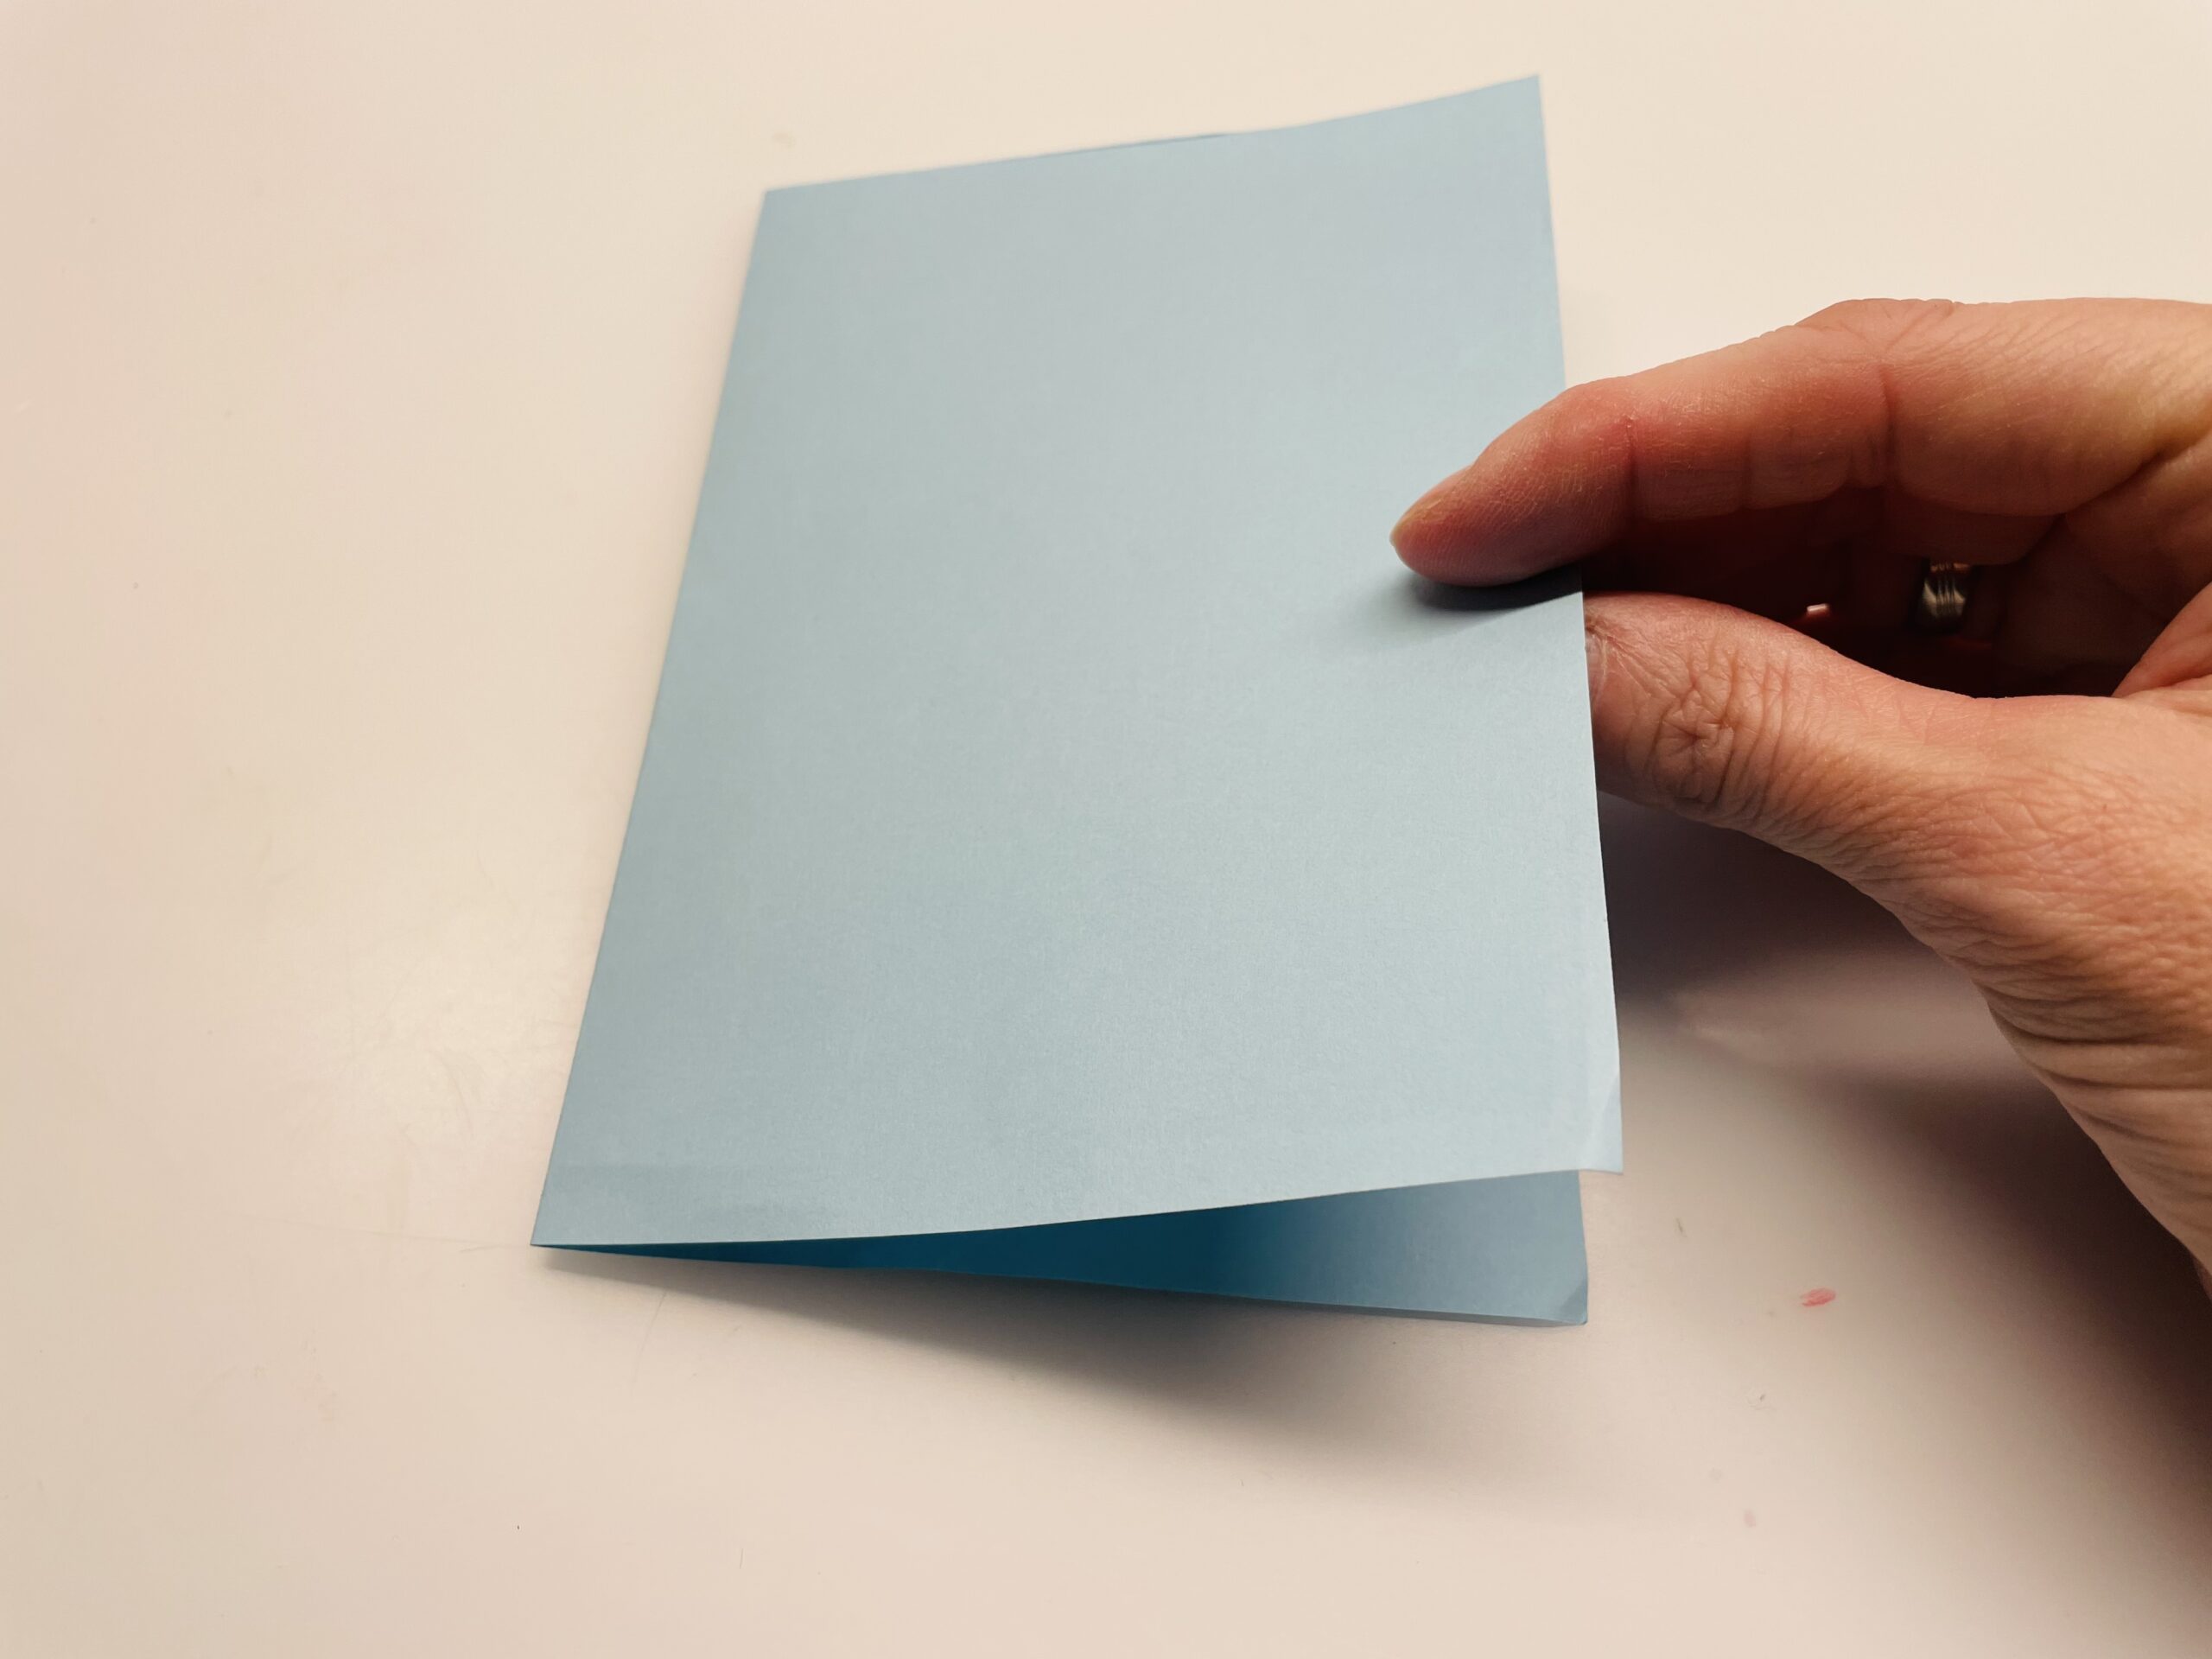
Then strip the fold break.

Bild zum Schritt 3 für das Bastel- und DIY-Abenteuer für Kinder: 'Streift anschließend den Faltbruch aus.'

4

Now you draw a 3 cm wide strip at the top of the card.
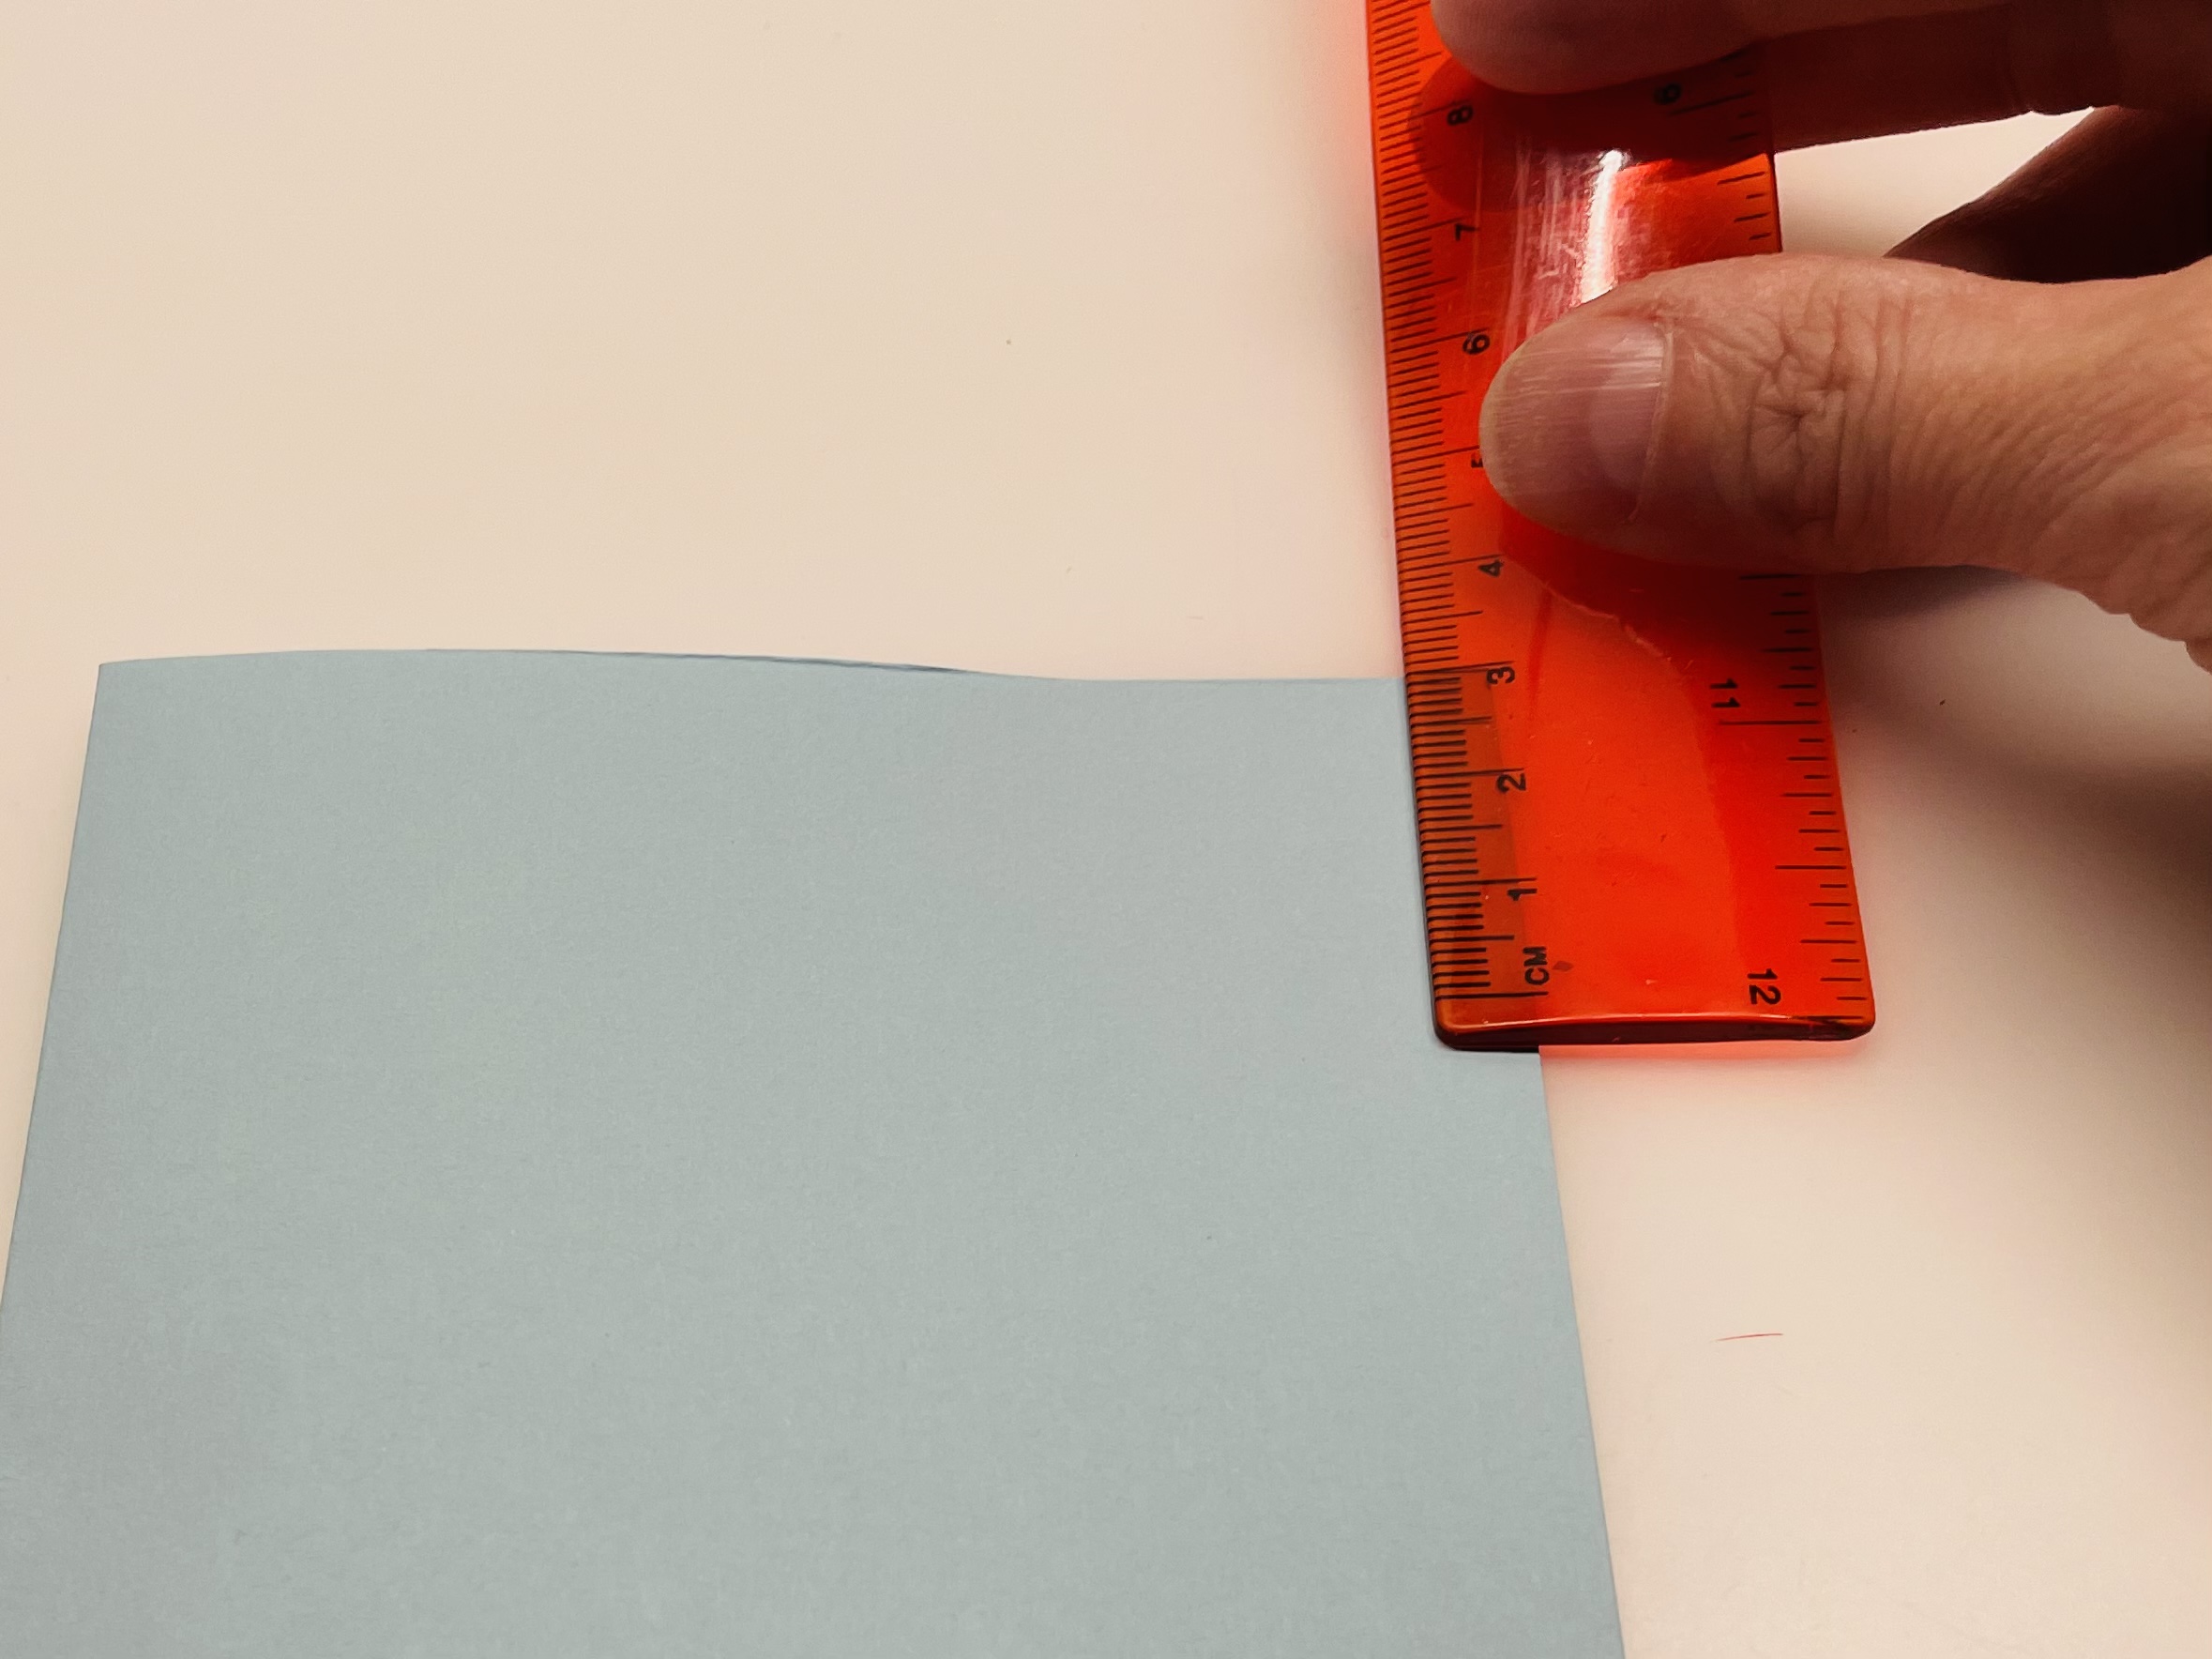
Bild zum Schritt 4 für das Bastel- und DIY-Abenteuer für Kinder: 'Jetzt zeichnet ihr euch einen ca. 3 cm breiten Streifen...'

5

Paint the line slightly - i.e. without fixed pen pressure - from left to right. In the middle of the line you leave a approximately 3cm wide piece free.

Bild zum Schritt 5 für das Bastel- und DIY-Abenteuer für Kinder: 'Malt den Strich leicht - d.h. ohne festen Stiftdruck -...'

6

Now you cut along the line with scissors from both sides. Cut both papers at once. The approximately 3 cm wide piece in the middle is not cut through.

Bild zum Schritt 6 für das Bastel- und DIY-Abenteuer für Kinder: 'Jetzt schneidet ihr von beiden Seiten mit der Schere auf...'

7

Then you fold the map.

Bild zum Schritt 7 für das Bastel- und DIY-Abenteuer für Kinder: 'Anschließend faltet ihr die Karte auf.'

8

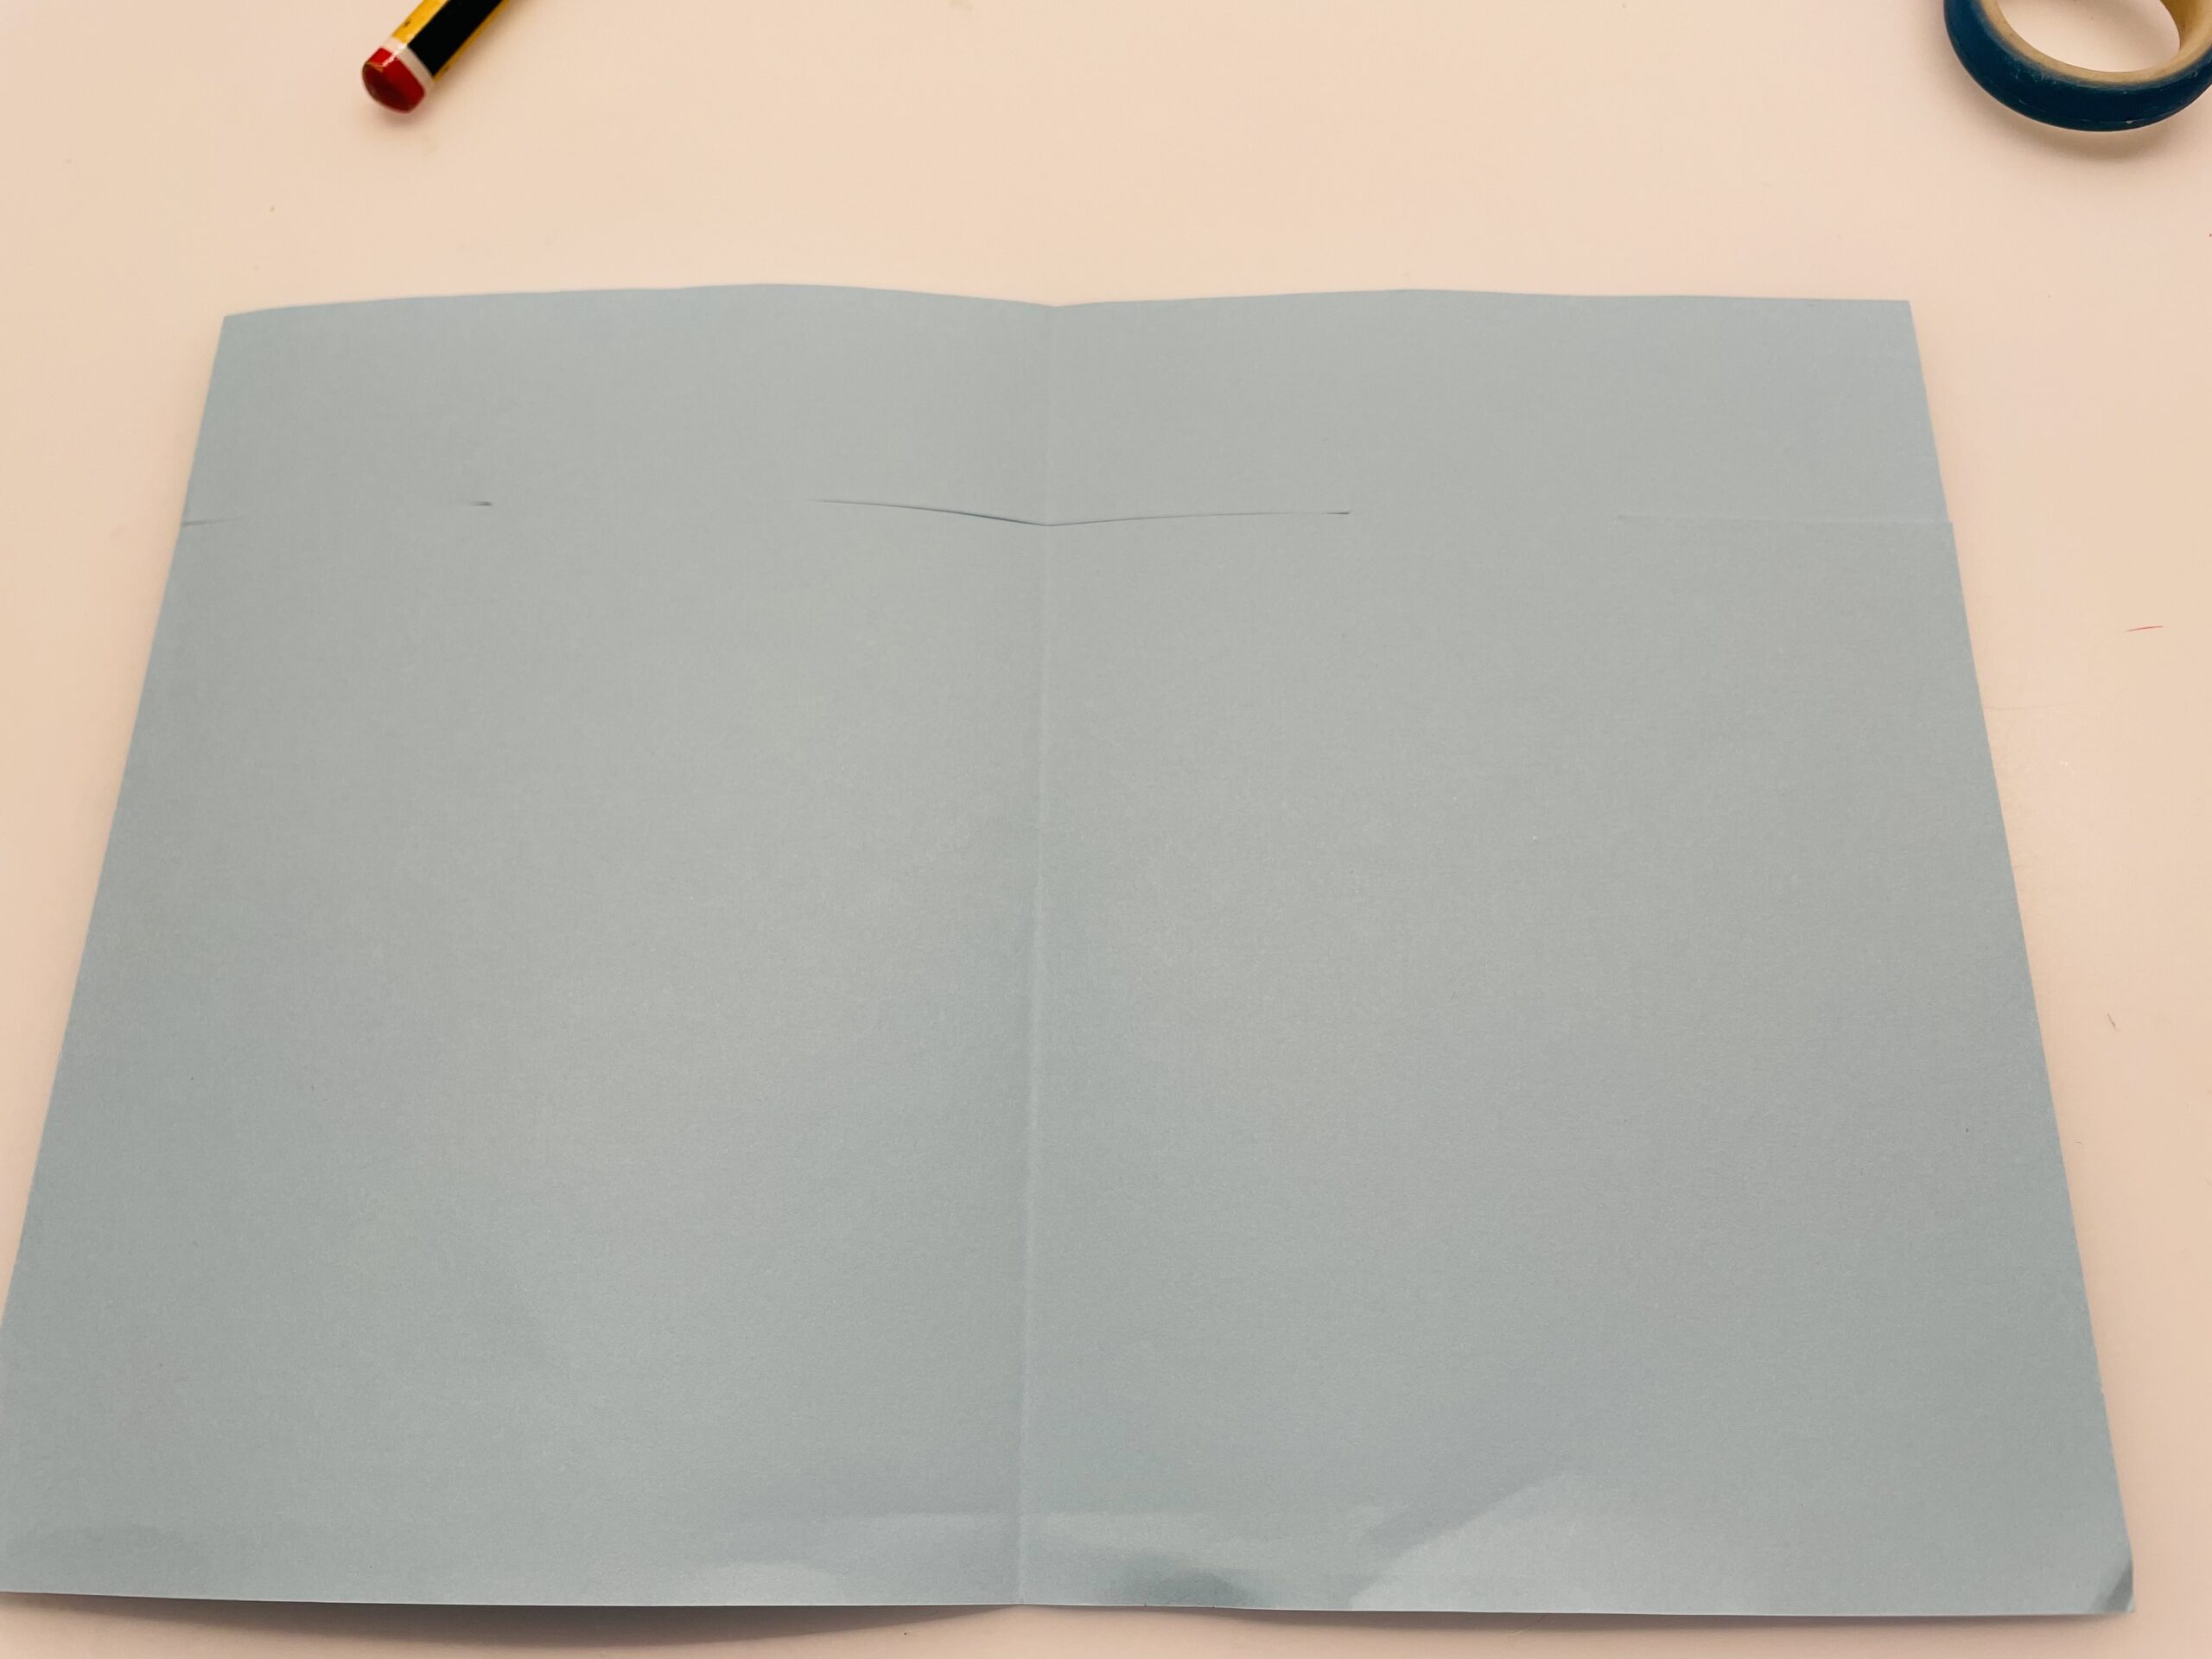
Now you cut the fold from the top to the cut.

Bild zum Schritt 8 für das Bastel- und DIY-Abenteuer für Kinder: 'Nun schneidet ihr an der Faltung von oben bis zum...'

9

Then cut off the marked 3 cm stripes on the back of the card completely.

Bild zum Schritt 9 für das Bastel- und DIY-Abenteuer für Kinder: 'Danach schneidet ihr die angezeichneten 3 cm Streifen auf Rückseite...'

10

Then you fold the card again. Now only at the front of the card of the upper stripe is still present.

Bild zum Schritt 10 für das Bastel- und DIY-Abenteuer für Kinder: 'Anschließend faltet ihr die Karte wieder zusammen. Jetzt ist nur...'

11

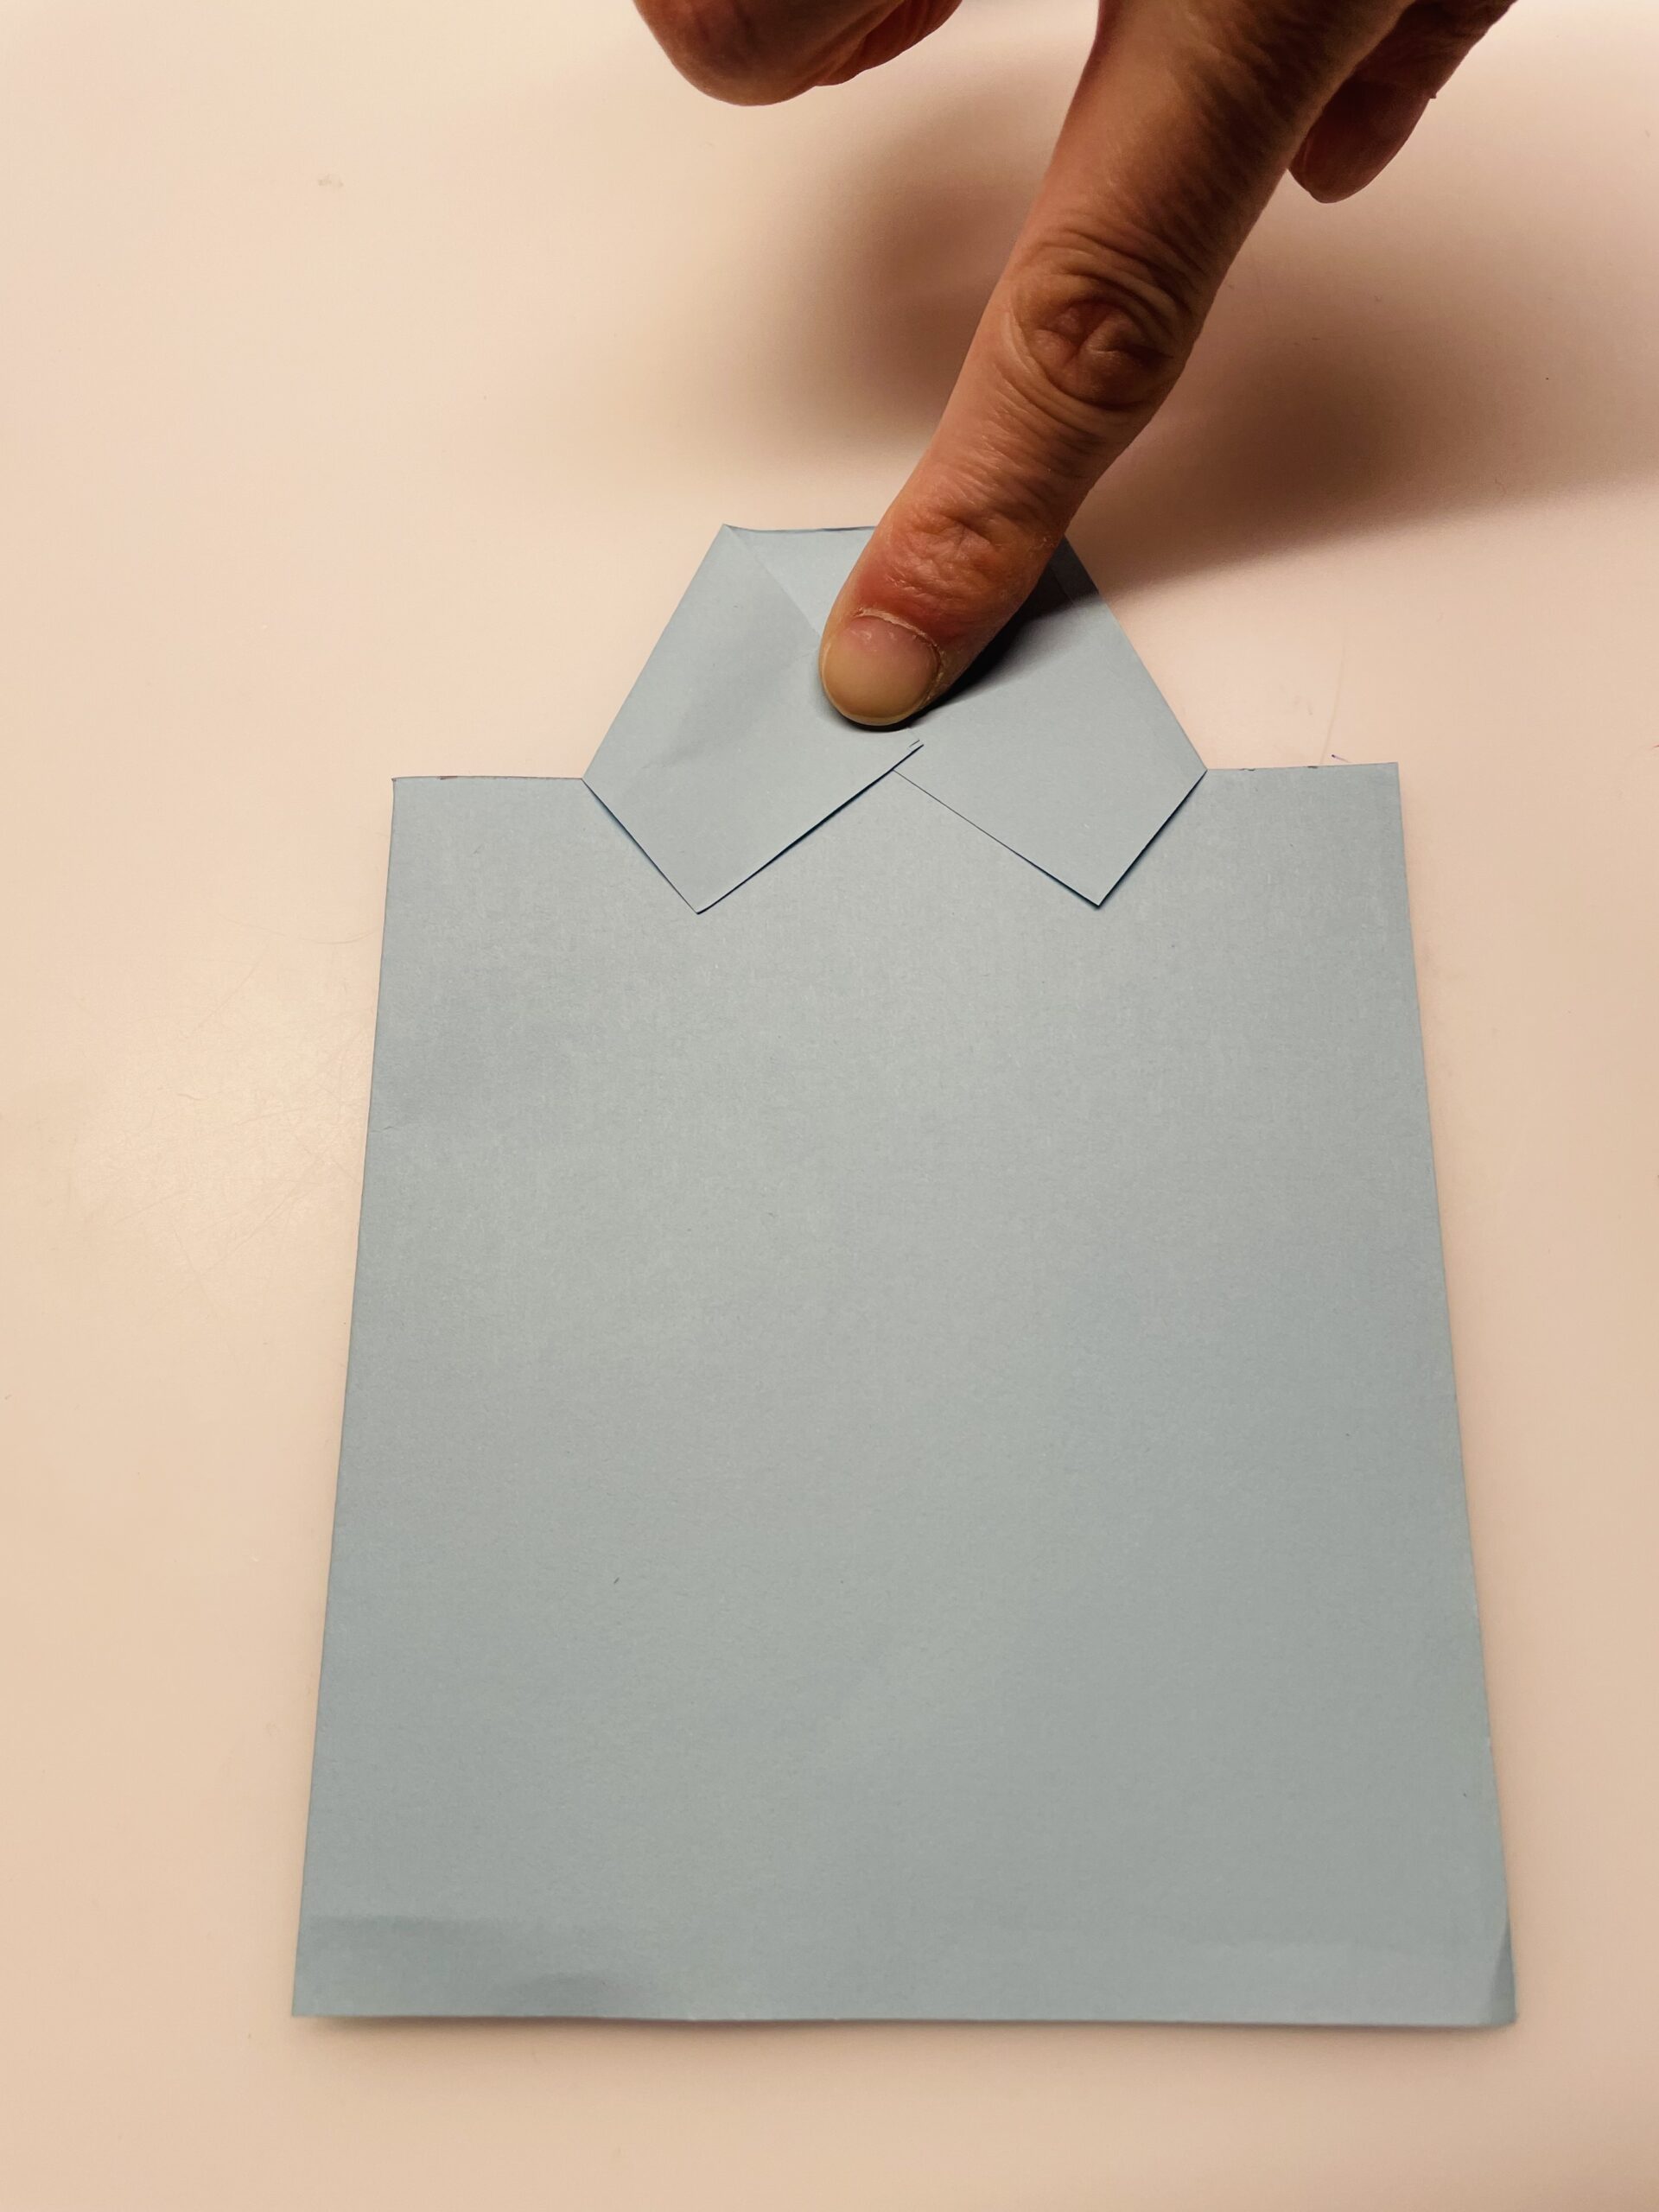
The side-cut stripes now fold her down as a shirt collar.

Bild zum Schritt 11 für das Bastel- und DIY-Abenteuer für Kinder: 'Die seitlich eingeschnittenen Streifen faltet ihr nun als Hemd-Kragen nach...'

12

That's what it looks like.

Bild zum Schritt 12 für das Bastel- und DIY-Abenteuer für Kinder: 'So sieht das dann aus.'

13

Now you border the complete card with a felt pen. Keep the felt pen flat and strip over the edge of the paper.

Bild zum Schritt 13 für das Bastel- und DIY-Abenteuer für Kinder: 'Nun umrandet ihr die komplette Karte mit einem Filzstift. Haltet...'

14

The map is ready.
Now you have two design variants:

Bild zum Schritt 14 für das Bastel- und DIY-Abenteuer für Kinder: 'Fertig ist die Karte.  Jetzt habt ihr zwei Gestaltungs-Varianten:'

Shirt with tie:
15

You need two small buttons and a piece of wrapping paper.

Bild zum Schritt 16 für das Bastel- und DIY-Abenteuer für Kinder: 'Ihr braucht hierfür zwei kleine Knöpfe und ein Stück Geschenkpapier.'

16

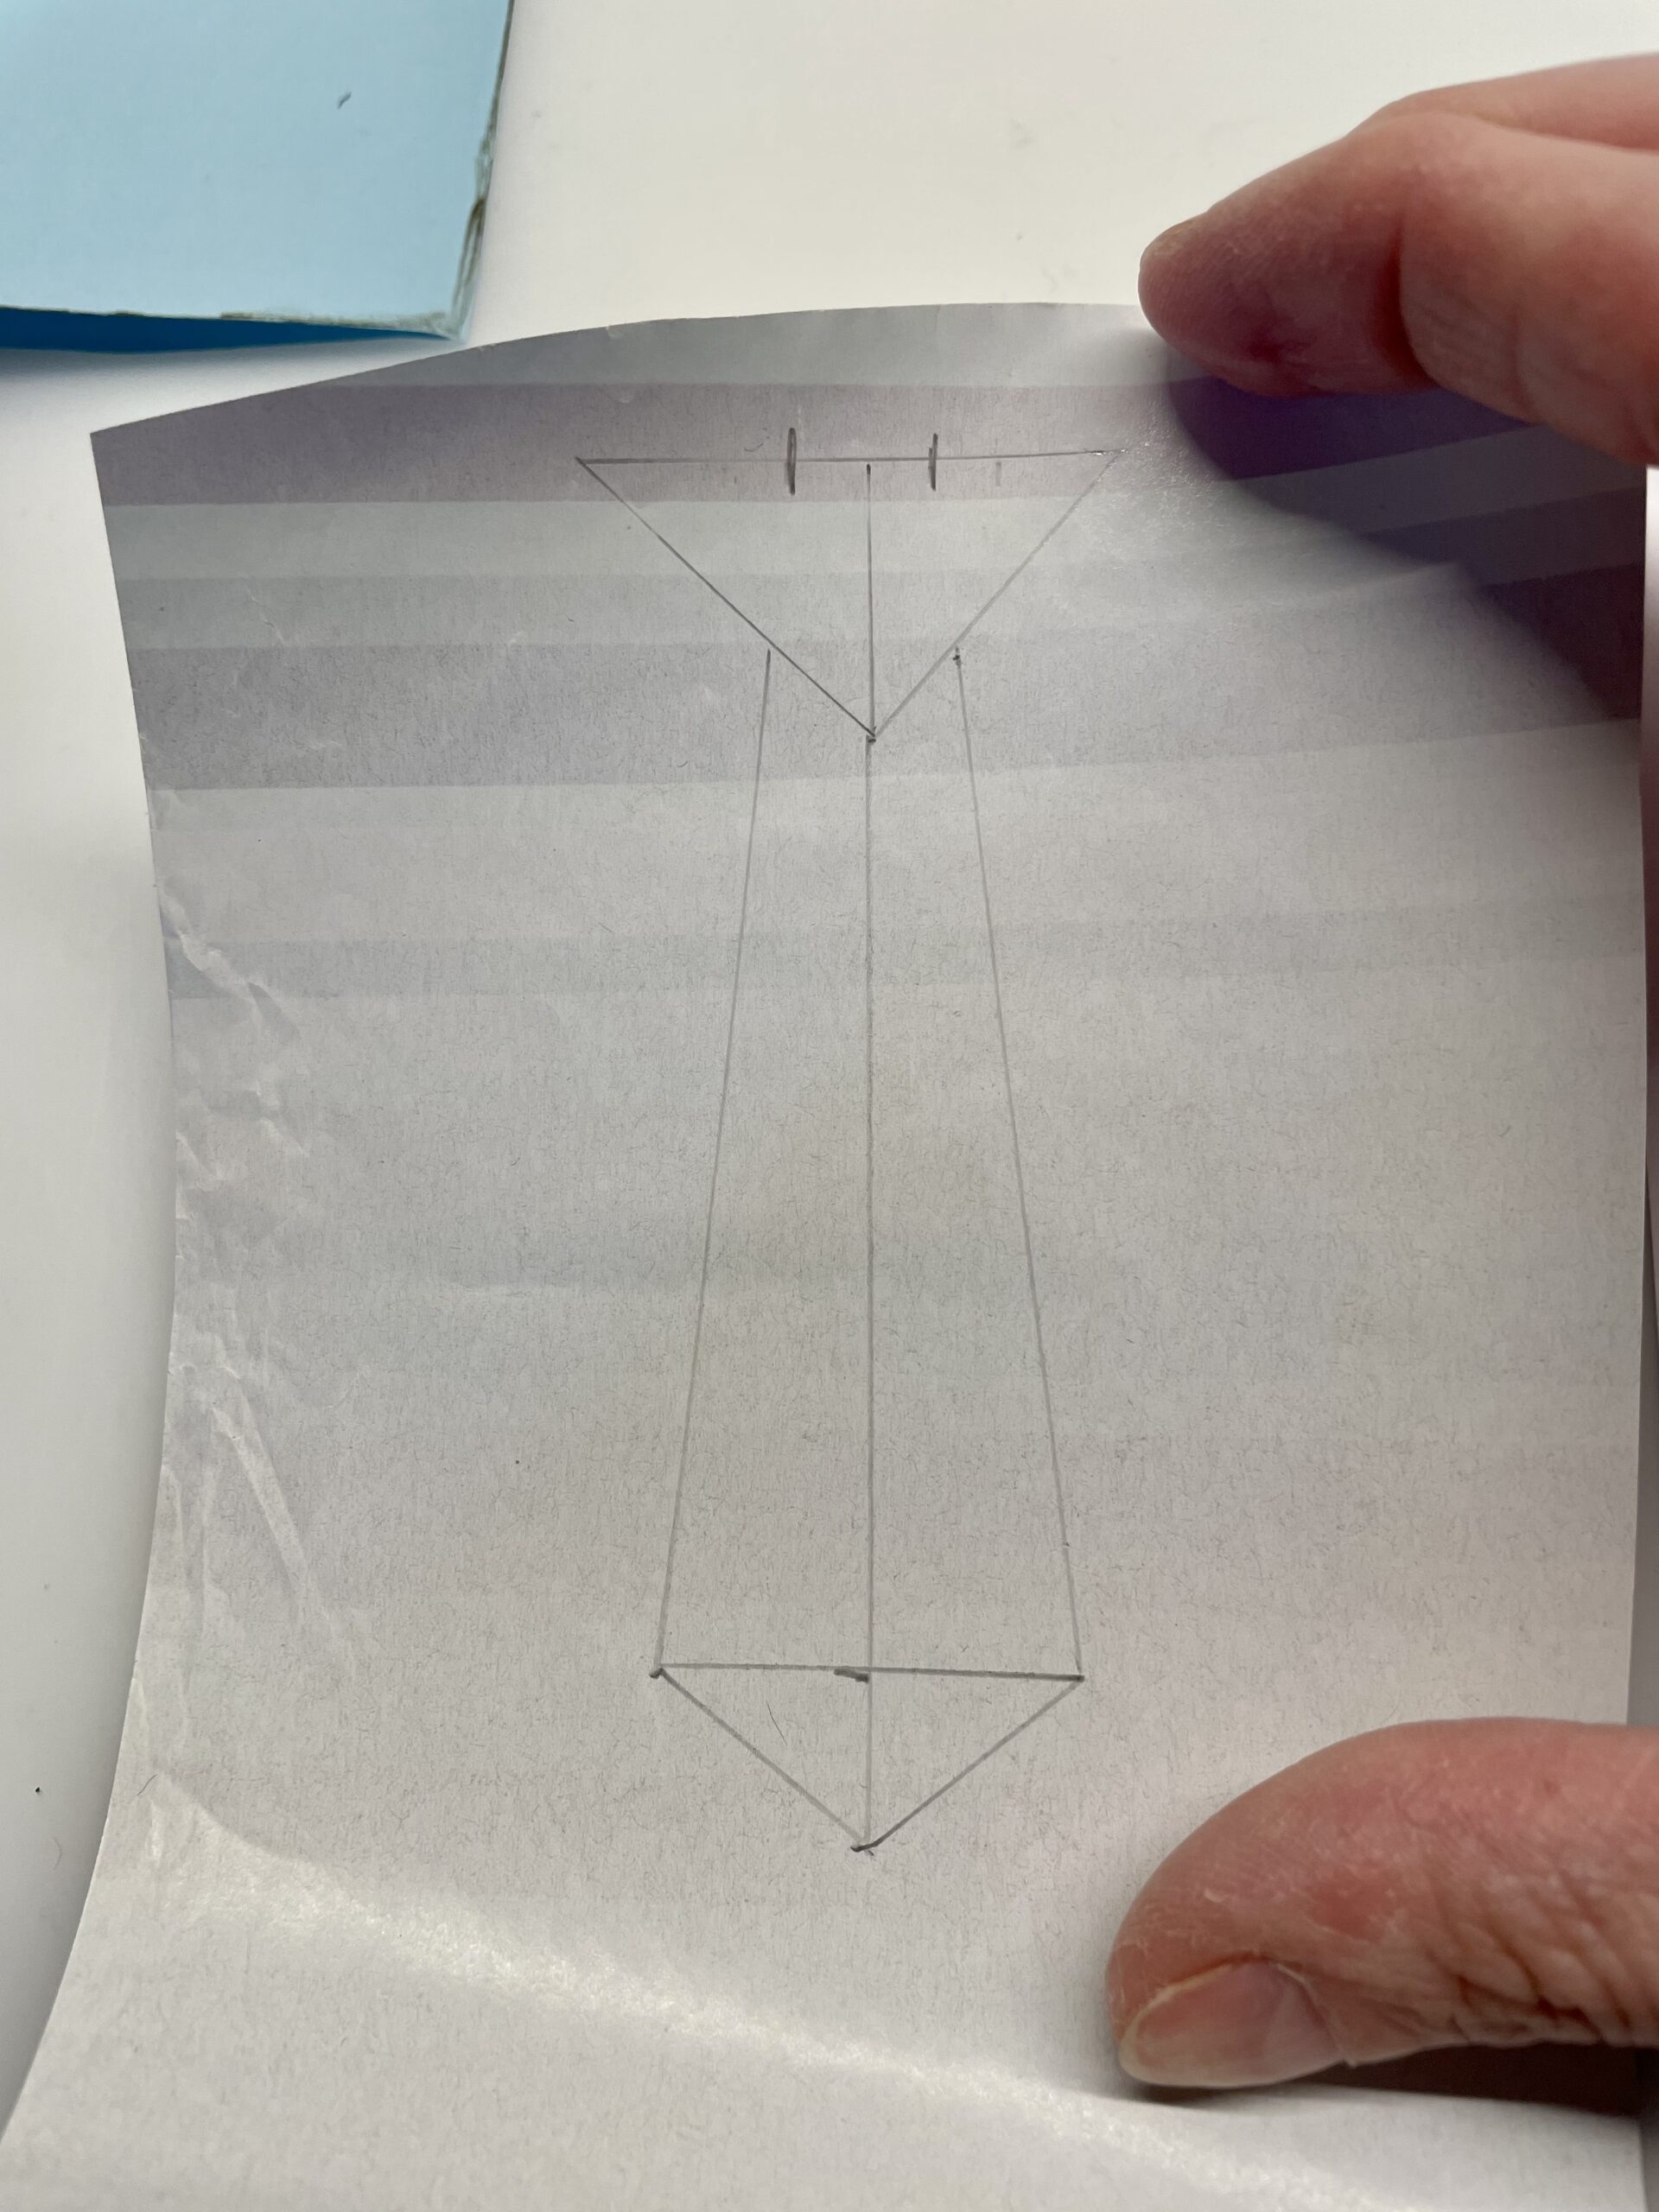
Draw a small tie on the back of the paper.

Bild zum Schritt 17 für das Bastel- und DIY-Abenteuer für Kinder: 'Zeichnet euch eine kleine Krawatte auf die Rückseite des Papiers...'

17

The measurements for our tie.

Bild zum Schritt 18 für das Bastel- und DIY-Abenteuer für Kinder: 'Die Maße für unsere Krawatte.'

18

Then cut out your tie.

Bild zum Schritt 19 für das Bastel- und DIY-Abenteuer für Kinder: 'Schneidet anschließend eure Krawatte aus.'

19

Tip: You can also paint a tie yourself freely!

Bild zum Schritt 20 für das Bastel- und DIY-Abenteuer für Kinder: 'Tipp: Ihr könnt auch selbst ganz frei eine Krawatte aufmalen!'

20

Now push the tie slightly under the collar of the shirt. Fix it with an adhesive point in the upper area.

Bild zum Schritt 21 für das Bastel- und DIY-Abenteuer für Kinder: 'Schiebt nun die Krawatte etwas unter den Kragen des Hemdes....'

21

Then stick two small buttons to the left and right on the collar. Your tie card is ready.

Bild zum Schritt 22 für das Bastel- und DIY-Abenteuer für Kinder: 'Klebt anschließend zwei kleine Knöpfe links und rechts auf den...'

Shirt with bow tie and buttons:
22

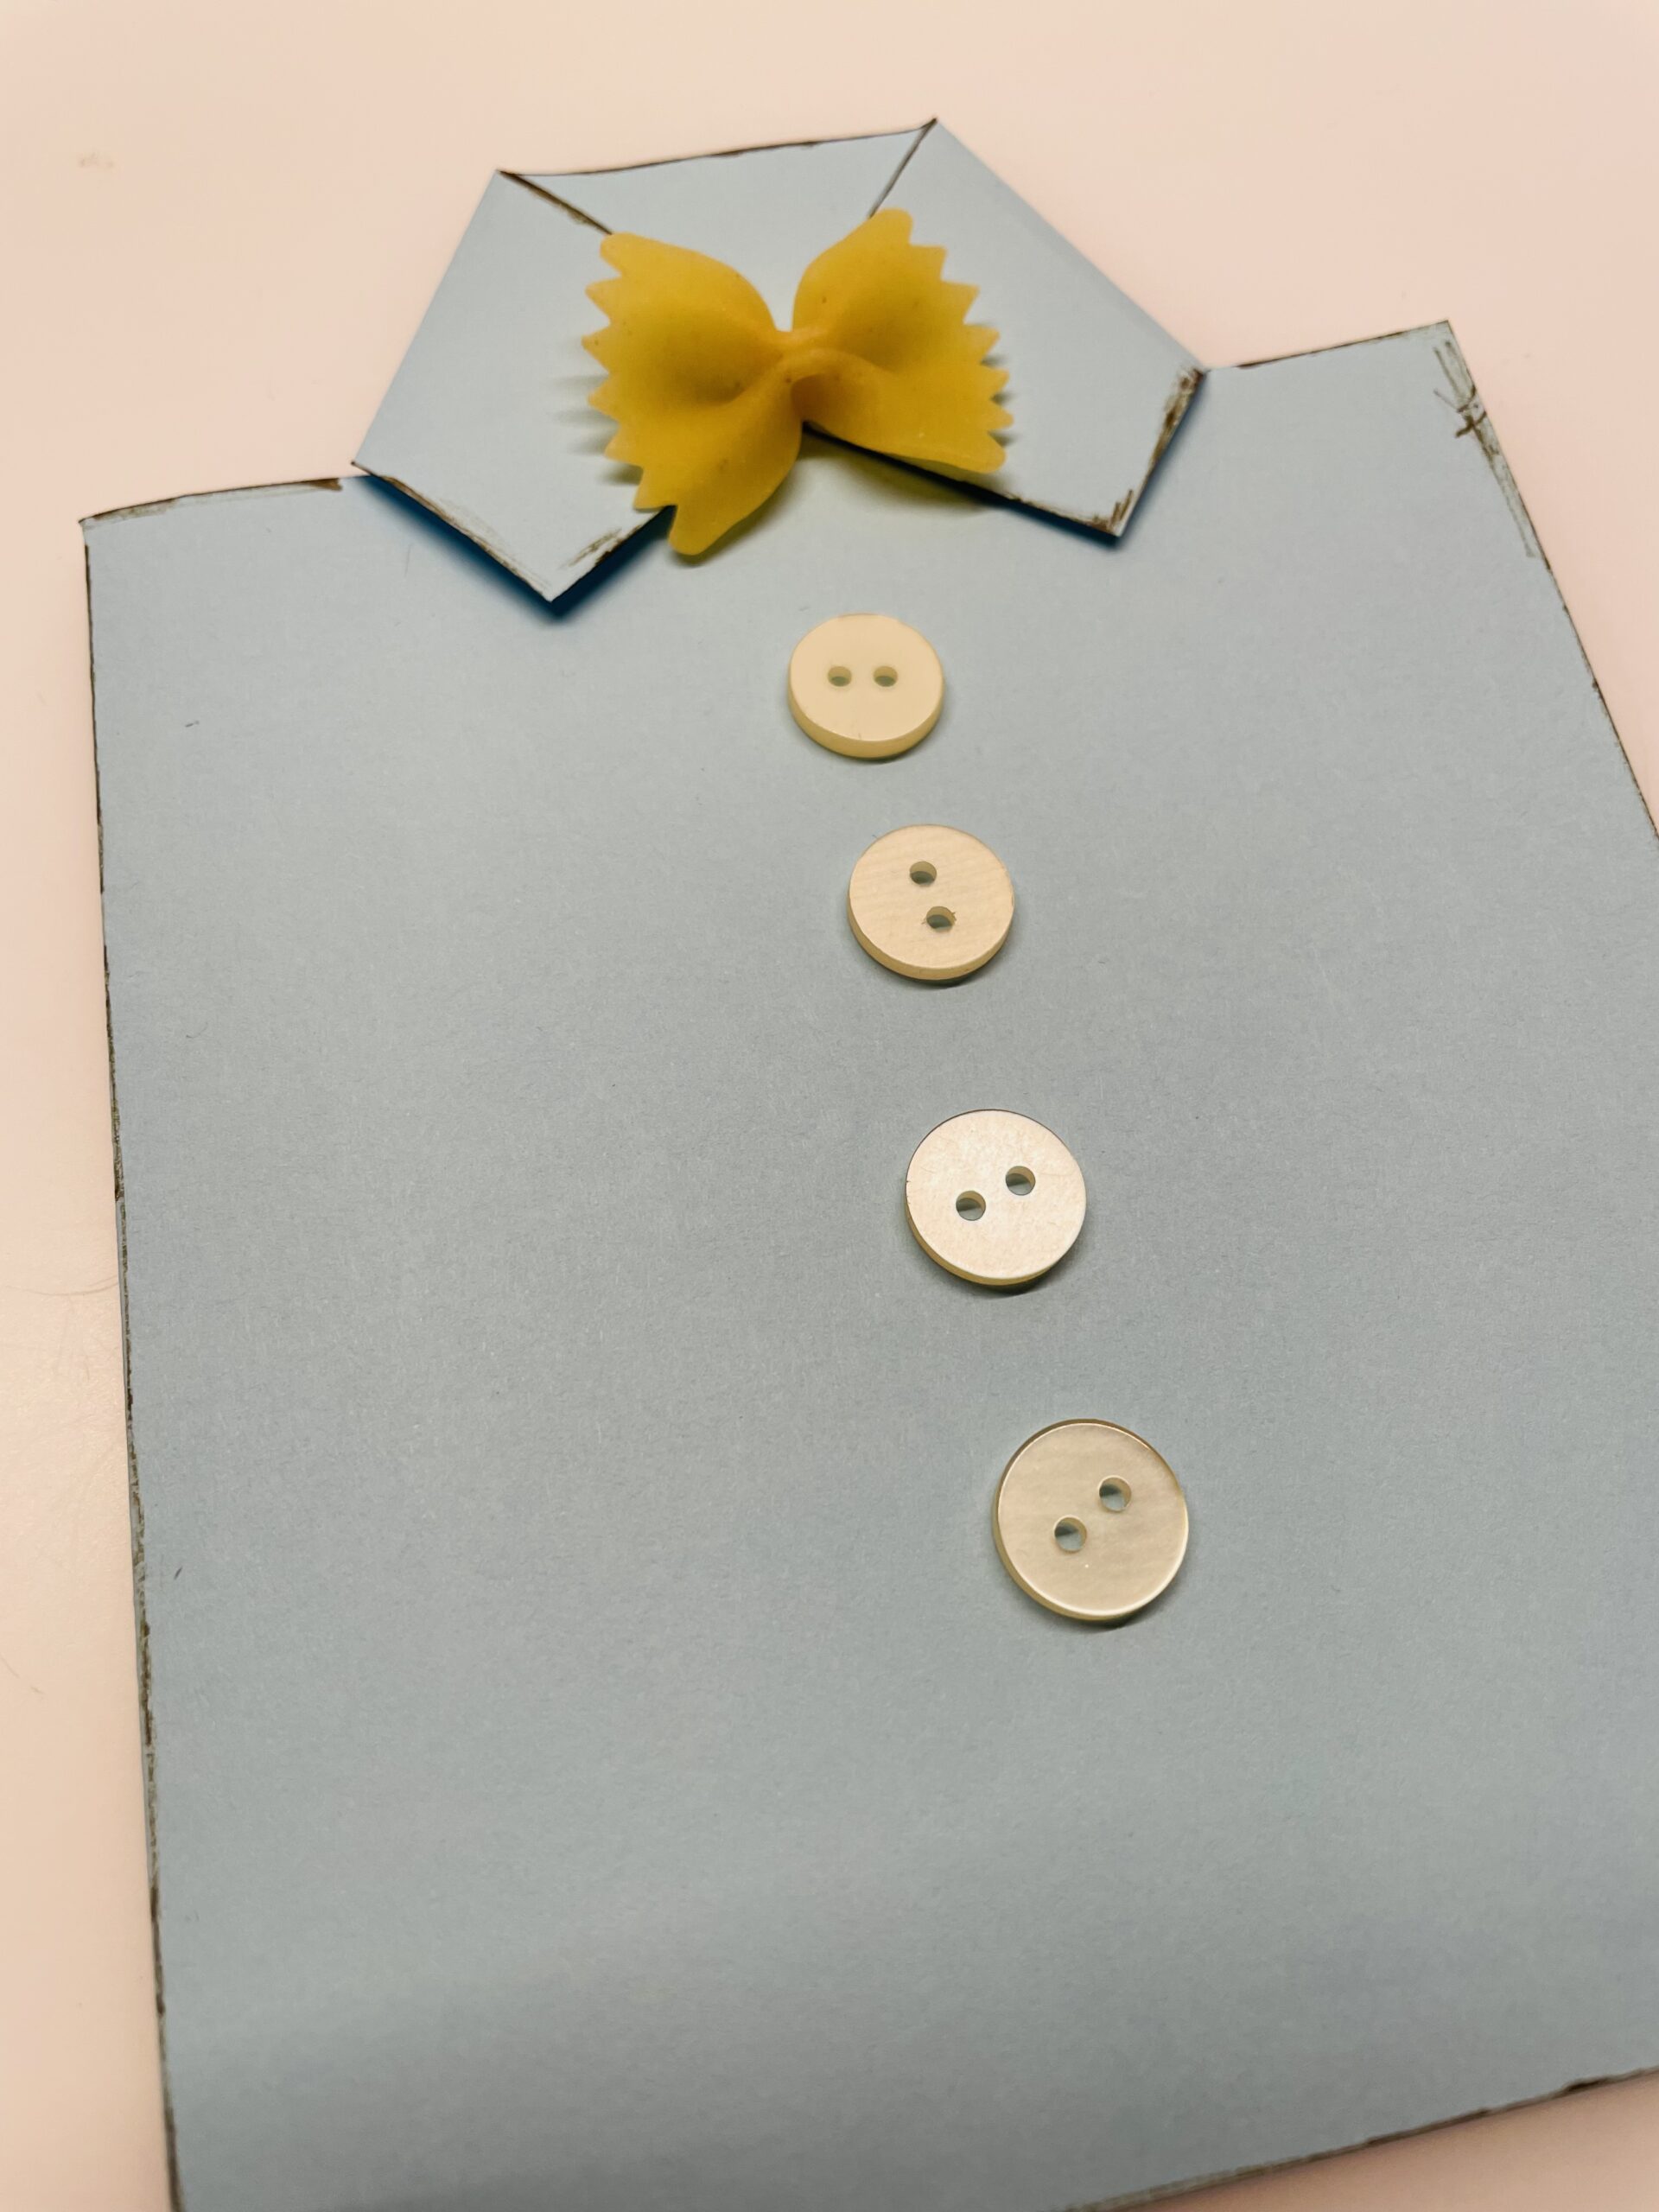
For the second variant you need three identical or similar buttons and a loop noodle.

Bild zum Schritt 24 für das Bastel- und DIY-Abenteuer für Kinder: 'Für die zweite Variante benötigt ihr drei gleiche oder ähnliche...'

23

Arrange the buttons with each other with a little distance and place the loop noodle in the middle of the collar.

Bild zum Schritt 25 für das Bastel- und DIY-Abenteuer für Kinder: 'Ordnet nun die Knöpfe untereinander mit etwas Abstand an und...'

24

It's all stuck now.
The card is finished with buttons and a fly.

Bild zum Schritt 26 für das Bastel- und DIY-Abenteuer für Kinder: 'Klebt jetzt alles fest.   Fertig ist die Karte...'

25

You can also use different colored buttons.

Bild zum Schritt 27 für das Bastel- und DIY-Abenteuer für Kinder: 'Ihr könnt auch unterschiedliche farbige Knöpfe verwenden.'

26

Or you can use several buttons.

Bild zum Schritt 28 für das Bastel- und DIY-Abenteuer für Kinder: 'Oder  ihr verwendet mehrere Knöpfe.'

27

Stay creative and beautify your card as you like it.

Bild zum Schritt 29 für das Bastel- und DIY-Abenteuer für Kinder: 'Bleibt kreativ und verschönert eure Karte so wie sie euch...'

Materials

 1 Sound paper DIN A 5or photo box
 1 Pen
 1 Ruler or geotriangle
Variant 1:
 2 Buttons
 1 Gift paperOr newsprint, motif paper
Variant 1:
 2 Buttons small
 1 Grinding noodles
All links marked with a shopping cart lead to Amazon - here we have selected products that we would order ourselves and in part also ordered. In a qualified purchase via the advertising link, we as Amazon partner receive a commission, for you there are no costs. You thus support our cost- and advertising banner-free, educational offer.

Directions

1

Uses a clay paper in size DIN A5.

Bild zum Schritt 1 für das Bastel- und DIY-Abenteuer für Kinder: 'Verwendet ein Tonpapier in der Größe DIN A5.'

2

First, you fold half the paper.

Bild zum Schritt 2 für das Bastel- und DIY-Abenteuer für Kinder: 'Zuerst faltet ihr das Tonpapier zur Hälfte.'

3

Then strip the fold break.

Bild zum Schritt 3 für das Bastel- und DIY-Abenteuer für Kinder: 'Streift anschließend den Faltbruch aus.'

4

Now you draw a 3 cm wide strip at the top of the card.

Bild zum Schritt 4 für das Bastel- und DIY-Abenteuer für Kinder: 'Jetzt zeichnet ihr euch einen ca. 3 cm breiten Streifen...'

5

Paint the line slightly - i.e. without fixed pen pressure - from left to right. In the middle of the line you leave a approximately 3cm wide piece free.
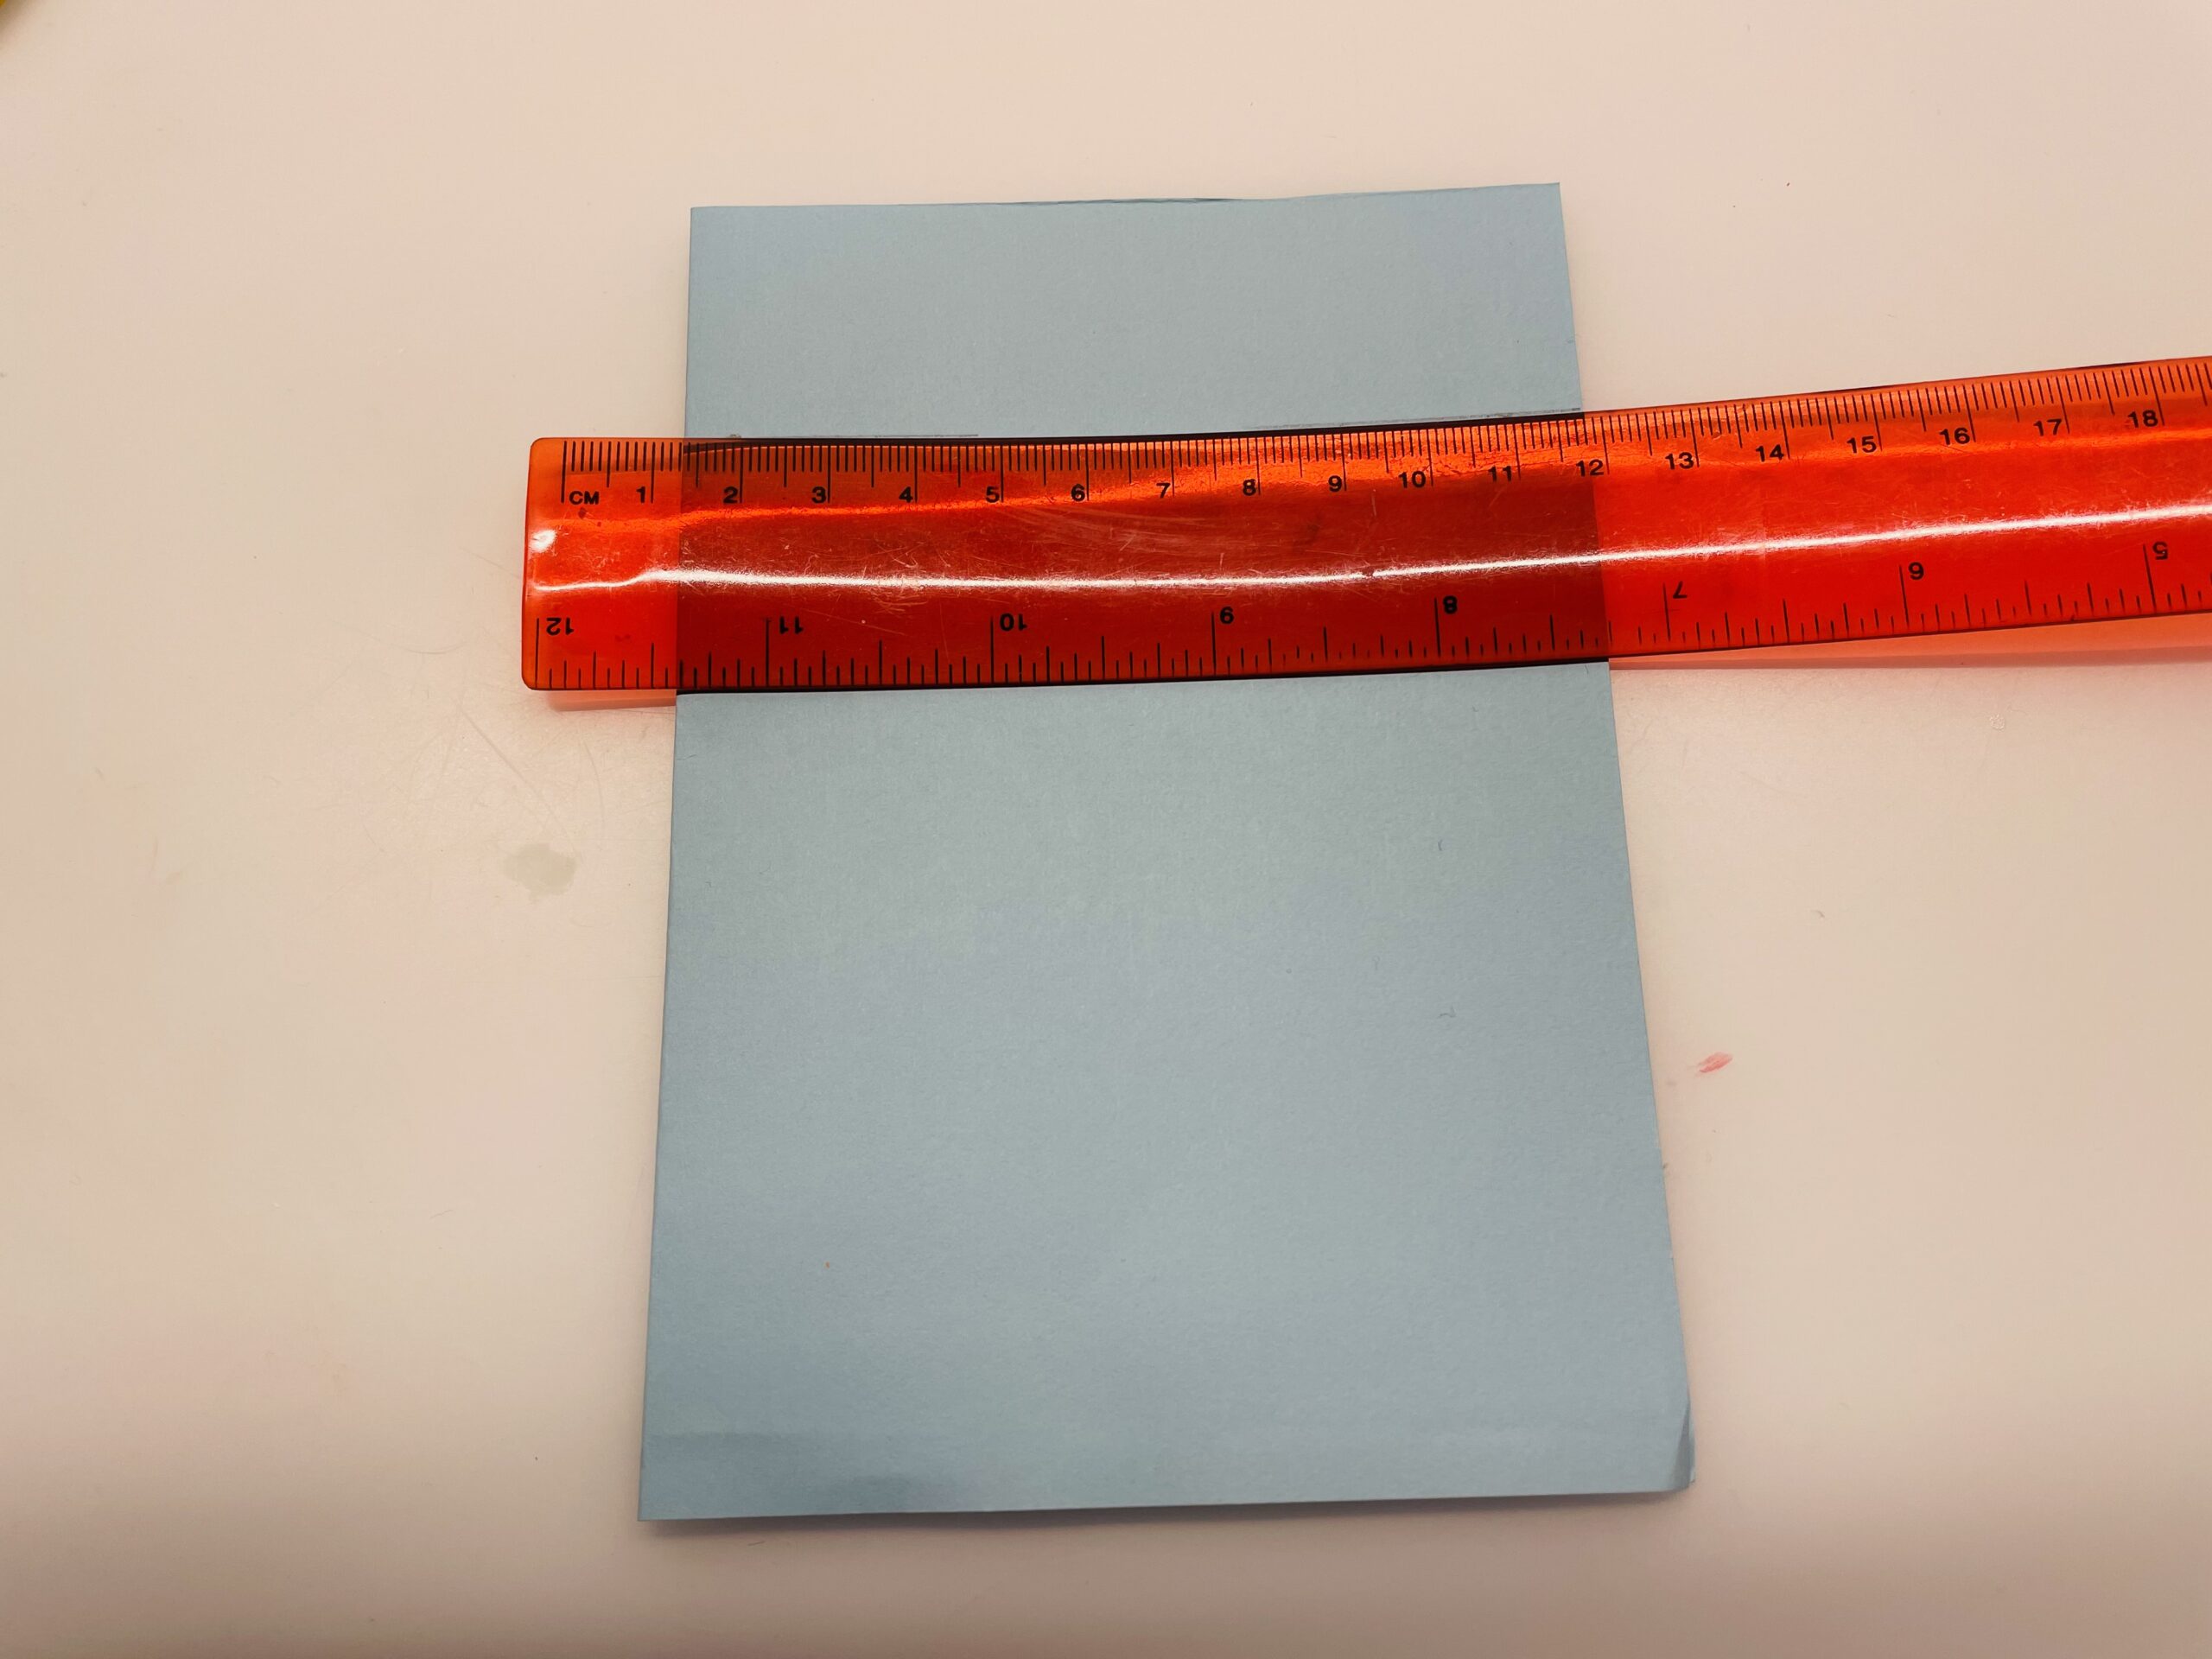
Bild zum Schritt 5 für das Bastel- und DIY-Abenteuer für Kinder: 'Malt den Strich leicht - d.h. ohne festen Stiftdruck -...'

6

Now you cut along the line with scissors from both sides. Cut both papers at once. The approximately 3 cm wide piece in the middle is not cut through.
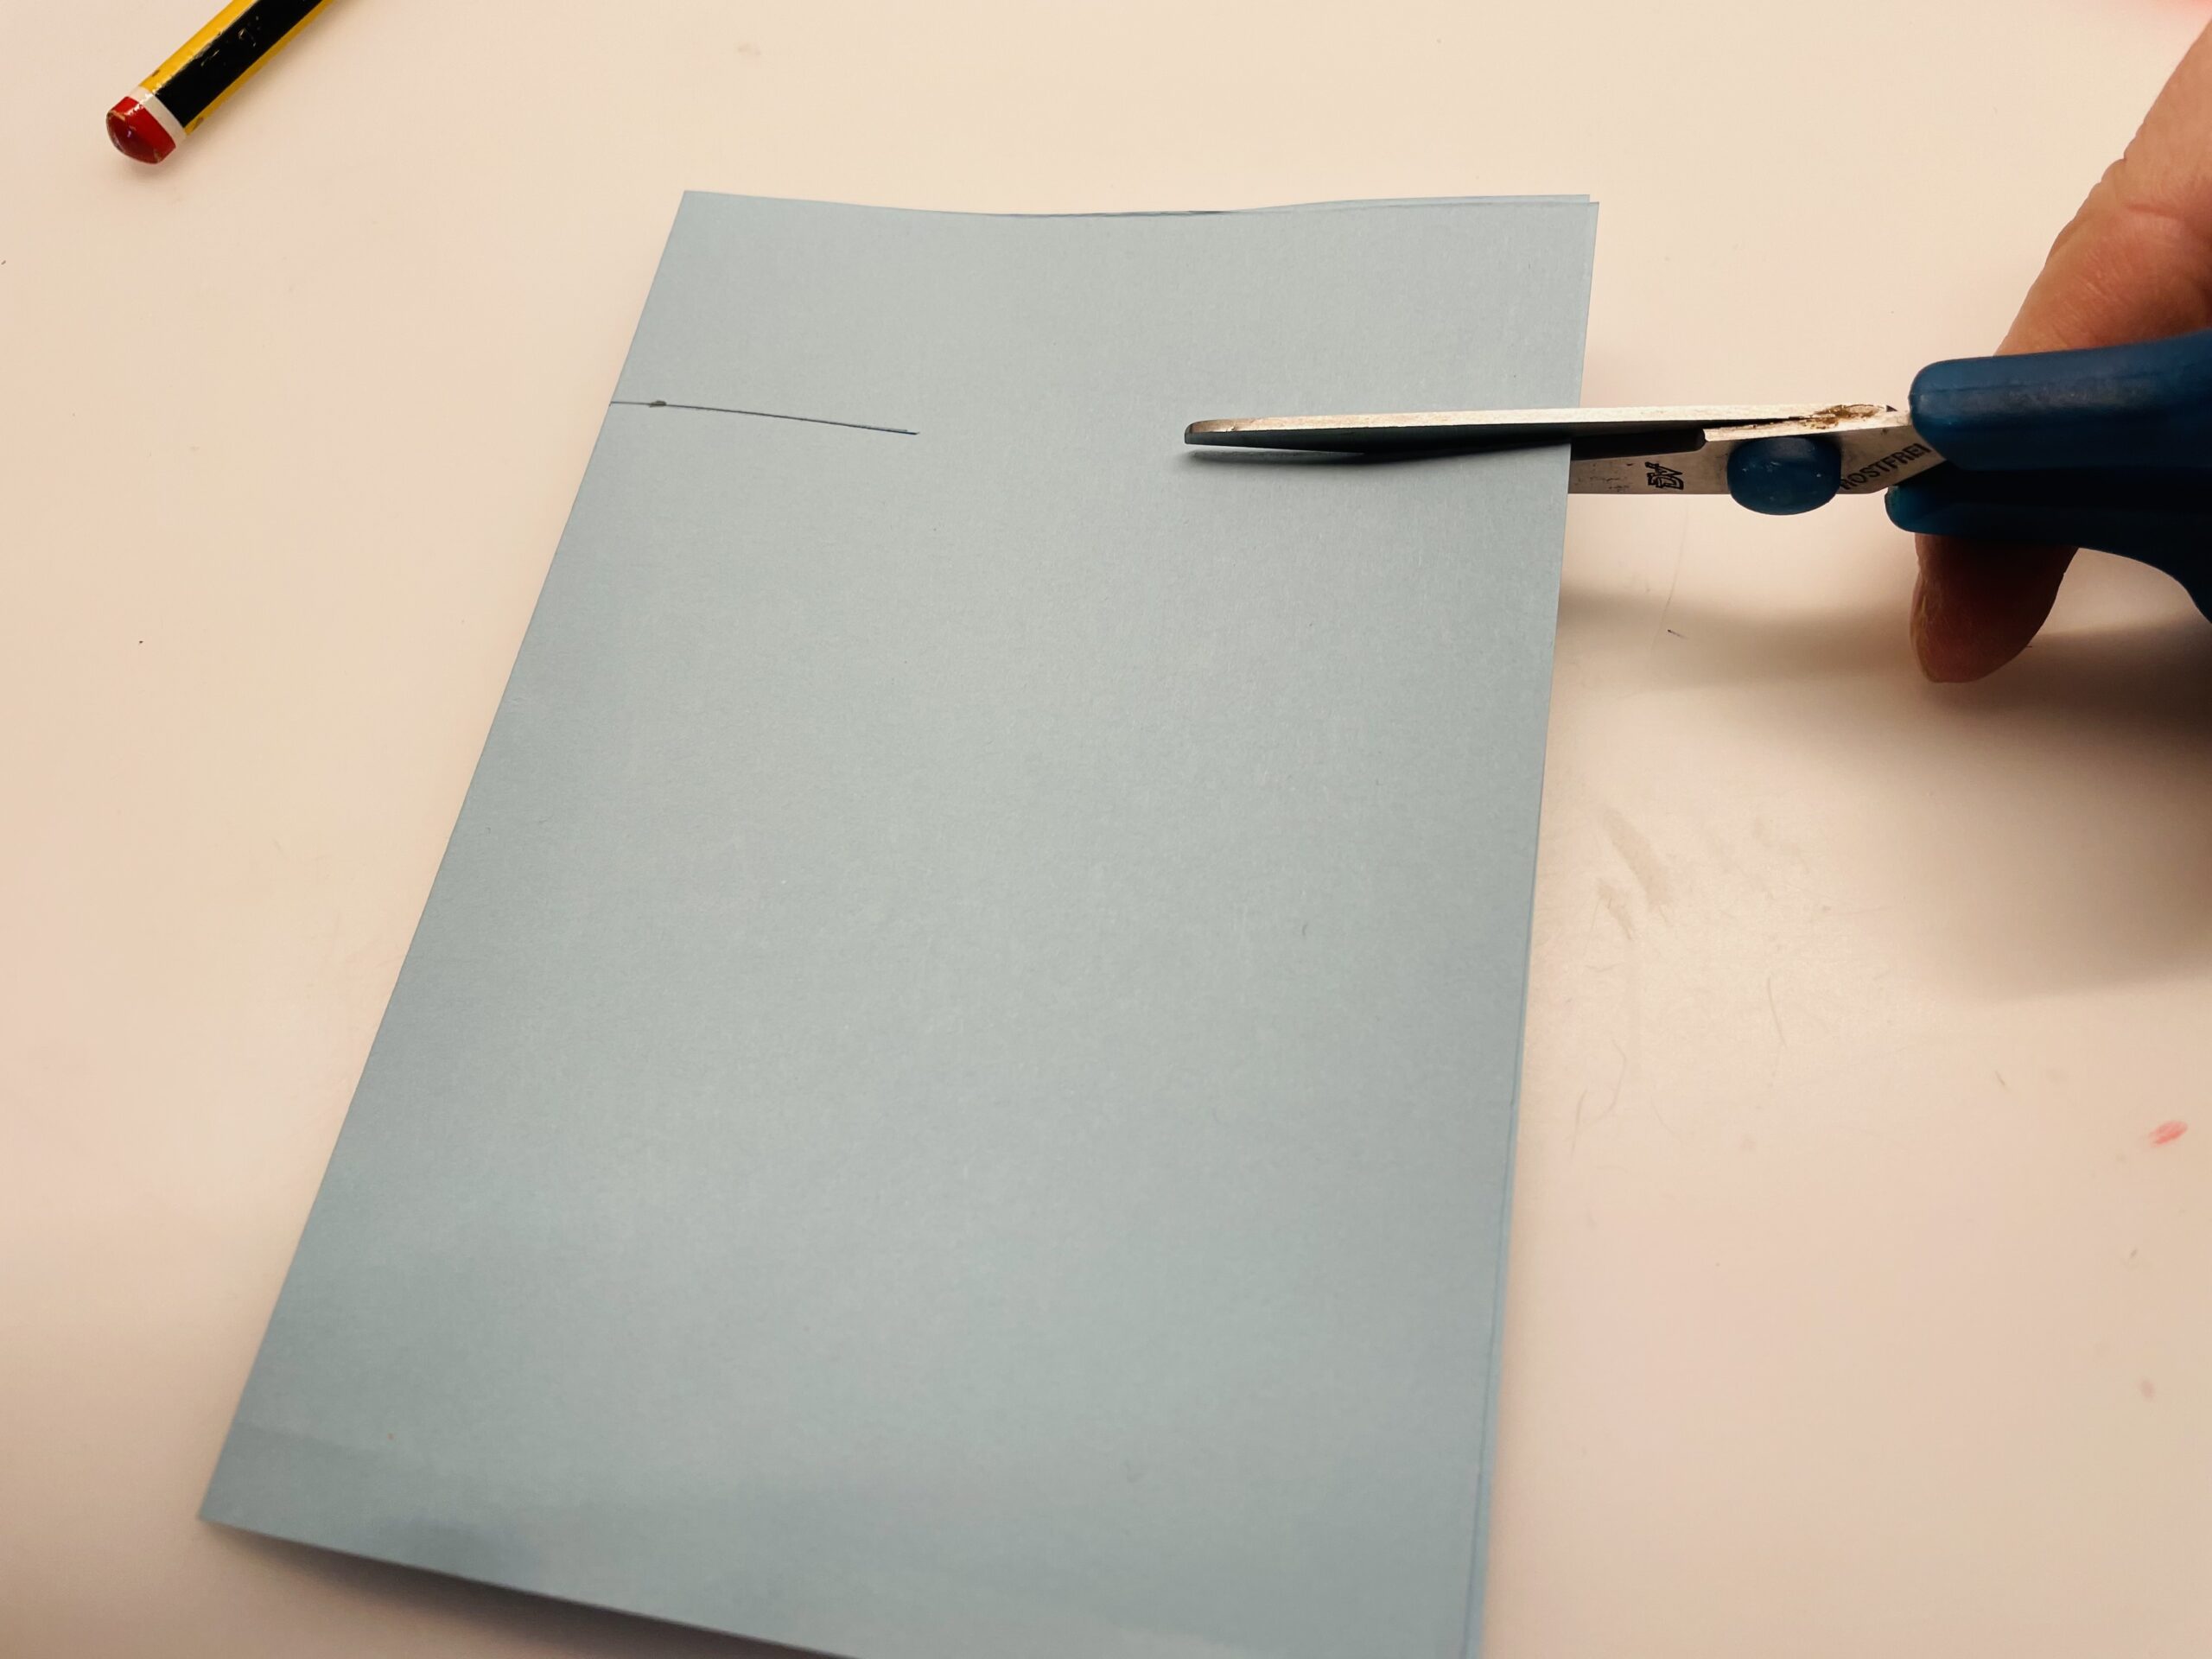
Bild zum Schritt 6 für das Bastel- und DIY-Abenteuer für Kinder: 'Jetzt schneidet ihr von beiden Seiten mit der Schere auf...'

7

Then you fold the map.

Bild zum Schritt 7 für das Bastel- und DIY-Abenteuer für Kinder: 'Anschließend faltet ihr die Karte auf.'

8

Now you cut the fold from the top to the cut.
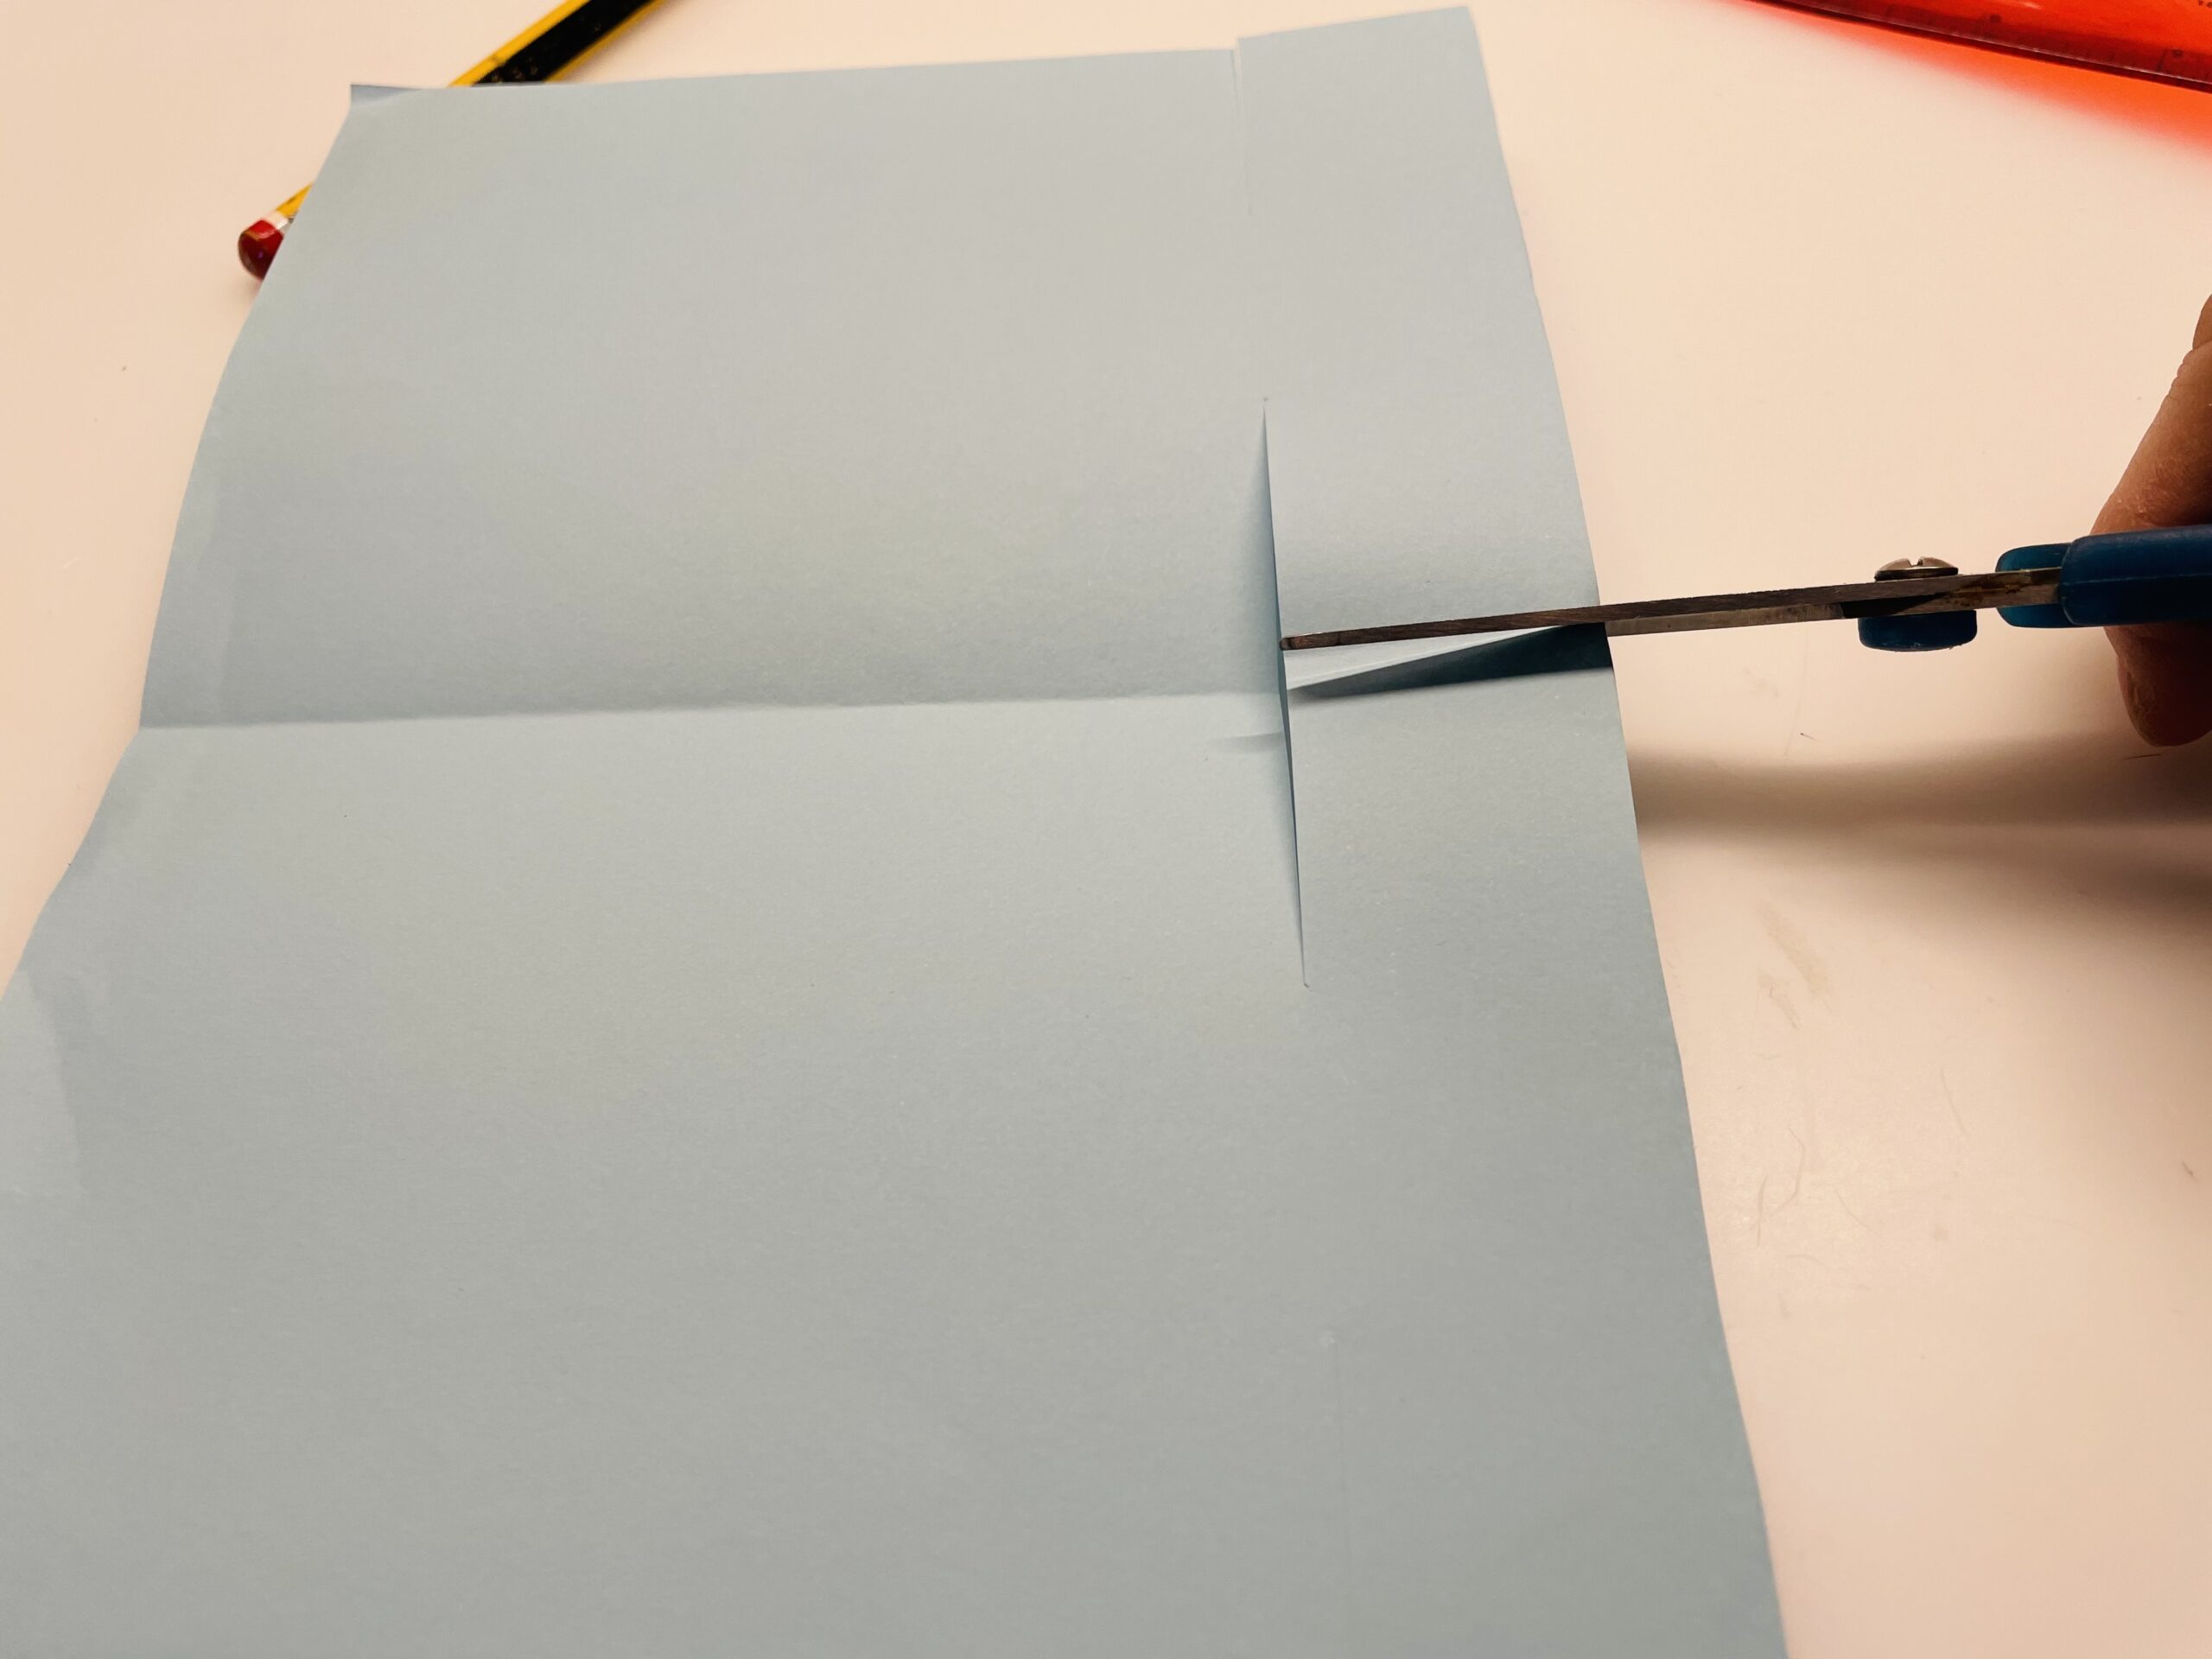
Bild zum Schritt 8 für das Bastel- und DIY-Abenteuer für Kinder: 'Nun schneidet ihr an der Faltung von oben bis zum...'

9

Then cut off the marked 3 cm stripes on the back of the card completely.
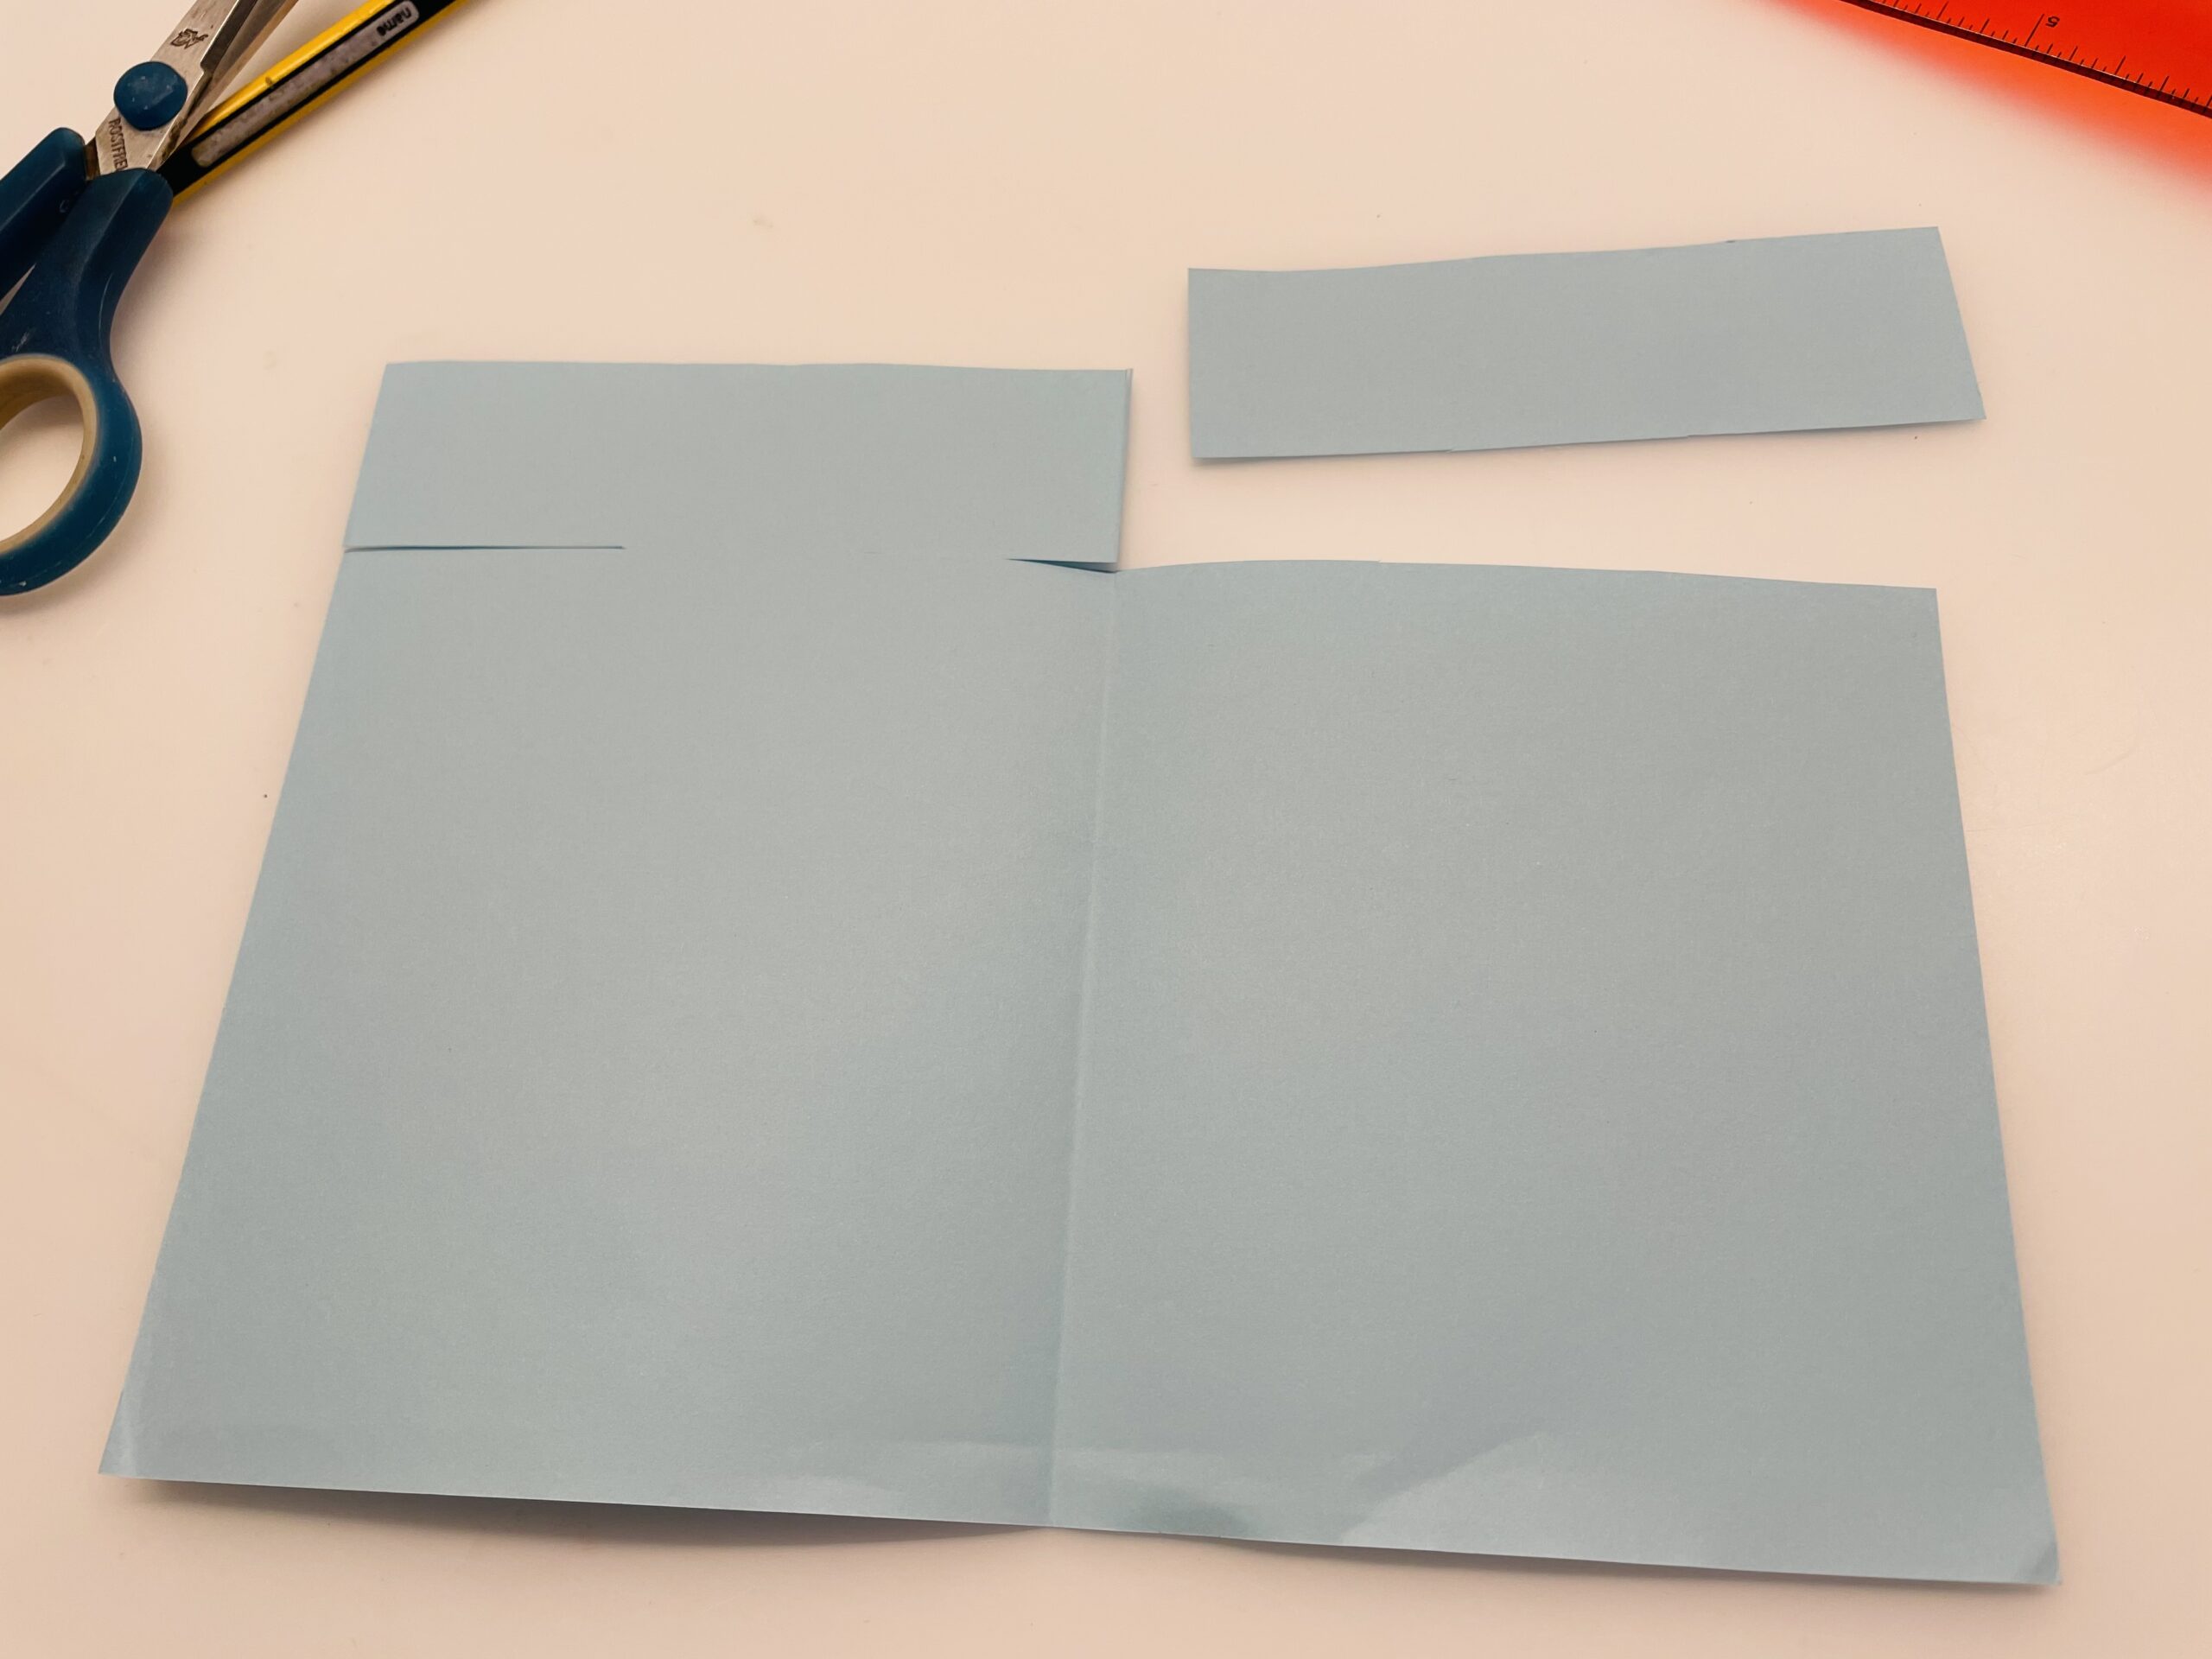
Bild zum Schritt 9 für das Bastel- und DIY-Abenteuer für Kinder: 'Danach schneidet ihr die angezeichneten 3 cm Streifen auf Rückseite...'

10

Then you fold the card again. Now only at the front of the card of the upper stripe is still present.
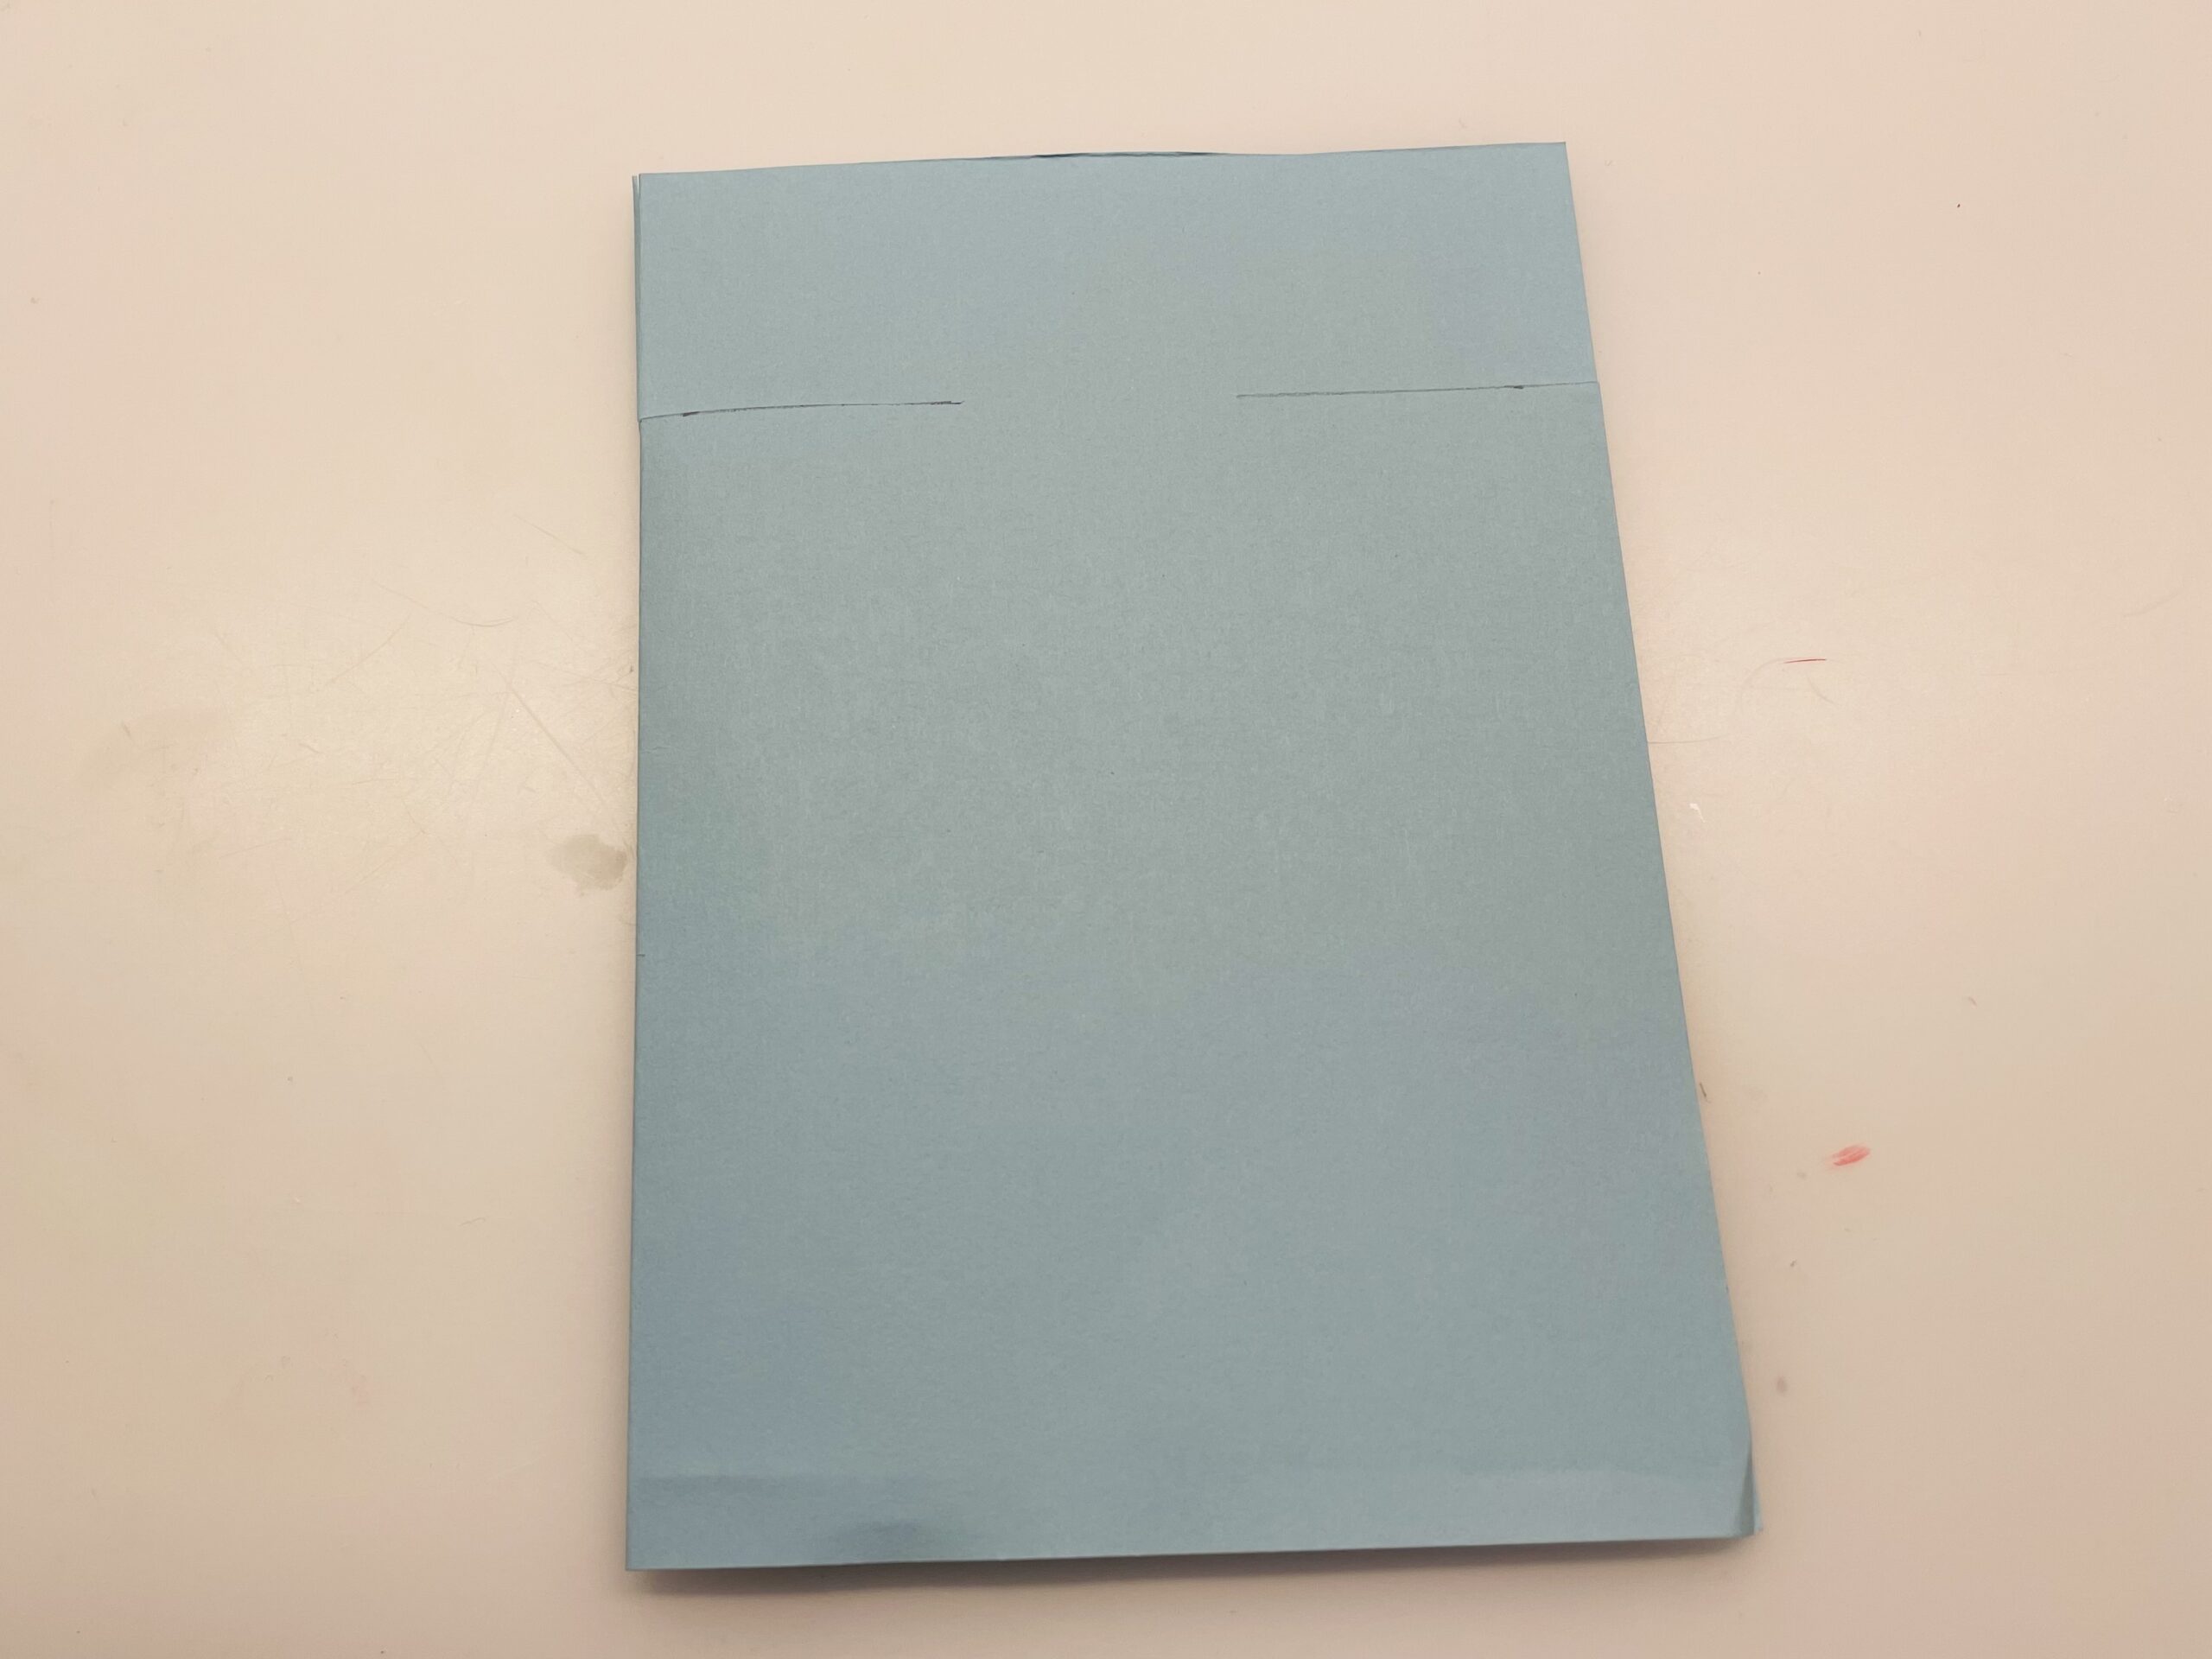
Bild zum Schritt 10 für das Bastel- und DIY-Abenteuer für Kinder: 'Anschließend faltet ihr die Karte wieder zusammen. Jetzt ist nur...'

11

The side-cut stripes now fold her down as a shirt collar.
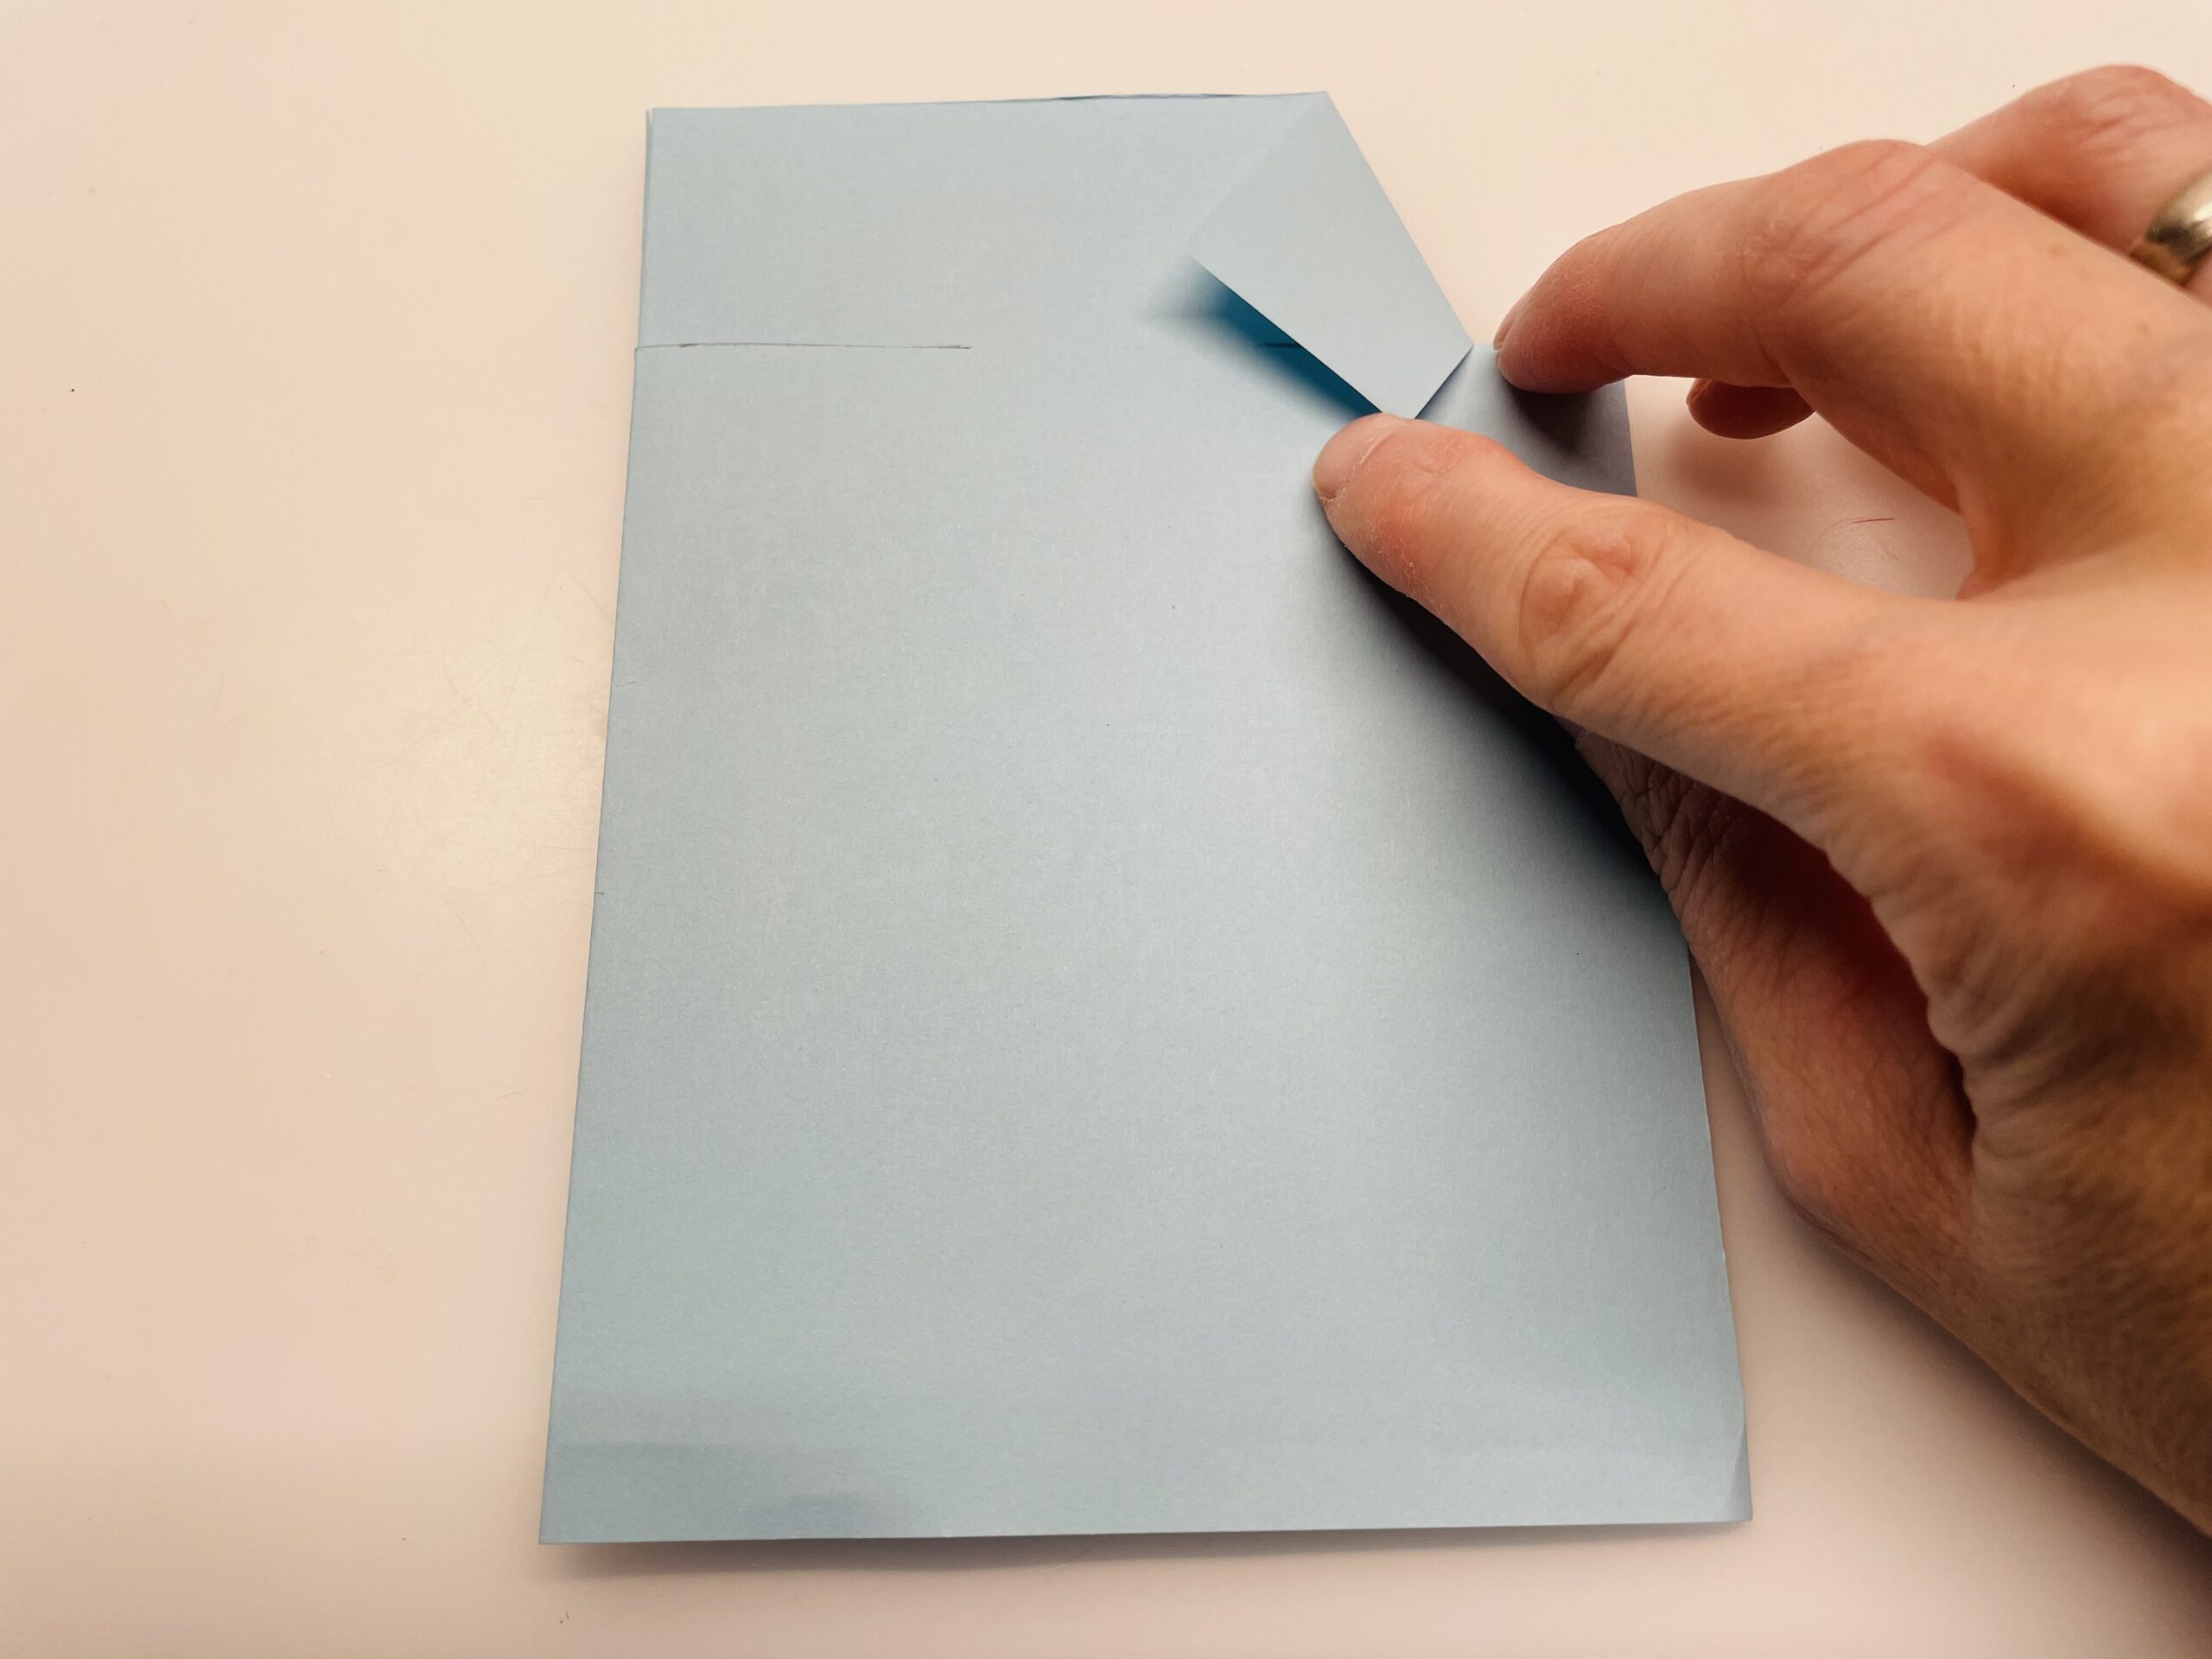
Bild zum Schritt 11 für das Bastel- und DIY-Abenteuer für Kinder: 'Die seitlich eingeschnittenen Streifen faltet ihr nun als Hemd-Kragen nach...'

12

That's what it looks like.

Bild zum Schritt 12 für das Bastel- und DIY-Abenteuer für Kinder: 'So sieht das dann aus.'

13

Now you border the complete card with a felt pen. Keep the felt pen flat and strip over the edge of the paper.
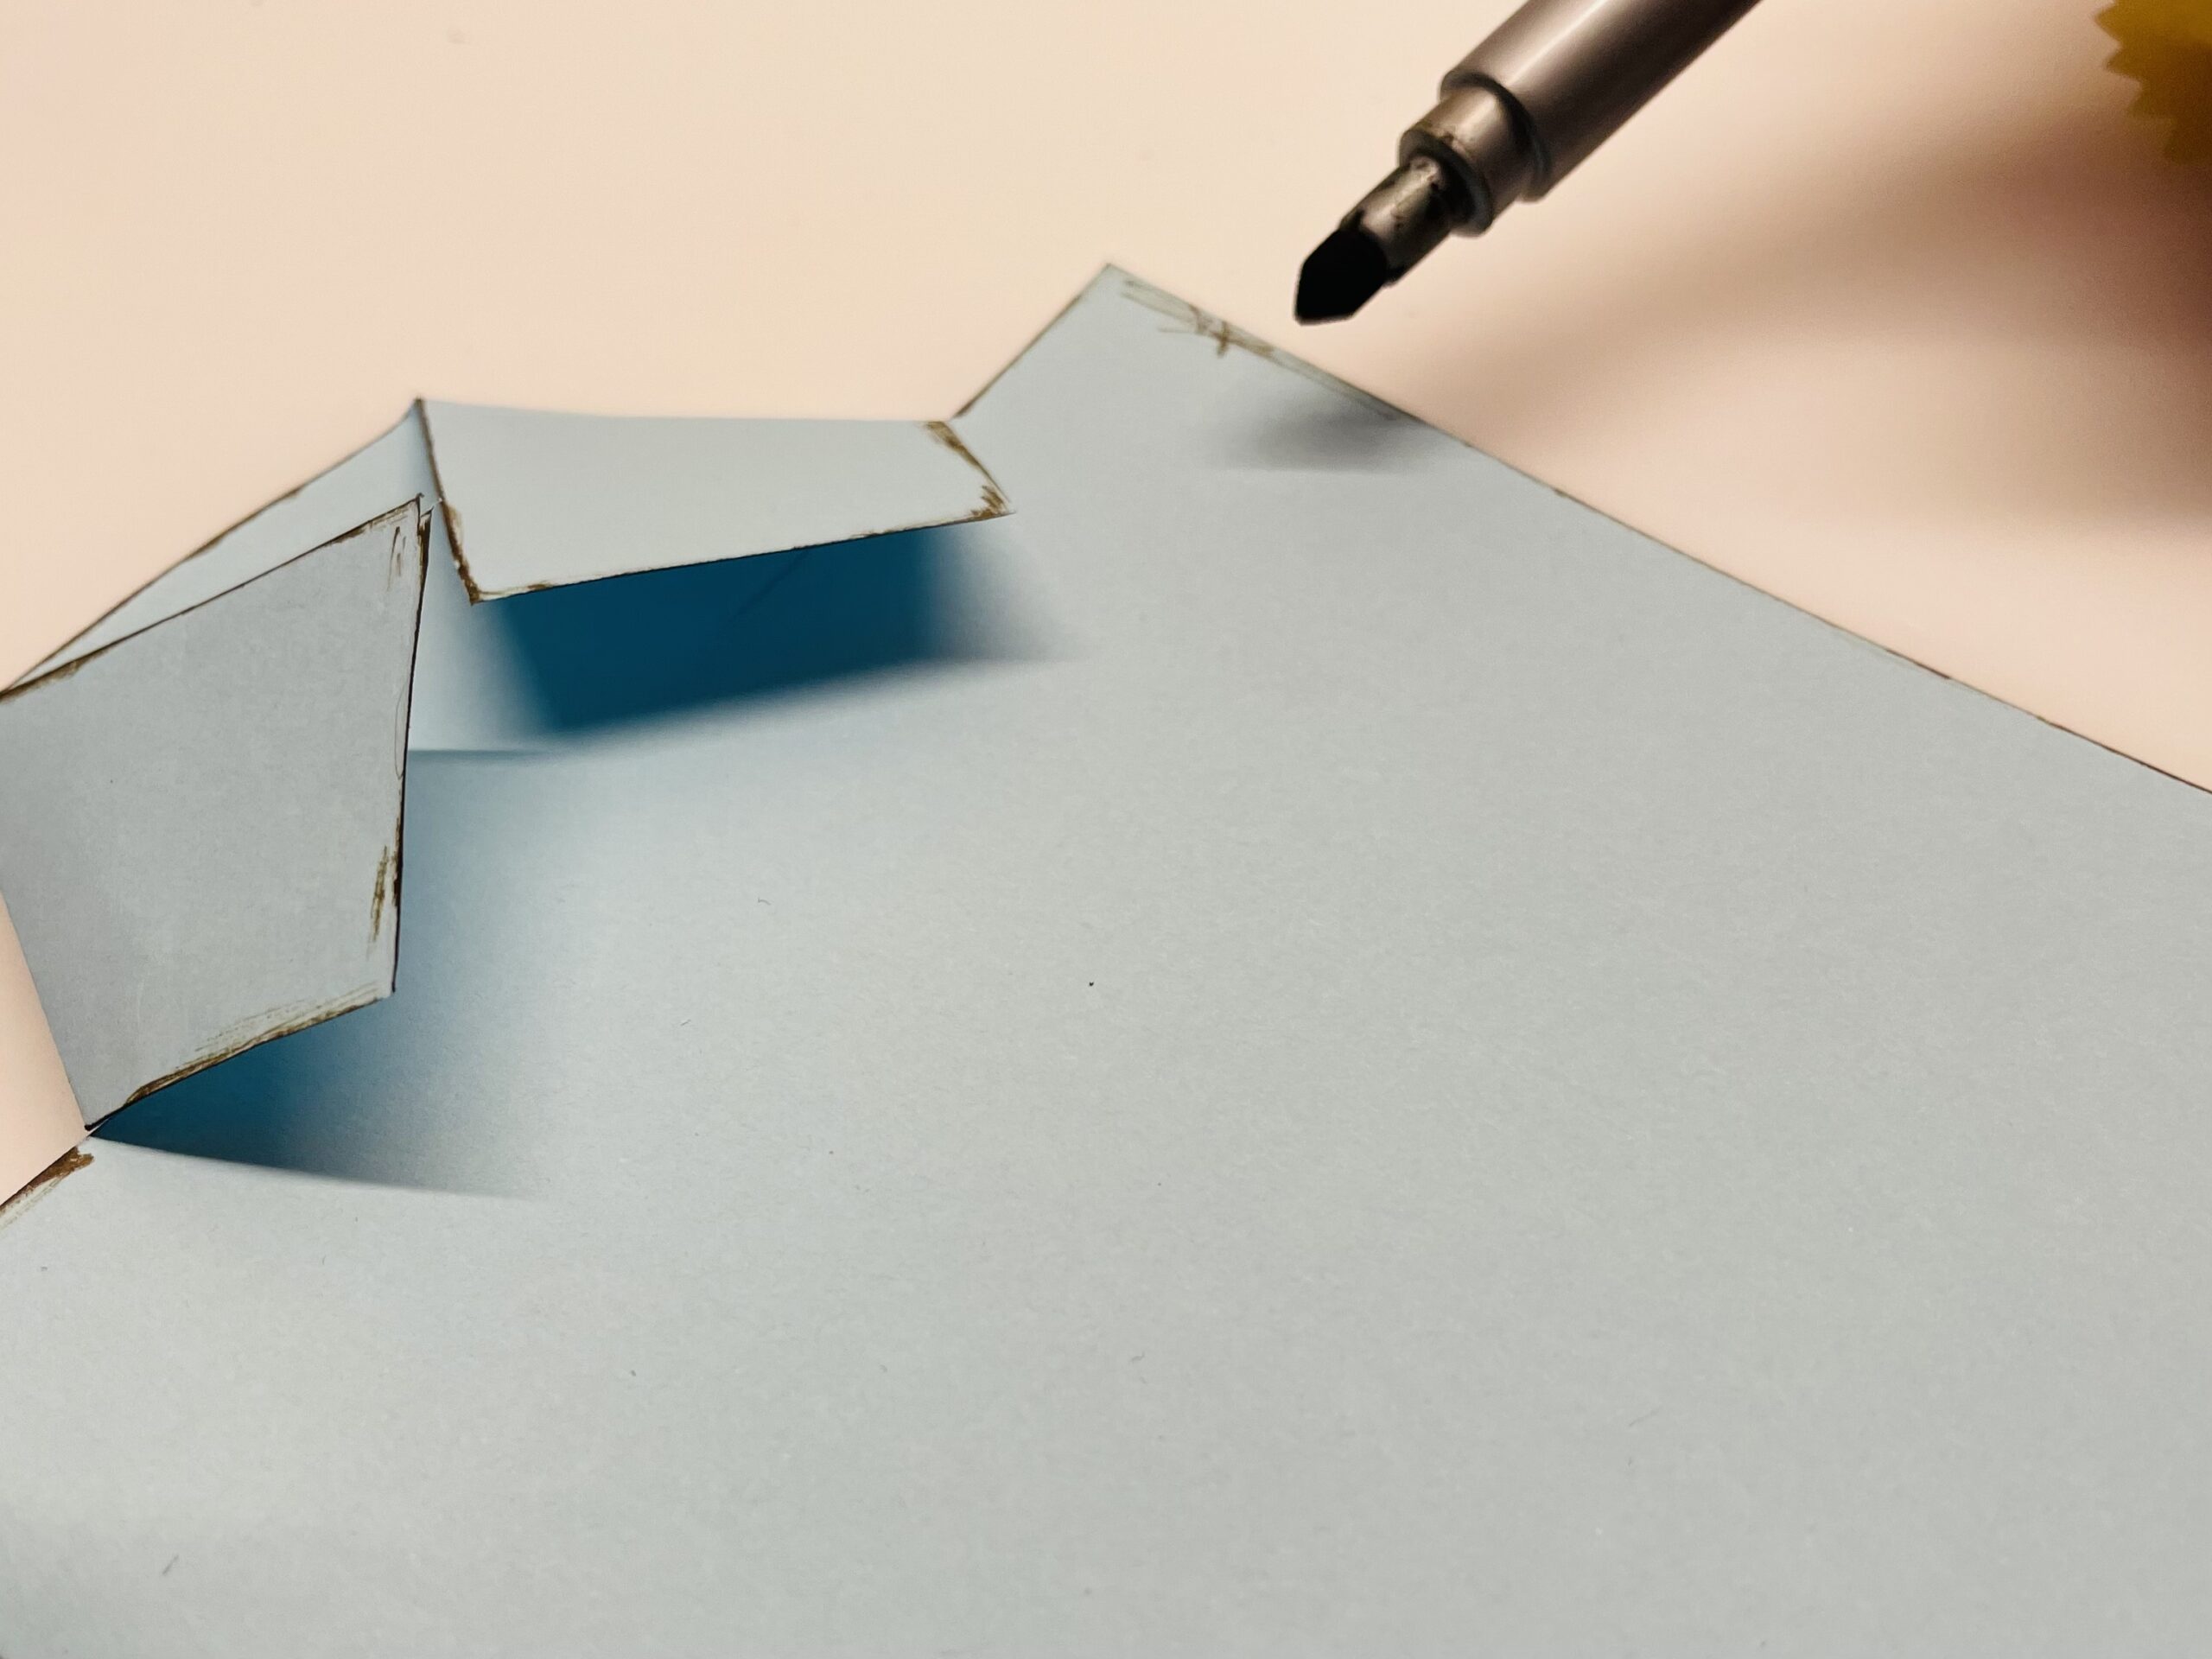
Bild zum Schritt 13 für das Bastel- und DIY-Abenteuer für Kinder: 'Nun umrandet ihr die komplette Karte mit einem Filzstift. Haltet...'

14

The map is ready.
Now you have two design variants:
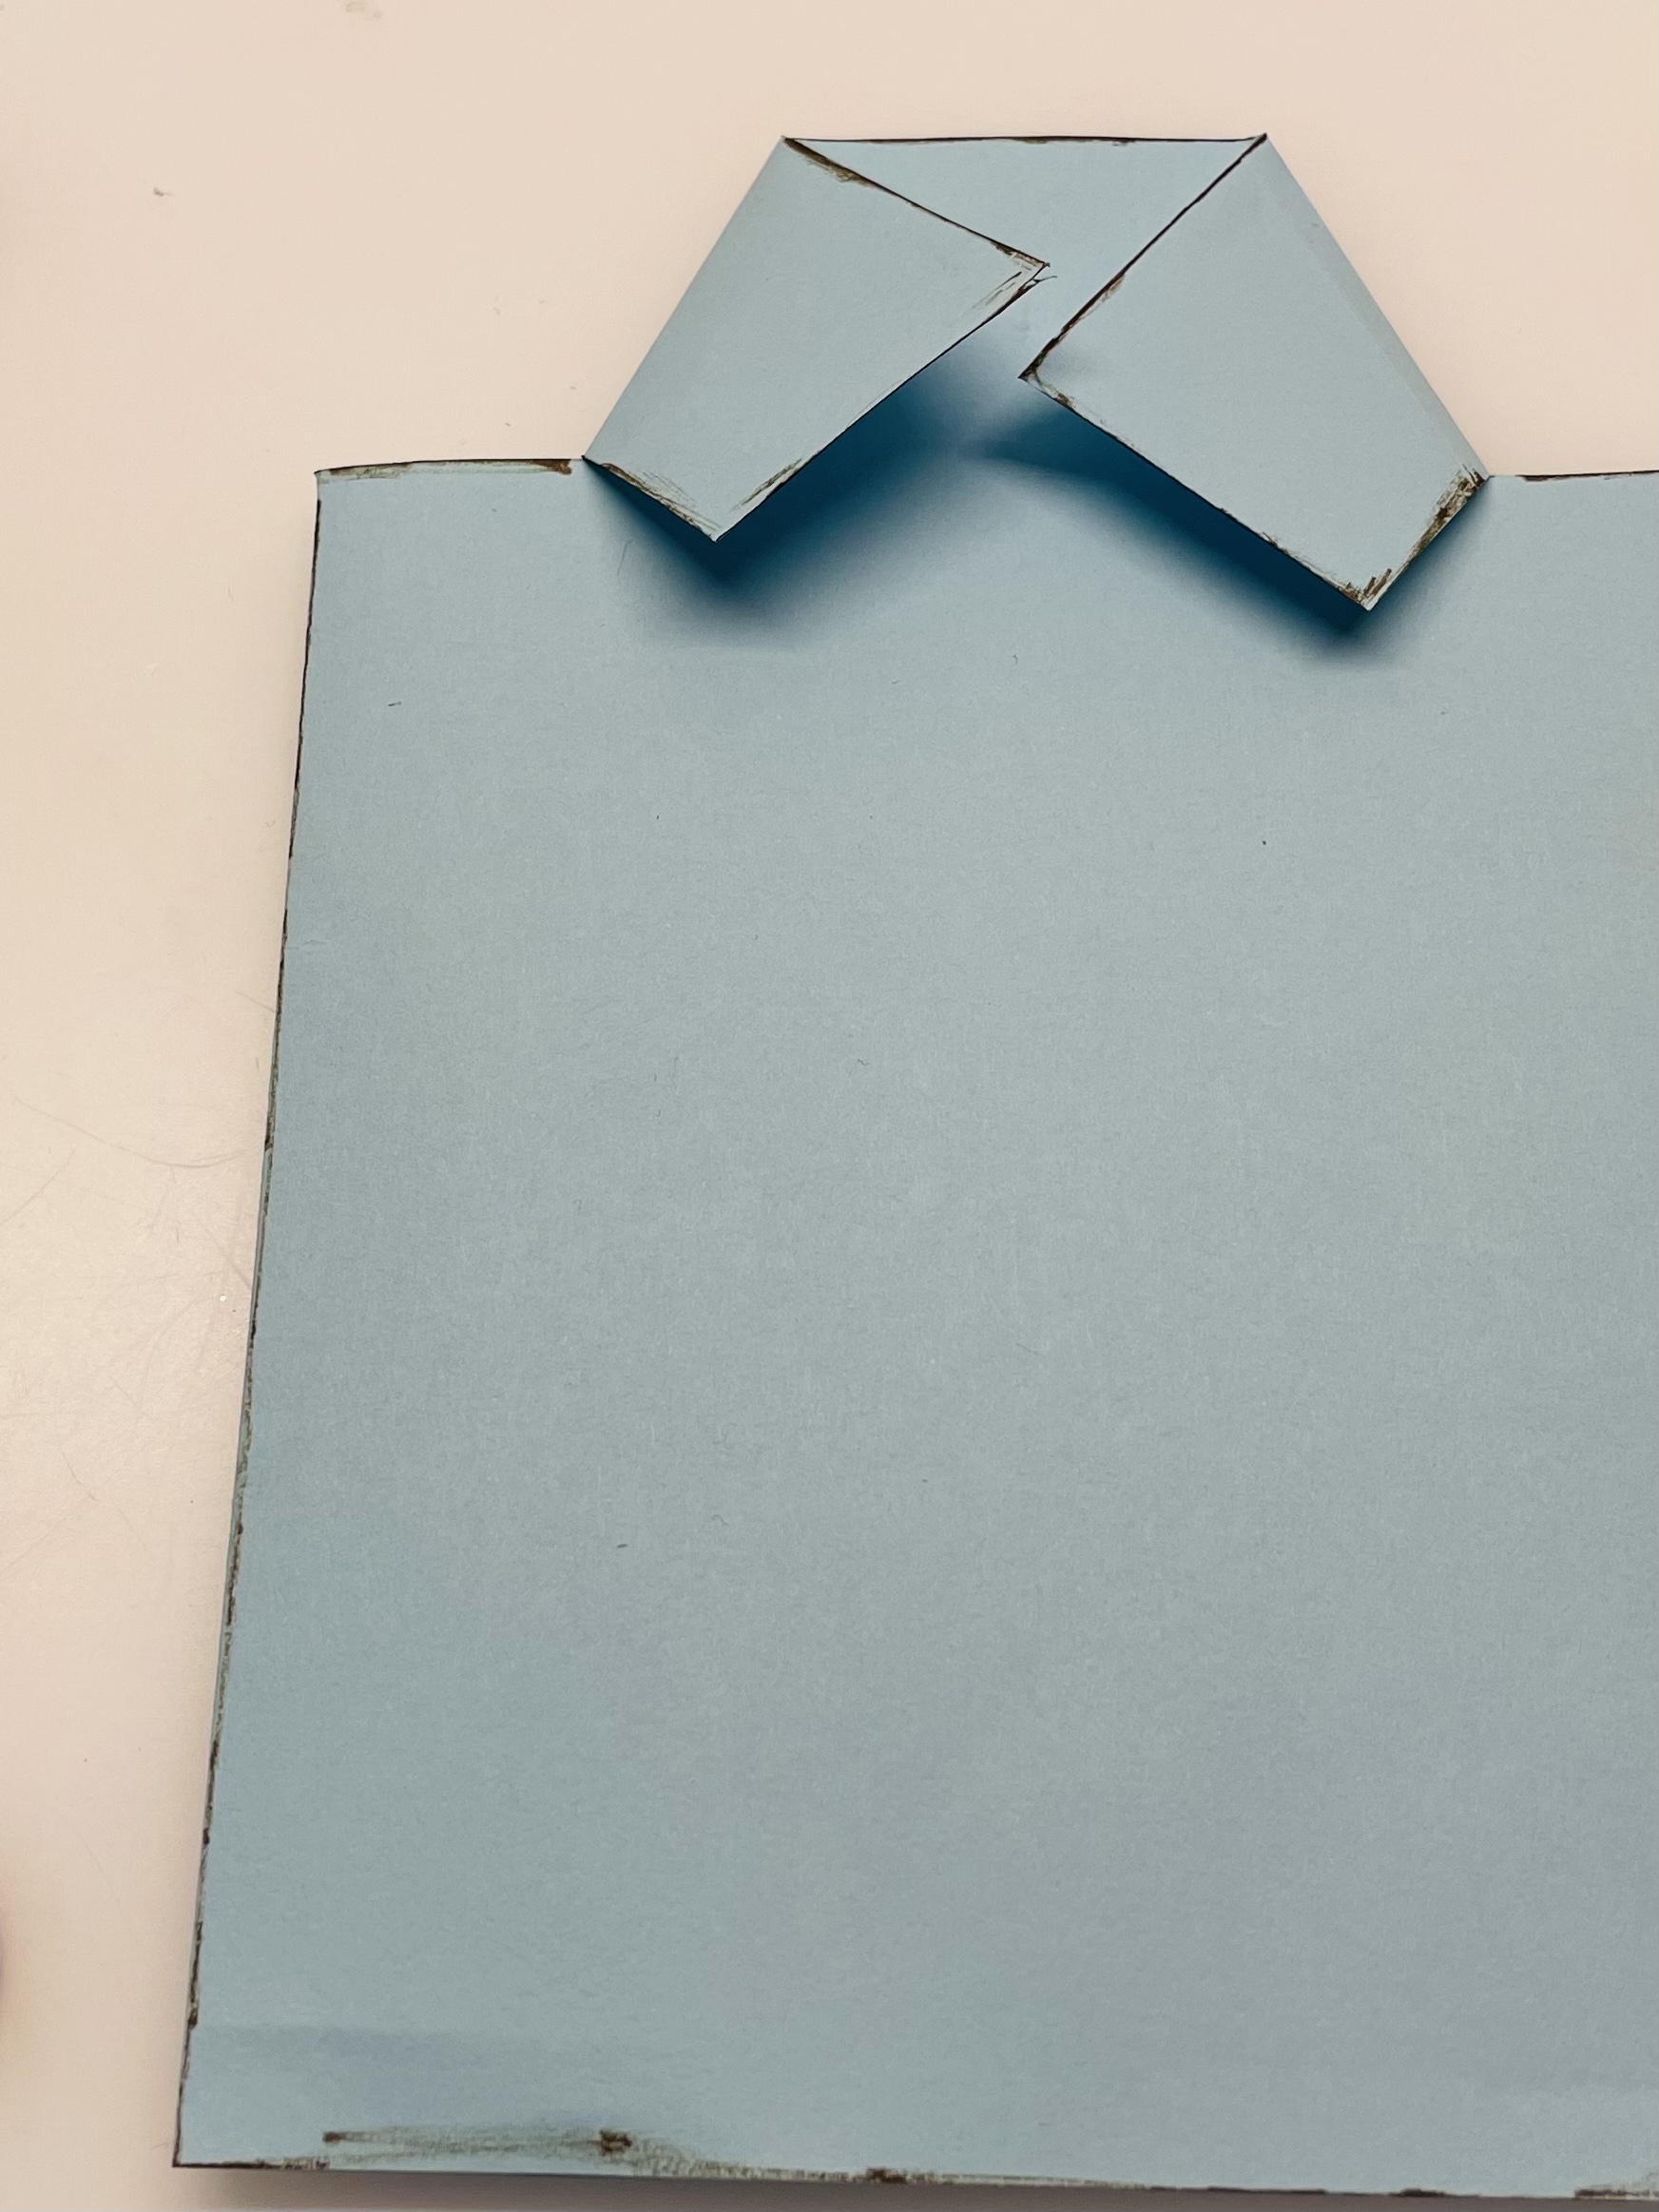
Bild zum Schritt 14 für das Bastel- und DIY-Abenteuer für Kinder: 'Fertig ist die Karte.  Jetzt habt ihr zwei Gestaltungs-Varianten:'

Shirt with tie:
15

You need two small buttons and a piece of wrapping paper.
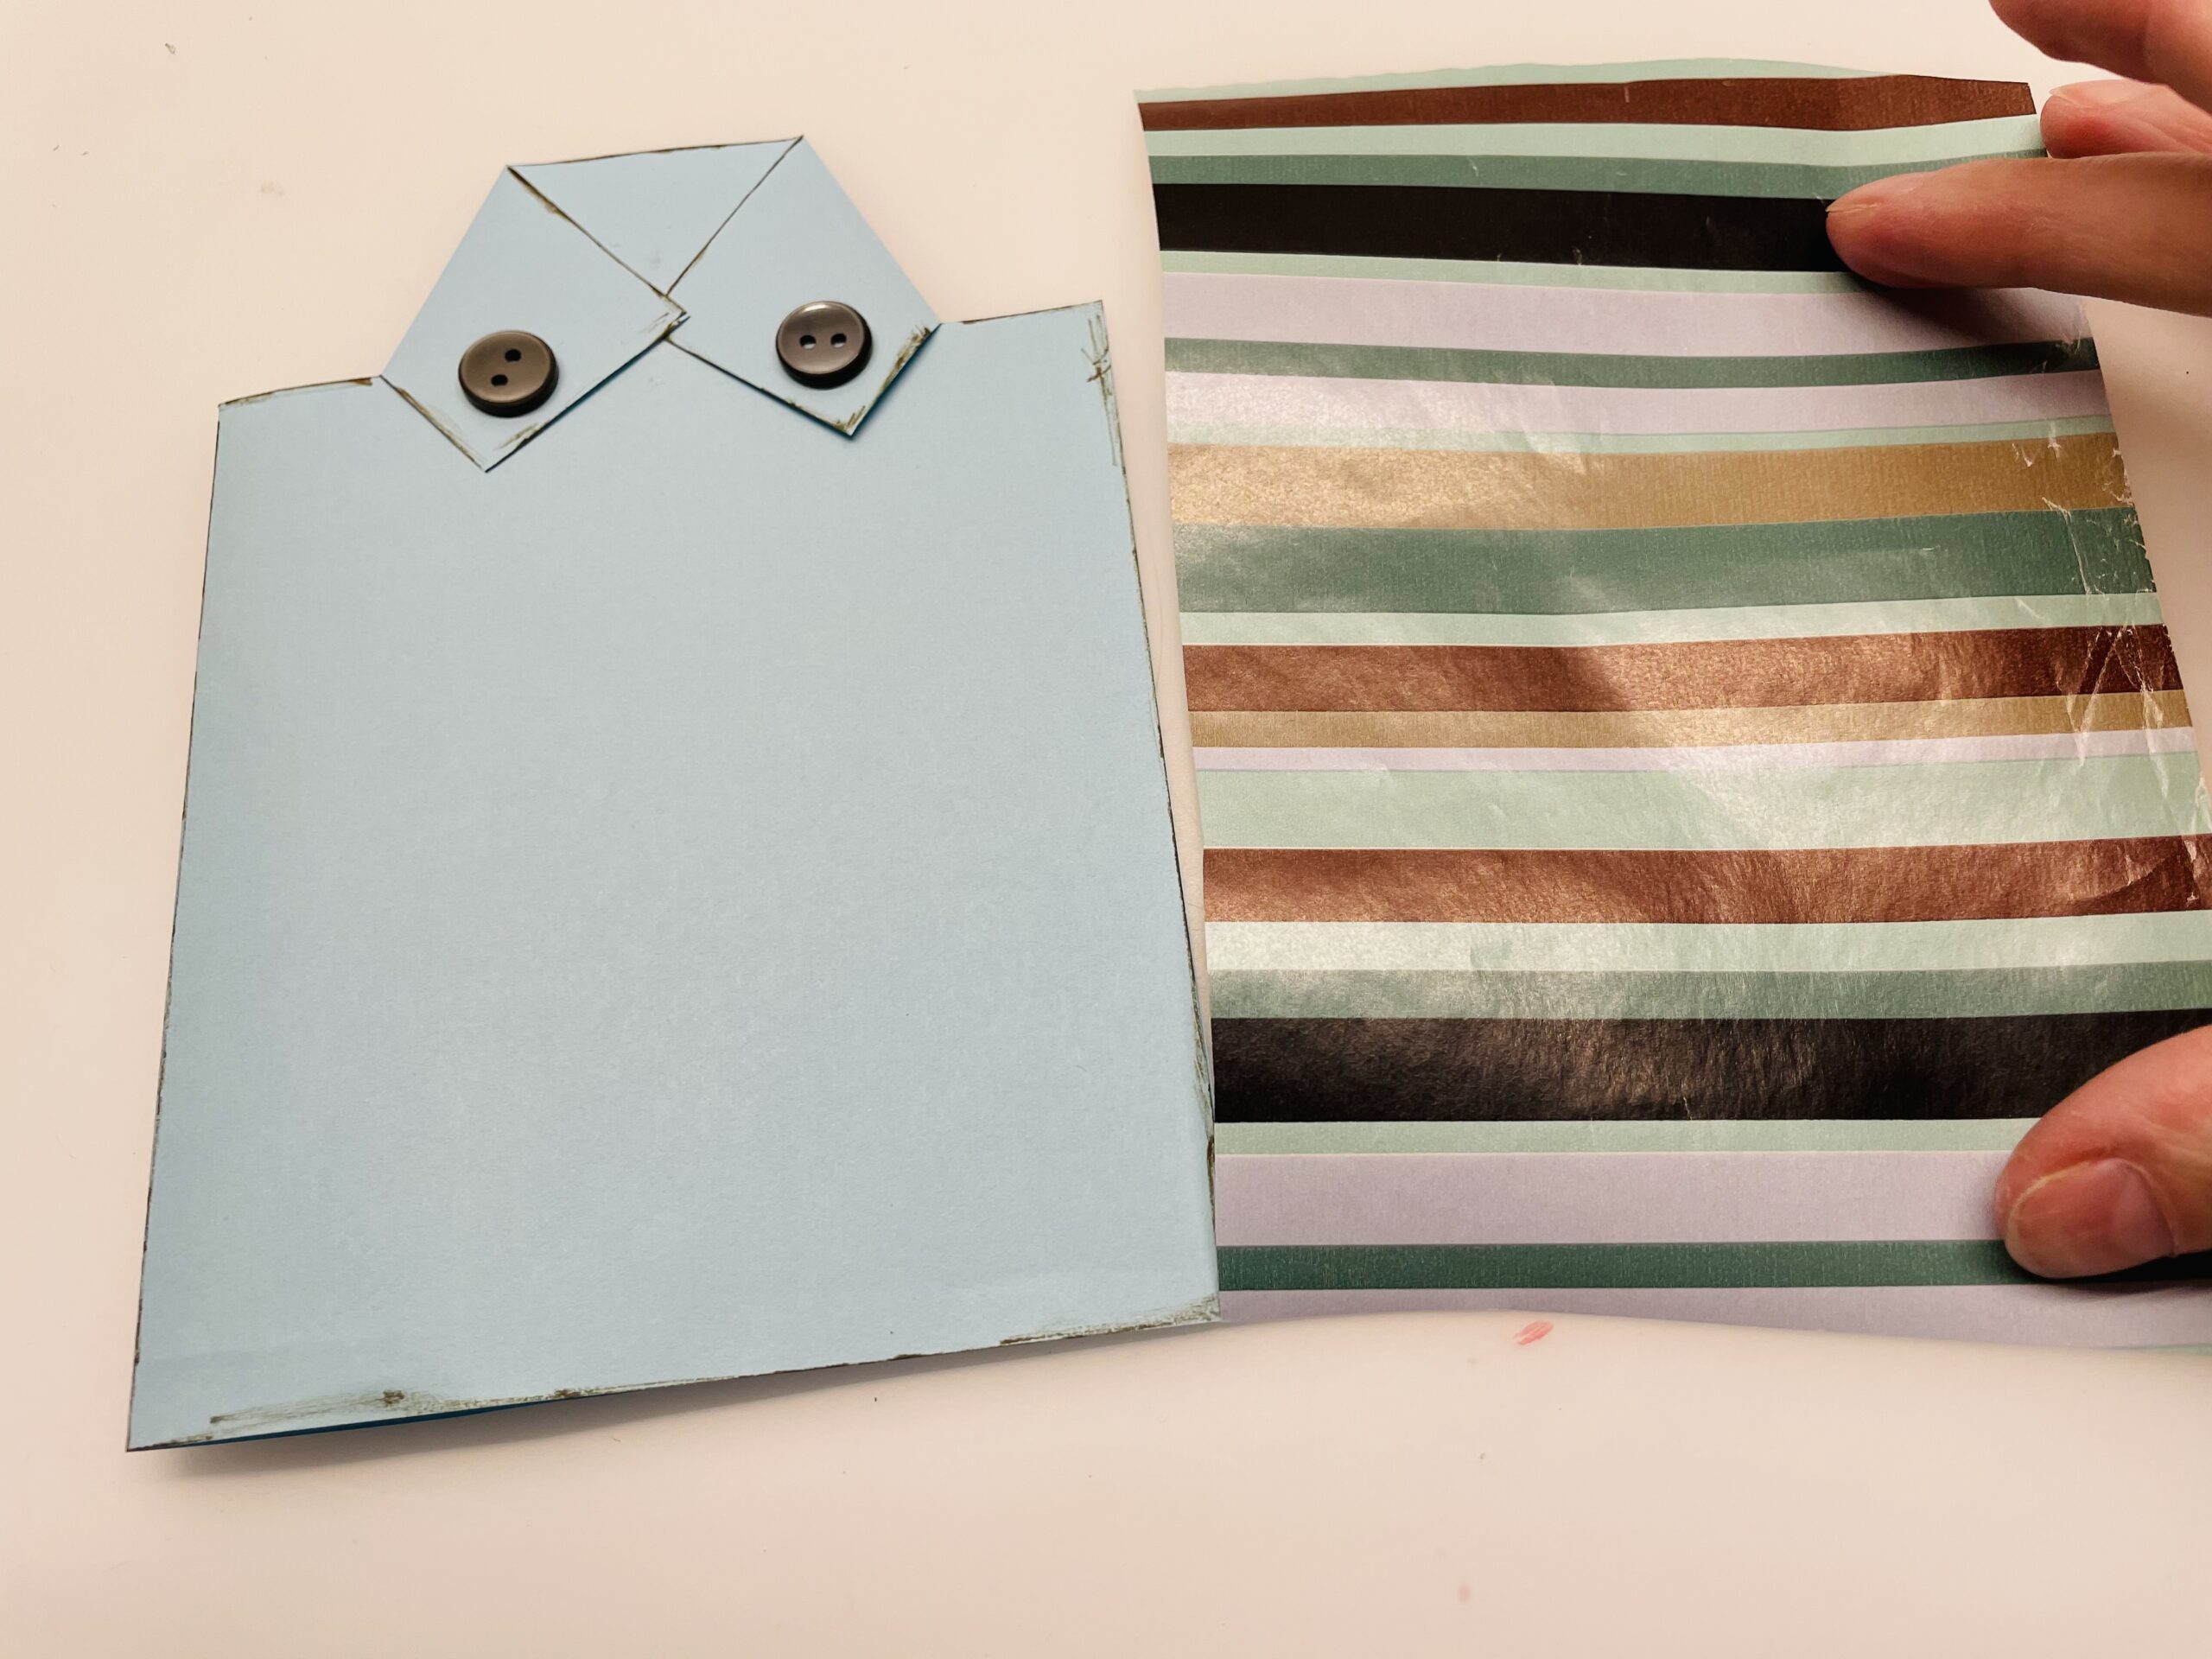
Bild zum Schritt 16 für das Bastel- und DIY-Abenteuer für Kinder: 'Ihr braucht hierfür zwei kleine Knöpfe und ein Stück Geschenkpapier.'

16

Draw a small tie on the back of the paper.
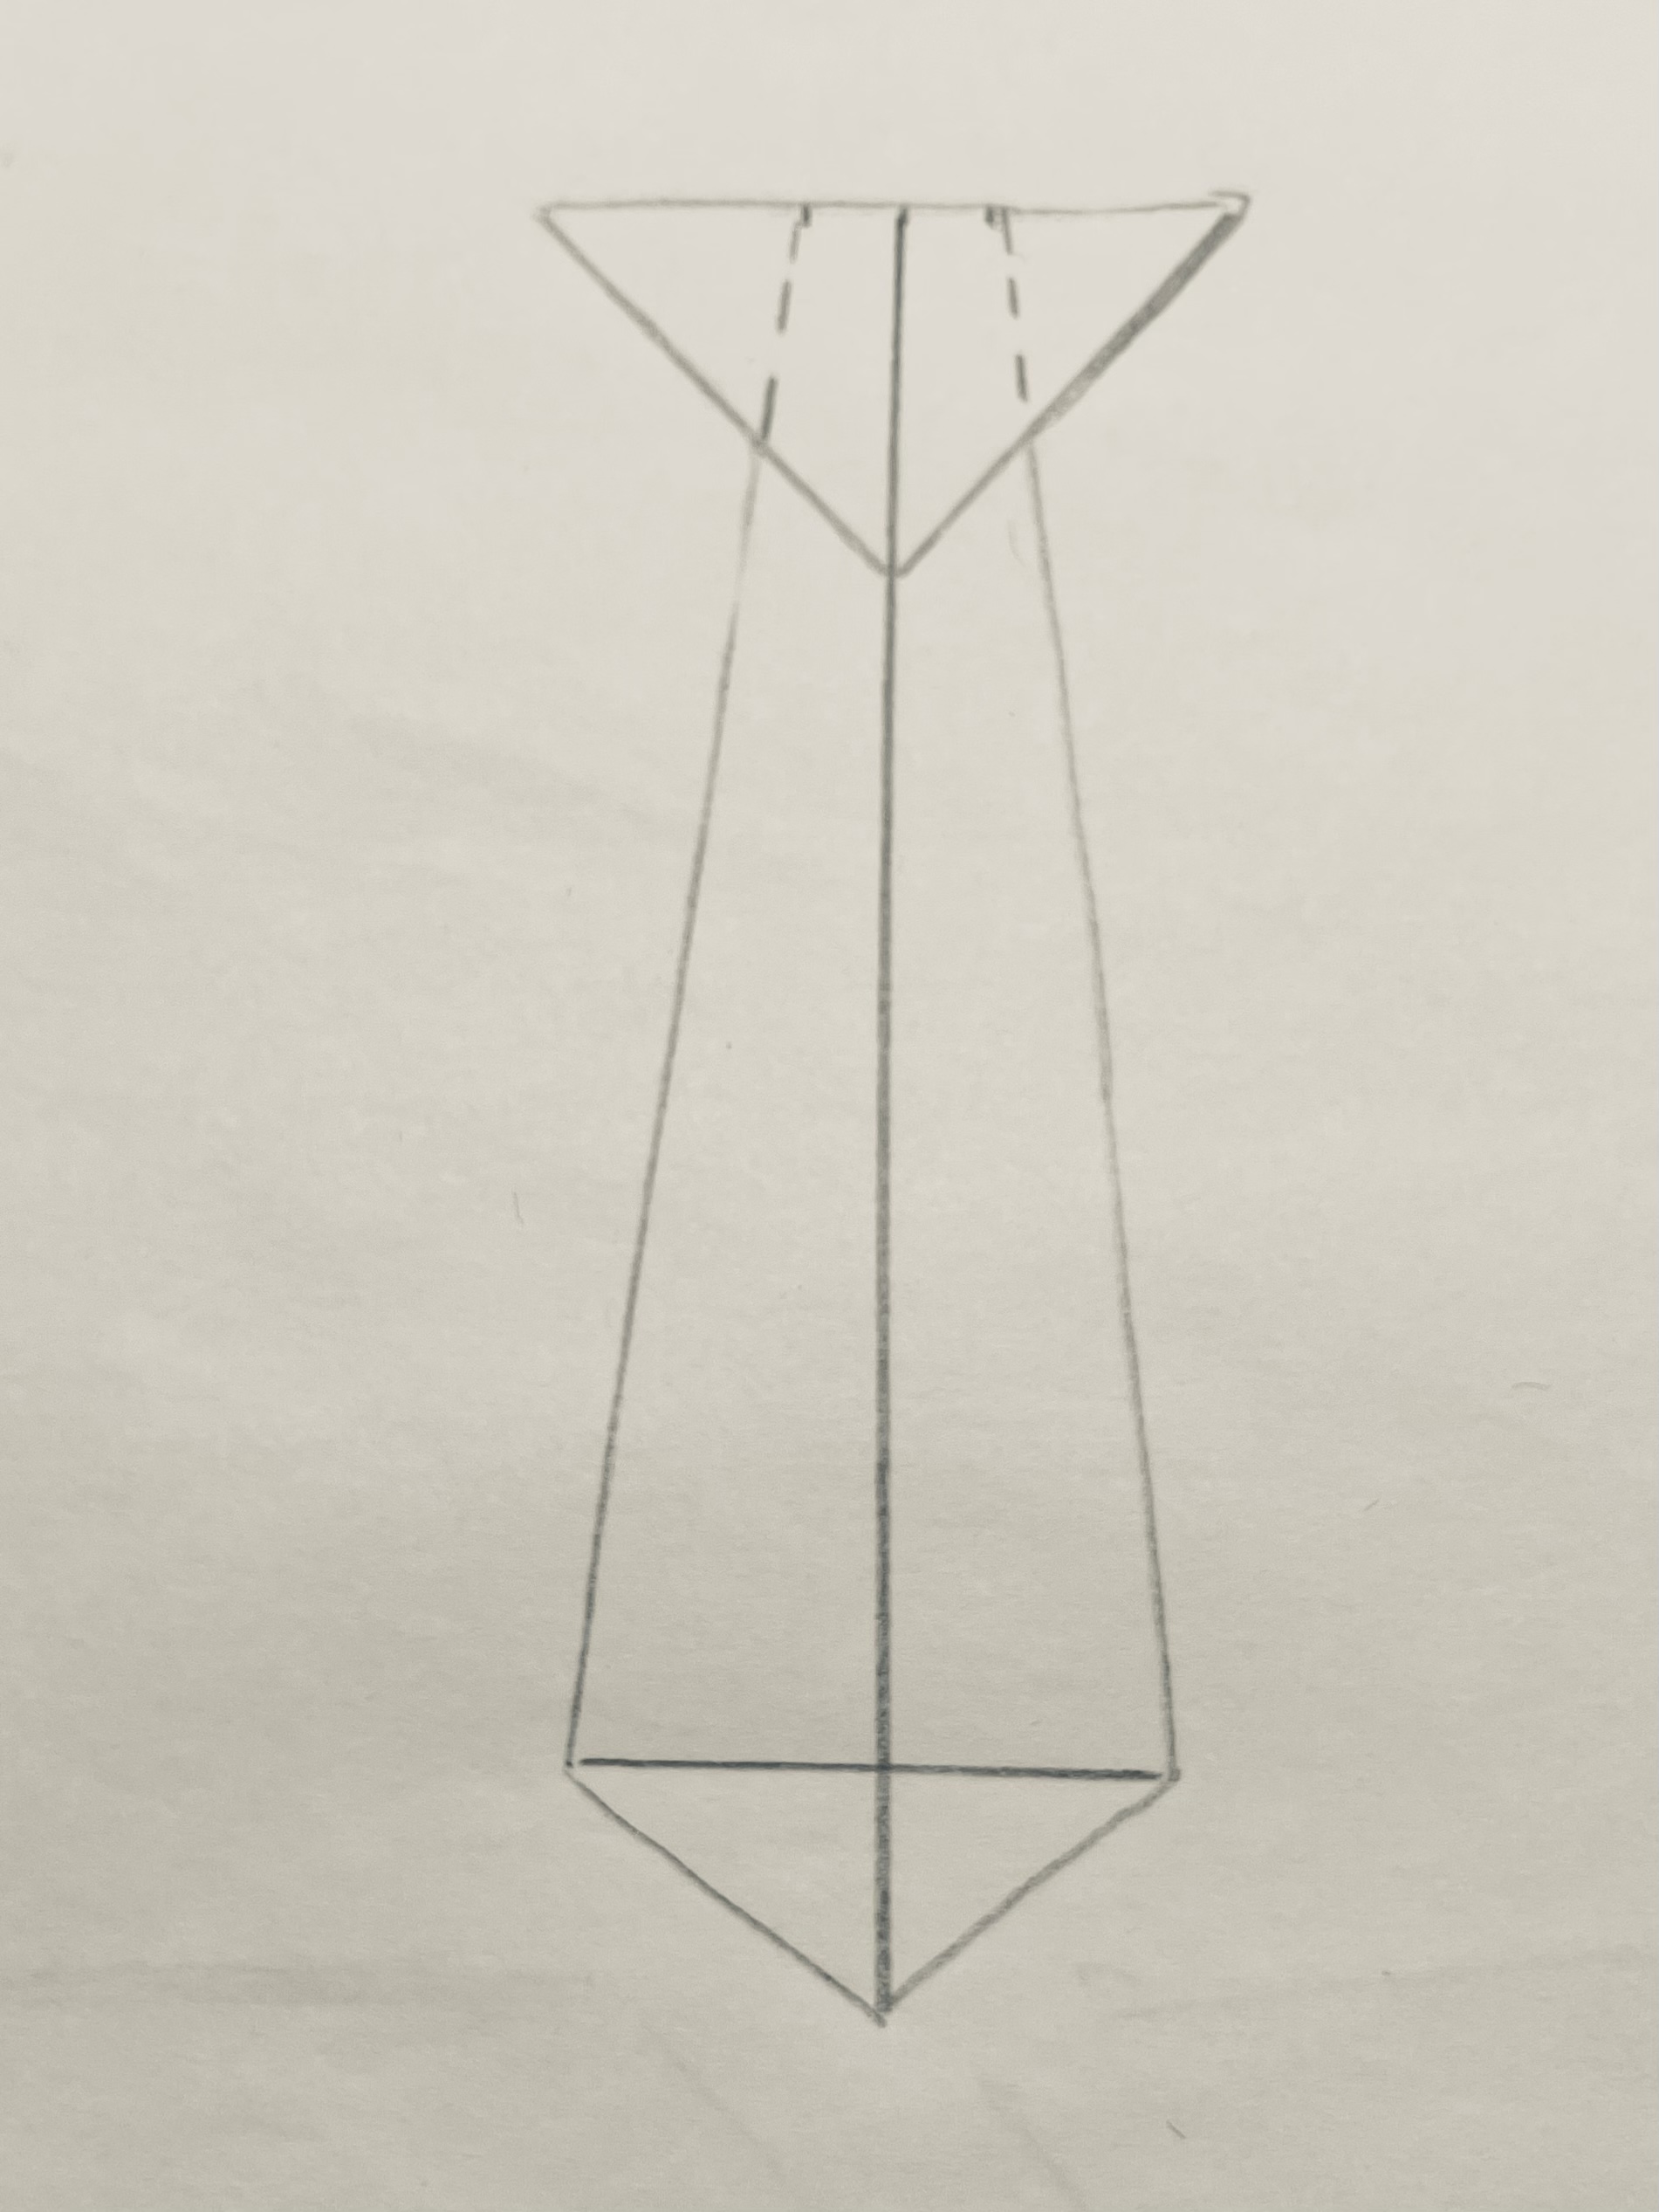
Bild zum Schritt 17 für das Bastel- und DIY-Abenteuer für Kinder: 'Zeichnet euch eine kleine Krawatte auf die Rückseite des Papiers...'

17

The measurements for our tie.

Bild zum Schritt 18 für das Bastel- und DIY-Abenteuer für Kinder: 'Die Maße für unsere Krawatte.'

18

Then cut out your tie.

Bild zum Schritt 19 für das Bastel- und DIY-Abenteuer für Kinder: 'Schneidet anschließend eure Krawatte aus.'

19

Tip: You can also paint a tie yourself freely!

Bild zum Schritt 20 für das Bastel- und DIY-Abenteuer für Kinder: 'Tipp: Ihr könnt auch selbst ganz frei eine Krawatte aufmalen!'

20

Now push the tie slightly under the collar of the shirt. Fix it with an adhesive point in the upper area.
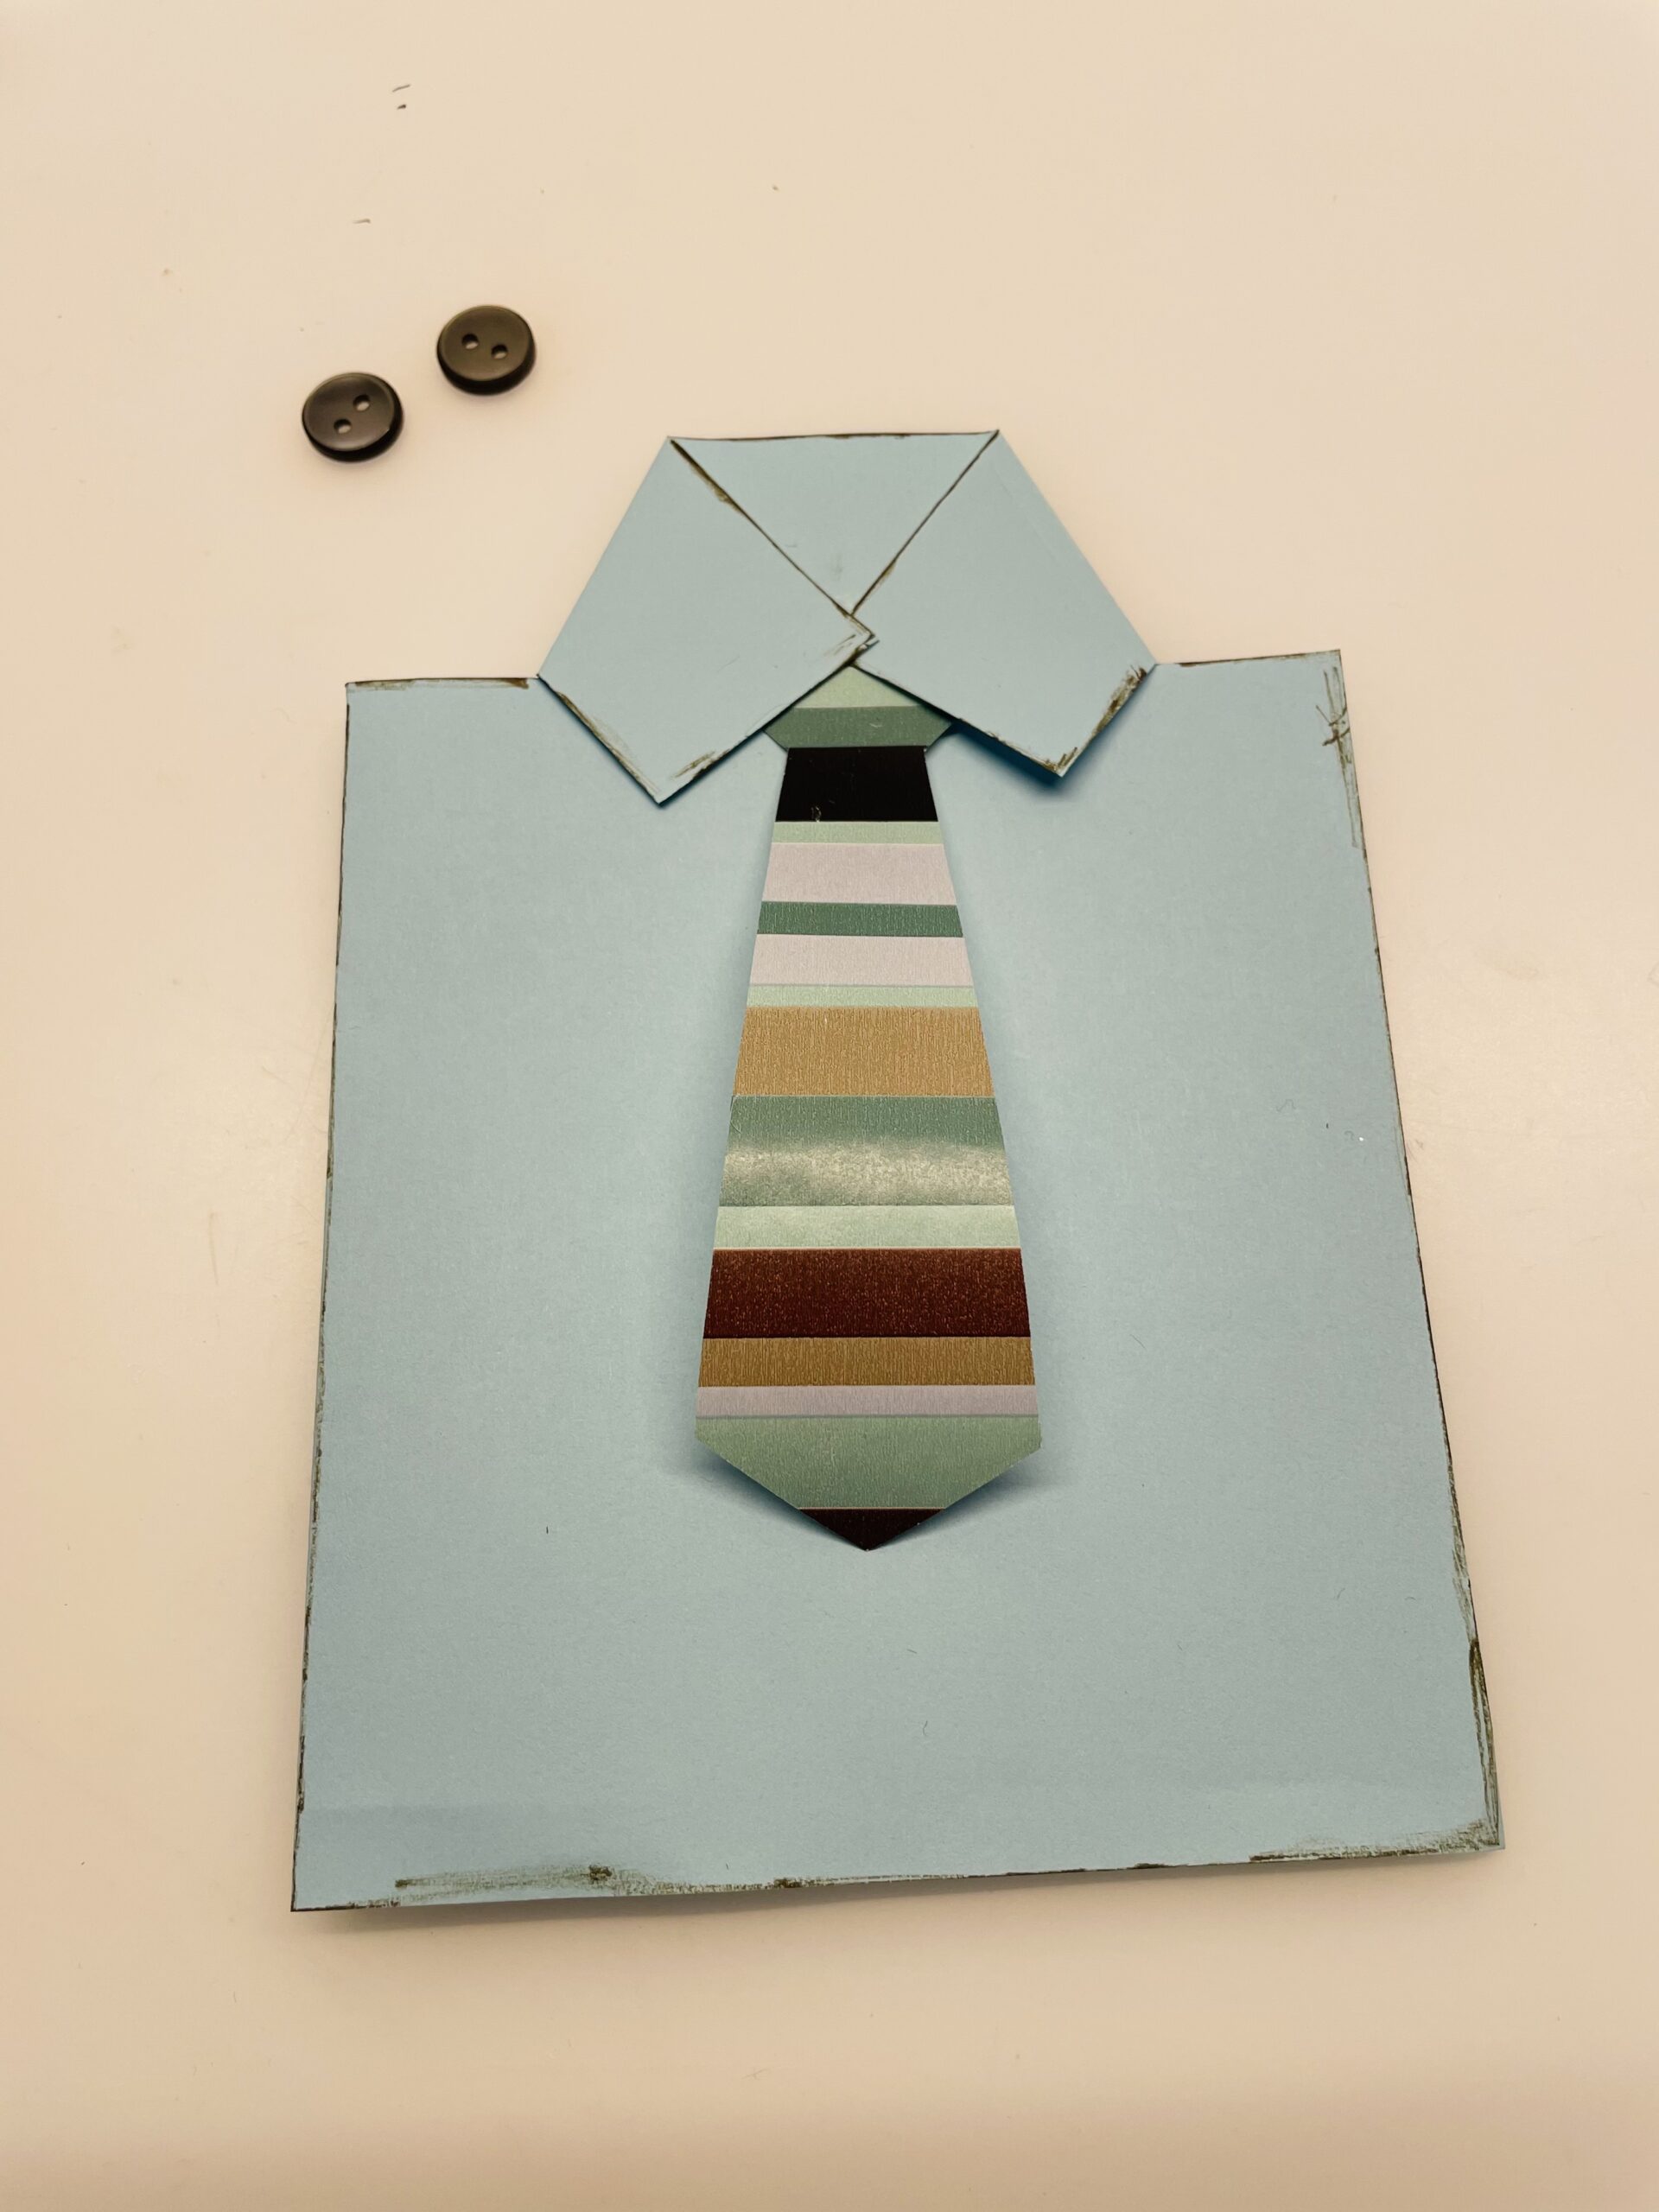
Bild zum Schritt 21 für das Bastel- und DIY-Abenteuer für Kinder: 'Schiebt nun die Krawatte etwas unter den Kragen des Hemdes....'

21

Then stick two small buttons to the left and right on the collar. Your tie card is ready.
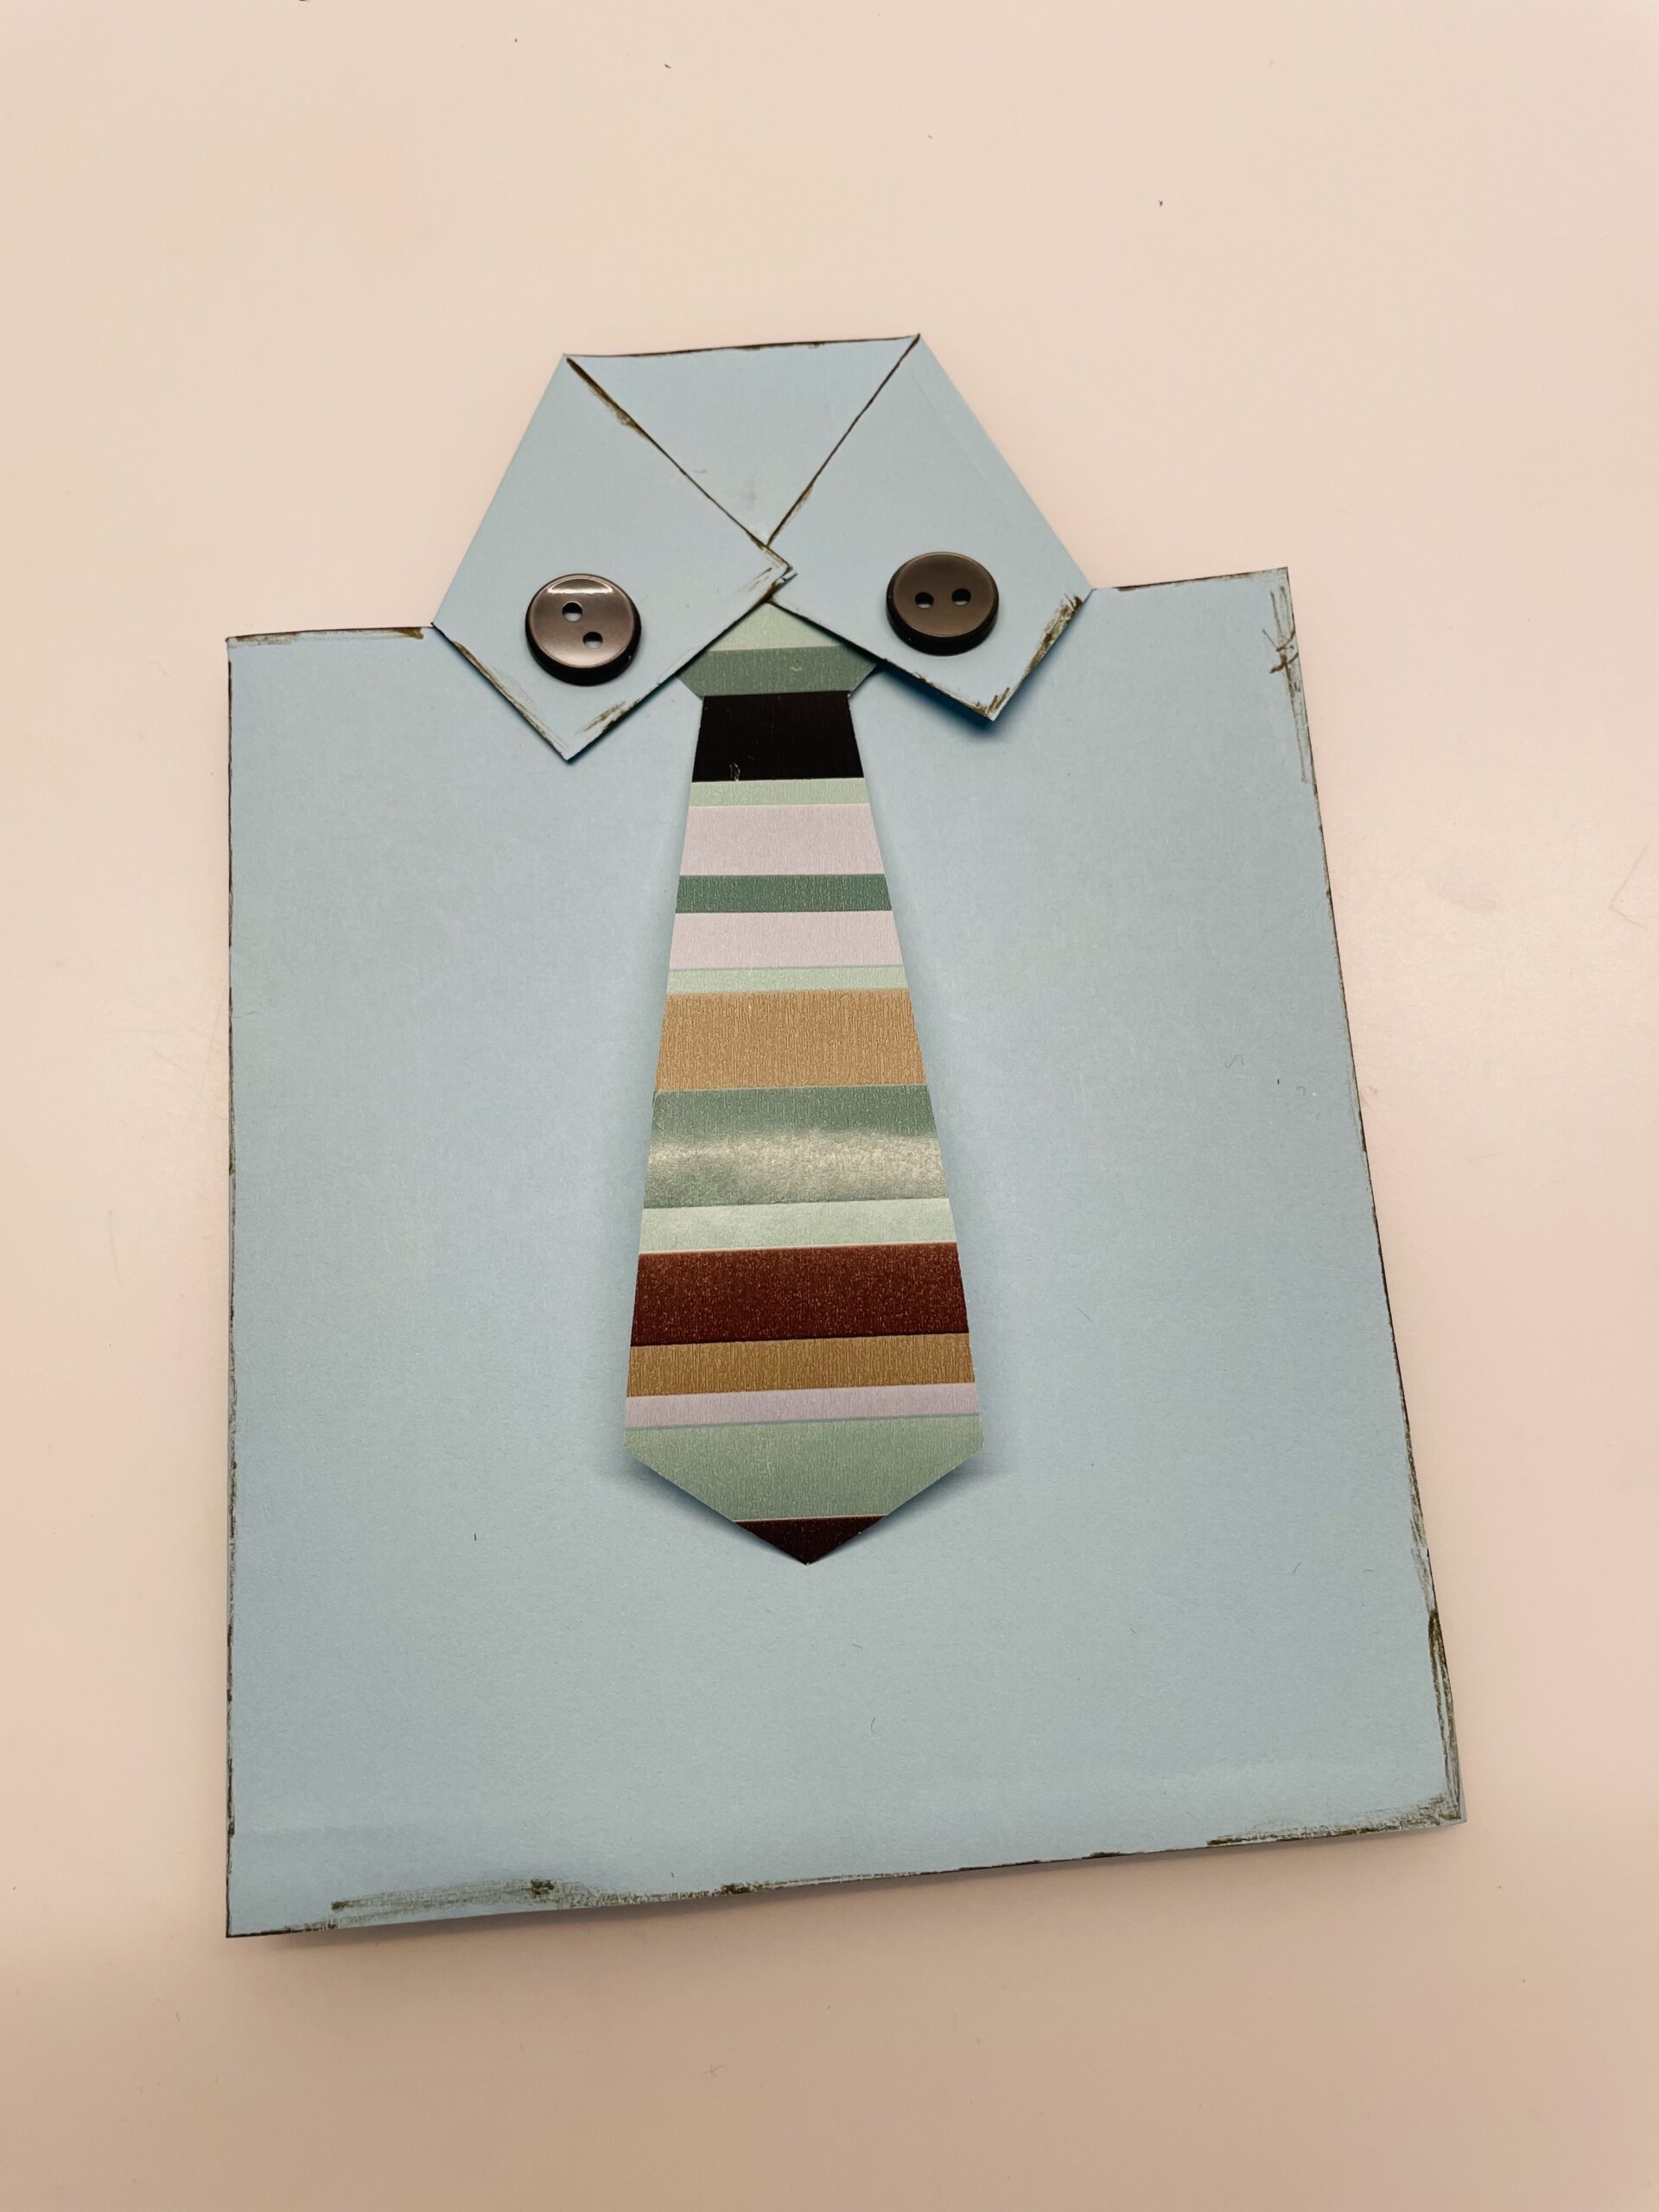
Bild zum Schritt 22 für das Bastel- und DIY-Abenteuer für Kinder: 'Klebt anschließend zwei kleine Knöpfe links und rechts auf den...'

Shirt with bow tie and buttons:
22

For the second variant you need three identical or similar buttons and a loop noodle.
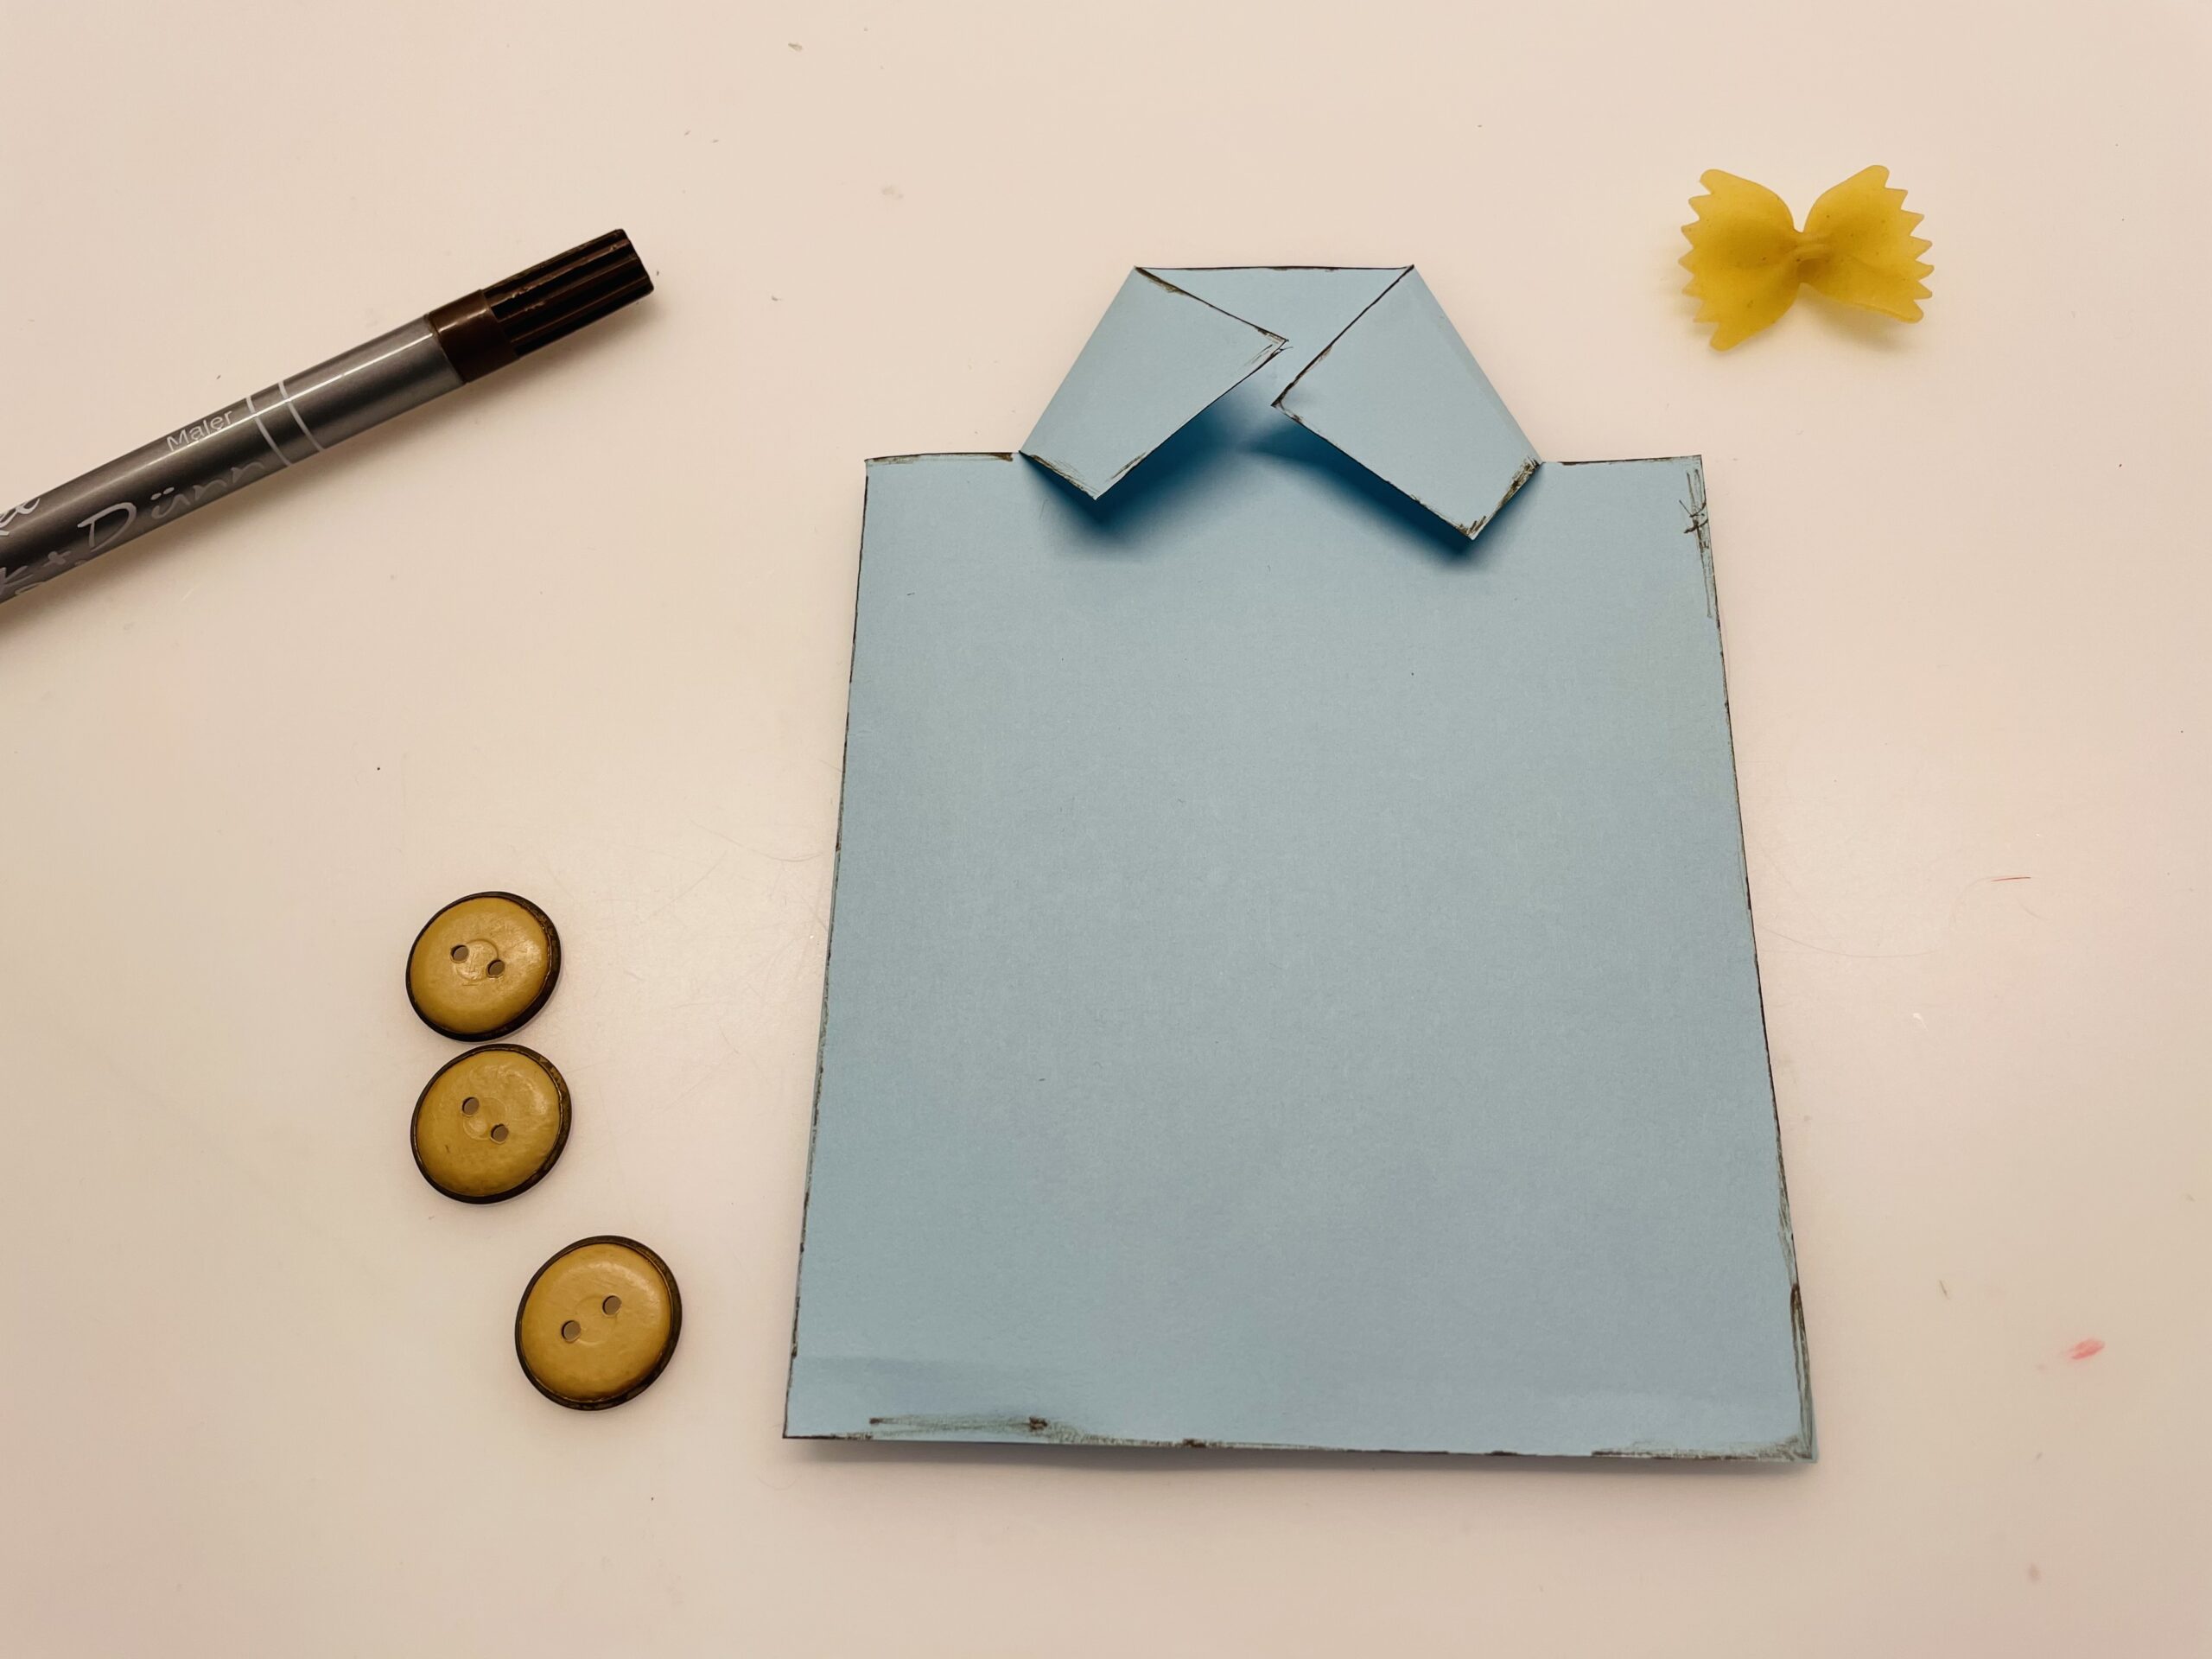
Bild zum Schritt 24 für das Bastel- und DIY-Abenteuer für Kinder: 'Für die zweite Variante benötigt ihr drei gleiche oder ähnliche...'

23

Arrange the buttons with each other with a little distance and place the loop noodle in the middle of the collar.
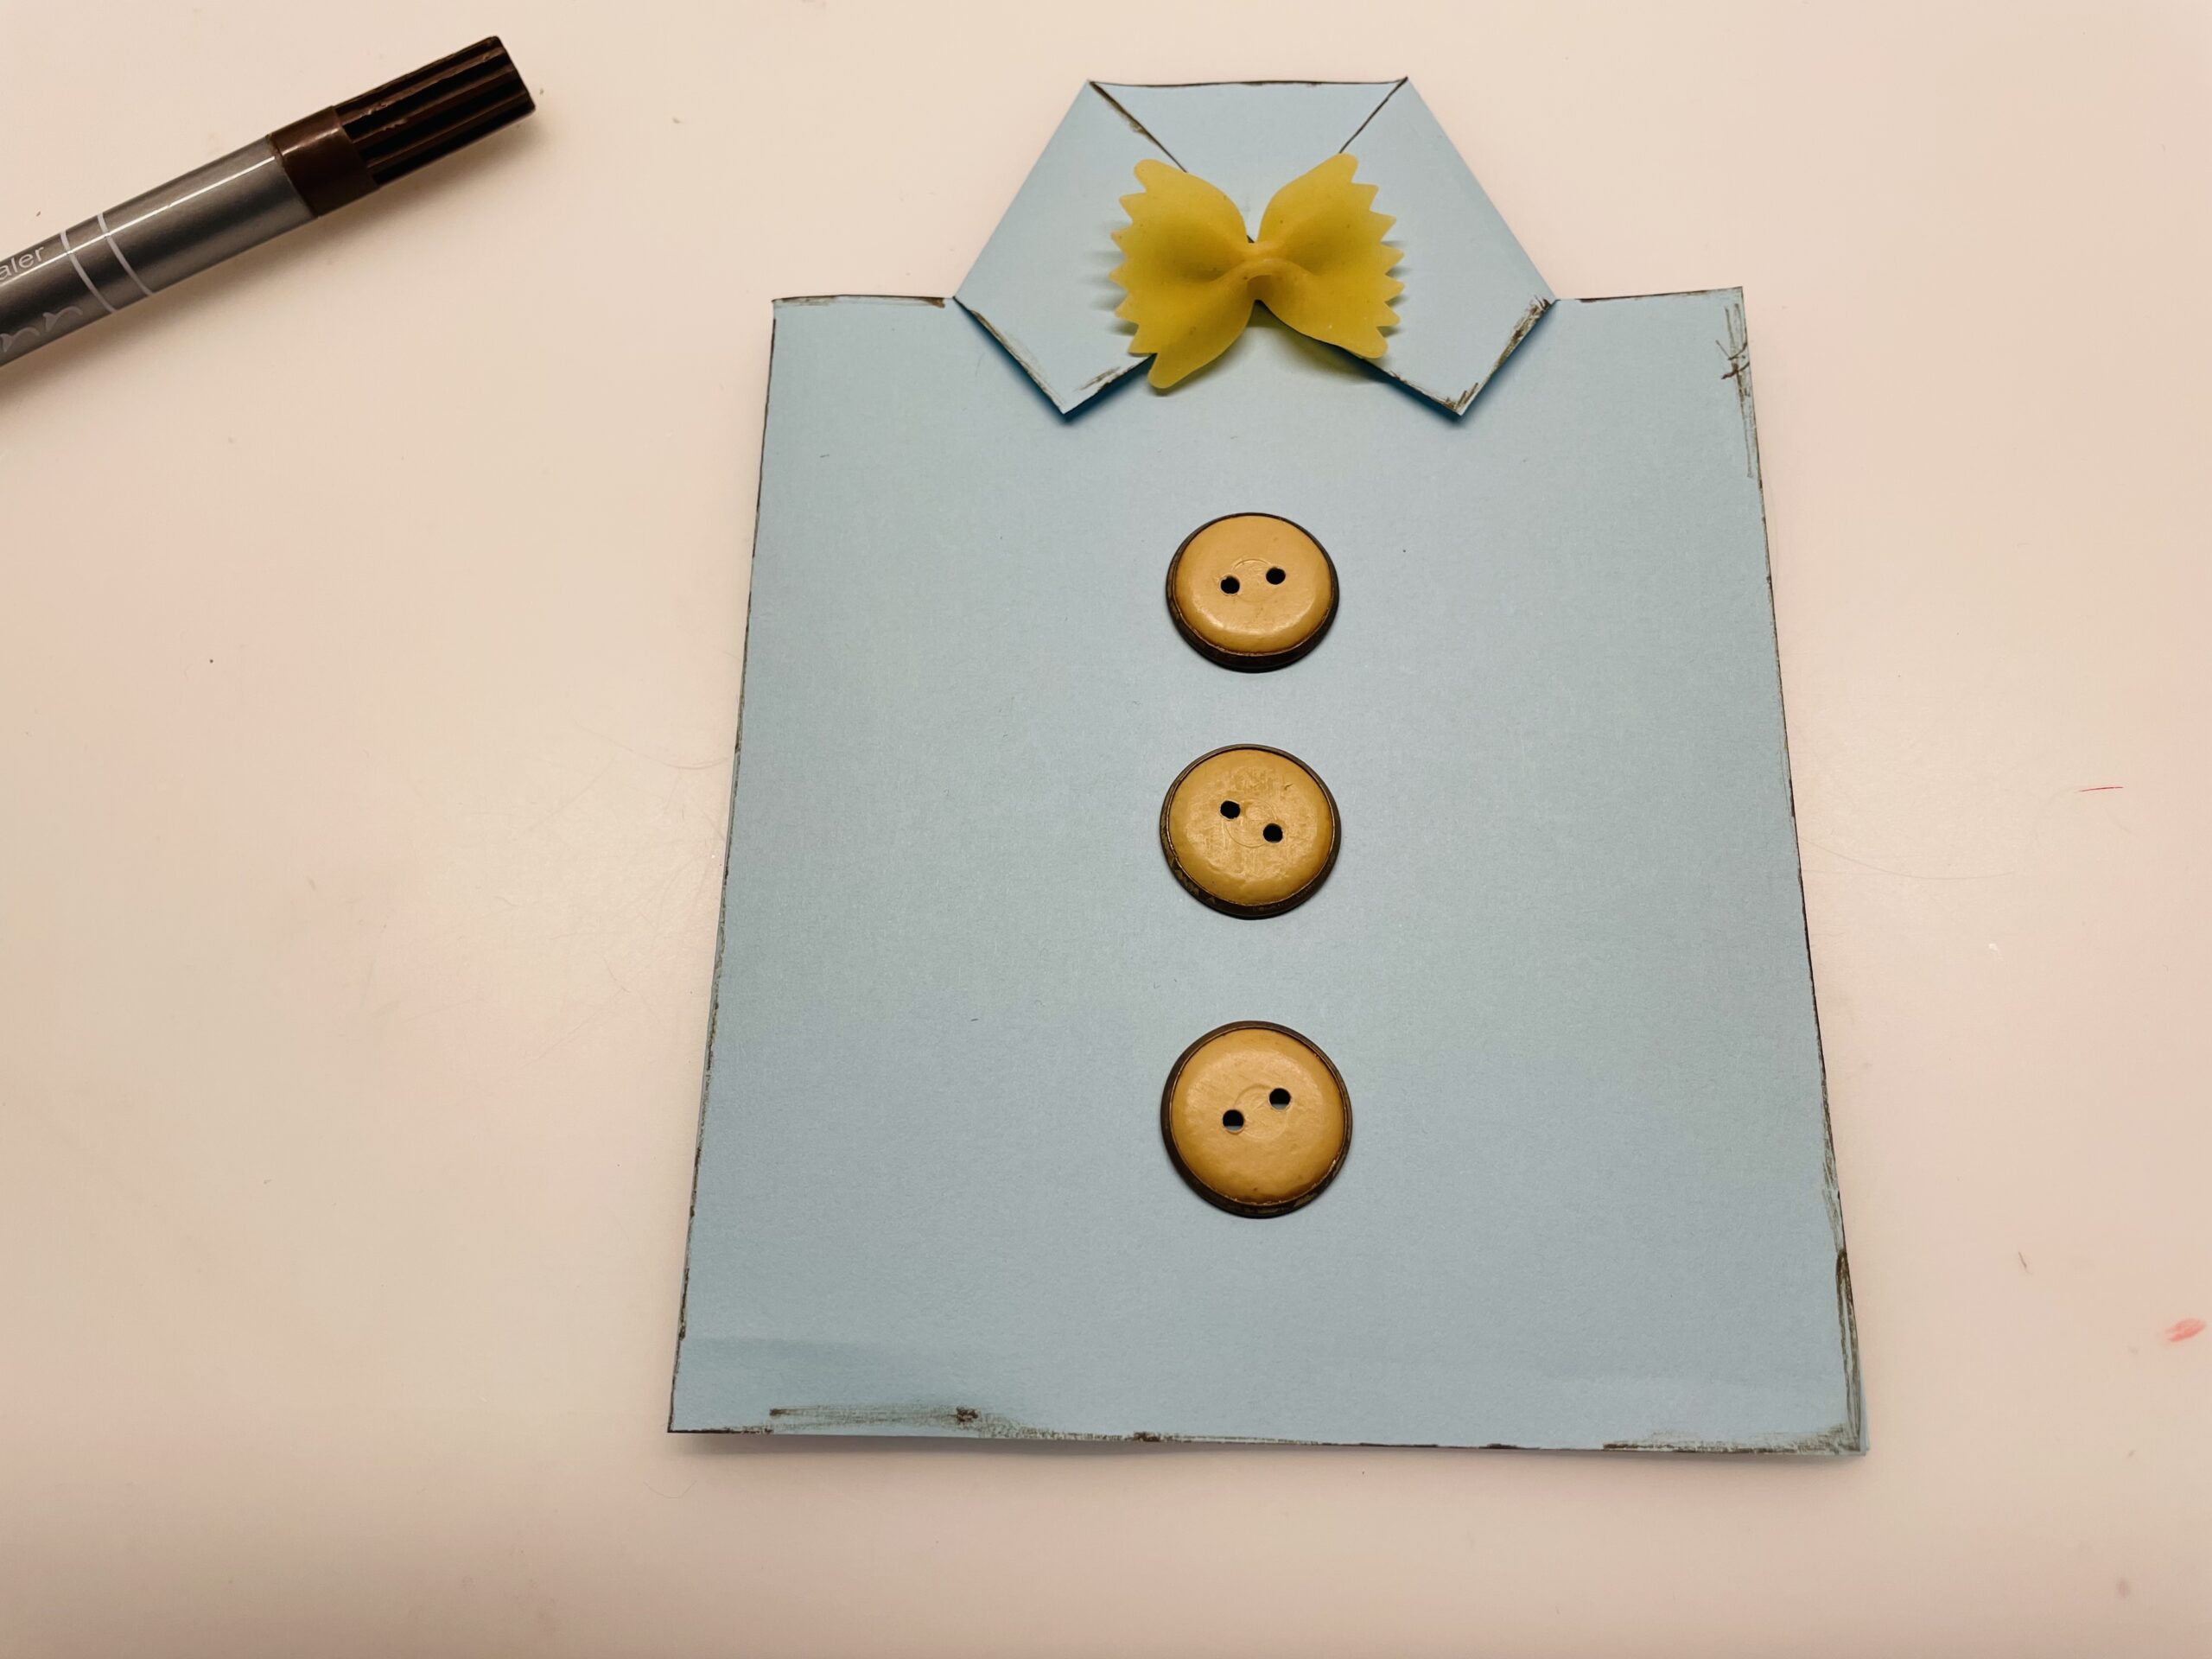
Bild zum Schritt 25 für das Bastel- und DIY-Abenteuer für Kinder: 'Ordnet nun die Knöpfe untereinander mit etwas Abstand an und...'

24

It's all stuck now.
The card is finished with buttons and a fly.
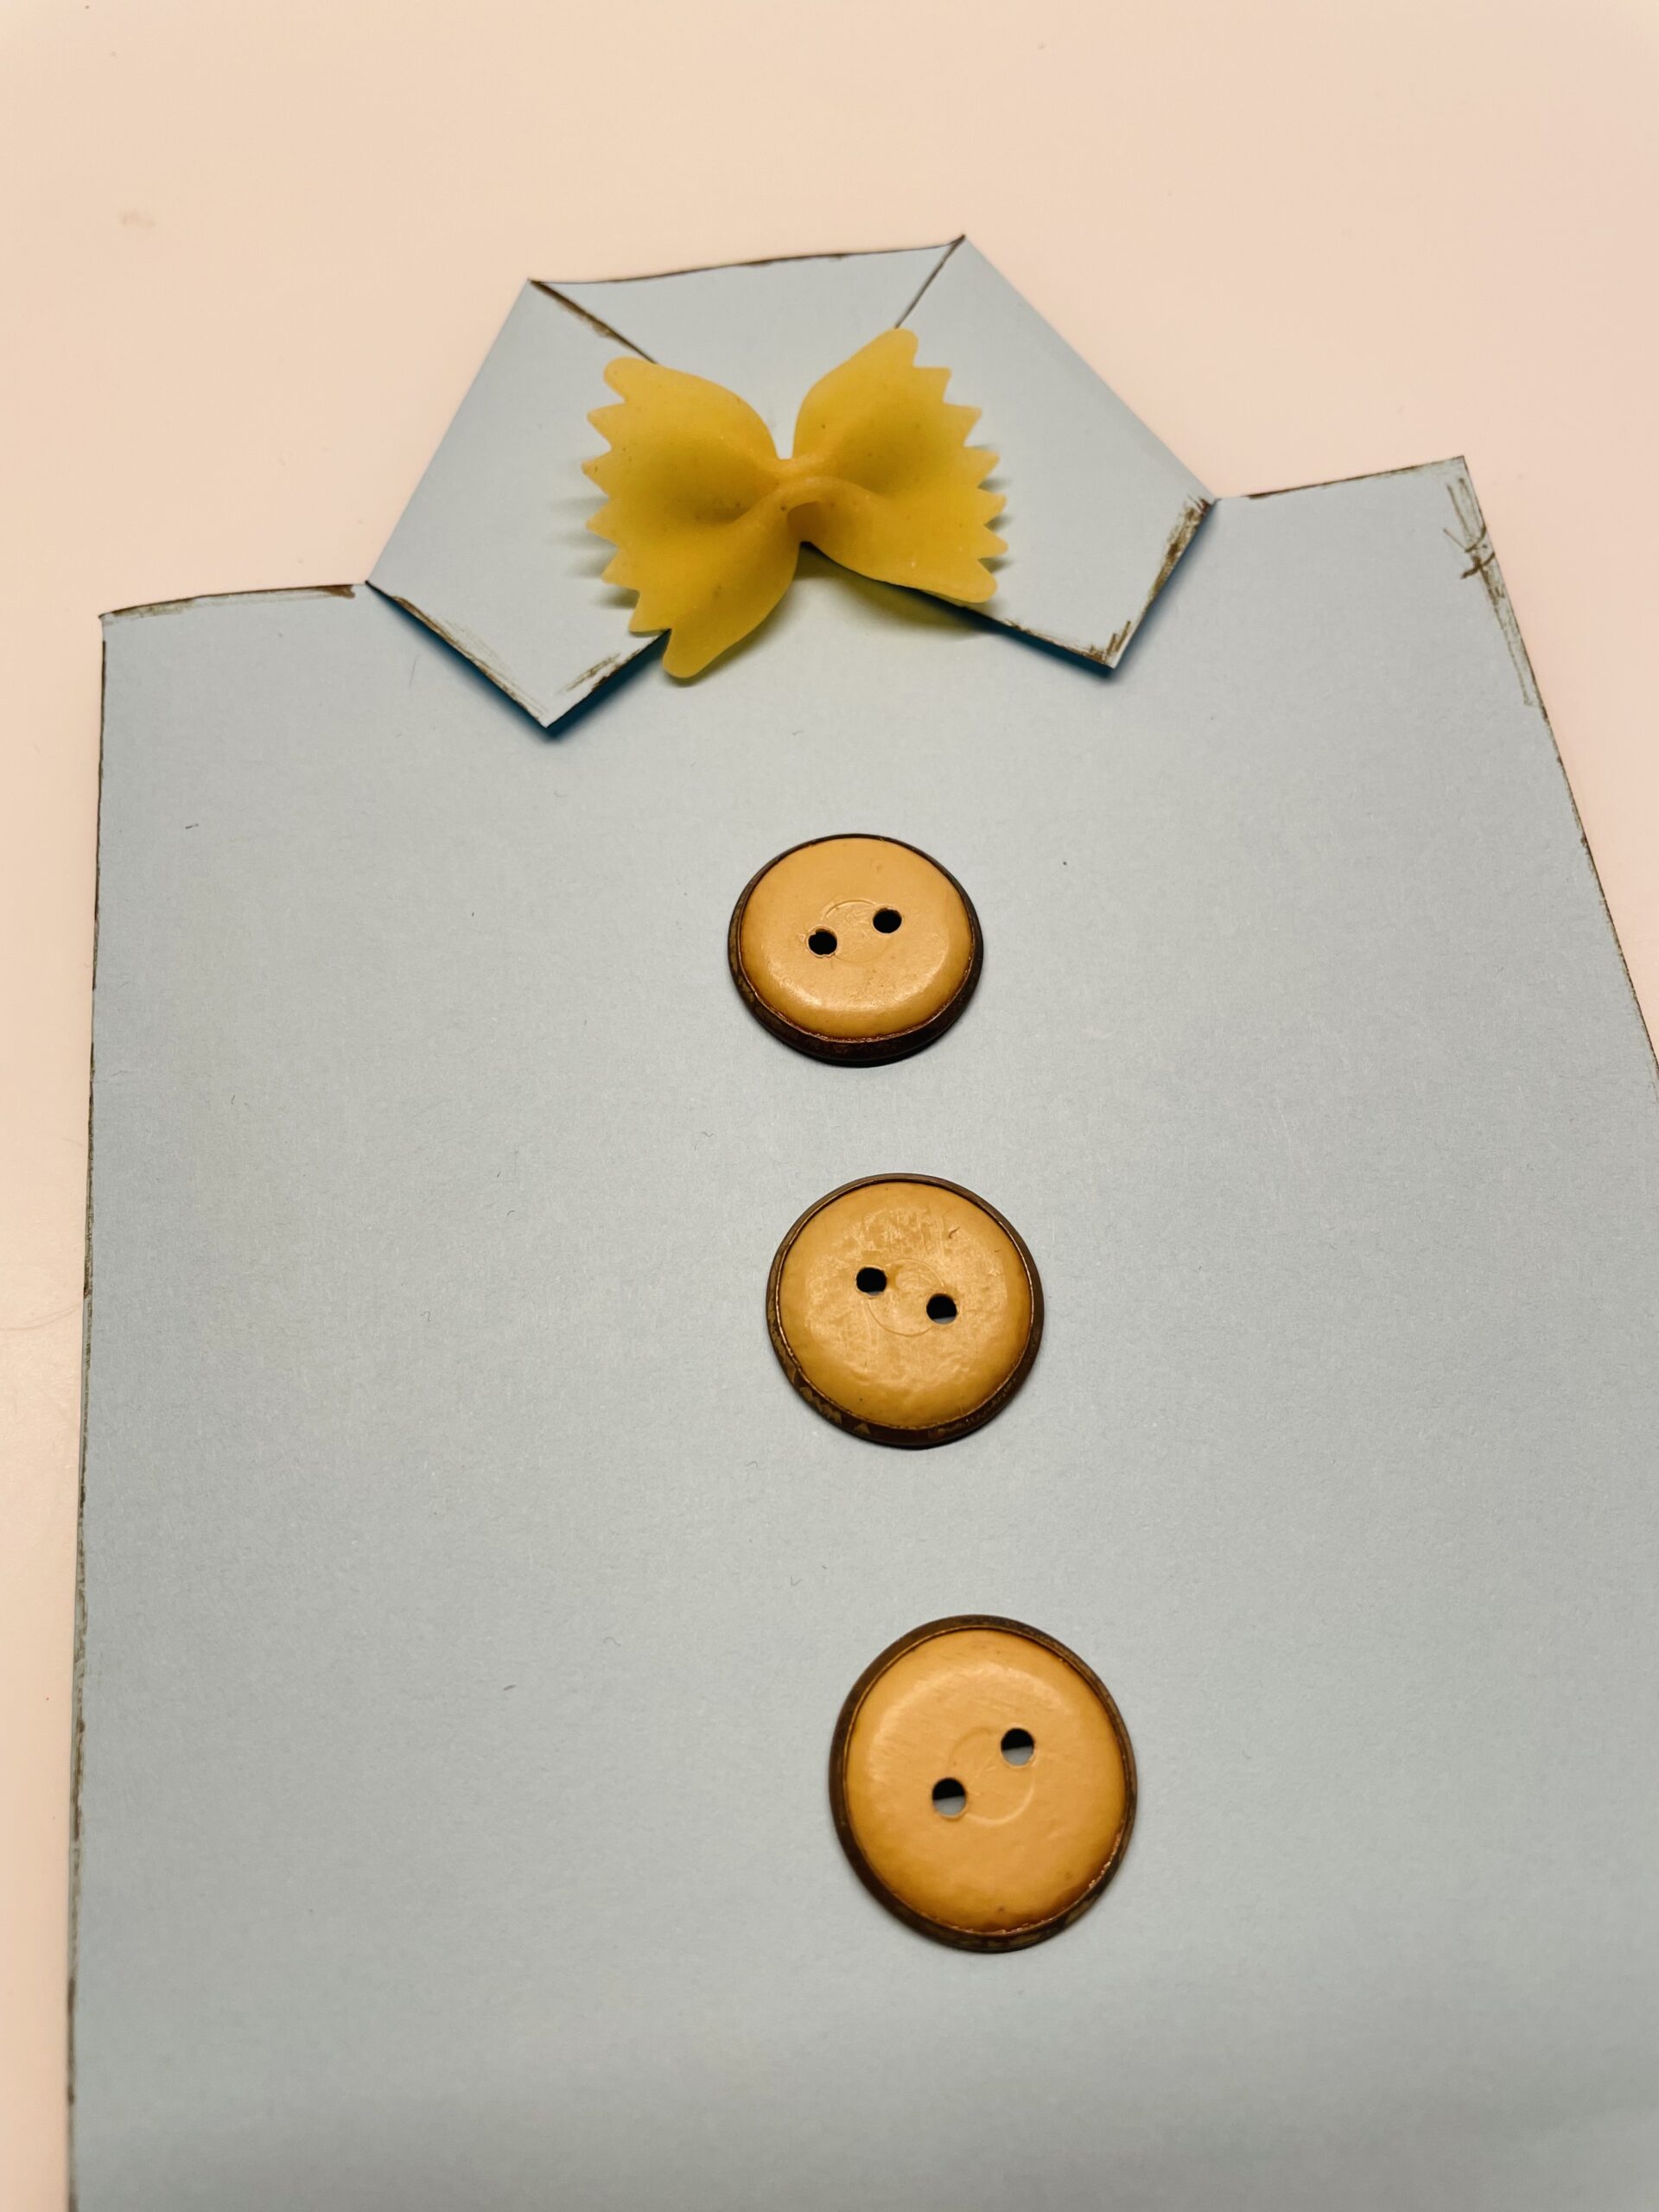
Bild zum Schritt 26 für das Bastel- und DIY-Abenteuer für Kinder: 'Klebt jetzt alles fest.   Fertig ist die Karte...'

25

You can also use different colored buttons.
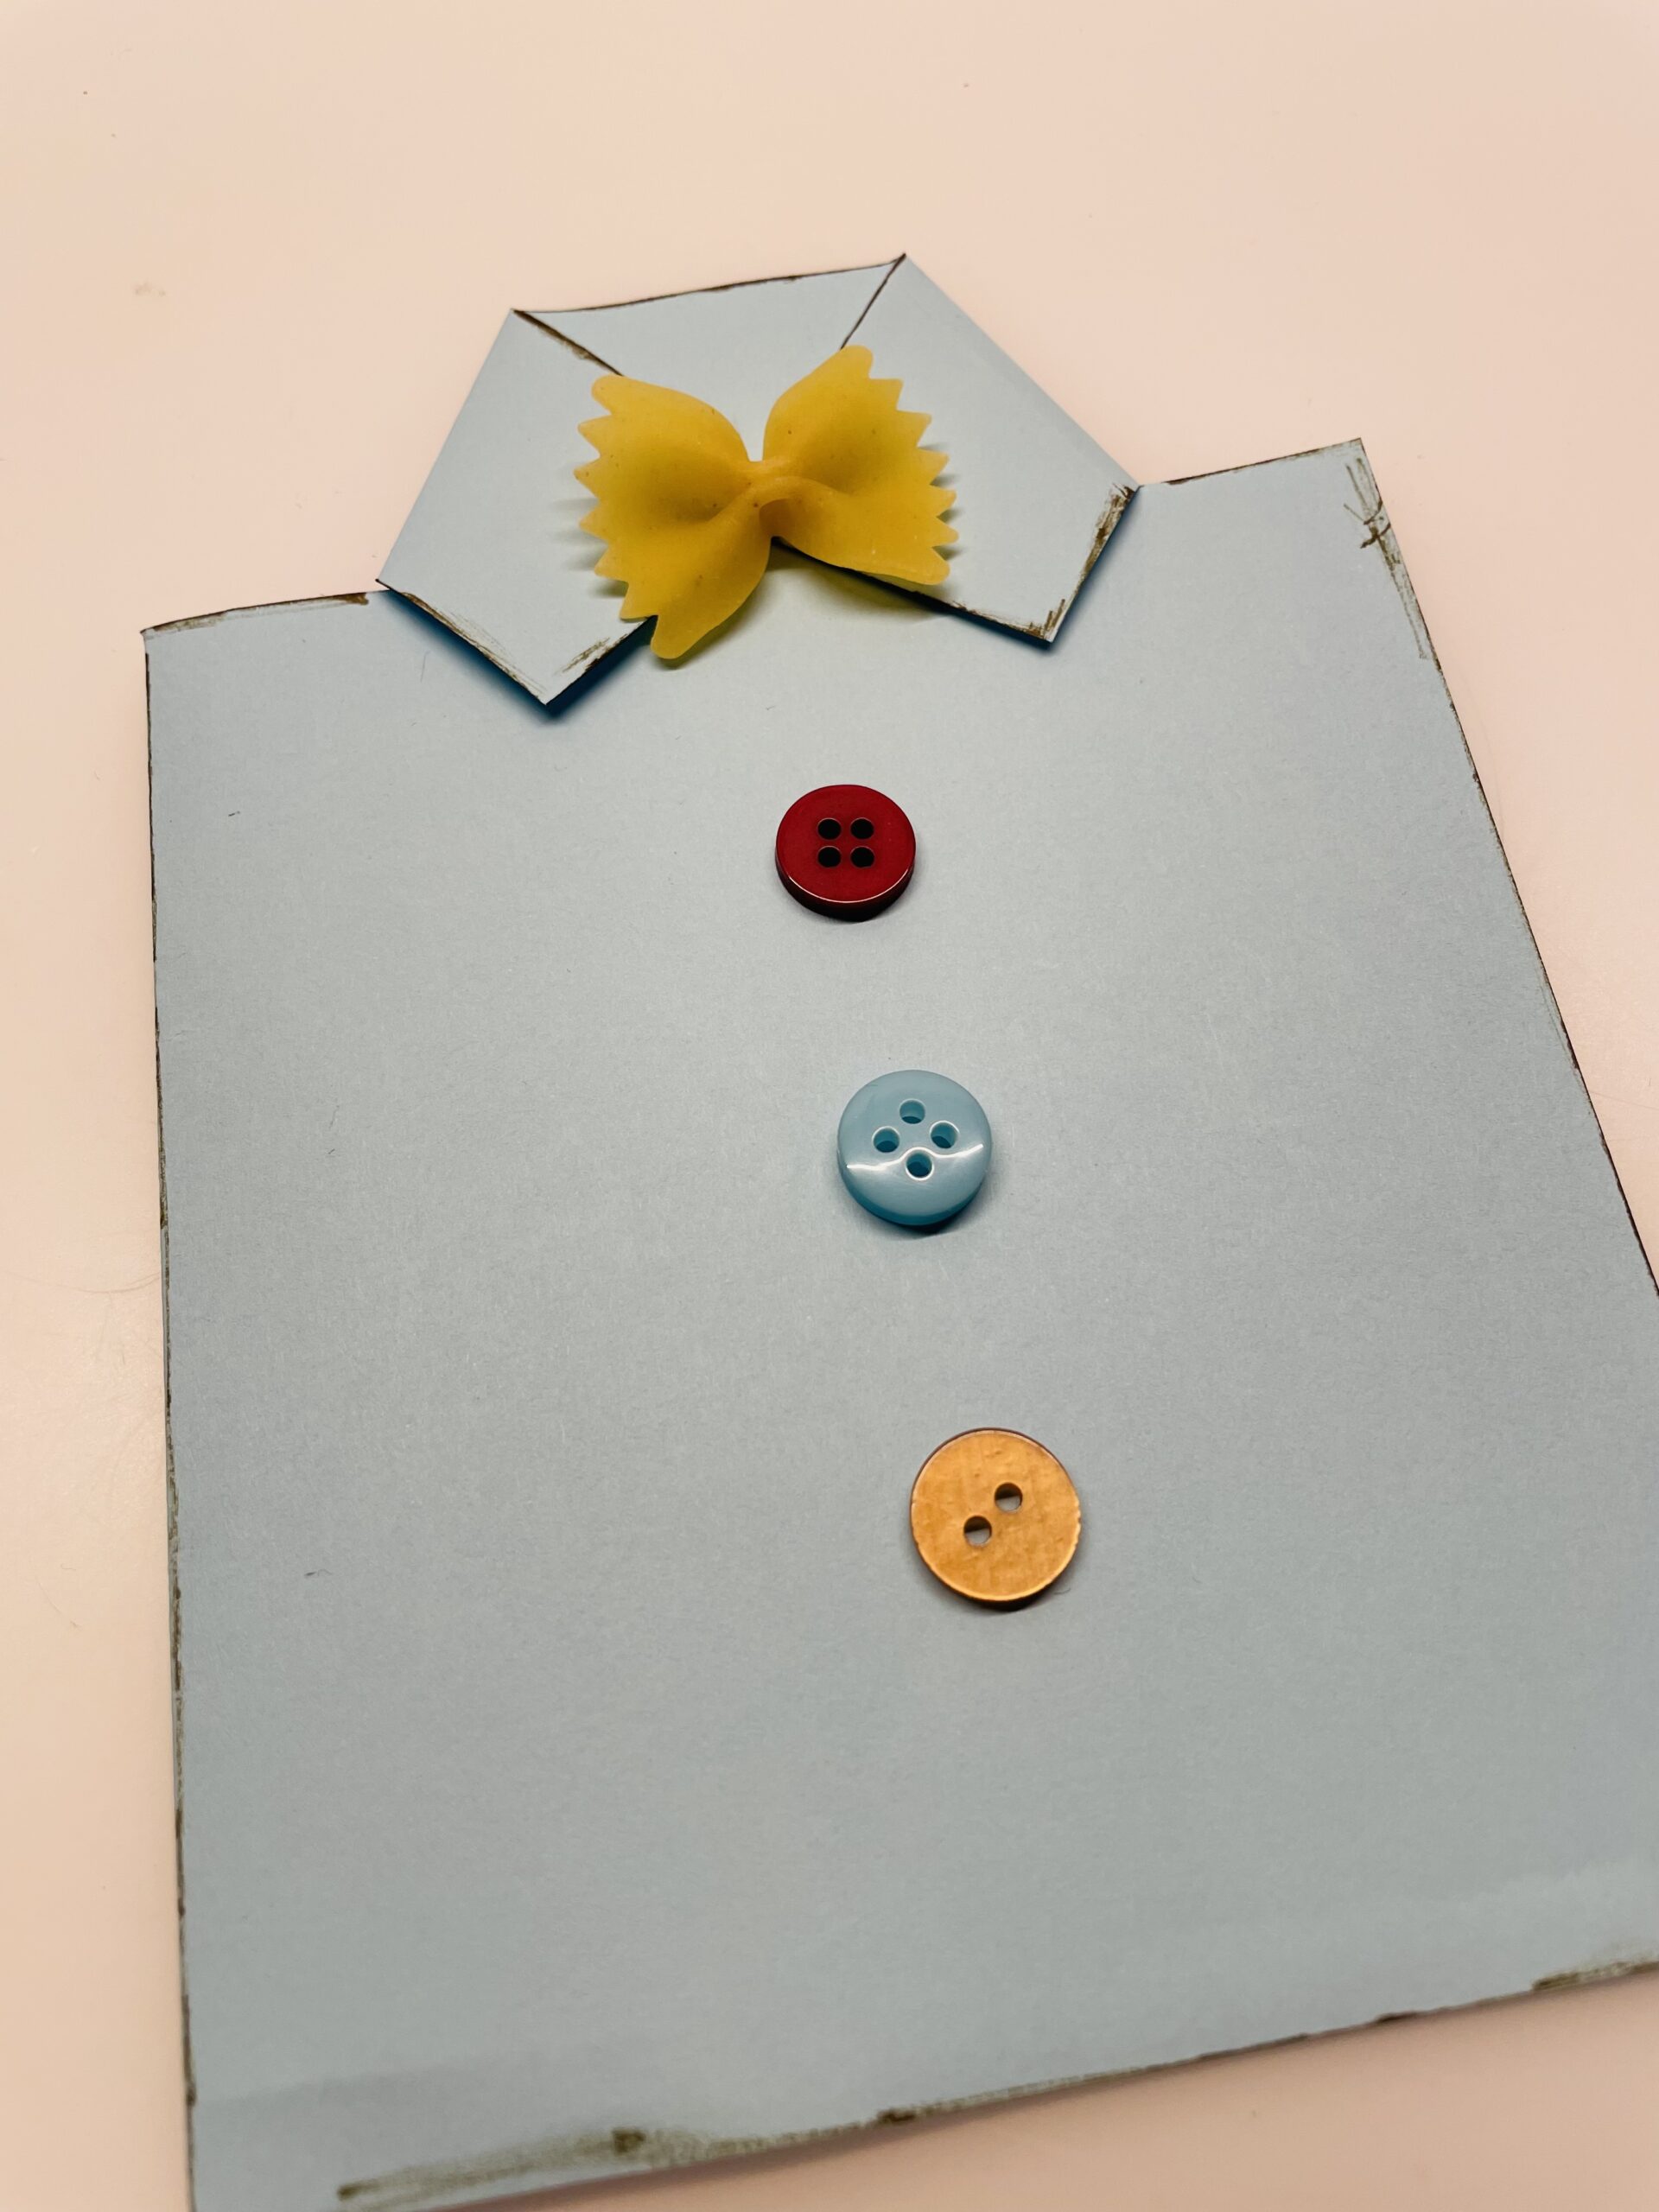
Bild zum Schritt 27 für das Bastel- und DIY-Abenteuer für Kinder: 'Ihr könnt auch unterschiedliche farbige Knöpfe verwenden.'

26

Or you can use several buttons.

Bild zum Schritt 28 für das Bastel- und DIY-Abenteuer für Kinder: 'Oder  ihr verwendet mehrere Knöpfe.'

27

Stay creative and beautify your card as you like it.
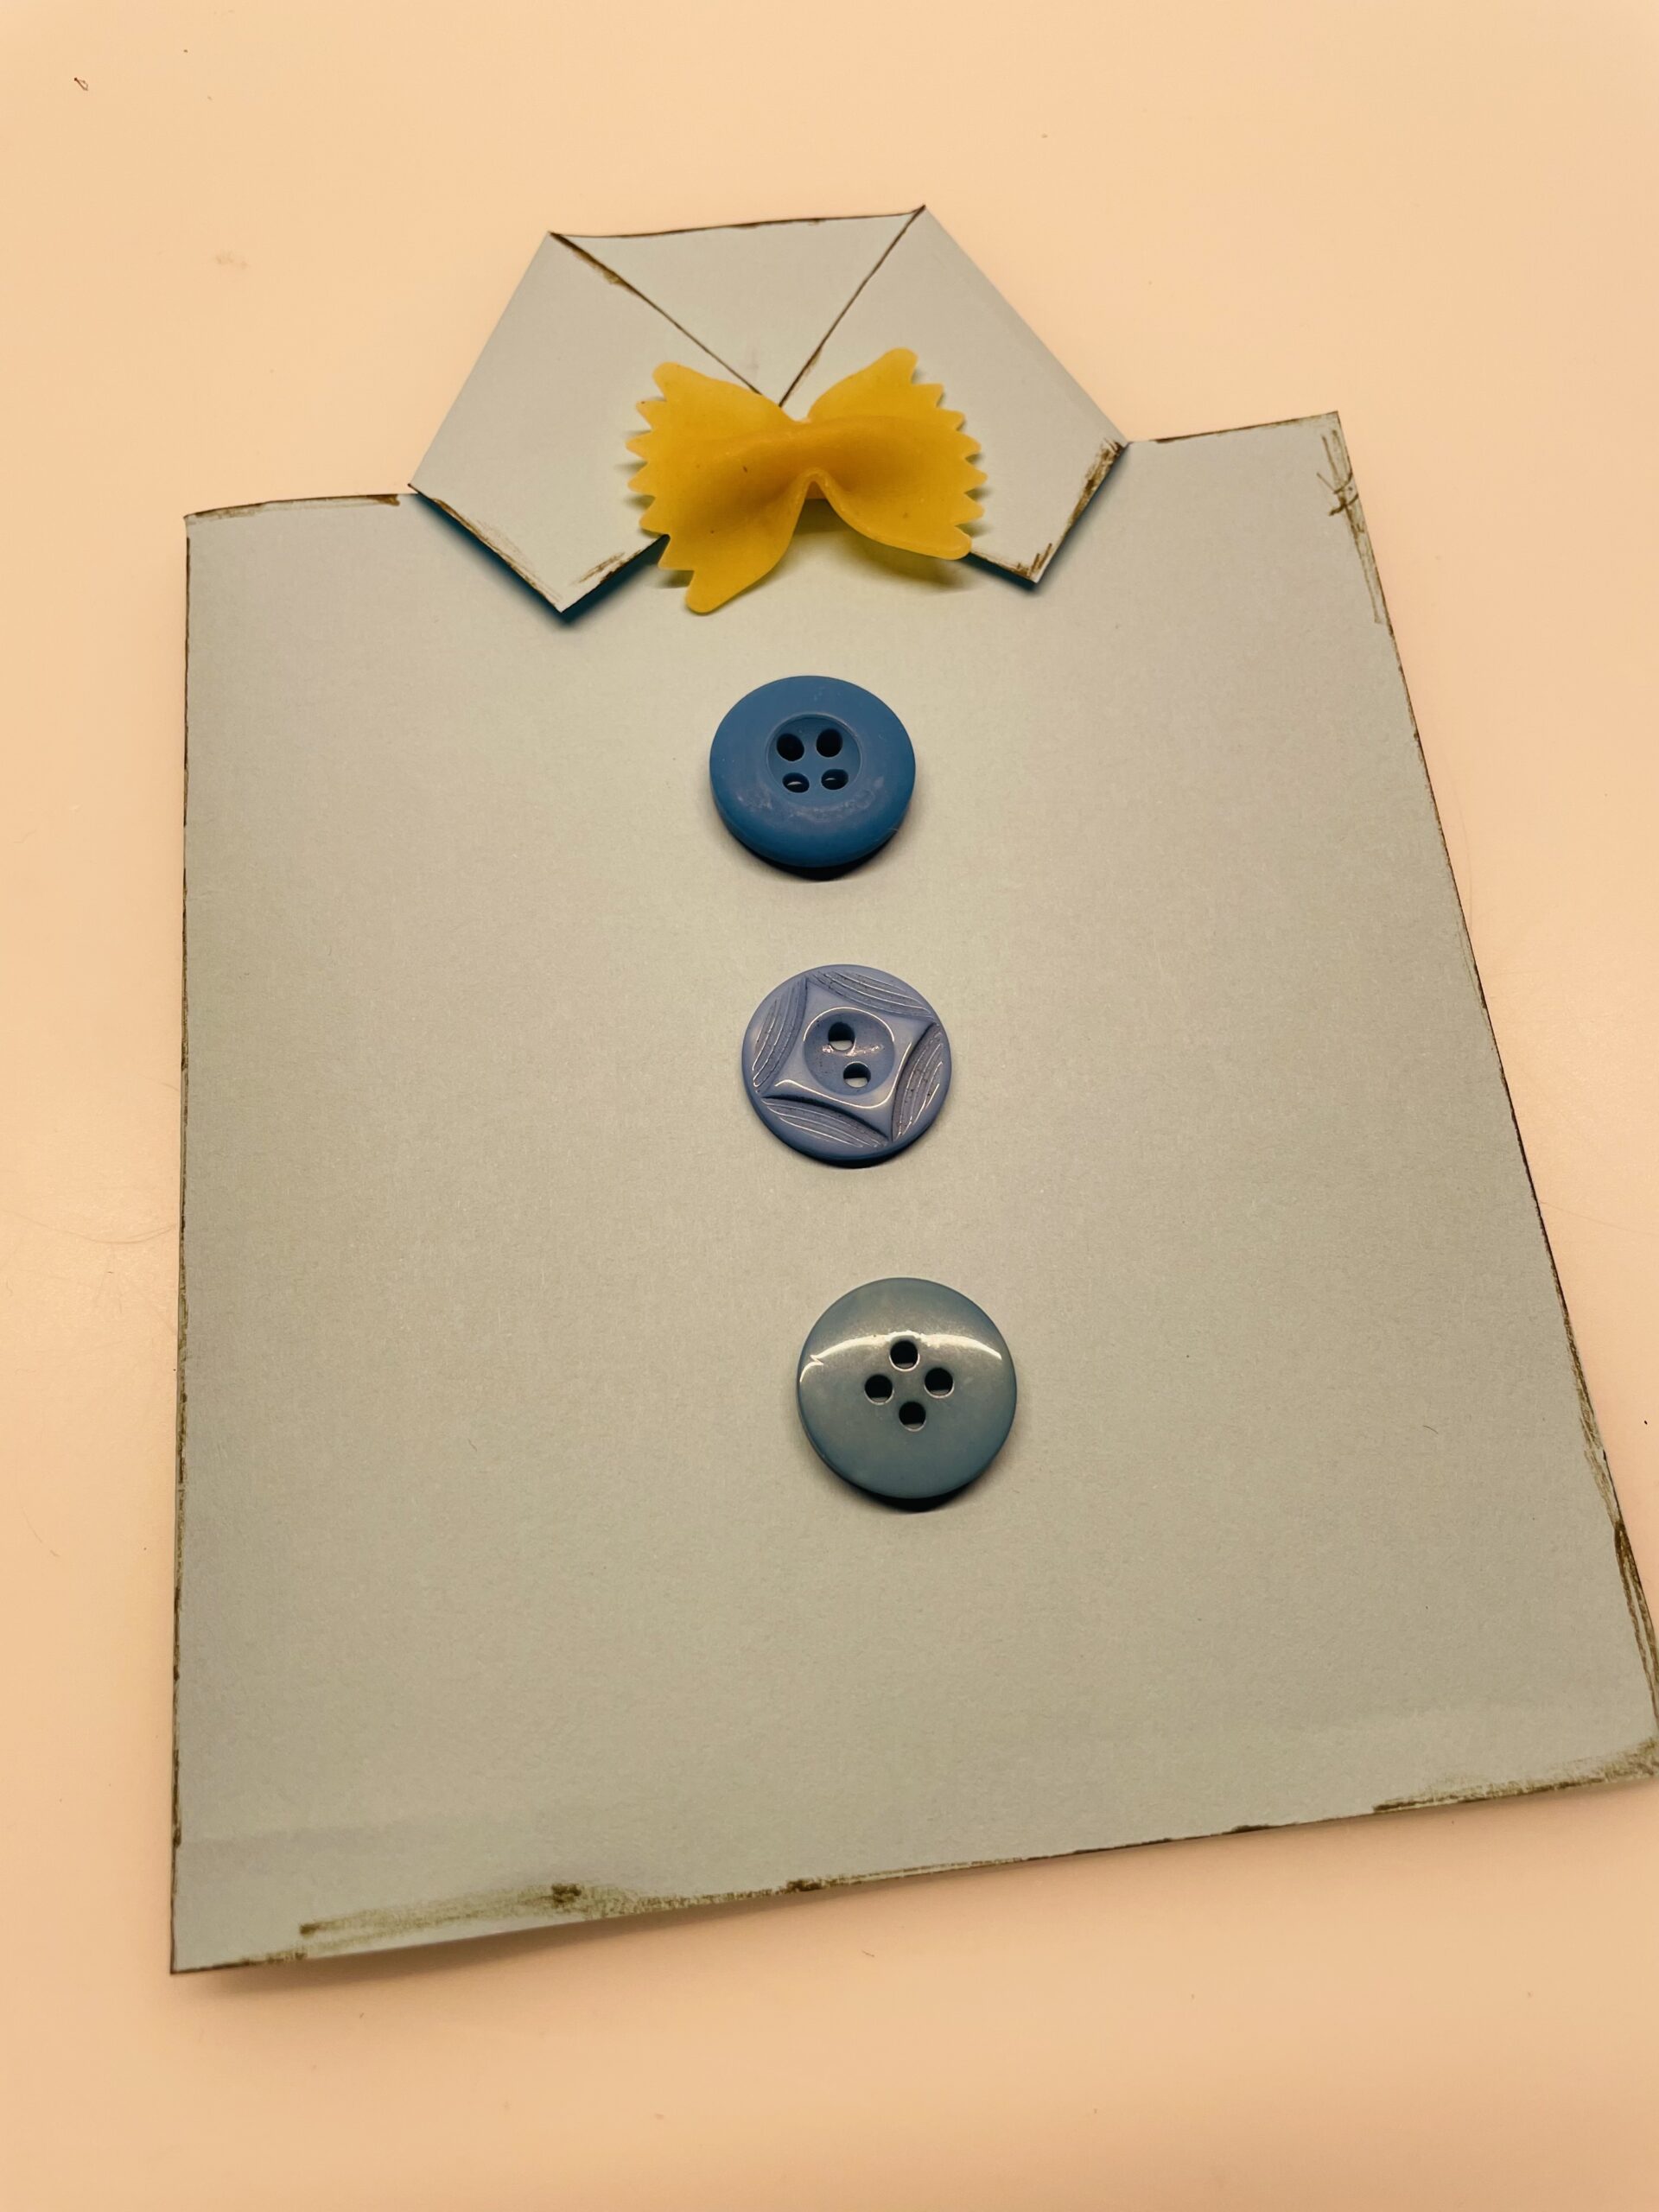
Bild zum Schritt 29 für das Bastel- und DIY-Abenteuer für Kinder: 'Bleibt kreativ und verschönert eure Karte so wie sie euch...'

Cards for Father's Day (2 ideas)

Follow us on Facebook , Instagram and Pinterest
Don't miss any more adventures: Our bottle mail

Leave a Reply

Your email address will not be published.

The maximum upload file size: 5 MB. You can upload: image, document. Drop file here