Make garland

AdventurerKatzi
Rating5.09.1 Thousand times & (5) DifficultyAdvanced

Makes a garland of gift paper or empty chips bags.
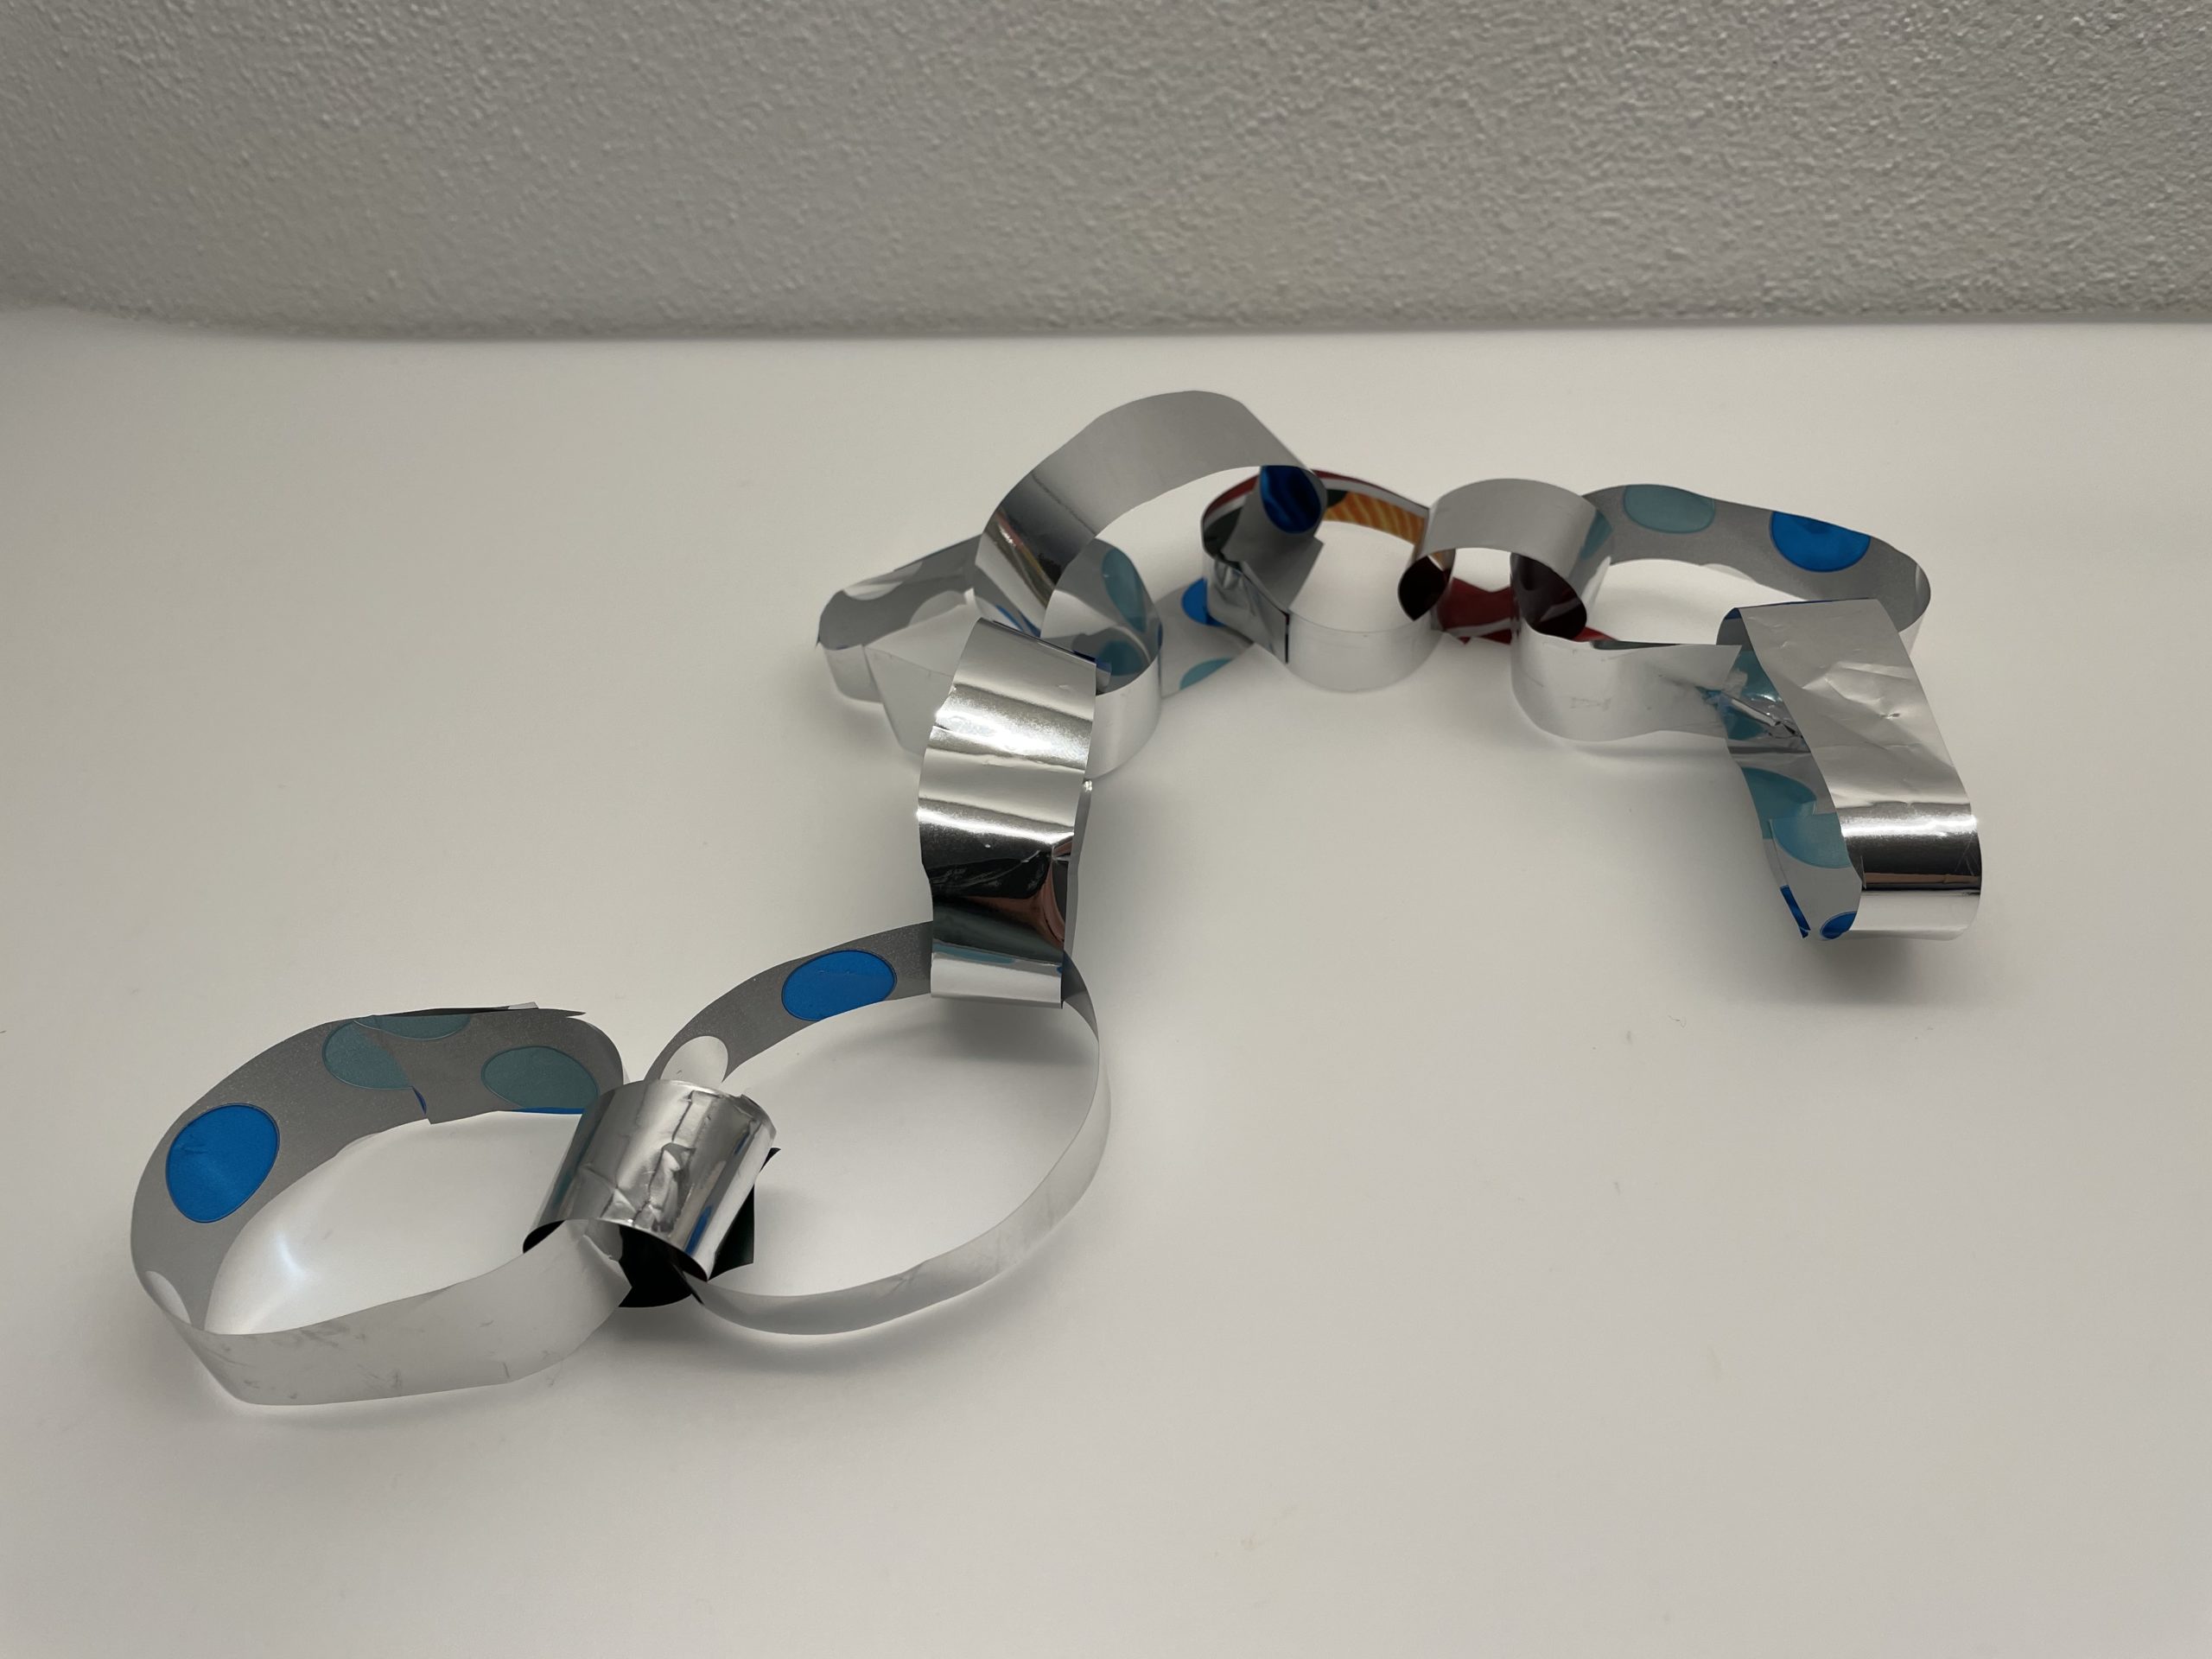
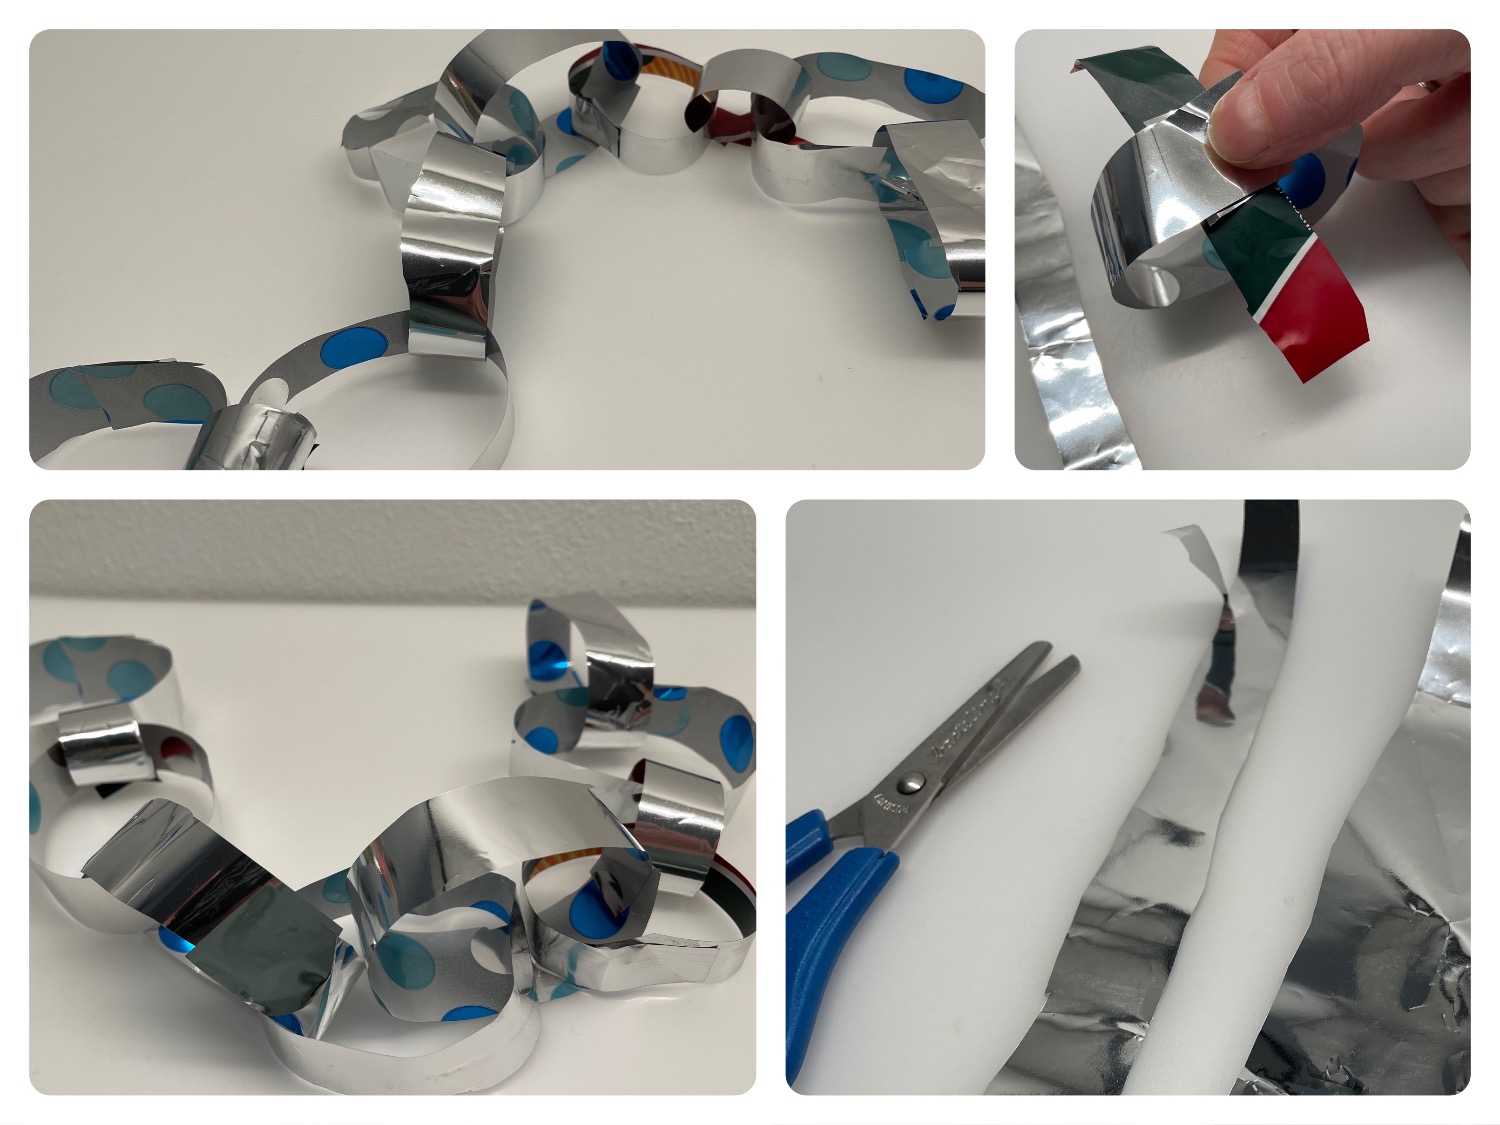
The paper is cut into thin strips of different lengths and widths and glued together into rings. Before sticking together, you always stick each strip through the previous ring. This creates a long chain of rings, which can be wonderfully hung up as garlands.

Media Education for Kindergarten and Hort

Kind bastelt eine Rassel mit dem Navi
The Adventure Navi, the app for DIY projects, enables media education for the youngest.

Relief in everyday life, targeted promotion of individual children, independent learning and - without any pre-knowledge already usable by the youngest!


Titelbild zur Bastel- und DIY-Idee für Kinder '(599) Girlande basteln'
Material for1 Child
Prep Time5 min.Adv. Time20 min.Total Time25 min.
 Gift wrapping paper or empty chip bags or coloured paper
 Builder's pad
All links marked with a shopping cart lead to Amazon - here we have selected products that we would order ourselves and in part also ordered. In a qualified purchase via the advertising link, we as Amazon partner receive a commission, for you there are no costs. You thus support our cost- and advertising banner-free, educational offer.
1

Put out the craft pad and cut your paper into narrow strips.
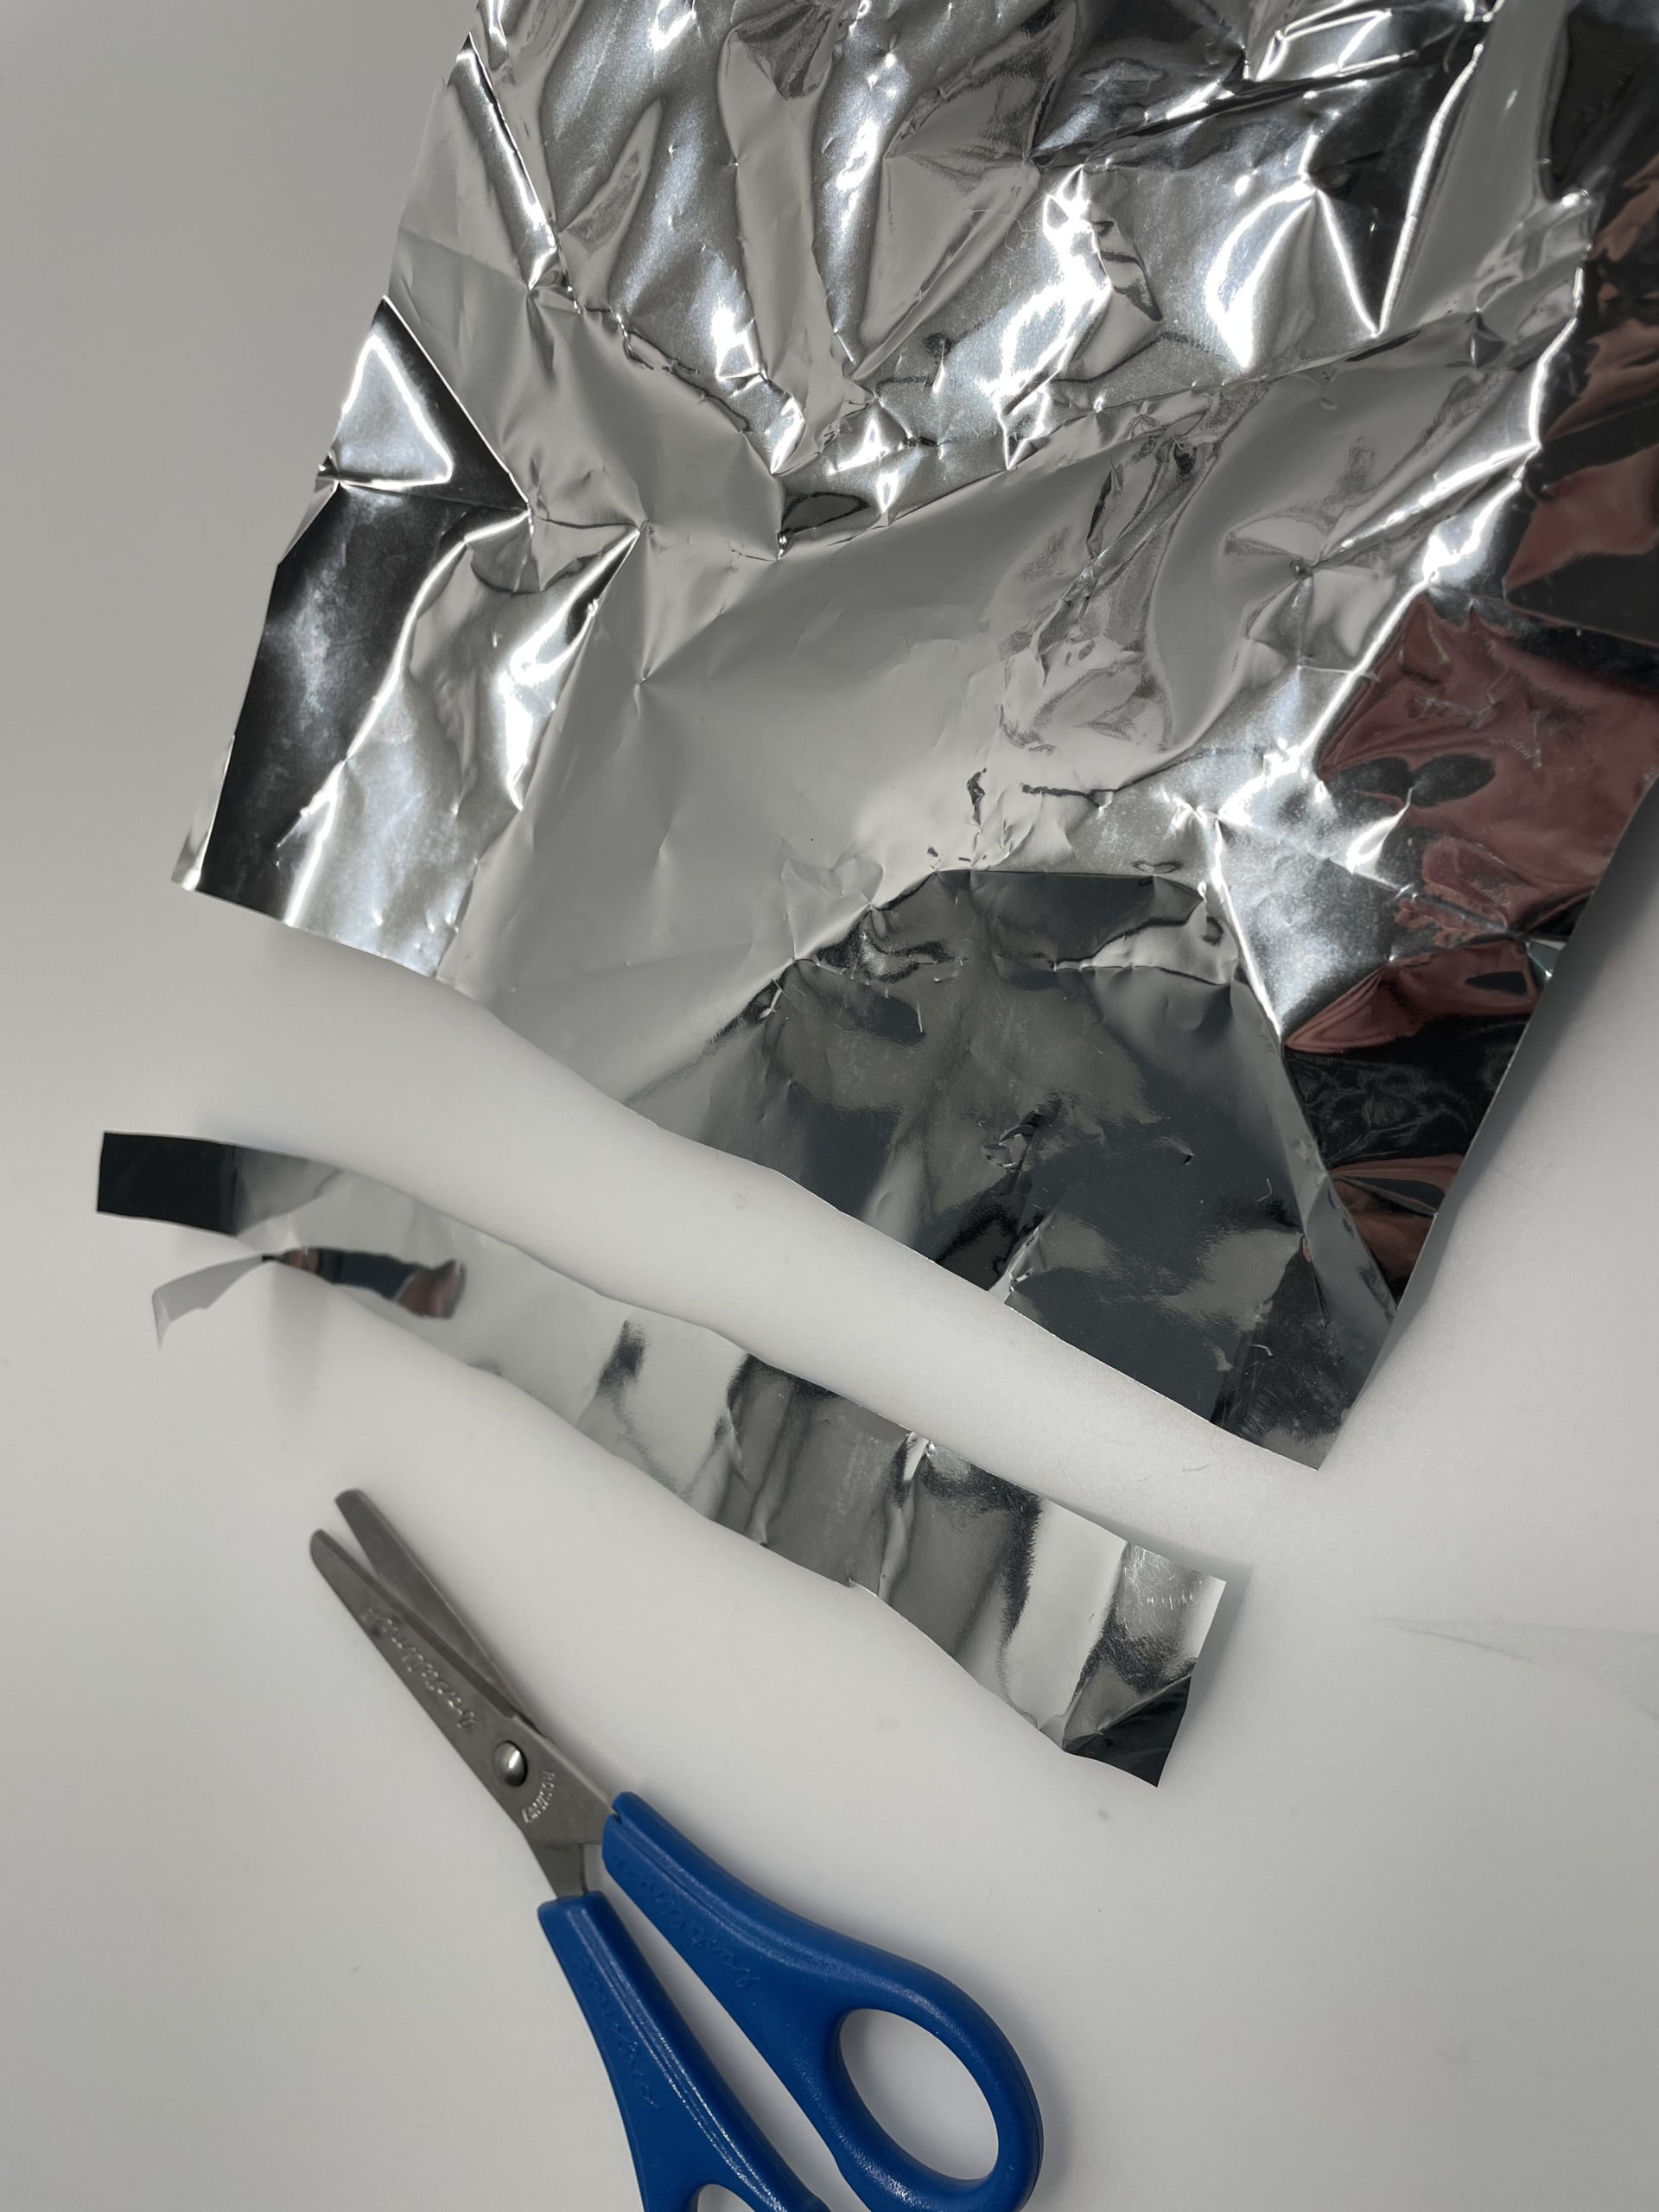
Bild zum Schritt 1 für das Bastel- und DIY-Abenteuer für Kinder: 'Legt die Bastelunterlage aus und schneidet euer Papier in schmale...'

2

The stripes can be different in length and width.
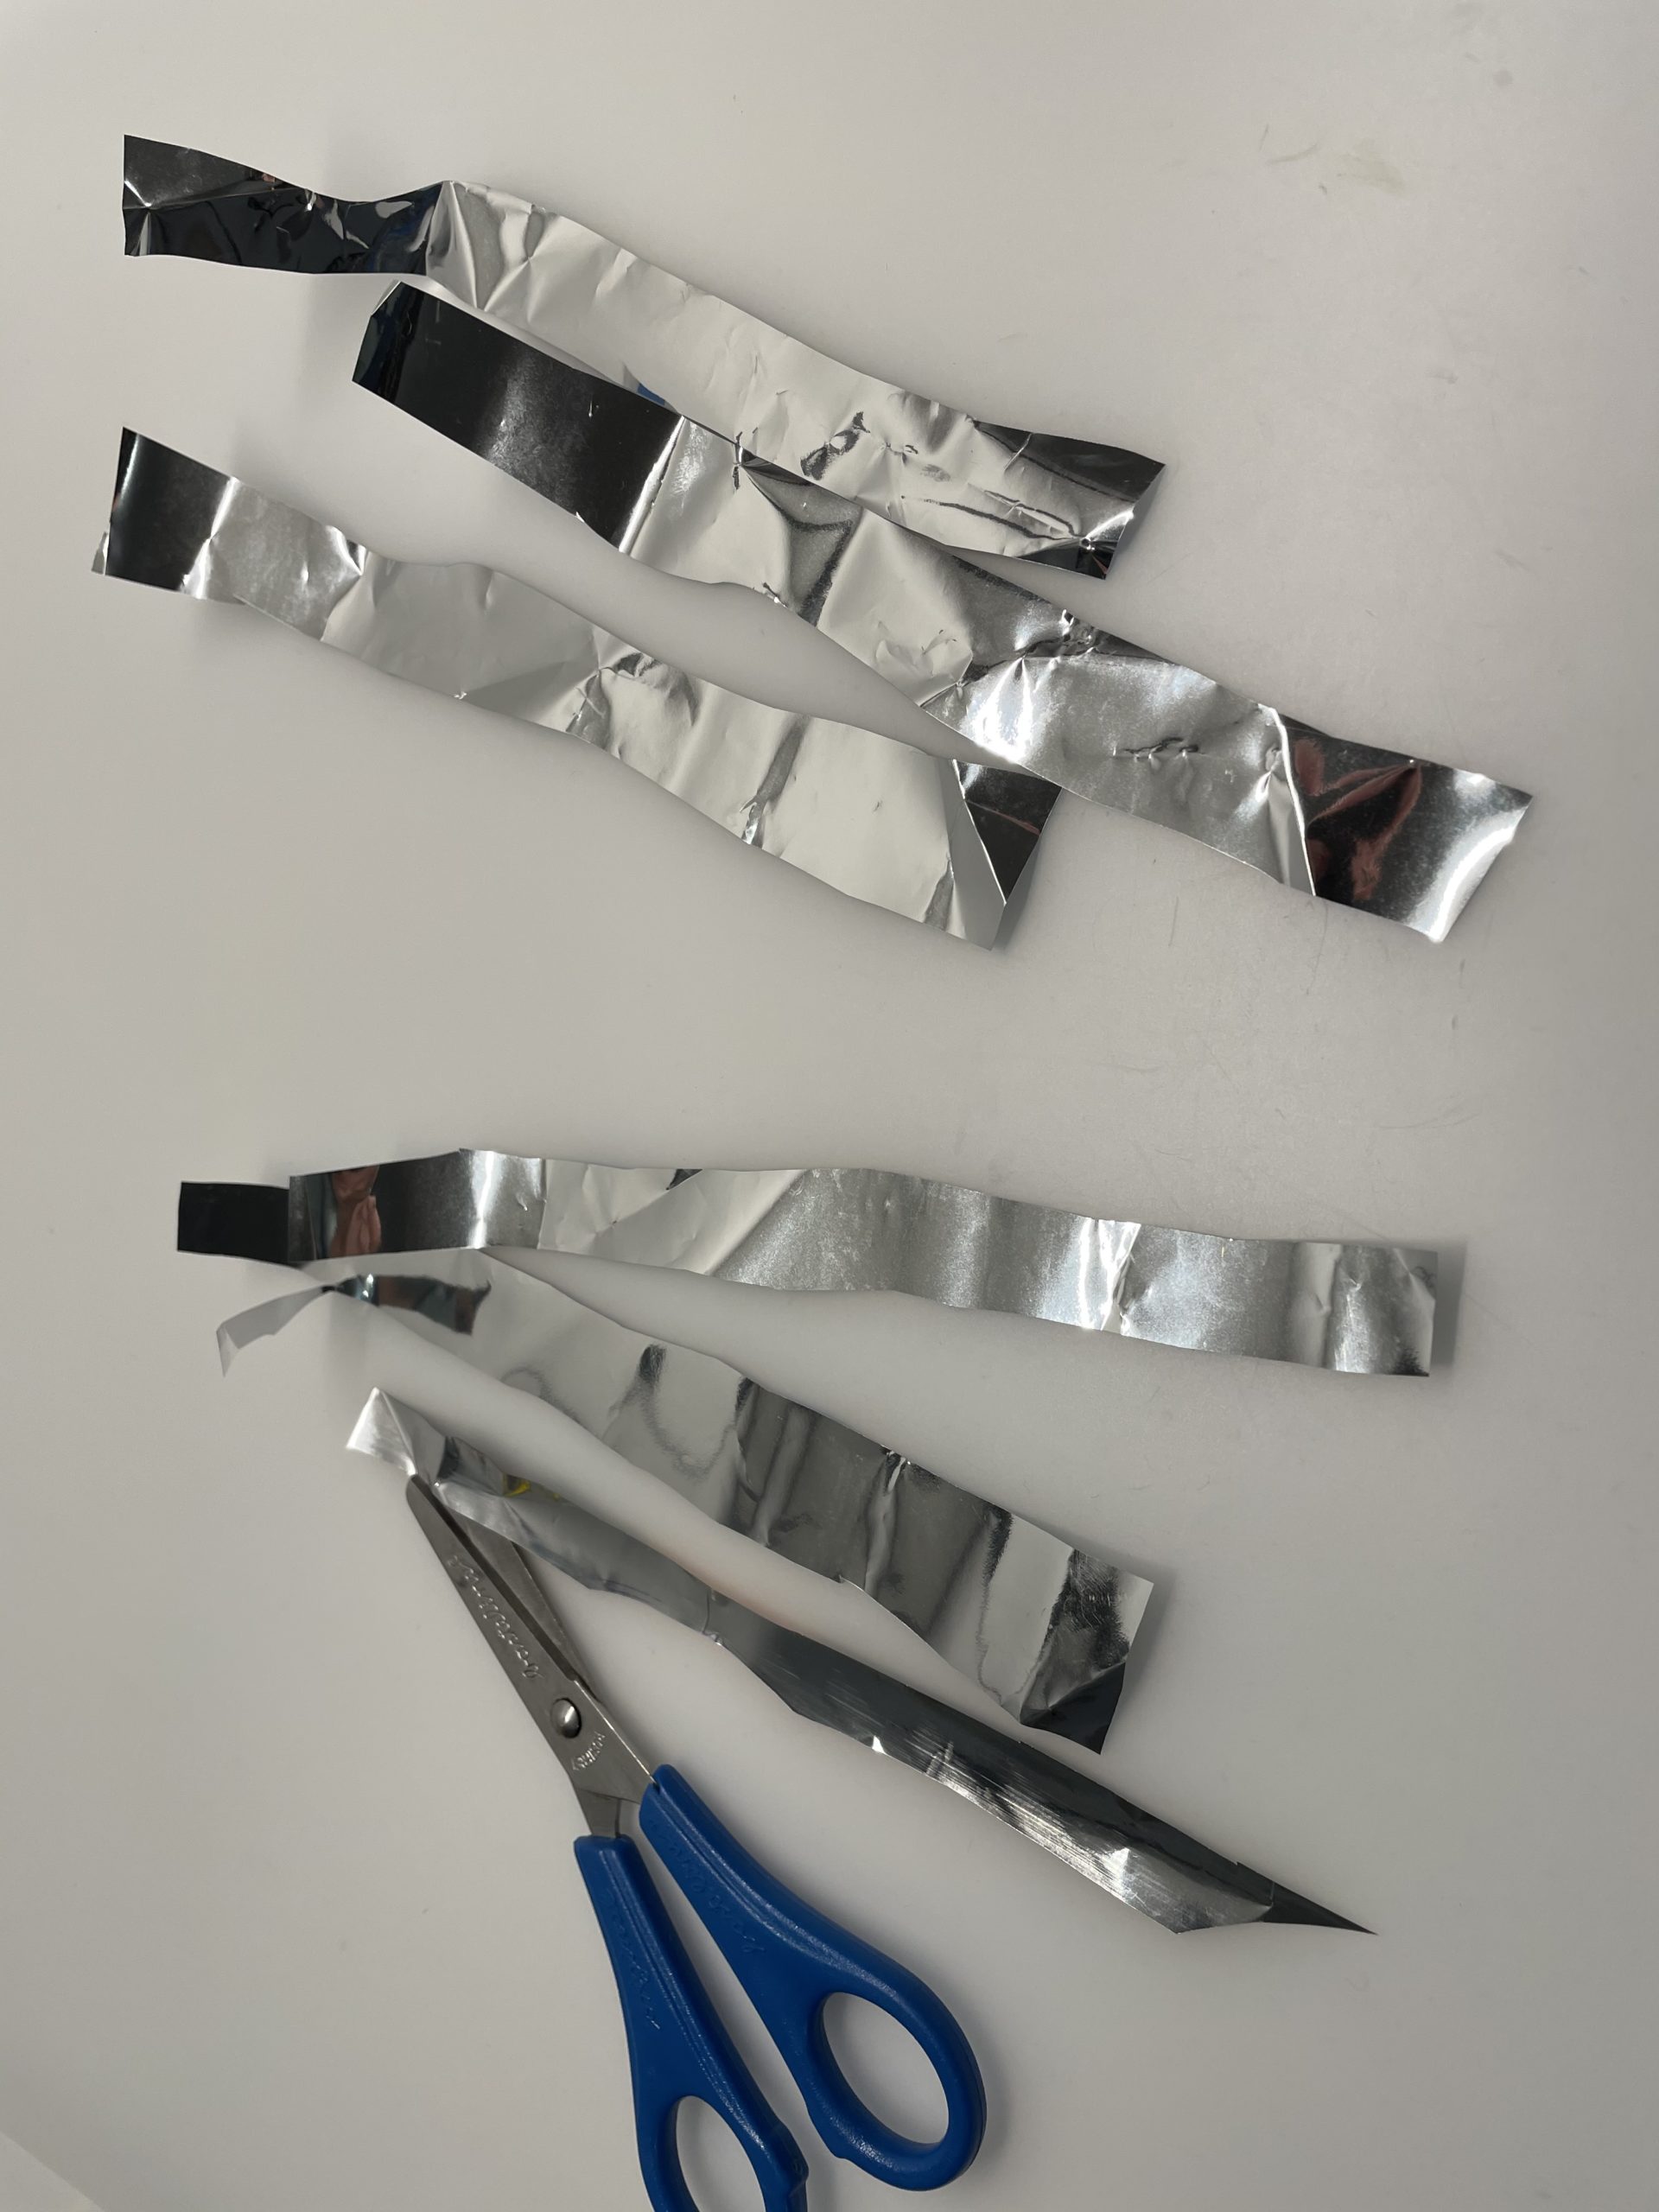
Bild zum Schritt 2 für das Bastel- und DIY-Abenteuer für Kinder: 'Die Streifen können unterschiedlich lang und breit sein.'

3

Now put an adhesive point on a strip and roll it together.

Bild zum Schritt 3 für das Bastel- und DIY-Abenteuer für Kinder: 'Setzt nun auf einen Streifen einen Klebepunkt und rollt diesen...'

4

That's how a ring is created.

Bild zum Schritt 4 für das Bastel- und DIY-Abenteuer für Kinder: 'So entsteht ein Ring.'

5

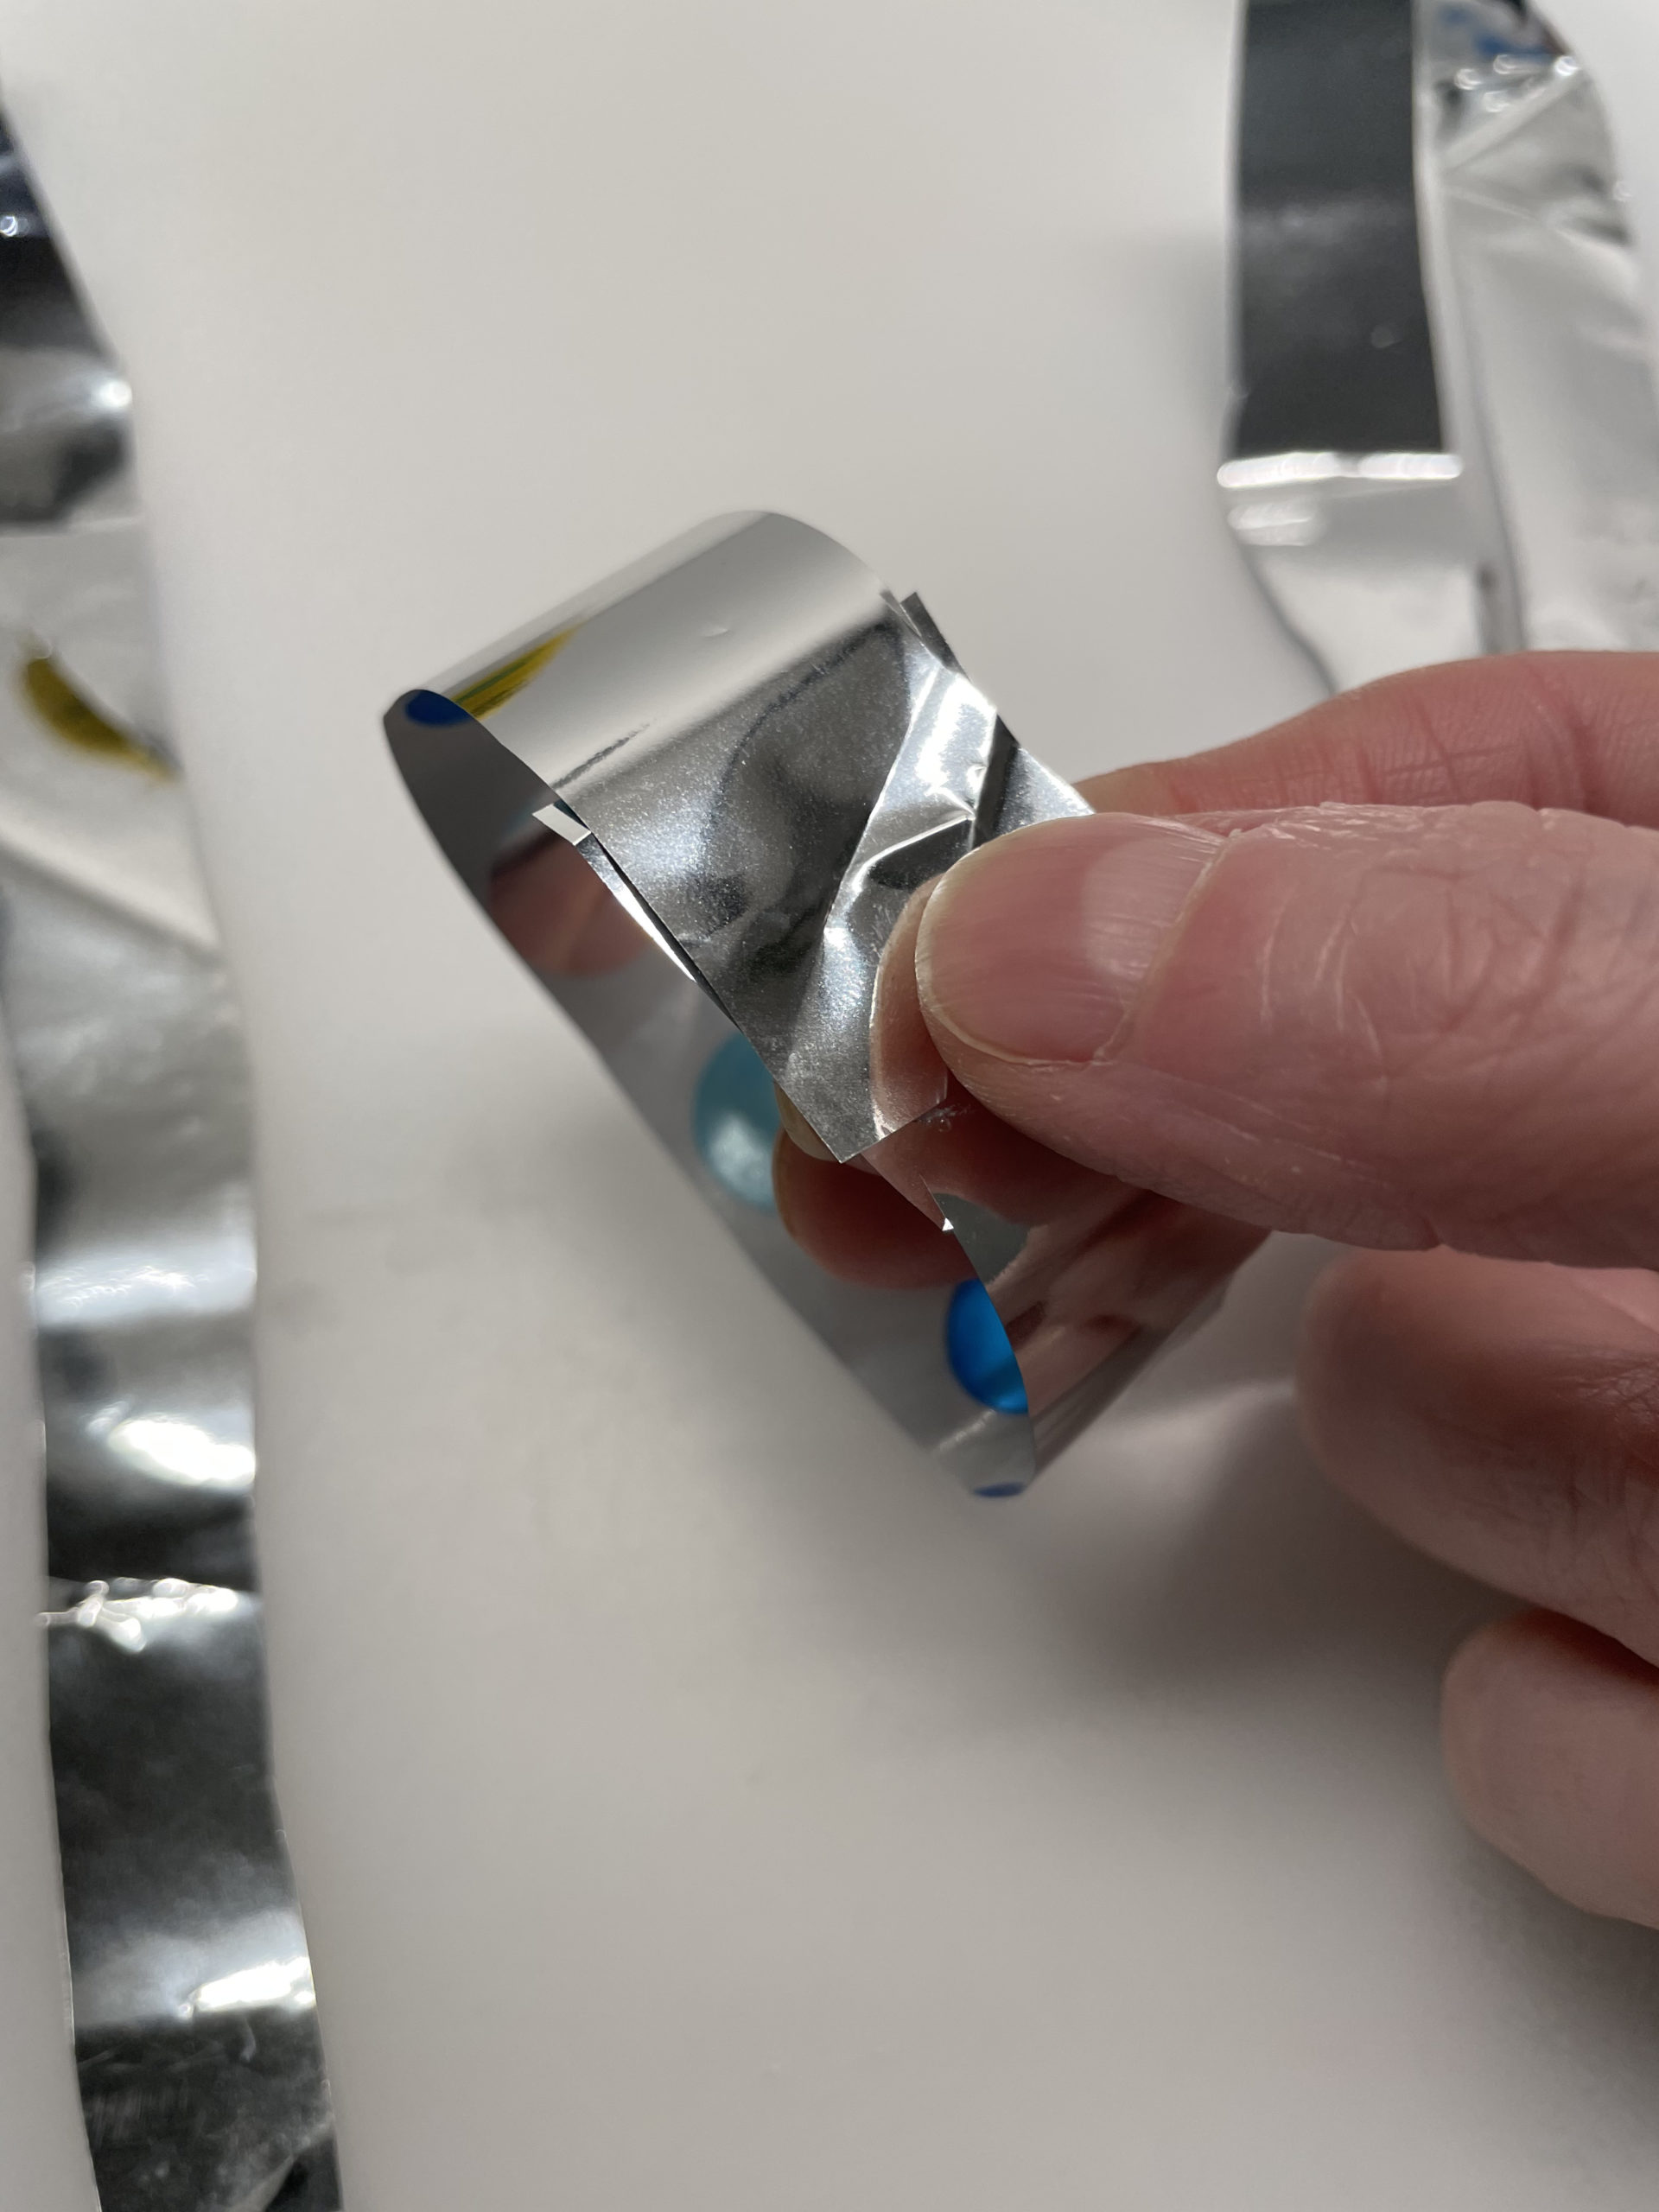
Now you put an adhesive point on the next strip. Then you thread the strip through the first ring and close it.

Bild zum Schritt 5 für das Bastel- und DIY-Abenteuer für Kinder: 'Nun setzt ihr auf den nächsten Streifen einen Klebepunkt. Dann...'

6

Now both rings are tied together.

Bild zum Schritt 6 für das Bastel- und DIY-Abenteuer für Kinder: 'Jetzt hängen beide Ringe zusammen.'

7

Travel the same way at the next ring.
By doing so, you extend your chain with every paper ring.

Bild zum Schritt 7 für das Bastel- und DIY-Abenteuer für Kinder: 'Verfahrt beim nächsten Ring genauso.   Dadurch verlängert ihr...'

8

Repeat the process until you have reached your desired length.

Bild zum Schritt 8 für das Bastel- und DIY-Abenteuer für Kinder: 'Wiederholt den Vorgang so lange, bis ihr eure gewünschte Länge...'

9

2. Bild zum Schritt 8 für das Bastel- und DIY-Abenteuer für Kinder: 'Wiederholt den Vorgang so lange, bis ihr eure gewünschte Länge...'

10

Have fun doing crafts and celebrating.

Bild zum Schritt 10 für das Bastel- und DIY-Abenteuer für Kinder: 'Viel Spaß beim Basteln und Feiern.'

Materials

 Gift wrapping paper or empty chip bags or coloured paper
 Builder's pad
All links marked with a shopping cart lead to Amazon - here we have selected products that we would order ourselves and in part also ordered. In a qualified purchase via the advertising link, we as Amazon partner receive a commission, for you there are no costs. You thus support our cost- and advertising banner-free, educational offer.

Directions

1

Put out the craft pad and cut your paper into narrow strips.

Bild zum Schritt 1 für das Bastel- und DIY-Abenteuer für Kinder: 'Legt die Bastelunterlage aus und schneidet euer Papier in schmale...'

2

The stripes can be different in length and width.

Bild zum Schritt 2 für das Bastel- und DIY-Abenteuer für Kinder: 'Die Streifen können unterschiedlich lang und breit sein.'

3

Now put an adhesive point on a strip and roll it together.
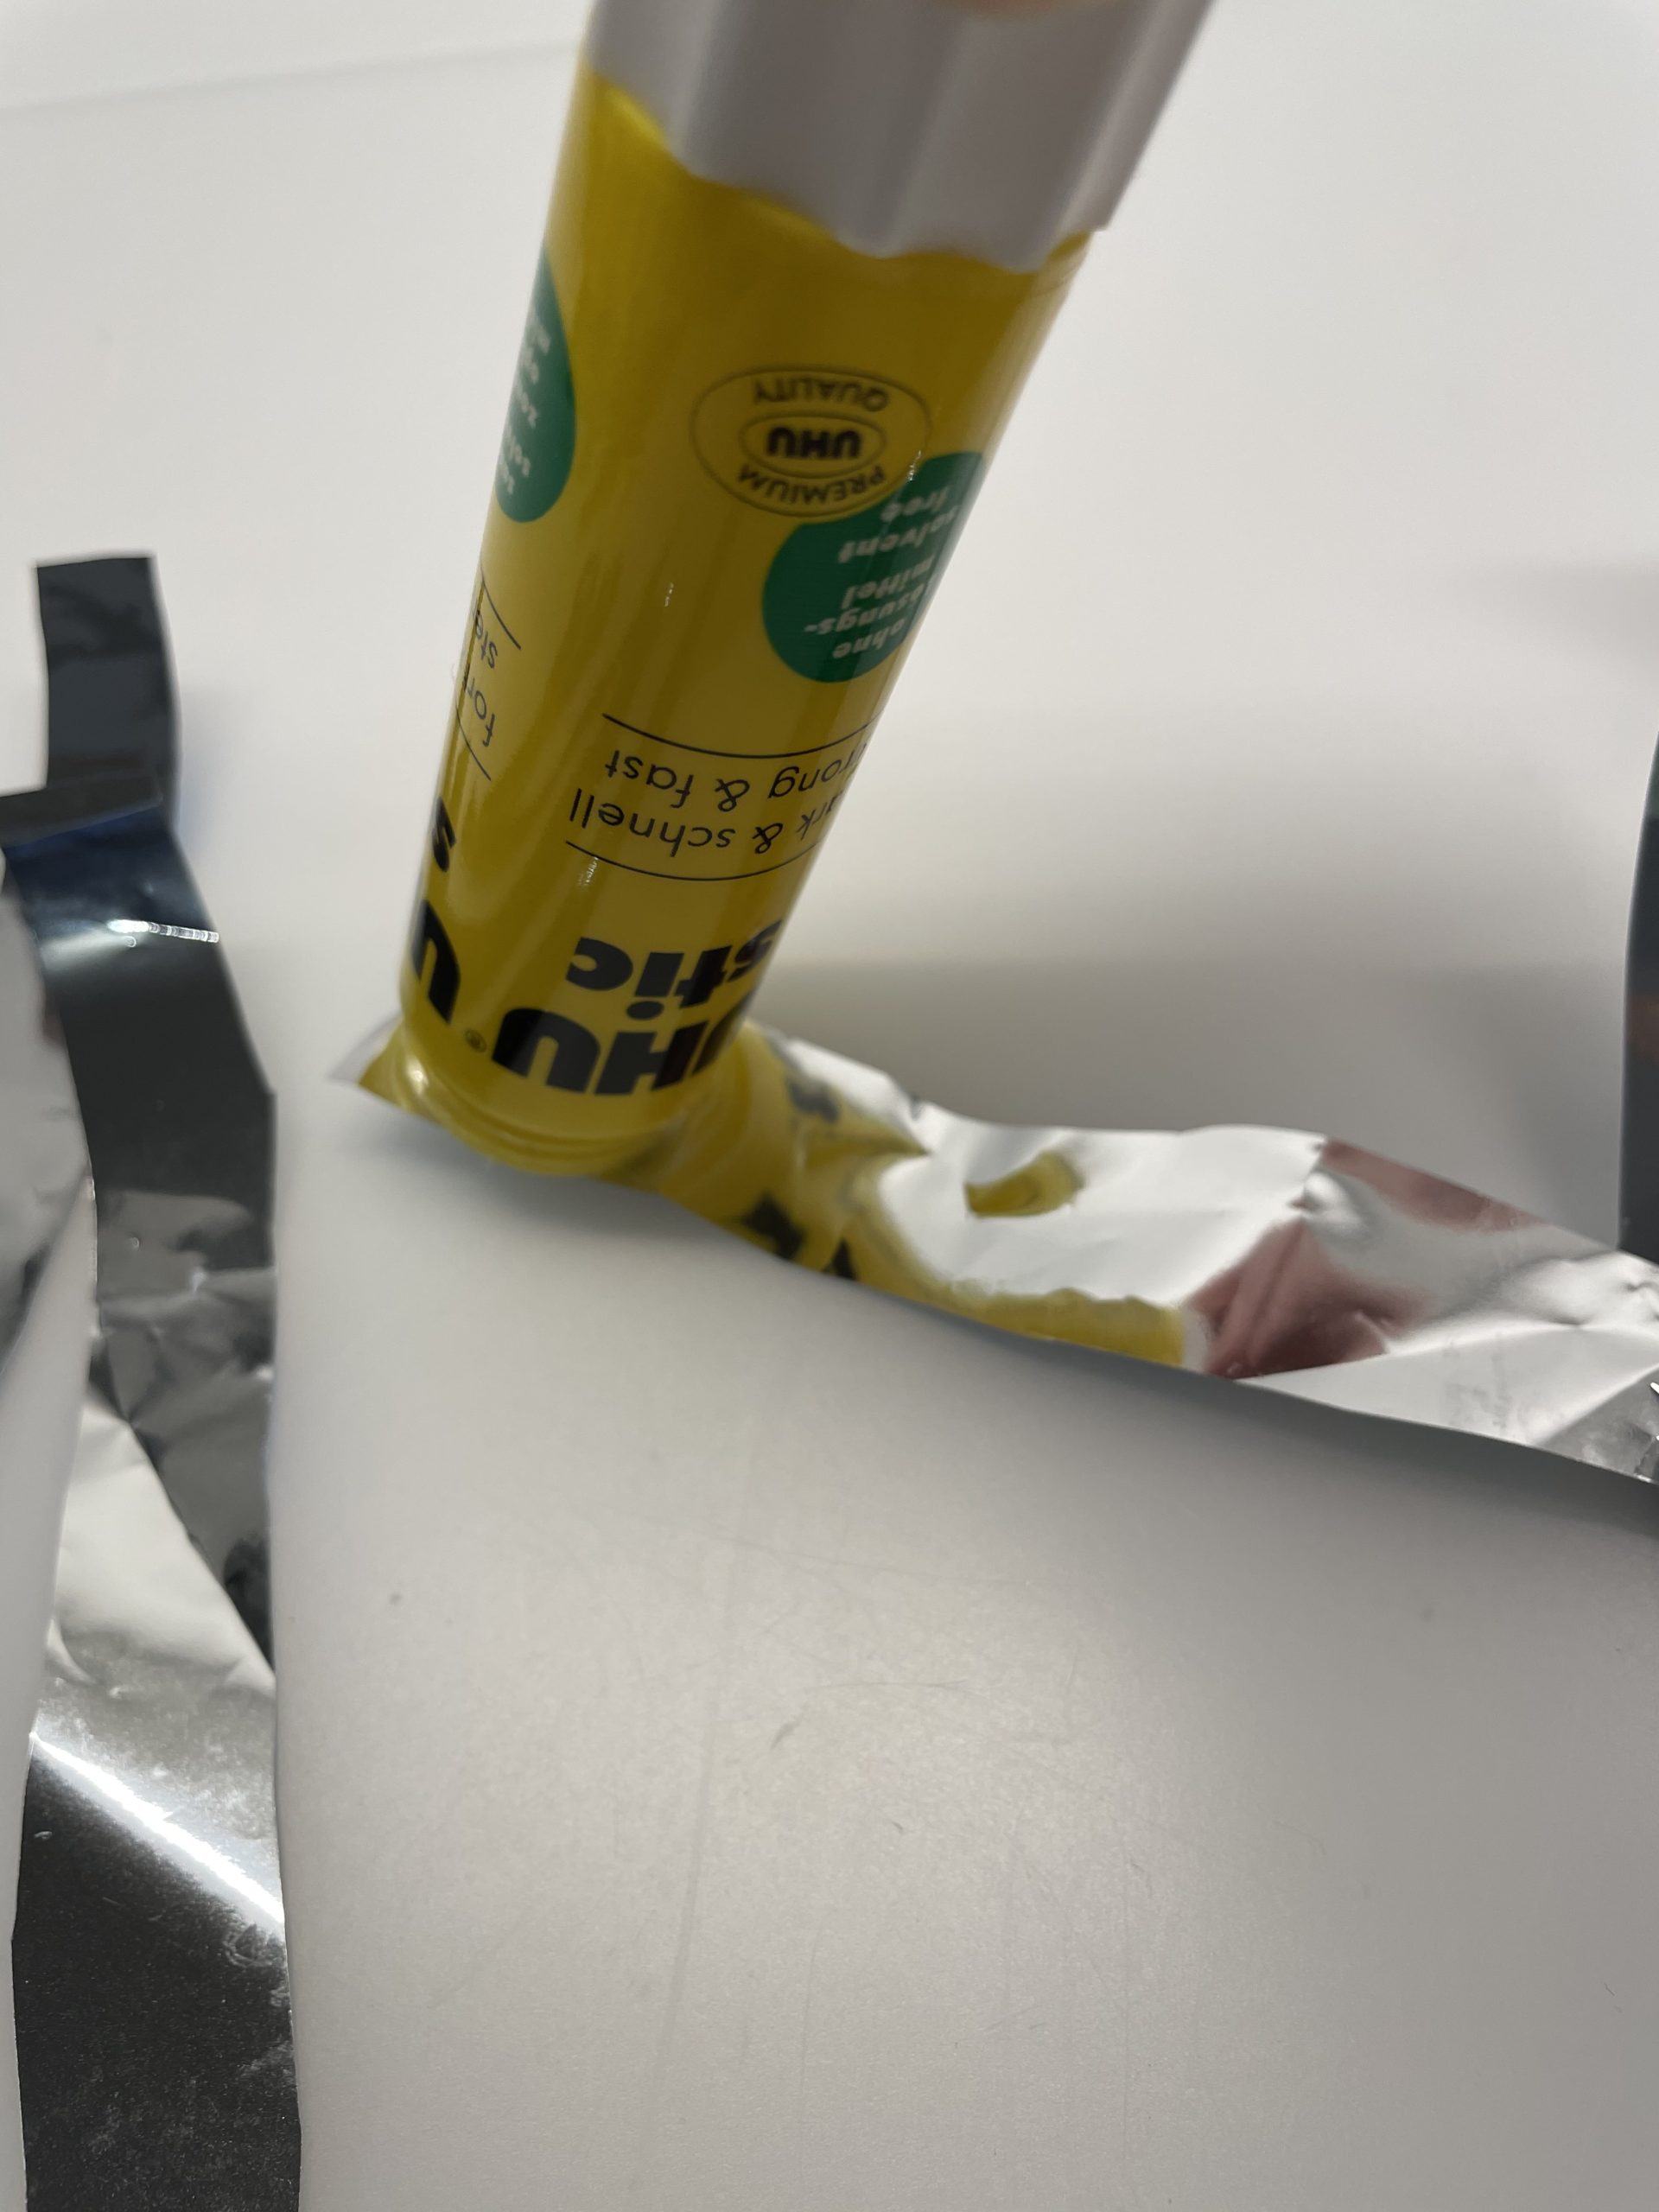
Bild zum Schritt 3 für das Bastel- und DIY-Abenteuer für Kinder: 'Setzt nun auf einen Streifen einen Klebepunkt und rollt diesen...'

4

That's how a ring is created.

Bild zum Schritt 4 für das Bastel- und DIY-Abenteuer für Kinder: 'So entsteht ein Ring.'

5

Now you put an adhesive point on the next strip. Then you thread the strip through the first ring and close it.
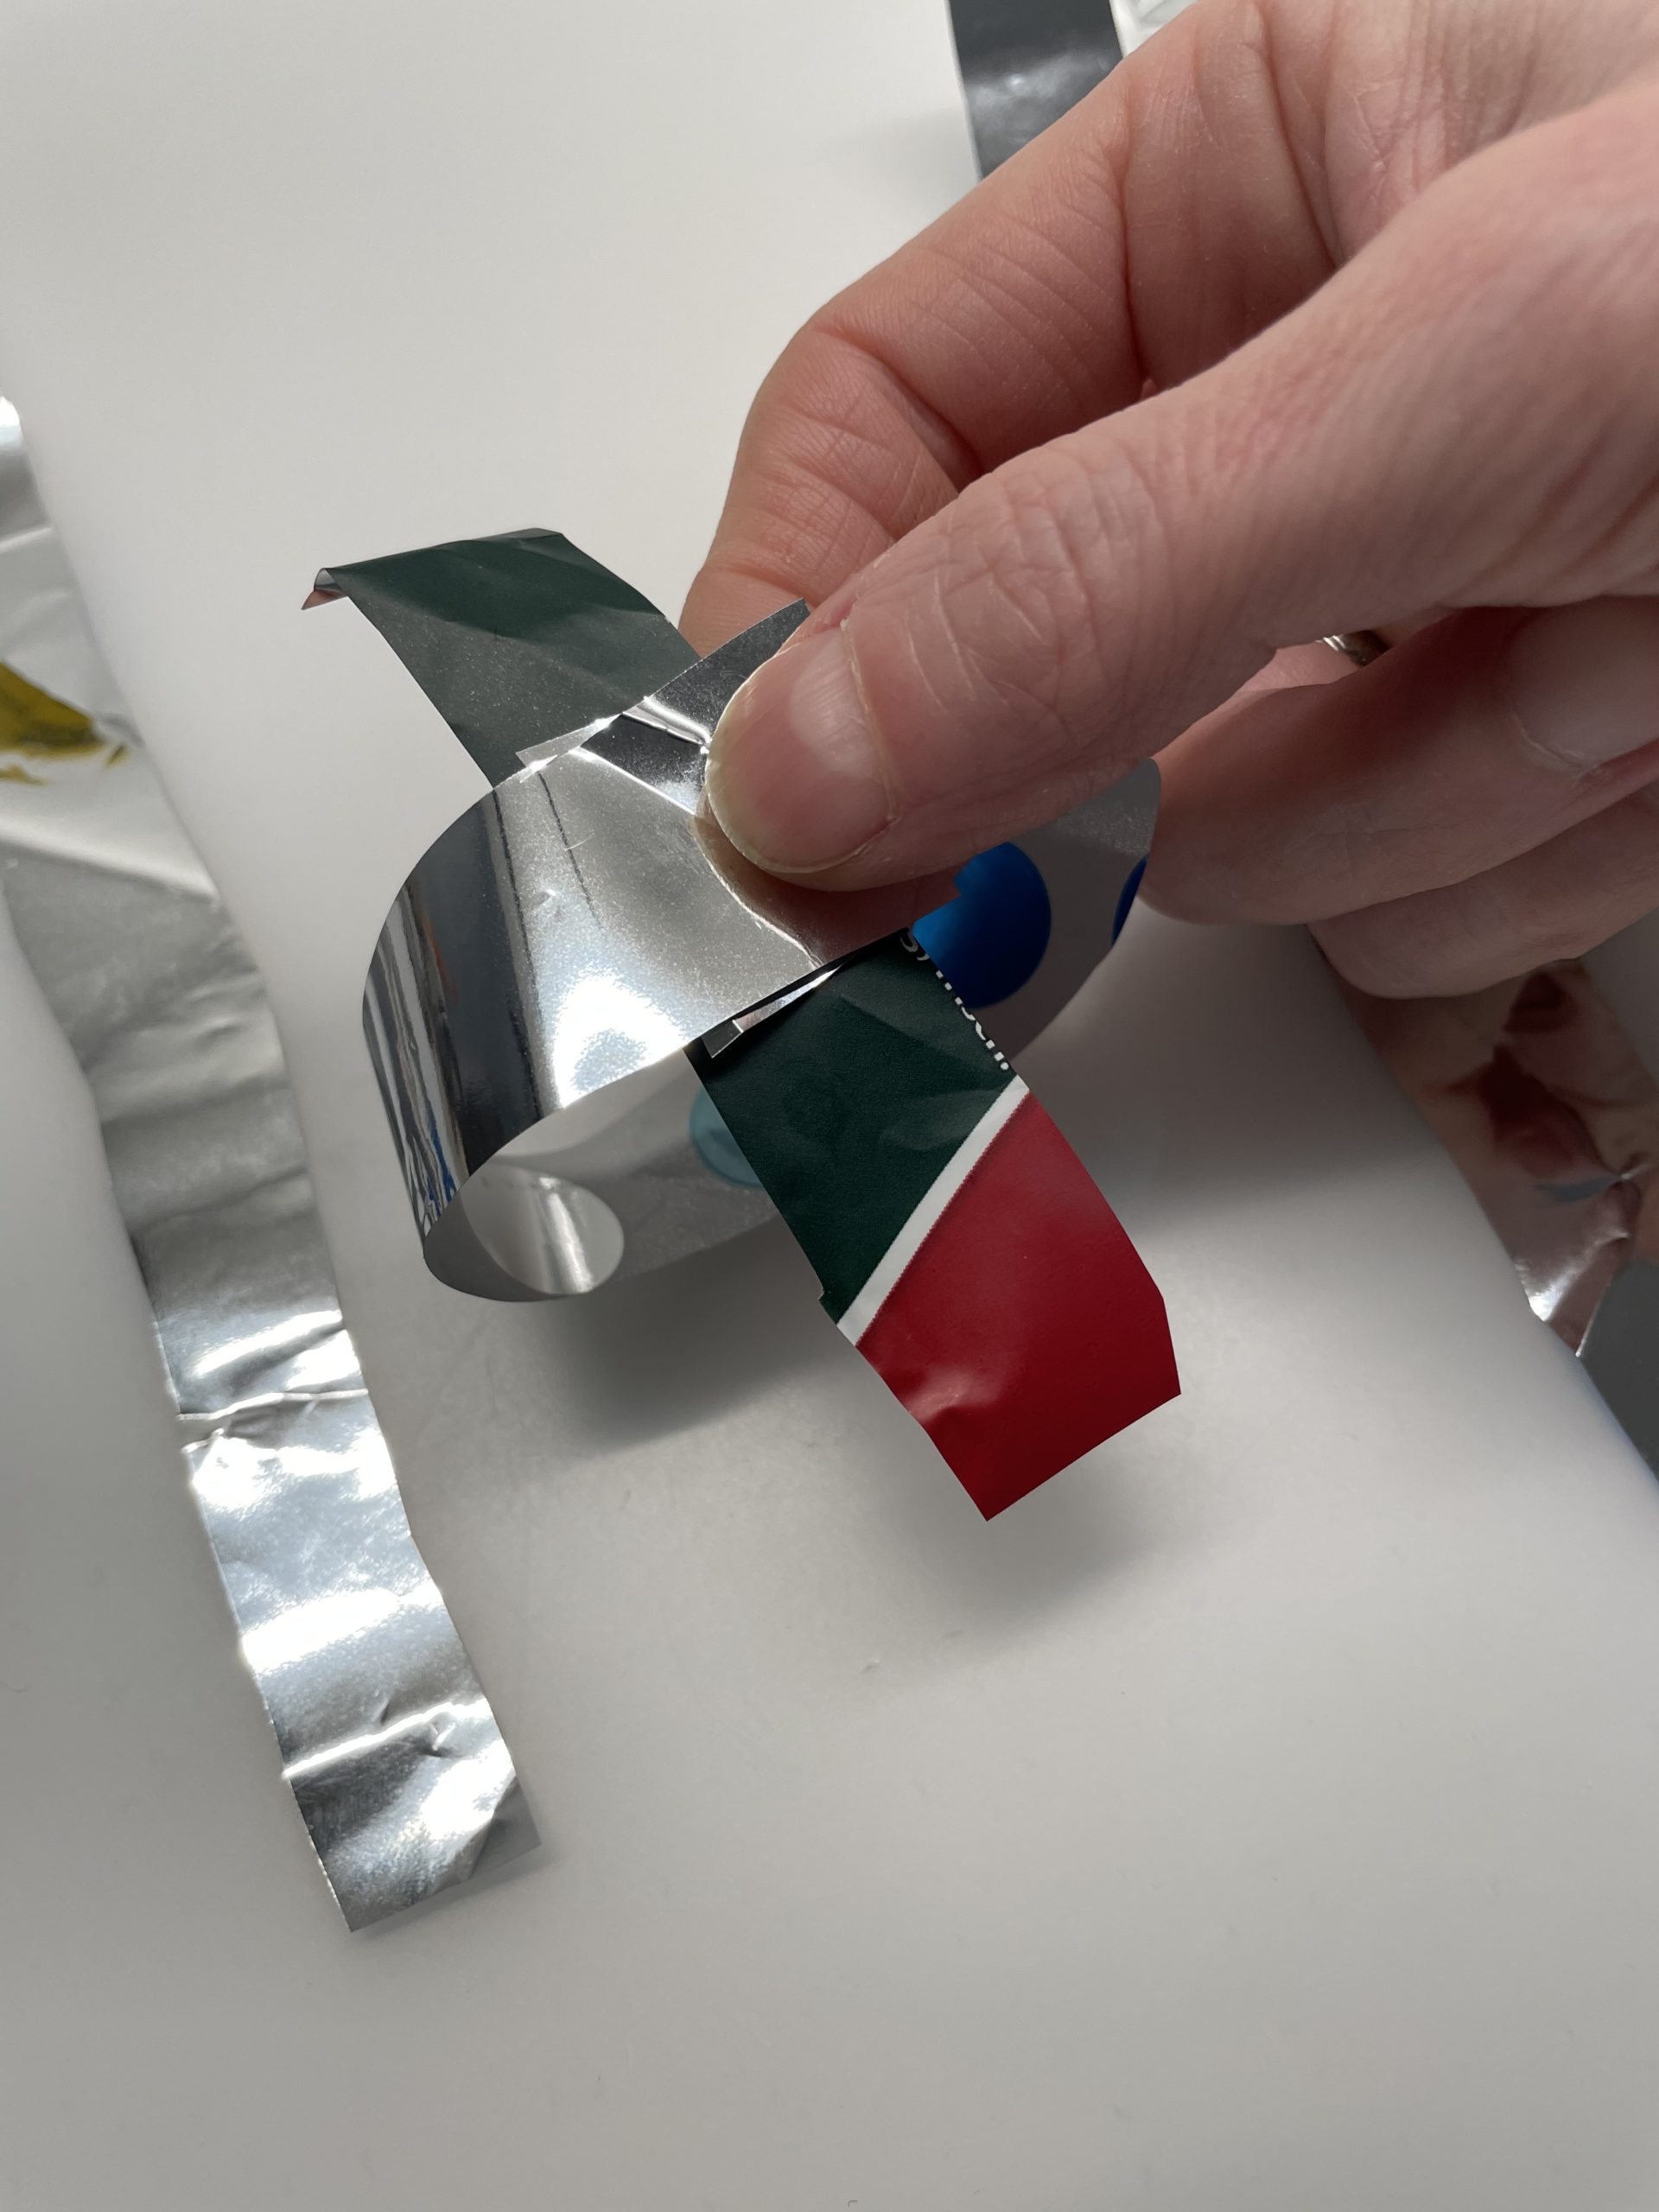
Bild zum Schritt 5 für das Bastel- und DIY-Abenteuer für Kinder: 'Nun setzt ihr auf den nächsten Streifen einen Klebepunkt. Dann...'

6

Now both rings are tied together.
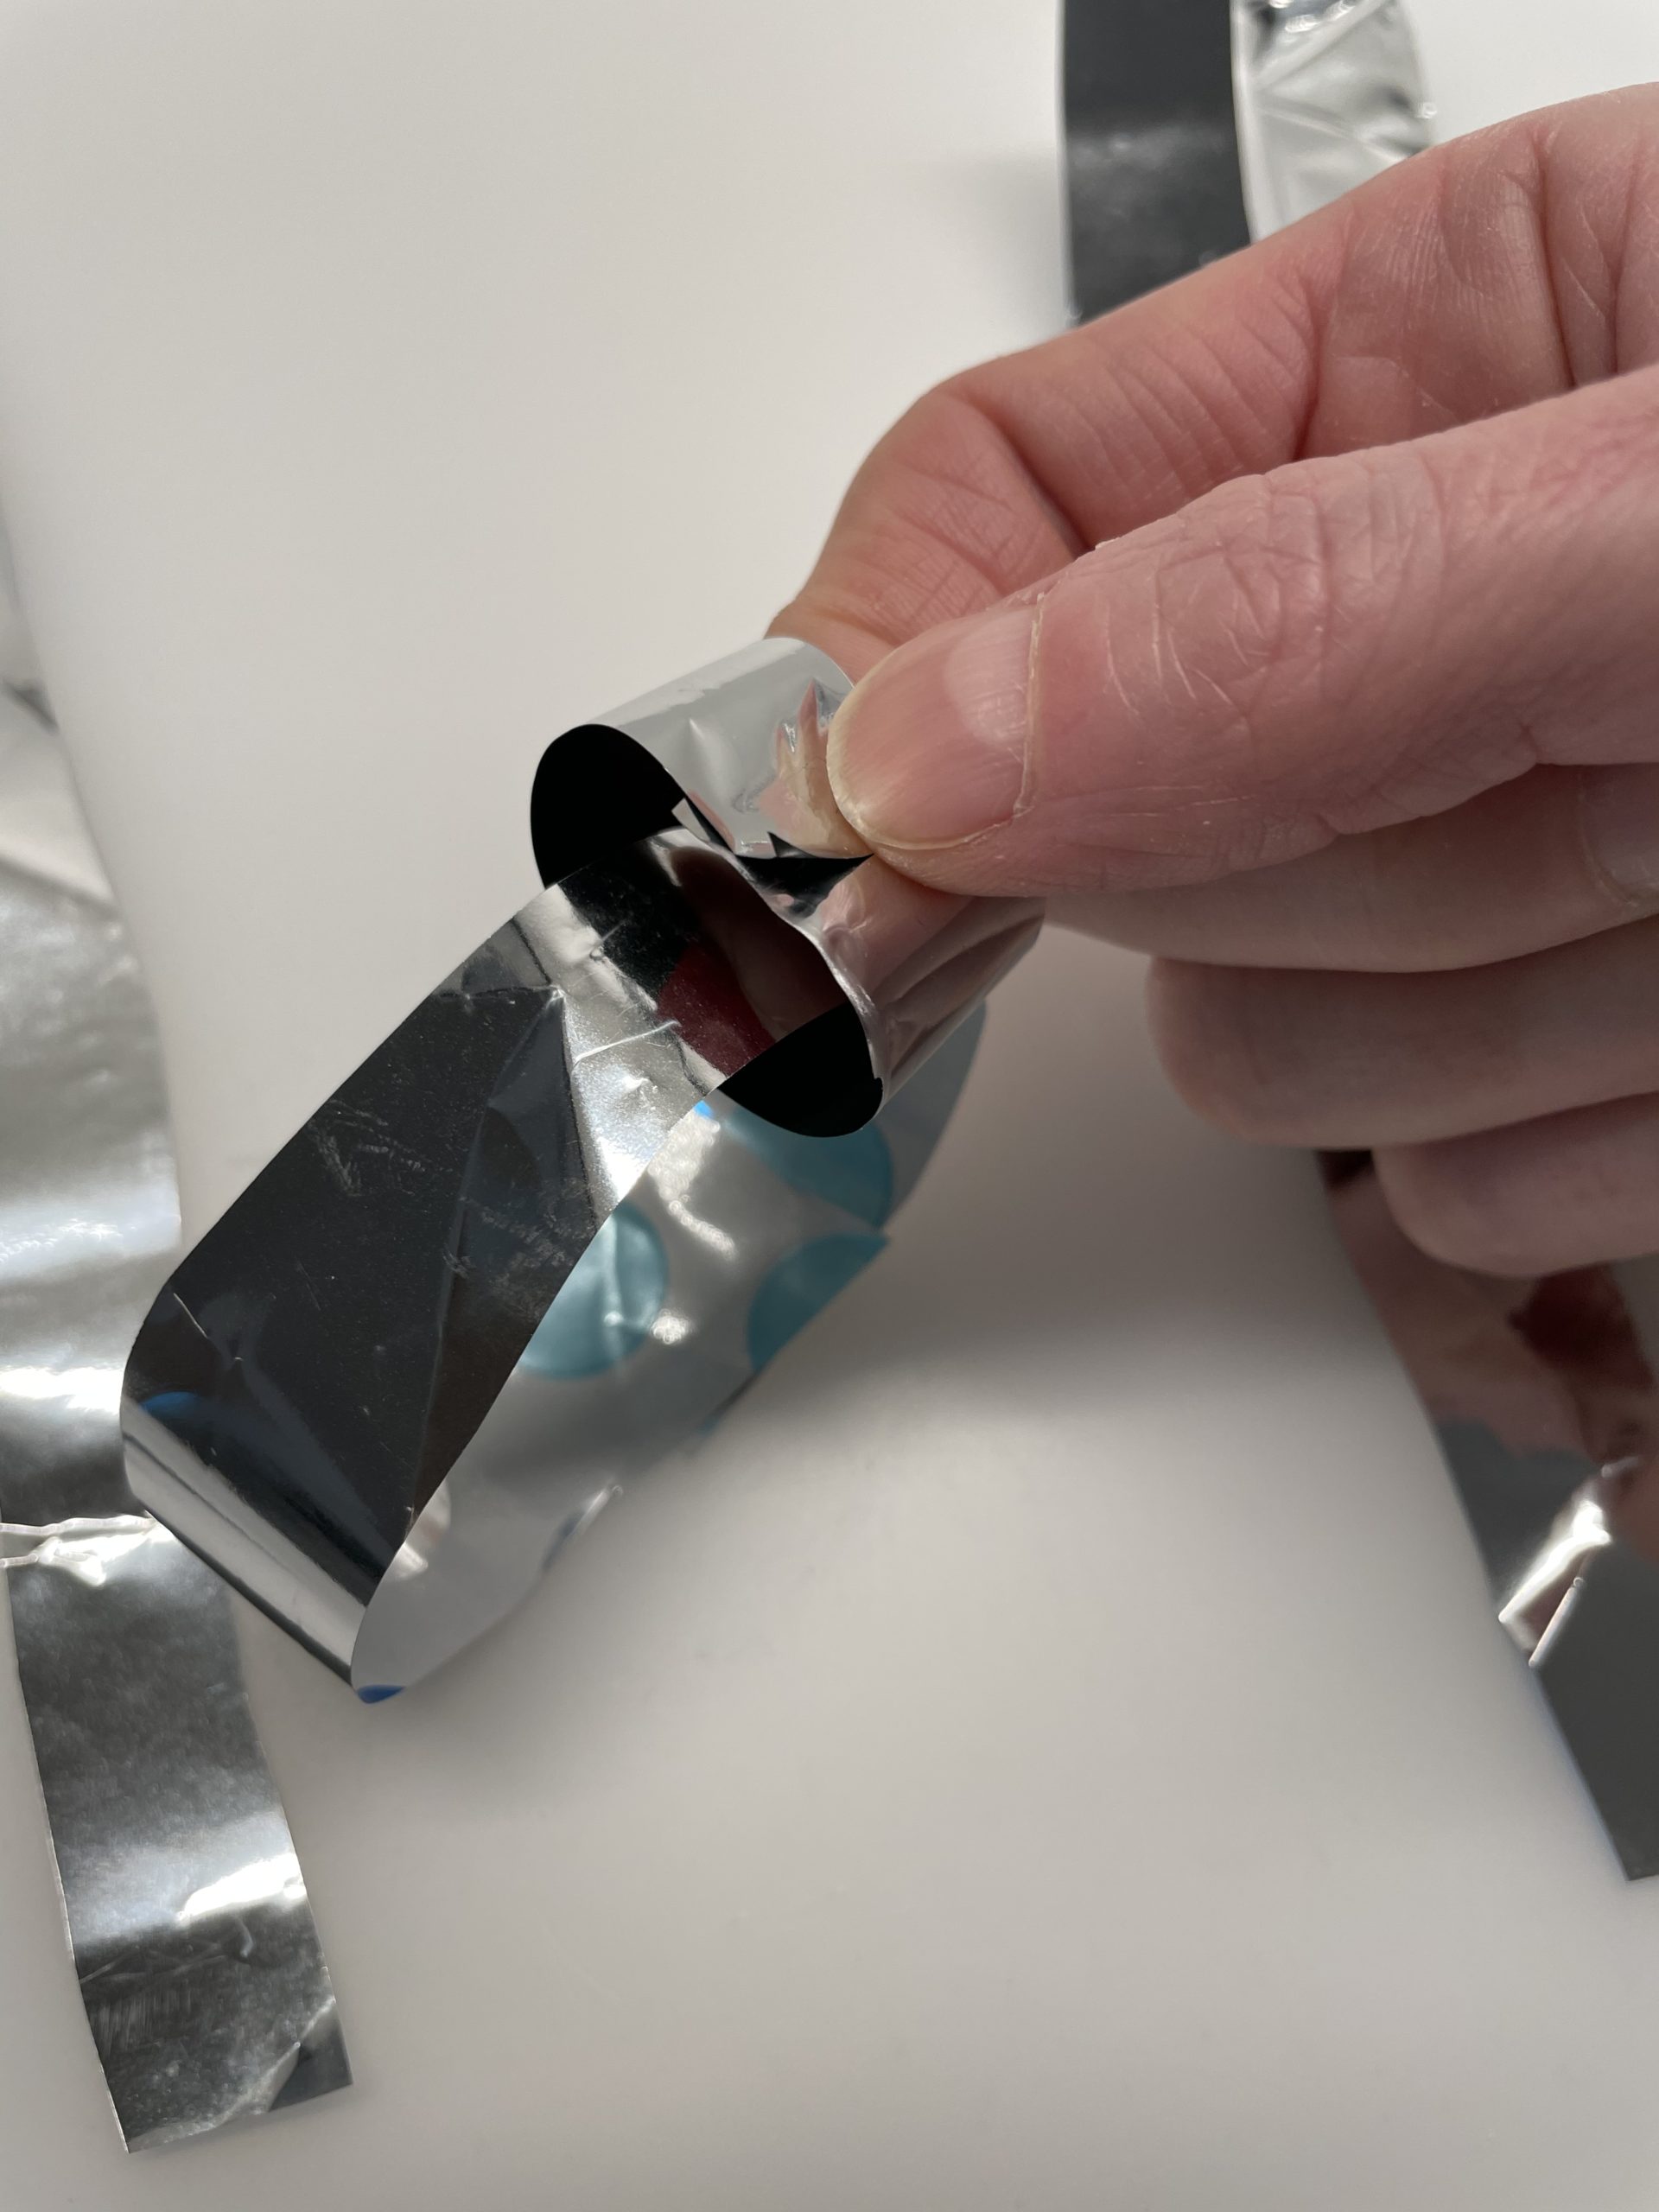
Bild zum Schritt 6 für das Bastel- und DIY-Abenteuer für Kinder: 'Jetzt hängen beide Ringe zusammen.'

7

Travel the same way at the next ring.
By doing so, you extend your chain with every paper ring.
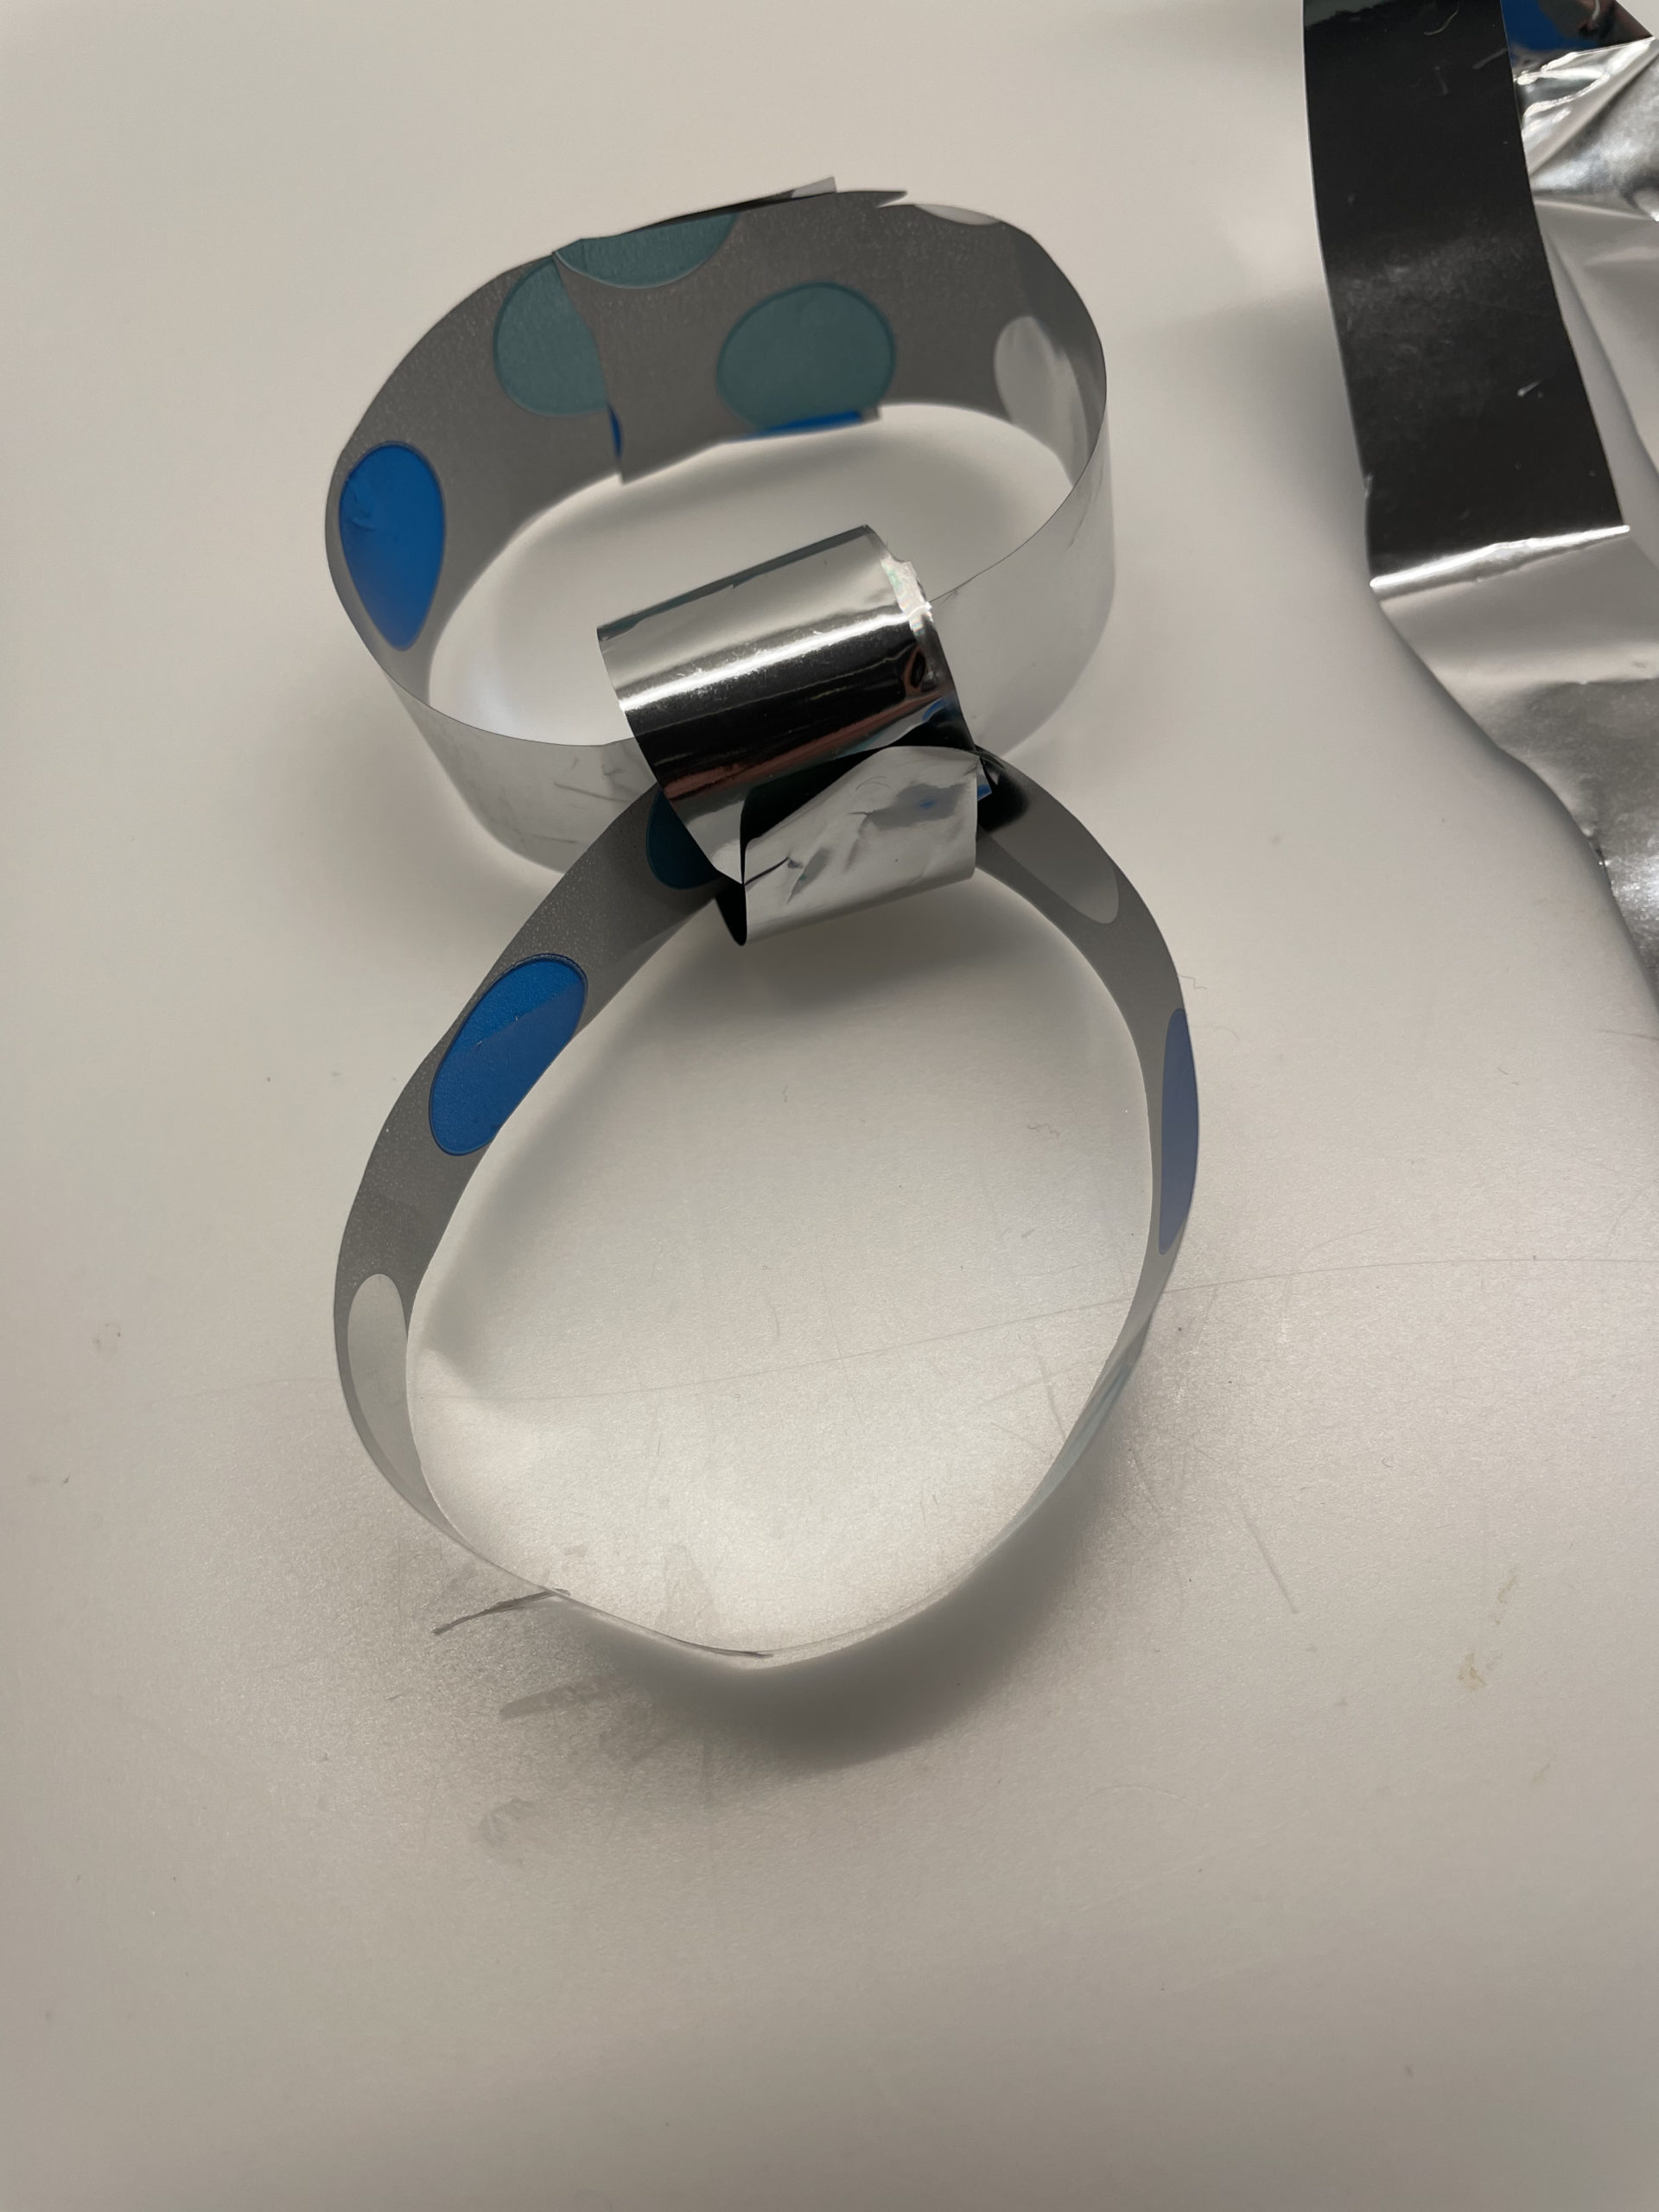
Bild zum Schritt 7 für das Bastel- und DIY-Abenteuer für Kinder: 'Verfahrt beim nächsten Ring genauso.   Dadurch verlängert ihr...'

8

Repeat the process until you have reached your desired length.
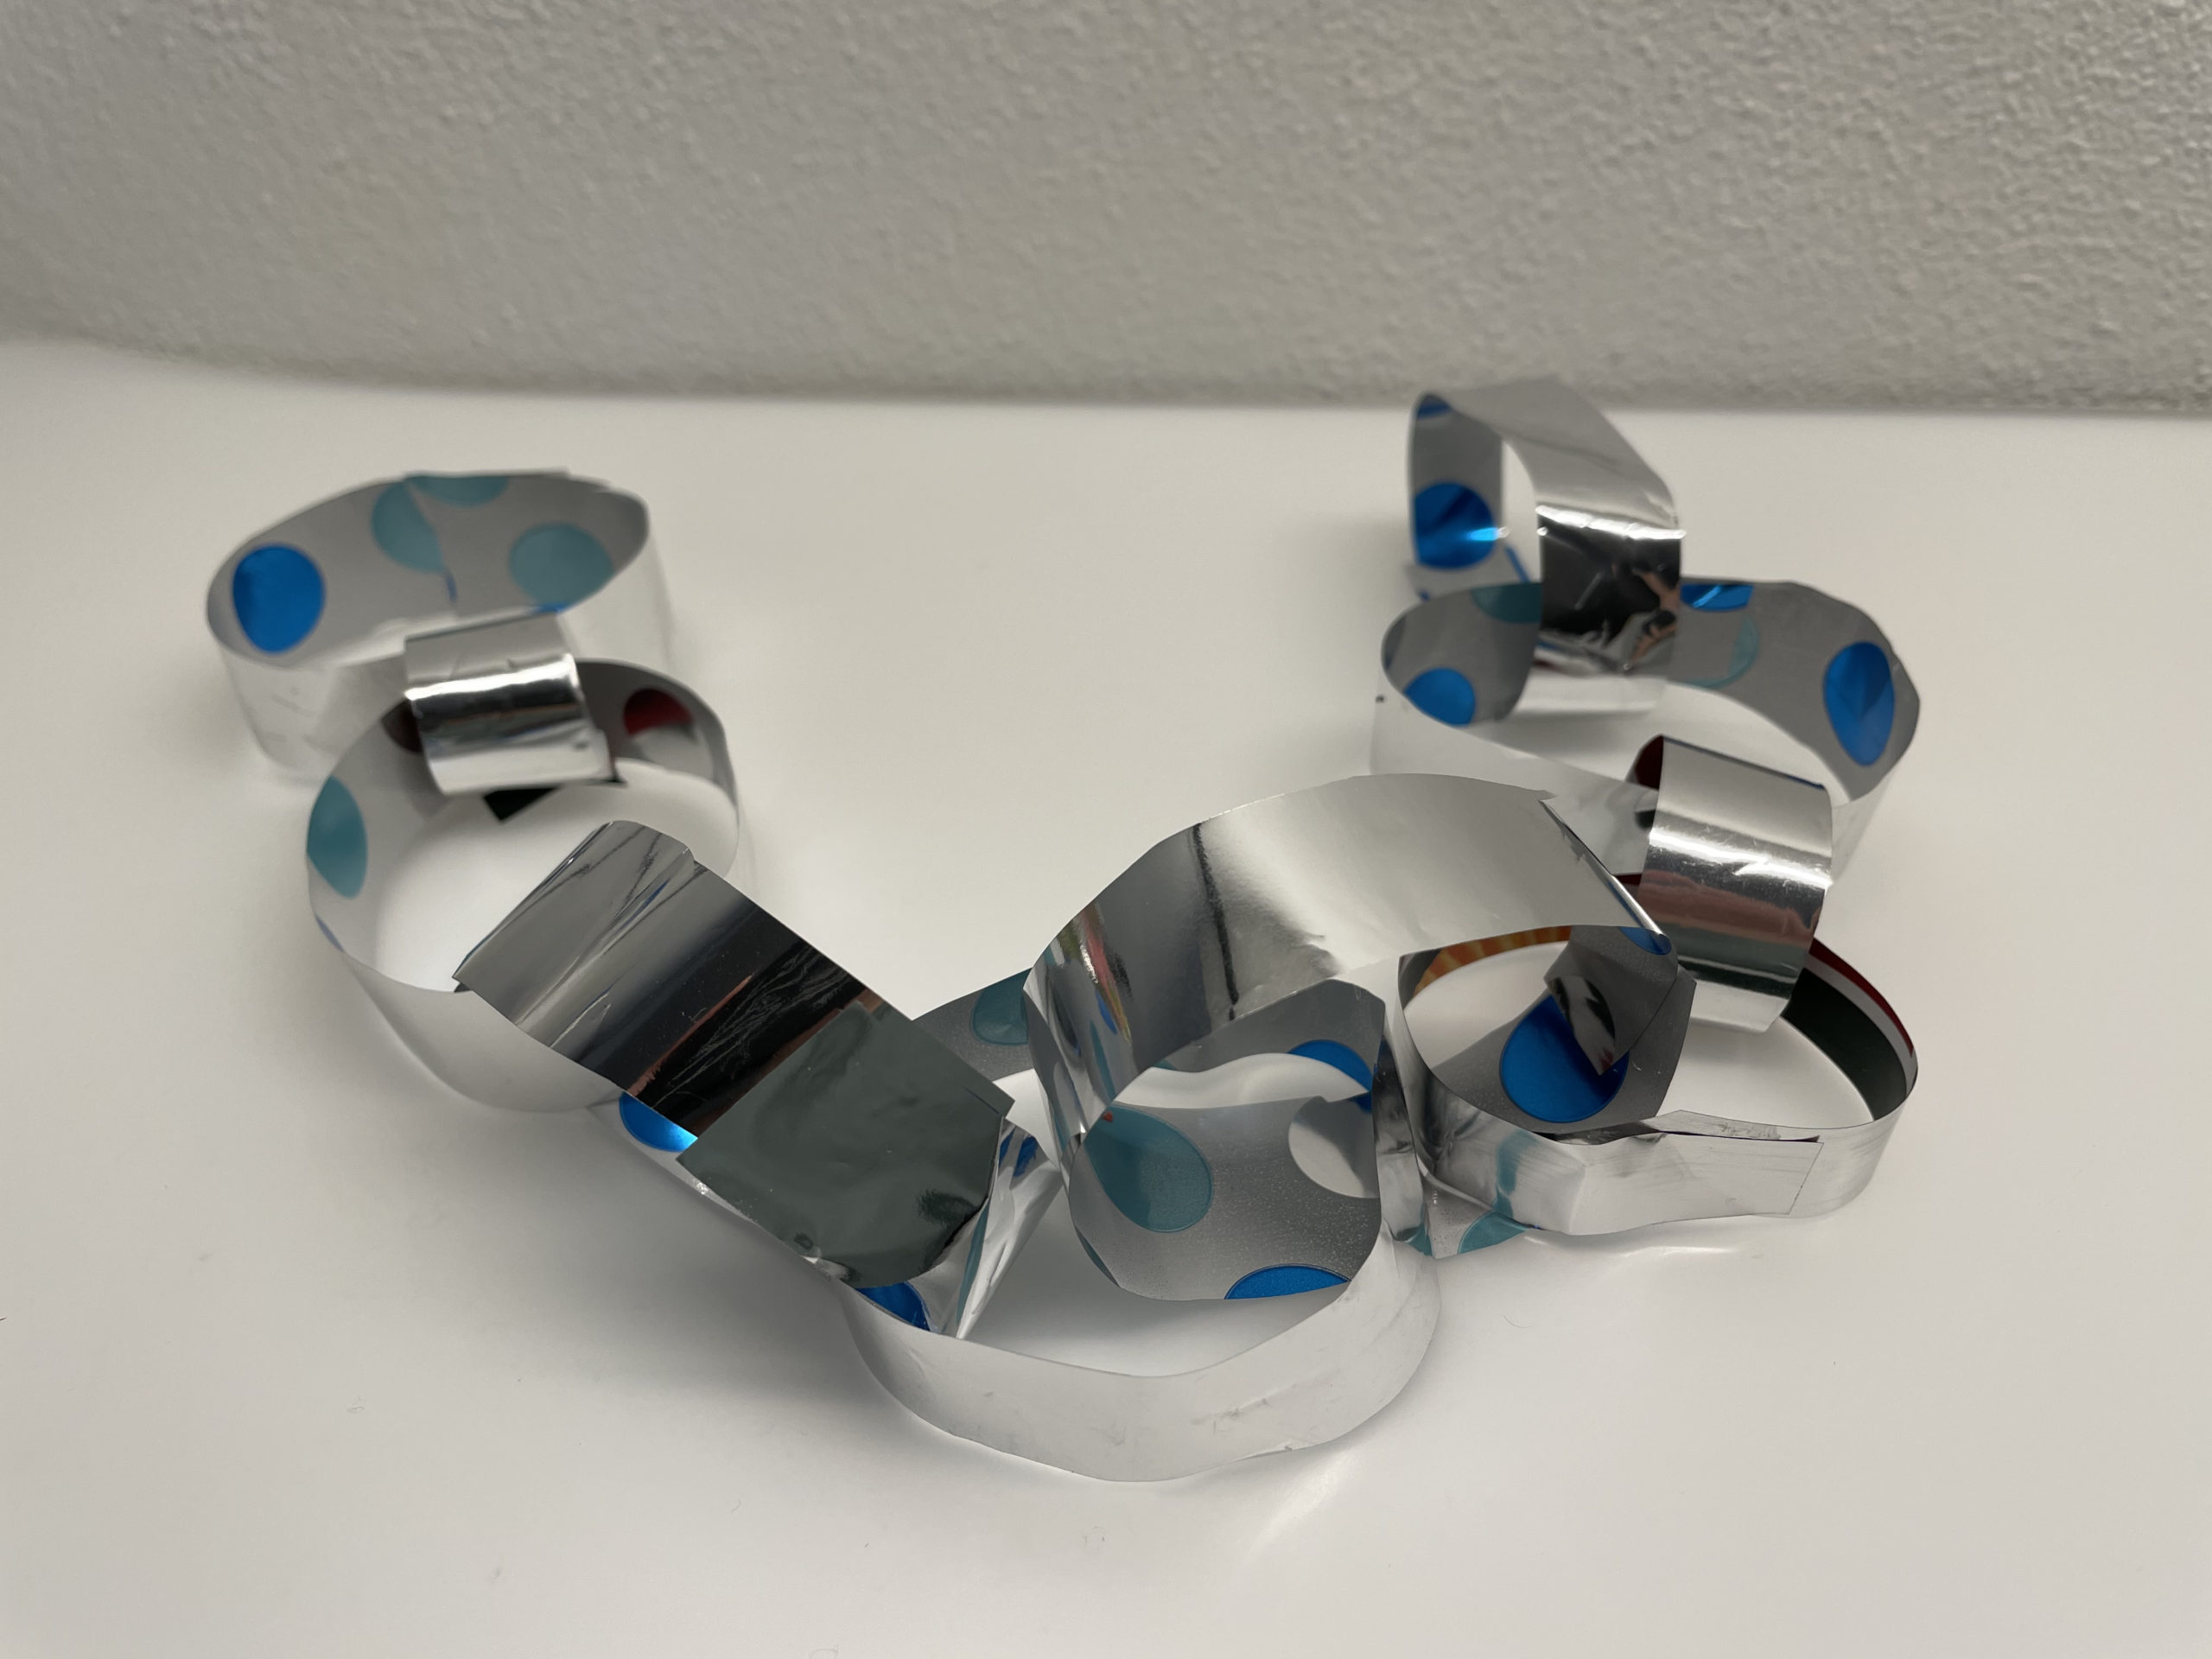
Bild zum Schritt 8 für das Bastel- und DIY-Abenteuer für Kinder: 'Wiederholt den Vorgang so lange, bis ihr eure gewünschte Länge...'

9

2. Bild zum Schritt 8 für das Bastel- und DIY-Abenteuer für Kinder: 'Wiederholt den Vorgang so lange, bis ihr eure gewünschte Länge...'

10

Have fun doing crafts and celebrating.

Bild zum Schritt 10 für das Bastel- und DIY-Abenteuer für Kinder: 'Viel Spaß beim Basteln und Feiern.'

Make garland

Follow us on Facebook , Instagram and Pinterest
Don't miss any more adventures: Our bottle mail

One Comment

  1. 2.0 thousand times & ()

    Dear Katzi,
    This garland demands a lot of fine motor skills and therefore patience for small children's hands. But our little one has been eagerly present and wears for days the chain, which he has crafted according to this technique from an air snake.

Leave a Reply

Your email address will not be published.

The maximum upload file size: 5 MB. You can upload: image, document. Drop file here