Print Options:

Table as Gift Pendant – Card – Table Card

Material for1 ChildPrep Time5 min.Adv. Time15 min.Total Time20 min.

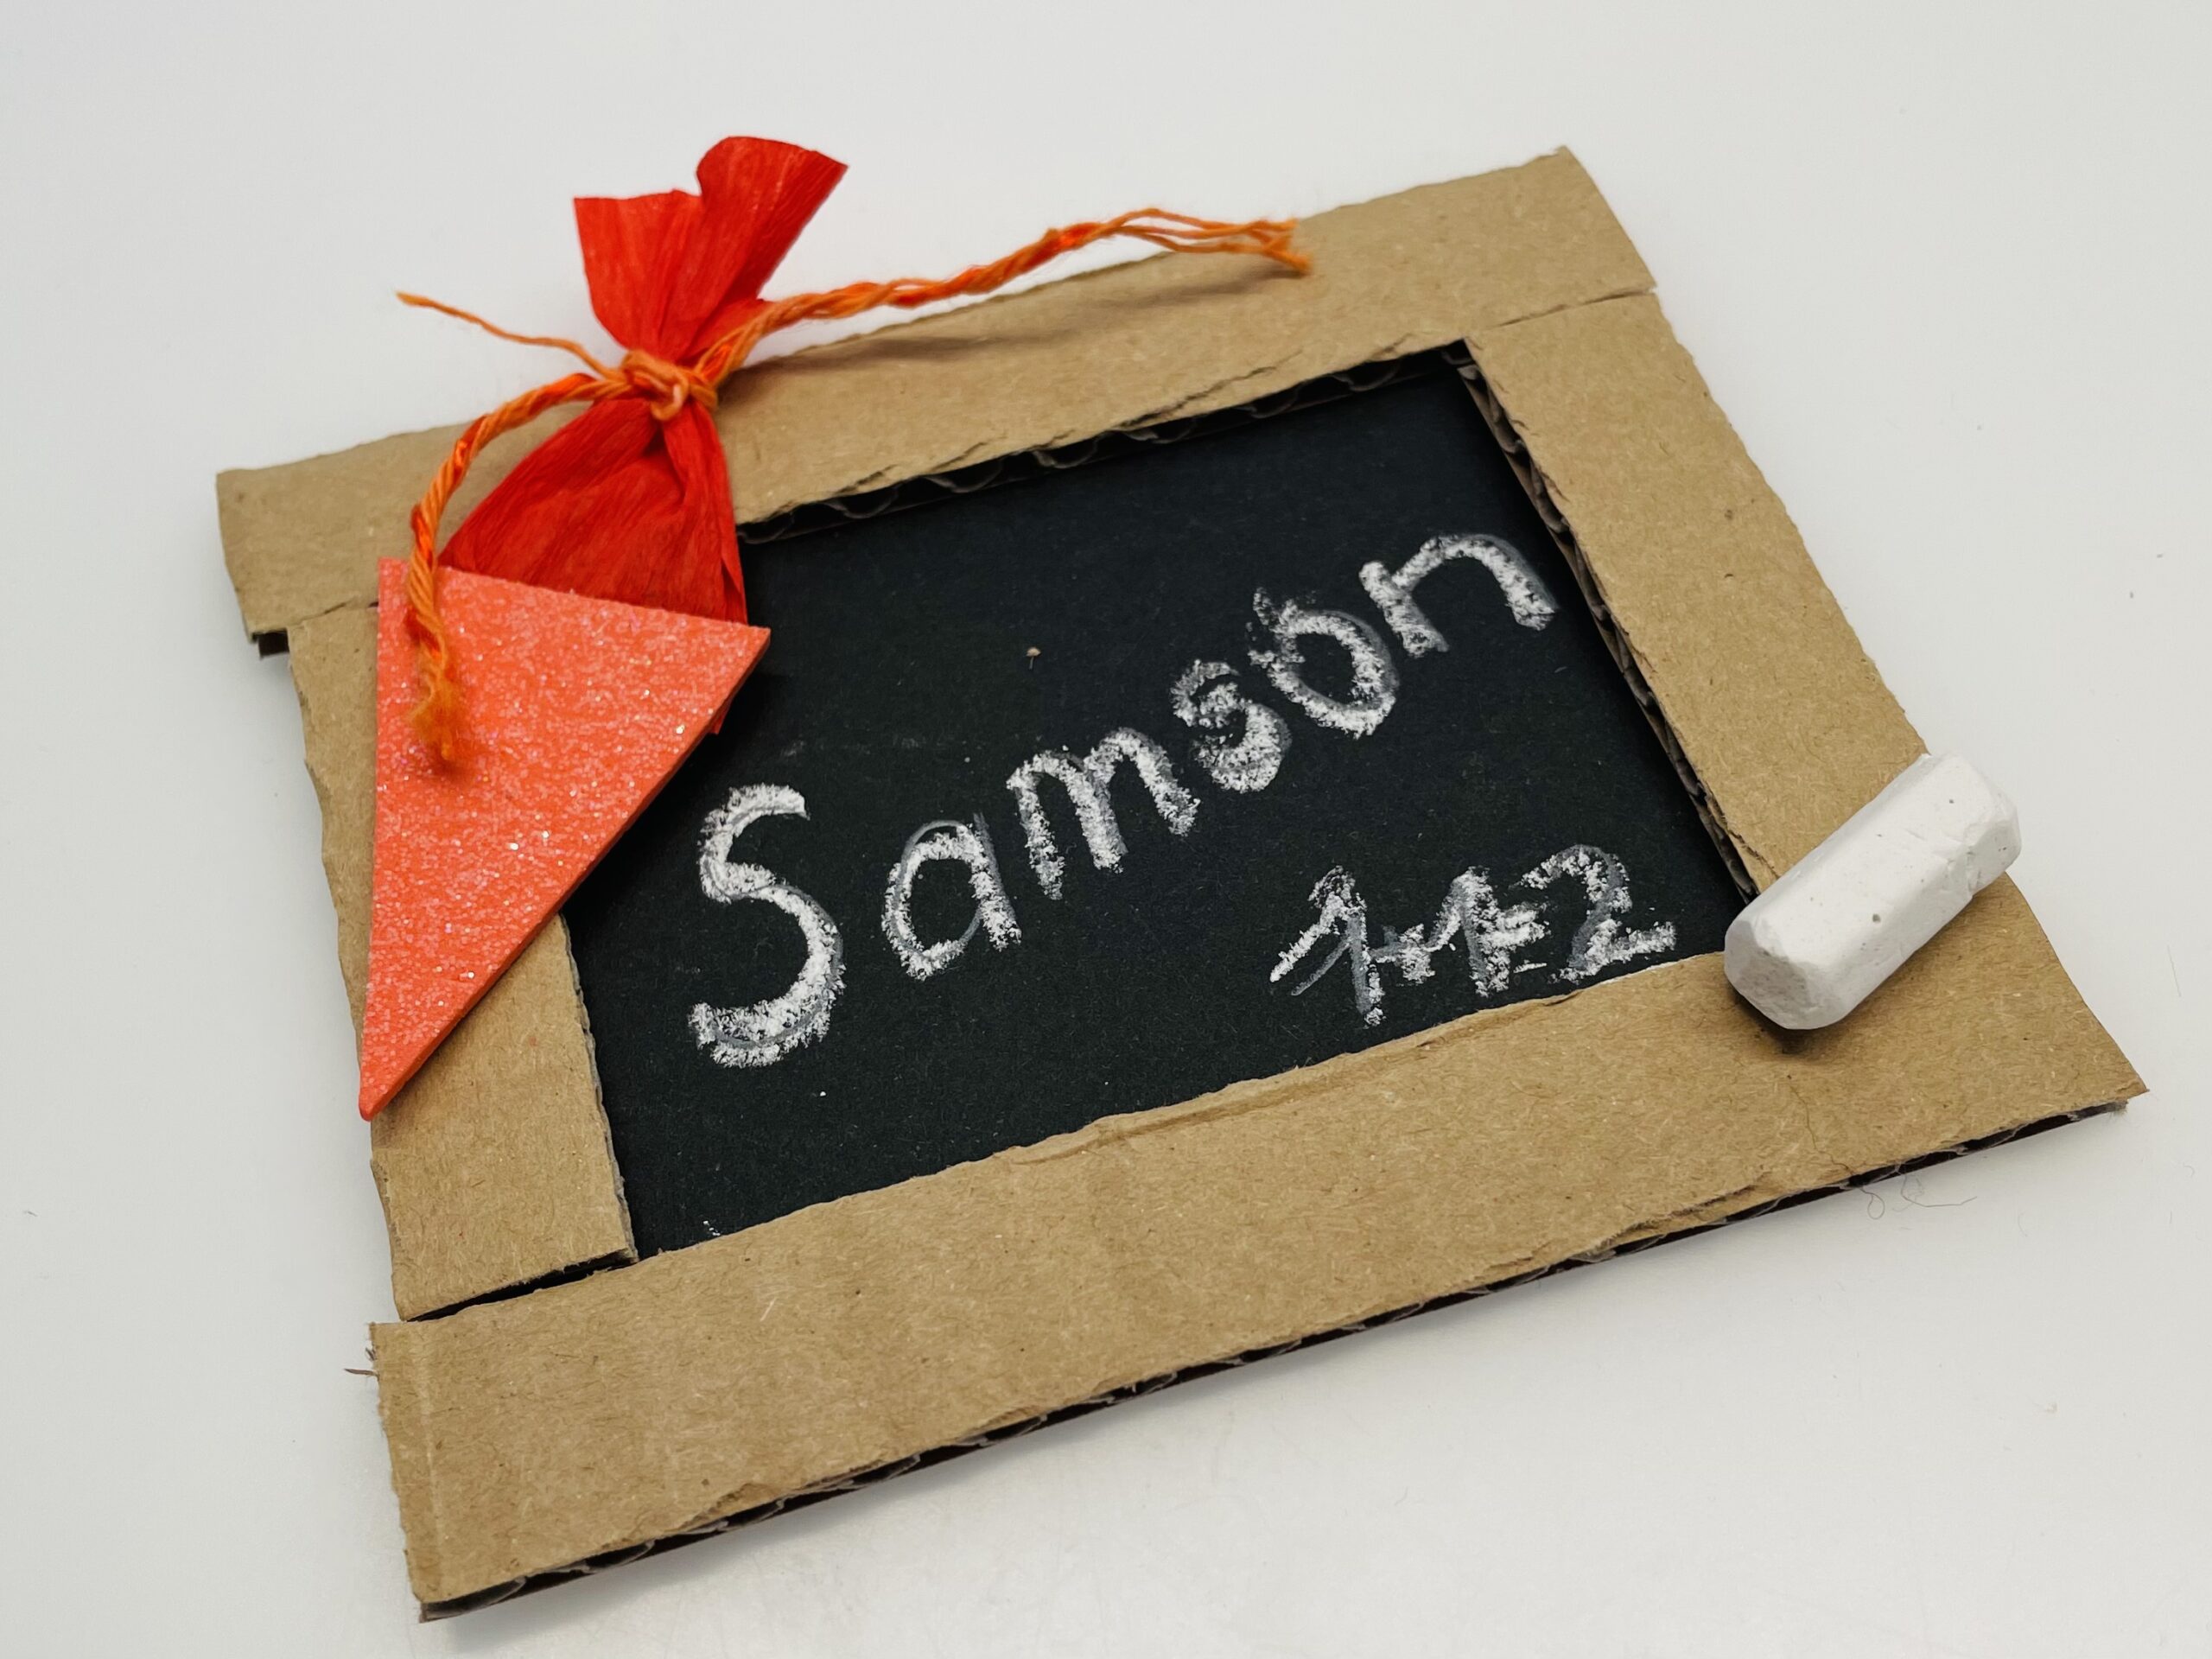
For the first day of school, this simple craft is crafted with a few simple steps. The small card can be used as a place card or as a gift pendant.

Titelbild zur Bastel- und DIY-Idee für Kinder '(837) Tafel als Geschenkanhänger – Karte – Tischkarte'

 1 black photo box
 Carton residues
 Coloured pencil whiteor chalk
 Paper remnants colorful Clay paper, foam rubber and crepe paper
 1 Scissors
 1 Adhesive pen
 1 Wool Gift ribbon
 1 Builder's pad
All links marked with a shopping cart lead to Amazon - here we have selected products that we would order ourselves and in part also ordered. In a qualified purchase via the advertising link, we as Amazon partner receive a commission, for you there are no costs. You thus support our cost- and advertising banner-free, educational offer.
1

First, prepare a black clay paper and a narrow strip of cardboard.
Size paper: approx. 7cm x 10cm
Cardboard strips: maximum 1cm wide

Bild zum Schritt 1 für das Bastel- und DIY-Abenteuer für Kinder: 'Legt euch zuerst ein schwarzes Tonpapier und einen schmalen Streifen...'

2

Now cut off the cardboard strips. Put the cardboard on the clay paper and cut off the lengths.

Bild zum Schritt 2 für das Bastel- und DIY-Abenteuer für Kinder: 'Jetzt schneidet ihr die Pappstreifen zu. Legt dafür die Pappe...'

3

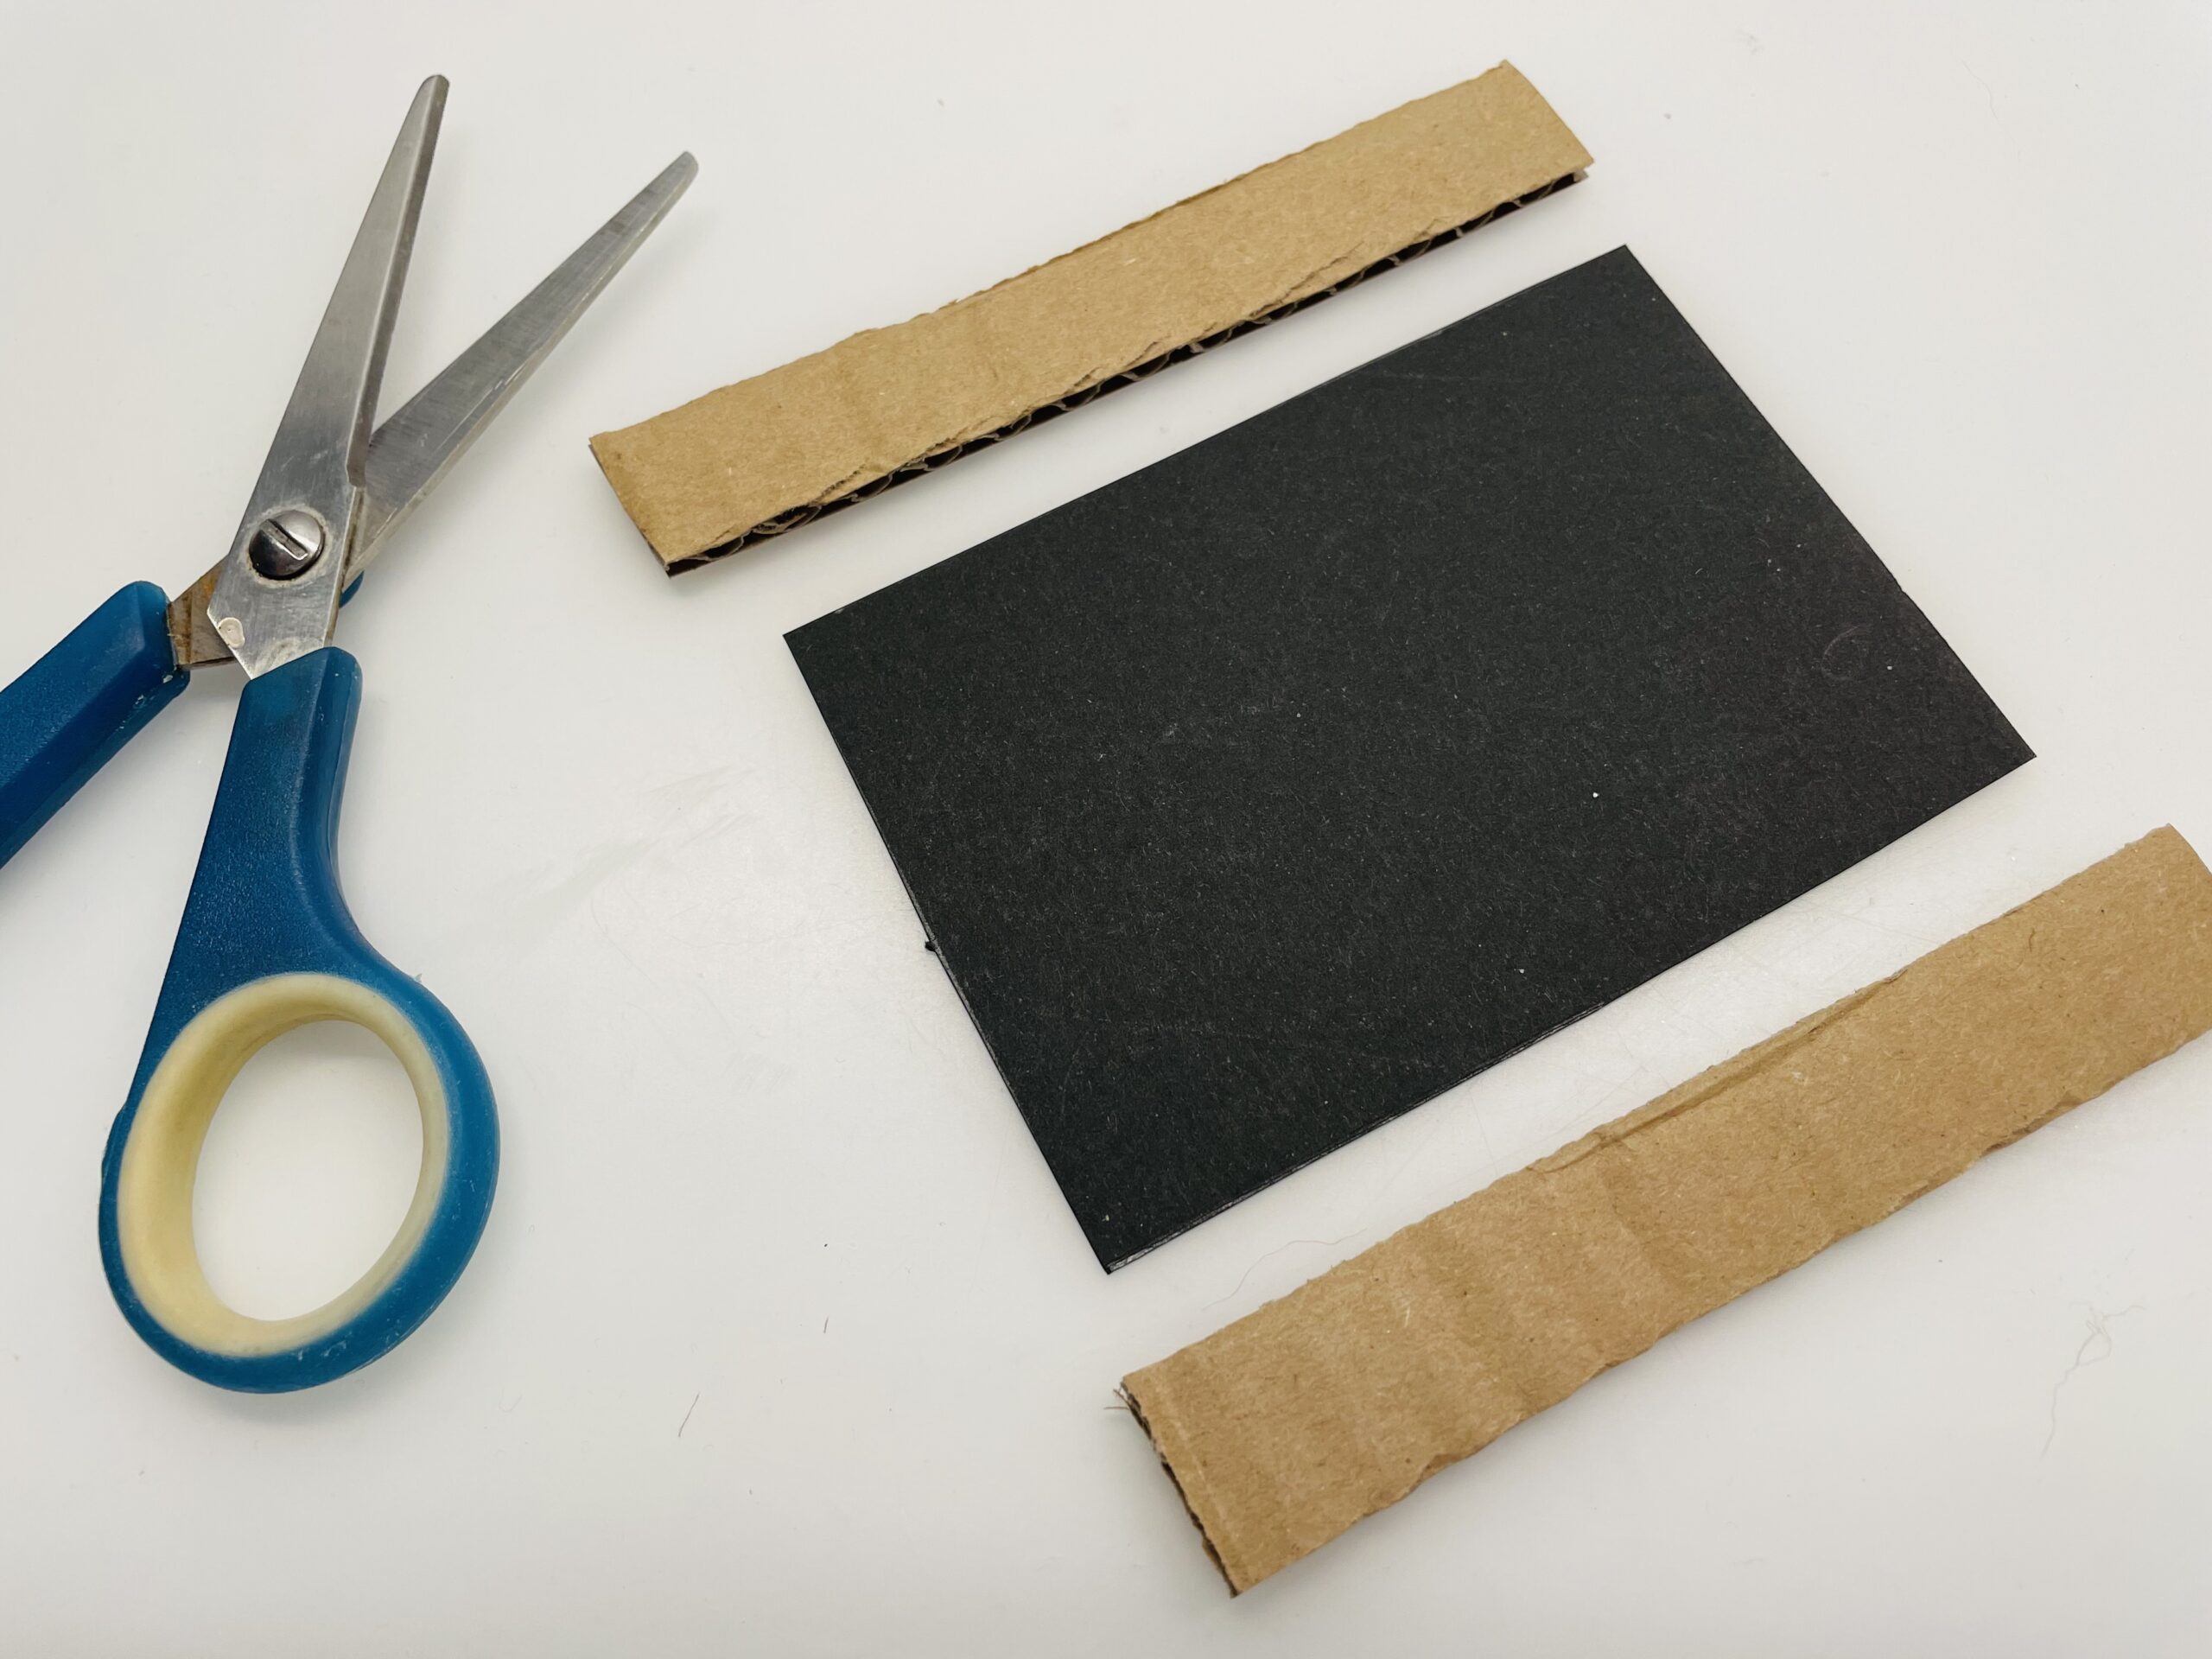
Then measure the short pieces by holding off the cardboard and cut them up.

Bild zum Schritt 3 für das Bastel- und DIY-Abenteuer für Kinder: 'Messt dann die kurzen Stücke durch hinhalten der Pappe ab...'

4

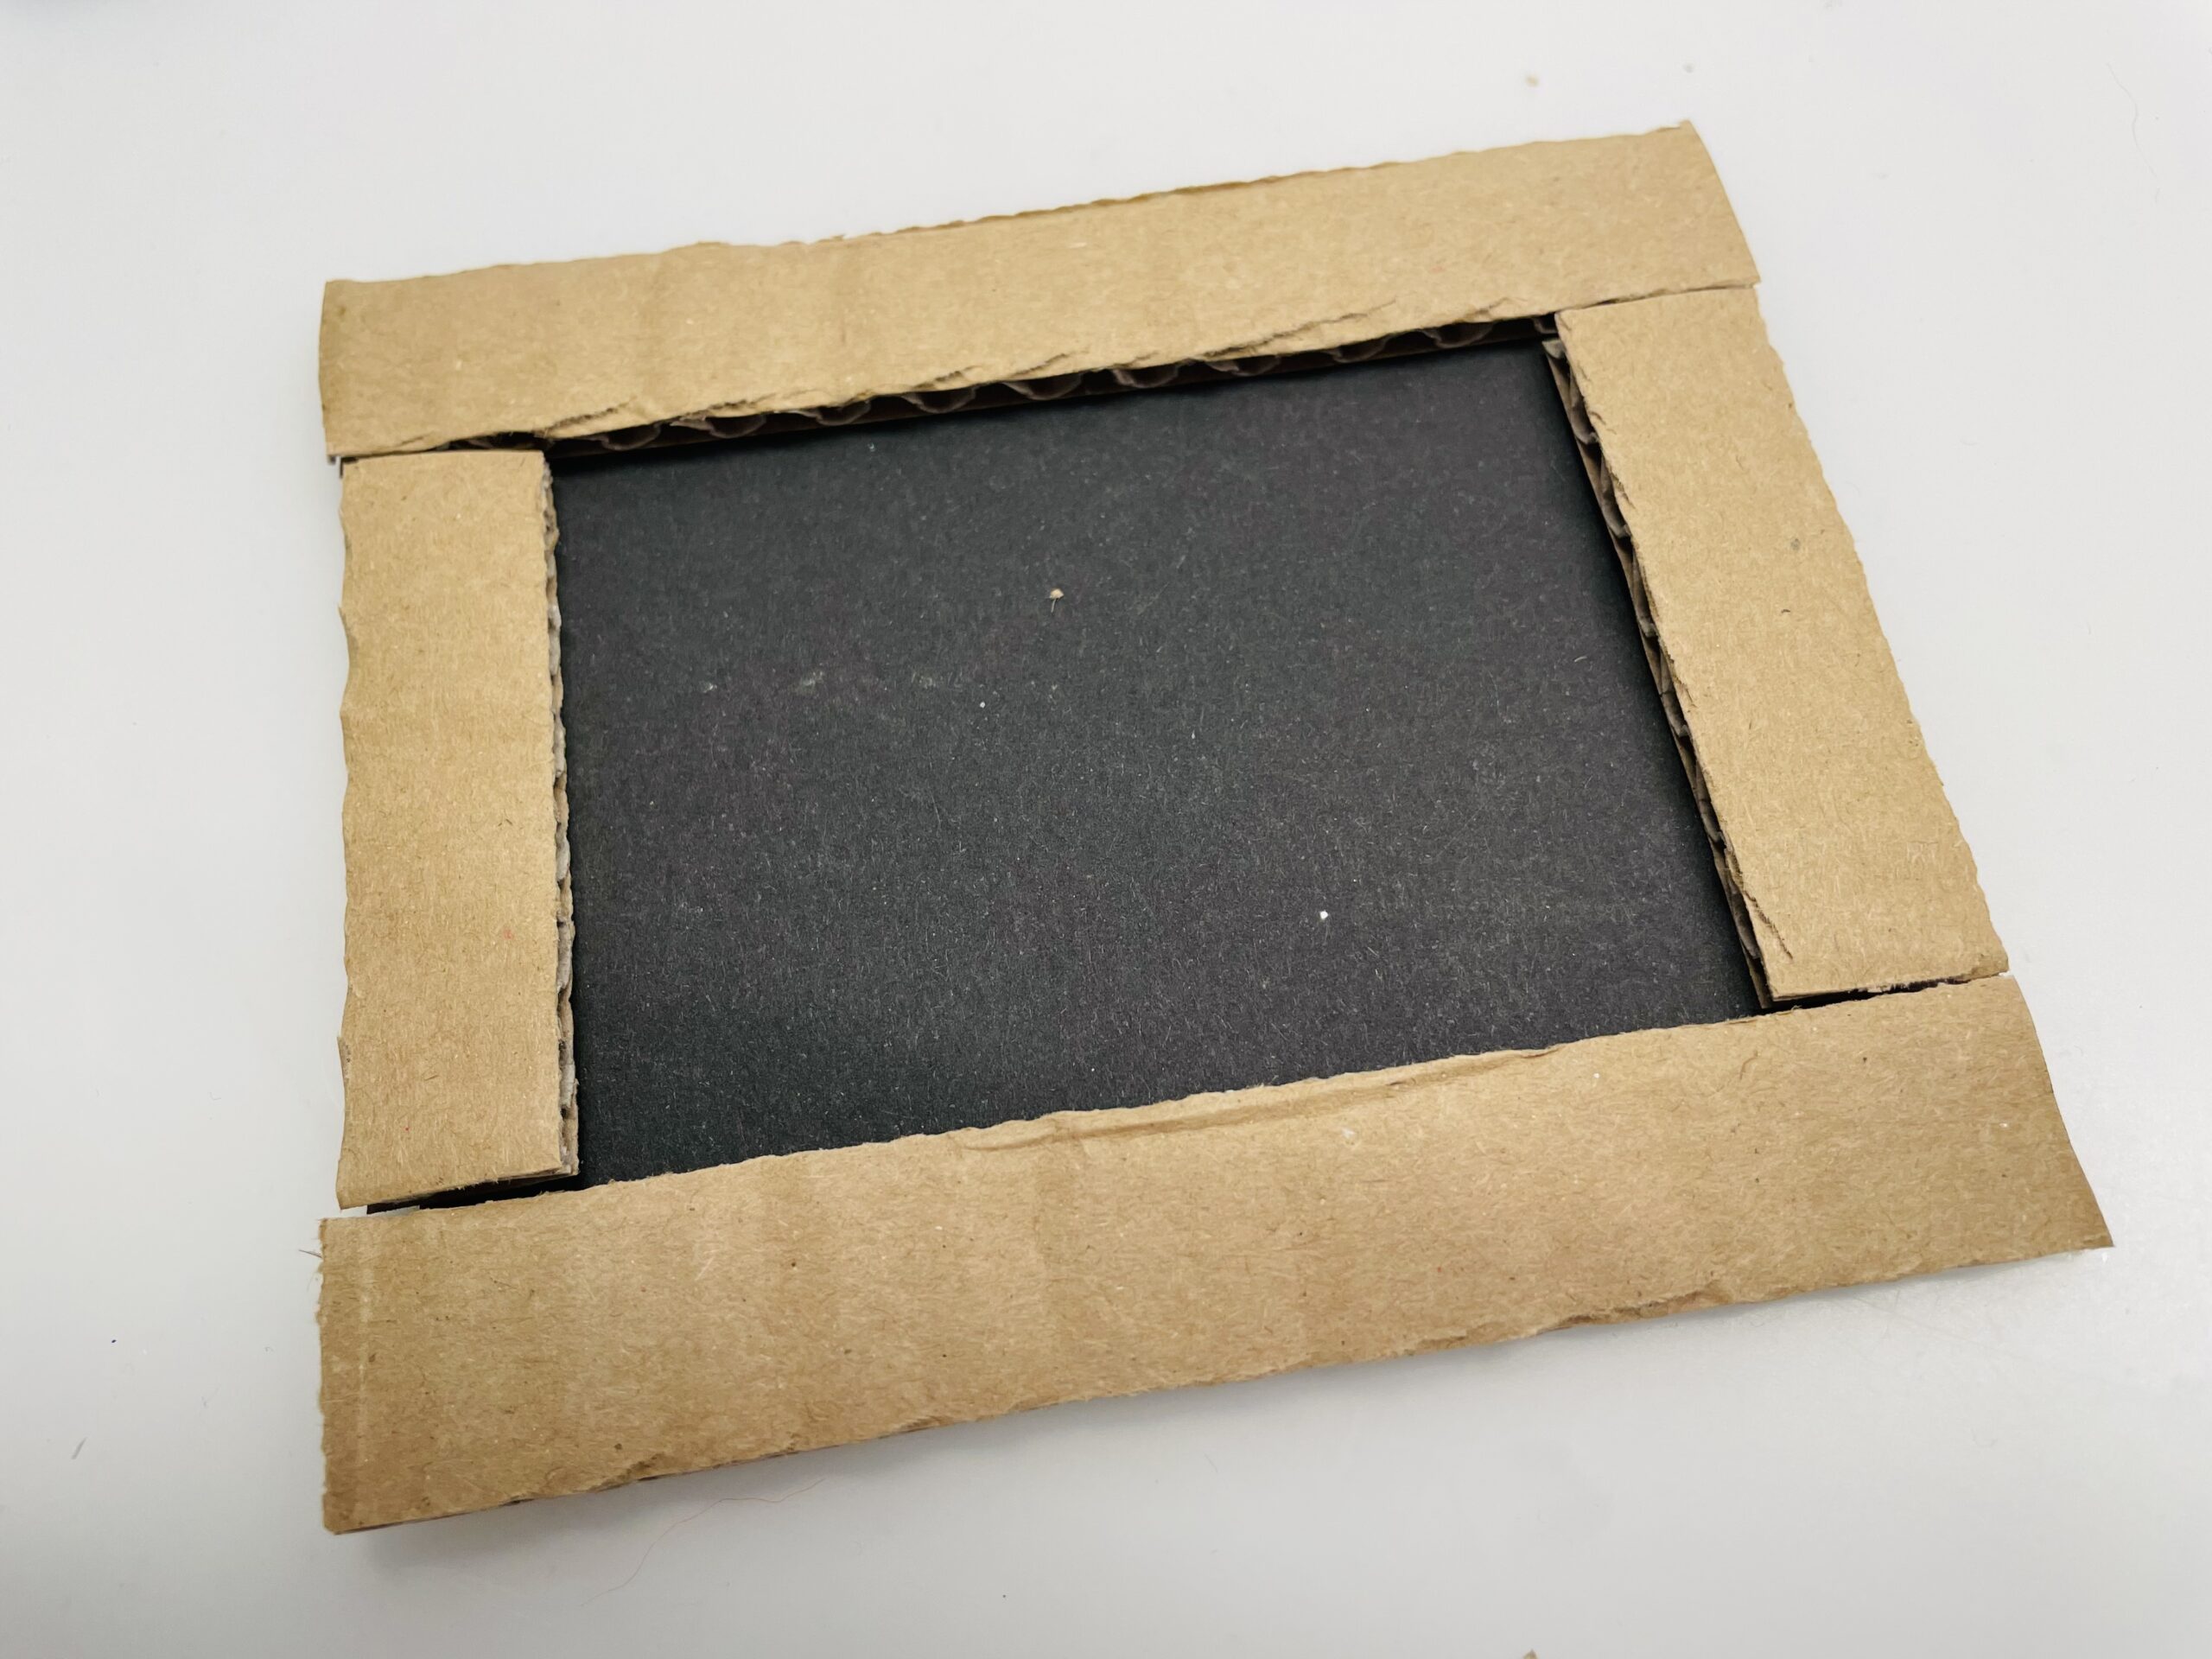
Then glue the cardboard strips onto the edge of the black clay paper.

Bild zum Schritt 4 für das Bastel- und DIY-Abenteuer für Kinder: 'Anschließend klebt ihr die Kartonstreifen auf den Rand des schwarzen...'

5

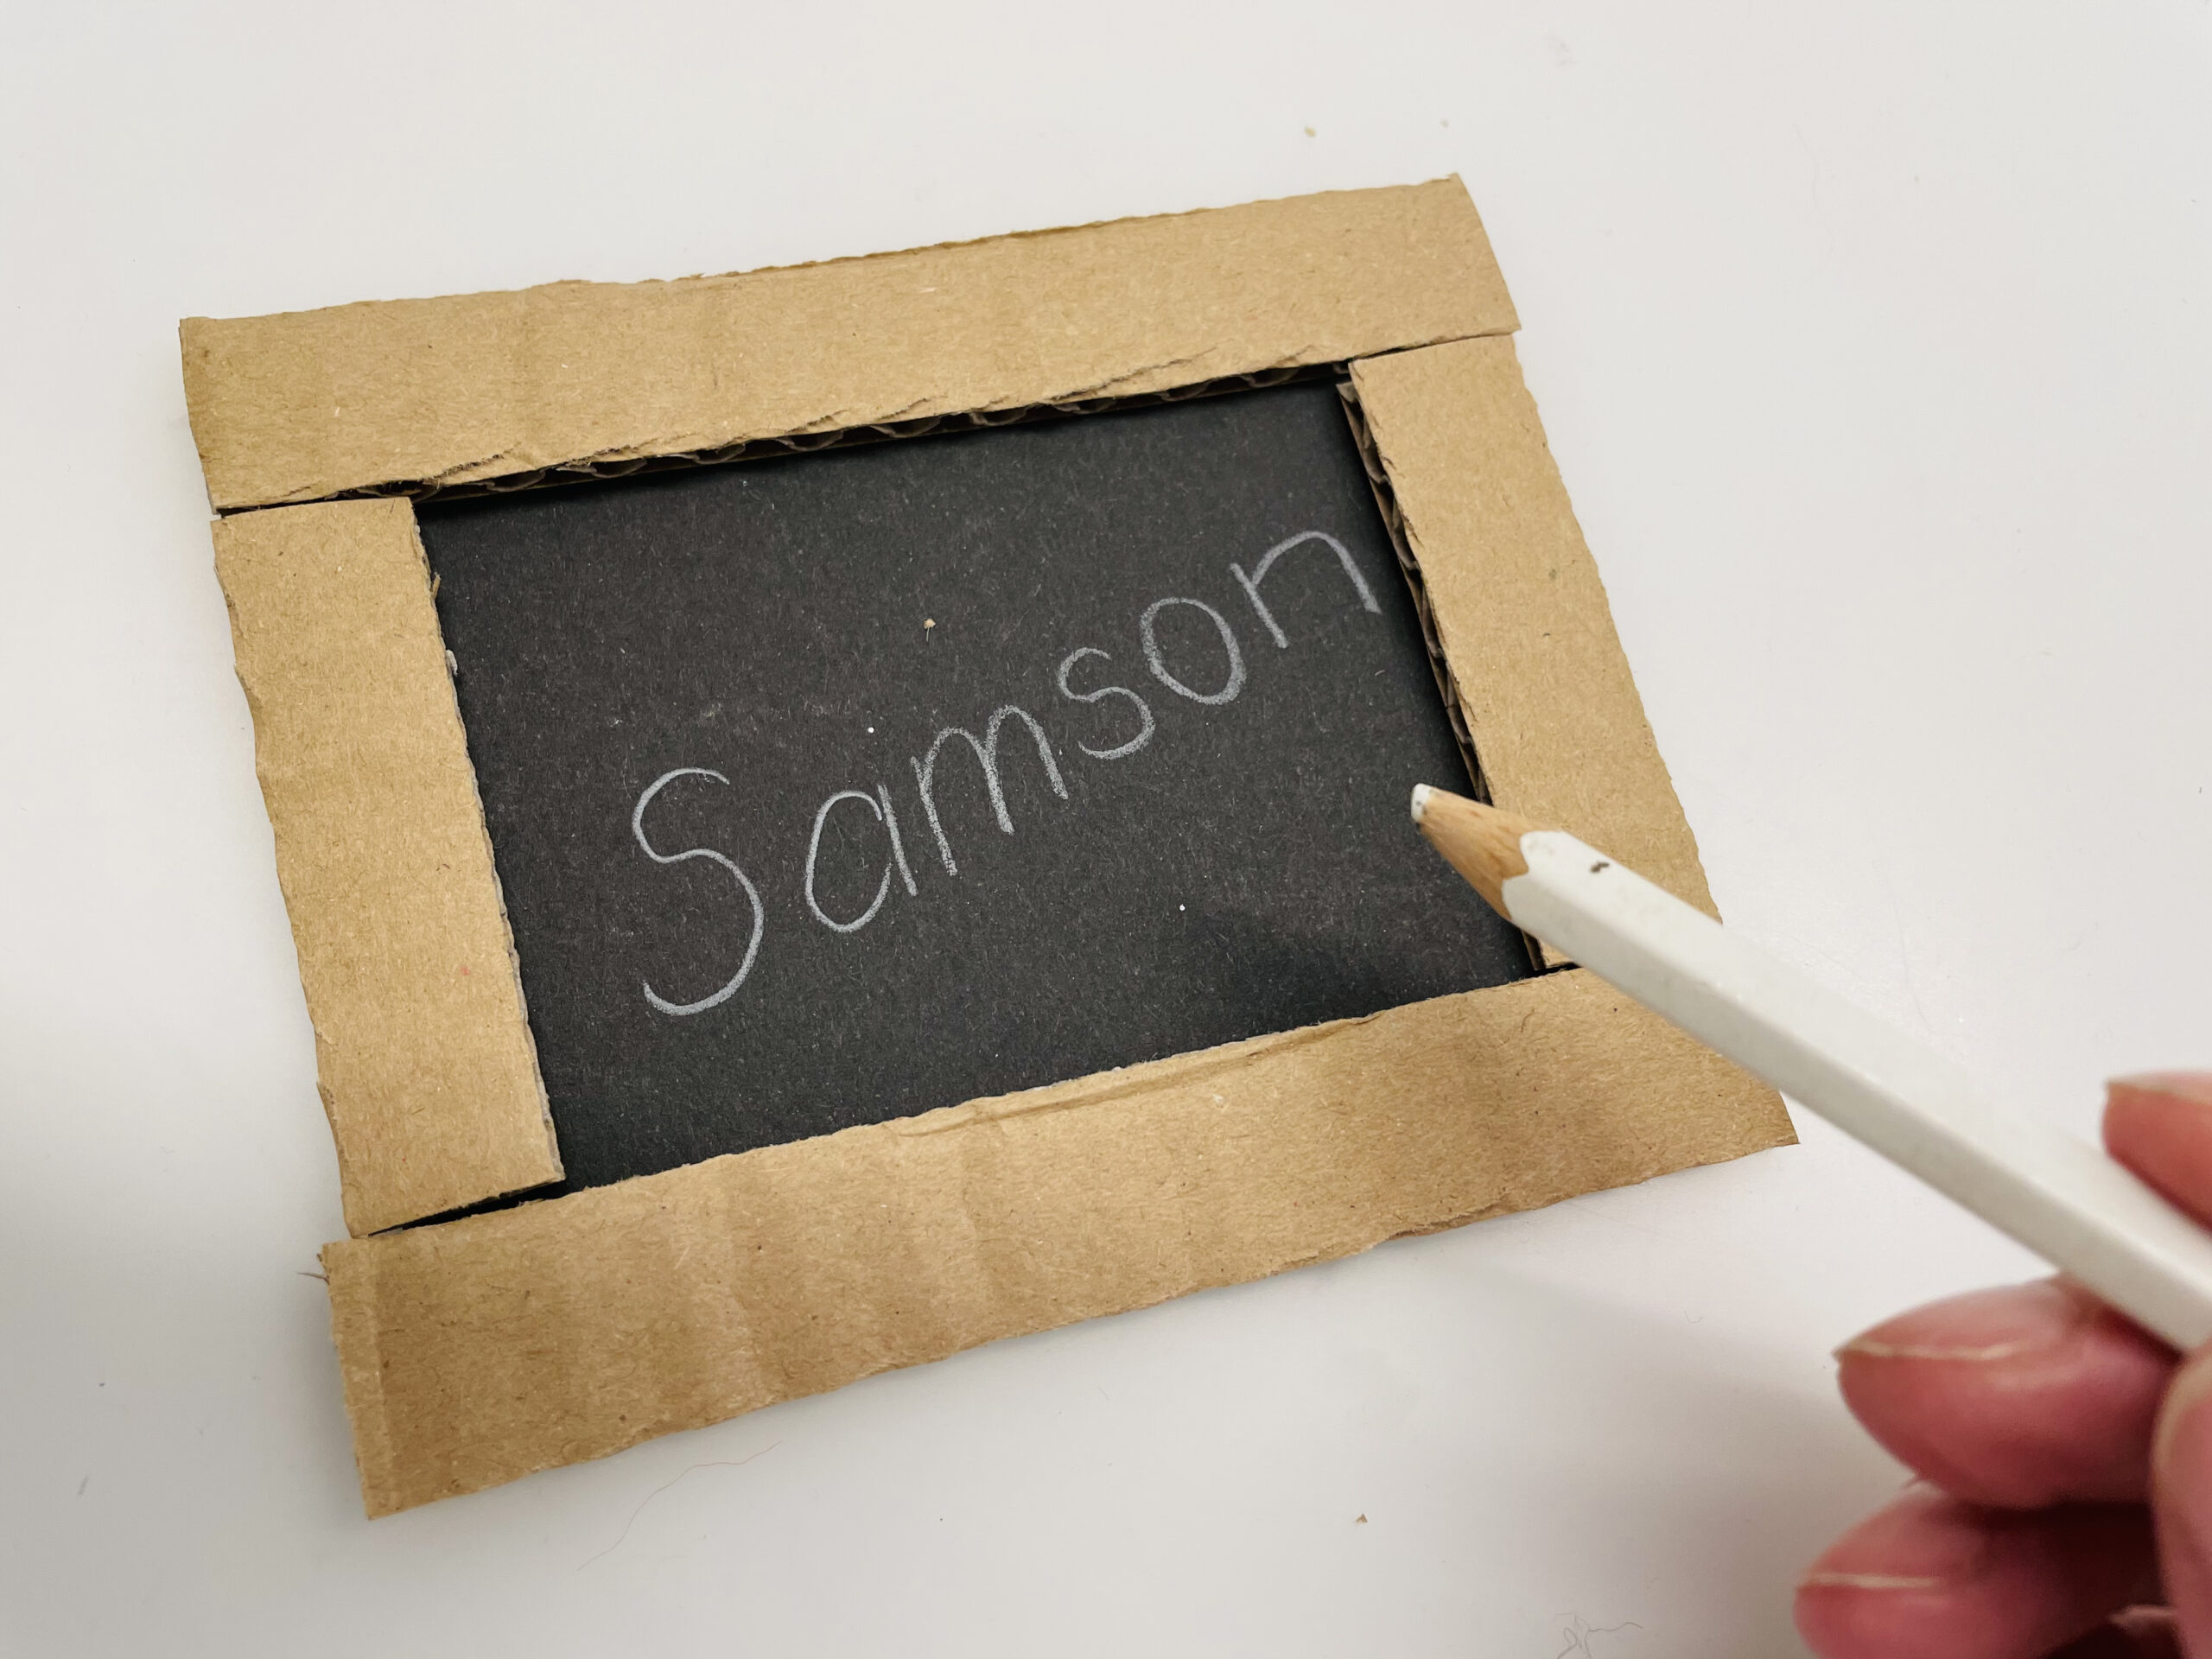
Now you can label the "panel". Prescribe with a white crayon and then paint with a chalk.

Bild zum Schritt 5 für das Bastel- und DIY-Abenteuer für Kinder: 'Nun könnt ihr die „Tafel“ beschriften. Schreibt mit einem weißen...'

6

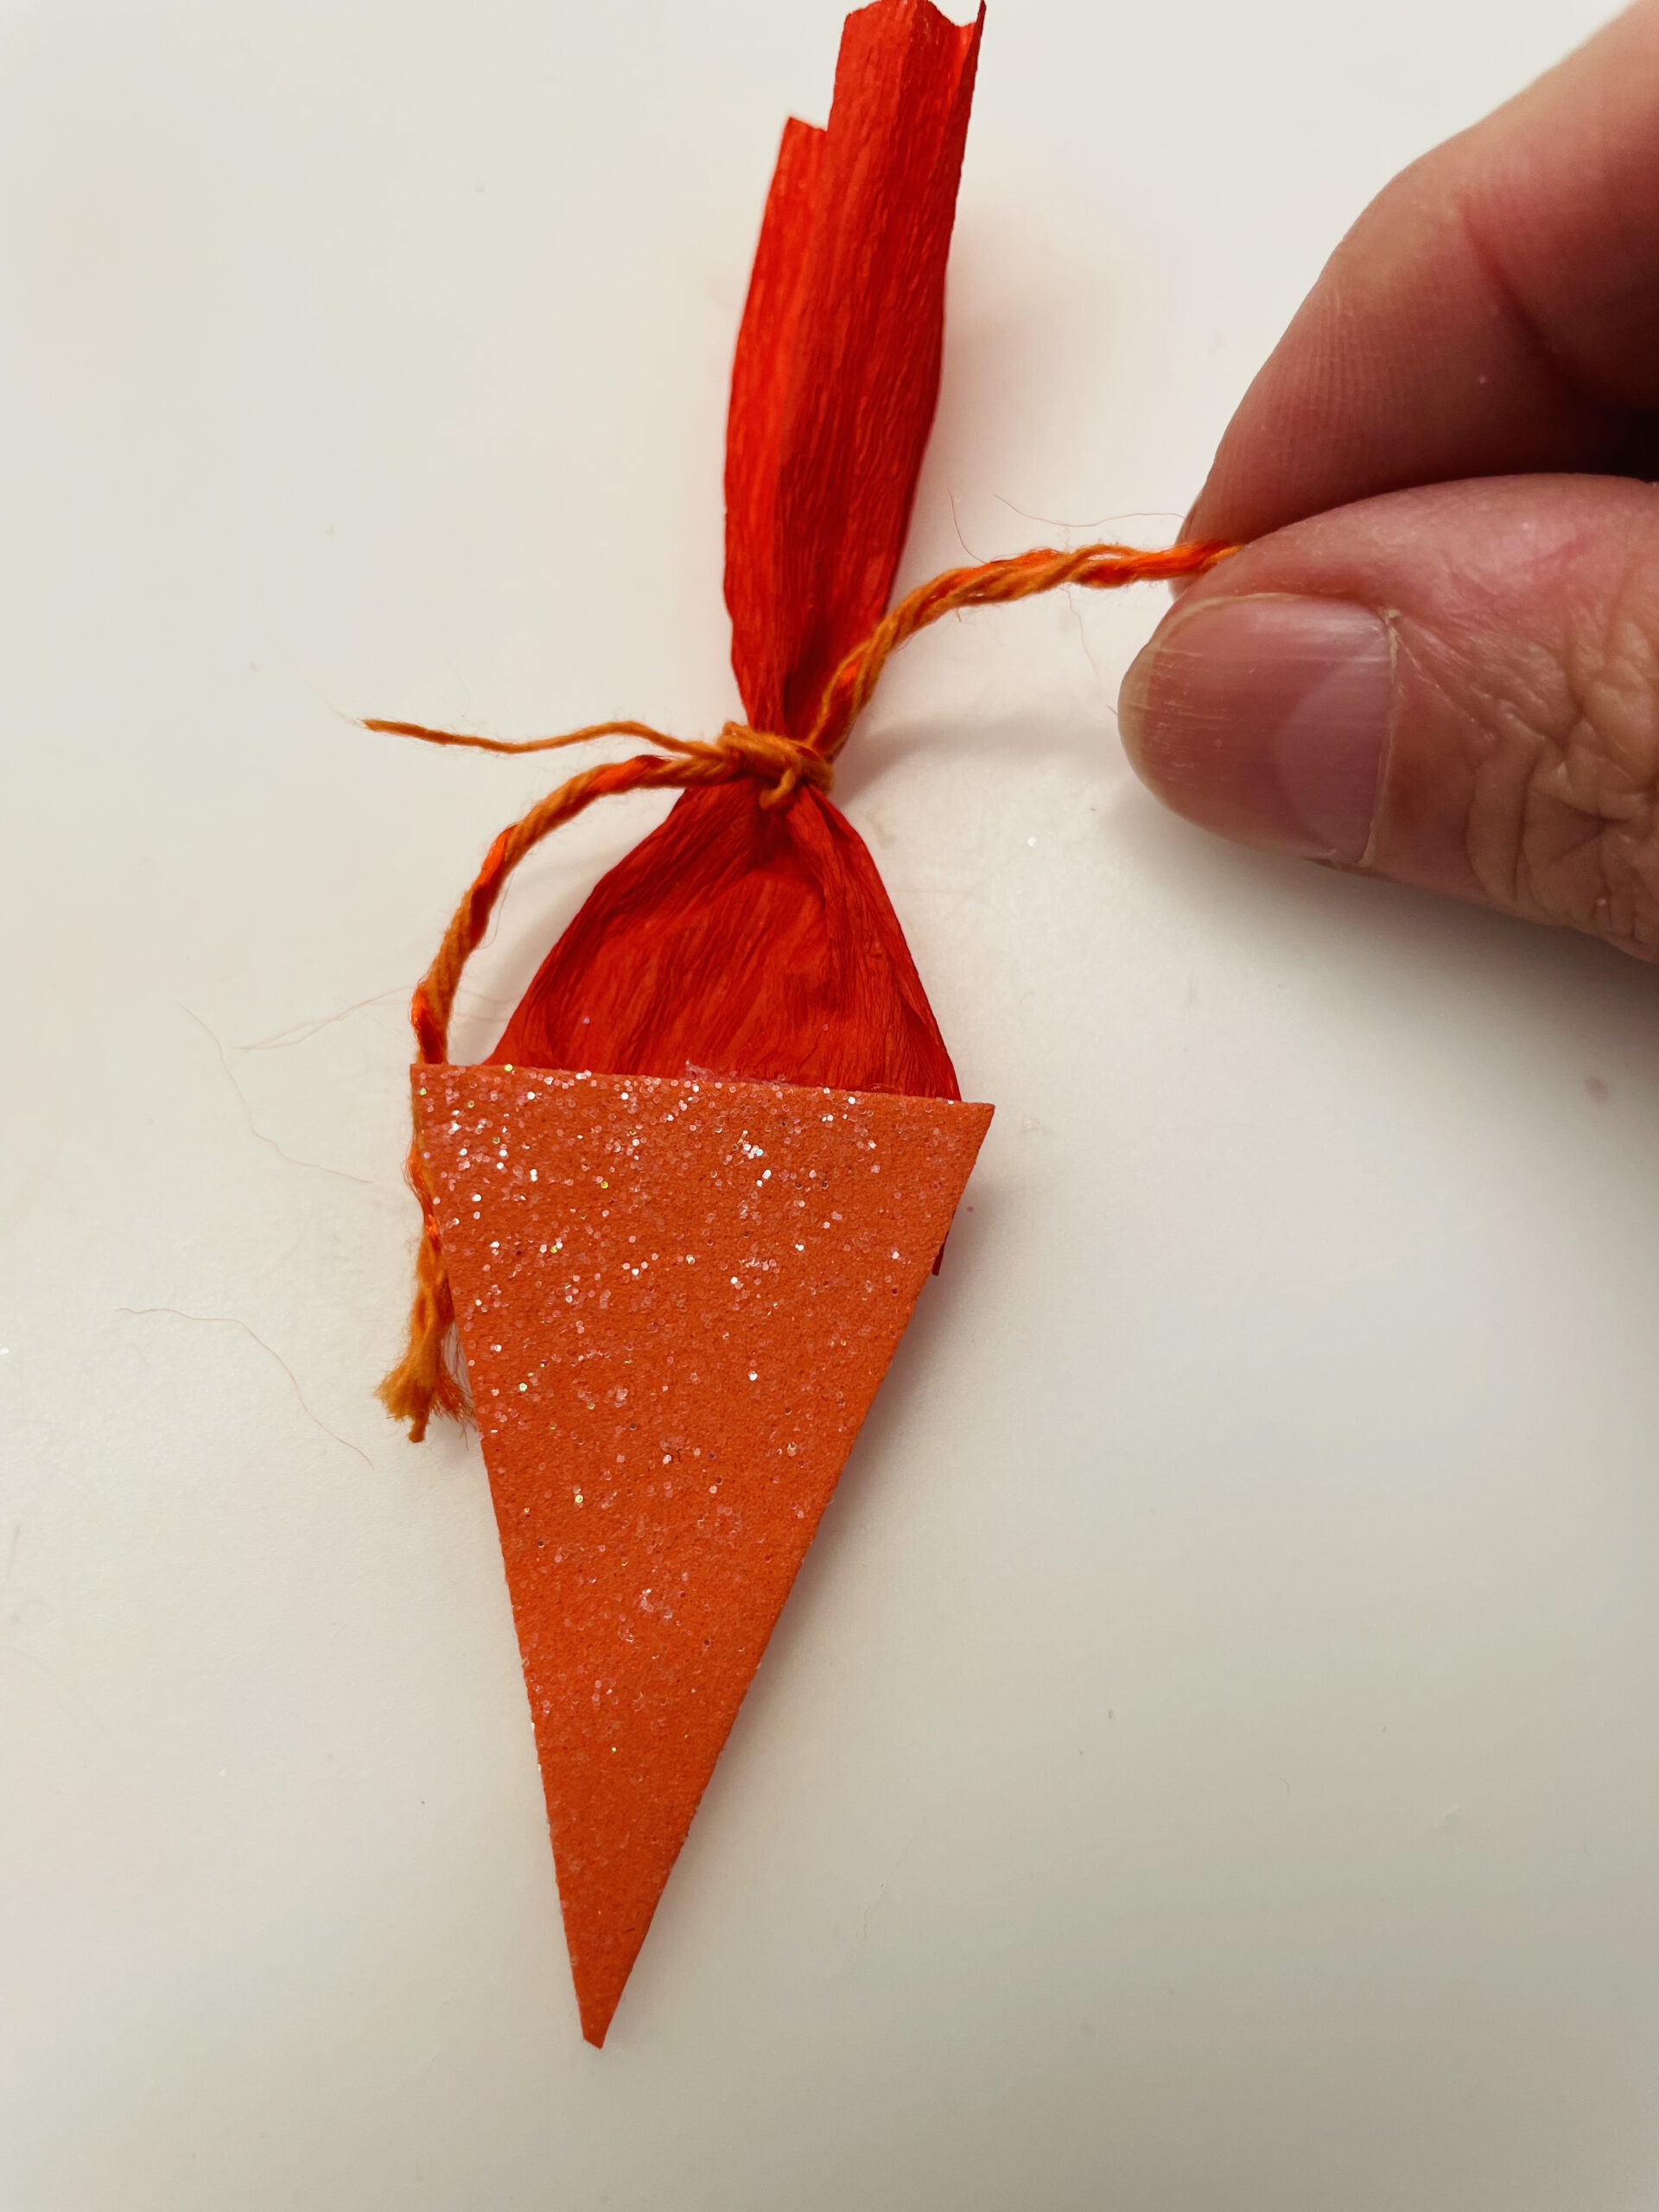
Now you make a small school bag of paper leftovers.

Bild zum Schritt 6 für das Bastel- und DIY-Abenteuer für Kinder: 'Aus Papierresten bastelt ihr nun eine kleine Schultüte.'

7

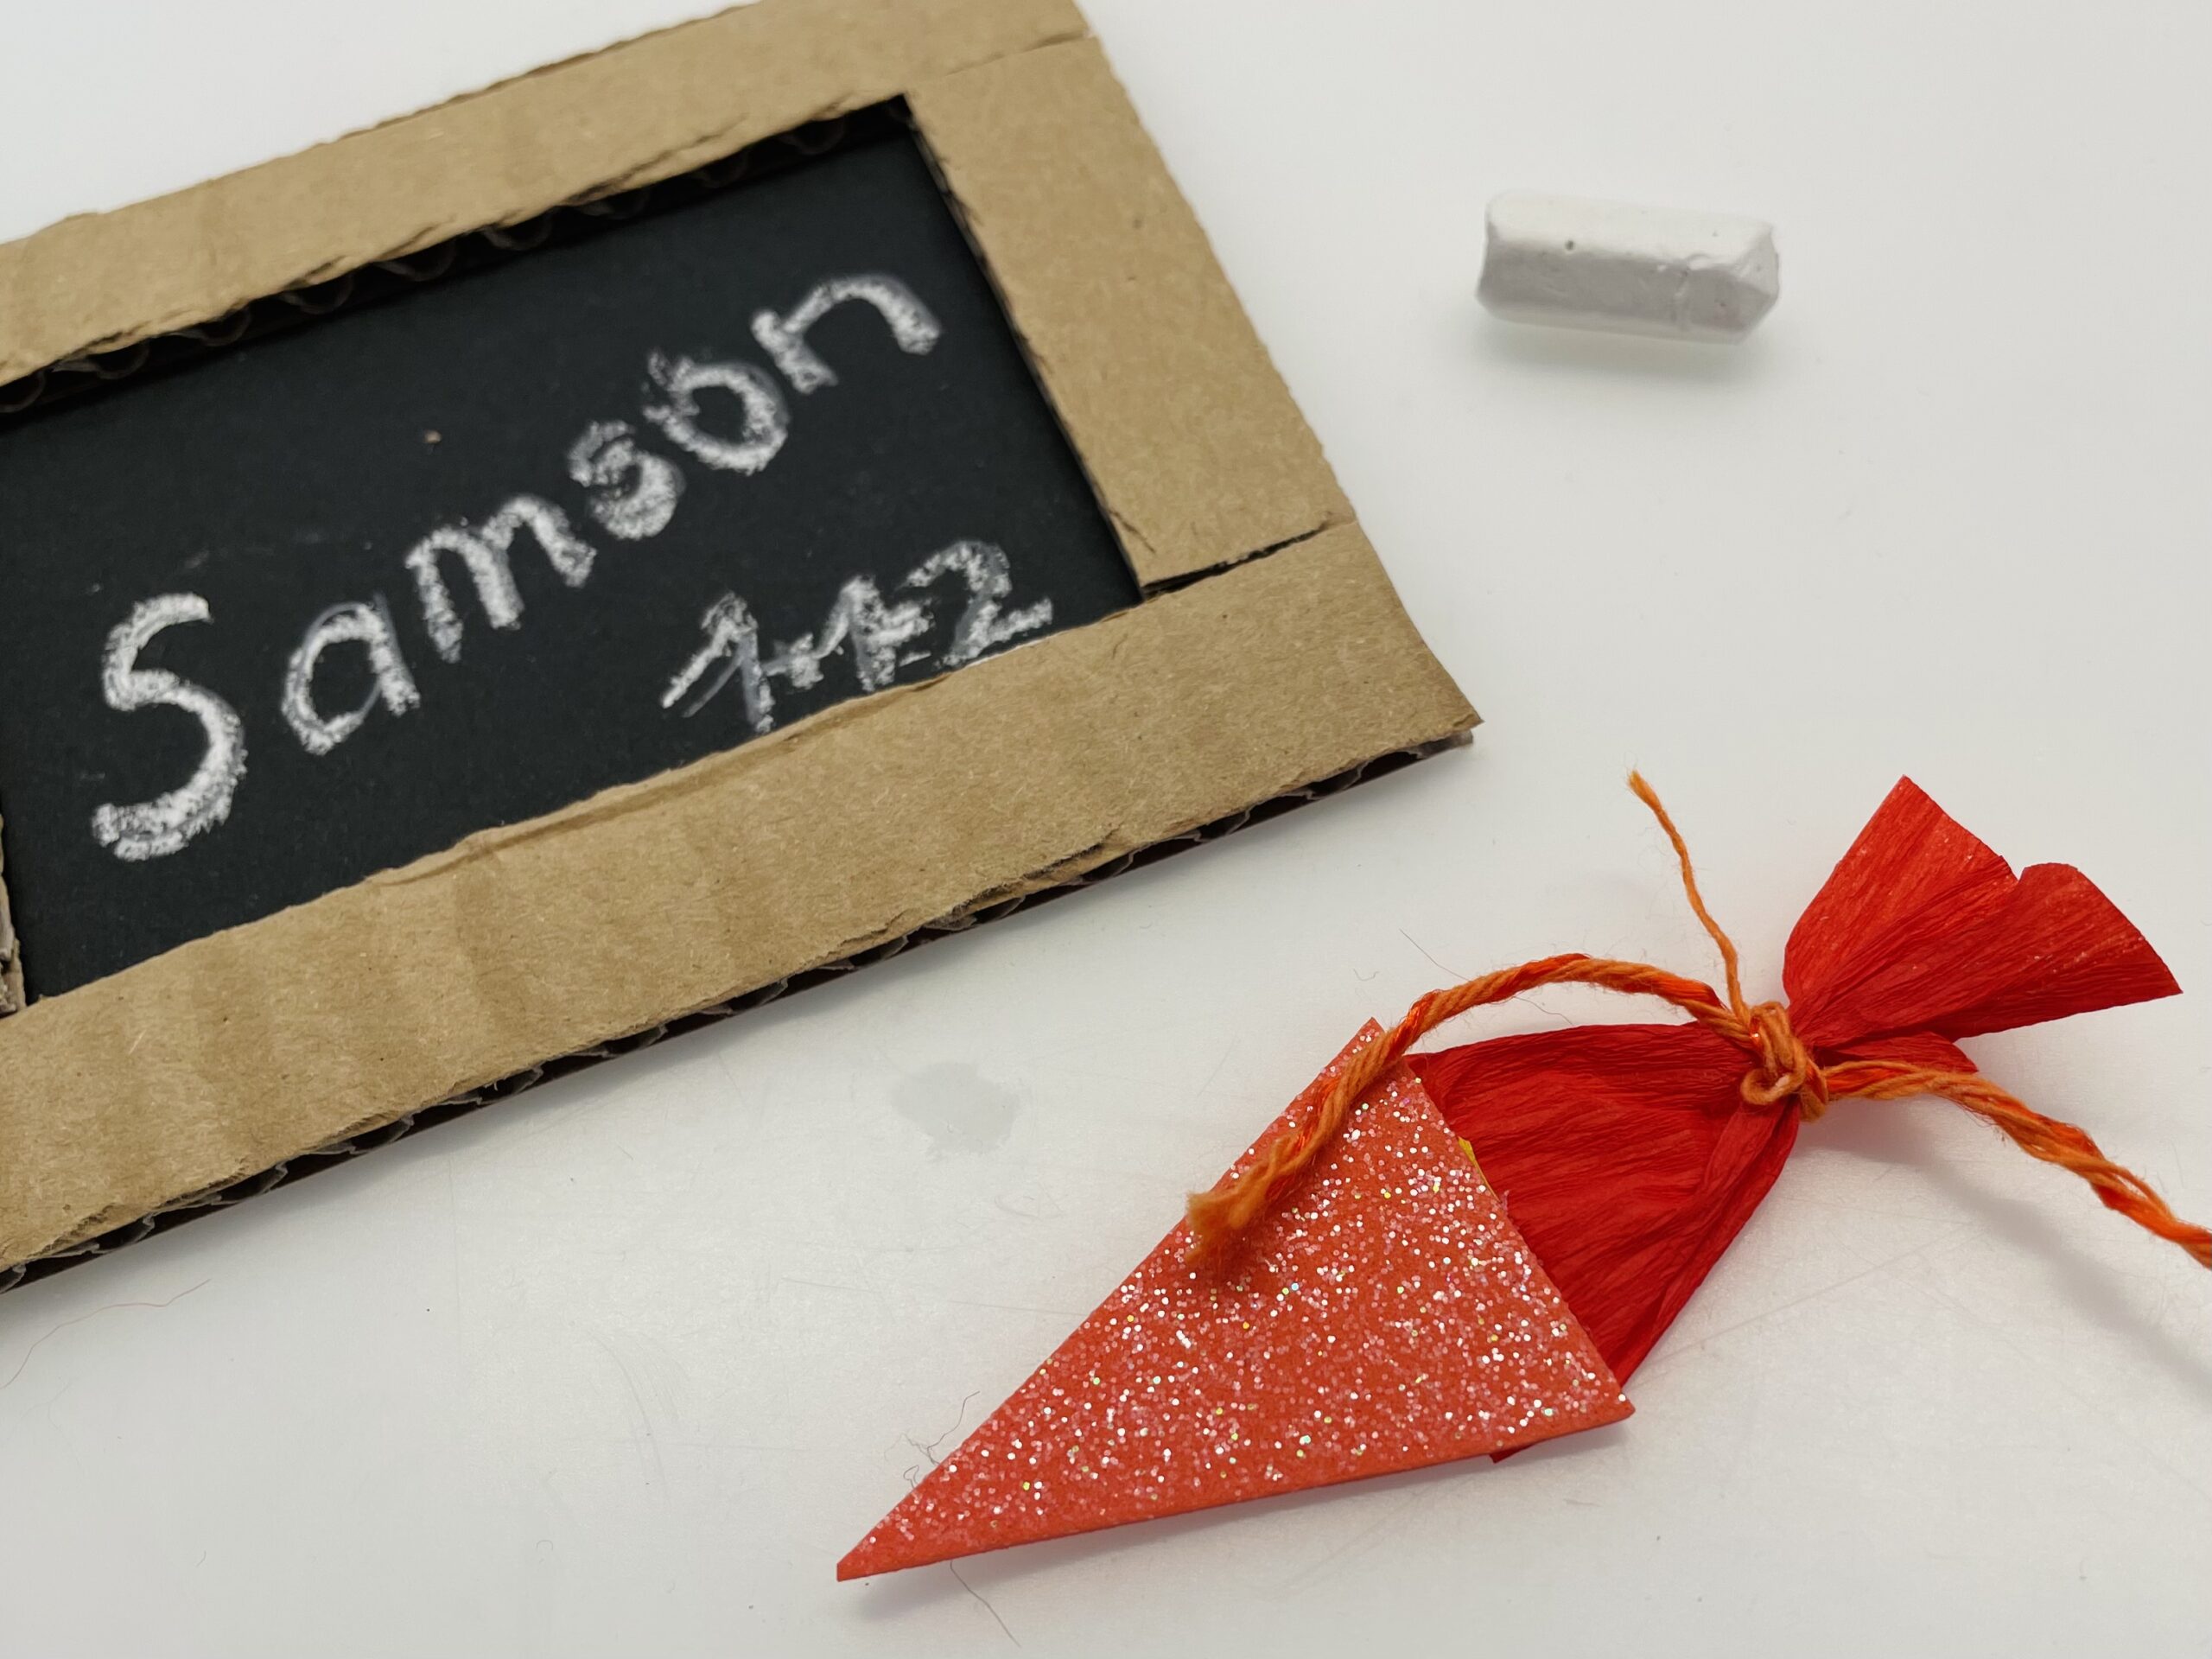
Cuts a small triangle for this. Sticks a narrow strip of crepe paper to the upper edge and puts a wool thread to the bow around the crepe strip. The small school bag is ready.

Bild zum Schritt 7 für das Bastel- und DIY-Abenteuer für Kinder: 'Schneidet dafür ein kleines Dreieck zu. Klebt einen schmalen Streifen...'

8

Attach the school bag to the top of the card. You can also let the school bag survive a bit.

Bild zum Schritt 8 für das Bastel- und DIY-Abenteuer für Kinder: 'Befestigt die Schultüte nun am oberen Rand der Karte. Ihr...'

9

Have fun trying it out!

Bild zum Schritt 9 für das Bastel- und DIY-Abenteuer für Kinder: 'Viel Spaß beim Ausprobieren!'