Print Options:

Gift – Print and design bags

Material for1 ChildPrep Time10 min.Adv. Time15 min.Total Time25 min.

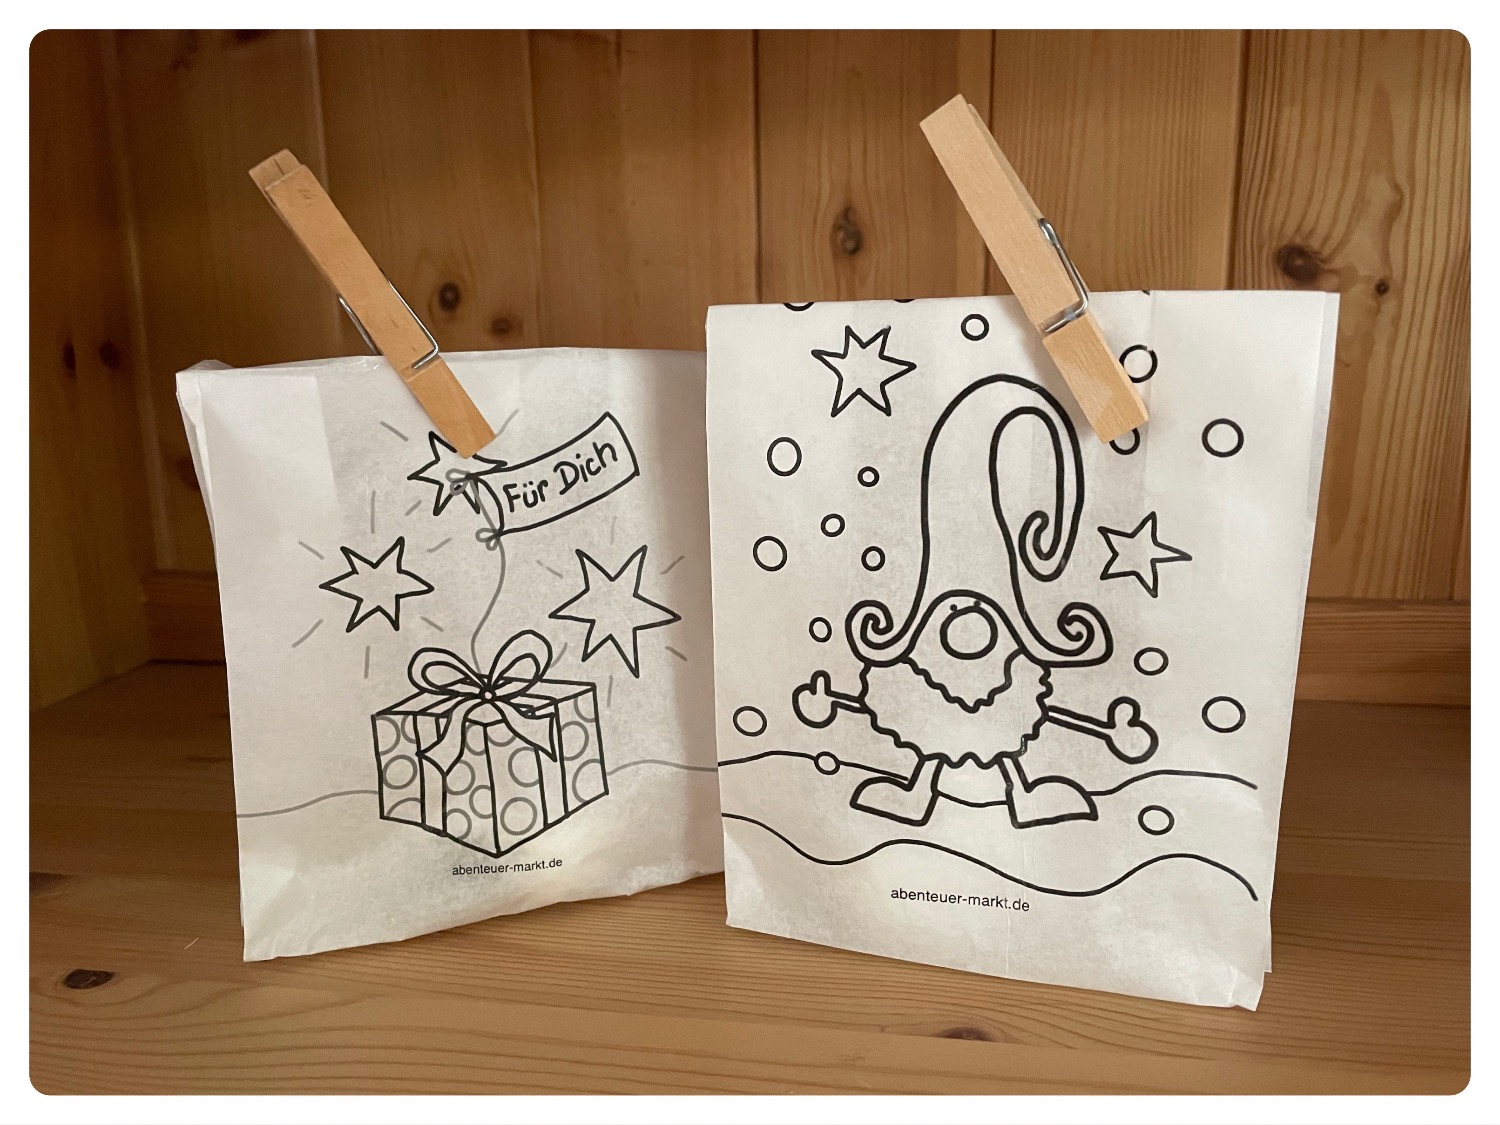
Make a nice packaging for small gifts. Print motifs on butterbread bags and paint them colorfully. To close the bags you use a clothespin. In the blink of an eye, beautiful packaging for Christmas, the Advent season or the winter is created. Have fun!

Titelbild zur Bastel- und DIY-Idee für Kinder '(887) Geschenk – Tüten bedrucken und gestalten'

 1 DIN A4 sheet
 1 Butterbread bag
 1 Adhesive strips
 1 Clothes clip
 1 Printer
1

First place a butterbread bag in the middle of a DIN A4 paper. The front of the butterbread bag points upwards.

Bild zum Schritt 1 für das Bastel- und DIY-Abenteuer für Kinder: 'Legt zuerst eine Butterbrot-Tüte in die Mitte eines DIN A4...'

2

Now you stick an adhesive tape to the top of the butterbread bag to attach the bag to the paper.
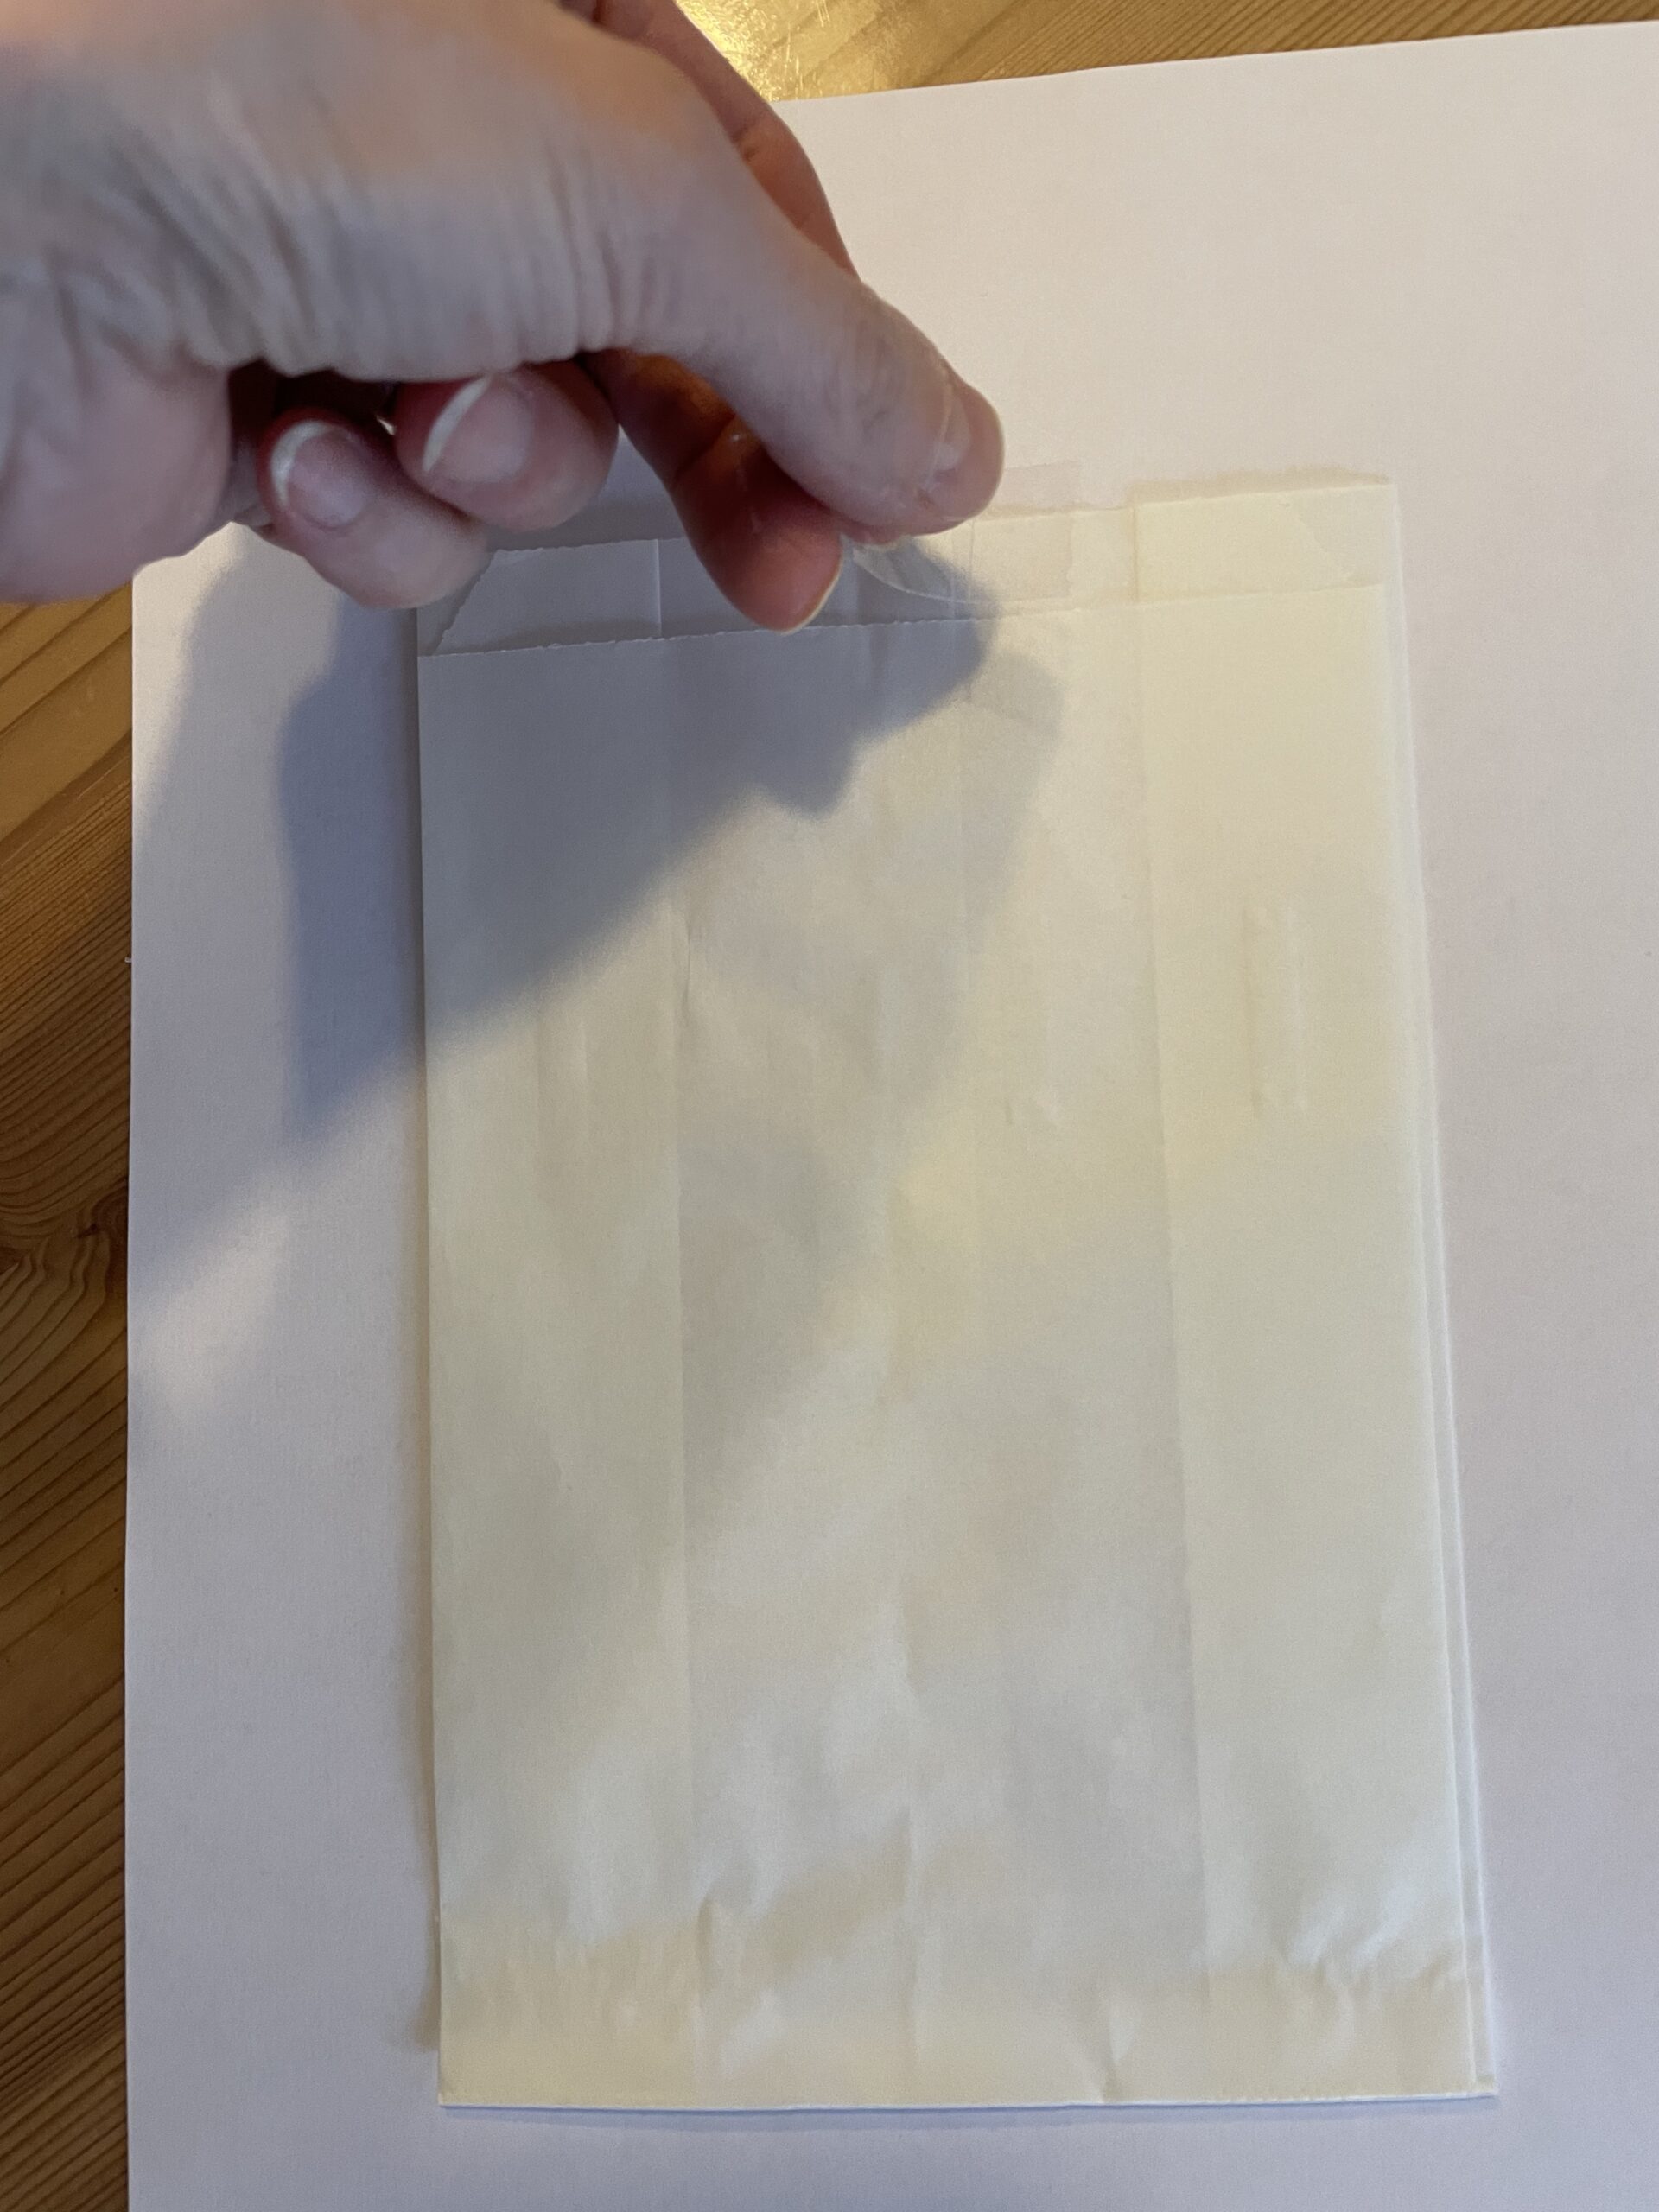
Bild zum Schritt 2 für das Bastel- und DIY-Abenteuer für Kinder: 'Jetzt klebt ihr an den oberen Rand der Butterbrot-Tüte einen...'

3

So the butterbread bag does not slip when printing.

Bild zum Schritt 3 für das Bastel- und DIY-Abenteuer für Kinder: 'So verrutscht die Butterbrot-Tüte beim Drucken nicht.'

4

Now place the prepared sheet in the entry of your printer. Now you select one of the templates below.

Bild zum Schritt 4 für das Bastel- und DIY-Abenteuer für Kinder: 'Legt das vorbereitete Blatt nun in den Einzug eures Druckers....'

5

Duck her on the bag.
Then carefully remove the adhesive strips again.

Bild zum Schritt 5 für das Bastel- und DIY-Abenteuer für Kinder: 'Duckt sie auf die Tüte.  Anschließend entfernt ihr wieder...'

6

The printed bag is ready.
Now you can paint and fill them.

Bild zum Schritt 6 für das Bastel- und DIY-Abenteuer für Kinder: 'Fertig ist die bedruckte Tüte.   Jetzt könnt ihr...'

7

With a wooden wash clip you close the stuffed bag.

Bild zum Schritt 7 für das Bastel- und DIY-Abenteuer für Kinder: 'Mit einer Holzwäscheklammer verschließt ihr die gefüllte Tüte.'

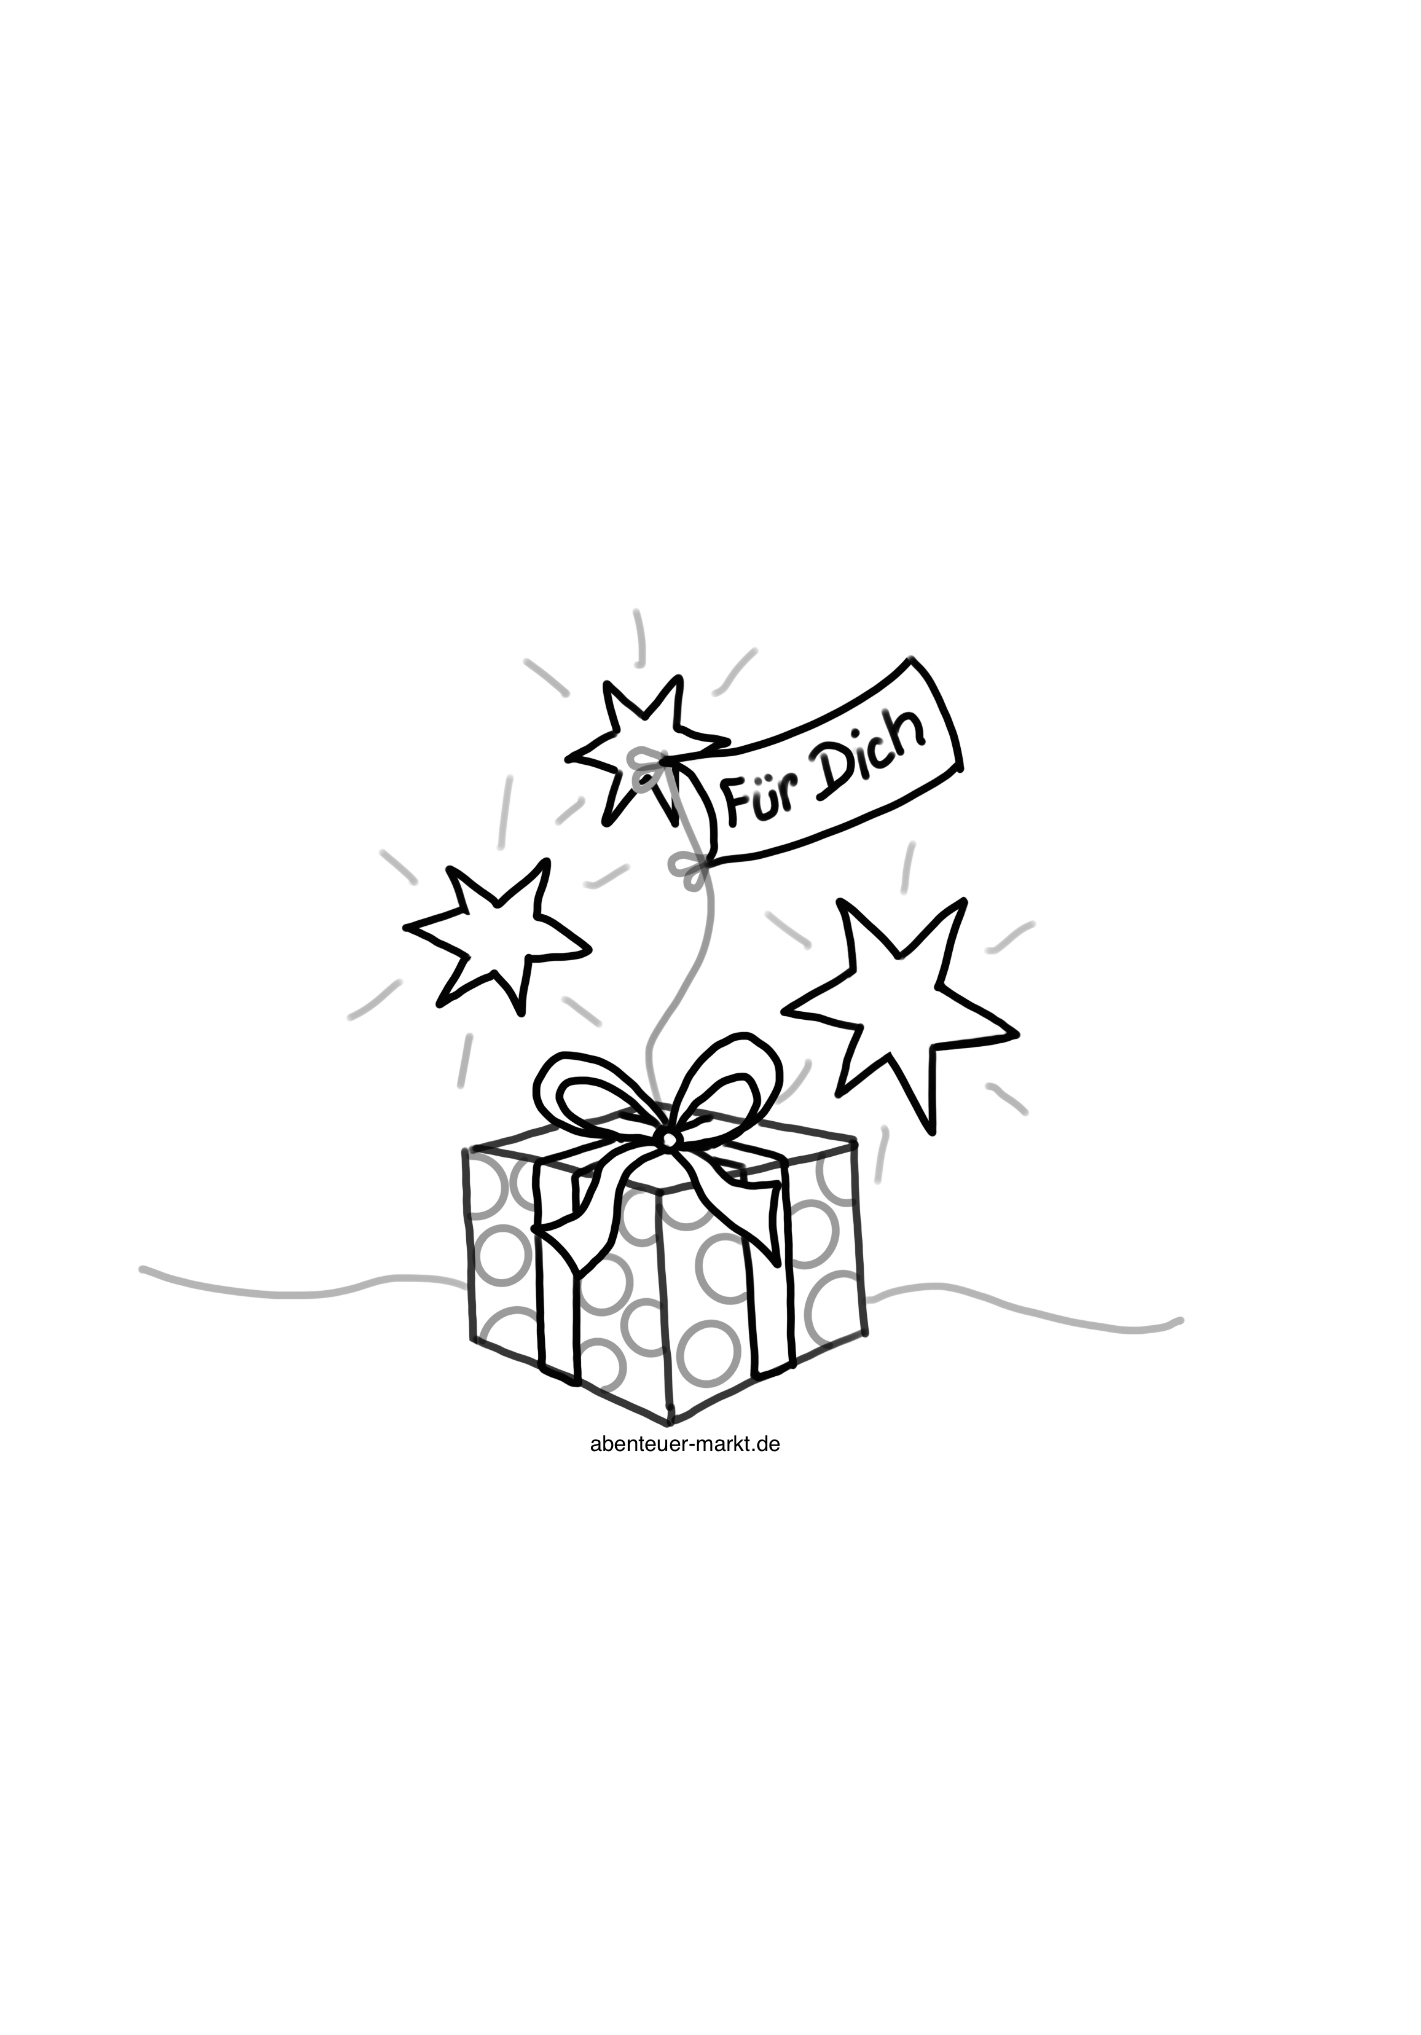
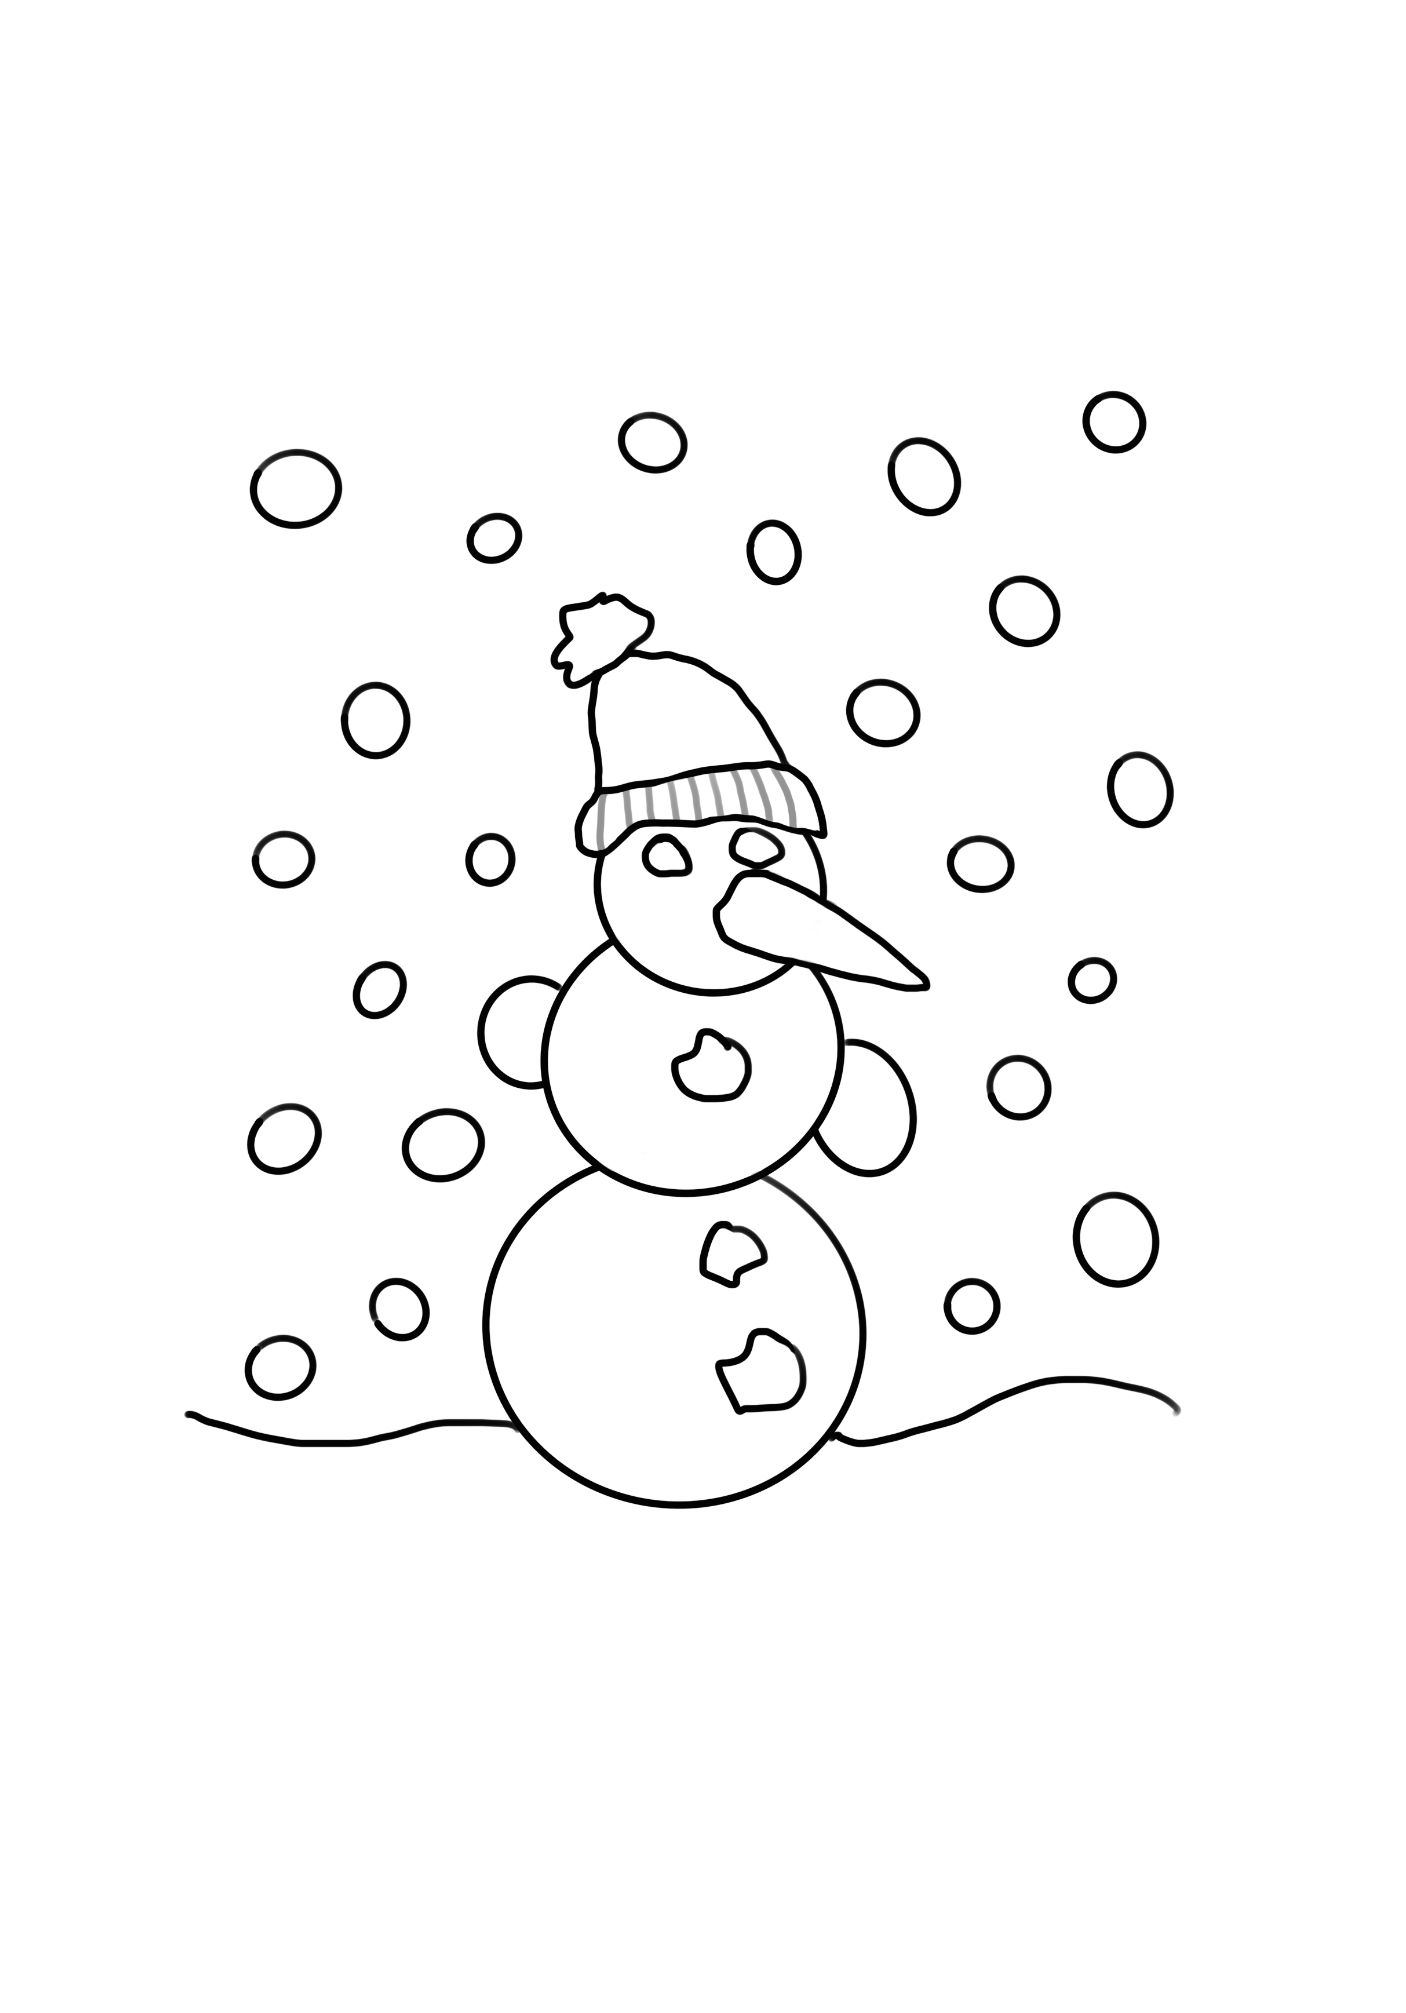
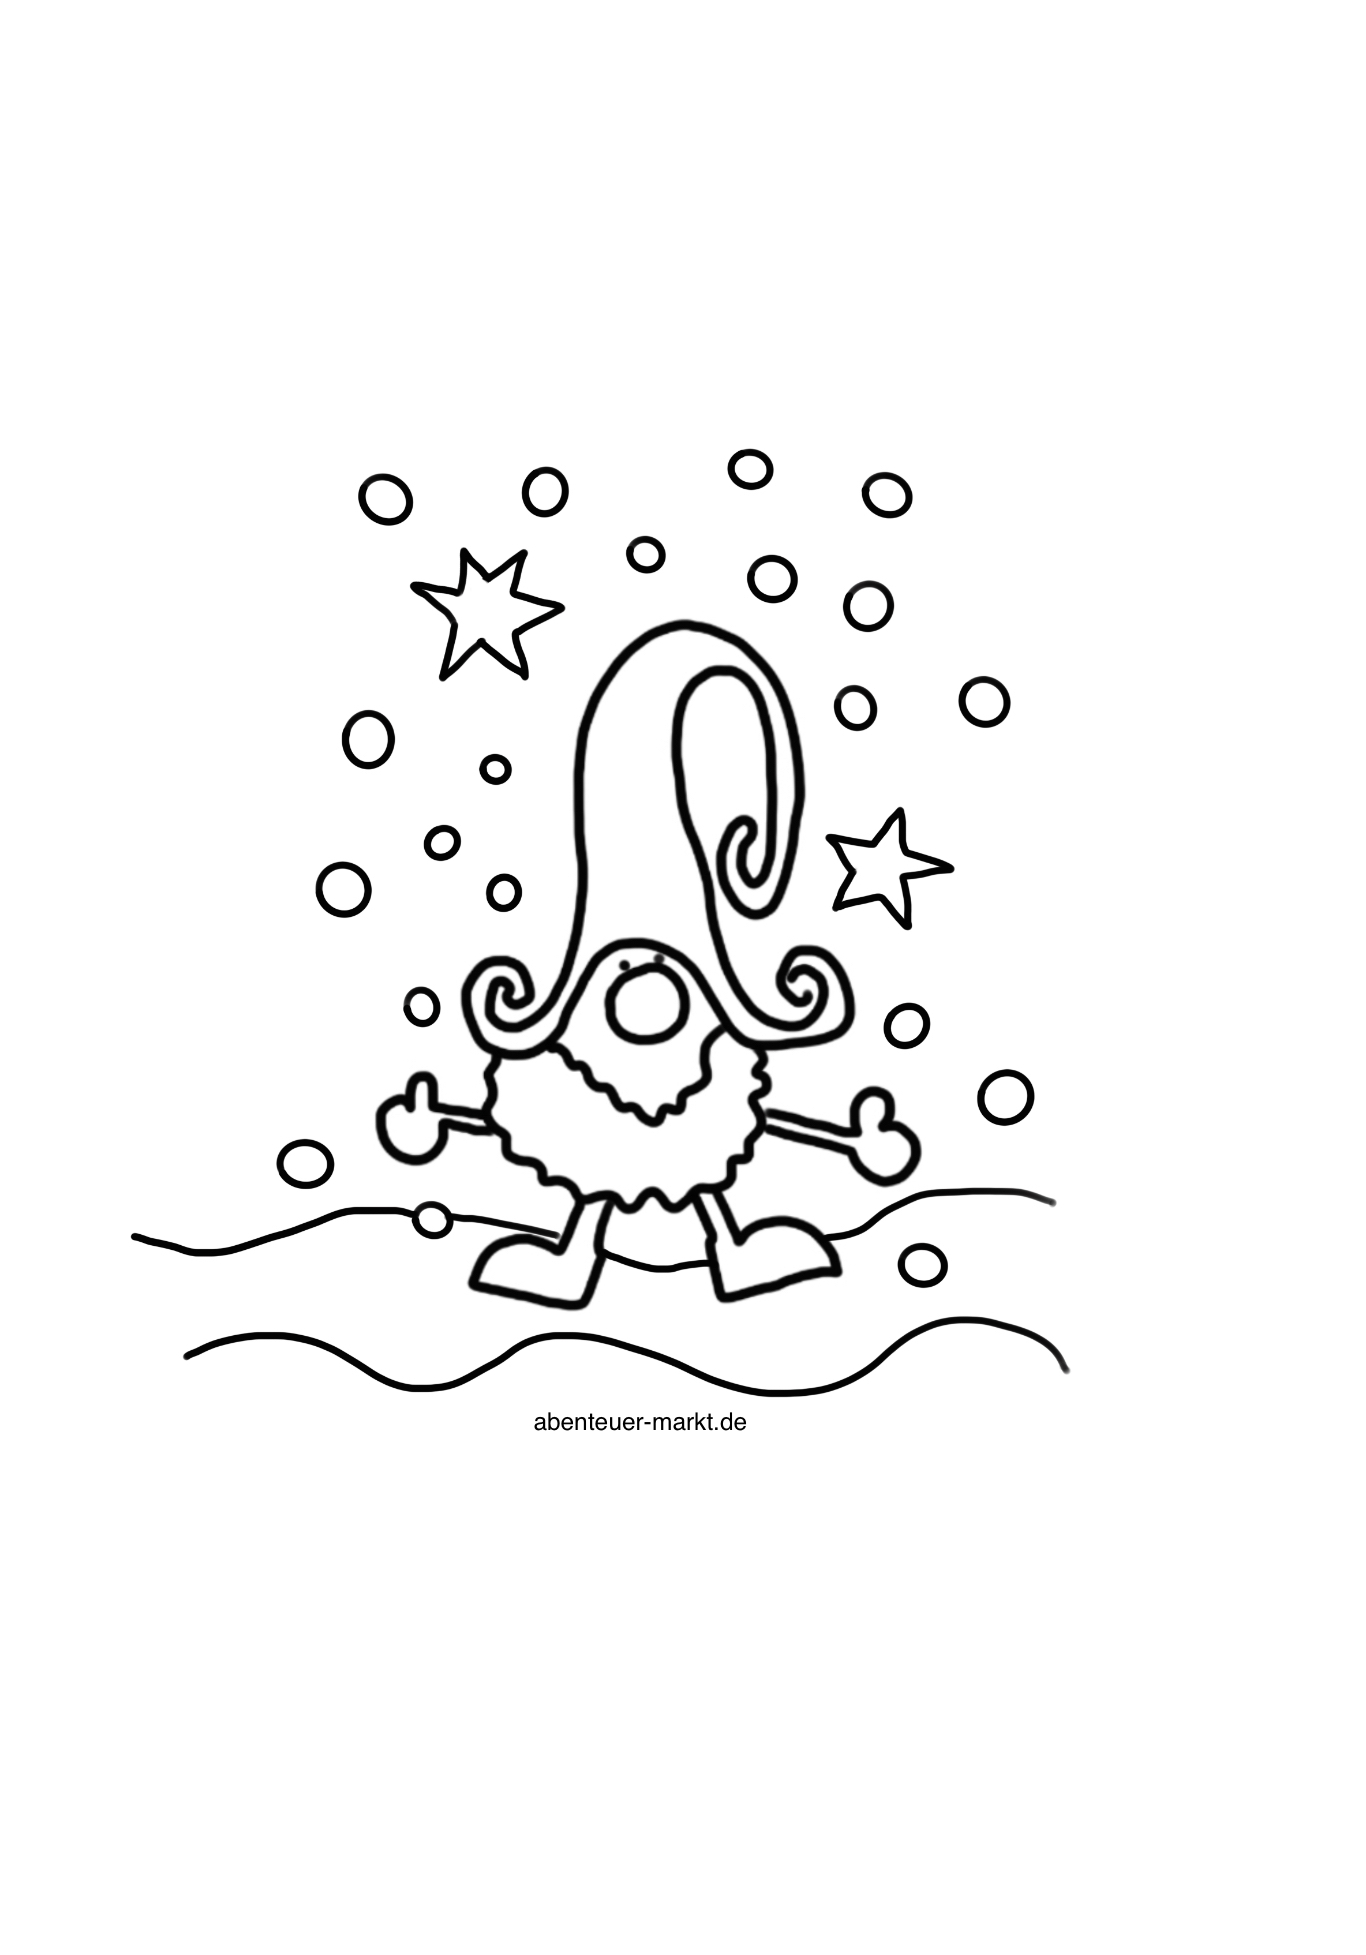
Templates for printing:
8

1. Bild zum Schritt 8 für das Bastel- und DIY-Abenteuer für Kinder: 'Mit einer Holzwäscheklammer verschließt ihr die gefüllte Tüte.'

9

2. Bild zum Schritt 9 für das Bastel- und DIY-Abenteuer für Kinder: 'Mit einer Holzwäscheklammer verschließt ihr die gefüllte Tüte.'

10

3. Bild zum Schritt 10 für das Bastel- und DIY-Abenteuer für Kinder: 'Mit einer Holzwäscheklammer verschließt ihr die gefüllte Tüte.'

11

Have fun designing and giving!